
|
|
|
 11-12-2013, 06:36 PM
|
#1 |
|
Registered User
 Join Date: Aug 2005
Location: Hillsboro Oregon
Posts: 6,449
|
Re: 55 Wagon Progress
Speechless as always. Incredible!
|

|

|
|
11-13-2013, 07:24 AM
|
#2 |
|
Registered User
Join Date: Dec 2011
Location: Mobile, Alabama
Posts: 996
|
Re: 55 Wagon Progress
Keep it coming....the attention to detail is inspiring. By the way, nice welding table. dug
__________________
My Build - http://67-72chevytrucks.com/vboard/s...d.php?t=515876 |
|
|
|
|
11-17-2013, 12:57 AM
|
#3 |
|
Registered User
Join Date: Jan 2013
Location: Leonardtown, MD
Posts: 1,637
|
Re: 55 Wagon Progress
Yeah, I'm starting to get the table filled back up again.
 Another slight detour.... I need to stop looking for this stuff....or is it looking for me? This pinch weld showed swelling between the two sheets, and a closer inspection showed some rather thick scale... 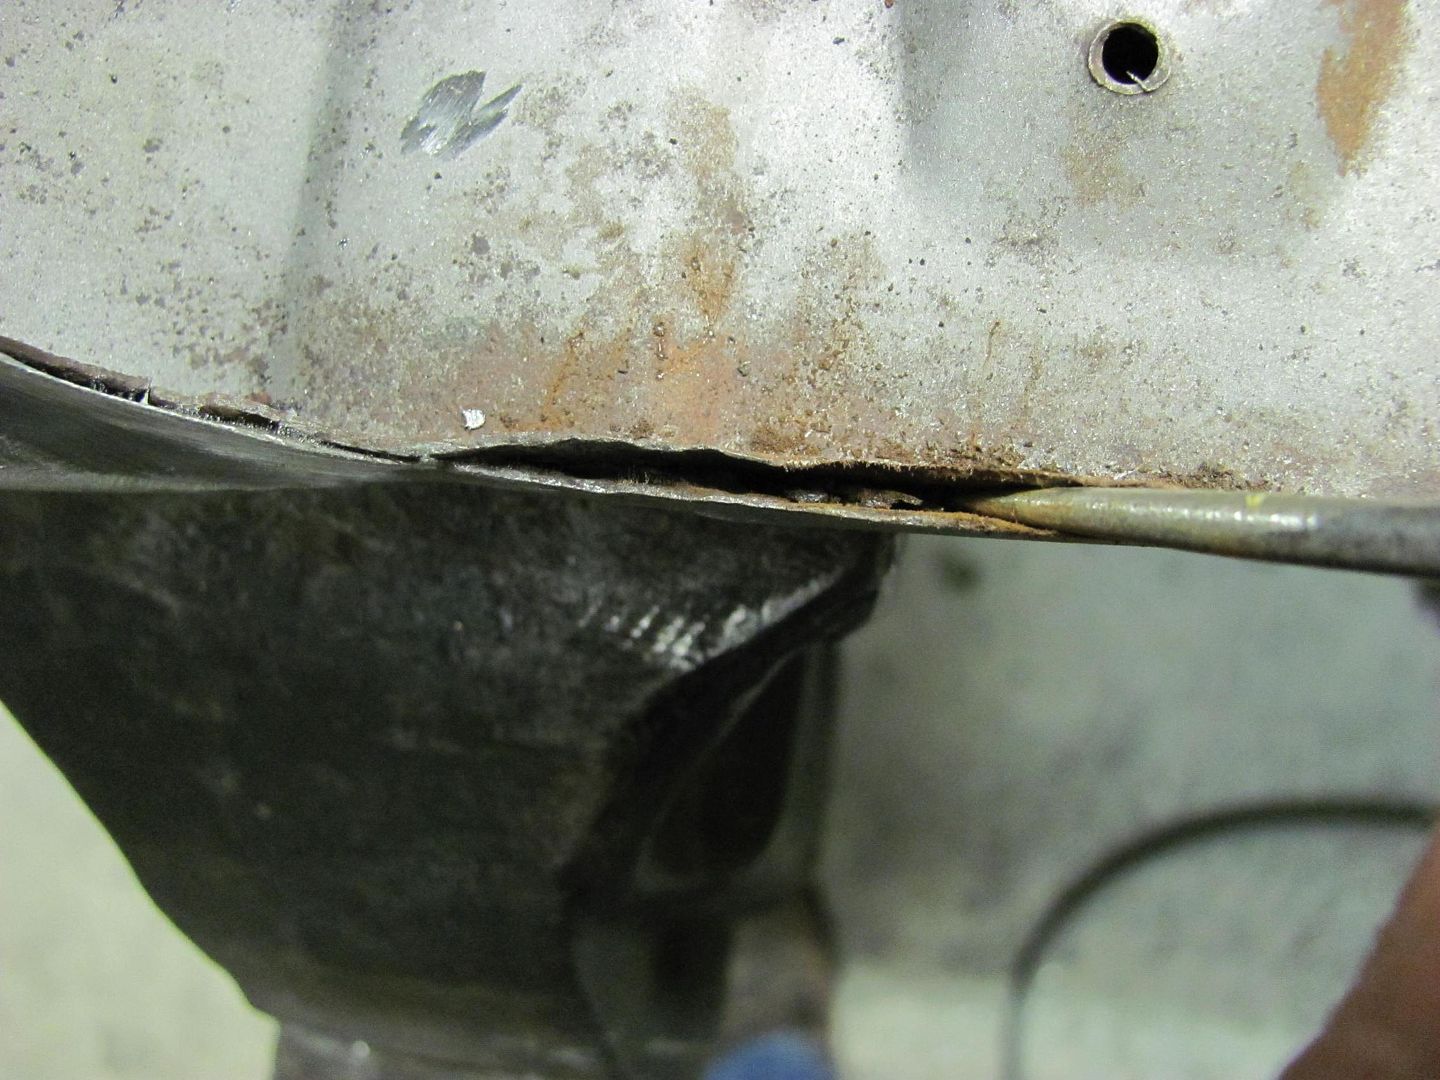 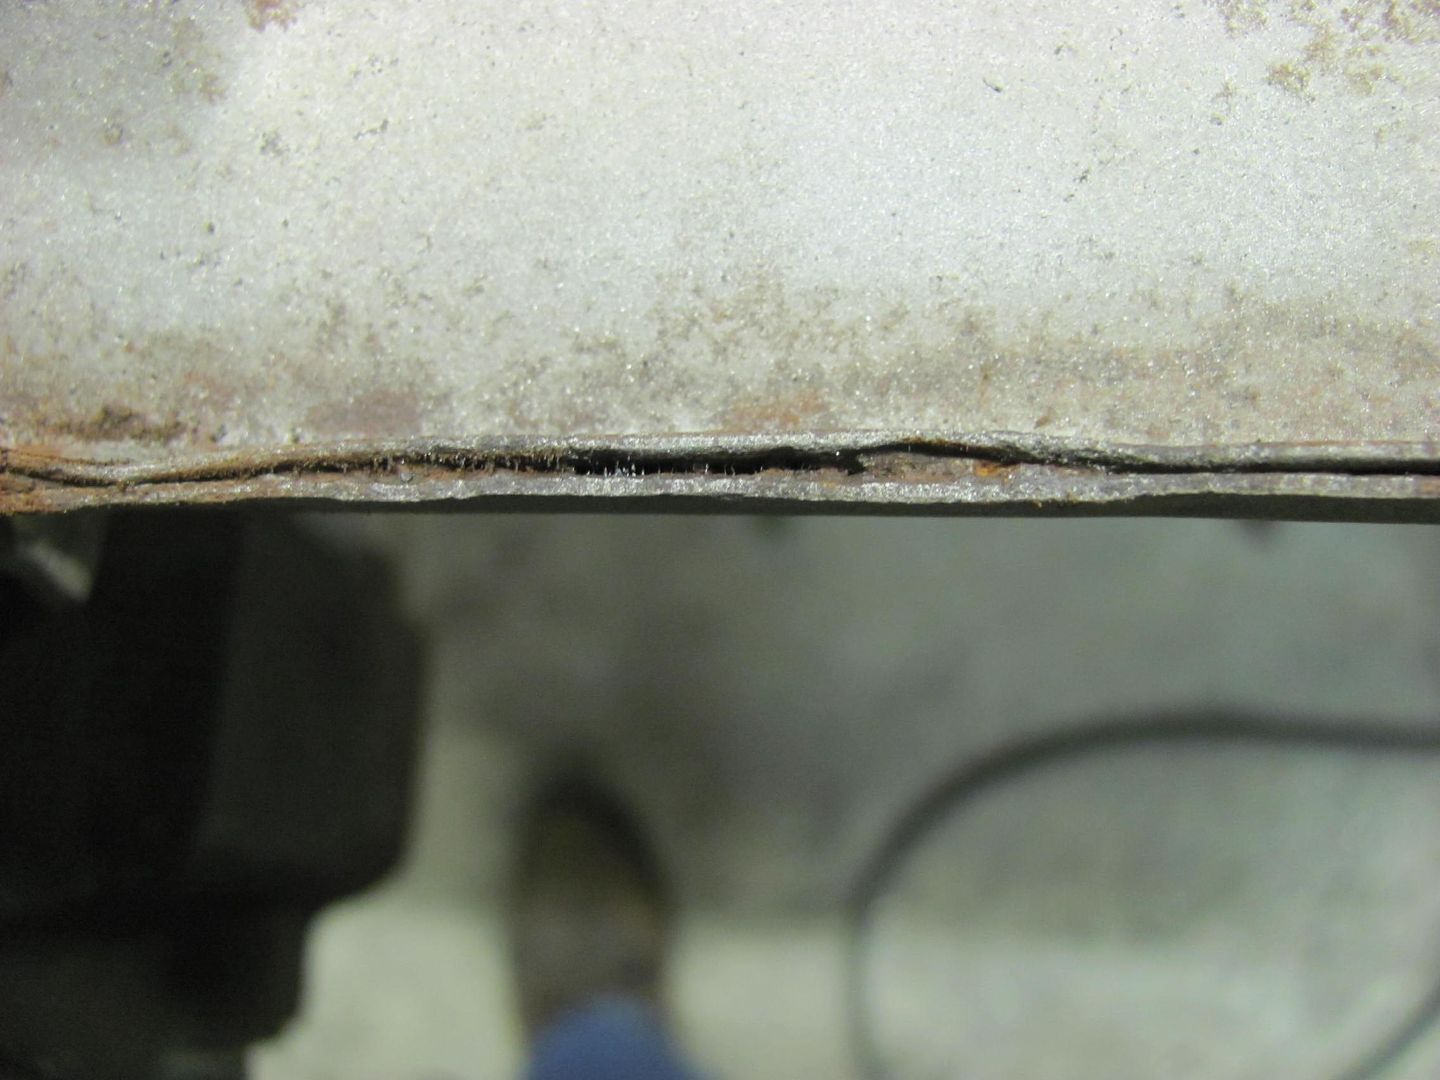 Out with the old...  Test fit of the new... 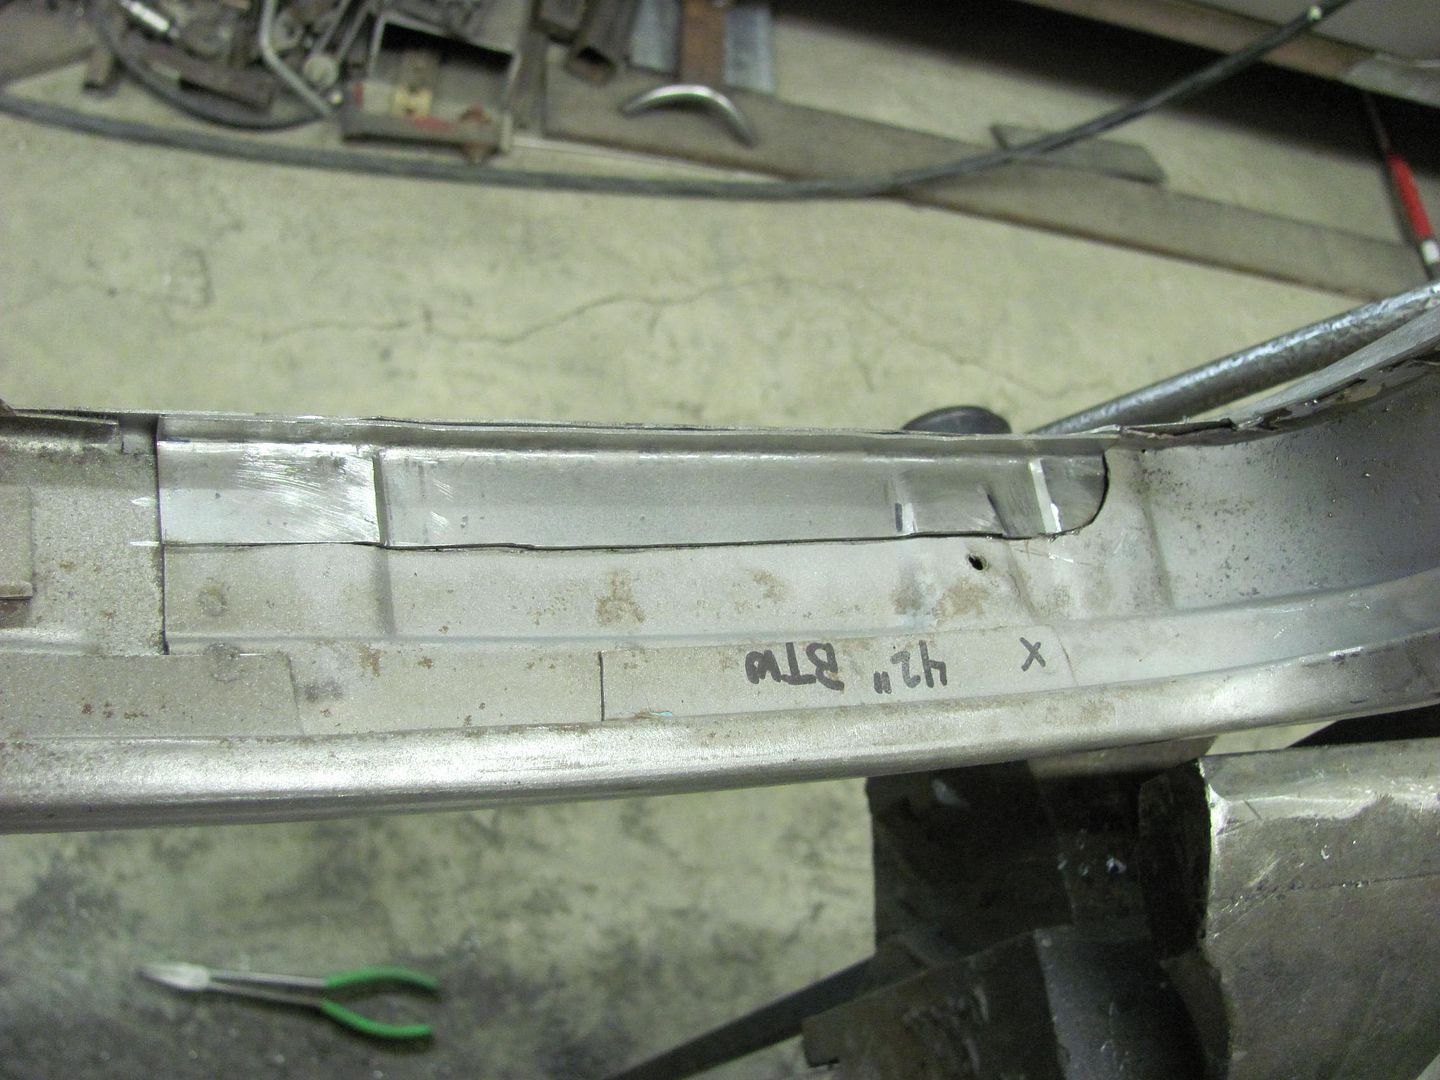 The exposed metal was media blasted, as was the inside of the newly made patch....and some epoxy primer added... 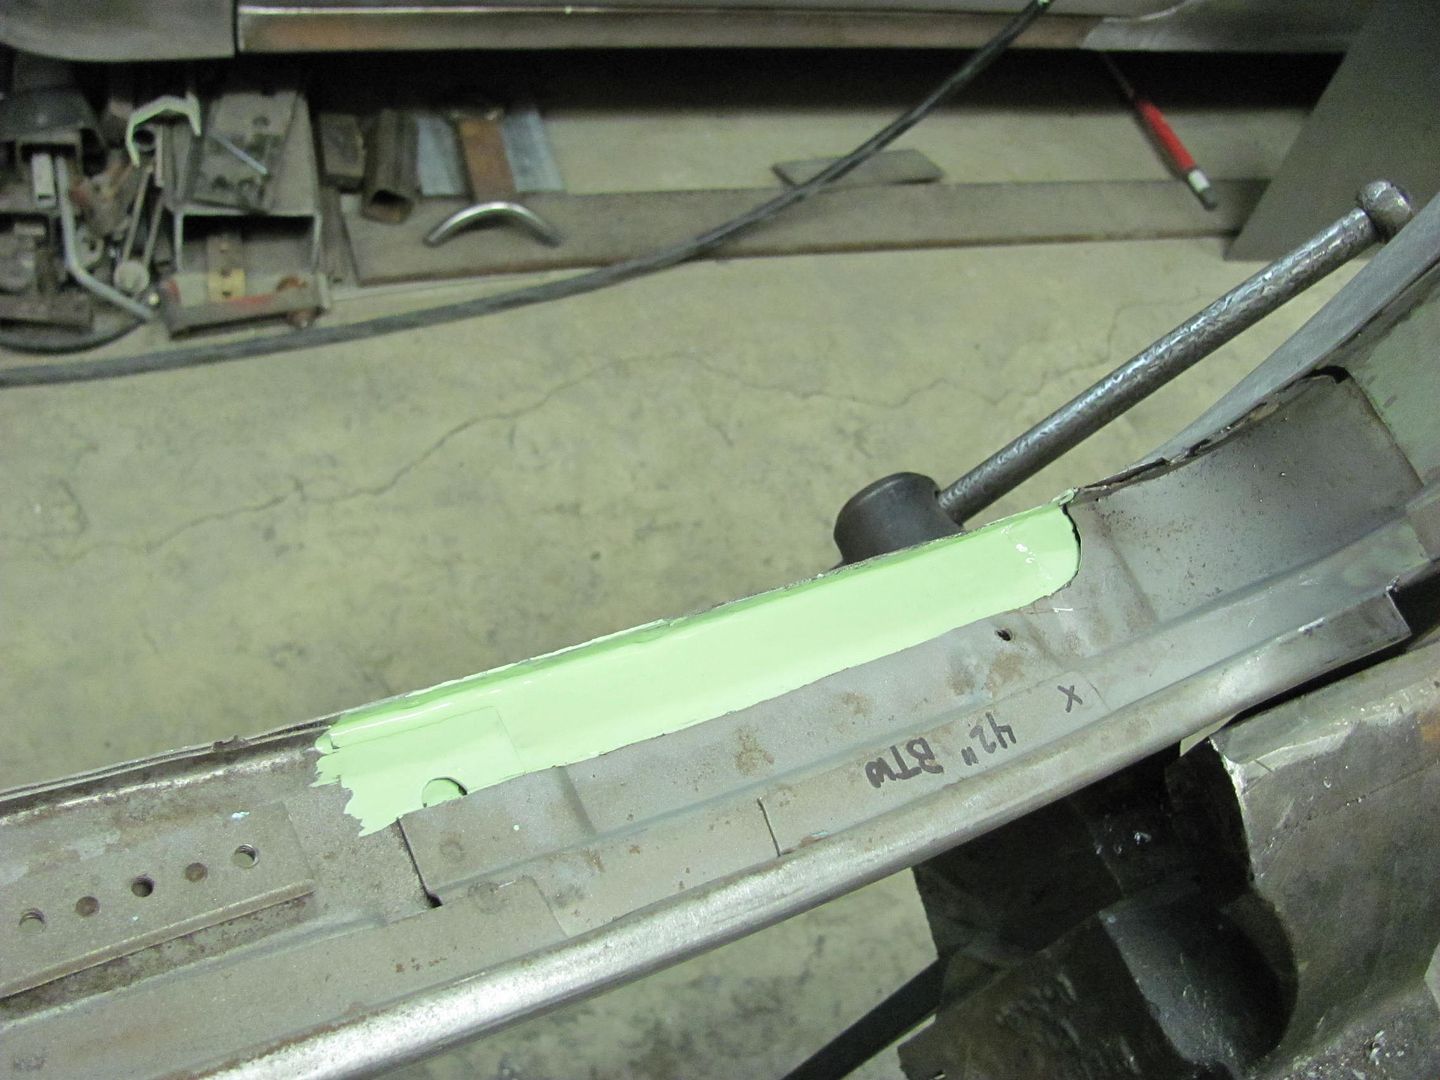 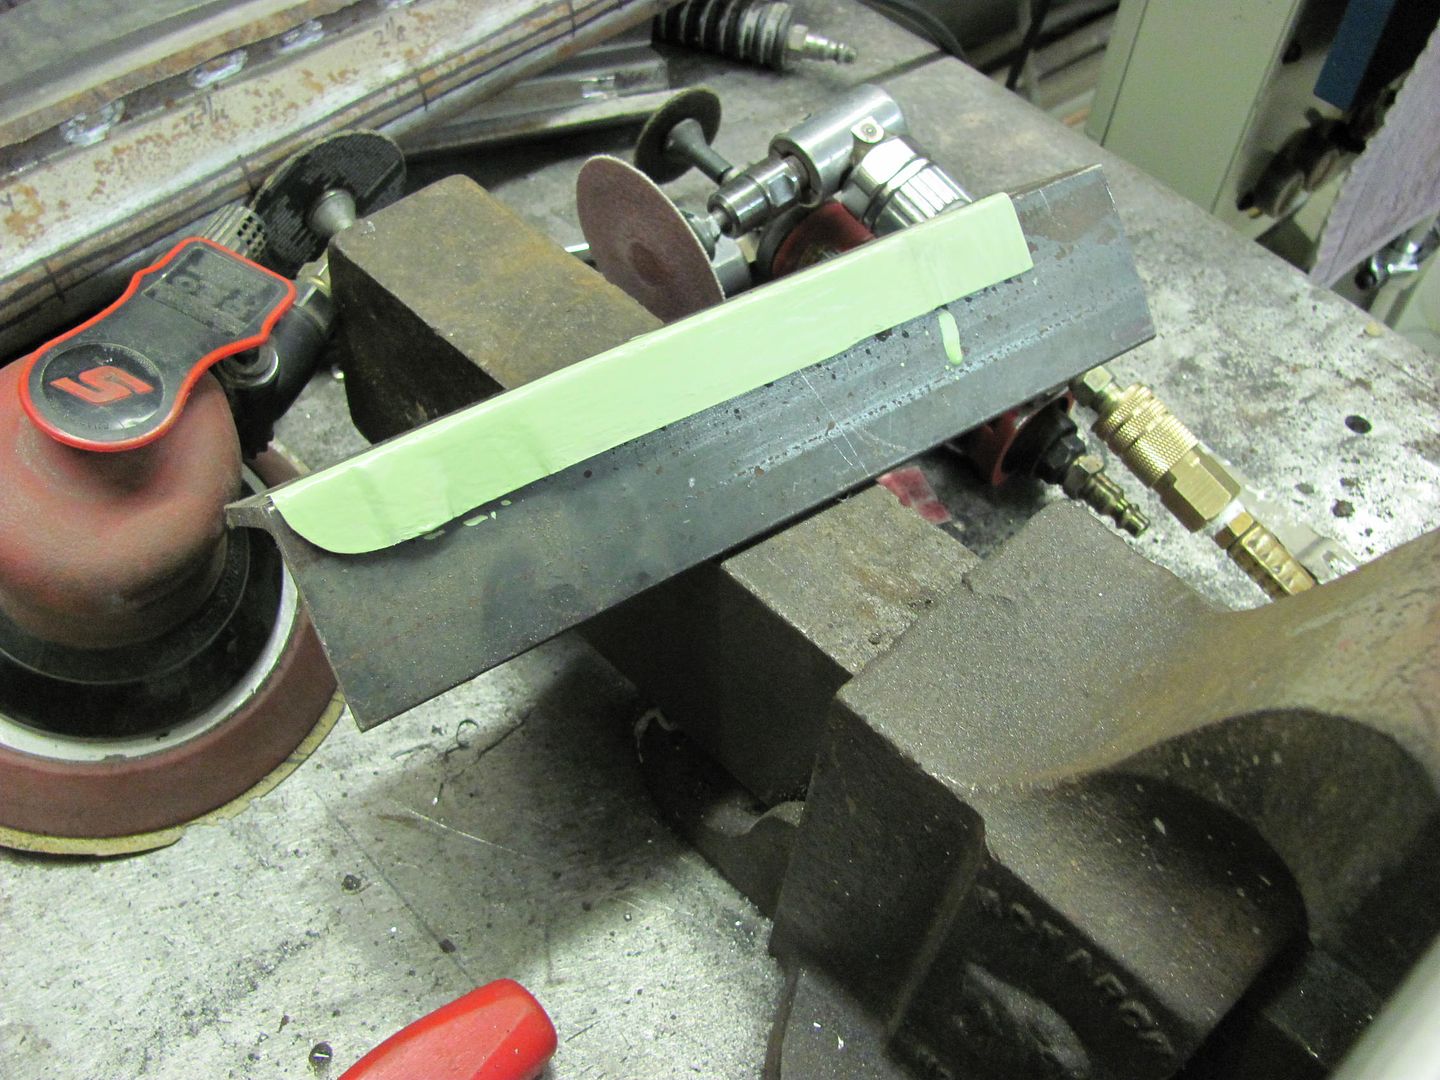 We'll let that dry and then get it welded in place. And just to show the makeshift clamping system for cutting, grinding, and painting in an awkward spot...... 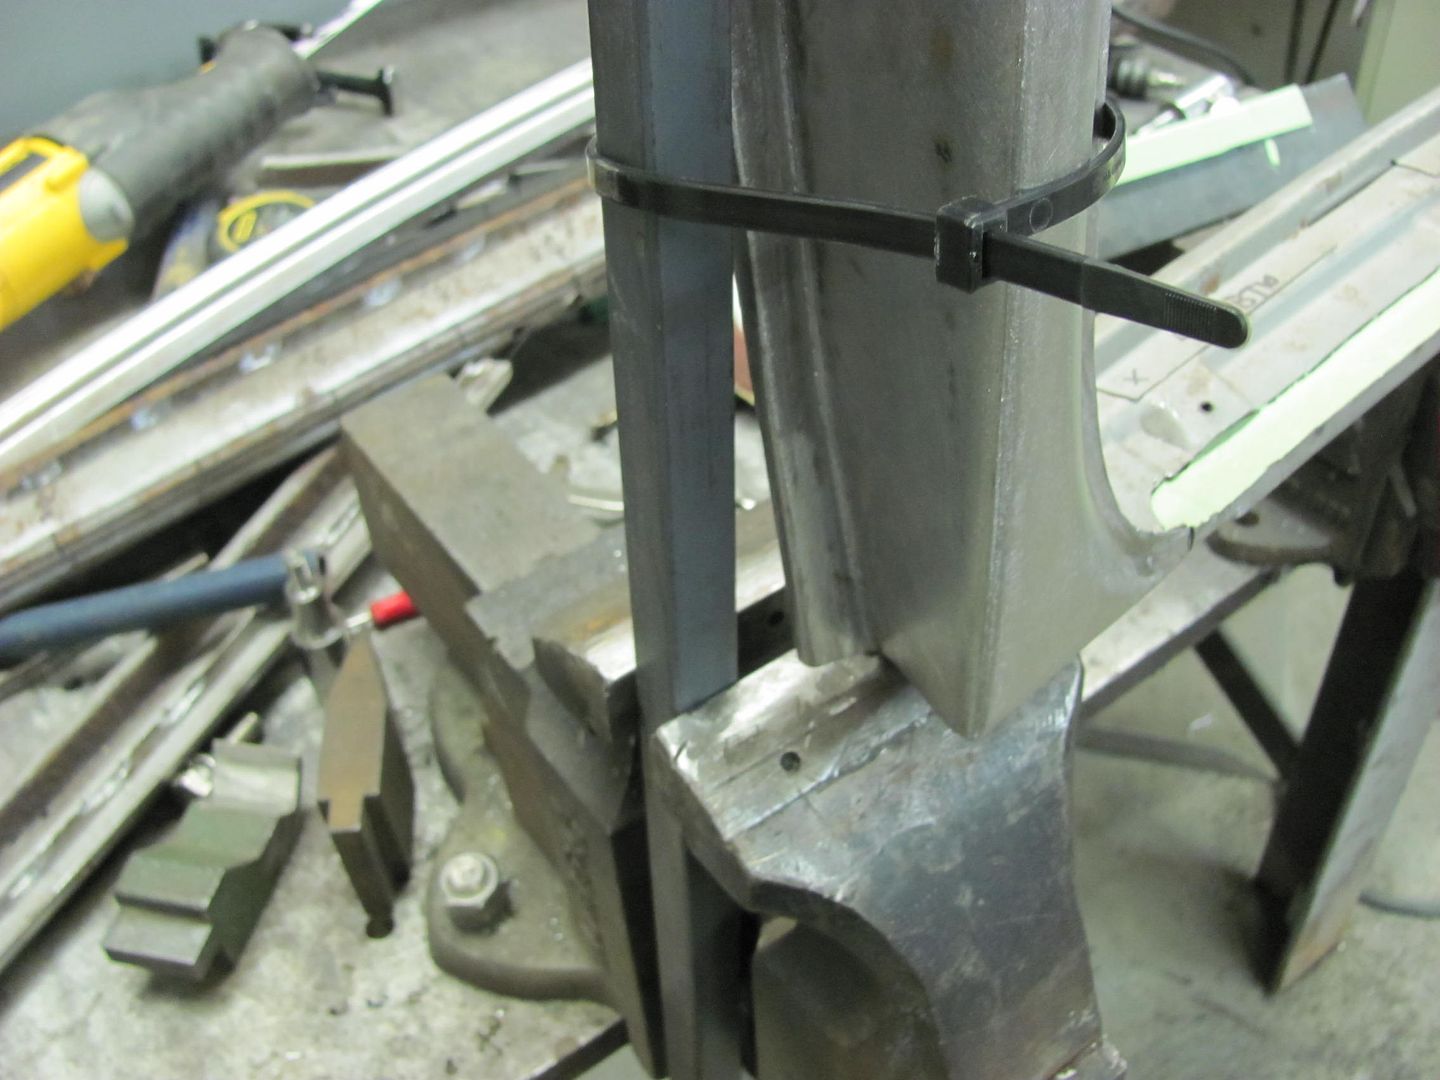 
__________________
Robert |
|
|
|
|
11-22-2013, 11:22 PM
|
#4 |
|
Registered User
Join Date: Jan 2013
Location: Leonardtown, MD
Posts: 1,637
|
Re: 55 Wagon Progress
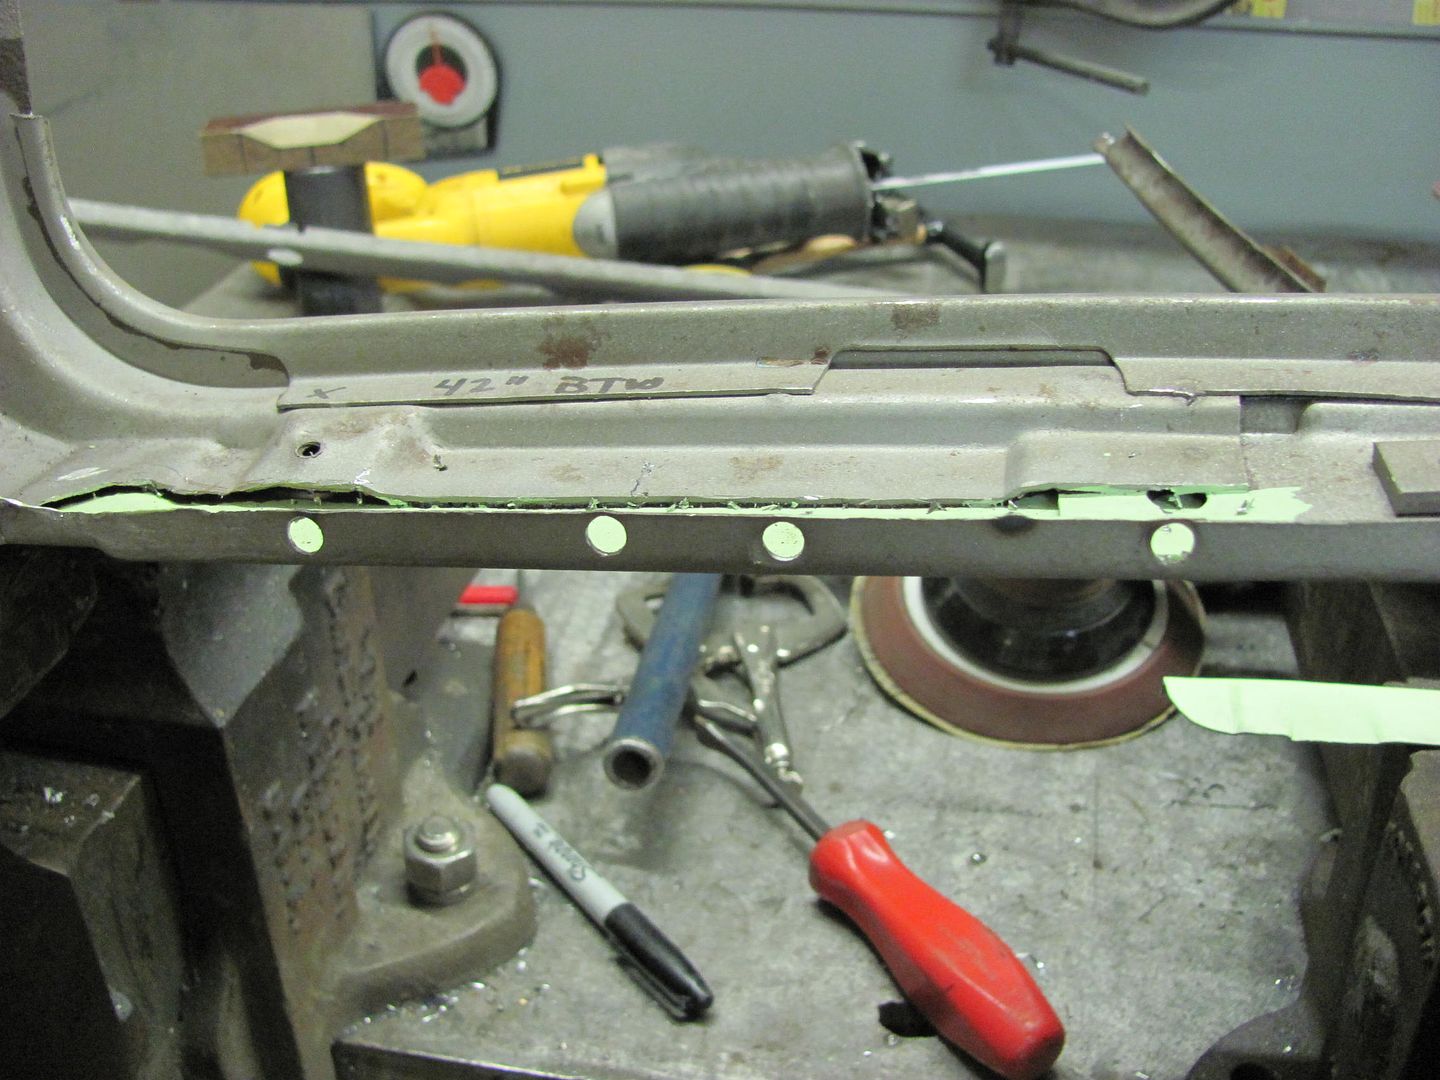
With the epoxy well cured, holes were drilled for plug welds....
 Then used the modified plug weld bit for cleaning out the adjacent panel...  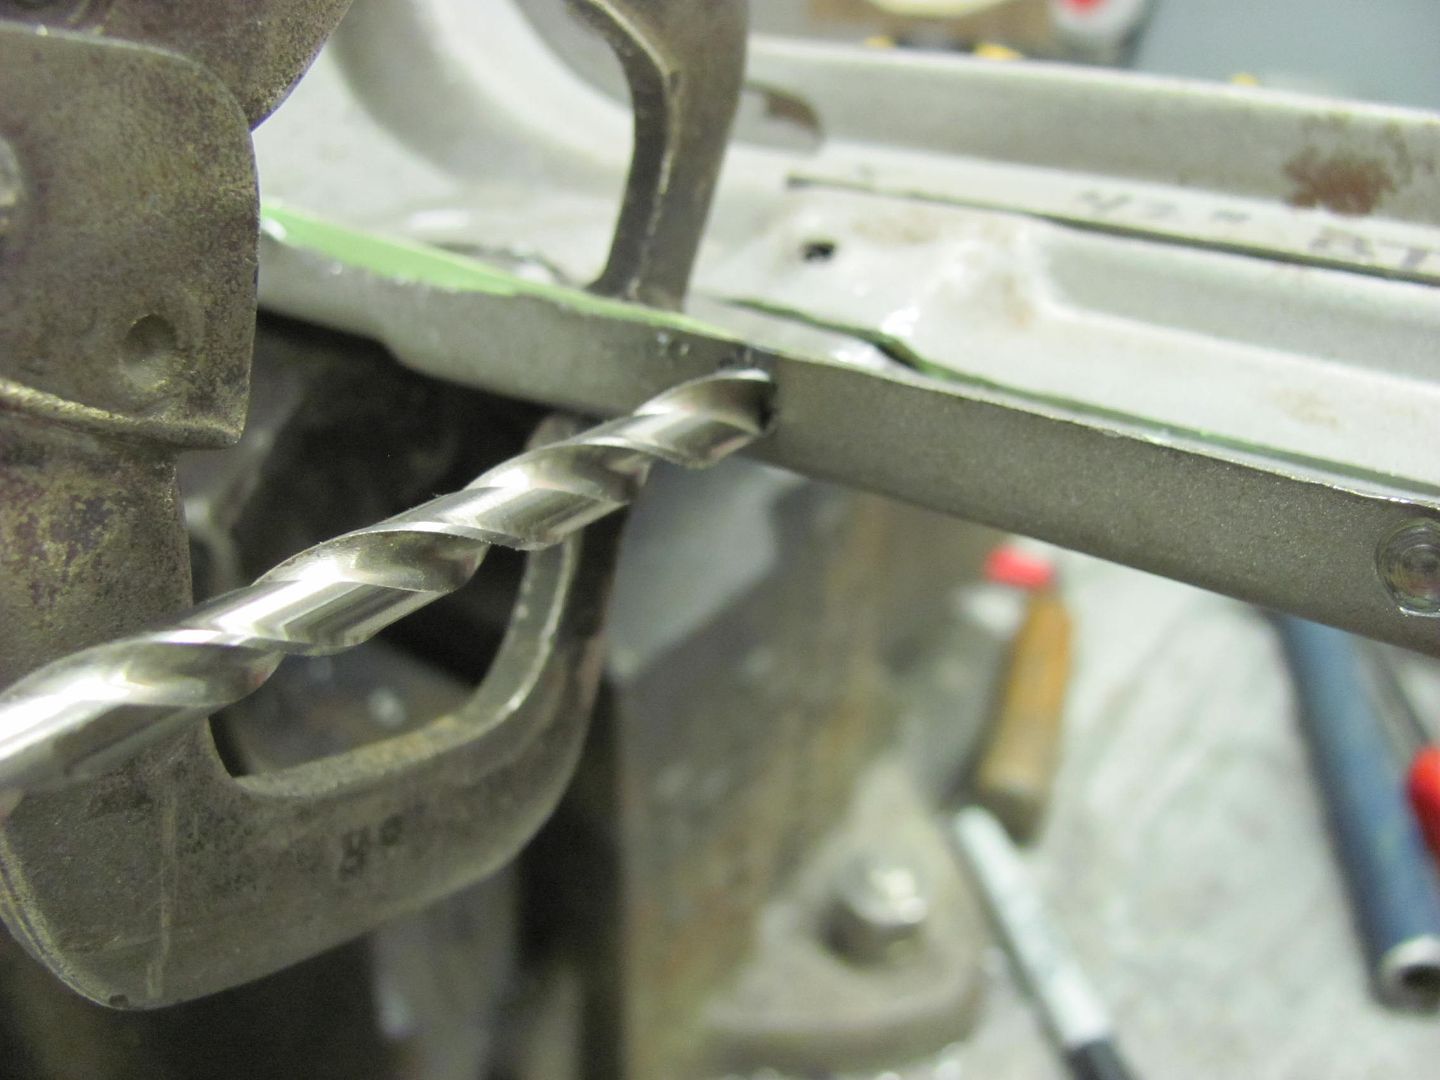 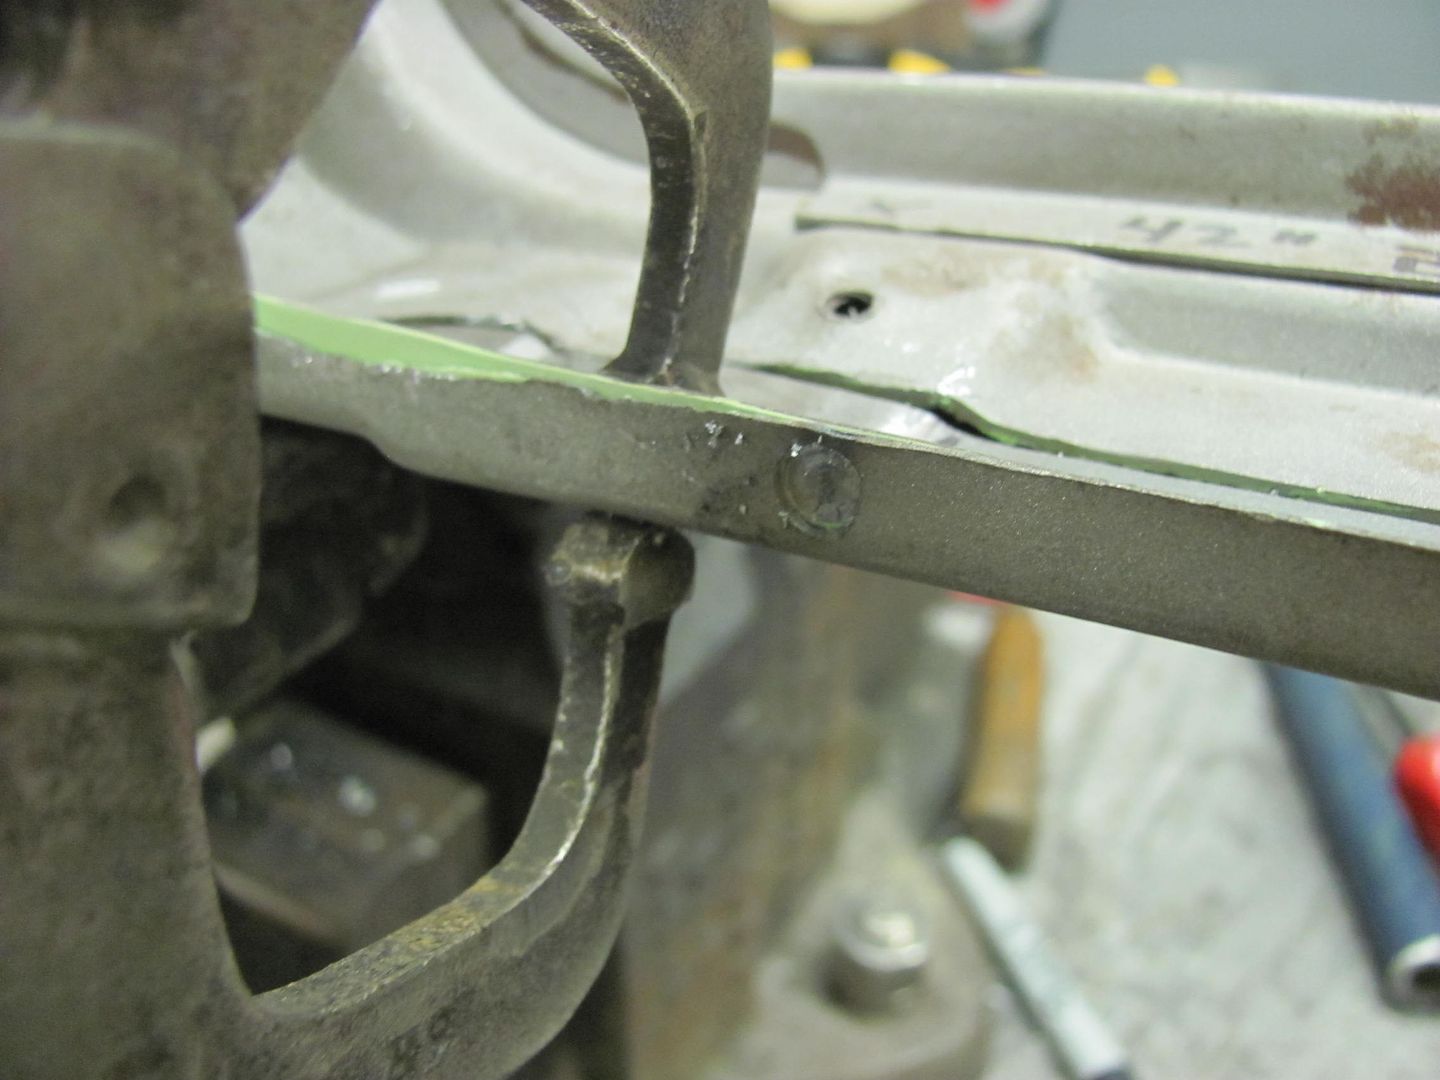 Cleaned spots for the plug welds...  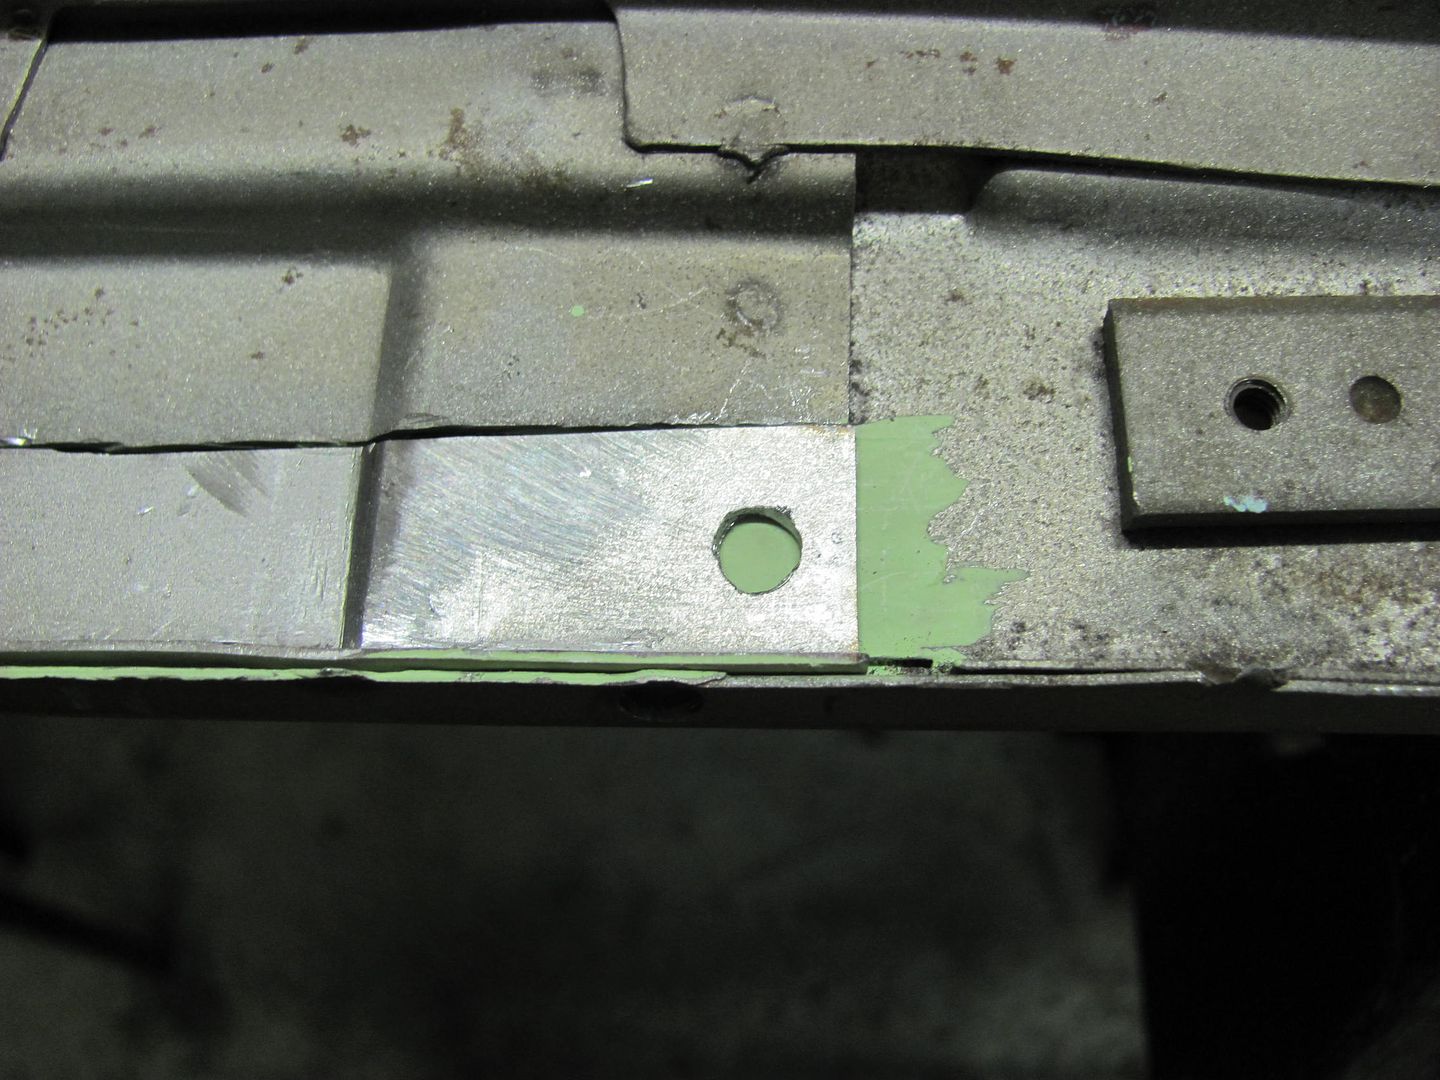 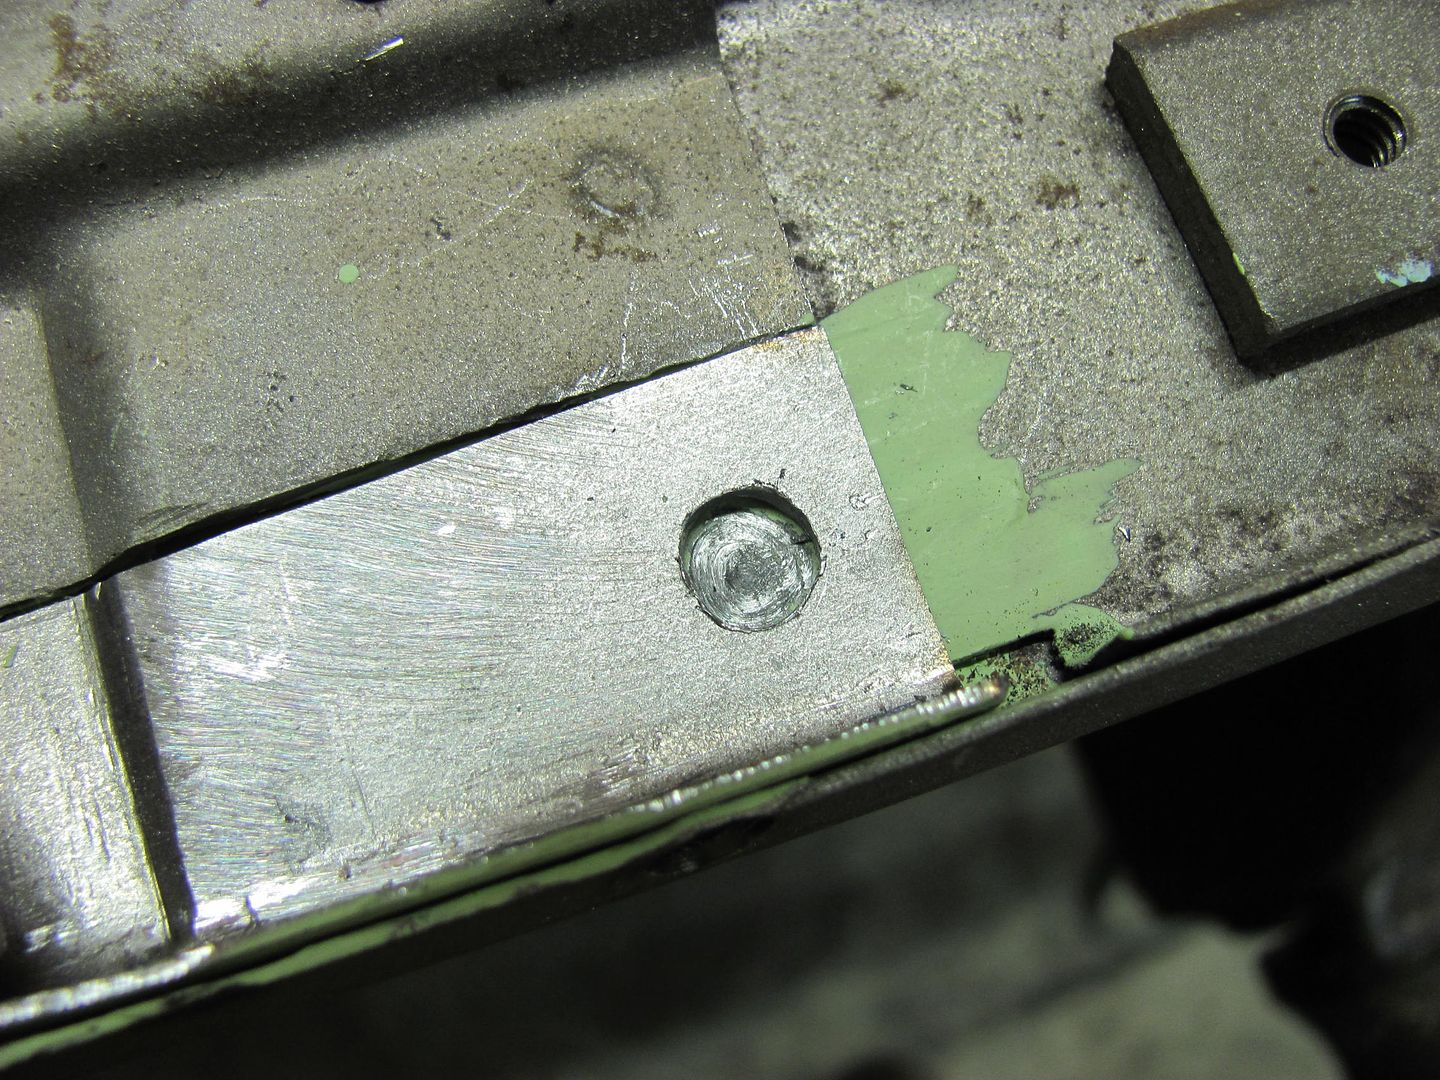 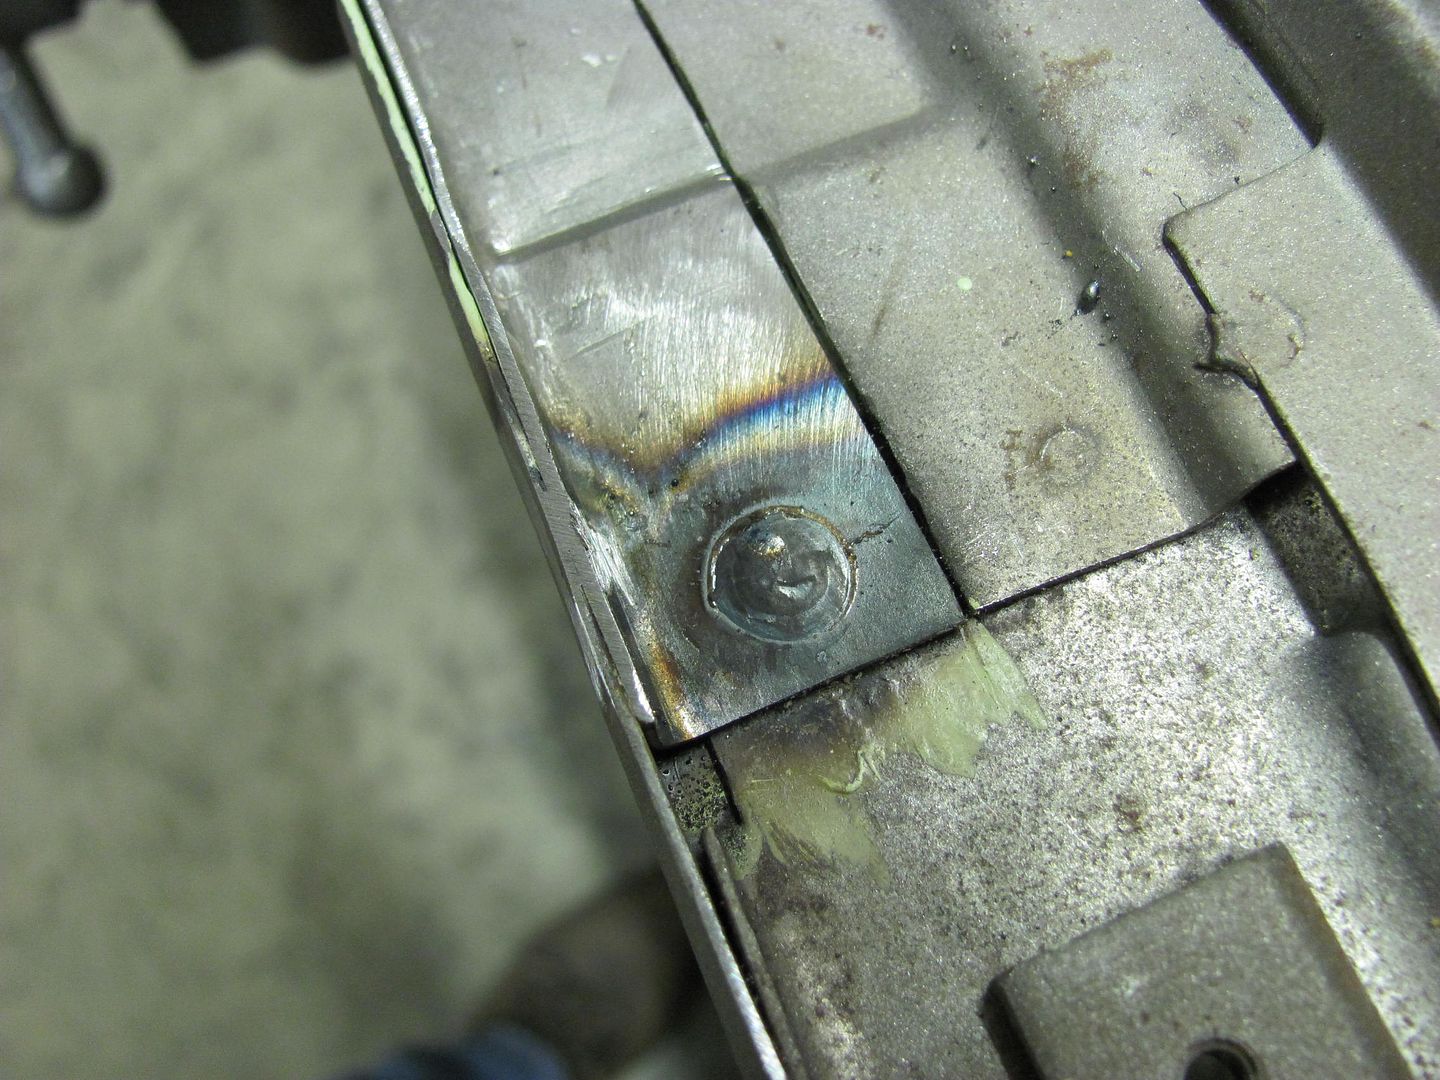 I had some questions about how well the epoxy held up to heat from welding. The epoxy next to the weld above, where it turned brown from the heat, was allowed to cool off, then attempted to scrape the paint with my thumbnail. I thought it may scrape some off, but it held tight, not so much as a scratch. Then I got on a roll and forgot pictures, but here's the patch all welded in.... 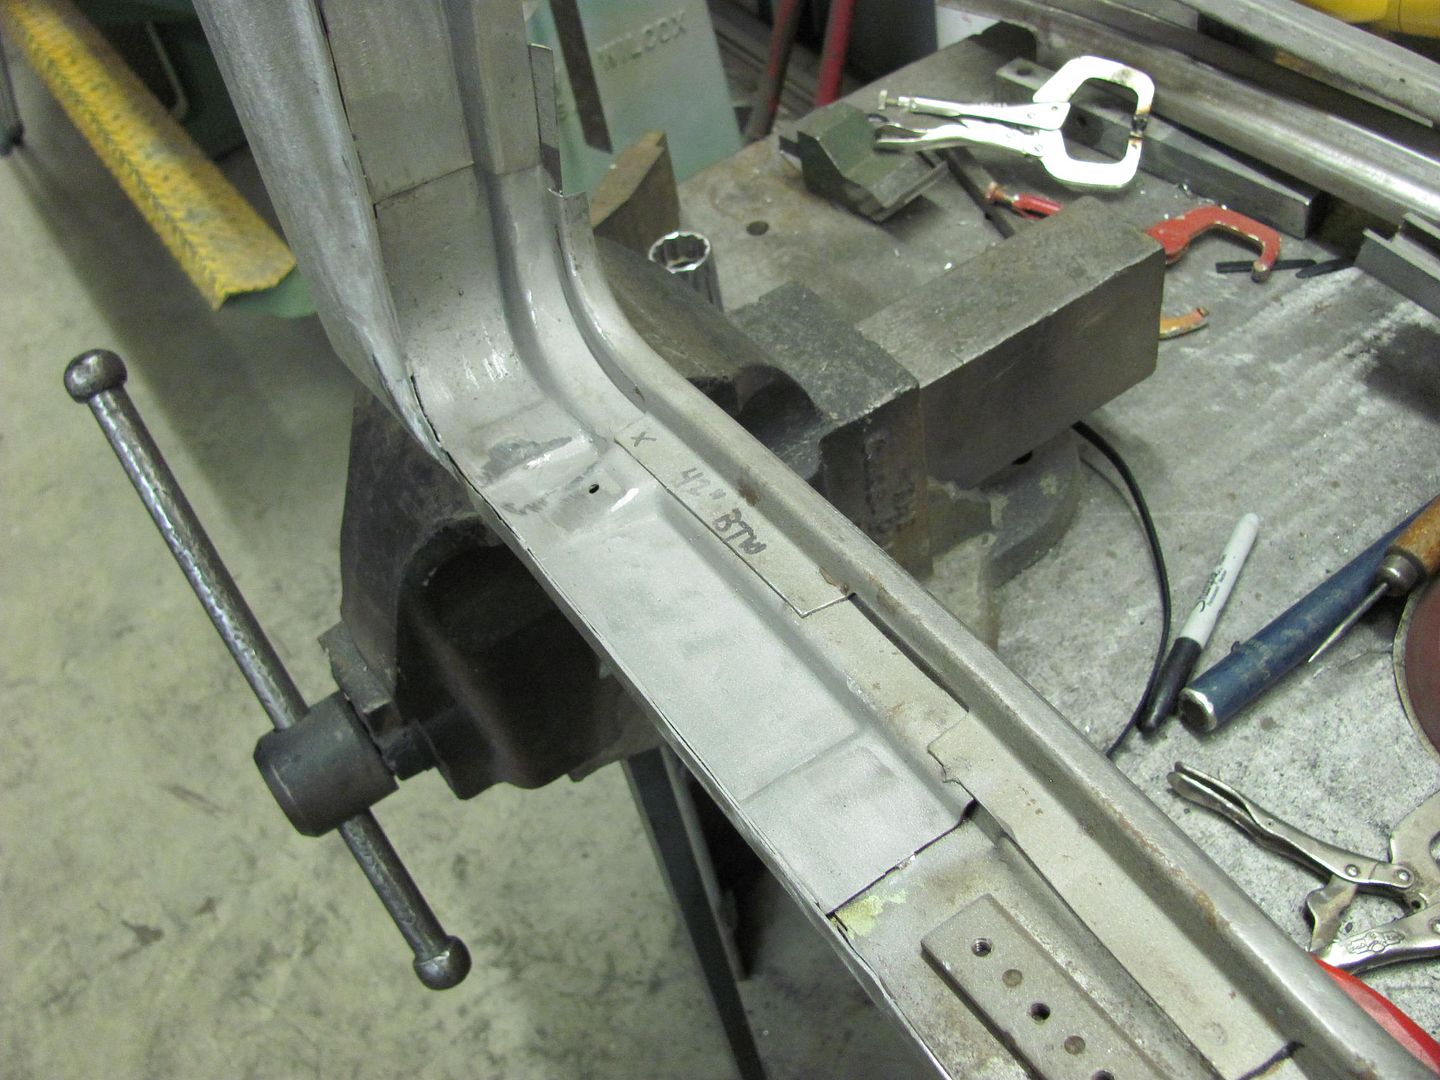 Next, drilled the holes in the lower window opening.... 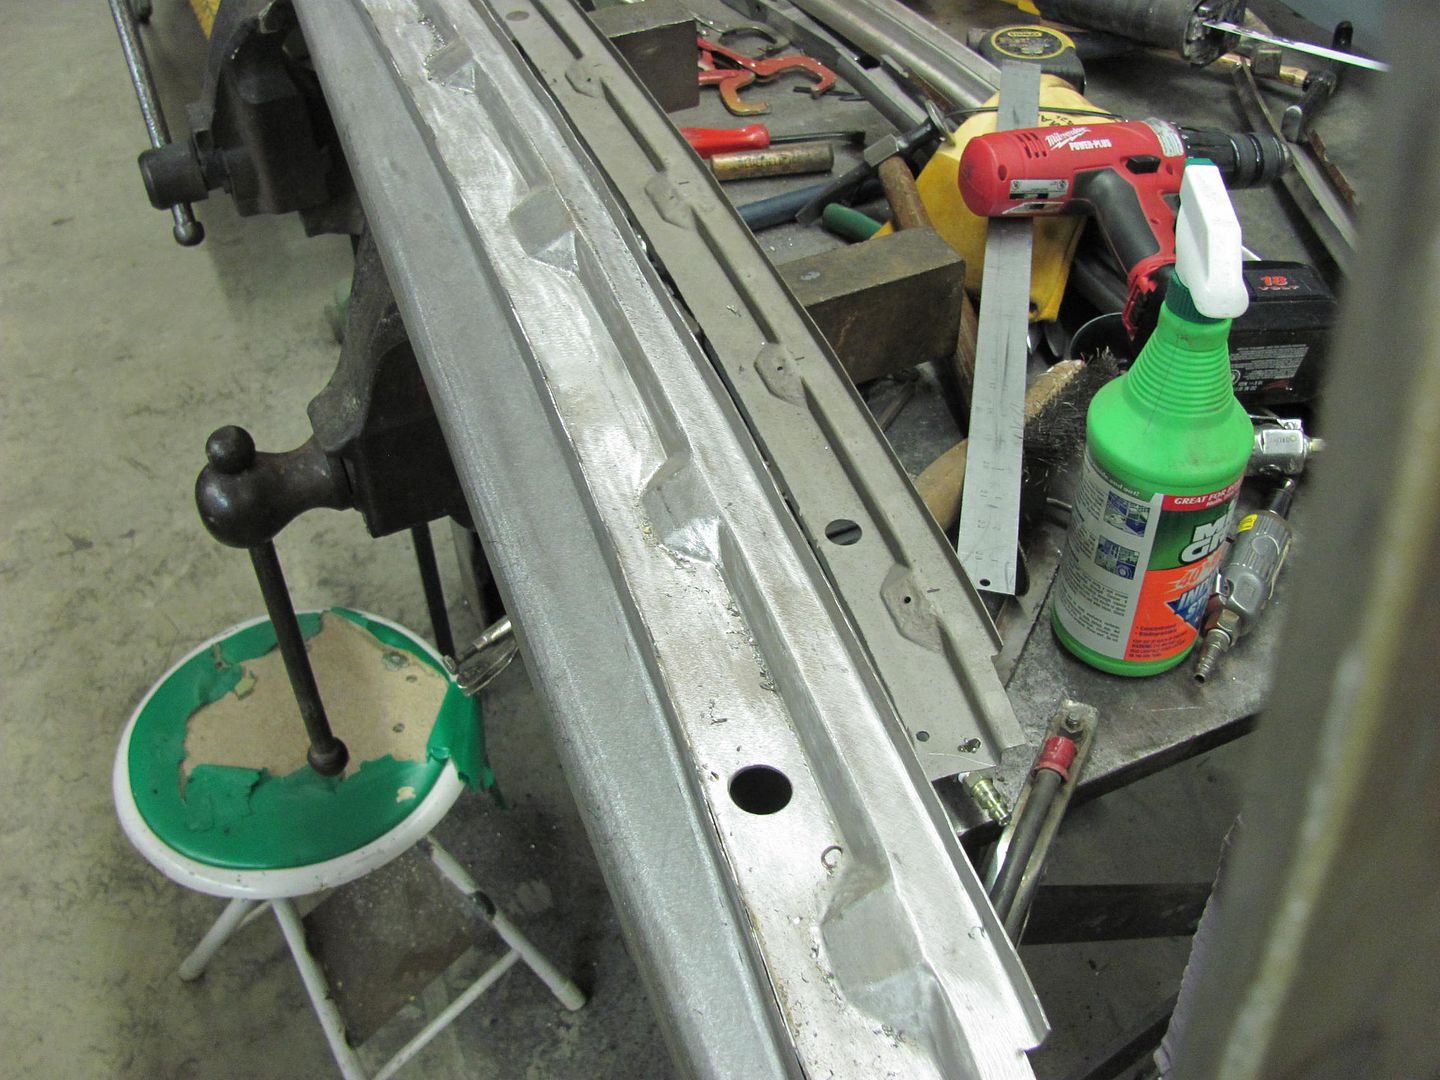 .....and got the holes placed for the nut plate and it's plug welds... 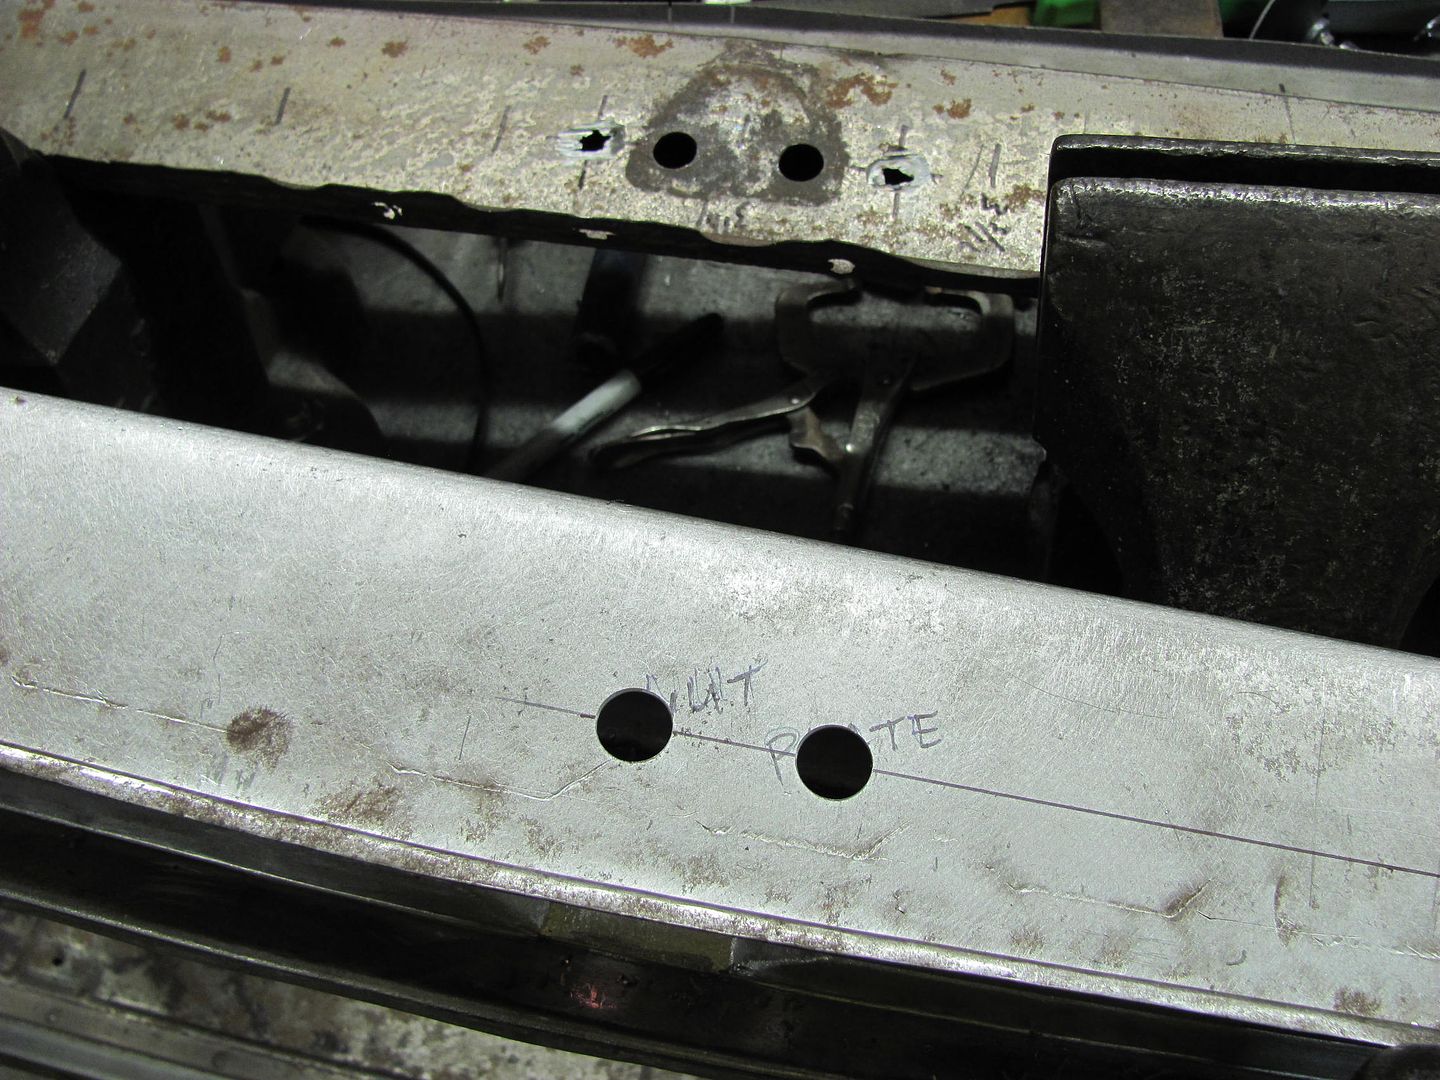 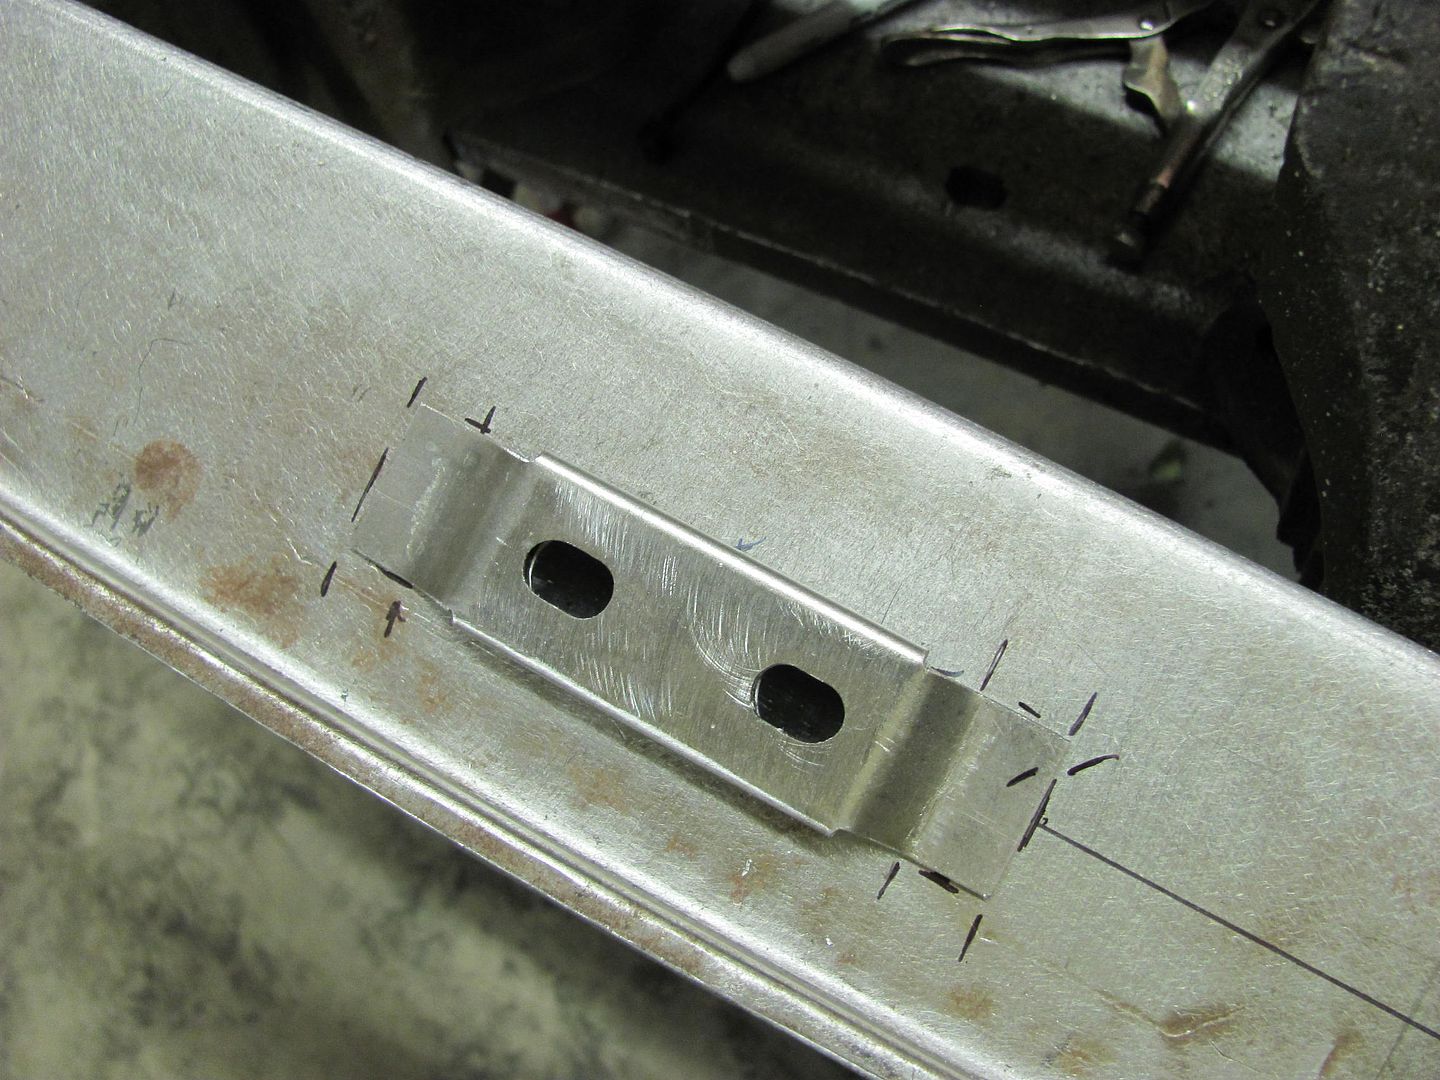 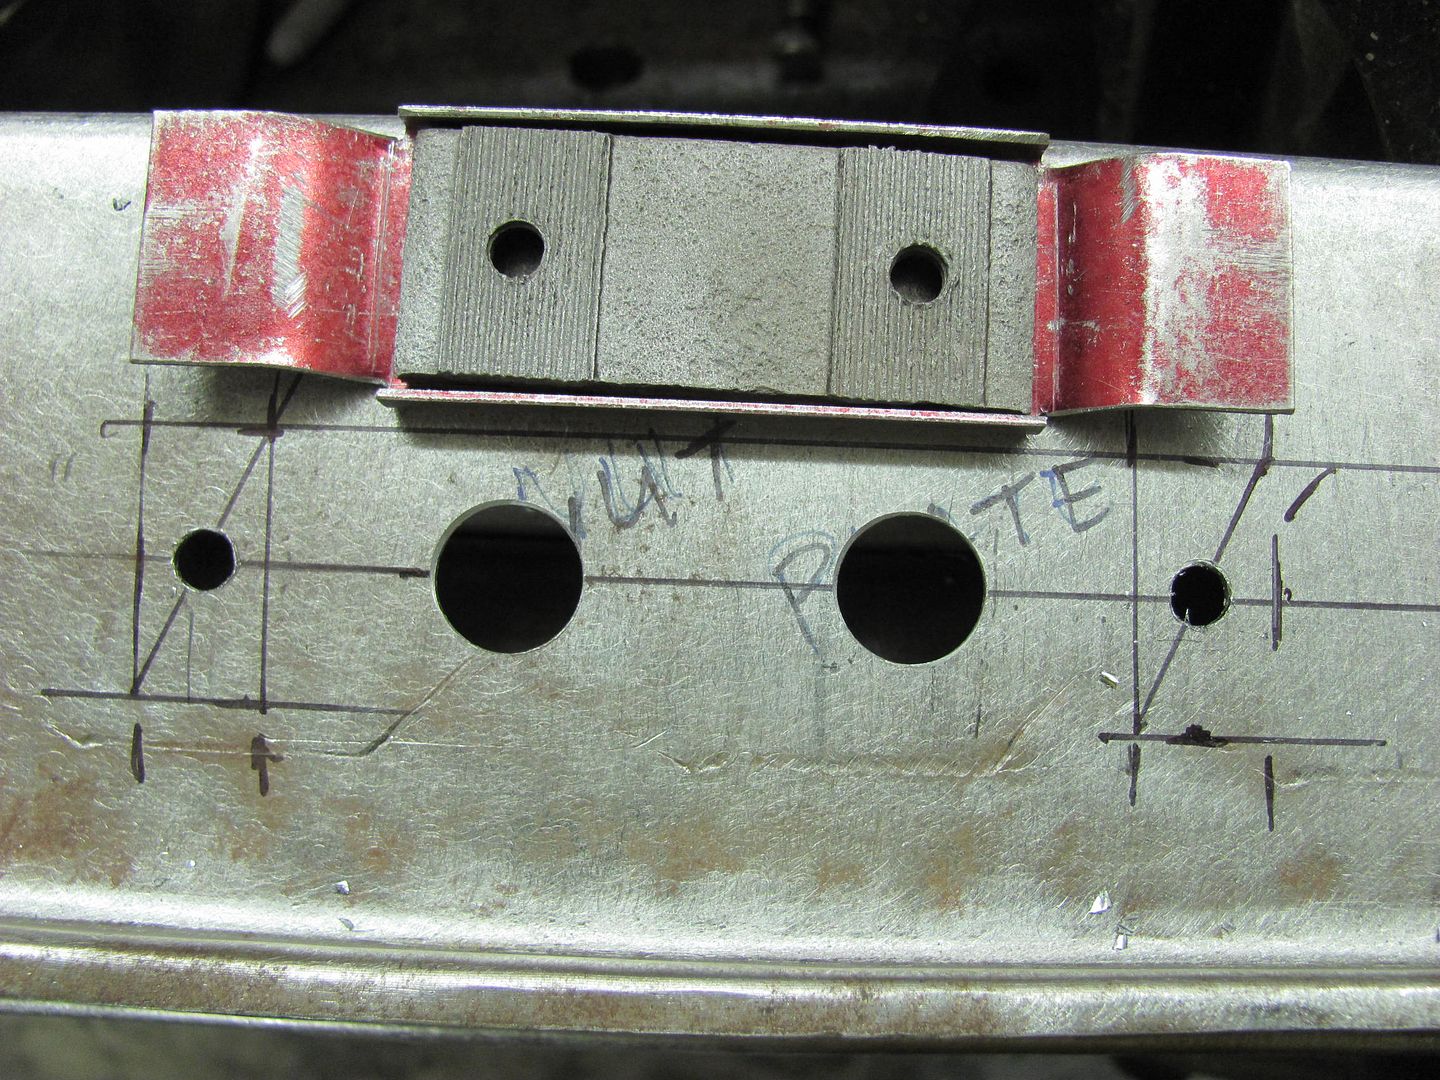 Hopefully tomorrow we can get some profile blocks cut out to fold over the ends of the outer piece...
__________________
Robert |
|
|
|
|
11-23-2013, 11:19 PM
|
#5 |
|
Registered User
Join Date: Jan 2013
Location: Leonardtown, MD
Posts: 1,637
|
Re: 55 Wagon Progress
Laying out the ends for trimming.....
 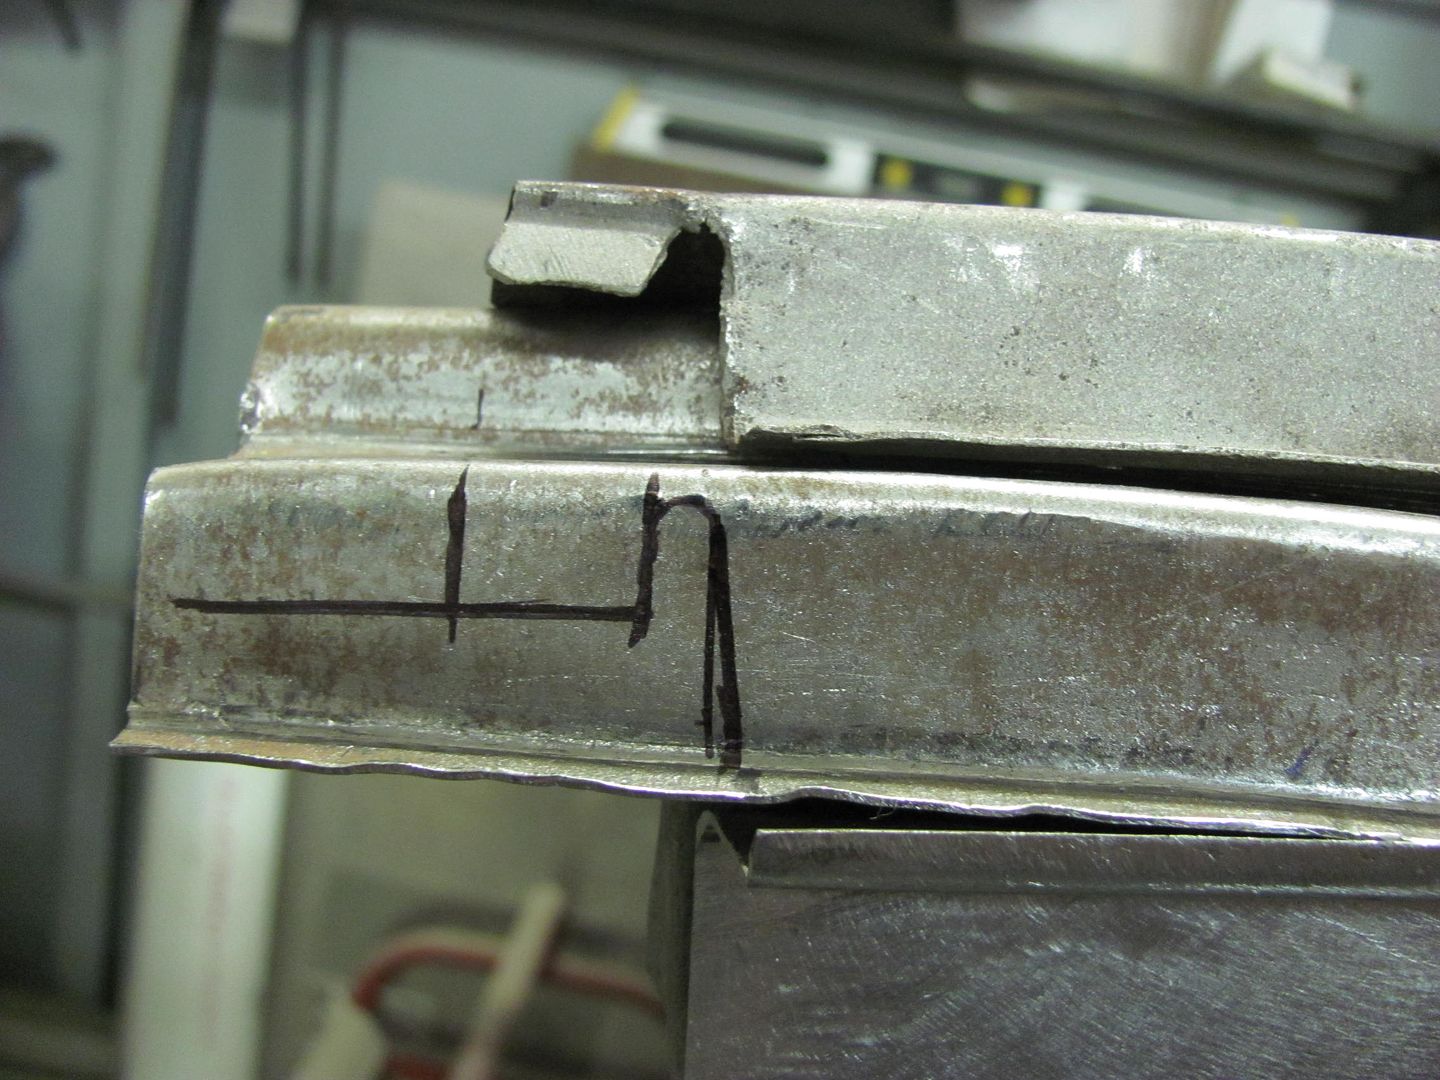 Here's the piece we'll use to cut out the profile blocks, 3/4 thick steel  As I am fresh out of good band saw blades, these were used....  The lower piece was tapered at the bottom as the bottom of the lift gate tapers in below the bead detail..  .....like so..... 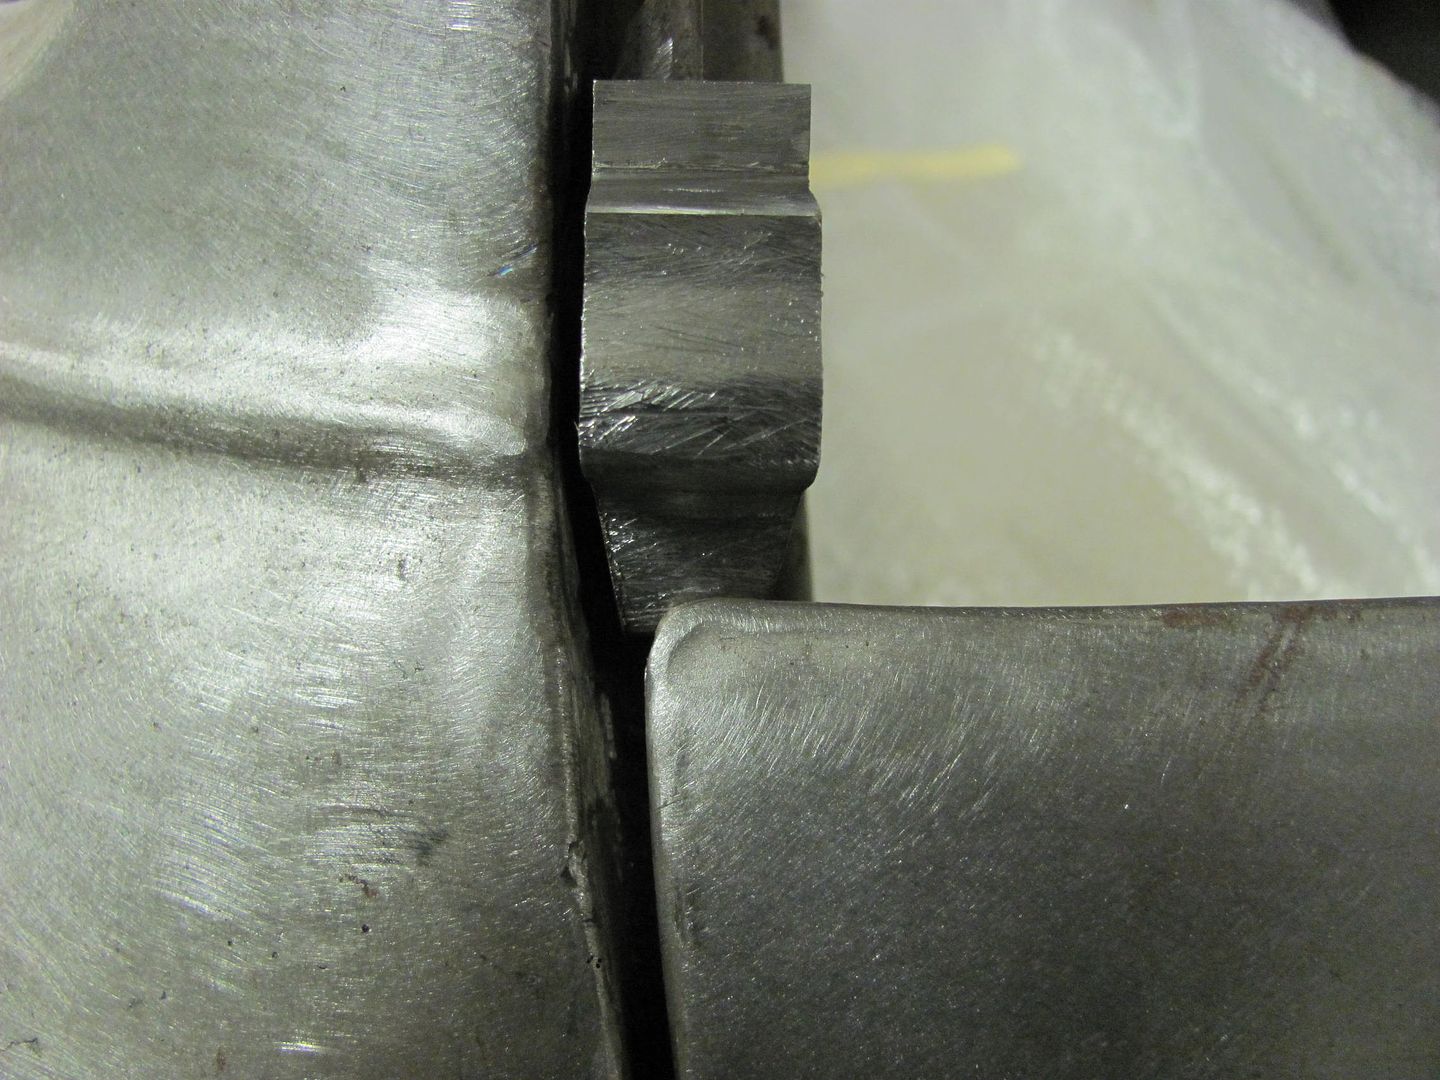 Not perfect, but should work just the same... 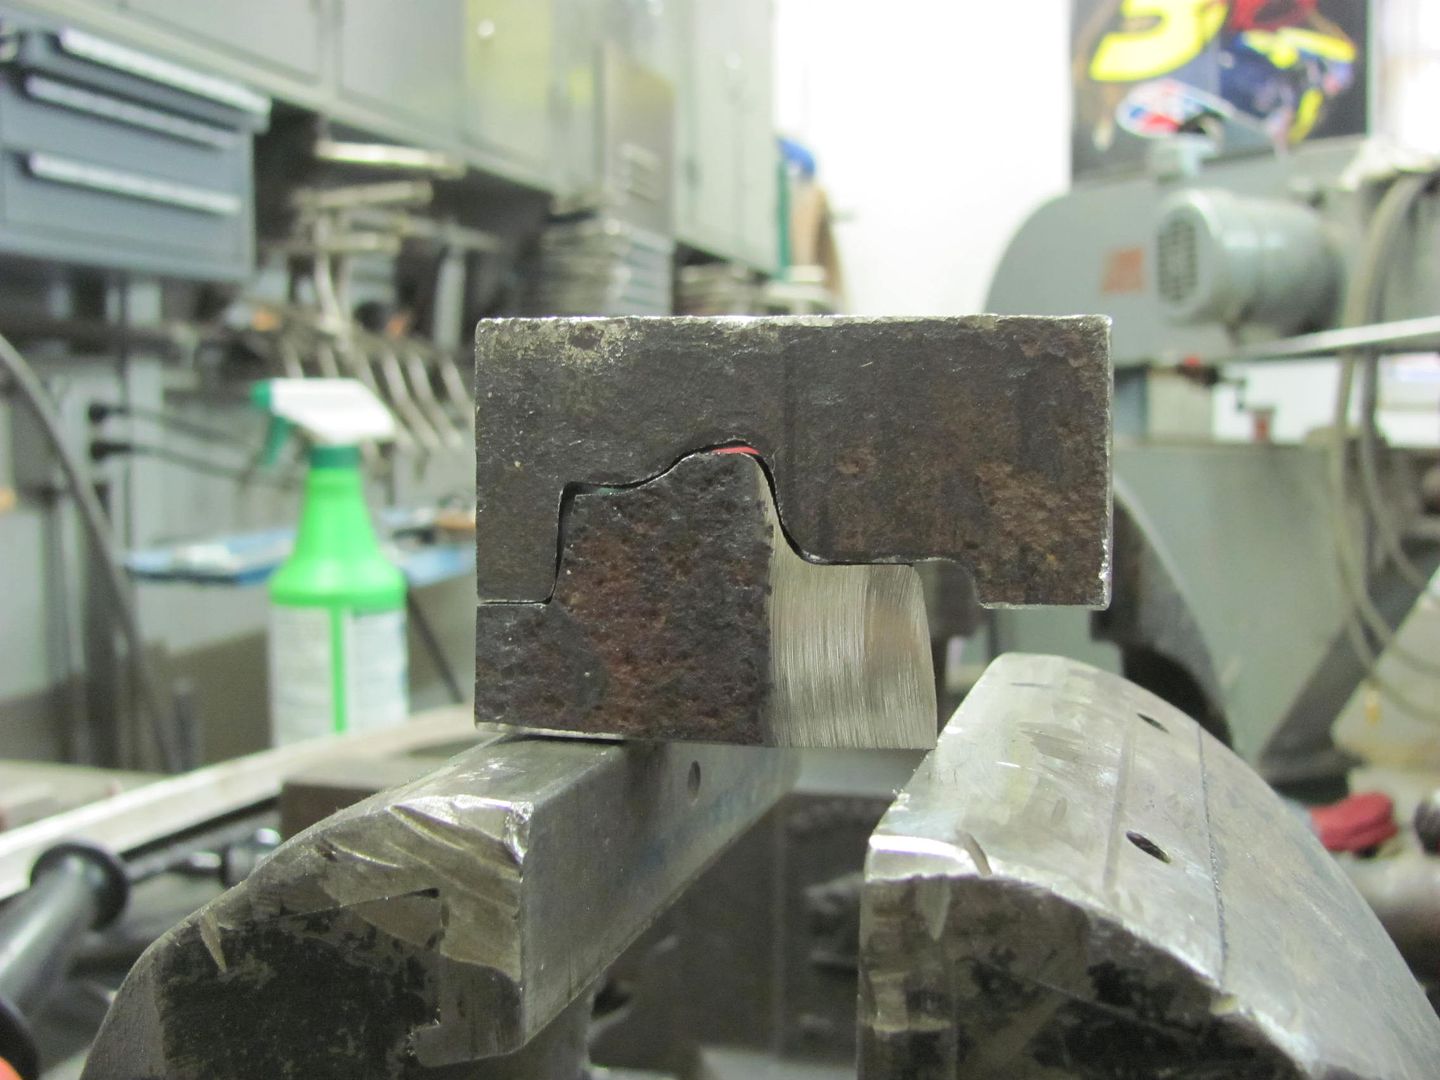 Clamped in the vise.....  Then some heat is applied, and hammered the high spots..  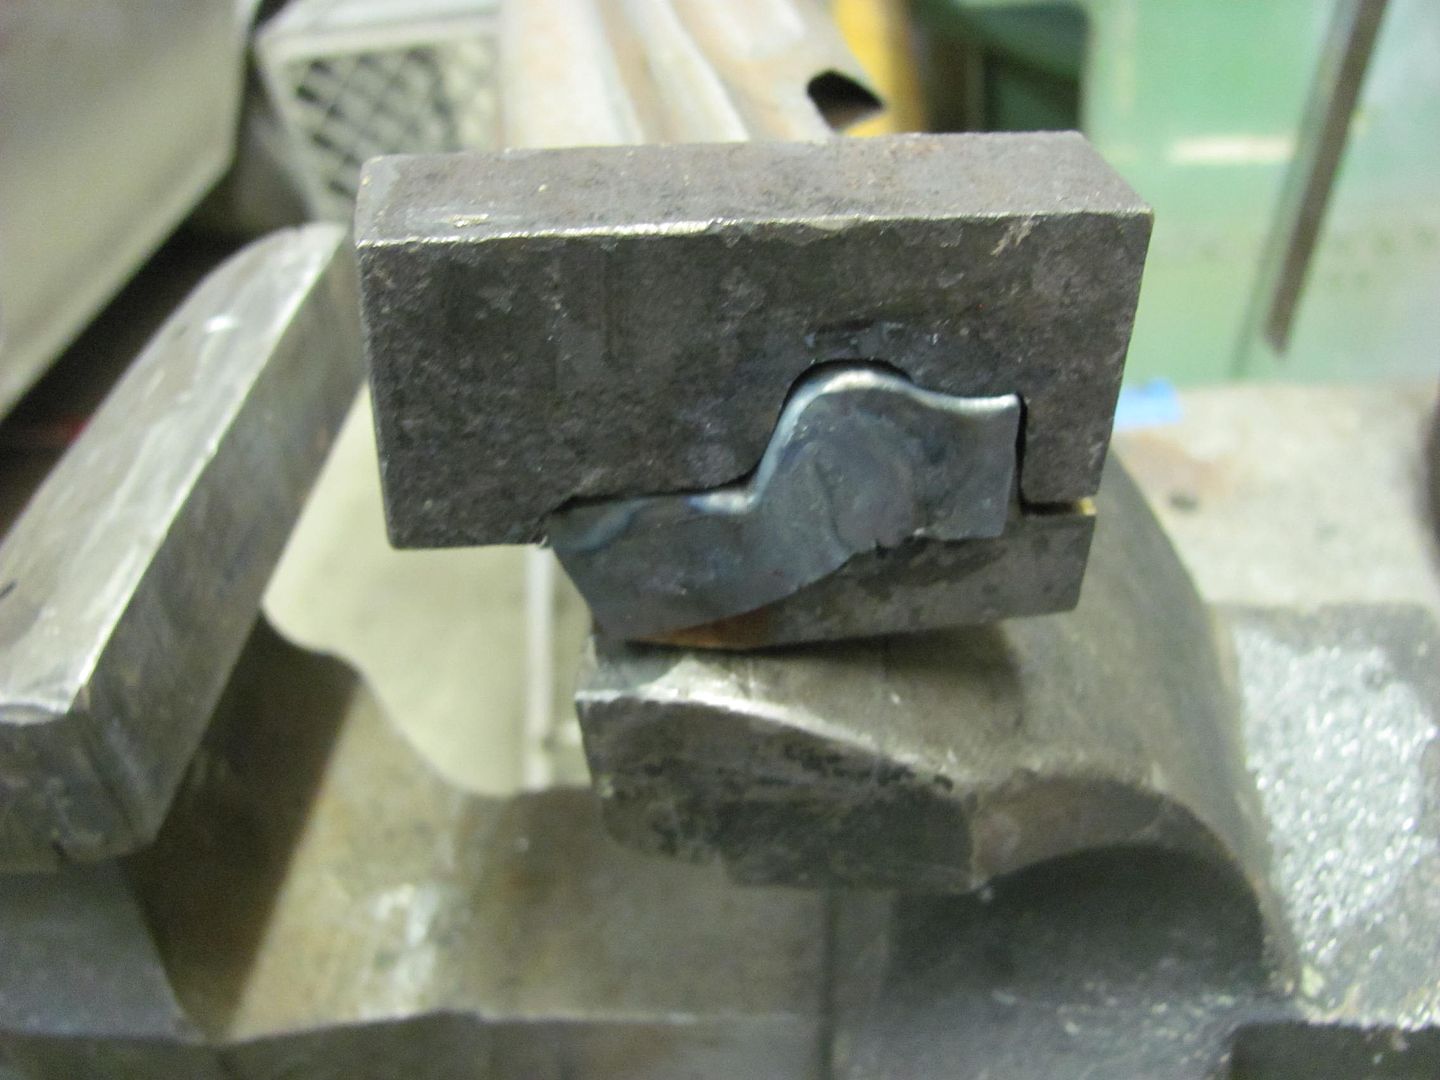  Fitted..... 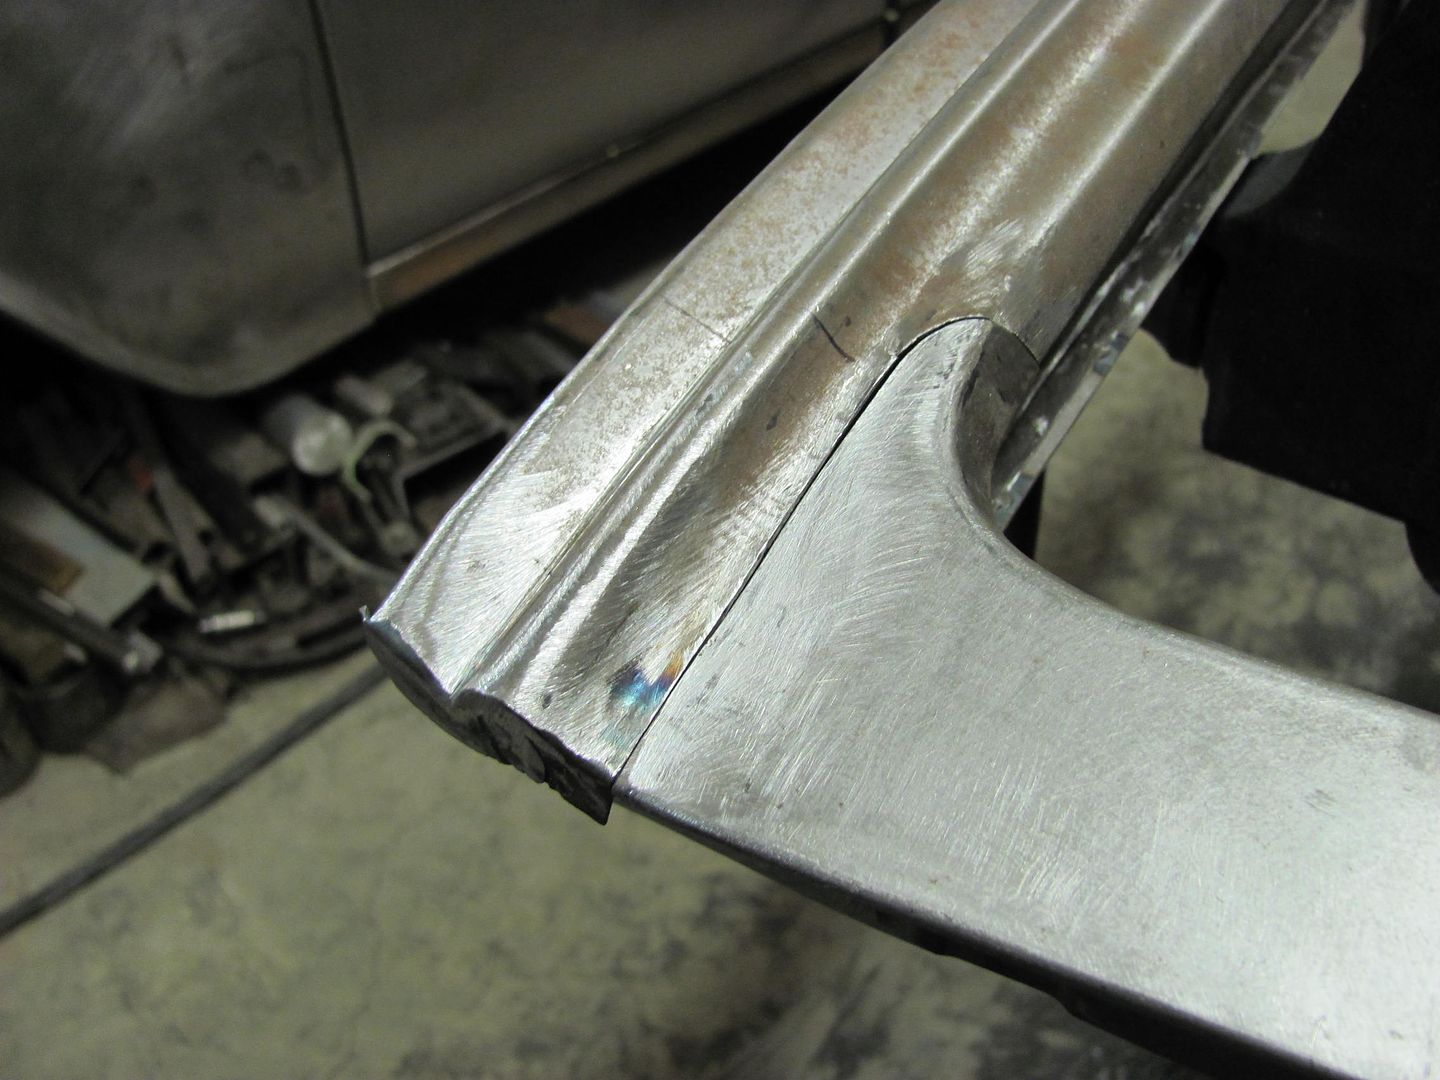 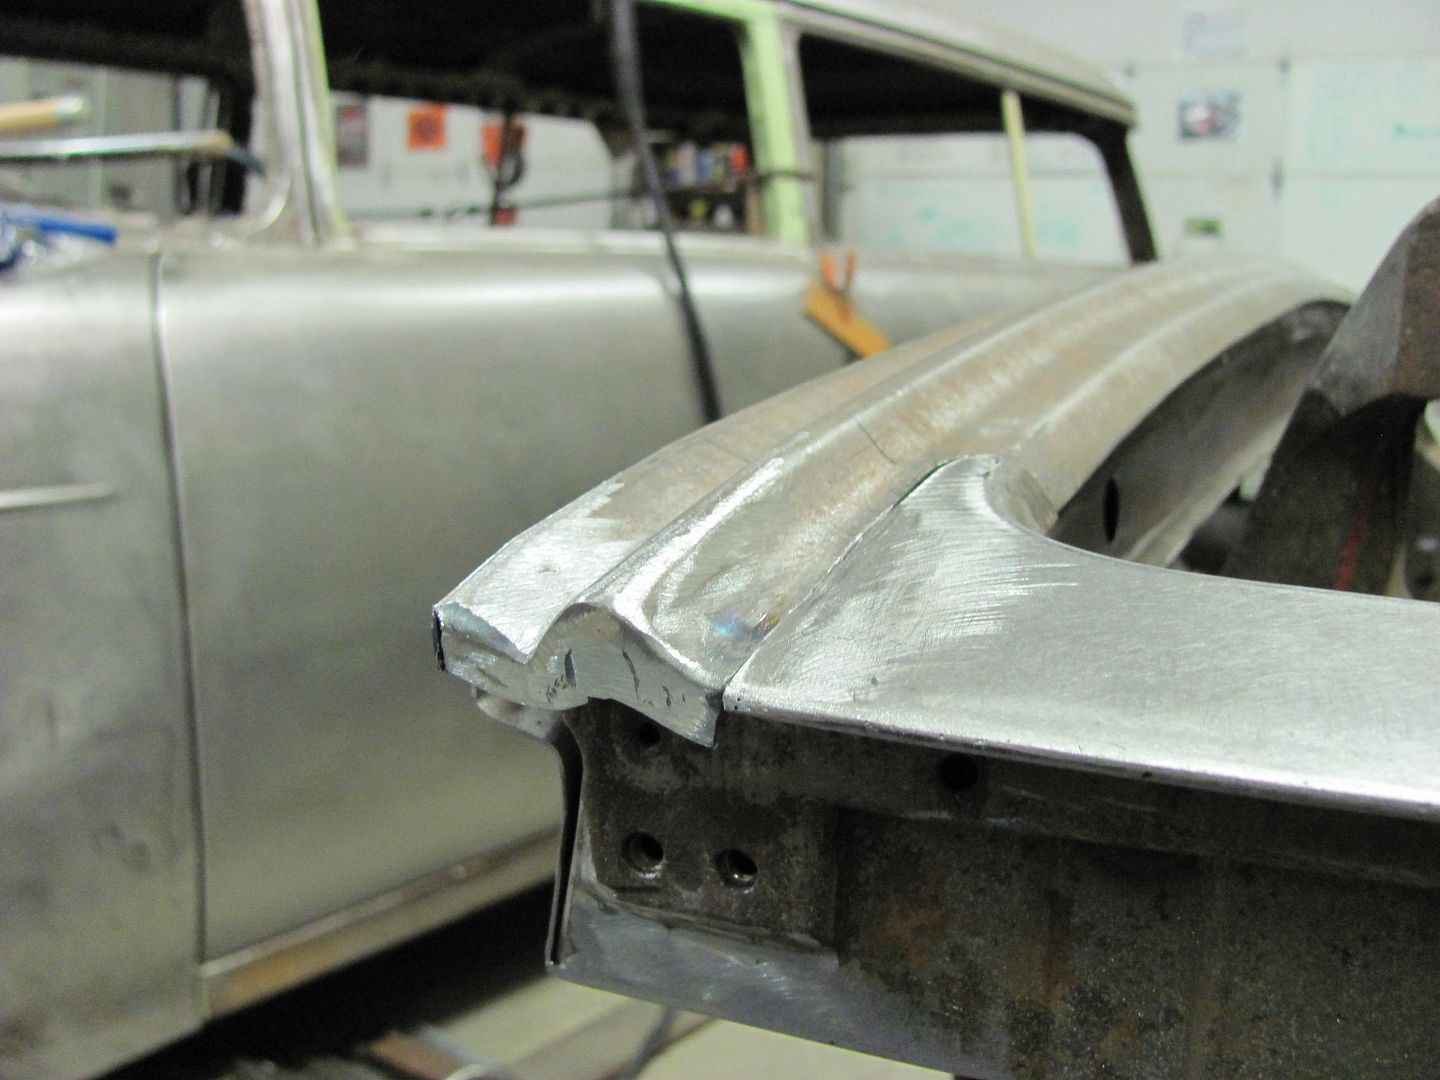 and the other end...... 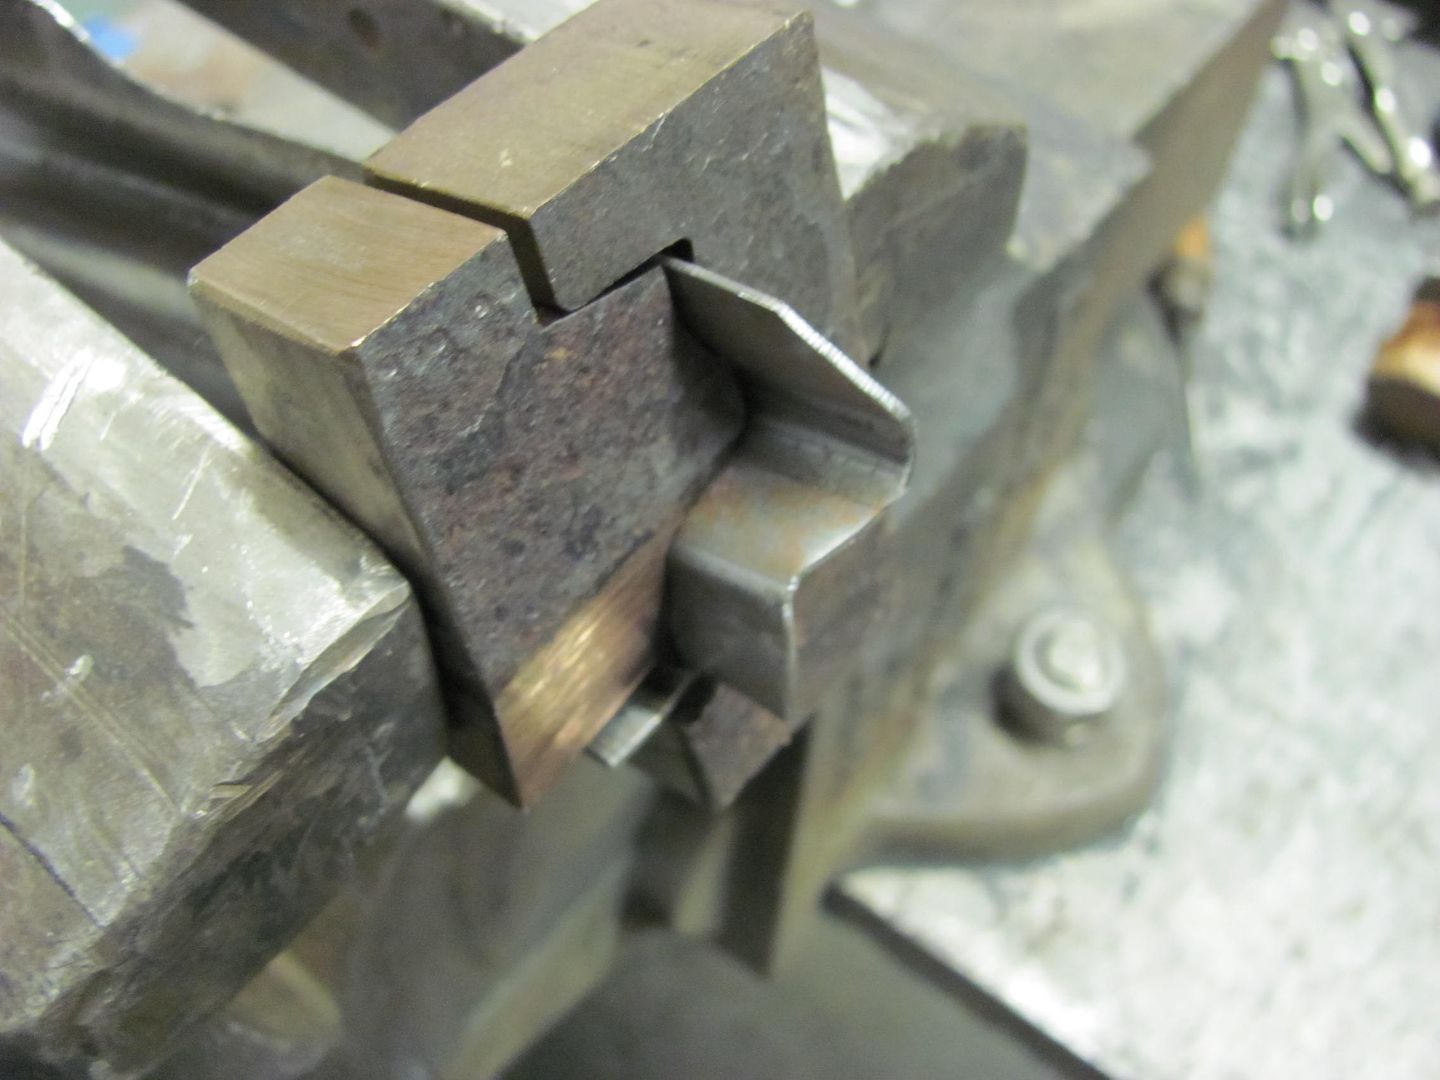  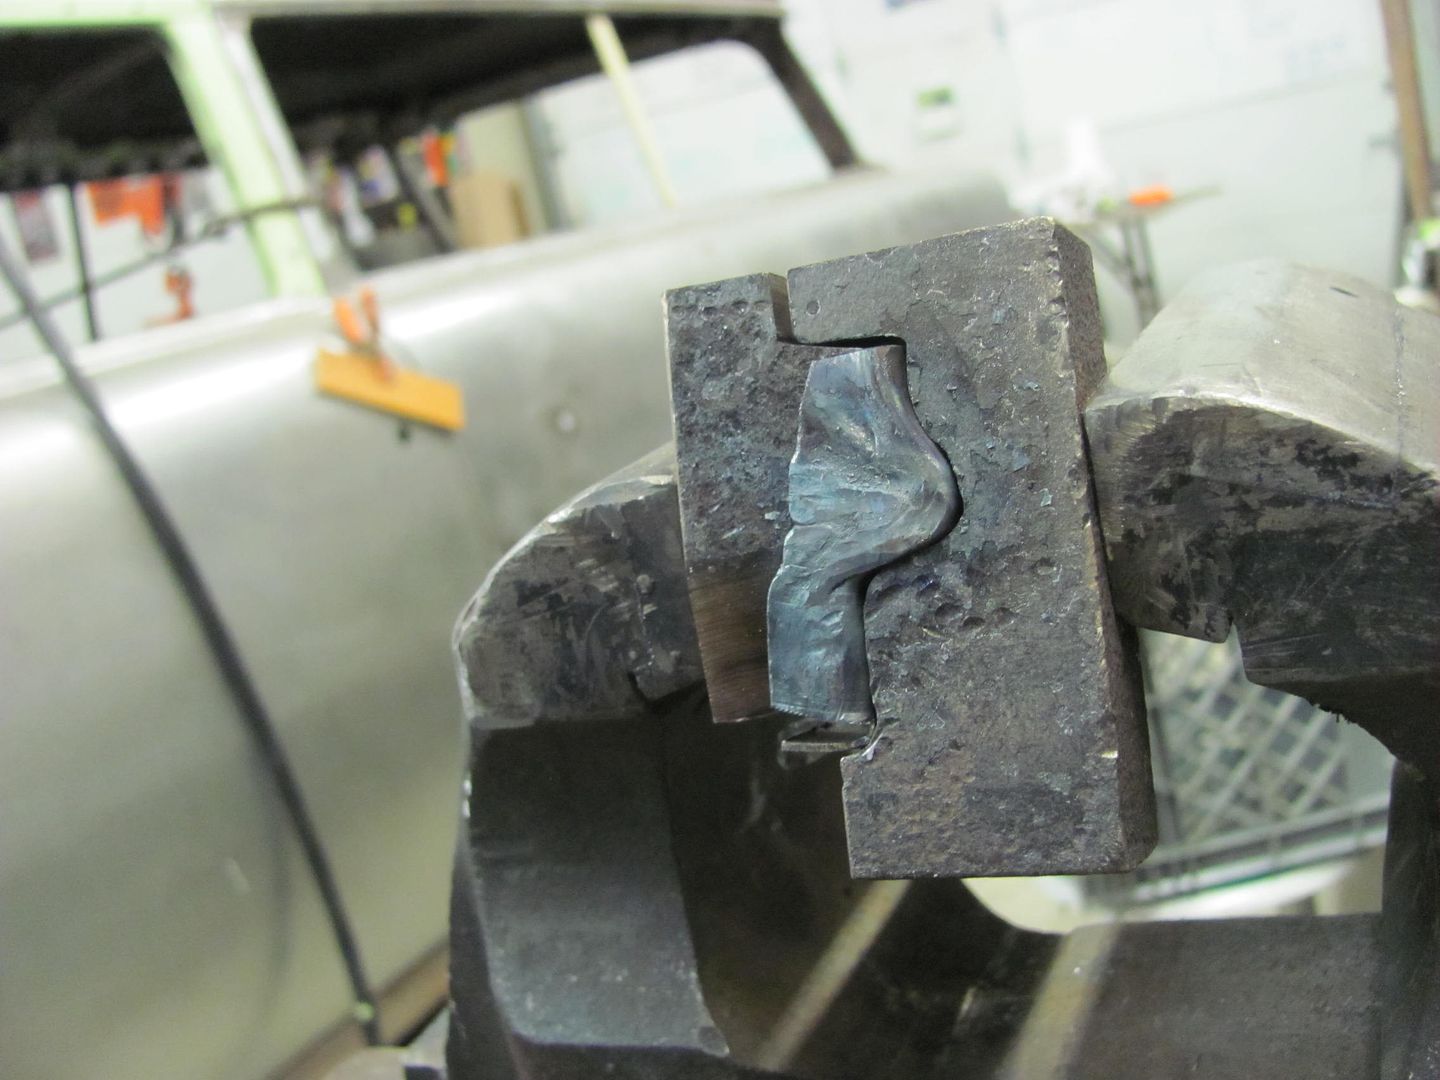 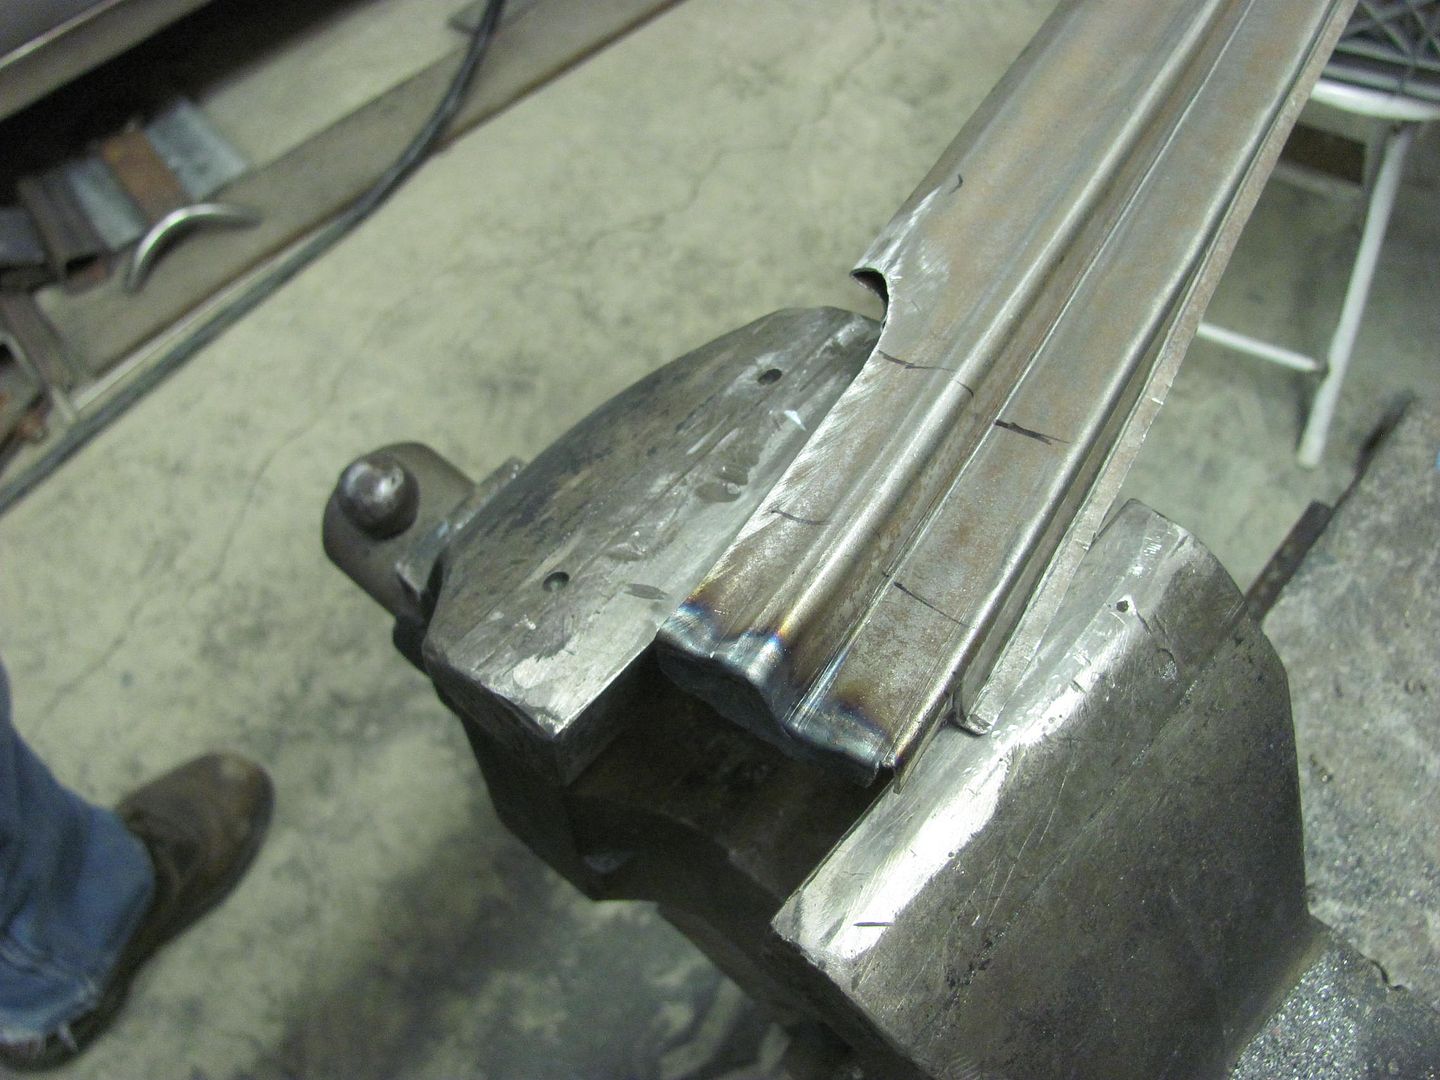 Hope to test fit everything tomorrow before all the parts get media blasted..
__________________
Robert |
|
|
|
 |
| Bookmarks |
|
|


 Hybrid Mode
