
 |
Register or Log In To remove these advertisements. |
|
|
|
|||||||
|
|
Thread Tools | Display Modes |
|
|
#1 |
|
Senior Member
 Join Date: Feb 2003
Location: Gold Canyon Arizona
Posts: 4,375
|
how i set my cab on .......solo
I call it "Bud Lite" engineering! c-clamped (2) 4x4x12' wood posts along my 4-post lift. add 16 small 2x4's under cab windshield lip, and lift! roll chassis under cab and lower!
than have a few cold ones to celebrate!
__________________
1971 K5 CST Blazer 1951 -3100 5 window short bed 4sp 1965 Chevelle Malibu 283 (sadly sold) 1968 Camaro 327 1968 Honda mini-trail z50a #377 1966 uh 1-D Huey |
|
|
|
|
#2 |
|
Senior Member
 Join Date: Feb 2003
Location: Gold Canyon Arizona
Posts: 4,375
|
Re: how i set my cab on .......solo
more
__________________
1971 K5 CST Blazer 1951 -3100 5 window short bed 4sp 1965 Chevelle Malibu 283 (sadly sold) 1968 Camaro 327 1968 Honda mini-trail z50a #377 1966 uh 1-D Huey |
|
|
|
|
#3 |
|
Registered User
Join Date: May 2011
Location: Anderson SC
Posts: 3,896
|
Re: how i set my cab on .......solo
My redneck version of solo cab mounting...
__________________
Project Goldilocks '66 C10 Short Fleet BBW Build '65 C10 Highly Detailed Stock Restoration Thread '78 Camaro Targa Roof Build '55 International Metal/Body/Paint Work '66 F100 Full Rotisserie Restoration '40 Packard 120 Convertible Coupe Restoration How To Restore and Detail an Original Gauge Cluster How To Detail Sand Body Panels, Edges, Corners, Etc |
|
|
|
|
#4 |
|
Registered User
Join Date: Dec 2012
Location: Rochester, KENT
Posts: 10,565
|
Re: how i set my cab on .......solo
Actually a great "resource thread" this.
We all learn from here. This is copied and pasted from my thread when using my buddy Martin get his cab off. Built the jig, based on one I saw on here. Video clip shows how easy it works too. I spent about 5 hours over at mate Martins place today. We removed his cab, which has set me thinking that I should maybe remove mine as well, to get better access to the underside of the chassis. On removing the cab, he found a lot more rust, terrible historic patches an a load of sand inside the chassis outriggers. I will post up the pics to tell the story of getting the "special tool" in and moving the cab away. Final inspection before removing the last two chassis mounting bolts.  One broke off, despite all preparation. 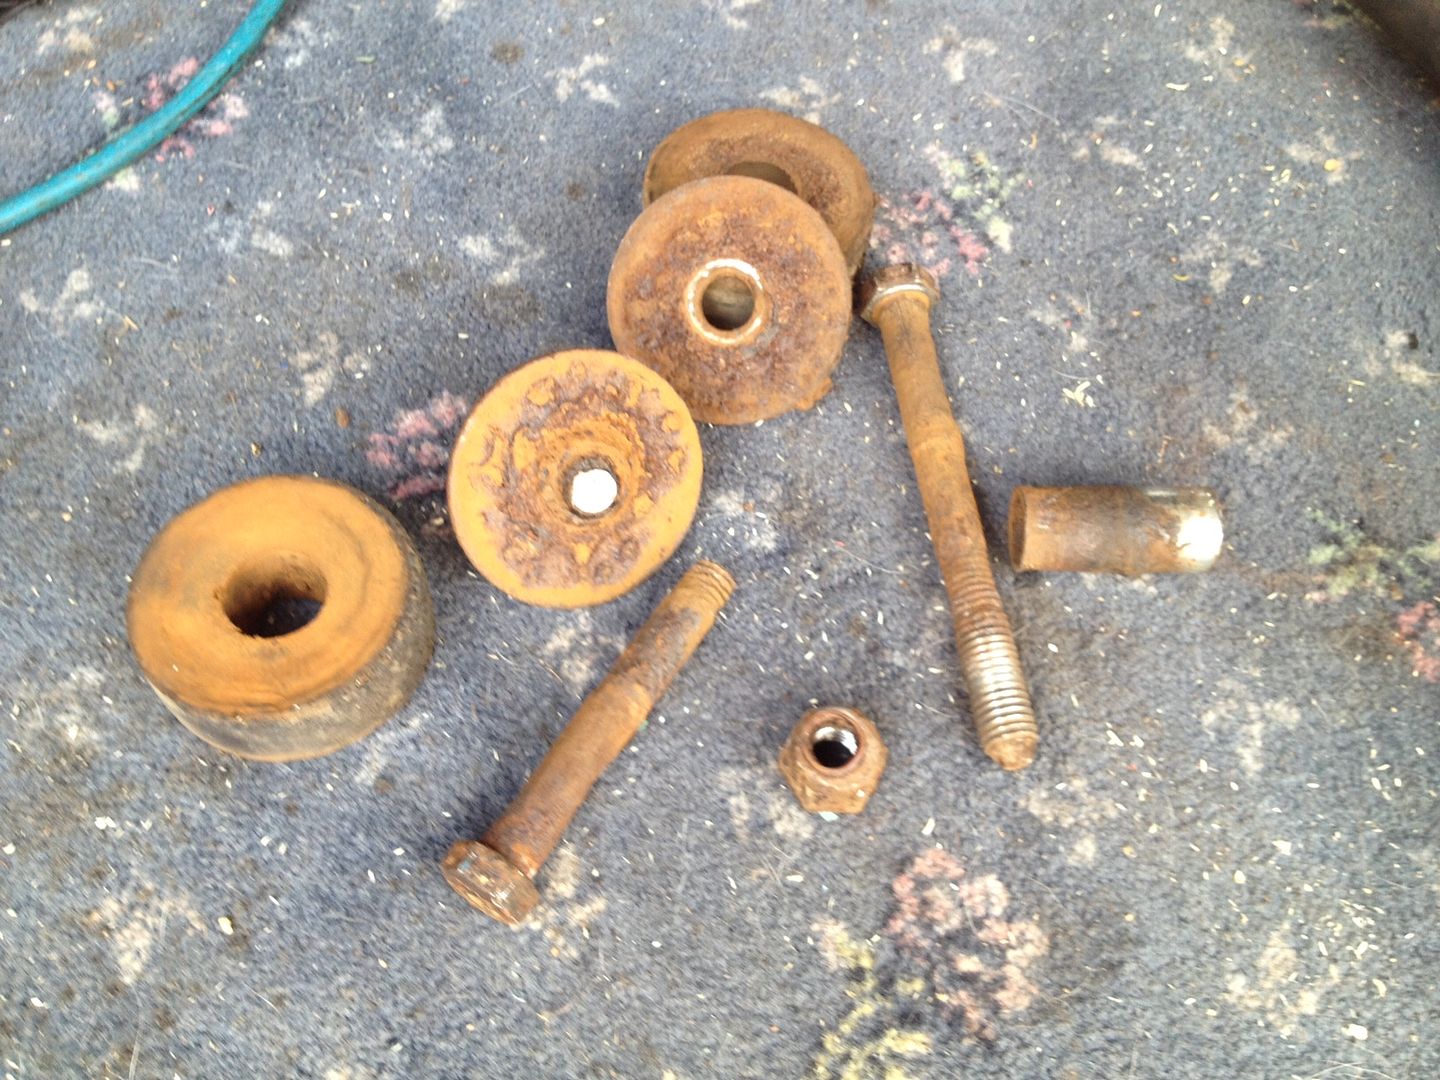 Lifting jig fitted to three ton hoist.  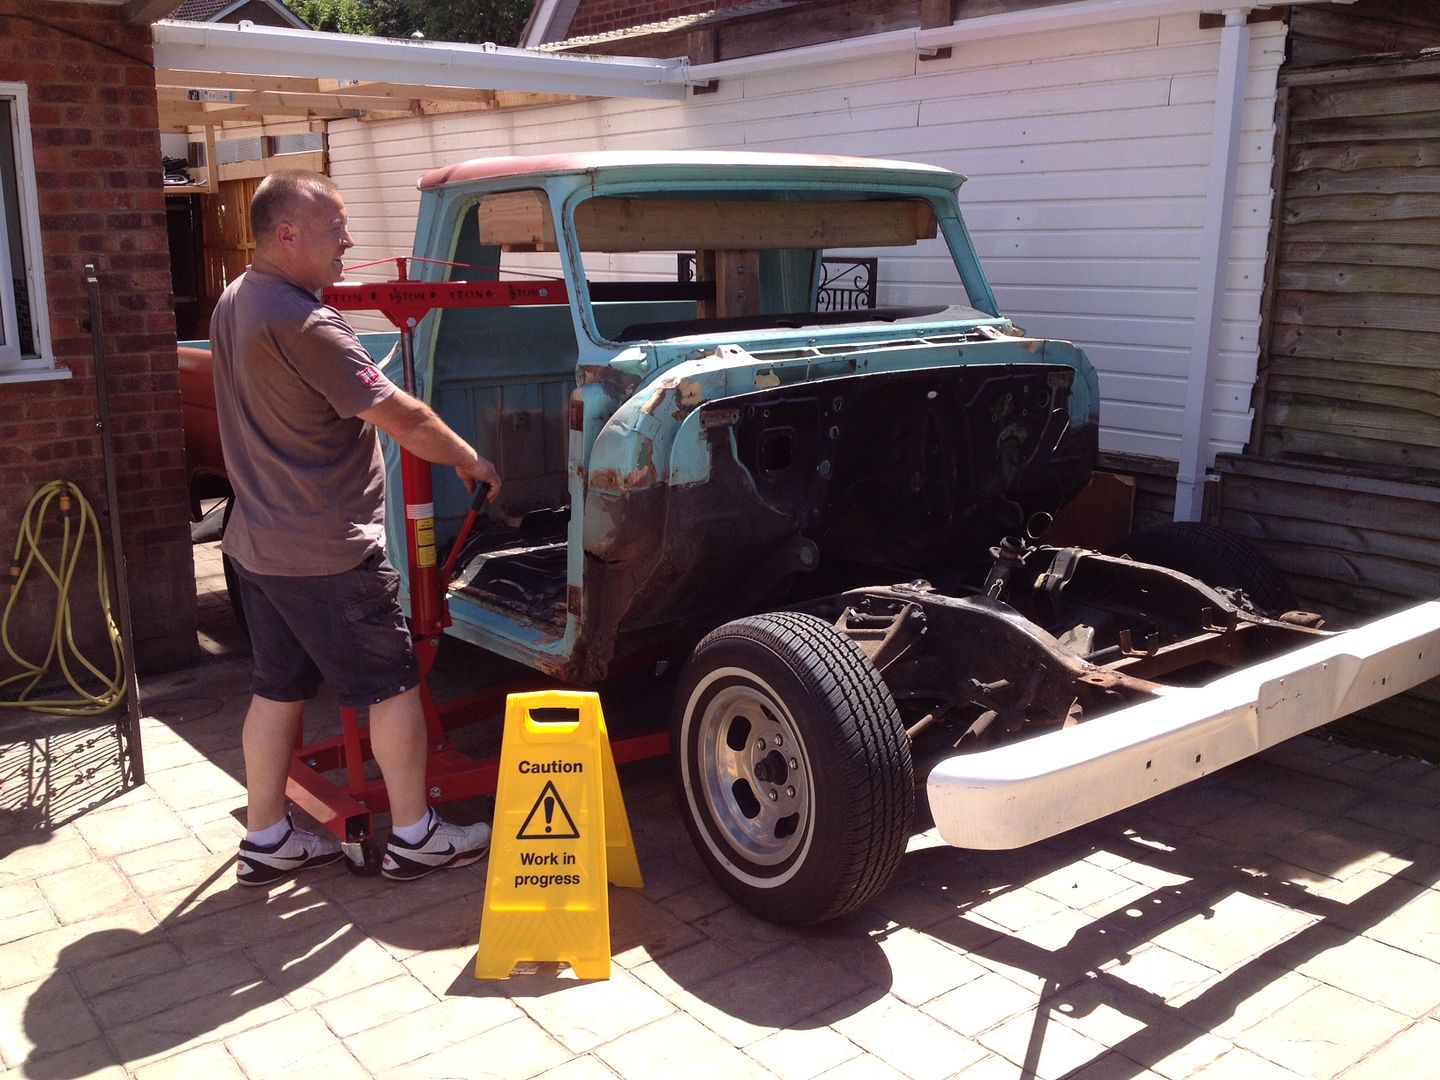  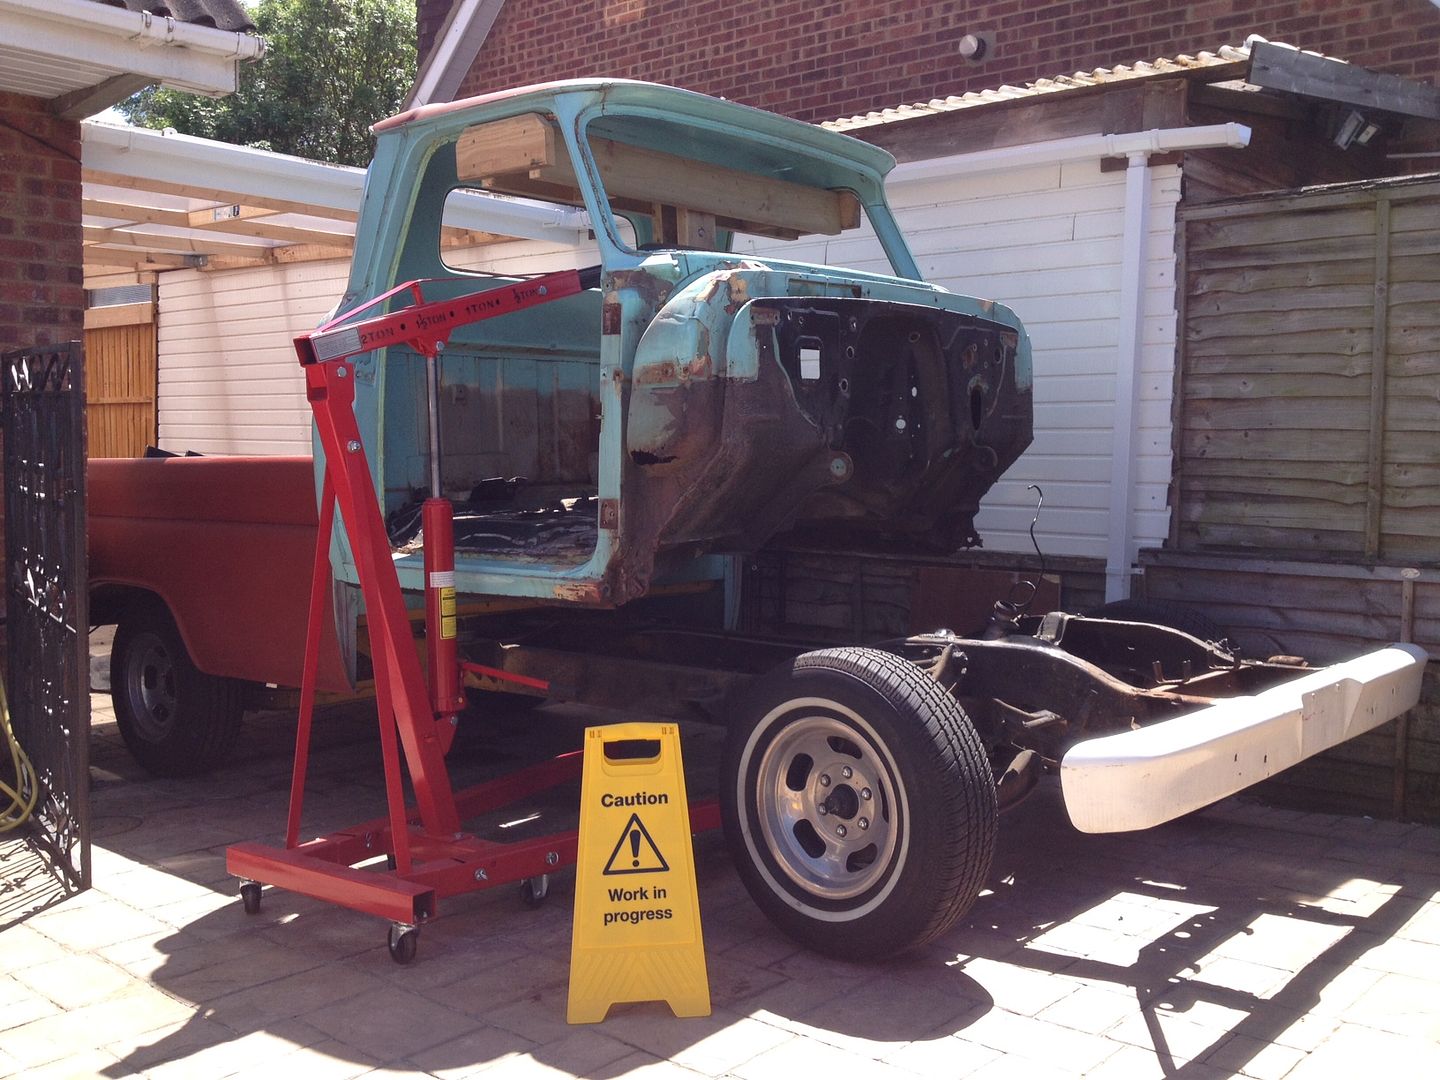 VIDEO IN LINK BELOW AND THIS IS HOW IT WAS DONE: https://www.youtube.com/watch?v=Lxcu...lt8TvG8KEwT5Kg IMPRESSIVE STUFF, AND RESULT. 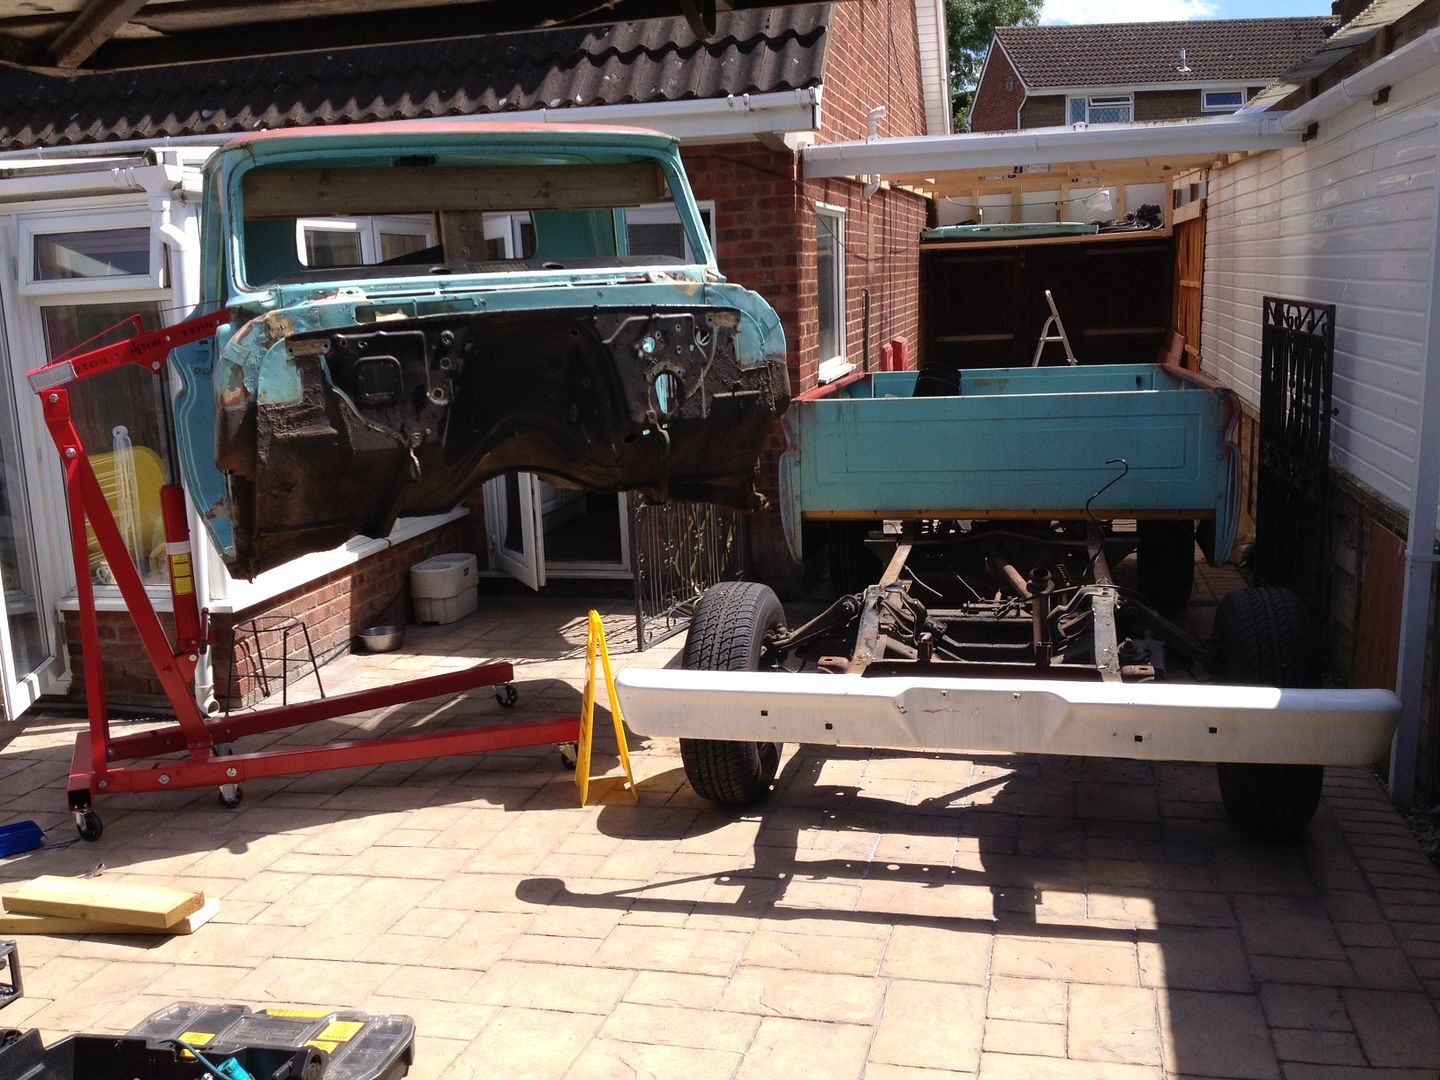 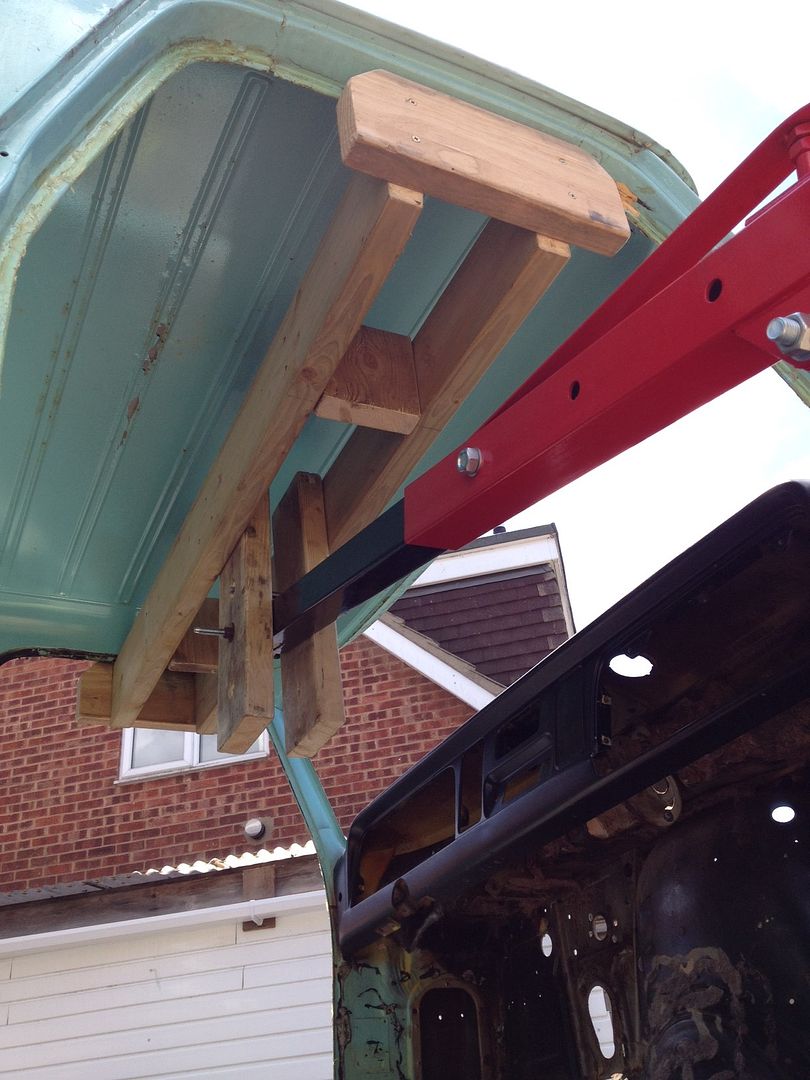 Next up we parked the cab out the way, the trolley needs another 24 inches of height, which will happen later. 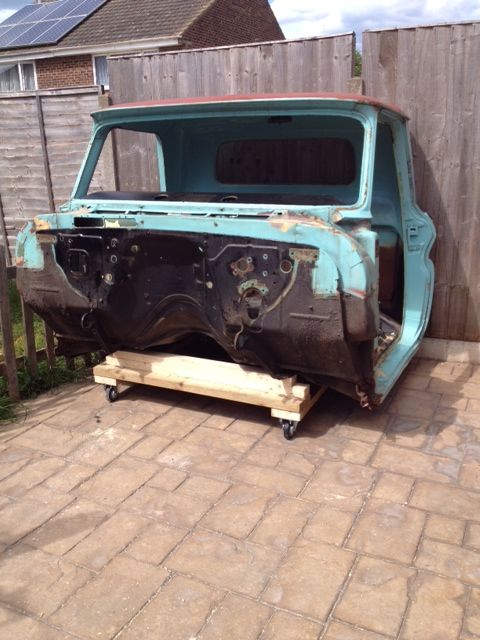 Farmer Brown........ 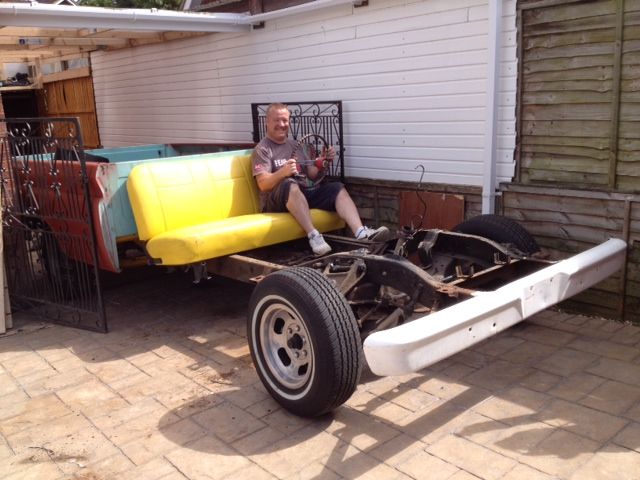 Lastly Martin removed the welded on front bumper and the truck was put back into its tight spot.  That was it for this weekend. As we go on working together, I am learning more and more.
__________________
MY BUILD LINK: http://67-72chevytrucks.com/vboard/s...585901]Redneck Express - 1966 C10 Short Fleetside MY USA ROADTRIPS http://forum.retro-rides.org/thread/...2018-humdinger IF YOU CAN'T FIX IT WITH A HAMMER, YOU'VE GOT AN ELECTRICAL PROBLEM MATE. |
|
|
| Bookmarks |
|
|