
|
|
|
 10-24-2013, 08:52 PM
|
#1 |
|
Registered User
Join Date: Jul 2011
Location: Des Moines, Iowa
Posts: 3,016
|
Re: Project "My Happy Mess"
I have a runner up for the chrome trim - Aluminum Foil tape.
Thinnest I could find is 1.2 mil  Worth a try.
__________________
project: "my happy mess" |

|

|
|
10-25-2013, 03:21 PM
|
#2 |
|
Registered User
Join Date: Jul 2011
Location: Des Moines, Iowa
Posts: 3,016
|
Re: Project "My Happy Mess"
Random pics
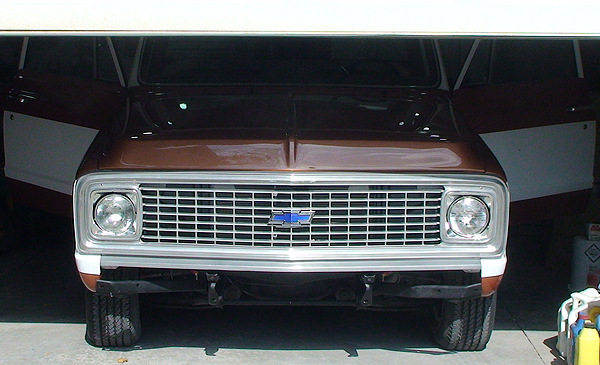 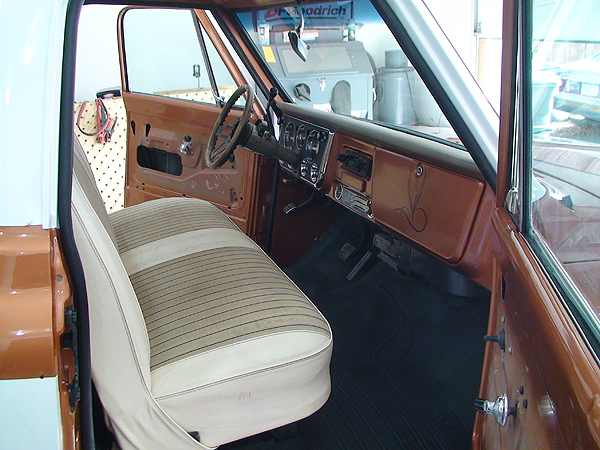   Spot the Blue Jay  More horses  Since the horses bench seat cover won't fit, we did the next best thing. My brother painted them on!   Looks great! Looks great!    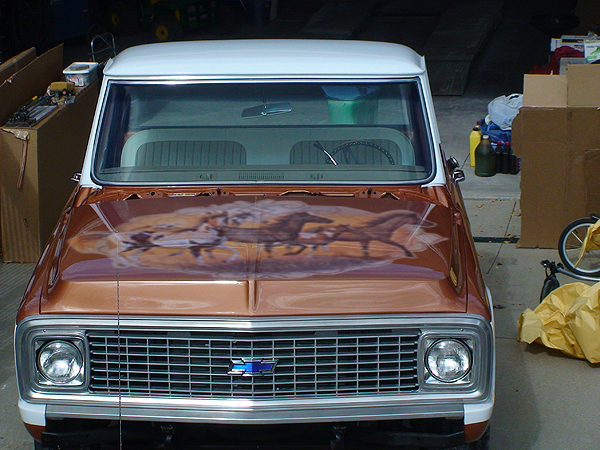
__________________
project: "my happy mess" |
|
|
|
|
10-28-2013, 03:37 PM
|
#3 |
|
Registered User
Join Date: Jul 2011
Location: Des Moines, Iowa
Posts: 3,016
|
Re: Project "My Happy Mess"
Looks like a pheasant?
  Spot the Robin. 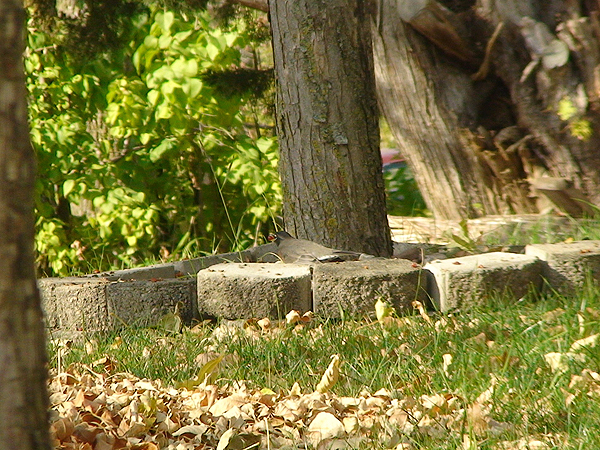 One more time.  Interior pieces, before. 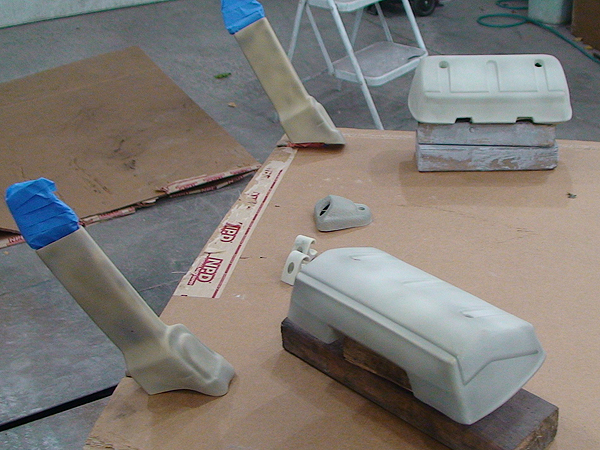 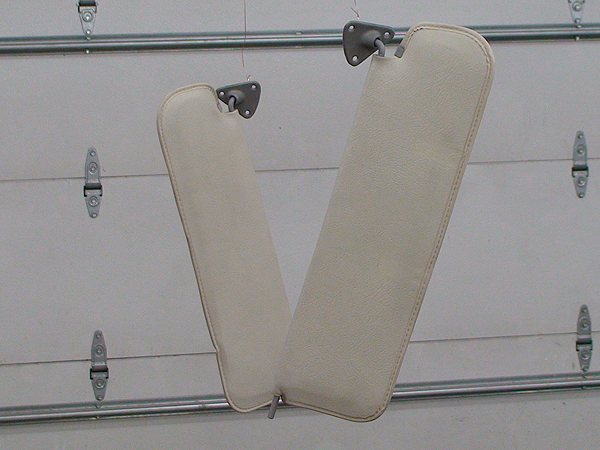 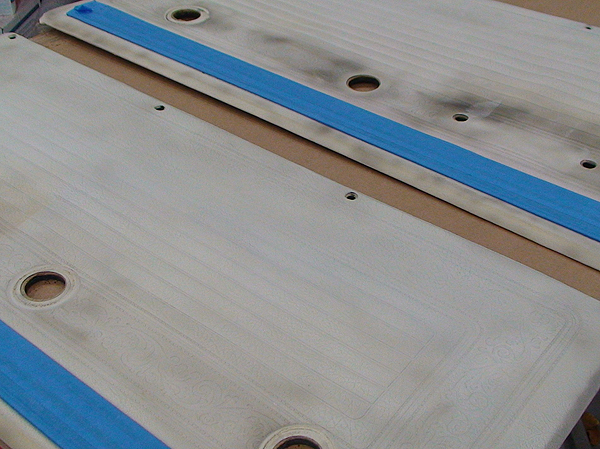 Painted. Turned out great! 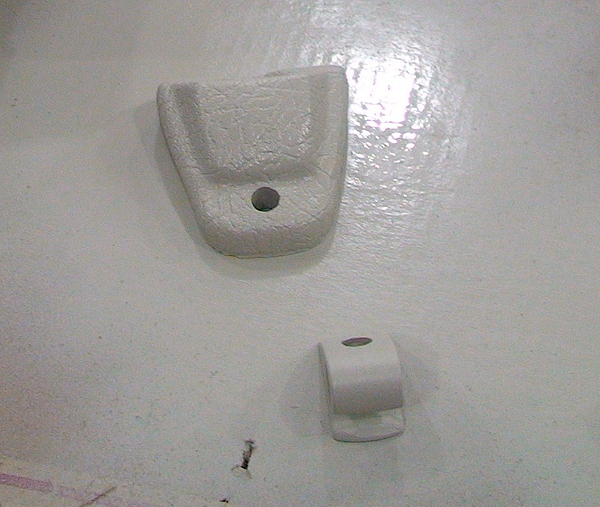 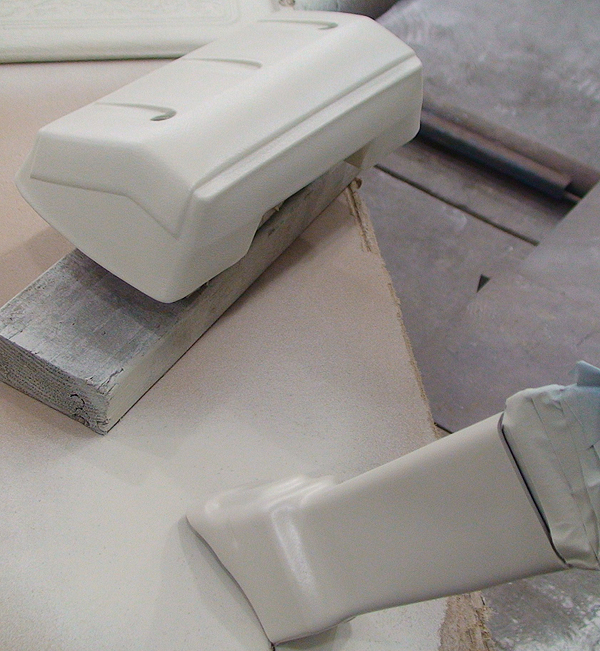 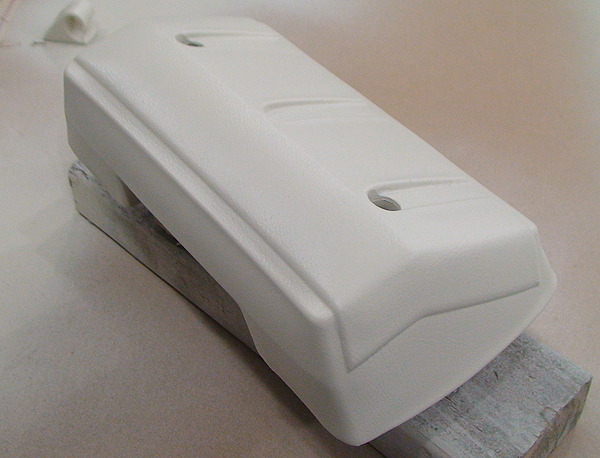 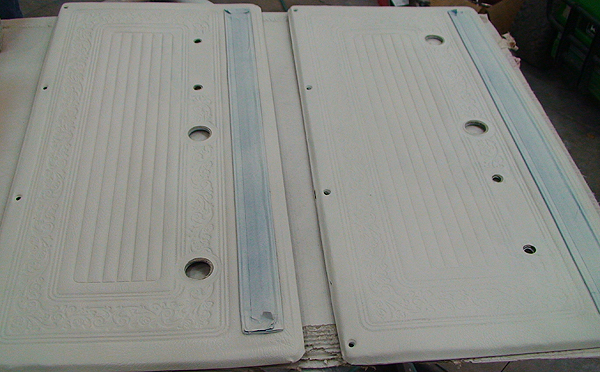      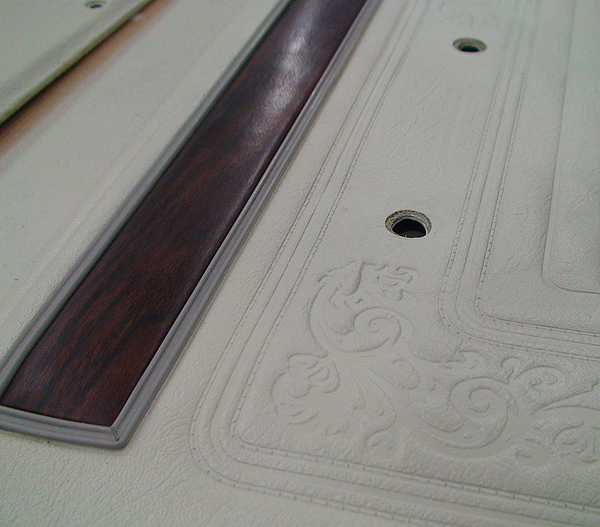 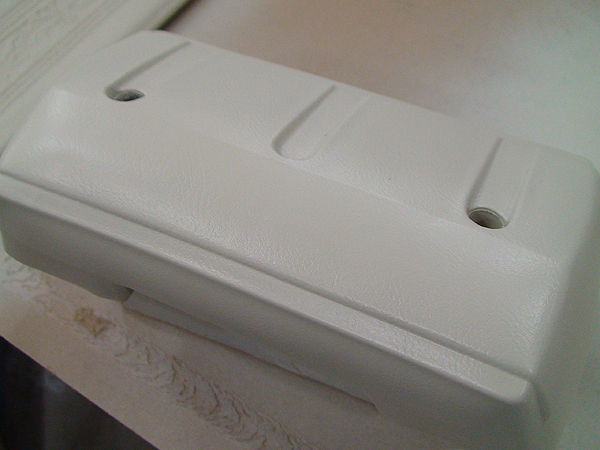
__________________
project: "my happy mess" |
|
|
|
|
10-29-2013, 03:55 PM
|
#4 |
|
Registered User
Join Date: Jul 2011
Location: Des Moines, Iowa
Posts: 3,016
|
Re: Project "My Happy Mess"
Thanks Mike.
Welded exhaust up - 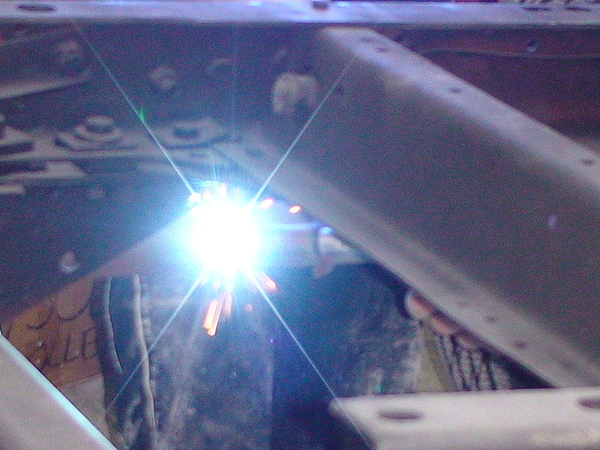 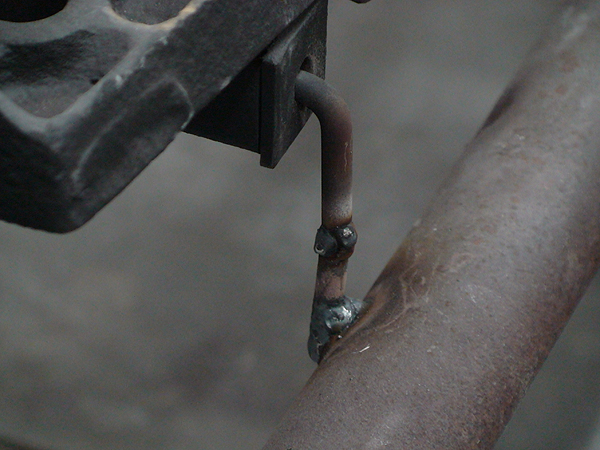 Door panels installed. 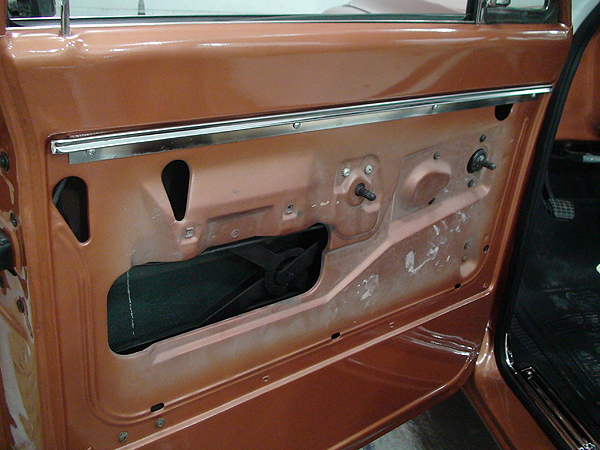 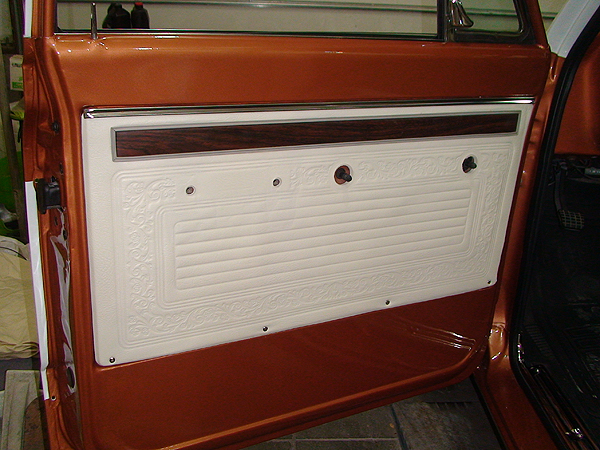 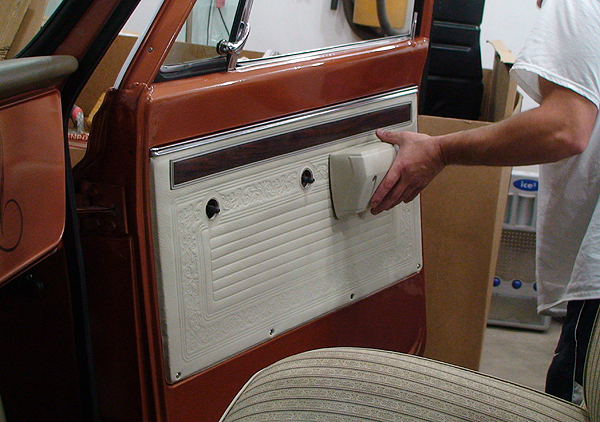 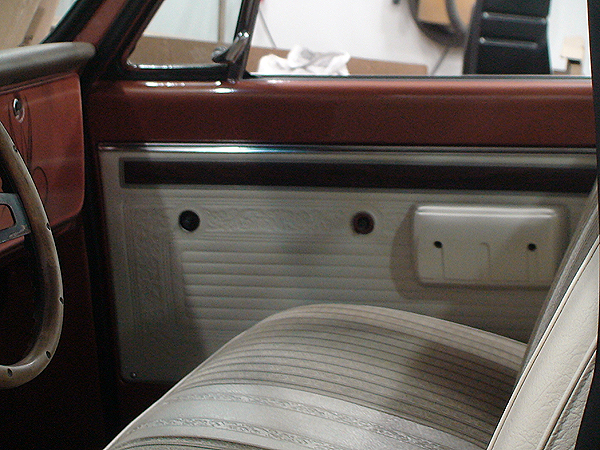 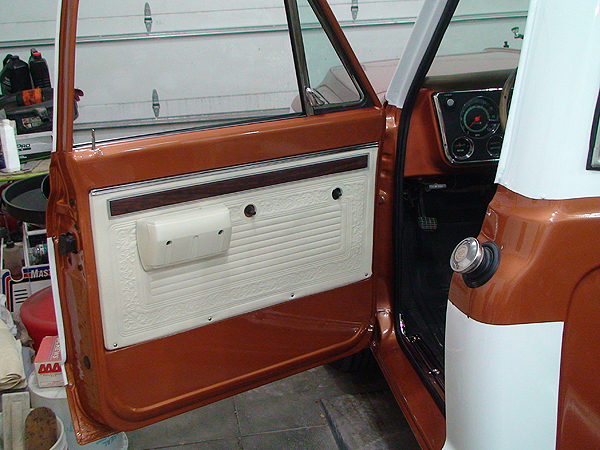  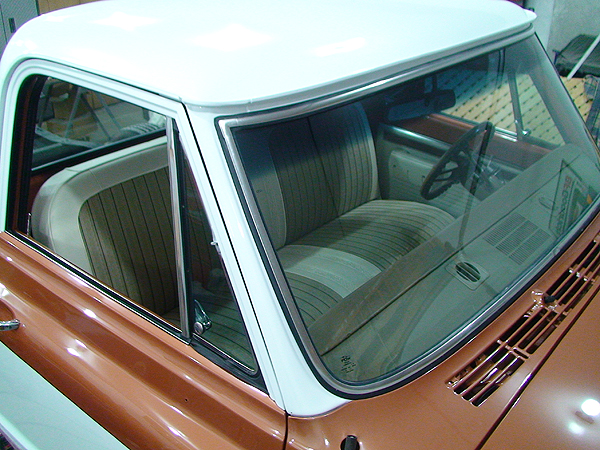 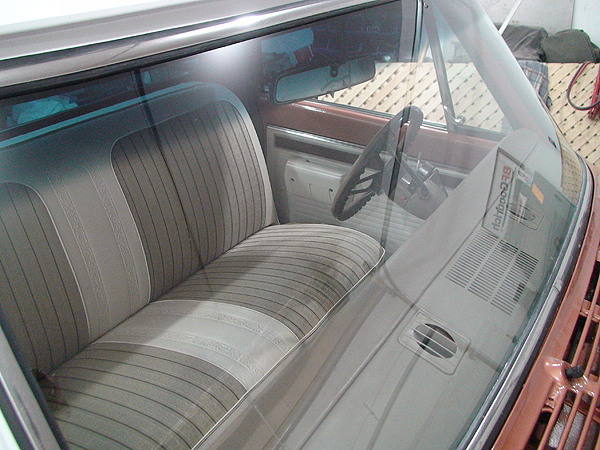 
__________________
project: "my happy mess" |
|
|
|
|
10-30-2013, 03:48 PM
|
#5 |
|
Registered User
Join Date: Jul 2011
Location: Des Moines, Iowa
Posts: 3,016
|
Re: Project "My Happy Mess"
Not my pet or friend, little sumab!tch
__________________
project: "my happy mess" |
|
|
|
|
10-31-2013, 03:00 PM
|
#6 |
|
Registered User
Join Date: Jul 2011
Location: Des Moines, Iowa
Posts: 3,016
|
Re: Project "My Happy Mess"
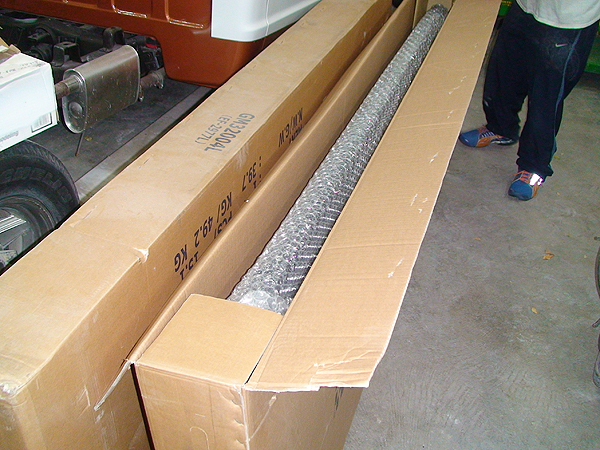
Thanks Jim, now we can concentrate on these
__________________
project: "my happy mess" |
|
|
|
|
10-31-2013, 04:53 PM
|
#7 | |
|
Still Learning
Join Date: Jul 2009
Location: Central Oklahoma
Posts: 10,108
|
Re: Project "My Happy Mess"
Quote:
|
|
|
|
|
|
10-31-2013, 07:11 PM
|
#8 |
|
Registered User
Join Date: Jul 2011
Location: Des Moines, Iowa
Posts: 3,016
|
Re: Project "My Happy Mess"
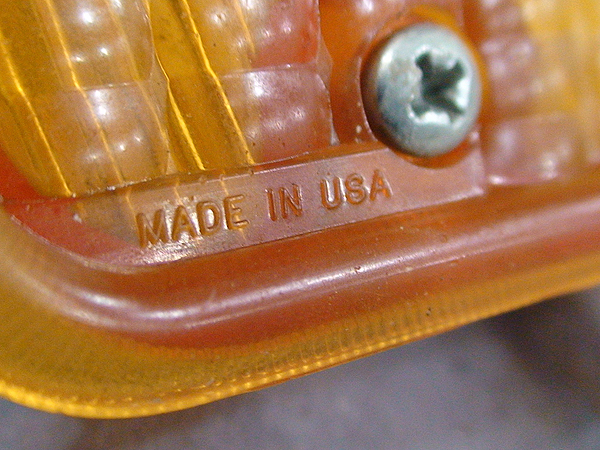
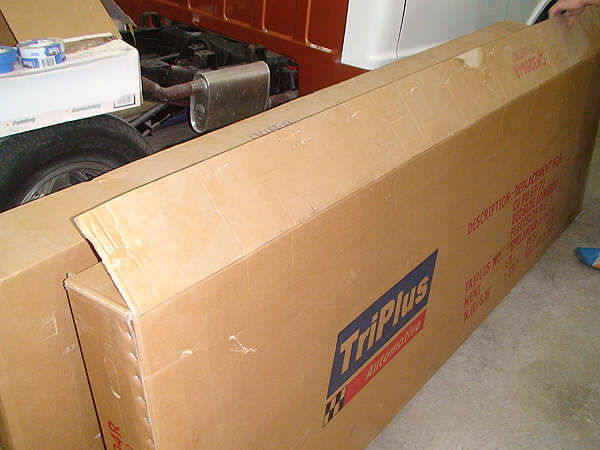
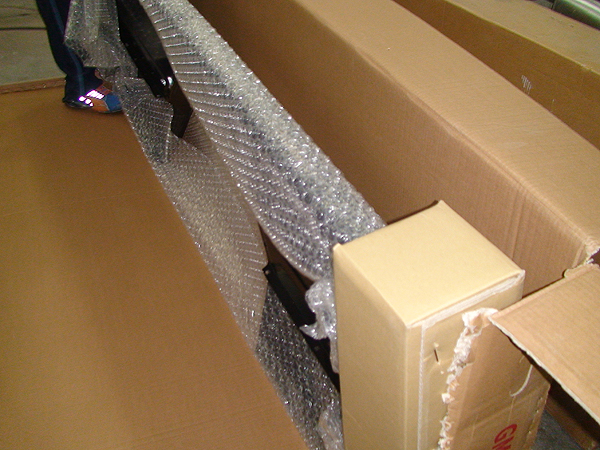
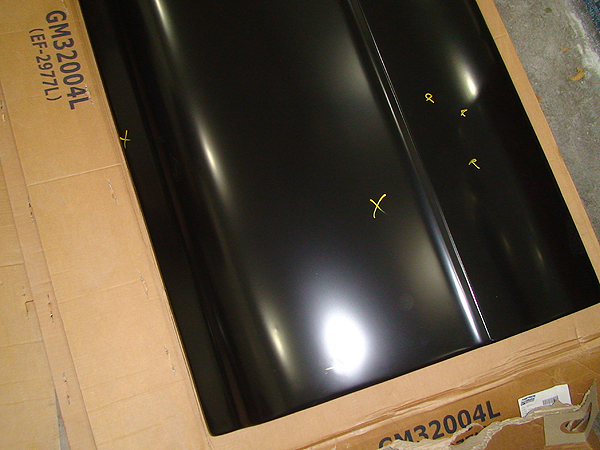
Yeah, two years ago! It was a necessary evil since the originals busted out with rust. I figured buying new was the best option (less work etc...). They've been hiding out back all this time. Wood floor and NOS rear wheel wells too. Bedsides are the only pieces made in china. Everything else (less bumpers I think): ORIGINAL 1970's US metal.
__________________
project: "my happy mess" |
|
|
|
|
11-01-2013, 03:07 PM
|
#9 |
|
Registered User
Join Date: Jul 2011
Location: Des Moines, Iowa
Posts: 3,016
|
Re: Project "My Happy Mess"
Okay, we'll pretend there are no 'bad things' then.
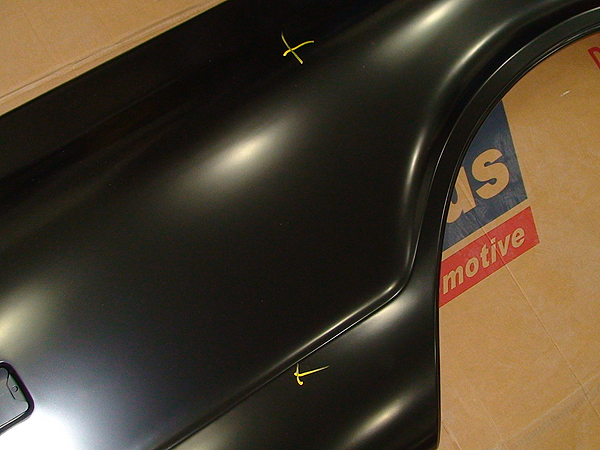
So far we don't see any issues test fitting the sides.  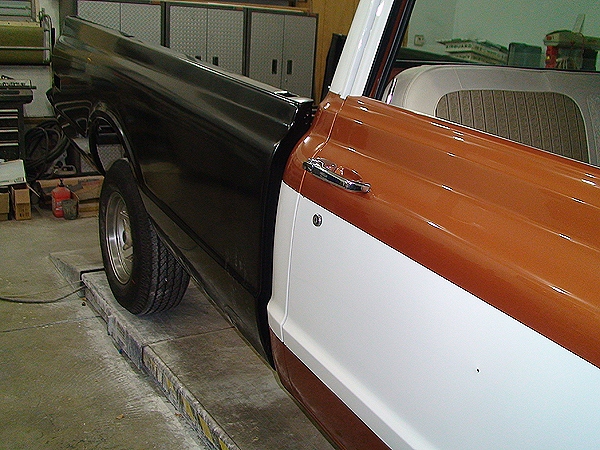 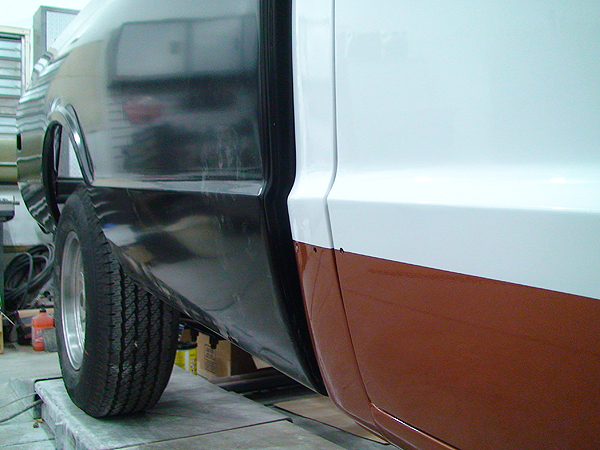 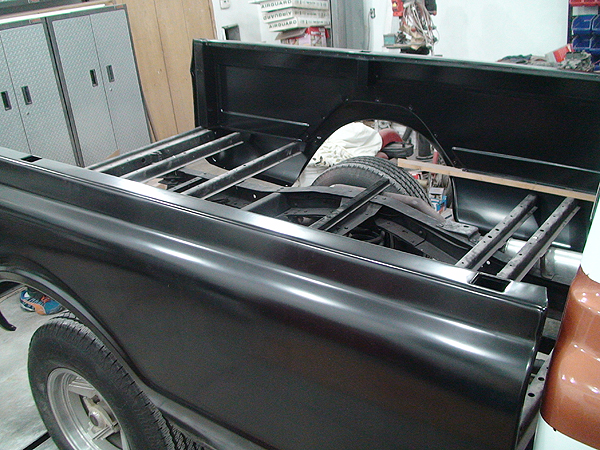 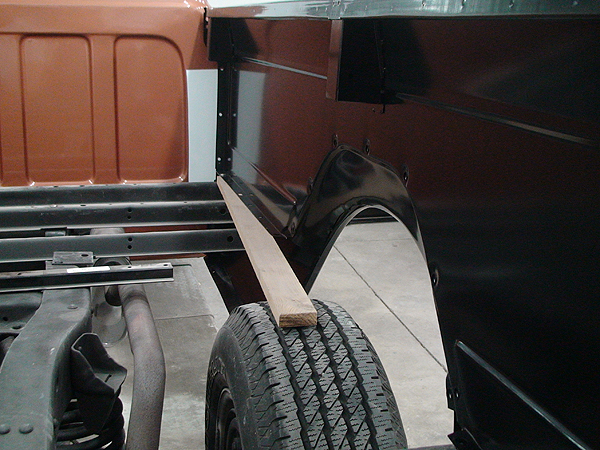 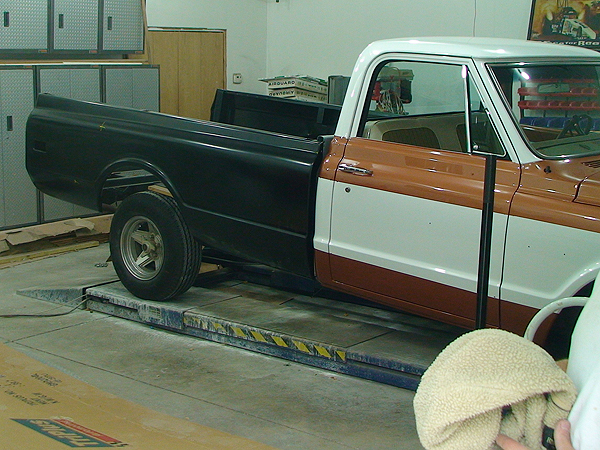
__________________
project: "my happy mess" |
|
|
|
|
11-05-2013, 04:32 PM
|
#10 |
|
Registered User
Join Date: Jul 2011
Location: Des Moines, Iowa
Posts: 3,016
|
Re: Project "My Happy Mess"
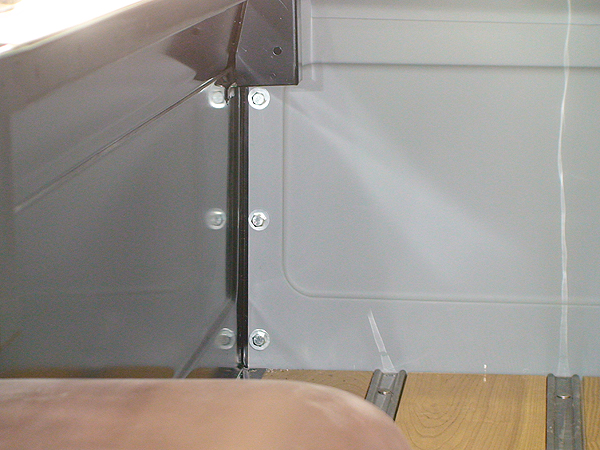
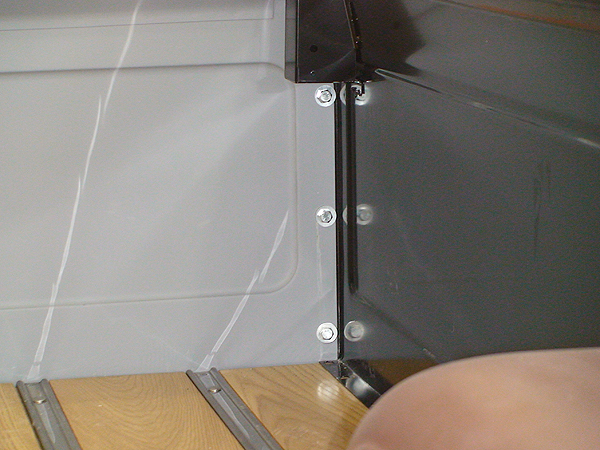
A couple hours worth of work update.
The only snag we've run into so far. The front panel wouldn't lift up far enough to line up. We concluded this to be a stamping error and adjusted as needed. It'll clean up later. Also, spot welds on the top insides of the bedsides were hammered flat to help achieve proper clearance (upward from within).  Pass. side didn't need modified, other than hammering on the weld. 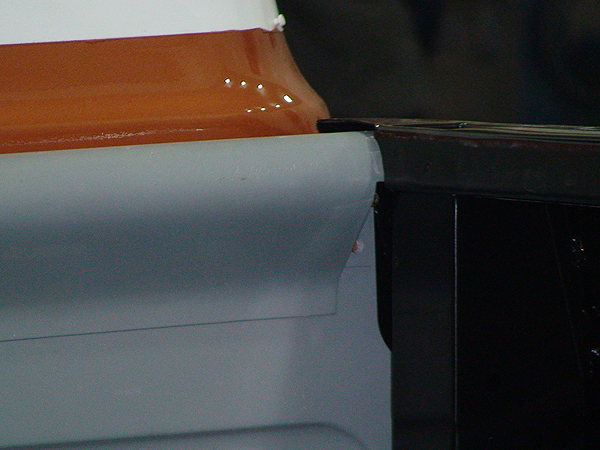 The new co-worker. He doesn't do much of anything  Heck yeah  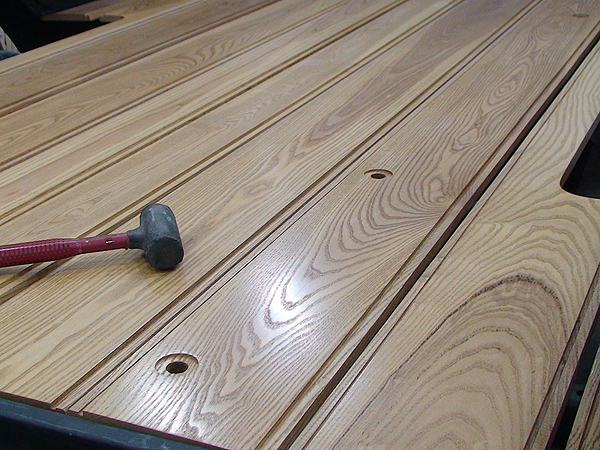 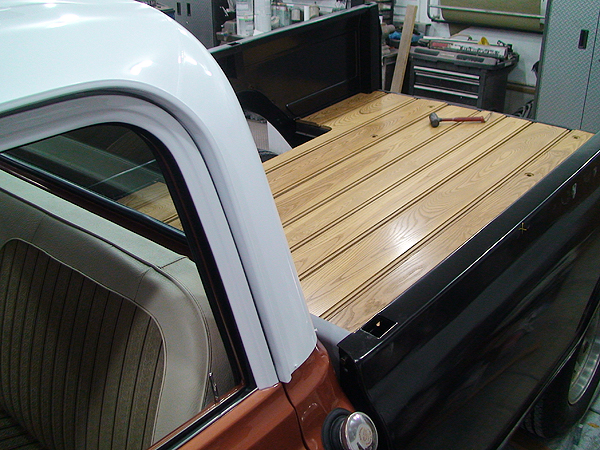 
__________________
project: "my happy mess" |
|
|
|
|
11-11-2013, 11:47 AM
|
#11 |
|
Registered User
Join Date: Jul 2011
Location: Des Moines, Iowa
Posts: 3,016
|
Re: Project "My Happy Mess"
Thanks
__________________
project: "my happy mess" |
|
|
|
|
11-11-2013, 09:55 PM
|
#12 |
|
Registered User
Join Date: Jul 2011
Location: Des Moines, Iowa
Posts: 3,016
|
Re: Project "My Happy Mess"
Pics from today. In a progressive order.
   Spot the problem: 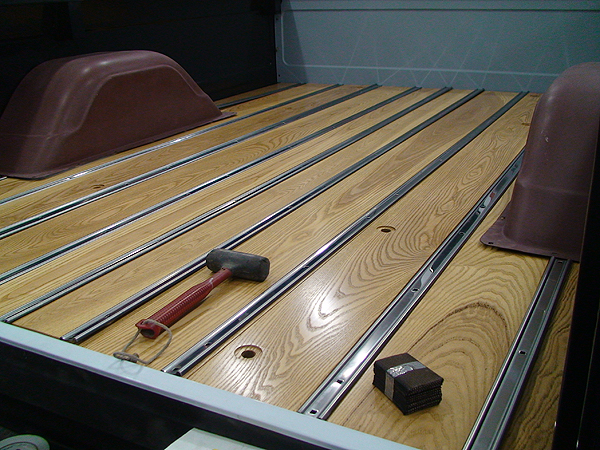 Zeus or Raiden 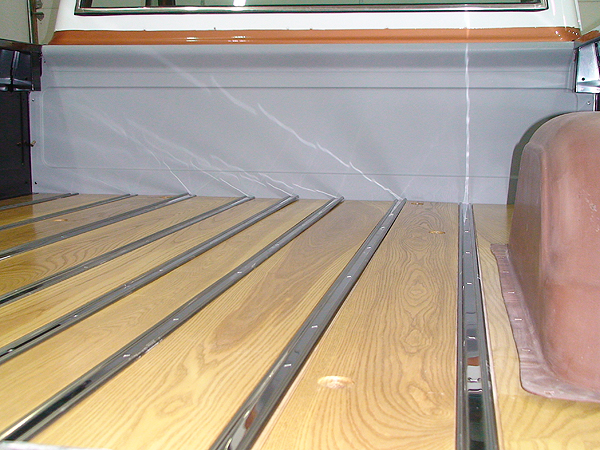 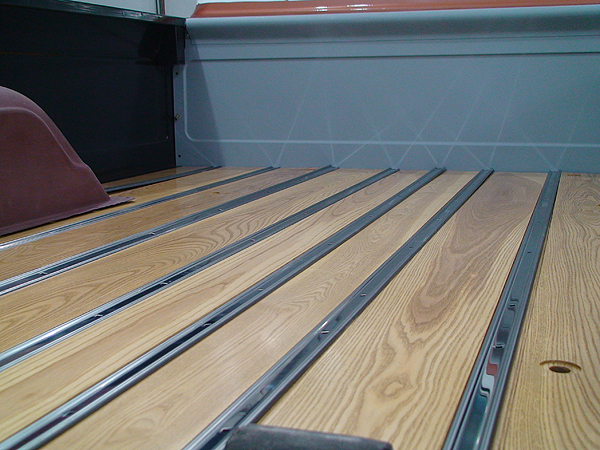 My brother's considering firing the new co-worker.  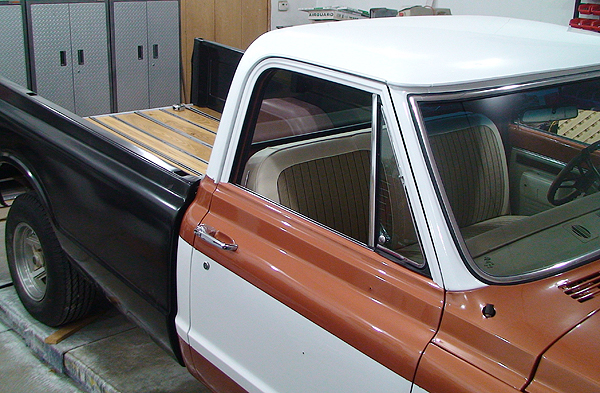 Nonconformity issue #3.  Nonconformity issue #4. 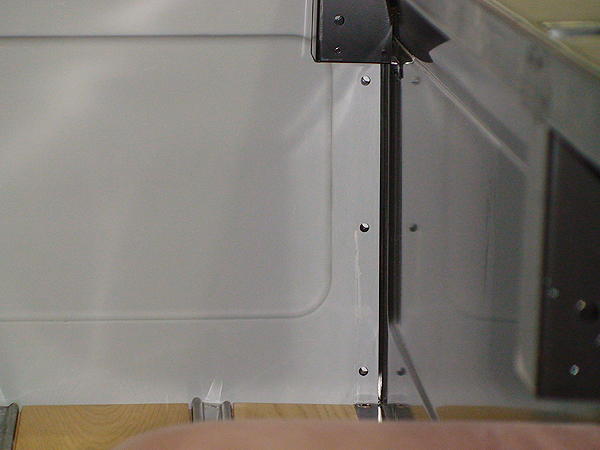 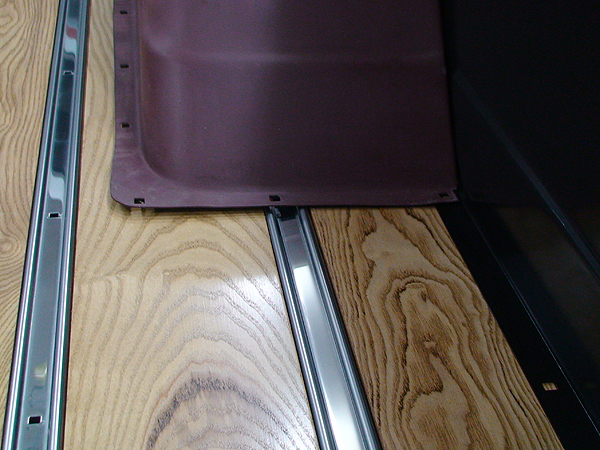 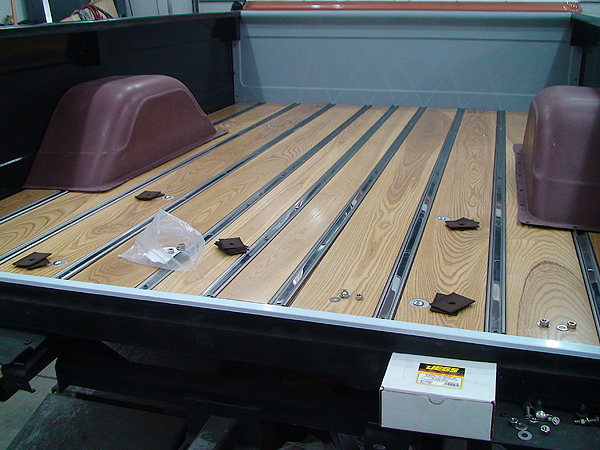 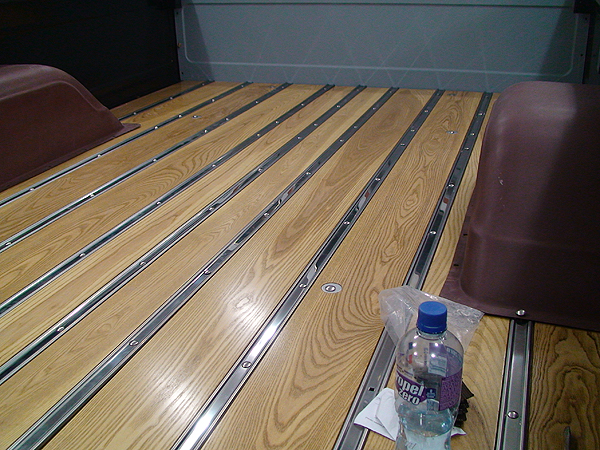
__________________
project: "my happy mess" |
|
|
|
|
11-13-2013, 04:35 PM
|
#13 |
|
Registered User
Join Date: Jul 2011
Location: Des Moines, Iowa
Posts: 3,016
|
Re: Project "My Happy Mess"
Truck abuse
 Tailgate on. 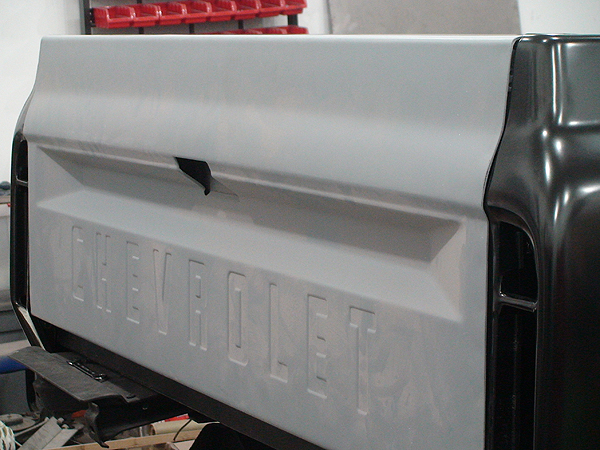  Holes on the bedsides > front panel have been drilled out to correct the misalignment issues. We're ready to mark and drill our perimeter and tub holes for the bed wood. After that, tear it apart and finish up. 
__________________
project: "my happy mess" |
|
|
|
|
11-14-2013, 04:20 PM
|
#14 |
|
Registered User
Join Date: Jul 2011
Location: Des Moines, Iowa
Posts: 3,016
|
Re: Project "My Happy Mess"
Improved heavy duty fix.
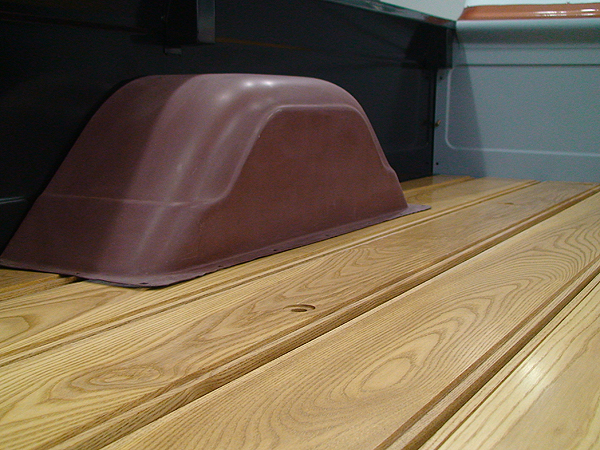
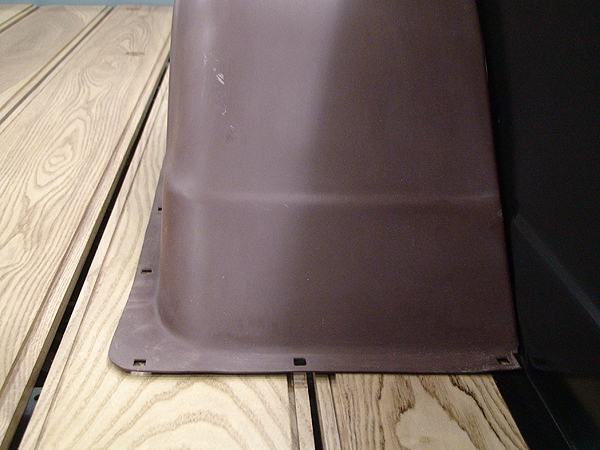
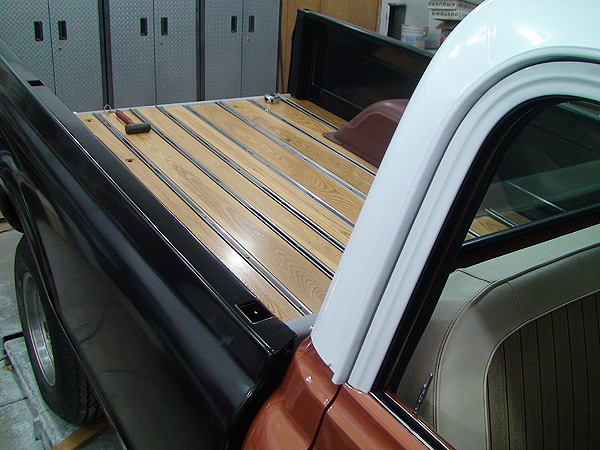
   Lines. Shimmed the bed cross sill (driver's side corner) from frame to correct unevenness.  Bed wood all buttoned up. Needs no more attention  Driver's side bedside needed a little modification. Top rail middle bend was too obtrusive. Broke the spot welds to relieve the pressure. Done. 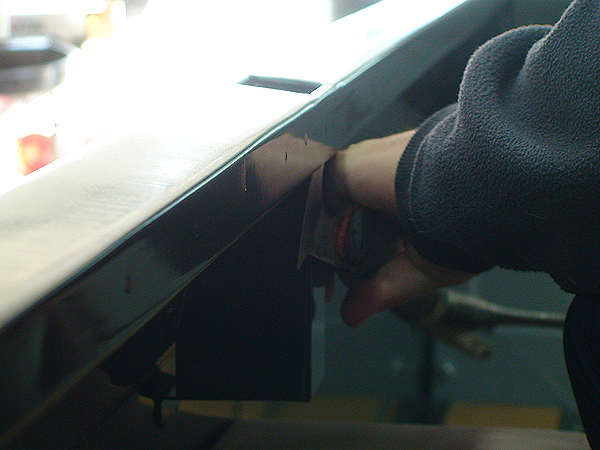
__________________
project: "my happy mess" |
|
|
|
|
11-18-2013, 12:44 PM
|
#15 |
|
Registered User
Join Date: Oct 2013
Location: Anaheim, CA
Posts: 526
|
Re: Project "My Happy Mess"
Holy cow! I am so pumped and motivated. I just finished the thread, your truck is an inspiration. Im excited to follow you through the end and get there someday for me too.
__________________
-JASON My grandpa, Gramps, won a 1970 C20 in 1969 for $1. I'm on a mission to restore it before he passes. My 1970 C20 Build Thread |
|
|
|
|
11-18-2013, 04:32 PM
|
#16 |
|
Registered User
Join Date: Jul 2011
Location: Des Moines, Iowa
Posts: 3,016
|
Re: Project "My Happy Mess"
Thanks
Couple hours a day adds up.
__________________
project: "my happy mess" |
|
|
|
|
12-01-2013, 10:06 PM
|
#17 | |
|
I have a radical idea!
Join Date: Jan 2005
Location: Sweet Home Alabama!
Posts: 6,513
|
Re: Project "My Happy Mess"
That bad boy is coming along nicely!
Quote:
__________________
'67 C-30 Dually Pickup 6.2 Turbo Diesel, NP435 72 C-10 SWB , 350 4bbl, TH350 '69 C-10 SWB , 250 L6, 3 OTT '69 GMC C3500, dump truck, 351 V6, NP435 '84 M1009 CUCV Military Blazer 67 C-30 Turbodiesel build thread http://67-72chevytrucks.com/vboard/s...d.php?t=254096 My trucks http://s226.photobucket.com/albums/d...ediafilter=all Member of the 1-Ton Club! |
|
|
|
|
|
12-01-2013, 10:39 PM
|
#18 |
|
Registered User
Join Date: Jul 2011
Location: Des Moines, Iowa
Posts: 3,016
|
Re: Project "My Happy Mess"
Thanks man! Yes, we are aware. He put them in that direction because it was easier at the time. It's all disassembled now (as seen in the video). He'll be edging all the peices and then we'll reassemble for the last time and he'll finish painting.
__________________
project: "my happy mess" |
|
|
|
|
12-30-2013, 03:41 AM
|
#19 |
|
Registered User
Join Date: Jul 2011
Location: Des Moines, Iowa
Posts: 3,016
|
Re: Project "My Happy Mess"
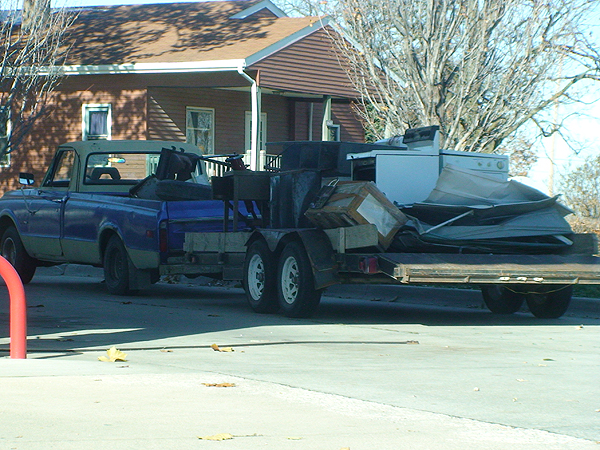
Found a (rear shot) picture of my truck before starting restoration efforts. Funny thing (or not funny to privacy), this picture was taken by Google and I just happen to visit street view to find this sitting in my brother's driveway:
pre July 2011 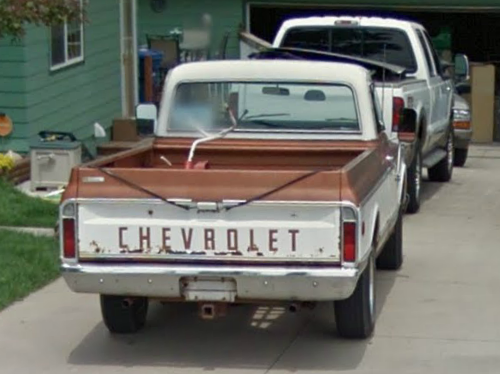
__________________
project: "my happy mess" |
|
|
|
|
04-09-2014, 11:09 PM
|
#20 |
|
Registered User
Join Date: Jul 2011
Location: Des Moines, Iowa
Posts: 3,016
|
Re: Project "My Happy Mess"
__________________
project: "my happy mess" |
|
|
|
|
04-13-2014, 04:03 PM
|
#21 |
|
Registered User
Join Date: Jul 2011
Location: Des Moines, Iowa
Posts: 3,016
|
Re: Project "My Happy Mess"
__________________
project: "my happy mess" |
|
|
|
|
04-21-2014, 01:11 PM
|
#22 |
|
Registered User
Join Date: Jul 2011
Location: Des Moines, Iowa
Posts: 3,016
|
Re: Project "My Happy Mess"
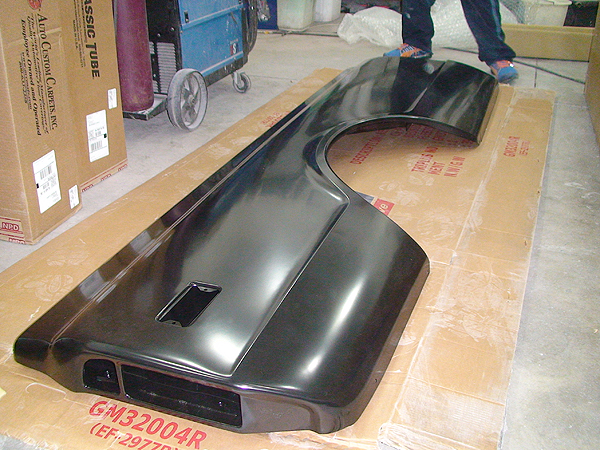
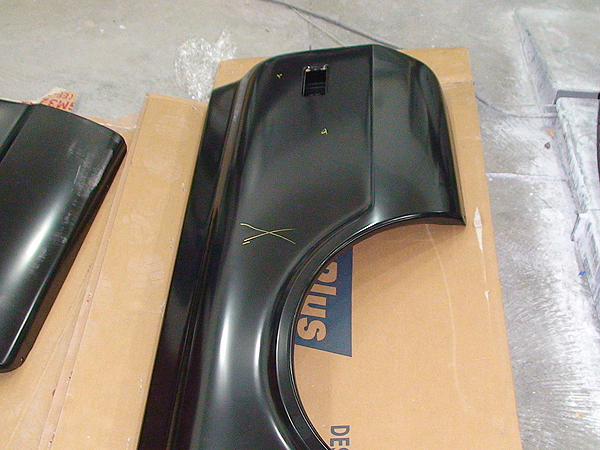
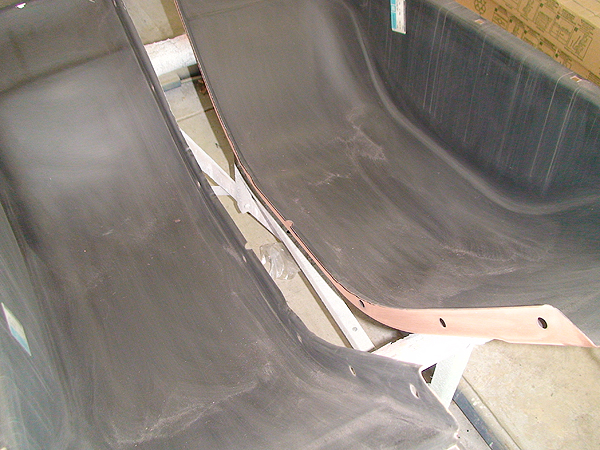
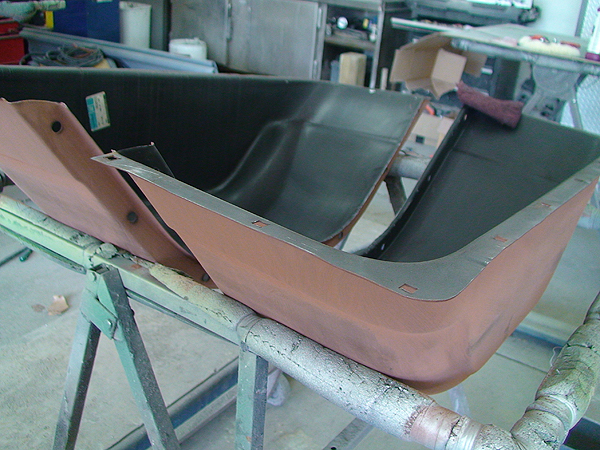
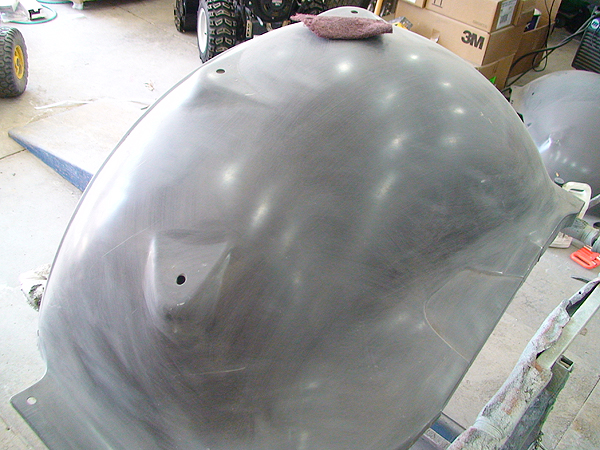
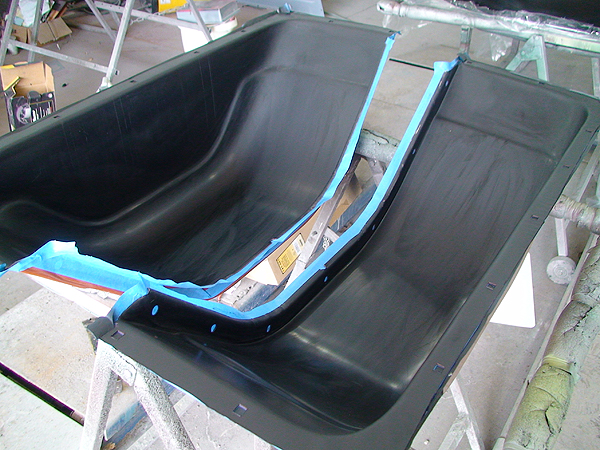
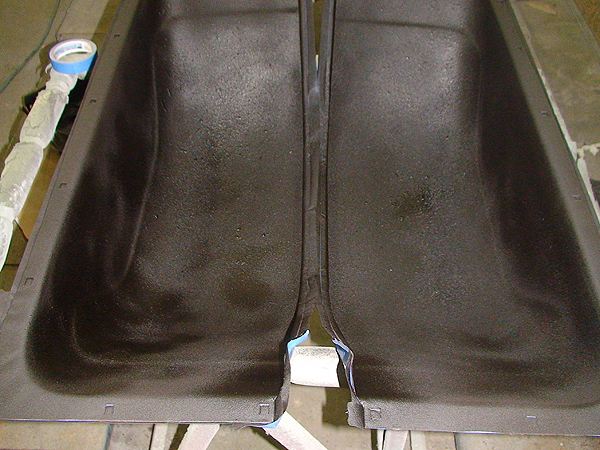
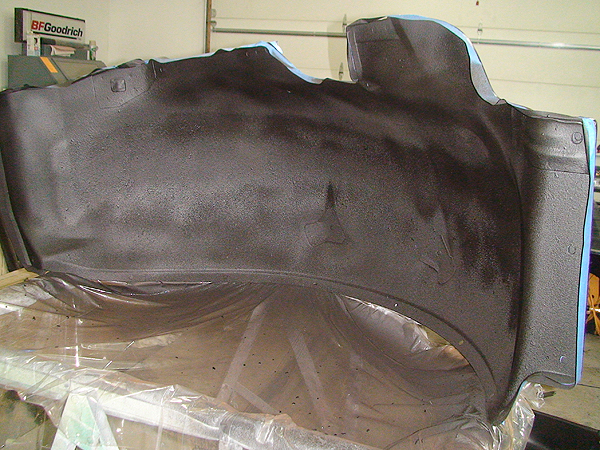
These two still need finishing on top. Everything else shown is done.
__________________
project: "my happy mess" |
|
|
|
|
04-23-2014, 03:08 PM
|
#23 |
|
Registered User
Join Date: Jul 2011
Location: Des Moines, Iowa
Posts: 3,016
|
Re: Project "My Happy Mess"
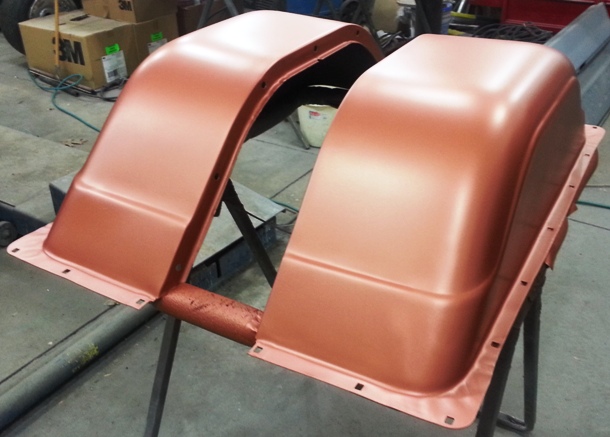
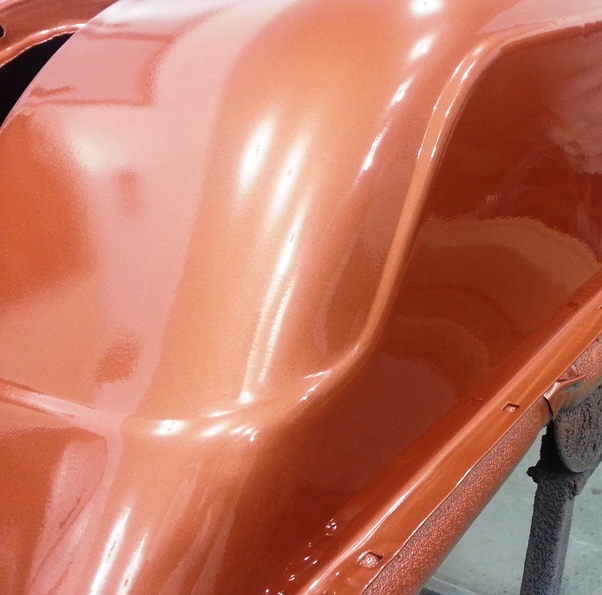
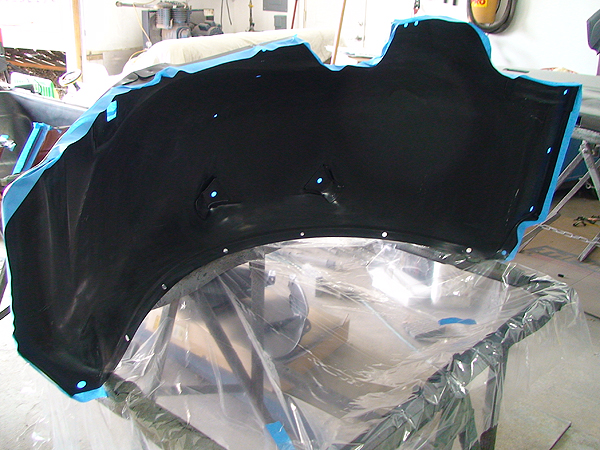
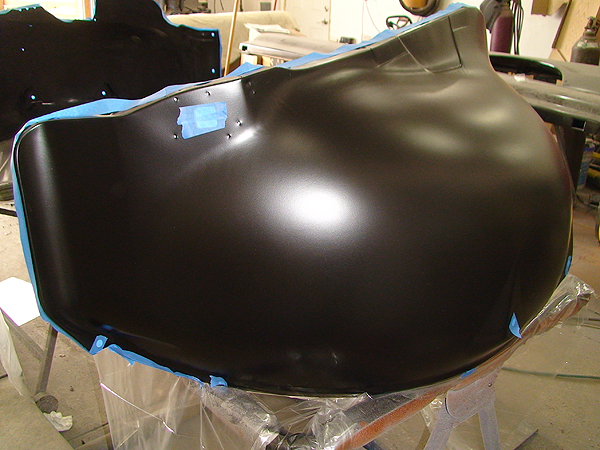
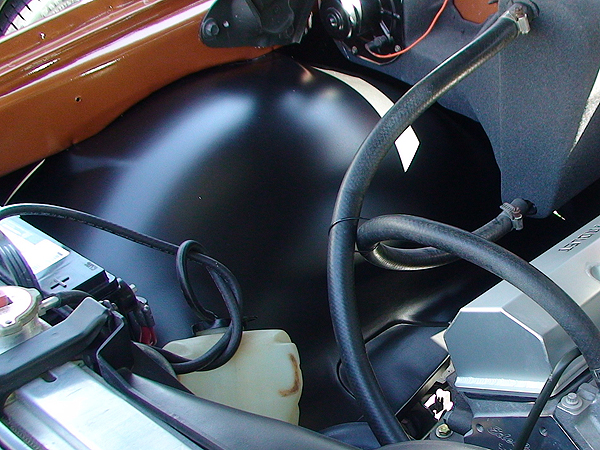 Not sure why, and I'm wondering if these repro front inner fenders are really for my truck We had to cut out a larger notch (outlined in red) so that the steering shaft would clear. Don't care! It fits, now 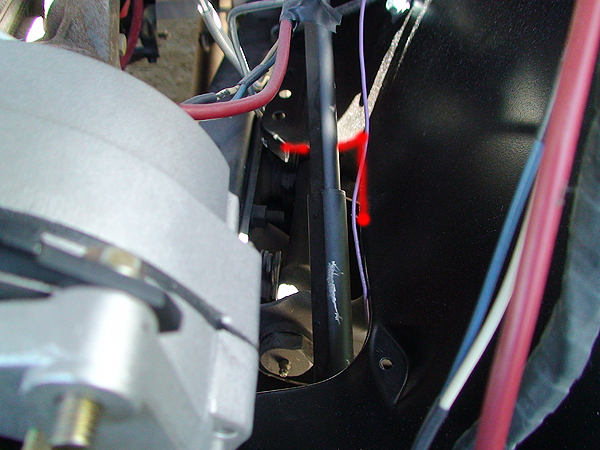 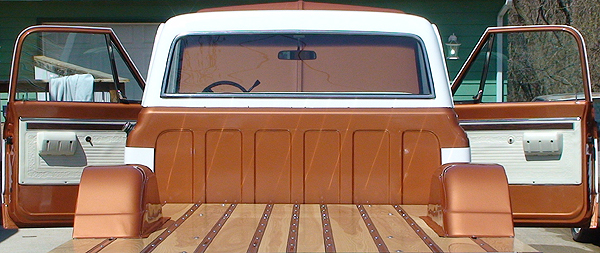
__________________
project: "my happy mess" |
|
|
|
|
04-23-2014, 06:36 PM
|
#24 |
|
Senior Member
 Join Date: Mar 2011
Location: West Plains, Missouri
Posts: 7,557
|
Re: Project "My Happy Mess"
Hey Litew8, like the "new flat bed" look you have going
 ...Jim ...Jim
__________________
my build thread: http://67-72chevytrucks.com/vboard/s...d.php?t=459839 Jimbo's long bed step build:http://67-72chevytrucks.com/vboard/s...t=464626<br /> |
|
|
|
|
06-10-2014, 02:14 PM
|
#25 |
|
Registered User
Join Date: Jul 2011
Location: Des Moines, Iowa
Posts: 3,016
|
Re: Project "My Happy Mess"
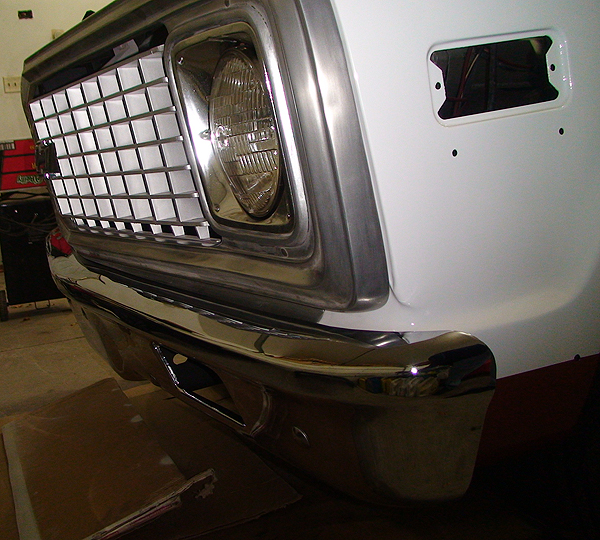
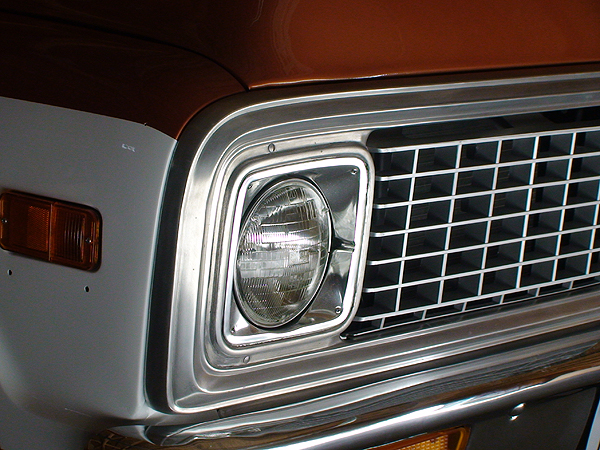
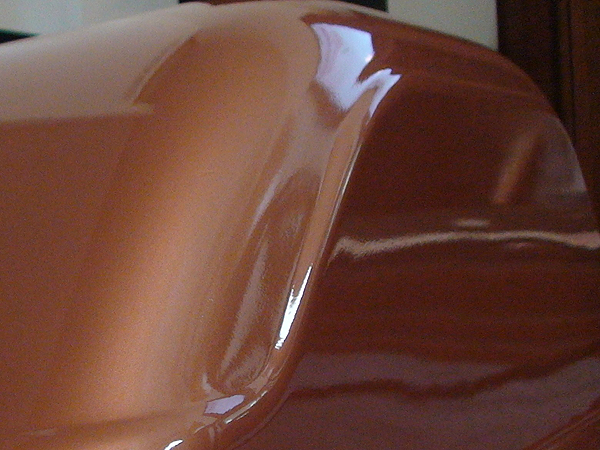
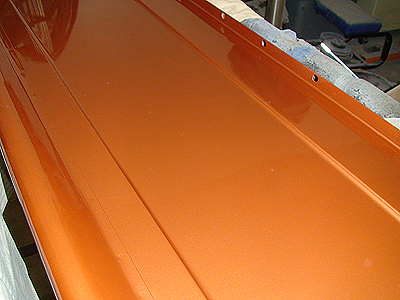
Front panel
 Tailgate prep 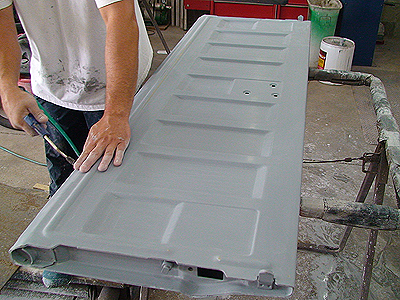
__________________
project: "my happy mess" |
|
|
|
 |
| Bookmarks |
|
|


 Hybrid Mode
