
 |
|
|
|
|
#1 |
|
Happy to be here
 Join Date: Mar 2000
Location: Cypress, TX
Posts: 39,023
|
Re: Shucks First Build
The American racing Torque Thrust is a classic wheel that never goes out of style. Right now the gray centers are more popular that the polished. Any 5 spoke wheel like the American Eagle pictured will look great as well.
Regarding size, 20s look fantastic on a mild dropped truck and can be had at a decent price. While searching for styles and sizes. look at cost and availability of tires too. The common misconception is that larger size tires like 20s or 22s are more expensive than smaller sizes. The reality is I can buy 20s or 22s cheaper than I can by 17s or 18s. As long as you get a decent size sidewall, you want have any issues with ride or rim damage.
__________________
Follow me on Facebook and Instagram @N2trux.com Articles- "Jake" the 84 to 74 crewcab "Elwood" the77_Remix 85 GMC Sierra "Scarlett" "Refining Sierra" |
|
|

|
|
|
#2 |
|
Registered User
Join Date: Nov 2013
Location: Lawrence Kansas
Posts: 229
|
Re: Shucks First Build
I have noticed that tire prices can be more expensive for the smaller sizes but the wheel changed drastically with a 20inch rim. But, that's the size of wheel I'm looking for. The tire sizes I'm looking at are 245/45/r20 and 275/45/r20 with a20x8 and a 20x10. Which I have done research and people seem to not have issues with that sidewall and wheel combination. The one concern I do have is the lip on the front fender coming to contact with the tire. I'm no guru on backspacing but Aggie gave me good pointers. 4.75 backspacing in the front followed by 5.75 backspacing in the rear for those gray torque thrust wheels. I read that people put 5 or 5.5 backspacing on the rear but I can't seem to find any torque thrust with that backspacing and wheel size. Aggie mentioned a 3/4 spacer on the rear wheels, should and hopefully will work with the math we did.
__________________
|
|
|

|
|
|
#3 |
|
Registered User
Join Date: May 2013
Location: Centerville,Ma.
Posts: 1,223
|
Re: Shucks First Build
As long as you get a decent size sidewall, you want have any issues with ride or rim damage.
You should see what our new england roads look like after the ground freezes and then the plows tear into them. By spring we have holes I am afraid to drive into with 235/75/15s. My ex just blew out a wheel and tire on her Miata with stock wheels. |
|
|

|
|
|
#4 |
|
I'm just glad to be here!
Join Date: Jan 2008
Location: Longview, TX
Posts: 4,788
|
Re: Shucks First Build
All three of your wheel choices are great for that truck. I agree with Ken, the gray center Torque Thrust would be my choice. I have had the AE 225's, they are great wheels, you can get a better selection of back spacing on them as they are part of AE's custom line now. I had issues getting my set and it took FOREVER to get them. If you go with them, I would do a 5" back space on a 8.5" front wheel and a 5" backspace on the 10" rear wheel. I think a bit taller tire for the rear would look good too, like a 295/40-20, price may become an issue and you could always change the rear size once the first set is worn out...
__________________
Karl  1965 Chevy Stepside(Grandpa's Old Blue) and (July 2015 Shop Build!)(2020, the Saga Continues) http://67-72chevytrucks.com/vboard/s...d.php?t=372424 The LST Challenge: http://67-72chevytrucks.com/vboard/s...=1#post7812257 Korbin's 1st Square: "Sunburn" http://67-72chevytrucks.com/vboard/s...d.php?t=418618 1985 GMC Sierra: "White Trash", Korbin's 2nd now... http://67-72chevytrucks.com/vboard/s...d.php?t=632305 Henry - 1984 Chevrolet, Owen's 1st Square |
|
|

|
|
|
#5 |
|
Happy to be here
 Join Date: Mar 2000
Location: Cypress, TX
Posts: 39,023
|
Re: Shucks First Build
I agree. Heres a pic of that combo of tire size I plucked from my Facebook feed
__________________
Follow me on Facebook and Instagram @N2trux.com Articles- "Jake" the 84 to 74 crewcab "Elwood" the77_Remix 85 GMC Sierra "Scarlett" "Refining Sierra" Last edited by N2TRUX; 03-24-2017 at 08:55 PM. |
|
|

|
|
|
#6 |
|
Registered User
Join Date: May 2013
Location: Centerville,Ma.
Posts: 1,223
|
Re: Shucks First Build
Now what makes you think a teenagers rear tires will wear out first?
|
|
|

|
|
|
#7 | |
|
Registered User
Join Date: Nov 2013
Location: Lawrence Kansas
Posts: 229
|
Re: Shucks First Build
Quote:
As for the wheel choice I think I'm sold on the gray Torque Thrusts. 20x8 4.75 BS and 20x10 5.75 BS. The custom shop wheels can get the 5-5.5 BS but man I can't afford the extra $300 per wheel... Tires (My opinion) : Nitto NT555 G2 245/45/r20 and 295/40/r20. Question time : So I'm spraying primer right now, and its laying on fine but where I did my badge delete, you can see where my body filler tried to feather into the metal and you can see the "dip" with the light just right on both fenders. Will this block sand out or will I have to dig deeper and get back down to the metal? I sure thought I had it as smooth as possible. 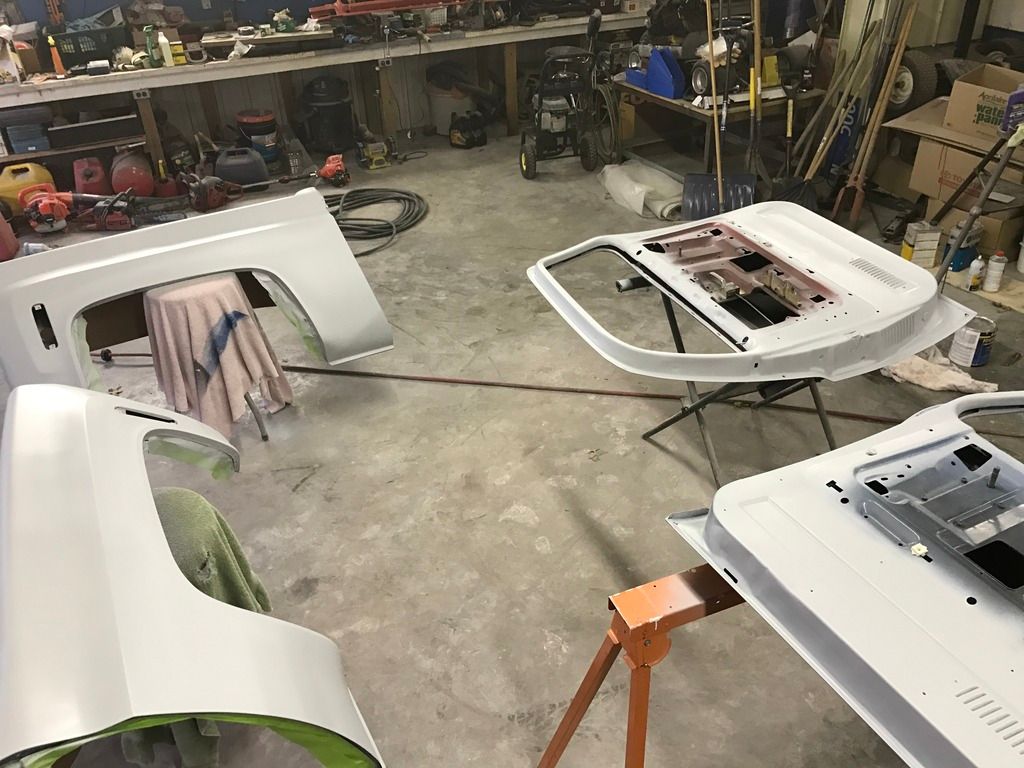 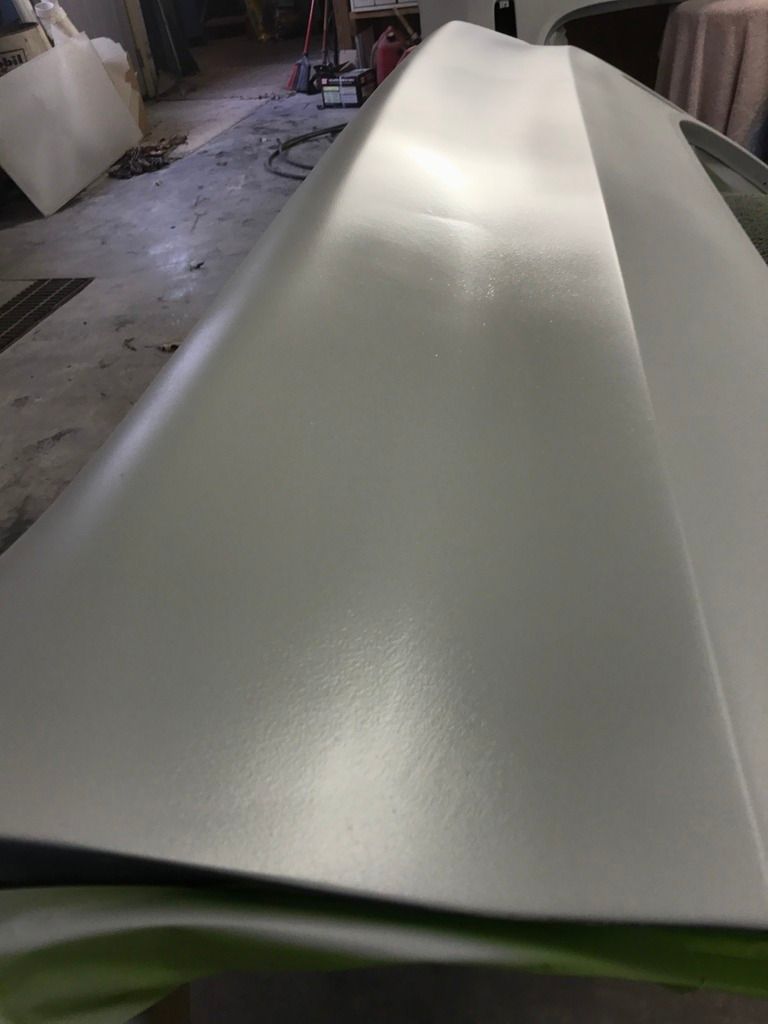 Edit : I let it dry for about an hour and it leveled out better, the dip is not near as bad but still there.
__________________
Last edited by Shucks; 03-24-2017 at 01:41 PM. |
|
|
|

|
|
|
#8 |
|
I'm just glad to be here!
Join Date: Jan 2008
Location: Longview, TX
Posts: 4,788
|
Re: Shucks First Build
LOL, because I have a 19yr old boy...
__________________
Karl  1965 Chevy Stepside(Grandpa's Old Blue) and (July 2015 Shop Build!)(2020, the Saga Continues) http://67-72chevytrucks.com/vboard/s...d.php?t=372424 The LST Challenge: http://67-72chevytrucks.com/vboard/s...=1#post7812257 Korbin's 1st Square: "Sunburn" http://67-72chevytrucks.com/vboard/s...d.php?t=418618 1985 GMC Sierra: "White Trash", Korbin's 2nd now... http://67-72chevytrucks.com/vboard/s...d.php?t=632305 Henry - 1984 Chevrolet, Owen's 1st Square |
|
|

|
|
|
#9 |
|
I'm just glad to be here!
Join Date: Jan 2008
Location: Longview, TX
Posts: 4,788
|
Re: Shucks First Build
I think it will block out, but you might end up taking off most of that coat of primer. Guide coat that area (above the body line, the length of the fender) and work it first. If you end up breaking through that coat of primer, just redo that part of the fender.
__________________
Karl  1965 Chevy Stepside(Grandpa's Old Blue) and (July 2015 Shop Build!)(2020, the Saga Continues) http://67-72chevytrucks.com/vboard/s...d.php?t=372424 The LST Challenge: http://67-72chevytrucks.com/vboard/s...=1#post7812257 Korbin's 1st Square: "Sunburn" http://67-72chevytrucks.com/vboard/s...d.php?t=418618 1985 GMC Sierra: "White Trash", Korbin's 2nd now... http://67-72chevytrucks.com/vboard/s...d.php?t=632305 Henry - 1984 Chevrolet, Owen's 1st Square |
|
|

|
|
|
#10 | |
|
Registered User
Join Date: Nov 2013
Location: Lawrence Kansas
Posts: 229
|
Re: Shucks First Build
Quote:
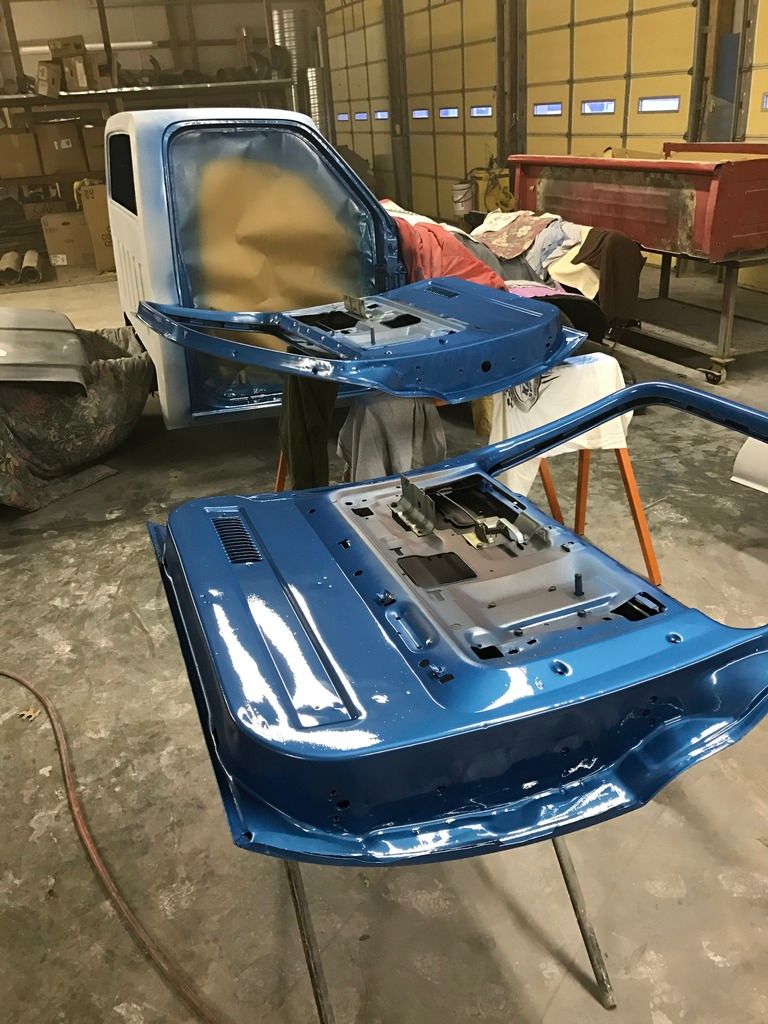 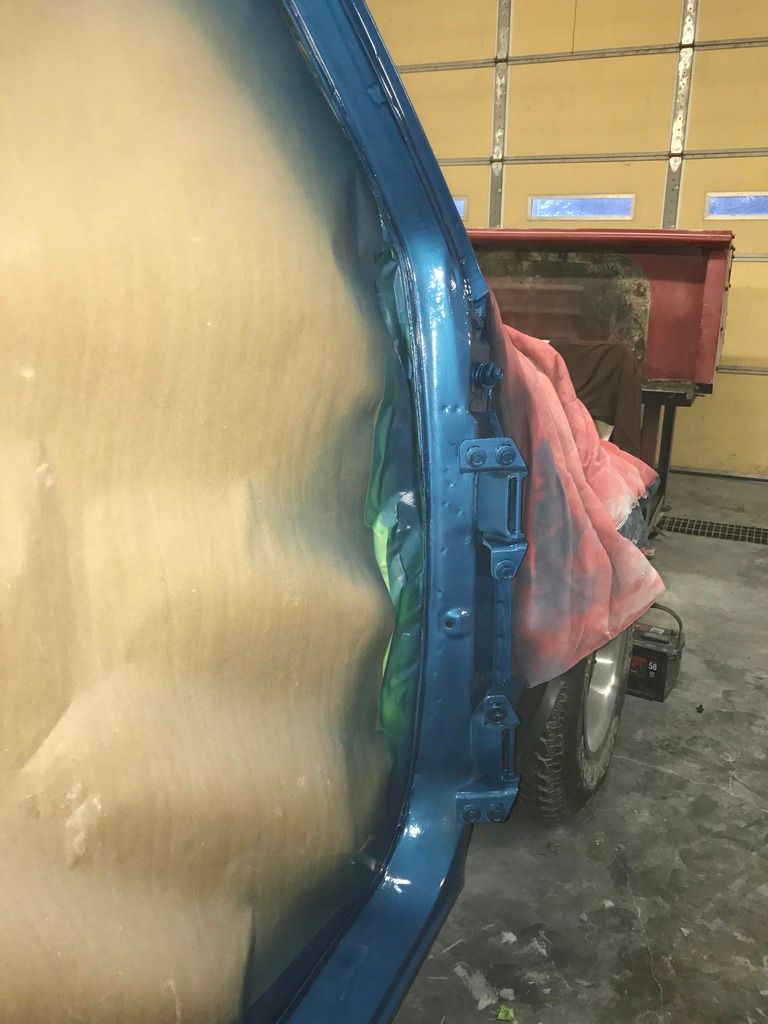 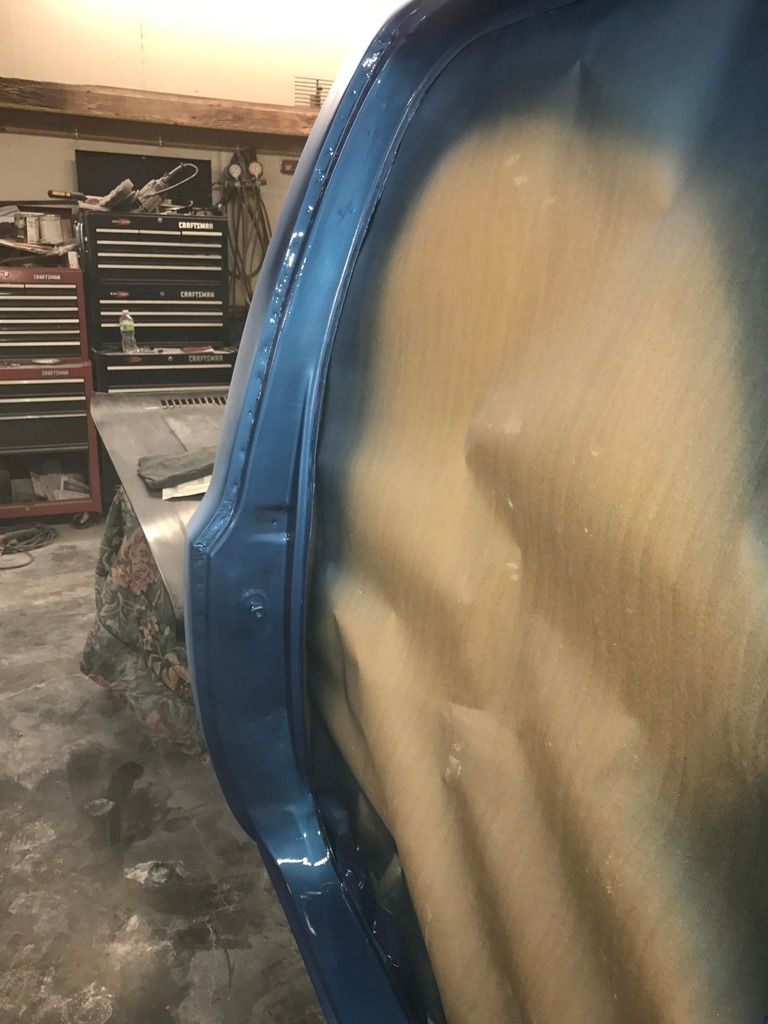 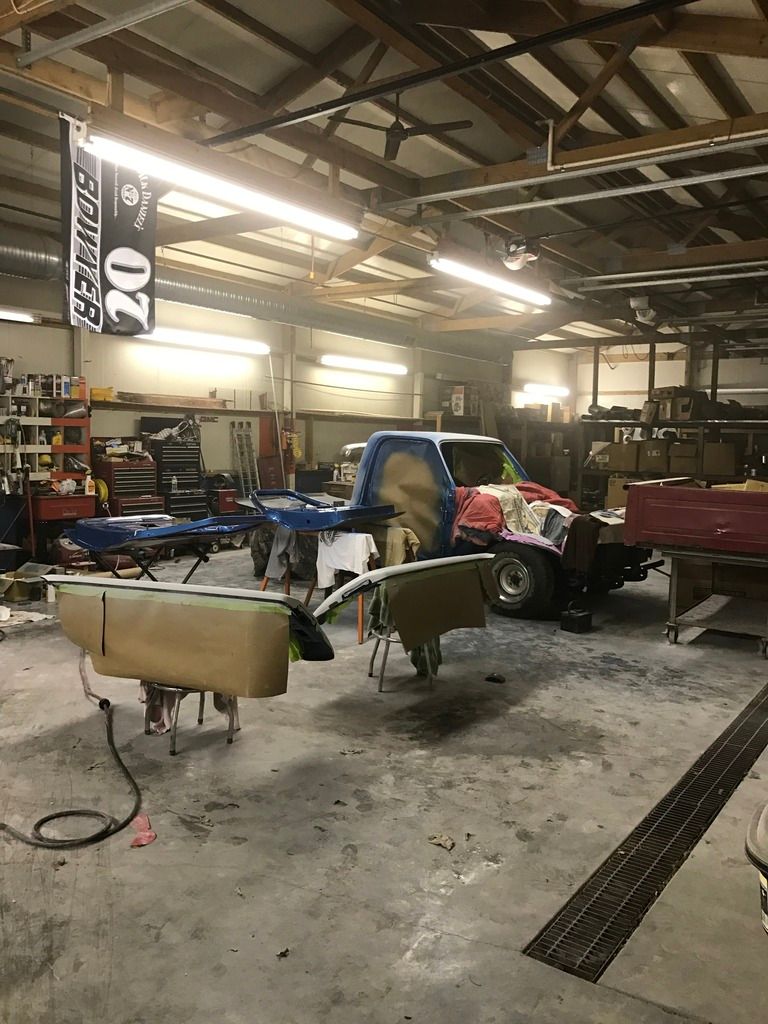 While painting it makes me realize how poorly the trucks come out of the factory, spot welds everywhere and runs that I've already sanded out, but it's funny to me how bad some areas are.
__________________
|
|
|
|

|
|
|
#11 |
|
Registered User
Join Date: May 2013
Location: Centerville,Ma.
Posts: 1,223
|
Re: Shucks First Build
This series of trucks was kind of when trucks were making the transition from work only vehicles to work by day and go to town at night vehicles. Lots of available options and fancy interior offerings. But they were still built with work truck fit and finish. Of course 70's cars were probably some of the worst built cars american factorys ever built.
|
|
|

|
|
|
#12 |
|
Registered User
Join Date: Nov 2013
Location: Lawrence Kansas
Posts: 229
|
Re: Shucks First Build
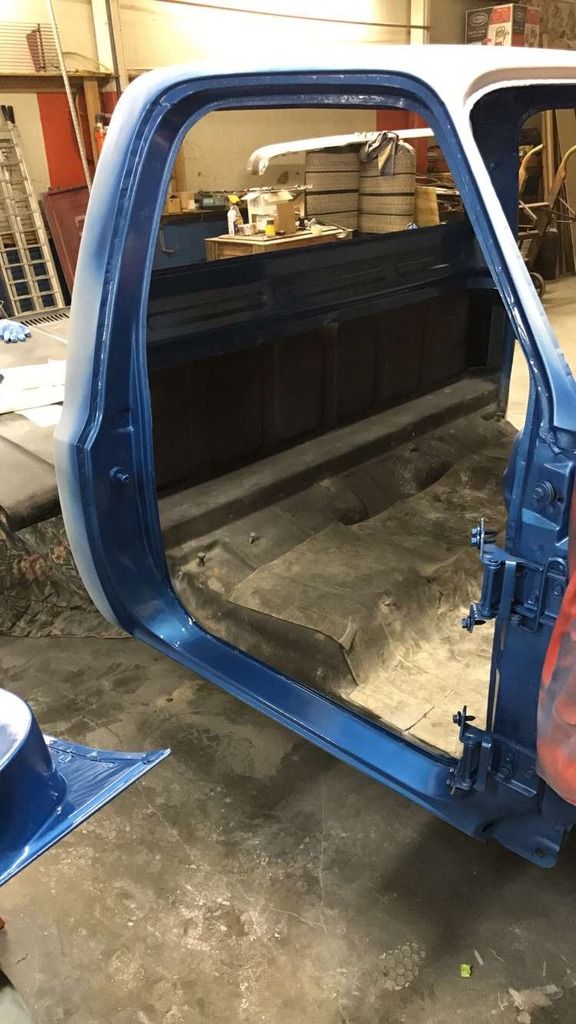
Just a quick post because I really like the way this is turning out. Scared for painting the outside of the truck... which is coming up shortly.
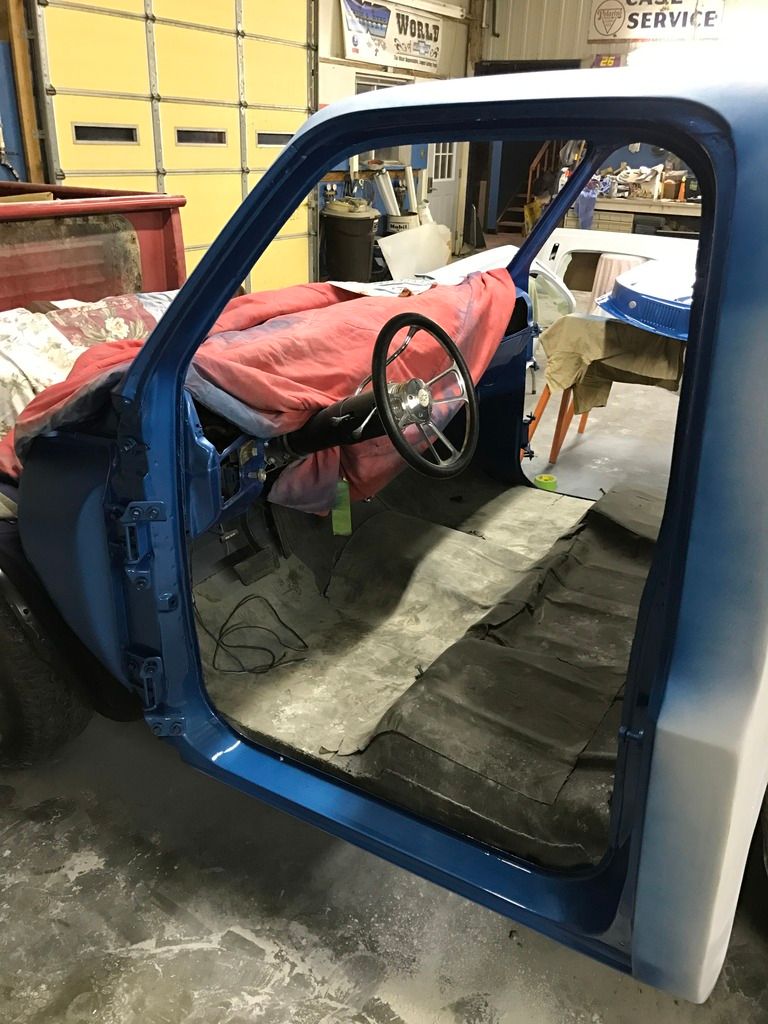 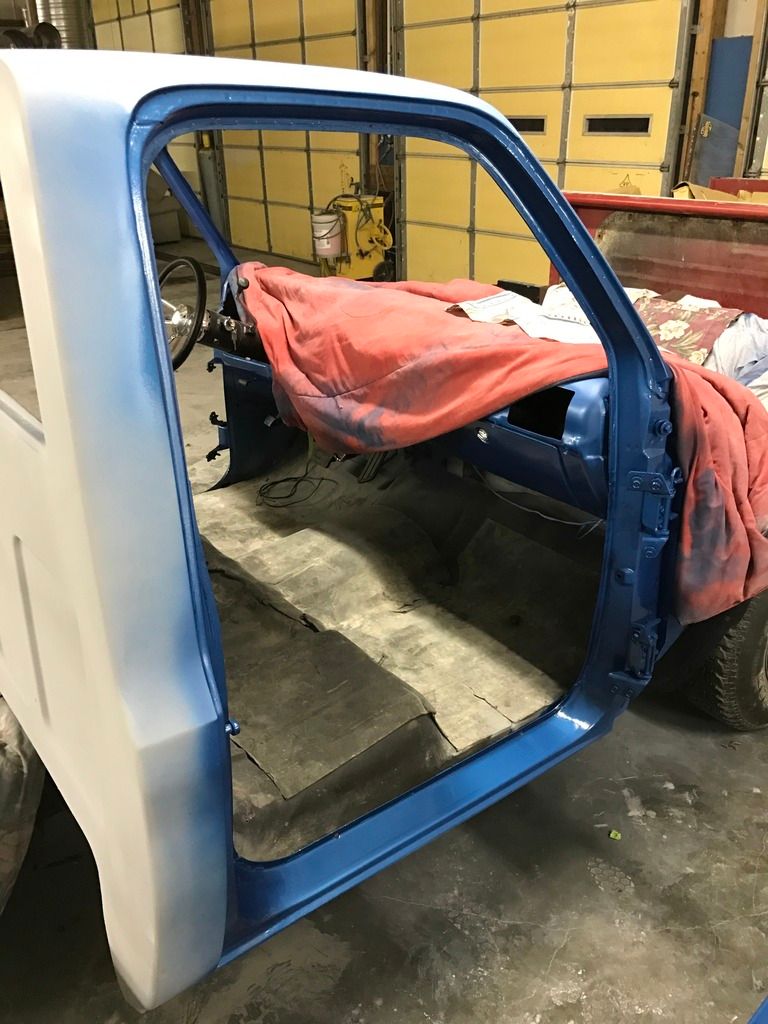  Has anyone used these gauges? Or any info on them? LMC sells them. I just like the way these look compared to Dakota. 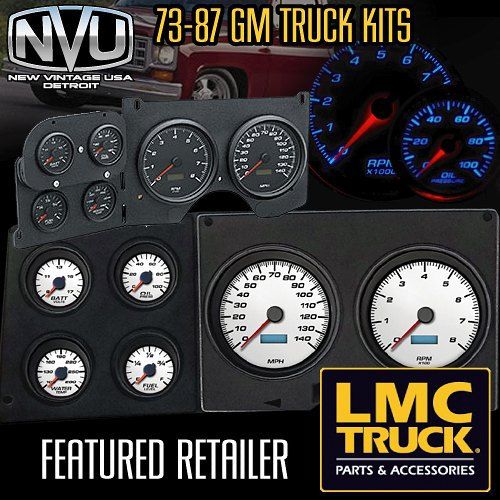
__________________
Last edited by Shucks; 03-26-2017 at 07:45 PM. |
|
|

|
|
|
#13 |
|
Registered User
Join Date: May 2013
Location: Centerville,Ma.
Posts: 1,223
|
Re: Shucks First Build
looking good, When painting the outside everyone has their own way but what I do for an overall paint is start the farthest from the fan so you are not pulling overspray over freshly painted surfaces. If the hood is towards the fan start with the back of the cab, then paint the roof I would use a 3ft. ladder and start on one side paint to center then switch sides and paint from center out. Next go back around and paint the door then go around and paint other door ,switch sides again and do the fender and paint that side of the hood, go to other side and paint from center out and then that fender. The Idea is to not let any area dry to long before painting the adjacent panel and not let dry spray pull over wet paint. Just my way others may disagree.
|
|
|

|
|
|
#14 |
|
Registered User
Join Date: Nov 2013
Location: Lawrence Kansas
Posts: 229
|
Re: Shucks First Build
Guide coat made me feel a lot better about my fenders and doors. I've been busy and unable to work on the truck and kept thinking I had super wavy doors and fenders. Did some blocking and guiding and this is my results the first time around. Sure there are a couple spots but it sure looks better than I kept thinking.
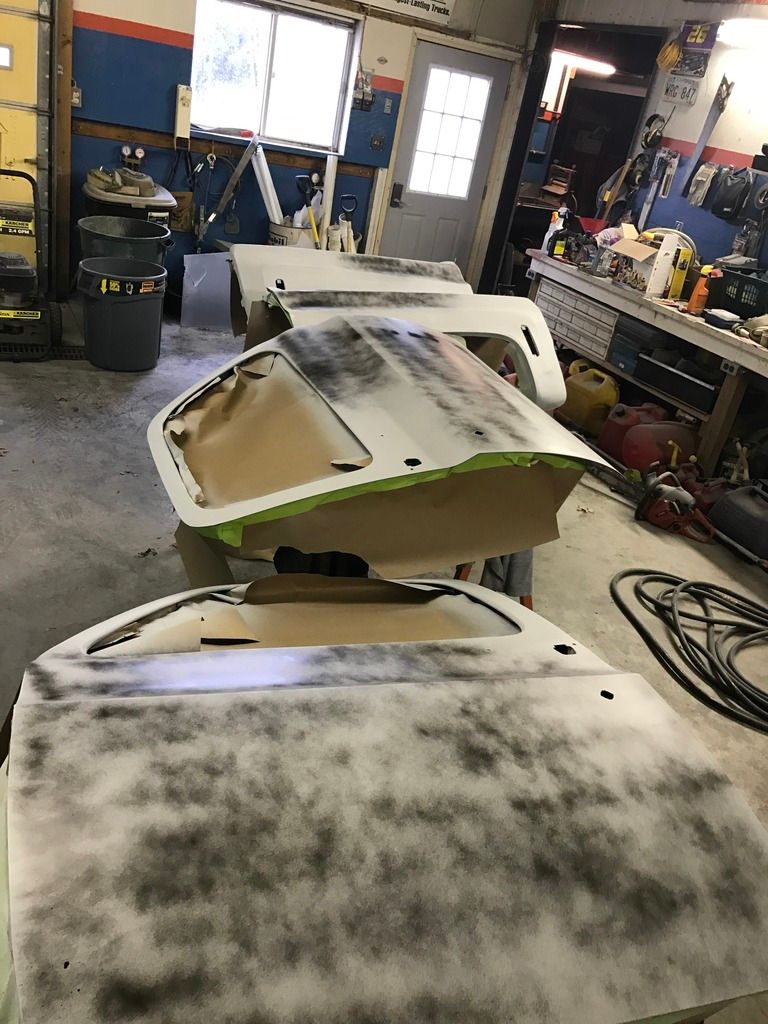 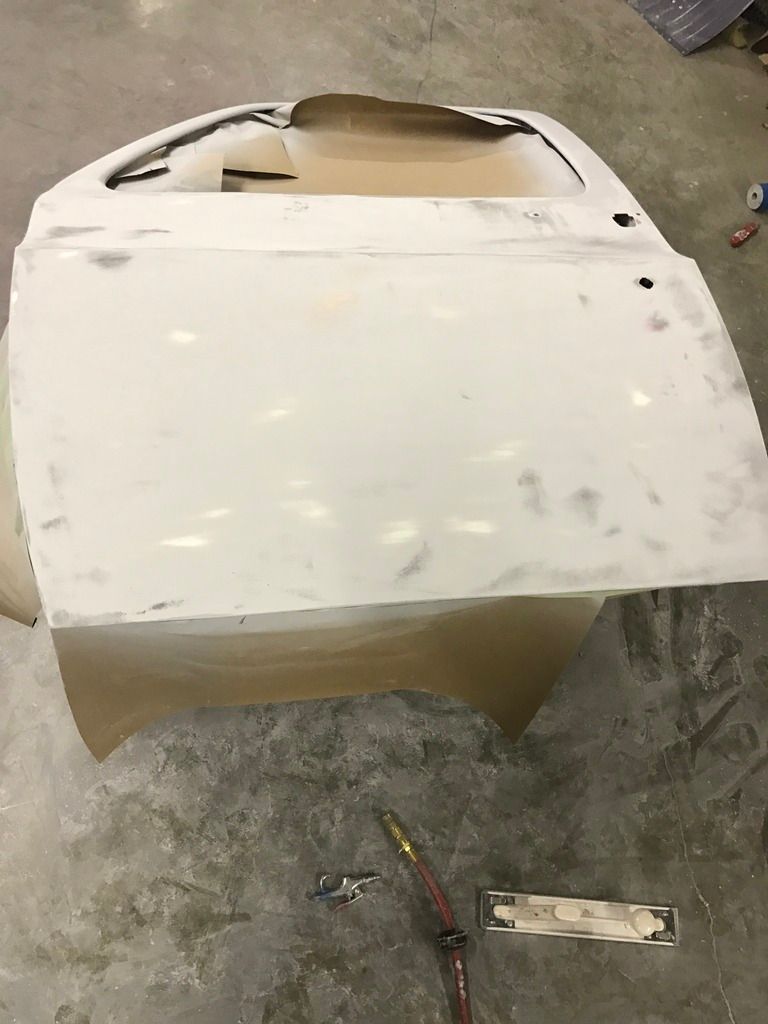 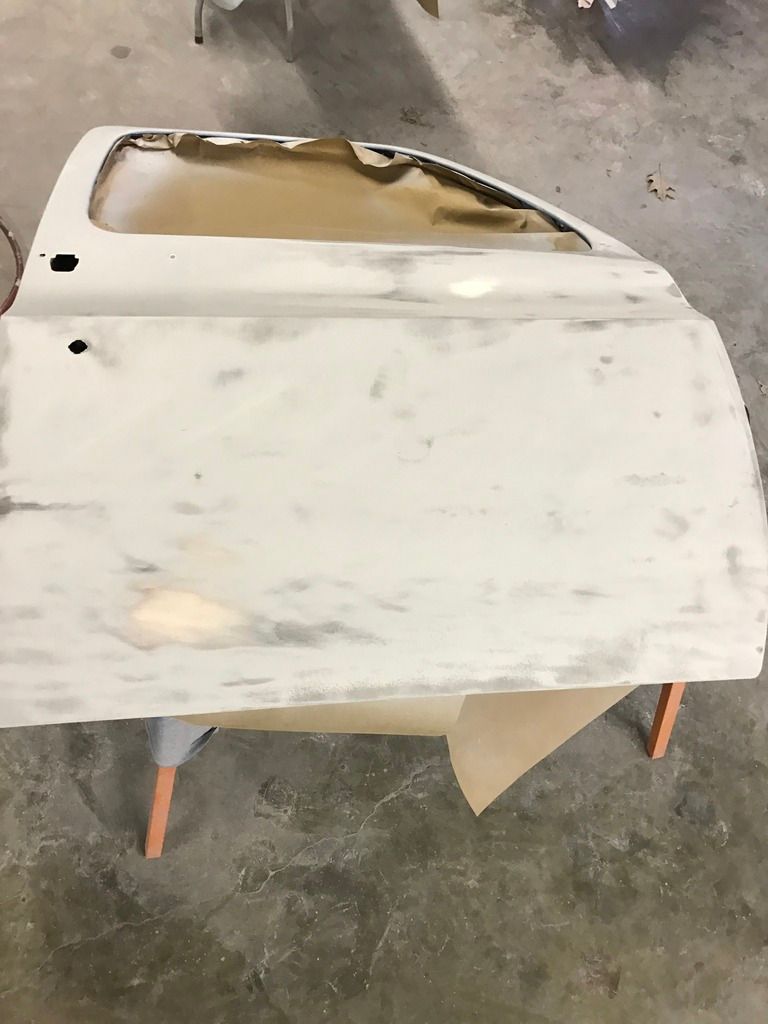 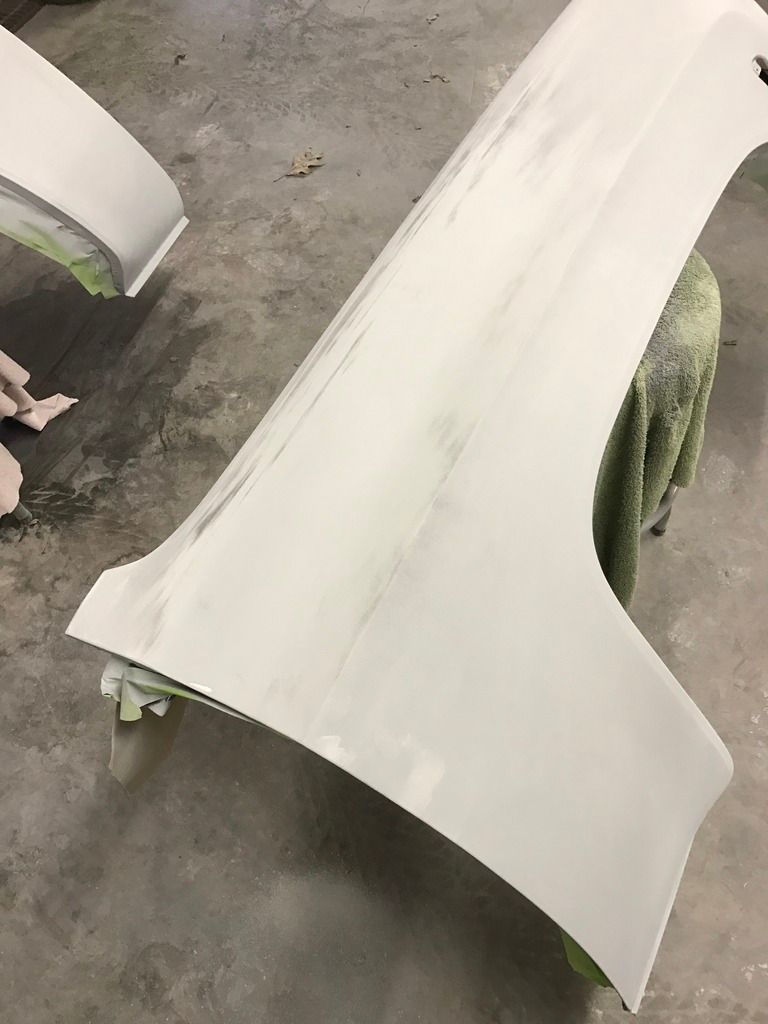 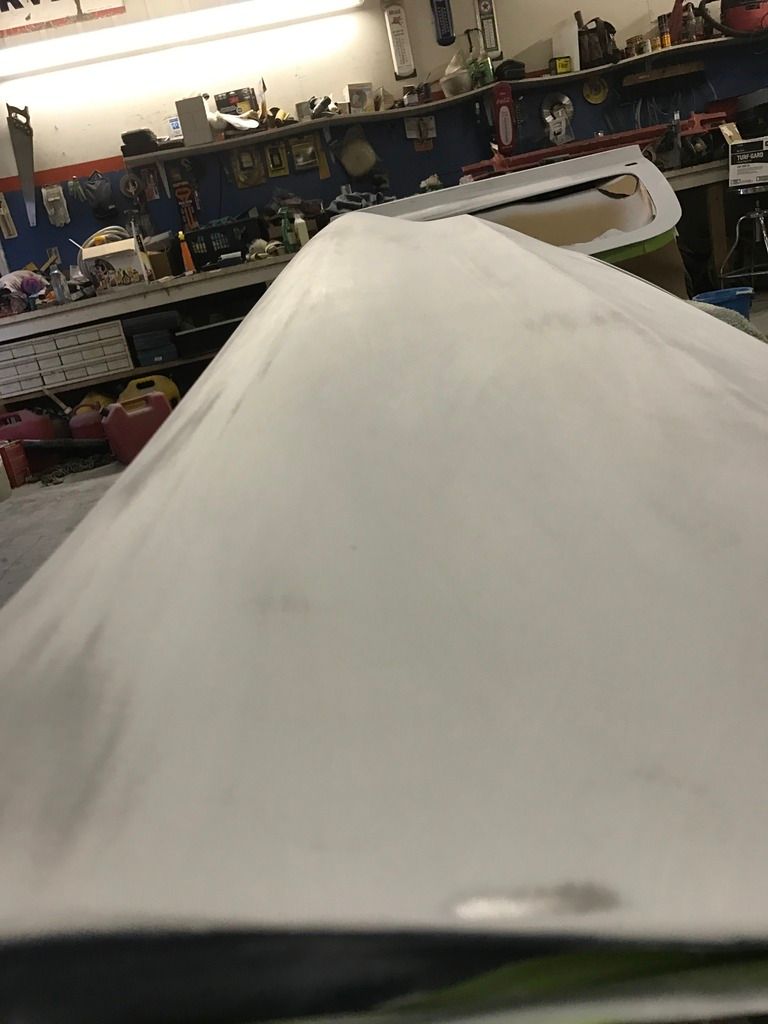 There you can see that dip on the fender was able to come out
__________________
|
|
|

|
|
|
#15 |
|
I'm just glad to be here!
Join Date: Jan 2008
Location: Longview, TX
Posts: 4,788
|
Re: Shucks First Build
Looks good. Patience is all it takes to get a good result when doing this step in the build. for a first timer, you are doing a good job. You should be proud of you results.
__________________
Karl  1965 Chevy Stepside(Grandpa's Old Blue) and (July 2015 Shop Build!)(2020, the Saga Continues) http://67-72chevytrucks.com/vboard/s...d.php?t=372424 The LST Challenge: http://67-72chevytrucks.com/vboard/s...=1#post7812257 Korbin's 1st Square: "Sunburn" http://67-72chevytrucks.com/vboard/s...d.php?t=418618 1985 GMC Sierra: "White Trash", Korbin's 2nd now... http://67-72chevytrucks.com/vboard/s...d.php?t=632305 Henry - 1984 Chevrolet, Owen's 1st Square |
|
|

|
|
|
#16 |
|
Registered User
Join Date: Nov 2013
Location: Lawrence Kansas
Posts: 229
|
Re: Shucks First Build
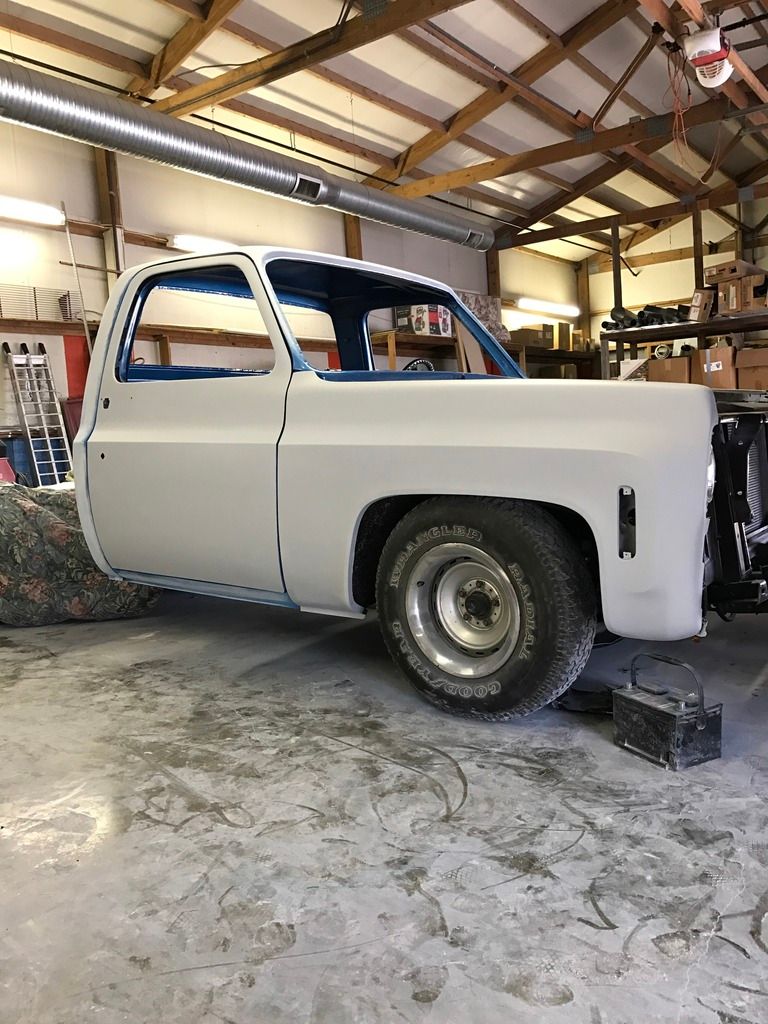 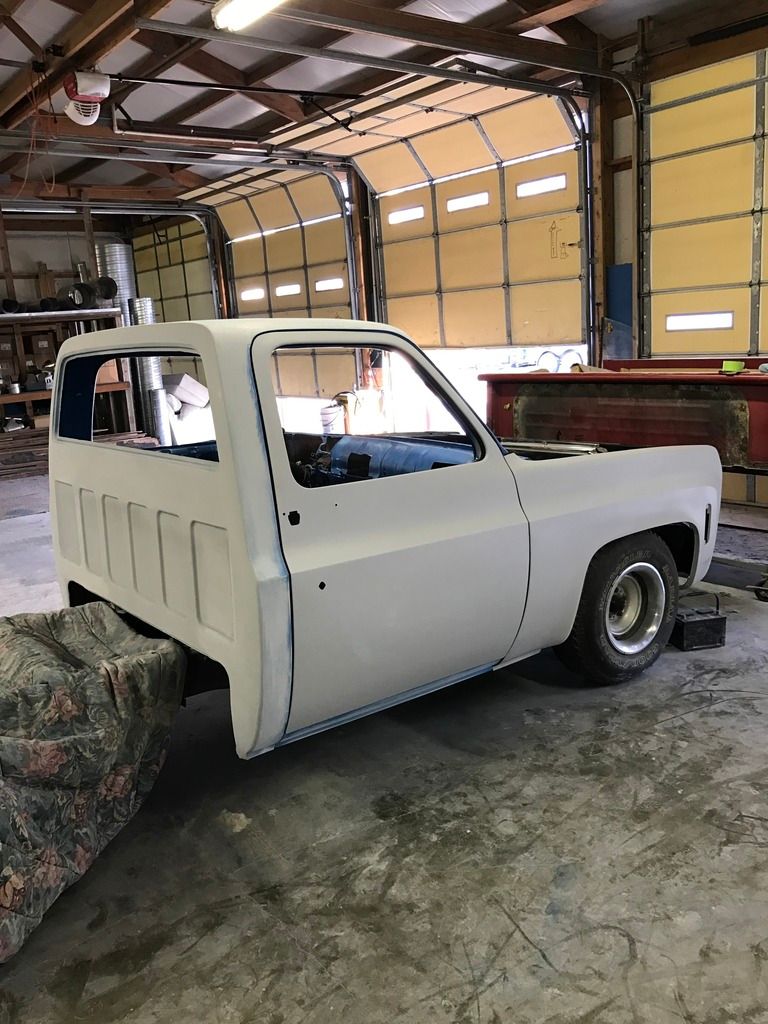 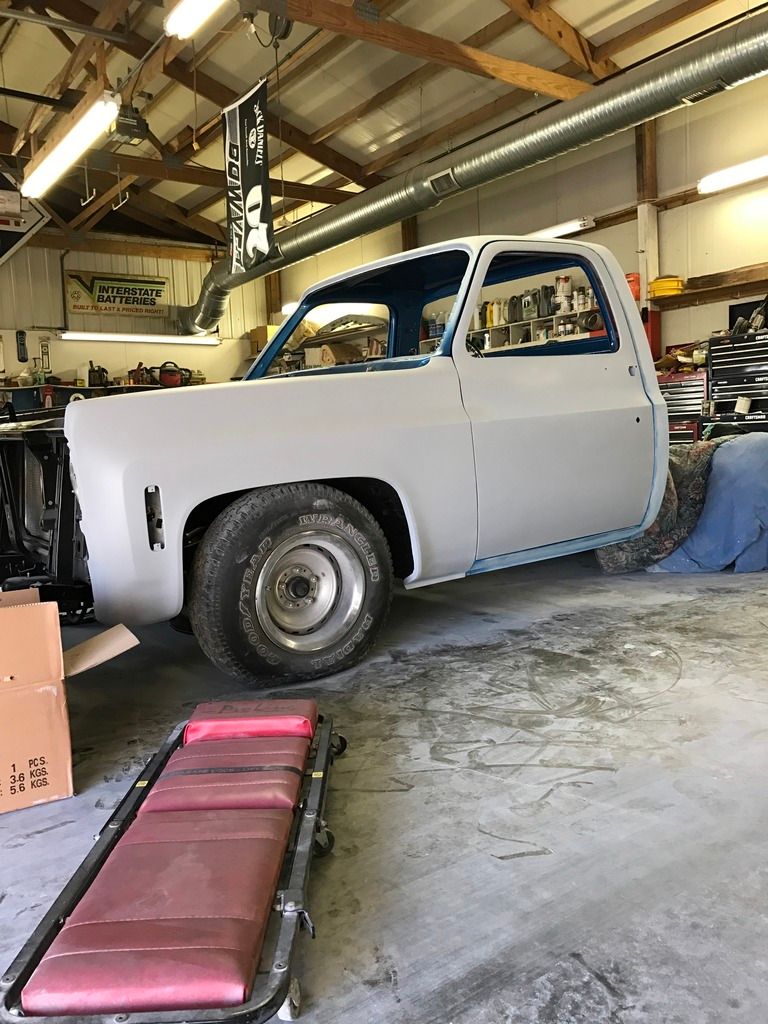 Some panels need to be shifted around but this is all I can get done today. I'll get the hood in primer tomorrow then will be close to shooting the truck.
__________________
|
|
|

|
|
|
#17 |
|
Happy to be here
 Join Date: Mar 2000
Location: Cypress, TX
Posts: 39,023
|
Re: Shucks First Build
Awesome progress. Its starting to look like a truck again
__________________
Follow me on Facebook and Instagram @N2trux.com Articles- "Jake" the 84 to 74 crewcab "Elwood" the77_Remix 85 GMC Sierra "Scarlett" "Refining Sierra" |
|
|

|
|
|
#18 |
|
Registered User
Join Date: Nov 2015
Location: Smethport, PA
Posts: 1,213
|
Re: Shucks First Build
The body work is looking nice. I am dreading getting to that point.
__________________
85 K30 crew cab dually - Project http://67-72chevytrucks.com/vboard/s...d.php?t=694939 87 Wrangler Rock Crawler - Reason for the project http://www.wranglerforum.com/f330/da...ld-122601.html 04 1500 crew cab http://67-72chevytrucks.com/vboard/s...d.php?t=786514 |
|
|

|
|
|
#19 |
|
Registered User
Join Date: Nov 2013
Location: Lawrence Kansas
Posts: 229
|
Re: Shucks First Build
Thanks guys, means a lot.
So today I took a break from painting. Tired of the fumes... I began working on the bed since I really haven't touched it yet. I put the new fenders on to see how they fit and then I mocked up the roll pan. I do have a brand new rear bumper but I can't find the bumper brackets because they don't make them anymore... so I settled for a roll pan, not my forte but it's all I can do. Then I put the tailgate latches on because I didn't want the chains scratching my new paint. Plus it's a nice touch and they turned out cool. I also put the hood braces on today. Not sure if they work but it's better than nothing I suppose. 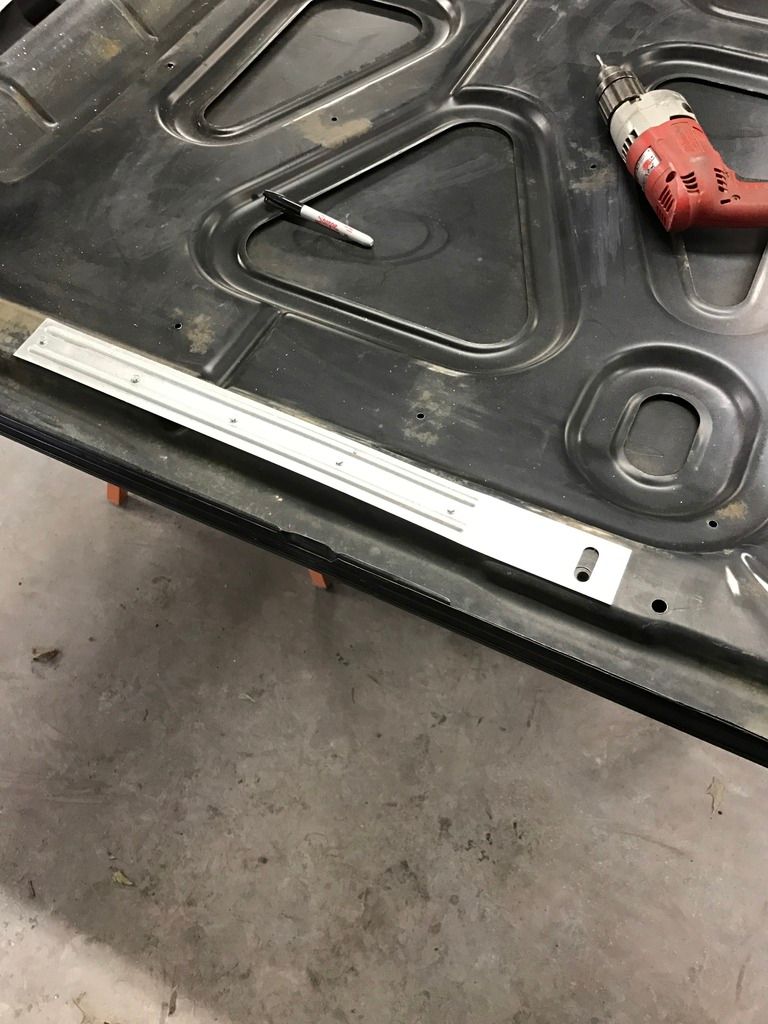 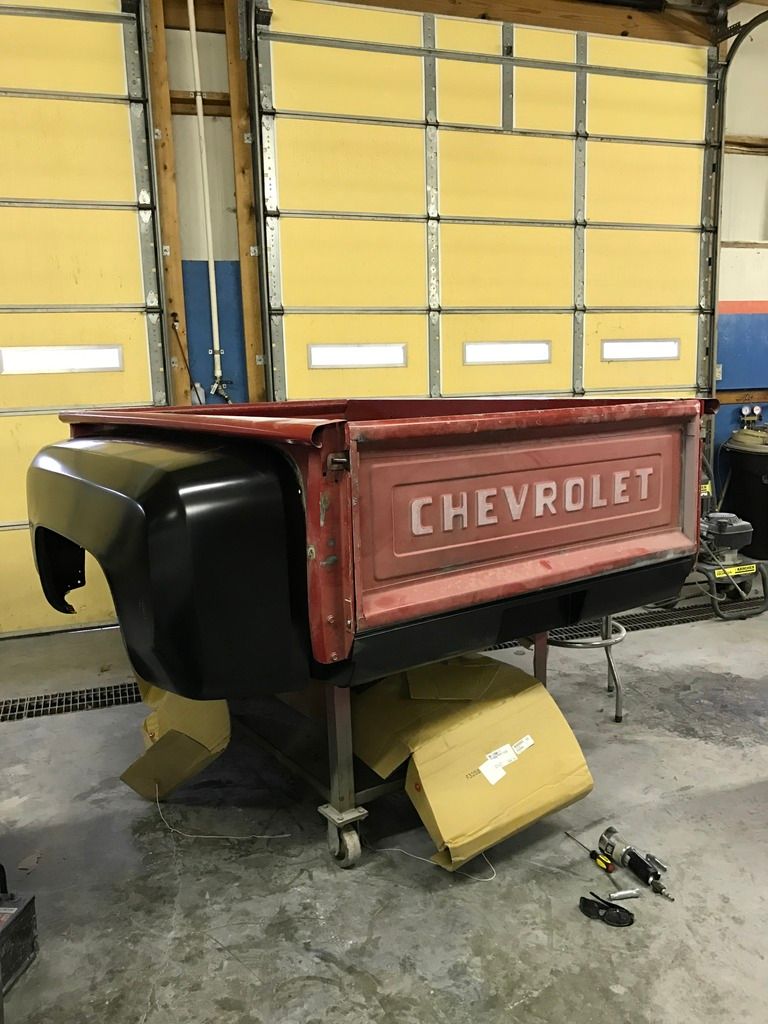 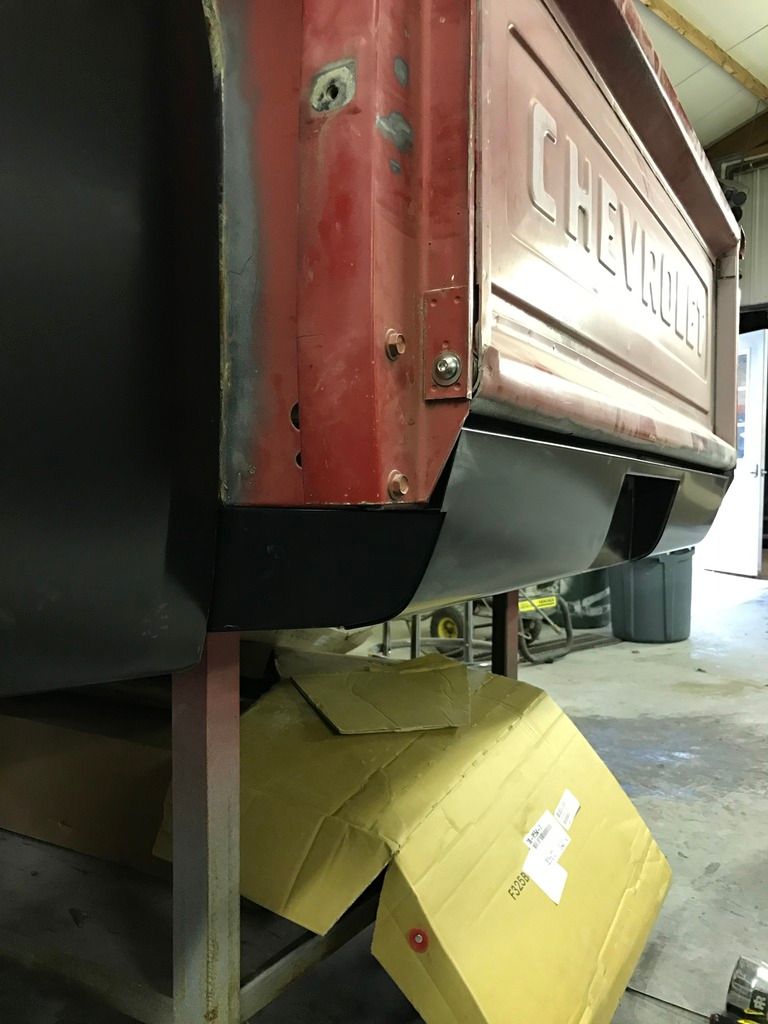 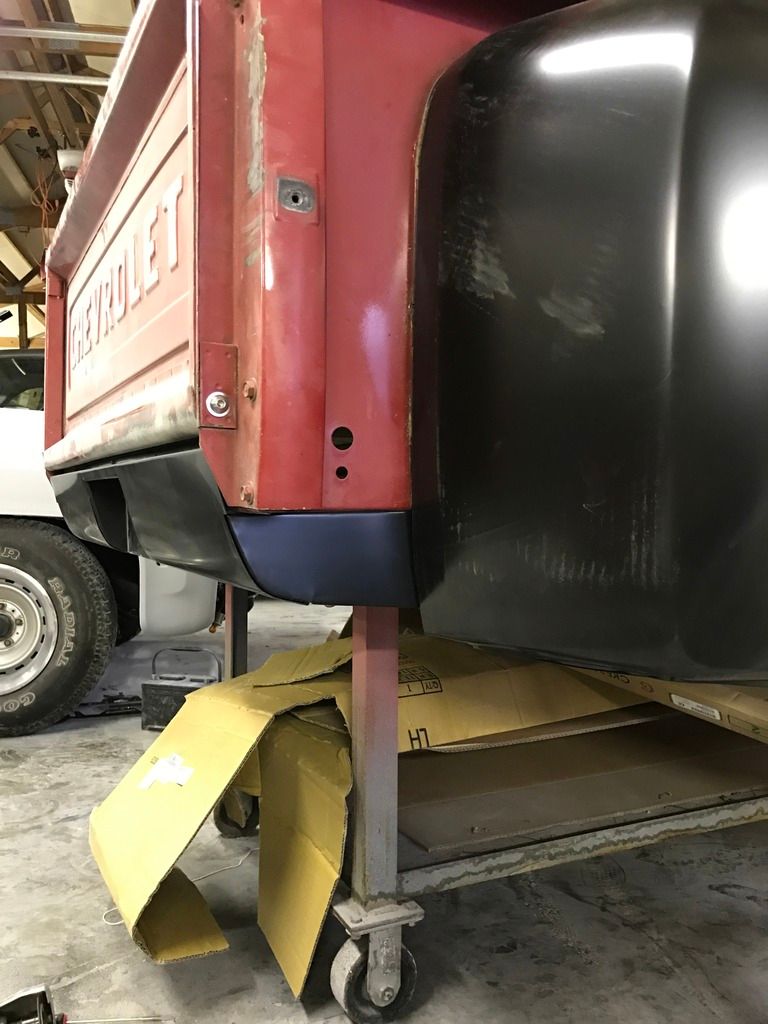 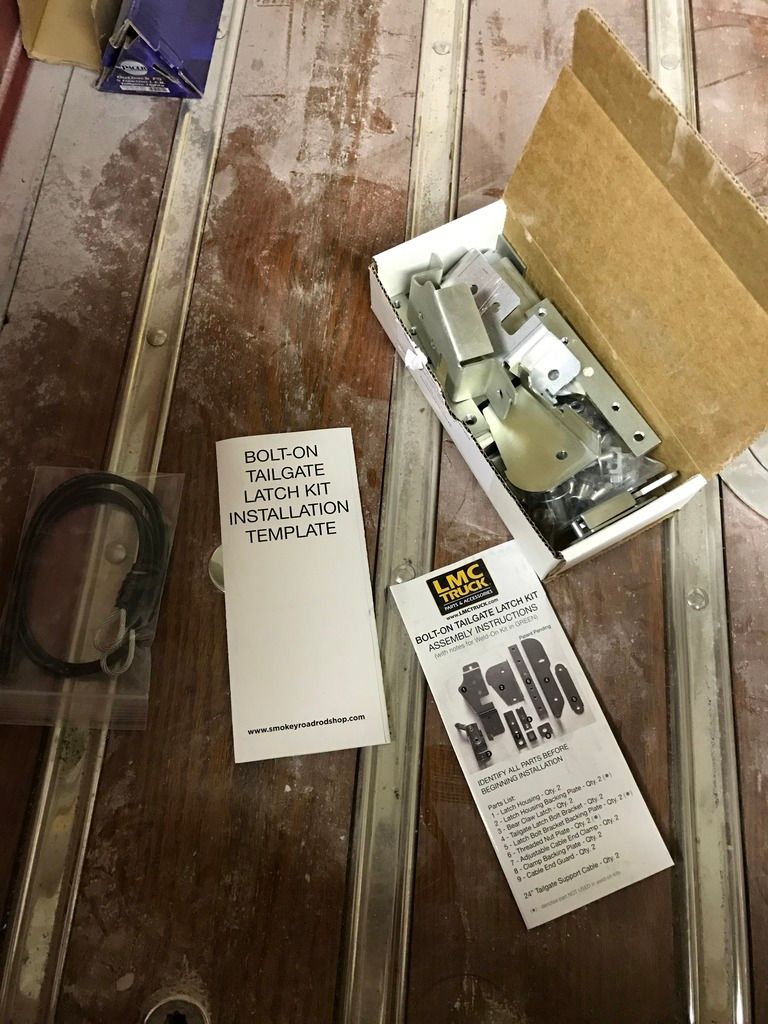 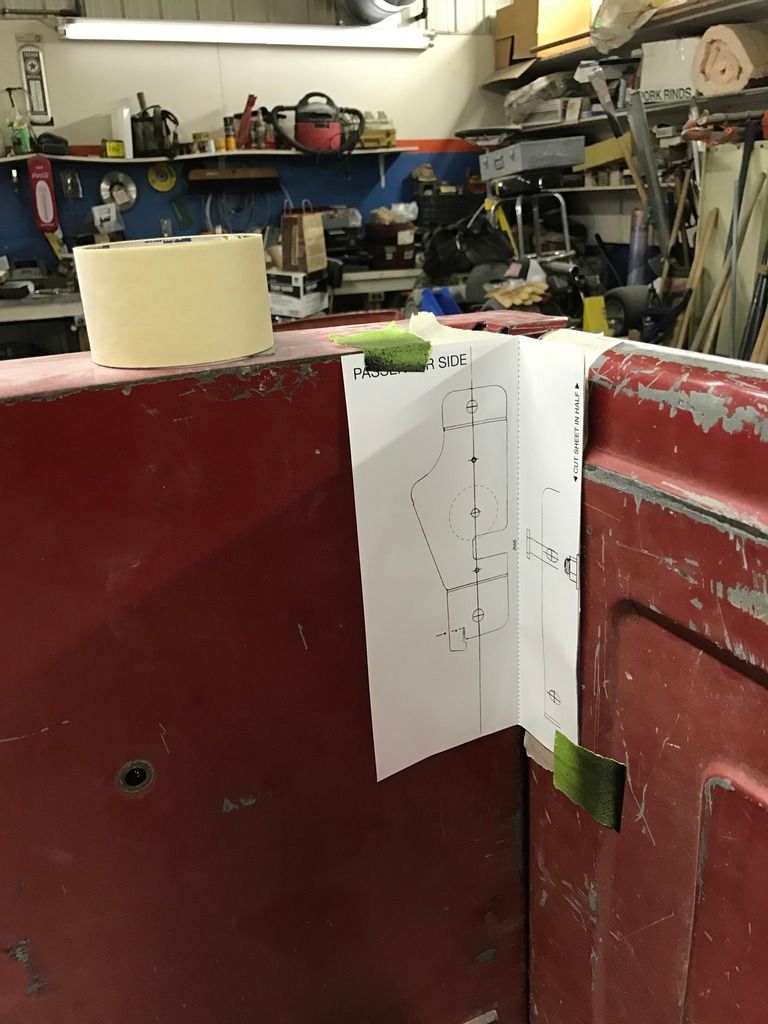 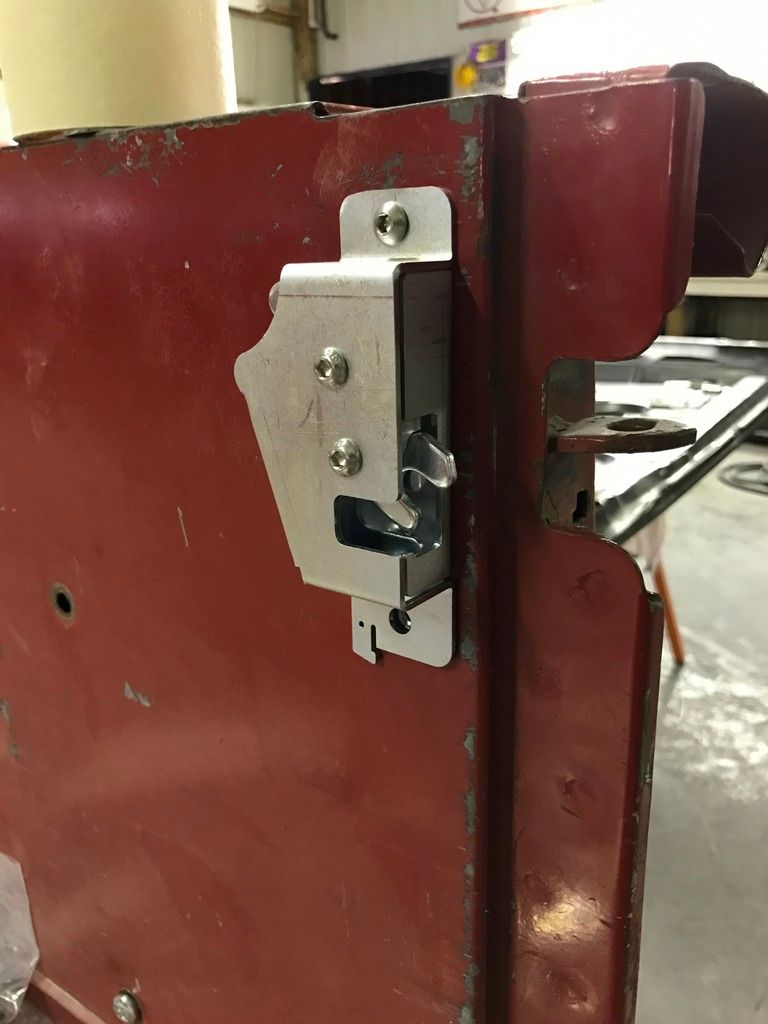 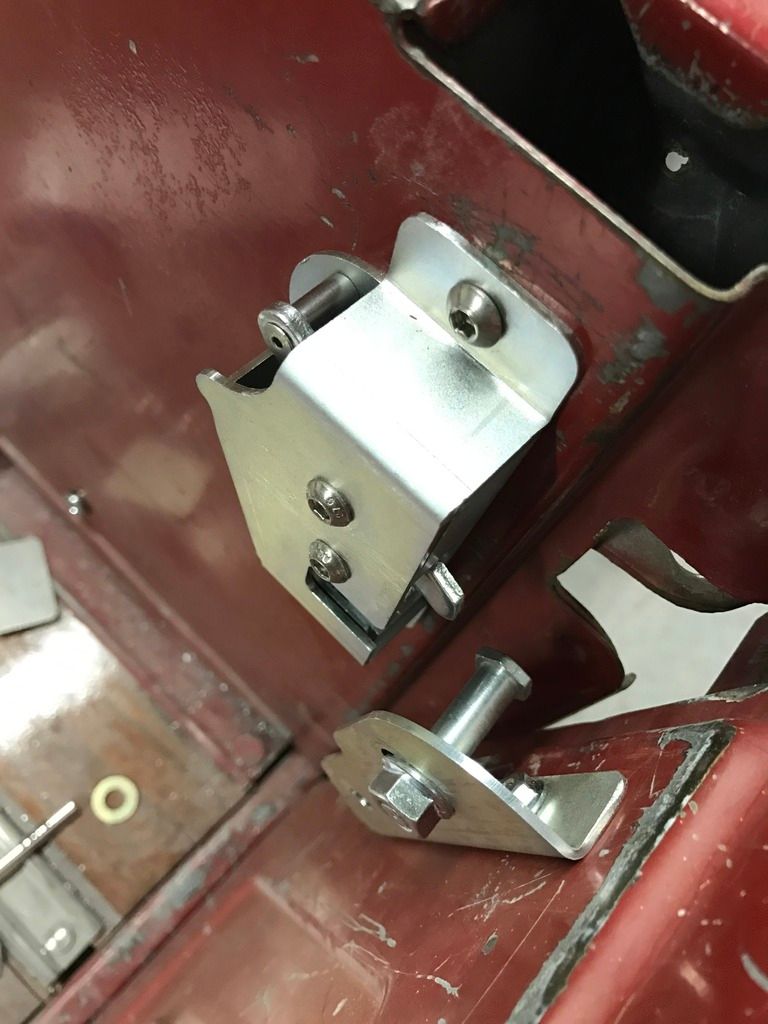 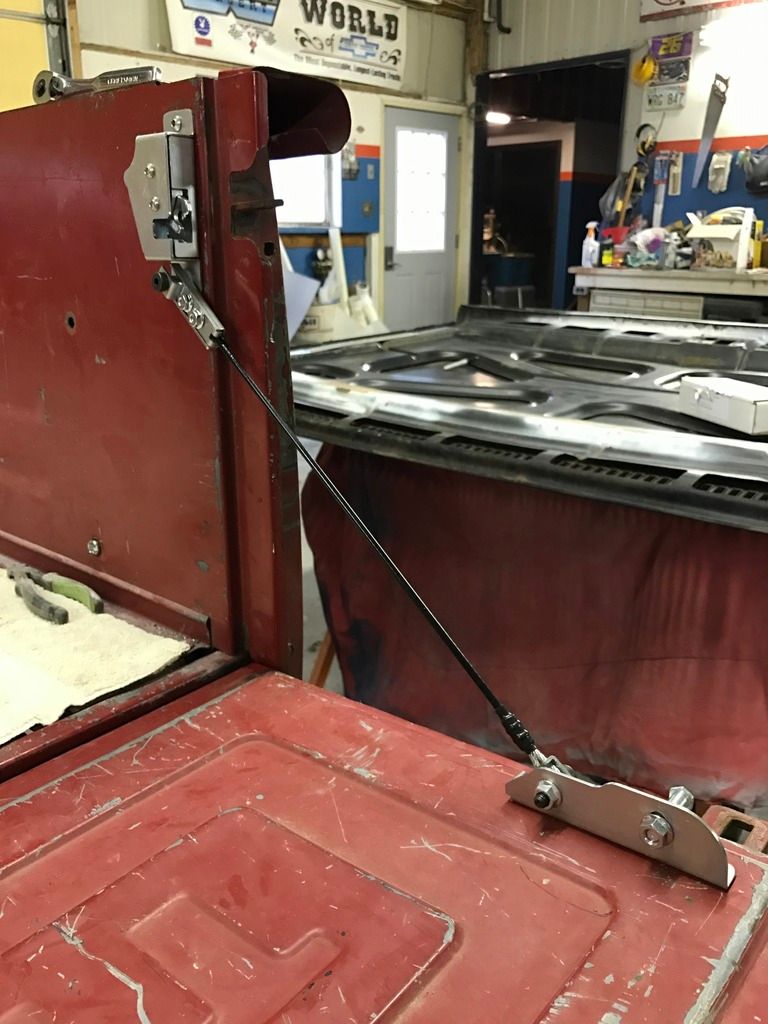 This is the main part I wasn't a fan of in this kit. It sucks I had to drill through my tail gate. They had a backing plate to be used for support with those bolts but it just didn't look right. I won't be throwing big stuff in the bed so I did away with it. 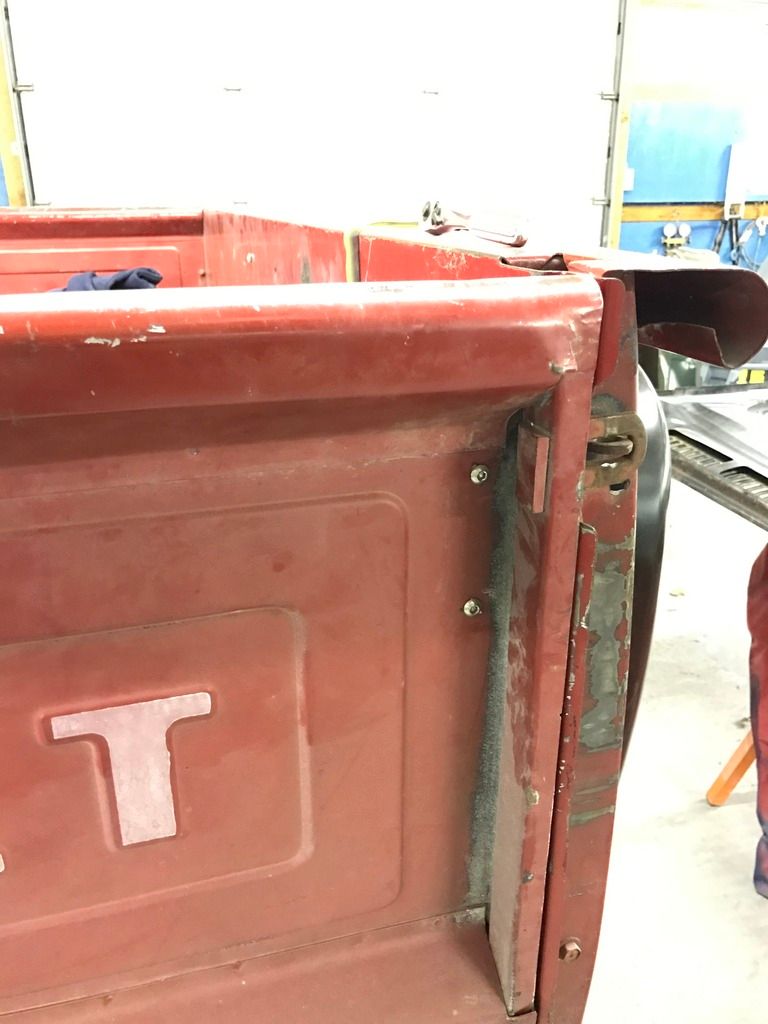 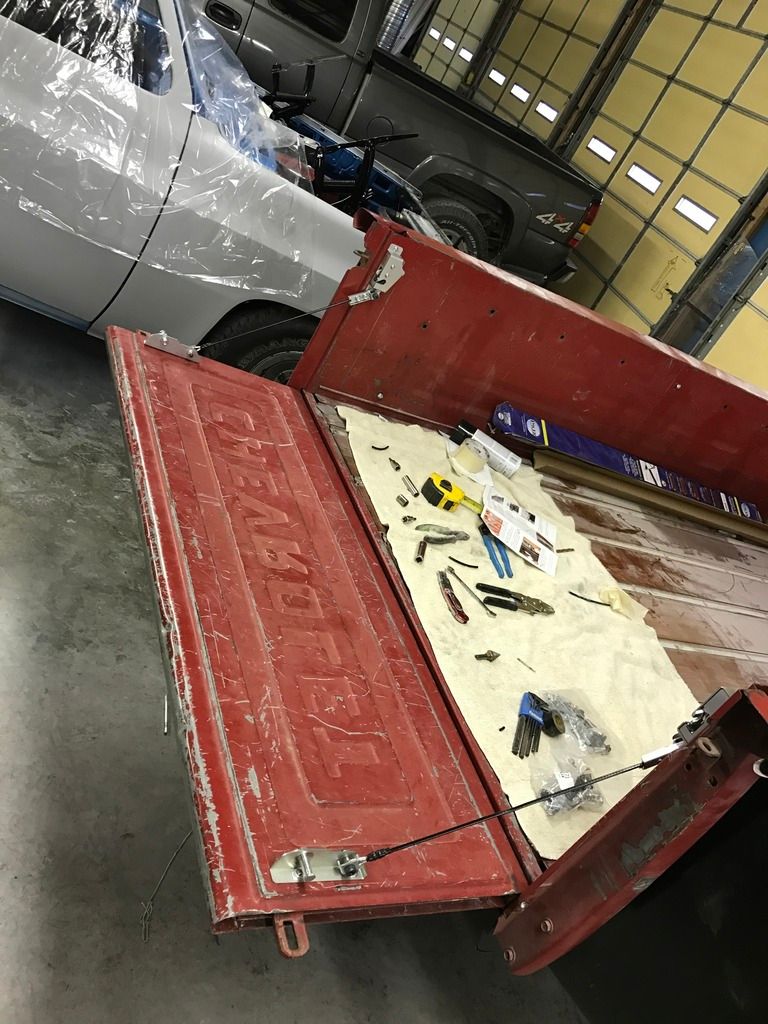
__________________
|
|
|

|
|
|
#20 |
|
Registered User
Join Date: Jul 2016
Location: Qld Australia
Posts: 70
|
Re: Shucks First Build
Looking good!
|
|
|

|
|
|
#21 | ||
|
Happy to be here
 Join Date: Mar 2000
Location: Cypress, TX
Posts: 39,023
|
Re: Shucks First Build
......
Quote:
Quote:
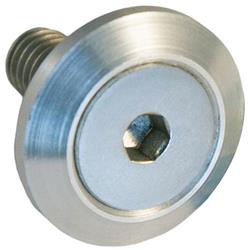 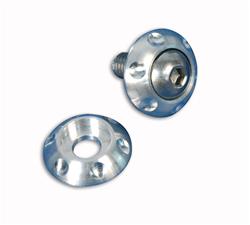
__________________
Follow me on Facebook and Instagram @N2trux.com Articles- "Jake" the 84 to 74 crewcab "Elwood" the77_Remix 85 GMC Sierra "Scarlett" "Refining Sierra" |
||
|
|

|
|
|
#22 |
|
I'm just glad to be here!
Join Date: Jan 2008
Location: Longview, TX
Posts: 4,788
|
Re: Shucks First Build
The roll pan does look good. If you decide to go back to the step side bumper, they sell brackets for the 67-72 step sides. The step side bumper is the same from 67 to 87.
I used the 67-72 brackets when I did Sunburn a few years ago. I had to modify the inner bracket to get the bumper to line up correctly, but the outer brackets worked without modification. Look thru that build thread near the end, I am not sure if the pics of the modifications are in there, but that would be the only place. I think I got the brackets from LMC.
__________________
Karl  1965 Chevy Stepside(Grandpa's Old Blue) and (July 2015 Shop Build!)(2020, the Saga Continues) http://67-72chevytrucks.com/vboard/s...d.php?t=372424 The LST Challenge: http://67-72chevytrucks.com/vboard/s...=1#post7812257 Korbin's 1st Square: "Sunburn" http://67-72chevytrucks.com/vboard/s...d.php?t=418618 1985 GMC Sierra: "White Trash", Korbin's 2nd now... http://67-72chevytrucks.com/vboard/s...d.php?t=632305 Henry - 1984 Chevrolet, Owen's 1st Square |
|
|

|
|
|
#23 | |
|
Registered User
Join Date: Nov 2013
Location: Lawrence Kansas
Posts: 229
|
Re: Shucks First Build
N2trux : I dig that first bolt, I might look into it
Quote:
__________________
|
|
|
|

|
|
|
#24 |
|
Happy to be here
 Join Date: Mar 2000
Location: Cypress, TX
Posts: 39,023
|
Re: Shucks First Build
Just an option you may not have considered. There are several styles available and can be purchased at Summit.com
__________________
Follow me on Facebook and Instagram @N2trux.com Articles- "Jake" the 84 to 74 crewcab "Elwood" the77_Remix 85 GMC Sierra "Scarlett" "Refining Sierra" |
|
|

|
|
|
#25 |
|
Registered User
Join Date: Nov 2013
Location: Lawrence Kansas
Posts: 229
|
Re: Shucks First Build
Oh there's always something needing done. It's hard not to get burnt out on this project.
So I got some metal work to do. I plan on capping off the ends of the tailgate so it's smooth wrapping around from front to back. Then figure something out where the latch was on the bed. 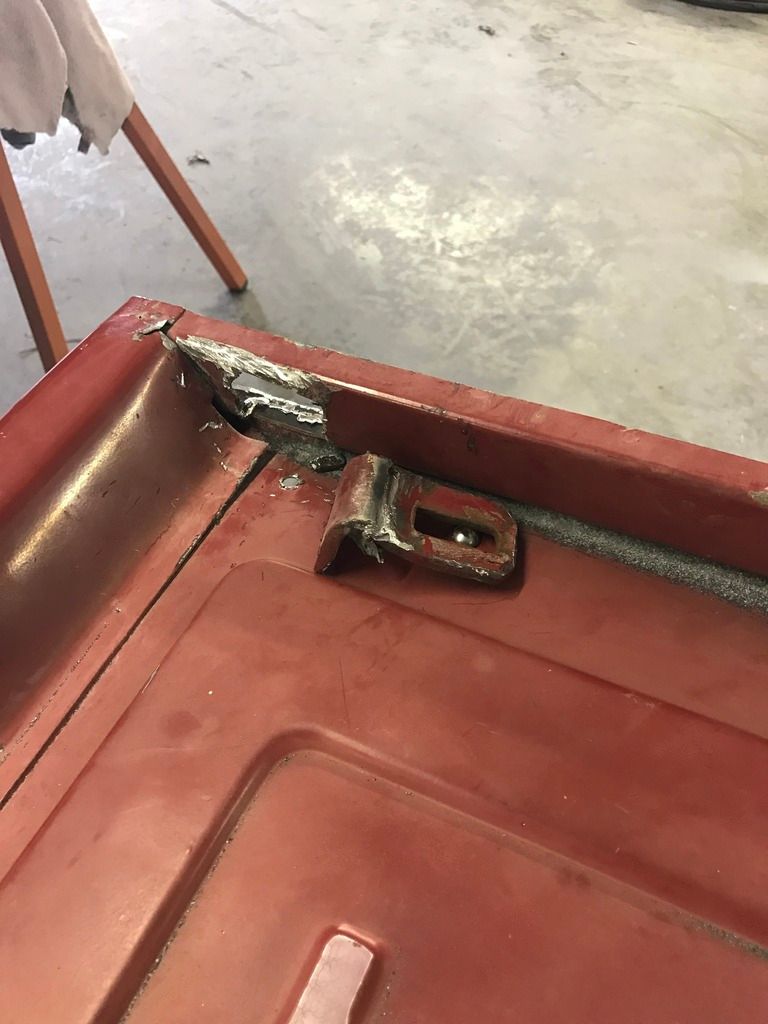 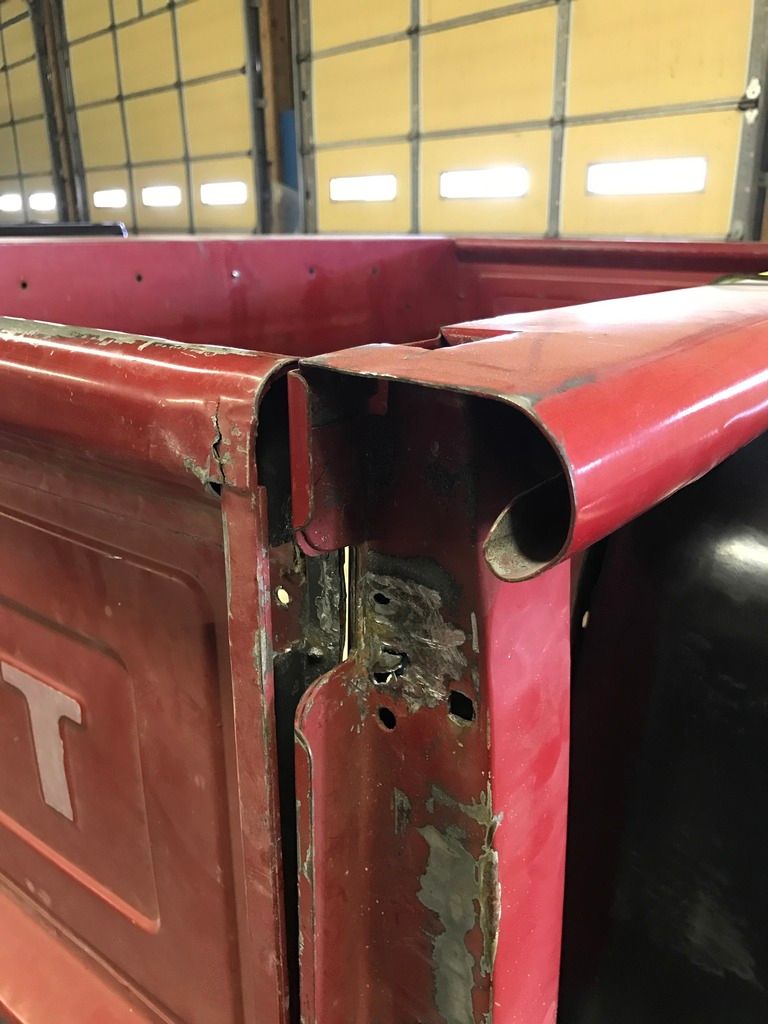 Opinions on my tail light idea? I'm not a good fabricator so I don't know what else to do, and I don't like frenched lights in the pan. I like it this way just curious on what you guys think. 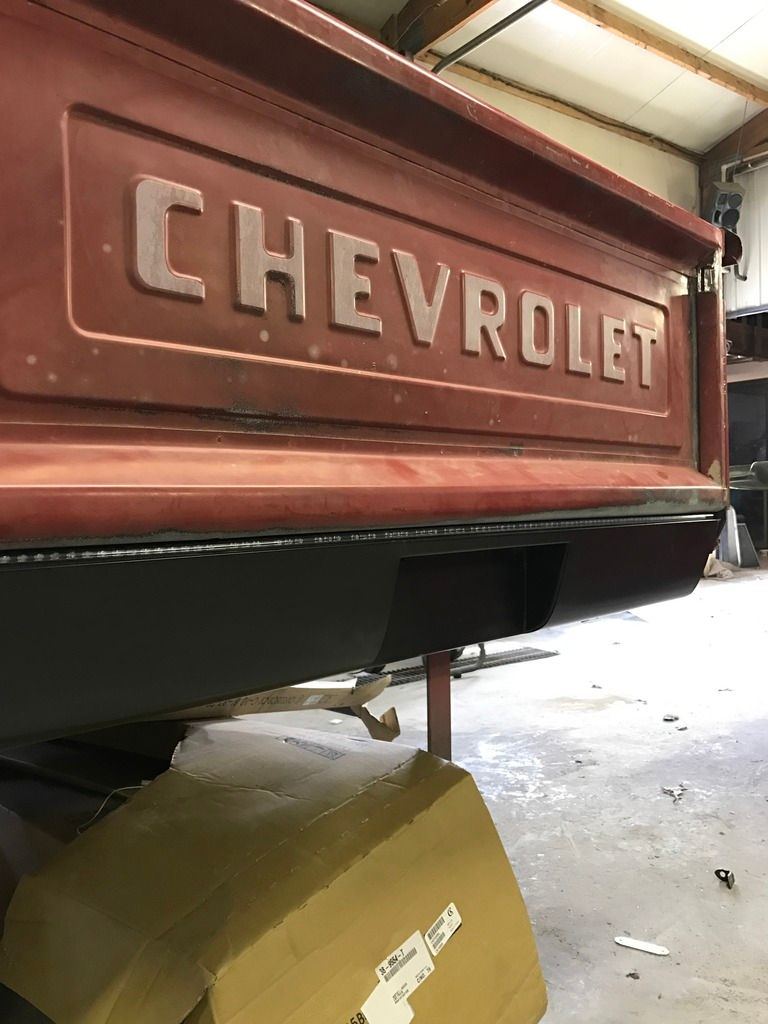 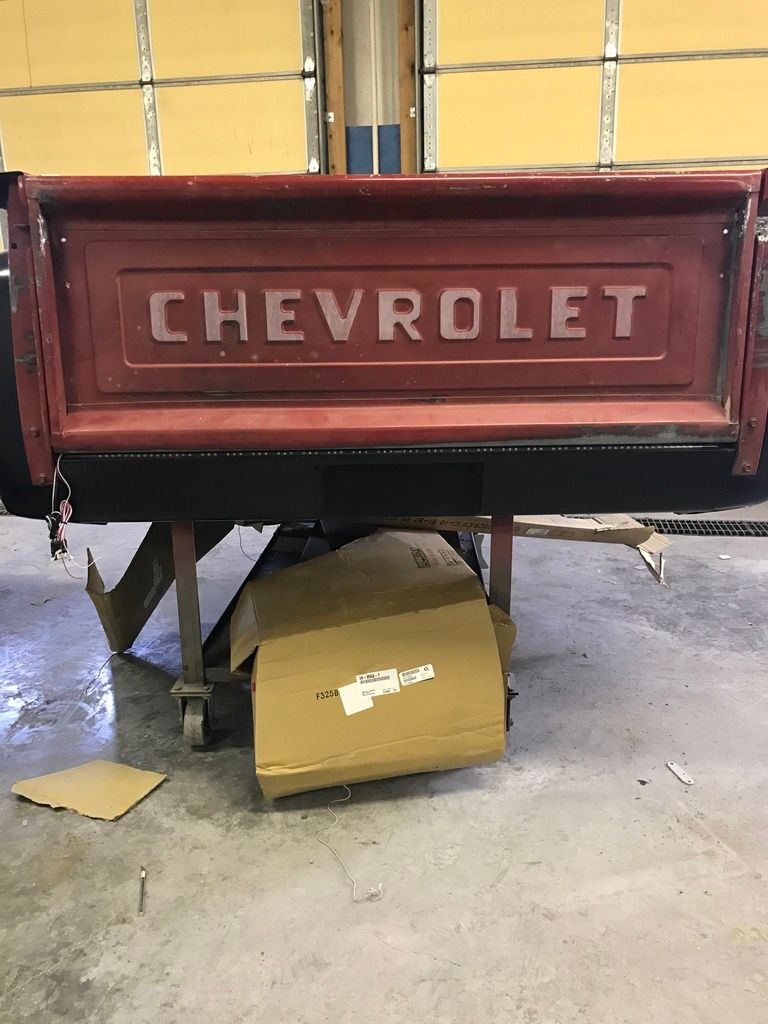 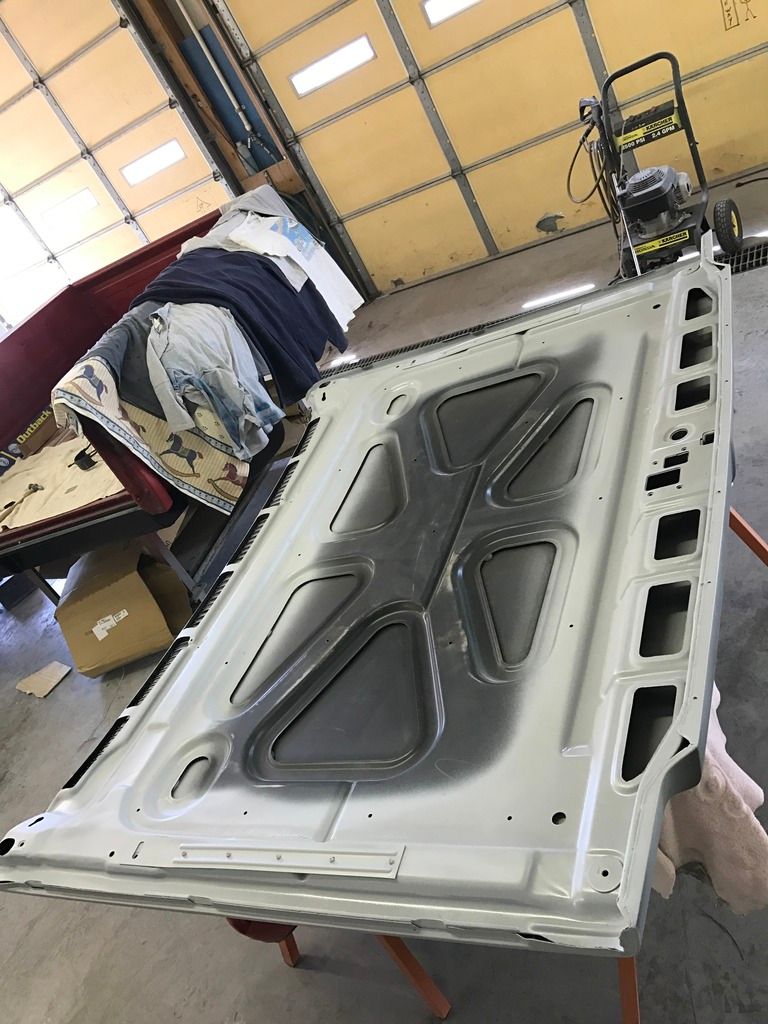 
__________________
Last edited by Shucks; 04-06-2017 at 01:16 PM. |
|
|

|
 |
| Bookmarks |
|
|