
|
 06-24-2012, 09:14 PM
|
#251 |
|
Senior Member
 Join Date: Jul 2010
Location: Race City U.S.A.
Posts: 1,010
|
Re: Omodified's 1970 SWB Custom/10
I got the shock mount brackets back from the powdercoater this week. The weekend came and it was time to start the installation. I did as much research as I could to find out what I needed and what obstacles I could expect. It seemed fairly straight forward as long as everything goes smooth.
First thing's first, removing the upper shock brackets. From what I read, this was probably the hardest of all the steps. So, it was nice to get it out of the way first. There are a few different ways that are suggested to remove the upper mounts. I felt the safest way was drilling out the old rivots. First, I used a center punch and followed up with a 3/8 drill bit. Two were really easy and the other two were a bit tricky because the mufflers were in the way. So, I had to drill at an angle. It took a bit more time, but they did come out without any damage to the truck. Phase one complete! 
__________________
Board Member #87725 My build thread... http://67-72chevytrucks.com/vboard/s...d.php?t=813848 Last edited by omodified; 08-20-2020 at 01:09 PM. |

|

|
|
06-24-2012, 09:18 PM
|
#252 |
|
Senior Member
Join Date: Jul 2010
Location: Race City U.S.A.
Posts: 1,010
|
Re: Omodified's 1970 SWB Custom/10
Before I started the installation, I went and picked up some grade 8 hardware. The hardware in the kit was grade 5 and was probably good enough, but it didn't look as nice.
 Here I got the newly powdercoated upper brackets installed. I made sure not to repeat other's mistake of putting the bolts in upside down. Bolted right in with no problems! Here I got the newly powdercoated upper brackets installed. I made sure not to repeat other's mistake of putting the bolts in upside down. Bolted right in with no problems!
__________________
Board Member #87725 My build thread... http://67-72chevytrucks.com/vboard/s...d.php?t=813848 Last edited by omodified; 08-20-2020 at 01:15 PM. |
|
|
|
|
06-24-2012, 09:34 PM
|
#253 |
|
Senior Member
Join Date: Jul 2010
Location: Race City U.S.A.
Posts: 1,010
|
Re: Omodified's 1970 SWB Custom/10
On to phase two, removing the lower mounts. From what I read here, people have had mixed results. It just depends on how badly the u-bolts are rusted. The threads on my u-bolts don't look too bad. However, I planned ahead and bought a new pair of u-bolts to make disassembly easier down the road.
 So, I started on the left side first. I couldn't budge the nuts with an impact, but they were no match for my extended length breaker bar. Once the nuts were off, I was able to lightly pry the lower shock mount bracket off. No wonder I had to pry it off, look at all the surface rust!  I ended up having to use the breaker bar on the right side too. The bracket on that side fell right off. There is a lot less rust on this side. Phase two complete!
__________________
Board Member #87725 My build thread... http://67-72chevytrucks.com/vboard/s...d.php?t=813848 Last edited by omodified; 08-20-2020 at 01:16 PM. |
|
|
|
|
06-24-2012, 09:45 PM
|
#254 |
|
Senior Member
Join Date: Jul 2010
Location: Race City U.S.A.
Posts: 1,010
|
Re: Omodified's 1970 SWB Custom/10
So, we are moving right along here. Phase three, removing the old right side u-bolt (and 50 pounds of hidden dirt). I started on the right side only because that's where I had just left off. For this step, everybody recommends what they called a BFH. Well, I don't have a BFH but I do have a nice lead hammer left over from my 1990's wire wheel days. It makes for a nice dead blow hammer and it dosen't damage whatever I might end up hitting. So, I got to swingin'. To my surprise, The right side u-bolt was out after just a handful of whacks. What really surprised me was all the dirt that fell on the ground that must have been hiding on the tops of all the rails. Good thing I was wearing my safety glasses!

__________________
Board Member #87725 My build thread... http://67-72chevytrucks.com/vboard/s...d.php?t=813848 Last edited by omodified; 08-20-2020 at 01:16 PM. |
|
|
|
|
06-24-2012, 09:54 PM
|
#255 |
|
Senior Member
Join Date: Jul 2010
Location: Race City U.S.A.
Posts: 1,010
|
Re: Omodified's 1970 SWB Custom/10
Now that the old u-bolt is out, it's time to install the new lower shock mount bracket along with the right side track bar mount. I had to pry up on the axle a bit to get the track bar bracket to sandwich, but it went in and aligned easily. I put some anti-seize on the new u-bolt so it wouldn't be a future rust problem, then I dropped it down through the truck arm. Added the lower shock mount bracket and ran the nuts up until they were snug. Right side is complete!

__________________
Board Member #87725 My build thread... http://67-72chevytrucks.com/vboard/s...d.php?t=813848 Last edited by omodified; 08-20-2020 at 01:17 PM. |
|
|
|
|
06-24-2012, 10:08 PM
|
#256 |
|
67-72 parts collector,
Join Date: Nov 2002
Location: Mid-MO
Posts: 22,690
|
Re: Omodified's 1970 SWB Custom/10
Looks good as always.
Where's the drop rear spring?
__________________
Keith Convert to disc brakes. http://67-72chevytrucks.com/vboard/s...d.php?t=444823 |
|
|
|
|
06-24-2012, 10:09 PM
|
#257 |
|
Senior Member
Join Date: Jul 2010
Location: Race City U.S.A.
Posts: 1,010
|
Re: Omodified's 1970 SWB Custom/10
Next comes the pain in the butt, major headache, 12 hours later...oh, I mean the left side. So, I just about wore out the lead hammer on this old left side u-bolt. It wasn't moving one bit. It was pretty much rust welded. Again, I ended up covered in dirt and the was a large pile of rust under the truck arm. My neck and arms were sore and I was getting frustrated. So, I sprayed it down really good with WD-40 (it's all I had) and went to bed.
I jumped back on it after I got home from church. To my disappointment, the Wood 40 didn't help at all. So I tried putting some heat to the truck arm. That didn't help either. I didn't want to do it, but my last resort was to use a cold chisel. After a few really good whacks, I got that chisel wedged between the axle mount pad and the truck arm. I grabbed a second chisel I got it going too. I think I got the axle raised a good 1/4 inch off the truck arm. I unleashed the fury on that u-bolt and finally... 
__________________
Board Member #87725 My build thread... http://67-72chevytrucks.com/vboard/s...d.php?t=813848 Last edited by omodified; 08-20-2020 at 01:17 PM. |
|
|
|
|
06-24-2012, 10:15 PM
|
#258 |
|
Senior Member
Join Date: Jul 2010
Location: Race City U.S.A.
Posts: 1,010
|
Re: Omodified's 1970 SWB Custom/10
After the u-bolt party was over, I installed the new left side lower shock mount bracket. The track bar kit came with a left side plate that keeps the rear axle level, so I sandwiched that in there too. Add the new u-bolt along with some anti-seize and done! Almost finished, woo-hoo!!!
__________________
Board Member #87725 My build thread... http://67-72chevytrucks.com/vboard/s...d.php?t=813848 |
|
|
|
|
06-24-2012, 10:17 PM
|
#259 |
|
Senior Member
Join Date: Jul 2010
Location: Race City U.S.A.
Posts: 1,010
|
Re: Omodified's 1970 SWB Custom/10
The stock track bar came out with no problems. I tried to remove the old track bar mount stud from the read end, but I failed. I think the lead hammer finally kicked my butt. I will try to get it out some other day...

__________________
Board Member #87725 My build thread... http://67-72chevytrucks.com/vboard/s...d.php?t=813848 Last edited by omodified; 08-20-2020 at 01:19 PM. |
|
|
|
|
06-24-2012, 10:26 PM
|
#260 |
|
Senior Member
Join Date: Jul 2010
Location: Race City U.S.A.
Posts: 1,010
|
Re: Omodified's 1970 SWB Custom/10
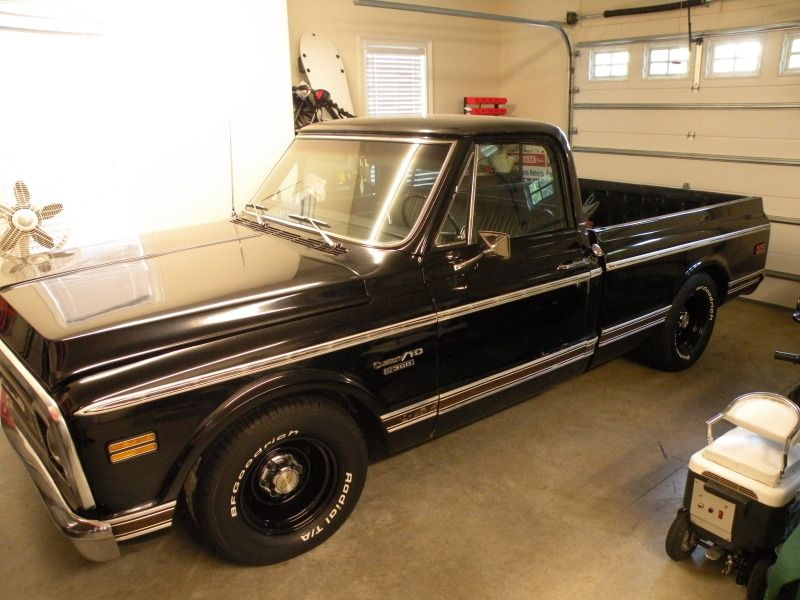
Time to wrap it up. I before I installed the new track bar, I added my new brake line clip to the differential cover. I'm glad I did too, because I found a bolt that didn't get tightened. Not sure how I missed it considering I went around the horn twice. Next I installed the new track bar. Easy stuff there. The truck needs to be on the ground but right now it looks like the read end needs to be moved over and inch or so. Last thing left to do in the air was add the shocks. I didn't get the CPP lower shock mount bolts so I decided to make my own. Supposedly, they help line the rear shocks up even better. After the install, I would say that I agree. Here is the alomst finished project.
  
__________________
Board Member #87725 My build thread... http://67-72chevytrucks.com/vboard/s...d.php?t=813848 Last edited by omodified; 08-20-2020 at 01:20 PM. |
|
|
|
|
06-24-2012, 10:33 PM
|
#261 |
|
Senior Member
Join Date: Jul 2010
Location: Race City U.S.A.
Posts: 1,010
|
Re: Omodified's 1970 SWB Custom/10
So, I got the truck on the ground and aligned the read end. Last thing to do was tighten everything down. Finished! I didn't get to drive it today but maybe one day this week. I stood in the bed and got the rear suspension travelling a bit. I still seems i bit stiff, but I think I got the track bar a little bit too tight. I'm gonna get some metal lock nuts tomorrow and free up the ends a bit.
So, hopefully it rides a lot better. I had a lot of fun with this one and overall it didn't take very long. I did discover while under the truck that two exhaust hangers are broken and I think the caused a few breaks in the exhaust further forward. Sounds like another project in the works!
__________________
Board Member #87725 My build thread... http://67-72chevytrucks.com/vboard/s...d.php?t=813848 |
|
|
|
|
06-24-2012, 10:38 PM
|
#262 | |
|
Senior Member
Join Date: Jul 2010
Location: Race City U.S.A.
Posts: 1,010
|
Re: Omodified's 1970 SWB Custom/10
Quote:
LOL, well I guess it depends on what you mean about the rear spring. My rear springs are there and the truck is dropped. Whether they are dropped springs or not, I dunno. They could have been heated for all I know. If it turns out that they were heated, I will probably keep them in there. The truck sits level rides pretty good. In fact, I was considering powdercoating these springs down the road. Let me know if I am crazy, but I figured that is money I can put somewhere else.
__________________
Board Member #87725 My build thread... http://67-72chevytrucks.com/vboard/s...d.php?t=813848 Last edited by omodified; 06-24-2012 at 10:45 PM. |
|
|
|
|
|
06-25-2012, 09:15 AM
|
#263 |
|
Restoration Virgin!
Join Date: Jan 2008
Location: Huntersville, NC
Posts: 8,298
|
Re: Omodified's 1970 SWB Custom/10
Nice work O!!!.....I got fed up with my original u-bolts and just cut those darn things out!!!
 We need a side picture once you get it outside for the ride! We need a side picture once you get it outside for the ride!
__________________
Geoff with a G 1968 Chevy C10 SWB The Mistress 1972 Custom Deluxe C20 Suburban A Suburban Named Isabella 1966 Ford Mustang Mama's High School Graduation Present |
|
|
|
|
06-25-2012, 09:18 AM
|
#264 |
|
dazed and confused
Join Date: Jul 2008
Location: marion nc
Posts: 1,649
|
Re: Omodified's 1970 SWB Custom/10
looking good
__________________
members met: redbaron69, billsbowtie,nc67 |
|
|
|
|
07-07-2012, 08:34 PM
|
#265 | |
|
Senior Member
Join Date: Jul 2010
Location: Race City U.S.A.
Posts: 1,010
|
Re: Omodified's 1970 SWB Custom/10
Quote:
Well, I took the test drive and I have been kind of upset ever since. I decided that it rides terrible in the back and always has. I suppose I was kidding myself before. Most of our racecars ride have a terrible when we coilbind them, so it makes sense. So, after stewing over this for a few weeks, I decided to do something about it. I placed an order for some 5" drop coils today (thanks for the heads up lolife). Not sure if it will be enough drop but I can add blocks if need be. Hopefully this will do the trick because the last two trips were no fun at all!  
__________________
Board Member #87725 My build thread... http://67-72chevytrucks.com/vboard/s...d.php?t=813848 Last edited by omodified; 08-20-2020 at 01:22 PM. |
|
|
|
|
|
07-07-2012, 10:36 PM
|
#266 | |
|
Registered User
Join Date: May 2009
Location: Fayetteville, NC
Posts: 725
|
Re: Omodified's 1970 SWB Custom/10
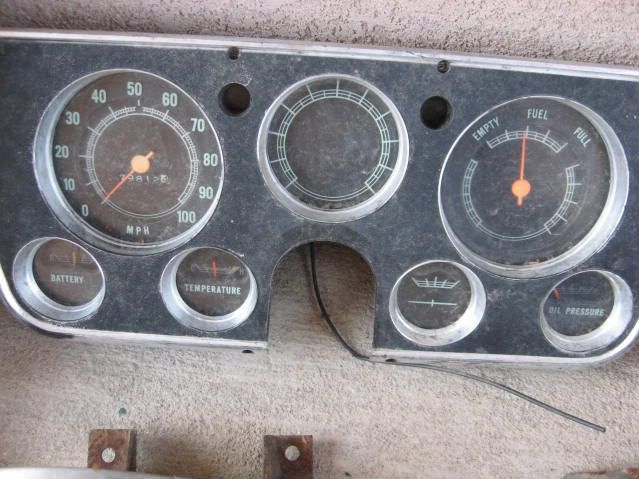
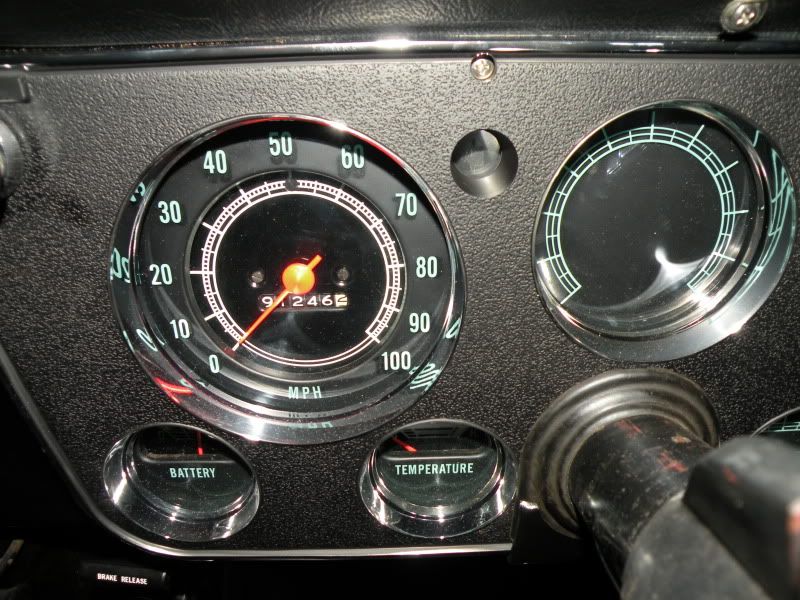
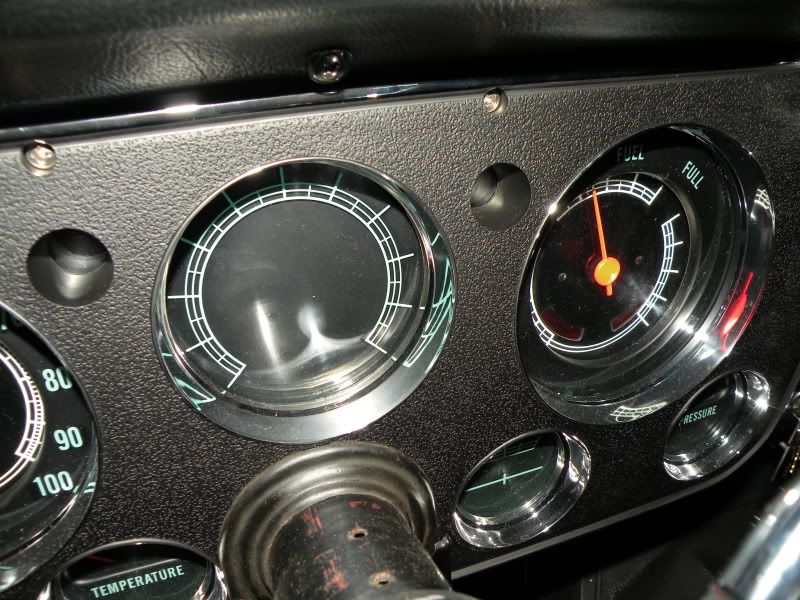
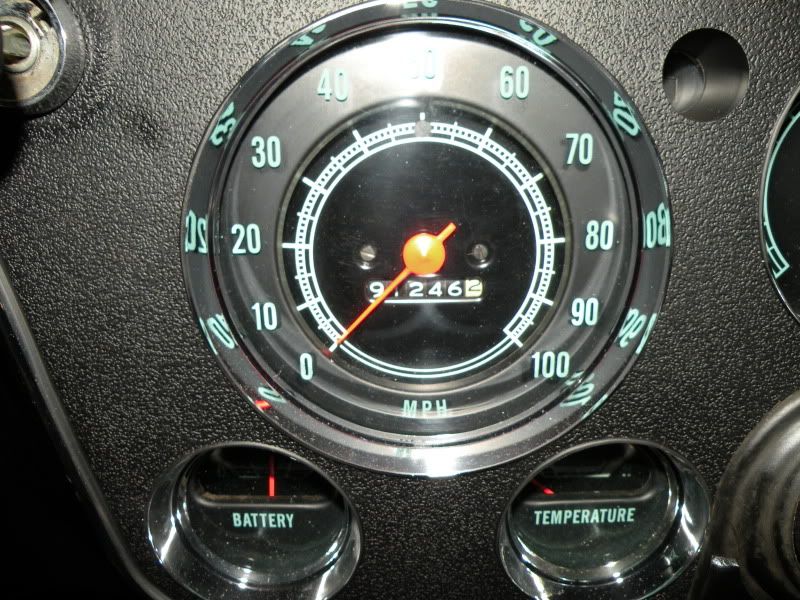
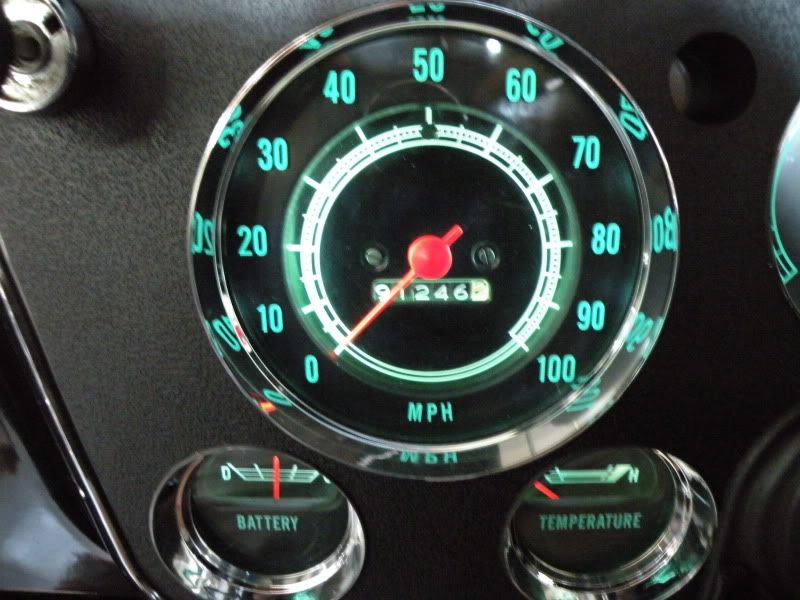
Wow I read this whole thing! Took me an hour but well well well worth it. I love how the new gauges turned out back on the first page. It blew me away how good they look!
Quote:
 I would say leave er like that! No beauty rings, that is an awesome look. That is a good way to bring that all black from the engine bay to the outside of the truck. Just a little flash with the center caps. Perfect balance.
__________________
Jason TEAM C10 HOT ROD POWER TOUR
689 Short Step 68 Step Trucks Sold: 70 GMC, 72 K5 Members met: Andy4639 GCncsuHD CSGAS zicc1835 hotrod farm truck Mingrao Bhelton brenthiggins |
|
|
|
|
|
07-08-2012, 08:28 AM
|
#267 | |
|
State of Confusion!
 Join Date: Jul 2002
Location: Gulfport, MS USA
Posts: 46,759
|
Re: Omodified's 1970 SWB Custom/10
Quote:

__________________
Bill 1970 Chevy Custom/10 LWB Fleetside 2010 Toyota Tacoma PreRunner SR5 Double Cab - DD Member of Louisiana Classic Truck Club (LCTC) Bill's Gallery Life isn't tied with a bow, but it's still a gift. Live simply. Love generously. Care deeply. Speak kindly. Leave the rest to God! |
|
|
|
|
|
07-08-2012, 05:12 PM
|
#268 | |
|
Registered User
Join Date: Mar 2012
Location: Marshall Arkansas
Posts: 56
|
Re: Omodified's 1970 SWB Custom/10
Quote:
|
|
|
|
|
|
07-21-2012, 09:00 PM
|
#269 | |
|
Senior Member
Join Date: Jul 2010
Location: Race City U.S.A.
Posts: 1,010
|
Re: Omodified's 1970 SWB Custom/10
Quote:
Here is a link to the #194 LED for the gauges. http://www.ebay.com/itm/T10-168-194-...f42f29&vxp=mtr
__________________
Board Member #87725 My build thread... http://67-72chevytrucks.com/vboard/s...d.php?t=813848 |
|
|
|
|
|
07-21-2012, 09:04 PM
|
#270 |
|
Senior Member
Join Date: Jul 2010
Location: Race City U.S.A.
Posts: 1,010
|
Re: Omodified's 1970 SWB Custom/10
Beetle - Thanks! I am glad you noticed about "keeping it pretty much stock".
Beetle and Bill - Thanks for the compliments on the wheels. They are starting to grow on me like this. I was sweating the beauty rings for a while, but I think I will leave them like this for now.
__________________
Board Member #87725 My build thread... http://67-72chevytrucks.com/vboard/s...d.php?t=813848 |
|
|
|
|
07-21-2012, 09:33 PM
|
#271 |
|
Senior Member
Join Date: Jul 2010
Location: Race City U.S.A.
Posts: 1,010
|
Re: Omodified's 1970 SWB Custom/10
So, I received the rear lowering springs from CPP almost two weeks ago. Unfortunately, I got pretty sick a few days before and I haven't had much energy to work on the truck. Vicodin will do that to you. Anyways, today was the first day I felt 100% so it was time to put in some work.
I read up on the forums here about what to expect for this installation. It seemed the tricky thing would be removing the 40 year old rusty bolts that hold the spring cups in place. So, I started with the bottom cups. I jacked the truck up and left the shocks hooked up. I placed jackstands under each truck arm just in case. For the first cup, I used a breaker bar to remove the bolt completely. It was quite tough to do, but I was pretty proud of myself considering that I used no penetrant and everybody seems to break/round them off.  For the second cup, I couldn't get the bolt to budge at all. I may have used all my strength on the last one. So, I got out the die grinder and made that bolt pay! Guess what...I should have cut the first bolt too. Much easier that way! Now that the springs were free from the truck arms, I unbolted the shock bottoms and lowered the rear end and truck arms out as far as they would go. This gave me plenty of room to get to the top spring cup bolts. Since there was no room for the die grinder up there without cutting the springs out of the way, I hoped that I could just snap the bolts off. Well, that wasn't hard to do at all.  Here is what an uncomfortable ride looks like...think twice before you heat your rear coils!  So, I reversed my steps above to complete the install. Here is the new spring loosely installed.  I will say that it was easier to line everything up by tightening the top cup first and then the bottom cup. Here is the finished product, back on the ground.  I got lucky on guessing what drop coil to go with. The fender height measures exactly what I had with the heated coils. I didn't get to drive it tonight because it stormed pretty hard here. Hopefully this project solved my problems and I can actually enjoy driving this rig to work for once. I will try to drive it sometime this week and report back. Thanks again lolife99!!! 
__________________
Board Member #87725 My build thread... http://67-72chevytrucks.com/vboard/s...d.php?t=813848 Last edited by omodified; 08-20-2020 at 01:37 PM. |
|
|
|
|
07-22-2012, 12:02 AM
|
#272 | |
|
Senior Member
Join Date: Aug 2008
Location: Cedar Park, Texas
Posts: 7,494
|
Re: Omodified's 1970 SWB Custom/10
Quote:
Posted via Mobile Device Last edited by WIDESIDE72; 12-24-2013 at 10:05 PM. |
|
|
|
|
|
12-24-2013, 09:28 PM
|
#273 |
|
Senior Member
Join Date: Jul 2010
Location: Race City U.S.A.
Posts: 1,010
|
Re: Omodified's 1970 SWB Custom/10
Tis the Season...
So, it's been quite a while since I have given any updates. We still have our truck, but it's just been sitting in the garage. I guess you can say life took priority. We managed to drive it a handful of times in the last year, but after discovering the hacked up lowering job on the front end, I just didn't want to drive it anymore until I could fix it correctly. Over a year has gone by since we have touched it and my wife asked what the plan is. So, I did what anybody else would do... I wrote a letter to Santa. Well, Santa must have received my letter because lots of boxes have been showing up at the house. I was able the sneak of photo of everything in the pre-gift wrapping stage... 
__________________
Board Member #87725 My build thread... http://67-72chevytrucks.com/vboard/s...d.php?t=813848 Last edited by omodified; 08-20-2020 at 01:37 PM. |
|
|
|
|
12-24-2013, 09:36 PM
|
#274 |
|
67-72 parts collector,
Join Date: Nov 2002
Location: Mid-MO
Posts: 22,690
|
Re: Omodified's 1970 SWB Custom/10
Welcome back!
Keep us updated.
__________________
Keith Convert to disc brakes. http://67-72chevytrucks.com/vboard/s...d.php?t=444823 |
|
|
|
|
12-24-2013, 09:58 PM
|
#275 |
|
Senior Member
Join Date: Jul 2010
Location: Race City U.S.A.
Posts: 1,010
|
Re: Omodified's 1970 SWB Custom/10
The resurrection...
Since I have a feeling about what I might be getting for Christmas, I figured I better get the old truck up on jack stands. While it was in the air, I wanted to go ahead and fix the driver side muffler hanger. It has been broken for a while now. Every time I hit a good size bump, the muffler hits the bed and the pipe hit the rear end. Seriously annoying! Got the strap and cut in down to the size I needed. I carefully jacked up the muffler until it was the same height as the right side. Then I bolted one end of the new strap to the frame and the other end to the old strap. Perfect!  While I was under the truck, I noticed that the rear bump stops have hit the rear end housing on several occasions. So, I unhooked both shocks and travelled the rear end to confirm it. They were definitely hitting. So, I removed the bump stops and trimmed one inch off of both. I reinstalled them and travelled the rear end again. There is plenty of clearance now... 
__________________
Board Member #87725 My build thread... http://67-72chevytrucks.com/vboard/s...d.php?t=813848 Last edited by omodified; 08-20-2020 at 01:42 PM. |
|
|
|
 |
| Bookmarks |
|
|


 Linear Mode

