
 |
|
|
#276 | |
|
Registered User
Join Date: Jan 2012
Location: Motown
Posts: 7,680
|
Re: 1957 Chevy truck re-rebuild
Quote:
 lots of work to get your trim mounted, looks good never track how many hrs you use doing these little things it will drive you nuts   
__________________
cool, an ogre smiley  Ogre's 58 Truk build Ogre's 58 Truk buildhow to put your truck year and build thread into your signature shop air compressor timer |
|
|
|

|
|
|
#277 |
|
Registered User
Join Date: May 2000
Location: Flin Flon, Manitoba, Canada
Posts: 8,855
|
Re: 1957 Chevy truck re-rebuild
i think we all sat in our projects on more than one occasion and pretended slamming through the gear, stomping on the pedal to hear that exhaust and hanging your arm out the window to see what it's feel like to cruise in it. I know I sure did. The time will come soon Jim. Just keep plugging away at what you're doing because you've already put a bunch of cool and unique touches to this truck. I can only imagine how cool it's going to be once it's ready to run
__________________
My name's Tim and I'm a truckaholic My 56 Chevy shop truck build http://67-72chevytrucks.com/vboard/s...d.php?t=562795 |
|
|

|
|
|
#278 |
|
Registered User
Join Date: Aug 2012
Location: Salem Mo
Posts: 652
|
Re: 1957 Chevy truck re-rebuild
Kim and Bomp, thank you.
 _Ogre and dubie, on one hand, I'd hate to know the amount of hours I spend in the shop on the small stuff, but on the other hand, I'd be proud to realize my determination to see a project through to the end. Oh, on the other hand, I'd hate to see the amount of time I've sat and stared or sat on the drivers seat and day dreamed of the finished product.  Still trying to check off the items I want to get finalized before paint. Since this truck has had a front clip, I've learned it's from a 1980ish Camaro, the bumper brackets don't hold the bumper exactly where I want it. After cutting the brackets in half to get the height I want and slicing the ears to weaken them so I can adjust them to get the angle of the bumper how I want it, it's time to get these welded and looking like they never got cut up. I'll show a comparison of the left and right, one done and finished. 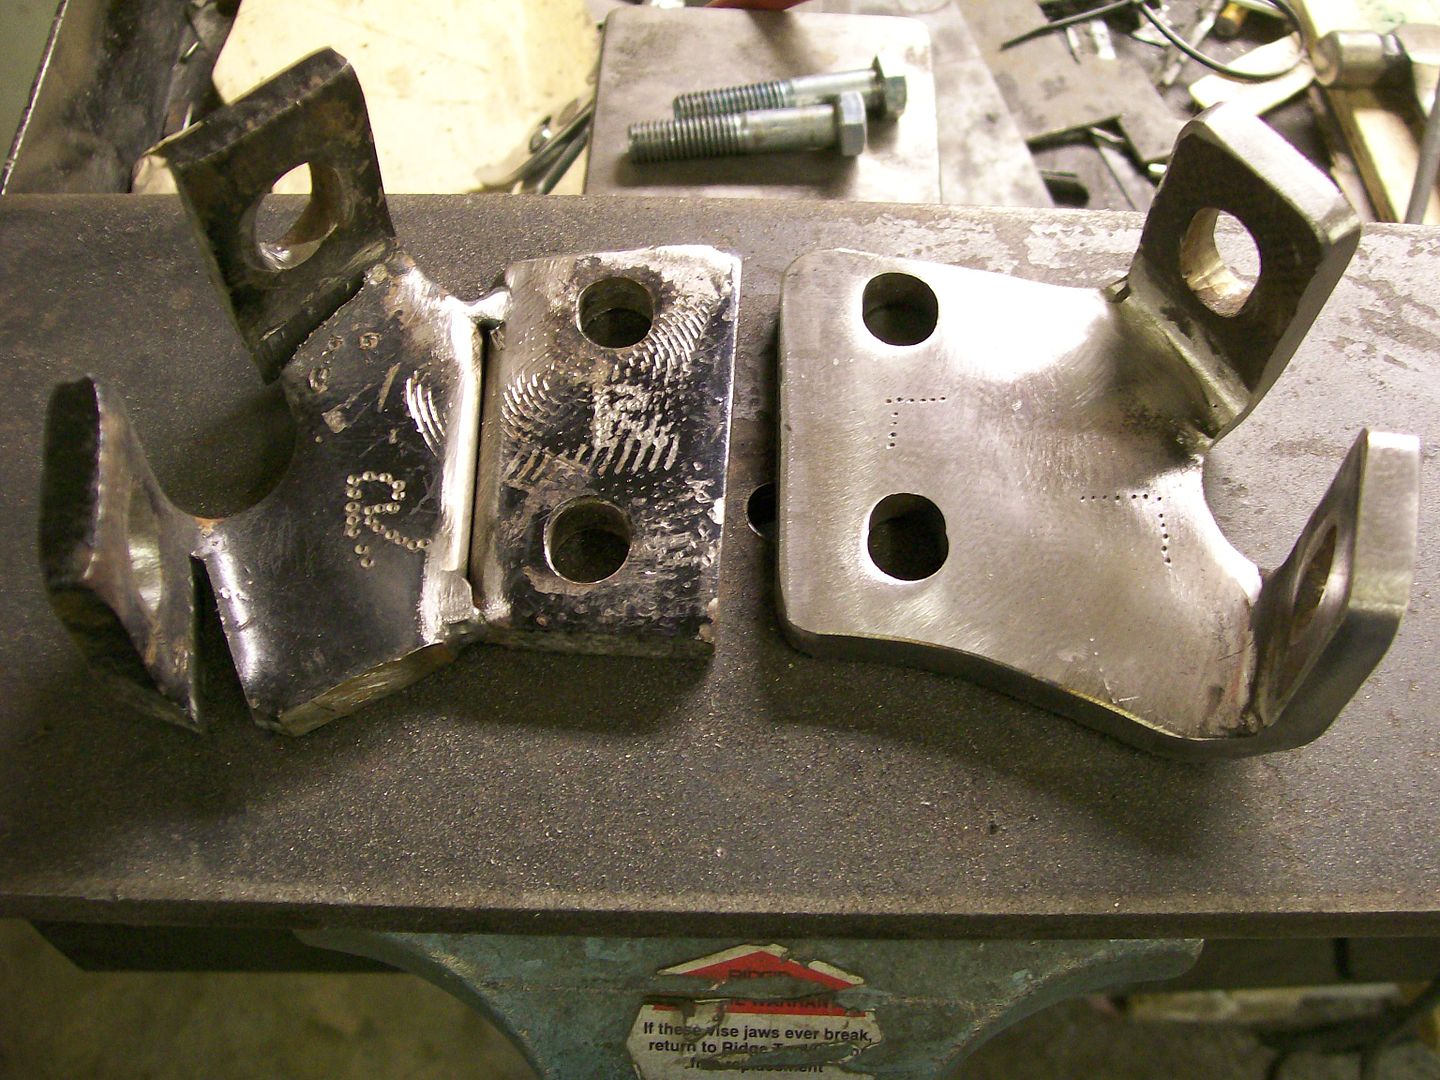 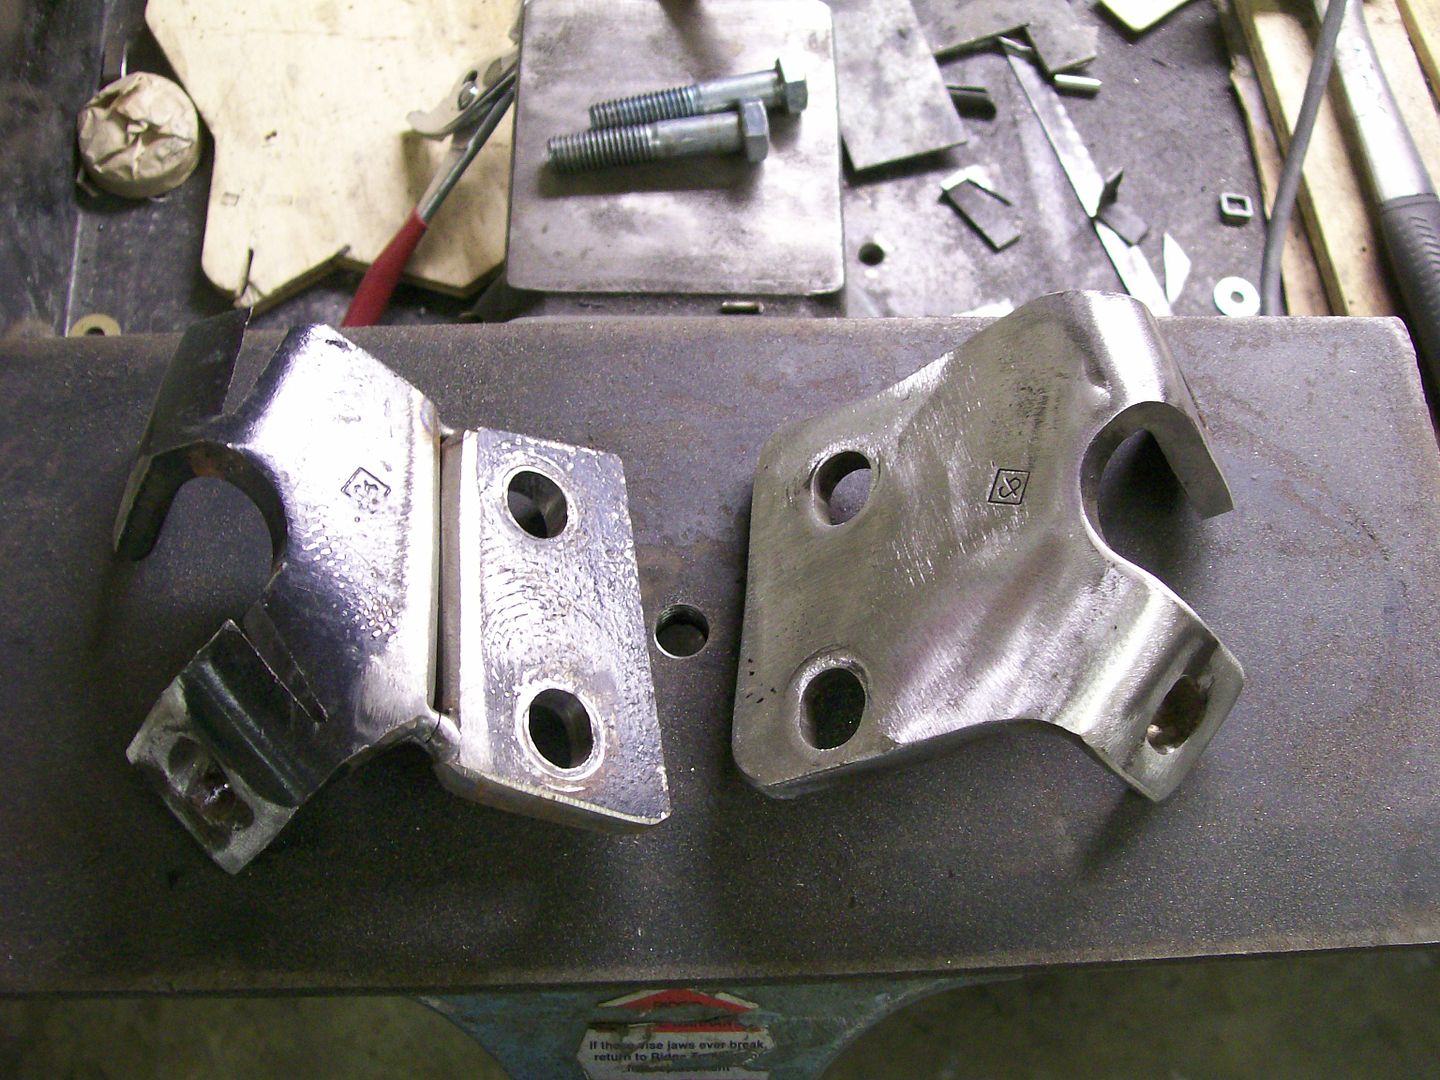 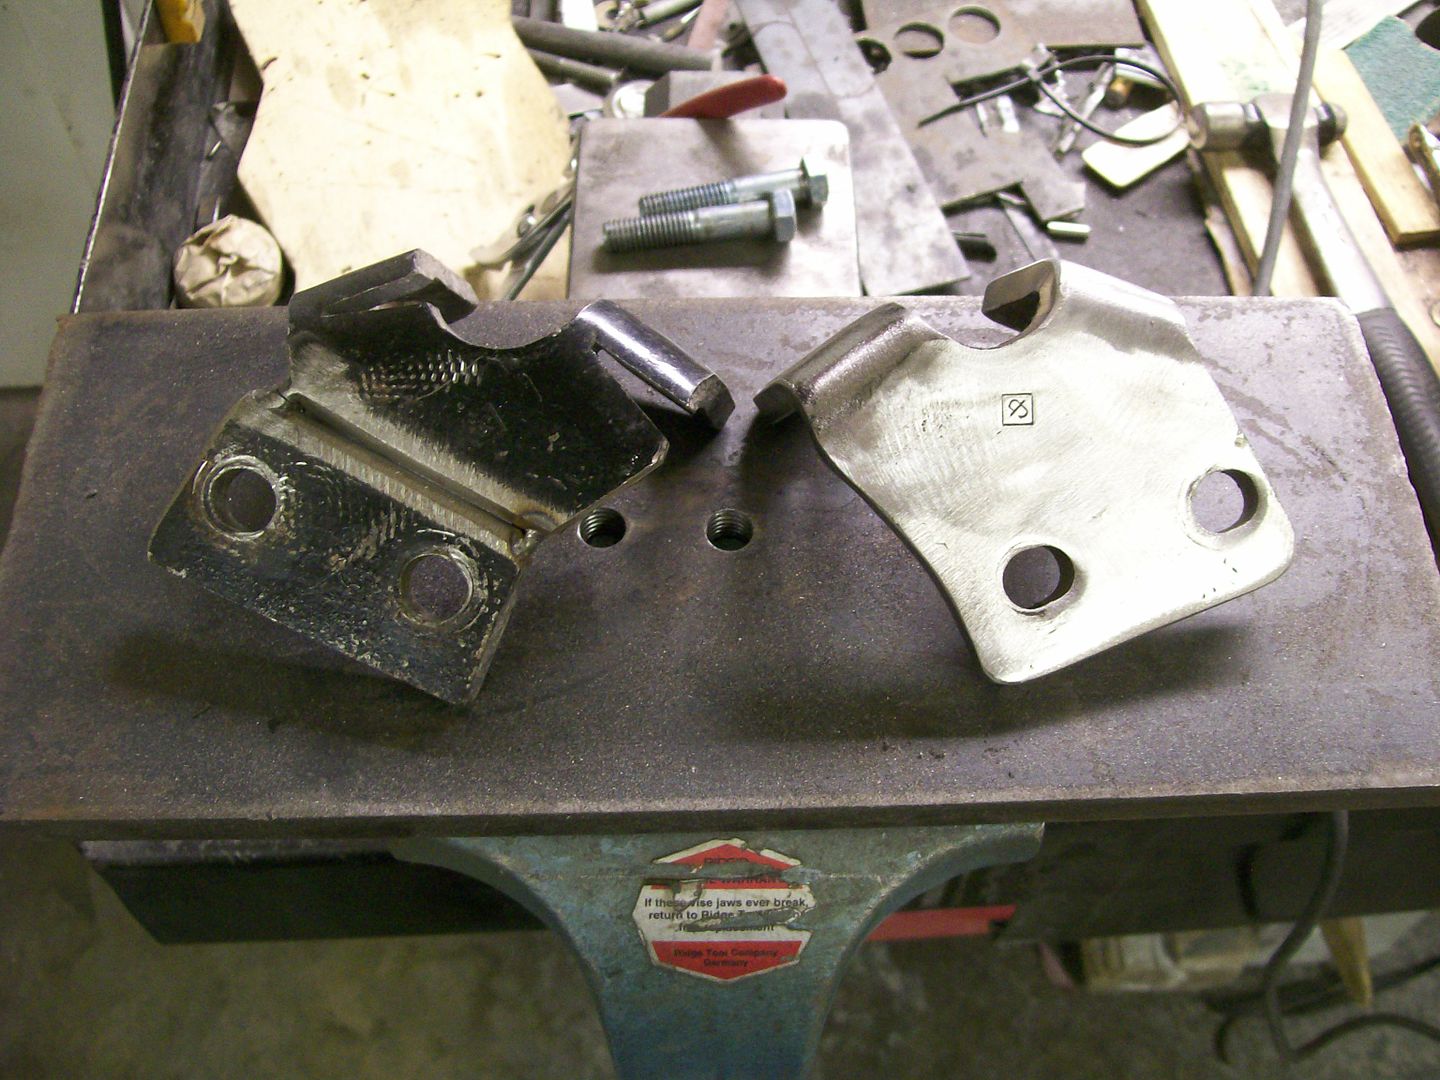
|
|
|

|
|
|
#279 |
|
Registered User
Join Date: Aug 2007
Location: Corona, California
Posts: 7,998
|
Re: 1957 Chevy truck re-rebuild
The finished one looks real nice.
Kim |
|
|

|
|
|
#280 |
|
Registered User
Join Date: Jan 2012
Location: Motown
Posts: 7,680
|
Re: 1957 Chevy truck re-rebuild
stuff like this shows your attention to detail
the factory would have started the bolts and sucked the bumper into shape if i paid myself $1 per hour, i'd have a million dollar truk  
__________________
cool, an ogre smiley  Ogre's 58 Truk build Ogre's 58 Truk buildhow to put your truck year and build thread into your signature shop air compressor timer |
|
|

|
|
|
#281 |
|
Registered User
Join Date: Feb 2013
Location: Lakeside Ariz
Posts: 445
|
Re: 1957 Chevy truck re-rebuild
I have to do the same thing to mine. Nice work
Rich My build http://67-72chevytrucks.com/vboard/s...d.php?t=576185 |
|
|

|
|
|
#282 |
|
Registered User
Join Date: Aug 2012
Location: Salem Mo
Posts: 652
|
Re: 1957 Chevy truck re-rebuild
Finally things are starting to come together and progress is being made.
I'm pushing myself to make decisions about putting finishing touches on the interior trim. It happens that Sunday I got into another car I have with a floor counsel and bam, it hit me, I need a piece of trim that will surround the whole top of the shifter area and all the way up to the firewall. This will be tricky, it's gotta be stainless, it's gotta fit the curves of the shifter housing then follow along the cup holder area. Starting with a rough cut from a plate of 1/8" on the left, I need a couple pieces like the one on the right and one short piece to make the trim. 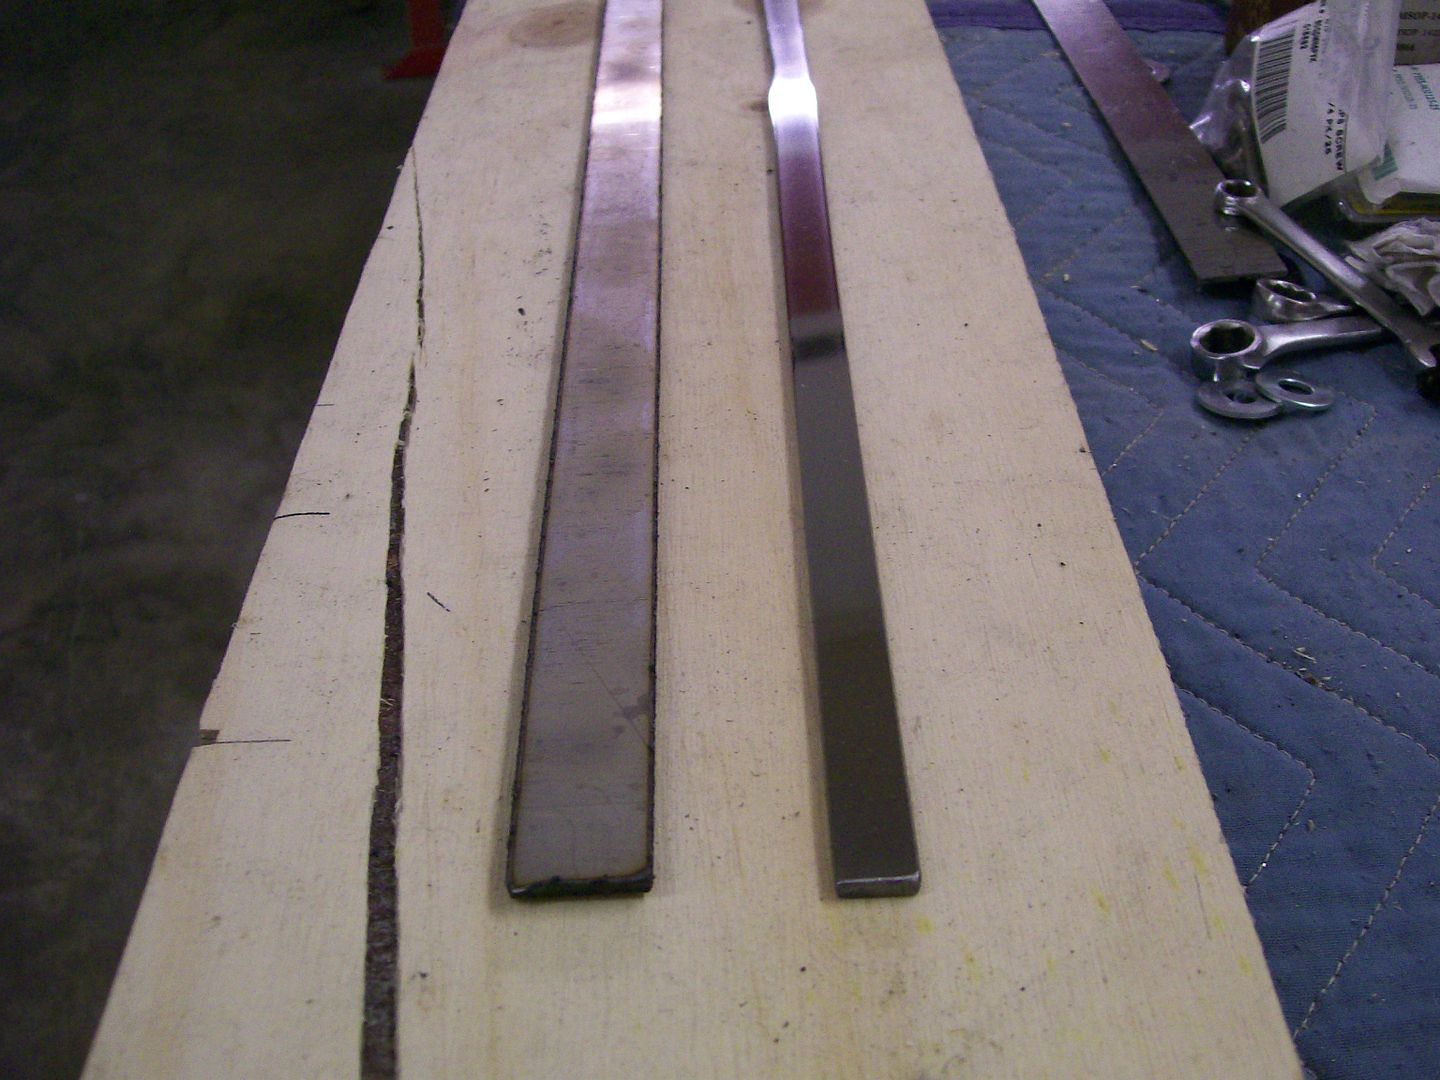 I'm displeased with the picture but I've got my three pieces clamped in place. 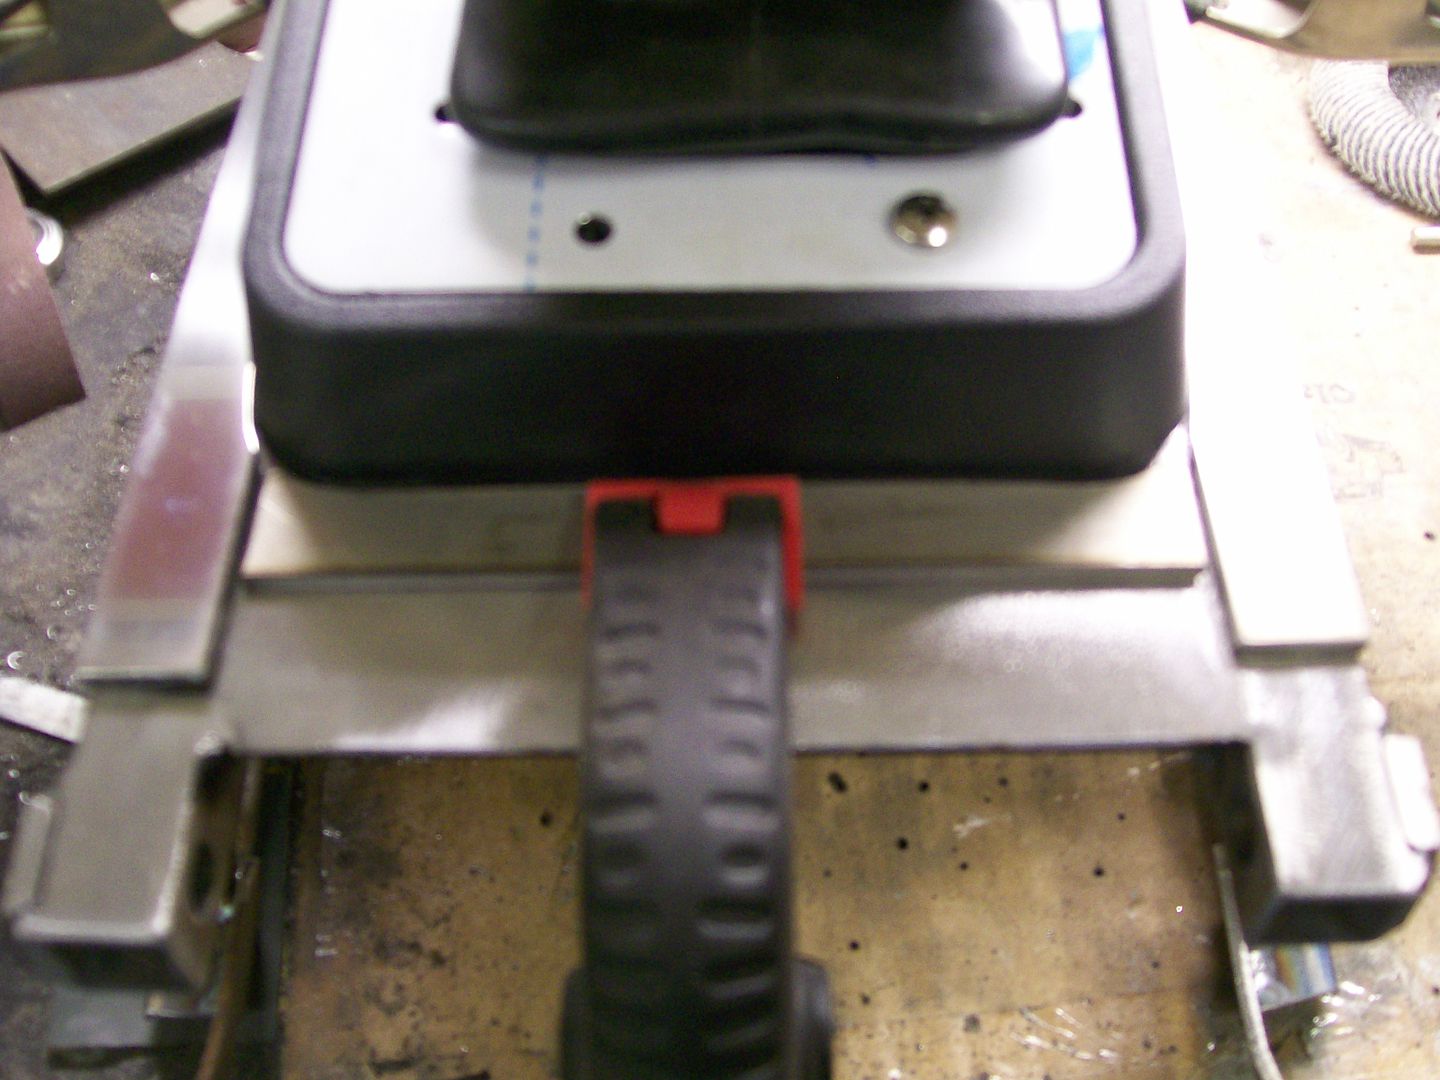 I'm also displeased with this picture too. The welds are not pretty but once again, the purpose is to attach and fill. 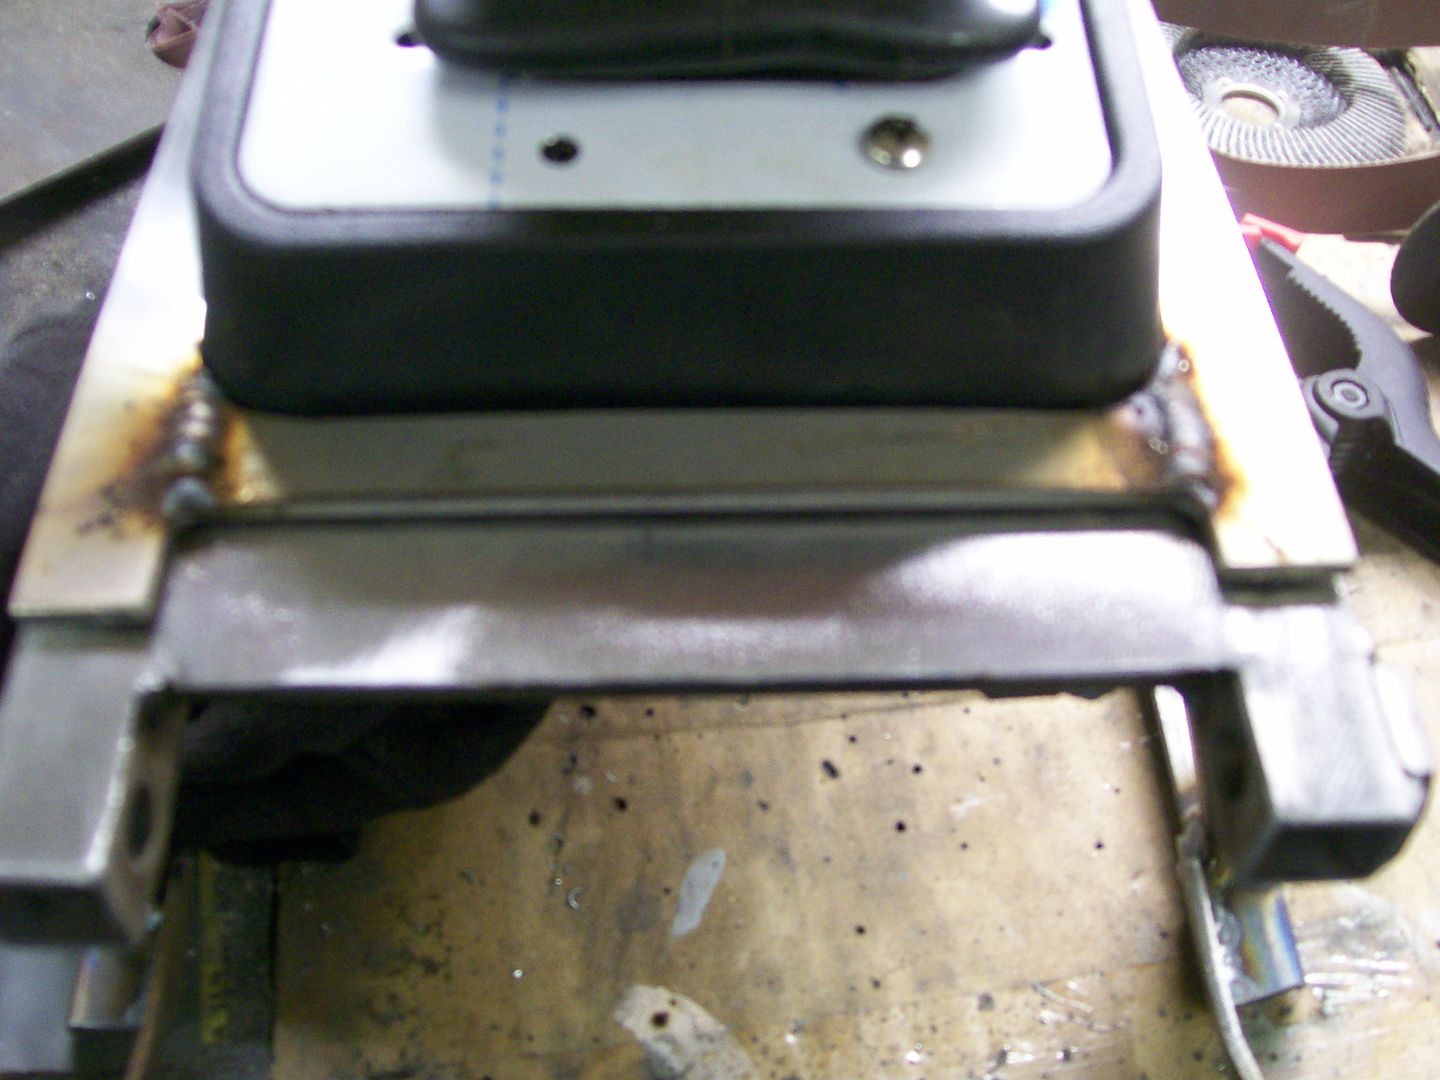 After some grinding and sanding it's coming along, yet with a few rough edges. 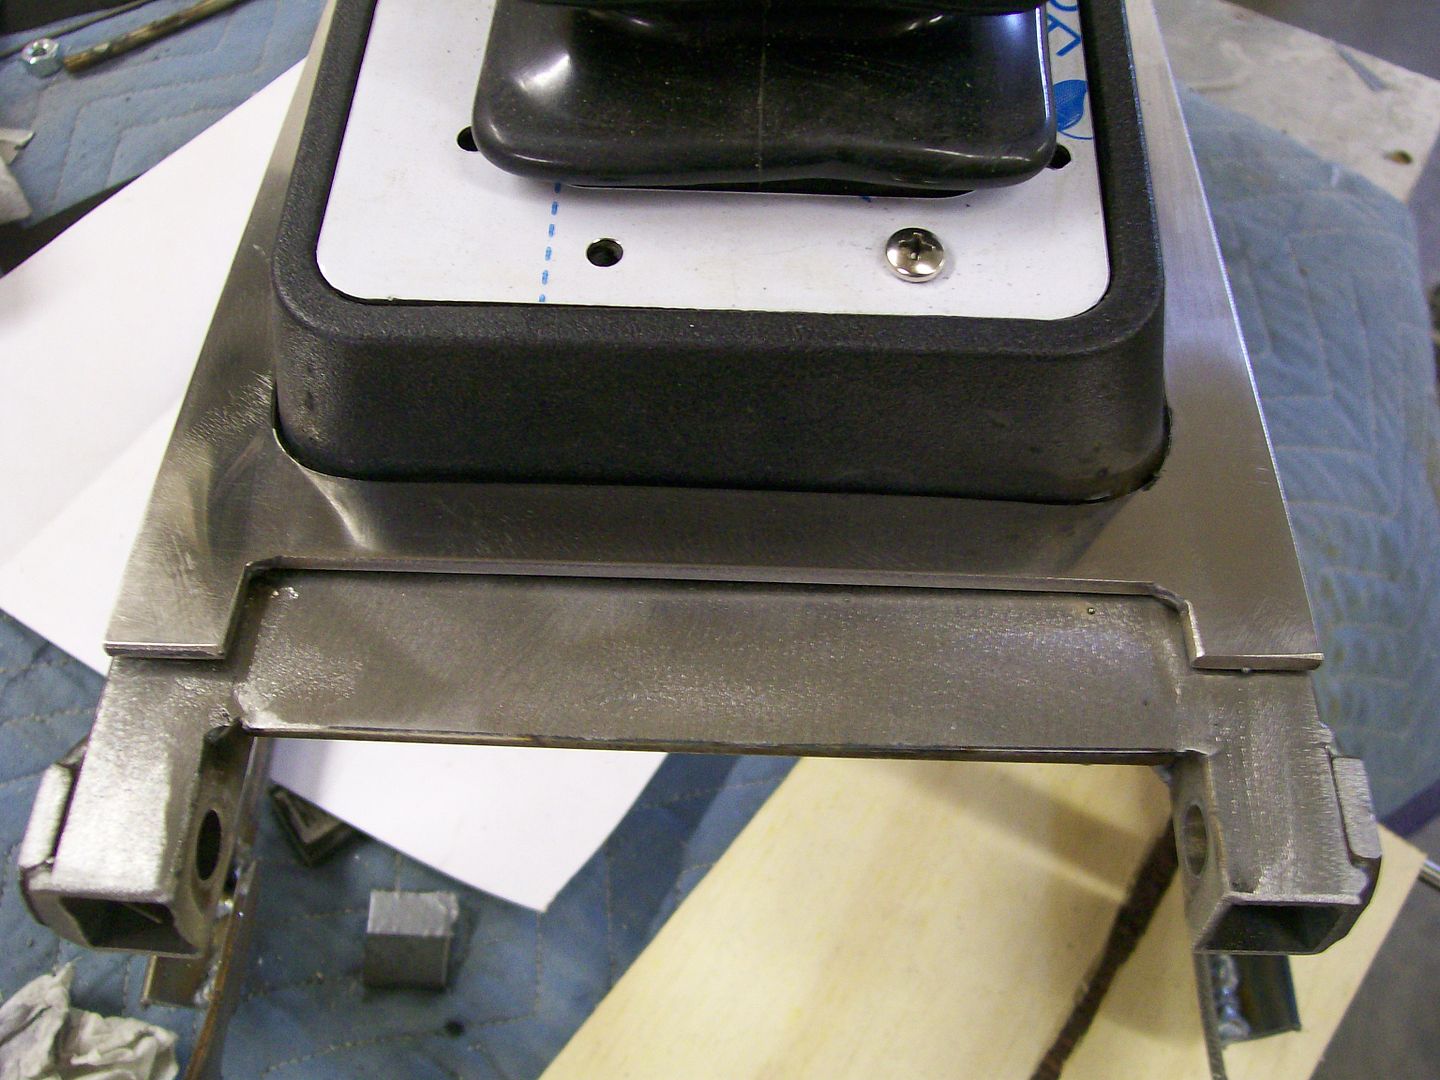 Now with the corners rounded and most of the roughness gone. I still need to final polish. 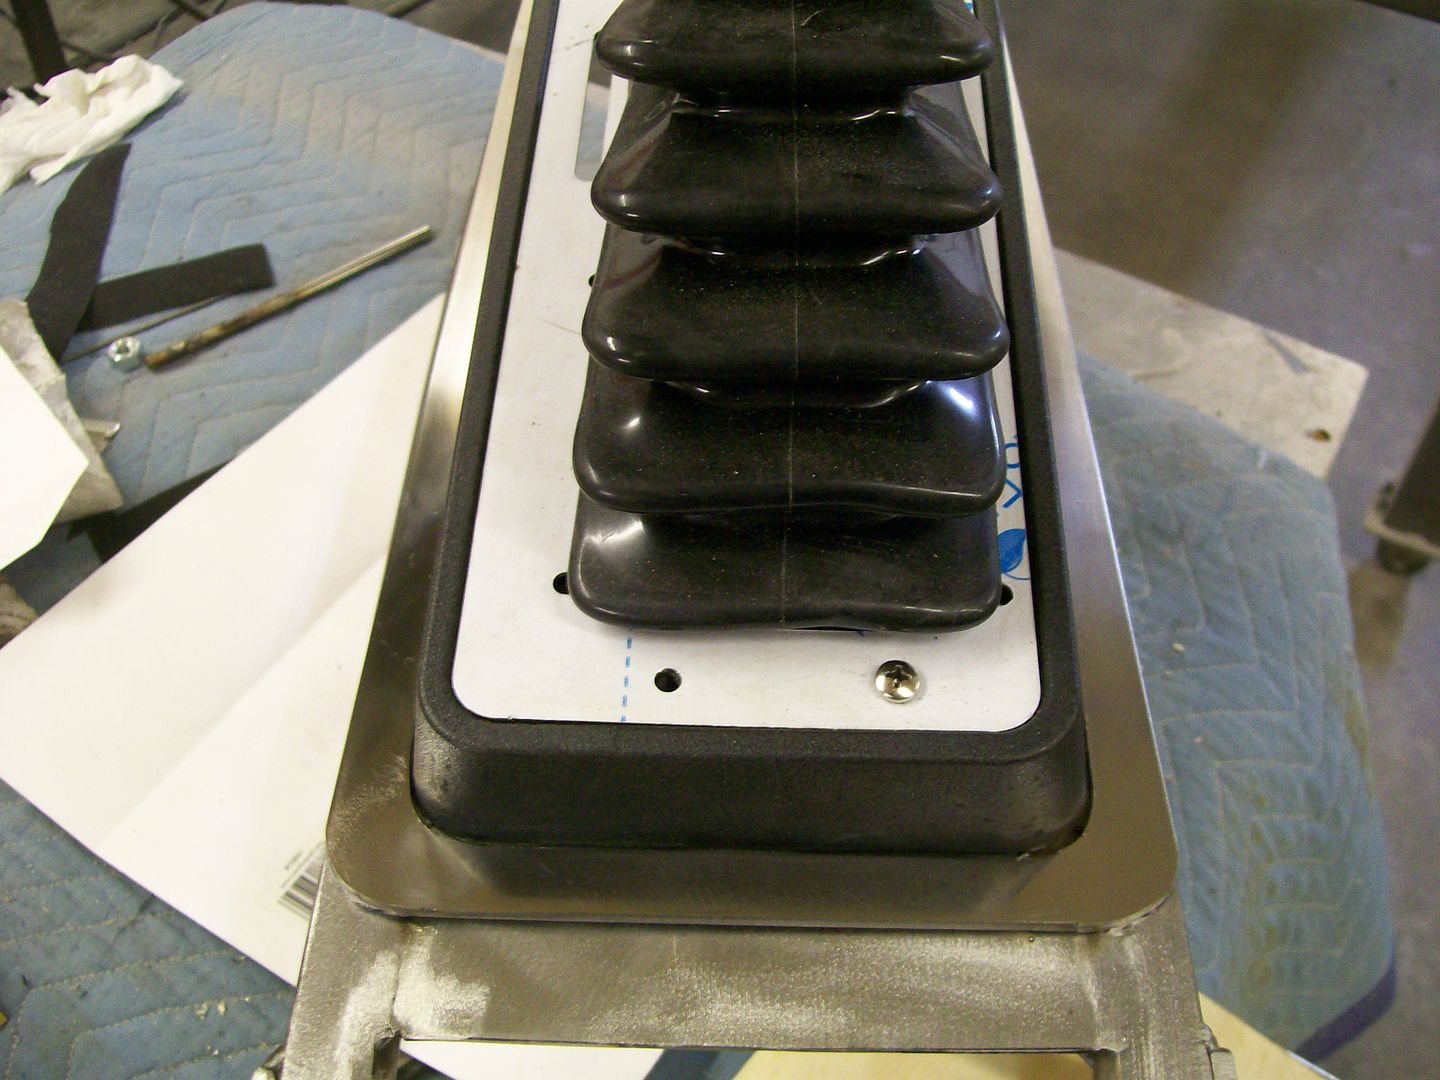 Much of this trim will be surrounded by black vinyl and should stand out nicely. It's not til times like this that I give credit to car manufacturers for making and designing cars/trucks and have to keep coming up with new updated designs that have to fulfill a need and still look good. |
|
|

|
|
|
#283 |
|
Registered User
Join Date: Feb 2013
Location: Lakeside Ariz
Posts: 445
|
Re: 1957 Chevy truck re-rebuild
Nice. What type of rod did you use to weld the stainless. ? Thanks
Rich |
|
|

|
|
|
#284 |
|
Registered User
Join Date: Aug 2007
Location: Corona, California
Posts: 7,998
|
Re: 1957 Chevy truck re-rebuild
Very nice work.
Kim |
|
|

|
|
|
#285 | |
|
Registered User
Join Date: Aug 2012
Location: Salem Mo
Posts: 652
|
Re: 1957 Chevy truck re-rebuild
Quote:
Flashing back to the vinyl door panel covering, the original design for mounting the panel is using a taper headed screw. The problem with using a taper head up against the vinyl is that the vinyl attaches to the screw and tries to turn with while tightening a removing. 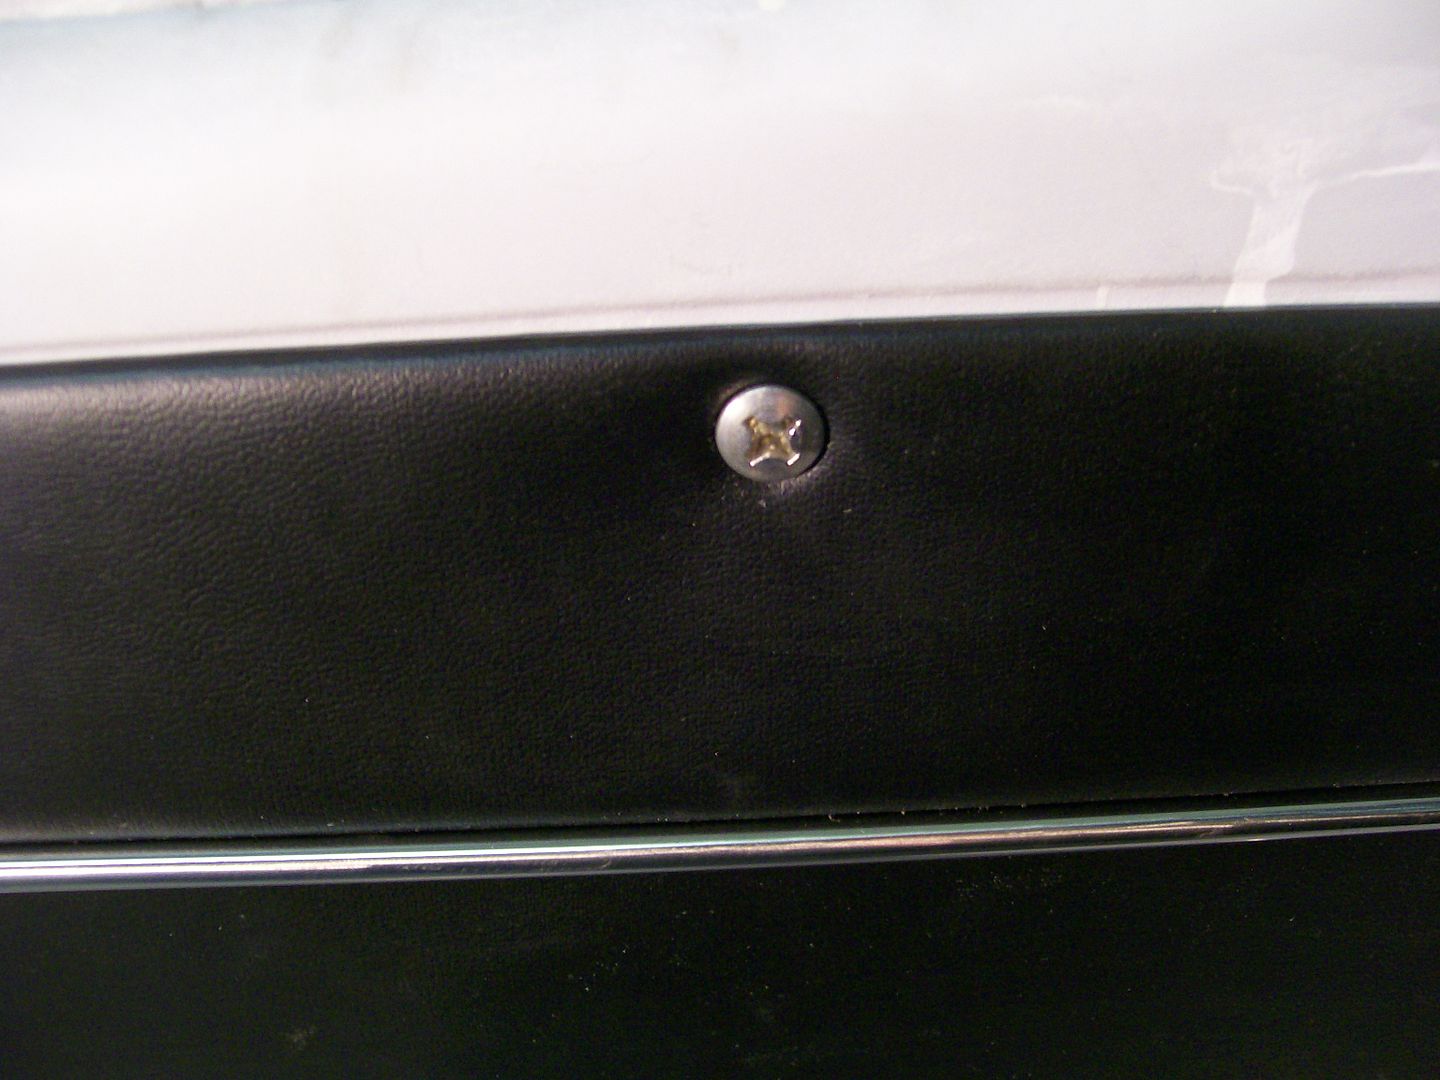 I still want the taper head look so I need a way around the problem. I also need a screw that is about a 1/4" longer than original. I found the longer screws, but no luck on cupped or coned washers. I did however find 1/4" stainless washers. On the left, longer screw, on the far right, original screw, washer to the right, bought stainless washer and the coned washer on the left. The coned washer is what I'm focused on here. I had to make a press adapter to make the coned washer......here goes. With the chop saw, I got a chunk of 1" round. Then drilled. 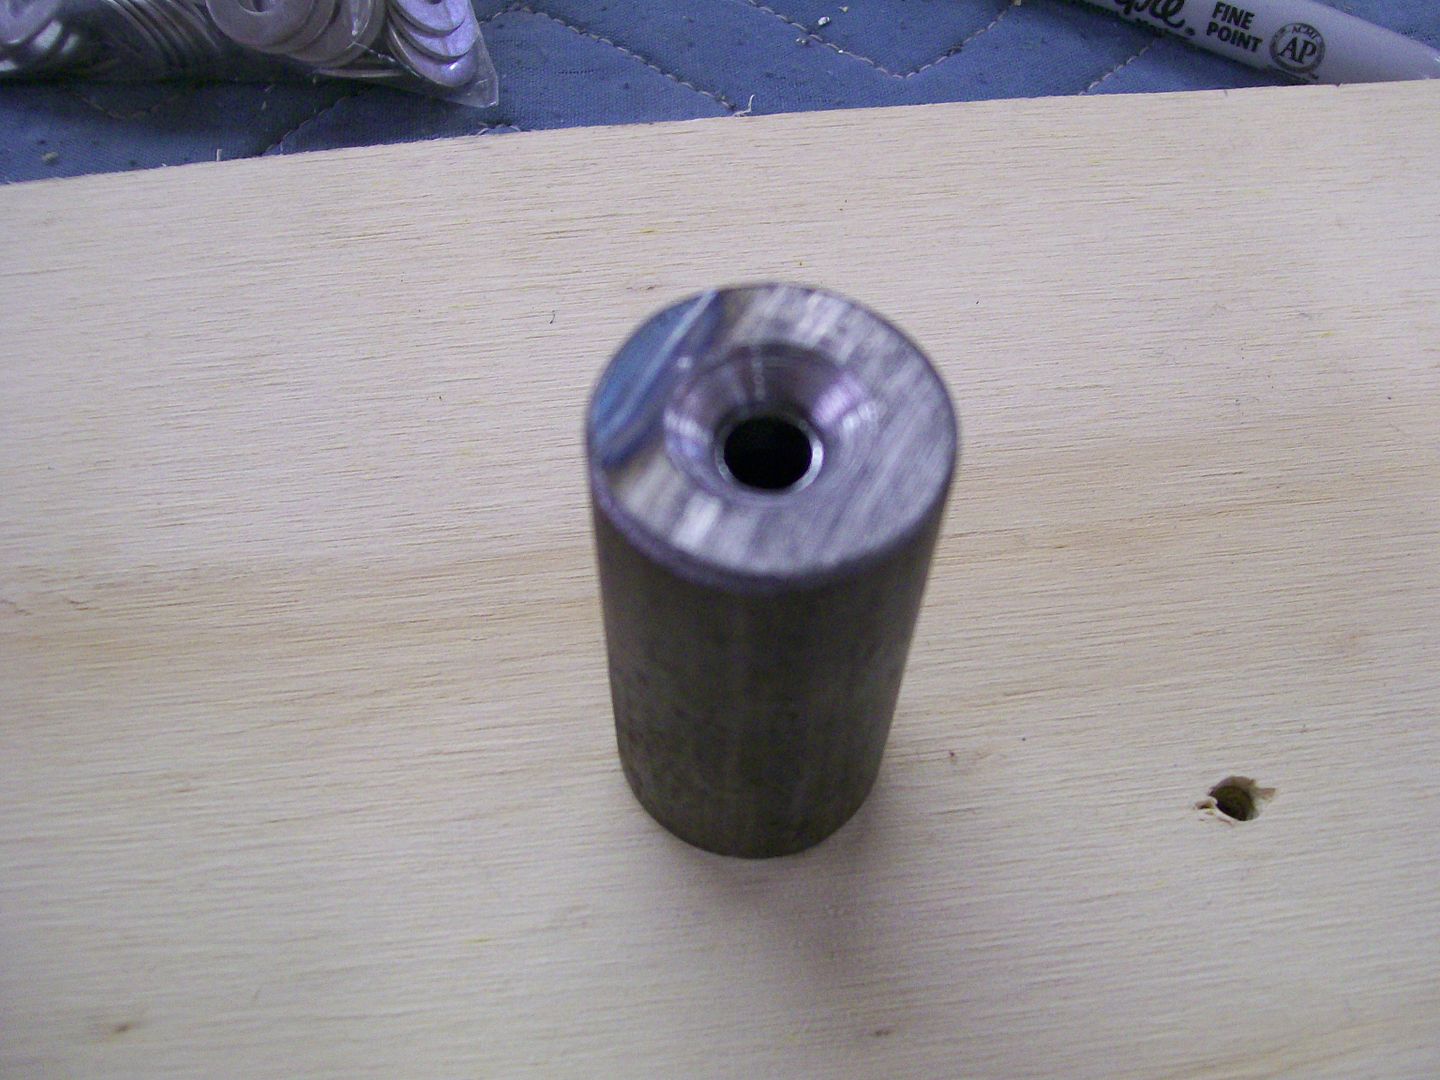 Then put a washer and a screw in place, then to the press. 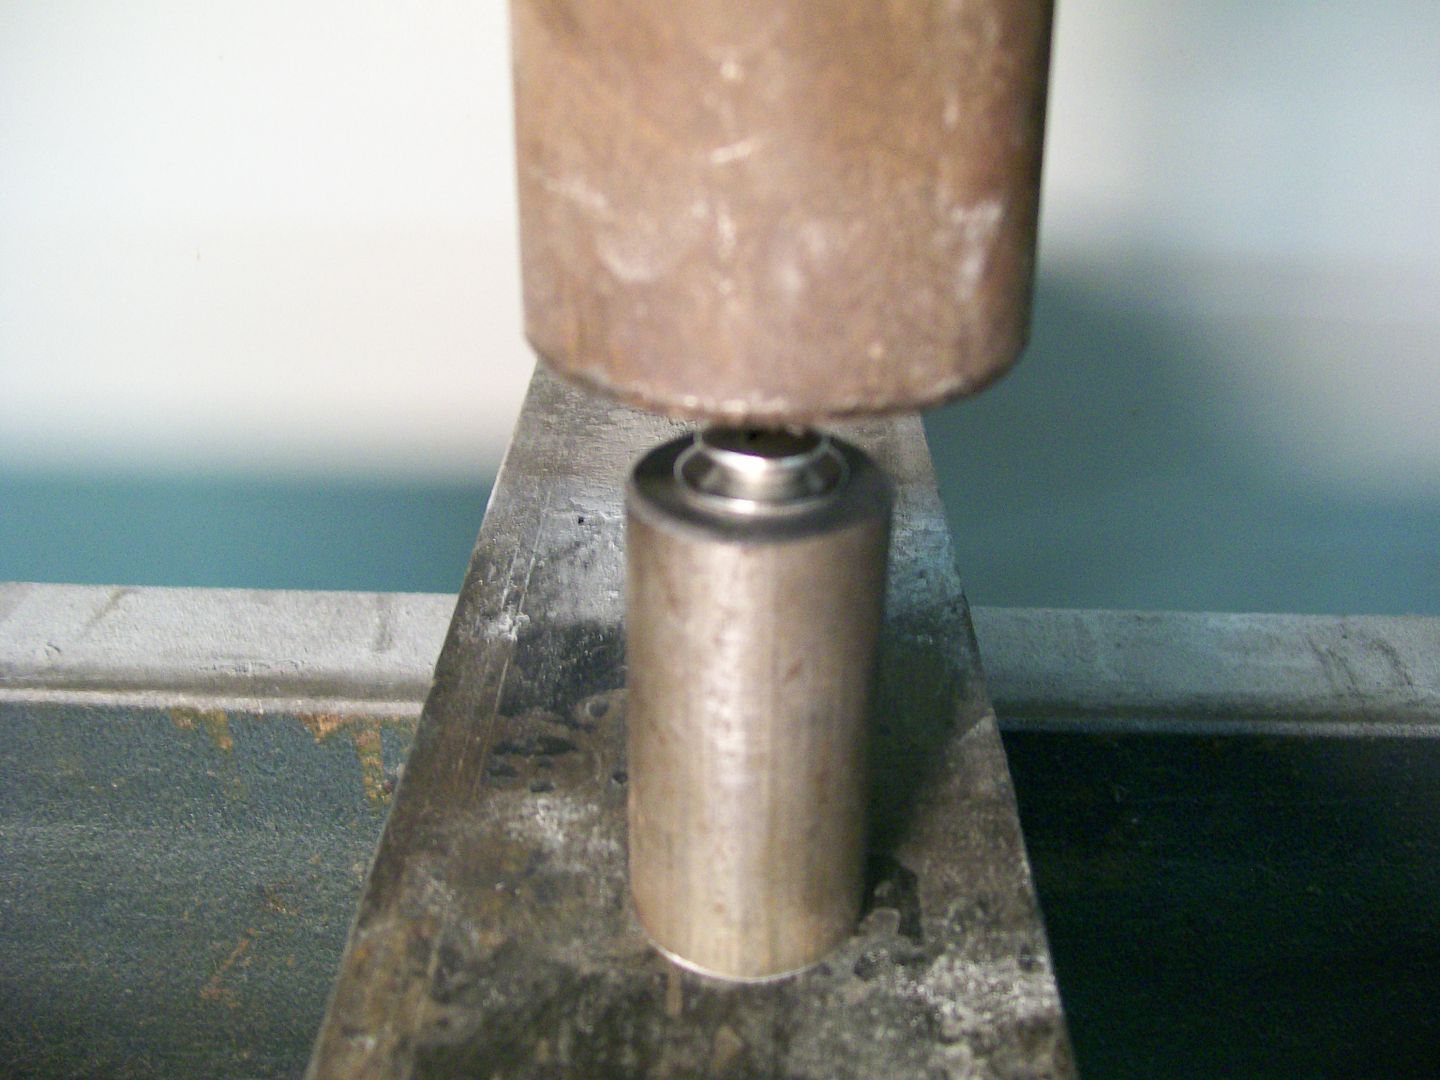 First one worked great so I pressed out about 30 of them. 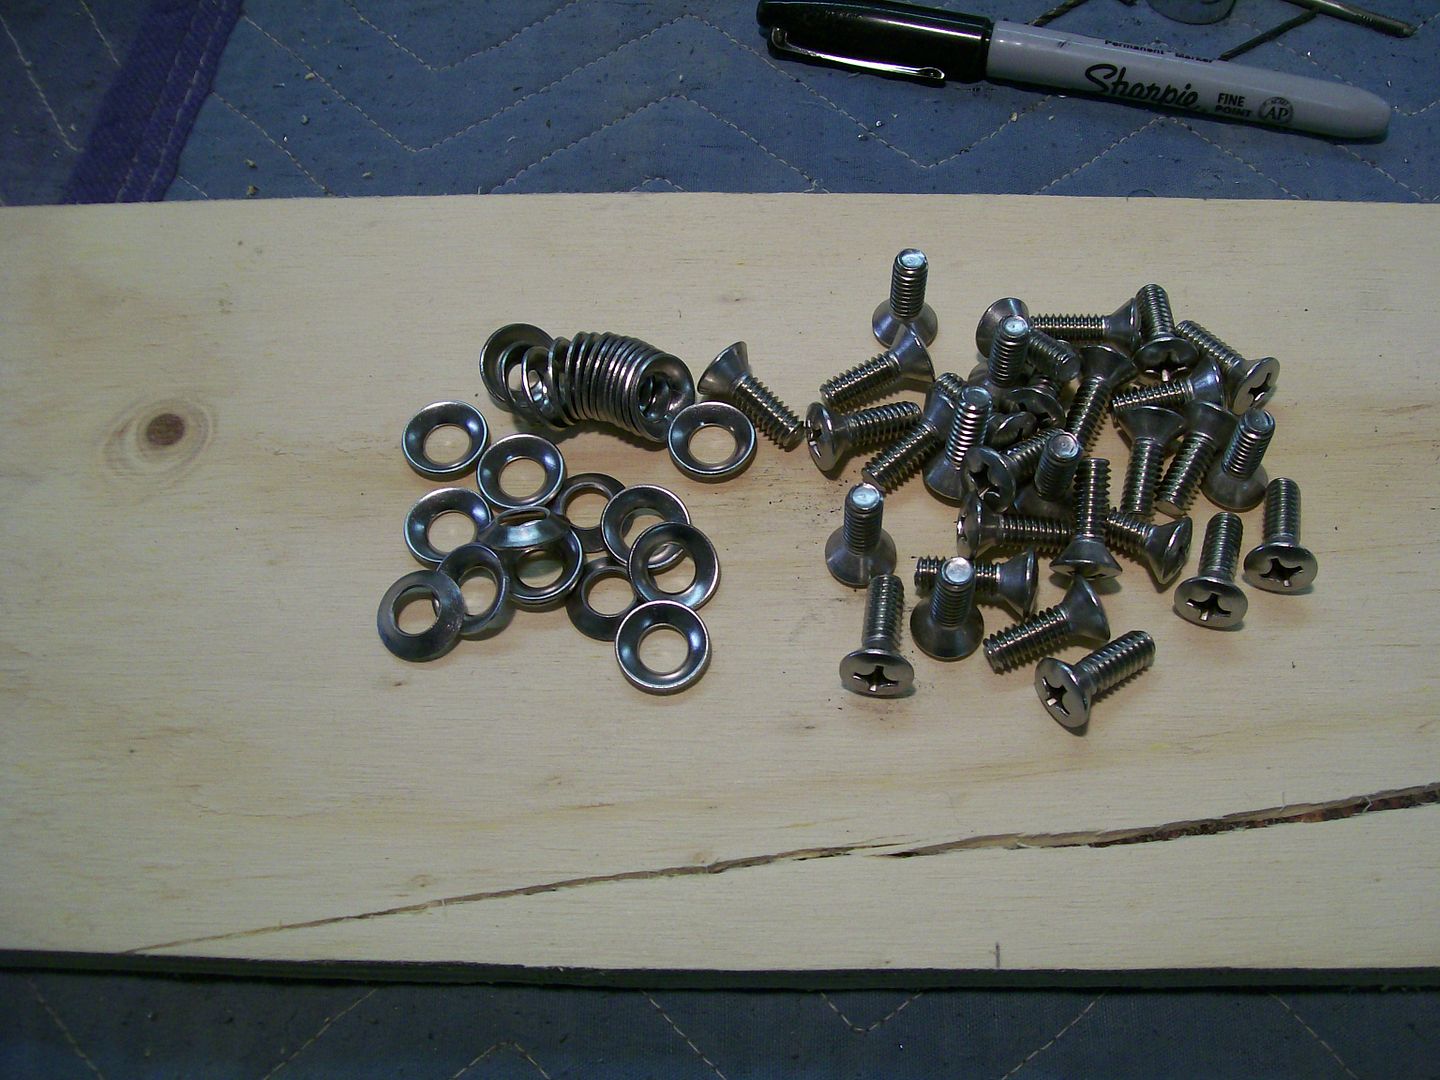 The final fit. I can tighten the screw without the vinyl trying to turn also, and doesn't change the original mounting system. 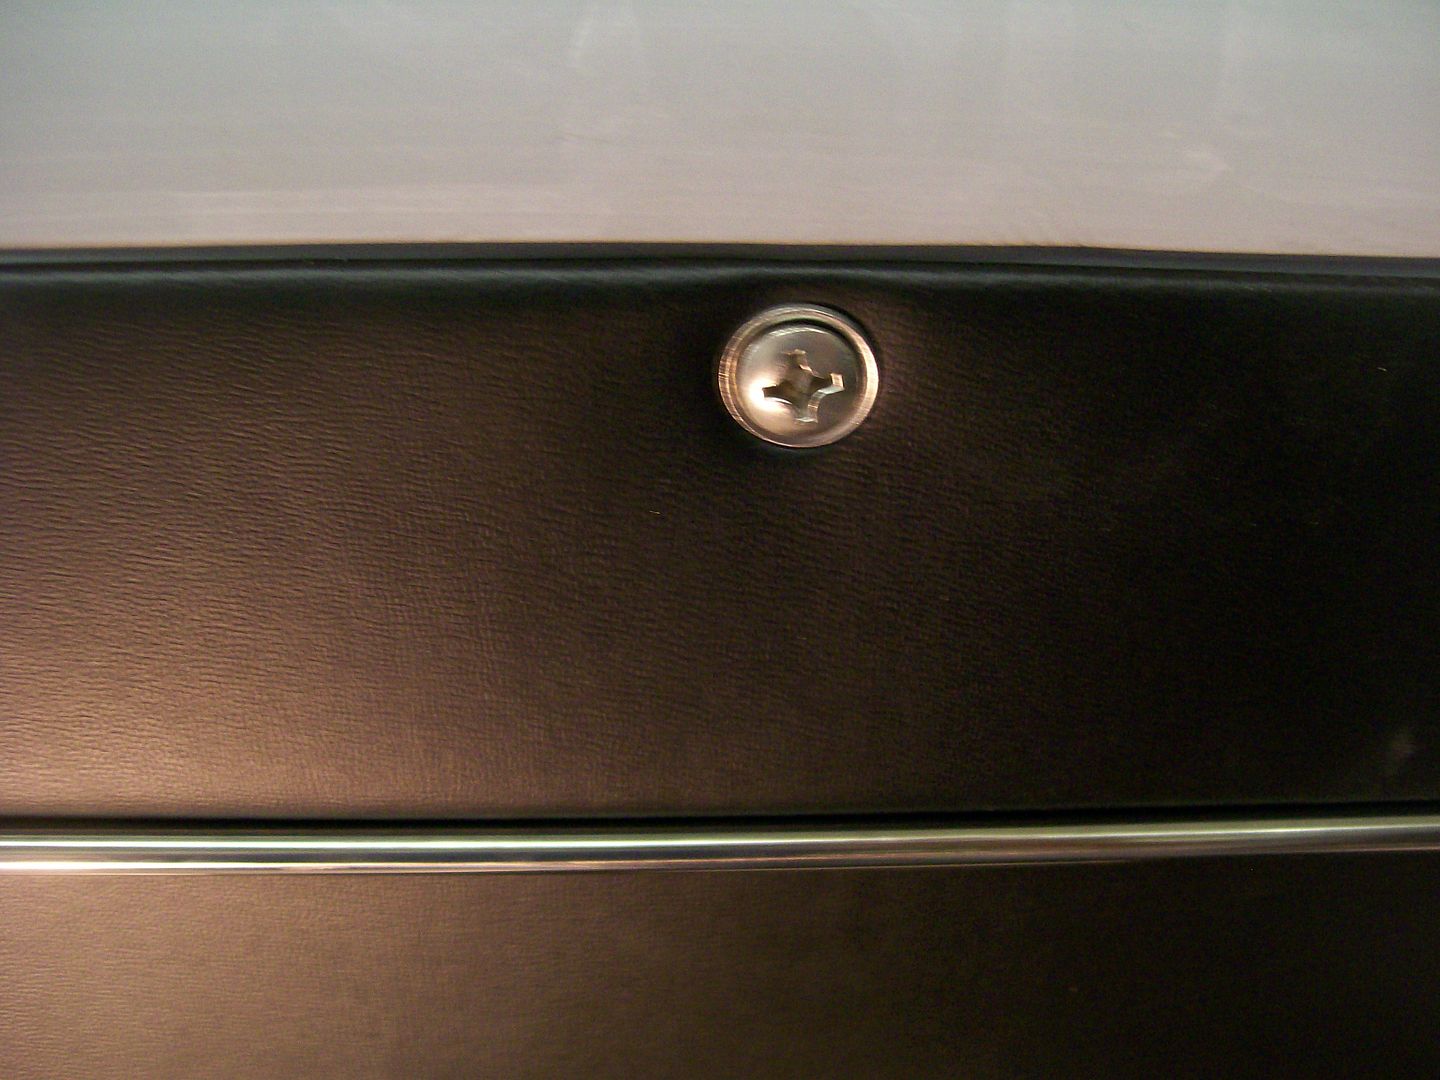 Hoooorah, check one more item off the to do list again. |
|
|
|

|
|
|
#286 |
|
Registered User
Join Date: Feb 2013
Location: Lakeside Ariz
Posts: 445
|
Re: 1957 Chevy truck re-rebuild
Looks good. a lot of work for a washer.
Rich |
|
|

|
|
|
#287 |
|
Registered User
Join Date: Aug 2007
Location: Corona, California
Posts: 7,998
|
Re: 1957 Chevy truck re-rebuild
Nice work on the washers.
Kim |
|
|

|
|
|
#288 |
|
A320 Pilot/USAF Retired
Join Date: Mar 2009
Location: Charleston, SC
Posts: 2,629
|
Re: 1957 Chevy truck re-rebuild
Well done!!
__________________
JJ My 1957 build: http://67-72chevytrucks.com/vboard/s...d.php?t=334552 http://www.trifive.com/forums/showthread.php?t=22037 Instagram - Chuckdriver57 |
|
|

|
|
|
#289 |
|
Registered User
Join Date: Aug 2012
Location: Salem Mo
Posts: 652
|
Re: 1957 Chevy truck re-rebuild
Thanks everyone, yes it was work getting the washers made but if there's one thing I've learned, don't look at the clock, just do what you gotta do.
 I did get the carpet, I got it from Classic industries. I had two concerns. 1) I didn't want it to have precut holes for the original steering column or pedals. 2) I was hoping it would go high up the firewall. For the first issue, they were kind enough to open the box and check the precut hole problem and call me back before shipping. For the second issue, I just had to hope. Glad to say.... it goes higher than I expected, which is a good thing. 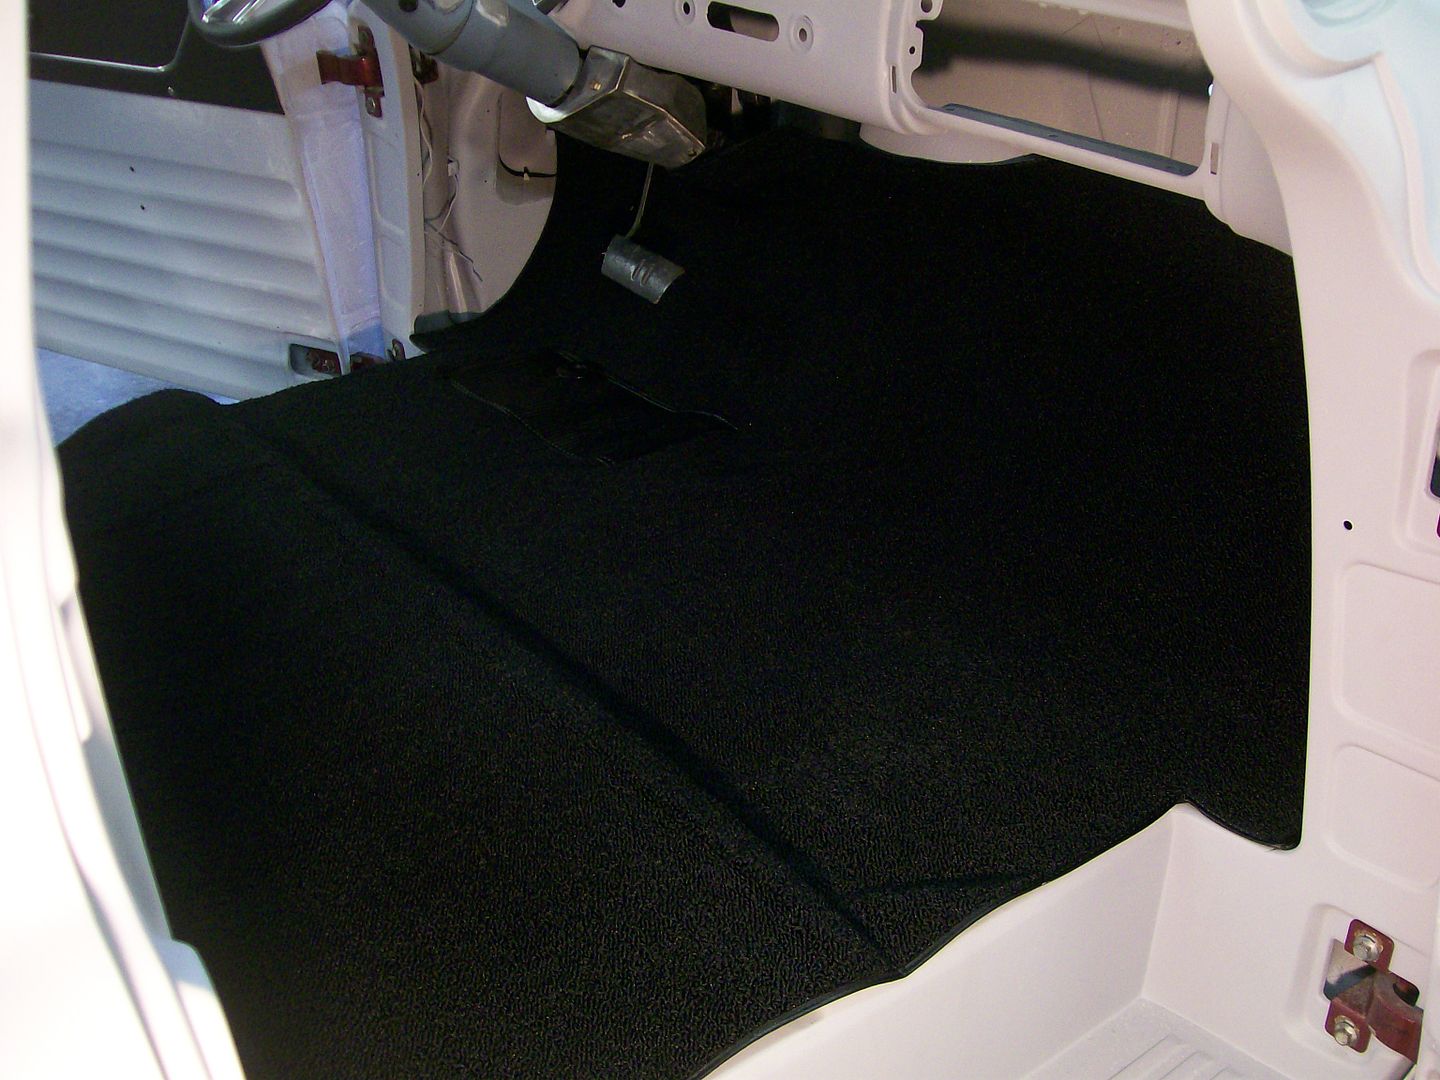 Now time to fit all the seat mounts and tunnel and dimmer switch and steering column, ect. 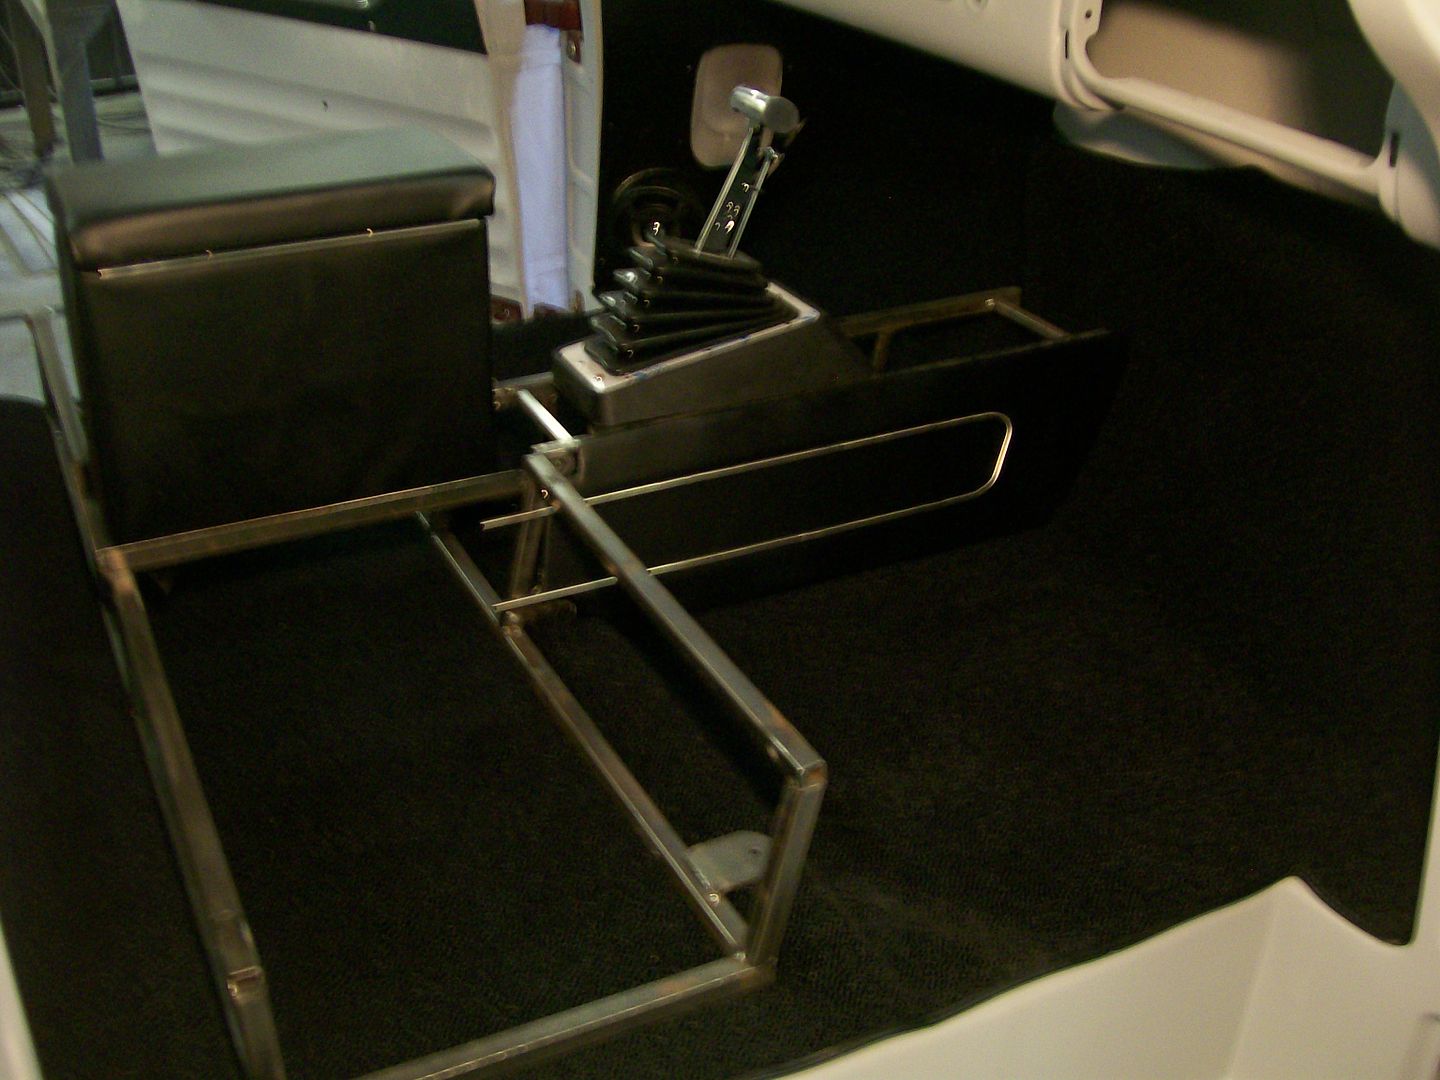
|
|
|

|
|
|
#290 |
|
Registered User
Join Date: Feb 2013
Location: Lakeside Ariz
Posts: 445
|
Re: 1957 Chevy truck re-rebuild
|
|
|

|
|
|
#291 |
|
Registered User
Join Date: Aug 2007
Location: Corona, California
Posts: 7,998
|
Re: 1957 Chevy truck re-rebuild
Your interior is looking real nice.
Kim |
|
|

|
|
|
#292 |
|
Registered User
Join Date: Aug 2012
Location: Salem Mo
Posts: 652
|
Re: 1957 Chevy truck re-rebuild
Yes, the carpet fit well. There is an area in the middle of the fire wall that is a little off, but nothing I can't work with.
Unless I over looked them in the catalogs I needed the vent grills. I got none with the truck. On the other hand, making stuff is part of the fun. This is the rough finished product of the drivers side. Once I get back to body work I'll finish the detail work on the vents. 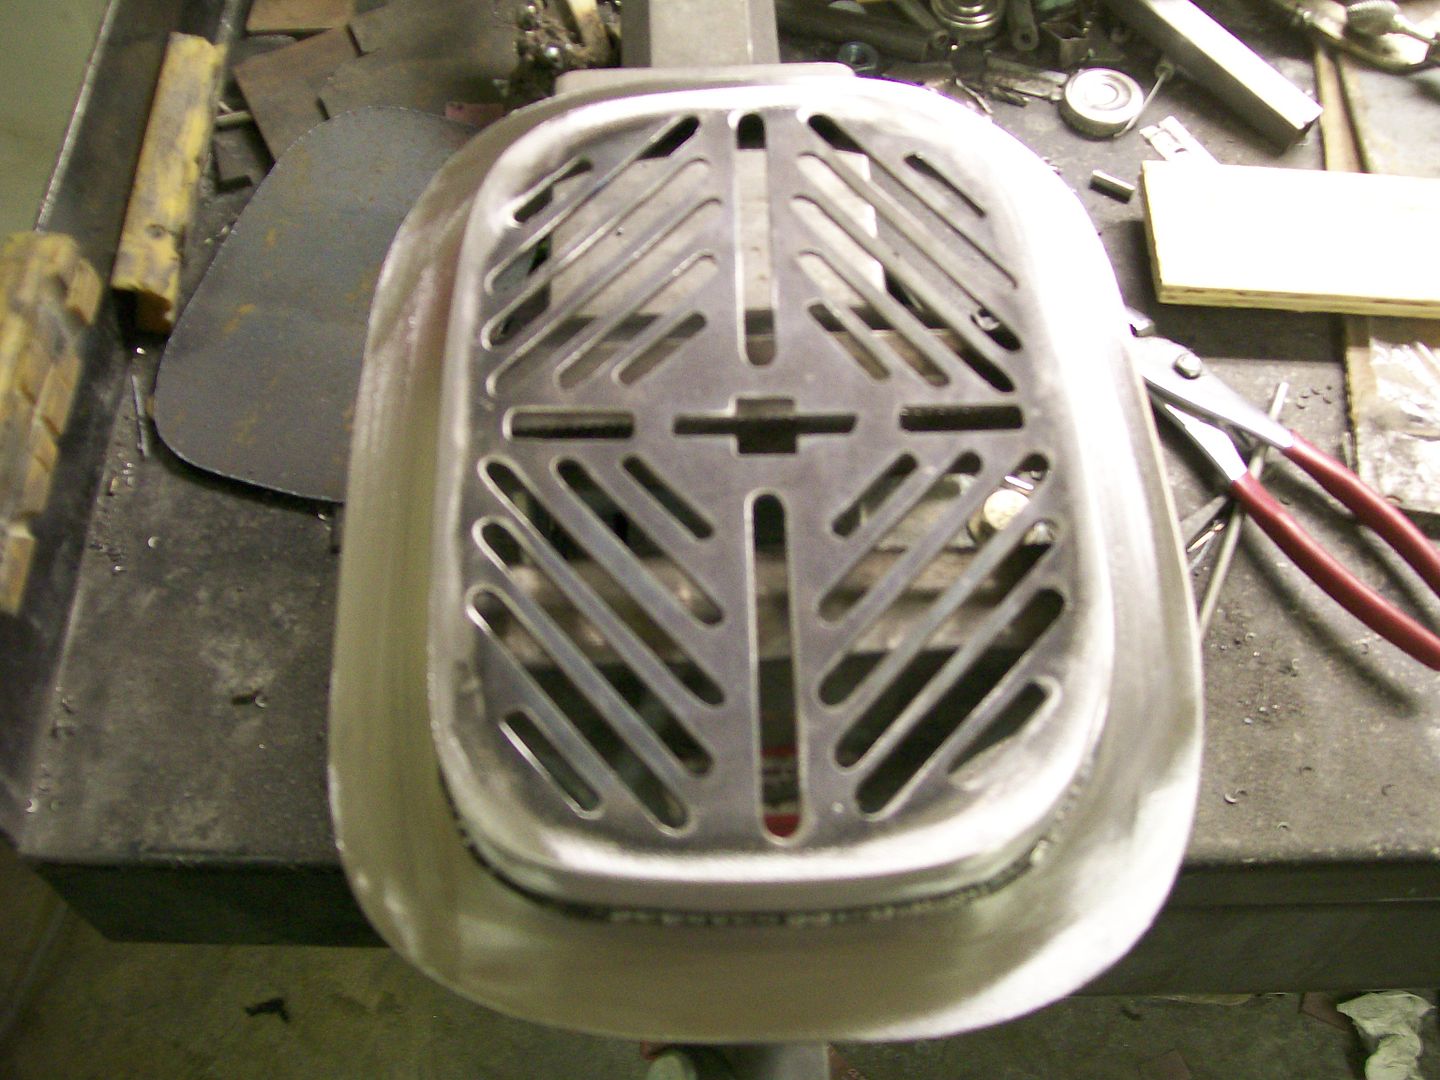 I've had questions on the torchmate table operation. I wanted to show the order of how it cuts something with as many cuts as the vents require. This first one is the cutting in action. 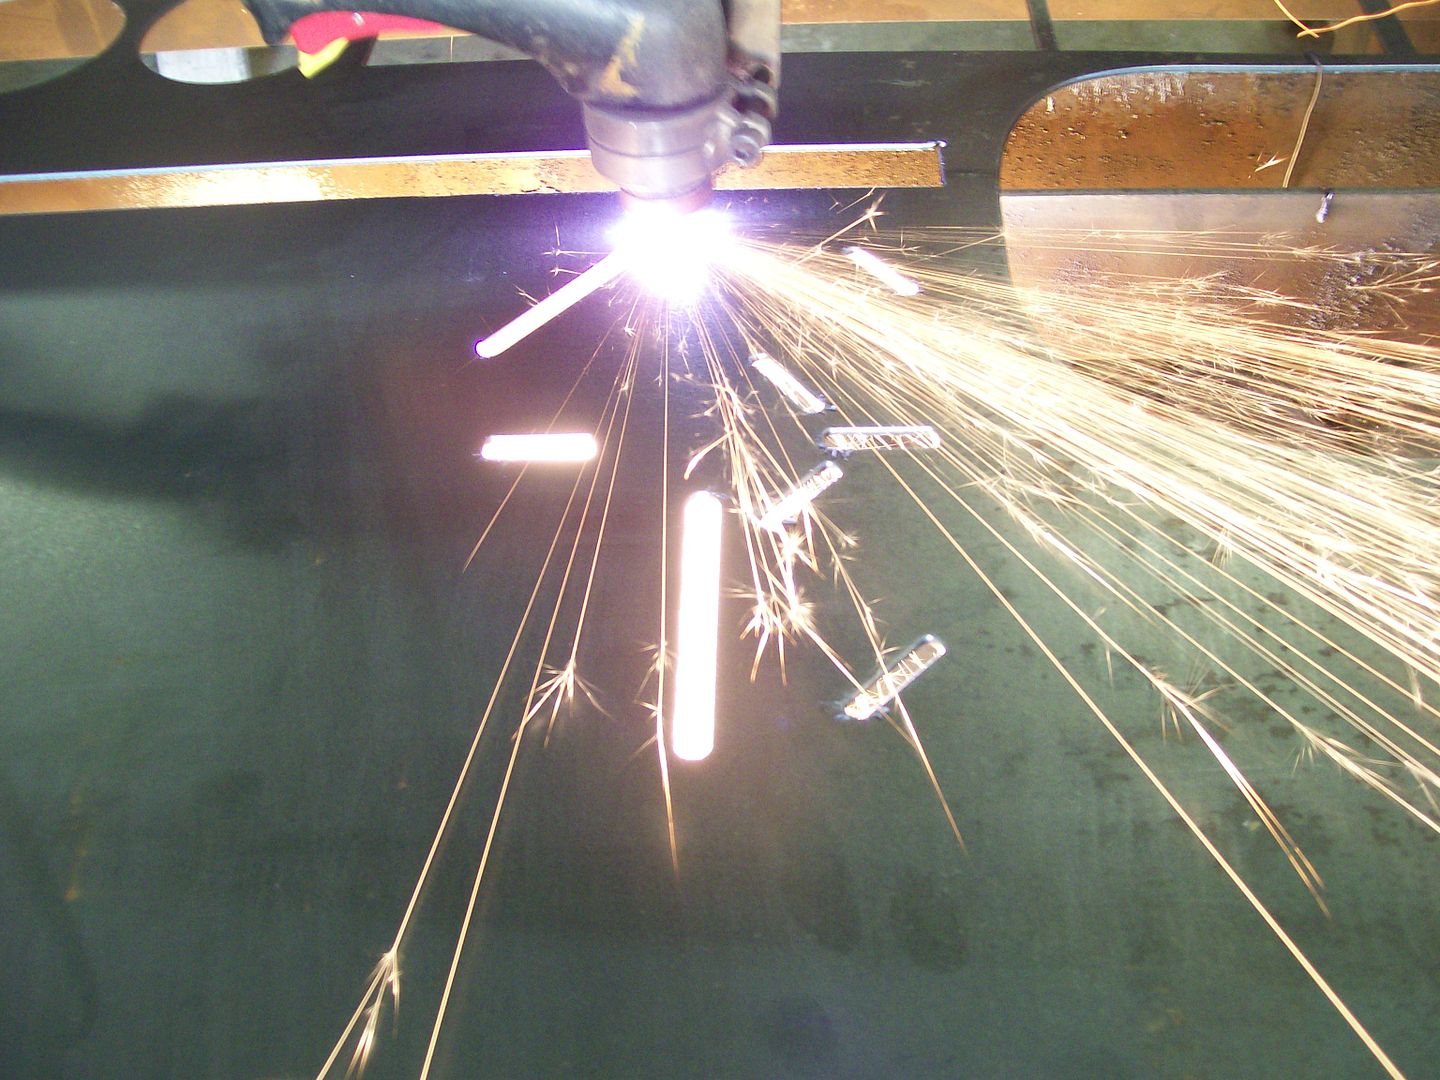 There are things to consider when setting up the cut. In this case I am concerned with the amount of cuts close to each other I could have a heat/warp issue. The machine decided what order to make the cuts, I stepping in and set the timer to wait 15 seconds before it went to the next cut to give the heat time to dissipate before the next cut it made. 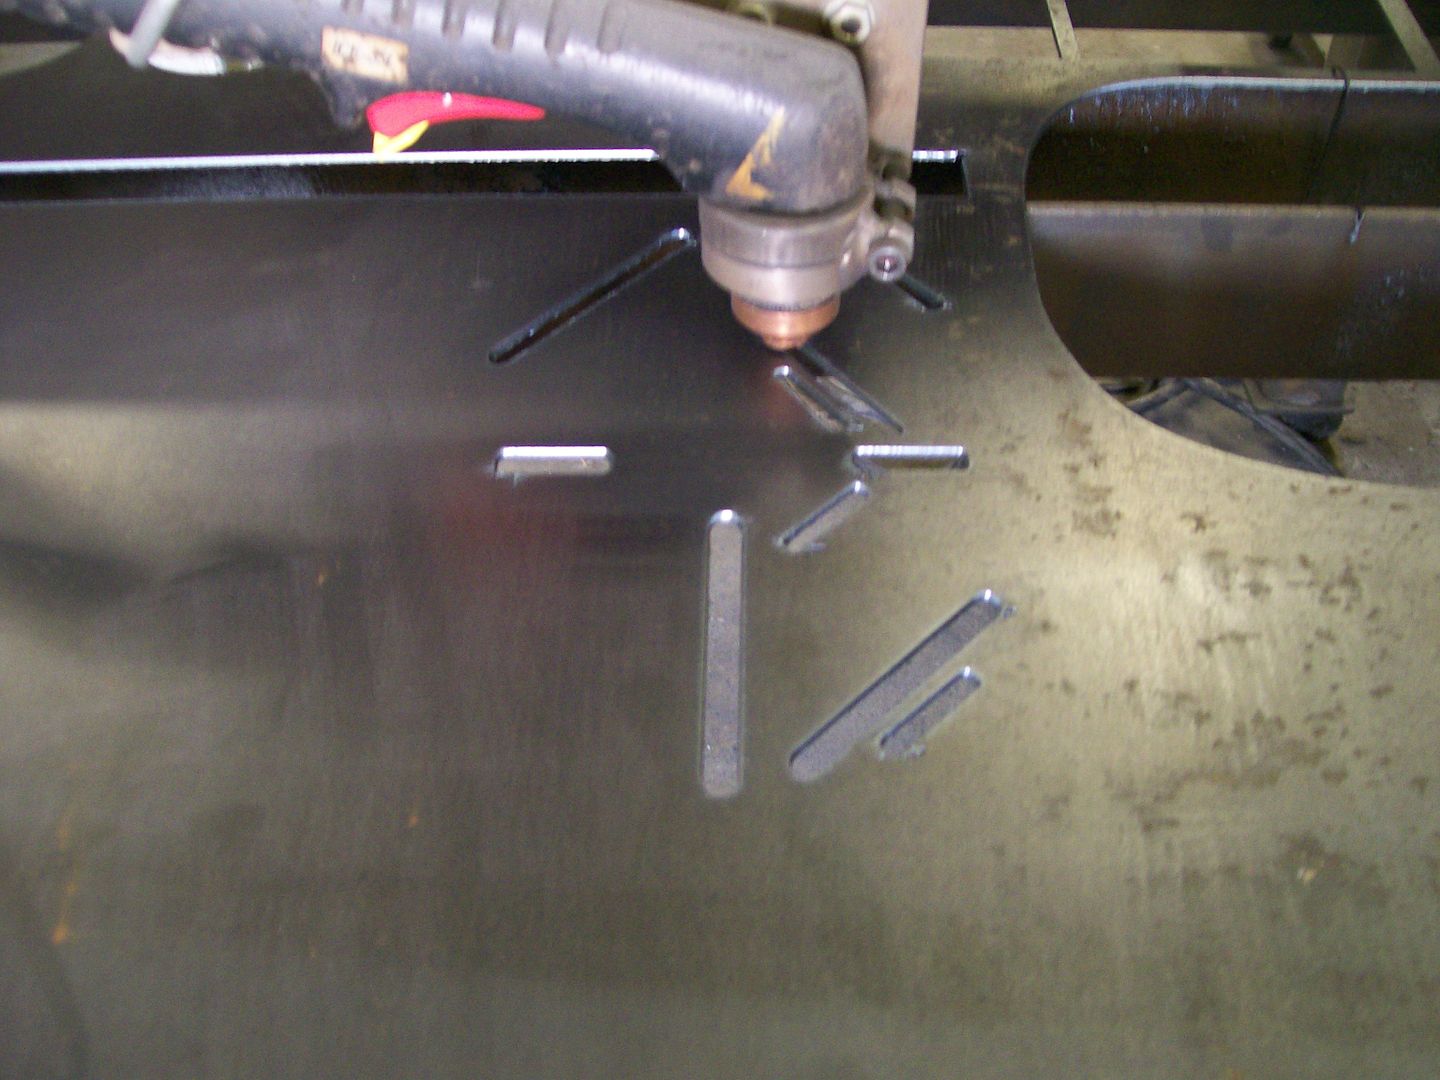 Still making cuts..... 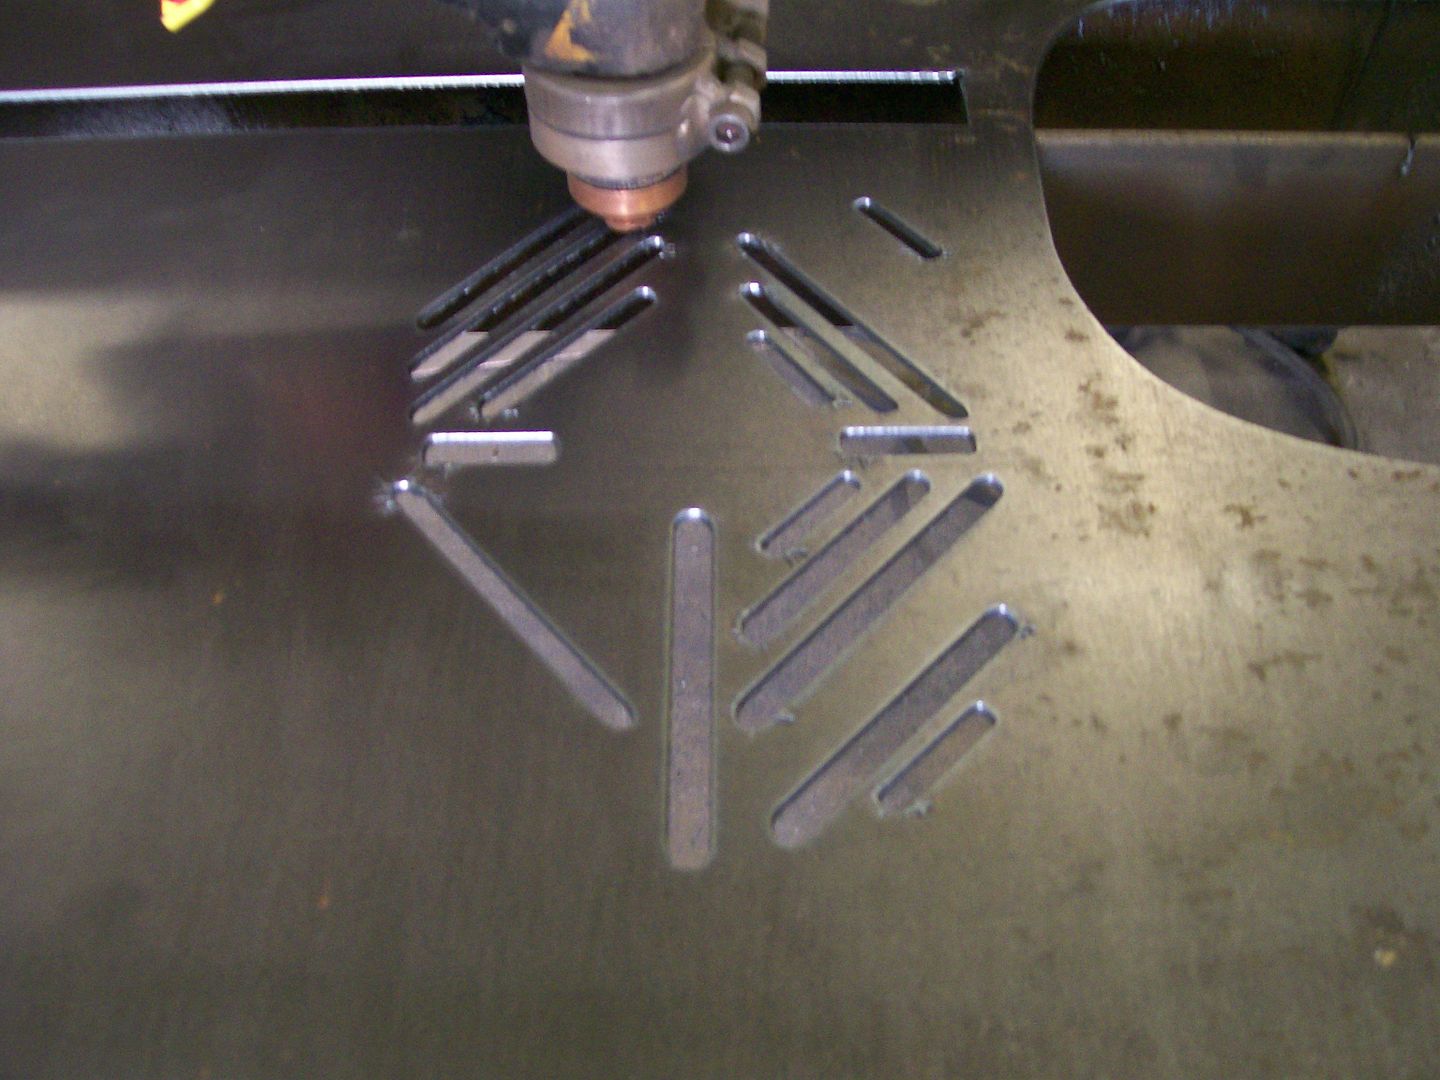 Just a couple more cuts to make. After all the inner cuts are made, then it will cut the outer surround. 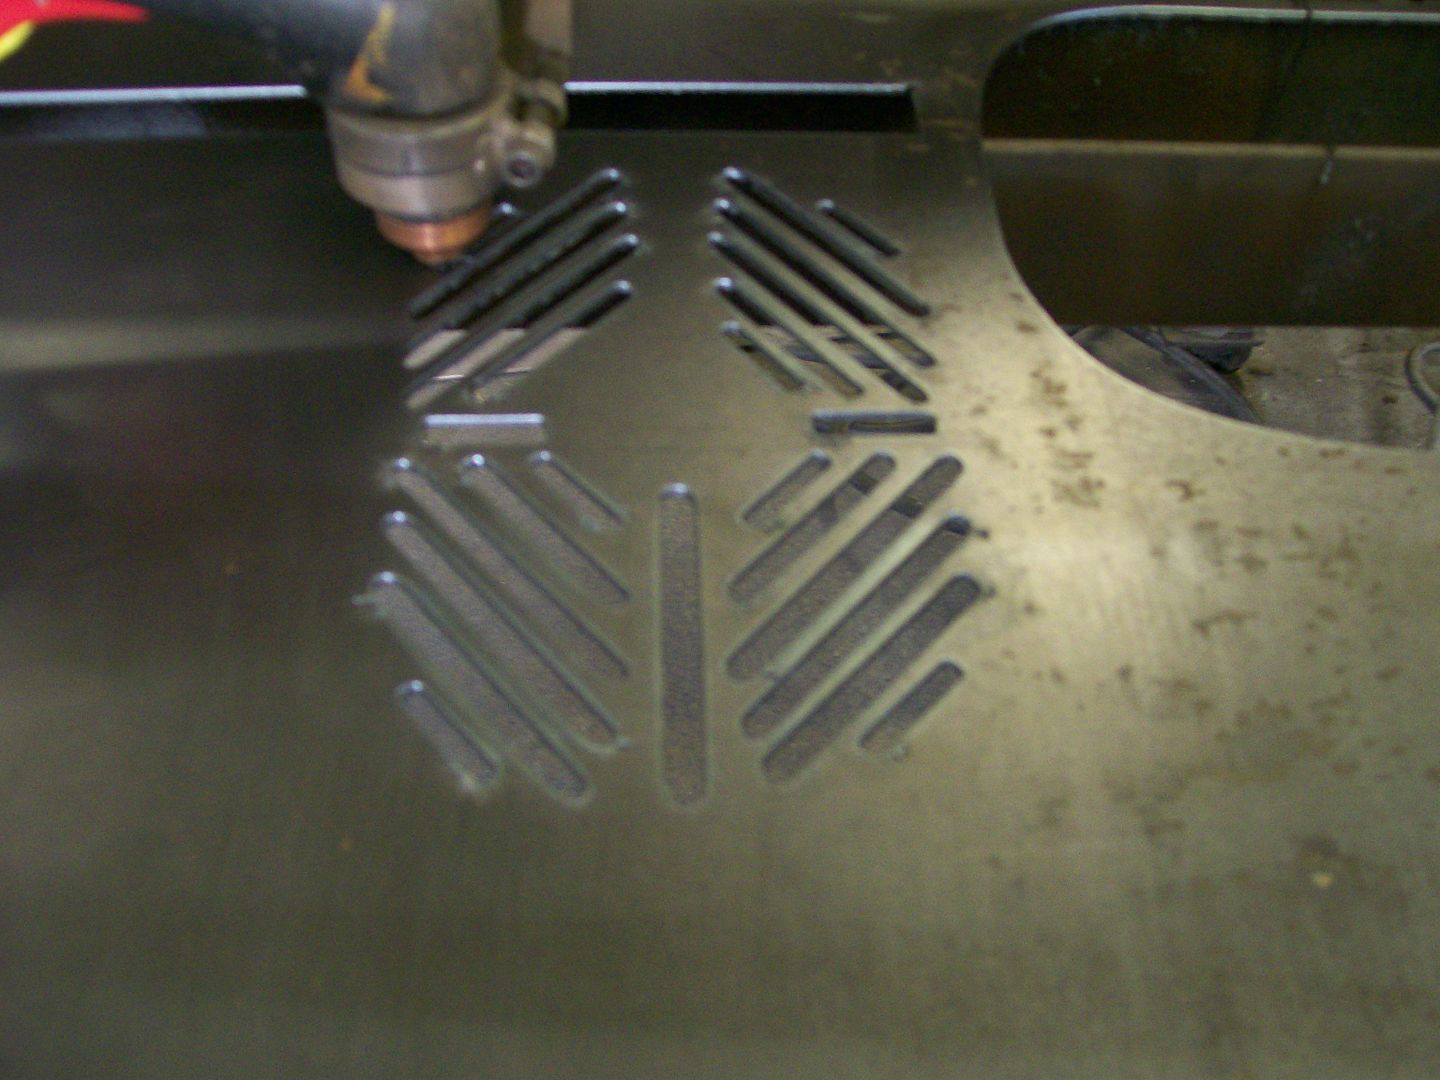 Shot during the final cut. Once the torch reaches where it stated the plate will drop out. 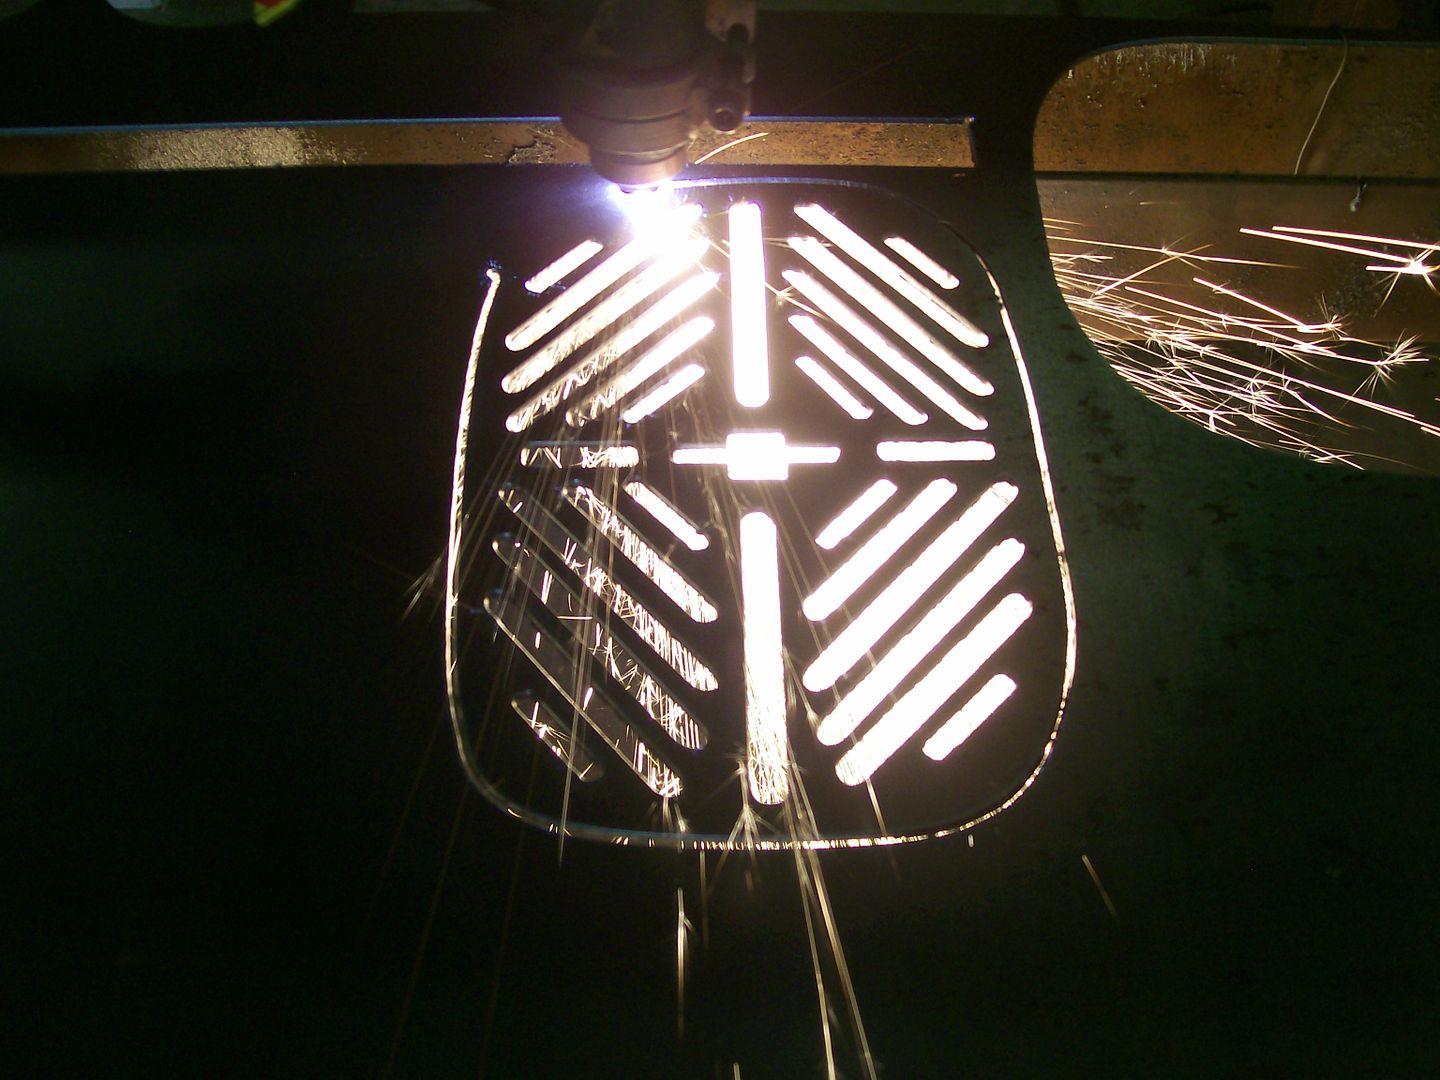 Once the cut is done I still have to clean up the slag left over on the backside and I'll touch up the all the edges with a file. Although it does a great job, it's still a plasma cutter heating and blowing 80 pounds of air through the molten metal. |
|
|

|
|
|
#293 |
|
Registered User
Join Date: Apr 2011
Location: .
Posts: 3,104
|
Re: 1957 Chevy truck re-rebuild
That came out sweet.
|
|
|

|
|
|
#294 |
|
Registered User
Join Date: Feb 2013
Location: Lakeside Ariz
Posts: 445
|
Re: 1957 Chevy truck re-rebuild
|
|
|

|
|
|
#295 |
|
Navy Radioman Veteran
Join Date: Jul 2007
Location: Western Kentucky
Posts: 1,350
|
Re: 1957 Chevy truck re-rebuild
I dig the bowtie!
My body man welded up the holes for the vents as just closing the doors allows too much outside air to flow (especially with the AC on). Excellent work nonetheless... 
__________________
1987 Chevrolet R10 Silverado BBC Build thread - SOLD 1986 GMC Sierra Classic - SOLD 1957 Chevy Step Side - At the Body Shop Daily Driver; 2005 Chevrolet Silverado 4x4 Z71 Stepside |
|
|

|
|
|
#296 |
|
Registered User
Join Date: Dec 2011
Location: Southern Oklahoma
Posts: 181
|
Re: 1957 Chevy truck re-rebuild
Wow!!! Looking great. That is turning into one very nice looking interior. Impressive.
|
|
|

|
|
|
#297 |
|
Registered User
Join Date: Aug 2007
Location: Corona, California
Posts: 7,998
|
Re: 1957 Chevy truck re-rebuild
That is one real neat tool.
Kim |
|
|

|
|
|
#298 |
|
Registered User
Join Date: Jan 2012
Location: Motown
Posts: 7,680
|
Re: 1957 Chevy truck re-rebuild
nice work on your vent stepsidejim
i was one of the people asking about his machine we seal the deal on a 4x8 plasma water table this week
__________________
cool, an ogre smiley  Ogre's 58 Truk build Ogre's 58 Truk buildhow to put your truck year and build thread into your signature shop air compressor timer |
|
|

|
|
|
#299 |
|
Registered User
Join Date: Aug 2012
Location: Salem Mo
Posts: 652
|
Re: 1957 Chevy truck re-rebuild
Thanks everyone, aaaurgh, the toughest part was being an absolute no nothing guy trying to learn a cad system, but I did some learning.
 _Ogre, you went big with a 4x8, I'm looking forward to some pictures.  The credit card is taking one heck of a beating lately, I'm at the stage where either I go all the way and finish this truck as if it's done for many years without much changing of parts and dealing with failures. This isn't my first restoration so I'm very familiar with "working the bugs out", the bugs are always there. The bugs that piss me off are the ones that I have because I went cheap. So, it's radiator time. The radiator I have works, and Dubie, as the same as the radiator you use, it's from a 66 thru 67 Chevelle, I'm afraid it may give up shortly after I get the truck going. The 66 thru 67 Chevelle radiator is perfect in size and it has an easy mounting flange and is easy to attach an electric fan assembly to it. Radiator with electric fan assembly. The factory end flanges make it a great universal mounting. 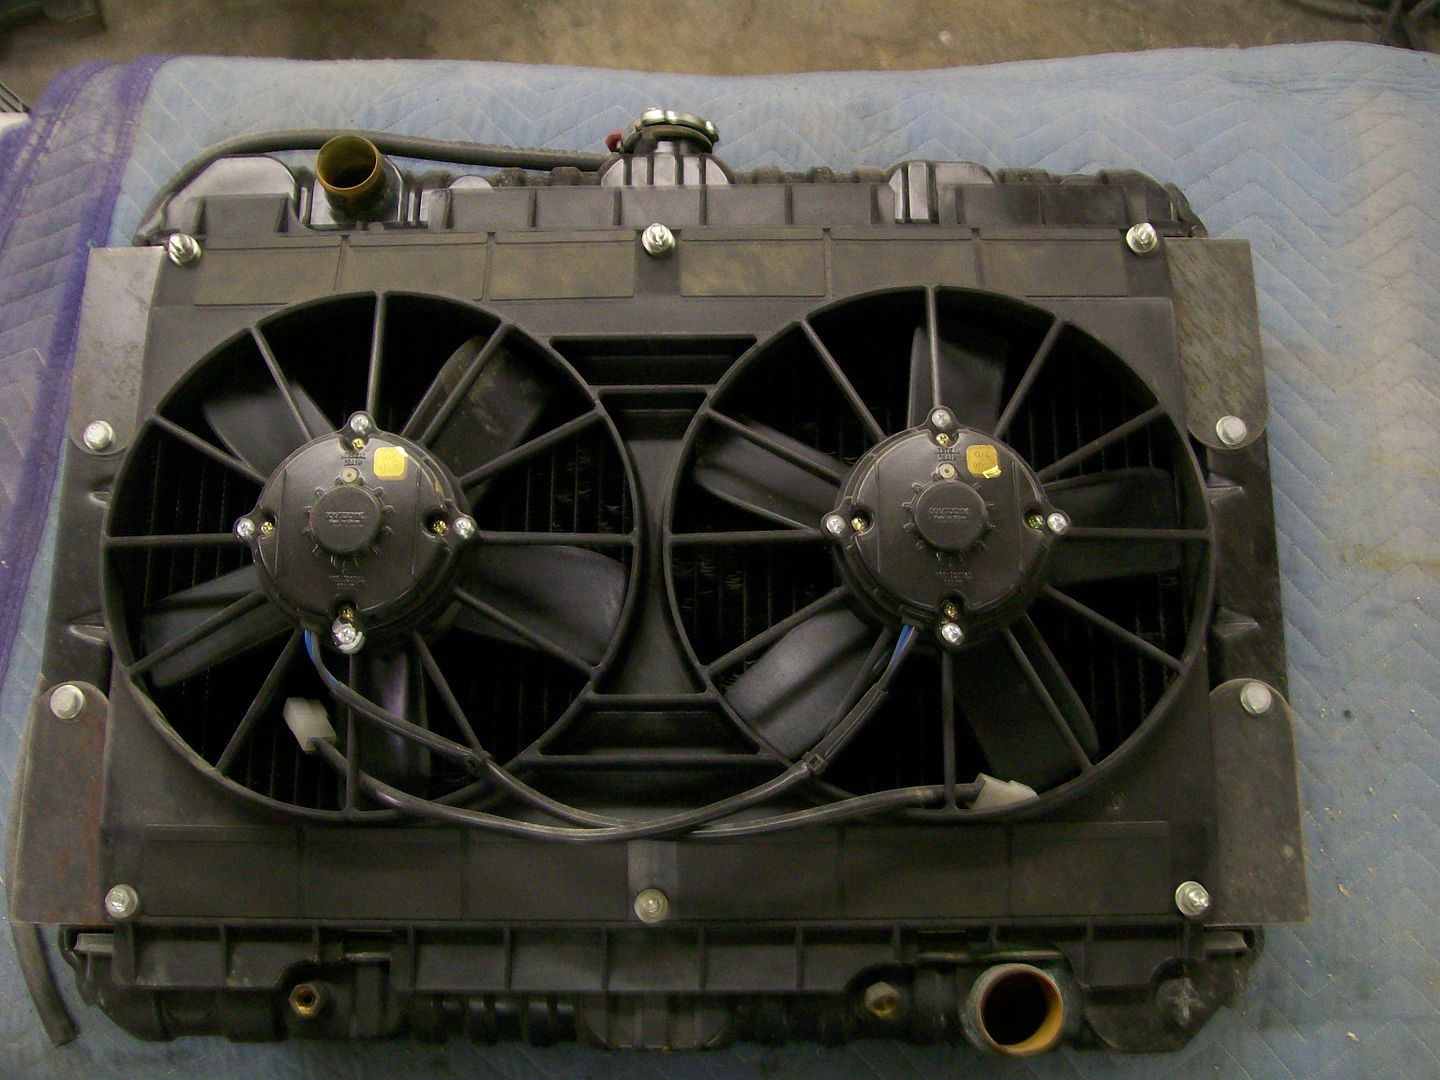 Radiator without fans. 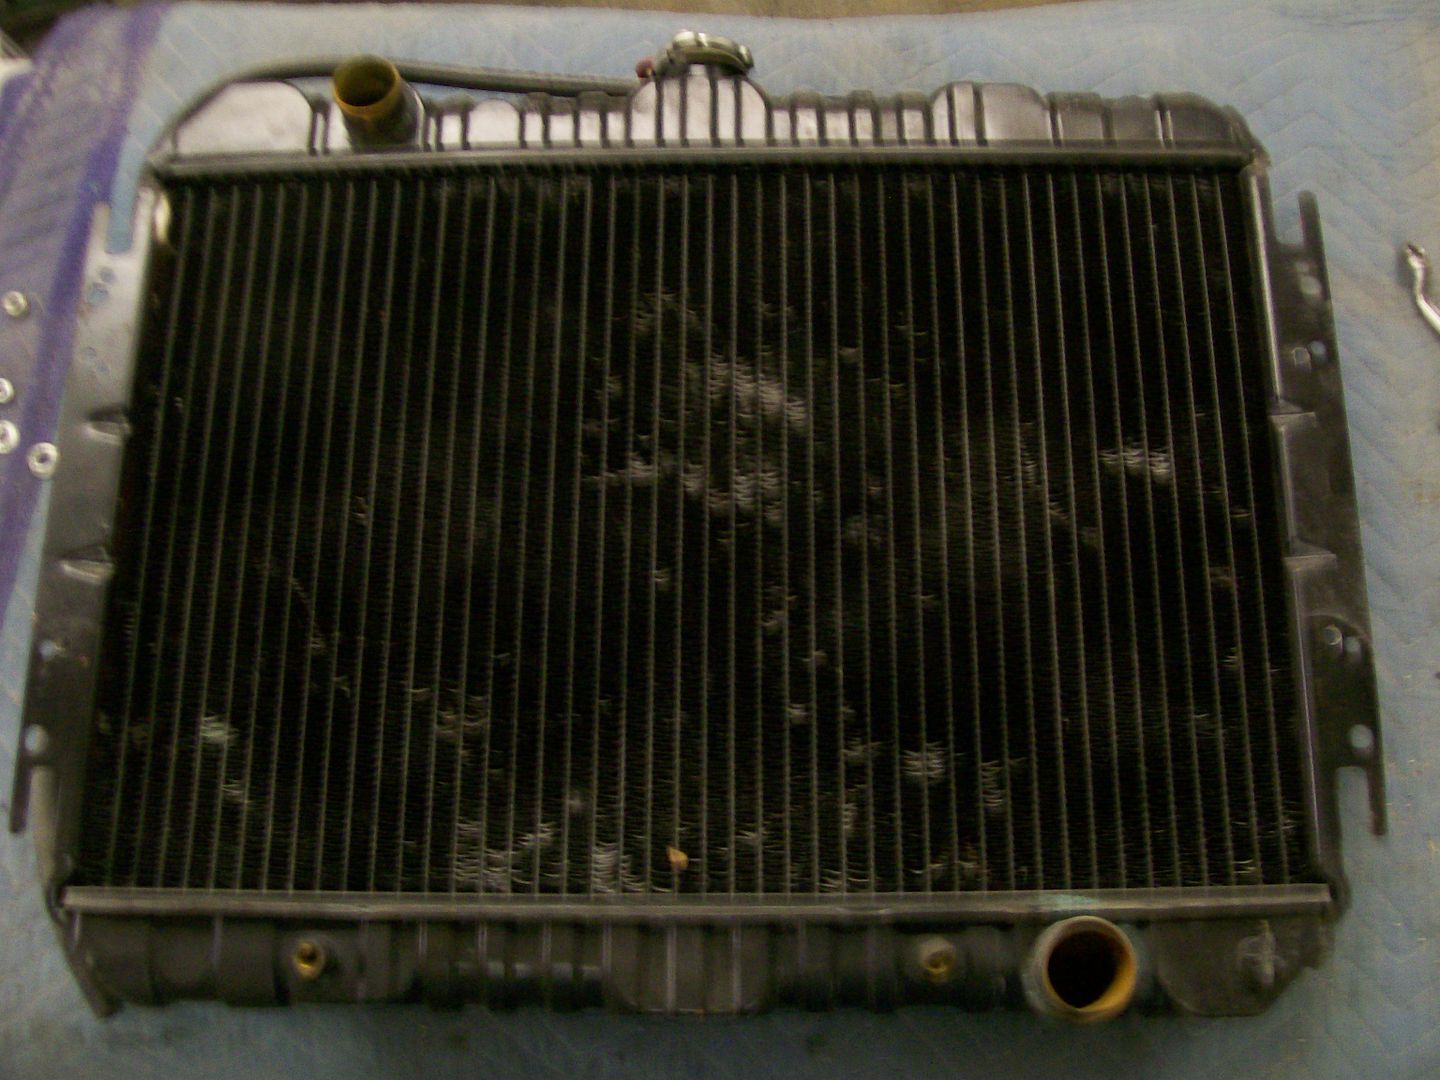 New ridiculously priced radiator. 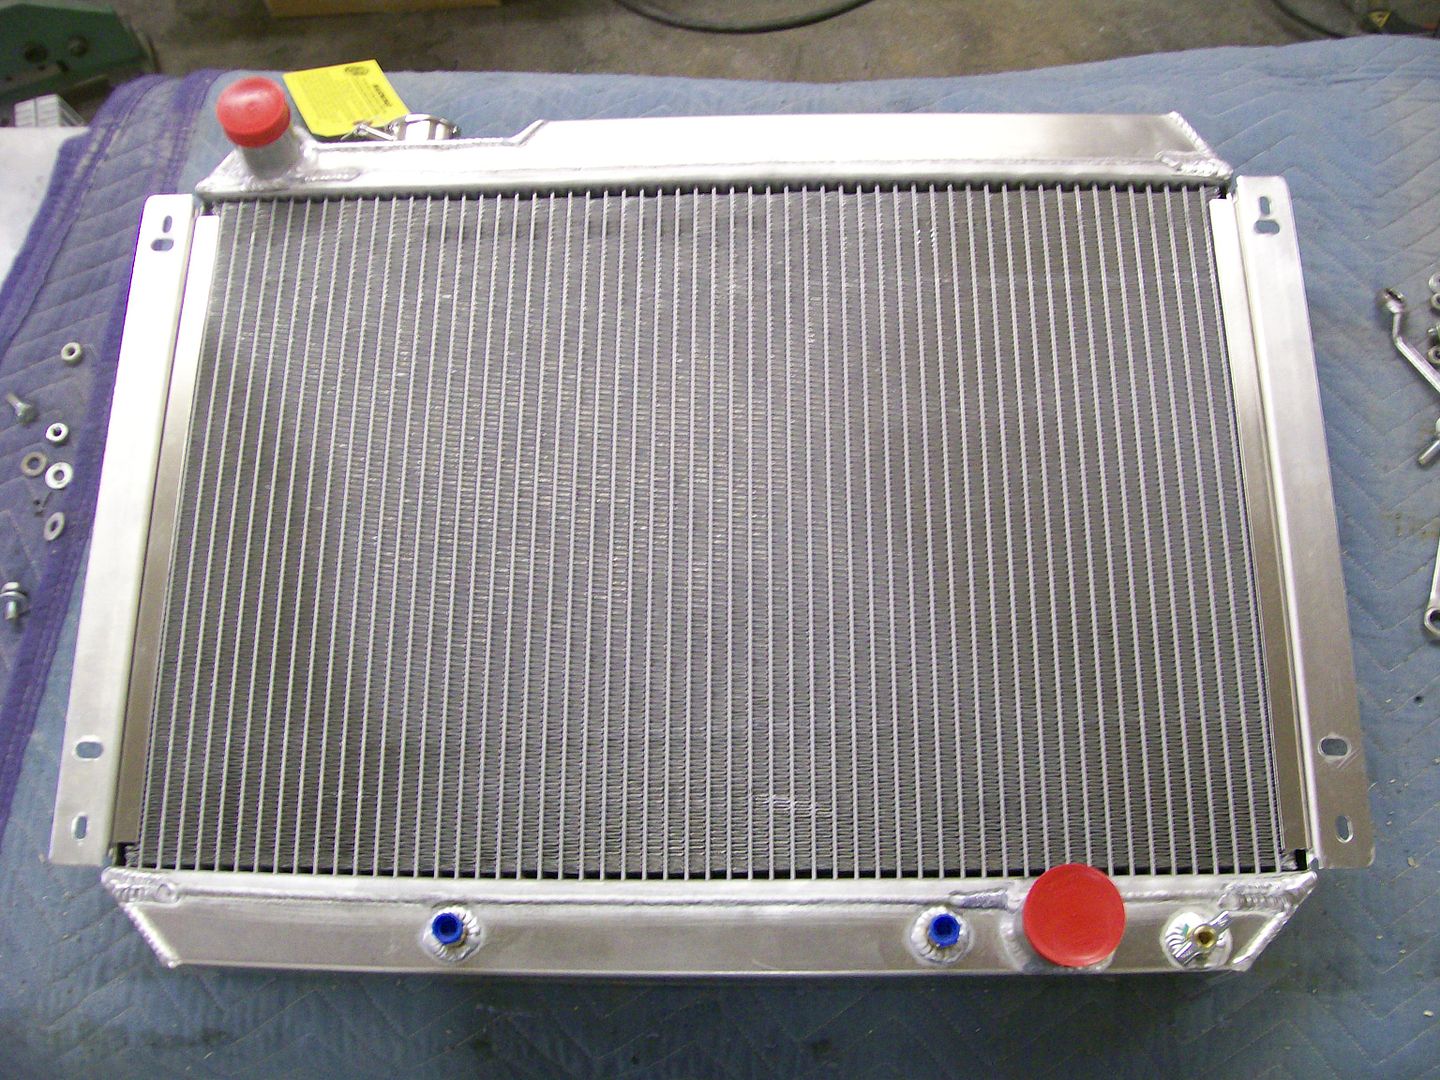 New ridiculously priced radiator with fan assembly switched over. 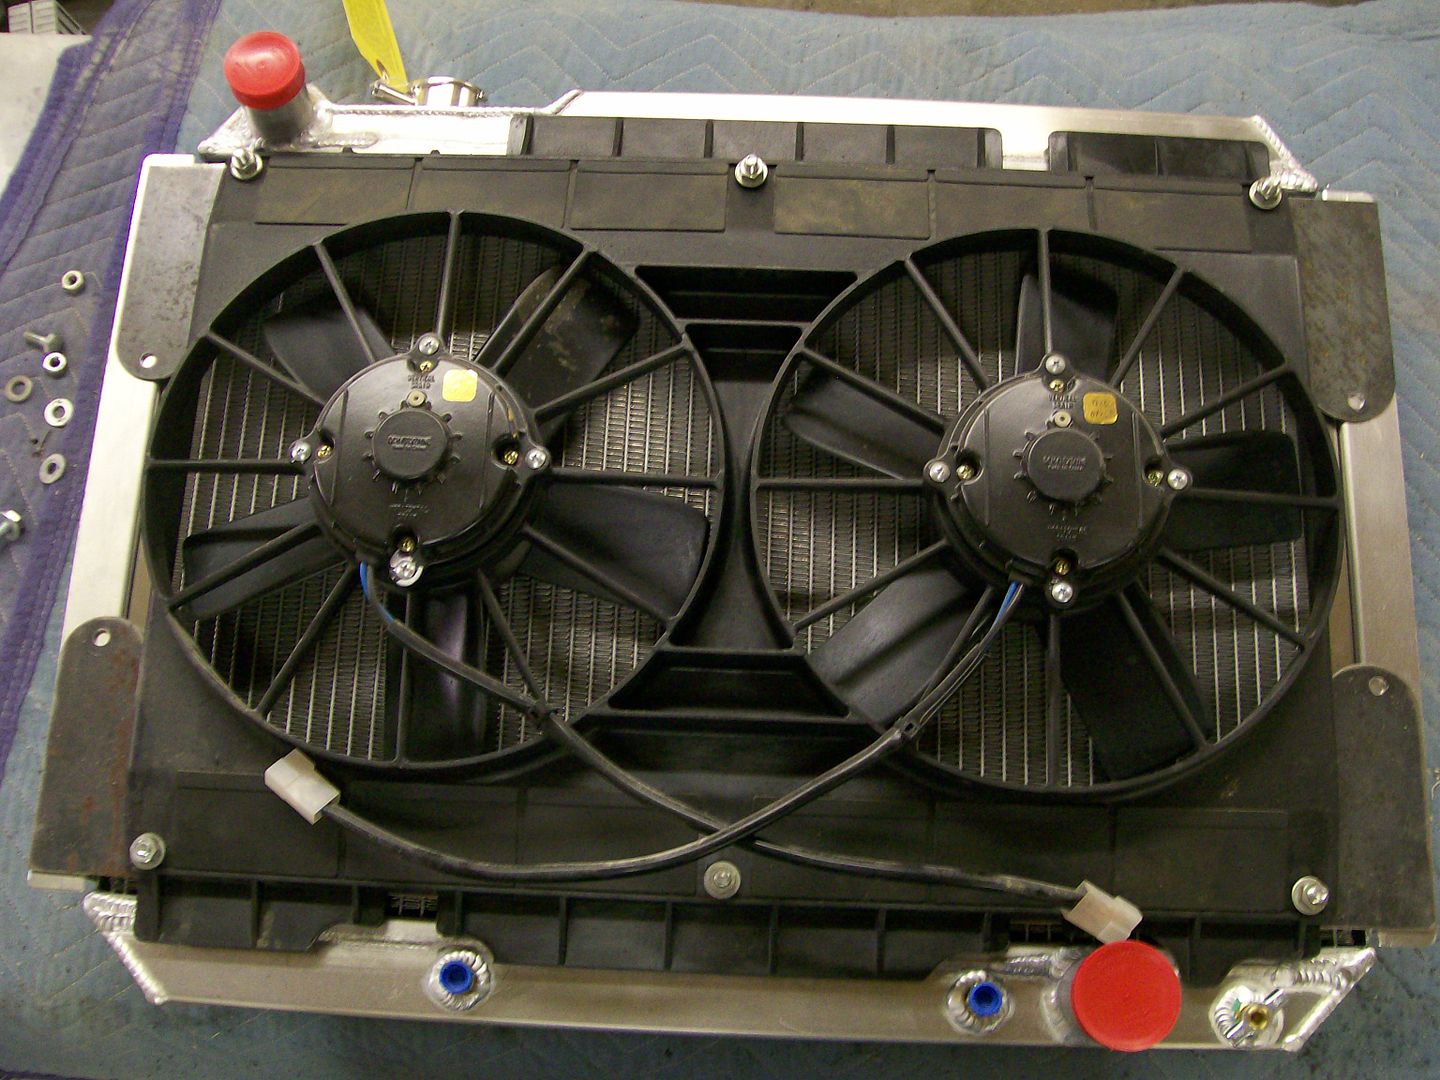 Looking like a nice fit. 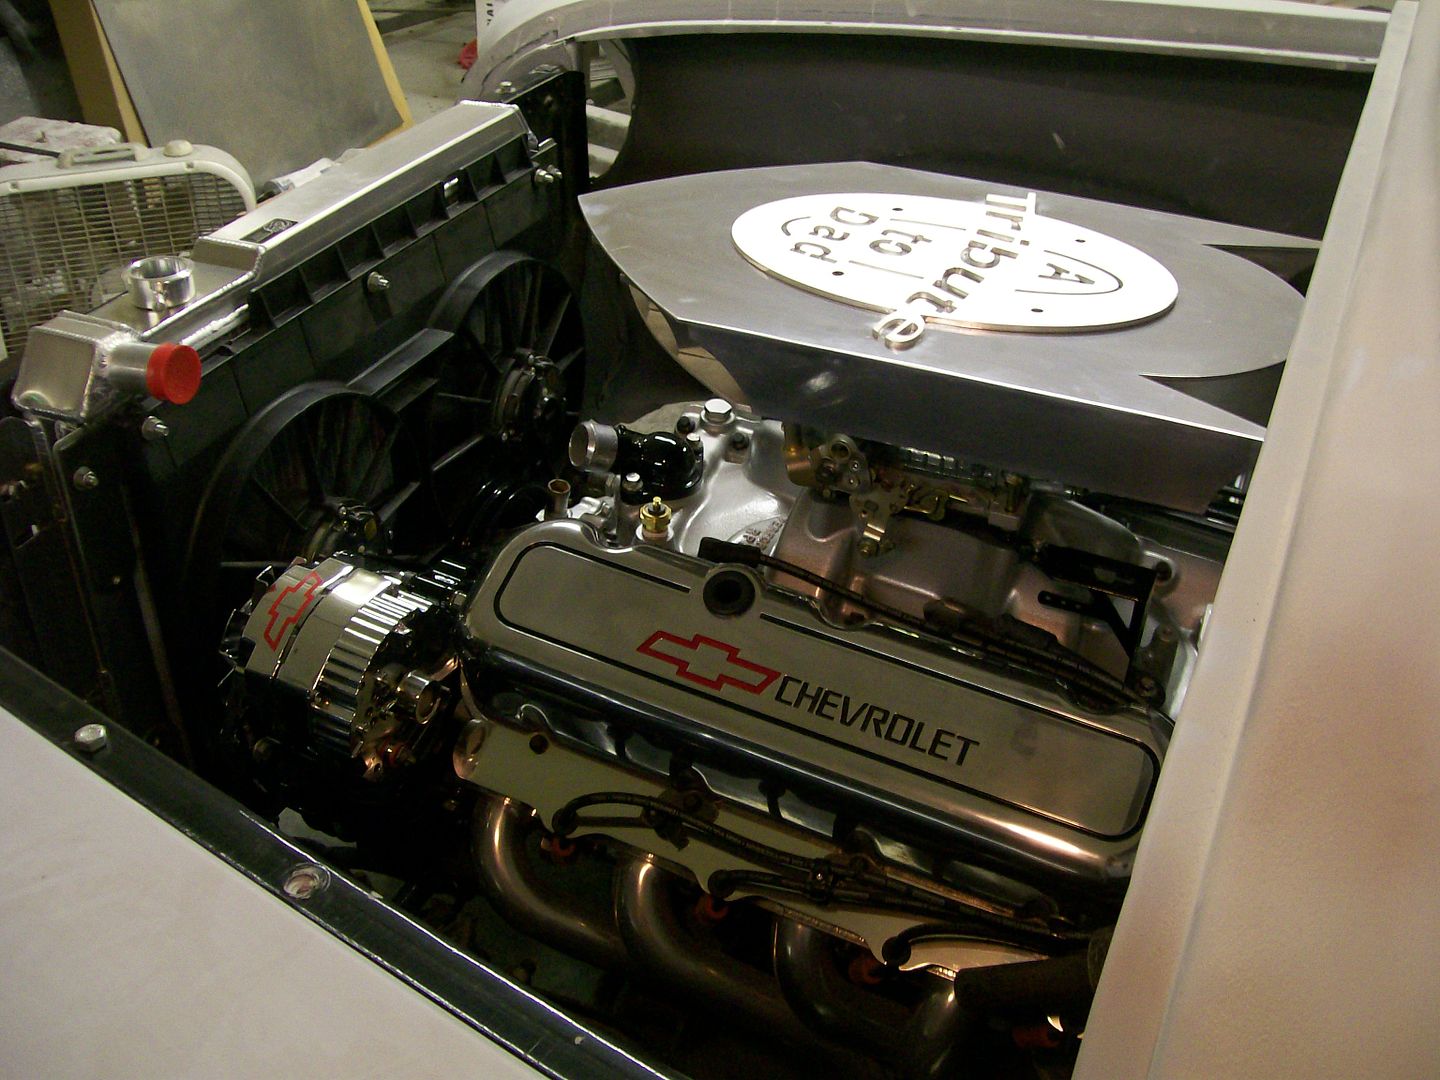 And from the front. 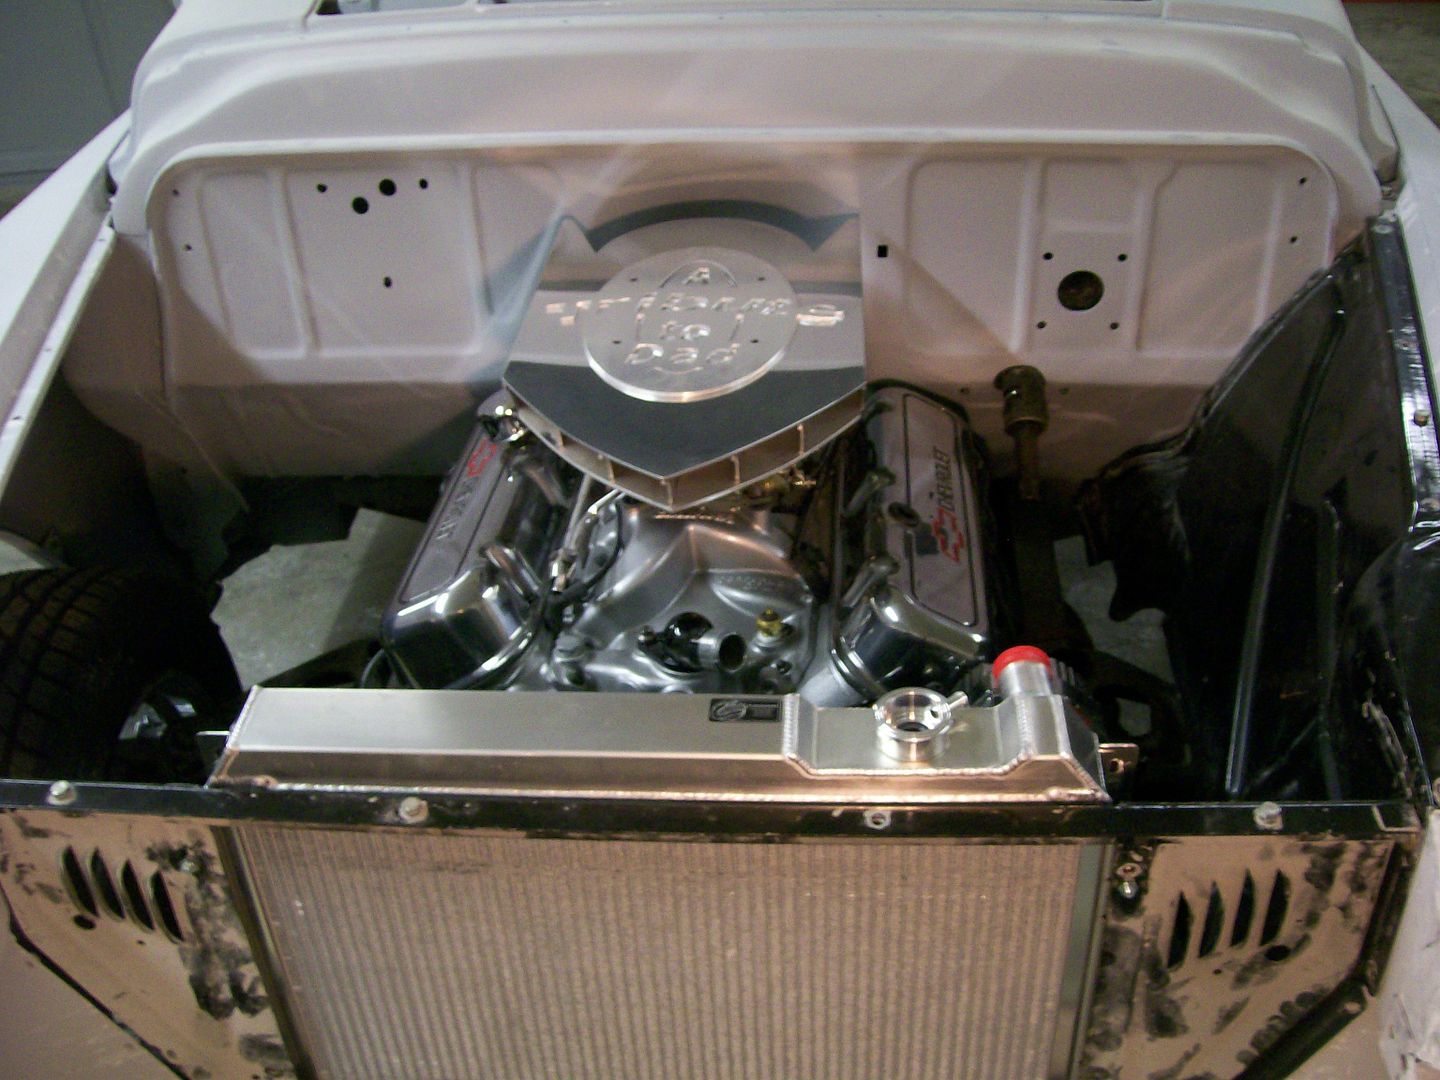 Hopefully I only have a few more costly items to finish this truck, but I will say.... "what ever it takes". I preach the word "commitment" to any youngster or new restorer, now I have to follow my own advice. 
|
|
|

|
|
|
#300 |
|
Registered User
Join Date: May 2000
Location: Flin Flon, Manitoba, Canada
Posts: 8,855
|
Re: 1957 Chevy truck re-rebuild
the Chevelle rads from that era really do fit nicely. I'll give this rad this one fixer up and if it leaks again, she's headed for the scrap pile and I'll be ordering myself a new aluminum one. Yours looks like it fits perfectly. Nice set up Jim
__________________
My name's Tim and I'm a truckaholic My 56 Chevy shop truck build http://67-72chevytrucks.com/vboard/s...d.php?t=562795 |
|
|

|
 |
| Bookmarks |
|
|