
 |
|
|
#301 |
|
Registered User
Join Date: Dec 2009
Location: Fairbanks, AK
Posts: 1,830
|
Re: My K5 Blazer Story.
Interesting.... I have to condition my rubber roof in the spring. Not looking forward to that annual bit of maintenance.
__________________
-Marcus 1991 V3500 L29 454 4L80E NP205 D60/14 Bolt 4.56's 1984 K30 292 TH400 NP205 D60/14 Bolt 4.56's flat bed 7'6" Meyer Plow 2022 Silverado 3500 L8T Project Daily Driver Project Heavy Hauler Project Plow Truck |
|
|

|
|
|
#302 |
|
K5Camper
 Join Date: Mar 2004
Location: Pueblo, CO
Posts: 1,513
|
Re: My K5 Blazer Story.
I've been a little lax in updating. Not as much on the truck done, but camper work has been happening. So here's an update from a few more weekends worth of work completed. Without further delay, here goes...
The roof needed resealed and all the screws replaced. The old vent was wasted and got a fresh one from one of my tech's tearing apart another RV. 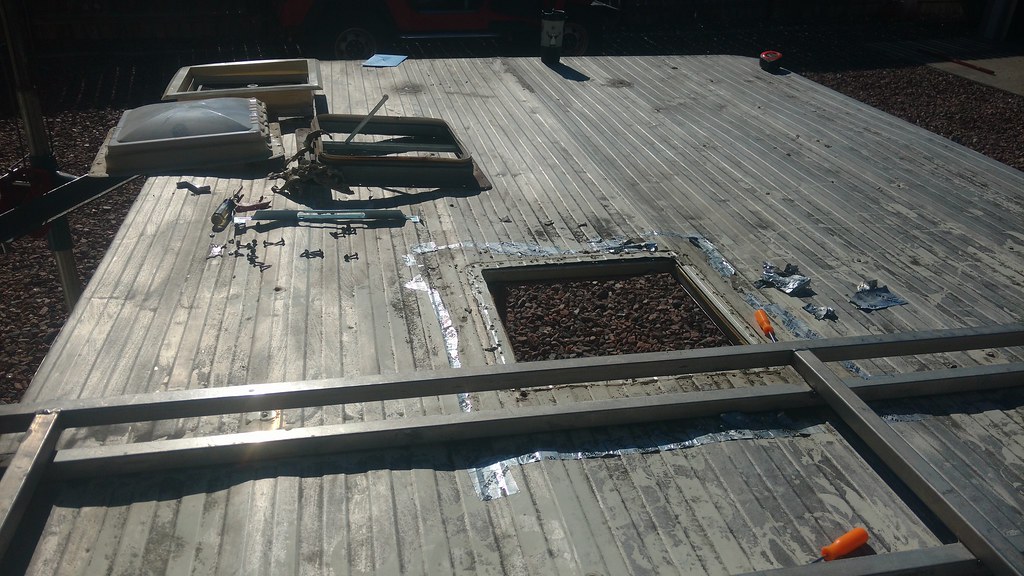 Work on the roof by Rob Zulian, on Flickr Work on the roof by Rob Zulian, on FlickrThe rack got pulled for better access and the entire roof cleaned of old garbage with a wire wheel, scrubbed and dried. Then coated.  Work on the roof by Rob Zulian, on Flickr Work on the roof by Rob Zulian, on Flickr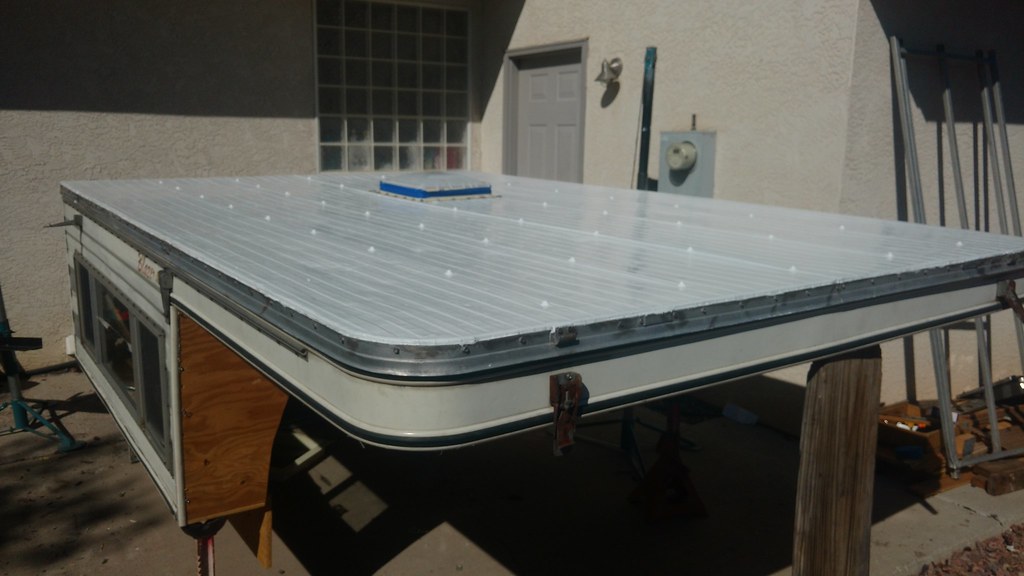 Work on the roof by Rob Zulian, on Flickr Work on the roof by Rob Zulian, on FlickrAfter seeing the piss poor setup for sealing the camper to the truck when we first loaded it (all they use is foam camper tape) I knew it had to be done in a better way. So we had to get the truck back under the camper to get solid measurements for an idea I had. 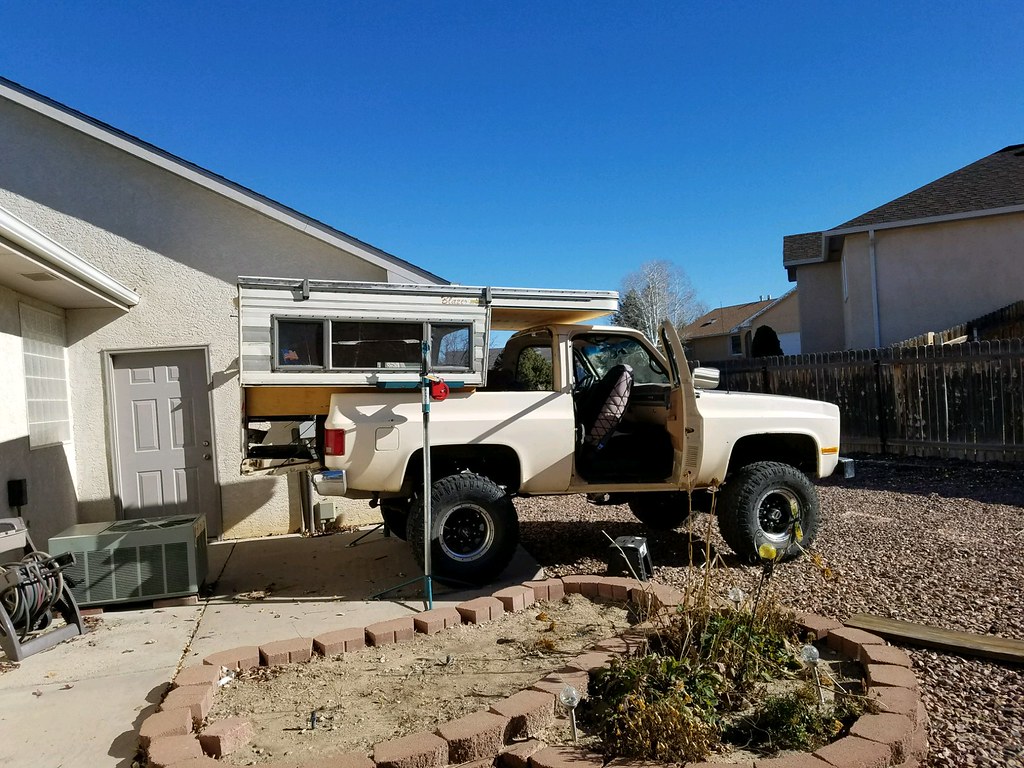 21902 by Rob Zulian, on Flickr 21902 by Rob Zulian, on FlickrYou can see the problem here. The cab has a natural channel built in for the stock seals to go to for the top. Without the fiberglass top in place the channel is a natural path for the drainage to go right to the bedrail and then inside. 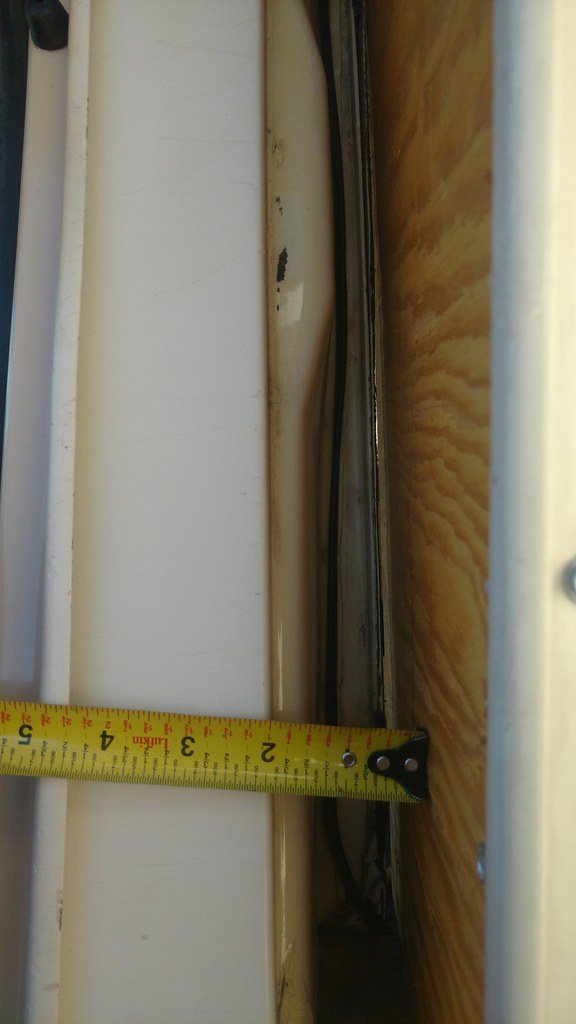 IMG_20171210_120141109 by Rob Zulian, on Flickr IMG_20171210_120141109 by Rob Zulian, on FlickrI sourced another K5 top with help from a member on CK5.com who chopped it down to the first few inches for me. After getting the measurements needed with the camper and K5 together we screwed down a section of landscape edging for a straight edge. 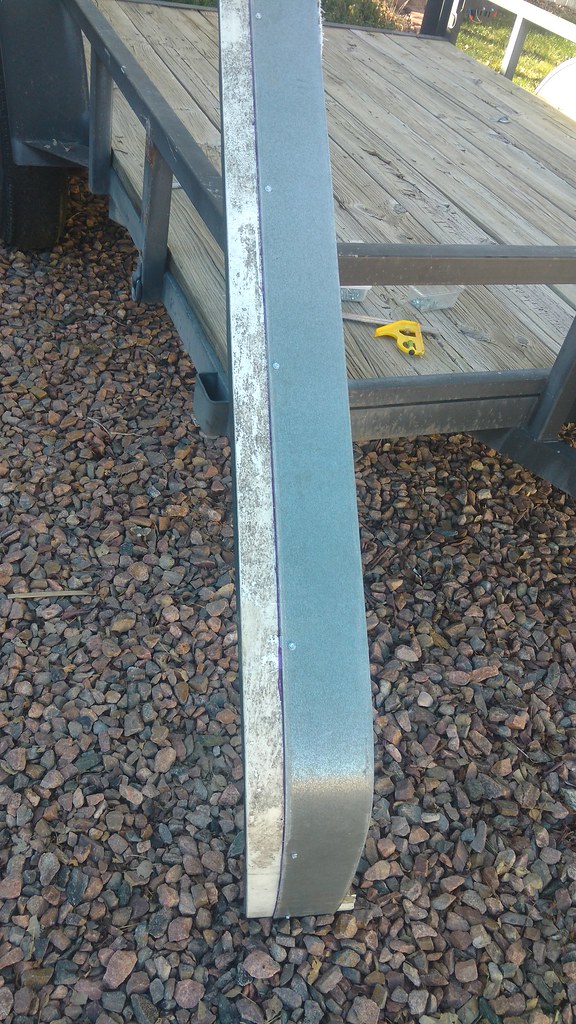 IMG_20171210_124559809 by Rob Zulian, on Flickr IMG_20171210_124559809 by Rob Zulian, on FlickrLet the cutting commence..Measure twice cut once right? 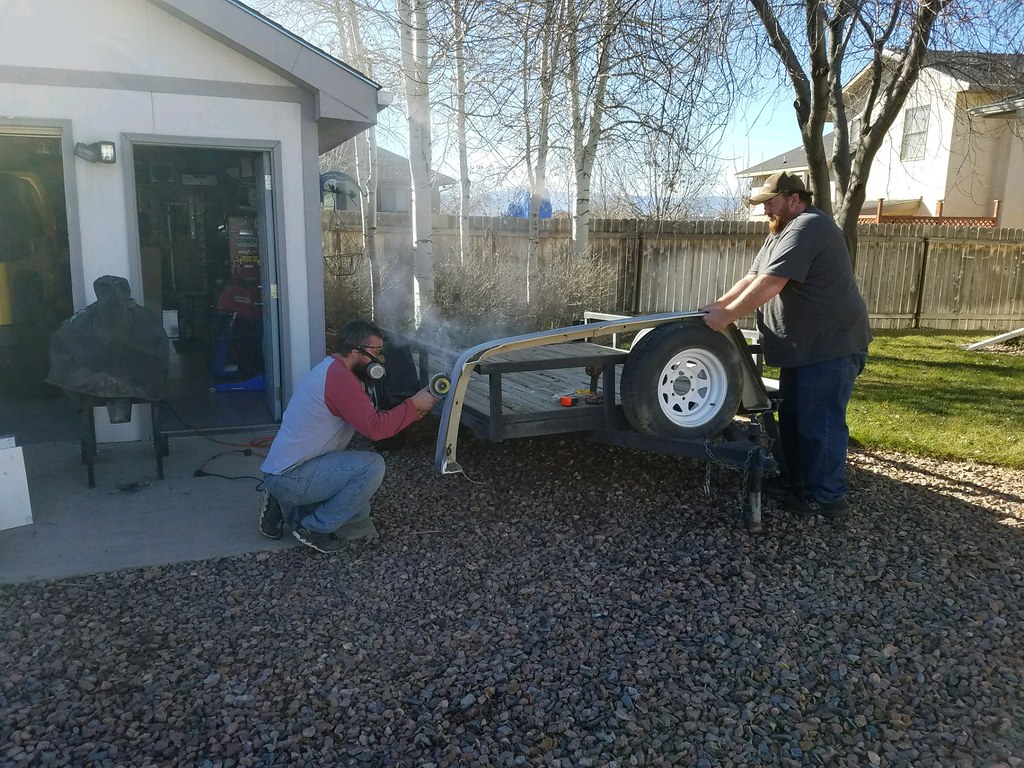 21905 by Rob Zulian, on Flickr 21905 by Rob Zulian, on FlickrThis is Shane, Johns brother doing the inside surgery with the wheel of death. 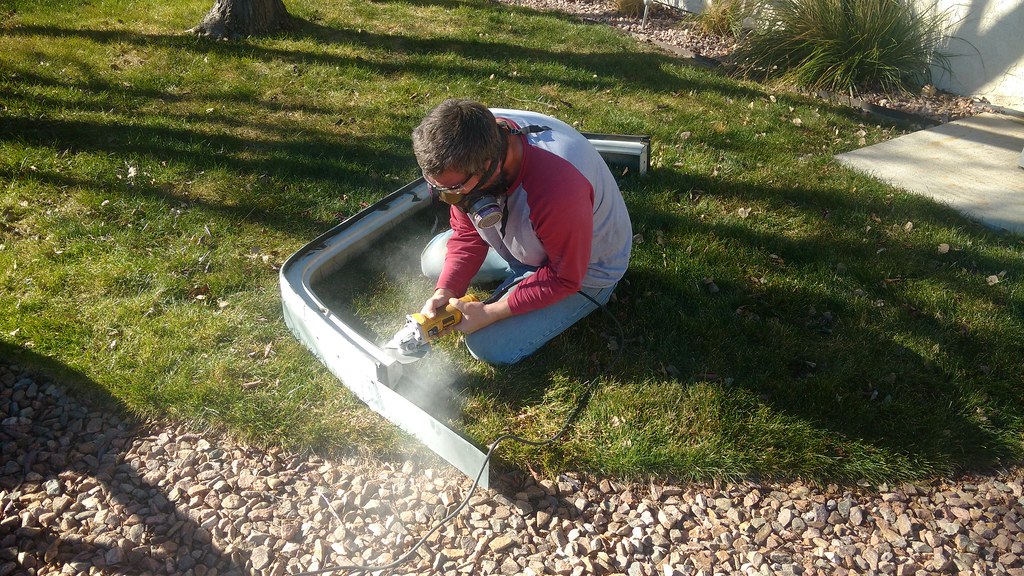 IMG_20171210_125935445 by Rob Zulian, on Flickr IMG_20171210_125935445 by Rob Zulian, on FlickrThe final product. Just enough to fill the gap. 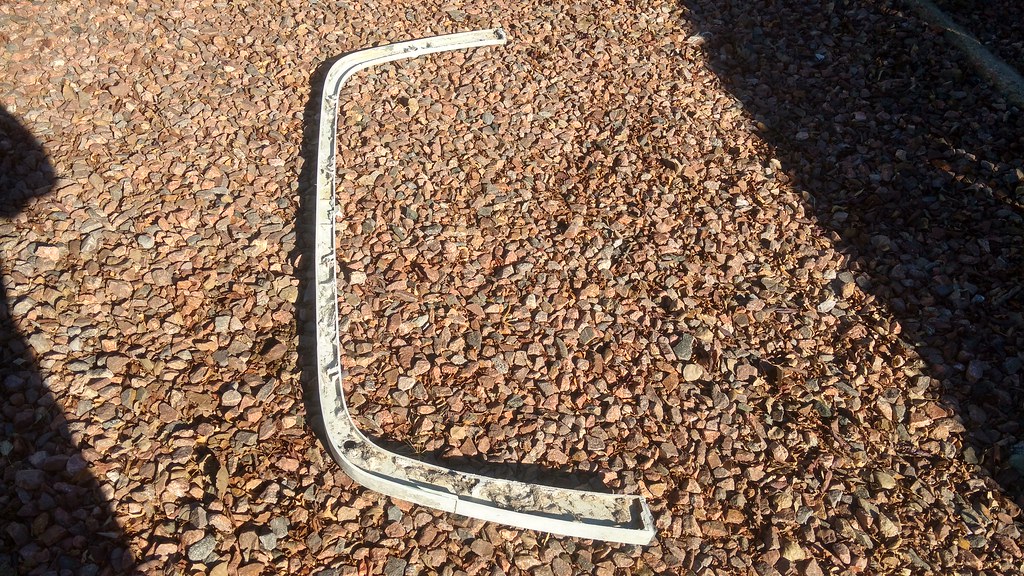 IMG_20171210_131000050_HDR by Rob Zulian, on Flickr IMG_20171210_131000050_HDR by Rob Zulian, on FlickrHere's the part mocked in place. Fit like a glove. 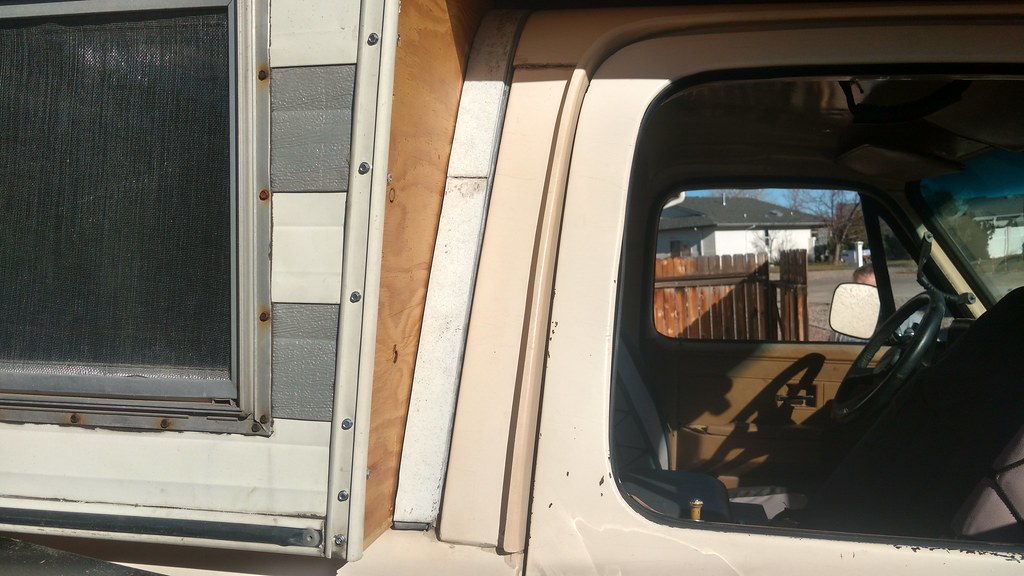 IMG_20171210_131820652_HDR by Rob Zulian, on Flickr IMG_20171210_131820652_HDR by Rob Zulian, on Flickr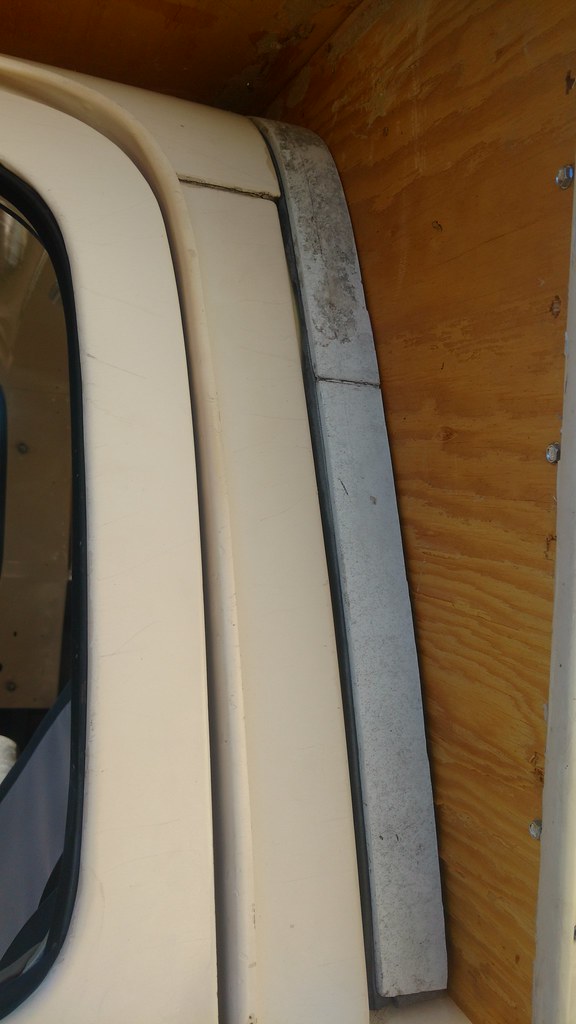 IMG_20171210_131800746 by Rob Zulian, on Flickr IMG_20171210_131800746 by Rob Zulian, on FlickrWith the top section in place, holes were added from the stock top holes back through the front wall of the cab for 6 additional points to bolt the camper to the cab. We still need to skin the outside exposed wood with some sheet aluminum one of my co-workers had stashed away. 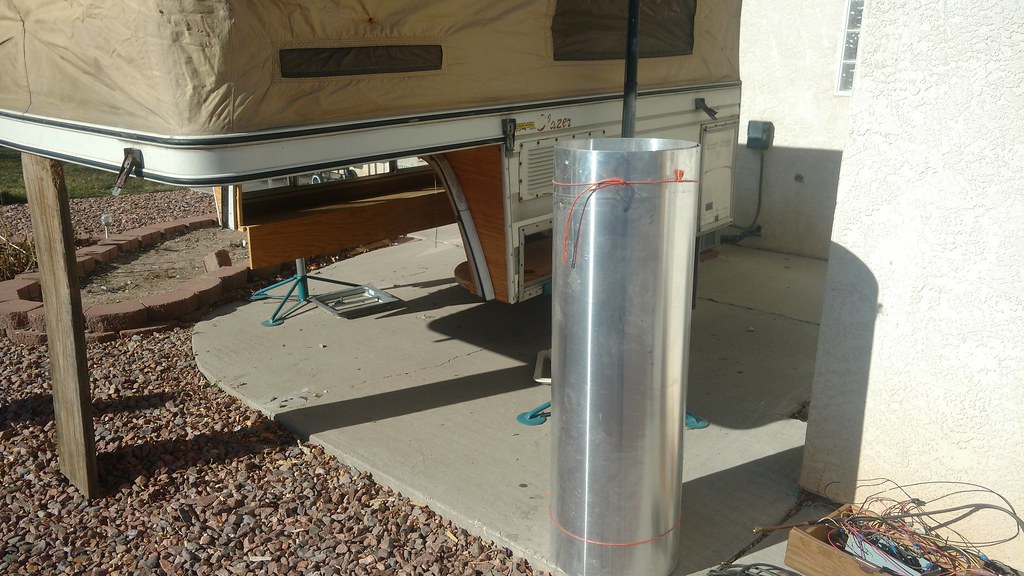 Work day on the camper. by Rob Zulian, on Flickr Work day on the camper. by Rob Zulian, on FlickrCab floor section glued and screwed in place. 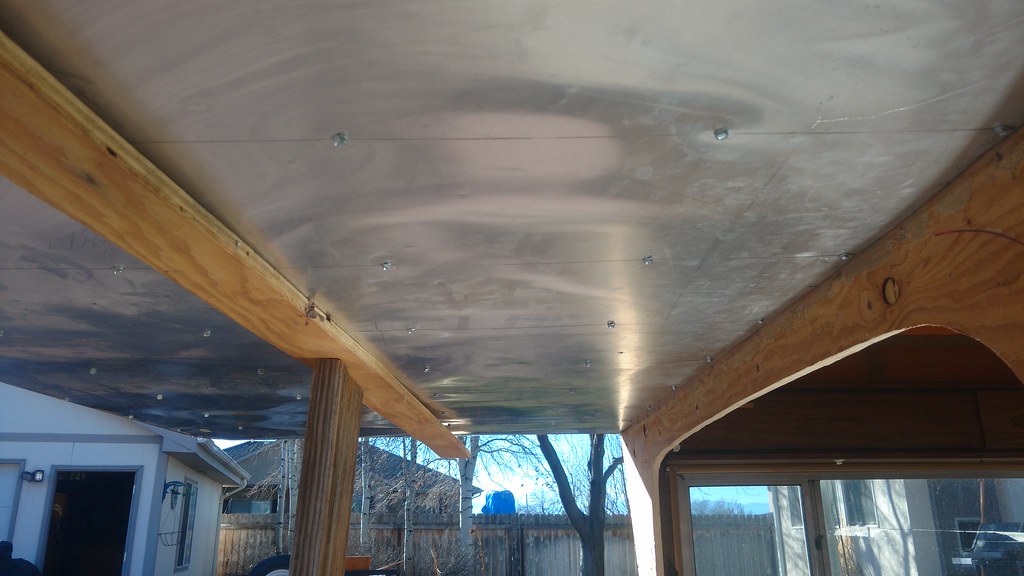 Work day on the camper. by Rob Zulian, on Flickr Work day on the camper. by Rob Zulian, on FlickrCab wall trimmed out with the fiberglass bolted in place. 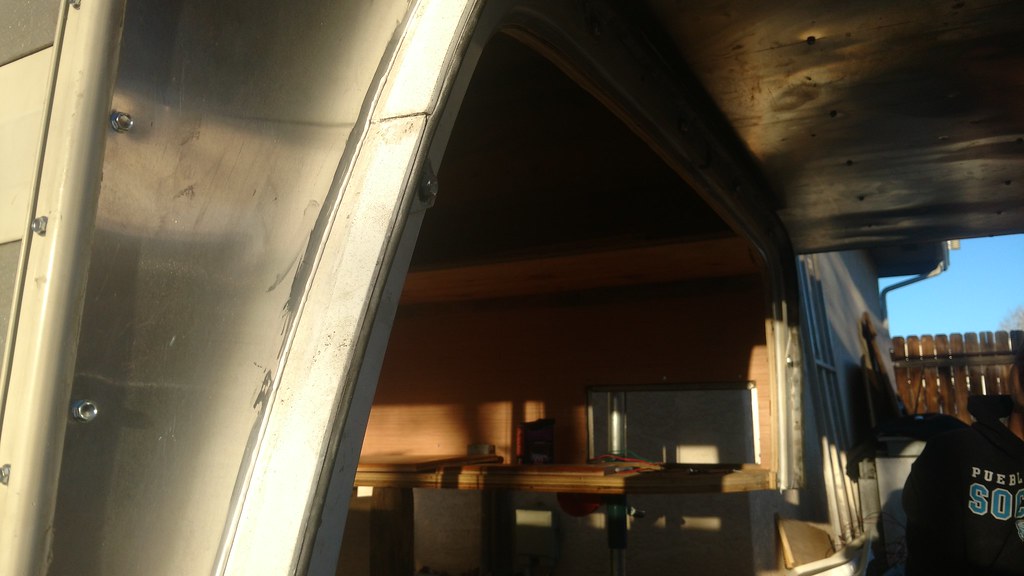 Work day on the camper. by Rob Zulian, on Flickr Work day on the camper. by Rob Zulian, on FlickrCabinet rebuilding started. 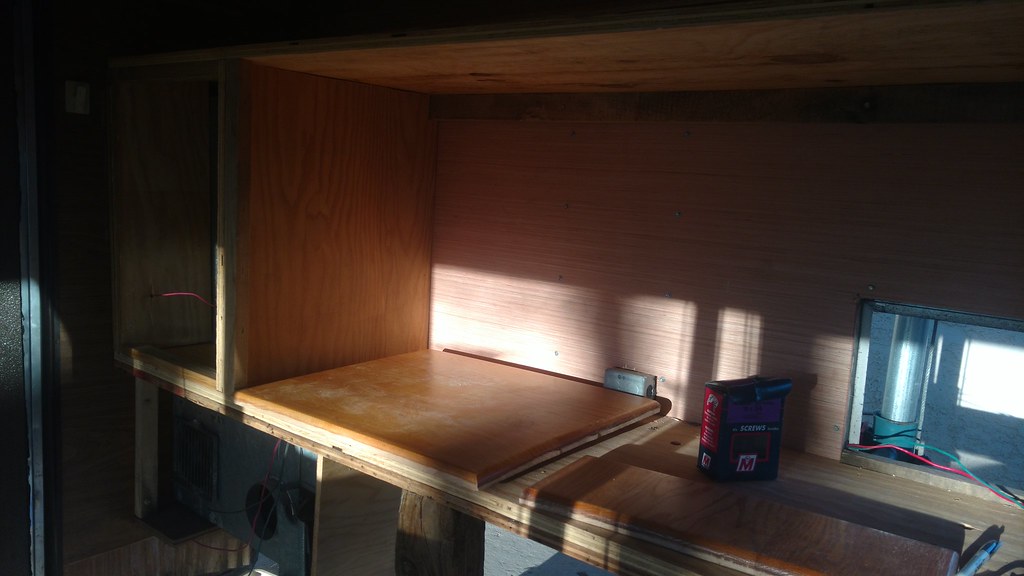 Work day on the camper. by Rob Zulian, on Flickr Work day on the camper. by Rob Zulian, on FlickrJohn had some oak paneled doors from other cabinet he salvaged and didn't have any use for them we could repurpose them for this project. 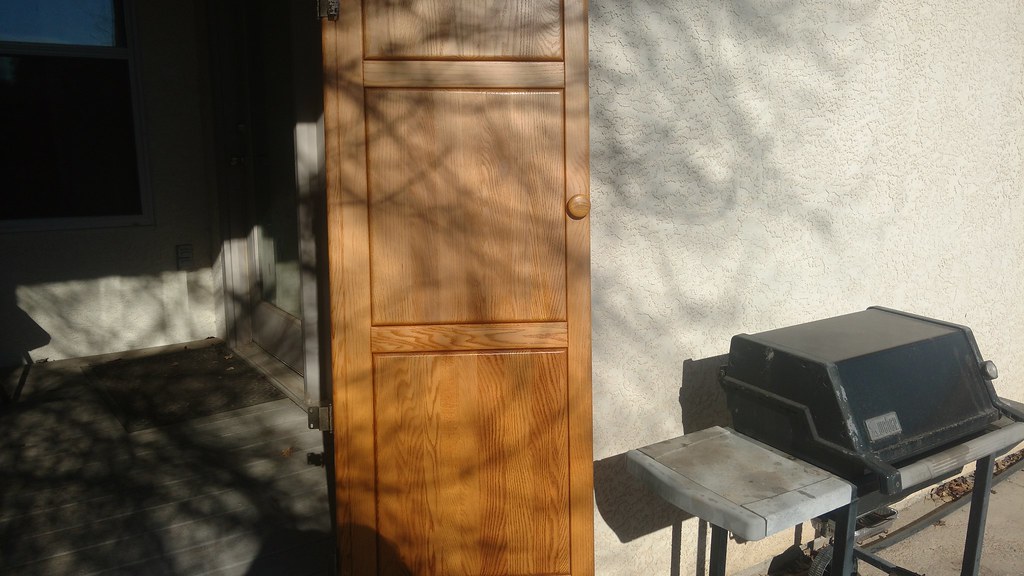 Work day on the camper. by Rob Zulian, on Flickr Work day on the camper. by Rob Zulian, on Flickr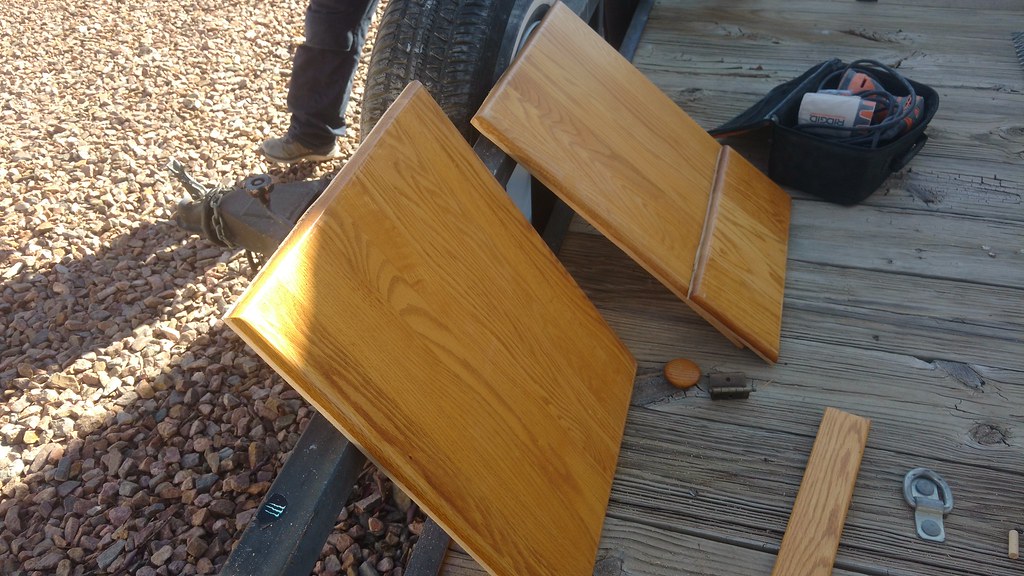 Work day on the camper. by Rob Zulian, on Flickr Work day on the camper. by Rob Zulian, on Flickr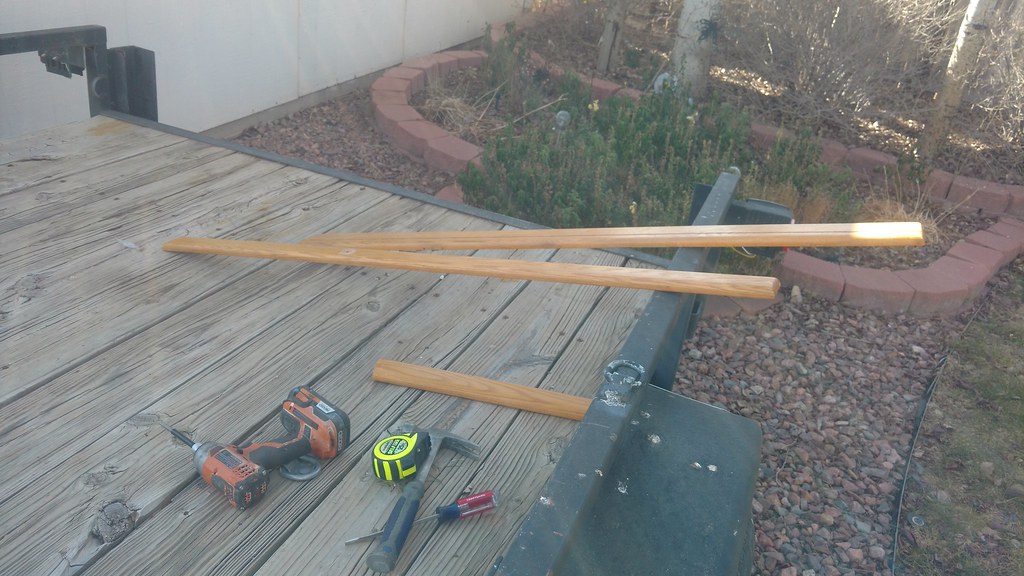 Work day on the camper. by Rob Zulian, on Flickr Work day on the camper. by Rob Zulian, on FlickrFramework completed. 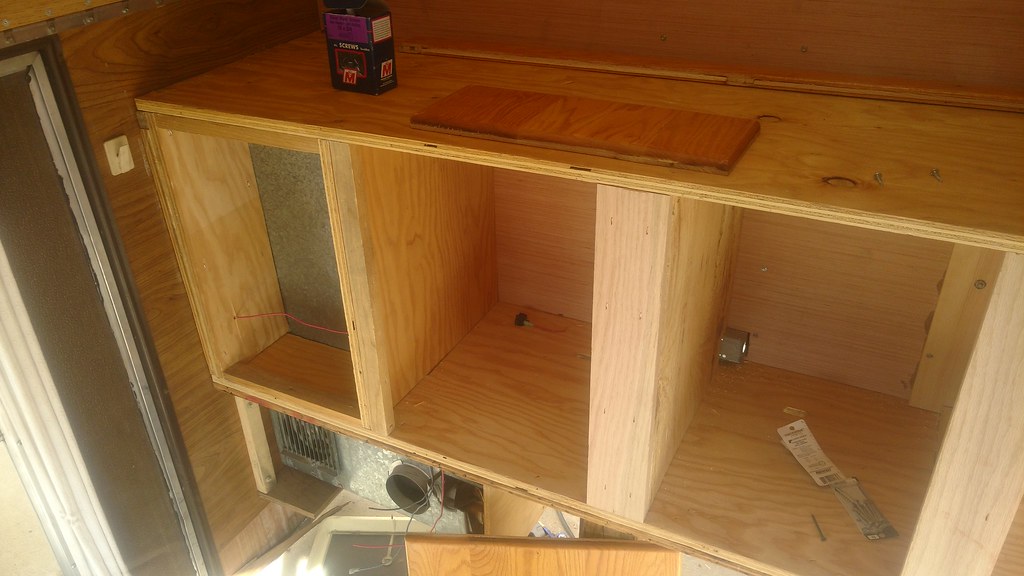 More work by Rob Zulian, on Flickr More work by Rob Zulian, on FlickrFront corner was cut back to allow for clearance to my drivers seat. You'll notice the cab wall opening is cut open larger than the original version. Again this was done due to interference with the front seat not allowing it to move all the way back and have the seat back in a position I find comfy. 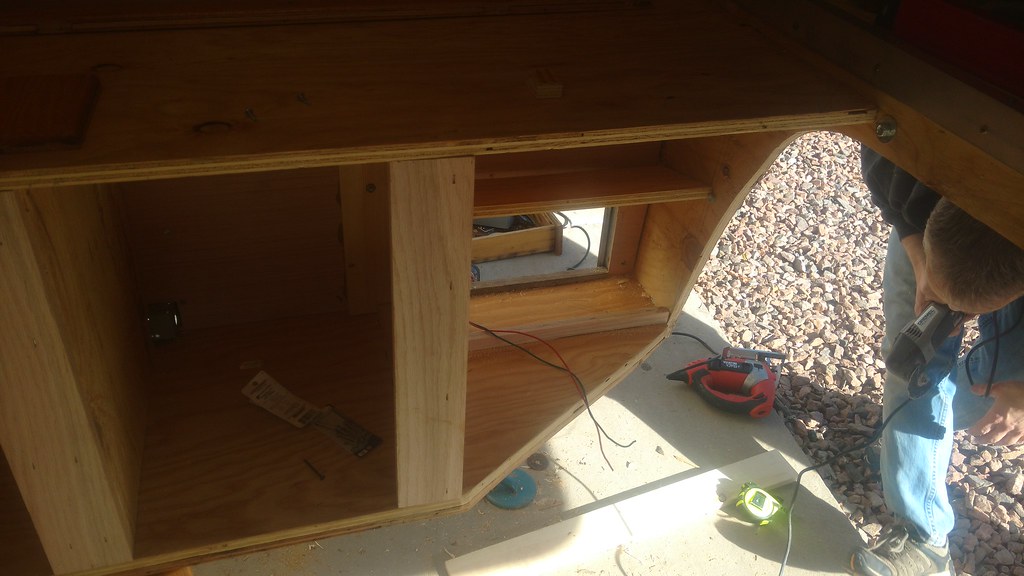 More work by Rob Zulian, on Flickr More work by Rob Zulian, on FlickrThis area will be very usefull. Lower cubby will contain the fuse panel and be the wiring hub for the camper. The middle vertical panel will be where the solar control panel, battery monitor panel, usb charge ports and switches will reside. The upper cubby will be for storage of small items. 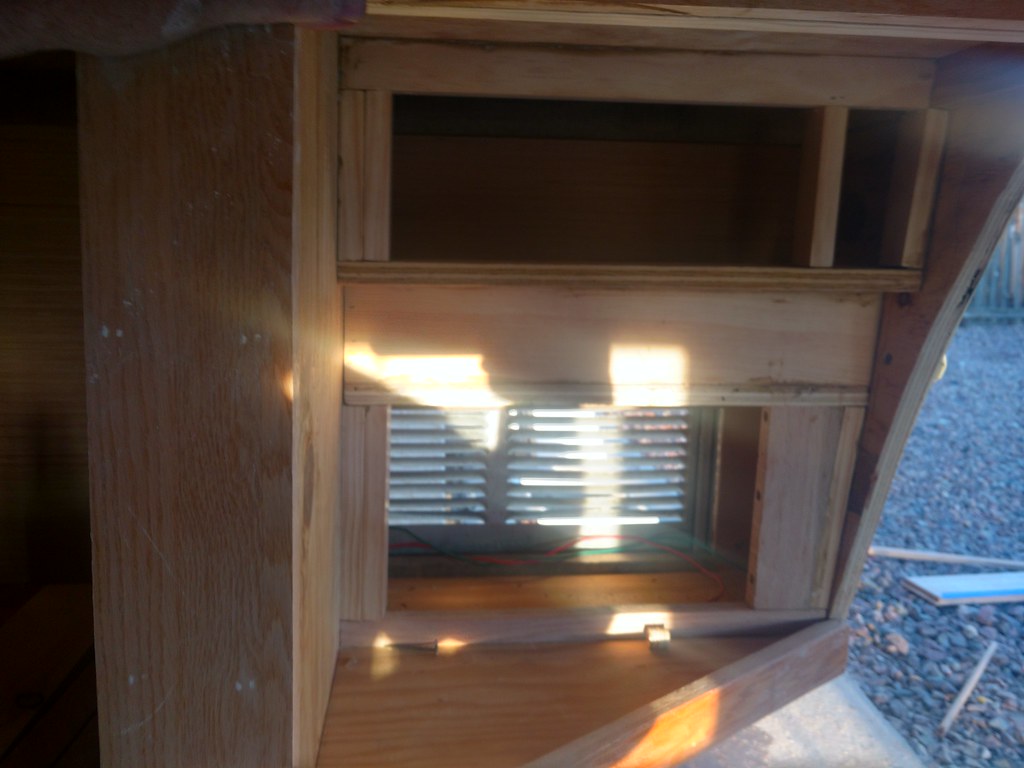 Cabinet work. by Rob Zulian, on Flickr Cabinet work. by Rob Zulian, on FlickrCabinet framed out with the oak trim. Still need to hang the doors. 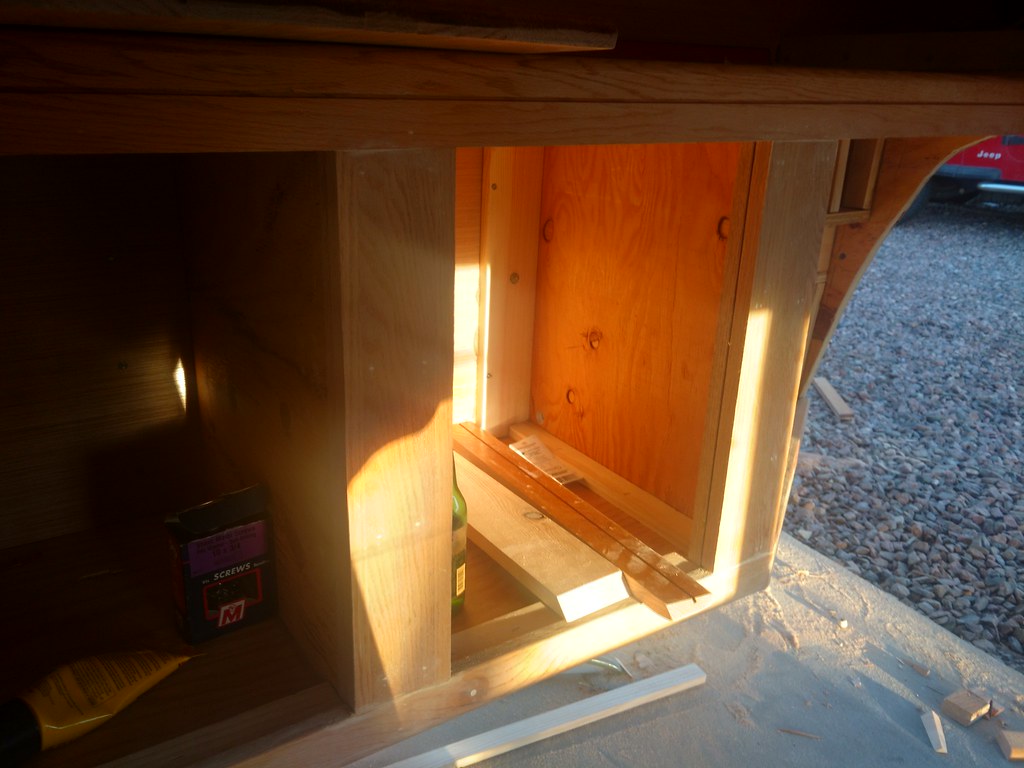 Cabinet work. by Rob Zulian, on Flickr Cabinet work. by Rob Zulian, on Flickr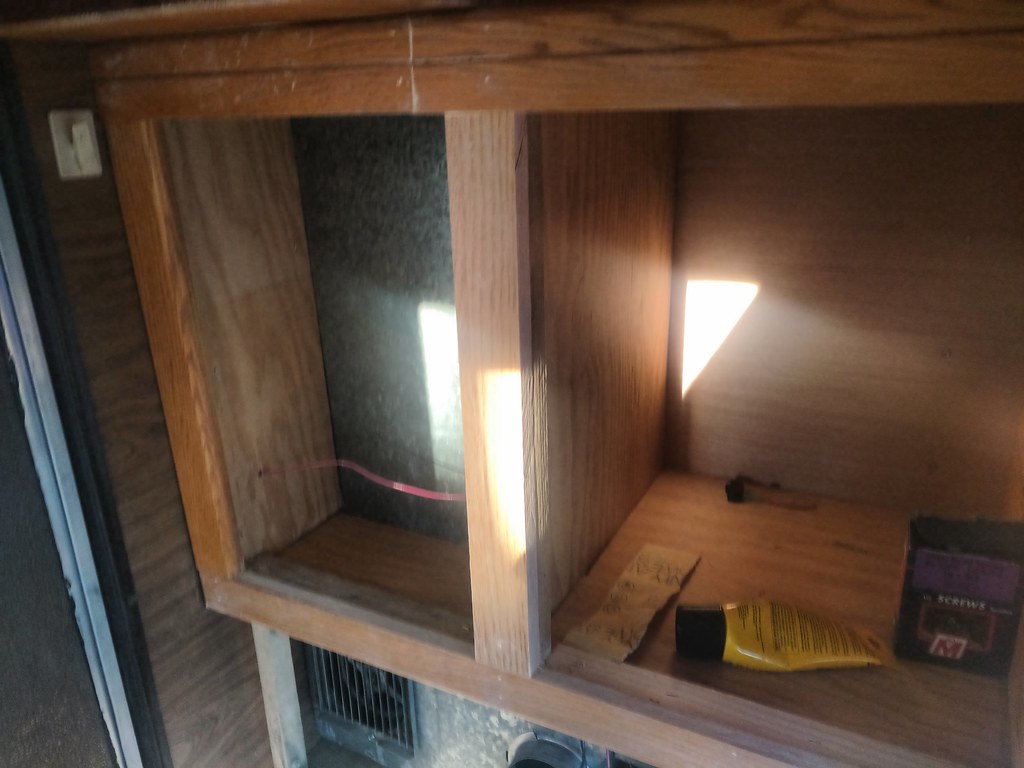 Cabinet work. by Rob Zulian, on Flickr Cabinet work. by Rob Zulian, on FlickrThe countertop will be cut out of stainless steel and inset on the top. 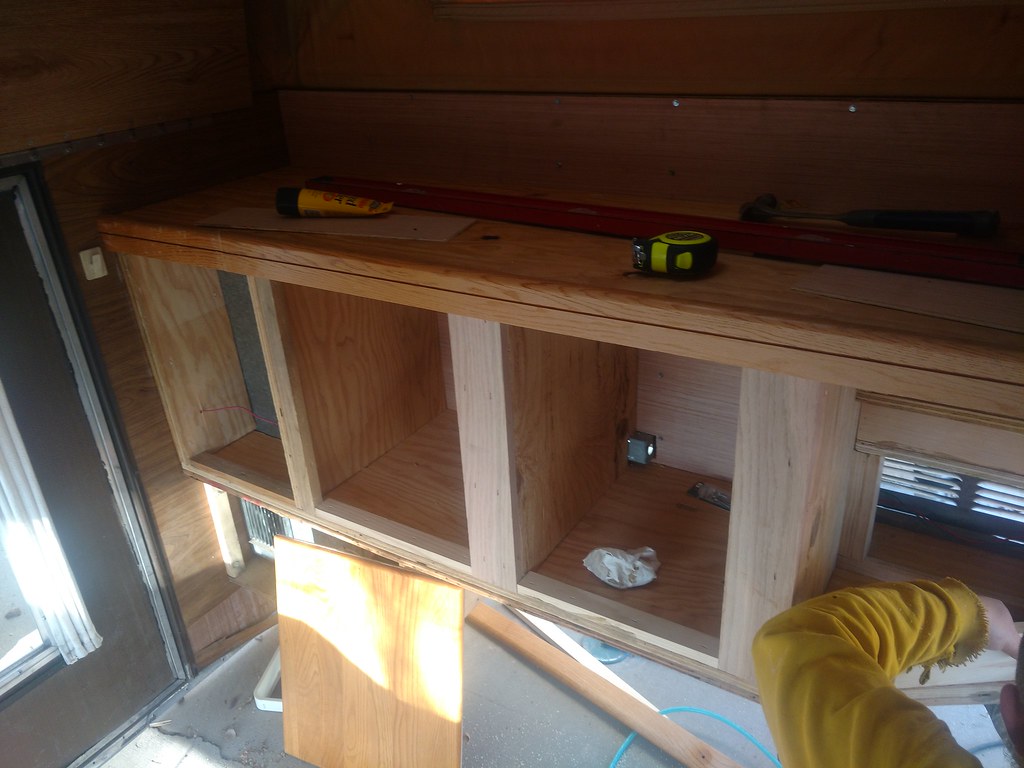 Cabinet work. by Rob Zulian, on Flickr Cabinet work. by Rob Zulian, on FlickrThe cabinet is a large hurdle to get completed. All that is left to it is hang the doors, sand, stain/poly. Next phase is the inside of the roof. The stock headliner was water damaged and falling apart. So it's getting pulled along with the fiberglass batting insulation. Higher density foil backed insulation will be going back in, wiring run for the solar panel, lights and vent fan. The headliner going back in will be a plain white shower wall board. The wallboard is fairly thin/light and the white will brighten up the interior even with the lights off. Plus side is it's water resistant. We will probably reconstruct the lift panels in round metal electrical conduit and make a stronger setup than the plywood panels that are warped to hell. From there, the camper needs the lower bench redone and the floor stripped of carpet and recovered in a vinyl flooring of some type. Then it's time to drop the camper on again.
__________________
Rob Z. 1975 K5 350/465/205/D44/12b 4" lift on 35's- RIP 1991 K5 8.1L/NV4500/241/D44/14b FWC Camper |
|
|

|
|
|
#303 |
|
Registered User
Join Date: Dec 2009
Location: Fairbanks, AK
Posts: 1,830
|
Re: My K5 Blazer Story.
Great progress. That seal looks solid.
__________________
-Marcus 1991 V3500 L29 454 4L80E NP205 D60/14 Bolt 4.56's 1984 K30 292 TH400 NP205 D60/14 Bolt 4.56's flat bed 7'6" Meyer Plow 2022 Silverado 3500 L8T Project Daily Driver Project Heavy Hauler Project Plow Truck |
|
|

|
|
|
#304 |
|
Registered User
Join Date: Jul 2011
Location: back 40, bc
Posts: 3,903
|
Re: My K5 Blazer Story.
|
|
|

|
|
|
#305 |
|
K5Camper
 Join Date: Mar 2004
Location: Pueblo, CO
Posts: 1,513
|
Re: My K5 Blazer Story.
Thanks guys. The seal/top section came to me after saving a ton of FWC Blazer camper pics by google image searching. Found one pic in all of them that looked like somebody did the same thing, but no other detail came from it. After getting the section of top and measuring up the gap it was pretty easy to figure out. Hardest part was going through the process of cutting it to size. Fiberglass is some nasty stuff.
Yep, those two guys have been a major blessing in this project. Without them I'd be using a sawzall to get stuff done. We trade help as they both have Jeeps that need work too. We put a complete lift on Shane's old YJ wrangler last summer. Plus they are a riot to go camping with. Lots of fun for sure.
__________________
Rob Z. 1975 K5 350/465/205/D44/12b 4" lift on 35's- RIP 1991 K5 8.1L/NV4500/241/D44/14b FWC Camper |
|
|

|
|
|
#306 |
|
K5Camper
 Join Date: Mar 2004
Location: Pueblo, CO
Posts: 1,513
|
Re: My K5 Blazer Story.
We had a rare storm coming our way today and I had it off too. So my buddy Bill and I wanted head west and see what trouble we could get into. I loaded my dog, some drinks and snacks and we took off.
 Heading out of town, the snow hadn't got too aggressive yet. Just cold. Like 17° cold. 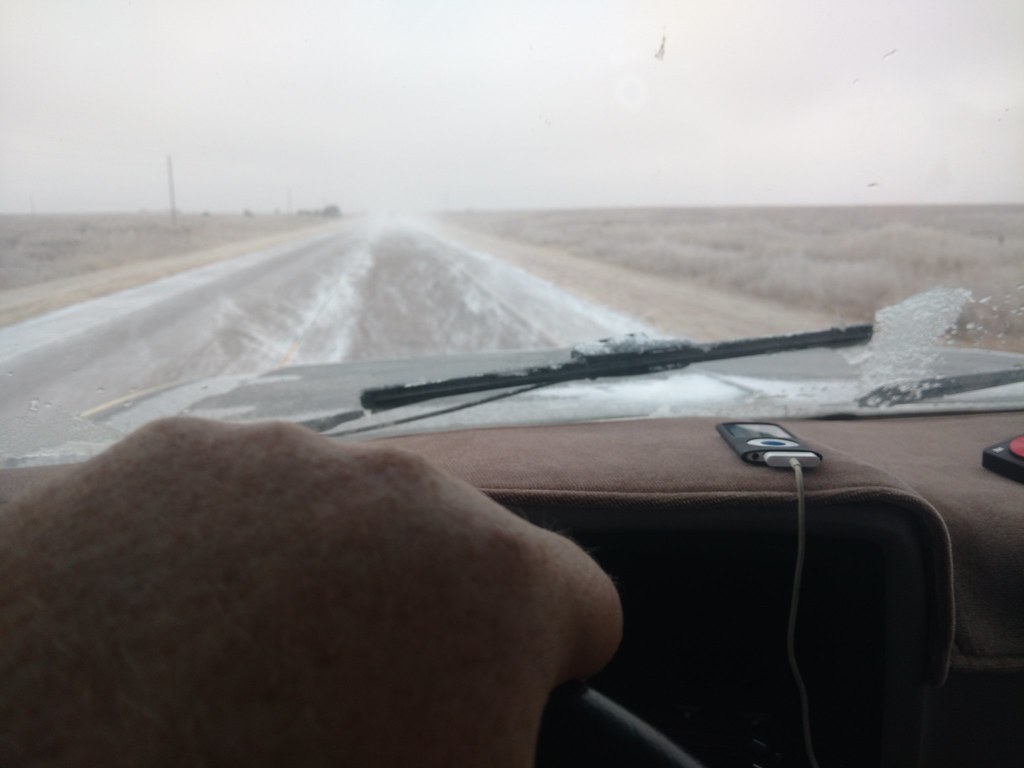 Heading up hardscrabble with a fresh layer of frost on the trees. 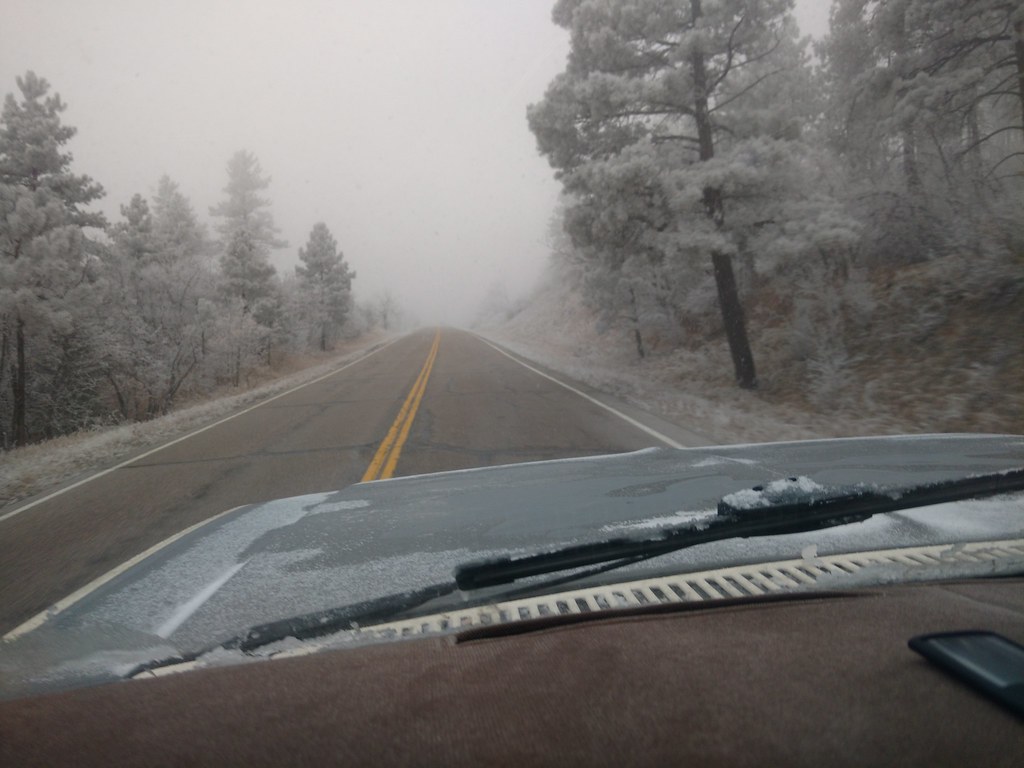 On the trail. Not sure how the aspen trees got to look like this. But not much snow to play on. 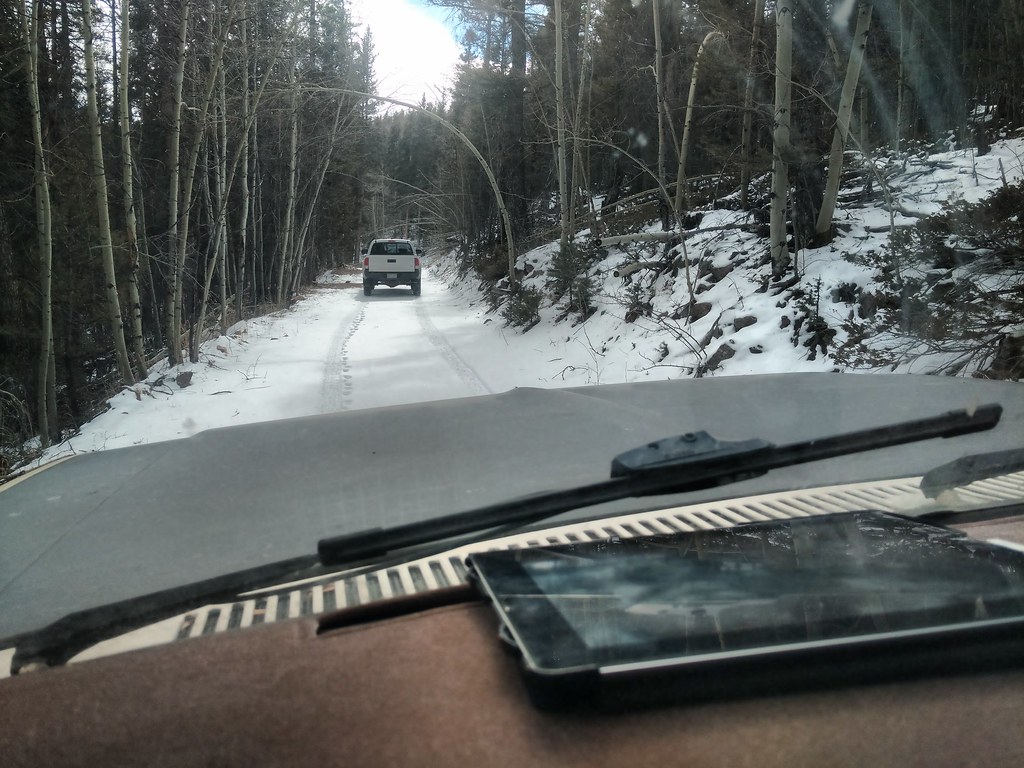 At the top. 11,450ft of elevation. Doggo needed to stretch her legs. 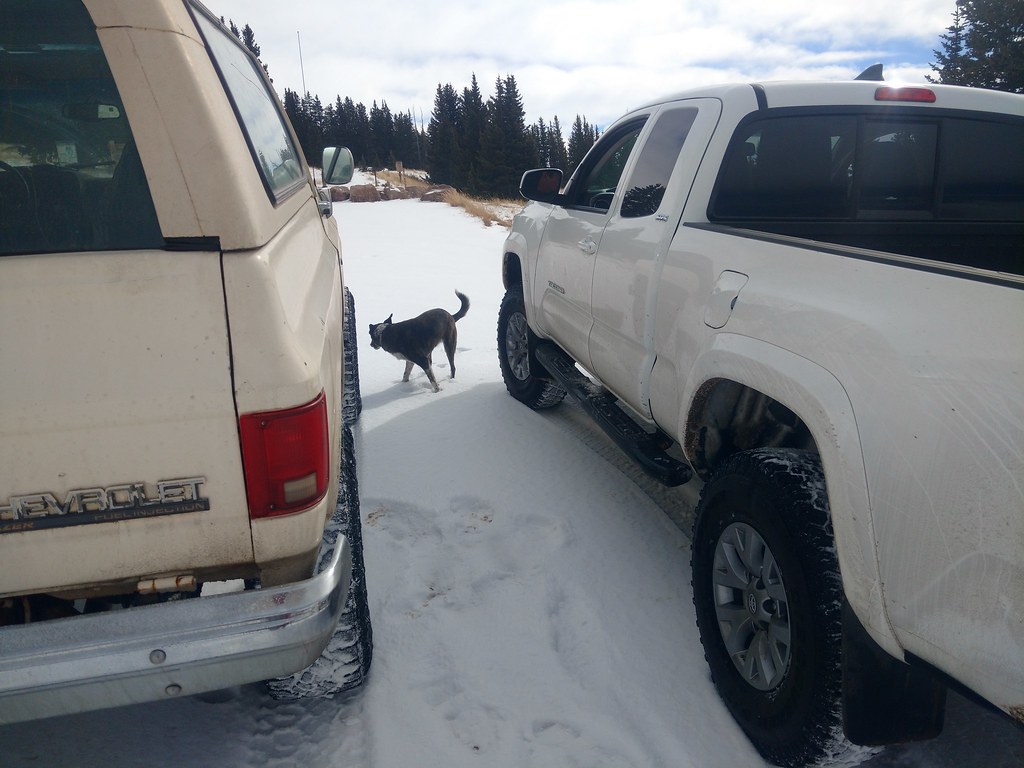 We are higher than the storm below. The normal view here is a wide valley that reaches to the mountain range on the other side.  Poser shot.. 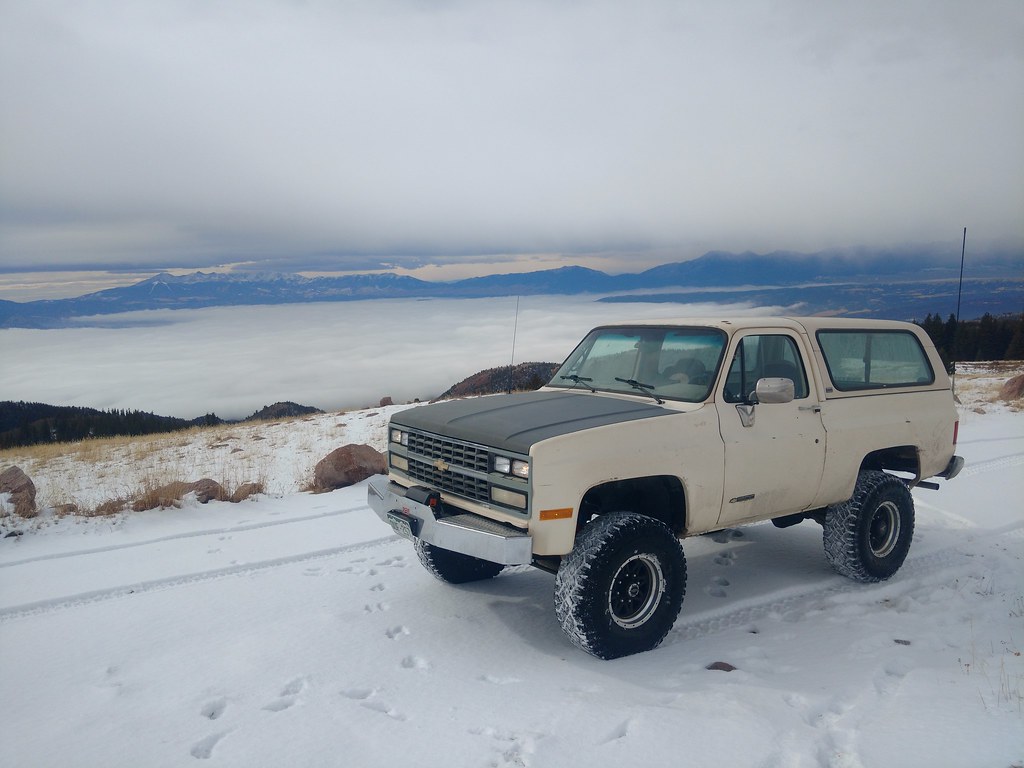 Coming down. At about 9,400ft just above the cloud.  Coming off the trail had is closer to Walsenburg so we ended up driving that way and rolling back up I-25 in the heart of the storm. No pics as all it was white. Not much visibility and doubled the normal time for the drive.
__________________
Rob Z. 1975 K5 350/465/205/D44/12b 4" lift on 35's- RIP 1991 K5 8.1L/NV4500/241/D44/14b FWC Camper |
|
|

|
|
|
#307 |
|
Senior Member
Join Date: Jan 2003
Location: Grand Junction, Colorado
Posts: 610
|
Re: My K5 Blazer Story.
Just a note on the top. I doubt you will run into this as your cut down fiberglass shell mounting method will eliminate what i ran into.
Before i mounted the camper on my 79 i removed the rare cucv artic kit cover that was on my 79. That being said i put the screws back in their empty nut zerts to prevent leaks. That was a whoopsie as said screw held up the front part of the camper a wee bit which caused an air and water leak issue. That was a unique problem that i am sure no one but me will run into in the next 1000 years. Lol. However i'd make sure those screws will not rub holes in the roof of the K5. DW
__________________
Doug Wright aka K5NUTT over @coloradok5.com Owner of http://groups.yahoo.com/group/ChevyK5BlazerChalets Certified K5 Nut |
|
|

|
|
|
#308 | |
|
K5Camper
 Join Date: Mar 2004
Location: Pueblo, CO
Posts: 1,513
|
Re: My K5 Blazer Story.
Quote:
__________________
Rob Z. 1975 K5 350/465/205/D44/12b 4" lift on 35's- RIP 1991 K5 8.1L/NV4500/241/D44/14b FWC Camper |
|
|
|

|
|
|
#309 |
|
Senior Member
Join Date: Jan 2003
Location: Grand Junction, Colorado
Posts: 610
|
Re: My K5 Blazer Story.
I am guessing the original design relied heavily on the weight of the camper bed area to seal the cab since it did not use the forward fiberglass top bolts to in essence pull the camper forward to seat it on the seals.
__________________
Doug Wright aka K5NUTT over @coloradok5.com Owner of http://groups.yahoo.com/group/ChevyK5BlazerChalets Certified K5 Nut |
|
|

|
|
|
#310 |
|
K5Camper
 Join Date: Mar 2004
Location: Pueblo, CO
Posts: 1,513
|
Re: My K5 Blazer Story.
It's funny in all my online searching I've come across a couple of Blazer FWC units that did in fact have the forward bolts to join the camper to the back of the cab. They did not use anything other than camper tape on the outside vertical wall to the back of the cab for sealing though.
__________________
Rob Z. 1975 K5 350/465/205/D44/12b 4" lift on 35's- RIP 1991 K5 8.1L/NV4500/241/D44/14b FWC Camper |
|
|

|
|
|
#311 |
|
Senior Member
Join Date: Jan 2003
Location: Grand Junction, Colorado
Posts: 610
|
Re: My K5 Blazer Story.
Tomorrow i am taking my butt to the fiberglass shop and i am going to get pictures of my new 1k camper door! Its been a week and i can't stand myself. Lol.
__________________
Doug Wright aka K5NUTT over @coloradok5.com Owner of http://groups.yahoo.com/group/ChevyK5BlazerChalets Certified K5 Nut |
|
|

|
|
|
#312 |
|
K5Camper
 Join Date: Mar 2004
Location: Pueblo, CO
Posts: 1,513
|
Re: My K5 Blazer Story.
I guess I should update the thread since I've been using this thing all summer.
So picking up on the cabinet construction. This got moved forward on a faster pace since my friend put his house on the market at that moment so we needed to get it together soon. We got the doors hung and added other little bits to the mix. 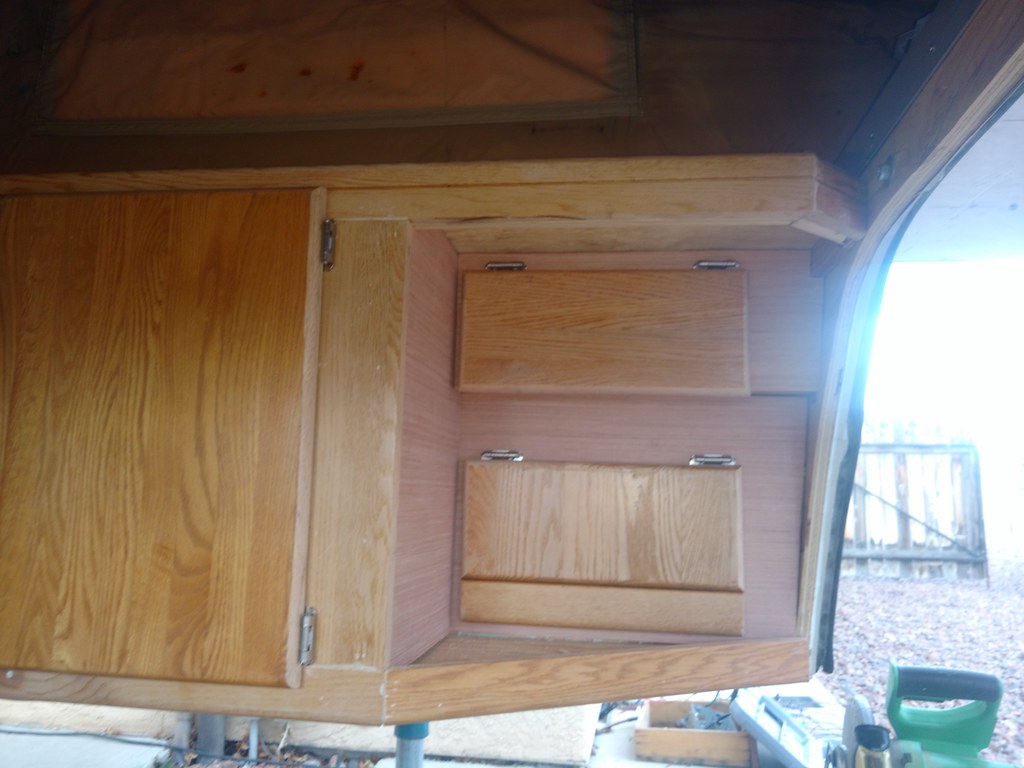 Cabinet work. by Rob Zulian, on Flickr Cabinet work. by Rob Zulian, on Flickr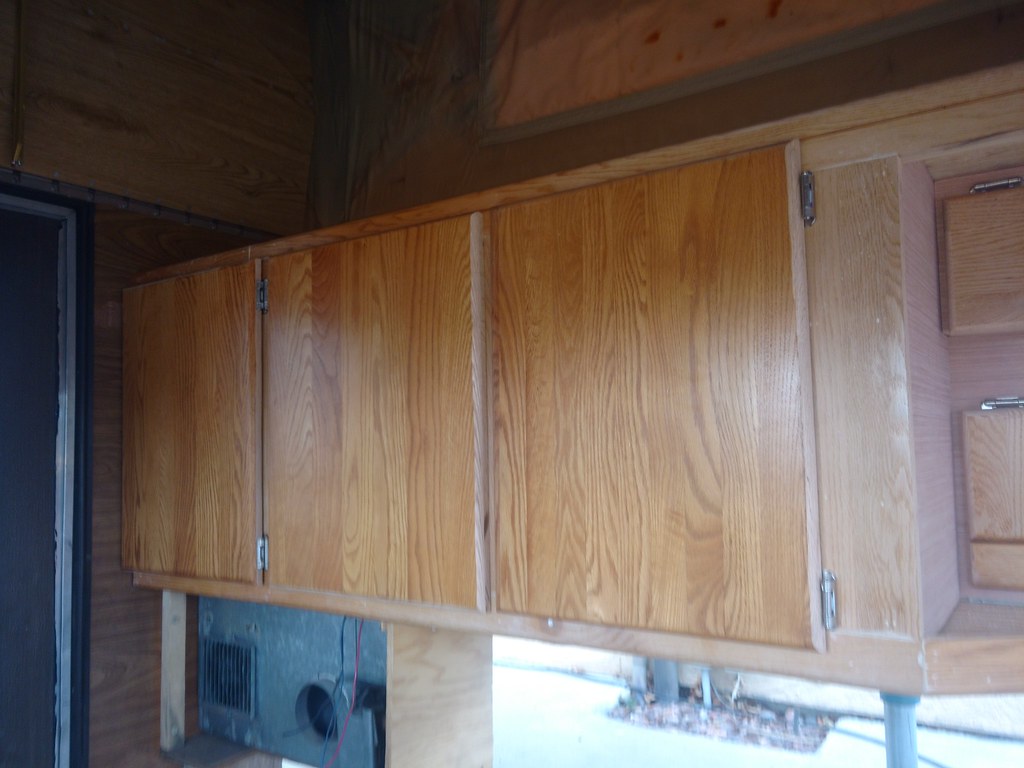 Cabinet work. by Rob Zulian, on Flickr Cabinet work. by Rob Zulian, on FlickrThe cabinets really being the only thing left to get done inside, we ripped the roof off at my house and went back to John's to install the camper. The tailgate proved to be a pain as one of the bolts for the hinges on the body side had a head snapped off some other time and would not facilitate removal. Had to take the hinge off the gate just to get the gate off. (I actually didn't extract the broken bolt and hinge until prep was happening for the desert trip) 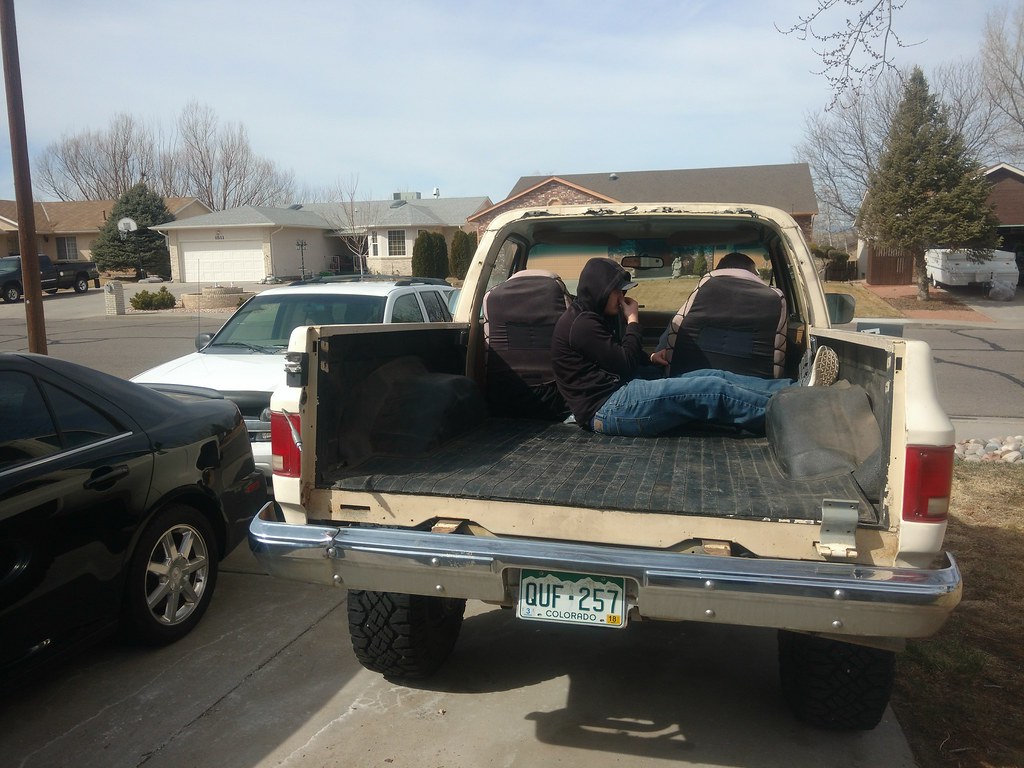 Camper install day! by Rob Zulian, on Flickr Camper install day! by Rob Zulian, on FlickrNo pics taken of the install as it didn't look any different than the last couple of times it went off and on. But once it was on I stopped on the ride home.. 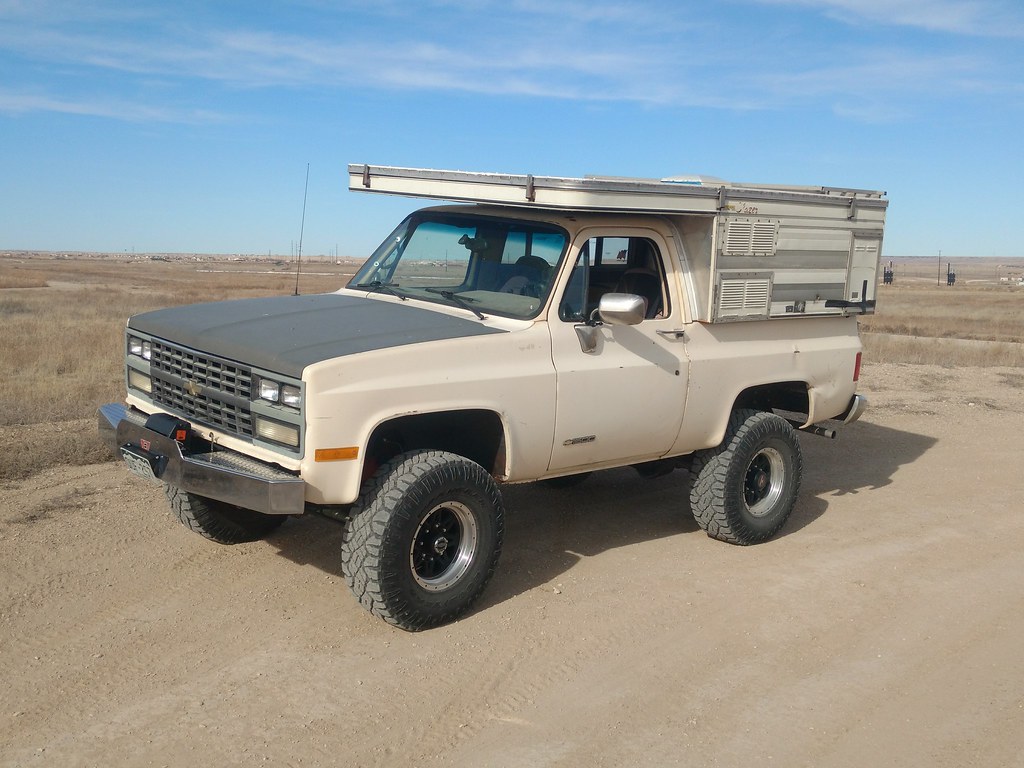 Camper install day! by Rob Zulian, on Flickr Camper install day! by Rob Zulian, on FlickrLooking back into the camper you can get an idea why I deleted the fridge as my seatback is right where it would have been. 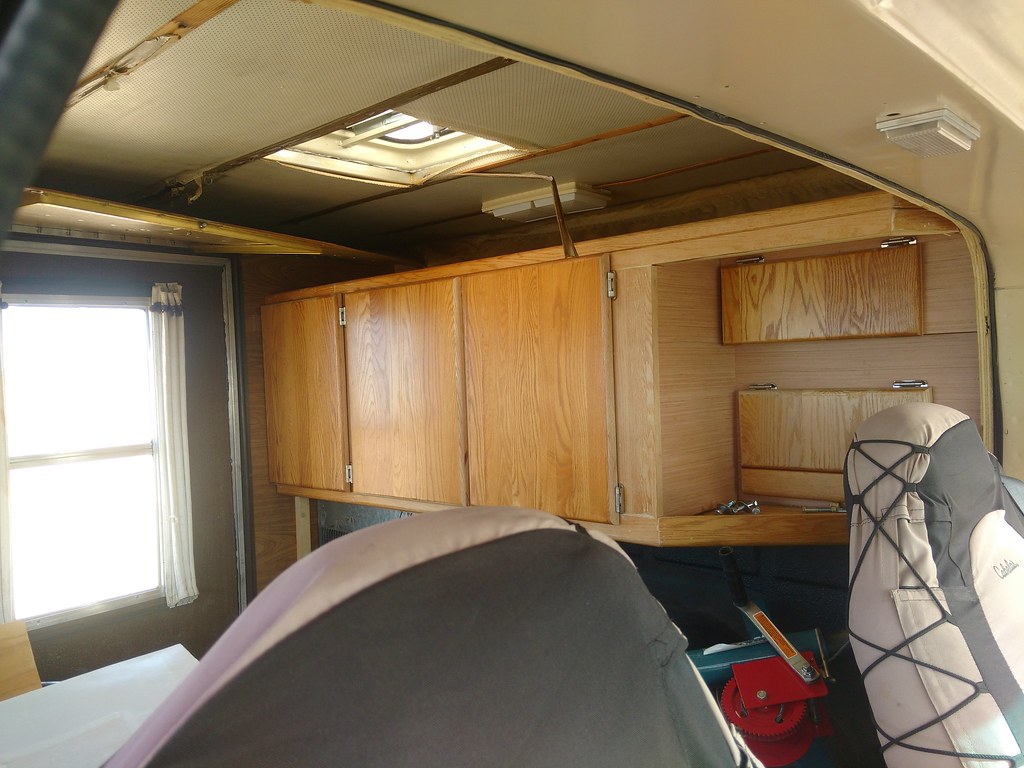 Camper install day! by Rob Zulian, on Flickr Camper install day! by Rob Zulian, on FlickrStill need to build the lower bench at this point.. 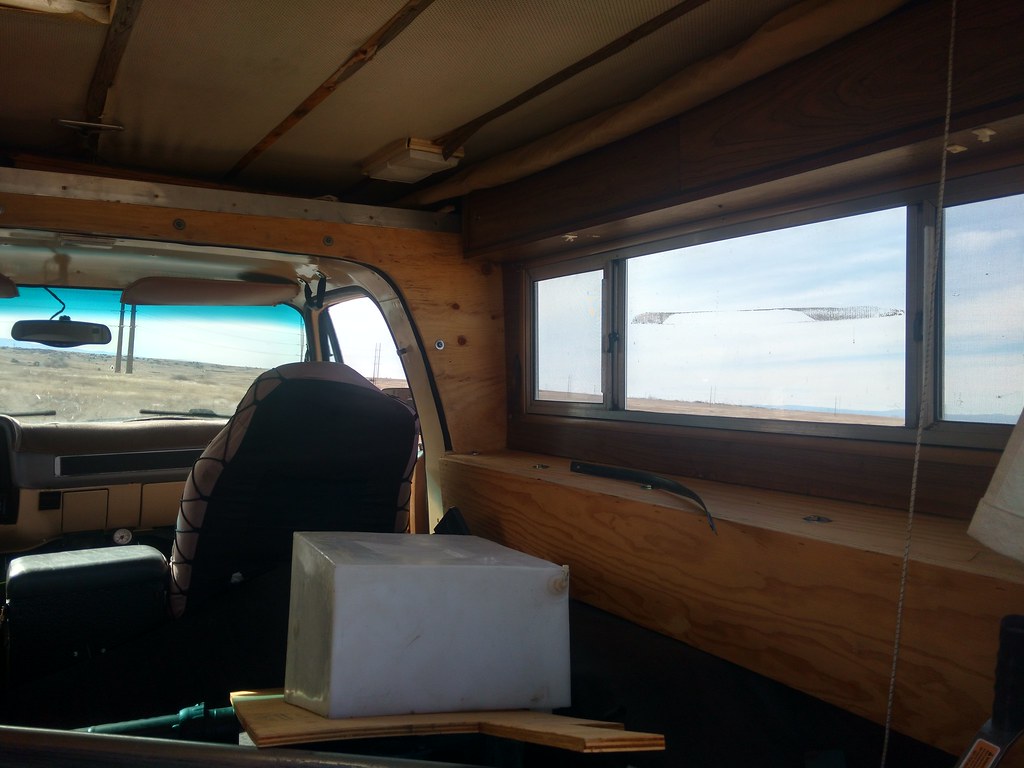 Camper install day! by Rob Zulian, on Flickr Camper install day! by Rob Zulian, on FlickrOnce home I could get to business on sanding the cabinet and doors down for a fresh stain/poly. 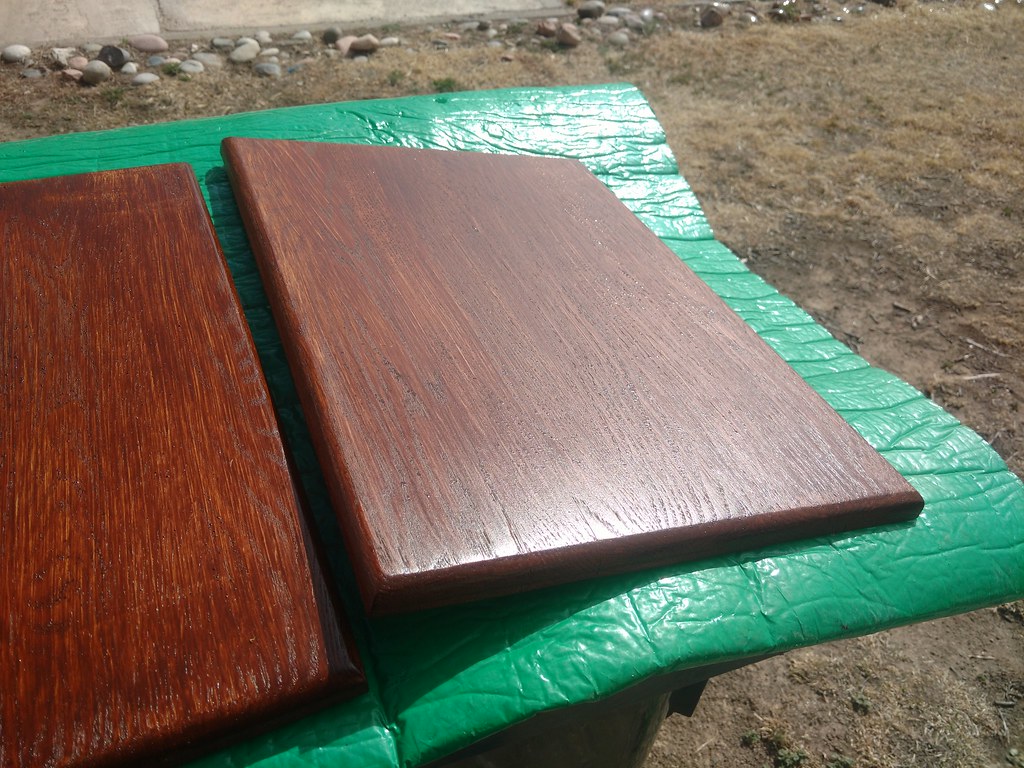 Camper work day by Rob Zulian, on Flickr Camper work day by Rob Zulian, on Flickr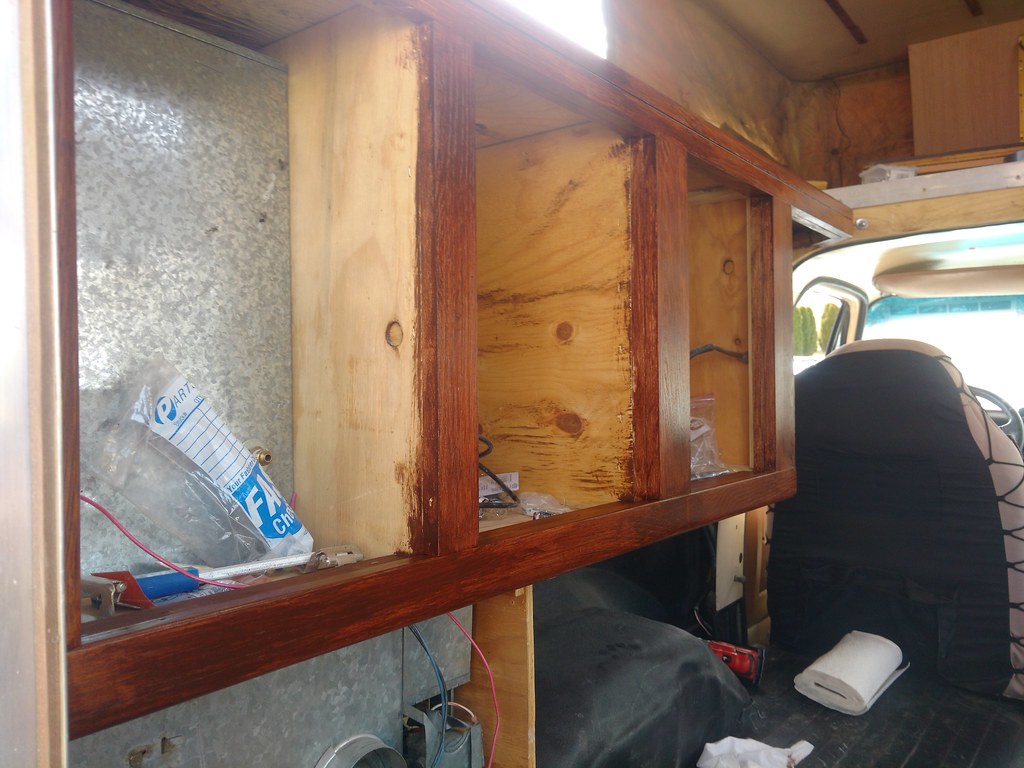 Camper work day by Rob Zulian, on Flickr Camper work day by Rob Zulian, on FlickrI was able to use my onboard air compressor to blow out the dust after sanding. 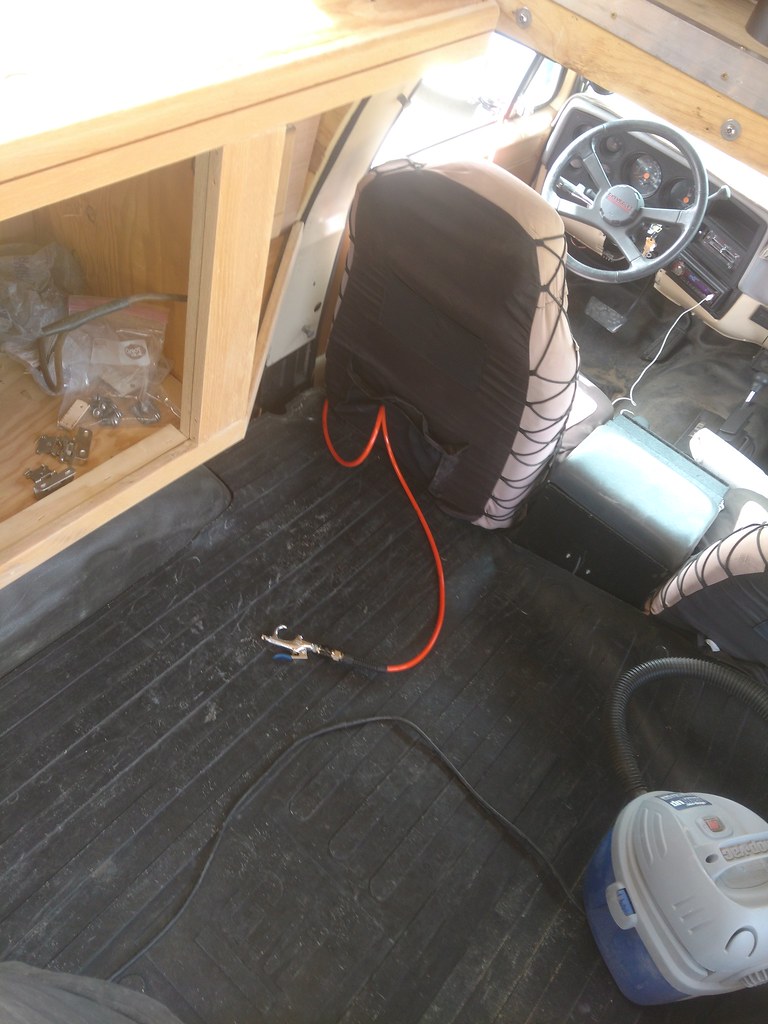 Camper work day by Rob Zulian, on Flickr Camper work day by Rob Zulian, on FlickrLots of room to work inside with the top up. The stuck hinge was a great spot for my tumbler as I worked though.. 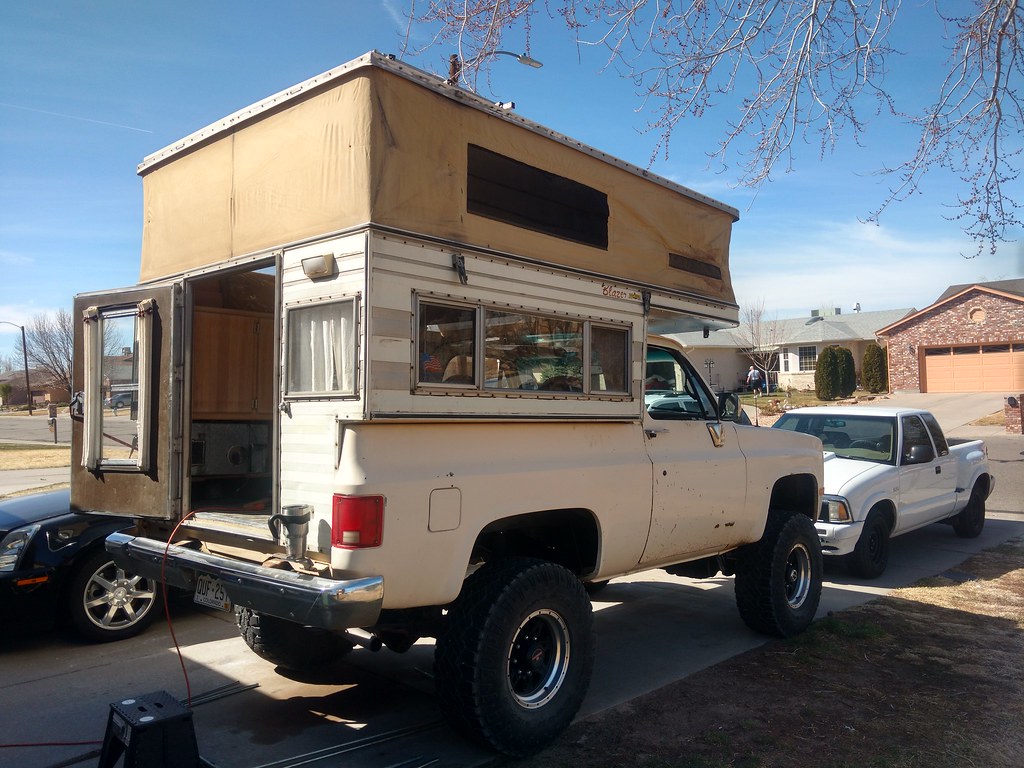 Camper work day by Rob Zulian, on Flickr Camper work day by Rob Zulian, on FlickrI also got started with the needed 12v goodies I had planned for the camper side of things. With the plans for a 12v fridge eventually I ran 12g power and ground from the aux battery to this point. Added 6 circuit (should have gone with 8) fuse panel and power/ground junctions blocks. The entire camper is switched so it can be completely shut off to limit drain when parked/not in use. 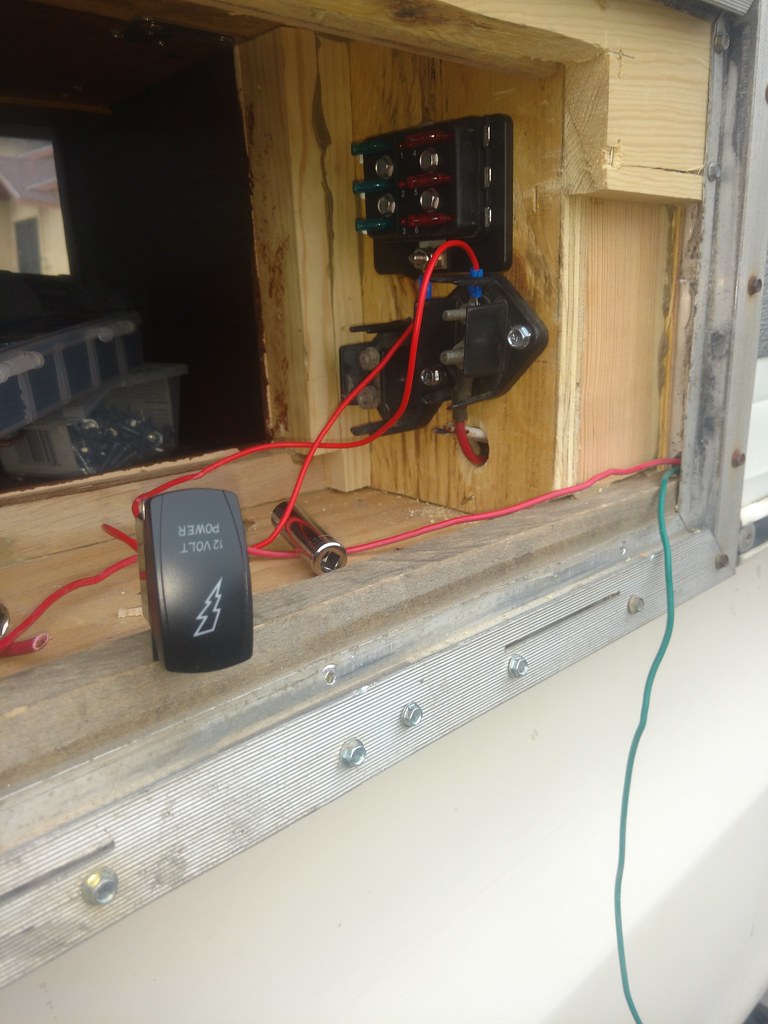 Camper electrical by Rob Zulian, on Flickr Camper electrical by Rob Zulian, on FlickrI kept the 110v plug that was already on the outside of the camper and ran it to 1 outlet with a GFCI breaker. At most I might run a shop vac or my laptop power if I'm plugged into shore power at a campground. 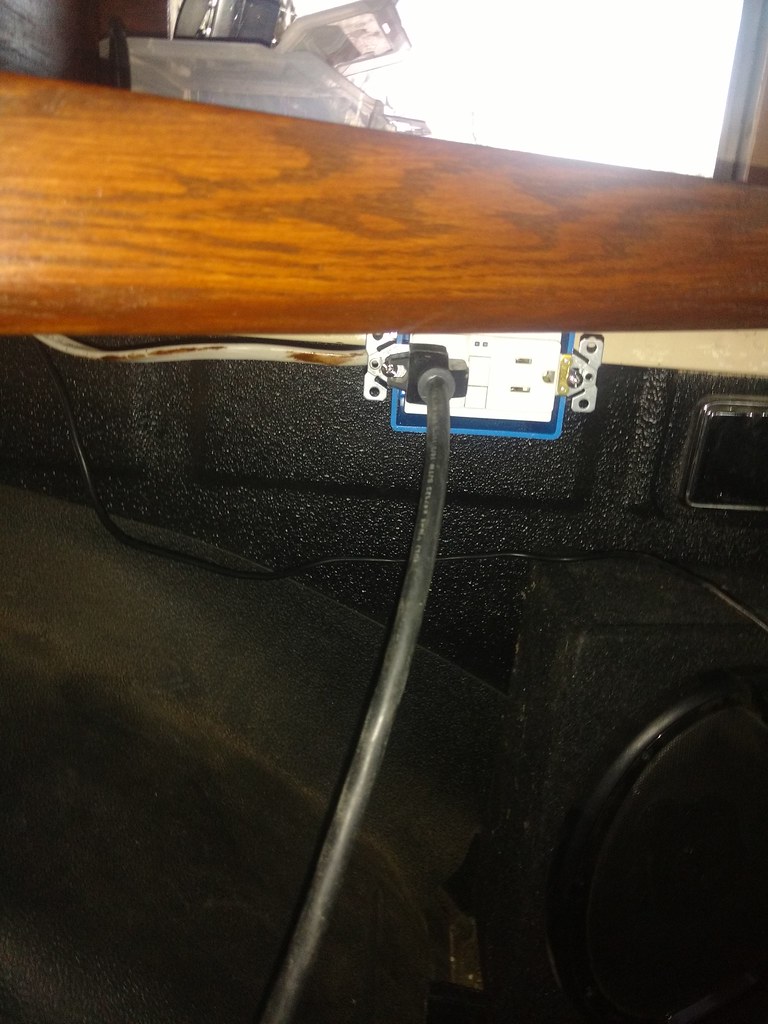 Electrical by Rob Zulian, on Flickr Electrical by Rob Zulian, on FlickrI changed out ALL lighting for LED. Crazy bright and tiny power consumption. Like under 1.5 amps with two of these lights on full. 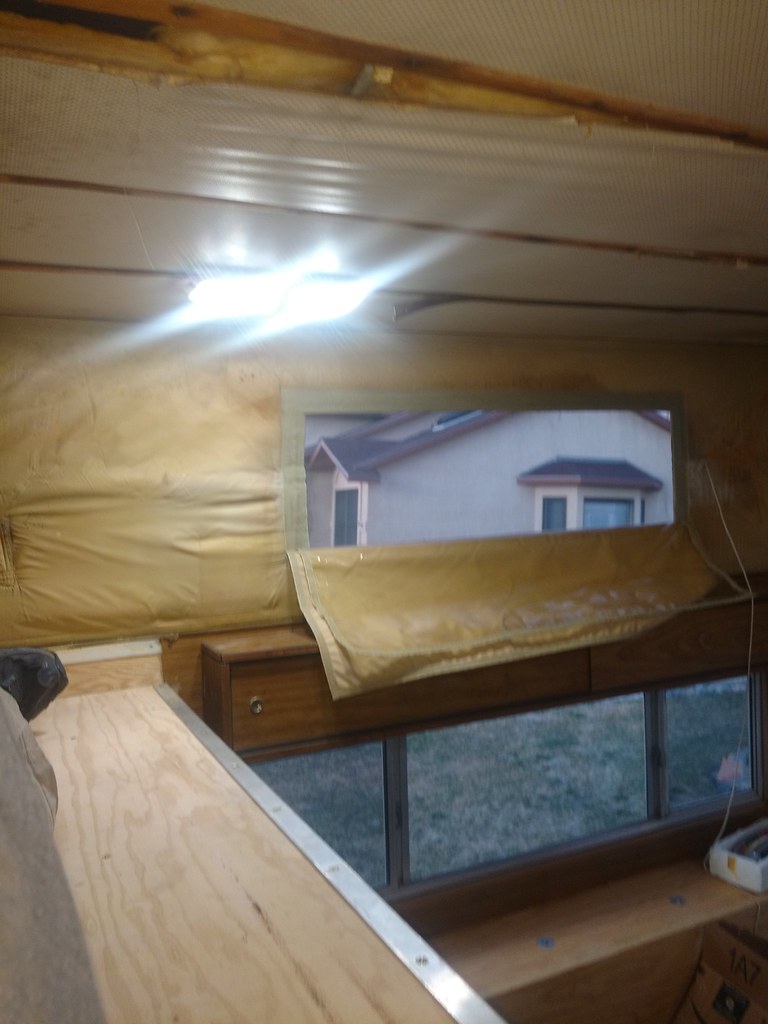 Electrical by Rob Zulian, on Flickr Electrical by Rob Zulian, on Flickr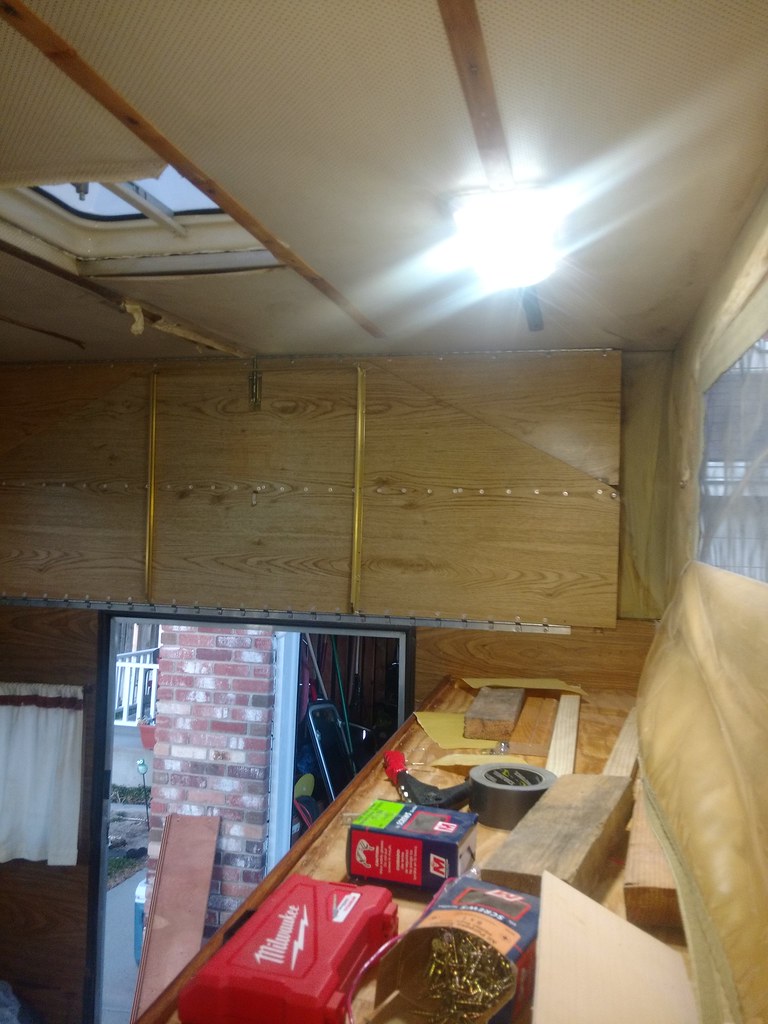 Electrical by Rob Zulian, on Flickr Electrical by Rob Zulian, on FlickrAdded a GM underhood reel light to the back near the door too. It's using a LED bulb array too. Stupid bright. Also added a inside switch for the outside porch light above the reel. 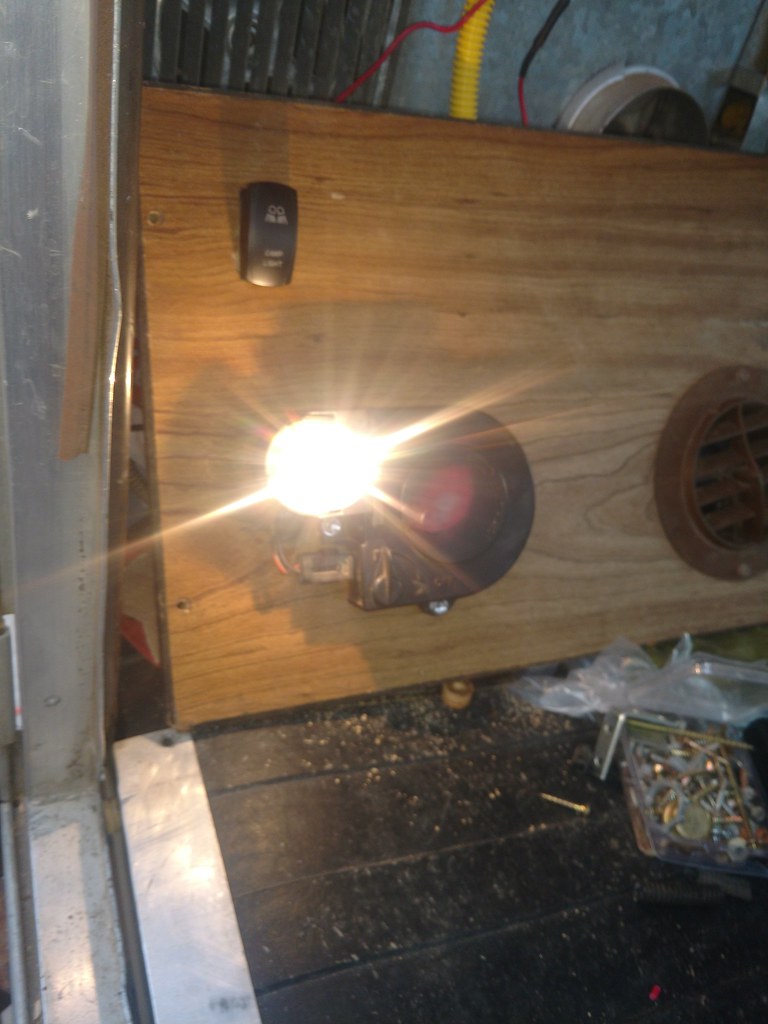 Electrical by Rob Zulian, on Flickr Electrical by Rob Zulian, on FlickrThe new porch light. Again, it's LED as well. 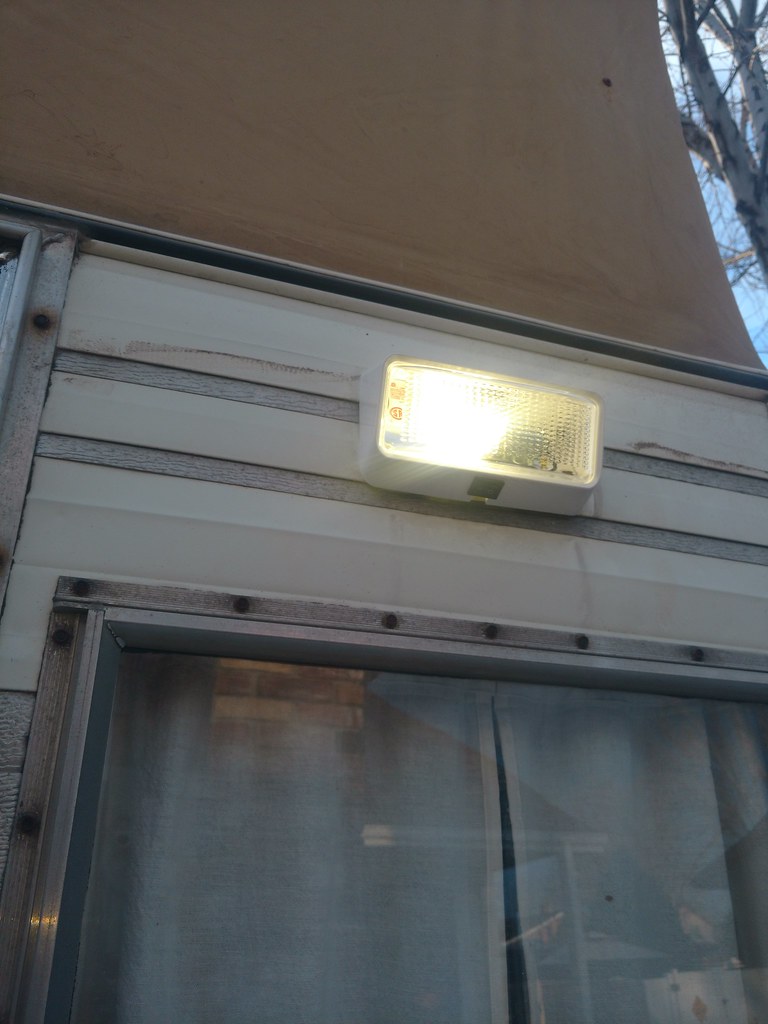 Electrical by Rob Zulian, on Flickr Electrical by Rob Zulian, on FlickrThen I got a little nutty. I added some color changing LED light strips that would normally be sold for lighting up the inside of a truck bed. Really bright, but the plan was using the red color when one might need to get up and use the "facilities" in the middle of the night and not mess with your night vision. Plus it don't attact bugs as much. 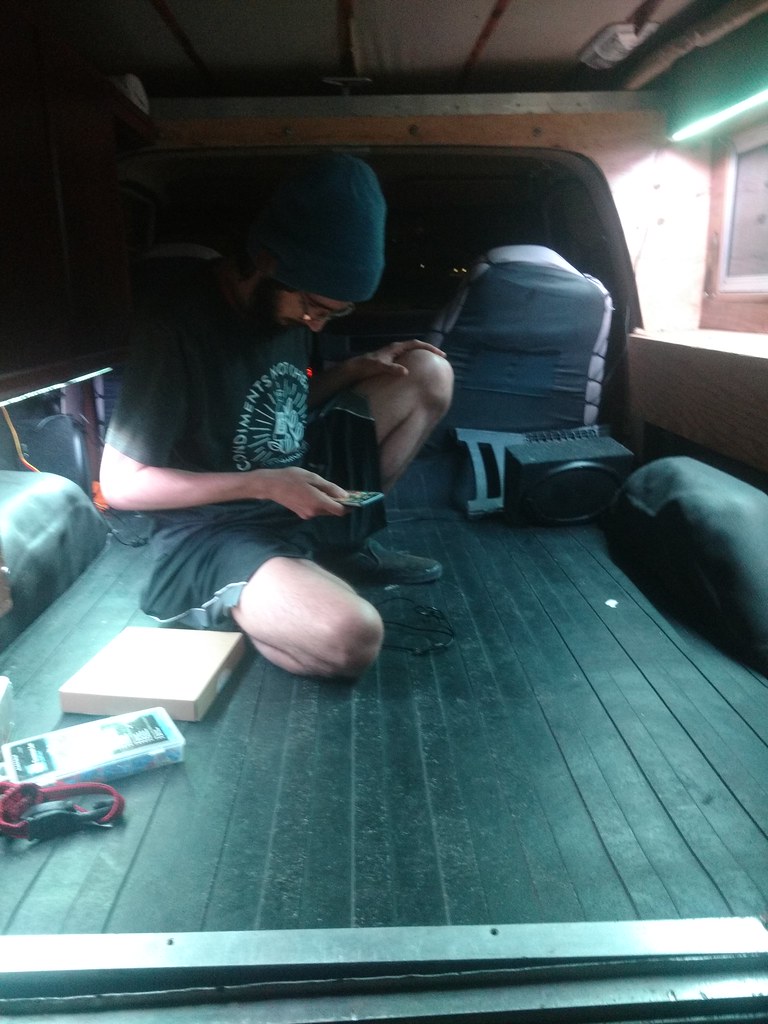 Lights! by Rob Zulian, on Flickr Lights! by Rob Zulian, on Flickr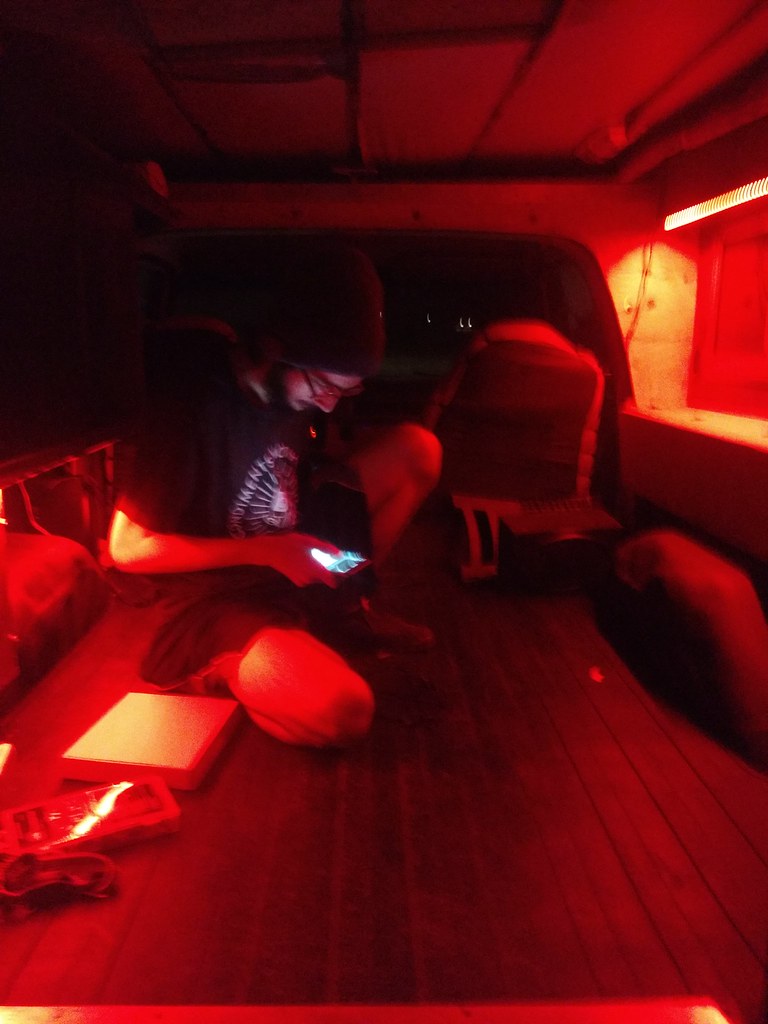 Lights! by Rob Zulian, on Flickr Lights! by Rob Zulian, on Flickr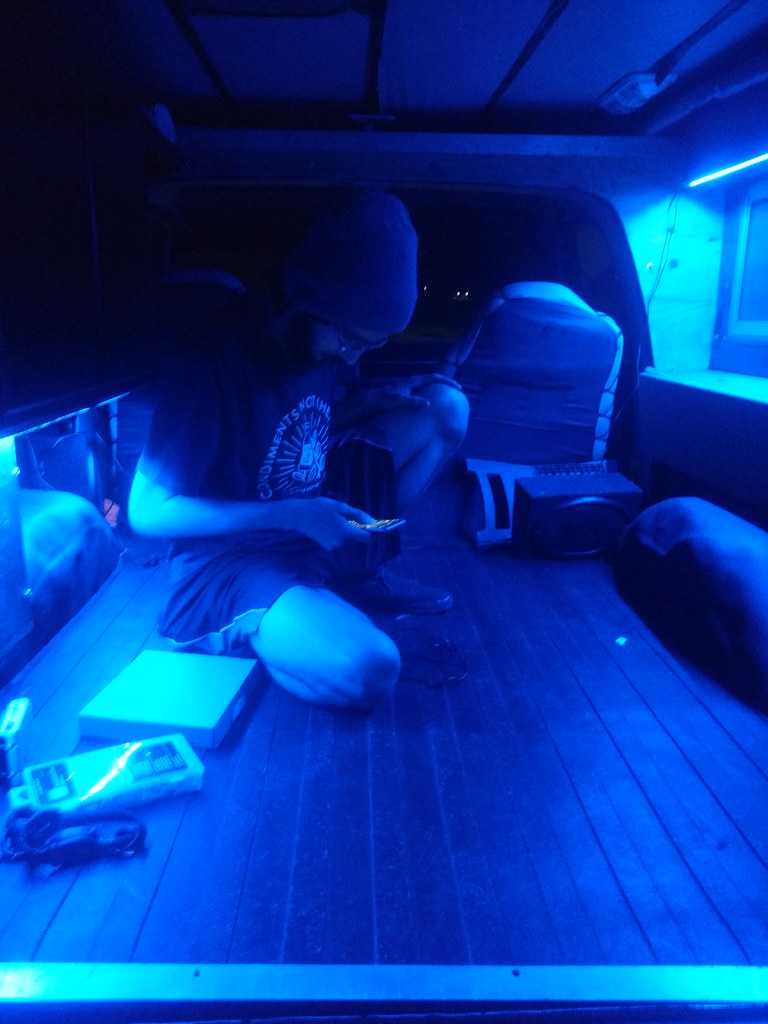 Lights! by Rob Zulian, on Flickr Lights! by Rob Zulian, on FlickrI finished up my little panel where the stock ashtray would normally reside. One thing I found on the previous trip is a need for 12v/USB ports for phones, cameras, ipad, gps. So I added a two port usb to my panel with the aux battery control switch and onboard air switch. The little switch on the top kills power to the USB since it's lit all the time, so I don't kill power. 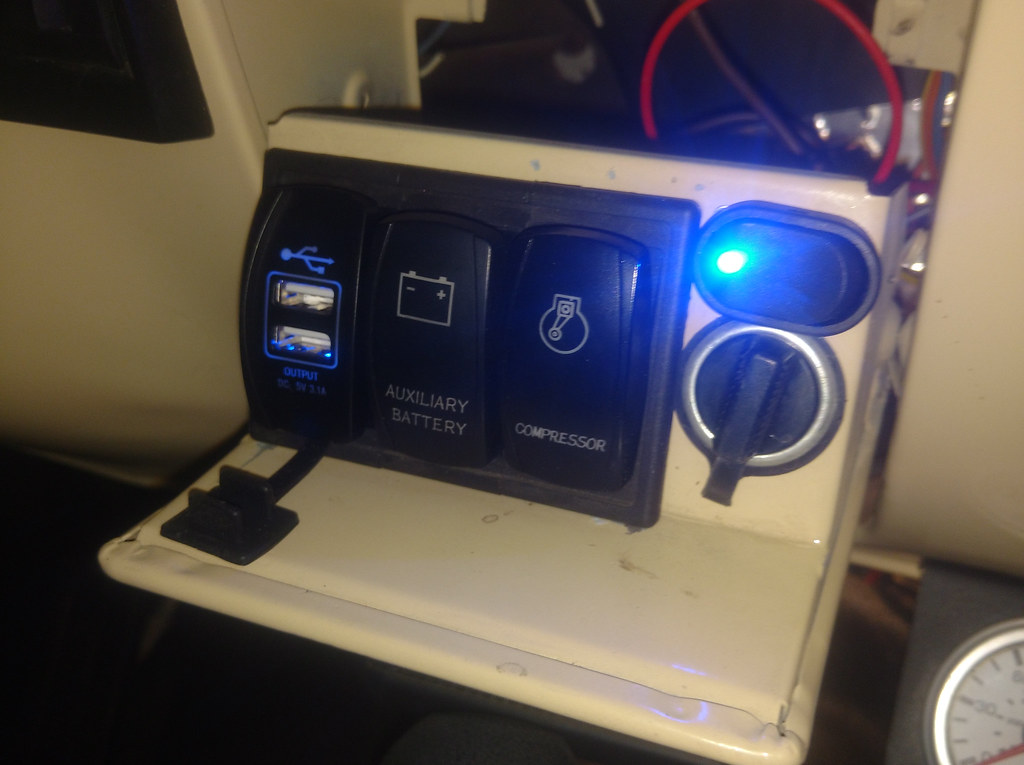 Electrical work by Rob Zulian, on Flickr Electrical work by Rob Zulian, on FlickrSome of the wiring in the cabinets. In total, there 4 more double USB ports in the camper and two more 12v sockets. 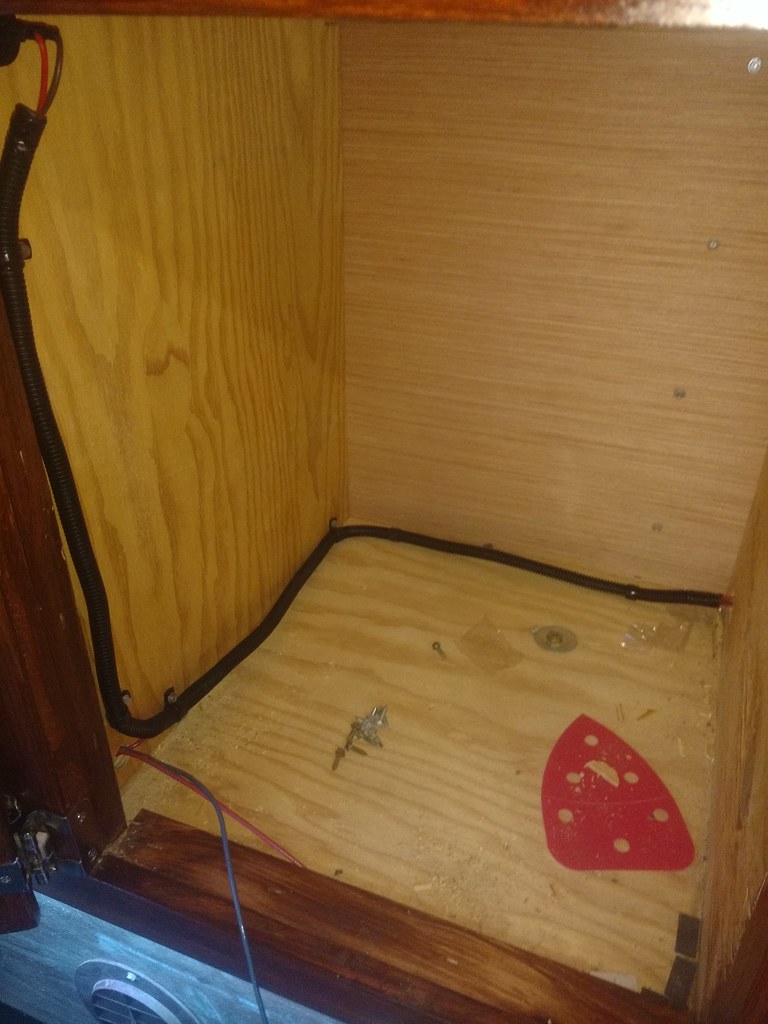 Electrical work by Rob Zulian, on Flickr Electrical work by Rob Zulian, on Flickr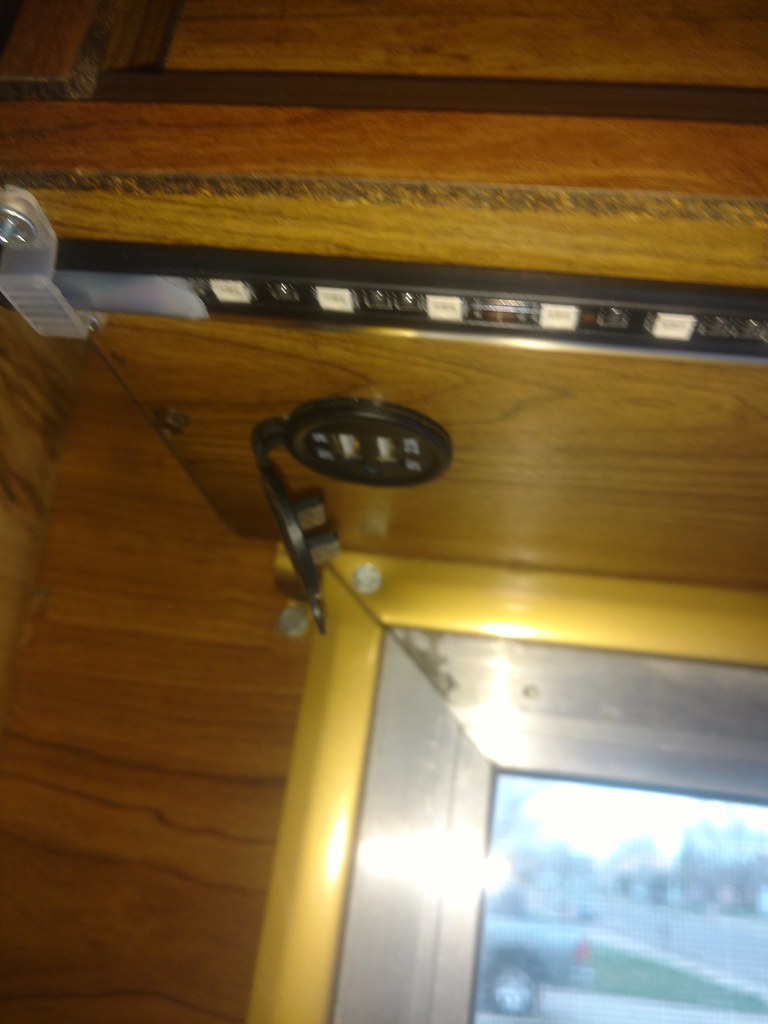 Electrical work by Rob Zulian, on Flickr Electrical work by Rob Zulian, on FlickrAnother repurposed ashtray location. 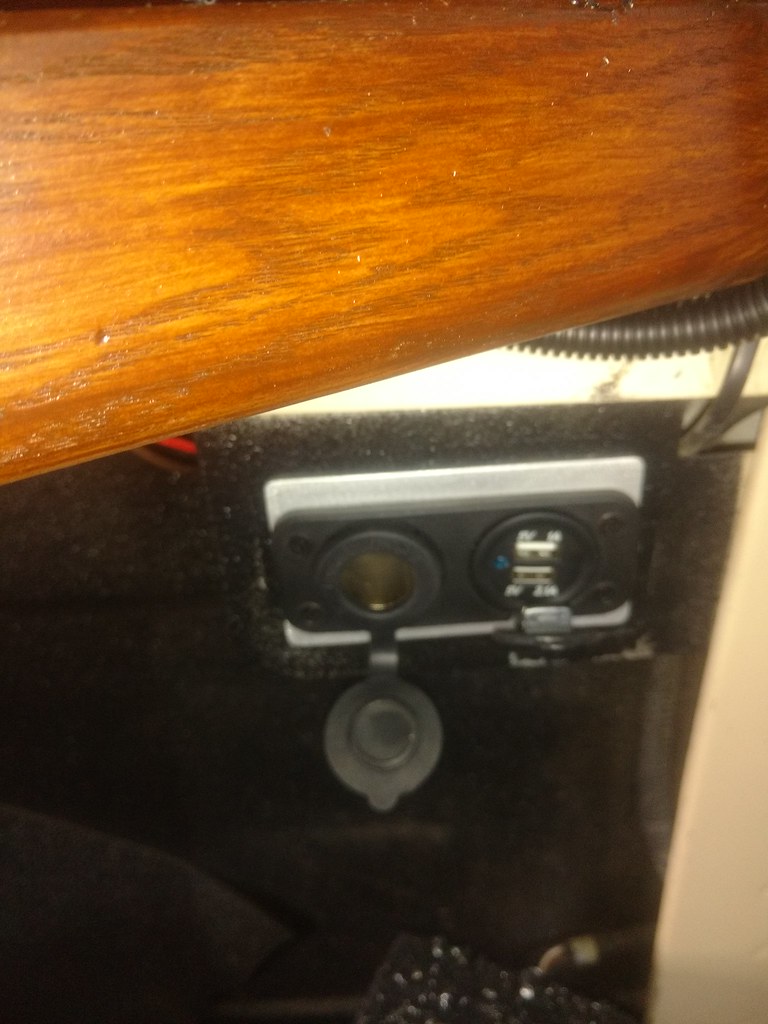 Electrical work by Rob Zulian, on Flickr Electrical work by Rob Zulian, on FlickrIn the cabinet. 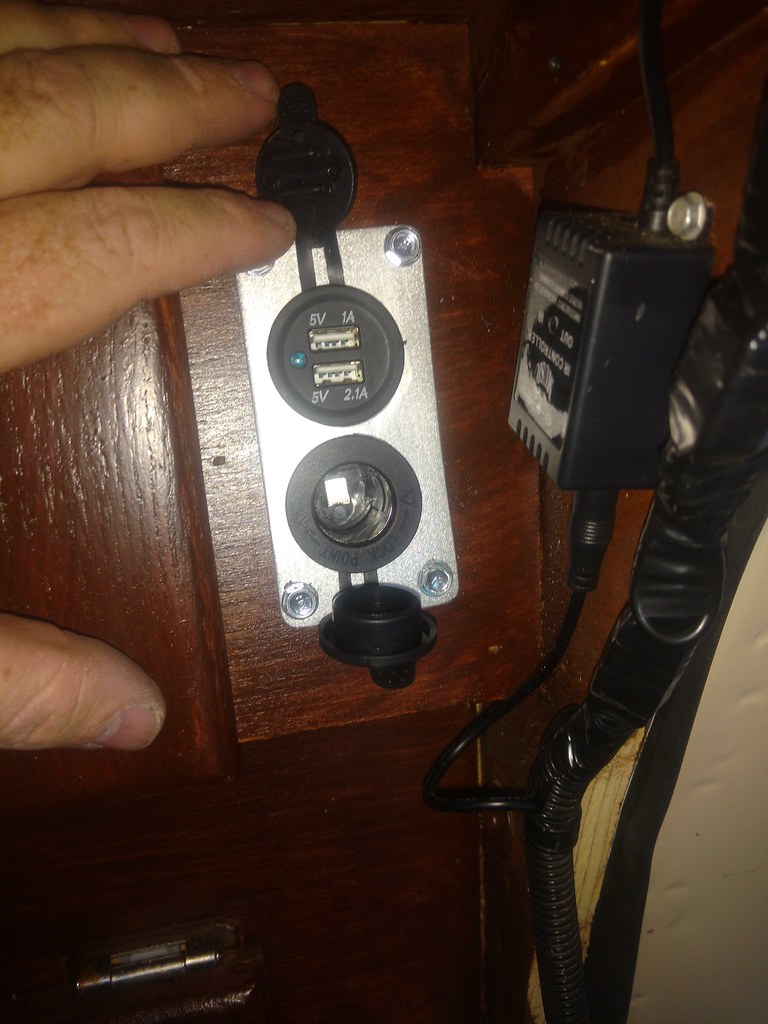 Electrical work by Rob Zulian, on Flickr Electrical work by Rob Zulian, on FlickrMy sisters even got in on the action. I had expressed an interest to copy some of the interior of the newer FWC Woolrich edition as imitation is the most sincere form of flattery. They worked up some buffalo plaid curtains and had enough left over to make a couple of pillows too. 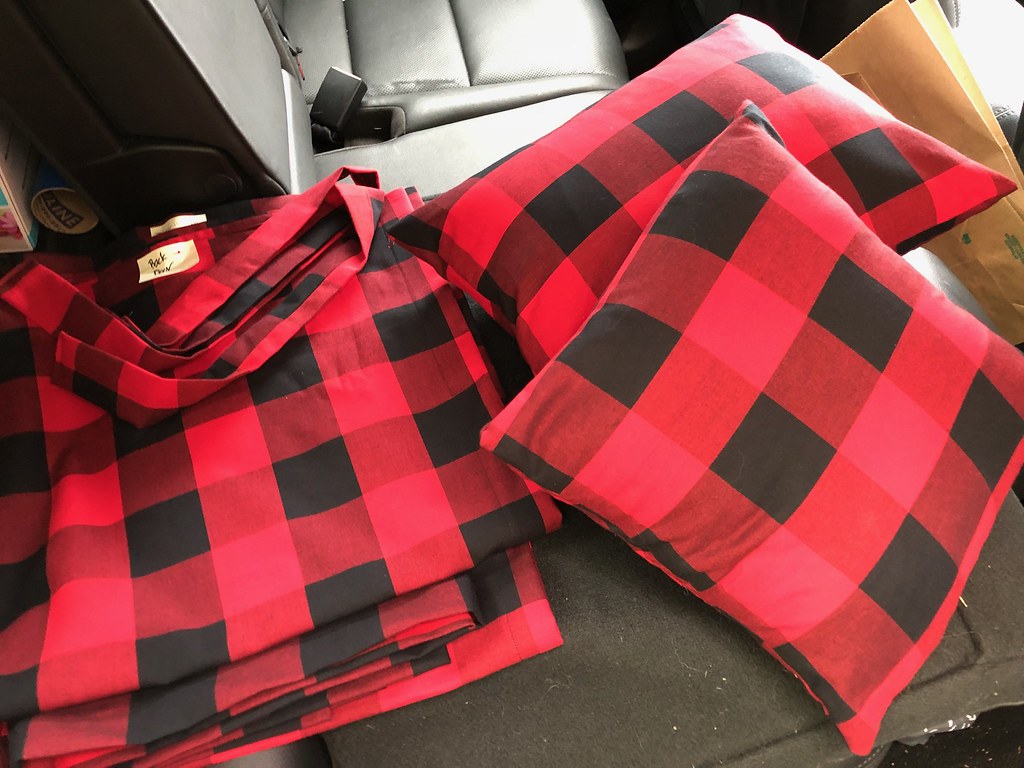 Trimmings by Rob Zulian, on Flickr Trimmings by Rob Zulian, on Flickr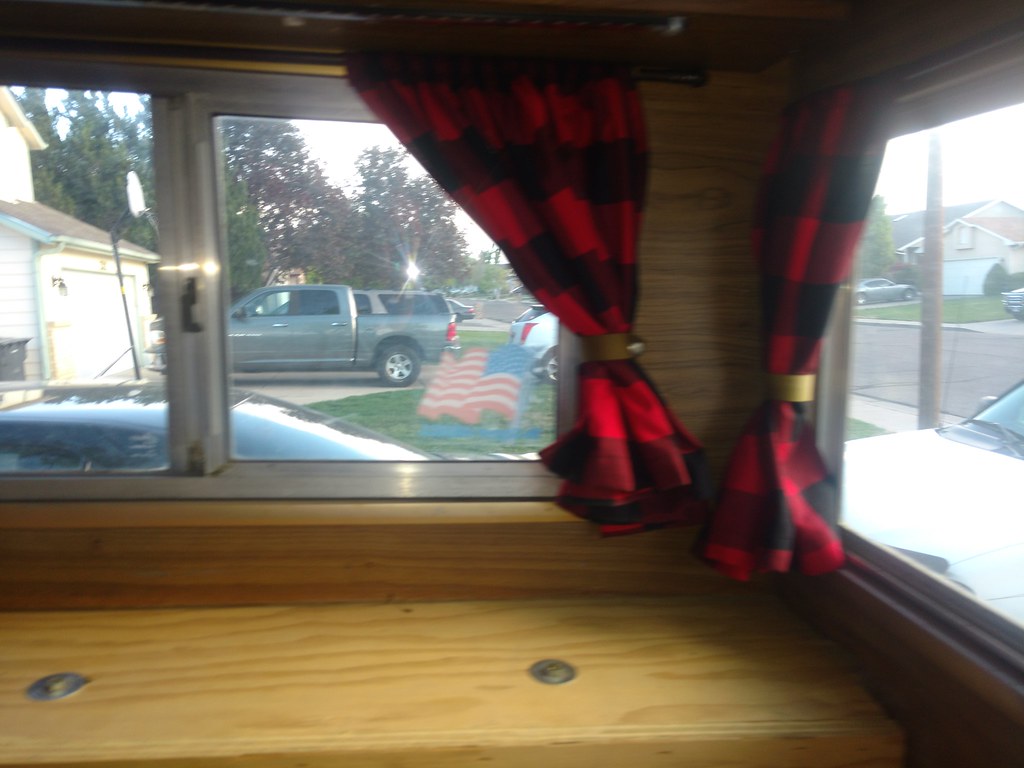 Custom curtains for the camper. by Rob Zulian, on Flickr Custom curtains for the camper. by Rob Zulian, on Flickr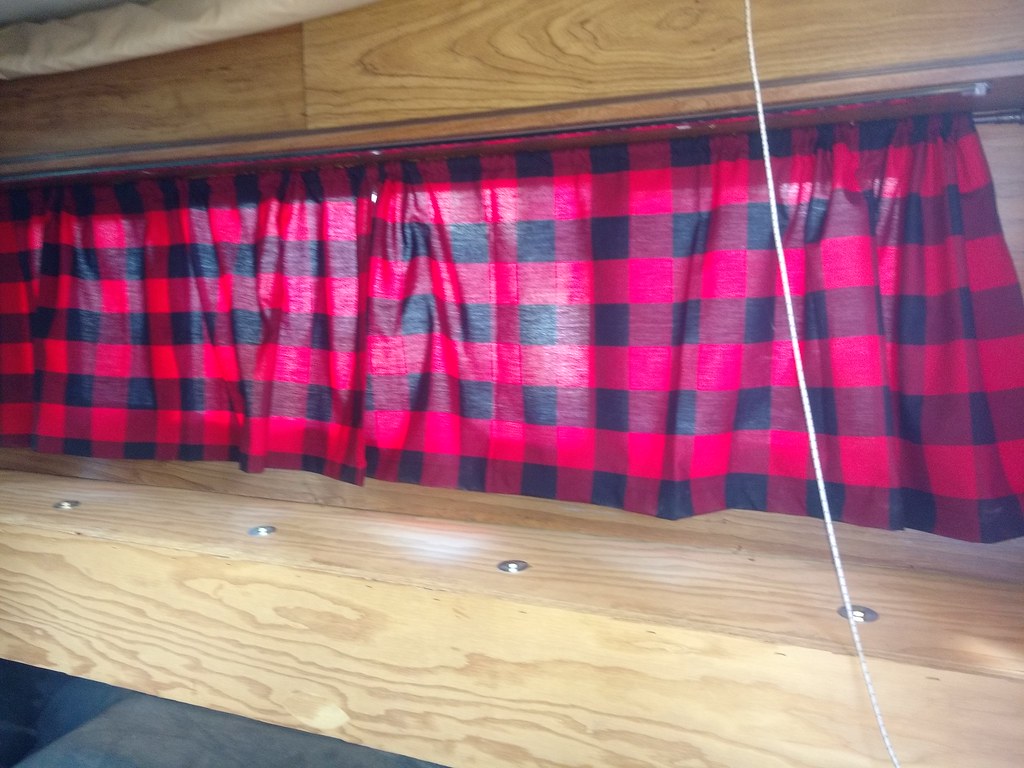 Custom curtains for the camper. by Rob Zulian, on Flickr Custom curtains for the camper. by Rob Zulian, on FlickrGot Shane back over so we could put together a simple bench that reused the orginal cushions. After using it for three trips this summer, it will be reworked. 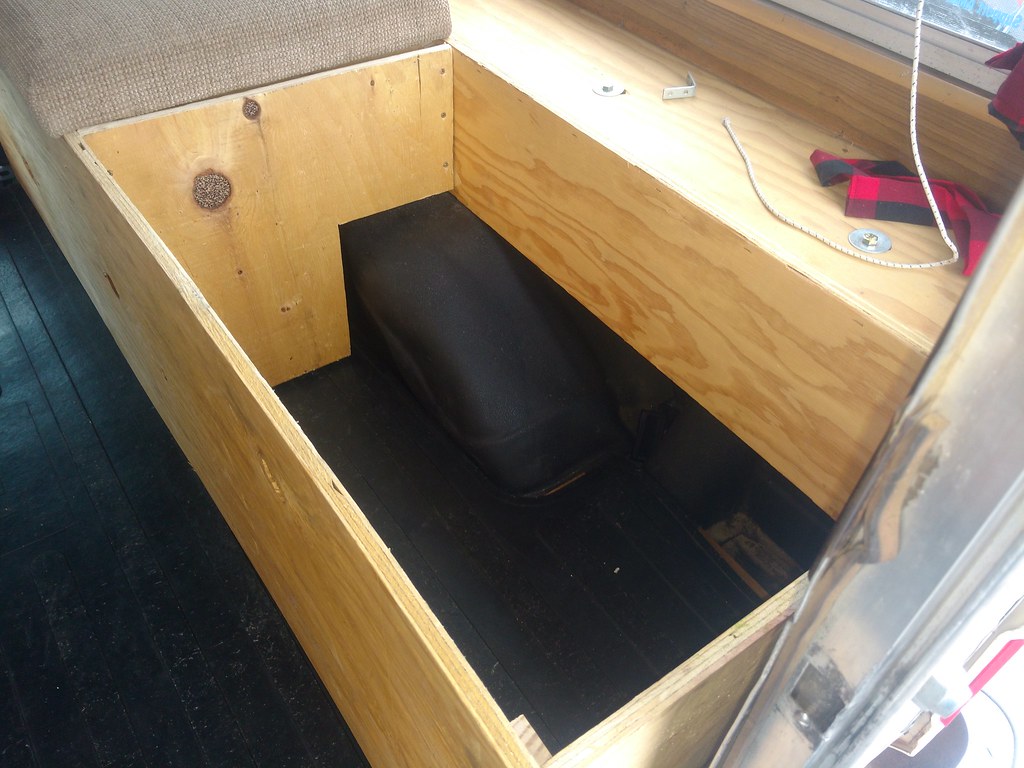 Bench time by Rob Zulian, on Flickr Bench time by Rob Zulian, on Flickr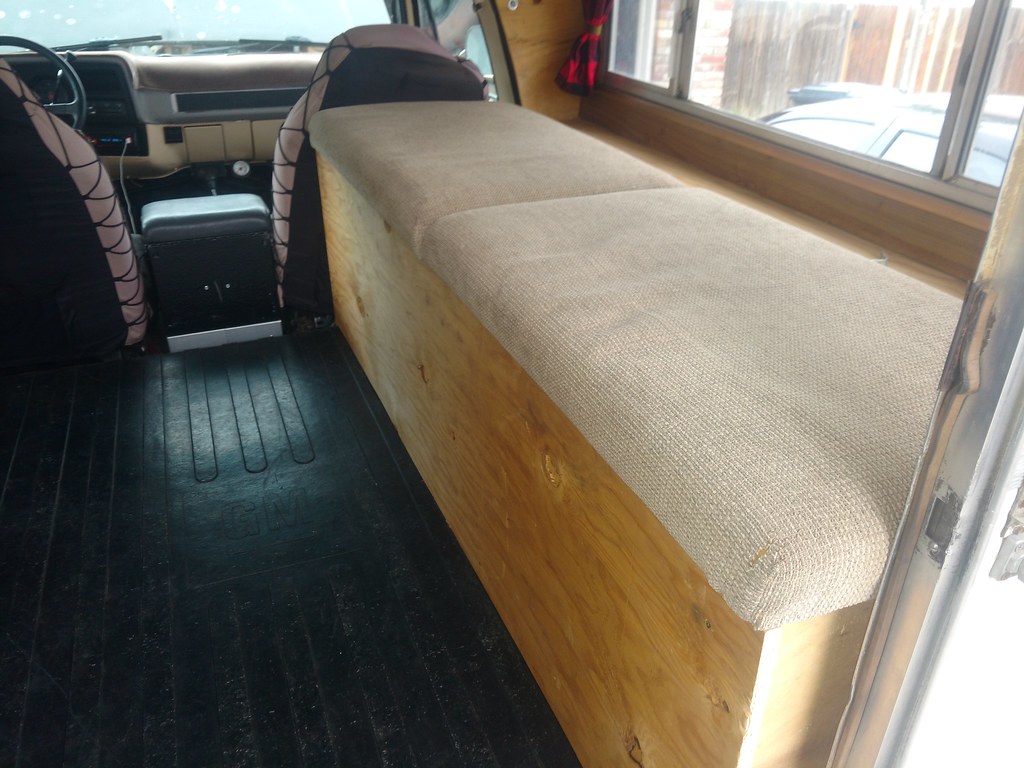 Bench time by Rob Zulian, on Flickr Bench time by Rob Zulian, on FlickrI wanted a way to monitor my power consumption. This little panel was found on Amazon, includes a 100amp shunt for the current measurement. It's installed above the lower front cubby. I can follow the battery voltage, current, watts and total watt/hours. It's pretty cool to know what is going on in the system. 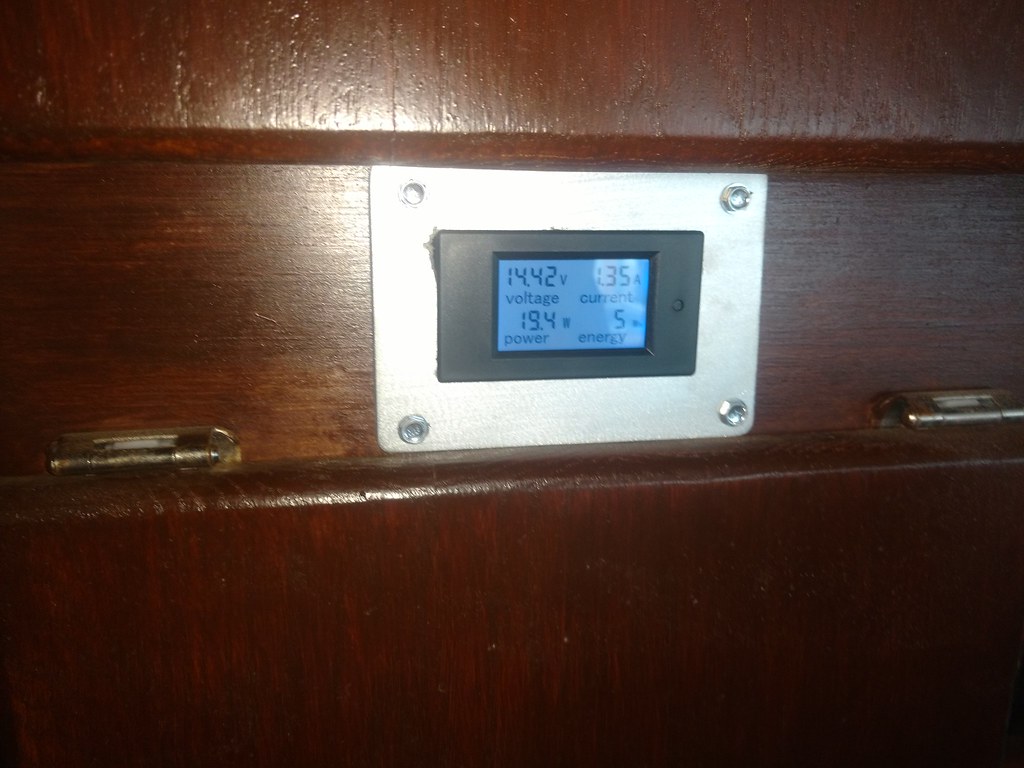 Bench time by Rob Zulian, on Flickr Bench time by Rob Zulian, on FlickrI needed some kind of way to carry a spare as the intended location of our desert trip would have us MILES off pavement and mooching a spare from Larry just woudn't cut it. So my buddy Bill and I whipped this up over a weekend. We had to add a hitch (Larry had a spare in stock) and some square stock with a couple of bolts we got a swing down unit. Bill added the step to make it a little easier to get in and out. This will change too. That dang tire is friggen heavy! 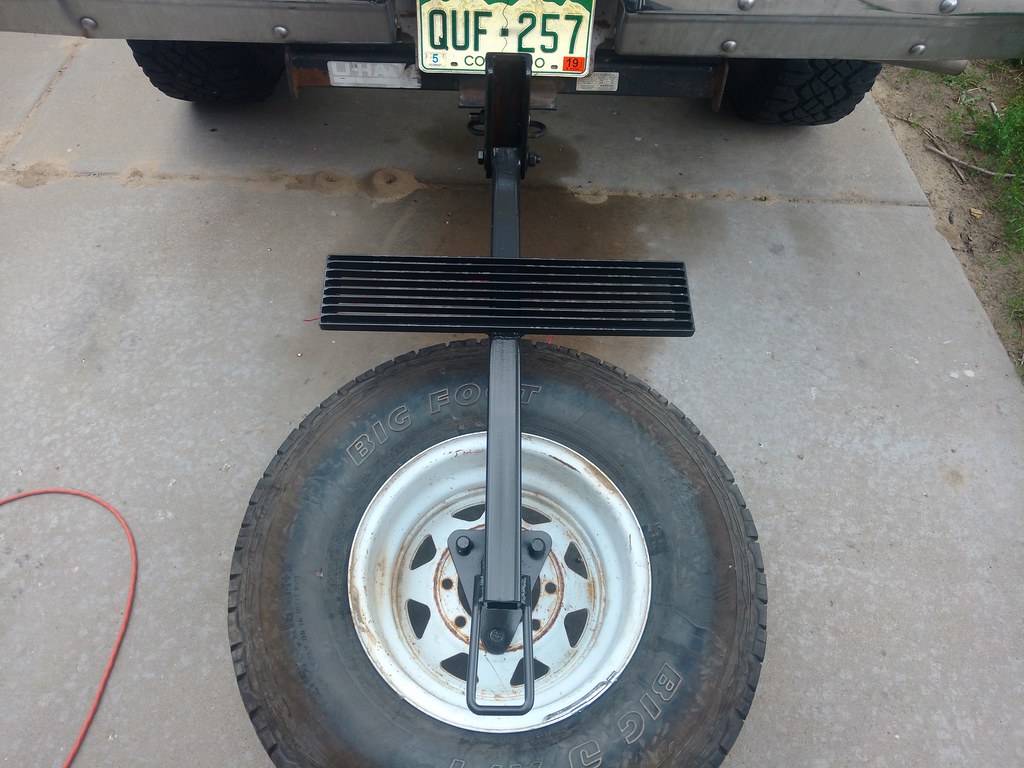 Final work day before trip by Rob Zulian, on Flickr Final work day before trip by Rob Zulian, on FlickrThat pretty much catches up to where I was at prior to the desert trip. Not much has happend other than using it and fixing the lower bench where it came loose.
__________________
Rob Z. 1975 K5 350/465/205/D44/12b 4" lift on 35's- RIP 1991 K5 8.1L/NV4500/241/D44/14b FWC Camper Last edited by Zoomad75; 08-12-2018 at 10:23 PM. |
|
|

|
|
|
#313 |
|
Registered User
Join Date: Dec 2009
Location: Fairbanks, AK
Posts: 1,830
|
Re: My K5 Blazer Story.
Great update. I dig all the little details like the matching curtains and pillows. Have a make and model on the electrical control center?
__________________
-Marcus 1991 V3500 L29 454 4L80E NP205 D60/14 Bolt 4.56's 1984 K30 292 TH400 NP205 D60/14 Bolt 4.56's flat bed 7'6" Meyer Plow 2022 Silverado 3500 L8T Project Daily Driver Project Heavy Hauler Project Plow Truck |
|
|

|
|
|
#314 | |
|
K5Camper
 Join Date: Mar 2004
Location: Pueblo, CO
Posts: 1,513
|
Re: My K5 Blazer Story.
Quote:
https://www.amazon.com/gp/product/B0...?ie=UTF8&psc=1 The whole thing is backlit like indiglow and during the day it makes it easier to see in the day. At night though it's brighter than you think. It does have a little switch to shut it off though.
__________________
Rob Z. 1975 K5 350/465/205/D44/12b 4" lift on 35's- RIP 1991 K5 8.1L/NV4500/241/D44/14b FWC Camper |
|
|
|

|
|
|
#315 |
|
Registered User
Join Date: Oct 2015
Location: PNW
Posts: 3,619
|
Re: My K5 Blazer Story.
The camper is cool. I like seeing the rebuild on it. Good work and good progress. Hated to see that your Cobra CB radio died. I have one almost exactly like it going into a truck.
|
|
|

|
|
|
#316 | |
|
K5Camper
 Join Date: Mar 2004
Location: Pueblo, CO
Posts: 1,513
|
Re: My K5 Blazer Story.
Quote:
I still have it. But then again I have a 23 channel GE radio that my Grandpa ran in one of his cars. I don't think it transmits. But it's cool to see a 23 channel radio and remember him using it so I keep it.
__________________
Rob Z. 1975 K5 350/465/205/D44/12b 4" lift on 35's- RIP 1991 K5 8.1L/NV4500/241/D44/14b FWC Camper |
|
|
|

|
|
|
#317 |
|
Registered User
Join Date: Sep 2011
Location: Rockwall, Texas
Posts: 113
|
Re: My K5 Blazer Story.
Did you or Larry do a write up on this year's desert trip? If so, can you share a link?
__________________
1990 K5 Blazer (sold) 1983 SWB C-10 to K-20 Conversion |
|
|

|
|
|
#318 | |
|
K5Camper
 Join Date: Mar 2004
Location: Pueblo, CO
Posts: 1,513
|
Re: My K5 Blazer Story.
Quote:
https://ck5.com/forums/threads/2018-desert-trip.334182/ I started a version on here, but since it would not copy my photo links I kinda stalled out on completing it. But the full version is over there to read.
__________________
Rob Z. 1975 K5 350/465/205/D44/12b 4" lift on 35's- RIP 1991 K5 8.1L/NV4500/241/D44/14b FWC Camper |
|
|
|

|
|
|
#319 |
|
K5Camper
 Join Date: Mar 2004
Location: Pueblo, CO
Posts: 1,513
|
Re: My K5 Blazer Story.
Ok, I've let the story lag over here. Time to get it caught up.
So, 2018 Desert trip was a blast. First trip with the camper onboard. My buddy Ian rode along again. Target area was the Mojave Road. A few hours into our 12 hour Cannonball run to Kingman AZ.  Crossing the Colorado River the next day to access the start of the Mojave Rd.  Larry took us as close to the start of the road as we could go near the river. It looked like we cut through some farmer's field.  We had a diverse group as usual. 2 Squarebodies, 2 Tacomas, 2 Rams and a land yacht 2500 longbox Silverado. Good thing the trail we are on, isn't very technical at all.  We crossed the border into CA on dirt and made our way for Ft. Piute and broke for lunch.   That trail off in the distance was the way came in. Long, dusty and full of washboards. thank goodness for the Bilstein shocks I installed.  The trail goes around a mountain that leads up to the opposite end of a gorge that connects to where the we saw the Fort earlier. We were close to the Ft. Piute horse corrals where we camped for night one on the trail.   Excellent views in any direction.  We had to hide in the shade as it was brutally hot that day. We saw 113 degrees earlier.  Stopping at one of the roads landmarks for the penny can tree.  We got to the Mojave Mailbox and had to leave our mark. 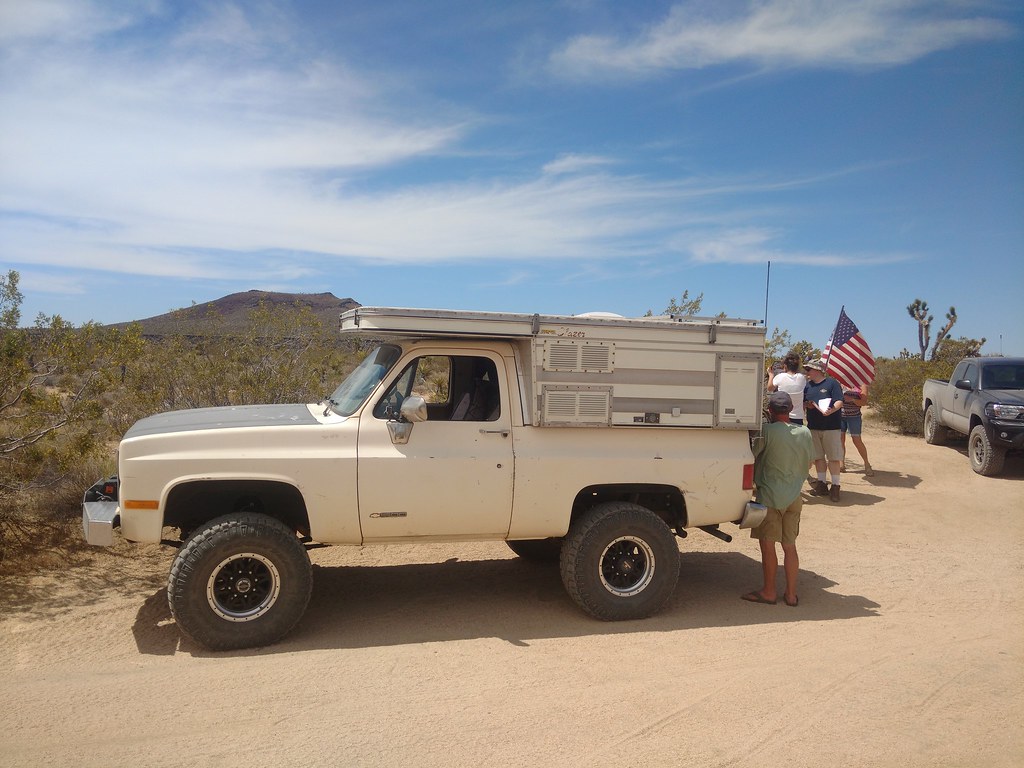 We took a side trail to go see the lava tubes and ended up continuing further up that trail to find a campsite and eventually get off the trail.  [/url] [/url]  The next morning we would head north off of the Mojave rd and decided to head somewhere else. We kicked around the idea for Death Valley, but we were already over the heat. So the idea was to head on into Nevada and gain elevation heading to the AZ strip and the north rim of the Grand Canyon. Little did we know what we would be in for.
__________________
Rob Z. 1975 K5 350/465/205/D44/12b 4" lift on 35's- RIP 1991 K5 8.1L/NV4500/241/D44/14b FWC Camper |
|
|

|
|
|
#320 |
|
K5Camper
 Join Date: Mar 2004
Location: Pueblo, CO
Posts: 1,513
|
Re: My K5 Blazer Story.
That next morning we hit a little gas station off of I-15, fill up the tanks, tires and ice. Based on the time of day we were getting on the highway we'd be passing through Las Vegas right around lunchtime. Those of us from Colorado know we could hit an In-N-Out burger joint that we don't normally have access too back home so I offer to plug it into the GPS and lead the way there.
In no less than 10 minutes on the highway after leaving the gas station Ian and I see our lifes flash before us when a maniac stripper cuts us off in a 7 series BMW and rolls the car next to us. The aftermath.  Basically, what happened was this gal was hauling ass. We had all spread out on the highway. Larry watched her weave from the far left lane to the far right lane and back to the left when she got past him. She cut off a Semi pretty close in that run. At this point Ian and I are cresting the hill on a curve in the middle lane when the Bimmer pulls up on my left side at a very high rate of speed to my truck going 70 mph. Just as she gets up to my front fender something happens. The BMW makes a HARD right turn in front of us. I'm sure I'm going to drill this thing square in the doors. I let off the throttle and slowly start appling the brakes, trying not to make any sudden movements and flip. Strangely the Bimmer is carrying so much momentum it continues to travel to our right in a slide and ends up hitting the rock wall on the shoulder of the road with the trunk. It is at that point the car is launched into the air and flips onto it's roof, sliding and spinning back towards us again. I make a move for the left shoulder and park. We stop at the same time of the BMW was and both of us jump out of the truck to see if the driver is OK. She was belted in and stuck upside down in the car, unable to release the belt. She's screaming for help and the roof is far to smashed down for me or anybody else to get to her. I was able to hand her my pocket knife and she cuts herself out and we pull her through the side window. She was in pain but we couldn't see any major injuries besides some cuts and a possible broken arm. Cutting the story short, the CSP shows up and takes over. We figure the chinese 22" tires on the blingy wheels failed in the right rear position causing the cars reaction right next to us. The best way to describe what happened is it looked like I pulled the perfect cop PIT manuver and she spun into the wall. The scene cleared we boogie to Vegas in silence as we were still in shock. We had our burgers and got out of the zoo of Lost Wages and pulled into Mesquite NV for a fuel stop and resupply. After a few misguided turns looking for our way, we finally get the right road and cross the state line back into AZ just a few minutes out of town. 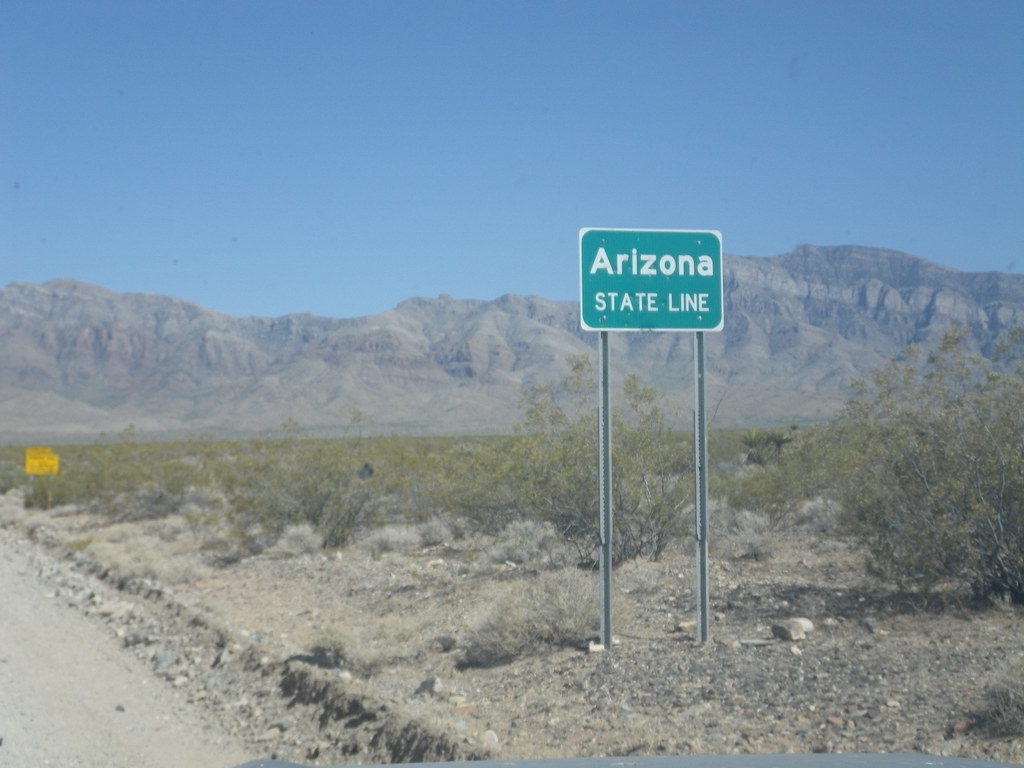 Some of the view. 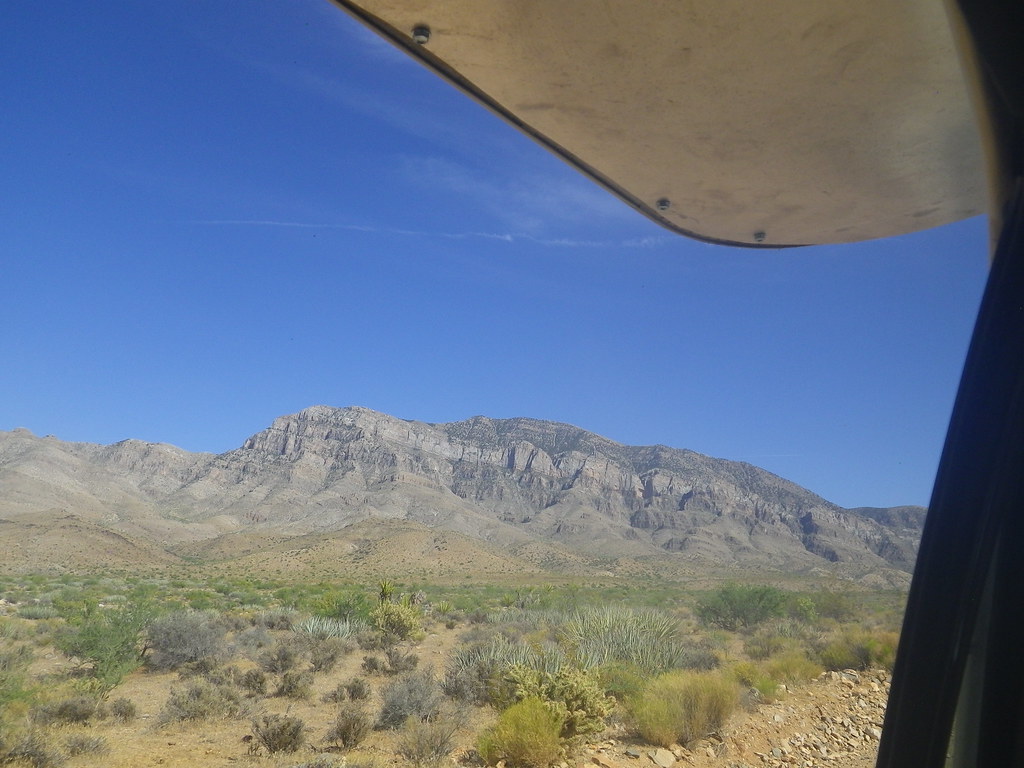 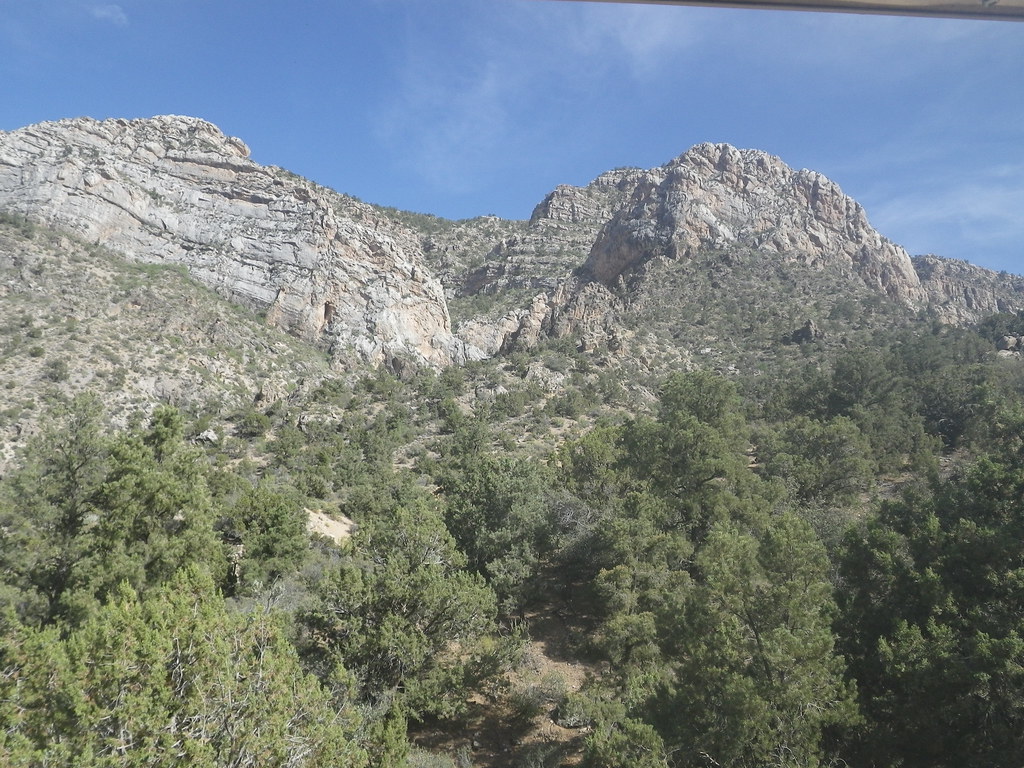 We quickly gain elevation and loose the heat down on the valley floor.  The Campsite was epic, soft red sand and secluded within a ring of rock outcroppings. It was awesome. 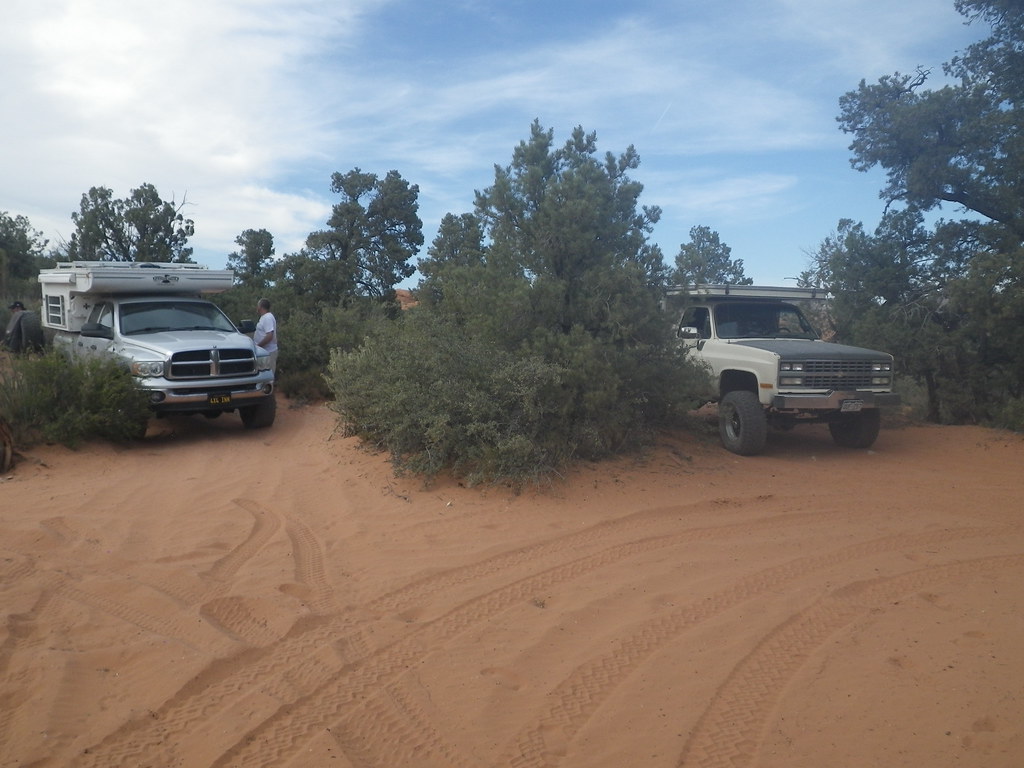  We made our way down to the Grand Canyon area.  After miles and miles of more washbord roads we got to the north rim at at Toroweep. If you want to see the Grand Canyon and do it without the crowds of the south rim, this is the way to see it.   We snuck into the campground and everybody set up quickly.  
__________________
Rob Z. 1975 K5 350/465/205/D44/12b 4" lift on 35's- RIP 1991 K5 8.1L/NV4500/241/D44/14b FWC Camper |
|
|

|
|
|
#321 |
|
K5Camper
 Join Date: Mar 2004
Location: Pueblo, CO
Posts: 1,513
|
Re: My K5 Blazer Story.
The next day we pushed back out and headed out on another 80+ miles of dirt roads to head out towords Lake Powell. Some of the CA people headed back home as we were going further away, while we were heading in the direction of home.
 Our tribe is down to three trucks now. We've staked out a spot below a huge rock monolith well above the waterline.  It was during the setup in the sand I managed to snap another front u-joint.  That night we were visited by the local meth dealer who was camping in a tent down by the waterline. We watched her stuff her Subaru into deep sand and ask for help from us to help pull her out Our trucks were all leveled out and in camp mode so we weren't moving, besides her crappy attitude was a put off to any of us wanting to help her. We watched her get pulled out by somebody and she proceeded to do the same thing again and come ask for help a second time. At this point we were cooking dinner and she's asking to join in and maybe buy some goods from her. I polietly decline for the group and she starts tossing insults at me, so I get pissed and make it be known she's not welcome and to get the hell out of here. (mind you that's the cleaned up version, LOL) From there the next day we boogied home since my u-joint is busted. First trip with the camper was great, but it was pretty obvious improvements could be made for easy organization and set up.
__________________
Rob Z. 1975 K5 350/465/205/D44/12b 4" lift on 35's- RIP 1991 K5 8.1L/NV4500/241/D44/14b FWC Camper |
|
|

|
|
|
#322 |
|
K5Camper
 Join Date: Mar 2004
Location: Pueblo, CO
Posts: 1,513
|
Re: My K5 Blazer Story.
Desert trip completed, I was able to make quite a few weekend runs into the mountains. I've posted up some of these pics in the camping thread, but will note the story here as well.
First up was Red Cone Pass. Quite the trail. Rocky and tight in the trees and then a straight up climb up and down the peak unlike any other trail in Colorado. Crazy piucker factor. Camped at the bottom end of the trail before making the run the next day.  The next morning we commence the climb out of the valley.  My buddy Bill's Taco in the rocks. It's a hell of a rock crawl through here. 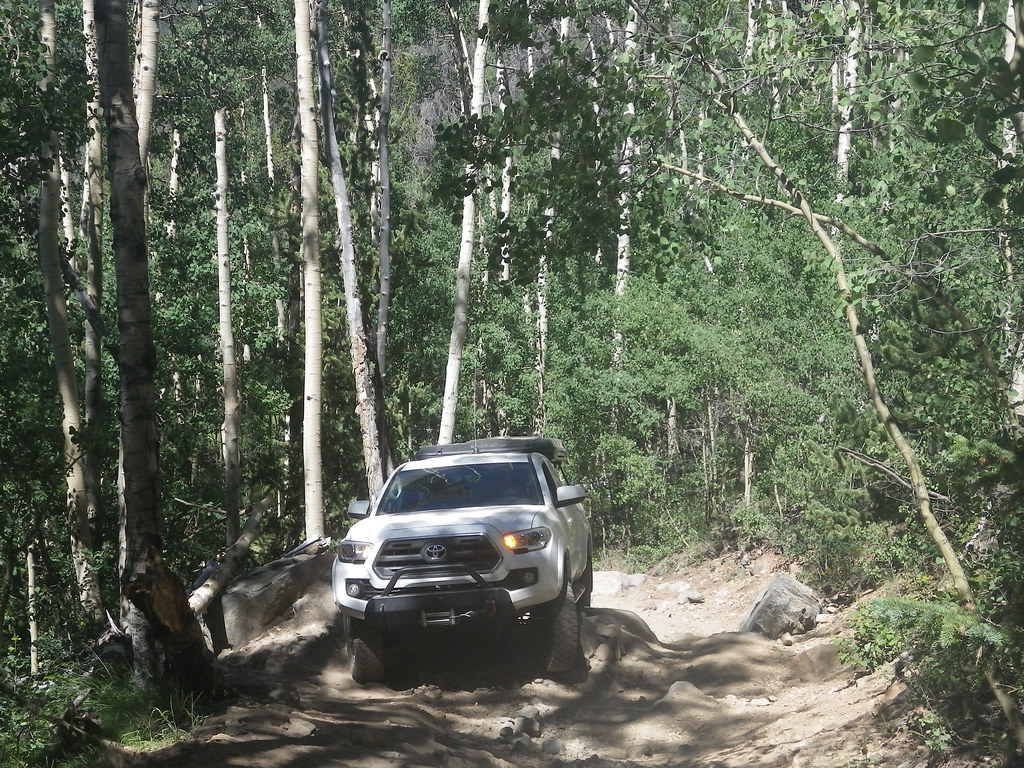 As we gain elevation we can see the trail leading up above the timberline. No switchbacks here, it's a straight up assault on the peak. Way steeper than it looks too.  There's another group of Jeeps in front of us making the climb. 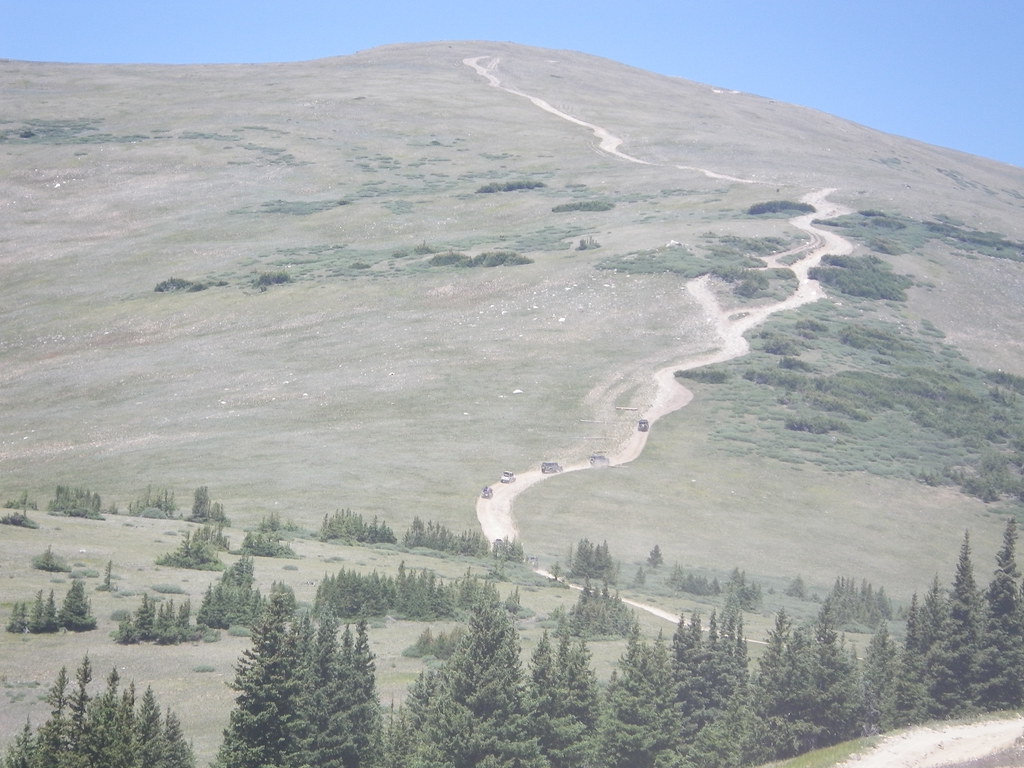 The final section of the climb.  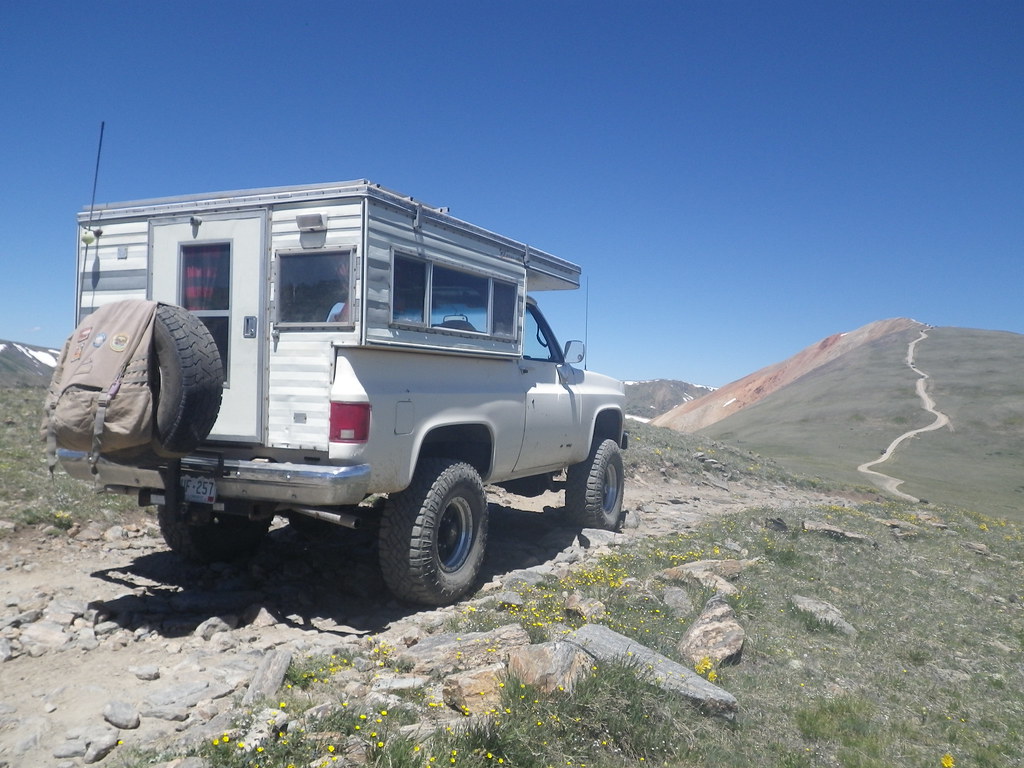 It's a long way down to the bottom and the drop is on both sides of the truck.   Finally at the top.  The way down is the same, but with three steep drops to navigate. No pics here, too much else to focus on.  Below the last drop.  Looking into the valley leading out.  The trail dropped us into Breckenridge and we headed home from there.
__________________
Rob Z. 1975 K5 350/465/205/D44/12b 4" lift on 35's- RIP 1991 K5 8.1L/NV4500/241/D44/14b FWC Camper |
|
|

|
|
|
#323 |
|
K5Camper
 Join Date: Mar 2004
Location: Pueblo, CO
Posts: 1,513
|
Re: My K5 Blazer Story.
Next up was a run up to Pomeroy lakes and Hancock Pass with friends.
 The wife and one of our dogs was along for this one. The view at the lake is amazing.  Pretty funny seeing my truck out with a gaggle of Jeeps.  At the summit of Hancock pass.  We had planned to come home via Tomichi Pass, but it was closed due to a rockslide. We ended up going over cumberland pass and back via Tincup pass. I've posted many pics of Tincup as we've done it so many times. But the funny thing was finding a busted Mazda Crossover that some moron tried to take over the pass. It didn't make it. Flat tires, smashed rockers and and beat all over. We got a few laughs over it for sure.  We aired back up in St. Elmo and rolled home.
__________________
Rob Z. 1975 K5 350/465/205/D44/12b 4" lift on 35's- RIP 1991 K5 8.1L/NV4500/241/D44/14b FWC Camper |
|
|

|
|
|
#324 |
|
K5Camper
 Join Date: Mar 2004
Location: Pueblo, CO
Posts: 1,513
|
Re: My K5 Blazer Story.
The next run was a double trail ride. We did the Wheeler Lake trail and Mosquito Pass. This was with Larry and Ian, John and his wife in the yellow Jeep and my son along for the ride with me.
Airing down.  Lots of mining history in this area.  Just behind the mine building was a cool creek running.  The first challenge comes right after the building, fairly easy section for sure.  Next up. A nice little section to climb. 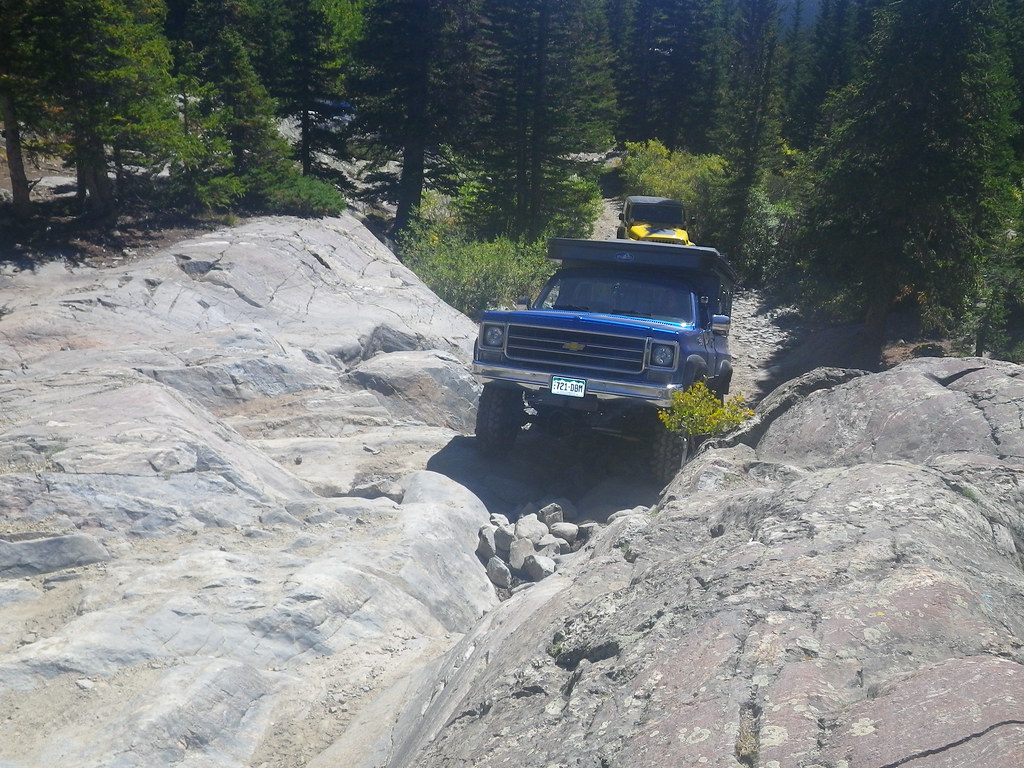 We got to challenge ourselves on this one. I took the wrong line and had to winch to get over it. 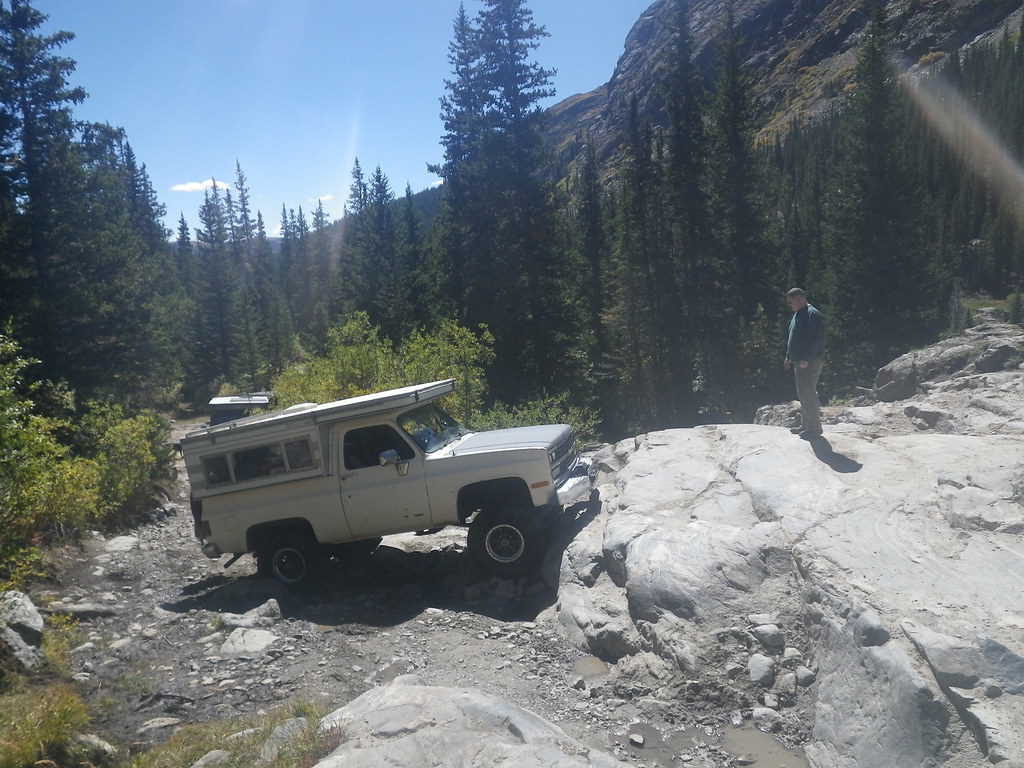  Larry took a different section and with no traction device in the front diff then, didn't have the pull to get up to the top. He had to winch too.  The trail winds up this beautiful valley that the leaves were starting to turn for fall.  Shortly into the relentless section of rocks known as Bowling ball hill Larry had spaced out for a second and absolutly tagged a rock with his tie rod. The resulting damage bent the tie rod all to hell and broke the steering stabilizer off of it. Ian is pulling the stabilizer off here.  Further up the trail, now above timberline. 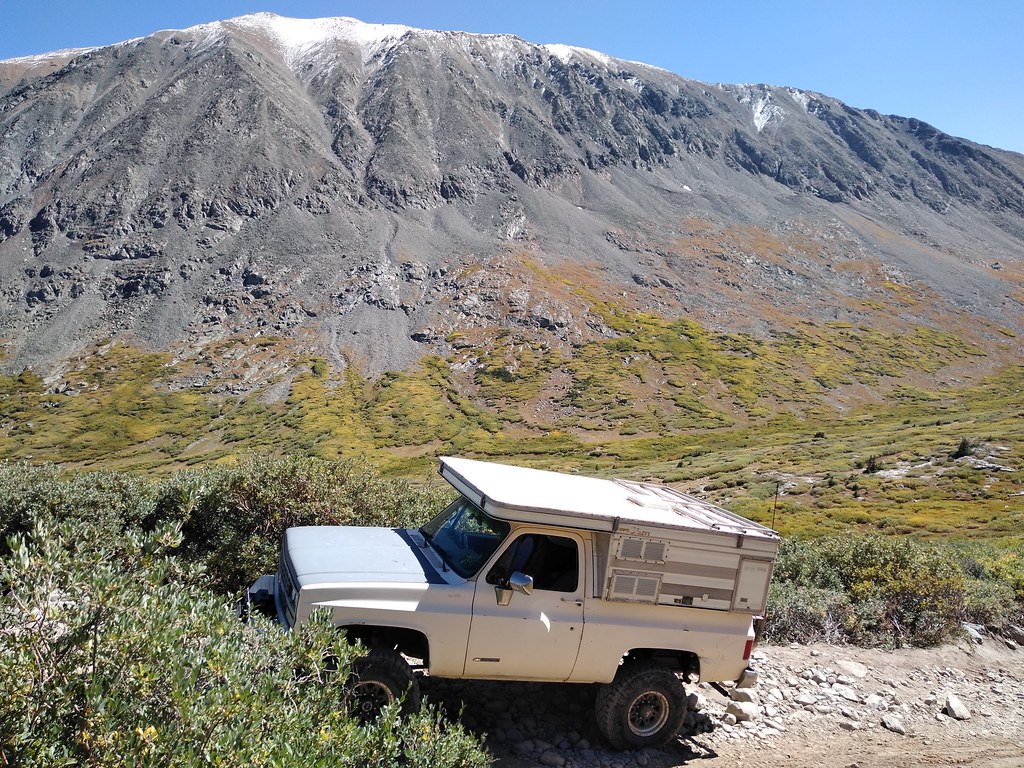 Camped out at the top.  Wheeler lake. Quite pretty, but the fishing stunk.  Camp.  We came down the next morning with a bit of traffic coming at is going up. The start of Mosquito Pass was only a few miles down from where we got back on the highway. But That short amount of pavement proved that the lack of steering stabilizer and bias plu Swampers were not going to behave at speeds above 35 mph at all. Death wobble came on hard and fast. So I ran ahead to Fairplay to find a parts store and locate a stabilizer for Larry's truck. The rest show up and we commenced to the parking lot patch job.  Repair completed, we make our way up to Mosquito Pass.  More mines up here too.    The summit of the pass at 13,185 ft of elevation.  Camp setup on the backside of the pass. Pro-tip. Don't leave the paper towels on the table overnight if it's going to be windy and rainy. Looked like we got TP'd with a jumbo roll the next morning. It was all over camp.  The trail dropped into the town of Leadville, the highest incorporated city in the US.  From here it was an easy ride home on pavement. We took it a little slower since Larry still had some wobble north of 60mph but we made it home without any other issues.
__________________
Rob Z. 1975 K5 350/465/205/D44/12b 4" lift on 35's- RIP 1991 K5 8.1L/NV4500/241/D44/14b FWC Camper |
|
|

|
|
|
#325 |
|
K5Camper
 Join Date: Mar 2004
Location: Pueblo, CO
Posts: 1,513
|
Re: My K5 Blazer Story.
Over the winter my buddy Bill and I put together a new rear bumper with swing out tire carrier. The tire carrier that swung down from the hitch was ok, but sucked lowering and lifting all the time on trips. Plus how dirty one gets lifting a dusty tire up or setting it down. So we set on to build the swingout with a 10 bolt spindle and hub as the hinge.
Mocking it up on the truck. We reused part of the old tire carrier to recycle and save time. 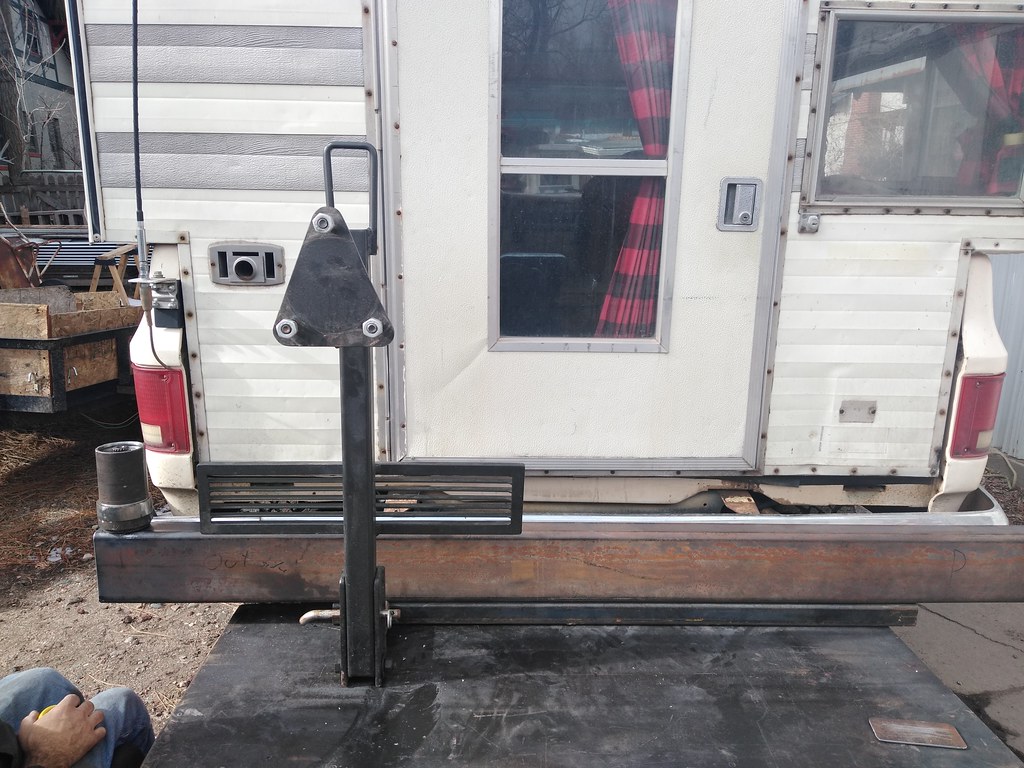 We used a torch to pre-heat the spindle prior to welding to aid penetration.  The welds came out good and there was extra gusseting added inside the box to support the spindle. The spindle and bearings are twice the size one gets from the online fab shops selling trailer spindles for swingout hinges.  Start of the swingout arm. Yes the lockout is functional. I can lock it in any position to hold the arm open. Don't matter if it's parked flat or on a side hill.  We tucked in a trailer reciever too.  We added 1/4" thick mounting brackets and thick D-ring mounts.   It got a scuff and spray paint job with our favorite tractor paint and mounted on the truck.   It got finished off with a basket to carry three jerry cans and a plate light/bracket to be legal again.   That was to get the truck ready for the '19 Desert trip. Sadly I was unable to attend due to issues beyond my control at work.
__________________
Rob Z. 1975 K5 350/465/205/D44/12b 4" lift on 35's- RIP 1991 K5 8.1L/NV4500/241/D44/14b FWC Camper |
|
|

|
 |
| Bookmarks |
|
|