
|
|
|
 06-10-2011, 11:41 AM
|
#1 |
|
Registered User
Join Date: Feb 2007
Location: Portland OR
Posts: 79
|
Re: Project "49 No Buck$"
Do you think you are going to have the annoying problem of those retractors locking up on you randomly? It looks like your mounting the retractor 90 degrees from the the way it was mounted from the factory. I'm just curious because I'd like to do this in the future. Your build is great!!!

|

|

|
|
06-10-2011, 01:03 PM
|
#2 |
|
Registered User
Join Date: Nov 2008
Location: So. Cal.
Posts: 452
|
Re: Project "49 No Buck$"
This little trick I learned from a friend of mine who did a lot race car prep. Put a jackstand (or something kinda heavy) at all 4 corners. Now I used 1/16" nylon rope/twine tied it to the stands and then set the height where the string is going though the rear axle and front spindle centerline
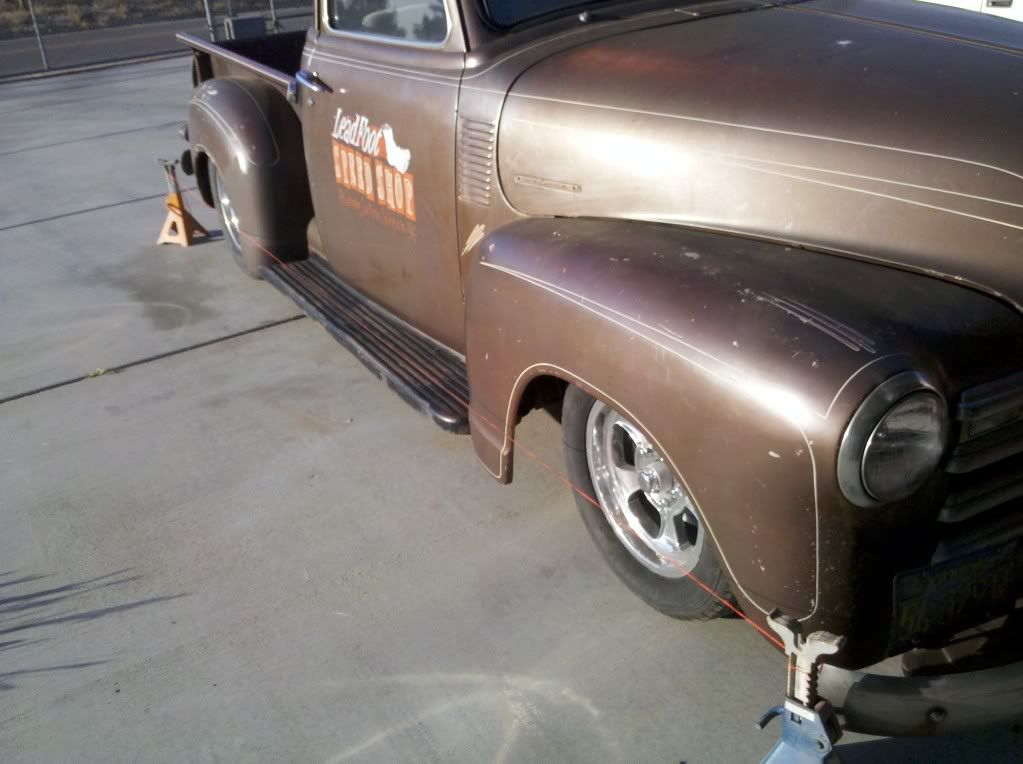 Slide it as close as you can get it to the body without touching. Now take a straightedge and measure the leading (front) edge of the back wheel and then measure the back edge. Slide the stand until the string is dead even square on the wheel. Do BOTH sides the same way! DON'T MOVE THE STANDS! Now your string is a perfect 90 degrees with the rearend! Make sure your steering wheel is where you want it and then check your measurement same way on the front wheel. Adjust your tie-rods or cross link until the front wheels are perfect with the string. Once it's even on BOTH sides, you've now squared the front and rear together! I'll still take it and get the alignment done (caster/camber) but this will give you a really good idea of where you're at! Slide it as close as you can get it to the body without touching. Now take a straightedge and measure the leading (front) edge of the back wheel and then measure the back edge. Slide the stand until the string is dead even square on the wheel. Do BOTH sides the same way! DON'T MOVE THE STANDS! Now your string is a perfect 90 degrees with the rearend! Make sure your steering wheel is where you want it and then check your measurement same way on the front wheel. Adjust your tie-rods or cross link until the front wheels are perfect with the string. Once it's even on BOTH sides, you've now squared the front and rear together! I'll still take it and get the alignment done (caster/camber) but this will give you a really good idea of where you're at!
__________________
It's all about the stance, baby! http://67-72chevytrucks.com/vboard/s...d.php?t=320546 |
|
|
|
|
06-10-2011, 01:11 PM
|
#3 |
|
Registered User
Join Date: Mar 2011
Location: Sumter SC
Posts: 439
|
Re: Project "49 No Buck$"
Cool ride
My build http://67-72chevytrucks.com/vboard/s...d.php?t=468622 |
|
|
|
|
06-11-2011, 01:12 PM
|
#4 |
|
Registered User
Join Date: Nov 2008
Location: So. Cal.
Posts: 452
|
Re: Project "49 No Buck$"
As far as mounting the seatbelts that way, that's how the retractable part mounts. These aren't factory so don't go off of other ones. If I laid it flat it would want to bend the mount up during lock up instead of pulling evenly. I messed around with it and I don't think they'll lock up randomly.
Posted via Mobile Device
__________________
It's all about the stance, baby! http://67-72chevytrucks.com/vboard/s...d.php?t=320546 |
|
|
|
|
06-12-2011, 12:18 AM
|
#5 |
|
Registered User
Join Date: Jun 2009
Location: Atlanta, Ga.
Posts: 1,104
|
Re: Project "49 No Buck$"
I dig the hose idea along with the late model gm under hood add on.
Sounds great too. Ratty 46 |
|
|
|
|
06-20-2011, 10:32 AM
|
#6 |
|
Registered User
Join Date: Nov 2008
Location: So. Cal.
Posts: 452
|
Re: Project "49 No Buck$"
Alternator mount... Took a stock, late model mount I had laying around and decided to clean it up a bit. Used masking tape to mark where I'd cut
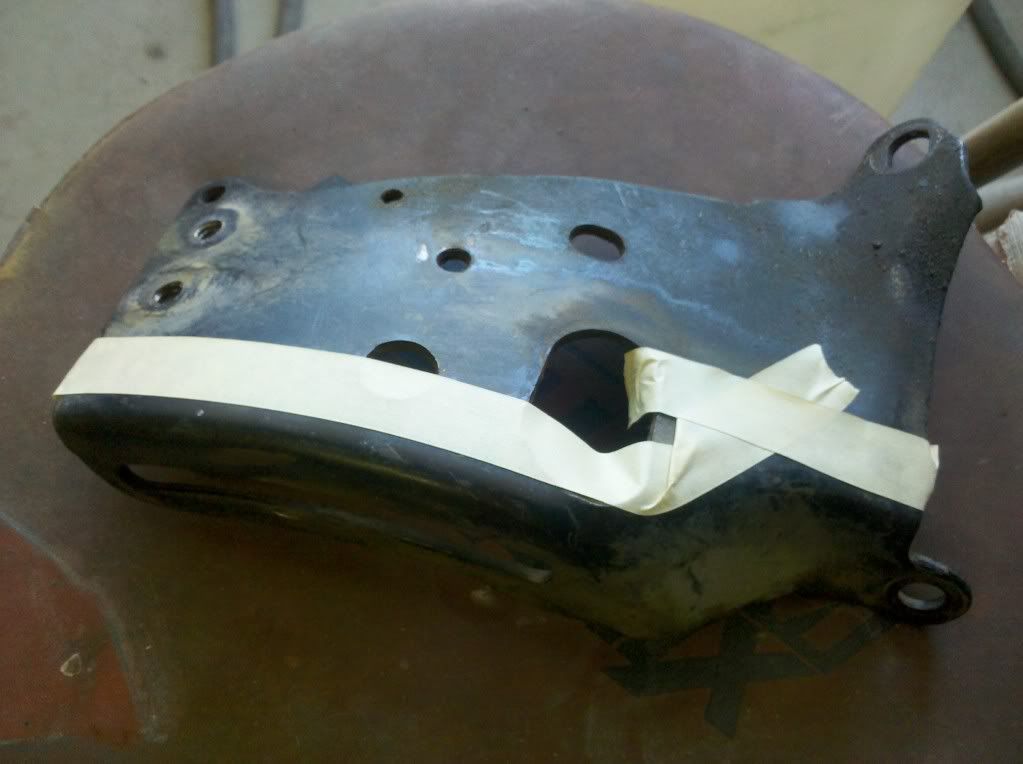 then put it on to see how it will look (it's bare metal in the pic) then put it on to see how it will look (it's bare metal in the pic)  Hey, I'm still doing cheap and simple! Hey, I'm still doing cheap and simple!
__________________
It's all about the stance, baby! http://67-72chevytrucks.com/vboard/s...d.php?t=320546 |
|
|
|
|
06-20-2011, 10:44 AM
|
#7 |
|
Registered User
Join Date: Nov 2008
Location: So. Cal.
Posts: 452
|
Re: Project "49 No Buck$"
This little deal was just to make driving a bit easier. Anyone with AC on a carburated vehicle knows it can be kind of a pain. It idles high when the AC is off or dies when it's on and the idle is set too low. I grabbed an idle solenoid off an '81 Malibu with a Quadrajet
 trimmed the bracket to fit around the accelerator pump trimmed the bracket to fit around the accelerator pump 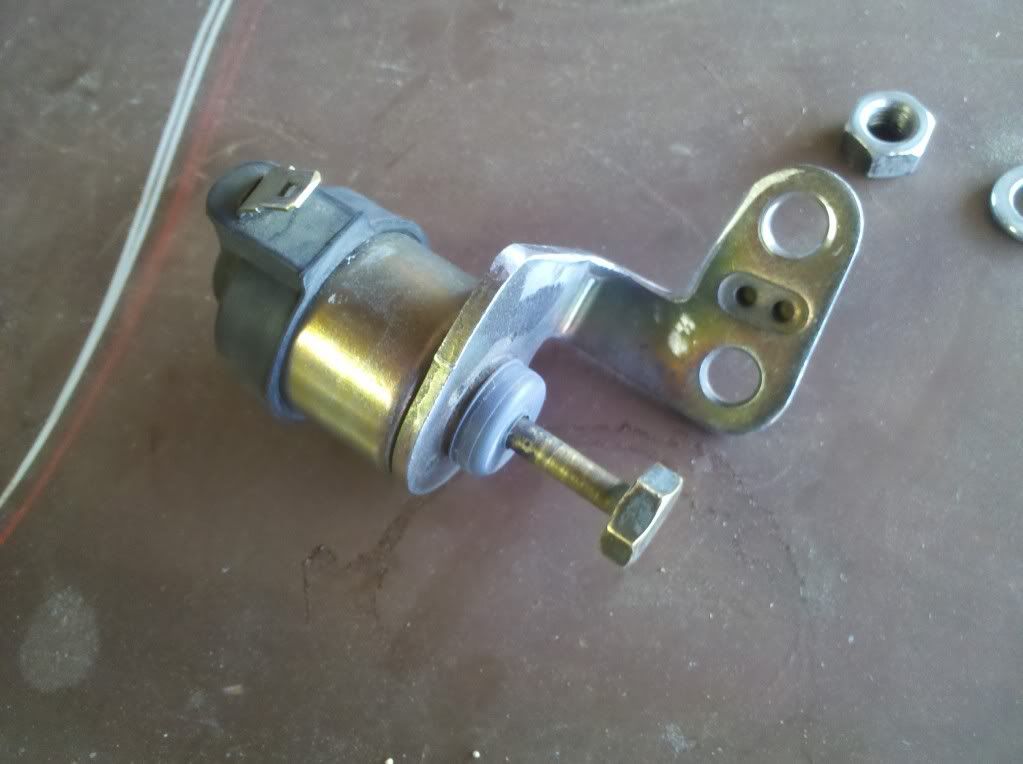 and bolted it to the carb stud and bolted it to the carb stud 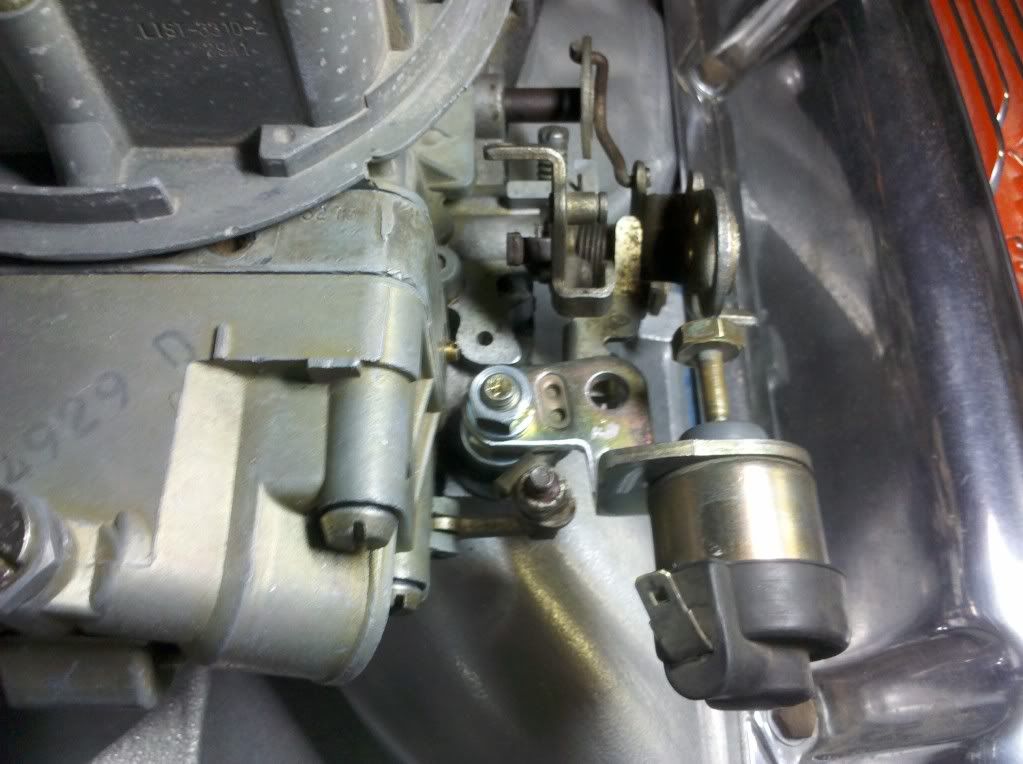 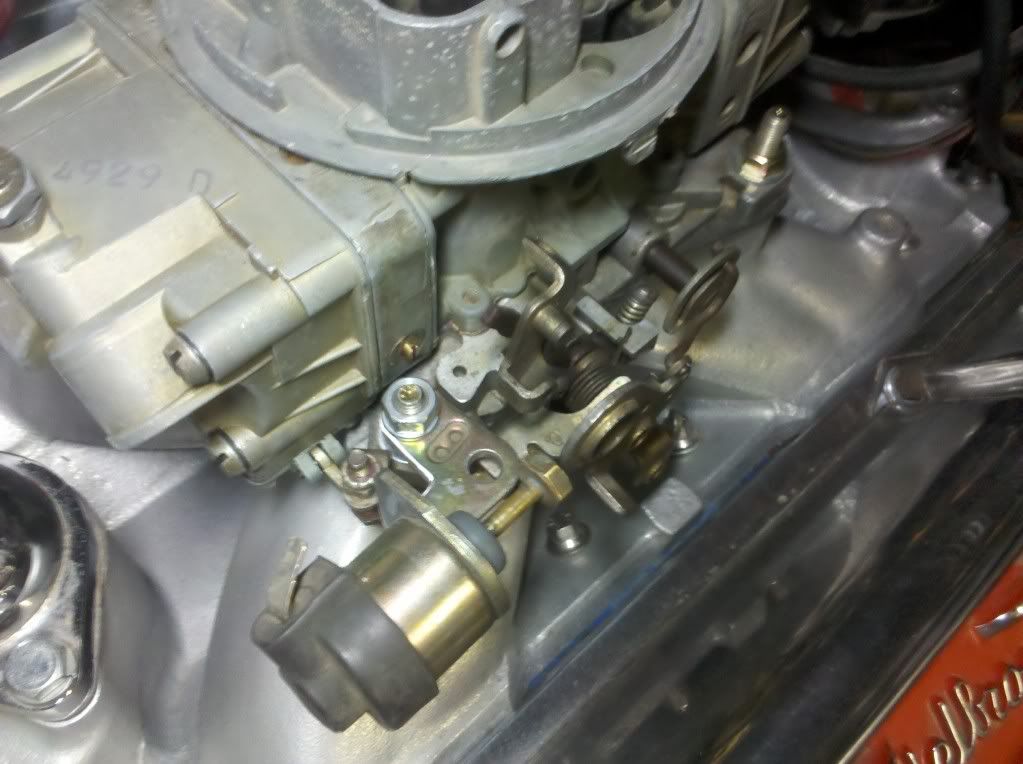 When I finish wiring the truck, this will be inline with the AC system. When the AC is turned on, the solenoid will push the throttle just enough to raise the idle (easily adjustable) so the engine won't die. Pretty inexpensive (nearly free!) and it works well! When I finish wiring the truck, this will be inline with the AC system. When the AC is turned on, the solenoid will push the throttle just enough to raise the idle (easily adjustable) so the engine won't die. Pretty inexpensive (nearly free!) and it works well!
__________________
It's all about the stance, baby! http://67-72chevytrucks.com/vboard/s...d.php?t=320546 Last edited by kustombrad; 06-20-2011 at 10:47 AM. Reason: pictures |
|
|
|
|
06-20-2011, 11:36 AM
|
#8 |
|
SSN 706
Join Date: Mar 2009
Location: Pocatello Idaho
Posts: 3,821
|
Re: Project "49 No Buck$"
Lots of good cheap ideas.
Just what I need, cheap.
__________________
Daverods 64 C10 Daily driver 292 3 speed "Driver"  Daverods 66 Build C10 Bags 350/350(On Hold) Daverods 66 Build C10 Bags 350/350(On Hold) Daverods 52 Build 3100 S10 chassis,Bags, 350/700r4 Daverods 52 Build 3100 S10 chassis,Bags, 350/700r4  "Click it" "Click it"
Last edited by daverod; 06-20-2011 at 11:37 AM. |
|
|
|
|
06-20-2011, 11:55 AM
|
#9 | |
|
Registered User
Join Date: Jun 2006
Location: Idaho
Posts: 8,800
|
Re: Project "49 No Buck$"
Quote:
__________________
1959 Chevy Short Fleetside w/ 74 4WD drive train (current project) OrrieG Build Thread 1964 Chevelle Malibu w/ 355-350TH (daily driver) Helpful AD and TF Manual Site Old Car Manual Project |
|
|
|
|
|
06-20-2011, 09:25 PM
|
#10 |
|
A320 Pilot/USAF Retired
Join Date: Mar 2009
Location: Charleston, SC
Posts: 2,622
|
Re: Project "49 No Buck$"
Man you've really done some great work! Thanks for sharing!
__________________
JJ My 1957 build: http://67-72chevytrucks.com/vboard/s...d.php?t=334552 http://www.trifive.com/forums/showthread.php?t=22037 Instagram - Chuckdriver57 |
|
|
|
|
07-05-2011, 02:51 PM
|
#11 |
|
Registered User
Join Date: Nov 2008
Location: So. Cal.
Posts: 452
|
Re: Project "49 No Buck$"
Didn't want anyone to think I've been slacking, but I actually have been getting stuff done! Put new window channel, rubber and felt (what a major pain!), rebuilt and painted the factory heater (I'll show pics after it's striped) and finished my AC and power steering mounts! I've been busy on it! Sunday, Alex came over and started laying out the wiring (I hate electrical and he's THE man!!) and I will say it'll be way nice! I took the old windshields out to put new glass and rubber in and finished up the striping on the dash now that I could get my hand up there! I then decided to have a little fun... I bought a little Tiki guy, cut the base off of him and put him on a surfboard made out of 16 gauge steel and some bondo. I then shaped an old striping brush drenched in catalyzed clear,
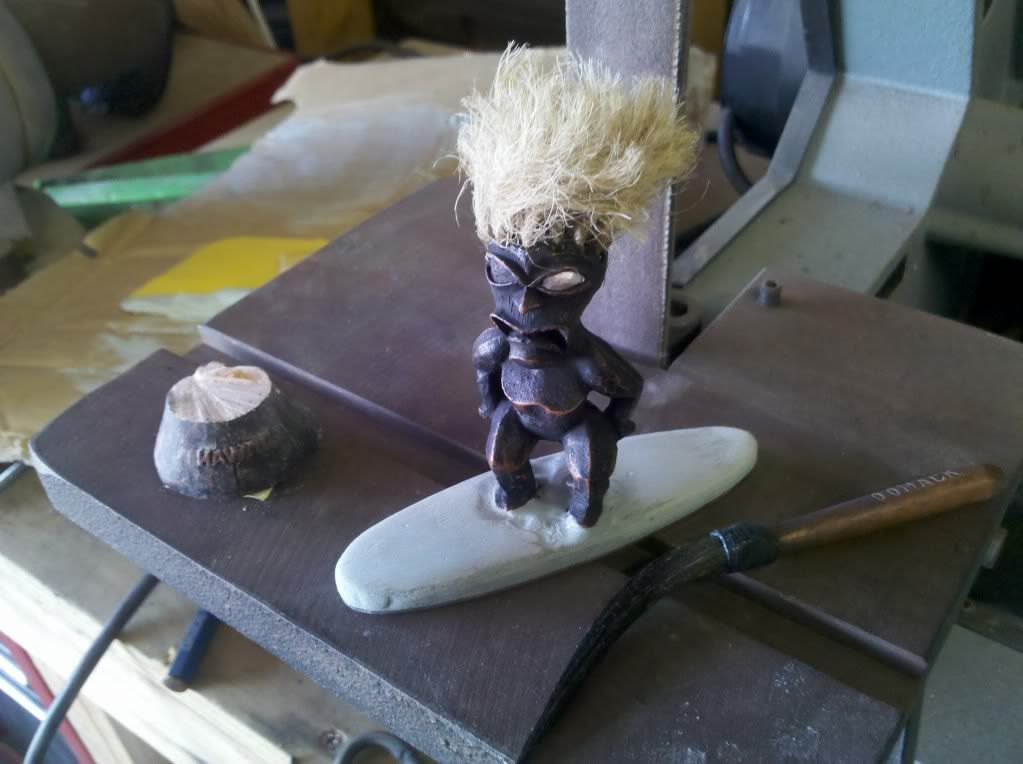 painted the surfboard, glued the brush on to my little guy and TA DA.... Surfer Tiki Striper! painted the surfboard, glued the brush on to my little guy and TA DA.... Surfer Tiki Striper!  When the truck is finished, he will be the final touch! When the truck is finished, he will be the final touch!
__________________
It's all about the stance, baby! http://67-72chevytrucks.com/vboard/s...d.php?t=320546 |
|
|
|
|
07-05-2011, 03:26 PM
|
#12 |
|
VA72C10
 Join Date: Mar 2008
Location: Midlothian, VA
Posts: 25,269
|
Re: Project "49 No Buck$"
That's cool! Will be a neat touch!!!
__________________
Looking for a 67-72 swb or blazer project in or around VA. 
|
|
|
|
|
07-05-2011, 03:47 PM
|
#13 |
|
Registered User
Join Date: Jan 2007
Location: York, Pa.
Posts: 1,386
|
Re: Project "49 No Buck$"
I like that very much. That is cool how you made the Tiki guy personalized and the stripping brush line up with the stripe. Very cool.
Shannon |
|
|
|
|
07-05-2011, 05:01 PM
|
#14 |
|
Registered User
Join Date: Aug 2010
Location: Asheville, NC
Posts: 291
|
Re: Project "49 No Buck$"
Now that is original; thinking out of the box! Nice touch!
__________________
My build project http://67-72chevytrucks.com/vboard/s...=1#post4158671 |
|
|
|
|
07-05-2011, 09:25 PM
|
#15 |
|
A320 Pilot/USAF Retired
Join Date: Mar 2009
Location: Charleston, SC
Posts: 2,622
|
Re: Project "49 No Buck$"
Very COOL!!
__________________
JJ My 1957 build: http://67-72chevytrucks.com/vboard/s...d.php?t=334552 http://www.trifive.com/forums/showthread.php?t=22037 Instagram - Chuckdriver57 |
|
|
|
|
07-13-2011, 11:11 AM
|
#16 |
|
Registered User
Join Date: Nov 2008
Location: So. Cal.
Posts: 452
|
Re: Project "49 No Buck$"
Now it's getting to the time consuming parts! Doing the wiring at the moment and trying to hide everything! My friend Alex had a great idea for hiding the wiring in the intake area, so I fabbed up 2 looms out of some bar stock and a cut in half 40"x3/8" fuel line.
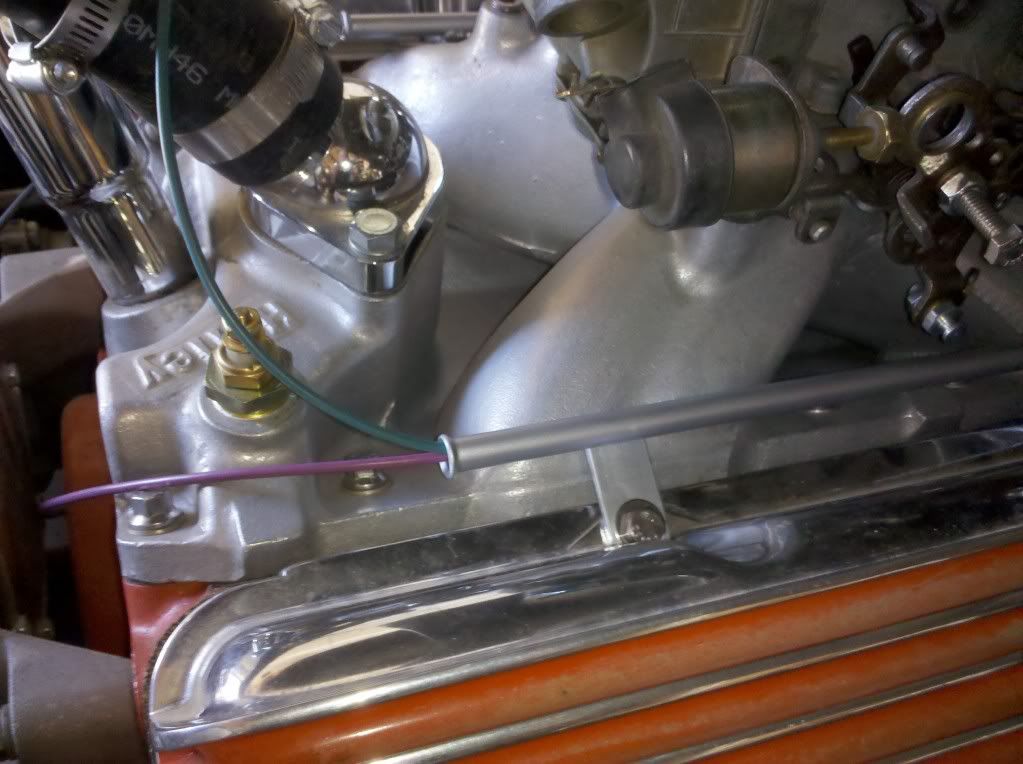  I'll put black shrink wrap over the wires so the colors don't jump out so much. The only other wires you see, is where these come out of the lower toe board from the interior and that's only if you really look for them. I also brought the hot wire for the coil from inside the cab, so the engine compartment is very clean. That ugly HEI is going away soon too! Cleaned up the heater, blasted and painted it then threw some lines on it. I think I need to add some blue and green to tie in with the dash I'll put black shrink wrap over the wires so the colors don't jump out so much. The only other wires you see, is where these come out of the lower toe board from the interior and that's only if you really look for them. I also brought the hot wire for the coil from inside the cab, so the engine compartment is very clean. That ugly HEI is going away soon too! Cleaned up the heater, blasted and painted it then threw some lines on it. I think I need to add some blue and green to tie in with the dash 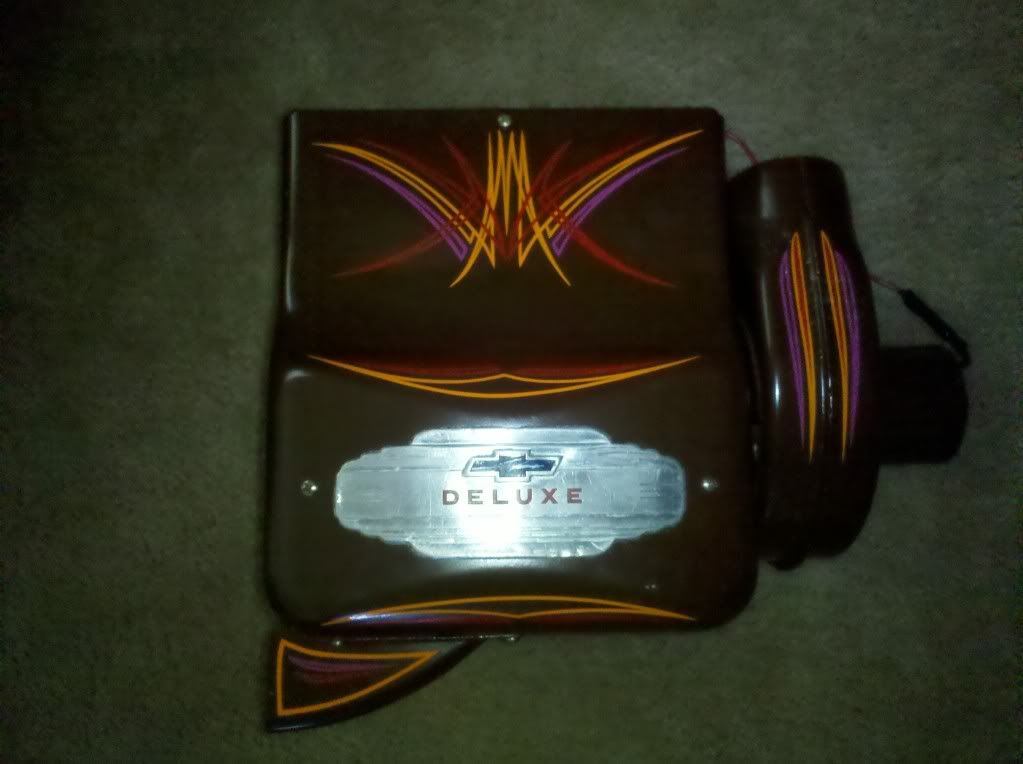
__________________
It's all about the stance, baby! http://67-72chevytrucks.com/vboard/s...d.php?t=320546 |
|
|
|
|
07-13-2011, 12:52 PM
|
#17 |
|
VA72C10
Join Date: Mar 2008
Location: Midlothian, VA
Posts: 25,269
|
Re: Project "49 No Buck$"
Love the heater box and the wiring looks really clean!!!
__________________
Looking for a 67-72 swb or blazer project in or around VA.
|
|
|
|
|
07-13-2011, 01:19 PM
|
#18 |
|
Certified Car Nut
Join Date: Jan 2005
Location: Inglewood, California
Posts: 3,118
|
Re: Project "49 No Buck$"
Everything looks great and it was really nice meeting you last weekend. You and Alex are really cool guys.
|
|
|
|
|
07-13-2011, 04:39 PM
|
#19 |
|
Registered User
 Join Date: Mar 2005
Location: apple valley, ca
Posts: 2,670
|
Re: Project "49 No Buck$"
You showed the world my wiring idea (the tube) before I could copyright it. My lawyers will be calling and issuing a "cease and desist" order.
It's always so cool to go over to the shop and see how much more you've gotten done. You're getting close!!!!!!!
__________________
Check out my latest endeavor: https://roundsixpod.com My build threads: '55 Chevy: http://67-72chevytrucks.com/vboard/s...d.php?t=247512 '64 C-20: http://67-72chevytrucks.com/vboard/s...d.php?t=446527 |
|
|
|
|
07-13-2011, 07:48 PM
|
#20 |
|
A320 Pilot/USAF Retired
Join Date: Mar 2009
Location: Charleston, SC
Posts: 2,622
|
Re: Project "49 No Buck$"
Hey, that was my idea! Nice work!
__________________
JJ My 1957 build: http://67-72chevytrucks.com/vboard/s...d.php?t=334552 http://www.trifive.com/forums/showthread.php?t=22037 Instagram - Chuckdriver57 |
|
|
|
|
07-14-2011, 04:00 PM
|
#21 |
|
I'M TRUCK CRAZY!
Join Date: Oct 2006
Location: Sachse, TEXAS
Posts: 1,737
|
Re: Project "49 No Buck$"
Thumbs up
Posted via Mobile Device |
|
|
|
|
07-15-2011, 06:44 PM
|
#22 |
|
Registered User
Join Date: Nov 2008
Location: So. Cal.
Posts: 452
|
Re: Project "49 No Buck$"
Chuck, your engine compartment looks AMAZING!!!
__________________
It's all about the stance, baby! http://67-72chevytrucks.com/vboard/s...d.php?t=320546 |
|
|
|
|
07-15-2011, 08:51 PM
|
#23 | |
|
A320 Pilot/USAF Retired
Join Date: Mar 2009
Location: Charleston, SC
Posts: 2,622
|
Re: Project "49 No Buck$"
Quote:
__________________
JJ My 1957 build: http://67-72chevytrucks.com/vboard/s...d.php?t=334552 http://www.trifive.com/forums/showthread.php?t=22037 Instagram - Chuckdriver57 |
|
|
|
|
|
07-25-2011, 10:39 AM
|
#24 |
|
Registered User
Join Date: Nov 2008
Location: So. Cal.
Posts: 452
|
Re: Project "49 No Buck$"
Went to Pick n Pull again this Sat. to look for some dumb little things (light pigtails, taillight brackets, etc.) and got one more thing crossed off my checklist! The front signals (or running lights, I'm not sure) on these trucks are just set up for just one of those things but not both. I found some old motorhome taillights that had a small 1157 style bulb bracket that I trimmed up and bolted inside of the stock truck light holder after I sandblasted it and painted it silver again
 I used amber bulbs because I thought they'd look cool with the stock clear lenses. Now the truck has running lights AND turn signals! Here's how they look in park mode I used amber bulbs because I thought they'd look cool with the stock clear lenses. Now the truck has running lights AND turn signals! Here's how they look in park mode 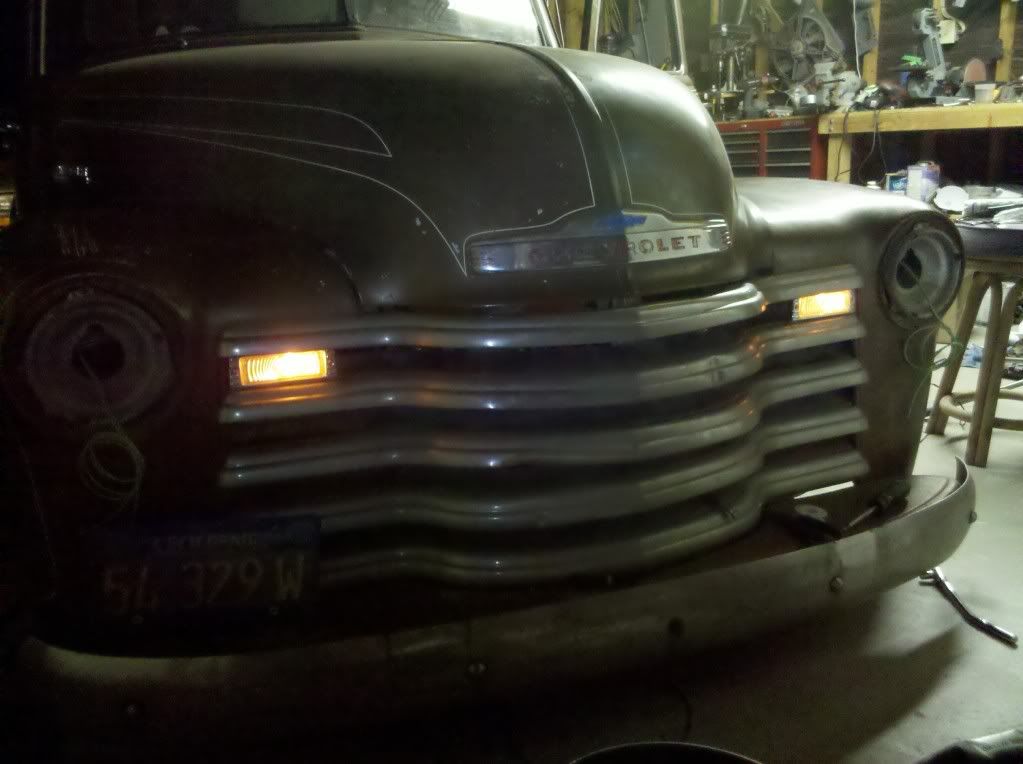
__________________
It's all about the stance, baby! http://67-72chevytrucks.com/vboard/s...d.php?t=320546 |
|
|
|
|
07-28-2011, 10:58 AM
|
#25 |
|
Registered User
Join Date: Aug 2007
Location: Corona, California
Posts: 7,998
|
Re: Project "49 No Buck$"
It's been a while since I've caught up on your thread. The truck is coming along great and sounds killer.
Kim |
|
|
|
 |
| Bookmarks |
|
|


 Hybrid Mode
