
 |
|
|
#351 |
|
Senior Enthusiast
Join Date: Feb 2007
Location: Spokane Valley, WA
Posts: 8,356
|
Re: Markeb01 Build Thread
Best I can estimate the final polishing on the windshield trim today adds up to about 30 hours of labor on this project. If I ever have to do this again Iíll go back to a black rubber gasket!
 The bad news Ė suffering from sporadic paralysis in my left thumb doesnít make me a very good candidate for a polishing career. 3 different times in the polishing phase a piece got away from me and was damaged. The repairs required going back to hammer & punches, then starting over with 320 grit paper and working back to 1500. What a pain and waste of time. The good news being Ė after all the hard work everything turned out 99.9% perfect. All the parts look like they just came out of a chrome tank. I even managed to polish all 4 trim caps on the buffer without having any of them snag. It still isnít very easy taking pictures of a shine, but even in photos the trim looks pretty darn nice: 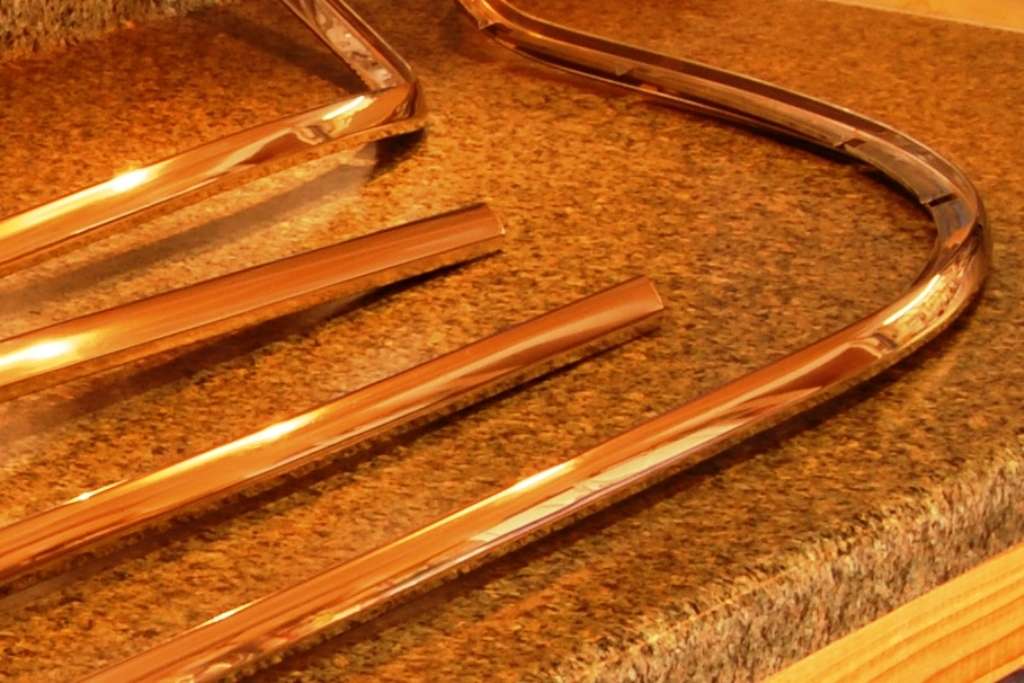 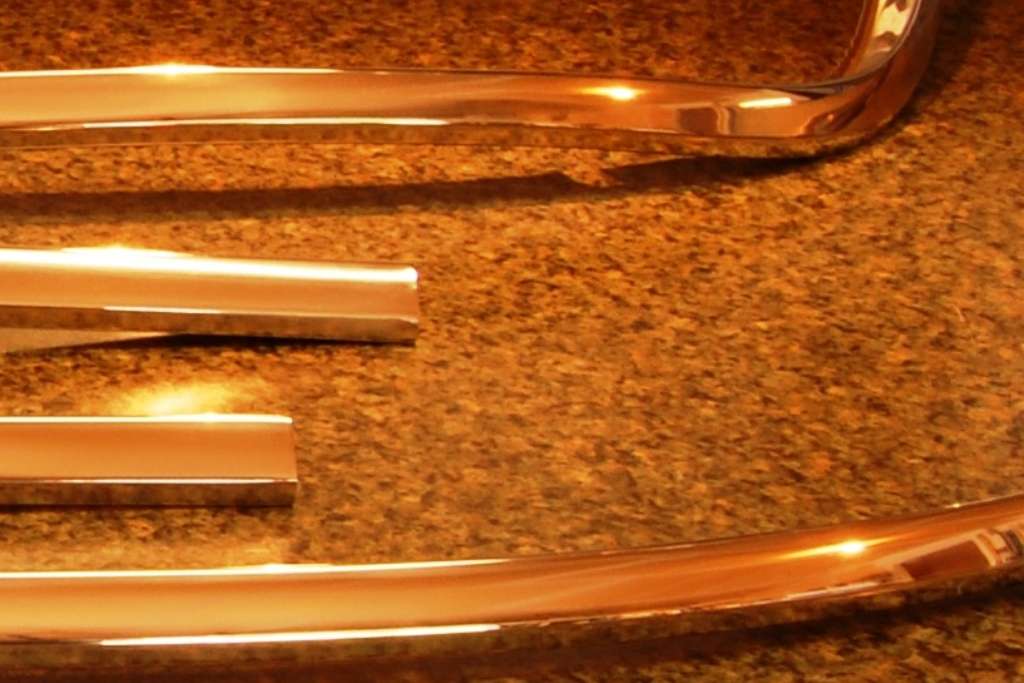 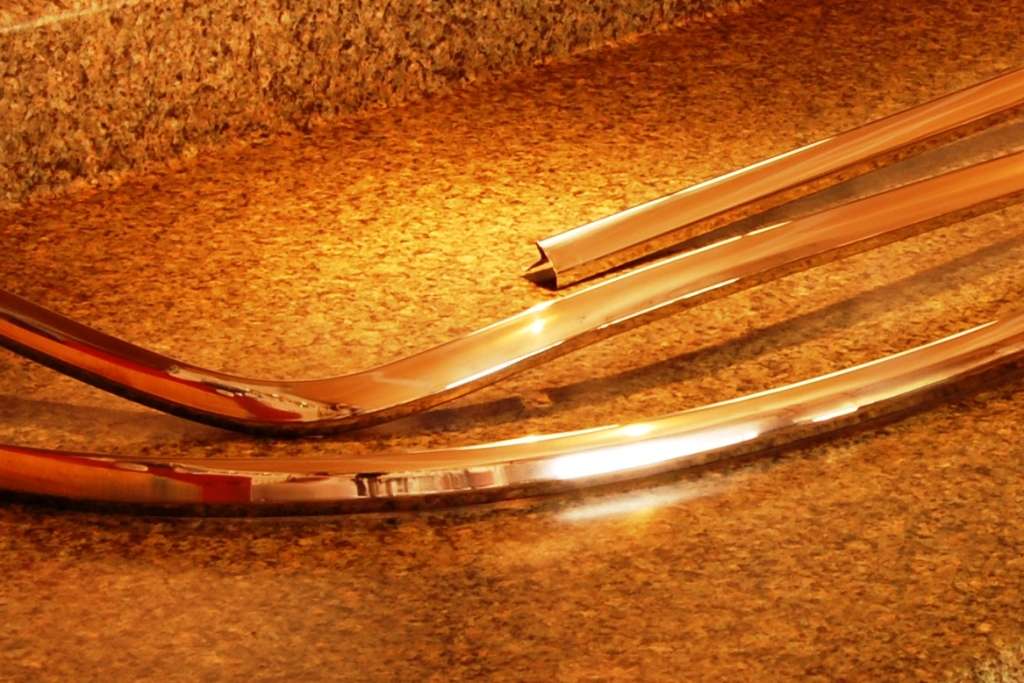 The trim is now completely finished and I already have a Precision gasket, so everything is ready to go on the truck. Now I just need to decide whether to attempt the installation myself, or try to find a professional that can convince me they know what theyíre doing. In addition to all the members that have had problems with trimmed windshield installations, my son just had a new windshield installed in our old 68 F250. Although the workers were very quick with the job, they also bent some of the trim. Iíd really like to have this in before winter, so I better get started figuring out what to do.
__________________
My Build Thread: http://67-72chevytrucks.com/vboard/s...d.php?t=444502 |
|
|

|
|
|
#352 |
|
Rollin' Old Skool
Join Date: Jun 2007
Location: Hattiesburg, MS
Posts: 5,371
|
Re: Markeb01 Build Thread
it looks beautiful Mark, & props to you for sticking with it...can't wait to see it on the truck!
__________________
_____________________________________________ Phillip My Build threads: 1966 Chevy C-10 "Black Betty" shortbed, fleetside, BBW, 327 V8/ Powerglide (under construction) http://67-72chevytrucks.com/vboard/s...ighlight=betty 1997 Chevy Tahoe, 2dr/2wd, mild custom (Daily driver) http://67-72chevytrucks.com/vboard/s...d.php?t=601142 Pics: '66 C-10 https://flic.kr/s/aHsjHWD4h9 '97 Tahoe https://flic.kr/s/aHsjGZ7wKP '93 C-1500 https://flic.kr/s/aHskxdpdnQ '88 S-10 Blazer https://flic.kr/s/aHsjYGx4Md Previous Rides: 1993 Chevy S-10 ext. cab, 4.3L, 4/5 drop (Sold) 1993 Chevy C-1500 short/step Retro-Rod (Sold) 1988 S-10 Blazer 2dr/2wd mild custom (Sold) |
|
|

|
|
|
#353 |
|
"Where were you in '62?"
 Join Date: Jul 2004
Location: Cleveland County, North Cackalacky
Posts: 5,013
|
Shiney

__________________
PROJECT: "FULL METAL YELLOW JACKET" 1962 Chevy C-10 Stepside Shortbed Nostalgia Pro/Street Pickup Truck PROJECT: "FULL METAL YELLOW JACKET Build Thread What Are You Workin' On? - 1Bad62ChevyPickup PROJECT: "TYRANNORAMBLER REX" 1969 AMC Rambler American Nostalgia Pro/Street Youtube Channel: Father Son Projects Youtube Channel: 2TIMOTHY2FITHTEEN        "North and South Carolina Folks Click Here!" (((( ~ I have Parts For Sale & Miscellaneous Stuff ~ )))) "Well being as there's no other place around the place, I reckon this must be the place, I reckon...Nyuk Nyuk Nyuk" -Curly Howard Ph.D. |
|
|

|
|
|
#354 |
|
Senior Member
 Join Date: Aug 2009
Location: San Leandro, Ca 94577
Posts: 854
|
Re: Markeb01 Build Thread
Wow ! that trim looks amazing..I screwed up one of mine trying to polish it too..gonna send it out to a pro..I can afford to screw it up ! these things are hard to find !
|
|
|

|
|
|
#355 |
|
Registered User
Join Date: Feb 2011
Location: muskogee, ok
Posts: 1,091
|
Re: Markeb01 Build Thread
wow turned out great!!!
__________________
 bagged 66 longbed build http://67-72chevytrucks.com/vboard/s...d.php?t=449548 my favorite colors.. black, rust, and shiny!!!! instagram: @coulter918 |
|
|

|
|
|
#356 |
|
Registered User
 Join Date: May 2009
Location: Rathdrum, Idaho
Posts: 1,135
|
Re: Markeb01 Build Thread
Dazzling polishing job Mark looks as new, will look great on your truck...Vernski

|
|
|

|
|
|
#357 |
|
Senior Enthusiast
Join Date: Feb 2007
Location: Spokane Valley, WA
Posts: 8,356
|
Re: Markeb01 Build Thread
Thanks for the compliments guys.
After lengthy evaluation and debate with my build partner (wife), Iíve decided to do the windshield swap ourselves. Iíve only had outside work performed on the truck twice in 20+ years. The rear end gears were swapped out which turned out fine. The other adventure was having OEM rockers installed by a highly recommended professional body shop which turned out to be a complete disaster. They caused so much damage all over the truck I couldnít even look at it for months and came close to selling it. Without knowing someone in the local auto glass field (which I donít), promises from sales reps donít fill me with confidence. I just canít bring myself to take the risk of having the truck trashed again, on what is known to be a very difficult installation. Iíd much rather pay someone else to do the work, but with the odds against success Iím just going to have to rely on my own skills. Iíve read every forum thread I could find about 60-63 windshield installations with stainless trim. By my tally - one installation was successful by a pro shop, and 3 were completed successfully by the owners. The rest either ended up with problems or had to go back to the plain gasket. Iíll have to wait a week or so until visitors leave before I can get started. Regardless of how it turns out Iíll take as many photos as practical to document how it went.
__________________
My Build Thread: http://67-72chevytrucks.com/vboard/s...d.php?t=444502 |
|
|

|
|
|
#358 |
|
Senior Member
 Join Date: Aug 2009
Location: San Leandro, Ca 94577
Posts: 854
|
Re: Markeb01 Build Thread
I have done the windshiels 2 times in my 62 myself, no big issues, used a rope and a glass stick and a friend that could listen to directions, u need to get the top in first and then the corners as you pull it in, take your time and hae a glass stick and a 90 degree blunt ended pick and you will be fine !
|
|
|

|
|
|
#359 |
|
Senior Enthusiast
Join Date: Feb 2007
Location: Spokane Valley, WA
Posts: 8,356
|
Re: Markeb01 Build Thread
Excellent, thanks for the advice. I just ordered a pack of glass sticks a few minutes ago.
__________________
My Build Thread: http://67-72chevytrucks.com/vboard/s...d.php?t=444502 |
|
|

|
|
|
#360 | |
|
Registered User
Join Date: Jun 2012
Location: Selkirk Ontario Canada
Posts: 1,141
|
Re: Markeb01 Build Thread
Quote:

__________________
My 63 GMC Panel Slow Build http://67-72chevytrucks.com/vboard/s...=1#post5457281 63 
|
|
|
|

|
|
|
#361 |
|
Senior Enthusiast
Join Date: Feb 2007
Location: Spokane Valley, WA
Posts: 8,356
|
Re: Markeb01 Build Thread
I spent the day reorganizing the garage so the dirty bench wouldnít have anything above it to possibly fall on the glass while Iím installed the gasket and trim on the windshield. And itís always kind of nice to have a reason for changing things around and cleaning up anyway.
Hereís what the bench looked like this morning. Itís 72Ē wide and the W/S is approximately 66Ē wide, so my 5 foot clean bench wonít work: 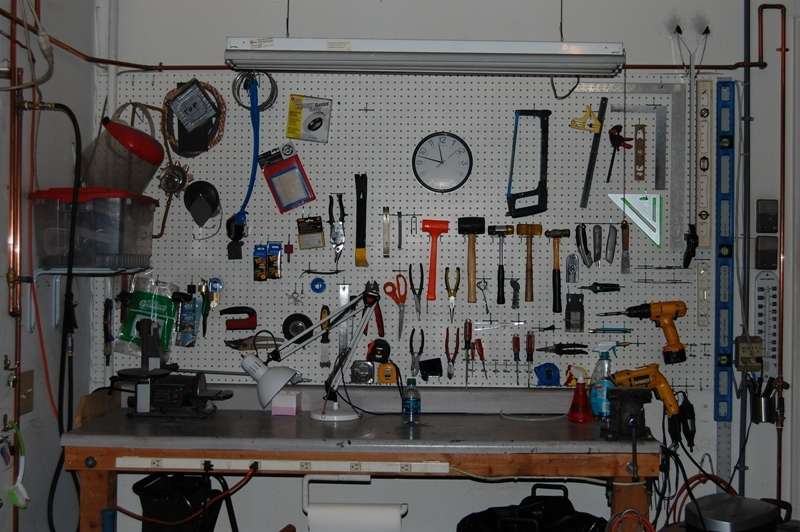 Hereís what it looks like now. Looking at the pegboard with all the stuff out of the way certainly confirms why itís called the dirty bench: 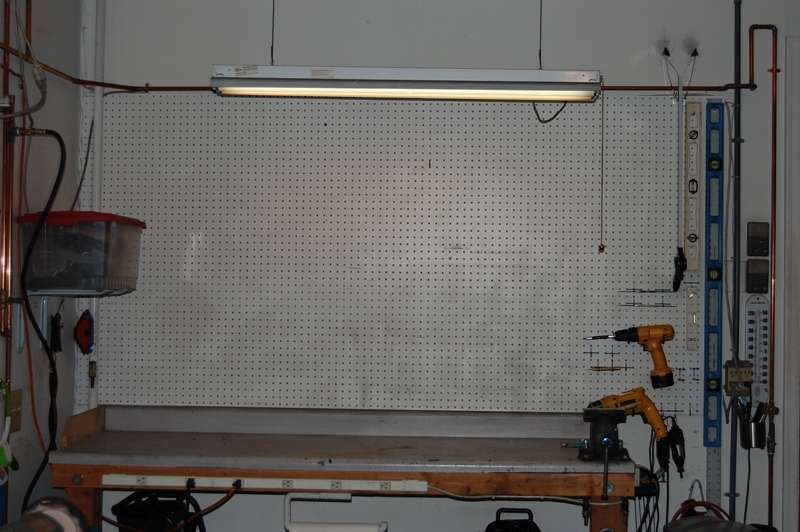 There are a few more things to remove tomorrow, including the tote on the left and the bench vise. Once everything is cleaned up it will be covered in towels for padding. And hereís where everything went, on the opposite wall. All that was required was a bit of compression, and moving the items farther away from the benches that are seldom used: 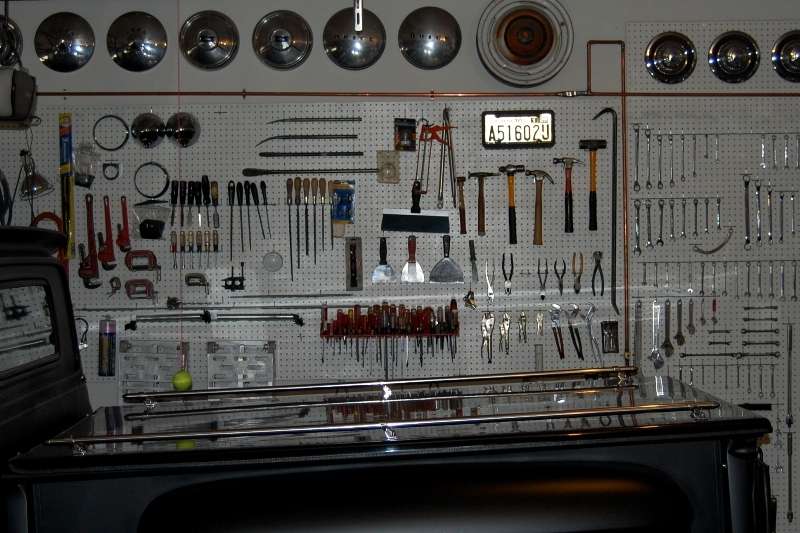 And hereís the finished result. Some of it will go back after the windshield is done, but most of it will stay where it is, simply because itís a better use of space: 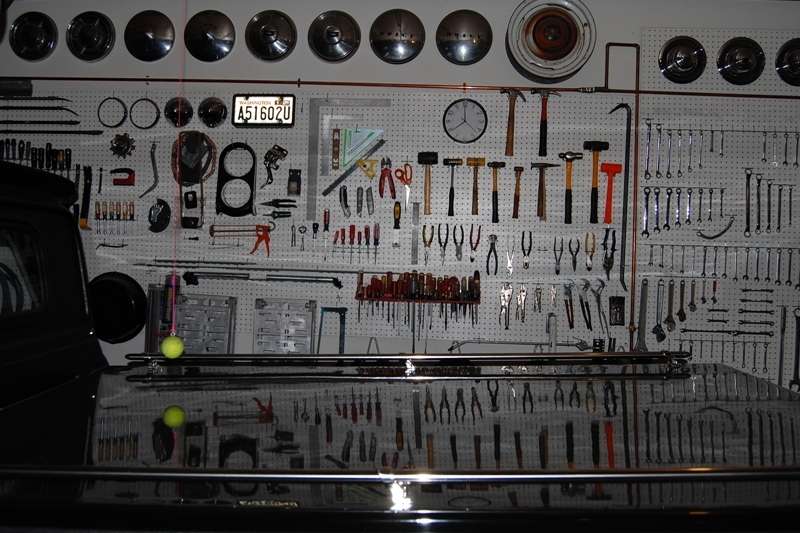 Onward and upward!
__________________
My Build Thread: http://67-72chevytrucks.com/vboard/s...d.php?t=444502 |
|
|

|
|
|
#362 |
|
Senior Enthusiast
Join Date: Feb 2007
Location: Spokane Valley, WA
Posts: 8,356
|
Re: Markeb01 Build Thread
With our visitors having left for home, I finally got started on the windshield removal today.
First the bench vise was removed and the bench covered with a camping pad. Next the spotlights and outer brackets were removed, along with the inside mirror. I decided the method with the least risk to remove the windshield would be to cut away the entire outside of the gasket. This was done in two slices. The rear flap of was cut free first, allowing the portion against the glass to be separated and cut off, allowing the windshield to be lifted off the truck without resistance (indicated below). 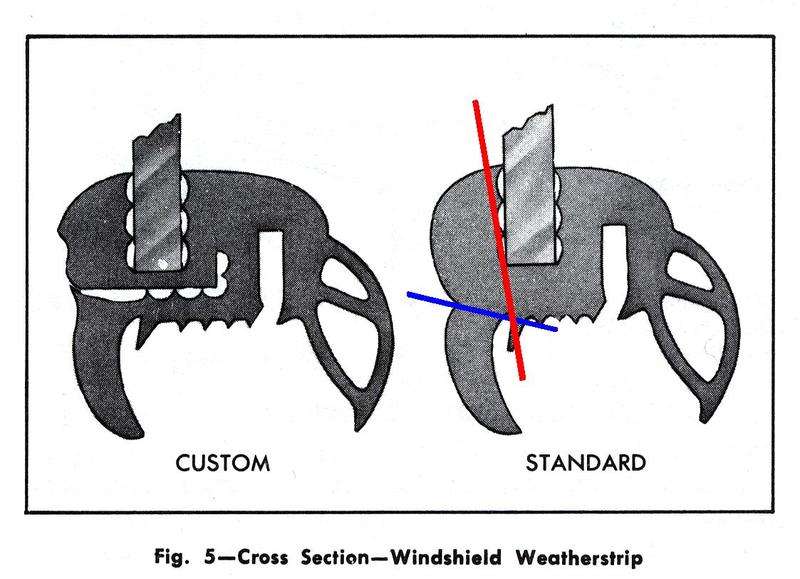 I started with a single edge razor blade and found this too difficult to control so an Xacto knife was used. It soon became apparent that once a length of seal could be lifted, pulling on the cut portion while slicing the rubber allowed removing long sections somewhat easily (as shown here): 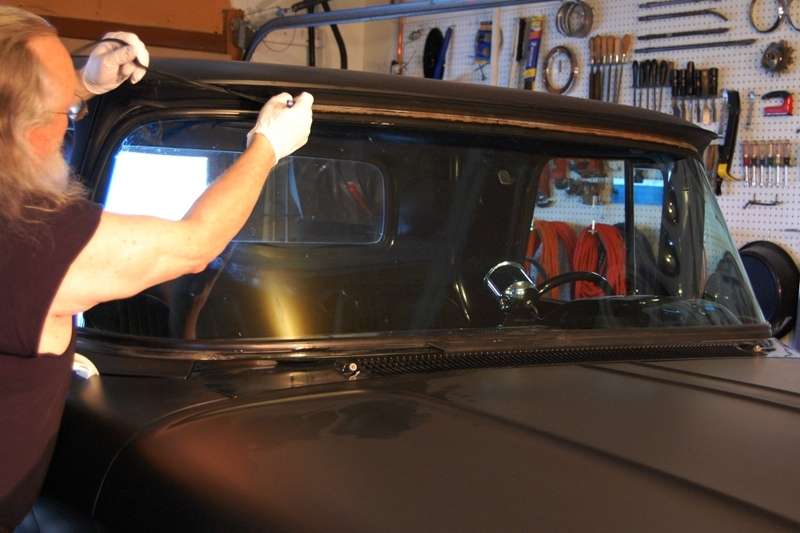 The remaining face of the gasket was stuck pretty tight to the glass in areas where sealer had been applied, so I slimed up a paint stick with Armoral and ran it around the entire gasket to loosen the bond: 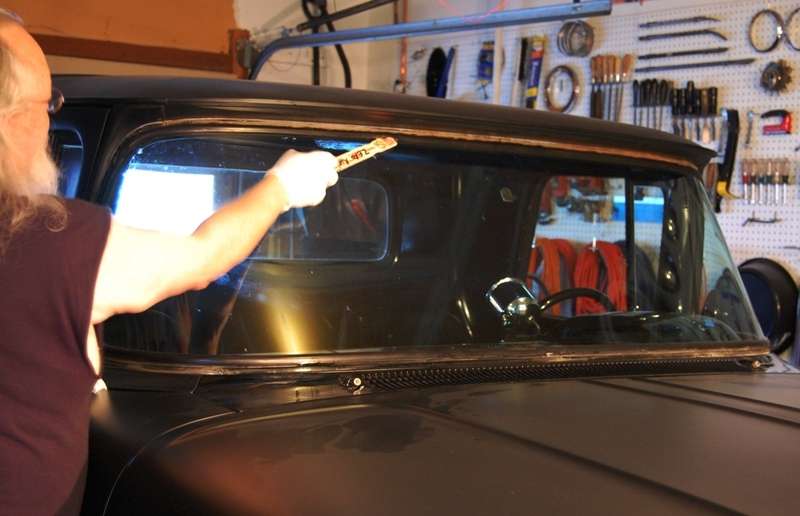 The next step was slicing away the rest of the gasket, and cleaning up the mess. I was getting tired and it was getting dark so I decided to wait until tomorrow morning to remove the glass. Hereís how it sits tonight, although I later taped the windshield to the side windows for extra insurance until I get back to it. The gasket hanging down from the top is actually whatís left of the inside seal. 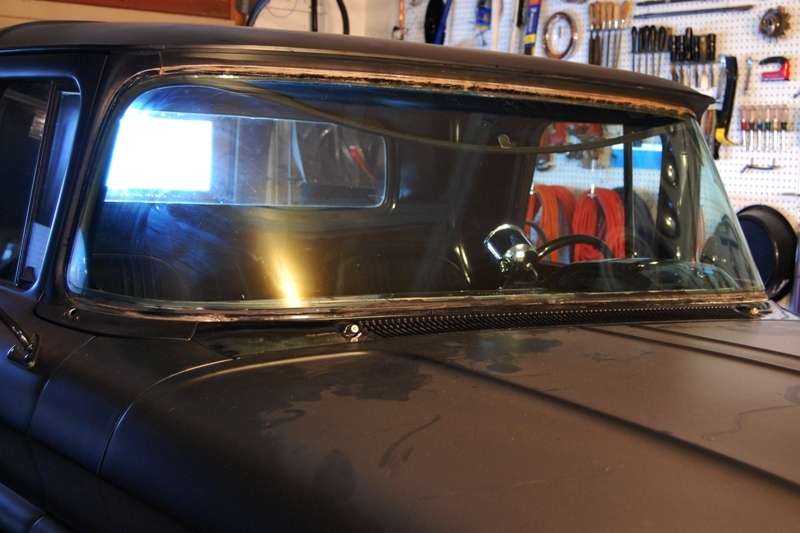 Once the windshield is on the bench Iíll clean up the body cavity and see it anything needs attention. So far so good.
__________________
My Build Thread: http://67-72chevytrucks.com/vboard/s...d.php?t=444502 |
|
|

|
|
|
#363 |
|
But Found Her 25yrs Later!
Join Date: Oct 2010
Location: Oregon City, Oregon
Posts: 10,530
|
Re: Markeb01 Build Thread
I found it easier for me on the 64-66's to cut the rubber from the inside. Is it because of the shape of the 60-63's wrap-around window that you find it easier from the outside?
Posted via Mobile Device
__________________
I lost my 65 - Found it 25 years later: http://67-72chevytrucks.com/vboard/s...d.php?t=426650 66 C20 Service Truck: http://67-72chevytrucks.com/vboard/s...d.php?t=428035 |
|
|

|
|
|
#364 | |
|
Senior Enthusiast
Join Date: Feb 2007
Location: Spokane Valley, WA
Posts: 8,356
|
Re: Markeb01 Build Thread
Quote:
We pulled the windshield this morning. While my wife stabilized the outside, I gave the upper inside a gentle nudge and it came free effortlessly. We lifted it off and the remainder of the lower gasket fell into the cab. Other than a small amount of dry dirt under the gasket, thereís nothing but shiny black lacquer paint. No repairs needed of any kind. After the glass is cleaned up and the seal/trim installed, Iíll get back to detailing the cab opening: 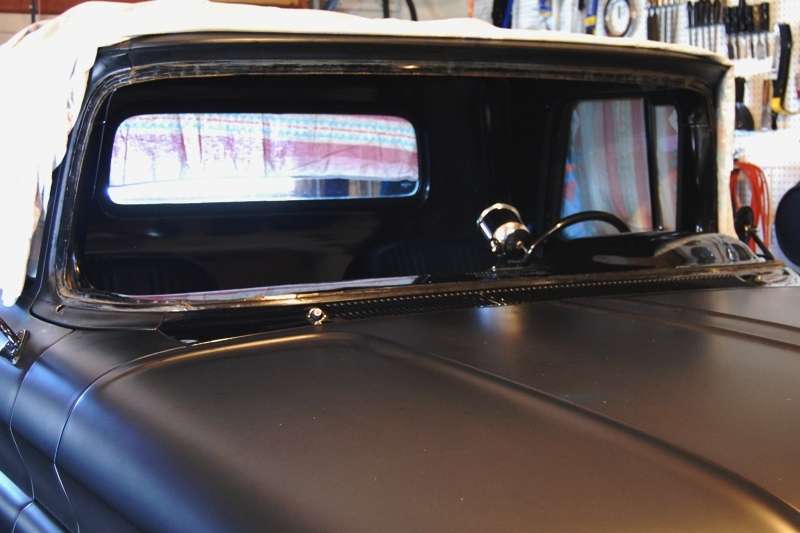 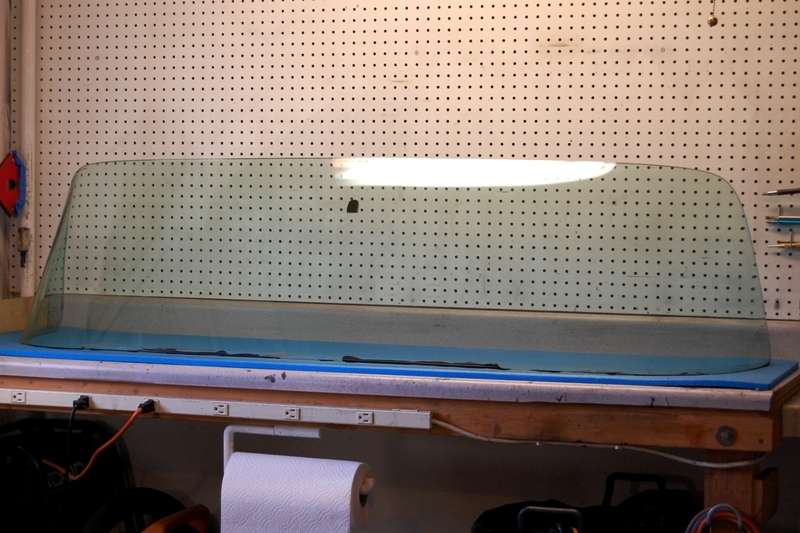
__________________
My Build Thread: http://67-72chevytrucks.com/vboard/s...d.php?t=444502 |
|
|
|

|
|
|
#365 |
|
Registered User
Join Date: Sep 2011
Location: Tacoma, WA
Posts: 2,425
|
Re: Markeb01 Build Thread
Awesome step by step Mark!
I have to yank my windshield too, but I been putting that off until I get a few other major things straight, like getting it running !!
__________________
Michael McMurphy My 66 Stepside My 64 Tow Truck My 66 Tempest Table Of Contents Added to Page1 |
|
|

|
|
|
#366 |
|
Senior Enthusiast
Join Date: Feb 2007
Location: Spokane Valley, WA
Posts: 8,356
|
Re: Markeb01 Build Thread
Thanks Mike. I’m going to document this process no matter how it turns out. I wish there was already a photo process posted somewhere that I could also follow!
This afternoon I spent almost 2 hours removing the residual urethane adhesive and gasket crud lines from the windshield eventually it came out spotless: 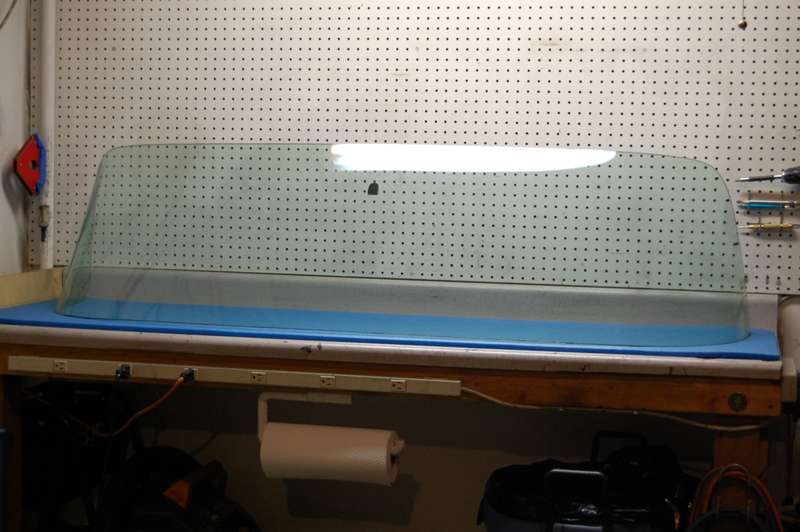 First pass at attempting to install the windshield gasket took about the same amount of time. I had it completely installed twice, but the stretch across the top was so tight, once an upper corner was completed the other side popped off. Taping in place didn’t help. The answer is I’ll have to pull more stretch out of the lower section of the seal before I can complete the task. It’s going to take two of us to pull some stretch in it so that will have to wait until tomorrow morning. 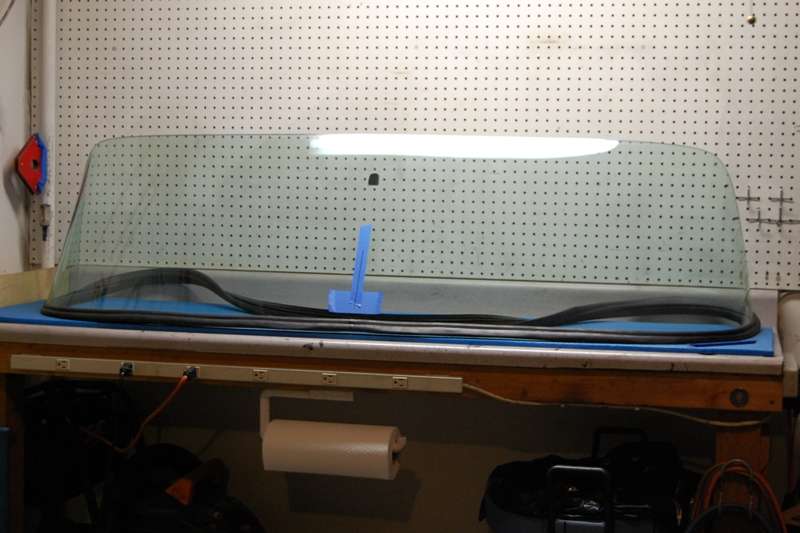
__________________
My Build Thread: http://67-72chevytrucks.com/vboard/s...d.php?t=444502 Last edited by markeb01; 10-03-2012 at 11:59 PM. |
|
|

|
|
|
#367 |
|
Senior Enthusiast
Join Date: Feb 2007
Location: Spokane Valley, WA
Posts: 8,356
|
Re: Markeb01 Build Thread
Finishing the seal installation this morning was much easier than expected. My wife held the bottom center of the gasket to keep it from moving while I pulled a little over an inch of stretch into the lower portion. Before the stretch these marks lined up:
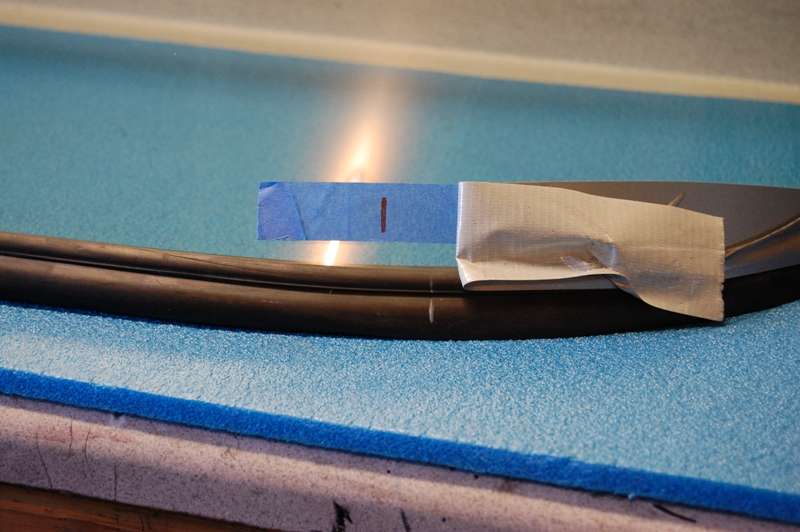 From there I continued fitting the seal over the glass up to the top center where it was taped in place. I repeated the process on the other side until the entire seal fit perfectly with virtually no tendency to peel off in the upper corners. We had turned the windshield around so I could access the left end of the glass from both sides. Because my wife held the lower center on both stretches, the joint remained perfectly centered: 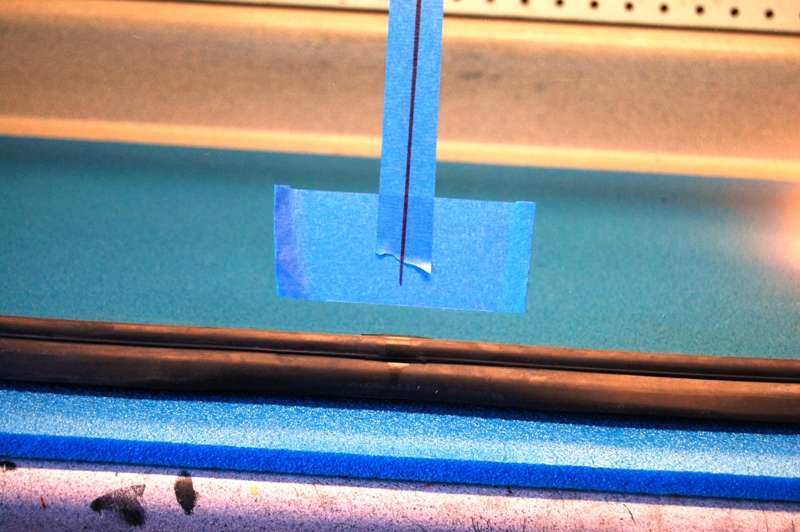 I placed some duct tape to hold everything in place so we could turn the windshield back around facing the front, and will let it set for a day or so before working in the trim. 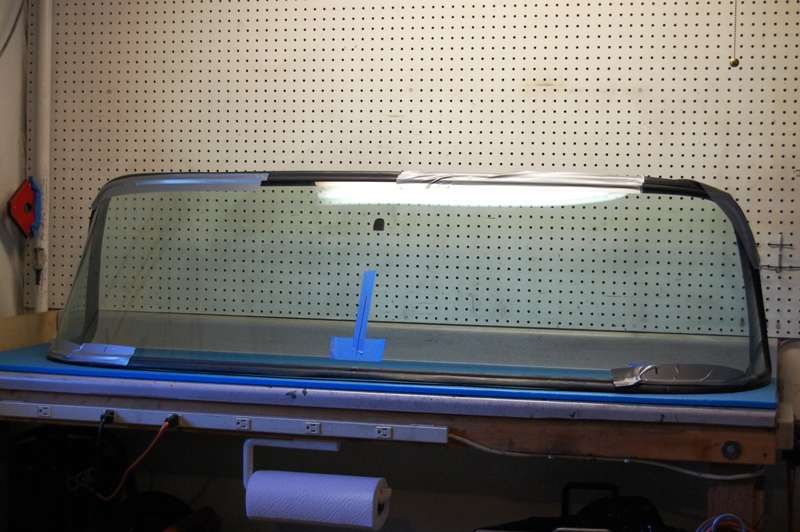
__________________
My Build Thread: http://67-72chevytrucks.com/vboard/s...d.php?t=444502 |
|
|

|
|
|
#368 |
|
Registered User
Join Date: Apr 2012
Location: Cambridge, Ontario, Canada
Posts: 1,771
|
Re: Markeb01 Build Thread
can't wait to see the final install, I think this will make a huge difference in the appearance of you truck, nice work... amazing patience
__________________
Craigerrr My build thread, CRGRS 66 Winter Build: http://67-72chevytrucks.com/vboard/s...09#post5638709 |
|
|

|
|
|
#369 |
|
Senior Enthusiast
Join Date: Feb 2007
Location: Spokane Valley, WA
Posts: 8,356
|
Re: Markeb01 Build Thread
Okay so I got impatient. Once the gasket was relaxed and installed without any strain, it seemed like it would be very simple to install the trim. I started with the two top pieces, peeled back the inner flap and just popped it in. On these pieces I started at the center and worked outward. The lower pieces needed to start in the corners, so I placed a length of 2x4 lengthwise near the center and leaned the glass forward enough for the lower inner side flaps to have free movement. They also popped right in without any lubricant. The only difficulty was the left end (the passenger side of the windshield) because I was working alone and couldnít turn the glass around for better access. I left the end caps off per the factory instructions. Inserting all the trim took less than half an hour.
So there it sits ready to go. Next step is cleaning up the windshield cavity on the cab. I also need to reinstall the wipers temporarily so I can mark the center of the body on the cowl vent to make for easy alignment of the windshield. After that weíll turn the windshield again so I can insert the rope in the seal. The installation wonít happen until my wifeís next day off so we can allow as much time as it takes. Iím starting to get enthusiastic at this point. 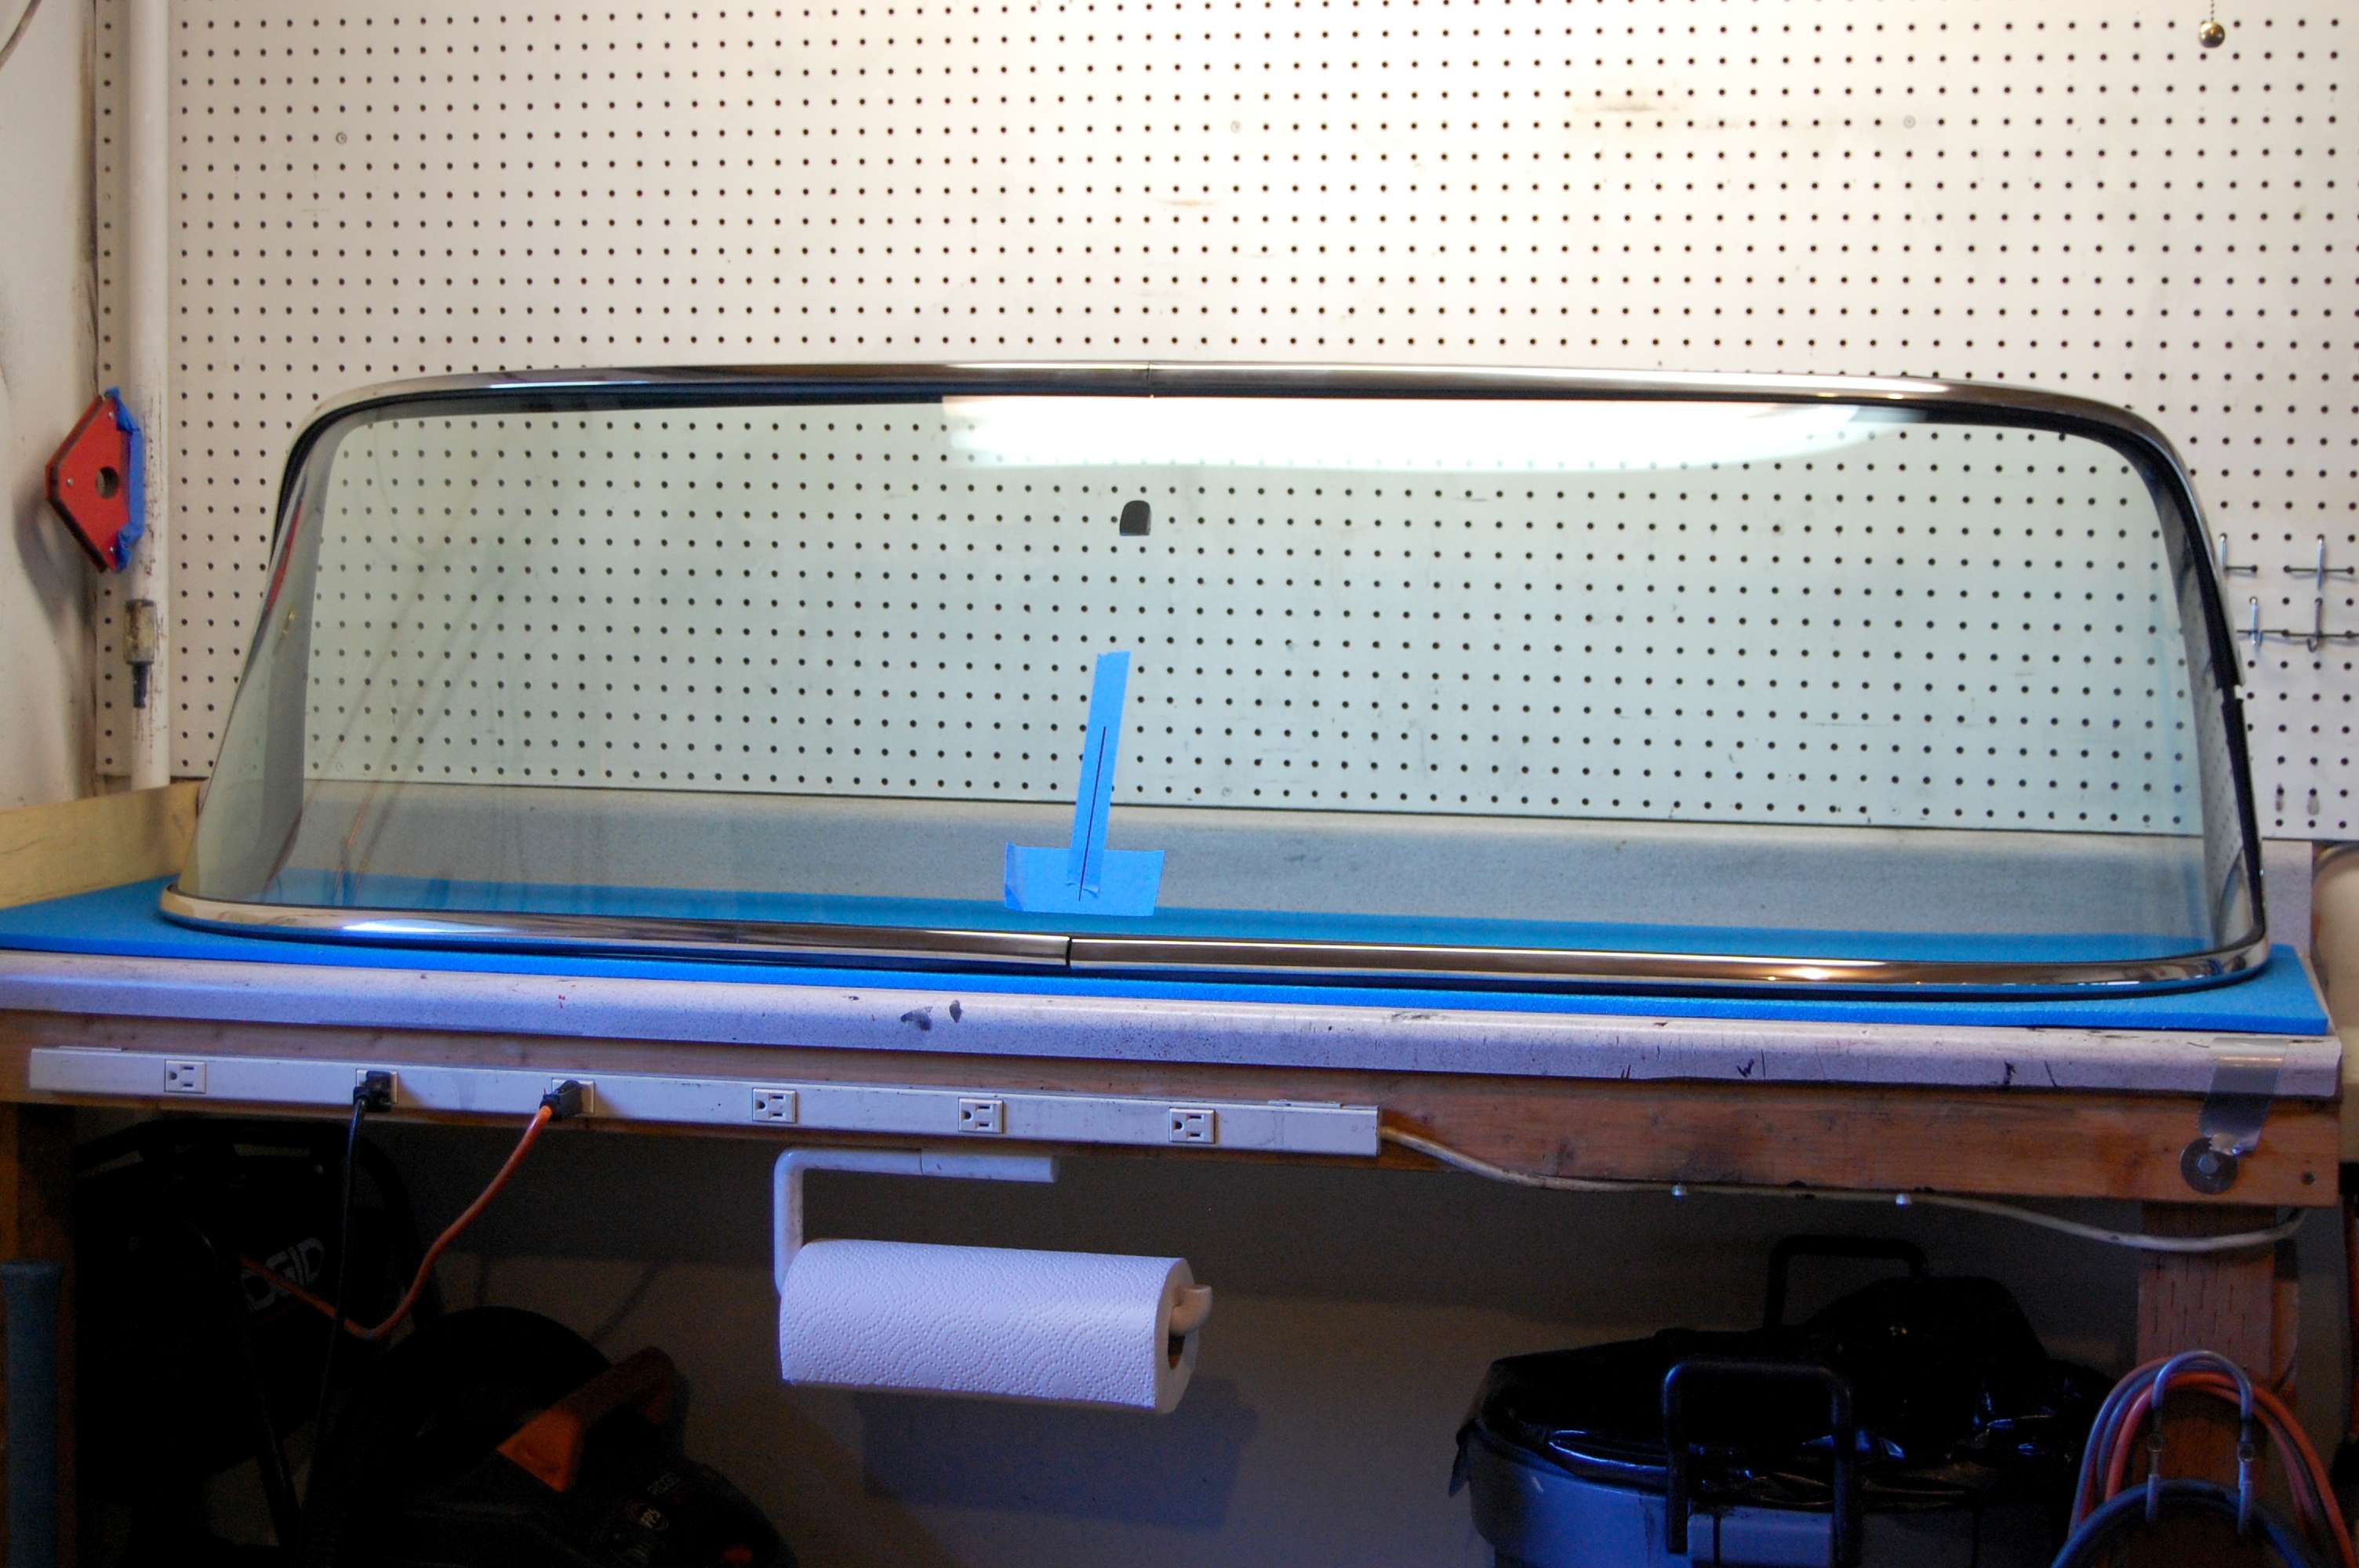
__________________
My Build Thread: http://67-72chevytrucks.com/vboard/s...d.php?t=444502 |
|
|

|
|
|
#370 |
|
Senior Enthusiast
Join Date: Feb 2007
Location: Spokane Valley, WA
Posts: 8,356
|
Re: Markeb01 Build Thread
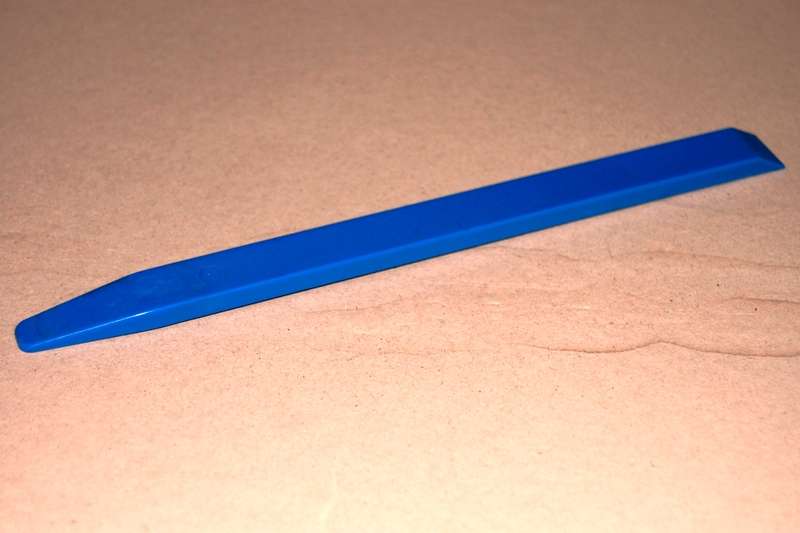
Also, for anyone considering this job I’d highly recommend picking up a glass stick ahead of time. I bought this one from Amazon. It’s a little under 8” long and is a real lifesaver. It cost 5 bucks including shipping. I thought I was buying a 5 pack, but in the pricing confusing I ended up selecting a single unit. I really didn’t need five of them anyway.
 One other tip – for removing urethane or any other windshield adhesive, alcohol is a releasing agent and pops it loose immediately. That and a new single edge razor blade really helps in cleaning up the glass crud and old gasket remnants.
__________________
My Build Thread: http://67-72chevytrucks.com/vboard/s...d.php?t=444502 |
|
|

|
|
|
#371 |
|
Senior Enthusiast
Join Date: Feb 2007
Location: Spokane Valley, WA
Posts: 8,356
|
Re: Markeb01 Build Thread
Not much to look at here other than I finished cleaning up the windshield cavity and marked the centerline on the cowl vent. I think Iím out of things to prep. Nothing left to do now but install the glass!

__________________
My Build Thread: http://67-72chevytrucks.com/vboard/s...d.php?t=444502 |
|
|

|
|
|
#372 |
|
Registered User
Join Date: Apr 2011
Location: .
Posts: 3,104
|
Re: Markeb01 Build Thread
Looks great. I admire your patience. Can't wait to see the glass in.

|
|
|

|
|
|
#373 |
|
Senior Enthusiast
Join Date: Feb 2007
Location: Spokane Valley, WA
Posts: 8,356
|
Re: Markeb01 Build Thread
If everything goes well weíll be installing the windshield Tuesday afternoon. My son will drop over after work to provide a 3rd pair of hands. After watching every video I could find Iíve decided to go with the top first approach. Having made that decision the gasket was roped up tonight with 3/16Ē, and taped thoroughly to keep everything in place while the assembly is transferred to the truck. Per the videos Iíve seen thereís no need to remove the tape. The rope tears right through it, after which it can simply be lifted off from each side.
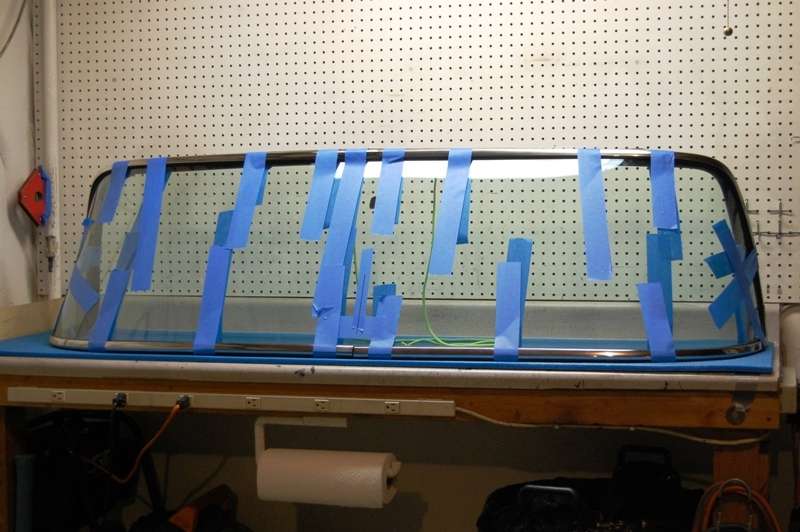 I picked up several tubes of KY and am going to thoroughly smear the gasket and the cab opening just before placement. I already have a spray bottle for a mix of water and Dawn dish soap in case it needs additional lubrication during the installation. I also picked up a couple of cheap suction cups in case I need some gentle pressure from inside, along with a hook tool set from Harbor Freight. One of the tools already came in handy for bedding the rope in the groove. Iím really enthusiast now and canít wait to see it back together with the new trim. With a pair of NOS fully polished wiper blades on the way it should look pretty decent. Now the next big question is whether or not to add the chrome locking bead to the back window!
__________________
My Build Thread: http://67-72chevytrucks.com/vboard/s...d.php?t=444502 |
|
|

|
|
|
#374 |
|
Senior Member
 Join Date: Mar 2011
Location: Tucson, Arizona
Posts: 2,084
|
Re: Markeb01 Build Thread
Looking great Mark. I really enjoy following your projects on your truck. You go into such detail with your descriptions and also your work that I can always look back for reference and inspiration when I start a similar job. I'm sure many others on the site have done the same. Keep it up.

|
|
|

|
|
|
#375 |
|
Registered User
Join Date: Sep 2011
Location: Tacoma, WA
Posts: 2,425
|
Re: Markeb01 Build Thread
Mark ..... not to take away from your windshield right now, but dang dude your thread saved me again !!
I dropped my engine and tranny in yesterday and lo-and behold, my shifter assembly on the transmission sits WAYYYYY back. I remembered you had made an adapter for your shifter, and when I looked it up today, you had the Hurst "C" shifter handle there too. Found one on Ebay, should be here next week !! Thanks man, you are a life saver even when you are not trying to be !! 
__________________
Michael McMurphy My 66 Stepside My 64 Tow Truck My 66 Tempest Table Of Contents Added to Page1 |
|
|

|
 |
| Bookmarks |
|
|