
 |
|
|
#351 |
|
Registered User
Join Date: Mar 2009
Location: Conyers, Ga.
Posts: 121
|
Re: "Midnight Rider" 1970 C10 SWB Fleetside
I’m assuming you are stuck in body shop prison? Great attention to detail!
__________________
Eric 68 Anniversary Gold C-20 LWB to C-10 SWB build thread: http://67-72chevytrucks.com/vboard/s...d.php?t=637492 It's hard to explain puns to kleptomaniacs because they always take things literally. |
|
|

|
|
|
#352 |
|
The Niner
 Join Date: Nov 2010
Location: Broad Brook, CT
Posts: 2,499
|
Re: "Midnight Rider" 1970 C10 SWB Fleetside
I spent tonight reading your old thread and this one. Unreal work and attention to detail.
How many miles have you driven the truck since you got it in 2011?
__________________
"A good racer is one whose head is in communication with his balls." - Richie Evans 1970 C/20 - 402/TH400/3.54s - 74K miles 2003 GMC Sierra 2500 - Wheatland Yellow Niner Progression Thread: http://67-72chevytrucks.com/vboard/s...d.php?t=697183 Classic Trucks article: https://www.motortrend.com/features/...et-c20-driven/ |
|
|

|
|
|
#353 |
|
Registered User
Join Date: Jun 2018
Location: Washington, DC
Posts: 671
|
Re: "Midnight Rider" 1970 C10 SWB Fleetside
Man your truck is going to be a work of art. You have all the details covered in your build.
|
|
|

|
|
|
#354 | |||
|
Senior Member
 Join Date: Jul 2010
Location: Race City U.S.A.
Posts: 1,032
|
Re: "Midnight Rider" 1970 C10 SWB Fleetside
Thank you Mr.Mud. I couldn't agree more!
Quote:
Quote:
     Quote:
Thanks Chevys4life. The details make for good reading and reference. I'm also hoping they add value to my truck when it's finished!
__________________
Board Member #87725 My build thread... http://67-72chevytrucks.com/vboard/s...d.php?t=813848 Last edited by omodified; 05-04-2024 at 03:57 PM. |
|||
|
|

|
|
|
#355 |
|
Senior Member
 Join Date: Jul 2010
Location: Race City U.S.A.
Posts: 1,032
|
Re: "Midnight Rider" 1970 C10 SWB Fleetside
Piddling around and working on little stuff here and there. I've been researching PCV systems and trying to figure out exactly how to do one for my application. I see lots of people with LS engines not running anything and say that's ok. However, I would feel better with something in place, instead of blowing out seals. I couldn't find many applications like mine out there with PCV, so I had to come up with something on my own.
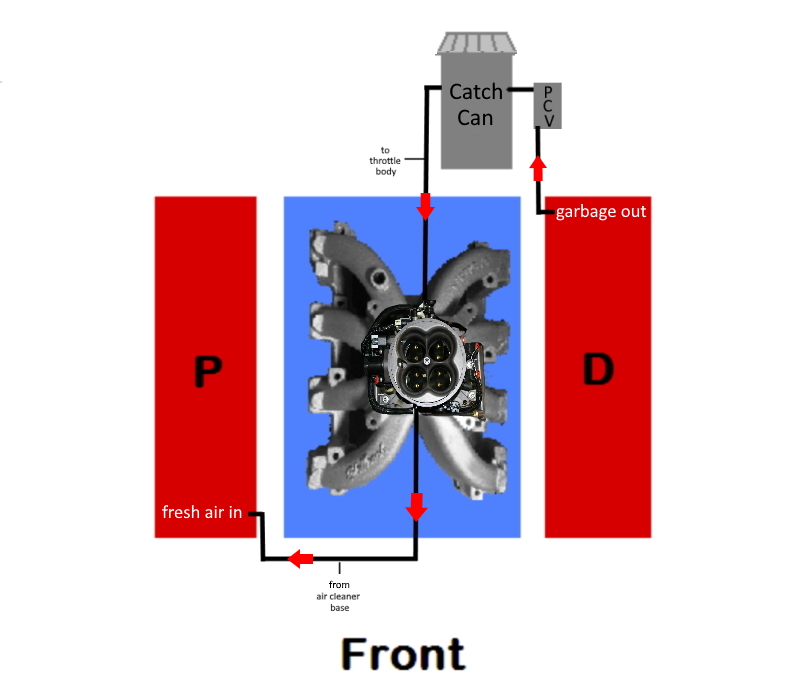 The hardest part to find was the fitting for the air cleaner base. What ended up working out was a part from the UK that I found on EBAY. Here it is, installed and ready for action. 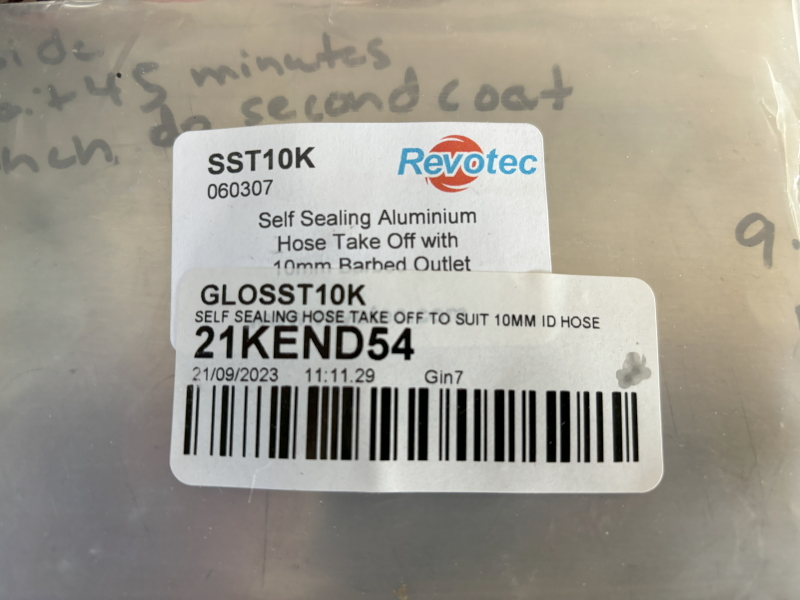 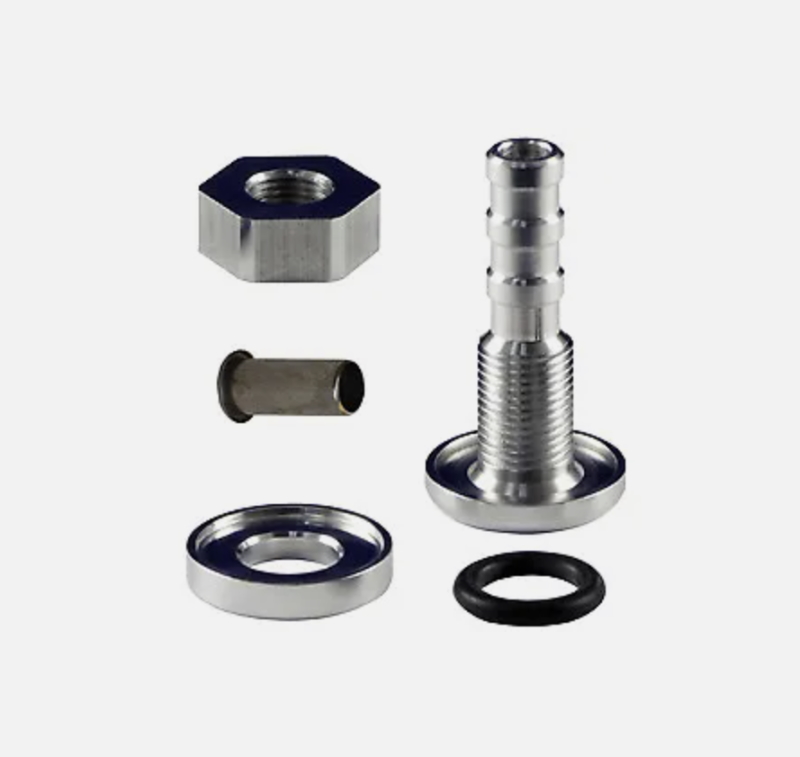 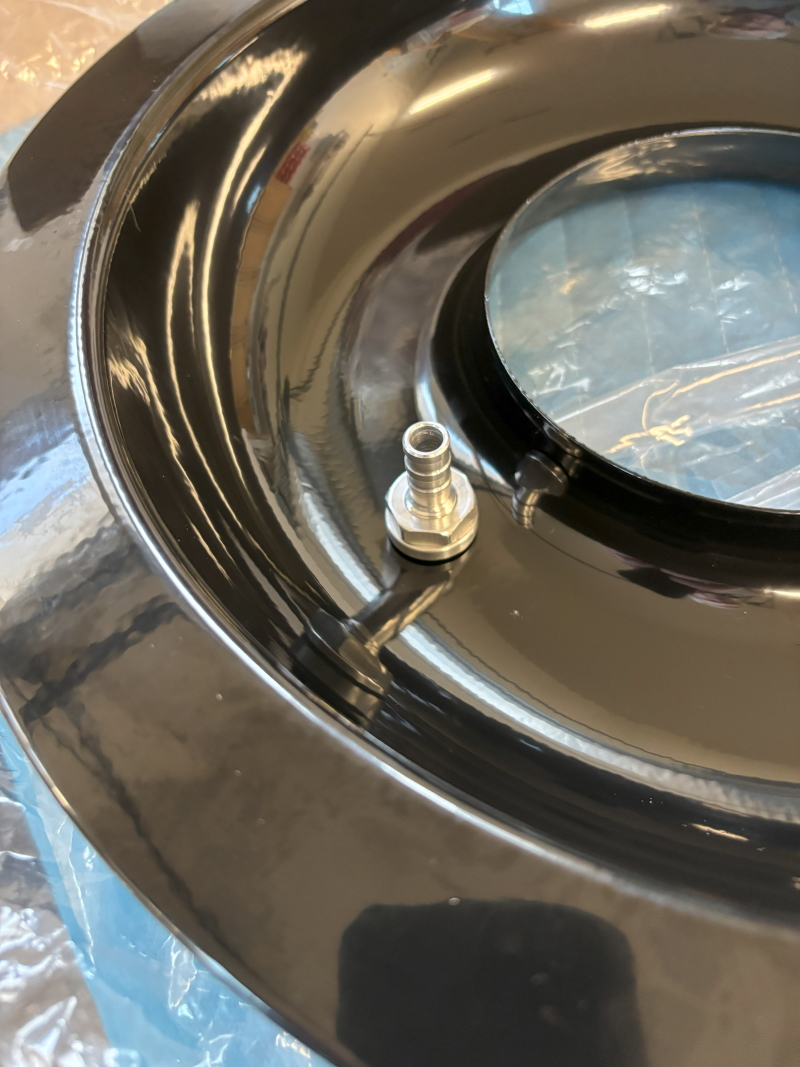 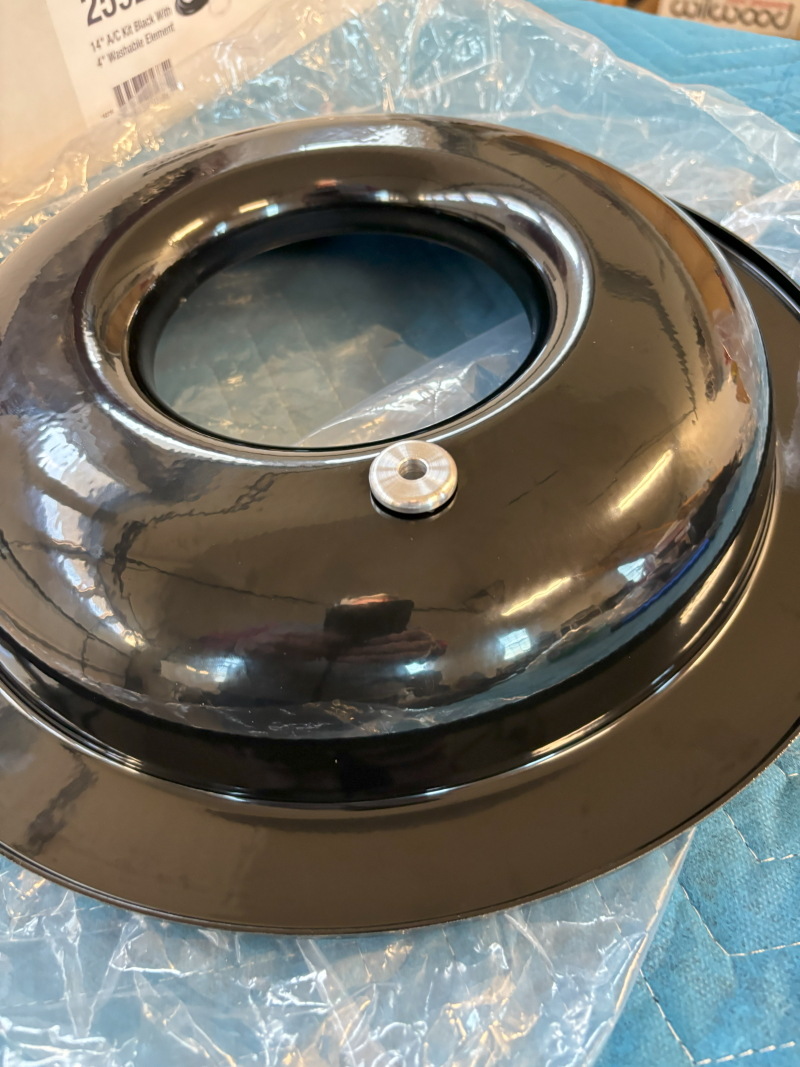 Also installed valve into back of the intake manifold for vacuum to brake booster. Plumbers tape for some extra seal. 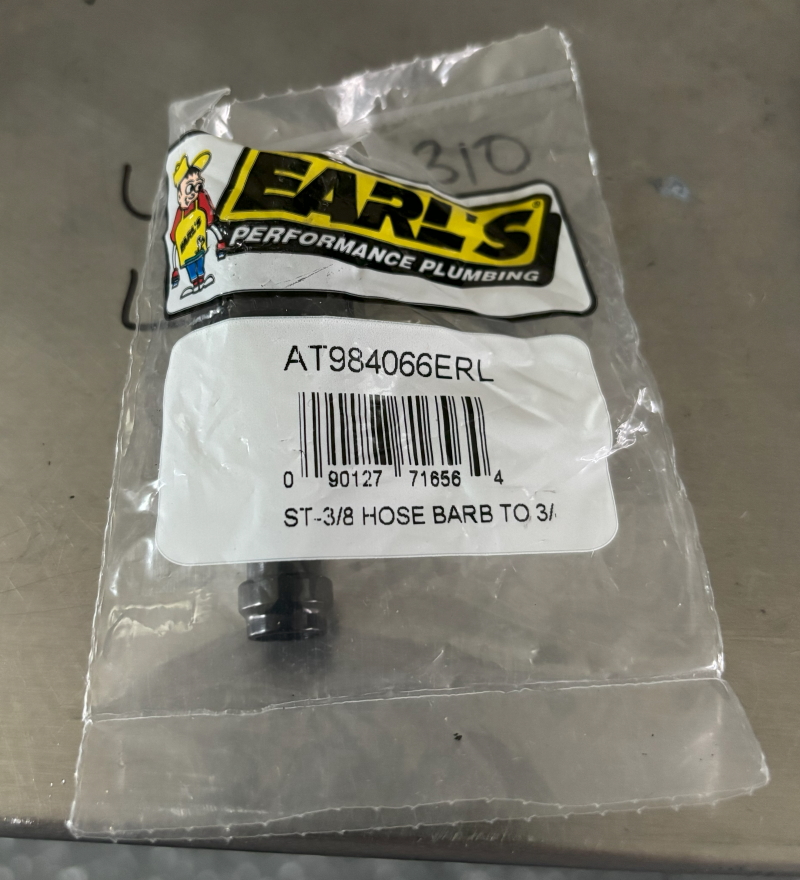 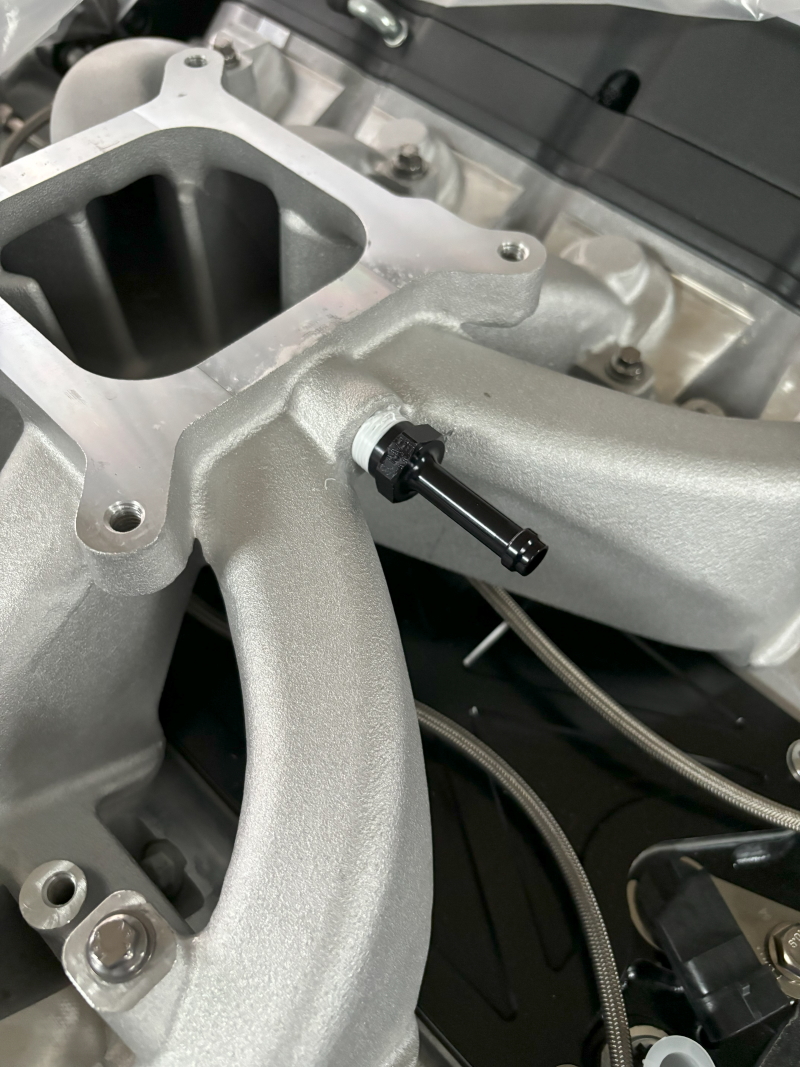
__________________
Board Member #87725 My build thread... http://67-72chevytrucks.com/vboard/s...d.php?t=813848 Last edited by omodified; 05-04-2024 at 03:58 PM. |
|
|

|
|
|
#356 |
|
Senior Member
 Join Date: Jul 2010
Location: Race City U.S.A.
Posts: 1,032
|
Re: "Midnight Rider" 1970 C10 SWB Fleetside
I was taking some measurements for radiator fitment when I noticed a problem. When I installed the front accessory kit on the engine, it was done on the engine stand. Now that the engine is the frame, I realize that the supplied water neck is aimed right at the frame rail.
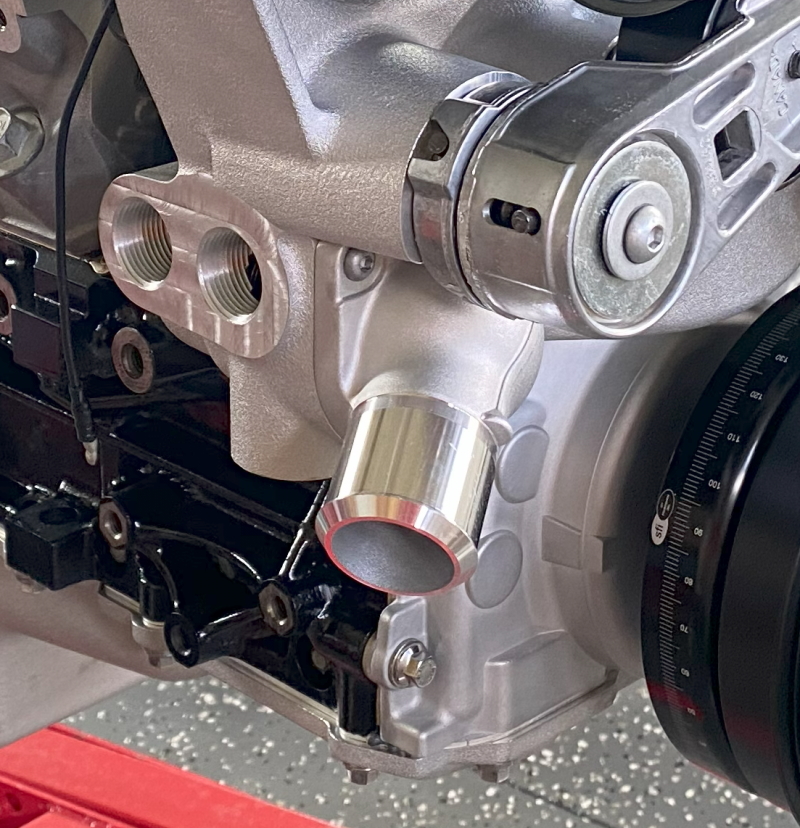 So, I found a swivel type water neck that works with my water pump. Unfortunately, it requires a different thermostat from what I already had. Installed them both. Will position it and torque down at a later date. 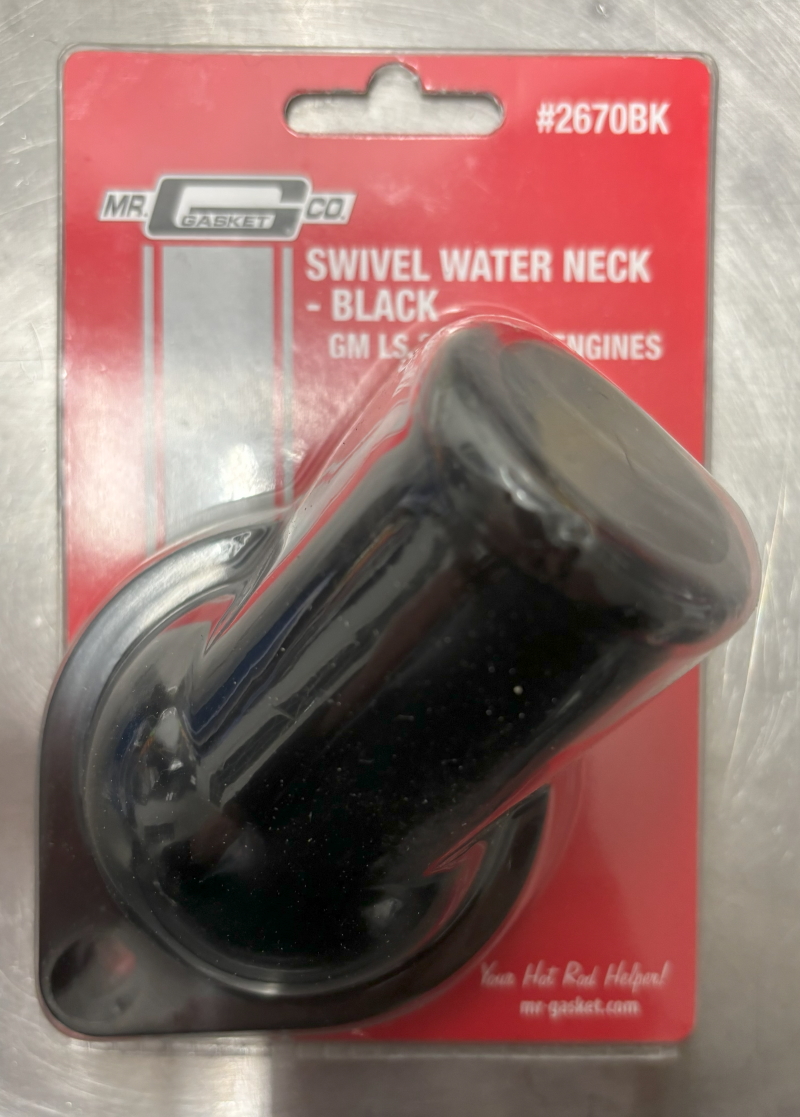 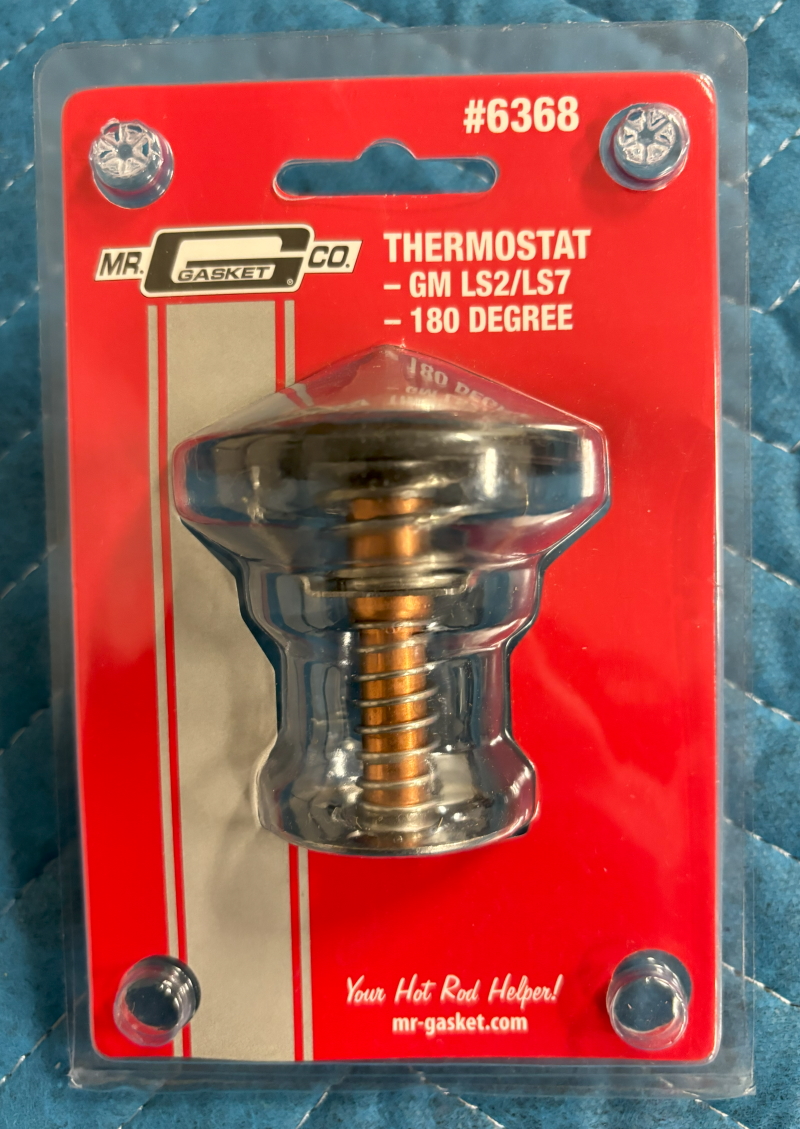 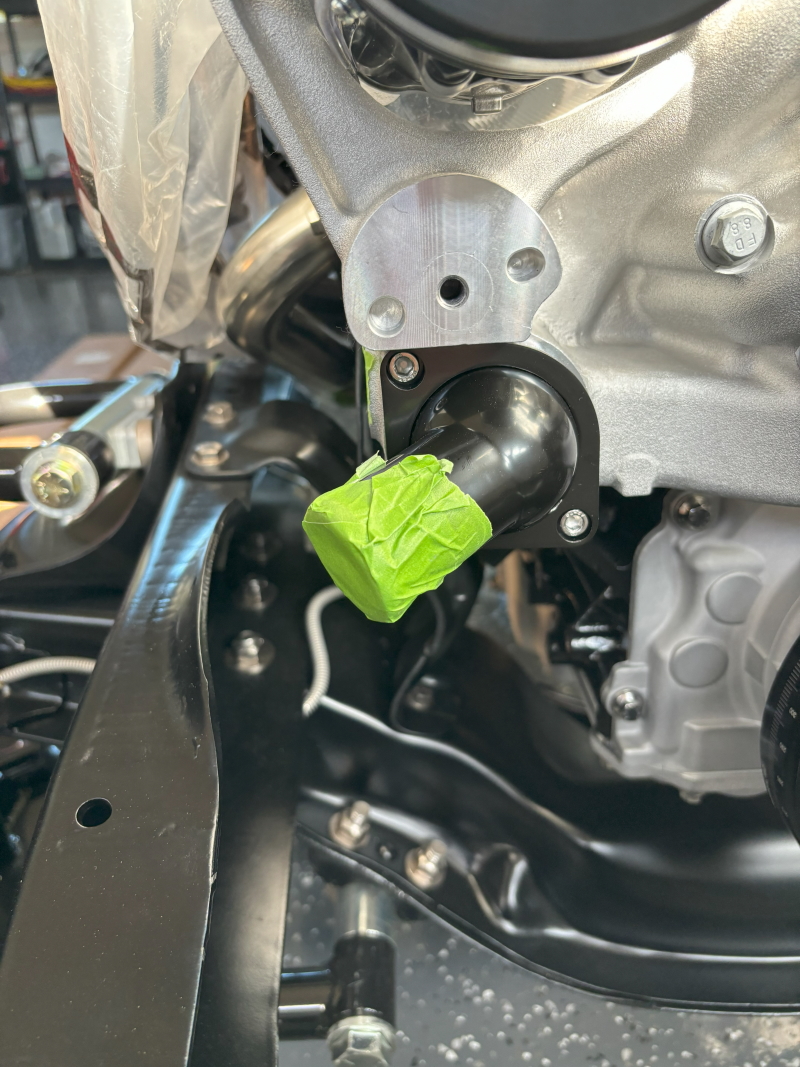
__________________
Board Member #87725 My build thread... http://67-72chevytrucks.com/vboard/s...d.php?t=813848 Last edited by omodified; 05-04-2024 at 03:59 PM. |
|
|

|
|
|
#357 |
|
Senior Member
 Join Date: Jul 2010
Location: Race City U.S.A.
Posts: 1,032
|
Re: "Midnight Rider" 1970 C10 SWB Fleetside
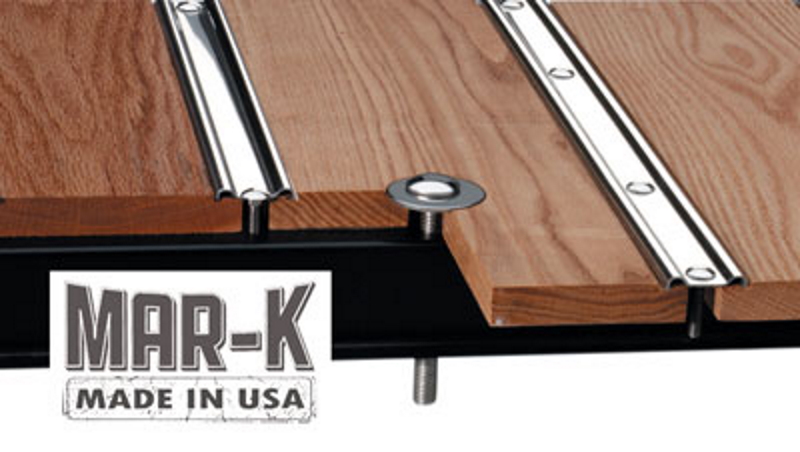
So I decided to finally tackle something I've been dreading for a long time, the bed wood. I bought my kit a few years ago and it's been sitting in the garage. However, it looks I will finally be needing it in the near future. The kit I bought is from Mar-k. I went with the oak kit with stainless trim and hardware. I chose oak for its durability and better looking grain.
 If you've been following along with my build, you probably saw the few samples that I worked with, trying to decide on my finish. Those samples were the first time I had ever done anything with wood like this. So, I tried to follow Mar-k's instructions as best I could. First step was blocking the board with 120 grit in both directions. I sanded both sides first, then the ends and sides. Last, I rounded all the edges 1/8". 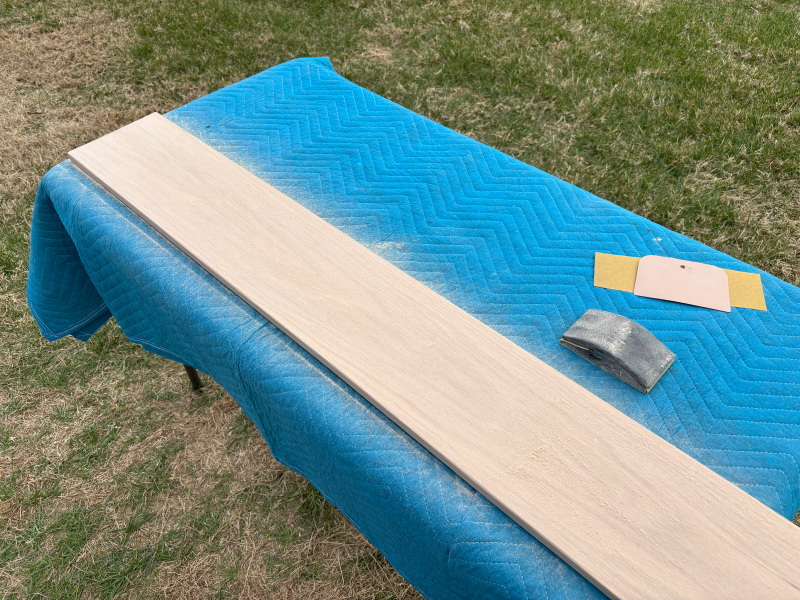 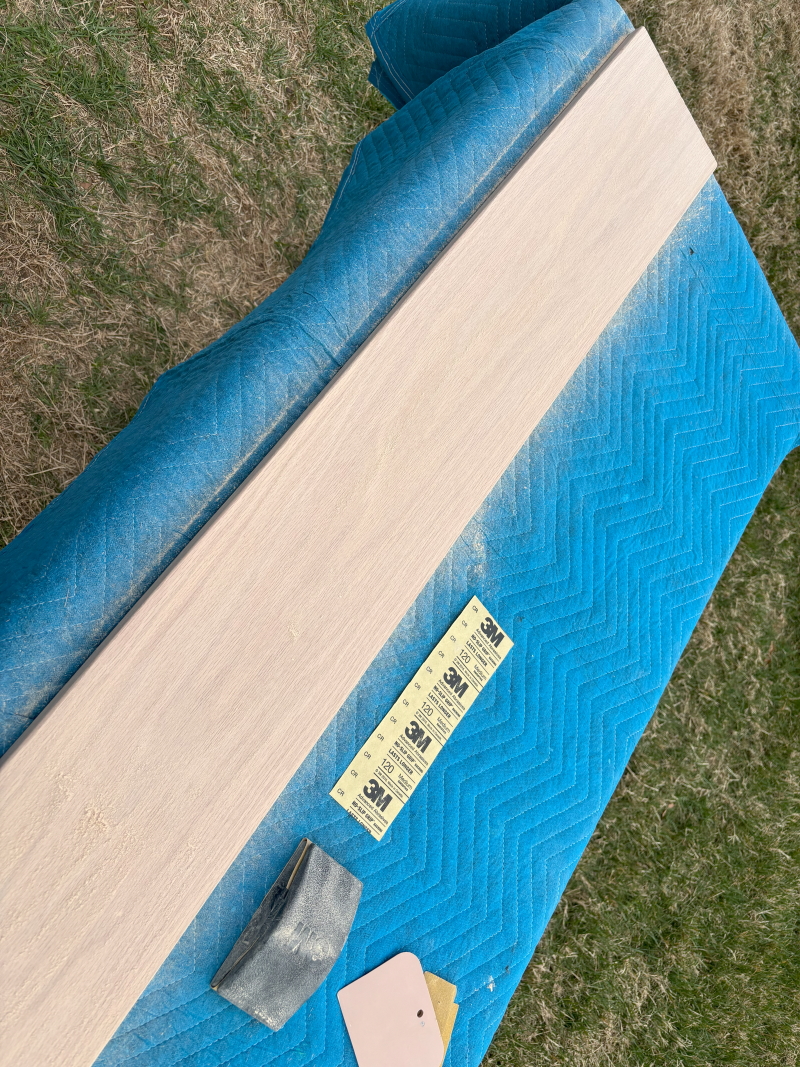 Next step was blocking the board with 220 in both directions. Again, I sanded both sides first, then the ends and sides. Last, I rounded all the edges 1/16". 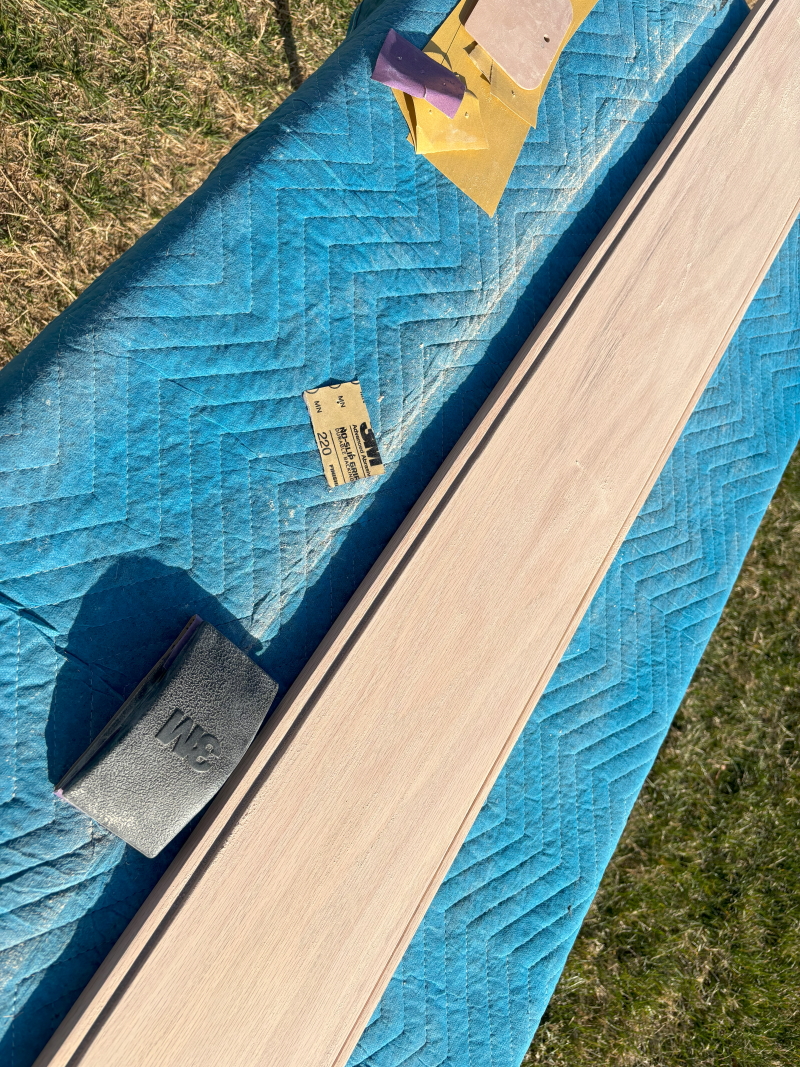 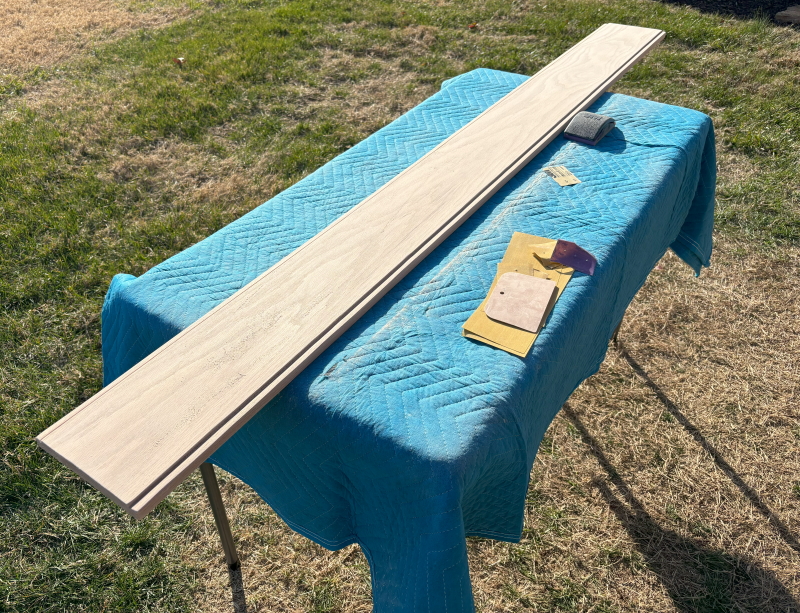 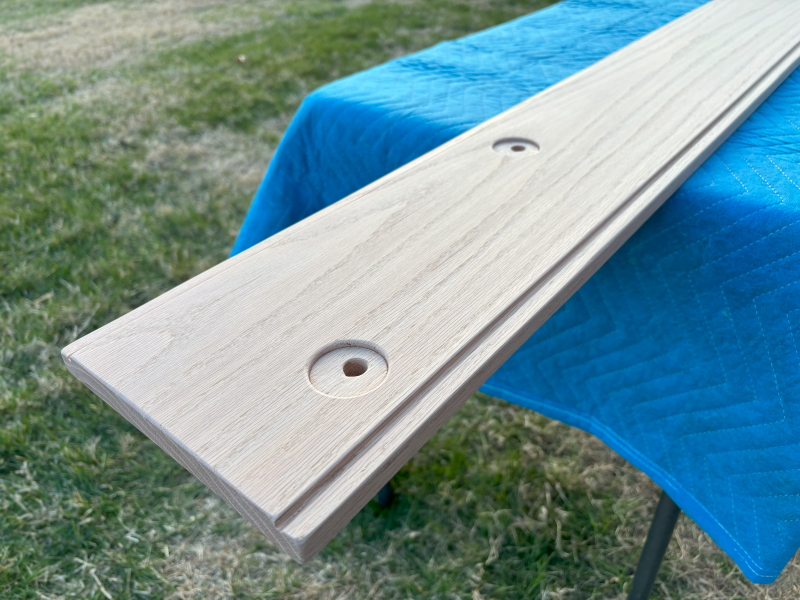 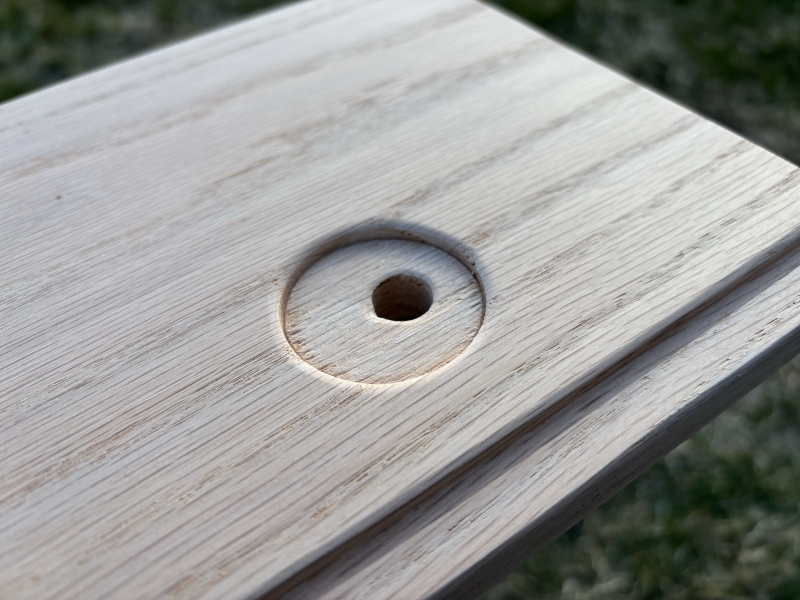 The last step was using a blow tool to blow all of the dust out of the grain. I used a heavy concentration of air, slowly blowing both directions, from end to end. This opens the grain up really deep. Once the board was dust free, I used a lint-free cloth to burnish the surface. This smooths the board a bit more and knocks off any wood splinters that raised up while using the blow tool. This grain is popping now!  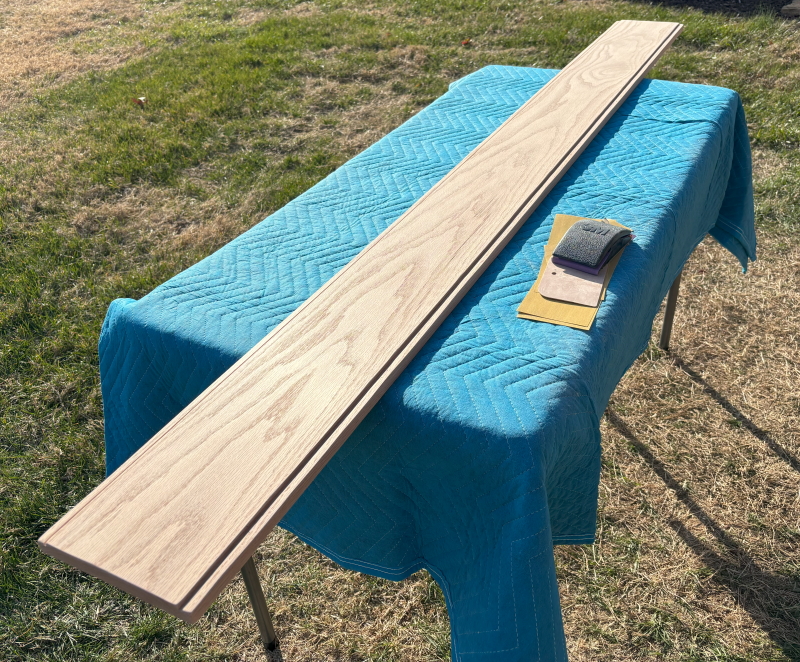 It's kind of disappointing that it takes so little time to tell you about the process compared to how long it actually took to do it.  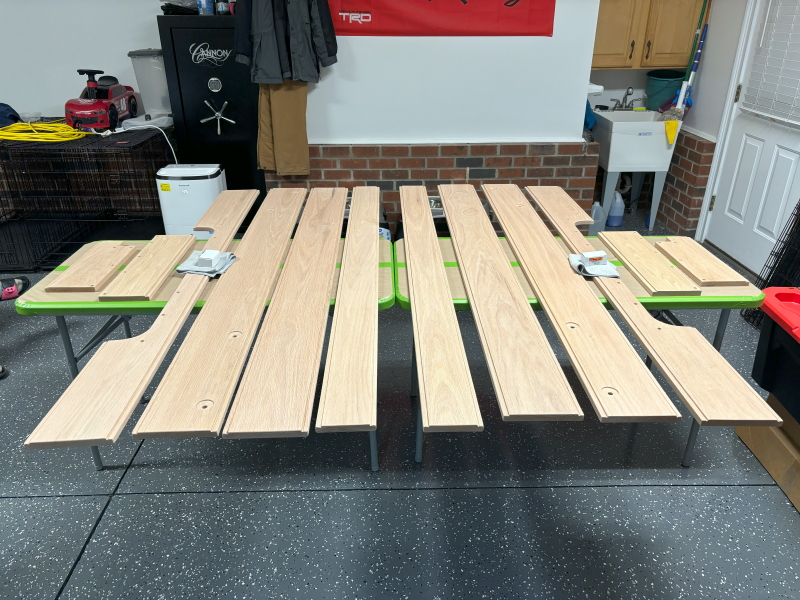
__________________
Board Member #87725 My build thread... http://67-72chevytrucks.com/vboard/s...d.php?t=813848 Last edited by omodified; 05-04-2024 at 04:00 PM. |
|
|

|
|
|
#358 |
|
Senior Member
 Join Date: Jul 2010
Location: Race City U.S.A.
Posts: 1,032
|
Re: "Midnight Rider" 1970 C10 SWB Fleetside
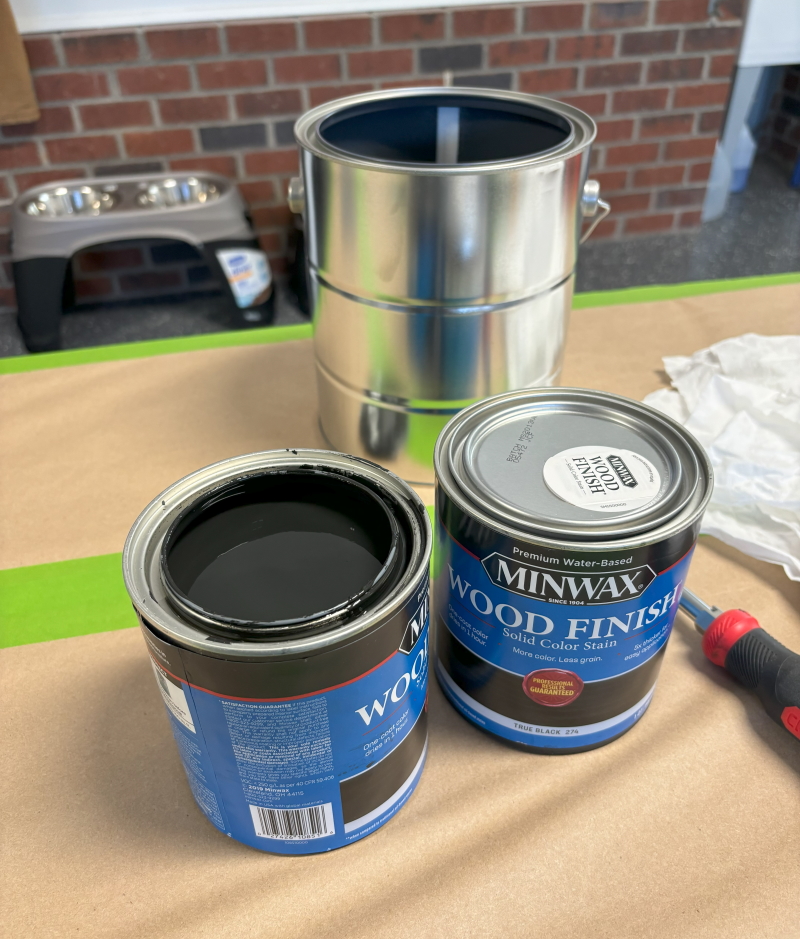
Let's add some color to this wood now. During my initial tests, I tried several methods including stains, paints and dyes. In the end, the most consistent results came from the stain. I decided on Minwax "True Black" solid water-based stain . I figured this job was going to take 2 quarts total. So, I bought a one gallon container and mixed both quarts together to insure a consistent finish.
 I did most of my testing during the warm months and here we are in the middle of winter. So, I was a bit concerned about whether I would get the same results. So, to help, I placed a heater and a dehumidifier in the garage to replicate what I would've had during my tests. 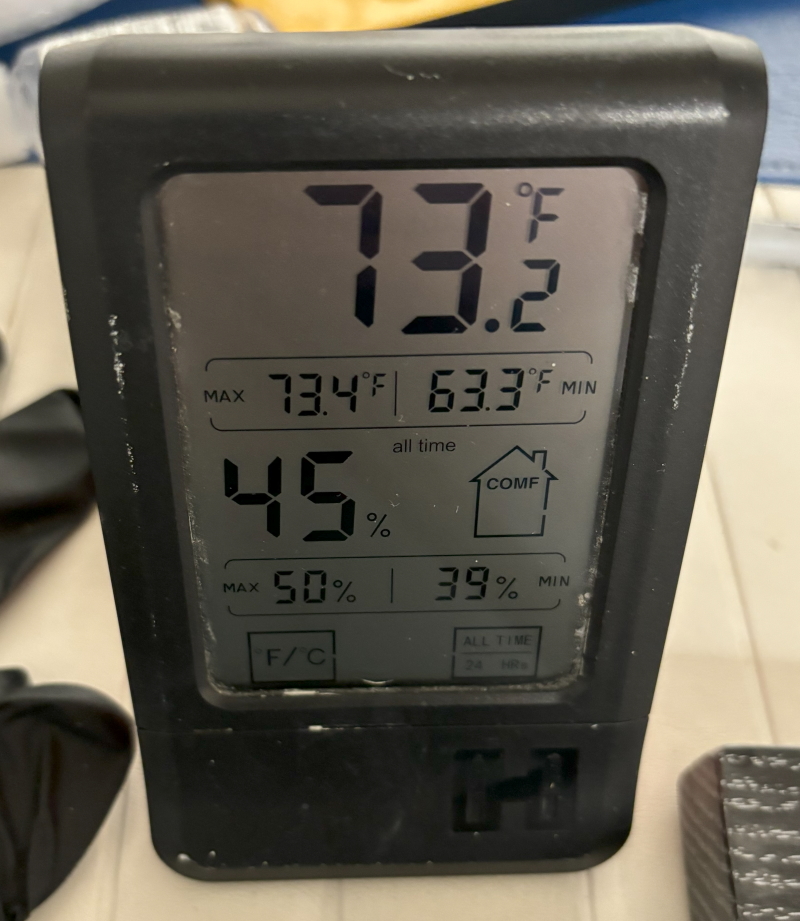 Time to apply the first coat. I used a cotton applicator pad to apply the stain to the sides and ends, then the bottom. I applied with the grain, in one direction, using long sweeping strokes. When I did all of my tests, I wiped the excess stain off with a lint-free cloth. I bought three new bags of lint-free rags for this project from Lowes. For some strange reason, on my first board, the lint-free rags appeared to be leaving behind lint, ugh. So I went with Minwax's instructions to use a clean applicator pad to wipe off the excess instead. After I coated one side, I had to wait 1 hour to stain the other side. Here we are after on coat. Going to need more coats for sure. 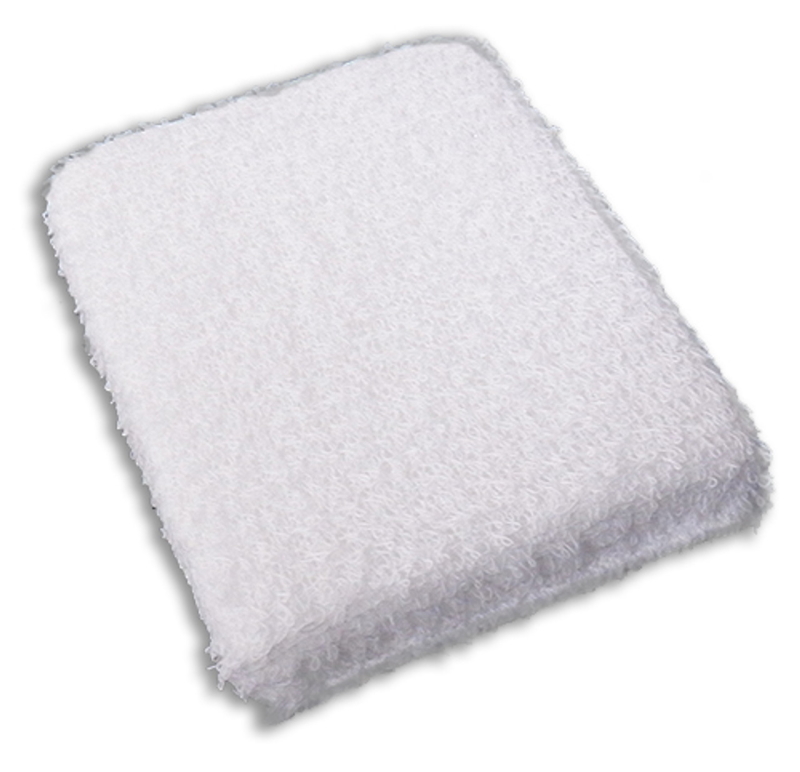 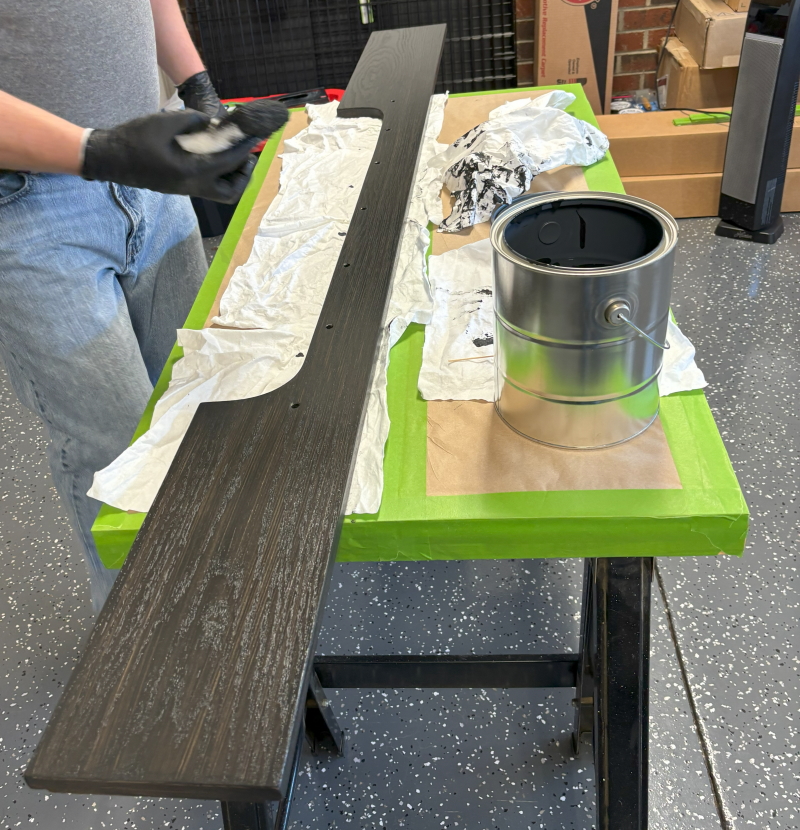 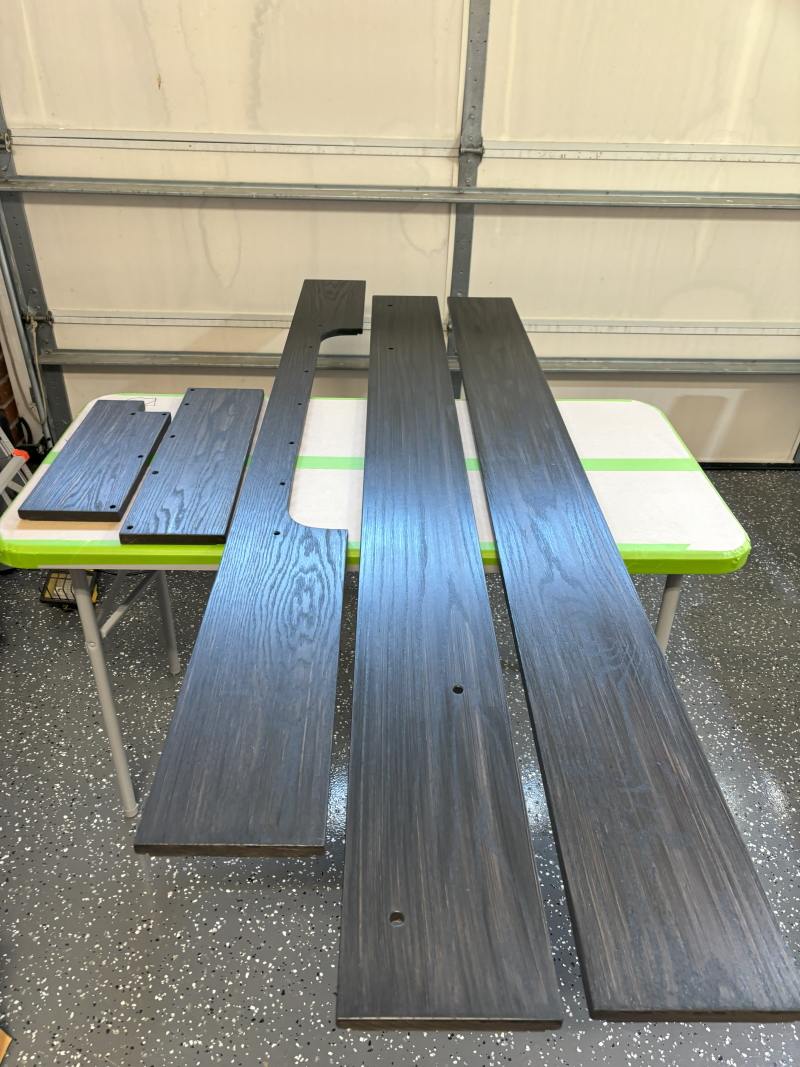 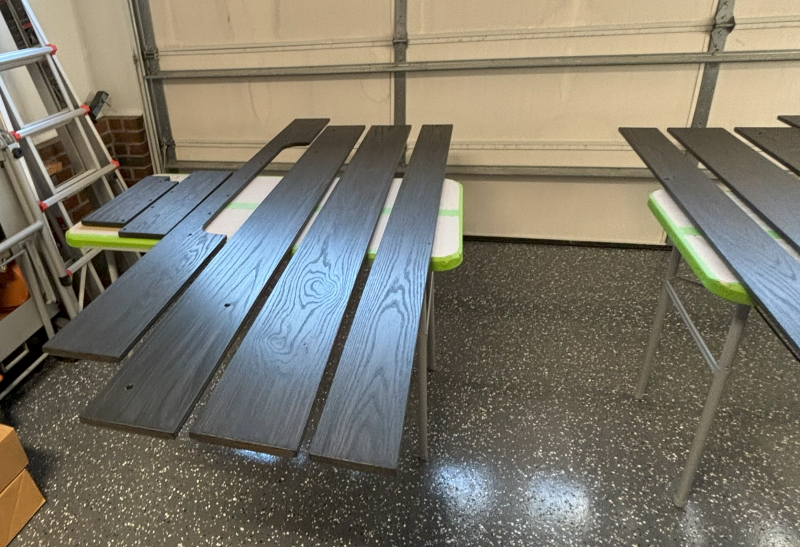 Second coat going on now. I used the same process as the first coat. Going to need at least one more coat. 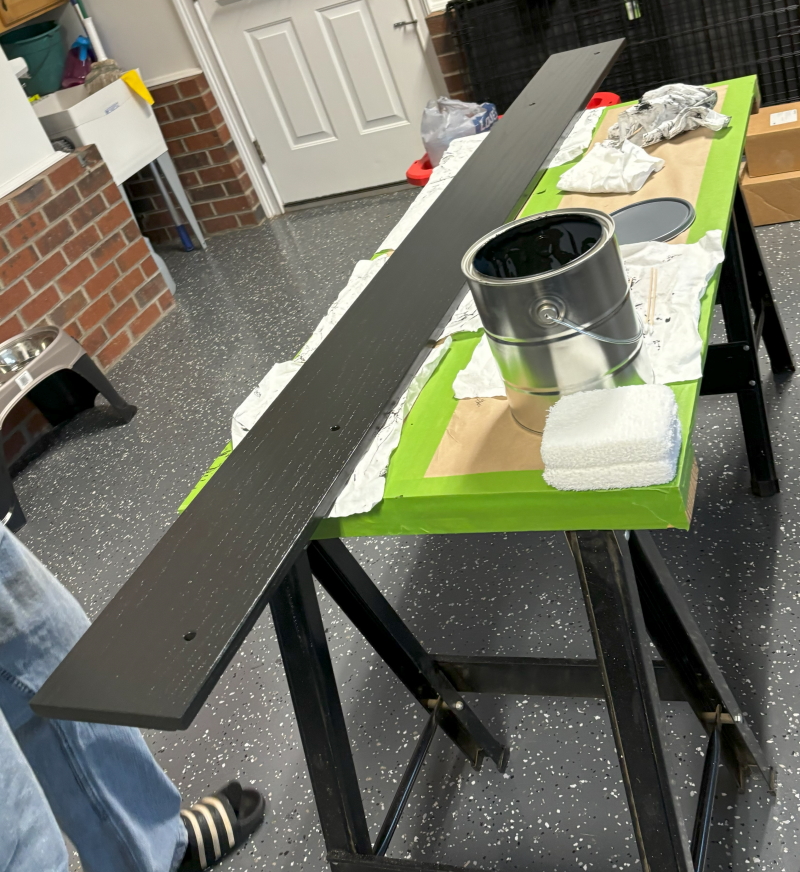 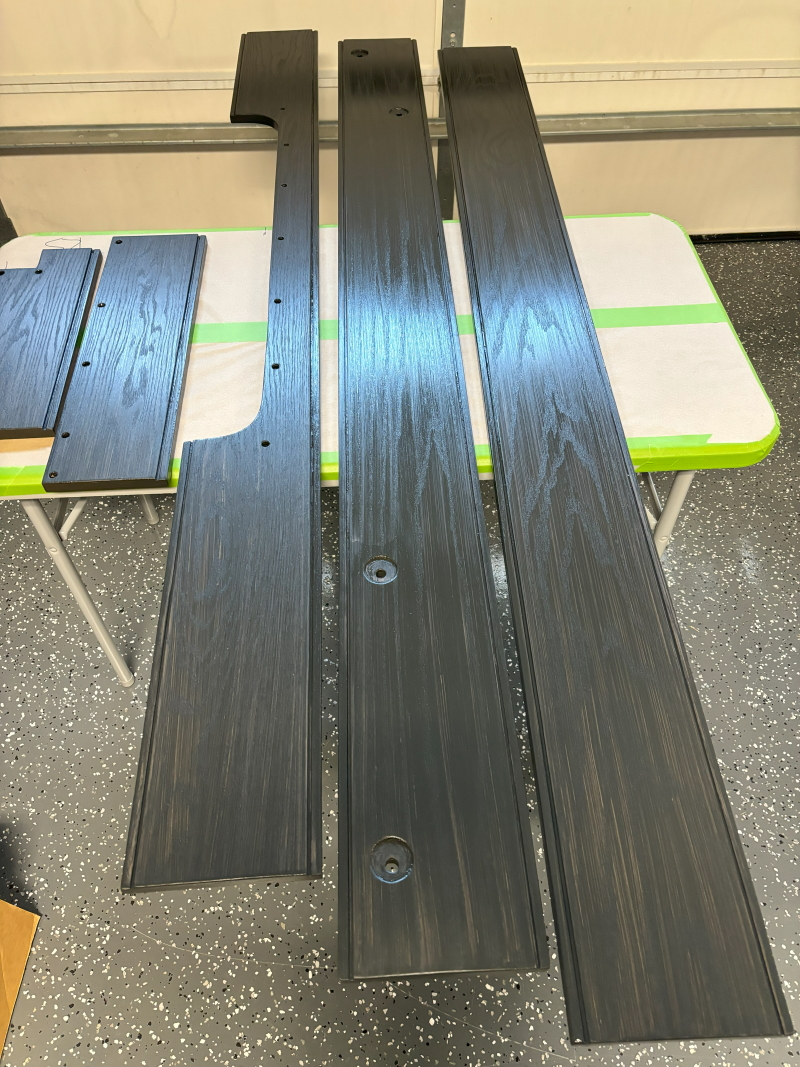 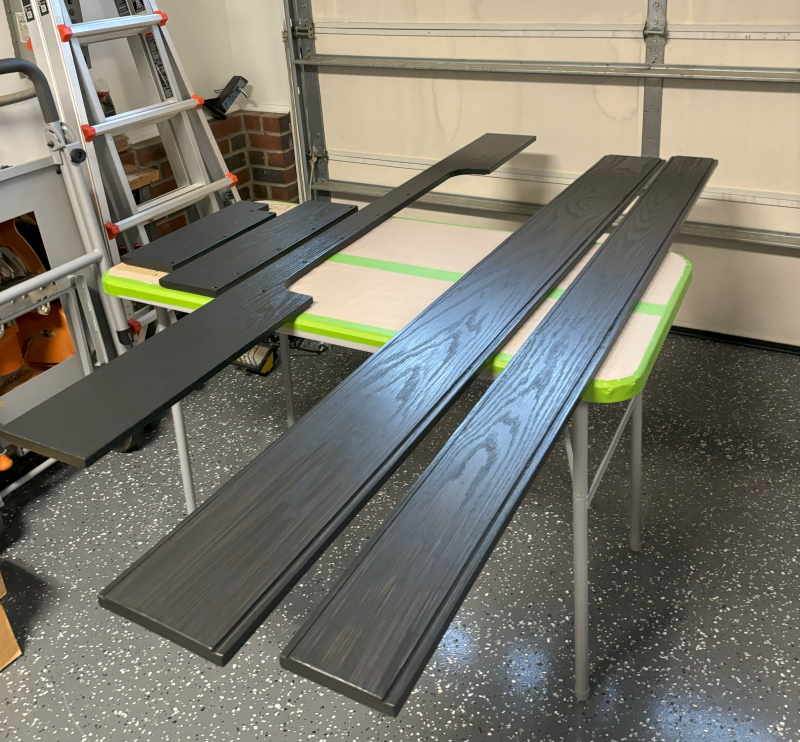 The third and what ended up being the final coat is going on now. The whole staining process took about eight hours. I think it turned out really nice. The only thing I wasn't happy with is the act of wiping off excess with the applicator pad instead of a cloth has caused a build up of lines. They almost look like small brush strokes. At least they are going in the same direction as the grain. Maybe something can be done with it later. I'll let these set for a few days to let it dry as much as possible before I try to handle them. 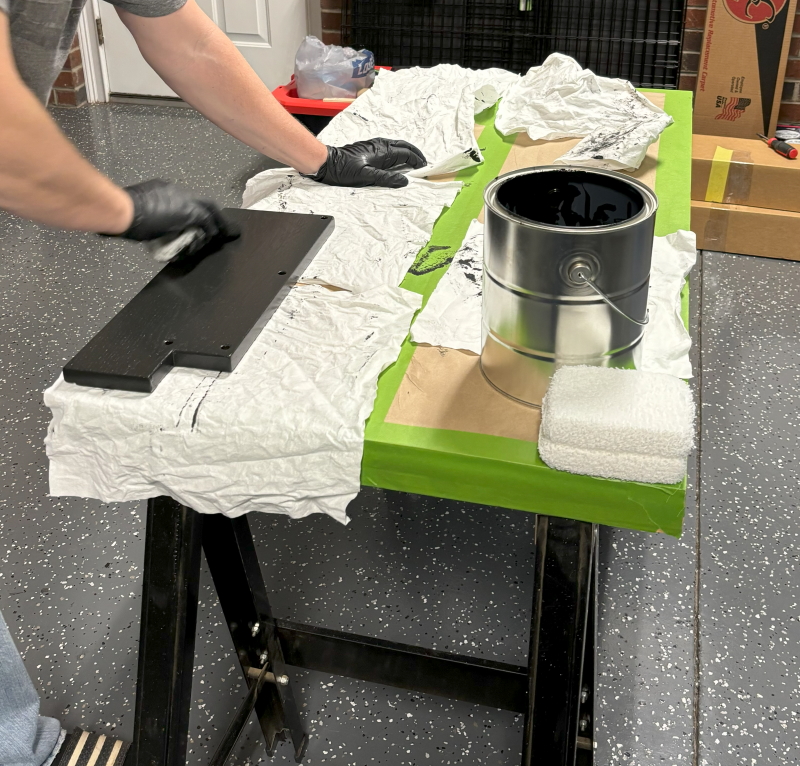 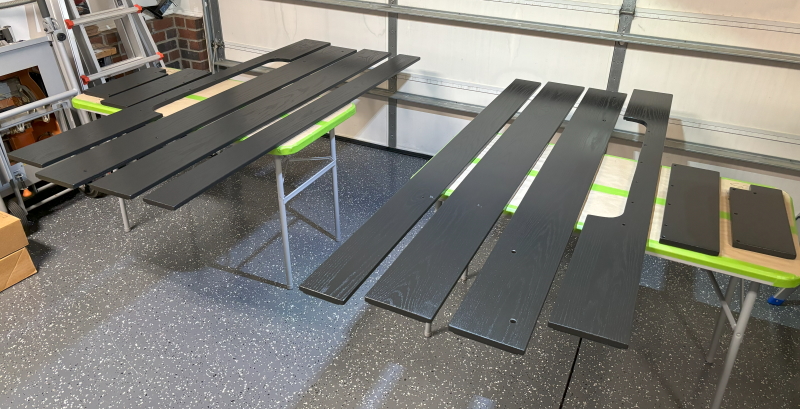 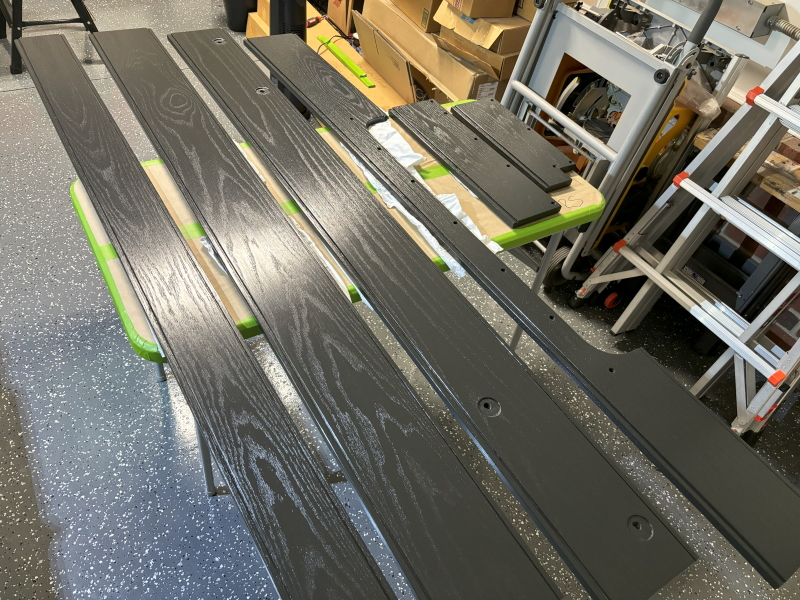 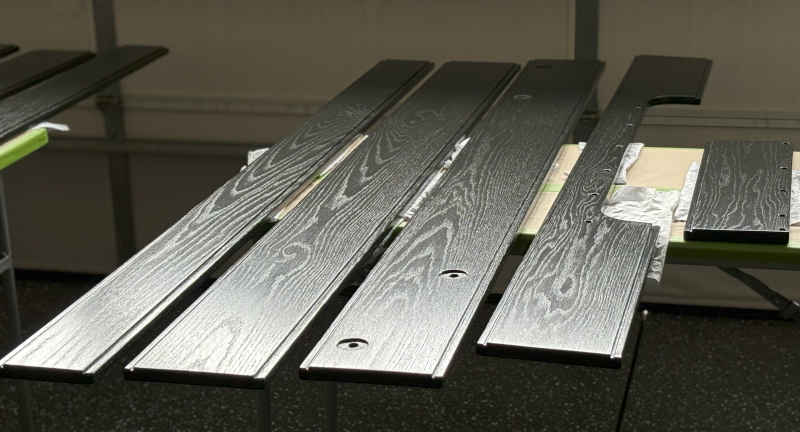 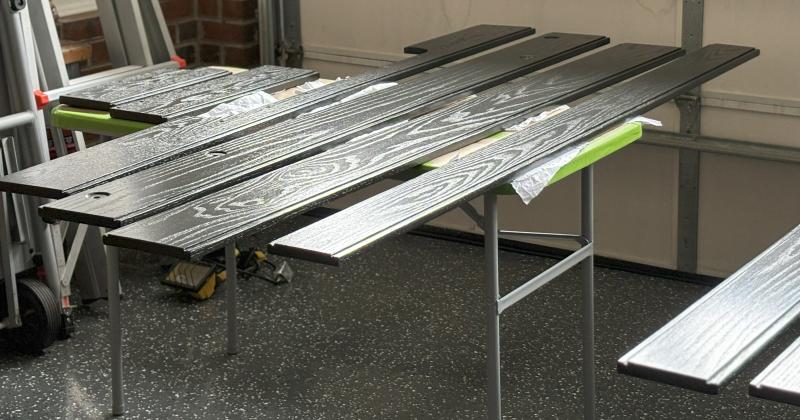
__________________
Board Member #87725 My build thread... http://67-72chevytrucks.com/vboard/s...d.php?t=813848 Last edited by omodified; 05-04-2024 at 04:00 PM. |
|
|

|
|
|
#359 |
|
Registered User
Join Date: Dec 2014
Location: Tucson, AZ
Posts: 742
|
Re: "Midnight Rider" 1970 C10 SWB Fleetside
Nice work sir!

__________________
1987 V20 farm-hand rescue 1998 C2500 lot-rot rescue |
|
|

|
|
|
#360 |
|
Senior Member
 Join Date: Jul 2010
Location: Race City U.S.A.
Posts: 1,032
|
Re: "Midnight Rider" 1970 C10 SWB Fleetside
This is the look I always wanted to reproduce for the bed wood. No matter what I tried, I just ended up with tans and browns instead grays. So, I needed to come up with something totally different.
 The technique I decided to use is a newer finish that people are doing on furniture and cabinets called cerusing. This video was my inspiration. To achieve this finish, I used a product called Rub N Buff. It comes in a variety of metallic finishes, but I chose silver. Using rubber gloves, I placed three dabs at a time onto the wood surface and spread it with my fingers along the grain. I smashed it downward as much as I could to insure it was getting in the grain. Once the entire surface was covered, I used a bondo spreader to removed the excess. In total, I used 25 tubes of this stuff. I could only find a few tubes locally, so I had to order more from Michael's and have it shipped. I initially underestimated how many I needed, so I had to place two separate online orders. Due to the incredibly awful smell of this stuff and shipping delays, this process took over a week. Once all of the boards were finished, I decided I would need to let everything sit a few more days to insure the paste was totally dry.. 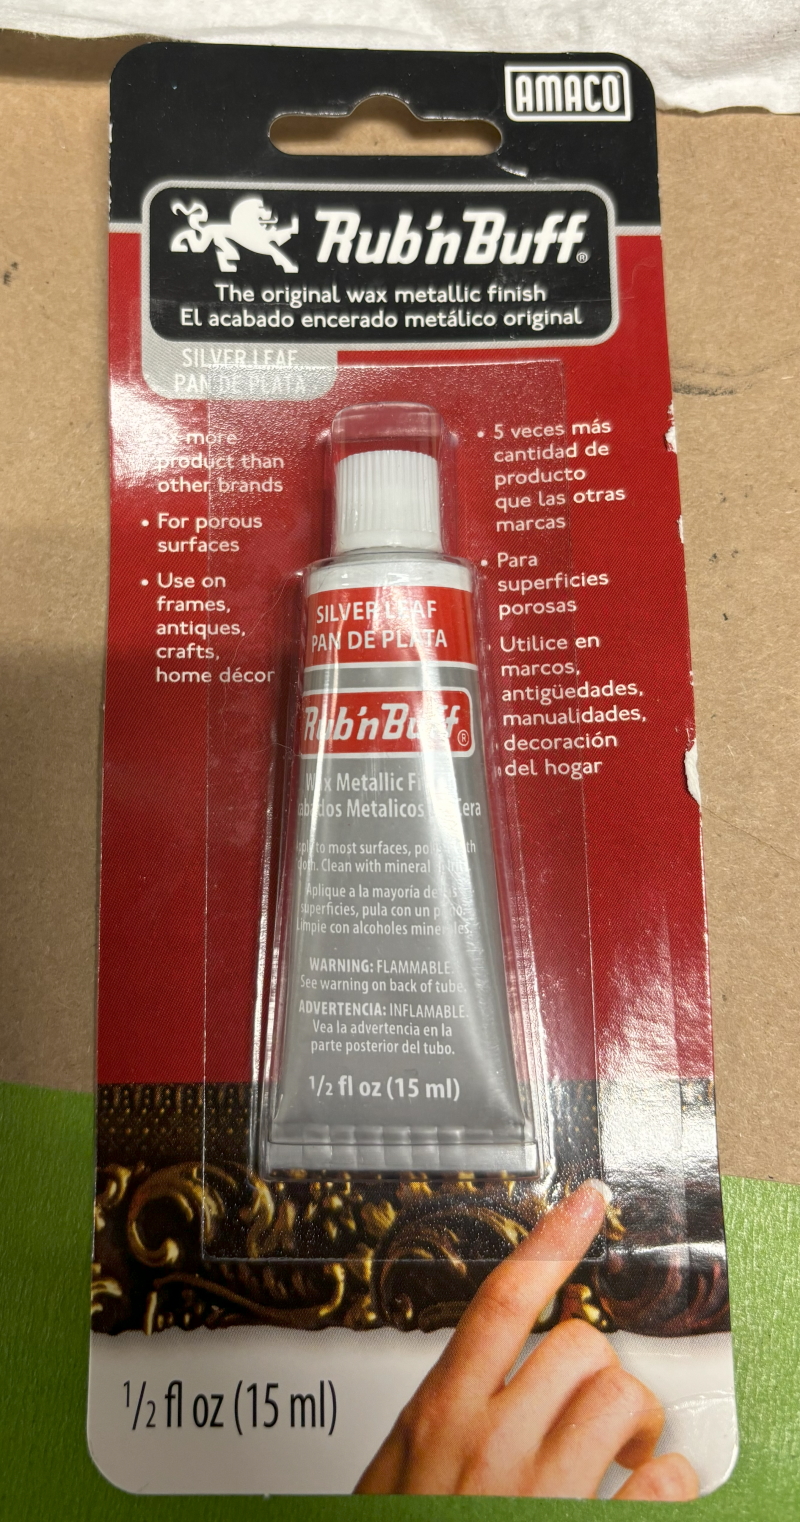 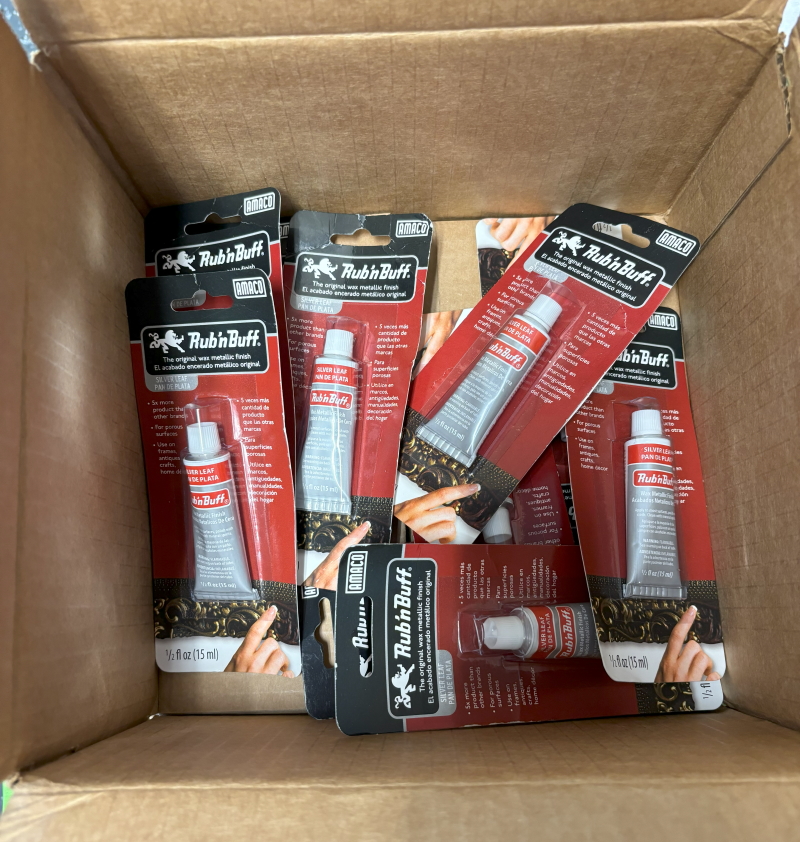 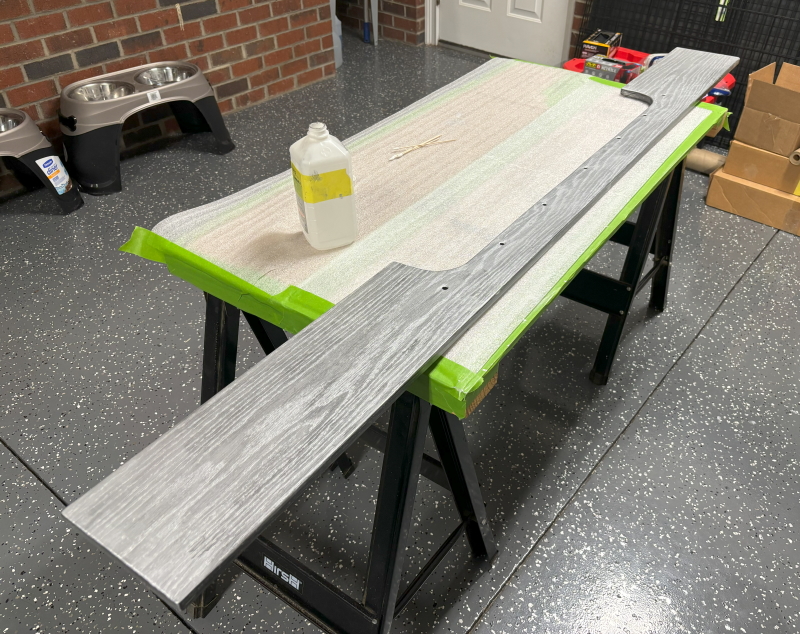 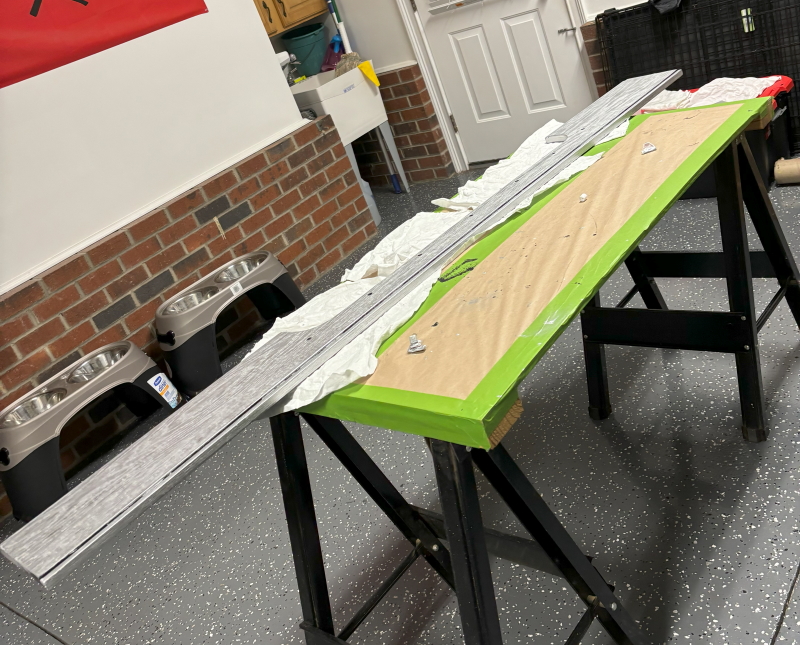 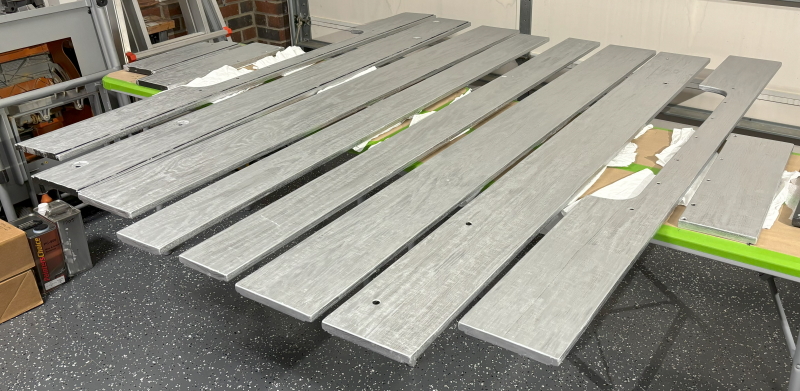
__________________
Board Member #87725 My build thread... http://67-72chevytrucks.com/vboard/s...d.php?t=813848 Last edited by omodified; 05-04-2024 at 04:01 PM. |
|
|

|
|
|
#361 |
|
Senior Member
 Join Date: Jul 2010
Location: Race City U.S.A.
Posts: 1,032
|
Re: "Midnight Rider" 1970 C10 SWB Fleetside
The next step is removing the Rub N Buff. During this step, I realized the lint-free rags that I originally bought are actually lint-free...on one side. Too bad I didn't discover that earlier. During my test runs, I experimented with several different chemicals to remove the silver. The best thing I found that actually still left a nice paintable surface was wax and grease remover.
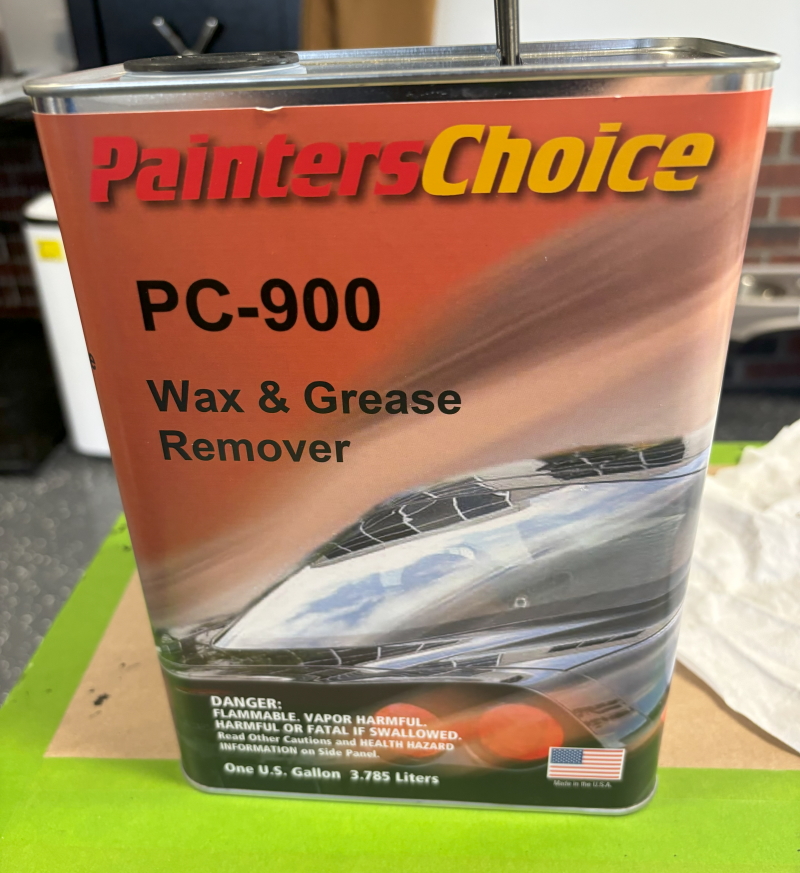 This process, of course, takes a while too. It's very easy to remove too much silver if your rag becomes too saturated. I would guess I used about 20 rags per long board. The first few swipes can be liberal. Once you start seeing black, you really have to slow down and be precise. Keeping the rag clean for each swipe is important. Keep pushing your work from one end to the other. I used long q-tips to keep the holes and recesses cleaned up. I hope they all turn out as good as the first one. Here it is compared to just black. 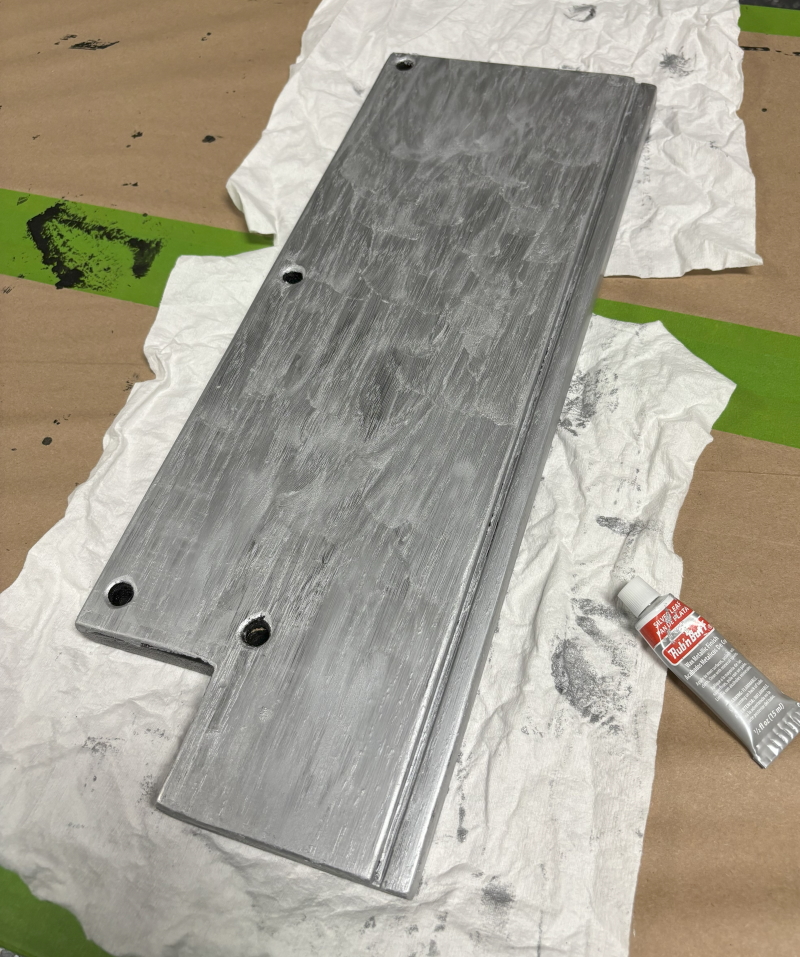 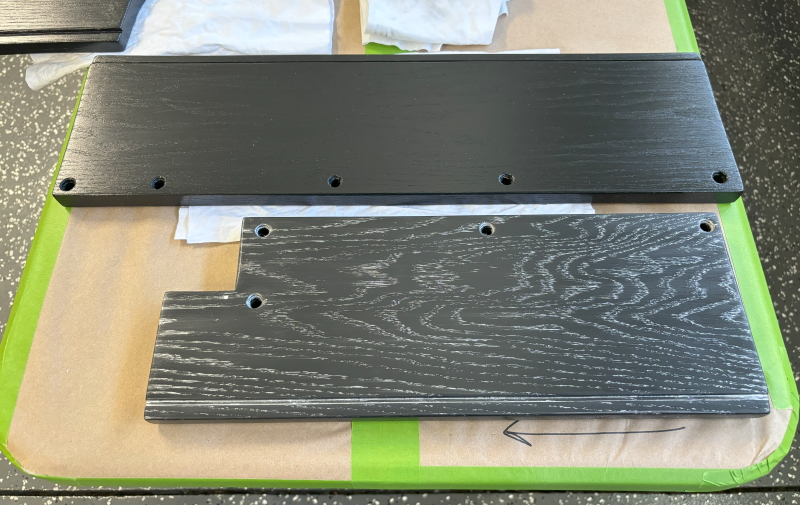 Another done. I just can't do too many in one day. The smell is terrible. 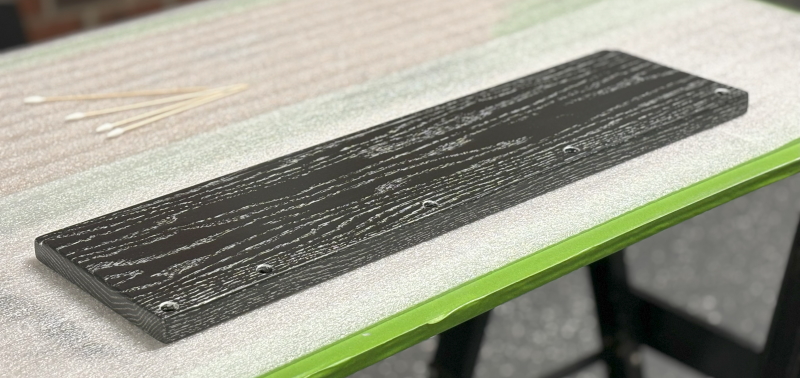 A few days later and I have some more boards finished. this is looking really nice. 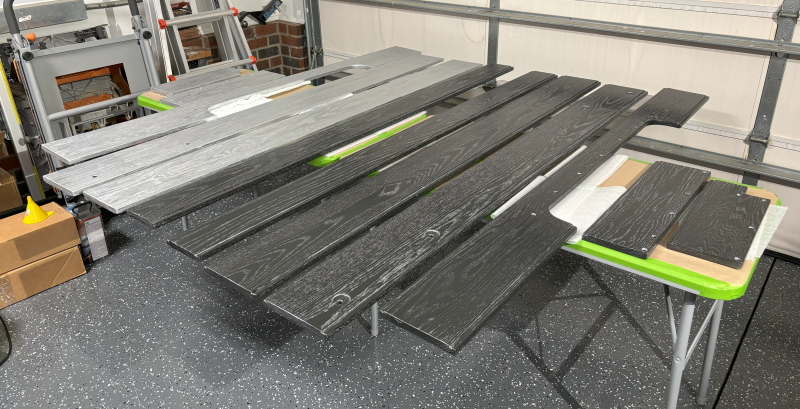 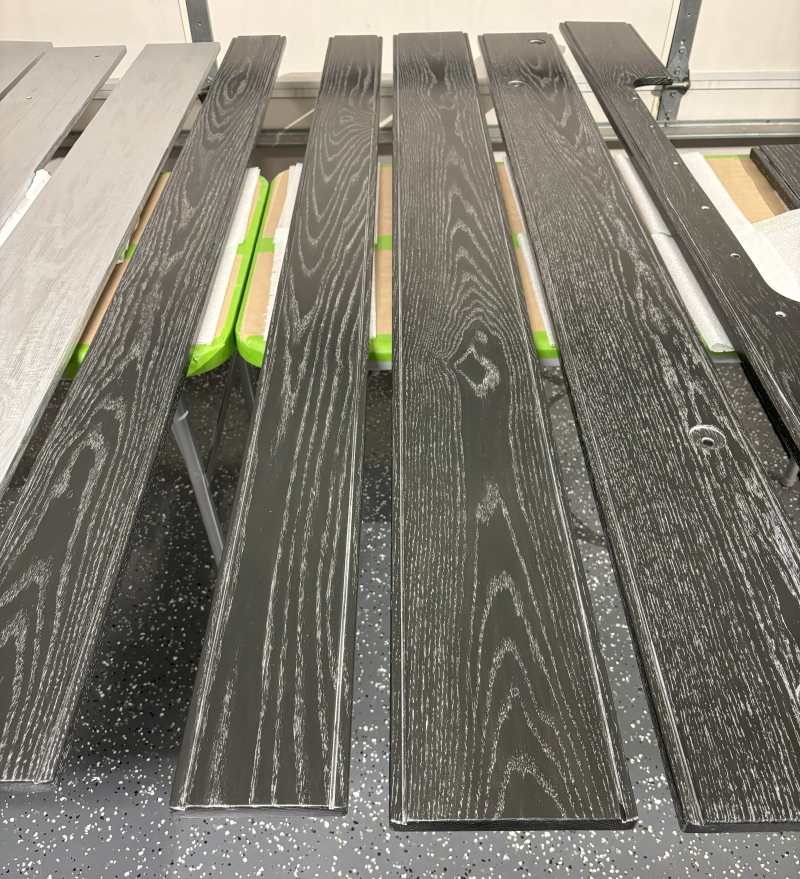 After a week, this phase is all wrapped up. I'll let this sit for another few days before the next step begins. 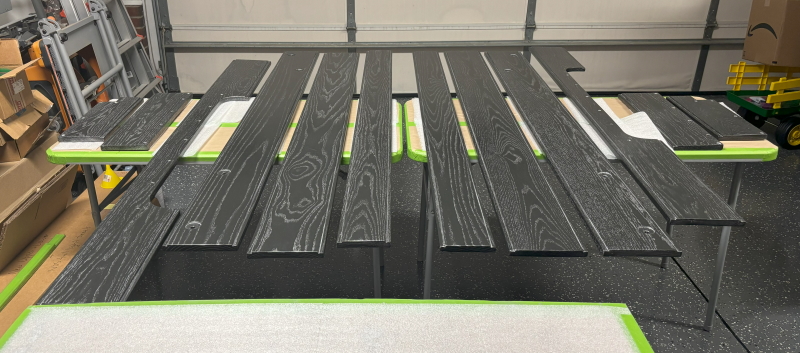
__________________
Board Member #87725 My build thread... http://67-72chevytrucks.com/vboard/s...d.php?t=813848 Last edited by omodified; 05-04-2024 at 04:01 PM. |
|
|

|
|
|
#362 |
|
Senior Member
 Join Date: Jul 2010
Location: Race City U.S.A.
Posts: 1,032
|
Re: "Midnight Rider" 1970 C10 SWB Fleetside
The next step for the bed wood is protecting the finish. During my tests, I tried using several types of clear. I tried marine spar varnish, polyurethane, and two part epoxy for countertops. Every one of these caused the silver to turn a yellowish color. My last option was clear spray paint. This seemed to work best. I took a few samples to the body shop and made sure their clear process would work the same. I was pretty excited about those results. So, it's time to load these boards up and get them in the paint booth.
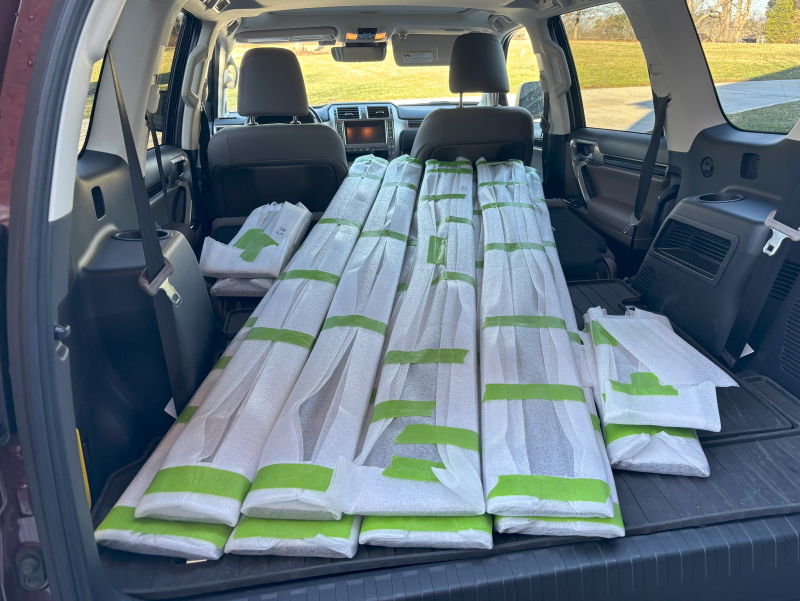
__________________
Board Member #87725 My build thread... http://67-72chevytrucks.com/vboard/s...d.php?t=813848 Last edited by omodified; 05-04-2024 at 04:02 PM. |
|
|

|
|
|
#363 |
|
Senior Member
 Join Date: Jul 2010
Location: Race City U.S.A.
Posts: 1,032
|
Re: "Midnight Rider" 1970 C10 SWB Fleetside
Got all the boards layed out at Hawk Restorations for the first coats of clear. A little easier to see everything in all this good lighting.
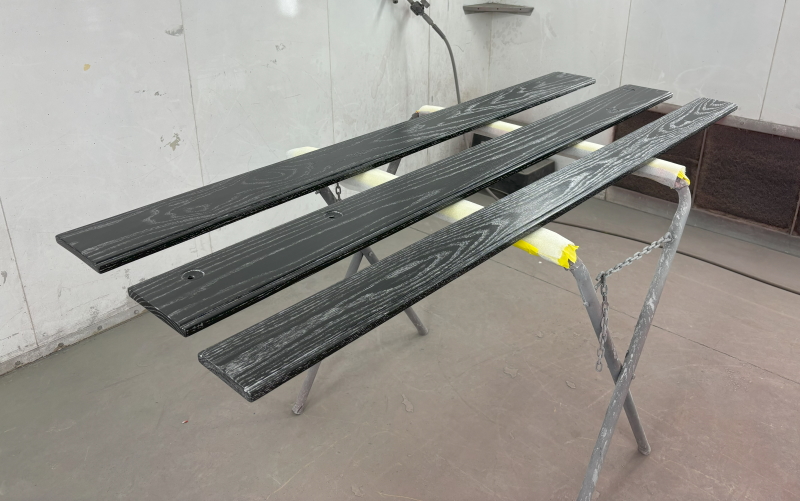 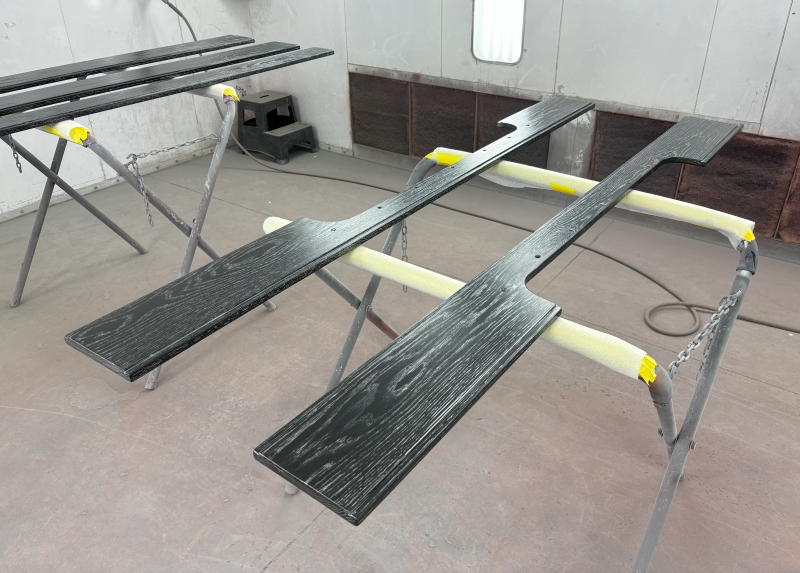 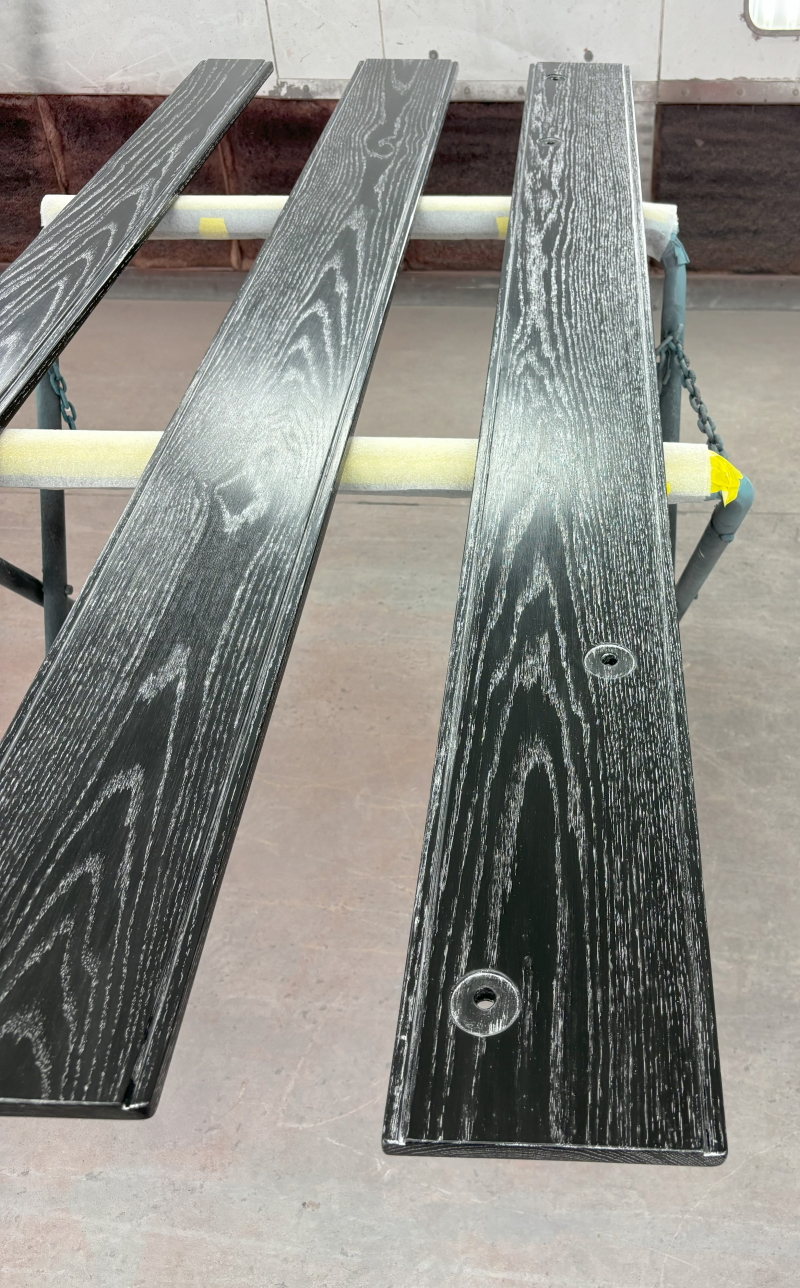 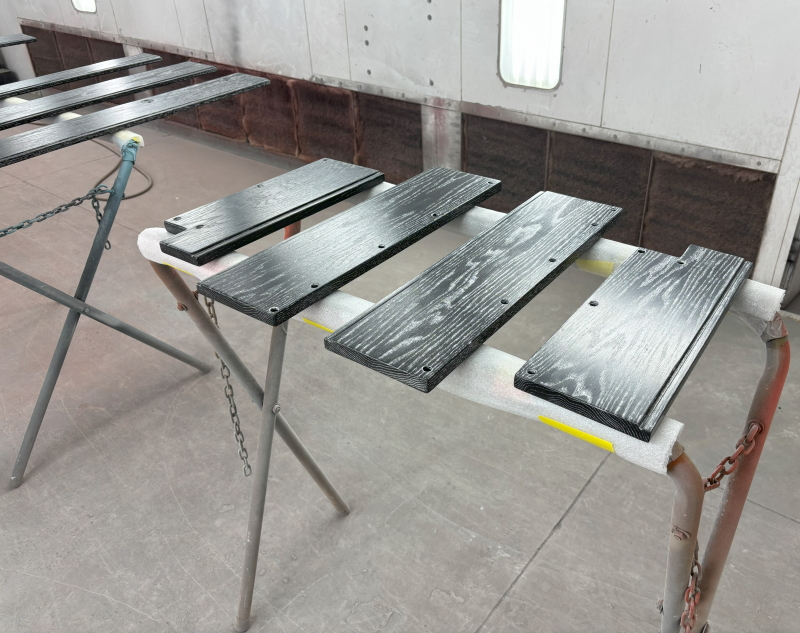 When I did my clear tests, I always used gloss clear. This looked really good, but in reality, it was way too shiny. I really feel like there needs to be some contrast between the stainless mounting strips and the paint on the inside of the bed sides. So, I decided to use flat clear. It's actually is somewhere between flat and semi-gloss. 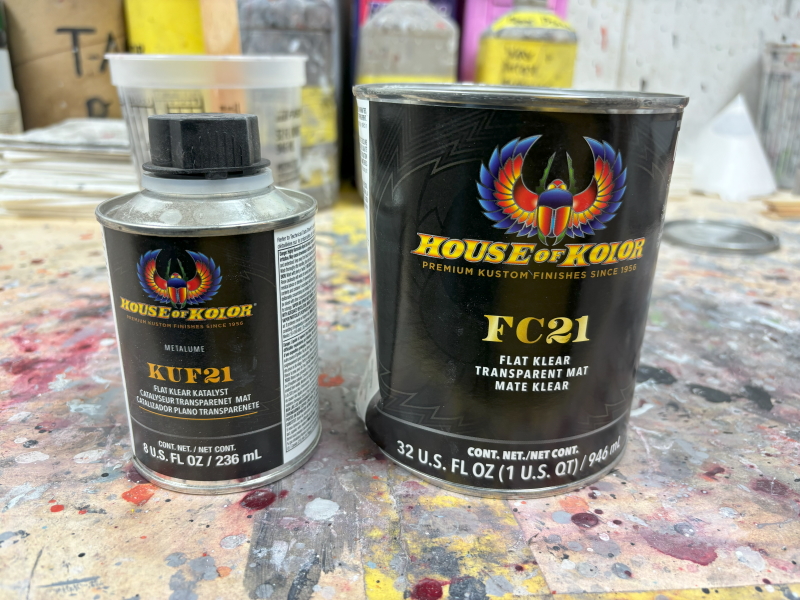 This stuff is only sold in quarts and we really had no idea how much would be needed for full coverage. So we started with just two quarts. This ended up being enough to do two coats on both sides of the boards. Before paint...  Directly after being sprayed... 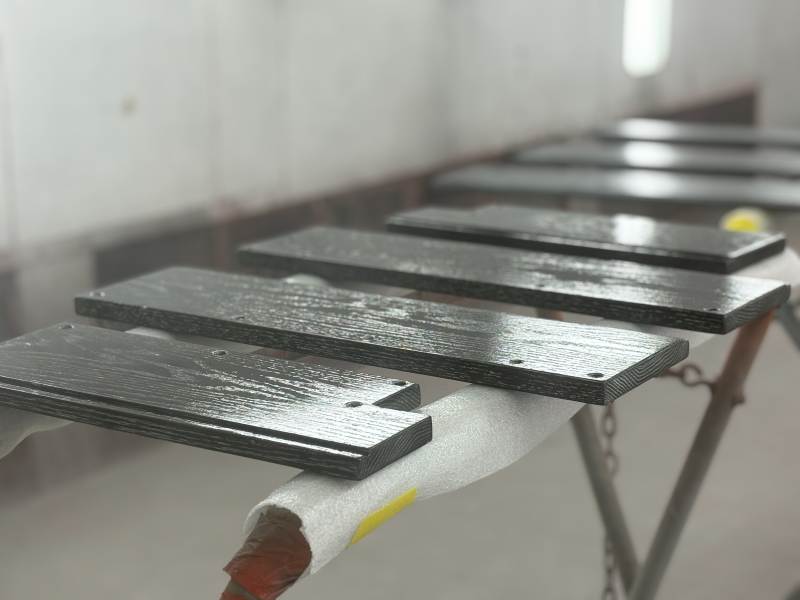 After two coats and dried... 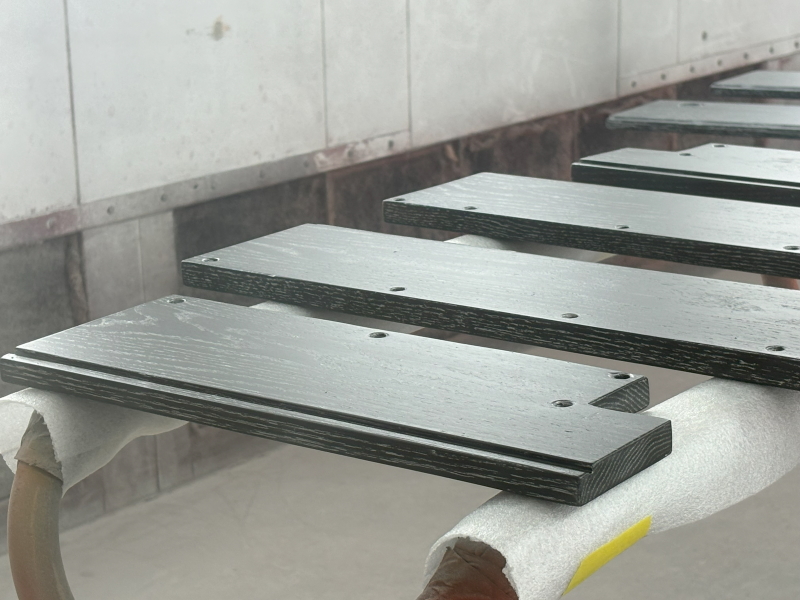 I really like how this finish turned out. The only downside is the brush marks are still noticeable and the the grain raised some from getting wet I guess. Now there are some wood fibers sticking straight up. Since we need to order more clear, I will have these guys carefully sand this finish. Hopefully some of the lines will come out but will still retain that wood grain texture look. 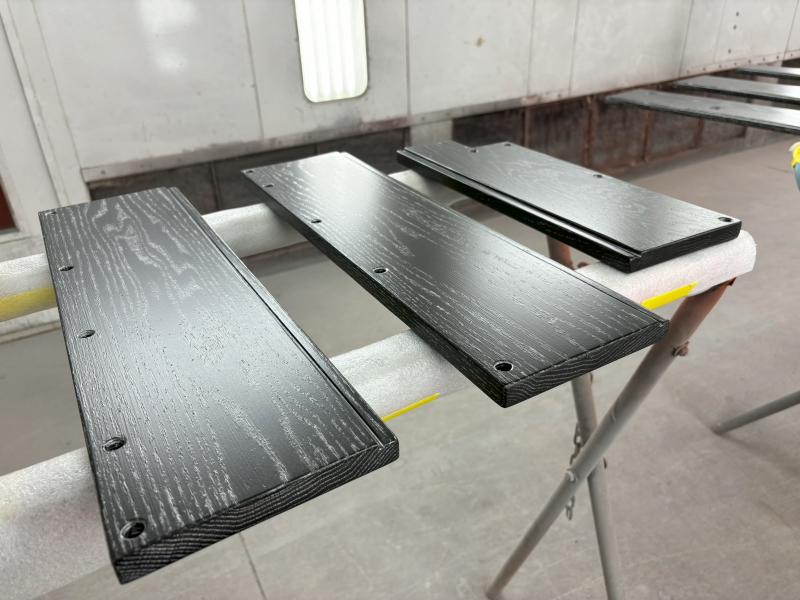 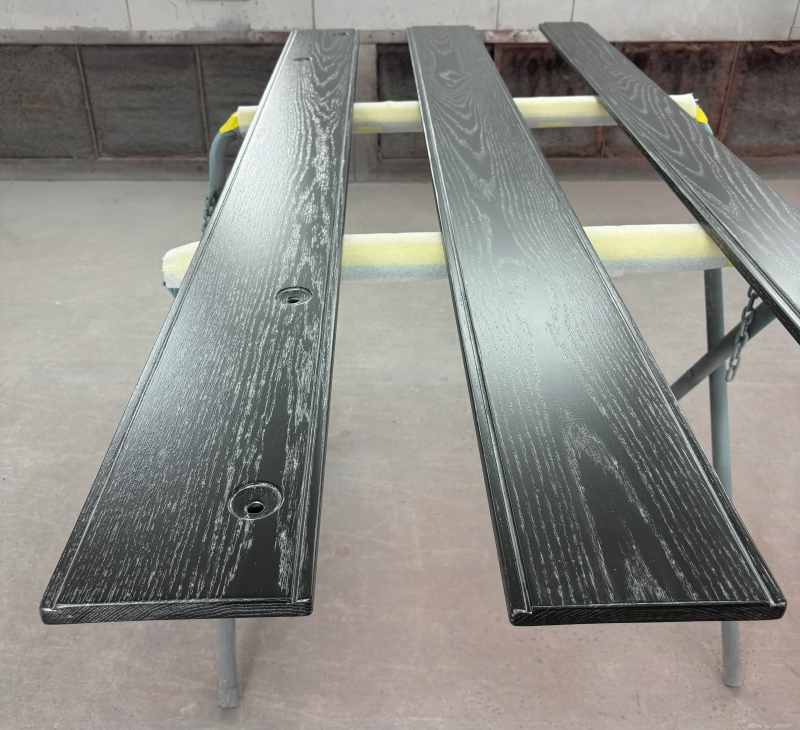
__________________
Board Member #87725 My build thread... http://67-72chevytrucks.com/vboard/s...d.php?t=813848 Last edited by omodified; 05-04-2024 at 04:02 PM. |
|
|

|
|
|
#364 |
|
Senior Member
 Join Date: Jul 2010
Location: Race City U.S.A.
Posts: 1,032
|
Re: "Midnight Rider" 1970 C10 SWB Fleetside
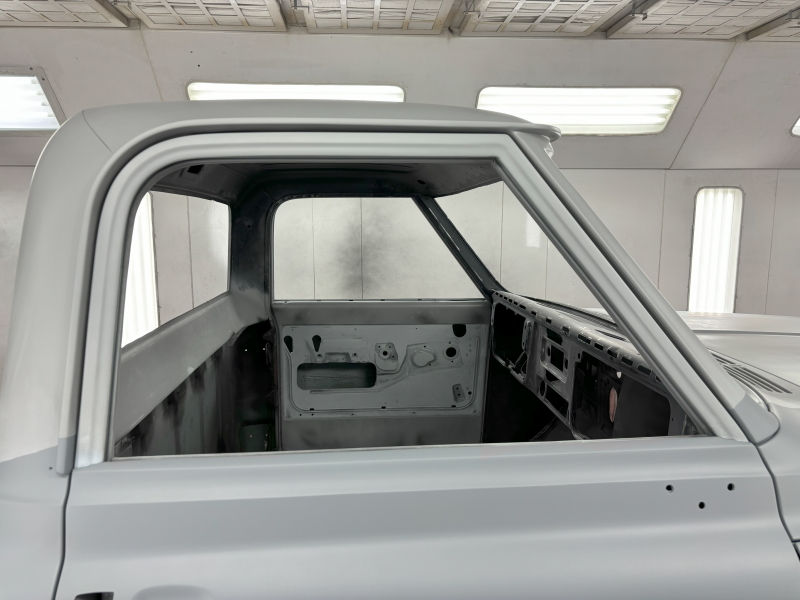
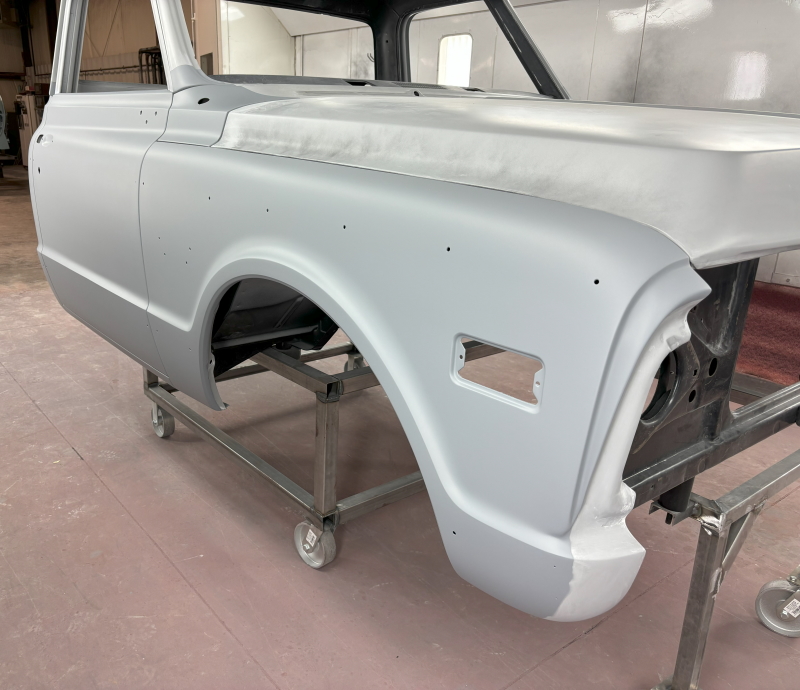
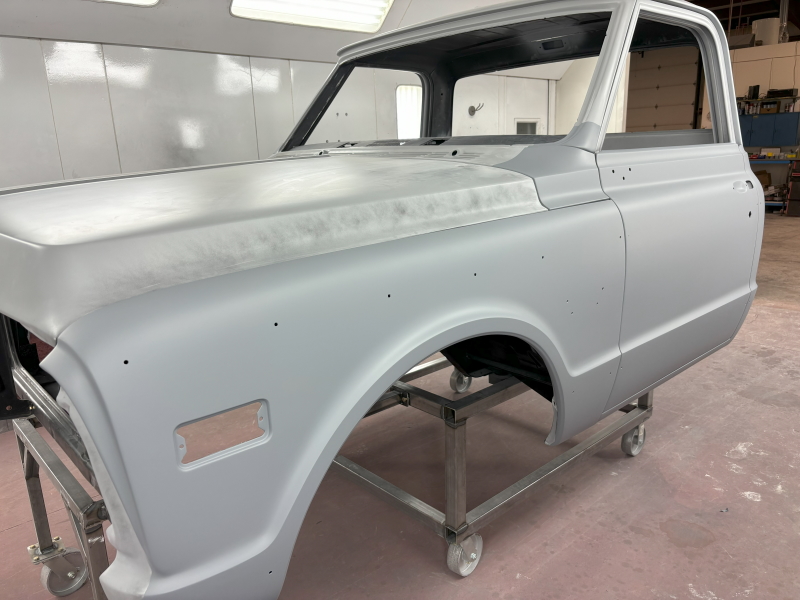
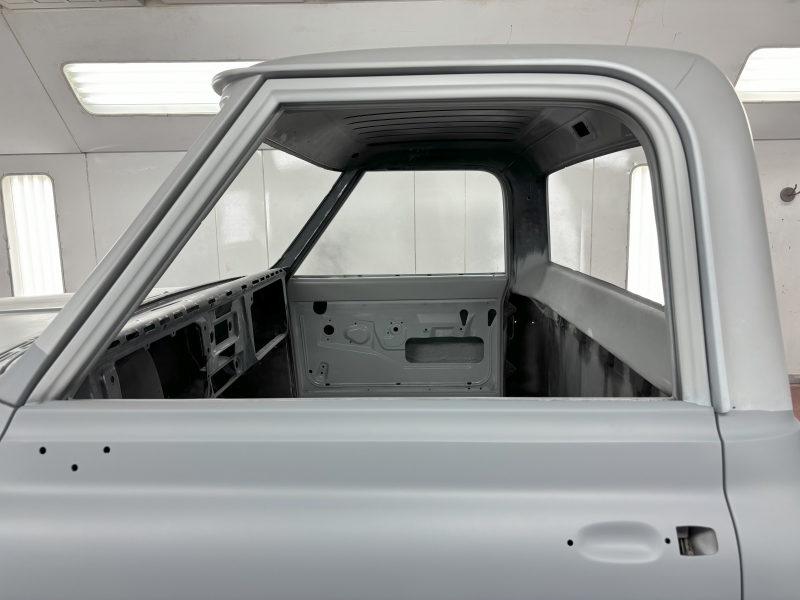
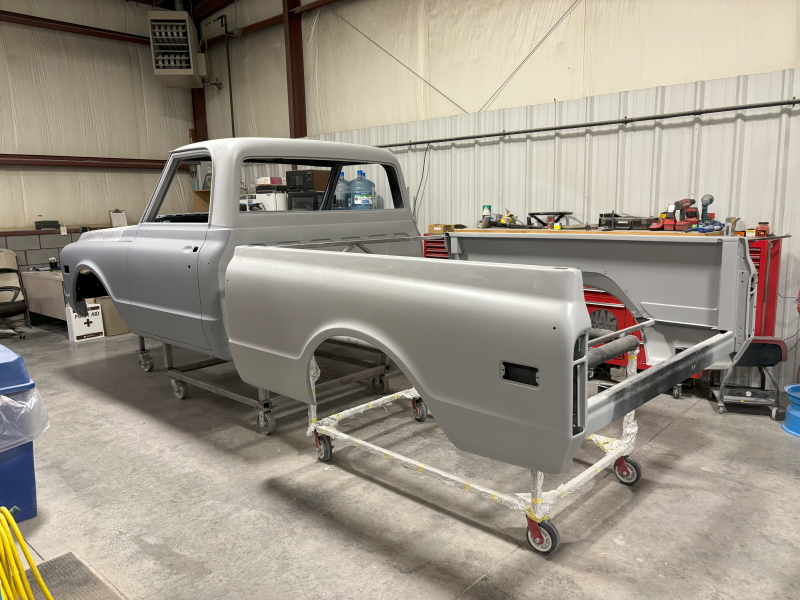
Got a few pics of the cab and bed while I was at Hawk. More work has been done on the body lines and everything was put in the same color primer to make it easier for me to see the progress. I put yellow tape on the three remaining places I thought still needed attention. Getting sooooo close!!!
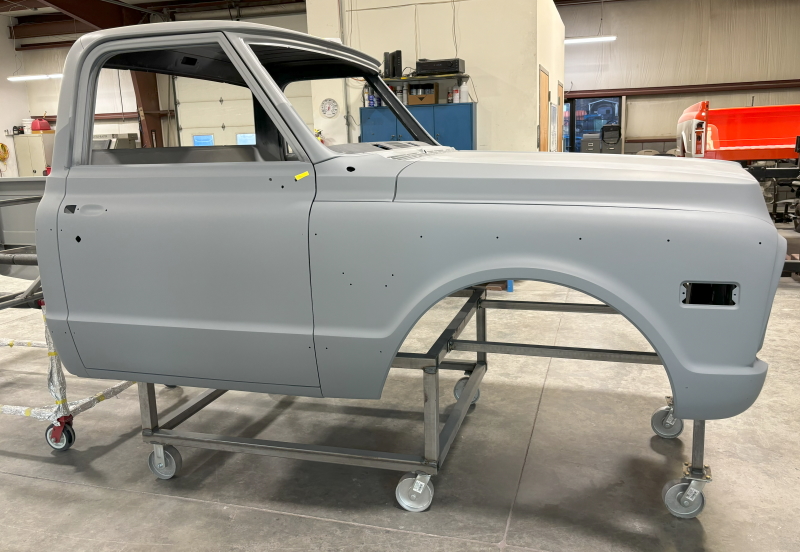 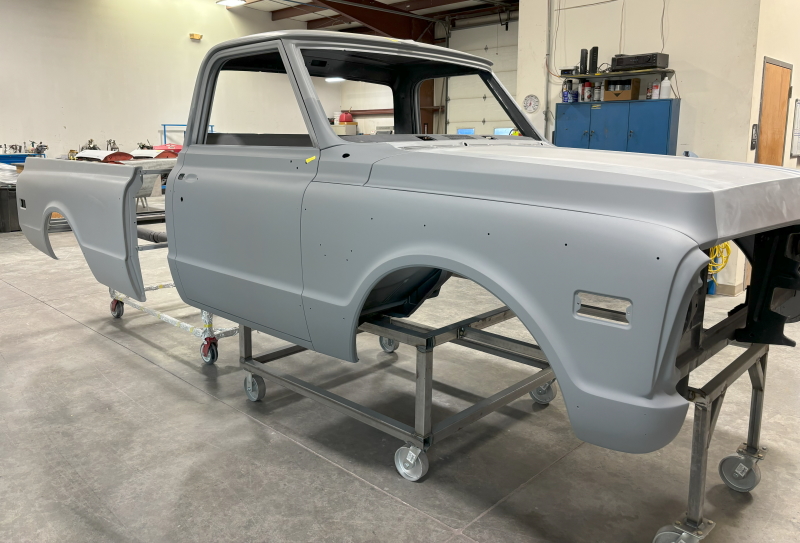 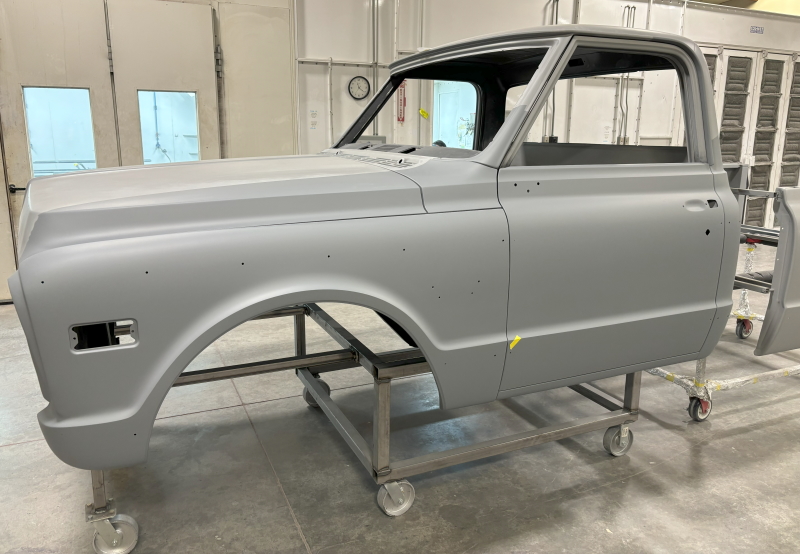 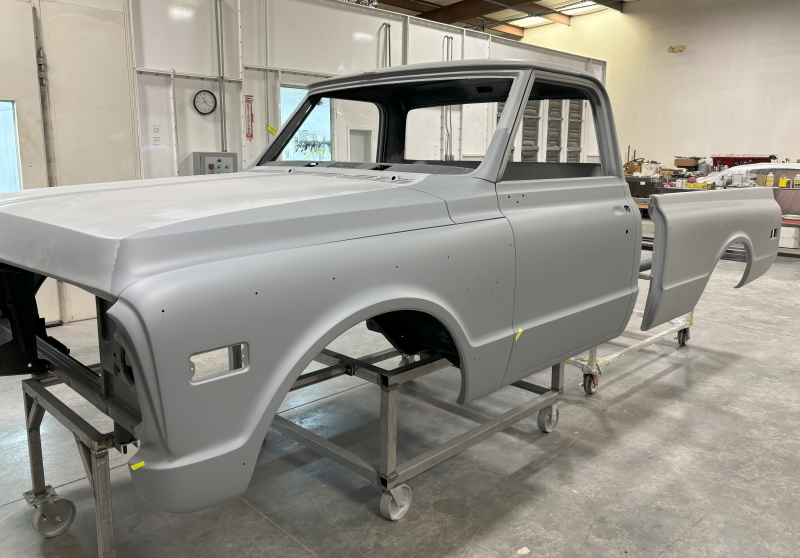
__________________
Board Member #87725 My build thread... http://67-72chevytrucks.com/vboard/s...d.php?t=813848 Last edited by omodified; 05-04-2024 at 04:03 PM. |
|
|

|
|
|
#365 |
|
Senior Member
 Join Date: Jul 2010
Location: Race City U.S.A.
Posts: 1,032
|
Re: "Midnight Rider" 1970 C10 SWB Fleetside
Still waiting on more clear to arrive. Seems there is none local and there is also shipping delays. The guys did get some sanding done on the boards. They used 320 grit to knock off the high spots and scotch brite for the low spots. They just did the bottom side for now just, in case I don't like how it turns out when we respray. This way, I can keep the finish I currently have on the top side. From what I see so far, I think this method is going to turn out nice. The brush marks are gone and the specks of whatever are gone. We'll see once it gets another few coats of clear.
Here is a closeup of the imperfections before sanding... 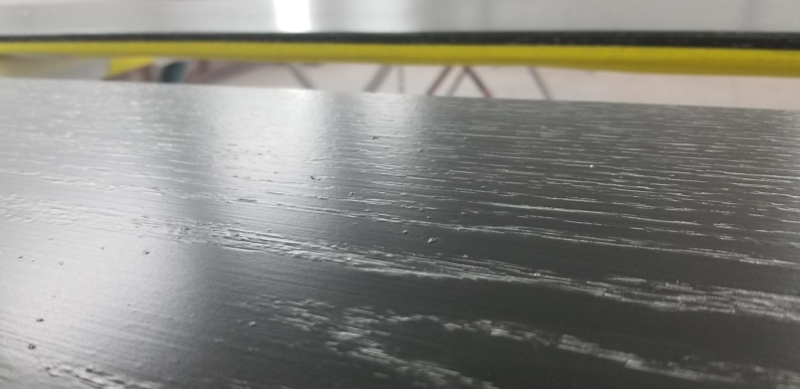 After sanding... 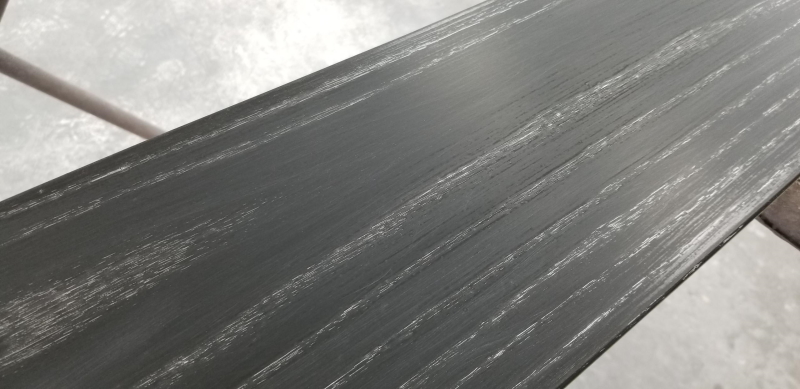 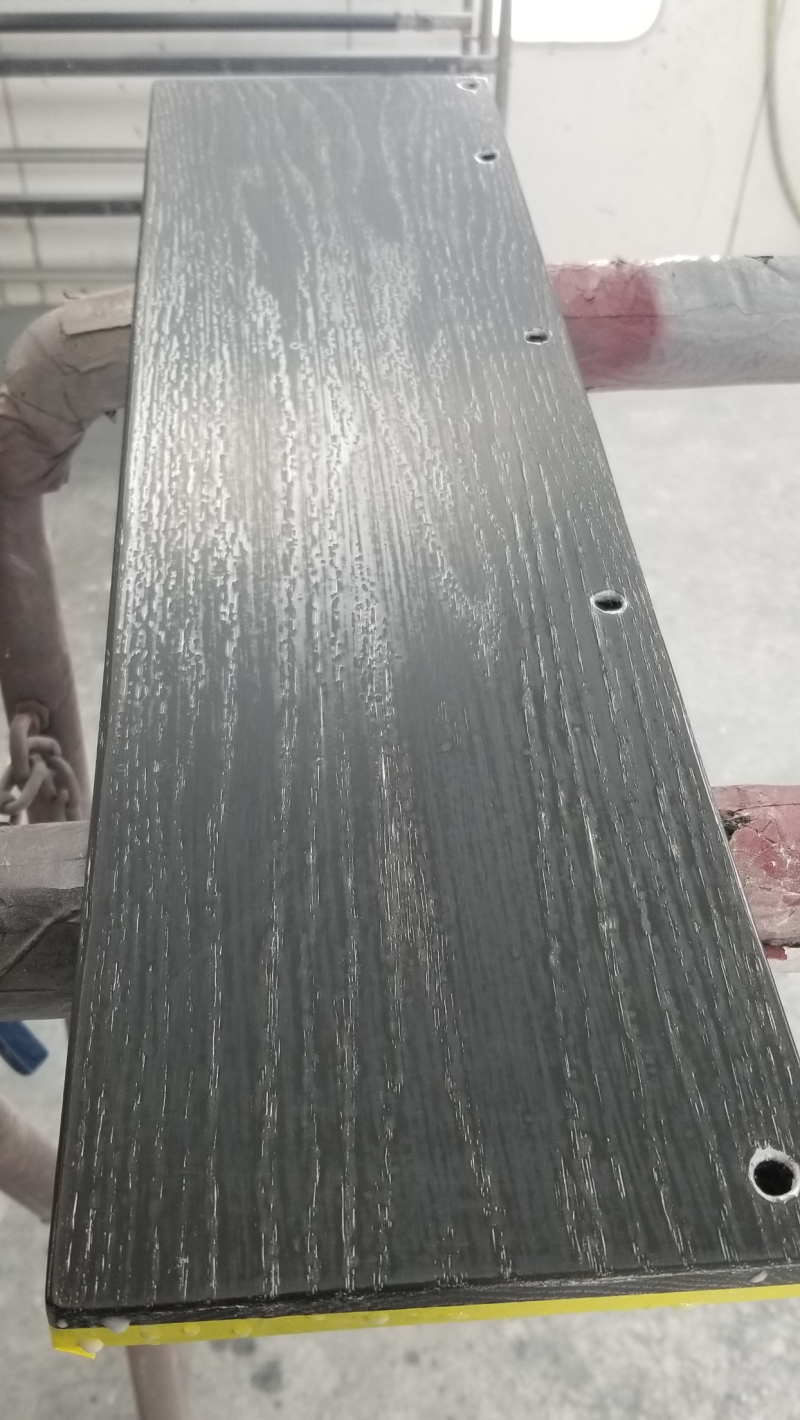 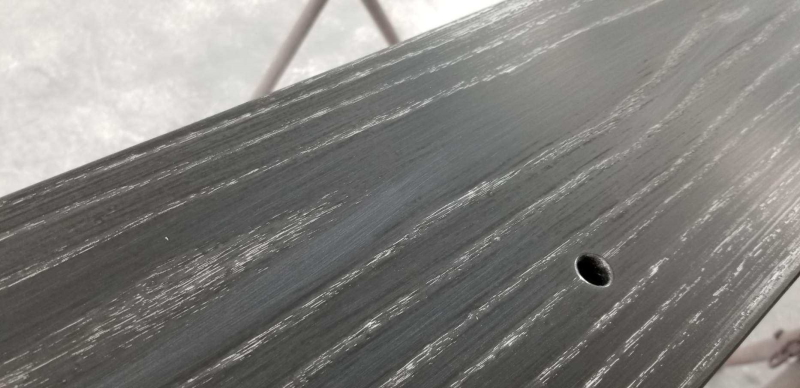 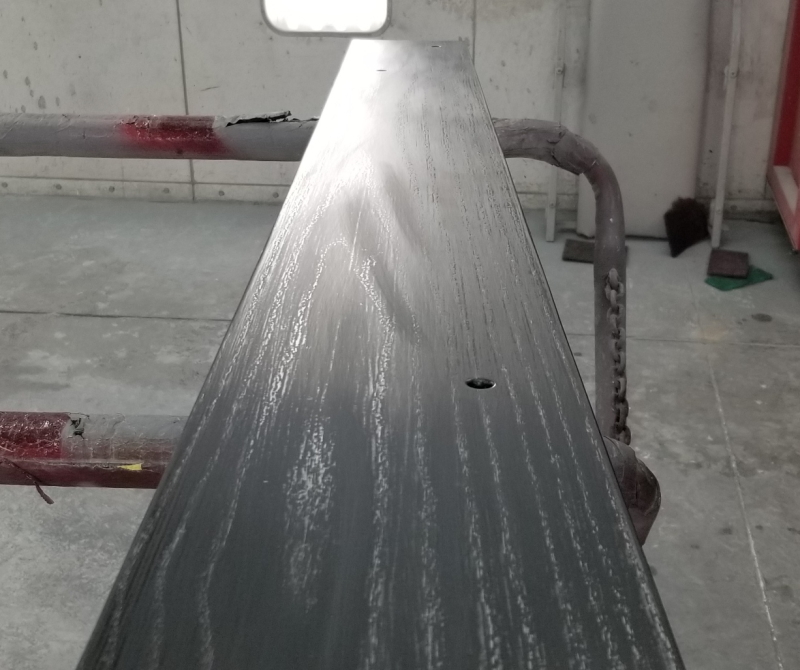
__________________
Board Member #87725 My build thread... http://67-72chevytrucks.com/vboard/s...d.php?t=813848 Last edited by omodified; 05-04-2024 at 04:03 PM. |
|
|

|
|
|
#366 |
|
Senior Member
 Join Date: Jul 2010
Location: Race City U.S.A.
Posts: 1,032
|
Re: "Midnight Rider" 1970 C10 SWB Fleetside
Still waiting on the clear to show up. Maybe it will show next week. In the meantime, the areas on the cab that I marked with yellow tape have been worked on. I'm still not quite happy with the passenger door, but the other two spots are finished now.
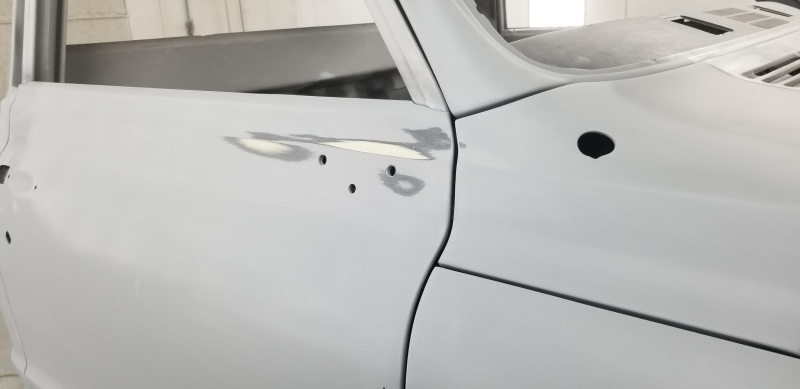 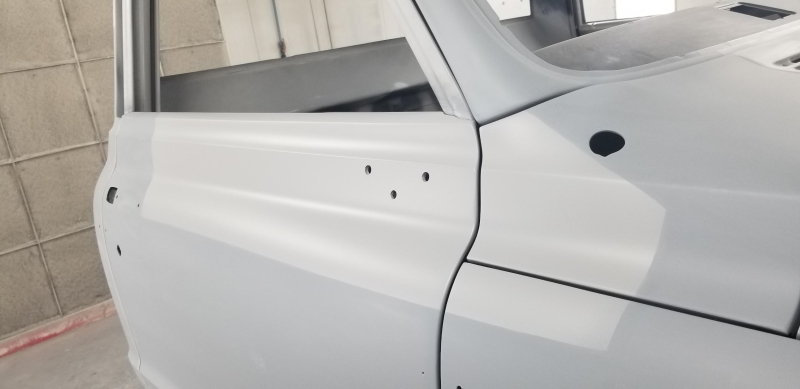 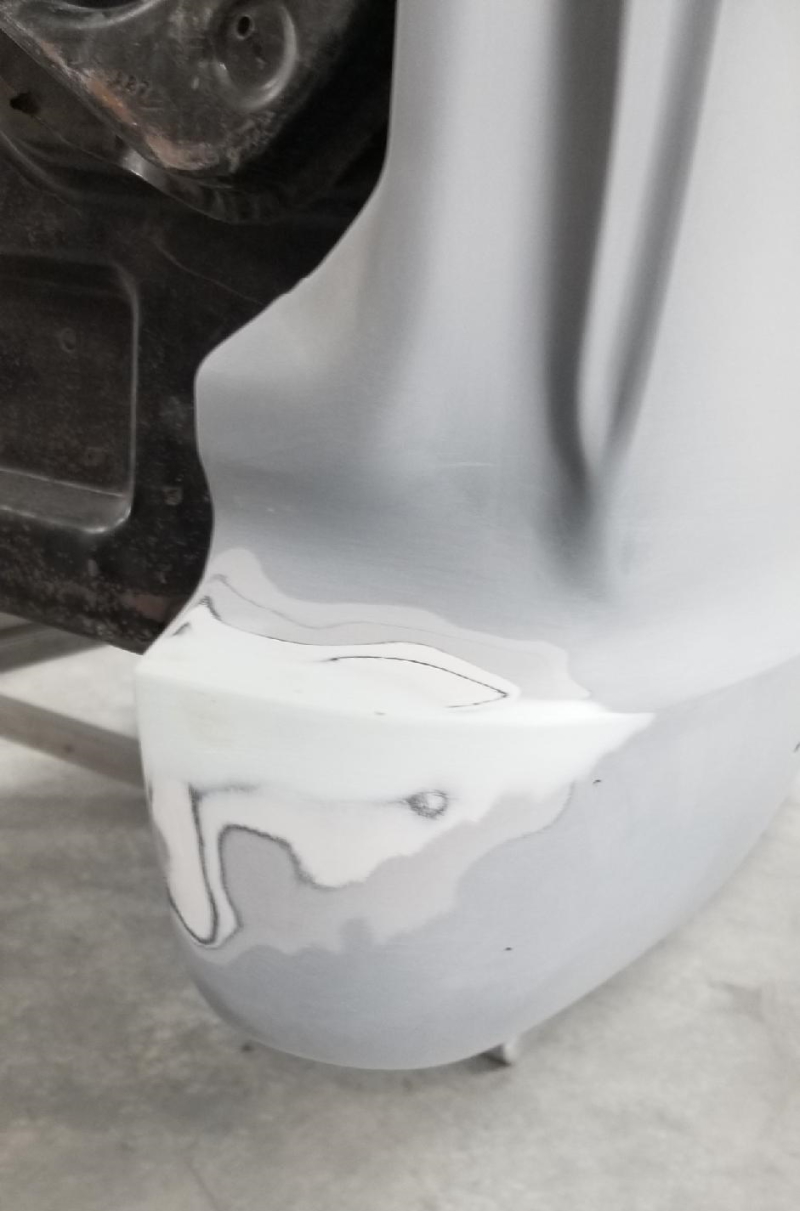 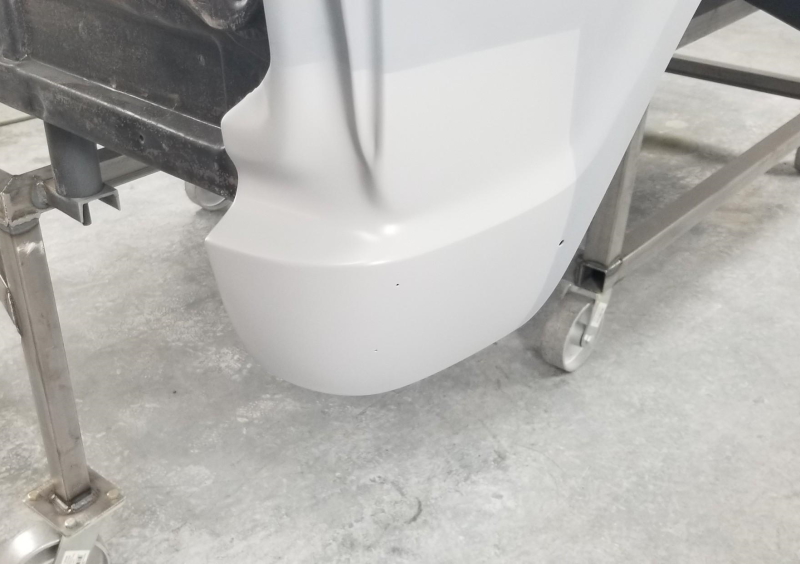 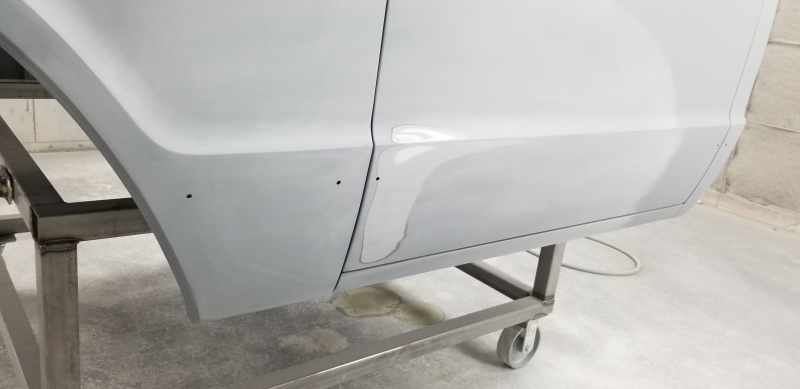  One other area that got worked on is inside the doors. One of the things I have been trying to keep original with this build is all of the factory spot welds and factory tooling marks. When the door gaps were being worked on, the spot welds ended up getting shaved. This is an effort to get those marks back. As you can see in the two pics below, that area is definitely visible, even with the door closed. 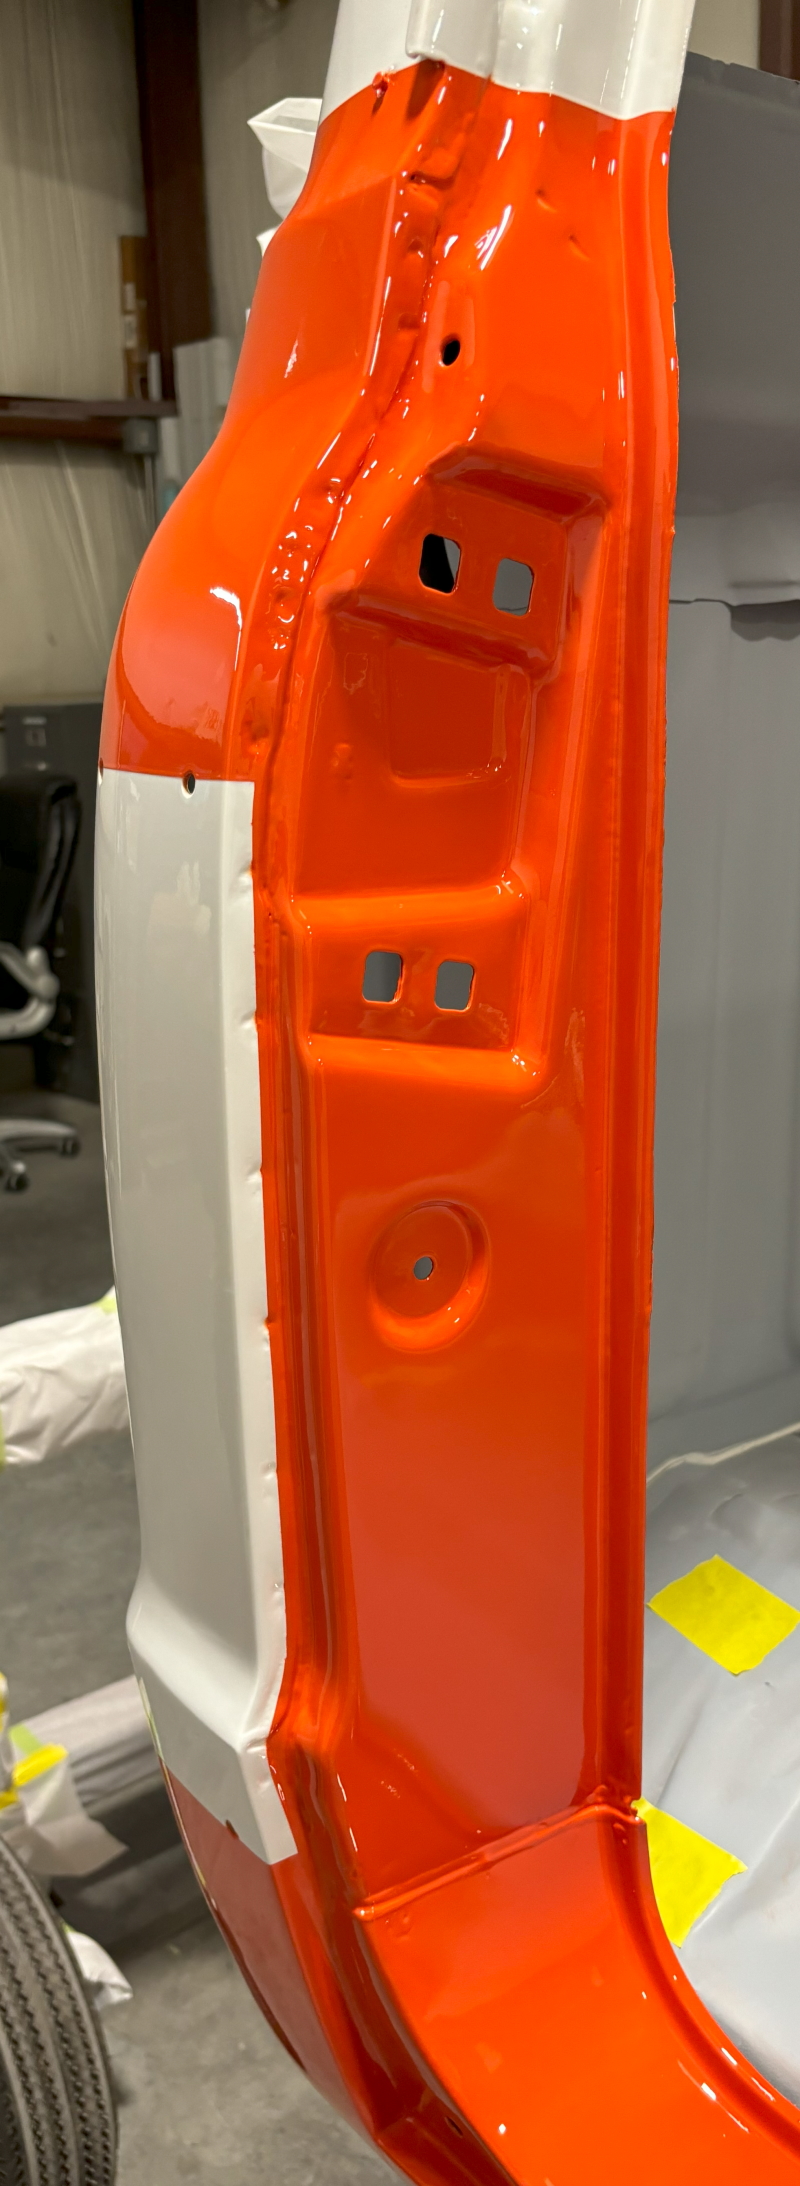 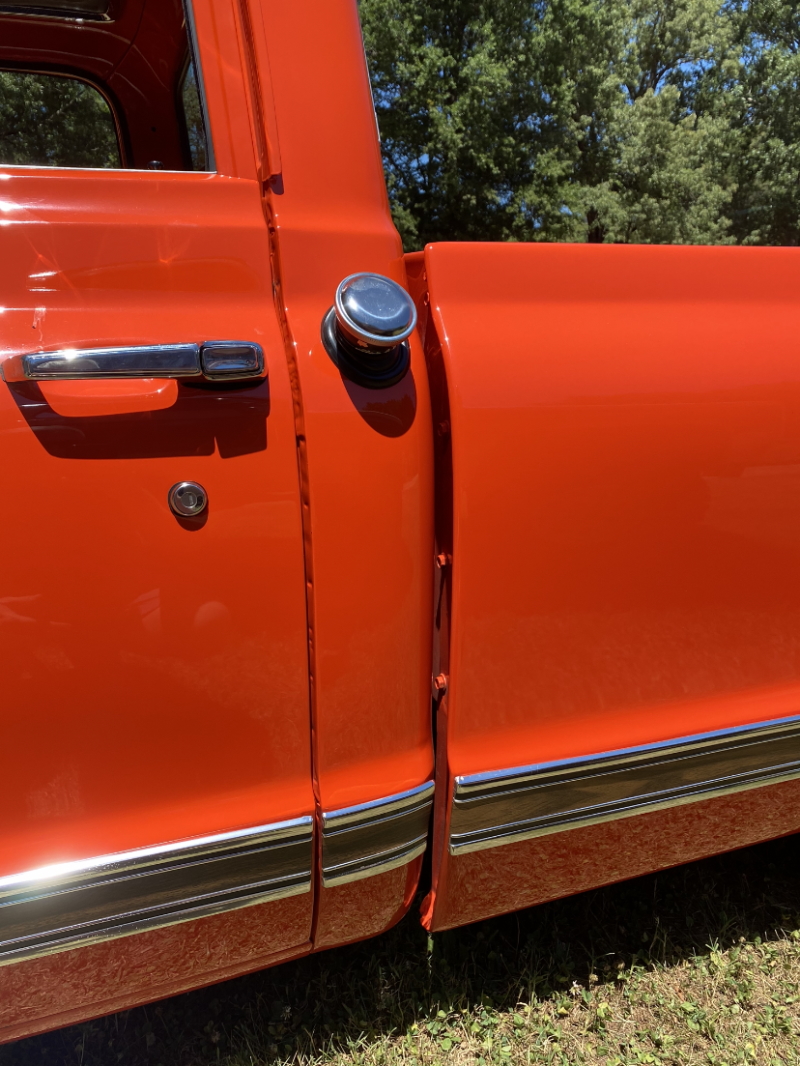 Here is what mine looked like before they got shaved... 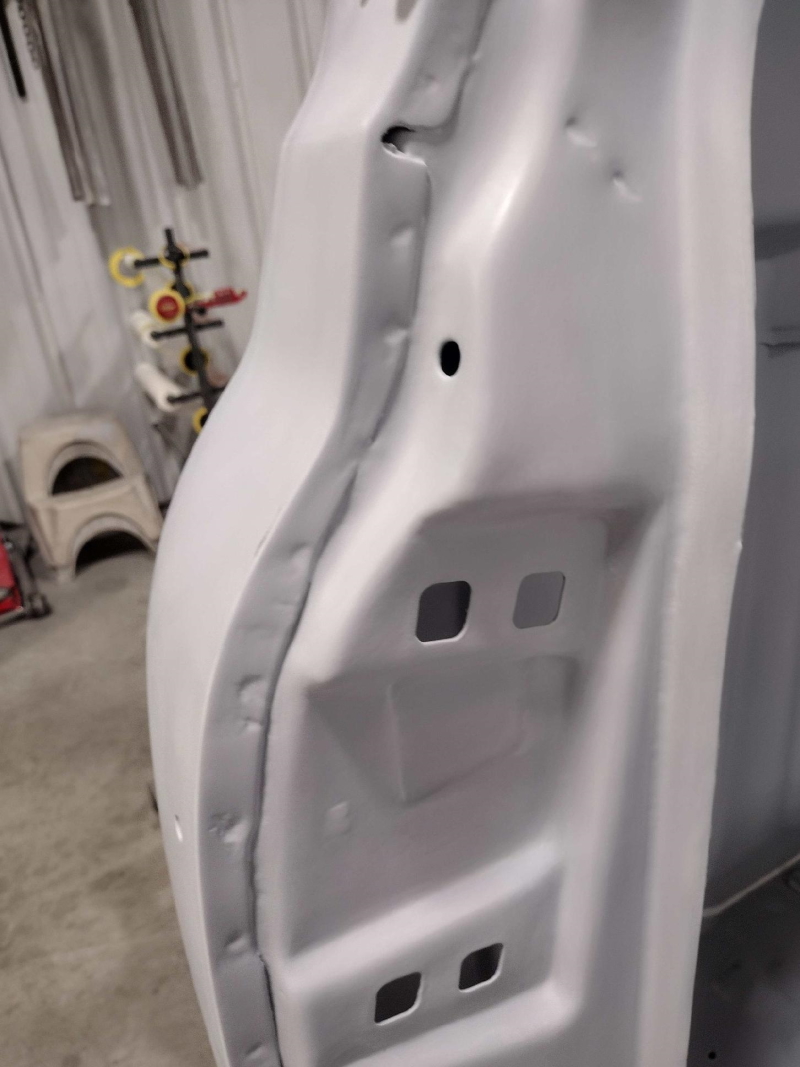 Here is the attempt to recreate them... 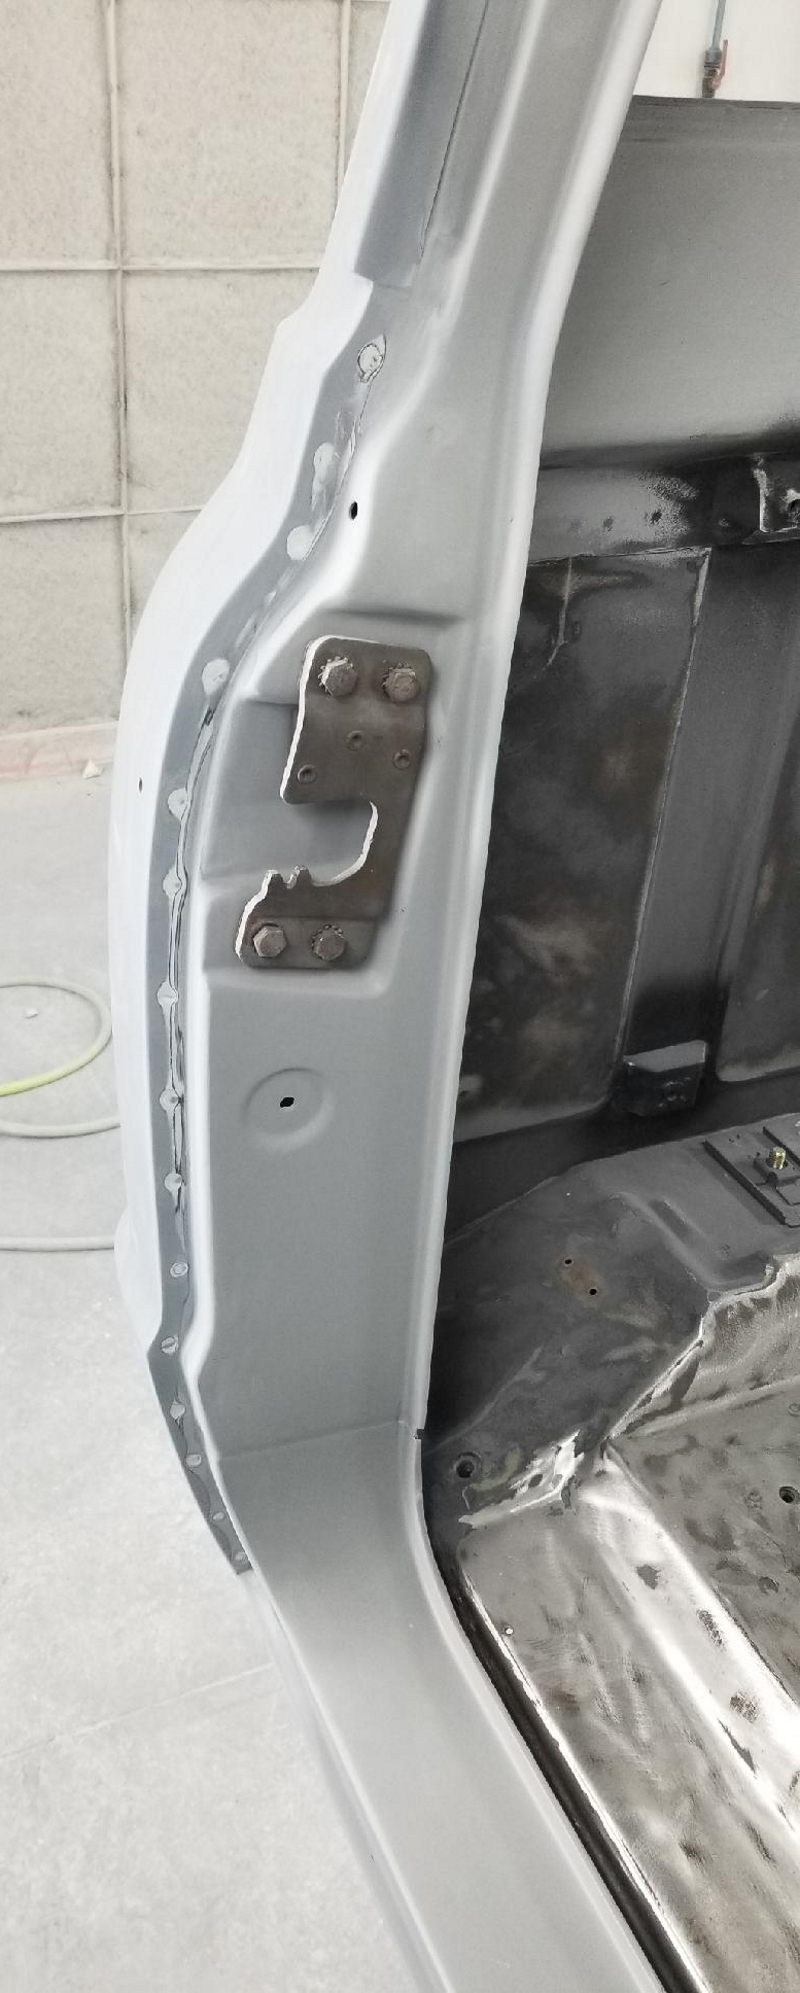 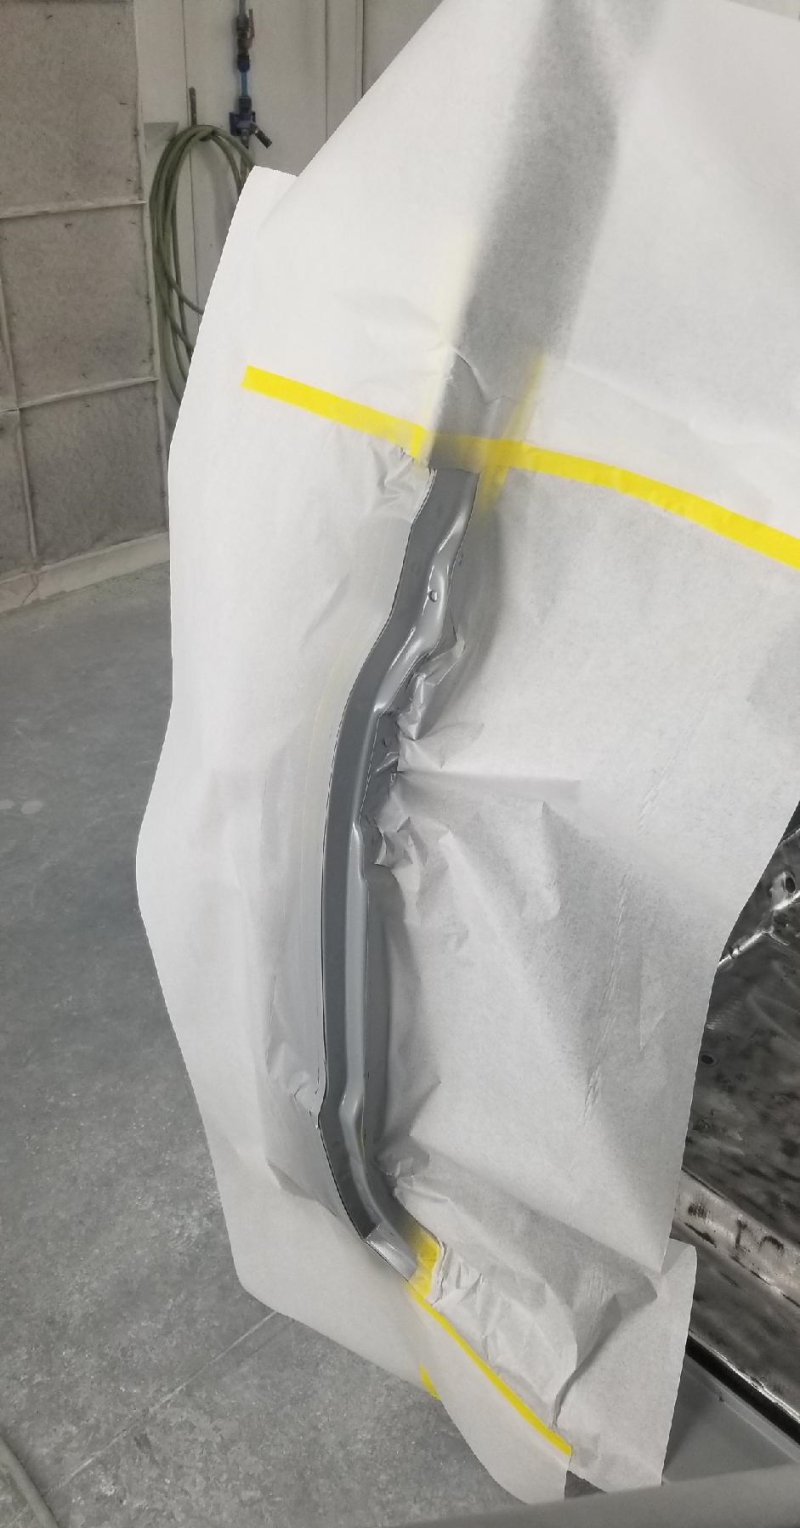 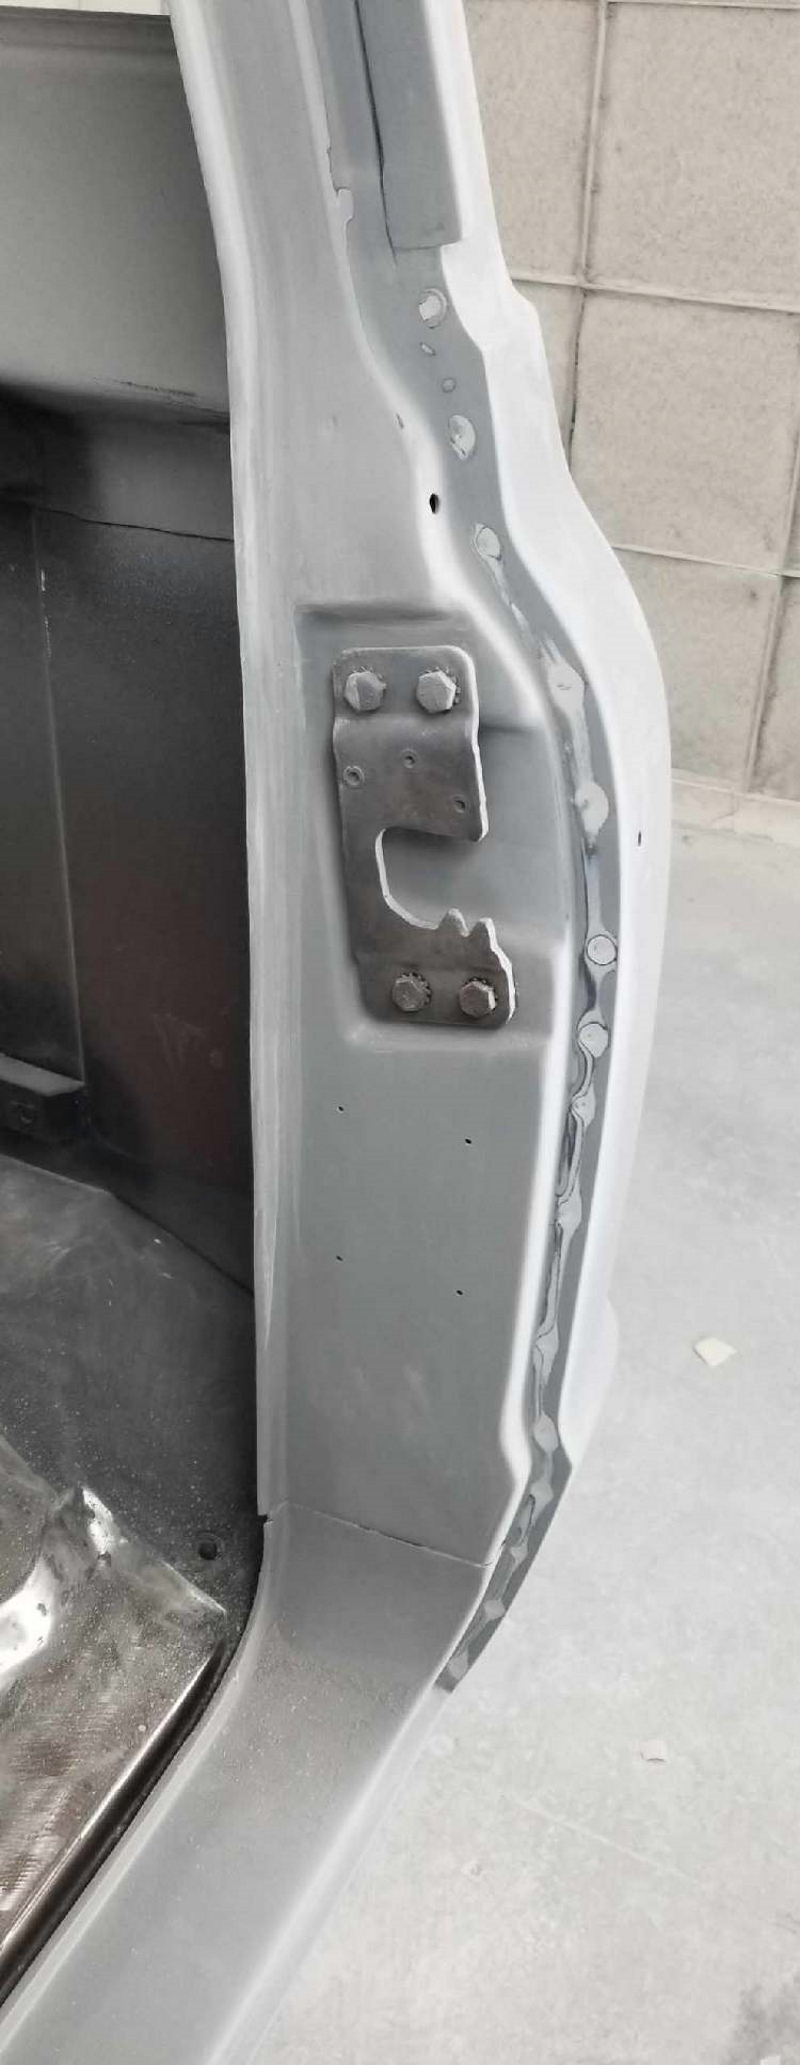 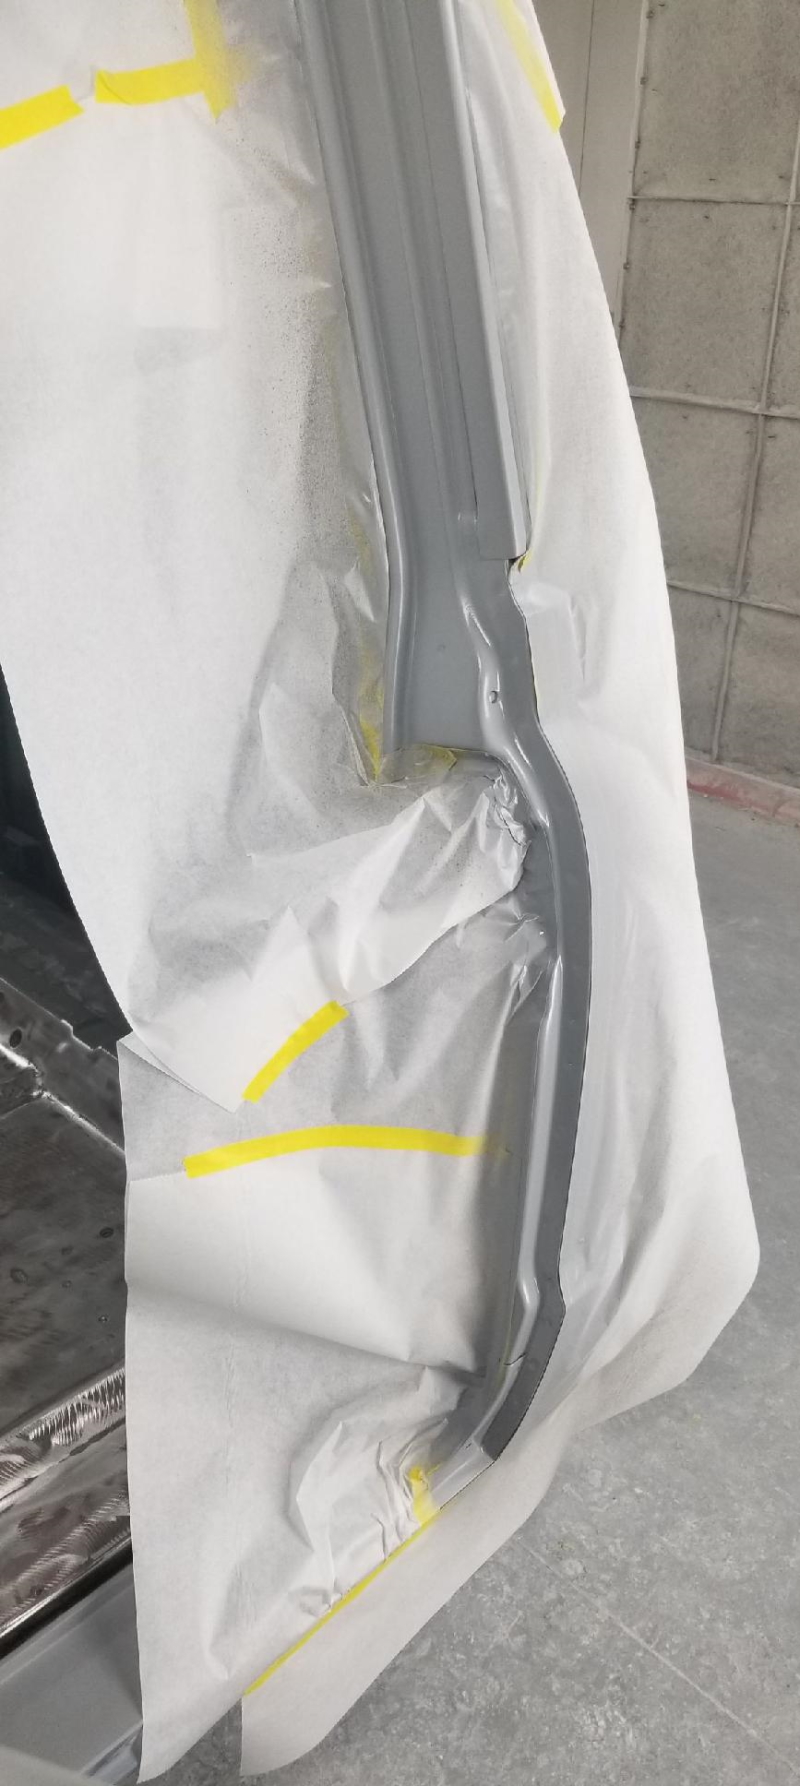 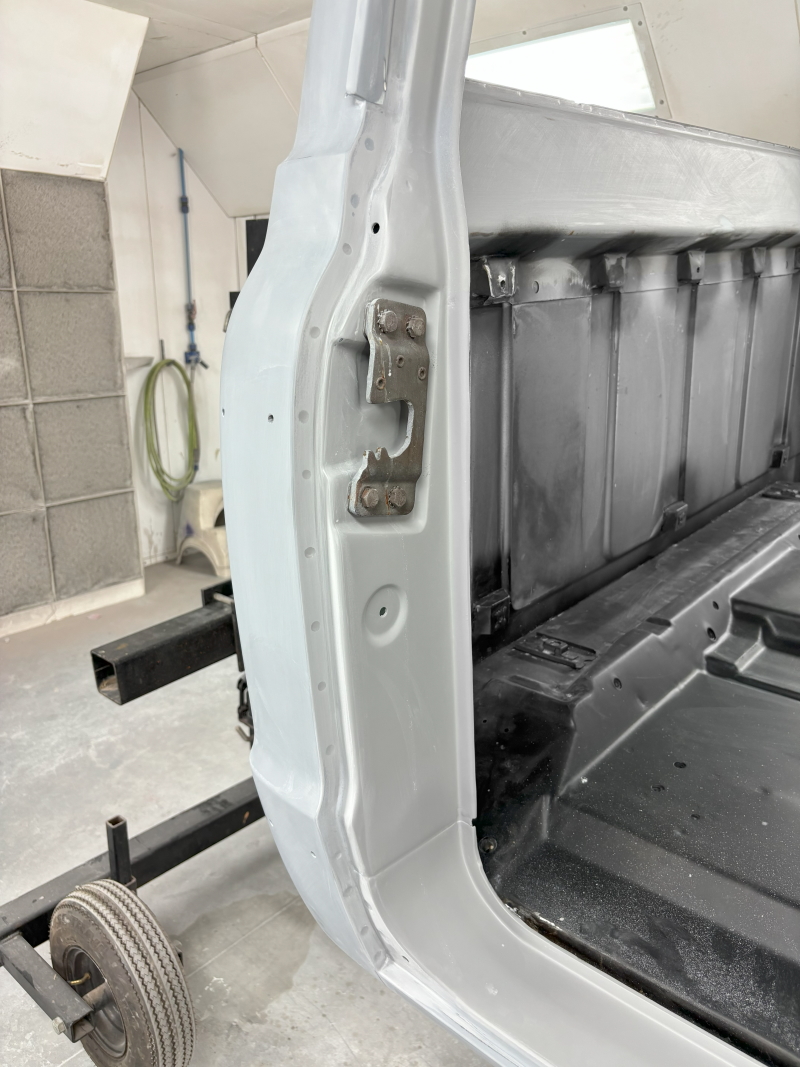
__________________
Board Member #87725 My build thread... http://67-72chevytrucks.com/vboard/s...d.php?t=813848 Last edited by omodified; 05-04-2024 at 04:04 PM. |
|
|

|
|
|
#367 |
|
Registered User
Join Date: Jun 2014
Location: Mocksville, NC
Posts: 1,765
|
Re: "Midnight Rider" 1970 C10 SWB Fleetside
Update overload! The time, effort, and level of patience you put into that bed floor is insane. I'm glad I will be lucky enough to see it in person one day. I also like that swivel thermostat housing. When I did mine I ended up using the original housing and a Jeep lower hose. It works, but not trick like yours.
__________________
Builds: Green Gus the 68 C10 | Bluey the 72 1500 | Lowly the 70 C10 - Instagram: @dr.hewitt - C10 Concept/Development Photos: Master Thread |
|
|

|
|
|
#368 |
|
Senior Member
 Join Date: Jul 2010
Location: Race City U.S.A.
Posts: 1,032
|
Re: "Midnight Rider" 1970 C10 SWB Fleetside
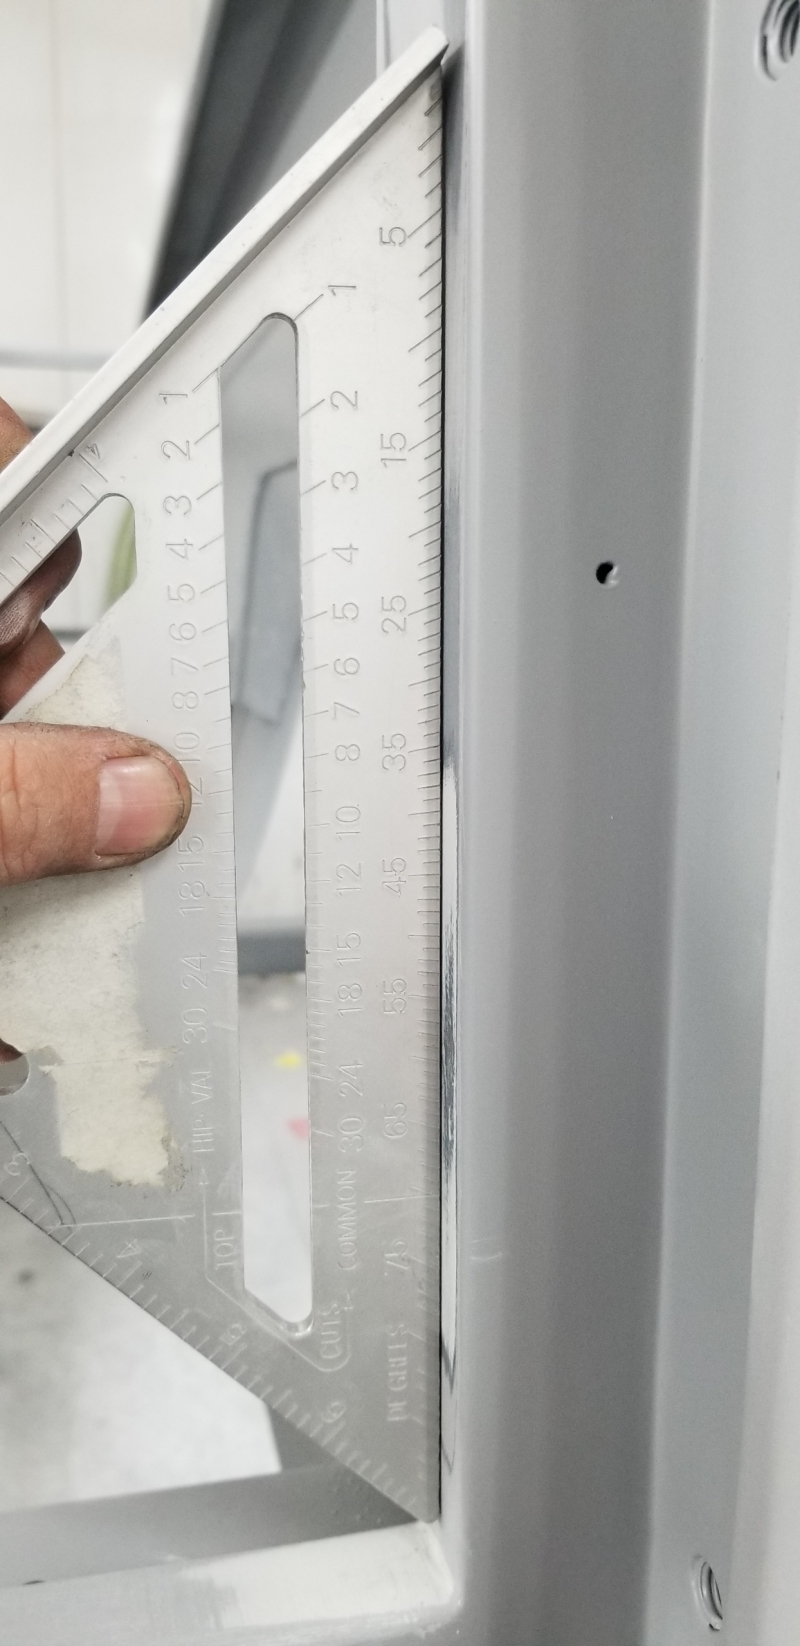
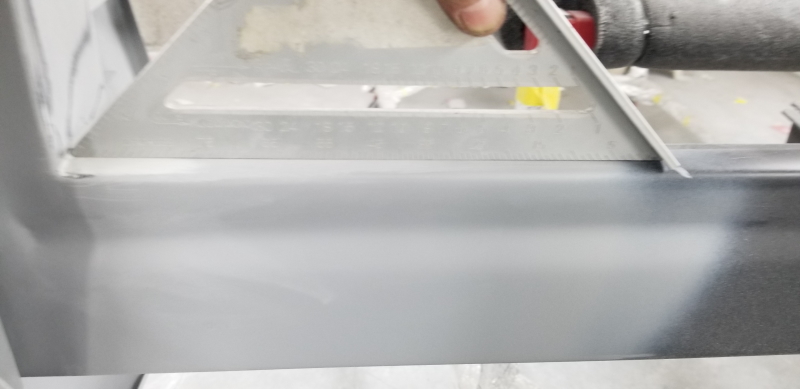
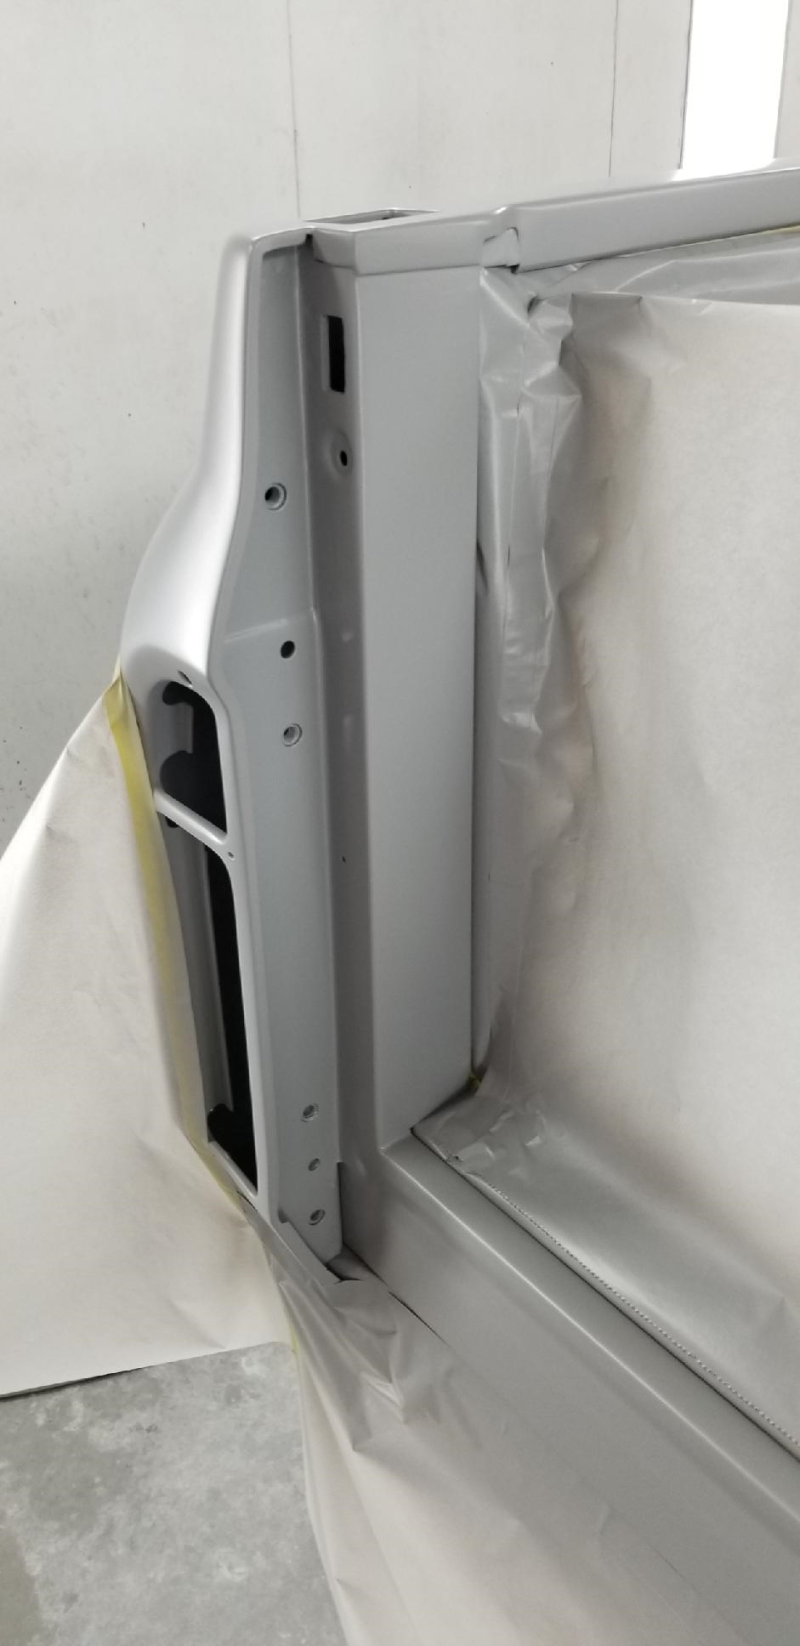
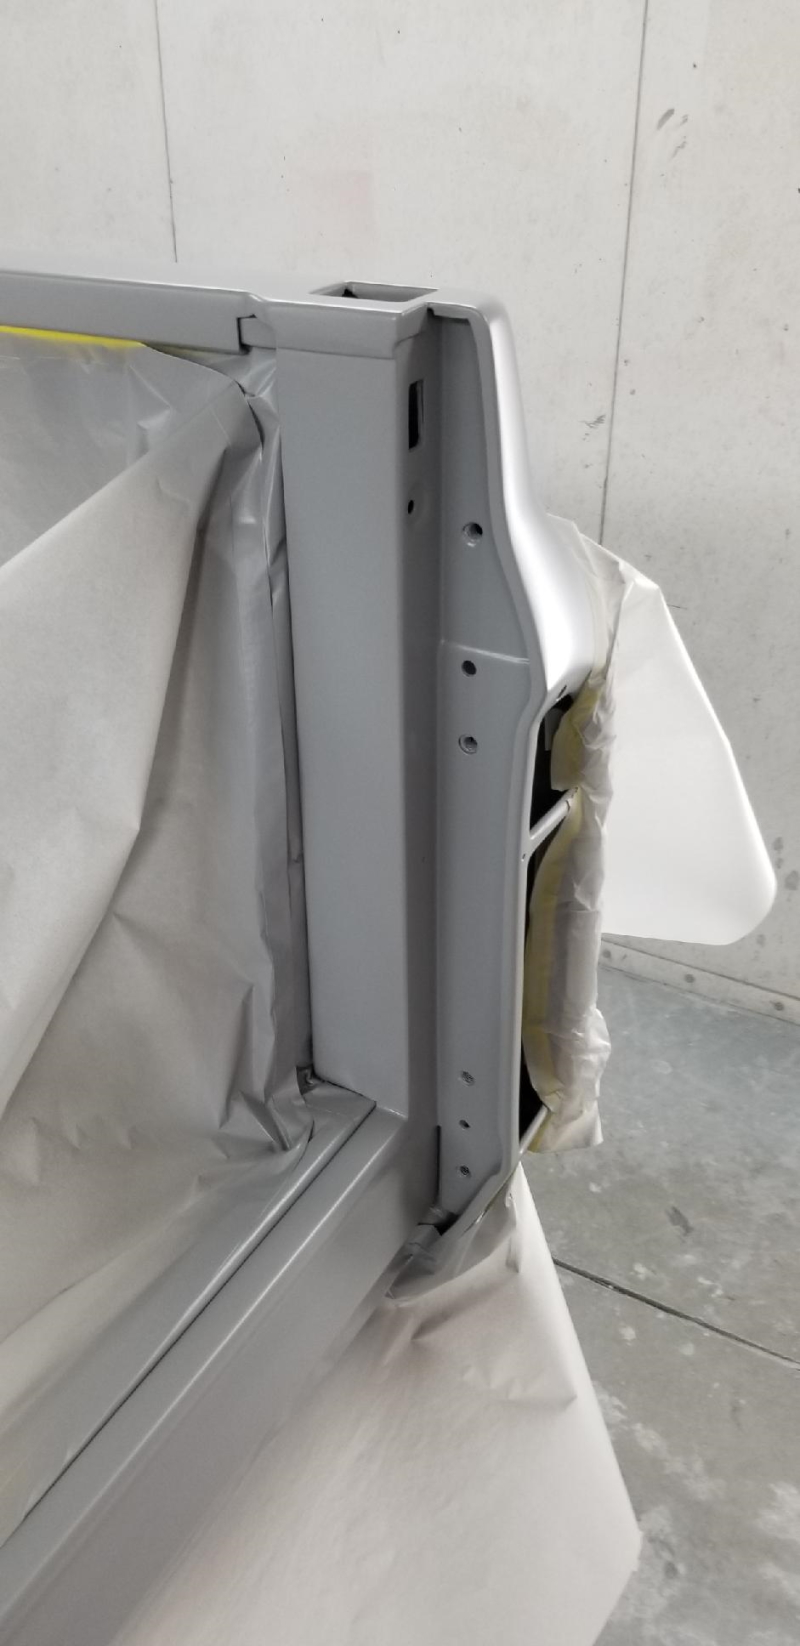
During one of my last visits to check on the truck, I noticed the rear of the bed wasn't square. I don't mean that it's not assembled square. It's like the sheet metal itself wasn't flat and the area where the sides were welded to the back support needed reshaped. I put an actual square on the sides and bottom at the rear, where the tailgate will mount and it proved what I was seeing. So, the guys have been working on this area. All better now.
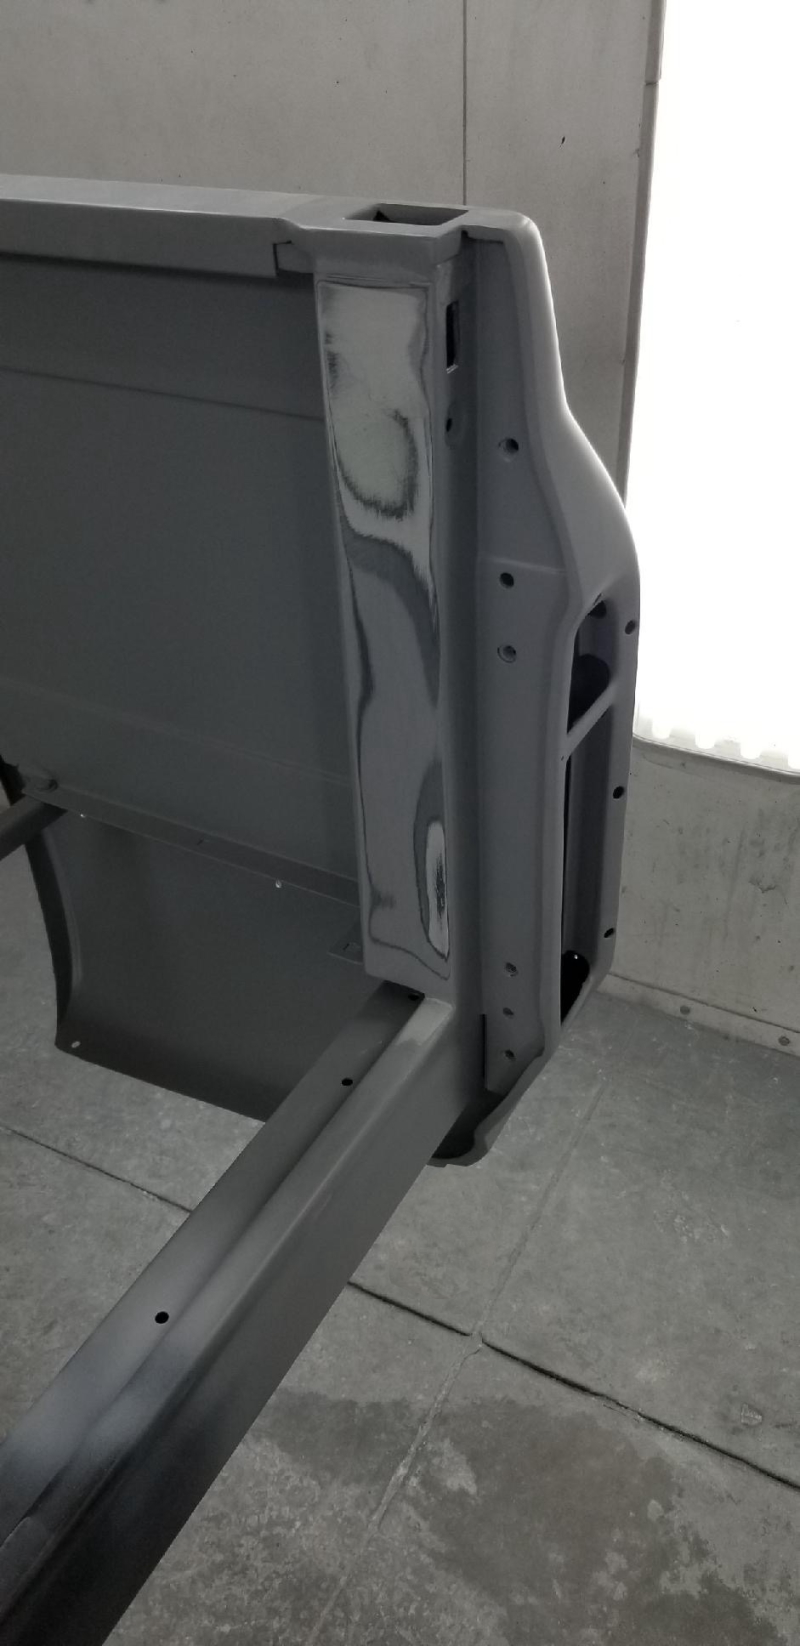 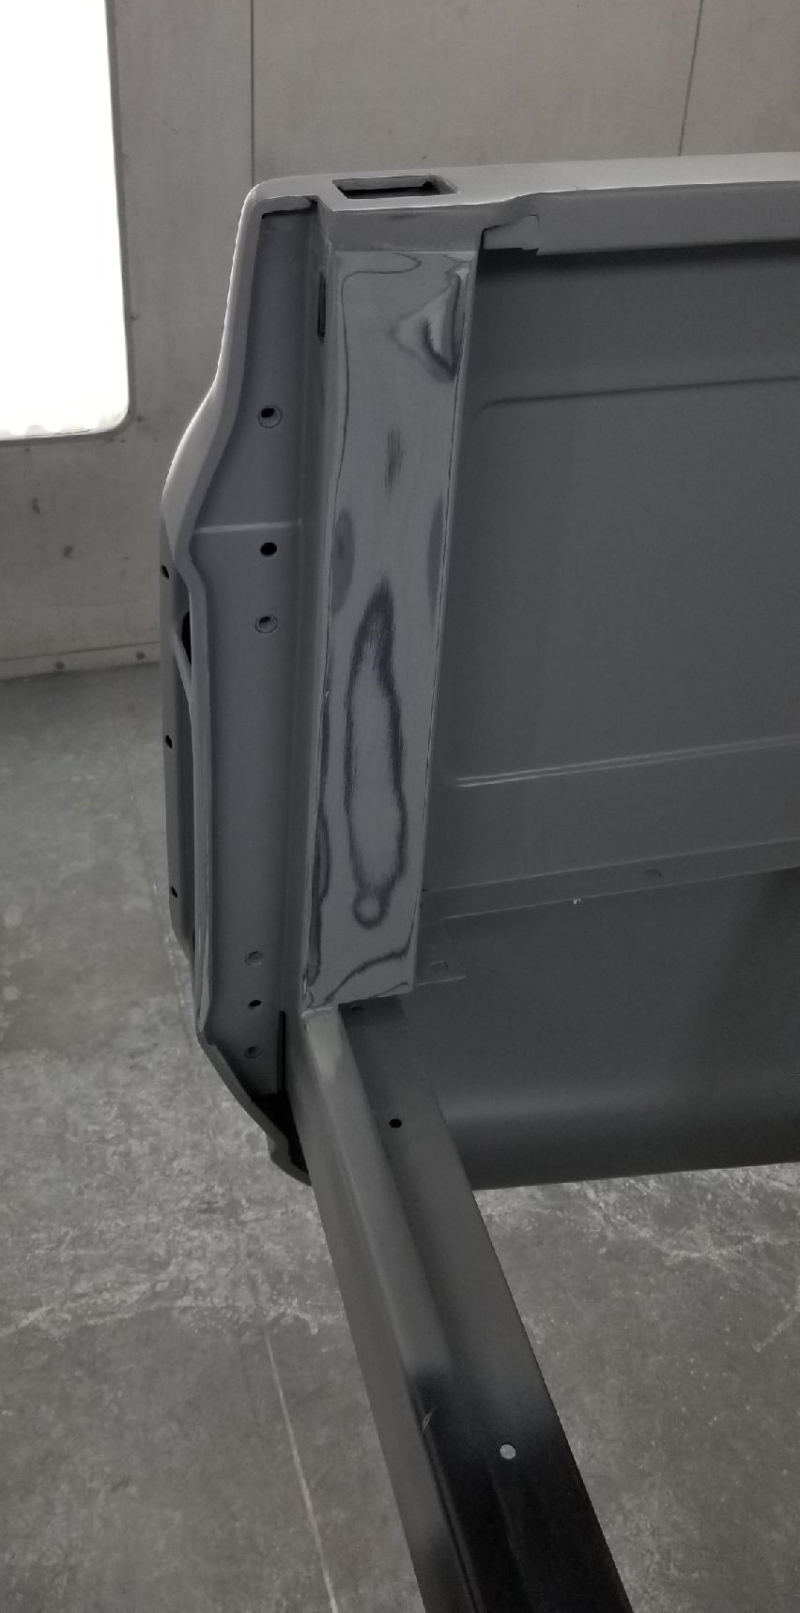 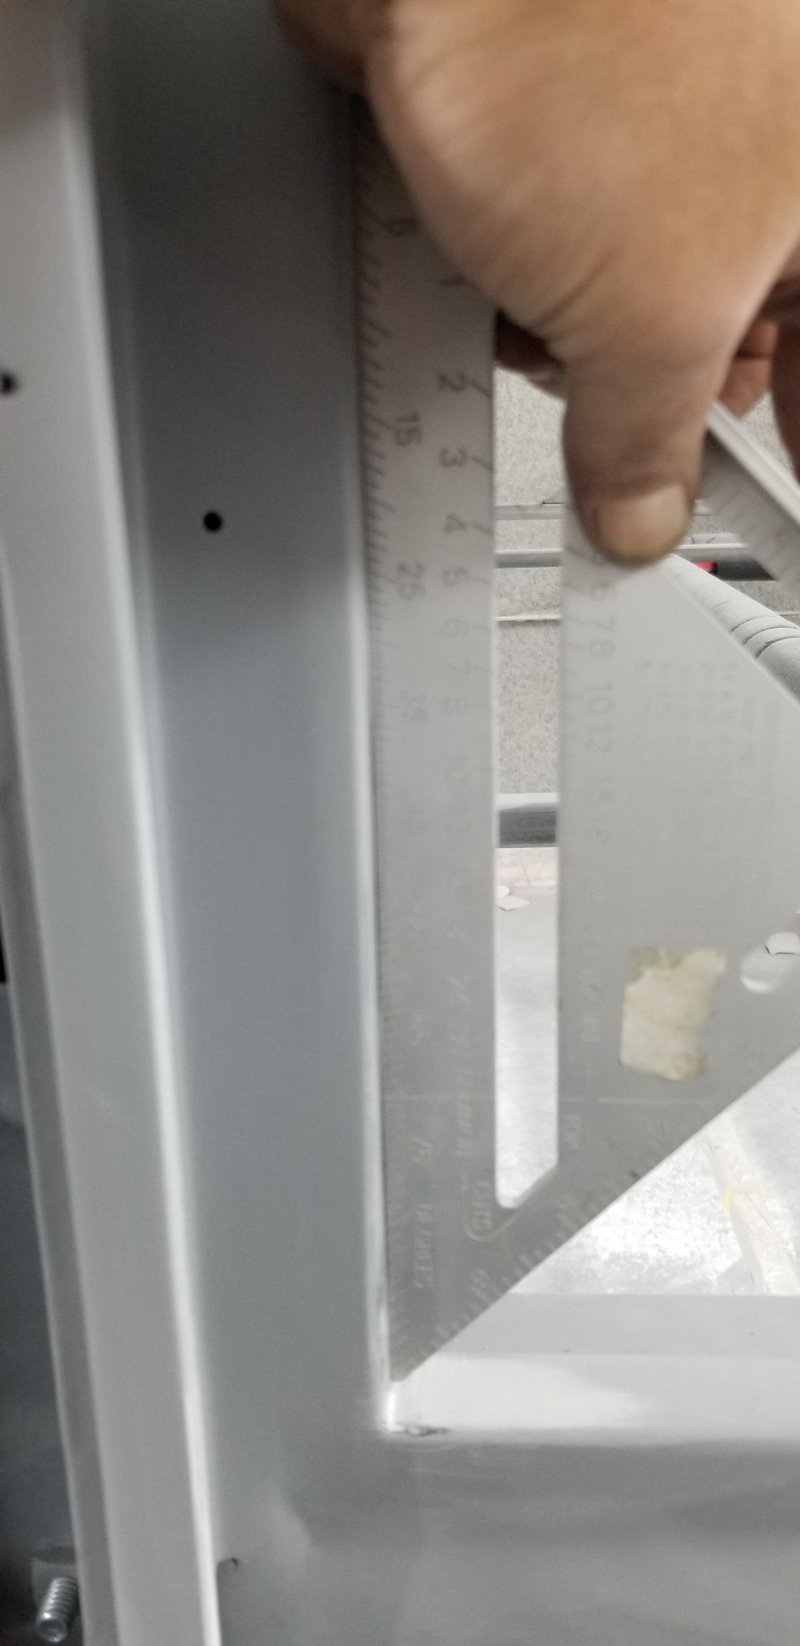    
__________________
Board Member #87725 My build thread... http://67-72chevytrucks.com/vboard/s...d.php?t=813848 Last edited by omodified; 05-04-2024 at 04:05 PM. |
|
|

|
|
|
#369 |
|
Registered User
Join Date: Apr 2014
Location: Azle,Texas
Posts: 2,248
|
Re: "Midnight Rider" 1970 C10 SWB Fleetside
All I can say is God help the poor guy who dings this truck.
__________________
Brian 1972 C10, "Loyd", LWB to SWB, 5.3, L83/6L80e, 4:11 Tru Trac, Air Ride, VA, DD, 20" Coys, 4 wheel disc, A quick LS swap turned into a 6 year frame off resto-mod. |
|
|

|
|
|
#370 | |
|
Senior Member
 Join Date: Jul 2010
Location: Race City U.S.A.
Posts: 1,032
|
Re: "Midnight Rider" 1970 C10 SWB Fleetside
Quote:
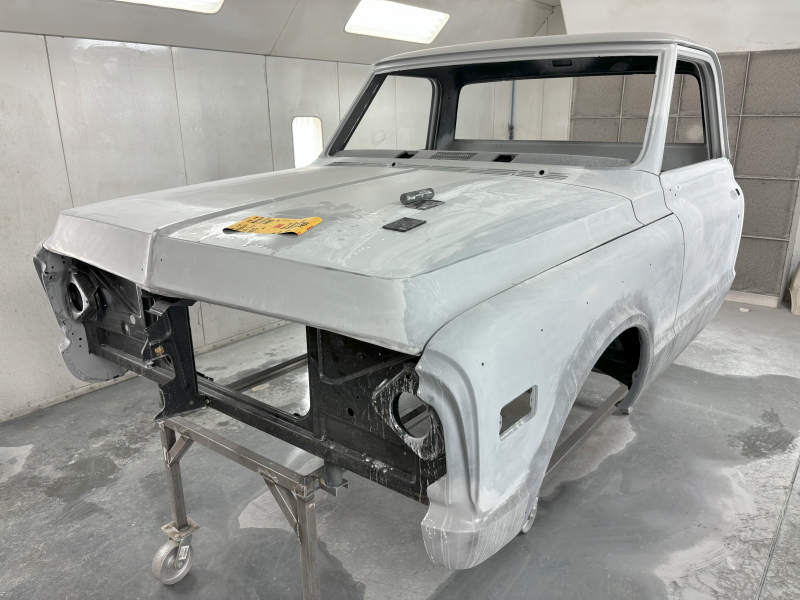 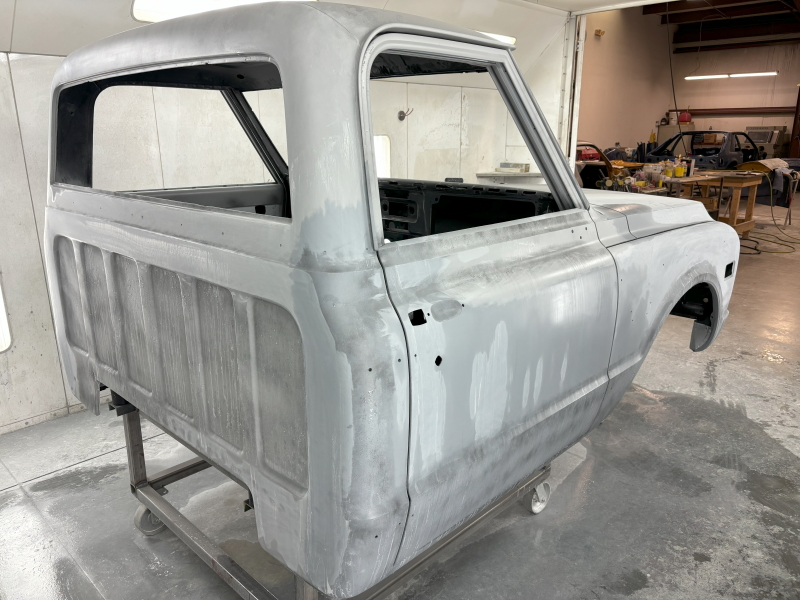
__________________
Board Member #87725 My build thread... http://67-72chevytrucks.com/vboard/s...d.php?t=813848 Last edited by omodified; 05-04-2024 at 04:05 PM. |
|
|
|

|
|
|
#371 |
|
Senior Member
 Join Date: Jul 2010
Location: Race City U.S.A.
Posts: 1,032
|
Re: "Midnight Rider" 1970 C10 SWB Fleetside
I have decided over time that I'm not real fond of the Chevrolet script on the valve covers. Decided to match the script with the same color as the valve cover. I let Sleeveless Bob in Mooresville handle it for me. This guy has a steady hand for sure!
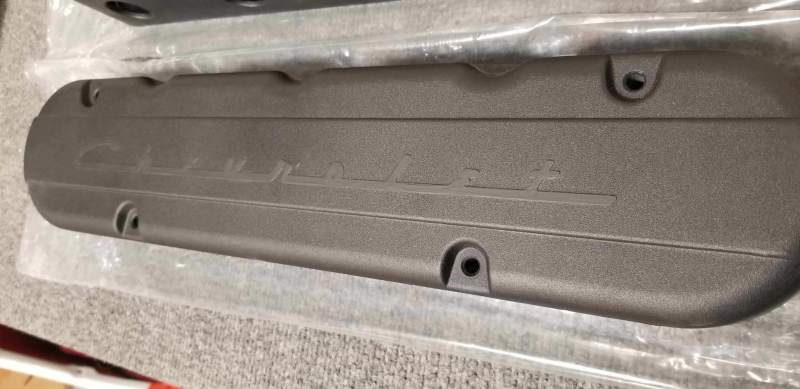 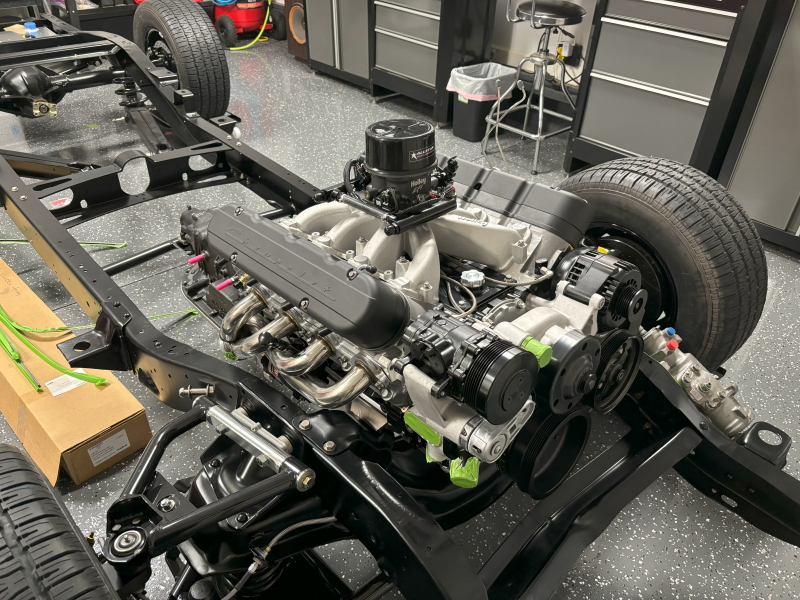
__________________
Board Member #87725 My build thread... http://67-72chevytrucks.com/vboard/s...d.php?t=813848 Last edited by omodified; 05-04-2024 at 04:05 PM. |
|
|

|
|
|
#372 |
|
Senior Member
 Join Date: Jul 2010
Location: Race City U.S.A.
Posts: 1,032
|
Re: "Midnight Rider" 1970 C10 SWB Fleetside
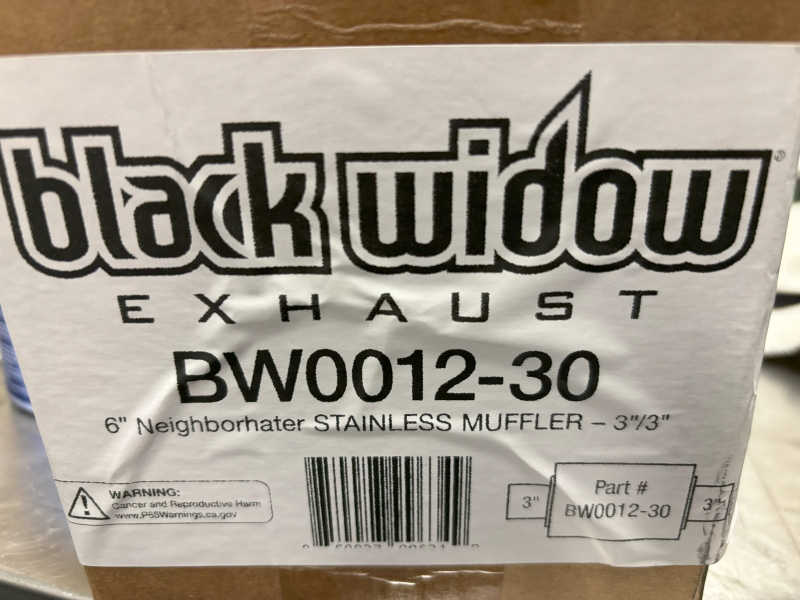
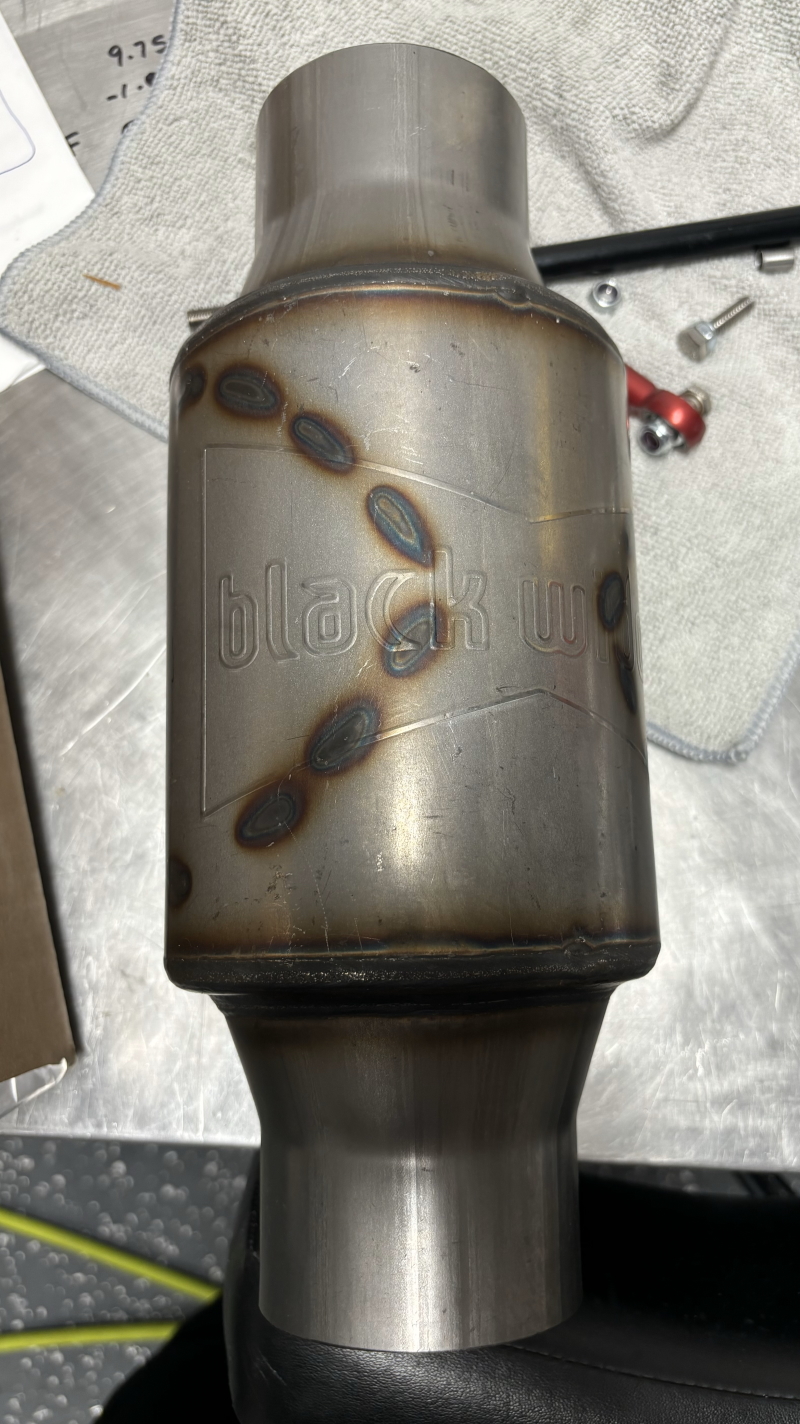
I've been researching what I want my exhaust to sound like. Now that I've done so, I'm not sure that my shorty headers are going to work out. For now, I decided to tackle the mufflers. I researched vehicles that have an LQ9 6.0 LS with my same engine specs. I found this truck. This is pretty much what I am going for...annoying. So I bought the Black Widow Neighbor Haters.
  I plan to have the entire exhaust in polished stainless, so this raw stainless is going to need some work. I put a buffing wheel on my bench grinder and went to town. This is more like it. Can't wait to to get some hot air blowing through these things. 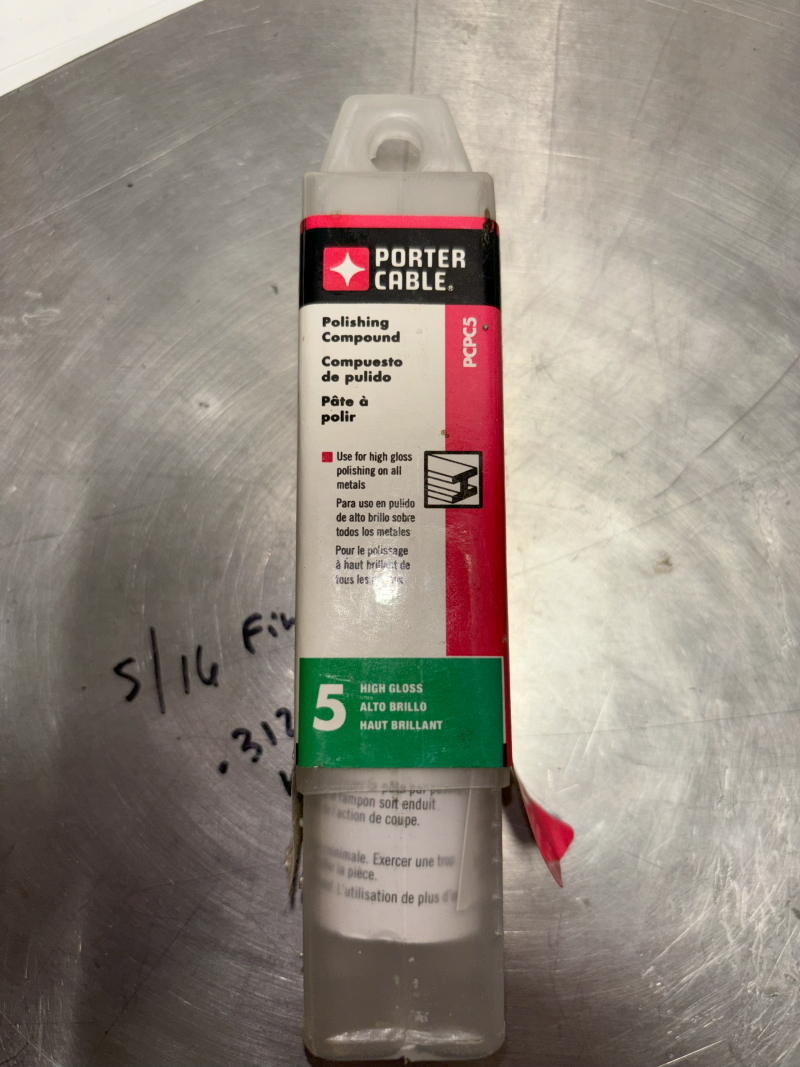 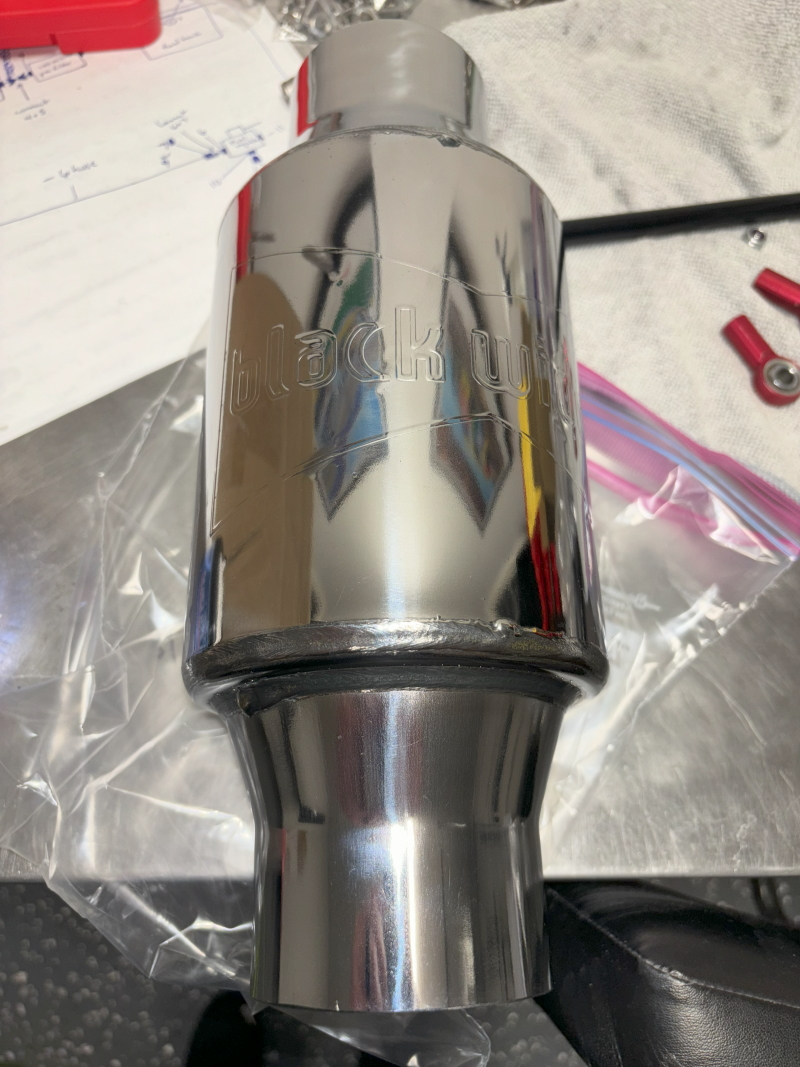 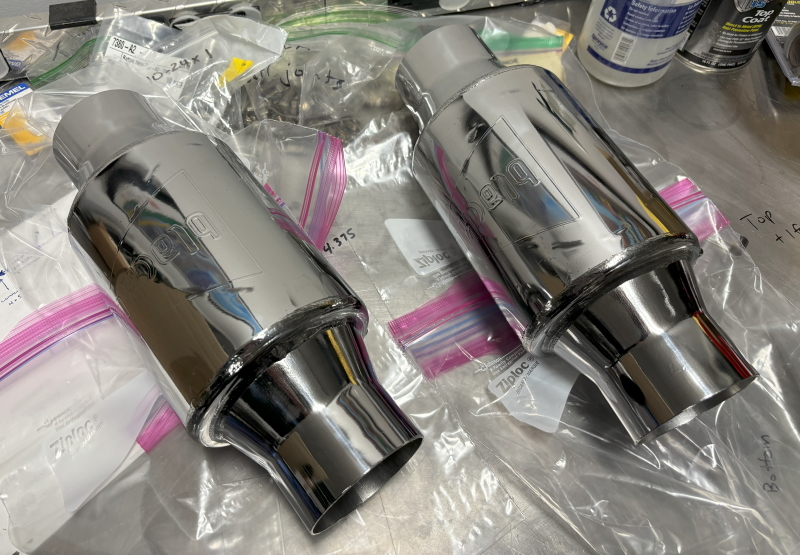
__________________
Board Member #87725 My build thread... http://67-72chevytrucks.com/vboard/s...d.php?t=813848 Last edited by omodified; 07-09-2024 at 09:57 PM. |
|
|

|
|
|
#373 |
|
Senior Member
 Join Date: Jul 2010
Location: Race City U.S.A.
Posts: 1,032
|
Re: "Midnight Rider" 1970 C10 SWB Fleetside
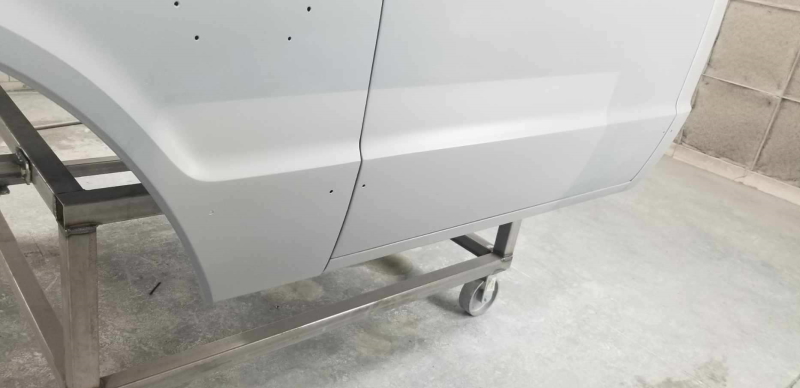
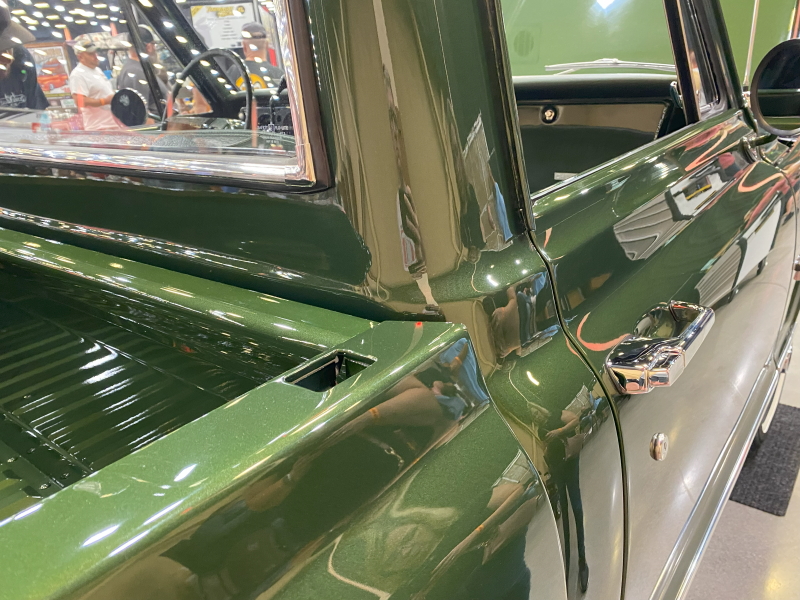
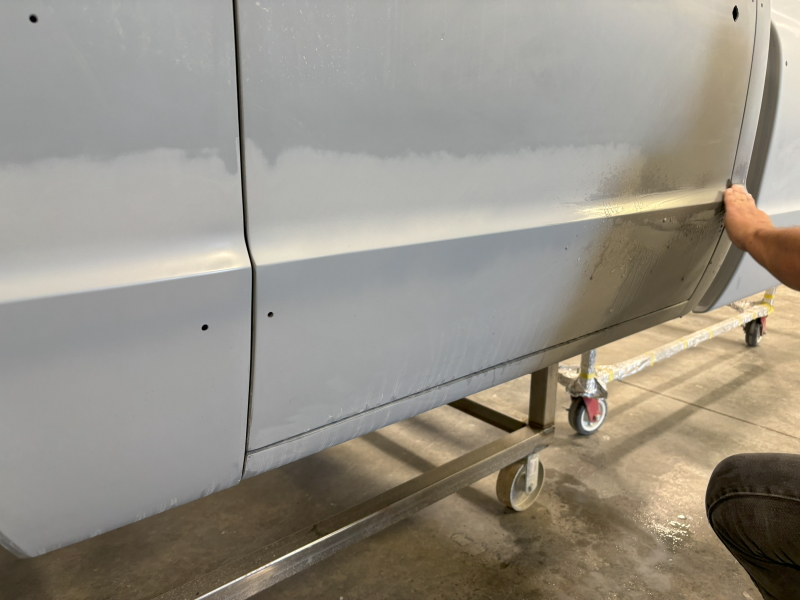
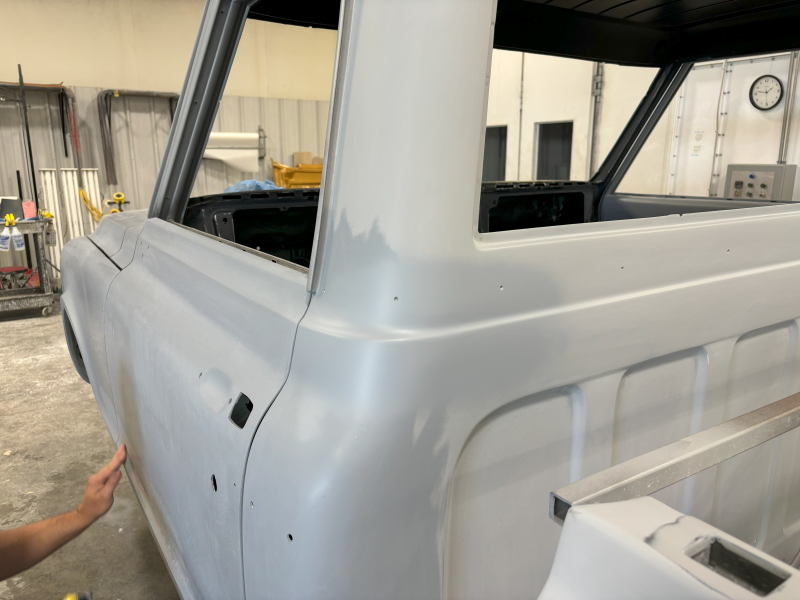
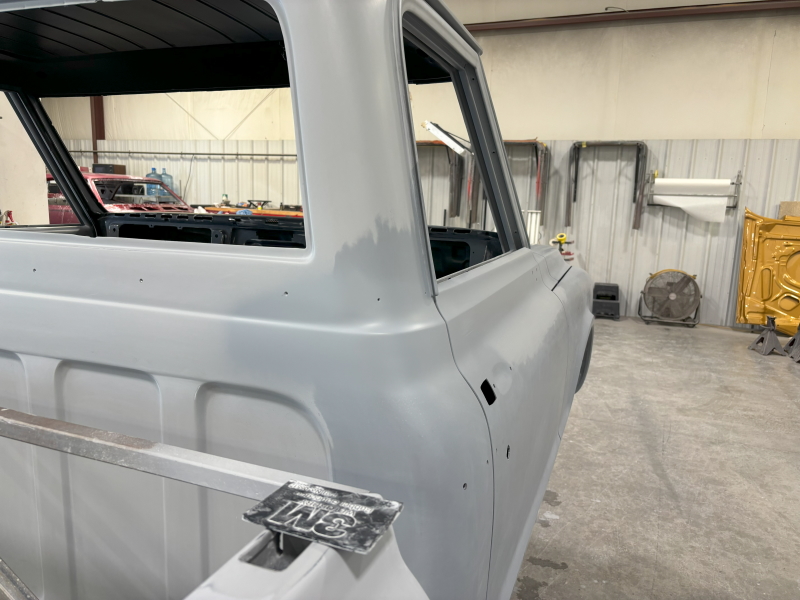
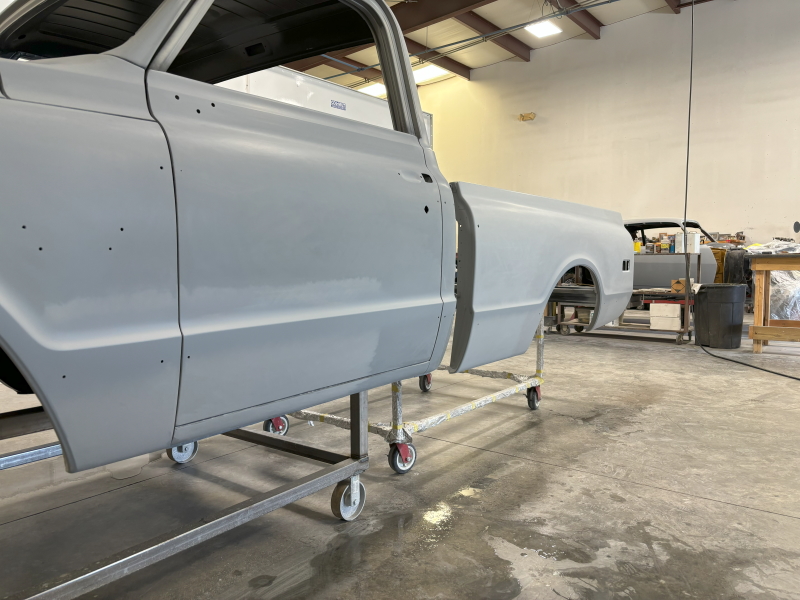
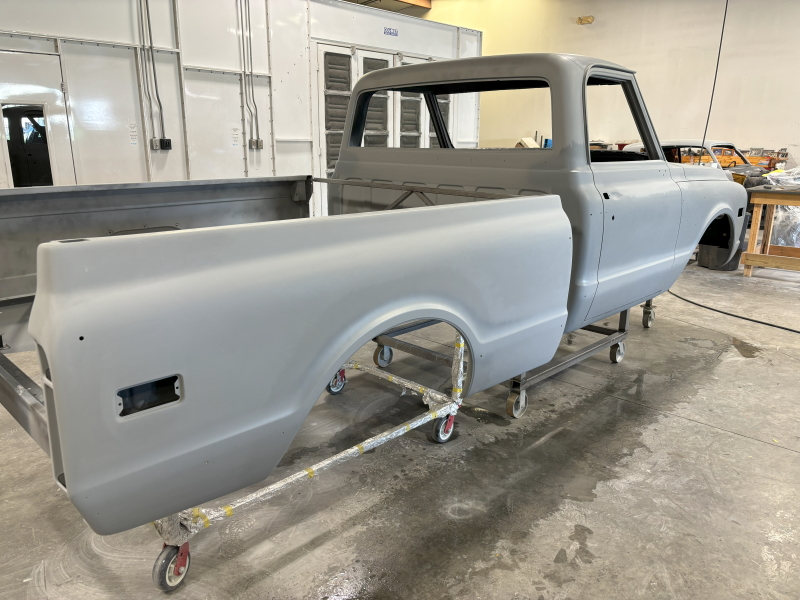
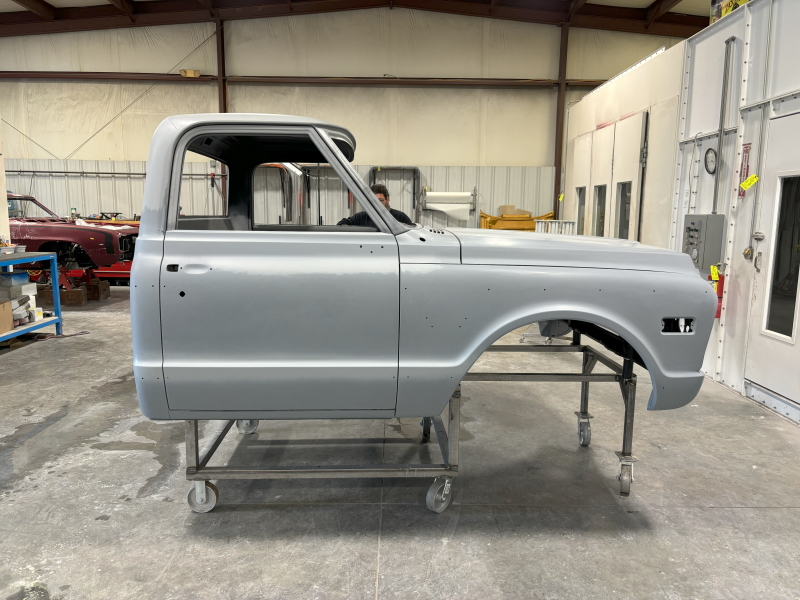
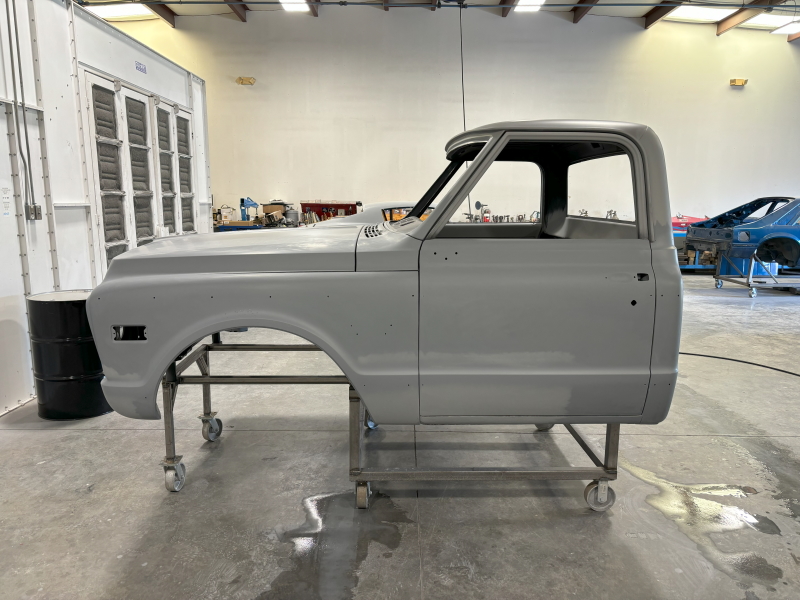
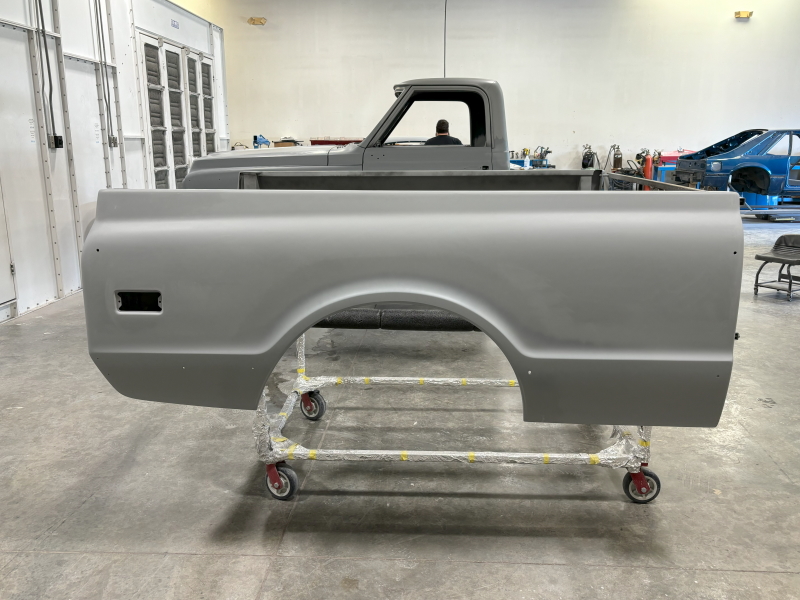
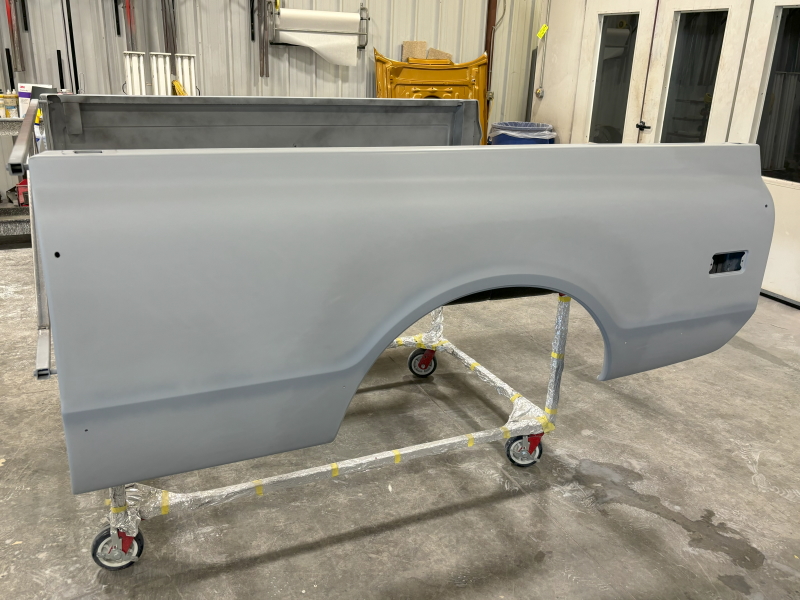
Last weekend, using this beautiful truck I saw in Knoxville last year as a reference, we radiused all the body lines. This is about as close to perfect as I could stand. So close to being ready for paint!!!
__________________
Board Member #87725 My build thread... http://67-72chevytrucks.com/vboard/s...d.php?t=813848 Last edited by omodified; 05-04-2024 at 04:06 PM. |
|
|

|
|
|
#374 |
|
Senior Member
 Join Date: Sep 2015
Location: Martensville, Saskatchewan
Posts: 967
|
Re: "Midnight Rider" 1970 C10 SWB Fleetside
Man this thing is coming out awesome! Keep up the good work.

|
|
|

|
|
|
#375 |
|
Registered User
Join Date: Dec 2014
Location: Tucson, AZ
Posts: 742
|
Re: "Midnight Rider" 1970 C10 SWB Fleetside
Good crikey! That is some truly beautiful work!
__________________
1987 V20 farm-hand rescue 1998 C2500 lot-rot rescue |
|
|

|
 |
| Bookmarks |
|
|