
 |
|
|
#426 |
|
meowMEOWmeowMEOW
Join Date: Sep 2009
Location: MKE WI
Posts: 7,128
|
Re: Br3w City's Project omgwtfbbq
Engine is getting held onto for now. Looks like my buddies transam is getting a big blower setup down the line, but he's decided to build the ls2 into a 408 for nitrous in the mean time. Sounds like he wants to save the blower build for a chassis car. God, his life must be hard
  Sounds like he wants about $4-4500 for the remaining entire car. I'm still waiting on him to take decent pictures, since I haven't been down to that shop in a while.
__________________
'66 Short Step / SD Tuned / Big Cam LQ4 / Backhalfed /Built 4l80e / #REBUILDEVERYTHING  |
|
|

|
|
|
#427 |
|
meowMEOWmeowMEOW
Join Date: Sep 2009
Location: MKE WI
Posts: 7,128
|
Re: Br3w City's Project omgwtfbbq
For anyone interested in that GTO, here are some pictures. We ask $4350 for the complete car with title (no drivetrain).
    
__________________
'66 Short Step / SD Tuned / Big Cam LQ4 / Backhalfed /Built 4l80e / #REBUILDEVERYTHING  |
|
|

|
|
|
#428 |
|
Registered User
Join Date: Jun 2012
Location: Portland
Posts: 1,330
|
Re: Br3w City's Project omgwtfbbq
He interested in selling the front seats? Shipping would probably be a killer . . .
|
|
|

|
|
|
#429 |
|
meowMEOWmeowMEOW
Join Date: Sep 2009
Location: MKE WI
Posts: 7,128
|
Re: Br3w City's Project omgwtfbbq
Front seats come with an entire GTO attached to them.
__________________
'66 Short Step / SD Tuned / Big Cam LQ4 / Backhalfed /Built 4l80e / #REBUILDEVERYTHING  |
|
|

|
|
|
#430 |
|
meowMEOWmeowMEOW
Join Date: Sep 2009
Location: MKE WI
Posts: 7,128
|
Re: Br3w City's Project omgwtfbbq
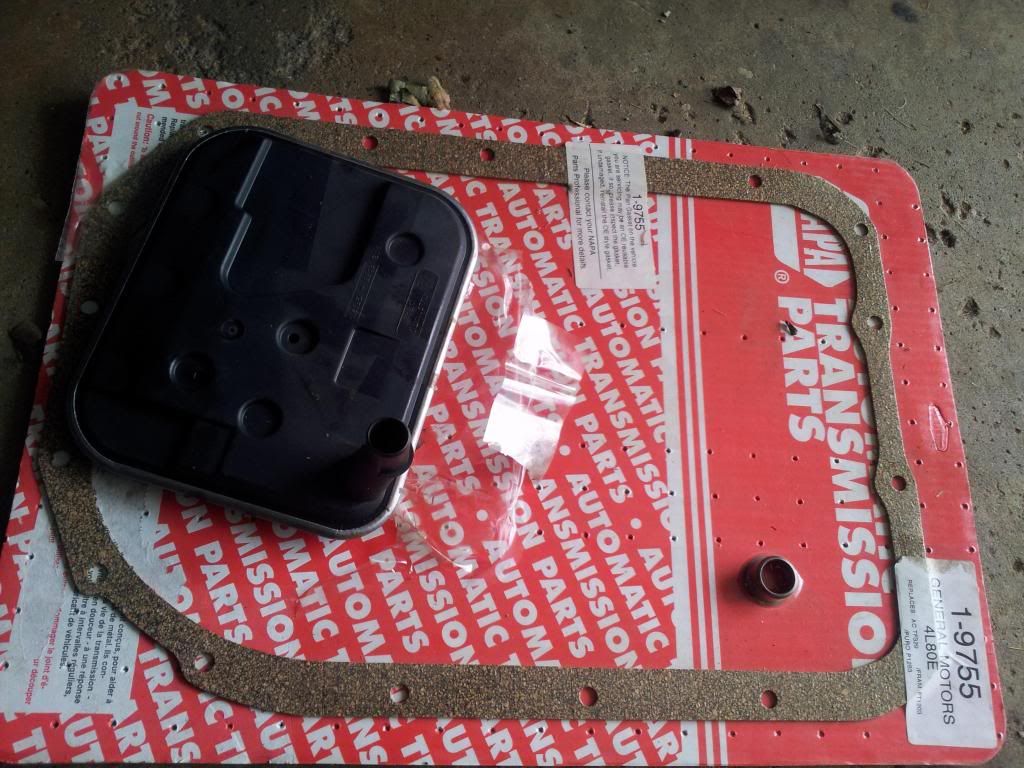
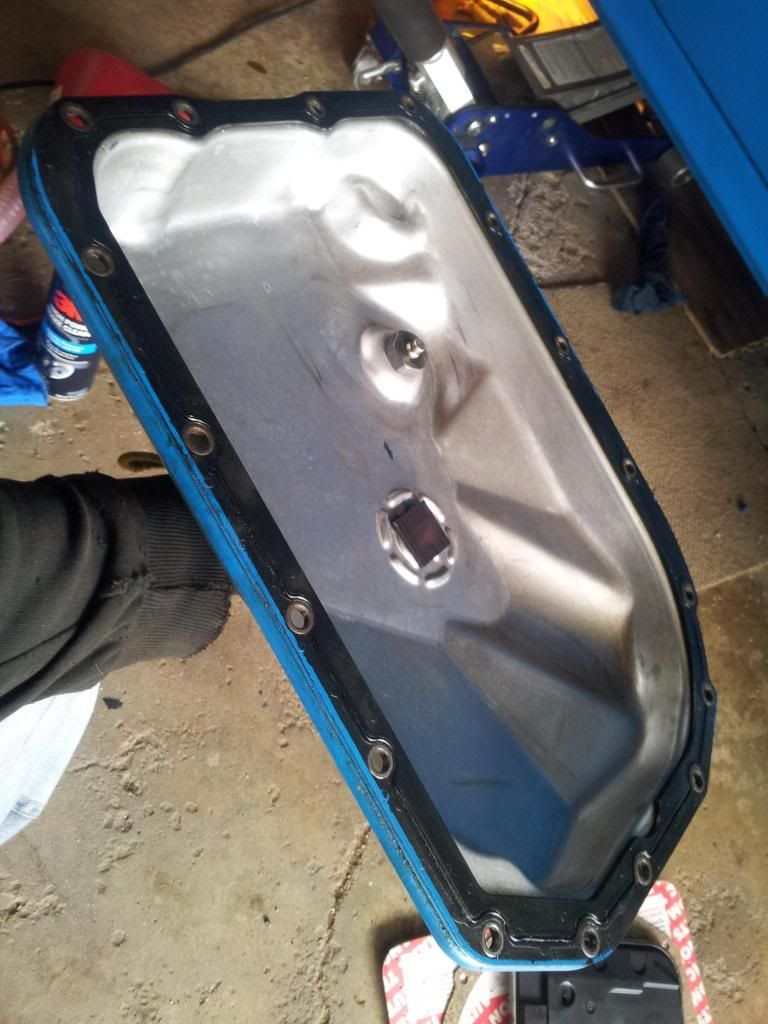
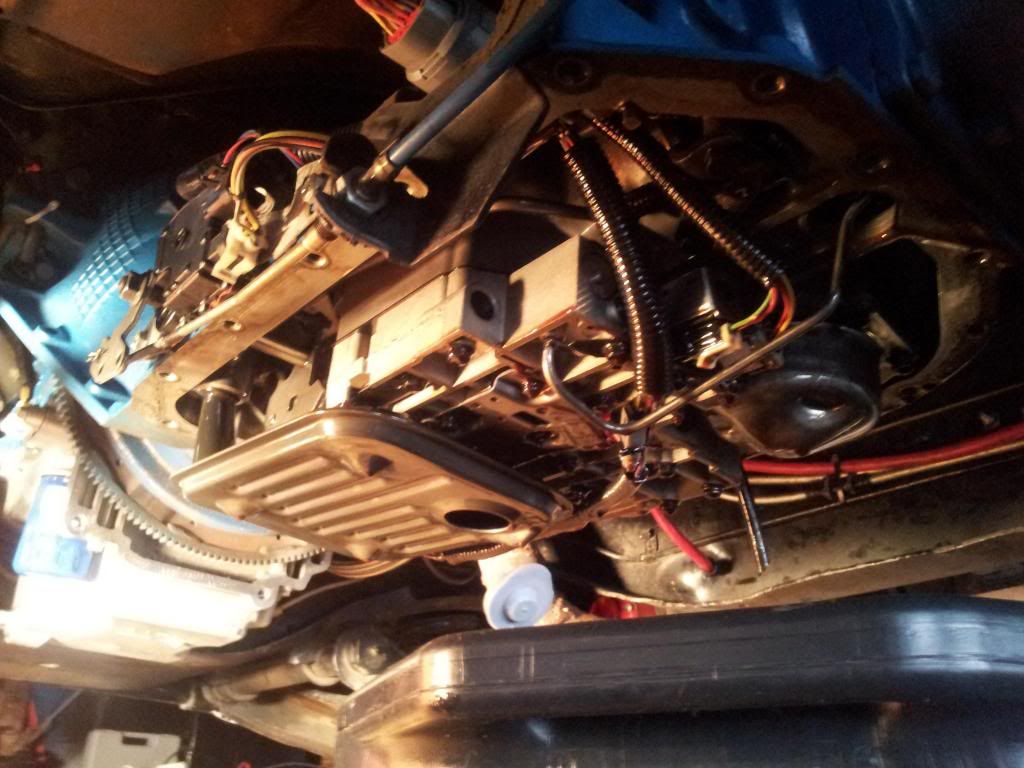
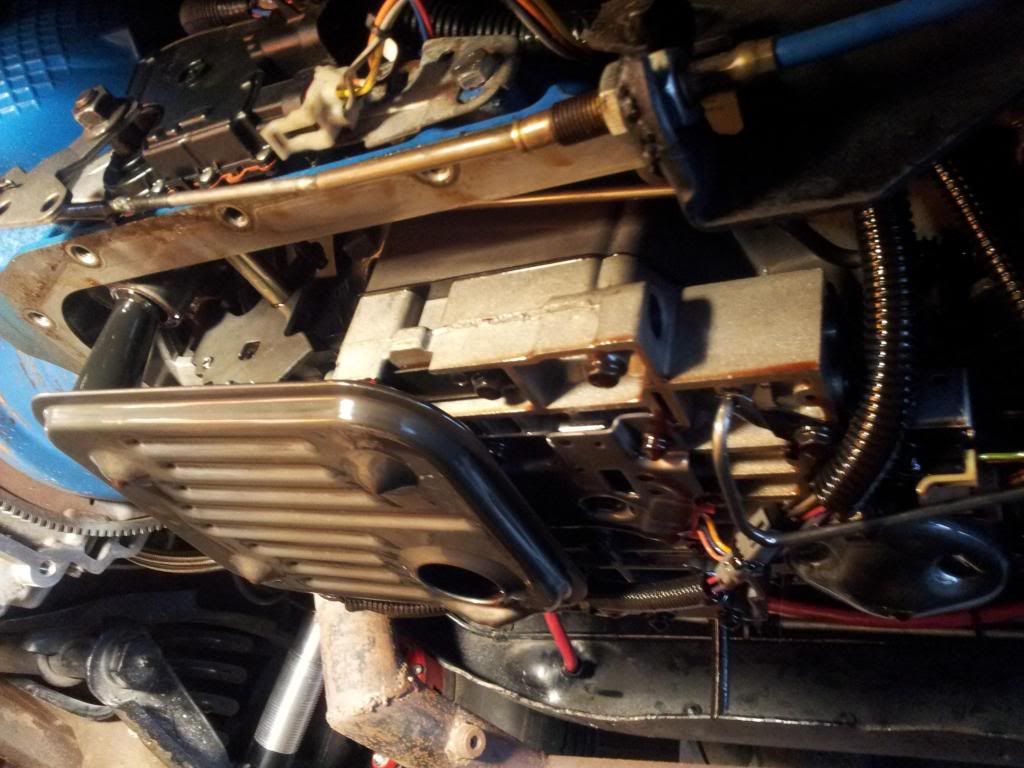
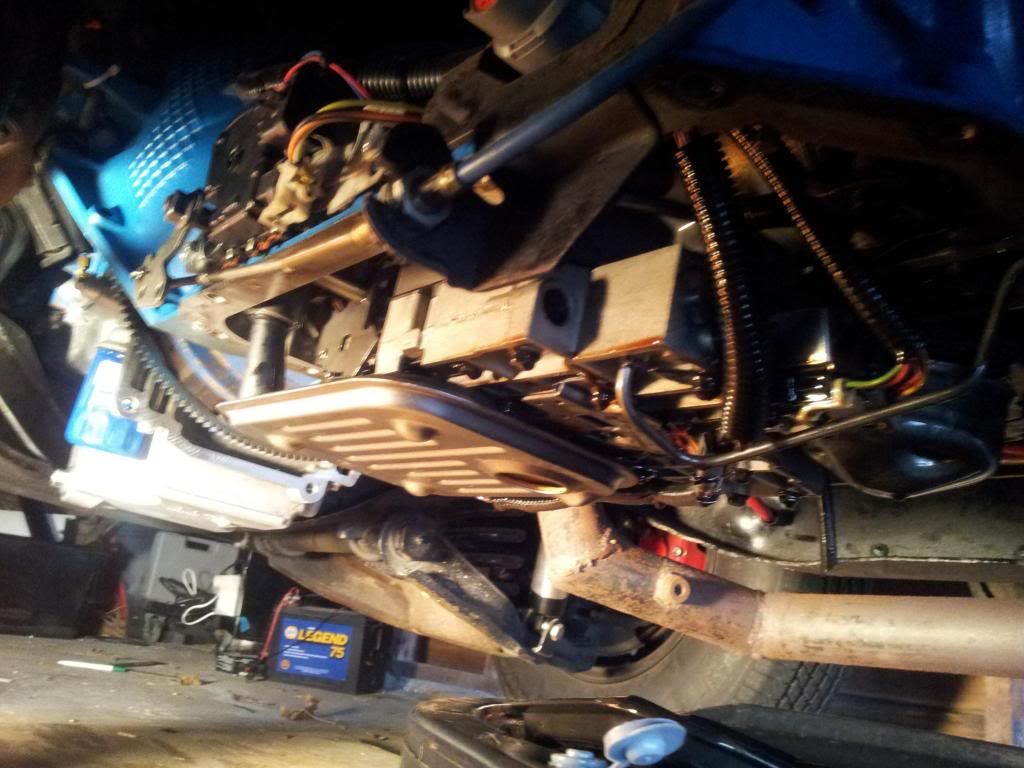
Wooohooo, it was over 50 today, finally! Got out to the garage for some pre-season scheduled maintenance. Did the usual oil change, but also decided that after 3 years and about 15k miles, I should do a tranny fluid change. It seems like low mileage, but it was a fresh rebuild and we had some issues with the overdrive early. The fluid looked good, but it never hurt. Snapped a couple pics along the way. This is what a nice clean 4l80e valve body looks like
__________________
'66 Short Step / SD Tuned / Big Cam LQ4 / Backhalfed /Built 4l80e / #REBUILDEVERYTHING  |
|
|

|
|
|
#431 |
|
Registered User
 Join Date: Mar 2013
Location: Southern Oregon
Posts: 10,384
|
Re: Br3w City's Project omgwtfbbq
Awesome!!! Its been in the 70's here in southern oregon!

__________________
1966 Chevy C10 "Project Two Tone" http://67-72chevytrucks.com/vboard/s...d.php?t=596643 1964 GMC "Crustine" semi-build:http://67-72chevytrucks.com/vboard/s...d.php?t=665056 My youtube channel. Username "Military Chevy": https://www.youtube.com/channel/UC_h...fzpcUXyK_5-uiw |
|
|

|
|
|
#432 |
|
meowMEOWmeowMEOW
Join Date: Sep 2009
Location: MKE WI
Posts: 7,128
|
Re: Br3w City's Project omgwtfbbq
OooooohhhhhhhYeeeeeaaaahhhhhhhh Anyone who doubts my winter storage procedures needs to check out this startup. Like butter.
**ALWAYS CHOOSE HD**
__________________
'66 Short Step / SD Tuned / Big Cam LQ4 / Backhalfed /Built 4l80e / #REBUILDEVERYTHING  |
|
|

|
|
|
#433 |
|
meowMEOWmeowMEOW
Join Date: Sep 2009
Location: MKE WI
Posts: 7,128
|
Re: Br3w City's Project omgwtfbbq
Decided to do some re-working on my interior. If you look closely, you can see a little bit of the leather on the knee-panels is peeling. This is a result of heat, and something that you'll get when using a backed-leather or backed-vinyl because of how thick it is. The thick material wants to "flatten" itself, meaning it will pull up from corners etc if the glue loses tac. I had been using regular CRC spray adhesive, but that was a mistake.
I picked up HeaderBond, and OH MAN is that stuff strong! I let it tack for only about 45 seconds (it says 5 minutes), and i almost glued my hand to my leg. Its designed for super high heat applications like dash pad covers and headliners. Its about $15 a can, but really really really is worth it. I also pulled out the old in-dash setup we had. Looks in very nice shape: anyone looking for some stereo speakers for the dash? 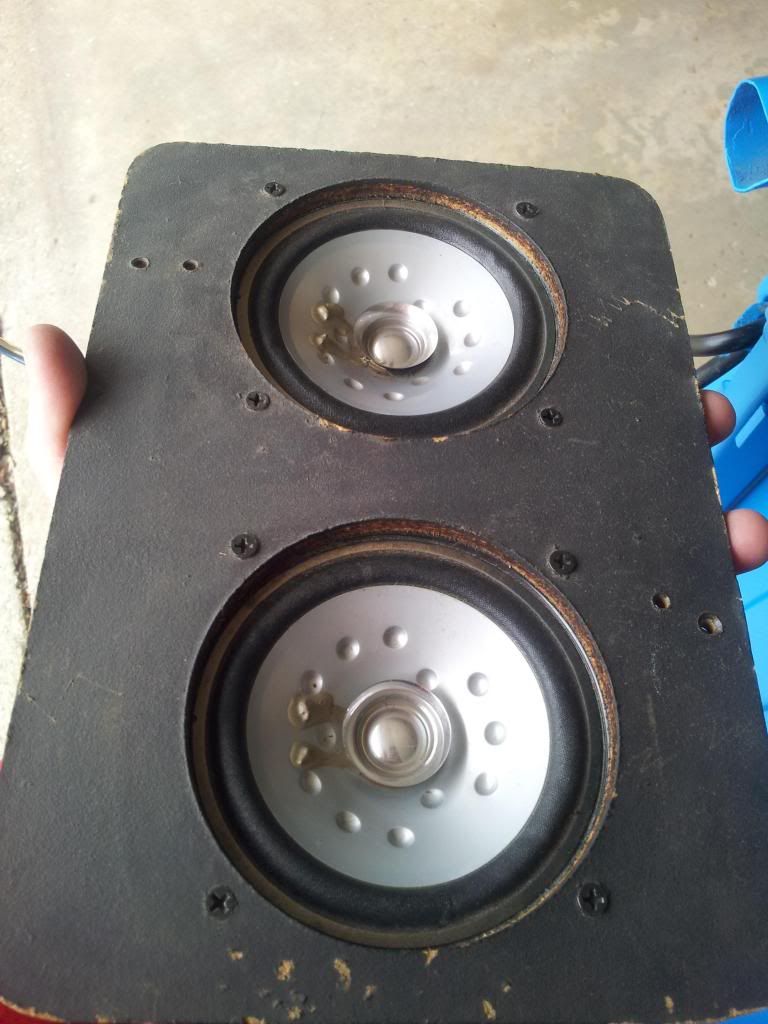 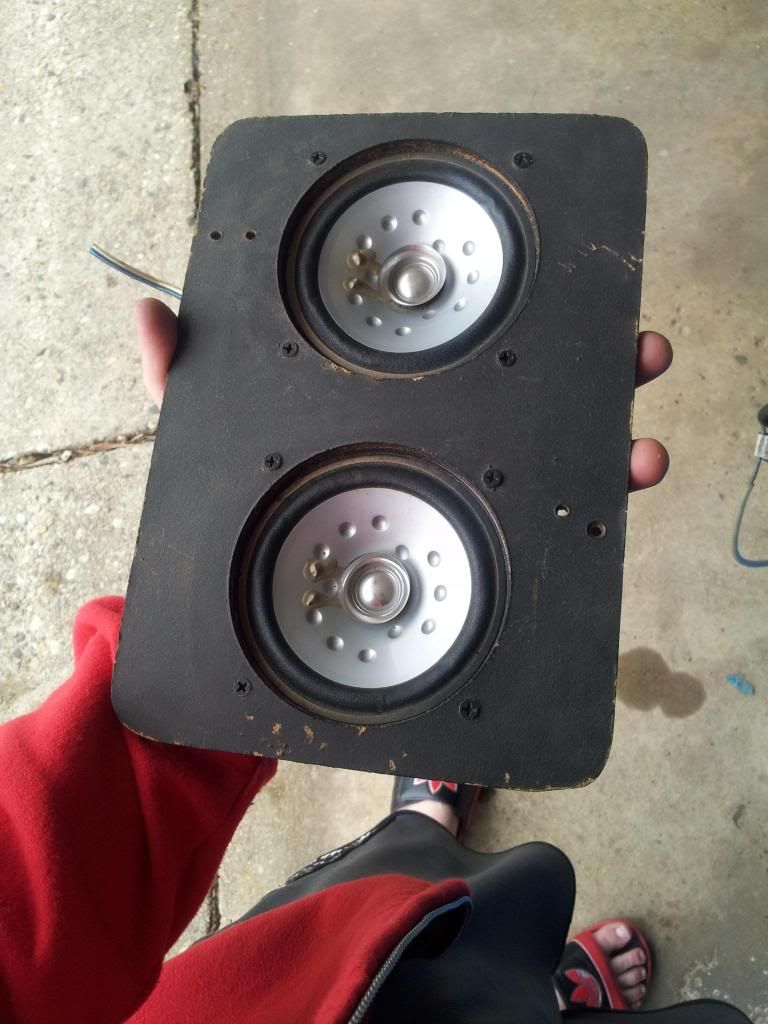  
__________________
'66 Short Step / SD Tuned / Big Cam LQ4 / Backhalfed /Built 4l80e / #REBUILDEVERYTHING  |
|
|

|
|
|
#434 |
|
Registered User
 Join Date: Oct 2013
Location: Westlock, Alberta Canada
Posts: 82
|
Re: Br3w City's Project omgwtfbbq
Read the whole thread and really love your truck, and the effort you've put into it! Keep it up!! Noticed you installed QA1'S up front. How do you like them? I've been considering them on my build as well.
|
|
|

|
|
|
#435 | |
|
meowMEOWmeowMEOW
Join Date: Sep 2009
Location: MKE WI
Posts: 7,128
|
Re: Br3w City's Project omgwtfbbq
Quote:
 ). ). Since I had been using those 275 series tires up front, the dampening and rebound was super important, or I could bottom the tall tire into the big sharp fender screw at the top of the wheel arch. Thats what happens when you have an uber tall tire and like 5" of drop. When I added the qa1's, it kept me well over the danger zone at all times, and kept the ride height pretty much the same...sans about 1/4-1/2" which was "Sag" of the old shocks. I'm planning on switching back the old 260 series tires probably this year, which drop the whole deal down about that 1/2" and flatten the suspension a bit. I'm excited to see how the qa1 works with it all. I already have the large sway bar up front, and I added that stabilizer to the steering and had it aligned...I'm hoping this should be a good improvement over the way I got it. The hydroboost makes the light-steering even lighter; I like it light with the small wheel I use, but I think I need to find a way to firm it up a touch, as right now its like pollowy and a bit hard to feel deep in a corner.
__________________
'66 Short Step / SD Tuned / Big Cam LQ4 / Backhalfed /Built 4l80e / #REBUILDEVERYTHING  |
|
|
|

|
|
|
#436 |
|
meowMEOWmeowMEOW
Join Date: Sep 2009
Location: MKE WI
Posts: 7,128
|
Re: Br3w City's Project omgwtfbbq
I've put most of the Truck-related video's into a nice playlist over on Youtube. If you haven't watched any of my videos, take a look over HERE
__________________
'66 Short Step / SD Tuned / Big Cam LQ4 / Backhalfed /Built 4l80e / #REBUILDEVERYTHING  |
|
|

|
|
|
#437 |
|
meowMEOWmeowMEOW
Join Date: Sep 2009
Location: MKE WI
Posts: 7,128
|
Re: Br3w City's Project omgwtfbbq
__________________
'66 Short Step / SD Tuned / Big Cam LQ4 / Backhalfed /Built 4l80e / #REBUILDEVERYTHING  |
|
|

|
|
|
#438 |
|
Registered User
Join Date: Nov 2013
Location: Green Bay, WI
Posts: 435
|
Re: Br3w City's Project omgwtfbbq
none of the new of the videos on your channel work? (startup to light switch all just sit on black screens)
__________________
1966 C10 SWB Fleet 5.3L LM7 Vortec / 4L60e Swap 1966 C10 w/ 5.3L/4L60e Build Thread 2012 GMC Sierra 5.3L 4x4 CCSB |
|
|

|
|
|
#439 | |
|
meowMEOWmeowMEOW
Join Date: Sep 2009
Location: MKE WI
Posts: 7,128
|
Re: Br3w City's Project omgwtfbbq
Quote:
I just tried it, and it works fine for me on Chrome and Firefox' latest versions. The 1080p do take a second to buffer/load unless you have a pretty quick connection.
__________________
'66 Short Step / SD Tuned / Big Cam LQ4 / Backhalfed /Built 4l80e / #REBUILDEVERYTHING  |
|
|
|

|
|
|
#440 |
|
meowMEOWmeowMEOW
Join Date: Sep 2009
Location: MKE WI
Posts: 7,128
|
Re: Br3w City's Project omgwtfbbq
I didn't take any pictures, but I'm gonna toss this up here as a little "note" or reminder to myself and anyone else for the future.
DO NOT USE MOST OFF-THE-SHELF SPRAY ADHESIVES FOR AUTO INTERIOR. USE SPECIALTY ADHESIVES DESIGNED FOR AUTO/RV/BOAT OR CERTAIN MILITARY OR MANUFACTURER GRADE GLUES IF BRUSHING ON. Why? A few reasons; 1. Many non-specialty adhesives do not start with a proper chemical base for use on interiors. Many are ultra-thinned and the can is mostly Cfc's, and the two-part bonding adhesives off-gas waaay too much, and often dry brittle. 2. Most of them also are not designed to be used on materials that have the properties of leather. This is also a good time to mention that glue selection may also depend on the type of material and how its being used. A) Leather requires a very strong glue, due to its gram weight, as well as its thickness and resilience to bending. It likes to pull-away around tight corners and can sag easily over time. A good specialty glue will be sprayed and cured for a few minutes (longer than most spray glue), then the leather is applied much like a veneer. Most leathers are backed, adding to the thickness and helping prevent soak-in. Unbacked leathers are fine for sewn-in interior features like seats, but will soak with many glues. A good specialty glue will minimize this, and there are a few designed for very porous leather. B) Fabrics like Tweed (hot rod interiors) are also porous if they don't have a plasti-type backing. A good interior glue will spray THICK in a nice wide pattern, coating the SURFACE of the fabric, and minimize soaking. The quality of the glue also minimizes the total amount needed, limiting your chances of using too much, and again soaking. Because it can cure for 5-10 minutes, you don't have to rush coat it, or worry about not getting it applied in time. You have more than enough time to position, burnish, and trim. C) HEAT. This is a HUUUUUGE factor here. Our old vehicles have thick metal shells with minimal insulation and the concept of "heat rejection" was not at the forefront of truck design. Add to this things like metal dash and door cards, and your ride can be a microwave after an hour or two in the sun. Interior temps can get above 140* (the older the car, the less of a chance the glass is UV treated). This is a serious threat to cheap adhesives. Headliners are especially at risk for this. A good glue will hold up under those temps and more. Convertibles, and boats with lots of exposed interior are also at high risk for sag/droop. My knee-panels had a large amount of peel and sag after only 1 season with a generic glue. My upper and lower door cards also faced this issue, which I'm working to correct. D) Moisture. This is another one for the boat/rv side, but still applies to any old ride. Primitive rain channels and drains (or the fact that we delete/shave them), mean water can easily sneak into the window channel and down across the upper and lower door cards. Cheap protein glues can be dissolved with a little moisture, let alone full exposure to water. Climate-extreme places like south Florida are in the crosshairs on this one. E) Flexibility. I partially mentioned this above, but because nothing in a hot rod is really "stationary", the ability to move with the car is nice. It means that someone leaning on the center console won't "crinkly" the material, or ripple it. Same goes for something like a sun-visor, which is handled often. Cheap glues can crack or flake, or just peel up. So there's my rant for today. Spend a few $'s more, and get a GOOD interior adhesive designed for the job. It may be like $15/can instead of $9, but you'll use LESS, and only end up doing the job once. You can find the stuff from your local auto upholstery supplier (if you have one). I'm lucky enough to have DLT Upholstery in my area, but they do online sales as well.
__________________
'66 Short Step / SD Tuned / Big Cam LQ4 / Backhalfed /Built 4l80e / #REBUILDEVERYTHING  |
|
|

|
|
|
#441 |
|
meowMEOWmeowMEOW
Join Date: Sep 2009
Location: MKE WI
Posts: 7,128
|
Re: Br3w City's Project omgwtfbbq
Me n Sandwiches take the truck out for a cruise in another video. We head out for a short drive to his place to get ready for another new video; caring for Satin / Matte finishes (coming up very very shortly). This one is just another ride around town, with a few different camera angles, and trying out the Superview wide angle feature on the new GoPro Hero3 Black+ that we just picked up as well.
__________________
'66 Short Step / SD Tuned / Big Cam LQ4 / Backhalfed /Built 4l80e / #REBUILDEVERYTHING  |
|
|

|
|
|
#442 |
|
meowMEOWmeowMEOW
Join Date: Sep 2009
Location: MKE WI
Posts: 7,128
|
Re: Br3w City's Project omgwtfbbq
Oh and thank to member C10Seconds for hooking it up with this brand new AutoMeter SportComp Wideband AFR Gauge and a new set of ARP con-rod bolts for a very very reasonable price!
And another thanks to LittleVictories for getting me an Inline -6AN Gauge-Port Fitting for putting a 1/8 NPT FP gauge right on the feed side of the rail...for a modest price of $Free.99
__________________
'66 Short Step / SD Tuned / Big Cam LQ4 / Backhalfed /Built 4l80e / #REBUILDEVERYTHING  |
|
|

|
|
|
#443 |
|
meowMEOWmeowMEOW
Join Date: Sep 2009
Location: MKE WI
Posts: 7,128
|
Re: Br3w City's Project omgwtfbbq
Washing your junk for the holiday weekend? Don't ruin your satin finish, clean your sh!t MY WAY....with an engine
 No better way to clean satin finishes with minimal effort and minimal touching No better way to clean satin finishes with minimal effort and minimal touching
__________________
'66 Short Step / SD Tuned / Big Cam LQ4 / Backhalfed /Built 4l80e / #REBUILDEVERYTHING  |
|
|

|
|
|
#444 |
|
meowMEOWmeowMEOW
Join Date: Sep 2009
Location: MKE WI
Posts: 7,128
|
Re: Br3w City's Project omgwtfbbq
When we built the seat brackets, we never painted them and I was tired of people the few half-visible welds and bare metal . Realistically, because of the existing shroud and the carpet, you'd never notice this...unless your crouching by the door. But it annoyed me, and I figured the under seat space would be more usable if I could put stuff under it without it falling out the sides or being seen. Things like my detailing kit or some jumper cables would fit great.
Because of this, I wanted to use the same leather/vinyl that I had been using on the door cards etc, since it matched my seats. BUT I don't have a sewing machine that could handle something that thick. I use a suuuper sticky adhesive (read my rant above on spray glues) and made a skirt for the seat. 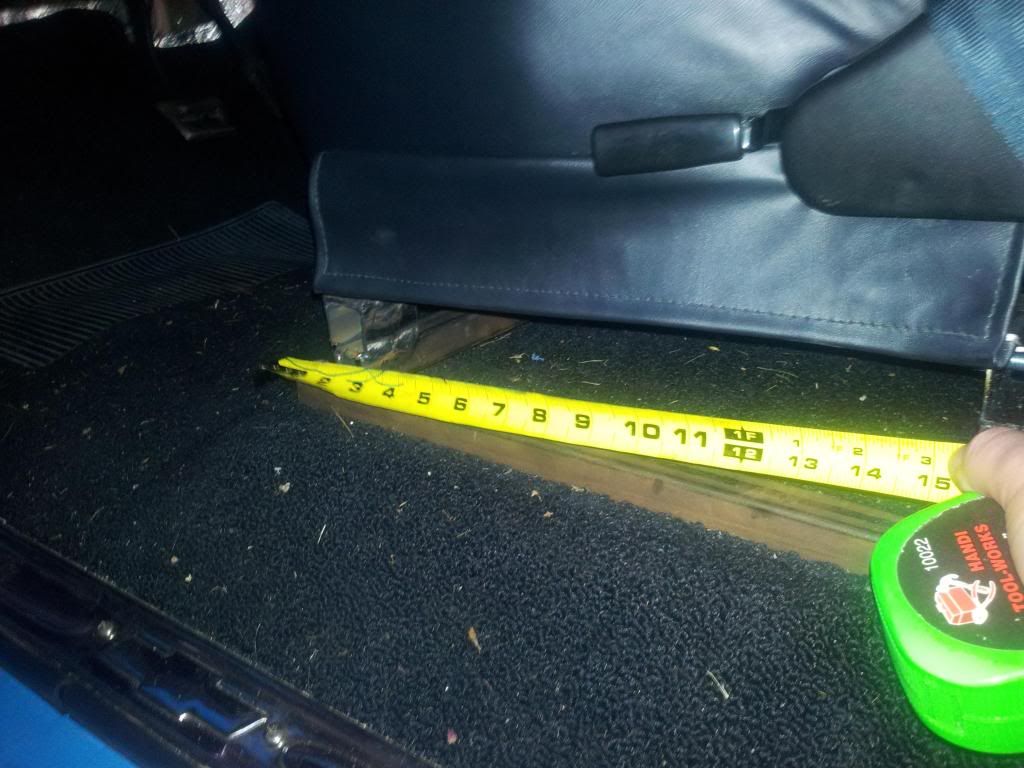 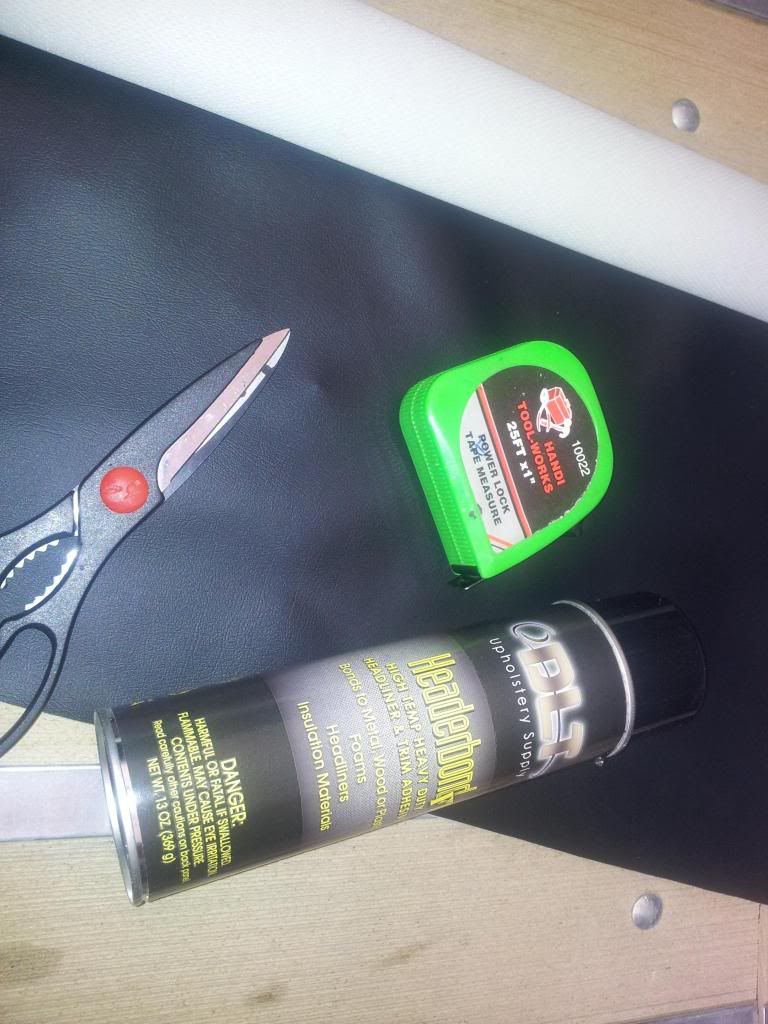 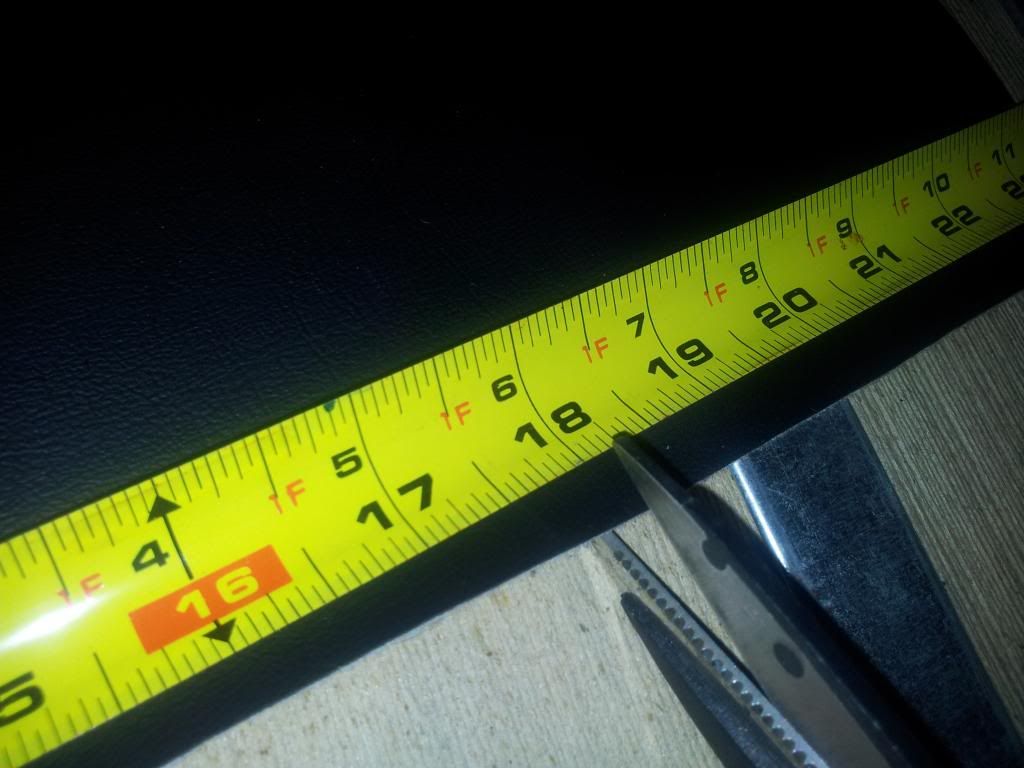 I use the glue to make fold over seams, then I can later butt the seams and make a corner, much like you would in normal upholstery. To get a crispy seam, I used a couple of clamps and some old duct cleating to keep it flat. 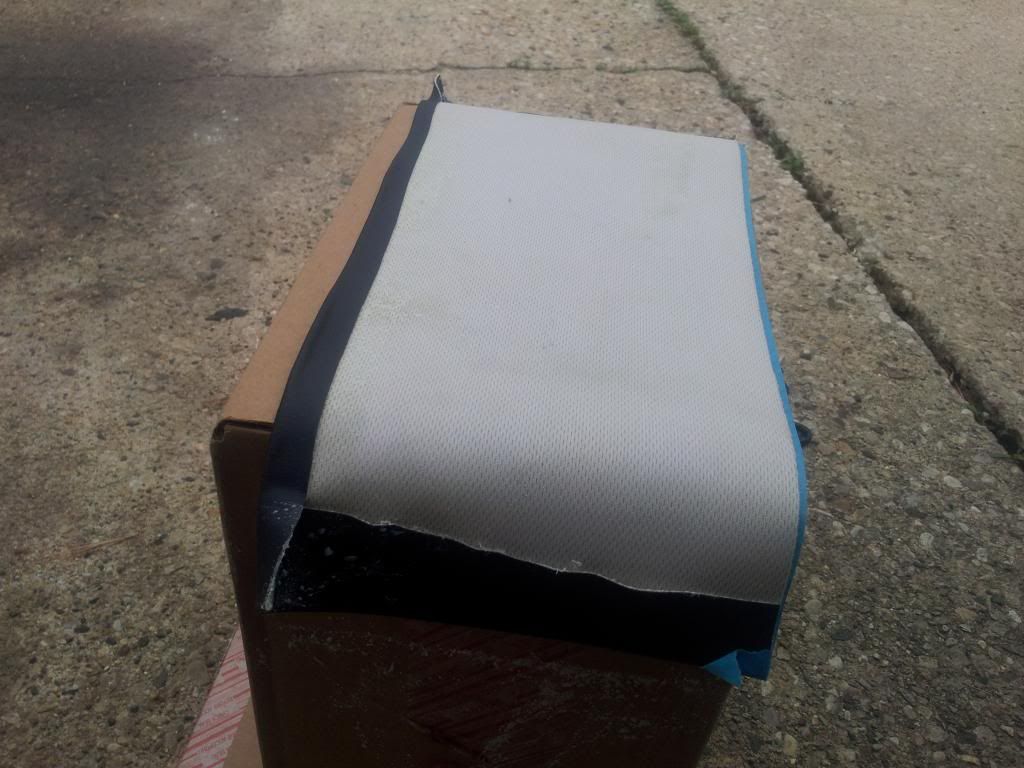 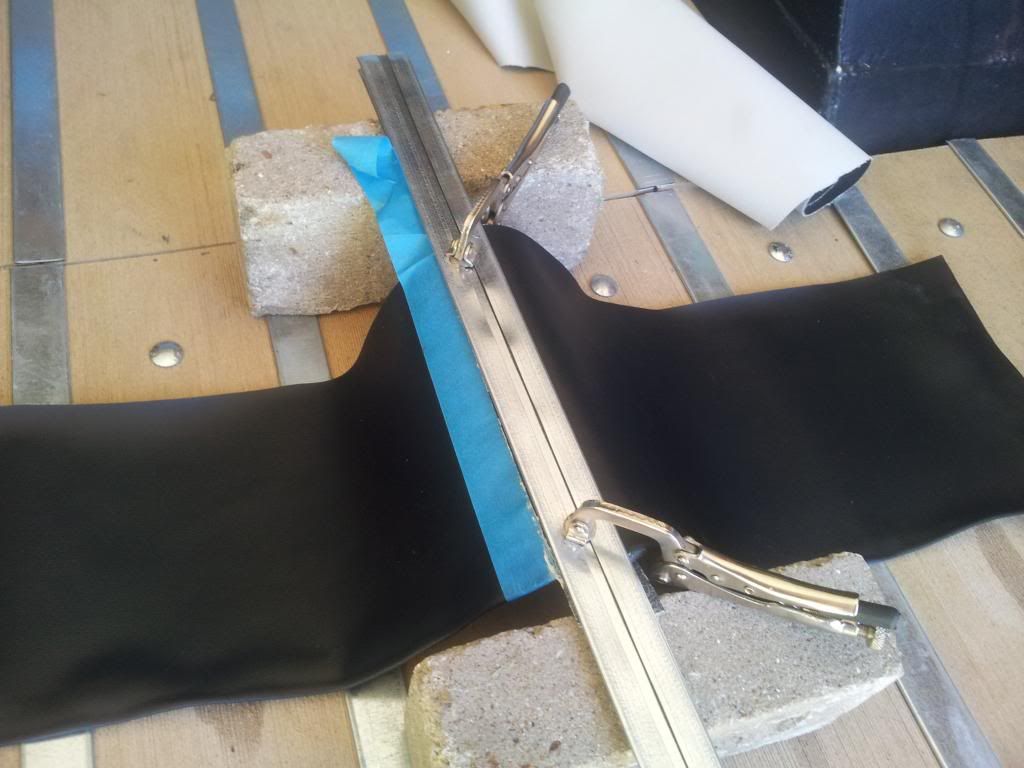 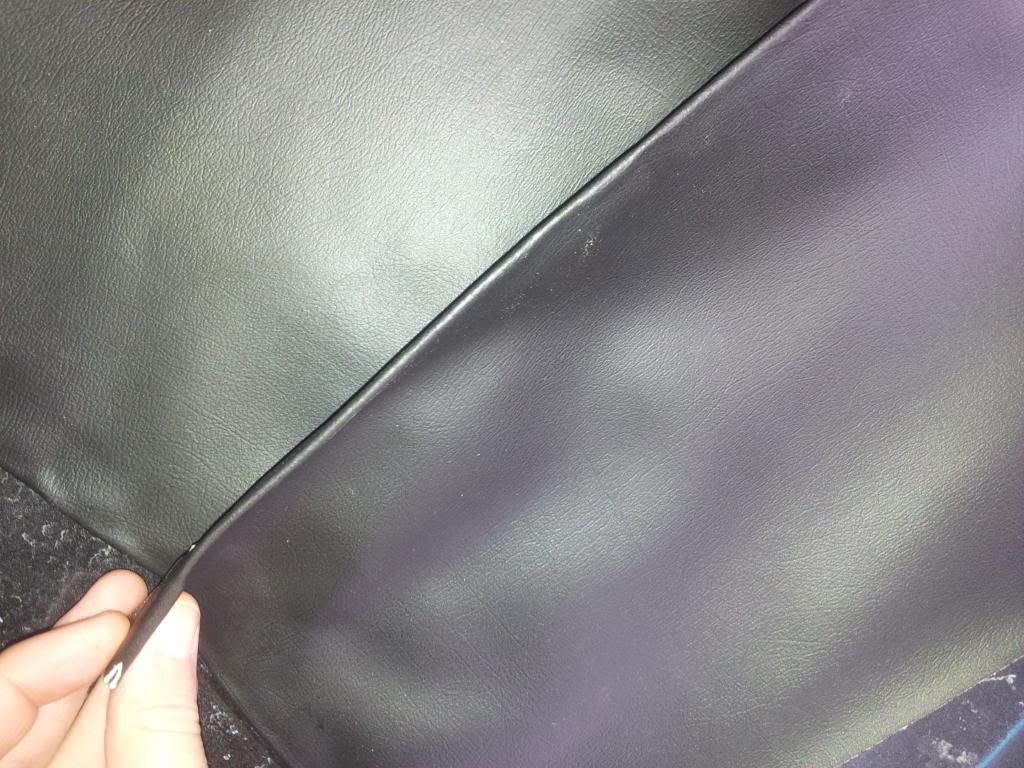 I tucked it under the rail, fit the edges snug, and used some hardware and some 3m doublestick to get a taught-enough fit. (excuse the handprints and crap everywhere, its not like i detailed the thing while I was doing it  ) )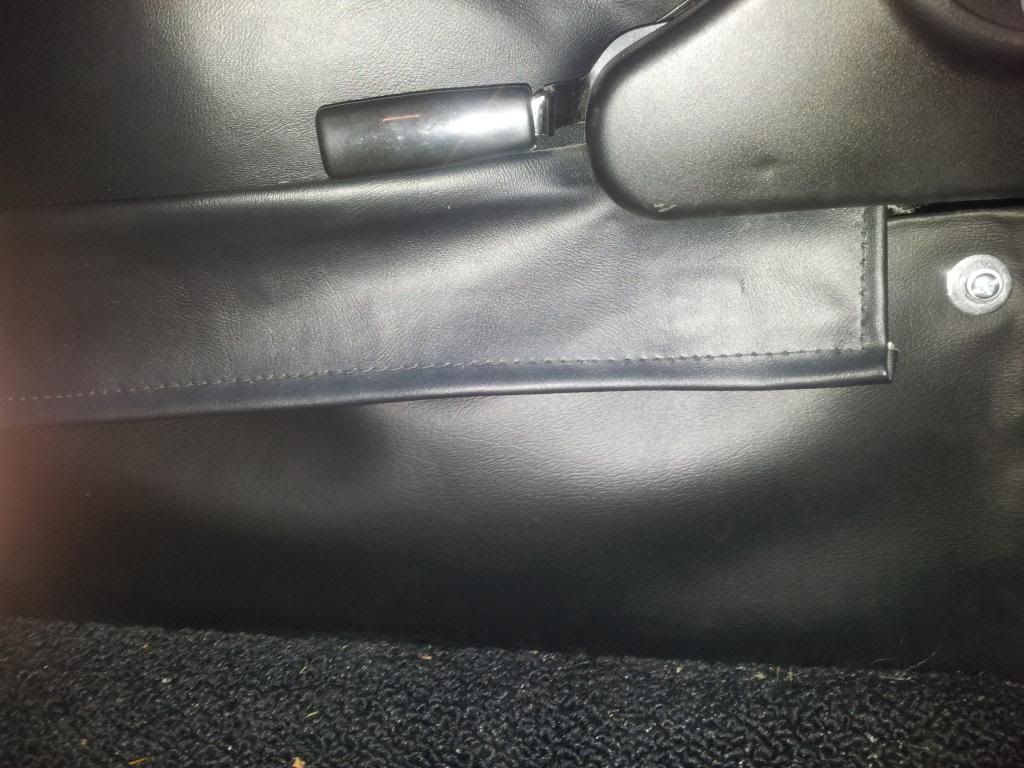 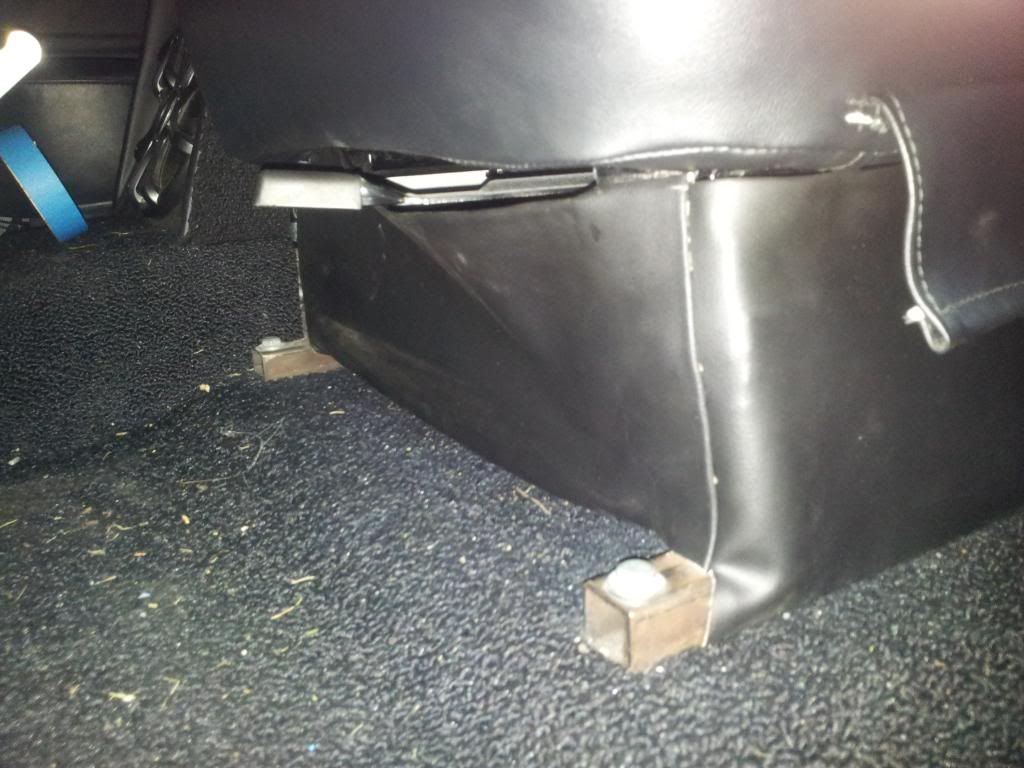 I'll be adding a little carpet cover for the other part that still stick out (but can be removed easily just in case). Overall it fits snug and I'm pretty happy with it, and it adds an extra cubic foot or so of storage, which is always a plus.
__________________
'66 Short Step / SD Tuned / Big Cam LQ4 / Backhalfed /Built 4l80e / #REBUILDEVERYTHING  |
|
|

|
|
|
#445 |
|
meowMEOWmeowMEOW
Join Date: Sep 2009
Location: MKE WI
Posts: 7,128
|
Re: Br3w City's Project omgwtfbbq
__________________
'66 Short Step / SD Tuned / Big Cam LQ4 / Backhalfed /Built 4l80e / #REBUILDEVERYTHING  |
|
|

|
|
|
#446 |
|
meowMEOWmeowMEOW
Join Date: Sep 2009
Location: MKE WI
Posts: 7,128
|
Re: Br3w City's Project omgwtfbbq
WHAT? MORE DAMN CONTENT?!!? Me thinks I need to post my videos in other sections cuz yall aren't LIKING SUBSCRIBING OR COMMENTING....its too quiet in here.
__________________
'66 Short Step / SD Tuned / Big Cam LQ4 / Backhalfed /Built 4l80e / #REBUILDEVERYTHING  |
|
|

|
|
|
#447 |
|
meowMEOWmeowMEOW
Join Date: Sep 2009
Location: MKE WI
Posts: 7,128
|
Re: Br3w City's Project omgwtfbbq
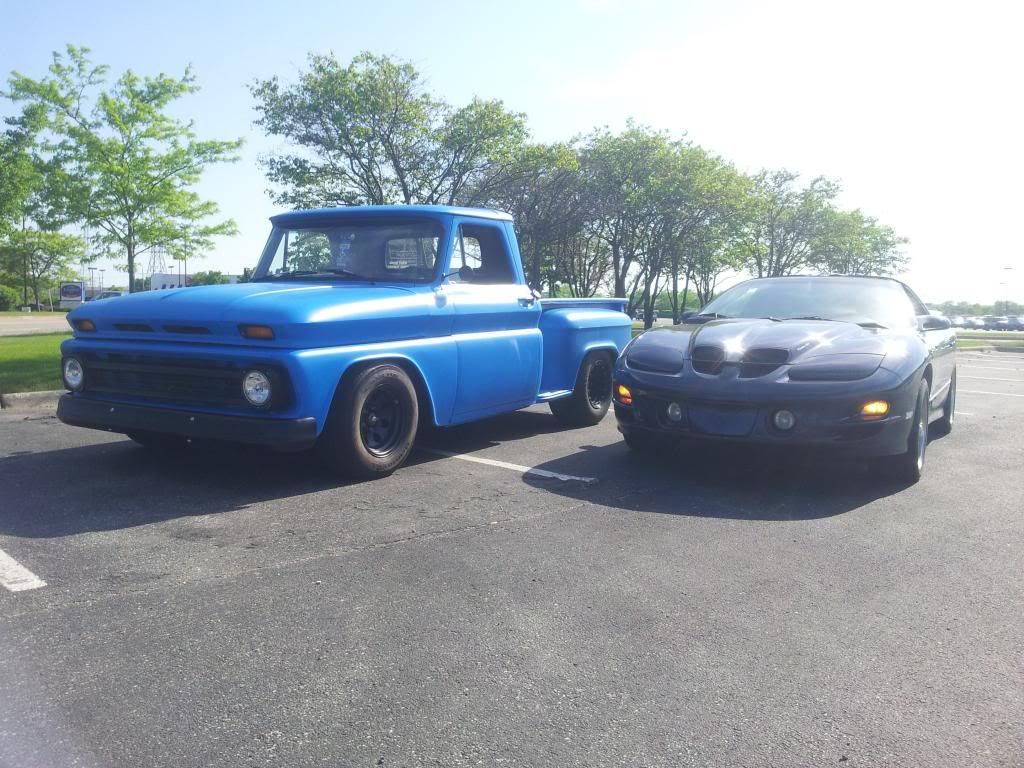
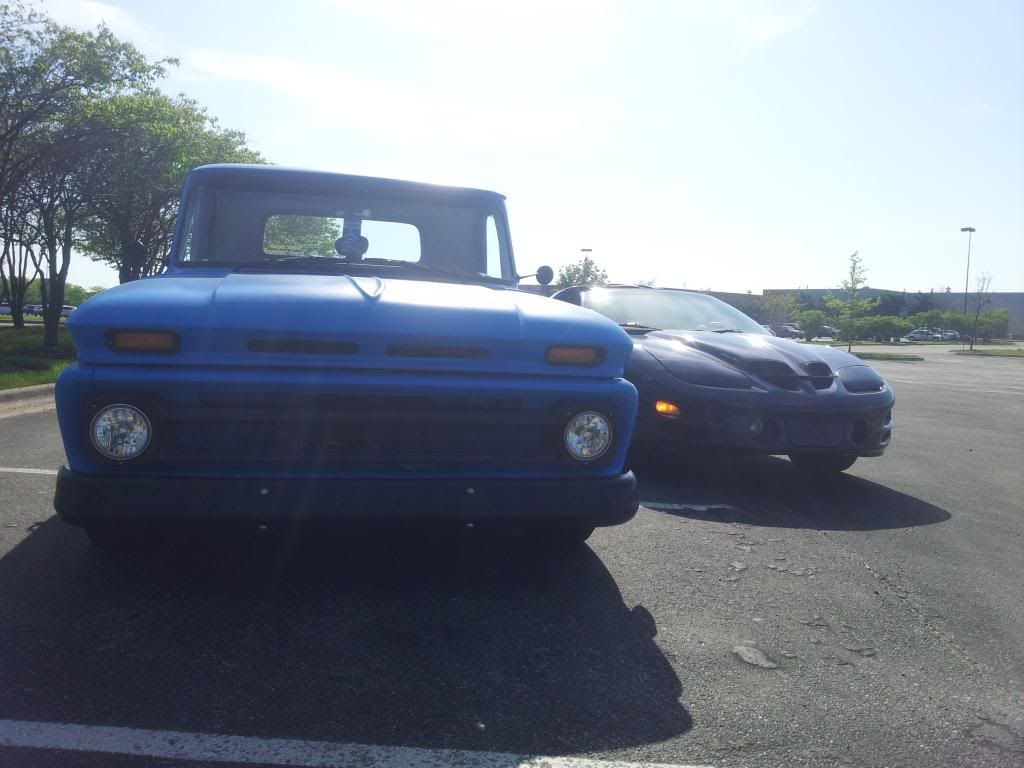
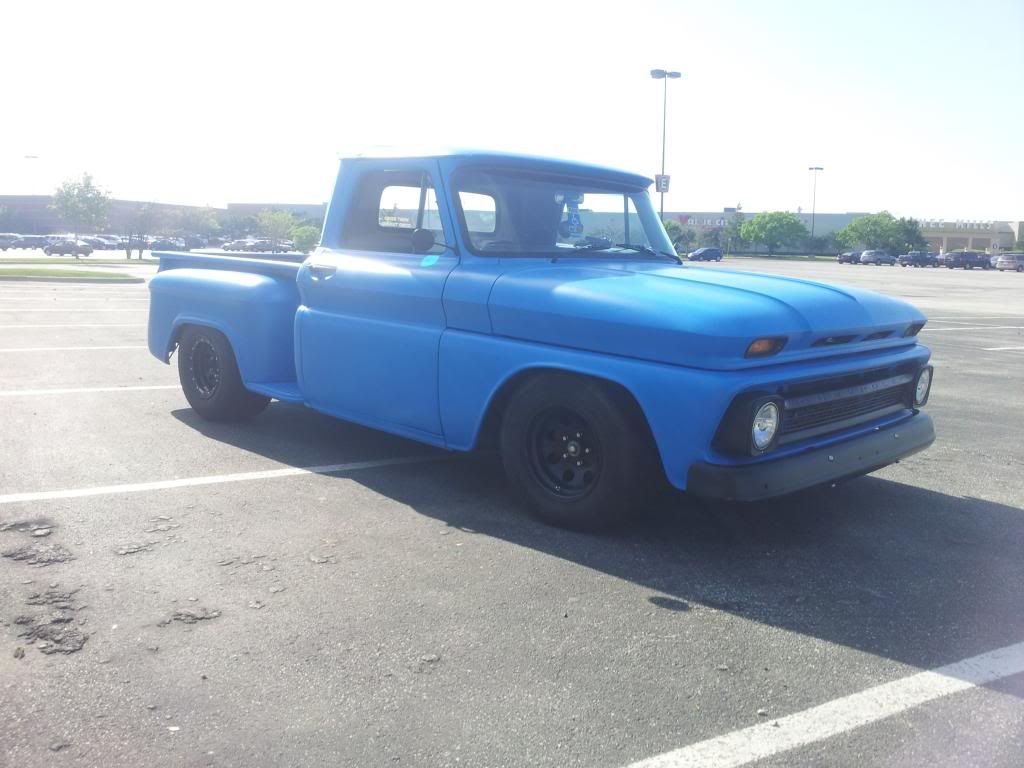
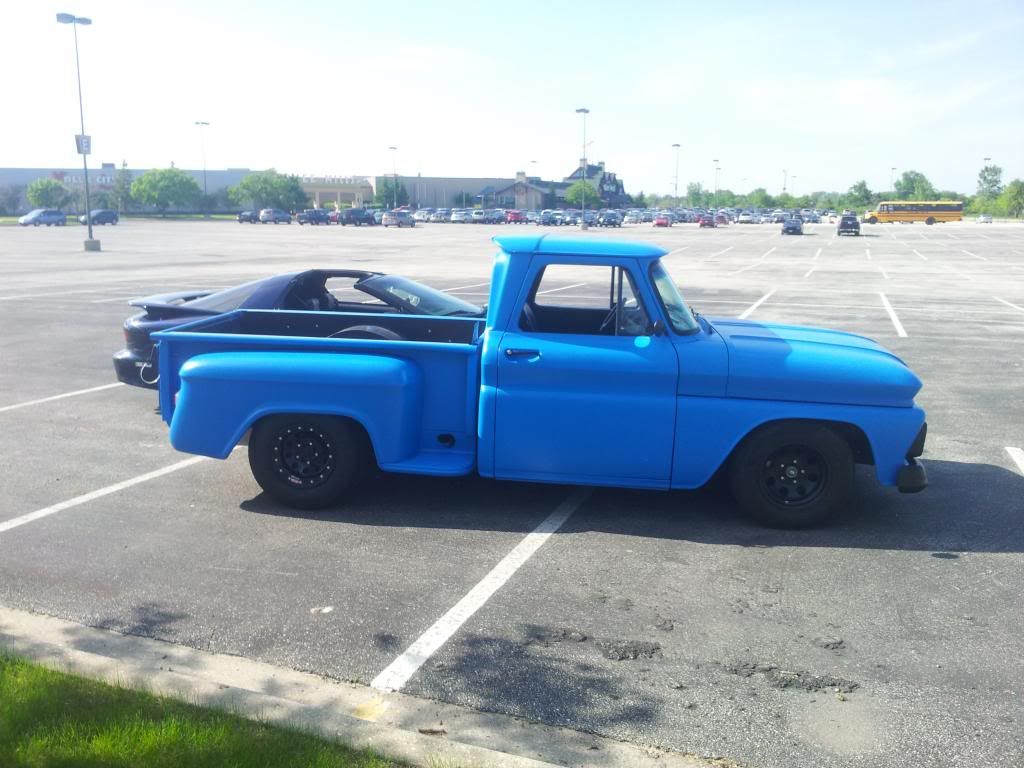
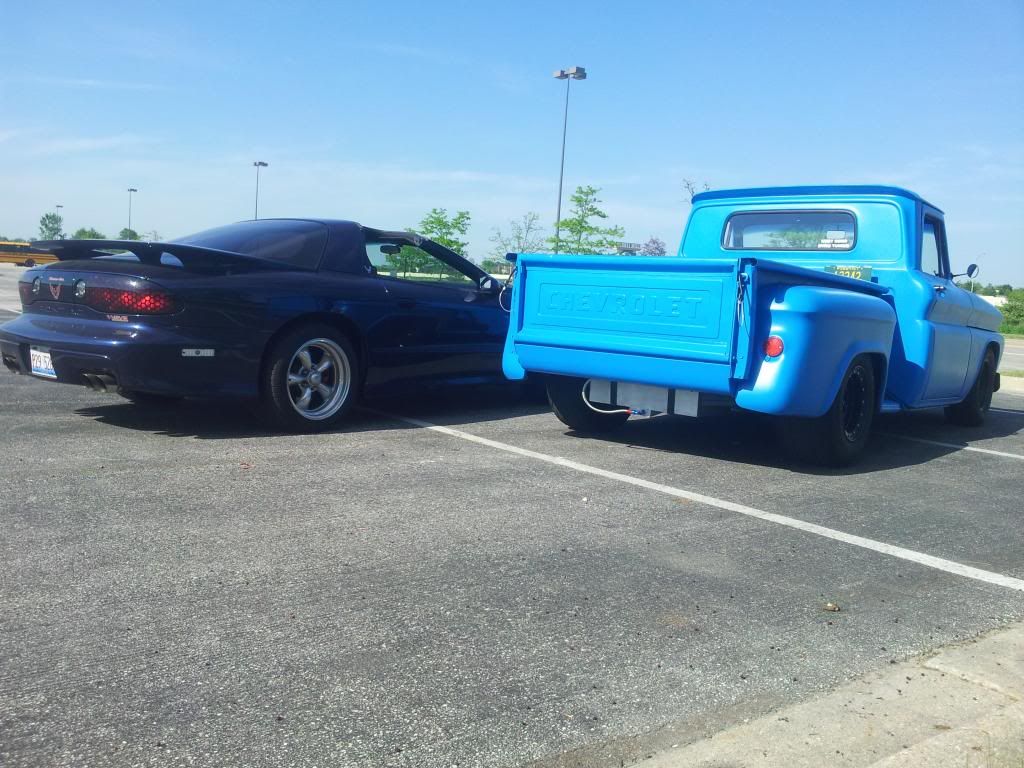
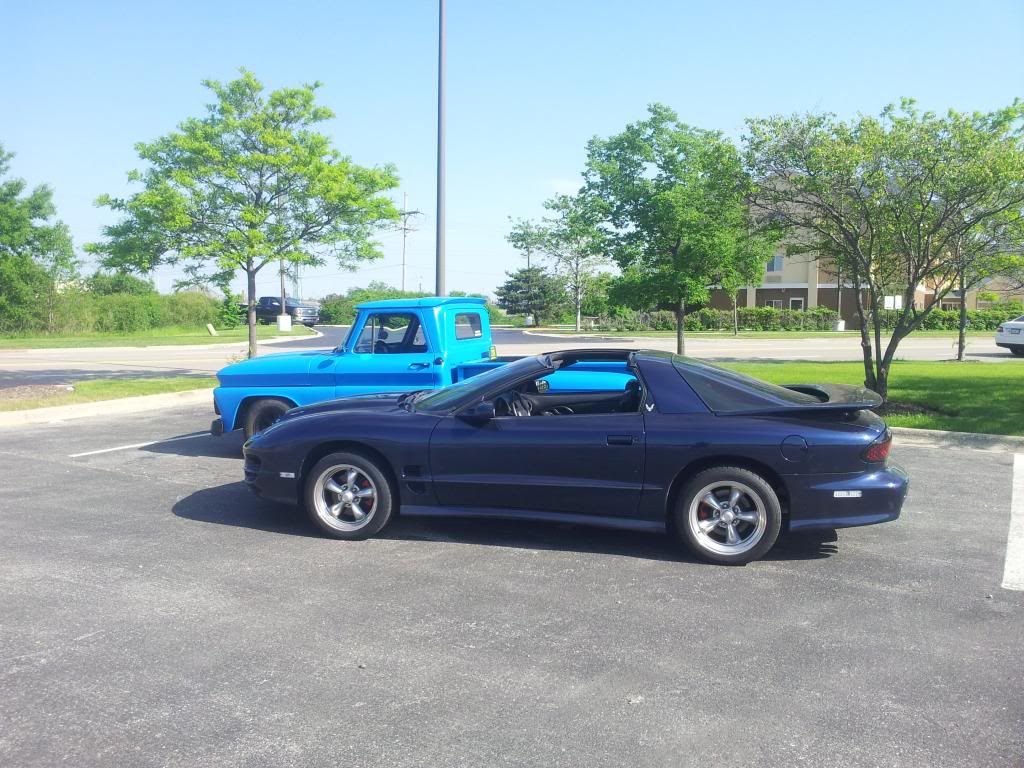
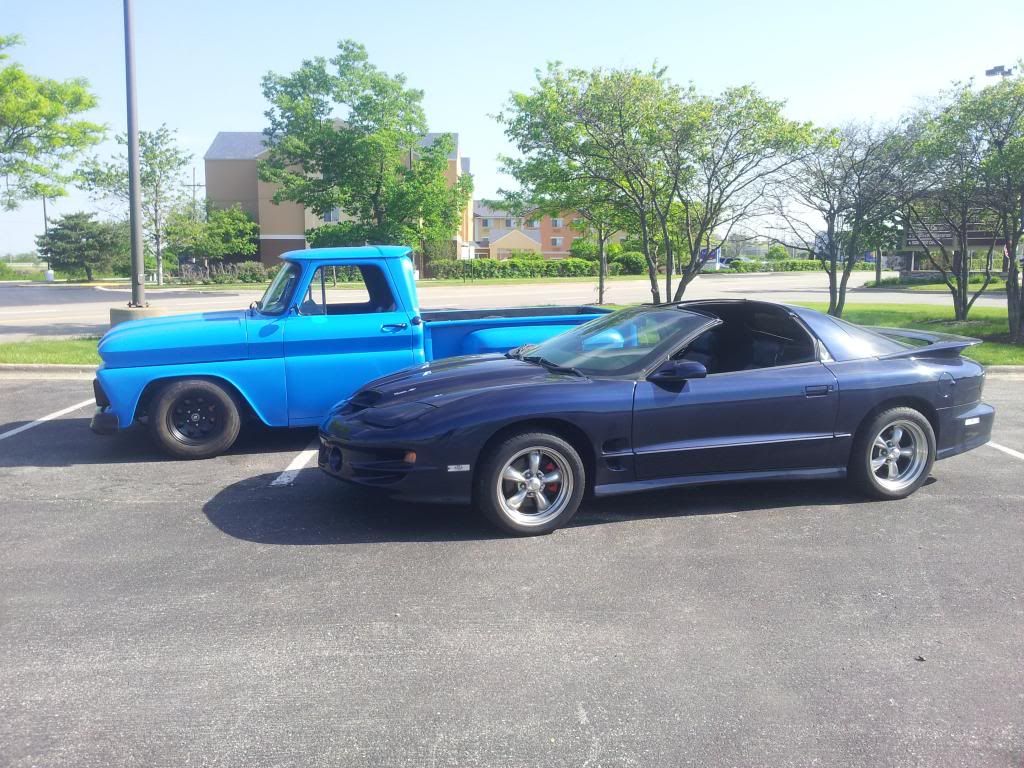
As I was saying, content. Me and TransAmDan met up to deal with some Tuning issues in the '66, and took some pictures while we were out. I'll have new numbers soon to show you guys what we can do with tuning. I'm over having other people tune my sh!t, since my friends and I end up re-doing their tunes anyway.
__________________
'66 Short Step / SD Tuned / Big Cam LQ4 / Backhalfed /Built 4l80e / #REBUILDEVERYTHING  |
|
|

|
|
|
#448 |
|
Senior Member
 Join Date: Mar 2011
Location: Tucson, Arizona
Posts: 2,082
|
Re: Br3w City's Project omgwtfbbq
Thanks for the info on the satin paint cleaning. I'm planning on going with satin when the time comes so I'll file this away. By the way, the truck's looking great.

__________________
Sanity'66 http://67-72chevytrucks.com/vboard/s...d.php?t=515110 Long bed, Fleetside, Small back window I've Done So Much, With So Little, For So Long, That Now I Can Do Anything With Nothing. 
|
|
|

|
|
|
#449 |
|
meowMEOWmeowMEOW
Join Date: Sep 2009
Location: MKE WI
Posts: 7,128
|
Re: Br3w City's Project omgwtfbbq
Thanks Dude
Difference between the 4l80e and 4l60e dipsticks, the 80e is on the left. 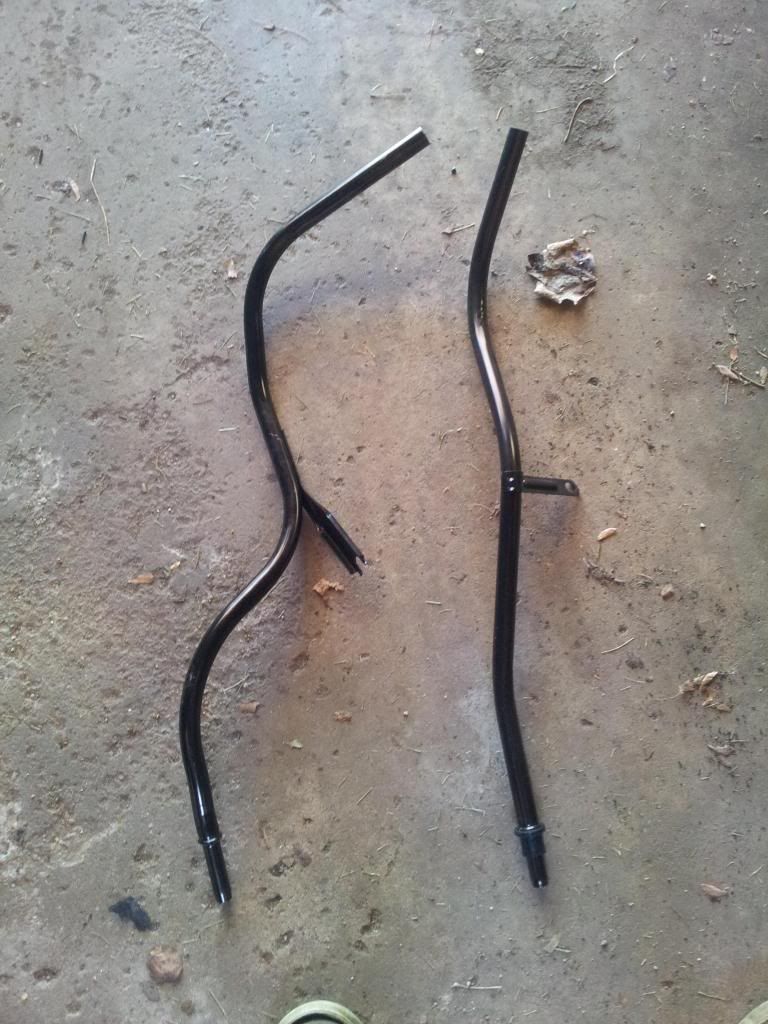 Painting my wideband housing, showing the sensor, and pulling out the old voltmeter. Full video on the wideband install coming soon. 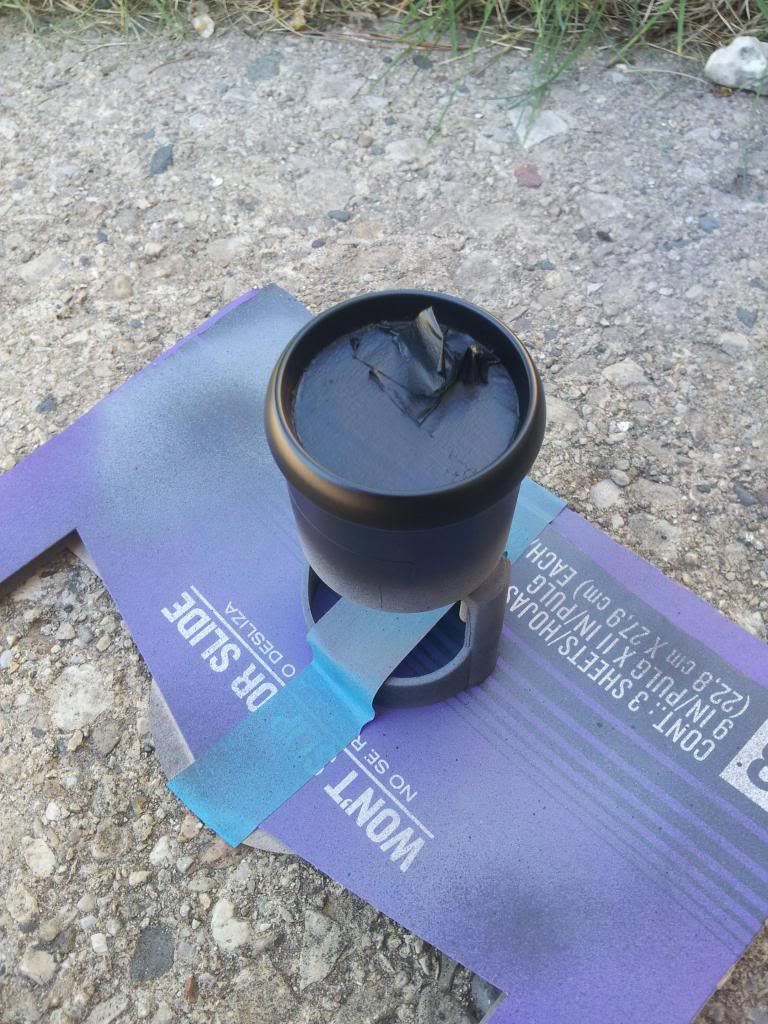 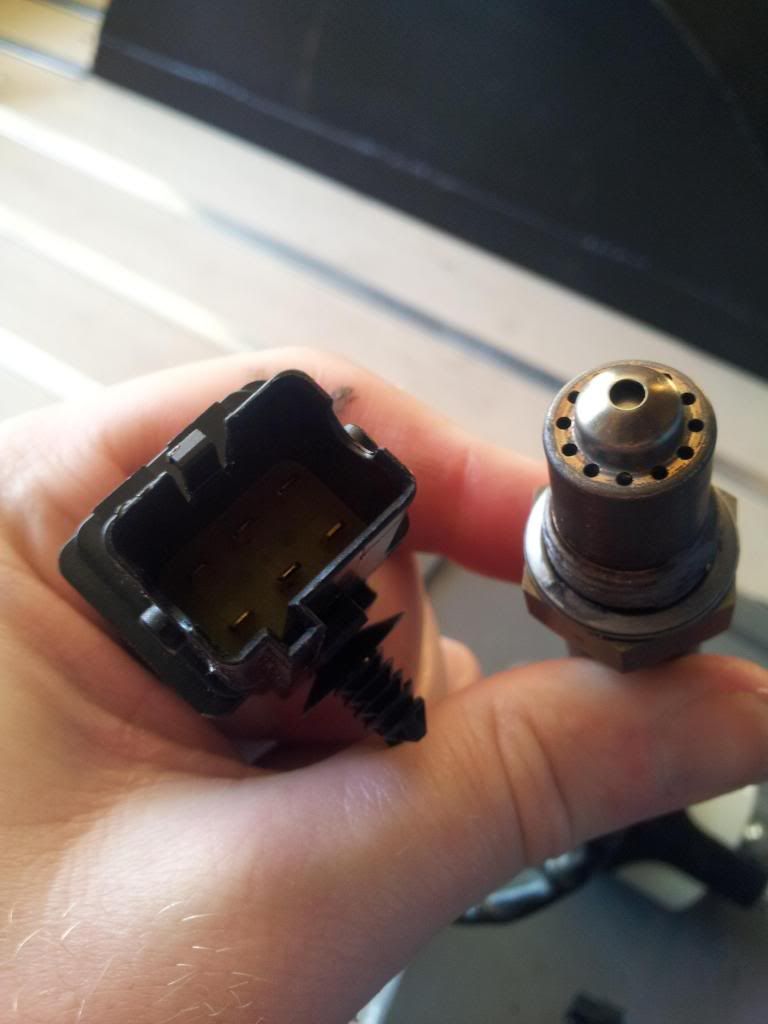 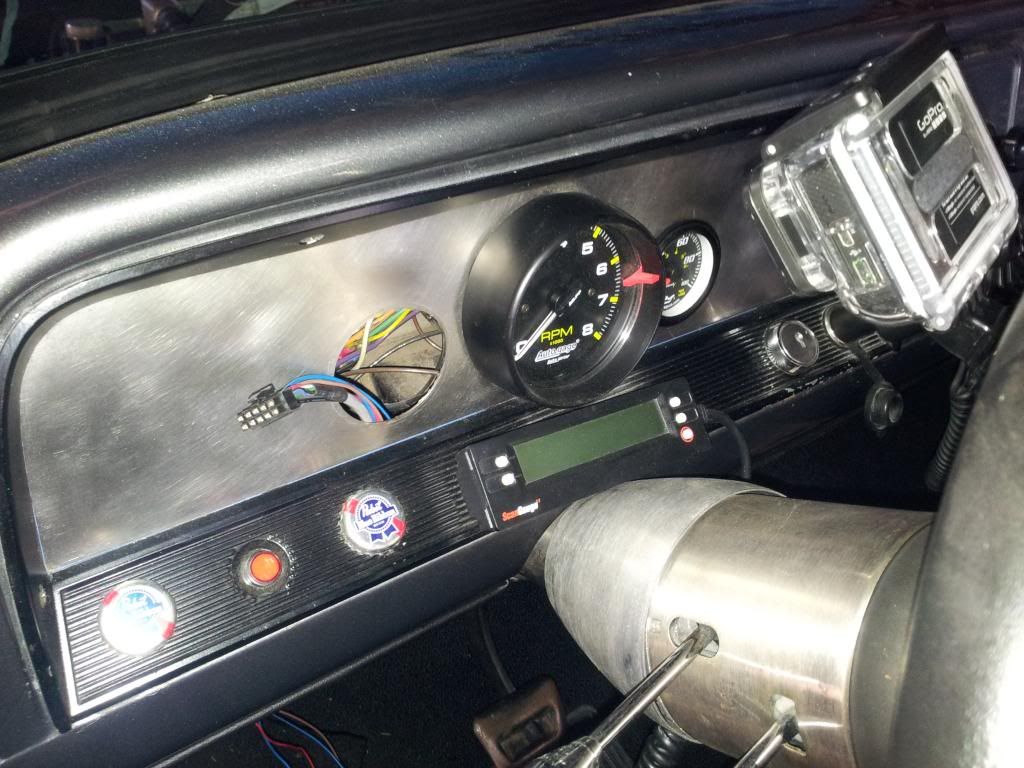
__________________
'66 Short Step / SD Tuned / Big Cam LQ4 / Backhalfed /Built 4l80e / #REBUILDEVERYTHING  |
|
|

|
|
|
#450 |
|
meowMEOWmeowMEOW
Join Date: Sep 2009
Location: MKE WI
Posts: 7,128
|
Re: Br3w City's Project omgwtfbbq
Did a major retune this past weekend. Ditched the MAF, instead switching to the "big dog" of HP Tuners...the SD-enhanced custom Operating system. This literally means throwing GM's hard work into the garbage, for what is essentially "hacked firmware" for a car. Its a bit more groomed than that, but truthfully, at its core thats what it is.
This allows the use of Speed Density tuning, something thats brought up here once in a while, usually in the higher performance discussions. This uses VE tables to create very precise fuel maps, foregoing flexibility and idiot-proofing, for maximum horsepower and control in the hands of the right person. In addition, running the enhances OS allows Live Tuning, or watching streaming data-logs and making changes in REAL time. As a Bonus, I can use it up to 3-bar, for when 1 atmosphere just isn't making enough power. I'll go into more detail on SD tuning soon, but for now, just knows I be did-ing that. I also modified my engine cover to work with the Fuel Pressure gauge I showed you guys in my last video installment... SERIOUSLY, please Like, Comment and Subscribe to me on YouTube (Rev J HD) or follow me on Twitter @wtfREVJ. I enjoy doing these video's, but even the simplest ones take large amounts of time, and in many cases money. The more people that show they like our work, the more we can bring you guys in return. I work hard to bring this forum as much tech, pictures, video, and unbridled opinion as I can, and I need yall to show me some love back. We have SO much more coming, but the scale of it isn't possible without support for "Viewers Like You" (In telethon voice). Also, I continue to extend this offer to anyone willing to come-on-down. If your interested in having your truck/car/project filmed, let me know. Anyone local who would like to do frequent build-updates would be great, but I'm also happy to do quick 3-7 minute "Fun" videos of your project for the channel. I'm also willing to do more detailed work, including archival footage and documentation, in-depth automotive profiles, or filming of club/company/team track days or events (with a donation). Thanks for everyone who watches.
__________________
'66 Short Step / SD Tuned / Big Cam LQ4 / Backhalfed /Built 4l80e / #REBUILDEVERYTHING  |
|
|

|
 |
| Bookmarks |
|
|