
 |
Register or Log In To remove these advertisements. |
|
|
|
|||||||
 |
|
|
Thread Tools | Display Modes |
|
|
#26 |
|
Registered User
Join Date: Sep 2017
Location: Patriot IN
Posts: 163
|
Re: 1970 C30 Car hauler Buildish thread.
Well my new vise came in today!
[IMG]  IMAG1315 by jarrod vanwinkle, on Flickr[/IMG] IMAG1315 by jarrod vanwinkle, on Flickr[/IMG][IMG] 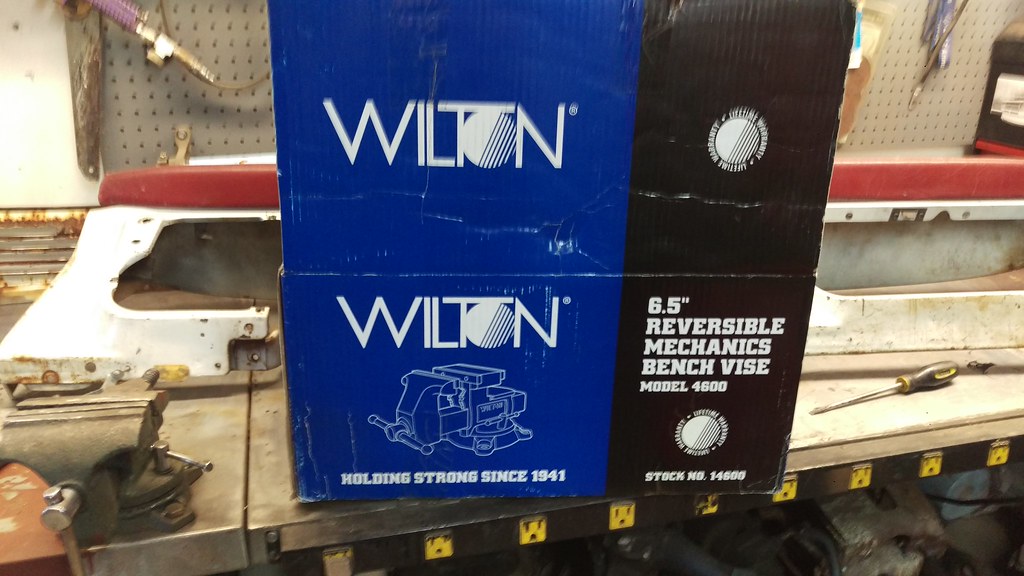 IMAG1316 by jarrod vanwinkle, on Flickr[/IMG] IMAG1316 by jarrod vanwinkle, on Flickr[/IMG]Old Vs New! [IMG] 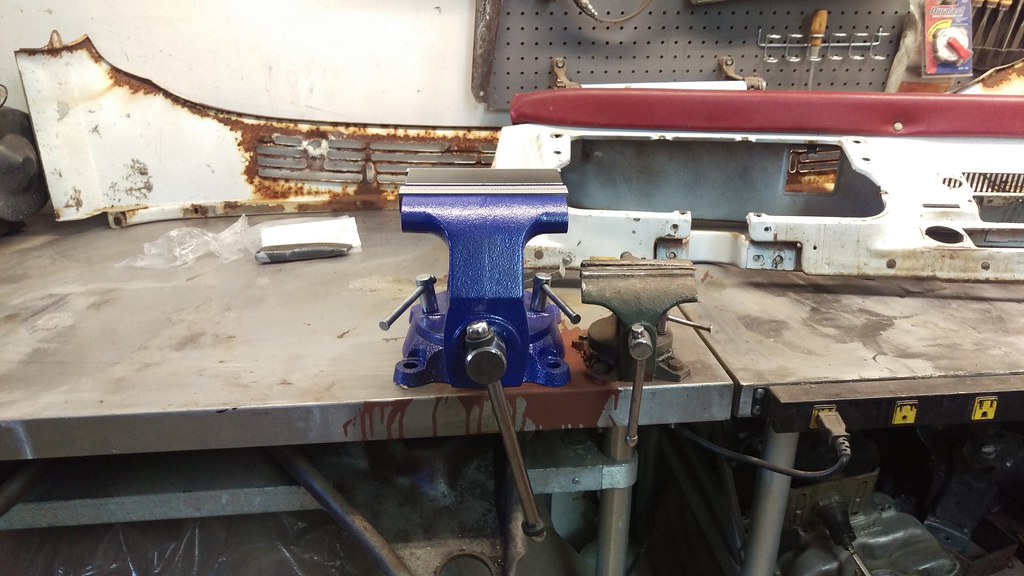 IMAG1317 by jarrod vanwinkle, on Flickr[/IMG] IMAG1317 by jarrod vanwinkle, on Flickr[/IMG][IMG] 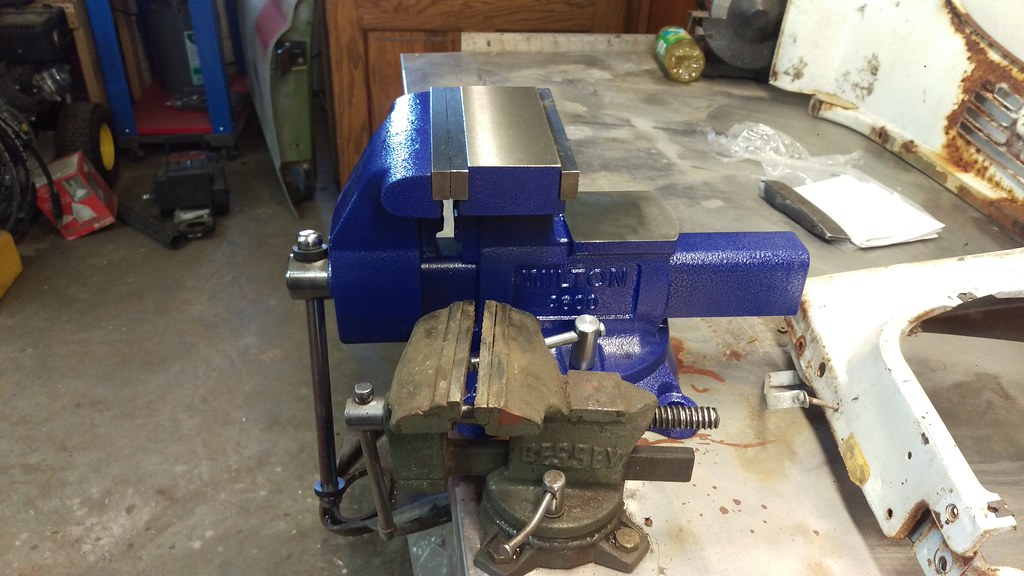 IMAG1318 by jarrod vanwinkle, on Flickr[/IMG] IMAG1318 by jarrod vanwinkle, on Flickr[/IMG]Because of how big it is I decided to mount it on the end of the work bench [IMG] 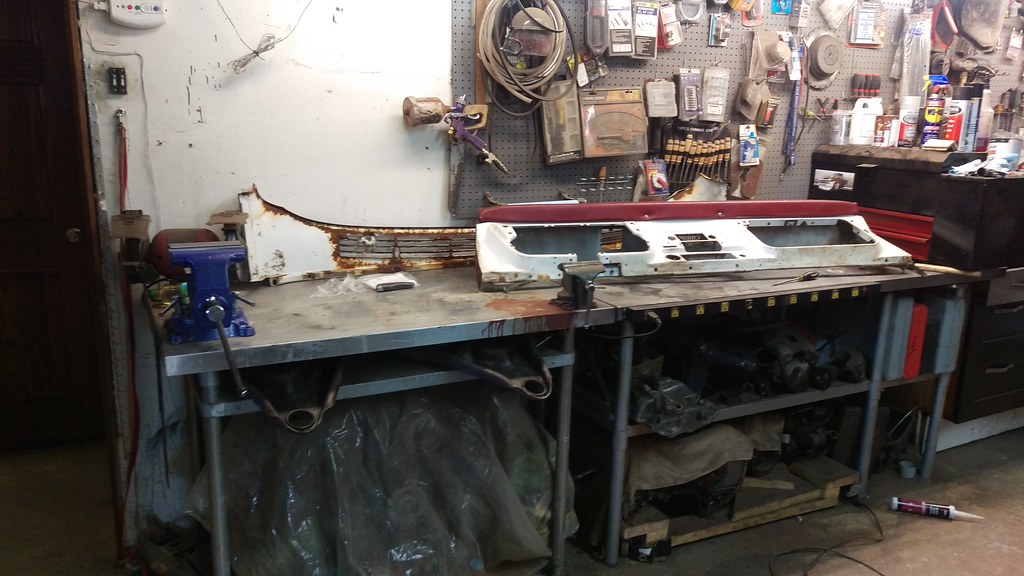 IMAG1319 by jarrod vanwinkle, on Flickr[/IMG] IMAG1319 by jarrod vanwinkle, on Flickr[/IMG]Just to really compare the two [IMG] 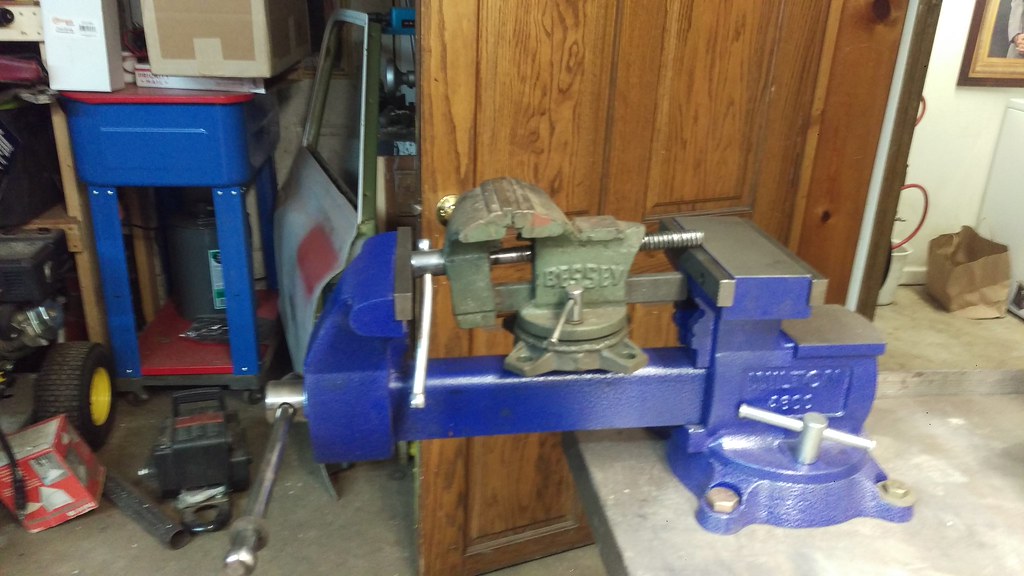 IMAG1331 by jarrod vanwinkle, on Flickr[/IMG] IMAG1331 by jarrod vanwinkle, on Flickr[/IMG] it's a Monster [IMG] 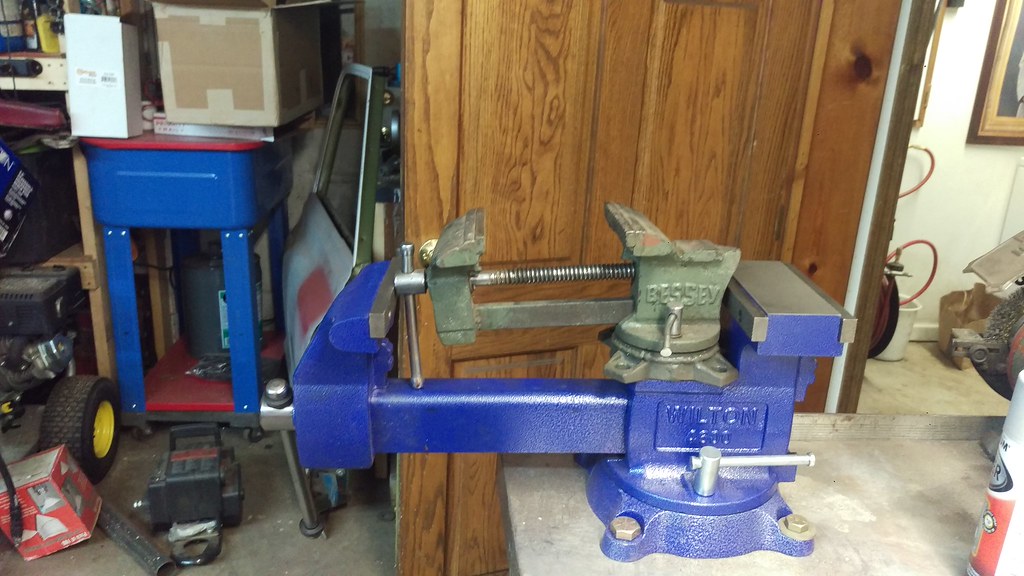 IMAG1333 by jarrod vanwinkle, on Flickr[/IMG] IMAG1333 by jarrod vanwinkle, on Flickr[/IMG]So back to the build I did not get nearly as much done to day as I had planned. I cleaned up the dash and painted the inside to prevent rust. [IMG] 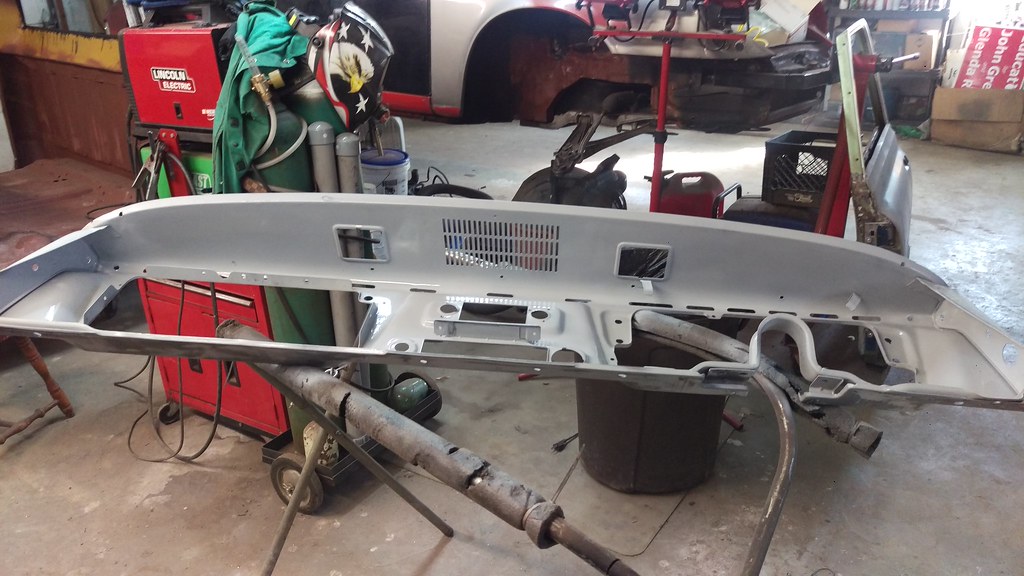 IMAG1324 by jarrod vanwinkle, on Flickr[/IMG] IMAG1324 by jarrod vanwinkle, on Flickr[/IMG] I also por15'ed the ends of the dash where its bolts in. How ever as I went to install the dash I had forgotten to mount the hydraulic clutch master for the nv4500. So I wanted to wait to weld the dash in so it would make installing the clutch master easier. I was hoping to have the dash in and the cab seam sealed and primed today. But I was not able to scuff the por15 to prep it for primer as the scuff pads did not come into day. I tried sandpaper but it went through the por15 and that defeats the purpose of having it. So it will be next week it will go into primer. I used an existing hole to for the steering column bracket to mount the clutch master. [IMG] 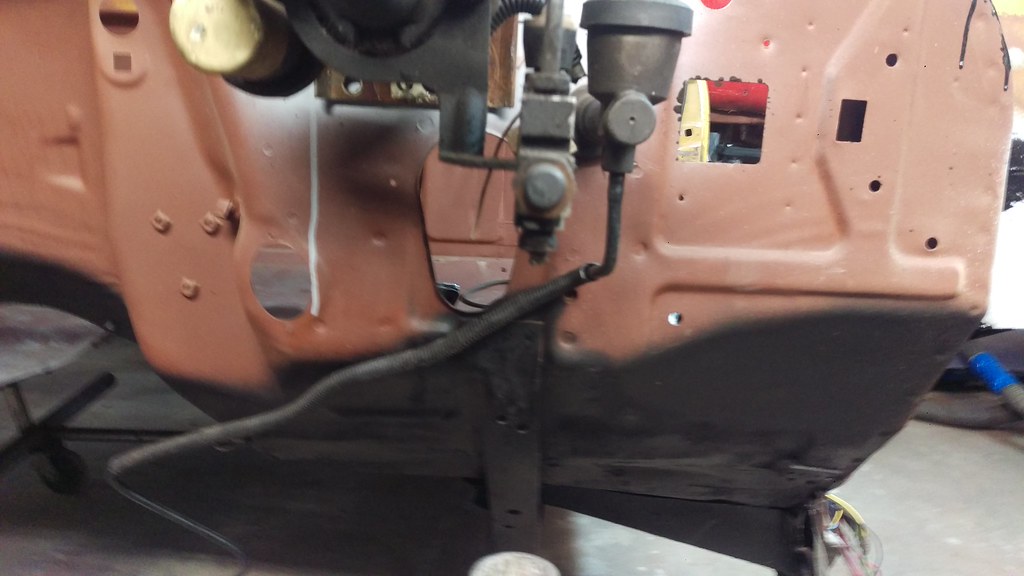 IMAG1326 by jarrod vanwinkle, on Flickr[/IMG] IMAG1326 by jarrod vanwinkle, on Flickr[/IMG][IMG] 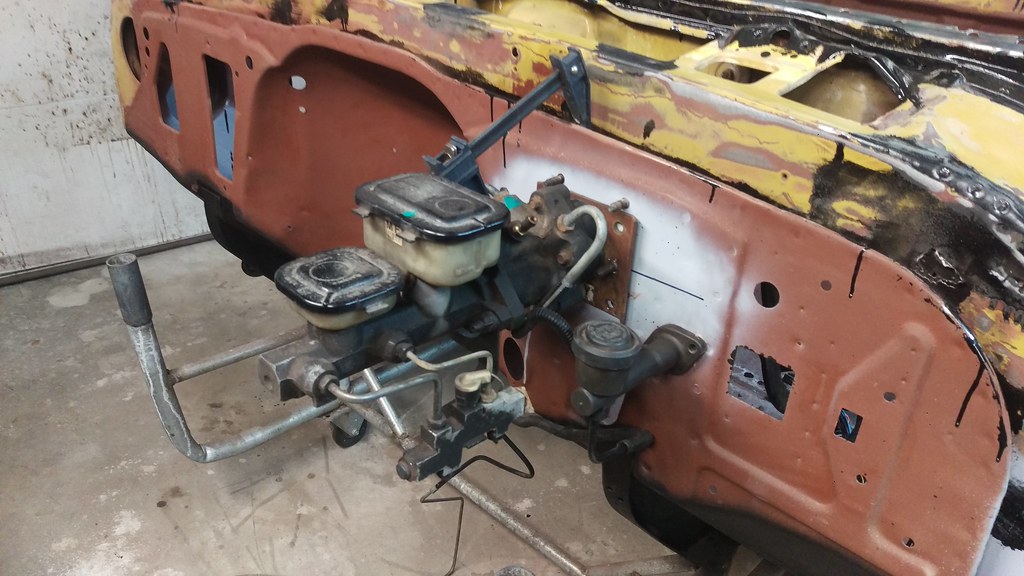 IMAG1325 by jarrod vanwinkle, on Flickr[/IMG] IMAG1325 by jarrod vanwinkle, on Flickr[/IMG][IMG] 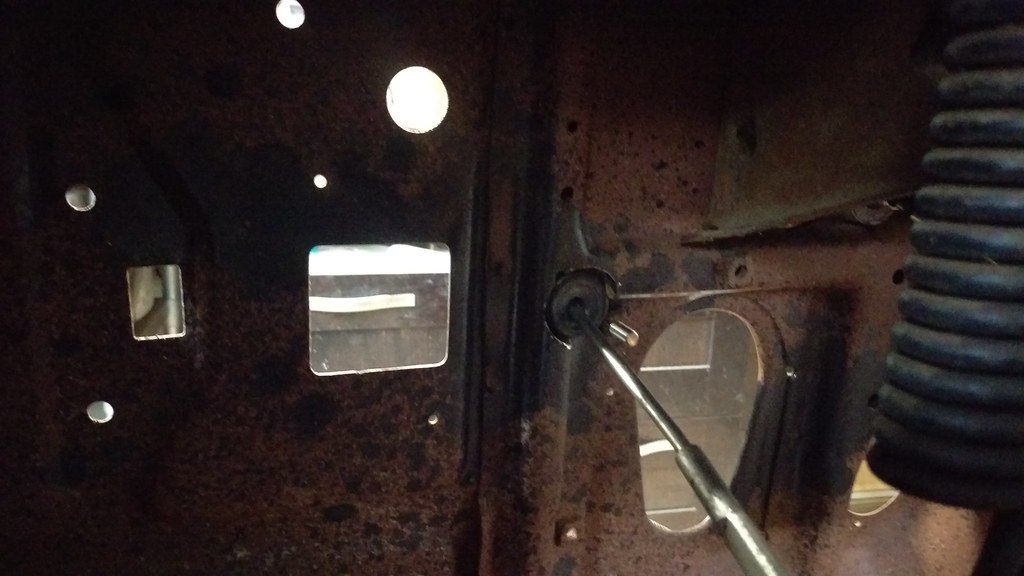 IMAG1327 by jarrod vanwinkle, on Flickr[/IMG] IMAG1327 by jarrod vanwinkle, on Flickr[/IMG][IMG] 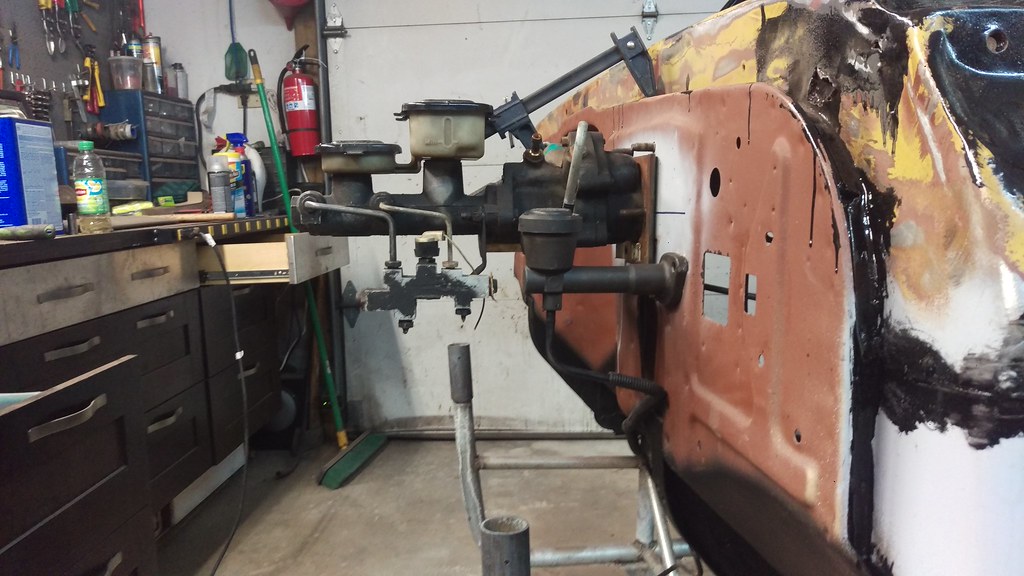 IMAG1328 by jarrod vanwinkle, on Flickr[/IMG] IMAG1328 by jarrod vanwinkle, on Flickr[/IMG][IMG] 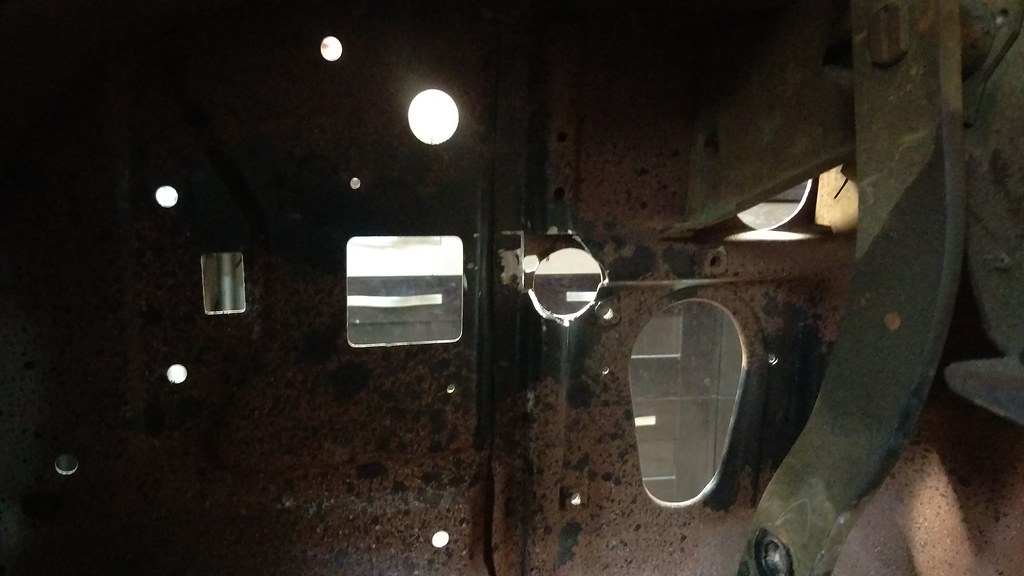 IMAG1329 by jarrod vanwinkle, on Flickr[/IMG] IMAG1329 by jarrod vanwinkle, on Flickr[/IMG]
|
|
|

|
|
|
#27 |
|
Registered User
Join Date: Sep 2017
Location: Patriot IN
Posts: 163
|
Re: 1970 C30 Car hauler Buildish thread.
I got the day off of work today, so I got a little more done.
I finished up the clutch master. I drilled a taped the clutch pedal for its new linkage mounting location. [IMG] 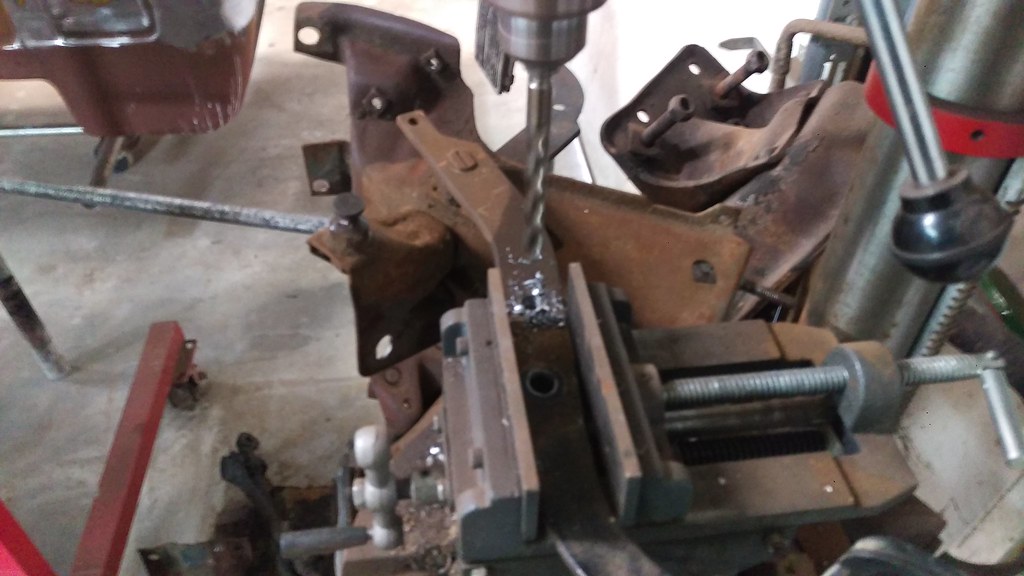 IMAG1335 by jarrod vanwinkle, on Flickr[/IMG] IMAG1335 by jarrod vanwinkle, on Flickr[/IMG]I also got to use my new vice for the first time! [IMG] 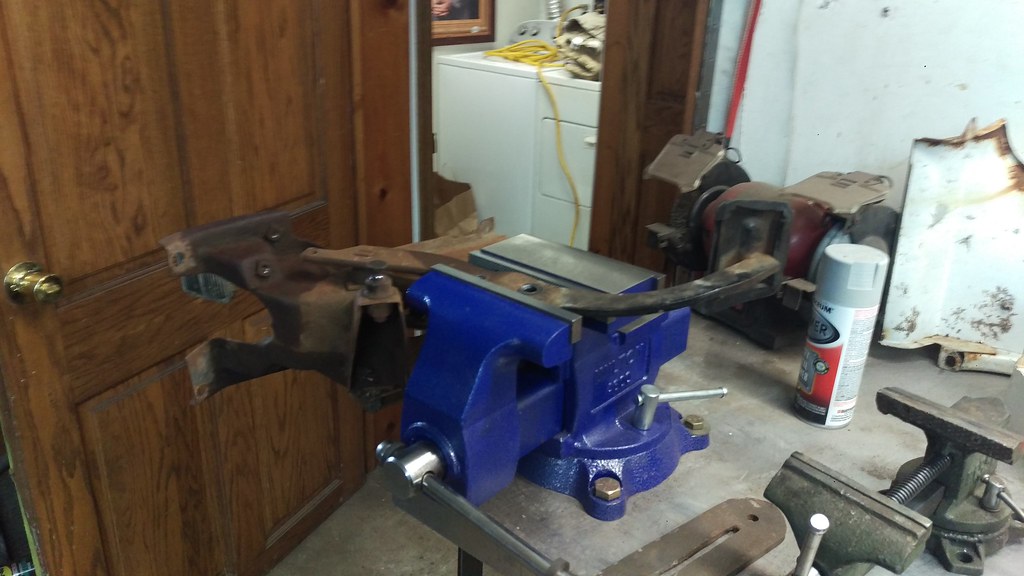 IMAG1336 by jarrod vanwinkle, on Flickr[/IMG] IMAG1336 by jarrod vanwinkle, on Flickr[/IMG][IMG] 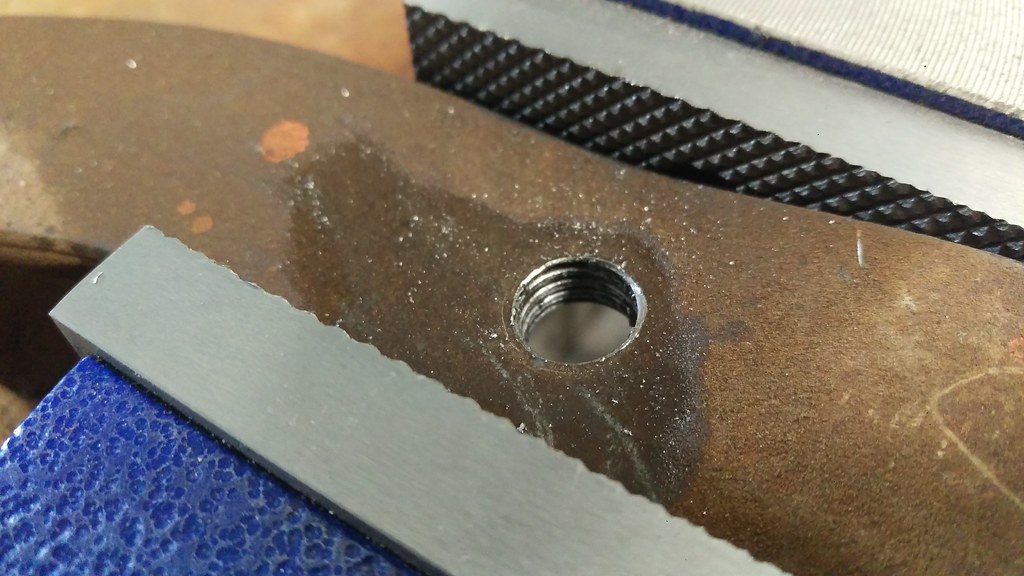 IMAG1337 by jarrod vanwinkle, on Flickr[/IMG] IMAG1337 by jarrod vanwinkle, on Flickr[/IMG]I also welded in a nut for the clutch master upper mounting hole. [IMG] 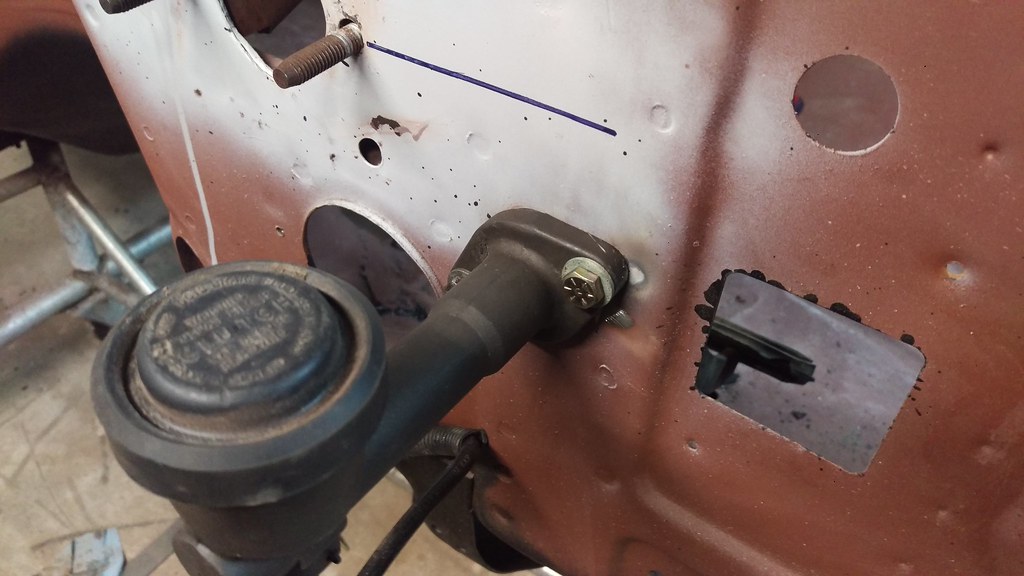 IMAG1334 by jarrod vanwinkle, on Flickr[/IMG] IMAG1334 by jarrod vanwinkle, on Flickr[/IMG]Then I extended the linkage. [IMG] 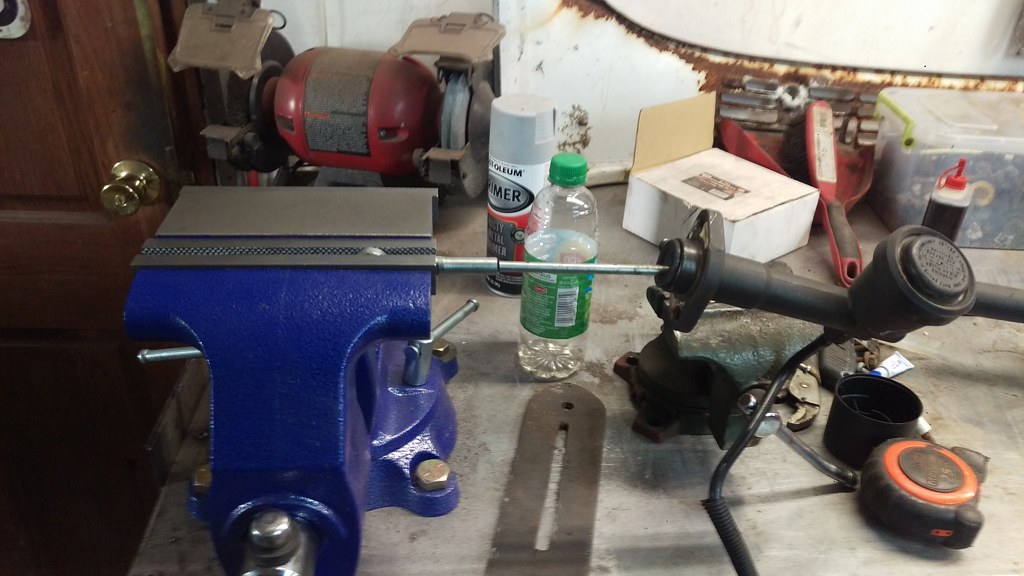 IMAG1338 by jarrod vanwinkle, on Flickr[/IMG] IMAG1338 by jarrod vanwinkle, on Flickr[/IMG][IMG] 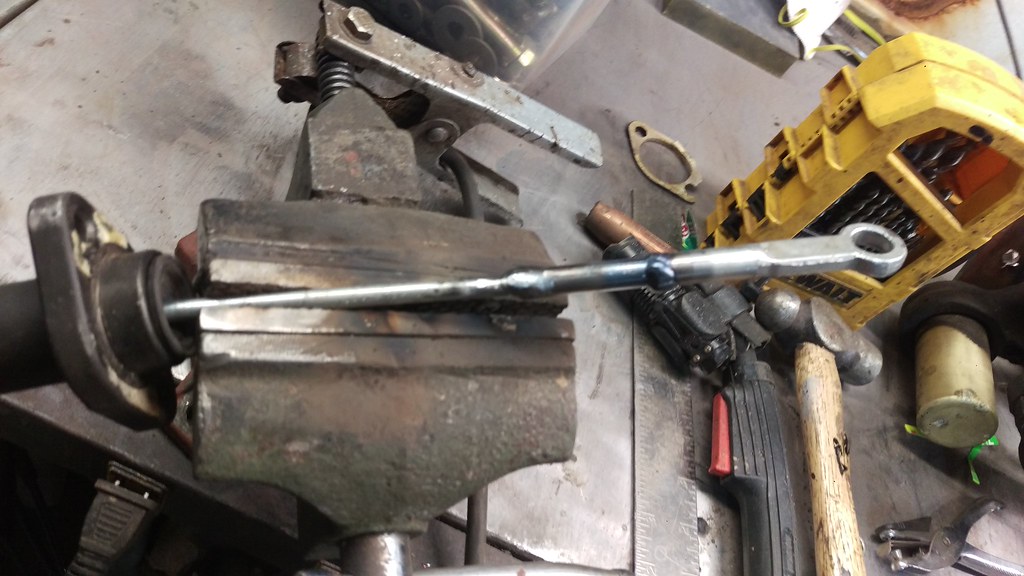 IMAG1339 by jarrod vanwinkle, on Flickr[/IMG] IMAG1339 by jarrod vanwinkle, on Flickr[/IMG][IMG] 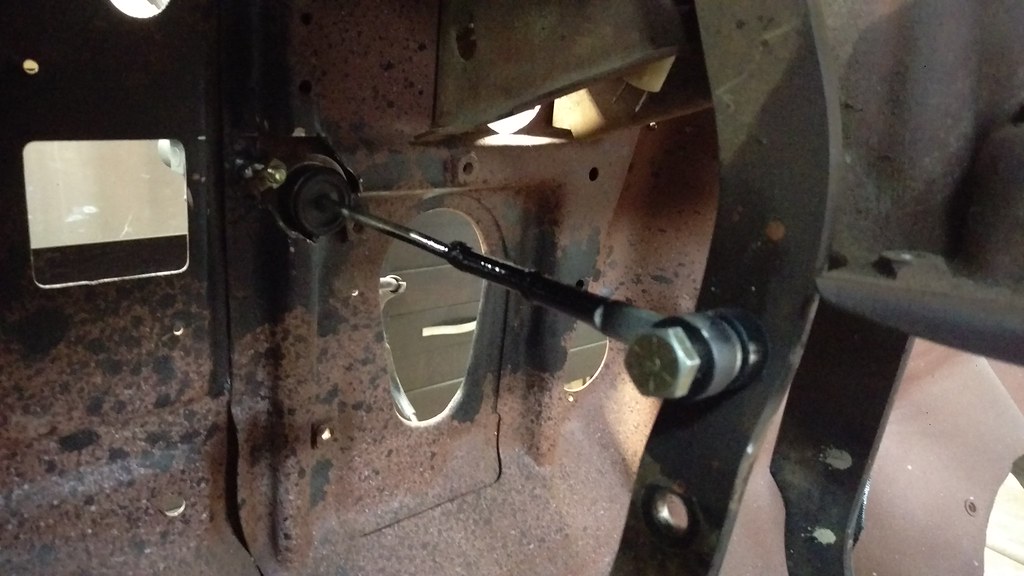 IMAG1340 by jarrod vanwinkle, on Flickr[/IMG] IMAG1340 by jarrod vanwinkle, on Flickr[/IMG]Then I extended the linkage for the hydrobooster, I used the old adjustable linkage from the old power brake booster that was installed. [IMG] 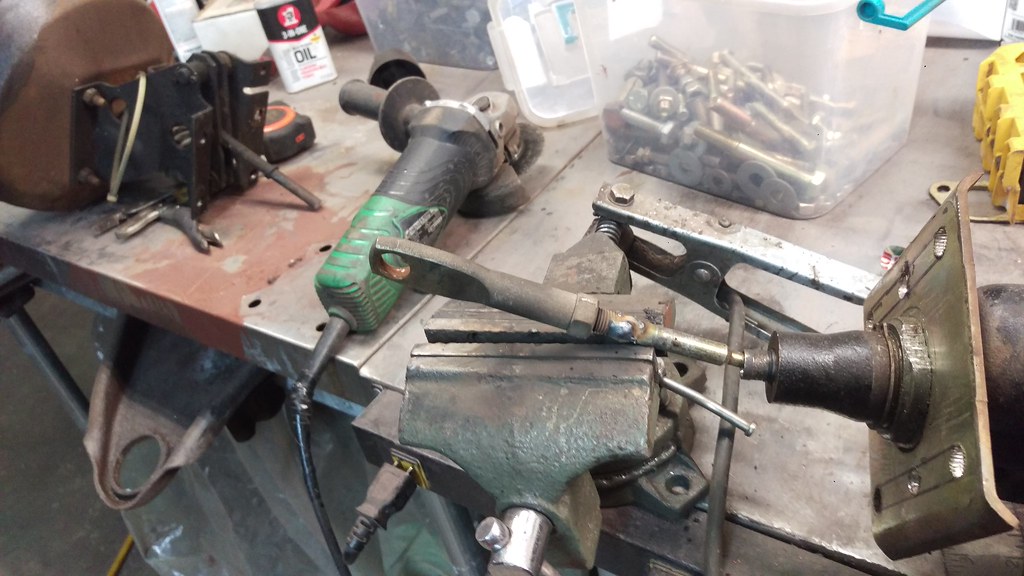 IMAG1341 by jarrod vanwinkle, on Flickr[/IMG] IMAG1341 by jarrod vanwinkle, on Flickr[/IMG] [IMG] 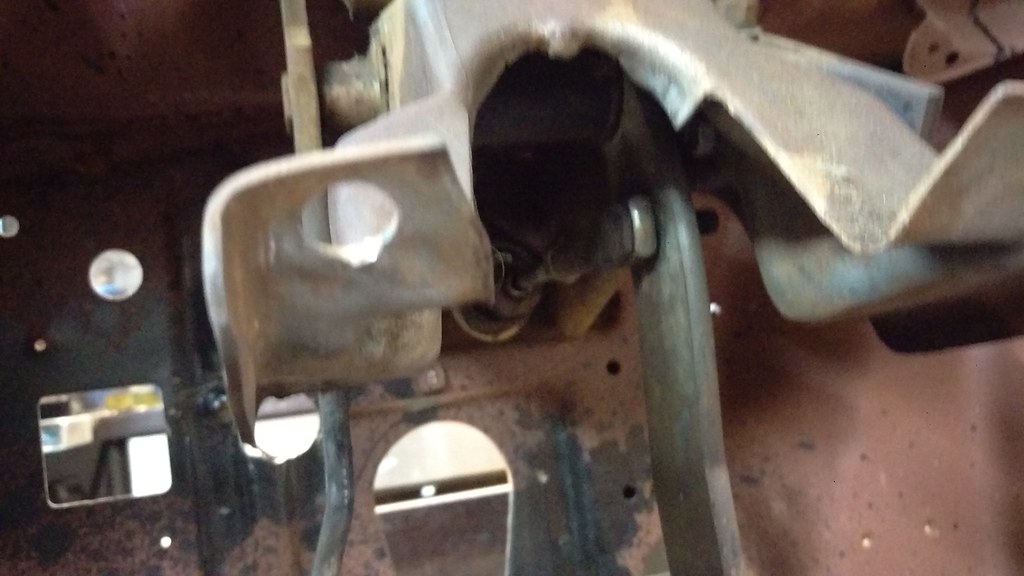 IMAG1342 by jarrod vanwinkle, on Flickr[/IMG] IMAG1342 by jarrod vanwinkle, on Flickr[/IMG]So having been trying to come up with a way to mount a bunch of AUX switches for lights and all the other feachers I plan on adding as well as maybe a gauge or two. But I could not come up with a way to make them look good that and I did not want to drill a bunch of holes in the dash. I came across this sexy beast a few months ago and I thought about doing something similar. It would give me the perfect amount of space to mount everything. So I cut out the data sheet as I was planning on having a new one made any ways. [IMG] 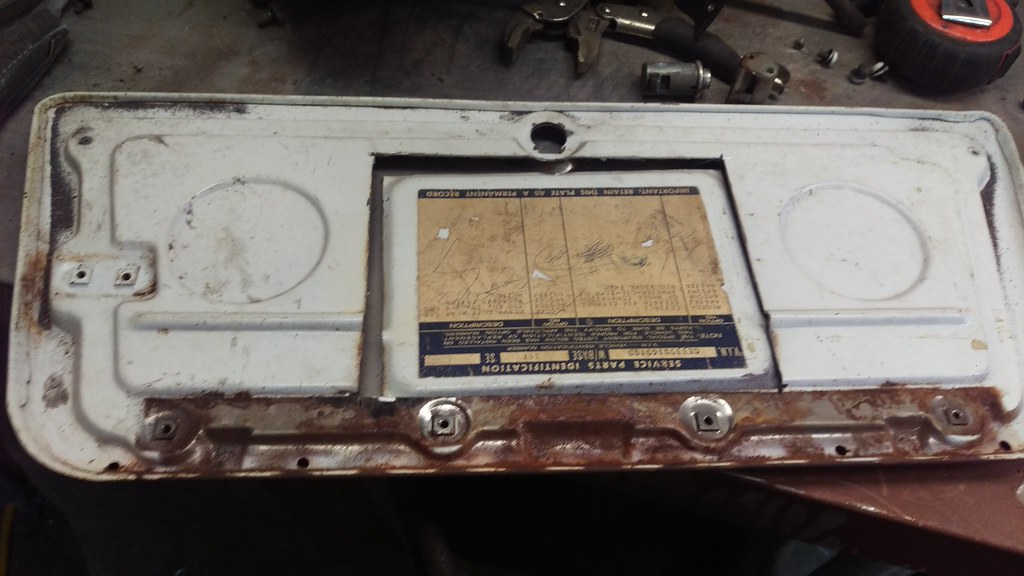 IMAG1343 by jarrod vanwinkle, on Flickr[/IMG] IMAG1343 by jarrod vanwinkle, on Flickr[/IMG][IMG] 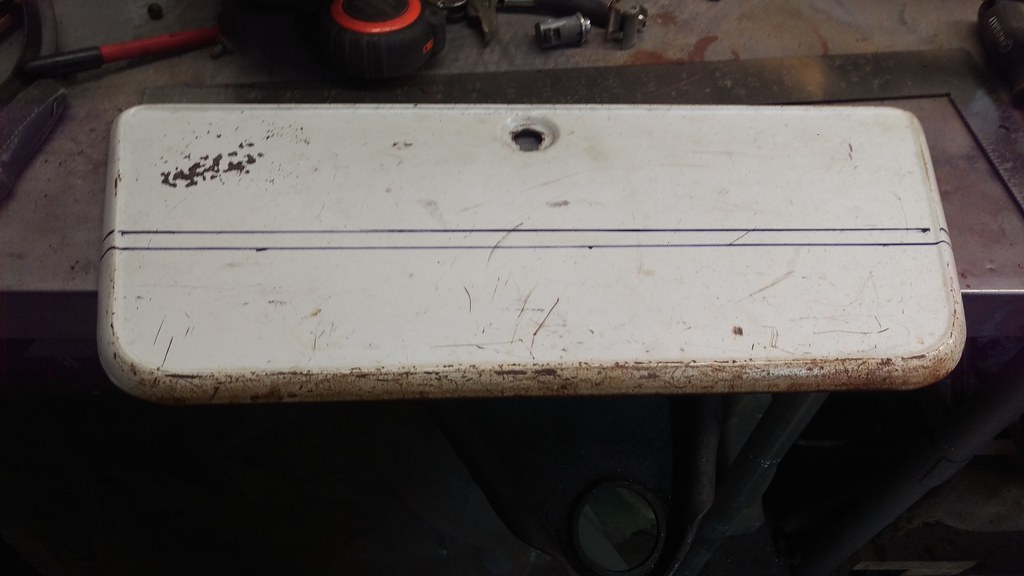 IMAG1344 by jarrod vanwinkle, on Flickr[/IMG] IMAG1344 by jarrod vanwinkle, on Flickr[/IMG]I bolted the dash in for mockup. [IMG] 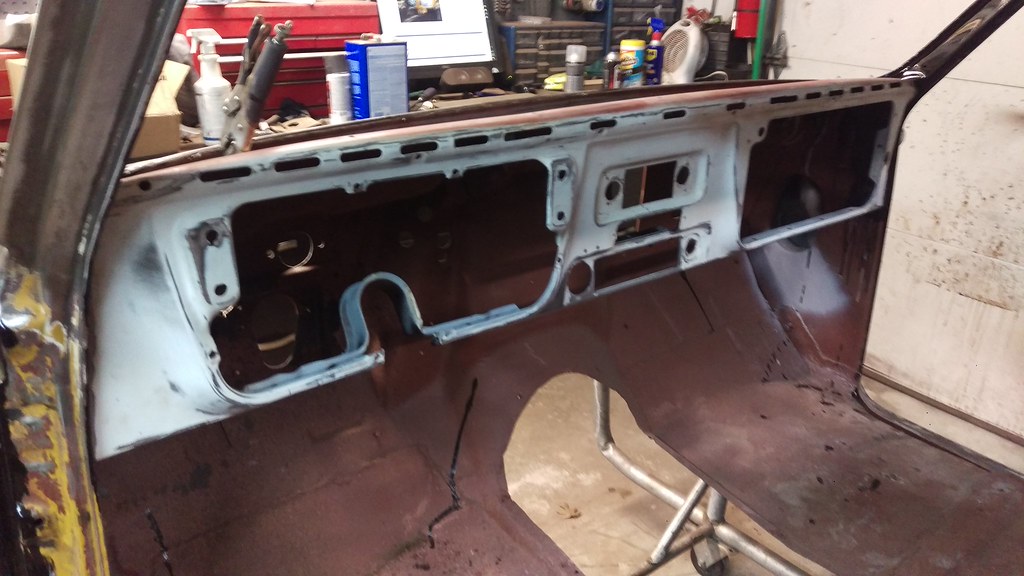 IMAG1345 by jarrod vanwinkle, on Flickr[/IMG] IMAG1345 by jarrod vanwinkle, on Flickr[/IMG]I was trying to decide if I wanted to angle it up or make it flush. [IMG] 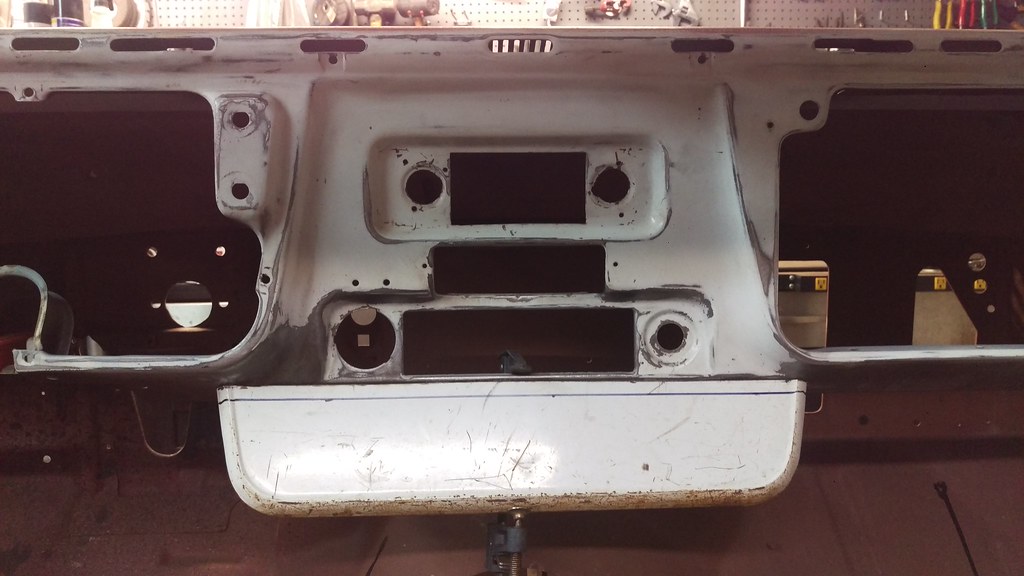 IMAG1346 by jarrod vanwinkle, on Flickr[/IMG] IMAG1346 by jarrod vanwinkle, on Flickr[/IMG]I was going to weld it in but I decided to make it removable. So I put it in to the sheet metal brake. [IMG] 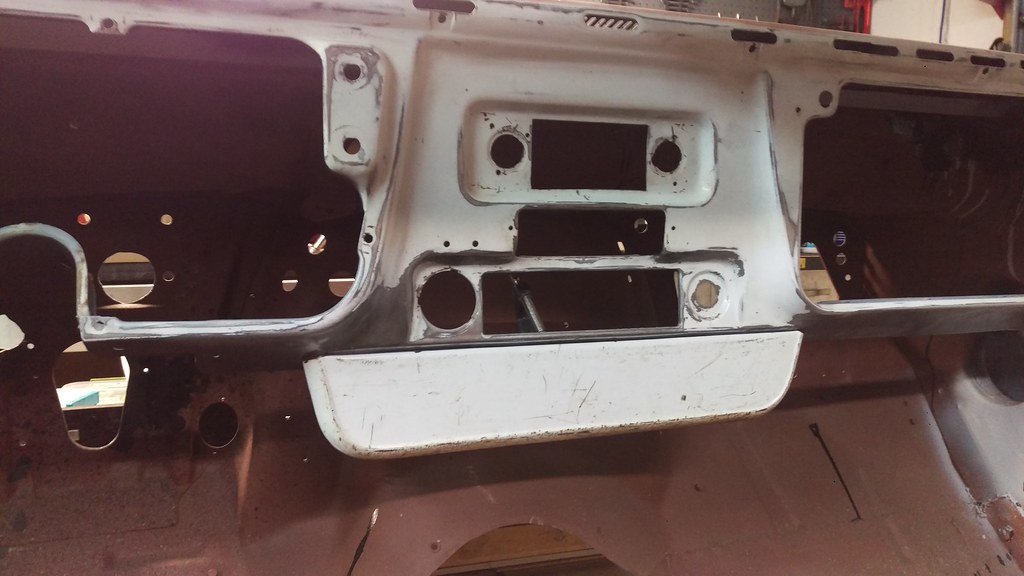 IMAG1347 by jarrod vanwinkle, on Flickr[/IMG] IMAG1347 by jarrod vanwinkle, on Flickr[/IMG]I welded two tabs in place. [IMG] 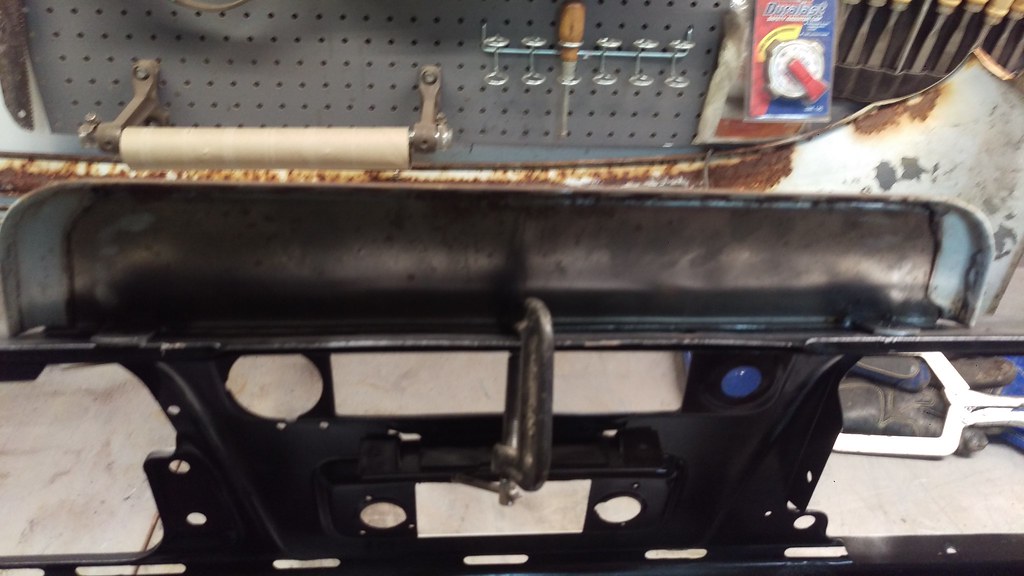 IMAG1348 by jarrod vanwinkle, on Flickr[/IMG] IMAG1348 by jarrod vanwinkle, on Flickr[/IMG]The I welded to nuts in place. [IMG] 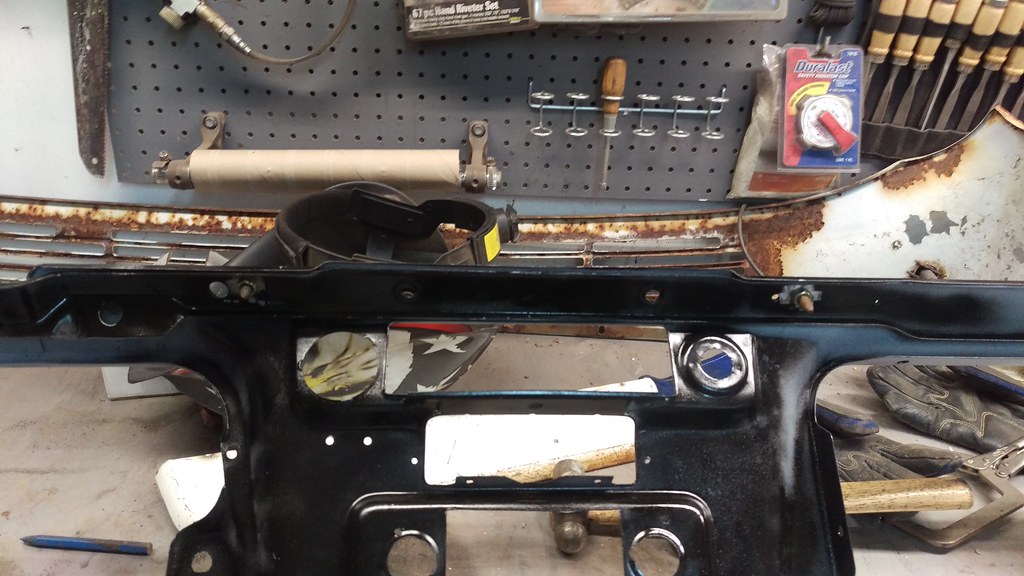 IMAG1349 by jarrod vanwinkle, on Flickr[/IMG] IMAG1349 by jarrod vanwinkle, on Flickr[/IMG][IMG] 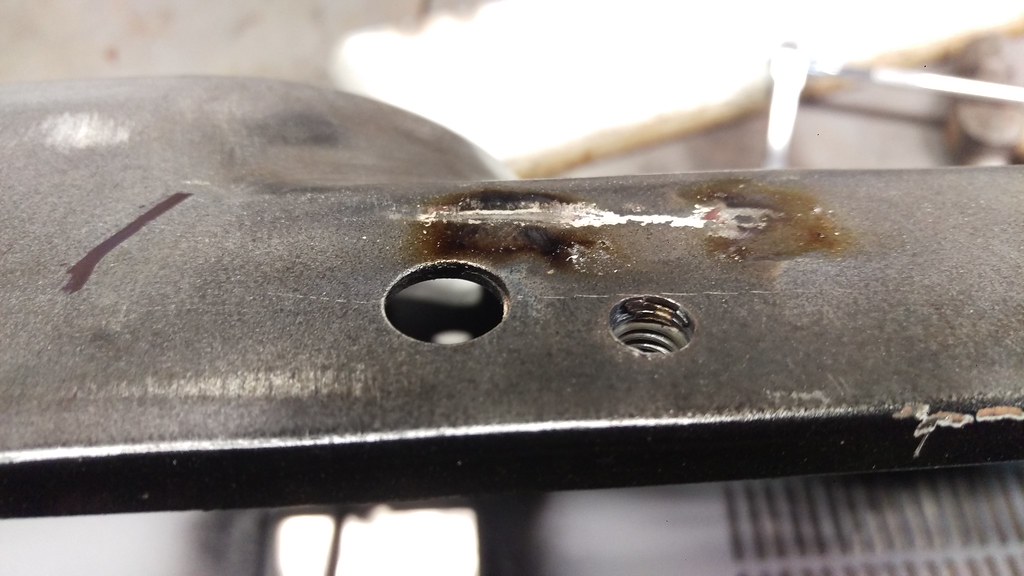 IMAG1350 by jarrod vanwinkle, on Flickr[/IMG] IMAG1350 by jarrod vanwinkle, on Flickr[/IMG][IMG] 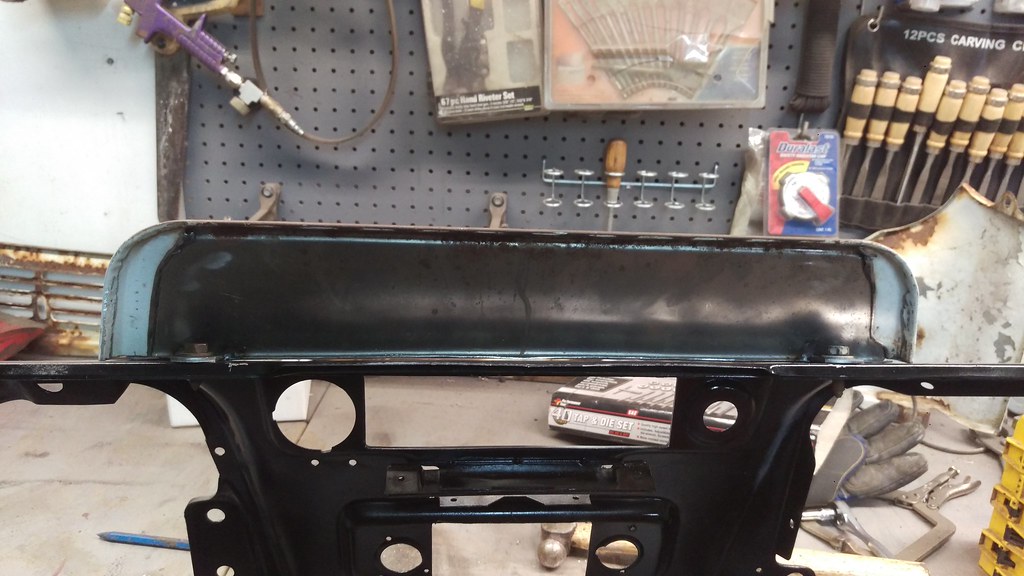 IMAG1351 by jarrod vanwinkle, on Flickr[/IMG] IMAG1351 by jarrod vanwinkle, on Flickr[/IMG]I put the dash back in for the last time. [IMG] 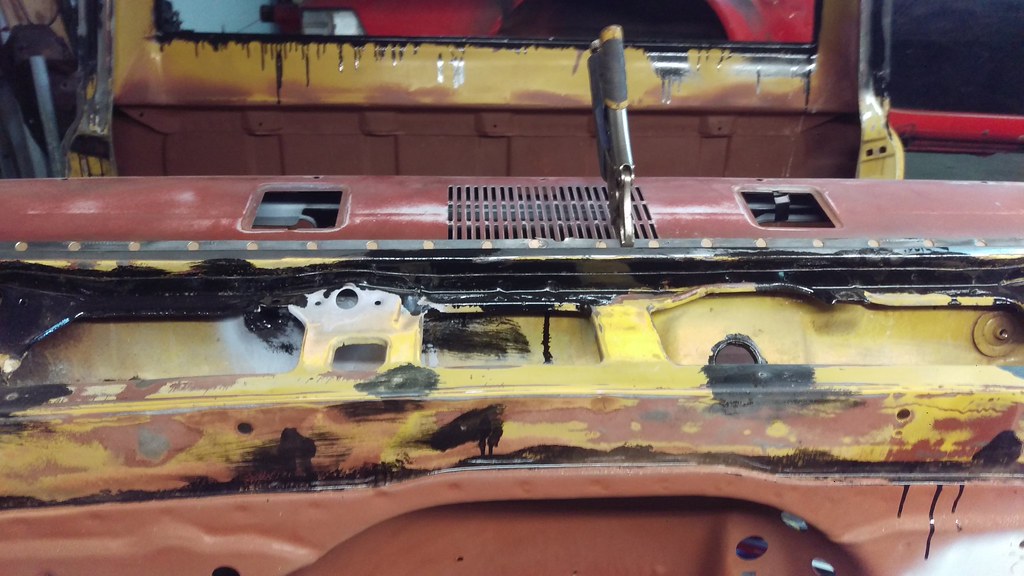 IMAG1353 by jarrod vanwinkle, on Flickr[/IMG] IMAG1353 by jarrod vanwinkle, on Flickr[/IMG][IMG] 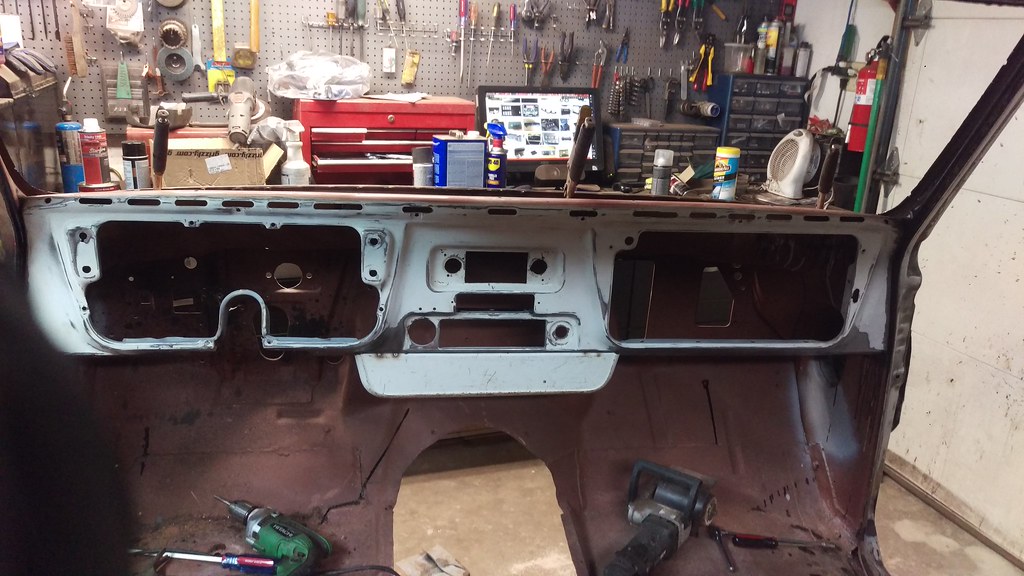 IMAG1354 by jarrod vanwinkle, on Flickr[/IMG] IMAG1354 by jarrod vanwinkle, on Flickr[/IMG]
|
|
|

|
|
|
#28 |
|
Registered User
Join Date: Sep 2017
Location: Patriot IN
Posts: 163
|
Re: 1970 C30 Car hauler Buildish thread.
Weather has been nice this week. So I started tearing down the truck. I also got a few things done around the house.
My new glove box door came in the other day. [IMG] 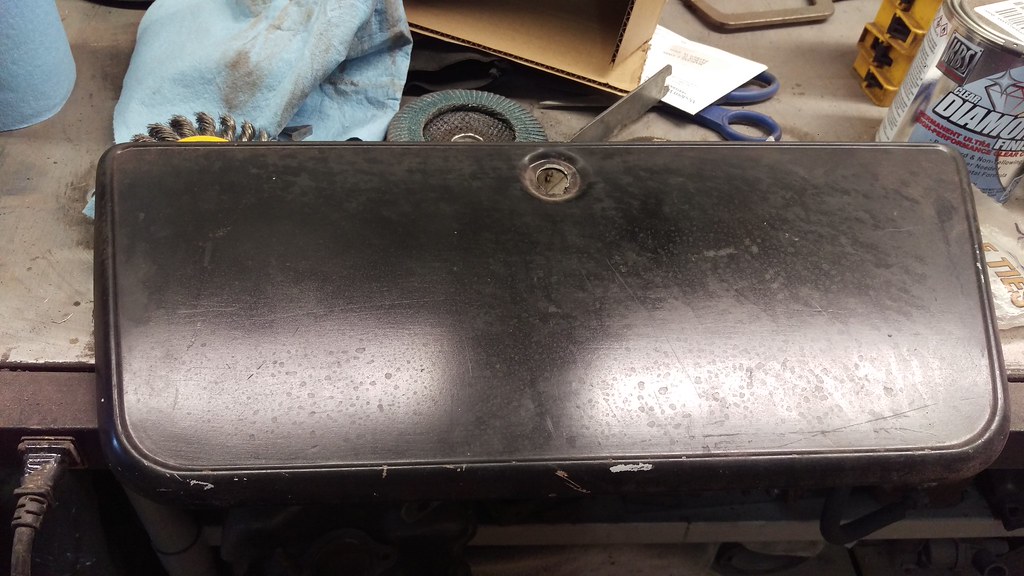 IMAG1357 by jarrod vanwinkle, on Flickr[/IMG] IMAG1357 by jarrod vanwinkle, on Flickr[/IMG][IMG] 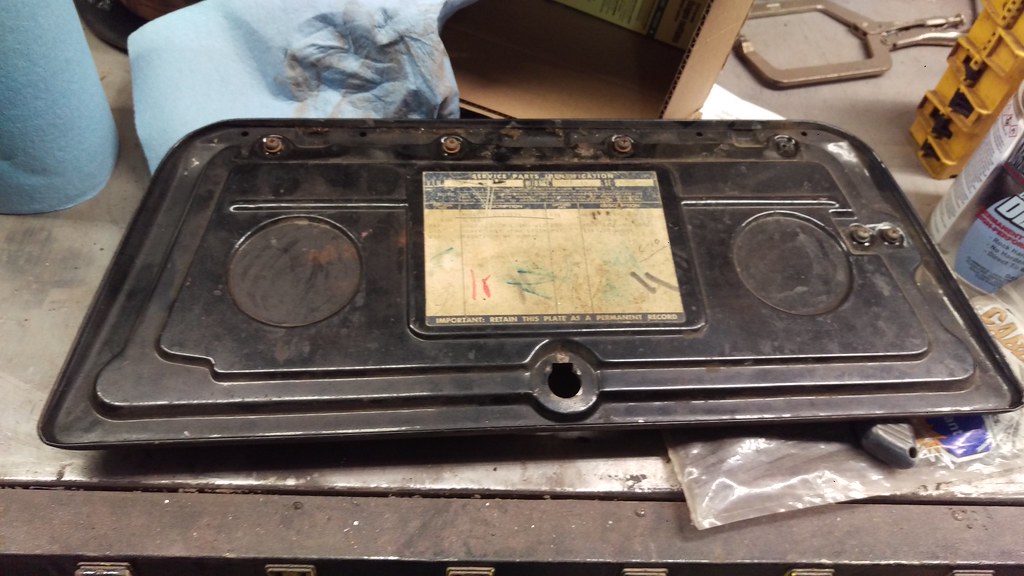 IMAG1358 by jarrod vanwinkle, on Flickr[/IMG] IMAG1358 by jarrod vanwinkle, on Flickr[/IMG]I removed almost everything in the cab I will need to remove the front clip so I can access a bolt for the heater box. [IMG] 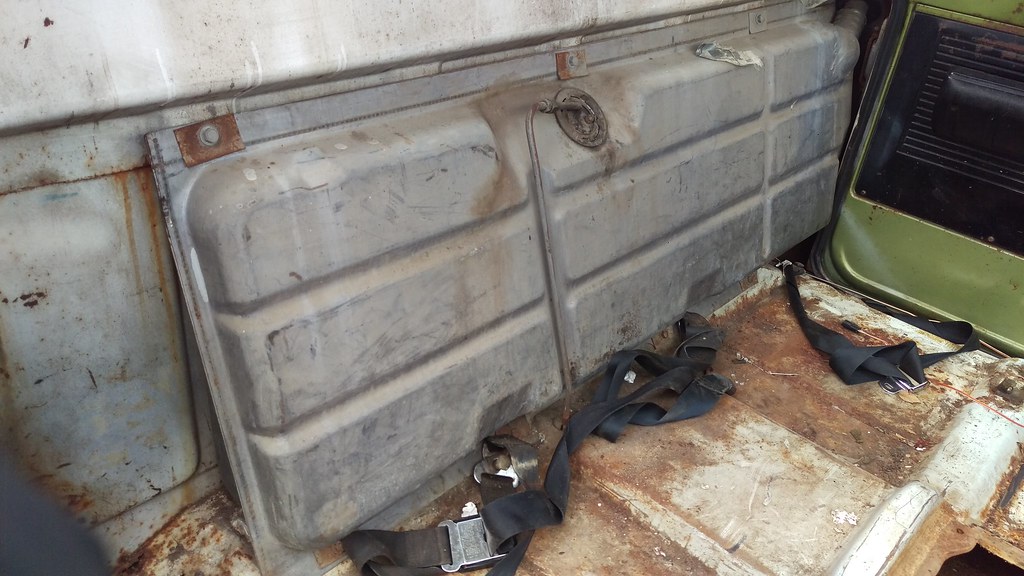 IMAG1359 by jarrod vanwinkle, on Flickr[/IMG] IMAG1359 by jarrod vanwinkle, on Flickr[/IMG][IMG] 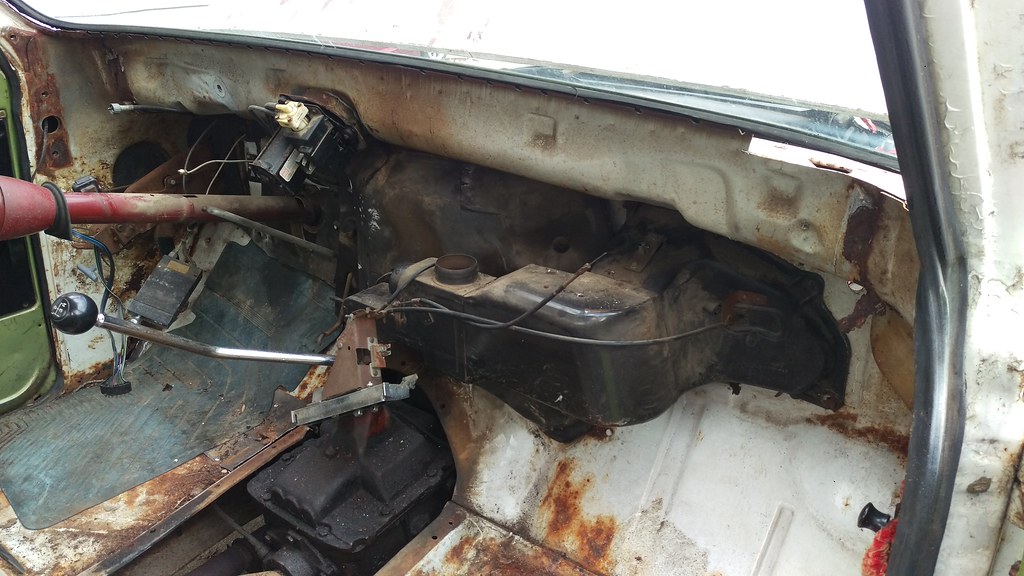 IMAG1360 by jarrod vanwinkle, on Flickr[/IMG] IMAG1360 by jarrod vanwinkle, on Flickr[/IMG][IMG] 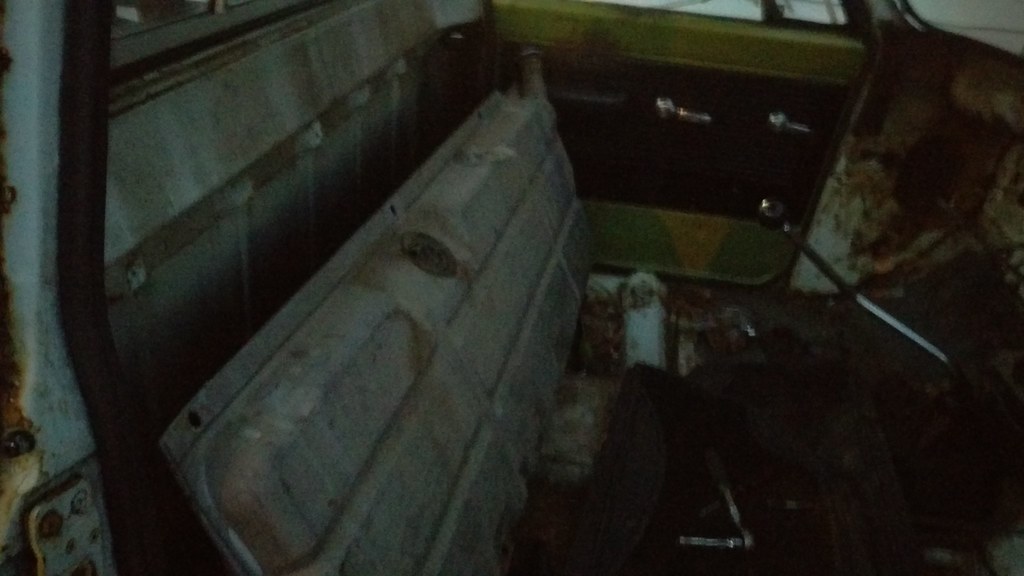 IMAG1361 by jarrod vanwinkle, on Flickr[/IMG] IMAG1361 by jarrod vanwinkle, on Flickr[/IMG]Anyone know what this is or what it does? I was on the coresupport drive side by the headlight. [IMG] 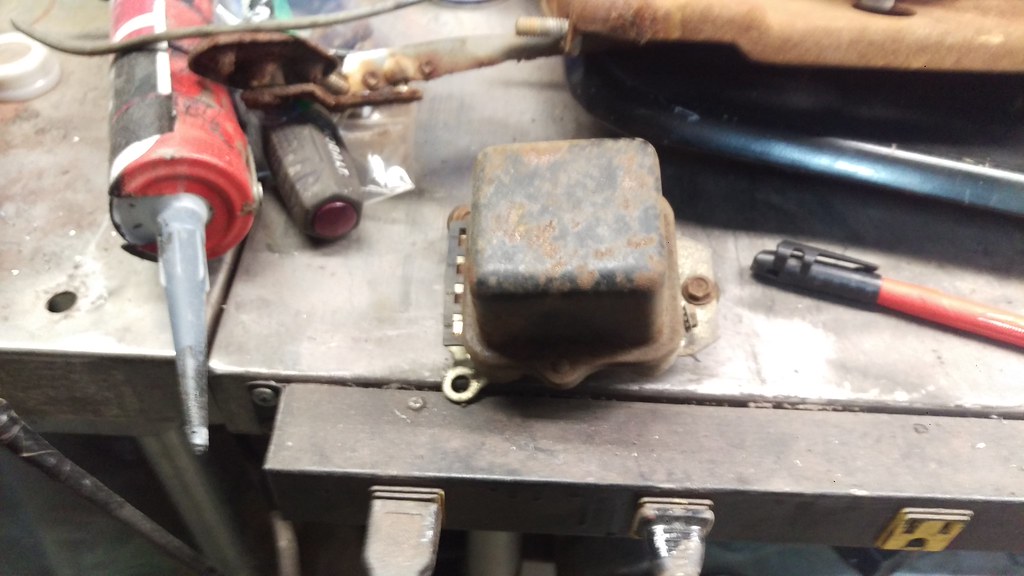 IMAG1362 by jarrod vanwinkle, on Flickr[/IMG] IMAG1362 by jarrod vanwinkle, on Flickr[/IMG][IMG] 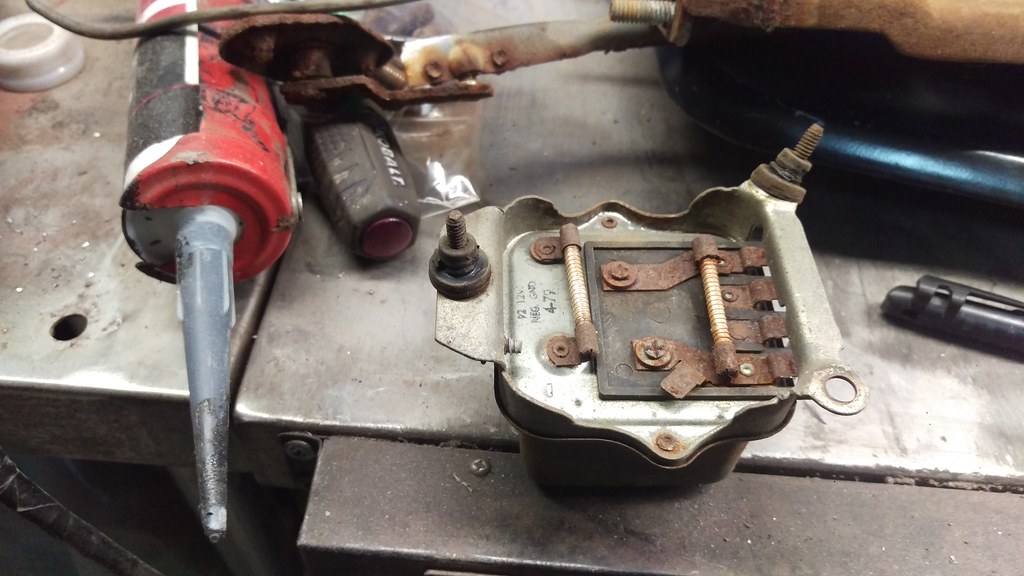 IMAG1363 by jarrod vanwinkle, on Flickr[/IMG] IMAG1363 by jarrod vanwinkle, on Flickr[/IMG]I found this under the gas tank. Its dated May 15, 1982 page 20 it looks like its part of a mag or news paper. The guy I bought the truck off of said he bought it off of a guy that used it to take his race cars to the track. That it was a ramp truck that was modified to a dovetail flatbed so he could put two race cars on it. I was not sure how he got two cars on it but if they where dragsters I could see it. Dragway 42 is in ohio and that is where I bought the truck. [IMG] 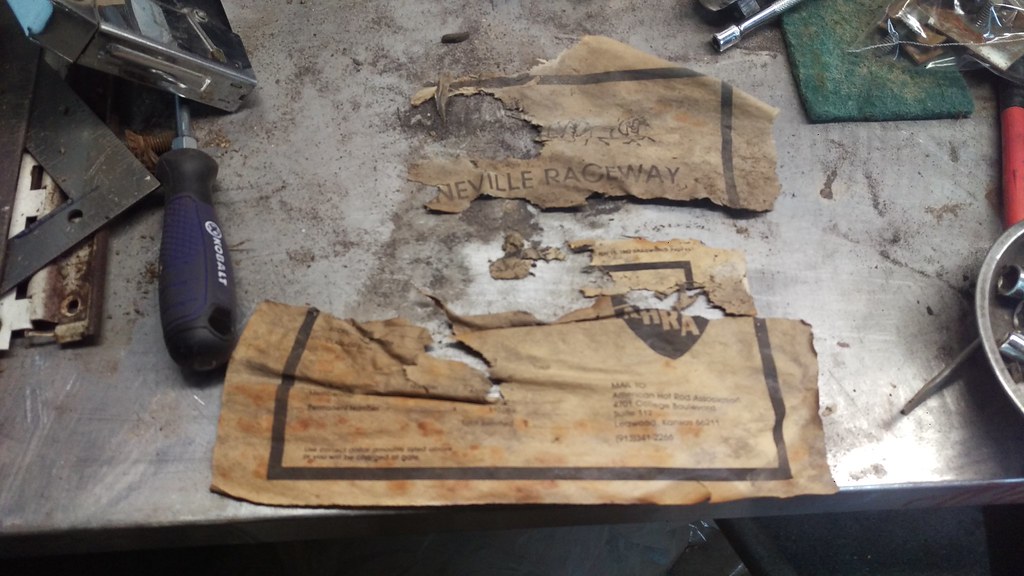 IMAG1364 by jarrod vanwinkle, on Flickr[/IMG] IMAG1364 by jarrod vanwinkle, on Flickr[/IMG][IMG] 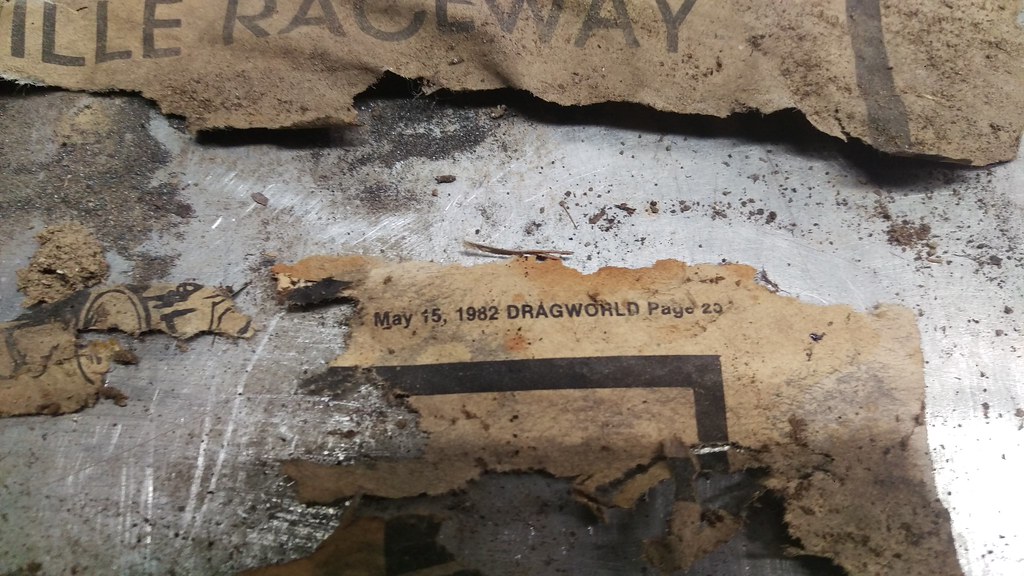 IMAG1367 by jarrod vanwinkle, on Flickr[/IMG] IMAG1367 by jarrod vanwinkle, on Flickr[/IMG][IMG] 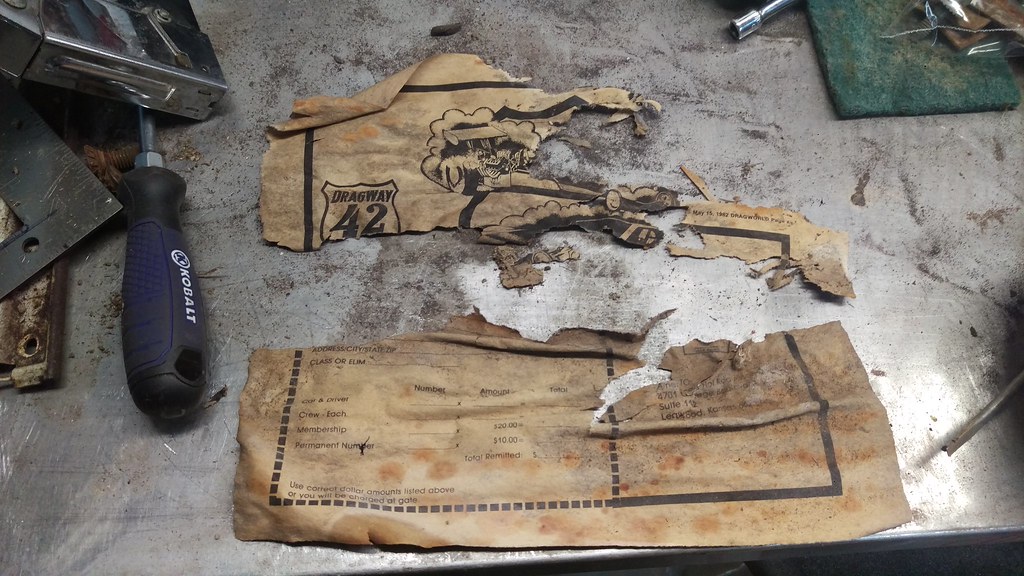 IMAG1369 by jarrod vanwinkle, on Flickr[/IMG] IMAG1369 by jarrod vanwinkle, on Flickr[/IMG]I also did this, Broke the knob off. Its cast aluminum so I don't know if it can be tig welded back on or not? [IMG] 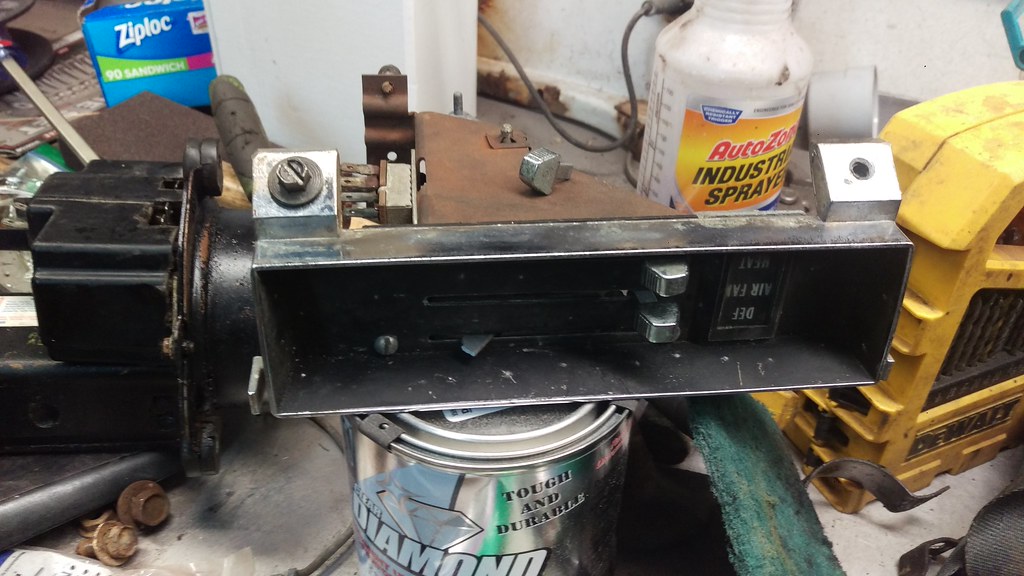 IMAG1371 by jarrod vanwinkle, on Flickr[/IMG] IMAG1371 by jarrod vanwinkle, on Flickr[/IMG]
|
|
|

|
|
|
#29 |
|
Senior Member
 Join Date: Jan 2013
Location: North Charleston SC
Posts: 504
|
Re: 1970 C30 Car hauler Buildish thread.
Jarrod,
If you will PM me your address I will send you the leaver you need. Wally |
|
|

|
|
|
#30 |
|
*************
 Join Date: Apr 2005
Location: Pensacola, FL
Posts: 17,860
|
Re: 1970 C30 Car hauler Buildish thread.
Your under dash mod looks awesome!
__________________
Rob - https://www.instagram.com/hart_rod_c10 As Iron Sharpens Iron, So One Man Sharpens Another. Proverbs 27:17 FOR SALE: DBW pedal bracket - http://67-72chevytrucks.com/vboard/s...d.php?t=651123 FOR SALE: Hood Brackets http://67-72chevytrucks.com/vboard/s...d.php?t=679945 1987 Silverado SWB - 34.5K original miles http://67-72chevytrucks.com/vboard/s...d.php?t=801834 1969 SuperBurb - http://67-72chevytrucks.com/vboard/s...d.php?t=200387 1968 Farm truck - http://67-72chevytrucks.com/vboard/s...d.php?t=358692 1968 SWB - http://67-72chevytrucks.com/vboard/s...d.php?t=551258 1948 Chevy - http://67-72chevytrucks.com/vboard/s...=122164&page=3 |
|
|

|
|
|
#31 |
|
6>8 Plugless........
 Join Date: Sep 2007
Location: Prairie City, Ia
Posts: 17,139
|
Re: 1970 C30 Car hauler Buildish thread.
That is exactly what I started doing for my 72 to house my air pressure gauge, switch, and other switches. I haven't finished mine yet. Great work on it. That black box on the core support is an external voltage regulator for the alternator. Someone must have installed an alt with an internal regulator in it.
That looks so much easier to work on the dash with it removable. I really like the big flat piece on your new vice. That would be great to have.
__________________
Ryan 1972 Chevy Longhorn K30 Cheyenne Super, 359 Inline 6 cylinder, Auto Trans, Tilt, Diesel Tach/Vach, Buckets, Rare Rear 4-link and air ride option Build Thread 1972 GMC Sierra Grande Longhorn 4x4 1972 Chevy Cheyenne Super K20 Long Step side tilt, tach, tow hooks, AC, 350 4 speed 1972 C10 Suburban Custom Deluxe 1969 Chevy milk truck 1971 Camaro RS 5.3 BTR STG3 Cam Super T10 1940 Ford 354 Hemi 46RH Ford 9" on air ride huge project Tired of spark plugs? Check this out. |
|
|

|
|
|
#32 | ||
|
Registered User
Join Date: Sep 2017
Location: Patriot IN
Posts: 163
|
Re: 1970 C30 Car hauler Buildish thread.
Quote:
Thanks! Quote:
I plan on doing the same with mine. I guess I will need to delete it as I plan on installing a high output alternator to run all the components I have planed on installing. I'm really happy I remembered to make the piece when I had the dash out. It would have been a pain to weld in the nuts with everything installed. But I suppose I could have used a rivnut/ nutsert. So its been awhile since I have been on here. I keep getting side tracked. But I have made progress. Though not as much as I had hoped for. So I started work on the doors they were complete junk. The inner and outer part of the lower doors had been replaced. However they did a poor job and the started rusting out then they were filled with bondo and fiberglass. I was hoping to just re-replace the bottom of the door but I ended up having to replace the complete outer skin. 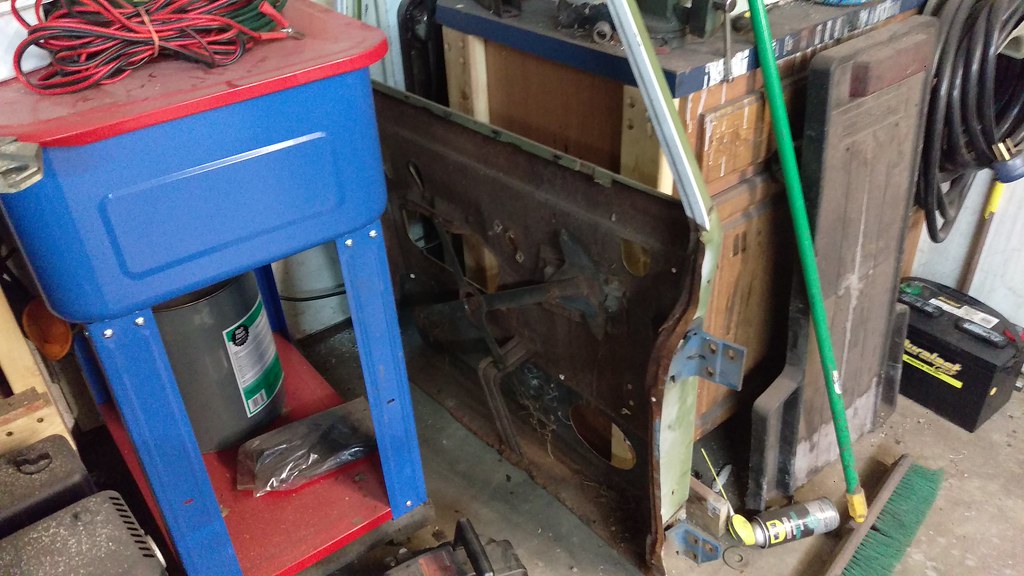 IMAG1399 by jarrod vanwinkle, on Flickr IMAG1399 by jarrod vanwinkle, on Flickr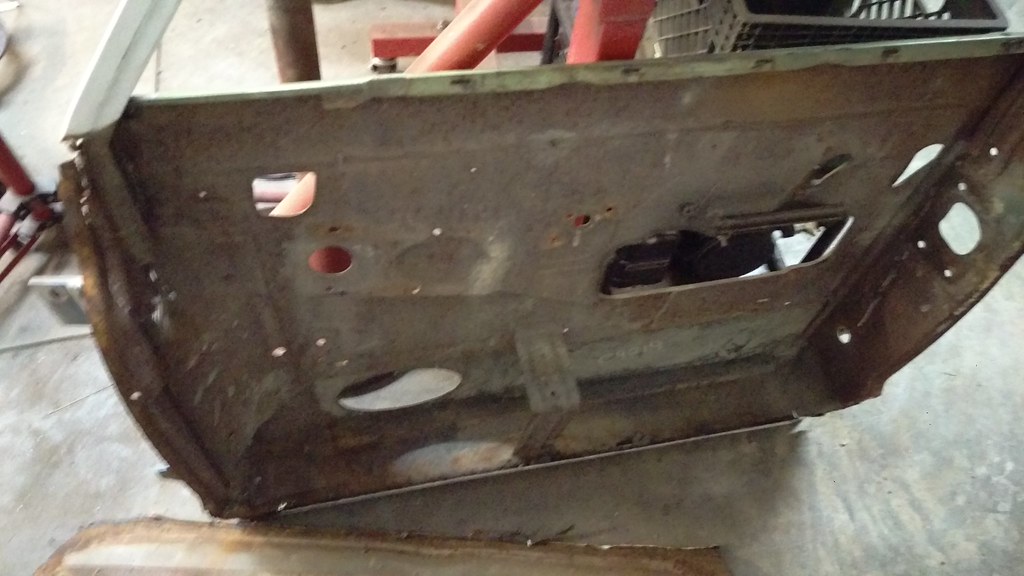 IMAG1400 by jarrod vanwinkle, on Flickr IMAG1400 by jarrod vanwinkle, on FlickrHere is what I am working with. 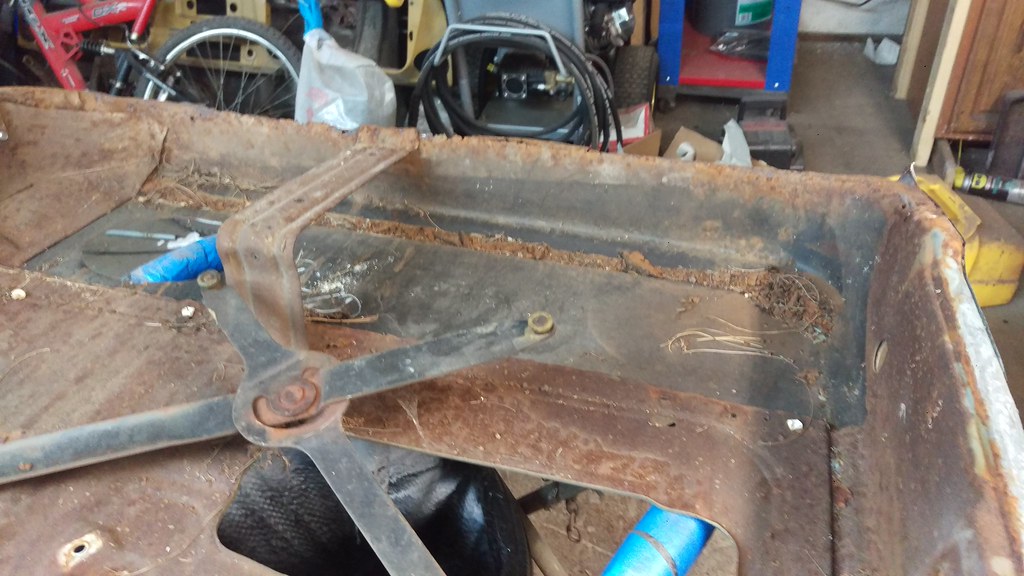 IMAG1373 by jarrod vanwinkle, on Flickr IMAG1373 by jarrod vanwinkle, on Flickr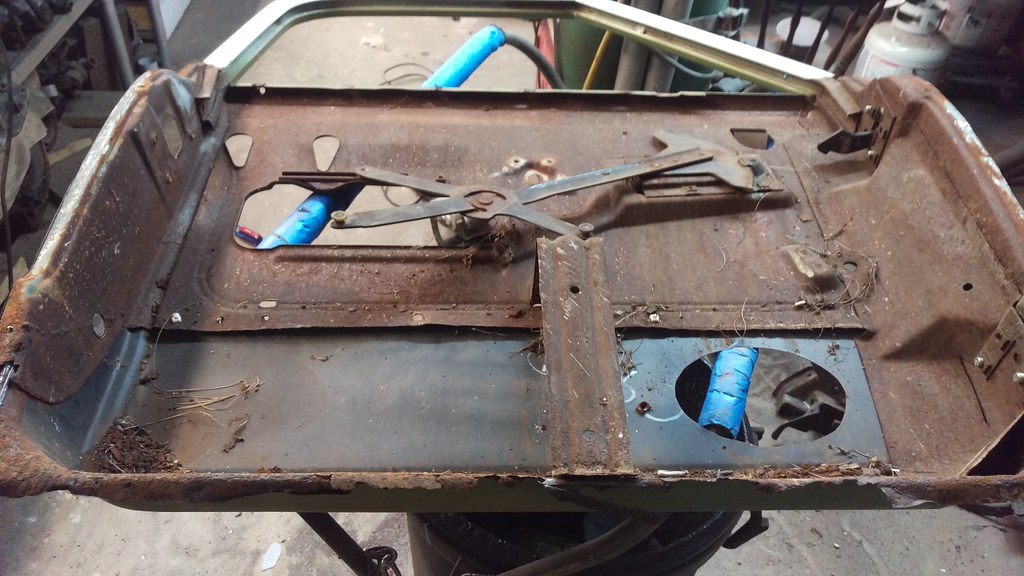 IMAG1372 by jarrod vanwinkle, on Flickr IMAG1372 by jarrod vanwinkle, on FlickrMy new skins and inner lower panels came in the other week. 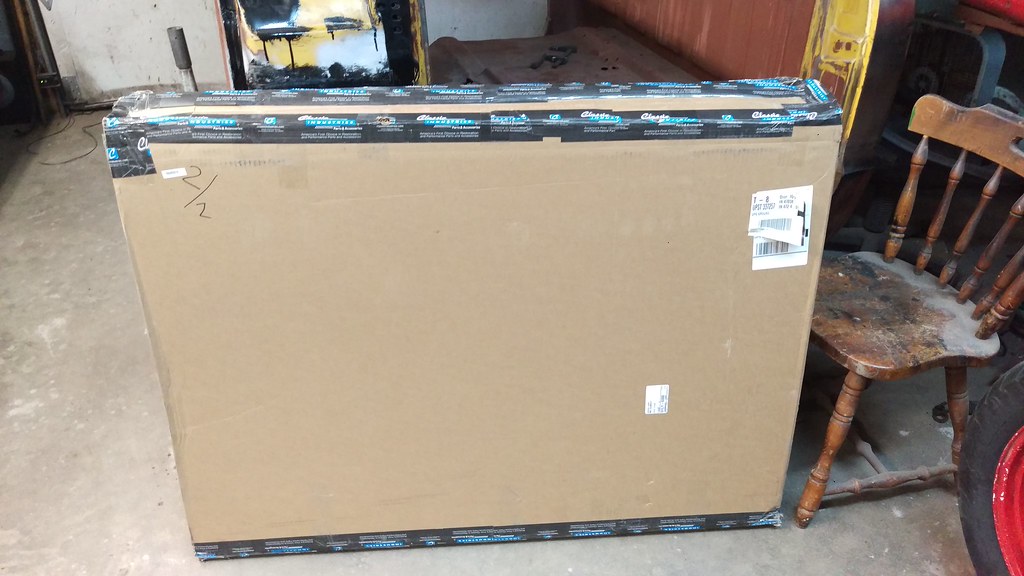 IMAG1434 by jarrod vanwinkle, on Flickr IMAG1434 by jarrod vanwinkle, on Flickr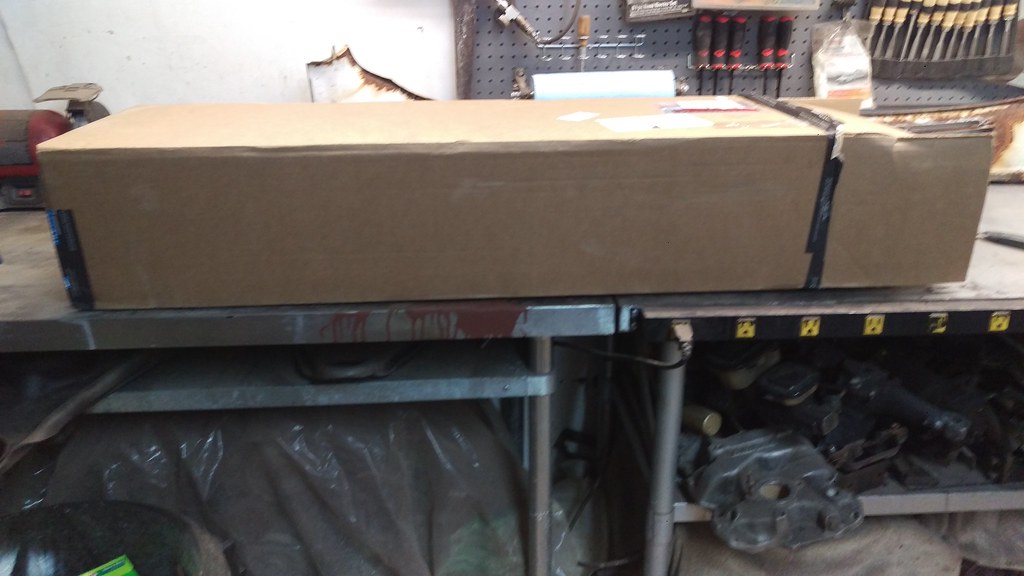 IMAG1435 by jarrod vanwinkle, on Flickr IMAG1435 by jarrod vanwinkle, on Flickr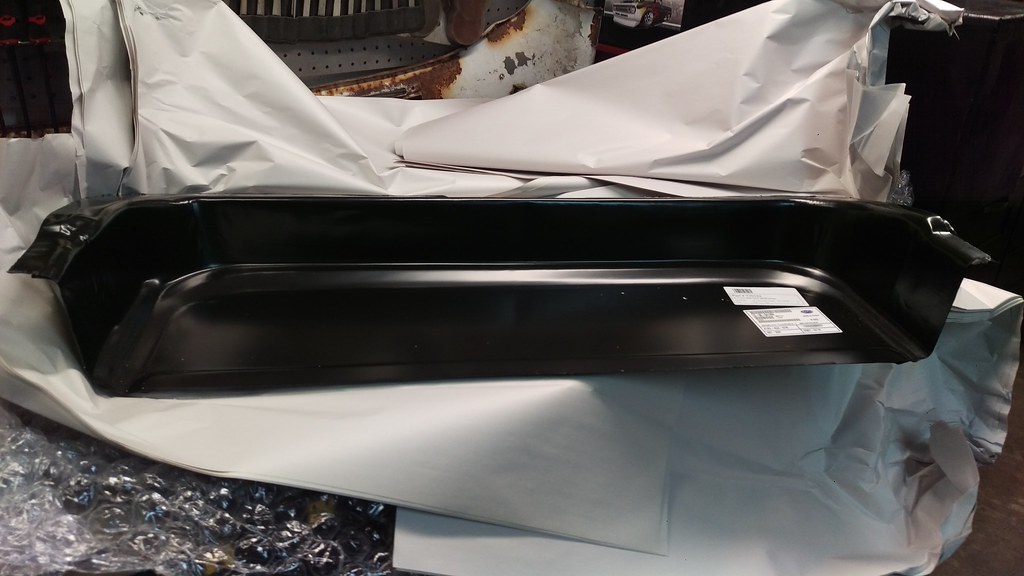 IMAG1436 by jarrod vanwinkle, on Flickr IMAG1436 by jarrod vanwinkle, on Flickr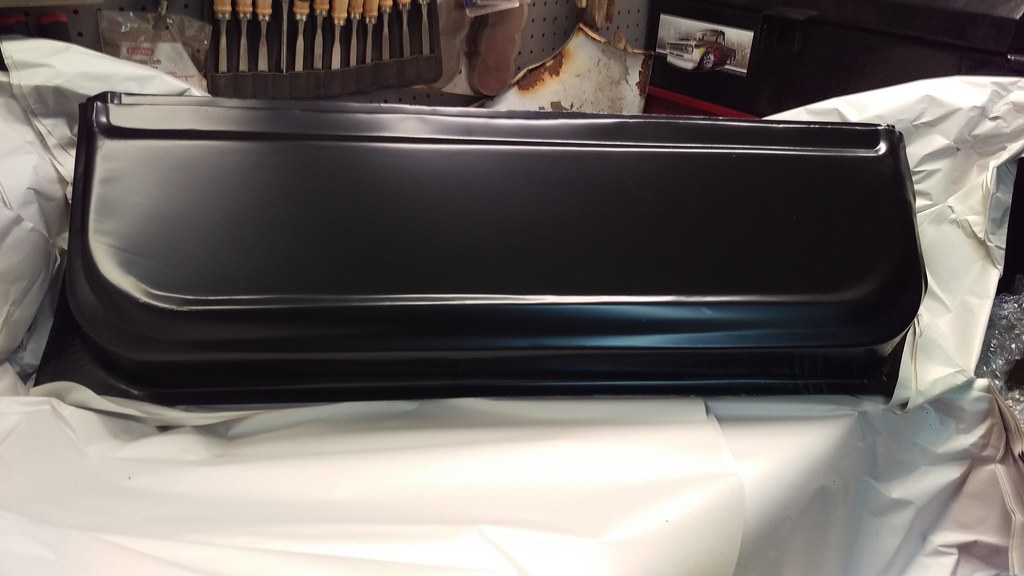 IMAG1437 by jarrod vanwinkle, on Flickr IMAG1437 by jarrod vanwinkle, on Flickr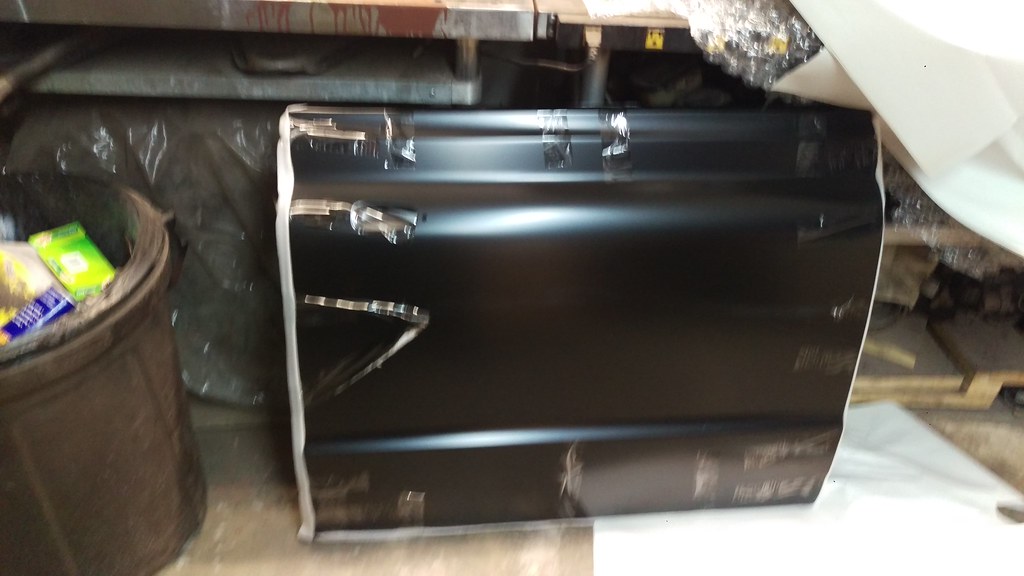 IMAG1438 by jarrod vanwinkle, on Flickr IMAG1438 by jarrod vanwinkle, on FlickrMy lower control arm U bolts also came in. 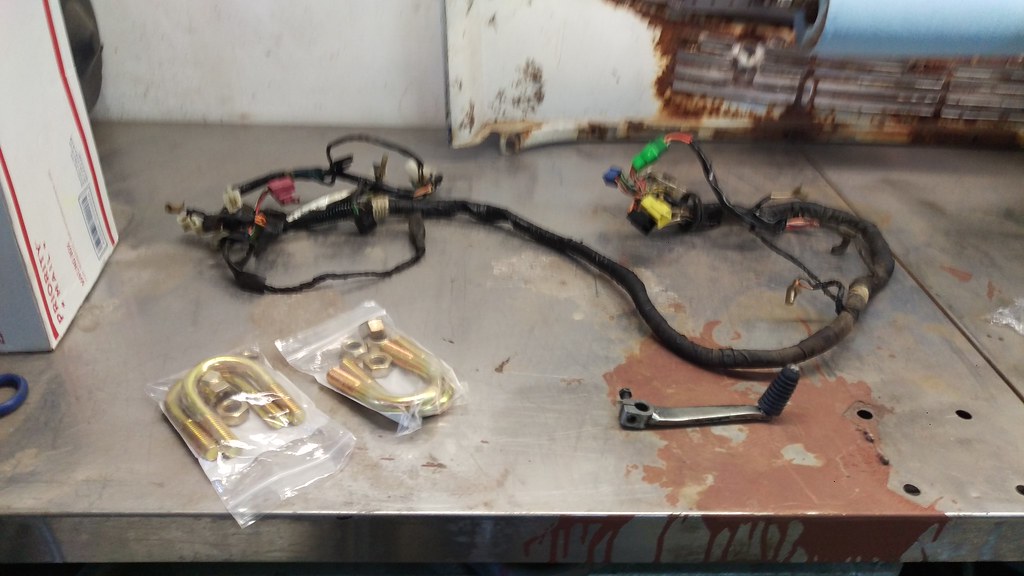 IMAG1439 by jarrod vanwinkle, on Flickr IMAG1439 by jarrod vanwinkle, on FlickrBack to the doors. 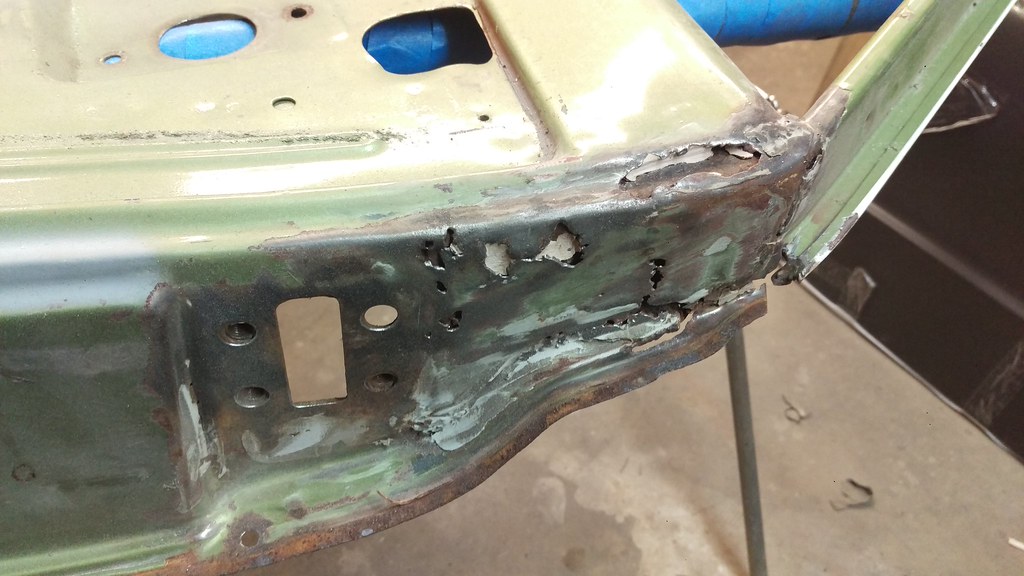 IMAG1465 by jarrod vanwinkle, on Flickr IMAG1465 by jarrod vanwinkle, on Flickr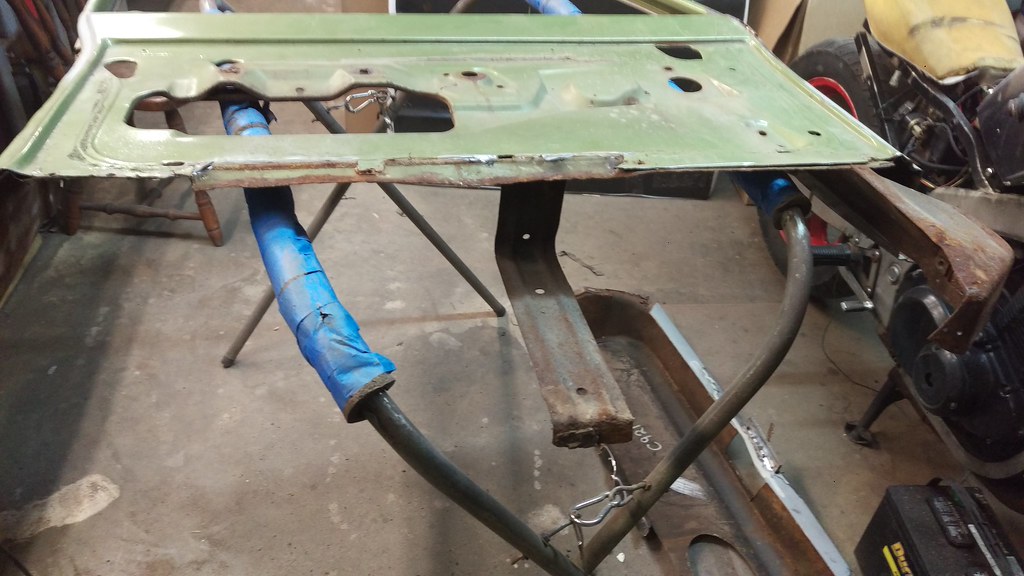 IMAG1466 by jarrod vanwinkle, on Flickr IMAG1466 by jarrod vanwinkle, on Flickr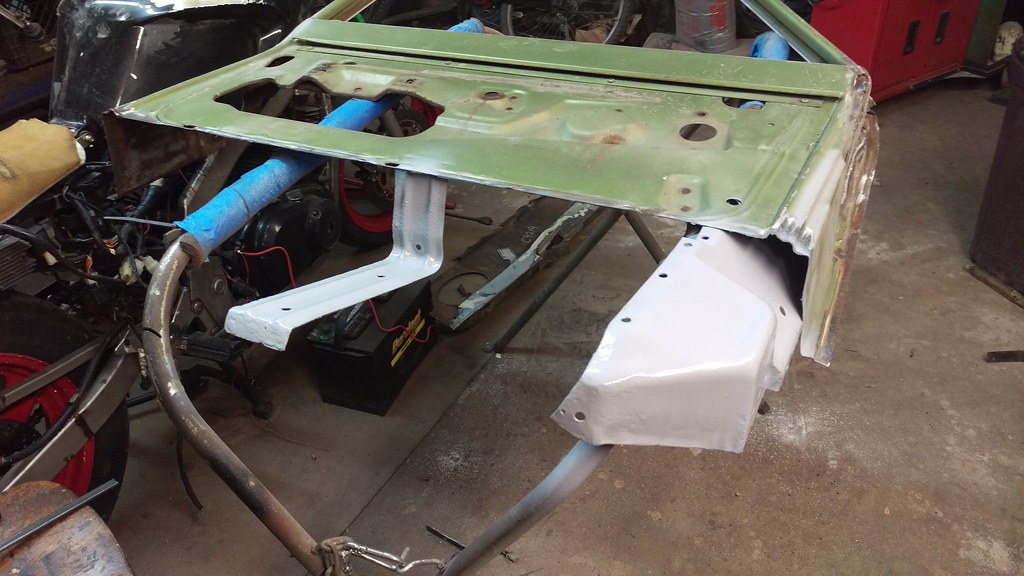 IMAG1468 by jarrod vanwinkle, on Flickr IMAG1468 by jarrod vanwinkle, on FlickrLots of cutting, trimming, fitting and rust removal. 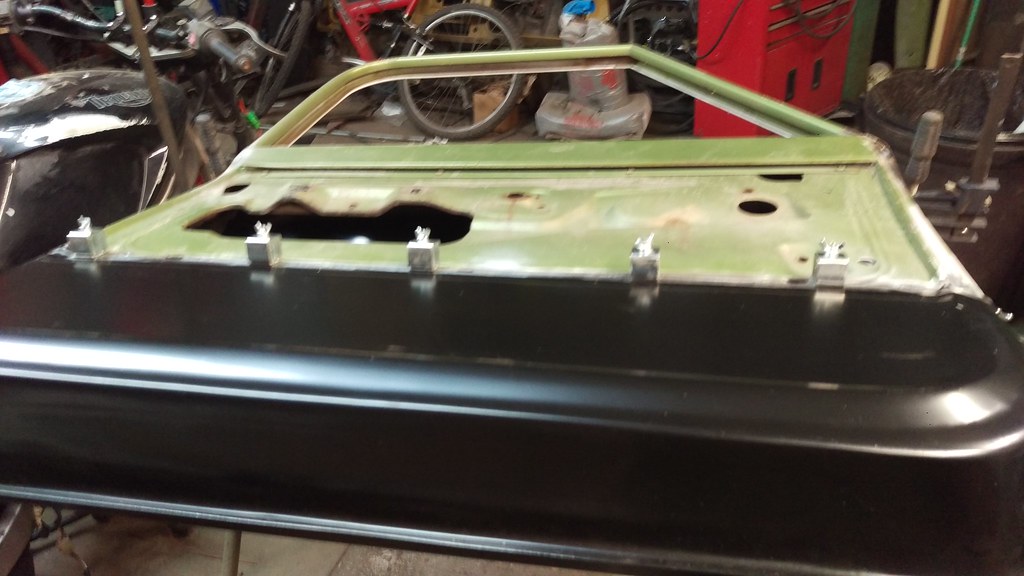 IMAG1469 by jarrod vanwinkle, on Flickr IMAG1469 by jarrod vanwinkle, on Flickr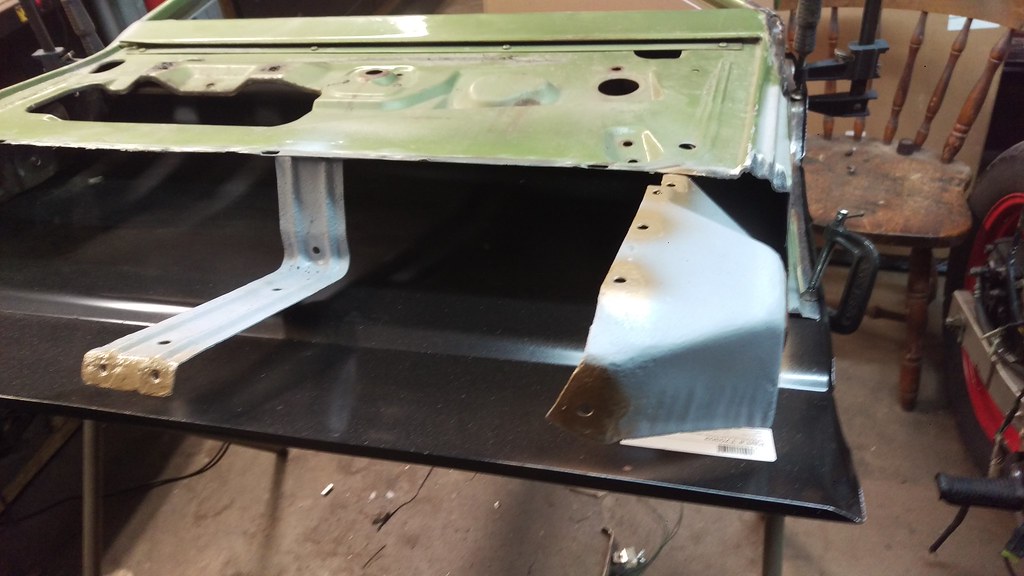 IMAG1470 by jarrod vanwinkle, on Flickr IMAG1470 by jarrod vanwinkle, on FlickrCheap planes 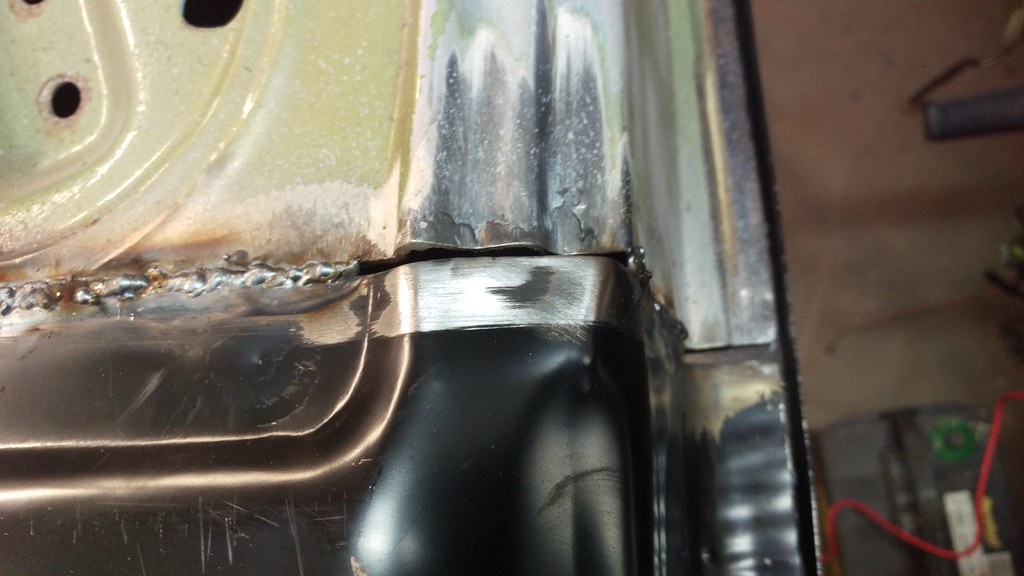 IMAG1472 by jarrod vanwinkle, on Flickr IMAG1472 by jarrod vanwinkle, on Flickr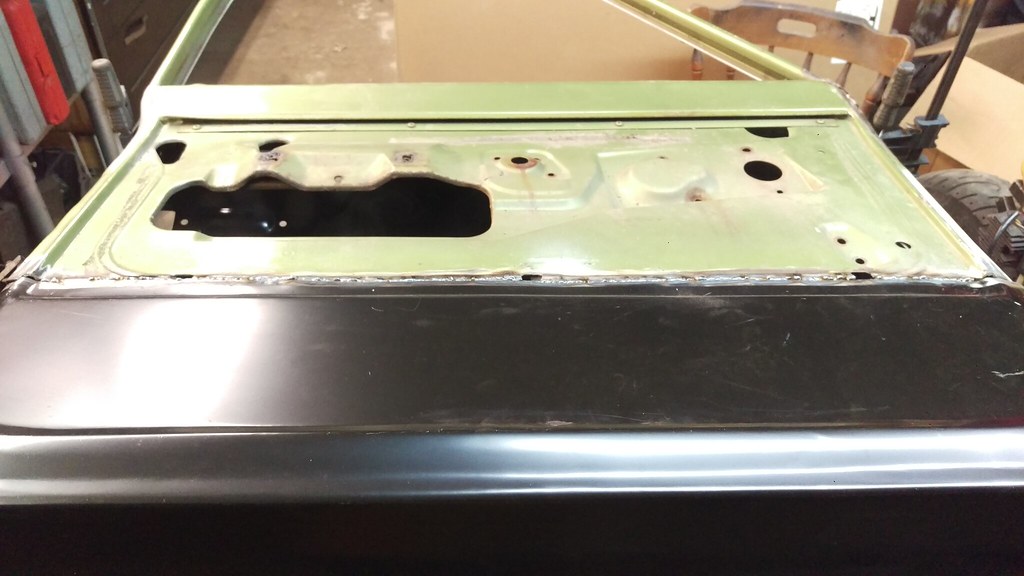 IMAG1471 by jarrod vanwinkle, on Flickr IMAG1471 by jarrod vanwinkle, on Flickr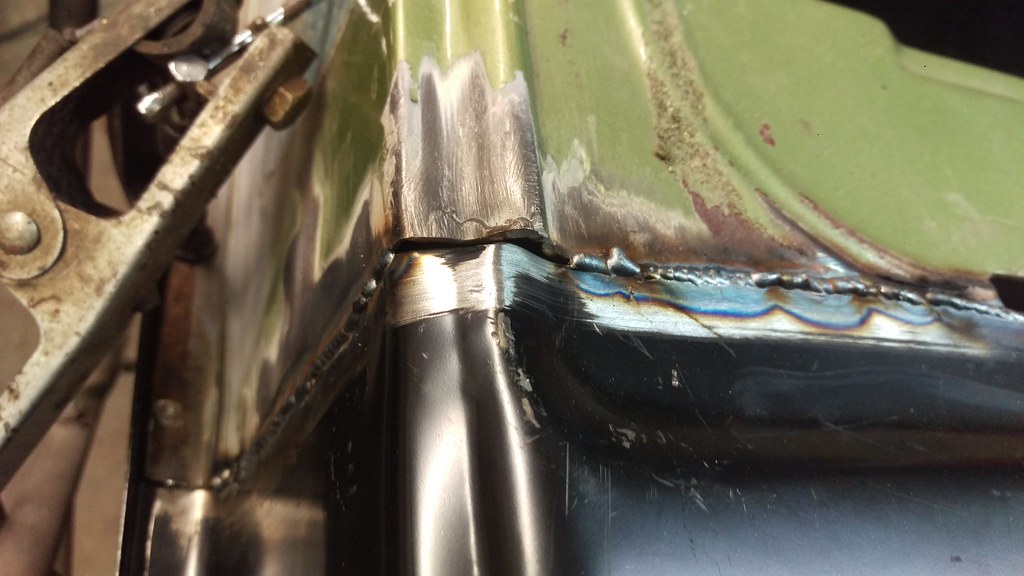 IMAG1473 by jarrod vanwinkle, on Flickr IMAG1473 by jarrod vanwinkle, on Flickr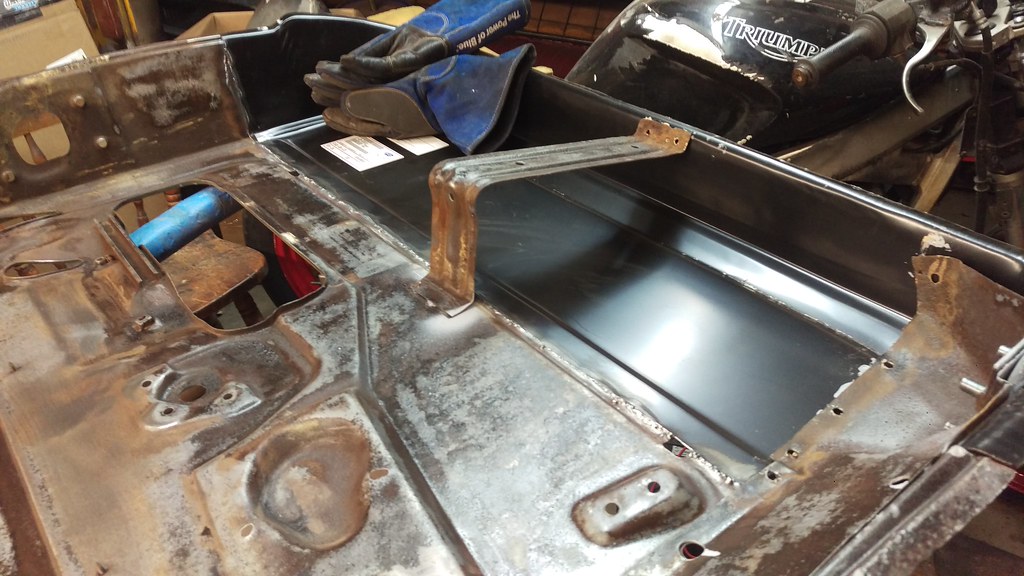 IMAG1474 by jarrod vanwinkle, on Flickr IMAG1474 by jarrod vanwinkle, on Flickr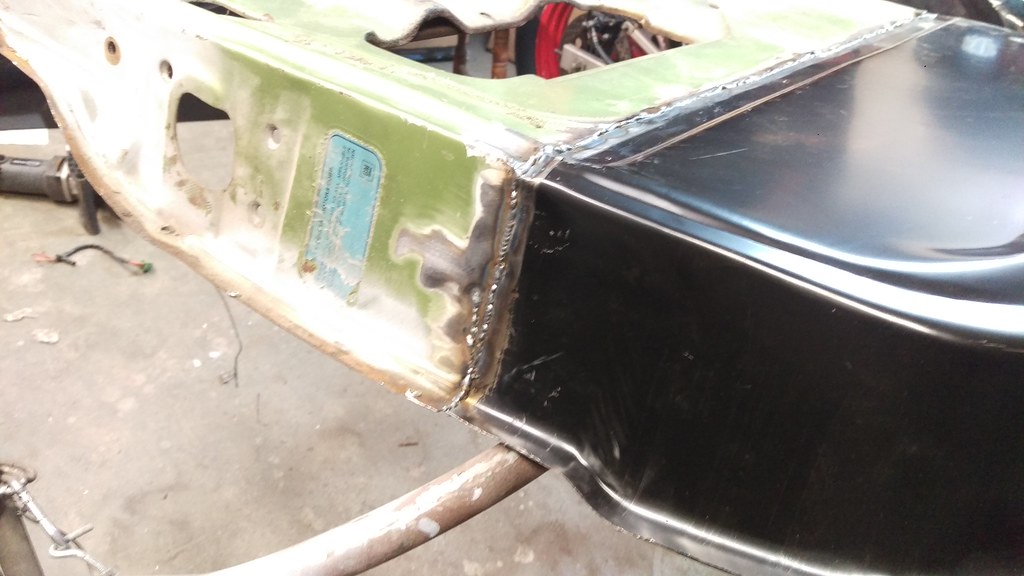 IMAG1475 by jarrod vanwinkle, on Flickr IMAG1475 by jarrod vanwinkle, on Flickr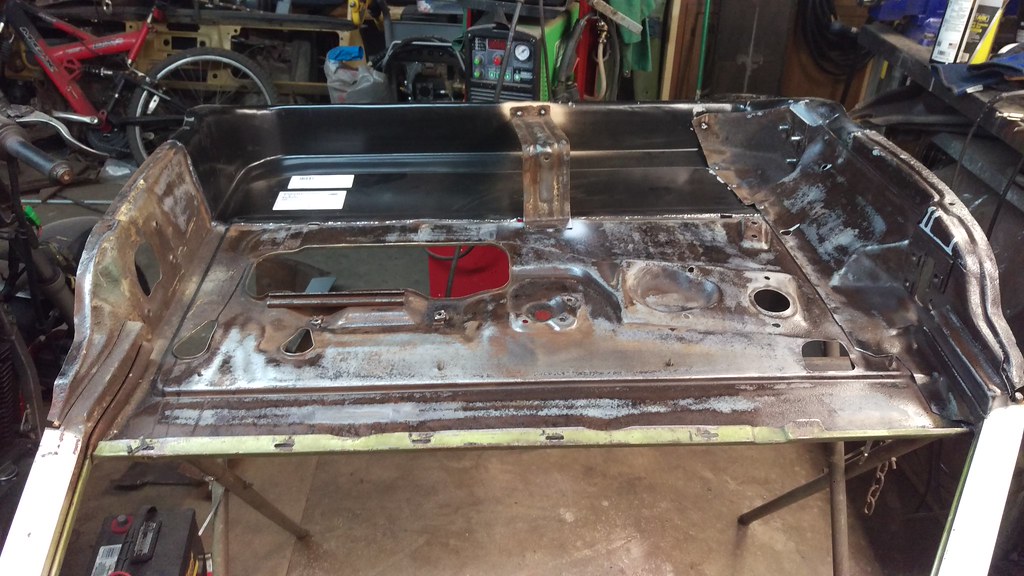 IMAG1476 by jarrod vanwinkle, on Flickr IMAG1476 by jarrod vanwinkle, on Flickr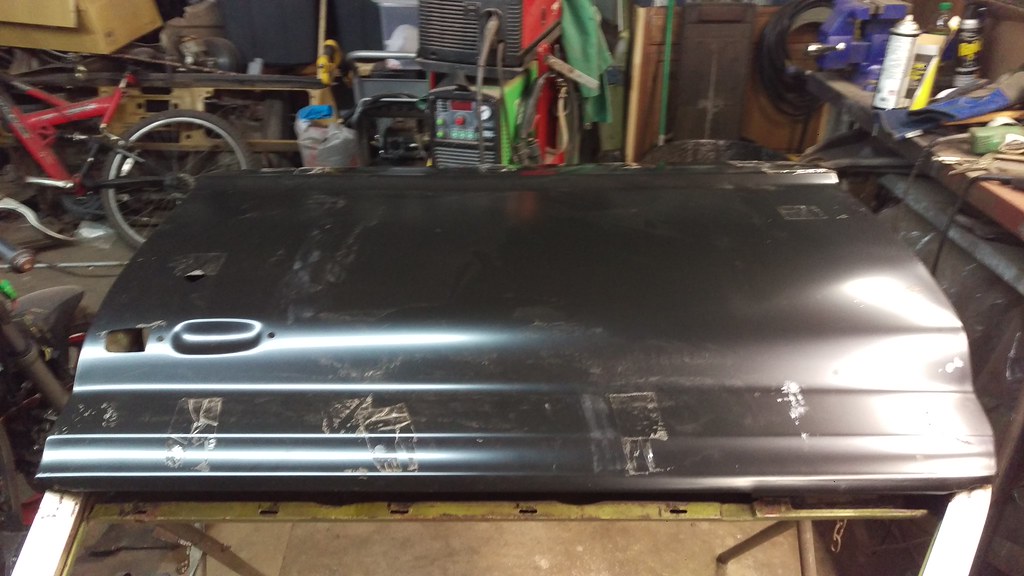 IMAG1477 by jarrod vanwinkle, on Flickr IMAG1477 by jarrod vanwinkle, on FlickrRusty metal primer on where the rust was and primer sealer on the clean metal and over the rusty metal primer. [IMG] 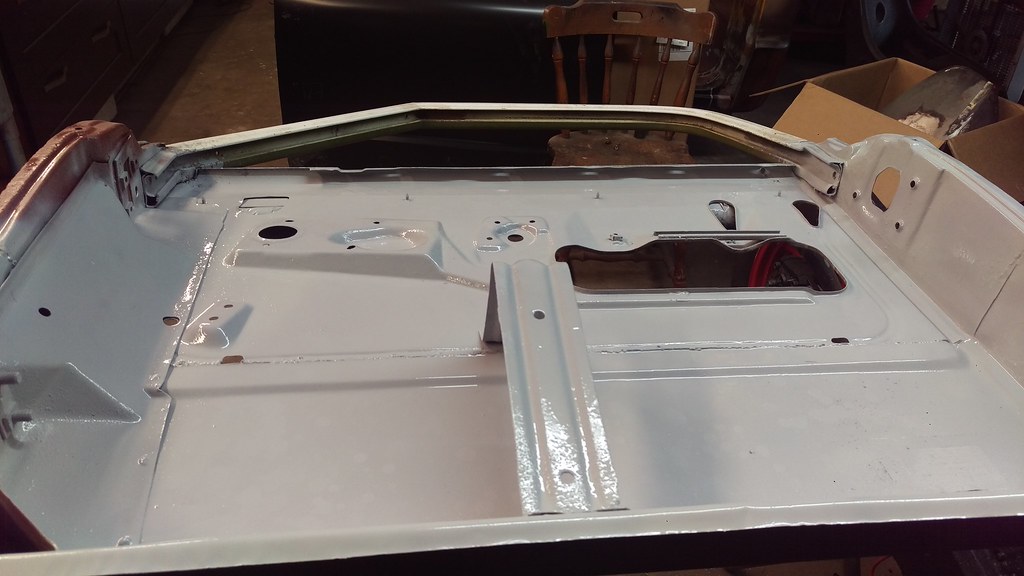 IMAG1478 by jarrod vanwinkle, on Flickr[/IMG] IMAG1478 by jarrod vanwinkle, on Flickr[/IMG]I installed some nutserts as the origenal nuts where missing when the panel was hacked up. 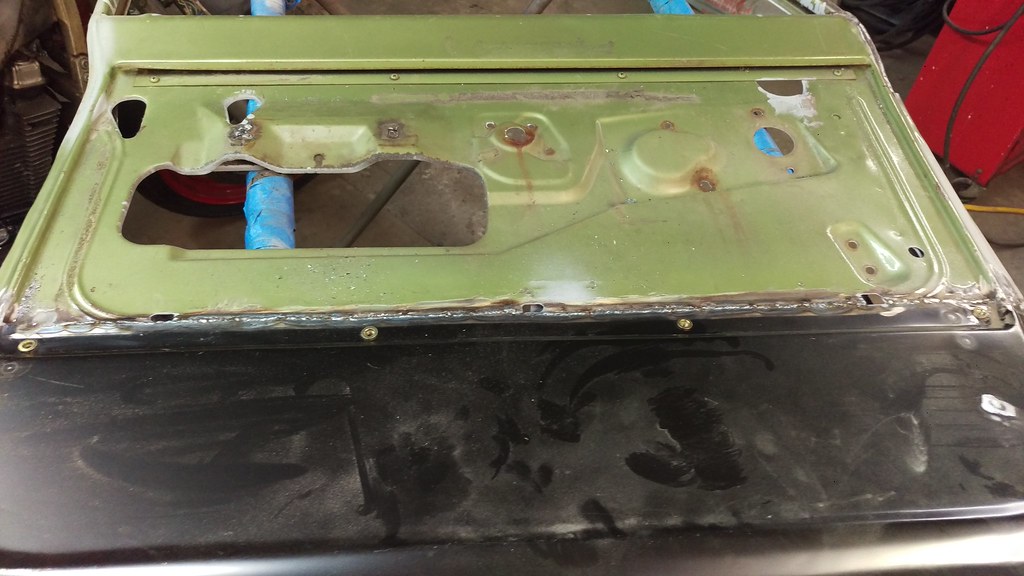 IMAG1480 by jarrod vanwinkle, on Flickr IMAG1480 by jarrod vanwinkle, on FlickrThen I proceed to breaking my tool on the last one. I sent an email to smittybilt wanting to buy a replacement part for the tool and they sent me a compleat replacement free of charge! 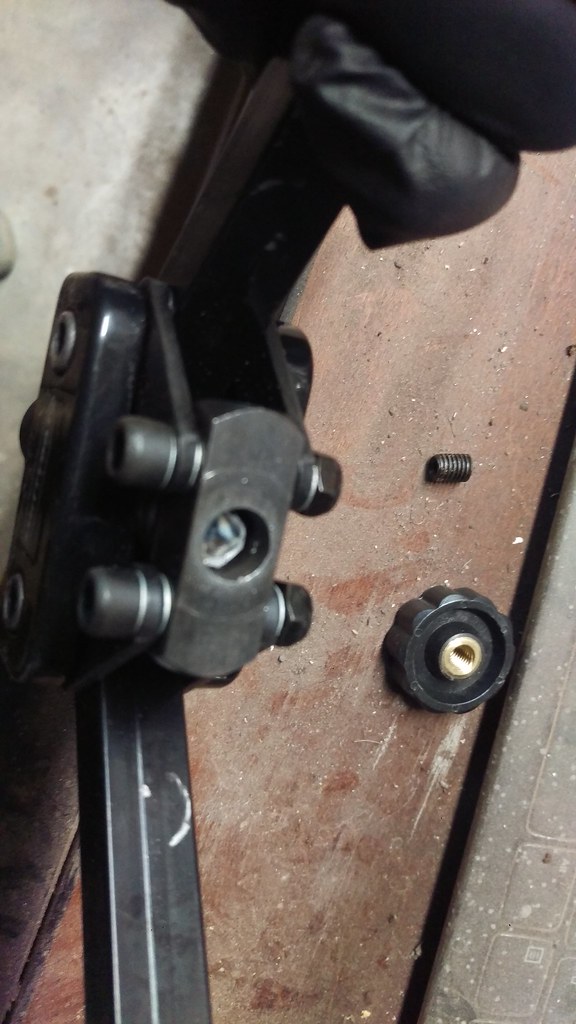 IMAG1479 by jarrod vanwinkle, on Flickr IMAG1479 by jarrod vanwinkle, on FlickrAnyways I undercoated the door inside. 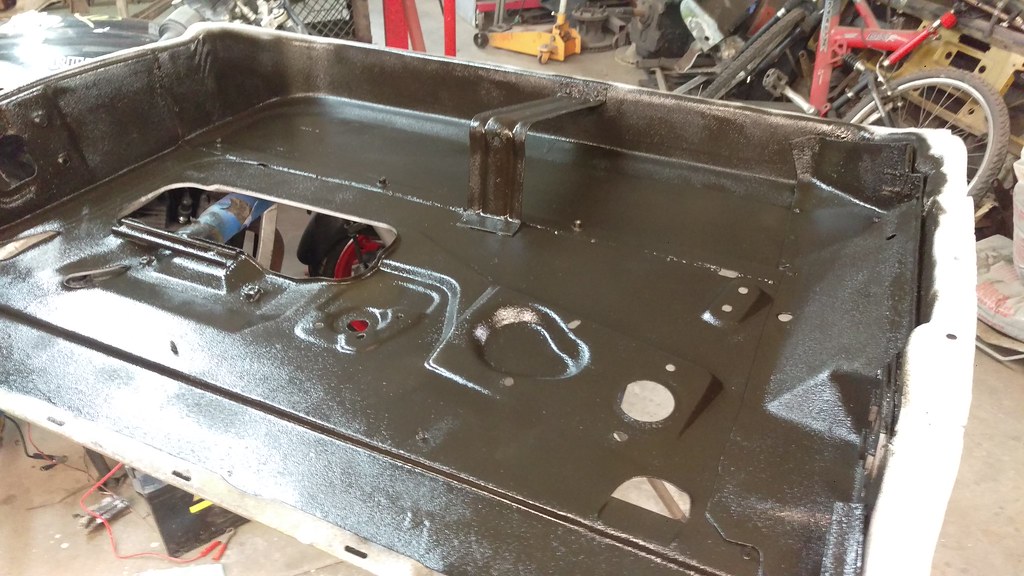 IMAG1481 by jarrod vanwinkle, on Flickr IMAG1481 by jarrod vanwinkle, on FlickrNow on to door number 2. 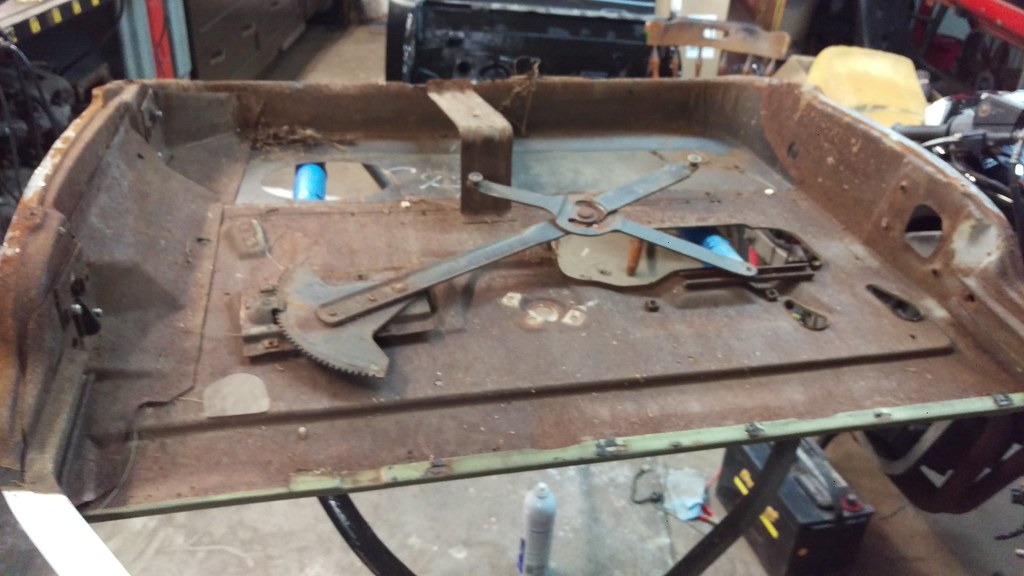 IMAG1482 by jarrod vanwinkle, on Flickr IMAG1482 by jarrod vanwinkle, on Flickr IMAG1483 by jarrod vanwinkle, on Flickr IMAG1483 by jarrod vanwinkle, on FlickrI sprayed the inner door skins with primer sealer then undercoated them. 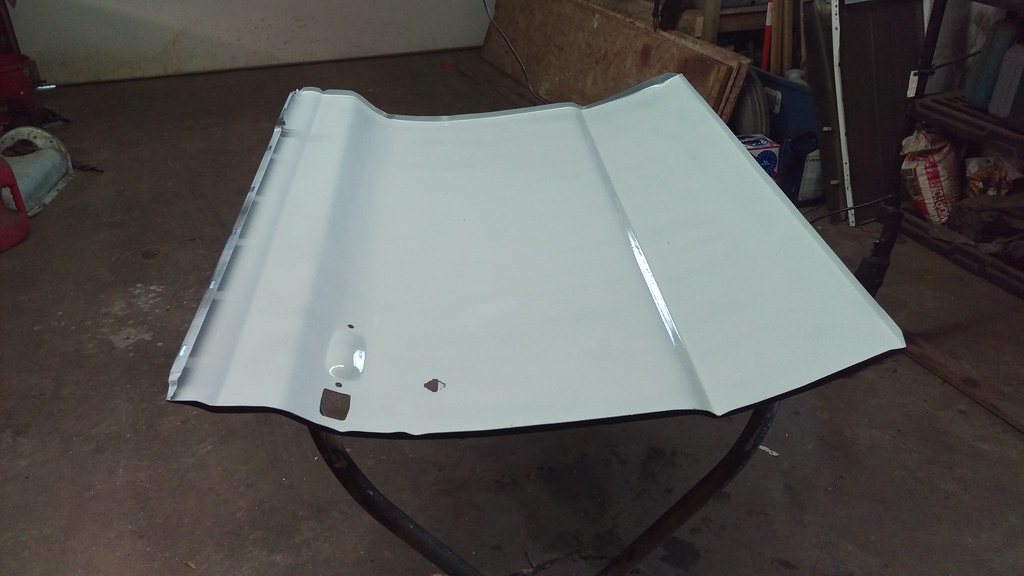 IMAG1495 by jarrod vanwinkle, on Flickr IMAG1495 by jarrod vanwinkle, on Flickr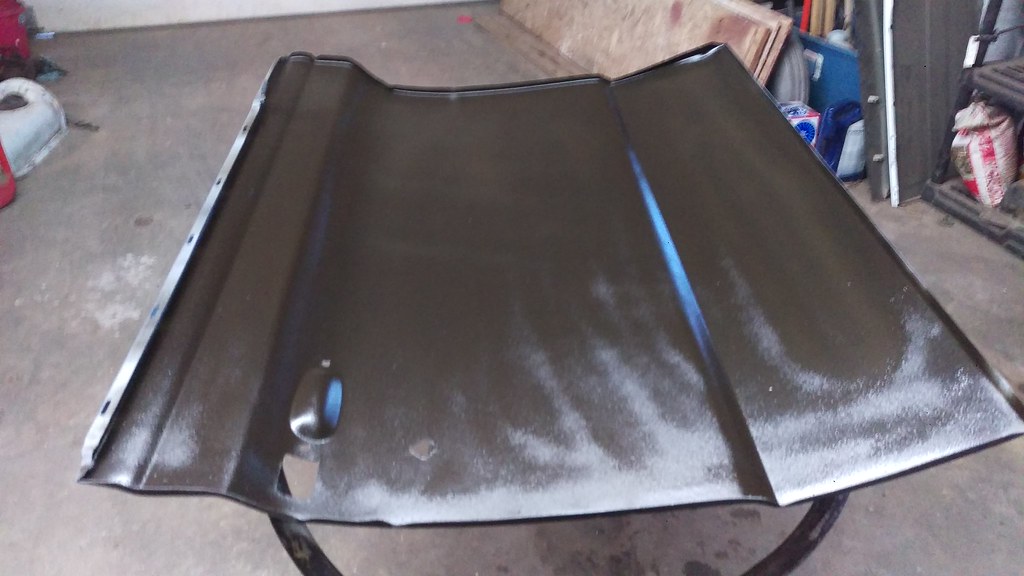 IMAG1496 by jarrod vanwinkle, on Flickr IMAG1496 by jarrod vanwinkle, on Flickr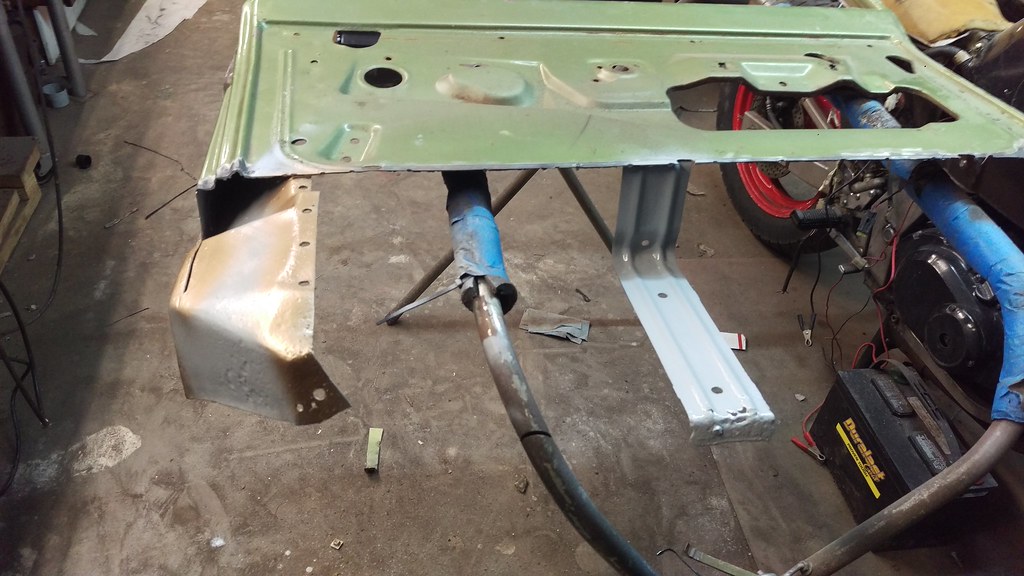 IMAG1497 by jarrod vanwinkle, on Flickr IMAG1497 by jarrod vanwinkle, on FlickrI'm going to have to go back and cut drain holes in the other one as I believe that is what caused them to rust out to begin with well that and the way they where hacked togeather. 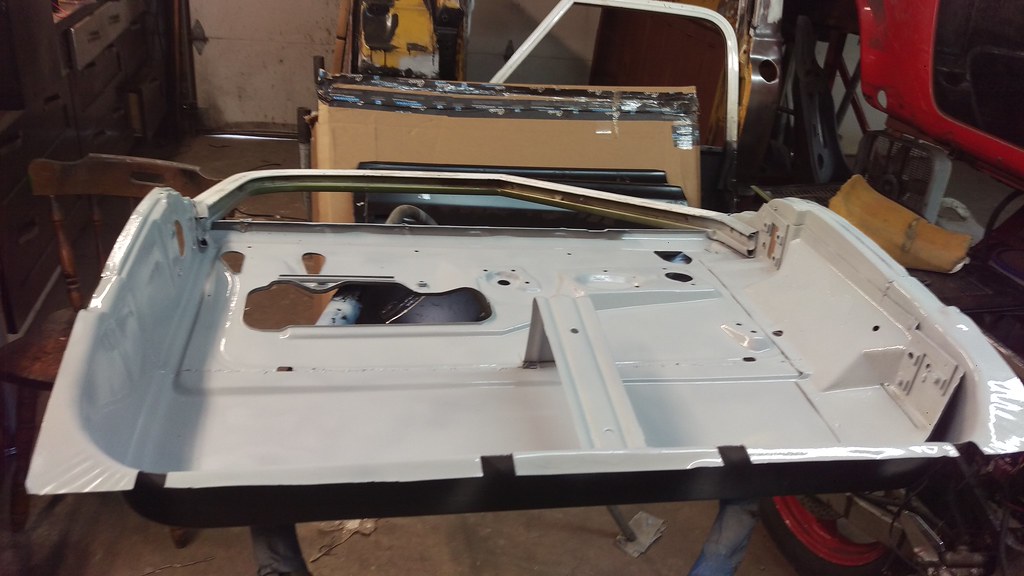 IMAG1504 by jarrod vanwinkle, on Flickr IMAG1504 by jarrod vanwinkle, on Flickr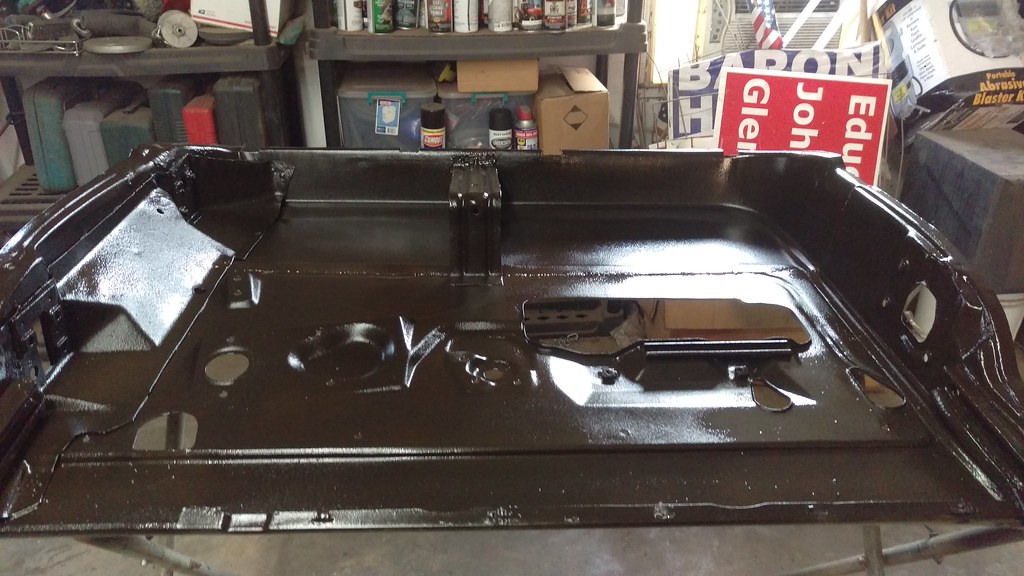 IMAG1505 by jarrod vanwinkle, on Flickr IMAG1505 by jarrod vanwinkle, on Flickr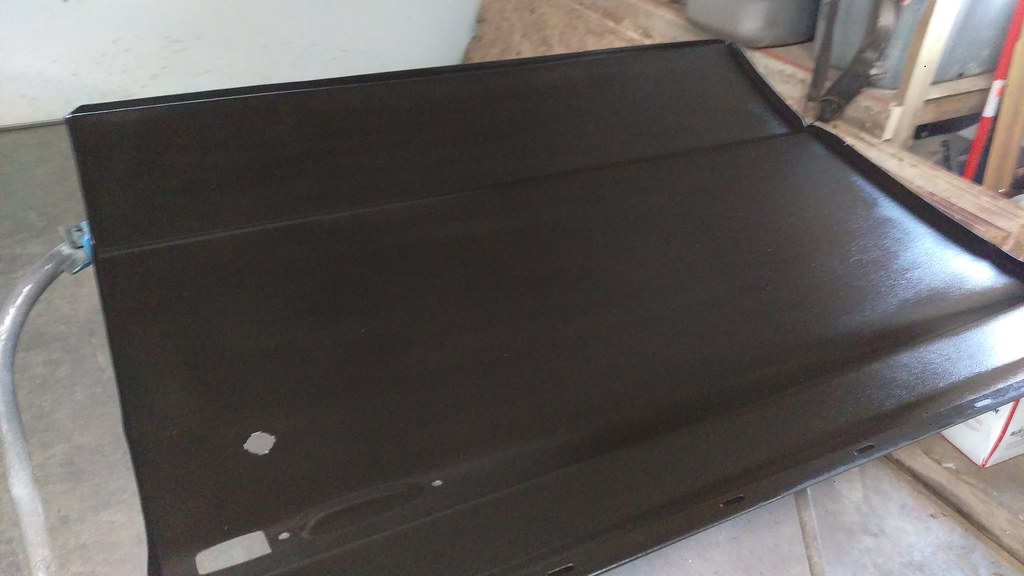 IMAG1506 by jarrod vanwinkle, on Flickr IMAG1506 by jarrod vanwinkle, on FlickrSo before I could seal up the doors and install the new skins I ended up buying some new toys! Radius dimple dies and a hydro knockout punch set. Unfortunately the knockout punch set is in mm and not inche like it was listed on ebay. More on that later. 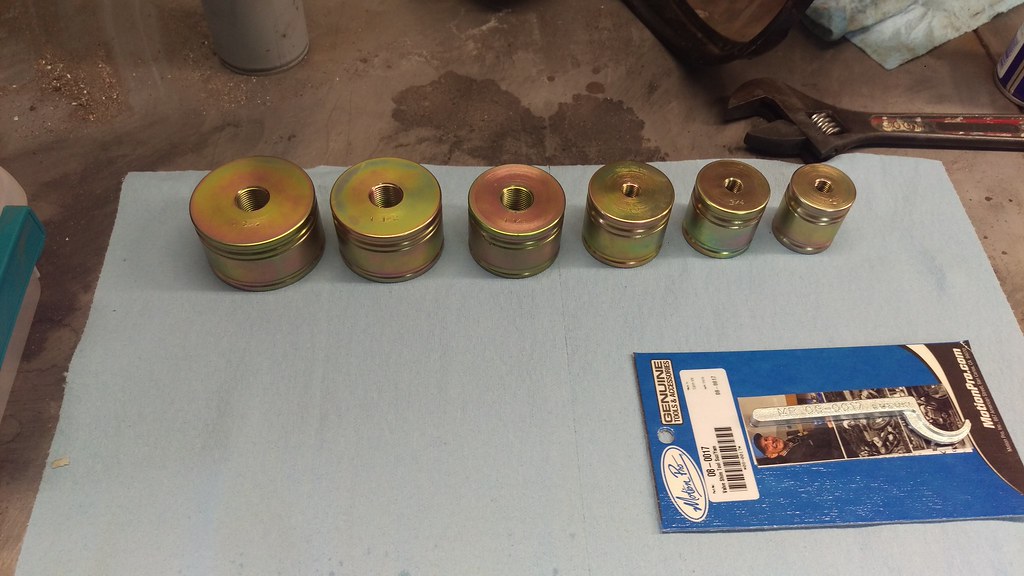 IMAG1511 by jarrod vanwinkle, on Flickr IMAG1511 by jarrod vanwinkle, on Flickr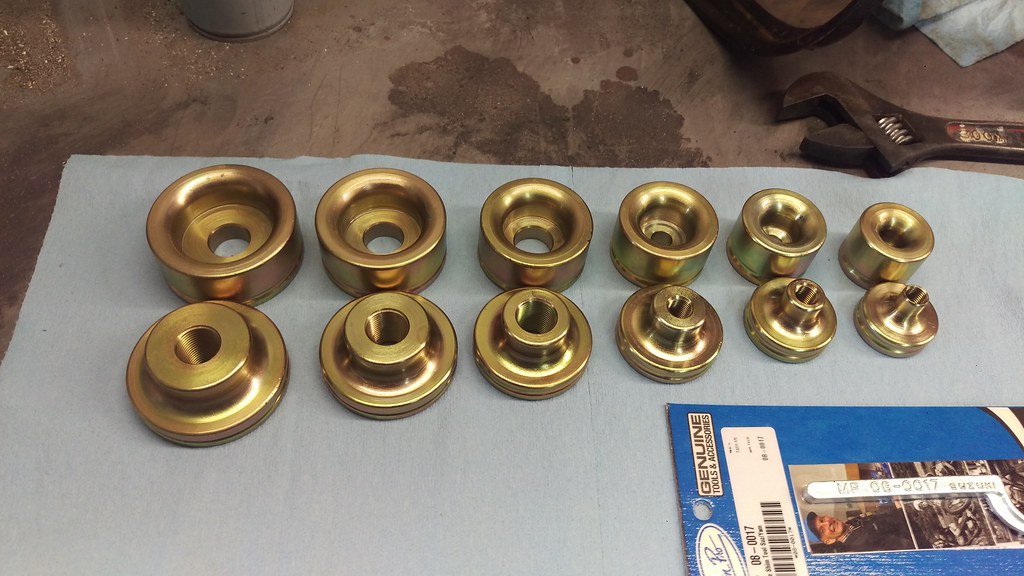 IMAG1513 by jarrod vanwinkle, on Flickr IMAG1513 by jarrod vanwinkle, on Flickr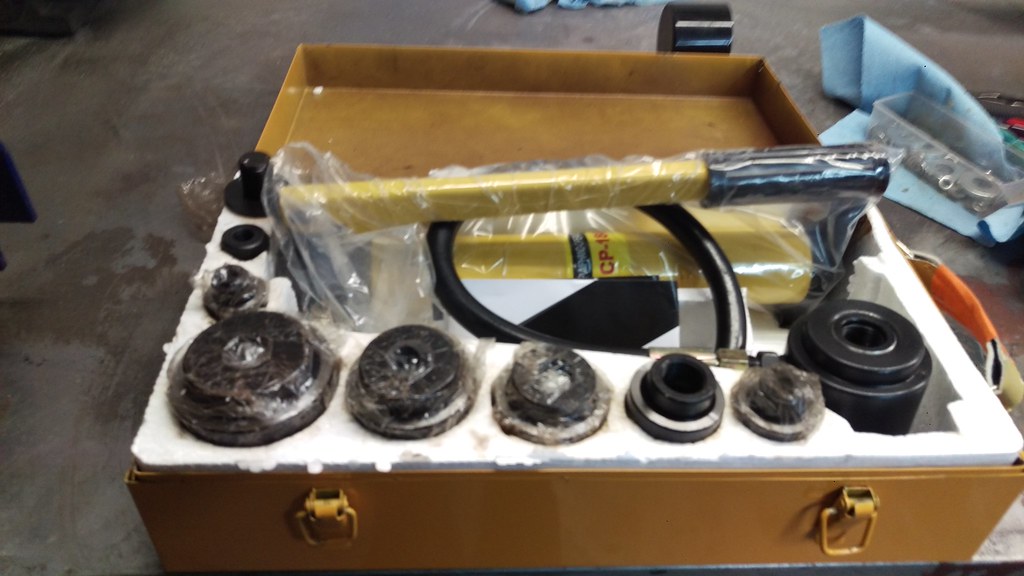 IMAG1524 by jarrod vanwinkle, on Flickr IMAG1524 by jarrod vanwinkle, on Flickr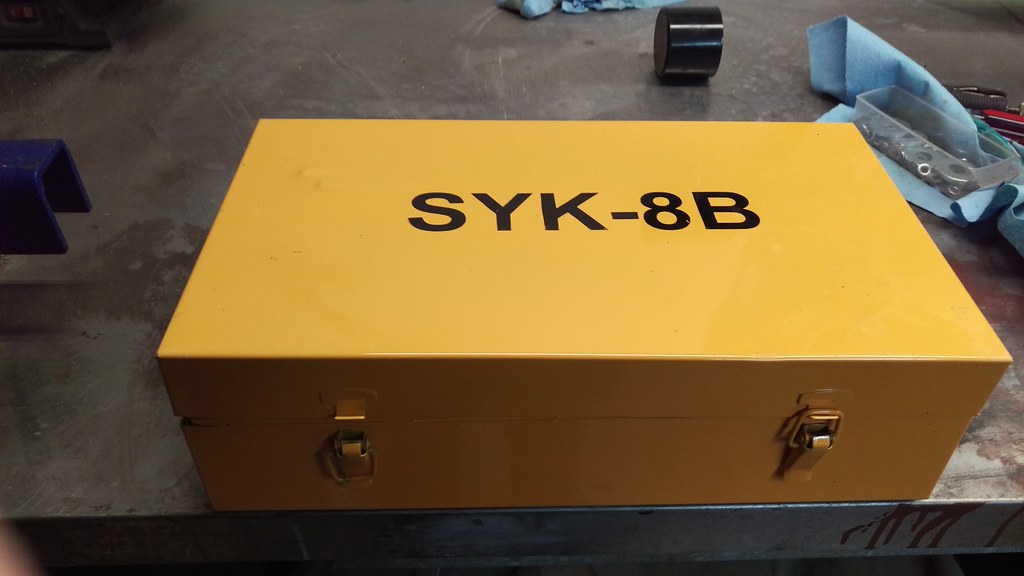 IMAG1523 by jarrod vanwinkle, on Flickr IMAG1523 by jarrod vanwinkle, on FlickrSo back to the doors, Something I have wanted to do since I bought the truck. 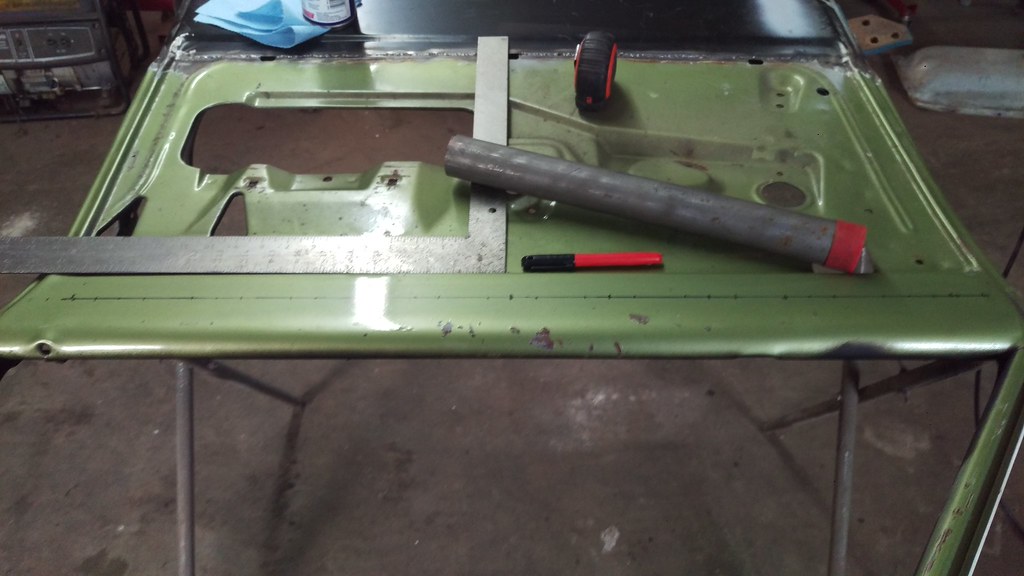 IMAG1526 by jarrod vanwinkle, on Flickr IMAG1526 by jarrod vanwinkle, on Flickr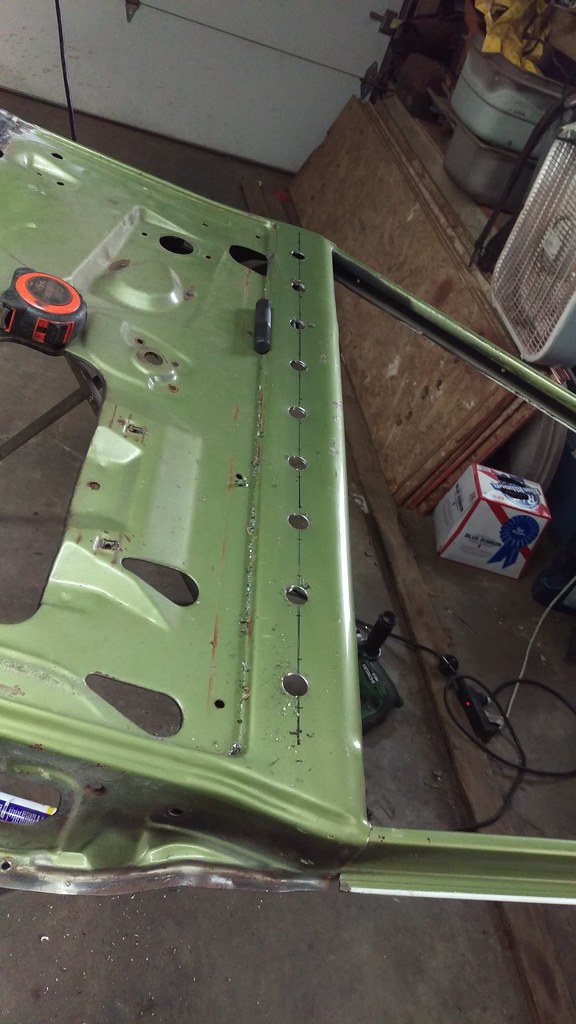 IMAG1527 by jarrod vanwinkle, on Flickr IMAG1527 by jarrod vanwinkle, on Flickr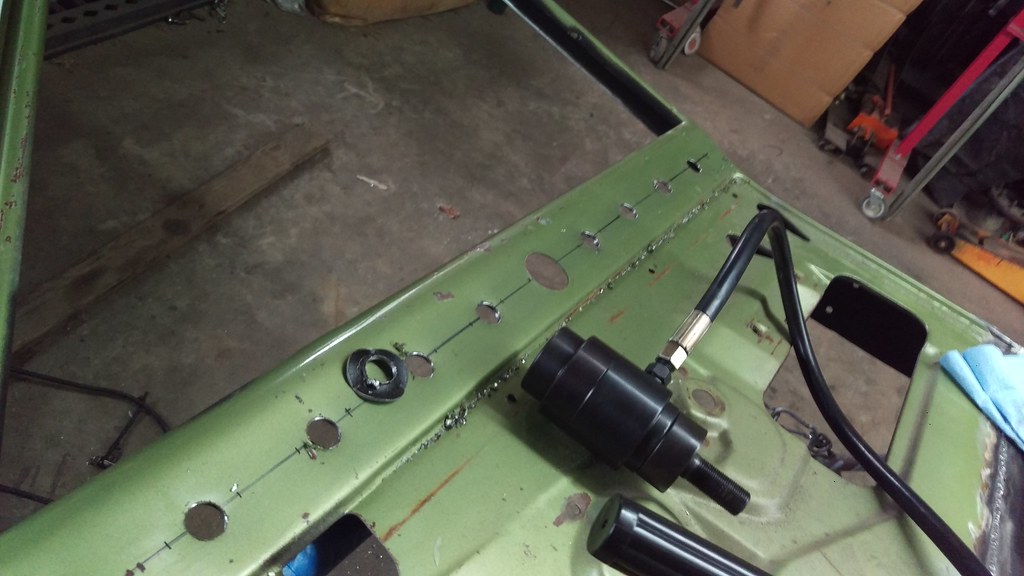 IMAG1528 by jarrod vanwinkle, on Flickr IMAG1528 by jarrod vanwinkle, on Flickr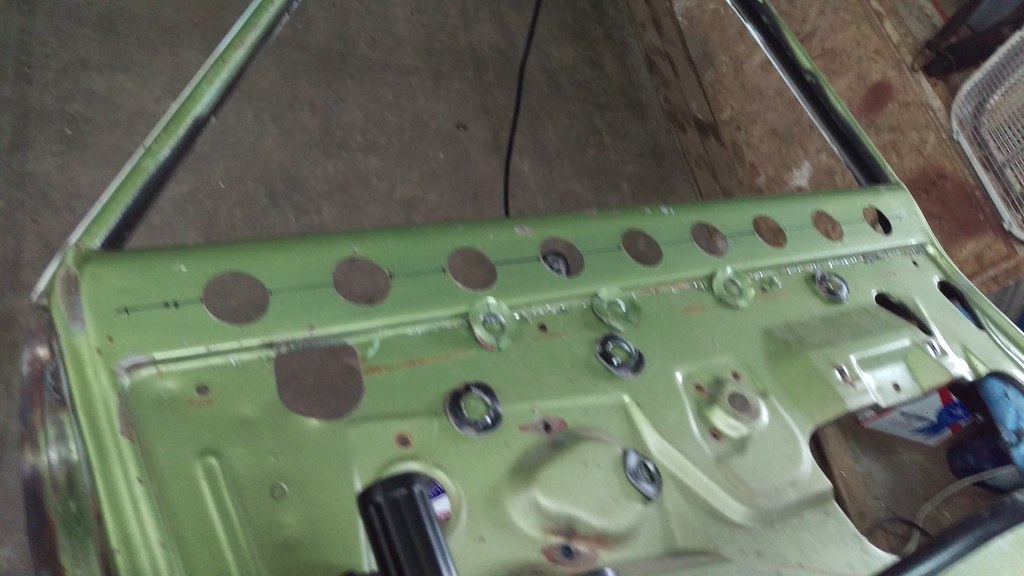 IMAG1529 by jarrod vanwinkle, on Flickr IMAG1529 by jarrod vanwinkle, on Flickr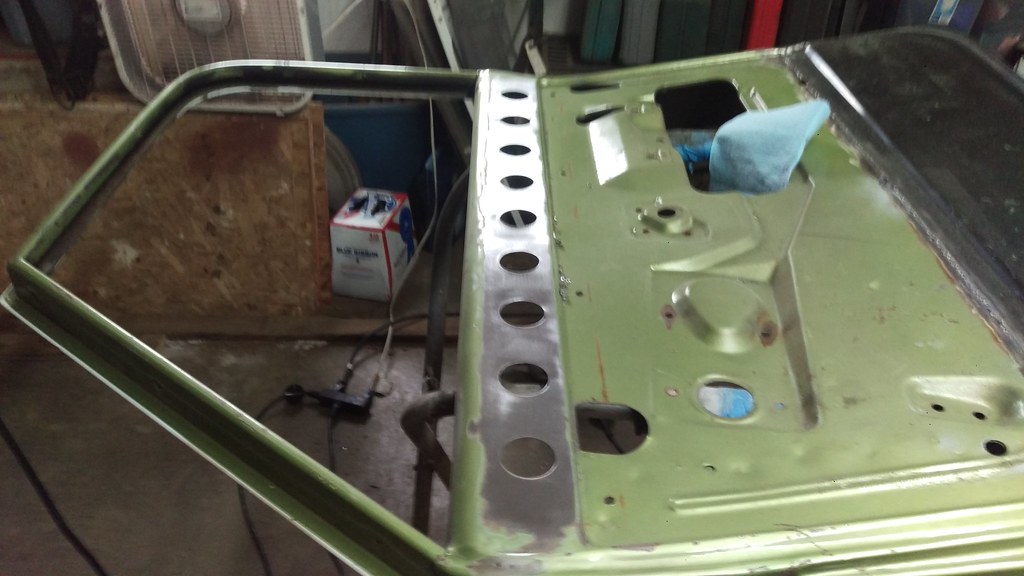 IMAG1530 by jarrod vanwinkle, on Flickr IMAG1530 by jarrod vanwinkle, on FlickrSo it turns out the knockout punch set is in mm not inches and the dies are just a little to small. So I ended up having to ream them out with running a hole saw backwards not to rip the metal. Then I had to clean it up with a file then a dremel. So I only got one side done today and I had to order a new die in inches. 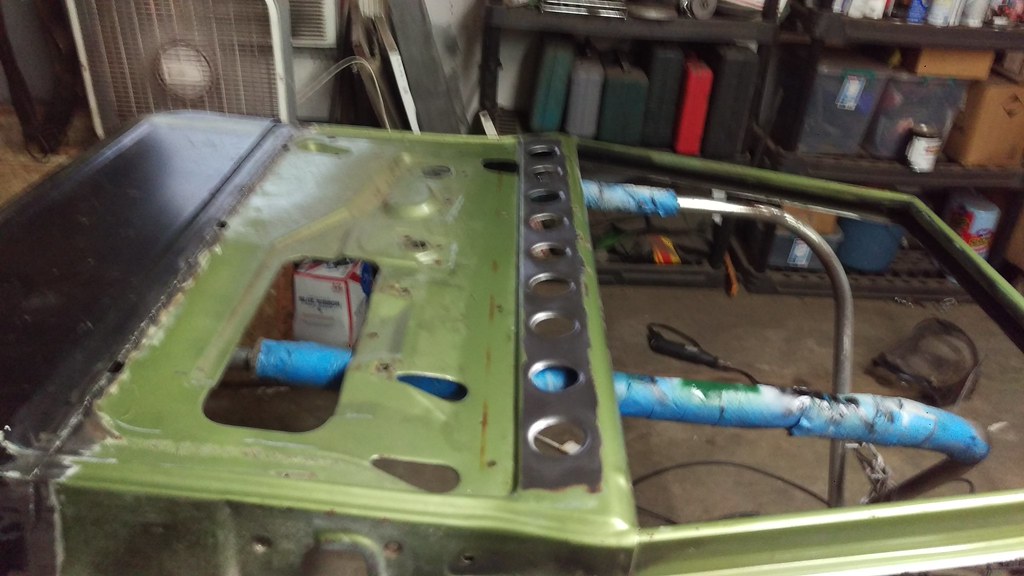 IMAG1532 by jarrod vanwinkle, on Flickr IMAG1532 by jarrod vanwinkle, on Flickr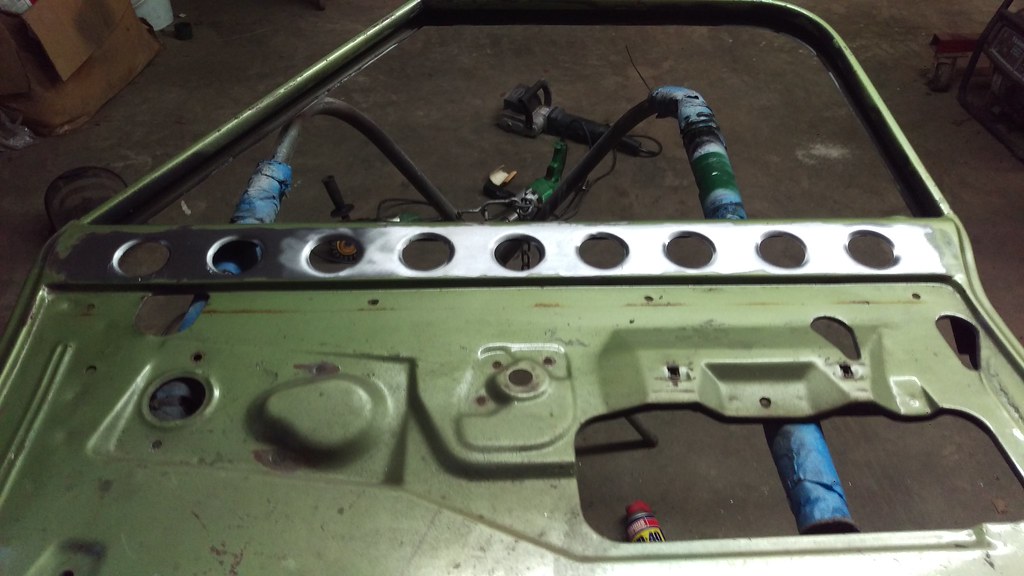 IMAG1531 by jarrod vanwinkle, on Flickr IMAG1531 by jarrod vanwinkle, on Flickr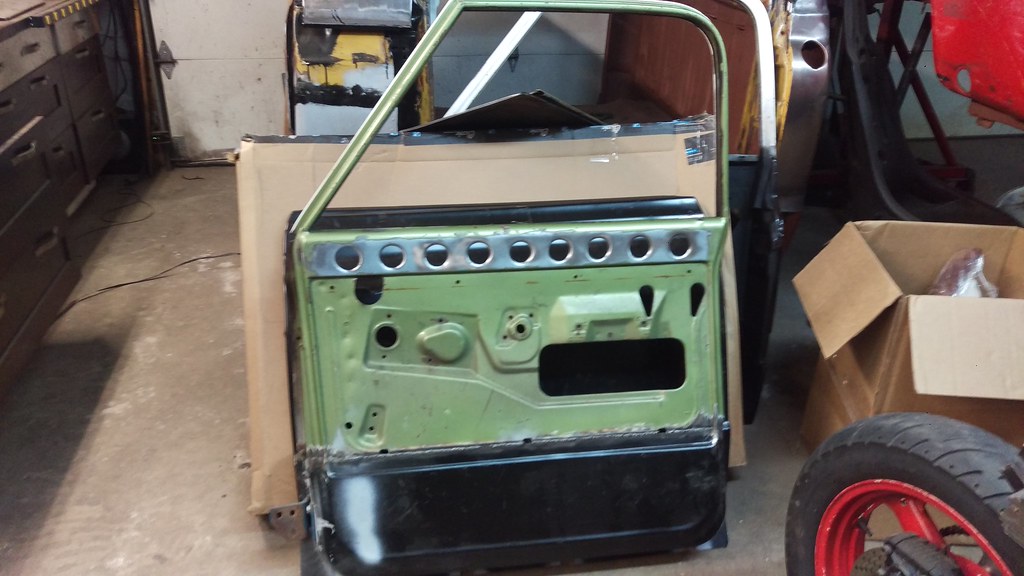 IMAG1533 by jarrod vanwinkle, on Flickr IMAG1533 by jarrod vanwinkle, on Flickr IMAG1534 by jarrod vanwinkle, on Flickr IMAG1534 by jarrod vanwinkle, on FlickrSo now I get to wait till next week for the new die to come in. |
||
|
|

|
|
|
#33 |
|
Registered User
Join Date: Sep 2017
Location: Patriot IN
Posts: 163
|
Re: 1970 C30 Car hauler Buildish thread.
Installed the passenger side door skin today!
Getting it ready 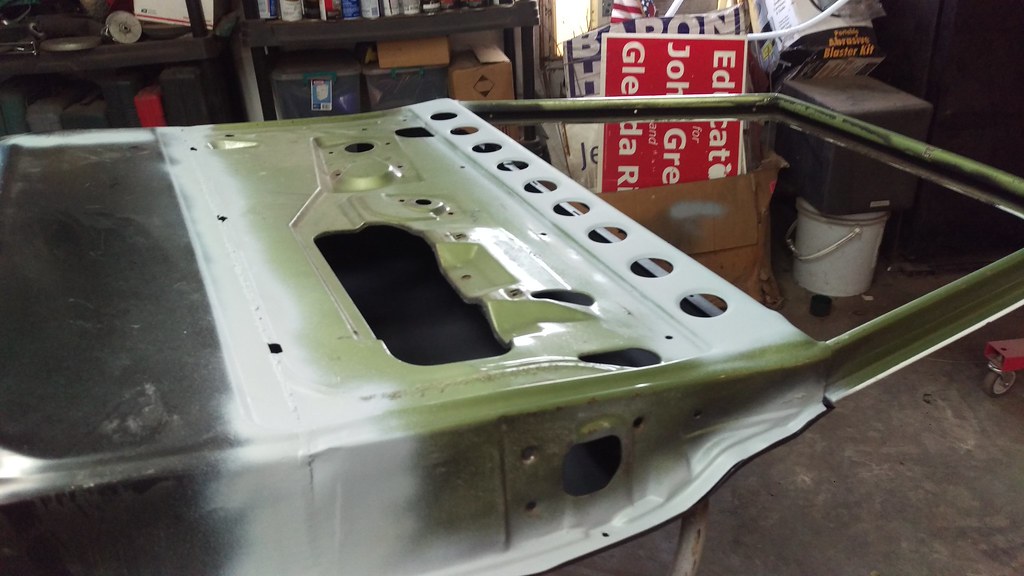 IMAG1538 by jarrod vanwinkle, on Flickr IMAG1538 by jarrod vanwinkle, on FlickrI bought a skin zipper I don't what happened. I only used it for about a 3 minutes and it got super hot and started melting? Step 1 worked but I could not get step two too work. I had to hammer and dolly it the rest of the way flat. I don't know if it was the zipper or the dolly but I creased the bottom of the door. 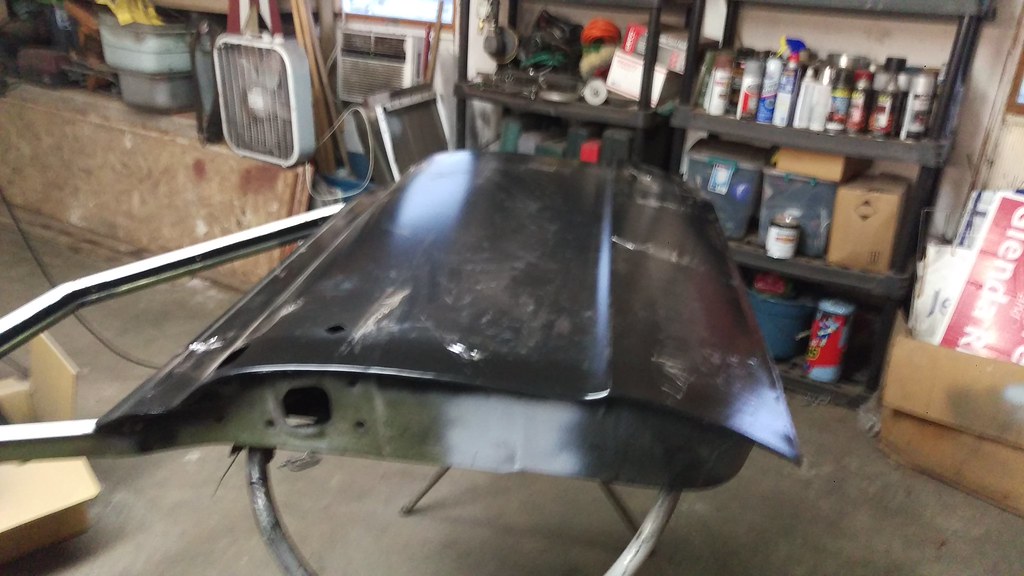 IMAG1540 by jarrod vanwinkle, on Flickr IMAG1540 by jarrod vanwinkle, on Flickr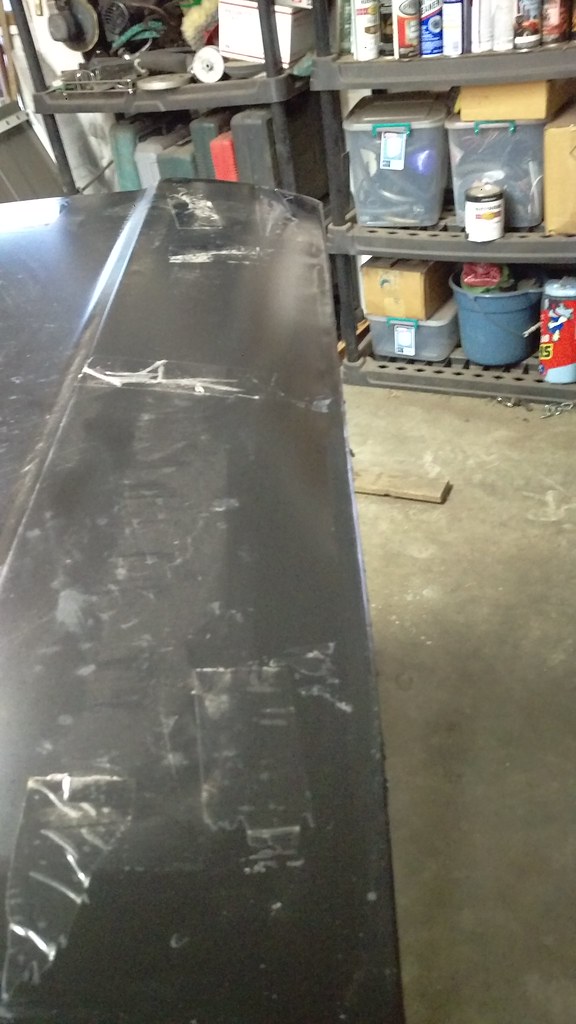 IMAG1541 by jarrod vanwinkle, on Flickr IMAG1541 by jarrod vanwinkle, on Flickr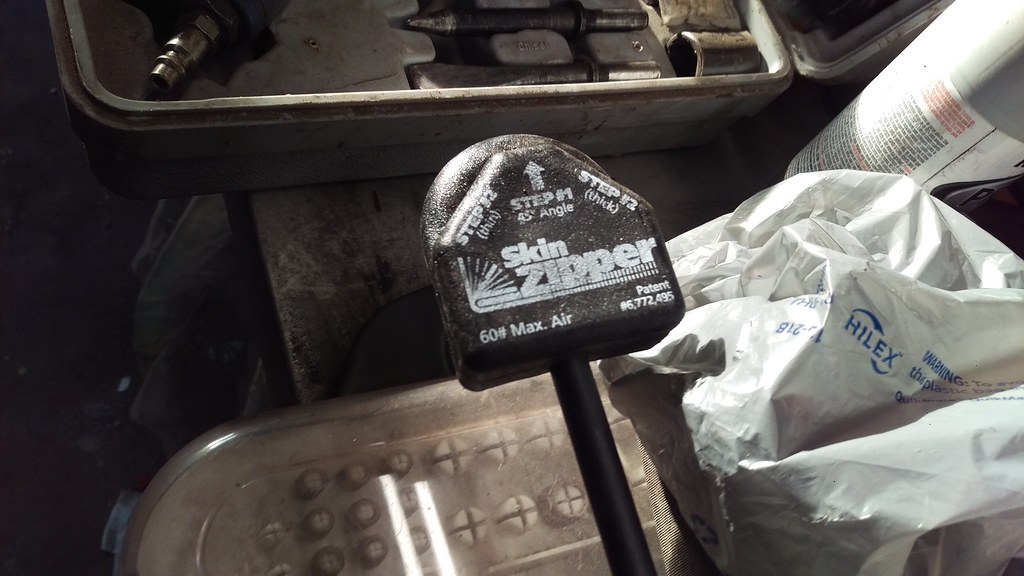 IMAG1539 by jarrod vanwinkle, on Flickr IMAG1539 by jarrod vanwinkle, on FlickrI did a fitment test on the door. Everything is good except the very front lower corner it scrapes when the door is opened. 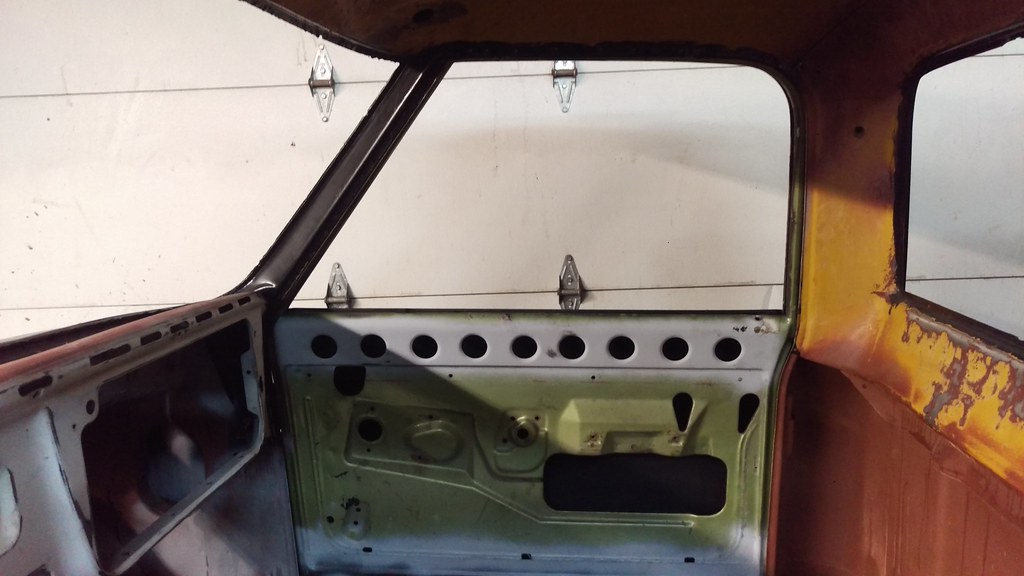 IMAG1542 by jarrod vanwinkle, on Flickr IMAG1542 by jarrod vanwinkle, on Flickr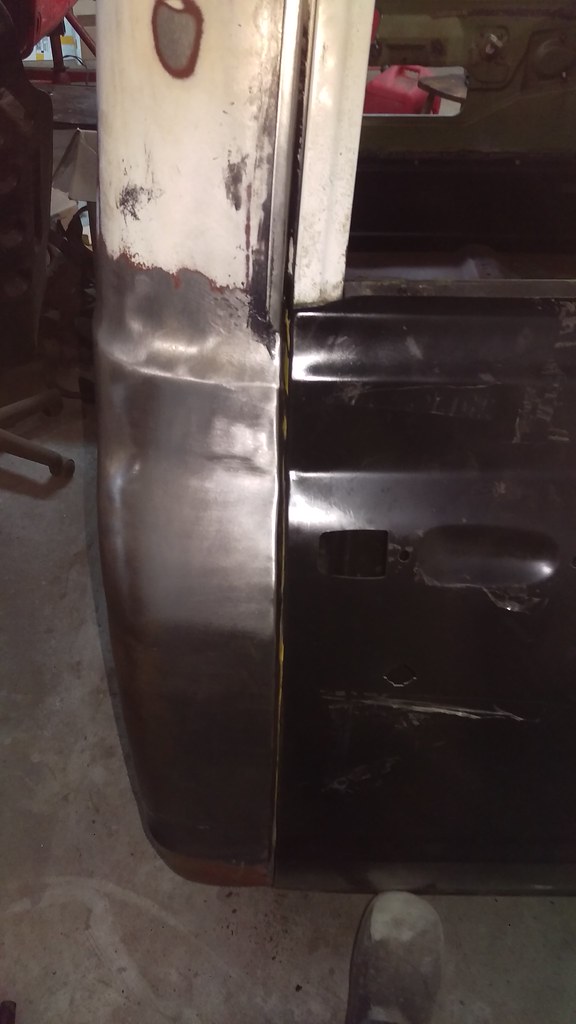 IMAG1545 by jarrod vanwinkle, on Flickr IMAG1545 by jarrod vanwinkle, on Flickr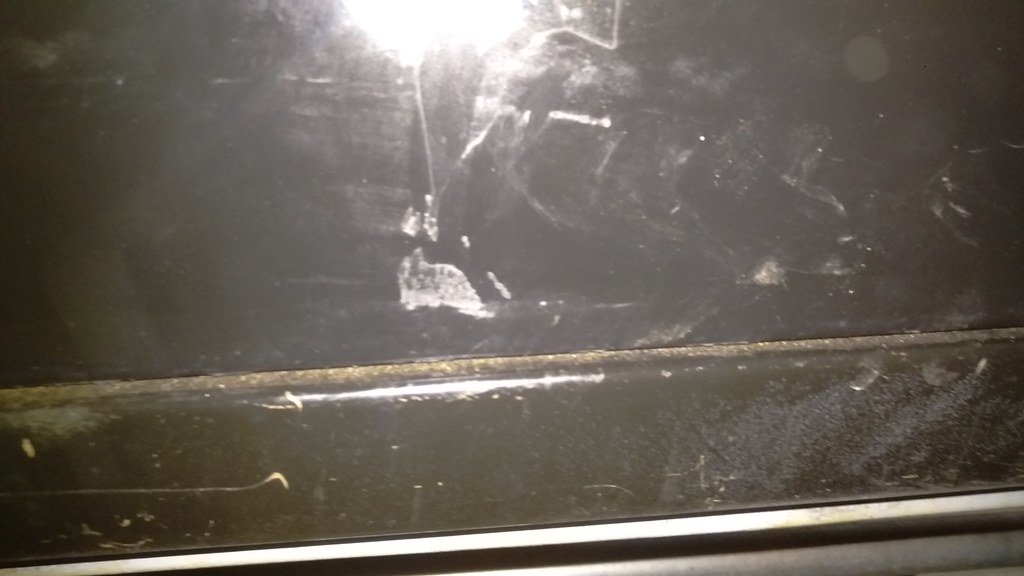 IMAG1546 by jarrod vanwinkle, on Flickr IMAG1546 by jarrod vanwinkle, on Flickr IMAG1547 by jarrod vanwinkle, on Flickr IMAG1547 by jarrod vanwinkle, on FlickrShould I weld this tab on the door skin to the inner door? It's the piece under the vent window. 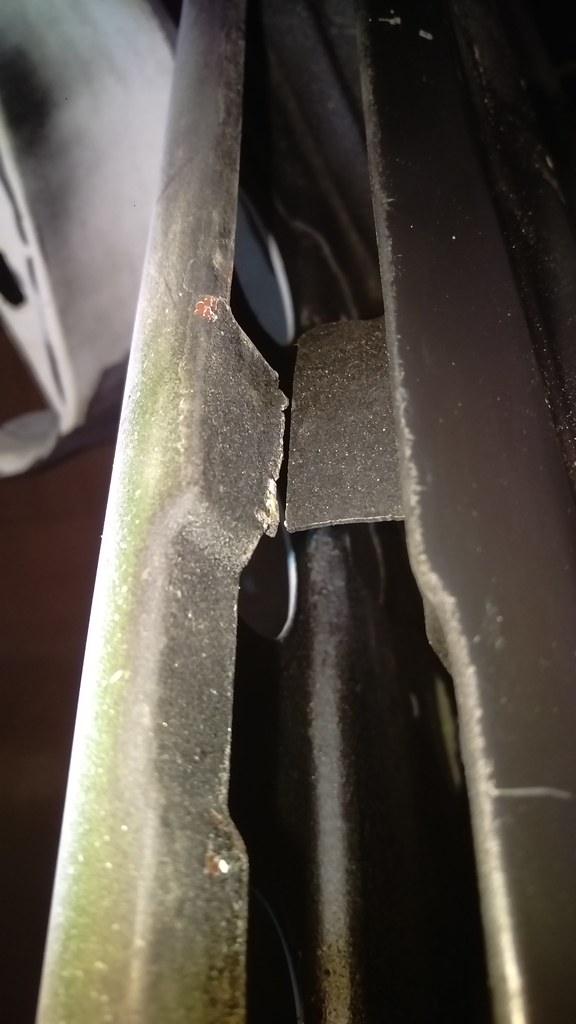 IMAG1548 by jarrod vanwinkle, on Flickr IMAG1548 by jarrod vanwinkle, on FlickrRandom painted parts. 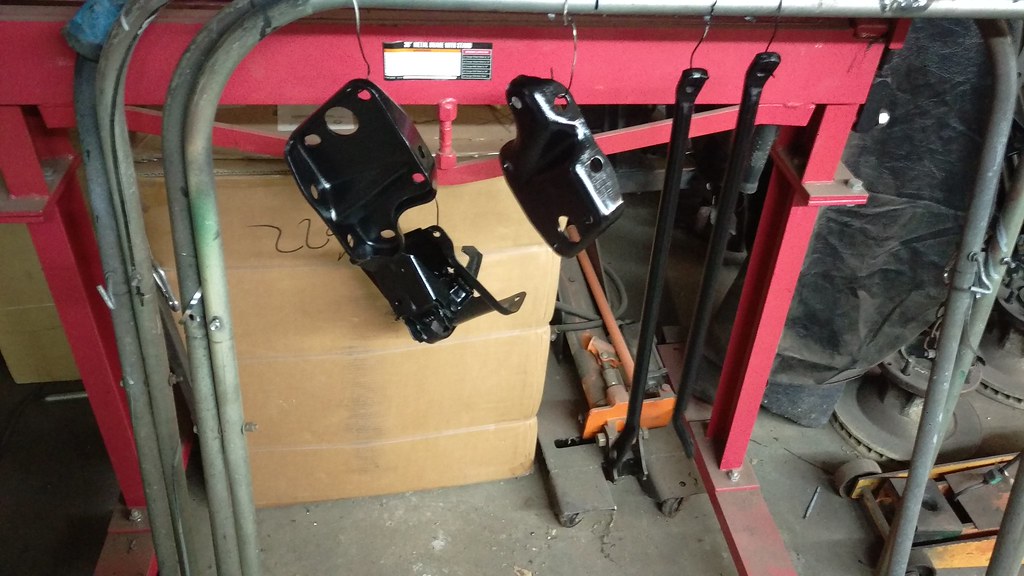 IMAG1550 by jarrod vanwinkle, on Flickr IMAG1550 by jarrod vanwinkle, on Flickr
|
|
|

|
|
|
#34 |
|
Senior Member
 Join Date: Jan 2013
Location: North Charleston SC
Posts: 504
|
Re: 1970 C30 Car hauler Buildish thread.
Yes the leavers are still yours. PM me your address. Cant wait to see it done.
Wally |
|
|

|
|
|
#35 | |
|
Registered User
Join Date: Sep 2017
Location: Patriot IN
Posts: 163
|
Re: 1970 C30 Car hauler Buildish thread.
Quote:
So yesterday I finished the driver side door. 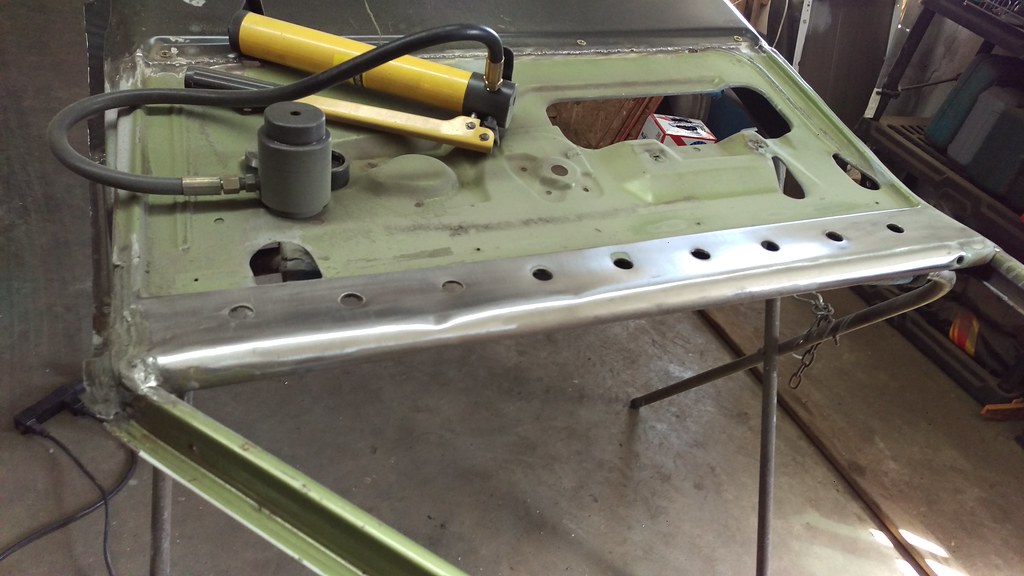 IMAG1551 by jarrod vanwinkle, on Flickr IMAG1551 by jarrod vanwinkle, on Flickr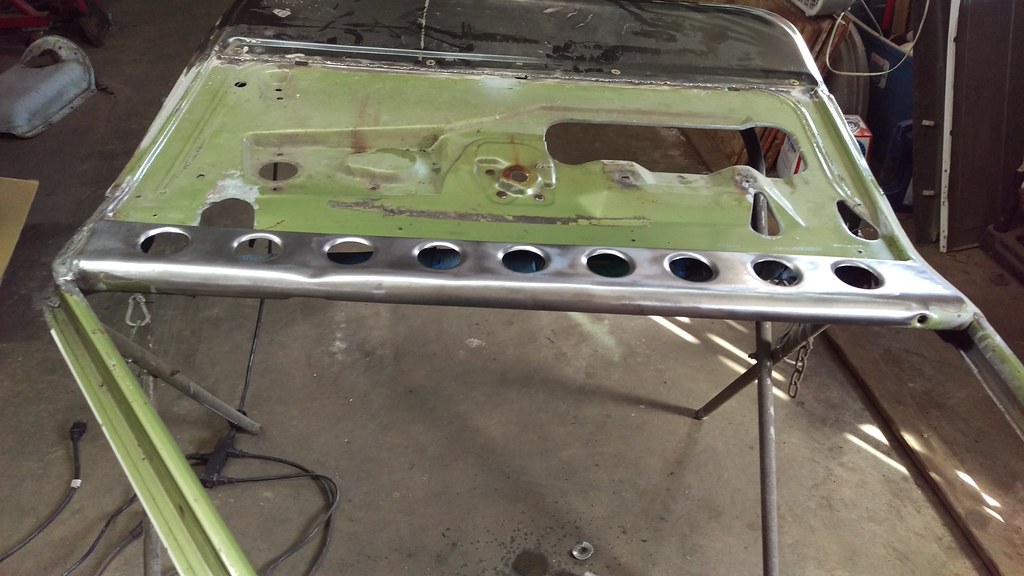 IMAG1553 by jarrod vanwinkle, on Flickr IMAG1553 by jarrod vanwinkle, on Flickr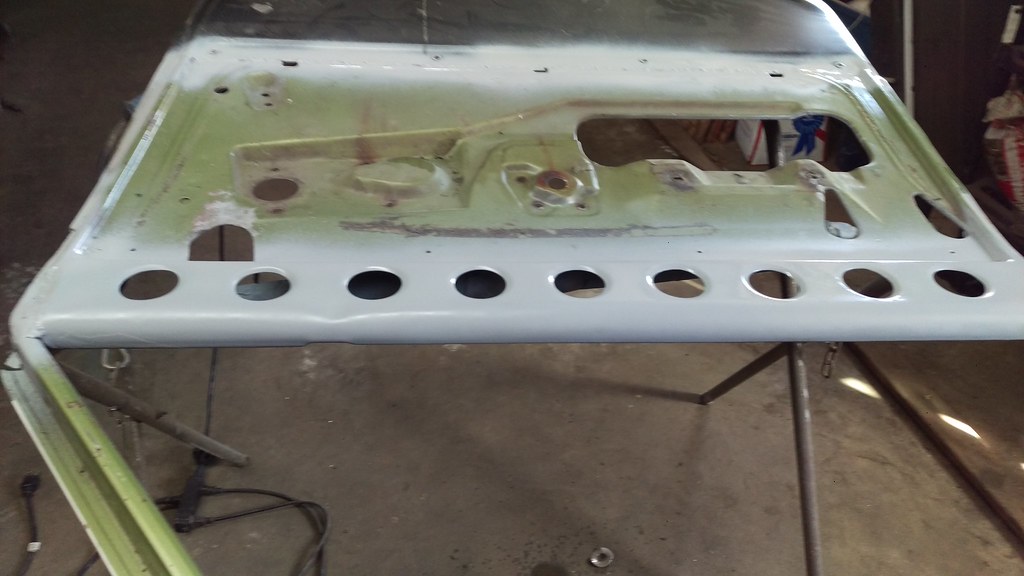 IMAG1554 by jarrod vanwinkle, on Flickr IMAG1554 by jarrod vanwinkle, on FlickrI hammered and dollied the skin on this side it turned out a lot better then the passenger side. 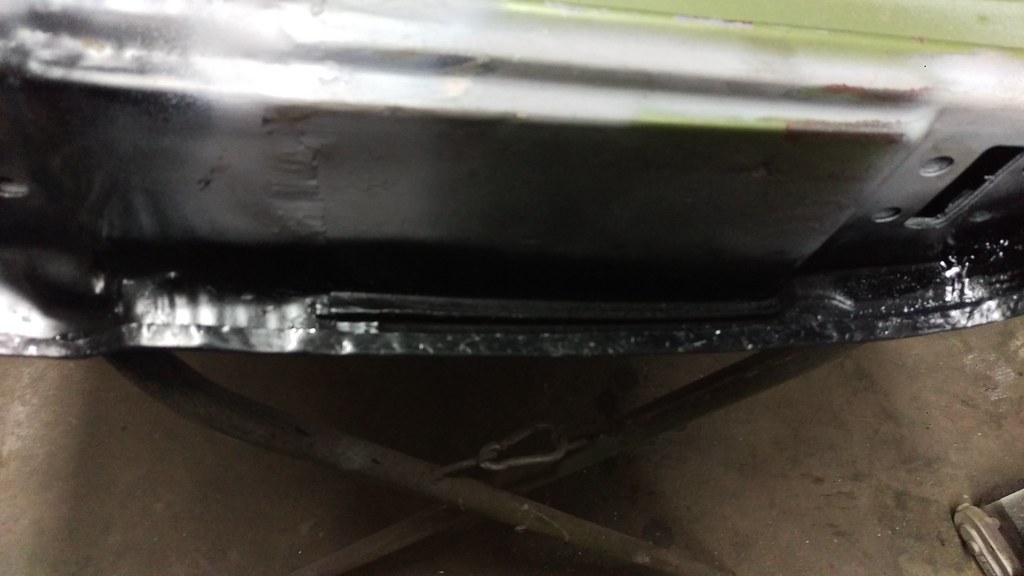 IMAG1555 by jarrod vanwinkle, on Flickr IMAG1555 by jarrod vanwinkle, on Flickr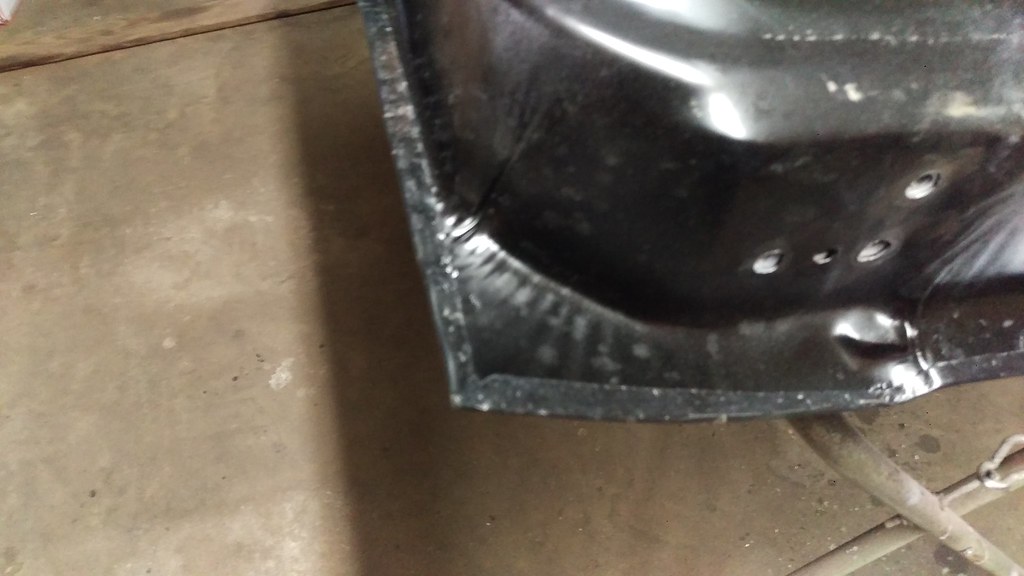 IMAG1556 by jarrod vanwinkle, on Flickr IMAG1556 by jarrod vanwinkle, on Flickr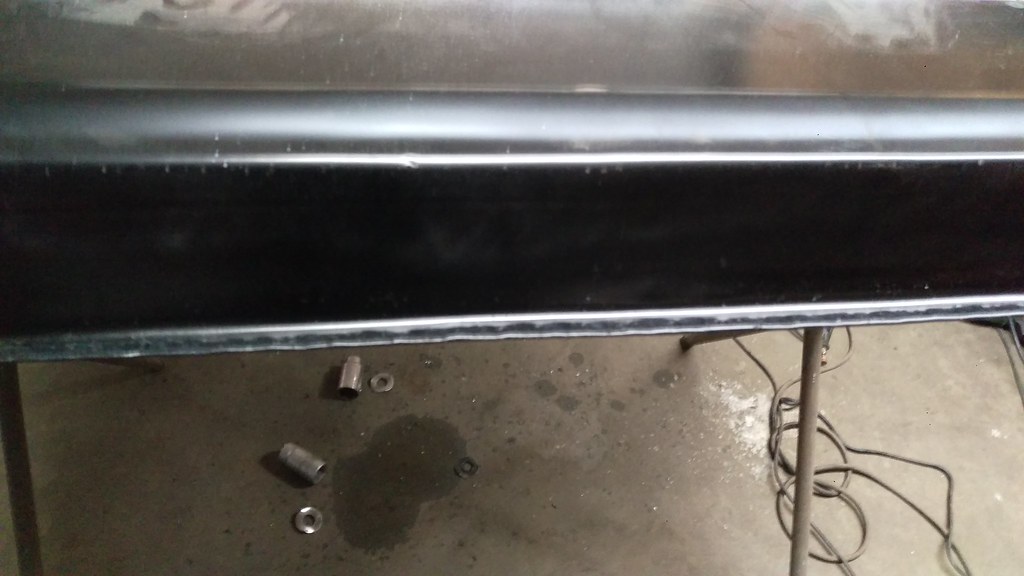 IMAG1557 by jarrod vanwinkle, on Flickr IMAG1557 by jarrod vanwinkle, on Flickr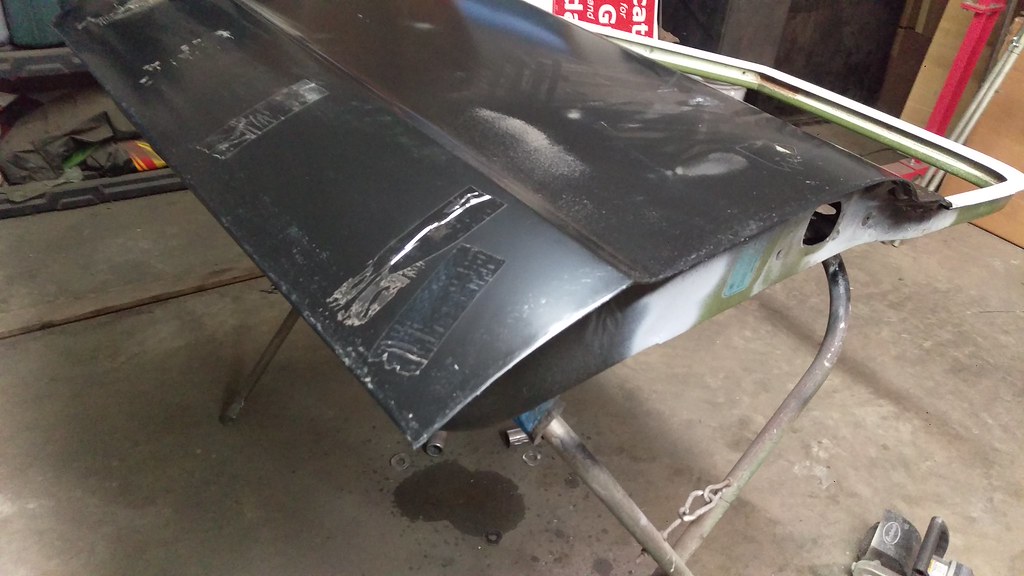 IMAG1558 by jarrod vanwinkle, on Flickr IMAG1558 by jarrod vanwinkle, on Flickr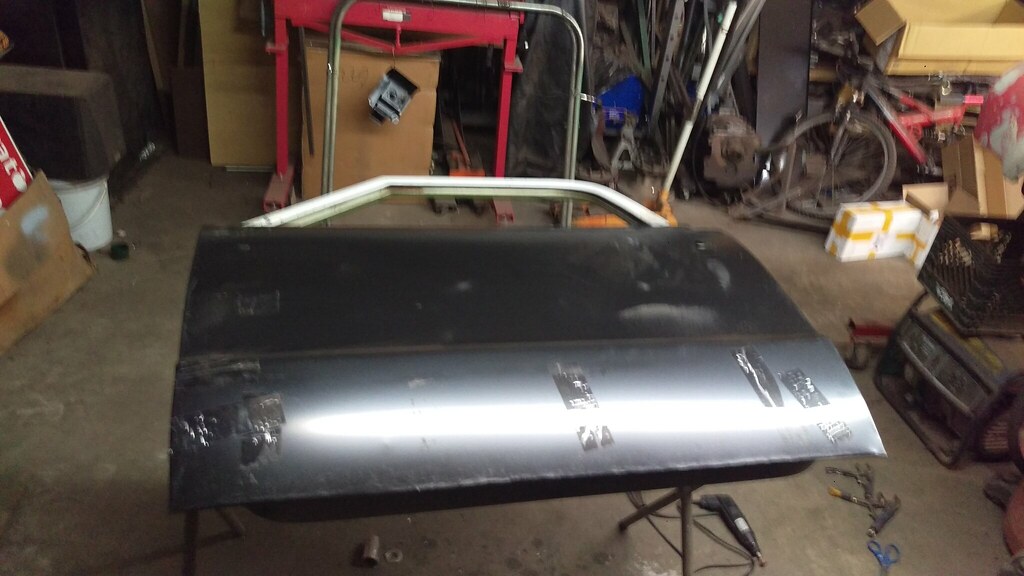 IMAG1559 by jarrod vanwinkle, on Flickr IMAG1559 by jarrod vanwinkle, on FlickrUnfortunately I made a few dents with the clamps when I was clamping it down for the adhesive. 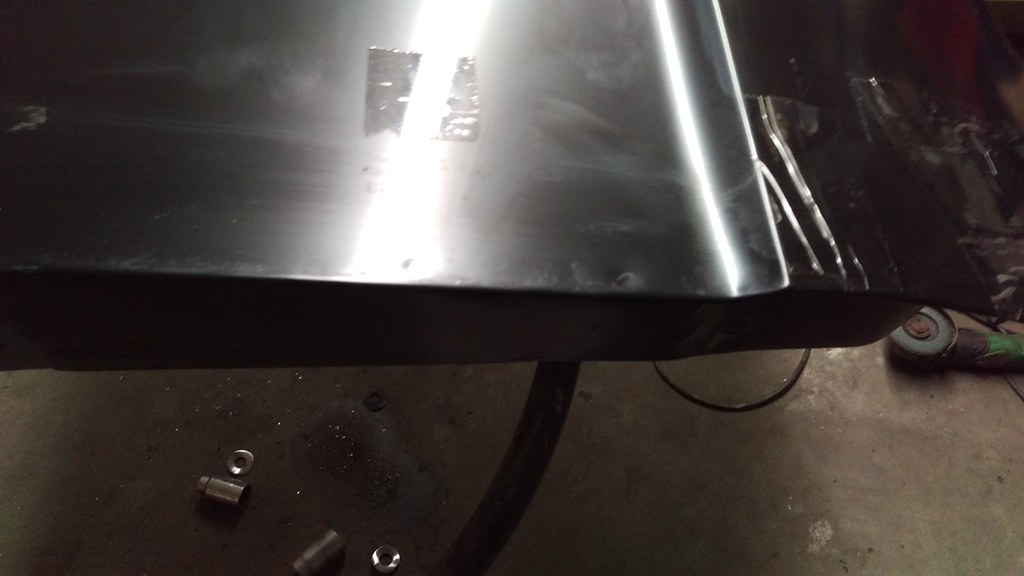 IMAG1560 by jarrod vanwinkle, on Flickr IMAG1560 by jarrod vanwinkle, on FlickrThis is the worst one and there is nothing I can do about it because I am clear coating over bare metal. That said I am leaving most of the rust holes and dents in the truck. 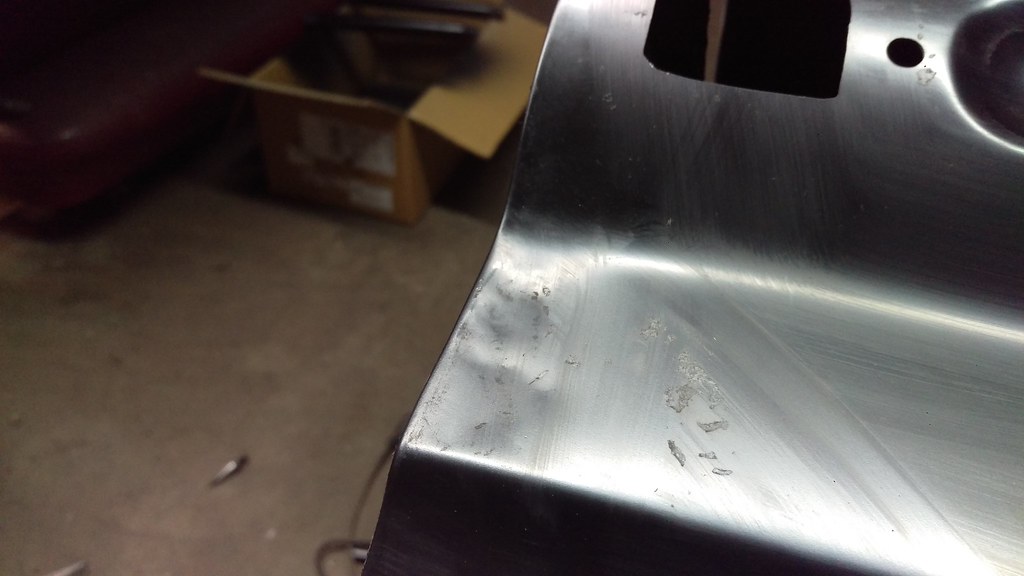 IMAG1561 by jarrod vanwinkle, on Flickr IMAG1561 by jarrod vanwinkle, on Flickr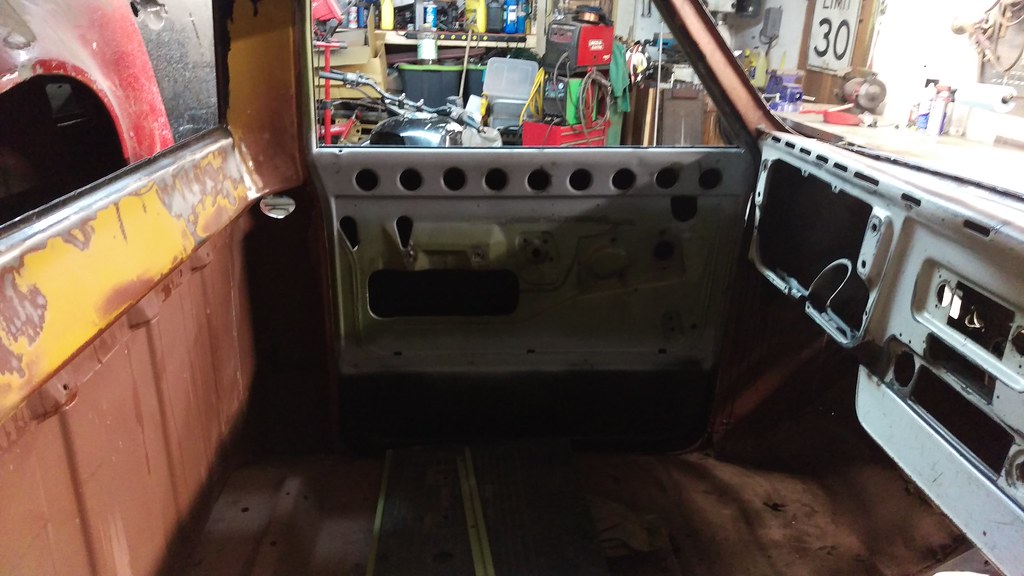 IMAG1563 by jarrod vanwinkle, on Flickr IMAG1563 by jarrod vanwinkle, on Flickr IMAG1564 by jarrod vanwinkle, on Flickr IMAG1564 by jarrod vanwinkle, on FlickrSoon 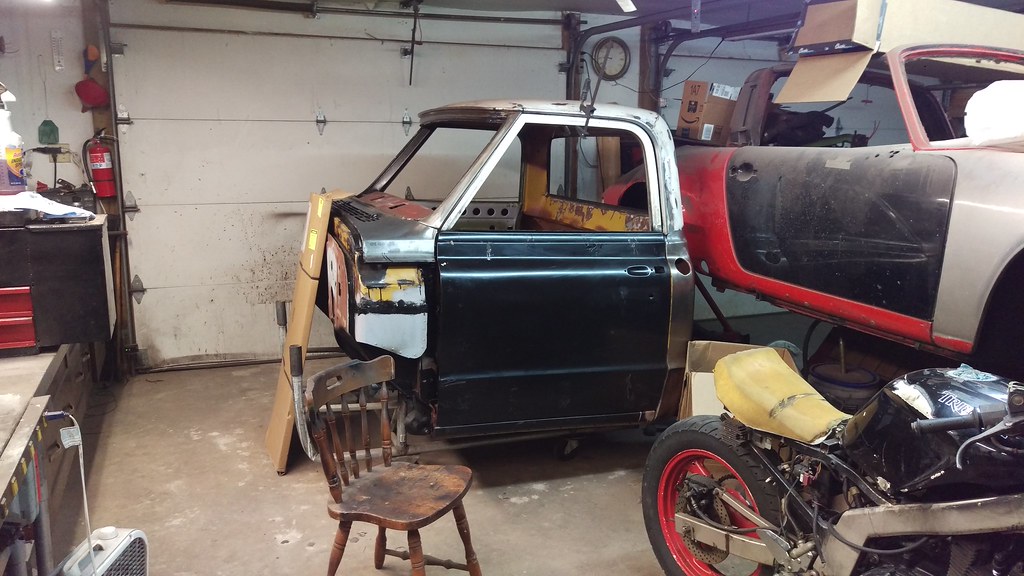 IMAG1565 by jarrod vanwinkle, on Flickr IMAG1565 by jarrod vanwinkle, on Flickr
|
|
|
|

|
|
|
#36 |
|
Senior Member
 Join Date: Jan 2013
Location: North Charleston SC
Posts: 504
|
Re: 1970 C30 Car hauler Buildish thread.
Jarrod,
Package sent. Sent PM with info. Wally |
|
|

|
|
|
#37 |
|
Registered User
Join Date: Sep 2017
Location: Patriot IN
Posts: 163
|
Re: 1970 C30 Car hauler Buildish thread.
Thanks again Wally! I can't wait to get them installed! But first I will need to strip off the paint on the chrome and paint the bracket.
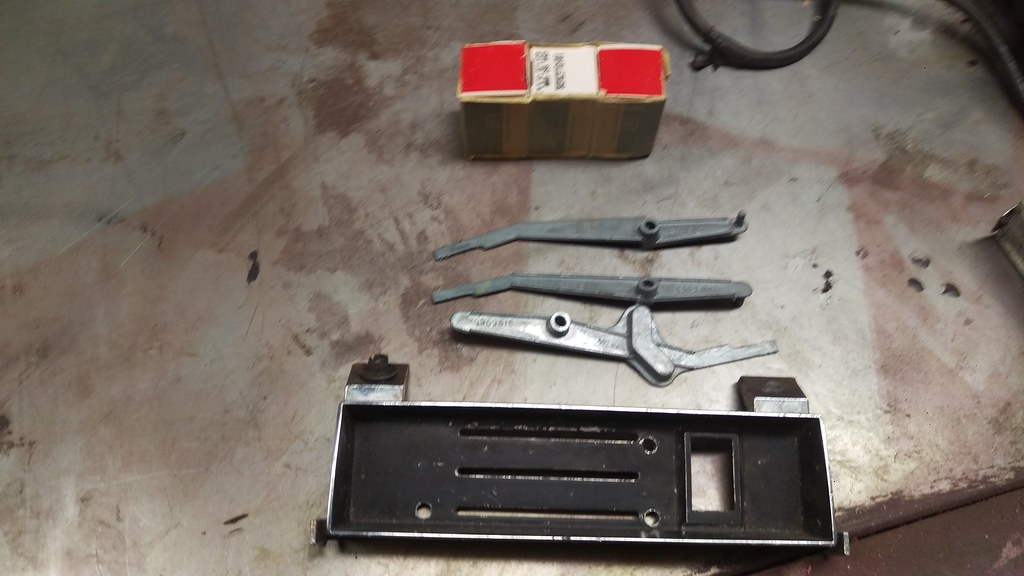 IMAG1634 by jarrod vanwinkle, on Flickr IMAG1634 by jarrod vanwinkle, on Flickr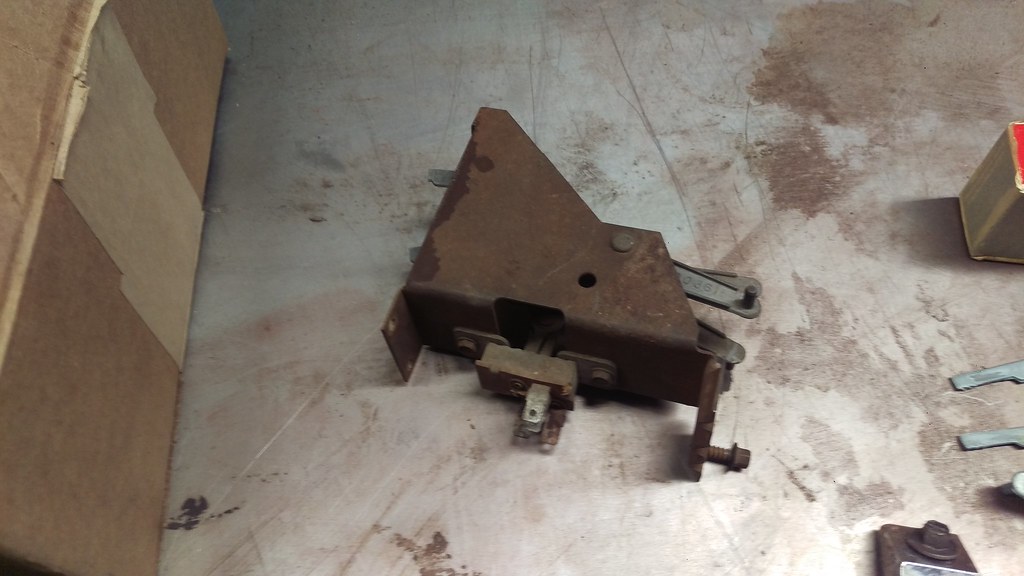 IMAG1635 by jarrod vanwinkle, on Flickr IMAG1635 by jarrod vanwinkle, on FlickrSo I have been slacking on the update again. That said I have started painting. 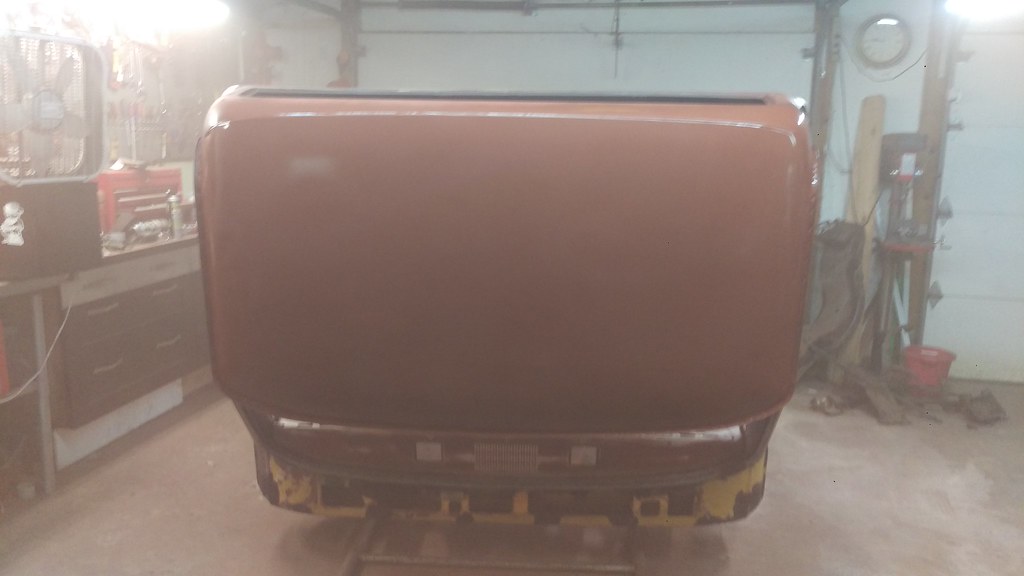 IMAG1569 by jarrod vanwinkle, on Flickr IMAG1569 by jarrod vanwinkle, on Flickr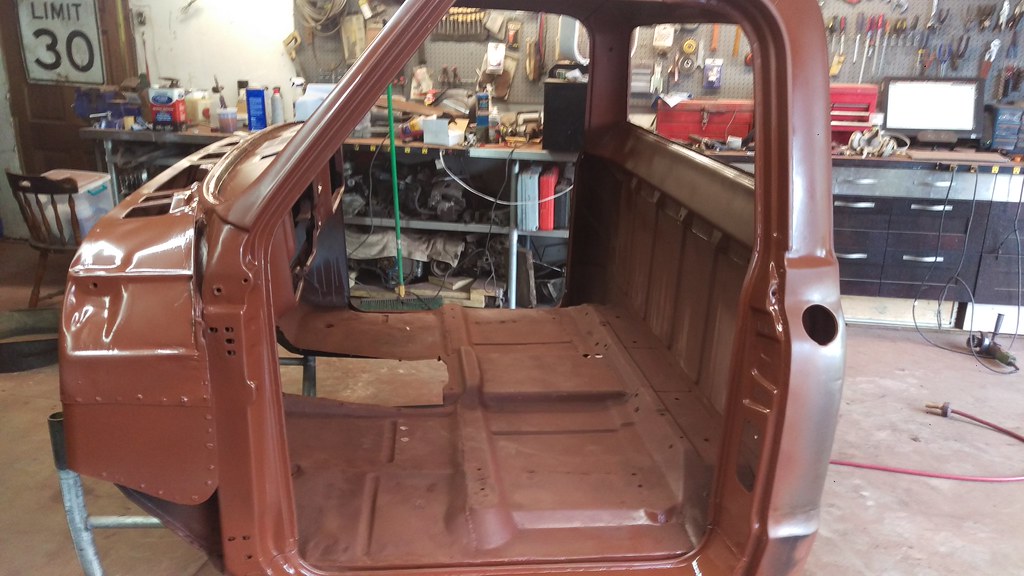 IMAG1571 by jarrod vanwinkle, on Flickr IMAG1571 by jarrod vanwinkle, on Flickr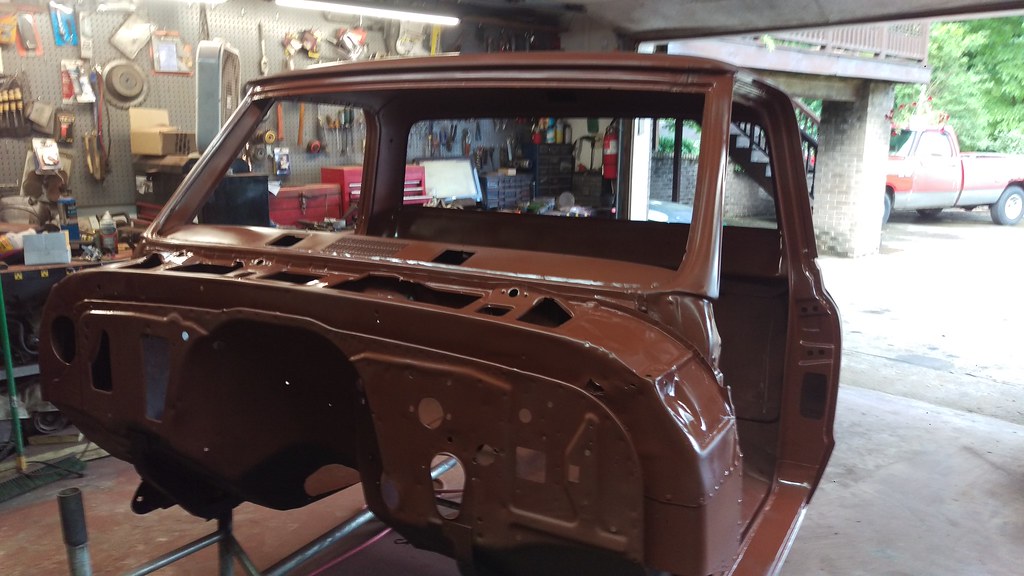 IMAG1572 by jarrod vanwinkle, on Flickr IMAG1572 by jarrod vanwinkle, on Flickr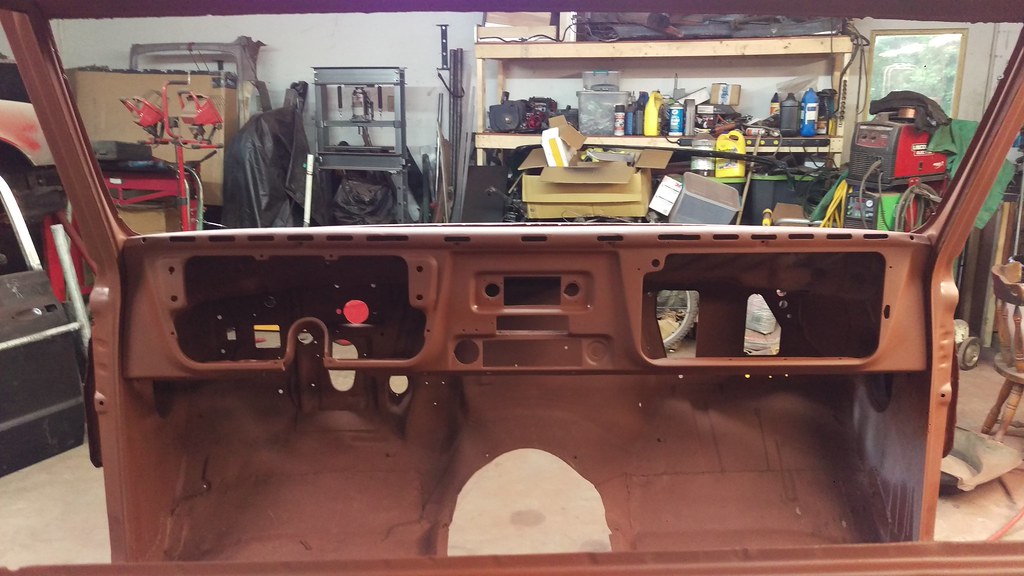 IMAG1576 by jarrod vanwinkle, on Flickr IMAG1576 by jarrod vanwinkle, on FlickrFor the inner roof I went with regel red. I was expecting it to be darker, not the red I was going for but it's too late now. 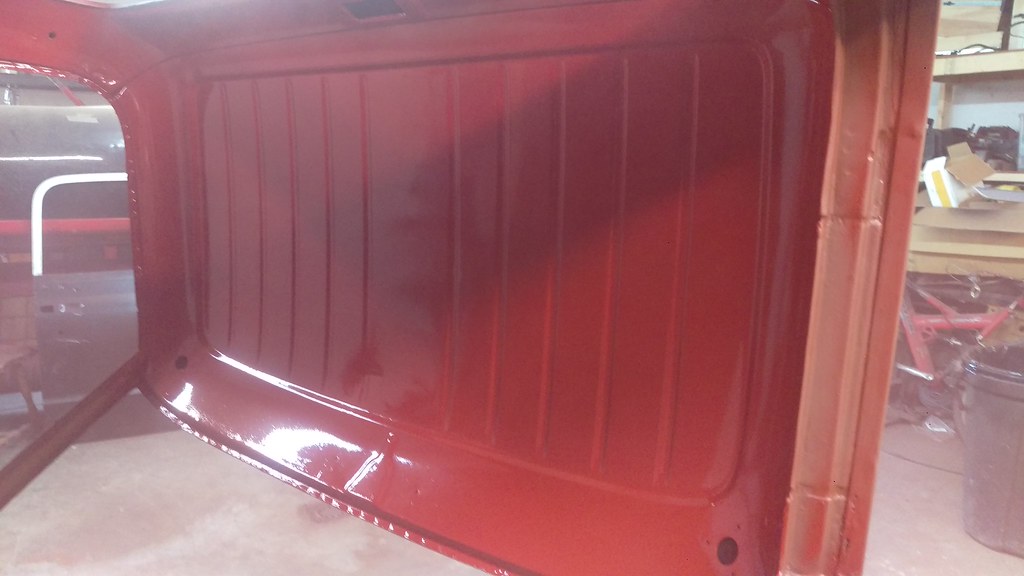 IMAG1585 by jarrod vanwinkle, on Flickr IMAG1585 by jarrod vanwinkle, on Flickr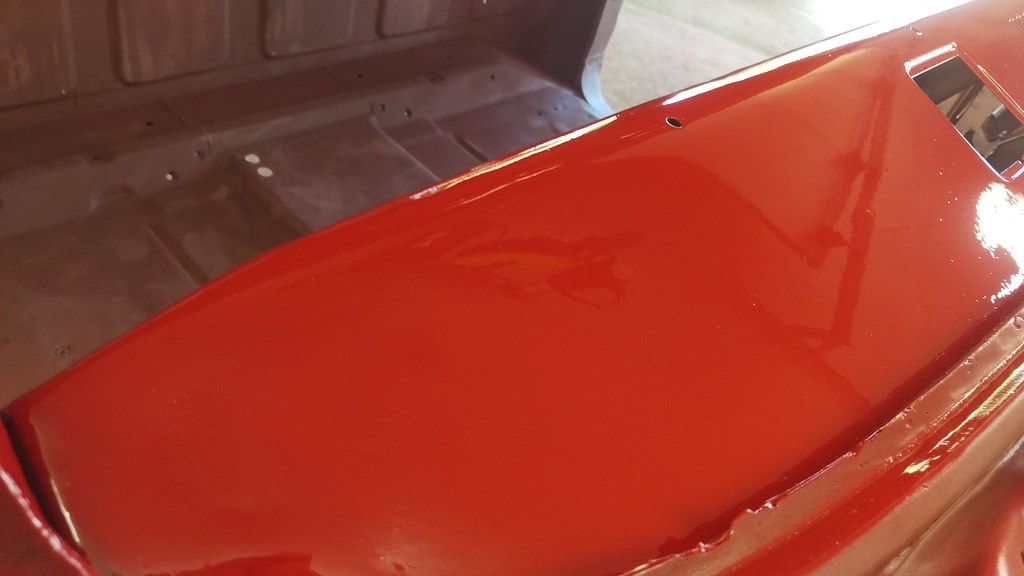 IMAG1587 by jarrod vanwinkle, on Flickr IMAG1587 by jarrod vanwinkle, on Flickr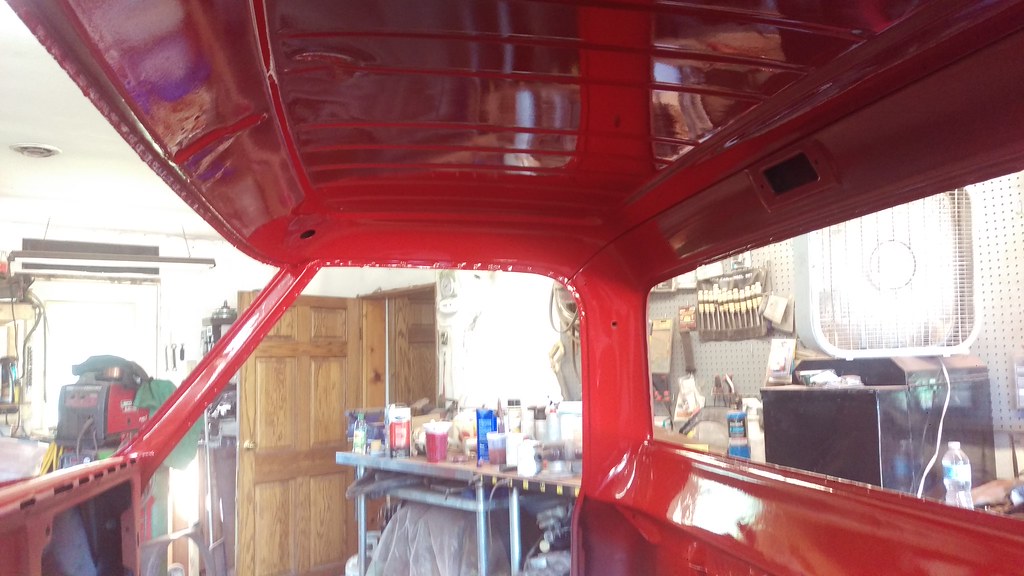 IMAG1588 by jarrod vanwinkle, on Flickr IMAG1588 by jarrod vanwinkle, on Flickr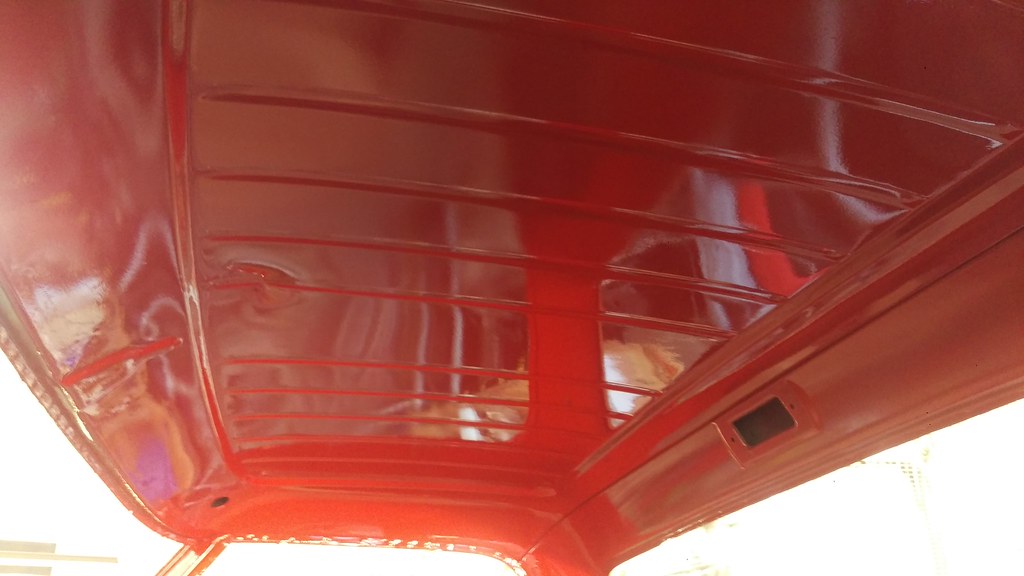 IMAG1589 by jarrod vanwinkle, on Flickr IMAG1589 by jarrod vanwinkle, on Flickr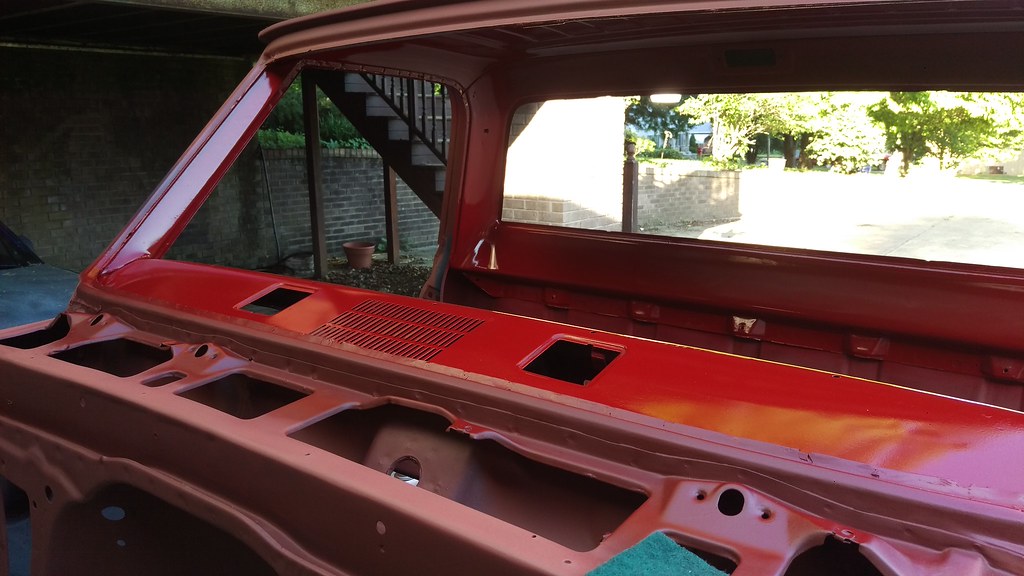 IMAG1594 by jarrod vanwinkle, on Flickr IMAG1594 by jarrod vanwinkle, on Flickr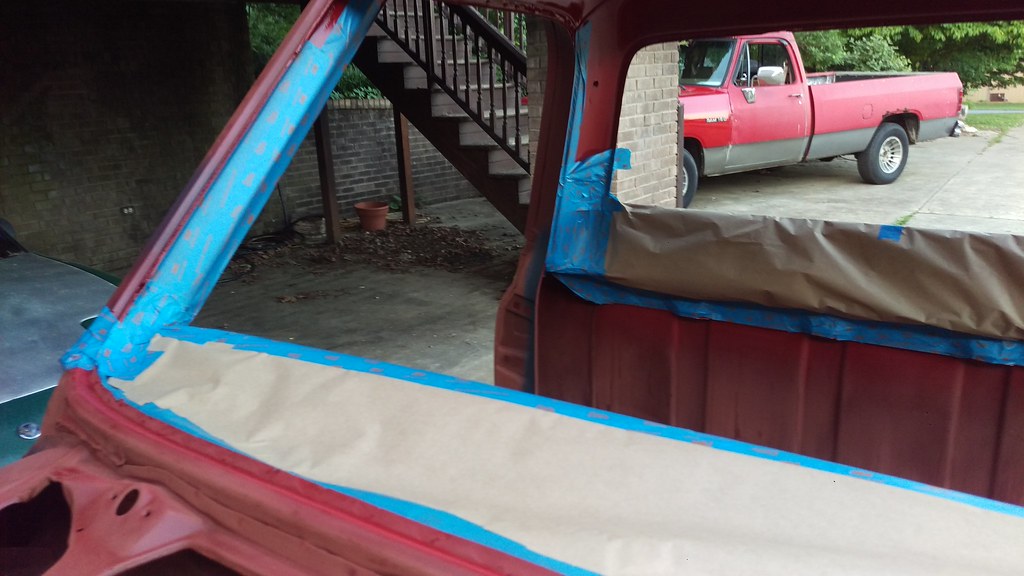 IMAG1596 by jarrod vanwinkle, on Flickr IMAG1596 by jarrod vanwinkle, on Flickr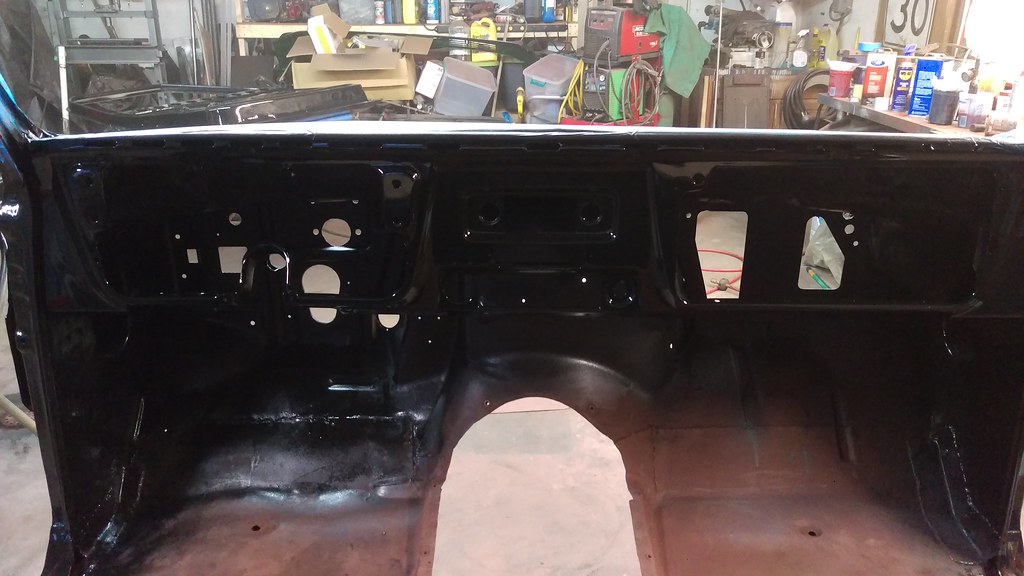 IMAG1603 by jarrod vanwinkle, on Flickr IMAG1603 by jarrod vanwinkle, on Flickr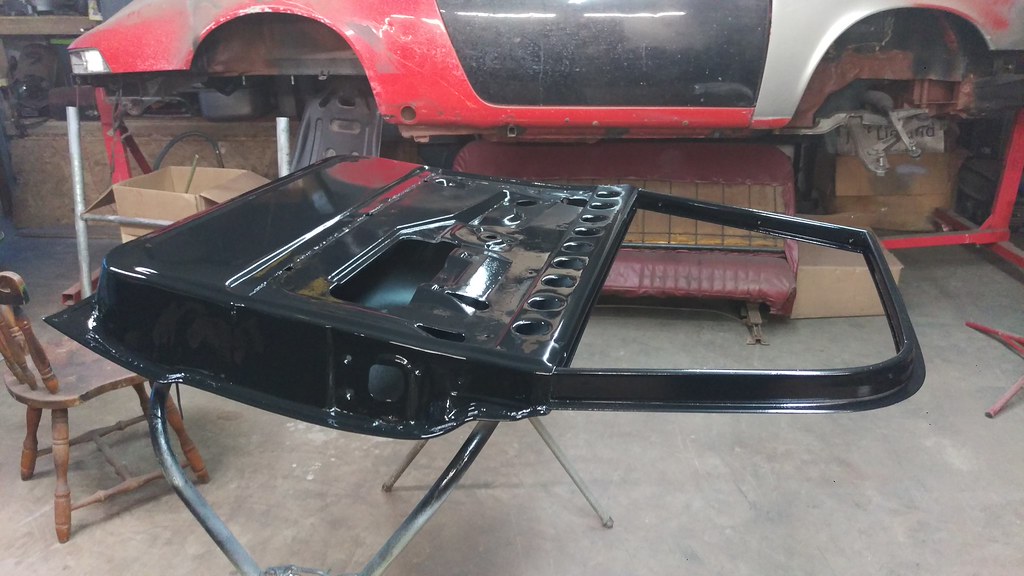 IMAG1607 by jarrod vanwinkle, on Flickr IMAG1607 by jarrod vanwinkle, on Flickr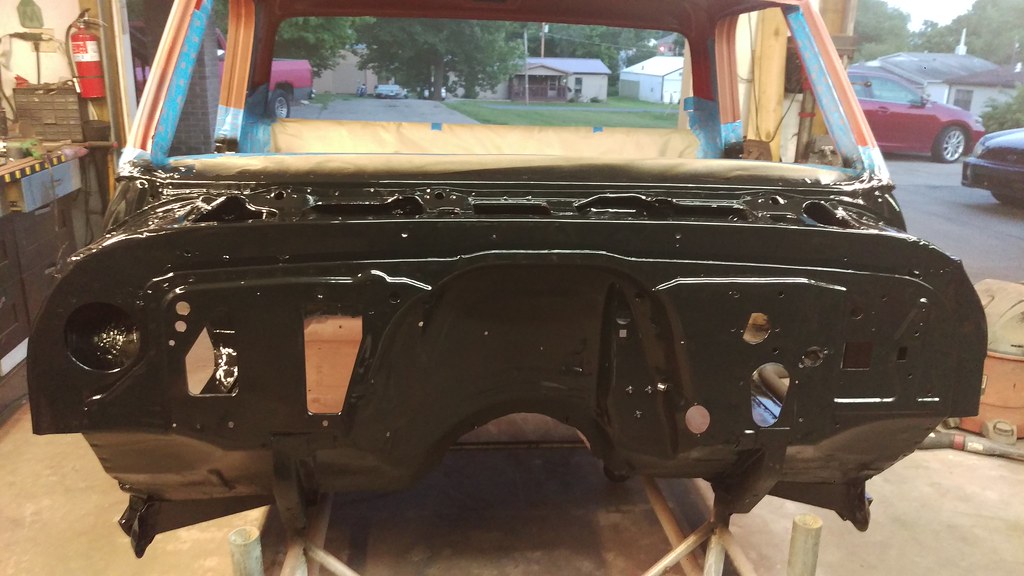 IMAG1606 by jarrod vanwinkle, on Flickr IMAG1606 by jarrod vanwinkle, on Flickr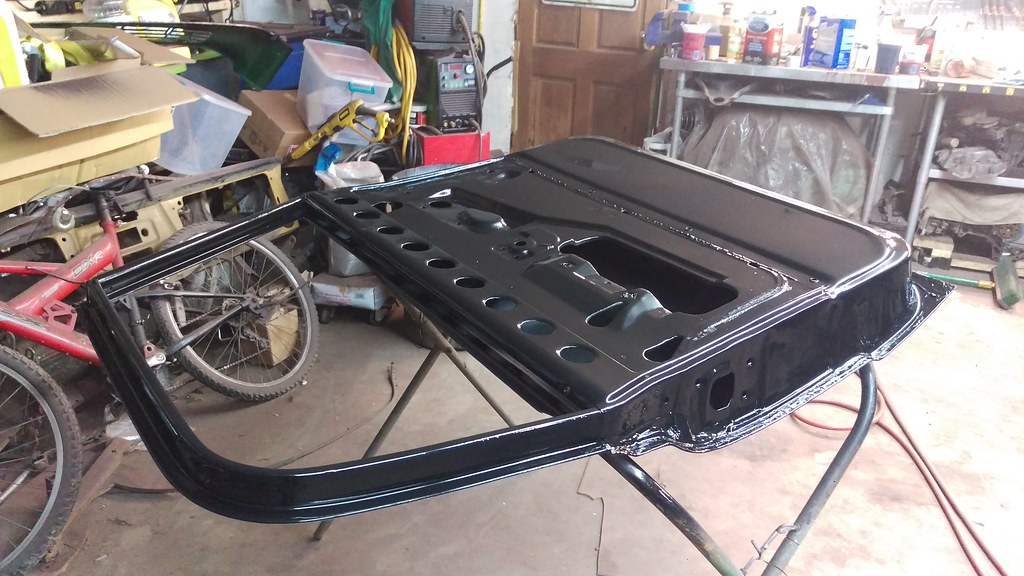 IMAG1609 by jarrod vanwinkle, on Flickr IMAG1609 by jarrod vanwinkle, on Flickr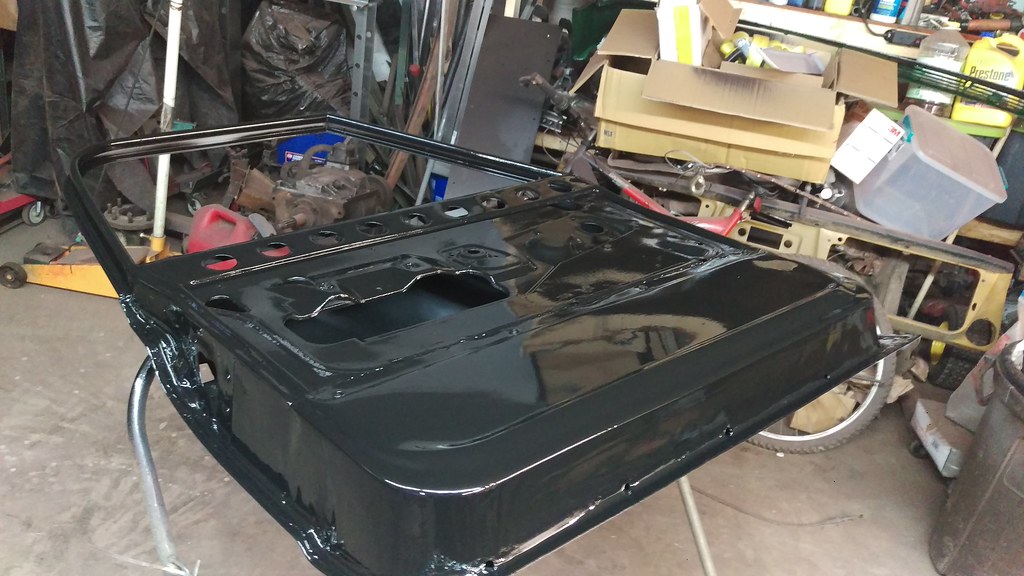 IMAG1608 by jarrod vanwinkle, on Flickr IMAG1608 by jarrod vanwinkle, on Flickr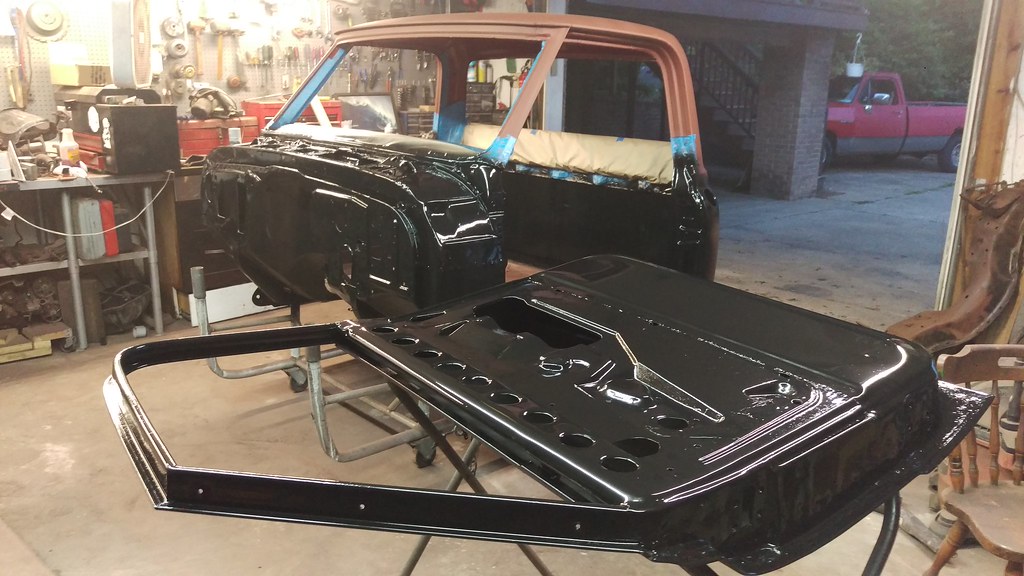 IMAG1611 by jarrod vanwinkle, on Flickr IMAG1611 by jarrod vanwinkle, on FlickrI am bed lining the floor so I did not paint it. 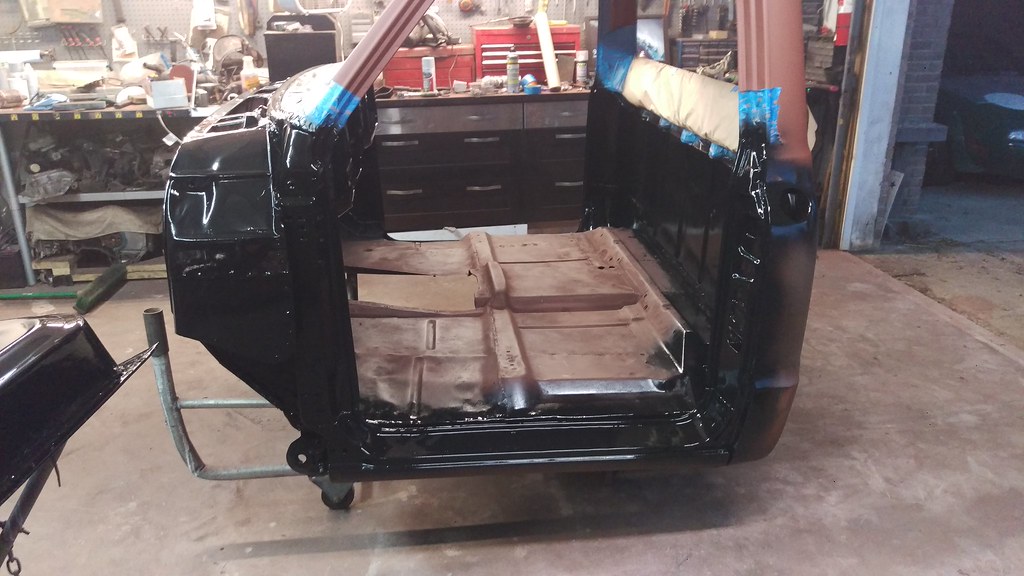 IMAG1612 by jarrod vanwinkle, on Flickr IMAG1612 by jarrod vanwinkle, on Flickr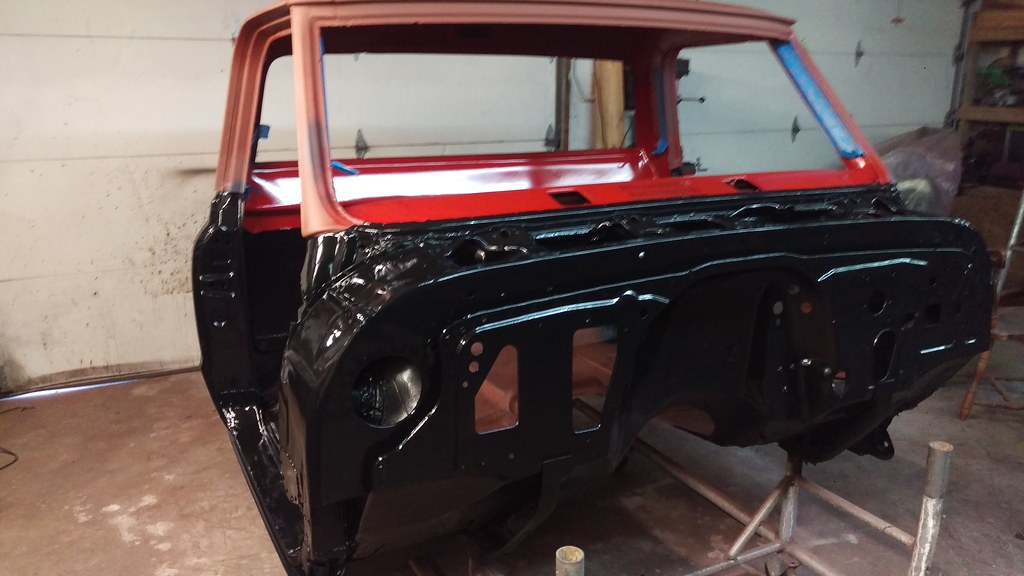 IMAG1614 by jarrod vanwinkle, on Flickr IMAG1614 by jarrod vanwinkle, on Flickr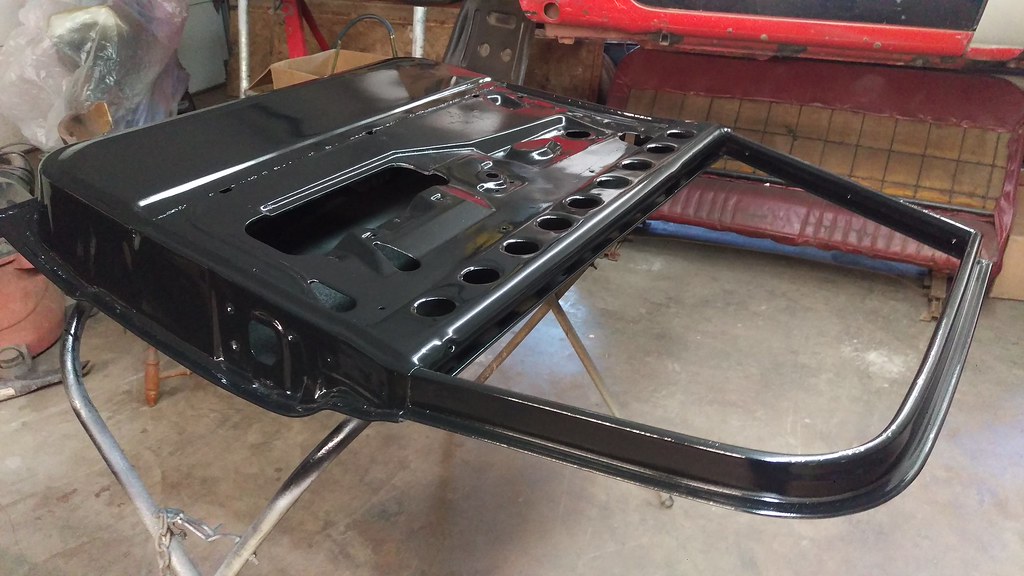 IMAG1616 by jarrod vanwinkle, on Flickr IMAG1616 by jarrod vanwinkle, on Flickr IMAG1617 by jarrod vanwinkle, on Flickr IMAG1617 by jarrod vanwinkle, on Flickr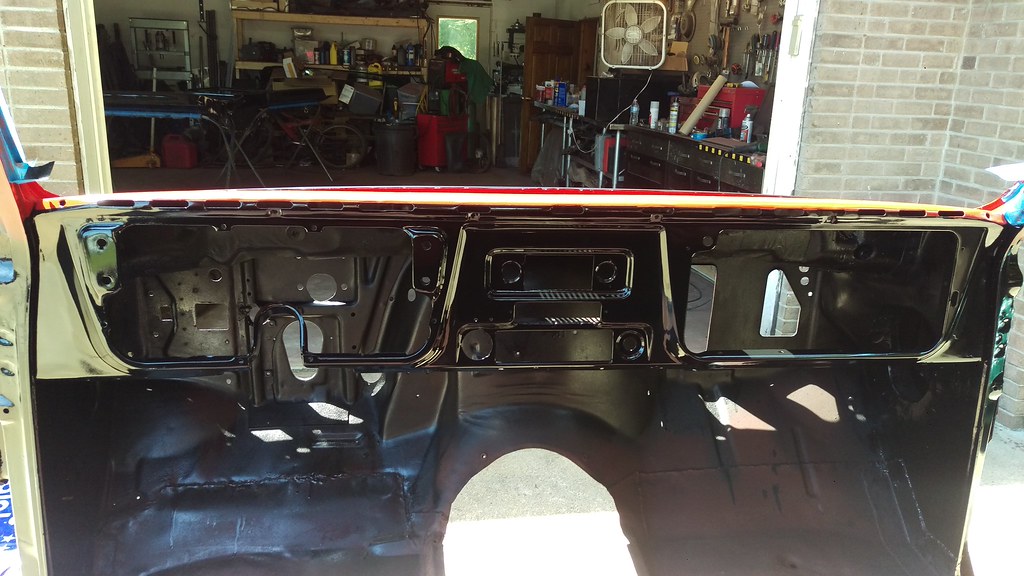 IMAG1618 by jarrod vanwinkle, on Flickr IMAG1618 by jarrod vanwinkle, on Flickr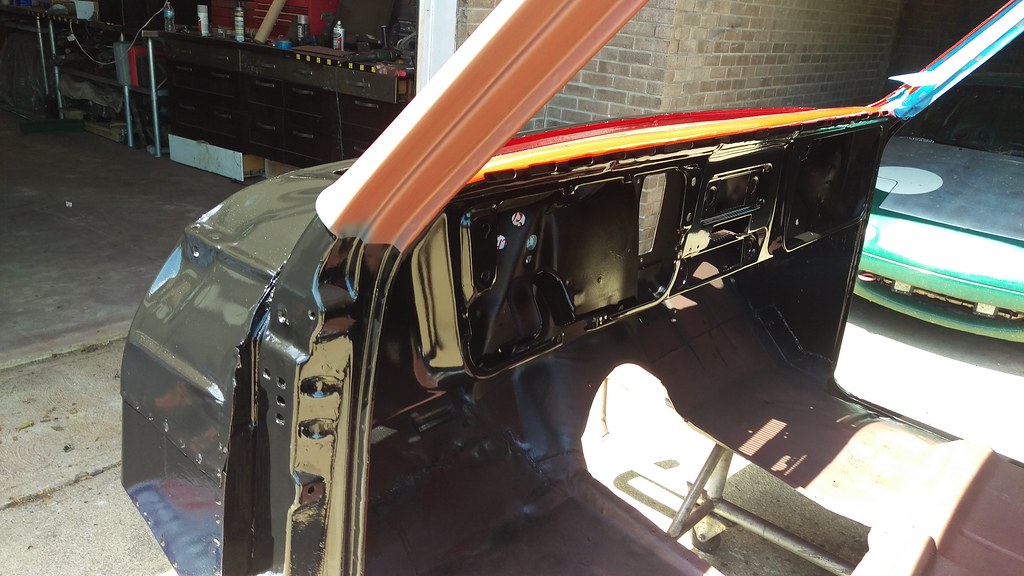 IMAG1619 by jarrod vanwinkle, on Flickr IMAG1619 by jarrod vanwinkle, on Flickr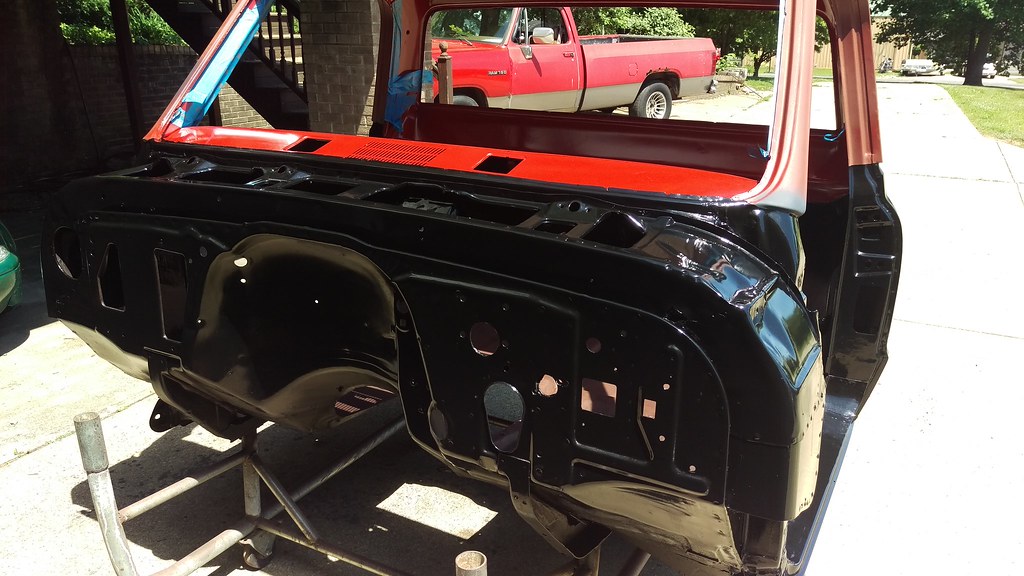 IMAG1620 by jarrod vanwinkle, on Flickr IMAG1620 by jarrod vanwinkle, on Flickr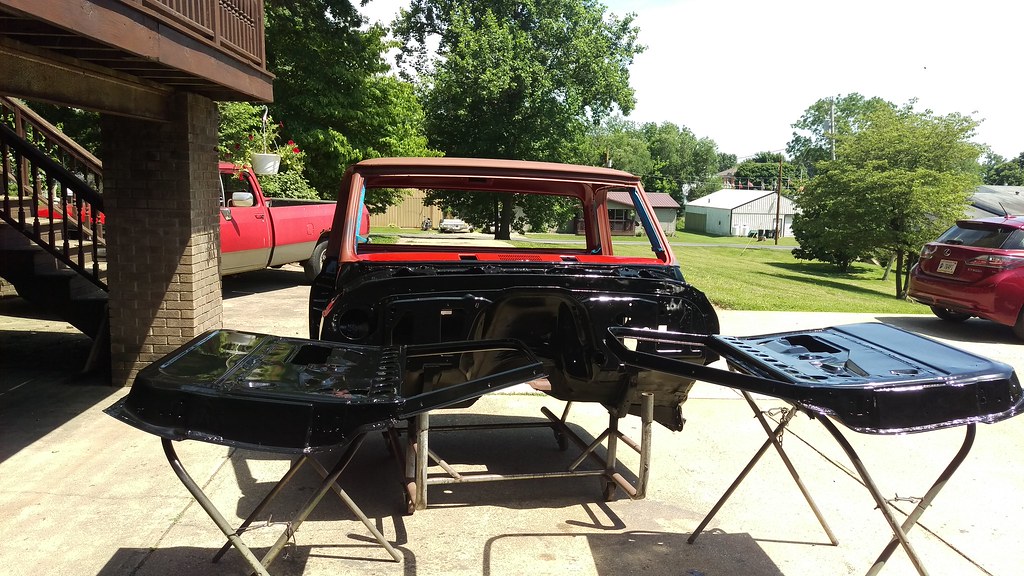 IMAG1621 by jarrod vanwinkle, on Flickr IMAG1621 by jarrod vanwinkle, on FlickrI dustless blasted the front crossmember. 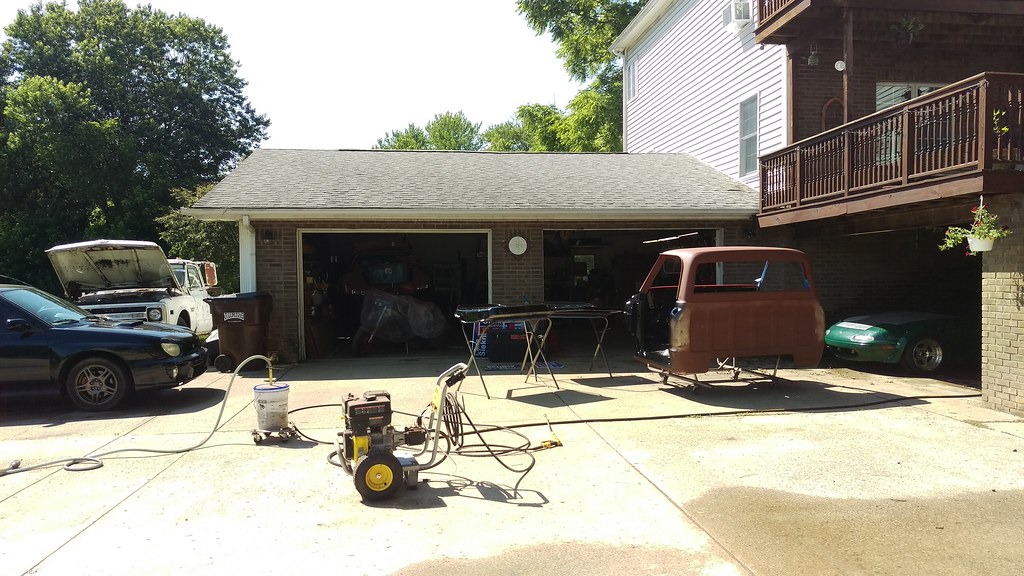 IMAG1623 by jarrod vanwinkle, on Flickr IMAG1623 by jarrod vanwinkle, on Flickr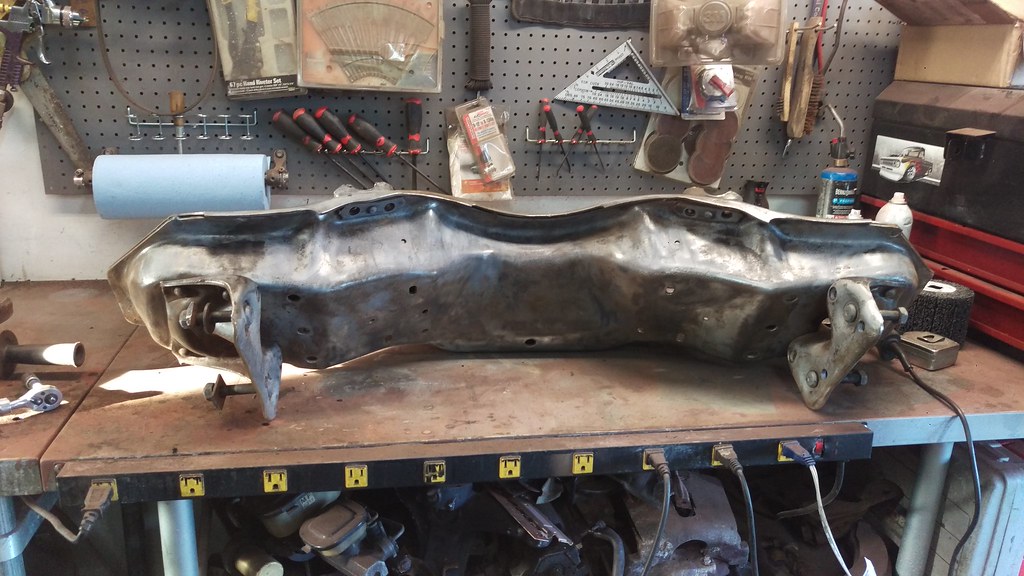 IMAG1648 by jarrod vanwinkle, on Flickr IMAG1648 by jarrod vanwinkle, on FlickrI started mocking up the front air bags 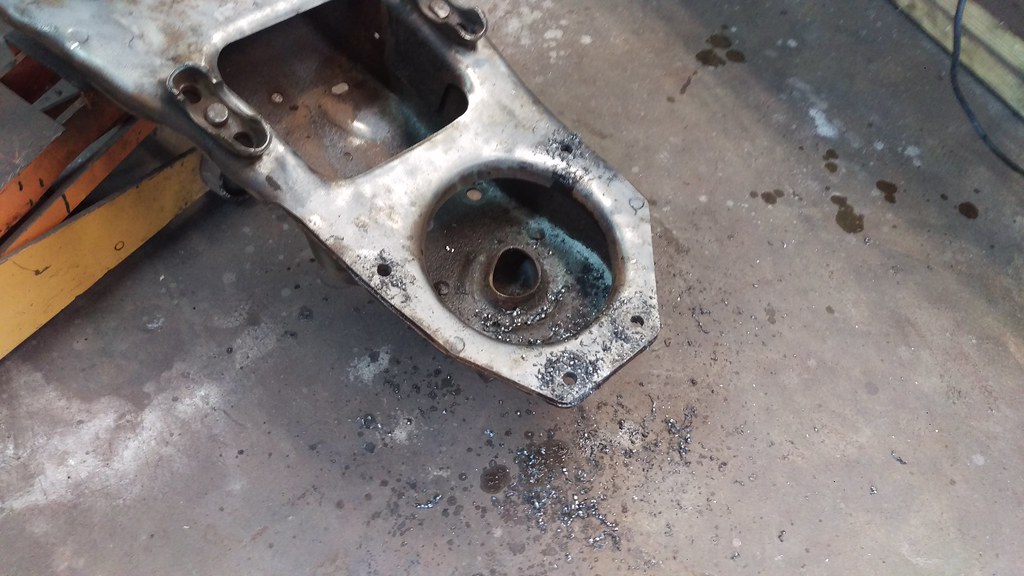 IMAG1649 by jarrod vanwinkle, on Flickr IMAG1649 by jarrod vanwinkle, on FlickrI am definitely going to have to cup the arms I may have to modify the crossmember to fit the bags. But I am waiting on my new ball joints to come in before I move forward. I have no intention on slamming the truck I just have a lot of bag I need to fit. They are rated at 5000lbs each so 10k in front capacity way over kill. 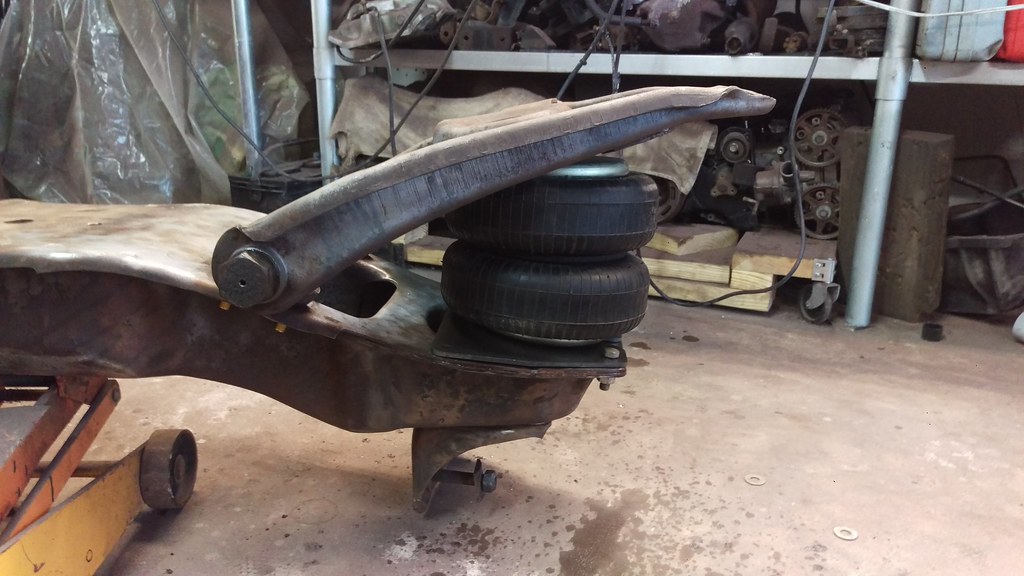 IMAG1650 by jarrod vanwinkle, on Flickr IMAG1650 by jarrod vanwinkle, on Flickr
|
|
|

|
|
|
#38 |
|
Registered User
Join Date: Sep 2017
Location: Patriot IN
Posts: 163
|
Re: 1970 C30 Car hauler Buildish thread.
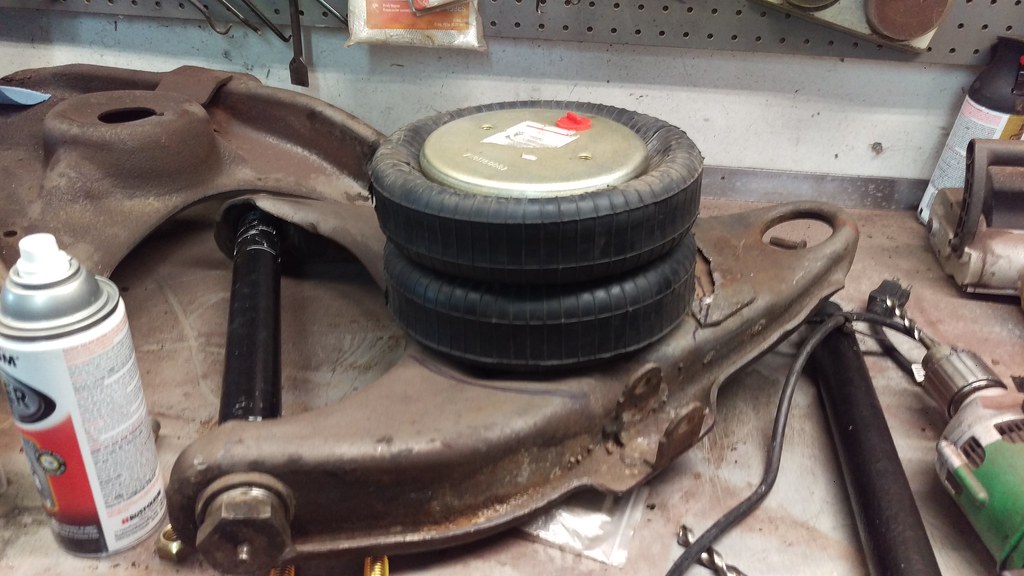
Well I went ahead and started on cupping my lower control arm. I went with a three inch cup as the bags only compress to about 4 inches and most bags used on c10 compress to about 2.5 inches and it looks like most of them use a 2 cup. I'm not planning on slamming it or any thing. I'm just trying to get the bag to operate efficiently. I assume when the bag is at rest or slightly compressed is where the bag is most effective? granted I know very little about air ride. I have measured my current ride height on the truck from the top of the lowering control arm to the bottom of the spring mount to be 6 inches. The bags at rest are 9 inches and with the 3 inch cups it will be at the stock ride height of 6 inches. The bags max height is 12.5 inches so I can lift the truck 3.5 inches and lower it about 5 inches.
 IMAG1651 by jarrod vanwinkle, on Flickr IMAG1651 by jarrod vanwinkle, on Flickr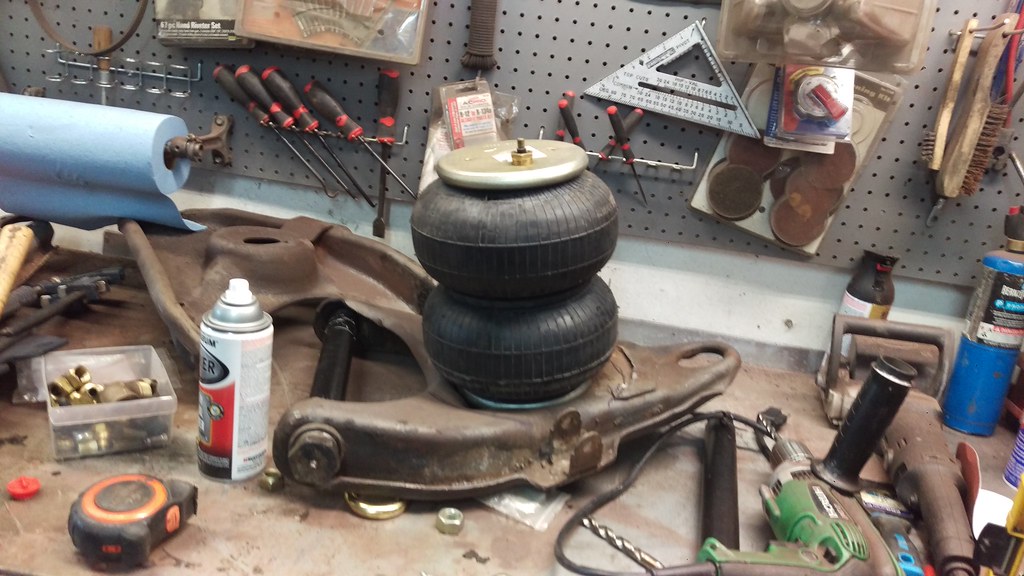 IMAG1655 by jarrod vanwinkle, on Flickr IMAG1655 by jarrod vanwinkle, on Flickr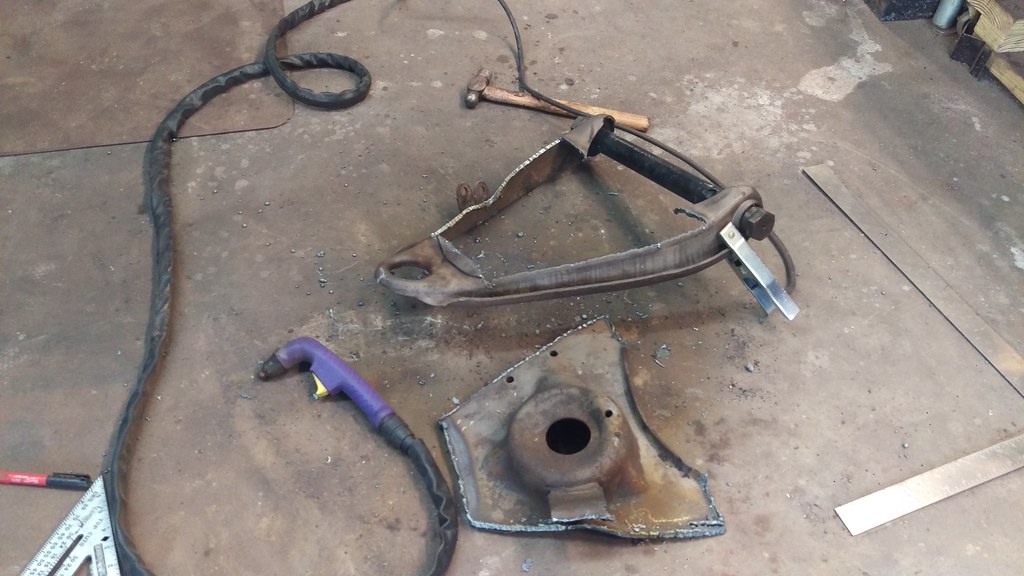 IMAG1656 by jarrod vanwinkle, on Flickr IMAG1656 by jarrod vanwinkle, on Flickr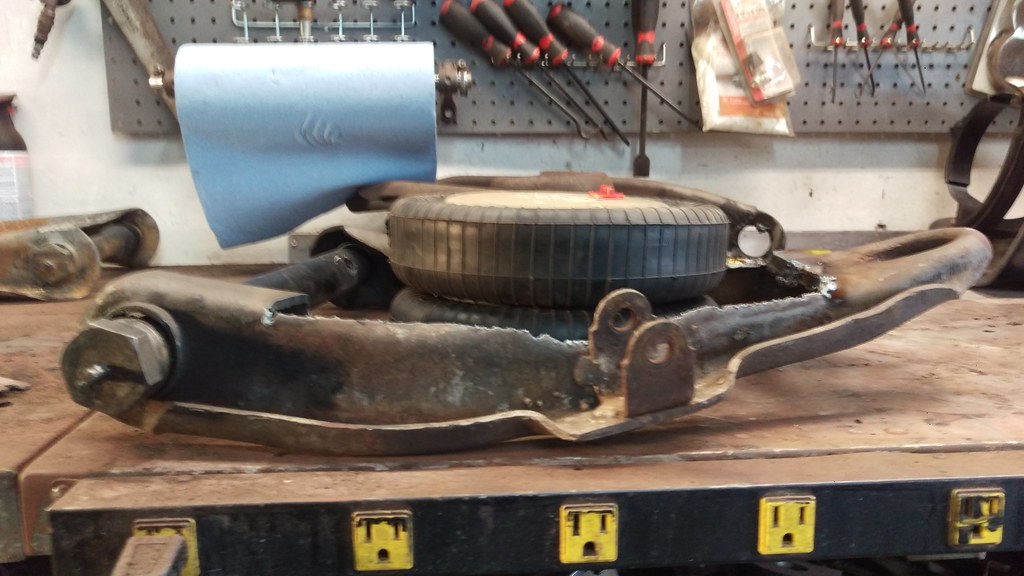 IMAG1657 by jarrod vanwinkle, on Flickr IMAG1657 by jarrod vanwinkle, on Flickr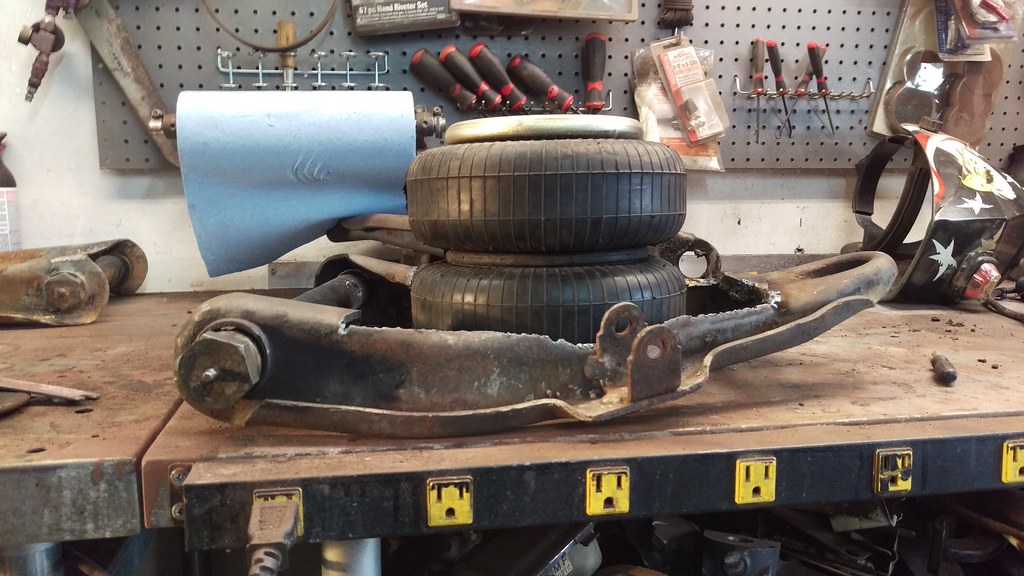 IMAG1658 by jarrod vanwinkle, on Flickr IMAG1658 by jarrod vanwinkle, on Flickr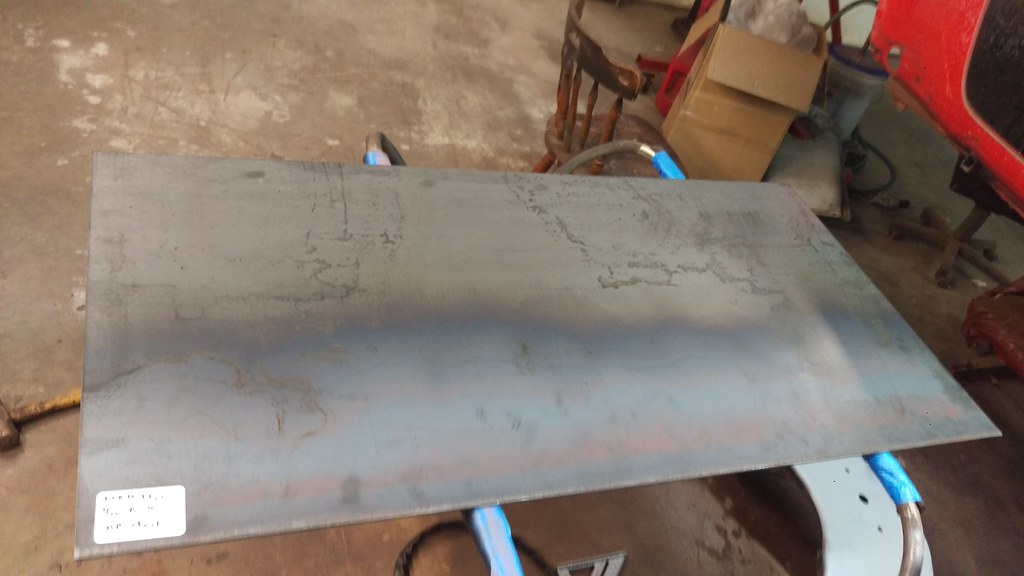 IMAG1661 by jarrod vanwinkle, on Flickr IMAG1661 by jarrod vanwinkle, on Flickr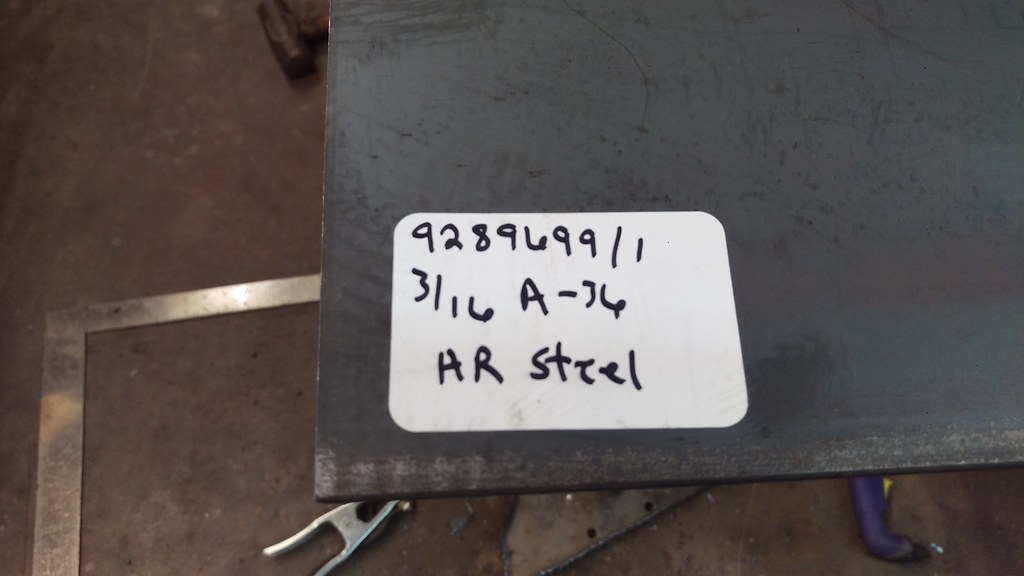 IMAG1660 by jarrod vanwinkle, on Flickr IMAG1660 by jarrod vanwinkle, on Flickr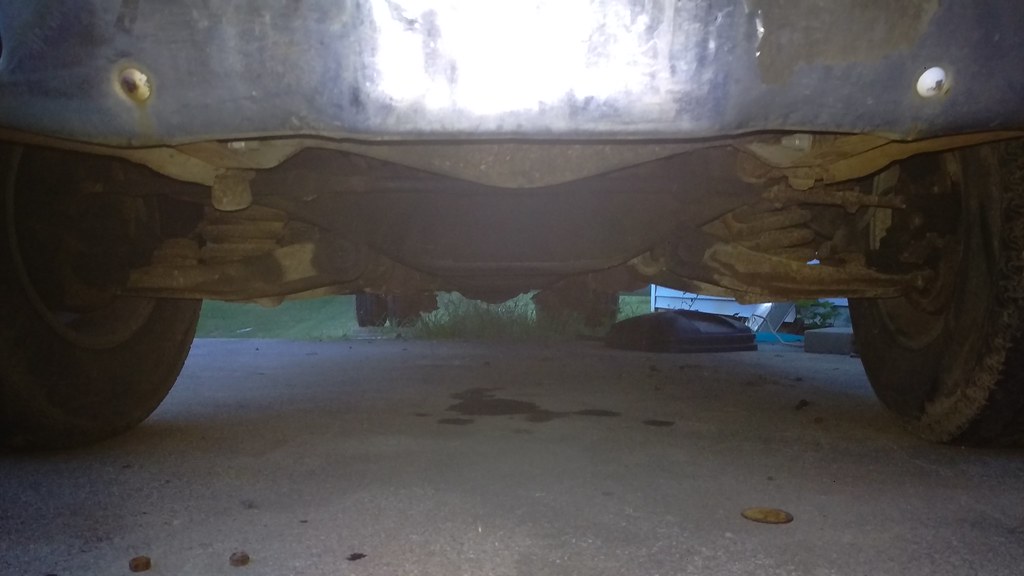 IMAG1663 by jarrod vanwinkle, on Flickr IMAG1663 by jarrod vanwinkle, on Flickr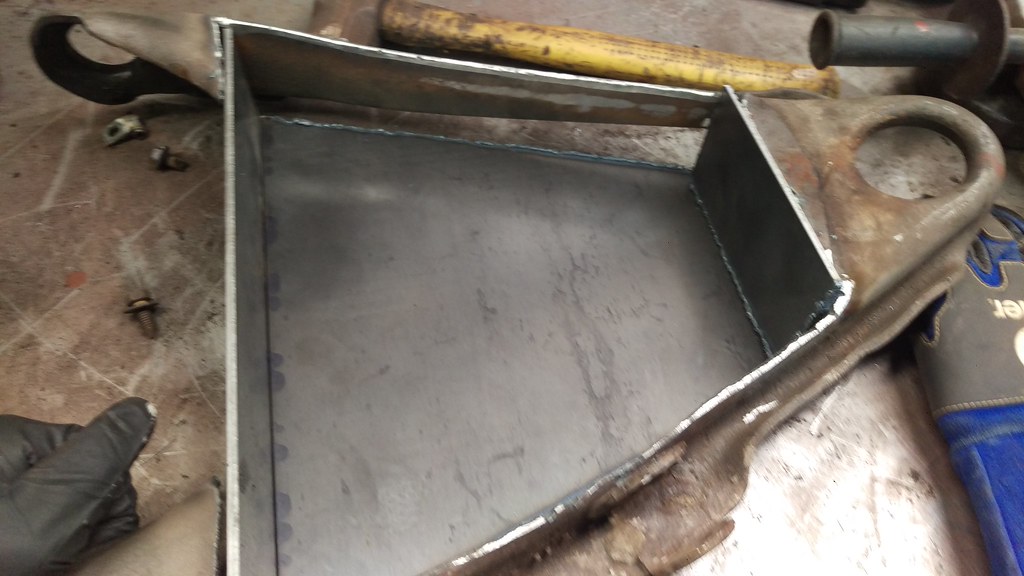 IMAG1666 by jarrod vanwinkle, on Flickr IMAG1666 by jarrod vanwinkle, on Flickr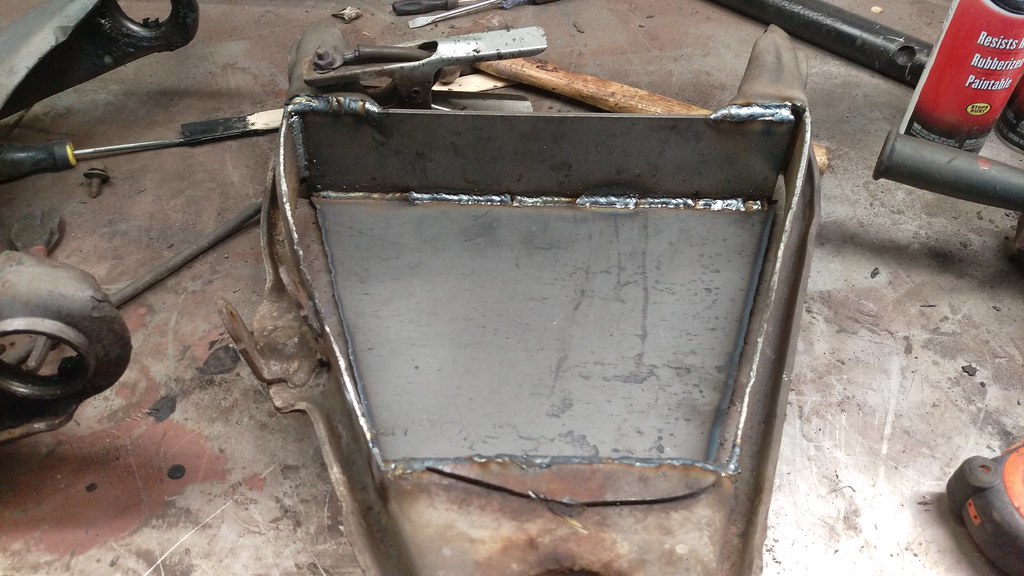 IMAG1695 by jarrod vanwinkle, on Flickr IMAG1695 by jarrod vanwinkle, on Flickr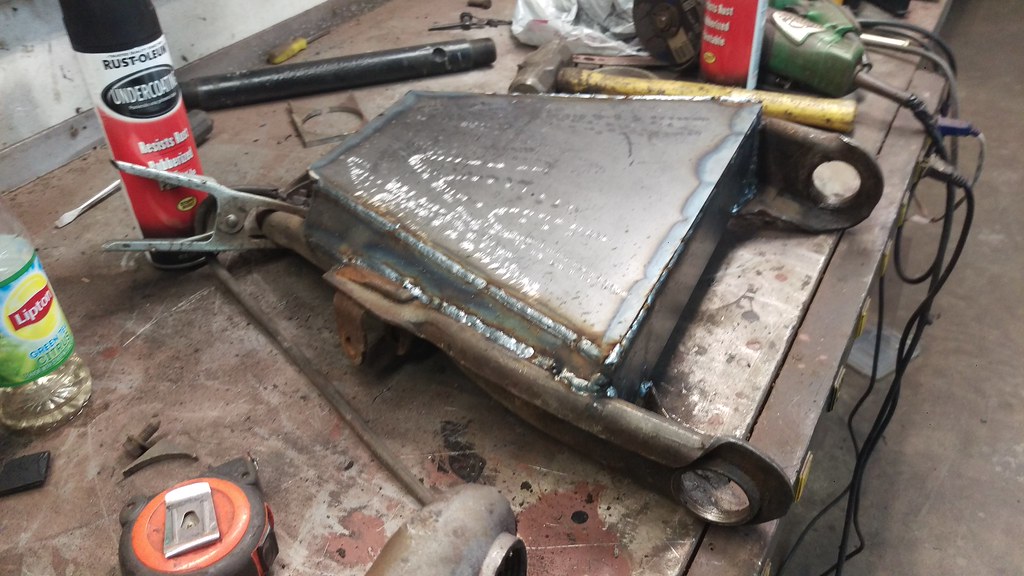 IMAG1696 by jarrod vanwinkle, on Flickr IMAG1696 by jarrod vanwinkle, on Flickr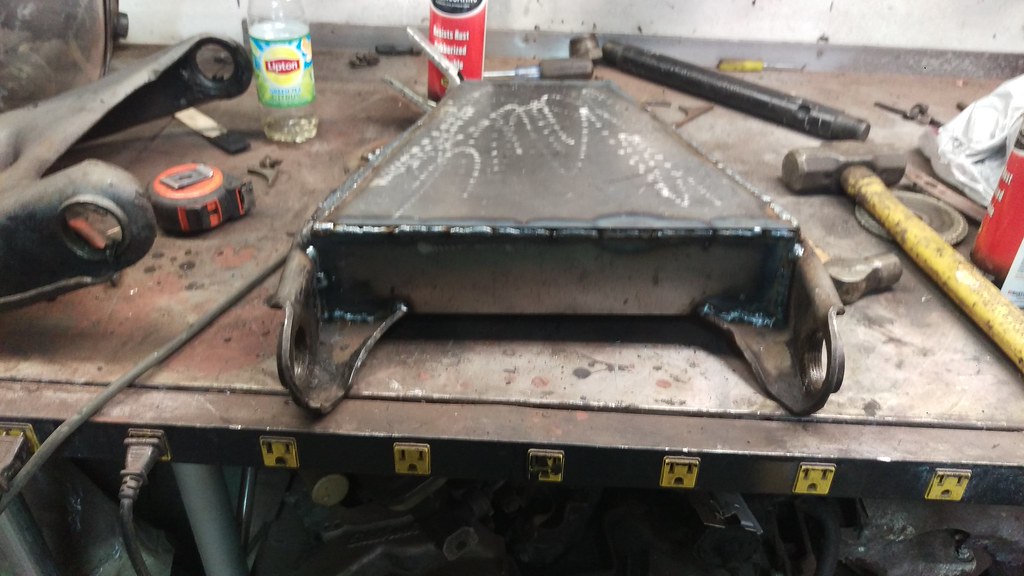 IMAG1697 by jarrod vanwinkle, on Flickr IMAG1697 by jarrod vanwinkle, on Flickr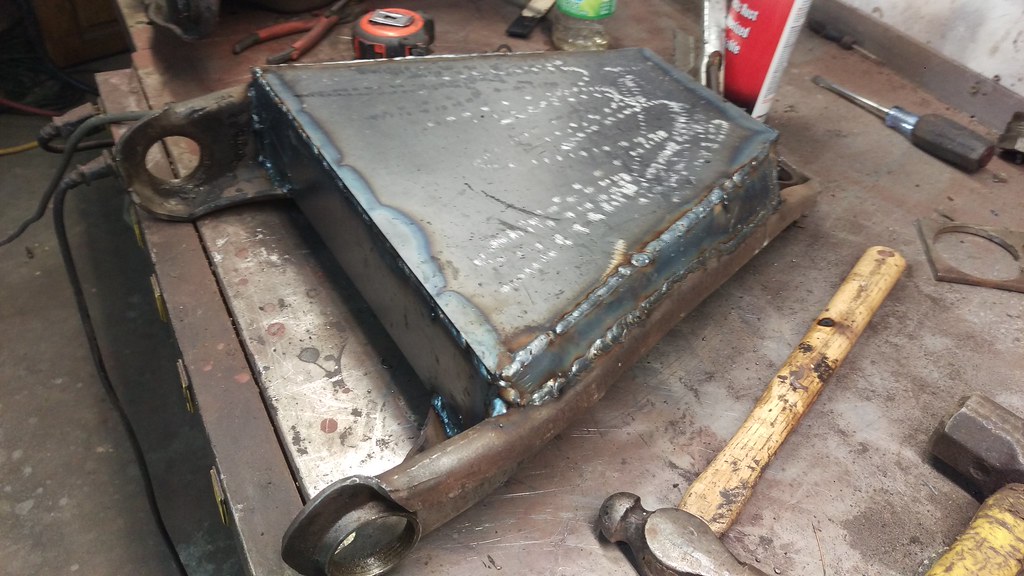 IMAG1698 by jarrod vanwinkle, on Flickr IMAG1698 by jarrod vanwinkle, on Flickr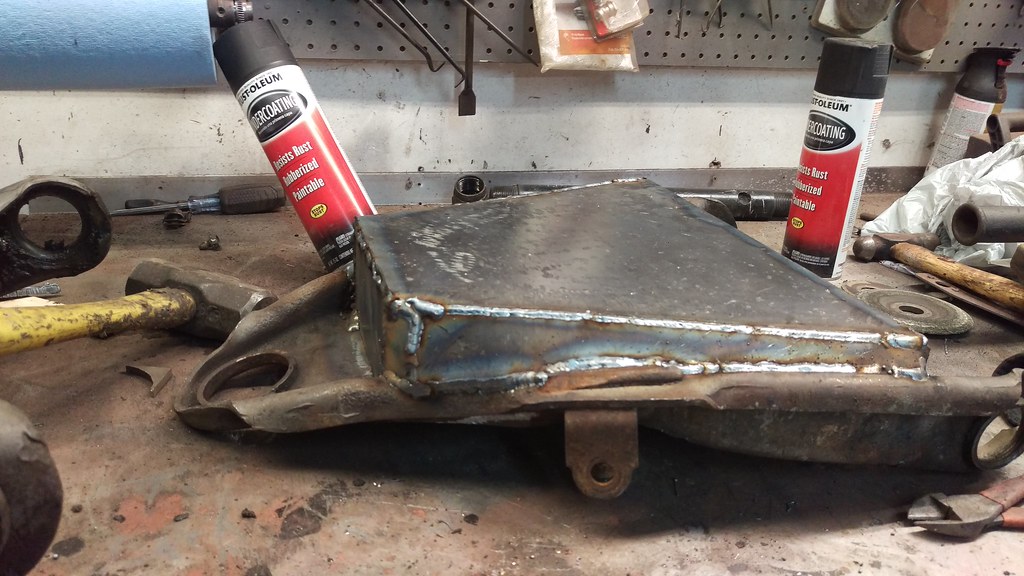 IMAG1699 by jarrod vanwinkle, on Flickr IMAG1699 by jarrod vanwinkle, on FlickrThe mounting points are wider than normal bags that and the mounting points needed to be moved over so I milled some new slots and moved the hole over. 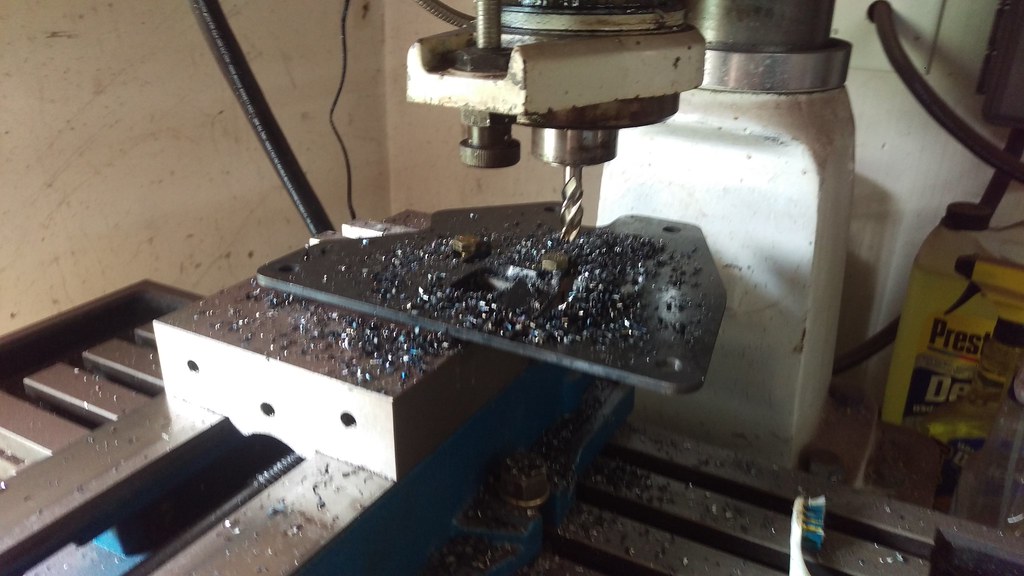 IMAG1701 by jarrod vanwinkle, on Flickr IMAG1701 by jarrod vanwinkle, on Flickr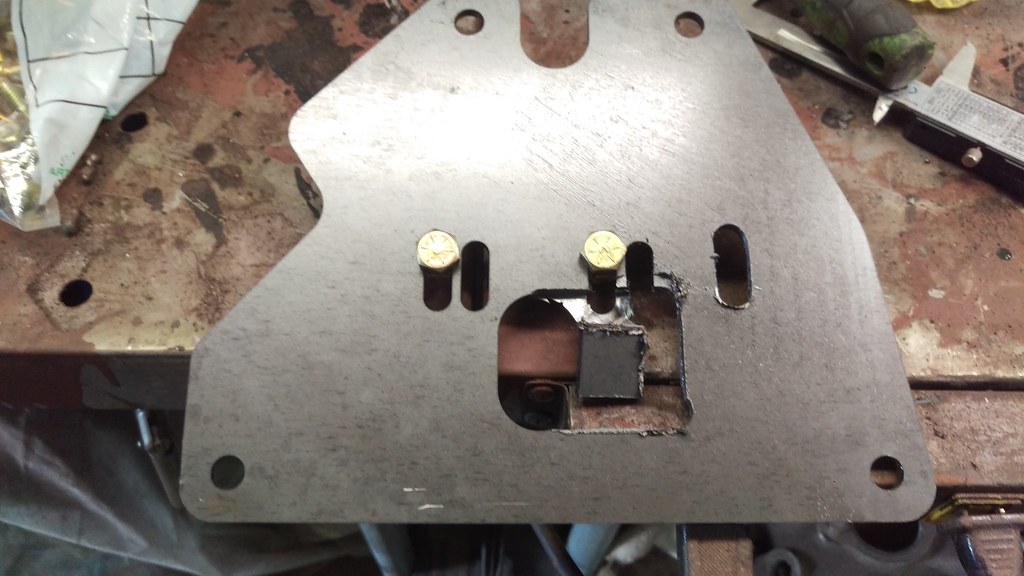 IMAG1702 by jarrod vanwinkle, on Flickr IMAG1702 by jarrod vanwinkle, on Flickr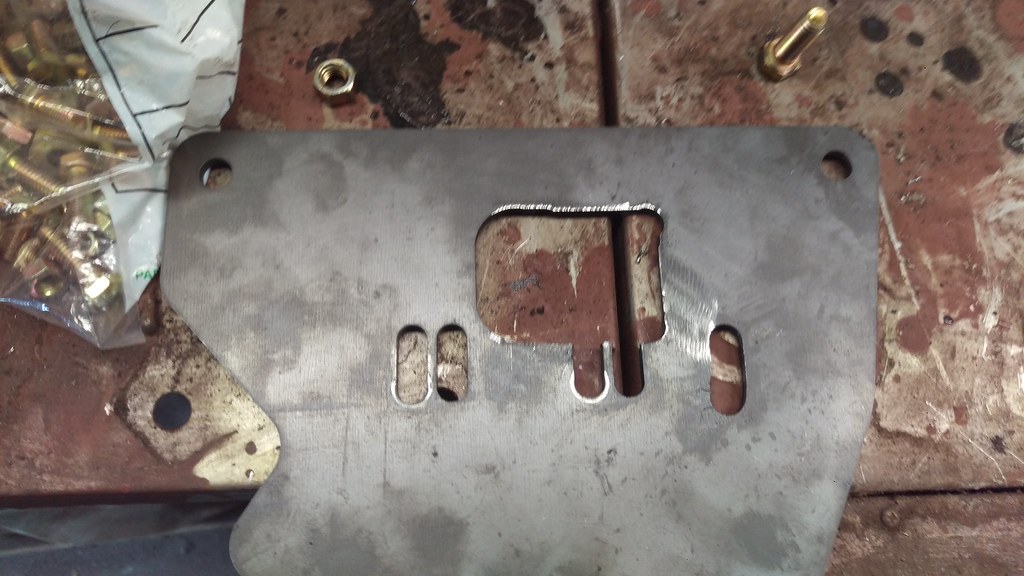 IMAG1703 by jarrod vanwinkle, on Flickr IMAG1703 by jarrod vanwinkle, on FlickrThis is it at 6 inches. 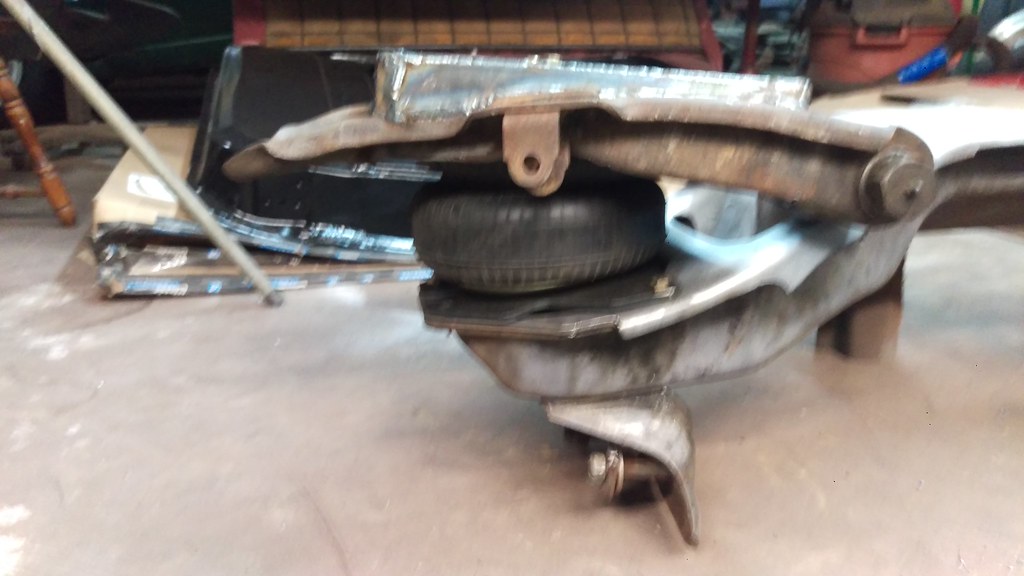 IMAG1704 by jarrod vanwinkle, on Flickr IMAG1704 by jarrod vanwinkle, on Flickr
|
|
|

|
|
|
#39 |
|
Registered User
Join Date: Sep 2017
Location: Patriot IN
Posts: 163
|
Re: 1970 C30 Car hauler Buildish thread.
Kind of a Big yet small update! Good news/ Bad news....
I will start with the small. Unfortunately I did not get the truck painted yet. I messed up my back the other week. I had a slipped disc pinching nerve so I was unable to do anything. I'm still not at 100% but I need to get the truck finished. So I started doing some light duty stuff. So I painted some suspension components. I decided to try hammerite braind paint. I was looking for something chip resistant yet cost effective. Hopefully this stuff holds up. 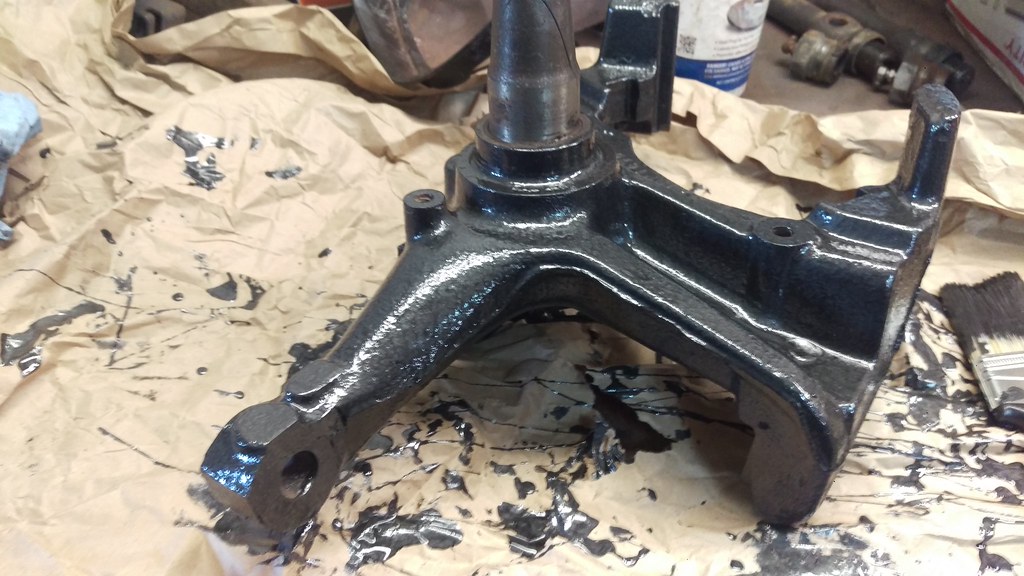 IMAG1705 by jarrod vanwinkle, on Flickr IMAG1705 by jarrod vanwinkle, on Flickr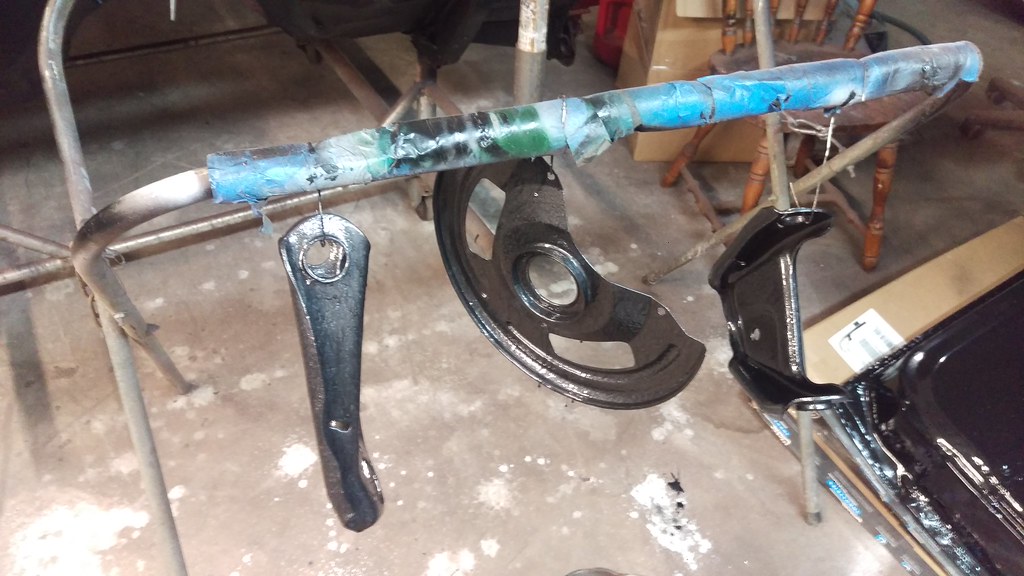 IMAG1706 by jarrod vanwinkle, on Flickr IMAG1706 by jarrod vanwinkle, on Flickr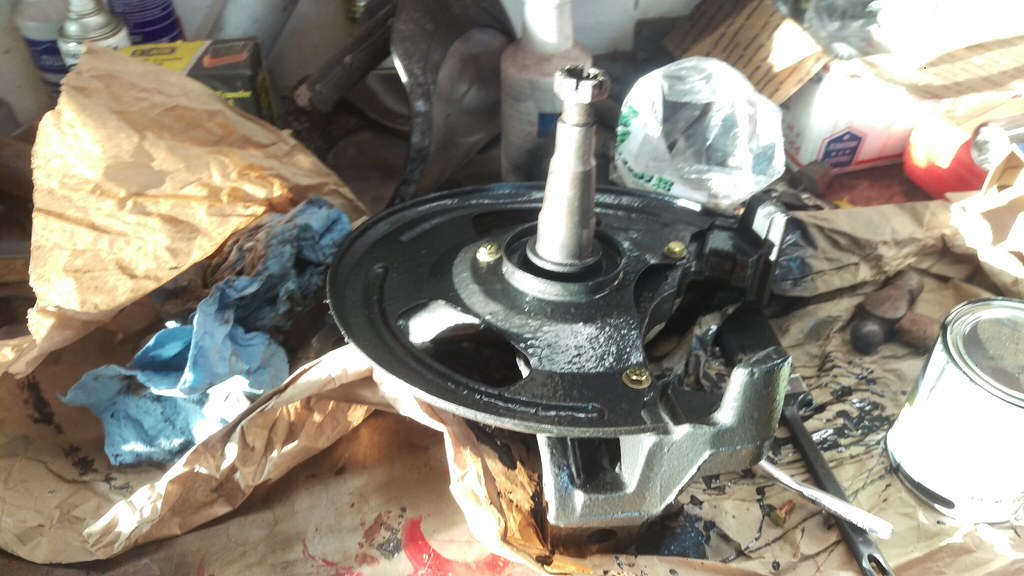 IMAG1709 by jarrod vanwinkle, on Flickr IMAG1709 by jarrod vanwinkle, on Flickr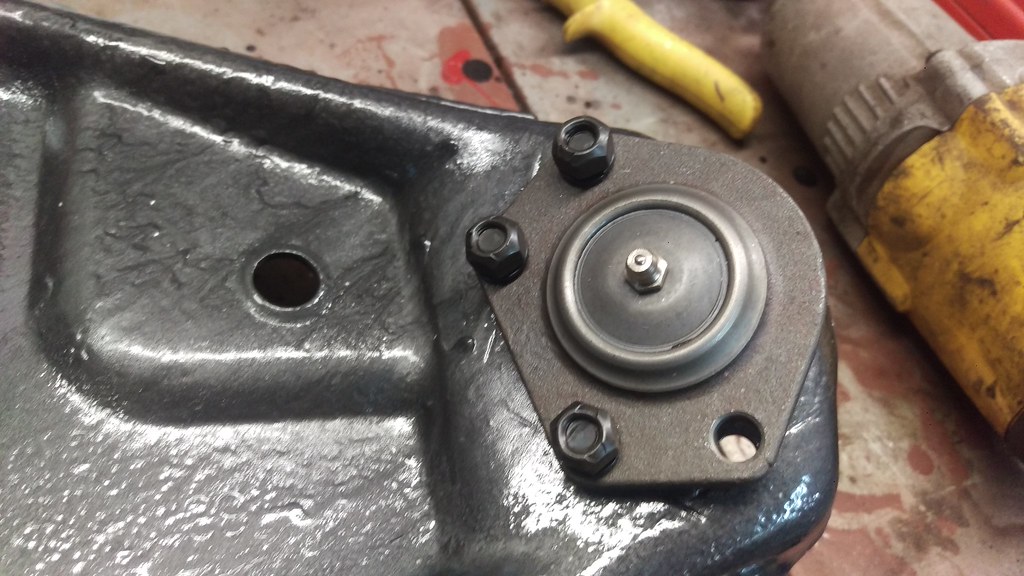 IMAG1710 by jarrod vanwinkle, on Flickr IMAG1710 by jarrod vanwinkle, on Flickr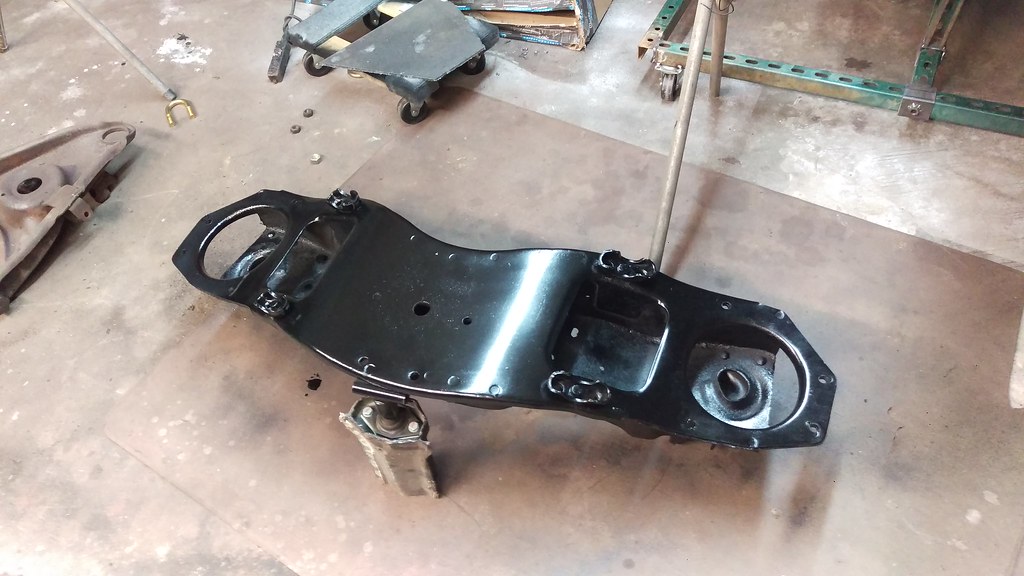 IMAG1731 by jarrod vanwinkle, on Flickr IMAG1731 by jarrod vanwinkle, on FlickrI also sprayed some bed liner on the cab floor. 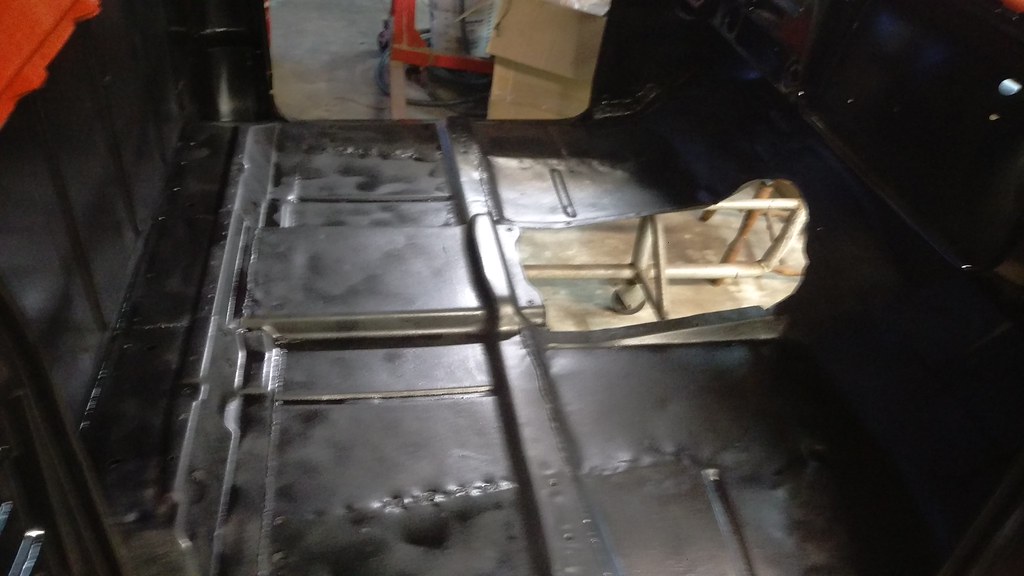 IMAG1722 by jarrod vanwinkle, on Flickr IMAG1722 by jarrod vanwinkle, on FlickrSo yesterday I decided I had rested enough but I probably should had rested a little while longer. So anyways I started on my flip front end conversion lol not really. 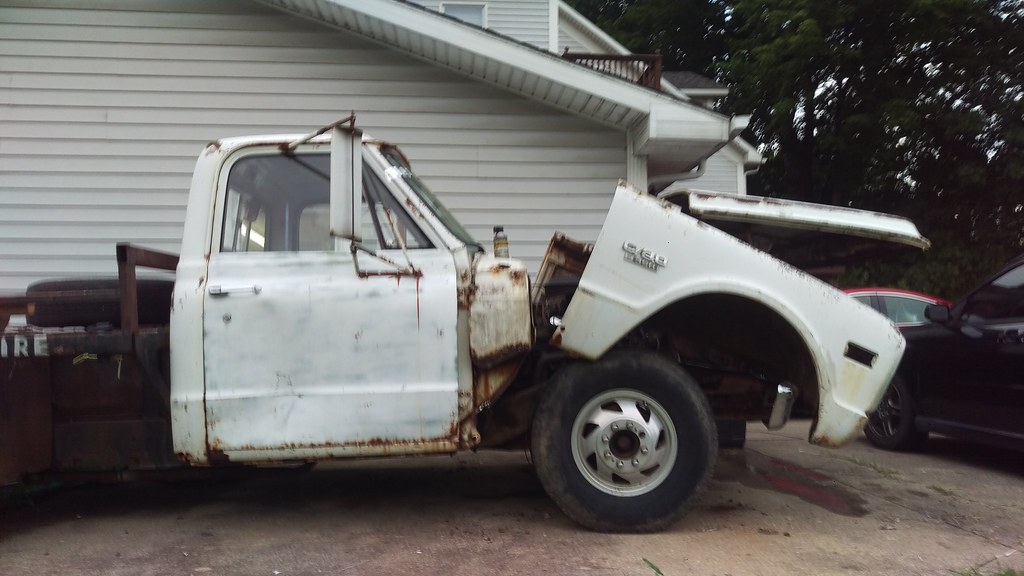 IMAG1718 by jarrod vanwinkle, on Flickr IMAG1718 by jarrod vanwinkle, on FlickrI found this when I removed the front end. 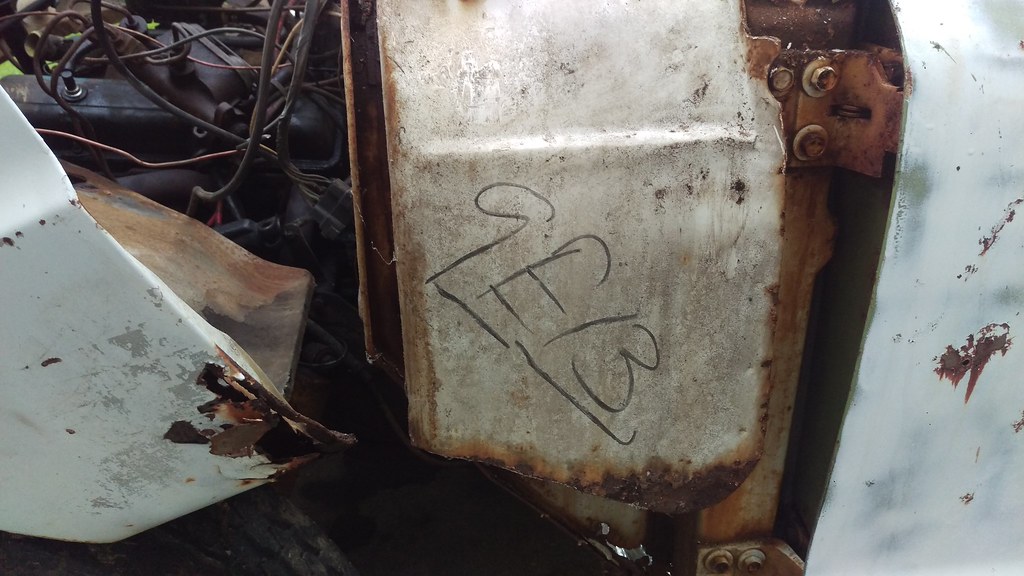 IMAG1717 by jarrod vanwinkle, on Flickr IMAG1717 by jarrod vanwinkle, on Flickr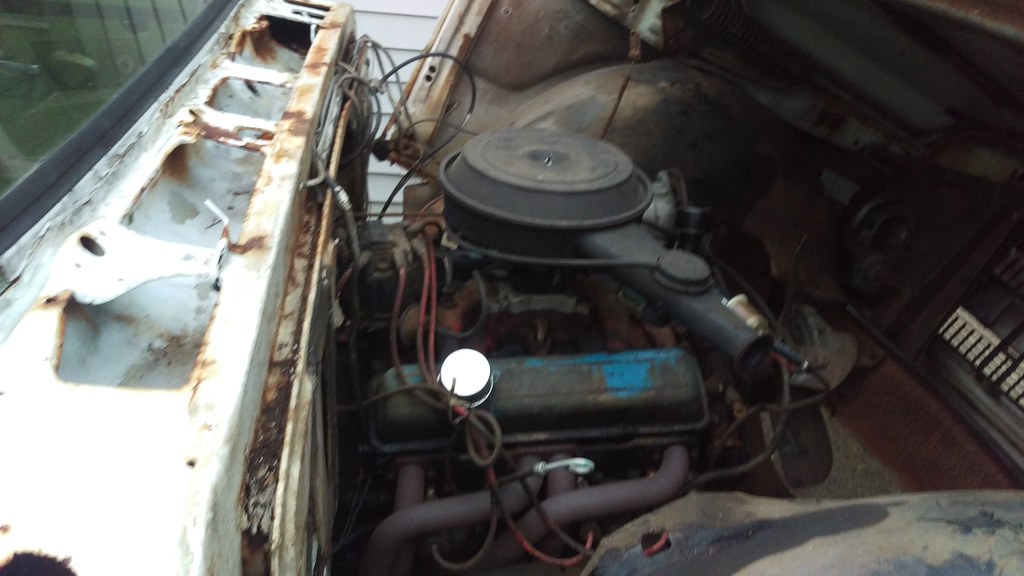 IMAG1720 by jarrod vanwinkle, on Flickr IMAG1720 by jarrod vanwinkle, on Flickr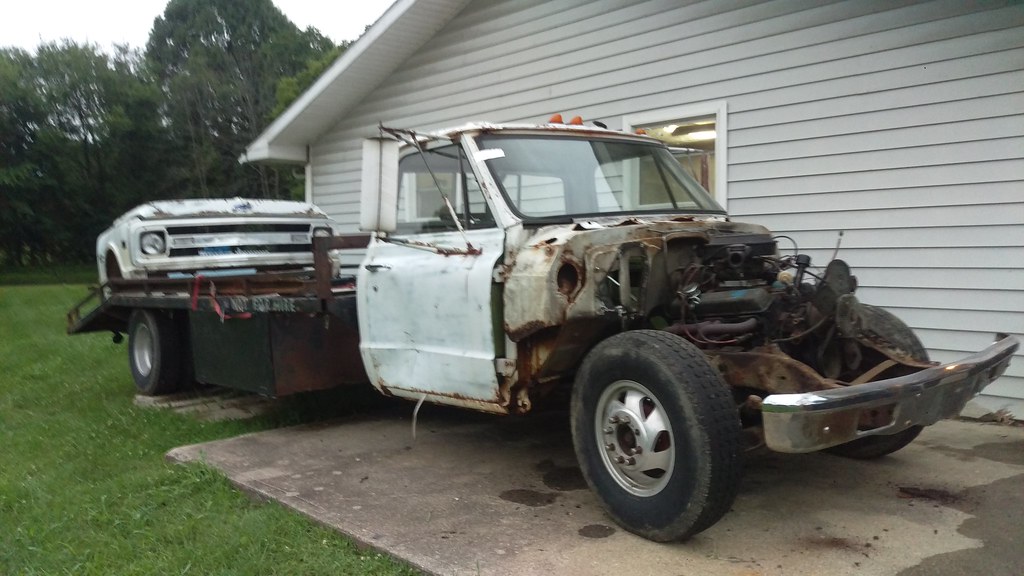 IMAG1721 by jarrod vanwinkle, on Flickr IMAG1721 by jarrod vanwinkle, on FlickrI removed the headers starter motor, trans mount bolts and drive shaft bolts. 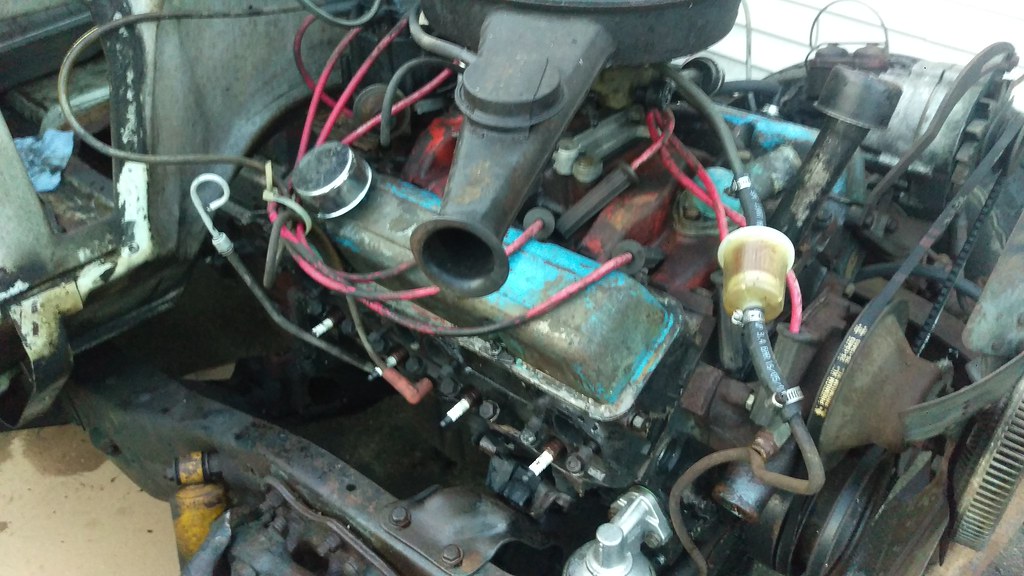 IMAG1723 by jarrod vanwinkle, on Flickr IMAG1723 by jarrod vanwinkle, on FlickrI pulled the engine 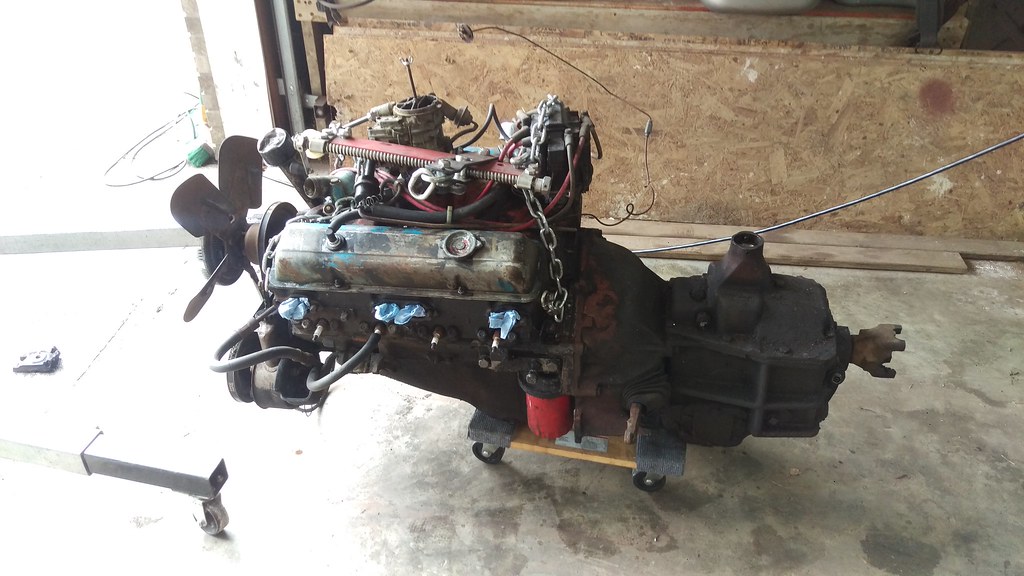 IMAG1725 by jarrod vanwinkle, on Flickr IMAG1725 by jarrod vanwinkle, on Flickr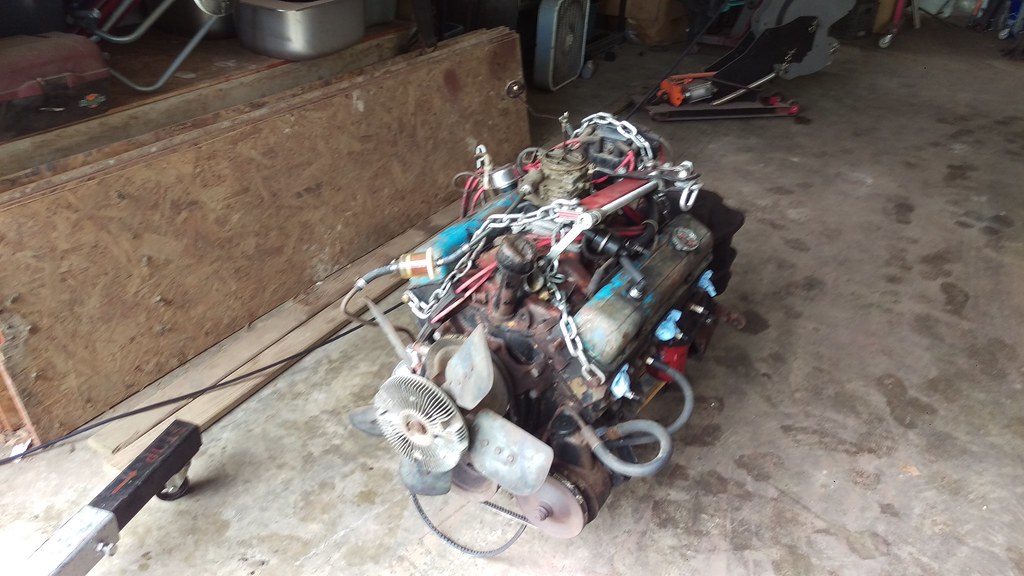 IMAG1726 by jarrod vanwinkle, on Flickr IMAG1726 by jarrod vanwinkle, on FlickrI had to jack the cab up to clear the trans. 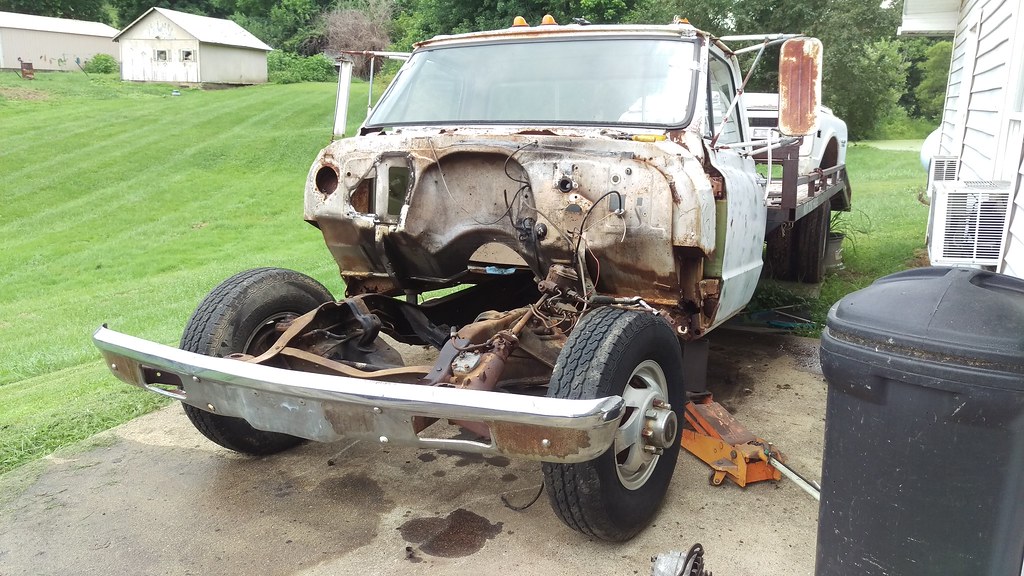 IMAG1727 by jarrod vanwinkle, on Flickr IMAG1727 by jarrod vanwinkle, on FlickrI proceed to build a engine test staind... 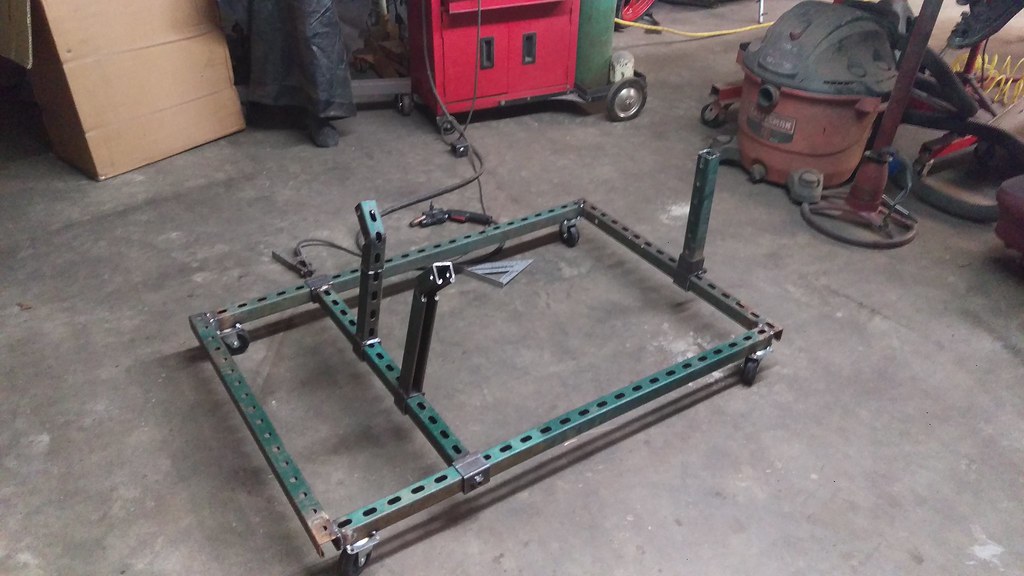 IMAG1729 by jarrod vanwinkle, on Flickr IMAG1729 by jarrod vanwinkle, on Flickr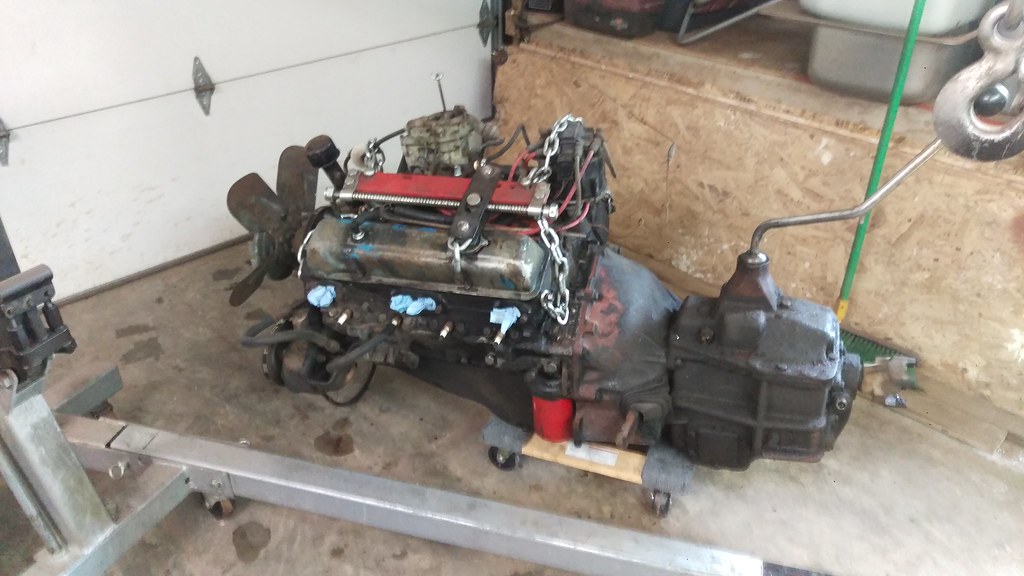 IMAG1728 by jarrod vanwinkle, on Flickr IMAG1728 by jarrod vanwinkle, on Flickr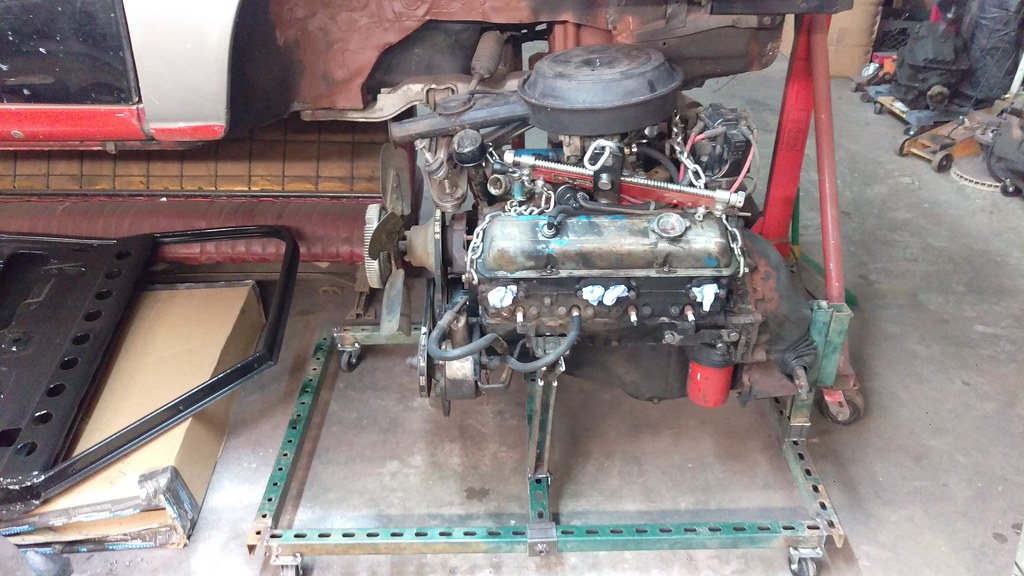 IMAG1732 by jarrod vanwinkle, on Flickr IMAG1732 by jarrod vanwinkle, on FlickrSo why a engine test stand? Well some of you have see a Thread I created trying to decide and if I should convert my engine to EFI using the holley sniper system then turboing it down the road. Or swapping in a diesel engine. I was considering a 6.2 and turboing it as I can get a low mileage one for cheap. My other diesel option was a first gen Cummins with 270K that I cannot really afford but would be the most reliable out of the three options and get the best gas mileage out of the three, and would surprisingly cost less then the turbo EFI... Any ways I have been doing research on mainly the turbo efi and the 6.2 and a little on the cummins swap for a few months now and after reading thread after thread on the 6.2 and 6.5 engine destroying themselves I decided not to go with the 6.2. So there I was its 4:30 am I can't sleep my back is killing me. I get on my laptop I can't stop thinking about what I should do. I need to finish the truck. The EFI turbo would cost more then a cumming swap but if I do the efi conversion first then turbo it down the road It wouldn't hurt my pockets as much at once. So I took some more medicine (by the way the side effects are super scary I stopped taking it last week after I looked up the side effects. they went something like this cannot drive or operate machinery, cannot consume alcohol, may cause dizziness, and (impaired judgment I think this one got me) may cause Death!) So anyways it's now 5 something and I just bought the cummins on ebay using paypal credit. Here is a video of the engine running. The engine should be here monday or tuesday! https://www.youtube.com/watch?v=NunQ...ature=youtu.be So back to the engine test stand I need to sell this engine to help pay for the swap. I figure a 1970 350 4 bolt main with 86k original miles should go for $550 maybe even $650 running on a engine test staind. The test stand may even help it sell faster as the can see that it runs I thought to myself. (On a side note if you noticed the engine test stand is made out of the channel that came with the truck that was used as the stakes in the first photo in the thread.) Well it turns out after I got it on the stand and start cleaning it up I notice the block is black and it looks to be original paint. I know the valve cover had been repainted blue as there was some orange paint under the blue. But it really started to bug me that the block was black and not orange. So I cleaned off the casting number and it says 14010 201 So looked up the numbers and wouldn't you know it its a 305. A 80-85 305 car & Truck 2-bolt Passenger stick. So I suppose everything happens for a reason. I am happy I ordered the cummins and not the efi system. I would have been pisst If I order the efi and started to turbo it and spent all that time and money to find out it was a 305. So now I am trying to find as much info as I can on my swap. This is my list so far. I will build my own engine and trans mounts. I will use the AA NV500 adapter for the first gen cummins. I will swap the input shaft for the cummins shaft. But I will have to have the new input shaft retainer turned down on a lath as I have the 1995 trans. it has the correct gearing but the case is the old style. The drive shaft has to be shortened but it was going to have to be anyways. All new seals in the engine. I will probably rebuild the pump and turbo. I also have a Hx35 I may swap out. I still need to do research on the gas pedal/ linkage. I would like to install some kind of air shutdown/ off valve. As the first gens are known to runway. I wonder If I could use a exhaust cut out valve as a air shut off valve? Can I use the stock radiator? I will need to buy a intercooler and piping. I will need to install a fuel return of some kind. Does a 72 fuel sending unit ue the same oms for the fuel gauge? I would also like to add a 50 gallon saddle tank as well. What power steering lines will I need to use for the hydro boost? Is the alternator internally regulated? I will also replace the water pump. Do the killer dowel pin fix. Route the exhaust. Also does anyone know if I can use a second gen cummins flywheel with the first gen engine adapter and starter? Last edited by jarrodblake; 06-29-2018 at 02:01 AM. |
|
|

|
|
|
#40 |
|
Registered User
Join Date: Jul 2016
Location: Newport Heights, CA
Posts: 1,000
|
Re: 1970 C30 Car hauler Buildish thread.
Nice work. I like the dimple die holes on the doors. Where else are you putting them? How about the leading edge of the hood? I spy a LWB P-Car on a rotisserie. What's up with that?
__________________
Glenn 1960 Burro Corvair/VW Buggy - Factory made in Santa Ana, Ca 1929 Ford Model A Roadster - traditional pre-war banger hot rod |
|
|

|
|
|
#41 | |
|
Registered User
Join Date: Sep 2017
Location: Patriot IN
Posts: 163
|
Re: 1970 C30 Car hauler Buildish thread.
Quote:
 As far as the 911 it's my long term project. It's a 83 targa that I am converting to a Midengine RSR Backdated coupe. It has 05 911 C2 front suspension 01 boxster rear unibody section and rear suspension. The hubs are almost flush with the stock rs sized fenders. So I am going to probably have to make some RWB or wider flares to tuck the wheels. Here is a link to the build. http://forums.pelicanparts.com/porsc...d-find-12.html Anyways sorry I have been slacking on the updates. I suppose it is time for a photo dump. Well I Picked up the engine from fedex the other week! 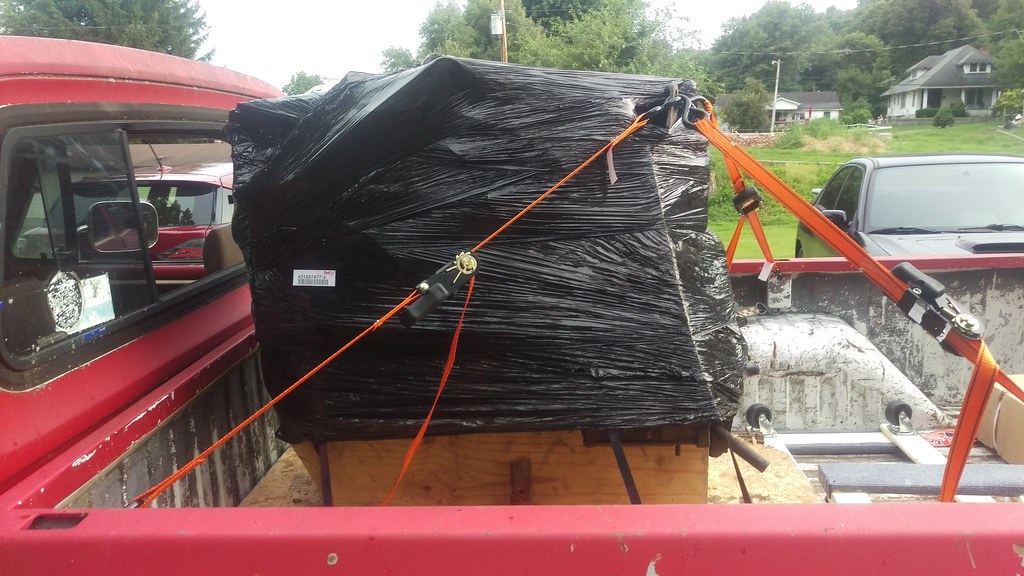 IMAG1741 by jarrod vanwinkle, on Flickr IMAG1741 by jarrod vanwinkle, on FlickrI stopped by harbor freight on the way home a picked up a new engine stand rated at 1 ton. Along with a few other things. 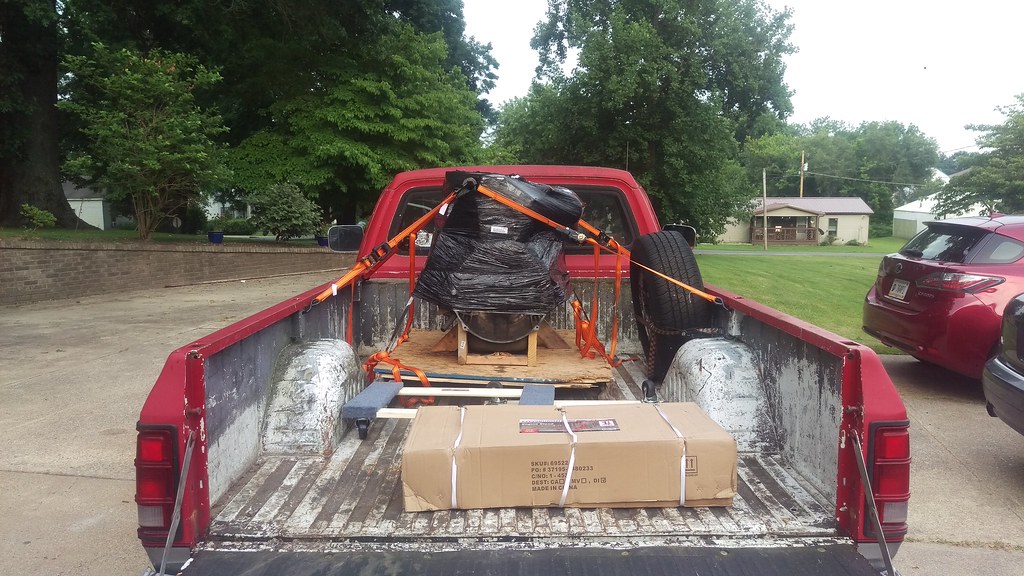 IMAG1740 by jarrod vanwinkle, on Flickr IMAG1740 by jarrod vanwinkle, on Flickr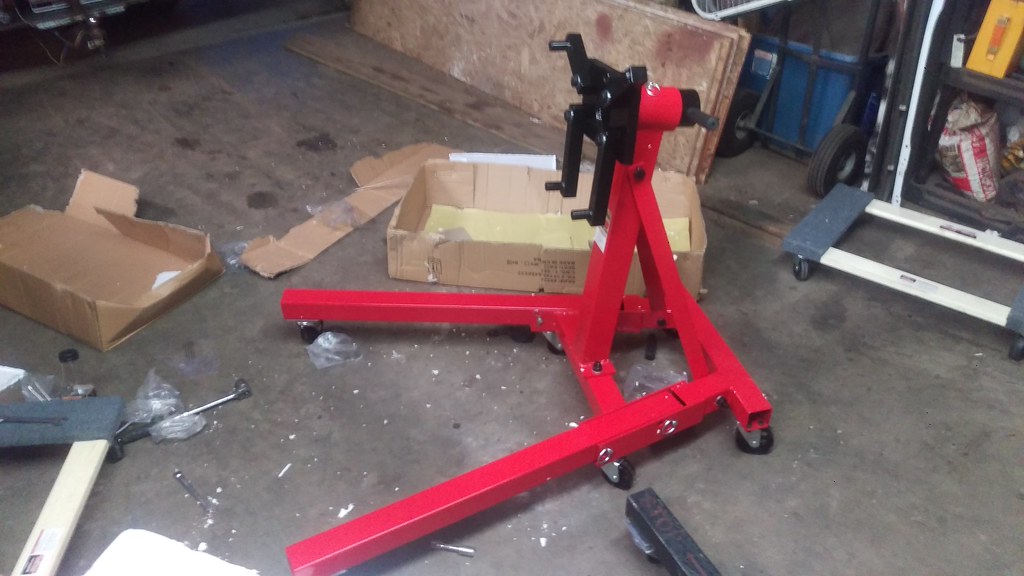 IMAG1742 by jarrod vanwinkle, on Flickr IMAG1742 by jarrod vanwinkle, on Flickr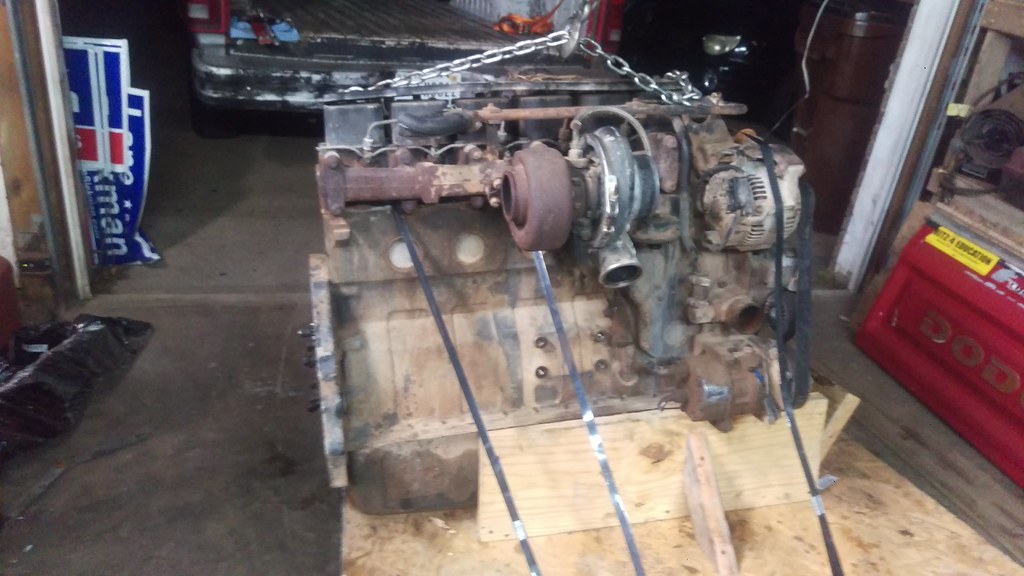 IMAG1743 by jarrod vanwinkle, on Flickr IMAG1743 by jarrod vanwinkle, on Flickr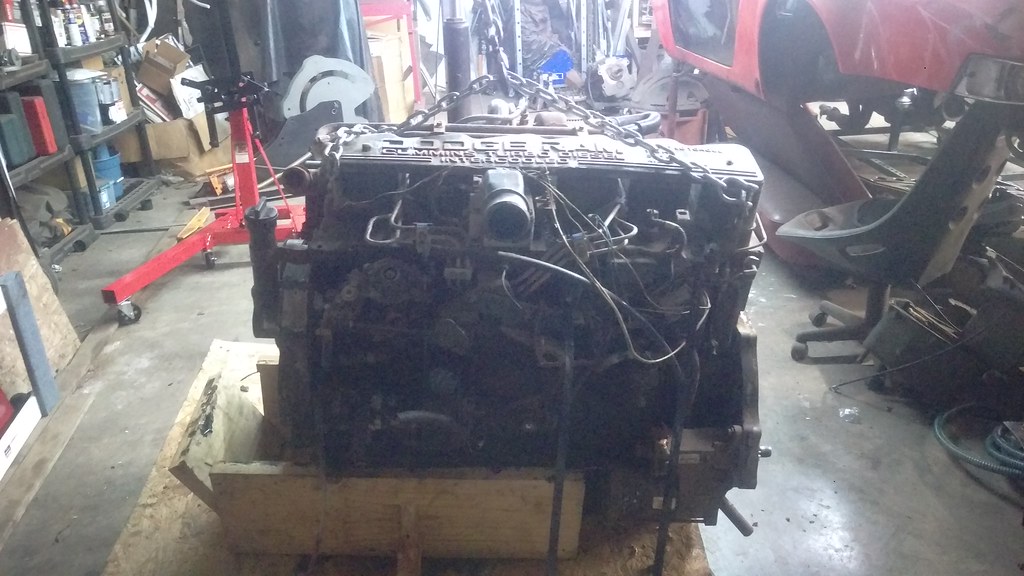 IMAG1744 by jarrod vanwinkle, on Flickr IMAG1744 by jarrod vanwinkle, on Flickr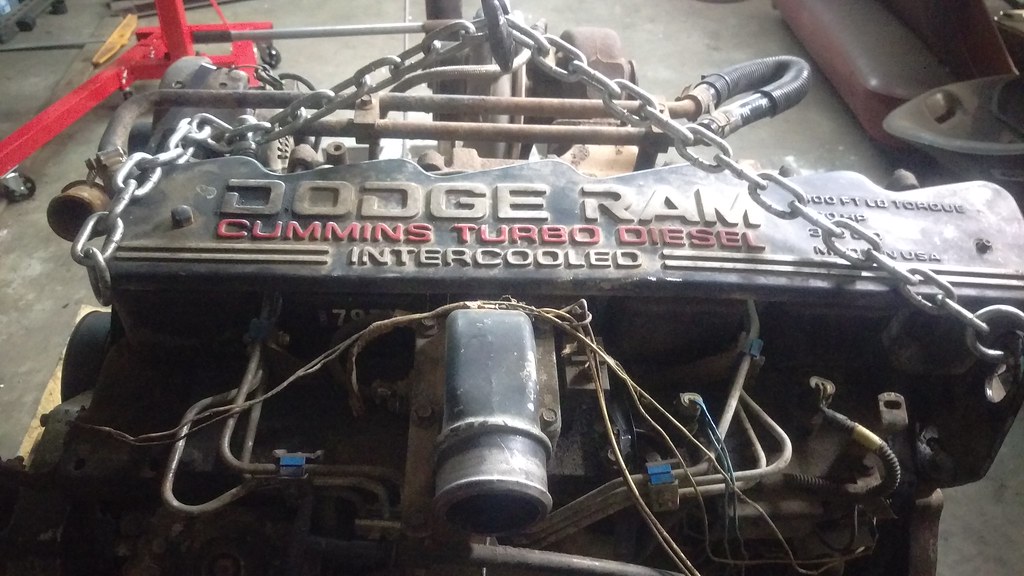 IMAG1745 by jarrod vanwinkle, on Flickr IMAG1745 by jarrod vanwinkle, on FlickrI also killed my engine hoist... well it blew out an O ring.  IMAG1748 by jarrod vanwinkle, on Flickr IMAG1748 by jarrod vanwinkle, on Flickr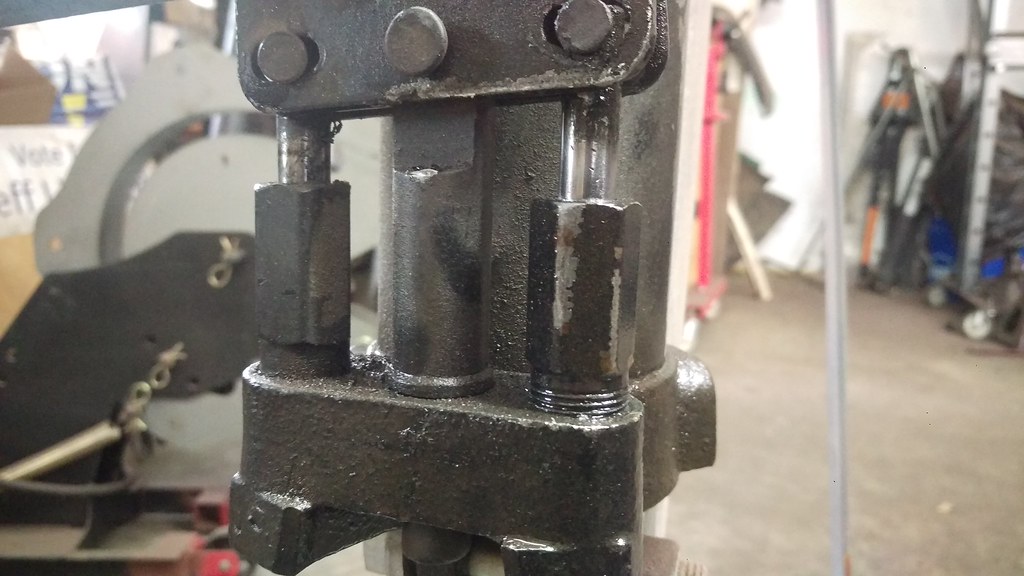 IMAG1749 by jarrod vanwinkle, on Flickr IMAG1749 by jarrod vanwinkle, on FlickrThen the next day, I had to drive a hour and a half to my closest fastenal for a set of bolts, because the cummins engine uses metric and they were the only ones that had that size of bolts in stock. Anyways I got it on the stand. 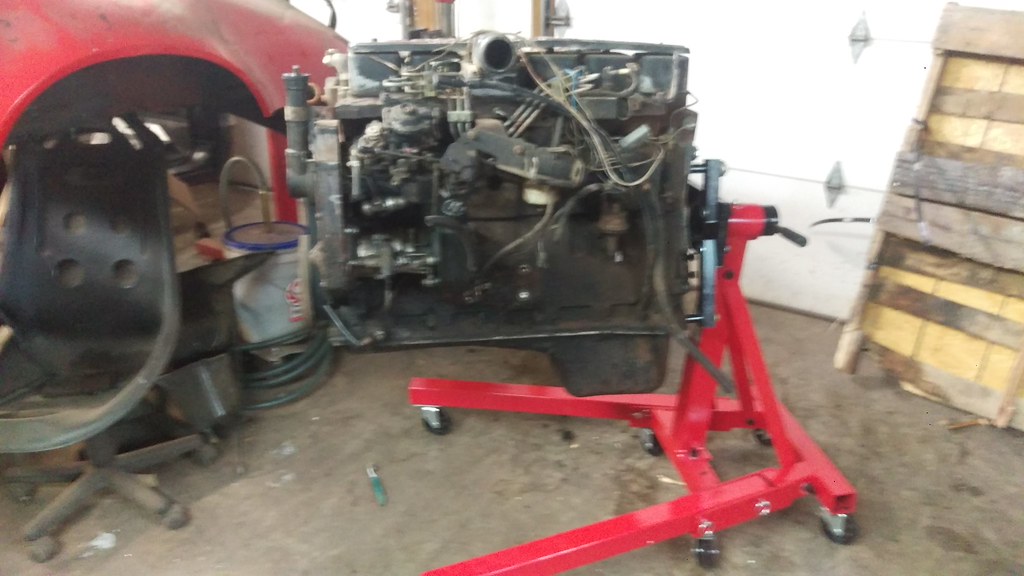 IMAG1750 by jarrod vanwinkle, on Flickr IMAG1750 by jarrod vanwinkle, on Flickr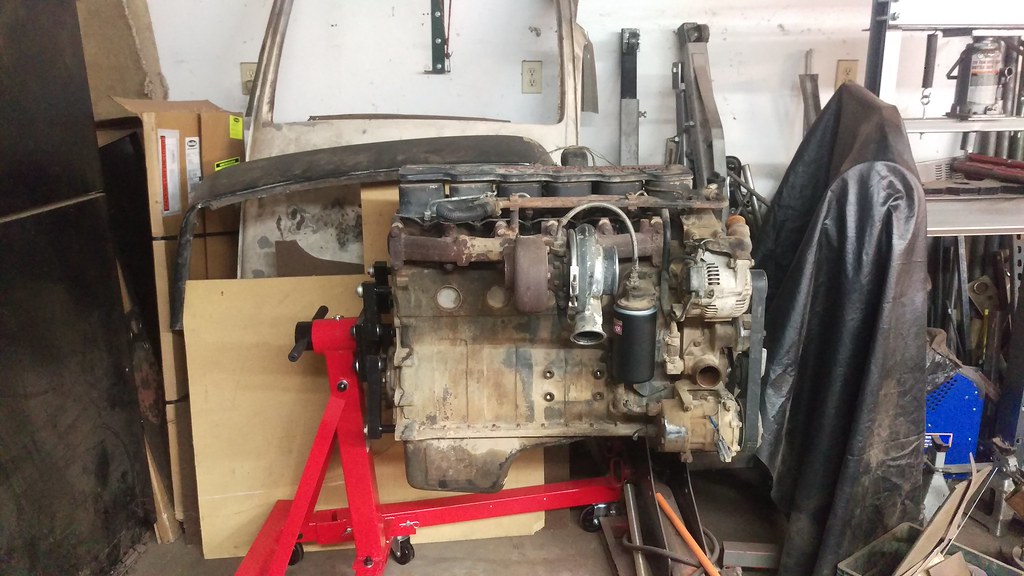 IMAG1753 by jarrod vanwinkle, on Flickr. IMAG1753 by jarrod vanwinkle, on Flickr.I popped one of the valve covers off to see what kind of condition the engine was in and to see how well it was taken of, and to see if there was any build up for lack of oil changes, and it's super clean under the valve cover. But only time will tell when I start getting into it. 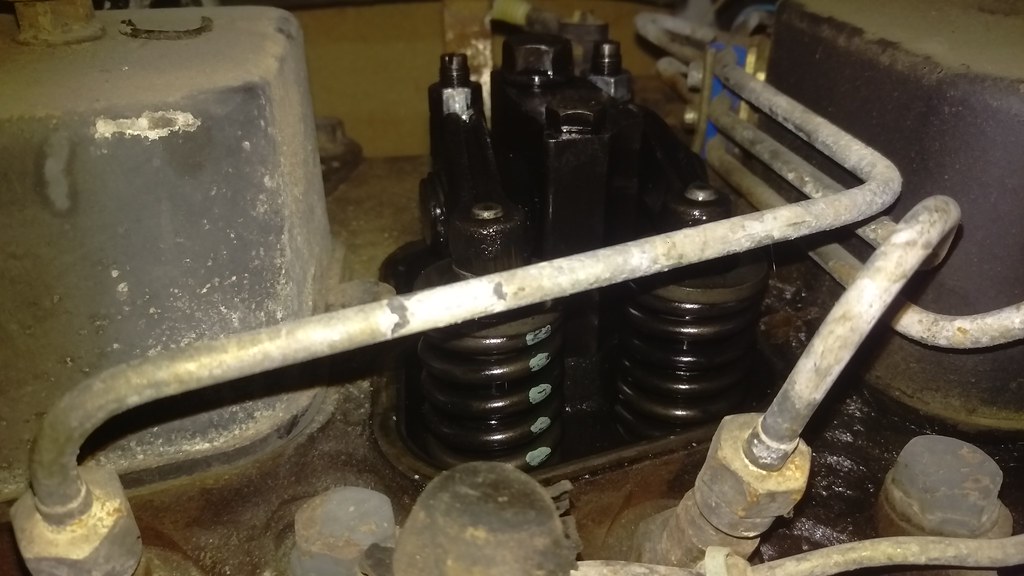 IMAG1758 by jarrod vanwinkle, on Flickr IMAG1758 by jarrod vanwinkle, on Flickr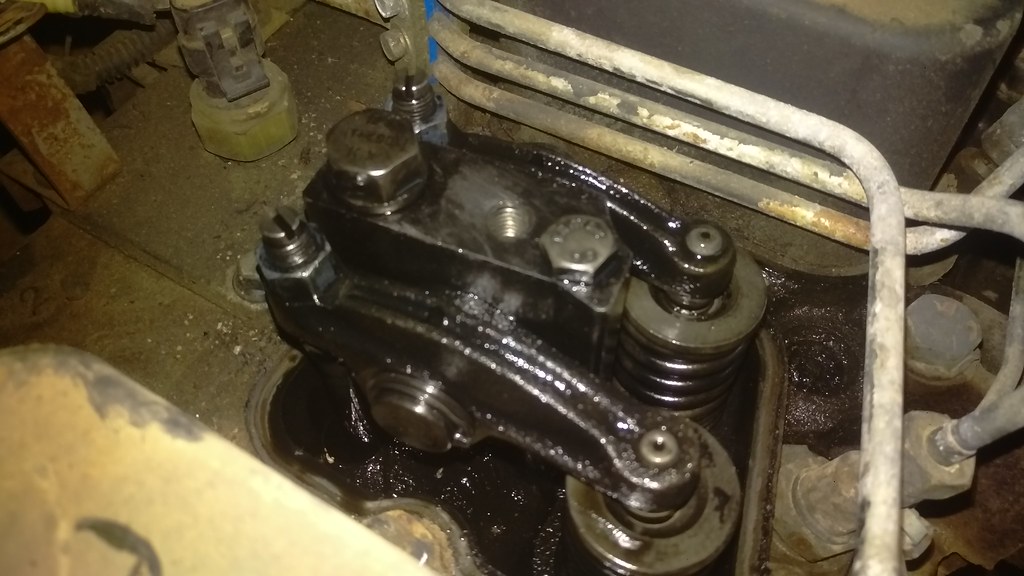 IMAG1760 by jarrod vanwinkle, on Flickr IMAG1760 by jarrod vanwinkle, on FlickrSo I finished up the engine test stand and sold it, the engine and trans. 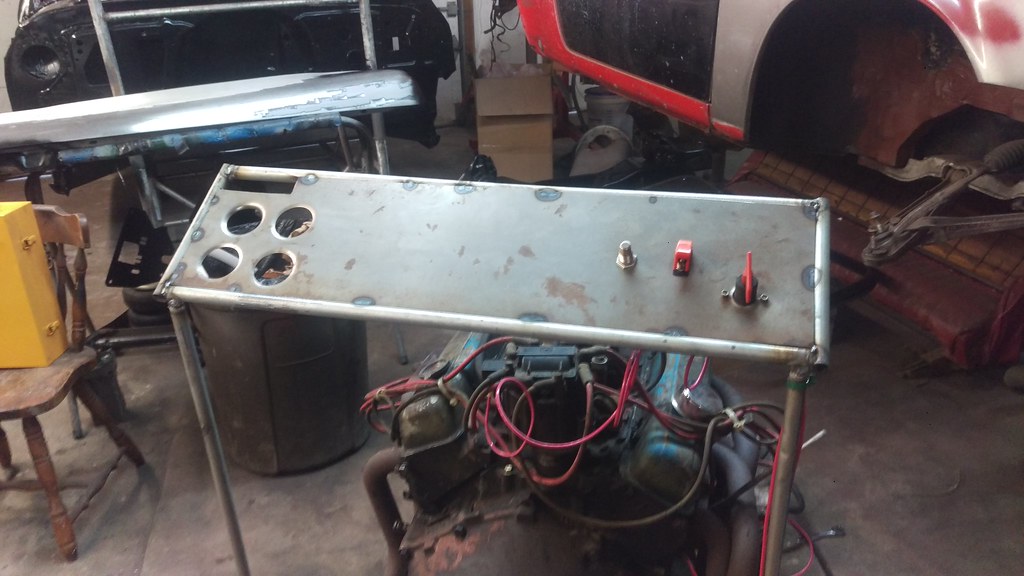 IMAG1762 by jarrod vanwinkle, on Flickr IMAG1762 by jarrod vanwinkle, on Flickr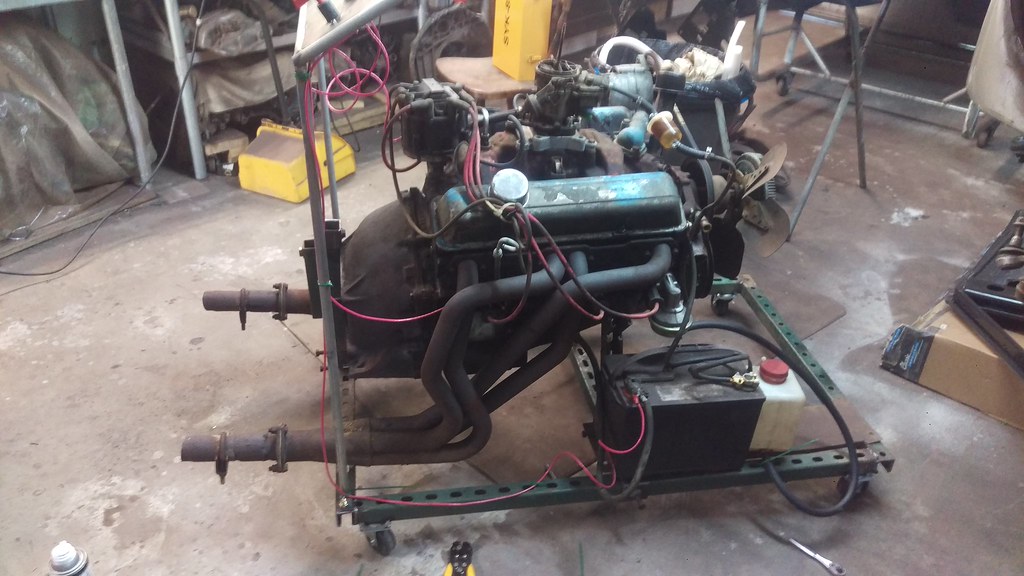 IMAG1761 by jarrod vanwinkle, on Flickr IMAG1761 by jarrod vanwinkle, on FlickrI quick video of it running. 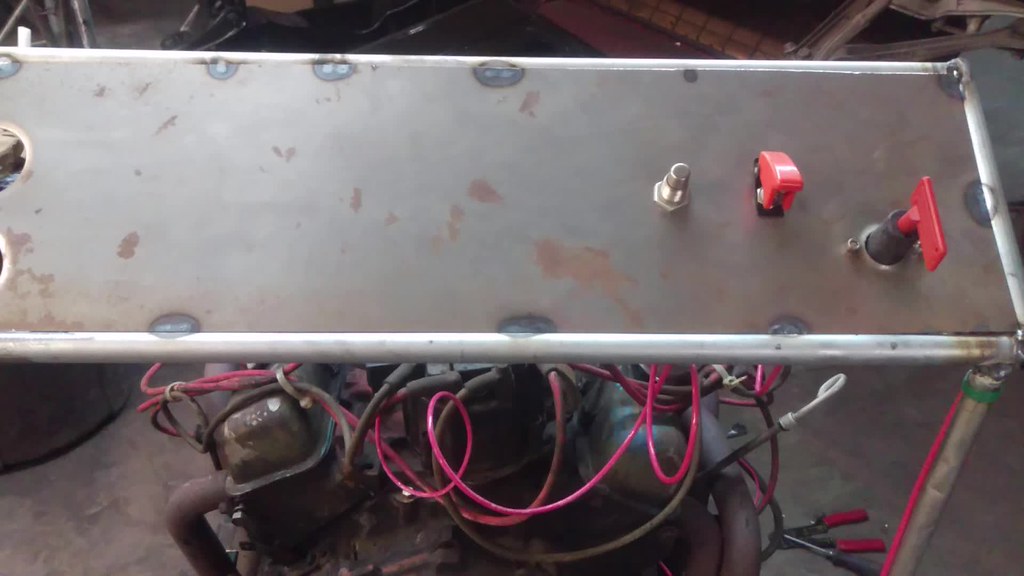 VIDEO0016 by jarrod vanwinkle, on Flickr VIDEO0016 by jarrod vanwinkle, on FlickrBack to paint prep. I got the doors down to bare metal. [IMG] 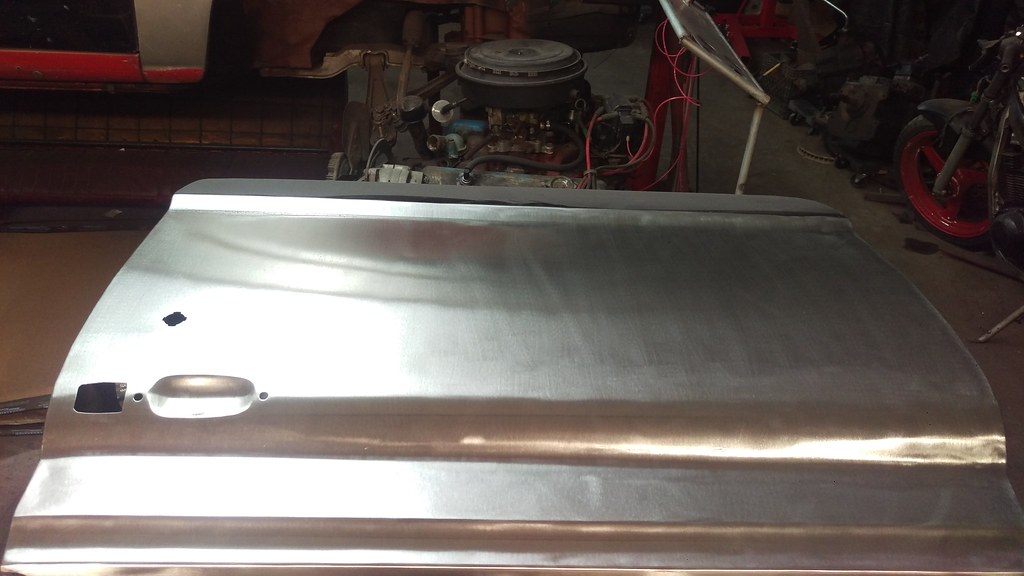 IMAG1770 by jarrod vanwinkle, on Flickr[/IMG] IMAG1770 by jarrod vanwinkle, on Flickr[/IMG]I was going to have the brushed marks going down the side of the truck horizontally but with the body lines it looks better going vertically. 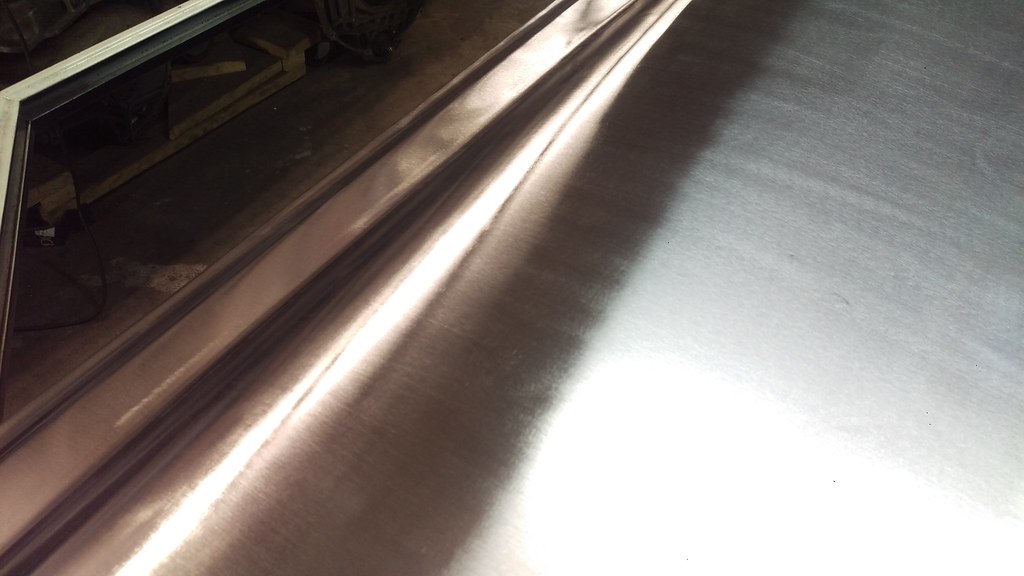 IMAG1771 by jarrod vanwinkle, on Flickr IMAG1771 by jarrod vanwinkle, on Flickr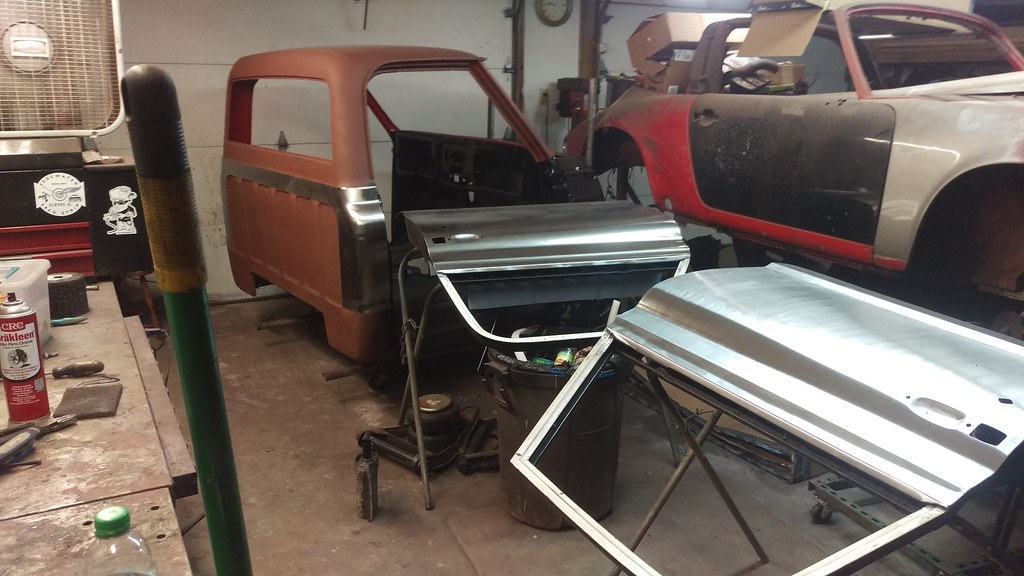 IMAG1773 by jarrod vanwinkle, on Flickr IMAG1773 by jarrod vanwinkle, on Flickr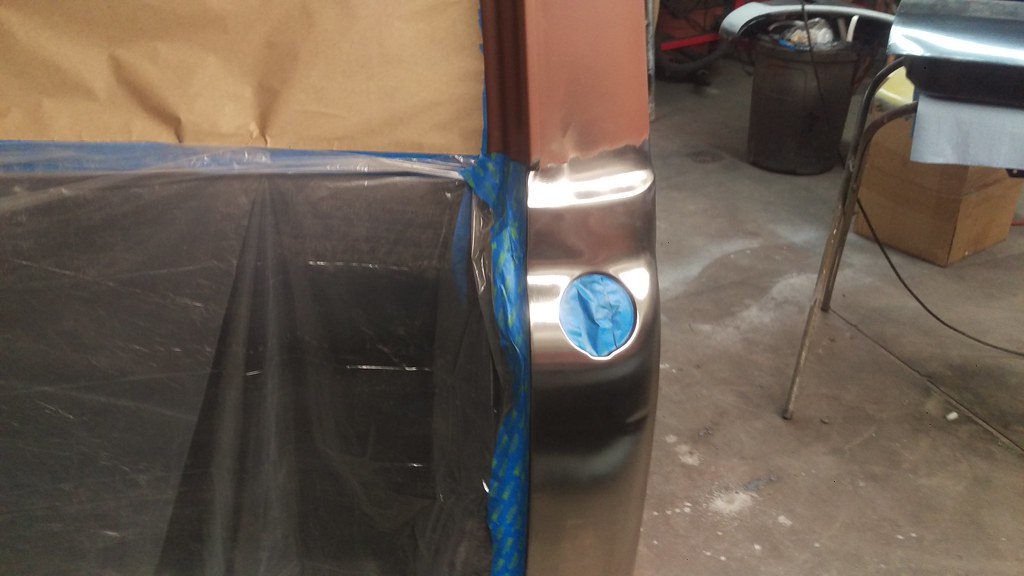 IMAG1775 by jarrod vanwinkle, on Flickr IMAG1775 by jarrod vanwinkle, on Flickr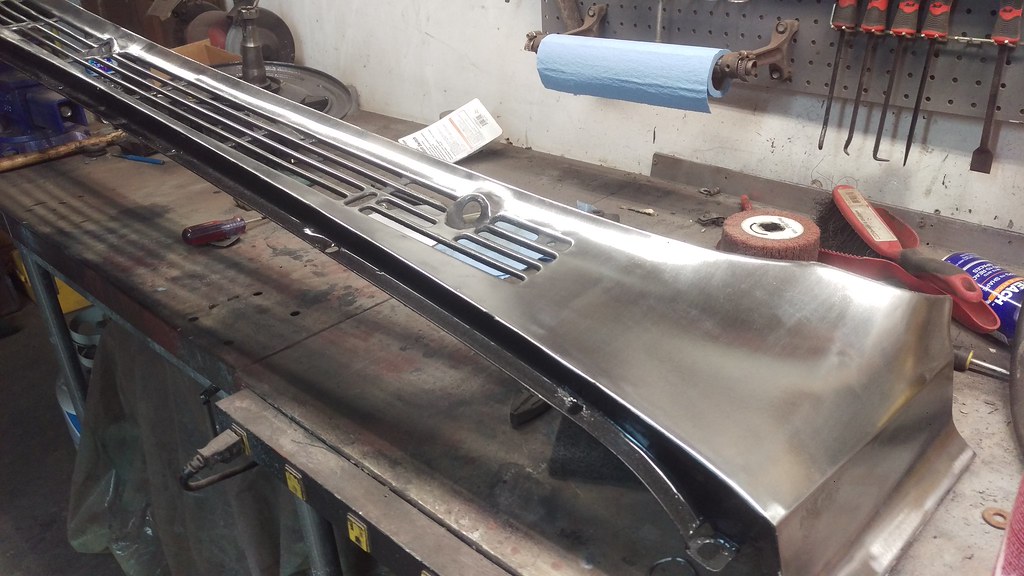 IMAG1776 by jarrod vanwinkle, on Flickr IMAG1776 by jarrod vanwinkle, on Flickr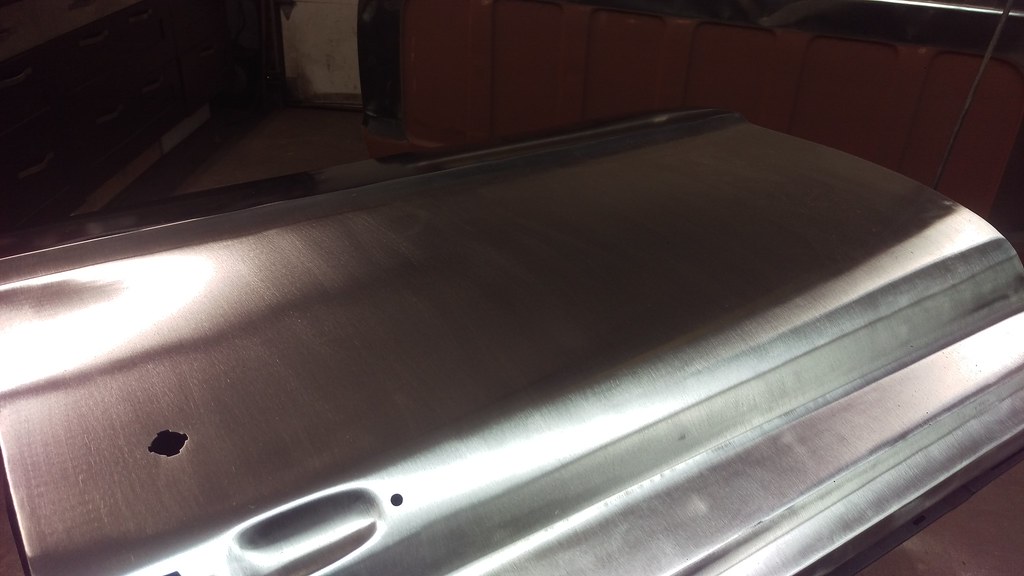 IMAG1777 by jarrod vanwinkle, on Flickr IMAG1777 by jarrod vanwinkle, on Flickr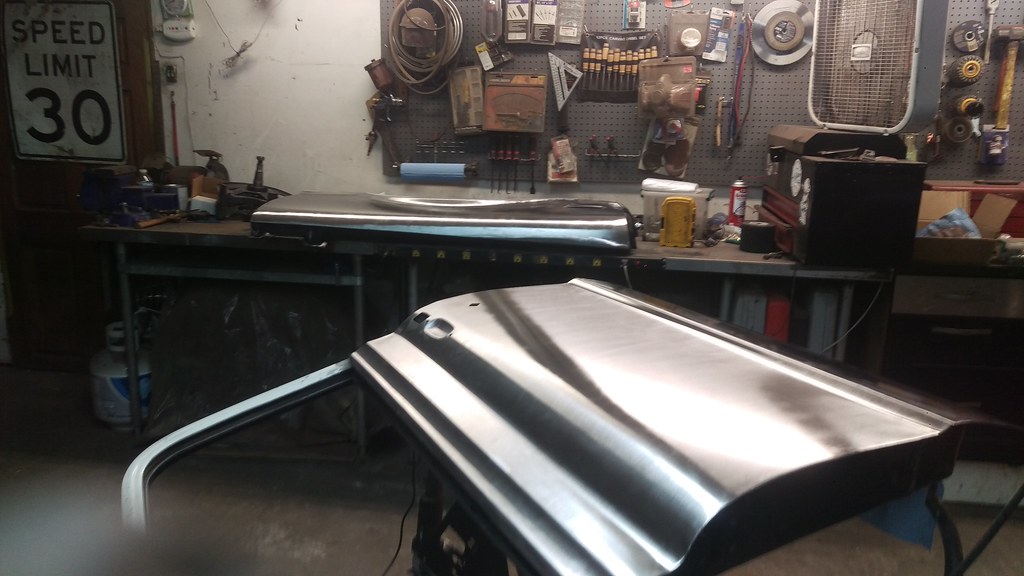 IMAG1778 by jarrod vanwinkle, on Flickr IMAG1778 by jarrod vanwinkle, on FlickrGetting ready for clear coat. 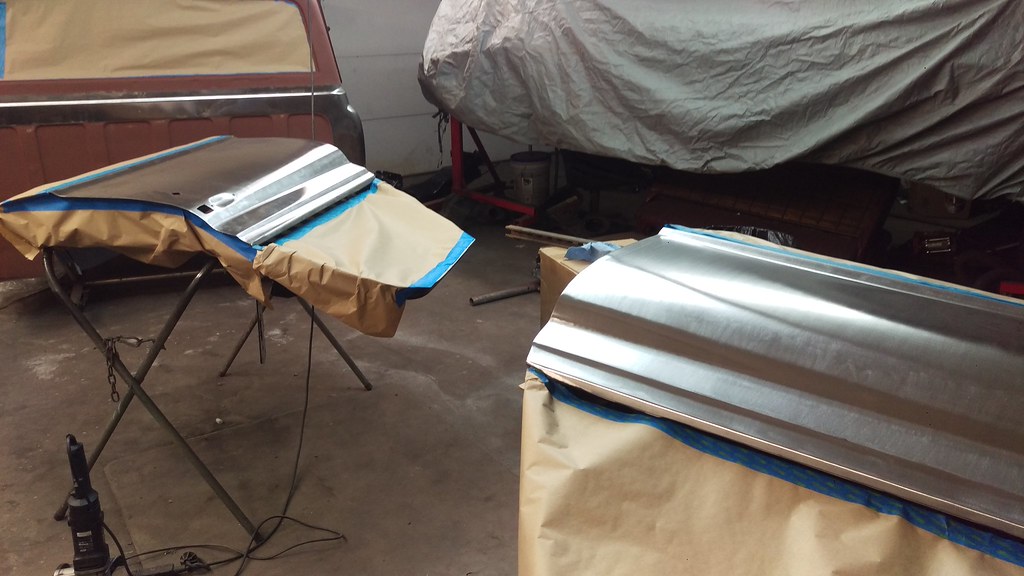 IMAG1779 by jarrod vanwinkle, on Flickr IMAG1779 by jarrod vanwinkle, on FlickrAnd some clear! 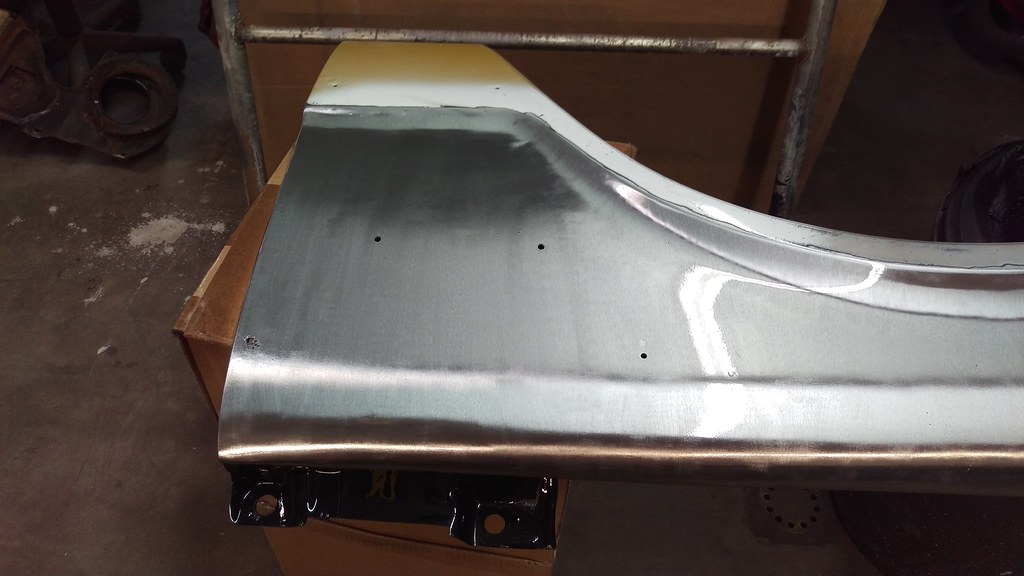 IMAG1781 by jarrod vanwinkle, on Flickr IMAG1781 by jarrod vanwinkle, on Flickr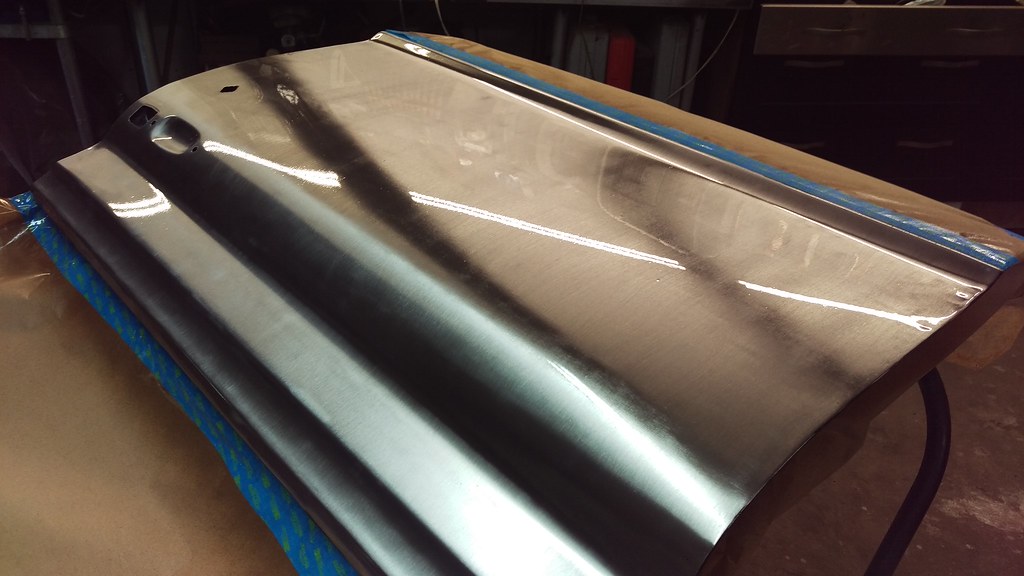 IMAG1780 by jarrod vanwinkle, on Flickr IMAG1780 by jarrod vanwinkle, on Flickr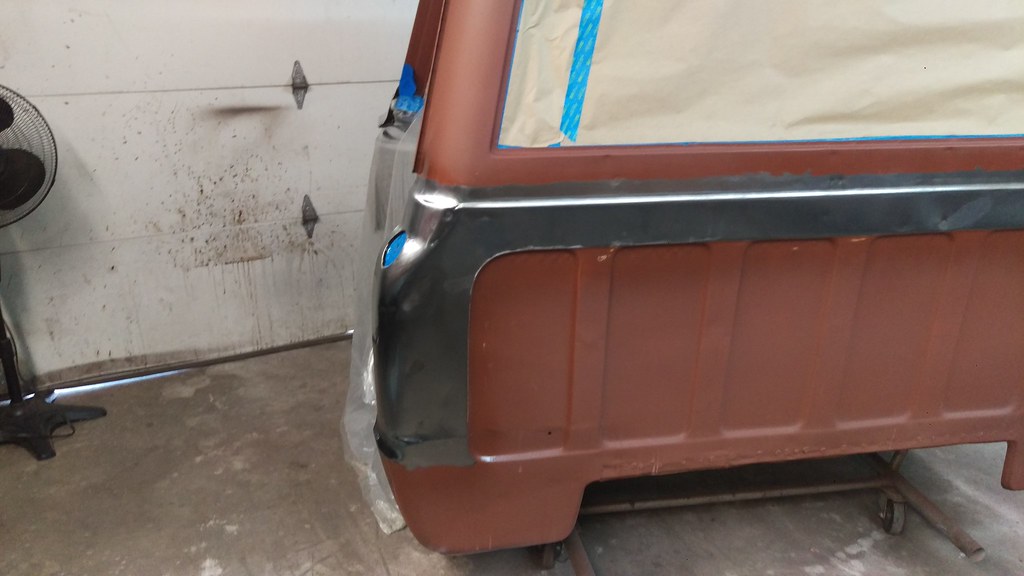 IMAG1783 by jarrod vanwinkle, on Flickr IMAG1783 by jarrod vanwinkle, on Flickr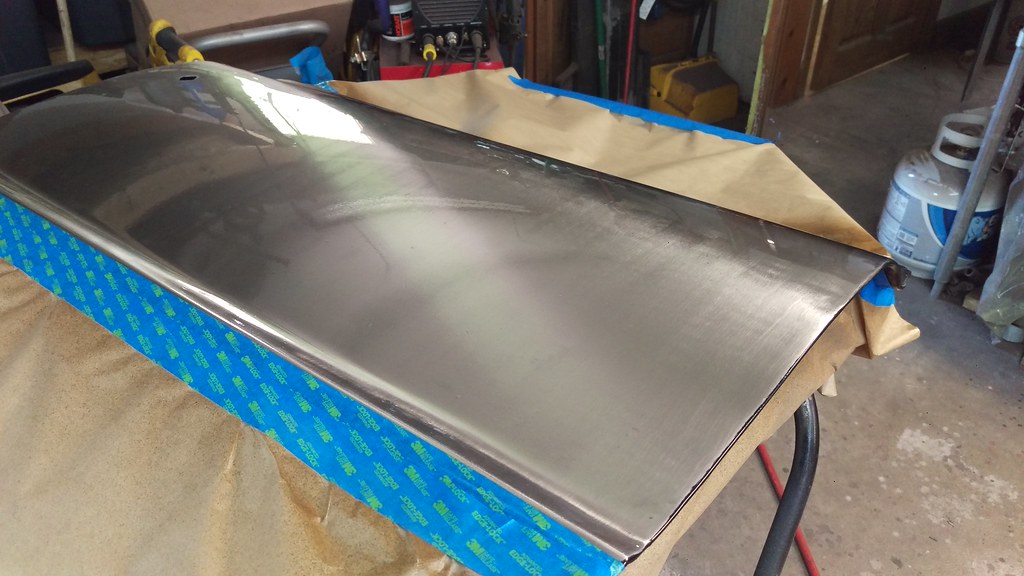 IMAG1782 by jarrod vanwinkle, on Flickr IMAG1782 by jarrod vanwinkle, on Flickr IMAG1784 by jarrod vanwinkle, on Flickr IMAG1784 by jarrod vanwinkle, on FlickrMy bell housing came in yesterday!  IMAG1786 by jarrod vanwinkle, on Flickr IMAG1786 by jarrod vanwinkle, on Flickr IMAG1787 by jarrod vanwinkle, on Flickr IMAG1787 by jarrod vanwinkle, on Flickr IMAG1788 by jarrod vanwinkle, on Flickr IMAG1788 by jarrod vanwinkle, on FlickrTest fit! 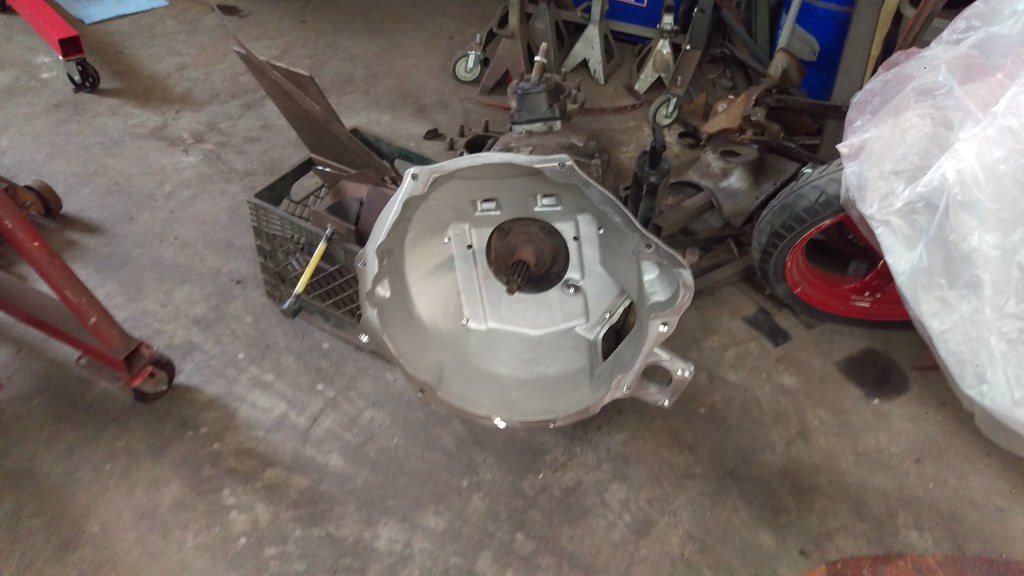 IMAG1789 by jarrod vanwinkle, on Flickr IMAG1789 by jarrod vanwinkle, on FlickrI have a 95 GM NV4500 so the lower two bolt holes are wrong and I will have to have the input shaft retainer turned down to fit the trans. But the 95 GM uses the same gearing as the dodge so I won't have to swap the gears out. So I bolted the two bellhousings together and drilled out the lower two holes. 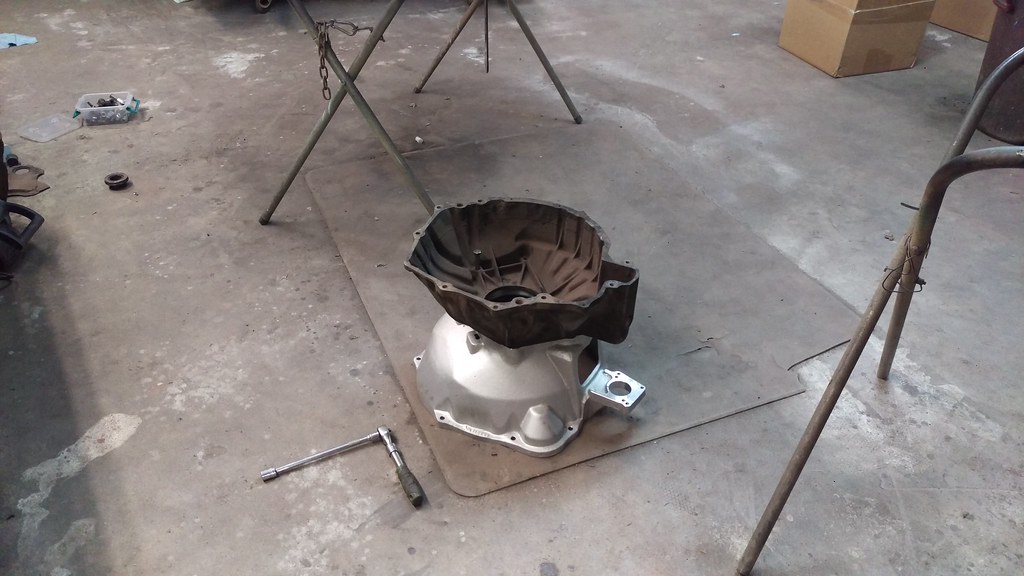 IMAG1790 by jarrod vanwinkle, on Flickr IMAG1790 by jarrod vanwinkle, on Flickr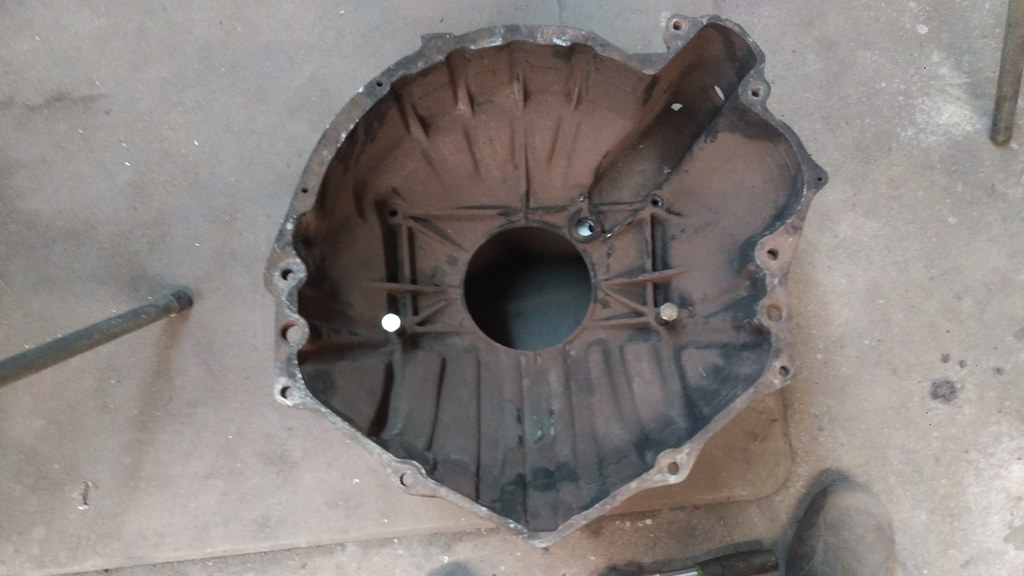 IMAG1791 by jarrod vanwinkle, on Flickr IMAG1791 by jarrod vanwinkle, on FlickrThen I taped the new holes. 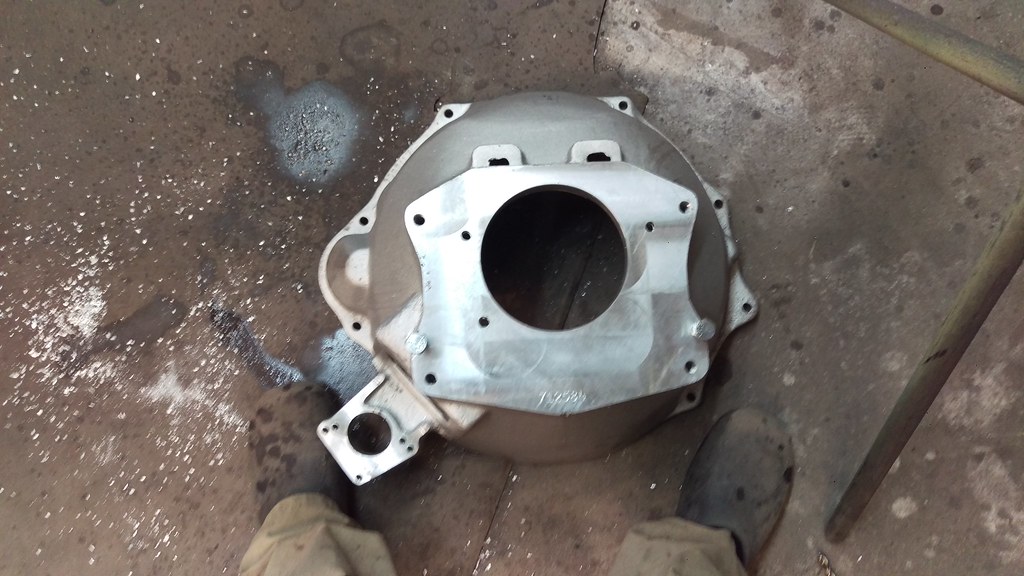 IMAG1792 by jarrod vanwinkle, on Flickr IMAG1792 by jarrod vanwinkle, on Flickr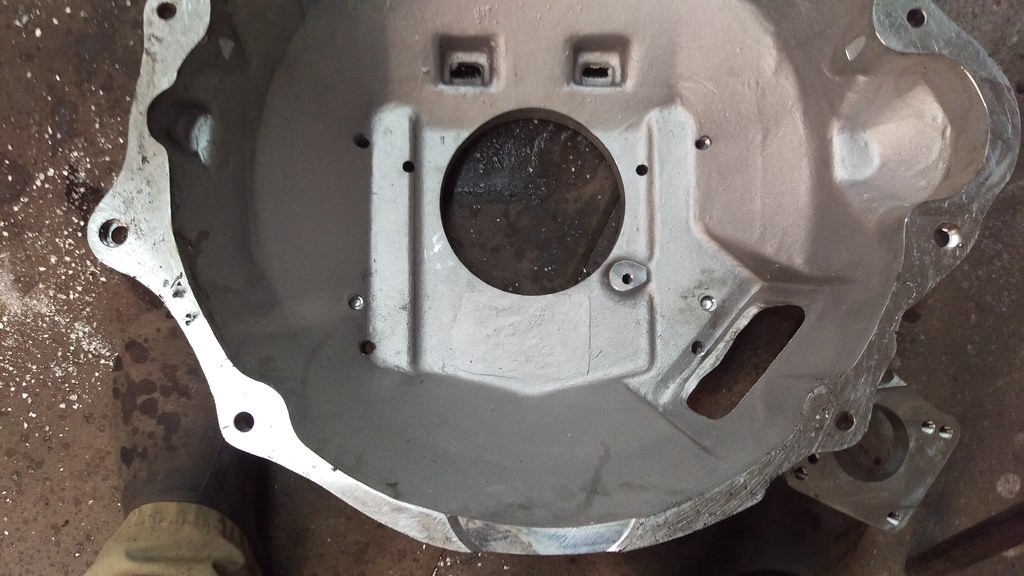 IMAG1793 by jarrod vanwinkle, on Flickr IMAG1793 by jarrod vanwinkle, on Flickr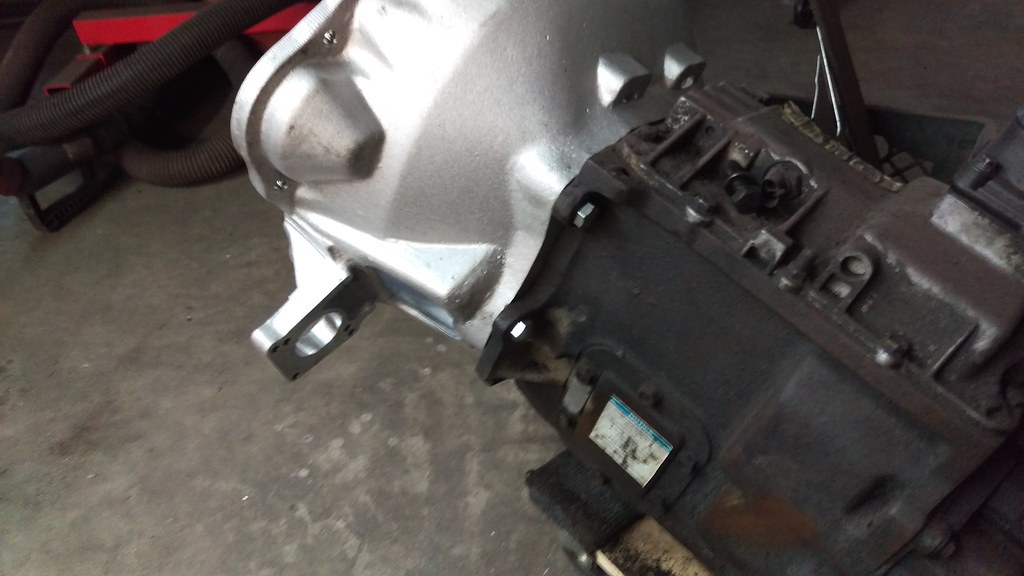 IMAG1794 by jarrod vanwinkle, on Flickr IMAG1794 by jarrod vanwinkle, on Flickr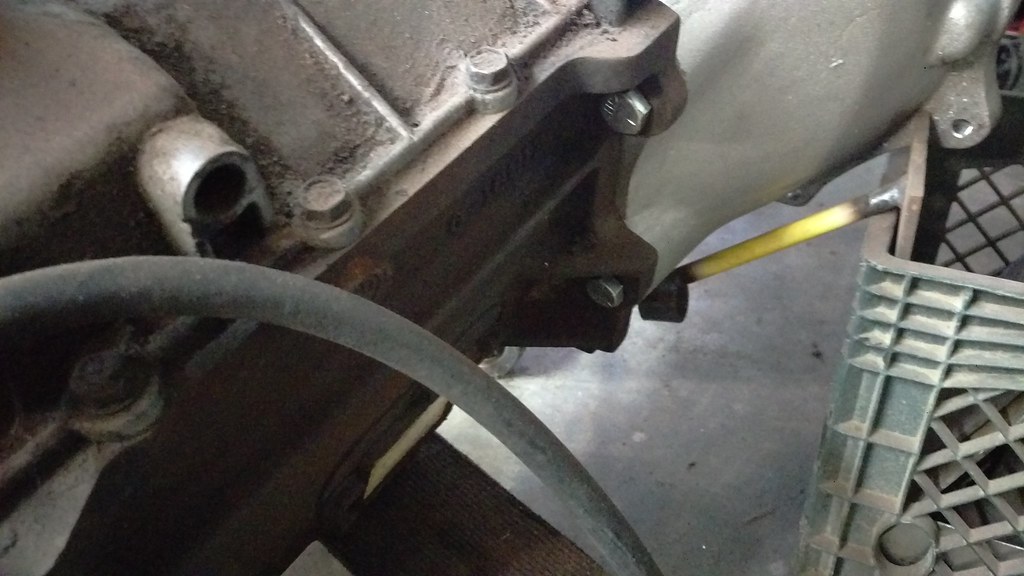 IMAG1795 by jarrod vanwinkle, on Flickr IMAG1795 by jarrod vanwinkle, on FlickrSo I may have messed up. I probably should have bought a dodge Nv4500 bellhousing instead of the adapter housing. And bought the engine adapter and starter. As I can not find a clutch fork as the adapter bellhousing I bought you are supposed to use the Getrag 360 clutch fork and it is pretty much impossible to find one and the last listing I found for one for sale was $400 for one. So if anyone knows where one is for less then a $100 let me know. So my plan for now is to cut up the chevy one and see if I can make it work. |
|
|
|

|
|
|
#42 |
|
Registered User
Join Date: Sep 2017
Location: Patriot IN
Posts: 163
|
Re: 1970 C30 Car hauler Buildish thread.
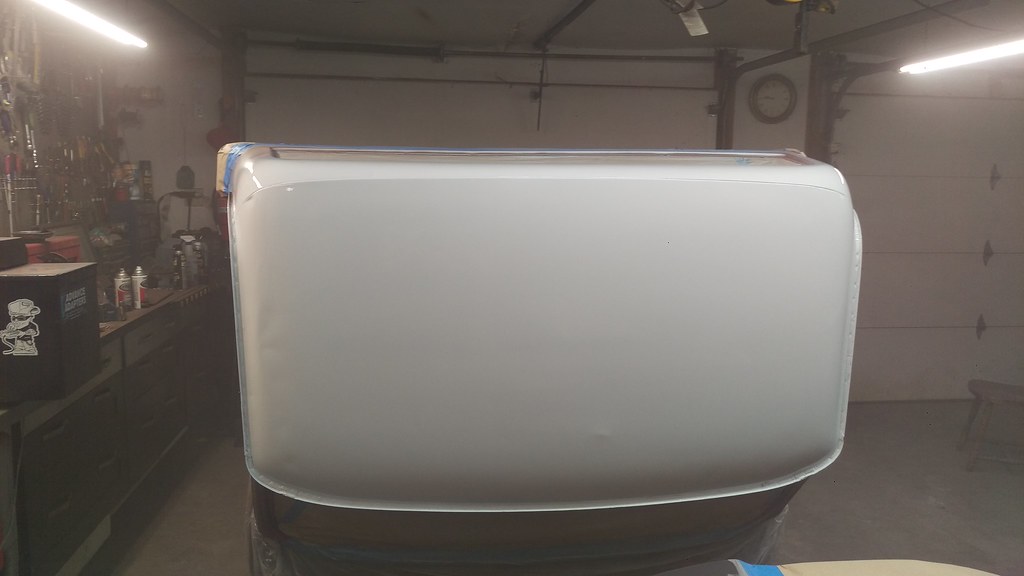
Cab and doors are Painted!
 IMAG1802 by jarrod vanwinkle, on Flickr IMAG1802 by jarrod vanwinkle, on Flickr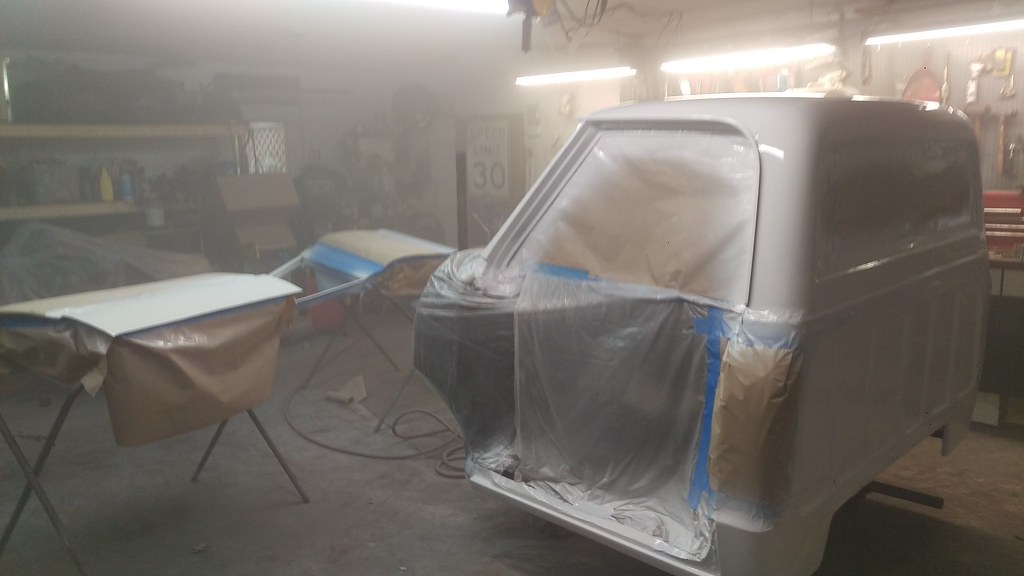 IMAG1803 by jarrod vanwinkle, on Flickr IMAG1803 by jarrod vanwinkle, on Flickr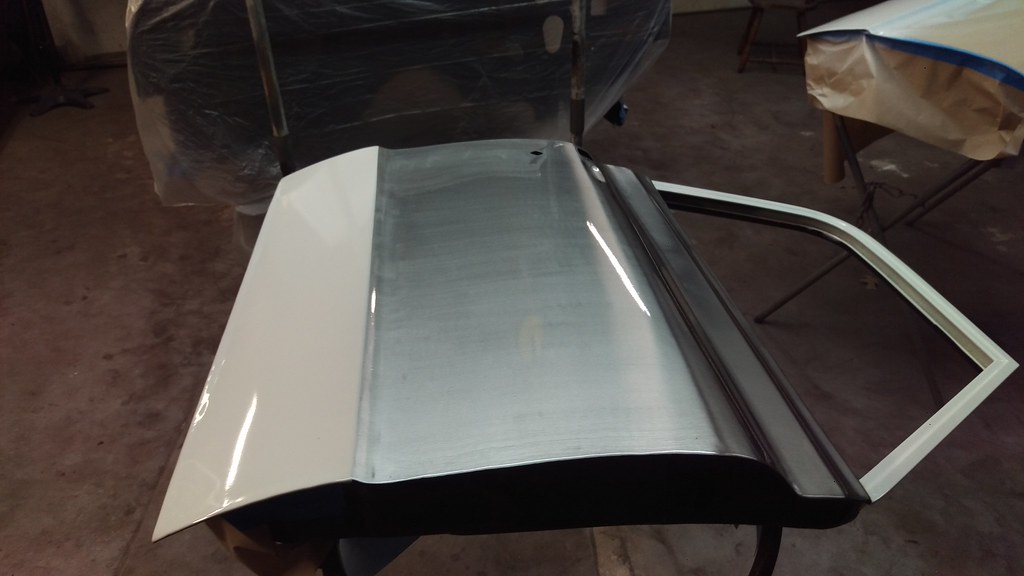 IMAG1805 by jarrod vanwinkle, on Flickr IMAG1805 by jarrod vanwinkle, on Flickr[IMG] 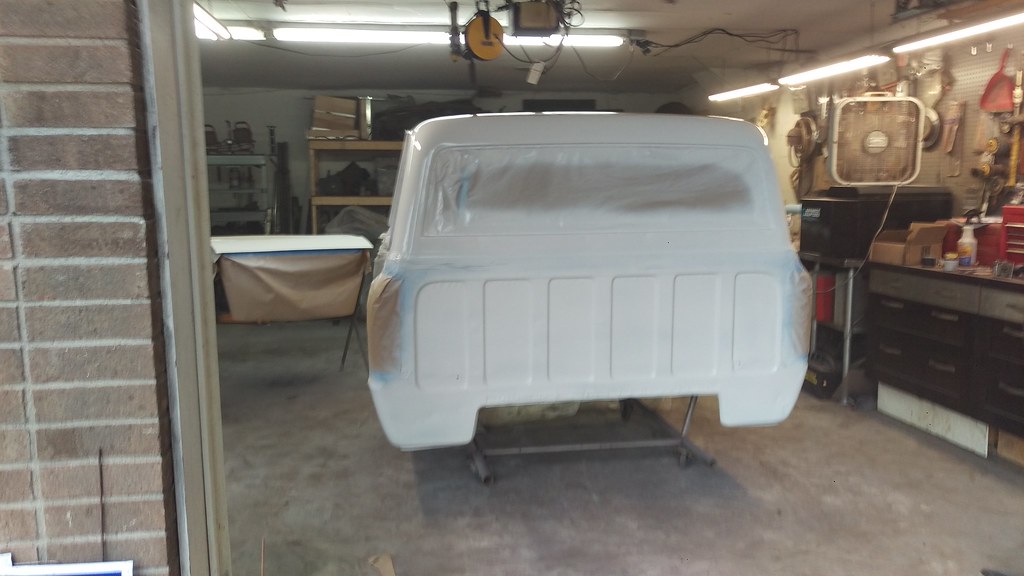 IMAG1804 by jarrod vanwinkle, on Flickr[/IMG] IMAG1804 by jarrod vanwinkle, on Flickr[/IMG][IMG] 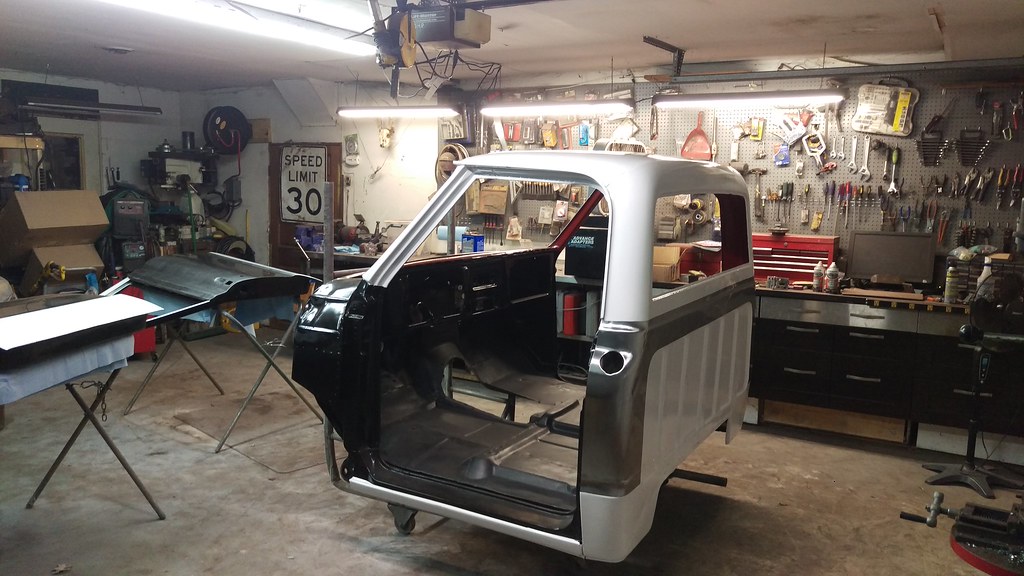 IMAG1806 by jarrod vanwinkle, on Flickr[/IMG] IMAG1806 by jarrod vanwinkle, on Flickr[/IMG]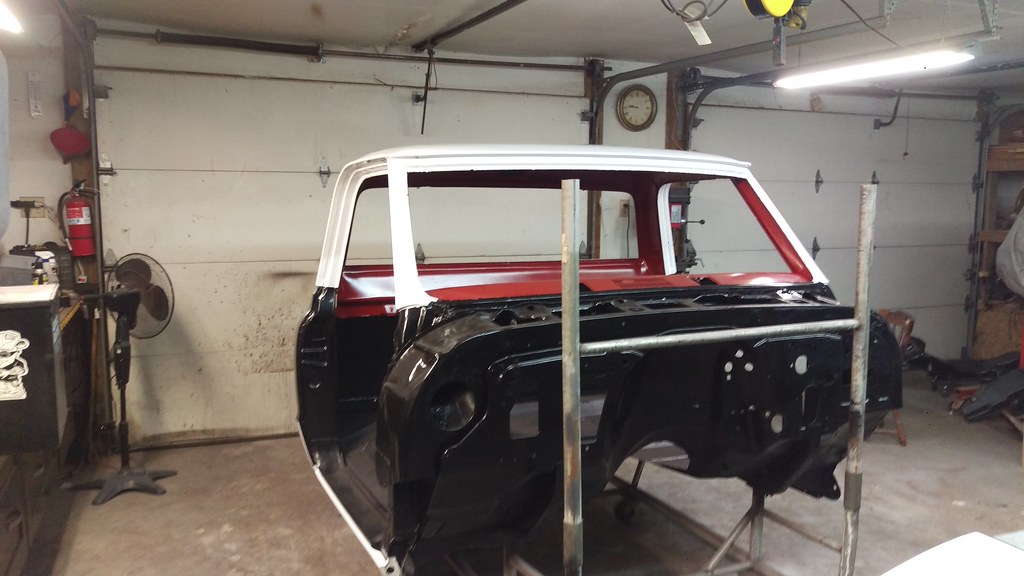 IMAG1807 by jarrod vanwinkle, on Flickr IMAG1807 by jarrod vanwinkle, on Flickr[IMG] 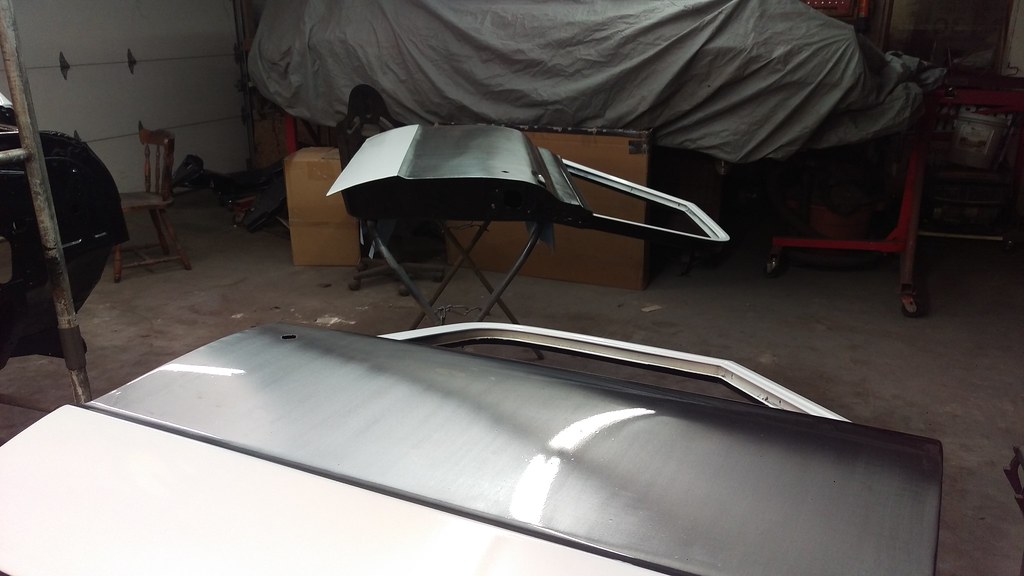 IMAG1808 by jarrod vanwinkle, on Flickr[/IMG] IMAG1808 by jarrod vanwinkle, on Flickr[/IMG]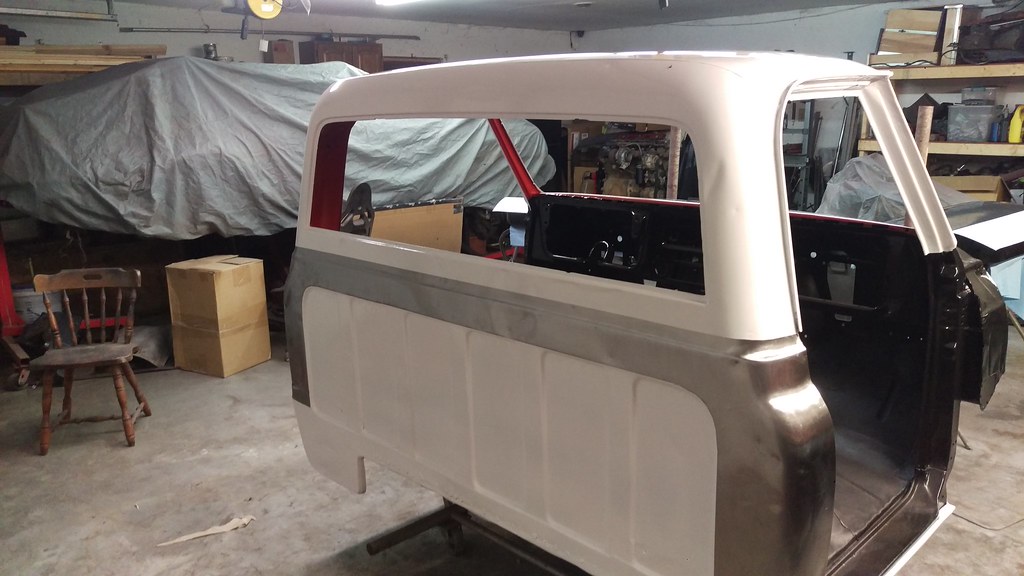 IMAG1809 by jarrod vanwinkle, on Flickr IMAG1809 by jarrod vanwinkle, on Flickr
|
|
|

|
|
|
#43 |
|
6>8 Plugless........
 Join Date: Sep 2007
Location: Prairie City, Ia
Posts: 17,139
|
Re: 1970 C30 Car hauler Buildish thread.
Very nice work on the cab and paint work! I love what you're doing with it! Nice choice on the intercooled VE! I don't know where you read or heard that these like to run away but I have to call BS on that. Now, if the turbo starts blowing oil out of the compressor side, it could run a way. But it is not a common thing on them. As far as the flywheel, you'd probably still use a 1st gen flywheel. I am not sure as I never used that adapter. For a clutch fork call this guy and see if he has one. Mark 402-780-5127. If he doesn't have one, he probably can find one.
The alternator and ac were operated by the computer on the first gens. You can get a 1 wire alternator for these, or use a mid 90s Ford F250 external voltage regulator. I have some info in the Diesel conversion section of this site on them. I think I remember you put a newer steering box on this truck? If so you can use the lines from a square body with a hydroboost. You will have to tweak them to fit nice in there but they work. If I was you I'd get a 2nd gen radiator and intercooler and modify your radiator support to fit them in. I used a stock 4 core BBC radiator in my 72 and I will be putting a 2nd gen dodge one in eventually. My truck will run warm when hauling 5th wheels. Hauling 20k open trailers it is fine. But that wind resistance makes it work more and my engine isn't stock so that doesn't help either.
__________________
Ryan 1972 Chevy Longhorn K30 Cheyenne Super, 359 Inline 6 cylinder, Auto Trans, Tilt, Diesel Tach/Vach, Buckets, Rare Rear 4-link and air ride option Build Thread 1972 GMC Sierra Grande Longhorn 4x4 1972 Chevy Cheyenne Super K20 Long Step side tilt, tach, tow hooks, AC, 350 4 speed 1972 C10 Suburban Custom Deluxe 1969 Chevy milk truck 1971 Camaro RS 5.3 BTR STG3 Cam Super T10 1940 Ford 354 Hemi 46RH Ford 9" on air ride huge project Tired of spark plugs? Check this out. |
|
|

|
|
|
#44 | |
|
Registered User
Join Date: Sep 2017
Location: Patriot IN
Posts: 163
|
Re: 1970 C30 Car hauler Buildish thread.
Quote:
Sorry it been such a long time since I have made an update. Back in september I messed my back up at work. I was in the hospital for a week and had to use a wheelchair for a month. I still not 100% I can't say standing for very long or lift anything heavy. I have a damaged disk in my back. I'm weight on insurance to approve a shot. So I can't really do to much at the moment. So here are some pics of stuff that I had got done be for I got hurt. I got the front of the frame painted. 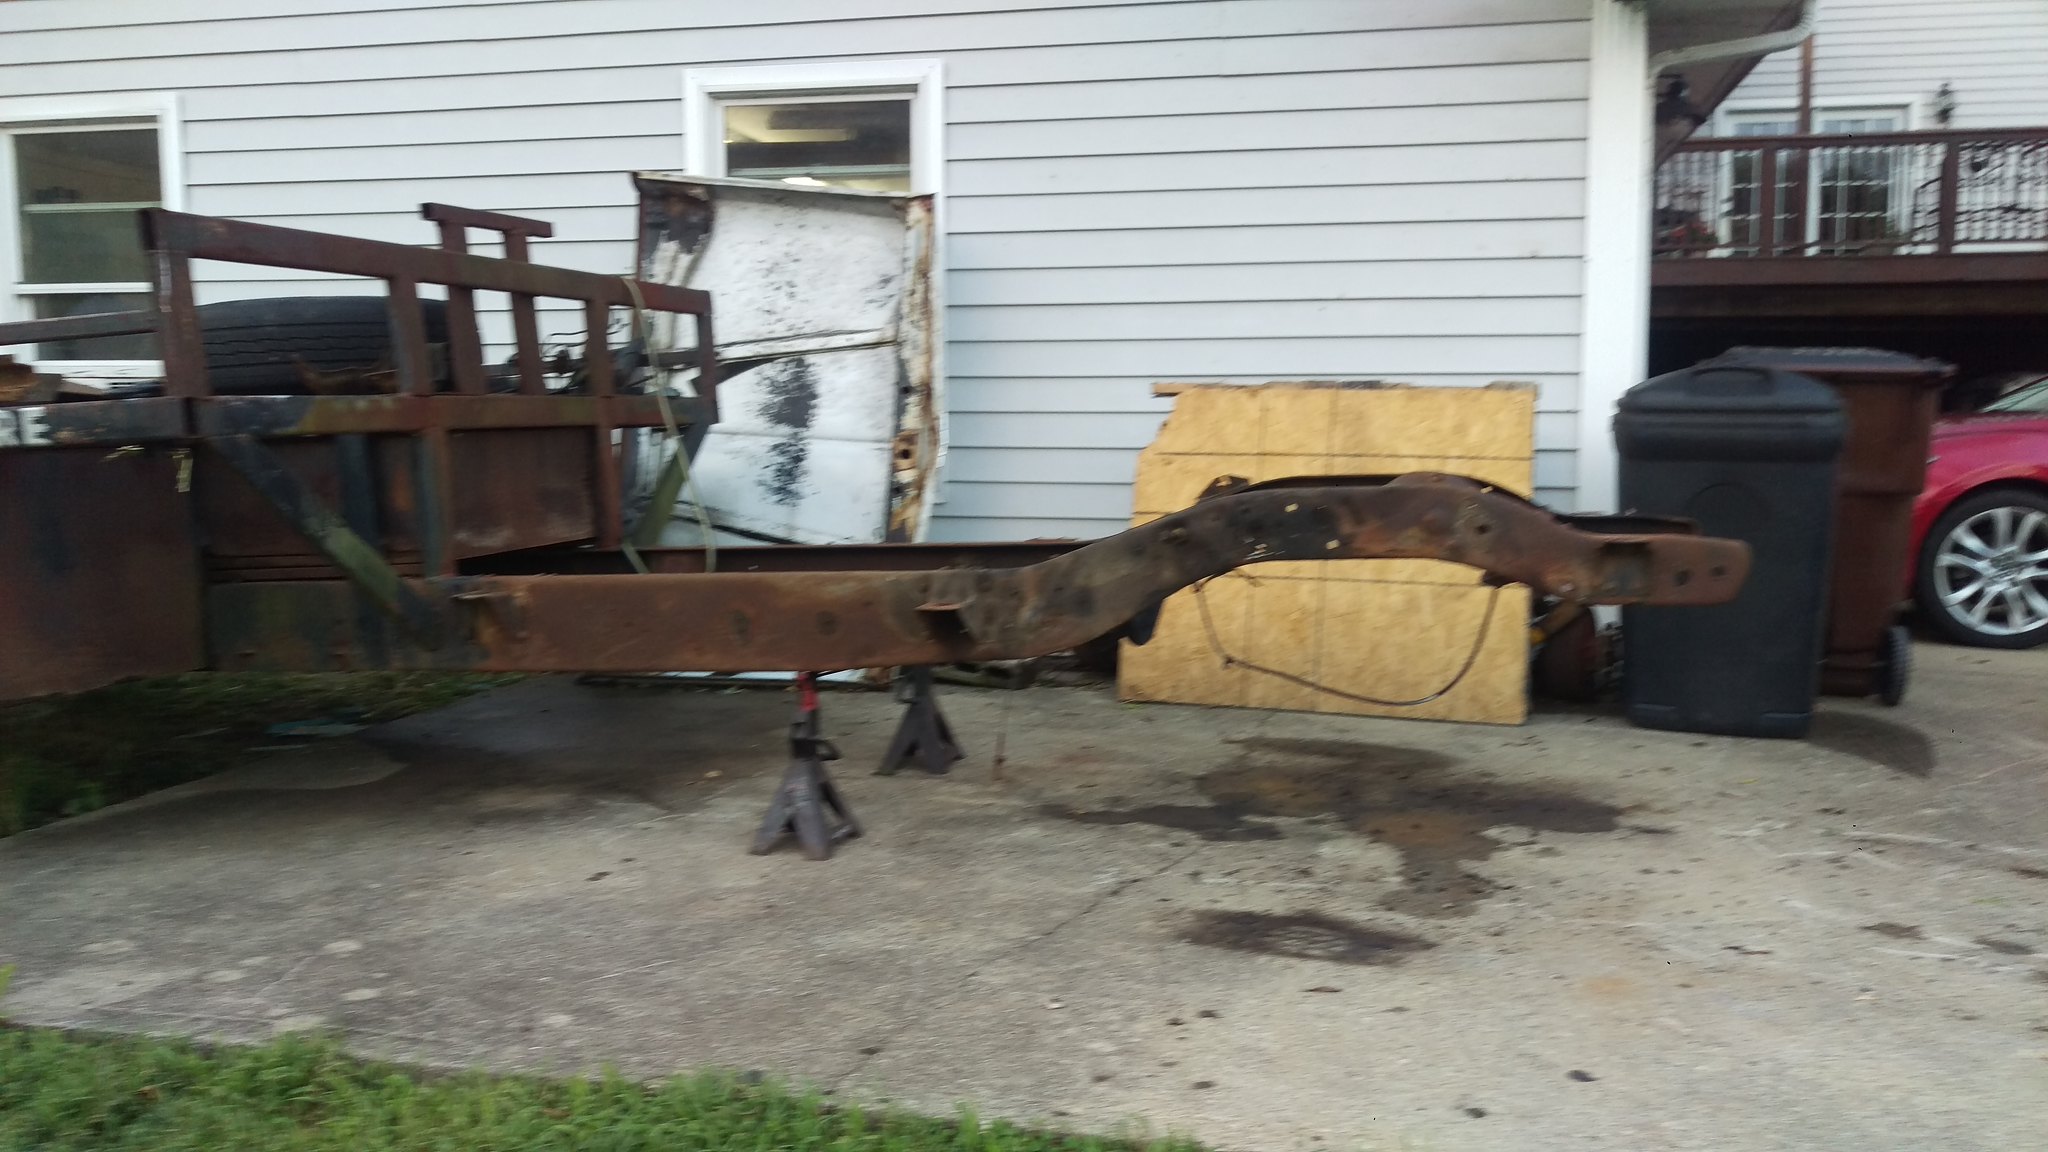 IMAG1821 by jarrod vanwinkle, on Flickr IMAG1821 by jarrod vanwinkle, on Flickr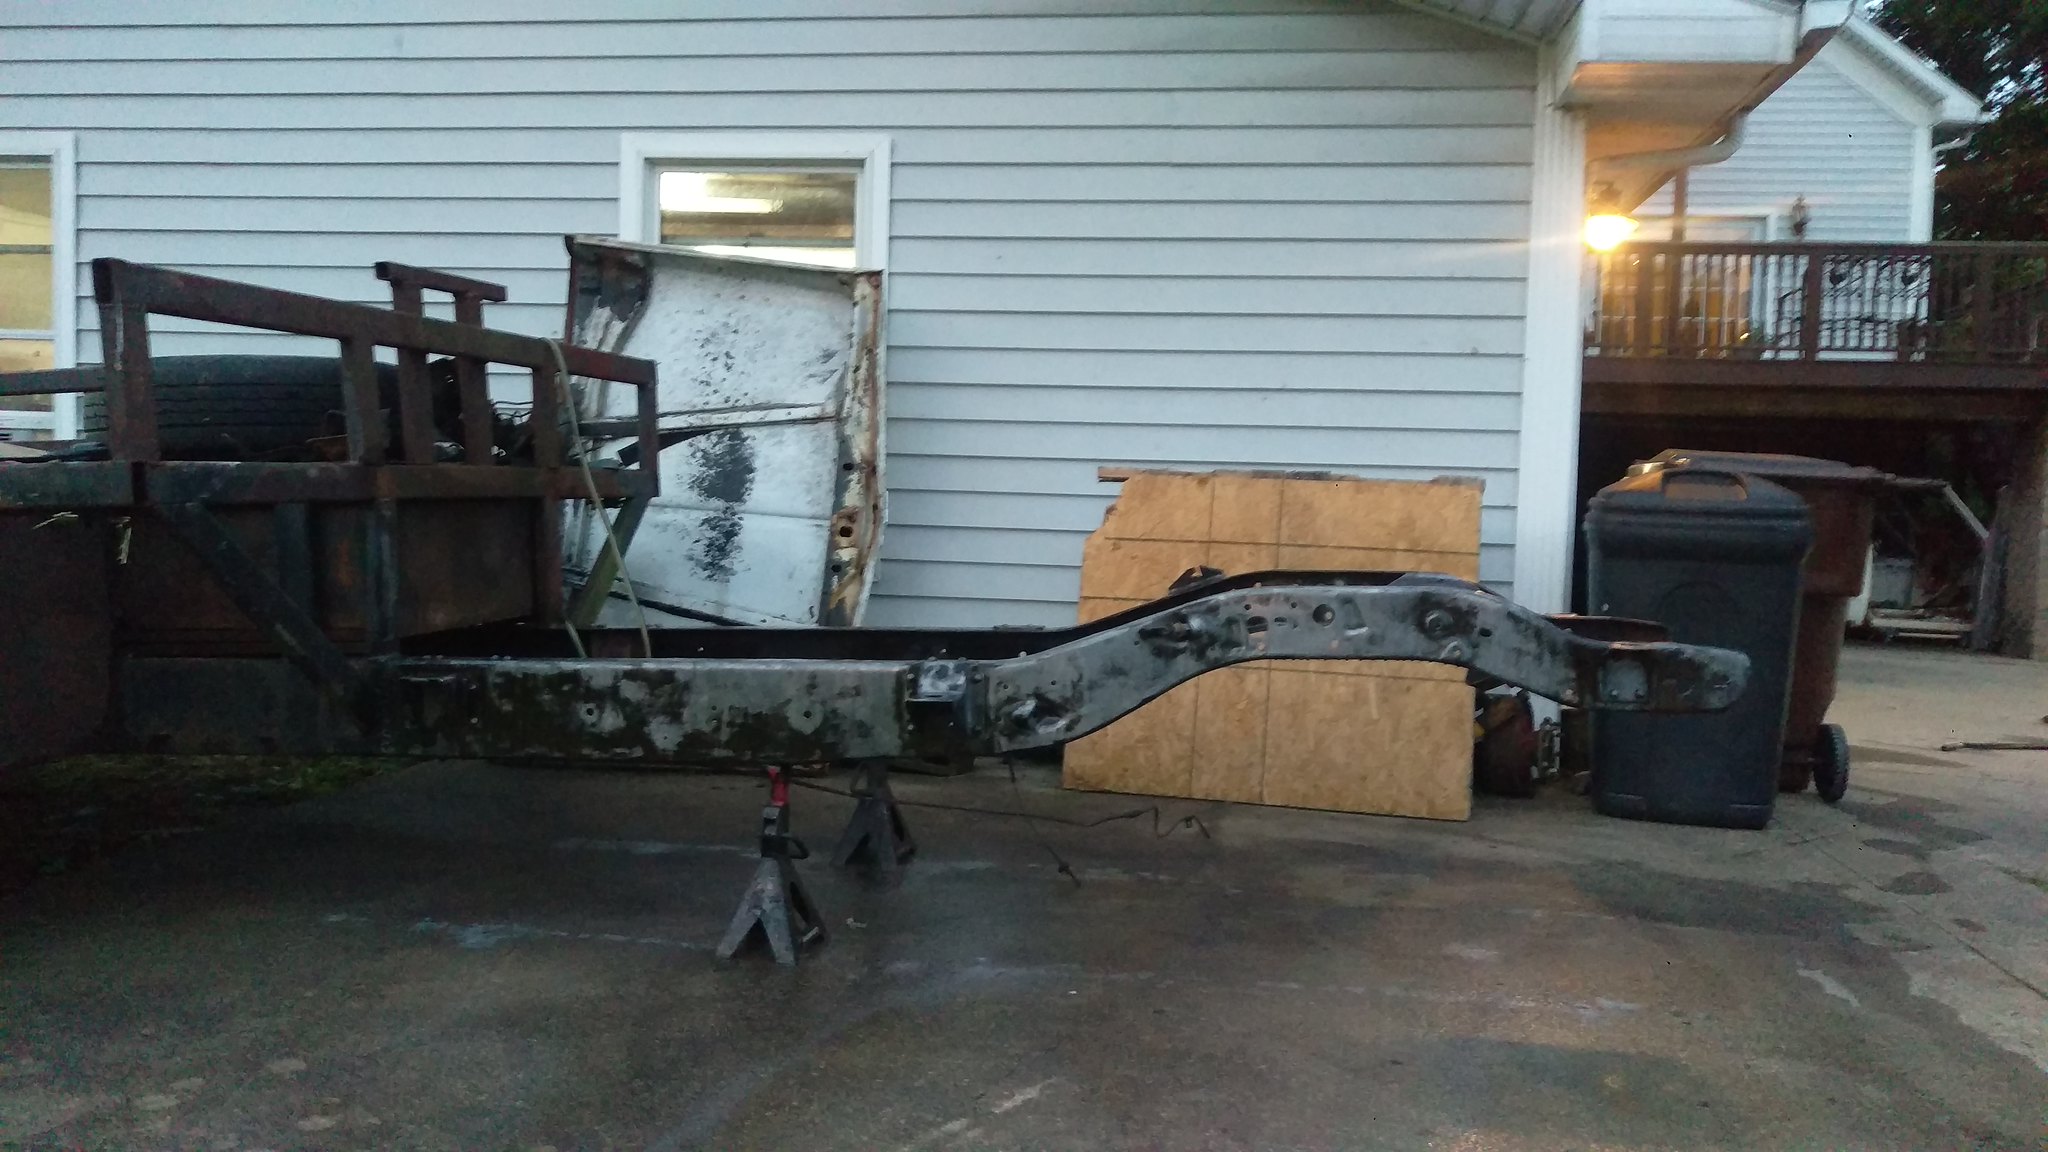 IMAG1822 by jarrod vanwinkle, on Flickr IMAG1822 by jarrod vanwinkle, on Flickr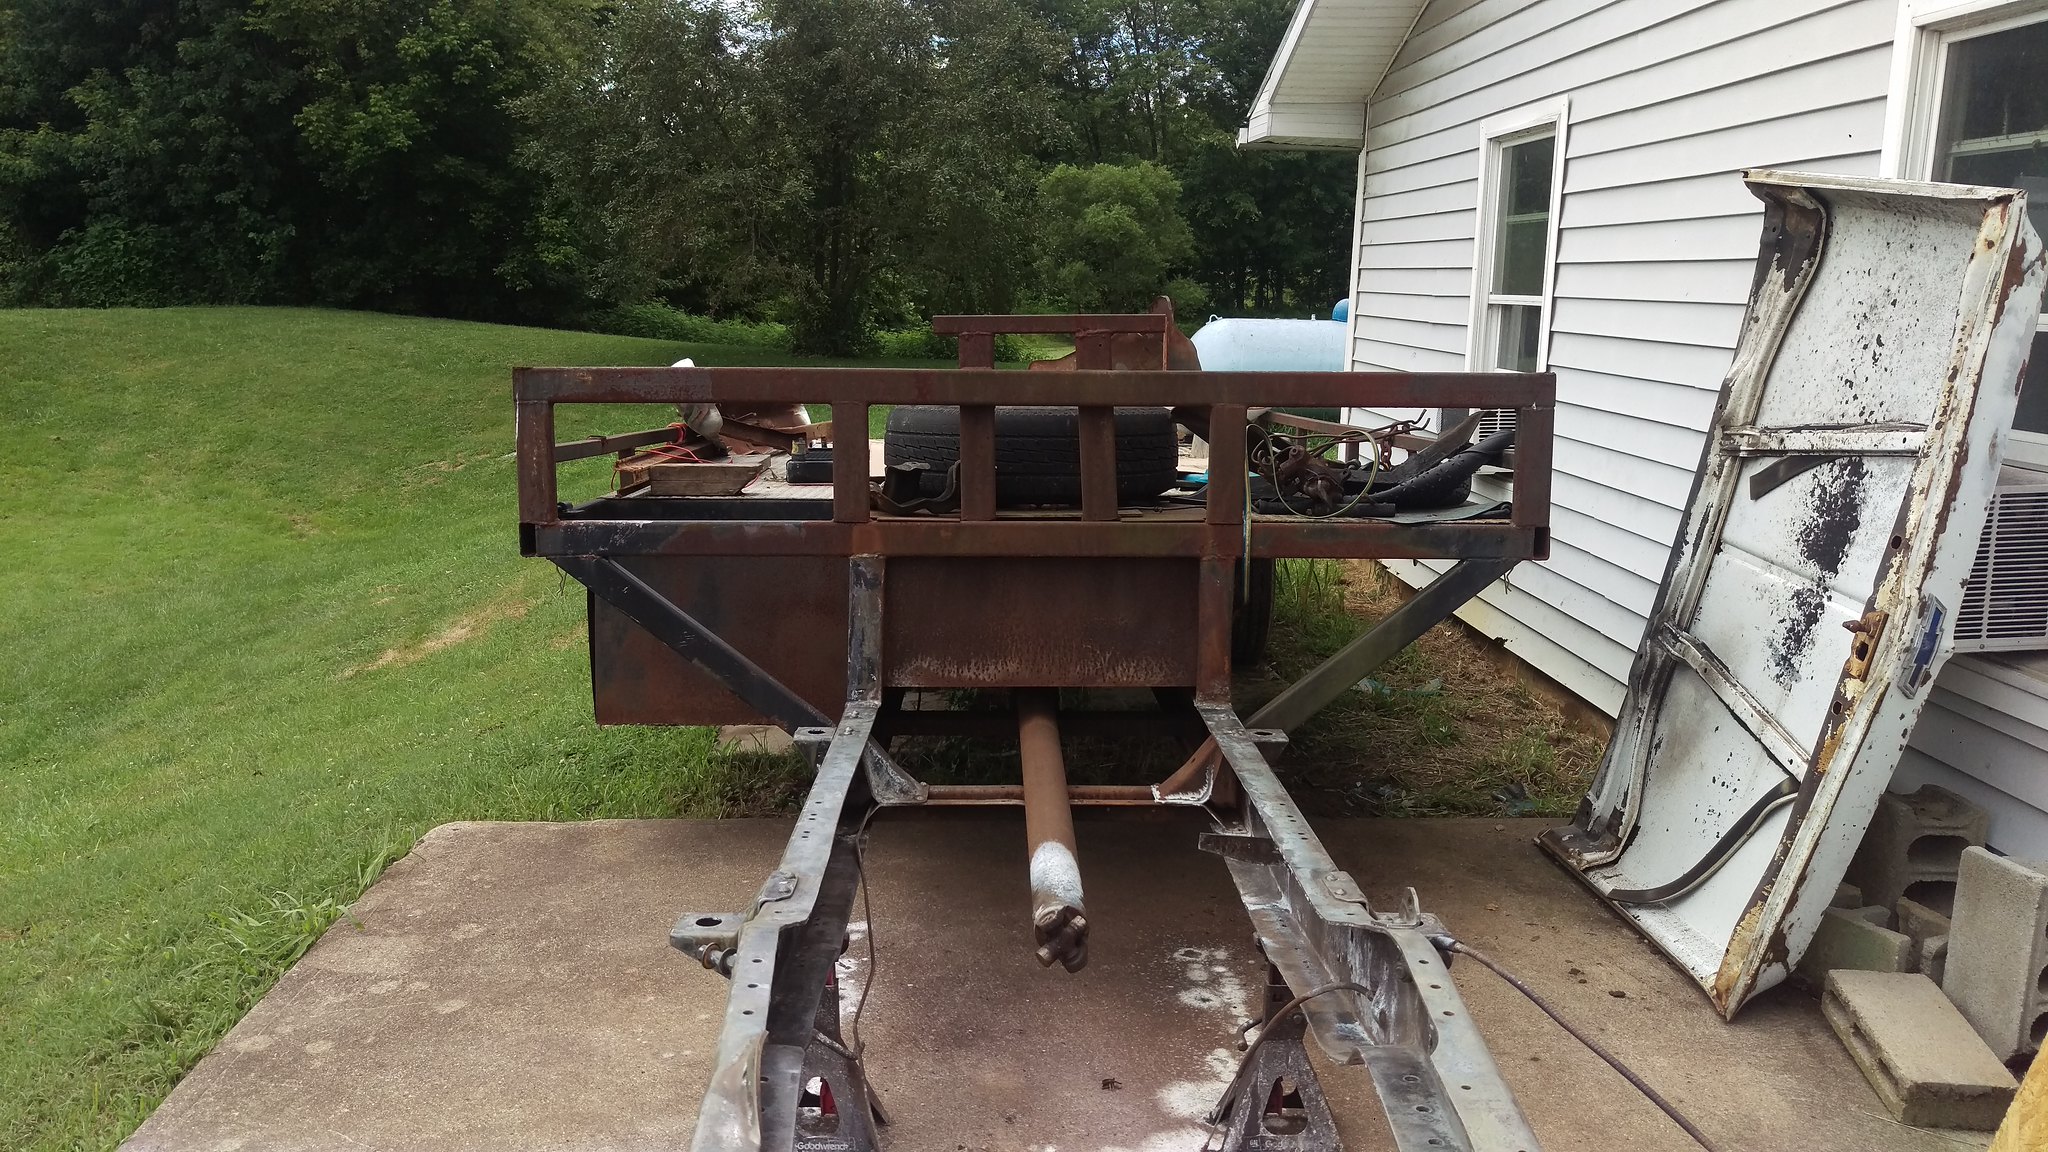 IMAG1825 by jarrod vanwinkle, on Flickr IMAG1825 by jarrod vanwinkle, on Flickr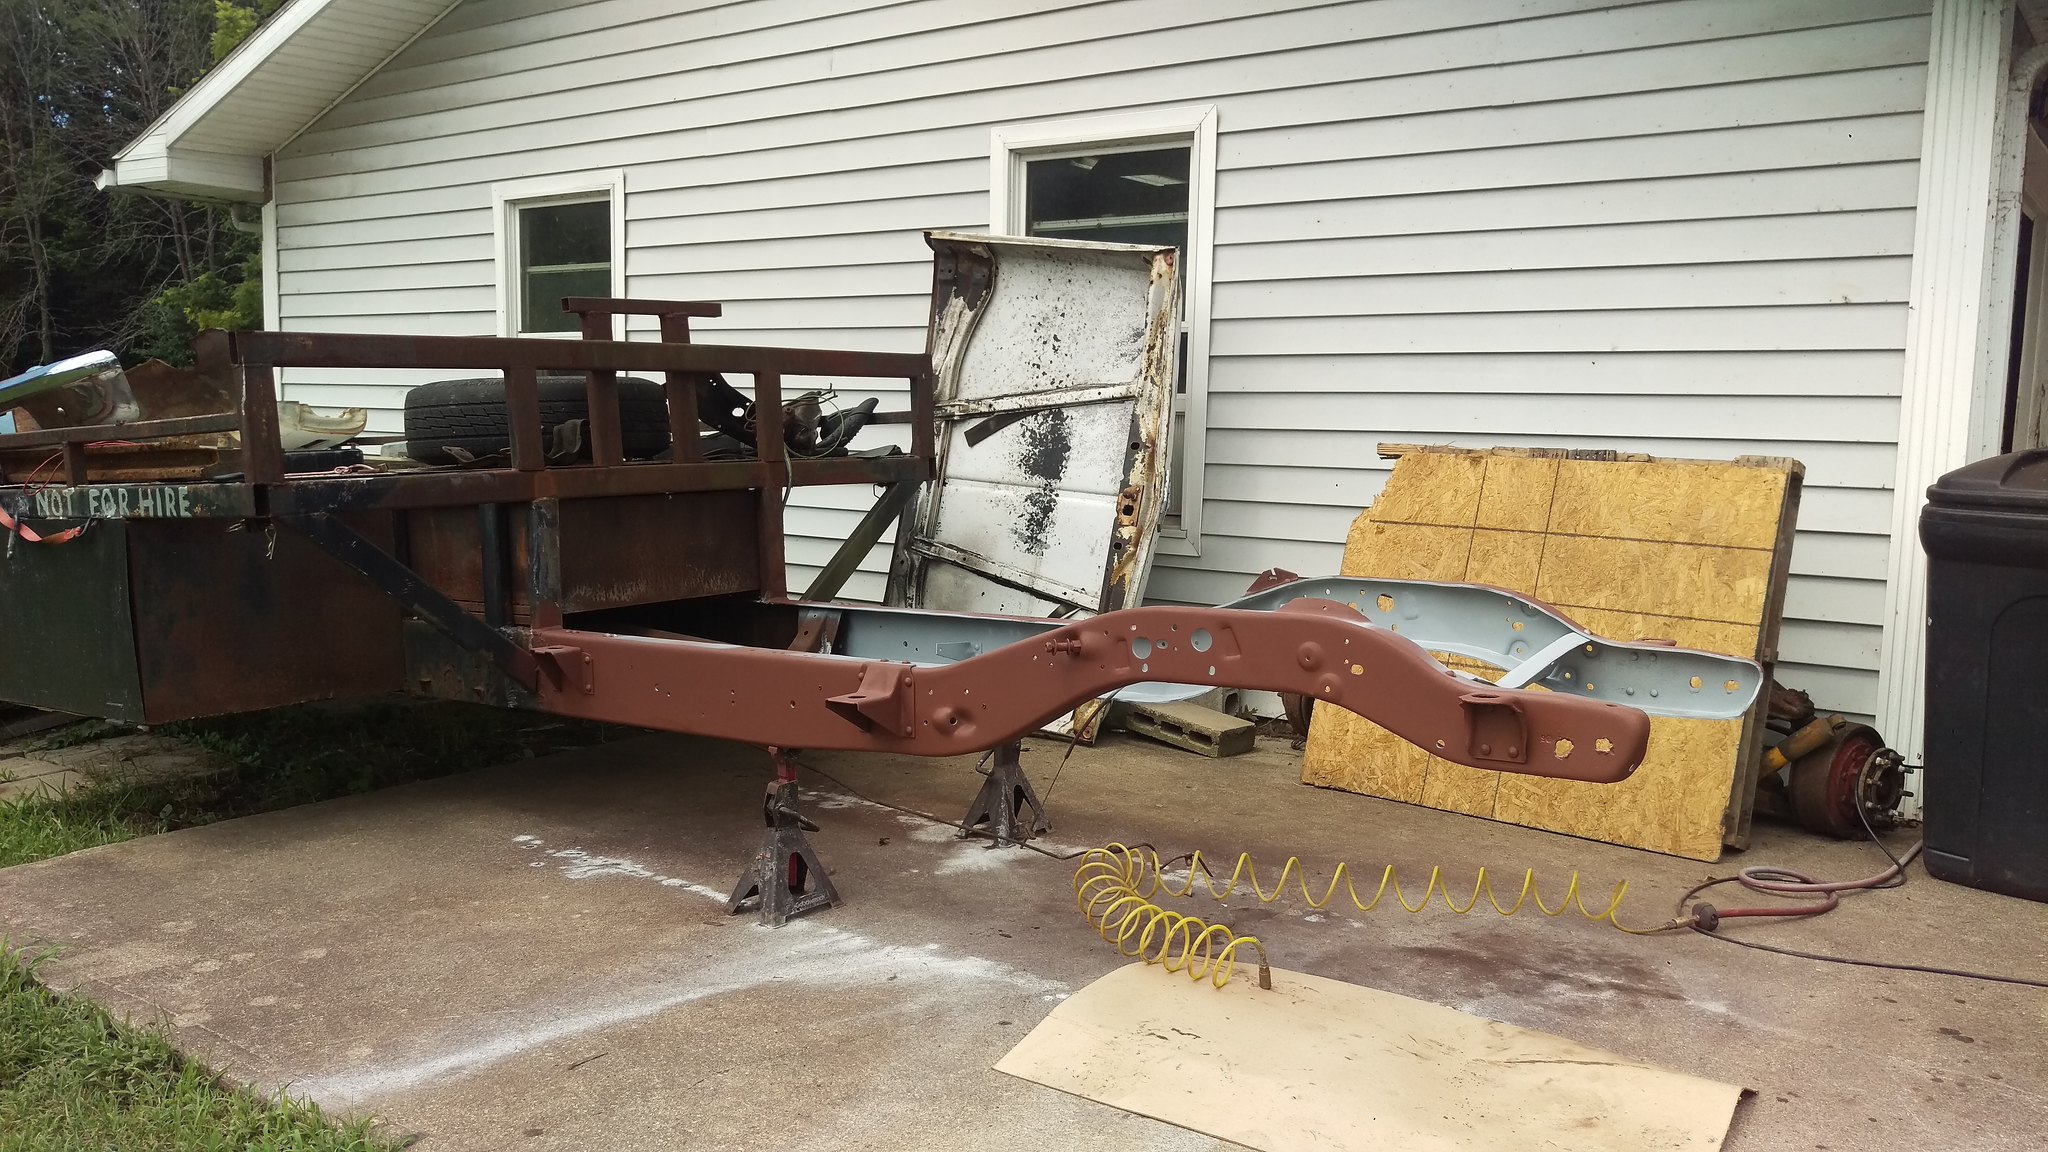 IMAG1826 by jarrod vanwinkle, on Flickr IMAG1826 by jarrod vanwinkle, on Flickr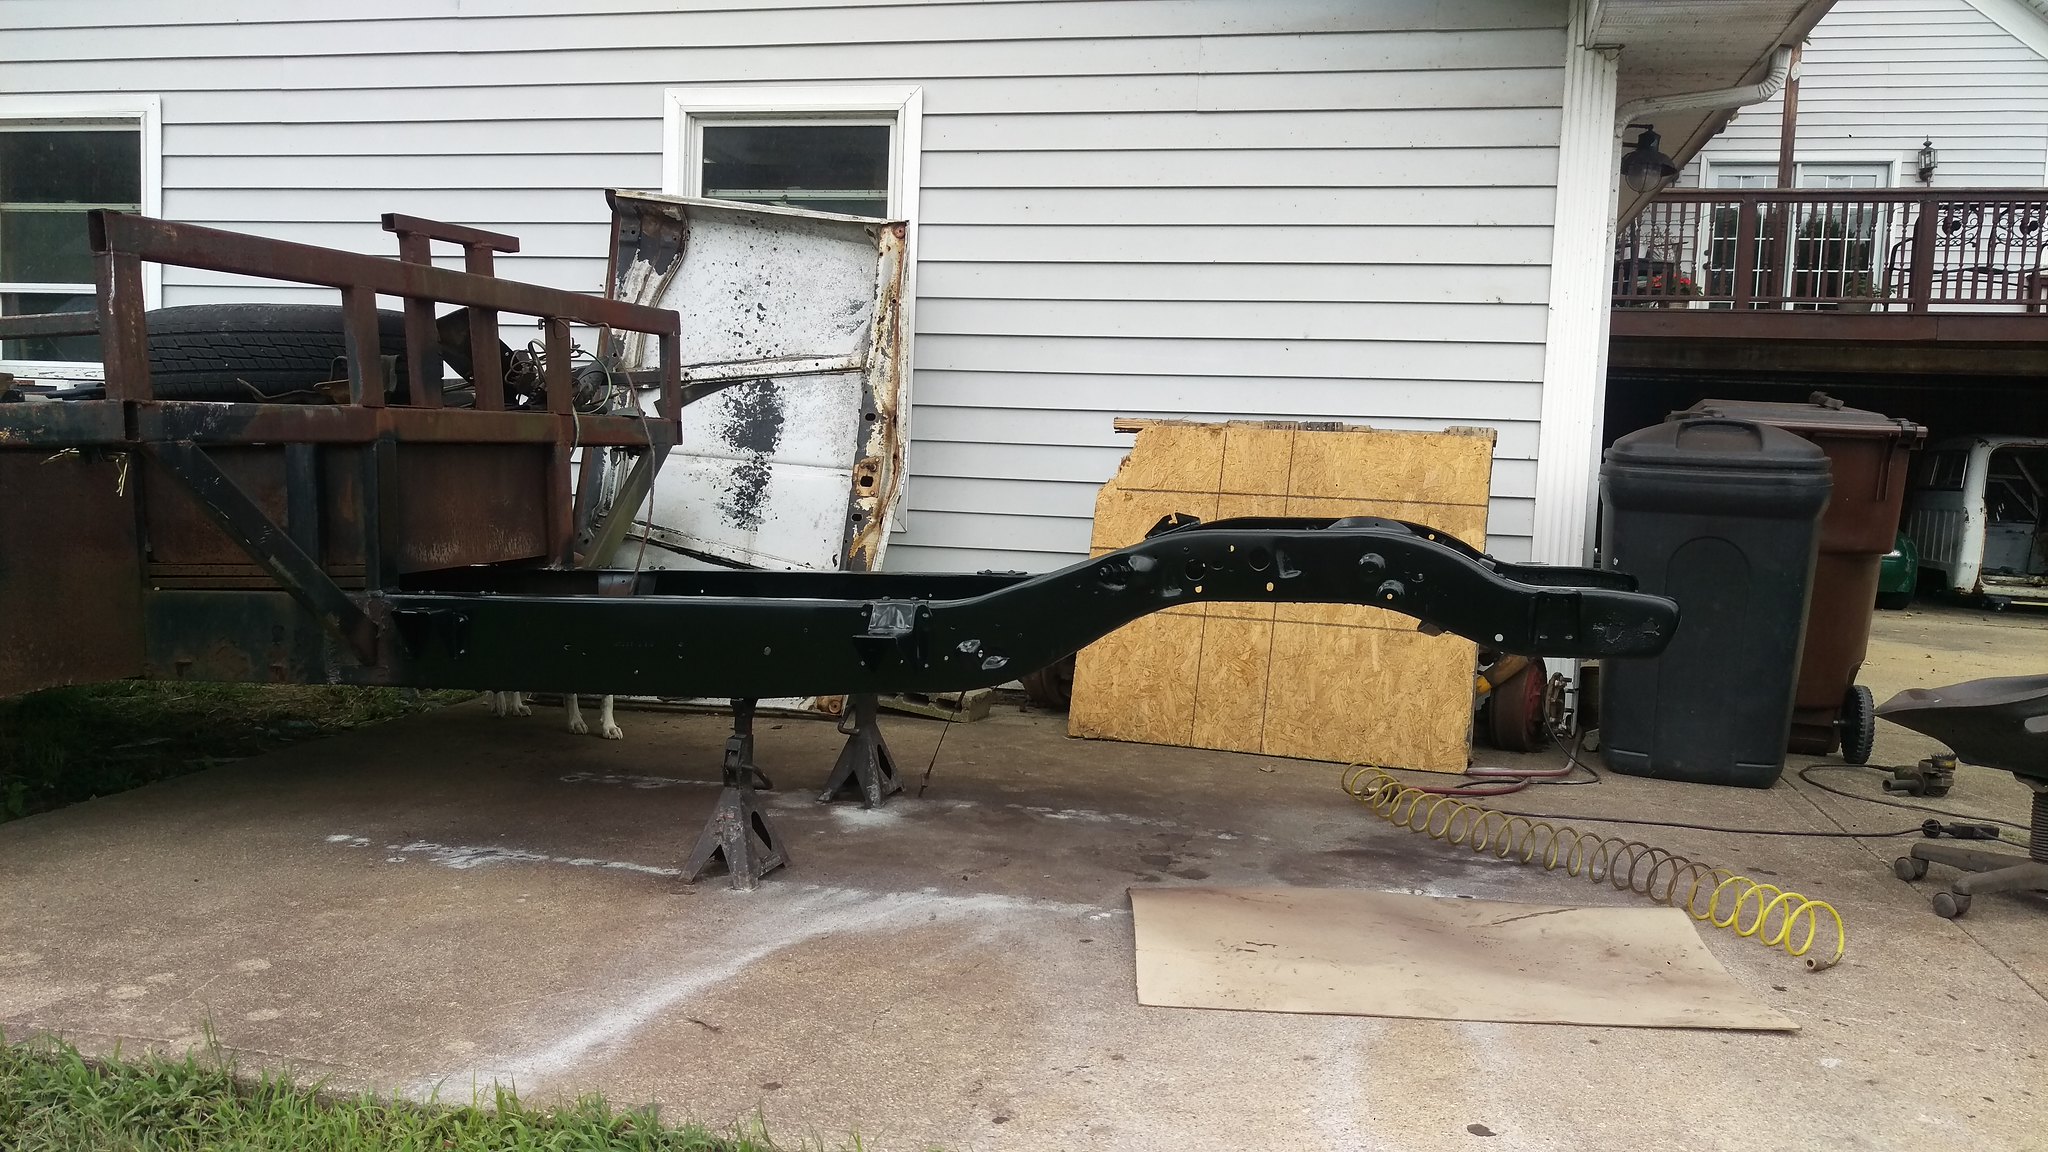 IMAG1827 by jarrod vanwinkle, on Flickr IMAG1827 by jarrod vanwinkle, on Flickr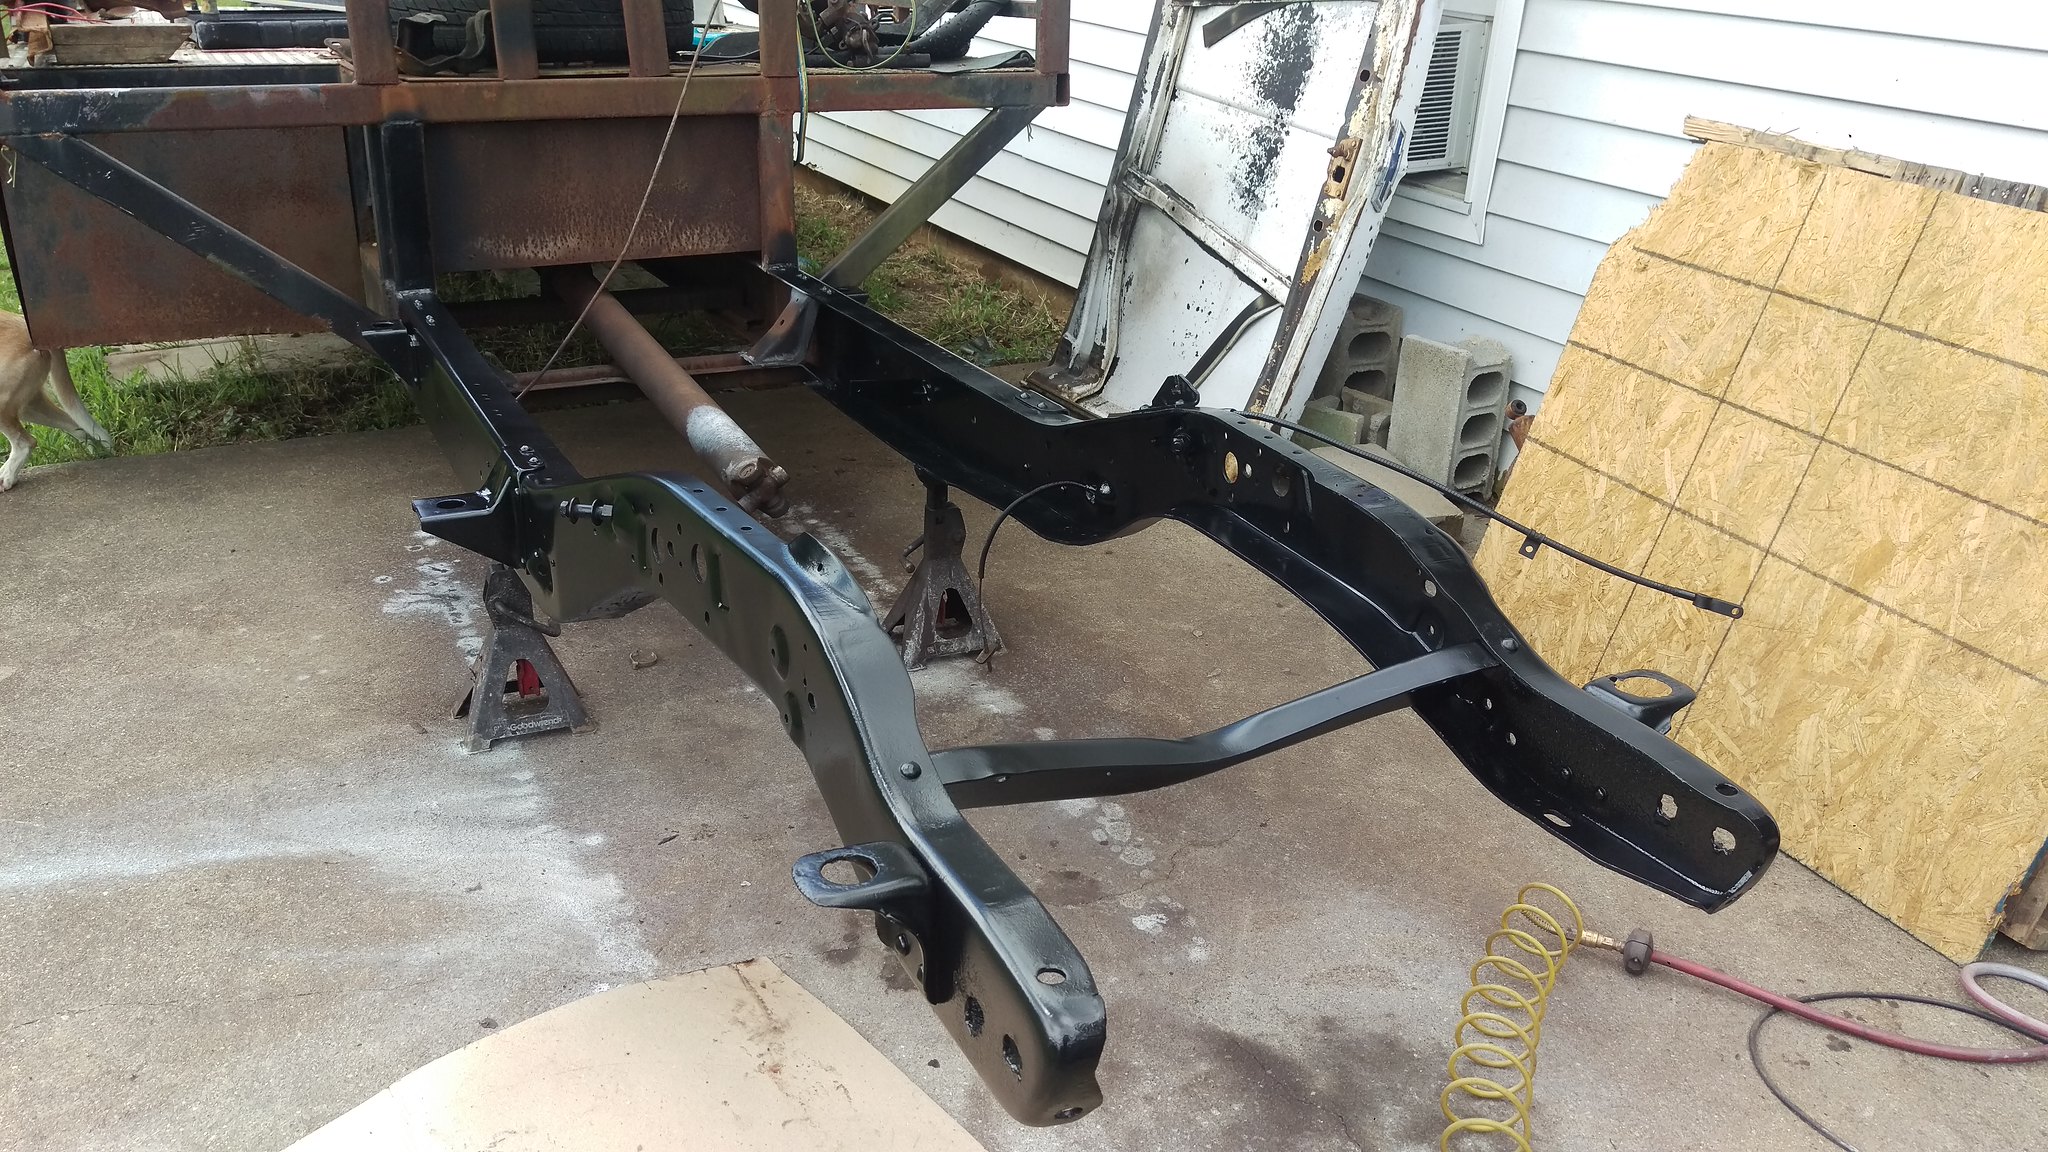 IMAG1828 by jarrod vanwinkle, on Flickr IMAG1828 by jarrod vanwinkle, on Flickr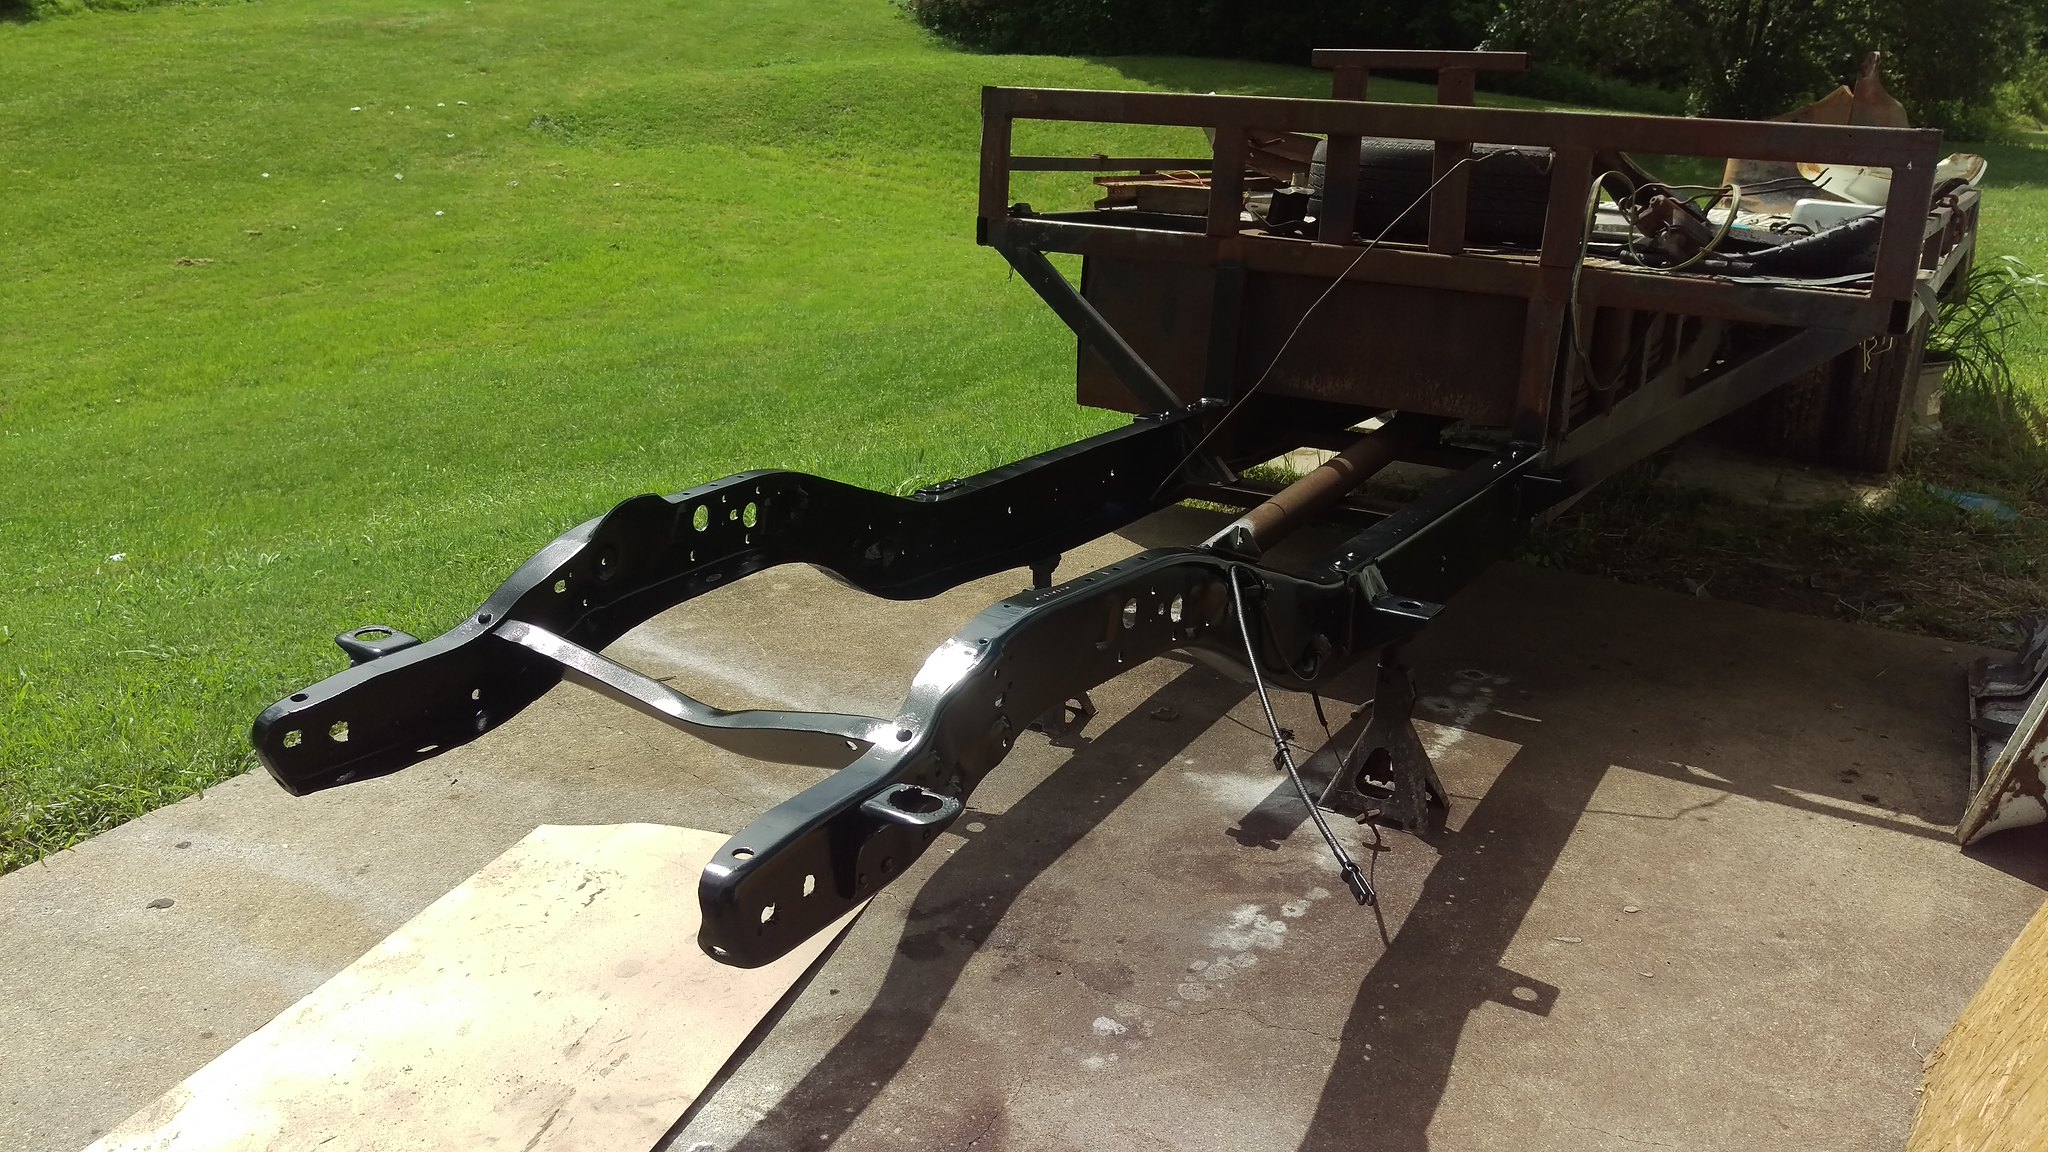 IMAG1829 by jarrod vanwinkle, on Flickr IMAG1829 by jarrod vanwinkle, on Flickr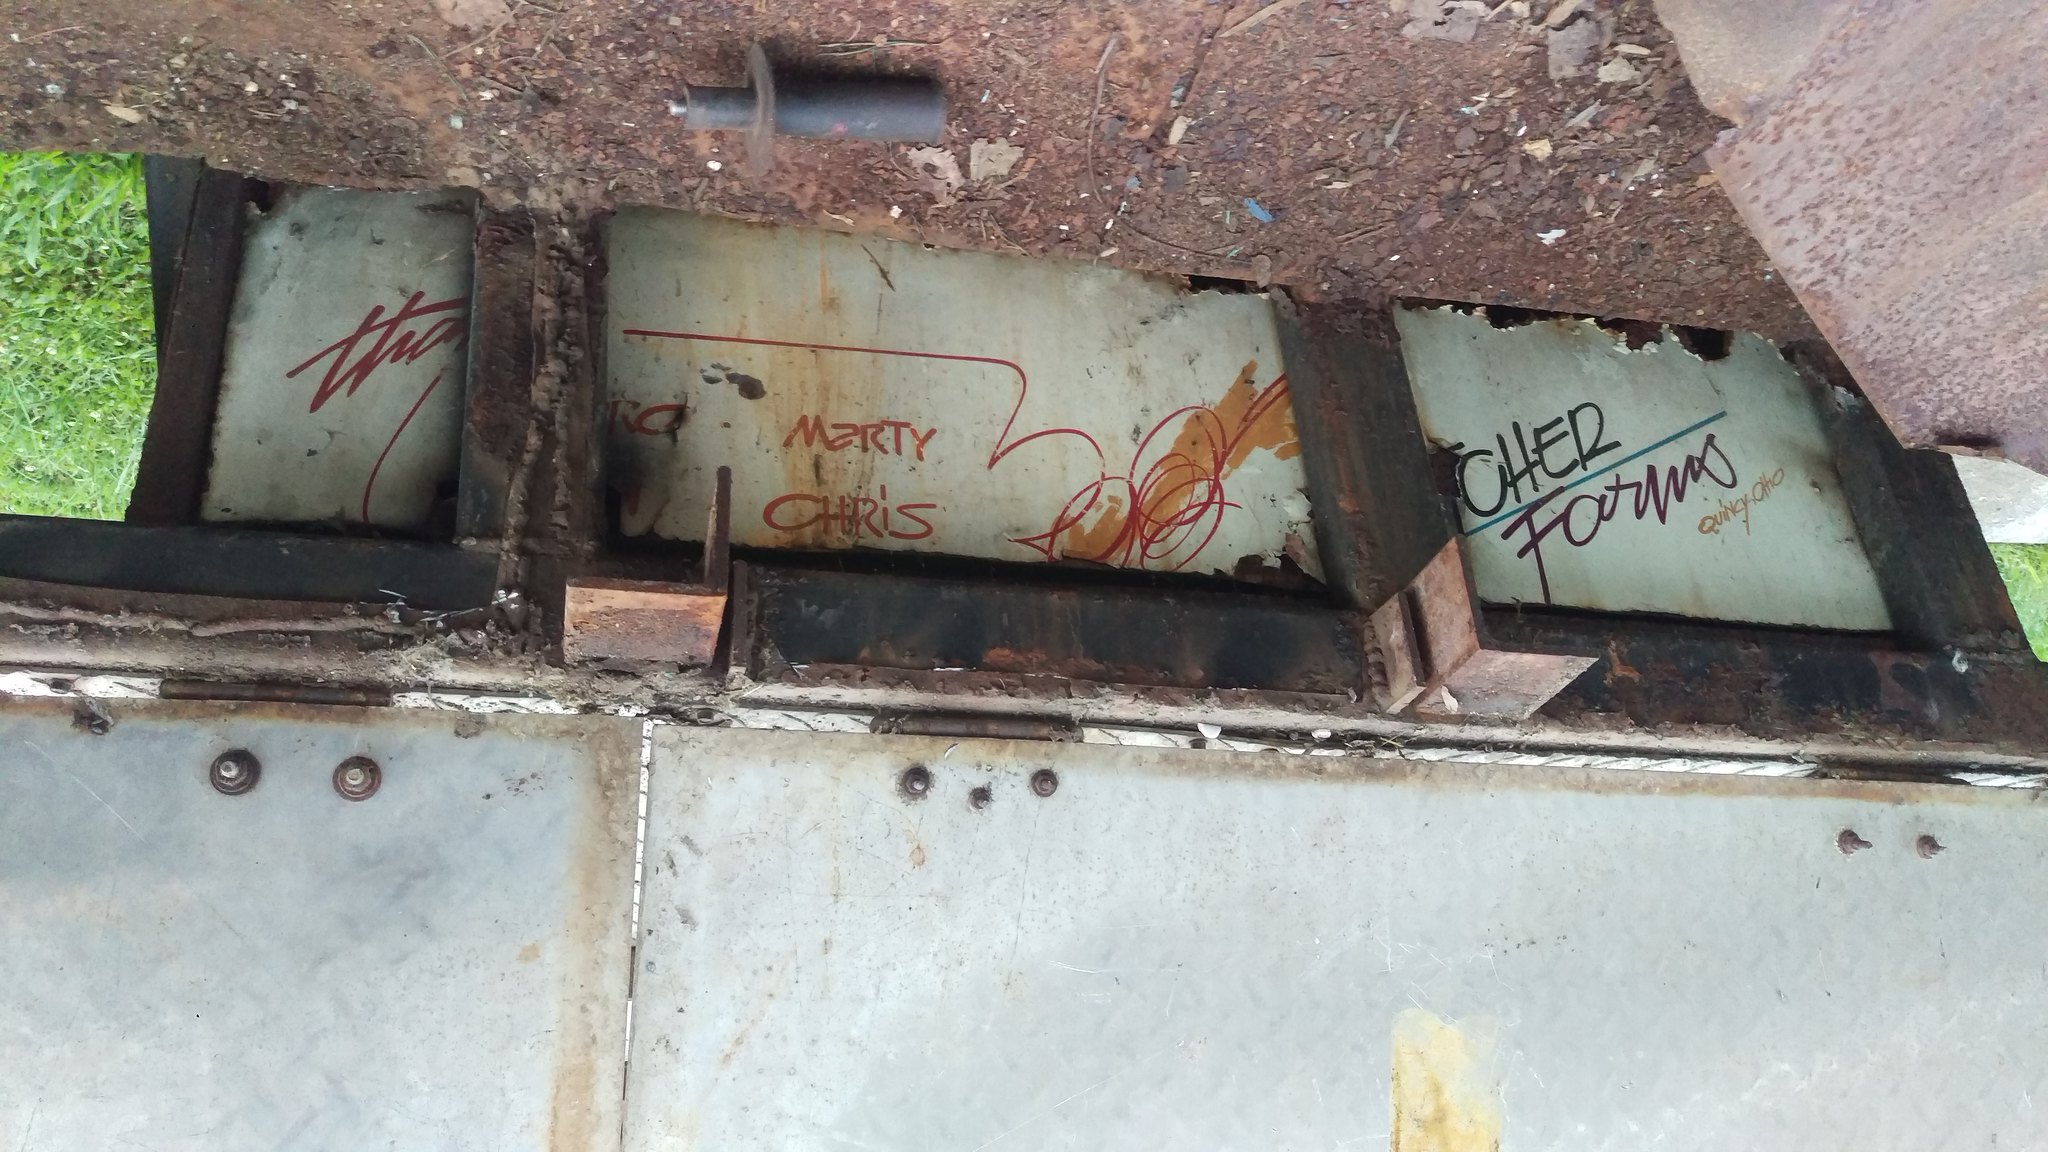 IMAG1830 by jarrod vanwinkle, on Flickr IMAG1830 by jarrod vanwinkle, on FlickrSome steel for my headache rack 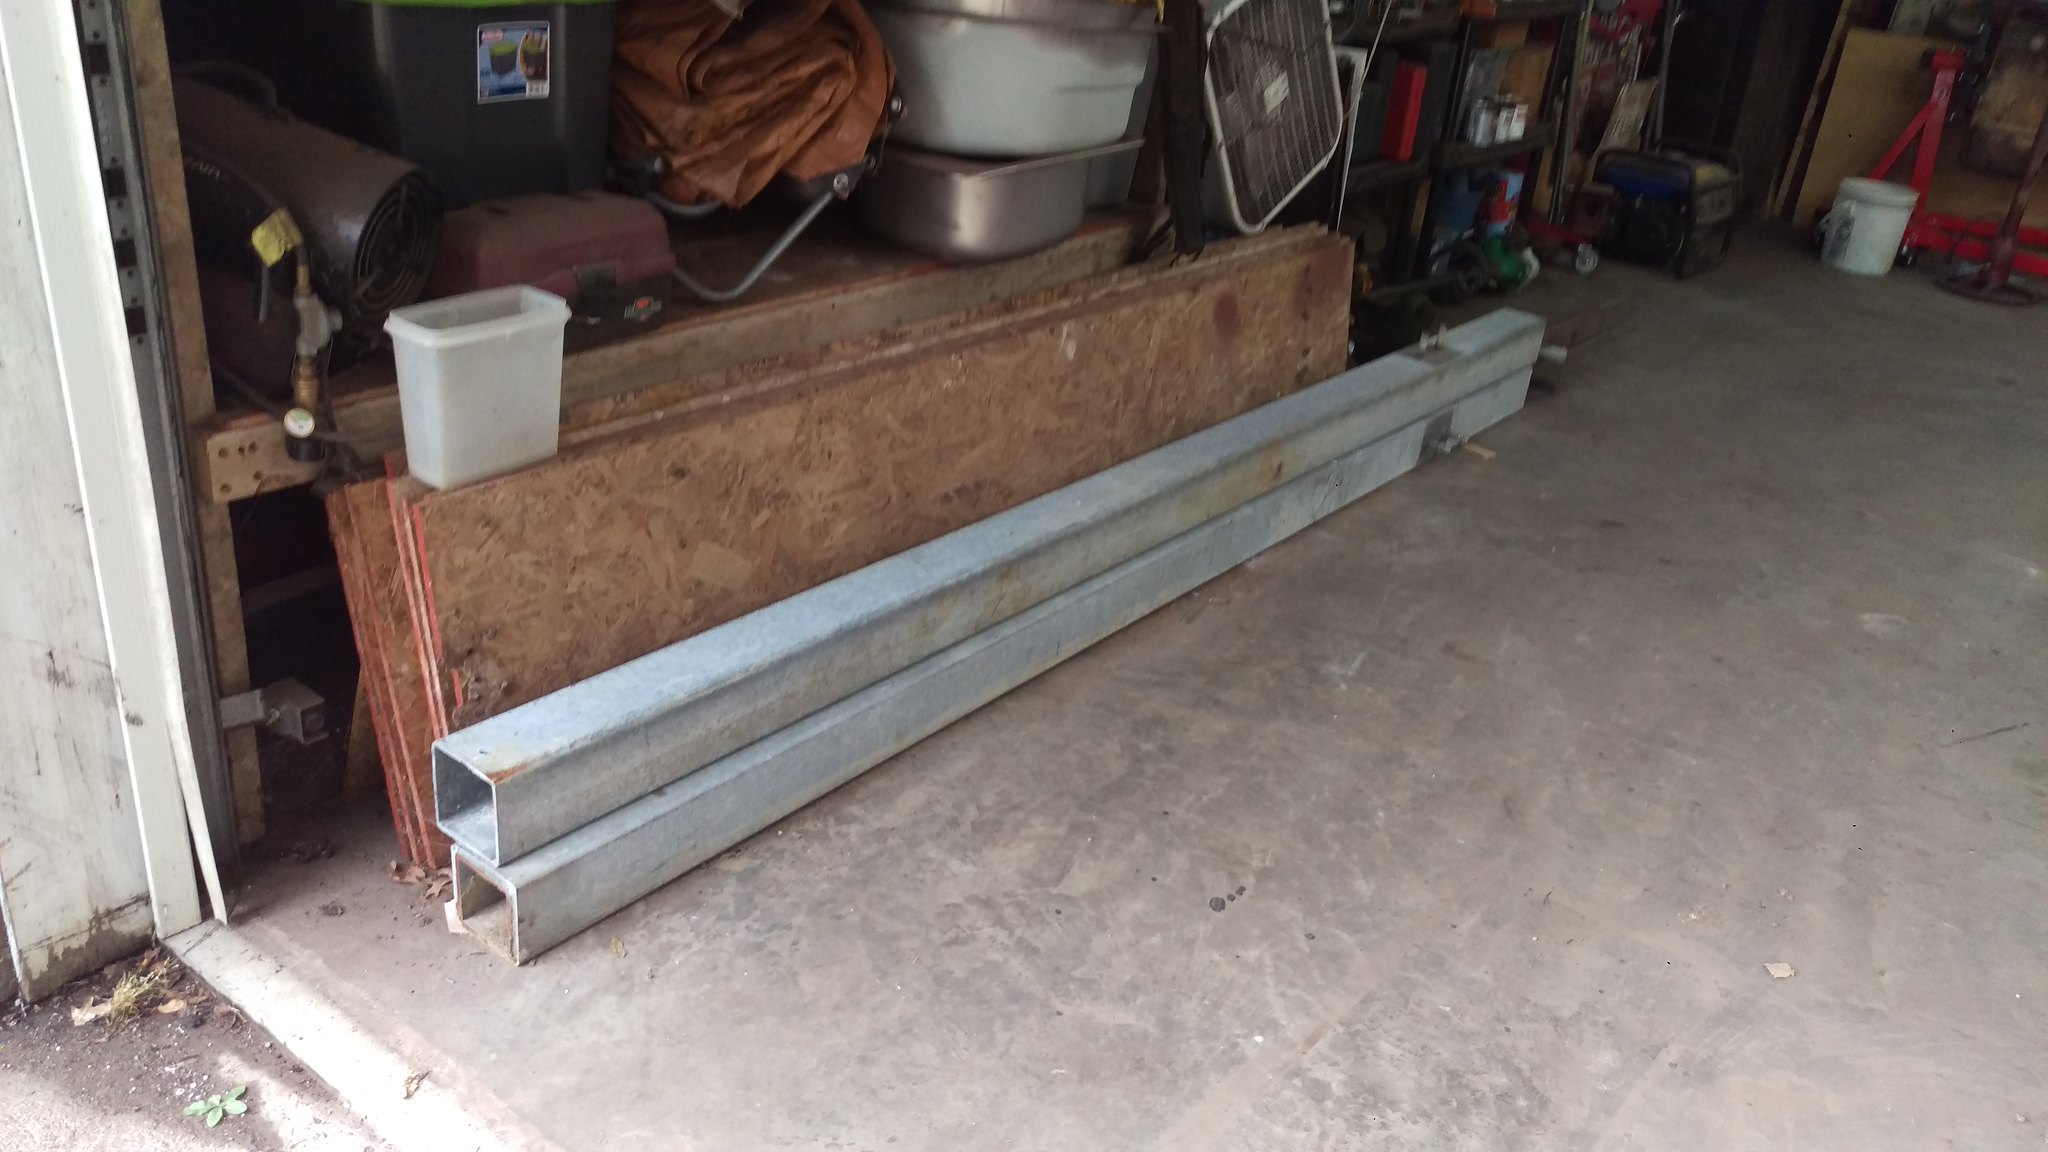 IMAG1832 by jarrod vanwinkle, on Flickr IMAG1832 by jarrod vanwinkle, on FlickrIts 5'' 1/4 box 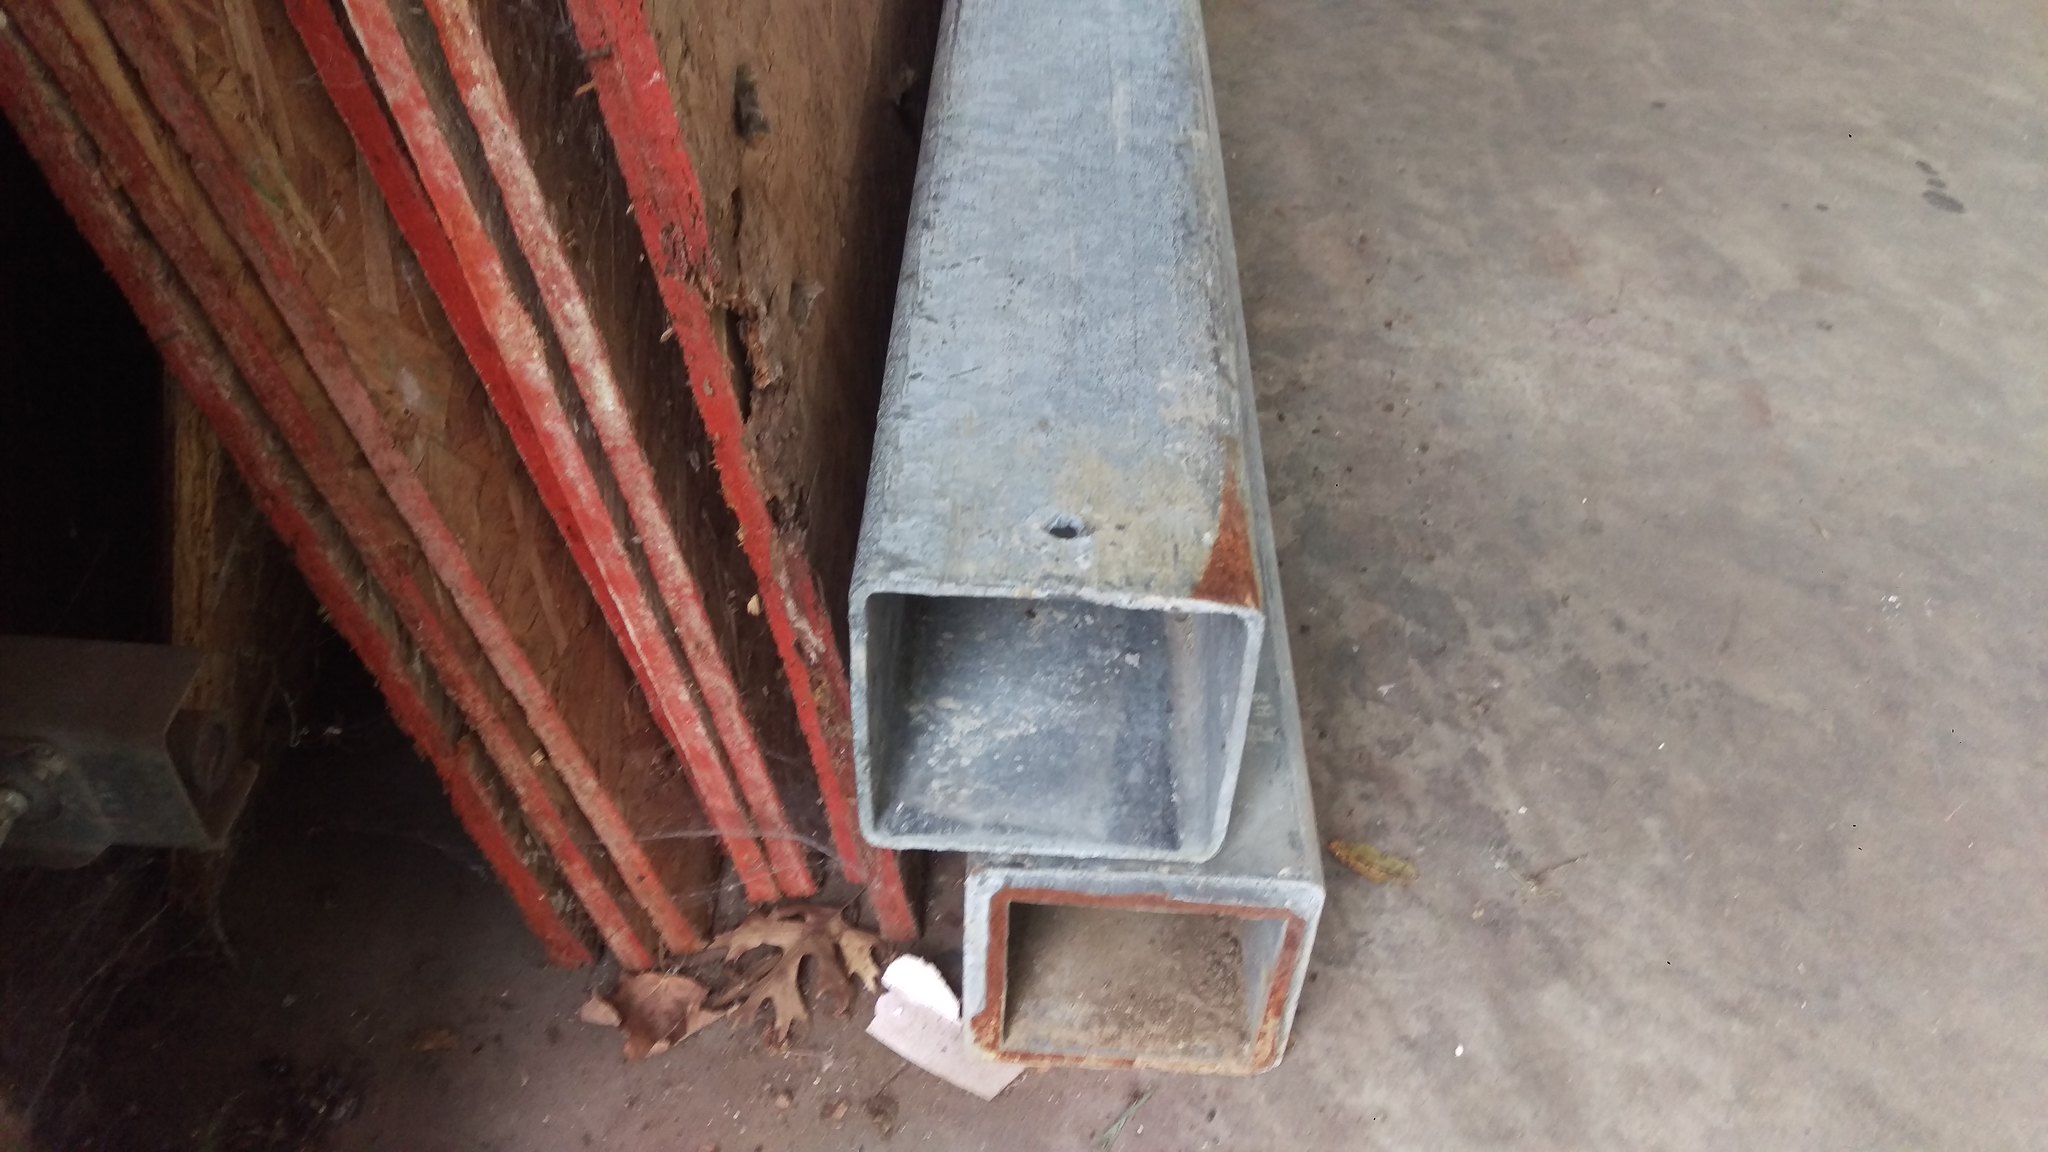 IMAG1833 by jarrod vanwinkle, on Flickr IMAG1833 by jarrod vanwinkle, on Flickr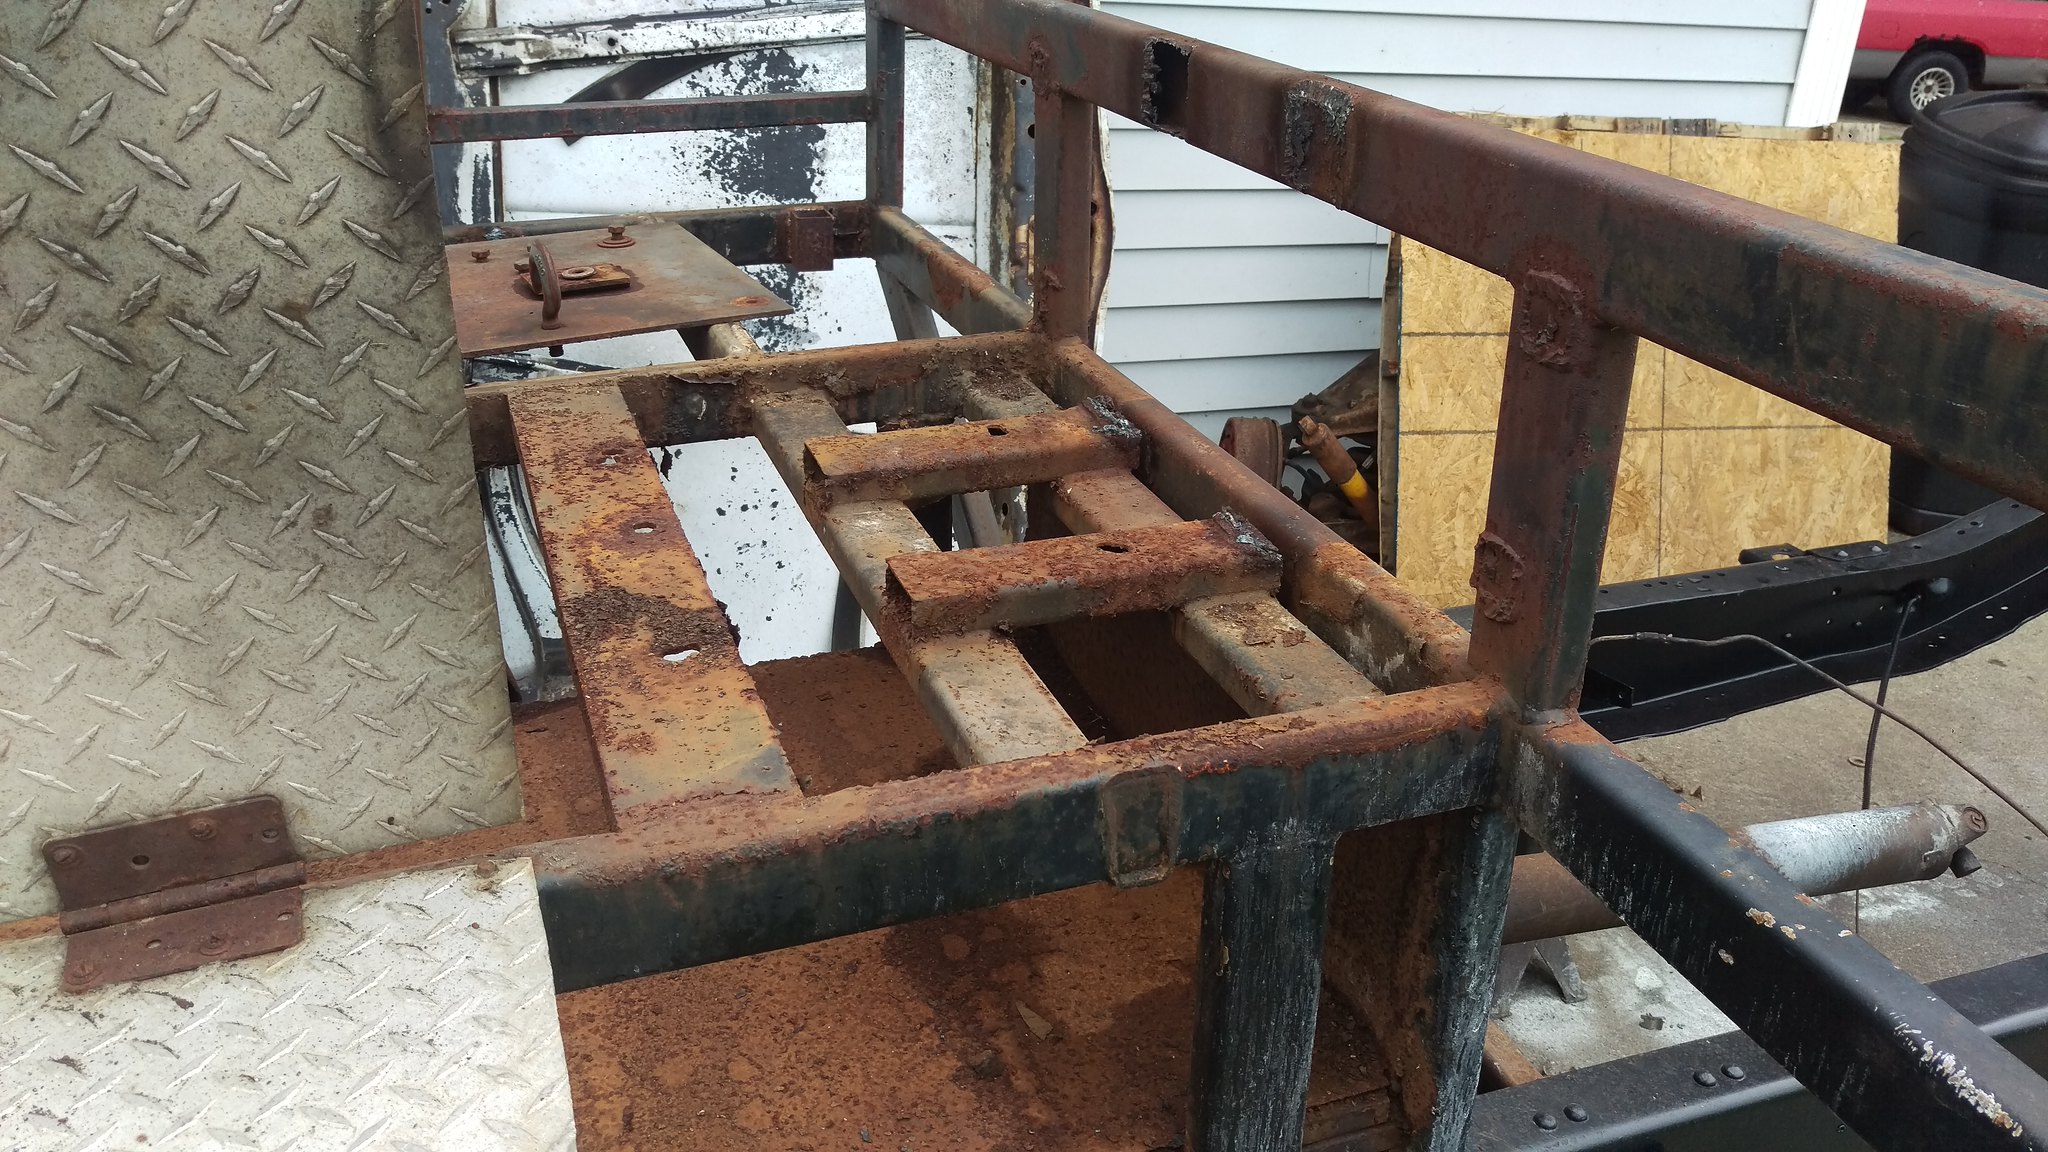 IMAG1831 by jarrod vanwinkle, on Flickr IMAG1831 by jarrod vanwinkle, on FlickrI removed the side box and the inner box nightmare thing. 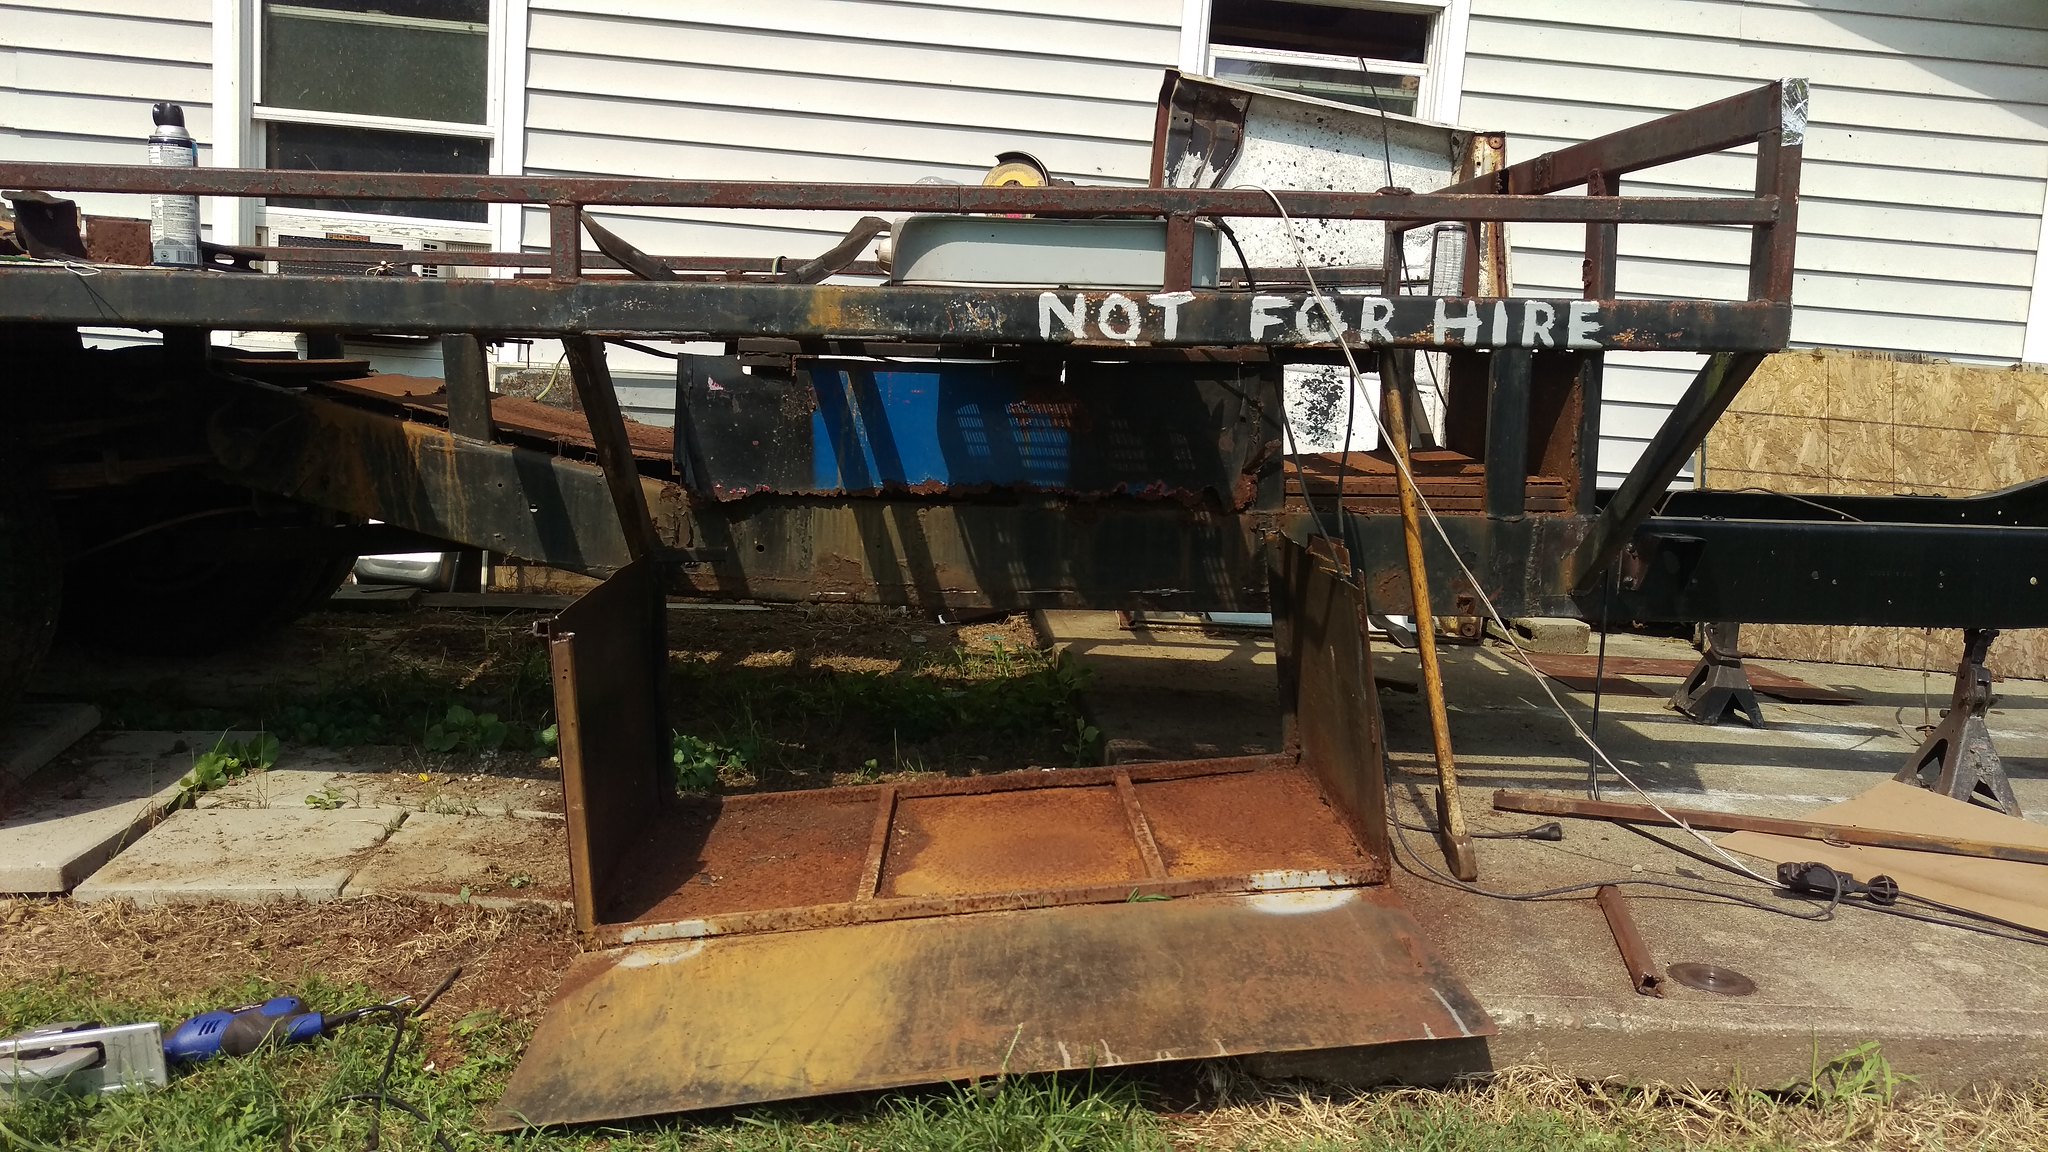 IMAG1862 by jarrod vanwinkle, on Flickr IMAG1862 by jarrod vanwinkle, on Flickr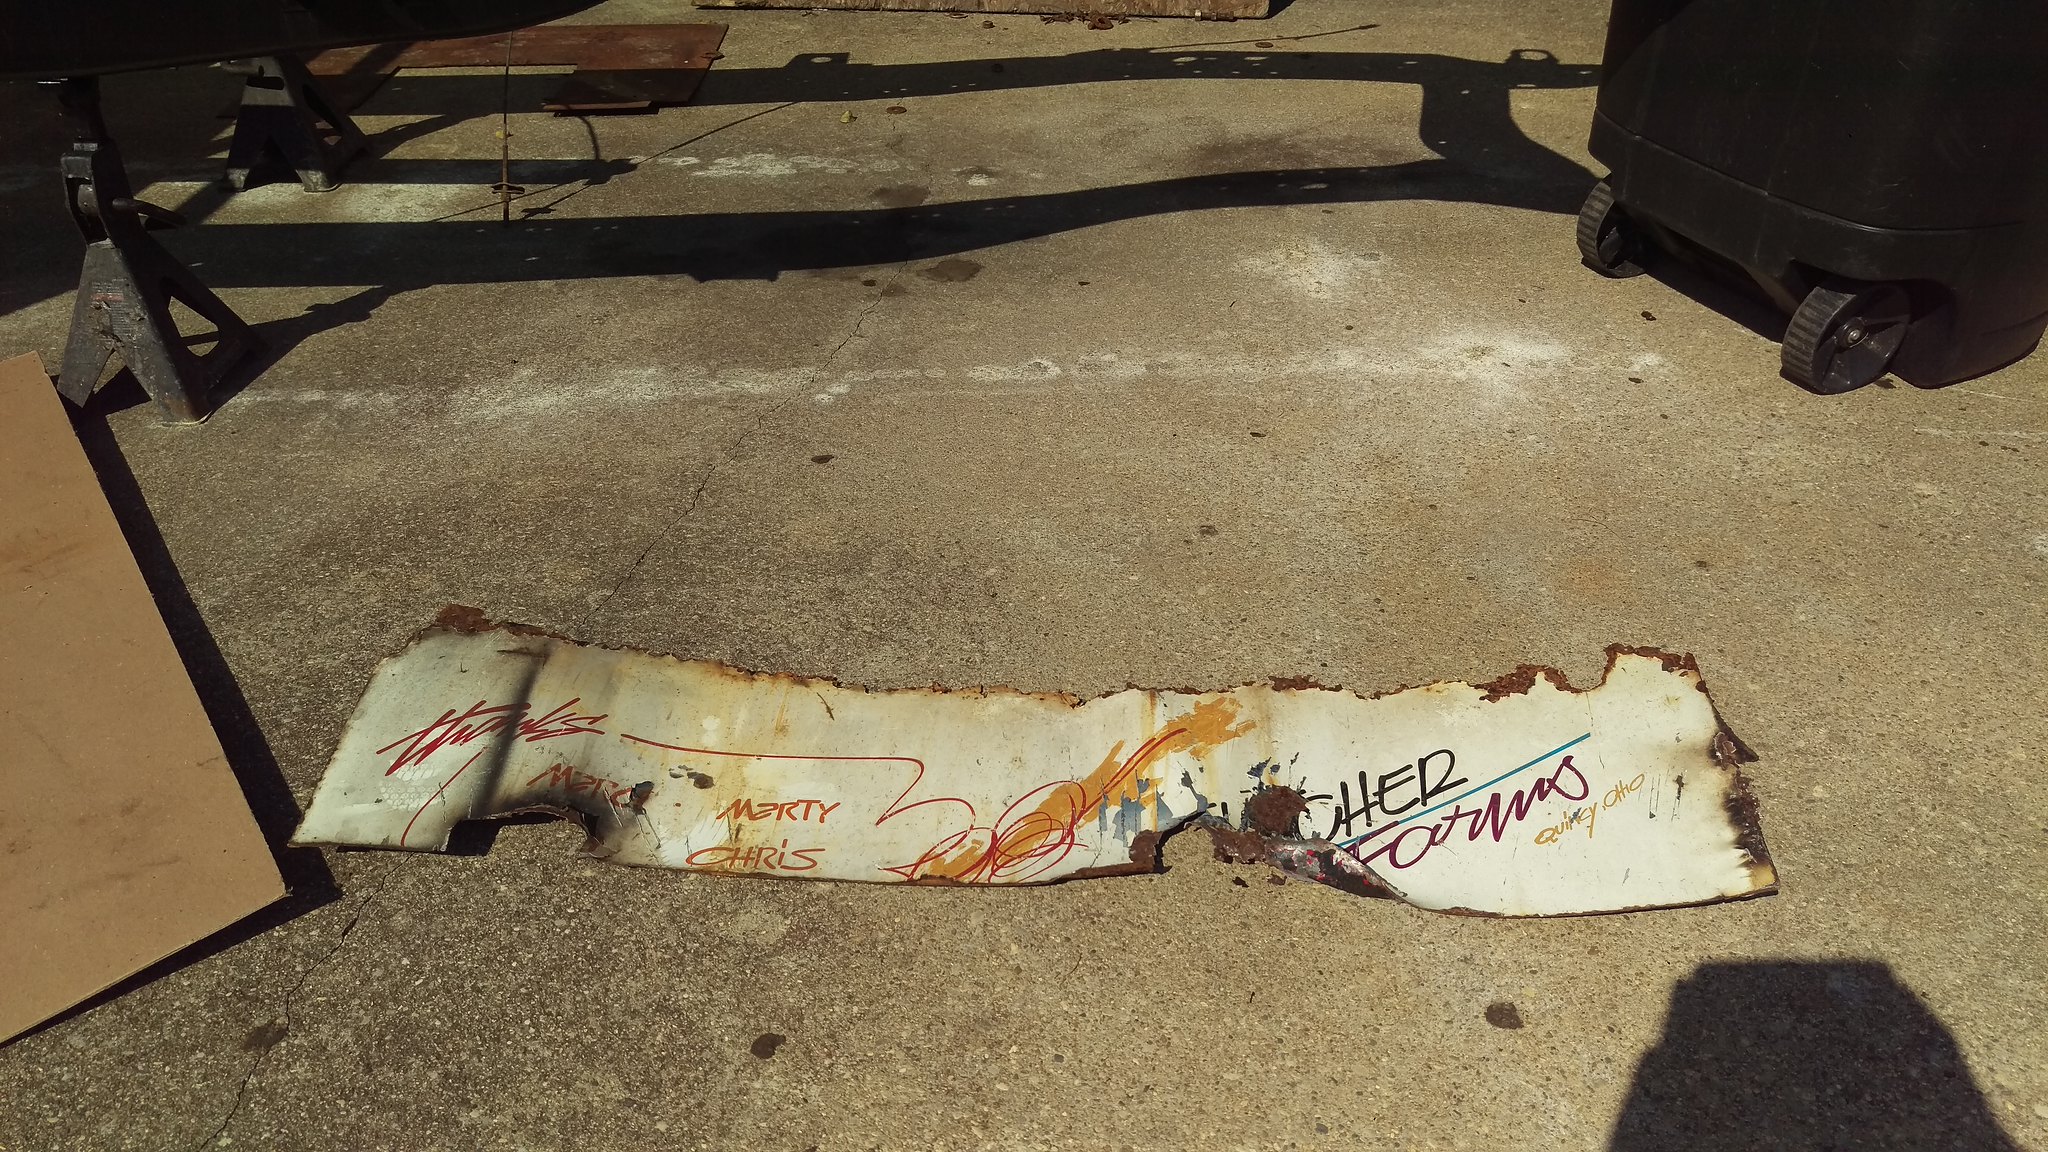 IMAG1863 by jarrod vanwinkle, on Flickr IMAG1863 by jarrod vanwinkle, on Flickr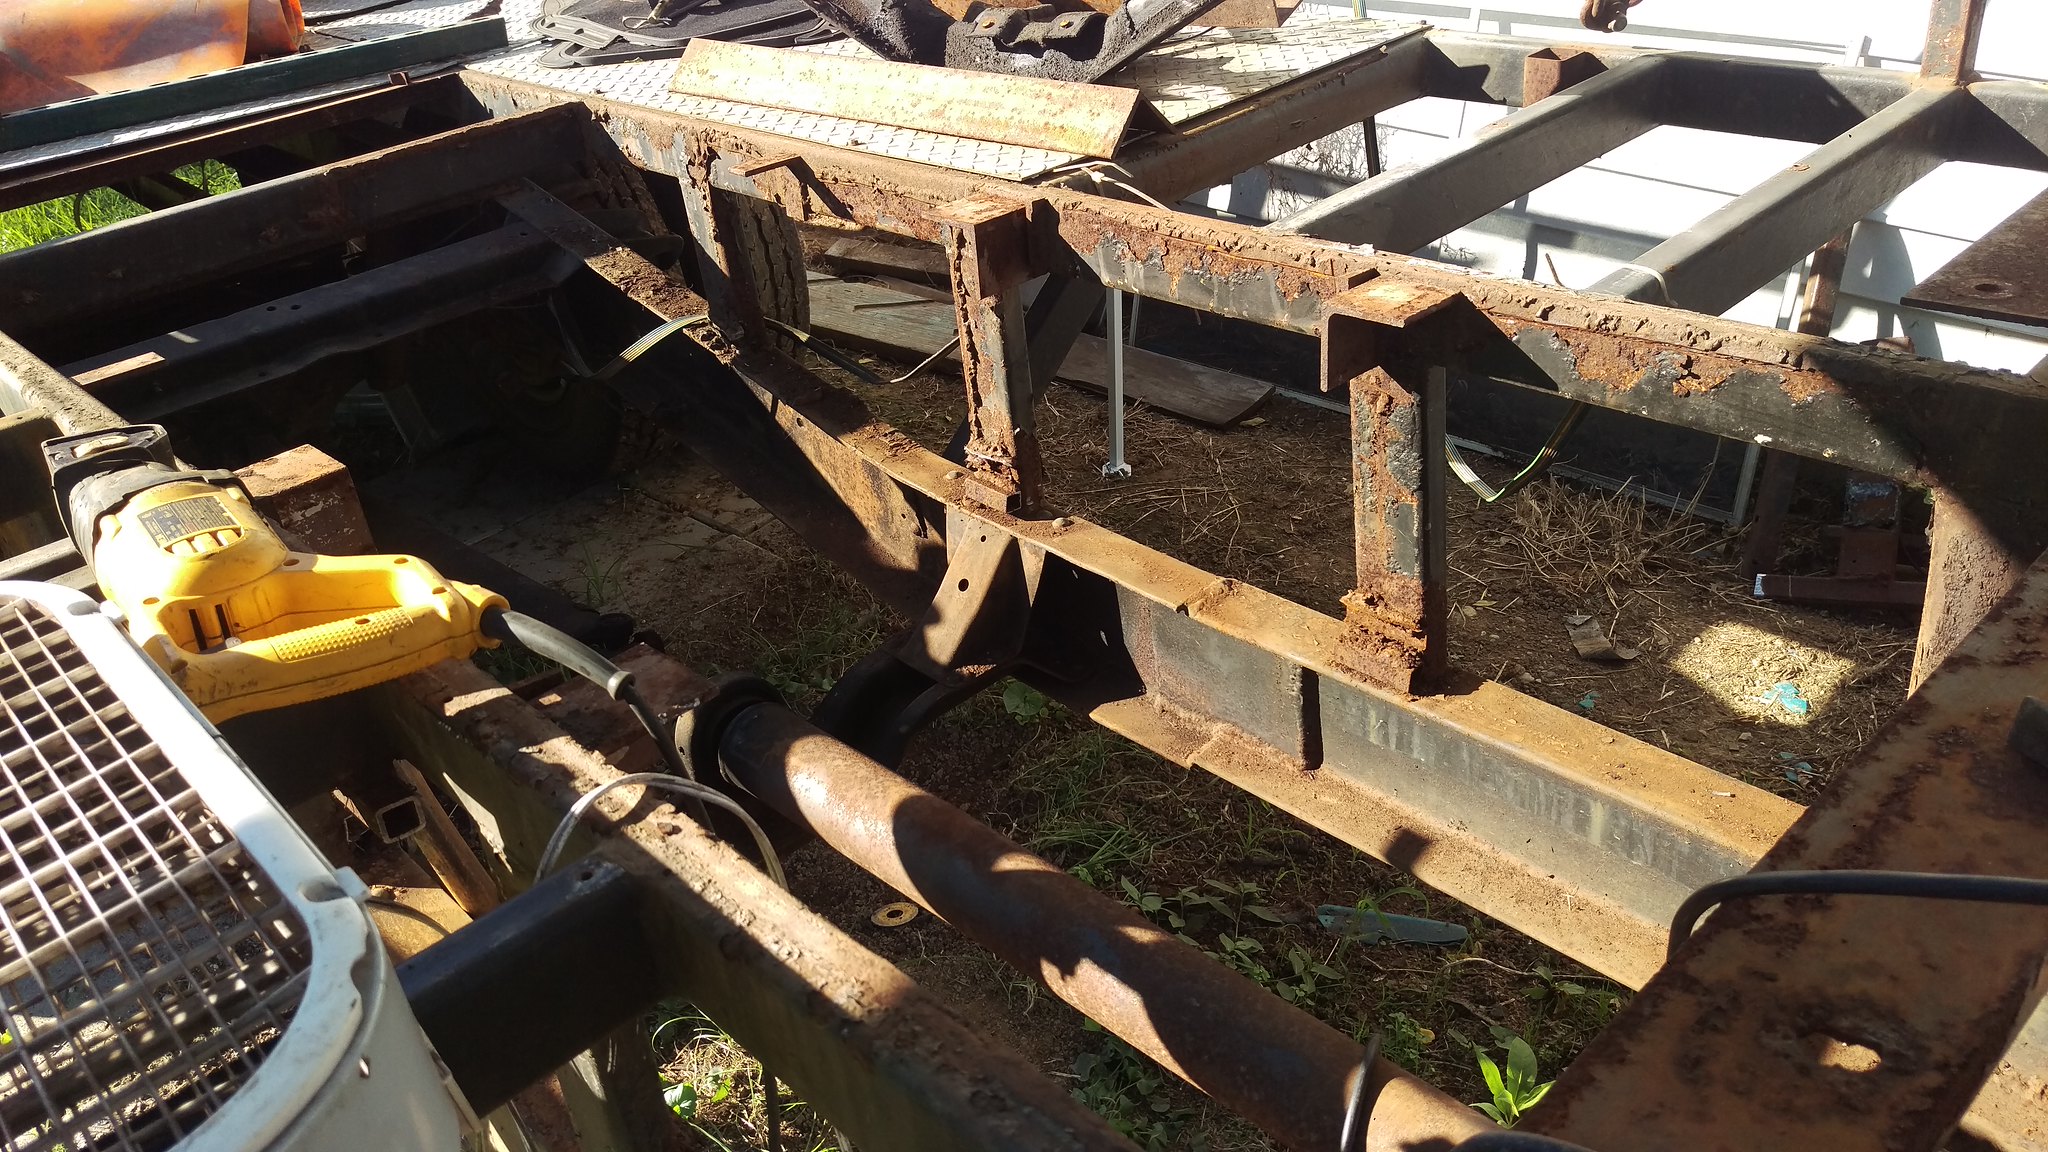 IMAG1866 by jarrod vanwinkle, on Flickr IMAG1866 by jarrod vanwinkle, on Flickr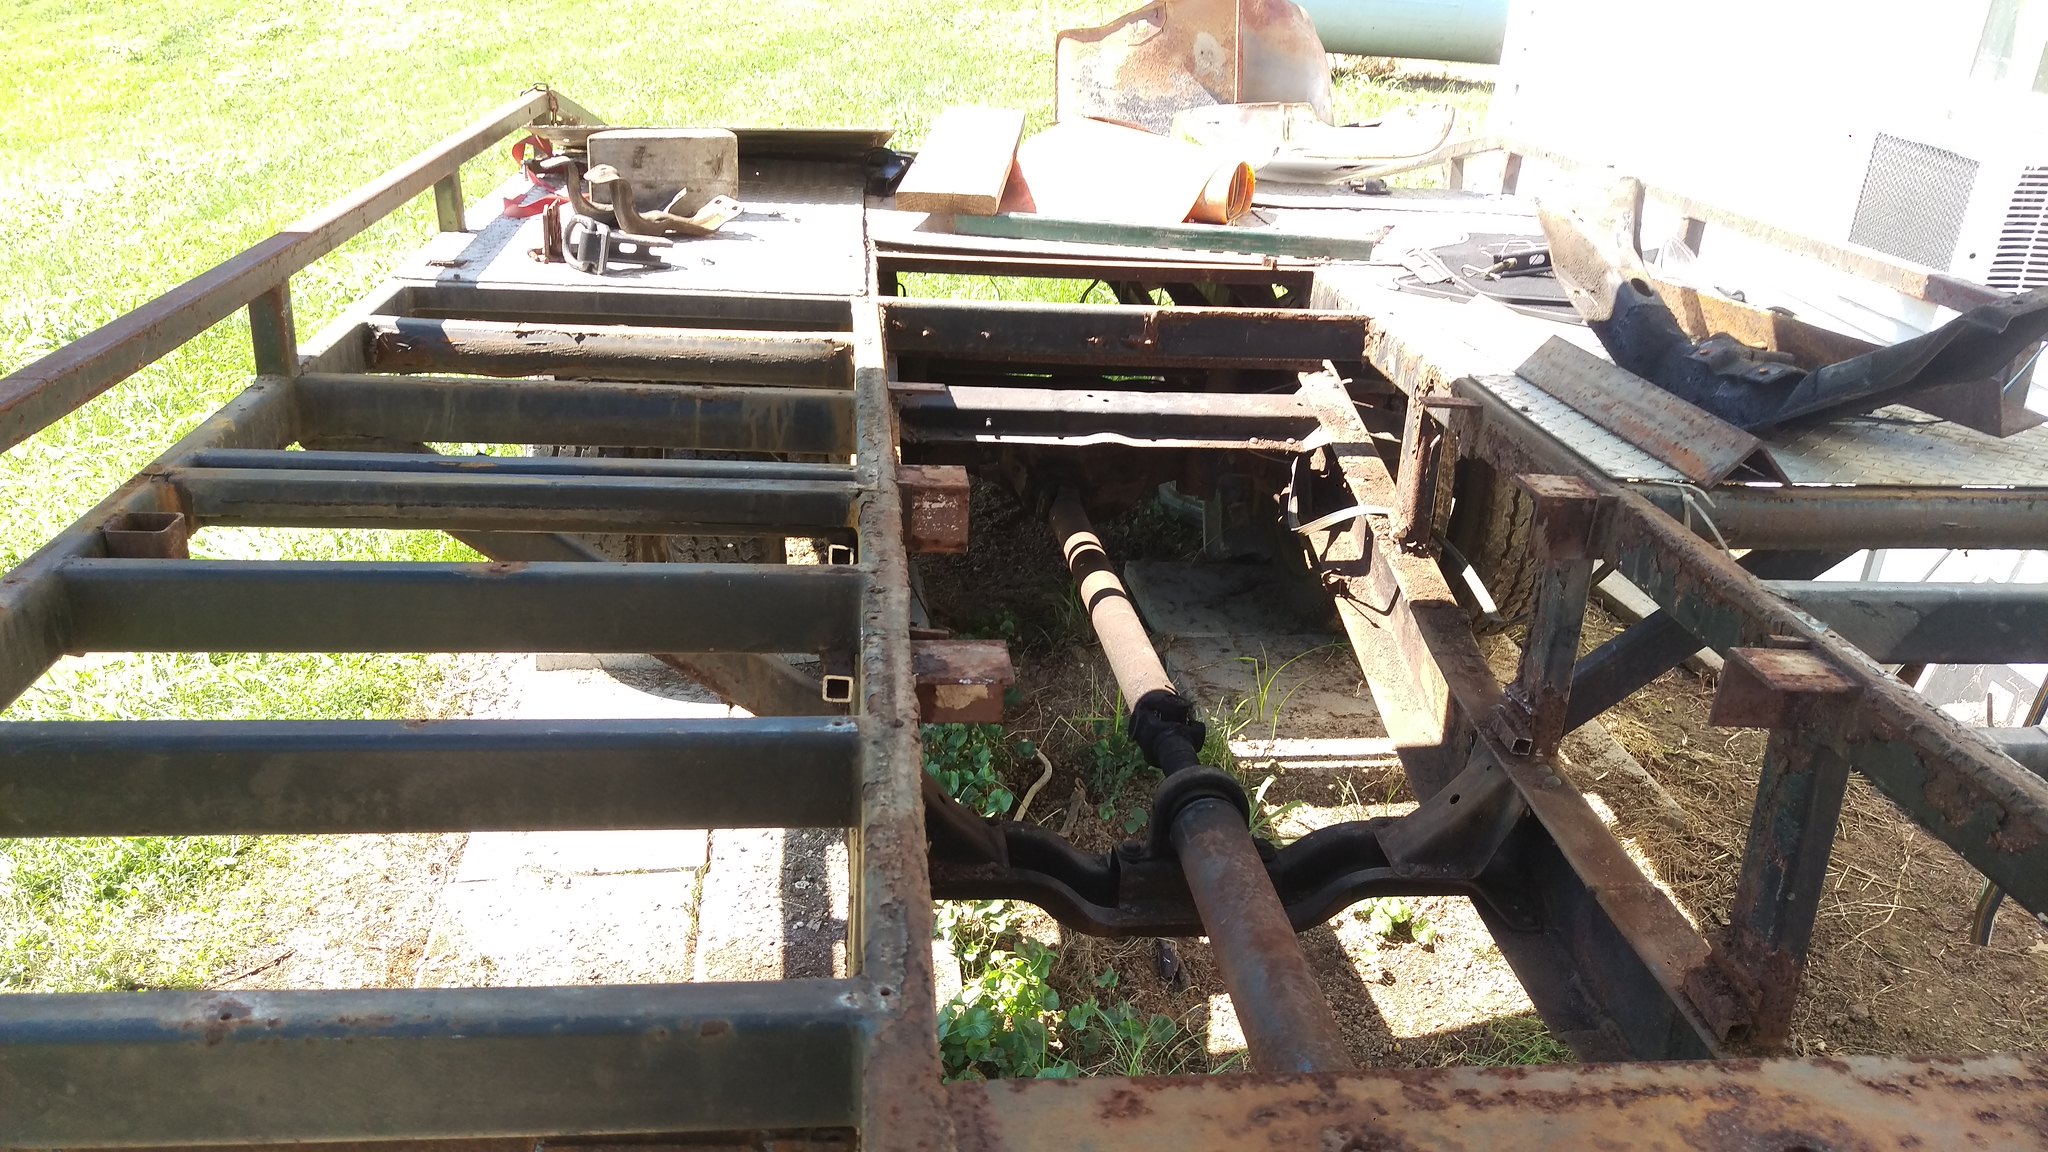 IMAG1870 by jarrod vanwinkle, on Flickr IMAG1870 by jarrod vanwinkle, on FlickrI started on the headache rack 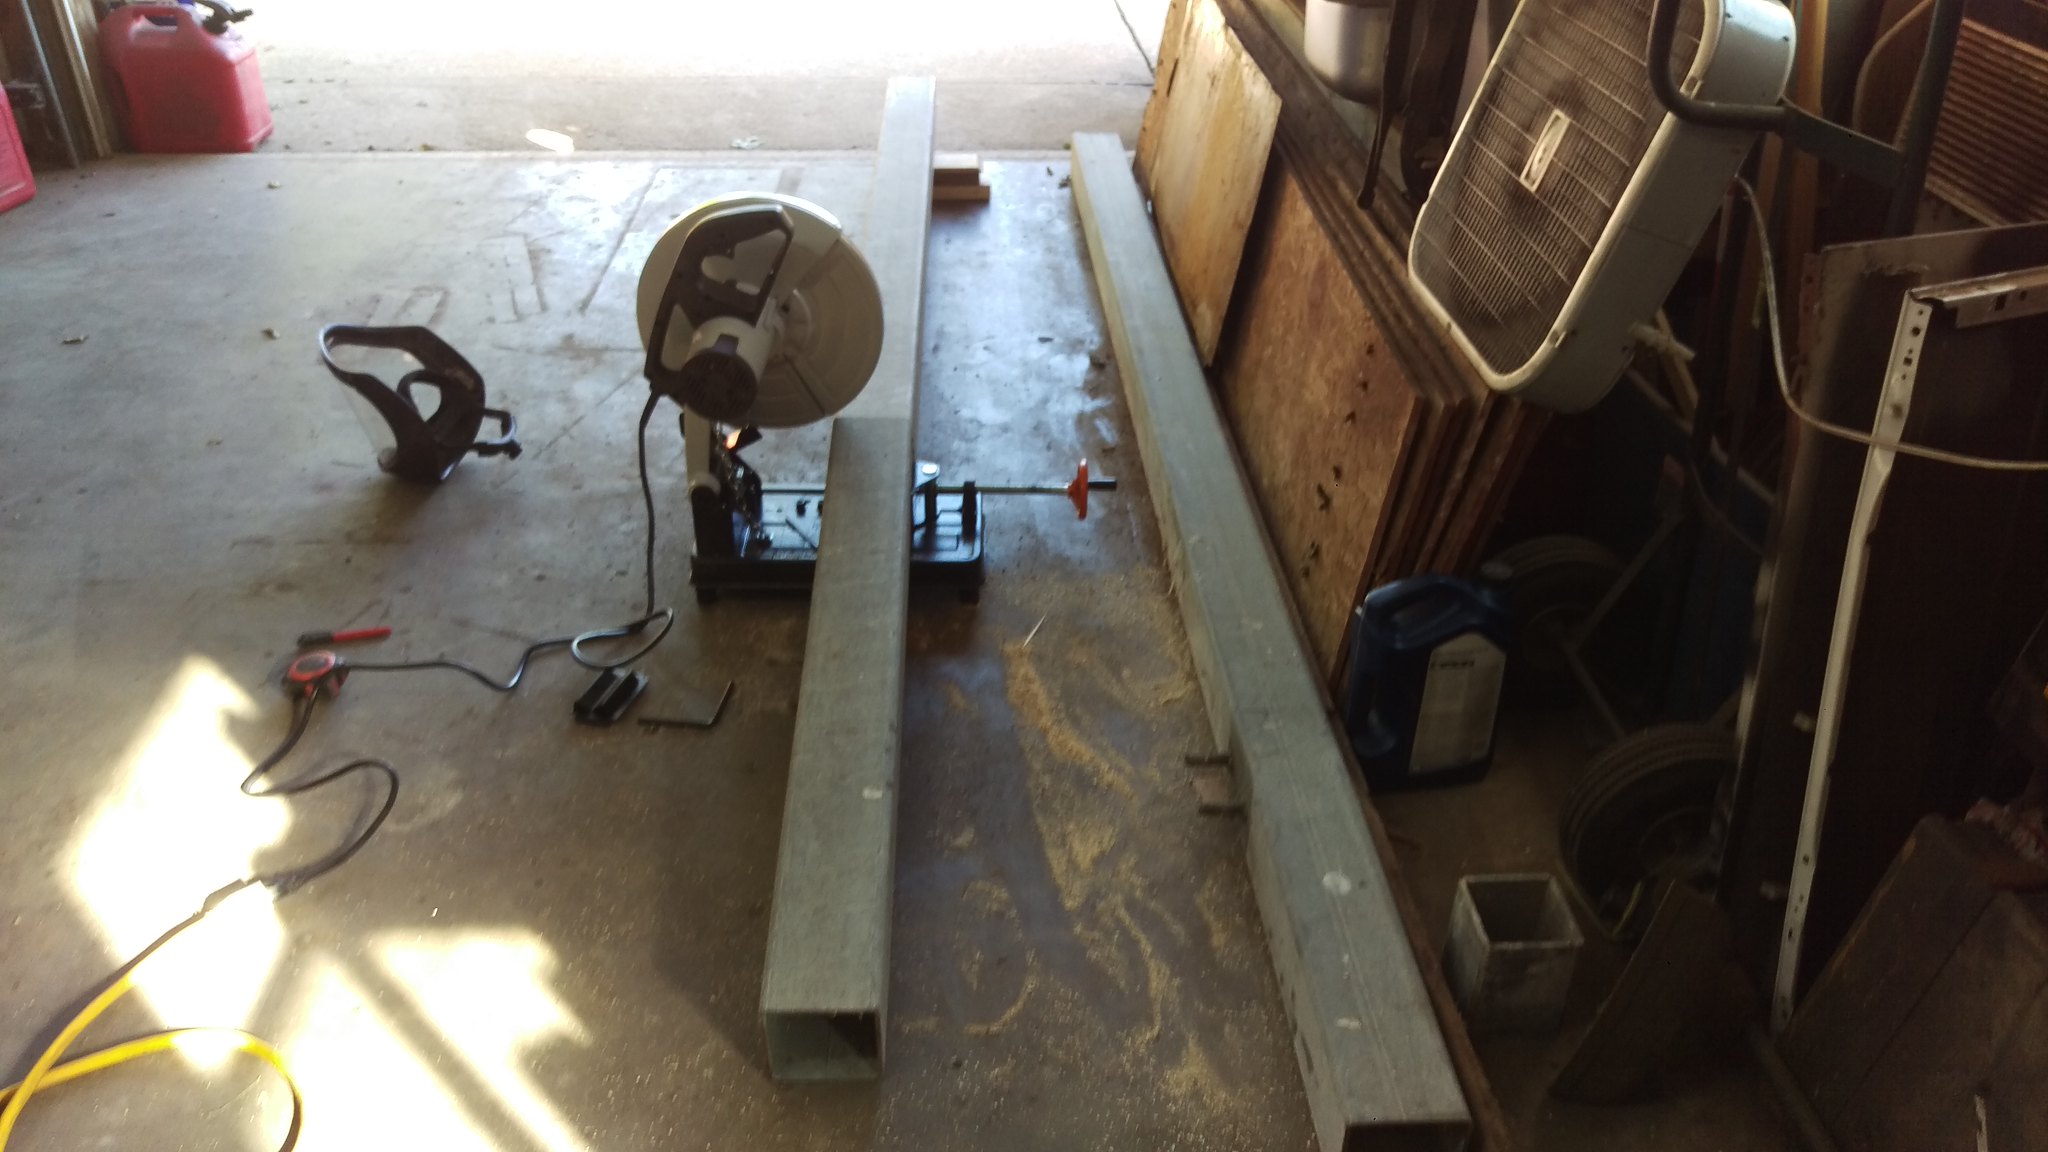 IMAG1871 by jarrod vanwinkle, on Flickr IMAG1871 by jarrod vanwinkle, on Flickr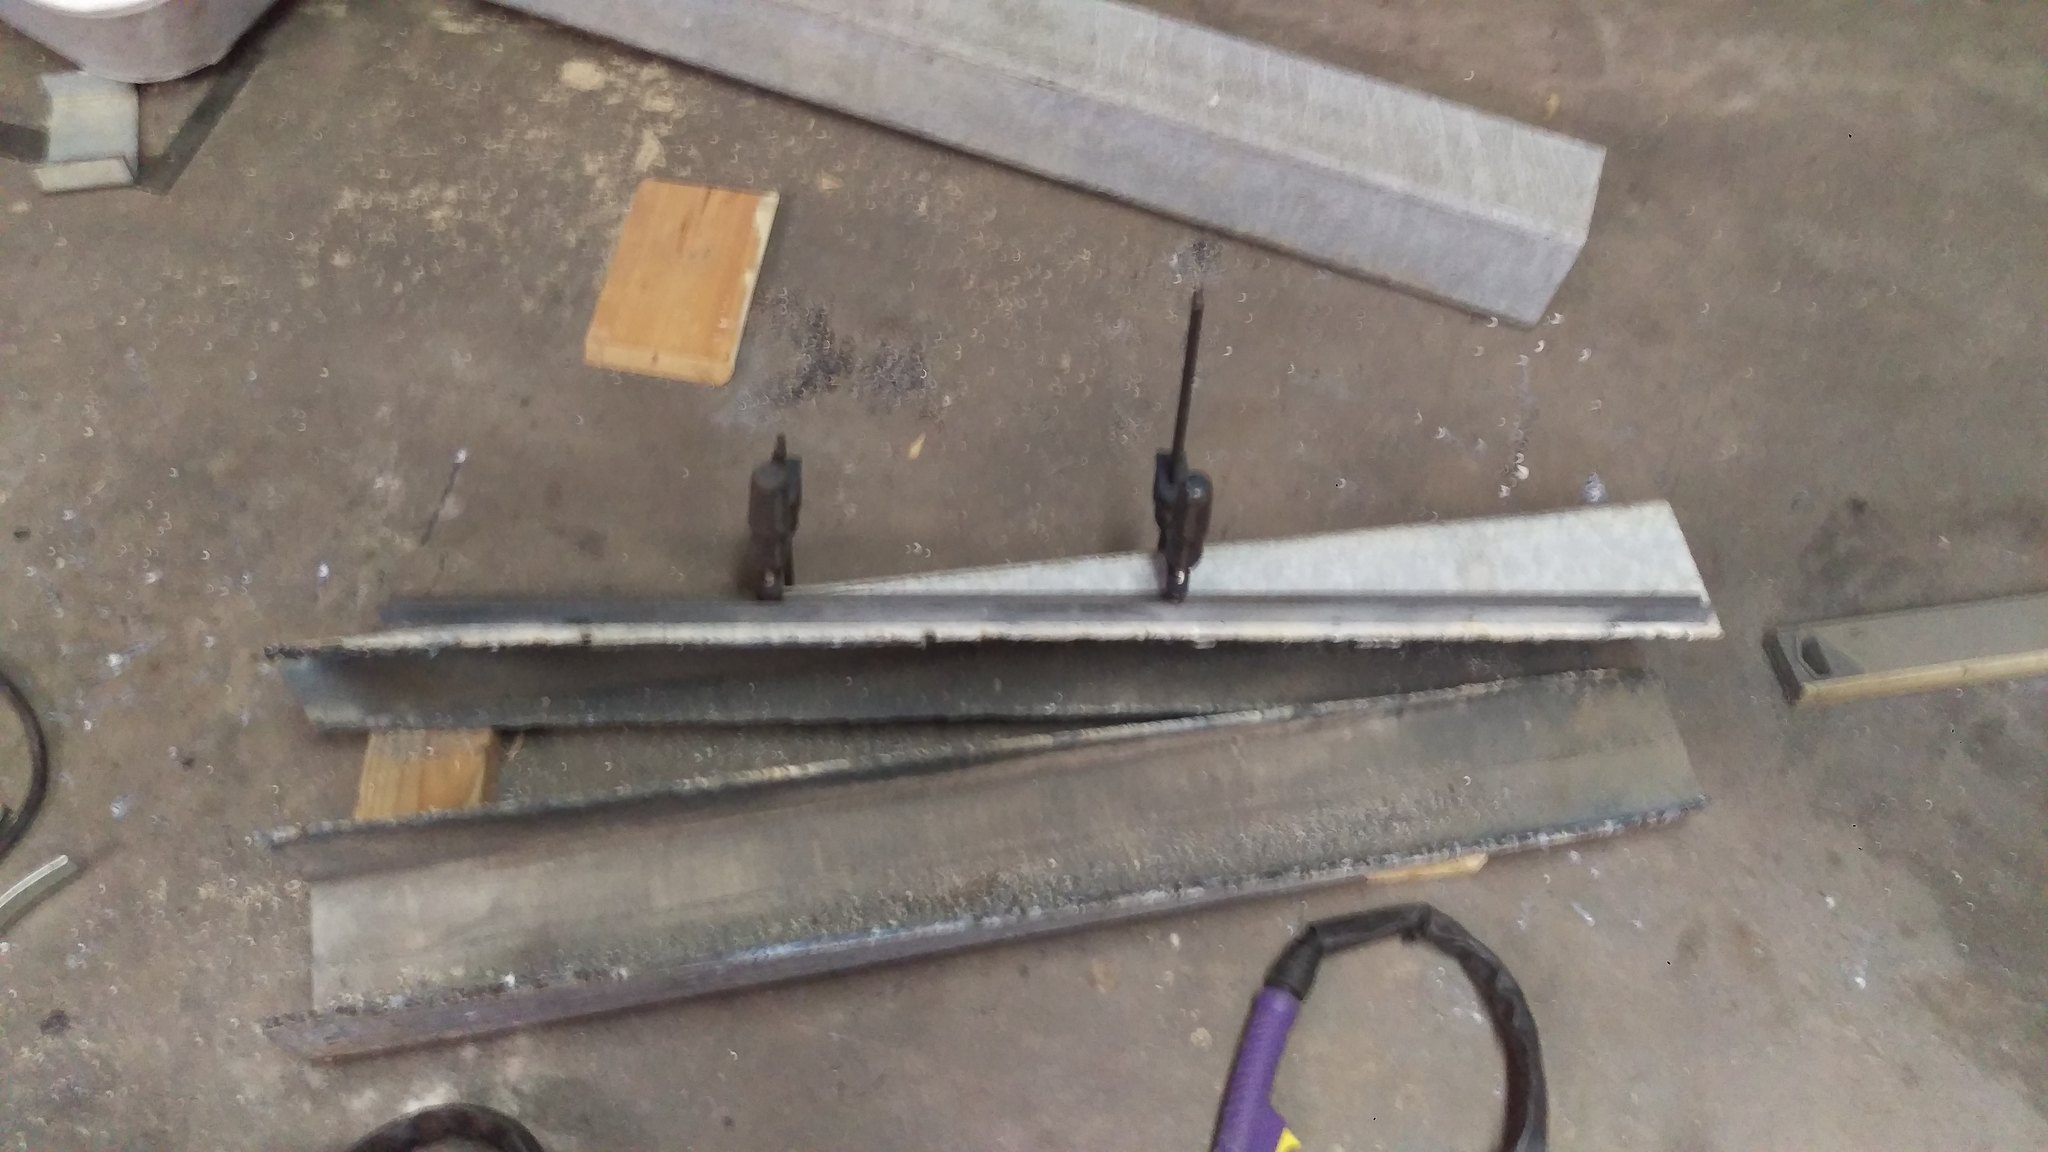 IMAG1872 by jarrod vanwinkle, on Flickr IMAG1872 by jarrod vanwinkle, on Flickr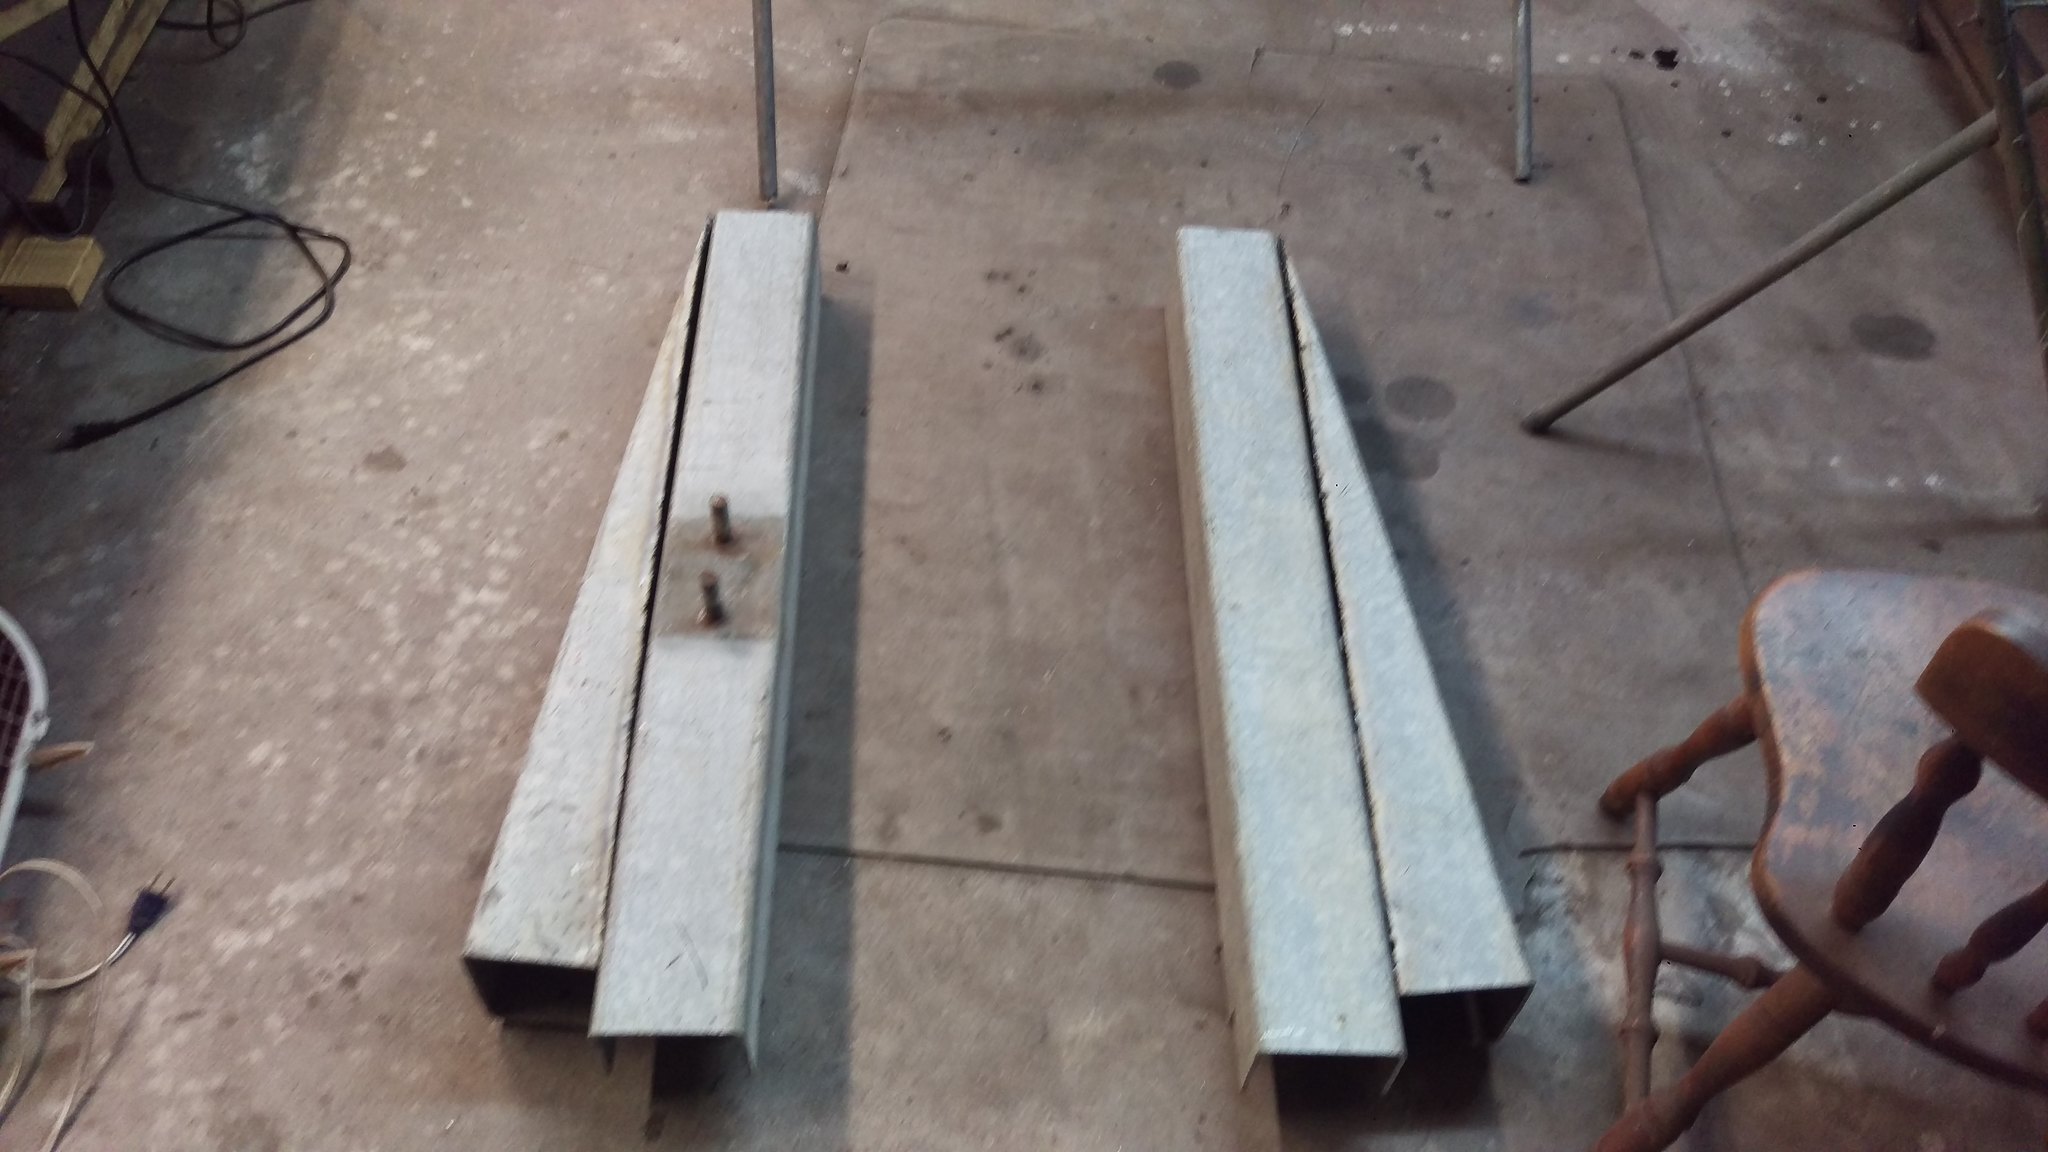 IMAG1873 by jarrod vanwinkle, on Flickr IMAG1873 by jarrod vanwinkle, on Flickr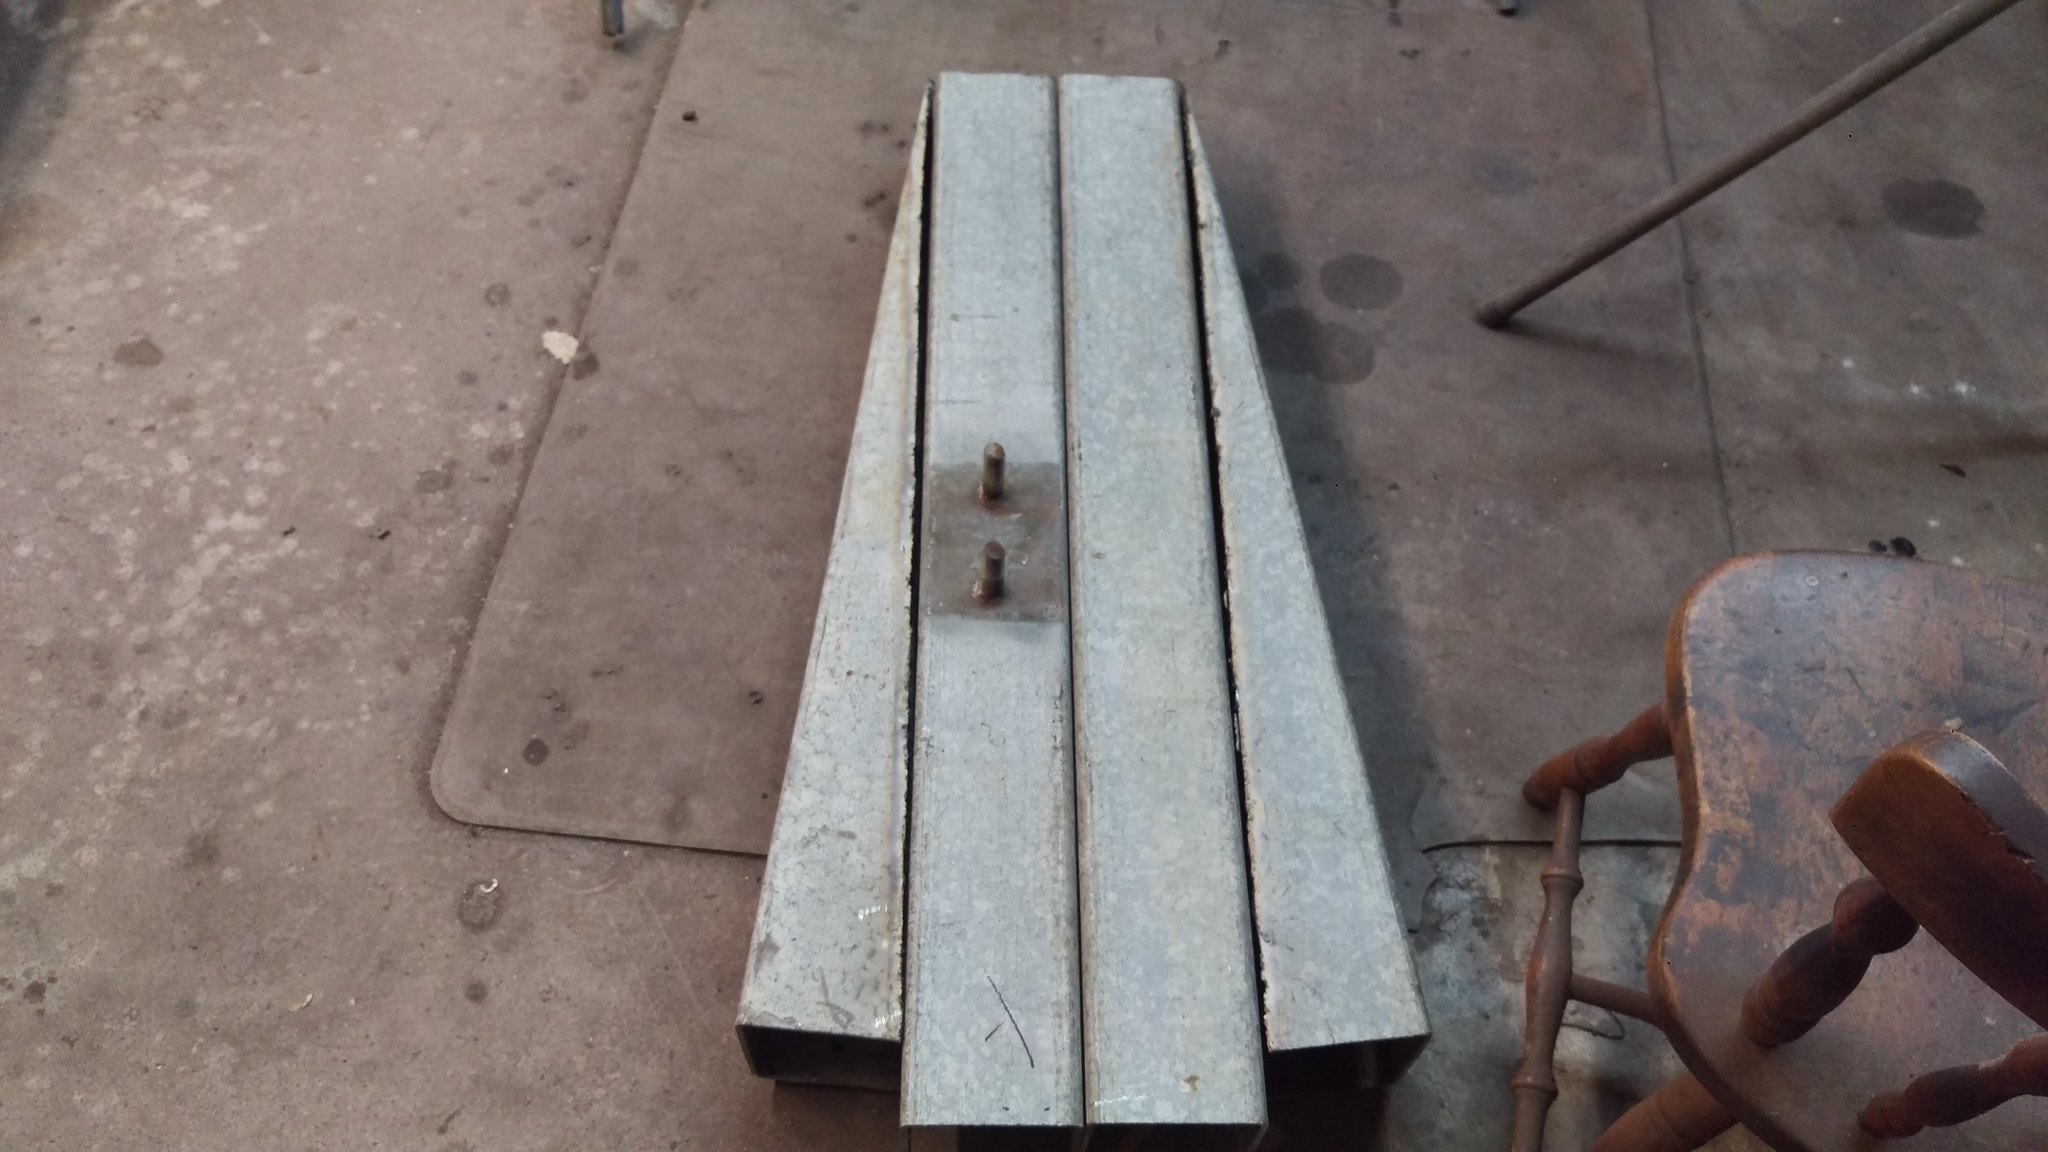 IMAG1874 by jarrod vanwinkle, on Flickr IMAG1874 by jarrod vanwinkle, on FlickrWater pump, thermostat and seals for the cummins 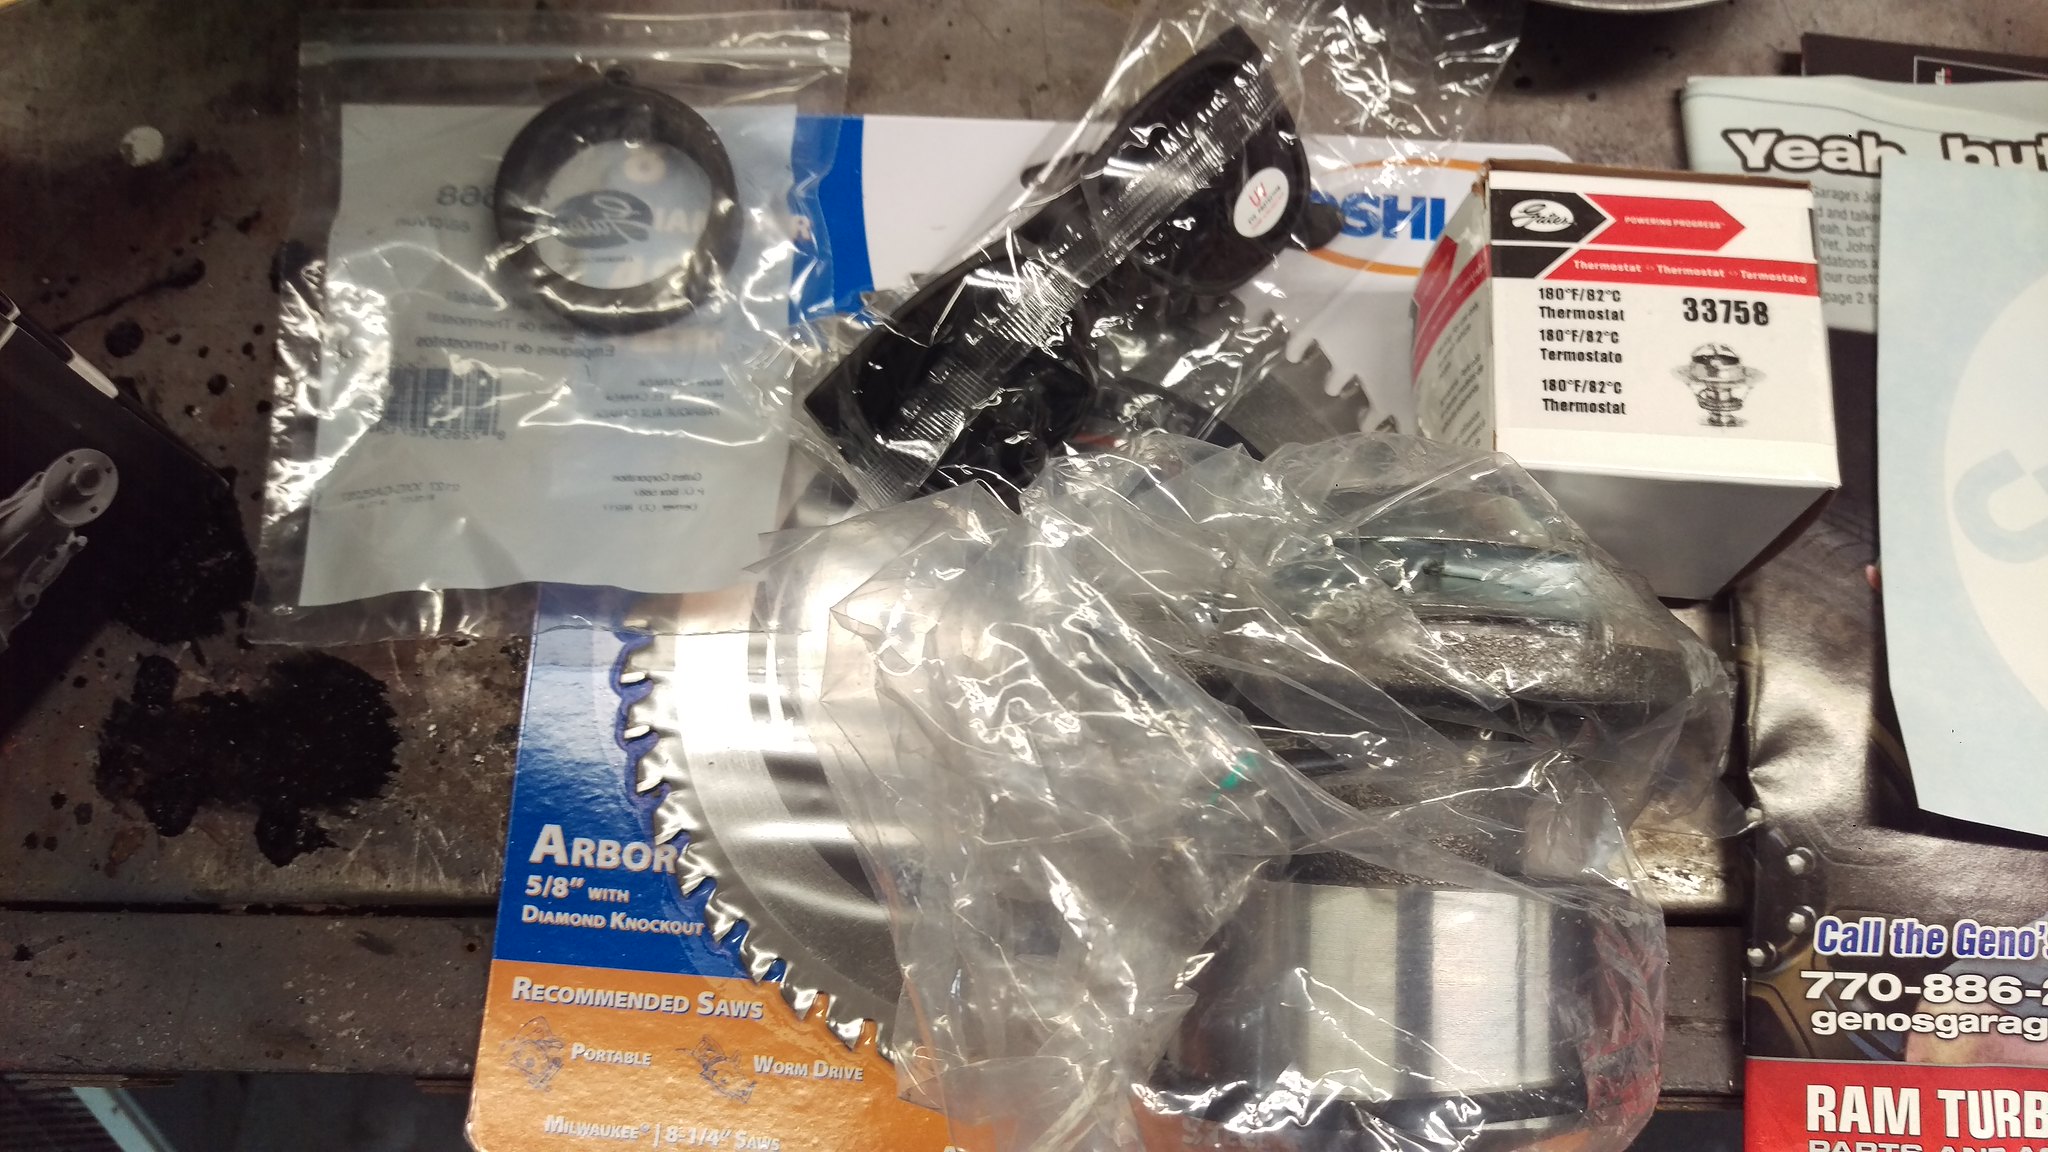 IMAG1876 by jarrod vanwinkle, on Flickr IMAG1876 by jarrod vanwinkle, on Flickr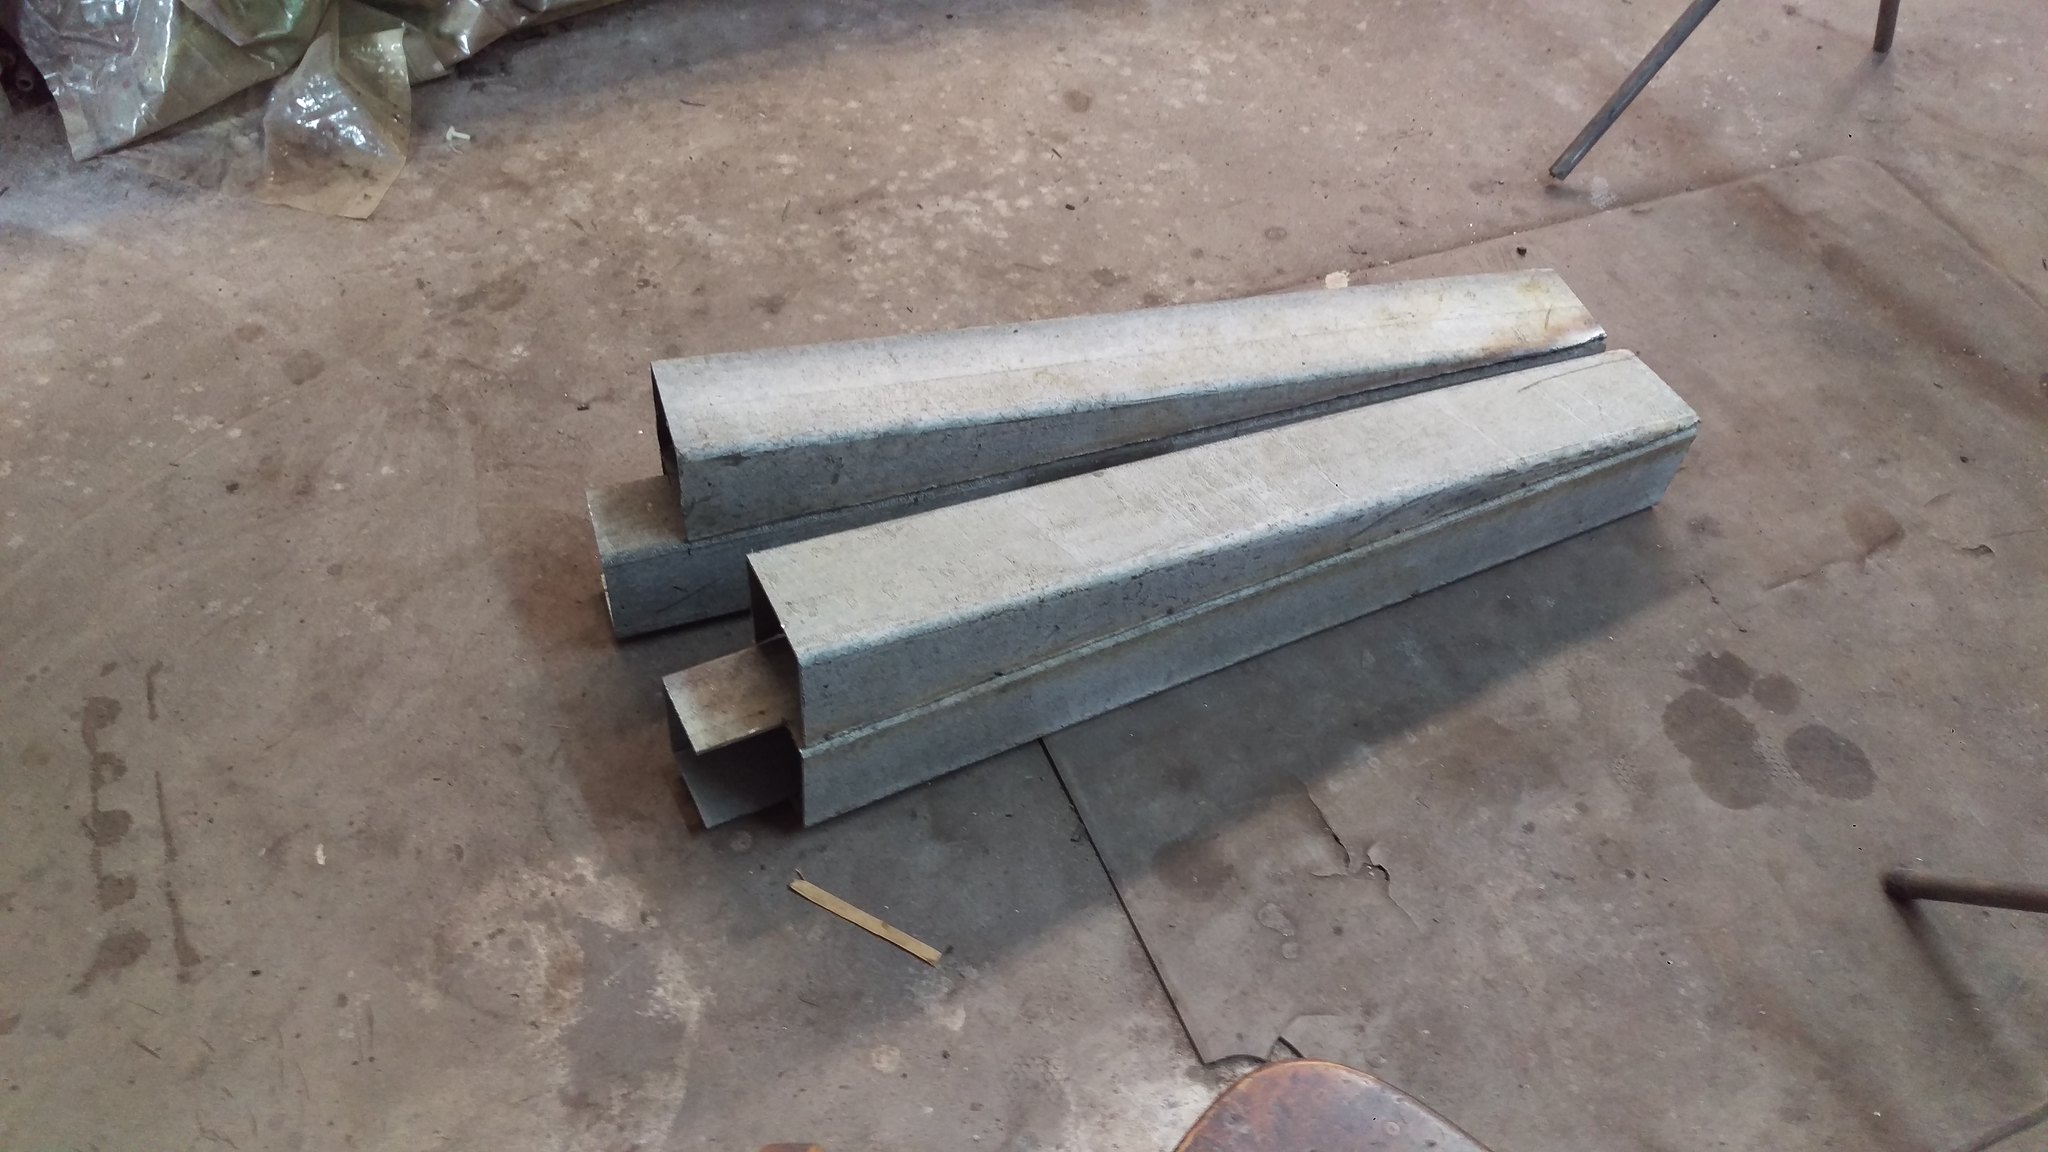 IMAG1877 by jarrod vanwinkle, on Flickr IMAG1877 by jarrod vanwinkle, on FlickrI got new seals for the doors 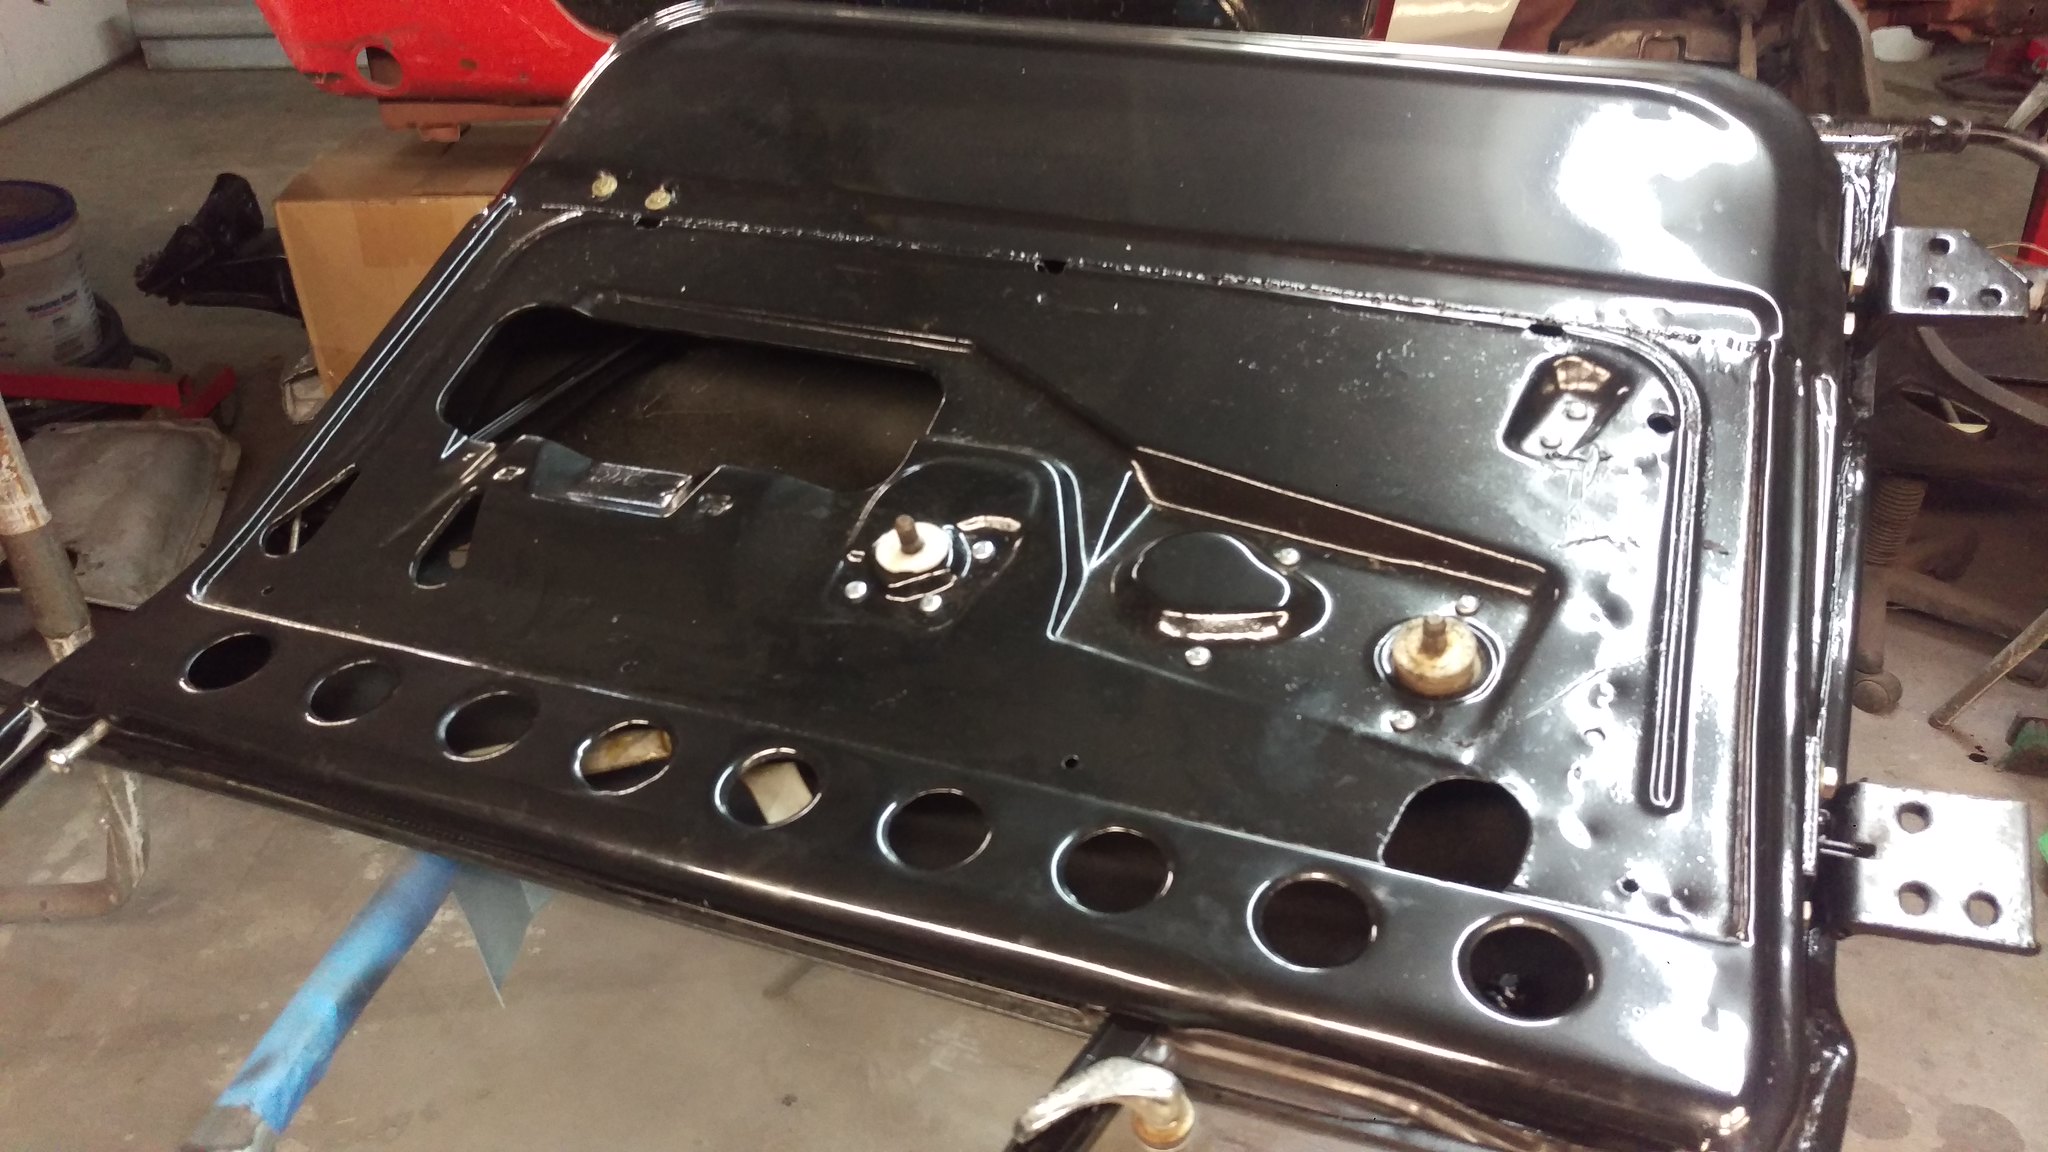 IMAG1858 by jarrod vanwinkle, on Flickr IMAG1858 by jarrod vanwinkle, on Flickr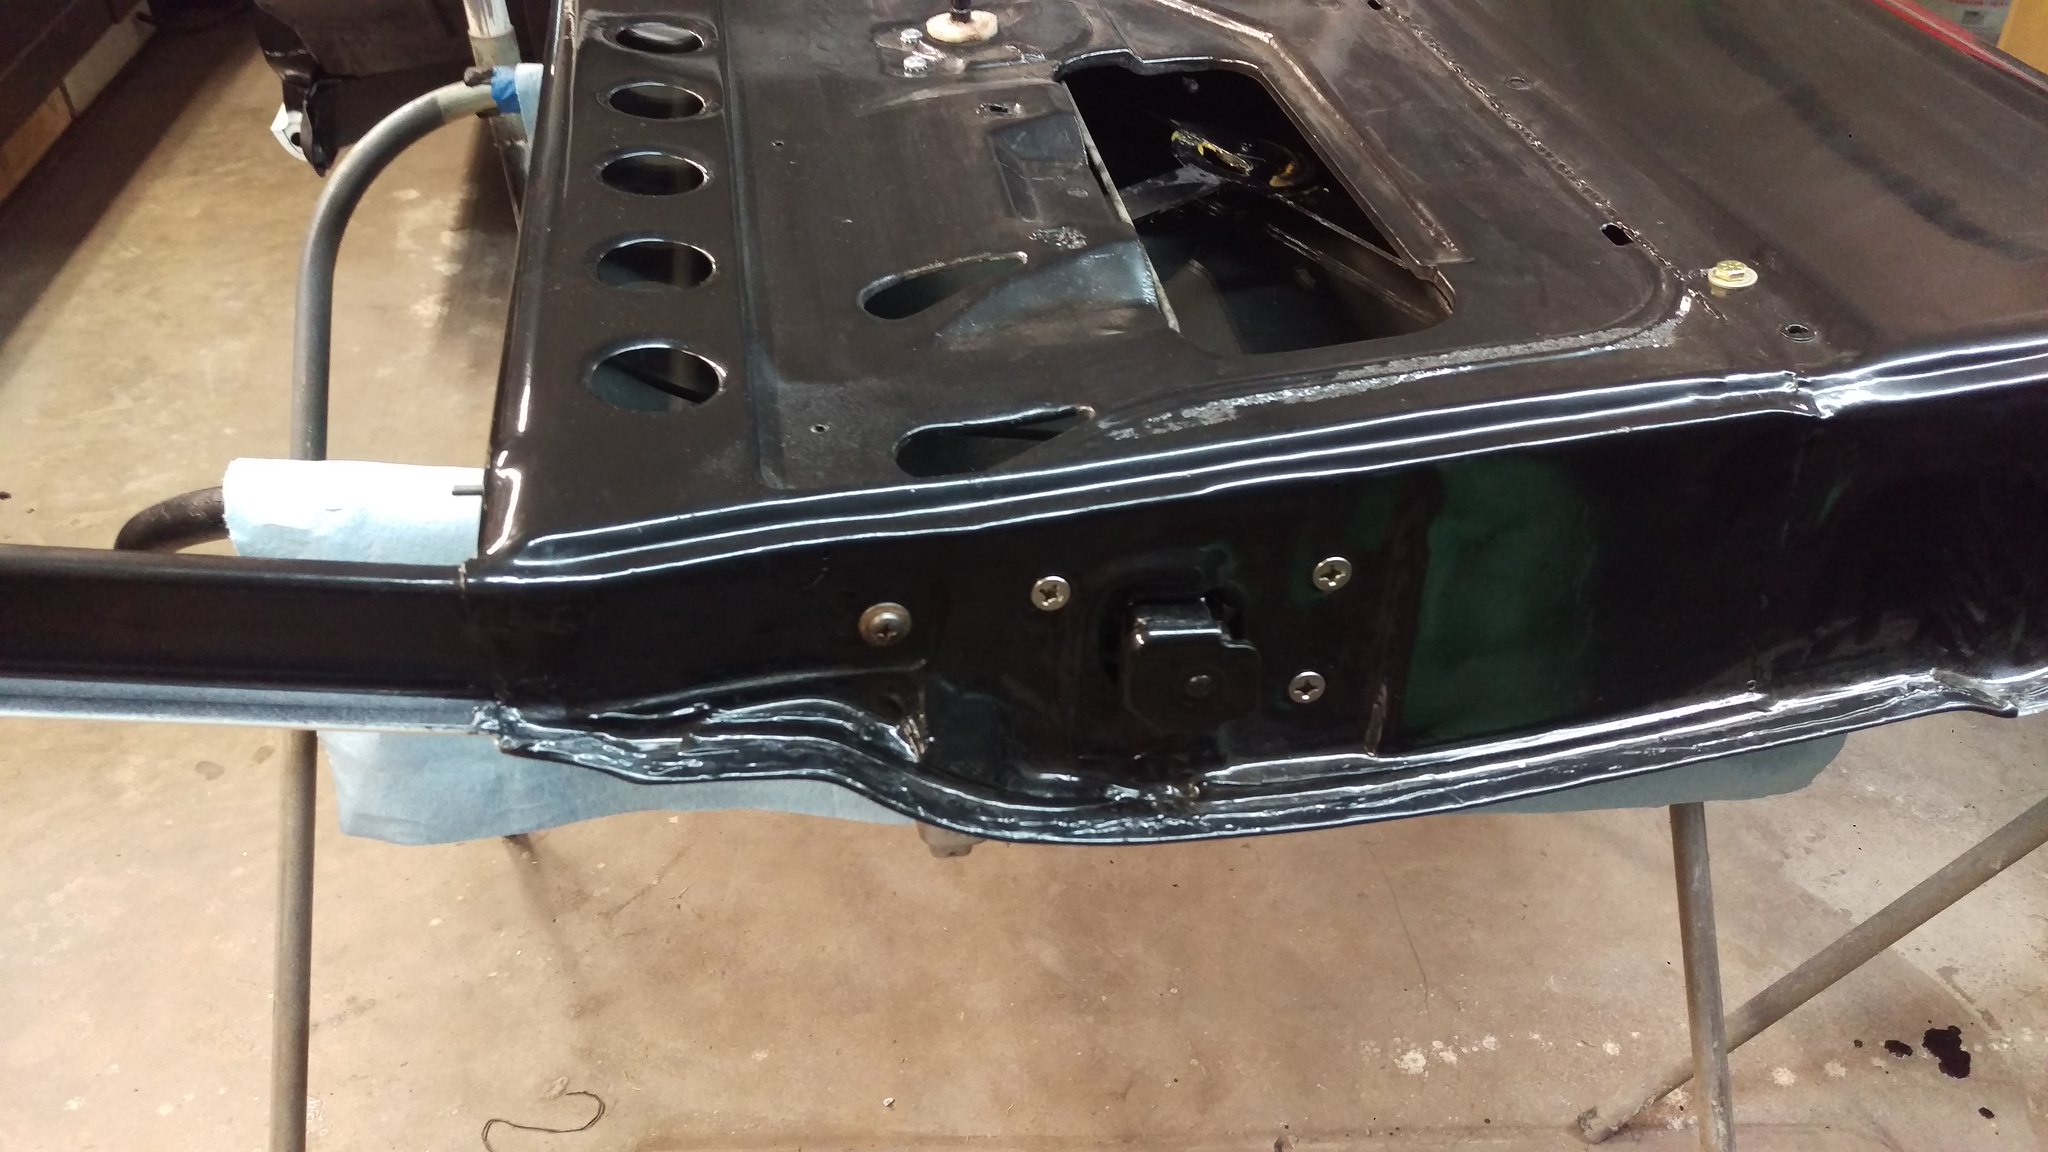 IMAG1861 by jarrod vanwinkle, on Flickr IMAG1861 by jarrod vanwinkle, on Flickr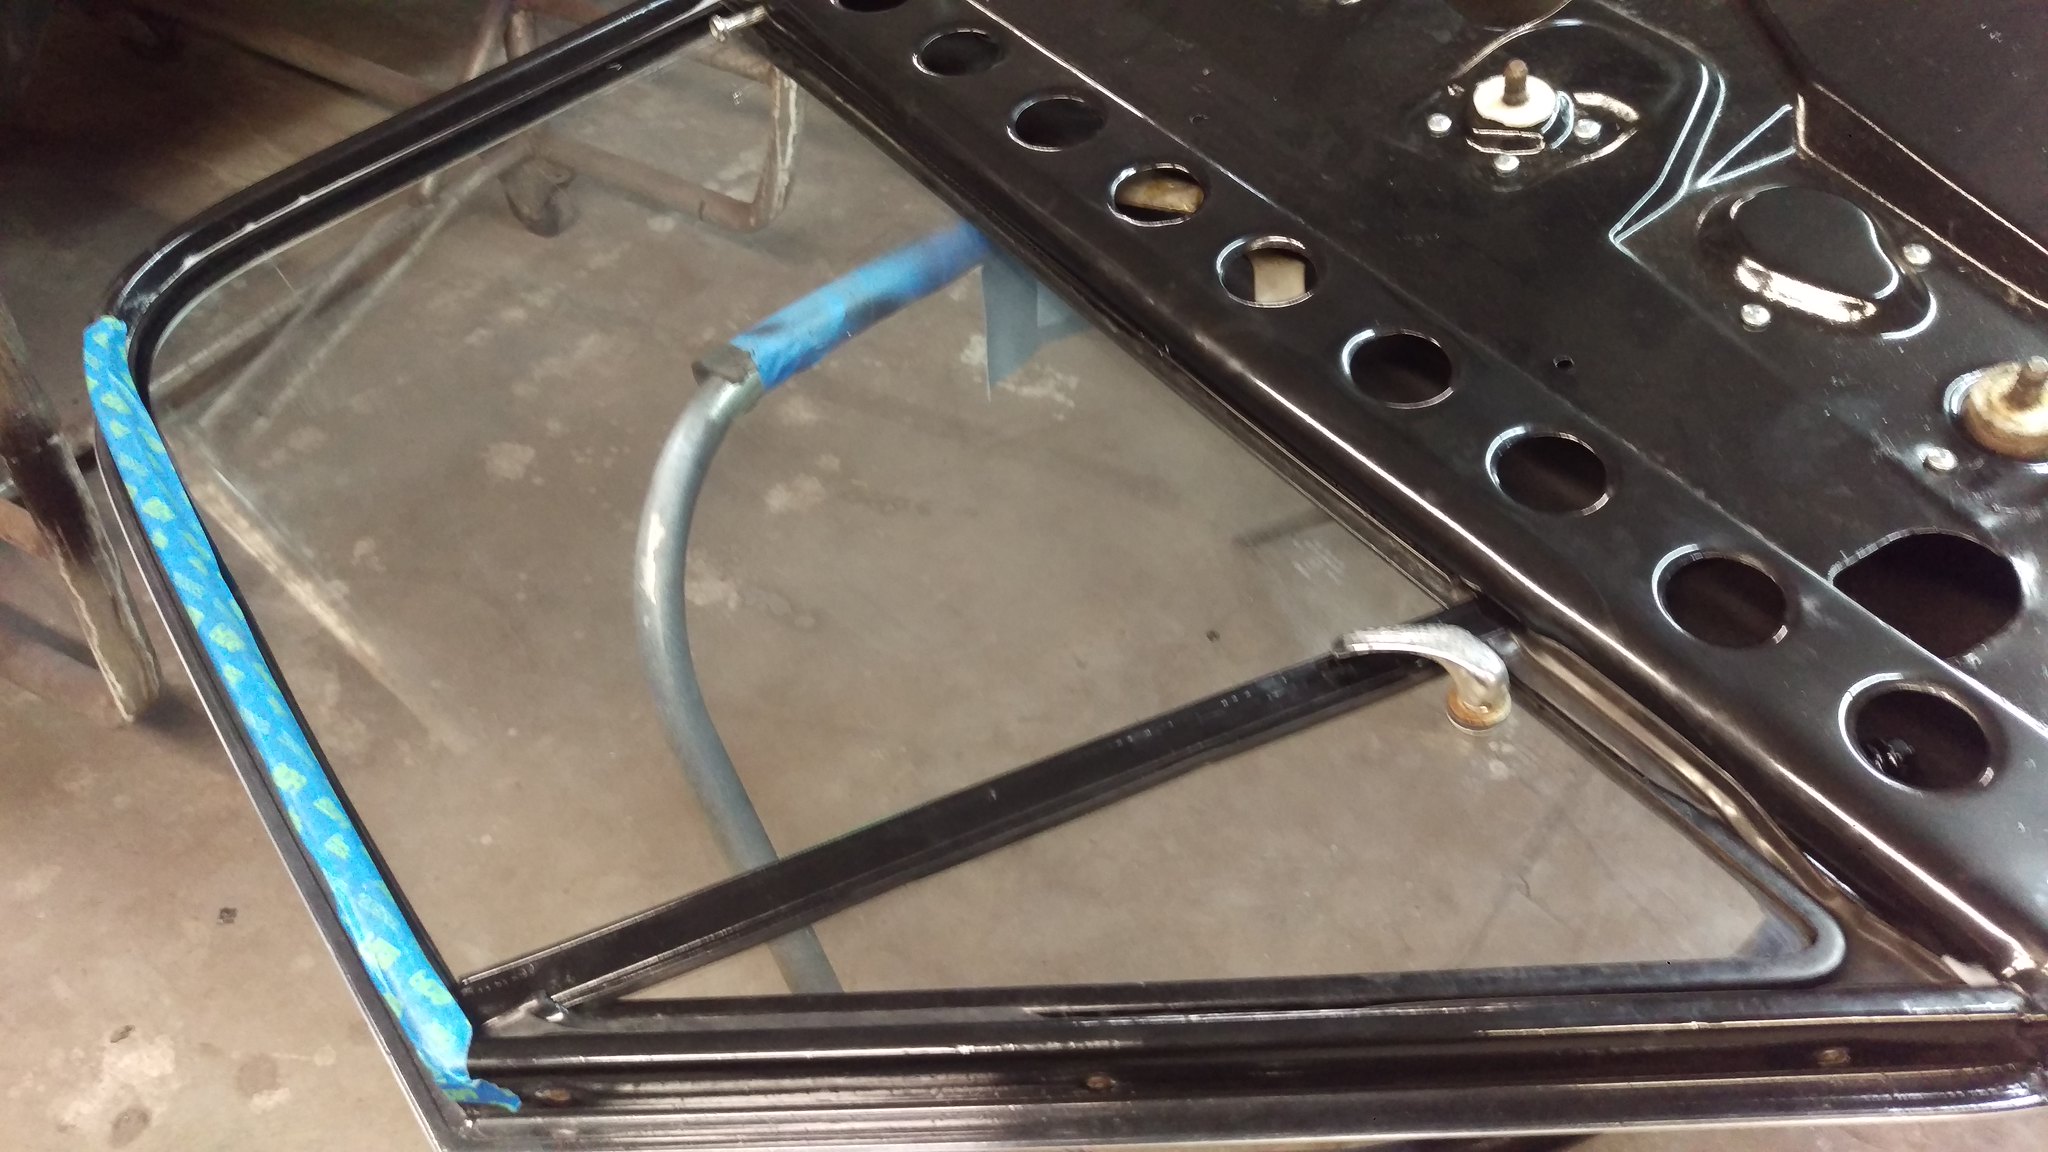 IMAG1859 by jarrod vanwinkle, on Flickr IMAG1859 by jarrod vanwinkle, on FlickrInstalled the headache rack 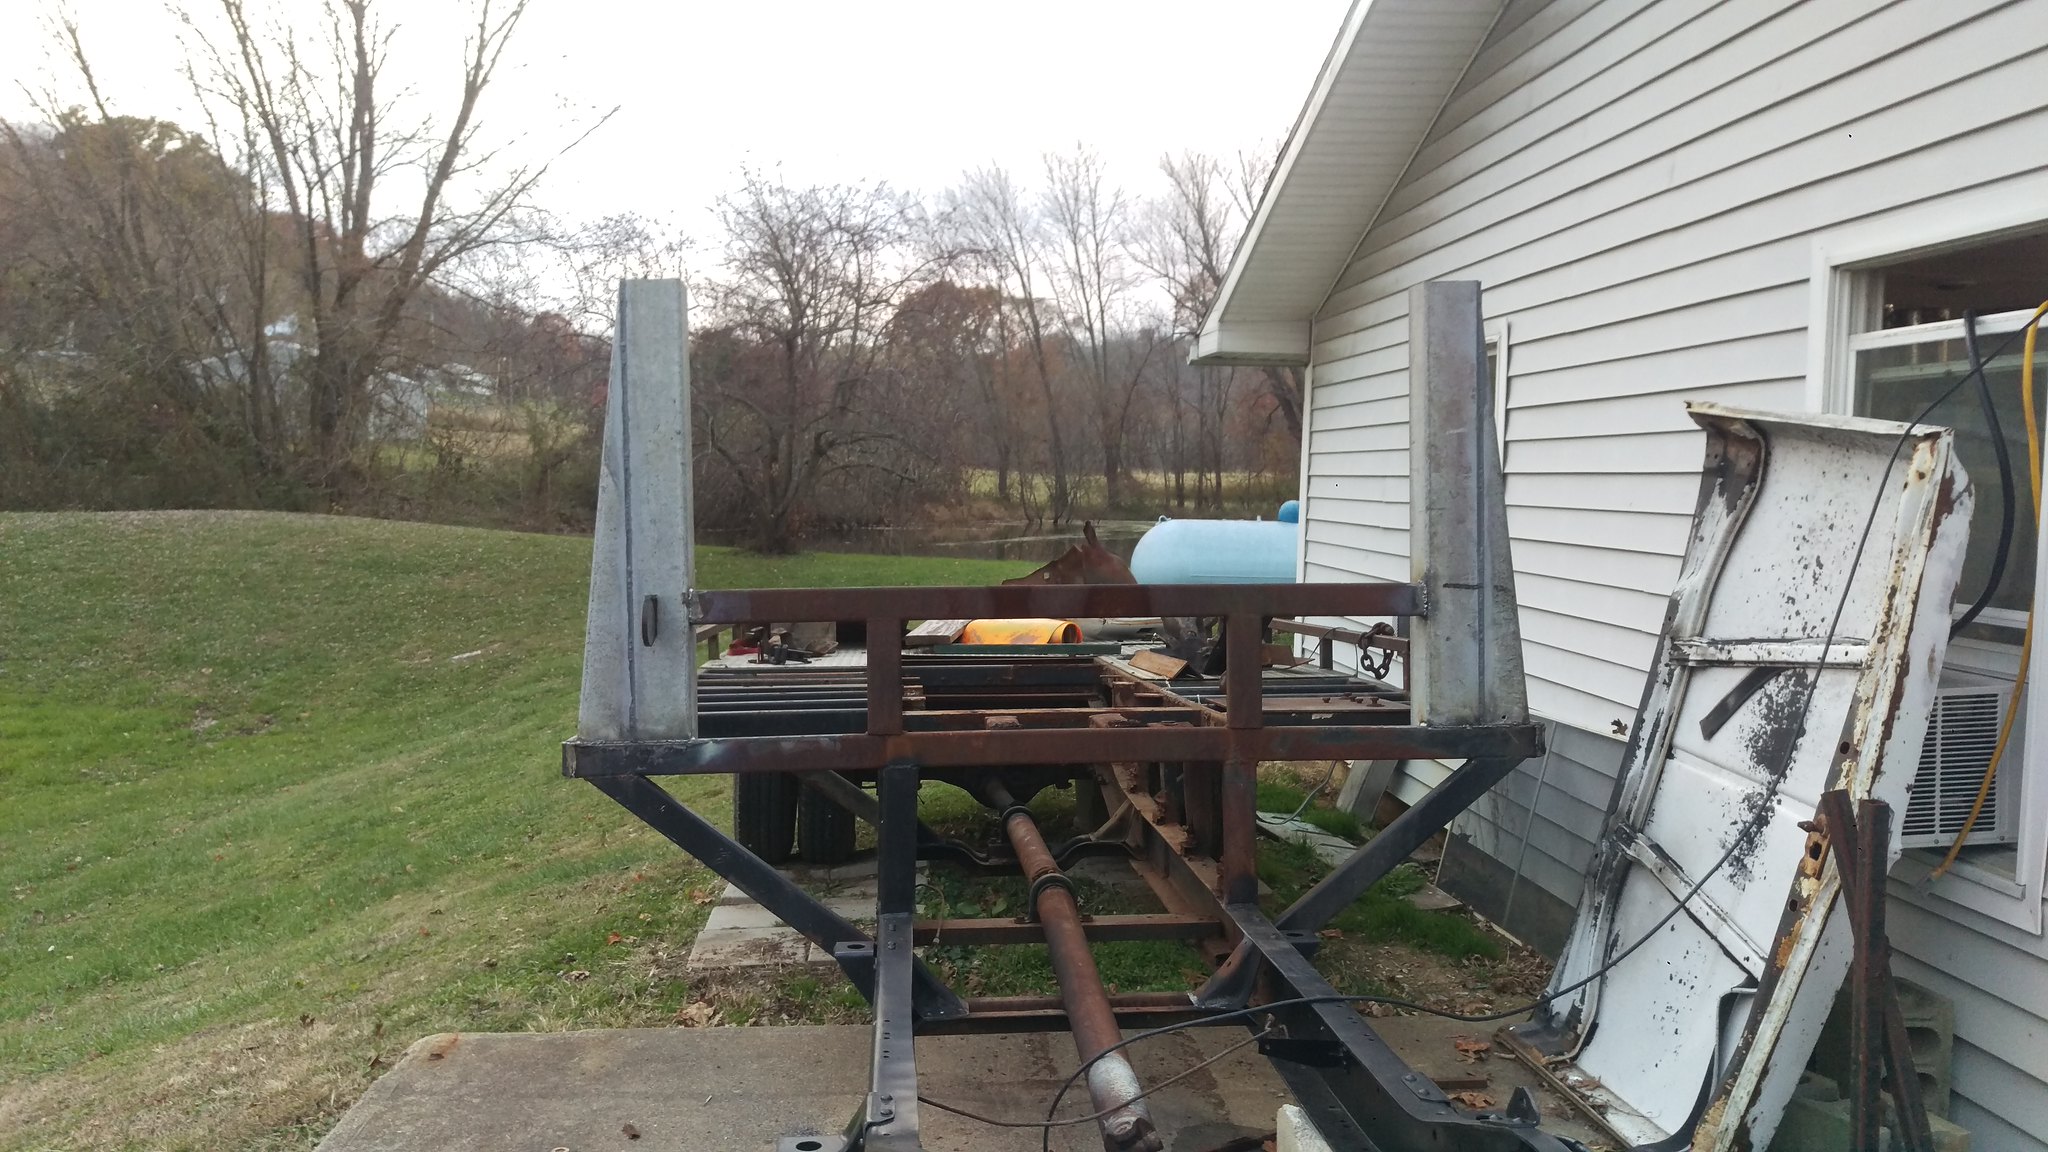 IMAG1946 by jarrod vanwinkle, on Flickr IMAG1946 by jarrod vanwinkle, on Flickrtwo receiver mounts so I can make a removable roof rack 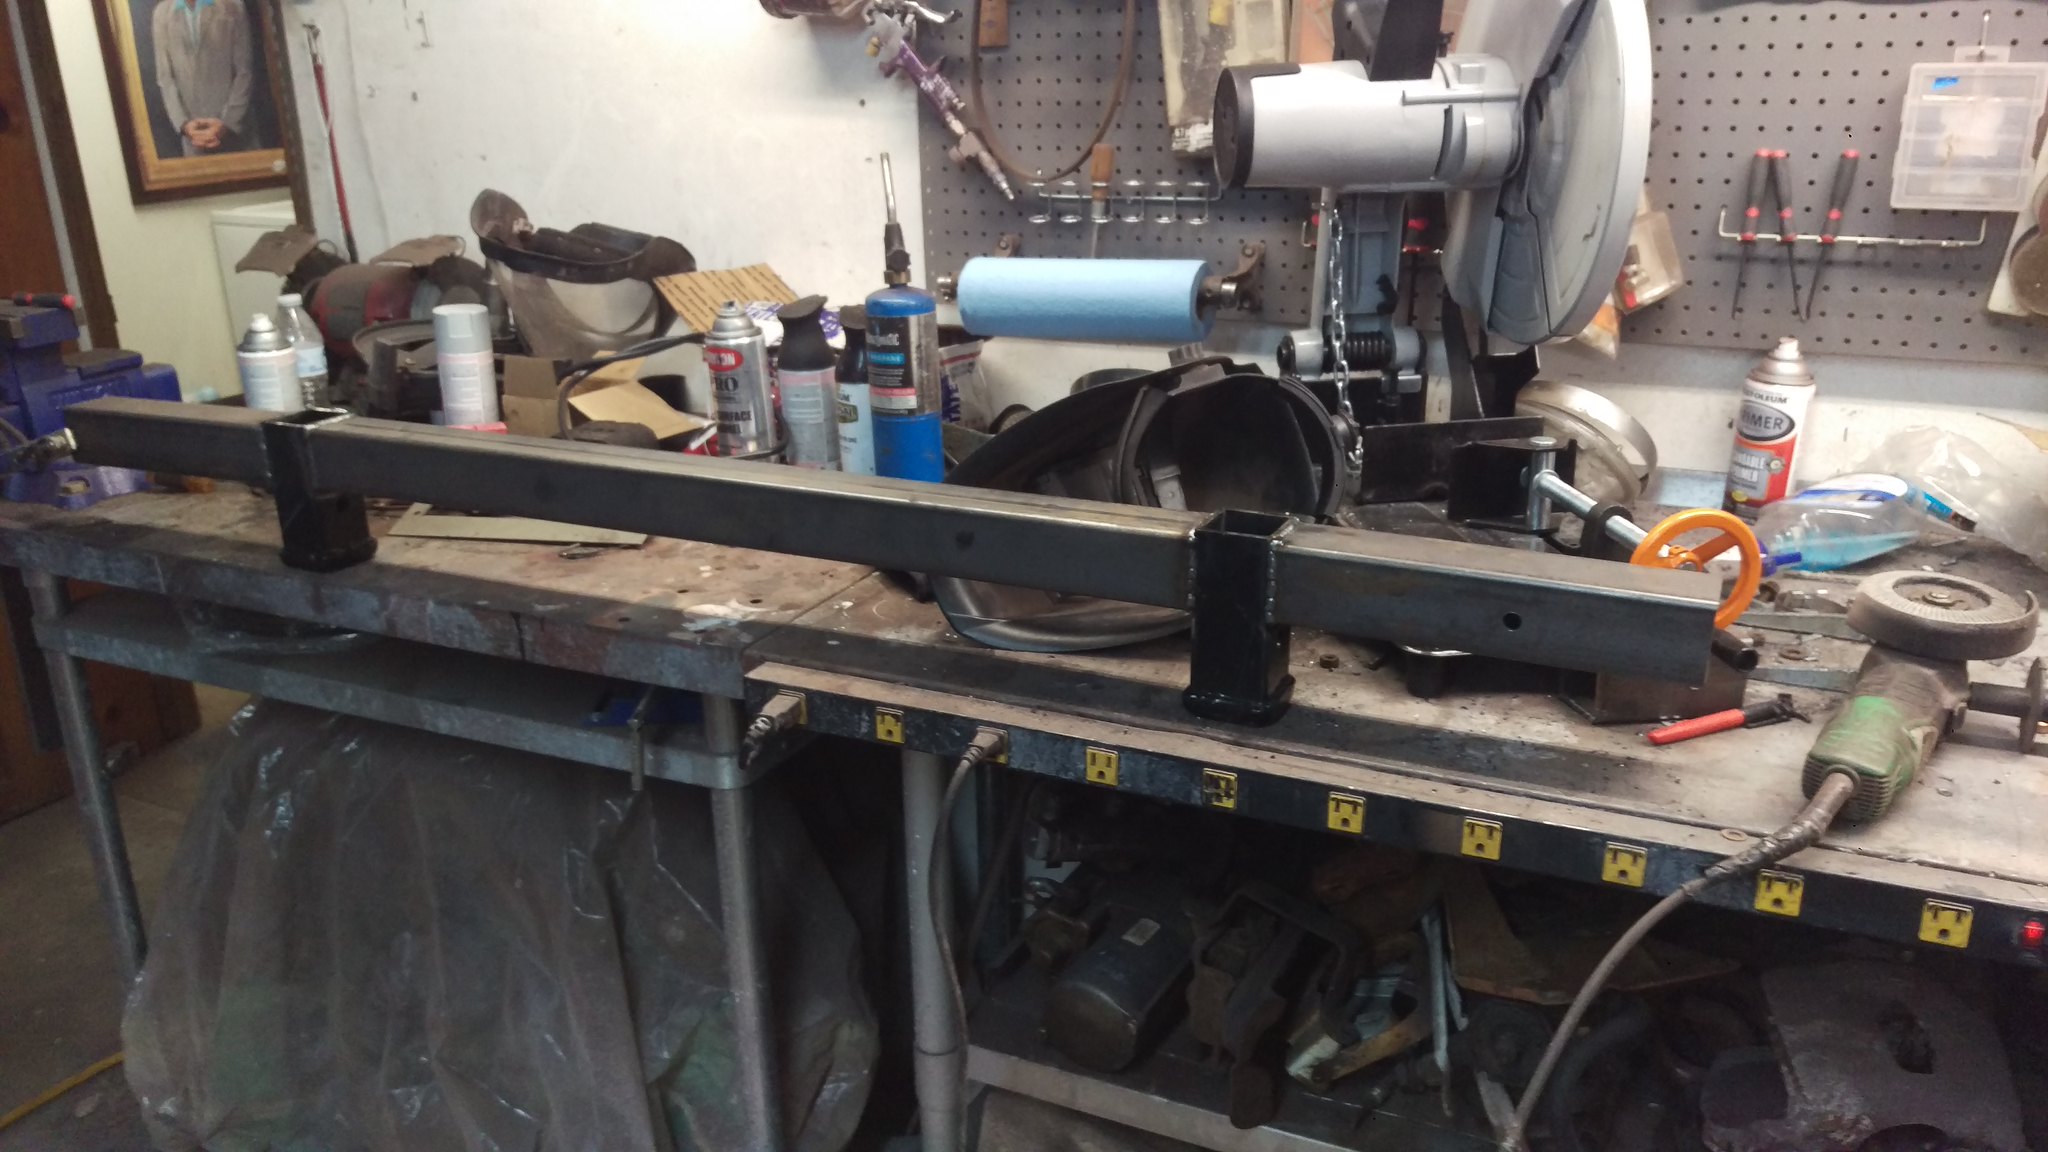 IMAG1950 by jarrod vanwinkle, on Flickr IMAG1950 by jarrod vanwinkle, on Flickr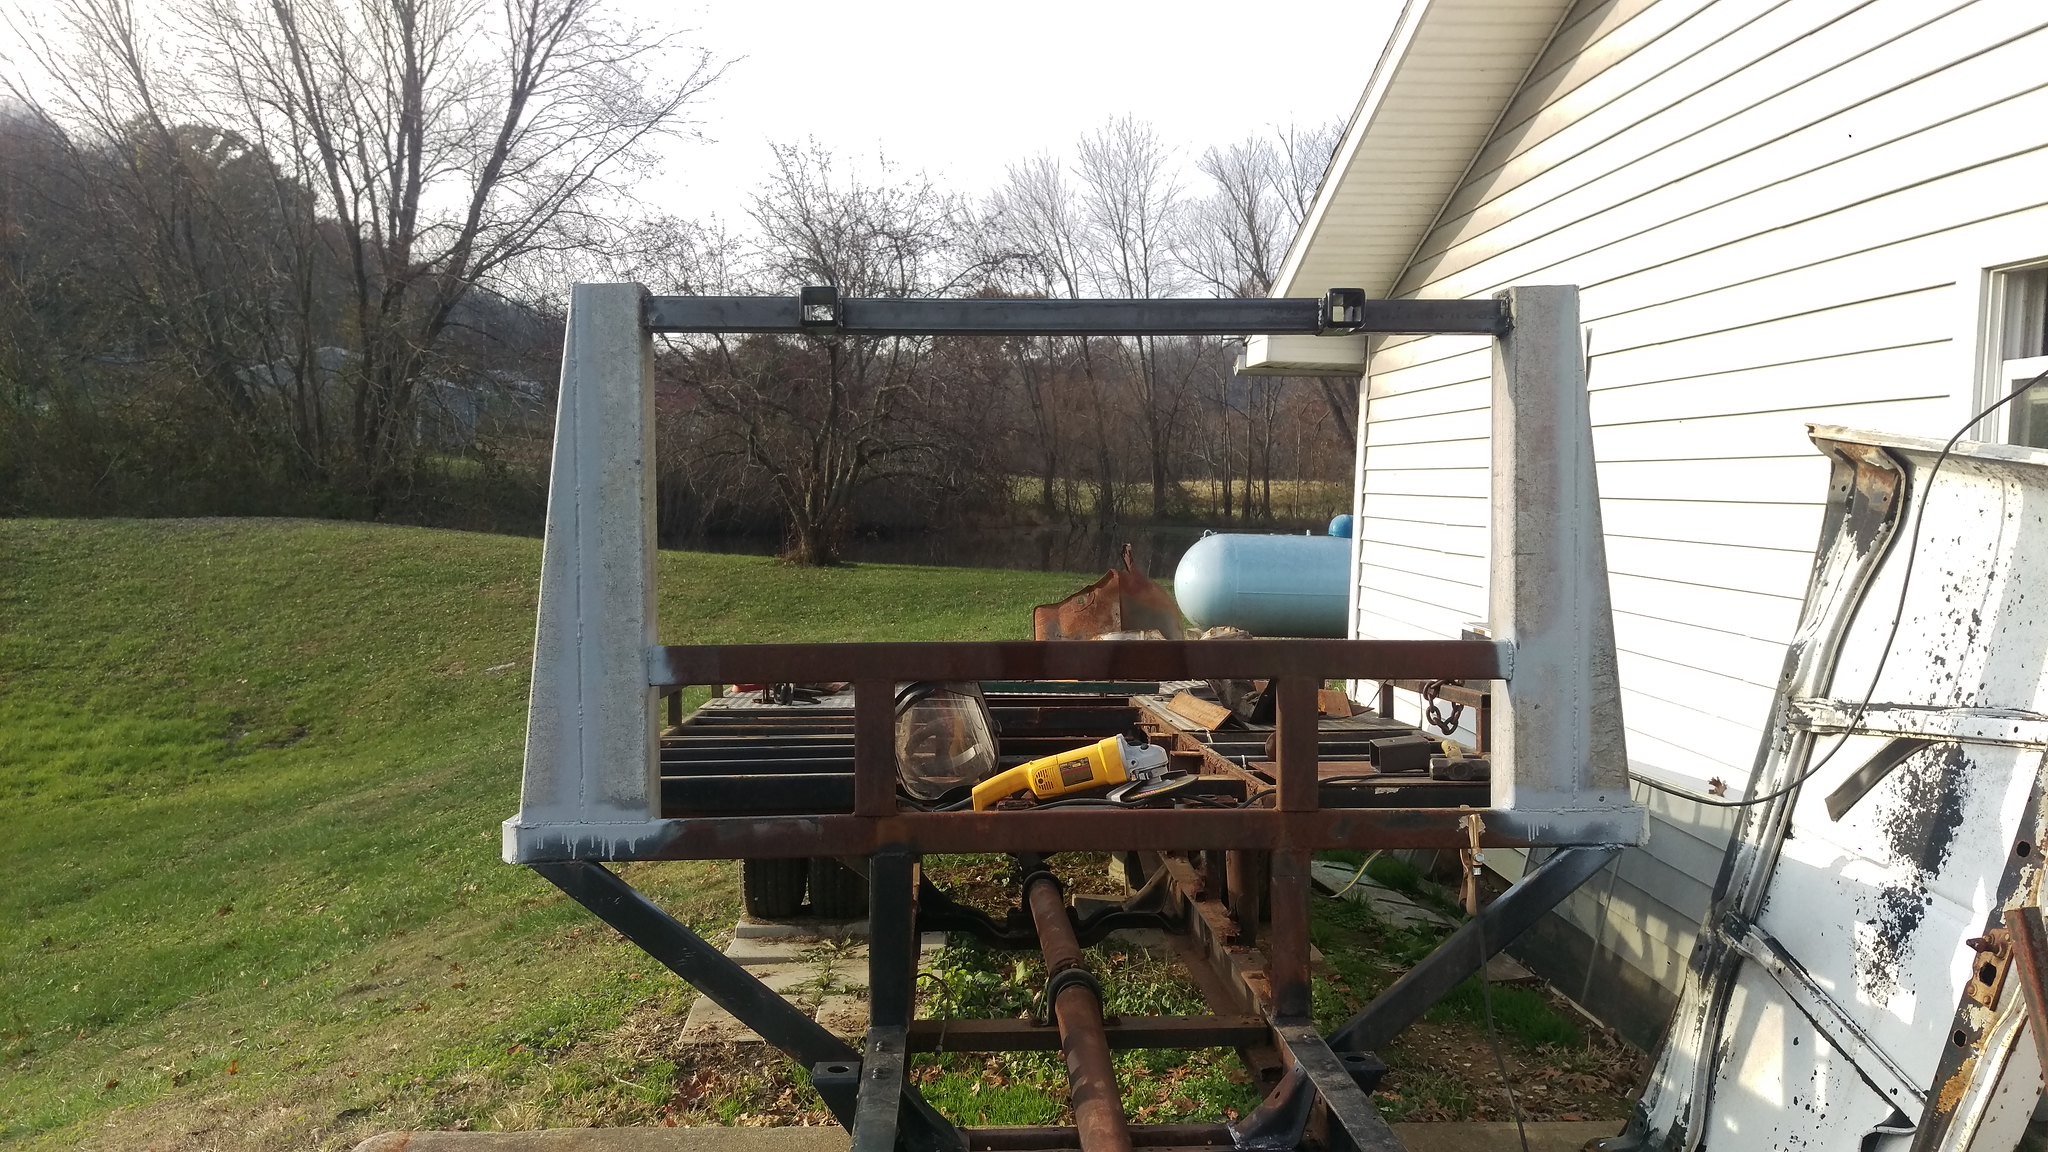 IMAG1951 by jarrod vanwinkle, on Flickr IMAG1951 by jarrod vanwinkle, on Flickr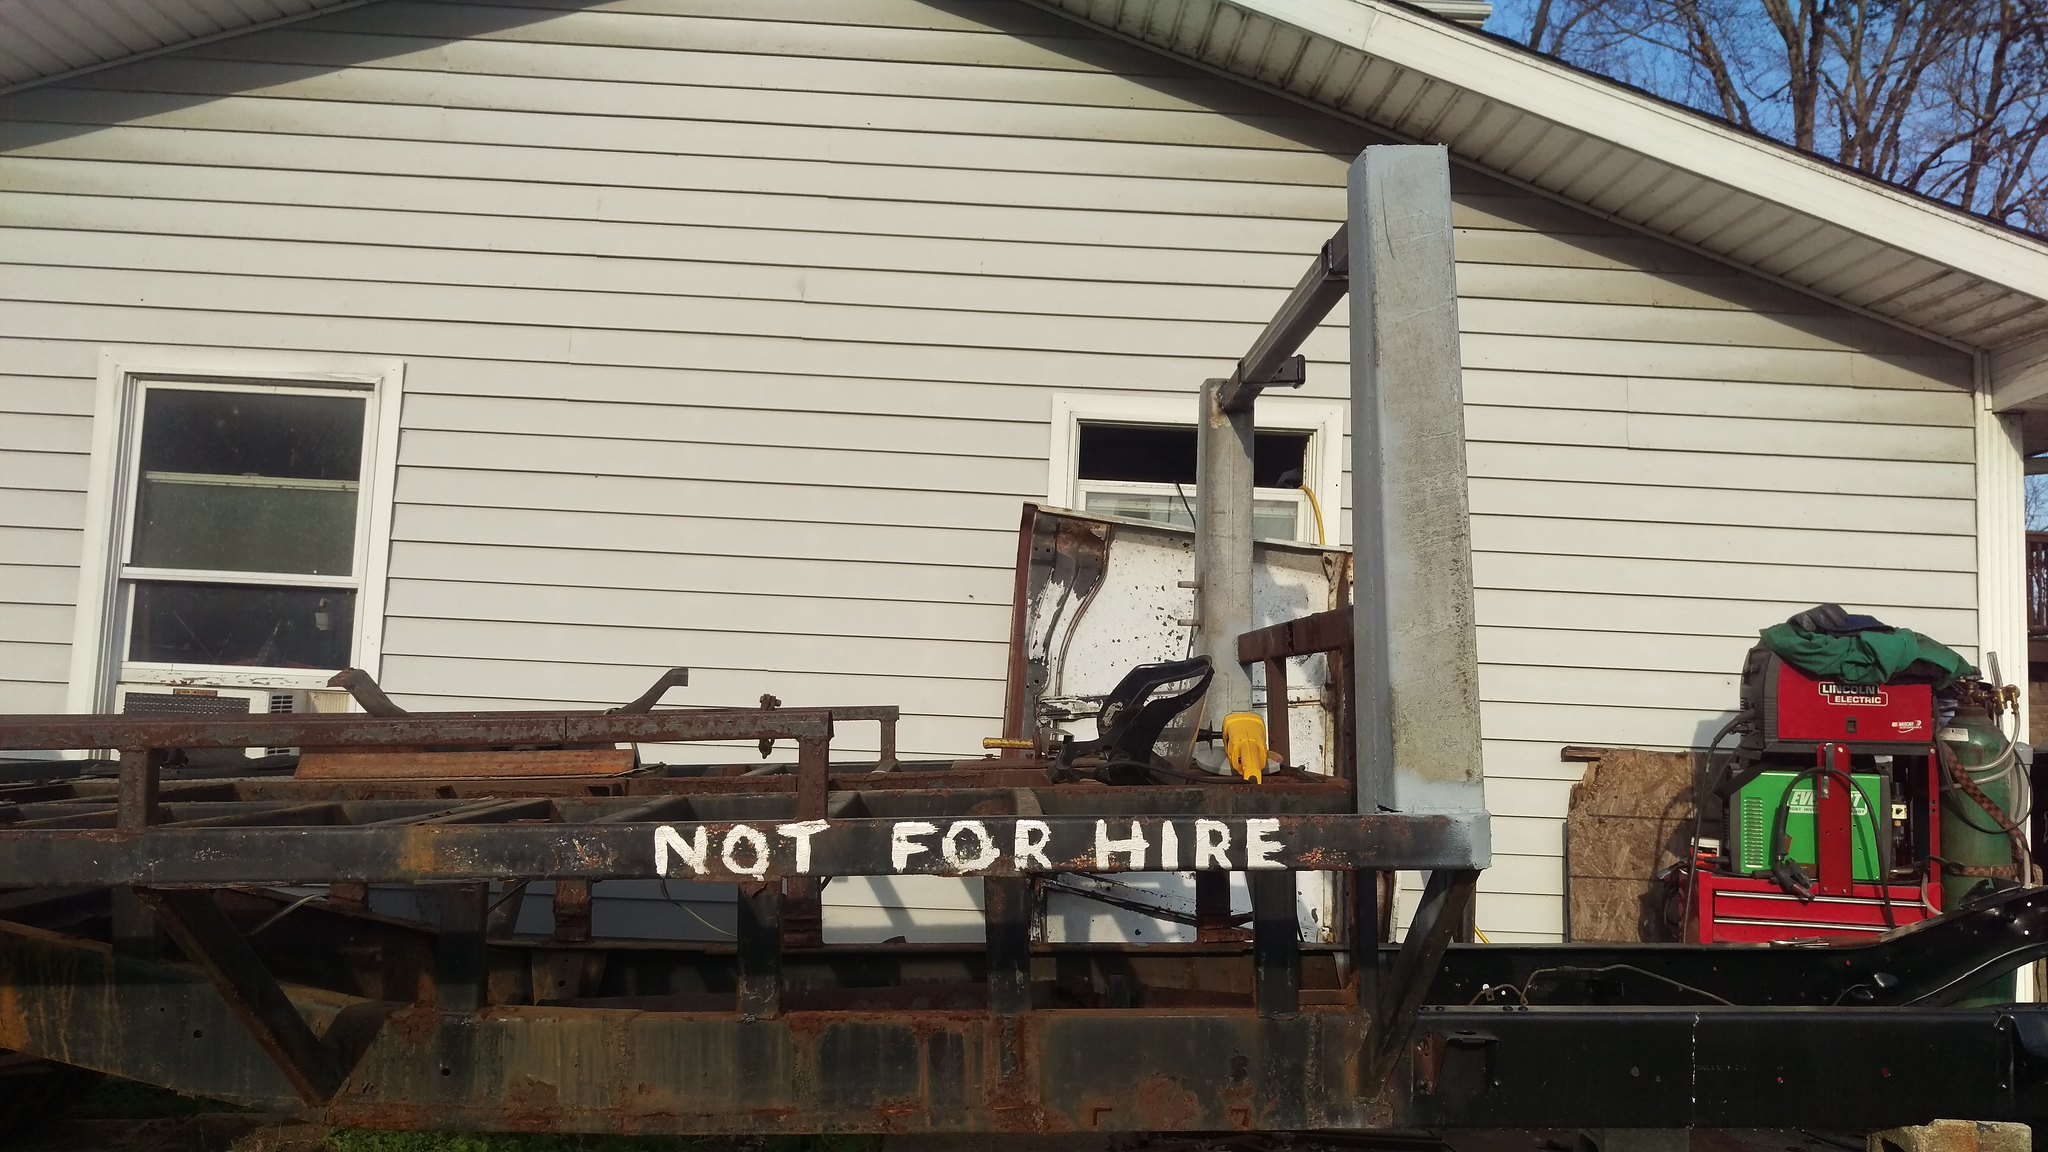 IMAG1952 by jarrod vanwinkle, on Flickr IMAG1952 by jarrod vanwinkle, on Flickr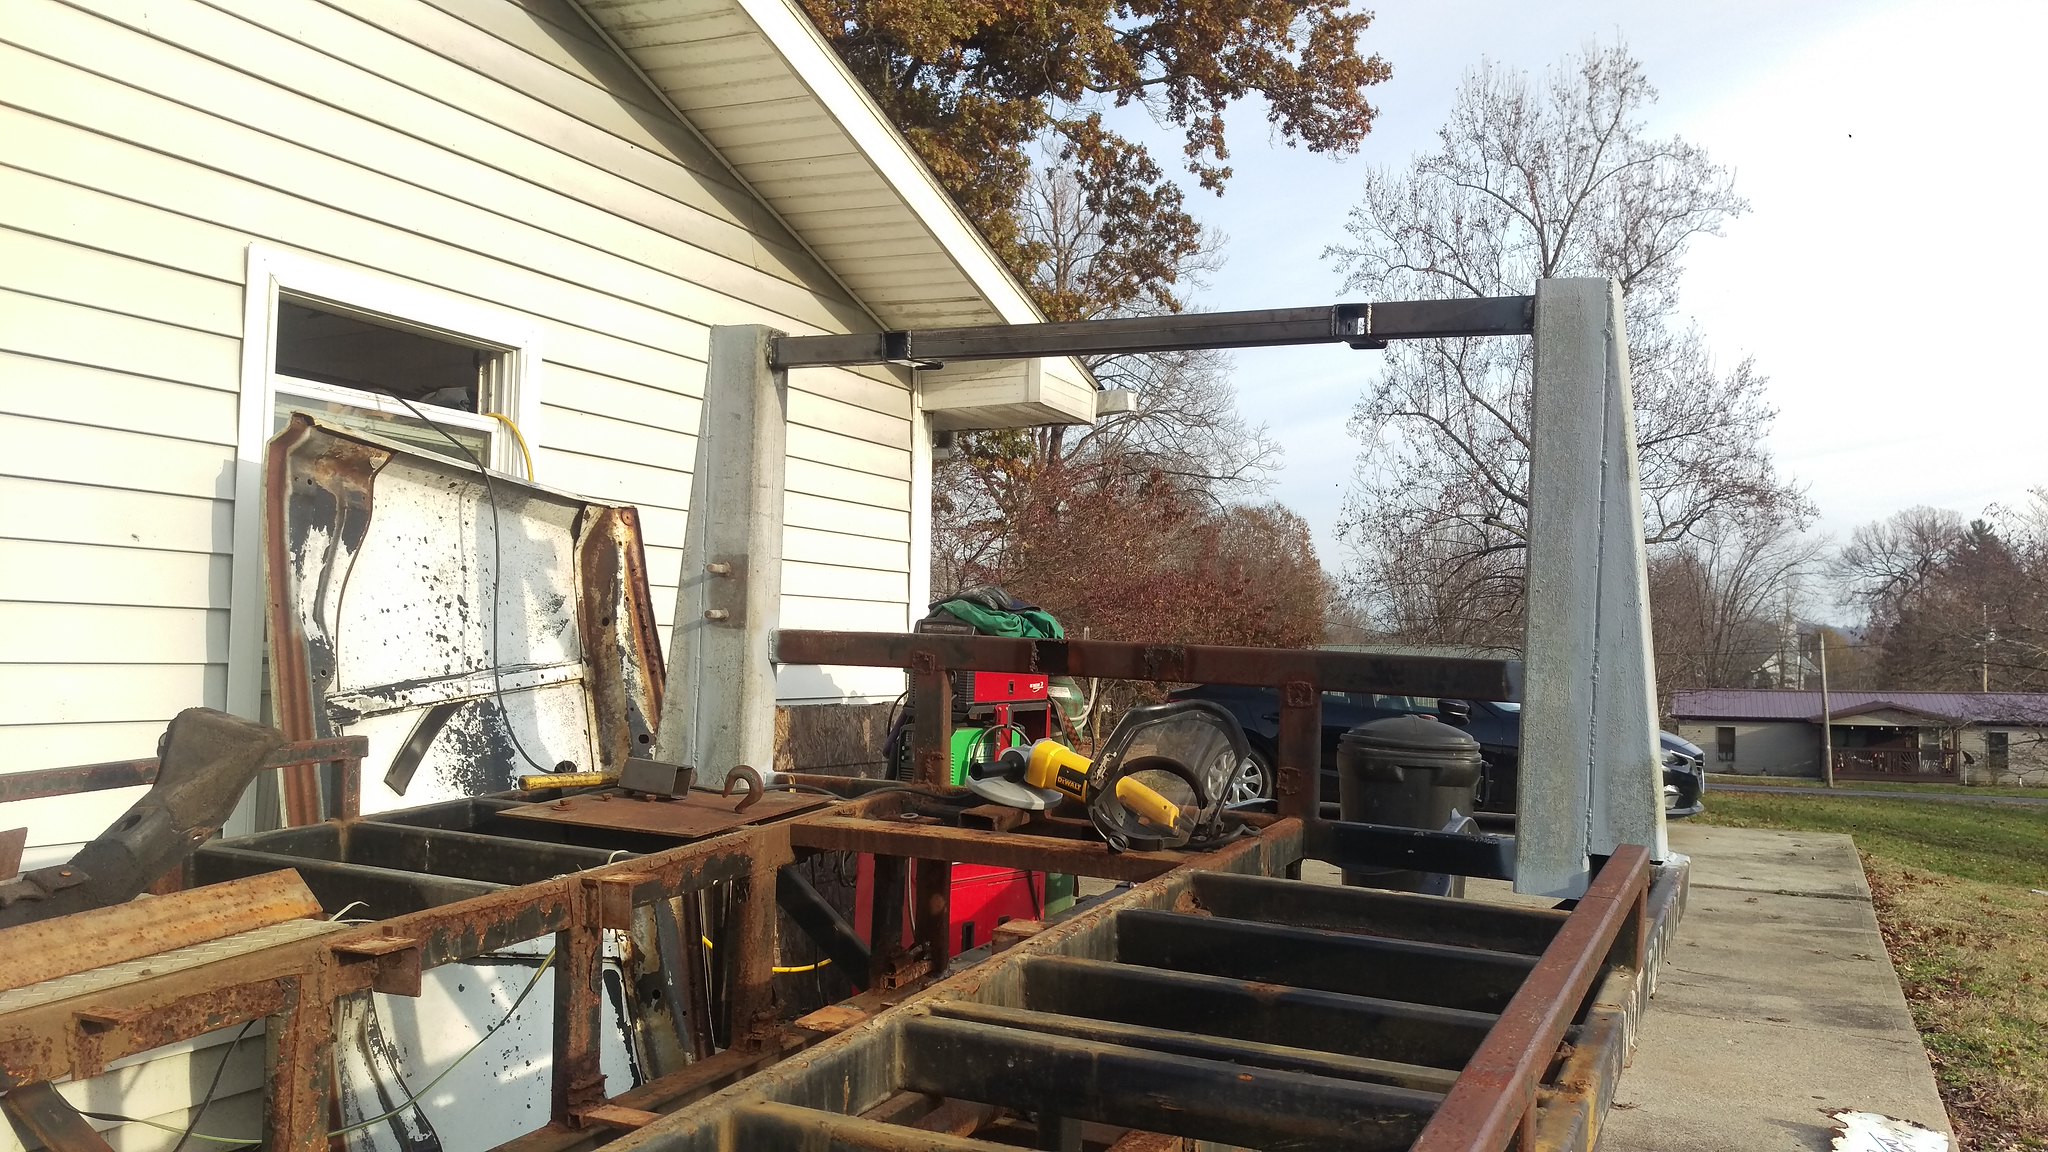 IMAG1953 by jarrod vanwinkle, on Flickr IMAG1953 by jarrod vanwinkle, on FlickrSo now we are back to present time. Last week I installed the rear window in the cab. 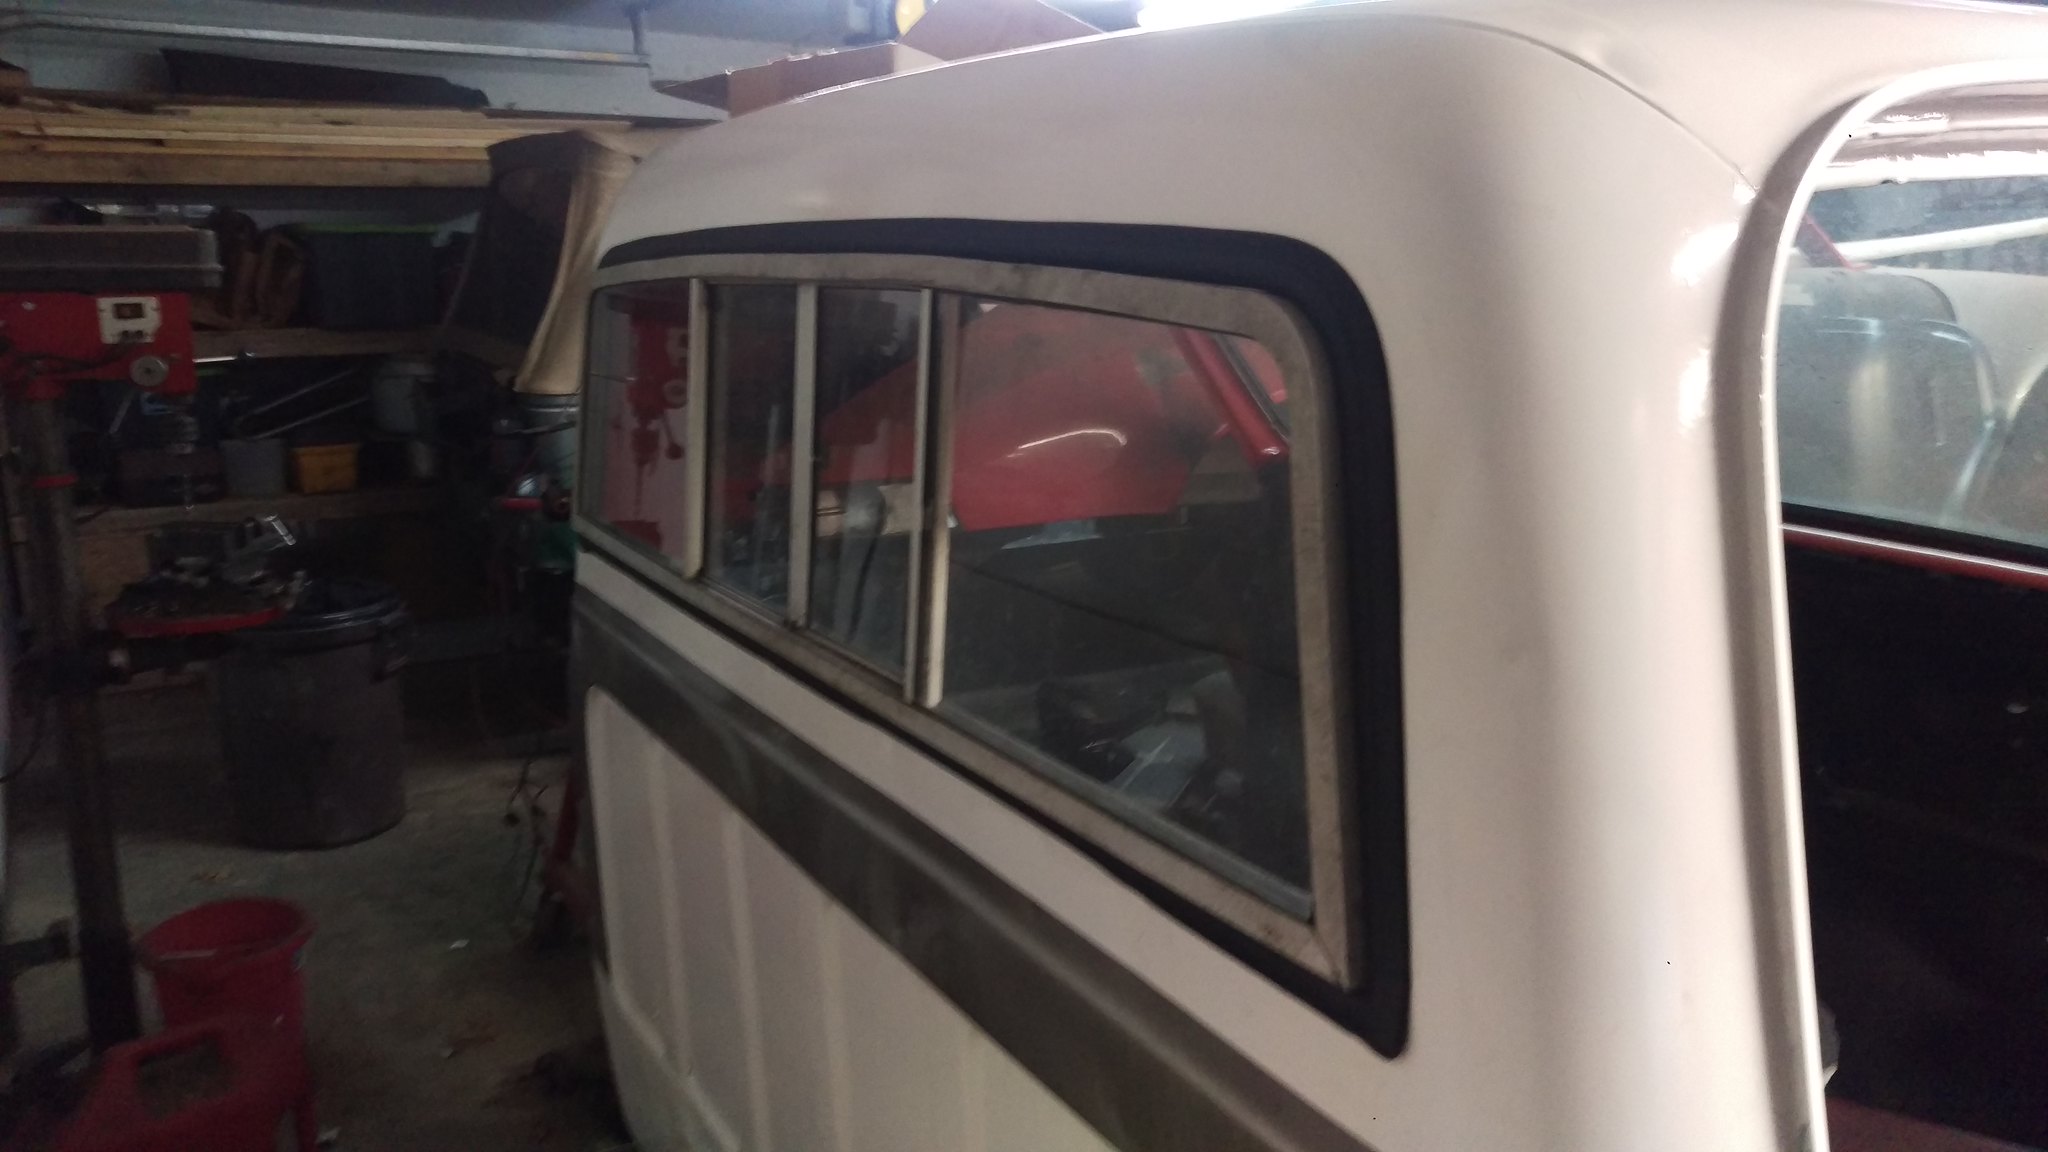 IMAG1976 by jarrod vanwinkle, on Flickr IMAG1976 by jarrod vanwinkle, on Flickr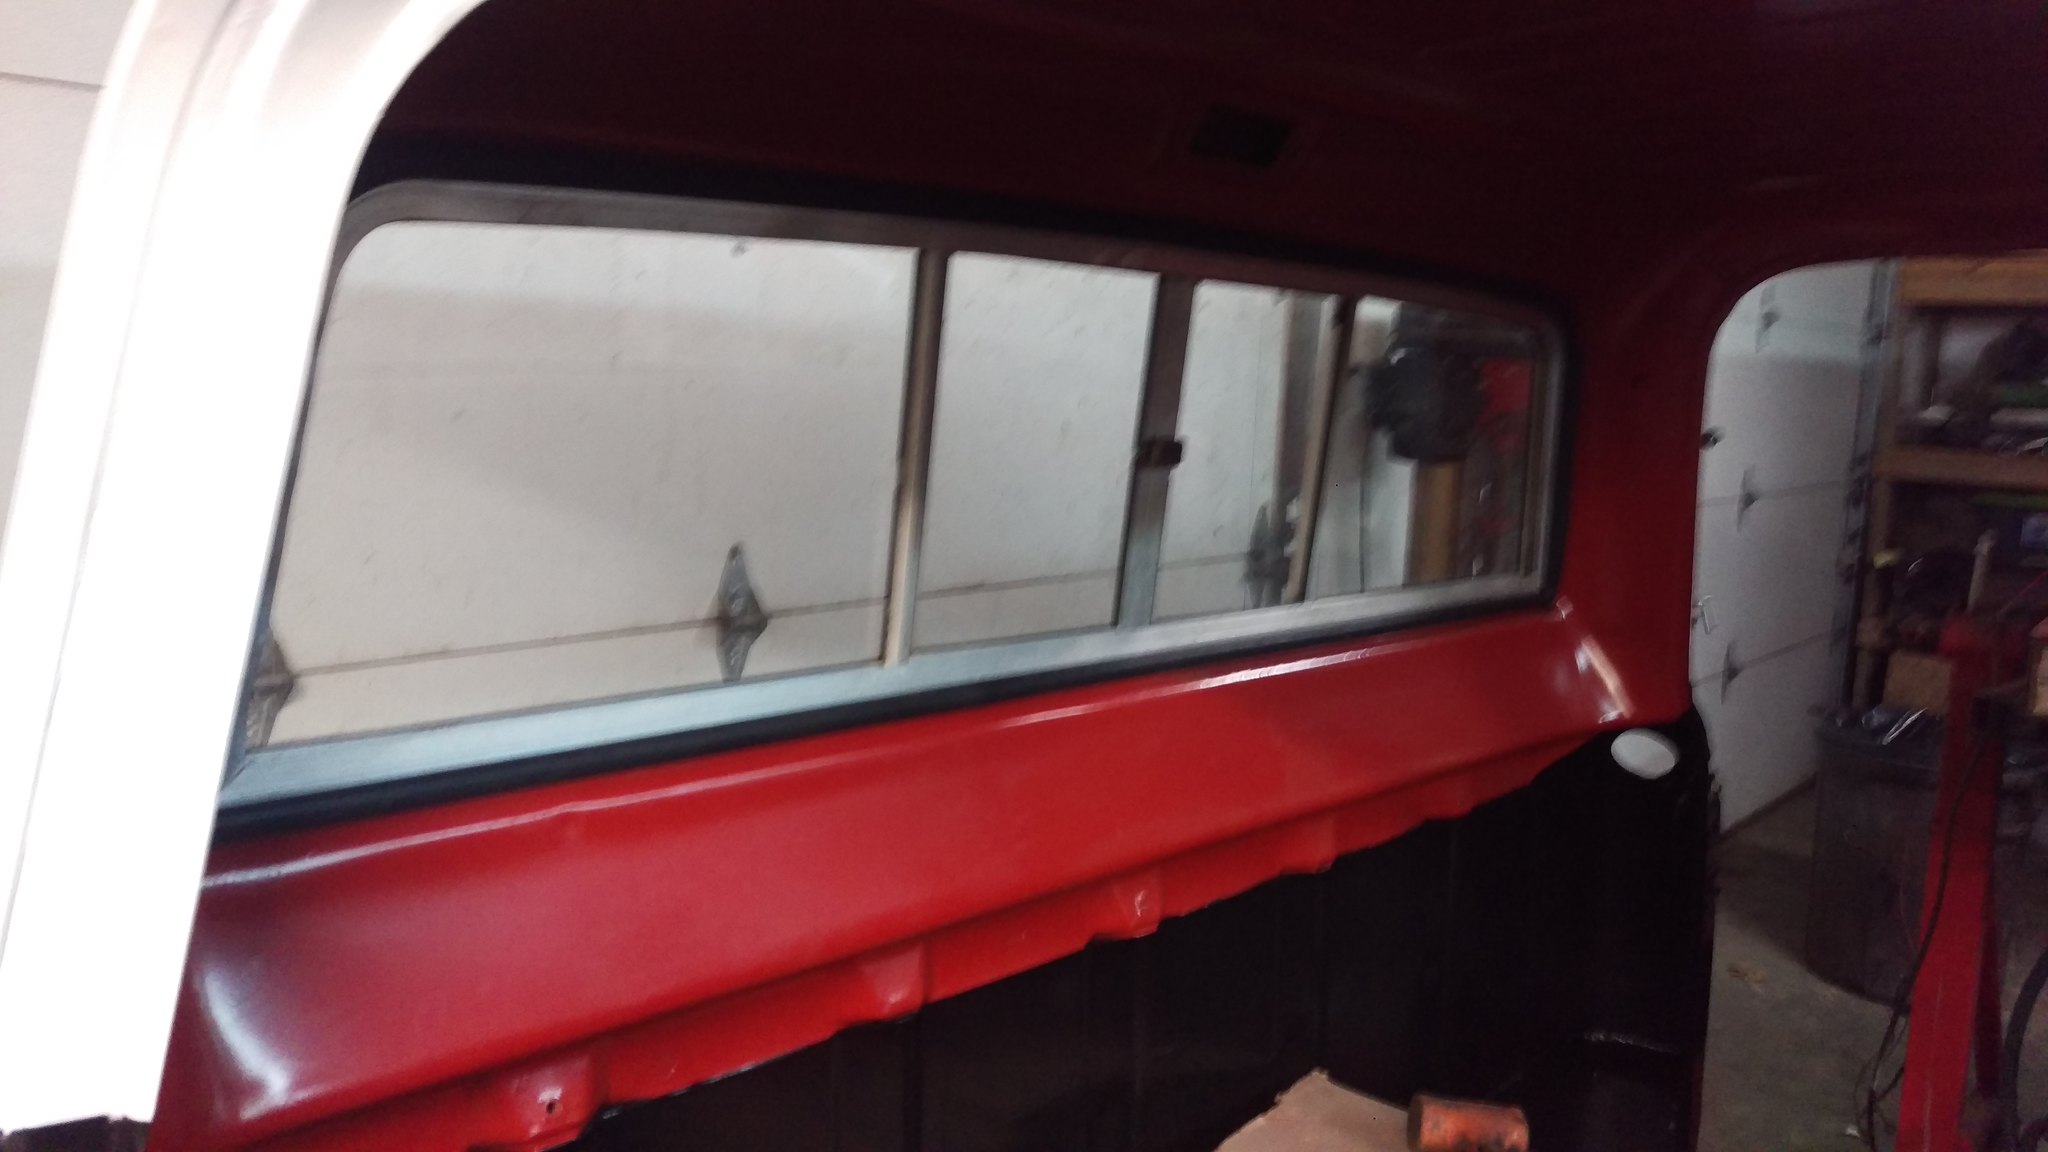 IMAG1977 by jarrod vanwinkle, on Flickr IMAG1977 by jarrod vanwinkle, on FlickrToday I painted the headache rack, just so we're clear I did not paint over rust I had a friend help me wire wheel and frimer all that is painted. I just can't do much right now so I only did a little bit that way I can get the cab on the frame and out of the garage. 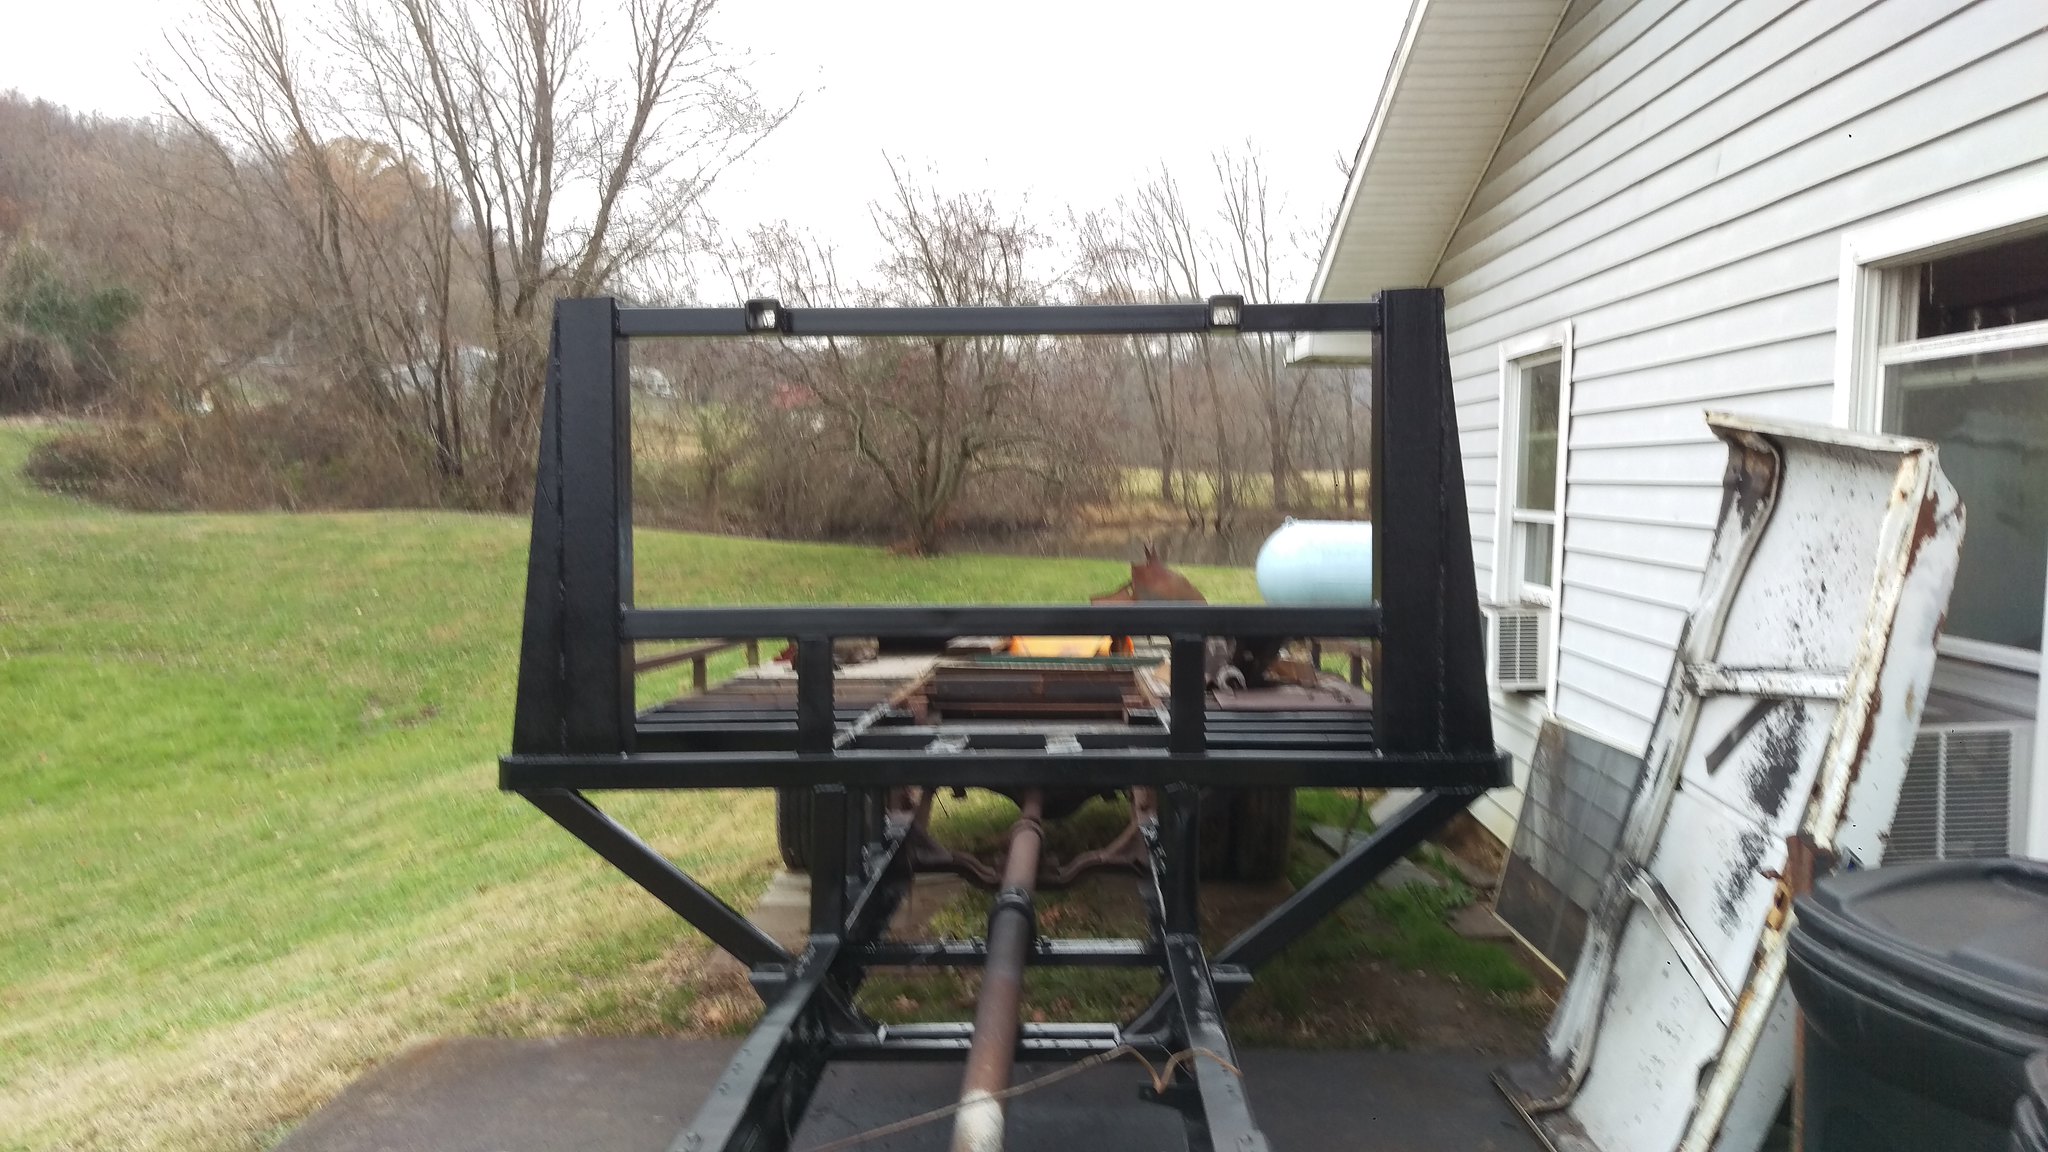 IMAG2041 by jarrod vanwinkle, on Flickr IMAG2041 by jarrod vanwinkle, on Flickr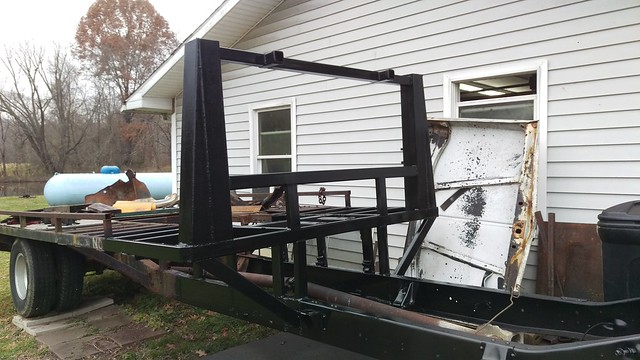 IMAG2042 by jarrod vanwinkle, on Flickr IMAG2042 by jarrod vanwinkle, on Flickr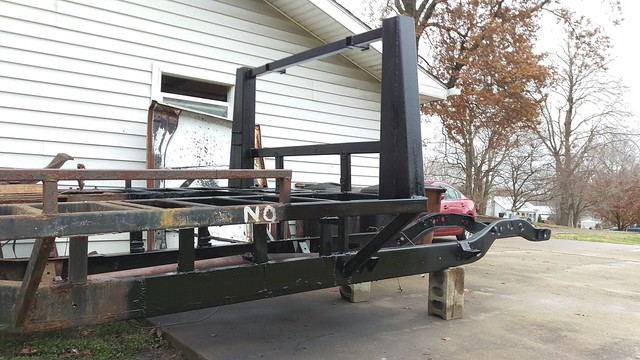 IMAG2043 by jarrod vanwinkle, on Flickr IMAG2043 by jarrod vanwinkle, on Flickr
|
|
|
|

|
|
|
#45 |
|
Registered User
Join Date: Sep 2017
Location: Patriot IN
Posts: 163
|
Re: 1970 C30 Car hauler Buildish thread.
|
|
|

|
|
|
#46 |
|
Registered User
Join Date: Nov 2015
Location: Smethport, PA
Posts: 1,213
|
Re: 1970 C30 Car hauler Buildish thread.
OK... I see why the Jeep build doesn't scare you. You know a thing or two about bringing rusty junk back to life.
__________________
85 K30 crew cab dually - Project http://67-72chevytrucks.com/vboard/s...d.php?t=694939 87 Wrangler Rock Crawler - Reason for the project http://www.wranglerforum.com/f330/da...ld-122601.html 04 1500 crew cab http://67-72chevytrucks.com/vboard/s...d.php?t=786514 |
|
|

|
|
|
#47 | |
|
Registered User
Join Date: Sep 2017
Location: Patriot IN
Posts: 163
|
Re: 1970 C30 Car hauler Buildish thread.
Quote:
A few random pic before I messed up my back up the second time. I finished the lower control arms and installed the bags. 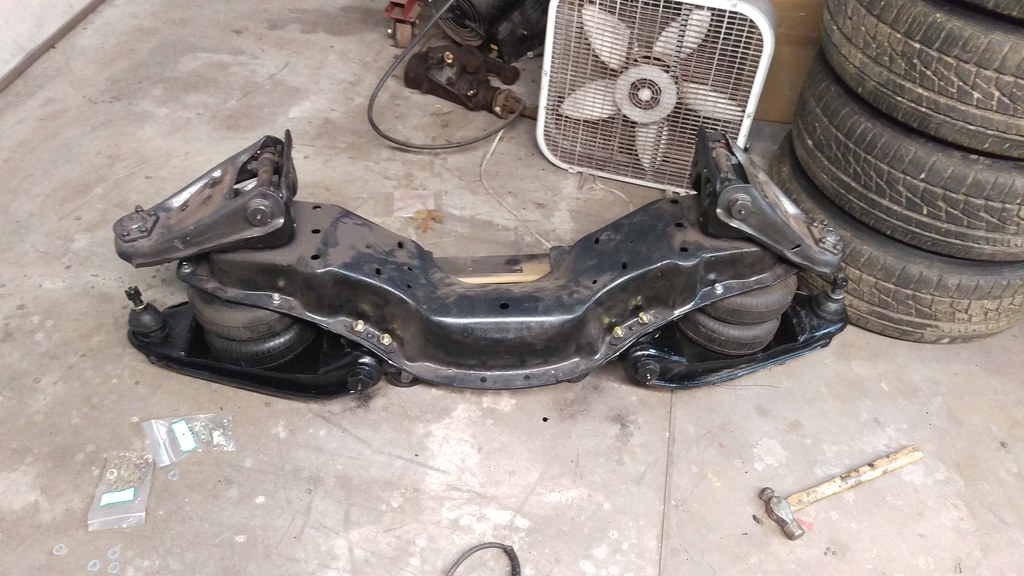 IMAG2232 by jarrod vanwinkle, on Flickr IMAG2232 by jarrod vanwinkle, on FlickrI started tearing the cummins down to replace all the seal and repaint it and do a few upgrades.  IMAG2249 by jarrod vanwinkle, on Flickr IMAG2249 by jarrod vanwinkle, on Flickr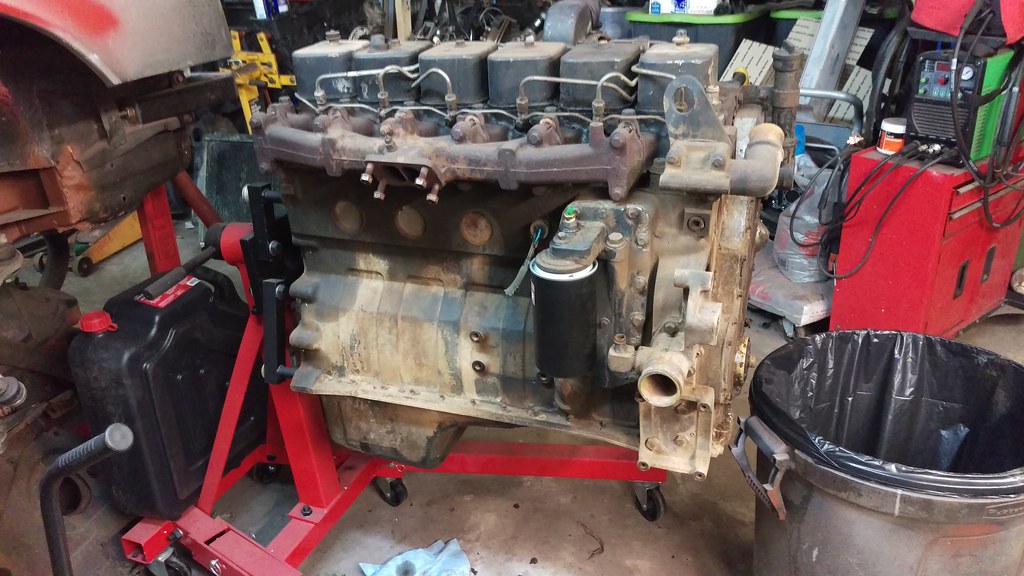 IMAG2250 by jarrod vanwinkle, on Flickr IMAG2250 by jarrod vanwinkle, on Flickr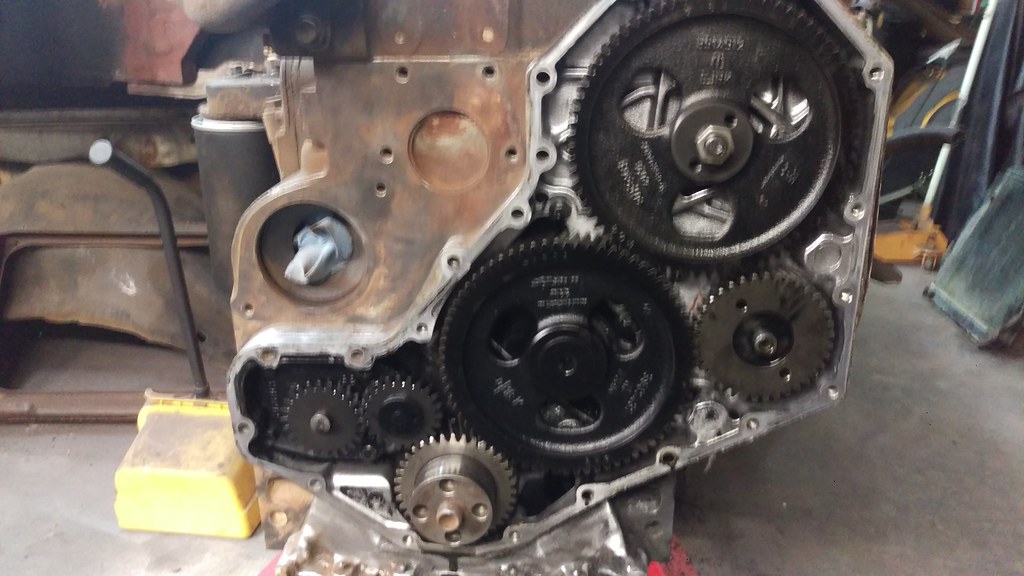 IMAG2257 by jarrod vanwinkle, on Flickr IMAG2257 by jarrod vanwinkle, on FlickrI did the killer dowel pin fix  IMAG2270 by jarrod vanwinkle, on Flickr IMAG2270 by jarrod vanwinkle, on Flickr IMAG2271 by jarrod vanwinkle, on Flickr IMAG2271 by jarrod vanwinkle, on Flickr IMAG2278 by jarrod vanwinkle, on Flickr IMAG2278 by jarrod vanwinkle, on Flickr IMAG2285 by jarrod vanwinkle, on Flickr IMAG2285 by jarrod vanwinkle, on Flickr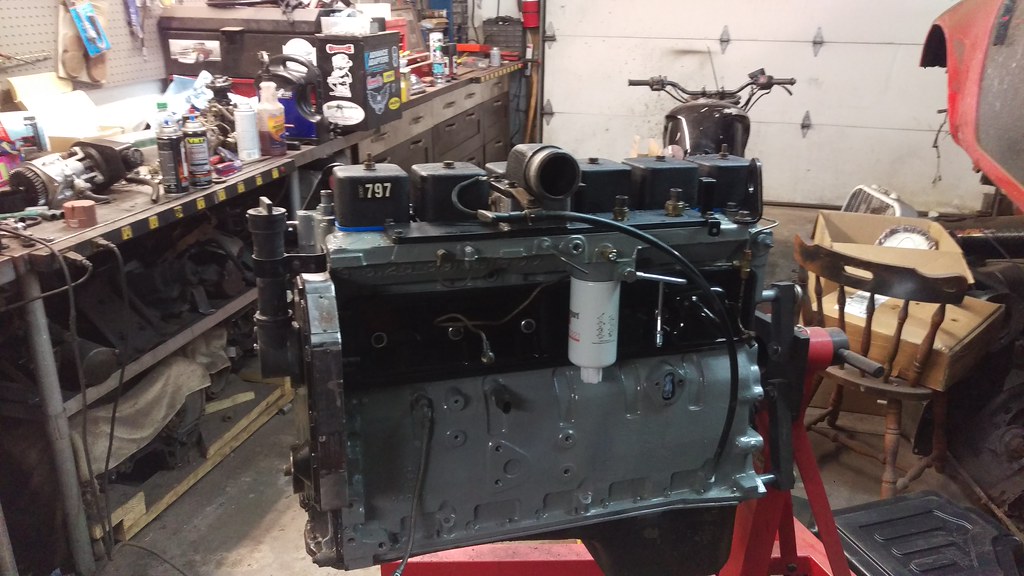 IMAG2286 by jarrod vanwinkle, on Flickr IMAG2286 by jarrod vanwinkle, on Flickr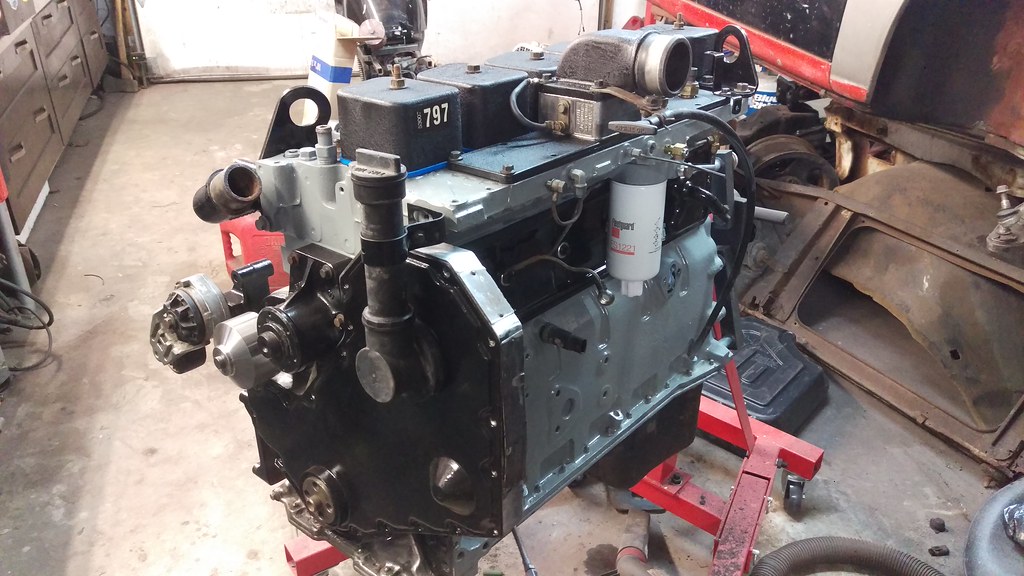 IMAG2287 by jarrod vanwinkle, on Flickr IMAG2287 by jarrod vanwinkle, on FlickrI traded my motorcycle project for a yamaha moto 4 250  IMAG2289 by jarrod vanwinkle, on Flickr IMAG2289 by jarrod vanwinkle, on Flickr IMAG2290 by jarrod vanwinkle, on Flickr IMAG2290 by jarrod vanwinkle, on FlickrBuilt a winch bumper for it, made a front basket and extended the rear rack.  IMAG2348 by jarrod vanwinkle, on Flickr IMAG2348 by jarrod vanwinkle, on Flickr IMAG2351 by jarrod vanwinkle, on Flickr IMAG2351 by jarrod vanwinkle, on Flickr IMAG2355 by jarrod vanwinkle, on Flickr IMAG2355 by jarrod vanwinkle, on Flickr IMAG2374 by jarrod vanwinkle, on Flickr IMAG2374 by jarrod vanwinkle, on Flickr IMAG2374 by jarrod vanwinkle, on Flickr IMAG2374 by jarrod vanwinkle, on FlickrFront rack was made from the jeep soft top frame and electrical conduit. 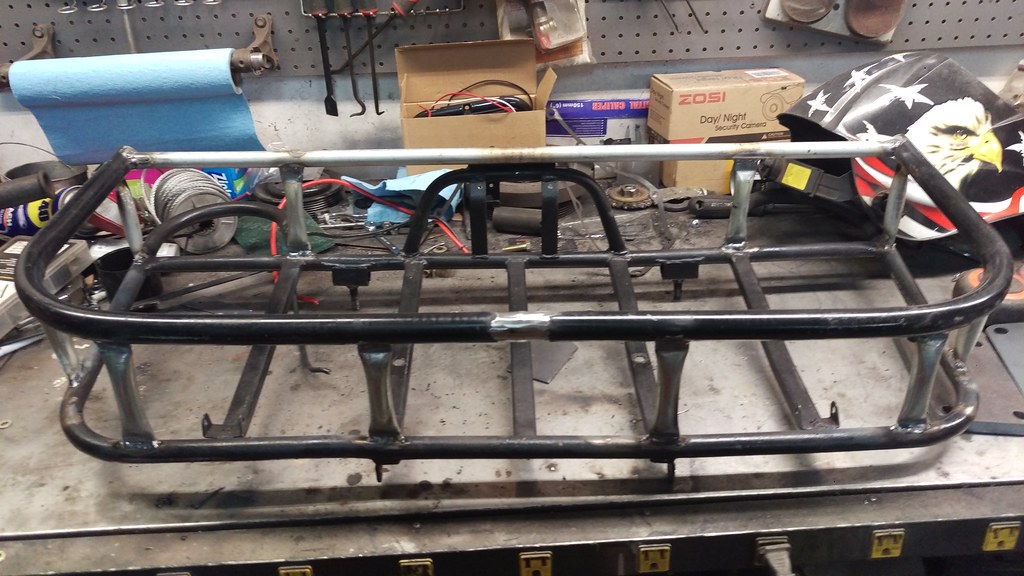 IMAG2390 by jarrod vanwinkle, on Flickr IMAG2390 by jarrod vanwinkle, on Flickr[IMG]  IMAG2394 by jarrod vanwinkle, on Flickr[/IMG] IMAG2394 by jarrod vanwinkle, on Flickr[/IMG] IMAG2401 by jarrod vanwinkle, on Flickr IMAG2401 by jarrod vanwinkle, on Flickr IMAG2436 by jarrod vanwinkle, on Flickr IMAG2436 by jarrod vanwinkle, on Flickr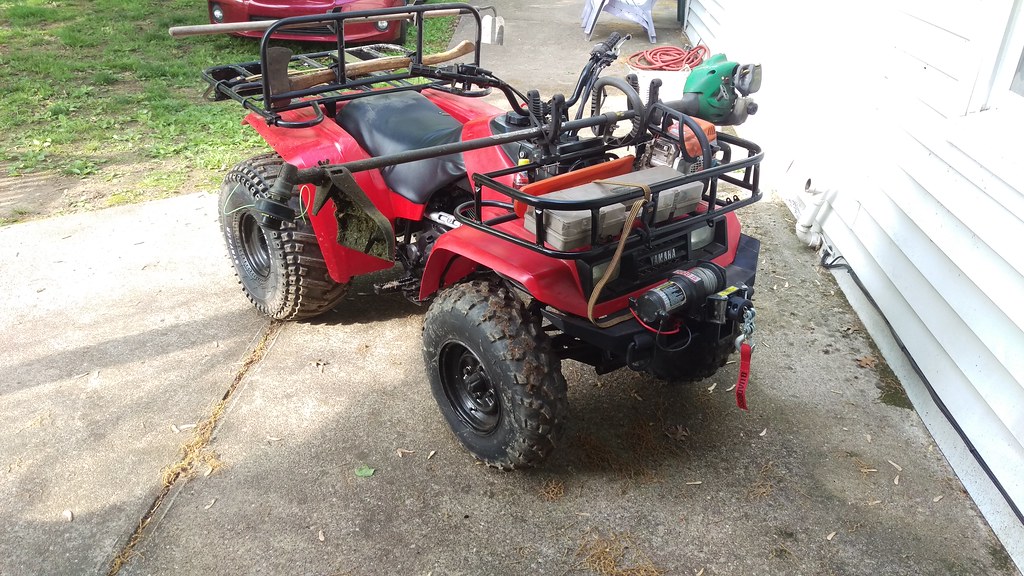 IMAG2437 by jarrod vanwinkle, on Flickr IMAG2437 by jarrod vanwinkle, on FlickrNow we are caught up to a few weeks ago. I made another cab jig to make removing the cab easy as I cant lift or bend. So that really expensive clear coat that was supposed to be formulated to be painted directly to bare metal and not rust... well it rusted. 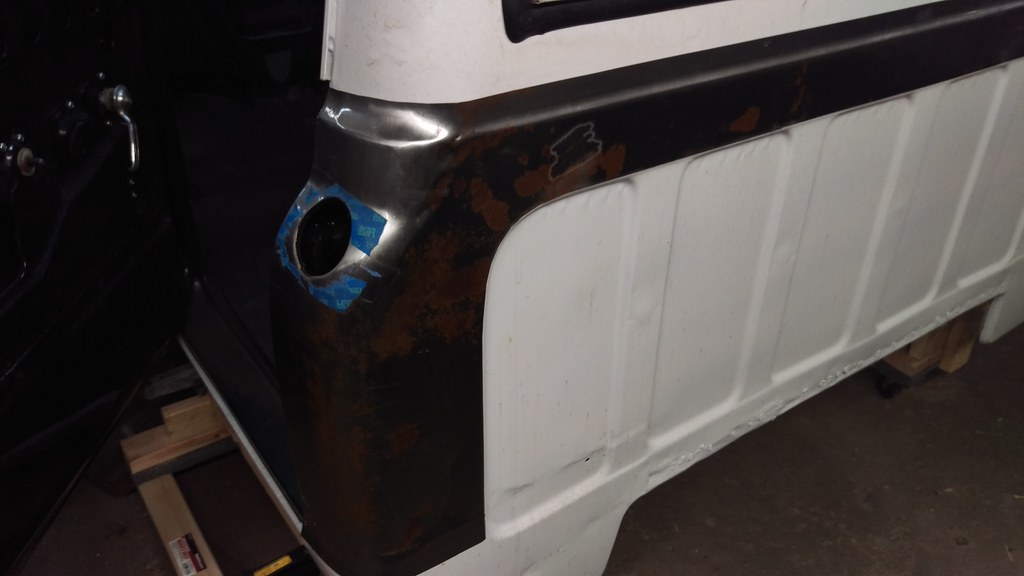 IMAG2610 by jarrod vanwinkle, on Flickr IMAG2610 by jarrod vanwinkle, on Flickr IMAG2611 by jarrod vanwinkle, on Flickr IMAG2611 by jarrod vanwinkle, on Flickr IMAG2612 by jarrod vanwinkle, on Flickr IMAG2612 by jarrod vanwinkle, on FlickrSo I spent two weeks removing the clear coat. I can only stand for two hours without feeling like i'm going to die. I probably would have only taken a day and a half.  IMAG2640 by jarrod vanwinkle, on Flickr IMAG2640 by jarrod vanwinkle, on Flickr IMAG2641 by jarrod vanwinkle, on Flickr IMAG2641 by jarrod vanwinkle, on FlickrSo under the influence of the medication I was on and the lack of money, I decided to do a quick and cheap rattle can job of satin seafoam green with fake patina. I don't know if I like it or not yet, but I won't have to remove the cab agin to paint it as I had to remove it to remove all the clear coat and rust.  IMAG2642 by jarrod vanwinkle, on Flickr IMAG2642 by jarrod vanwinkle, on Flickr IMAG2625 by jarrod vanwinkle, on Flickr IMAG2625 by jarrod vanwinkle, on Flickr IMAG2648 by jarrod vanwinkle, on Flickr IMAG2648 by jarrod vanwinkle, on Flickr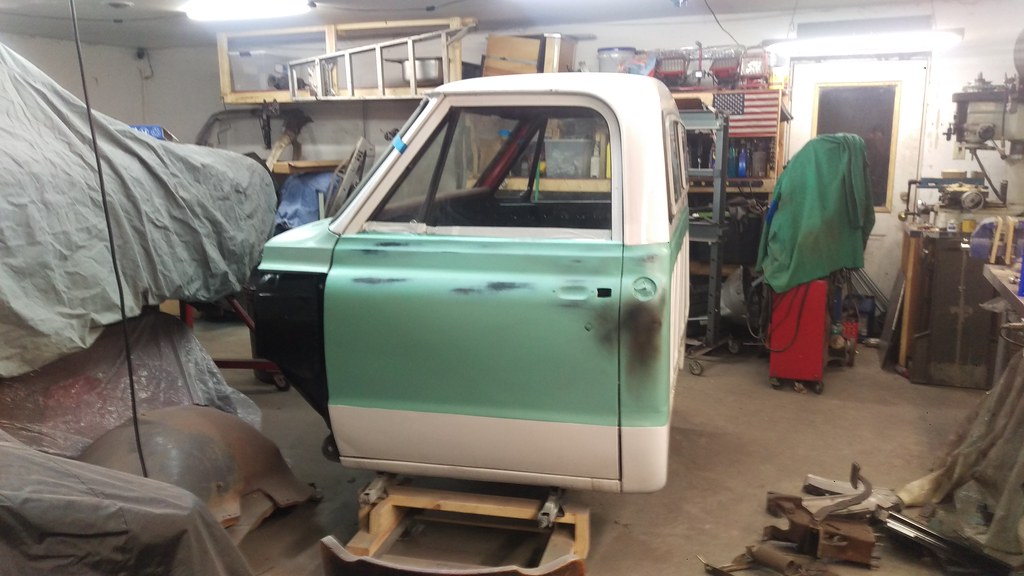 IMAG2654 by jarrod vanwinkle, on Flickr IMAG2654 by jarrod vanwinkle, on Flickr IMAG2652 by jarrod vanwinkle, on Flickr IMAG2652 by jarrod vanwinkle, on Flickr
|
|
|
|

|
|
|
#48 |
|
Registered User
Join Date: Nov 2015
Location: Smethport, PA
Posts: 1,213
|
Re: 1970 C30 Car hauler Buildish thread.
That bumper turned out good. Pretty beefy for a four wheeler.
Sorry to hear about the back. hopefully things heal up good.
__________________
85 K30 crew cab dually - Project http://67-72chevytrucks.com/vboard/s...d.php?t=694939 87 Wrangler Rock Crawler - Reason for the project http://www.wranglerforum.com/f330/da...ld-122601.html 04 1500 crew cab http://67-72chevytrucks.com/vboard/s...d.php?t=786514 |
|
|

|
|
|
#49 |
|
Senior Member
 Join Date: Jul 2009
Location: Hayden, Al.
Posts: 4,148
|
Re: 1970 C30 Car hauler Buildish thread.
I just found this thread. Love the truck!!! The Cummins is the best way to go.
I hate to hear that your having such horrible back problems as I’ve wrenched mine a few times, but nothing compared to yours. I hope to build one of these out of my 67 C30. Mine is a LONG way away from where yours is. Keep plugging along! |
|
|

|
|
|
#50 | ||
|
Registered User
Join Date: Sep 2017
Location: Patriot IN
Posts: 163
|
Re: 1970 C30 Car hauler Buildish thread.
Quote:
The main two plates that the receiver is mounted to is 3/16 the rest is 10 gauge scrap I had left over from another project. Quote:
The other day I started upgrading the fuse box to a 18 circuit fuse box. Here is a pic of the new fuse box. 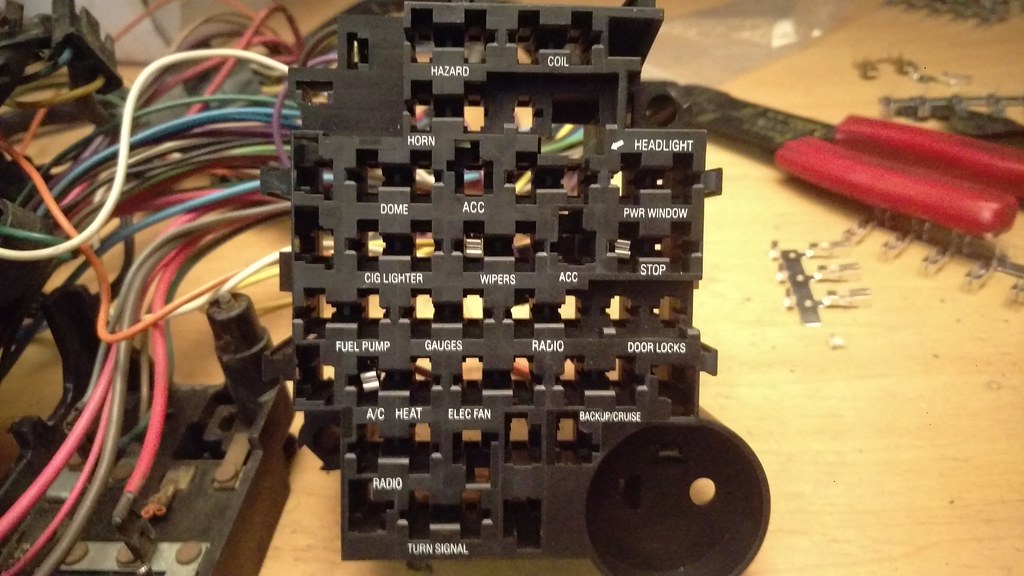 IMAG2651 by jarrod vanwinkle, on Flickr IMAG2651 by jarrod vanwinkle, on FlickrHere is the list of all the circuits on the new fuse box. 1 HAZARD 2 COIL 3 HORN 4 HEADLIGHT 5 DOME 6 PWR WINDOW 7 CIG LIGHTER 8 WIPERS 9 STOP 10 fUEL PUMP 11 GAUGES 12 RADIO 13 DOOR LOCKS 14 A/C HEAT 15 ELEC FAN 16 BACKUP/ CRUISE 17 RADIO 18 TURN SIGNAL Here is the list of all the circuits on the old fuse box. 1 AIR COND HEAT 2 RADIO IS A BLADE CONNECTOR 3 BU LPS 4 WIPERS 5 TRAFFIC HAZ 6 TAIL STOP PARK DOME 7 GL BOX & SPOT LP 8 PNL LTS Here is the list of all the circuits on the new fuse box. That I have hooked up. 1 HAZARD (5) TRAFFIC HAZ is jumped to the flasher relay. 2 COIL 3 HORN 4 HEADLIGHT 5 DOME 6 PWR WINDOW 7 CIG LIGHTER 8 WIPERS (4) WIPERS 9 STOP (6) TAIL STOP PARK DOME 10 fUEL PUMP 11 GAUGES (8) PNL LTS 12 RADIO 13 DOOR LOCKS 14 A/C HEAT (1) AIR COND HEAT 15 ELEC FAN 16 BACKUP/ CRUISE (3) BU LPS 17 RADIO 18 TURN SIGNAL I plan on running all unused fuses to a 12 Position Covered Dual Row Screw Terminal Block Connector Bar. So when I add the rest of my accessories I can just connect them to the Terminal Block for keyed fused power. 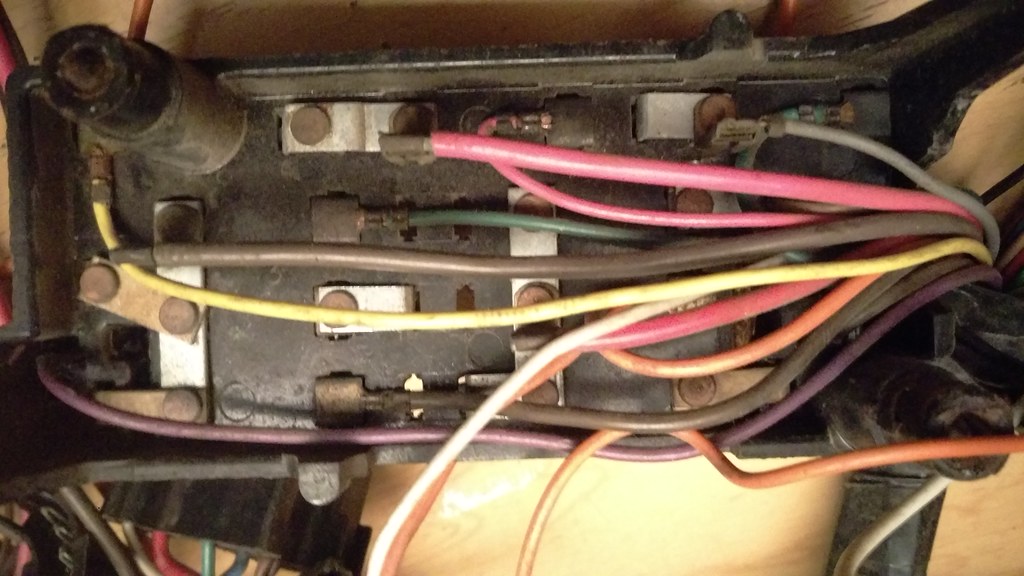 IMAG2650 by jarrod vanwinkle, on Flickr IMAG2650 by jarrod vanwinkle, on Flickr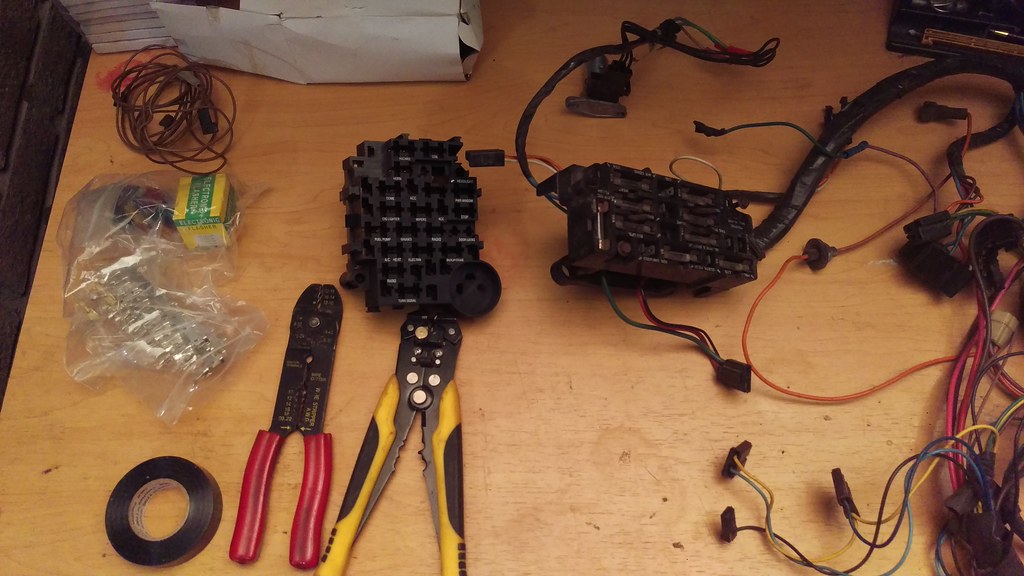 IMAG2649 by jarrod vanwinkle, on Flickr[ IMAG2649 by jarrod vanwinkle, on Flickr[I made a mounting bracket to mount the fuse box, terminal blocks and relays. I made the bracket out of some .063 (1/16) thick 3003-H14 aluminum sheet I had left over from another project.  IMAG2666 by jarrod vanwinkle, on Flickr IMAG2666 by jarrod vanwinkle, on FlickrHere is a test fit of the bracket. I plan on running a electric e brake. So I have the bracket moved farther over than needed. It would fit No problem but I wanted to give myself extra room.  IMAG2671 by jarrod vanwinkle, on Flickr IMAG2671 by jarrod vanwinkle, on FlickrI used two rivnuts to mount the fuse box to the bracket.  IMAG2670 by jarrod vanwinkle, on Flickr IMAG2670 by jarrod vanwinkle, on FlickrHere is a pic of the terminal block that powers all the keyed accessories. I am going to use a relay to power the terminal block using the stock keyed power wire to switch the relay on. I used 12 gauge wire for both terminal blocks. That way no matter what I end up adding I will have a sufficient gauge wire to power it.  IMAG2673 by jarrod vanwinkle, on Flickr IMAG2673 by jarrod vanwinkle, on FlickrHere is a pic of the terminal block connector bar. All the yellow wires are keyed power and red wires are always on. The first terminal is for the fuel sending unit. The second is the second to light up any gauges I add. The third is for the dome light. The fourth is if I want to add anything else that needs power all the time. I don't know what I will end up using it for I can't think but I thought I would add it. The fifth and sixth is for the radio one for constant power and one for switched. The rest are for when I add other accessories. 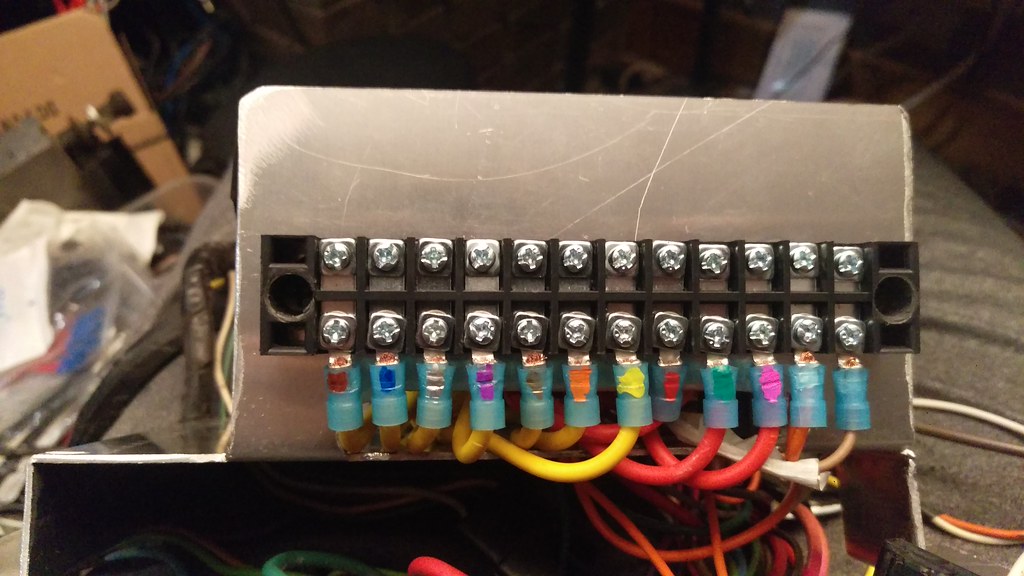 IMAG2674 by jarrod vanwinkle, on Flickr IMAG2674 by jarrod vanwinkle, on FlickrI color coded all the fuse turnimals to there terminal block to make it easier for when I add an accessory. I also made the bracket big enough so when I add a accessory. I have room to label the turnimals as the fuse box is pre labeled but I won't be using them for what is printed on the fuse box.  IMAG2675 by jarrod vanwinkle, on Flickr IMAG2675 by jarrod vanwinkle, on FlickrI bench tested it after I wire up the relay. I added nutserts to the fire wall, I installed them backwards as I have a 10mm sound deadening/ heat insulation mat on the firewall the nucerts sit flush with the mat.  IMAG2677 by jarrod vanwinkle, on Flickr IMAG2677 by jarrod vanwinkle, on FlickrI also made a block off plate for the hole for the old e brake as I plan on running a electric e brake. I drilled the mounting holes bigger than the nutserts so the plate sits flush with the firewall. Here is a pic of the fuse box mounted and the wiring harness installed.  IMAG2681 by jarrod vanwinkle, on Flickr IMAG2681 by jarrod vanwinkle, on FlickrI modified a gas pedal from a 04 wrx sti to work with the stock mounting location. 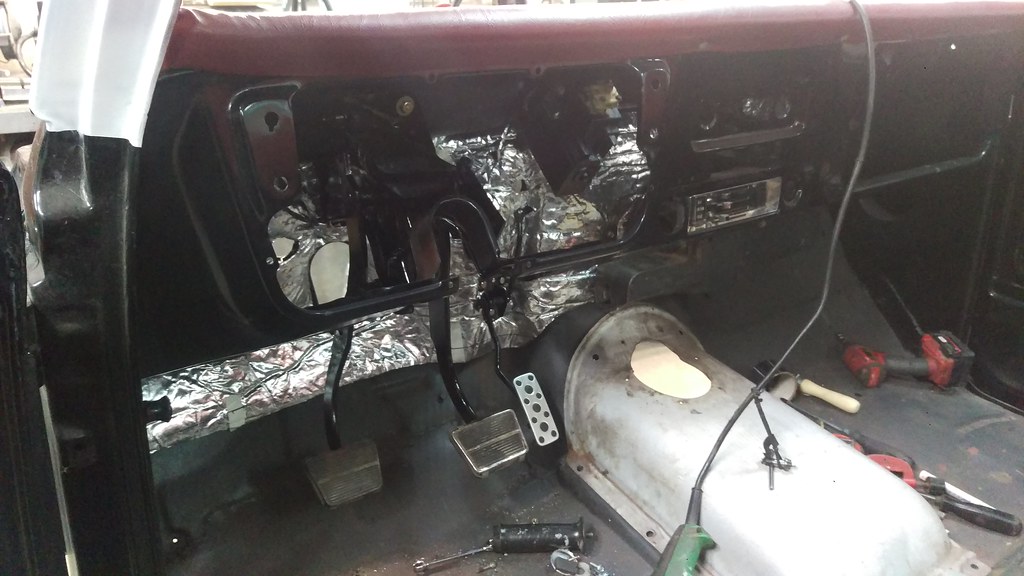 IMAG2672 by jarrod vanwinkle, on Flickr IMAG2672 by jarrod vanwinkle, on FlickrI also made a bracket for a set of 4 inch speakers for the dash. 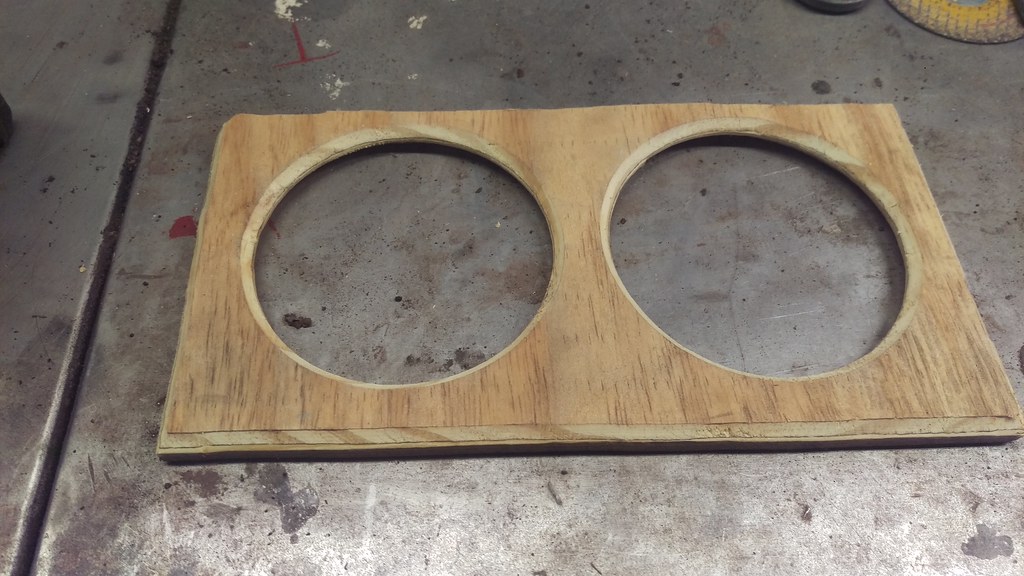 IMAG2661 by jarrod vanwinkle, on Flickr IMAG2661 by jarrod vanwinkle, on Flickr IMAG2662 by jarrod vanwinkle, on Flickr IMAG2662 by jarrod vanwinkle, on Flickr IMAG2663 by jarrod vanwinkle, on Flickr IMAG2663 by jarrod vanwinkle, on FlickrI made a block off plate and cut the fire wall to mound the heater box as the new cab was a ac cab and I did not realize the firewalls where different.  IMAG2657 by jarrod vanwinkle, on Flickr IMAG2657 by jarrod vanwinkle, on FlickrI got all the under dash parts installed and the heater controls, ash tray and glove box door as well as all the switches. I don't know what I did with the wiper switch knob. I think I am missing a box of parts, I don't know where I put a few things. I'm going to leave the gauge cluster out for now as I want to replace the manual oil gauge with a electric one. I'm also looking into adding a boost gauge and possibly a tachometer. 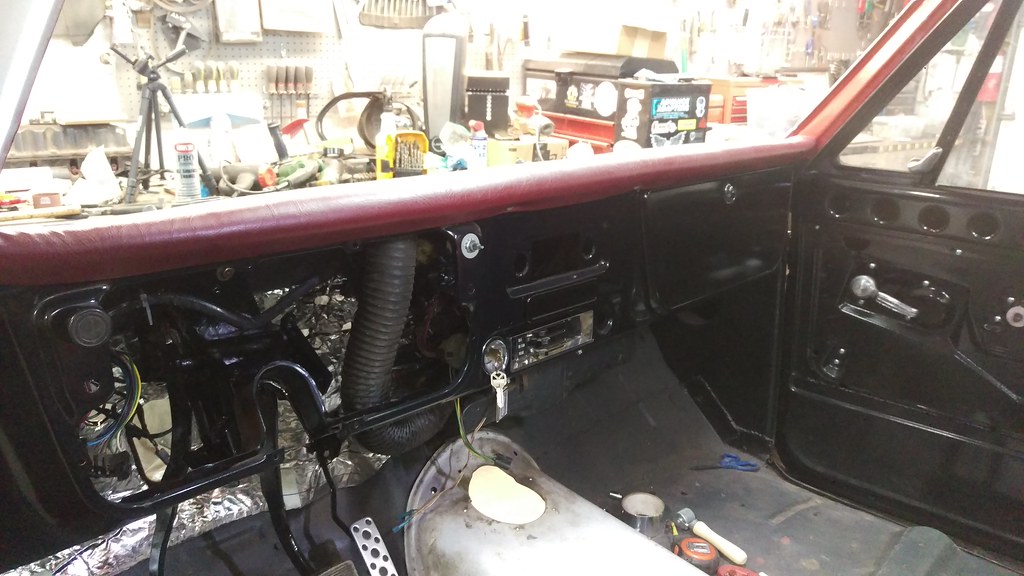 IMAG2678 by jarrod vanwinkle, on Flickr IMAG2678 by jarrod vanwinkle, on Flickr
|
||
|
|

|
 |
| Bookmarks |
| Tags |
| air ride, c30, cummins, nv4500, ramp truck |
|
|