Hey Everyone,
The time has come (finally!) where I can say "restoration completed." There were plenty of times I wanted to say it, but deep down, I knew there were still things to finish.
So what does a man say after tearing a truck all the way down to the frame, then rebuilding it bolt by bolt? "I'm tired," that's what he says! What a journey!
The Journey
Build Thread
Sale Thread
Here's a video that takes you through the journey, from start to finish:
Photos
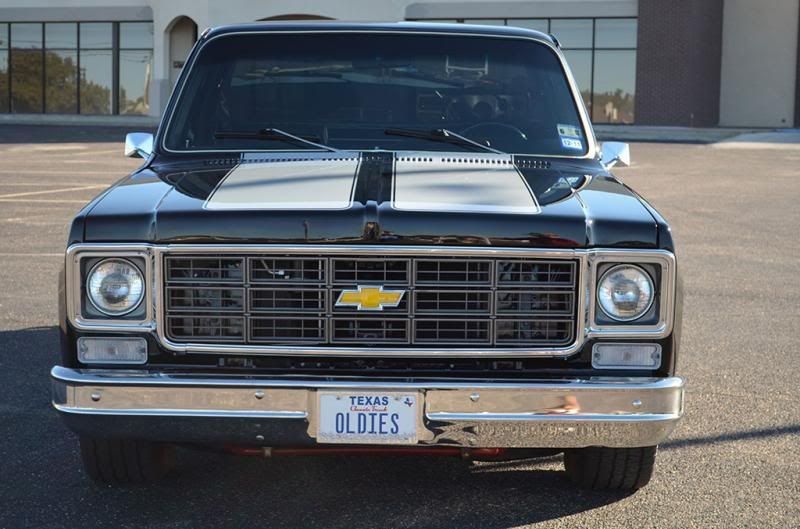
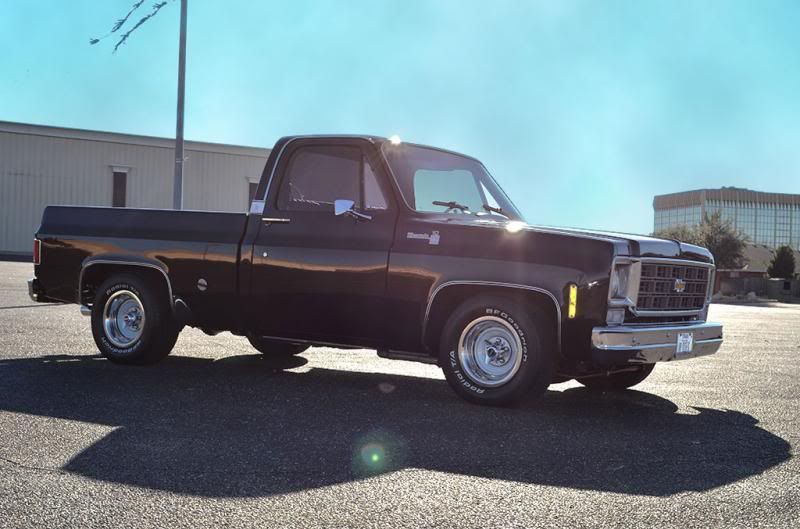
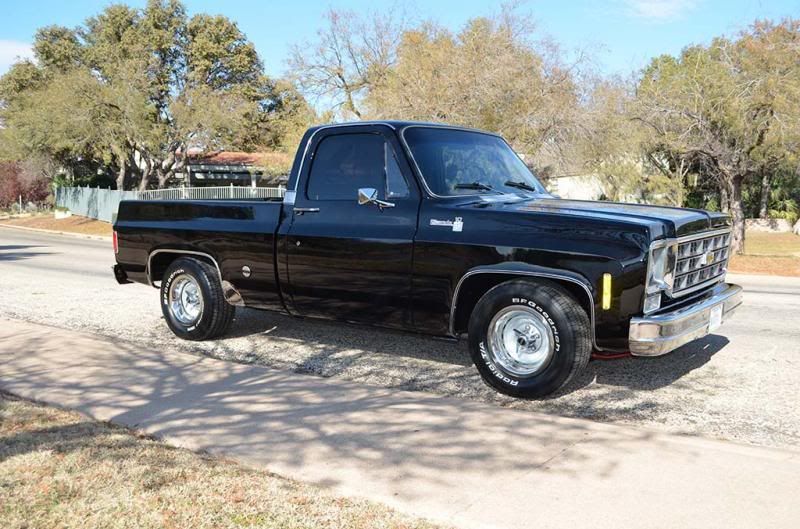
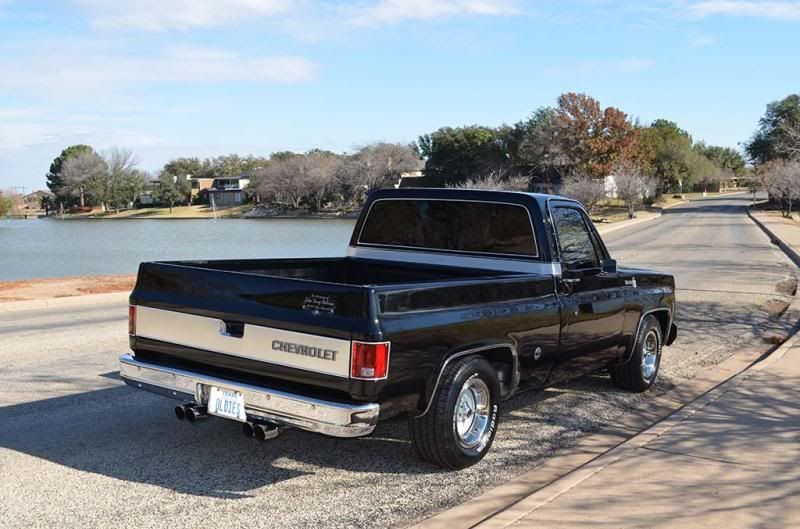
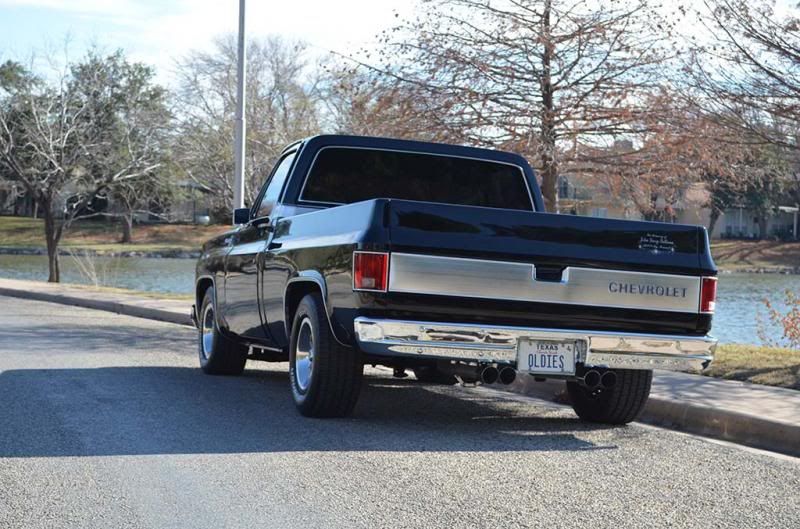
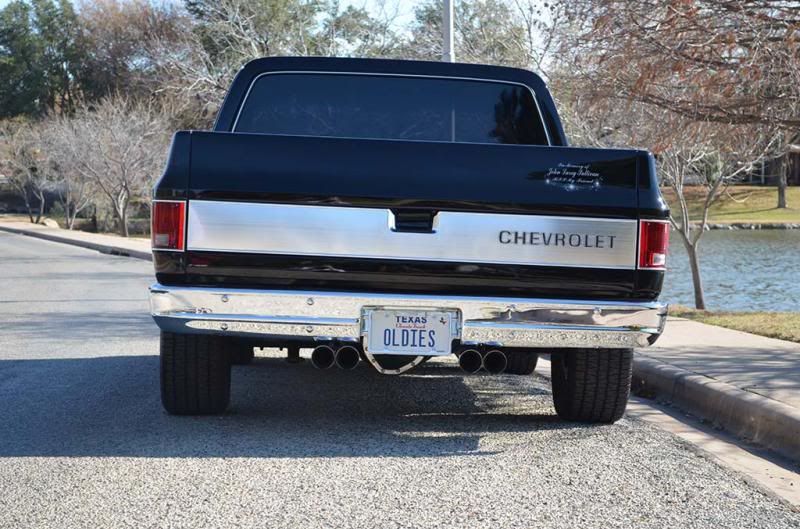
 The Details
Drive Train
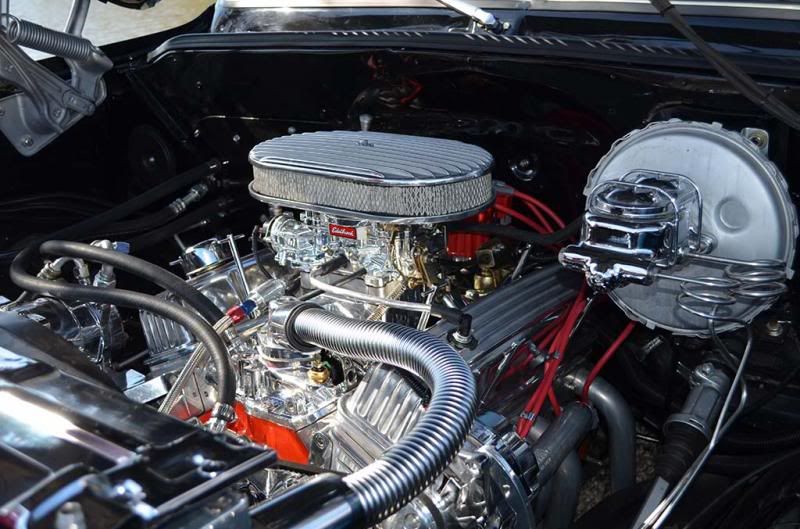
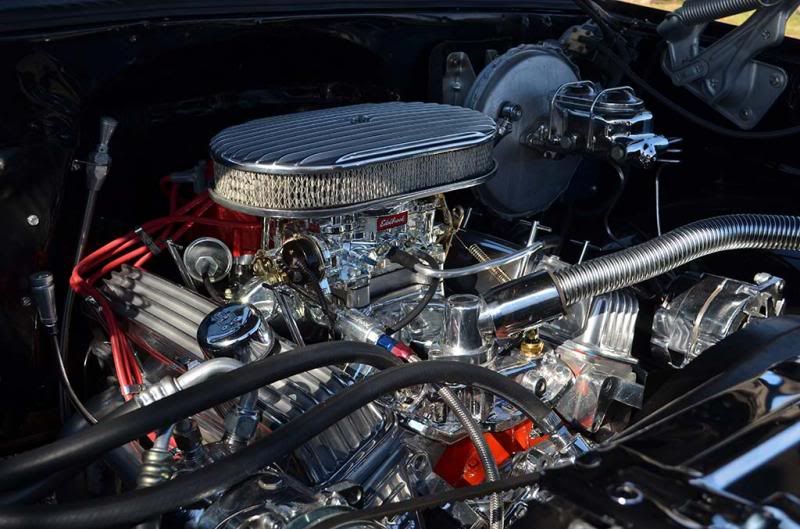
- 383 stroker engine
- AFR 195 Street heads
- Comp Camps 262h roller cam kit
- Comp gold 1.6 rockers
- Edelbrock carb
- Edelbrock intake
- Edelbrock high flow water pump
- Edlebrock fuel pump
- Approximately 480 horsepower
- Headman headers, xpipe with Corsa DB exhaust
- Aluminum four core radiator
- Billet specialties overflow tank
- Billet Specialties brackets and accessories
- Billet pullies
- Professionally rebuilt 700R4 with lockup and corvette servo
- Hughes Street Master 2,500 rpm stall converter
- 3.73 posi-trac gears, professionally built
- Even the drive shaft was powder coated!
Brakes
- Converted rear to disk brakes
- Polished GM Calipers at each wheel
- Slotted/cross drilled rotors
- Polished resevoir
- Proportioning valve for four wheel disc brakes
- New Stainless steel brake lines
Interior
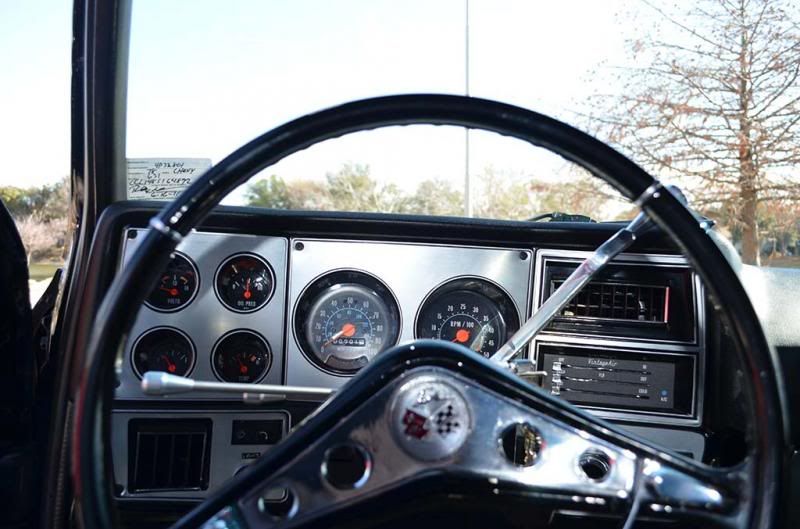
- Updated with complete Vintage Air AC kit (nice and cool!)
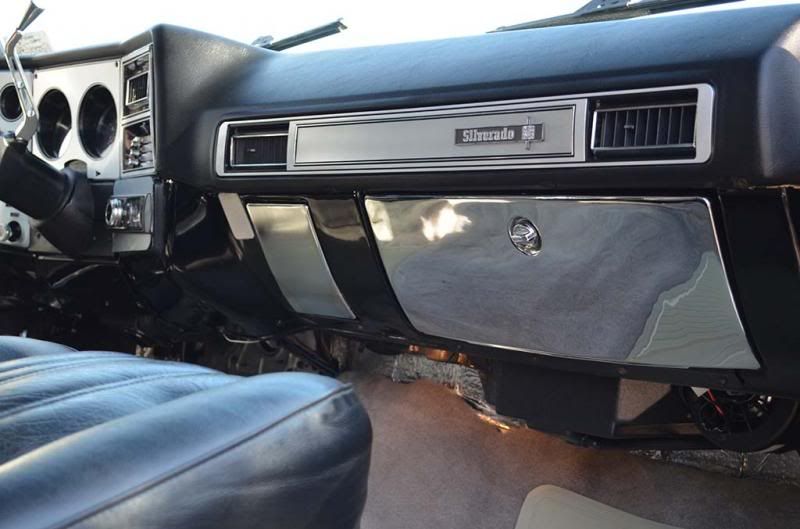
- NOS Dash pad
- NOS Dash pad insert
- NOS Door panels
- NOS Door panel inserts and trim
- Power windows
- Power door locks
- Custom billet window/door lock switches
- Fatmat base, Second Skin audio secondary, followed by Second Skin density foam for sound proofing.
- Alpine am/fm/mp3 deck with remote
- JL Audio amplifier
- JL Audio component 6.5s (in kick panels)
- JL Audio component 6x9s (behind the seats with custom brakets)
- Powered compact subwoofer to bring out the base
- New plush light gray carpet (the thickest most expensive available)
- GM Floor mats
- Under dash lights so you can see when getting in or out of the truck
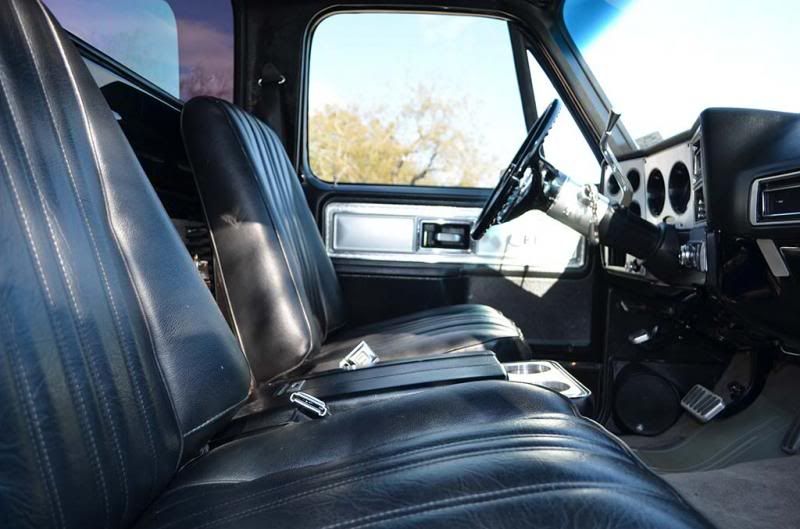
- GM low back bucket seats with all new vynil covers
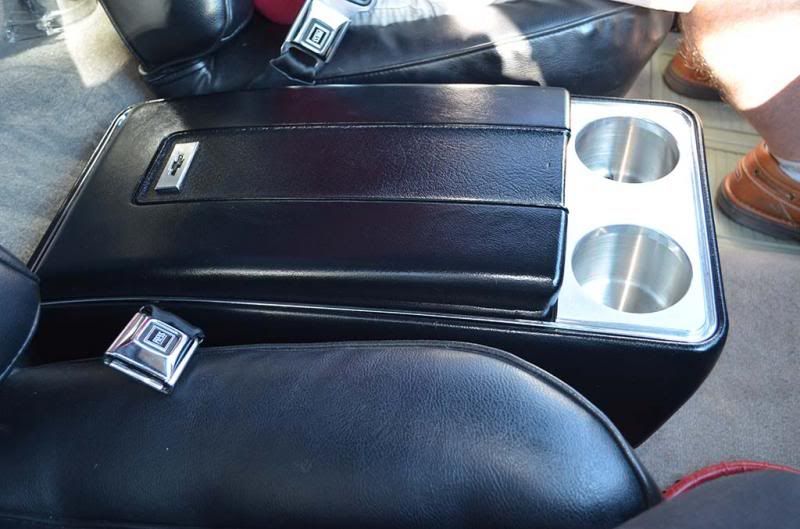
- GM center console with custom billet aluminum cup holder
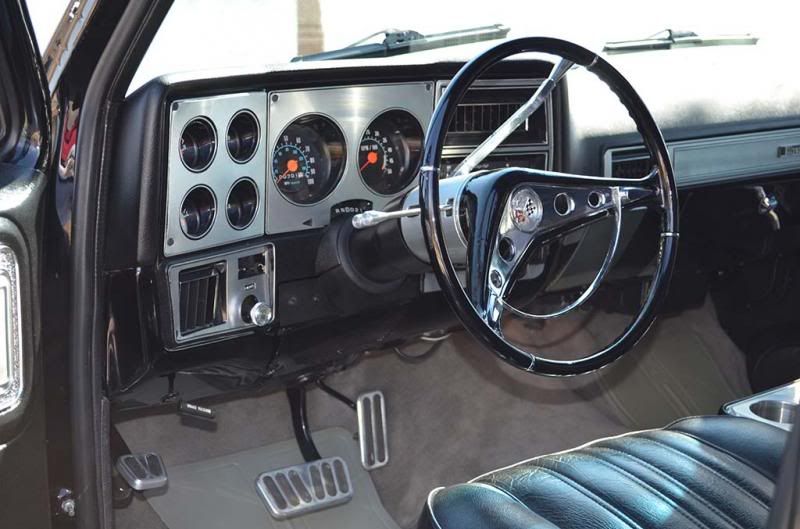
- NOS Gauge bezel
- NOS GM speedometer (rare ebay find!)
- All gauges work correctly, including rare correct GM tachometer
- Rare wiper delay switch
- '59 impala steering wheel
- Tilt steering
- Billet gear shift, signal lever and tilt lever
- All new glass, including door front and rear window, with light tint
- All new weatherstripping
- GM NOS vent windows
- Custom Ostrich skin sun visors
- Chromed glove box door
- New Retro seat belts for bucket seats
Body
- Frame sandblasted, then epoxy primered with Dupont (expensive!) and top coated with GM Restoration satin black
- The entire body was sandblasted and coated with Dupont expoxy primer
- The bottom of the bed, cab and inner fender wells were then coated with POR-15 black chasis paint
- Made a trip from Texas to Iowa to pick up a barn find that included two nos inner wheel wells, to NOS outer front fenders and two NOS doors. All documented in the build thread and on the truck!
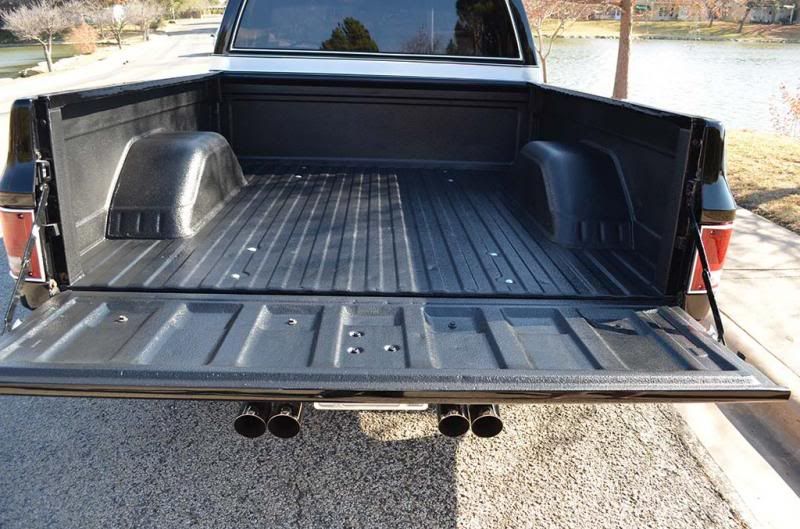
- Bed was epoxy primered then professionally coated with lining
- New front and rear bumpers
- NOS drip rails over doors
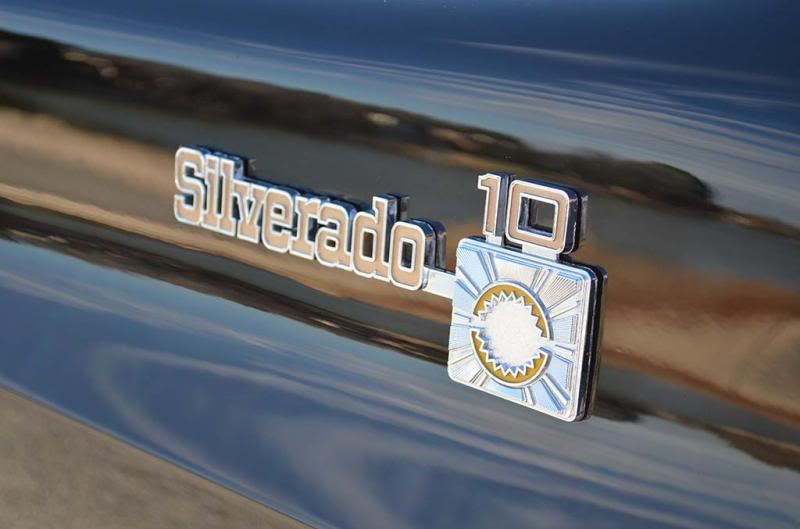
- NOS "Silverado" fender emblems
- NOS aluminum cab trim
- Immaculate aluminum tailgate trim
- NOS GM grill.
- NOS GM headlight bezels
Electrical
The electrical system is all new, courtesy of Painless Wiring. Powered by a red top Optima battery.
Suspension
- All new suspension components, including tie rod ends, bushings and ball joints
- 2.5 inch lowering spindles on front, with new springs
- Rear dropped four inches with shackles and removed one leaf spring
- New shocks all around
- 15 inch GM rally wheels, powder coated.
- New rally wheel caps with spinners for that classic look
- Brand new BF Goodrich 275/60/15s
- Front end professionally aligned
Lessons Learned
- This forum is your resource. There is nothing that cannot be done on these trucks, that you cannot find find information on here, or someone here who knows.
- Start with a good base. Pancho was not the best base to start with, which in turn added to the overall cost of restoration.
- Refrain from adding finished body panels until *everything* under the hood is done. There is nothing worse than doing finish work under the hood in tight places because you were too anxious to get those fenders on!
- Ensure your motor is the way you want it before buttoning everything up. This cost time on my part, because I decided to go back and swap in AFR 195 street heads and change over to a roller cam. Working in tight spaces is not fun!
- Try and do something, no matter how small, every day. There were days I was absolutely exhausted and just wanted to rest. On days like that, I would force myself to do smaller tasks, telling myself "anything I can get done today, I won't have to do tomorrow."
Thanks and Credits
- Our Father in Heaven - for guiding me to the solution all those times I was ready to give up. I pray He will forgive me for those moments when I lost my Christianity.
- My family, for their wisdom in understanding I was absolutely nuts for taking on a project like this, and their understanding help in making this dream come true.
- The owners, administrators and moderators of this forum who work tirelessly to make this site an amazing resource and a place that makes us feel at home.
- The online friends I've made here who provided encouragement, a kick in the pants when needed and help when I was at my wit's end.
Hope you guys enjoyed the build, the photos and the end results.


