
 |
|
|
#26 |
|
Registered User
Join Date: Jan 2013
Location: Leonardtown, MD
Posts: 1,647
|
Re: 55 Wagon Progress
Spent tonight working on the tailgate jamb area, touching up some factory welds in preparation of installing the rear tail pan. Wasn't too long before Murphy's law reared its ugly head, and the lower part of the jamb showed some signs of rust lurking inside.
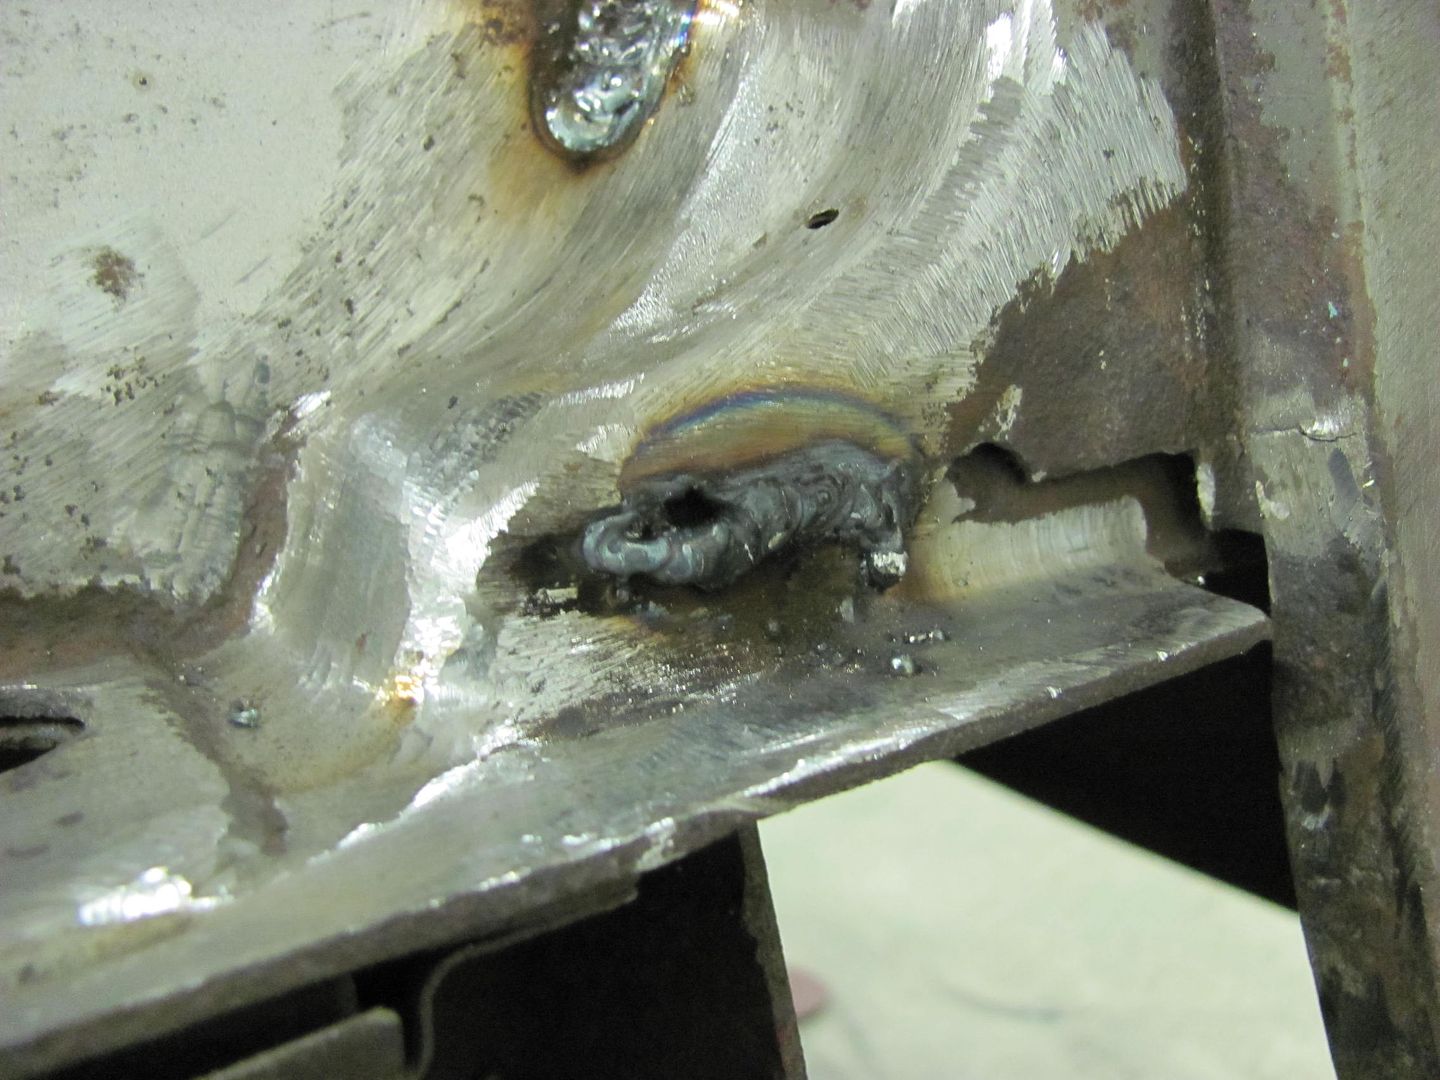 Cut open an access hole and cleaned out the inside as best I could for welding in some new metal.. 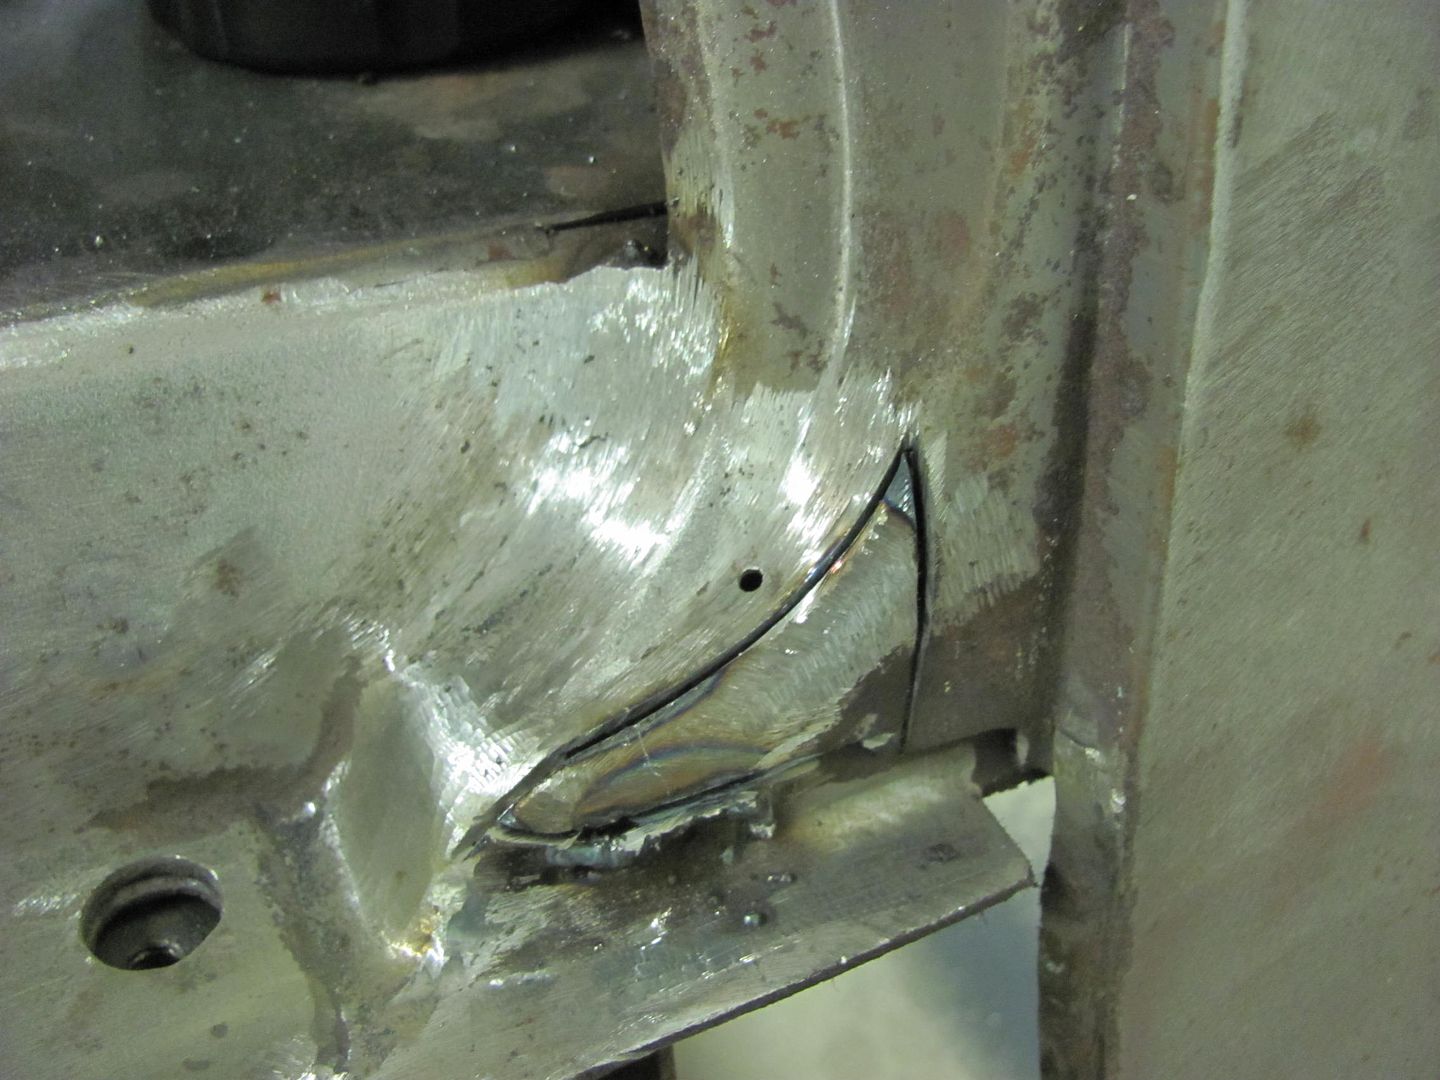  For making a replacement, I have an "anvil" I made recently out of some scraps from under the welding table...   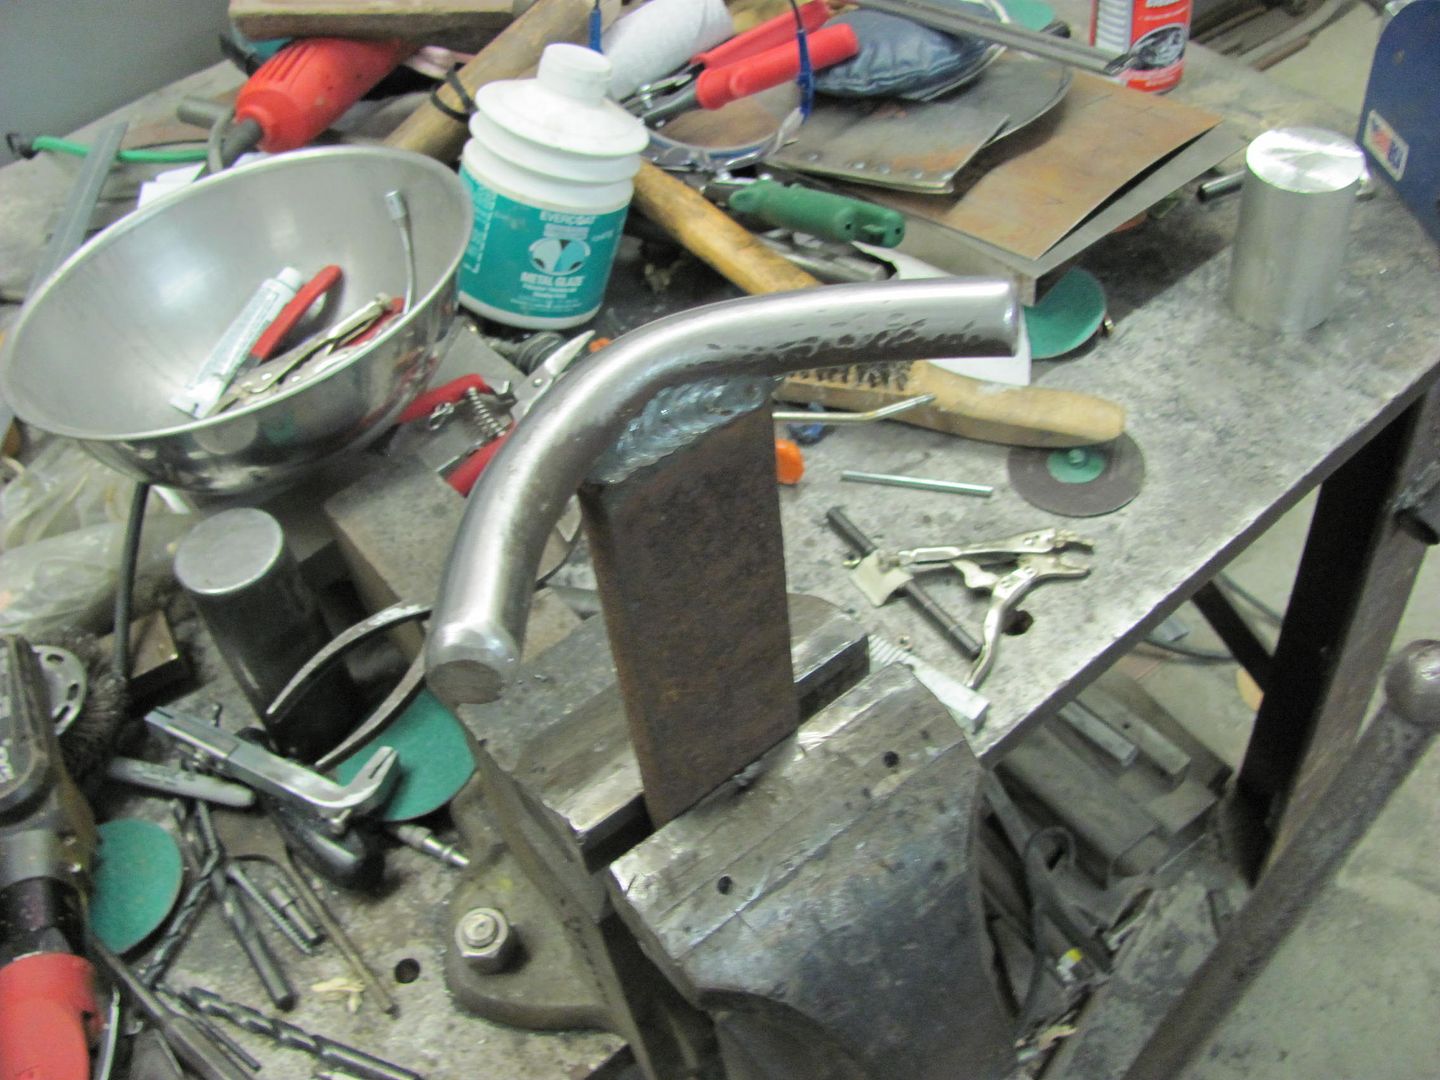 Here's the anvil end we'll use this evening as matched up to the original...  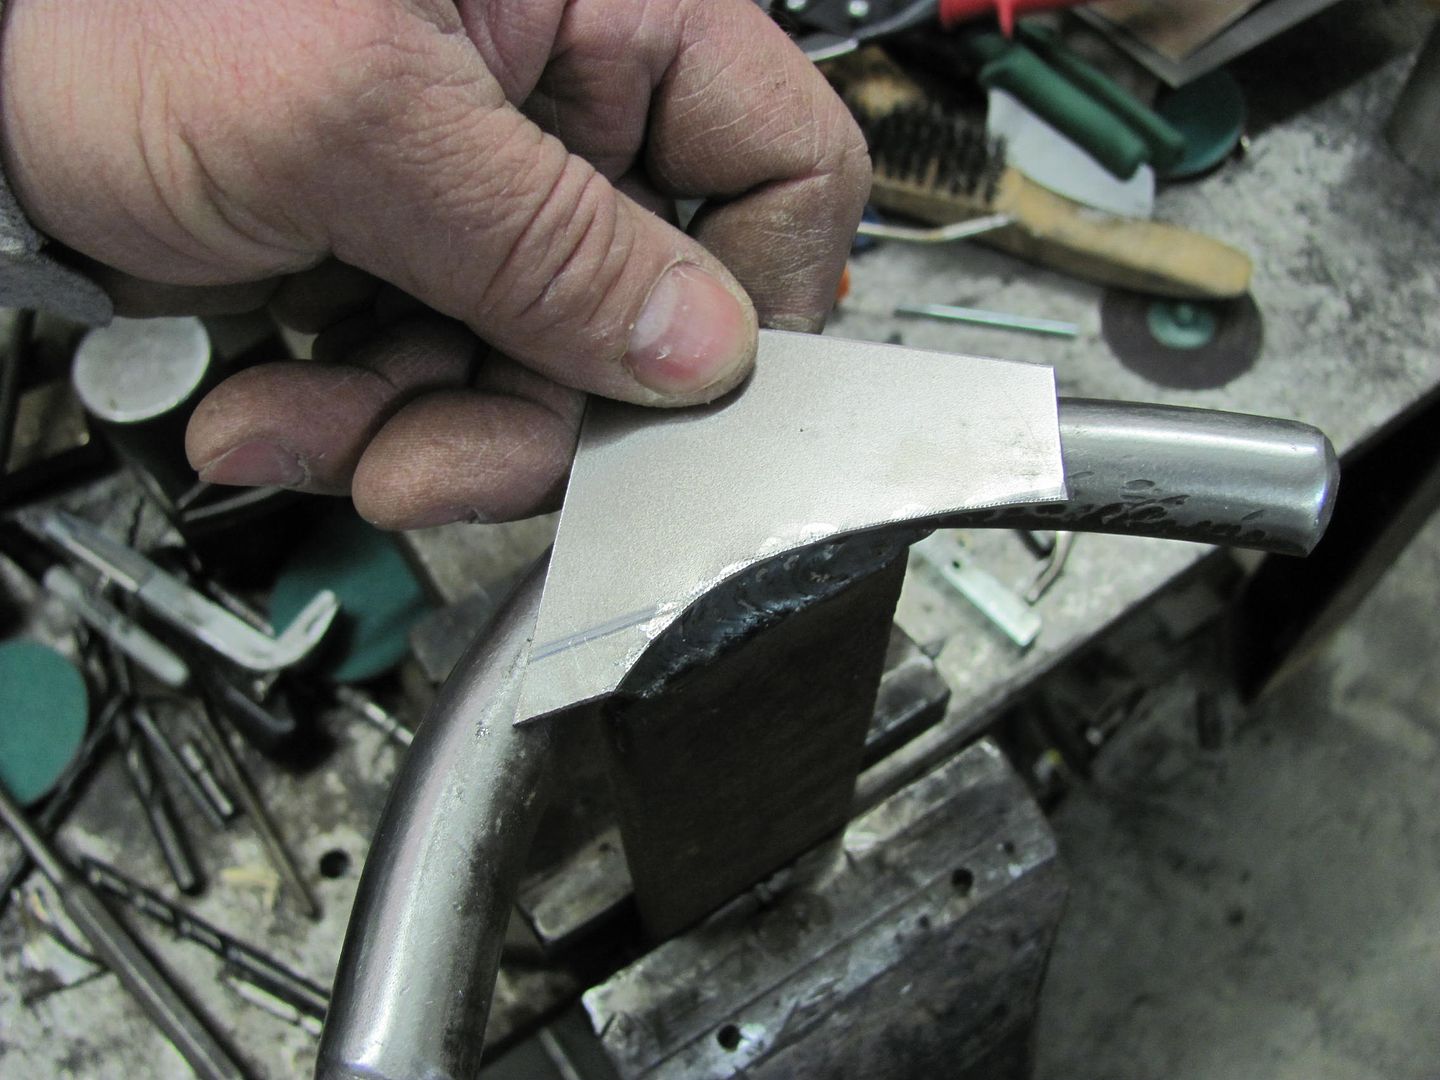 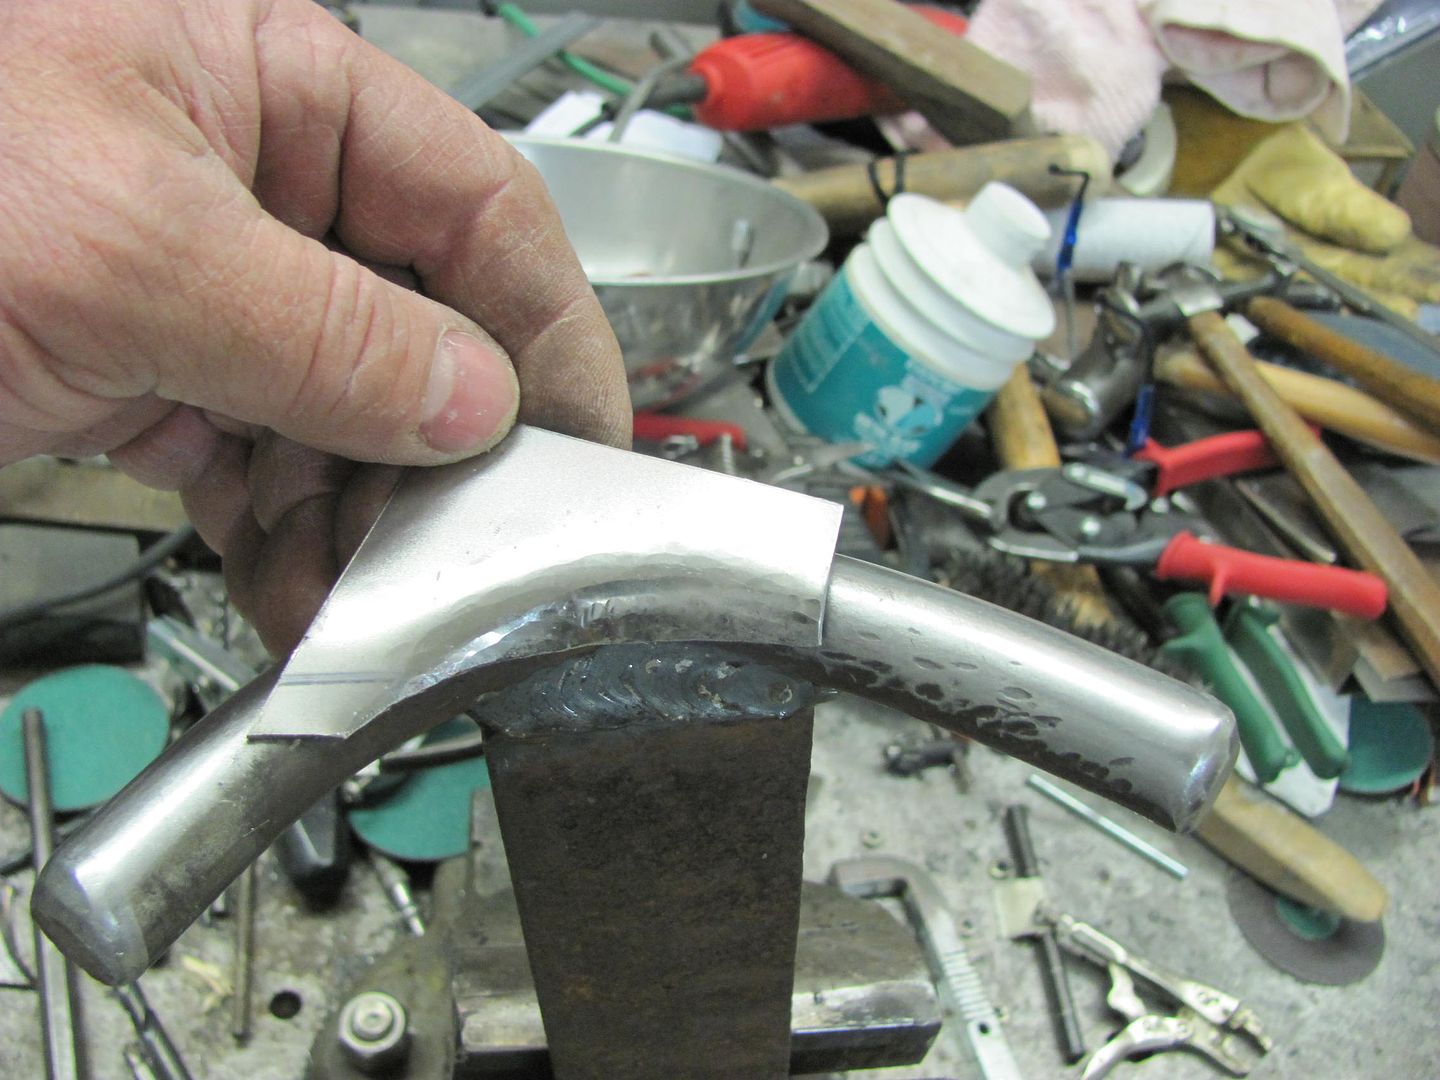 Fitting, trimming, and welding... 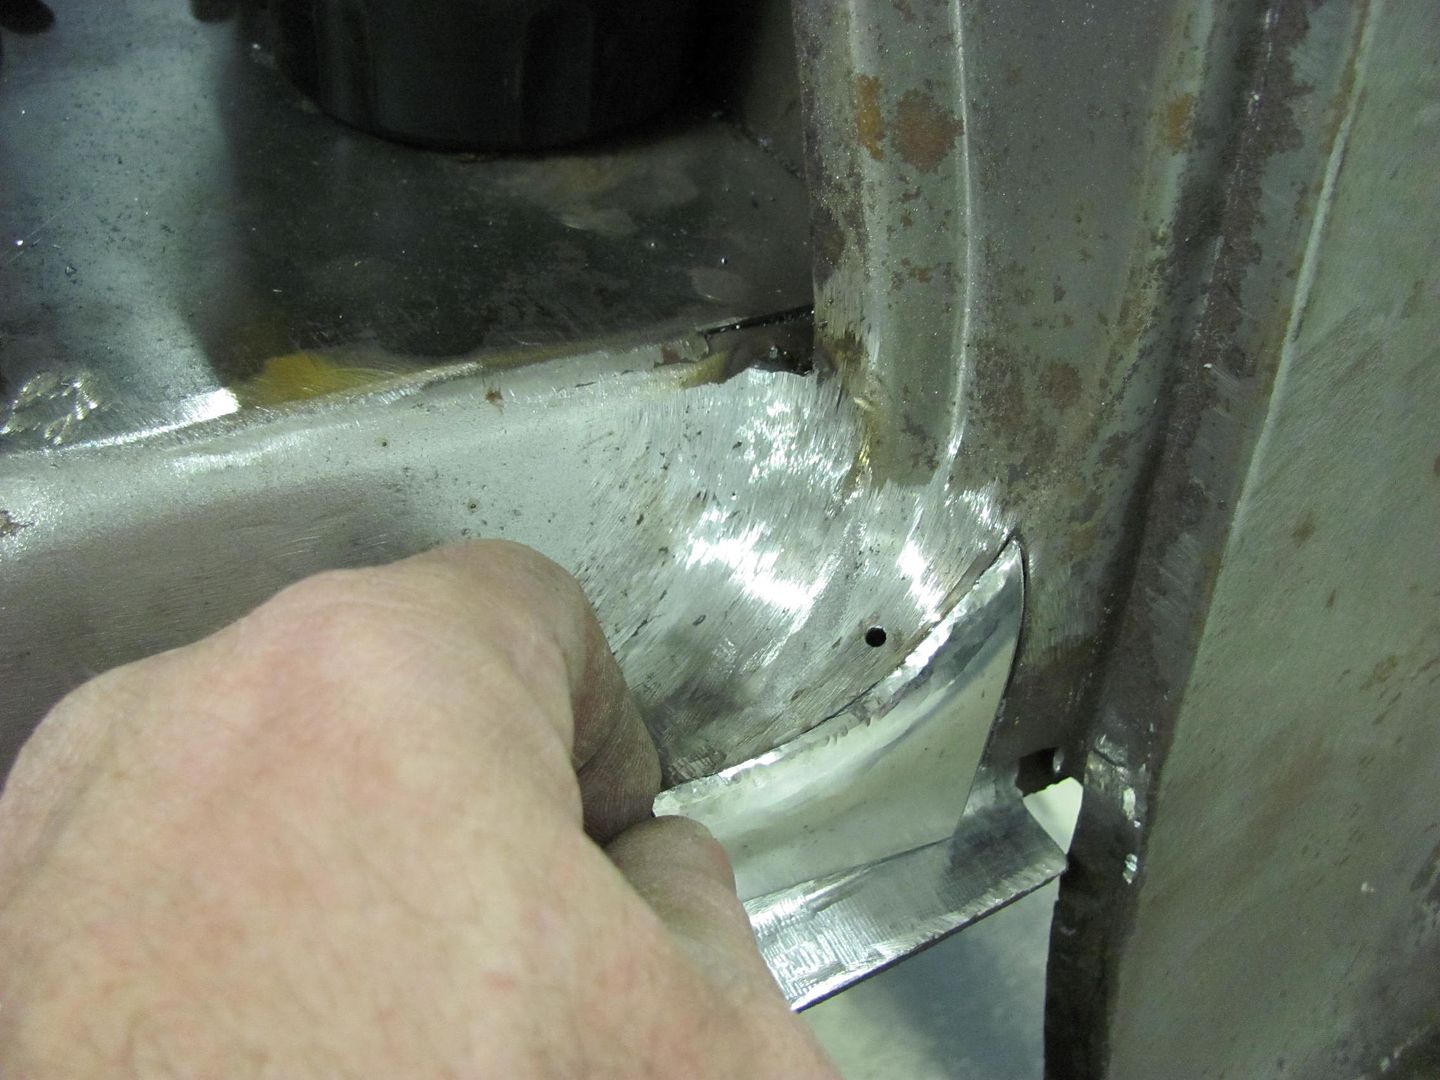 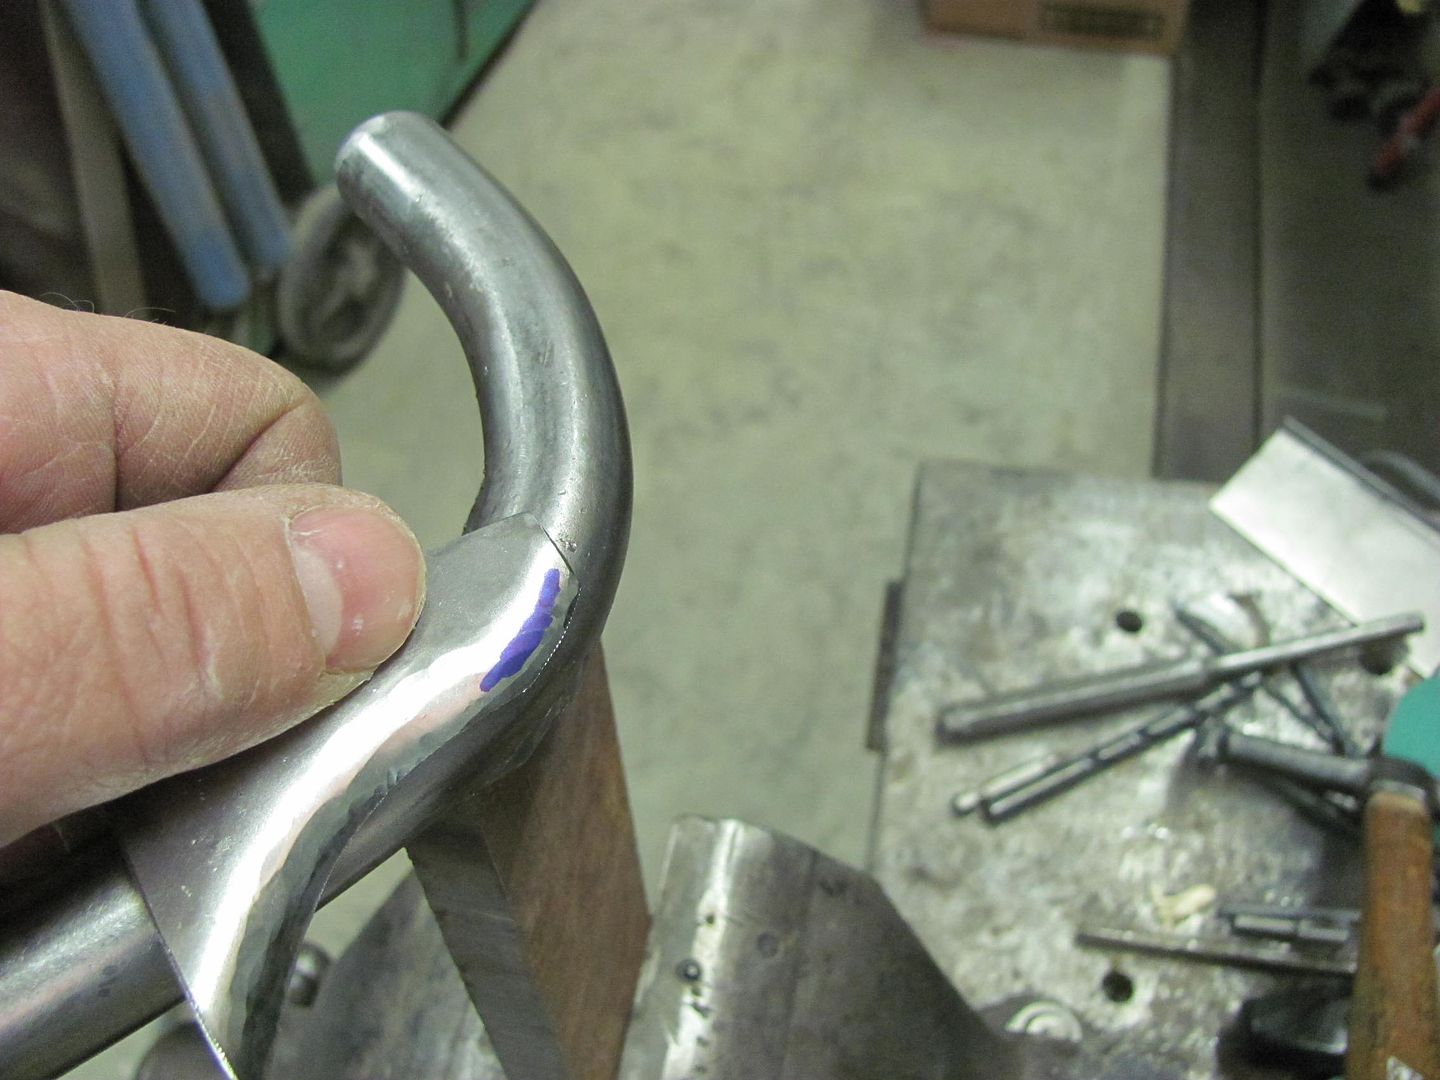 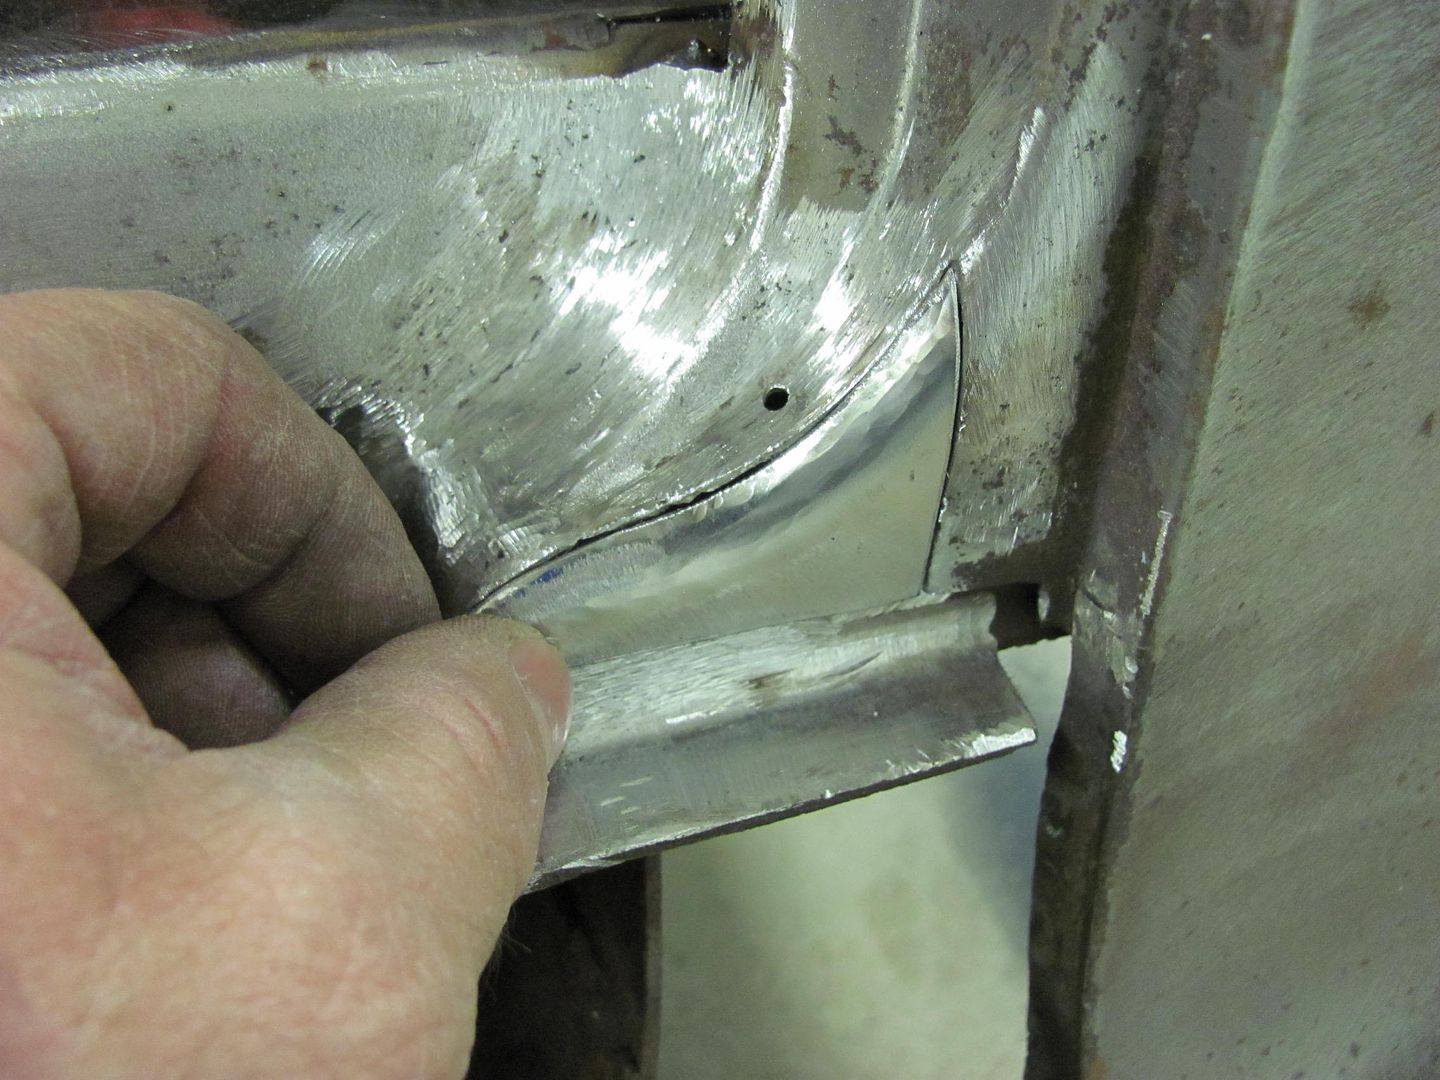 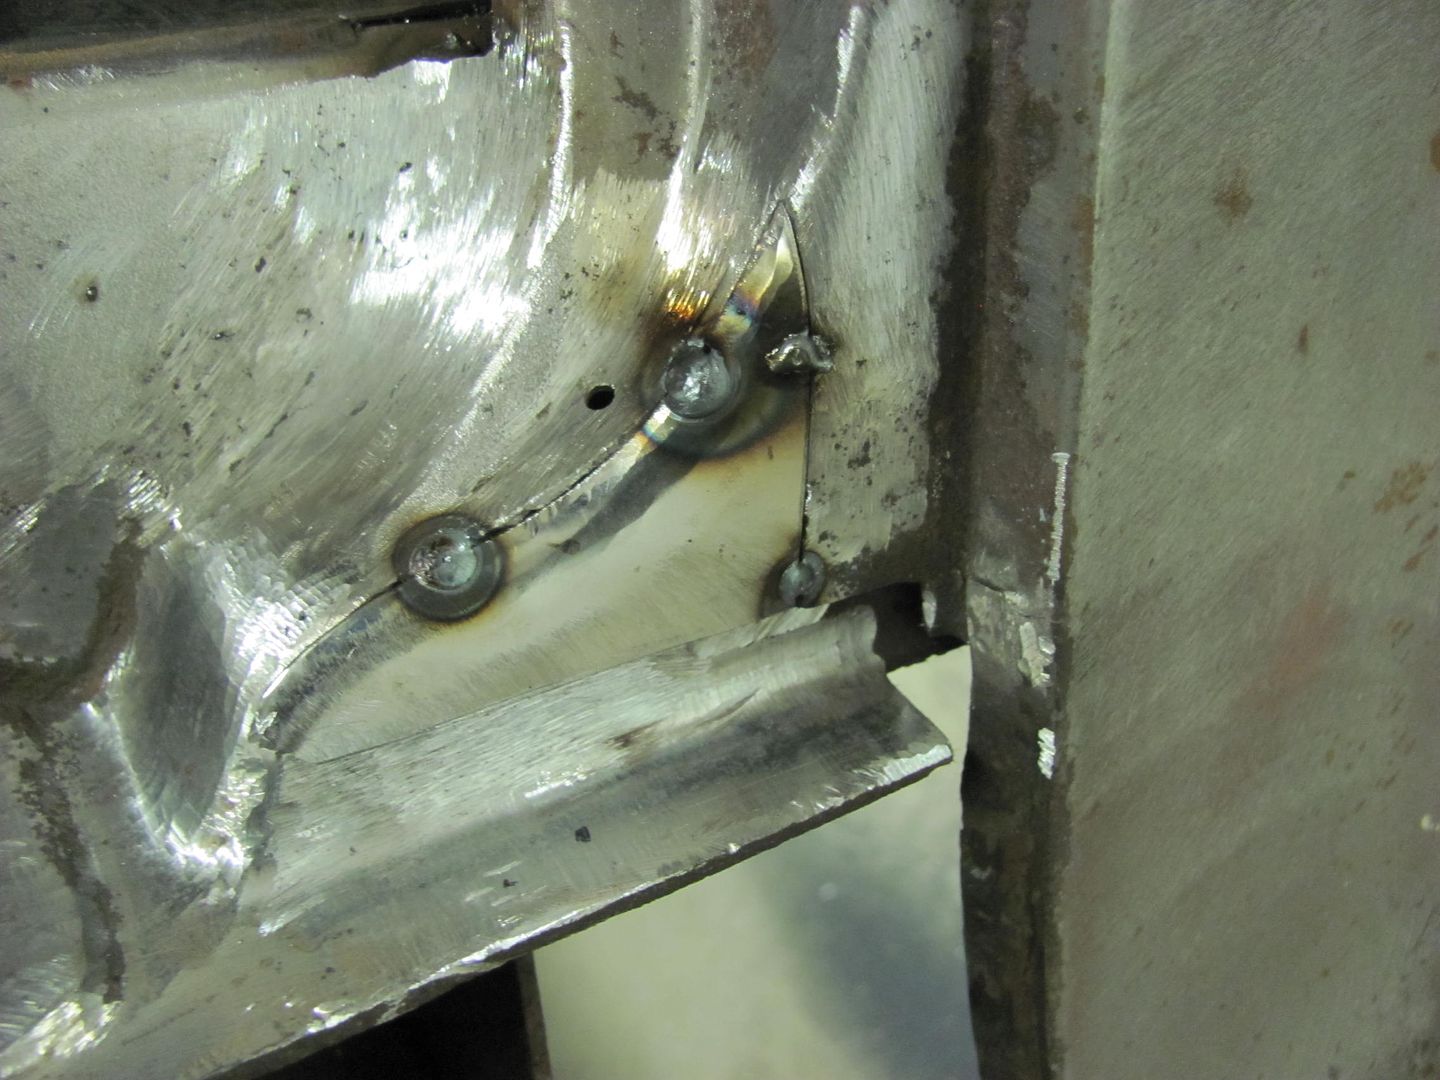  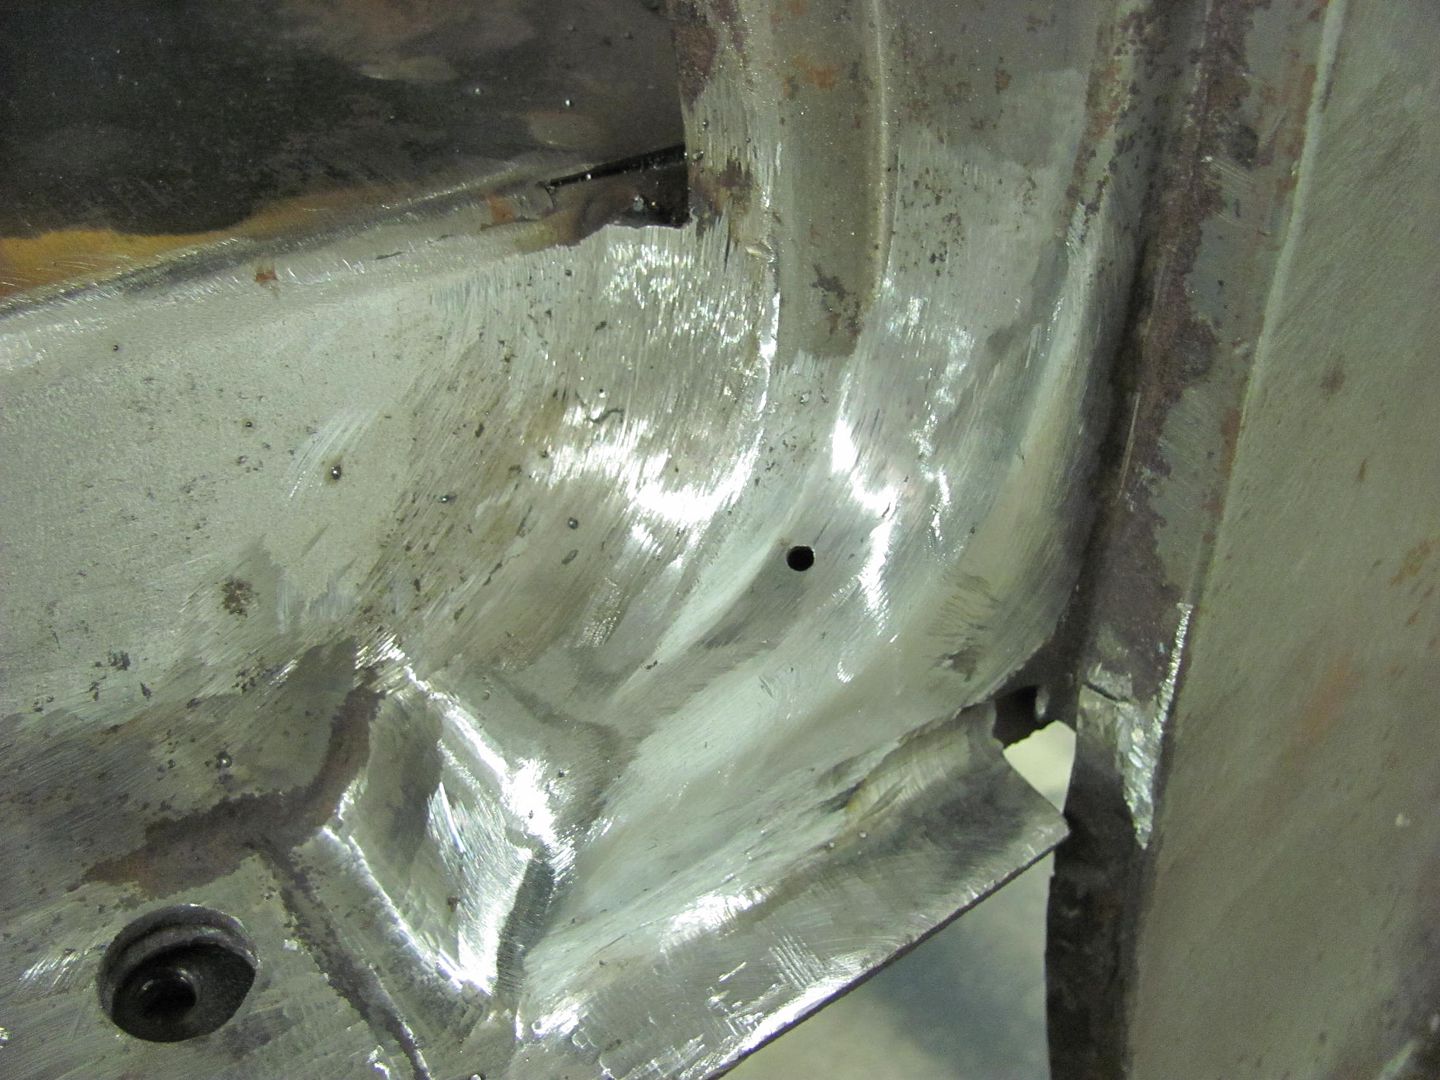 ....and, as can be expected, one more to go... Until next time. 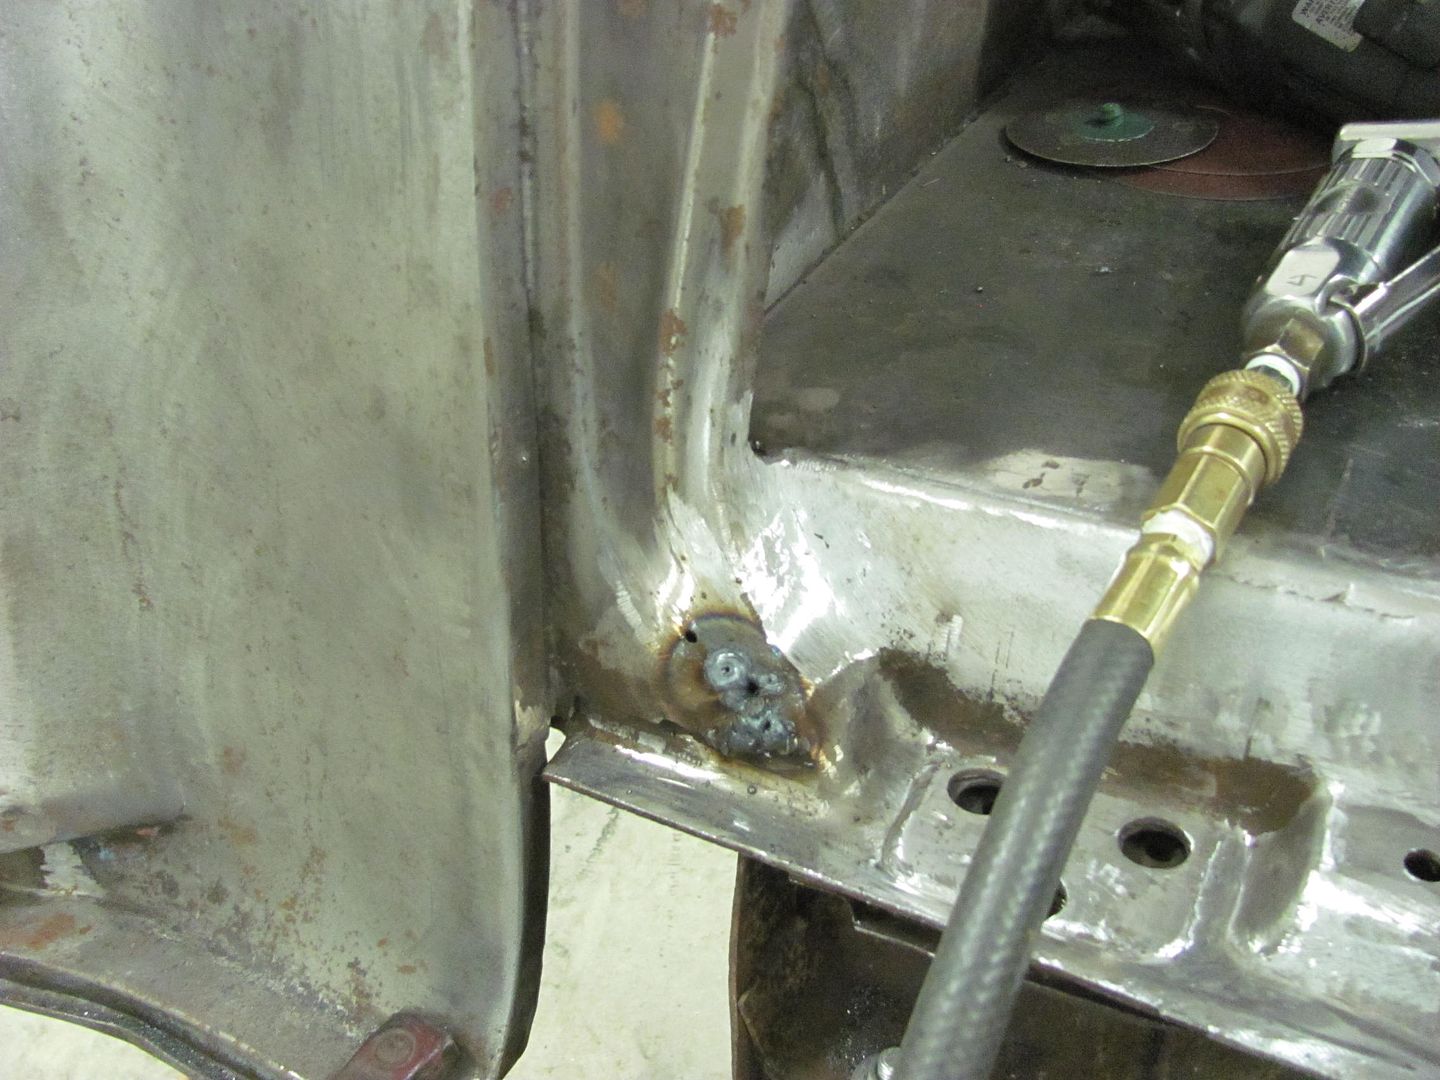
__________________
Robert |
|
|

|
|
|
#27 |
|
Registered User
Join Date: Apr 2012
Location: Beaver, Pa.
Posts: 197
|
Re: 55 Wagon Progress
Very nice work, love to watch a real pro do this type of repair.
|
|
|

|
|
|
#28 |
|
Registered User
Join Date: Jan 2013
Location: Leonardtown, MD
Posts: 1,647
|
Re: 55 Wagon Progress
Had a couple hours this evening so I decided to remove some mud daubers nest....
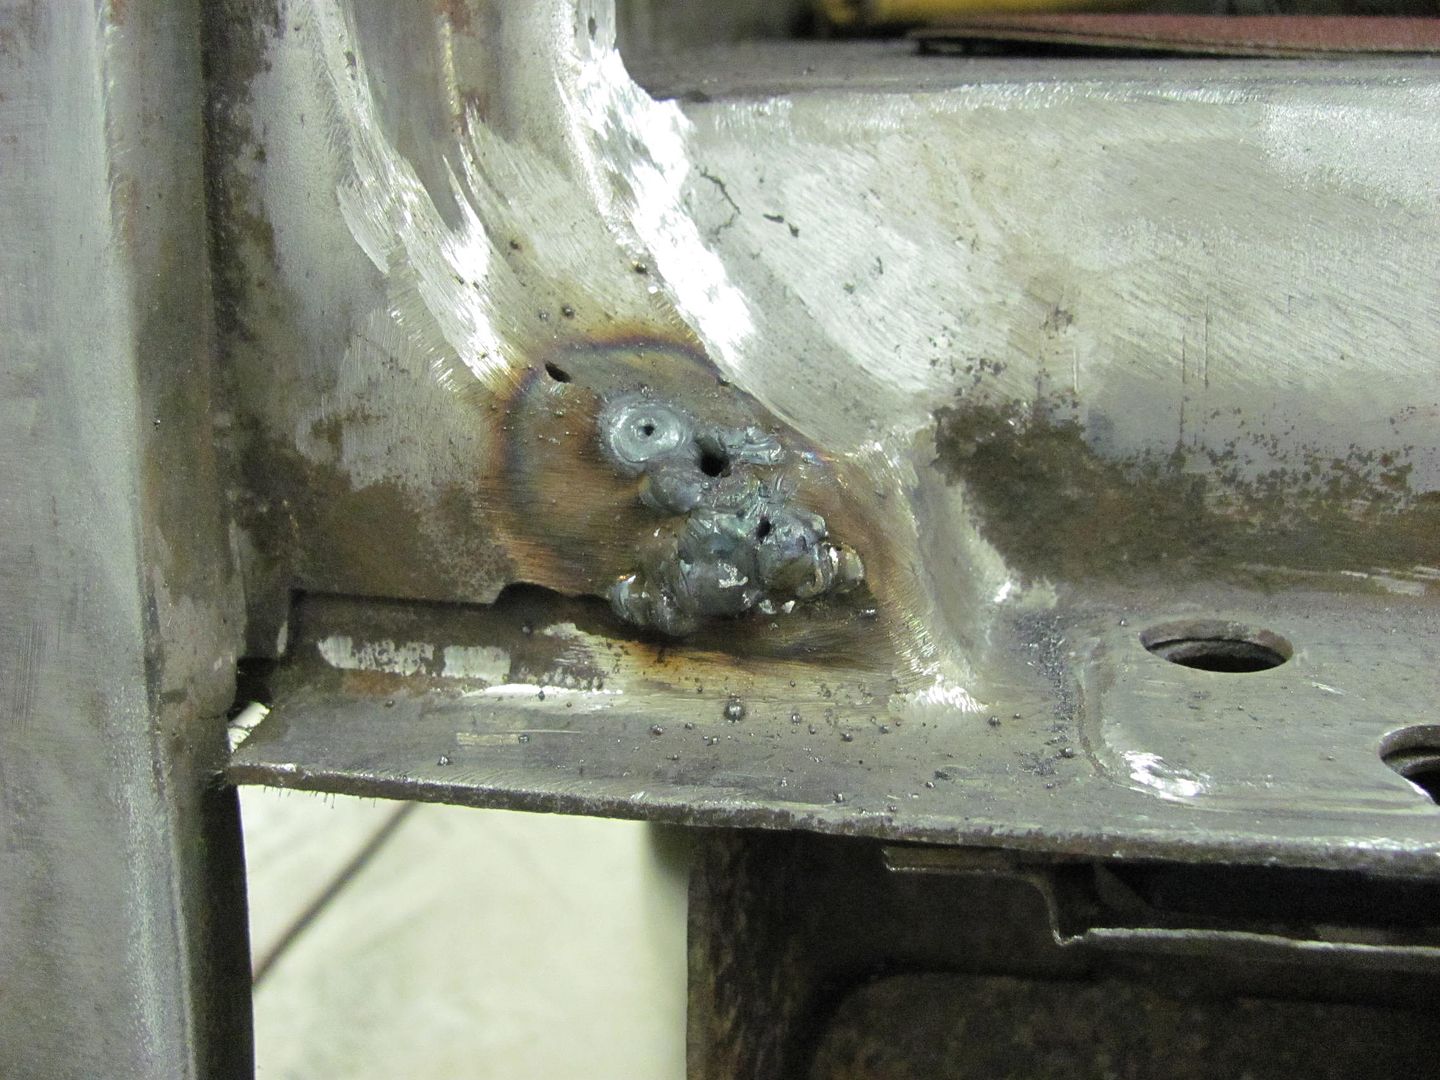 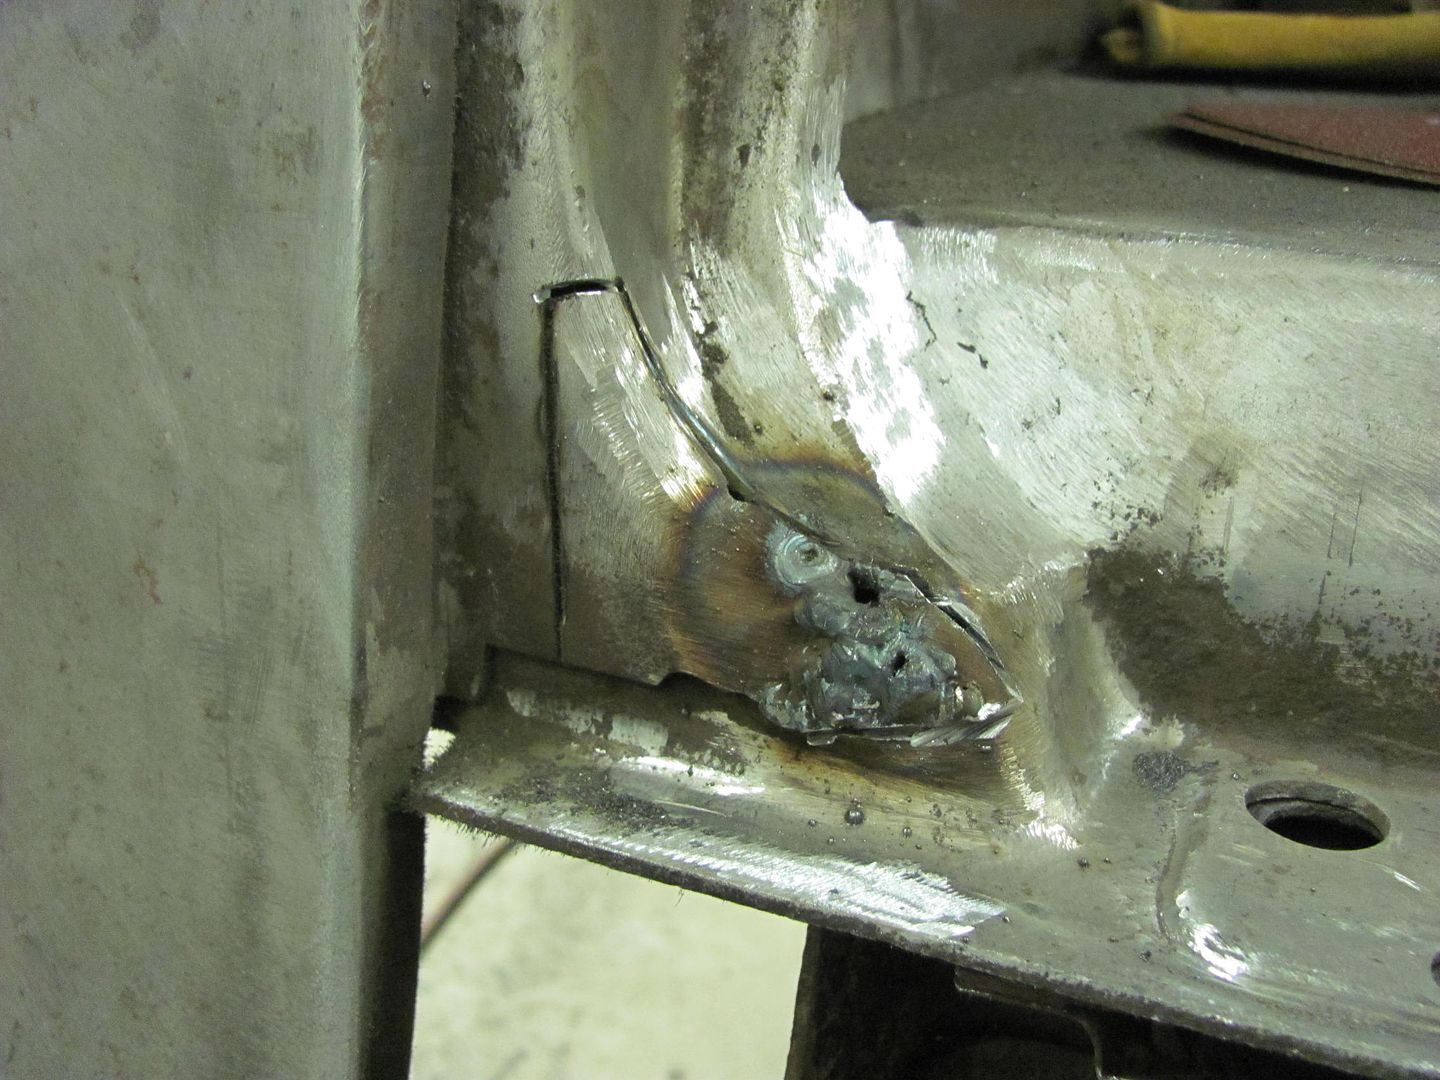 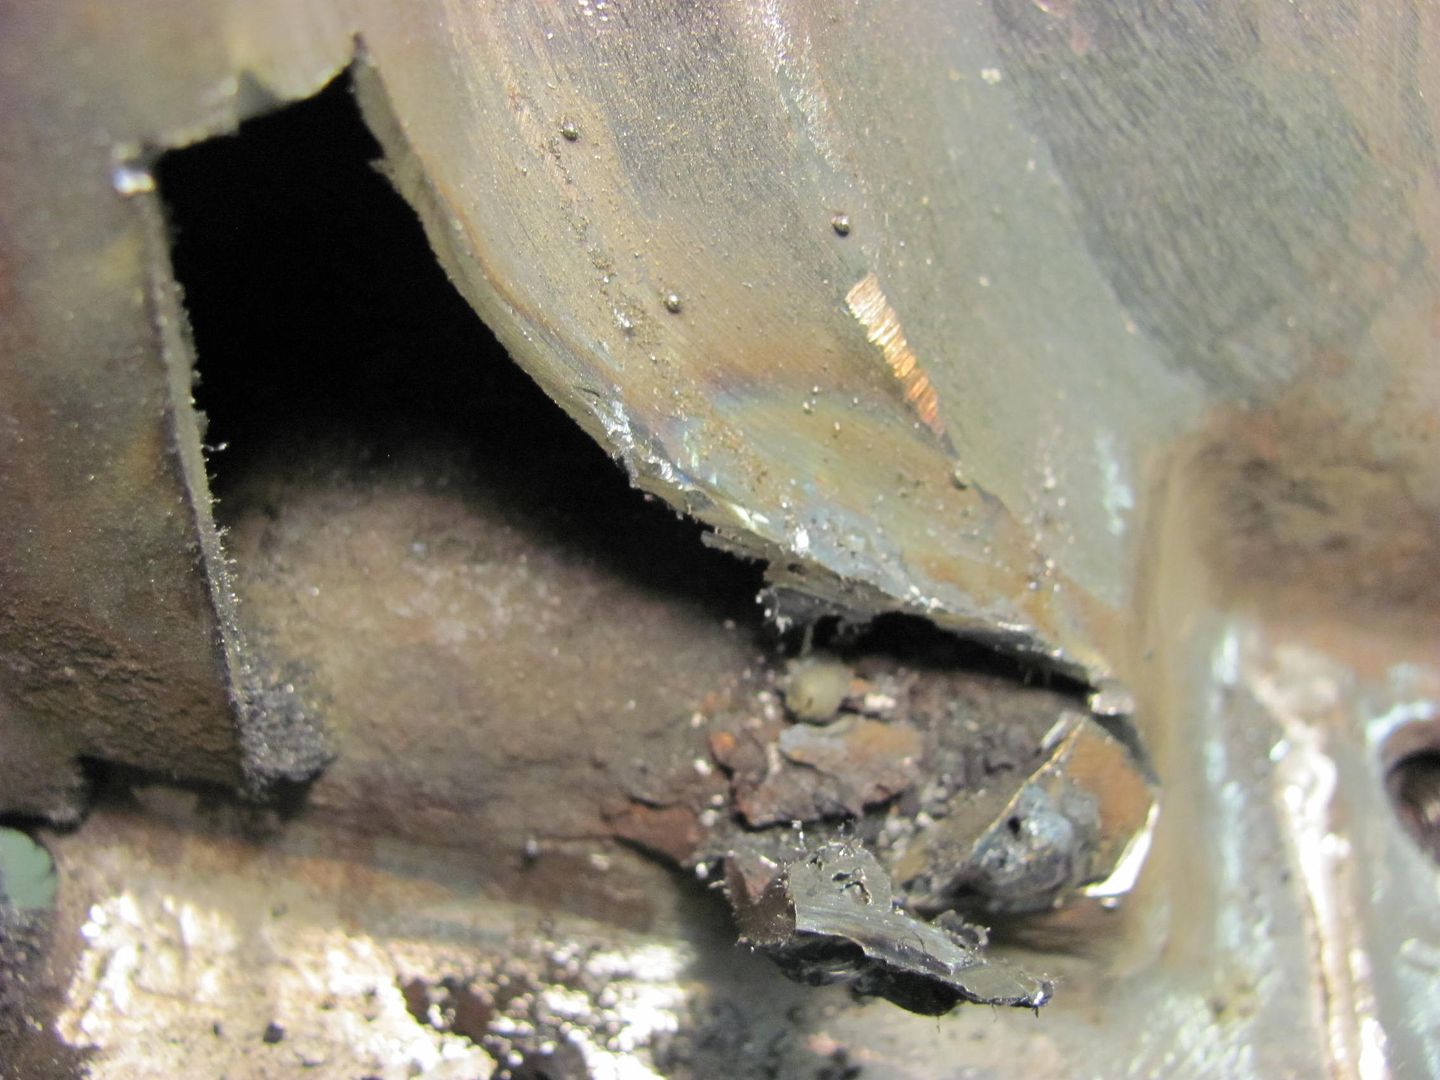 Used a combination of burr grinder, roloc sander, etc, to clean out the rust and scale as best I could. Once the car is up on the rotisserie again, the troublesome voids such as these will get a good flood of paint. 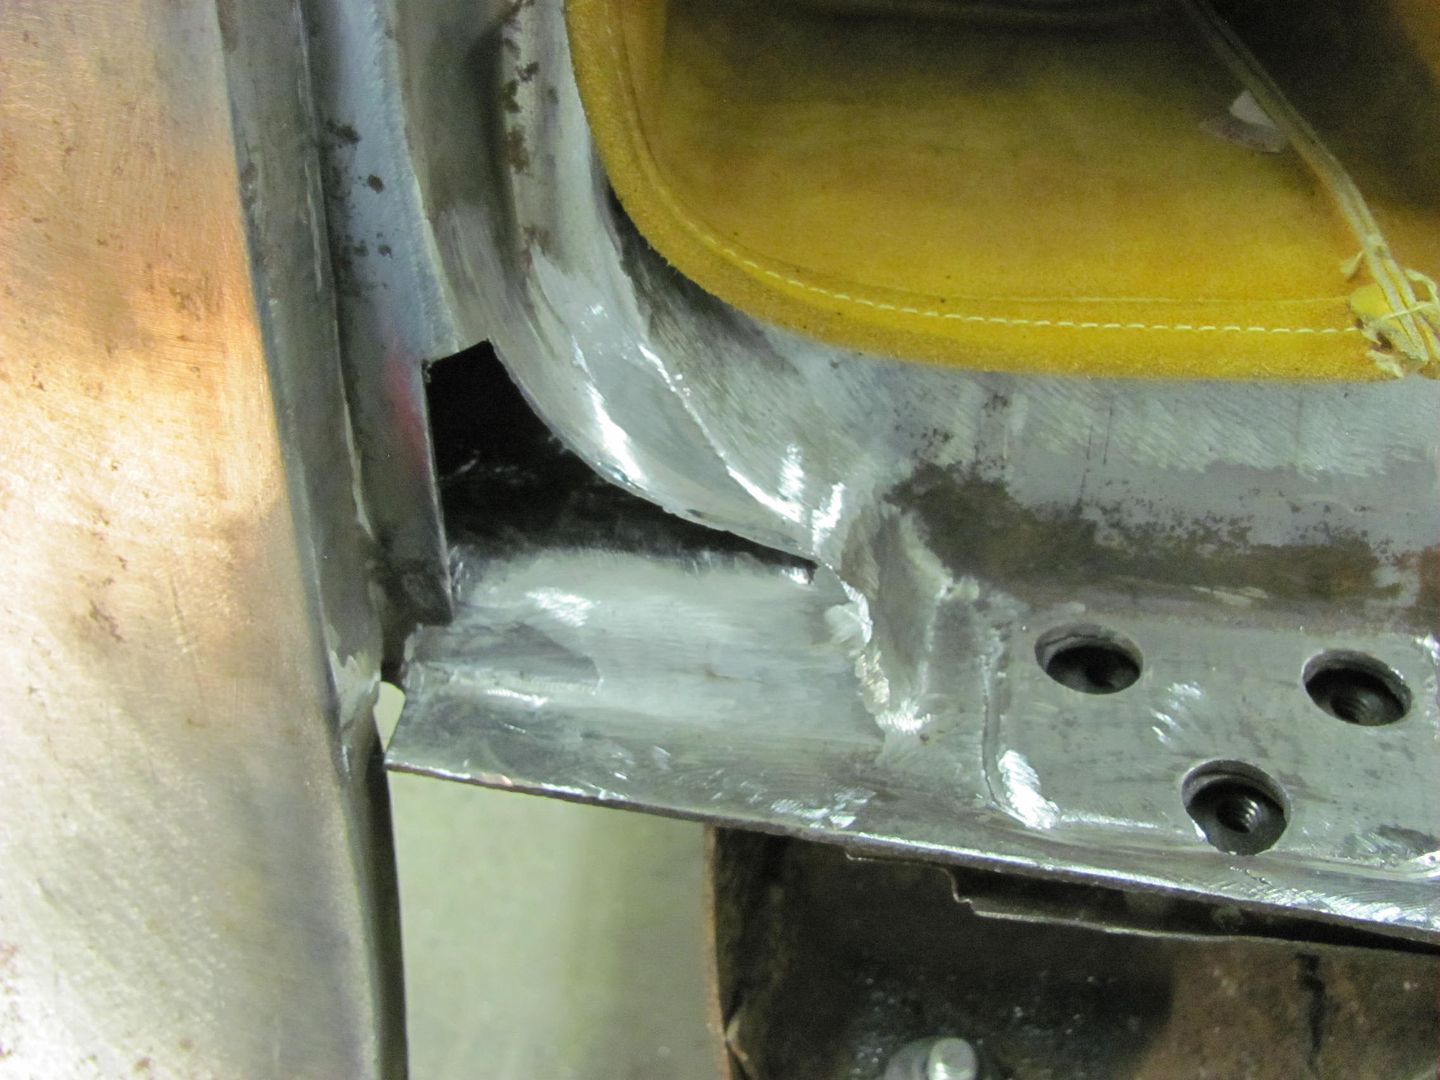 As this one needs a bit more flange turned in, the inside will need a bit more stretch to go with it. A suitable hammer with more heft will come in handy. 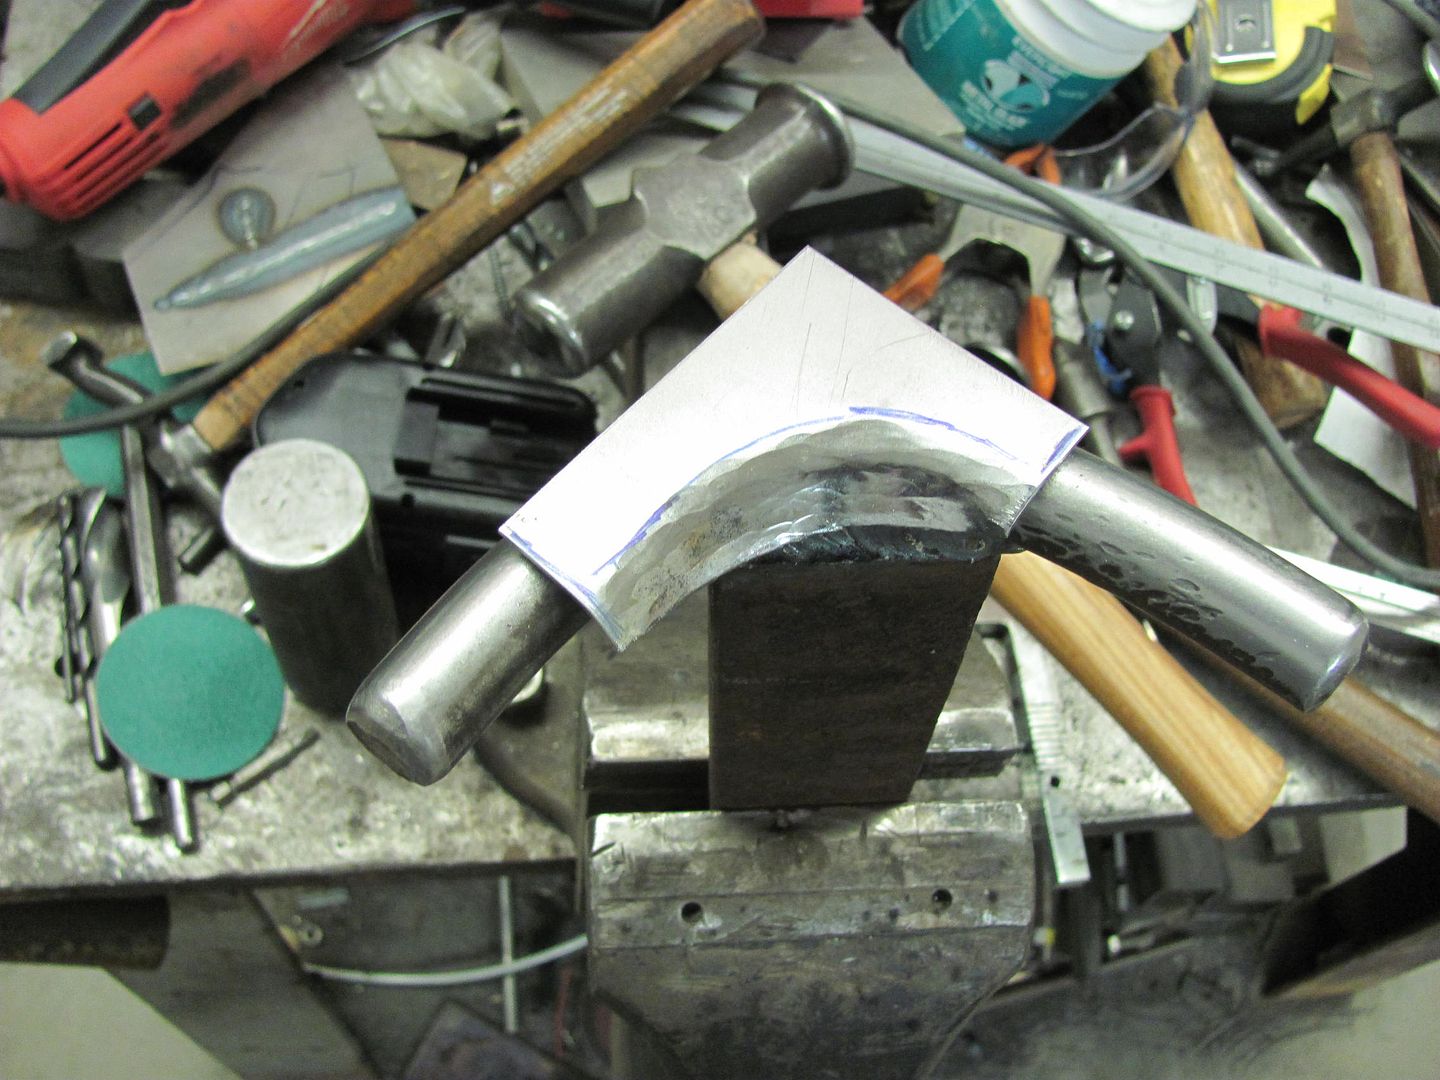 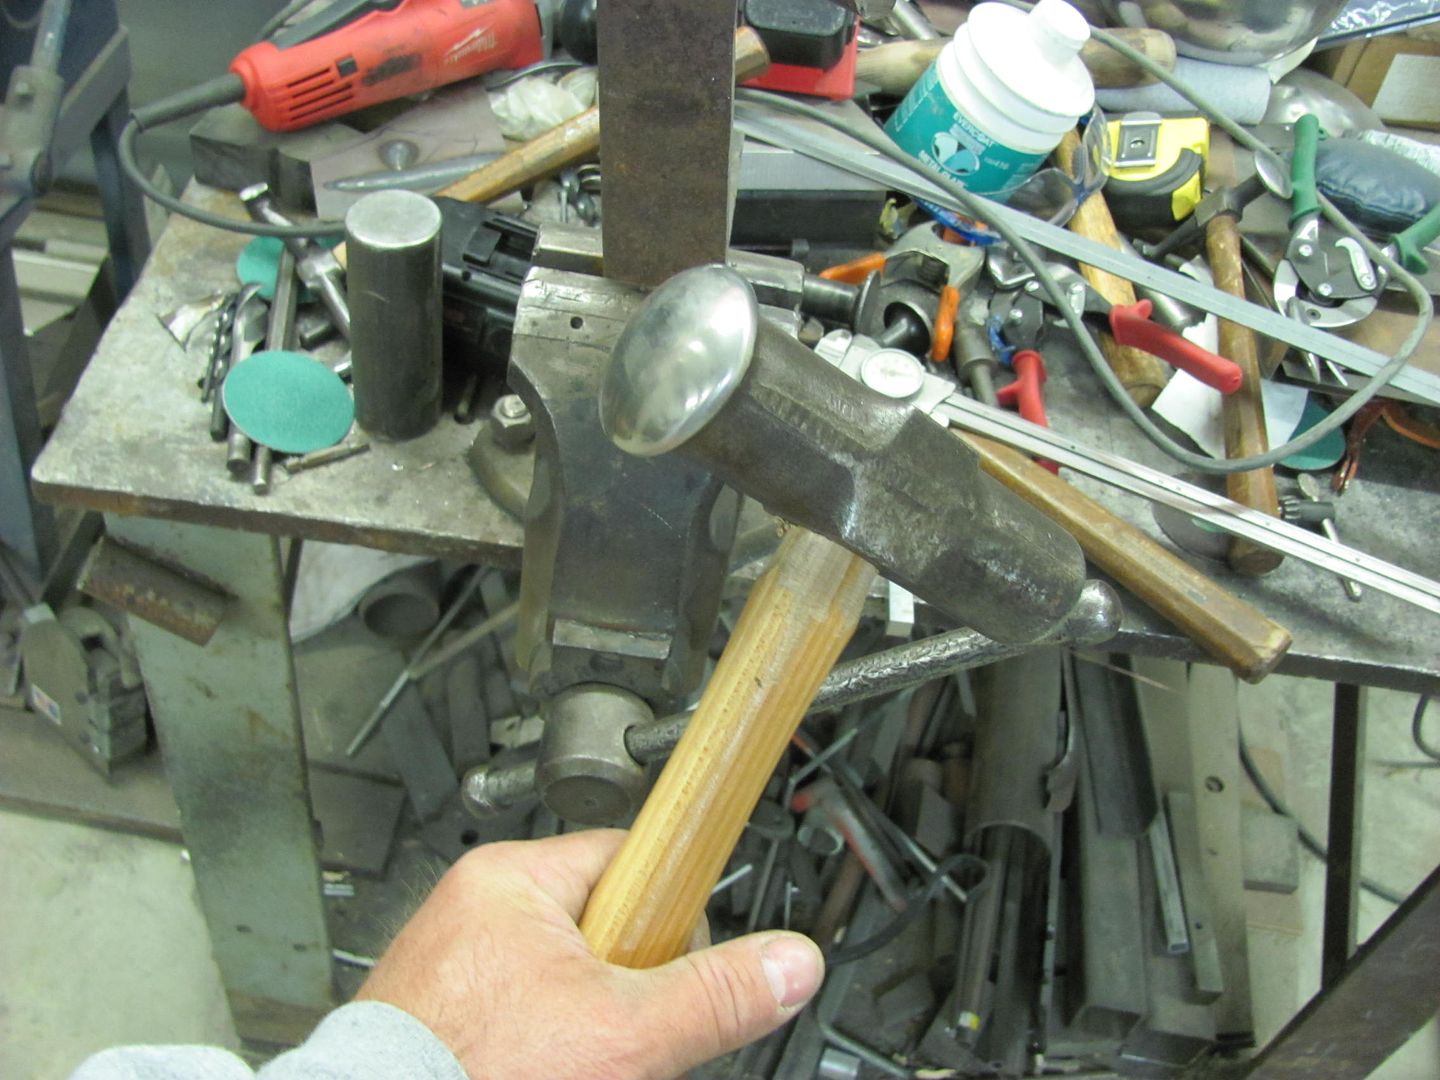 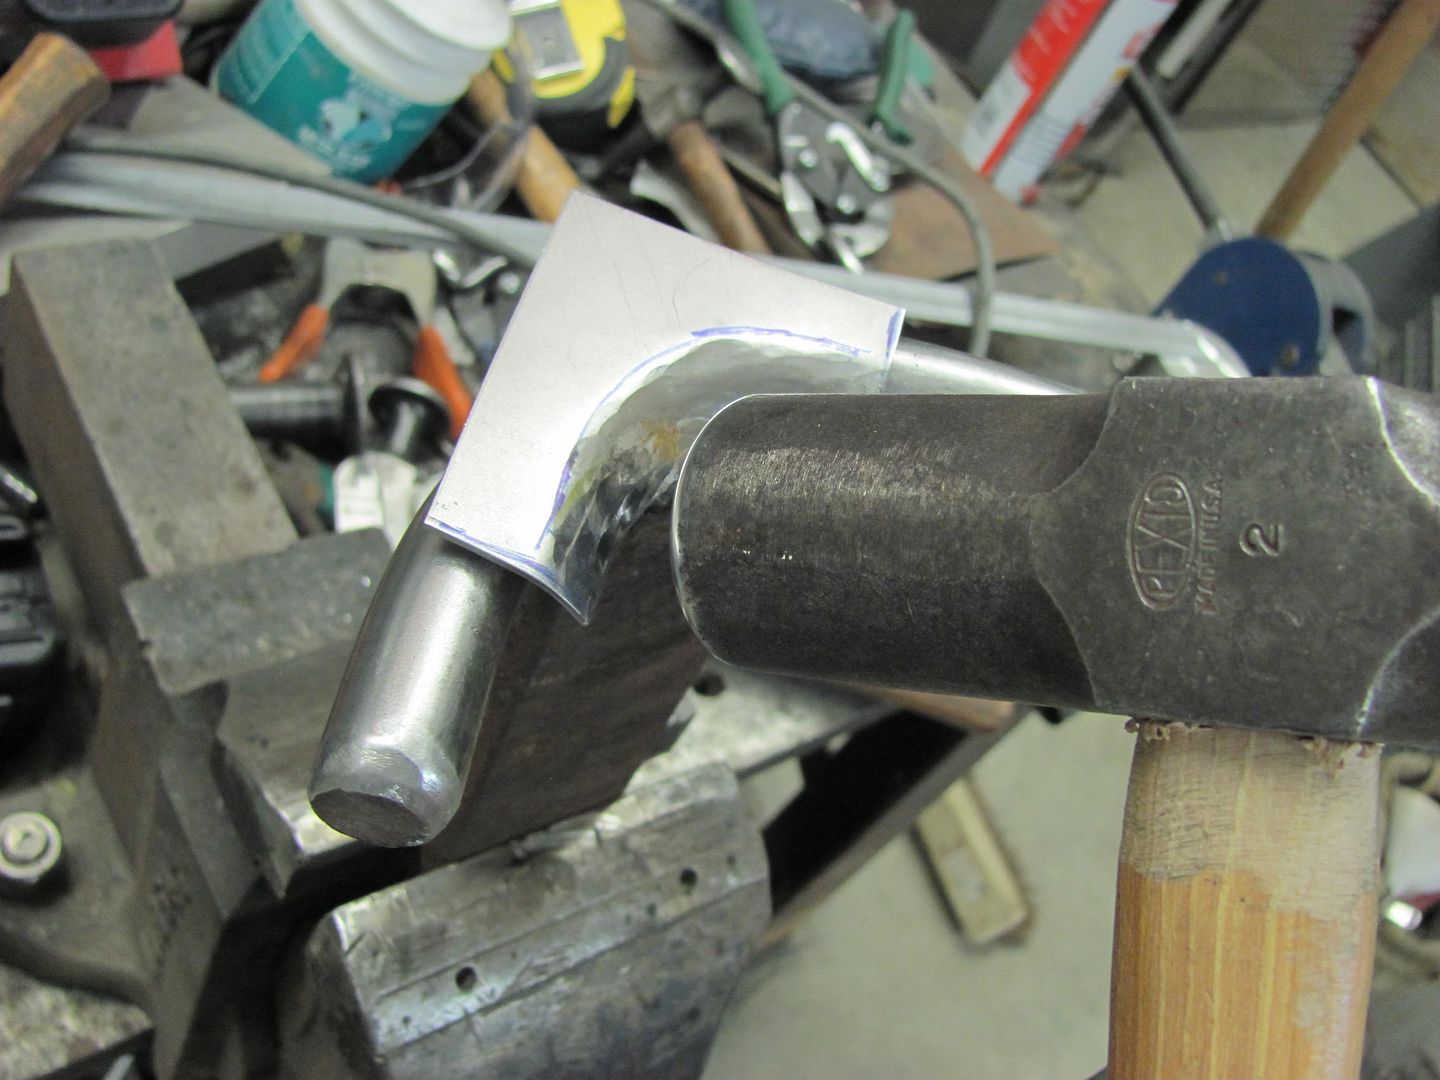 A couple fitments and adjustments, and this is ready for the welder...  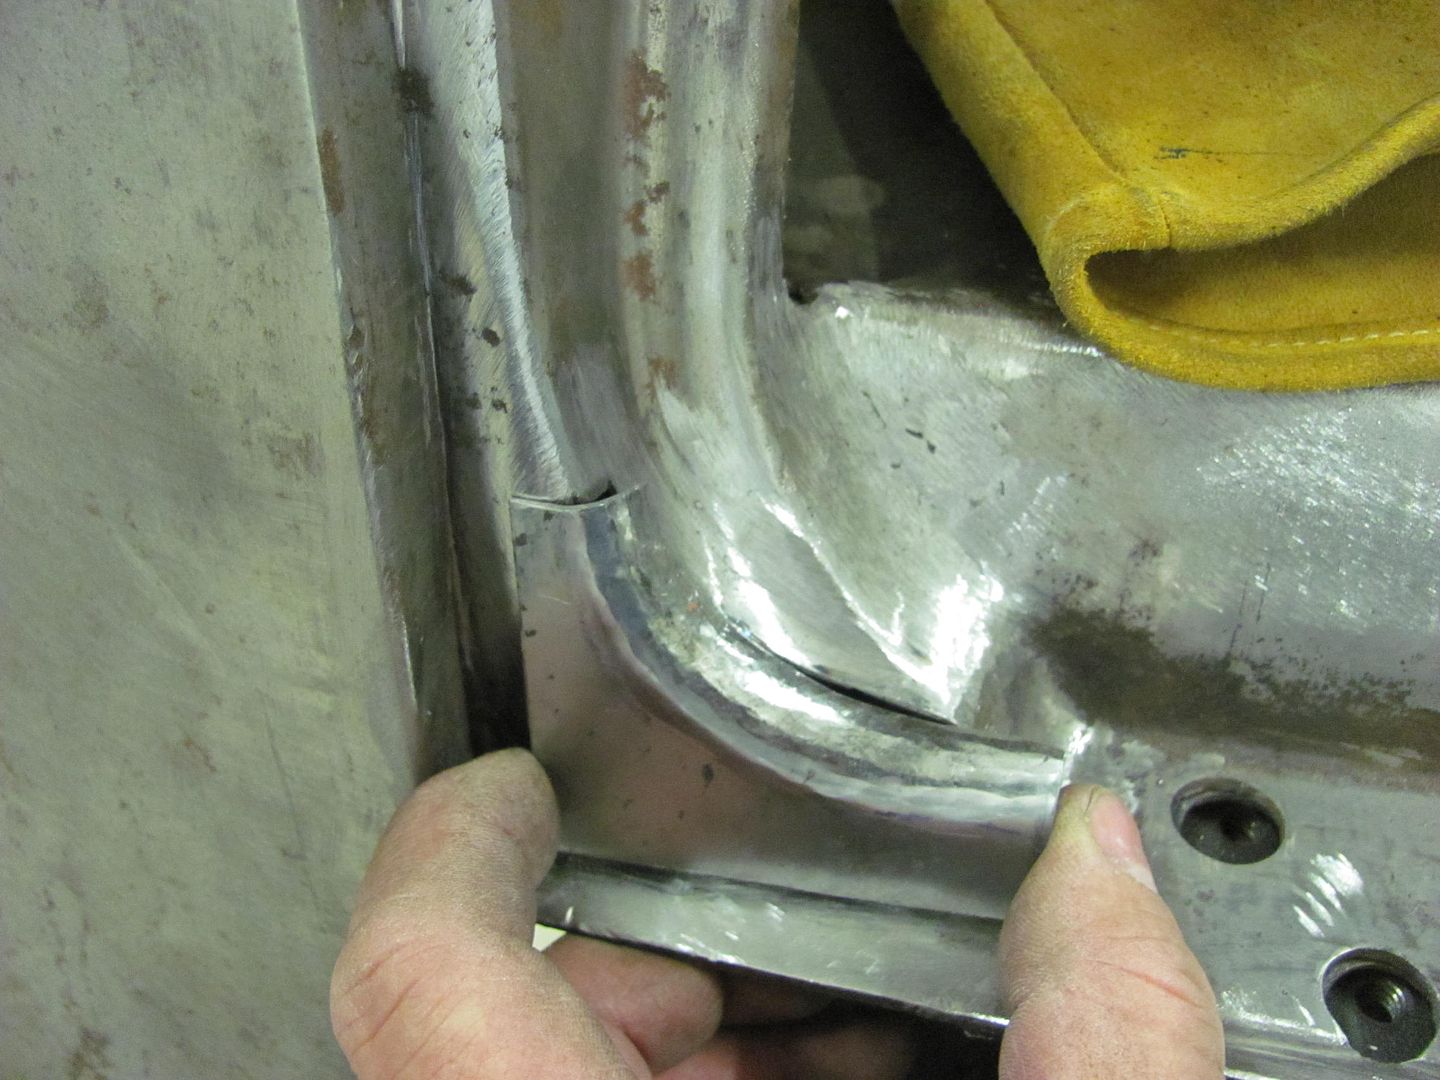 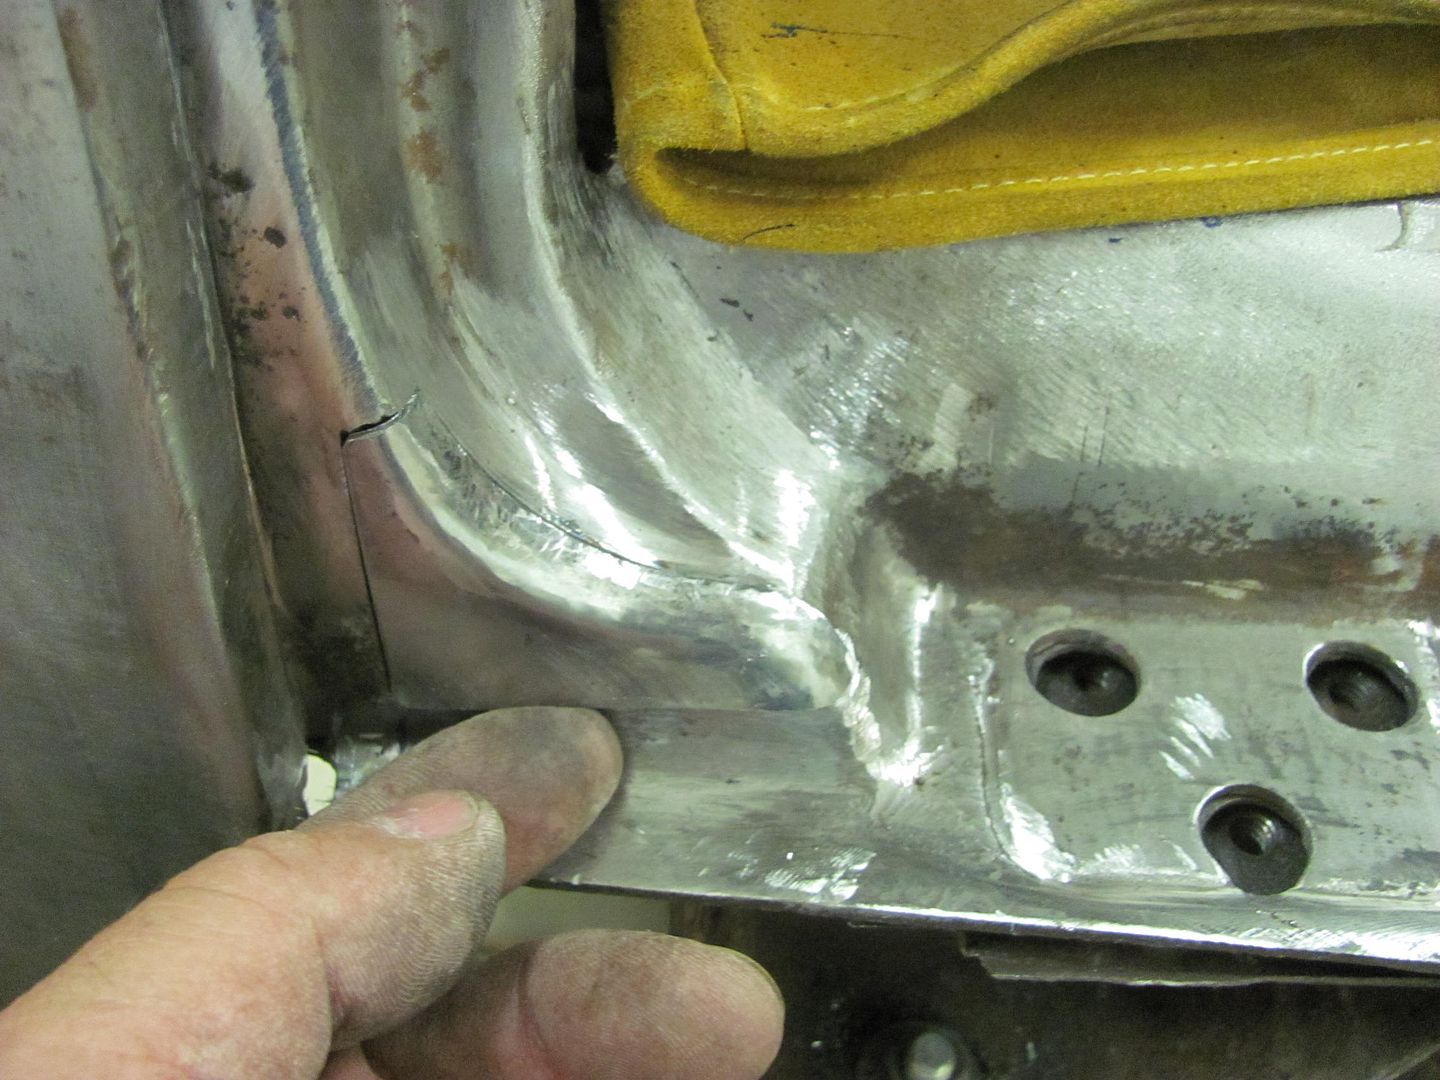 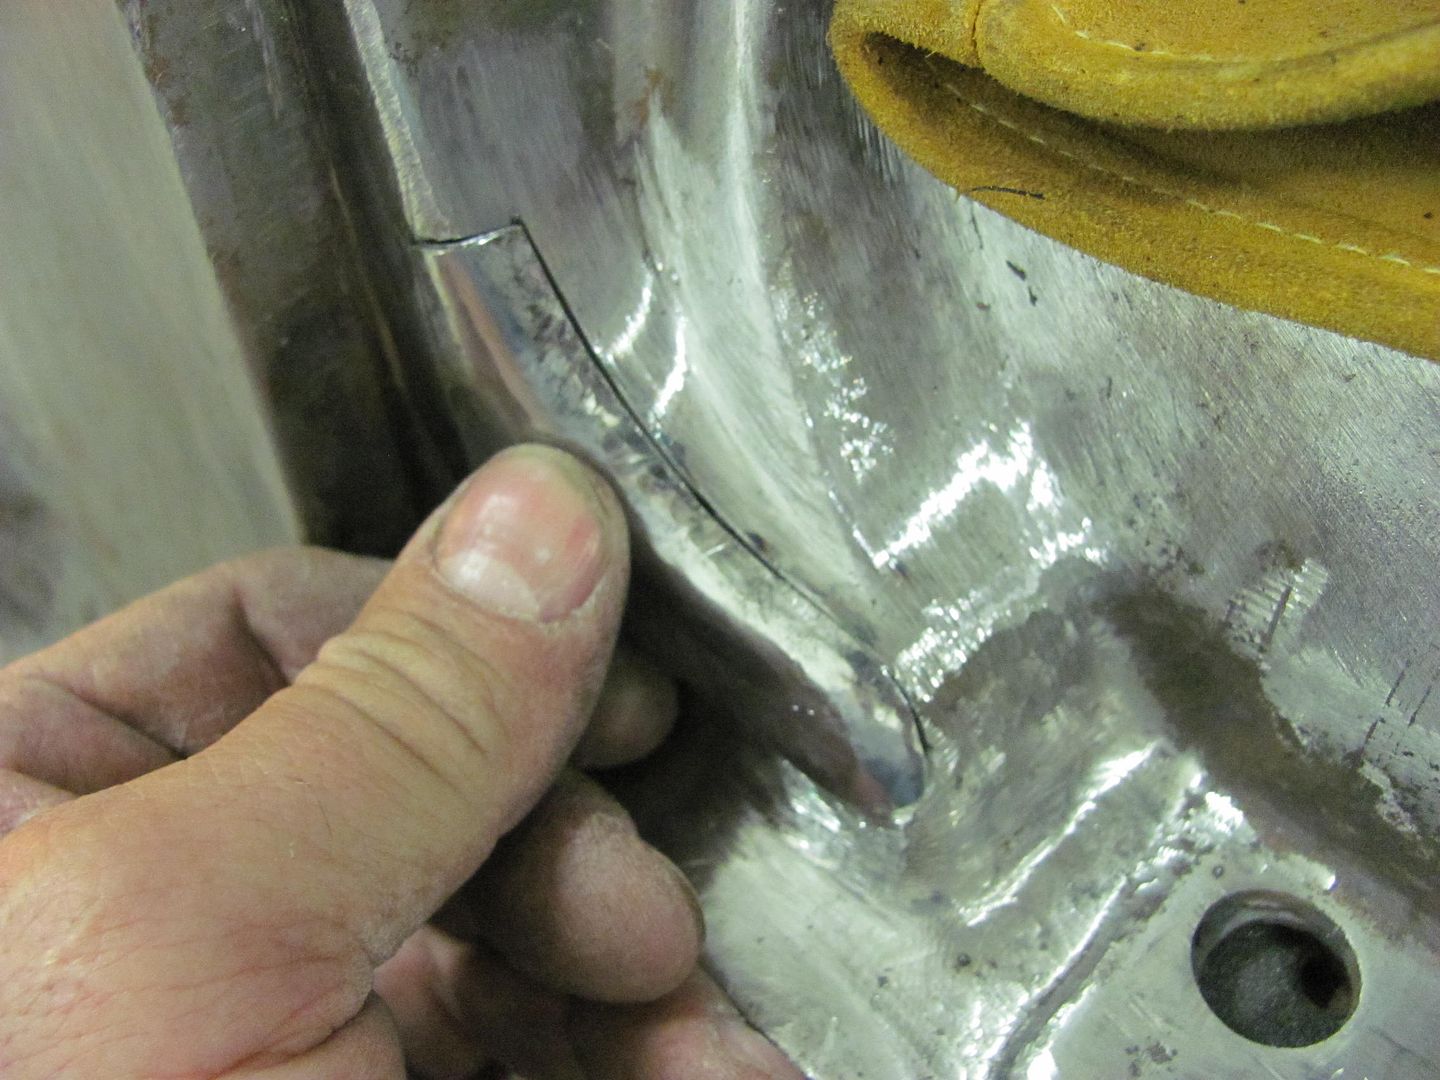 and with it getting late, we'll cover the welding on the next update..
__________________
Robert |
|
|

|
|
|
#29 |
|
Registered User
Join Date: Jan 2013
Location: Leonardtown, MD
Posts: 1,647
|
Re: 55 Wagon Progress
Time to finish this part up....
 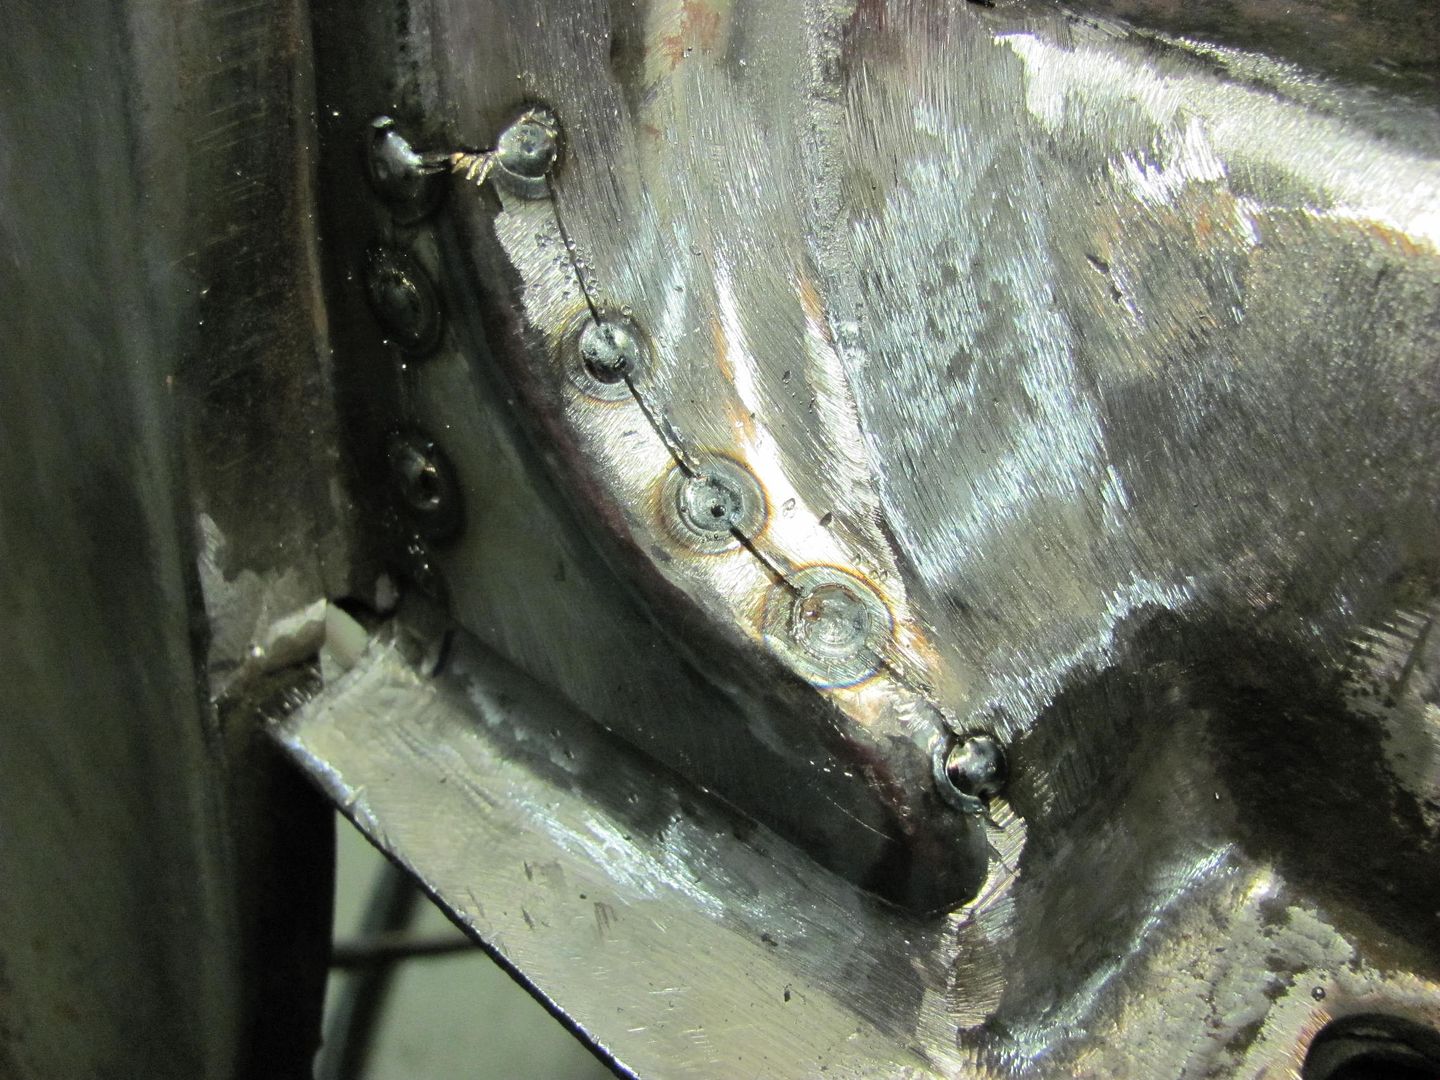 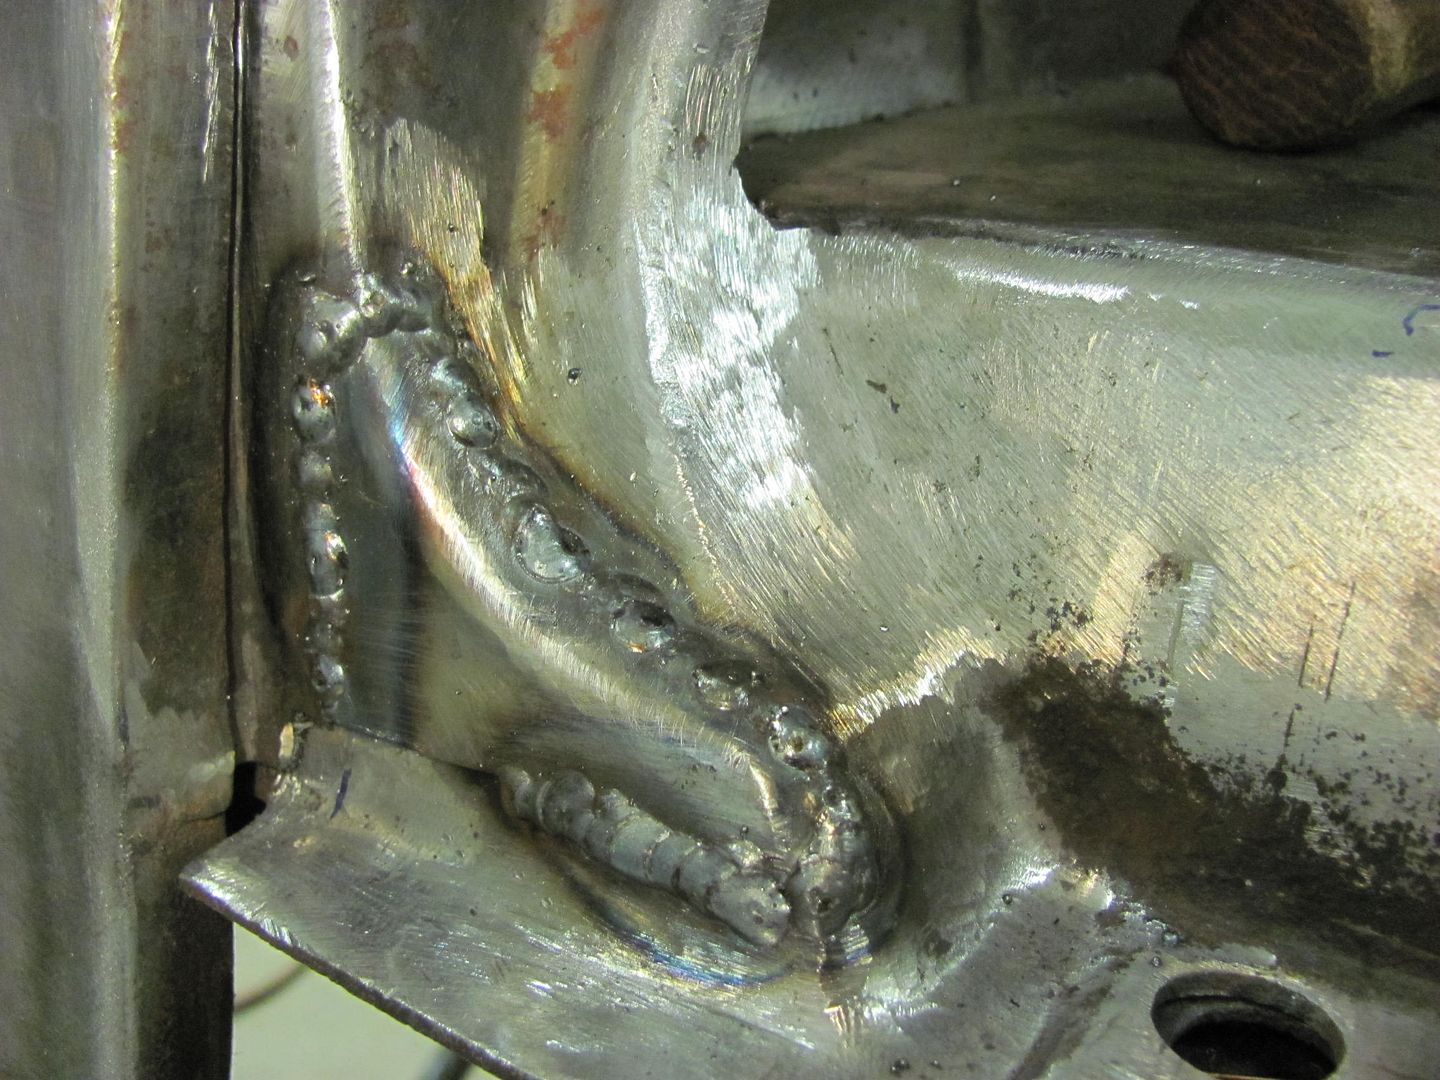 All cleaned up.... 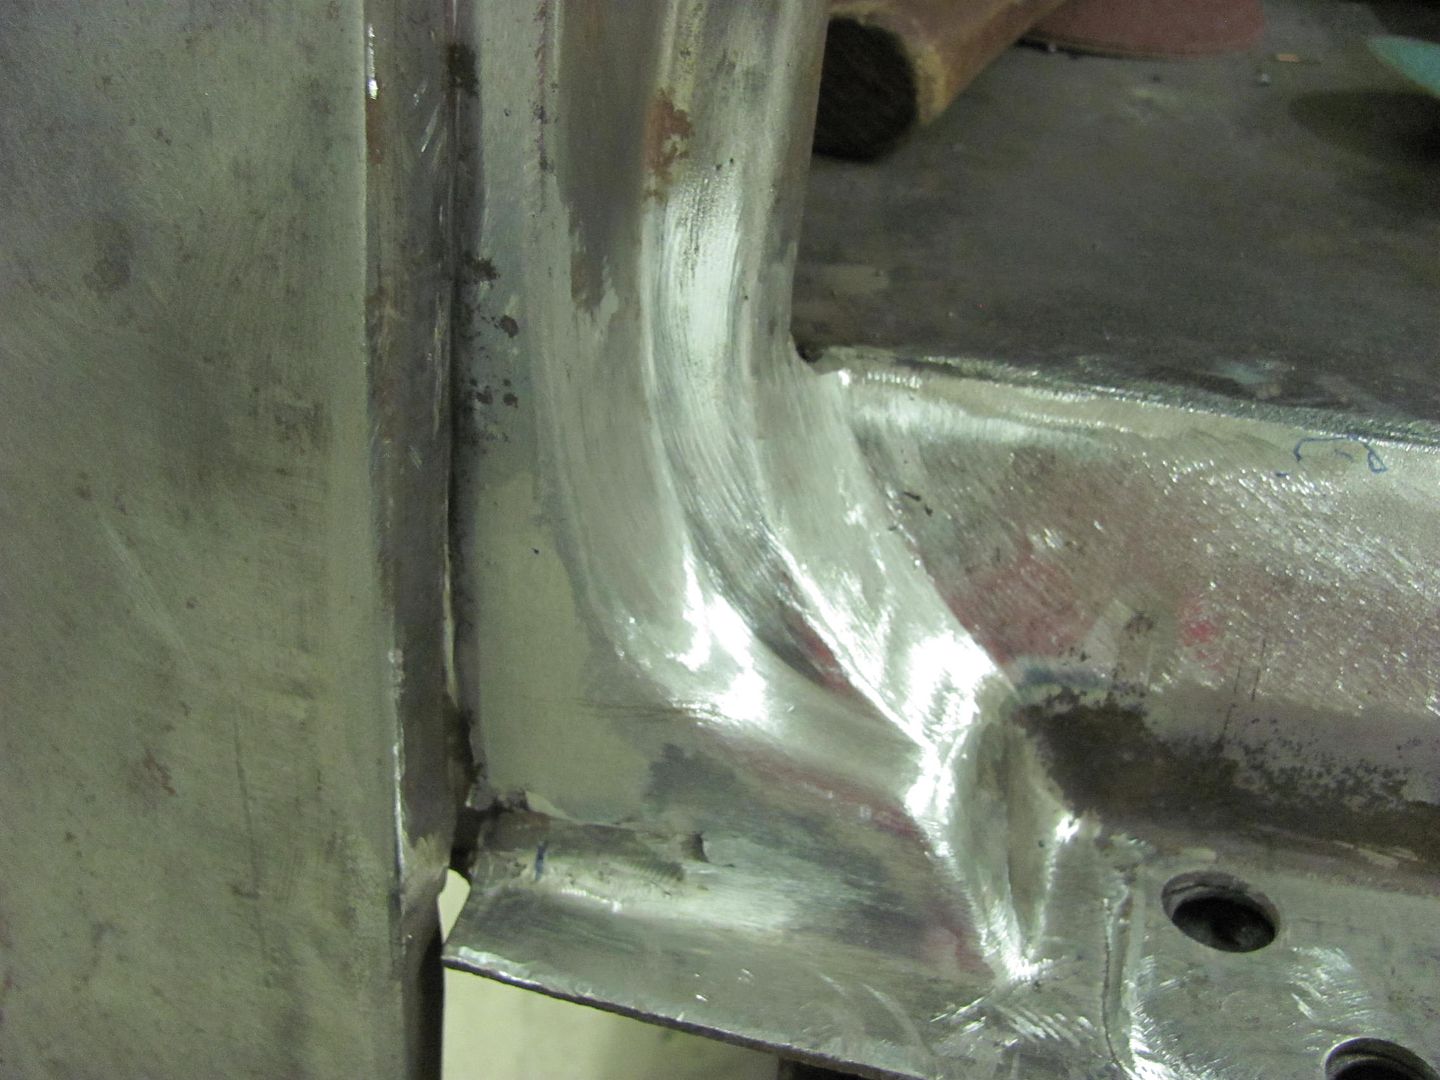
__________________
Robert |
|
|

|
|
|
#30 |
|
Registered User
Join Date: Jan 2013
Location: Leonardtown, MD
Posts: 1,647
|
Re: 55 Wagon Progress
Starting on the tailpan, we were torn on using the pinch weld flanges. Some of the "subtle" mods we had done included removing the pinch weld flanges and leaded seam above and below the tail lights to get rid of a dirt trap/rust generator...
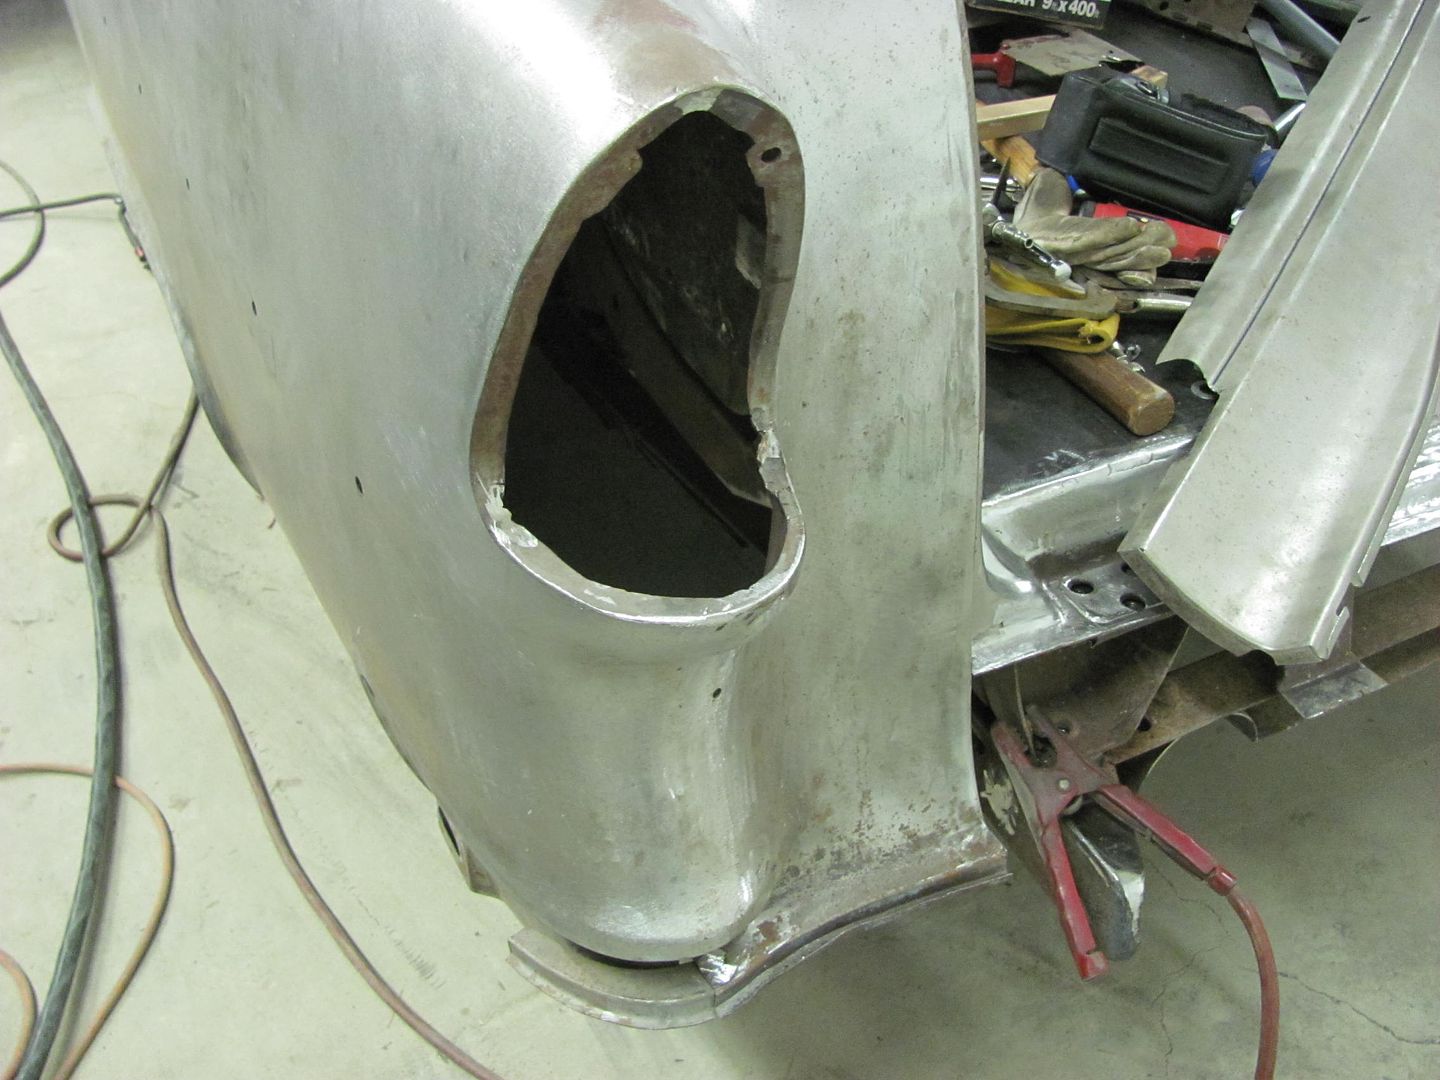 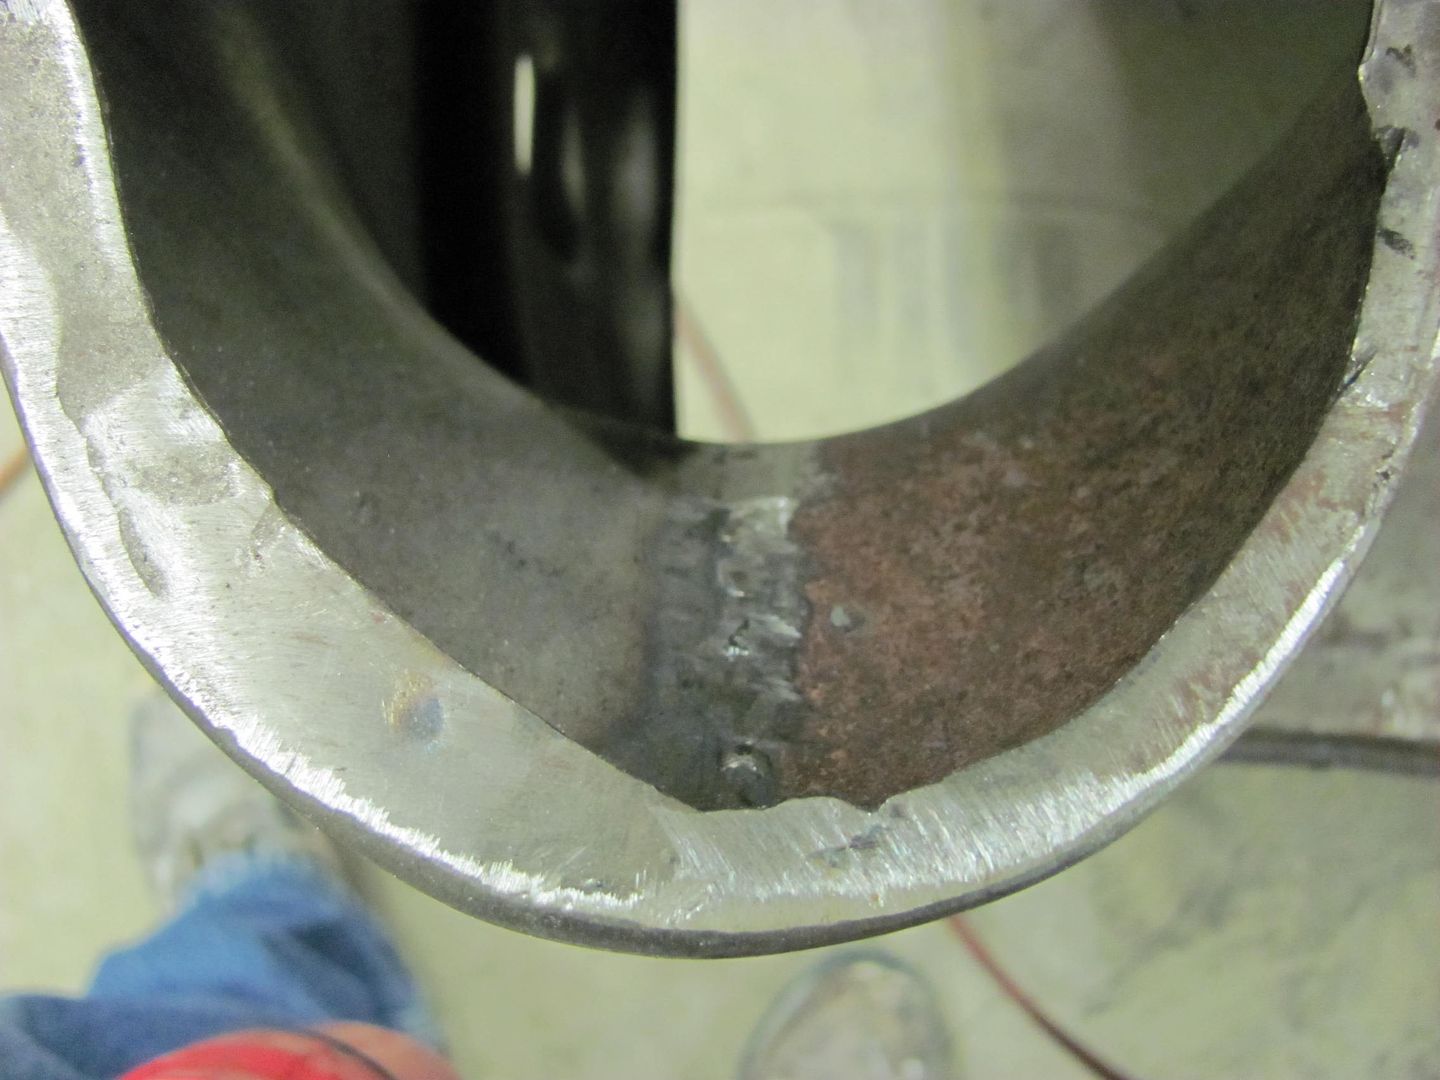 The pinch weld seam for the tail pan is also in the tires path, especially given the wider rear tires and mini-tubs it's now using. 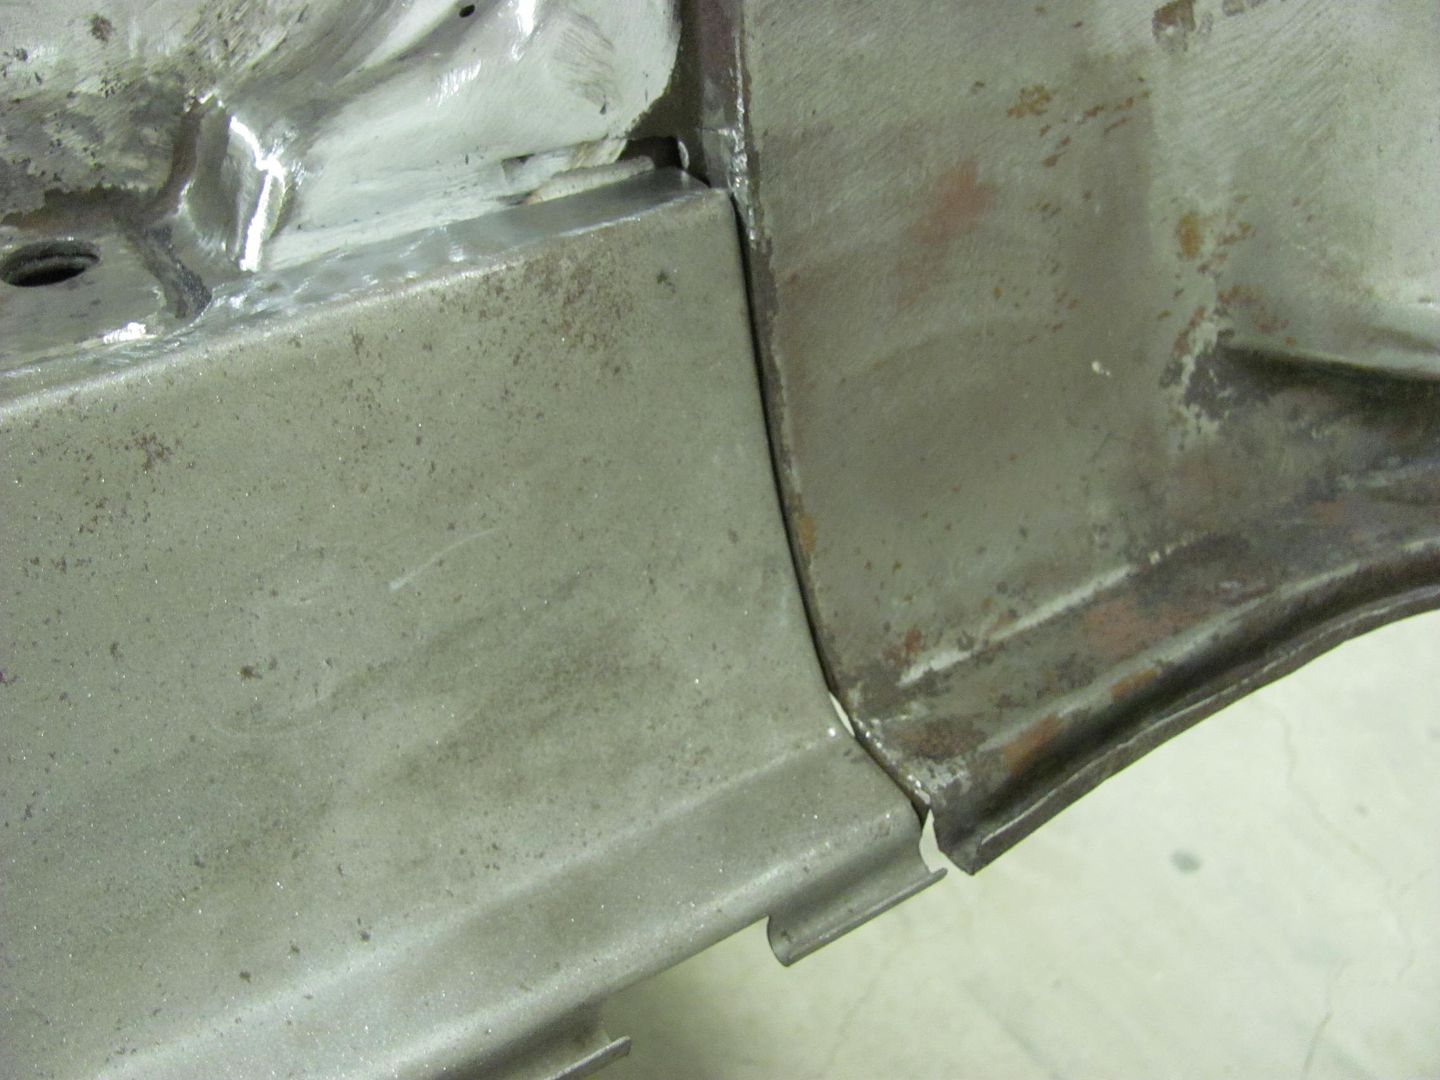 So we decided to get rid of these as well, and butt weld the panel in. With the car still sitting on the frame, the standard offset snips had some interference issue with the frame rails... 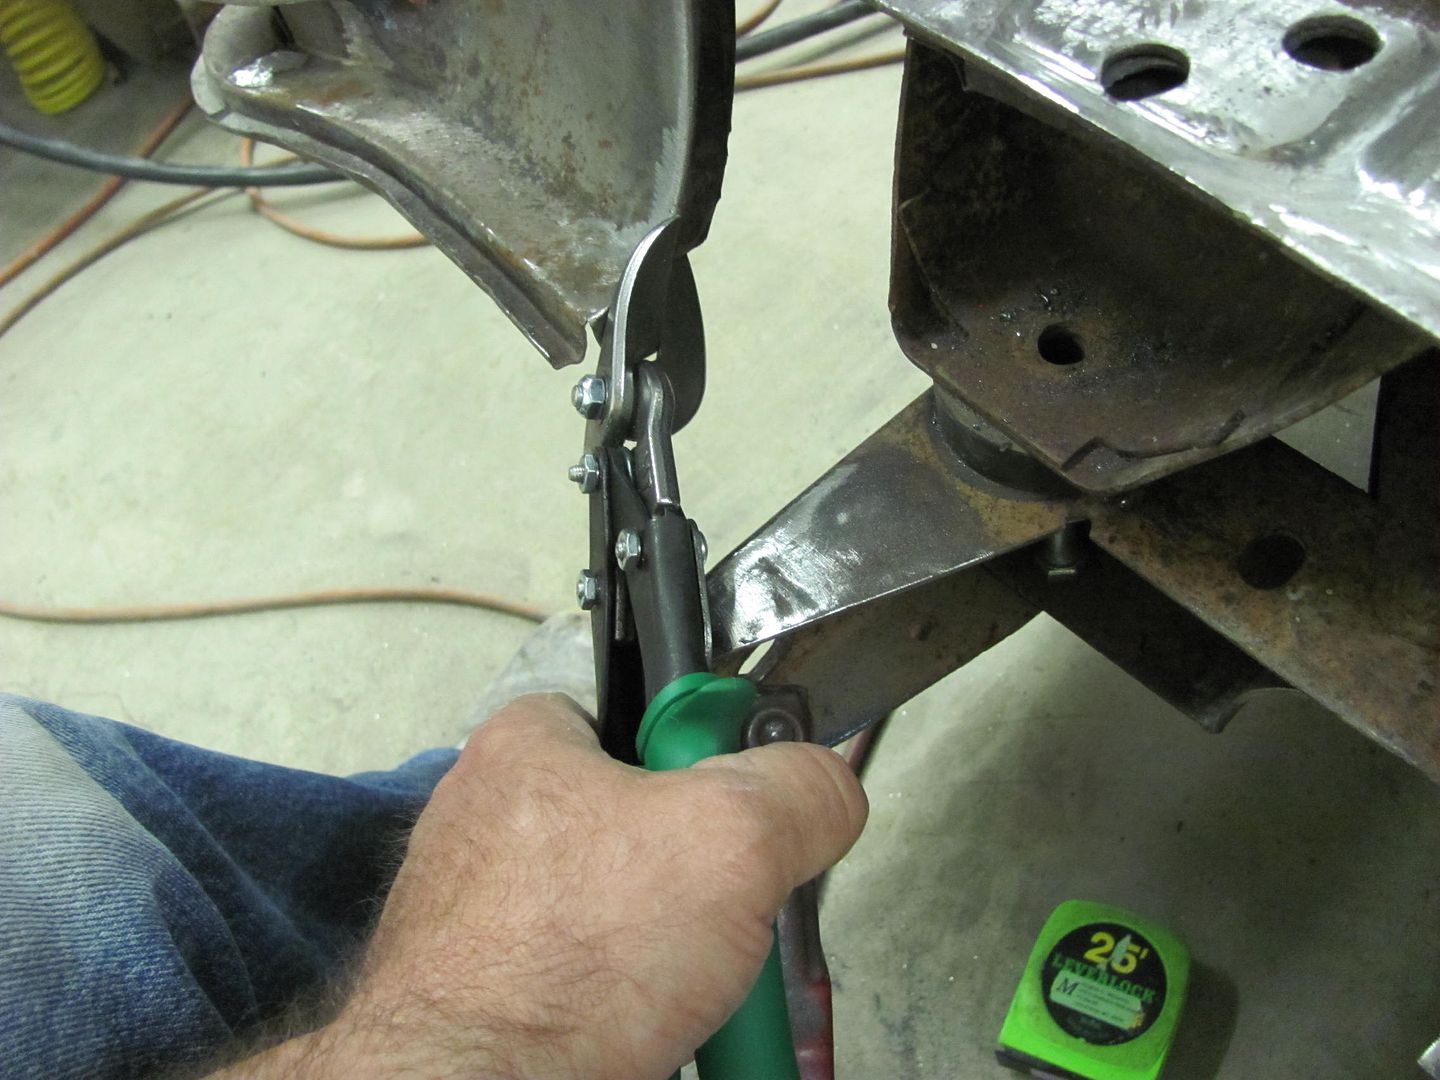 Luckily my lovely bride had picked these up for me a couple years ago... 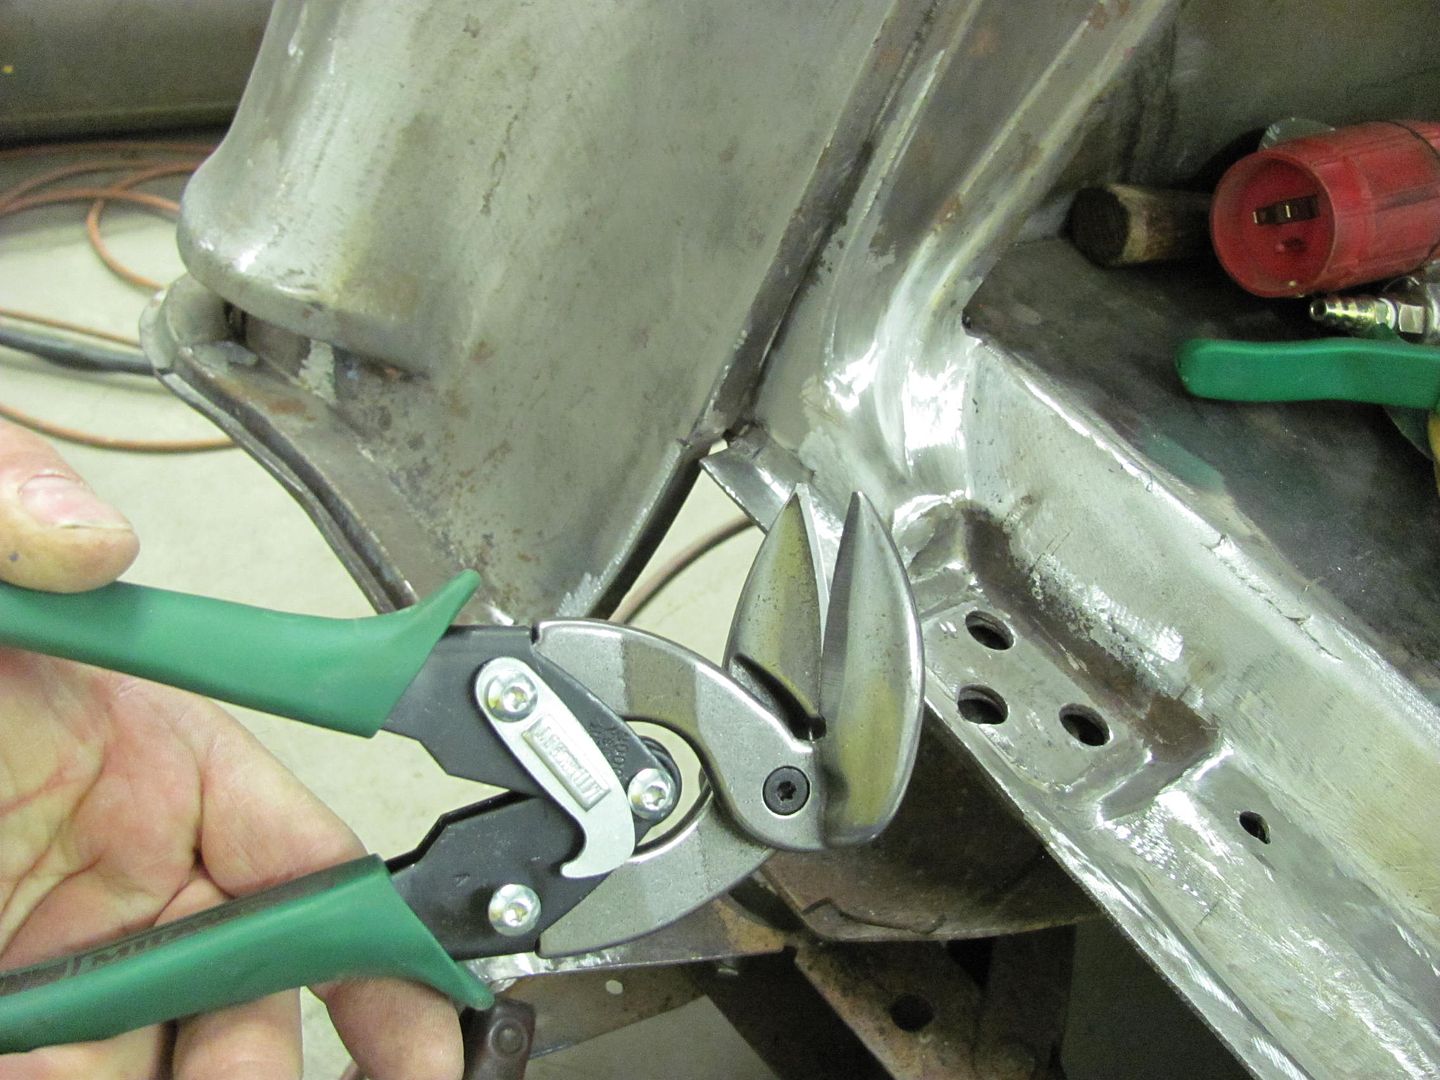 For a much better fit in such a tight area... 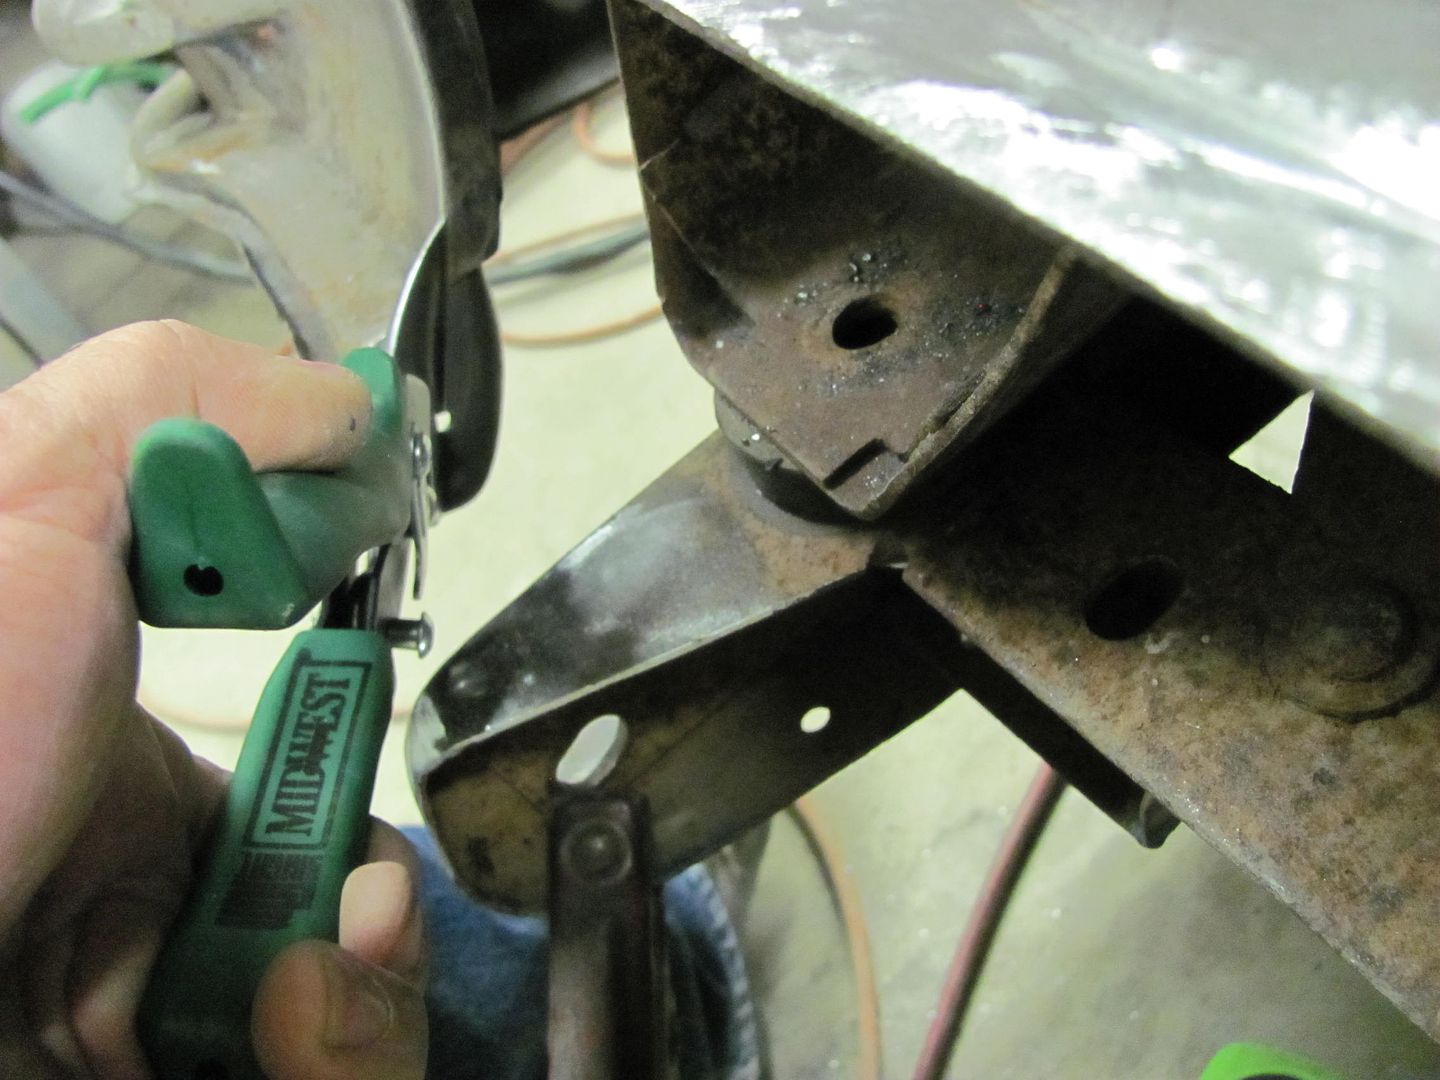 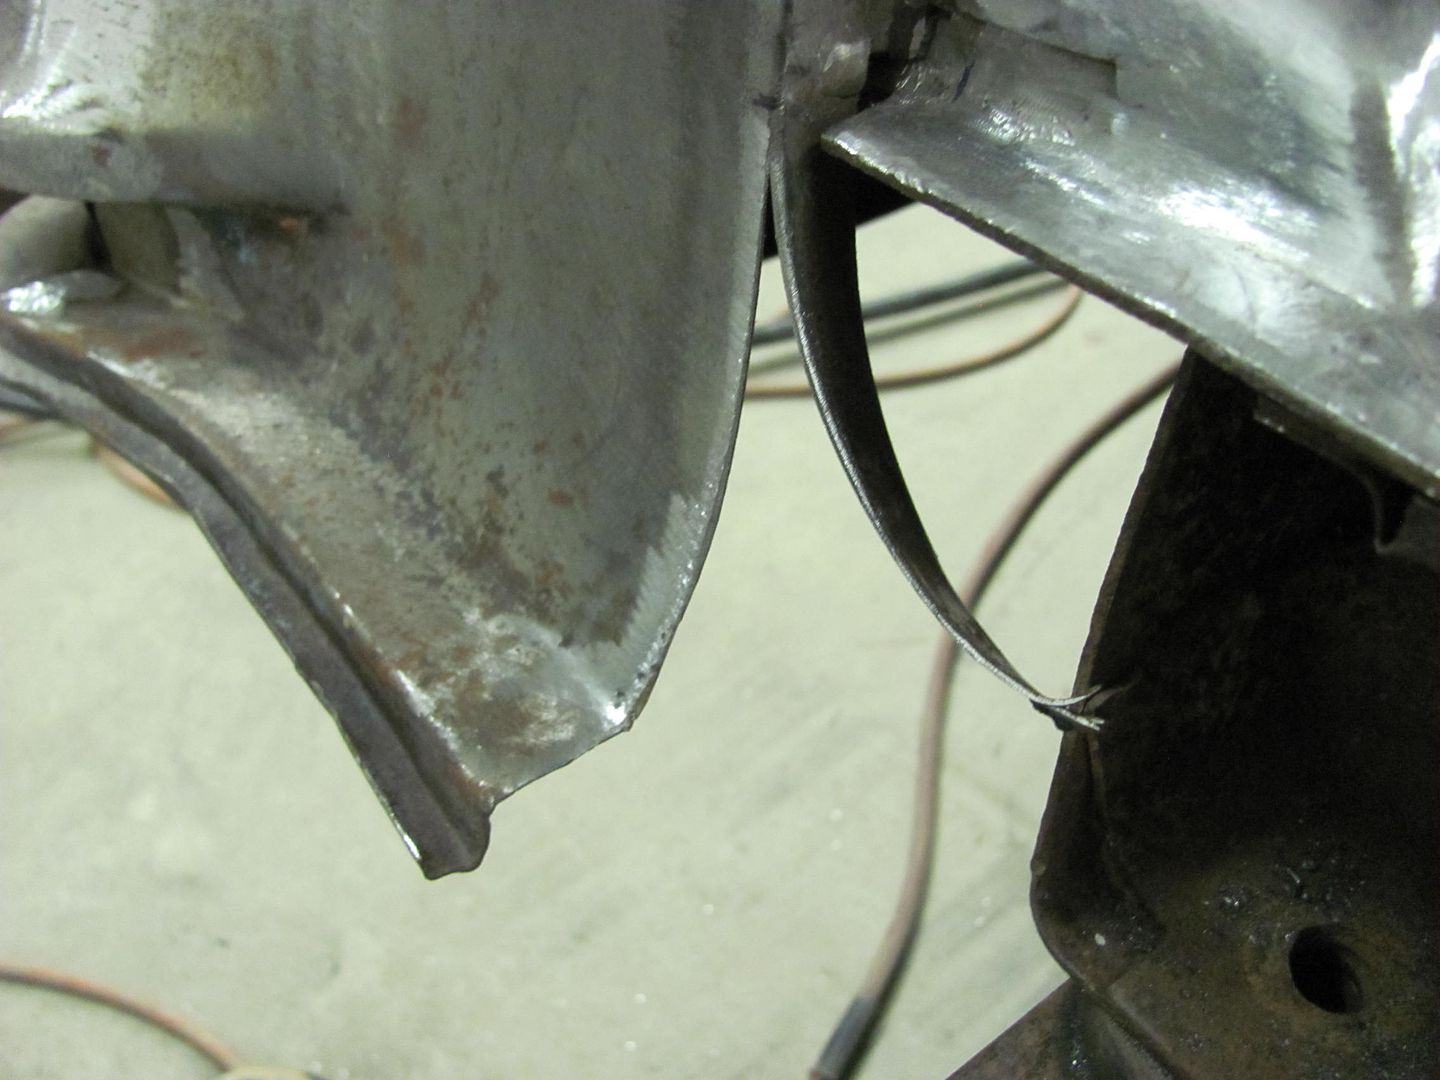 The tailpan was trimmed as well, leaving a bit extra to insure we had enough metal to span the gap...  Used the tipping tool to unfold the remainder of the flange and the door skin hammer to flatten it out... 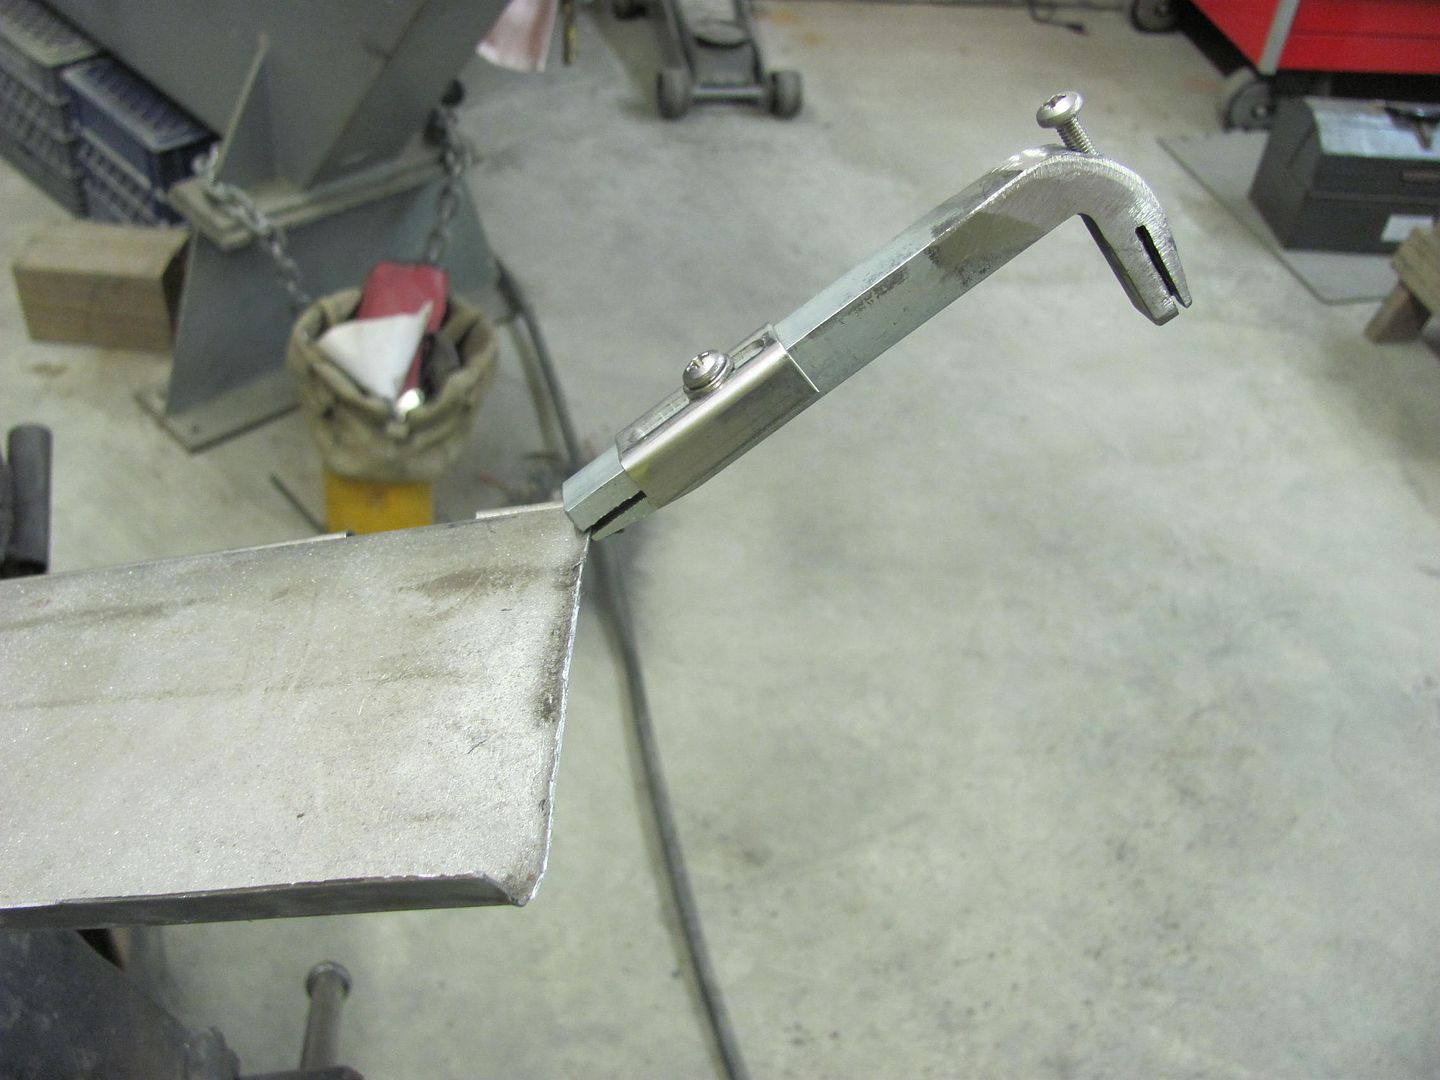 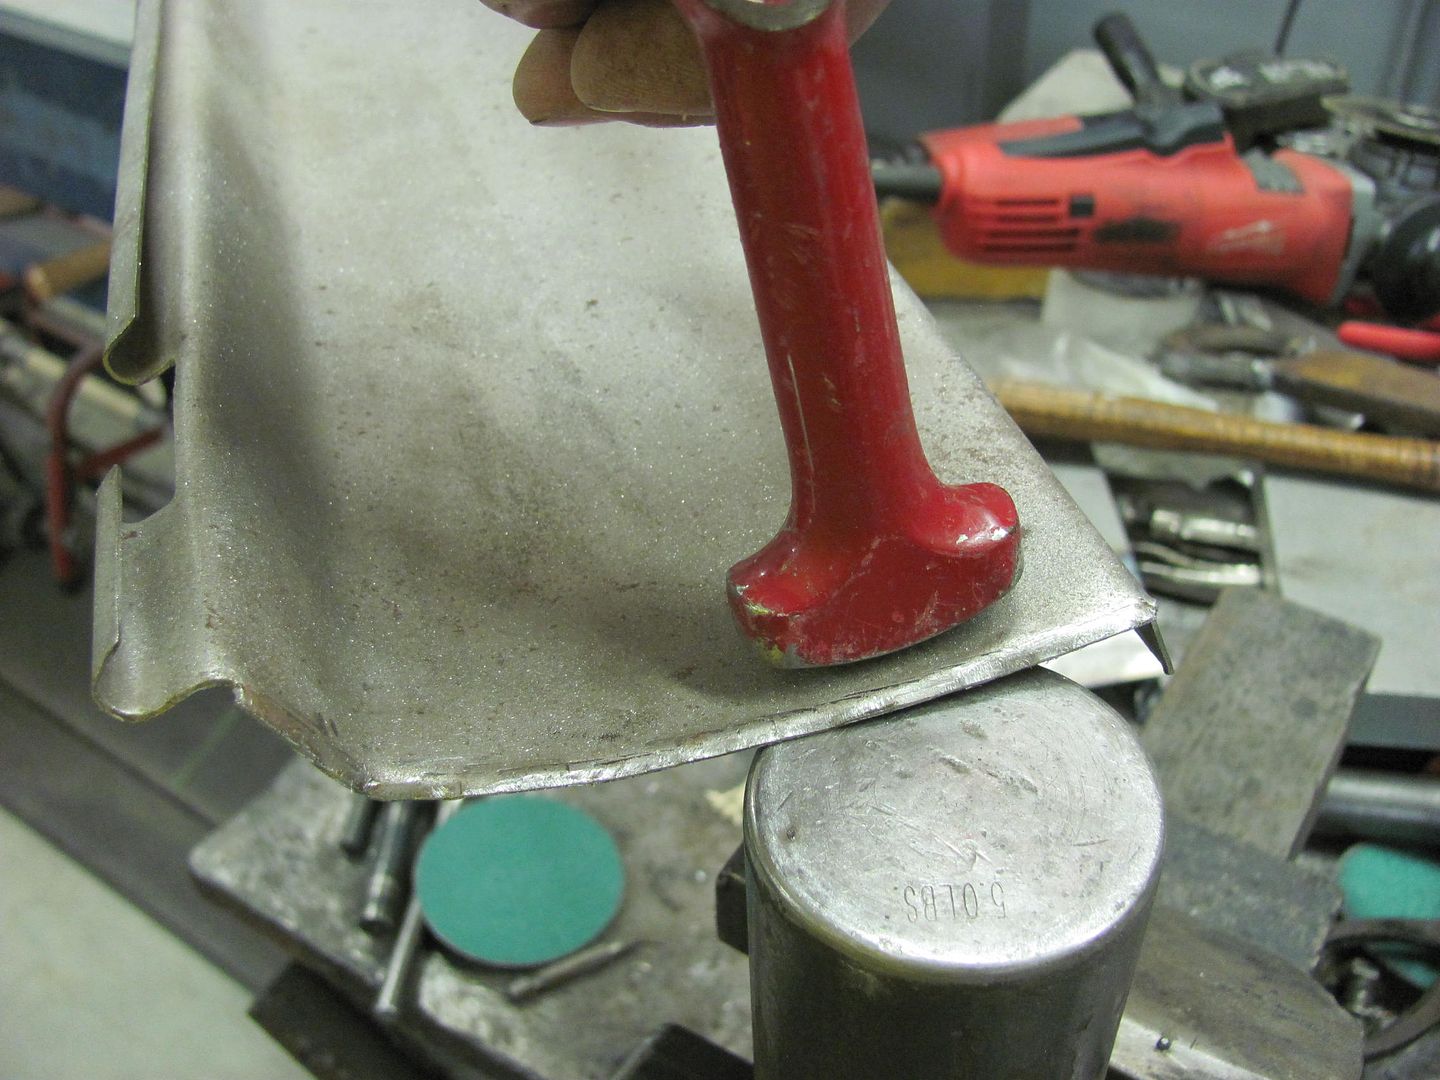 After another test fit, the reproduction showed to be not that accurate, go figure.... 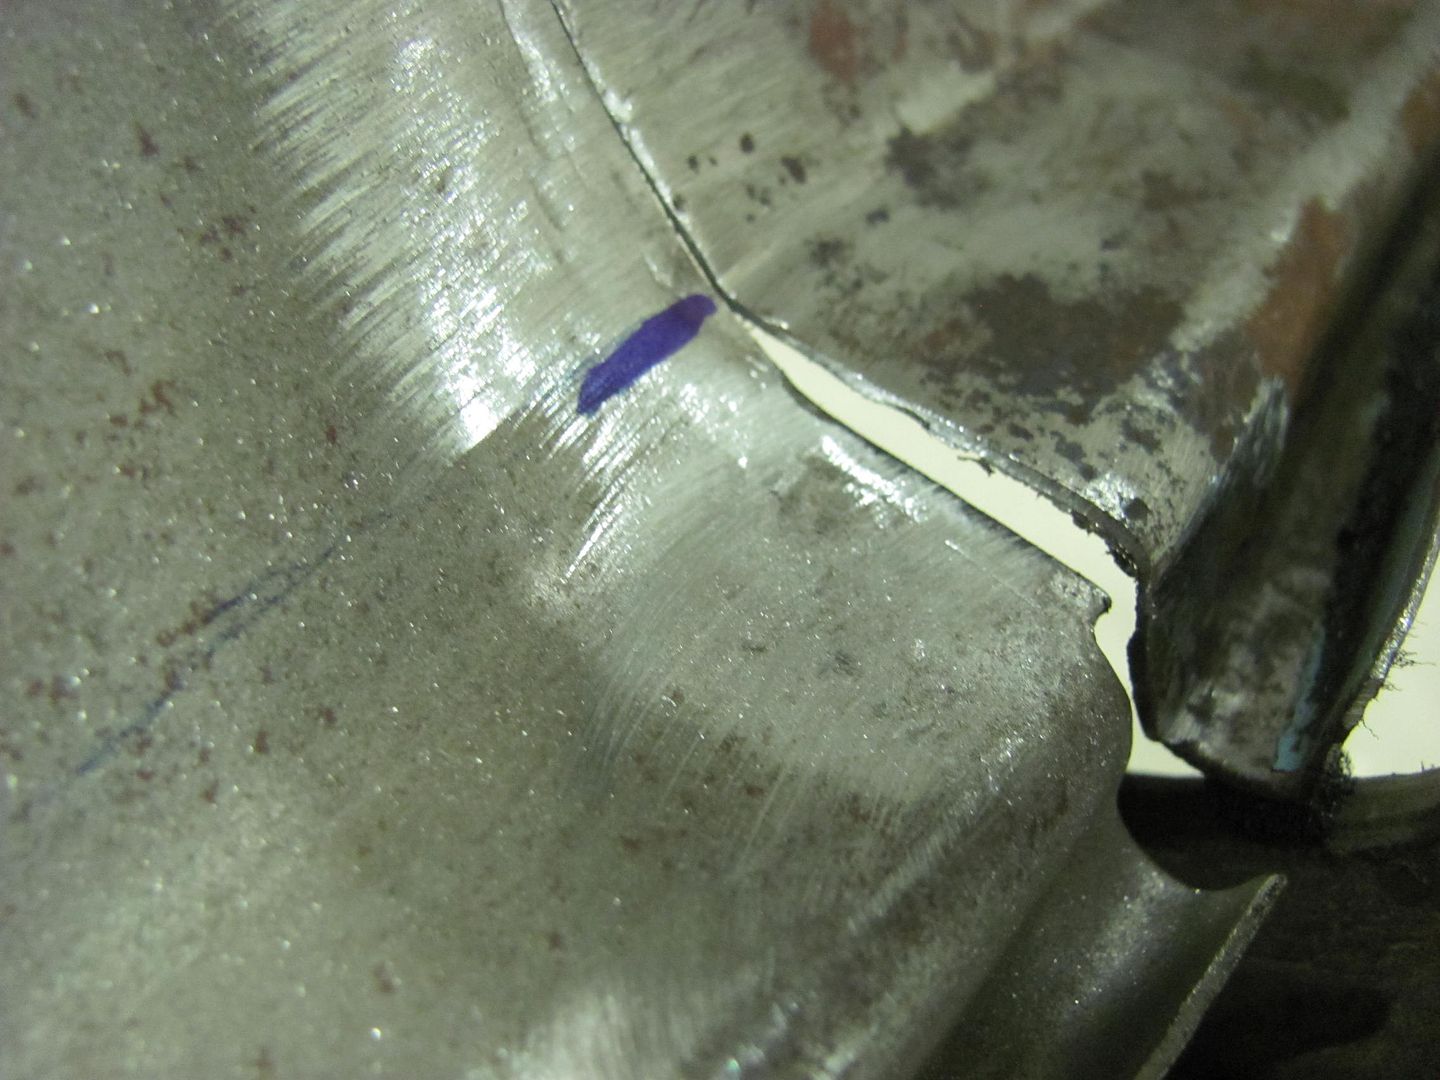 After marking the new bend location, the bead roller was fitted with the tipping die to relocate the bend...  Now that the tipping die has left a crease indicator on the bottom side, a hammer and anvil is used to flatten out the incorrect crease... 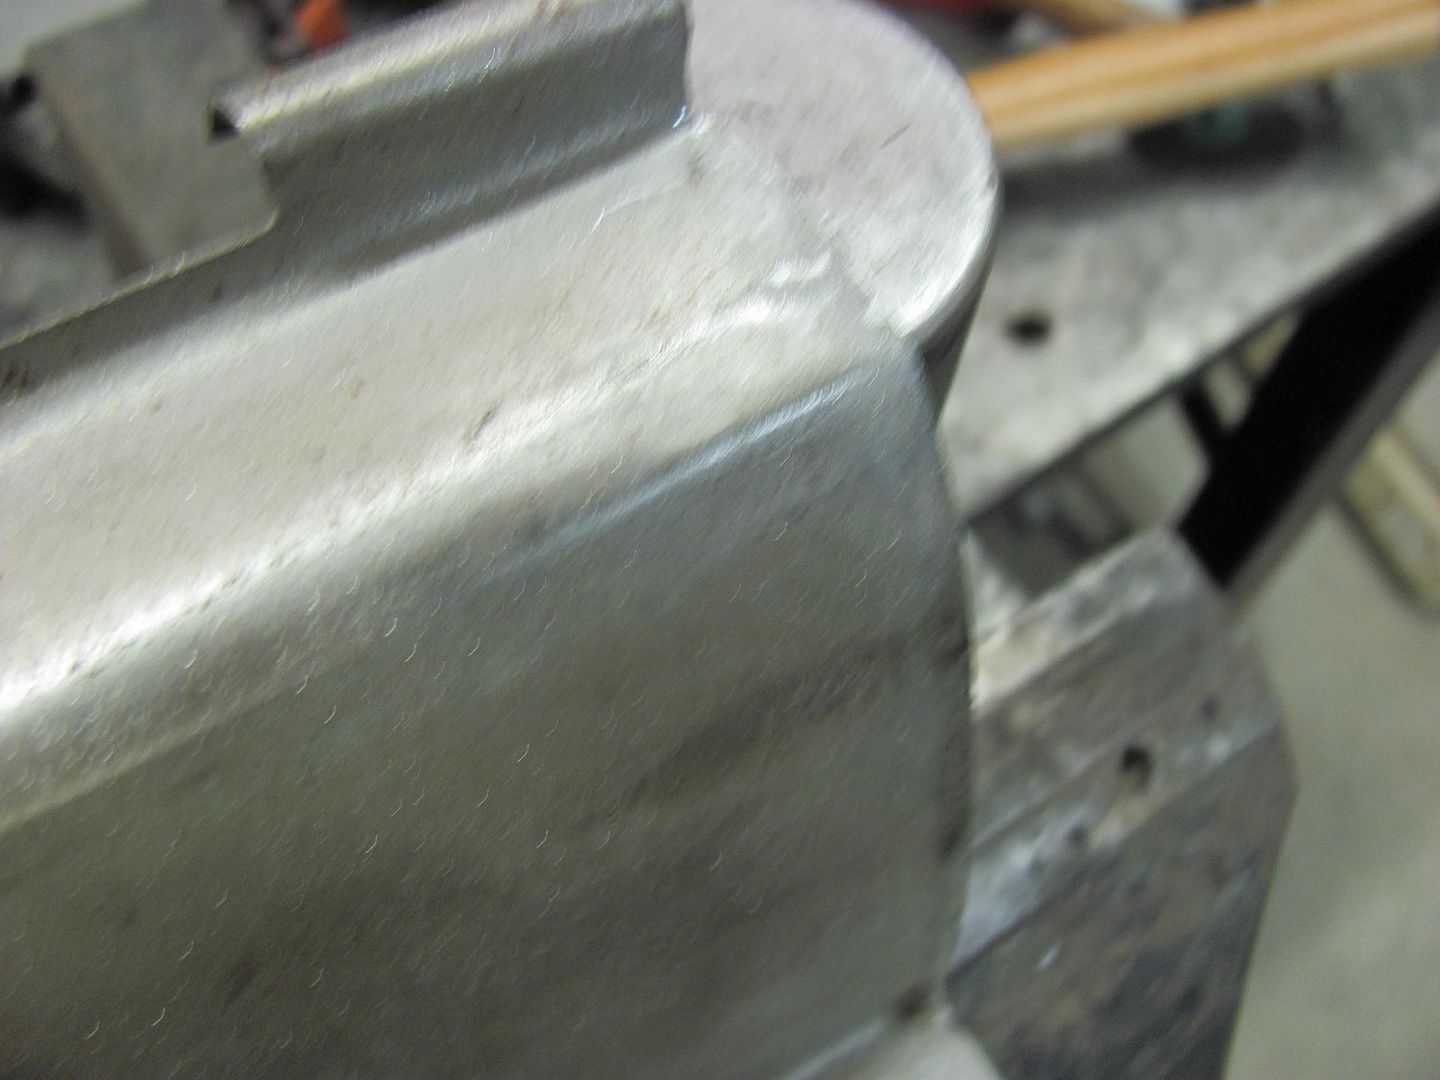 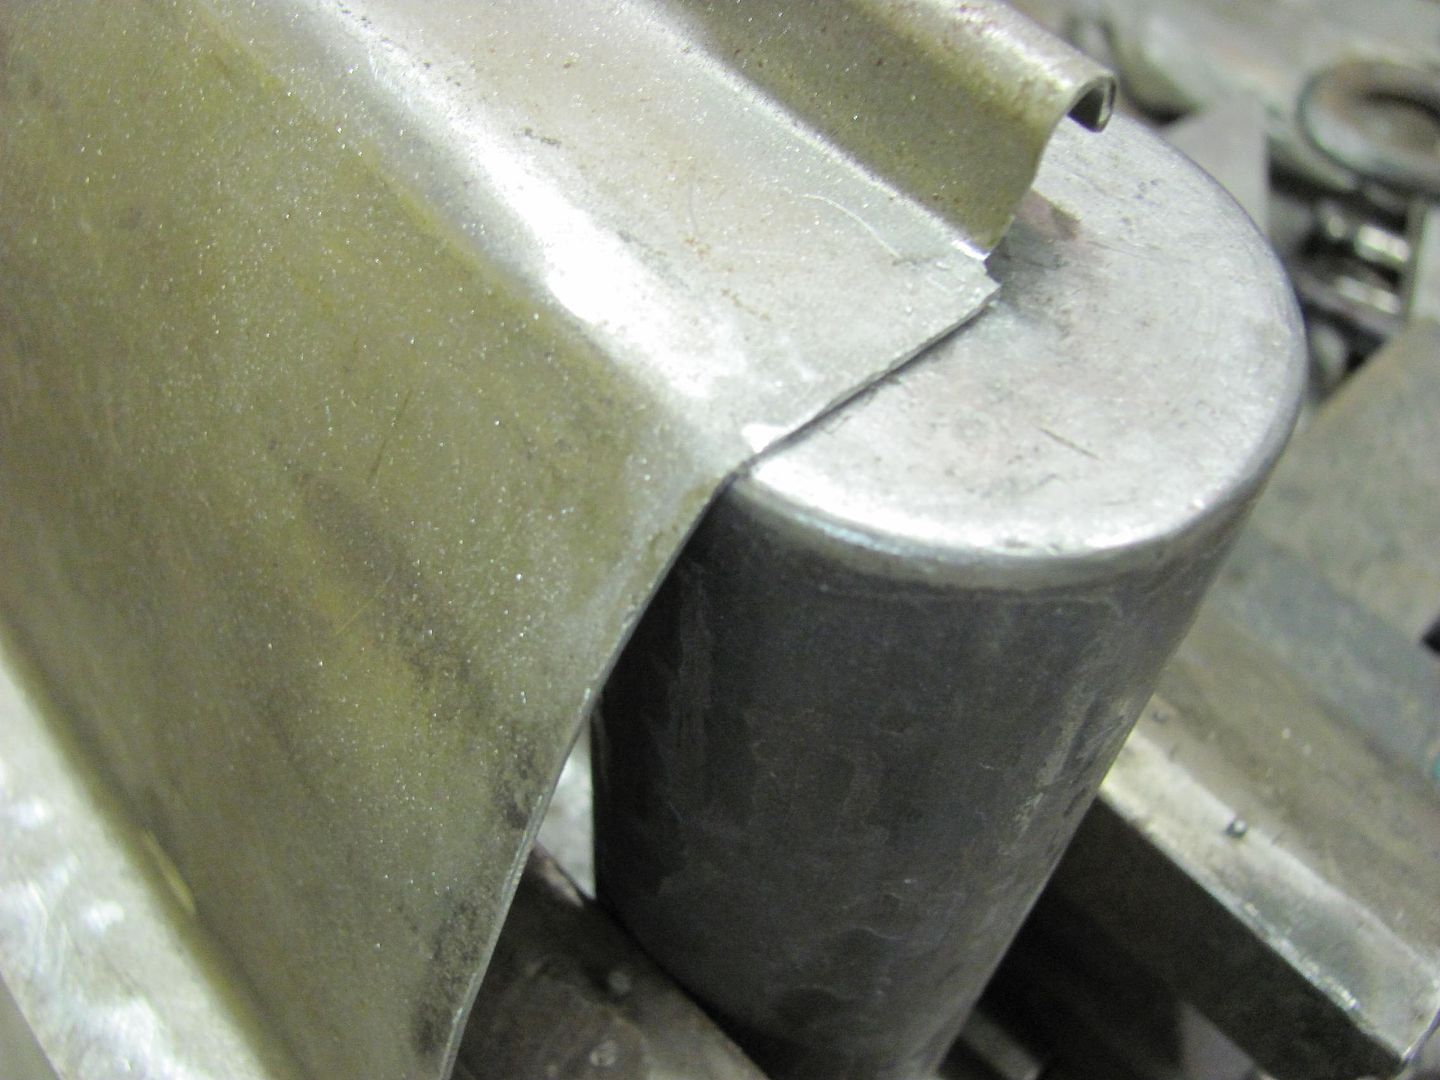 For a much better fit..... 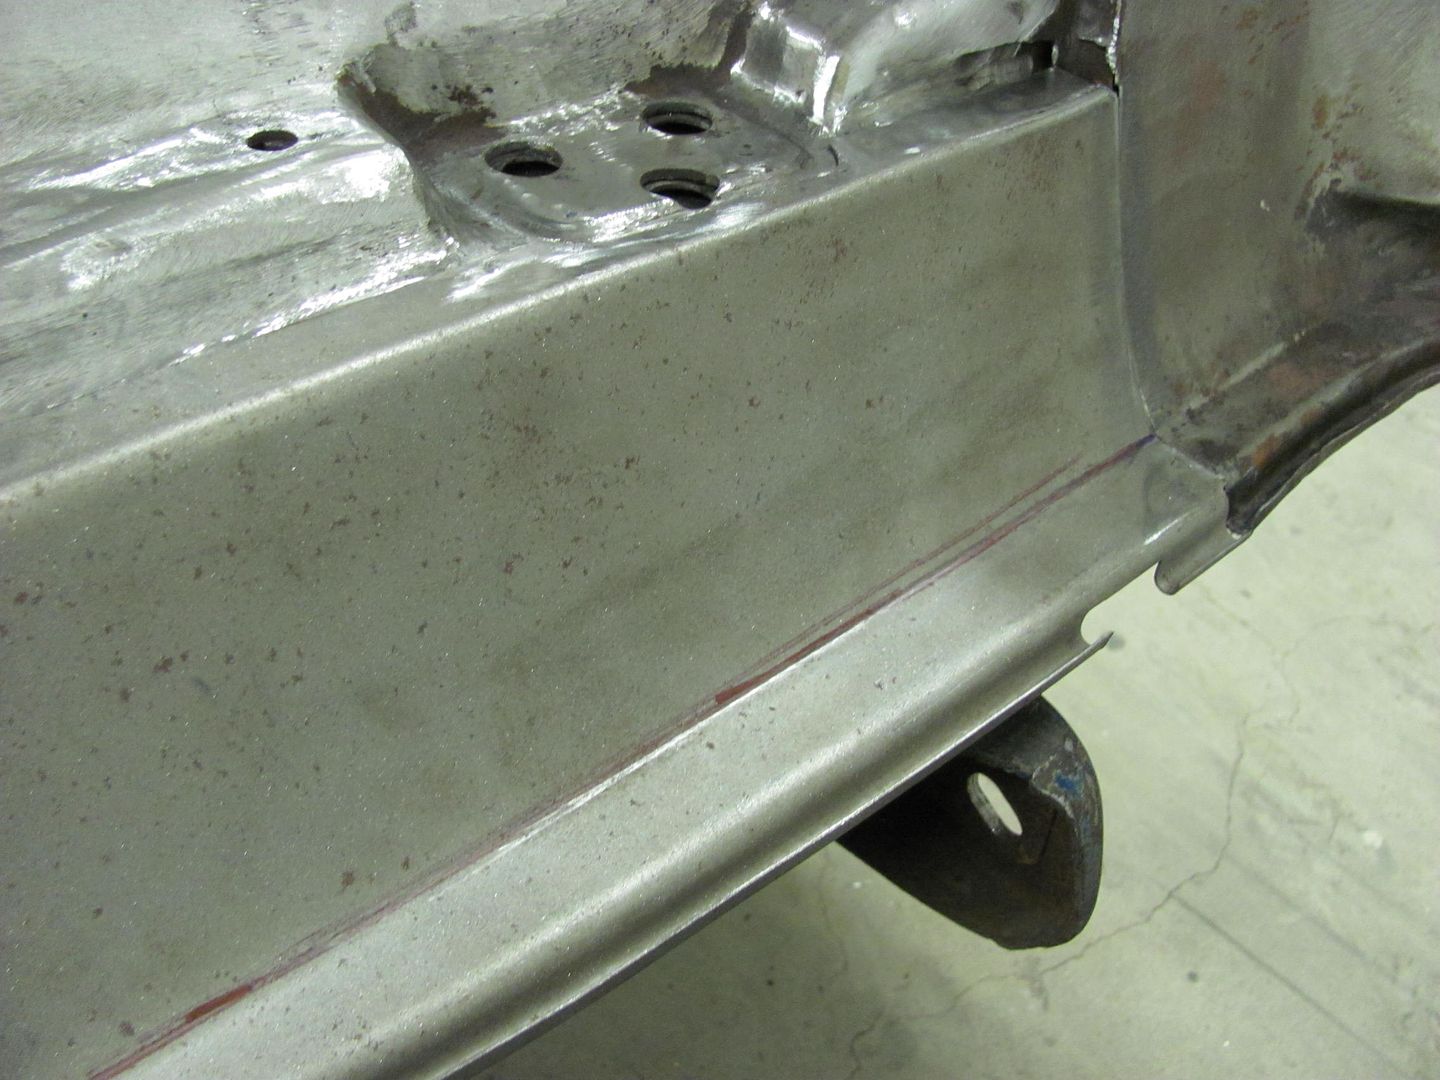 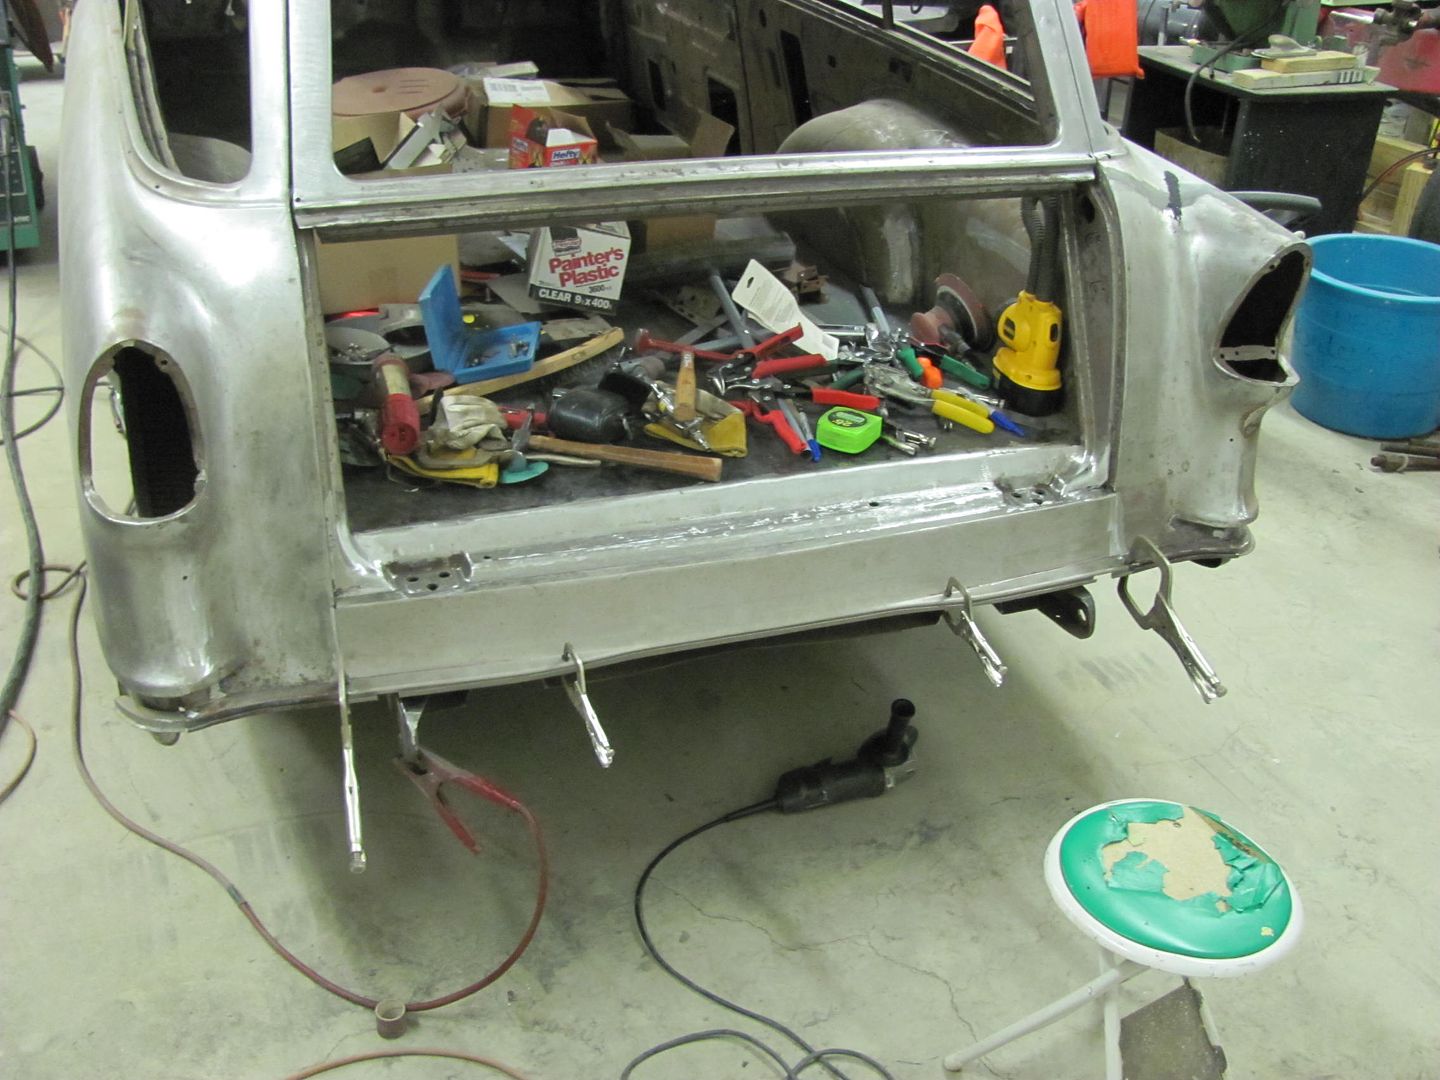 With tail gate test fitted.... 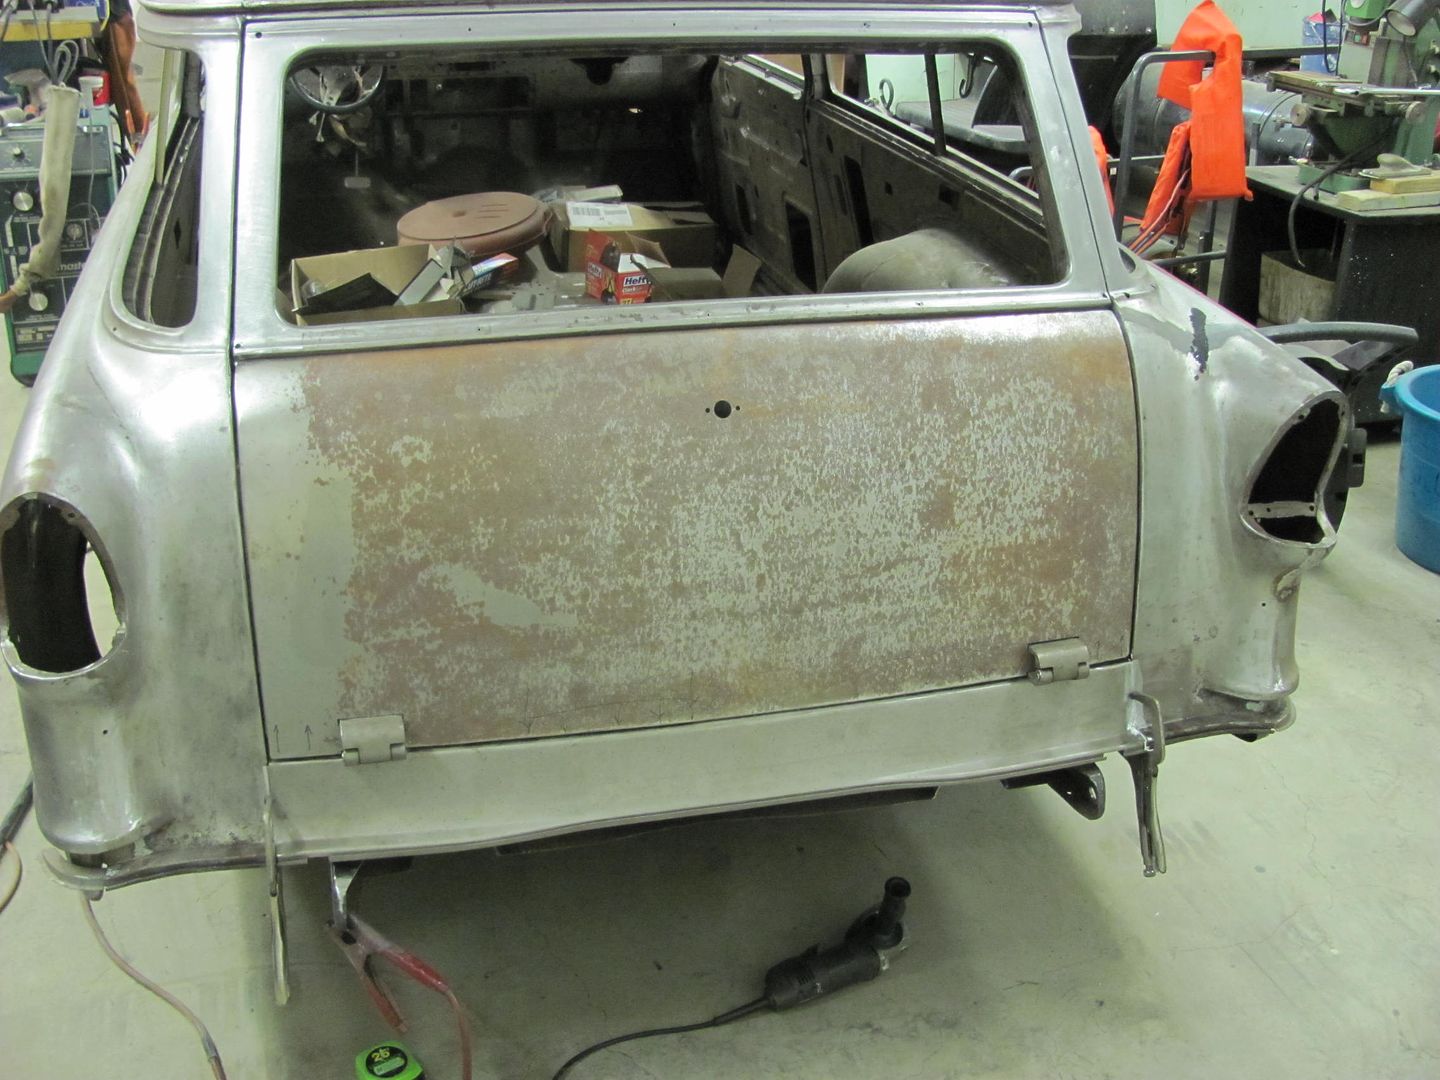 Well that's about all for this go round, will start welding the tail pan in next time...
__________________
Robert |
|
|

|
|
|
#31 |
|
Registered User
Join Date: Jan 2013
Location: Leonardtown, MD
Posts: 1,647
|
Re: 55 Wagon Progress
The tail pan and rear opening were prepped a couple days ago by painting some epoxy on the surfaces that would be adjacent to each other after welding for some rust prevention. Tonight holes were added to the tail pan for plug welding, and the panel fitted up..
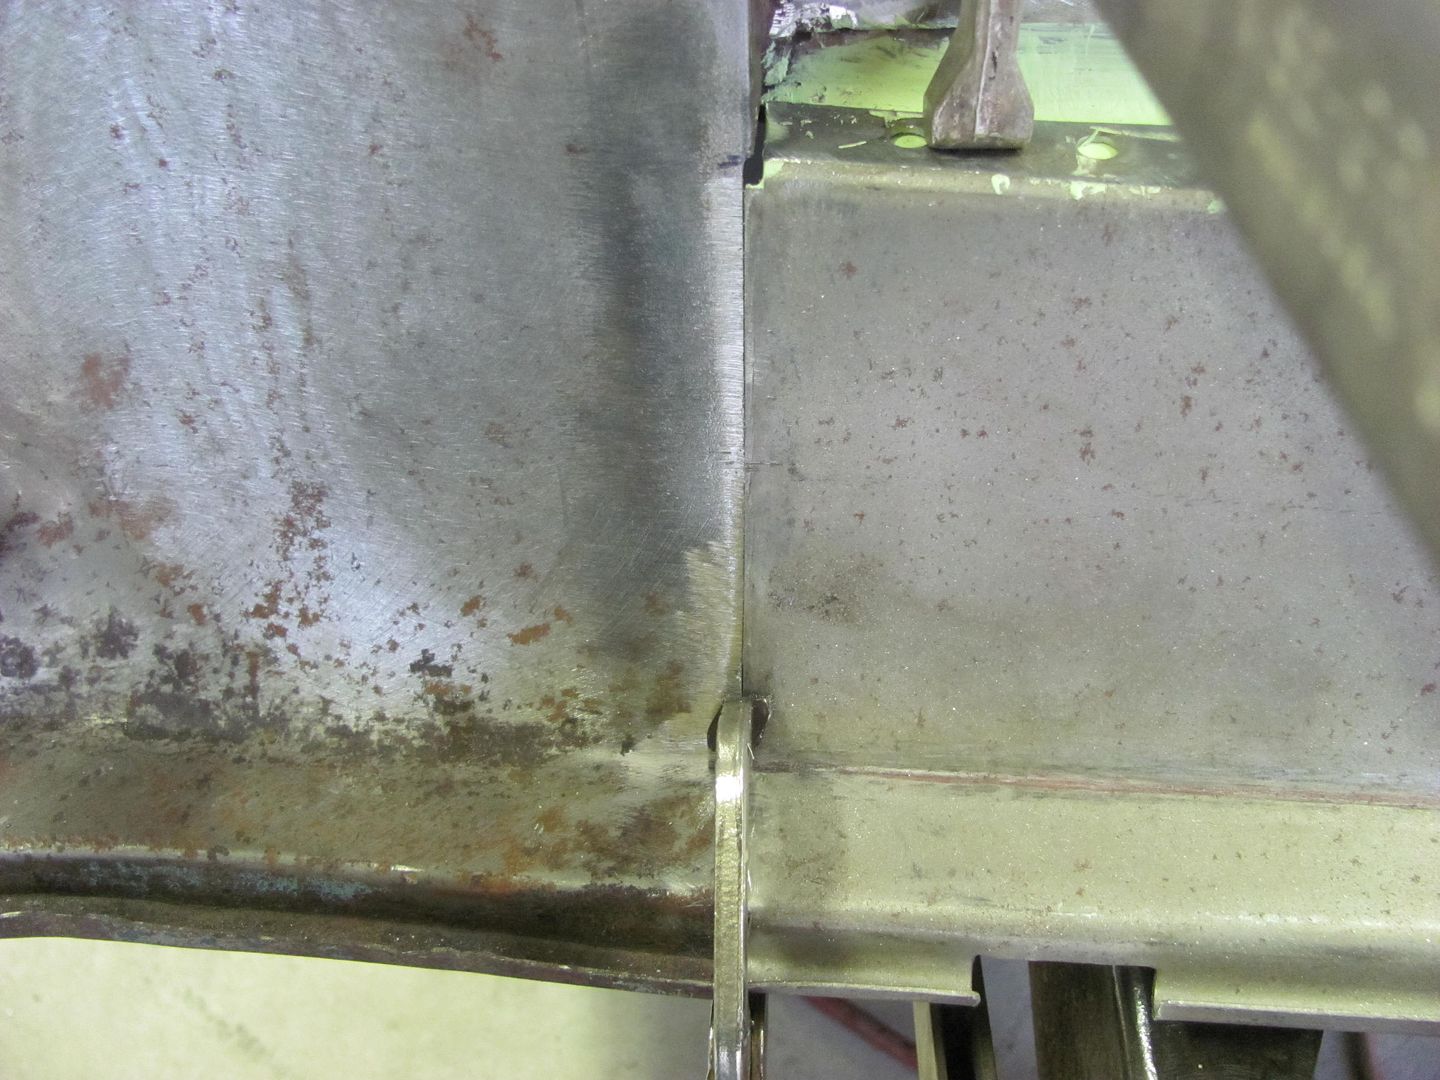 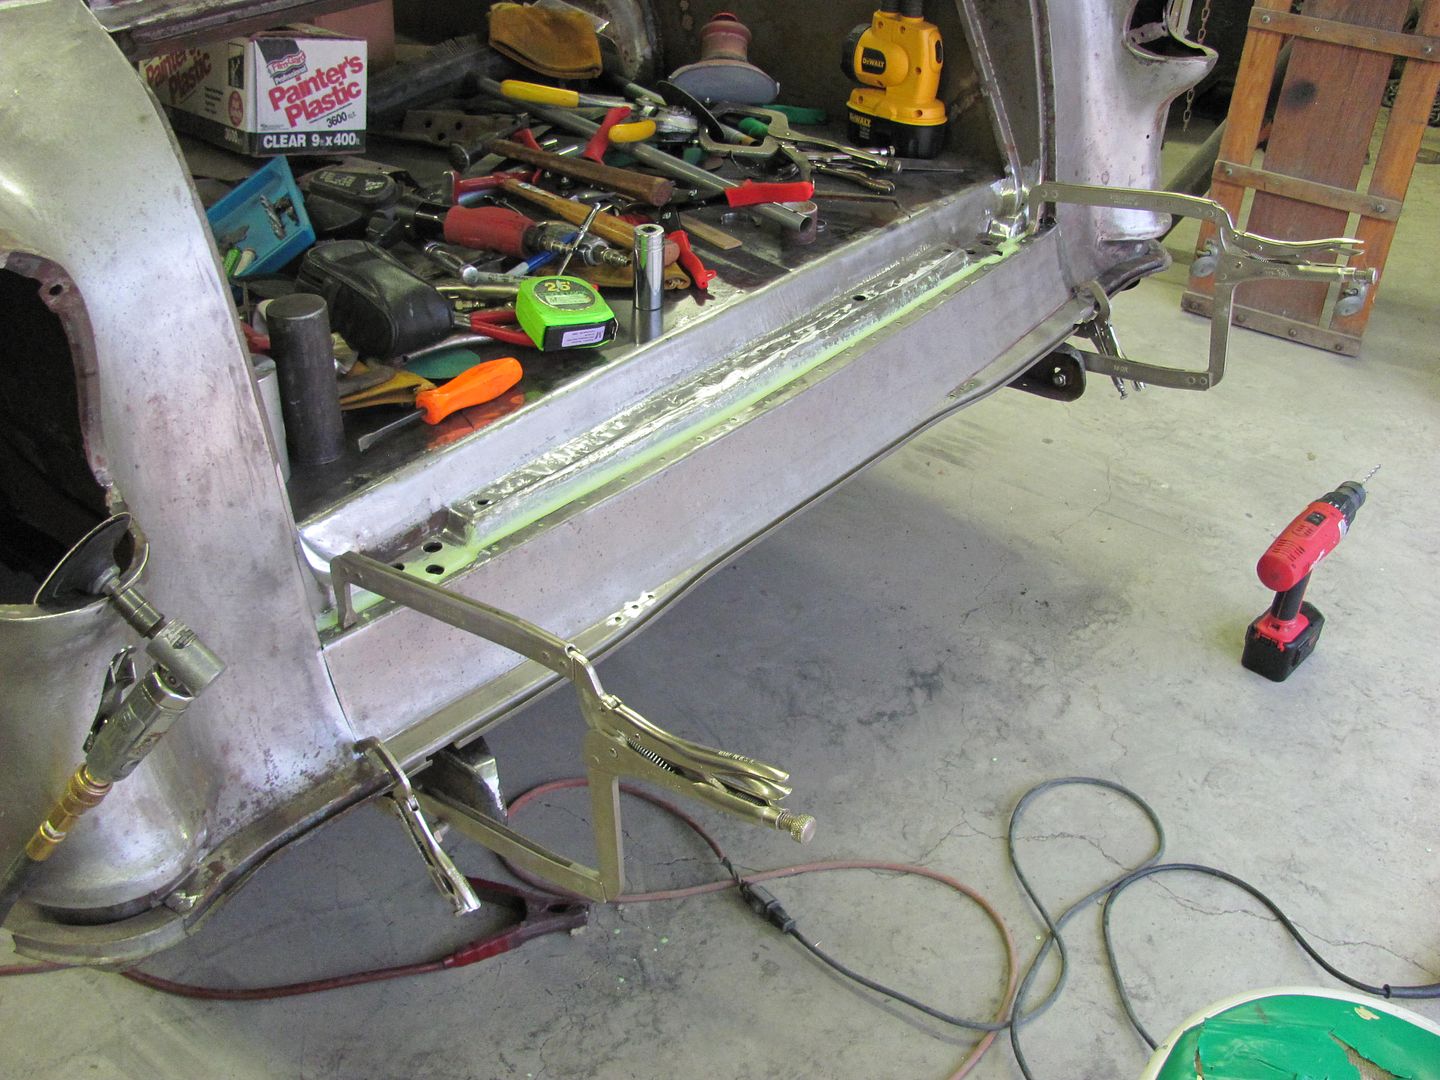 Here's the epoxy, I use a letter A size (.234) drill bit for my plug welds, and to clean the epoxy from the adjacent panel, I use a letter A that has been flattened and backfaced to form a cutter similar to an end mill. It cleans the paint well, and hardly touches the metal on the adjacent panel.. 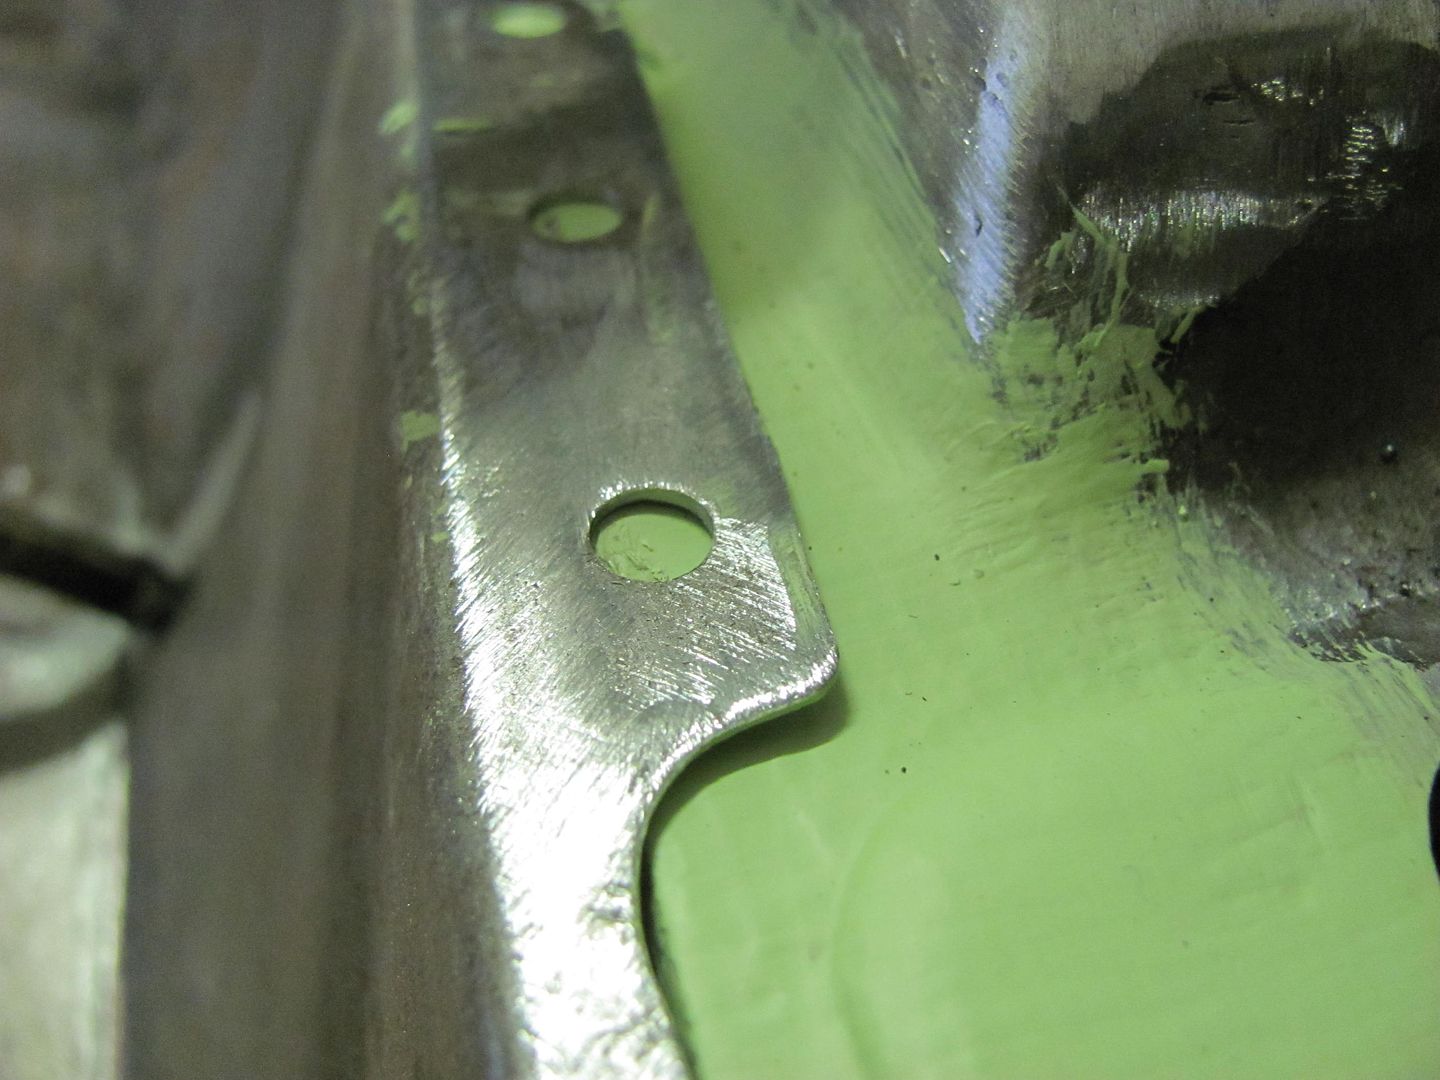 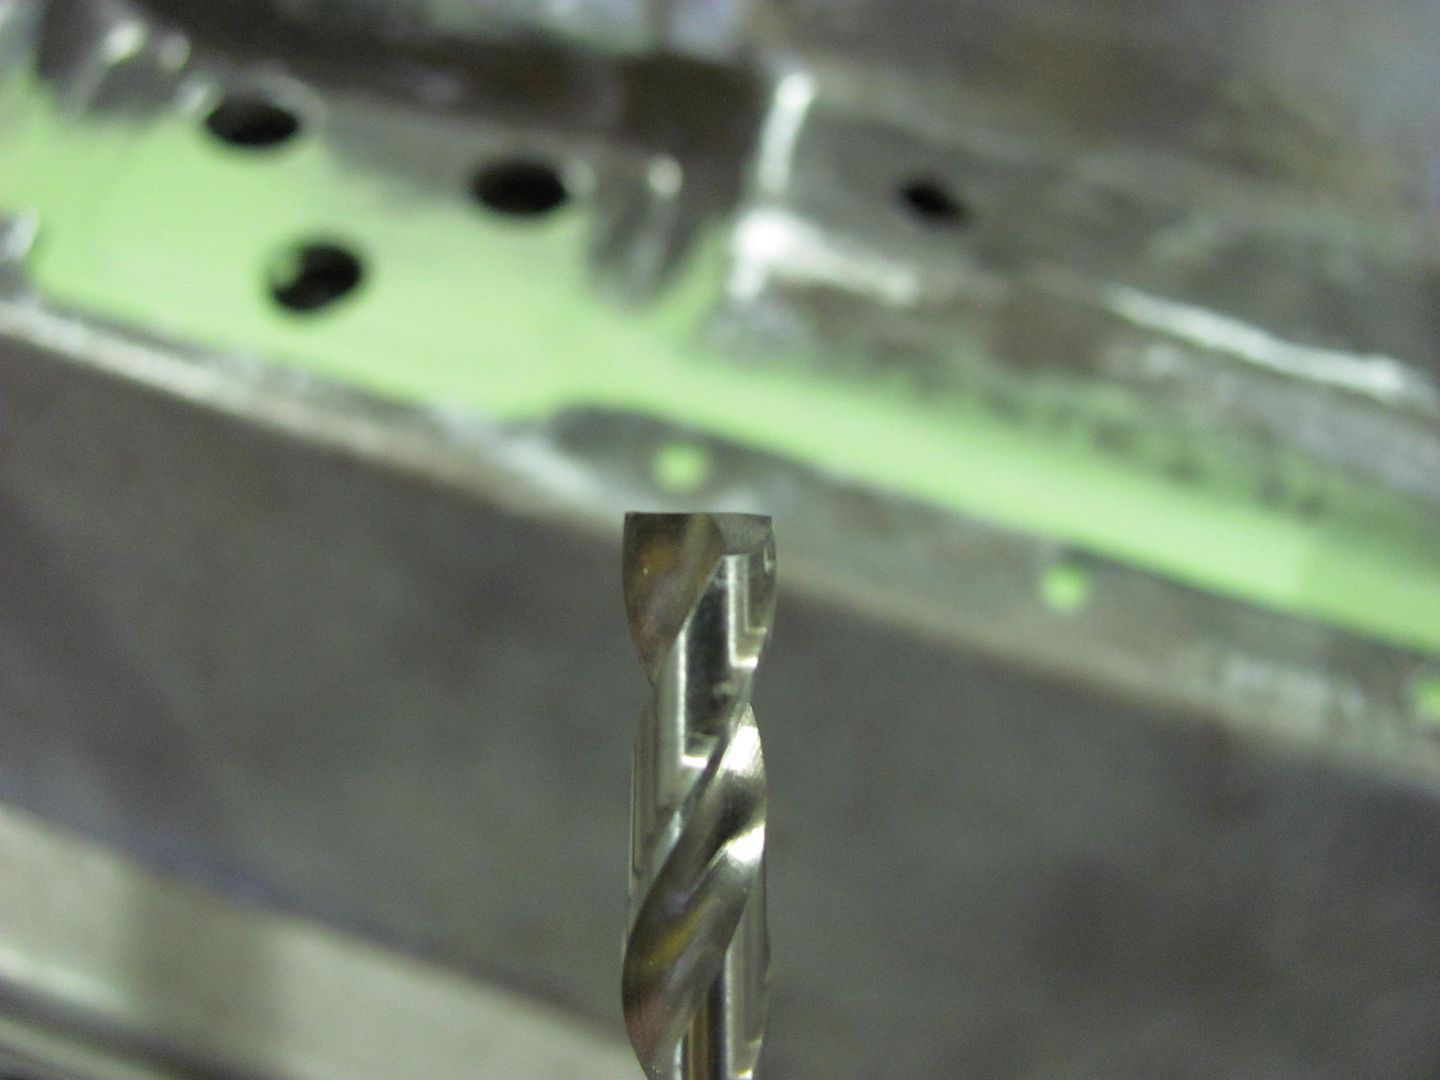 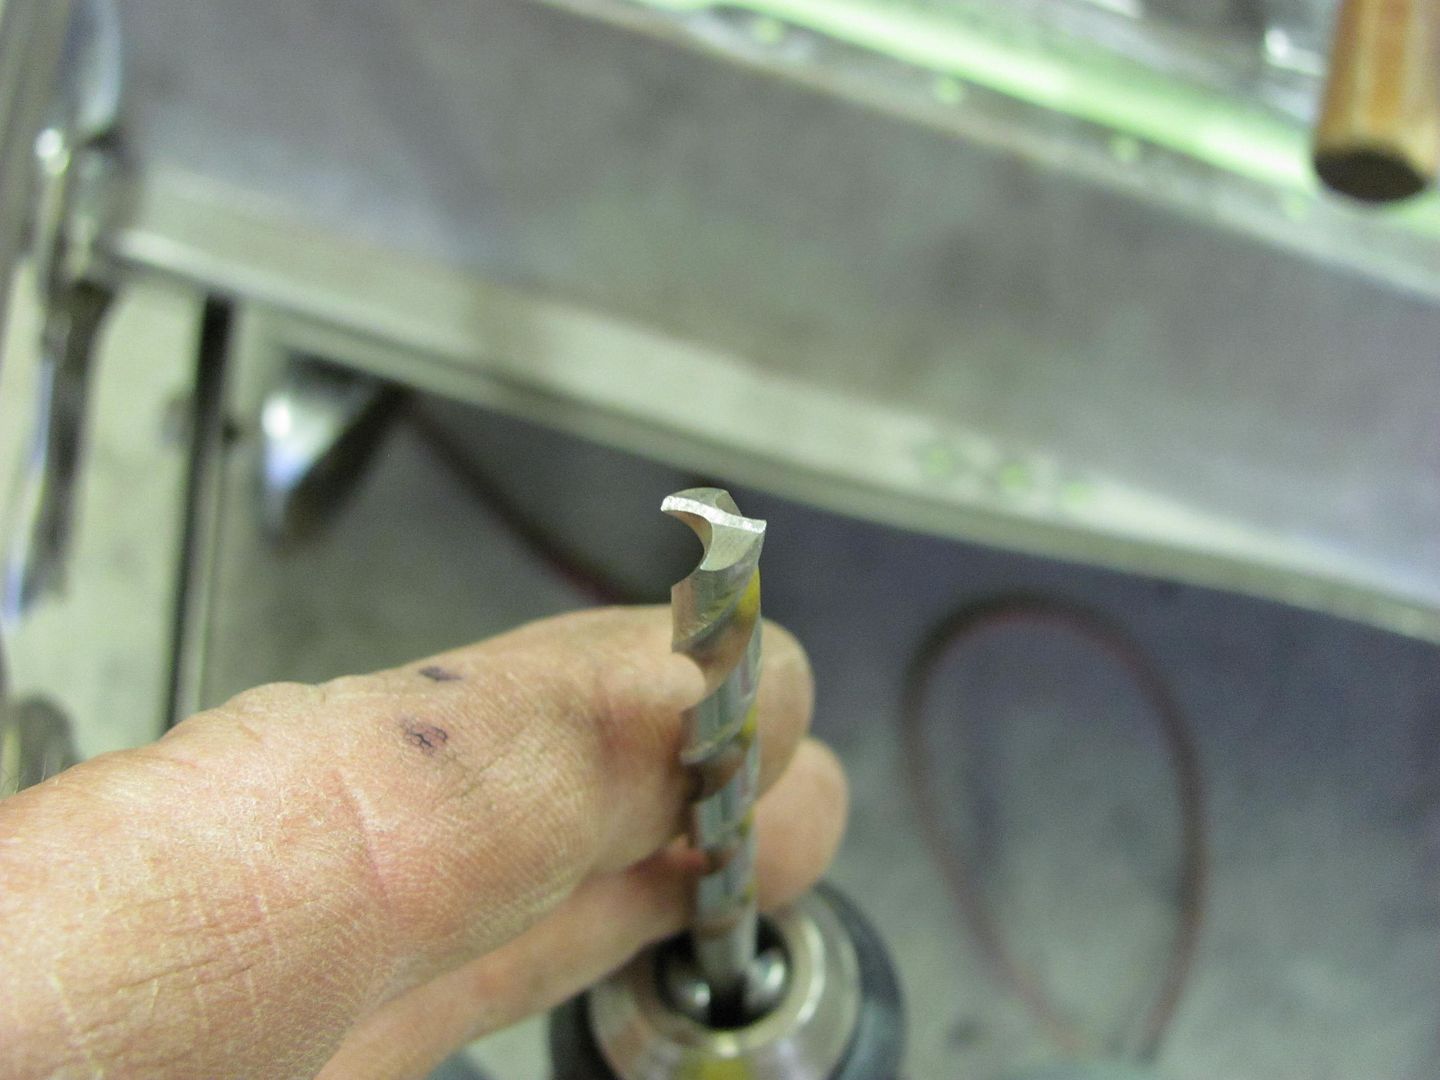 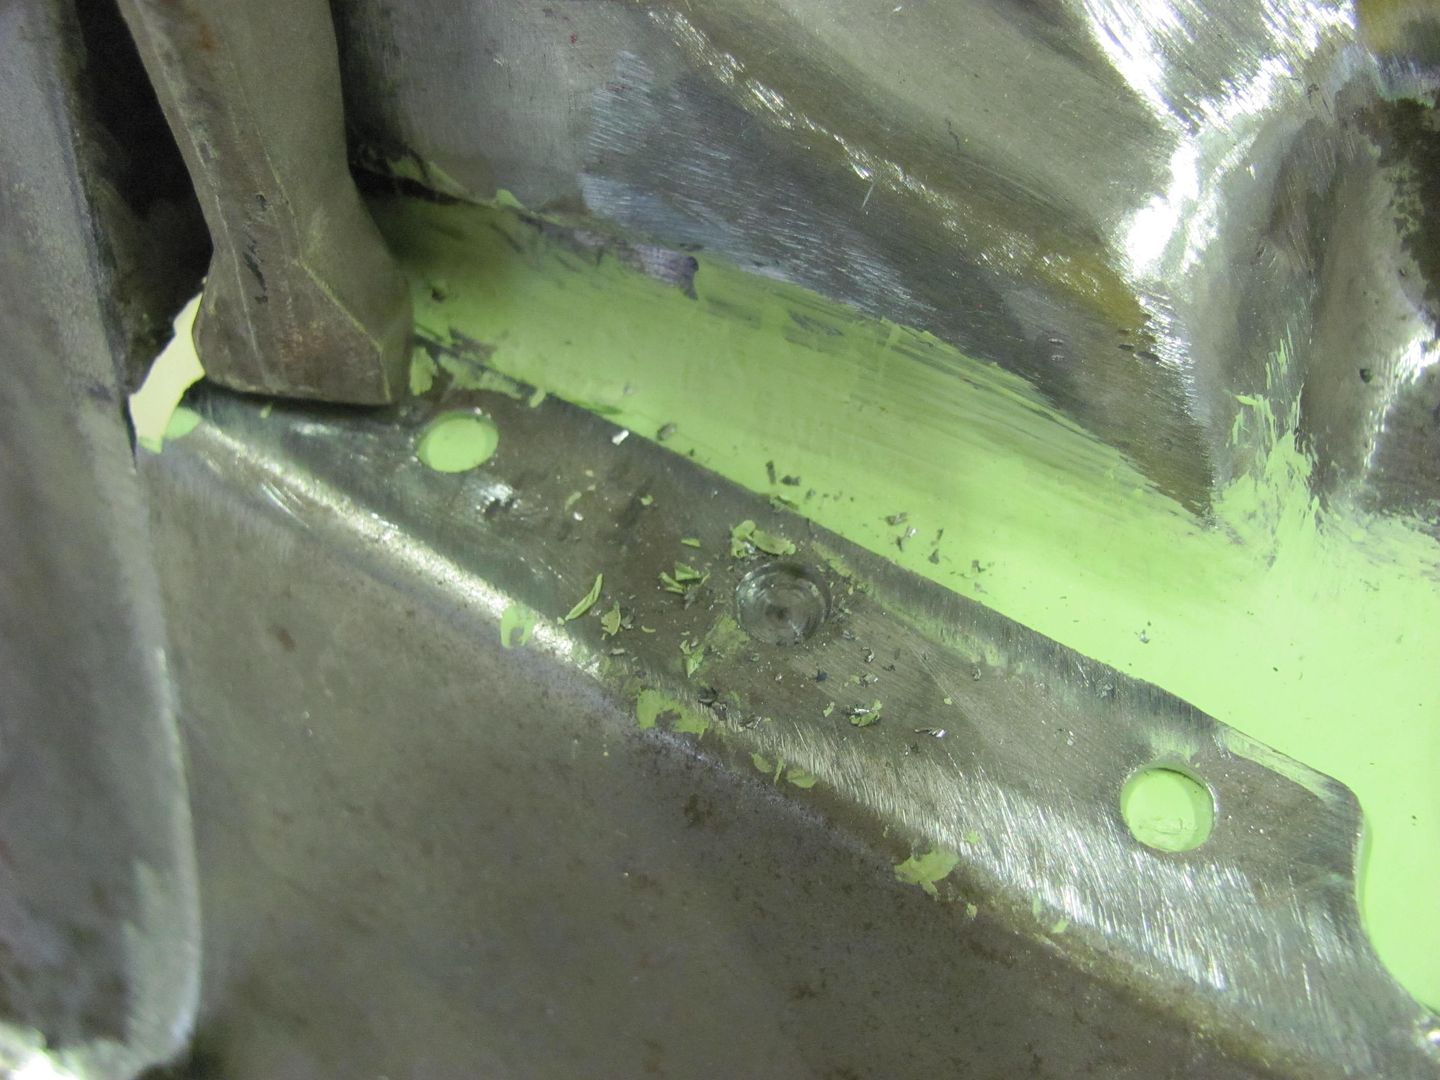 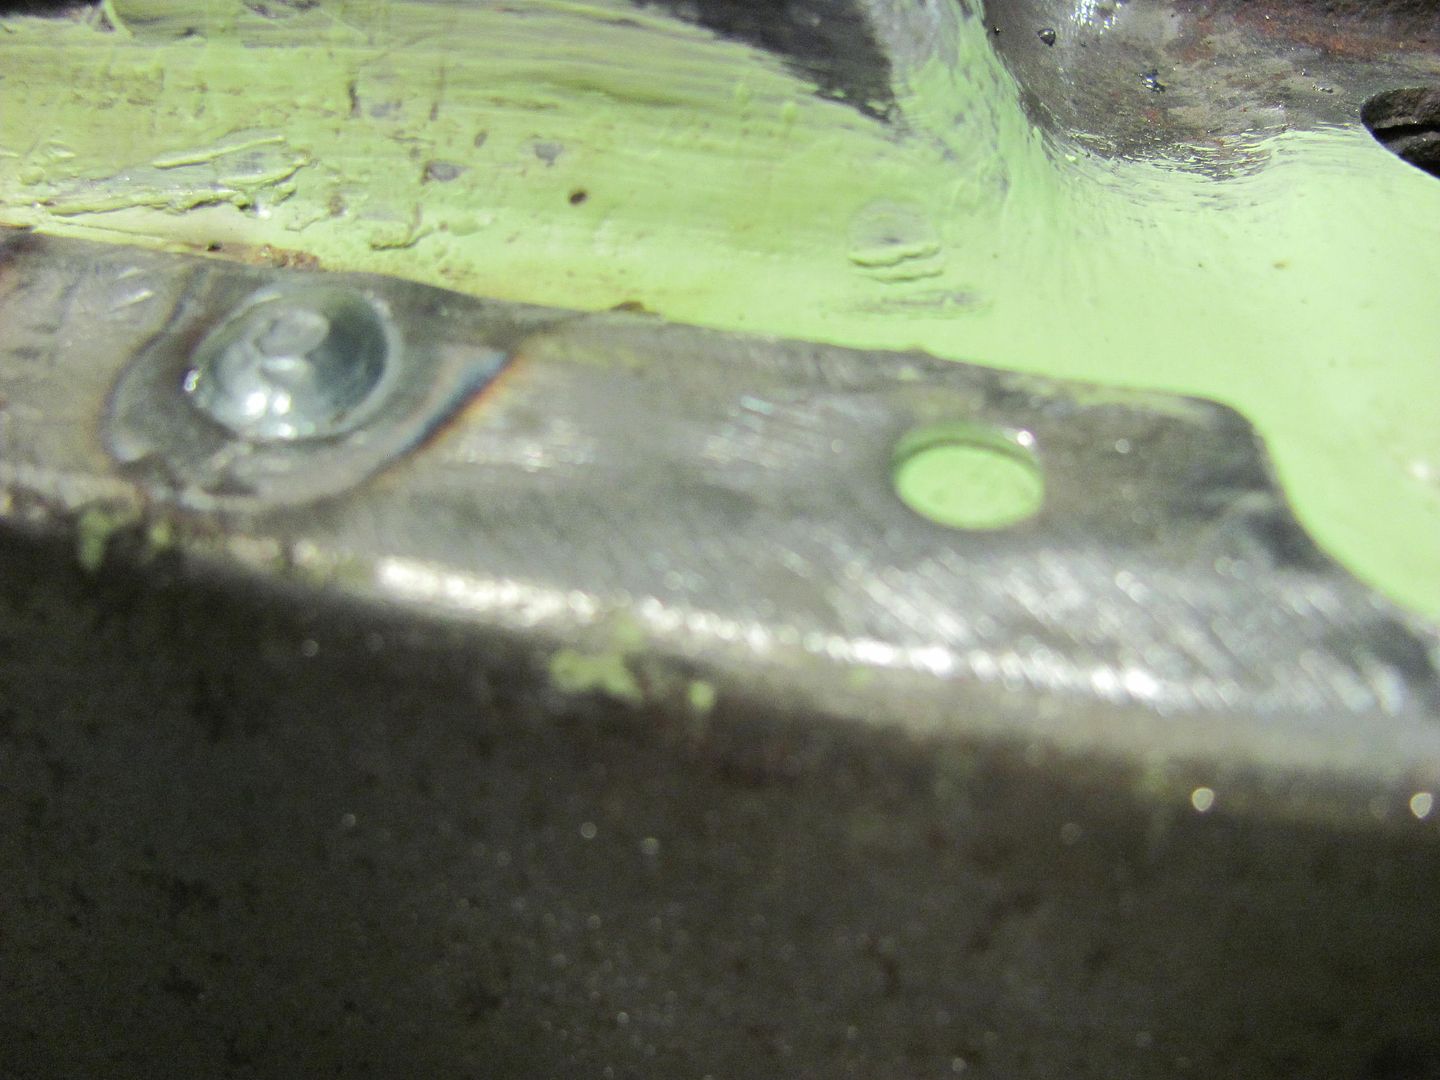 Butt welding the vertical seams... 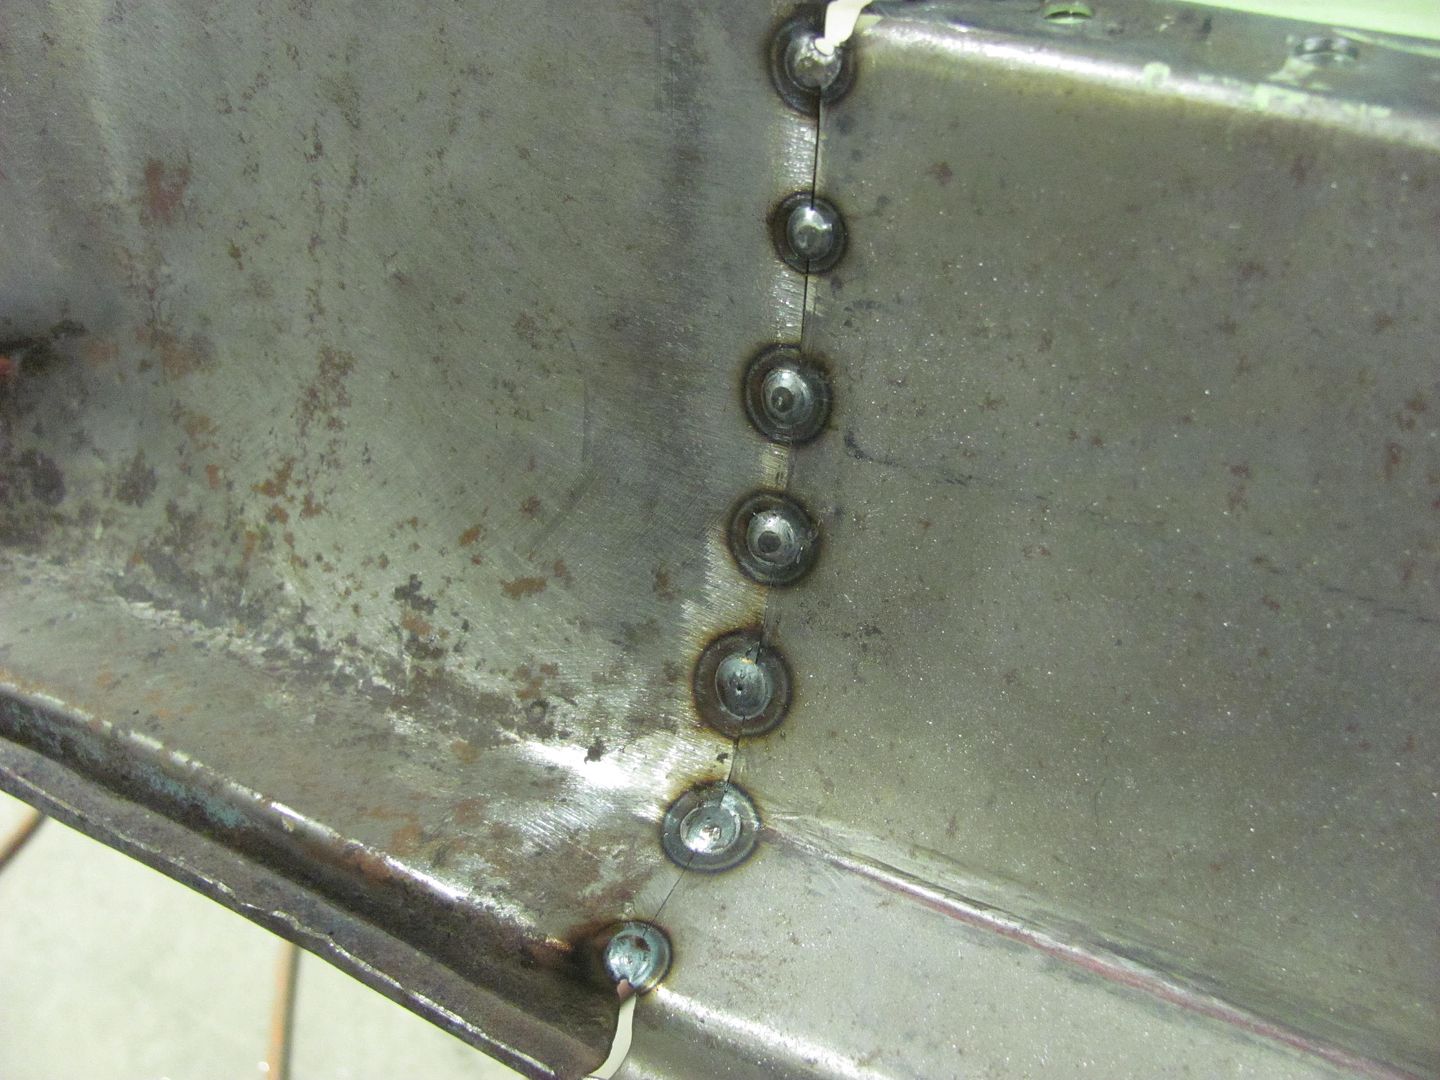 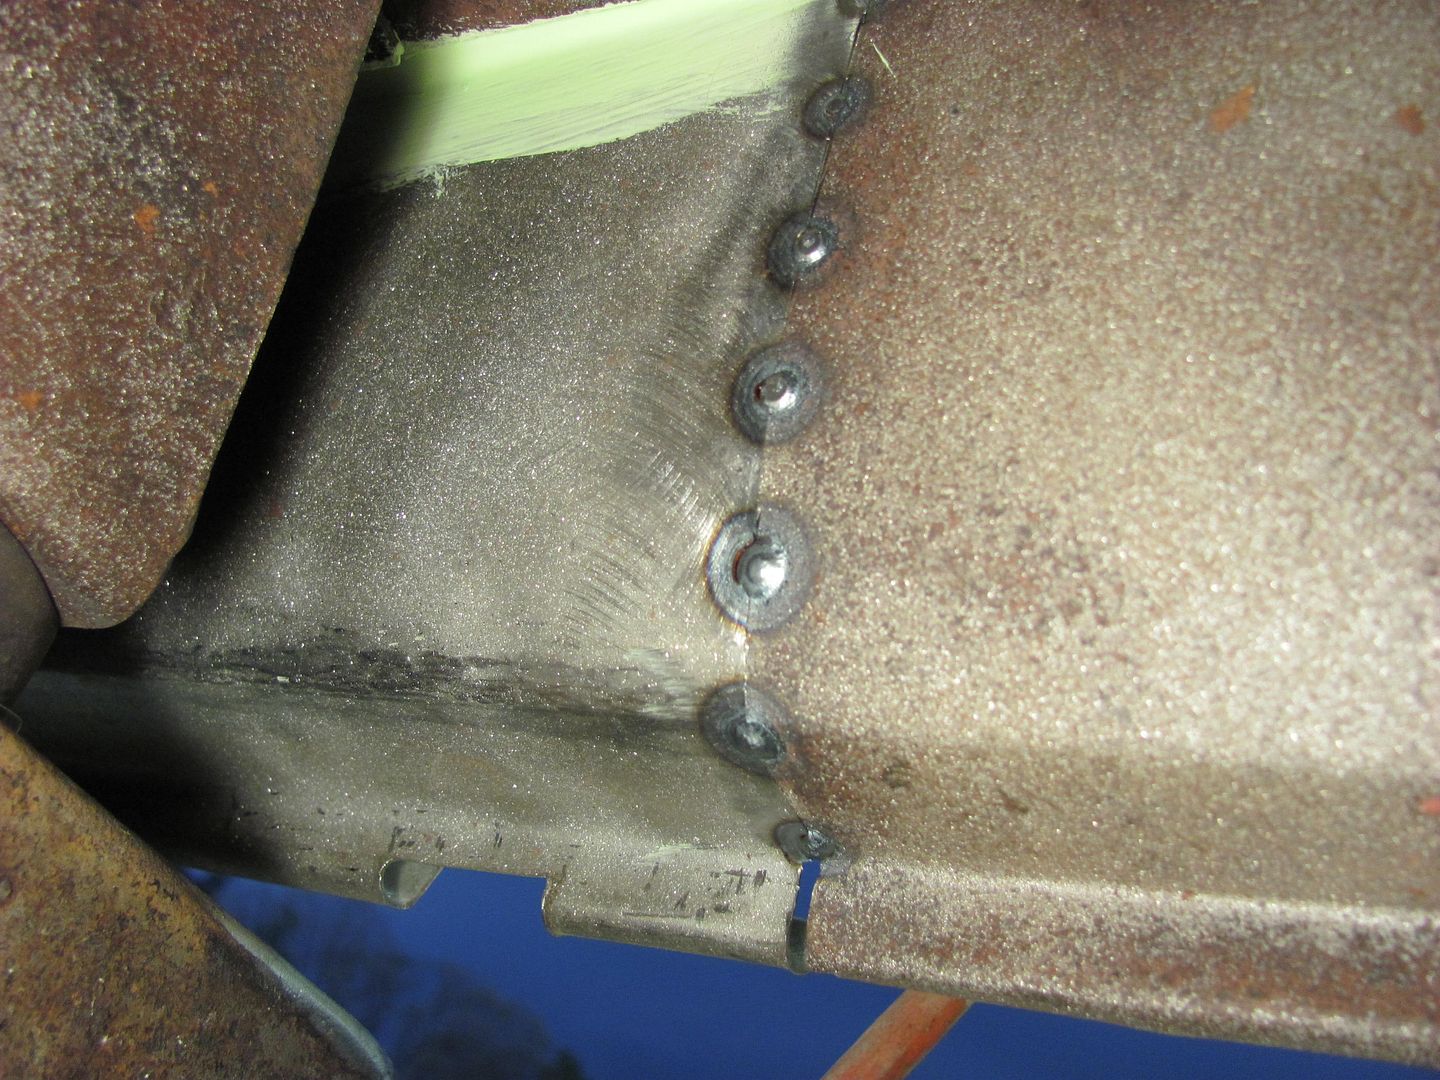 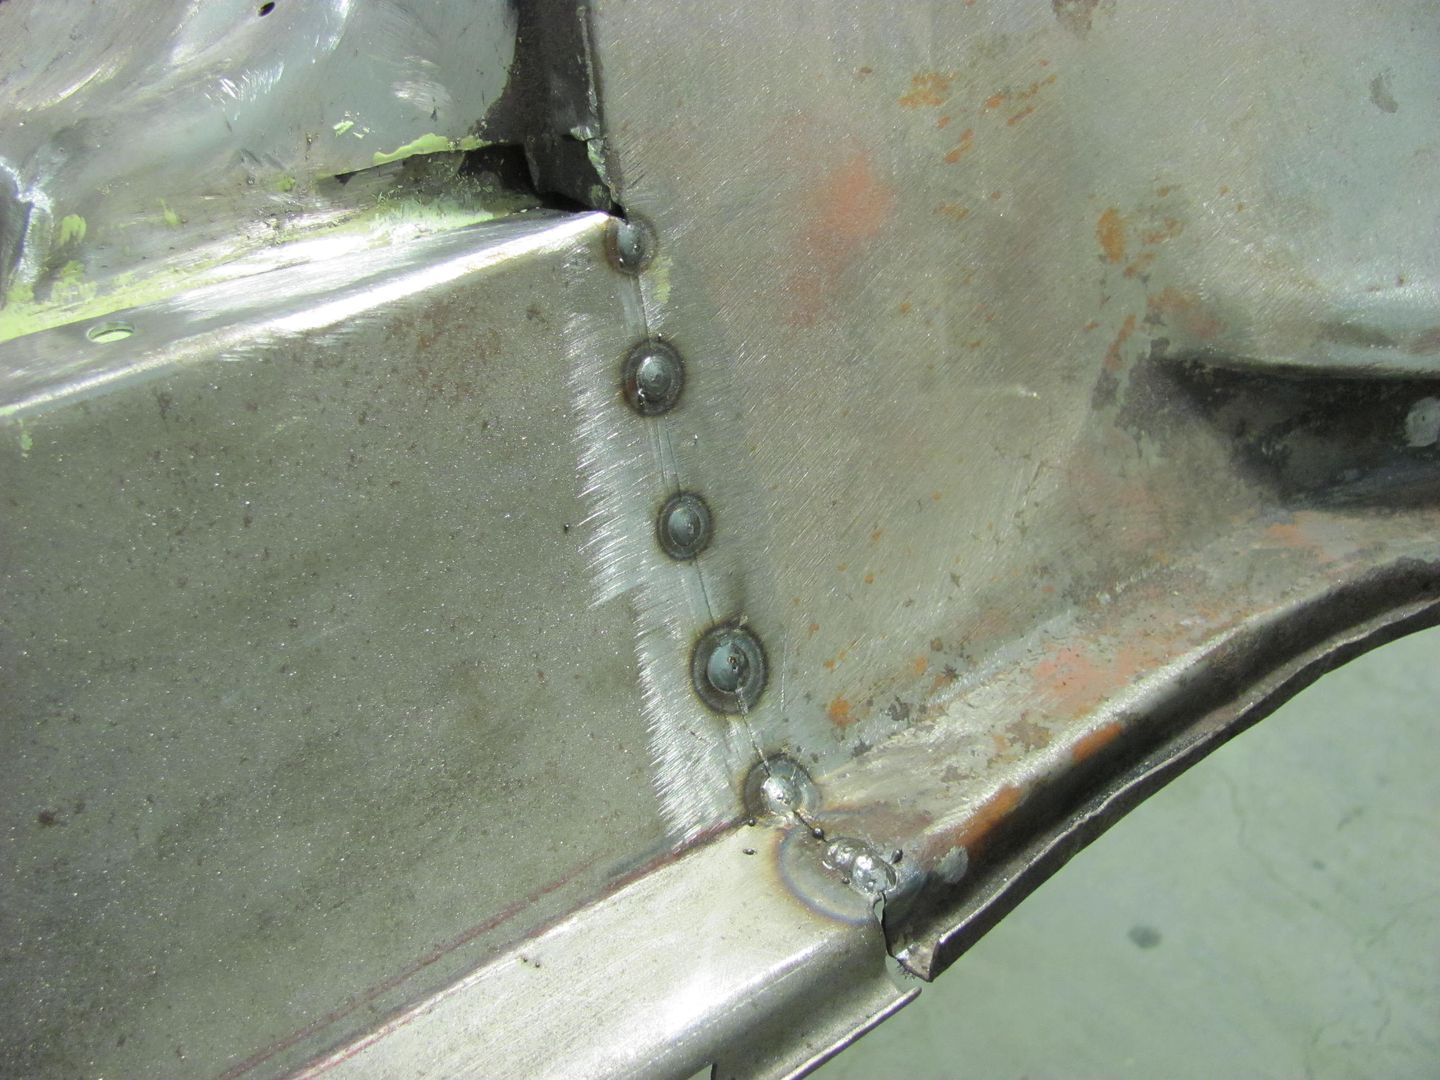 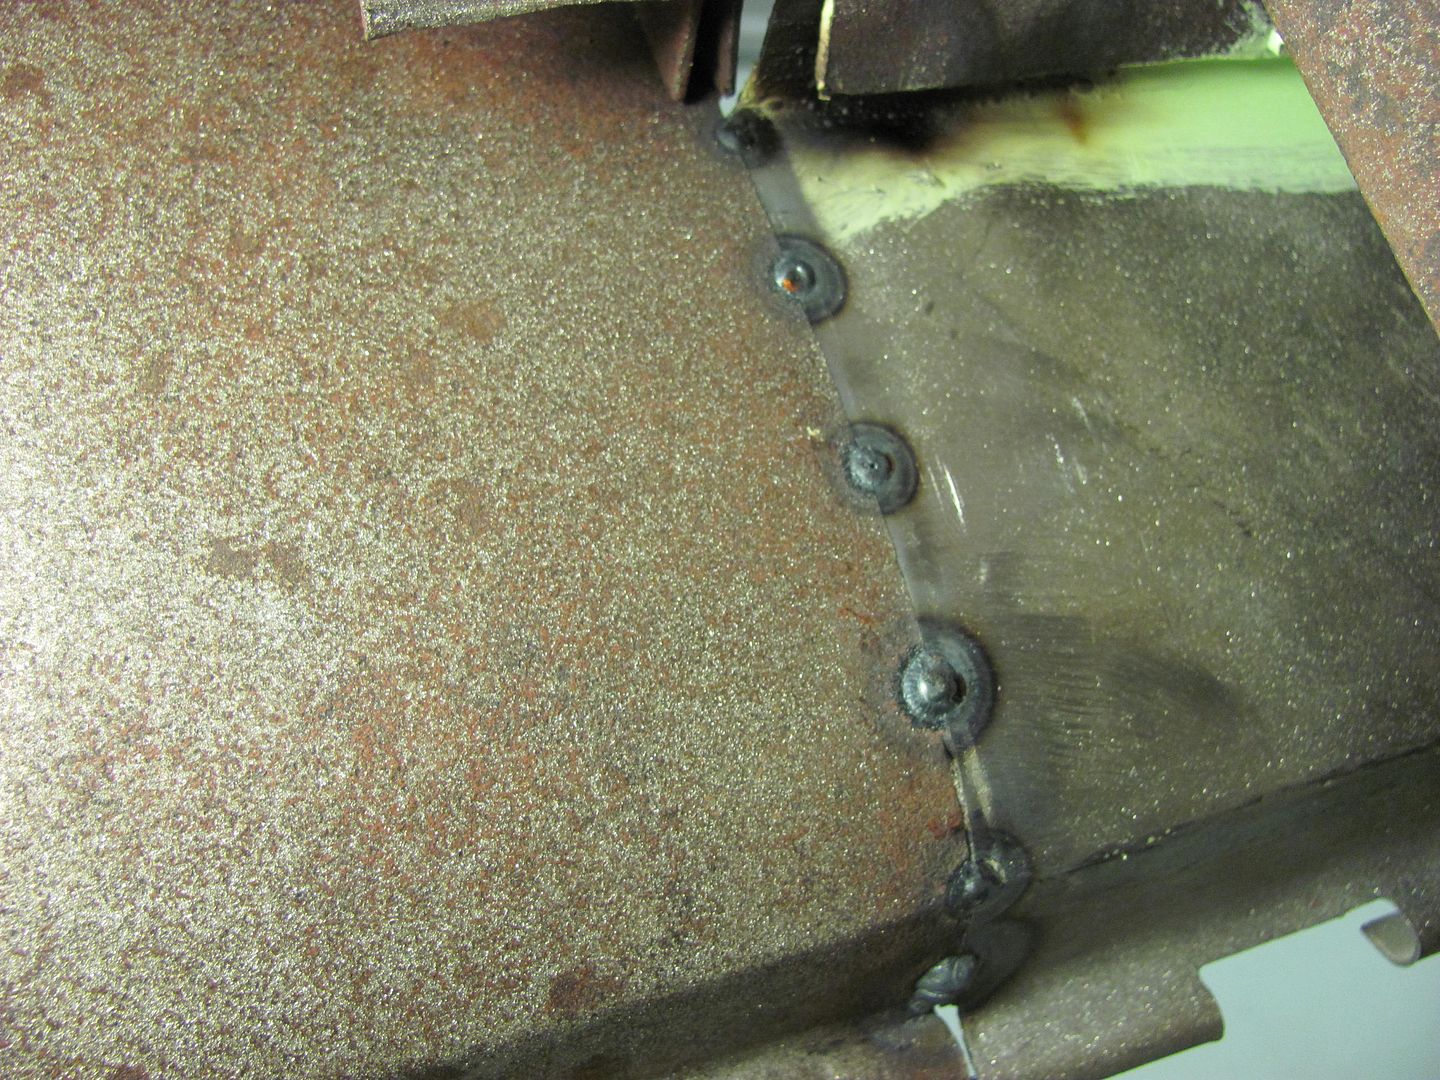 Note the views from the back side show full penetration welds. Next, grinding the welds in prep for the next set of weld dots.. 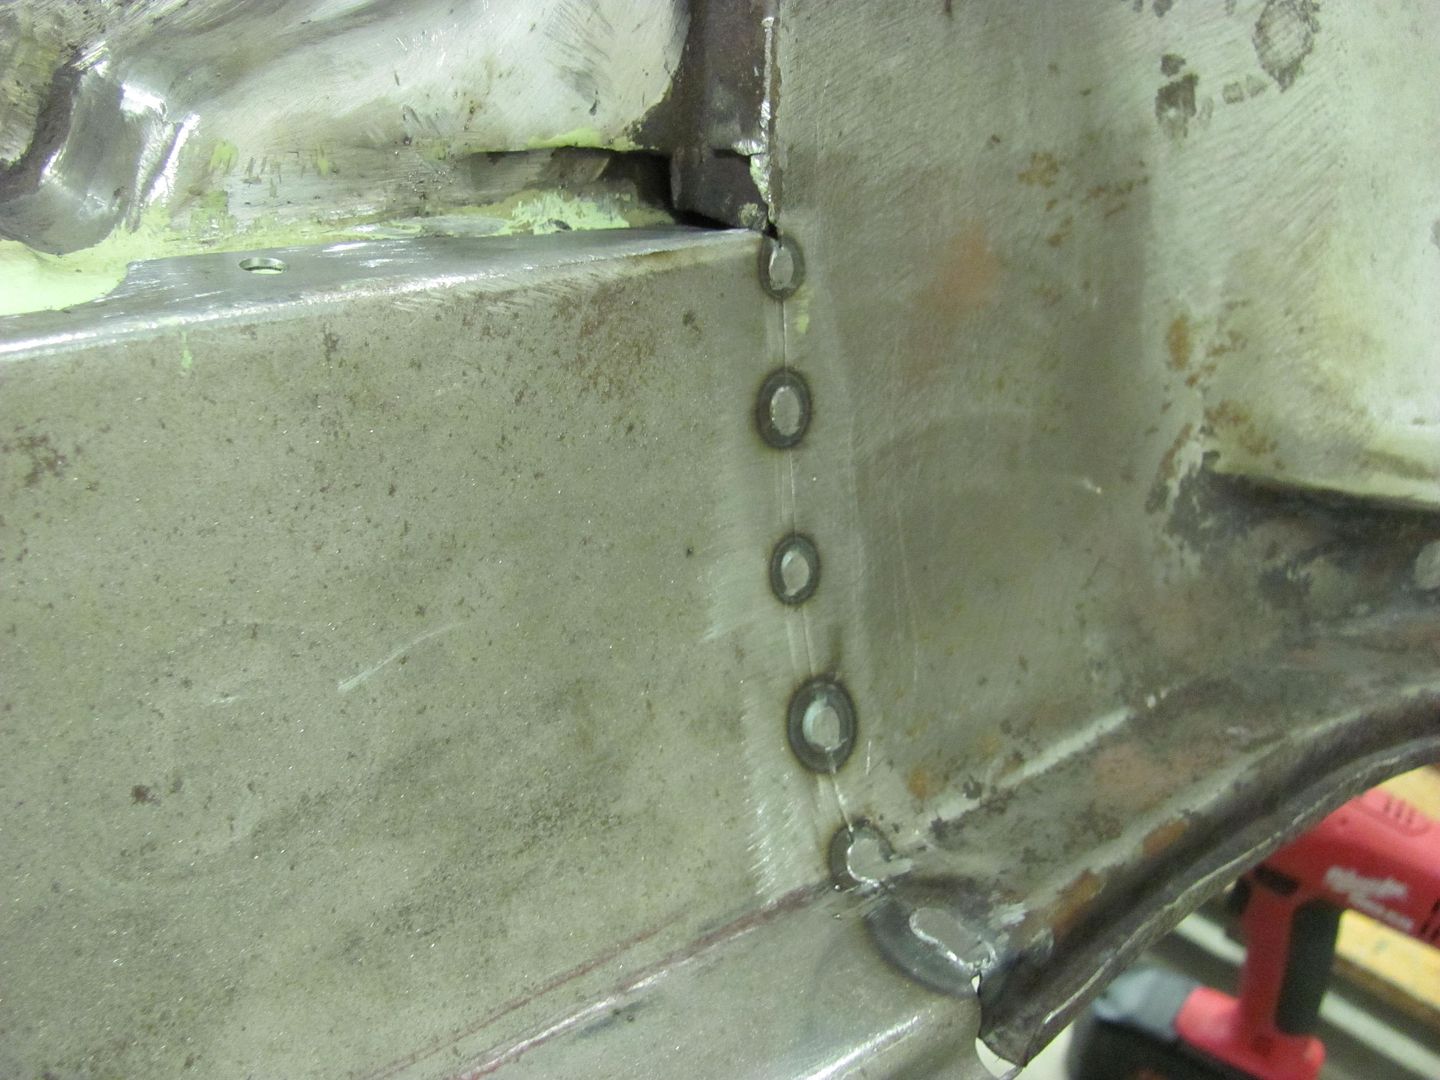 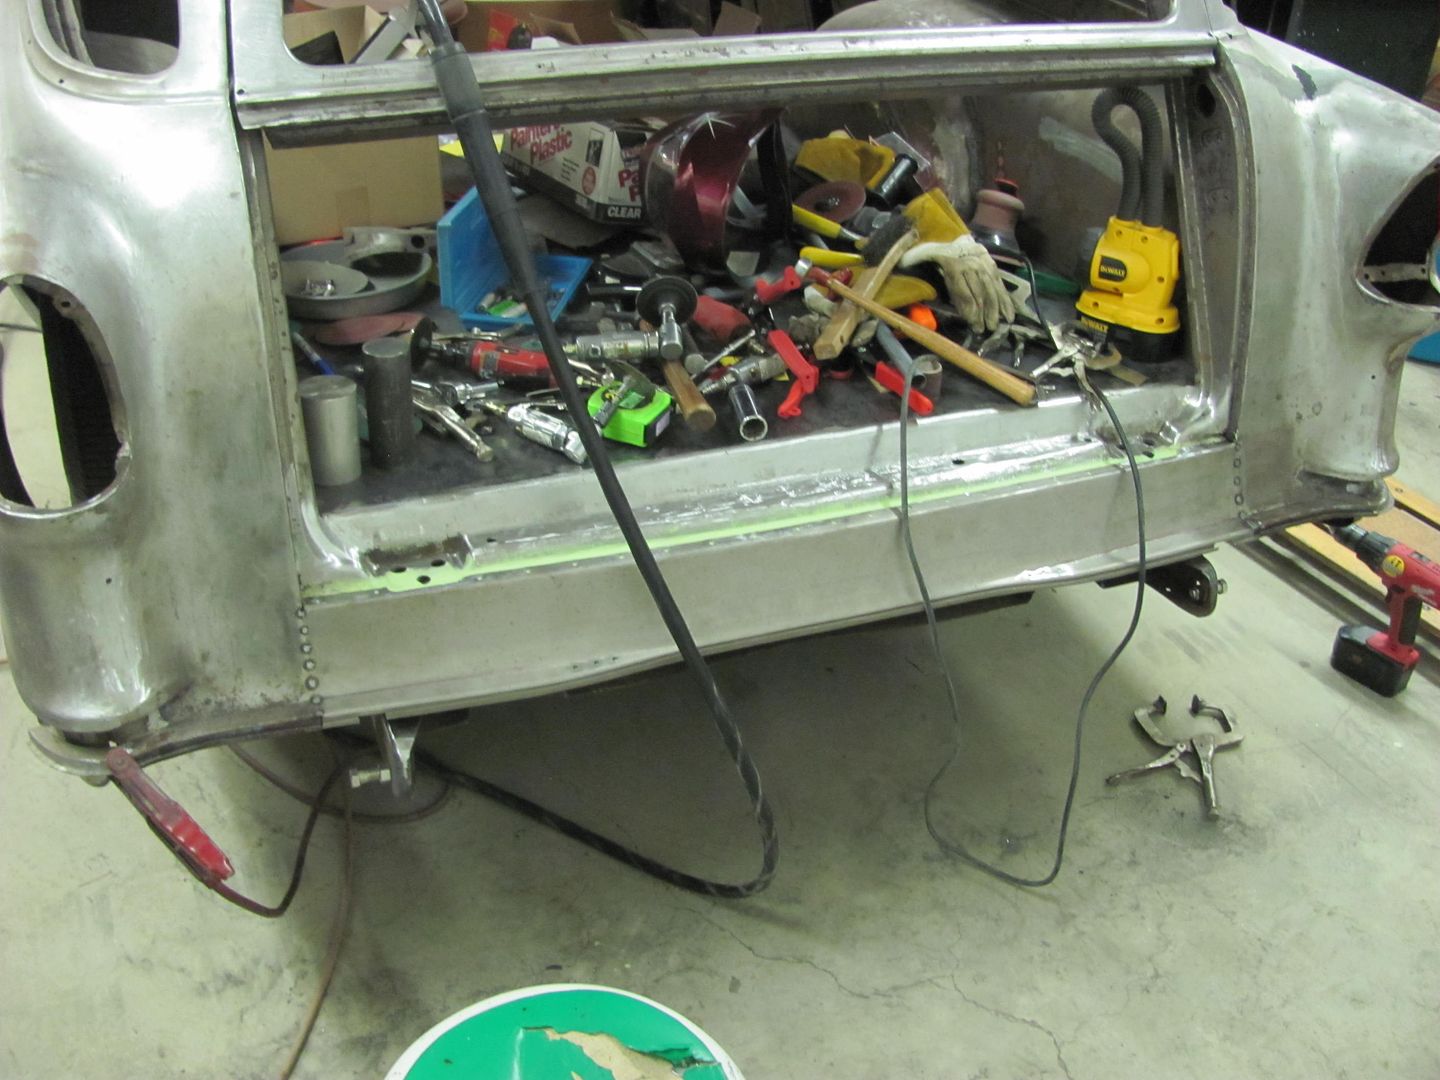
__________________
Robert |
|
|

|
|
|
#32 |
|
Registered User
Join Date: Jan 2013
Location: Leonardtown, MD
Posts: 1,647
|
Re: 55 Wagon Progress
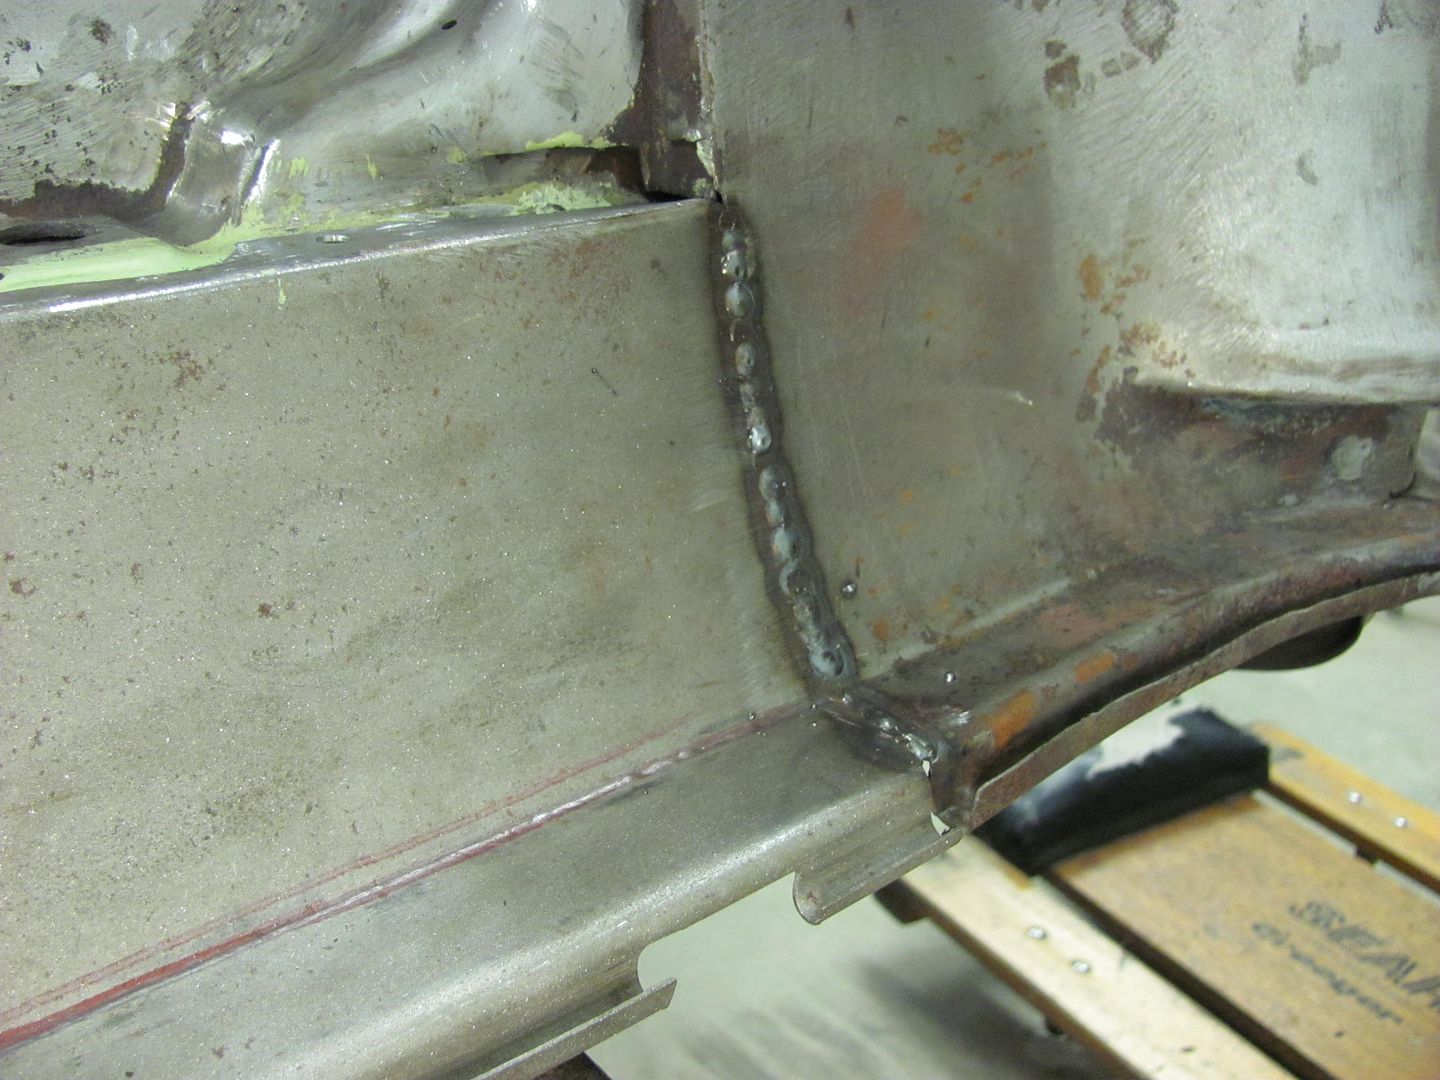
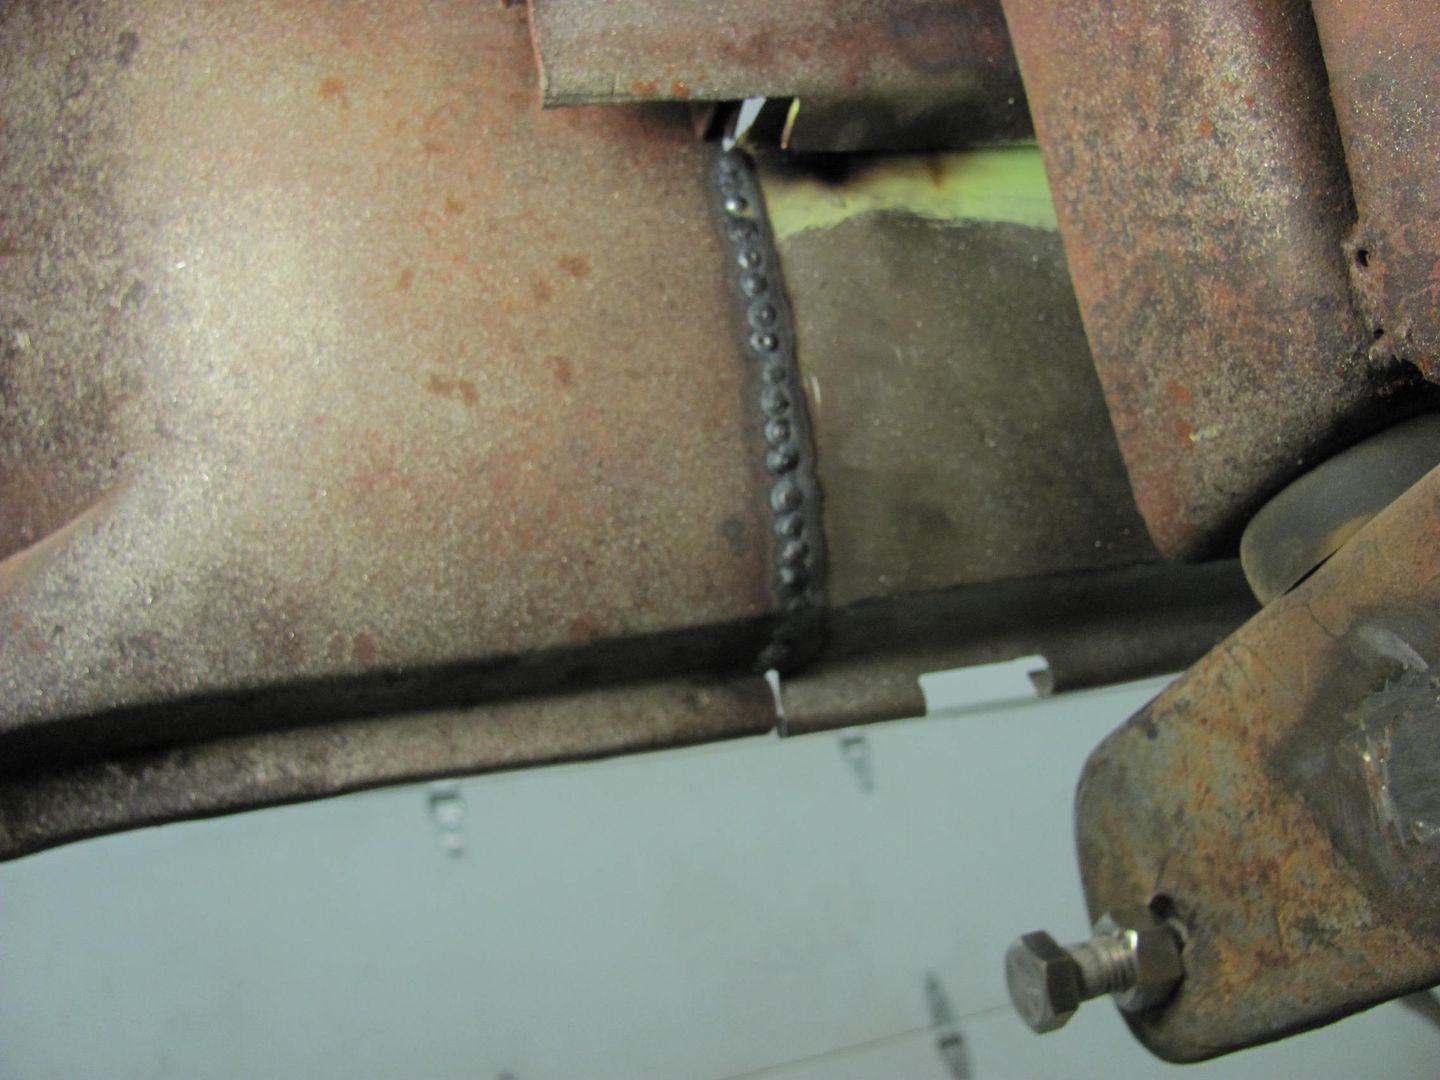
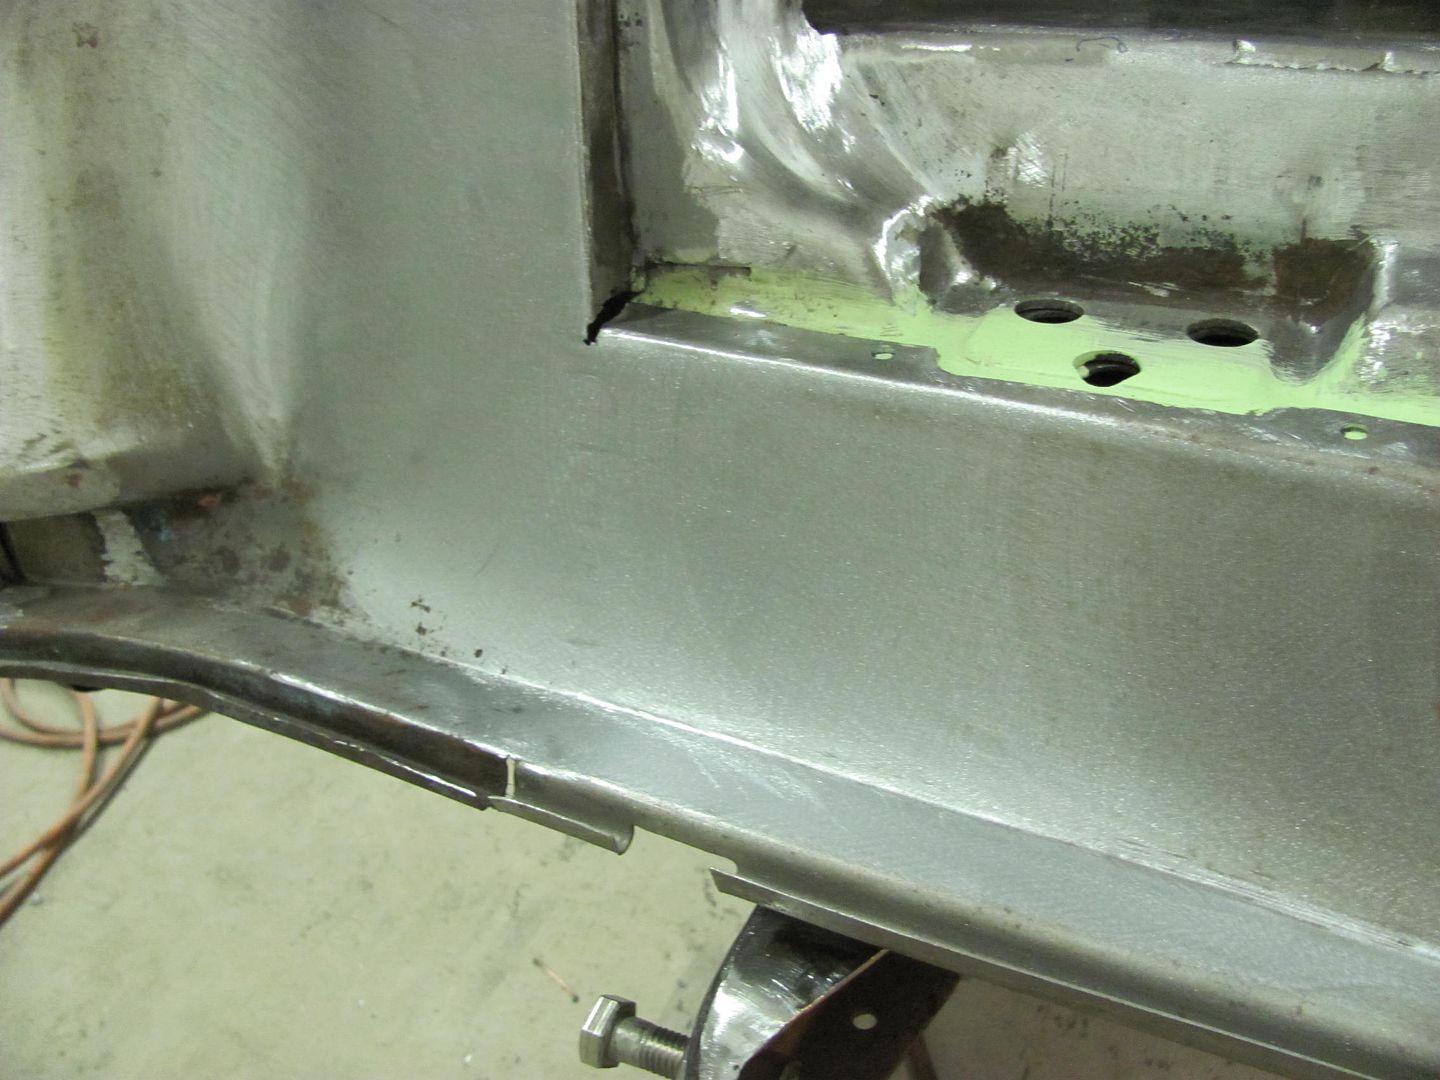
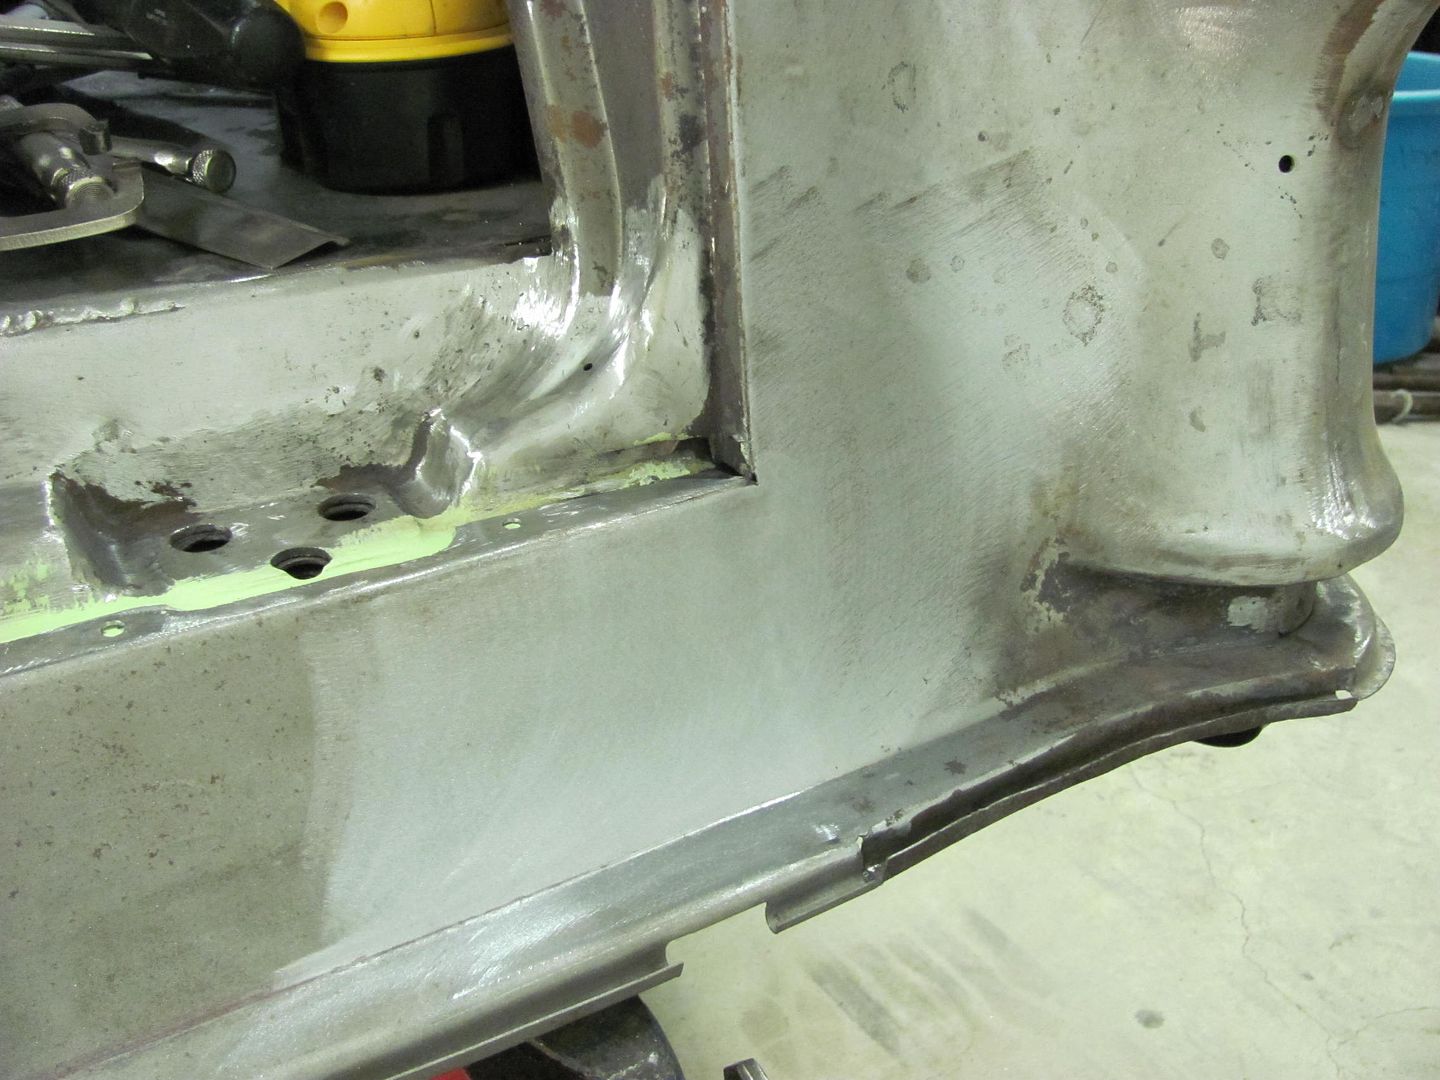
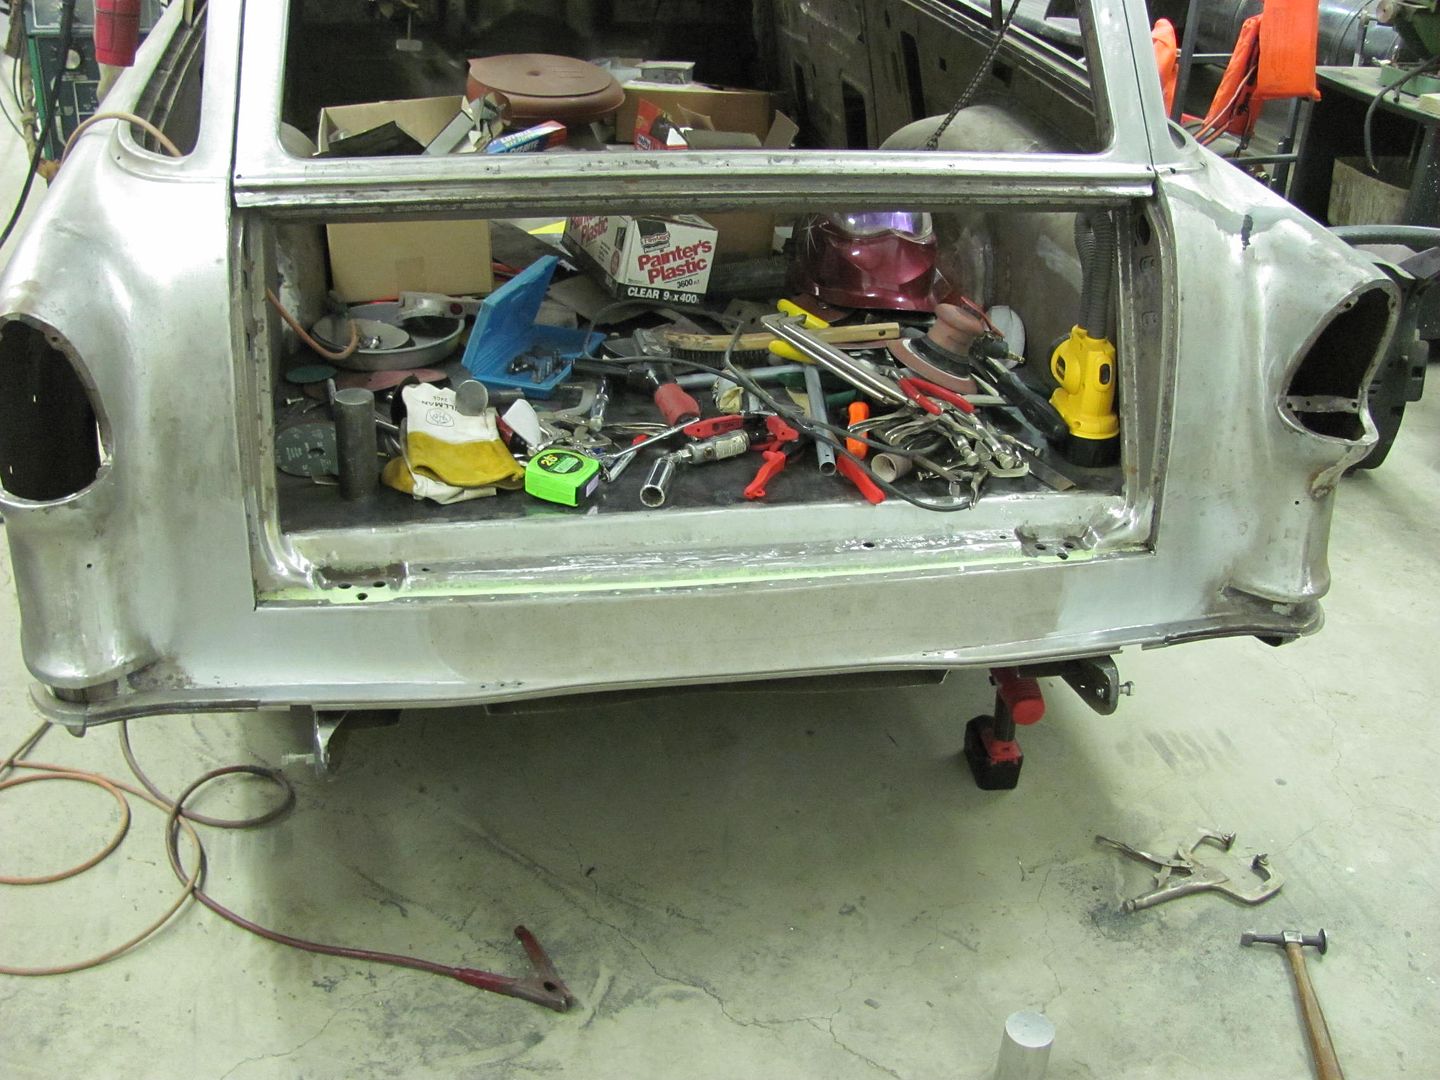
....and finishing the vertical welds...
__________________
Robert |
|
|

|
|
|
#33 |
|
Registered User
Join Date: Jan 2013
Location: Leonardtown, MD
Posts: 1,647
|
Re: 55 Wagon Progress
Thought I'd spend some time this evening to see how I could clean up these corners....
 Trimming out some of the excess... 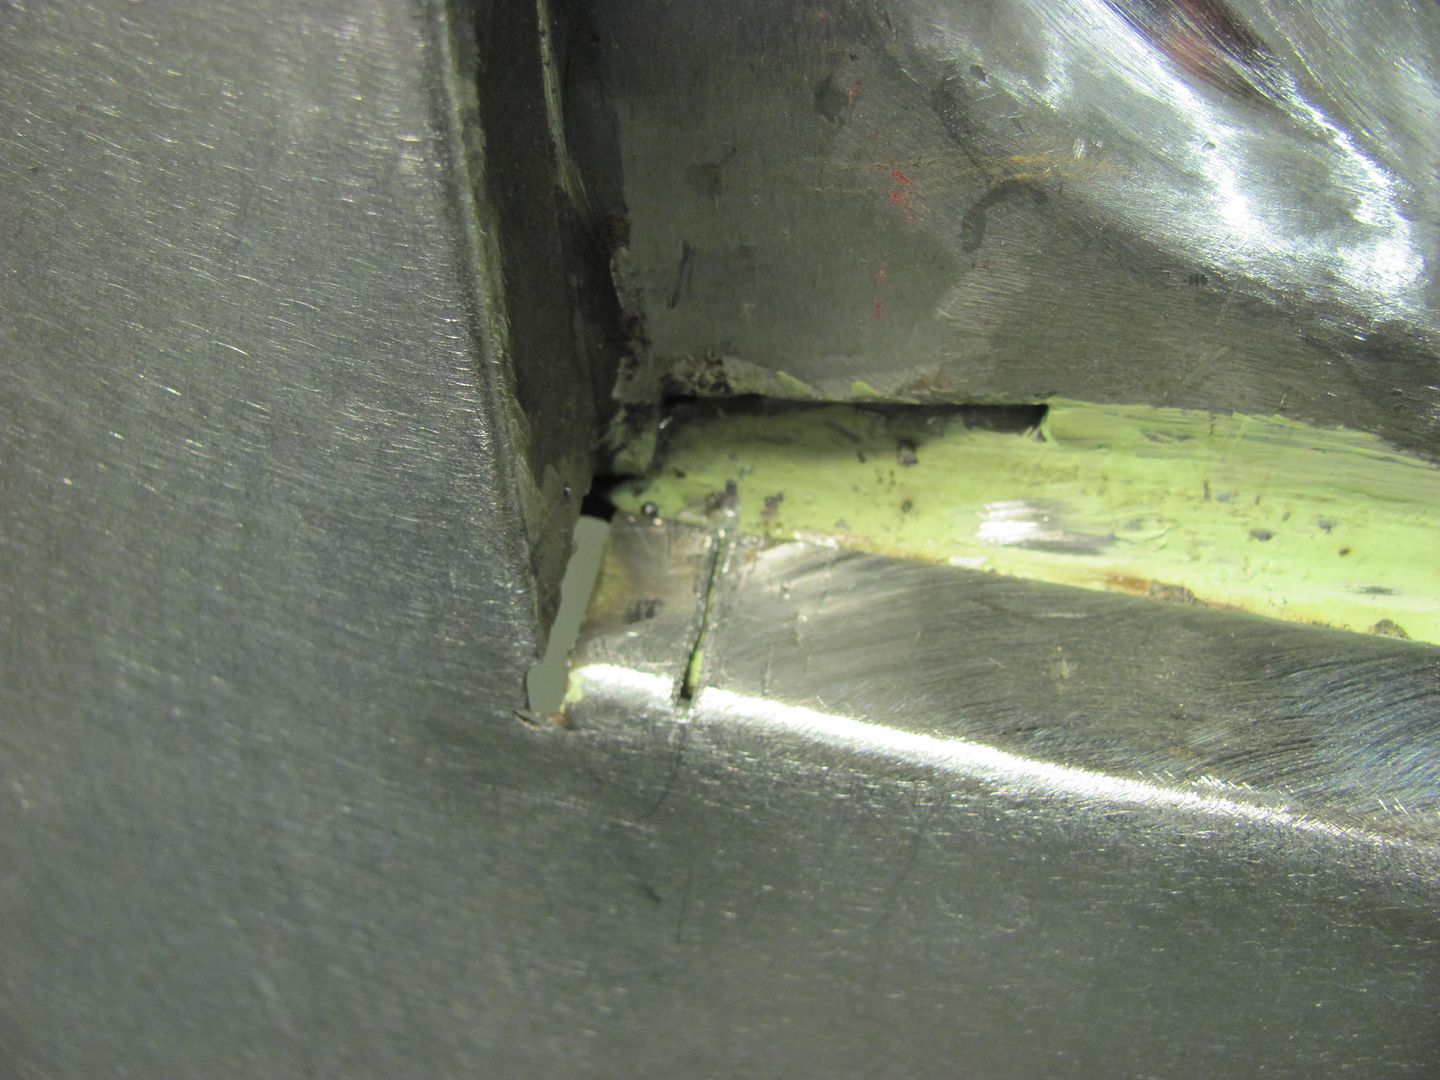 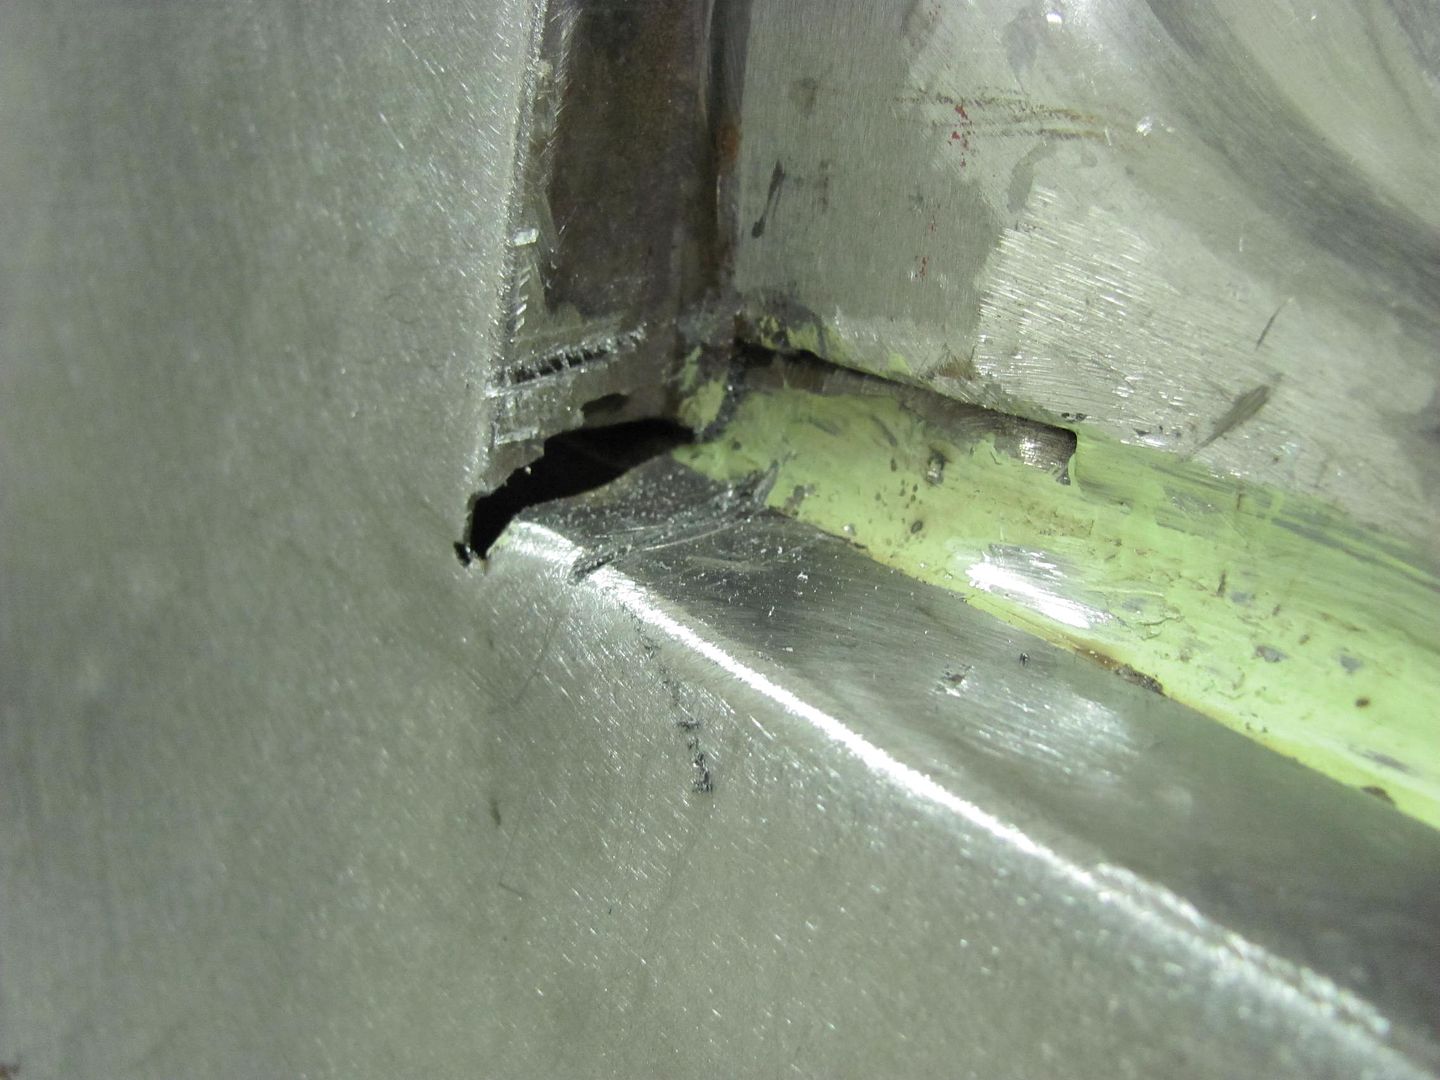 Used the roll former die to make the radius....  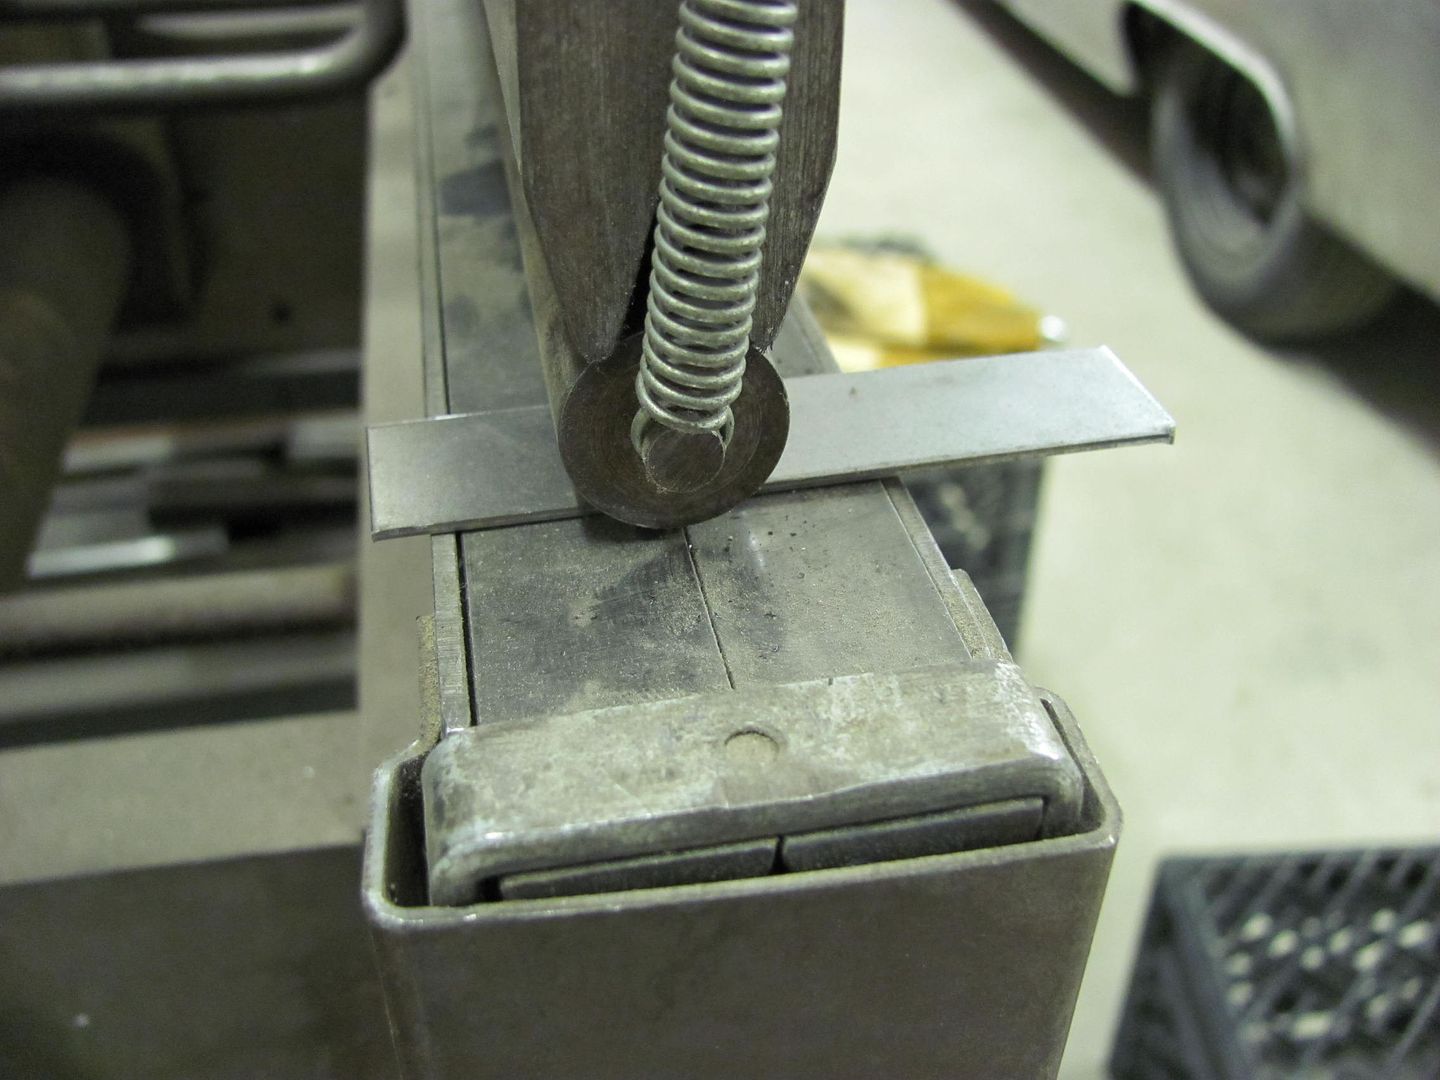 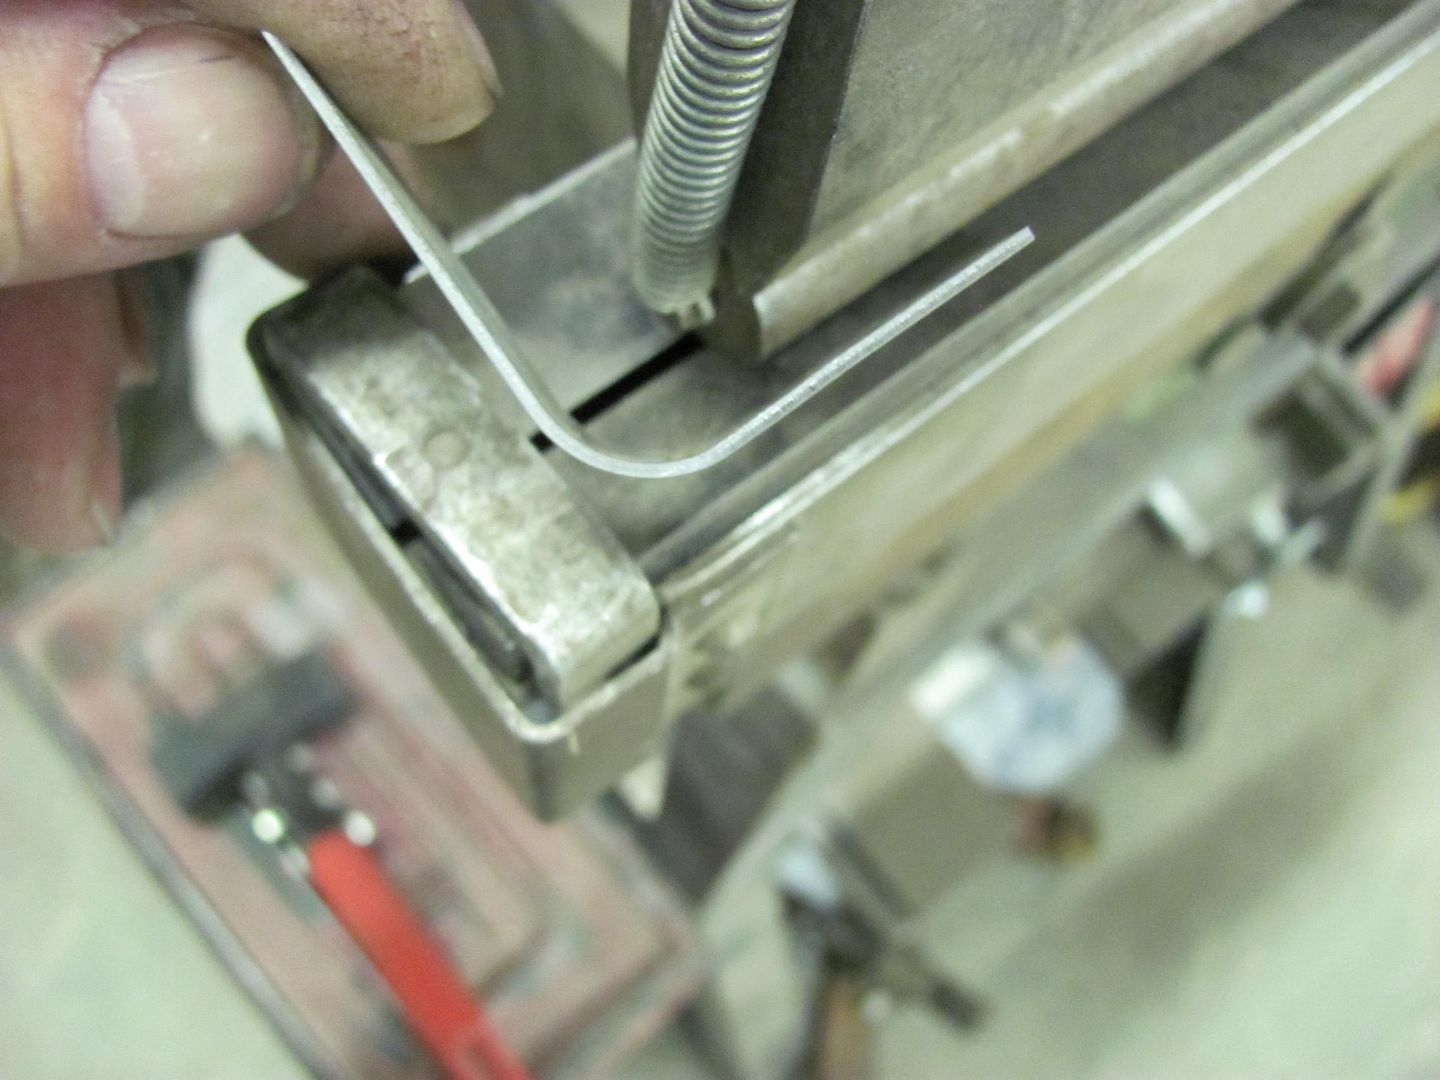 Fitted, welded, and looking much better! 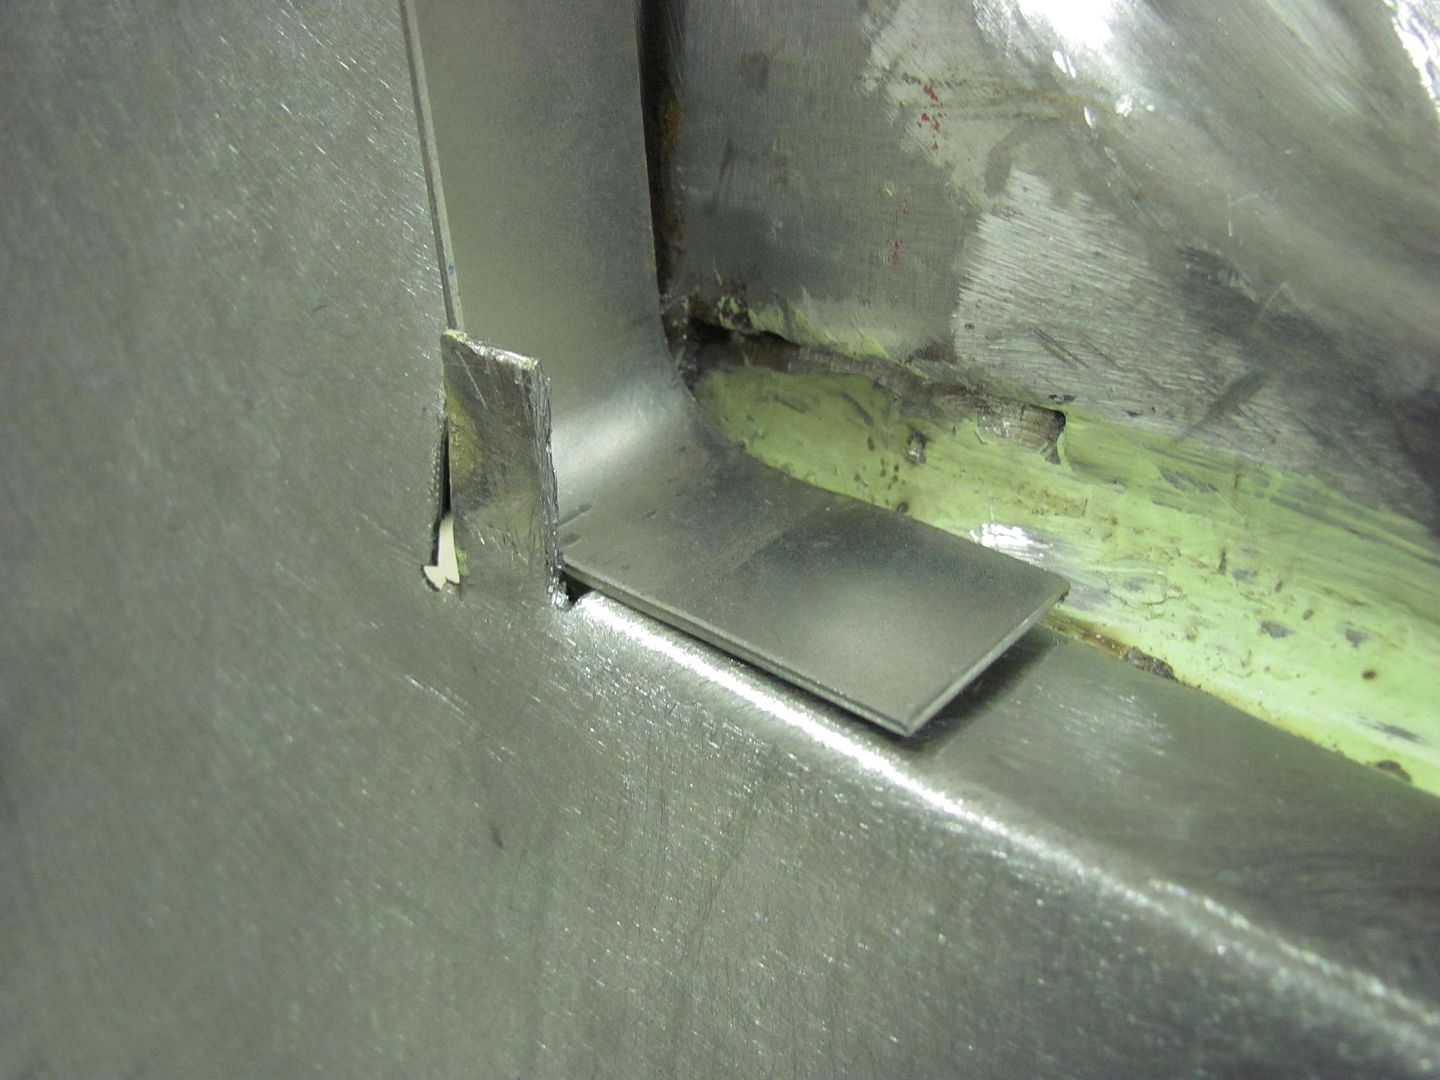 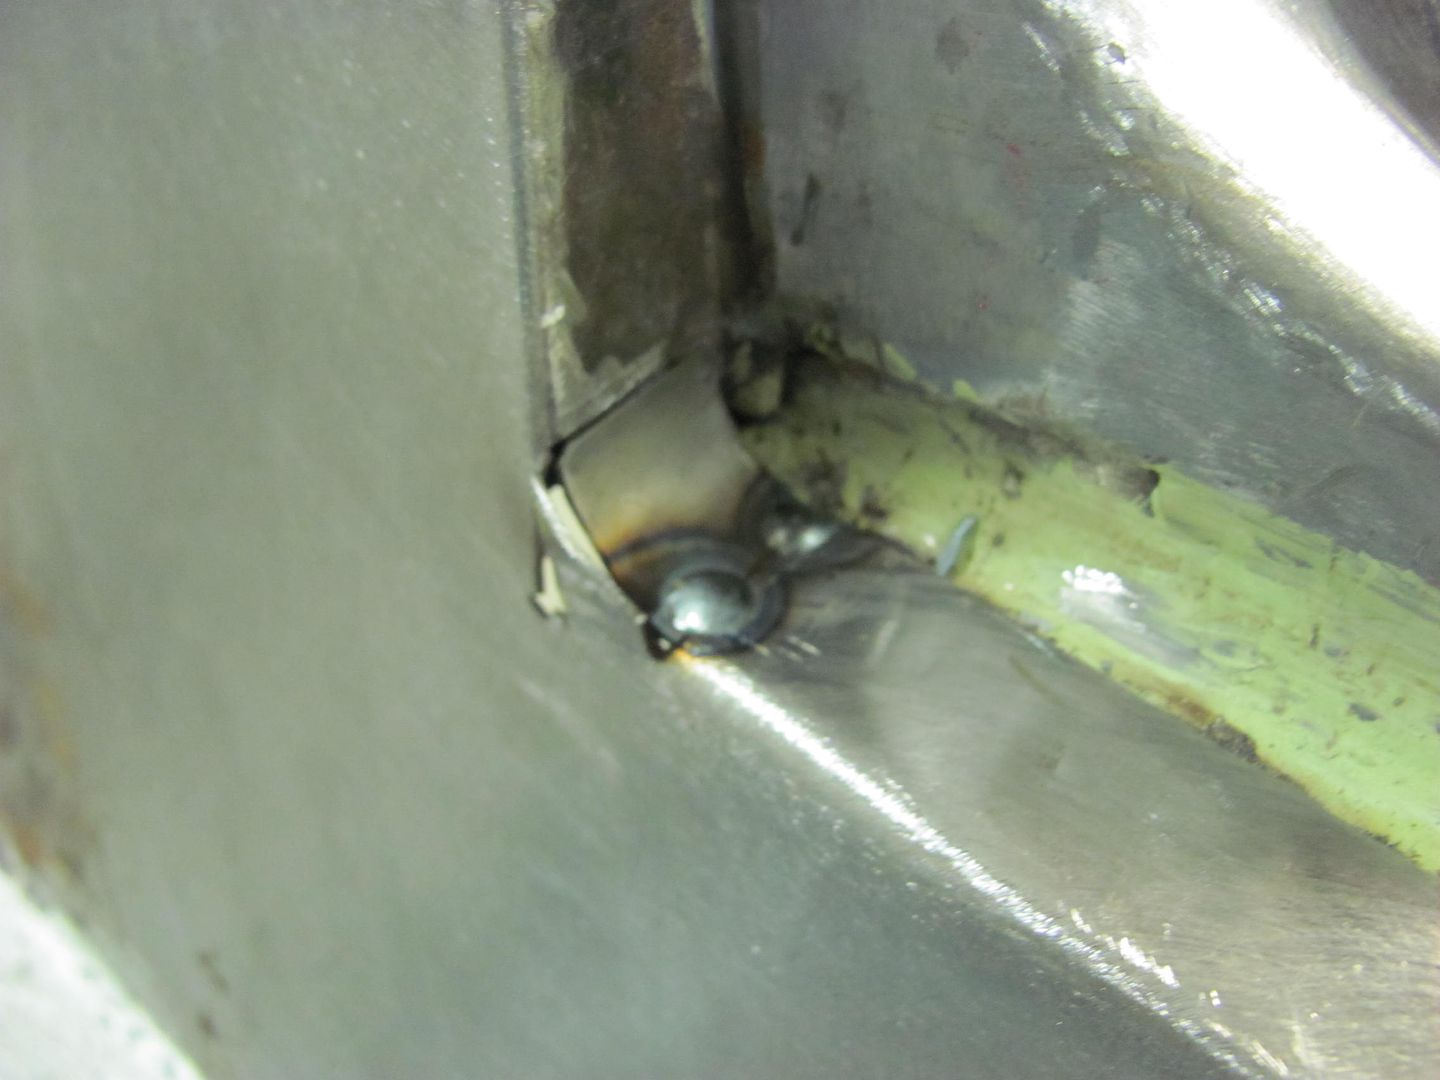  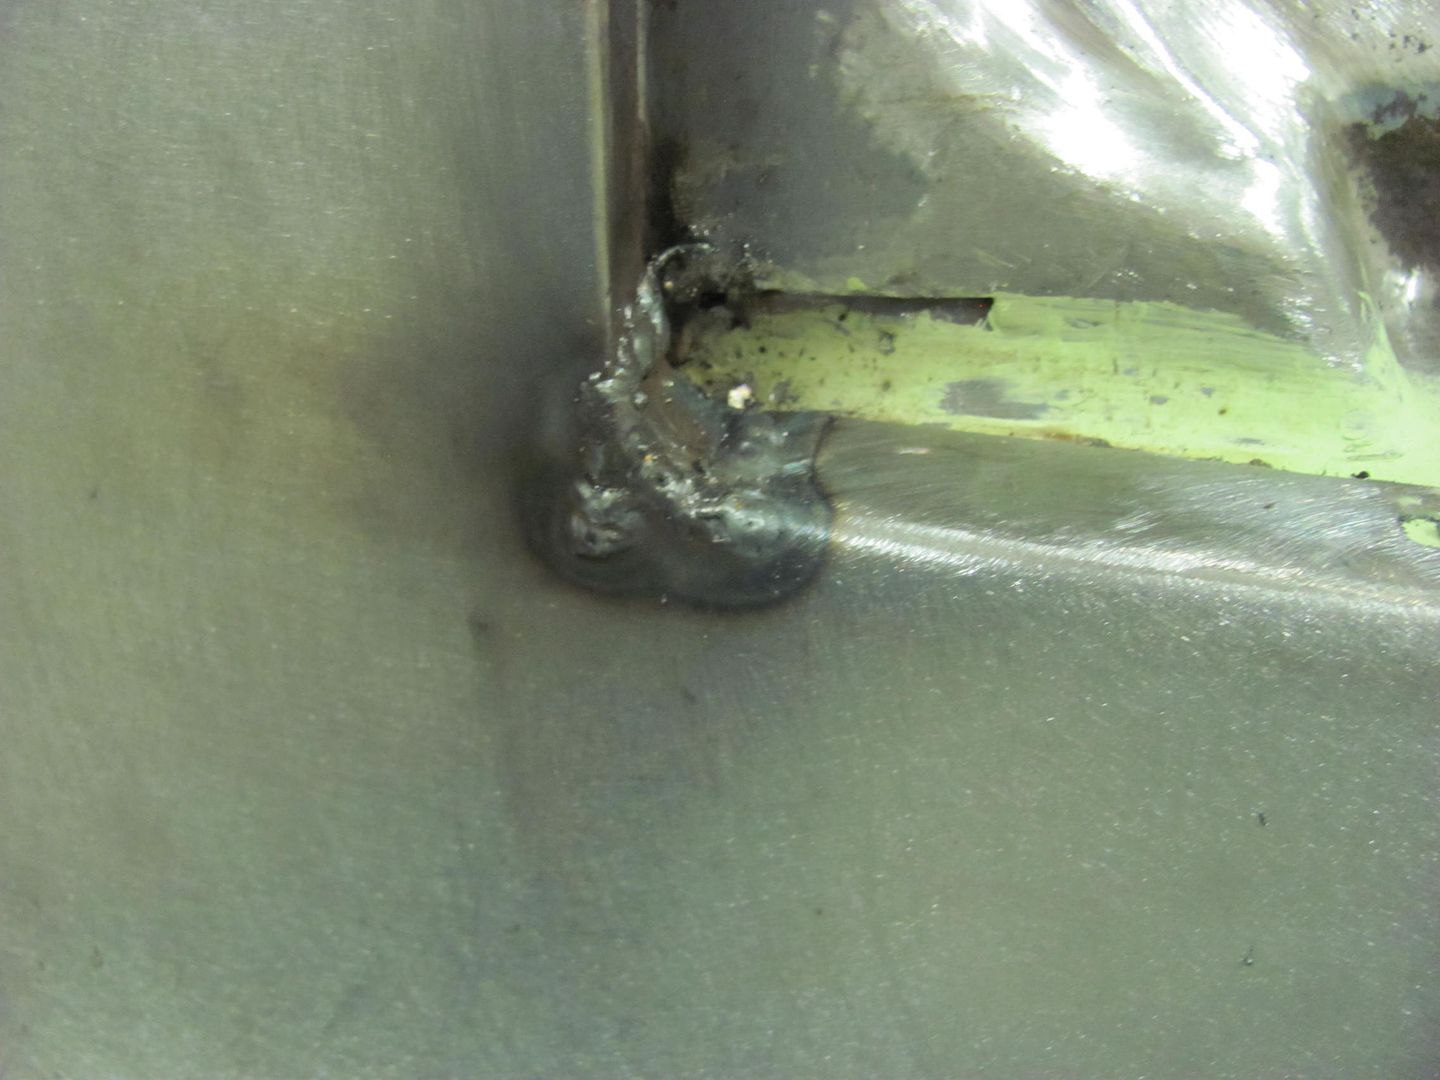 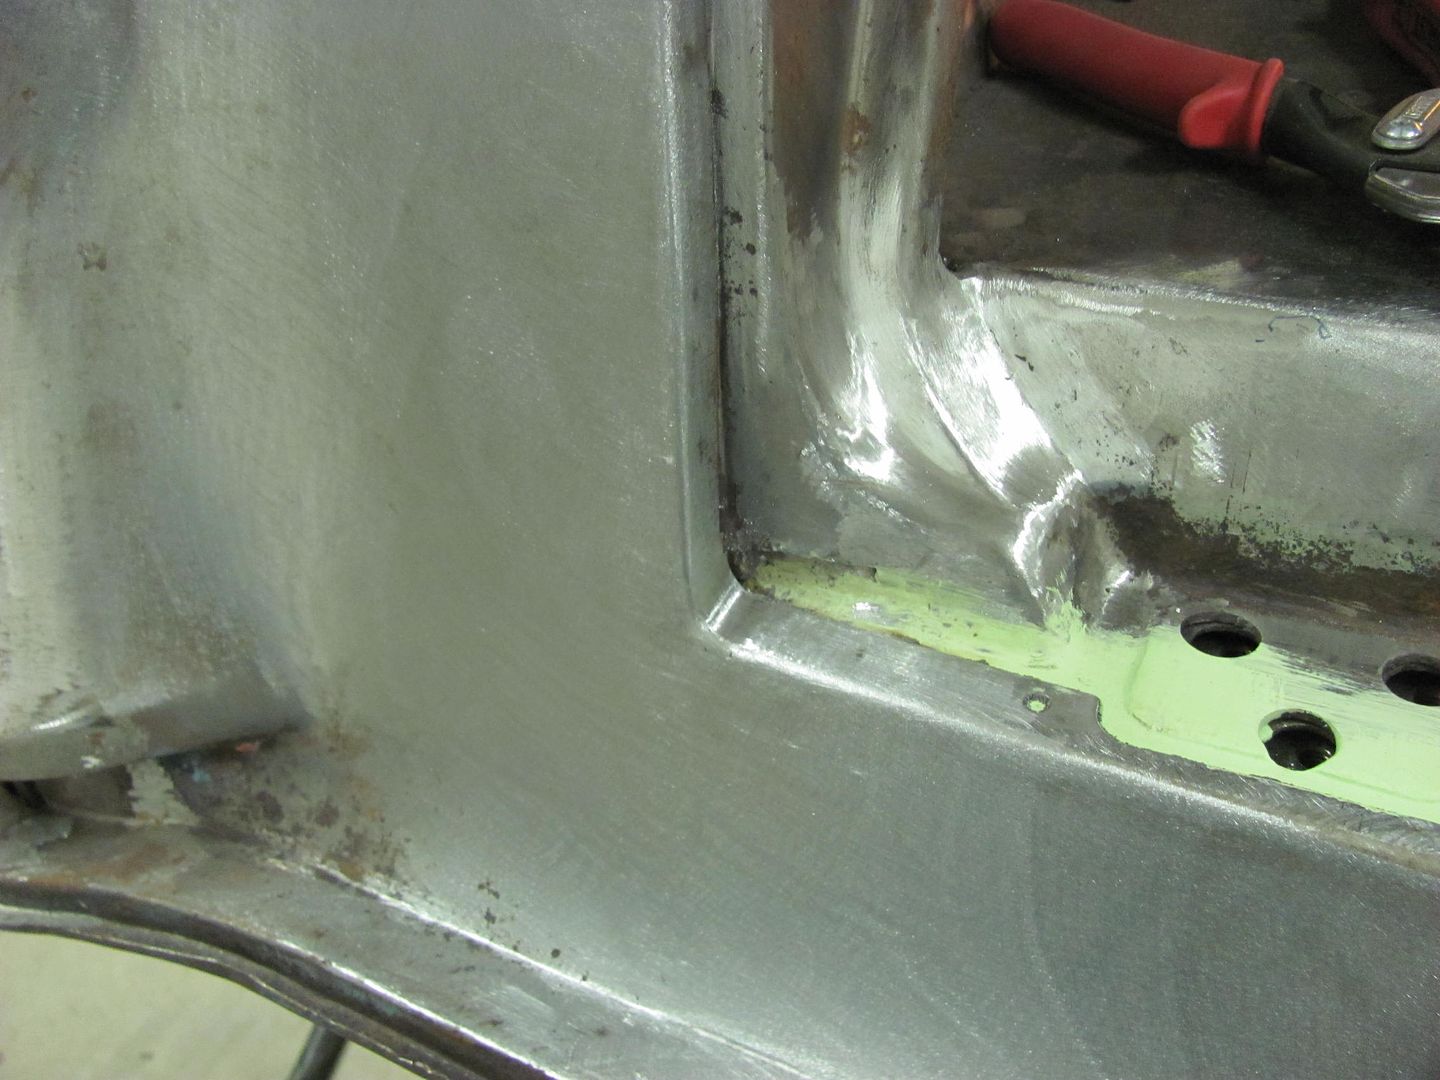 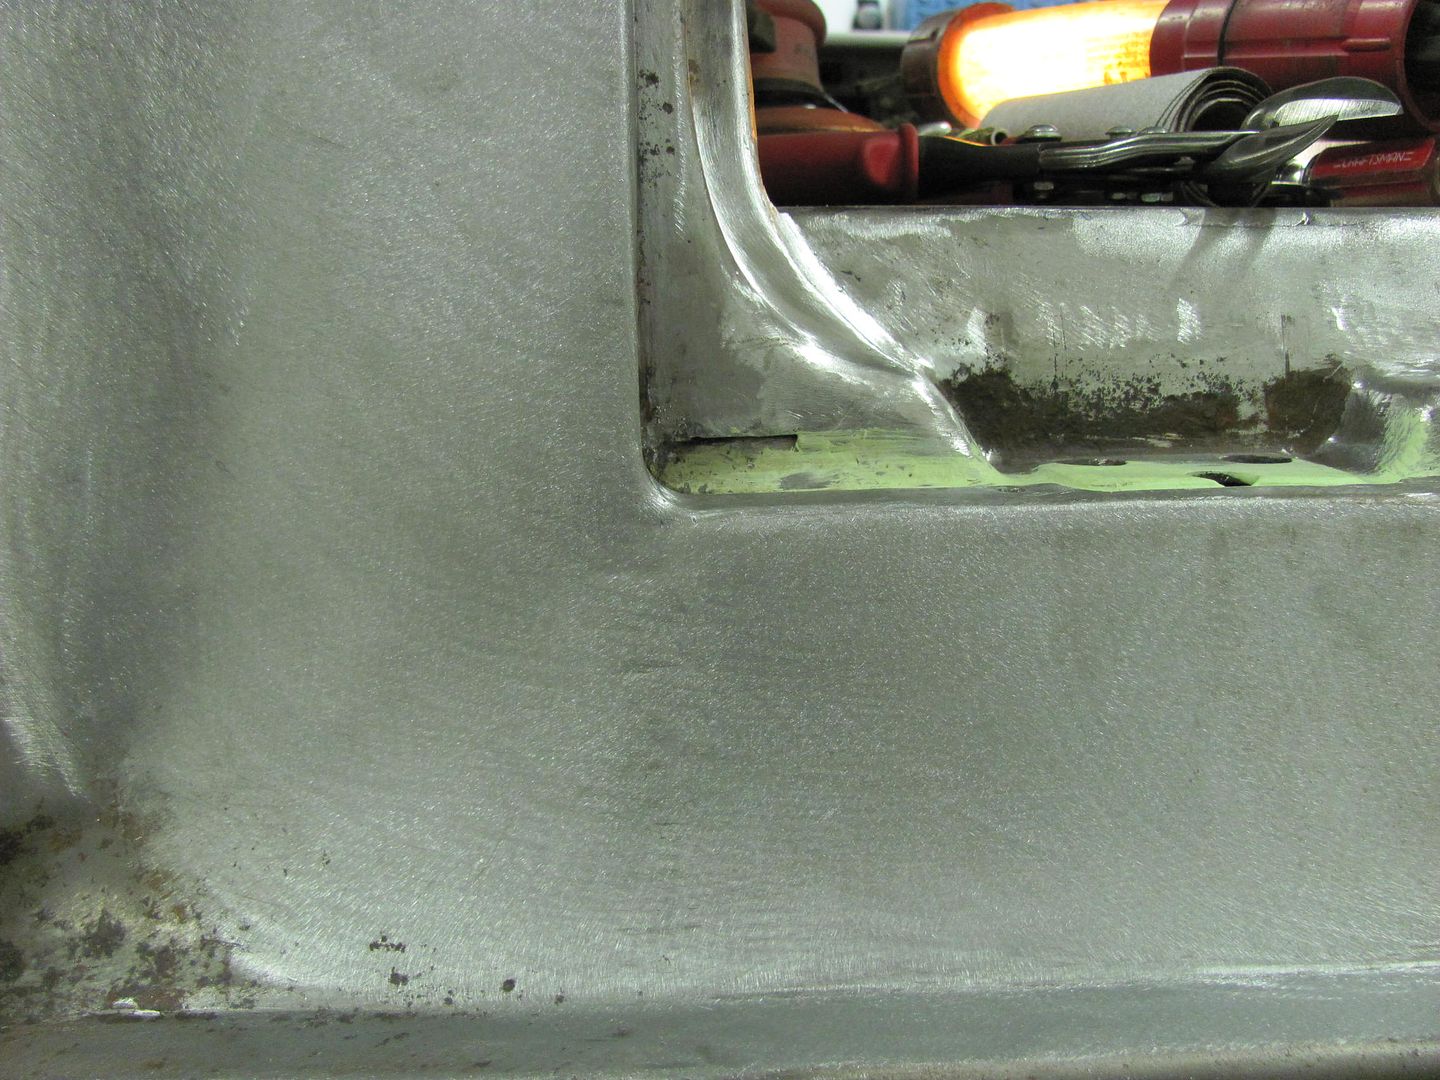 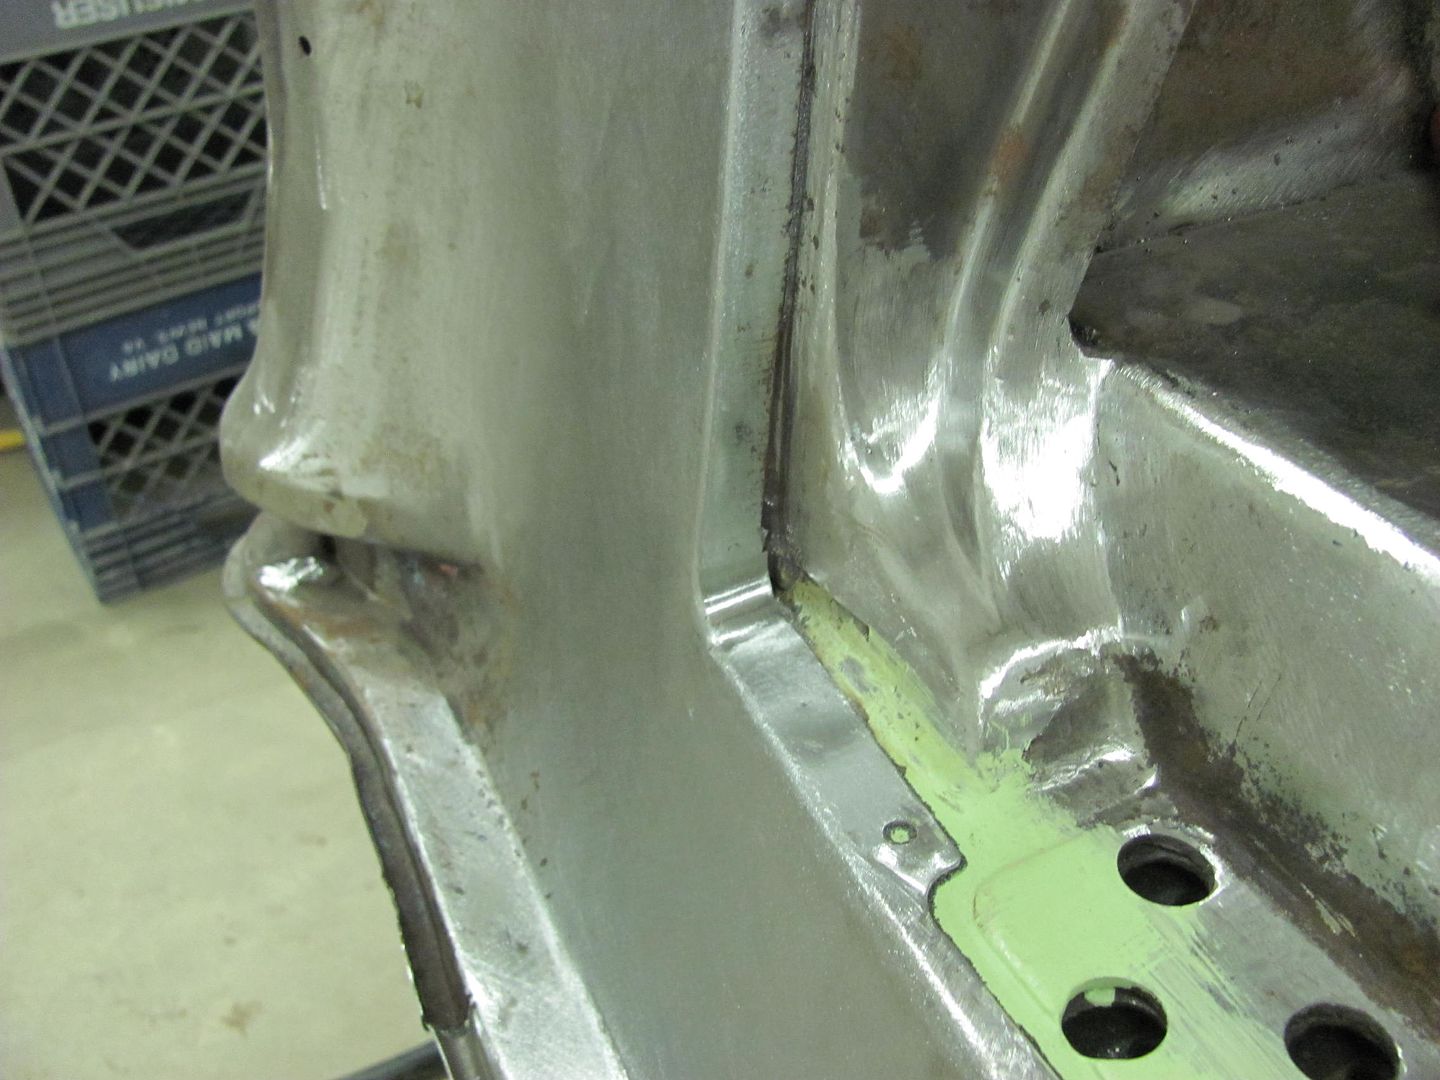
__________________
Robert |
|
|

|
|
|
#34 |
|
Registered User
Join Date: Apr 2003
Location: Indep, MO
Posts: 5,893
|
Re: 55 Wagon Progress
COOL! I didn't know you were over here, I've been a big fan on the GJ.
I have to tell you, you've been an inspiration. To do the level of work you do, and yet make it look so do-able combined with the willingness to show dummies like me is a gift to all in the community. Now that you're here, I'll have to take my stuff down! LOL The s-box thread is inspired by you, in some way, please check it out! Yes, and laugh, but I'm trying! Thanks again, glad you're here.
__________________
Boppa's Old Yeller Truck Build, Old Yeller's New Heart! Project Buzz Bomb Flyin' Low! |
|
|

|
|
|
#35 |
|
Registered User
Join Date: Jan 2013
Location: Leonardtown, MD
Posts: 1,647
|
Re: 55 Wagon Progress
Thanks, glad to hear my posts have helped. Nice work on the s-box, most would consider something like that a disposable car, but you're getting it back to being dependable transportation. And as you've shown at the very least it is a good platform to hone your skills for the next project. Experience, along with the determination to try and improve your methods with each challenge, will go far in developing those skills. You've done well!
Moving on to the right side of the wagon..... 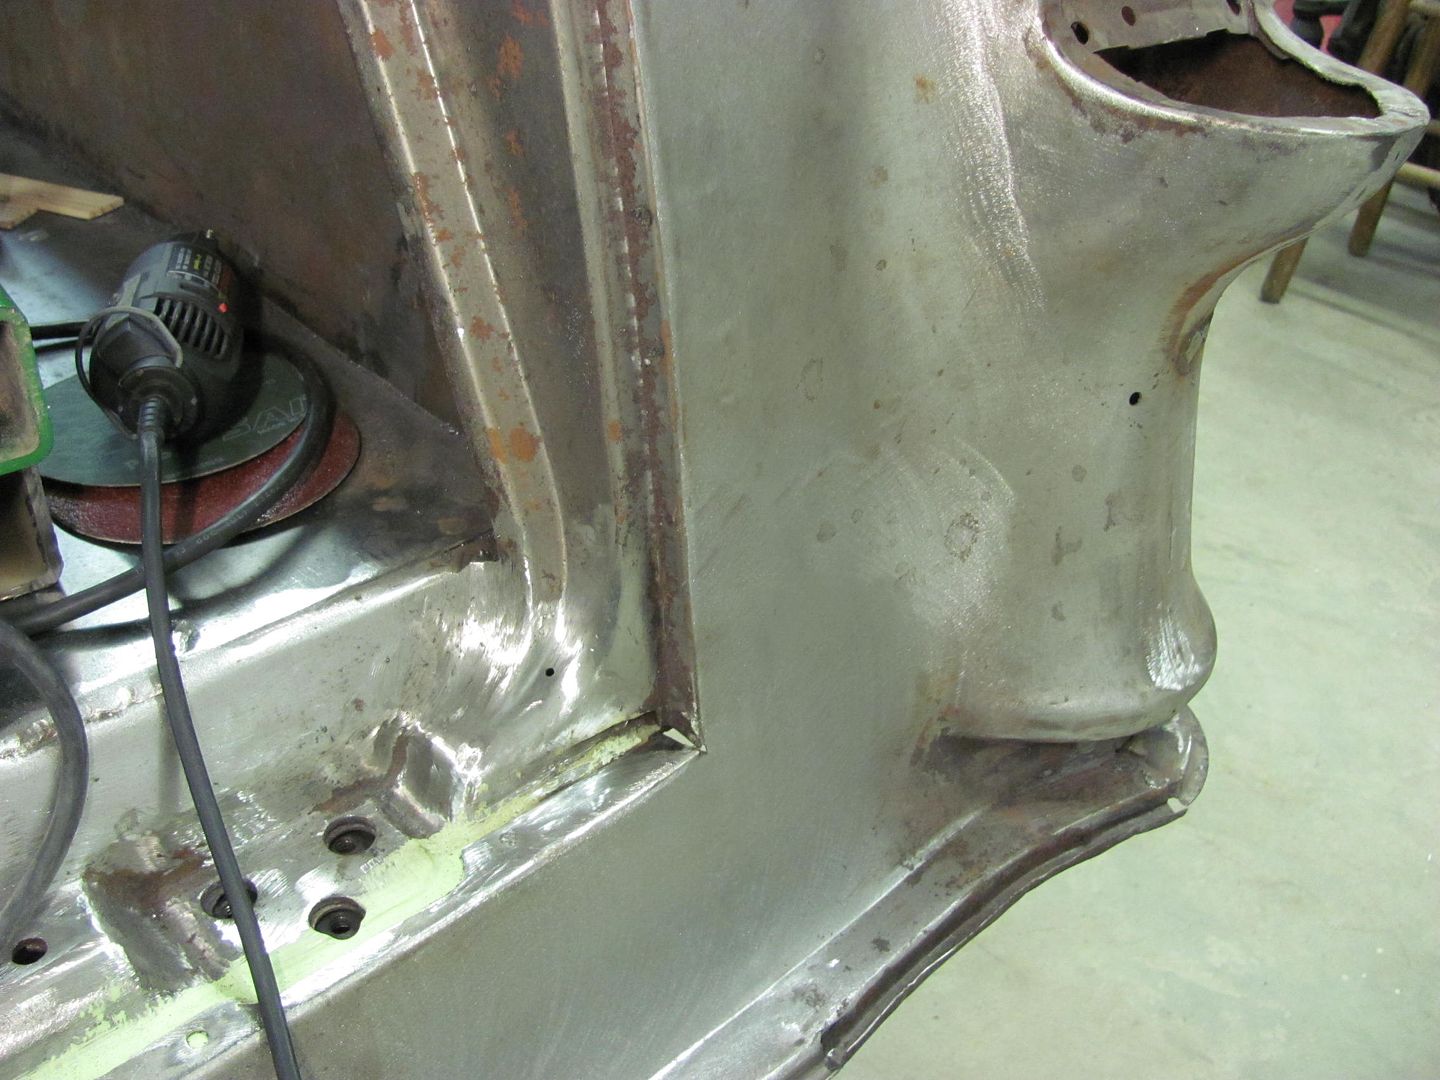 Trimming the excess for the radius piece to fit in.... 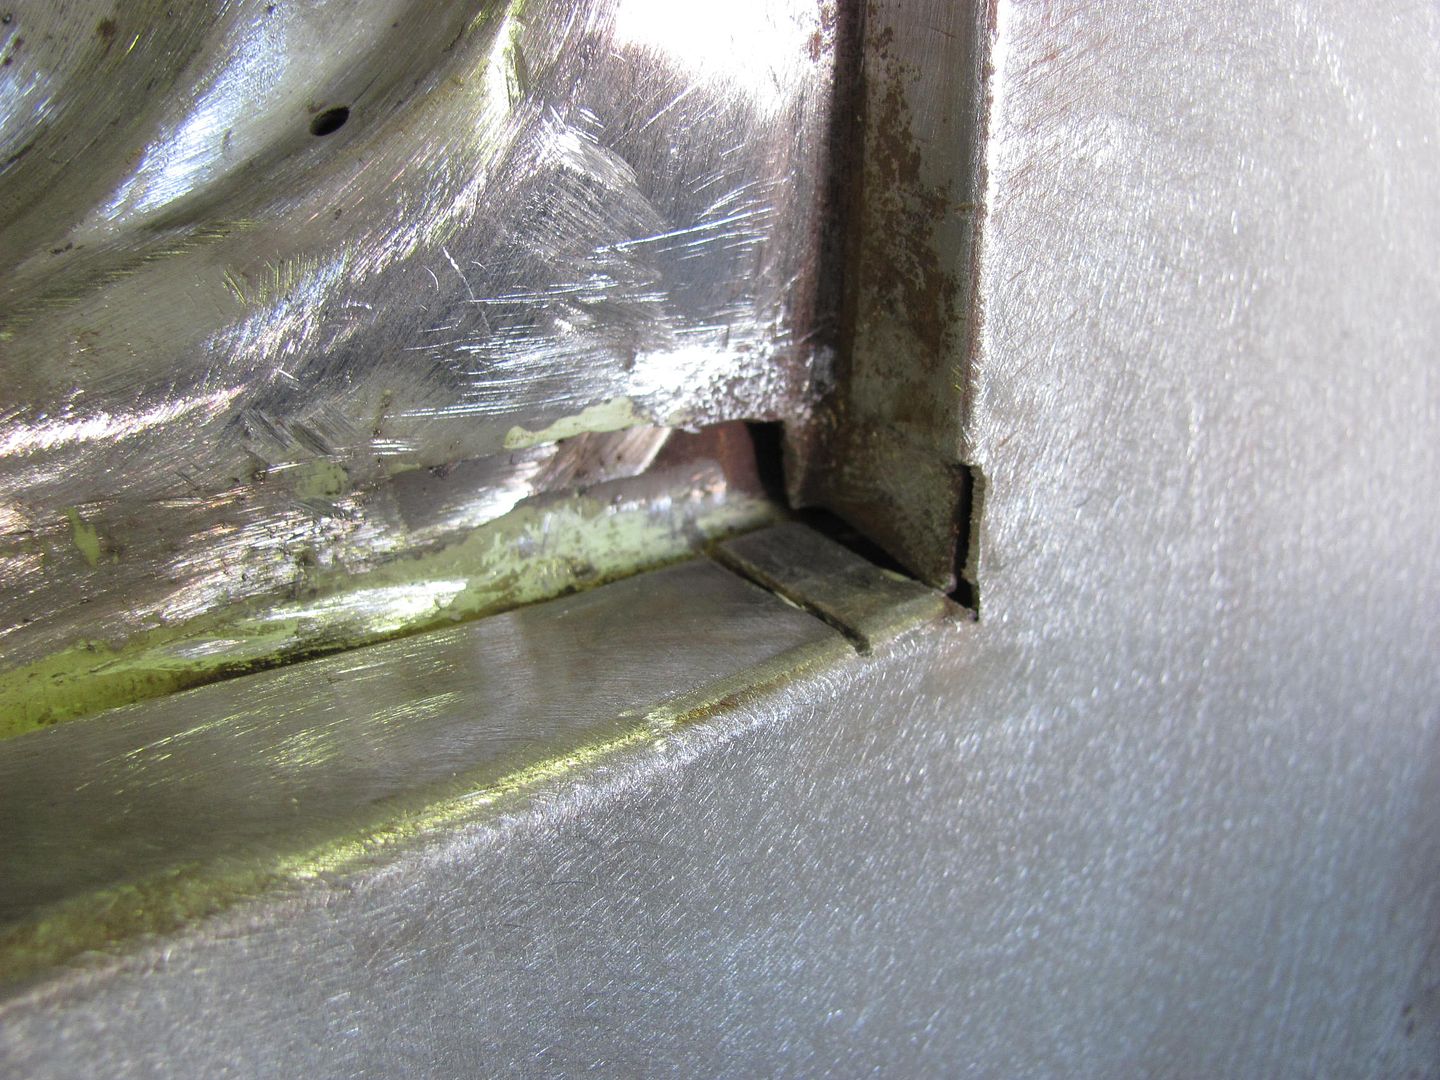 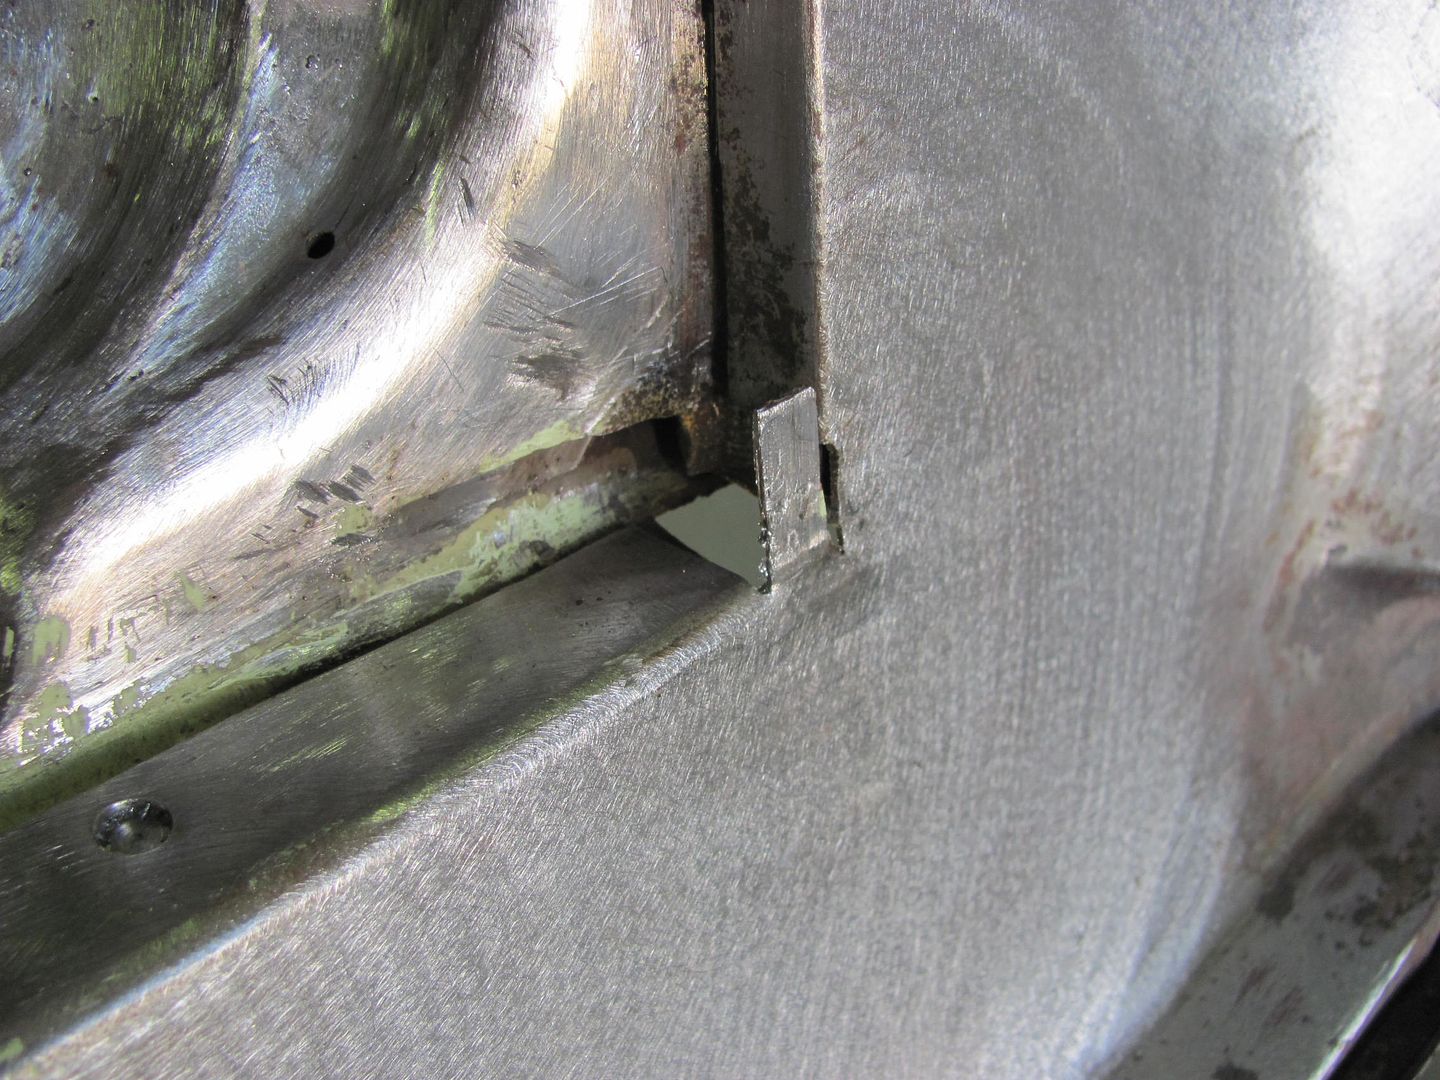 Trimmed to fit....  Welded in place... 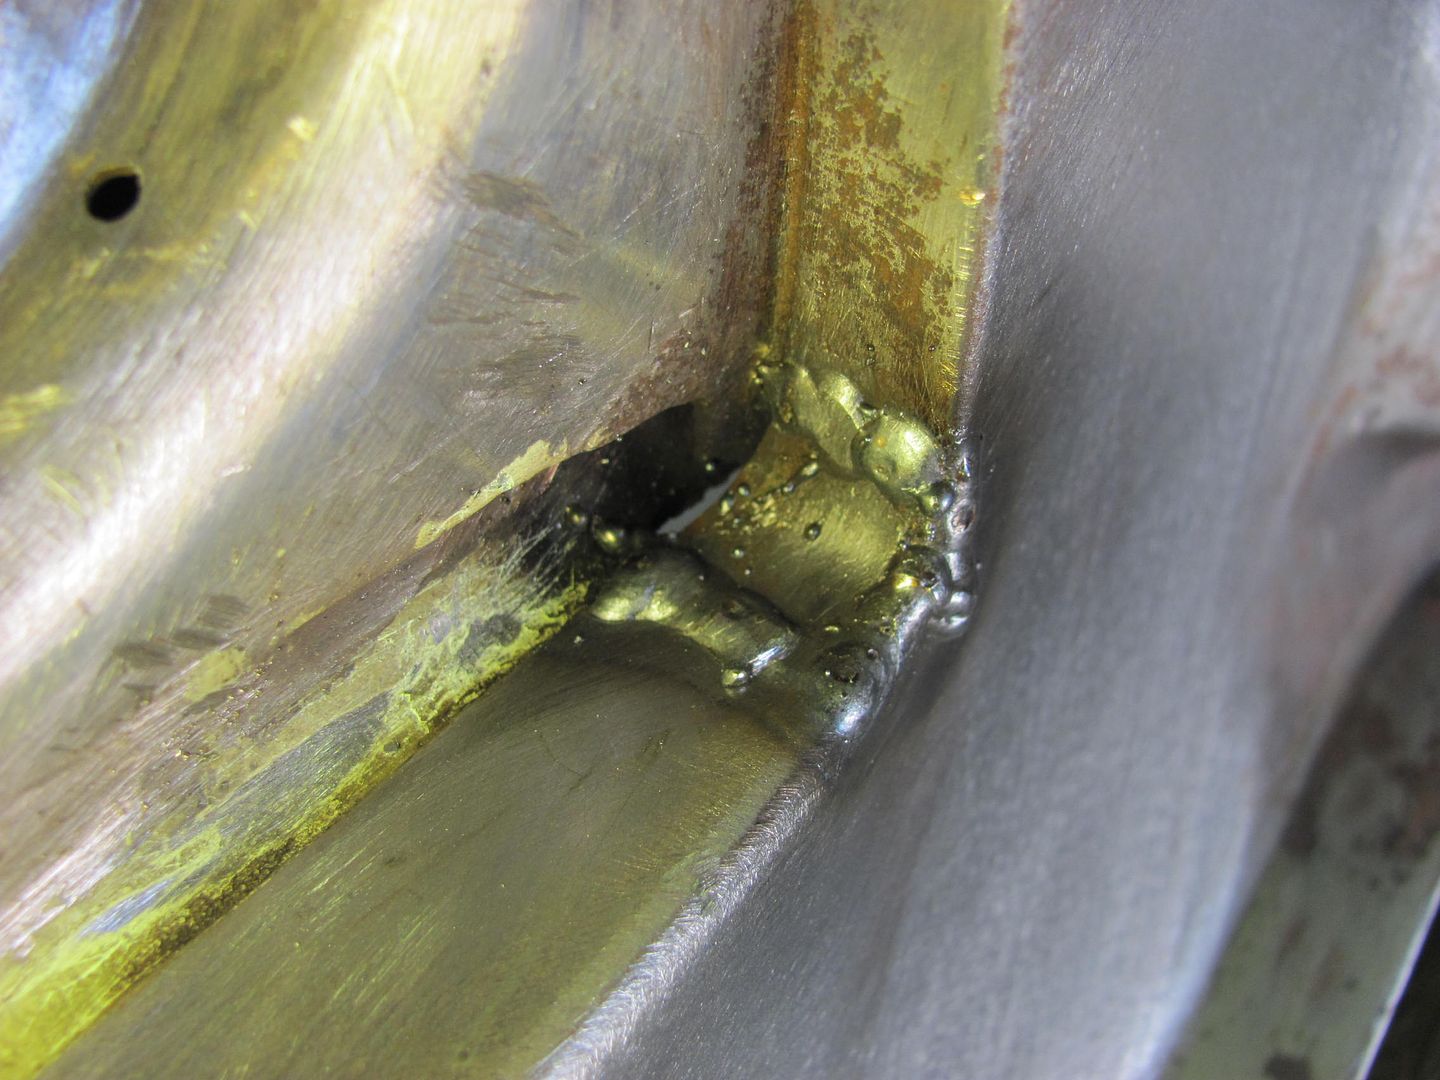 Welds dressed 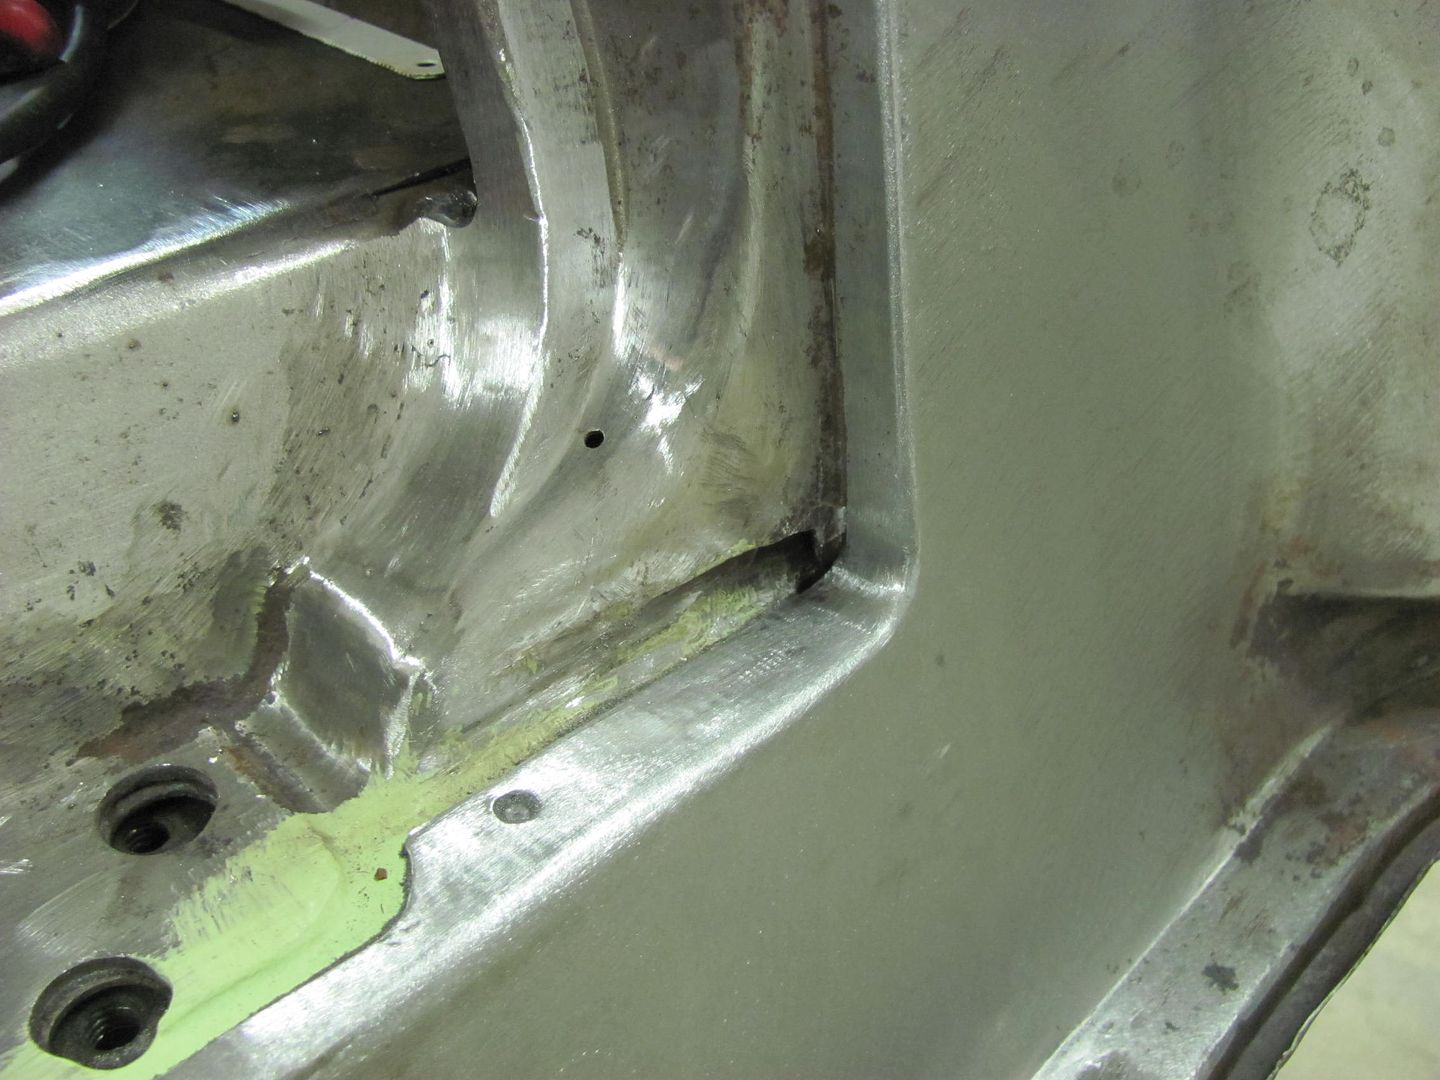 Yeah, I like this look much better! 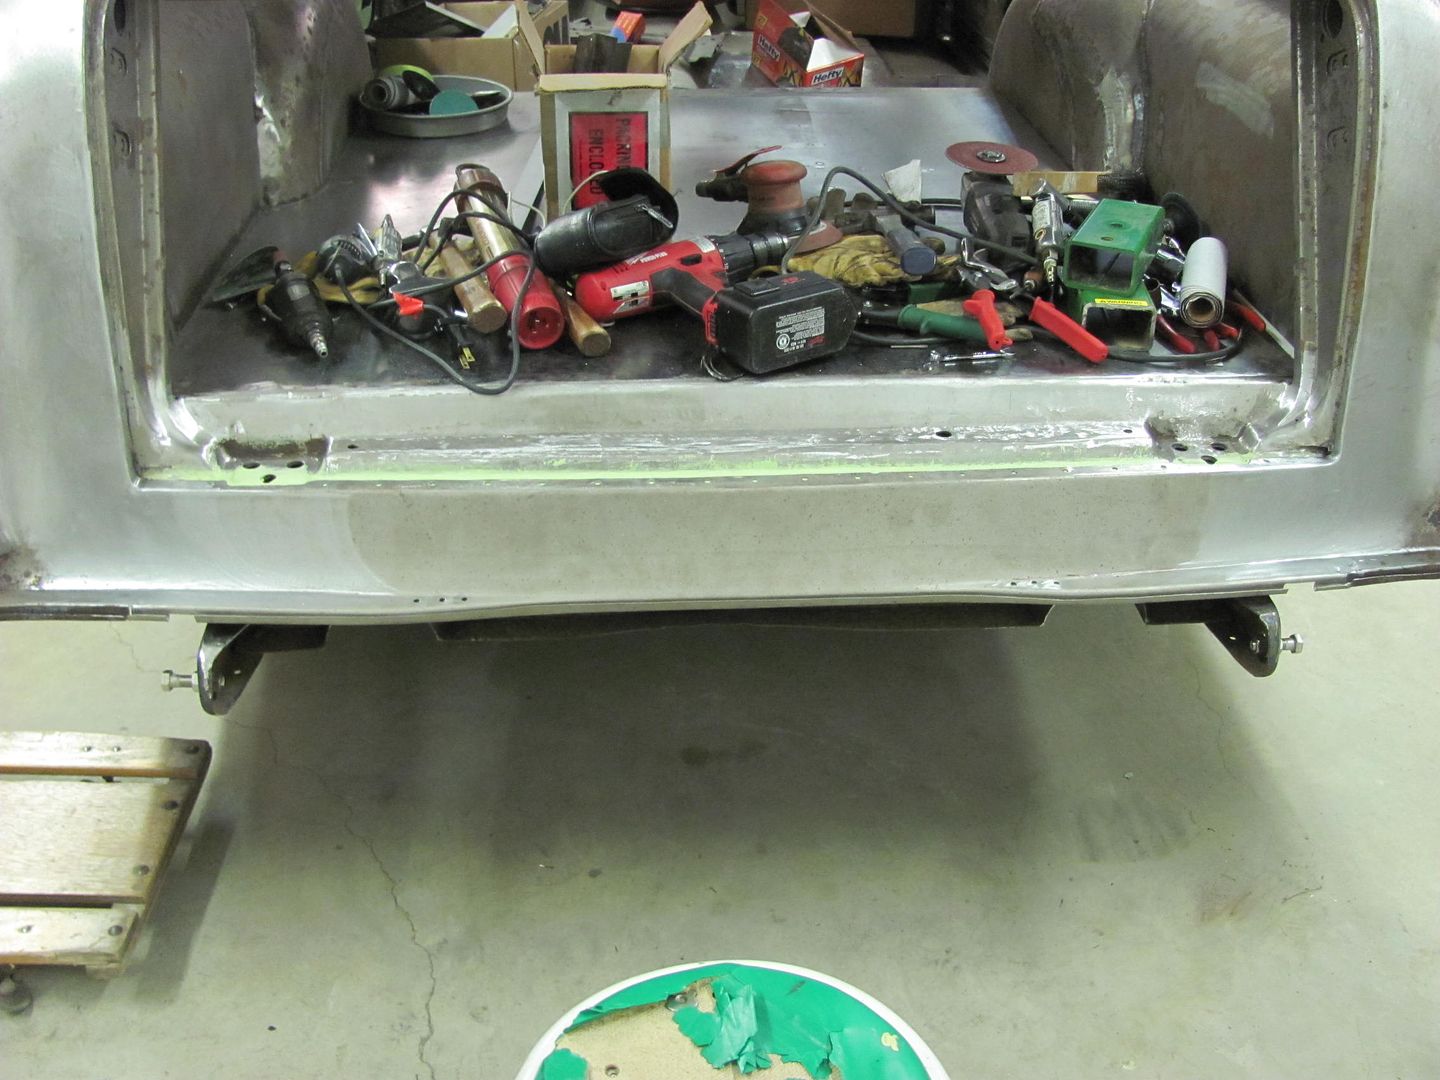
__________________
Robert |
|
|

|
|
|
#36 |
|
Registered User
Join Date: Apr 2012
Location: Beaver, Pa.
Posts: 197
|
Re: 55 Wagon Progress
Robert, what are you using to grind welds in the tight areas?
|
|
|

|
|
|
#37 |
|
Registered User
Join Date: Jan 2013
Location: Leonardtown, MD
Posts: 1,647
|
Re: 55 Wagon Progress
Where I normally use a 1/16" cutoff wheel to knock down the proud of the weld, this corner is much too tight for that. So the majority of the weld was removed with a carbide burr in the die grinder, then switched to a 3/4" dia 80 grit sanding drum on the die grinder.
__________________
Robert |
|
|

|
|
|
#38 | |
|
Registered User
Join Date: Apr 2012
Location: Beaver, Pa.
Posts: 197
|
Re: 55 Wagon Progress
Quote:
|
|
|
|

|
|
|
#39 |
|
Registered User
Join Date: Jan 2013
Location: Leonardtown, MD
Posts: 1,647
|
Re: 55 Wagon Progress
My local hardware store carries the sanding drums, but they seemed to last about 5 revolutions. My welding supplier just ordered me in bulk quantity of them (Nortons in 3/4 and 1-1/2 dia) in various grits, they seem to last a bit longer than the blister packs at the hardware store, but still wear out sooner than you'd expect. At least the bulk qty got me a better price...
Not too much shop time this weekend, but I did manage to test fit the tailgate to see how well it matched the new radiuses added to the opening. 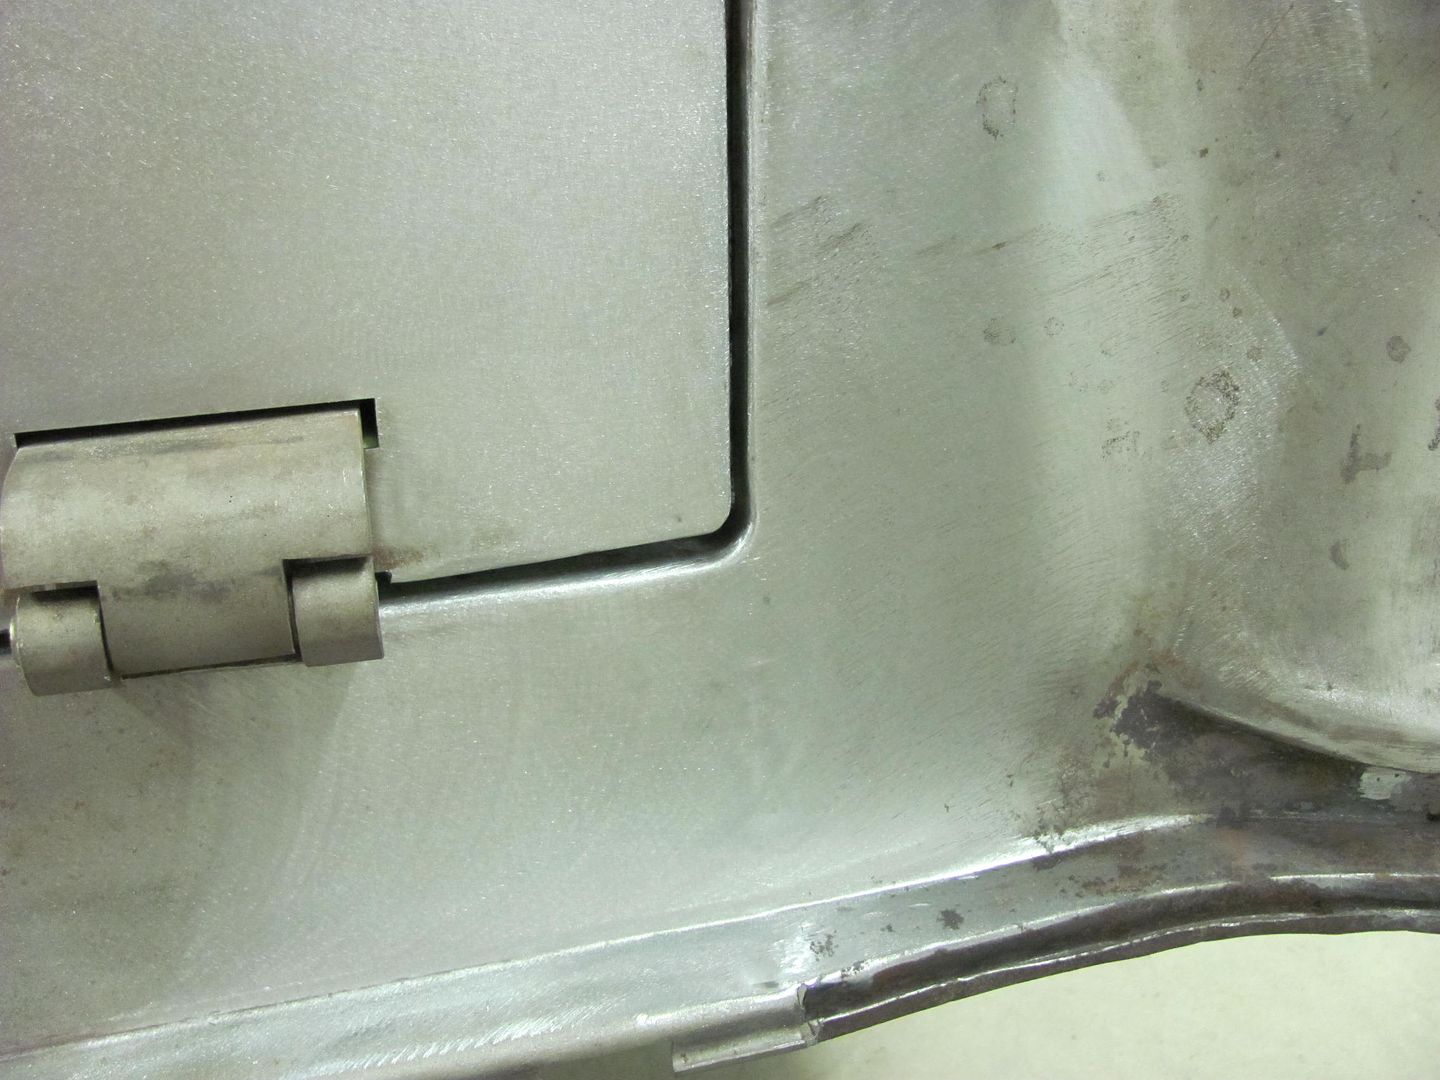 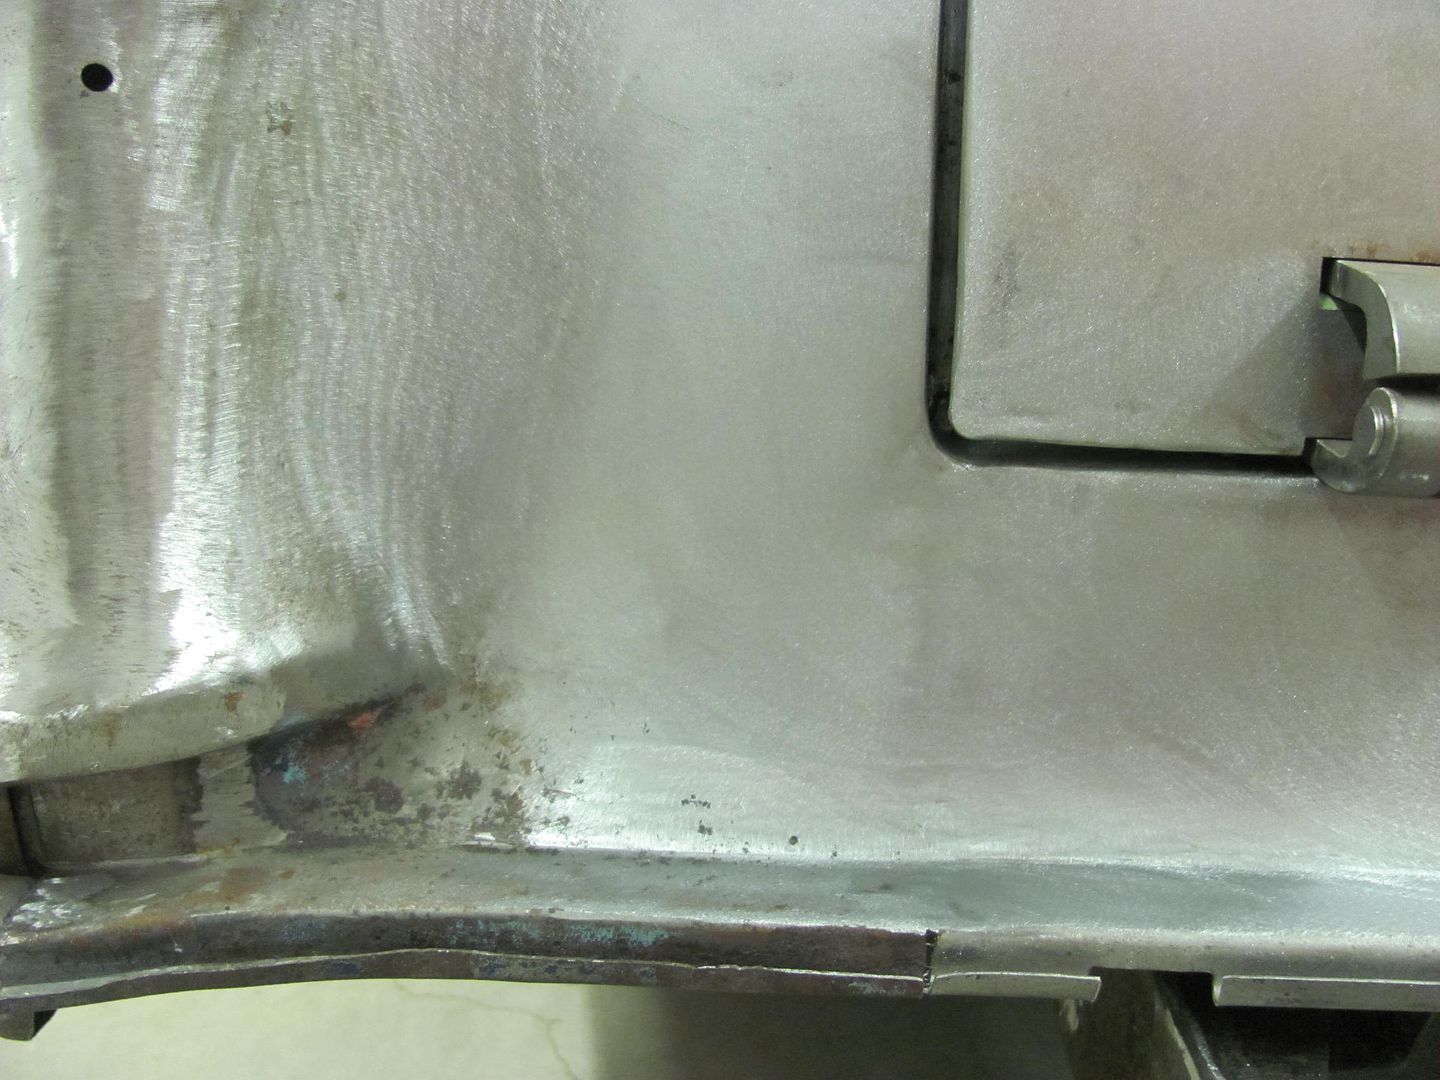 There are a couple areas the gaps will need tweaking, but the "new" corners should help add to the other subtle changes.
__________________
Robert Last edited by MP&C; 05-12-2013 at 09:08 PM. |
|
|

|
|
|
#40 |
|
Registered User
Join Date: Apr 2003
Location: Indep, MO
Posts: 5,893
|
Re: 55 Wagon Progress
Wanted to say thanks- I used the "make a pass of tacks, then grind off with the wheel, then make a pass, then grind" method tonight- worked great! Much better, and faster grinding! Another tool in the box! Thanks again.
__________________
Boppa's Old Yeller Truck Build, Old Yeller's New Heart! Project Buzz Bomb Flyin' Low! |
|
|

|
|
|
#41 |
|
Registered User
Join Date: Jan 2013
Location: Leonardtown, MD
Posts: 1,647
|
Re: 55 Wagon Progress
Been a busy couple weeks working on honey do's, painted the inside of the garage so I could hang a canoe for storage, so I could paint the inside of the car trailer that it used to be stored in, so we could sell the car trailer. Late today, found a bit of time for the wagon, working on some of the plug welds for the rear valance....
 The ones at the bottom attach to two braces underneath, and fitted the tailgate to pull in the valance to match the bottom of the tailgate...  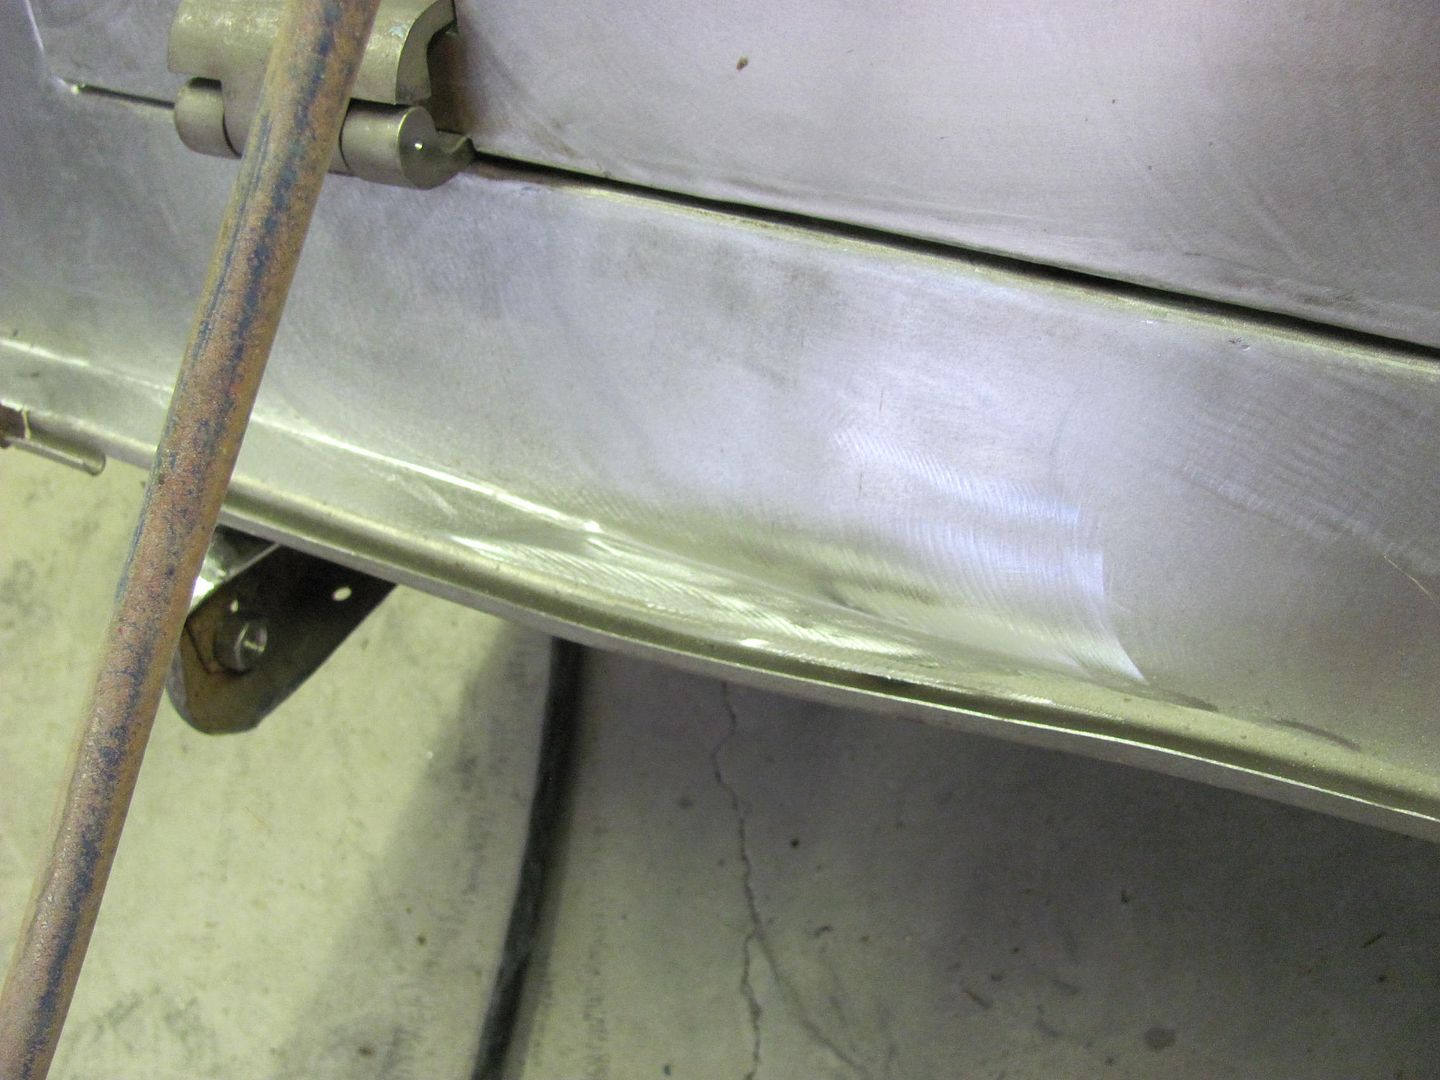 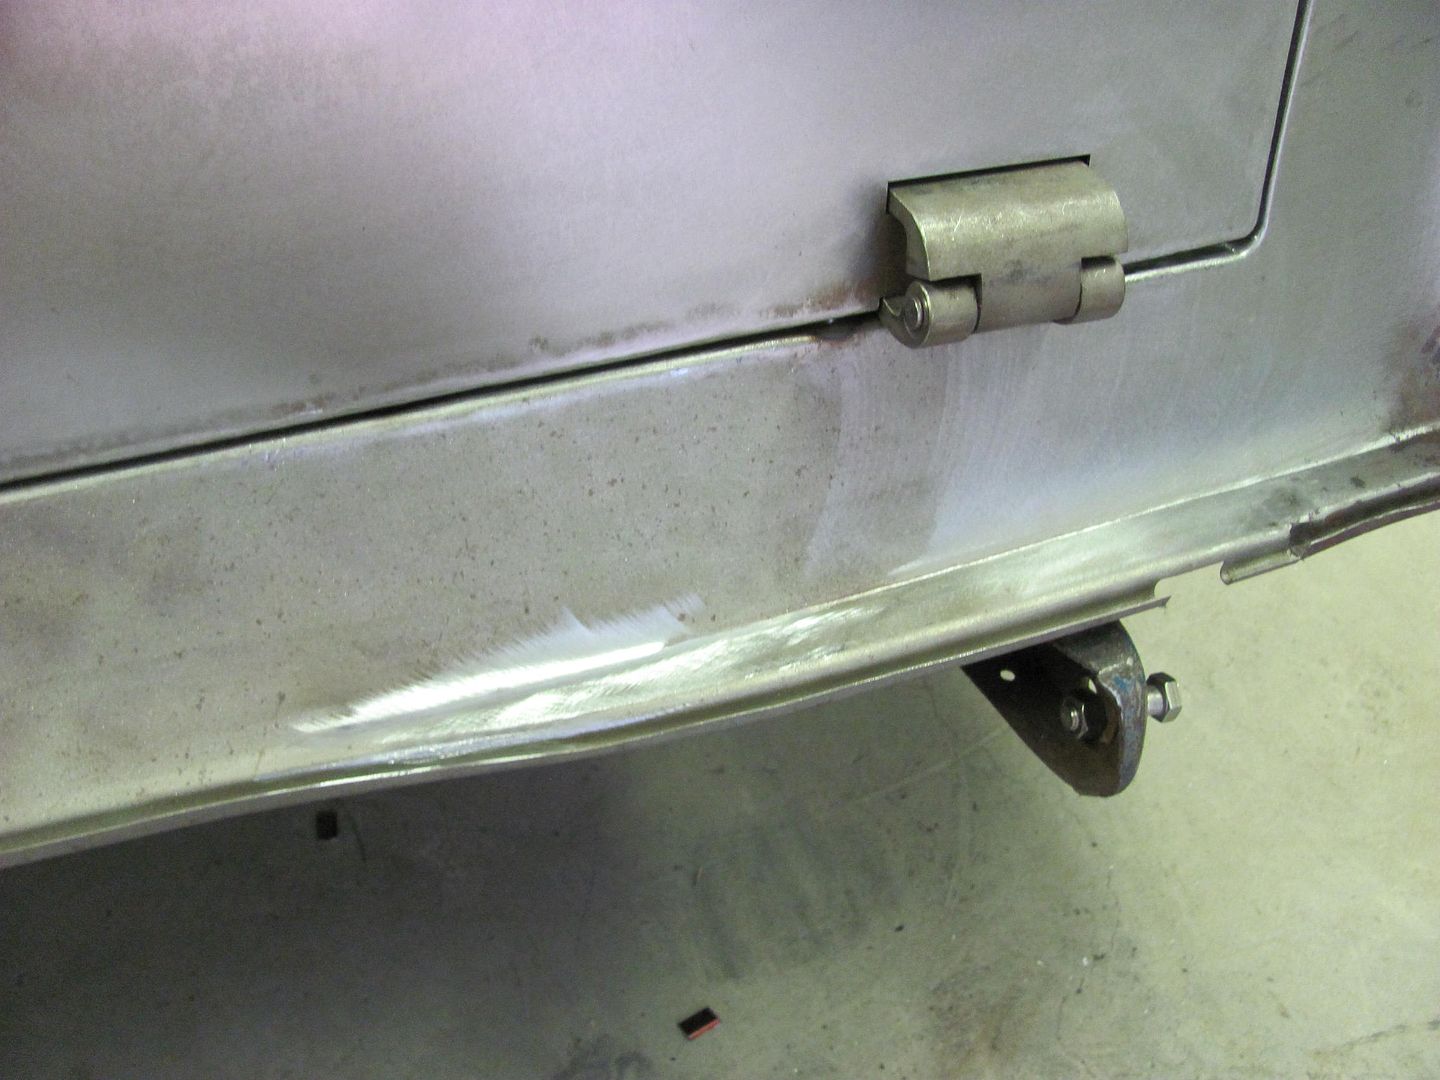 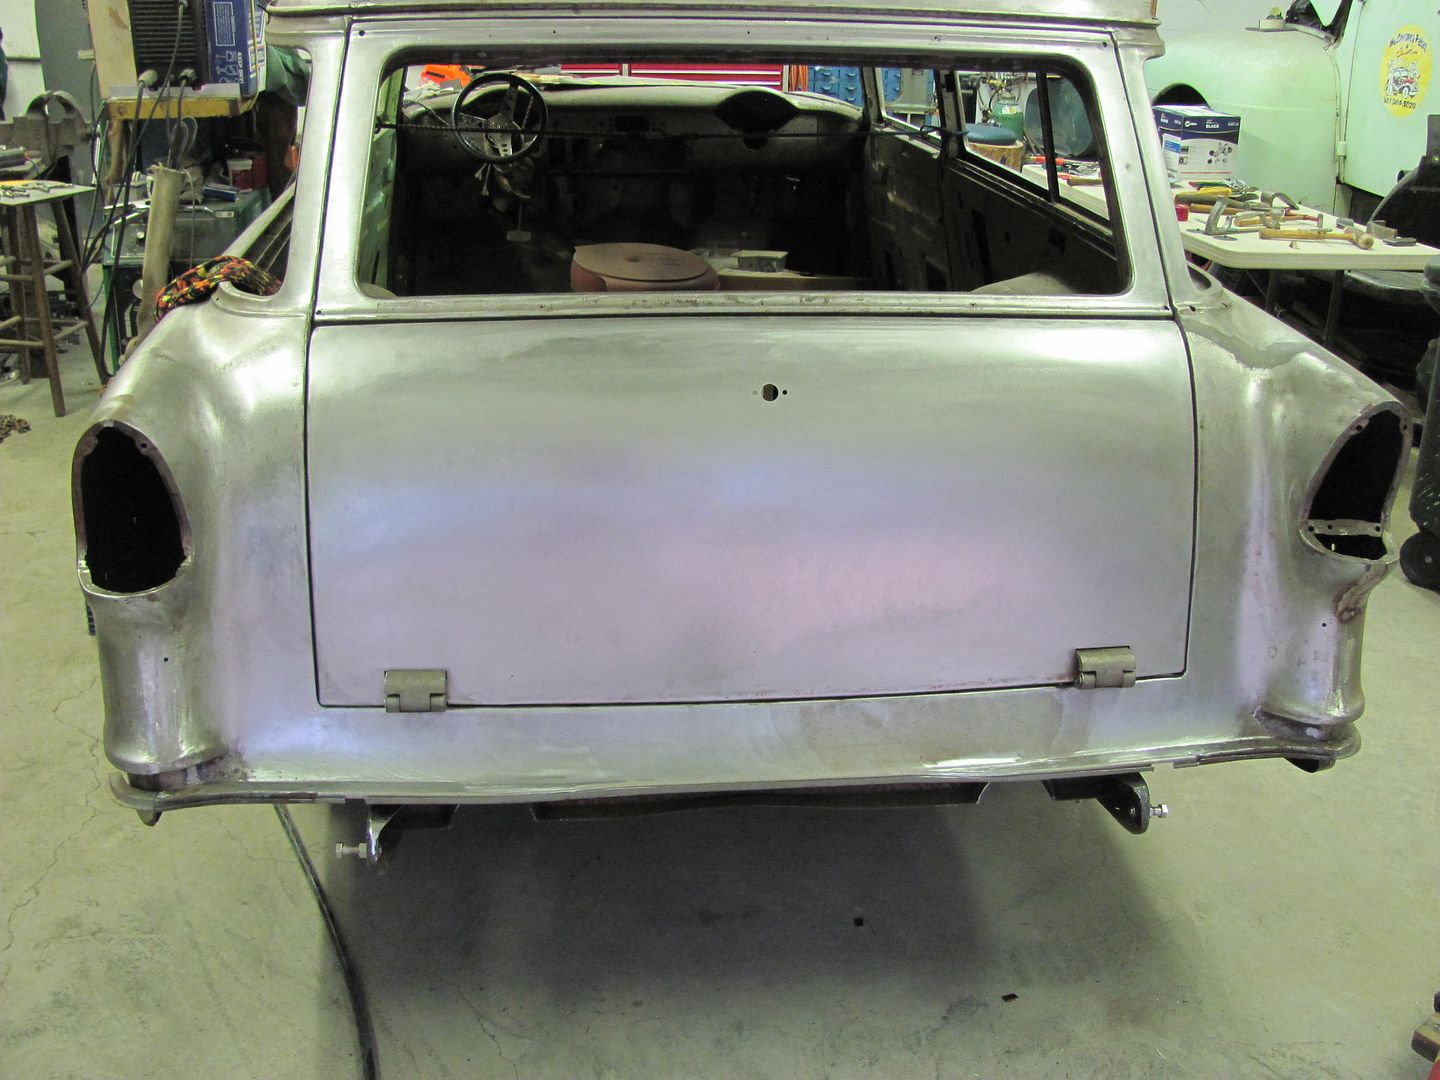
__________________
Robert |
|
|

|
|
|
#42 |
|
Registered User
Join Date: Apr 2003
Location: Indep, MO
Posts: 5,893
|
Re: 55 Wagon Progress
Looks good! You must have a patient customer, with work that nice, I'd be losin' it to see it finished!
__________________
Boppa's Old Yeller Truck Build, Old Yeller's New Heart! Project Buzz Bomb Flyin' Low! |
|
|

|
|
|
#43 |
|
Registered User
Join Date: Jan 2013
Location: Leonardtown, MD
Posts: 1,647
|
Re: 55 Wagon Progress
I'm ready to see it finished myself!
 Worked today to finish up the weld seam on the passenger quarter panel. First, I wanted a profile template to check the crown of the panel. As the rear half of the driver's quarter was NOS, this would make a good template.... 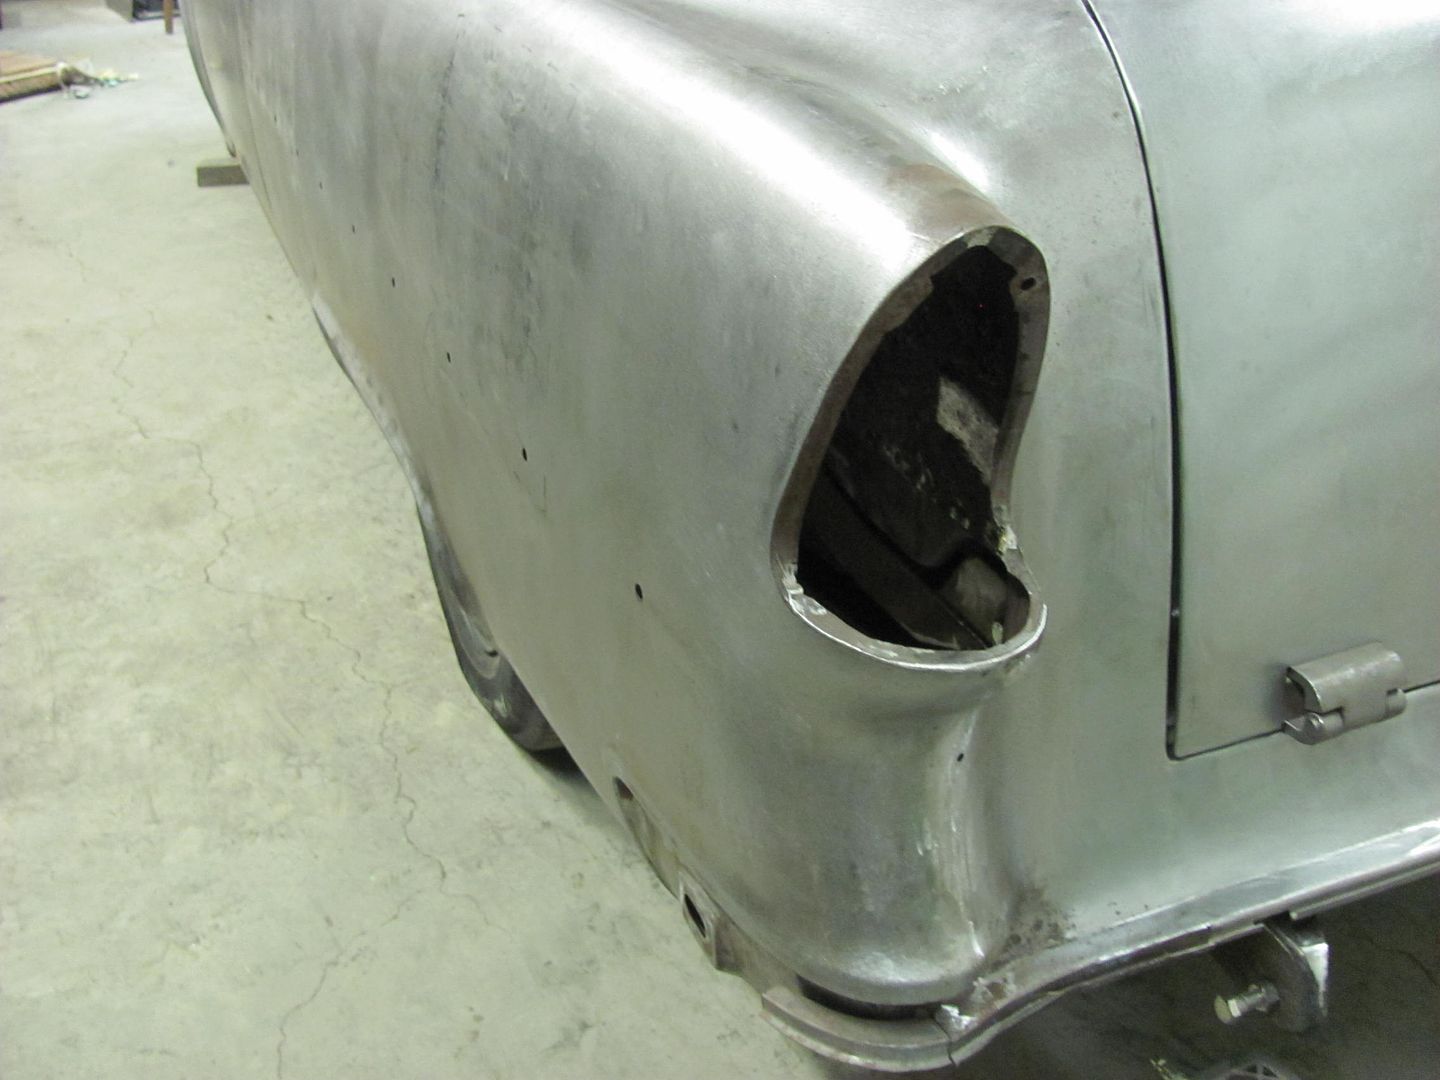 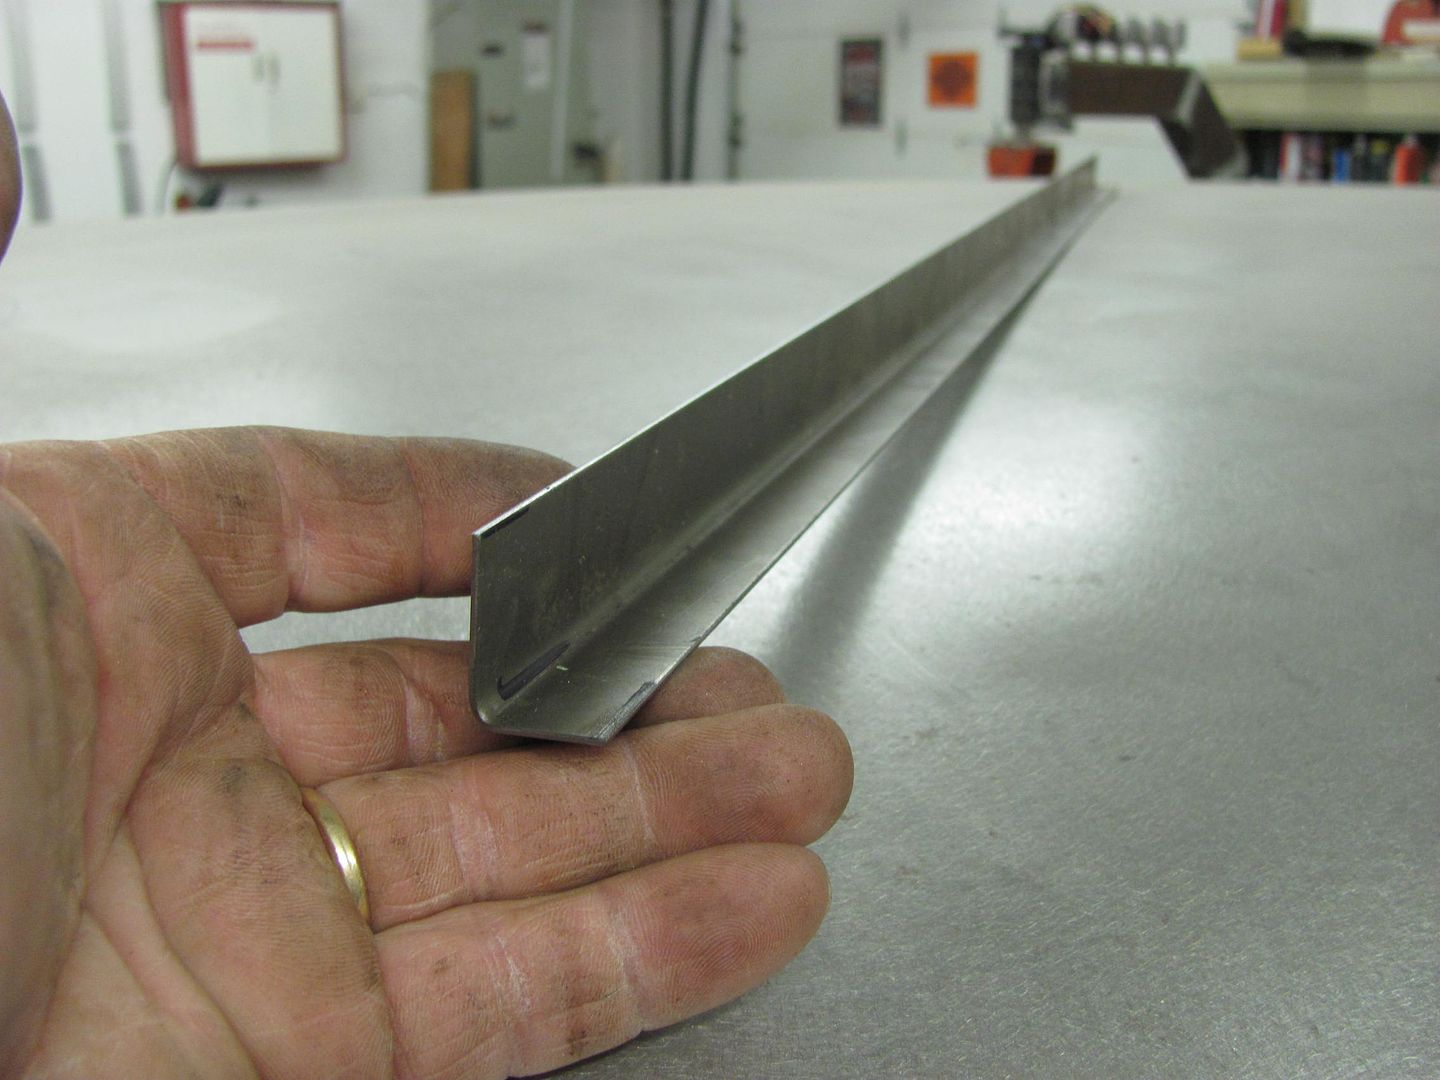 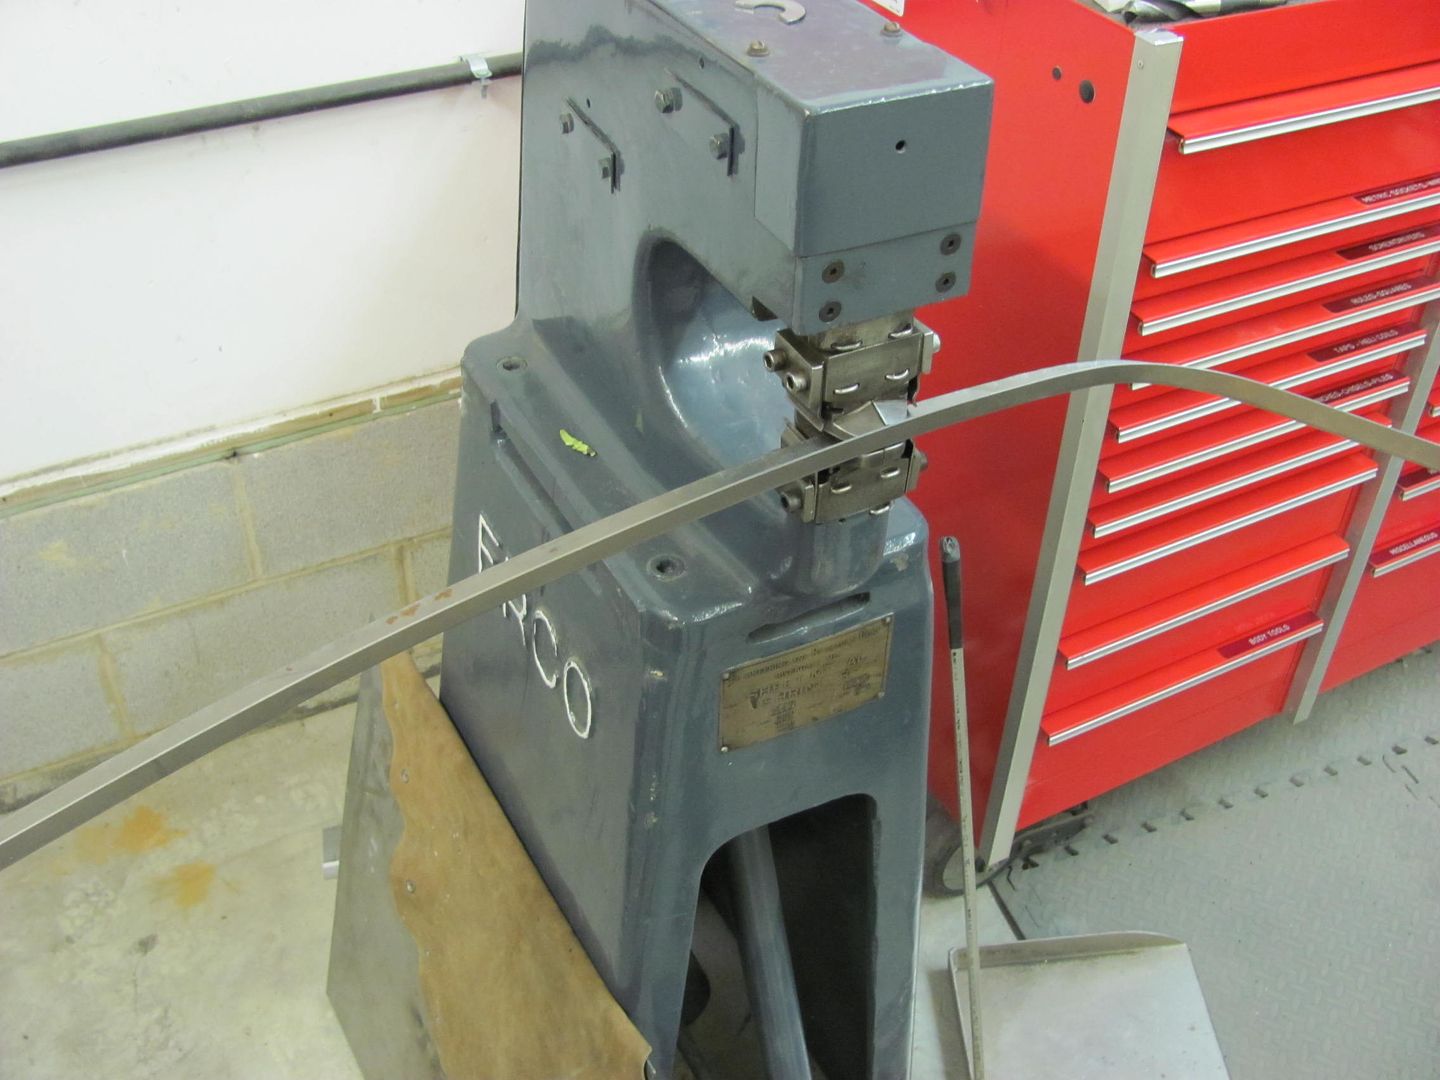 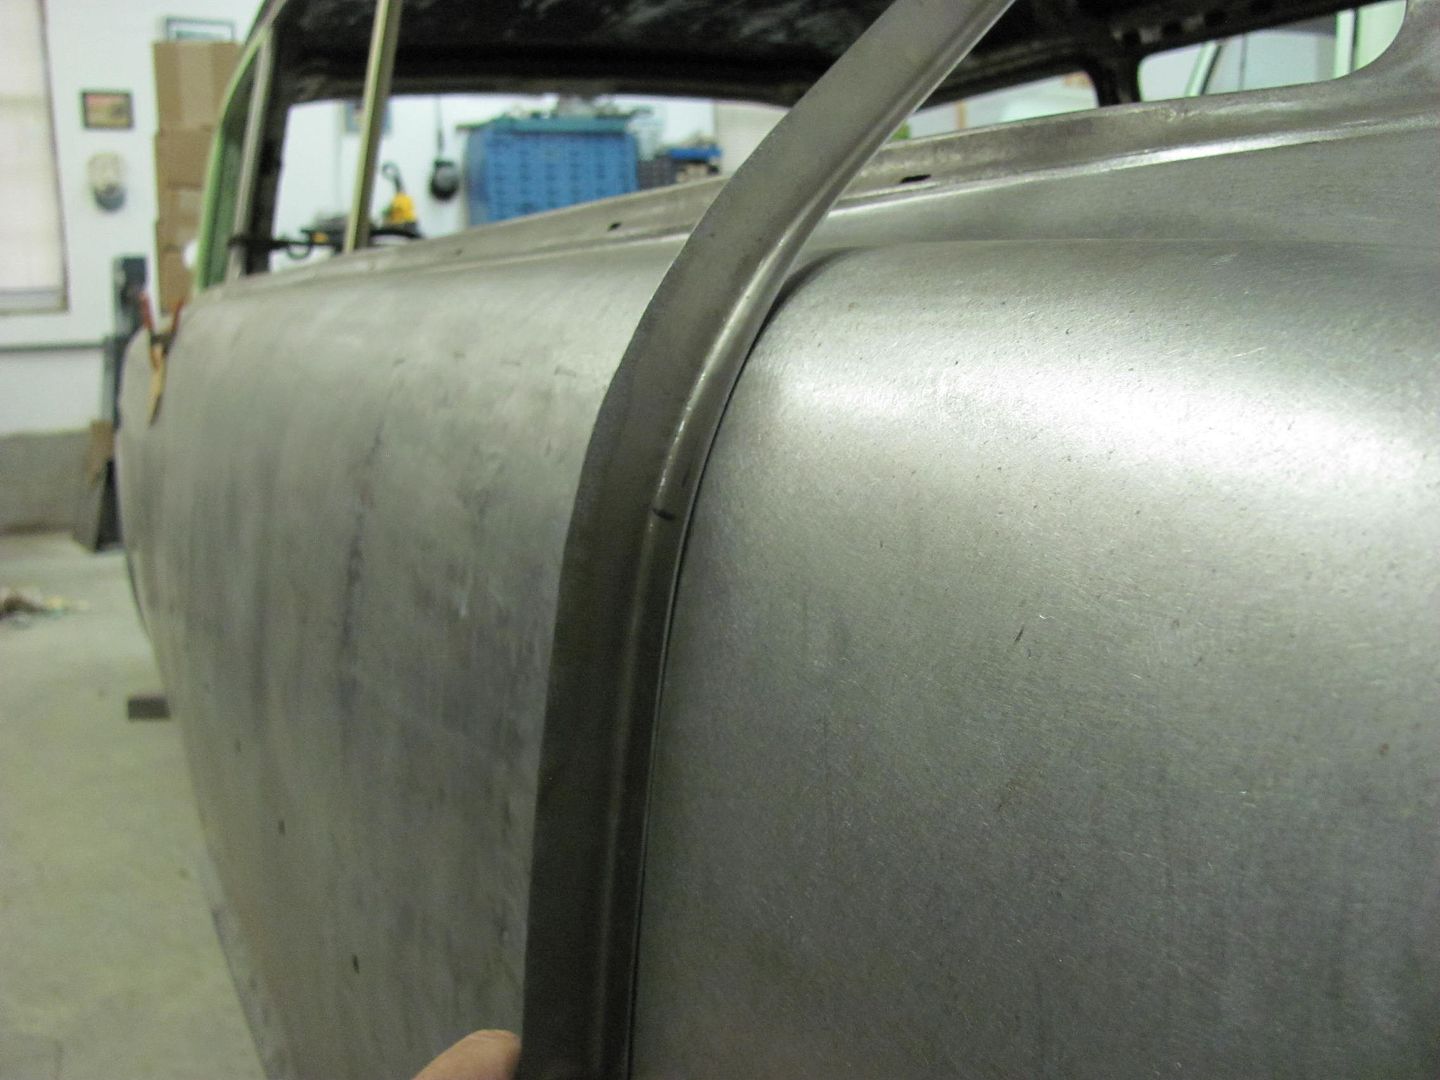 Adding an alignment mark to the quarter.... 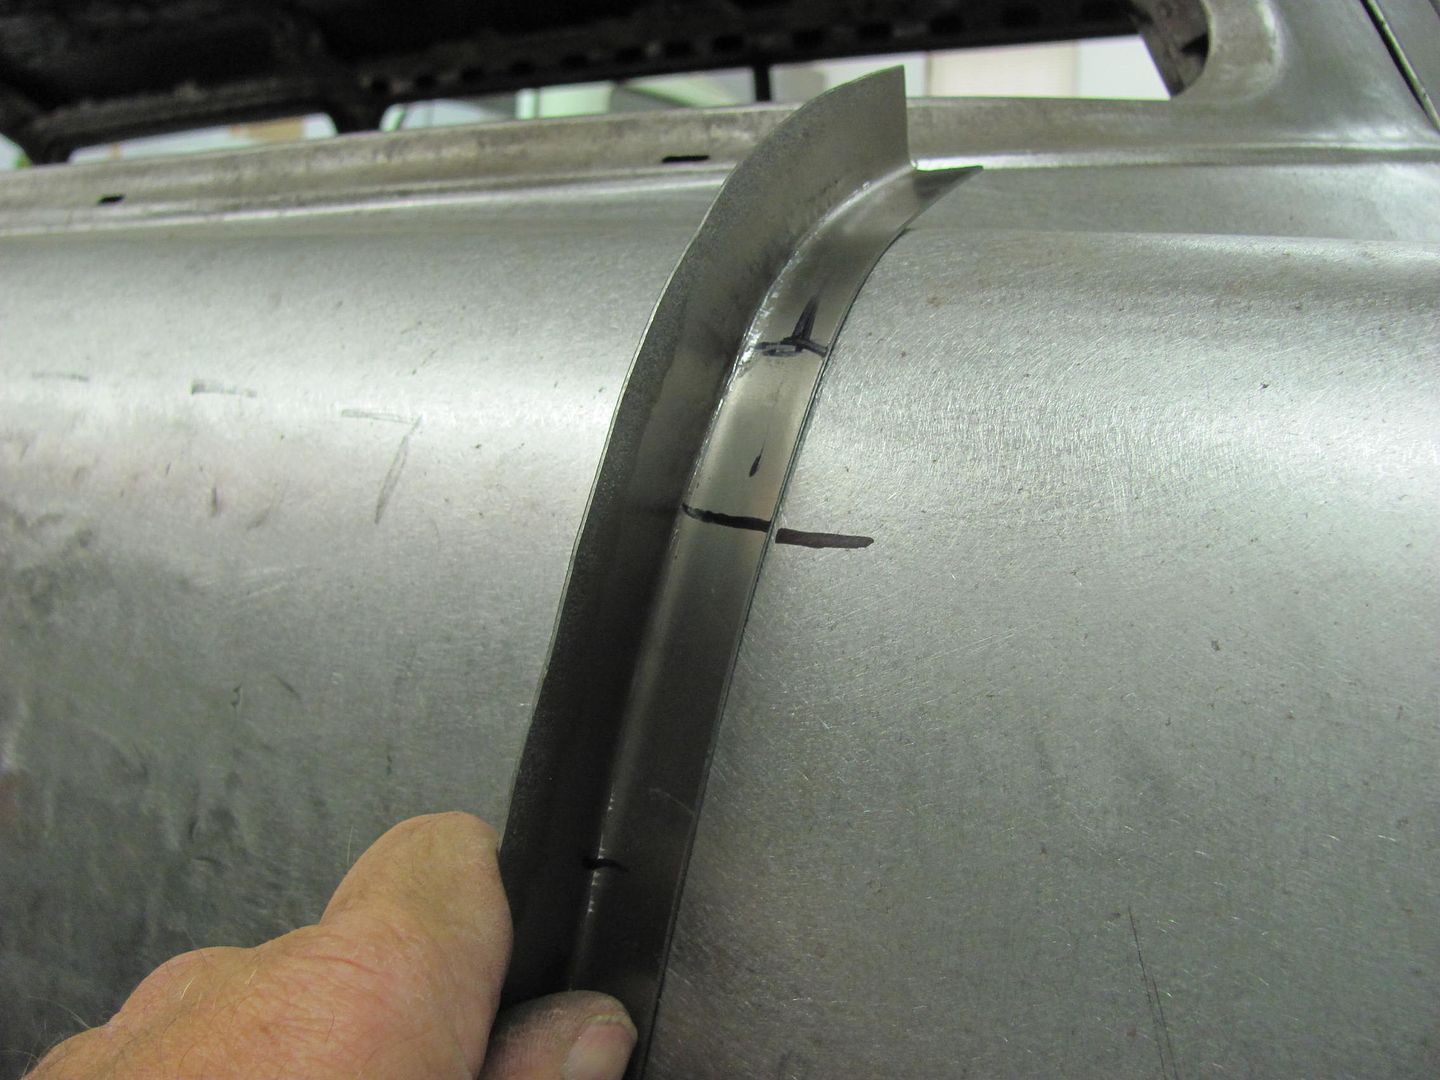 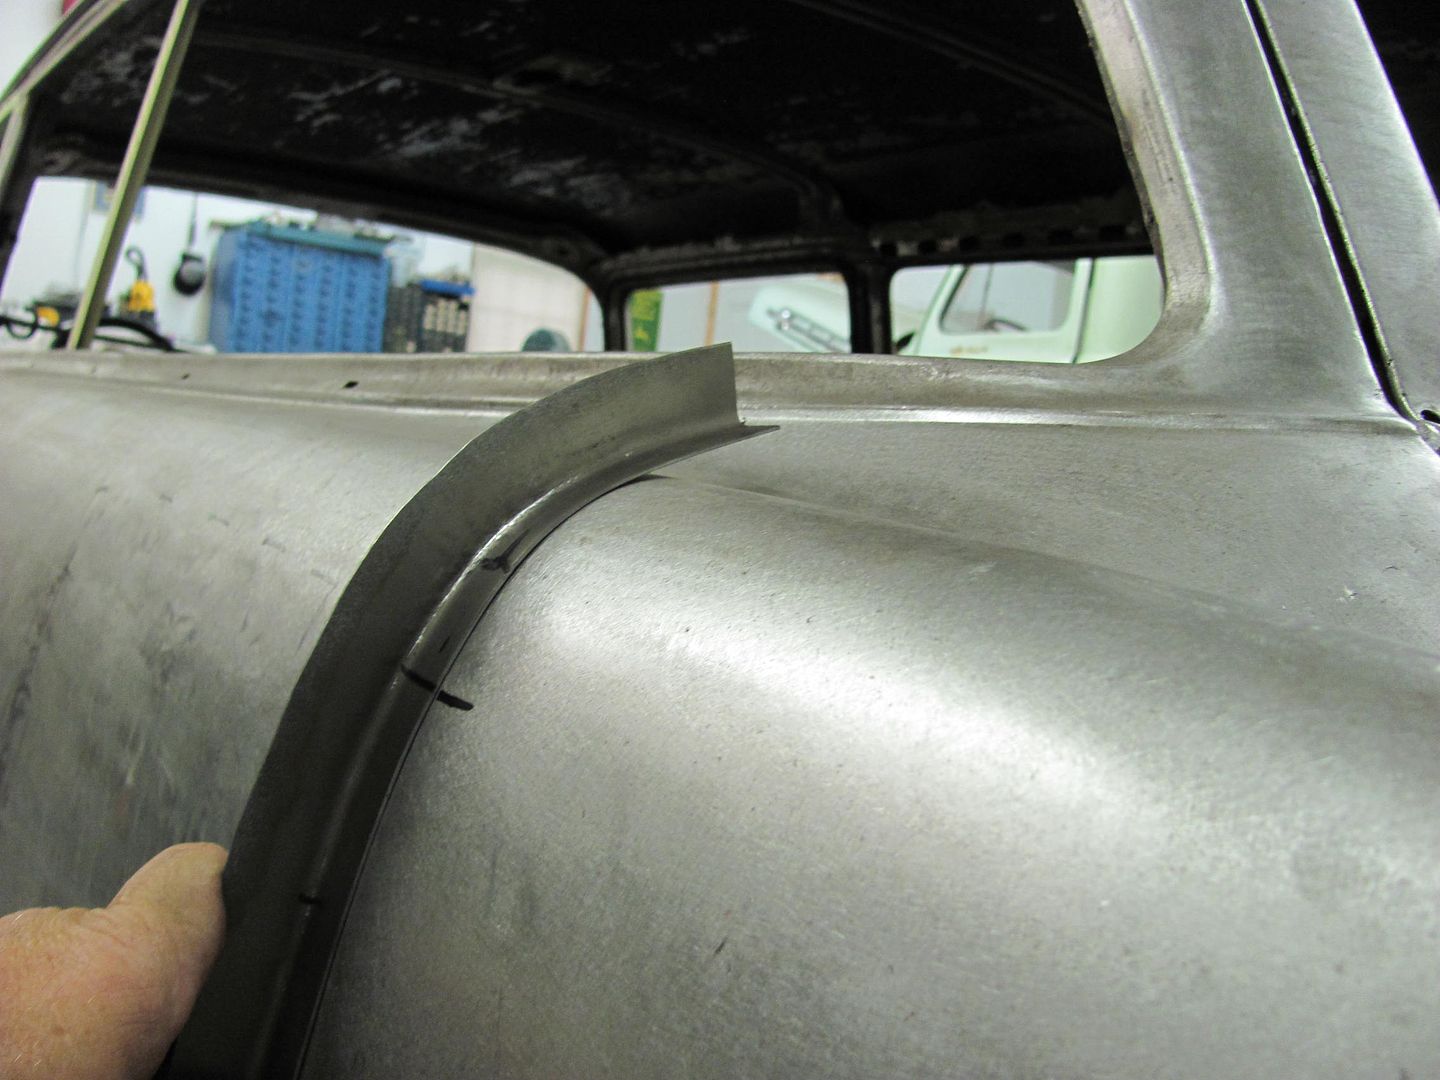 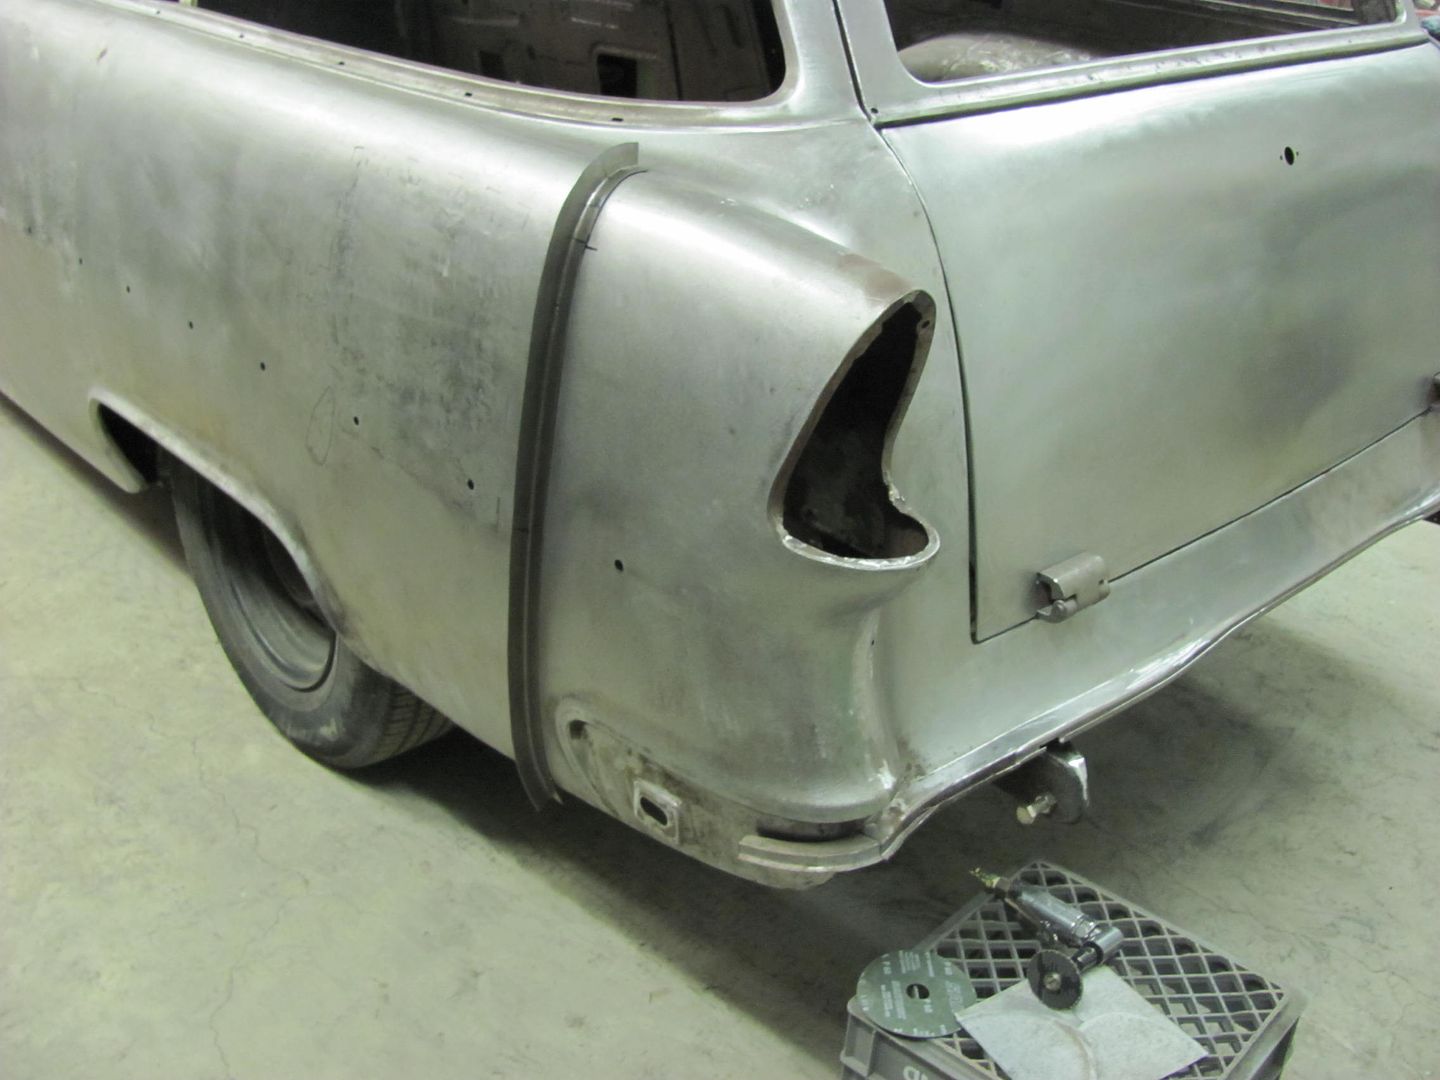 Using the profile template against the welded seam of the passenger side, we can see the low area along the center. This is a typical problem with using "half quarters", welding through the center of panel tends to flatten out this low crown area. A full quarter with the welded seam up top where there is a bit more crown tends to not have as much of a "flattening" effect. 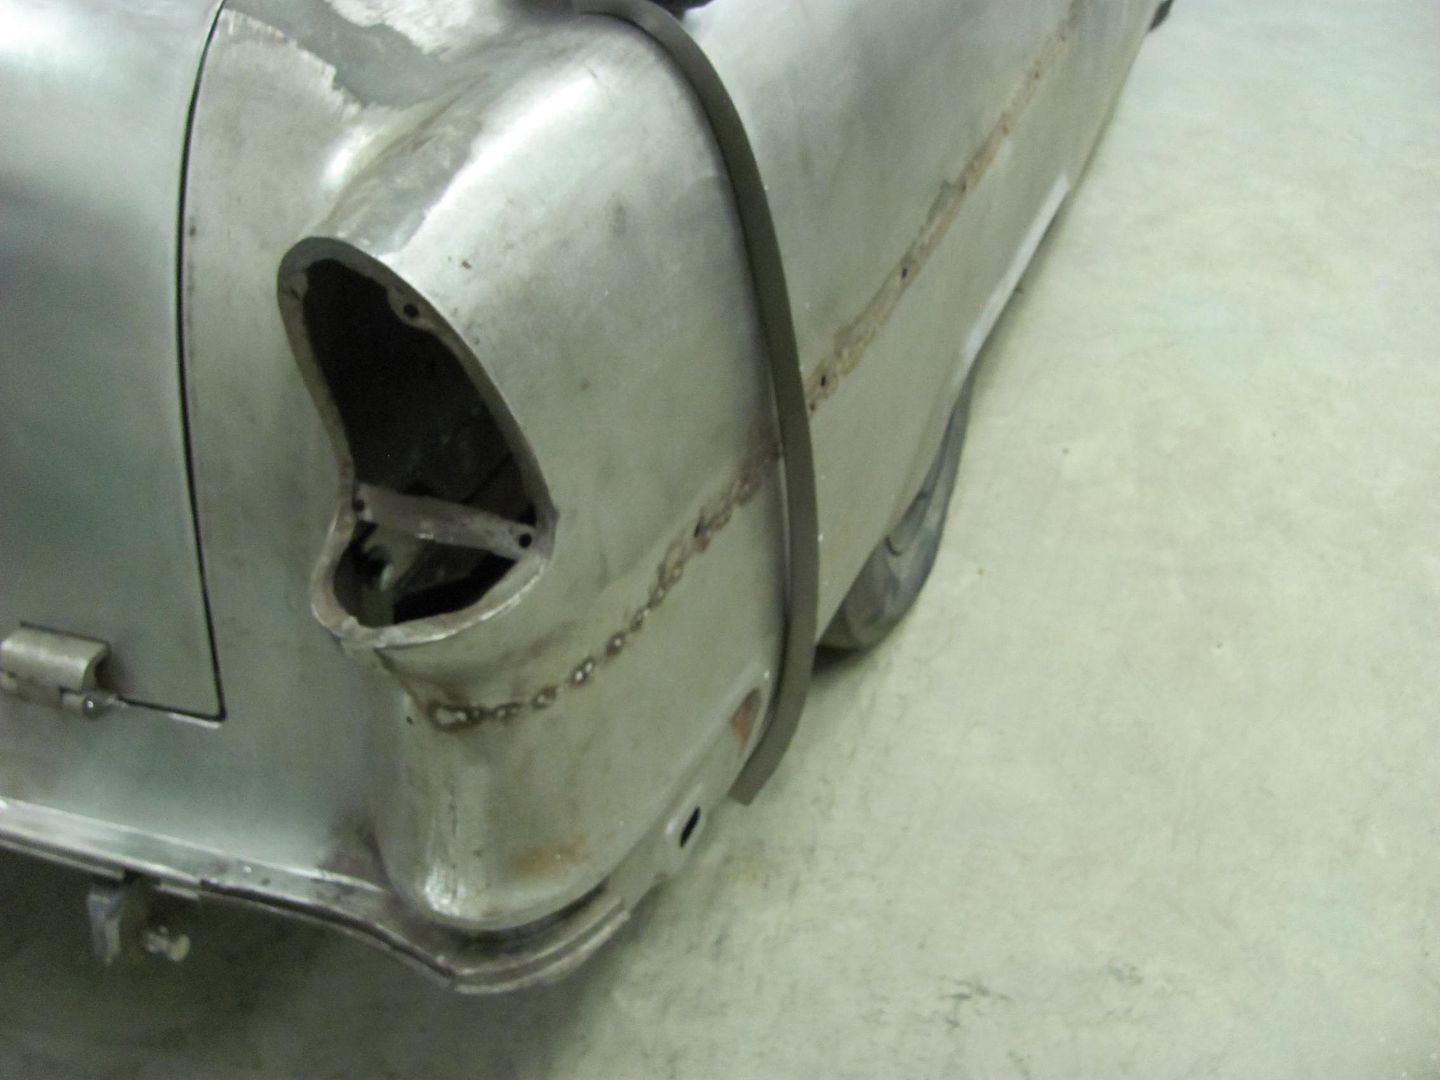 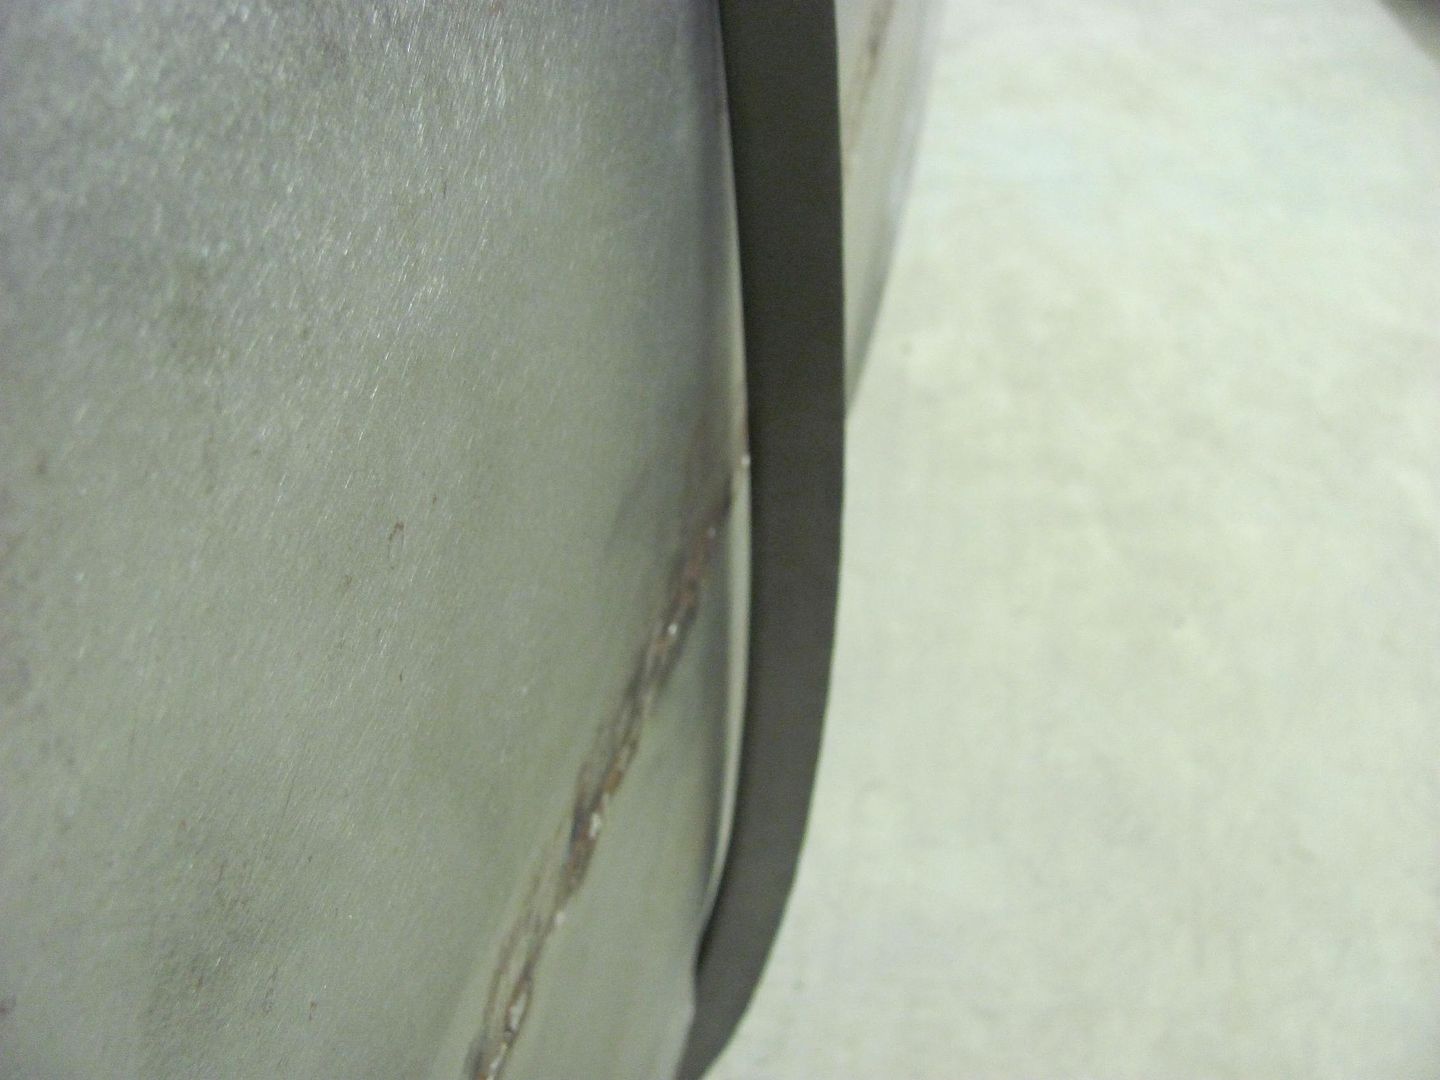 Finishing the welds and checking with the profile template..... 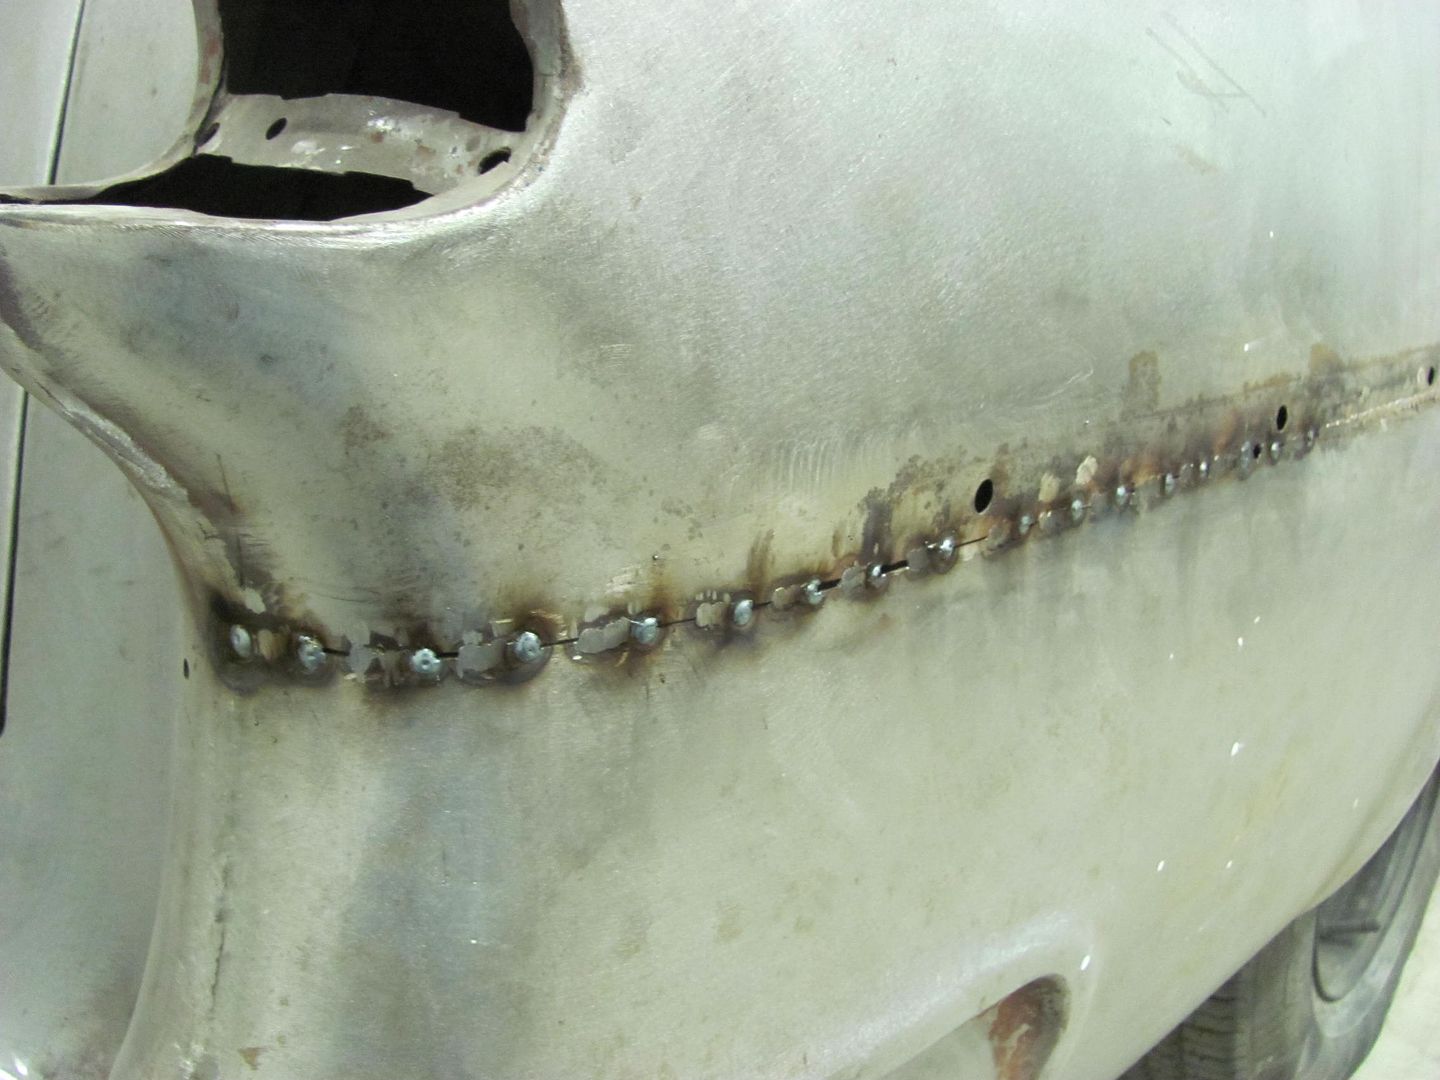 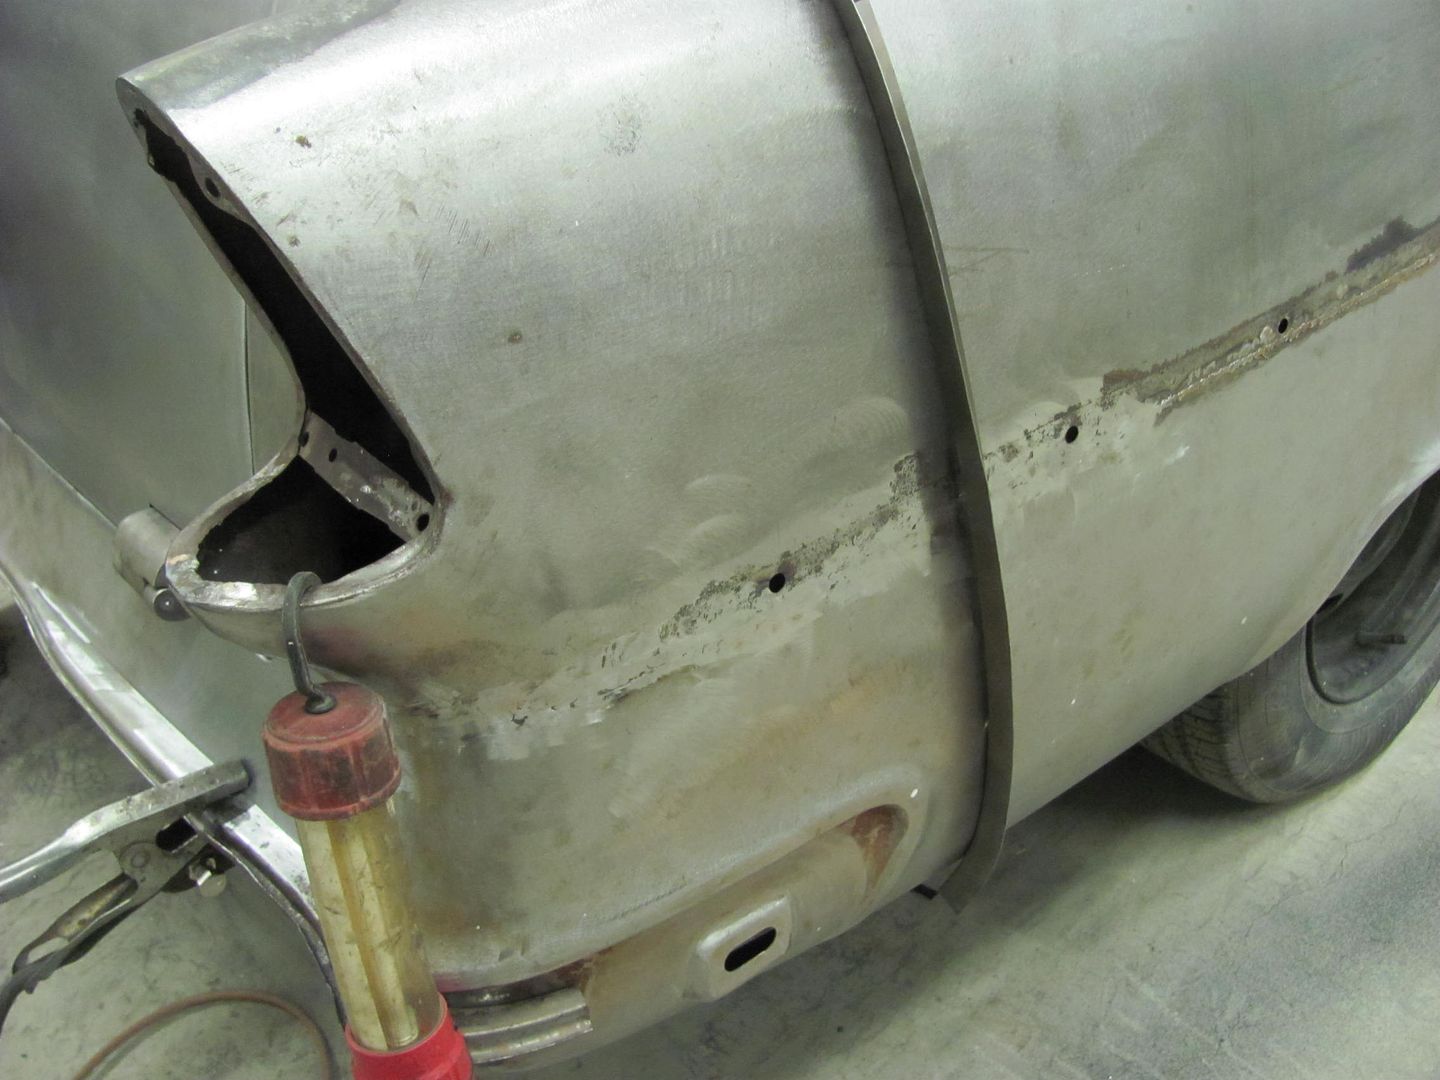 Still shows some more crown needed through the middle of the panel, will do some more planishing tomorrow... 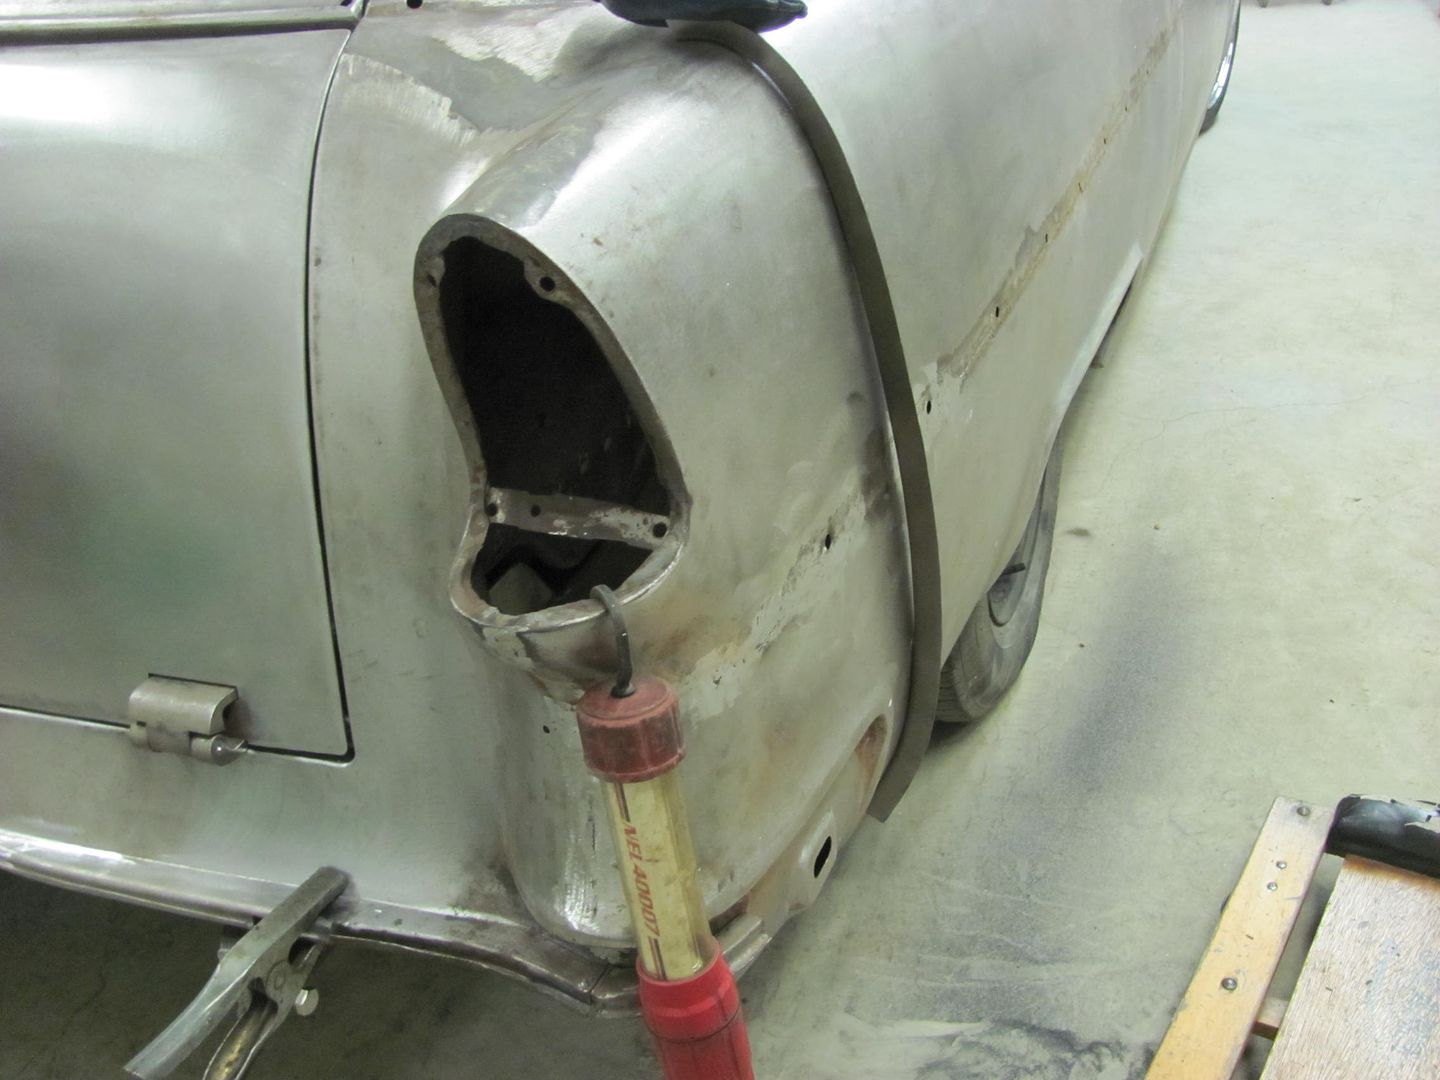
__________________
Robert Last edited by MP&C; 06-07-2013 at 11:21 PM. |
|
|

|
|
|
#44 |
|
Registered User
Join Date: Mar 2006
Location: Pittsburgh
Posts: 1,694
|
Re: 55 Wagon Progress
Nice work
 Thanks for sharing Thanks for sharing  Nate Nate
__________________
Nate 1967 short fleet Project Blue Goose 'If it don't bounce back... heeheehee you go hungry!" Blues Brothers |
|
|

|
|
|
#45 |
|
Registered User
Join Date: Apr 2003
Location: Indep, MO
Posts: 5,893
|
Re: 55 Wagon Progress
See, this is just the thing I gotta see... I'm fixin' to do something similiar soon. How do you planish when you have VERY limited to nothing for rear access for on-dollying? Thanks for all you show us, I gotta get a shrinker/stretcher.
__________________
Boppa's Old Yeller Truck Build, Old Yeller's New Heart! Project Buzz Bomb Flyin' Low! |
|
|

|
|
|
#46 |
|
PROJECT 7DEUCE
 Join Date: Dec 2002
Location: GRANTS PASS OR
Posts: 21,608
|
Re: 55 Wagon Progress
Awesome work for sure thanks for sharing.. I have a question on the spot weld drill bit you made? How did you make that? What do you feel the benefits of it are? So all in all I guess its a few questions.. Thanks..
__________________
GO BIG GREEN  GO DUCKS GO DUCKSMEMBER #6377 72 k-5 daily driver 6'' lift 35'' 350-350-205 slowly getting rust free. Project "7DEUCE" check out my build http://67-72chevytrucks.com/vboard/s...d.php?t=267665 Tim Powell..R.I.P EastSideLowlife..... R.I.P.. |
|
|

|
|
|
#47 |
|
Registered User
Join Date: Jan 2013
Location: Leonardtown, MD
Posts: 1,647
|
Re: 55 Wagon Progress
I read a restoration publication quite a few years back where they did a comparative test of the long term benefits of epoxy primer and weld through primers. They concluded that epoxy offered better long term protection against rust re-occuring, and I have been using epoxy ever since. Granted, either one will give better protection than none at all, so I don't think one could find too much fault with using either.
I have been using the epoxy primer, and any panels that are overlapped, pinch welded, etc together, I like applying EP at a minimum to the areas between the panels being welded and also areas that are inaccessible later (like inside rockers). I usually will prep the outer (or more accessible for welding) panel with plug weld holes, and use a modified drill bit the same size as the plug weld holes to clean out the bottom of the hole on the adjacent panel. The modified bit is made by flattening and backfacing using a 3" roloc sander, making it look similar to a milling bit. I think I used a 120 grit disc. Because of the flat, it tends not to cut into the metal but does a good job of cleaning off the paint in prep for welding the panels together. 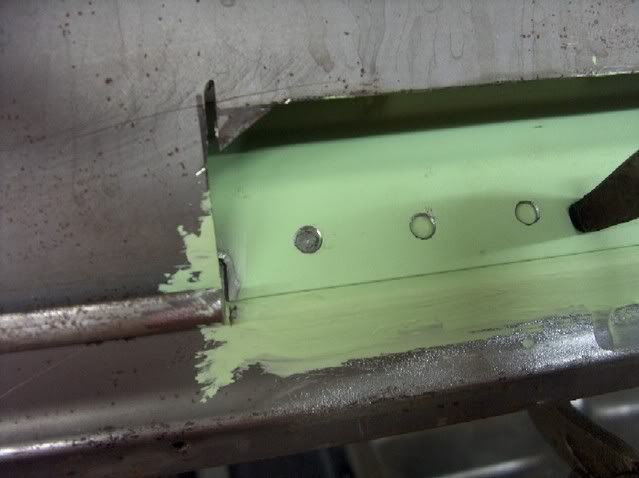 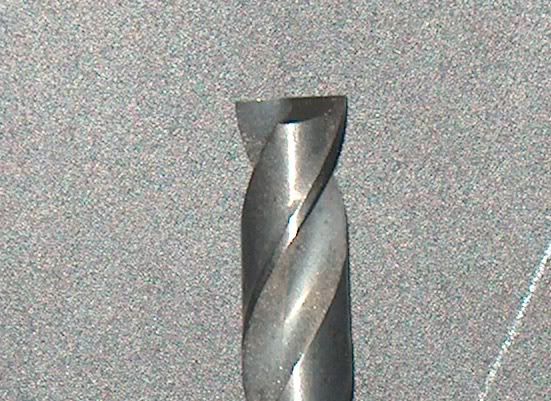 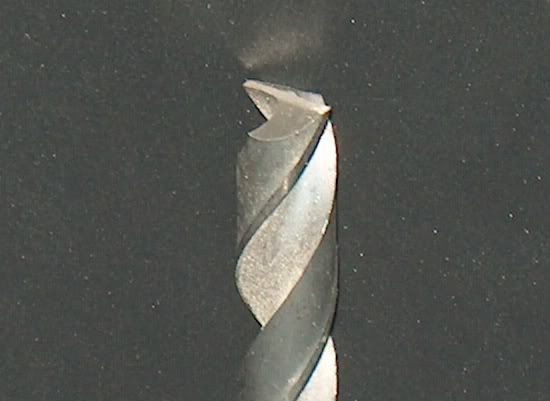 I think one thing to keep in mind using either of the two primers, be sure to observe the cure time for maximum resistance to the heat from welding.
__________________
Robert |
|
|

|
|
|
#48 |
|
Registered User
Join Date: Jan 2013
Location: Leonardtown, MD
Posts: 1,647
|
Re: 55 Wagon Progress
Next on the list for the wagon, the upper gate. It has a similar stance as the lower gate when closed, and as such, water lays along the inner window frame at the bottom.
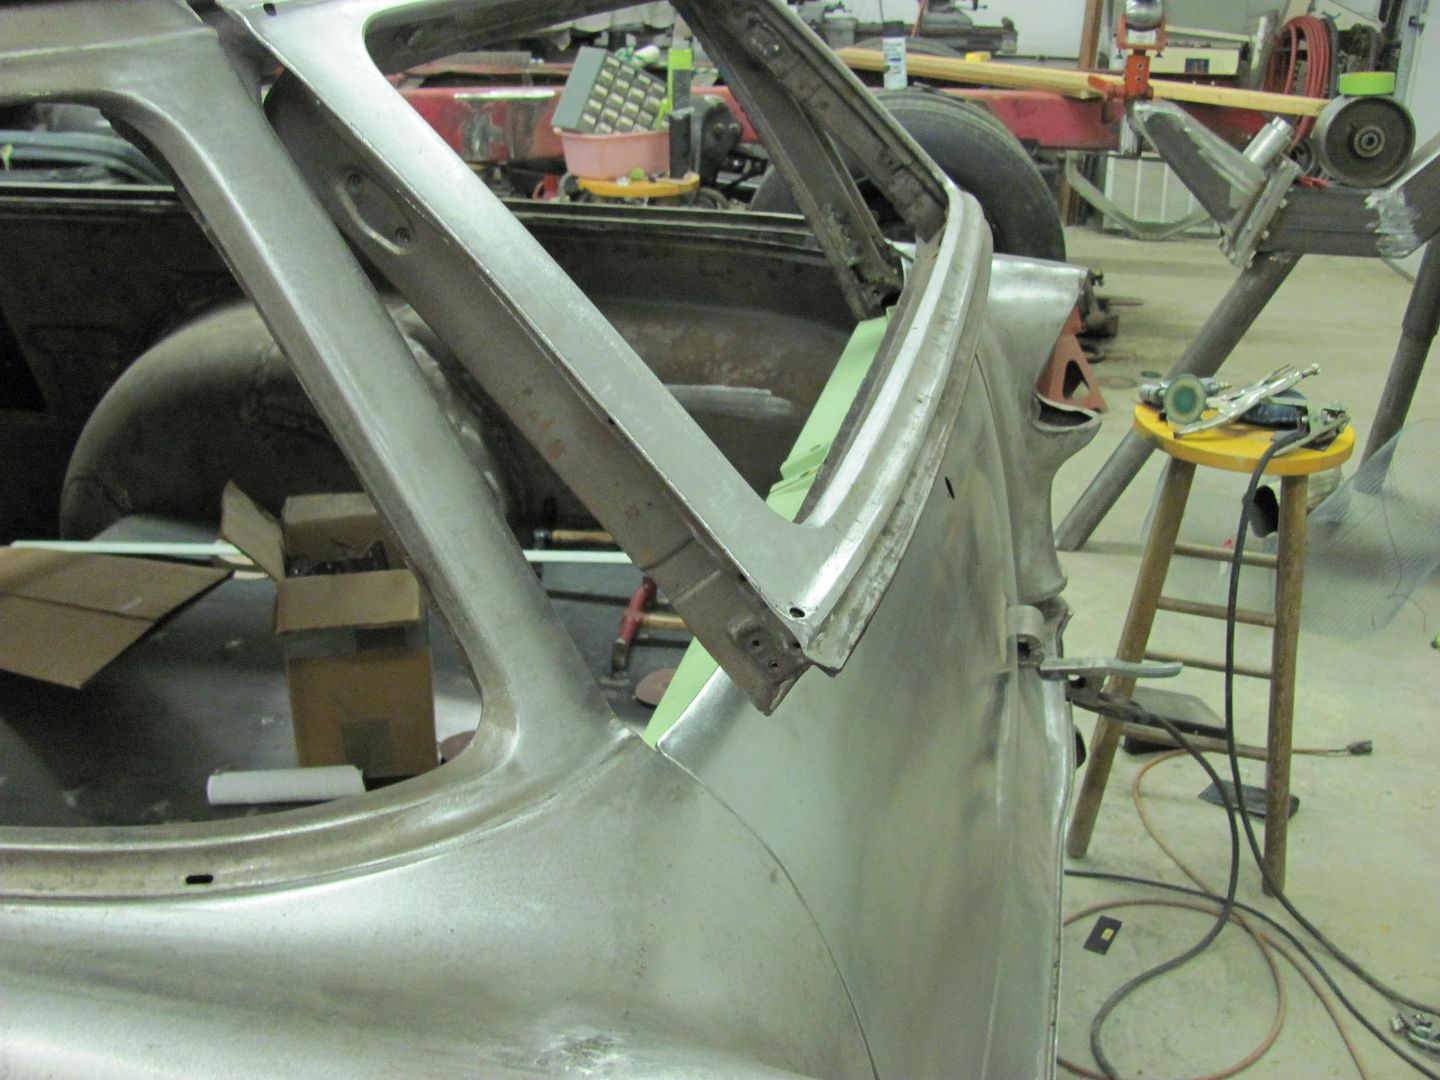 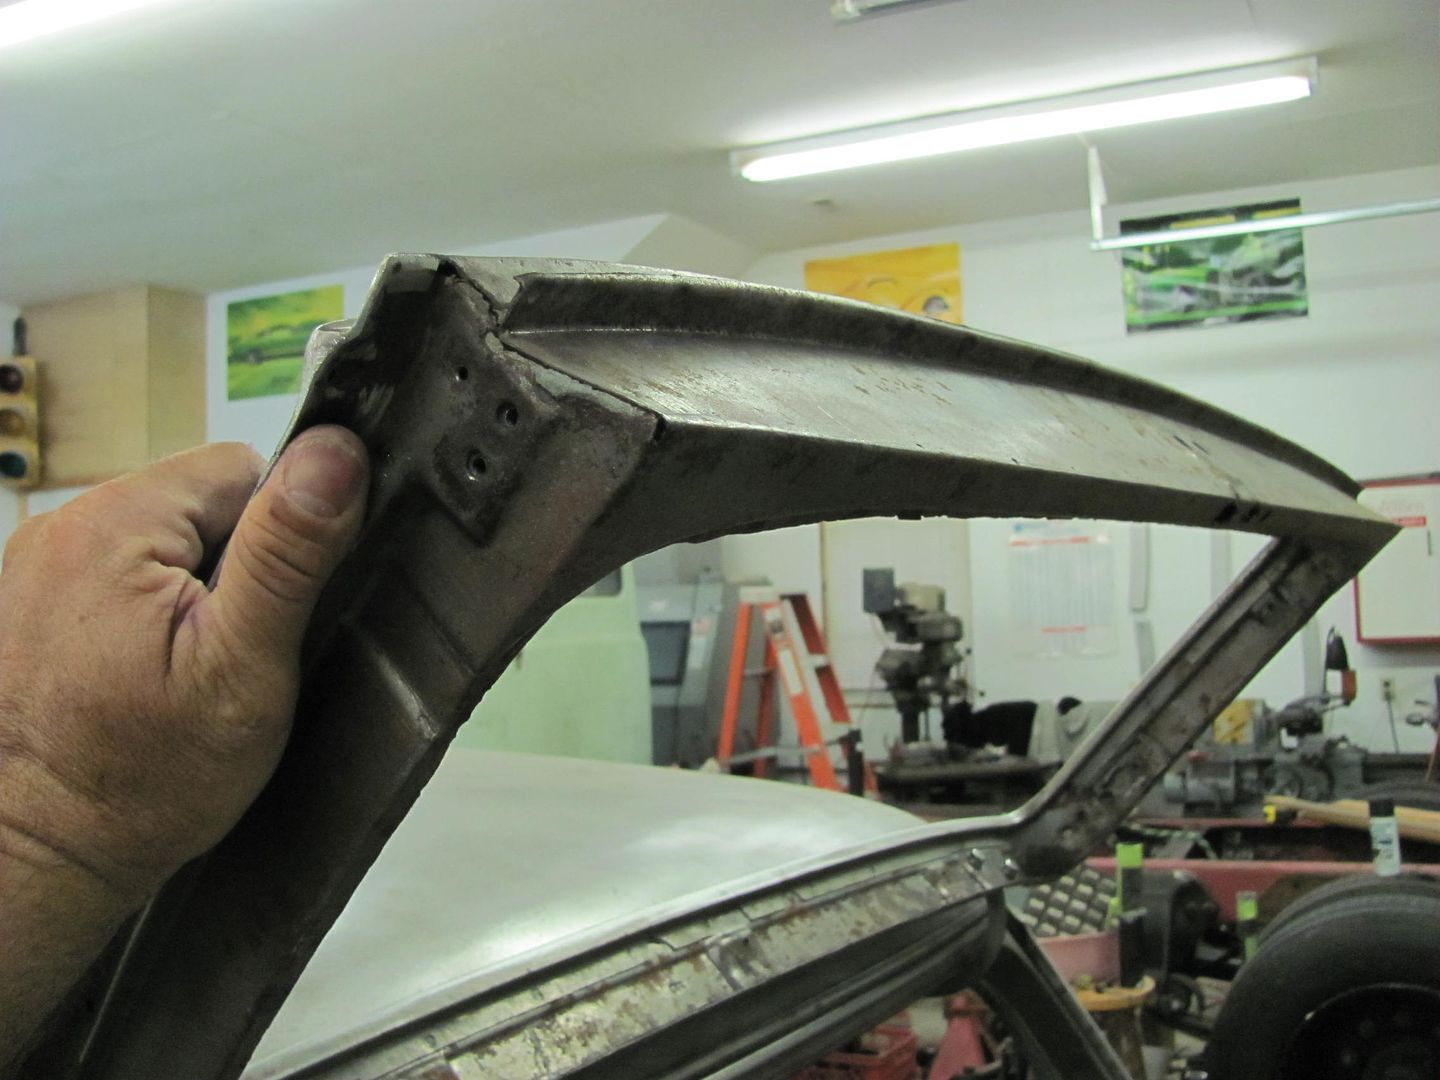 Ice pick test.... 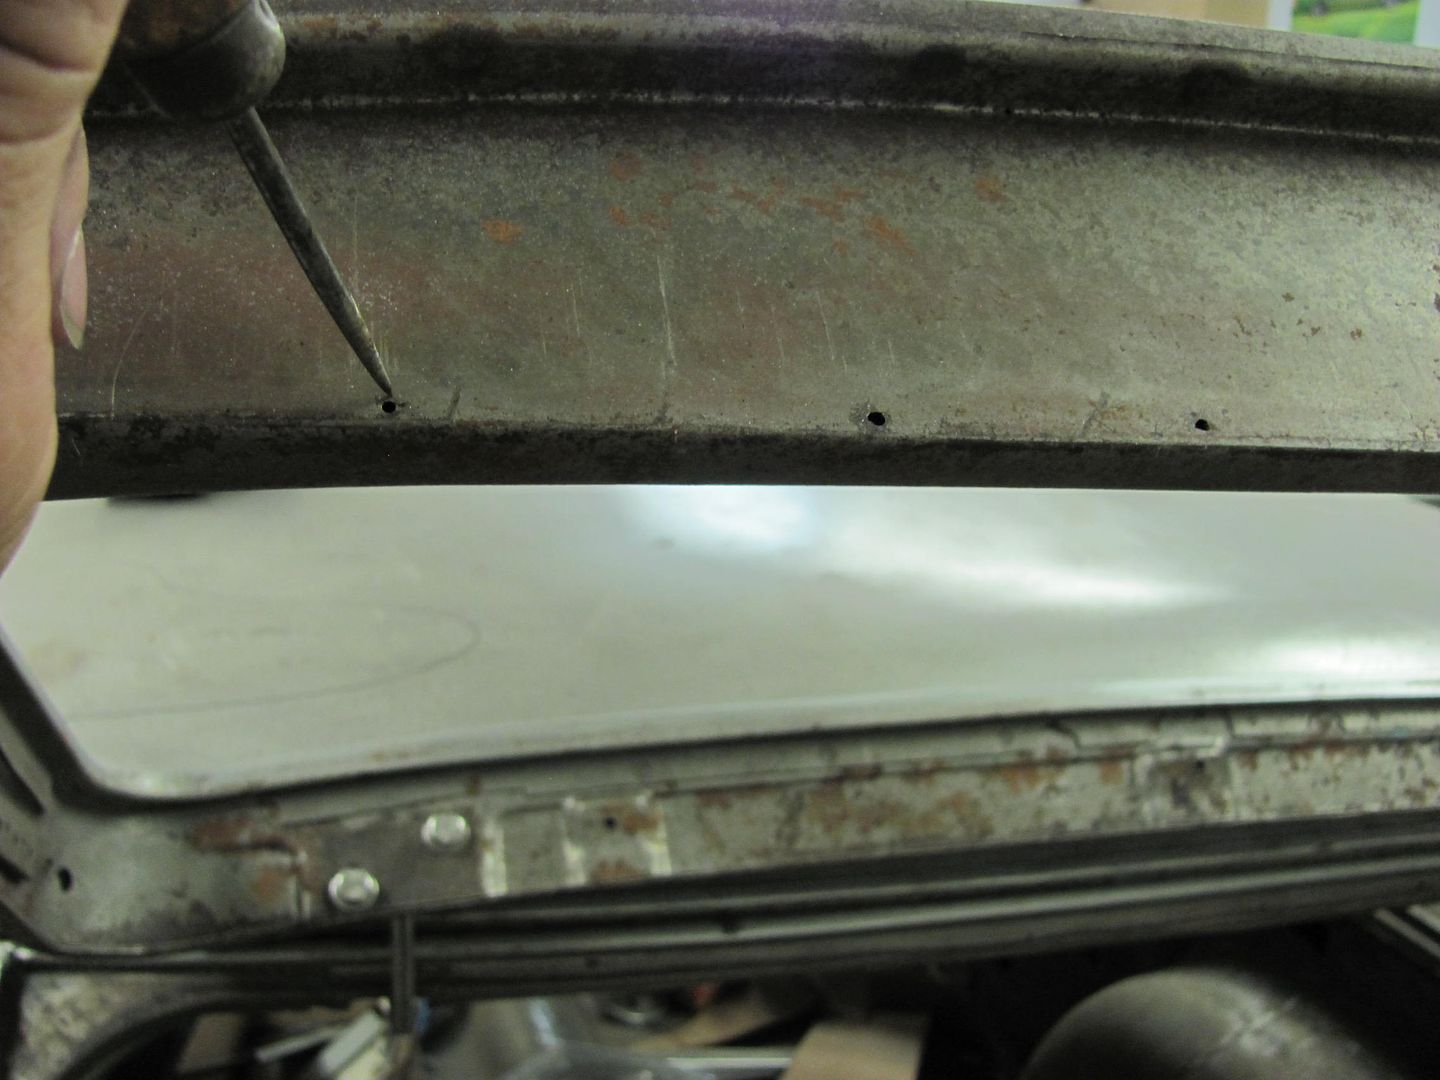 The lower bend is fairly flat, going to a tipped flange in the form of an arc, the inside has some compound curves going to the window opening flange... 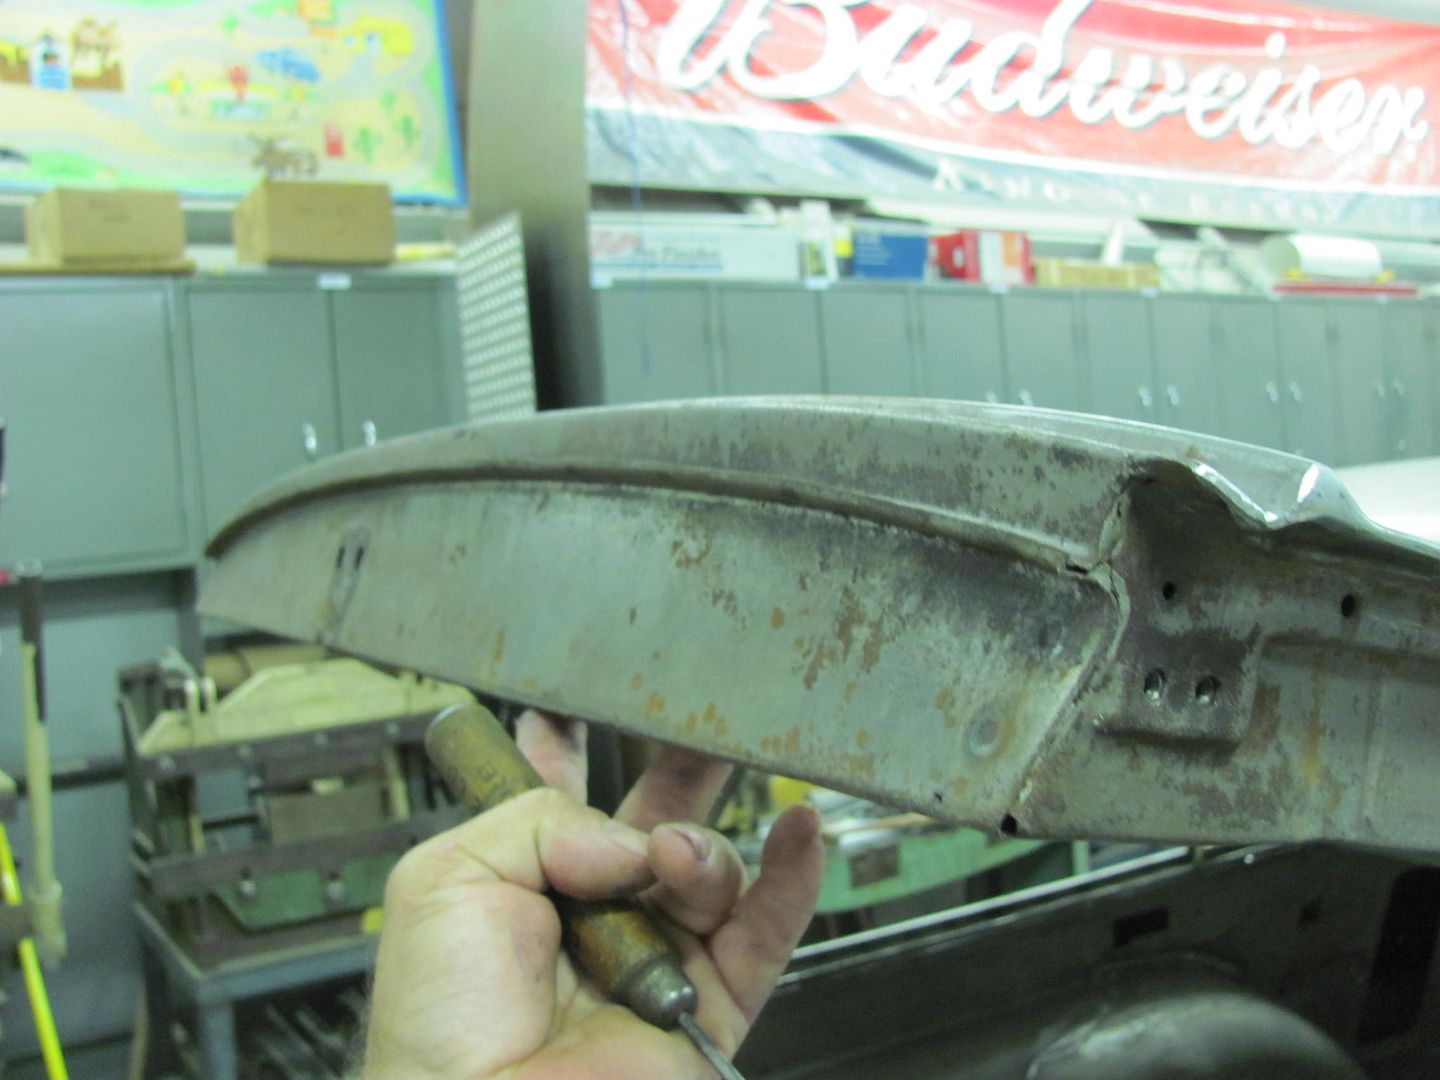 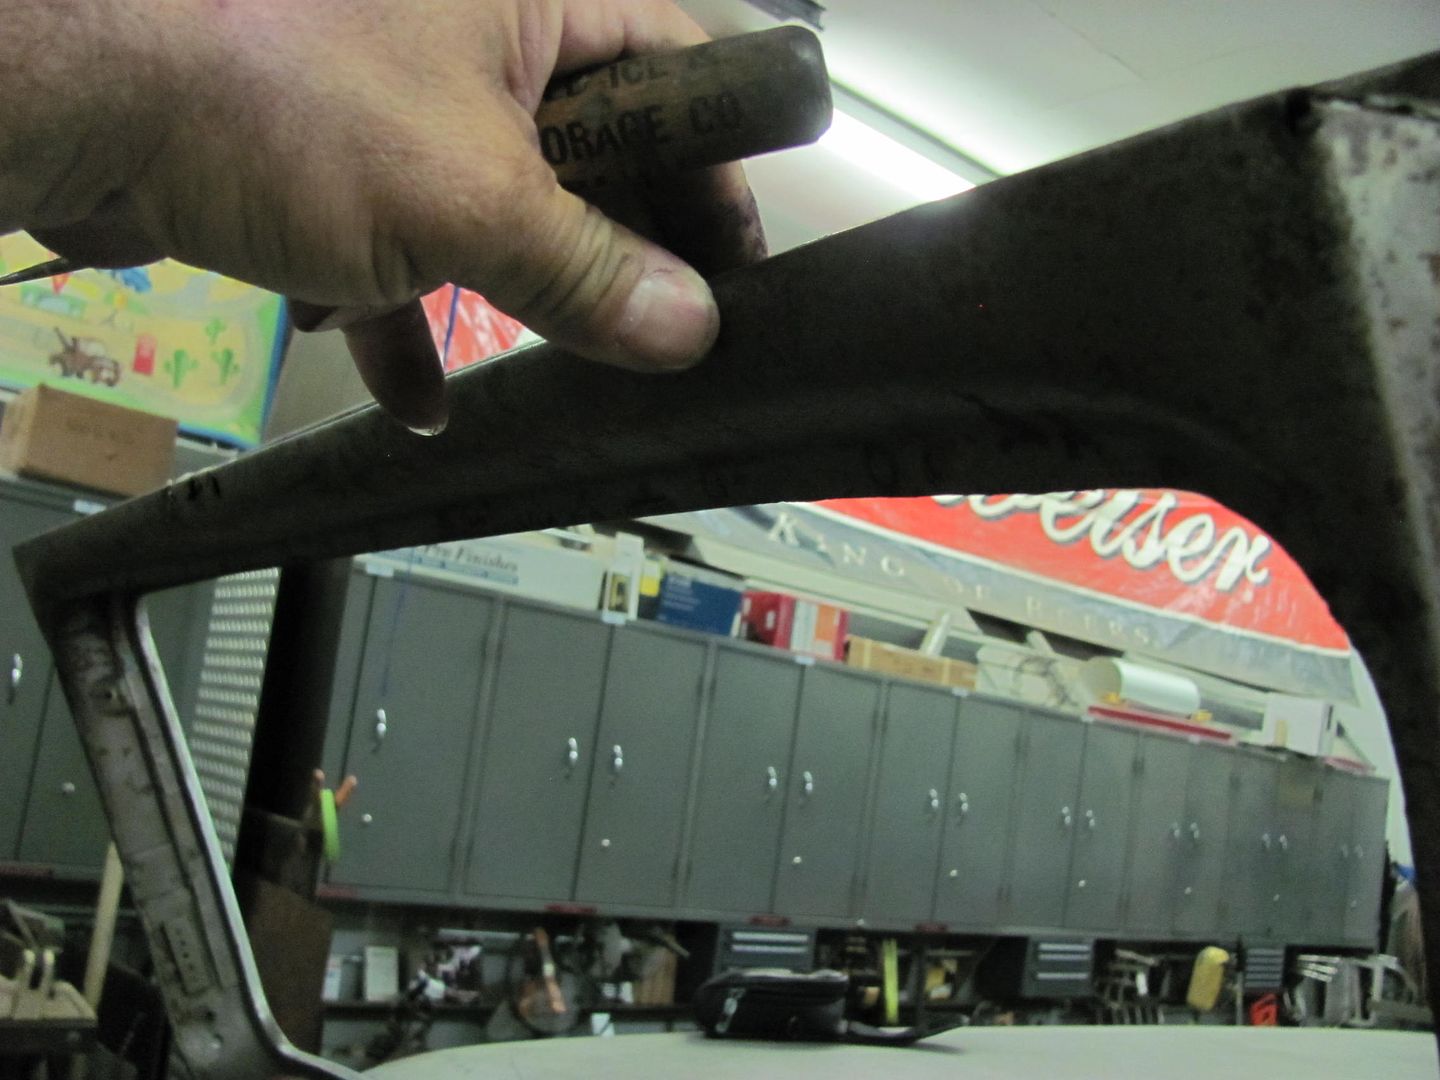 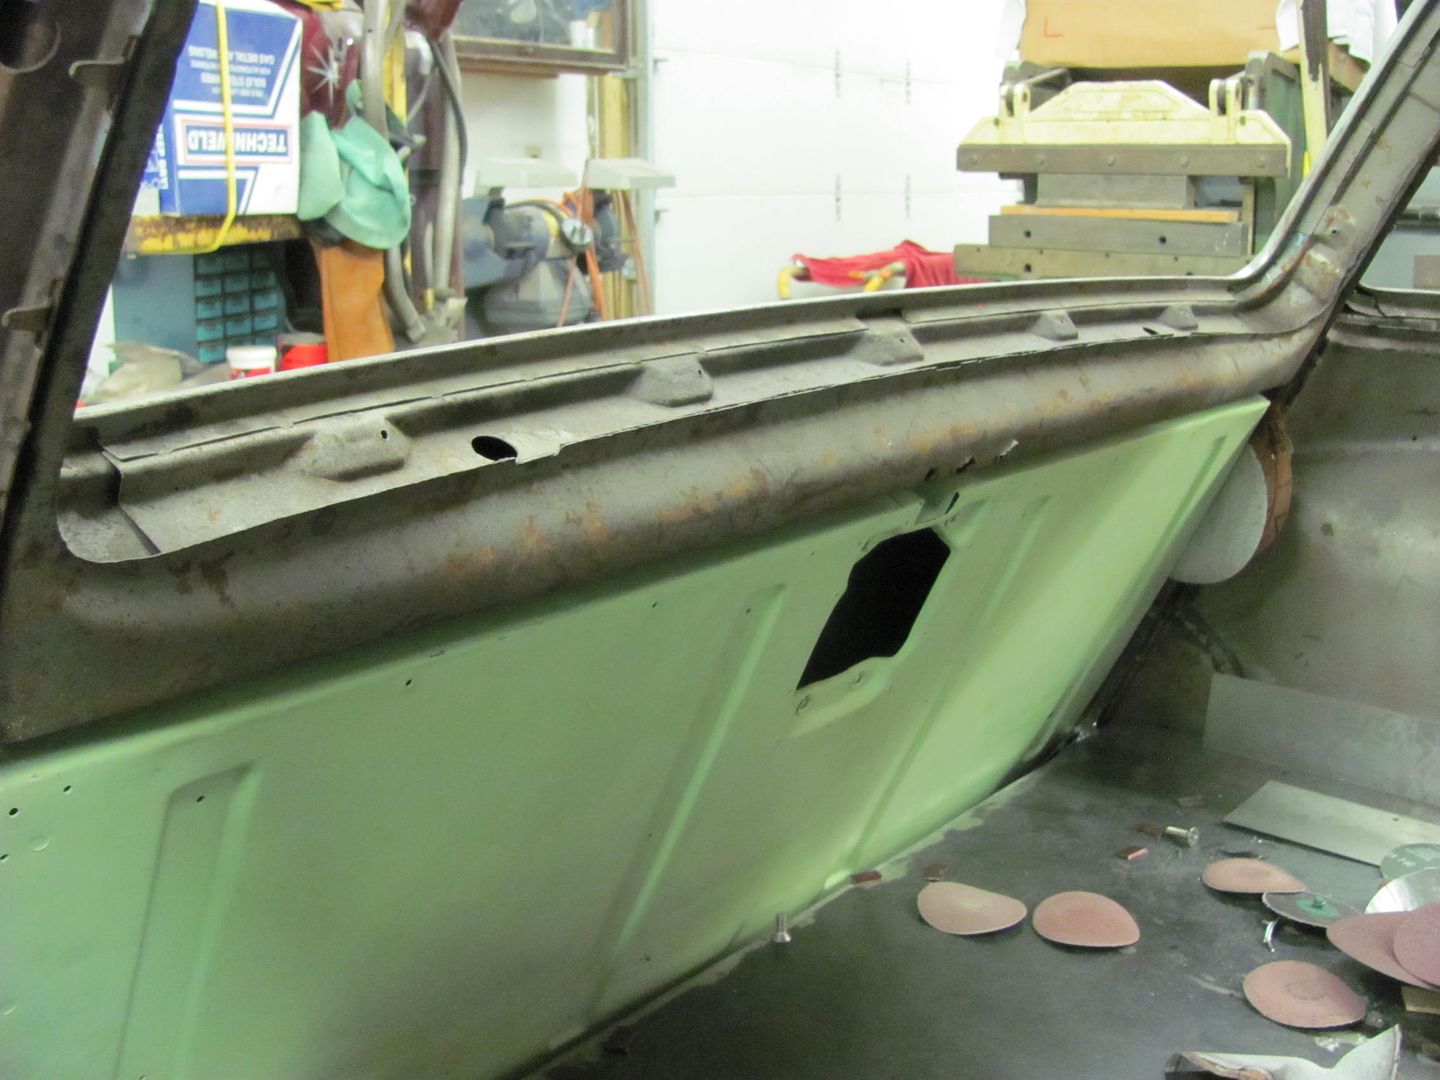  I'll get this bottom cut out next week and attempt to form it in one piece, flange to flange, for a easier job of replacing..
__________________
Robert |
|
|

|
|
|
#49 |
|
Registered User
Join Date: Apr 2003
Location: Indep, MO
Posts: 5,893
|
Re: 55 Wagon Progress
Can't wait!
Posted via Mobile Device
__________________
Boppa's Old Yeller Truck Build, Old Yeller's New Heart! Project Buzz Bomb Flyin' Low! |
|
|

|
|
|
#50 |
|
Registered User
 Join Date: Aug 2005
Location: Hillsboro Oregon
Posts: 6,449
|
Re: 55 Wagon Progress
Incredible work Robert! Would love to come watch you work, and learn more from a master. Thanks for all the detailed info.

|
|
|

|
 |
| Bookmarks |
|
|