
 |
|
|
#26 |
|
Registered User
Join Date: Feb 2011
Location: SHAWNEE, KS
Posts: 191
|
Re: Another OLD BLUE Build Thread - 71 Chevy
Money pit......
 I have been doing A LOT of reading in my Holley book and now the BBC book, and I still feel like I don't know anything. From left to right: Original broken stud, stock length ARP "High Performance" replacement, 2" effective length ARP "Pro Series" stud The pro studs should be the perfect length. I should be able to get 6-8 threads on it and have almost the whole rocker on the shaft and off the threads. 
|
|
|

|
|
|
#27 |
|
Registered User
Join Date: Feb 2011
Location: SHAWNEE, KS
Posts: 191
|
Re: Another OLD BLUE Build Thread - 71 Chevy
Easy access
 Only good way I could figger out how to keep everything in order...  Before I pulled everything apart I checked the clearance between a fully compressed spring coil, there was no bind and a bit less than .700 clearance between them IIRC. I didn't see anything that really concerned me. I took all of the pushrod guides off and realigned them. The ones that still wouldn't fit right, I took off and used a carbide bit on the middle alignment bolt hole until they fit perfect.  Also got the new header gaskets on and everything mostly buttoned up. I hope to take her for a ride tomorrow after I fix a couple other things.  Picked up a couple axles. If you need some 3/4 ton d44 or FF14 whole or parts let me know. 
|
|
|

|
|
|
#28 |
|
Registered User
Join Date: Feb 2011
Location: SHAWNEE, KS
Posts: 191
|
Re: Another OLD BLUE Build Thread - 71 Chevy
7am
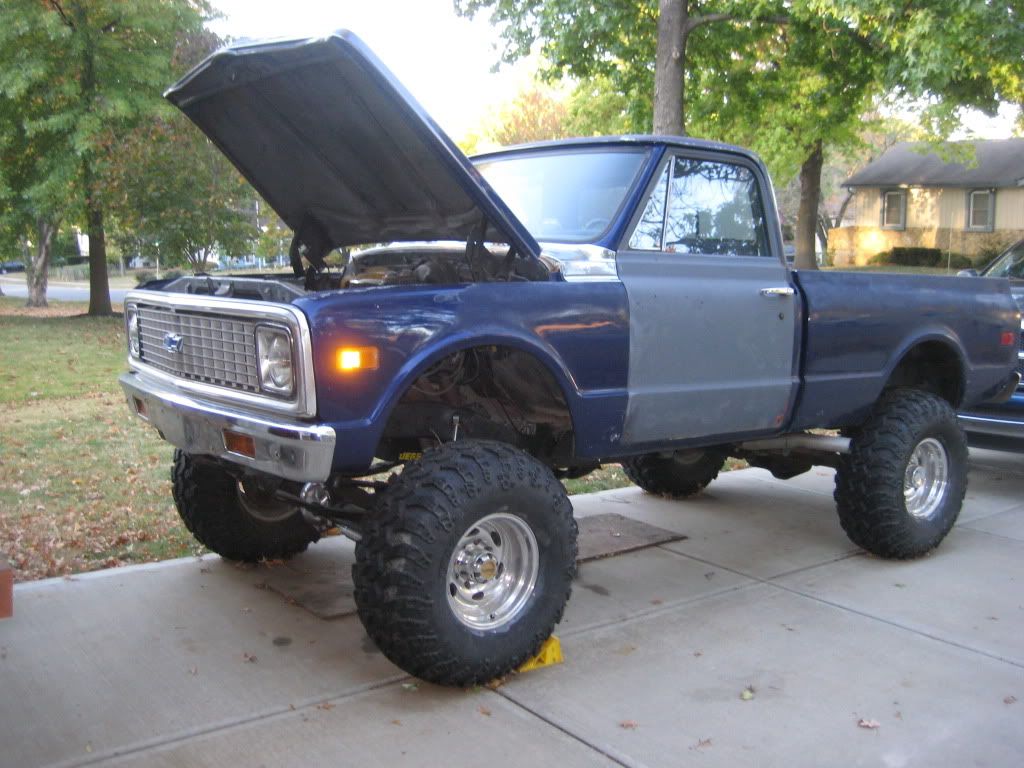 10am 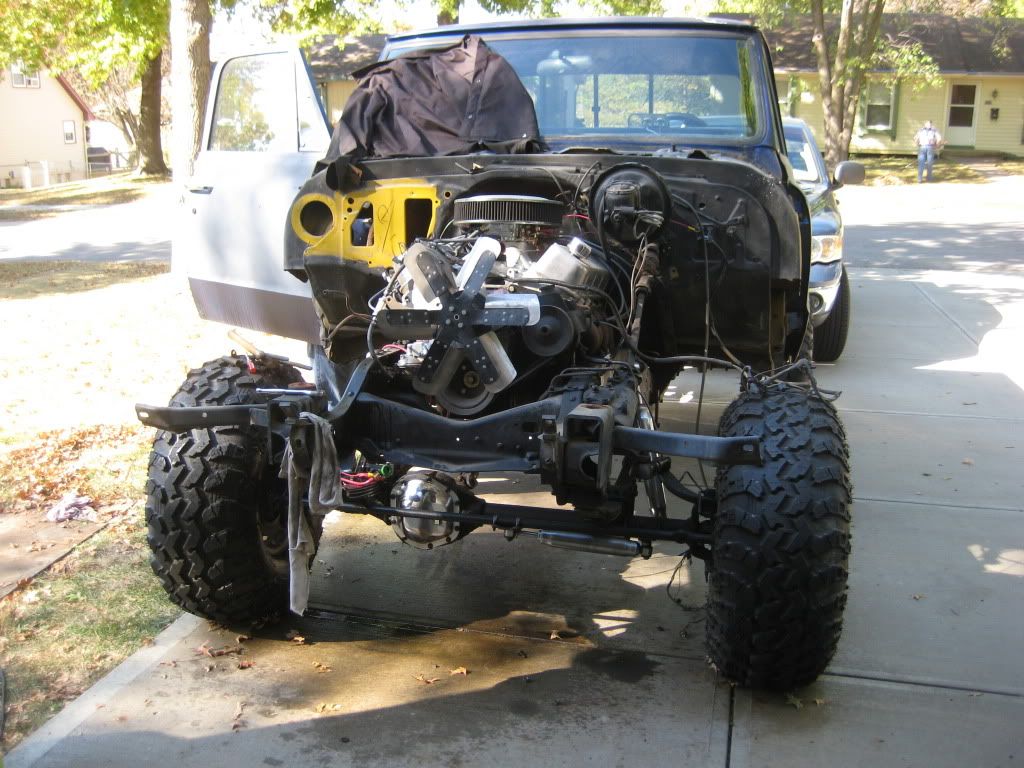 2pm 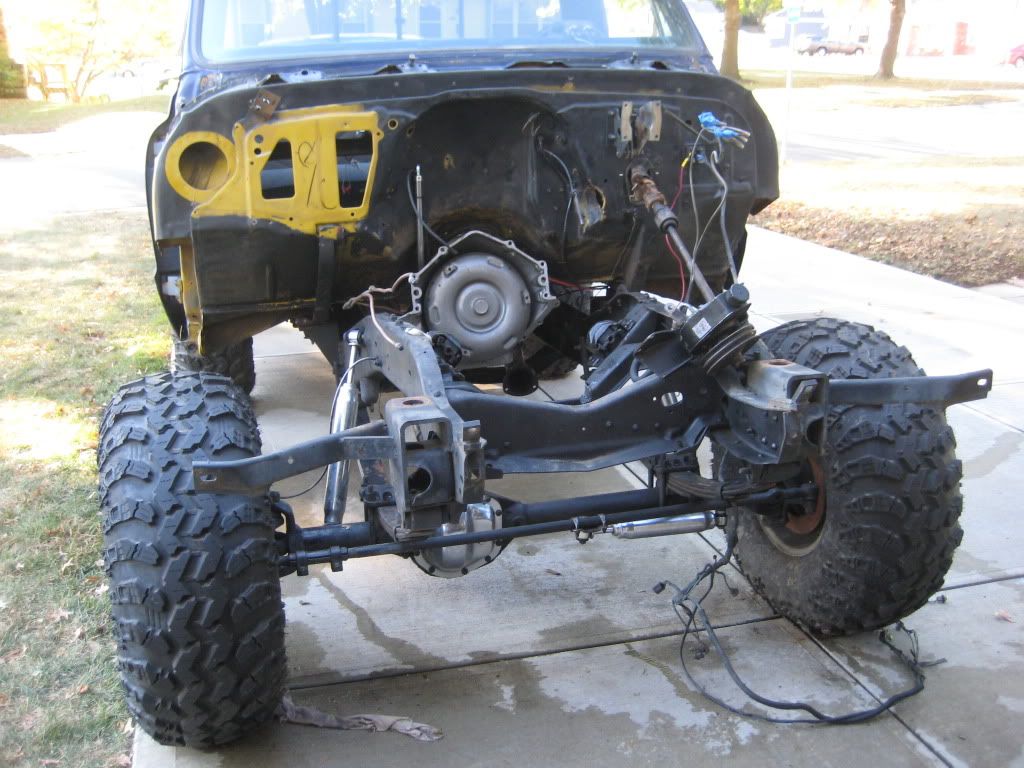 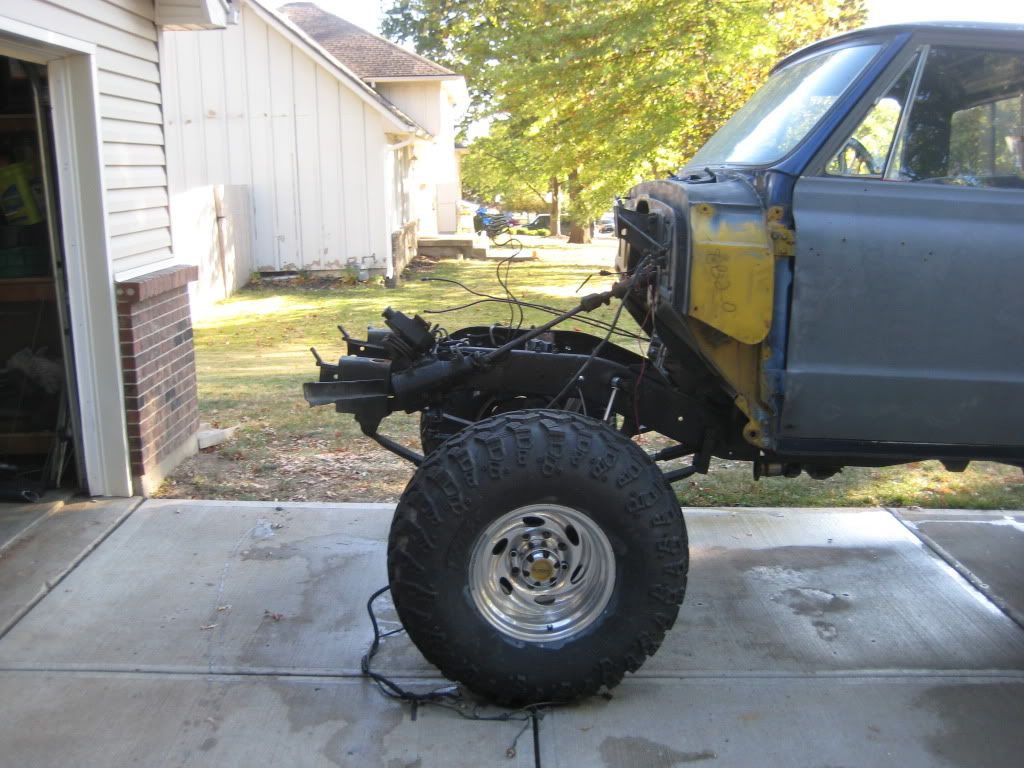 cleaned up the firewall so I could shoot it with some black rustoleum. I am out of energy for today though. Ready to go to the shop (disregard my rigging :flipoff2  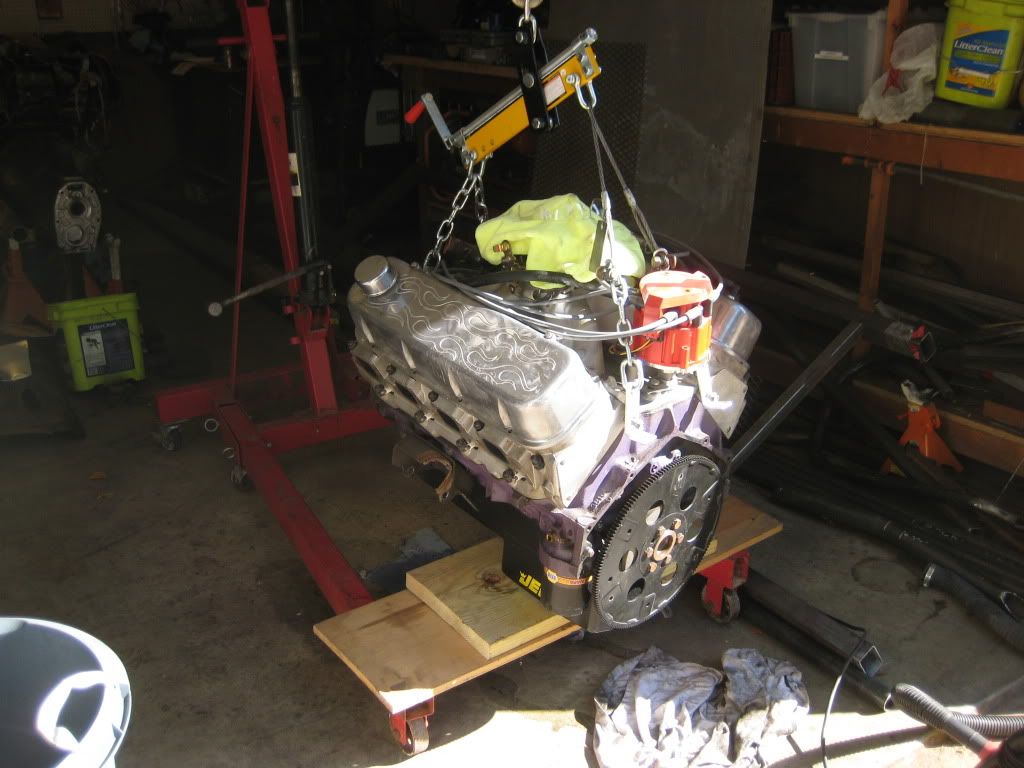 My rigging to hold the tranny up 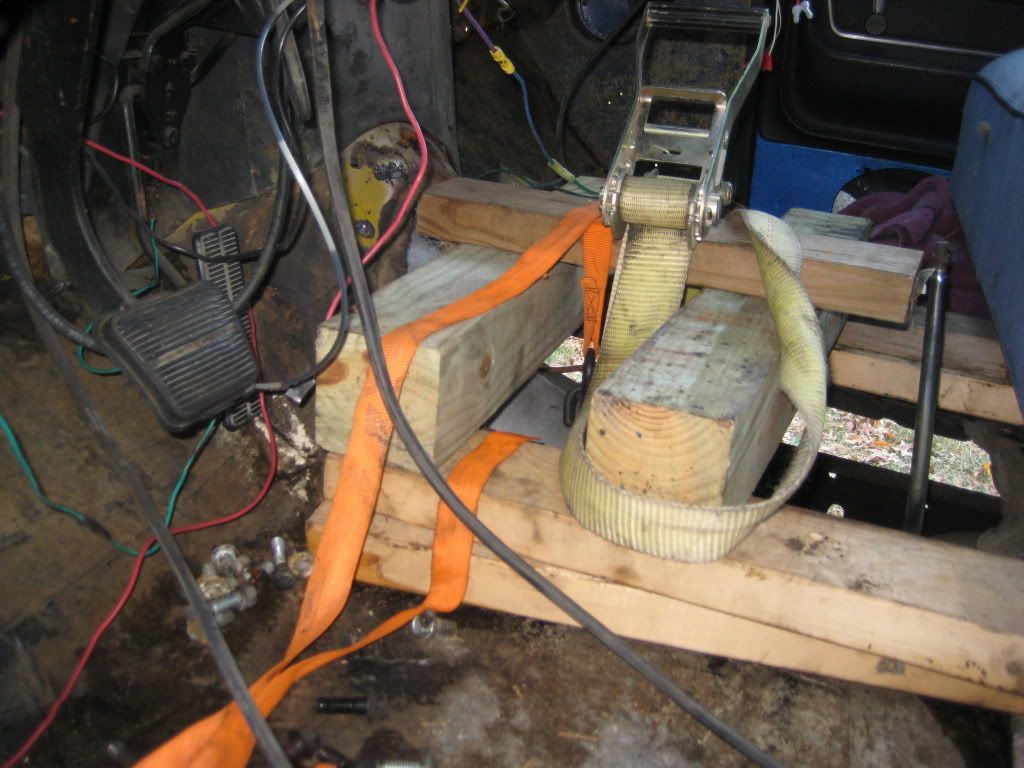 AND the culprit that was causing my horrible engine noise :mad3: 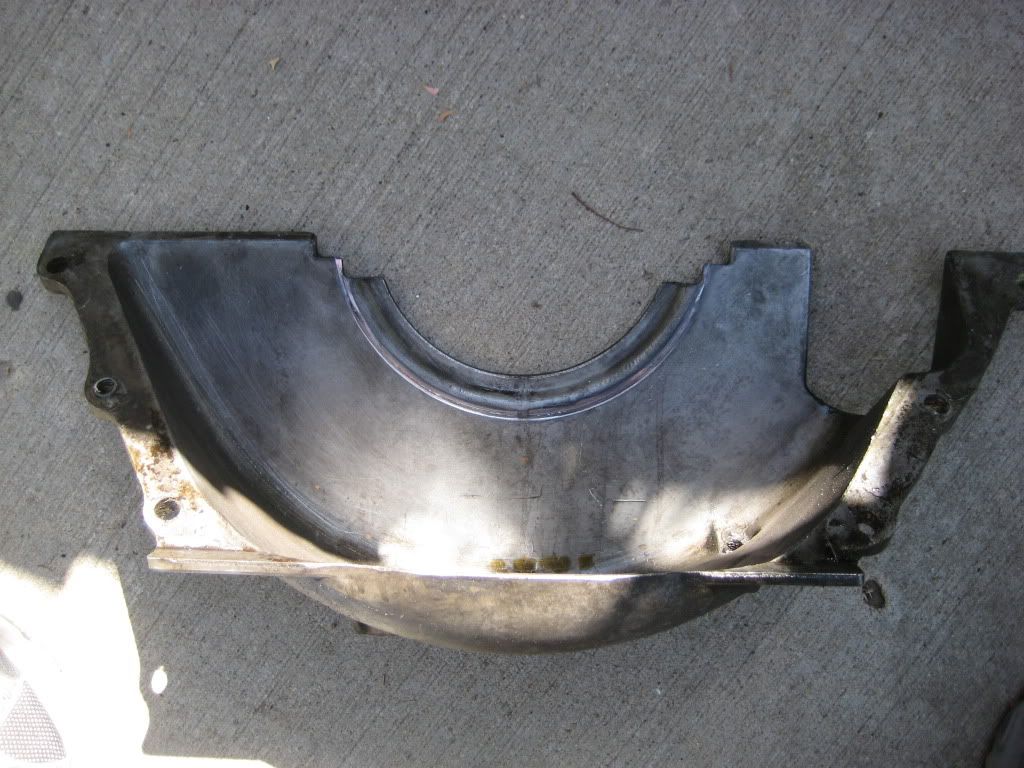 Notice the shiny circle where the weight on the back of the crankshaft was rubbing. It just so happens that after I ran it and the busted studs, but before I put the new studs in it was when a buddy gave me this flexplate cover and I installed it. Then when I went to start it after the new studs it sounded terrible :rasta: figures..... I thought I had seriously screwed something up. I am still going to take it to get it dyno tuned next week. I think I am going to shop around a little to find a shop that is not quite so far away. |
|
|

|
|
|
#29 |
|
Registered User
Join Date: Feb 2011
Location: SHAWNEE, KS
Posts: 191
|
Re: Another OLD BLUE Build Thread - 71 Chevy
Got some more done:
I guess the fender nuts had stripped out on one of the PO's so they torched two holes so they could get a wrench inside the cowl to put a nut on the bolts...:shaking: 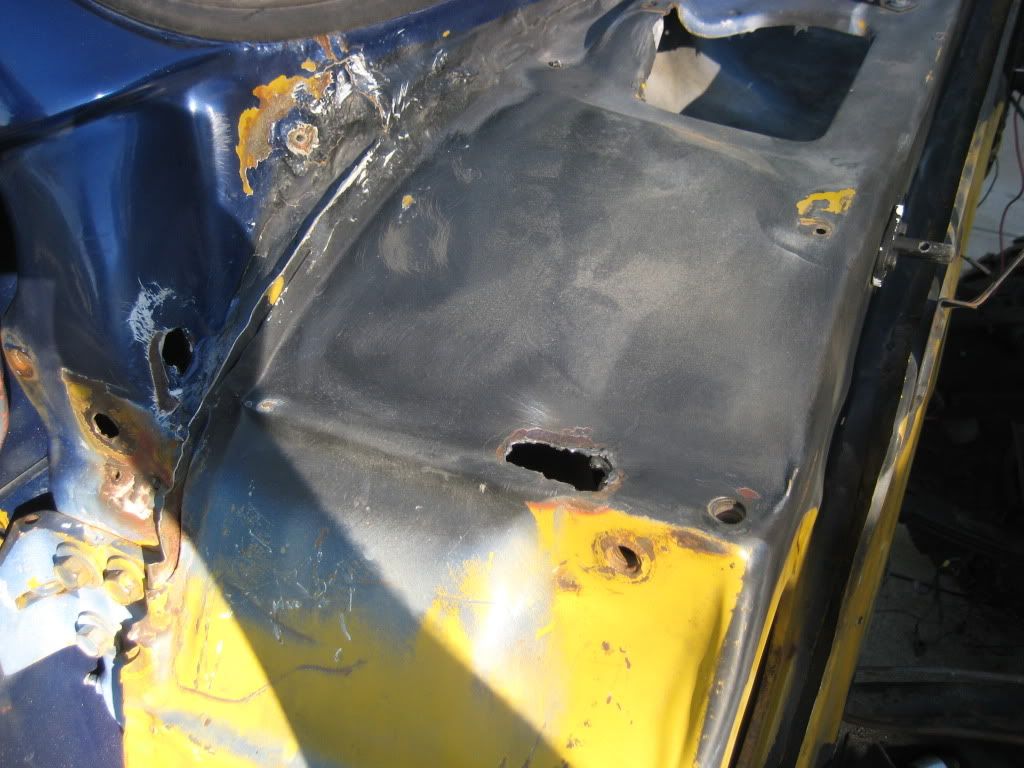 So I hogged them out with the step bit and welded in some square nuts and filled the holes. 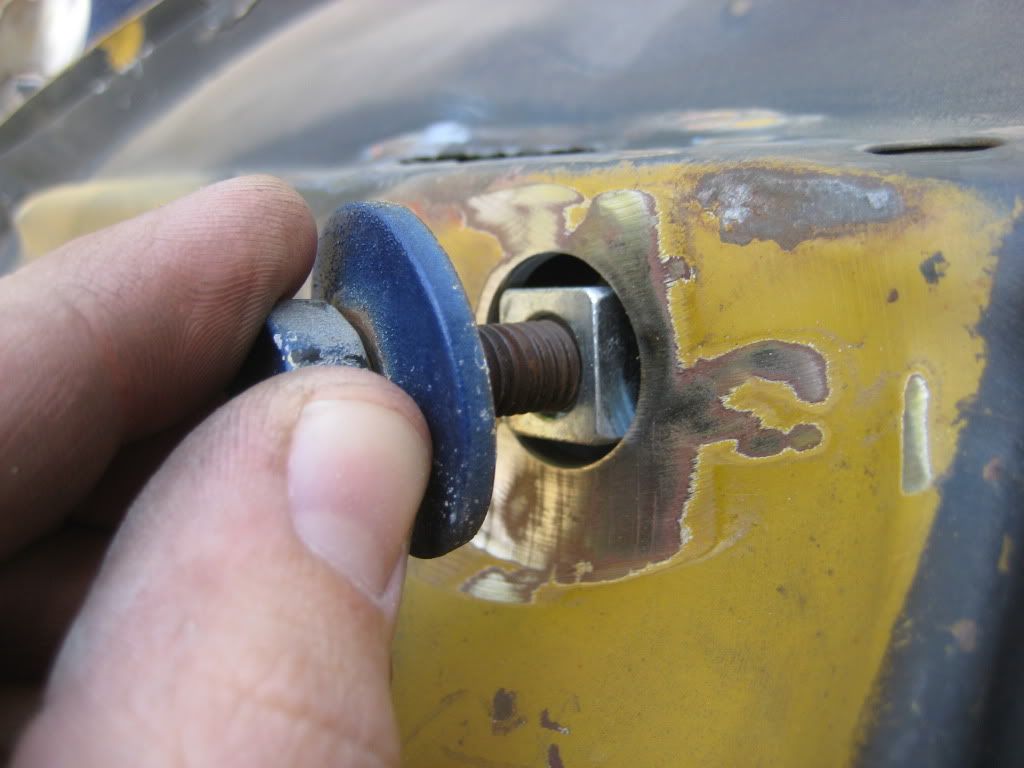 The 3 holes that led to the drivers side cab rocker to rot. The water would drip down across the wiring/fuse box down the floor and into the channel where the weatherstripping is. 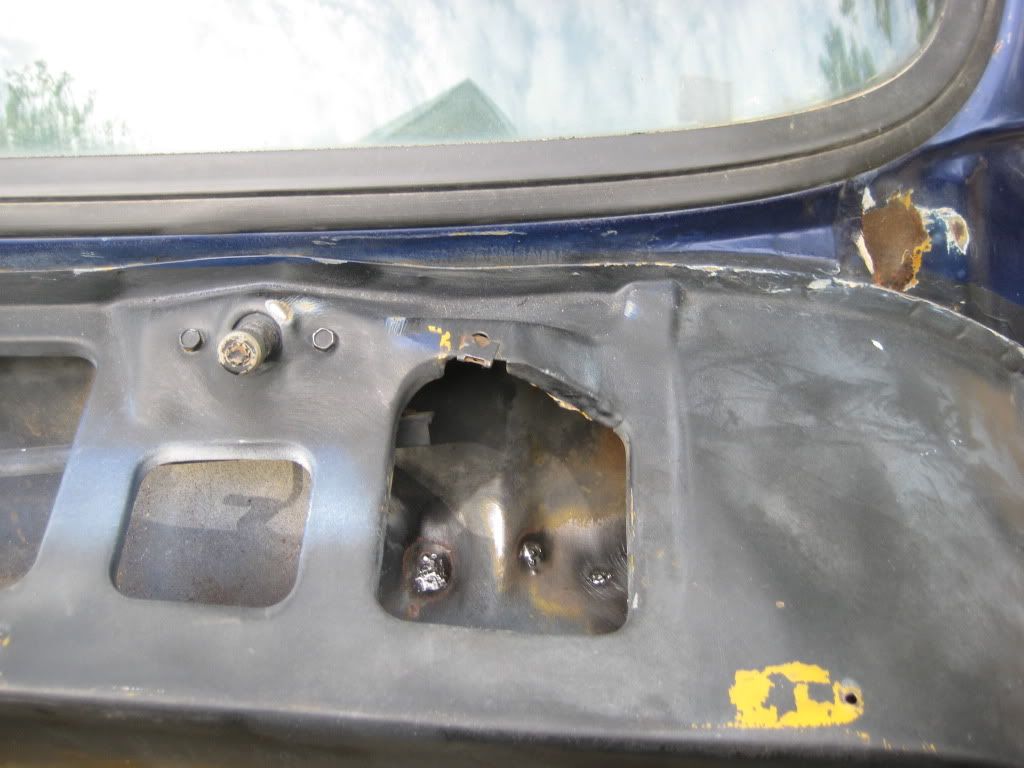 Not perfect body work, but it looks a lot better. 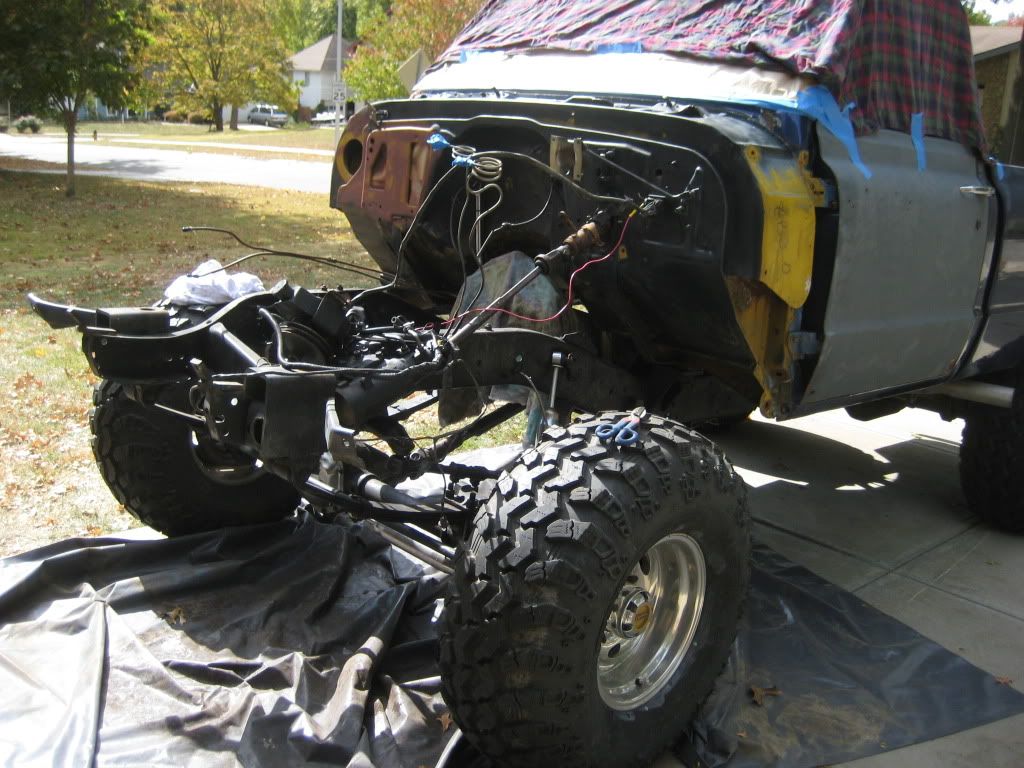 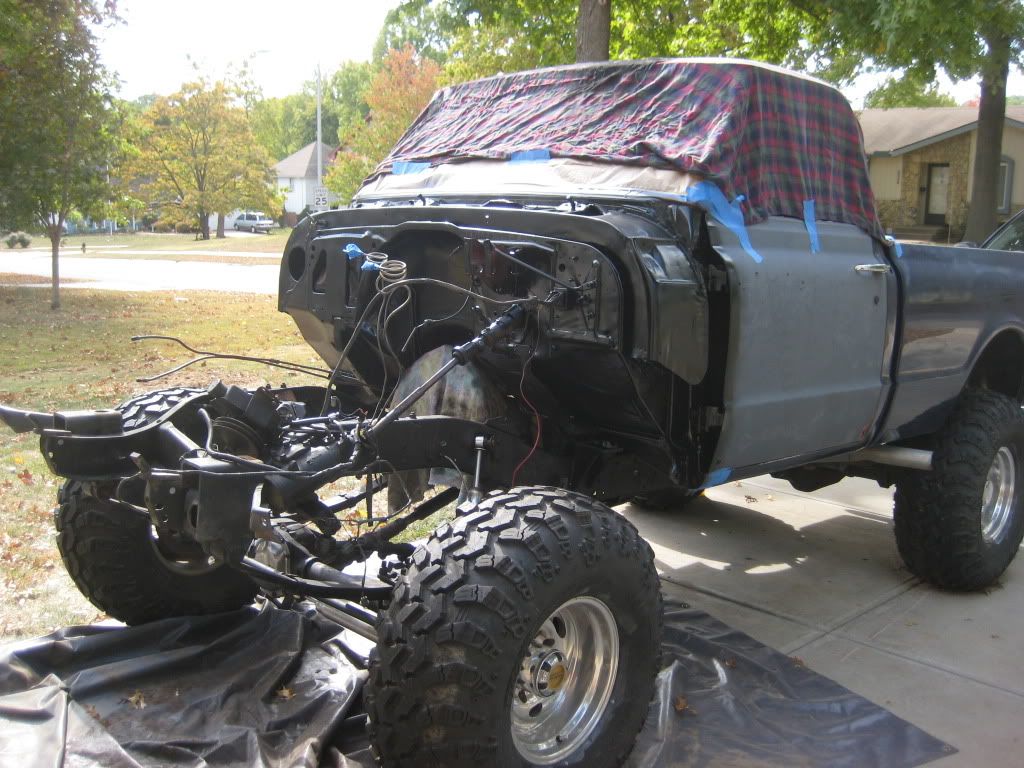 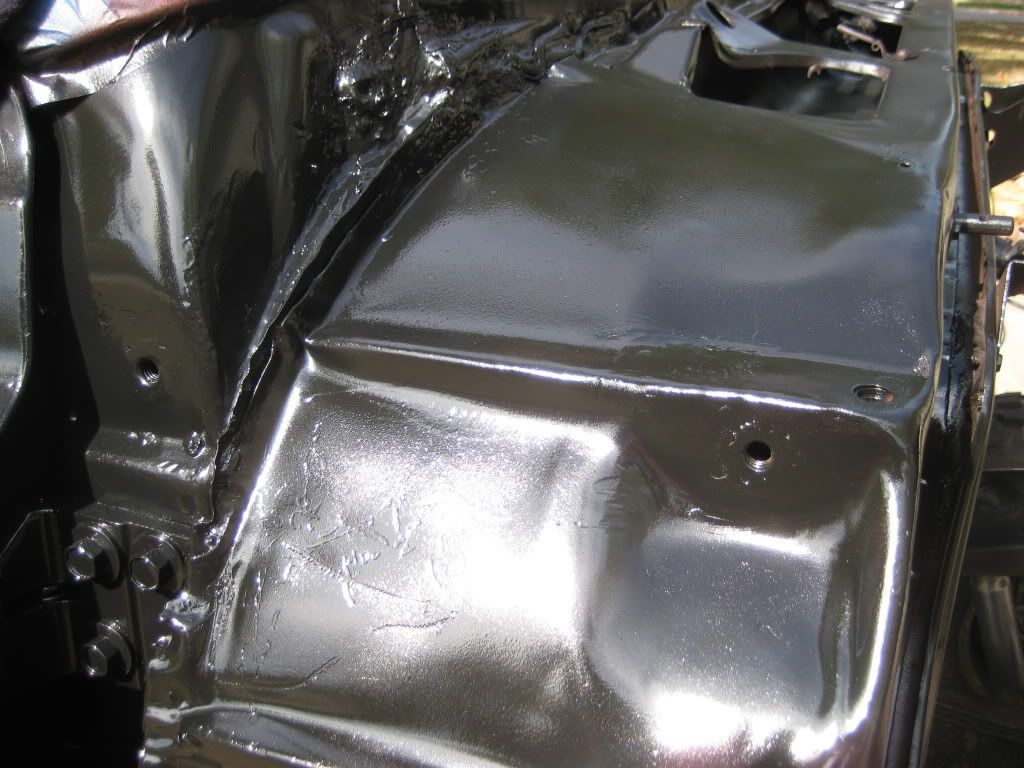 I think I'm ganna take a trip down to LMC today and get a set of the perforated cowl trash covers. It will be full of leaves within the next day if I don't... |
|
|

|
|
|
#30 | |
|
Registered User
Join Date: Feb 2011
Location: SHAWNEE, KS
Posts: 191
|
Re: Another OLD BLUE Build Thread - 71 Chevy
Quote:
Thanks man, it will definitely be slow going for another 8 months or so until I graduate. Picked up my trash guards the other day, they are kinda cool but too $$$ for what they are. 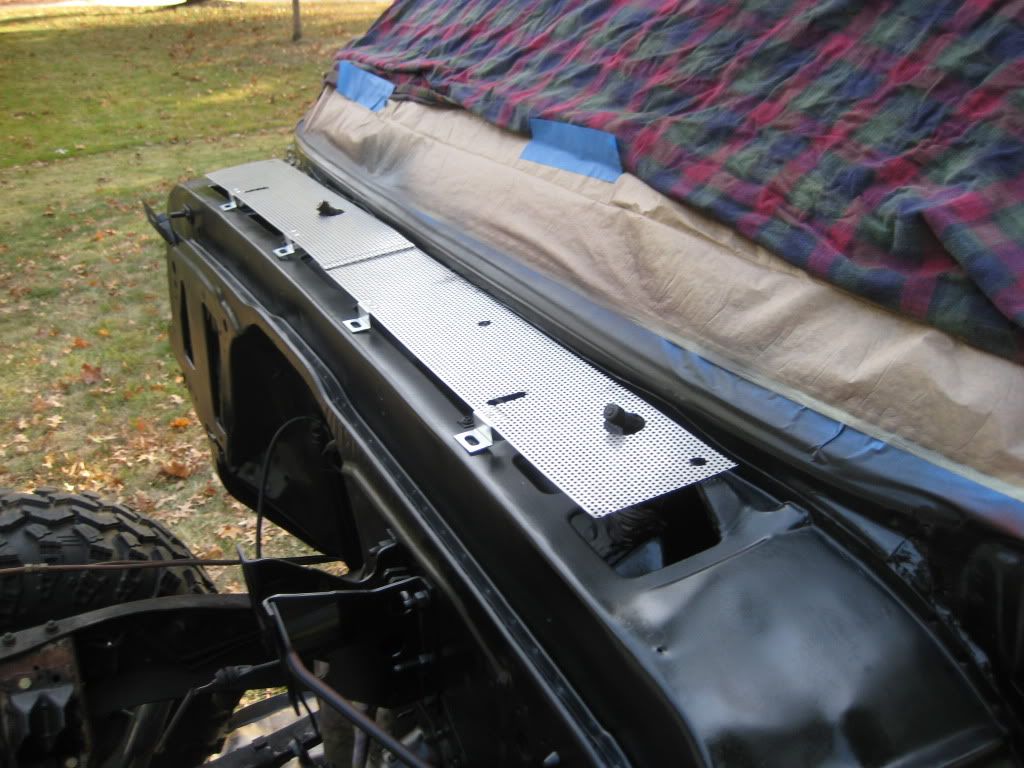 Check out the NON chrome cowl I bought from a neighbor. It will most likely end up rustoleum black for the time being. 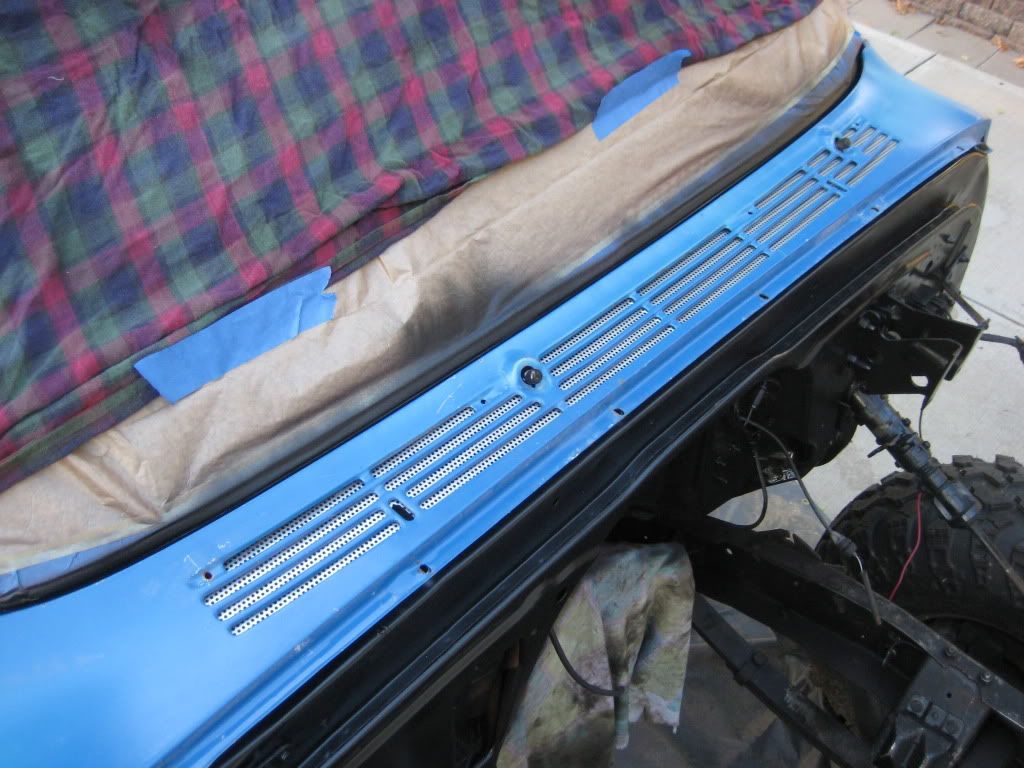 Haven't taken the engine in yet. I am looking for a shop closer to home. |
|
|
|

|
|
|
#31 |
|
Registered User
Join Date: Feb 2011
Location: SHAWNEE, KS
Posts: 191
|
Re: Another OLD BLUE Build Thread - 71 Chevy
Baby steps. Posting progress to keep motivated.
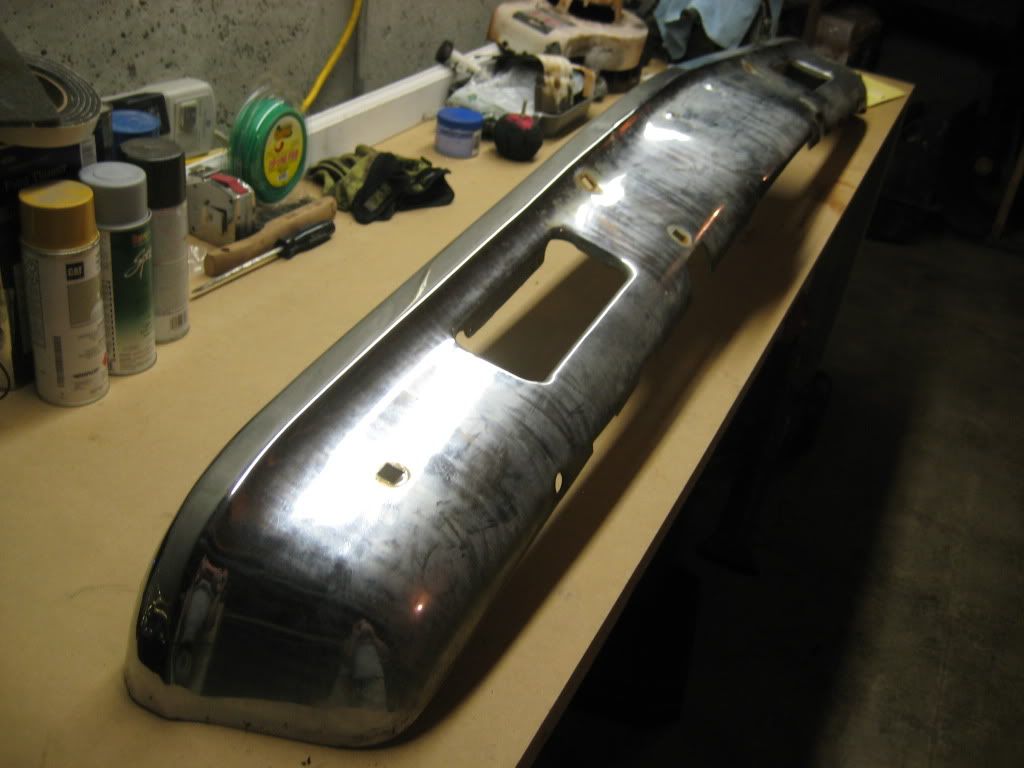  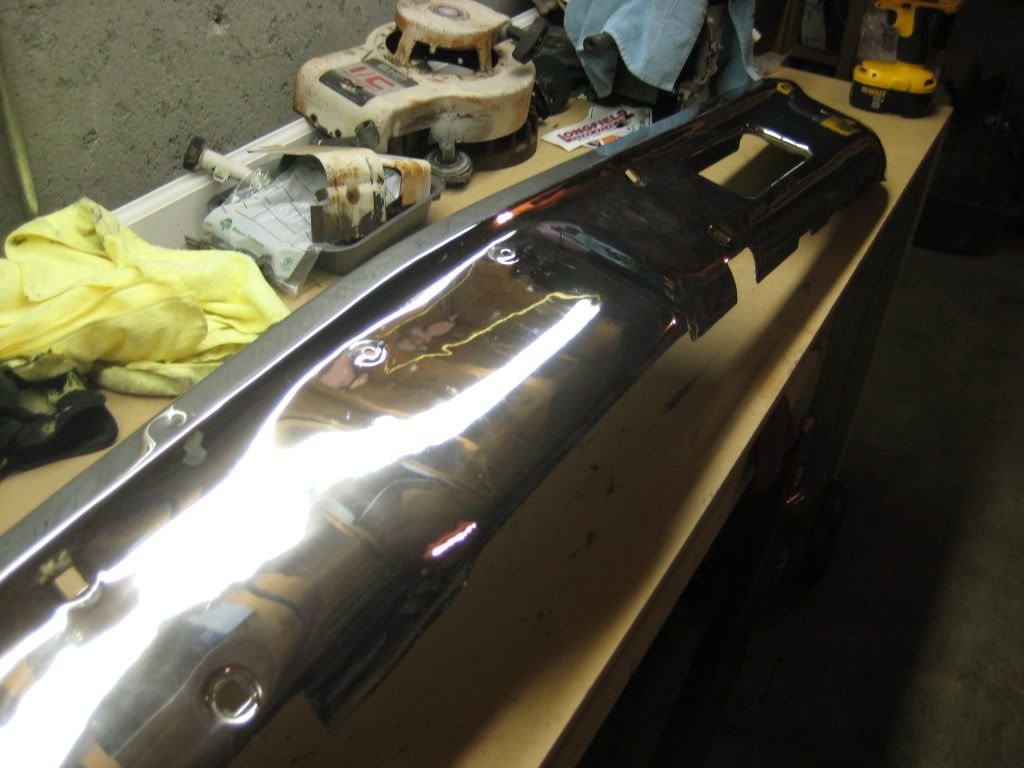 Tore apart the grill to clean it up a bit. Didn't help much, but I plan to go get some SS screws to replace the rusty hardware on it. (Grill L side polished) 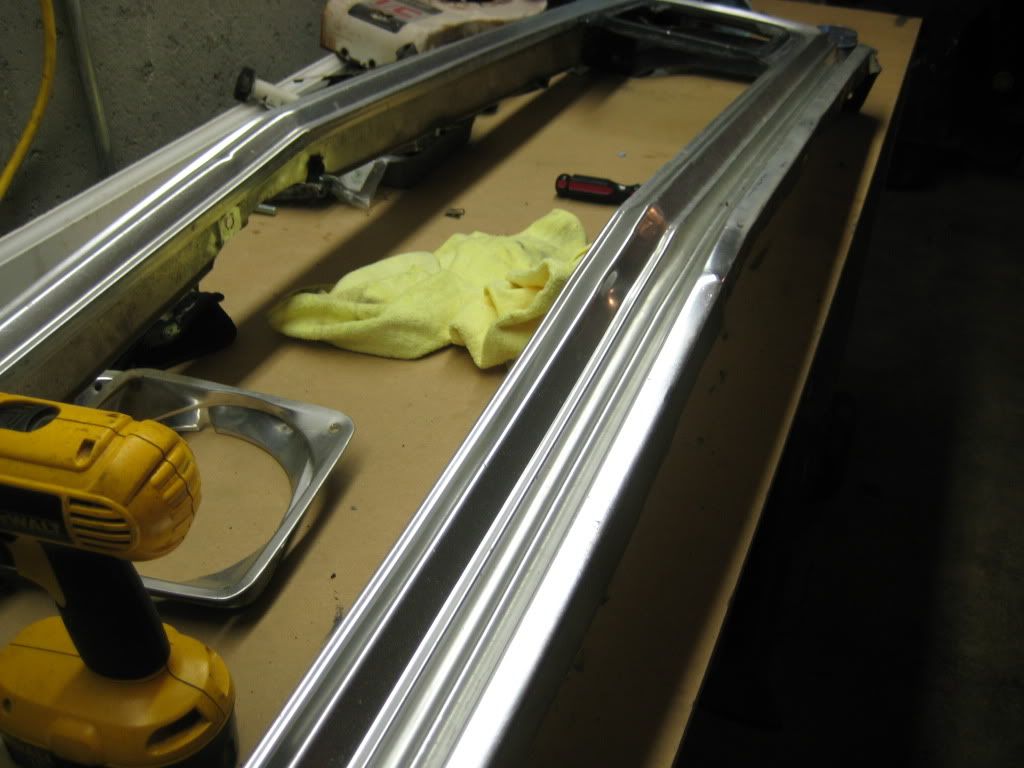 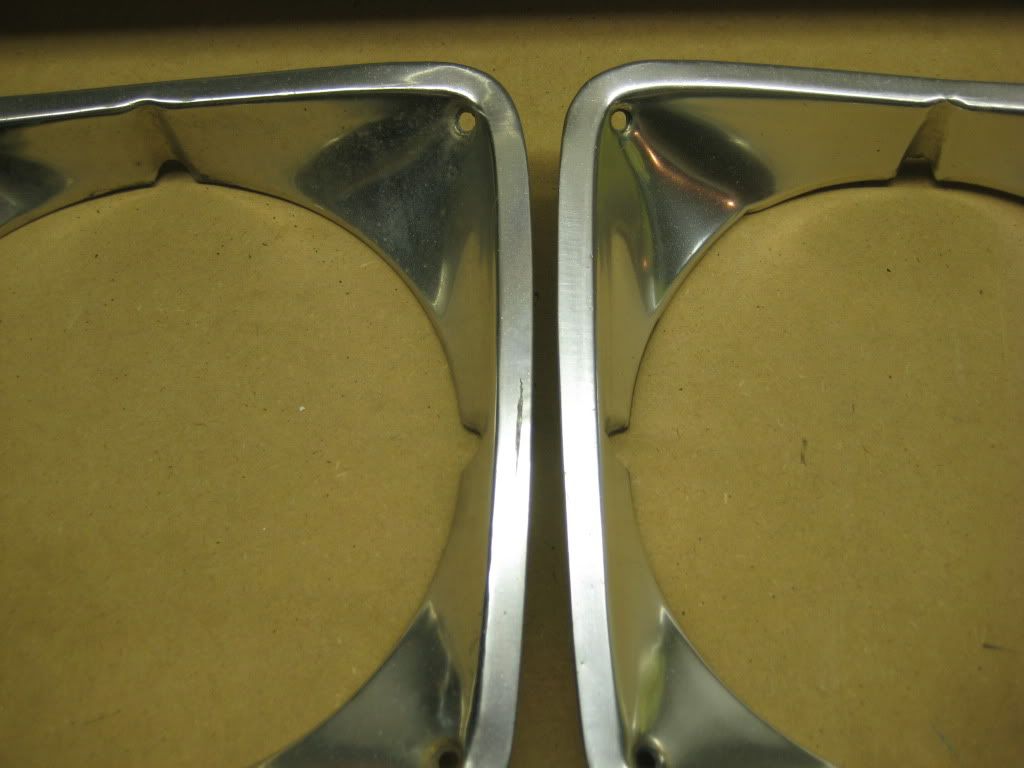 Before I put the engine back in I hope to replace/paint/fix a bunch of stuff in the engine bay. I have been debating if I should put the effort into making an engine crossmember or just buy the ORD crossmember.... |
|
|

|
|
|
#32 |
|
Registered User
Join Date: Feb 2011
Location: SHAWNEE, KS
Posts: 191
|
Re: Another OLD BLUE Build Thread - 71 Chevy
Coming along very slowly.
After realizing how much work the roll on rustoleum was going to be, I very quickly gave in to the rattle can sitting on the work bench :laughing: 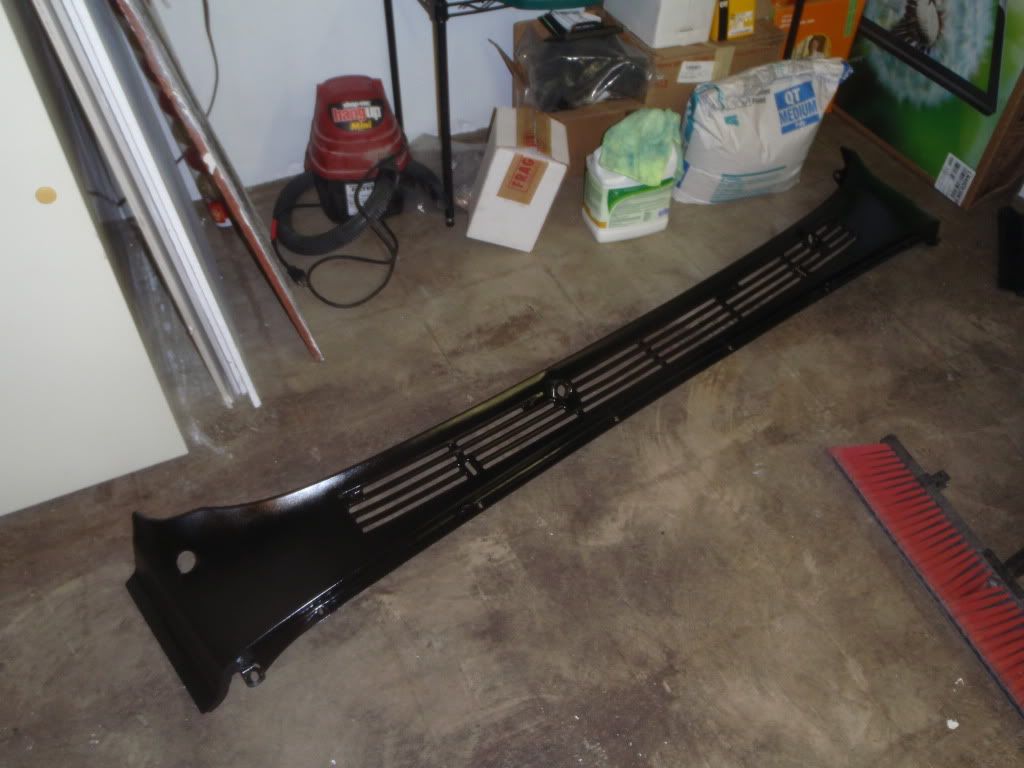 Cleaned up the core support, accessory brackets, headers etc. and got them painted. 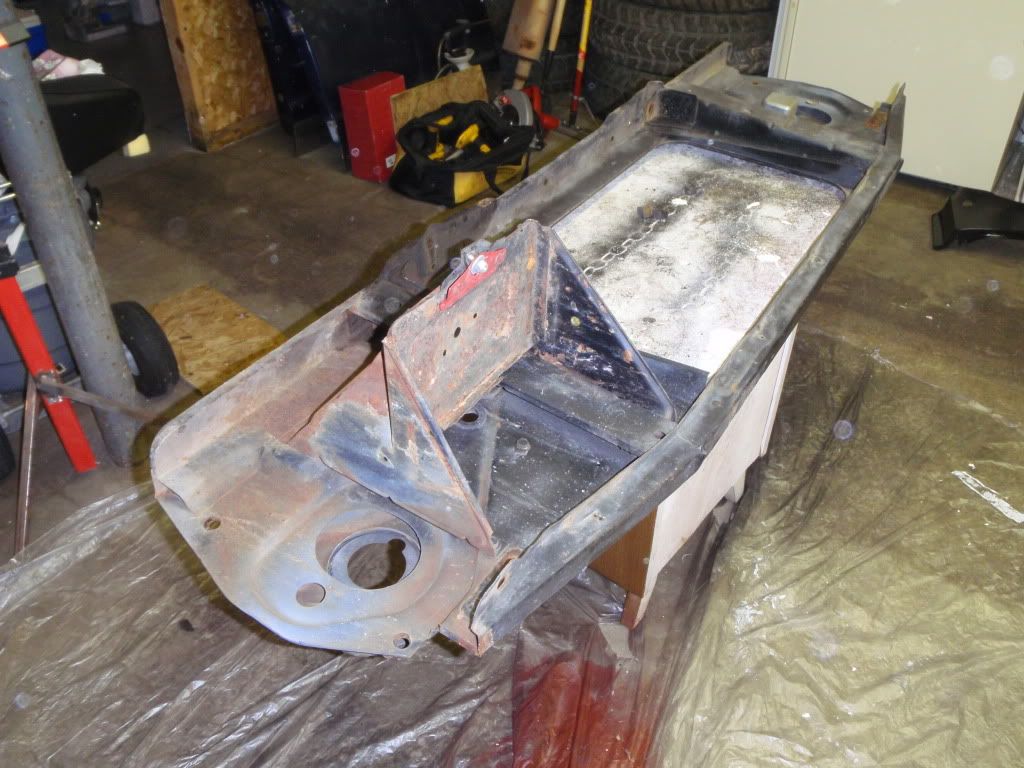 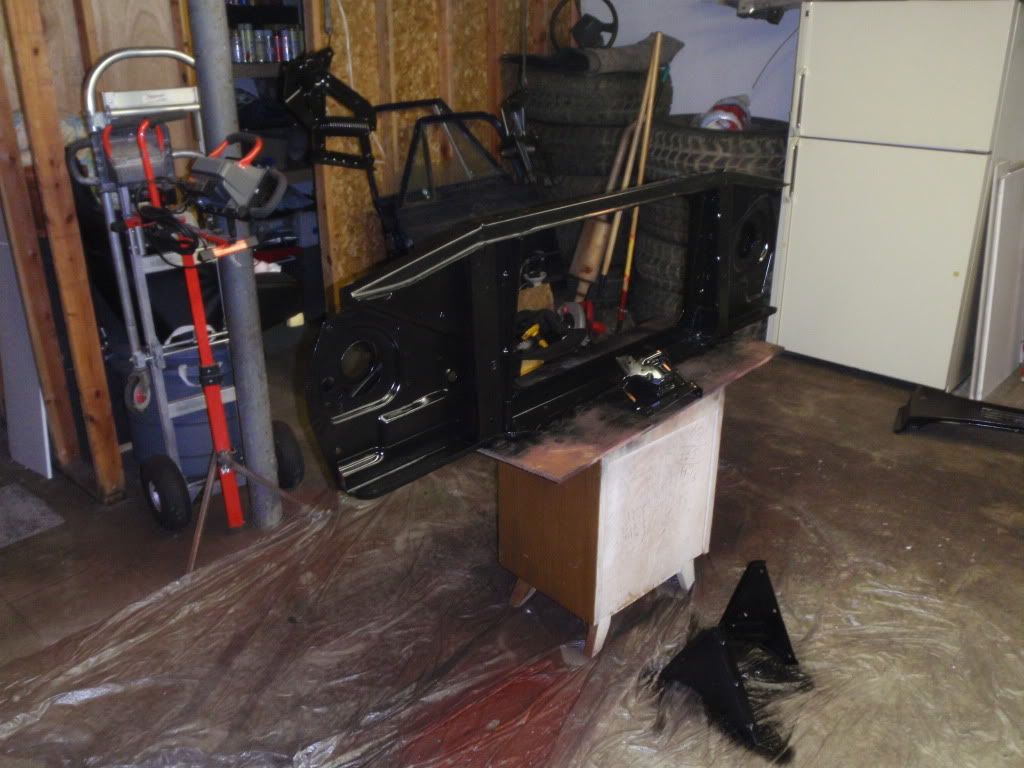 Slid the heart back into the beast and tucked her in for the night. Tomorrow brings engine accessories, sheetmetal, and possibly the hydroboost system if I get around to it. 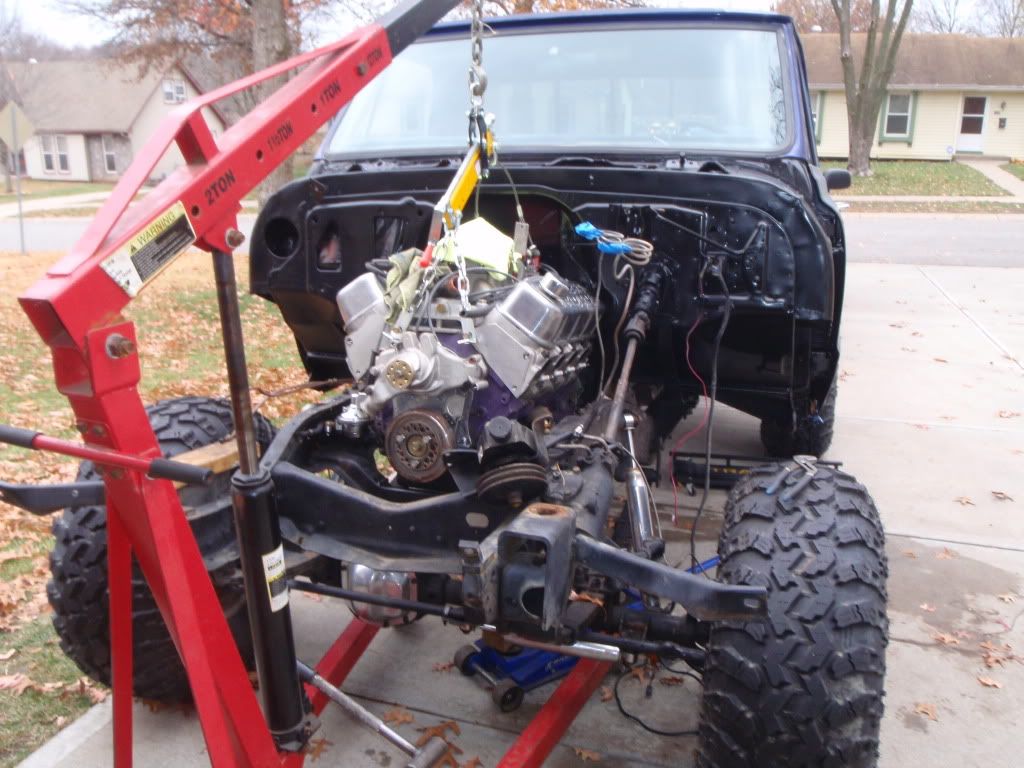 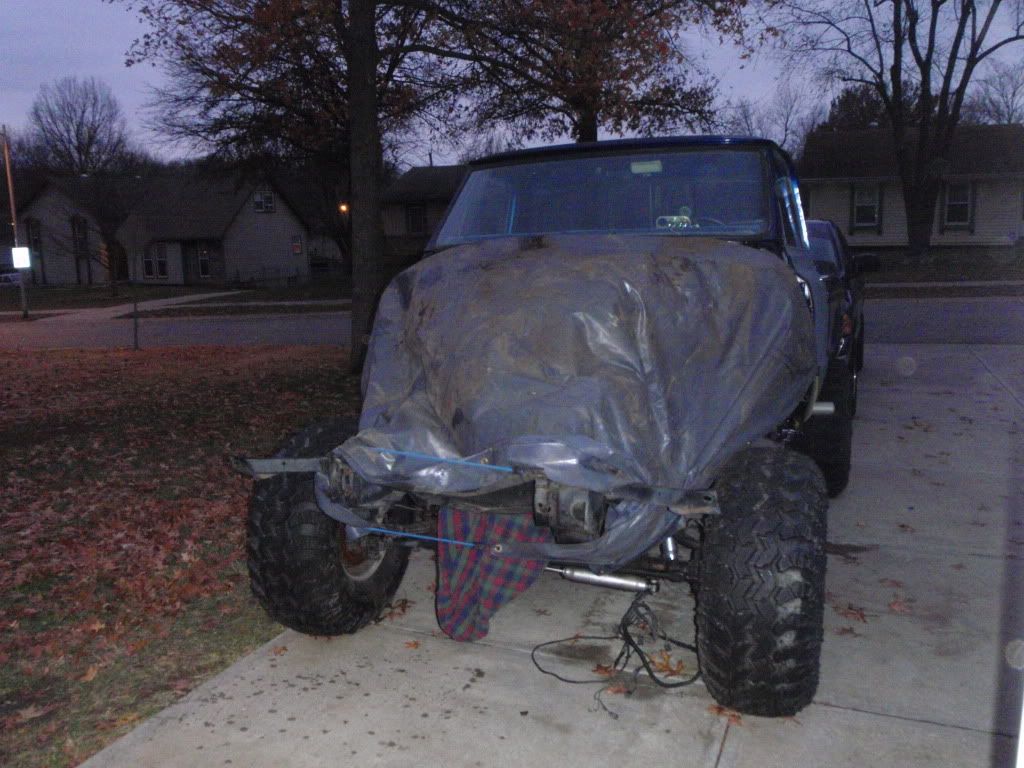 Even though I did not necessarily do anything while the engine was out, it gave me a chance to paint/go through everything that surrounds it. I now feel better that all of my motor mount, flex plate, and transmission bolts are securely locktite'd. |
|
|

|
|
|
#33 | |||
|
Registered User
Join Date: Feb 2011
Location: SHAWNEE, KS
Posts: 191
|
Re: Another OLD BLUE Build Thread - 71 Chevy
Quote:
Quote:
Quote:
My firewall already has a bracket that is deeper than the one you posted above, yet the rod on the hydroboost is even longer. Here is my end of the weekend progress. My dad and I fixed a bunch of :mr-t: type repairs, while we were putting everything back together. Replaced the fuel hoses and filter, and put on some cheap plug wire separators. 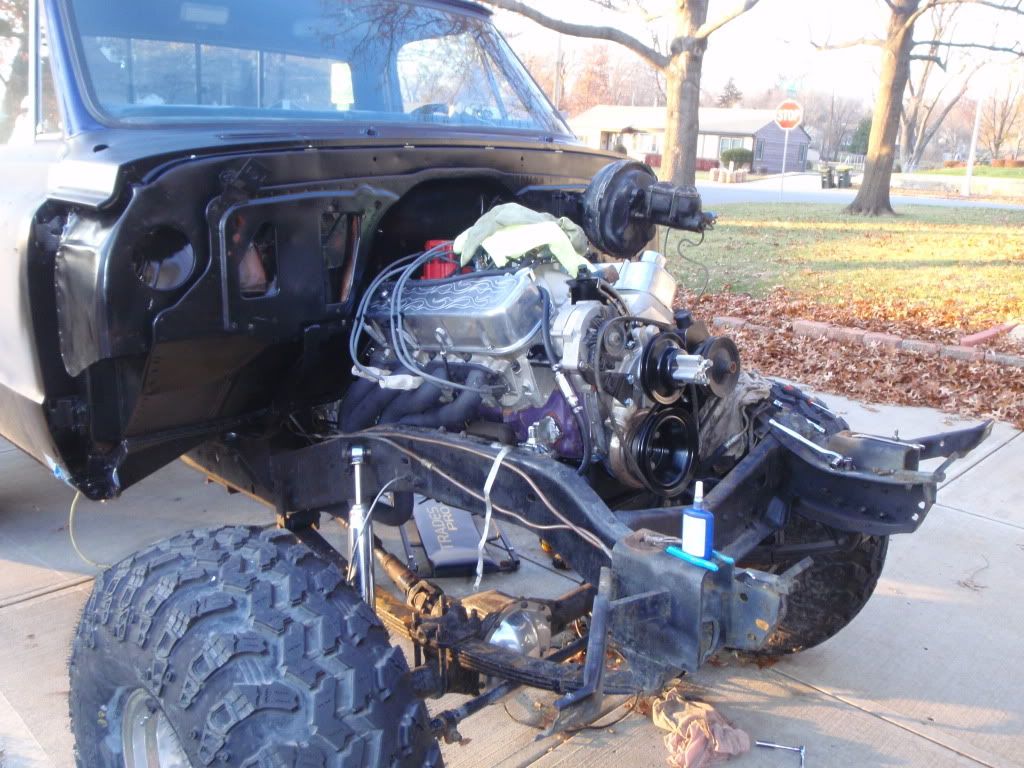 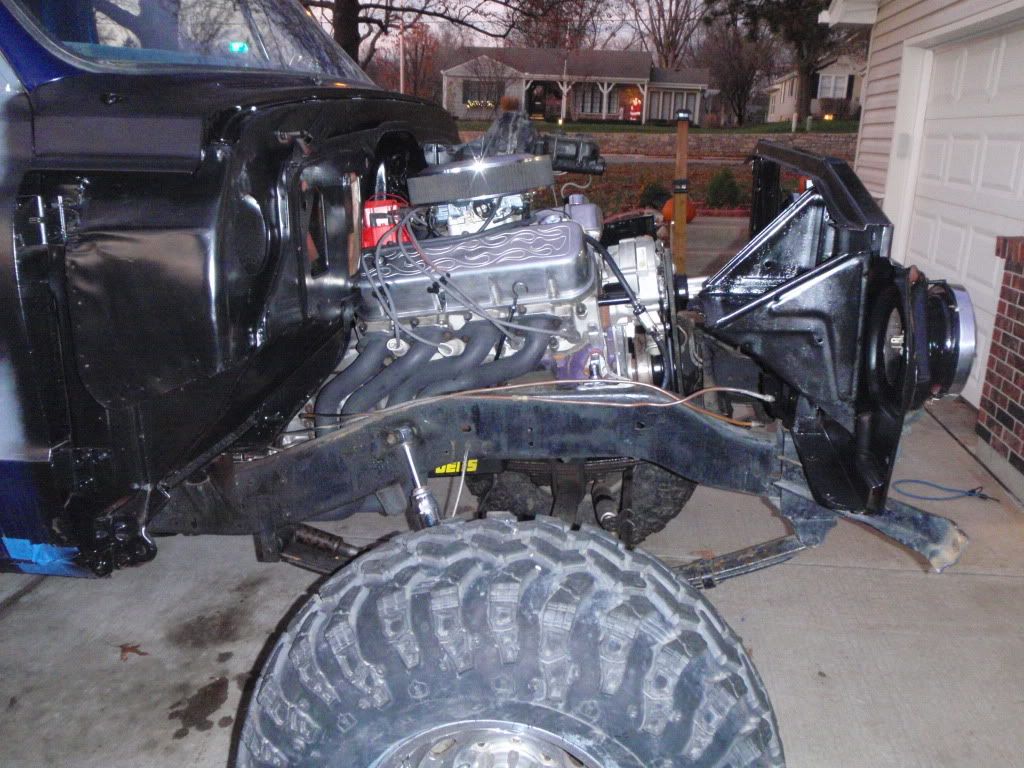 Gotta pick up a new water neck, t-stat, collector gaskets, and hopefully an e-fan setup if I can find one that isn't $$$$ |
|||
|
|

|
|
|
#34 |
|
Registered User
Join Date: Feb 2011
Location: SHAWNEE, KS
Posts: 191
|
Re: Another OLD BLUE Build Thread - 71 Chevy
WWWOOOOOOOHHHHHHHHHHHHHOOOOOOOOOOO
:bounce2: Got everything bolted back up. Fixed some wiring stuff enough to get it operational. Mark from down the street came by after we got it operational and set the timing at ~10* base and she purrs like a little kitten with emphysema :smokin:. After I got it running good, I immediately changed the oil and filter since it was a little fuel diluted.  Turns out, most of my problems had to do with the flexplate cover hitting the weights on the back of the crank. The rest of the problems were just stupid stuff and the race carb. Gotta reassemble a bunch of stuff tomorrow, but I plan to have hopefully a somewhat successful maiden voyage tomorrow. 
|
|
|

|
|
|
#35 |
|
Registered User
Join Date: Feb 2011
Location: SHAWNEE, KS
Posts: 191
|
Re: Another OLD BLUE Build Thread - 71 Chevy
Maiden voyage was a success!!!!
 Here are some really crappy vids because it was already dark.   It was actually rather uneventful unlike before. No backfiring, and no spewing of power steering fluid. Runs nice and smooth :smokin: The brakes still suck.....I am going to have to figure out the hydroboost or something else fo sho. Now on to the little stuff like wiring, brakes, adding the rest of the sheetmetal, bulbs, etc..... |
|
|

|
|
|
#36 |
|
Registered User
Join Date: Feb 2011
Location: SHAWNEE, KS
Posts: 191
|
Re: Another OLD BLUE Build Thread - 71 Chevy
WOOO HOOOO
Ok, so I didn't really do that much but she actually looks like a truck again with the hood on  You can clearly tell what parts I have touched and what parts are still in the condition that I got it. 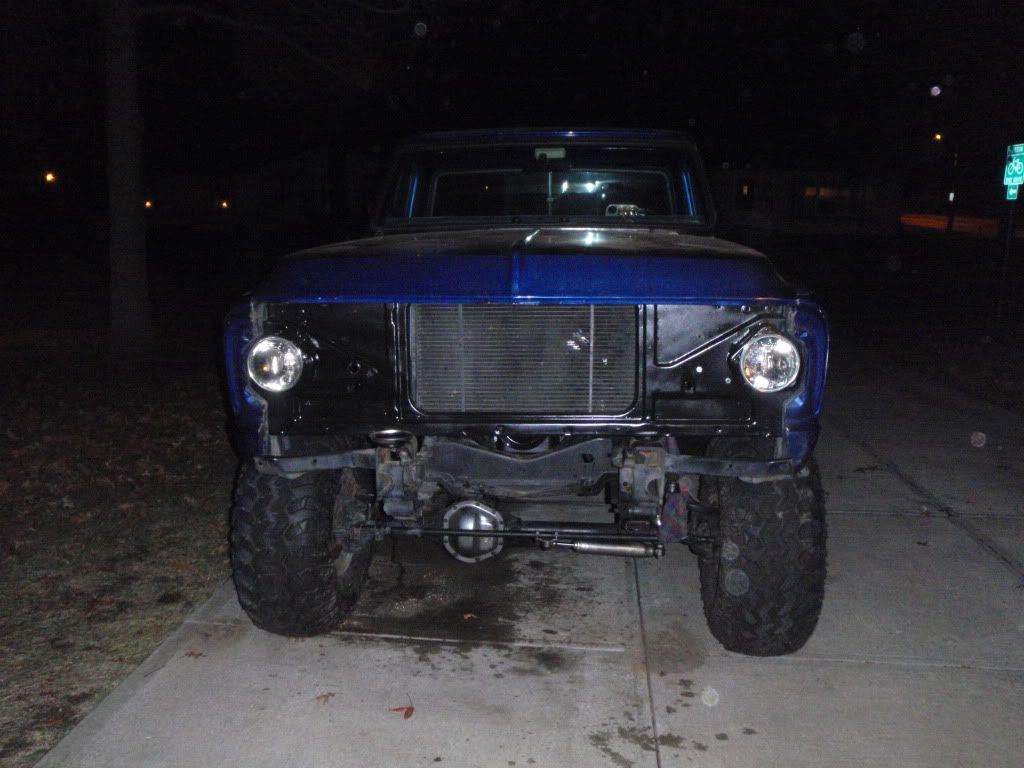 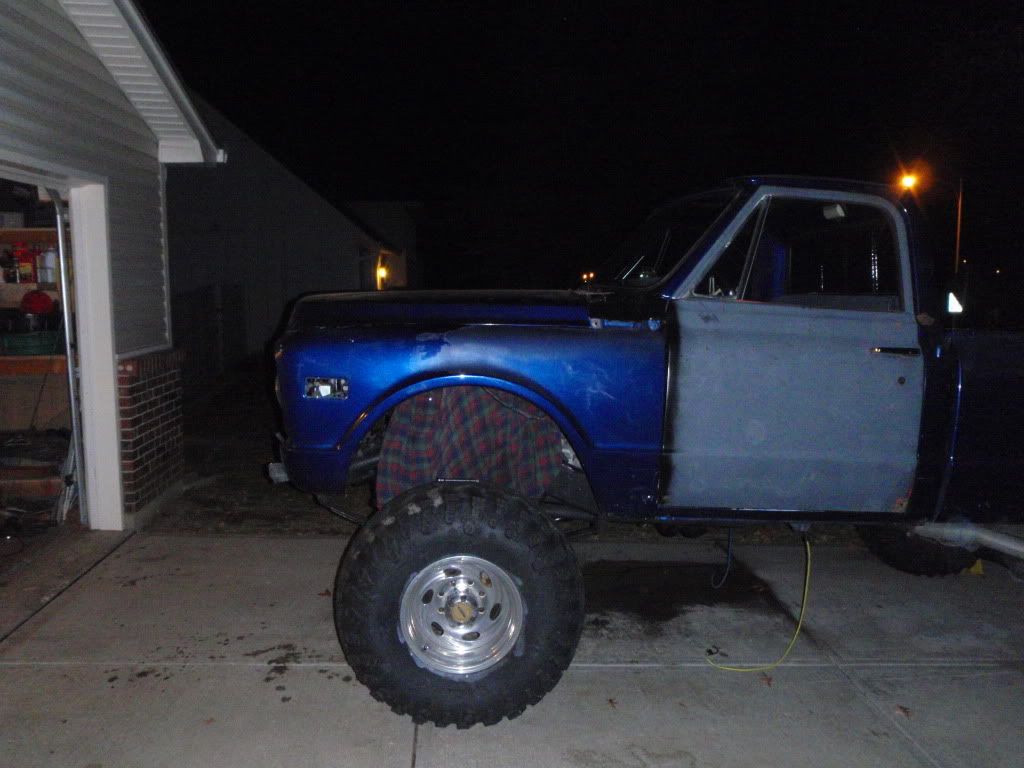 Got a good weekend of wrenching ahead of me starting Sat morning, hopefully I can turn'er into a runner. :smokin: One thing that I noted is that the temp gauge is getting some weird readings. After warming up it will be right on 180* then jump up to 210* and even 240* but if you blip the throttle it plummets down to ~120*. Basically it just acts weird. I have two theories: 1. there is air in the cooling system somewhere (I do have an overflow properly plumbed and it works) or 2. it has something to do with the lack of a hose between the radiator and the intake. I am thinking the water pump is deadheading without that upper tube and the hot fluid builds up until the thermostat opens. Just a thought about it, this weekend I will be adding the hose between the two and we will see if it helps... |
|
|

|
|
|
#37 |
|
Registered User
Join Date: Feb 2011
Location: SHAWNEE, KS
Posts: 191
|
Re: Another OLD BLUE Build Thread - 71 Chevy
One day of wrenching down.. wasn't real motivated, but I got a lot done.
This is my fix for the temp gauge problem as described above. I will have to find some kind of special 45* fitting or something because I had to make a loop in the hose in order for it not to kink. When I eventually took it for a drive the temp stayed at 195* the whole time. 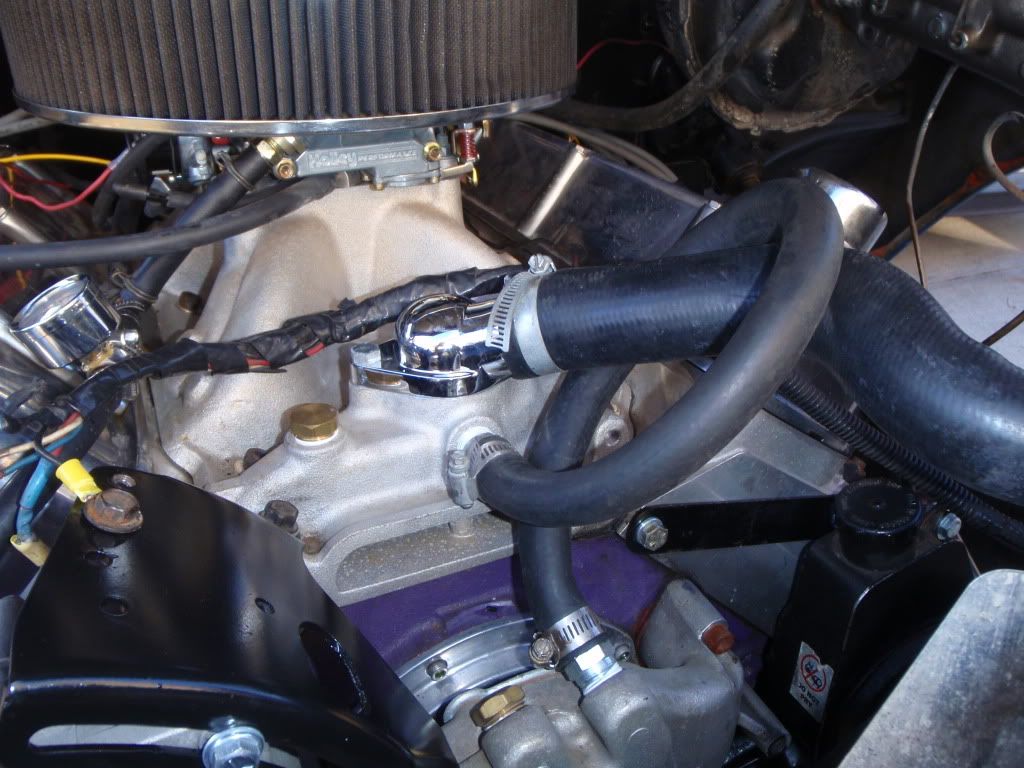 Figured out most of my brake problem. My dad and I tried to bleed the brakes for ~45 minutes the other day to no avail. So I said screw it and just went and bought a new master cylinder for a whipping $15  . While not completely fixed, the brakes are A LOT better. . While not completely fixed, the brakes are A LOT better.This is a pic of the old one where you couldn't see it was leaking while it was bolted on. 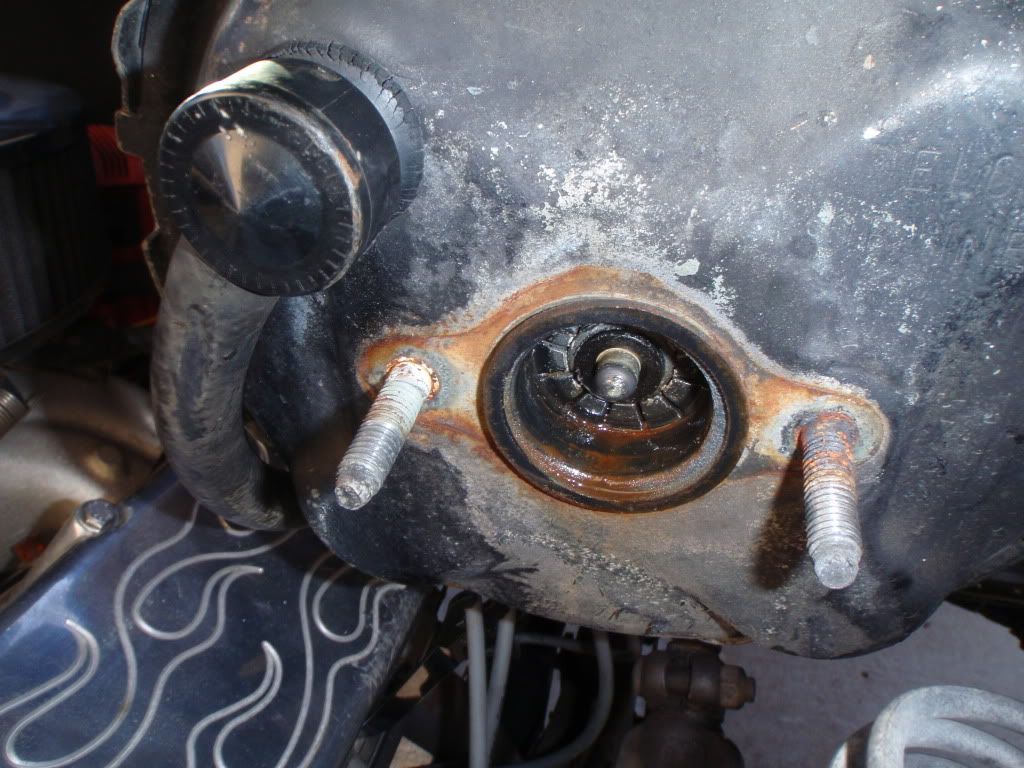 Once I got all of that going, I went to go take it for a spin. Started it up, and shortly thereafter a pint of oil comes flowing out of the bottom of the dash. Just an fyi people, if your gauge has this tubing, replace it with copper tubing NOW. Luckily it happened while I was still in the driveway  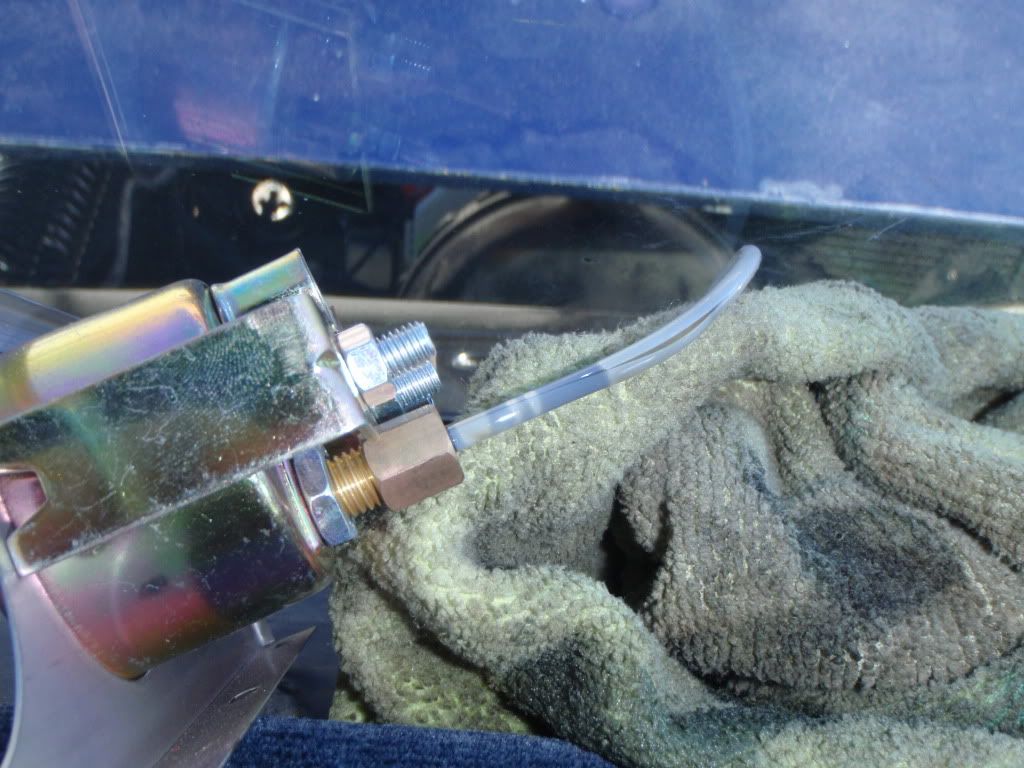 Drove it ~15 miles or so today and was all  . This thing is already pretty quick, I can't imagine what it will be after I get all of the bugs worked out and a good tune. . This thing is already pretty quick, I can't imagine what it will be after I get all of the bugs worked out and a good tune.Tomorrow's goal is to figure out why the tranny is puking fluid everywhere. Are th400's supposed to have a kickdown cable?? Mine definitely doesn't. |
|
|

|
|
|
#38 | |
|
Registered User
Join Date: Feb 2011
Location: SHAWNEE, KS
Posts: 191
|
Re: Another OLD BLUE Build Thread - 71 Chevy
Quote:
Well, overall it was a very successful day. I drove 'er all around town today and she just worked (for the most part). Starting off, it felt like I wasn't getting full throttle. So we stopped in a park and adjusted the throttle bracket. HUGE difference, my current throttle bracket only has one hole so it can spin on the carburetor bolt. I moved it forward and tightened it up so the pedal wasn't bottoming out on the floor. I am now on the hunt for a new throttle cable/bracket. She is still kinda finiky when starting, especially cold. I am assuming this is just one of those things that I will figure out with time and tinkering. Pics :grinpimp:  My helper  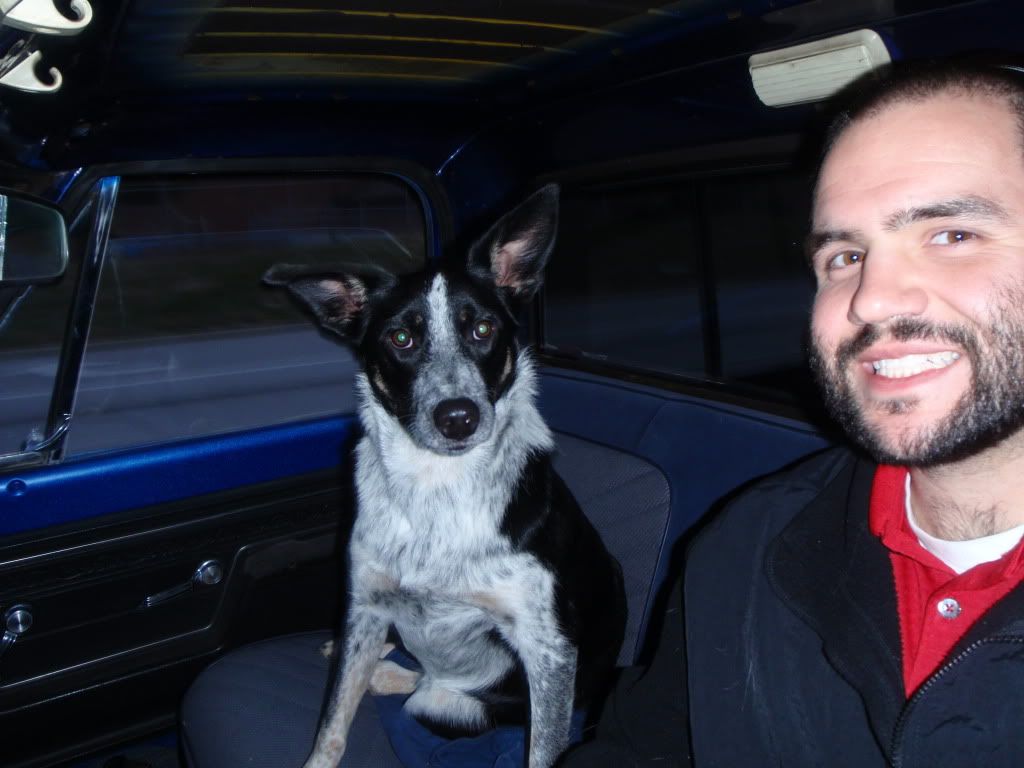 After we adjusted the throttle, I was all  . I can be rolling at about 5-10mph and punch it in first and it will break the tires loose. . I can be rolling at about 5-10mph and punch it in first and it will break the tires loose.I am guestimating after my jaunt around town yesterday and today, I probably went ~60 miles or so (no speedo cable). So that would mean with the 18.7 gallons of premium I just put in it means I am getting about 3mpg :flipoff2: Stick that in your prius and smoke it |
|
|
|

|
|
|
#39 |
|
Registered User
Join Date: Feb 2011
Location: SHAWNEE, KS
Posts: 191
|
Re: Another OLD BLUE Build Thread - 71 Chevy
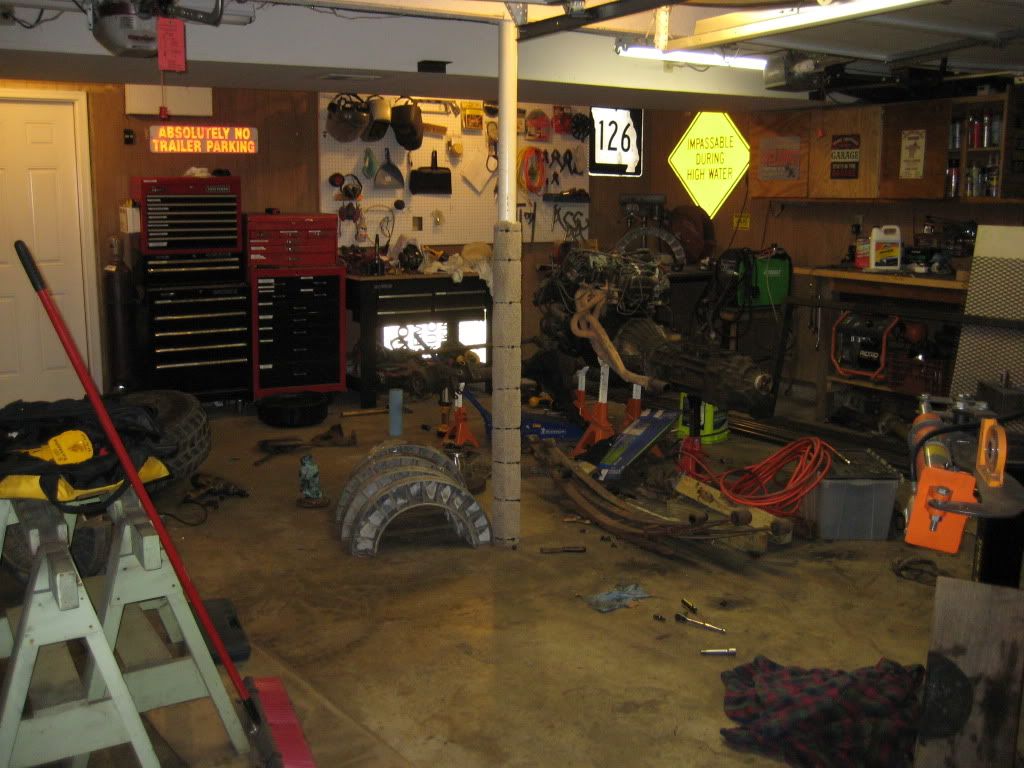 Got a new toy for the D60 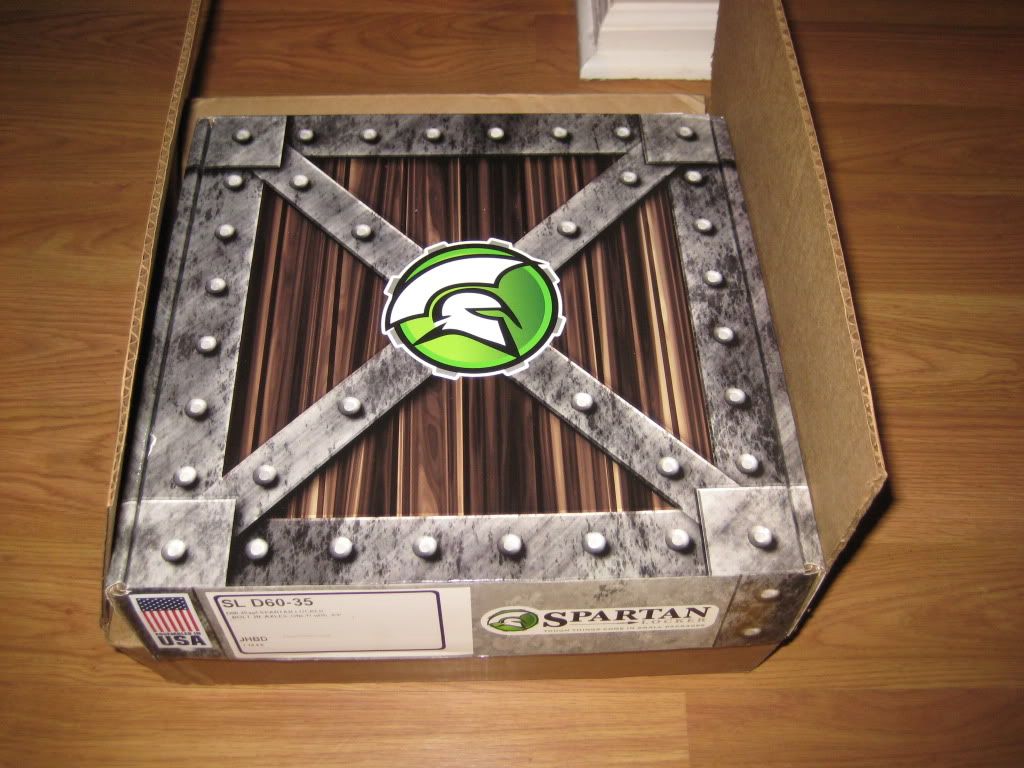 Blew apart the front axle to put it in and for some reason I can't get the roll pin out :mad3: Roll pin is still stuck halfway in as of 12/24... Probably going to have to take it to a machine shop. 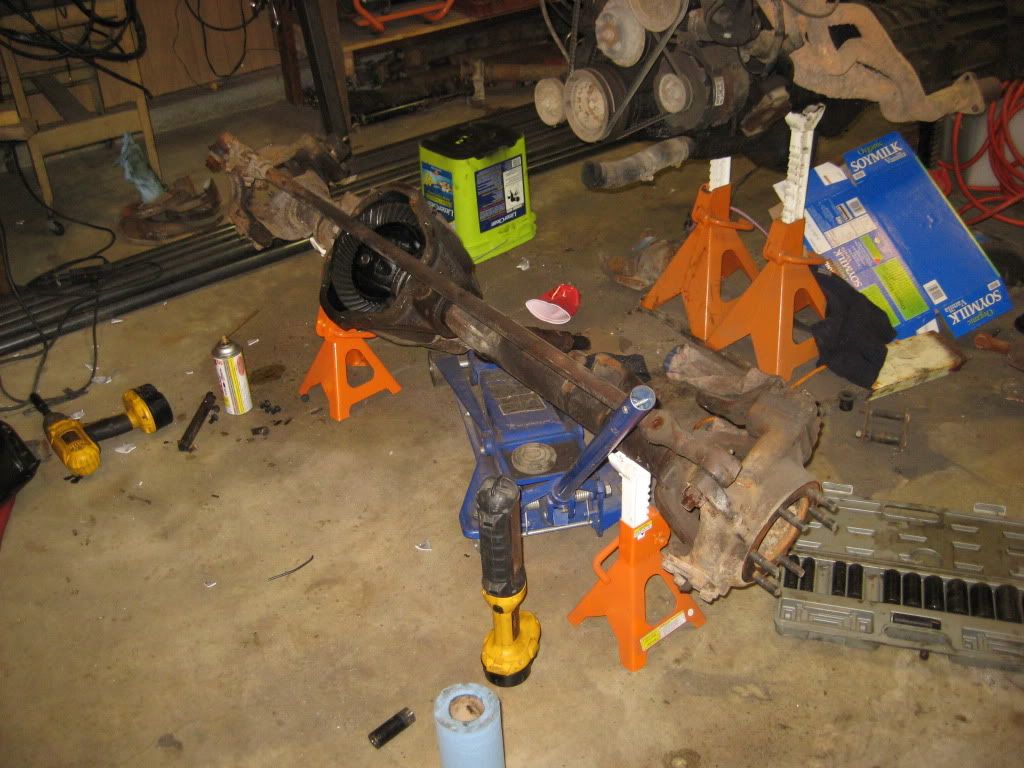 That leaves me with a pair of axles and workbenches that no longer have Toyota junk all over them  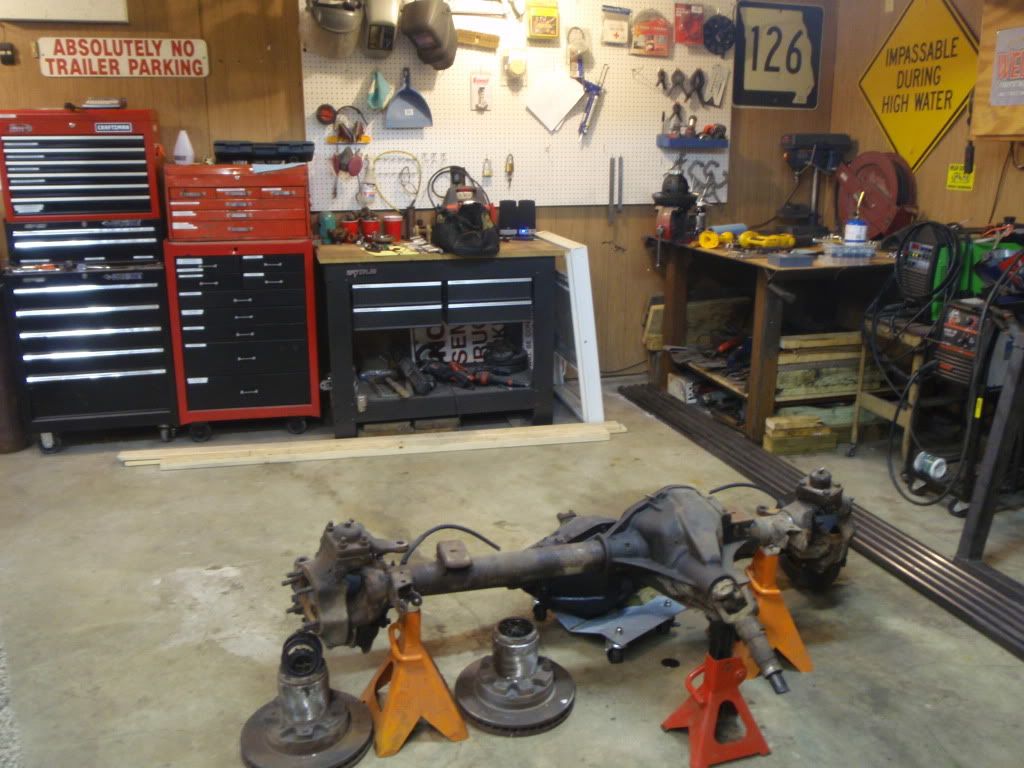
|
|
|

|
|
|
#40 |
|
Registered User
Join Date: Feb 2011
Location: SHAWNEE, KS
Posts: 191
|
Re: Another OLD BLUE Build Thread - 71 Chevy
Two steps forward, one step back.
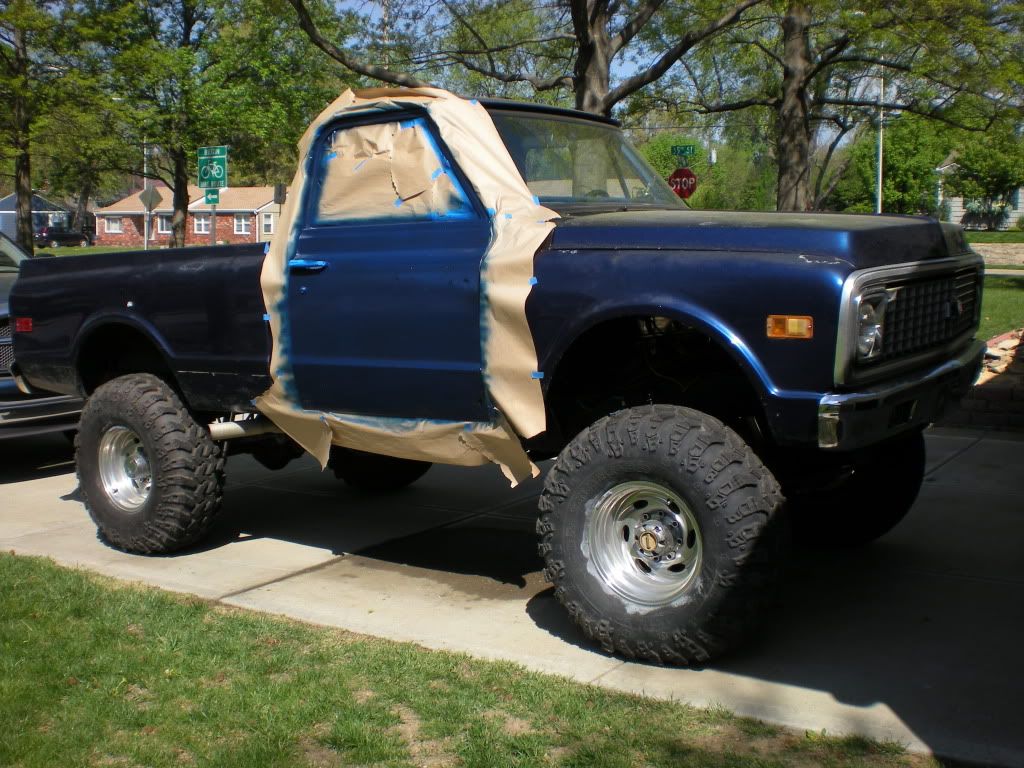
Well, I finally manned up and got the roll pin back out of the differential. I took one of my larger punches and ground it down until it just fit in the hole then hooked up my fancy new harbor freight punch handle. 3 large whacks later, it was out! Got my new roll pin out of the freezer and it went right in with a couple of taps (helps when you put it in the correct side of the differential) My step back is that I accidentally dropped the diff while I was working on it and now get to replace one of the bearings :shaking: 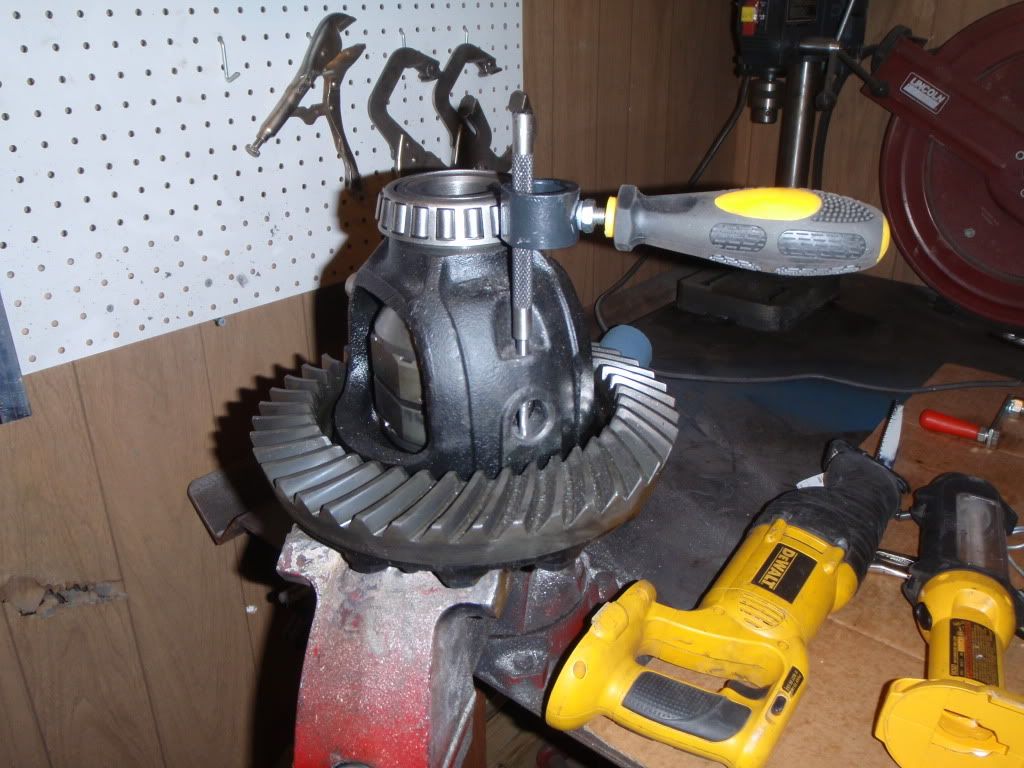 My dad and I are currently rebuilding one of the bathrooms in my house so while I was at Home Depot, I was perusing the spray paint isle and found rustoleum "navy" blue. Not perfect and not dry in the pic but not bad for $4 :flipoff2: 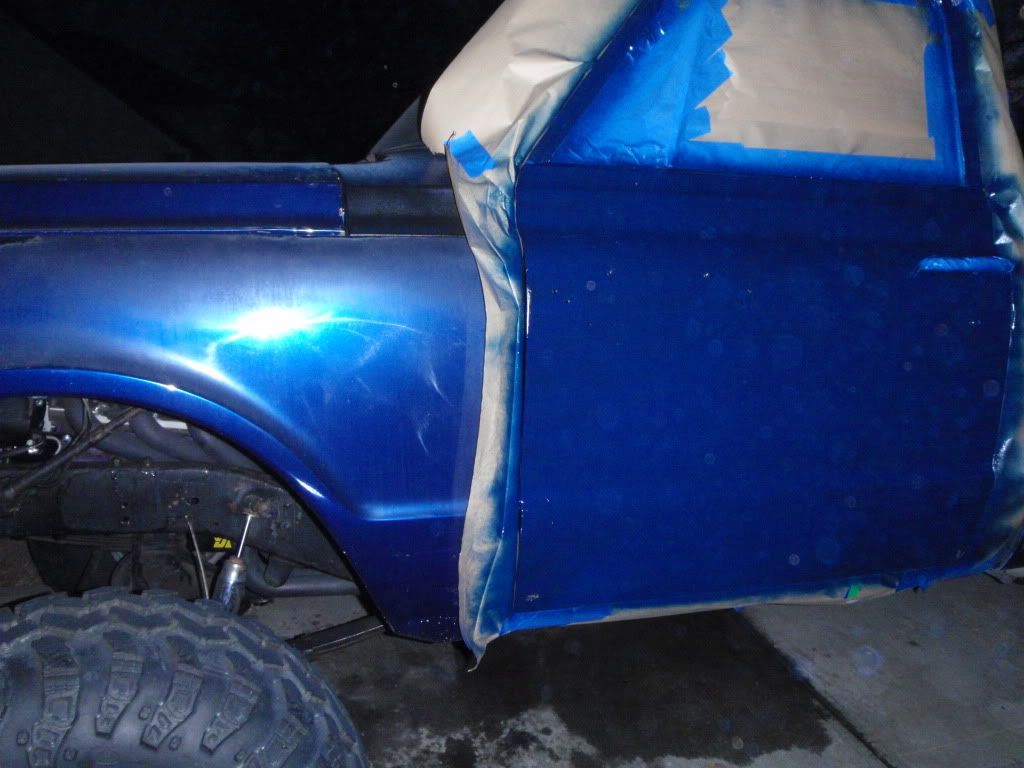 Back to work tomorrow and I get the fun task of typing another 8-10 page paper before wednesday..... I keep telling myself 5 months left....5 months left....(Graduating in June) |
|
|

|
|
|
#41 |
|
Registered User
Join Date: Feb 2011
Location: SHAWNEE, KS
Posts: 191
|
Re: Another OLD BLUE Build Thread - 71 Chevy
AWESOME!!!!!! :grinpimp:
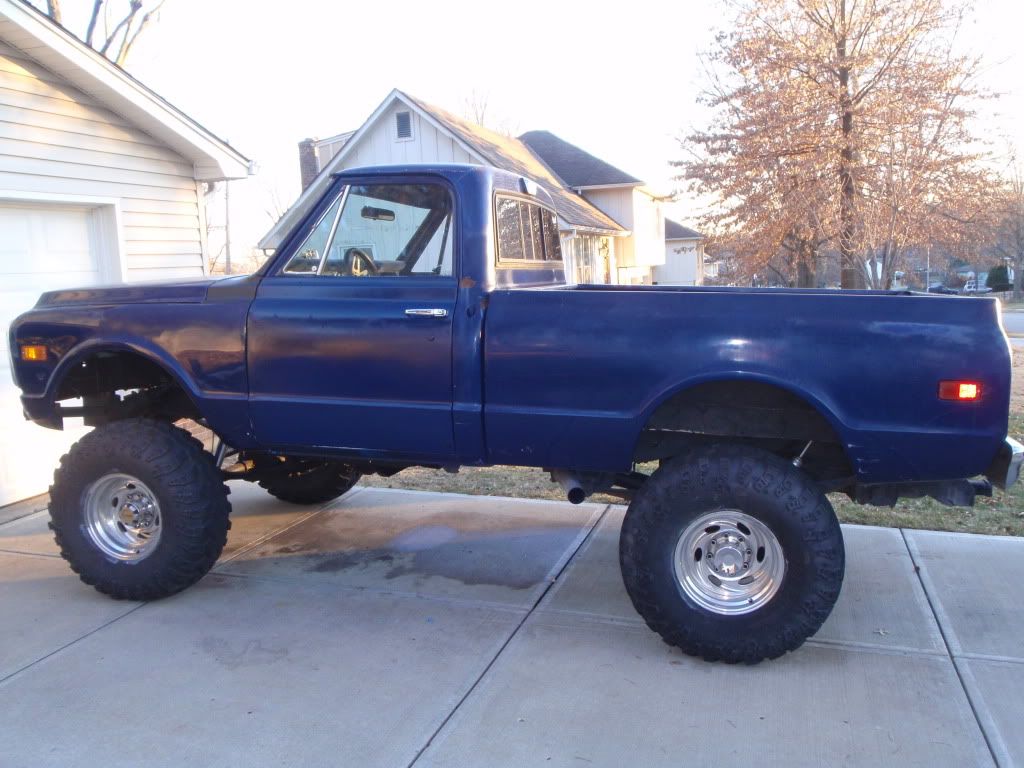 I think the wife pretty much summed it up when she said "wow, it actually looks like a real truck now" :laughing: Now I just need to do the other door, cowl, and the tailgate to match. Not a very exciting update, but I did get a new sticker at World of Wheels :flipoff2:  I also went by LMC and got some new mirrors and stuff to rebuild my turn signals in my steering column. |
|
|

|
|
|
#42 |
|
Registered User
Join Date: Feb 2011
Location: SHAWNEE, KS
Posts: 191
|
Re: Another OLD BLUE Build Thread - 71 Chevy
Had a really good wrenching day while trying to avoid my 7-10 page paper....
 Replaced the turn signal cam which was actually kind of a pita. I couldn't figure out how to get the bearing/plate that held the 2" deep black part on that contains the switch mechanism. I read on 67-72chevytrucks.com that somebody had "depinned" the connector to avoid completely disassembling the column, so I thought I would try it. 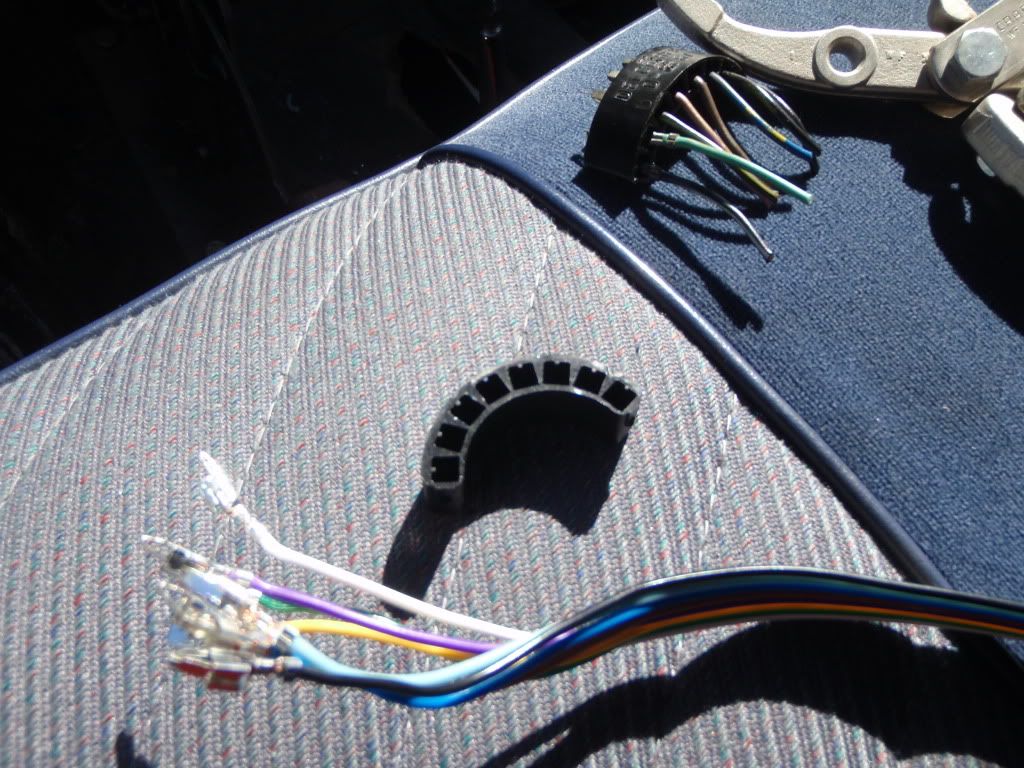 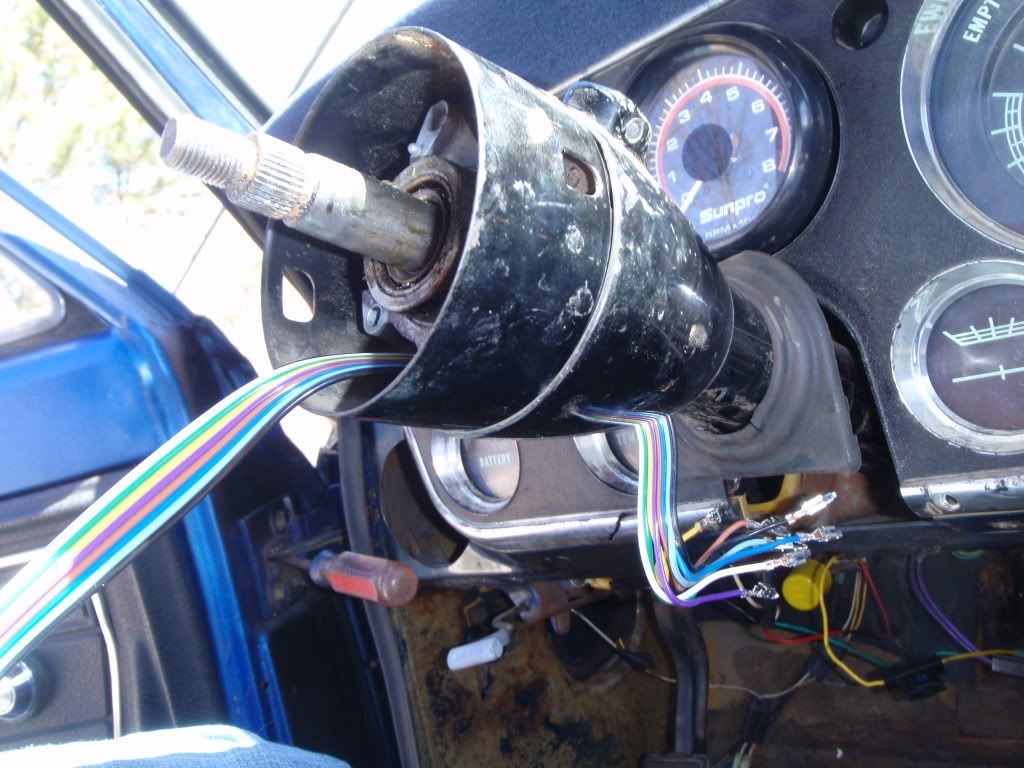 The turn signals almost work consistently now. There is a bundle of wires at the back of the truck with a trailer harness coming out of it that I am assuming contains the remainder of my issues with these turn signals. 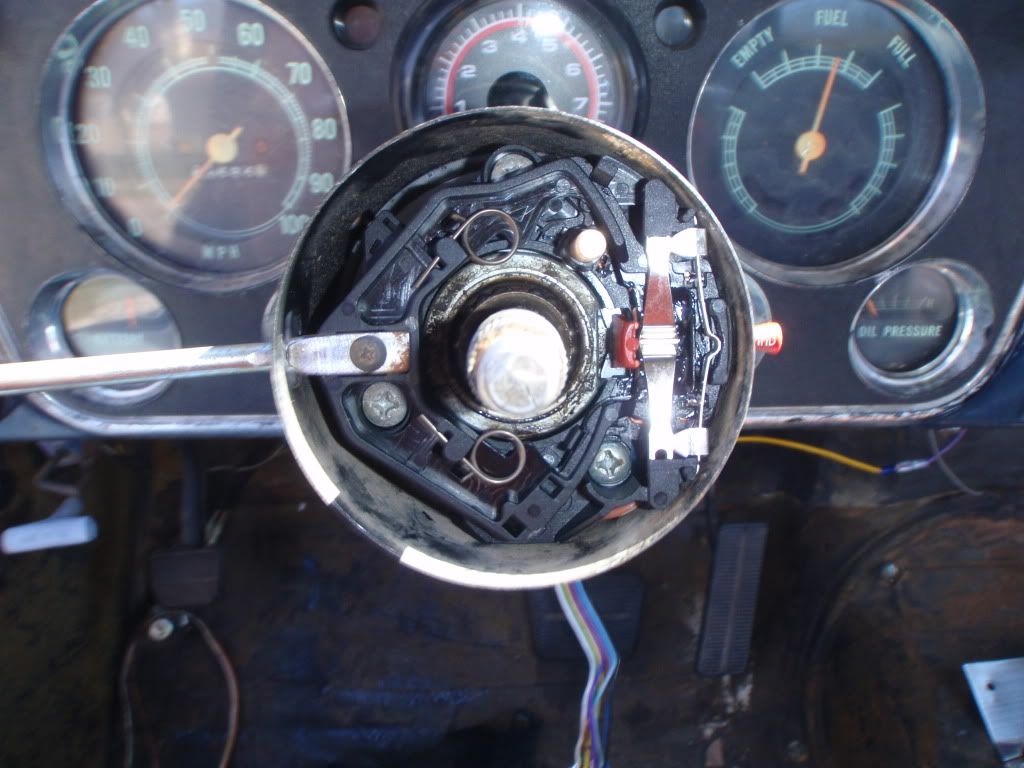 Put the front bumper back on. I misplaced the screws for my turn signals though. Guess I'll have to make a trip to LMC tomorrow :smokin: 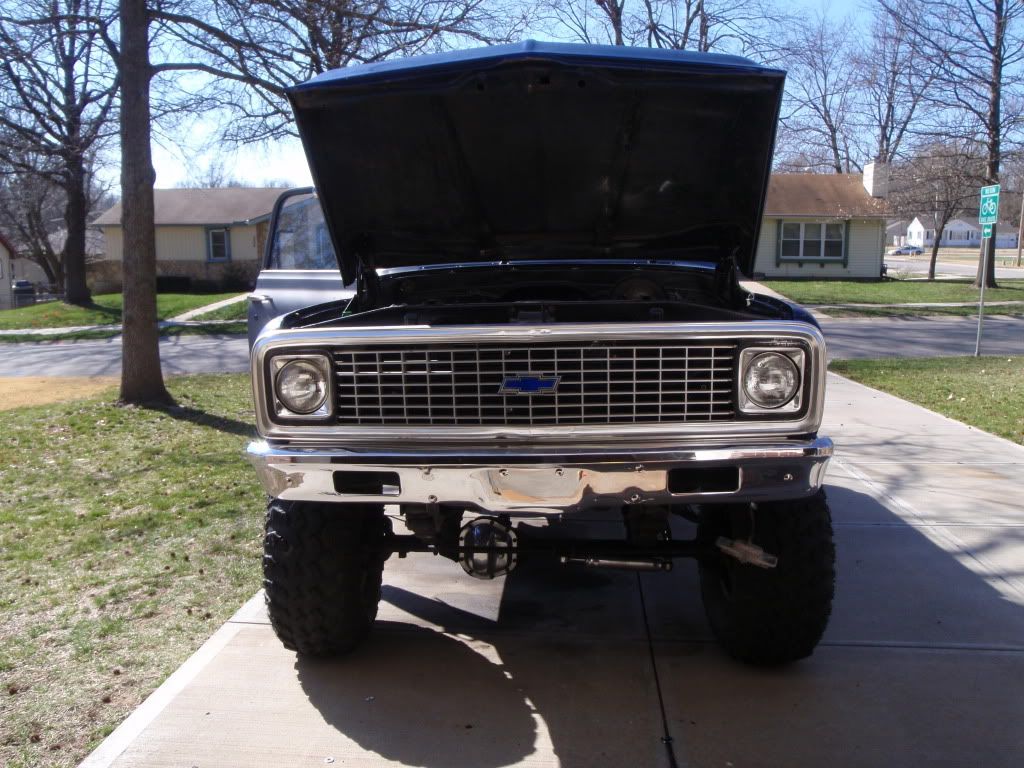 Custom rapid-prototype draft stopper 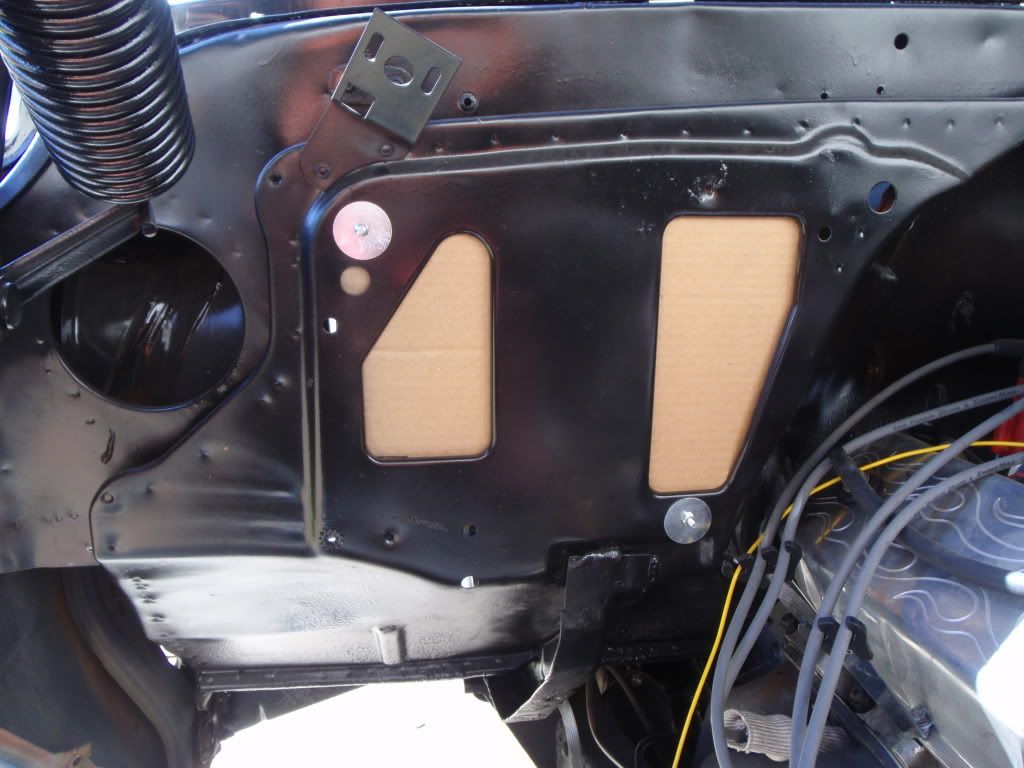 Drove a good 60 miles today around town and on the highway. Besides the fact that I should probably have been wearing earplugs, it drove great. Cruises down the highway @70 and about 2900rpm :laughing:. Put it in 4wd today to confirm that it was functional. 4wd high it went right in, 4wd low I had to cut an extra peice of the floorboard out so it would go all the way in. It is missing the 4wd shifter knob, so I went to ace for some bolts, I am going to make one tomorrow if I have time. |
|
|

|
|
|
#43 |
|
Registered User
Join Date: Feb 2011
Location: SHAWNEE, KS
Posts: 191
|
Re: Another OLD BLUE Build Thread - 71 Chevy
I forgot to post earlier that I sold all my H1 wheels and tires. Guess these wheels/tires are going to stay on for a while.
Finished my 4wd shifter today. Made it out of a broken breaker bar handle. 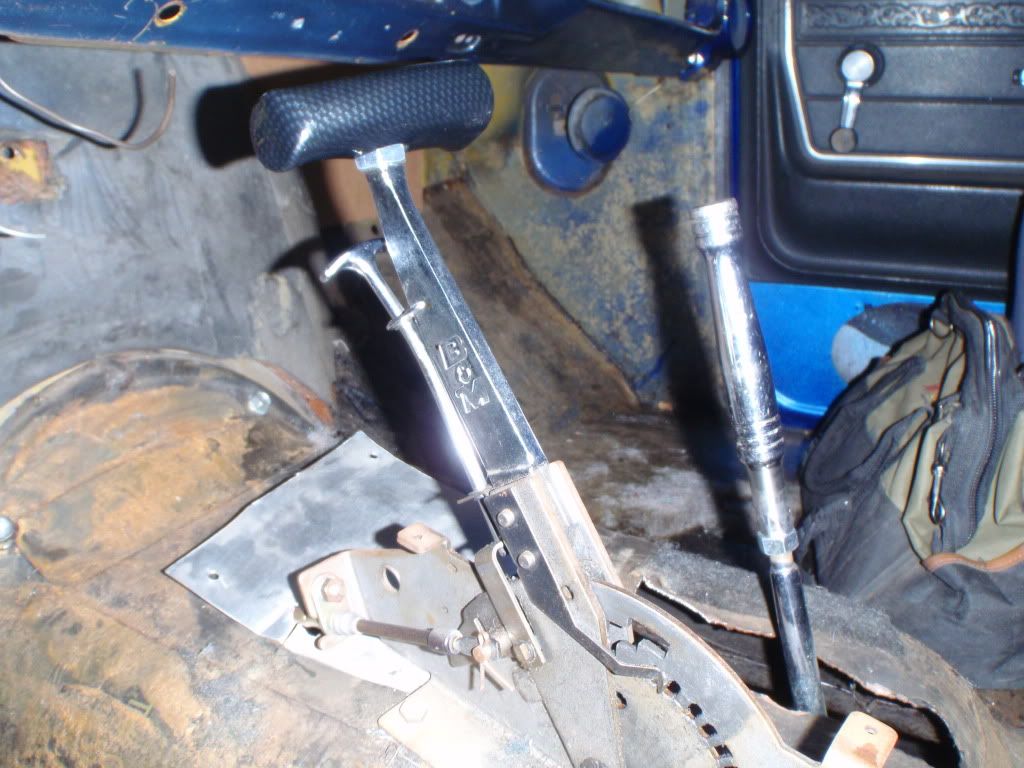 Nothin special, just taking it one step at a time. Did some damage control today  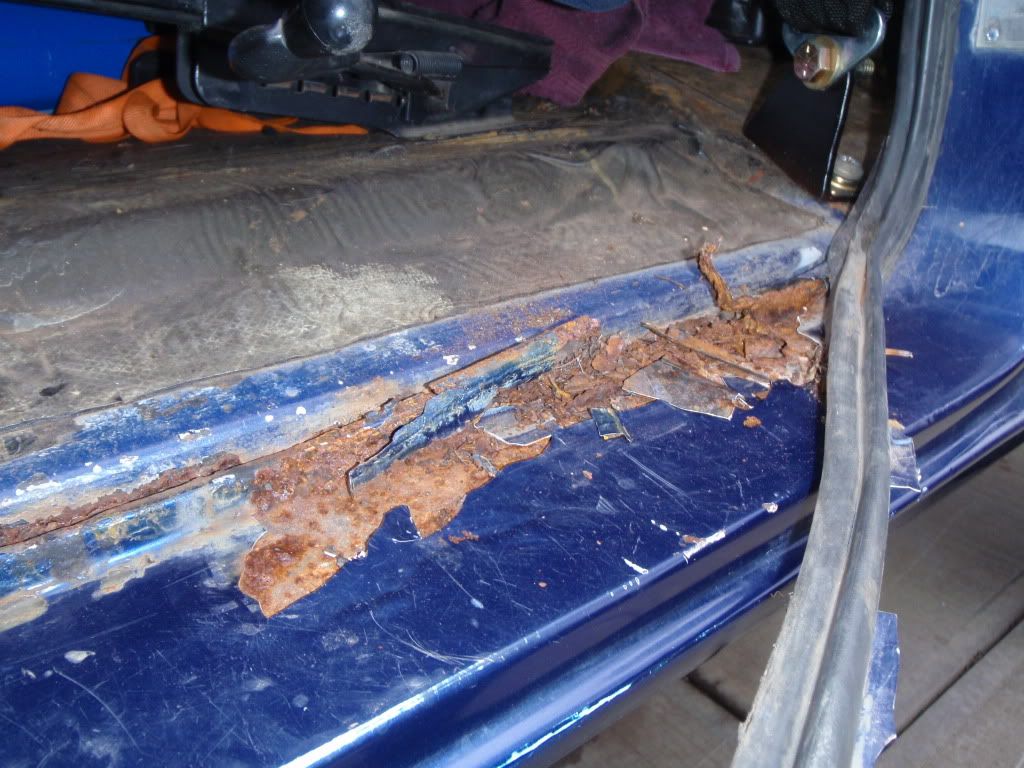 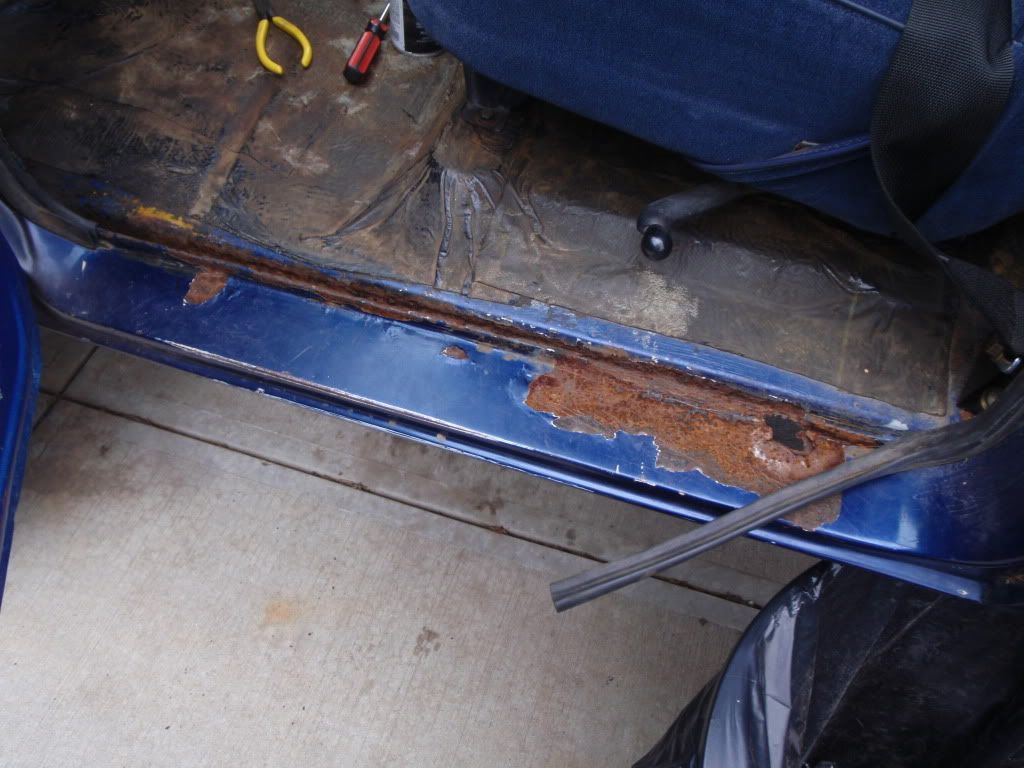 Black rustoleum won again. Hopefully this protects it for a while. This is really the only bad spot on the cab. It is from those 3 holes in the cowl before I welded them up a couple months ago. 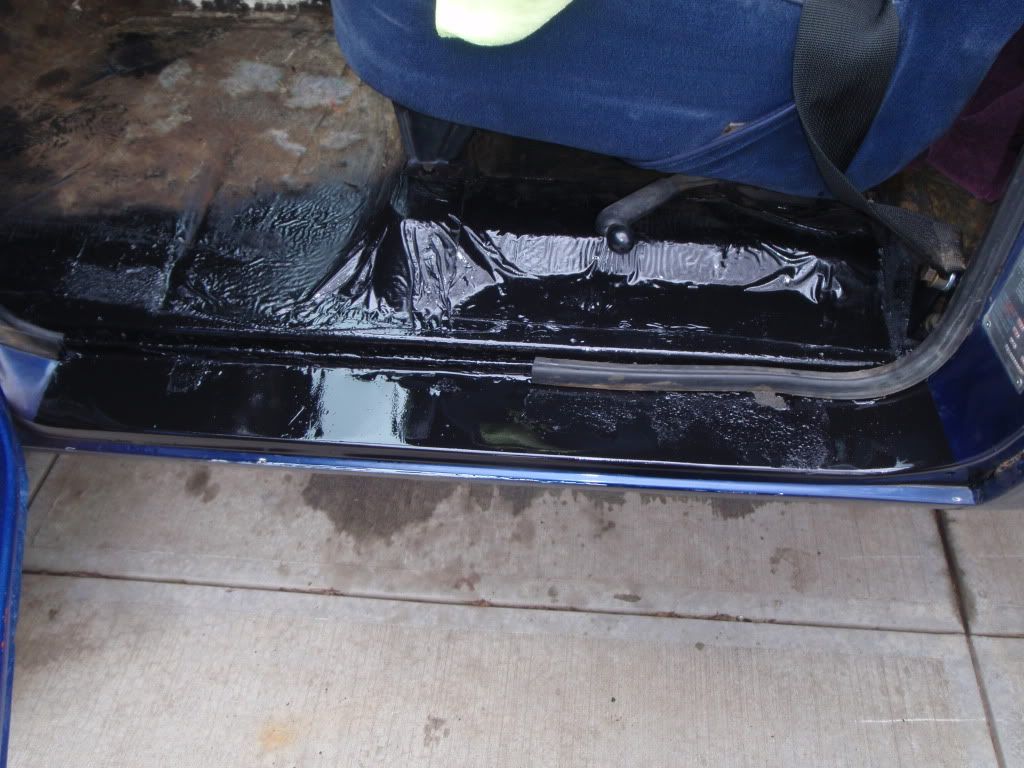 Starting to look more like a truck  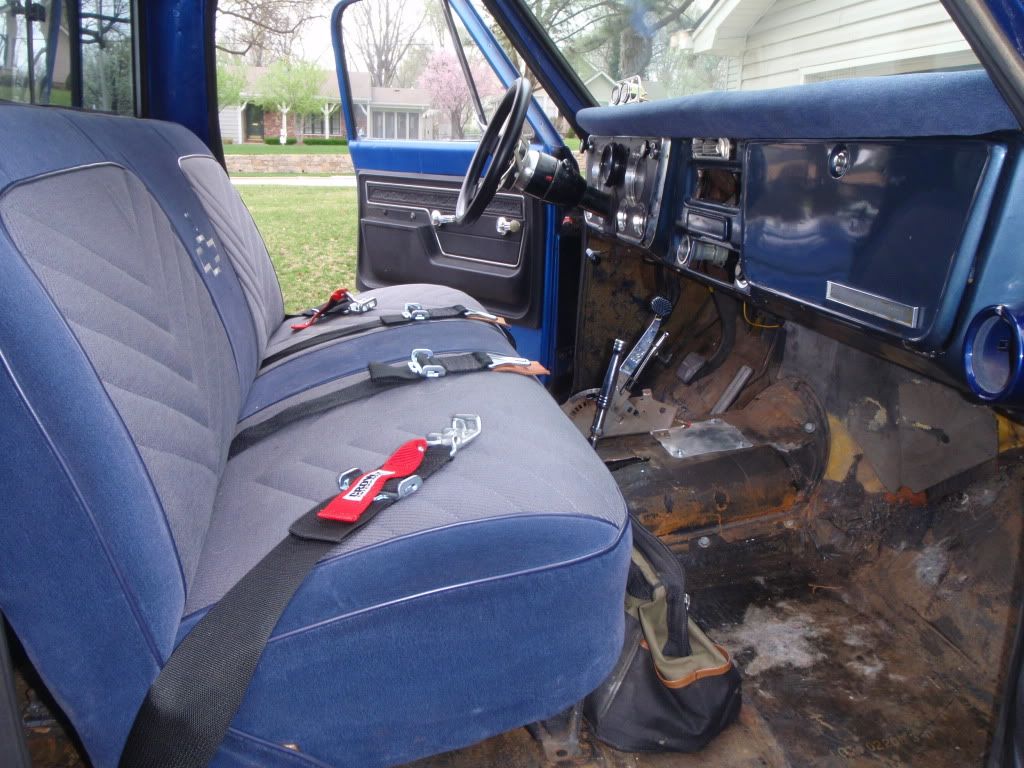
|
|
|

|
|
|
#44 |
|
Registered User
Join Date: Feb 2011
Location: SHAWNEE, KS
Posts: 191
|
Re: Another OLD BLUE Build Thread - 71 Chevy
Laaaaame update, but it is still progress.
Thanks PartsMike New Joints for the d60 that will go in sometime this decade 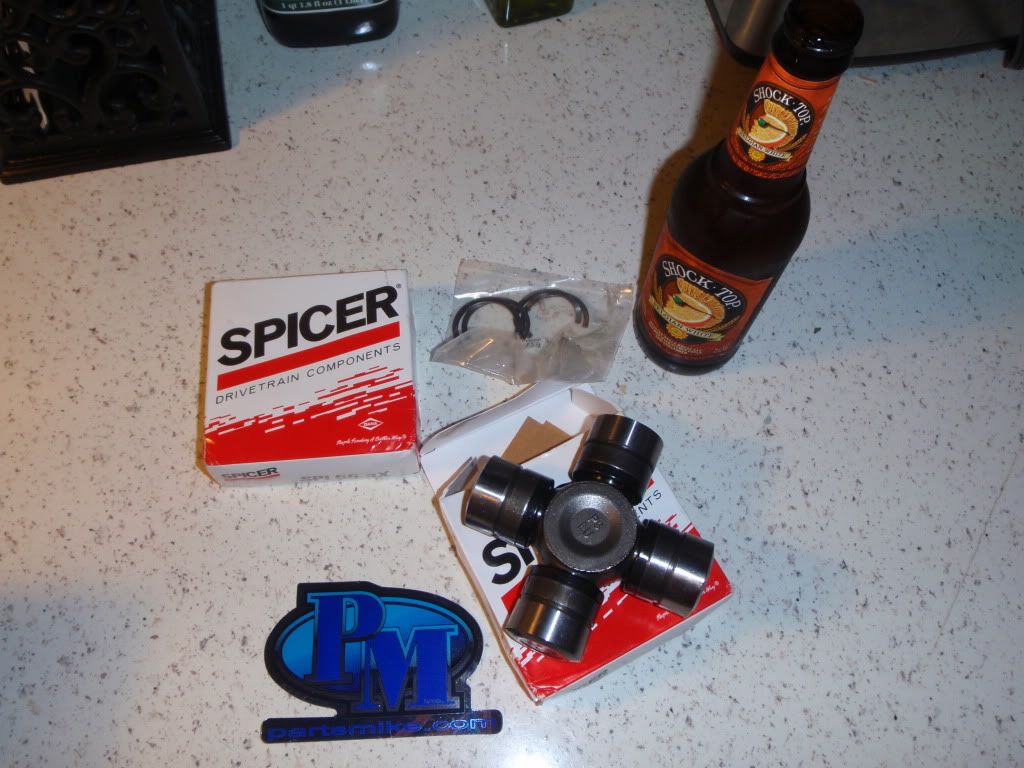 Maybe I will have enough motivation to work on something this weekend. www.polyperformance.com If I were to do it again, I would have gotten the 2" lap belts instead of 3". They get in the way sometimes. Yes sir :grinpimp: Another lame update. Drove the crap out of it this weekend, prob 100 miles or so. The more it gets broken in the better it runs. Time to start looking for a detroit for the rear. The one wheel peels, while smokey, just aren't quite as cool. I really need to get the pass side door painted 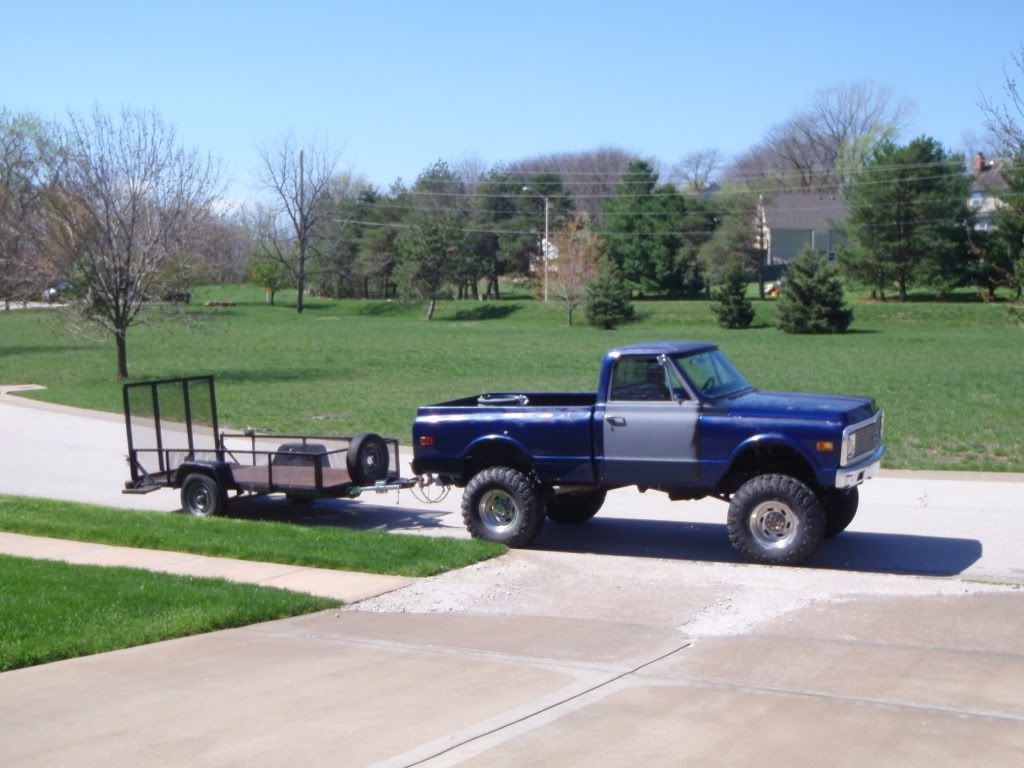 Found a date on the frame: 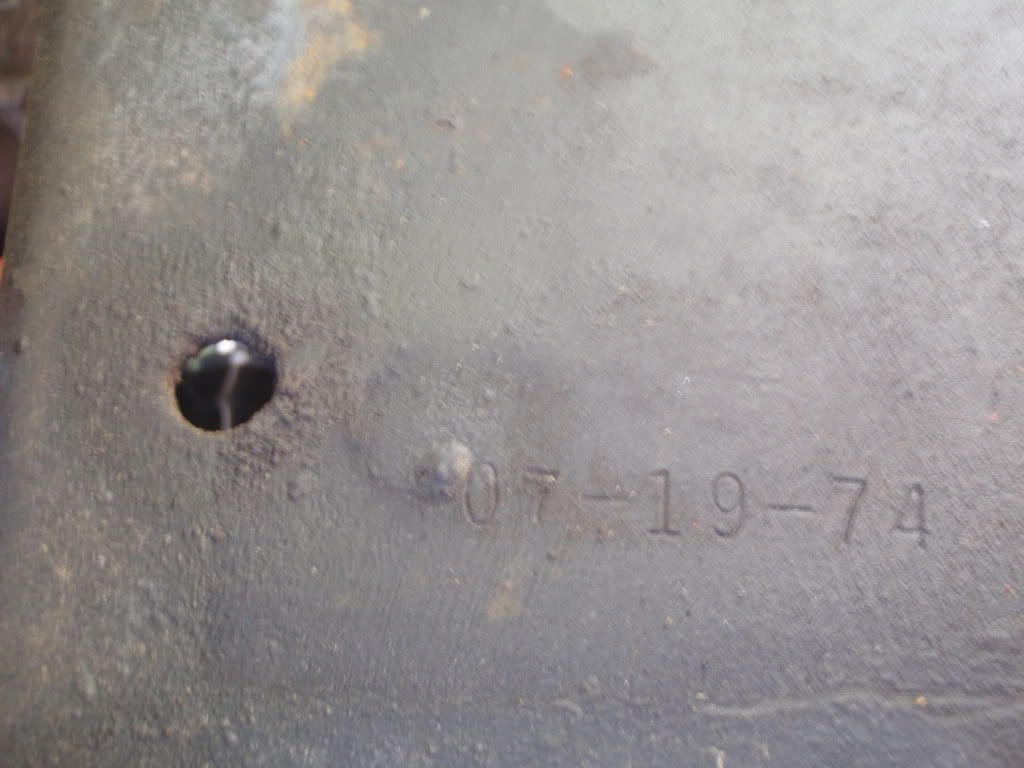 Stopped by LMC truck yesterday and spent some money. Got some gaskets, screws, a speedo cable, and two shackle packs for the rear of the front springs. The springs are hitting the frame. I know this is a common problem. The shackle packs were ~40 each and came with bolts, nuts, sleeves, bushings, and new shackles. 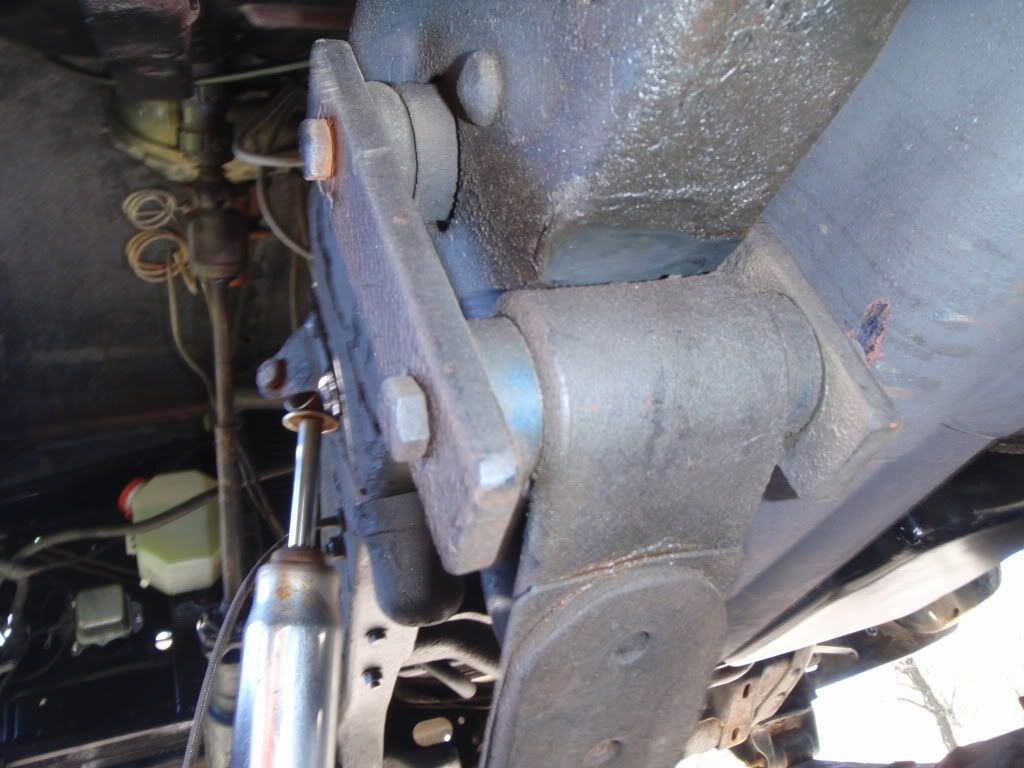 The shackles appear to be a tiny bit longer than the home-made ones that are on there currently. Not sure if I will just drill a hole in the home-made ones or use the new ones. I was hoping that just having new bushings and shackles would be enough to keep the spring out of the frame. 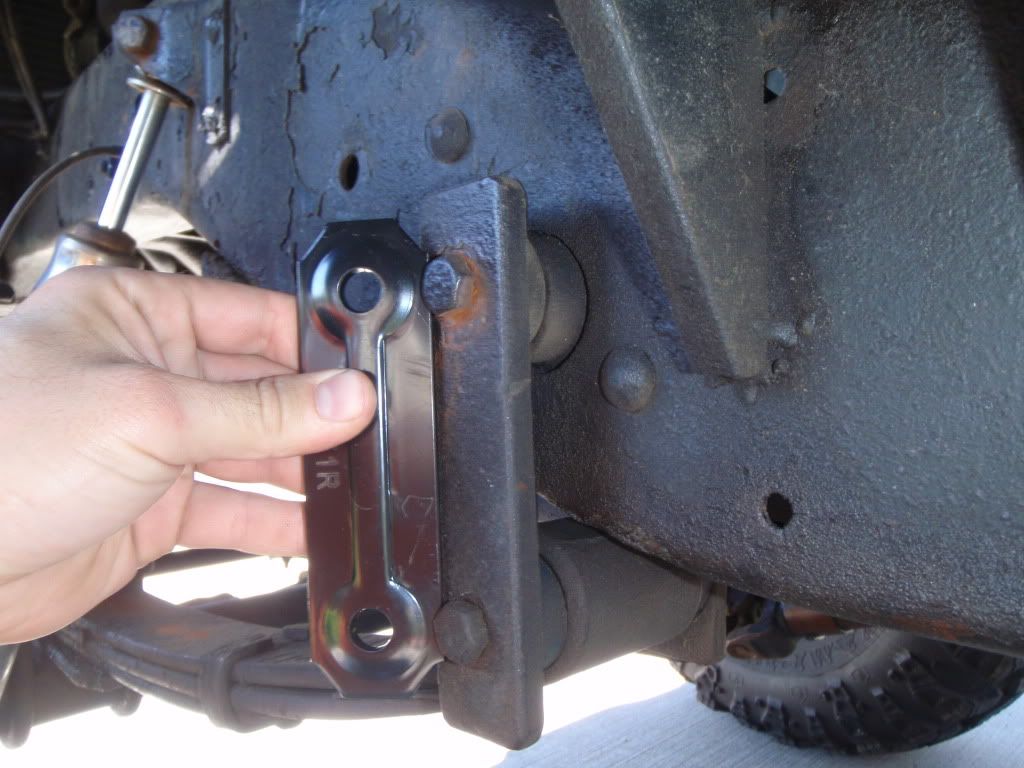
|
|
|

|
|
|
#45 |
|
Registered User
Join Date: Feb 2011
Location: SHAWNEE, KS
Posts: 191
|
Re: Another OLD BLUE Build Thread - 71 Chevy
Took ol' blue for a cruise after work.
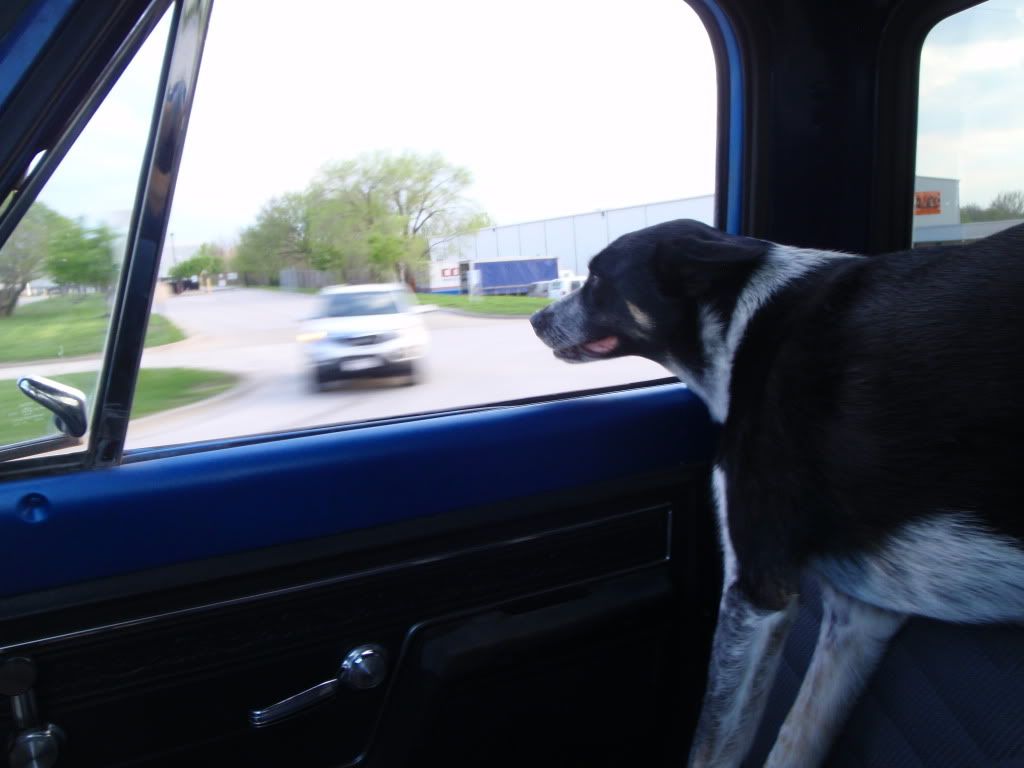 Gertrude approves (yes my dog's name is Gertrude  ) )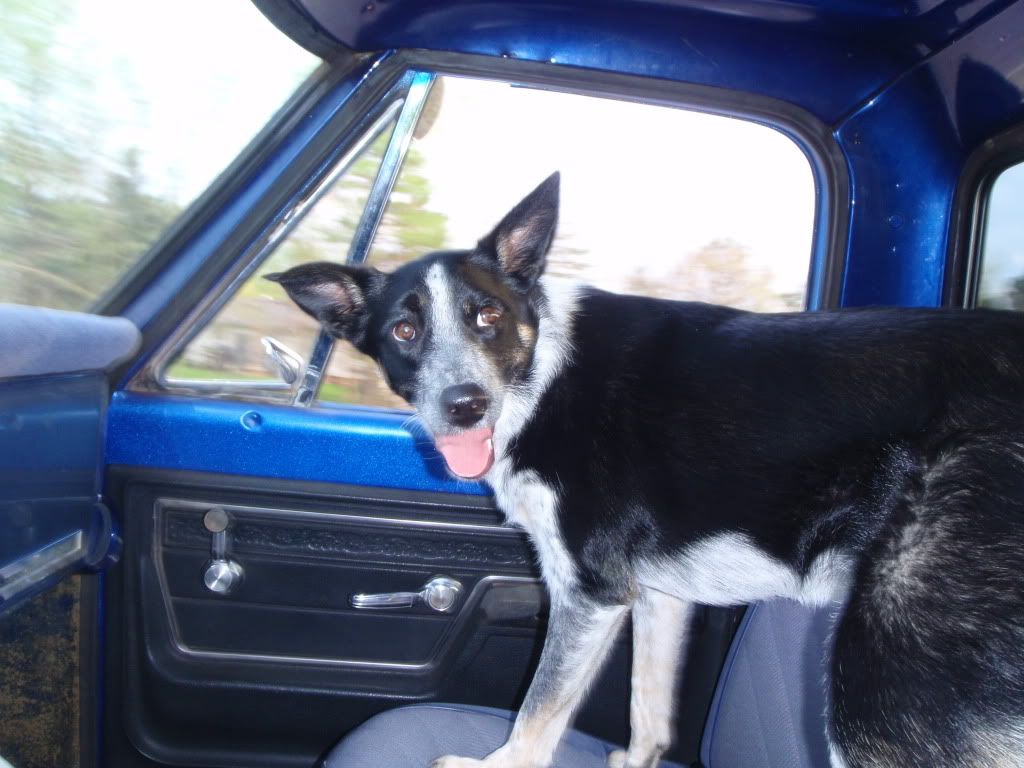 When you are cheap, you have to get ingenuitive. This is my temporary speedo/odo since my newly installed speedo cable does not work. 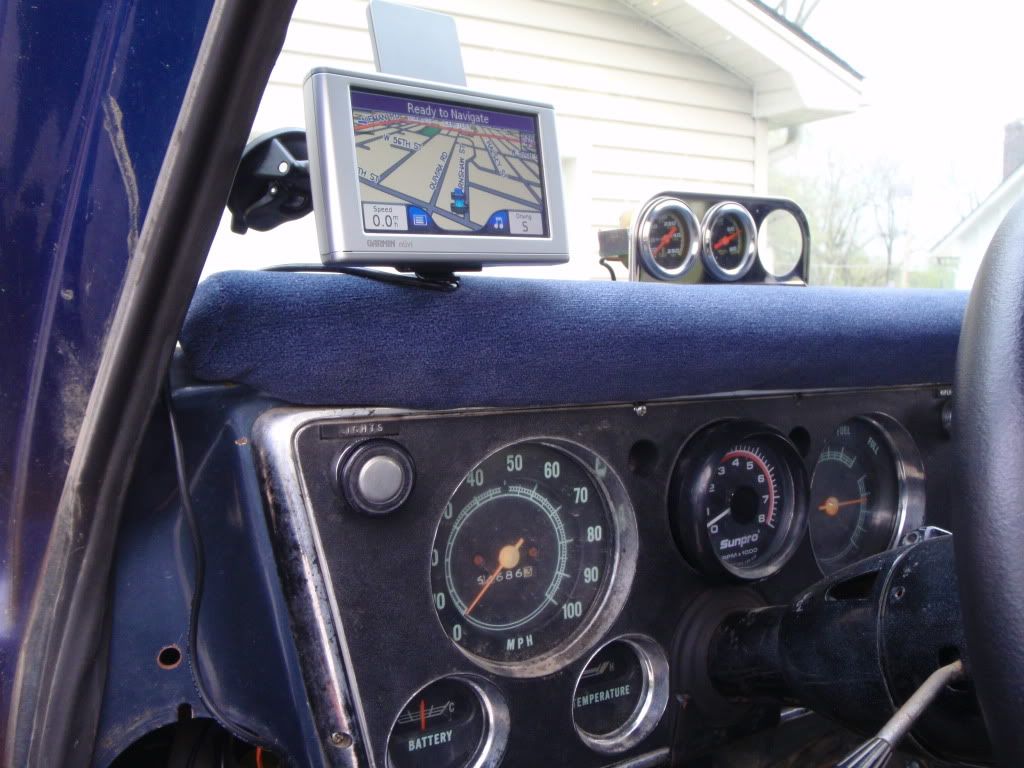 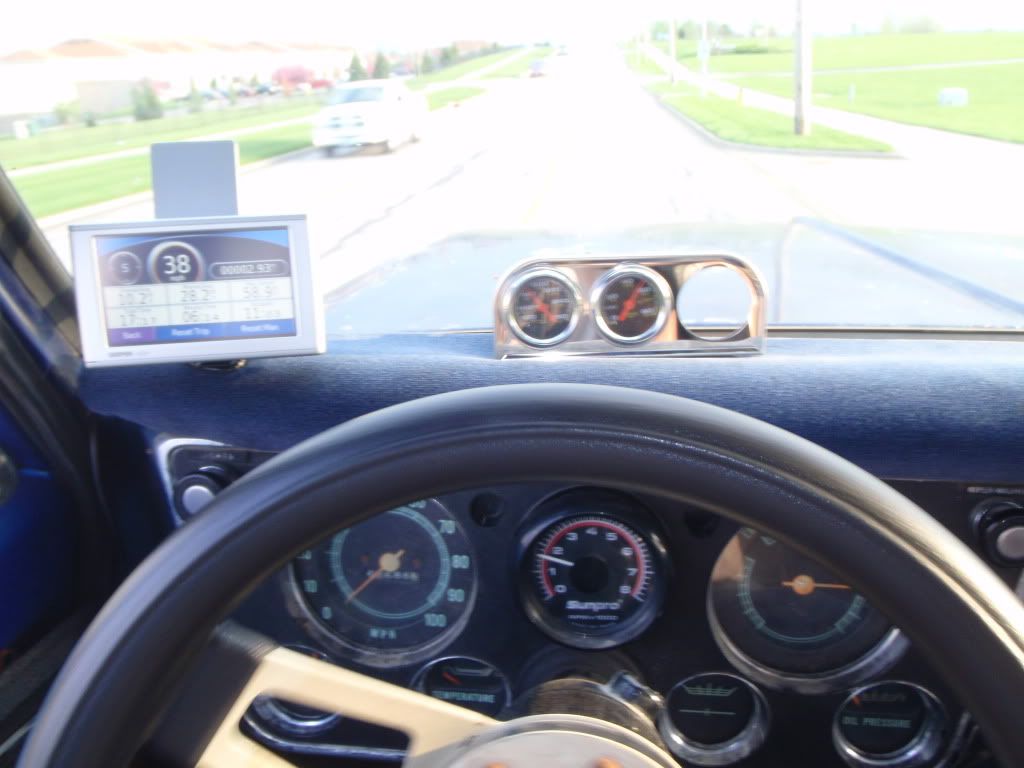 Towards the end of the drive, she developed a cough from mid rpm's up. Checked it out when I got home and it appears to be sucking air somewhere in the fuel system. The clear fuel filter is just barely getting enough fuel to keep it running. I'll have to figure it out another day.....got homework to do.... |
|
|

|
|
|
#46 |
|
Registered User
Join Date: Feb 2011
Location: SHAWNEE, KS
Posts: 191
|
Re: Another OLD BLUE Build Thread - 71 Chevy
Did WORK today :grinpimp:
 Finished up the turn signals 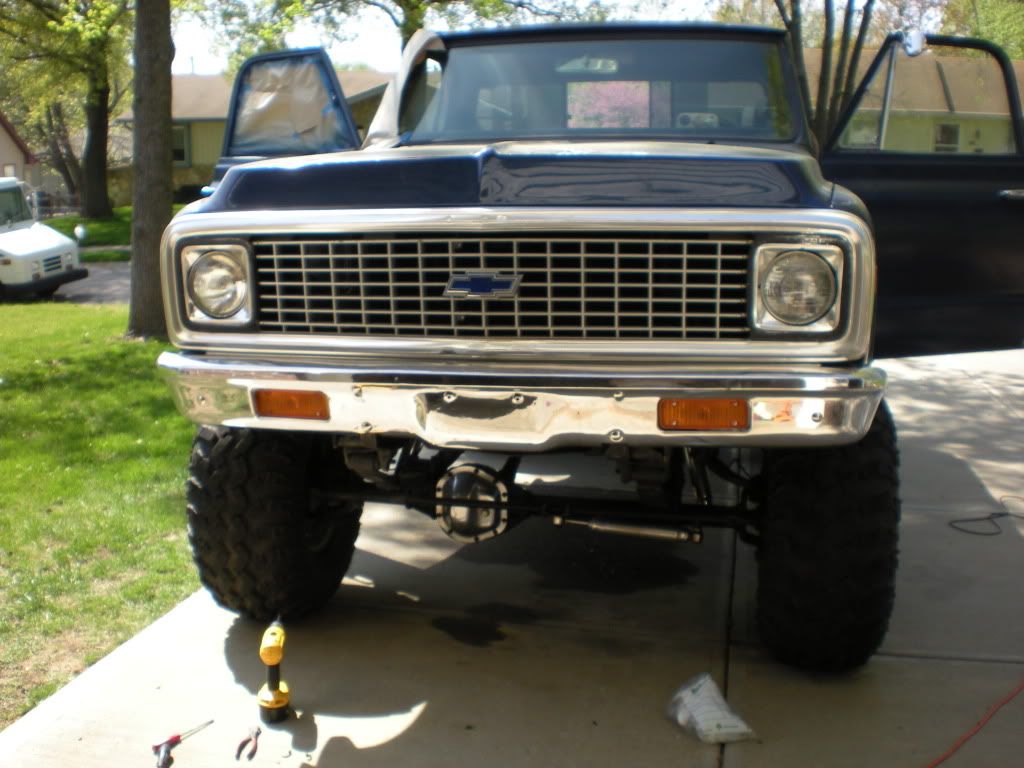 A buddy came over and helped me install the carpet. We also painted any exposed surfaces, I wont put in the kicker carpet or the carpet behind the seat yet until I get the wiring done. 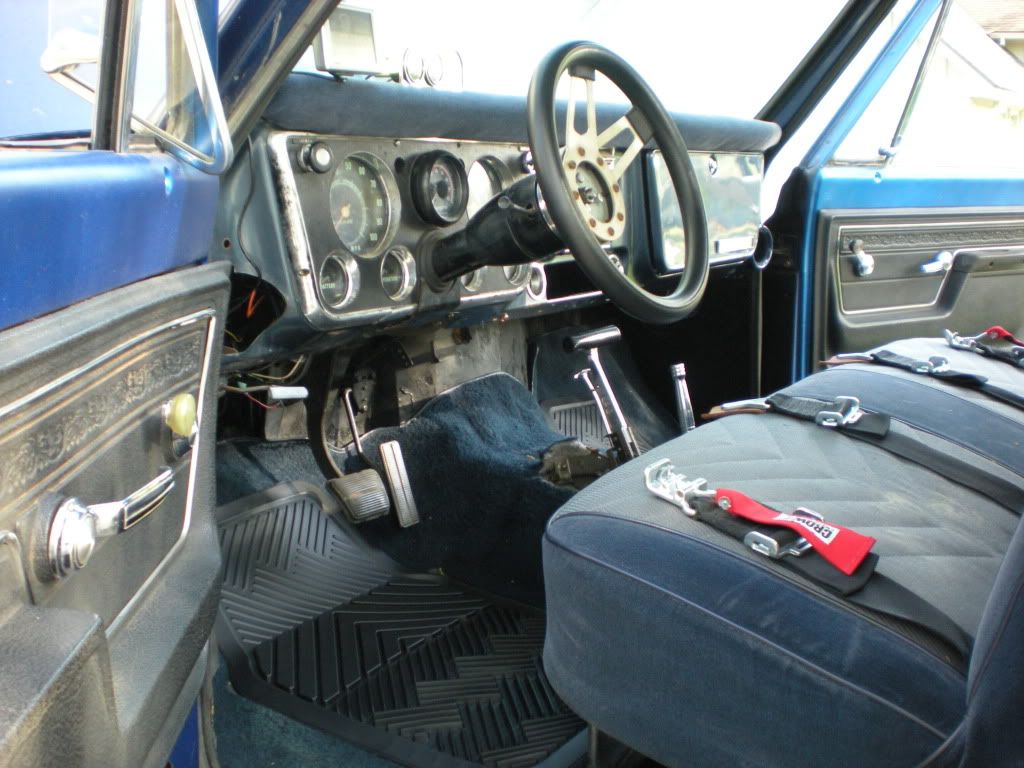 I'm diggin my 8$ walley world floormats 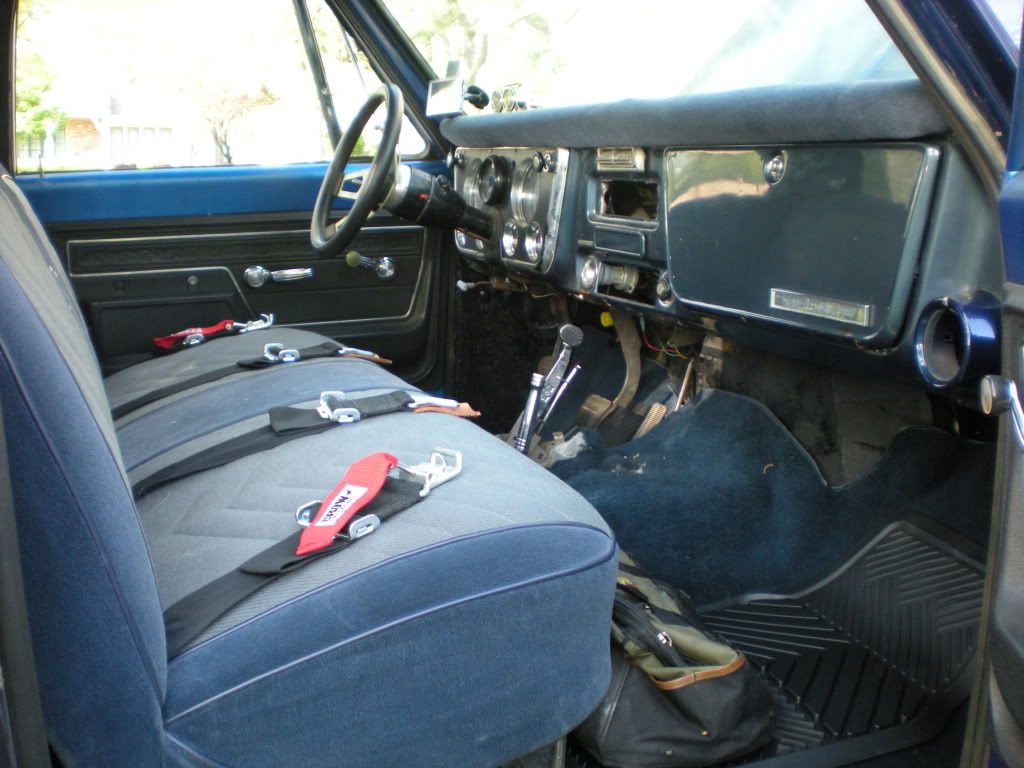 Less multicolor end result 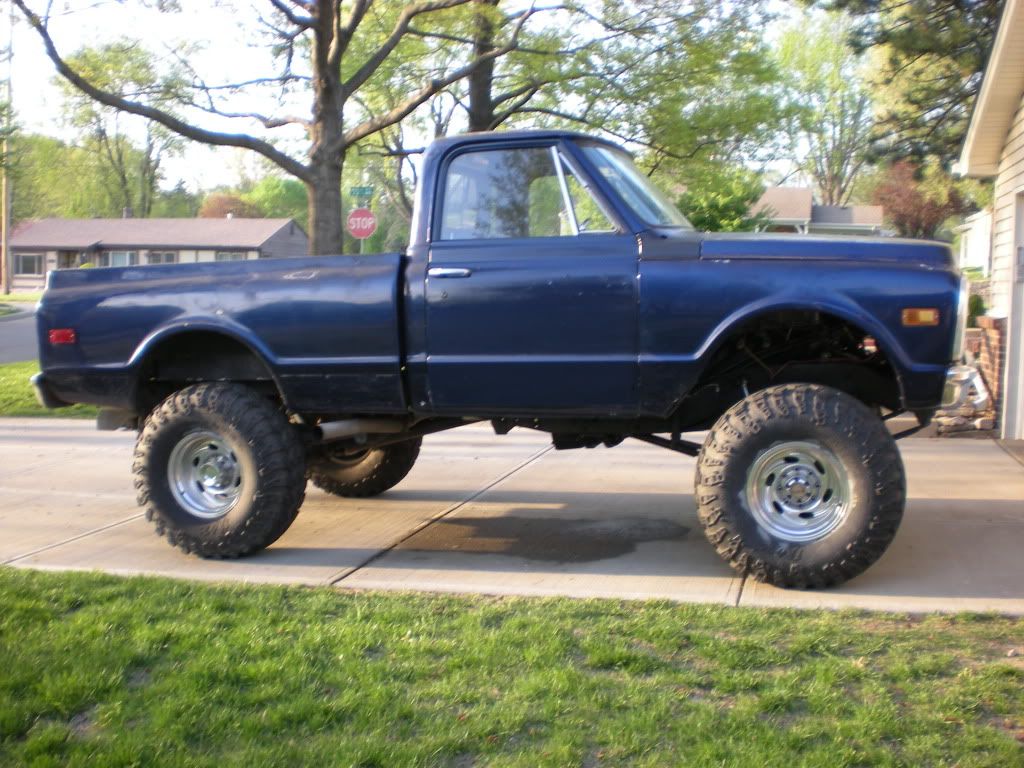 It almost feels like driving a normal truck now. Just the carpet makes it soooo much quieter in the cab. Her cough seems to have went away also?? She ran great today and left plenty IROK behind on the pavement. |
|
|

|
|
|
#47 | |
|
Registered User
Join Date: Feb 2011
Location: SHAWNEE, KS
Posts: 191
|
Re: Another OLD BLUE Build Thread - 71 Chevy
Quote:
Dumb....Just because you have a pile of 1/2" thick steel laying next to you doesn't mean you should use it......or that it makes up for crappy welds... 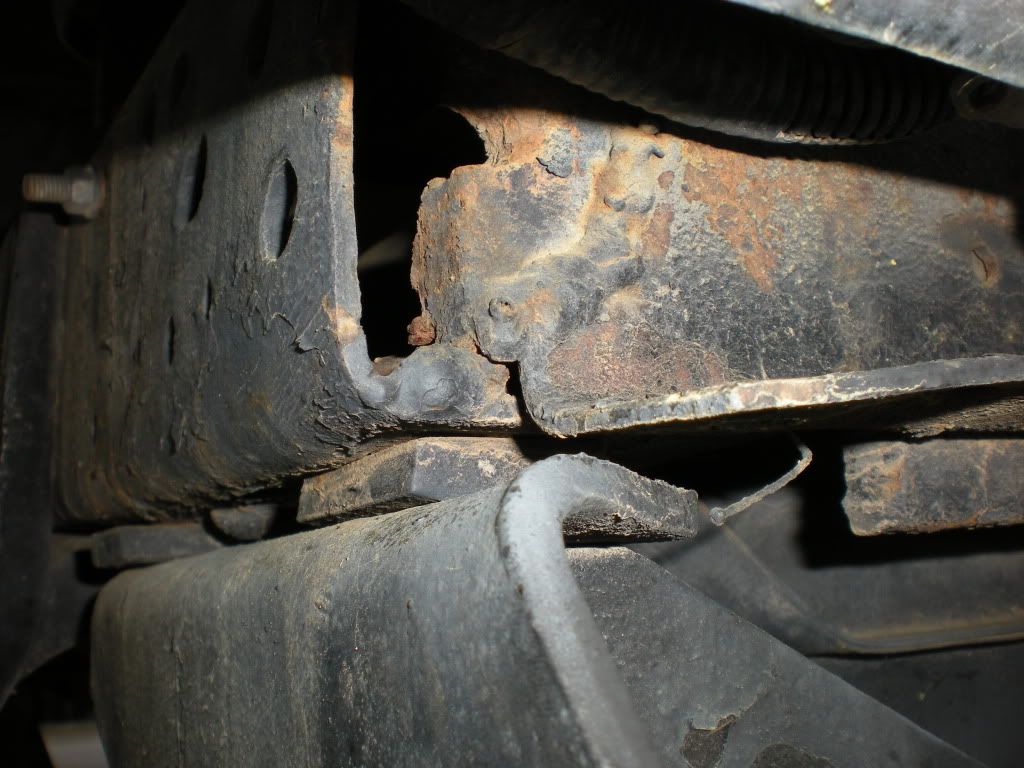 Think I found one of the many things that are contributing to my transmission leak...(bottom bolt) 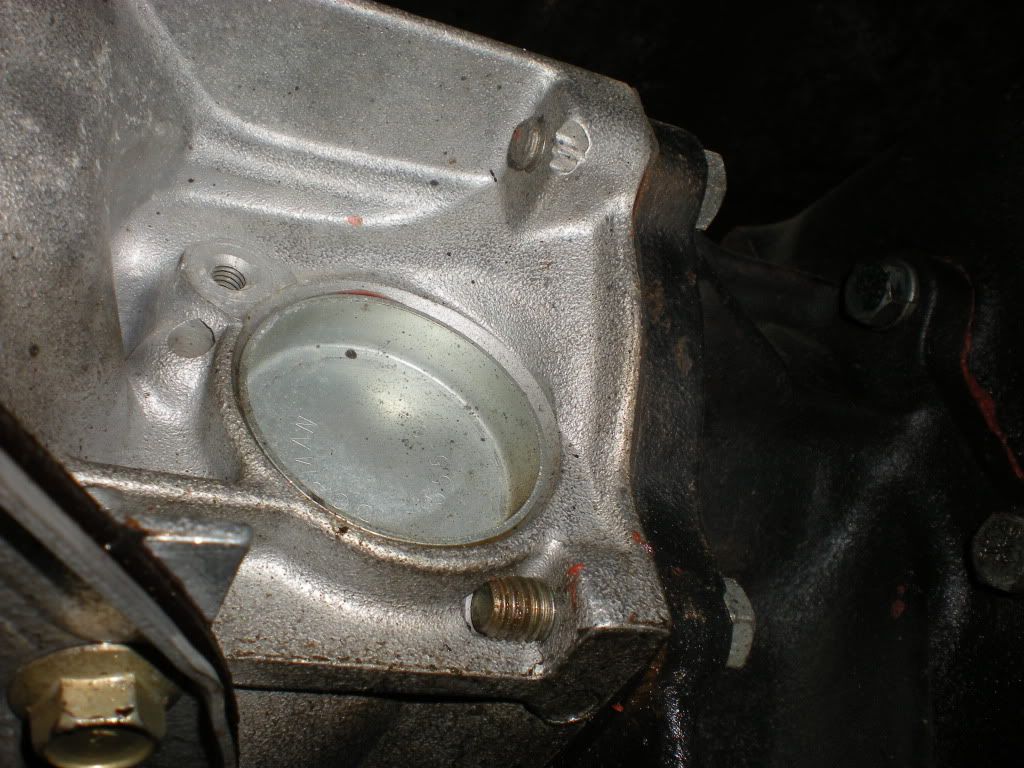 A preview of the future??? maybe :evil: 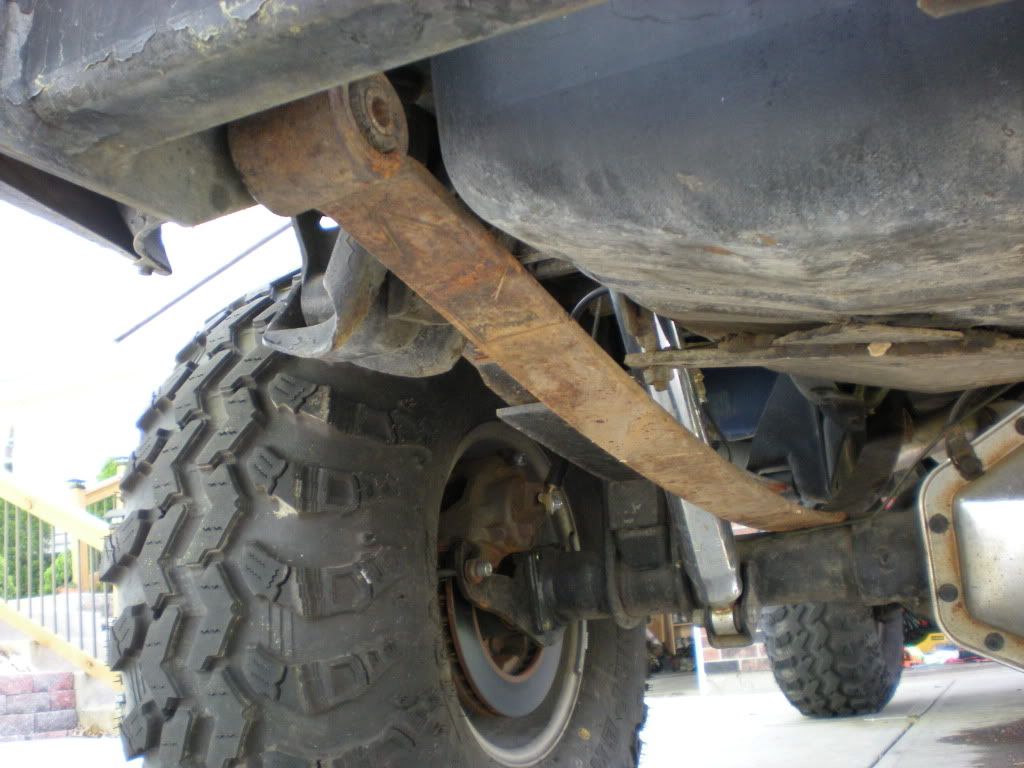 I swear this thing gets faster every time I drive it. The engine is probably just now getting up around 500-600 miles. I am starting to get really attached to this thing....:rasta: |
|
|
|

|
|
|
#48 |
|
Registered User
Join Date: Feb 2011
Location: SHAWNEE, KS
Posts: 191
|
Re: Another OLD BLUE Build Thread - 71 Chevy
So one of my buddies said I could have this tonneau cover if I got it out of his sight. It was on his old f250 long bed with a toolbox.
I took it home, made some custom brackets, drilled some holes, and POW it worked :grinpimp: 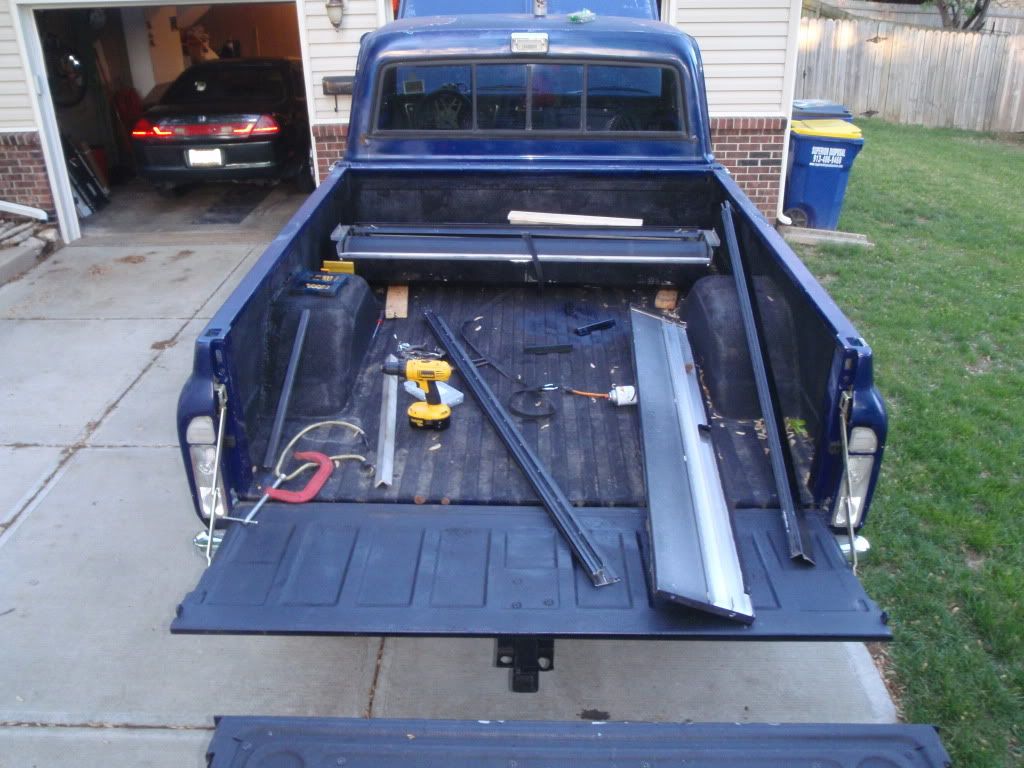 It was just barely wide enough, I had to make brackets. By the time I got done it had 2 bolts into the side of the rail and two into the tonneau box. 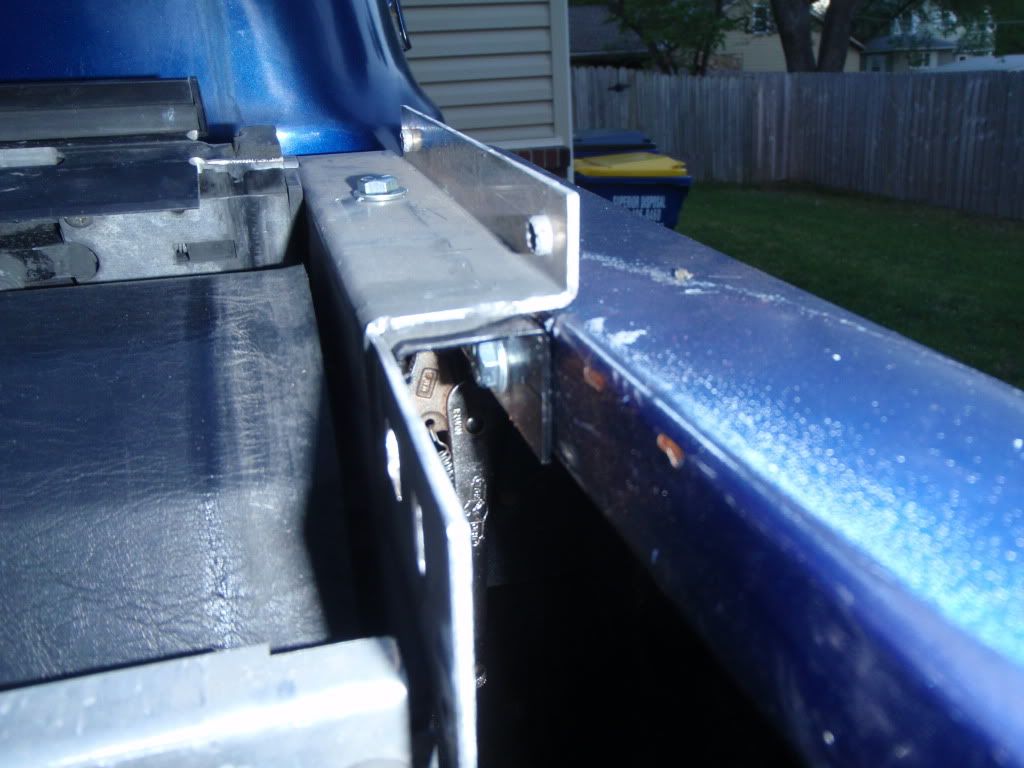 Ran out of time and daylight before I could devise some kind of spacer/clamping mechanism for the tracks. I am stoked, it should be very useful when it is done. 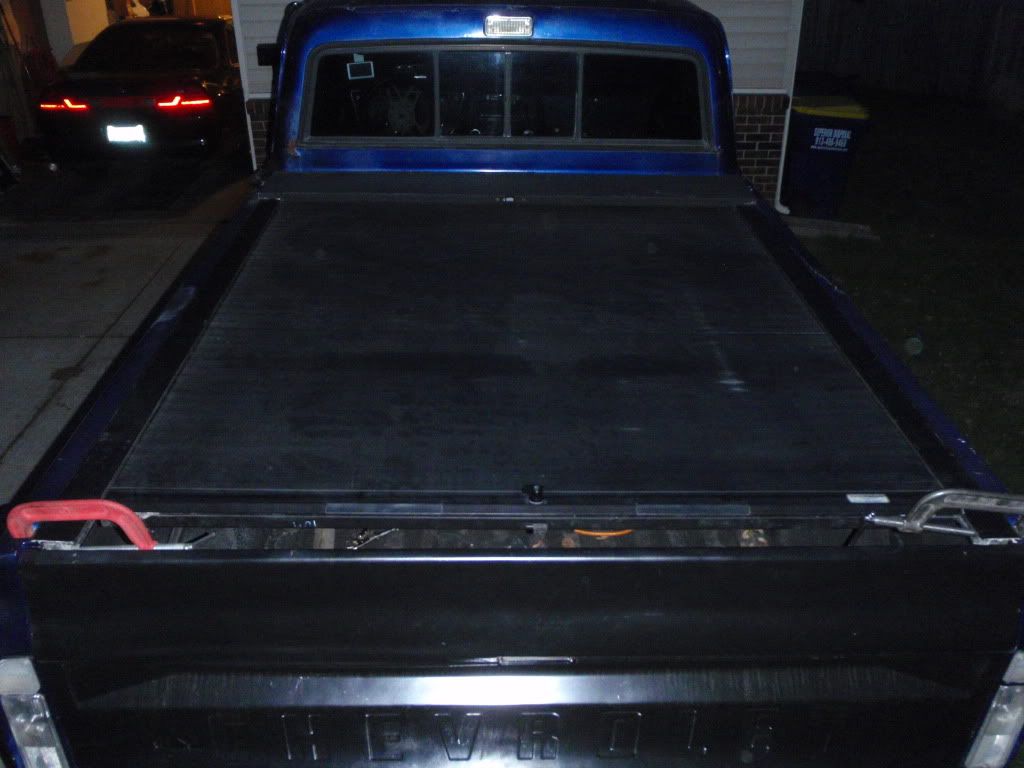 And some more stuff for the future from the Dollar Tree  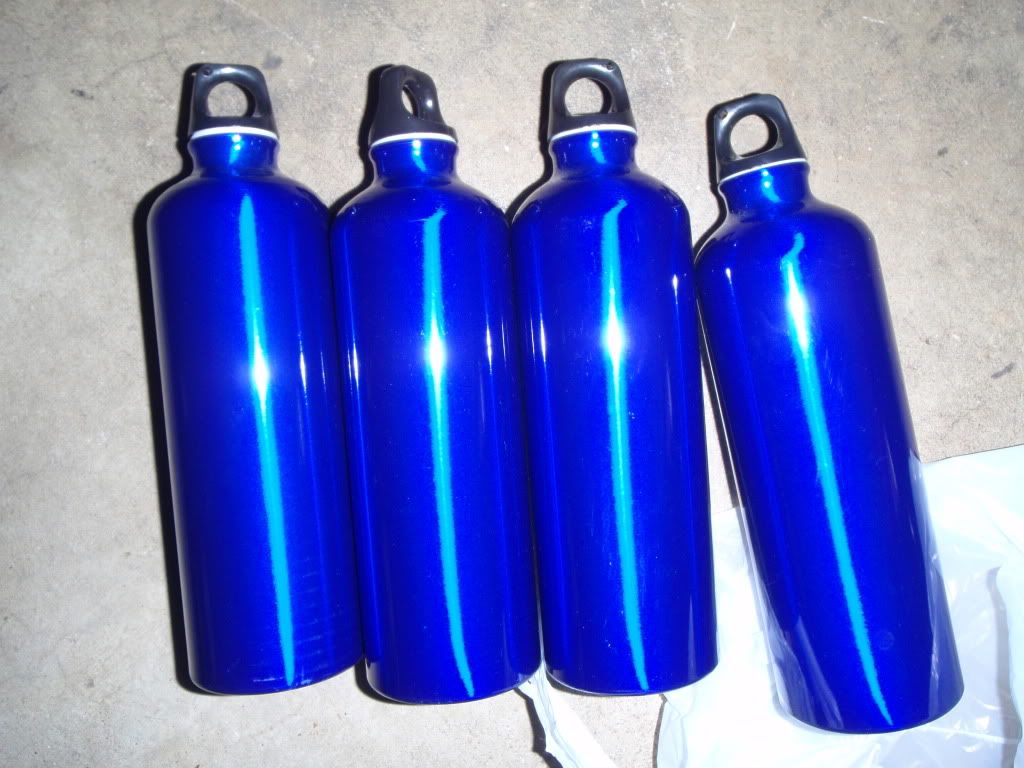
|
|
|

|
|
|
#49 |
|
Registered User
Join Date: Feb 2011
Location: SHAWNEE, KS
Posts: 191
|
Re: Another OLD BLUE Build Thread - 71 Chevy
Took a little break from writing my 14 page paper today to work on the truck...... I am in the single digits now with 8 class periods left :bounce2:
Got the cover done enough so that I could close it. I still need to modify the clamps on the rails so I can fit a bigger spacer. The way it is now, the rails are just barely too wide at the tailgate for the tonneau to lock. It needs to come in another 1/4"-1/2". 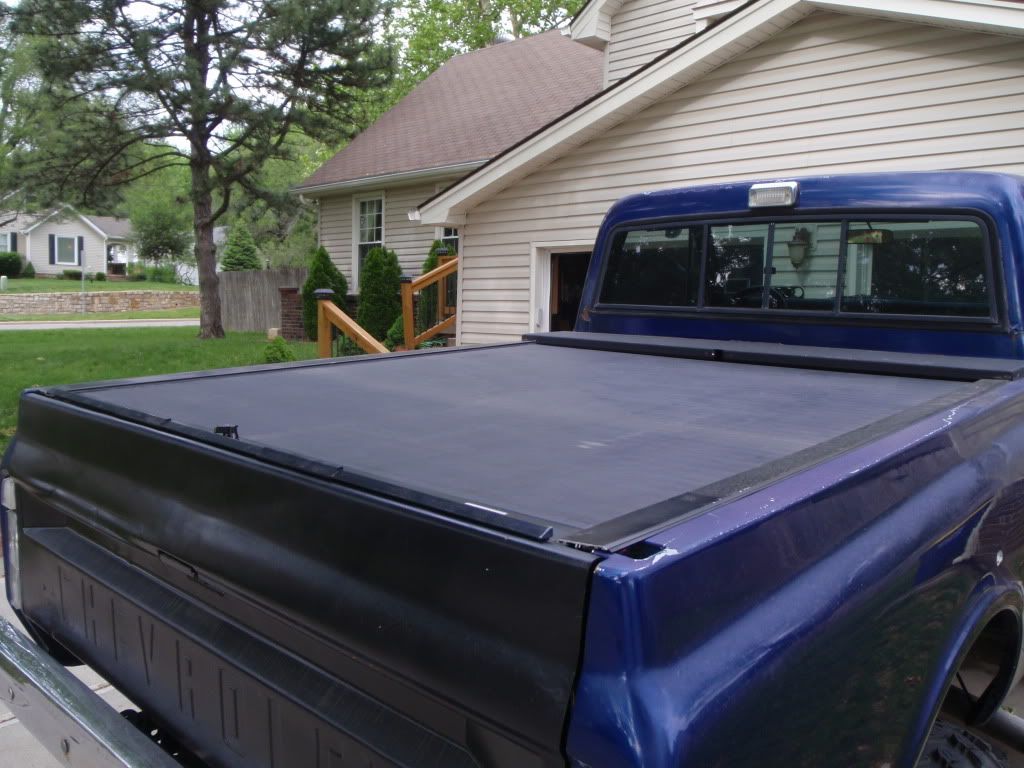 Also drove it to the store today to get supplies for my Dollar Tree overflow bottles. I am reeeeeeely tempted to lincoln lock the rear of this thing. I have a couple extra sets of spiders in case I get tired of not being able to maneuver in parking lots :homer: The current debate is turning radius vs. super cool burnouts :grinpimp: hmmmmm |
|
|

|
|
|
#50 |
|
Registered User
Join Date: Feb 2011
Location: SHAWNEE, KS
Posts: 191
|
Re: Another OLD BLUE Build Thread - 71 Chevy
Lame update because I am bored and it is raining.
After thinking about it entirely too hard, I figured my shifter had to have some kind of provision for b/u and neutral safety switches. Turns out it does. My shifter is missing both switches. 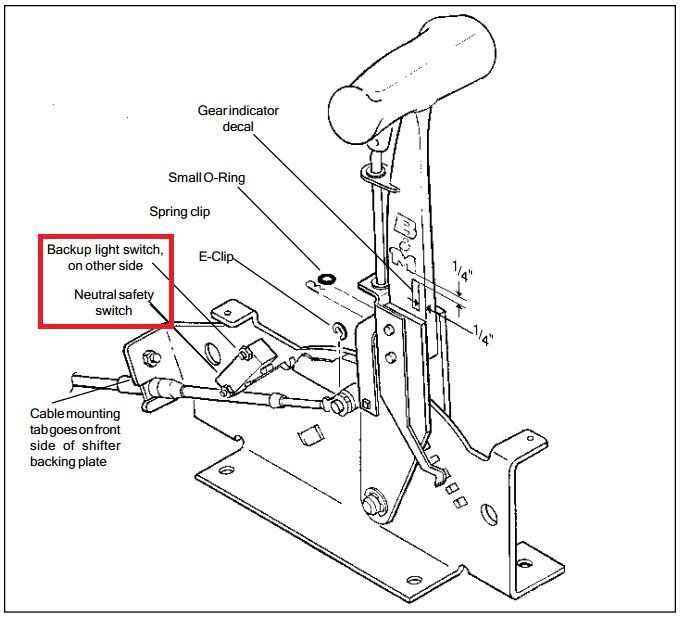 New B&M ones are ~10-20 bucks. I am going to try to get one of these from radioshack instead to see if they will work. /lame update |
|
|

|
 |
| Bookmarks |
|
|