
|
Register or Log In To remove these advertisements. |
|
|
|
|||||||
|
|
Thread Tools | Display Modes |
 09-21-2017, 01:19 AM
|
#1 |
|
Registered User
Join Date: Sep 2017
Location: Patriot IN
Posts: 163
|
1970 C30 Car hauler Buildish thread.
Well I thought it was time to start a build thread. I finally picked up my first real truck its a 1970 C30. I was told it started life as a wedge truck that had been stretched into a dovetail flatbed truck. The 67-72 Chevy truck has always been my favorite body style truck. I have wanted to build one for years but I could never justify owning a truck. I have always been a jeep / car guy. I mostly build rock crawlers and race cars. But I have always had to borrow a truck and rent a trailer if I need to pick up something big or buy a new project. So I finally decided to build a truck of my own. I decided I wanted a tow rig but I did not want a trailer. So I started looking for a rollback but everything in my price range was a ford or a square body. So I started looking for a 67-72 C30 flatbed or dump truck that I could convert into a dovetail car hauler. I spent a few months looking for the right project I missed out on a few really good deals. But I finally came across exactly what I was looking for It was almost everything I wanted in a truck. It need a lot of work more than I wanted to do to it but for the price and the complete bed already done I picked it up.
My plans so far for the truck are to fix the rust, Paint it, new wheels and tires upgrade to hydroboost. Disk brakes all around, refresh the engine, replace the trans. Convert to fuel injection. possibly modify the bed, Tail lights, maybe air ride? The truck the day I picked it up. [IMG] 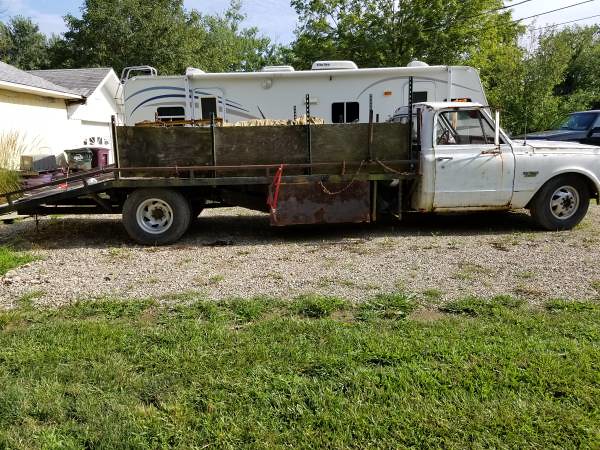 00z0z_eEbuVfKSM99_600x450 by jarrod vanwinkle, on Flickr[/IMG] 00z0z_eEbuVfKSM99_600x450 by jarrod vanwinkle, on Flickr[/IMG]The next day I Cleaned it up, I probably gave it its first bath years it had mold all over it. Believe it or not it had more paint on it before I washed it. Then I took it to the DMV. [IMG]  IMAG0857 by jarrod vanwinkle, on Flickr[/IMG] IMAG0857 by jarrod vanwinkle, on Flickr[/IMG][IMG] 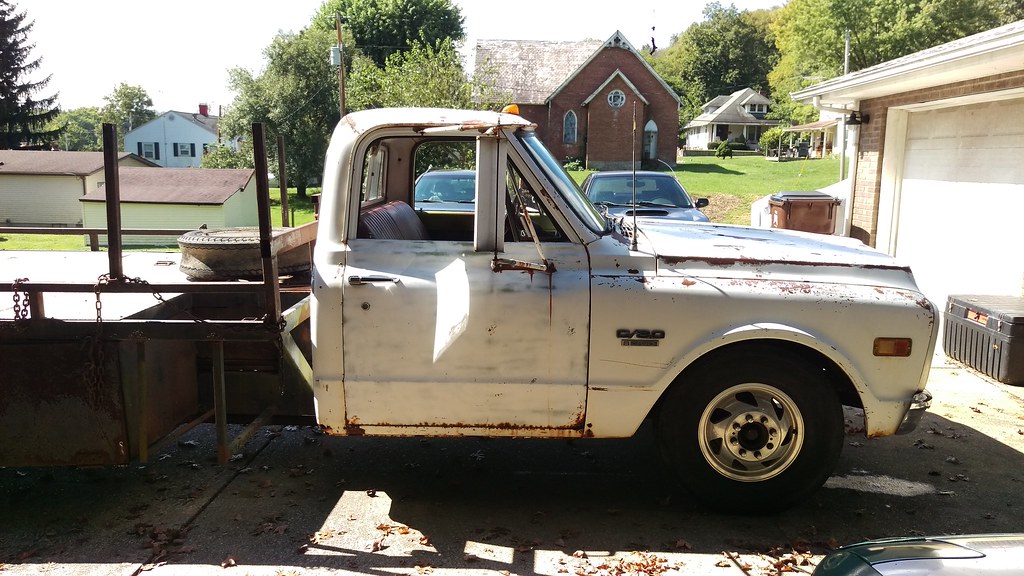 IMAG0858 by jarrod vanwinkle, on Flickr[/IMG] IMAG0858 by jarrod vanwinkle, on Flickr[/IMG][IMG] 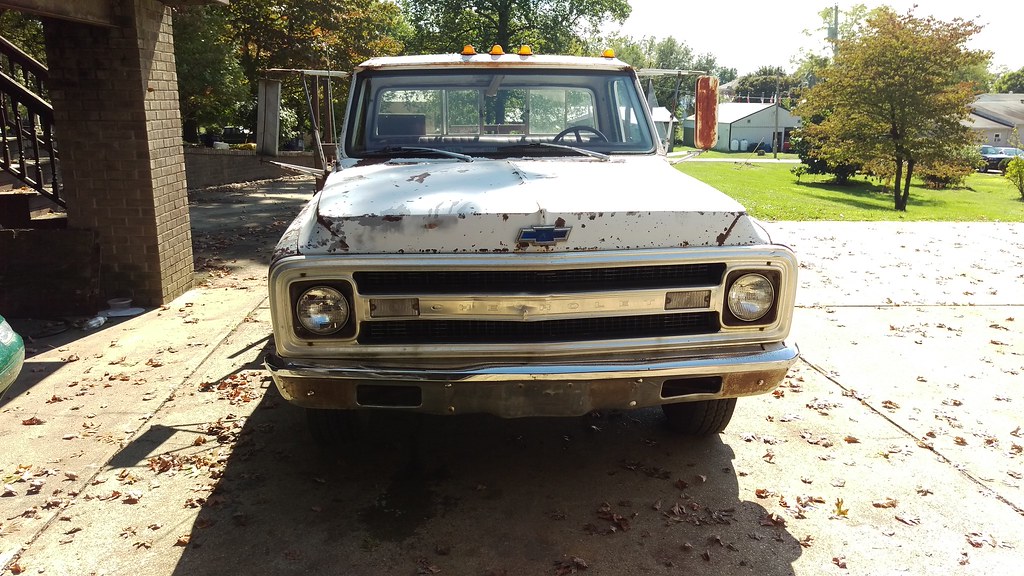 IMAG0859 by jarrod vanwinkle, on Flickr[/IMG] IMAG0859 by jarrod vanwinkle, on Flickr[/IMG][IMG] 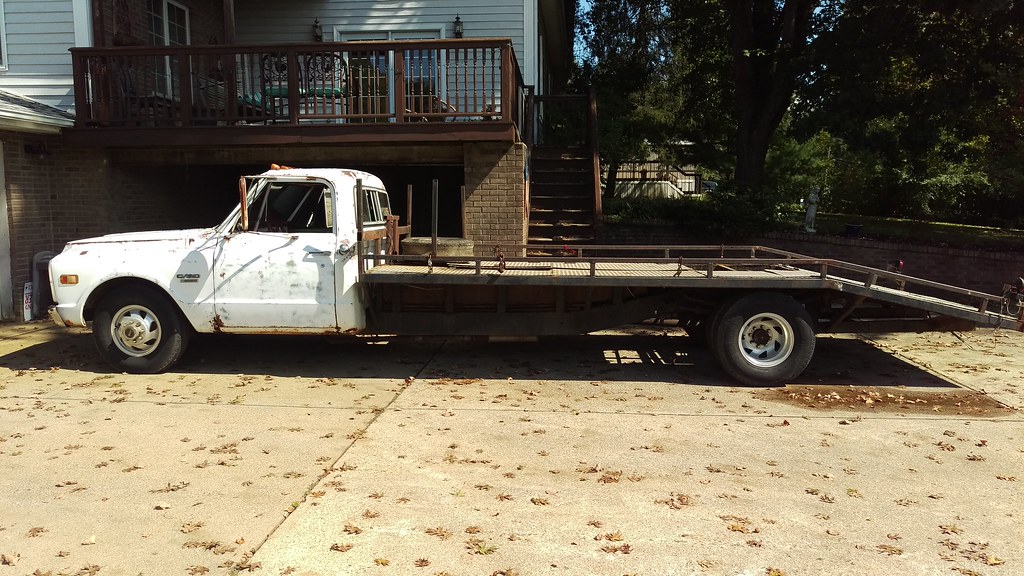 IMAG0860 by jarrod vanwinkle, on Flickr[/IMG] IMAG0860 by jarrod vanwinkle, on Flickr[/IMG][IMG] 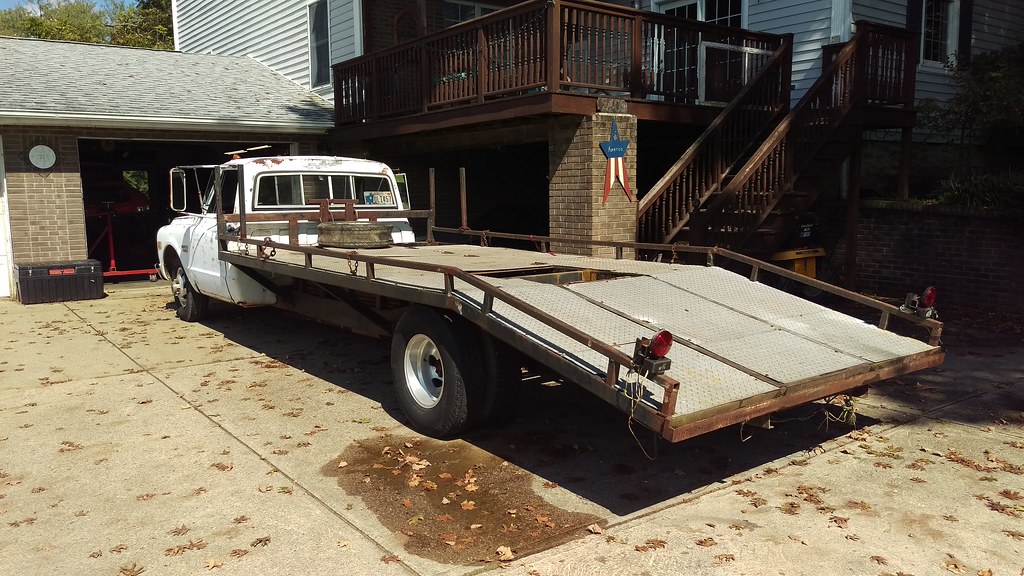 IMAG0861 by jarrod vanwinkle, on Flickr[/IMG] IMAG0861 by jarrod vanwinkle, on Flickr[/IMG][IMG] 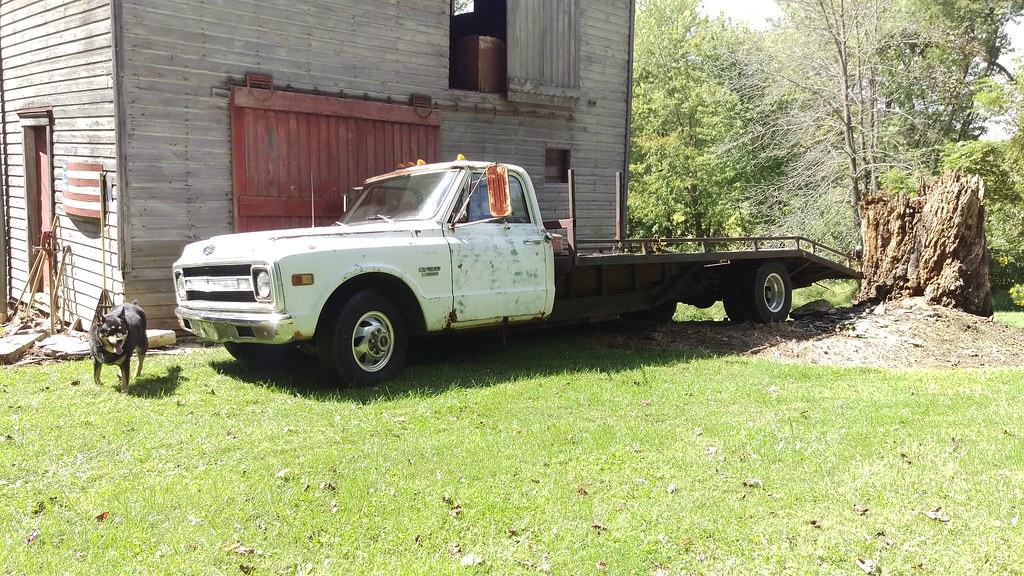 IMAG0862 by jarrod vanwinkle, on Flickr[/IMG] IMAG0862 by jarrod vanwinkle, on Flickr[/IMG]Well last week I started digging into it I removed the carpet to find It had more rust then I thought it had. I knew it need rockers and cab corners. But after digging it to it it needs the complete roof replaced the complete floor/ kick panels etc replaced. [IMG]  IMAG0867 by jarrod vanwinkle, on Flickr[/IMG] IMAG0867 by jarrod vanwinkle, on Flickr[/IMG] So this week I scored a decent cab Its in a lot better shape than the current one. It still need inner and outer rockers, cab corners rear floor brace/ floor section as well the a patch panel in the windshield frame and the dash welded back in. [IMG] 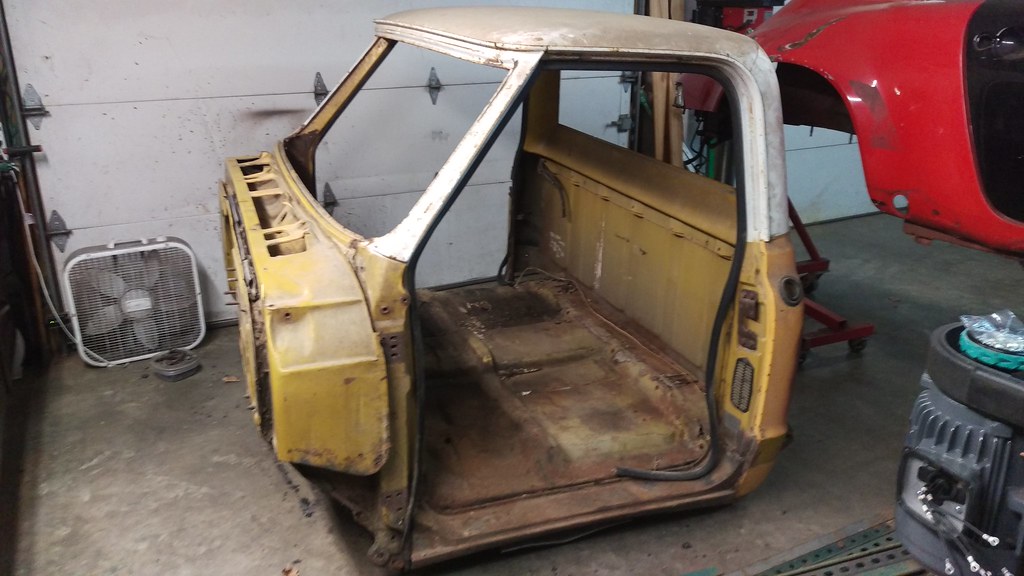 IMAG0868 by jarrod vanwinkle, on Flickr[/IMG] IMAG0868 by jarrod vanwinkle, on Flickr[/IMG][IMG] 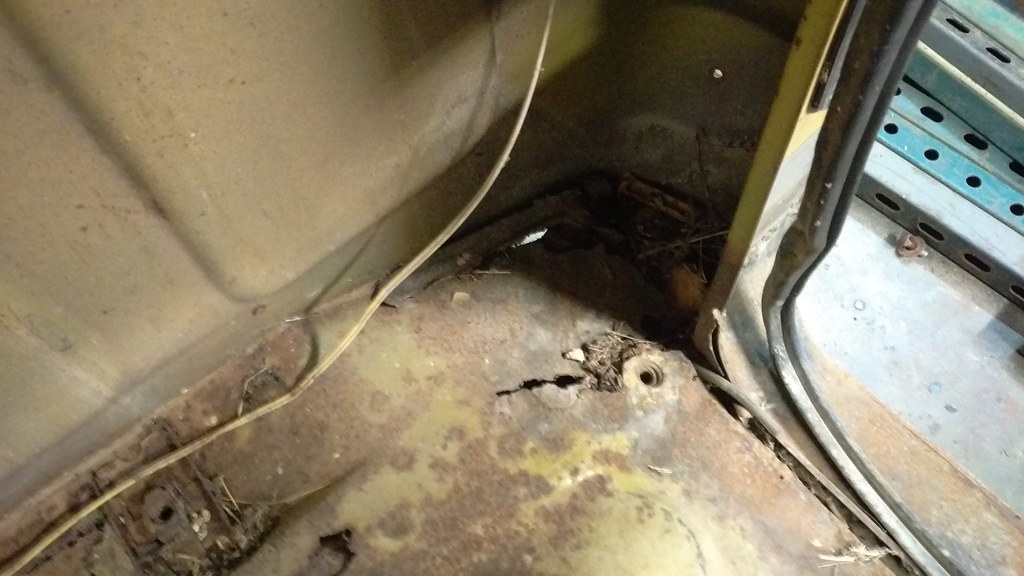 IMAG0870 by jarrod vanwinkle, on Flickr[/IMG] IMAG0870 by jarrod vanwinkle, on Flickr[/IMG][IMG] 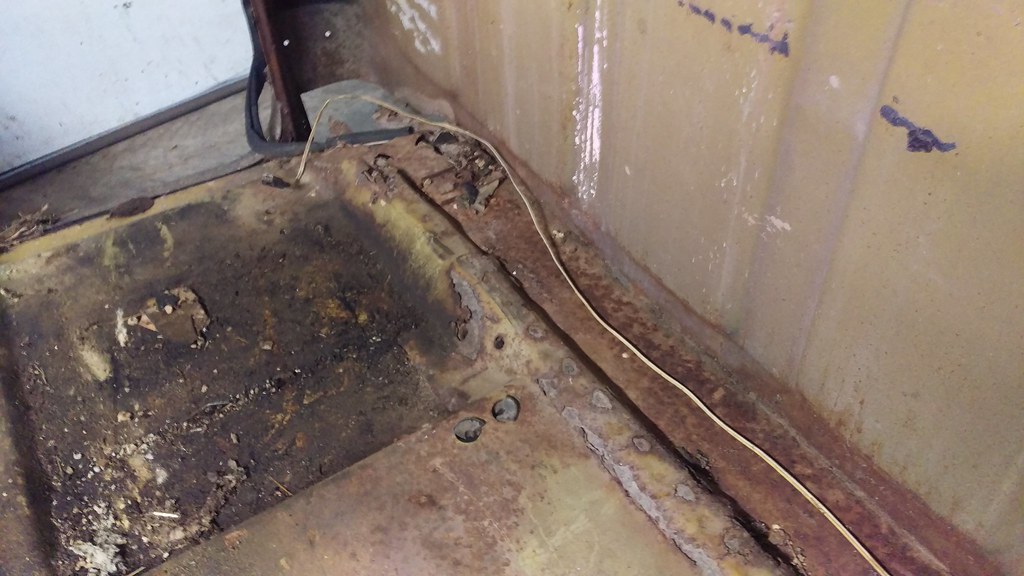 IMAG0871 by jarrod vanwinkle, on Flickr[/IMG] IMAG0871 by jarrod vanwinkle, on Flickr[/IMG][IMG] 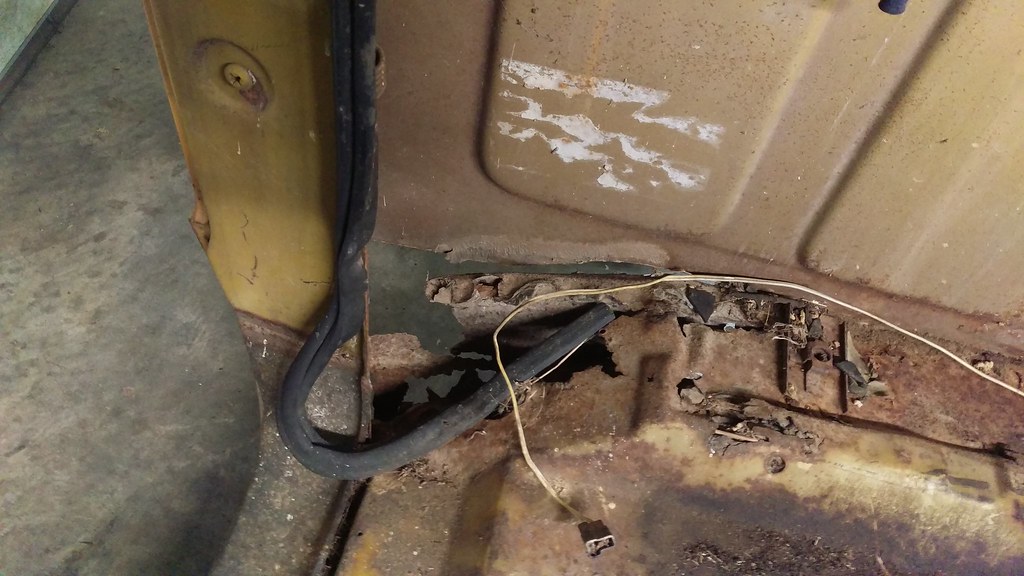 IMAG0873 by jarrod vanwinkle, on Flickr[/IMG] IMAG0873 by jarrod vanwinkle, on Flickr[/IMG][IMG] 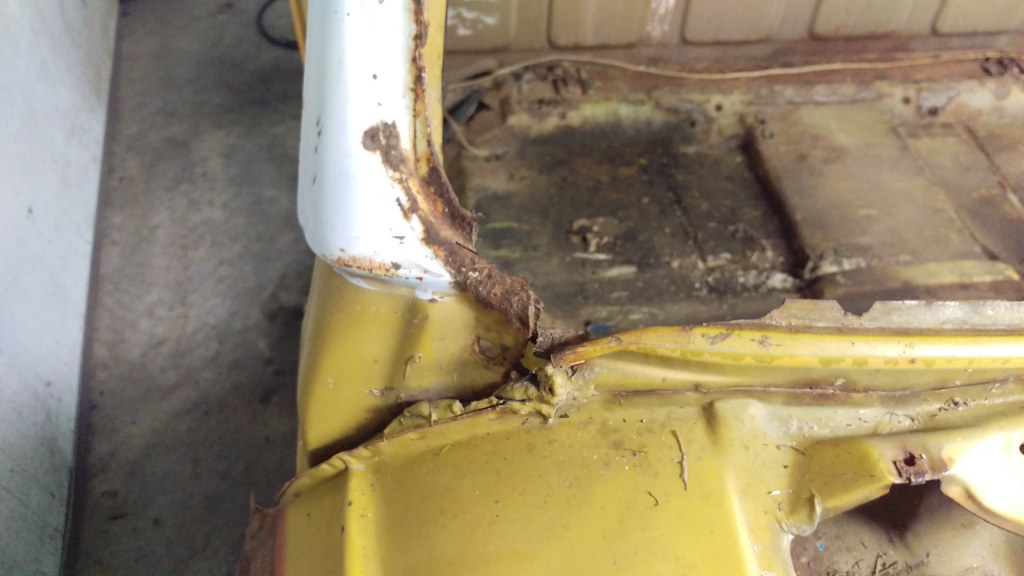 IMAG0875 by jarrod vanwinkle, on Flickr[/IMG] IMAG0875 by jarrod vanwinkle, on Flickr[/IMG][IMG] 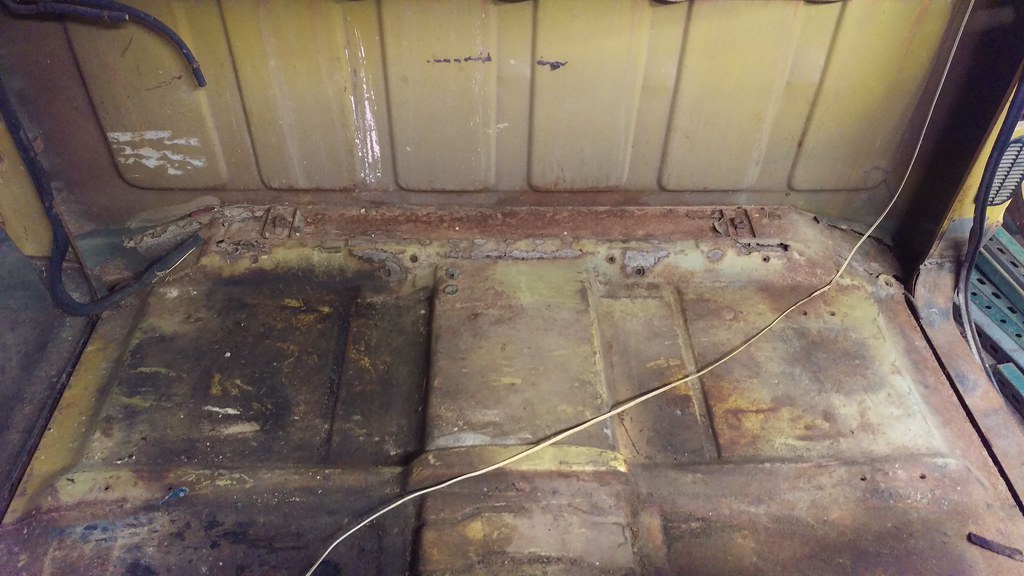 IMAG0876 by jarrod vanwinkle, on Flickr[/IMG] IMAG0876 by jarrod vanwinkle, on Flickr[/IMG]I also picked up a Nv4500, The current SM465 need completely rebuilt. Low, 1st and 2nd are on there way out. One or more of the bearings are gone I found a ton of metal and bearing parts in the bottom of the transmission. when I changed the oil. So I decided it was better to upgrade to the nv4500 then rebuild the SM465. [IMG]  IMAG0877 by jarrod vanwinkle, on Flickr[/IMG] IMAG0877 by jarrod vanwinkle, on Flickr[/IMG][IMG] 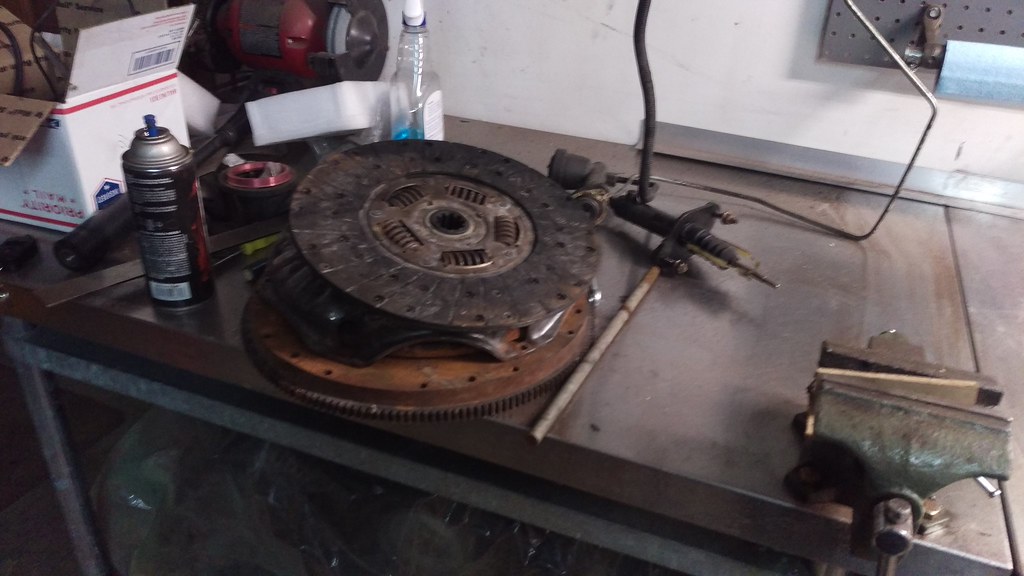 IMAG0878 by jarrod vanwinkle, on Flickr[/IMG] IMAG0878 by jarrod vanwinkle, on Flickr[/IMG]
|

|

|
| Bookmarks |
| Tags |
| air ride, c30, cummins, nv4500, ramp truck |
|
|


 Threaded Mode