
|
|
|
 07-27-2015, 08:56 AM
|
#1 |
|
Senior Member
 Join Date: Mar 2011
Location: West Plains, Missouri
Posts: 7,555
|
Re: 55 Wagon Progress
Parts look good...Jim
__________________
my build thread: http://67-72chevytrucks.com/vboard/s...d.php?t=459839 Jimbo's long bed step build:http://67-72chevytrucks.com/vboard/s...t=464626<br /> |

|

|
|
08-04-2015, 10:40 PM
|
#2 |
|
Registered User
Join Date: Jan 2013
Location: Leonardtown, MD
Posts: 1,637
|
Re: 55 Wagon Progress
Thanks Jim!
Tonight's post offers some blocking pointers. We had already done a couple sessions of priming/blocking the door across to the quarter and to the fender, all installed on the car. After this, more primer and put a perimeter of tape on the door skin. Now block separately, and the tape allows you to block the door and keep off the edge to prevent losing your match to the fender/quarter. 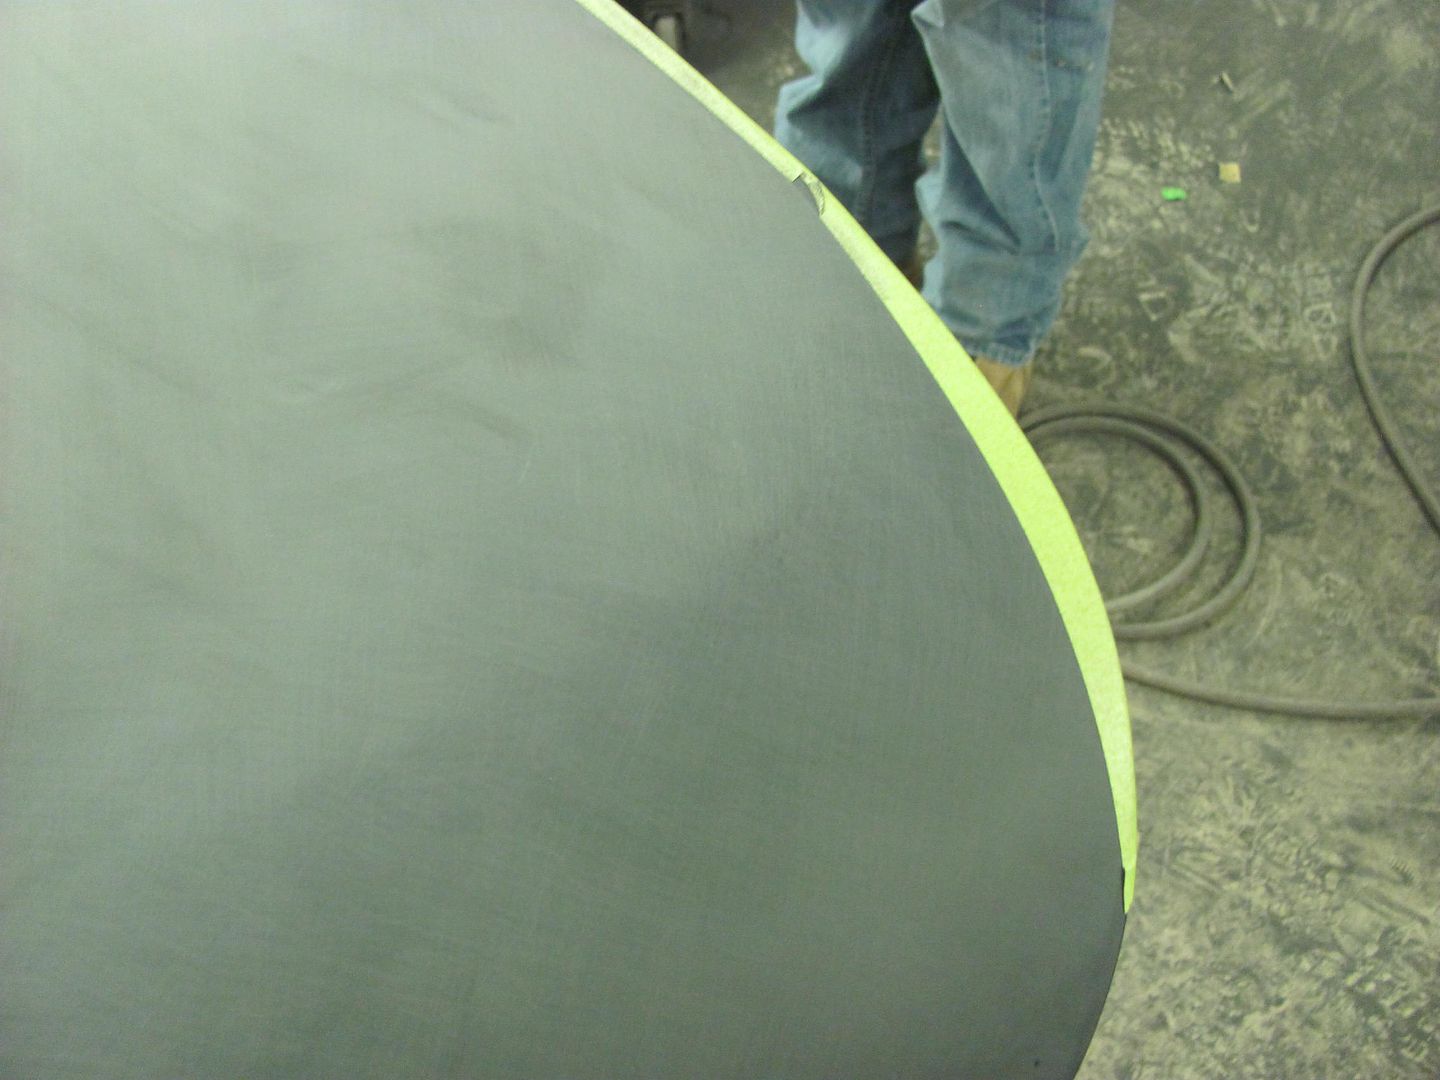 I don't stick with 45* angles, if you want to keep a long direction flat, you need the long block to better follow that direction. So change up to some sharper angles, about 30* off the long direction every now and then. Work one end to the other, consistent spacing, consistent angle, end to end. Then alternate to passes in the opposite direction. Once done, and the inner part is good and blocked, now remove the tape and GENTLY block to the edge, taking care to not pull down at the edge and round things back off again. Whatever hand is holding the block make sure it is minimal pressure and stays on the door skin. In other words, no pressure pulling down past the edge. 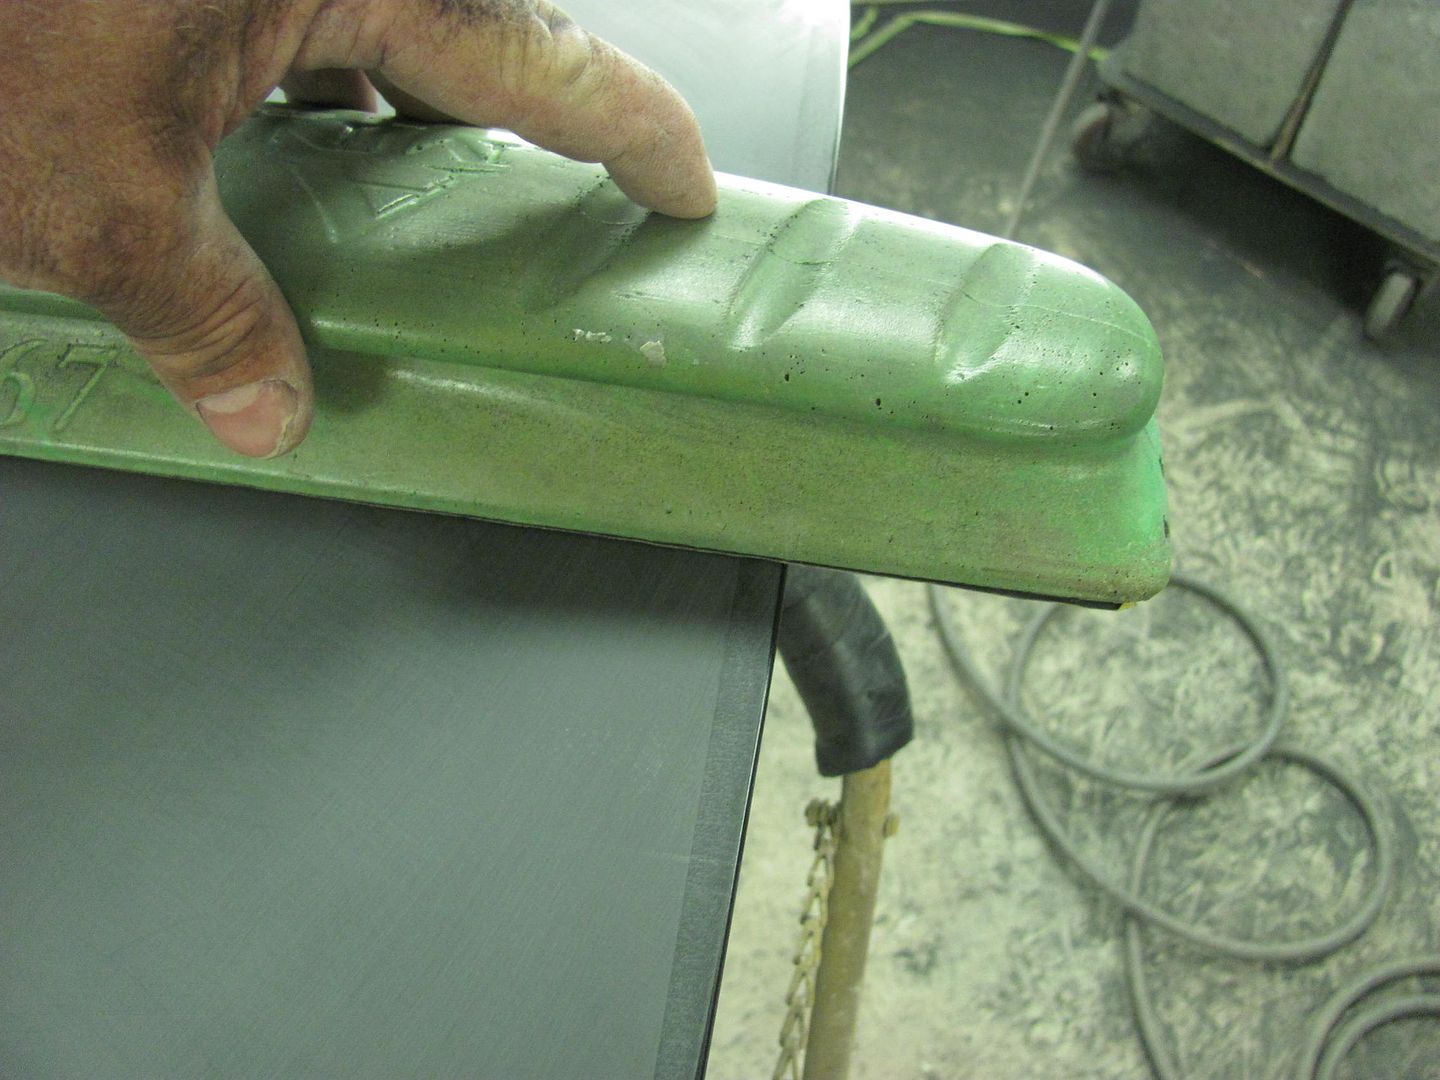 One other point, to keep the inner end of the sanding block from sanding out all your hard work in the center of the door, put a wrap of tape around the end of the sanding block that is towards the center of the door. This helps that end to glide across the center of the door without cutting primer there. 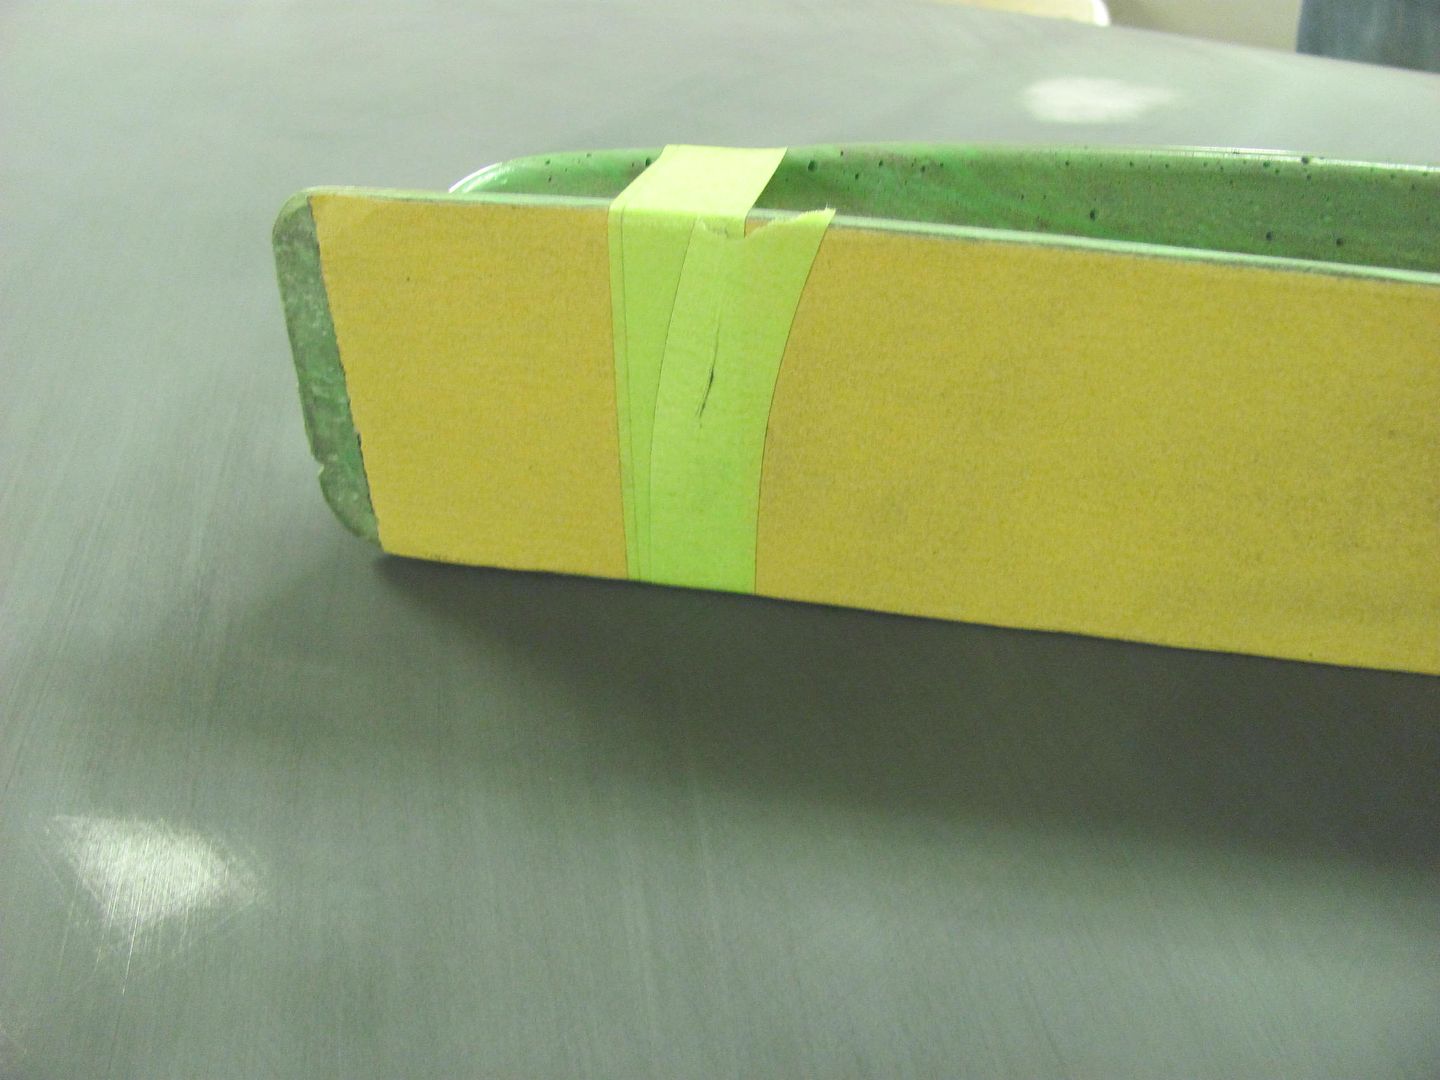 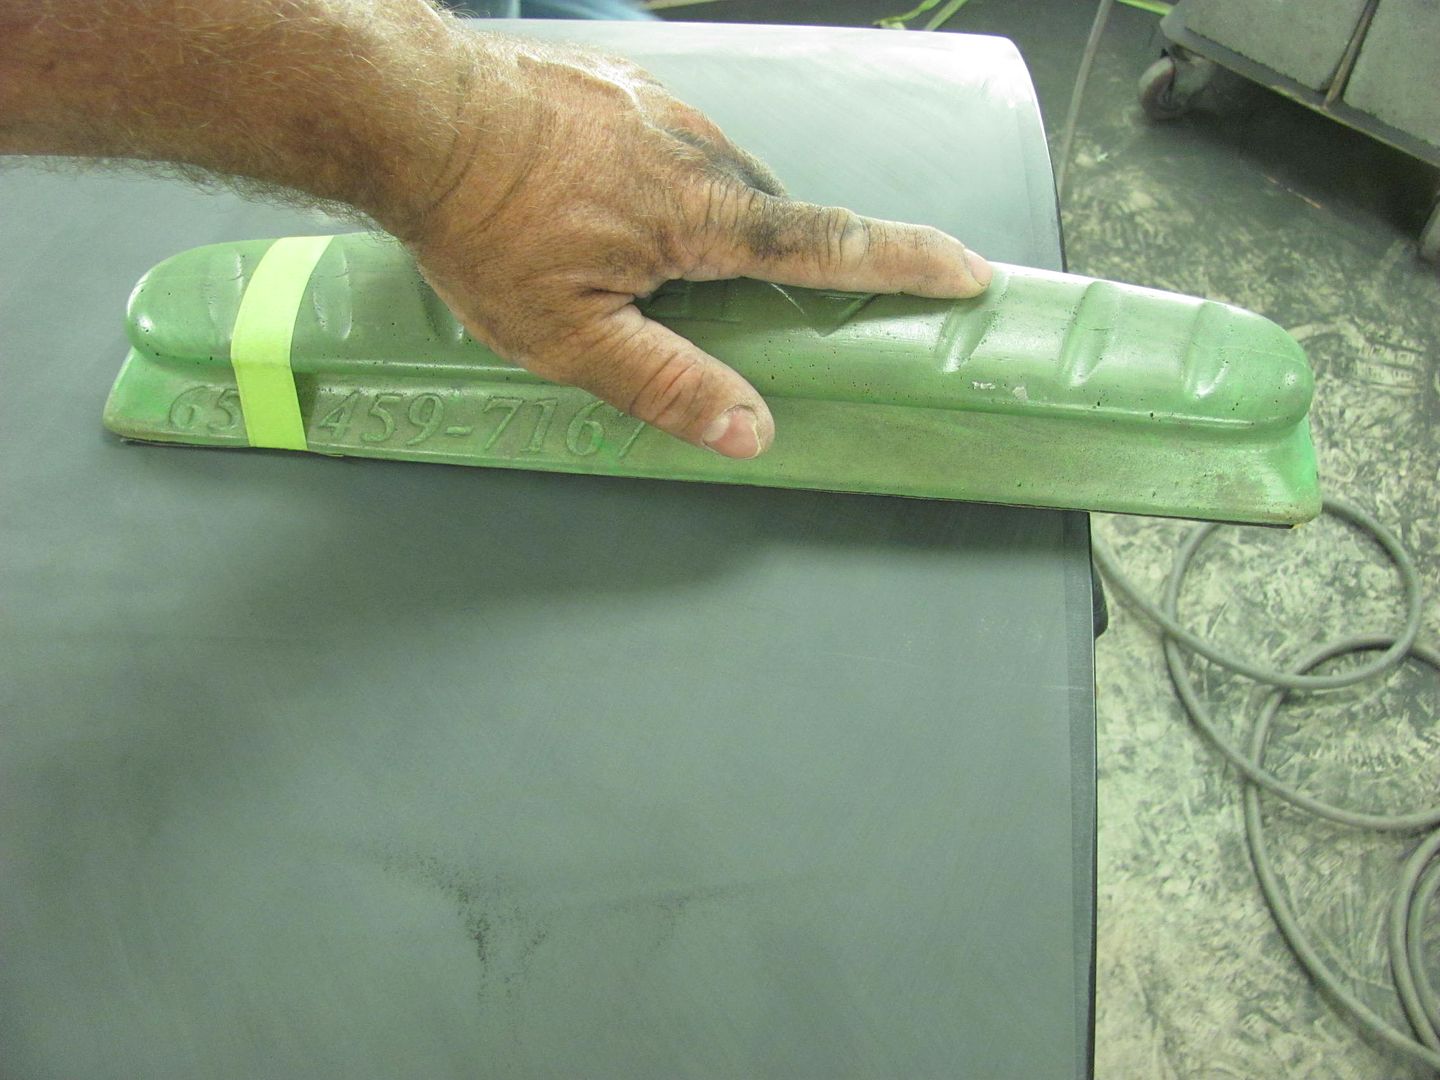 Now to show the importance of the long board.. We had done some blocking with the 27" AFS and seemed to have two high spots with a low in the middle of the door.. Note the high areas marked by the green tape... 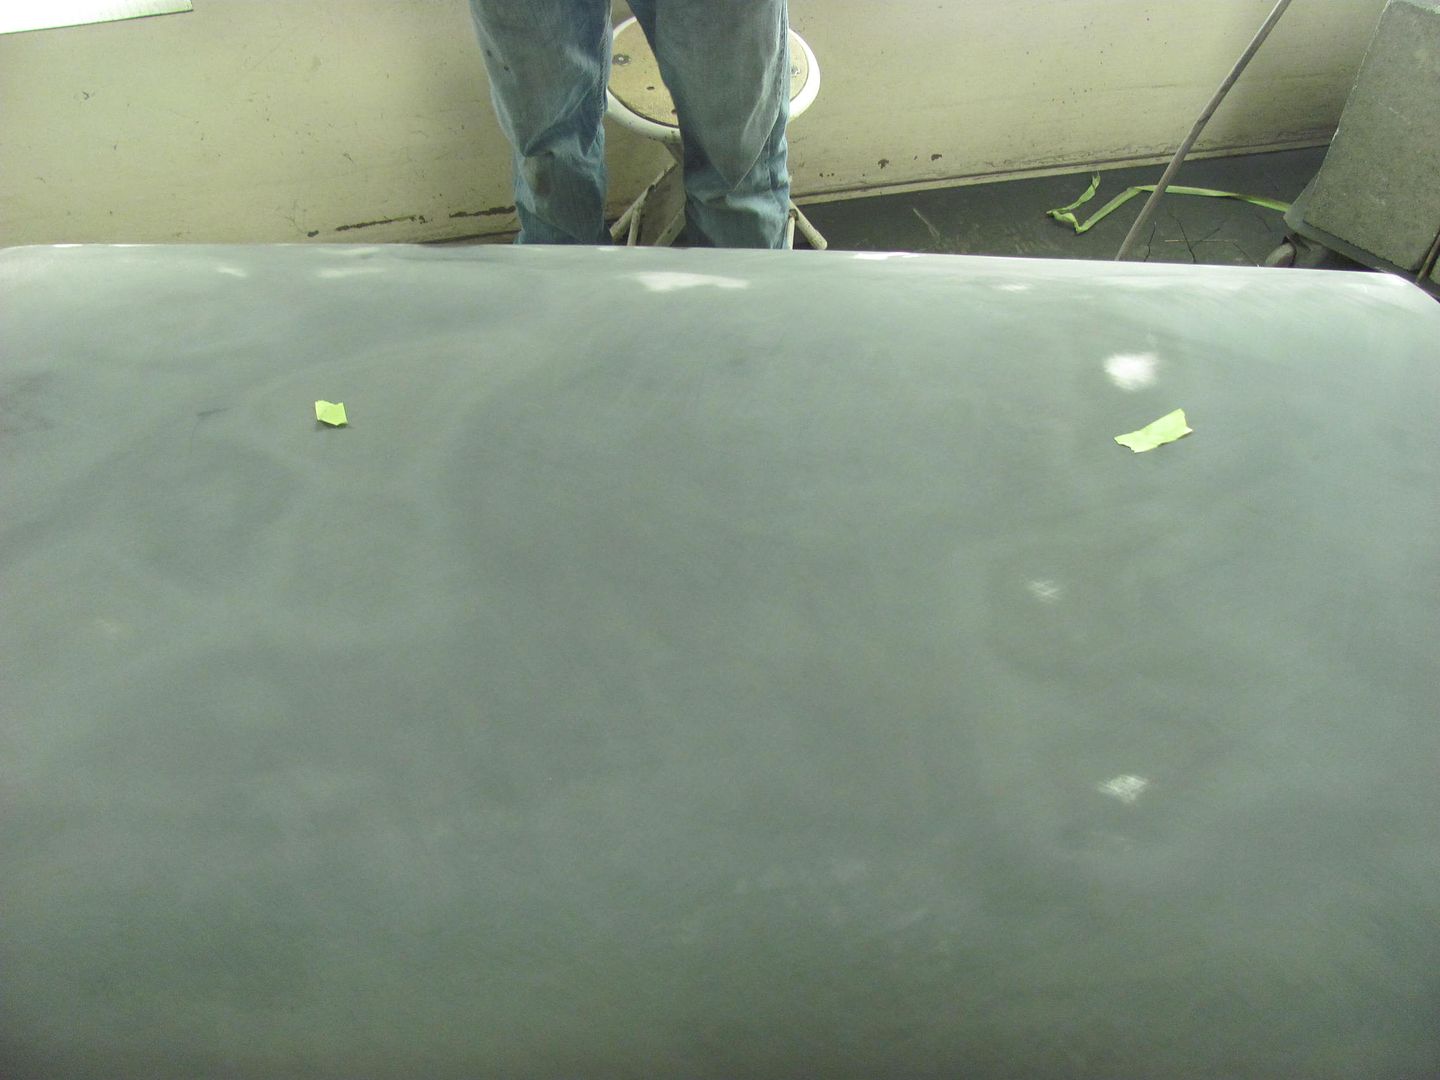 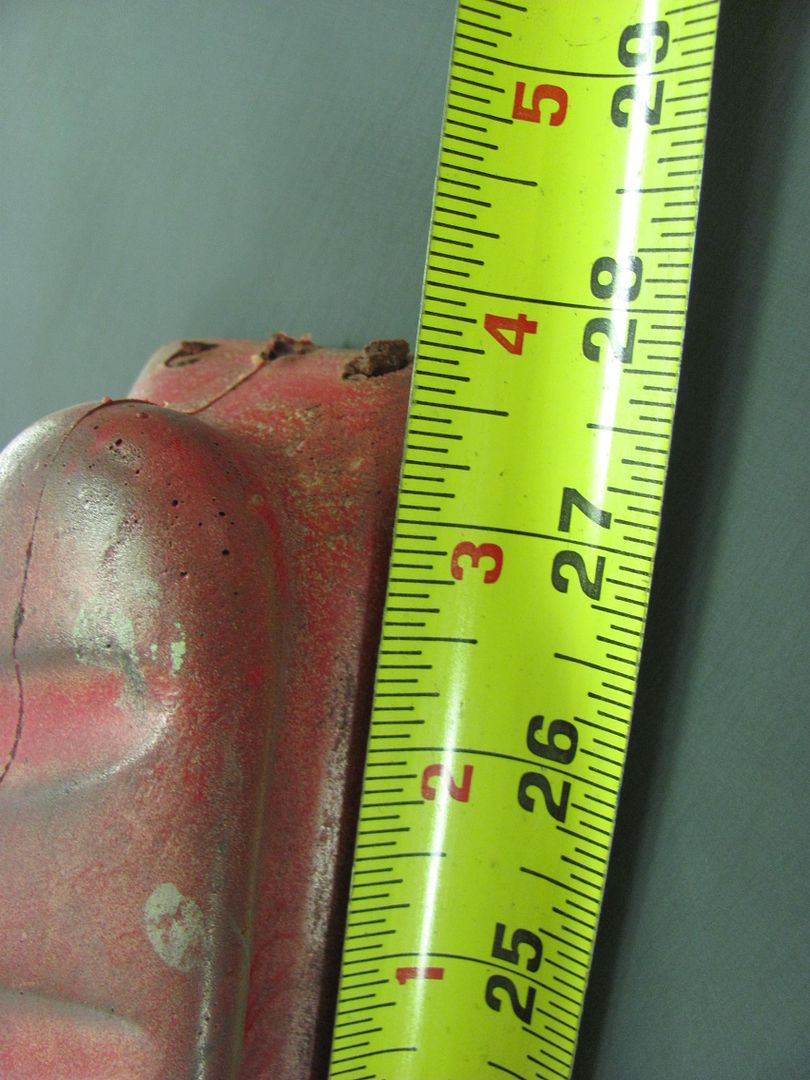 Now we can see that as the sander is moved to the left, the left portion of the AFS is over the high spot on the left, and a bit more movement and the right portion of the AFS will start dropping into the low void. Effectively, this is still cutting material out of the low, keeping it low.  Looking at the next size up, a 36" AFS.... 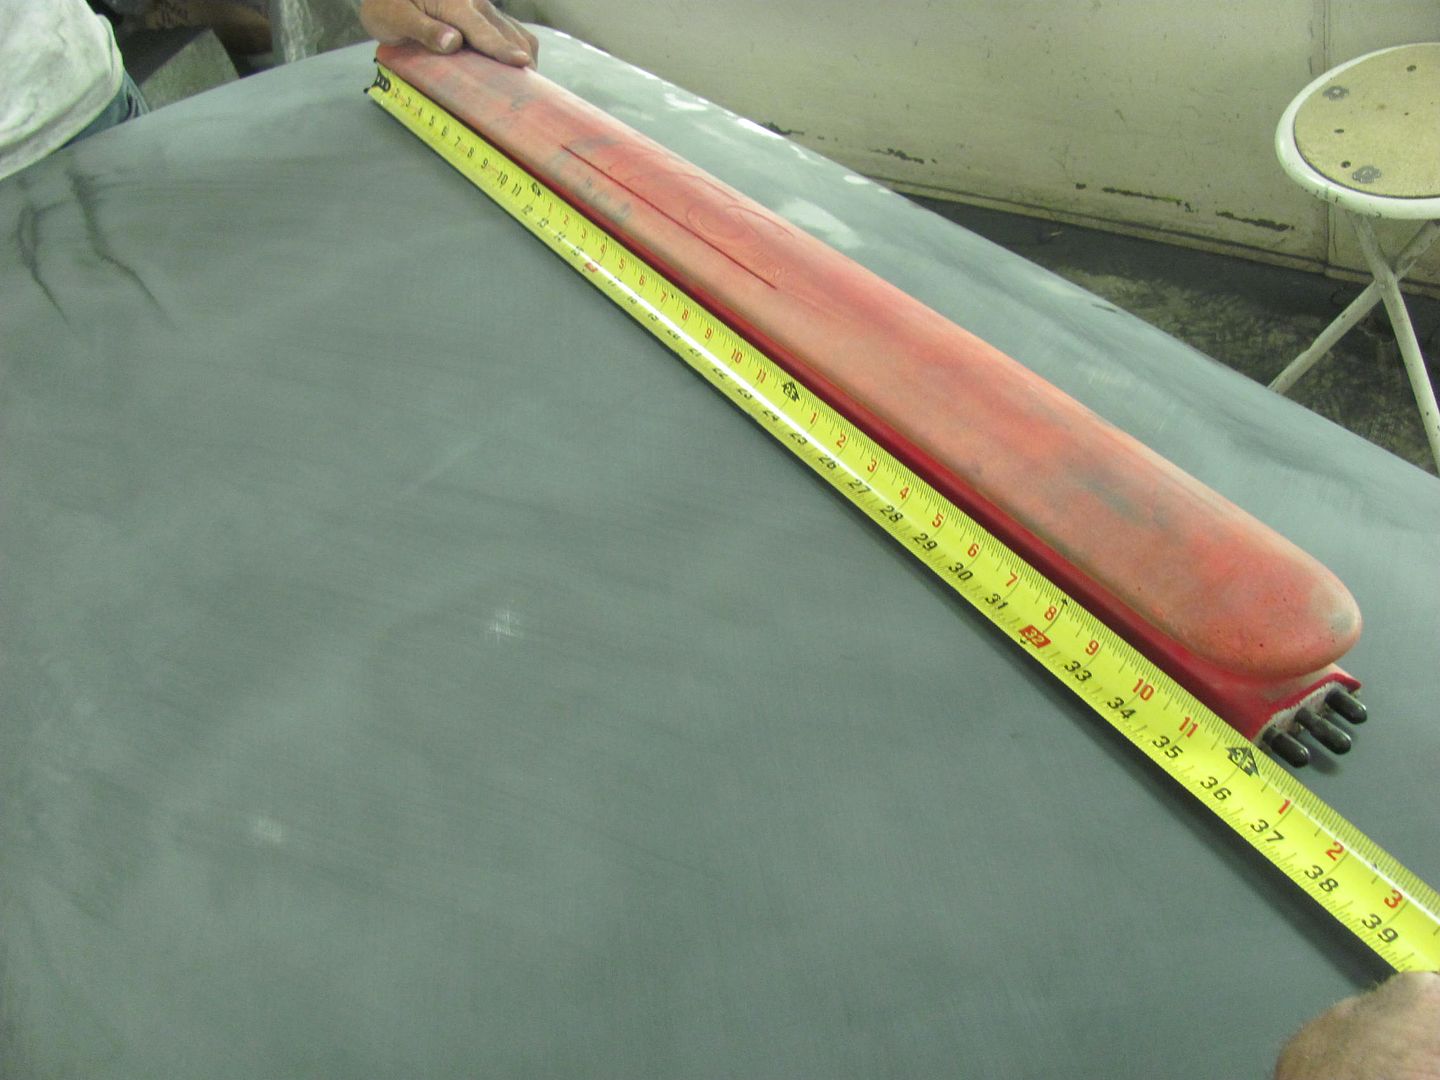 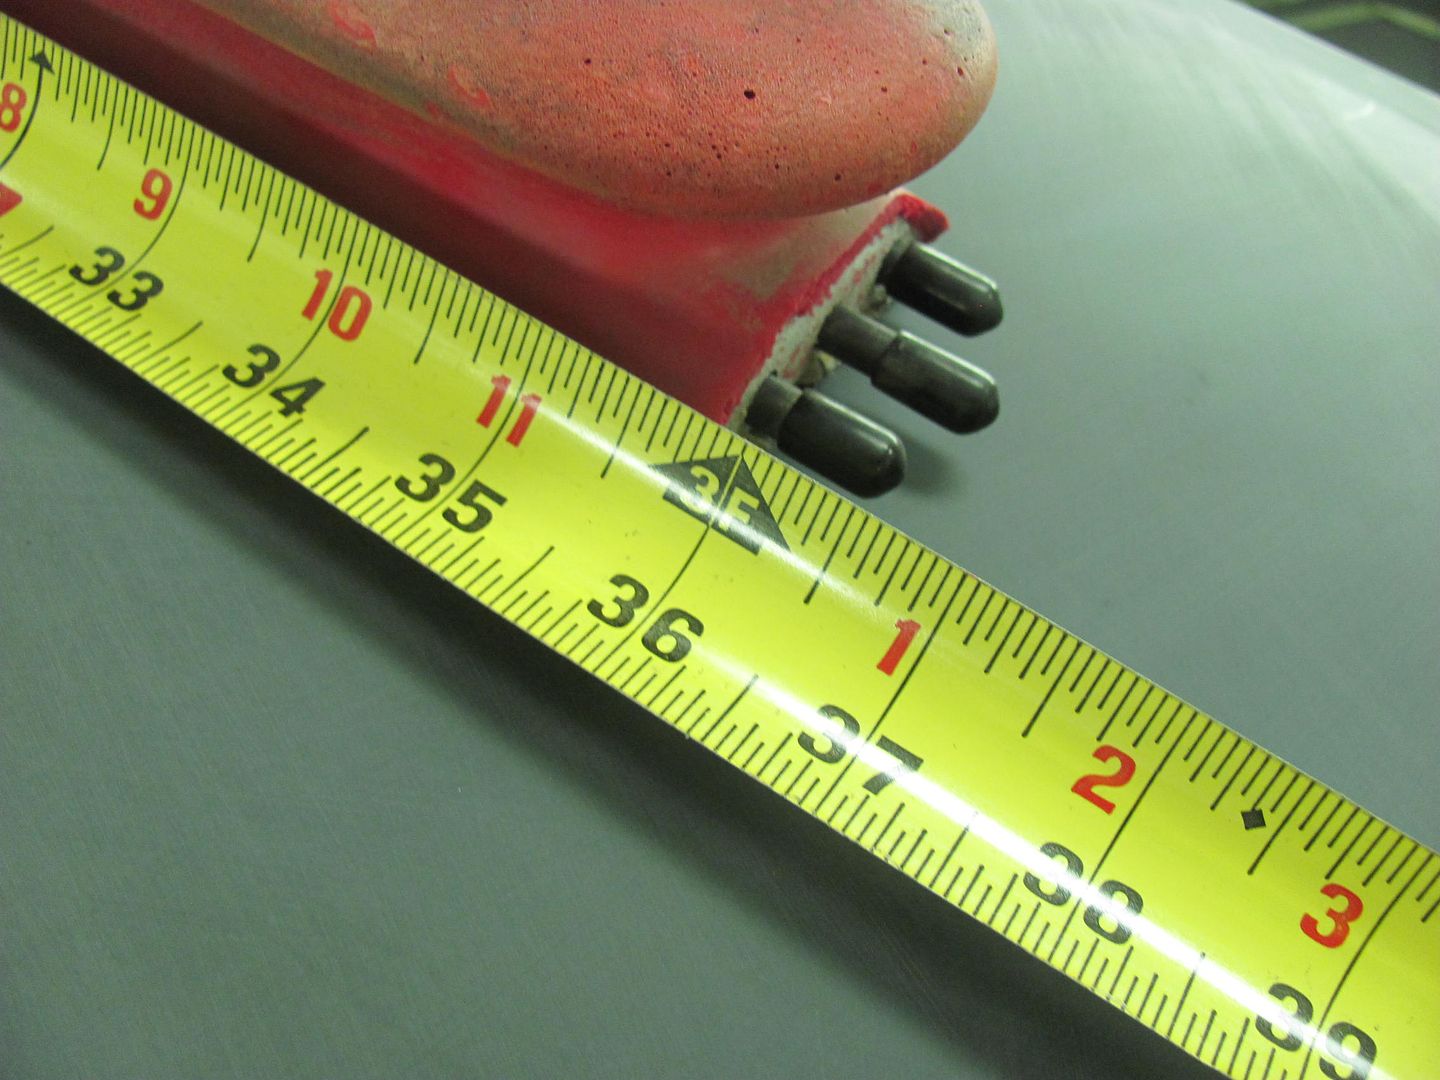 Here we can see this one does a much better job of spanning the high spots and staying up on top, for a more effective job of knocking down the highs and leaving the low in the center alone...  After a few horizontal passes at slight angles, like so with the 36"....... 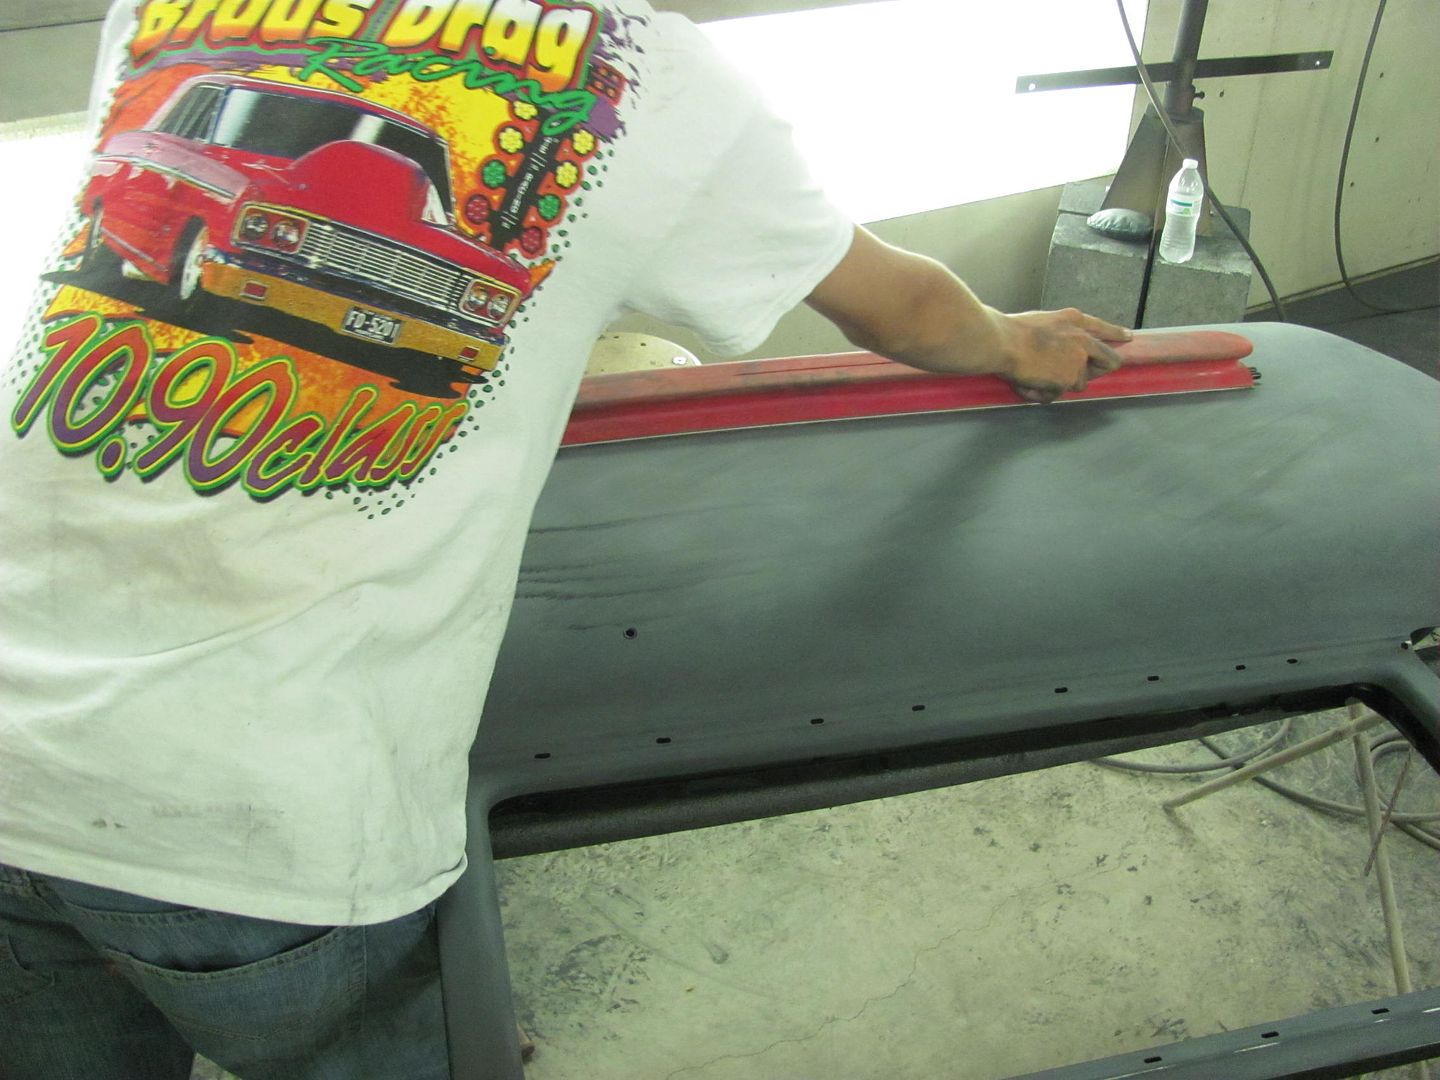 We follow up with some vertical passes at slight angles with the 27".... all rods removed to better follow the contour. Then alternate back to the 36 and another horizontal session.. 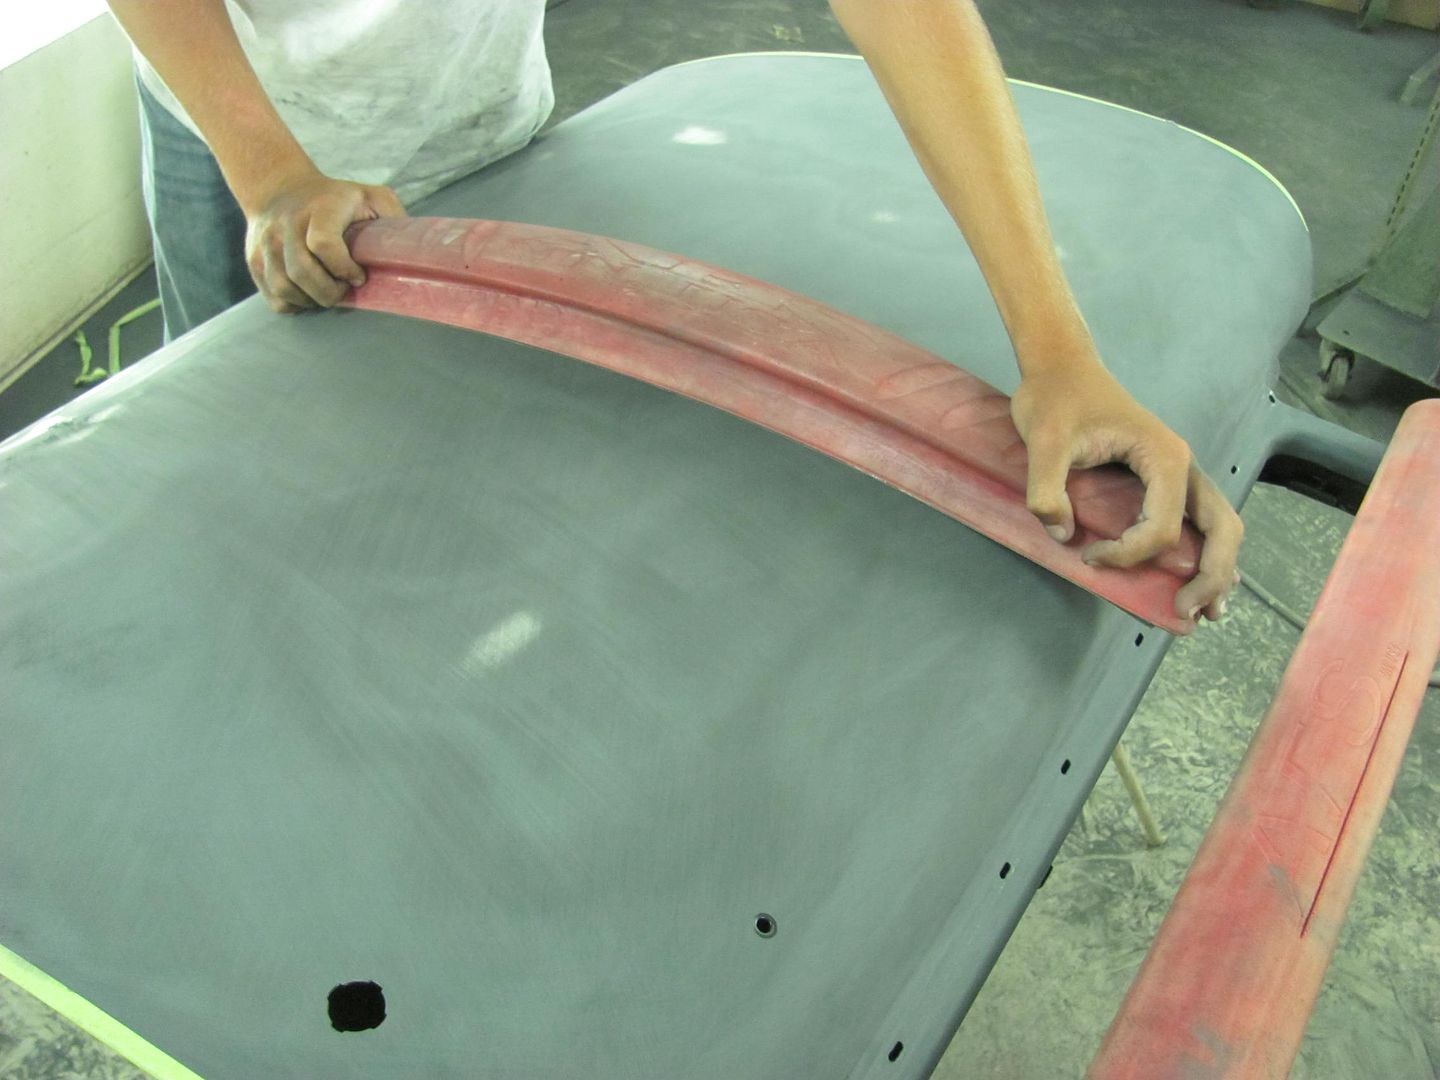
__________________
Robert |
|
|
|
|
08-06-2015, 01:31 AM
|
#3 |
|
Registered User
Join Date: Oct 2007
Location: Spanaway
Posts: 8,451
|
Re: 55 Wagon Progress
Nice work, wish you could do my truck next.

__________________
Mike. Swamp Rat build thread : http://67-72chevytrucks.com/vboard/s...d.php?t=595019 72 3/4T 4X4 4" BDS Lift 33" BFG's |
|
|
|
|
08-09-2015, 07:18 AM
|
#4 |
|
Registered User
Join Date: Jan 2013
Location: Leonardtown, MD
Posts: 1,637
|
Re: 55 Wagon Progress
Got a 54 Divco milk truck coming in next, sorry.
 Well, the shop truck has left the building.. 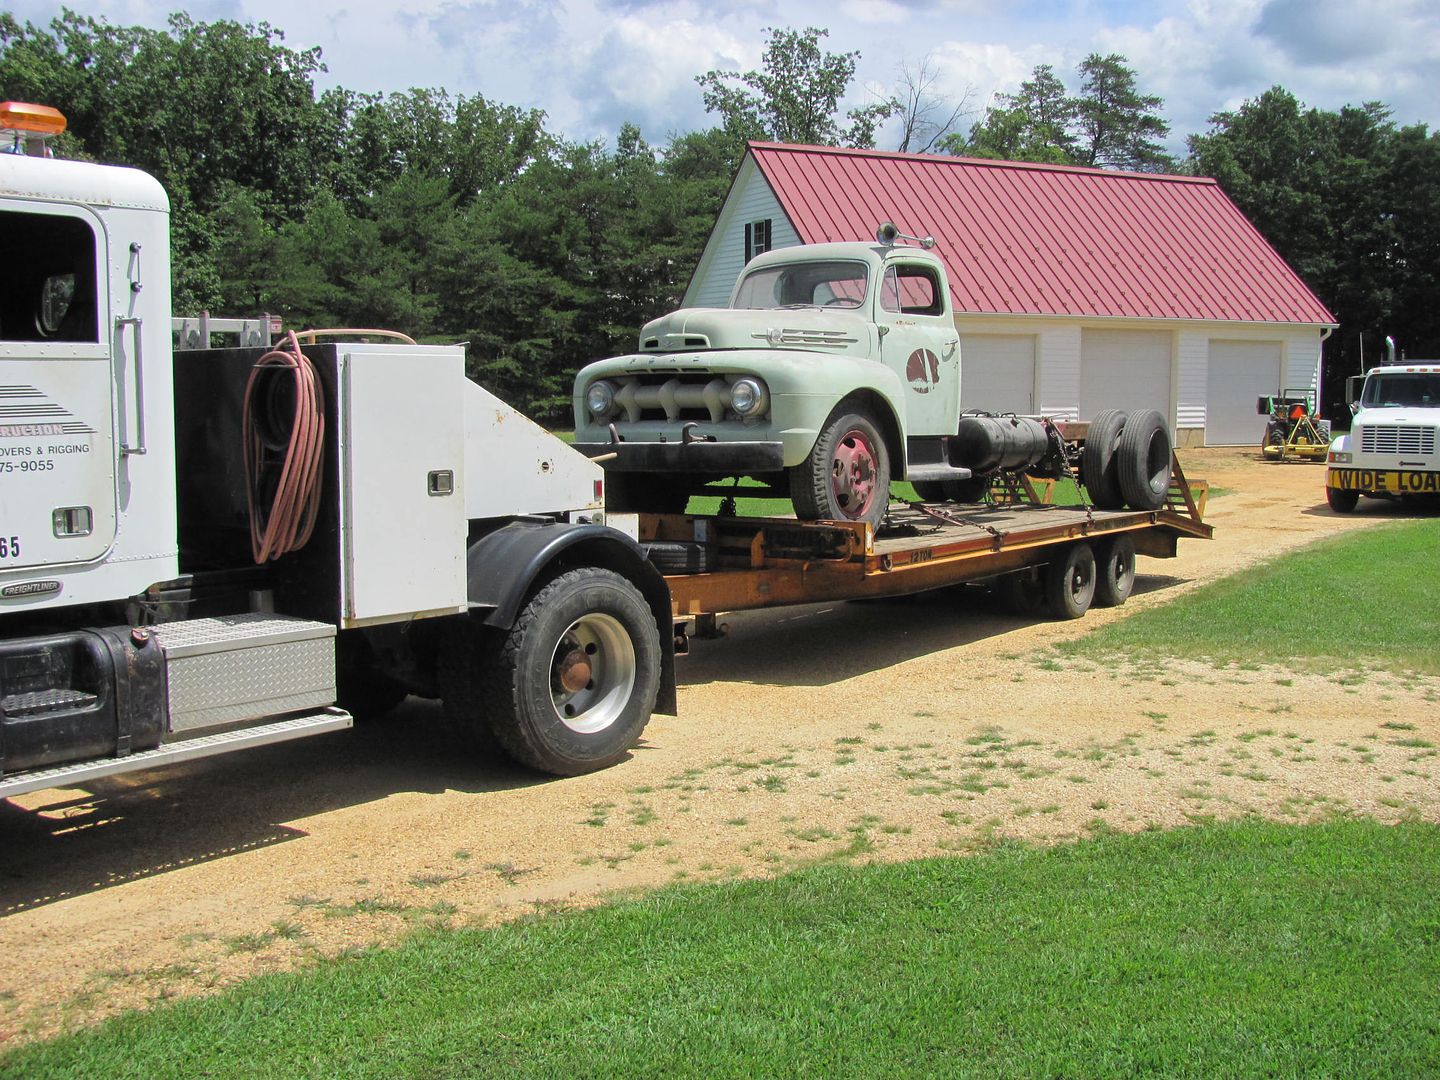 Sold it today, now have a bit more breathing room in the shop..  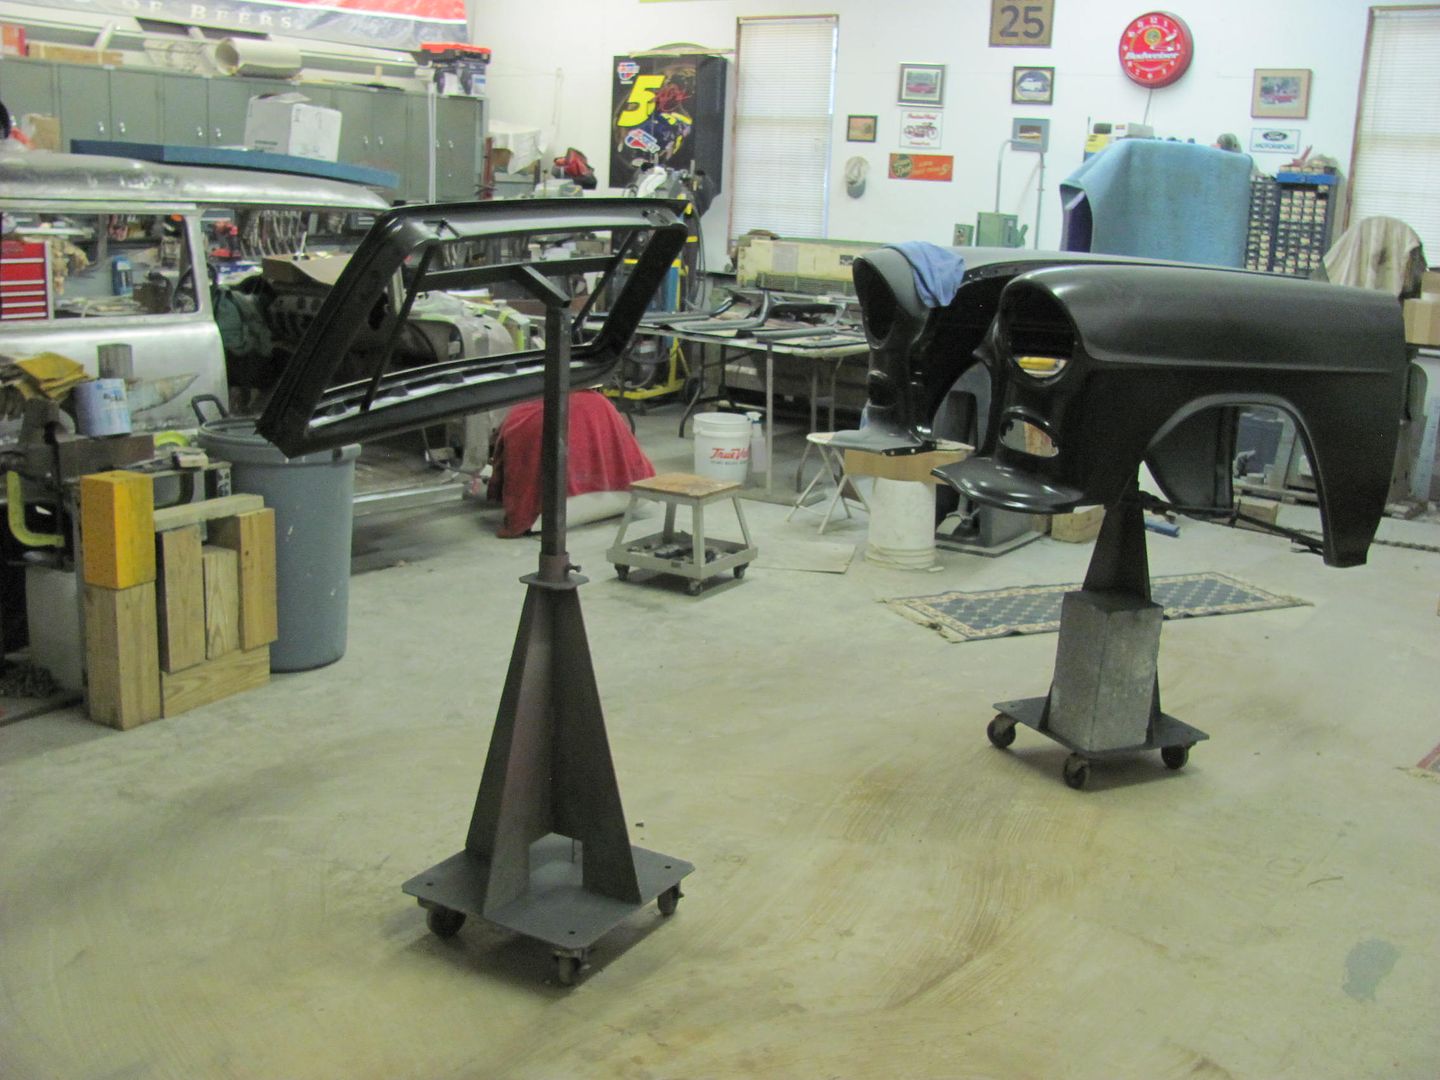 .....and another dose of epoxy  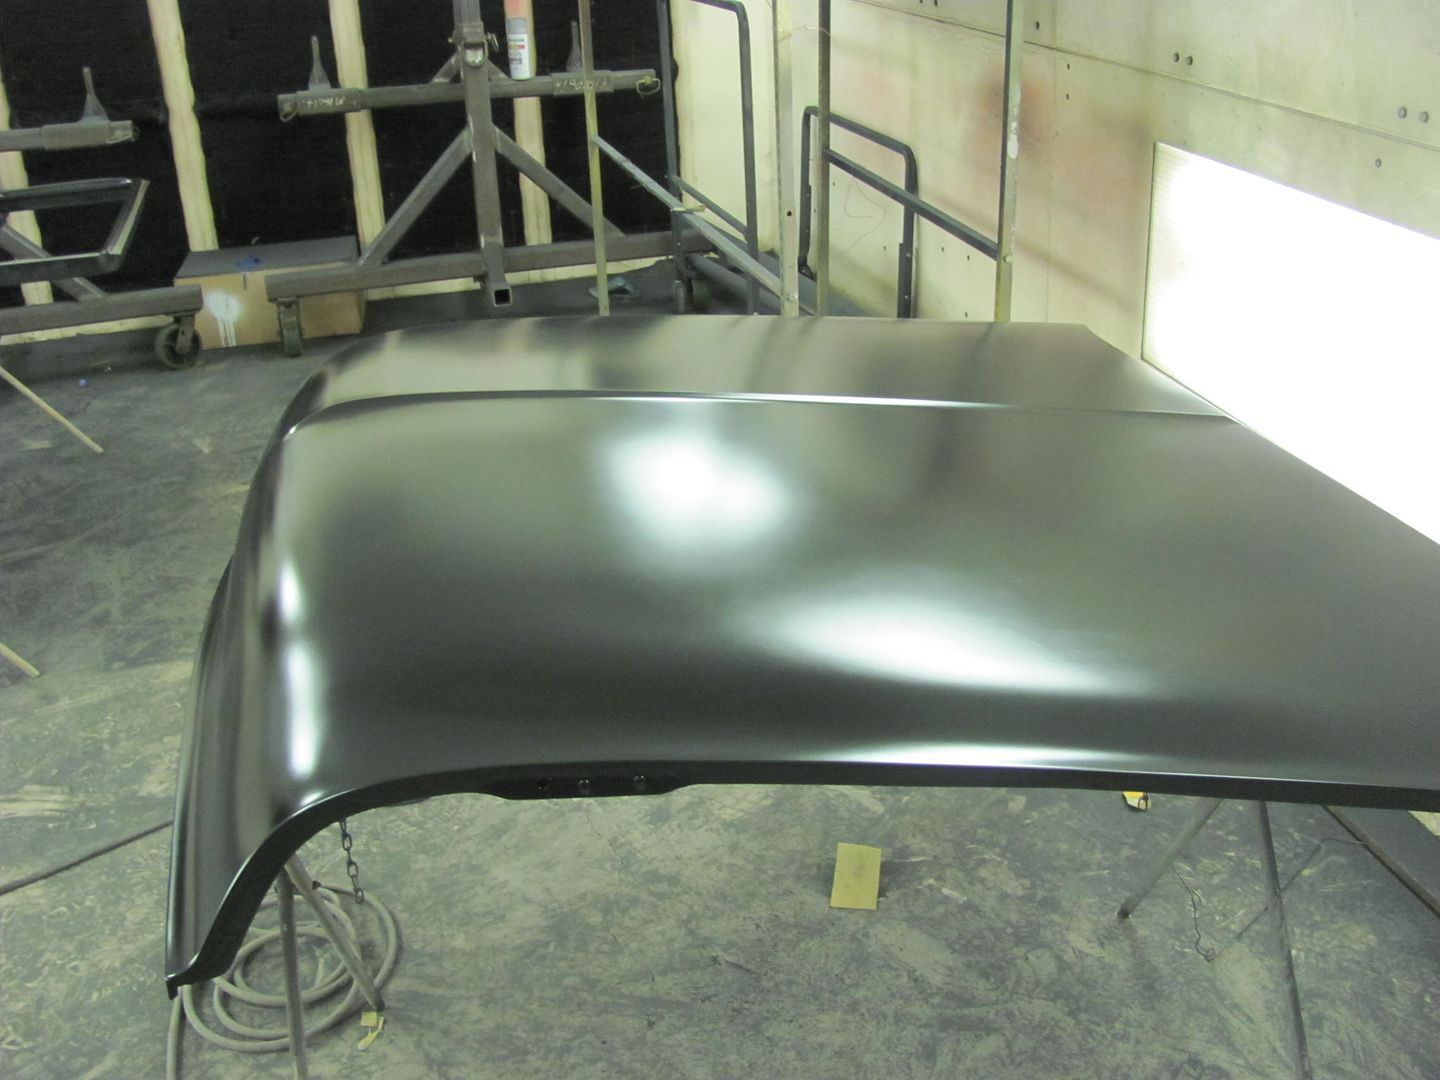 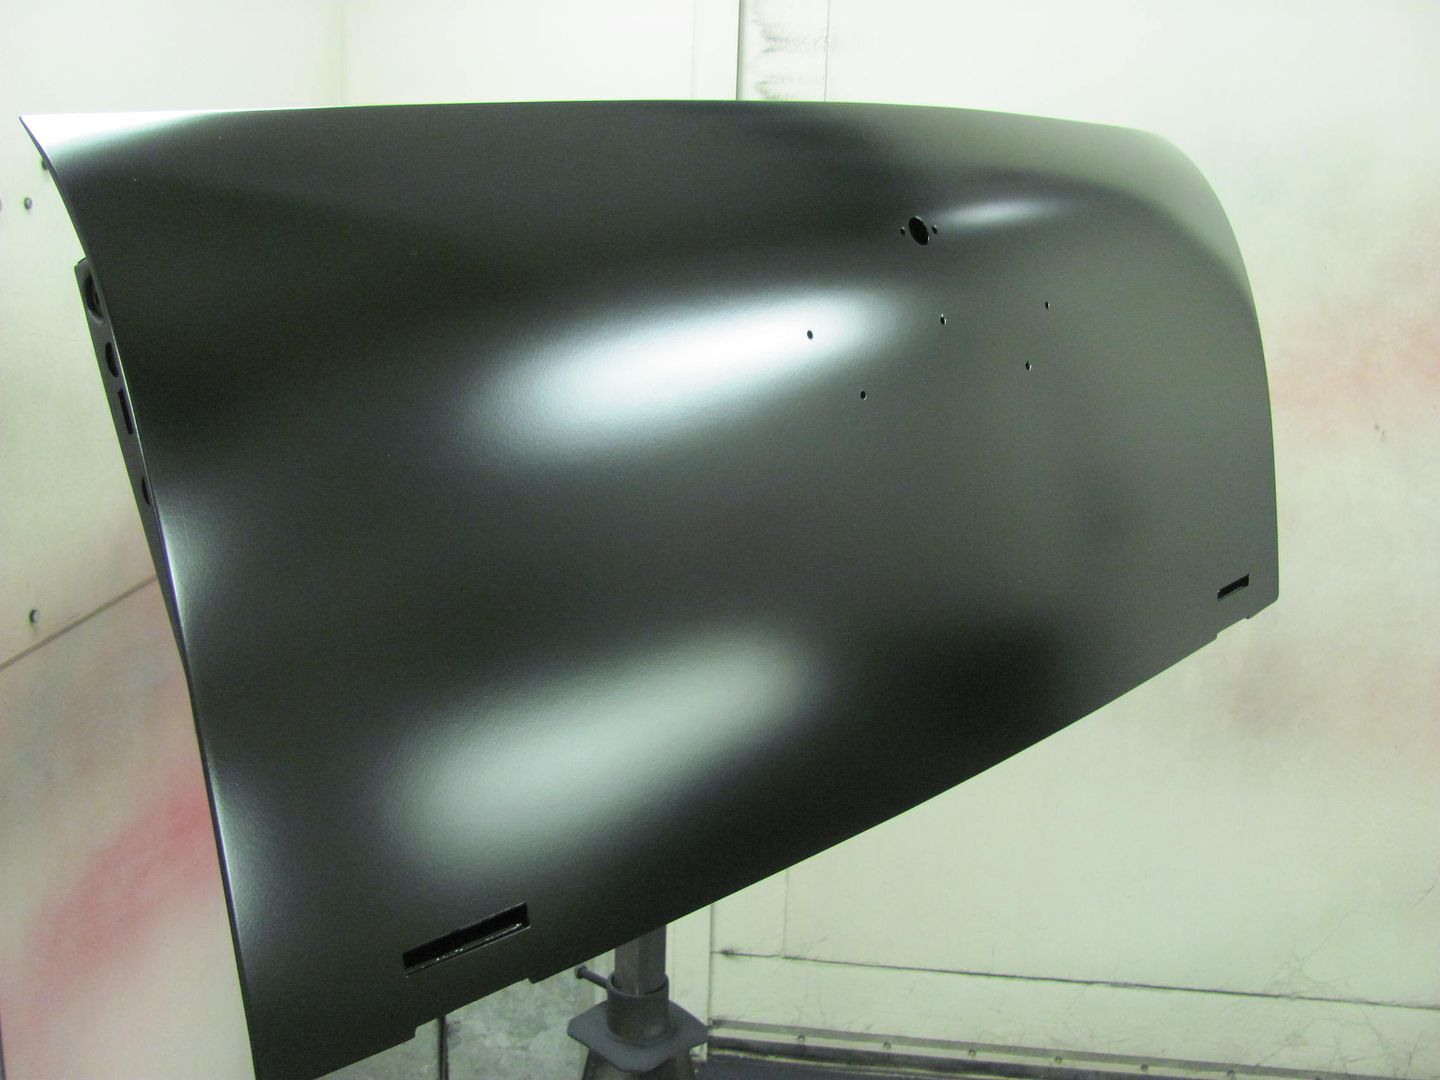 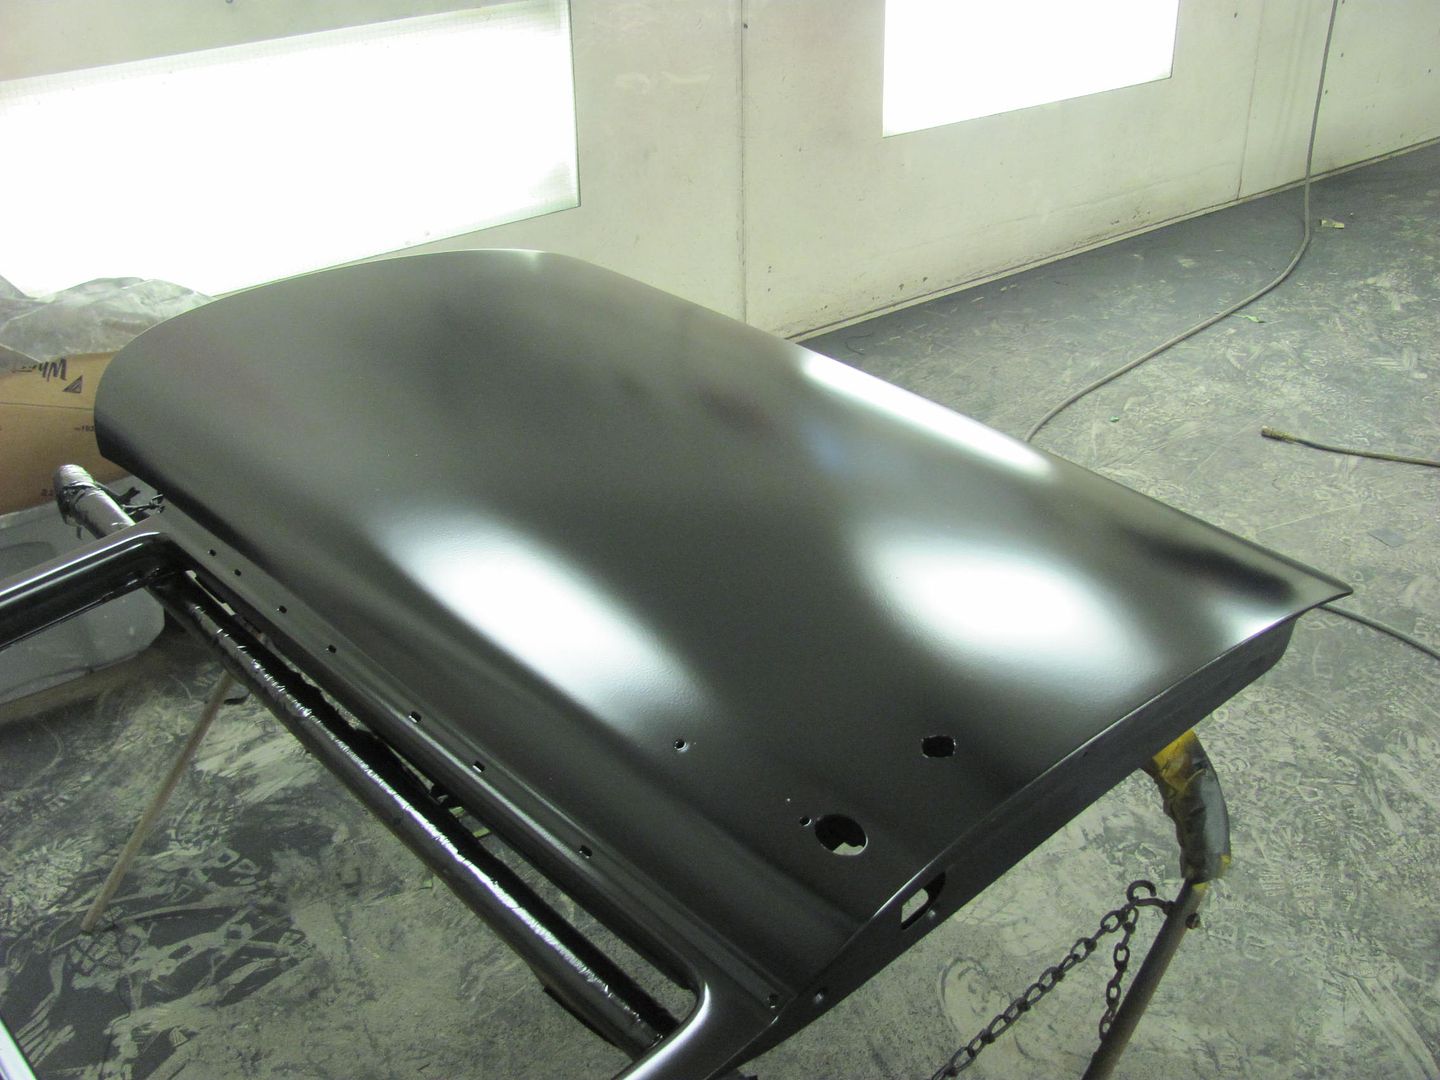
__________________
Robert |
|
|
|
|
08-22-2015, 11:38 PM
|
#5 |
|
Registered User
Join Date: May 2011
Location: Anderson SC
Posts: 3,880
|
Re: 55 Wagon Progress
So you're not using high build? Just make the filler work slick enough and then epoxy? Or does the SPI epoxy build more than other epoxies? Been wanting to try SPI epoxy...
__________________
Project Goldilocks '66 C10 Short Fleet BBW Build '65 C10 Highly Detailed Stock Restoration Thread '78 Camaro Targa Roof Build '55 International Metal/Body/Paint Work '66 F100 Full Rotisserie Restoration '40 Packard 120 Convertible Coupe Restoration How To Restore and Detail an Original Gauge Cluster How To Detail Sand Body Panels, Edges, Corners, Etc |
|
|
|
|
08-23-2015, 12:45 AM
|
#6 |
|
Registered User
Join Date: Oct 2013
Location: HOUSTON
Posts: 355
|
Re: 55 Wagon Progress
AWESOME. You have MAD SKILLS..
|
|
|
|
|
08-23-2015, 07:25 AM
|
#7 |
|
Registered User
Join Date: Jan 2013
Location: Leonardtown, MD
Posts: 1,637
|
Re: 55 Wagon Progress
John, I've found both H/K and SPI to have a decent amount of build. Not as much as spraying Slick Sand, but I'd venture a guess that SPI on SPI would have less adhesion issues and be more stable overall than mixing products.
Thanks Nasty!
__________________
Robert |
|
|
|
|
08-26-2015, 10:22 AM
|
#8 | |
|
Registered User
Join Date: May 2011
Location: Anderson SC
Posts: 3,880
|
Re: 55 Wagon Progress
Quote:
__________________
Project Goldilocks '66 C10 Short Fleet BBW Build '65 C10 Highly Detailed Stock Restoration Thread '78 Camaro Targa Roof Build '55 International Metal/Body/Paint Work '66 F100 Full Rotisserie Restoration '40 Packard 120 Convertible Coupe Restoration How To Restore and Detail an Original Gauge Cluster How To Detail Sand Body Panels, Edges, Corners, Etc |
|
|
|
|
|
08-26-2015, 12:58 PM
|
#9 | |
|
Registered User
Join Date: Apr 2003
Location: Indep, MO
Posts: 5,893
|
Re: 55 Wagon Progress
Quote:
__________________
Boppa's Old Yeller Truck Build, Old Yeller's New Heart! Project Buzz Bomb Flyin' Low! |
|
|
|
|
|
08-25-2015, 02:43 PM
|
#10 |
|
Registered User
Join Date: Apr 2003
Location: Indep, MO
Posts: 5,893
|
Re: 55 Wagon Progress
That's good to know- Nason's epoxy is only good for a scratch coat. About the consistency of basecoat. Parts look fantastic.
__________________
Boppa's Old Yeller Truck Build, Old Yeller's New Heart! Project Buzz Bomb Flyin' Low! |
|
|
|
|
09-12-2015, 05:48 PM
|
#11 |
|
Registered User
Join Date: Jan 2013
Location: Leonardtown, MD
Posts: 1,637
|
Re: 55 Wagon Progress
Well there has been a slight break in the updates, as I've been in Okinawa for about a month. Not to fear, Kyle has been plugging away on the wagon, it even has a floor in it, as you can see here...
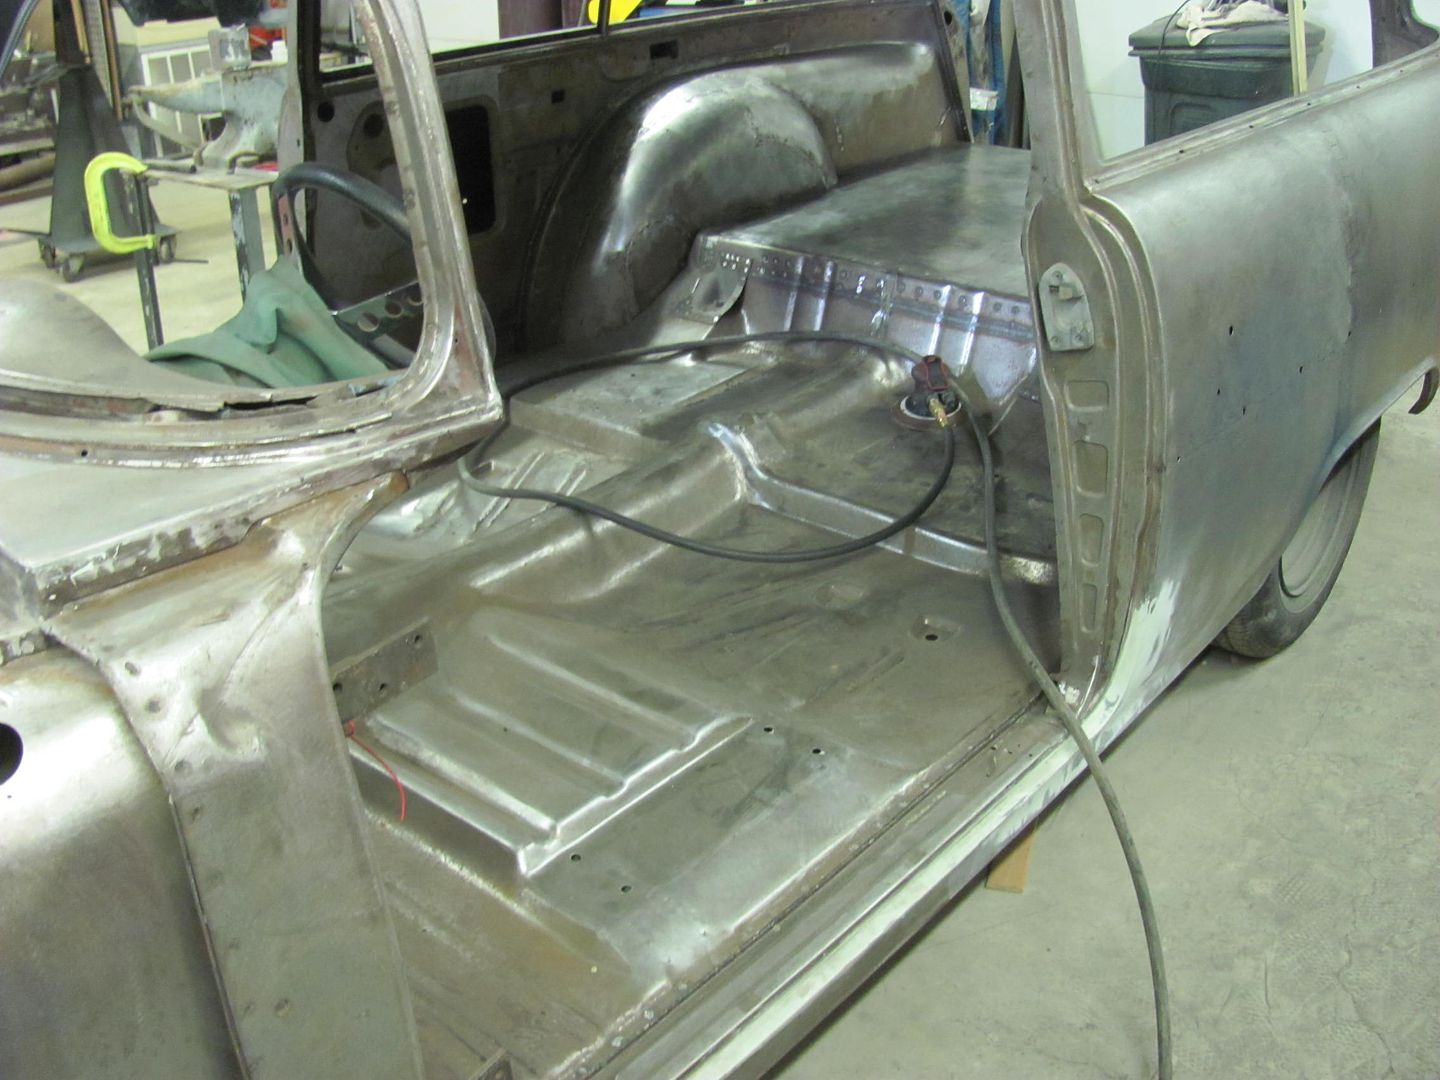 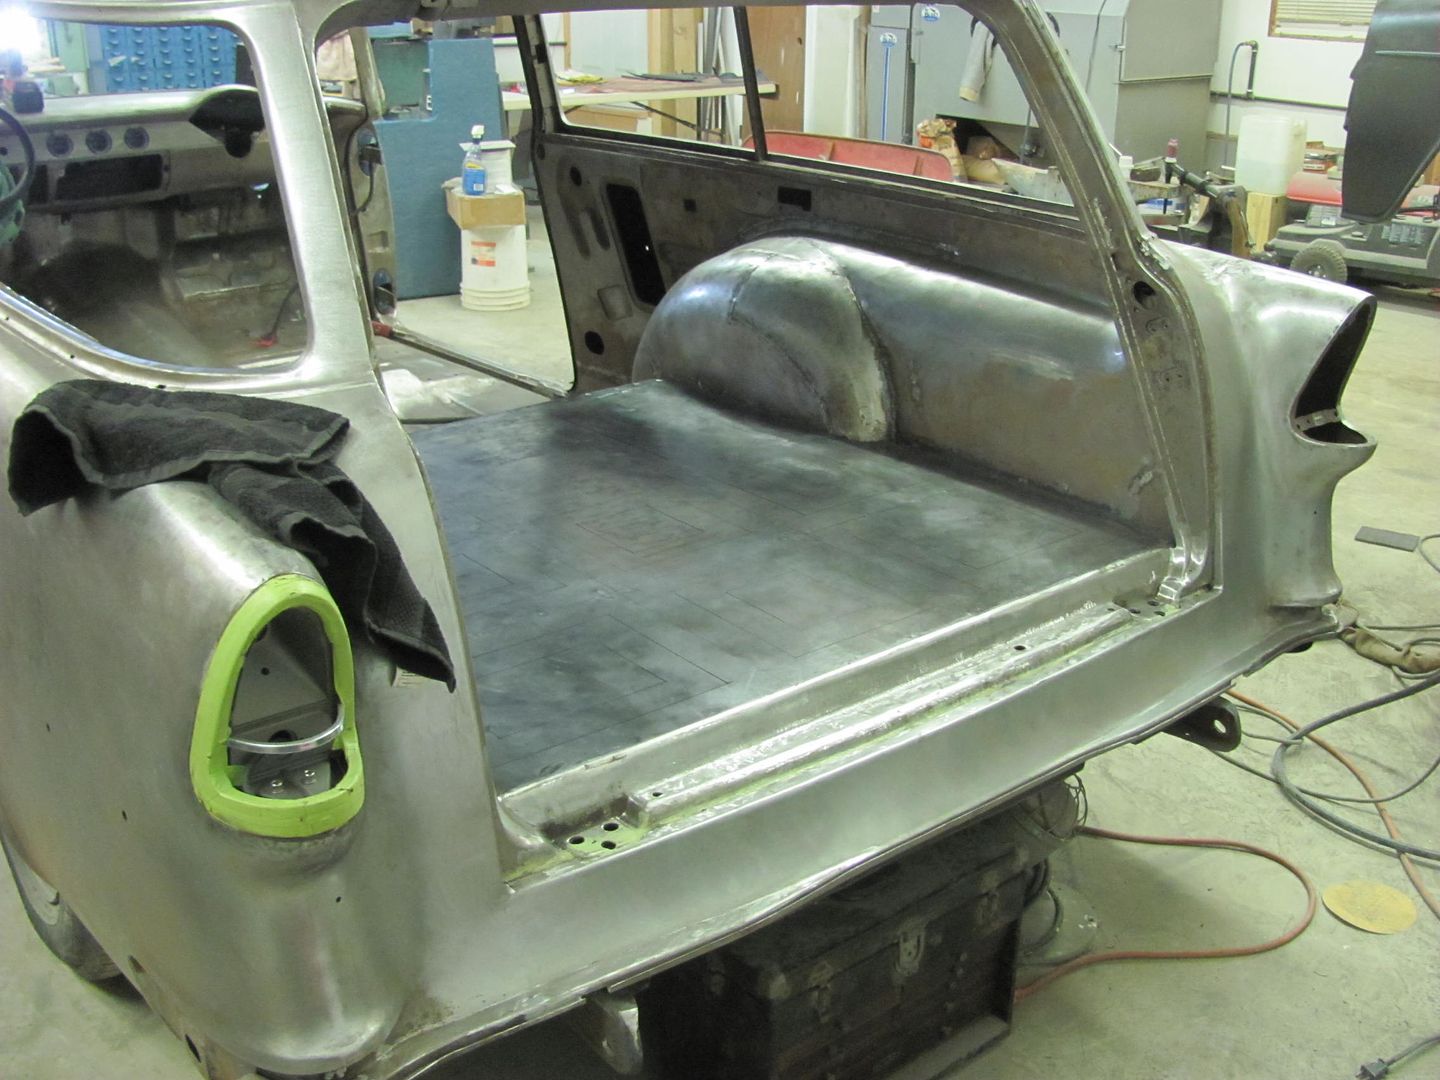 He did get a quite a bit of blocking done while I was gone.... 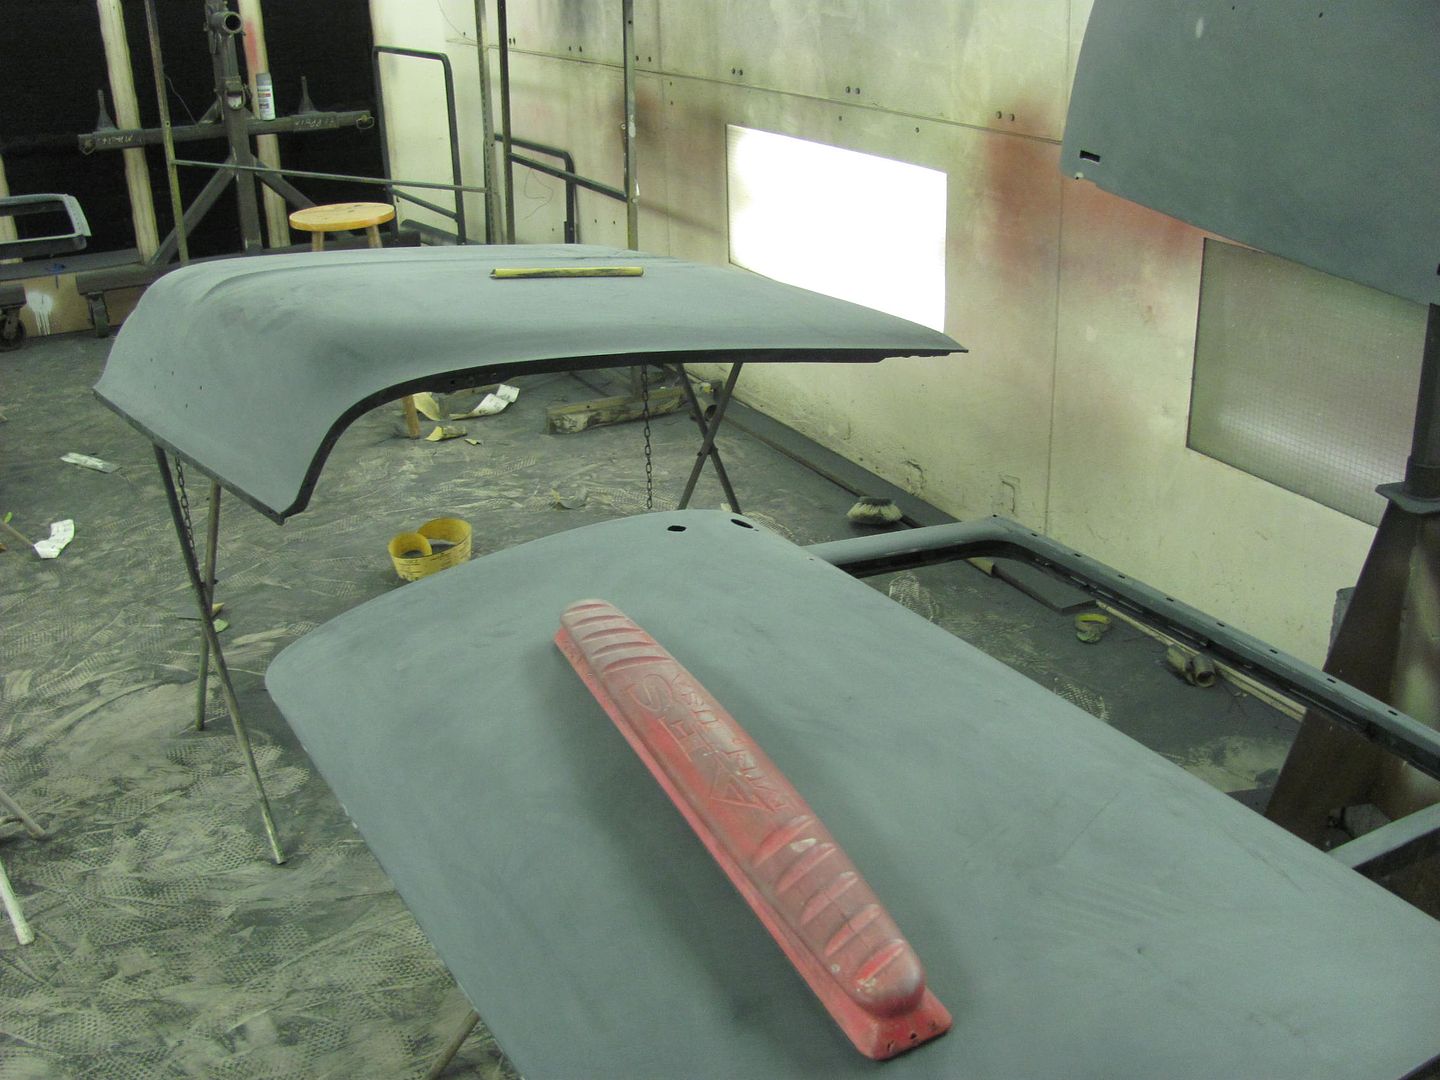 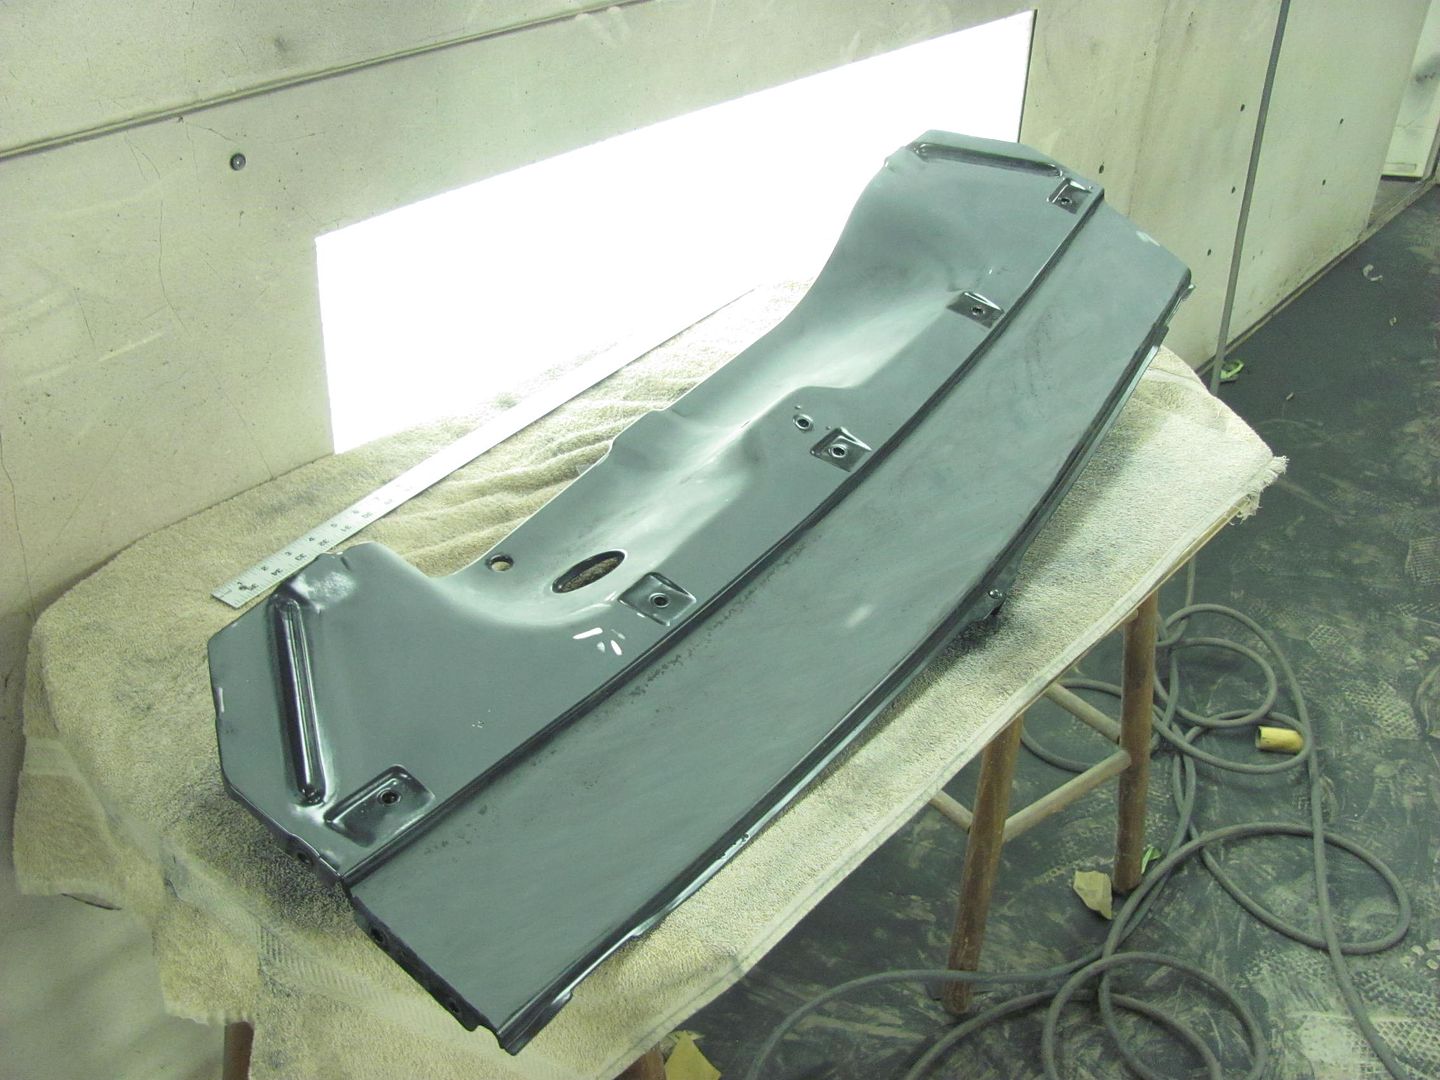 And did get some wet sanding done on a few of the interior trim pieces. Today he started on the rear floor, part of the problem with welding a flat plate is that it doesn't stay flat. The plug welds to secure the floor to the bracing beneath caused some shrinking, which resulted in the metal between bulging outward, some up, some down. Looks about like the Atlantic on a calm day. 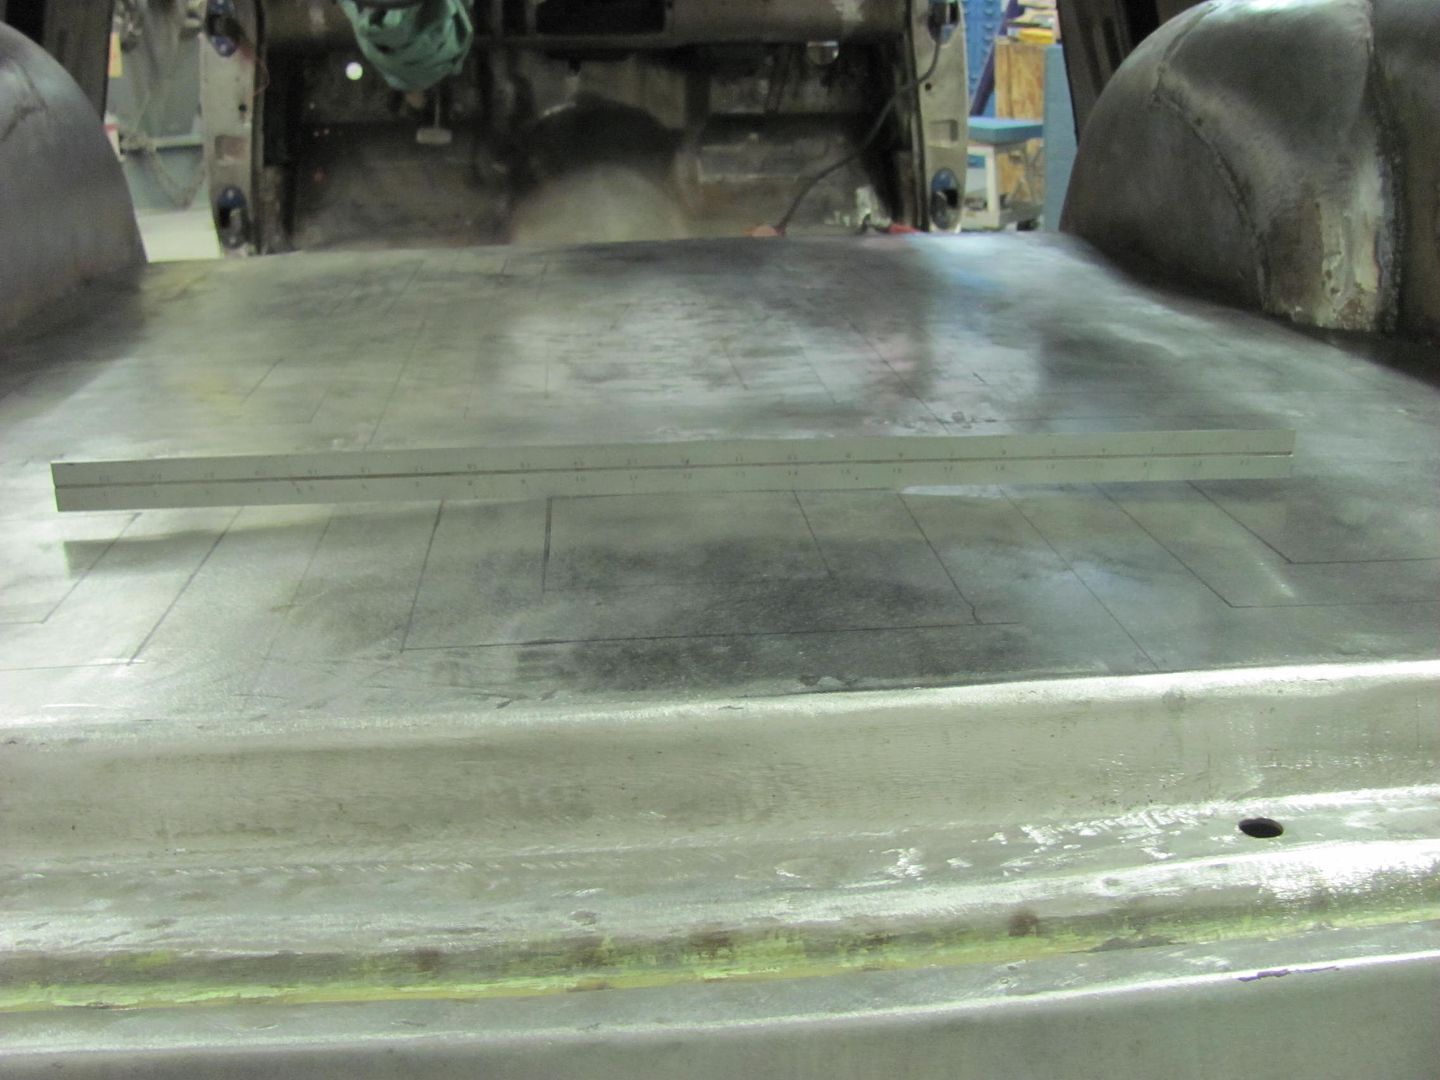 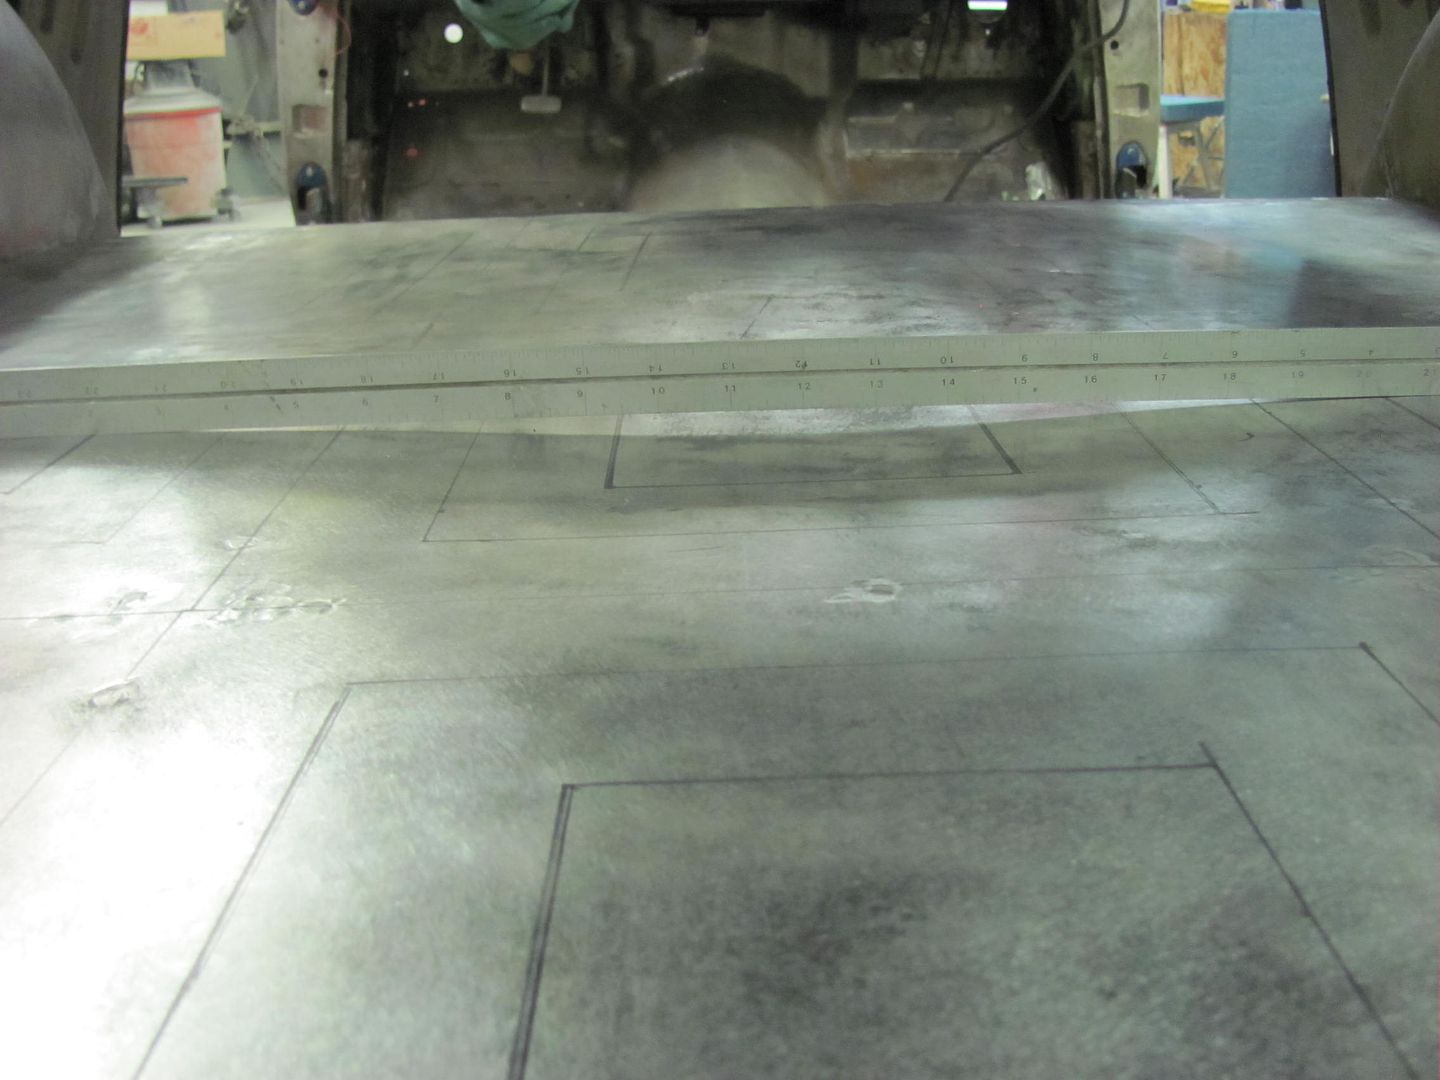 Today, as I was going to be wet sanding, he was going to try some torch shrinking. To better make this a one person job with minimal risk of open flame, we thought to give the "electric" torch a go. 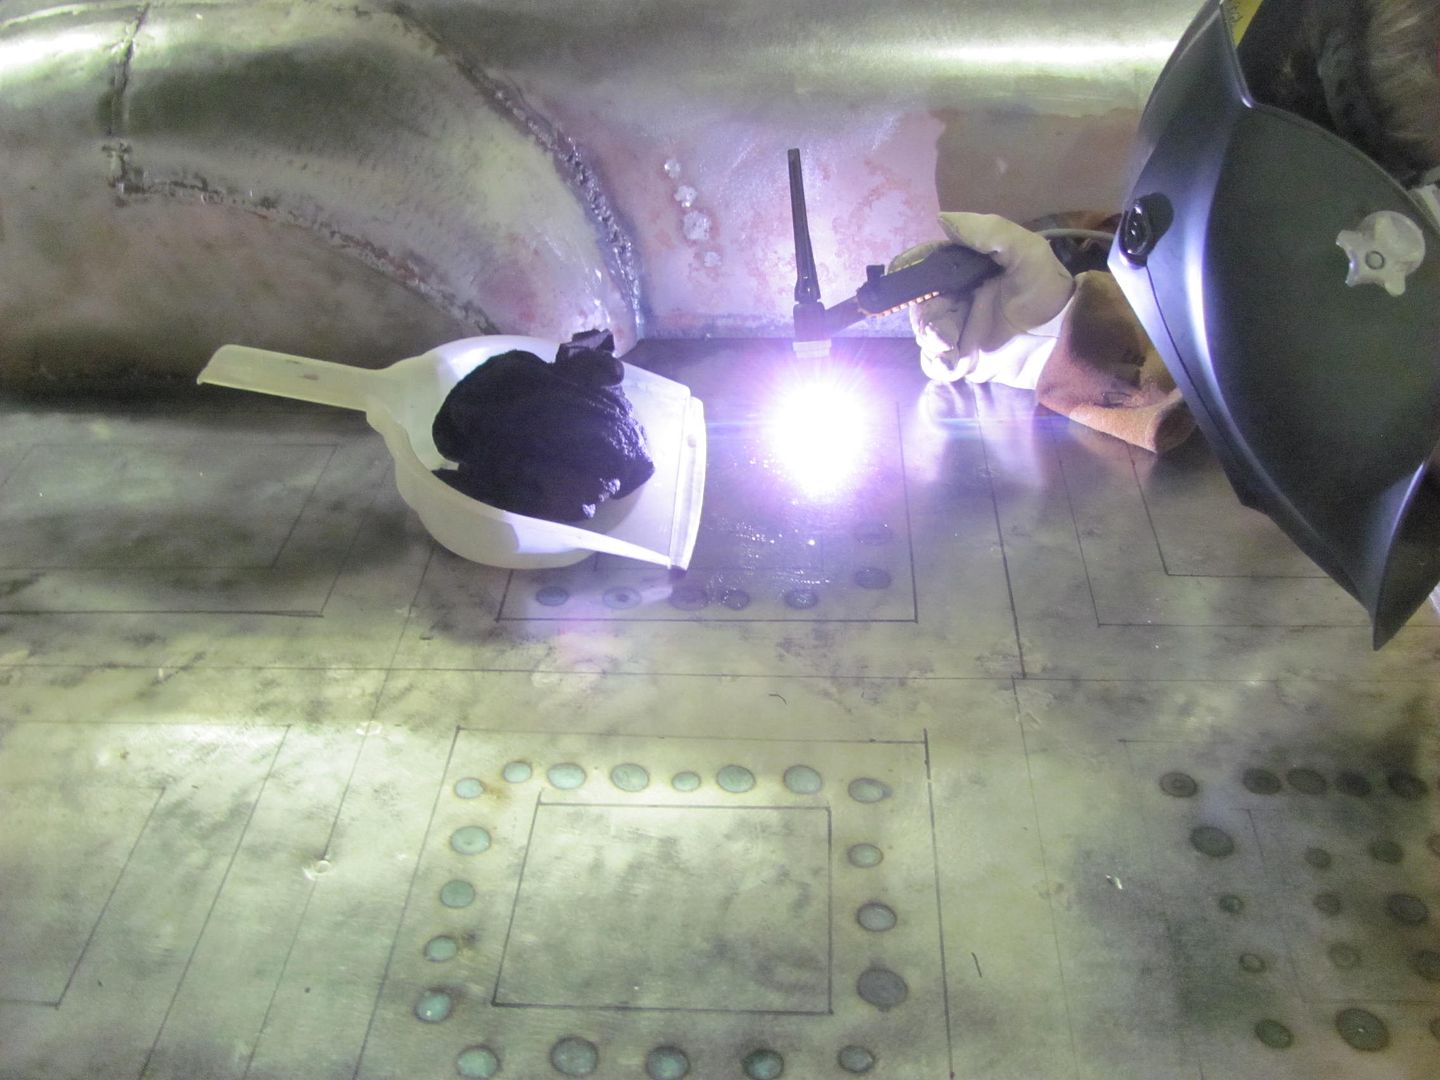 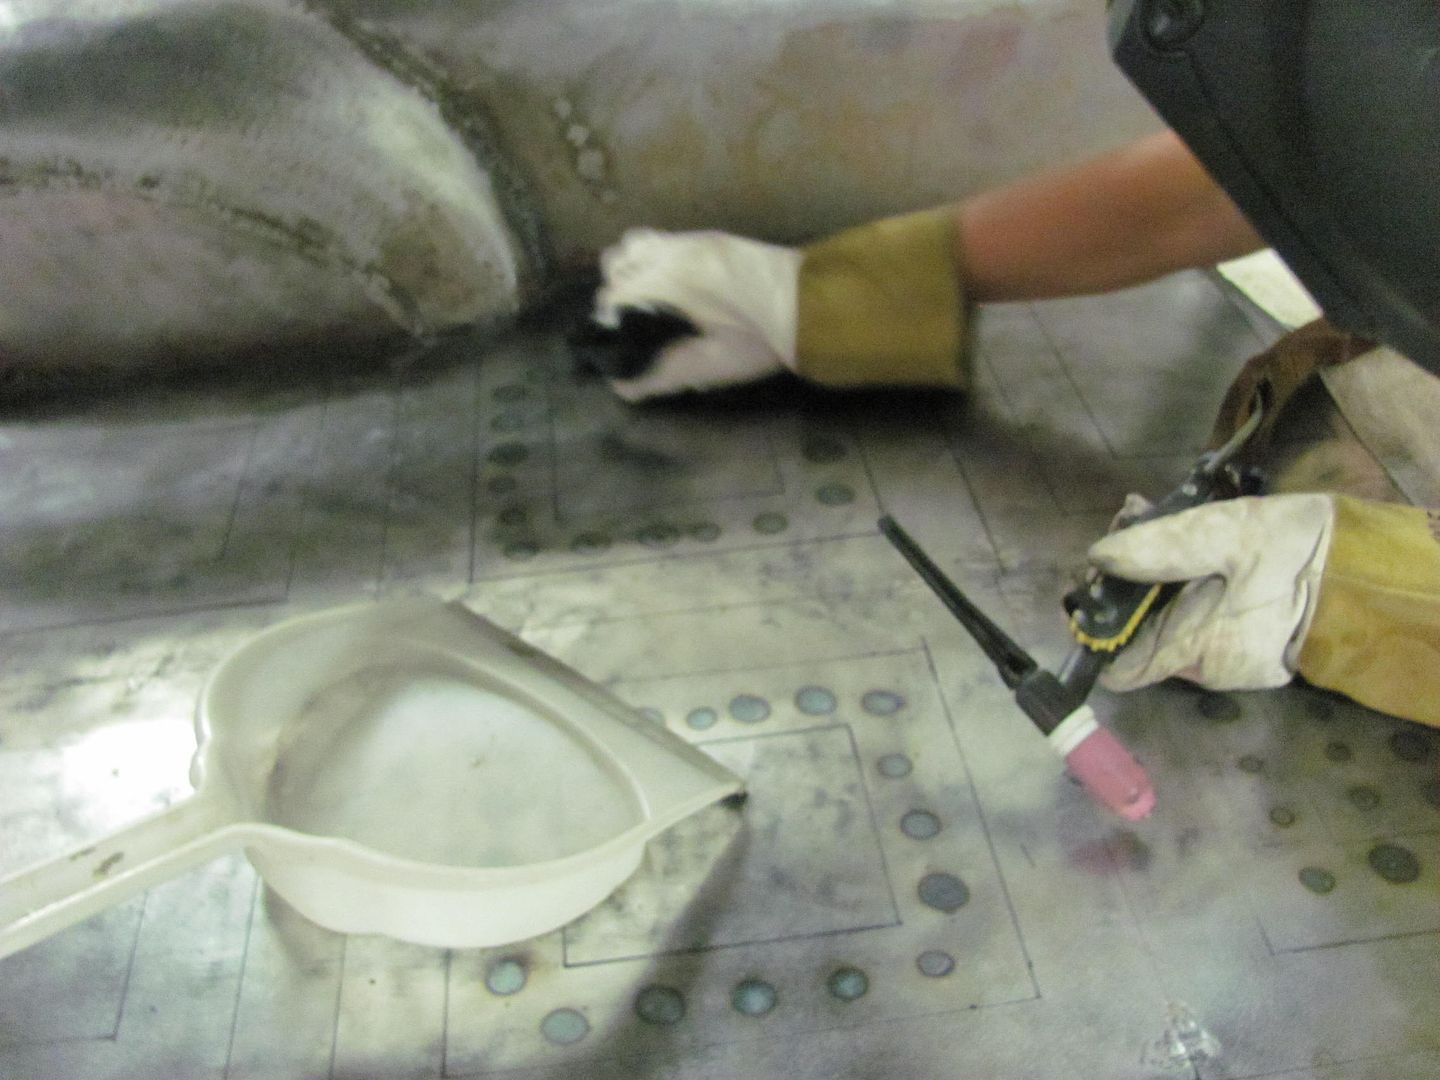 The plastic dust pan served as a tray to hold the wet rag, keeping it in closer proximity to where it was needed and attempt to limit the amount of water elsewhere. The results showed quite an improvement, and it's in need of some bumping at this point.. 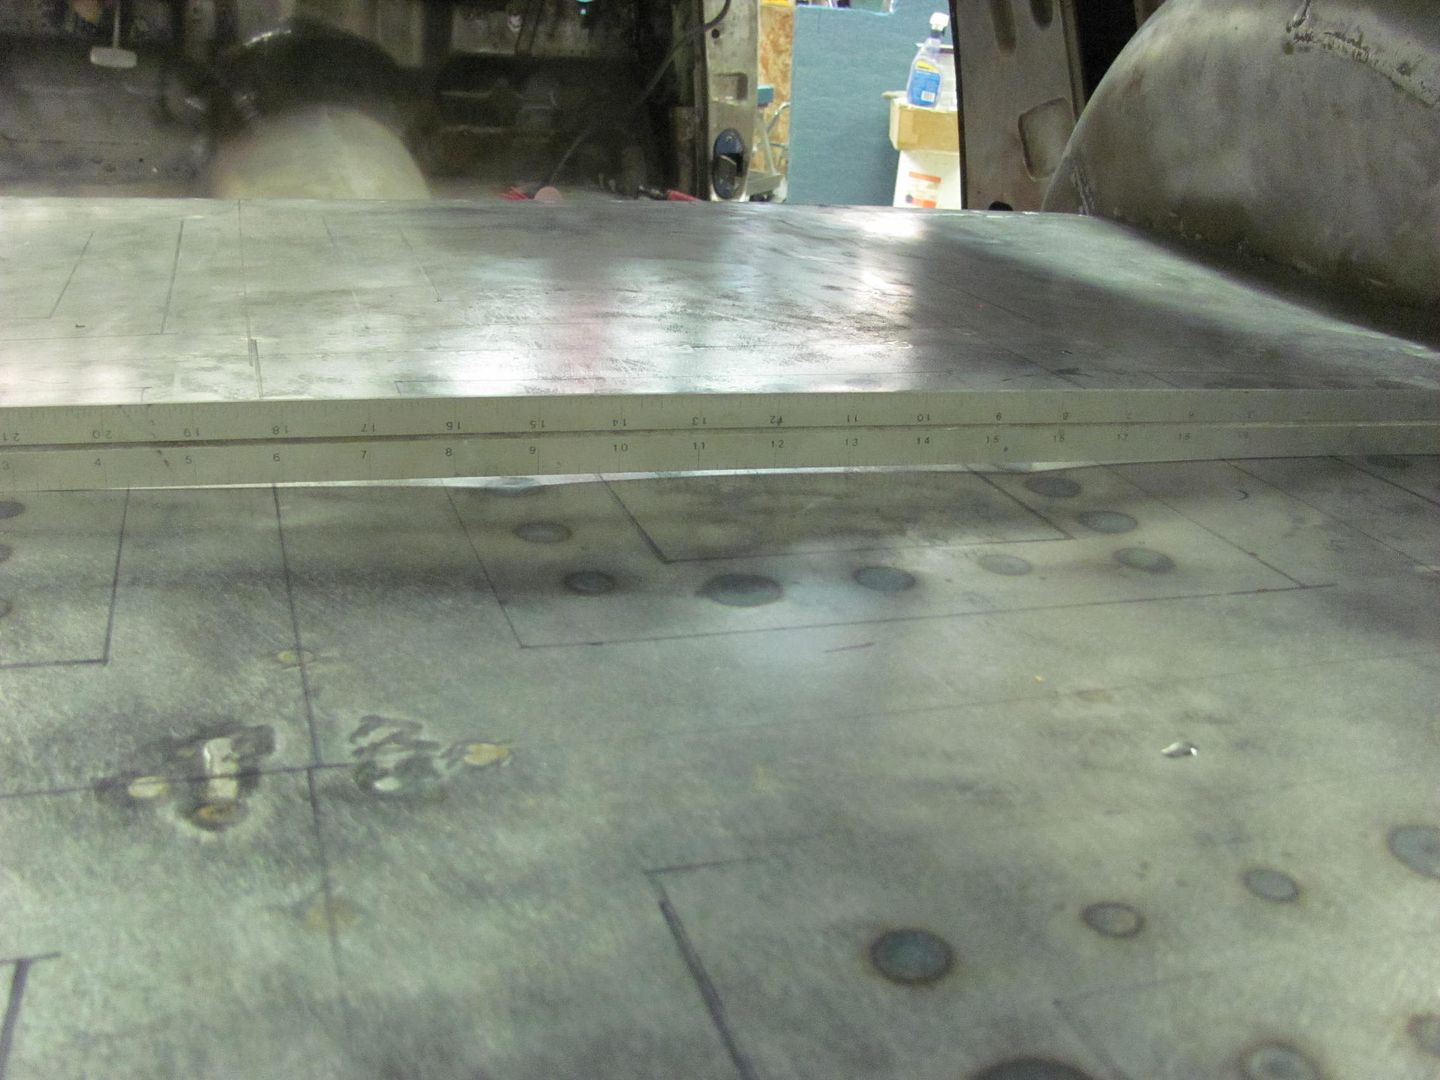 But alas, the gas tank is in the way, so we will likely get the body back on the rotisserie here soon in an effort to get the remaining prep prior to paint completed. Meanwhile, I was wet sanding and couldn't find the squeegee, so a trip to the local Ace Hardware at lunch, and we had a replacement. Works well, and no metal hardware on this new one to add any scratches.... 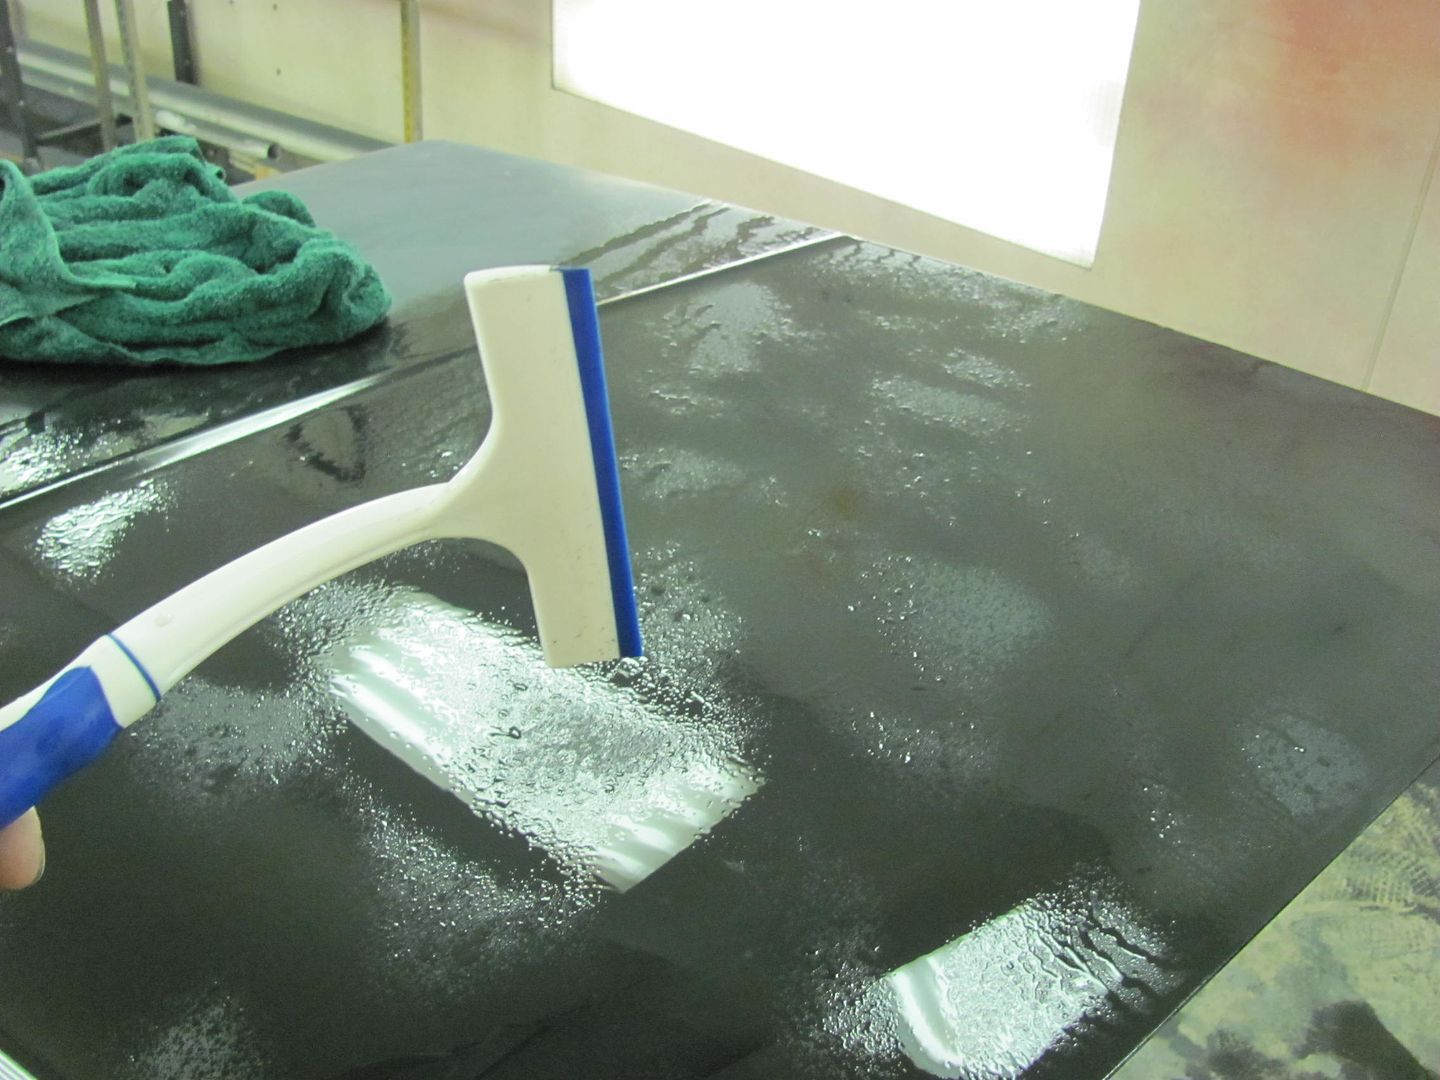 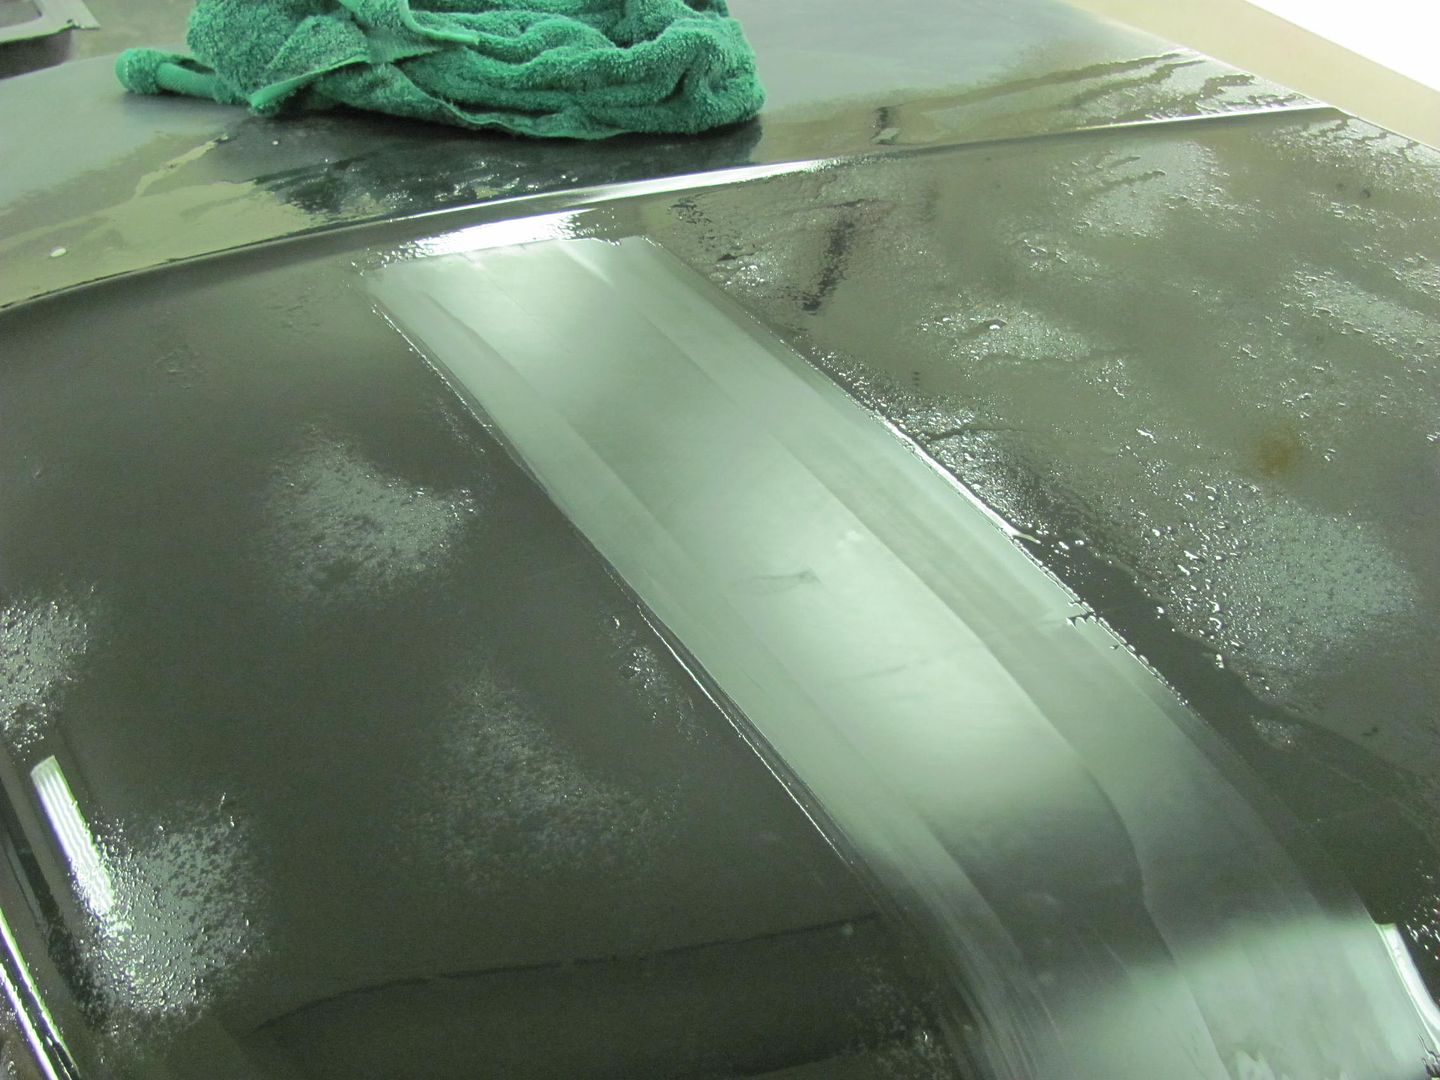 Exterior of the hood is about done...  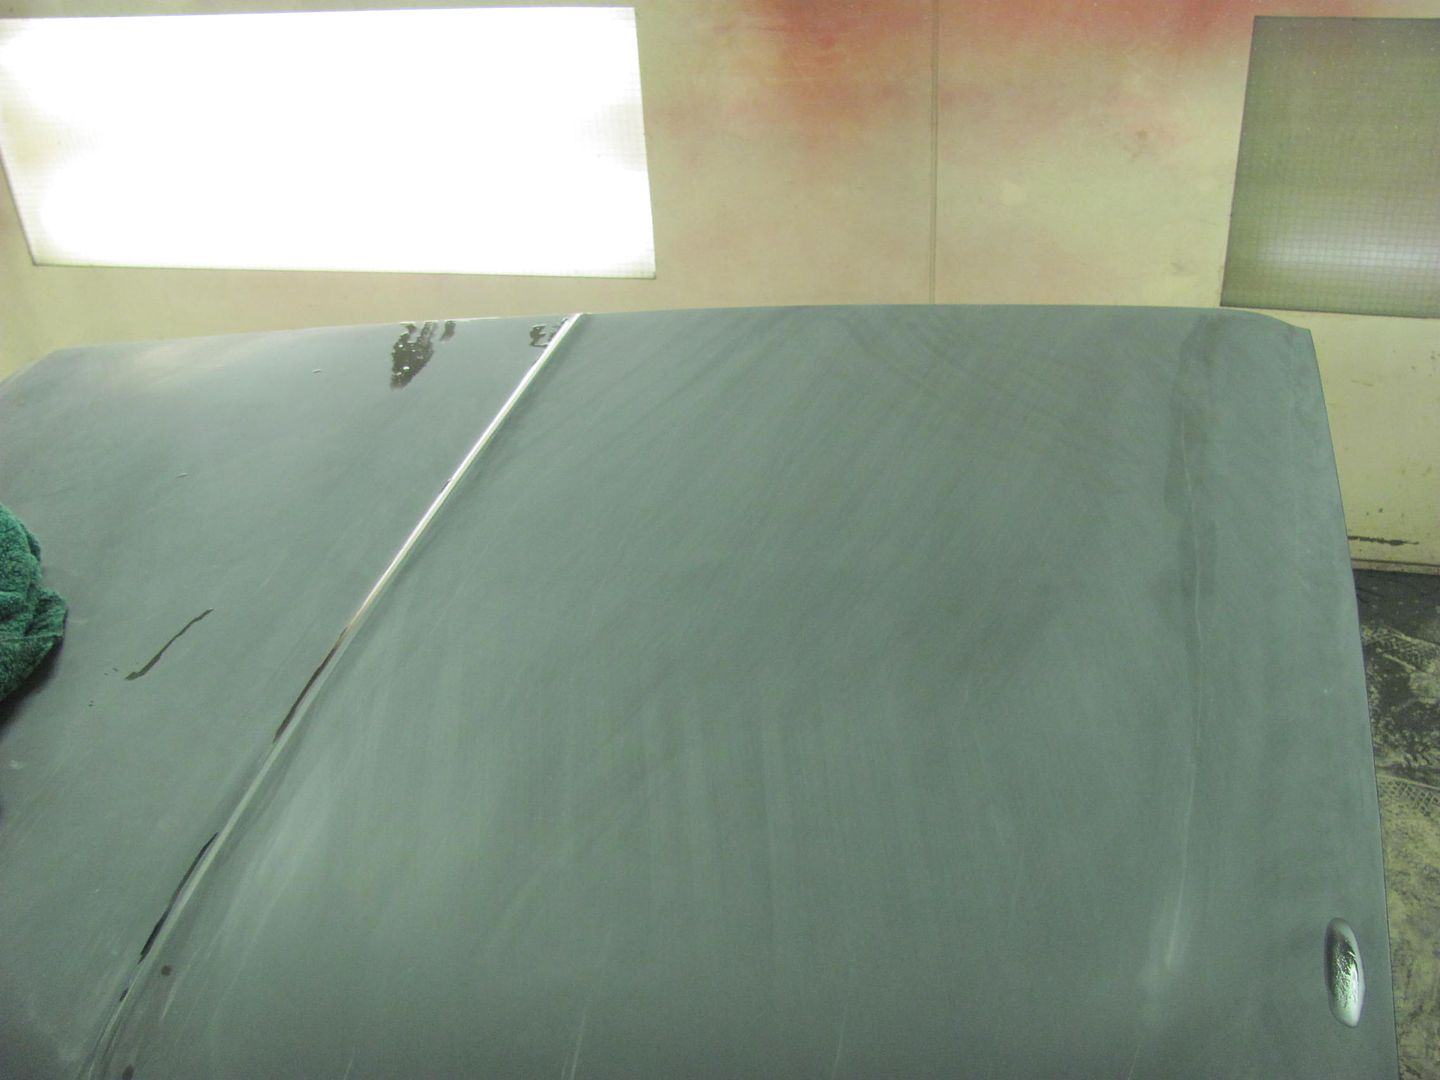
__________________
Robert |
|
|
|
|
09-12-2015, 07:47 PM
|
#12 |
|
Registered User
Join Date: May 2007
Location: Deale Md
Posts: 4,663
|
Re: 55 Wagon Progress
I was just thinking today, wonder how Kyle progress was coming along, get home from work and poof there's a update.
__________________
James 63 GMC V6 4speed carryall 65 chevy swb bbw V8 auto 68 K20 327/4 speed, buddy buckets 2002 GMC CC Dually Duramax 64 GMC lwb 3/4 V6 4speed SOLD 66 GMC swb bbw buddy buckets SOLD IG duallyjams The only thing that stays the same is constant change! |
|
|
|
|
09-12-2015, 11:53 PM
|
#13 |
|
Registered User
Join Date: Apr 2011
Location: .
Posts: 3,104
|
Re: 55 Wagon Progress
Looks great. Was thanking you'all today when I was welding in my dash modifications, blending & bumping.
Thanks for all the helpful tips |
|
|
|
|
09-13-2015, 09:40 AM
|
#14 |
|
Senior Member
Join Date: Mar 2011
Location: West Plains, Missouri
Posts: 7,555
|
Re: 55 Wagon Progress
Everything looking good, big change in the floor...Jim
__________________
my build thread: http://67-72chevytrucks.com/vboard/s...d.php?t=459839 Jimbo's long bed step build:http://67-72chevytrucks.com/vboard/s...t=464626<br /> |
|
|
|
|
09-13-2015, 10:46 AM
|
#15 |
|
Senior Member
Join Date: Jul 2012
Location: Oblong, Illinois
Posts: 7,017
|
Re: 55 Wagon Progress
The floor did come out well. Great attention to detail making it flat. Was only the rear section replaced or front to rear?
|
|
|
|
|
09-13-2015, 11:36 AM
|
#16 |
|
Registered User
Join Date: Jan 2013
Location: Leonardtown, MD
Posts: 1,637
|
Re: 55 Wagon Progress
The floor has been replaced from front to rear. The flat section on the rear was a piece of 16 ga hot rolled that the owner had, and hindsight being the great educator, should have been the last thing we used. I'd do a piece of cold rolled 18 ga with bead details, and wouldn't have all this to contend with. BTW, floor has been installed for some time now, Kyle just uncovered it...
Thanks for the comments, Bomp, glad to hear some of the posts here have helped out!
__________________
Robert |
|
|
|
|
09-15-2015, 10:07 PM
|
#17 |
|
Registered User
Join Date: Jan 2013
Location: Leonardtown, MD
Posts: 1,637
|
Re: 55 Wagon Progress
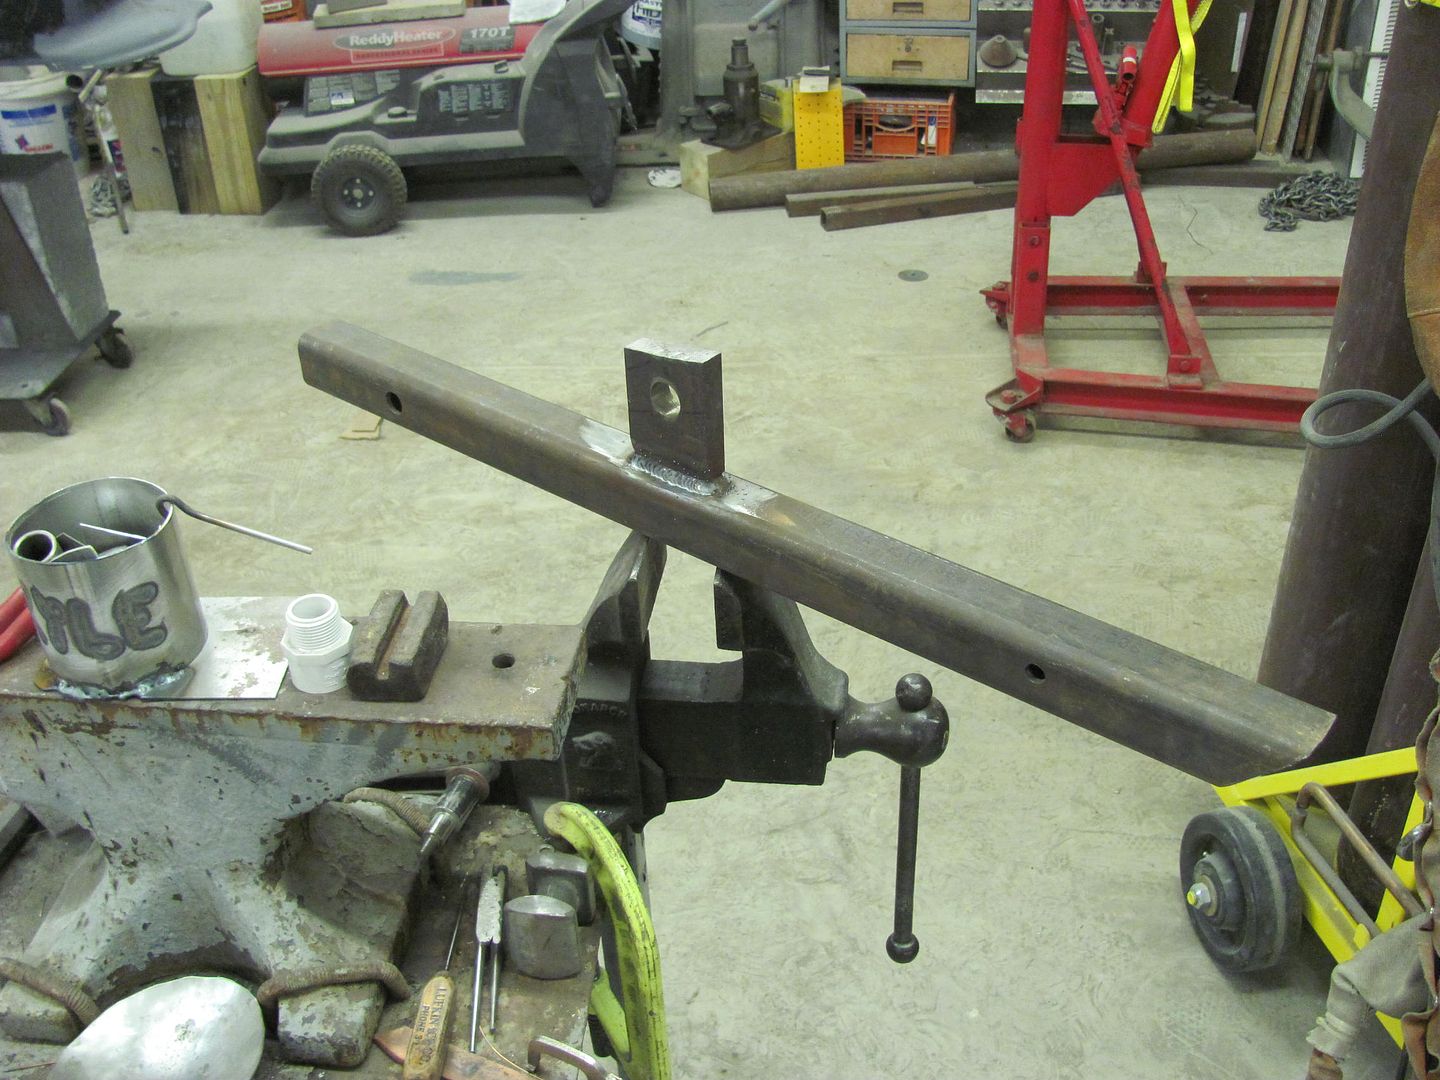
The last time we removed the car from the frame we used two engine hoists, which proved to be a bit cumbersome and a pain to get the frame rolled out. So I thought to try something different, this time an engine hoist at the front, and a winch in the back. Needing an anchor point for the winch, I welded this up last night to span two of the shop's trusses from overhead....
 Rear lift eyes use the tailgate hinge nut plates... 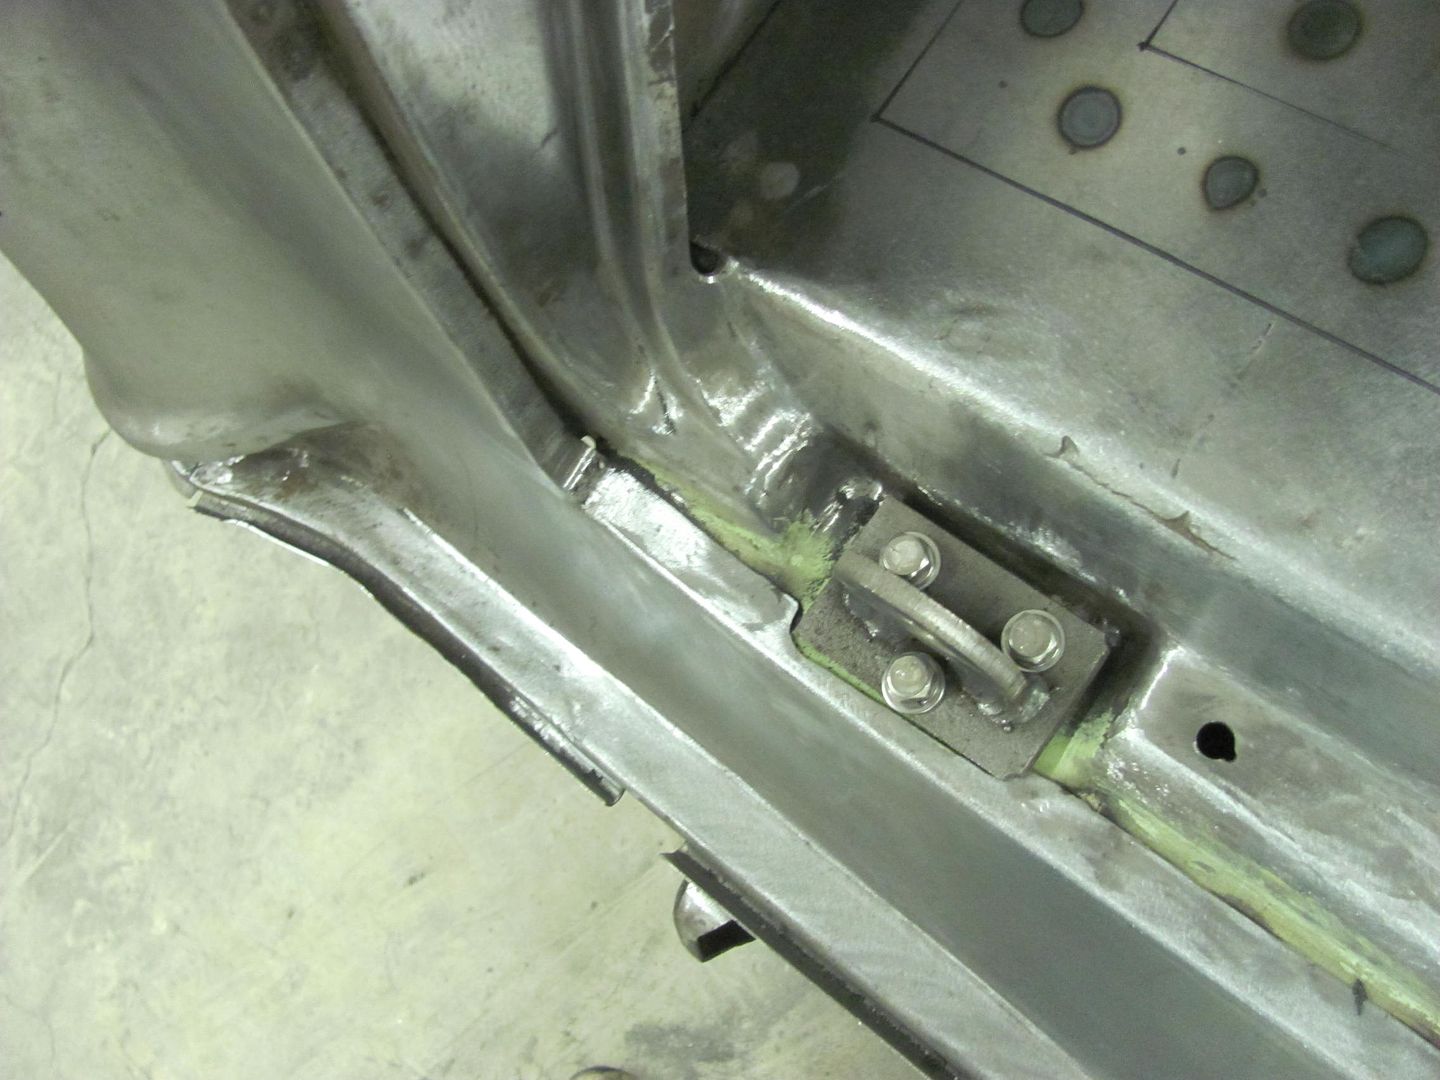 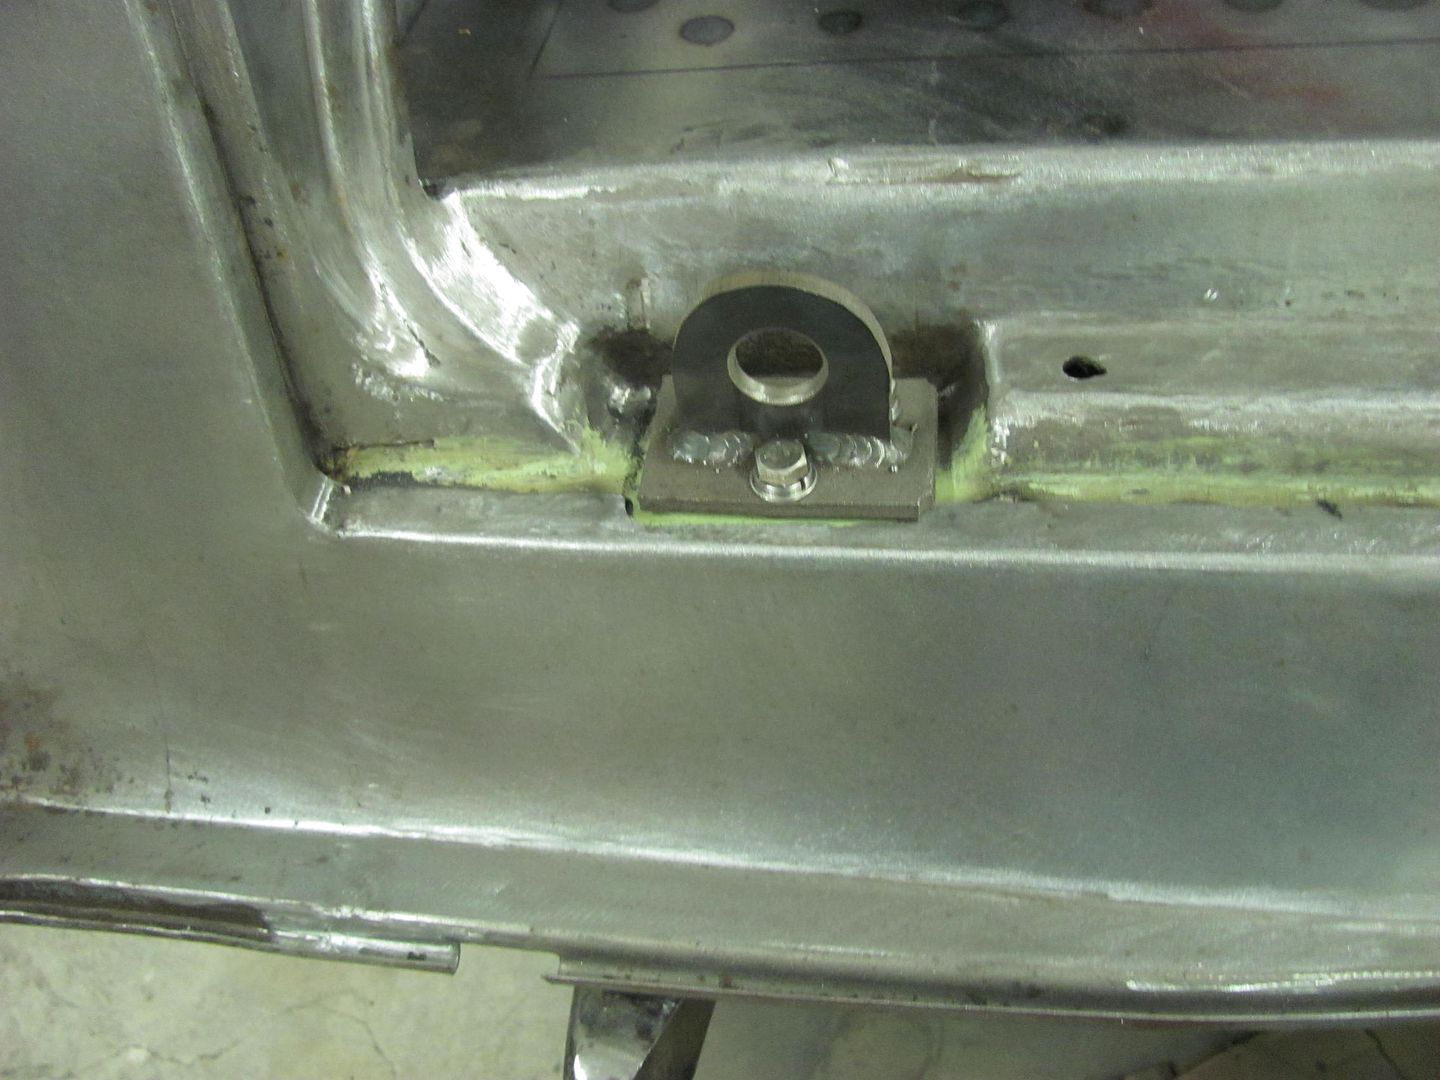 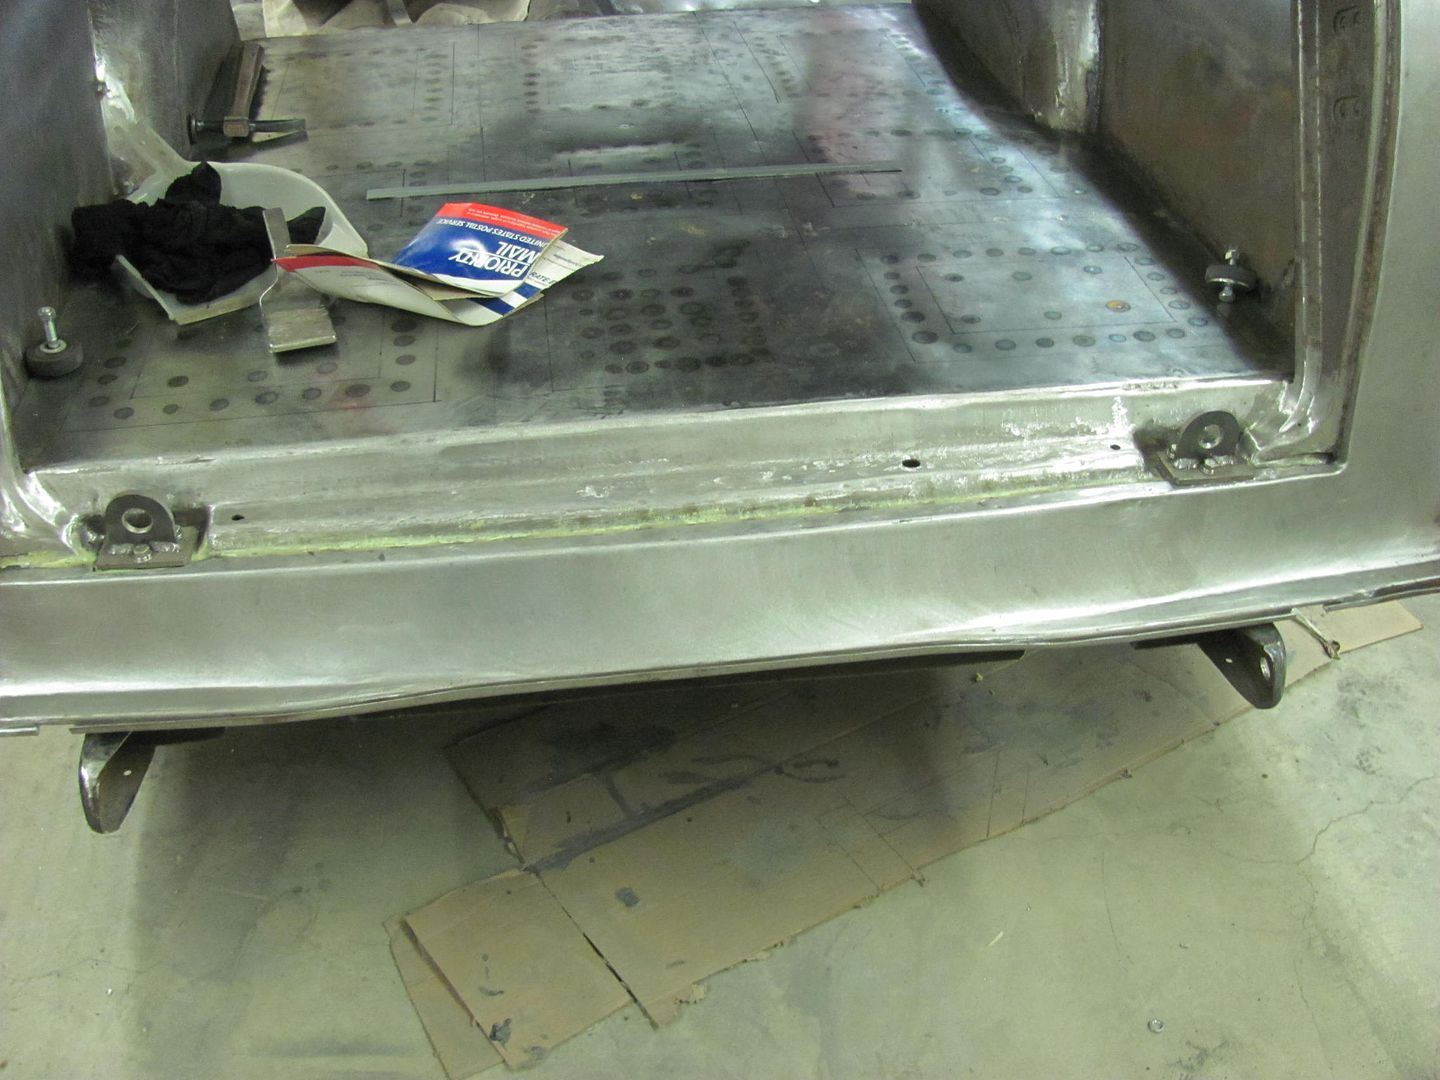 Front lifting eyes bolt to the hinge mounts on the firewall... 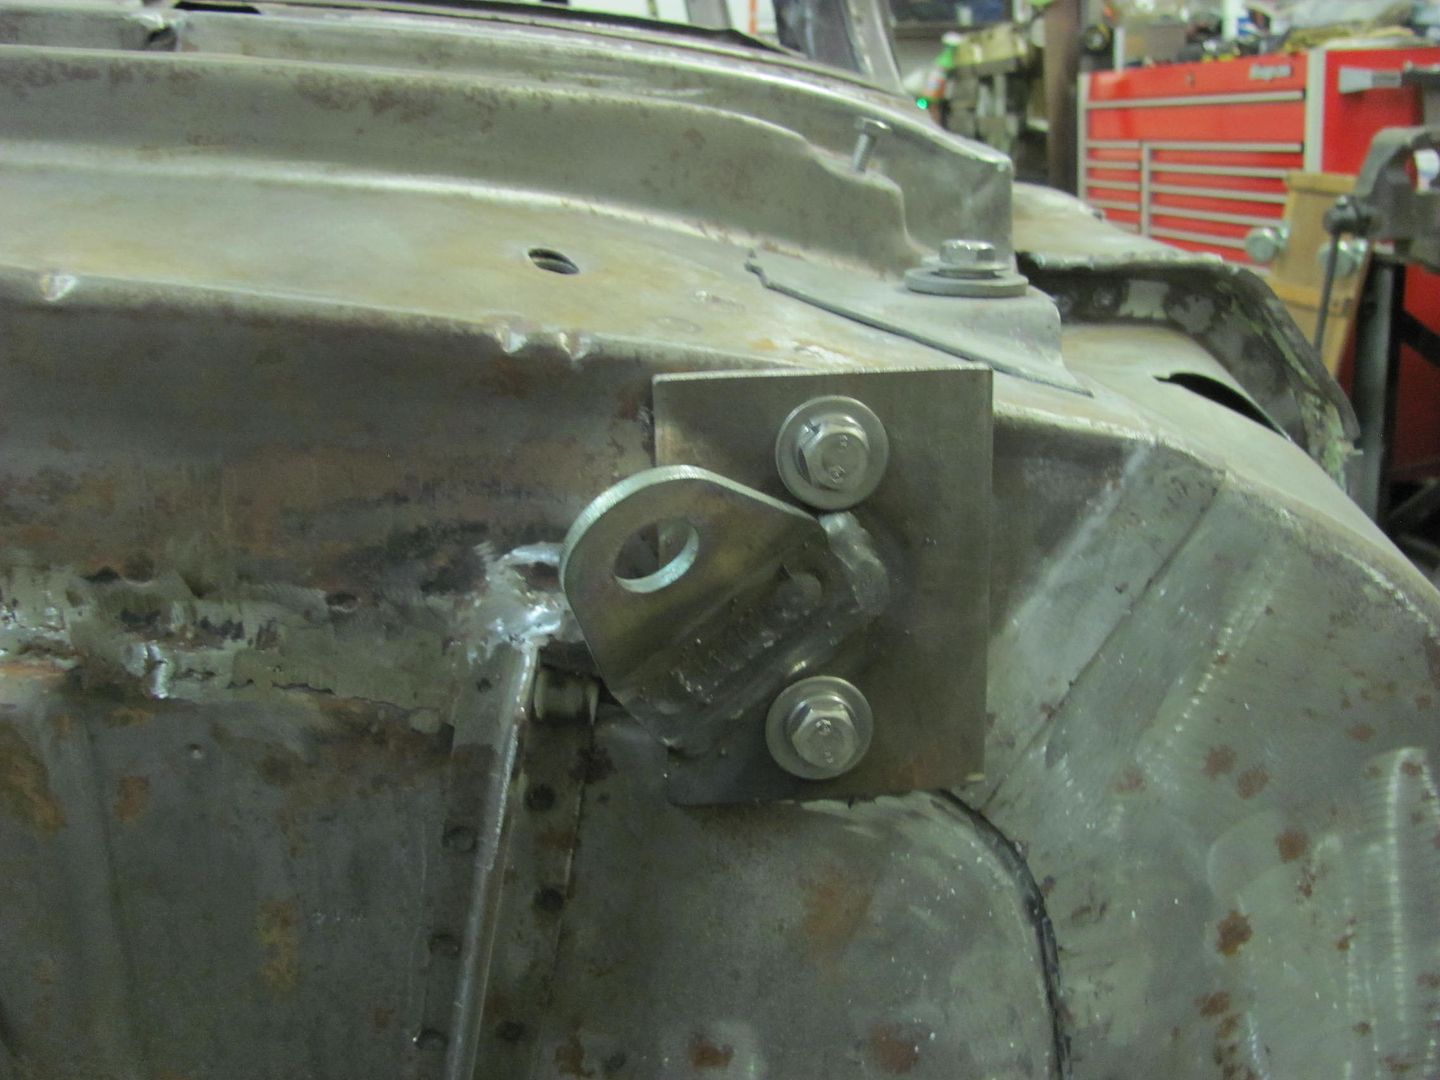  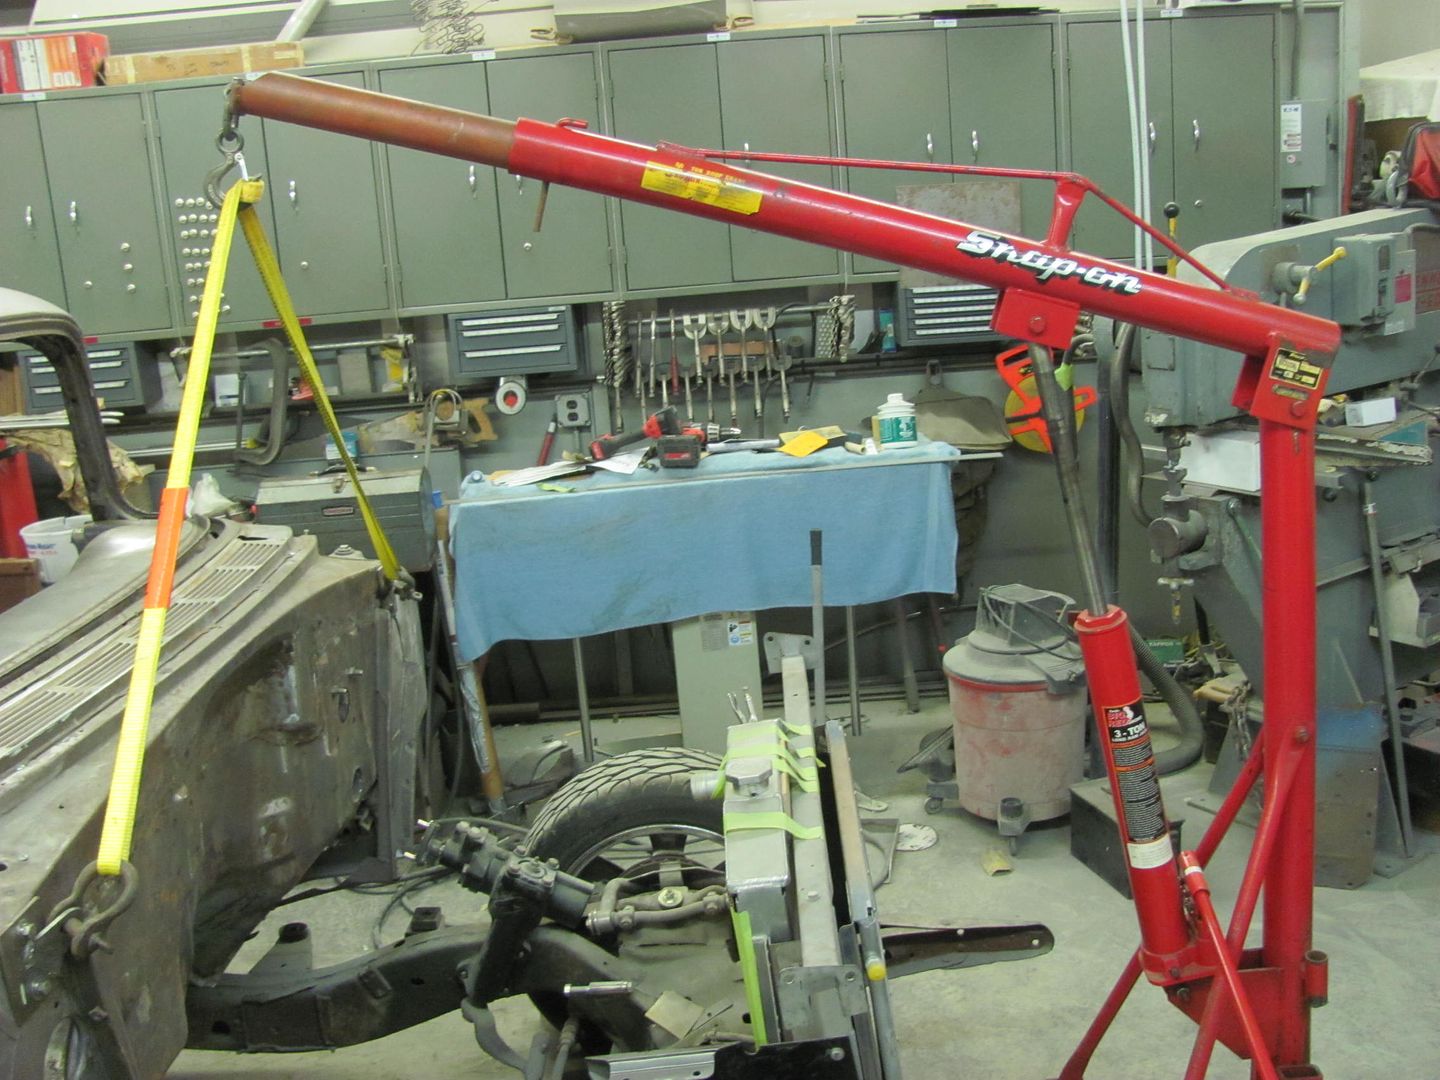 We have lift-off! 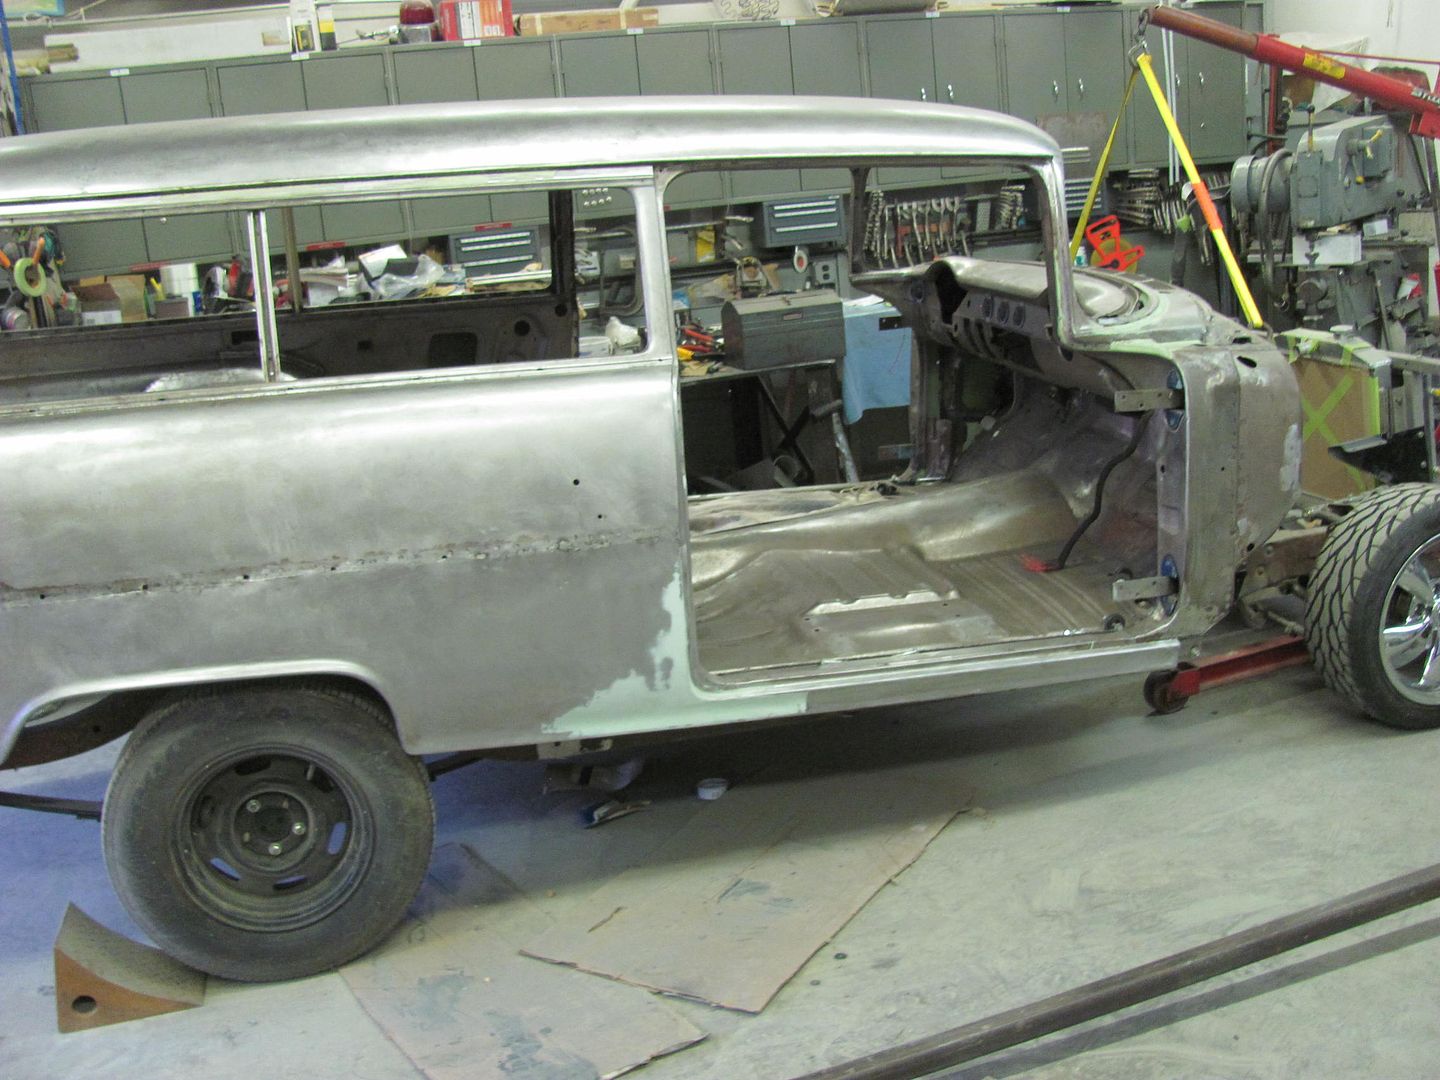 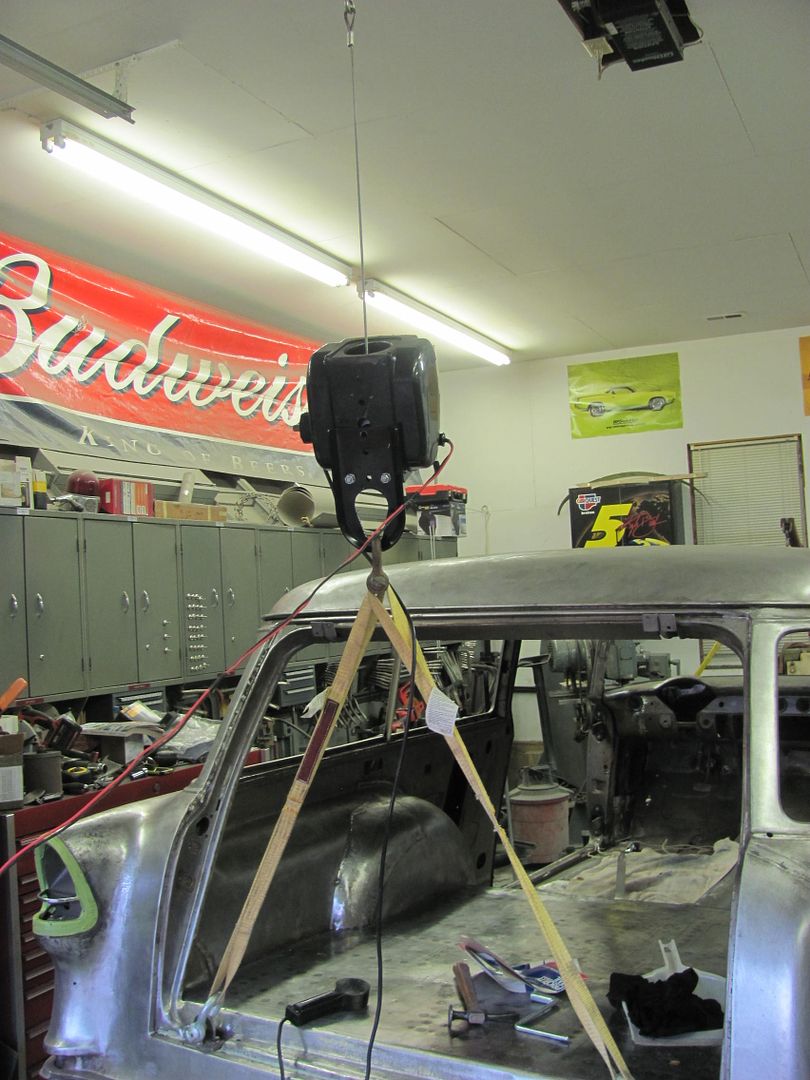  The frame has a bit of welds left to do and we can clean it up and get it to the powder coaters...   Dana helping out tonight...  One way to clean it out...  Here's the framework added to support the fuel tank and rear floor.. 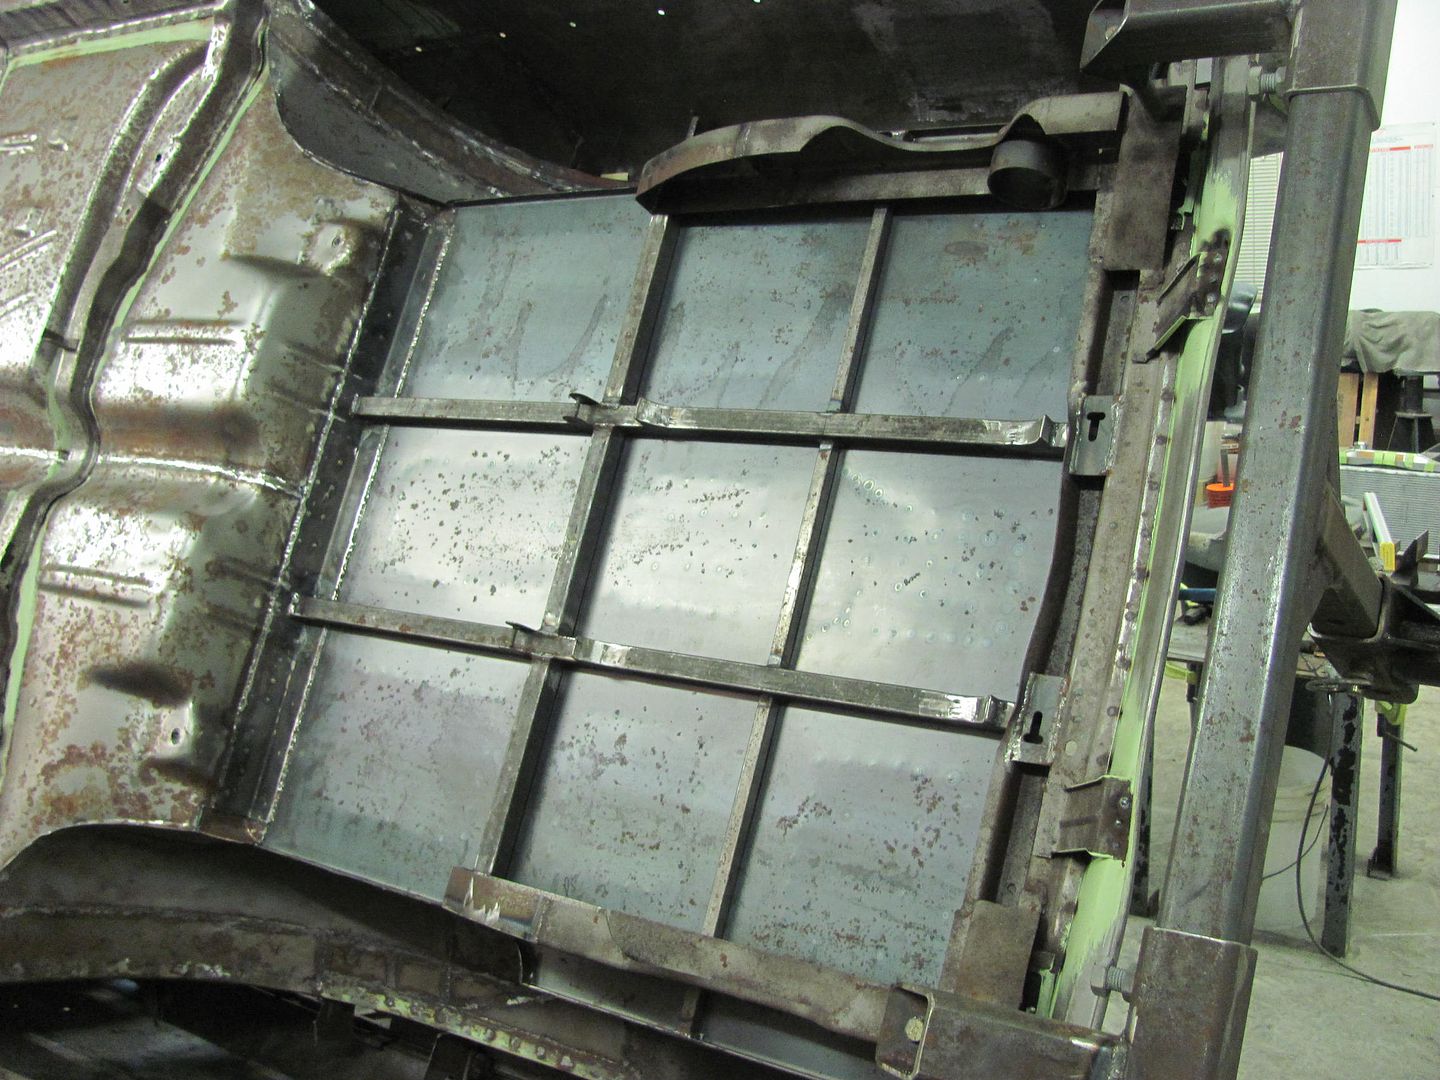 This shows how nice access is for prepping, works equally well in painting.. 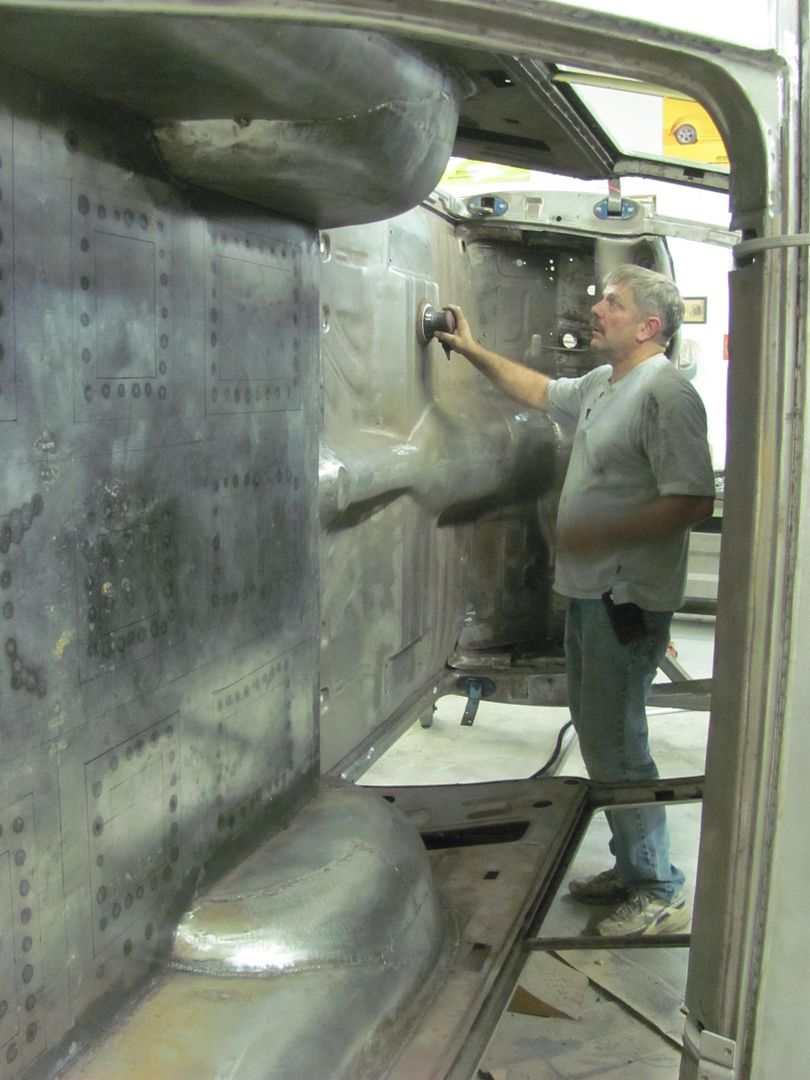 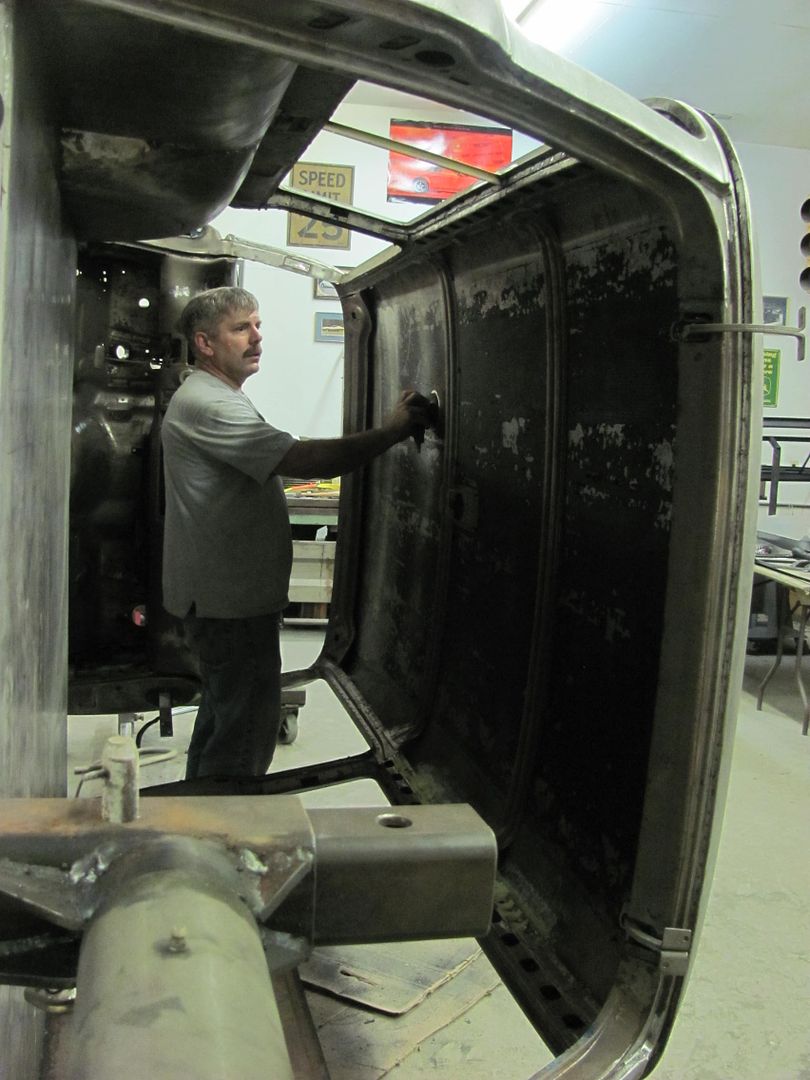
__________________
Robert |
|
|
|
|
09-15-2015, 11:14 PM
|
#18 |
|
Senior Member
Join Date: Mar 2011
Location: West Plains, Missouri
Posts: 7,555
|
Re: 55 Wagon Progress
I've always said, where there's a will, there's a way. Nice job on the lifting. Sure makes it easy when you can flip the car the way you need it...Jim
__________________
my build thread: http://67-72chevytrucks.com/vboard/s...d.php?t=459839 Jimbo's long bed step build:http://67-72chevytrucks.com/vboard/s...t=464626<br /> |
|
|
|
|
09-19-2015, 09:12 PM
|
#19 |
|
Registered User
Join Date: Jan 2013
Location: Leonardtown, MD
Posts: 1,637
|
Re: 55 Wagon Progress
Thanks, it does come in handy.
Todays progress, we've had to move the frame a couple times and it becomes a chore to steer, so a 1" bolt was modified with a home made steering wheel. Works well, good thing there's no weight on the front end! 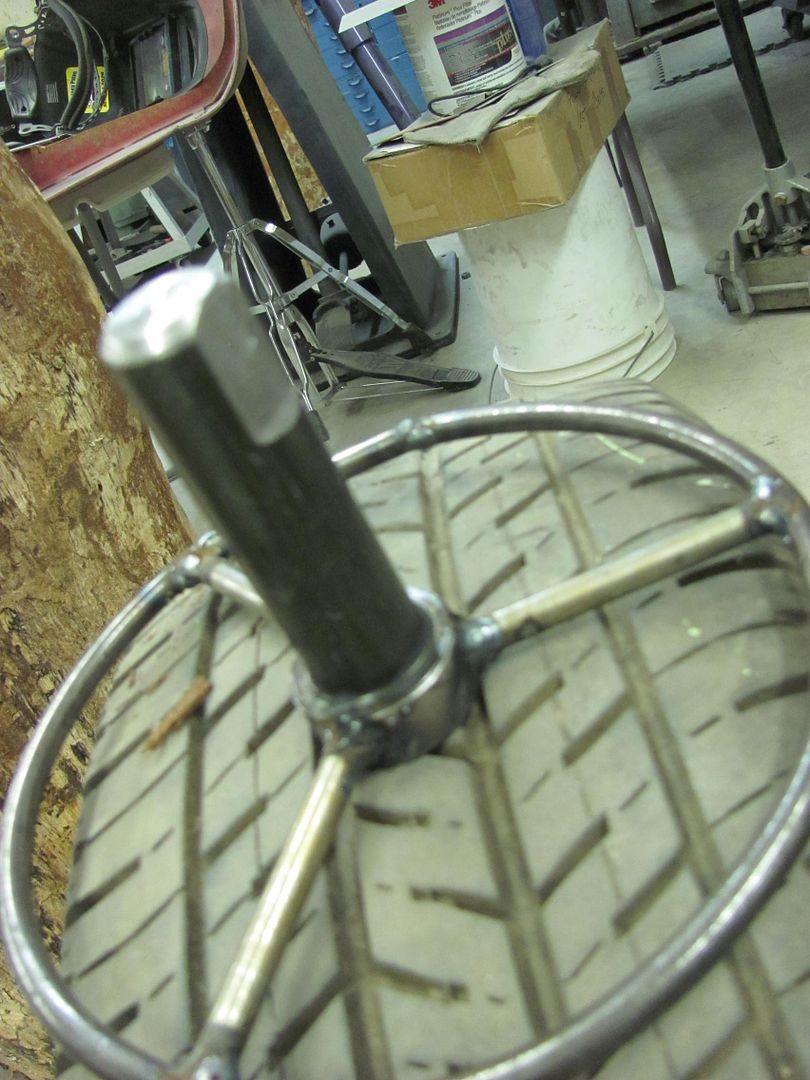 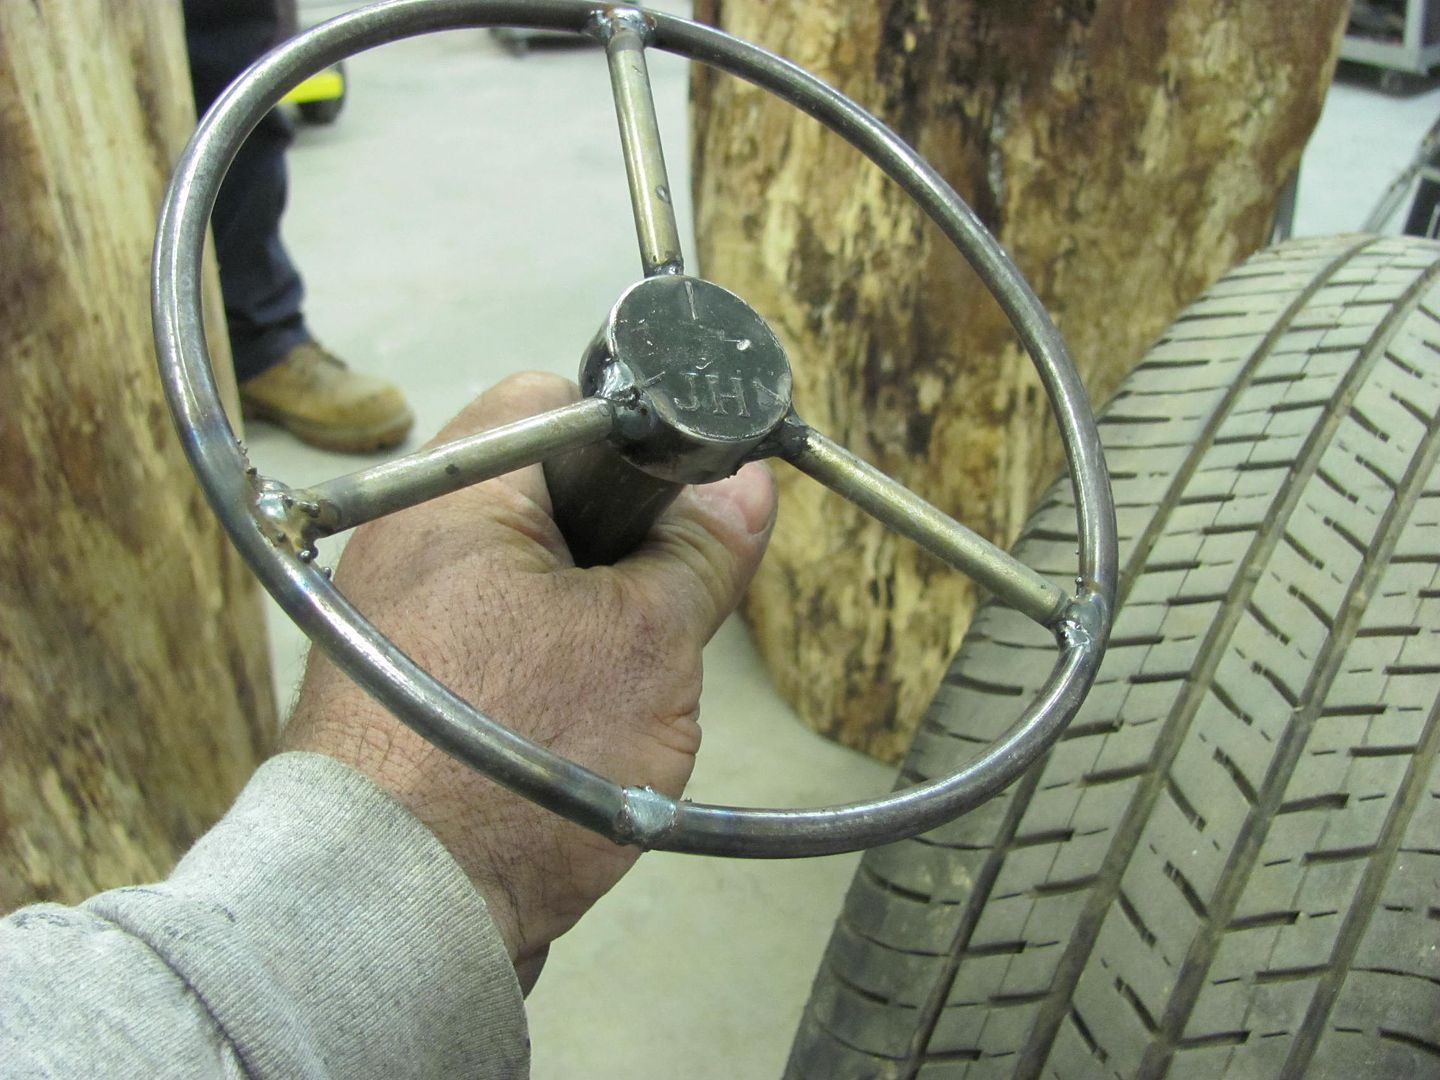 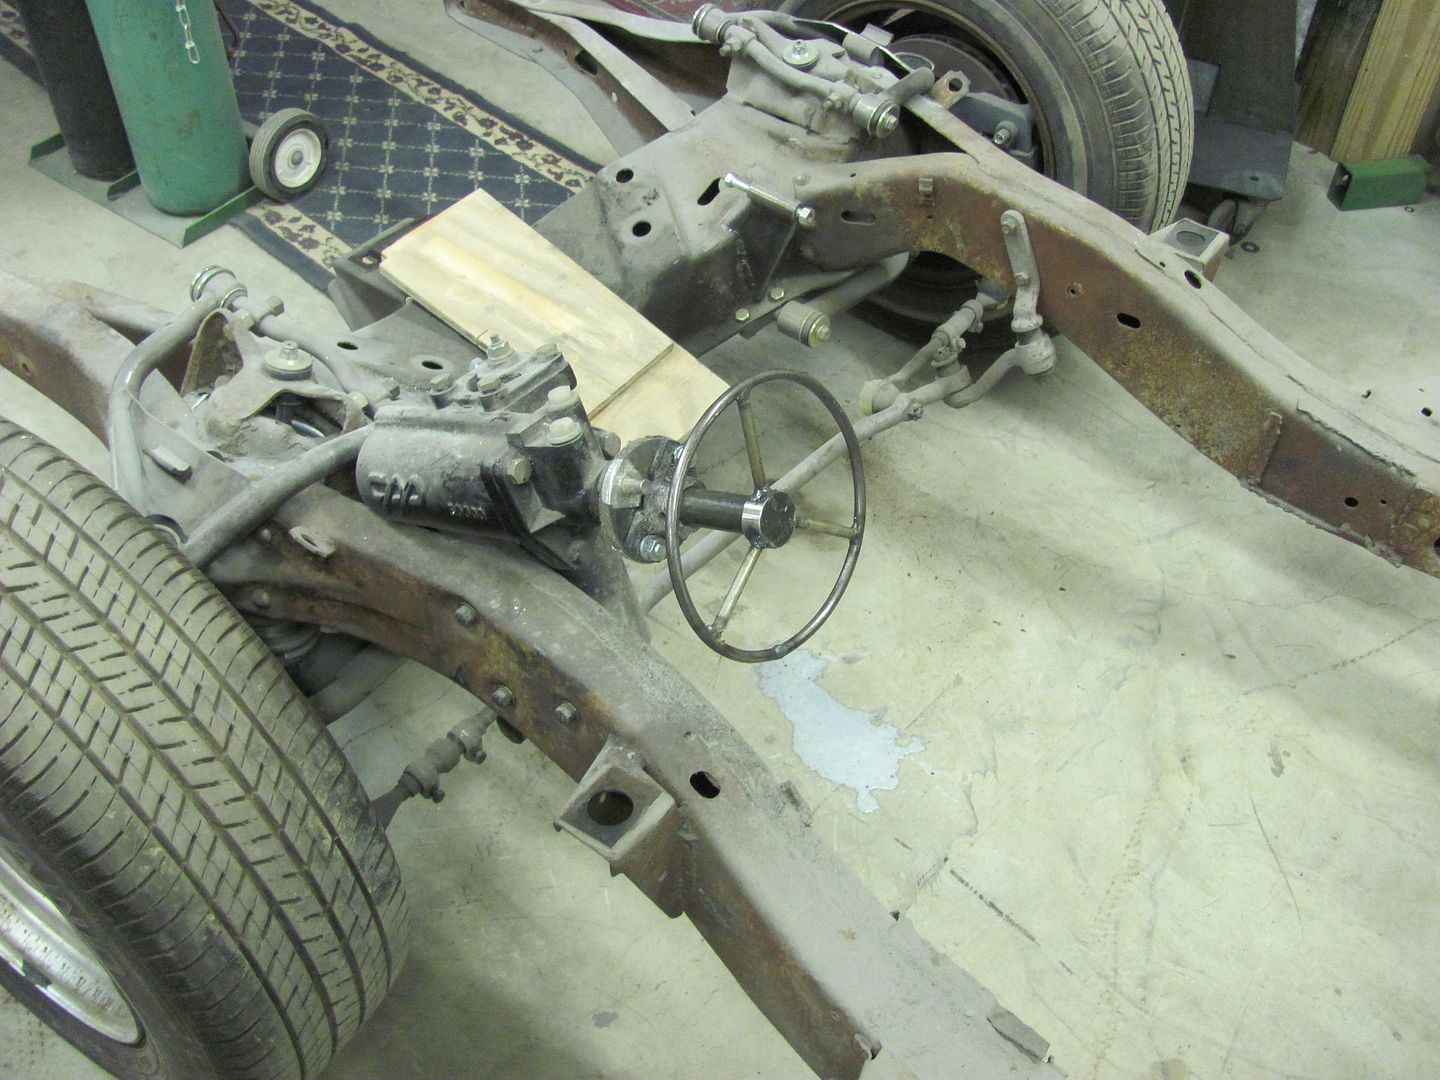 ....and Kyle's been busy getting the bare metal prepped for epoxy..  Picked up some stump blanks last night to have some extra stations for the upcoming metalshaping class... 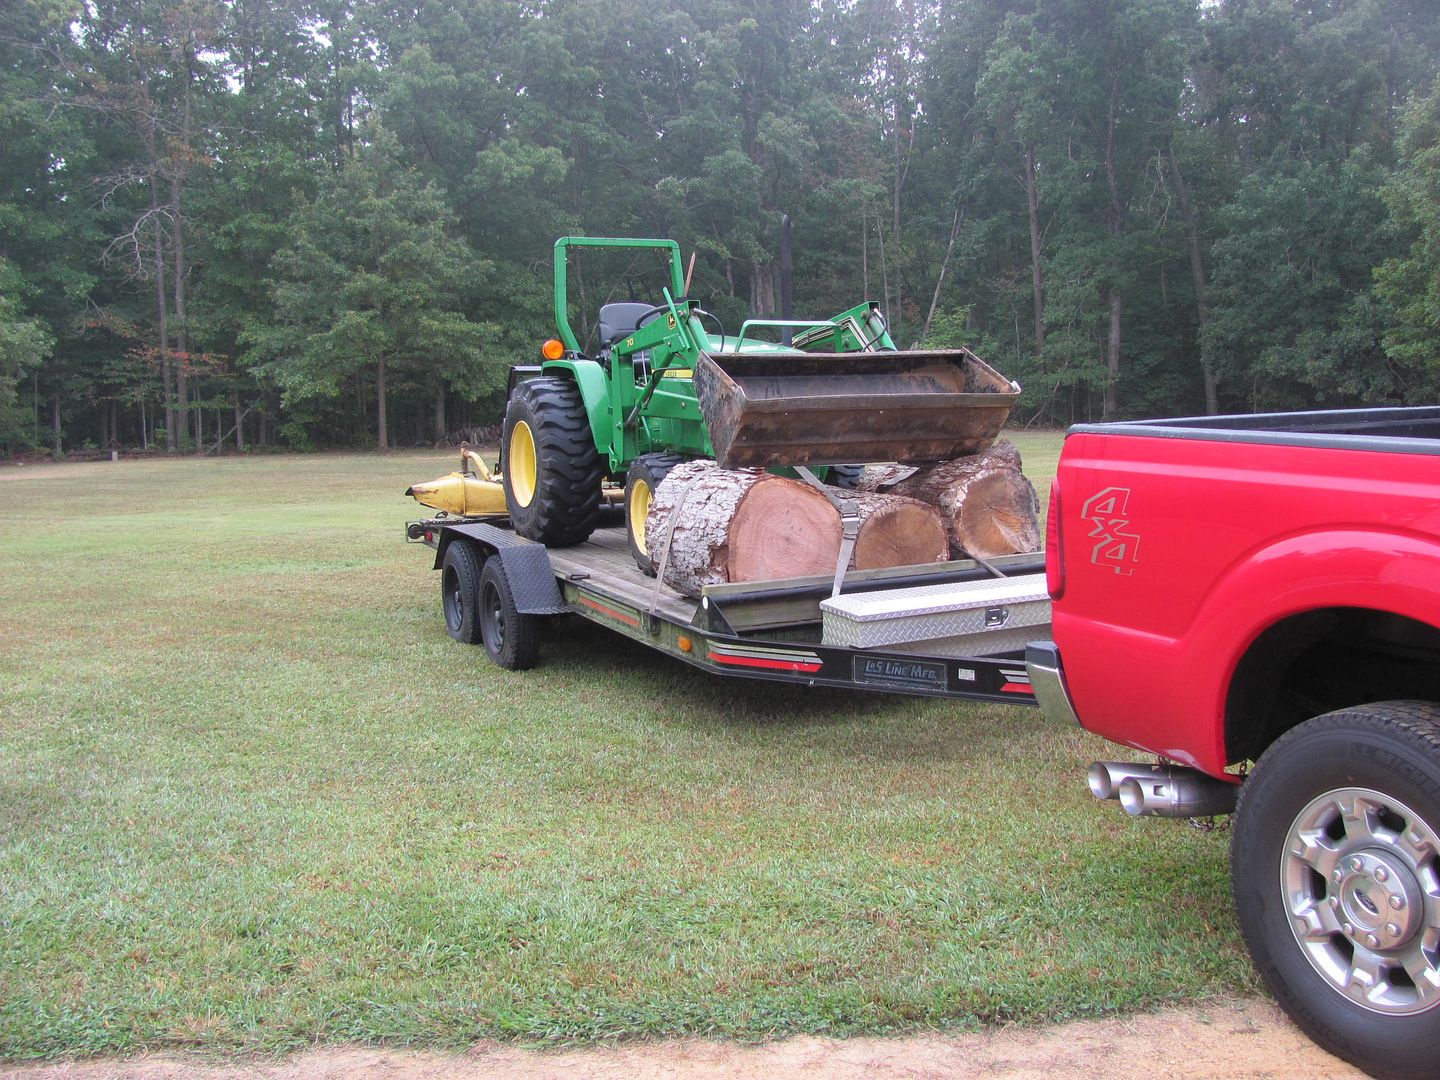 This afternoon, Debarking with a draw knife... 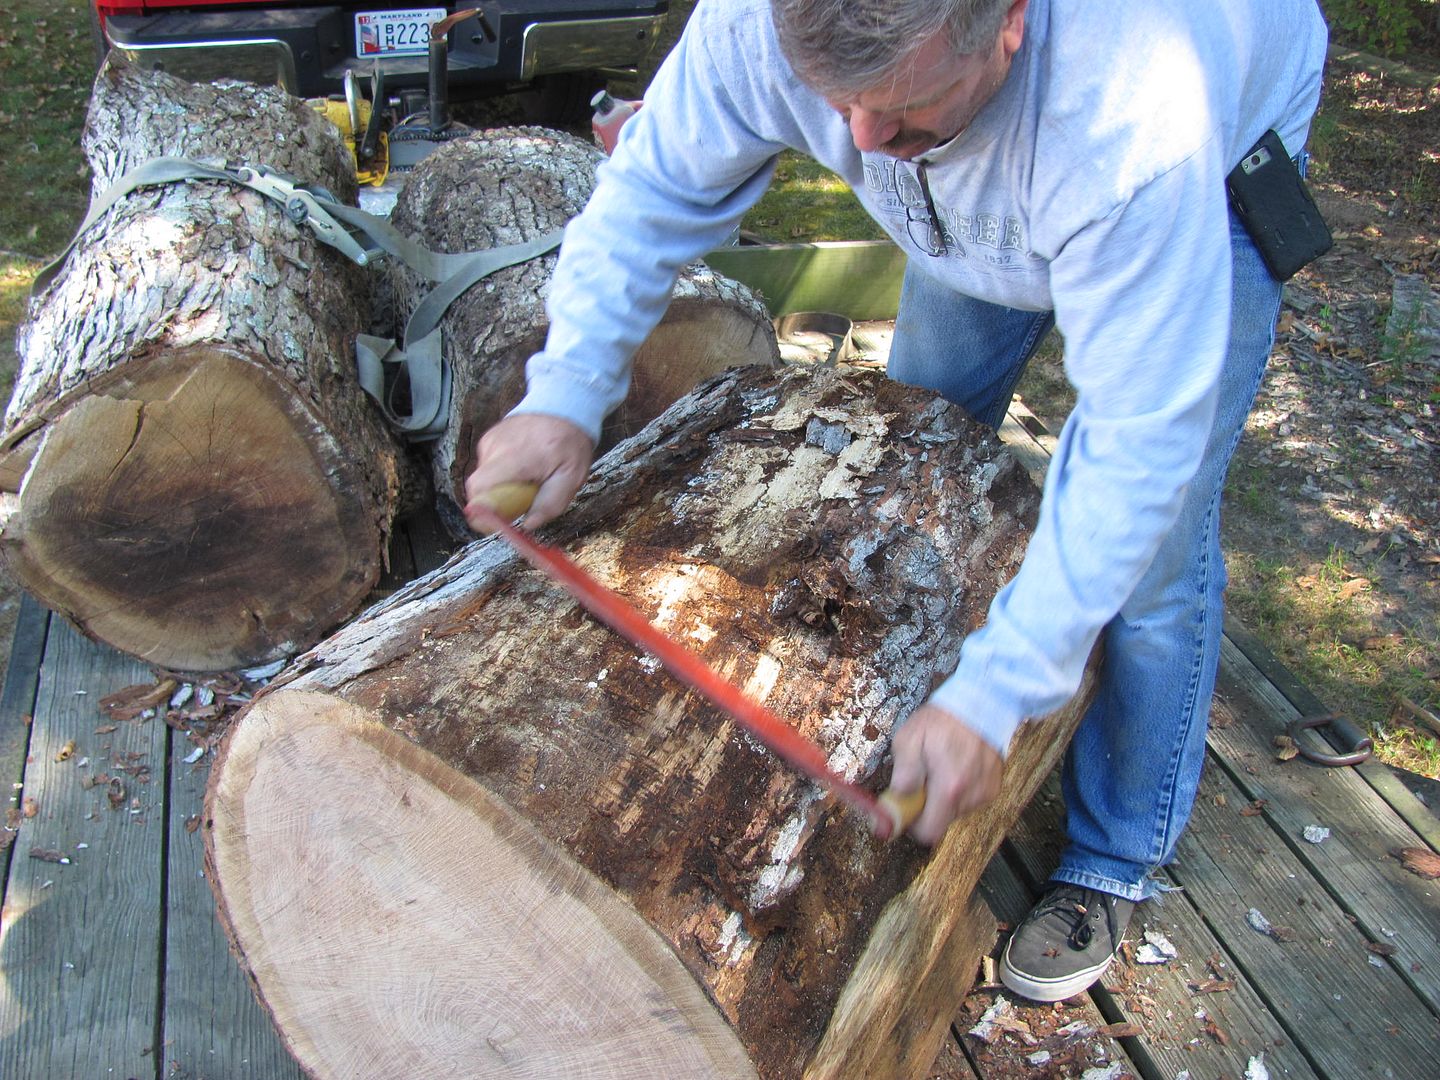 Kyle took over as I used the chain saw to cut some to length... 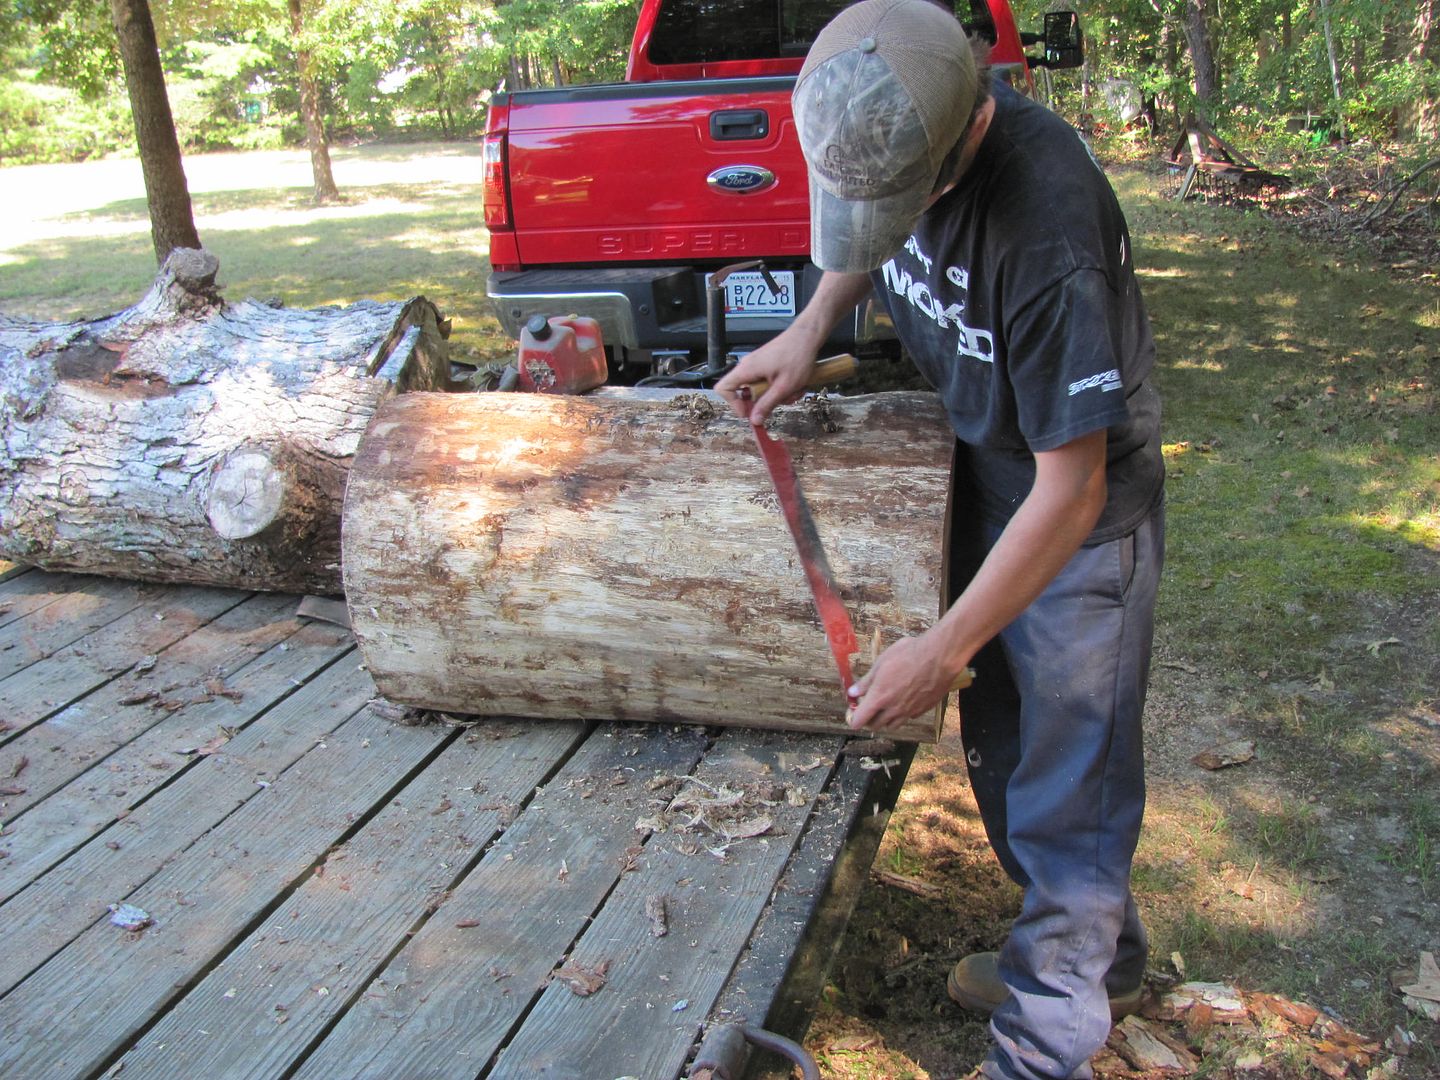 This one is about all the JD bucket could stand.. 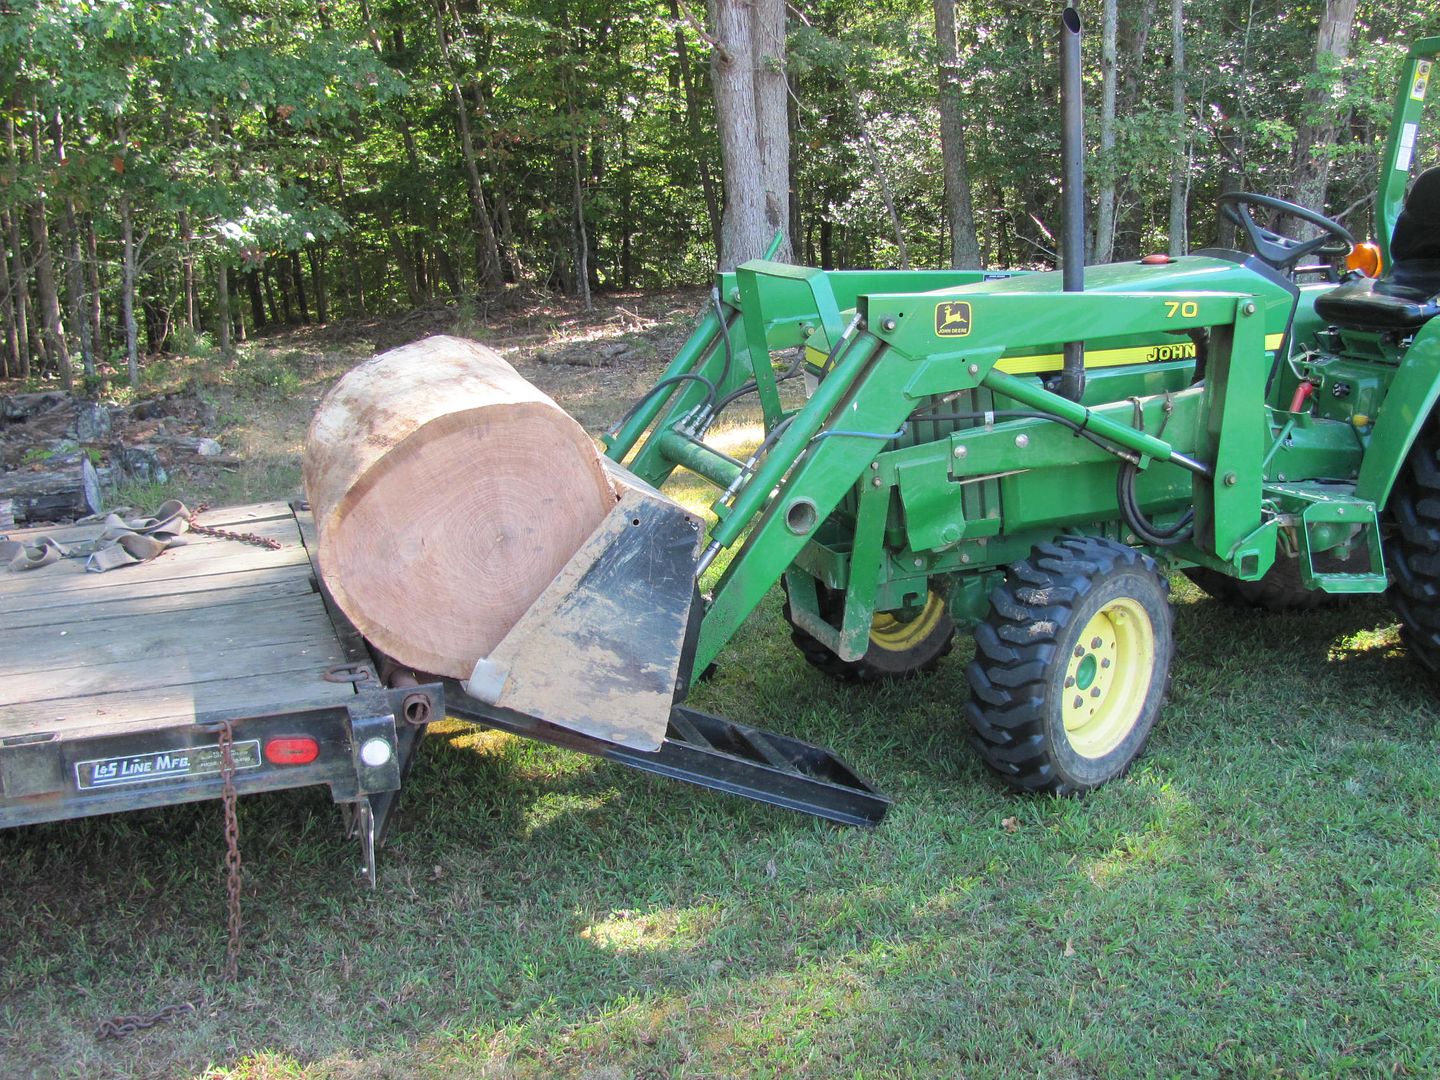 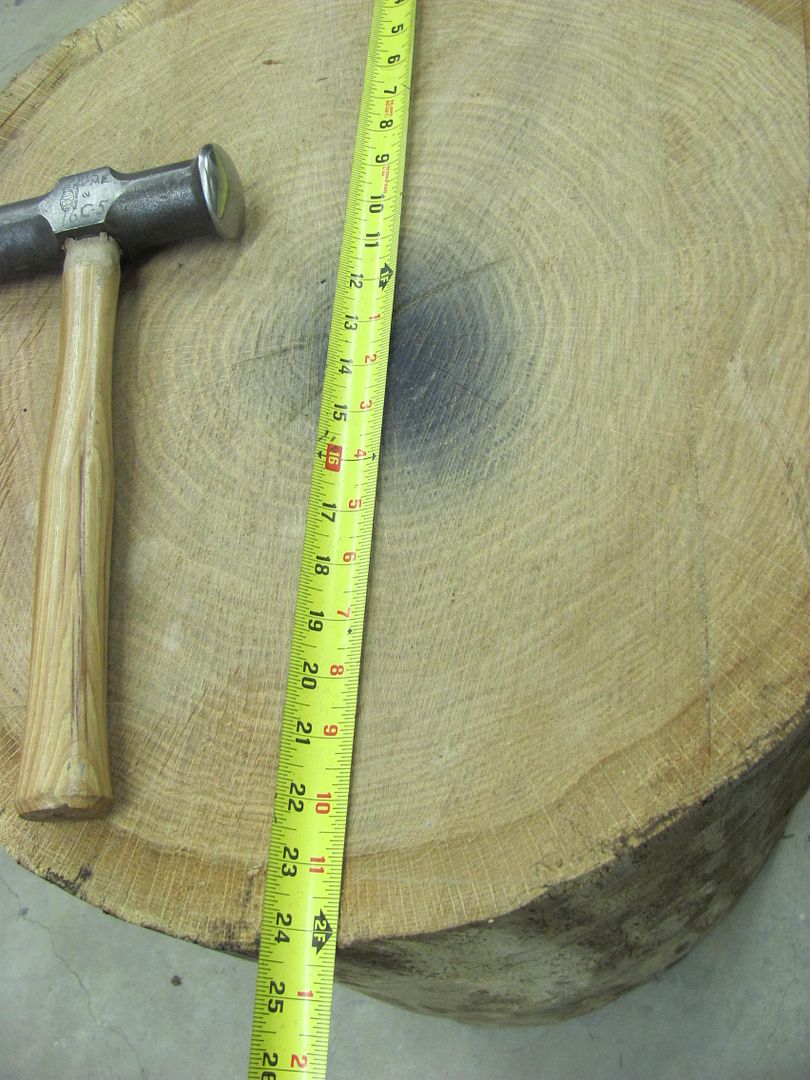 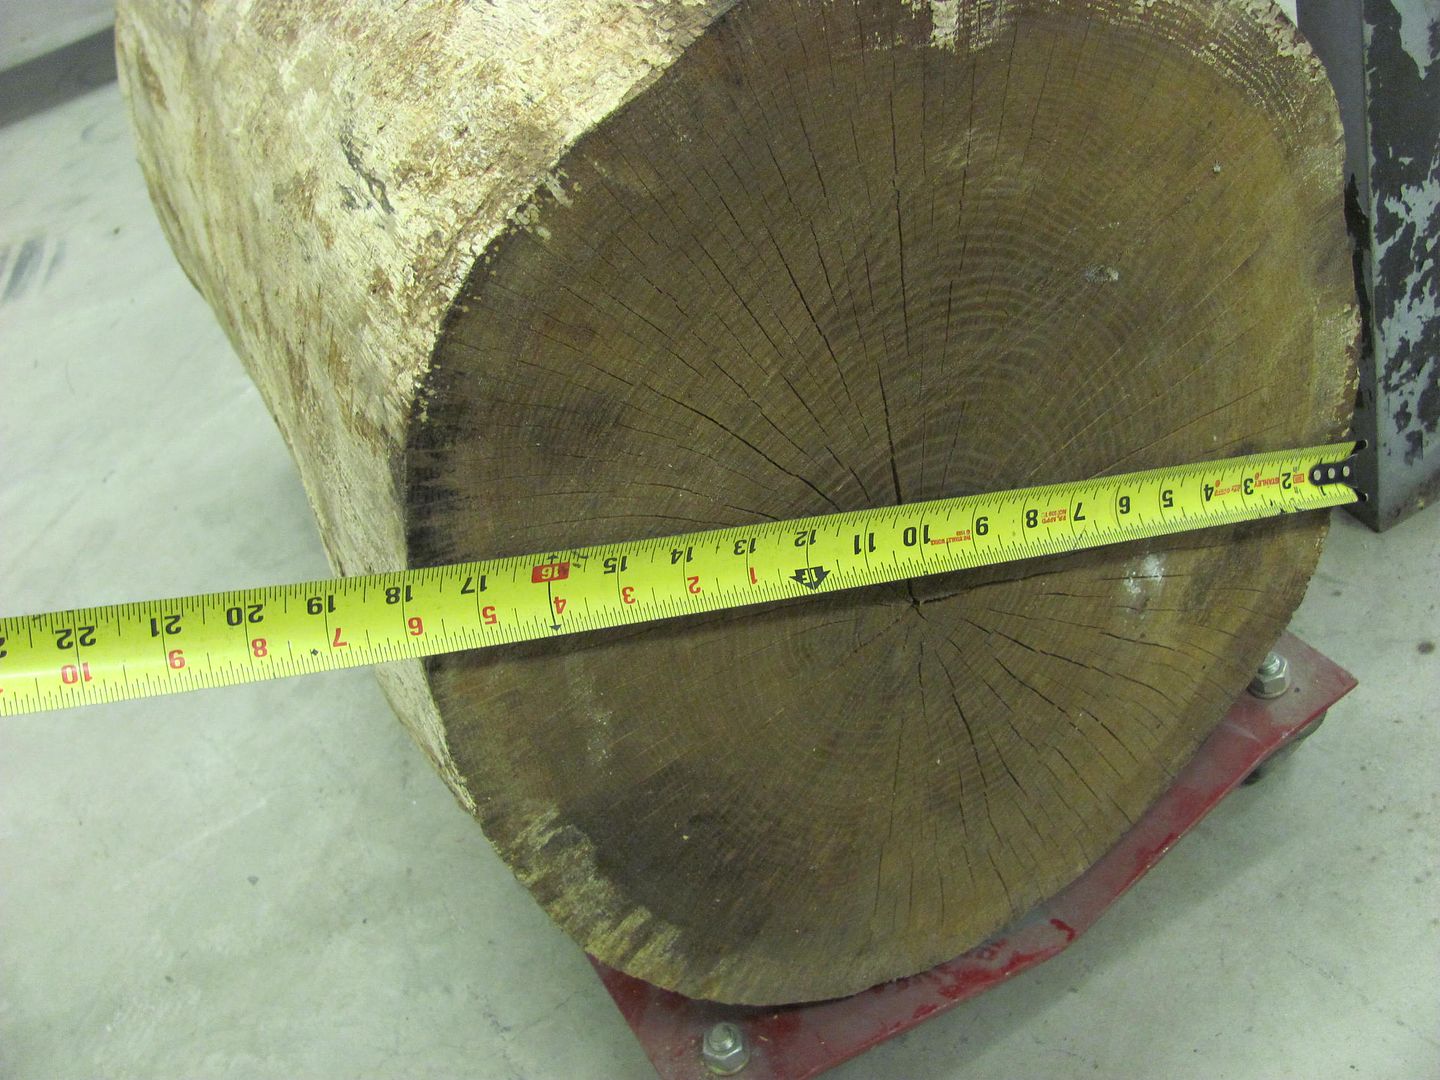 ....and some Talstar to take care of any remaining ant domiciles. 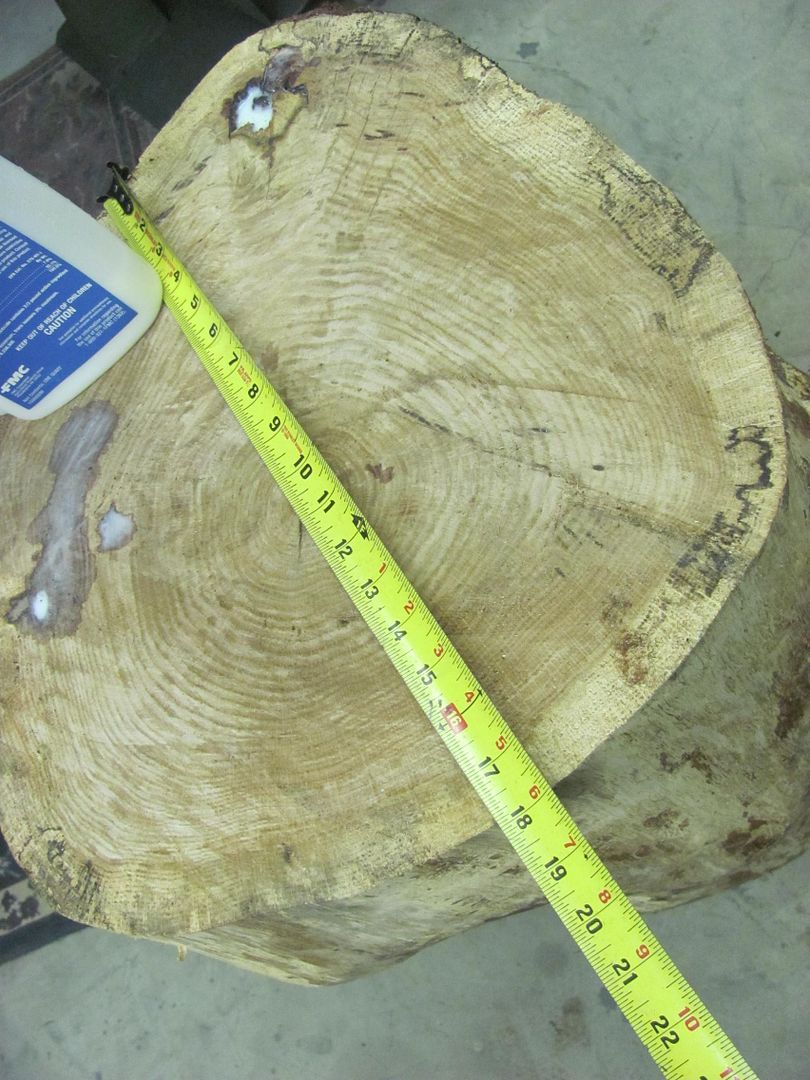
__________________
Robert |
|
|
|
|
09-20-2015, 08:20 PM
|
#20 |
|
Registered User
Join Date: May 2007
Location: Deale Md
Posts: 4,663
|
Re: 55 Wagon Progress
class there's a class when is the class
__________________
James 63 GMC V6 4speed carryall 65 chevy swb bbw V8 auto 68 K20 327/4 speed, buddy buckets 2002 GMC CC Dually Duramax 64 GMC lwb 3/4 V6 4speed SOLD 66 GMC swb bbw buddy buckets SOLD IG duallyjams The only thing that stays the same is constant change! |
|
|
|
|
09-20-2015, 09:46 PM
|
#21 |
|
Registered User
Join Date: Jan 2013
Location: Leonardtown, MD
Posts: 1,637
|
Re: 55 Wagon Progress
Peter Tommasini is coming to the shop for a 4 day class in October. The announcements were made on metalmeet, the class at my shop was full a little over a day after the announcement. I believe there are still openings in some of the other classes....
http://www.metalmeet.com/forum/showthread.php?t=13077
__________________
Robert |
|
|
|
|
09-25-2015, 04:09 AM
|
#22 |
|
Registered User
Join Date: Dec 2012
Location: Rochester, KENT
Posts: 10,509
|
Re: 55 Wagon Progress
Everything about this thread just screams WIN!!
I can only shake my head in amazement. Love the way you work the work stations. Been trying to get a decent stump from my local farmer who also sells fire wood.
__________________
MY BUILD LINK: http://67-72chevytrucks.com/vboard/s...585901]Redneck Express - 1966 C10 Short Fleetside MY USA ROADTRIPS http://forum.retro-rides.org/thread/...2018-humdinger IF YOU CAN'T FIX IT WITH A HAMMER, YOU'VE GOT AN ELECTRICAL PROBLEM MATE. |
|
|
|
|
09-26-2015, 03:21 PM
|
#23 | |
|
Senior Member
Join Date: Jul 2012
Location: Oblong, Illinois
Posts: 7,017
|
Re: 55 Wagon Progress
Quote:
He was in Oblong last year. Amazing talent. |
|
|
|
|
|
09-27-2015, 01:01 AM
|
#24 |
|
Registered User
Join Date: Jan 2013
Location: Leonardtown, MD
Posts: 1,637
|
Re: 55 Wagon Progress
So true. He will be there again this year...
We're checking this week with a local machine shop to see if we can get the body media blasted... should be a much quicker prep for the epoxy.. In the meantime, the downside to plug welds and mig welds.... cleaning up all those welds.. 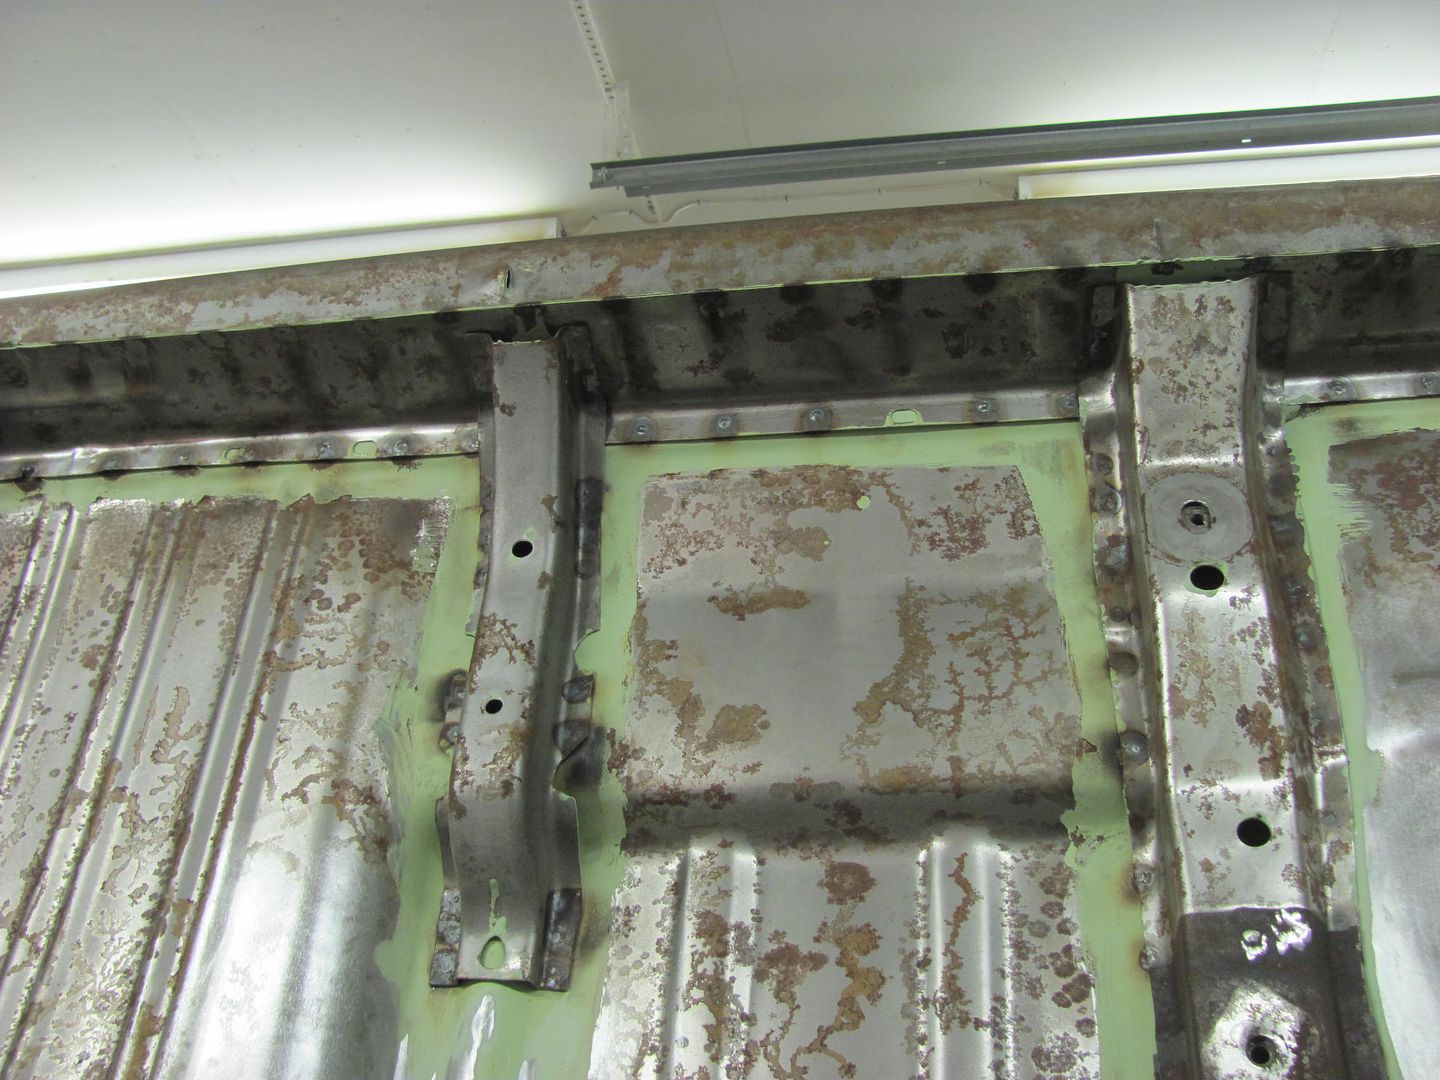 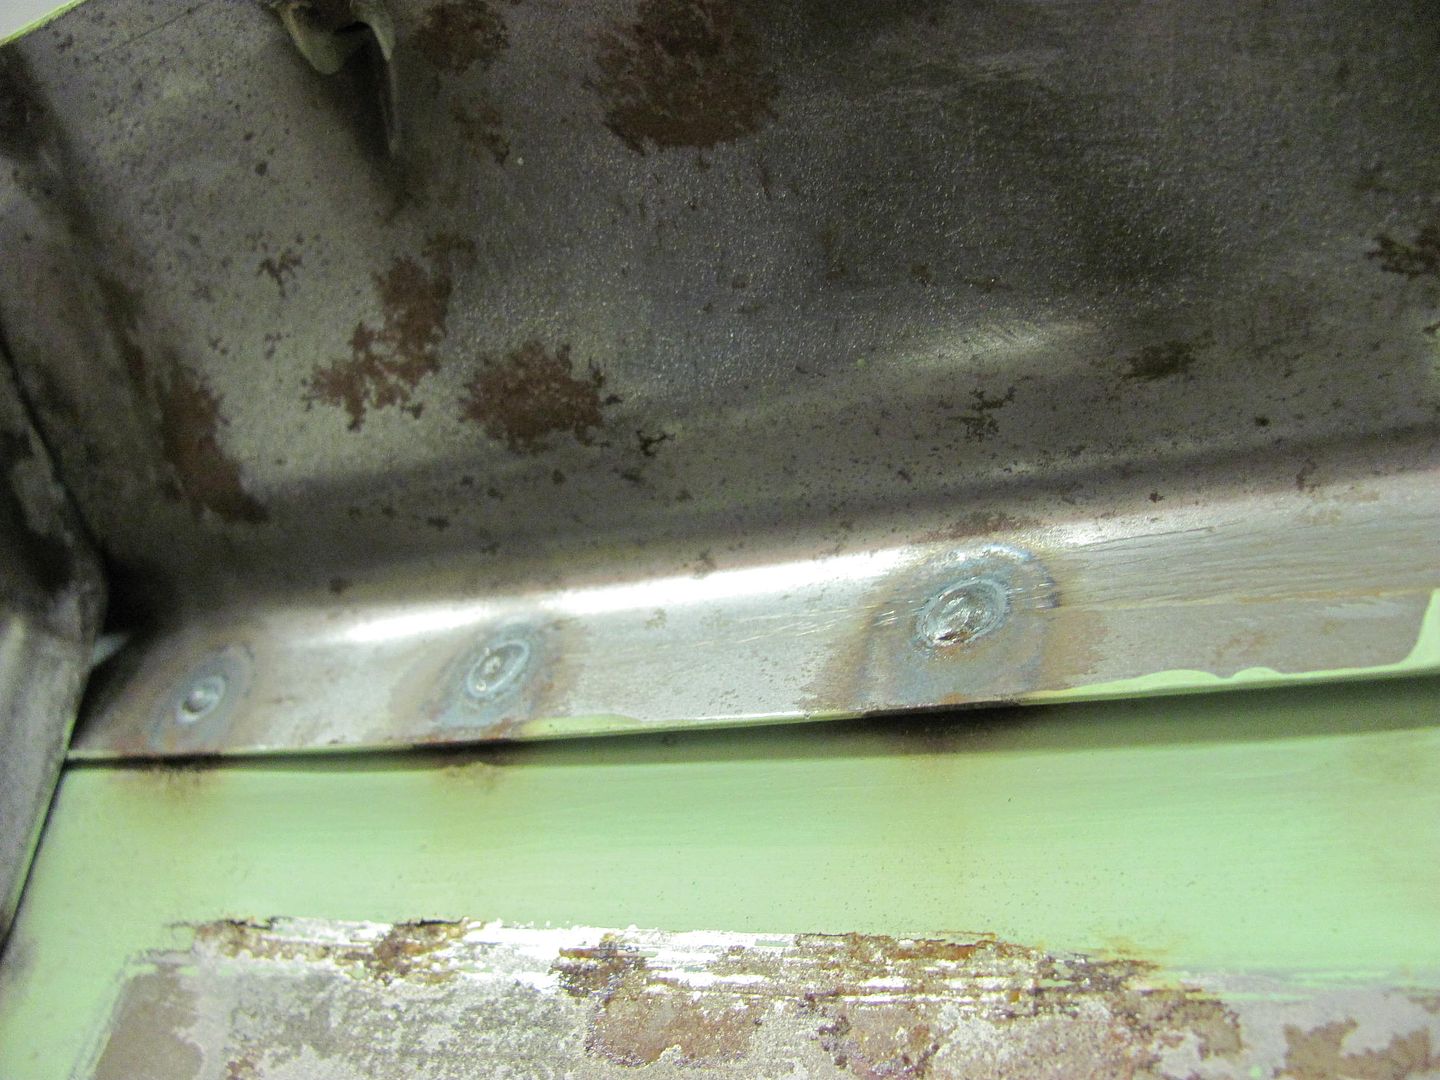 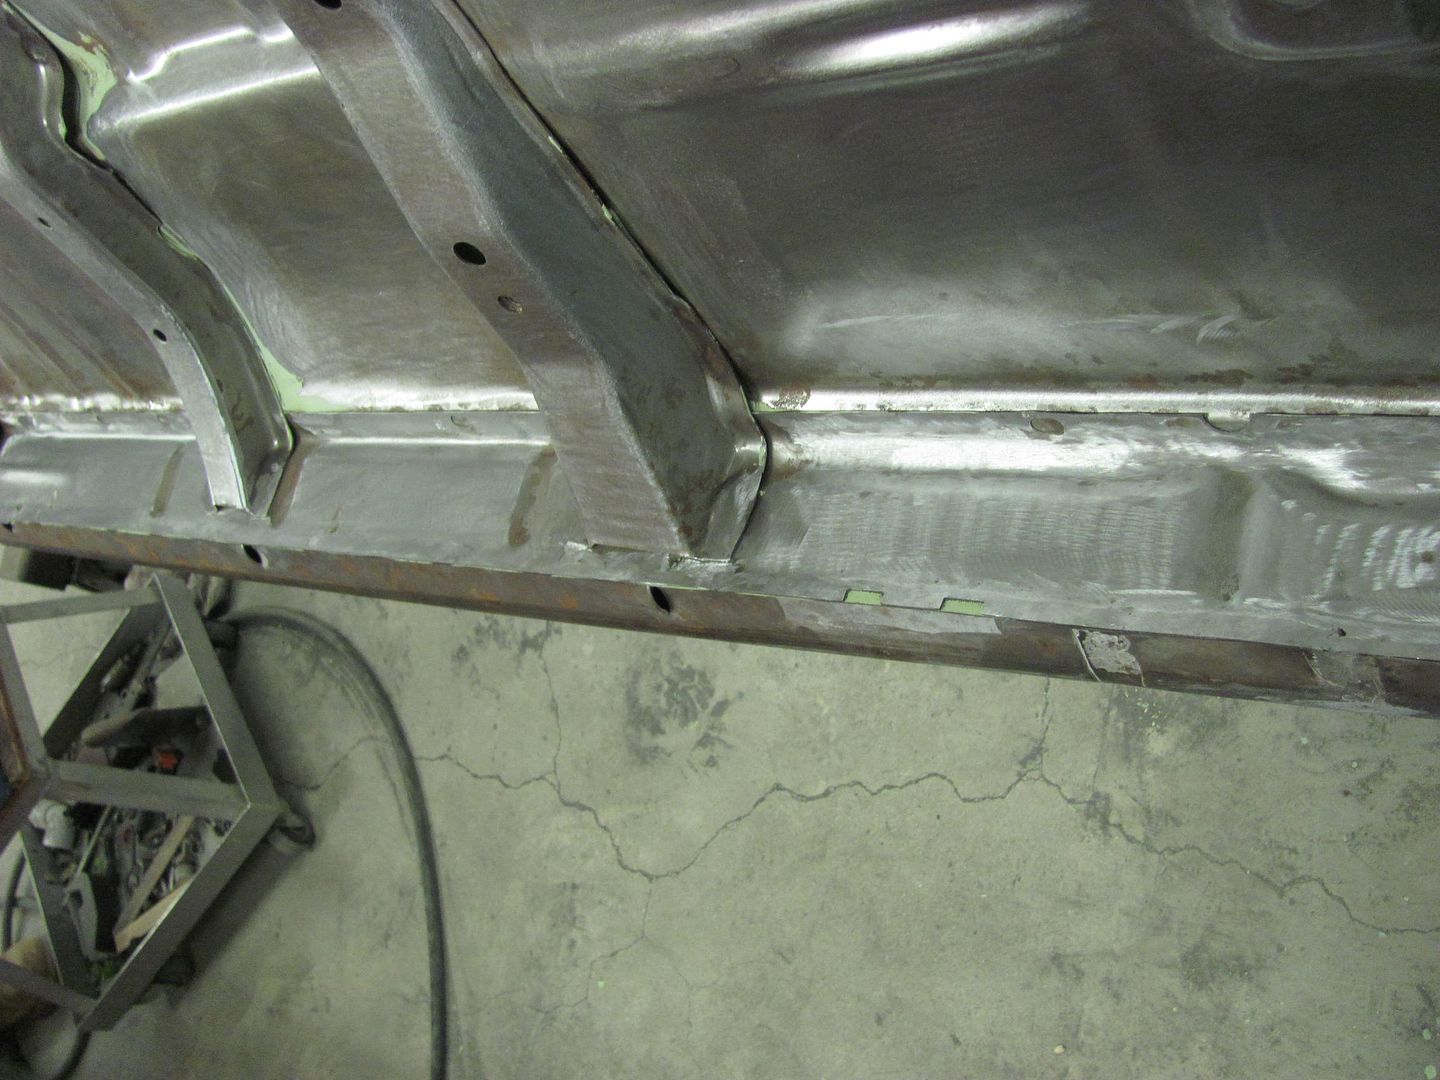 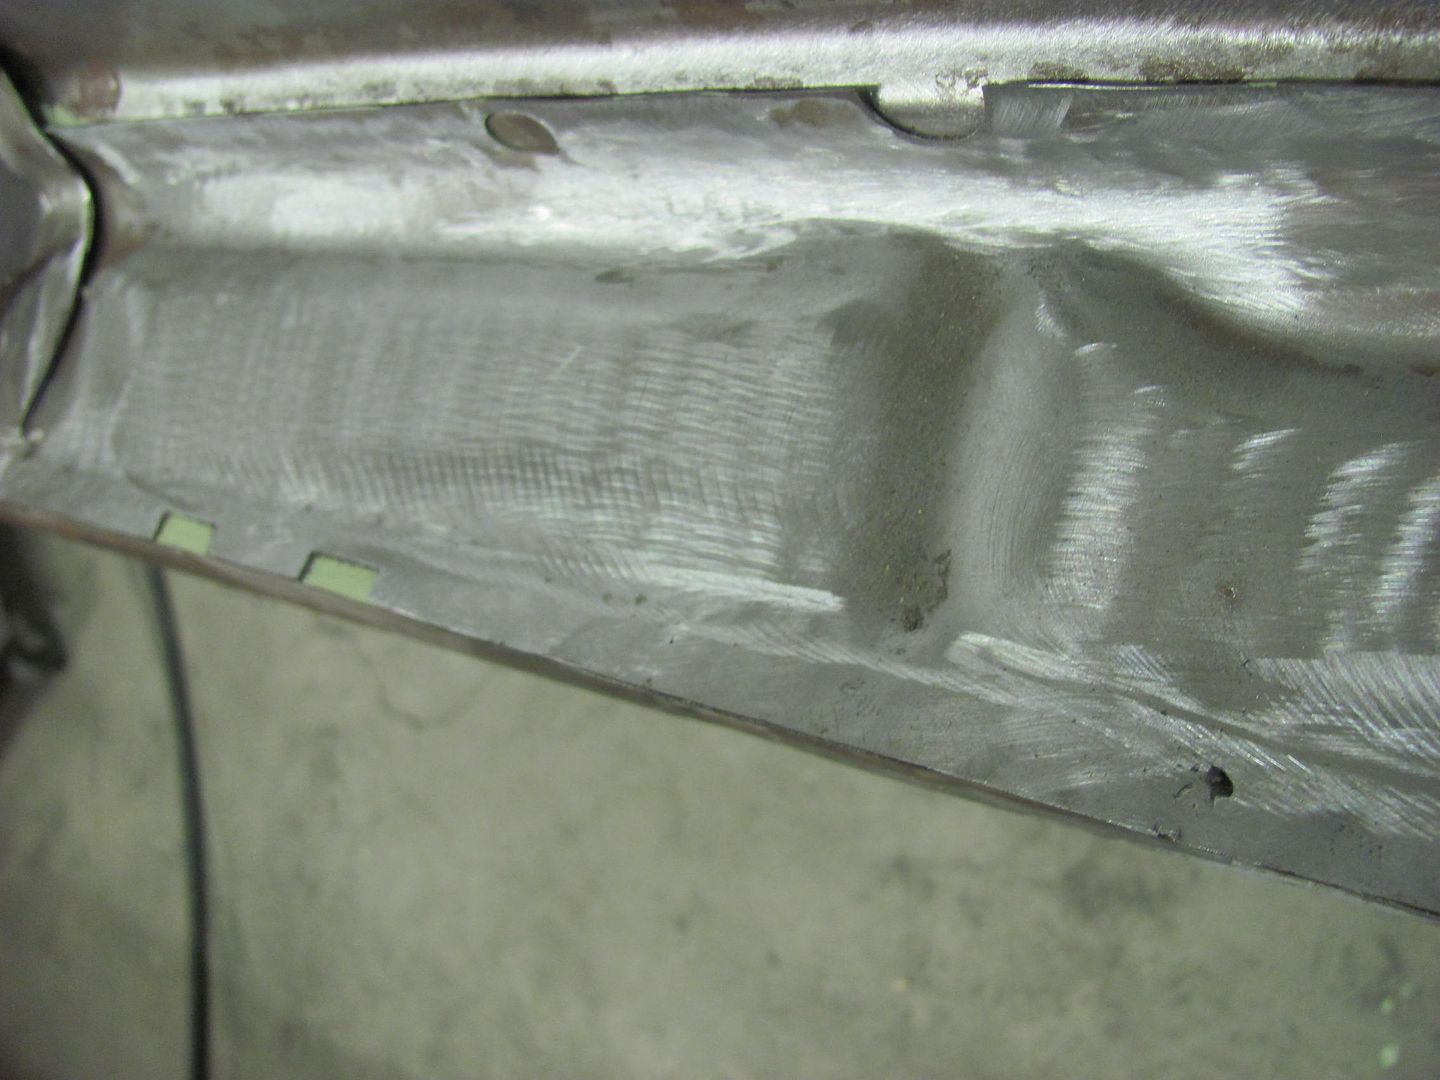 Kyle working on more welds.. 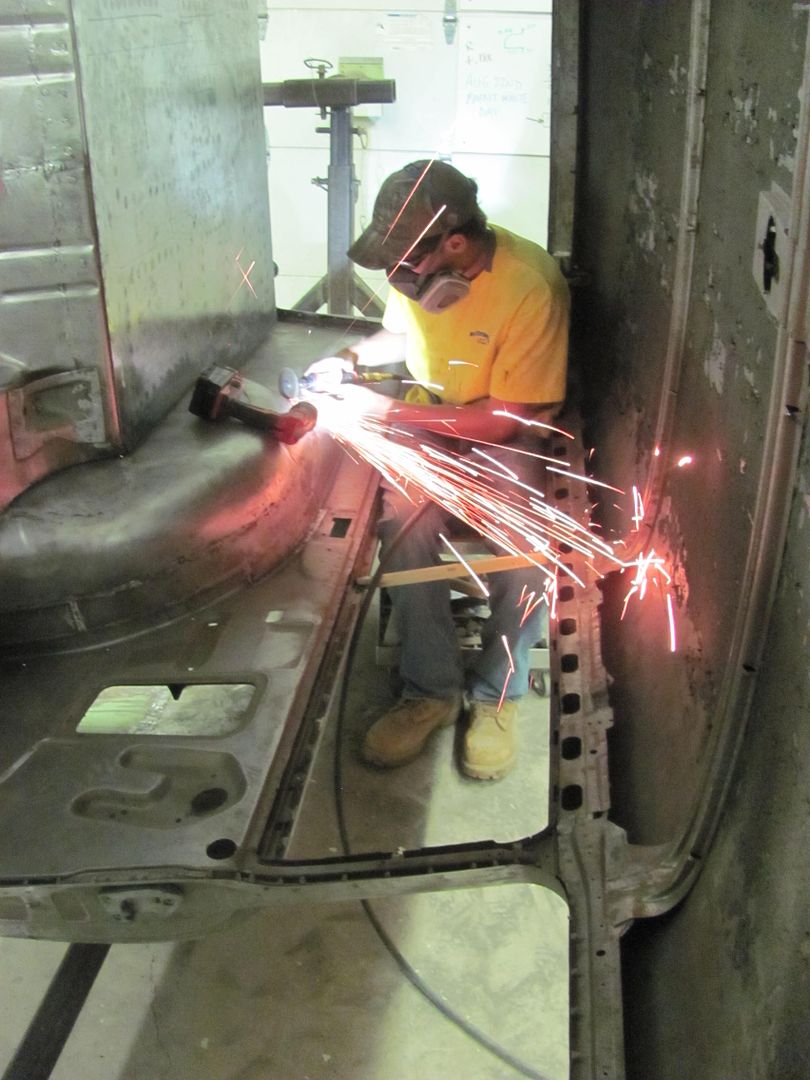 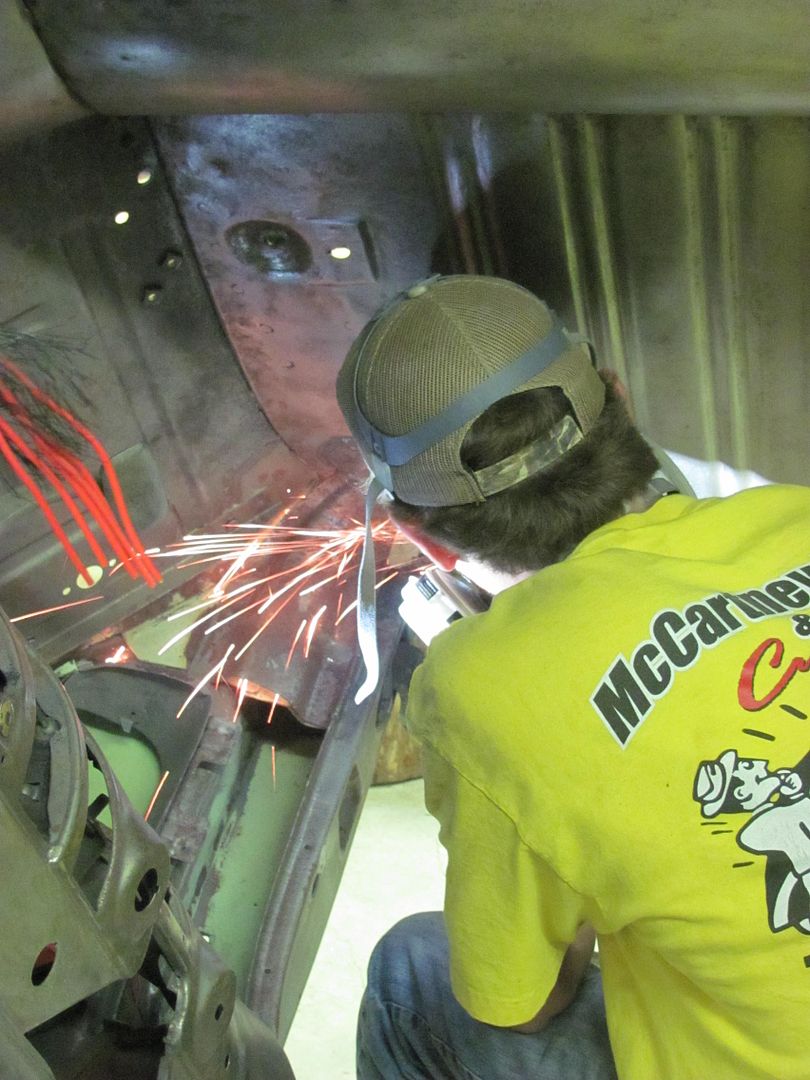 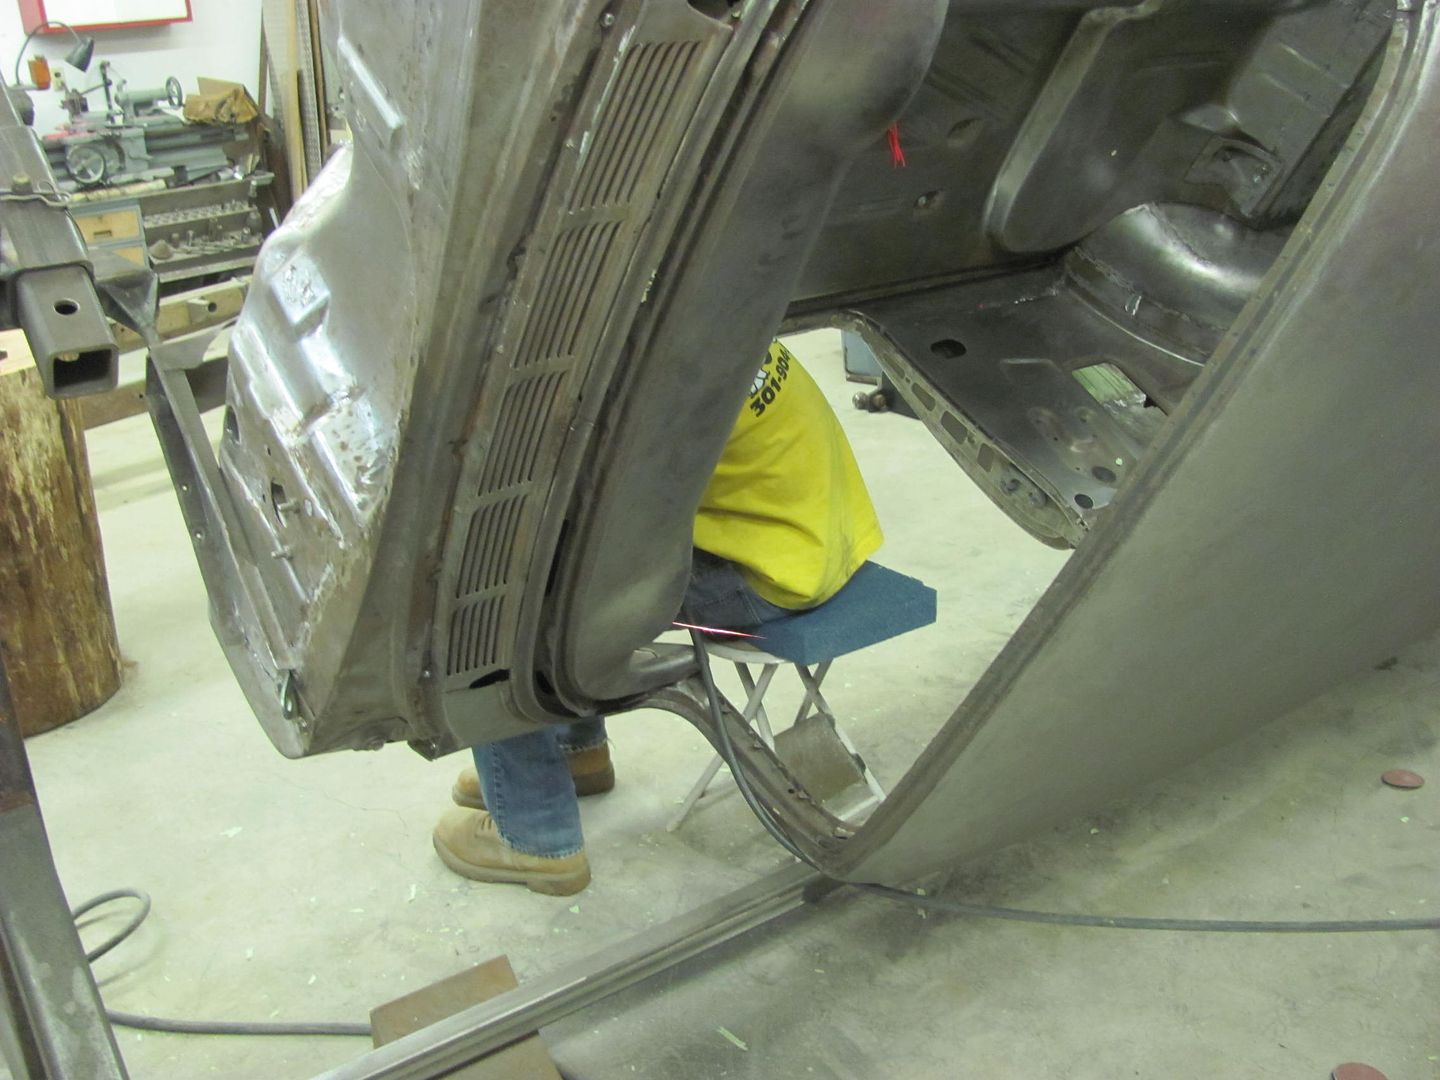 ...and to get ready for the class next week, we put all the 55 parts away in the paint booth... 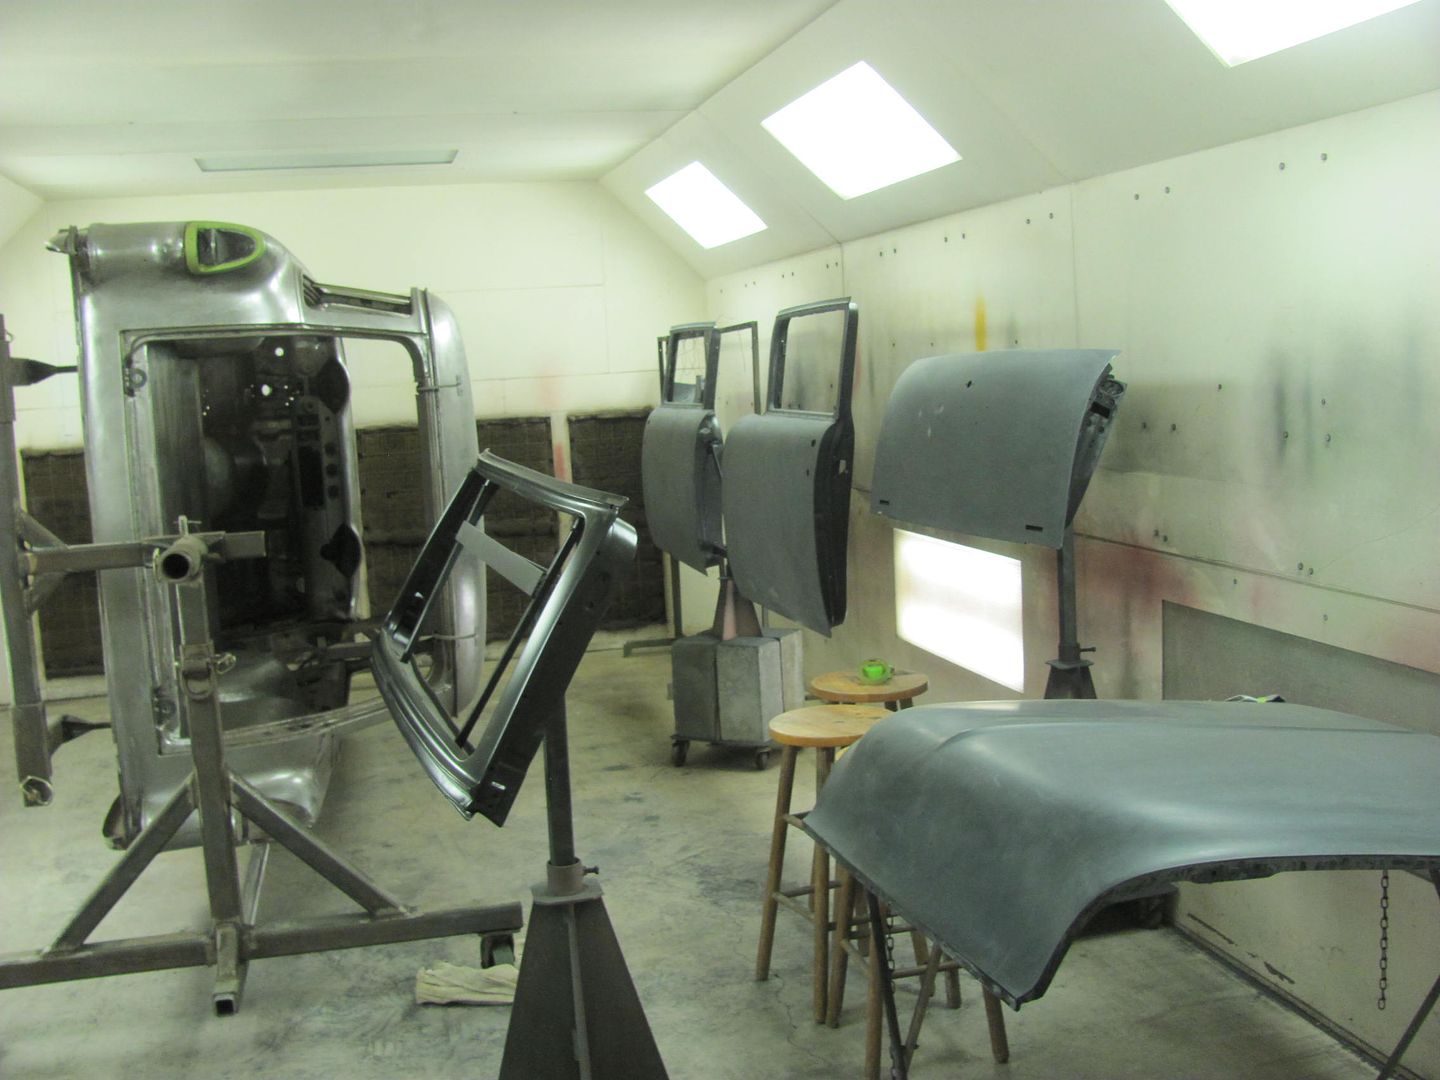 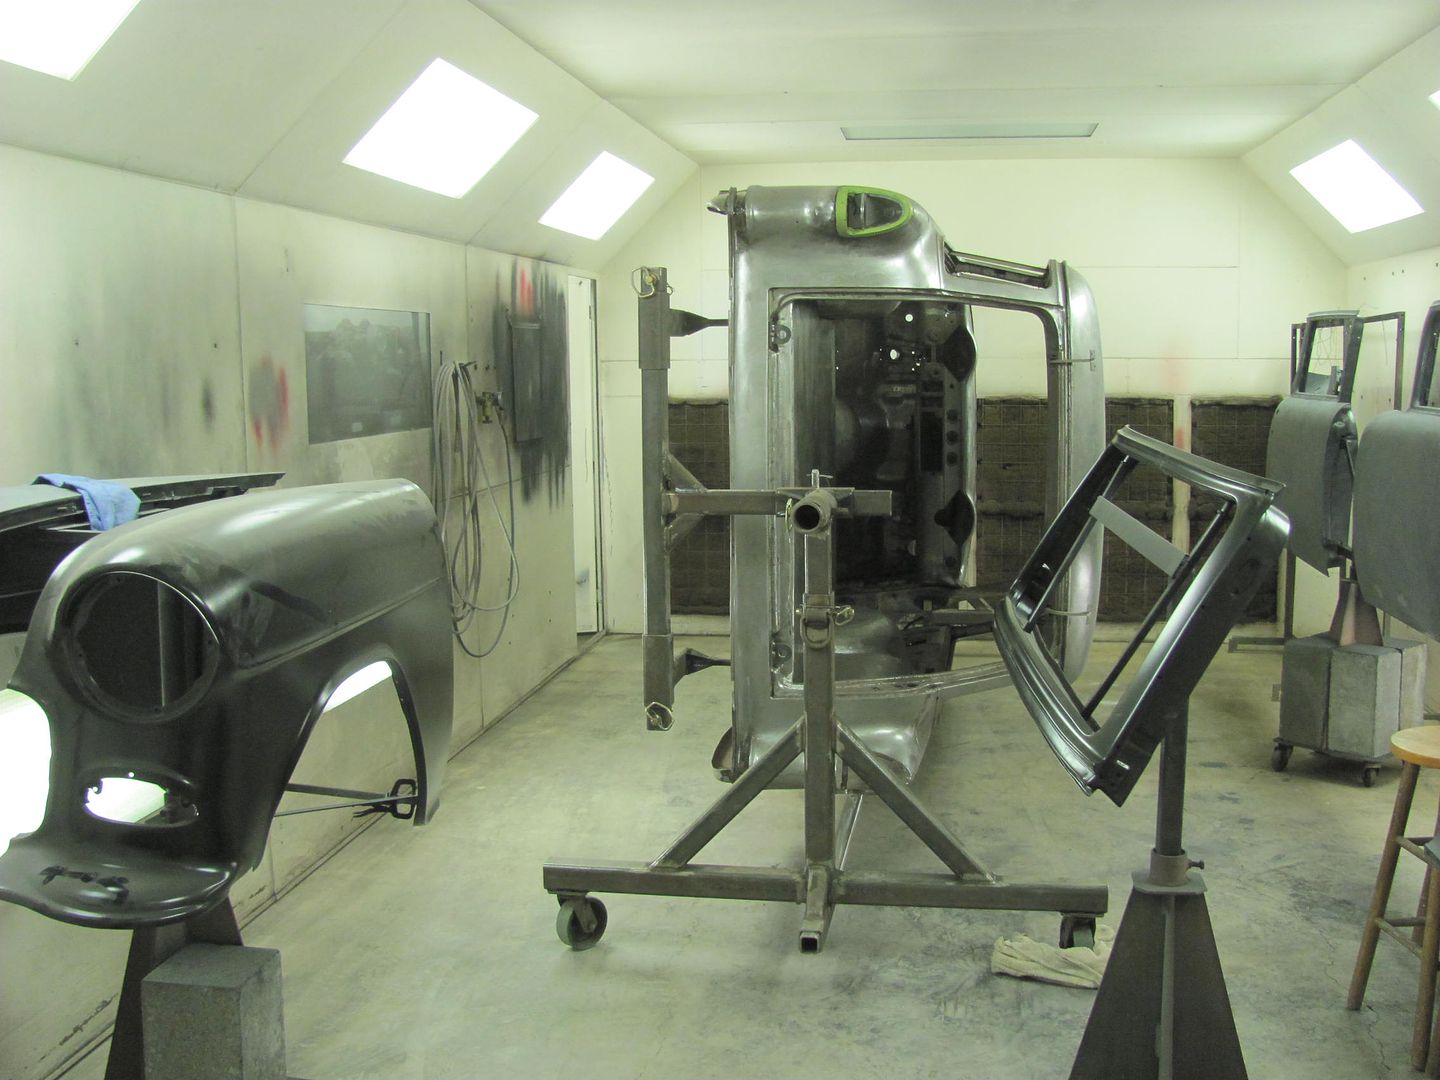
__________________
Robert |
|
|
|
|
09-29-2015, 10:47 PM
|
#25 |
|
Registered User
Join Date: Jan 2013
Location: Leonardtown, MD
Posts: 1,637
|
Re: 55 Wagon Progress
Getting ready for the metal shaping class at the shop this week, picked up Peter today from the airport.
Last night Kyle and I made a pedestal for some home-made stake anvils using a couple 45 lb dumbbells and some pipe/tubing, tonight made the round-head anvil and another with a holder for press brake dies.... 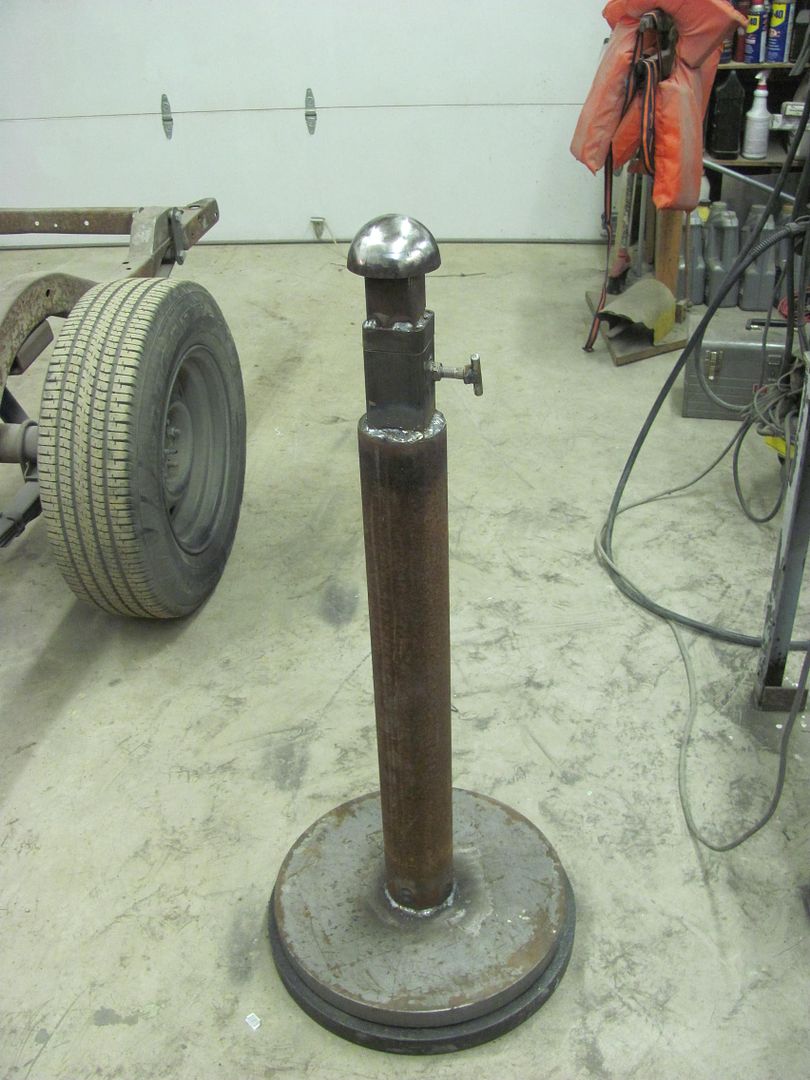 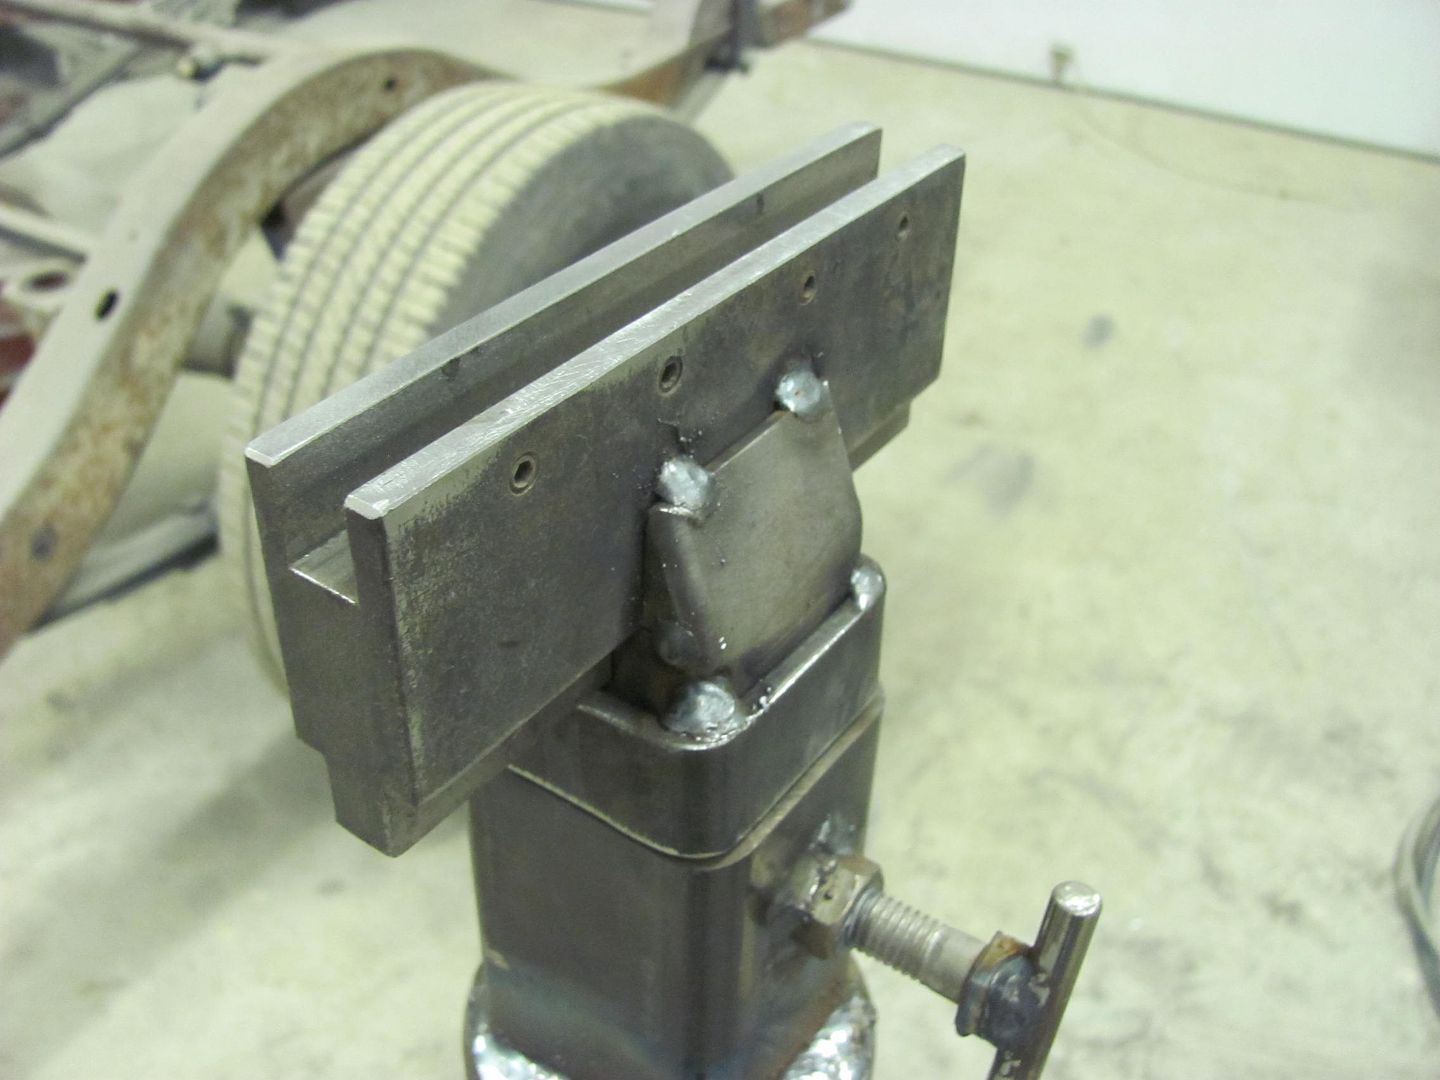 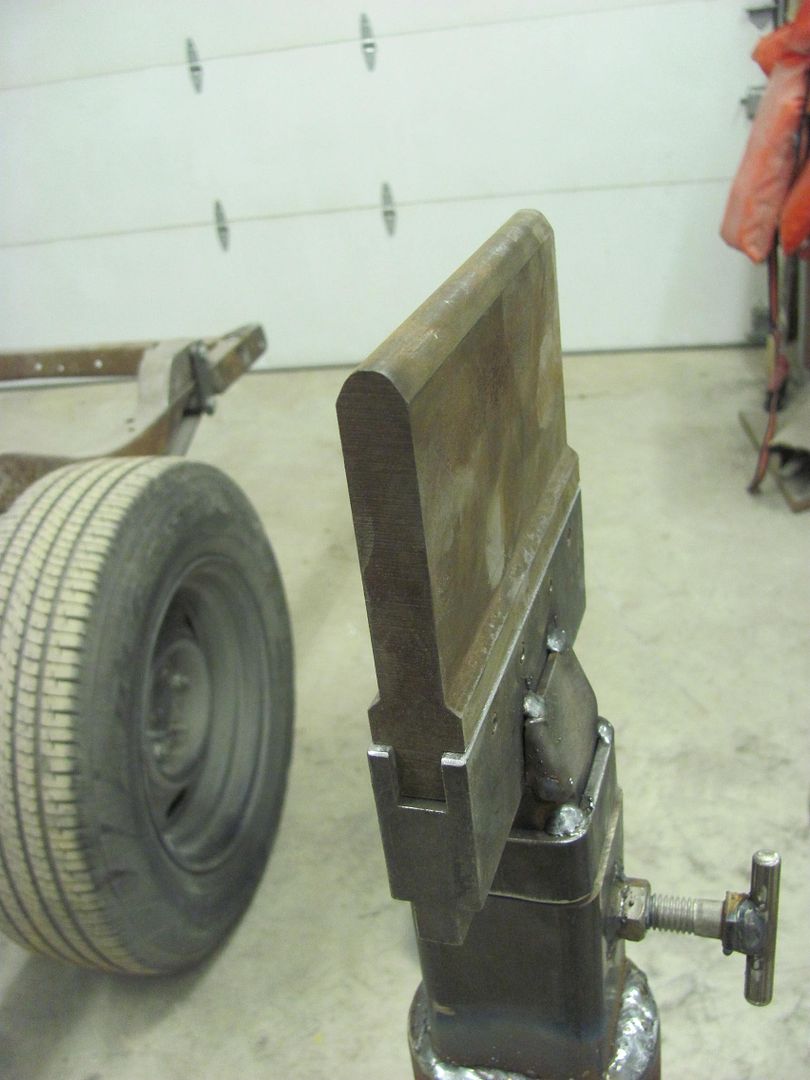 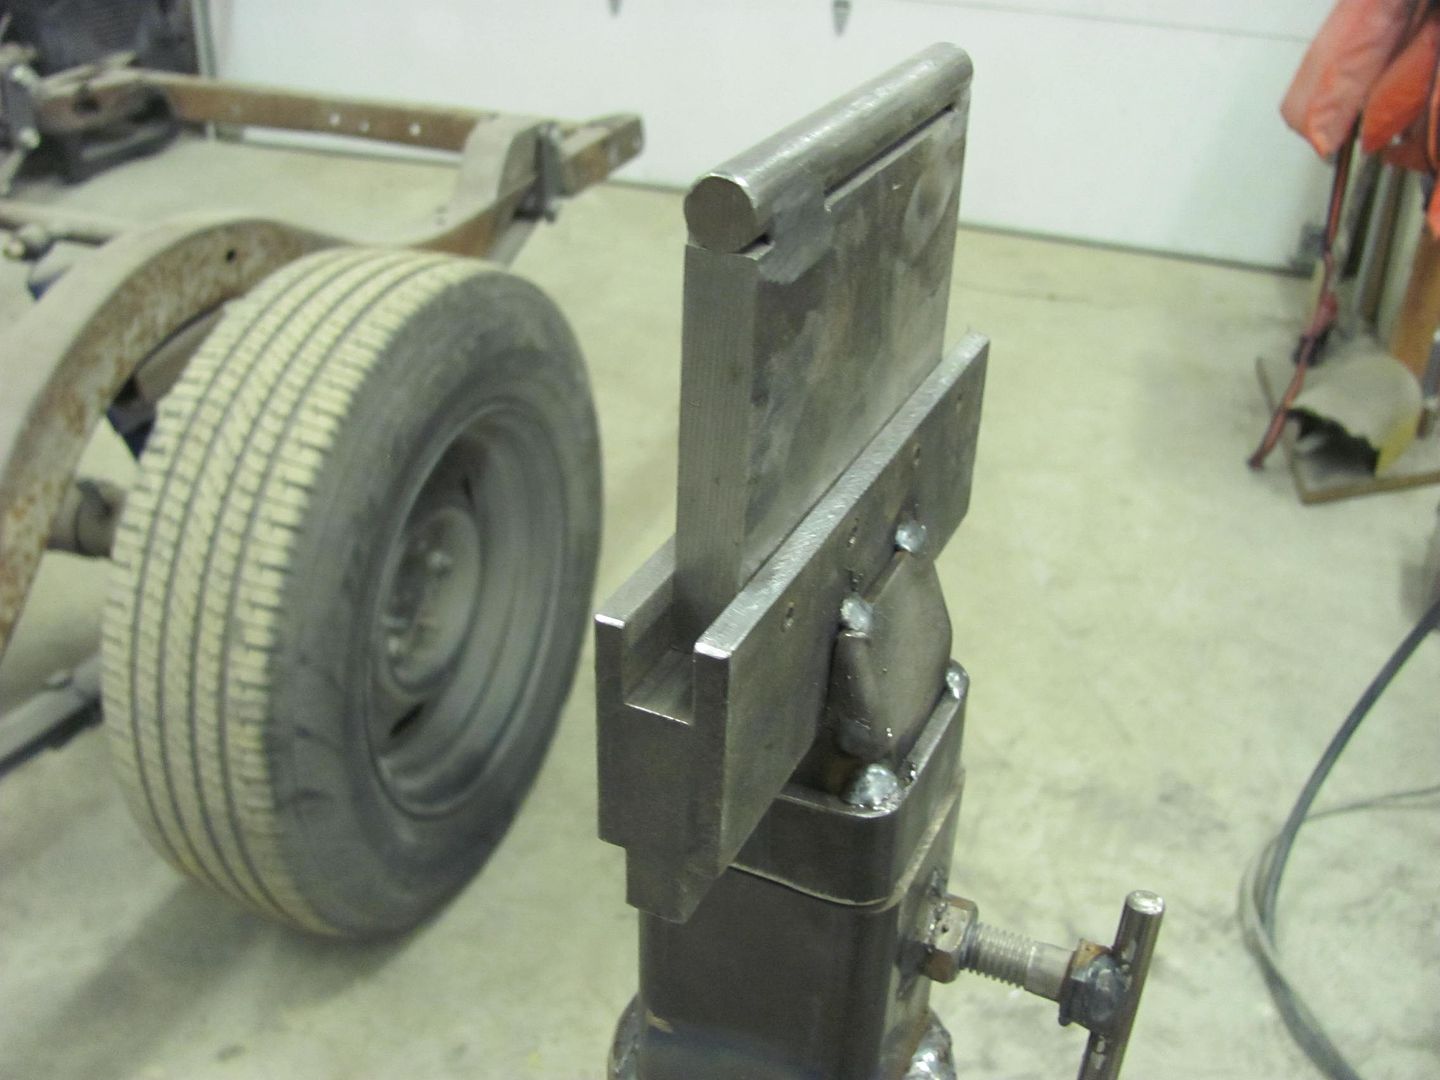 .....and stopped by the upholstery shop this morning to get another shot bag stitched up... 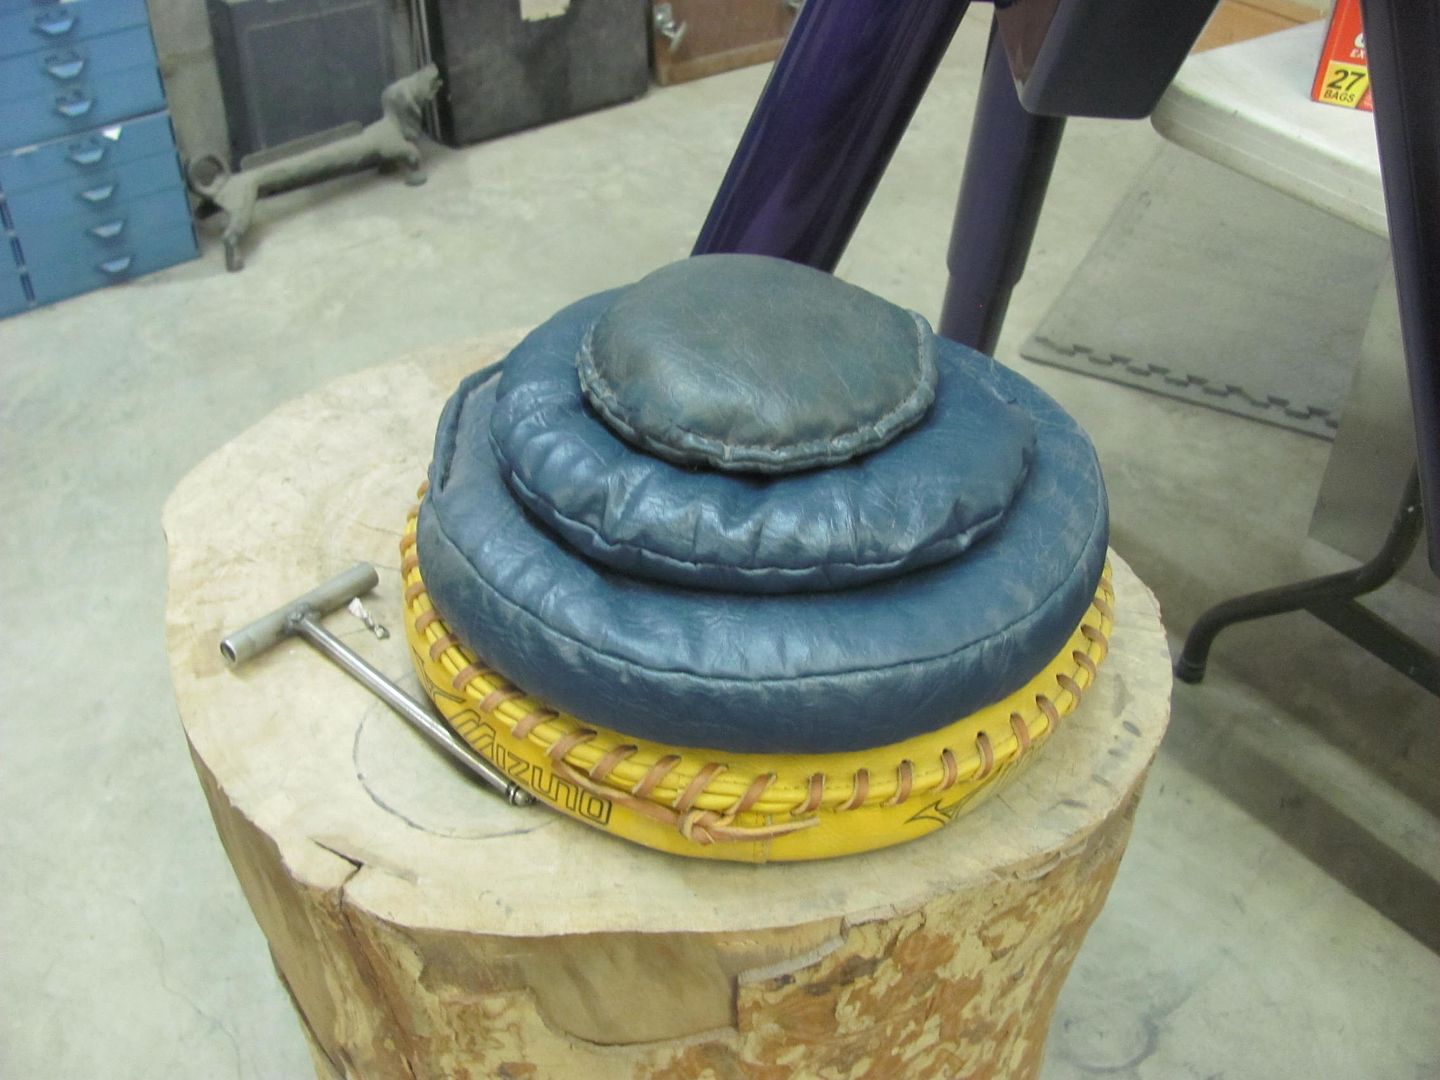 Counting the hours!
__________________
Robert |
|
|
|
 |
| Bookmarks |
|
|


 Hybrid Mode
