
|
|
|
 09-30-2015, 06:16 PM
|
#1 |
|
Registered User
 Join Date: May 2007
Location: Deale Md
Posts: 4,663
|
Re: 55 Wagon Progress
hope you have time share pics through out the class
__________________
James 63 GMC V6 4speed carryall 65 chevy swb bbw V8 auto 68 K20 327/4 speed, buddy buckets 2002 GMC CC Dually Duramax 64 GMC lwb 3/4 V6 4speed SOLD 66 GMC swb bbw buddy buckets SOLD IG duallyjams The only thing that stays the same is constant change! |

|

|
|
09-30-2015, 11:26 PM
|
#2 | |
|
Registered User
Join Date: Jan 2013
Location: Leonardtown, MD
Posts: 1,637
|
Re: 55 Wagon Progress
Quote:
 A few of the projects showed up this evening for the class, more to come tomorrow.... 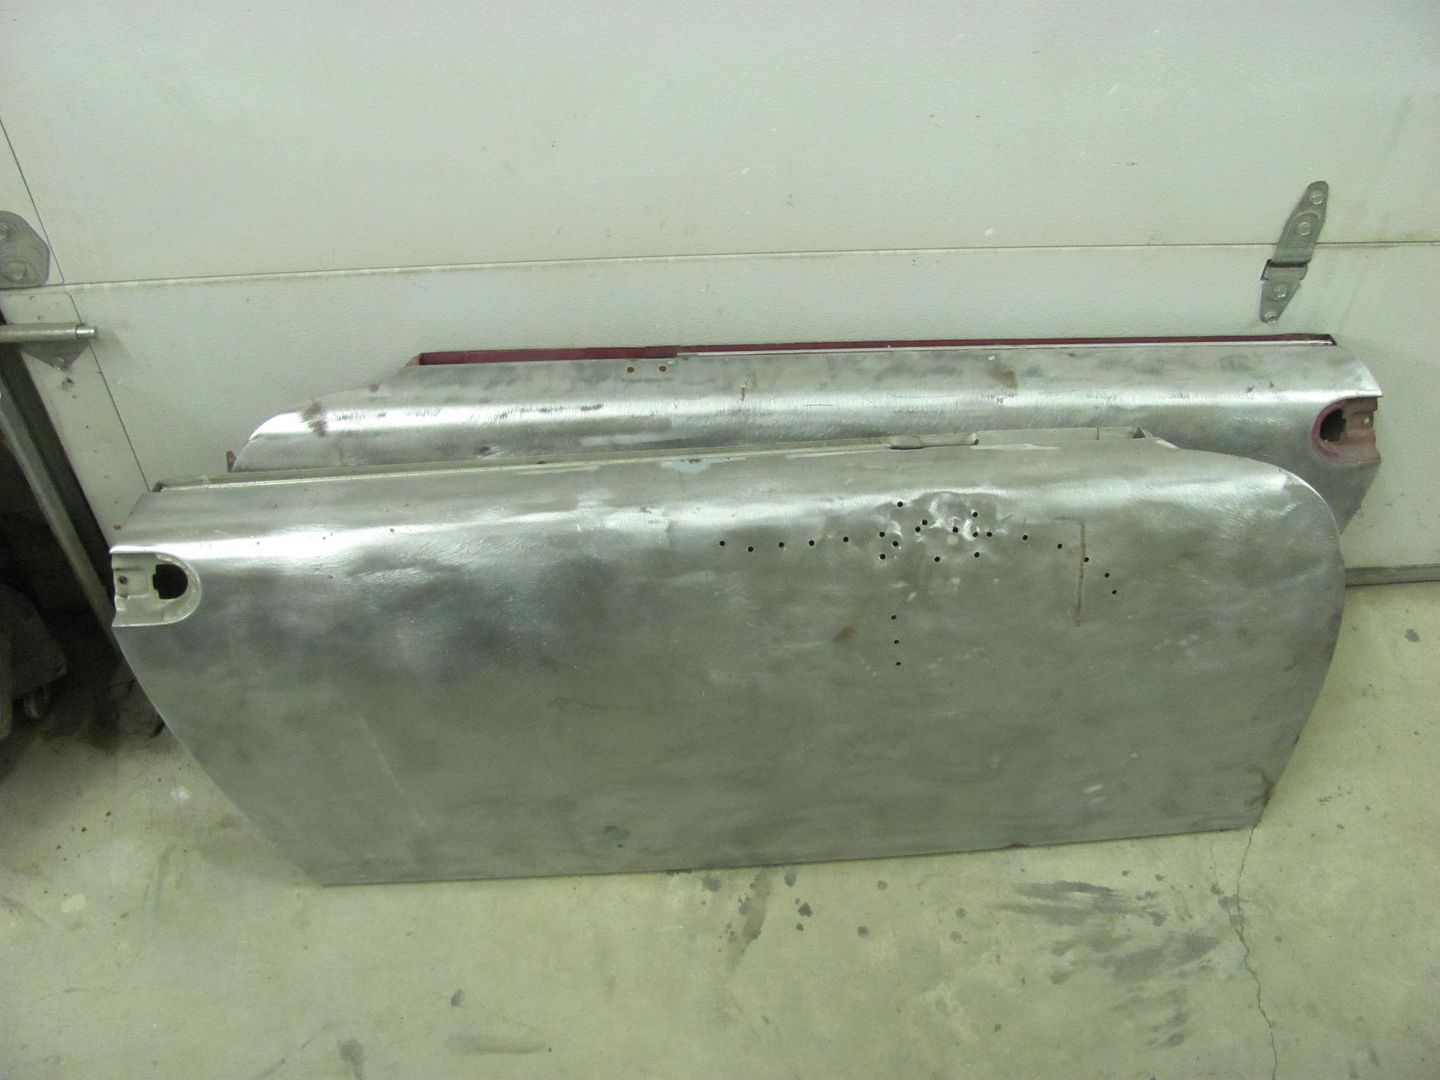 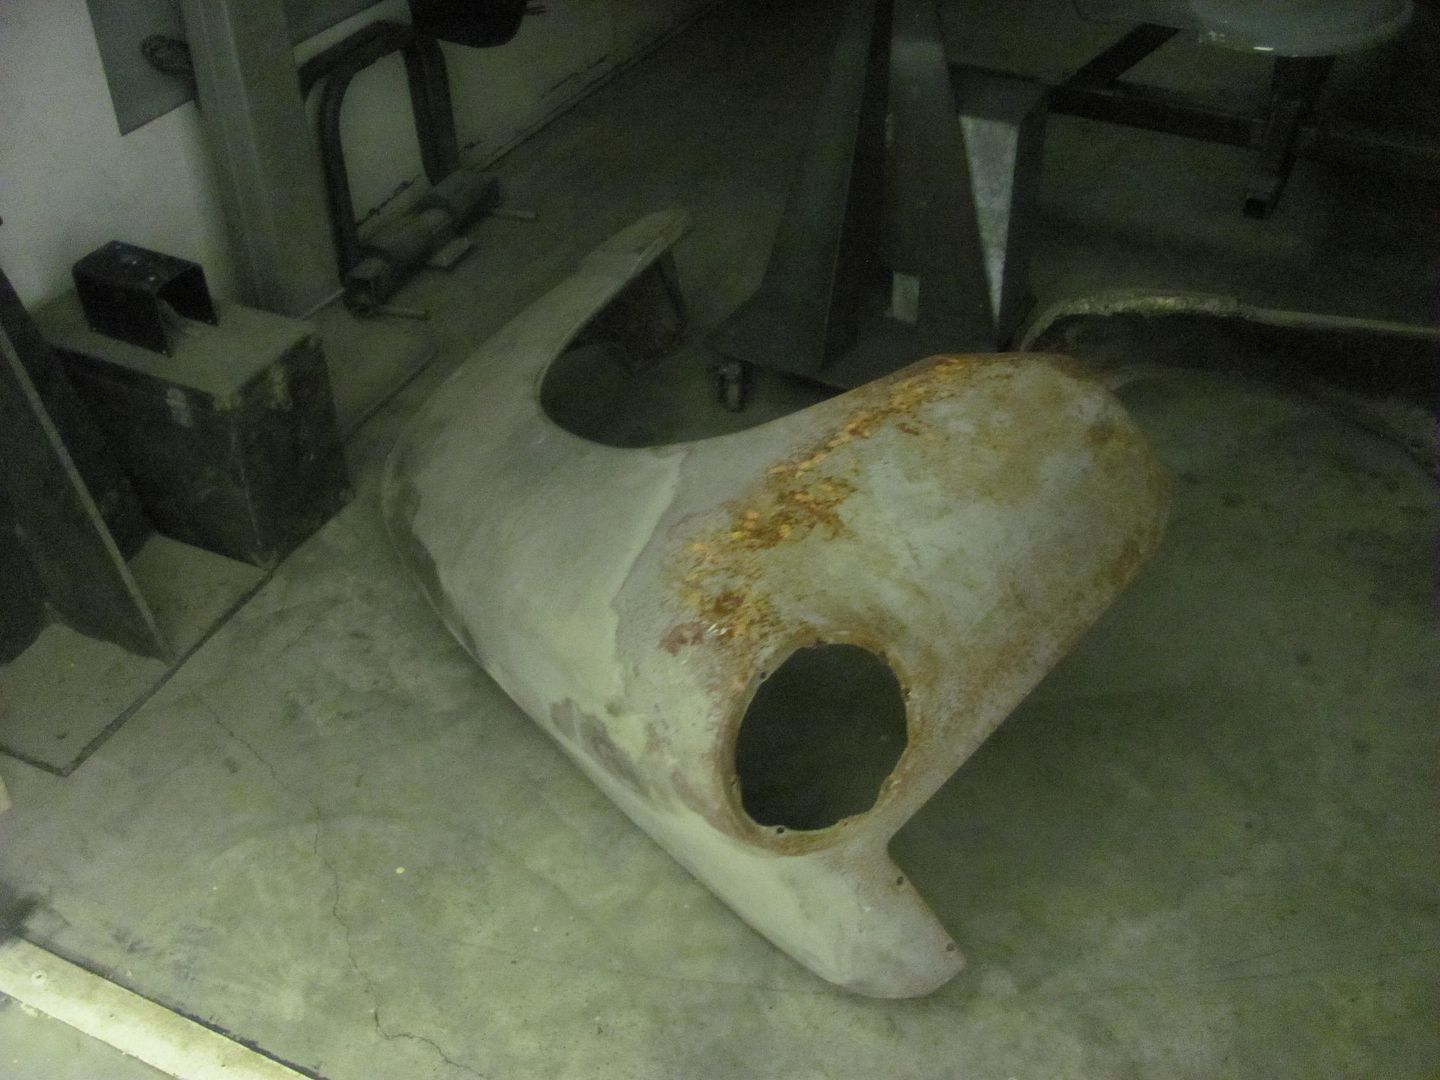 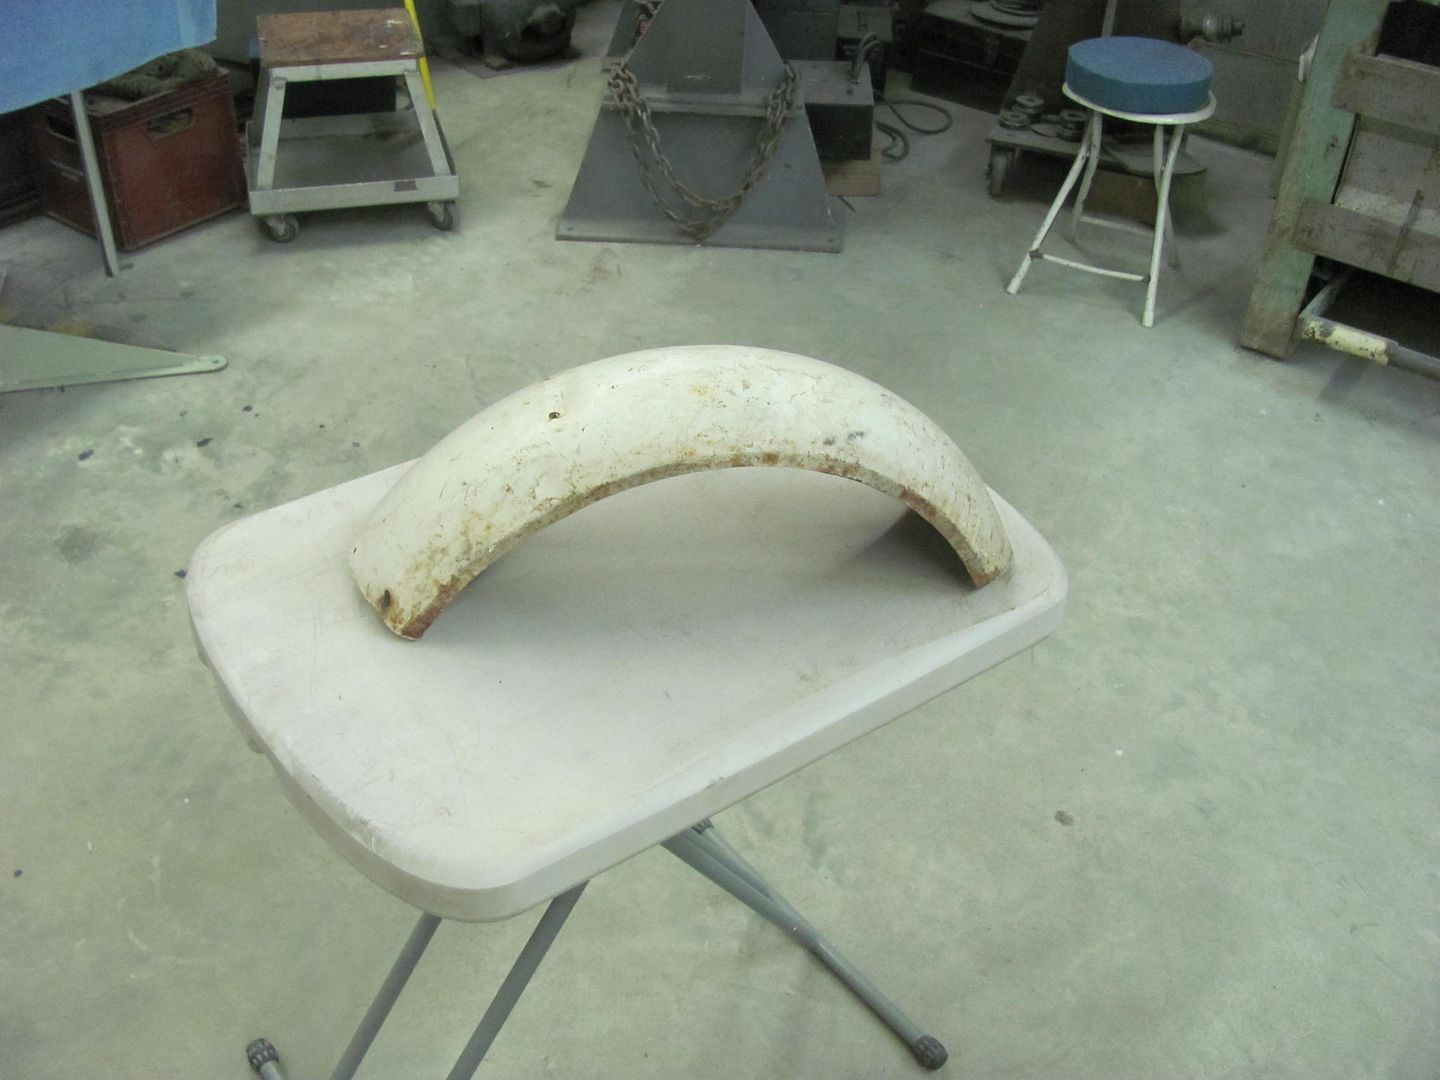 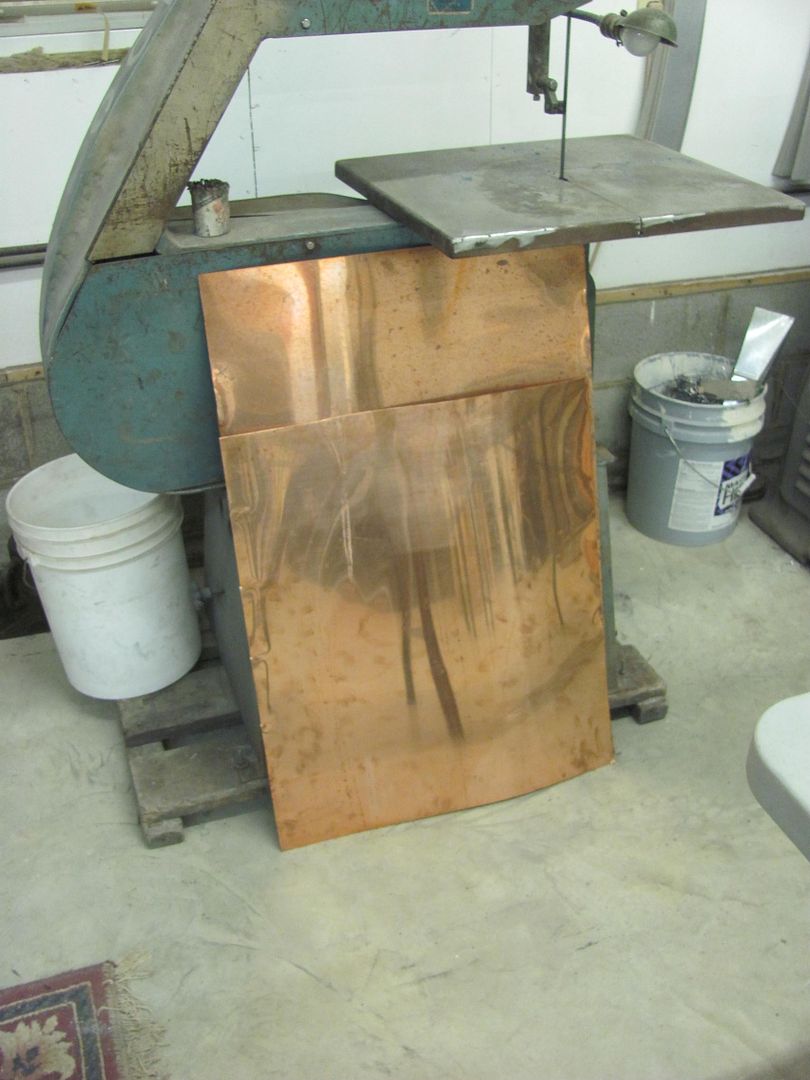 One of the attendees brought a CP hammer for us to use... 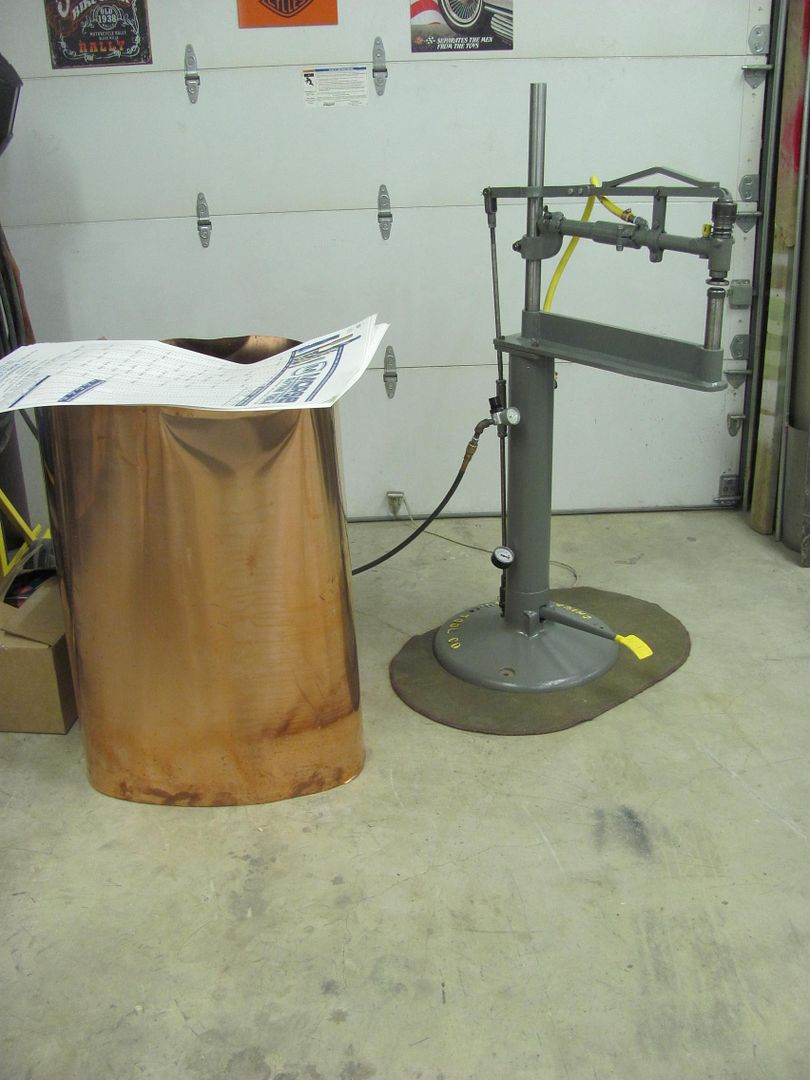 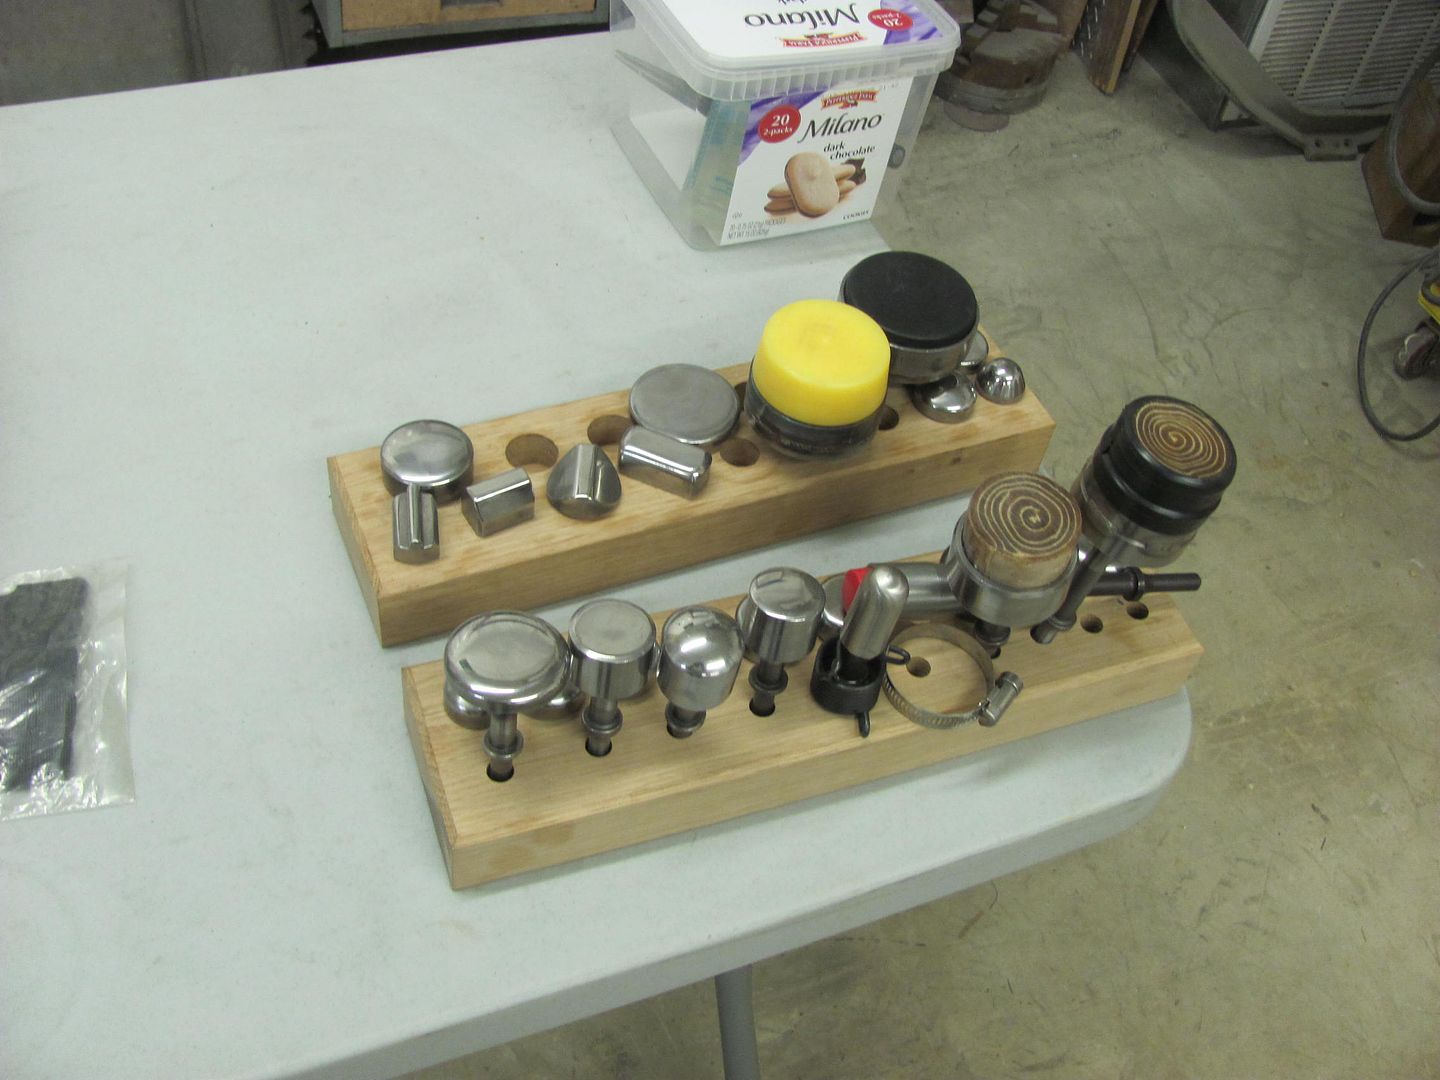 I'm going to have to get Peter here more often, forces me to clean up the place! 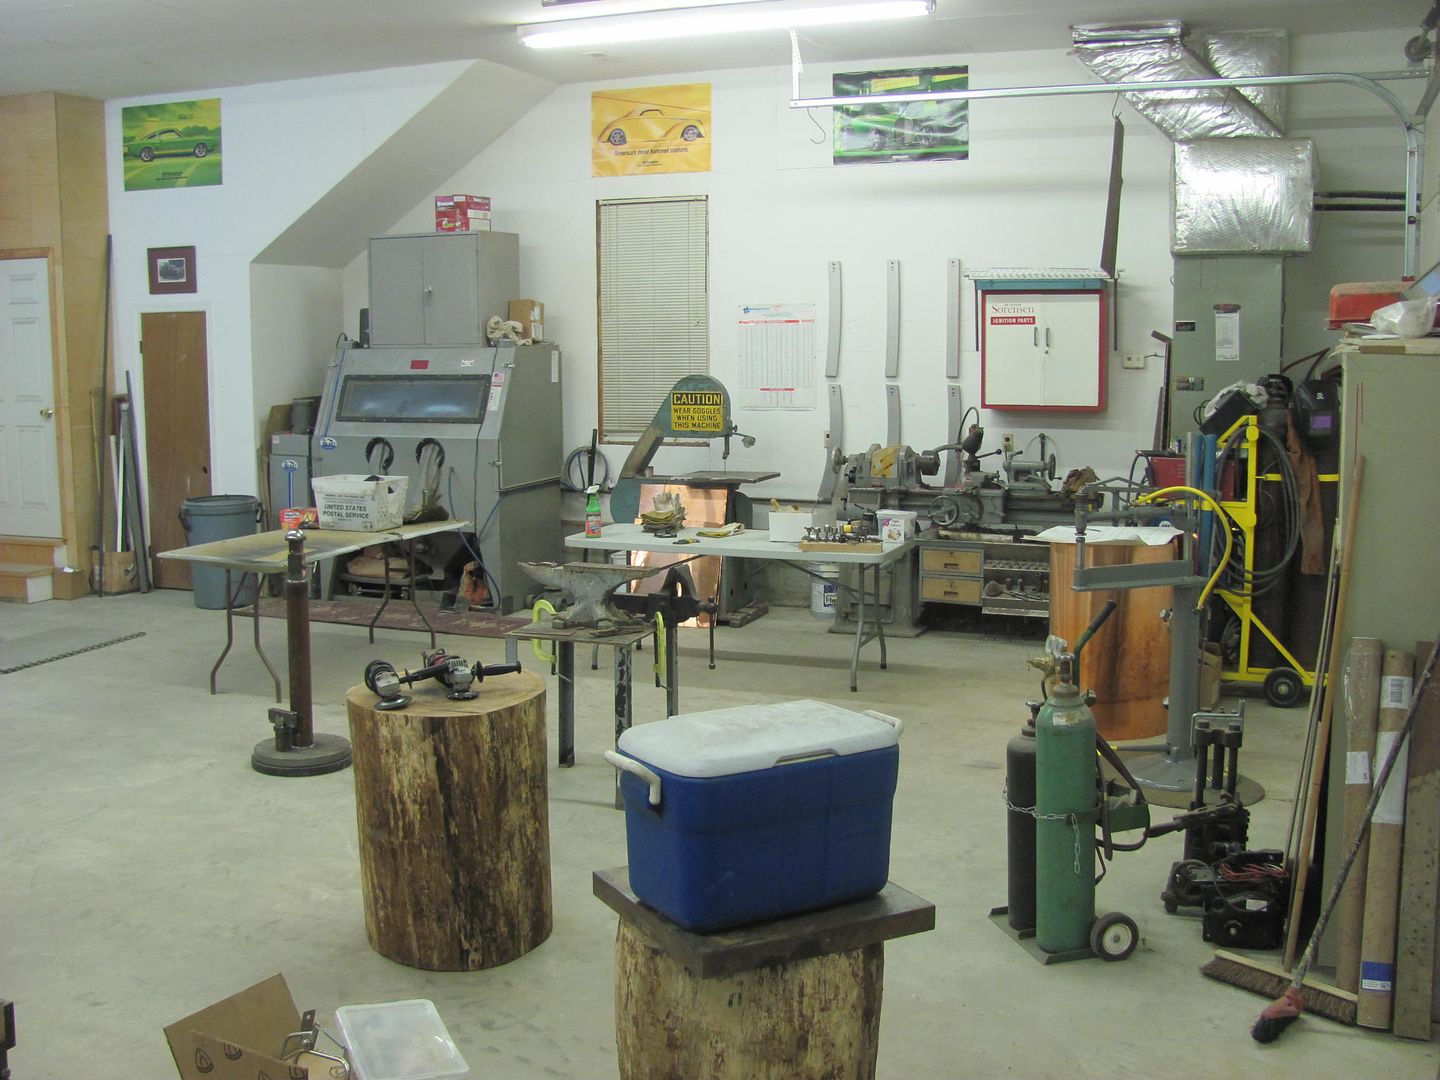  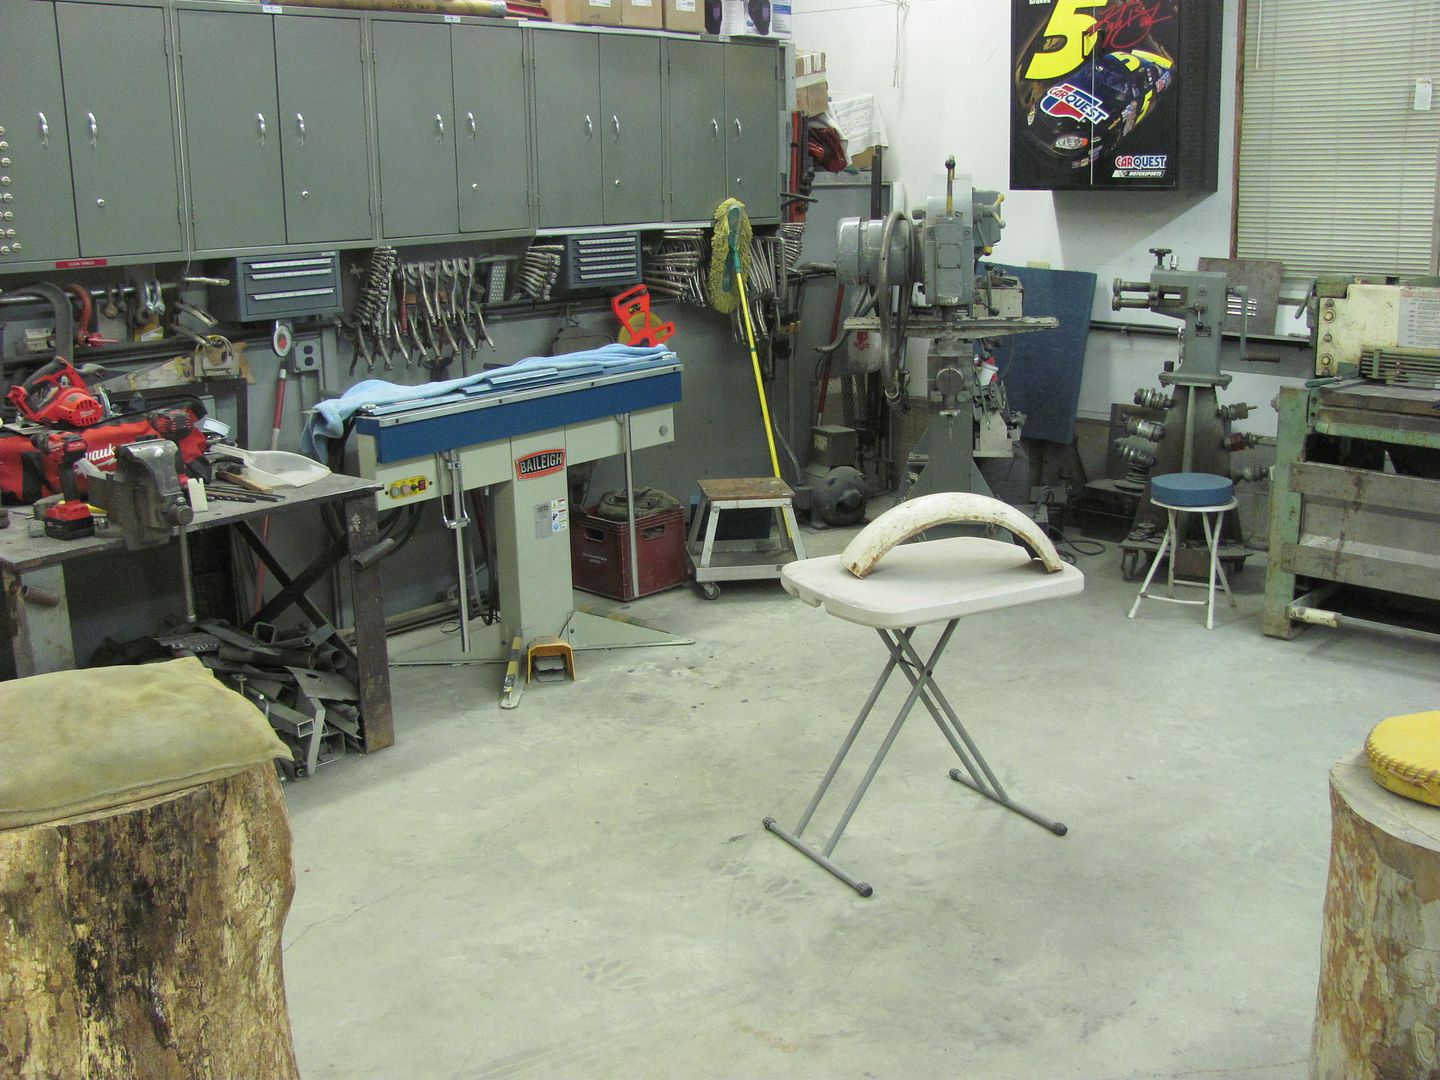
__________________
Robert |
|
|
|
|
|
10-01-2015, 09:46 PM
|
#3 |
|
Registered User
Join Date: May 2007
Location: Deale Md
Posts: 4,663
|
Re: 55 Wagon Progress
x2
__________________
James 63 GMC V6 4speed carryall 65 chevy swb bbw V8 auto 68 K20 327/4 speed, buddy buckets 2002 GMC CC Dually Duramax 64 GMC lwb 3/4 V6 4speed SOLD 66 GMC swb bbw buddy buckets SOLD IG duallyjams The only thing that stays the same is constant change! |
|
|
|
|
09-30-2015, 09:07 PM
|
#4 |
|
Registered User
Join Date: Oct 2007
Location: Spanaway
Posts: 8,451
|
Re: 55 Wagon Progress
Just caught back up again, love the progress, great work!
__________________
Mike. Swamp Rat build thread : http://67-72chevytrucks.com/vboard/s...d.php?t=595019 72 3/4T 4X4 4" BDS Lift 33" BFG's |
|
|
|
|
10-01-2015, 10:11 PM
|
#5 |
|
Registered User
Join Date: Jan 2013
Location: Leonardtown, MD
Posts: 1,637
|
Re: 55 Wagon Progress
Here are some of the highlights of today's class....
Peter shows how to prepare a stump for shrinking.... 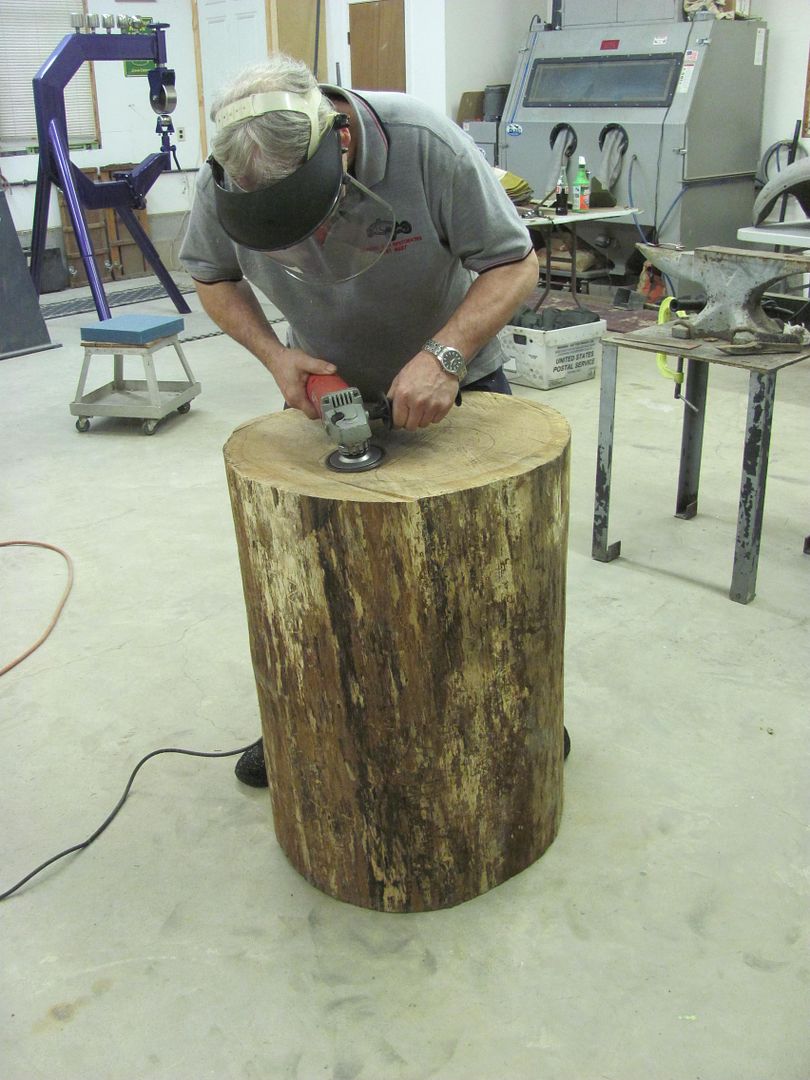 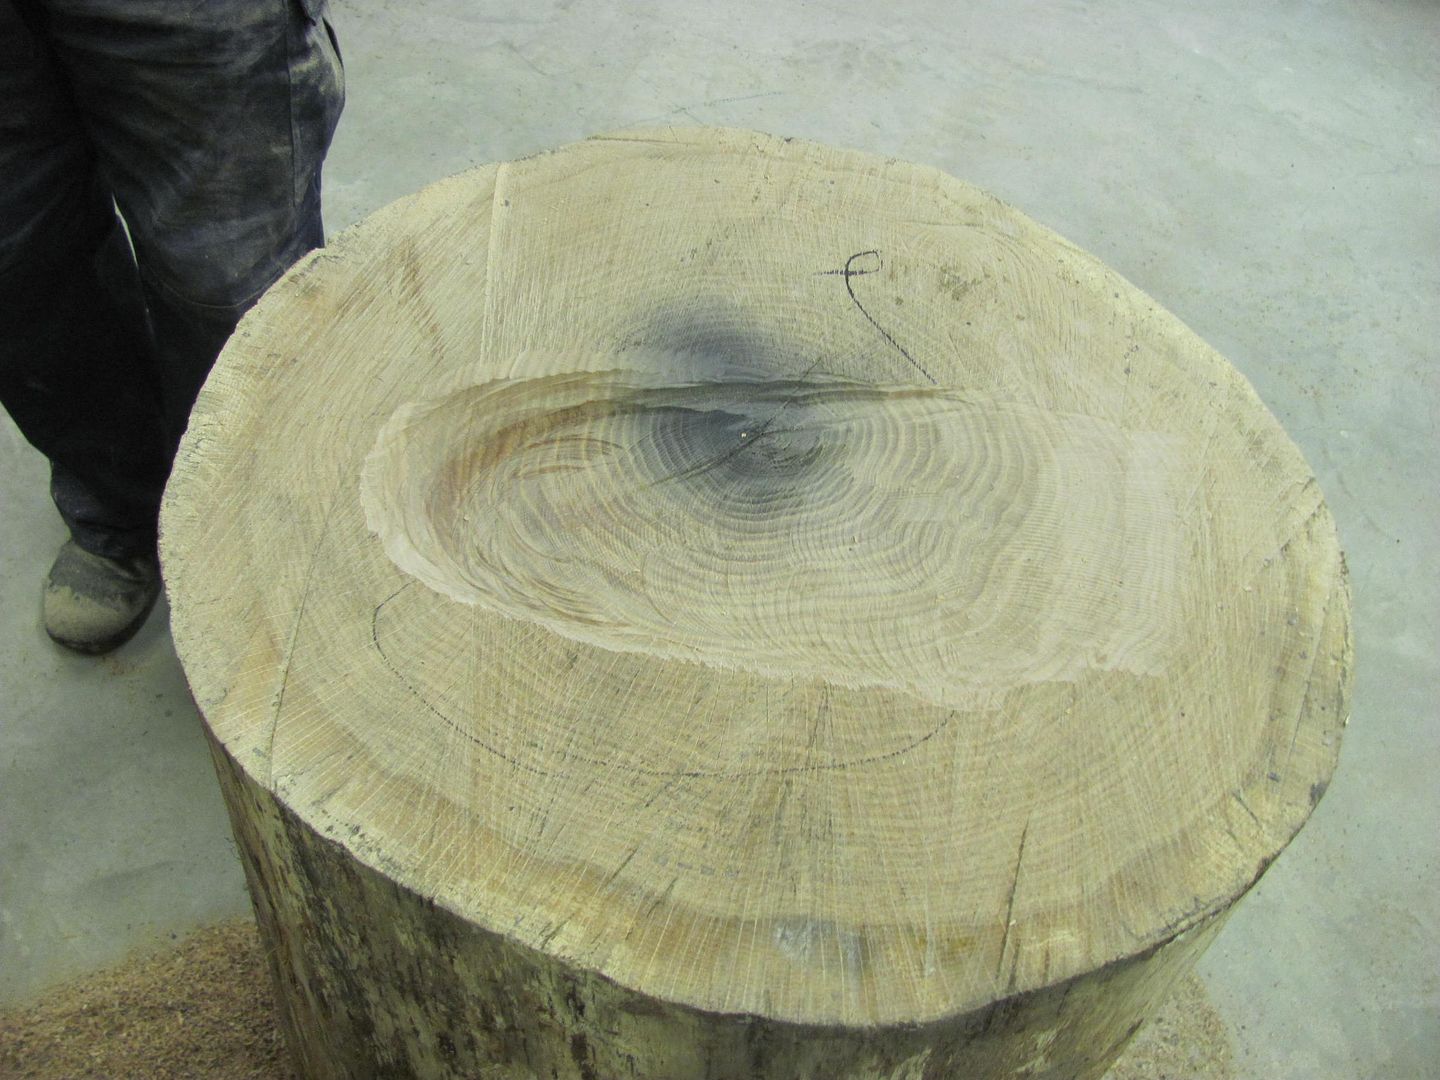 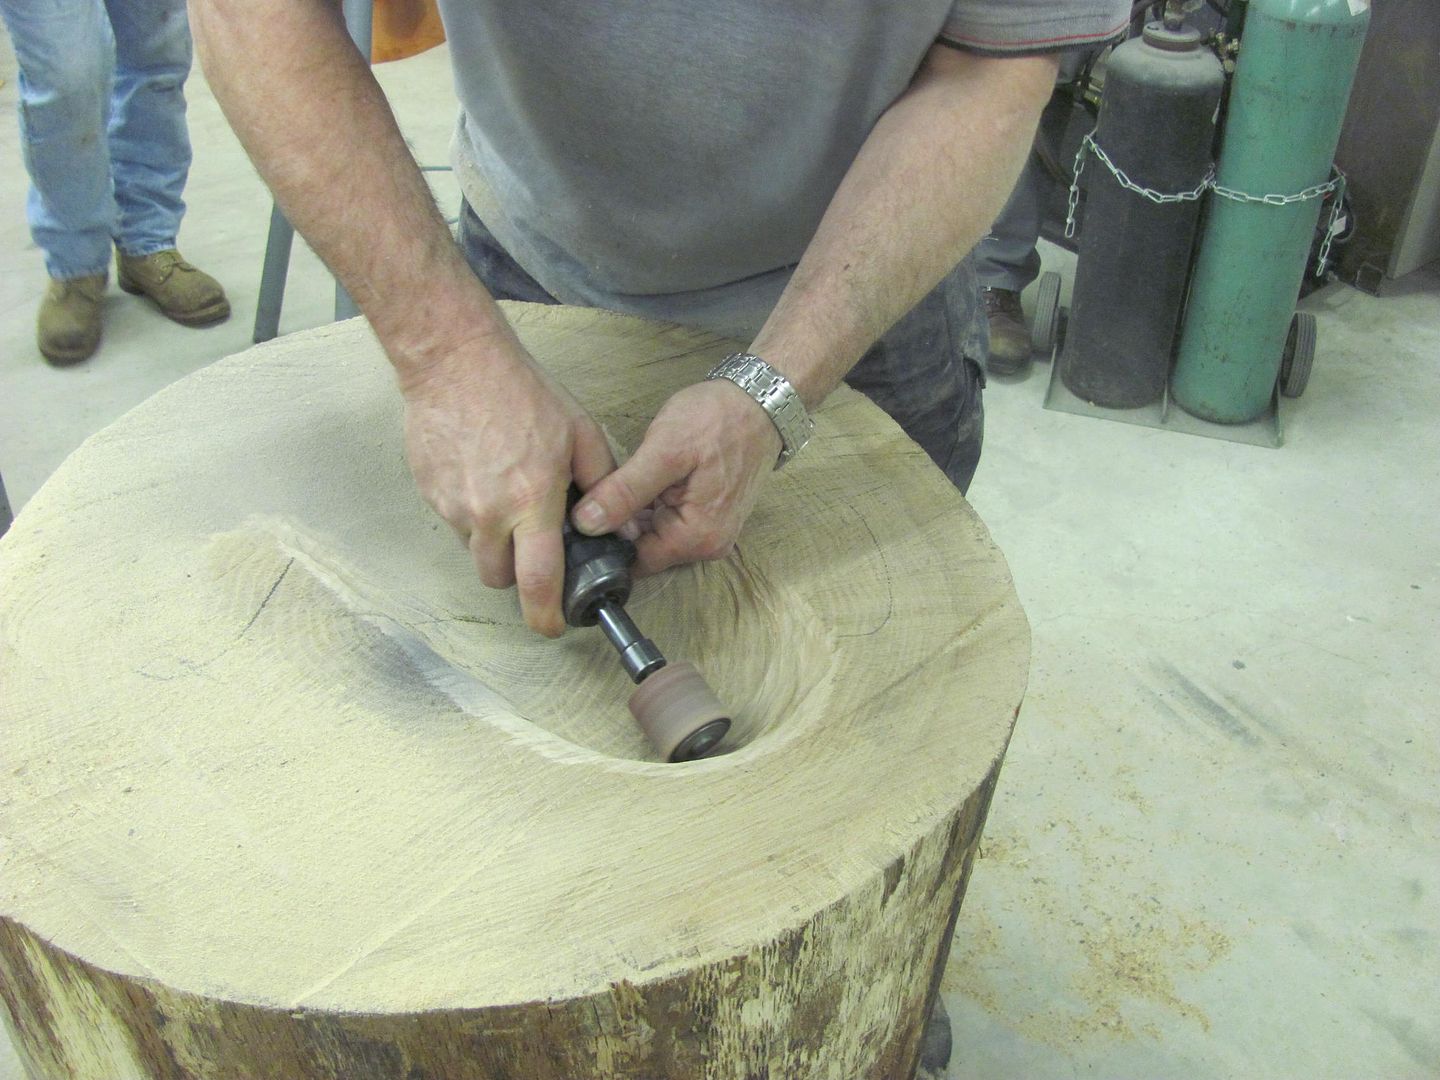 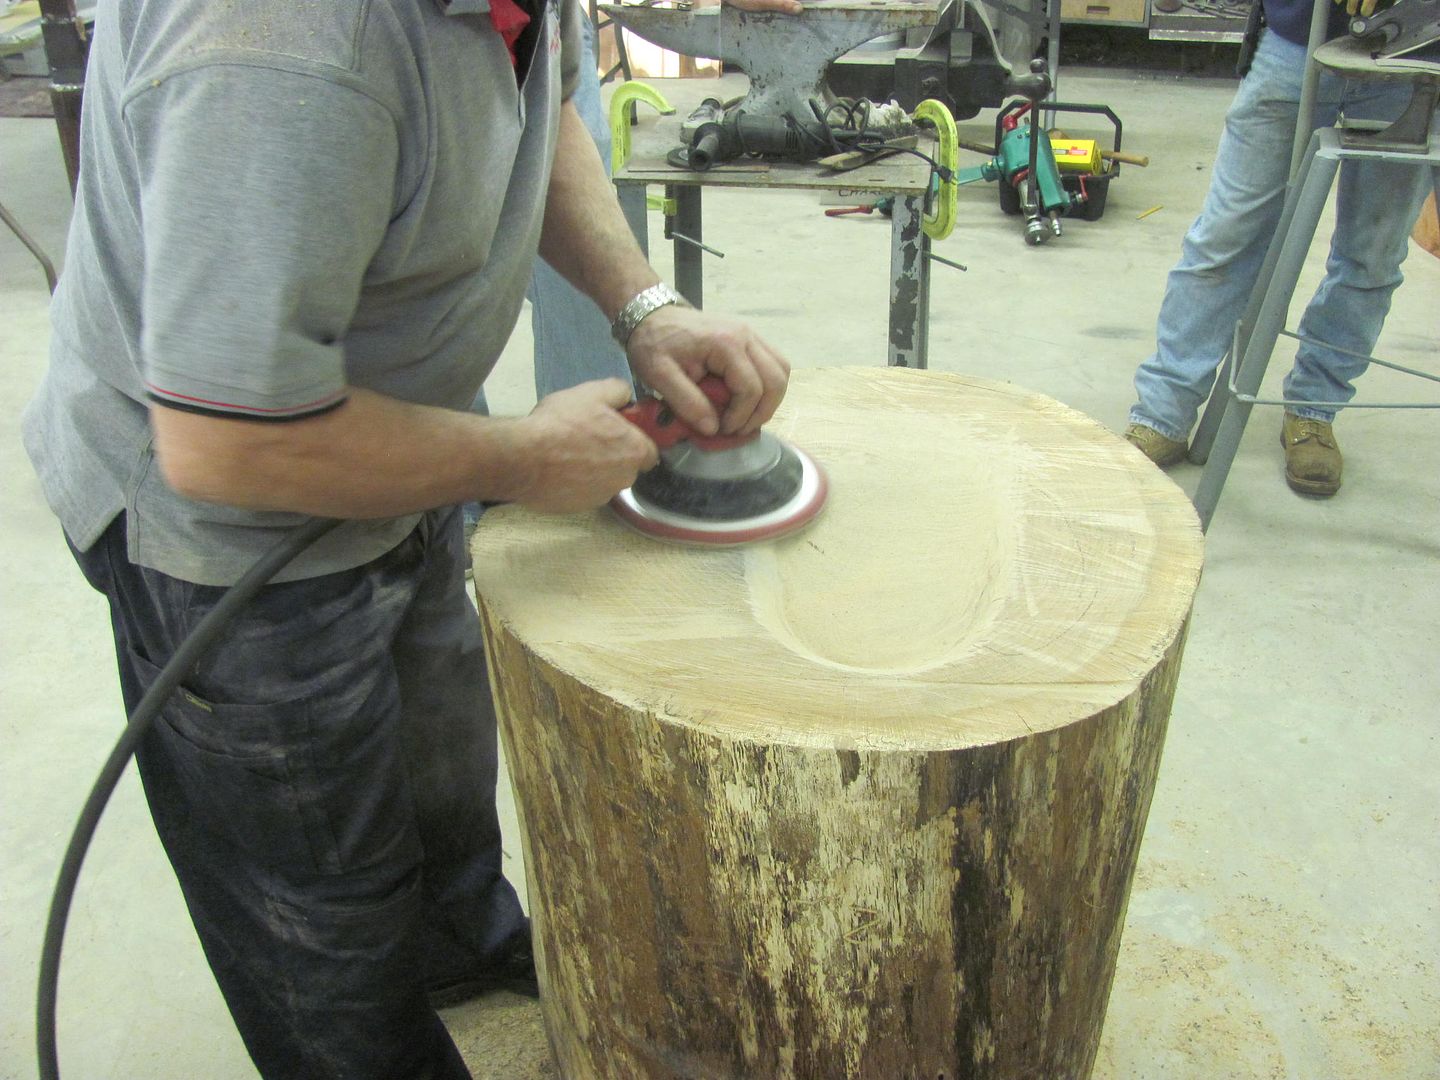 Discussing weld location in panel forming.... 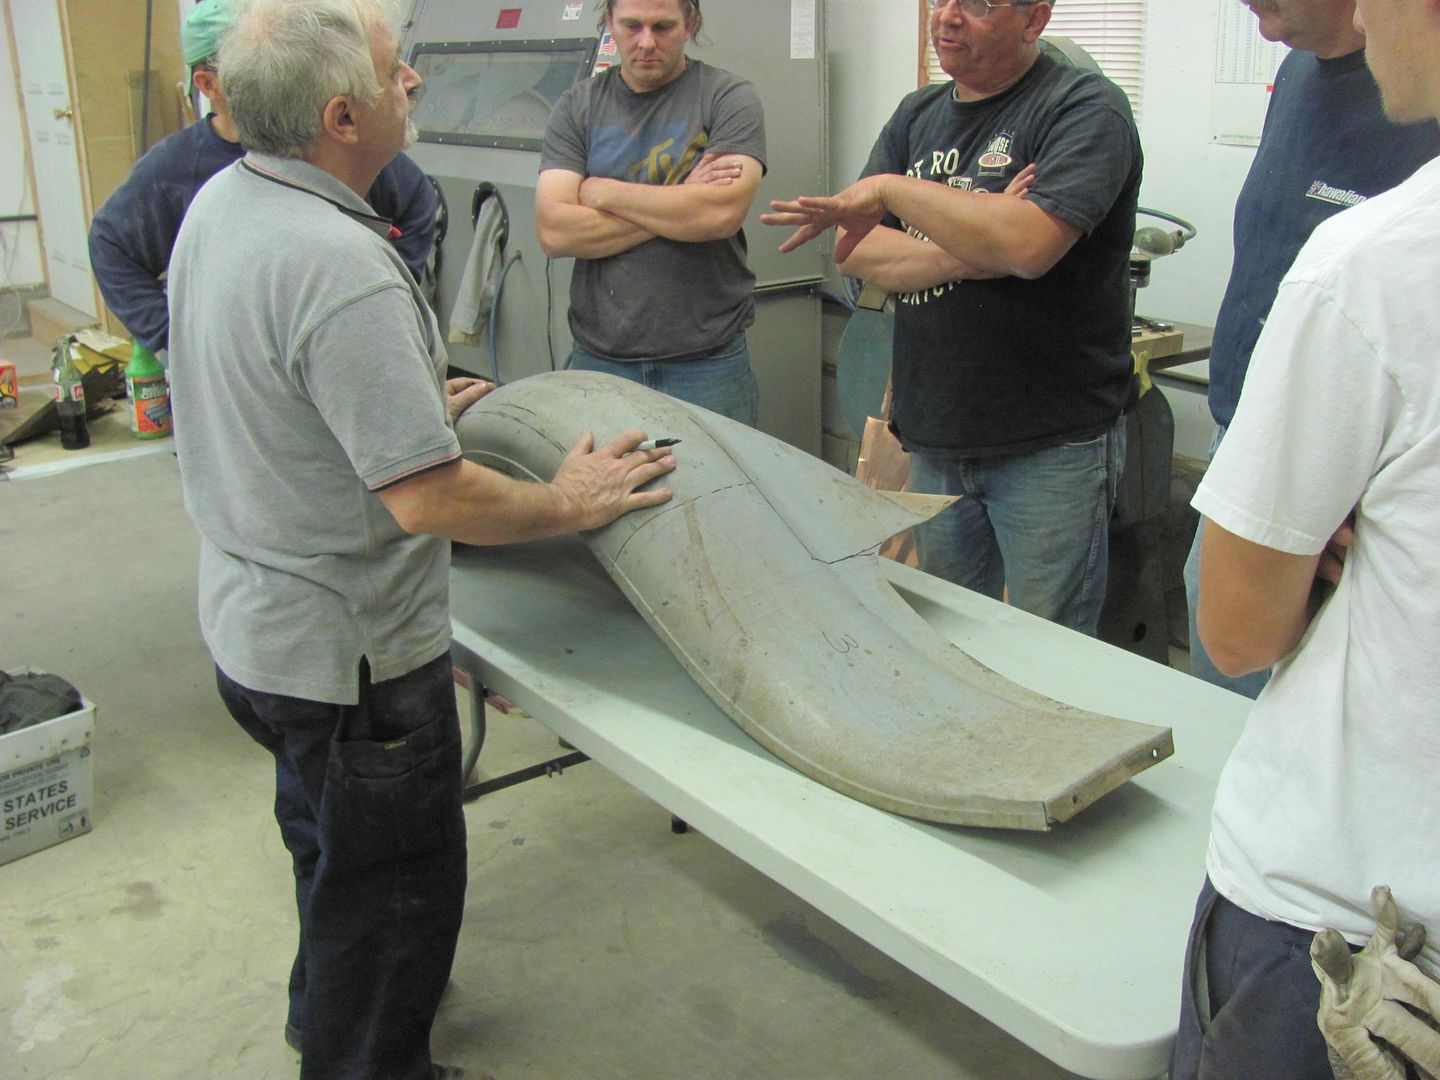 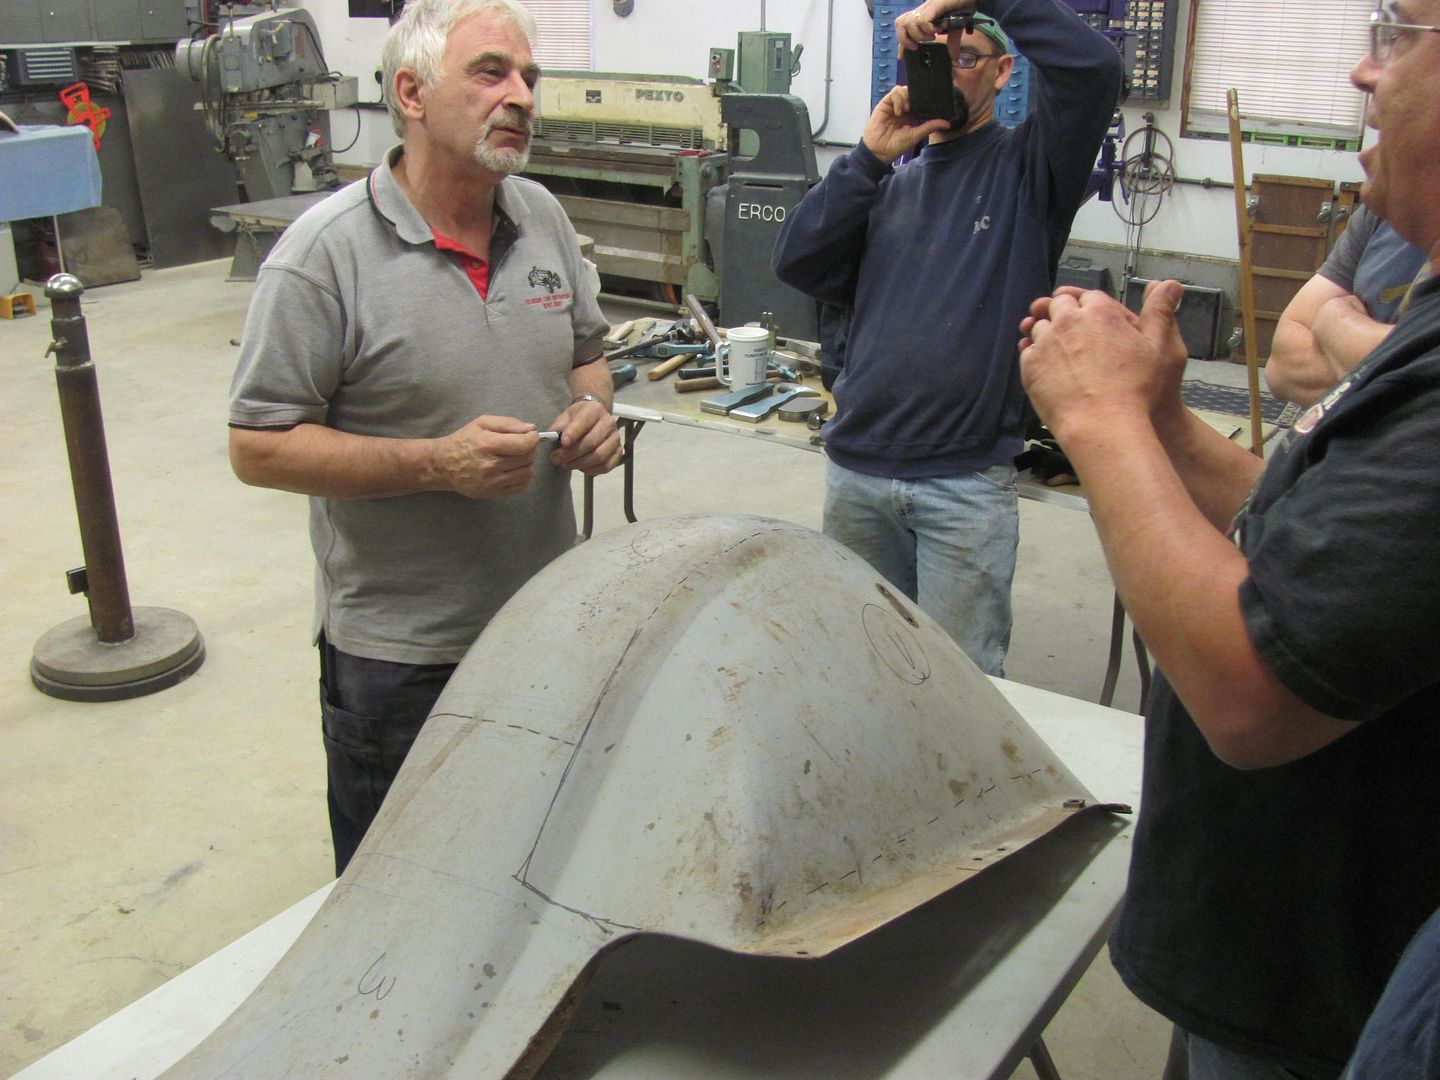 Using magnets to hold a paper pattern for layout.... 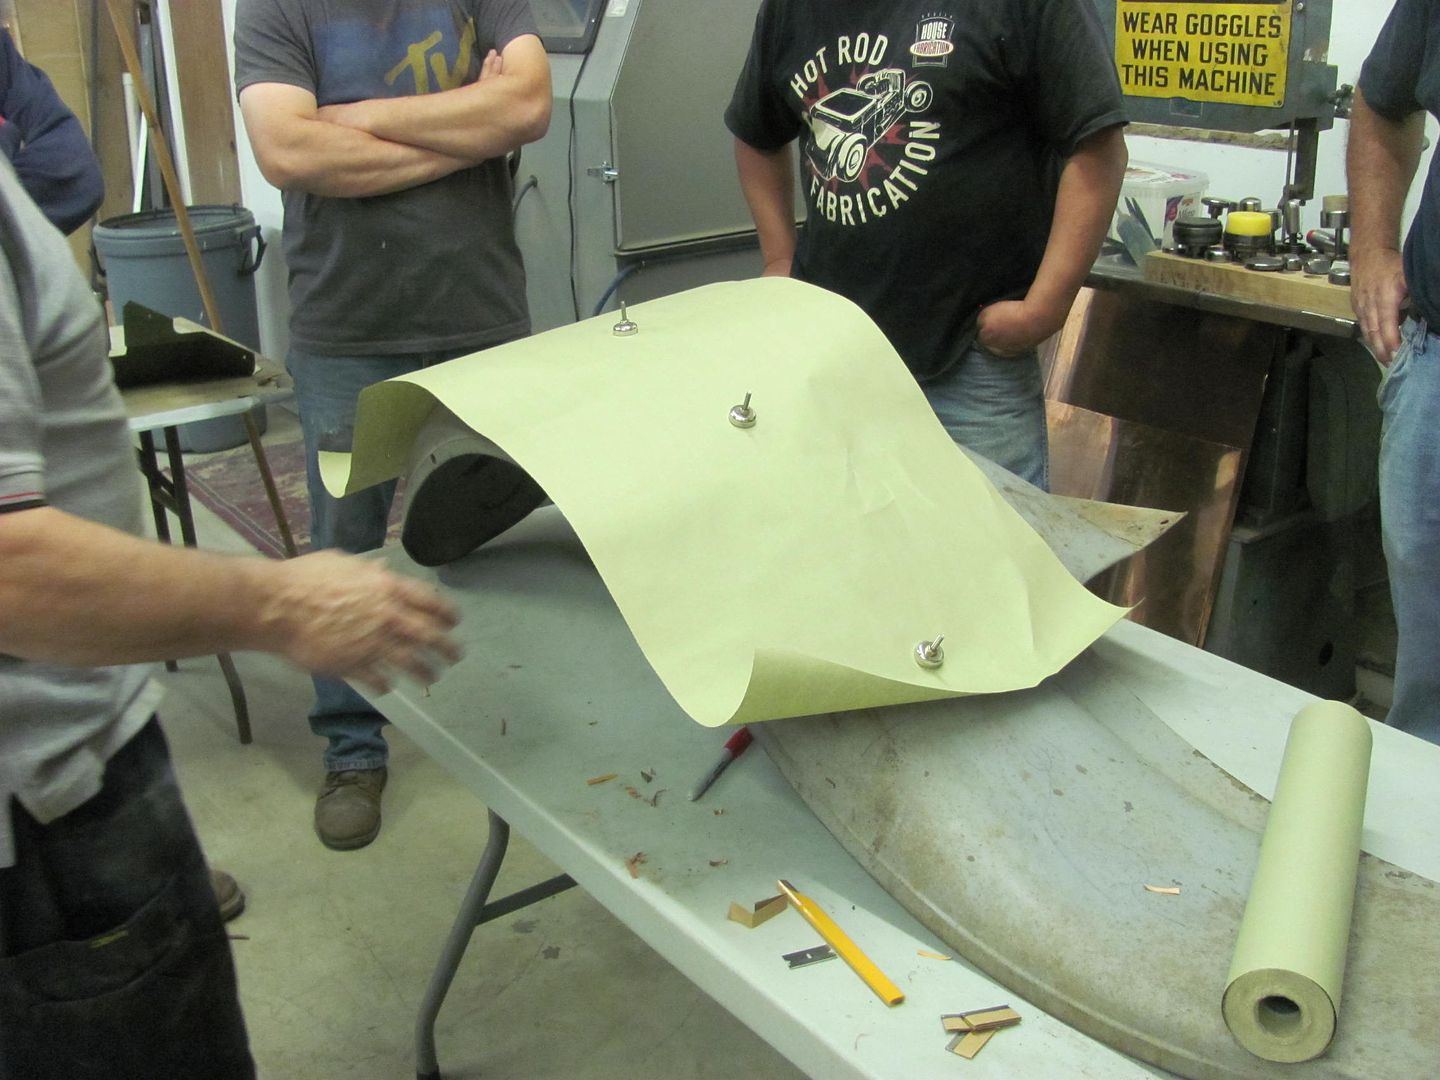 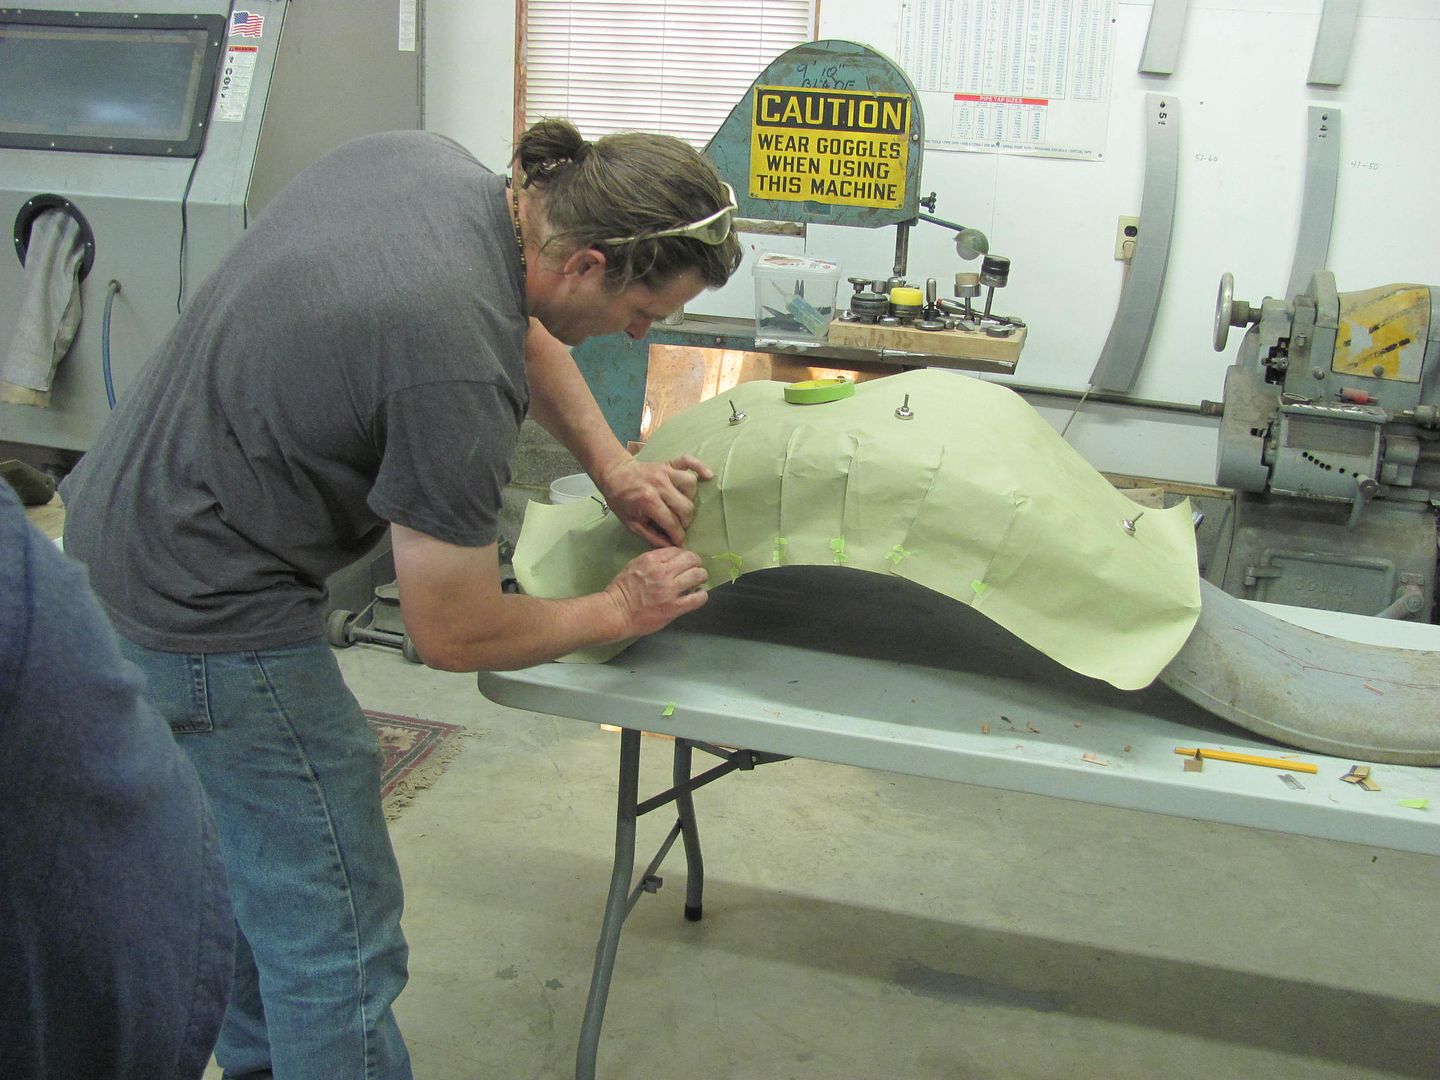 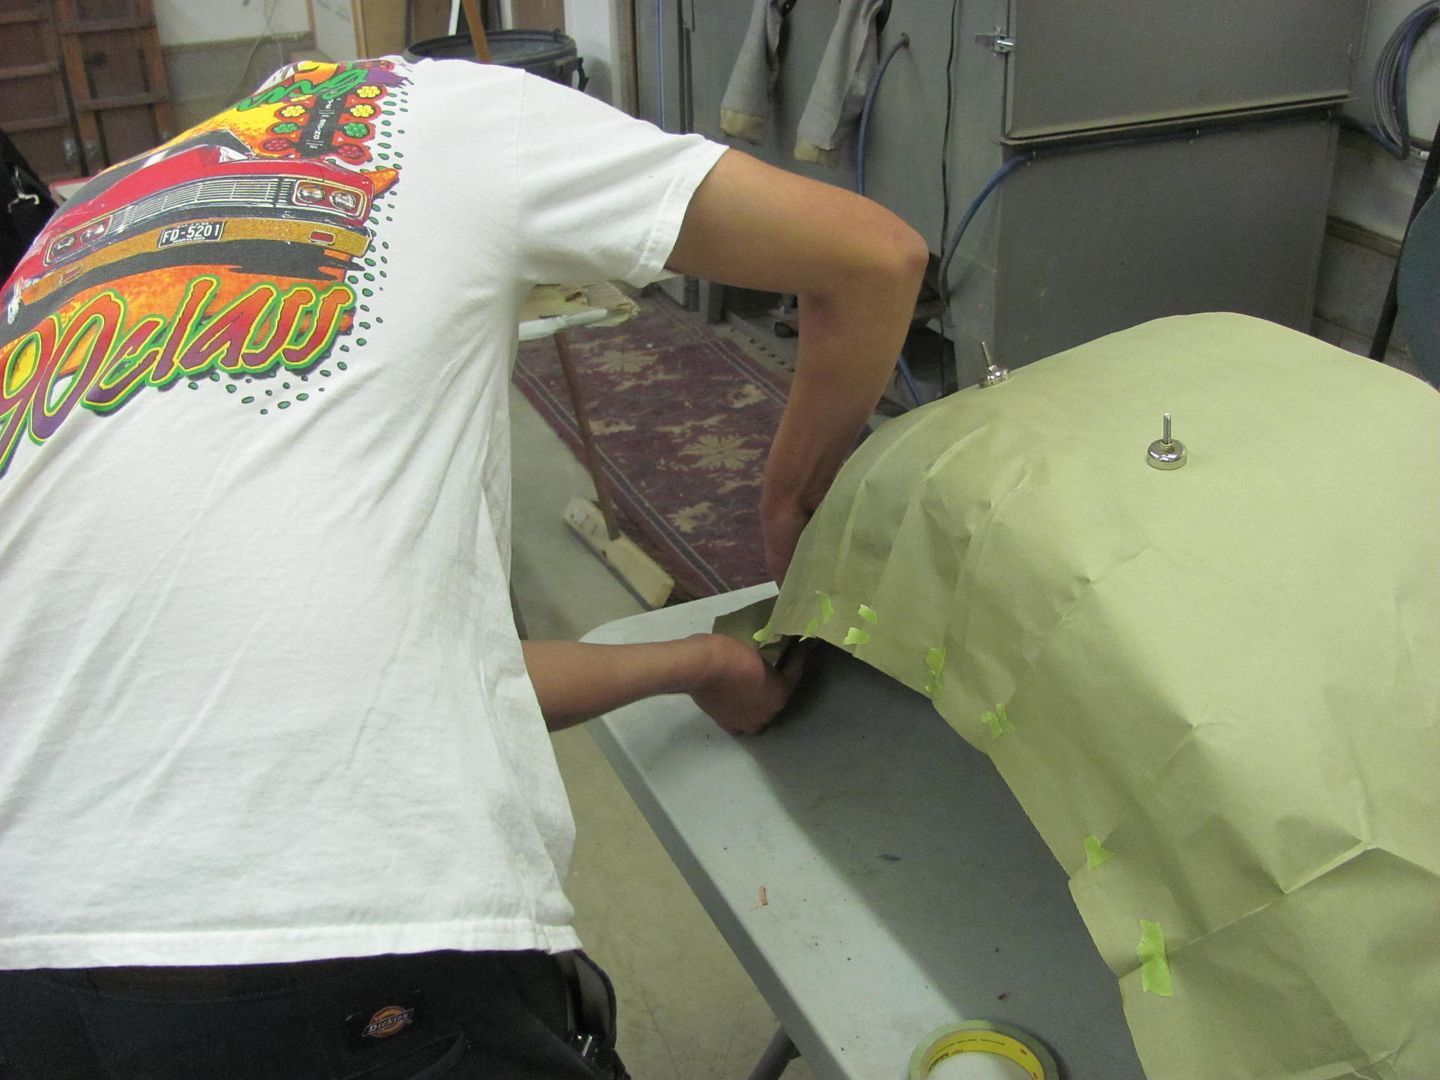 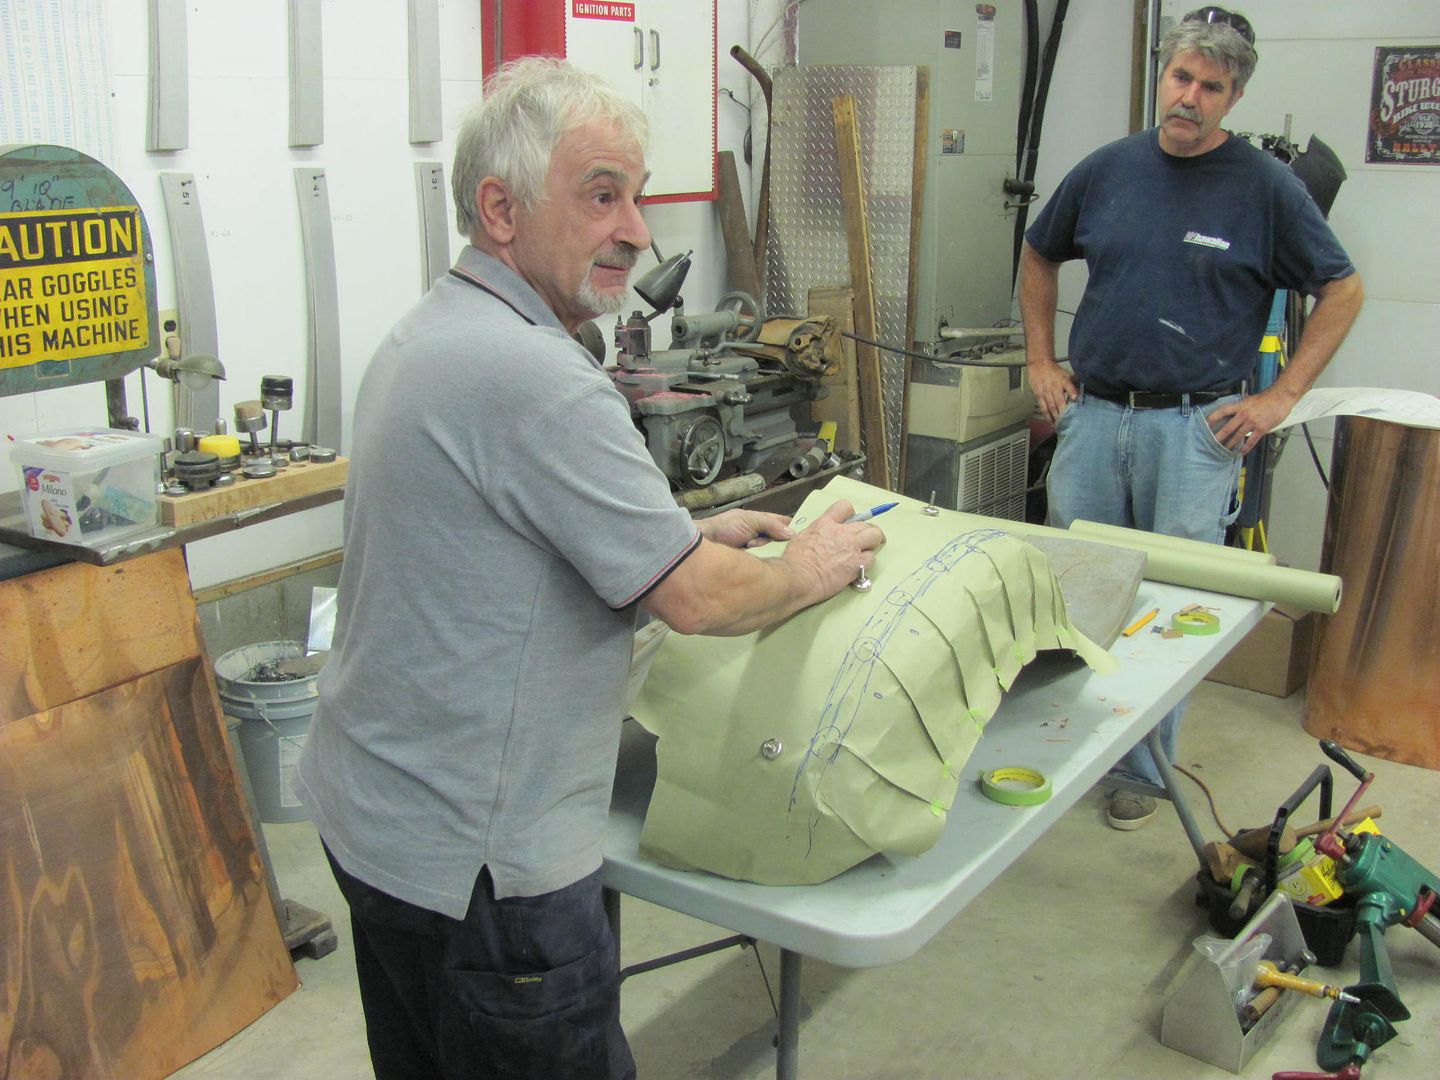 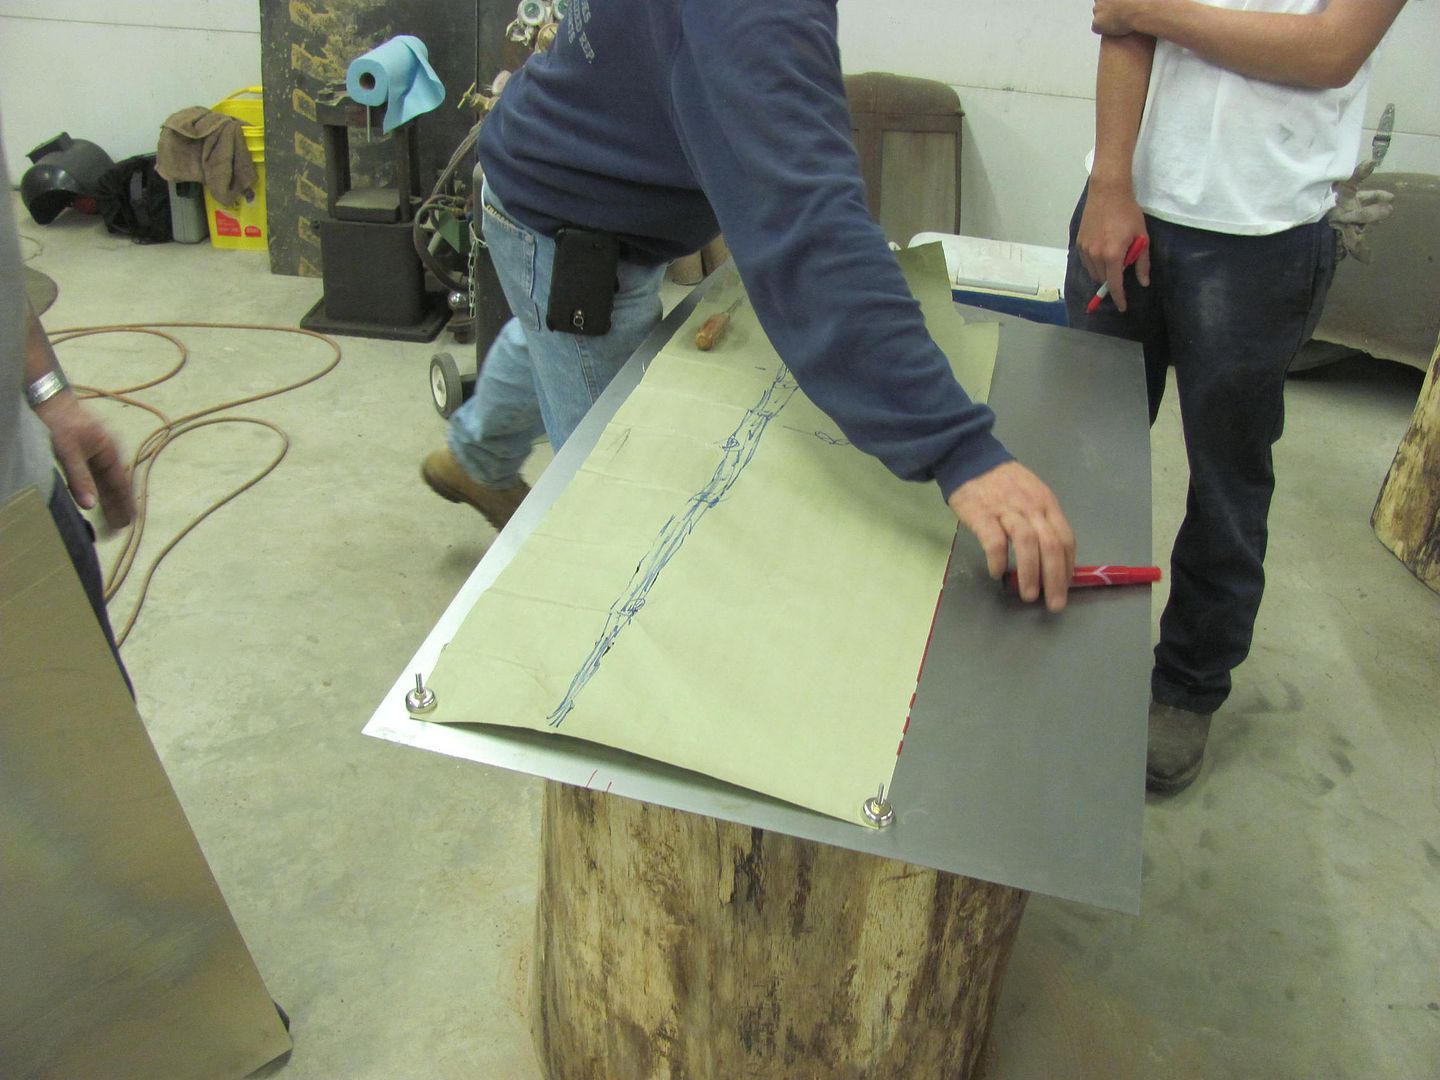 Wheeling, tuck shrinking and annealing aluminum sheet... 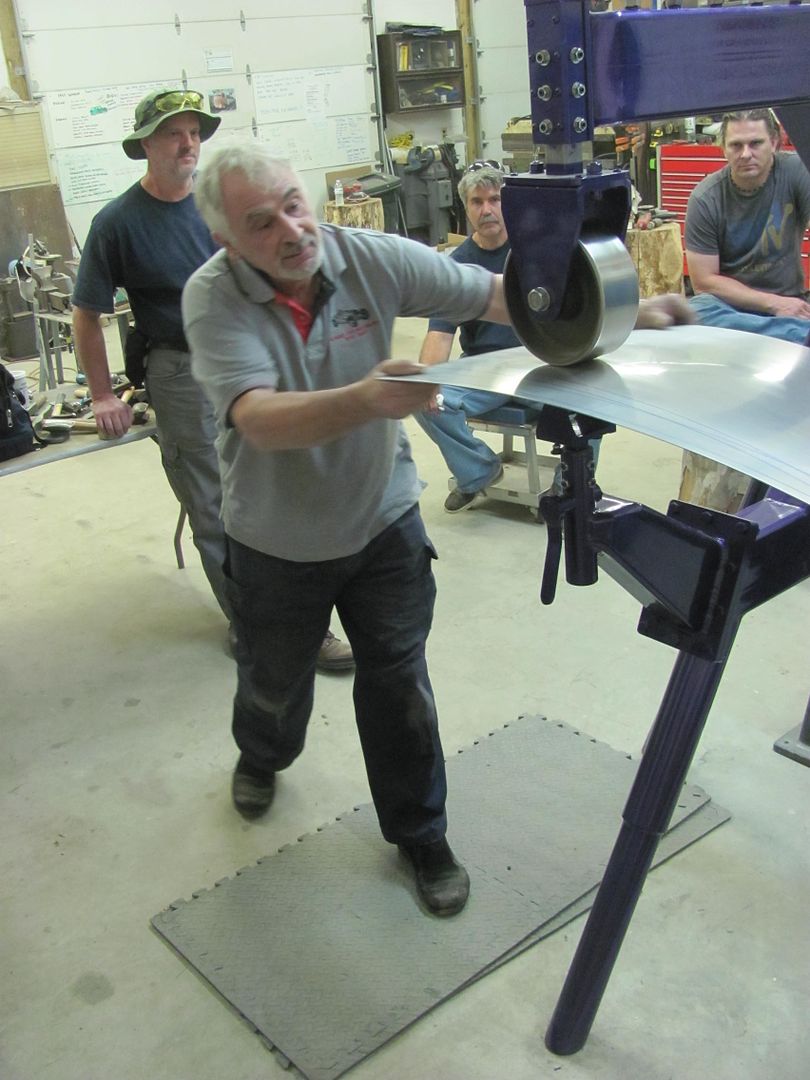 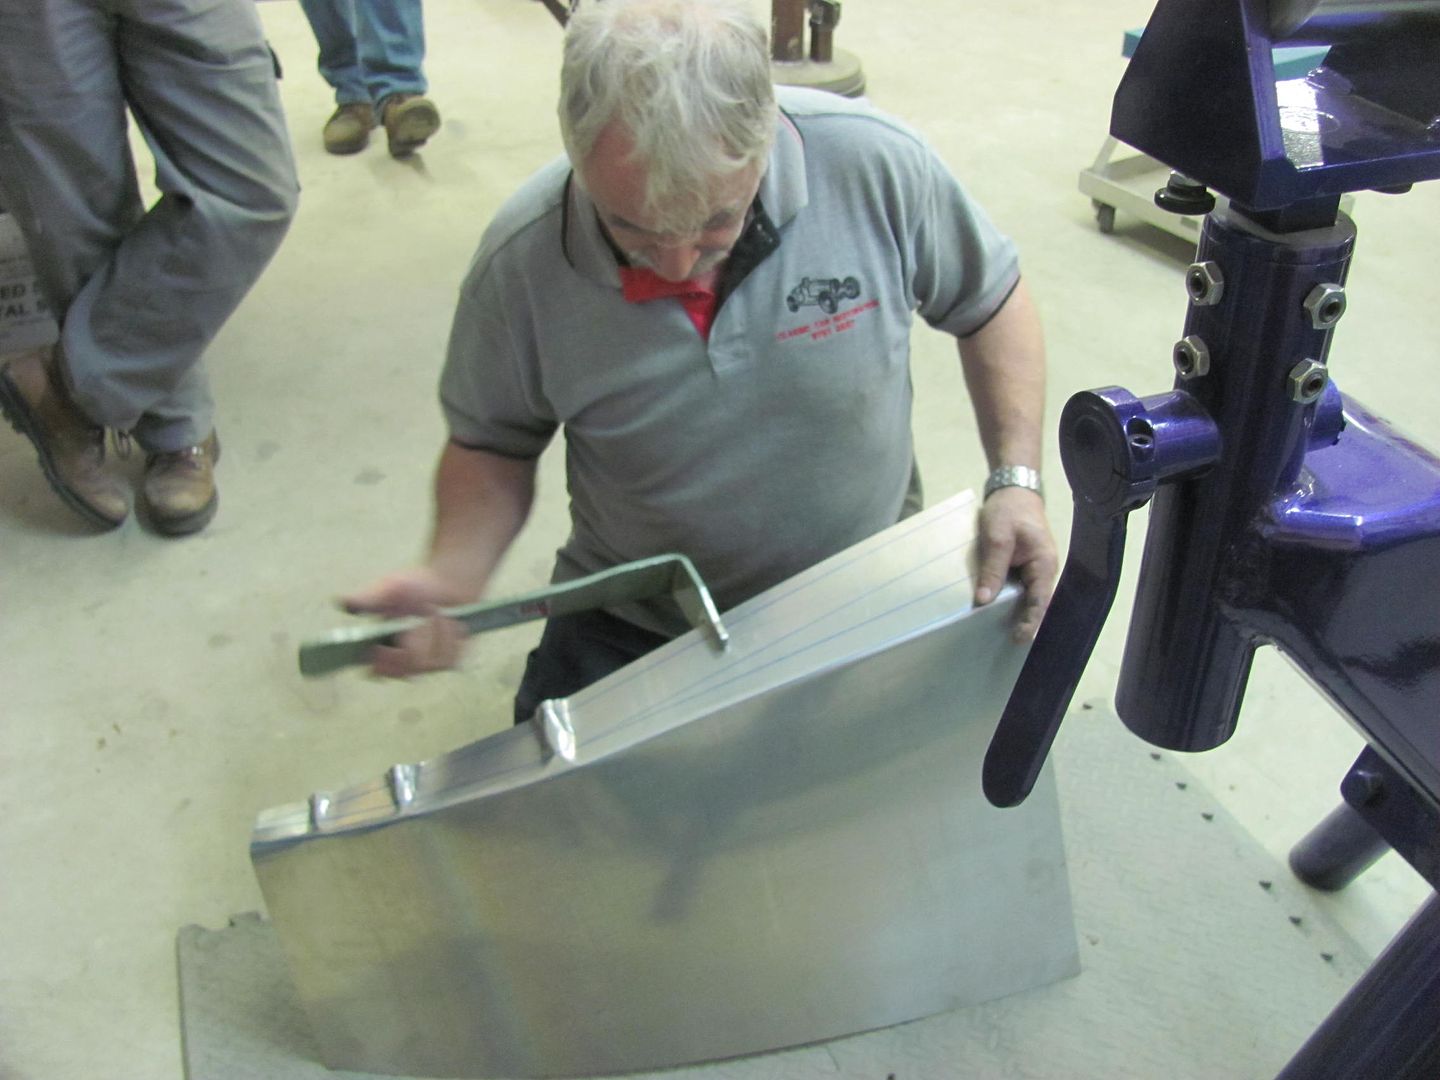 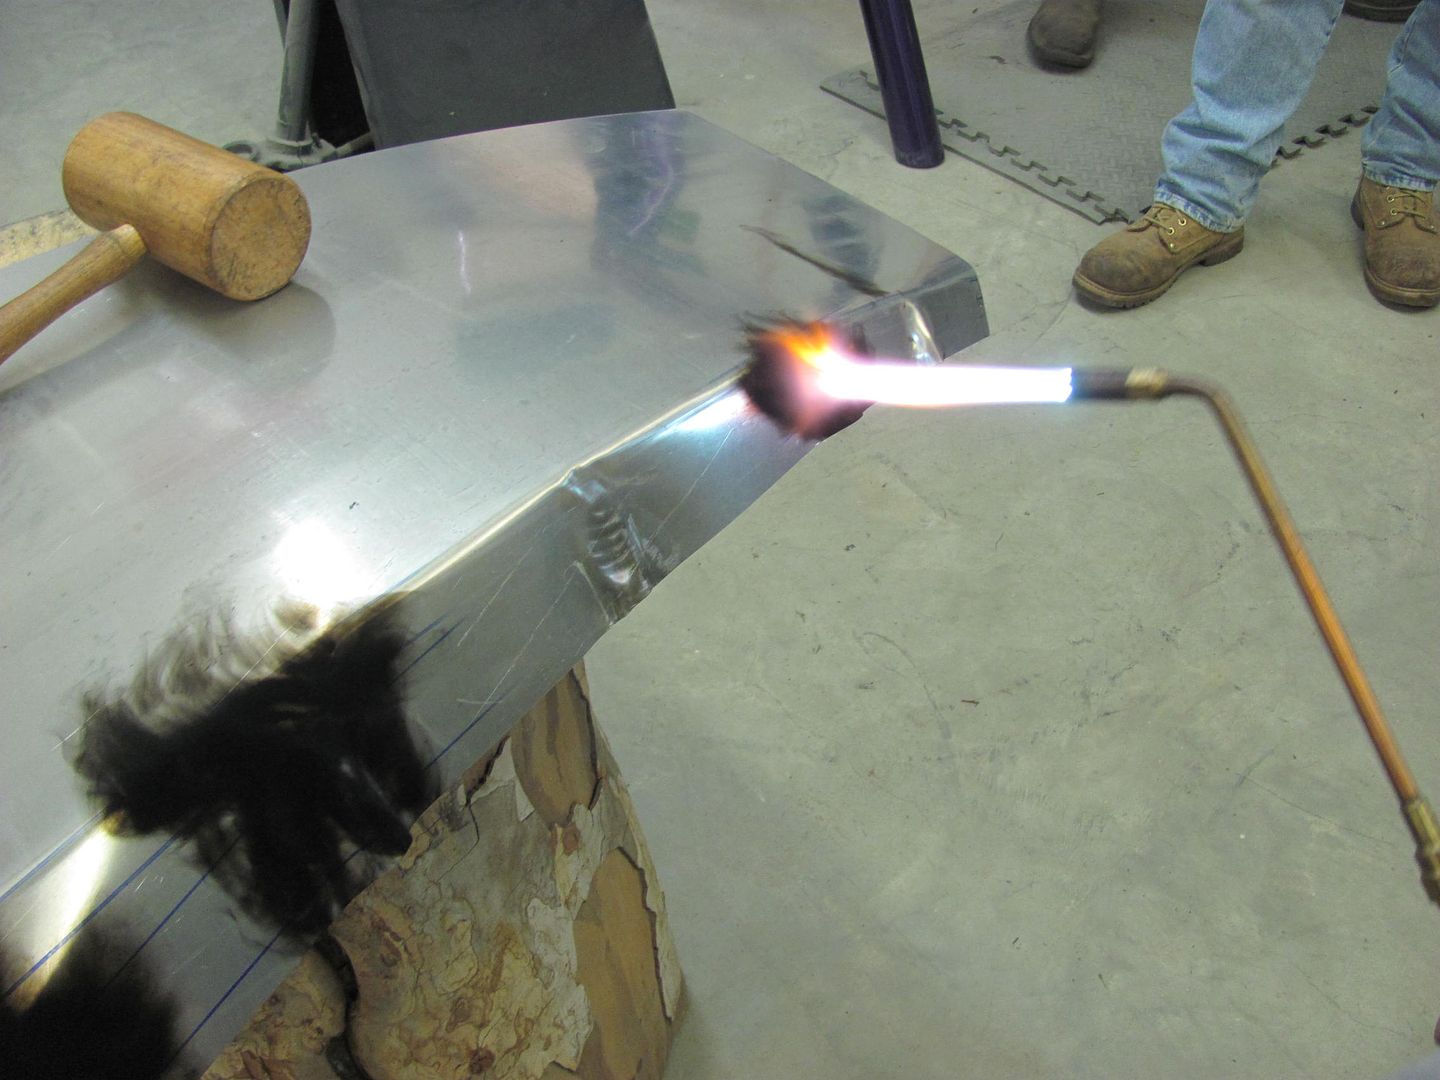 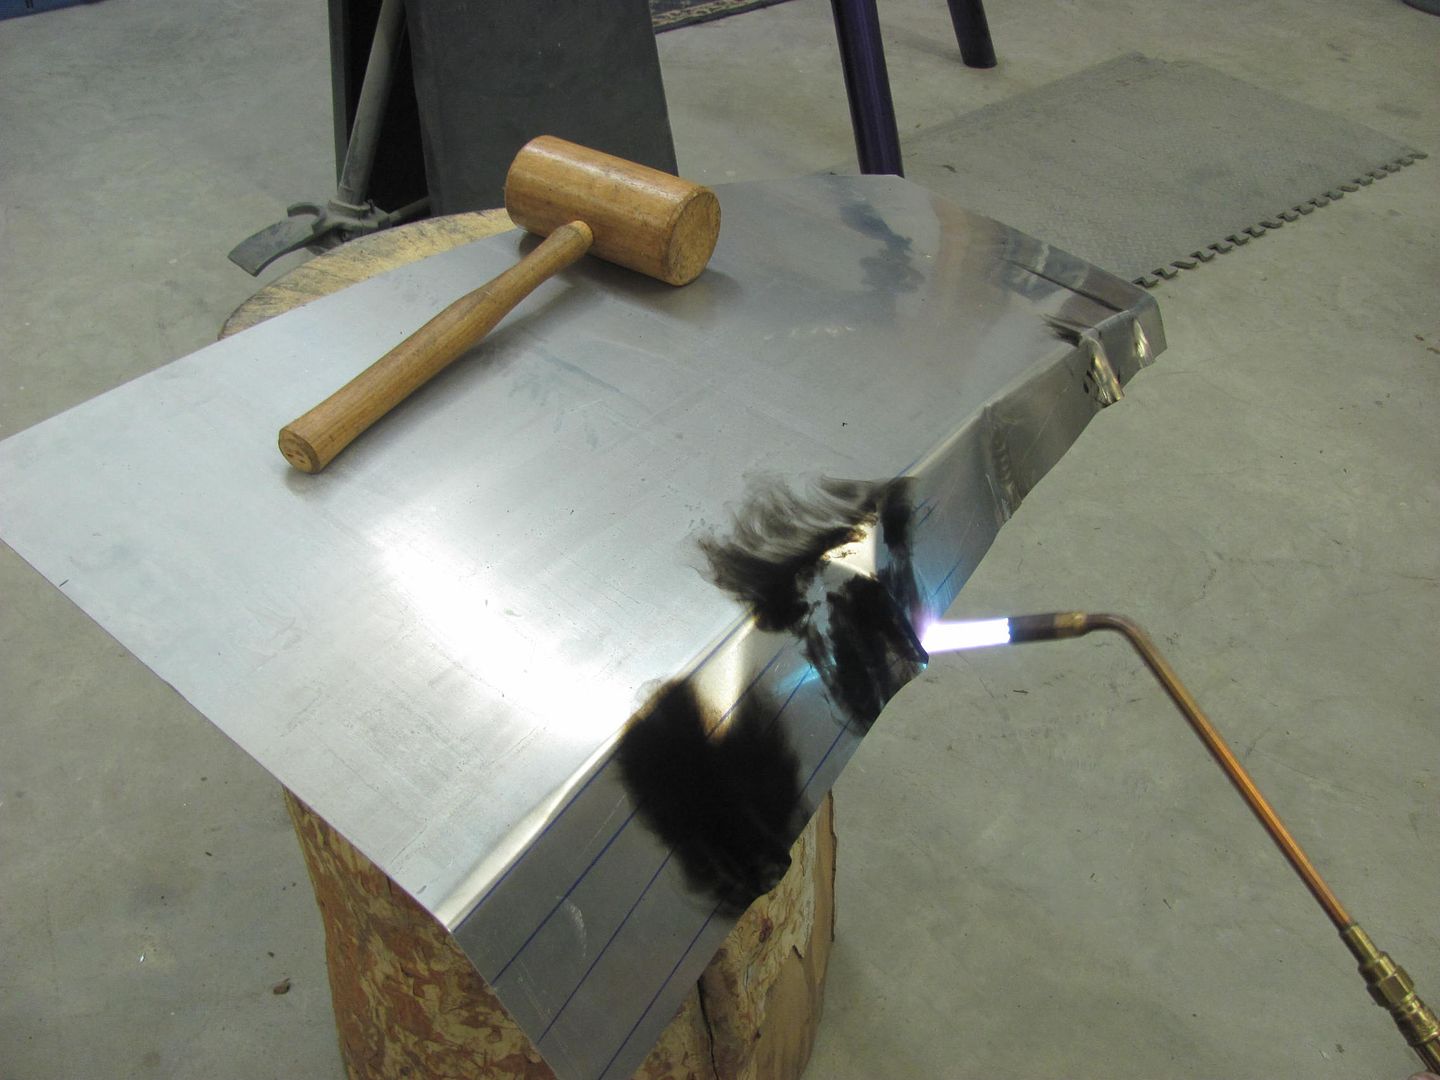 Capturing the tuck and shrinking on aluminum sheet 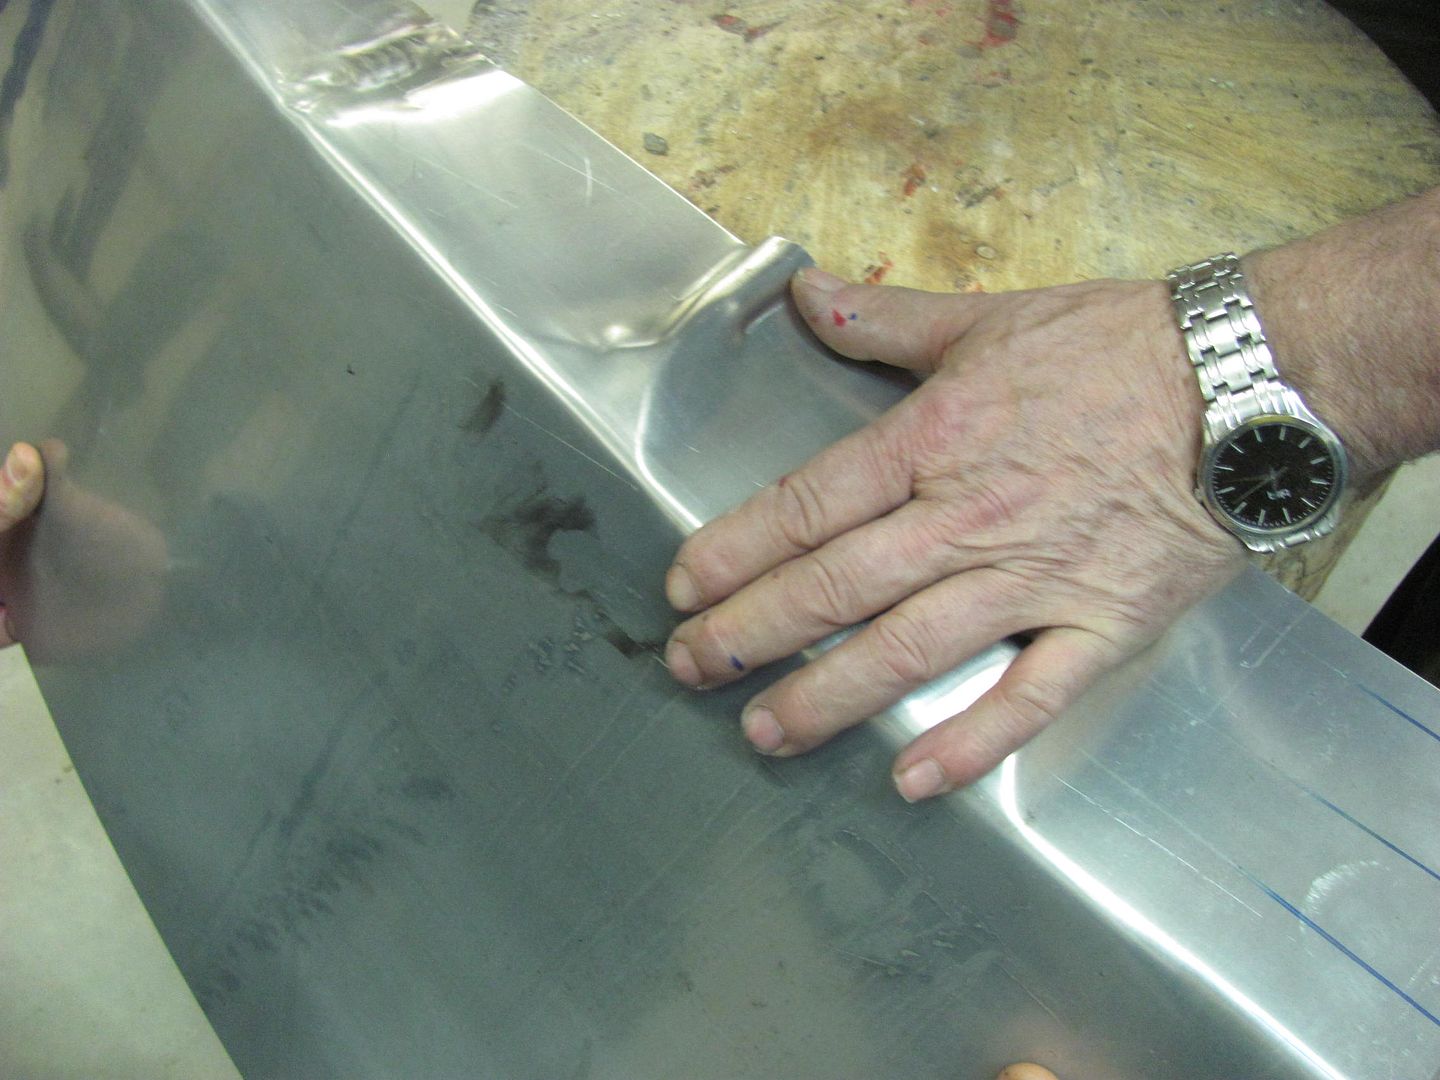  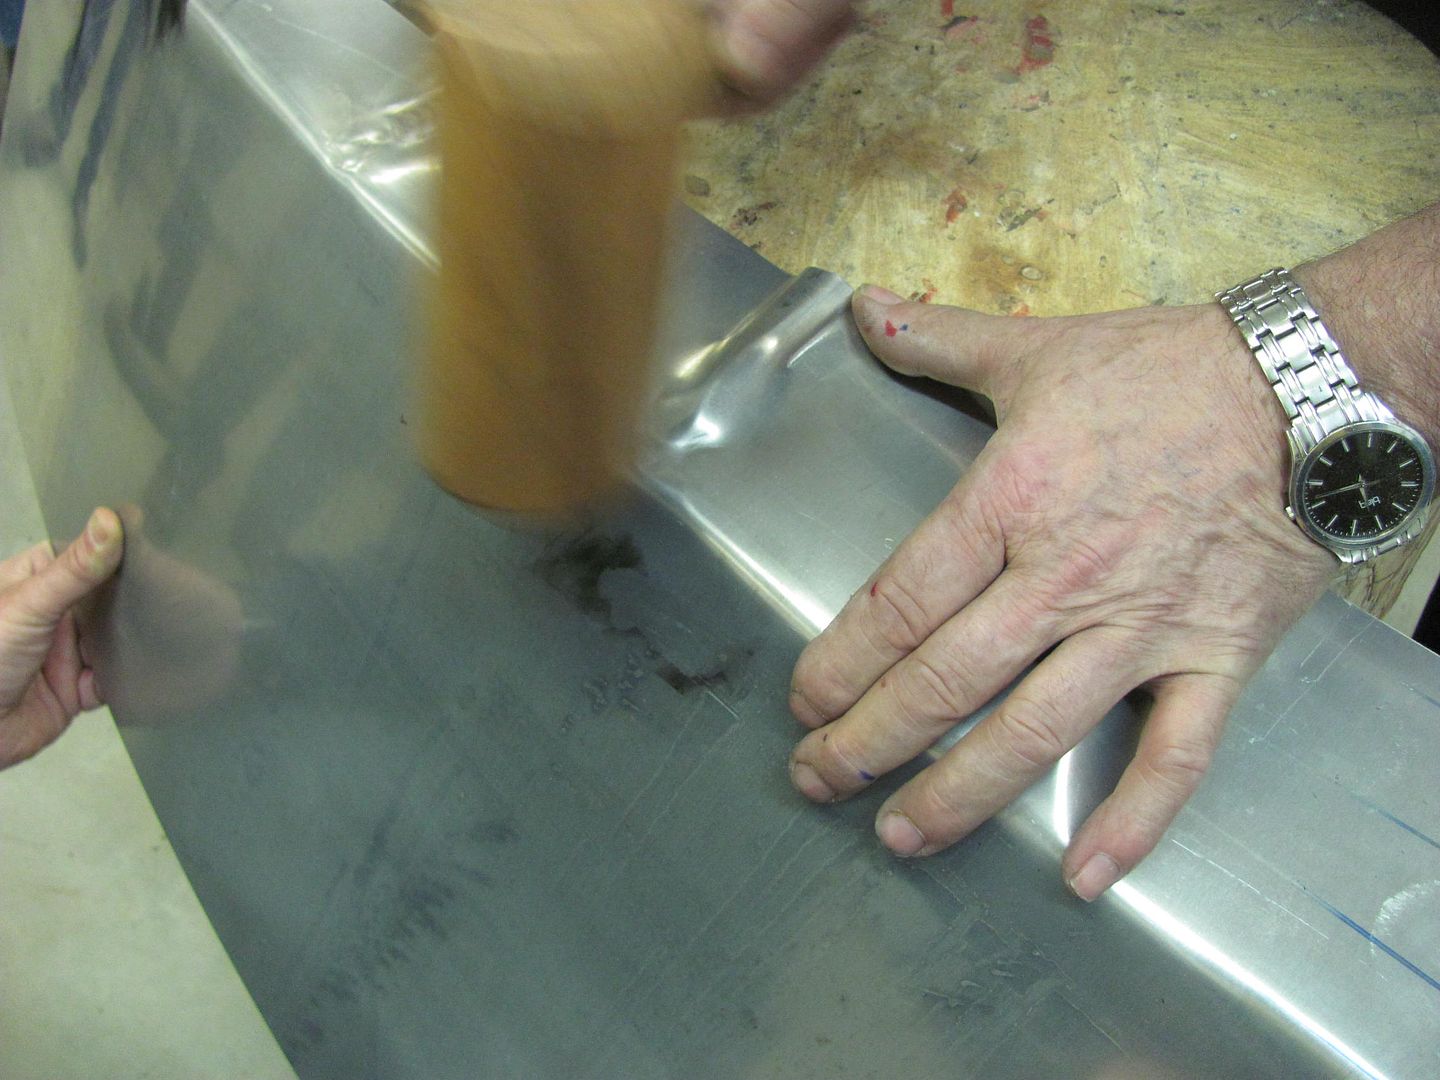 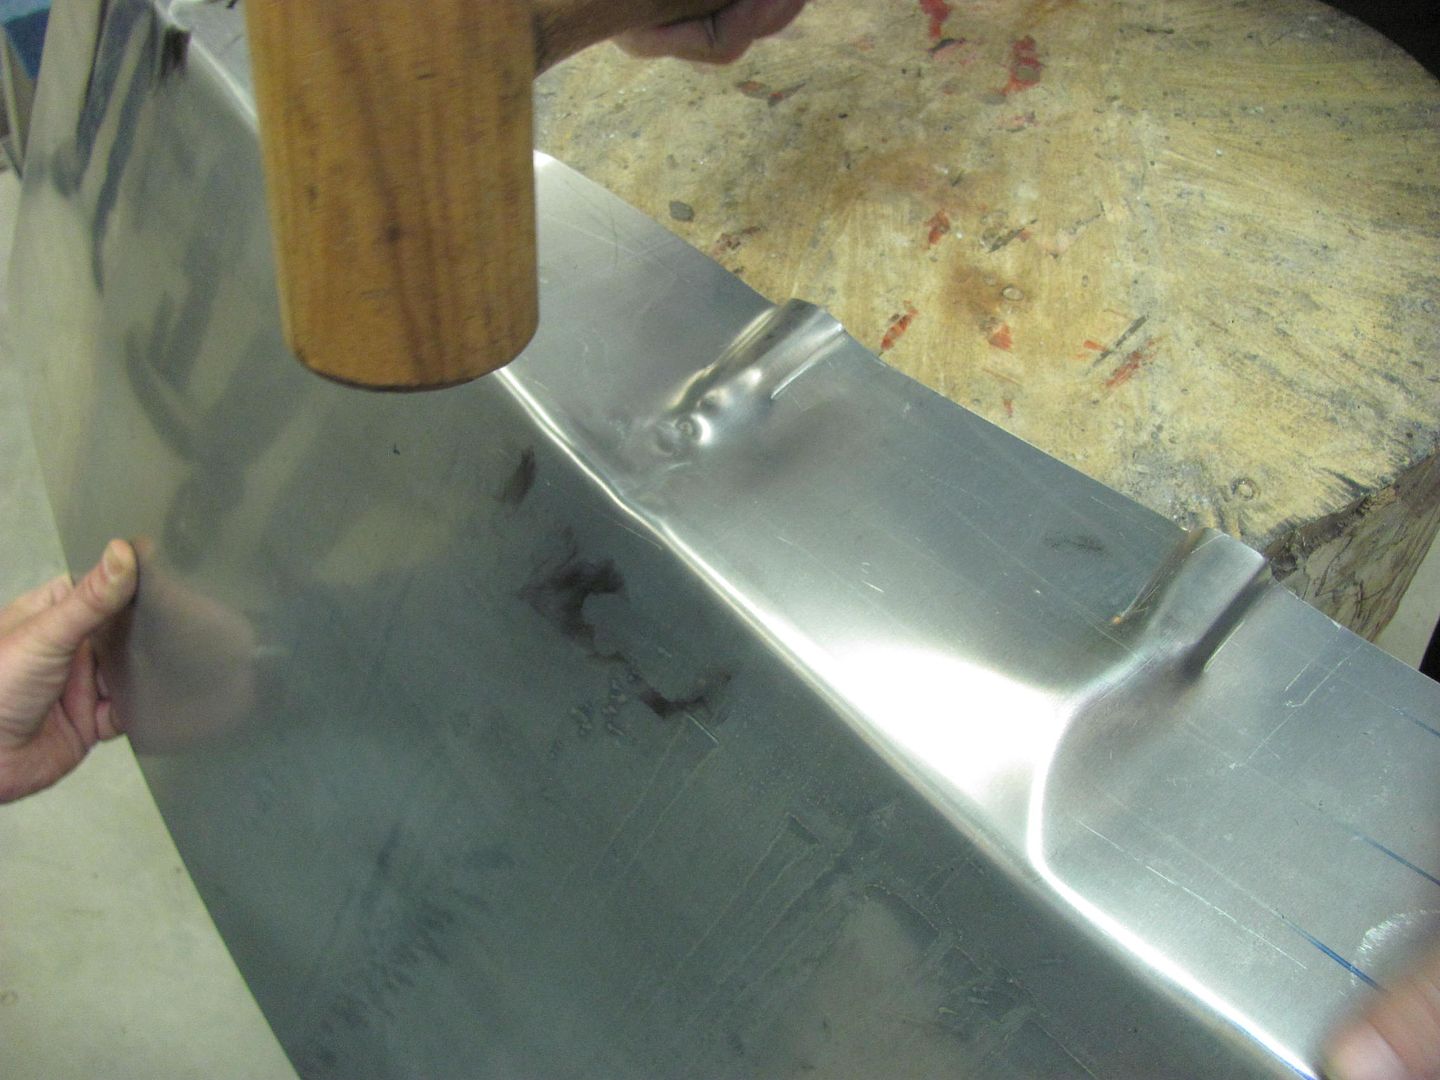 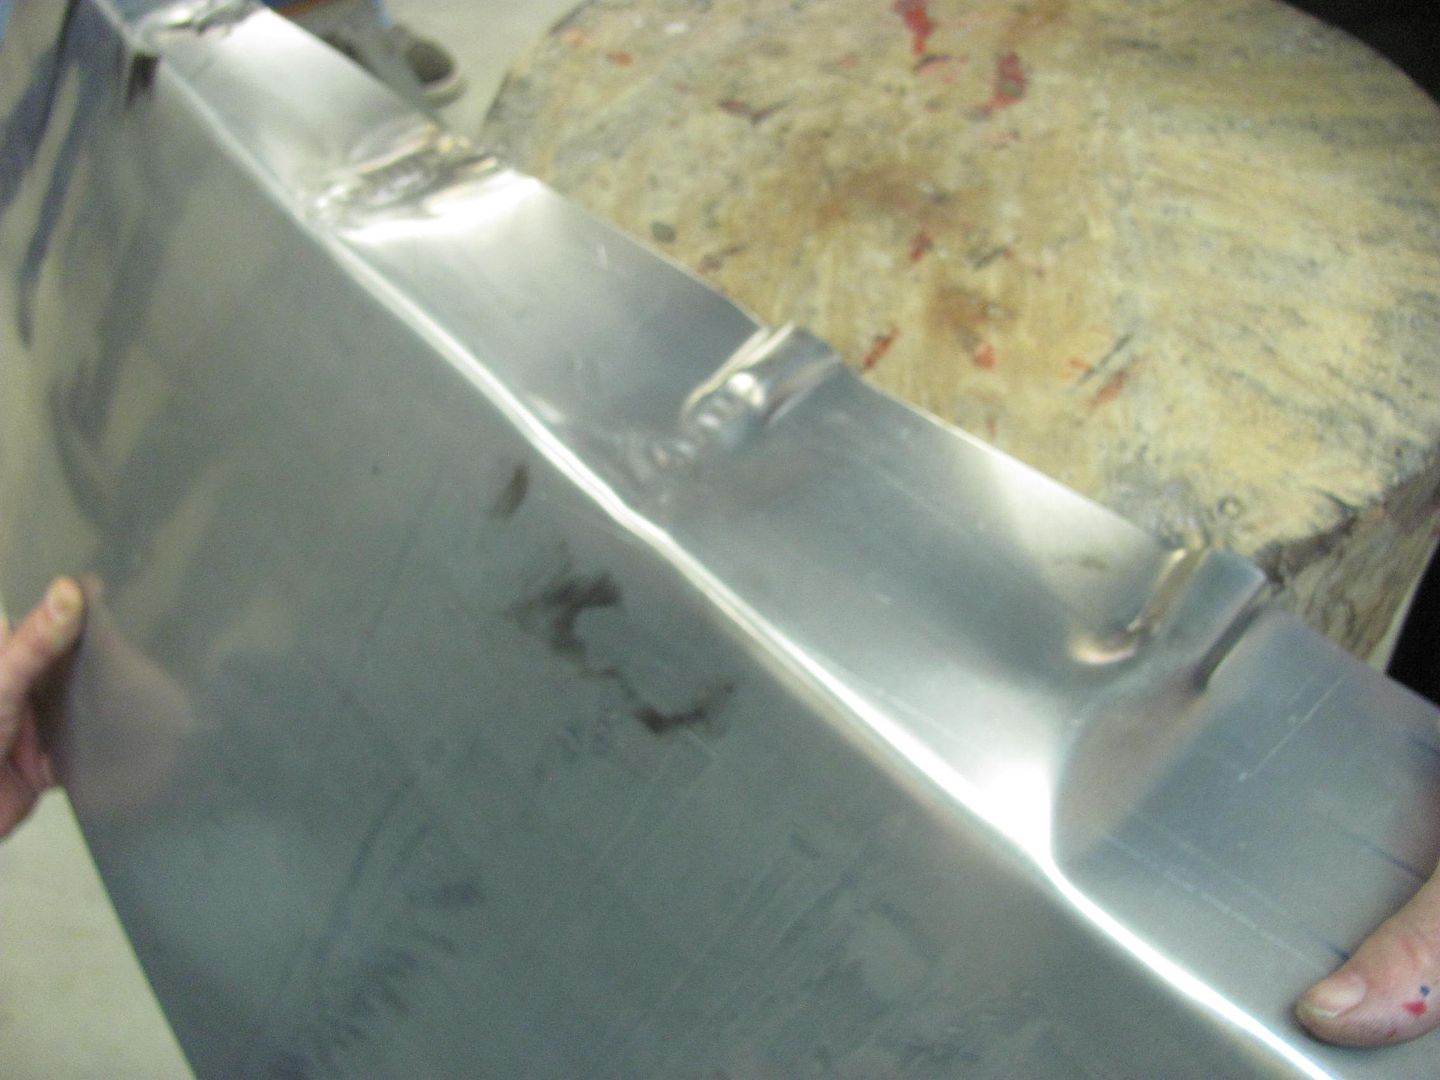 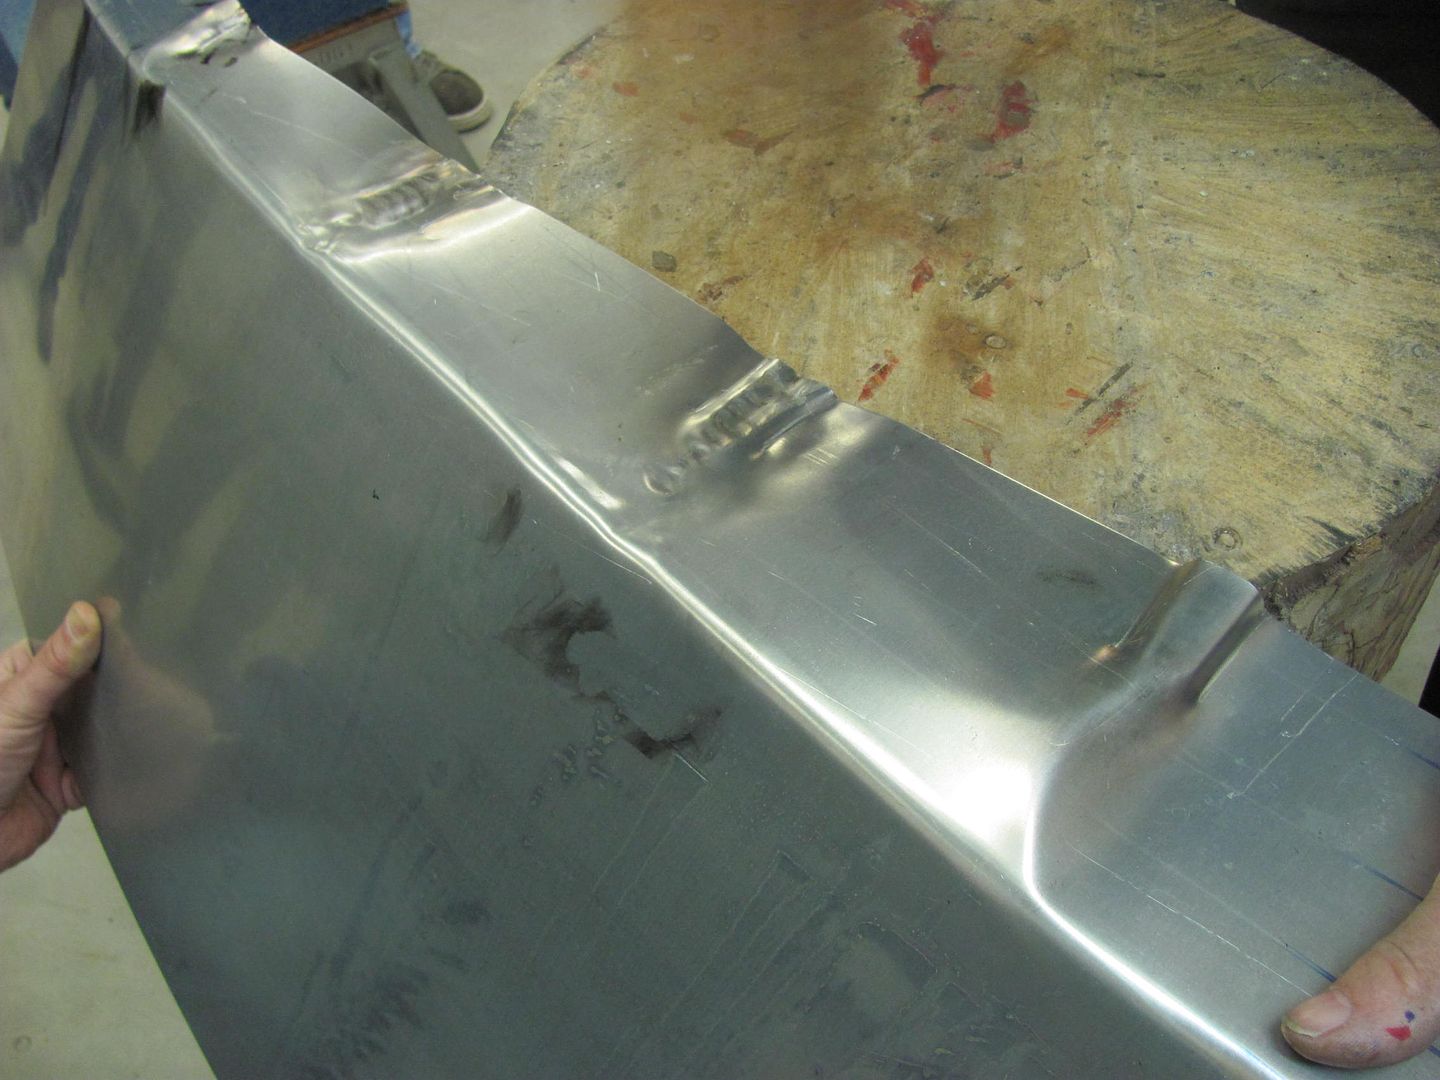 Blocking and wheeling our 19 gauge steel fender panel... 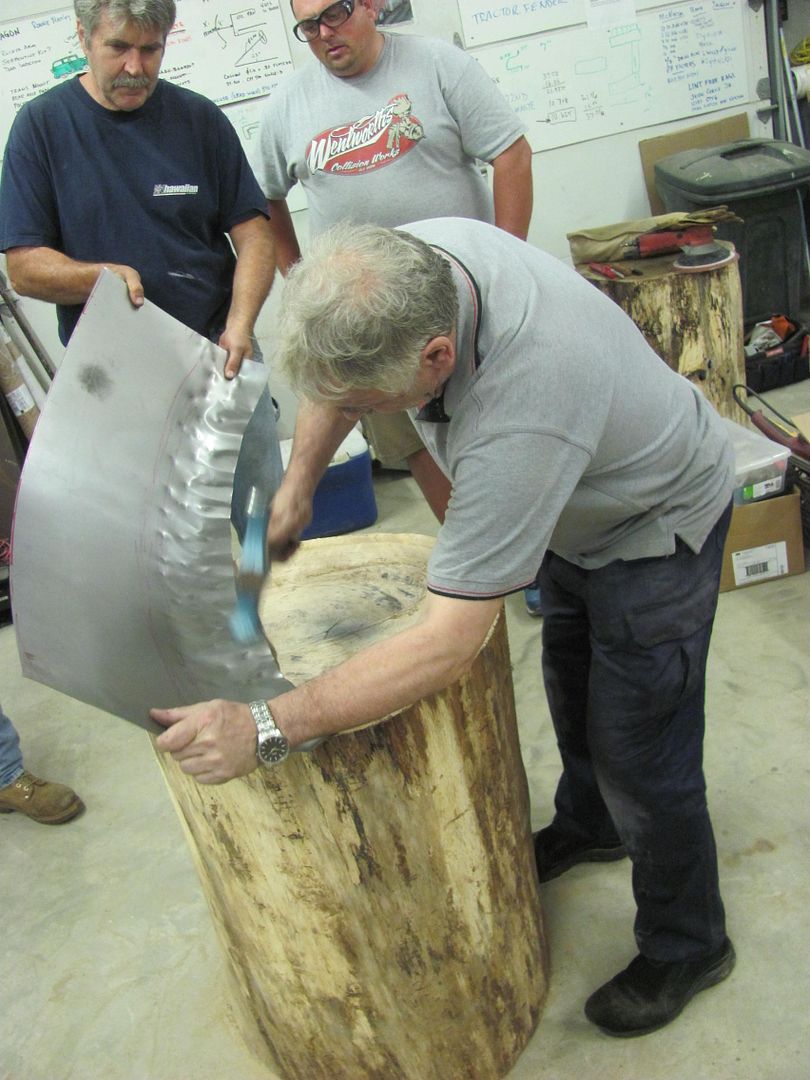 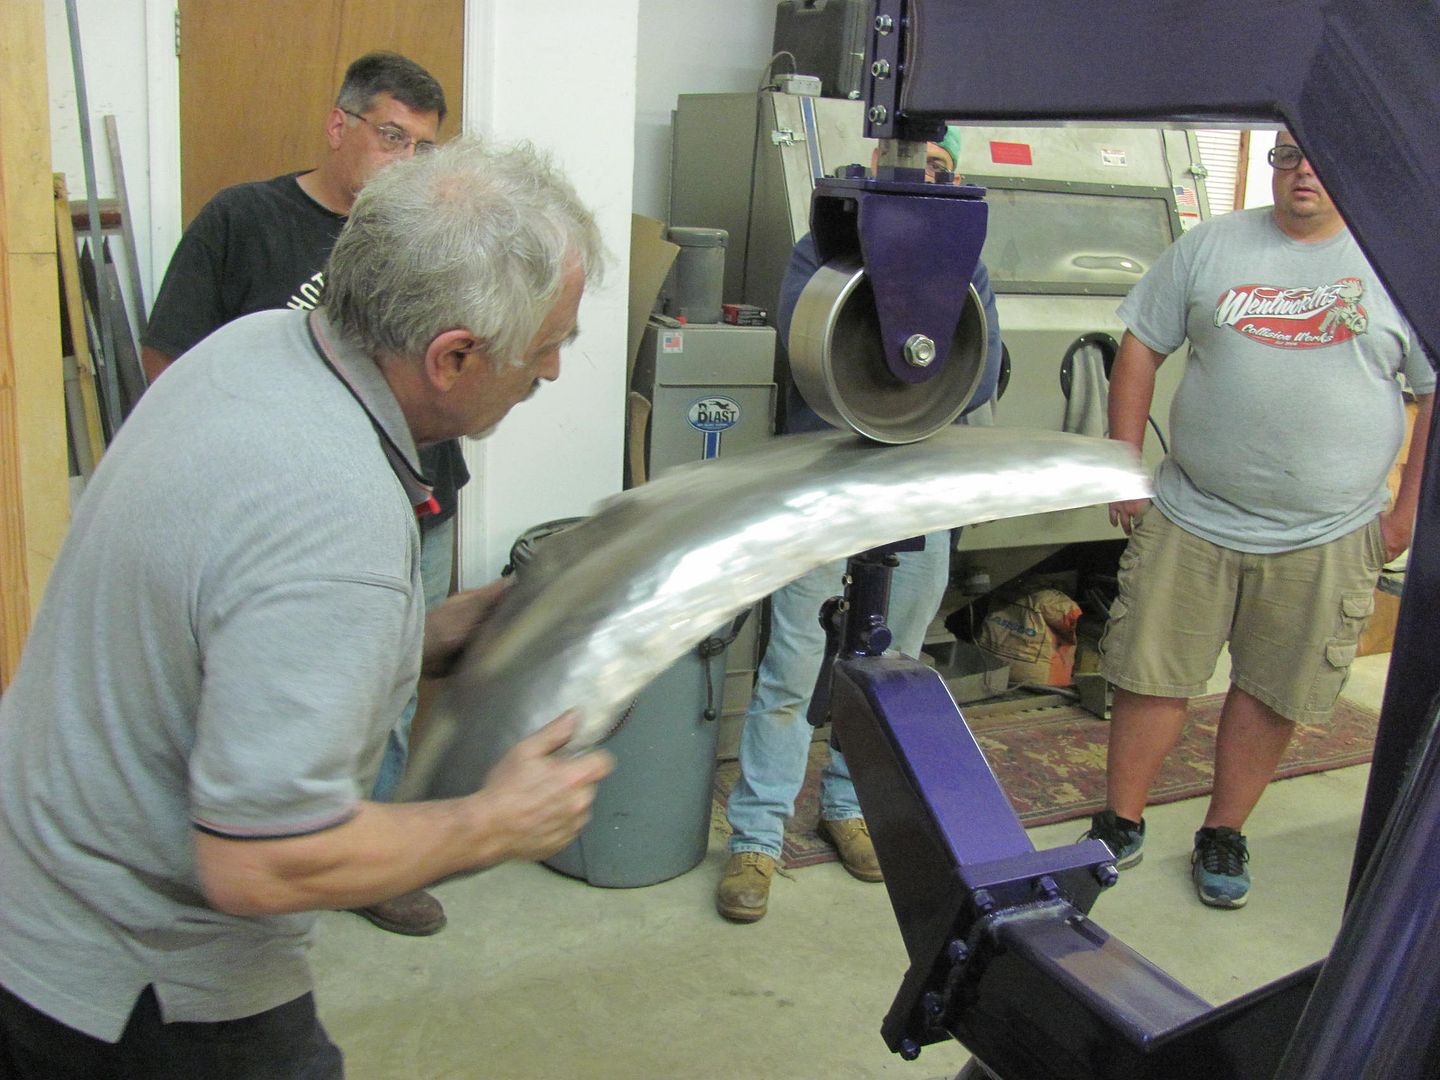 Forming the rear corner for a Model A.. 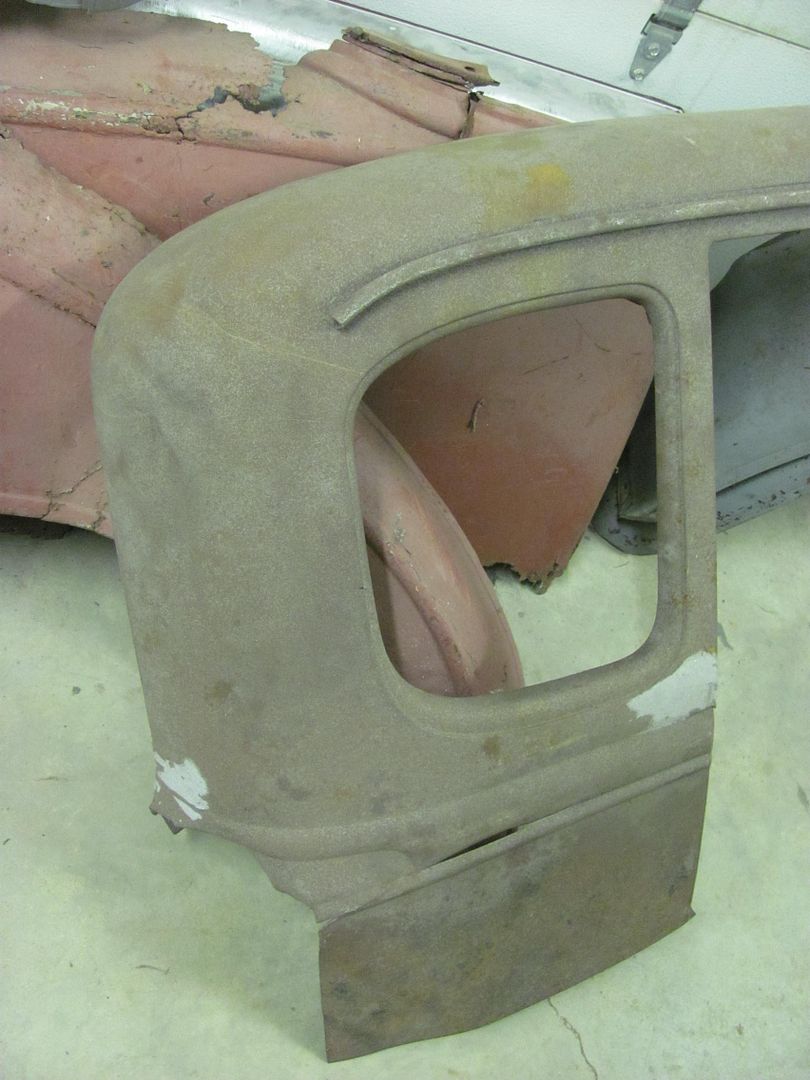 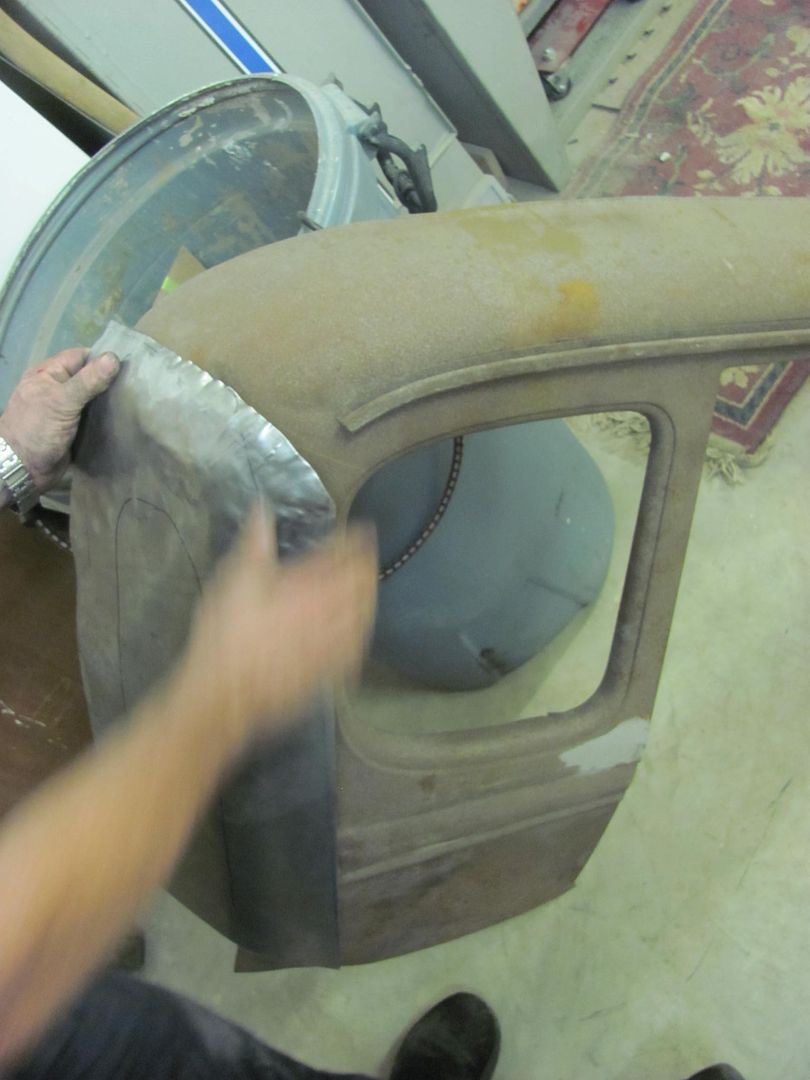 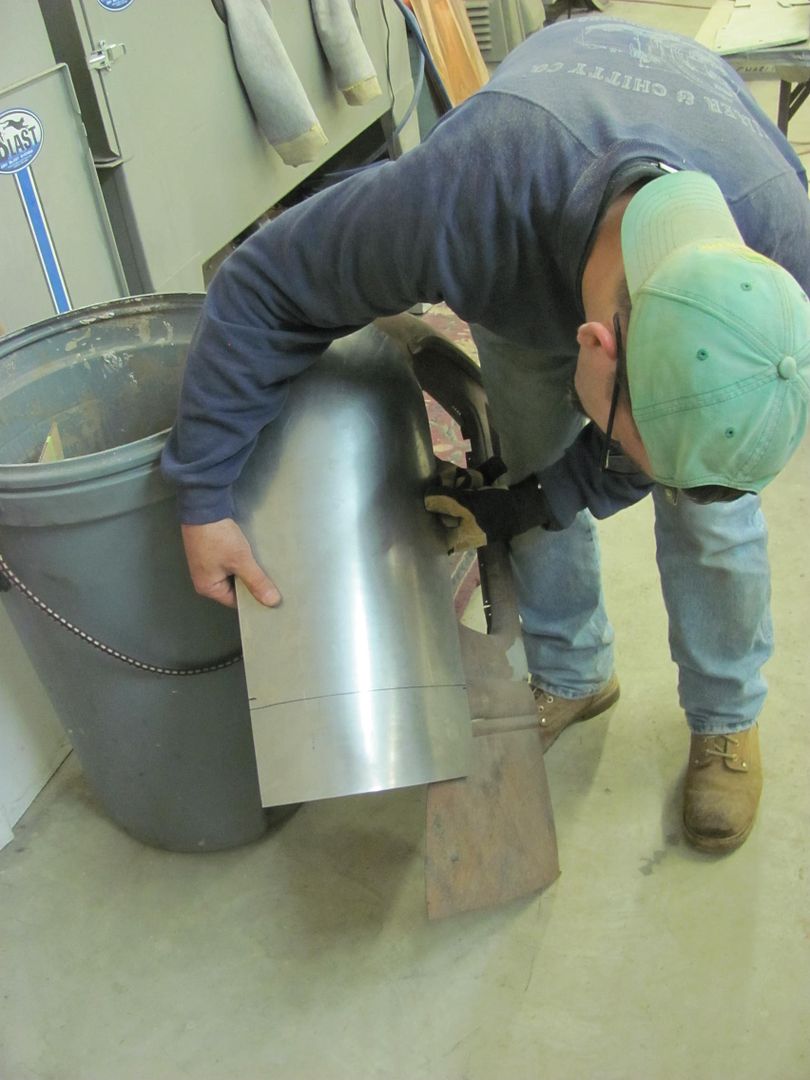 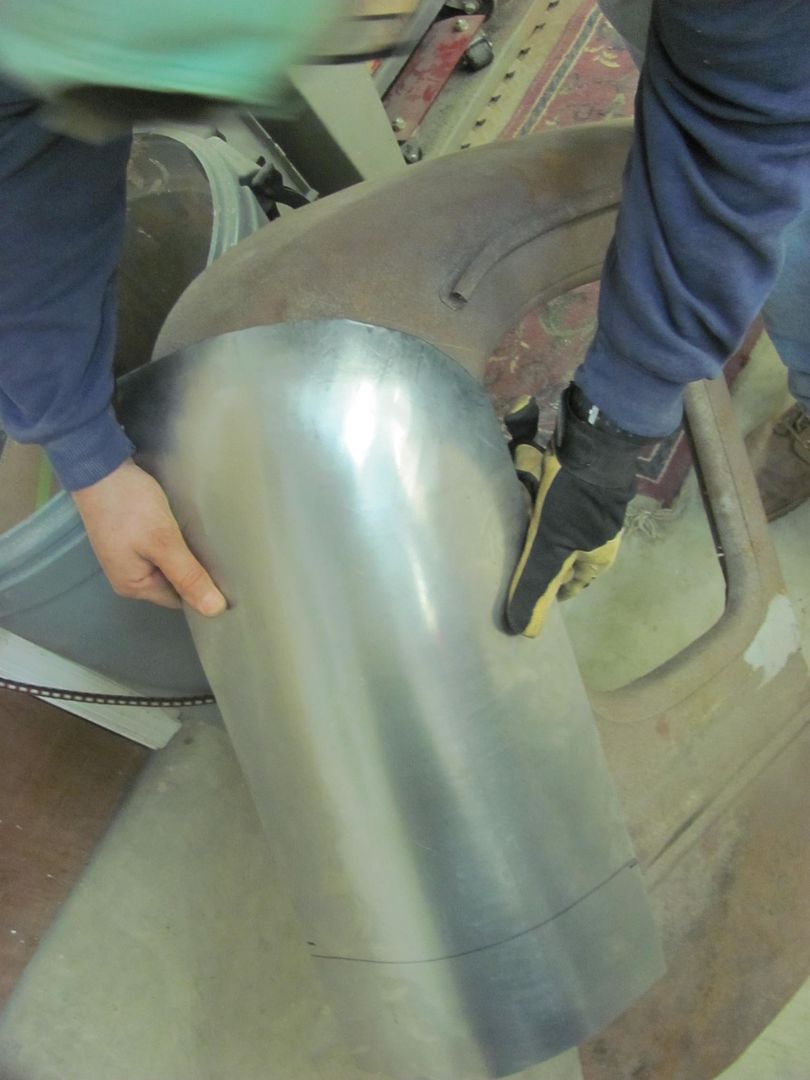 Blocking on the sand bags and shrinking on the stump.... 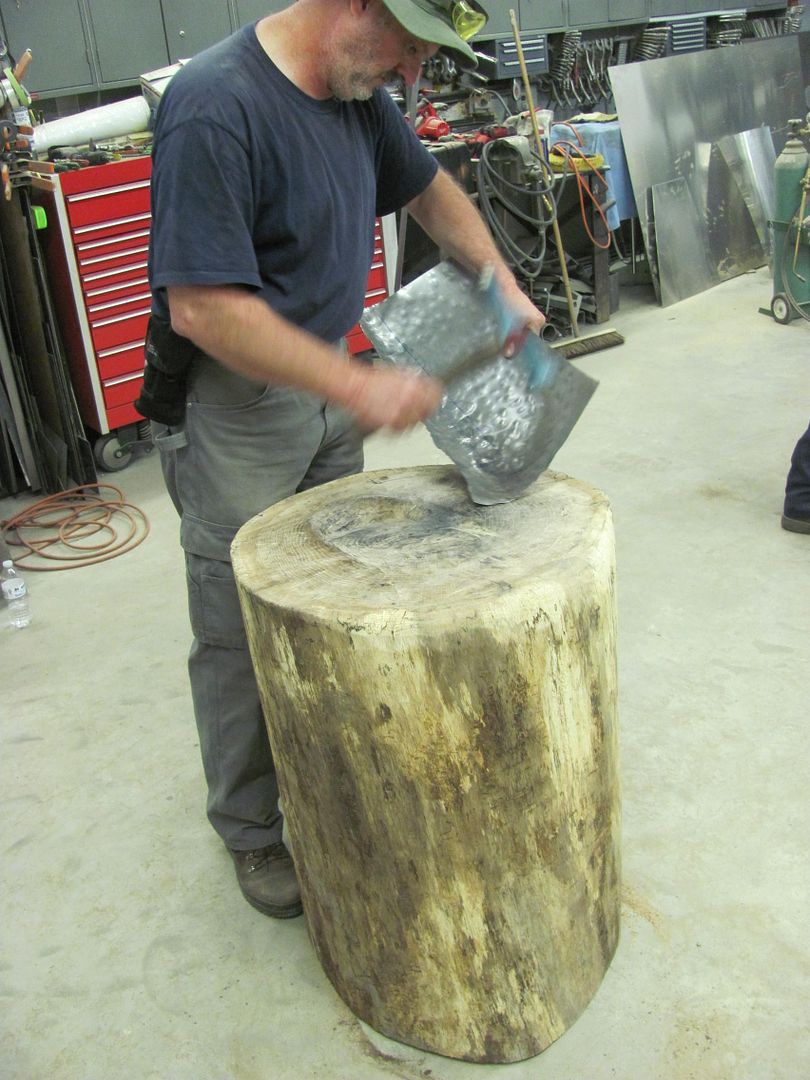 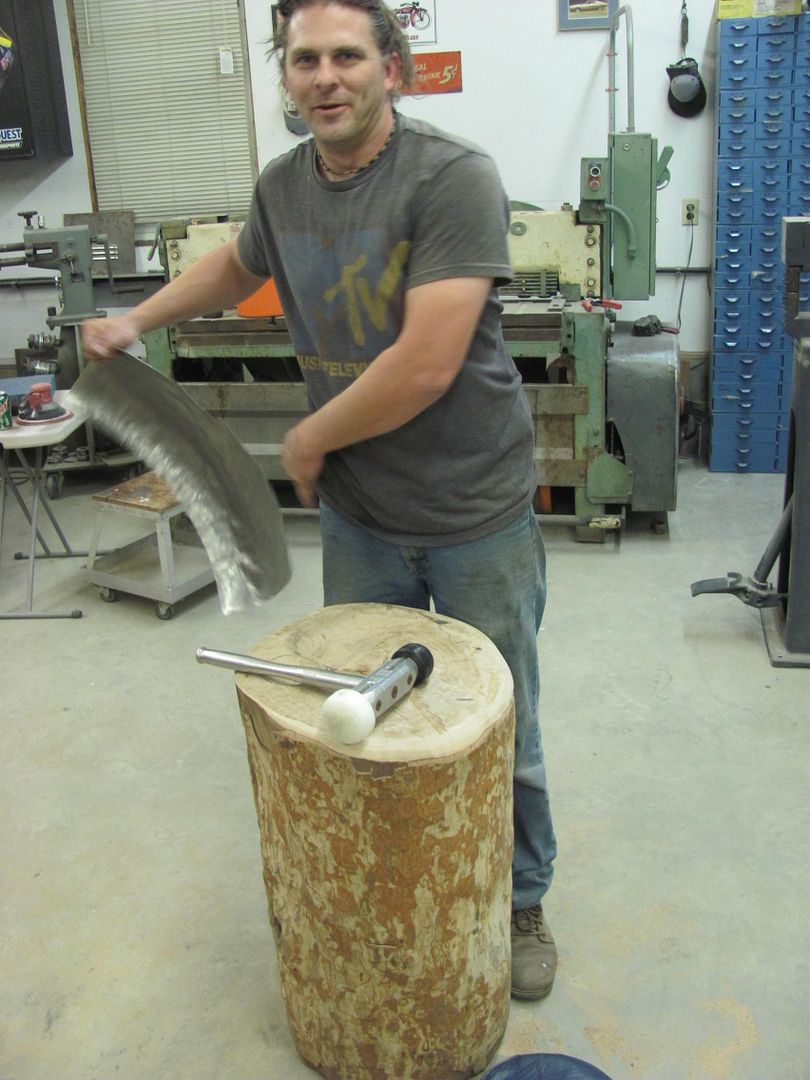 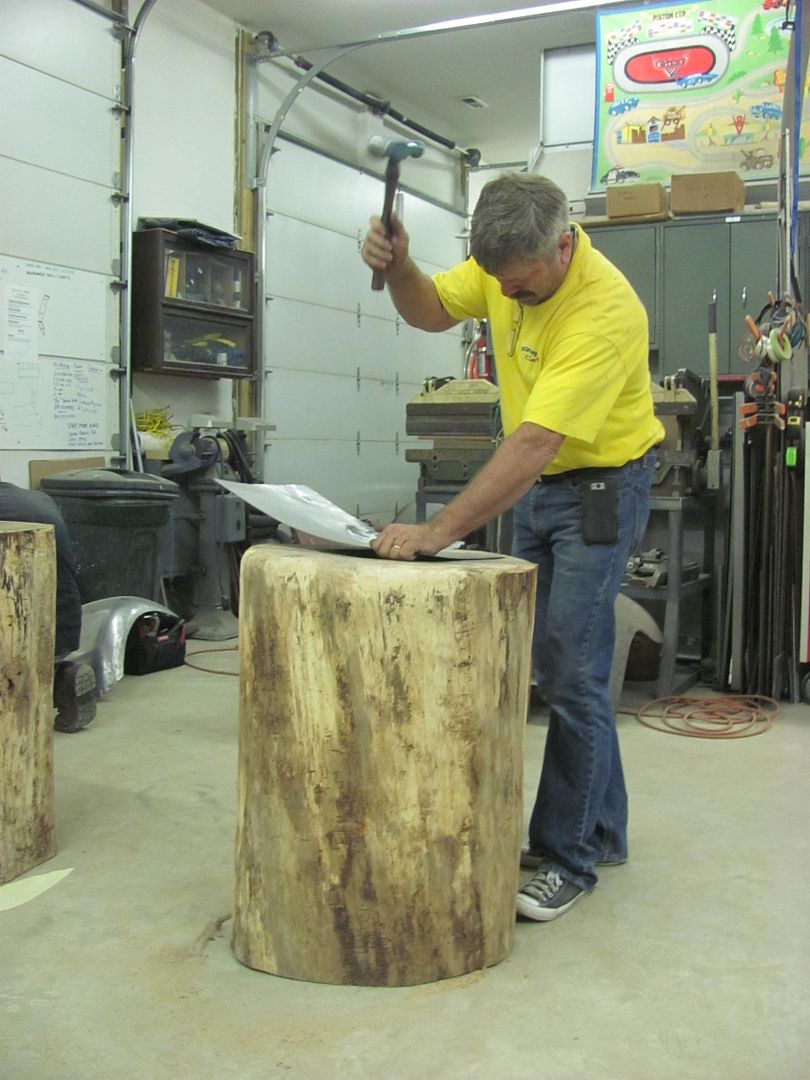 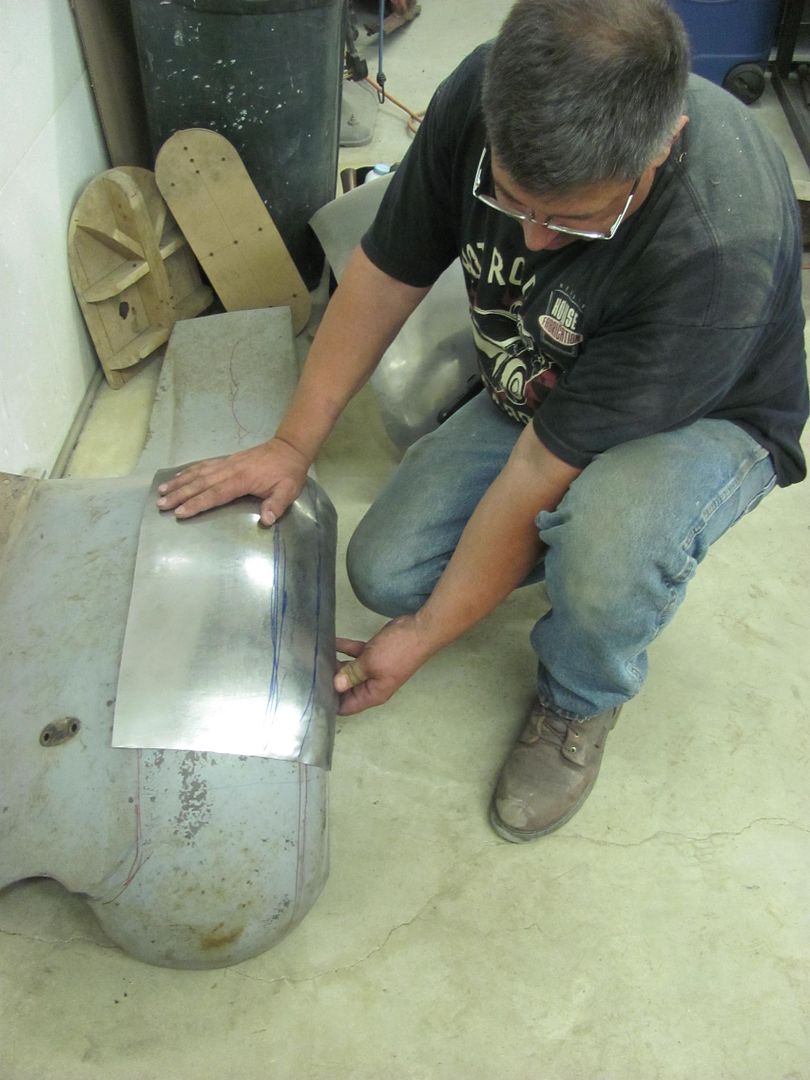 Wheeling.... 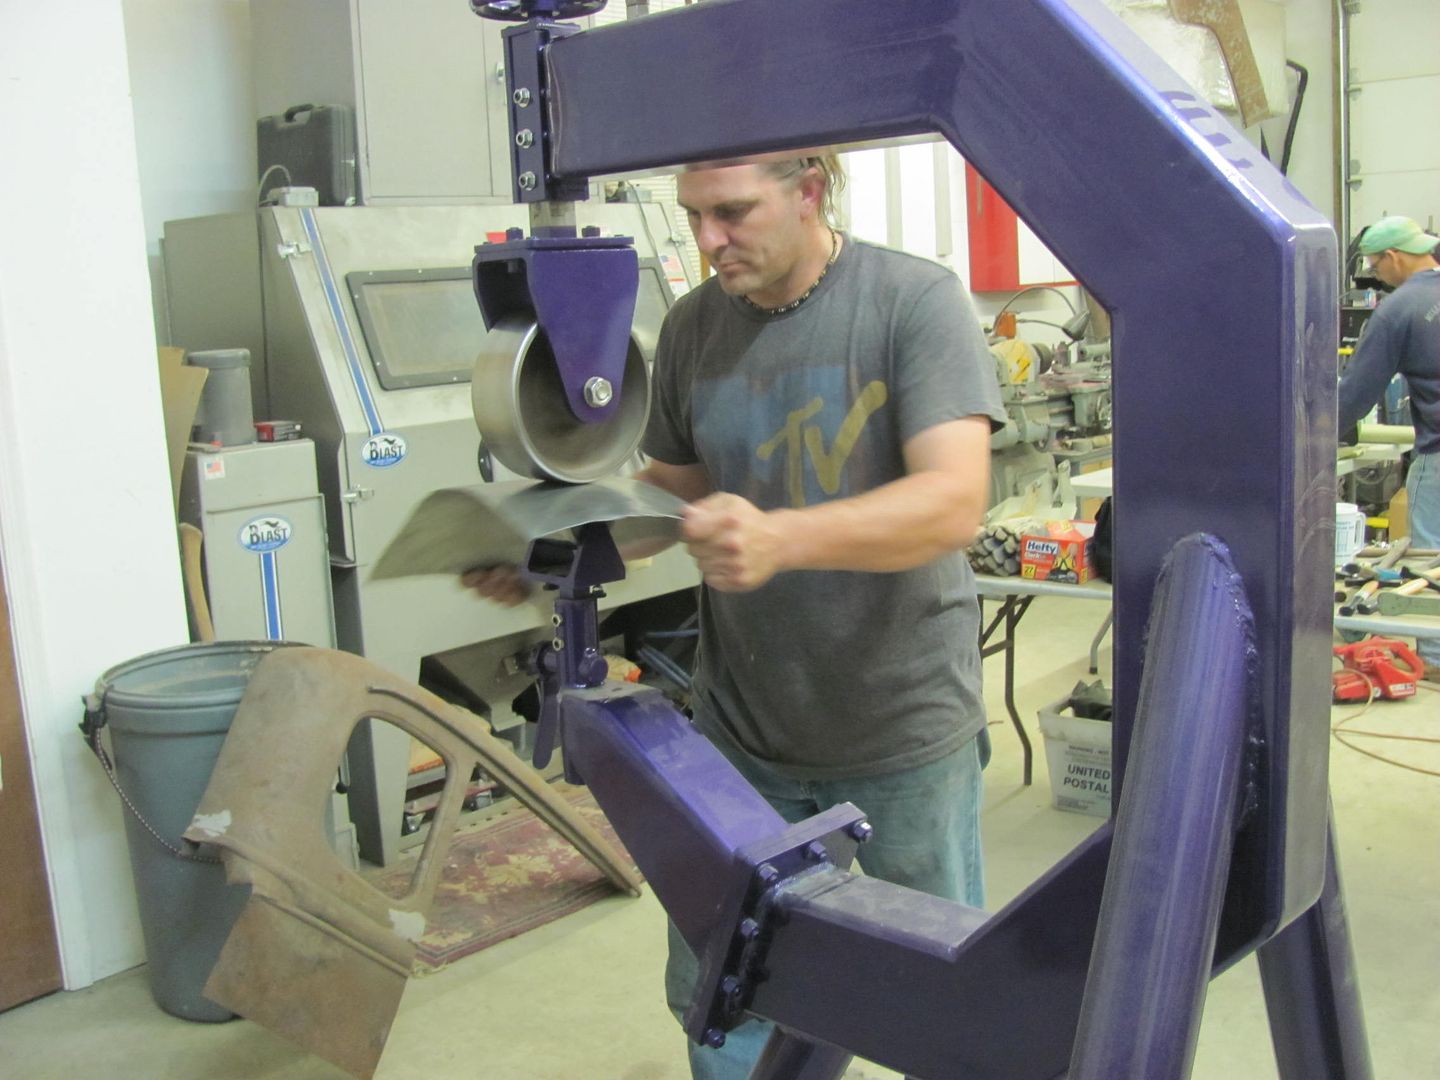
__________________
Robert |
|
|
|
|
10-01-2015, 11:25 PM
|
#6 |
|
Senior Member
Join Date: Mar 2011
Location: West Plains, Missouri
Posts: 7,555
|
Re: 55 Wagon Progress
Robert, thanks for posting, wish I were there...Jim
__________________
my build thread: http://67-72chevytrucks.com/vboard/s...d.php?t=459839 Jimbo's long bed step build:http://67-72chevytrucks.com/vboard/s...t=464626<br /> |
|
|
|
|
10-02-2015, 09:40 AM
|
#7 |
|
Registered User
Join Date: Jul 2012
Location: Rosenberg, Texas
Posts: 3,506
|
Re: 55 Wagon Progress
That would have been an awesome class to be in. Looks like they've all learned some very valuable lessons. I echo Jim's sentiment... Wish I were there.
__________________
-Duane C/10 Club Texas member 1971 Chevy C10 "Brutus" SWB Fleetside 2016 6.0L (L96) 6L90E (driver/project) 1965 Pontiac GTO "Royal Goat" 400/TH400 w/AC (my baby) |
|
|
|
|
10-02-2015, 12:05 PM
|
#8 |
|
Registered User
Join Date: Apr 2011
Location: .
Posts: 3,104
|
Re: 55 Wagon Progress
Thanks for posting the pics.
Truly a great learning experience. |
|
|
|
|
10-02-2015, 10:05 PM
|
#9 |
|
Registered User
Join Date: Jan 2013
Location: Leonardtown, MD
Posts: 1,637
|
Re: 55 Wagon Progress
Thanks for checking in guys. Here's some of today's class projects.
The start of a scooter fender... 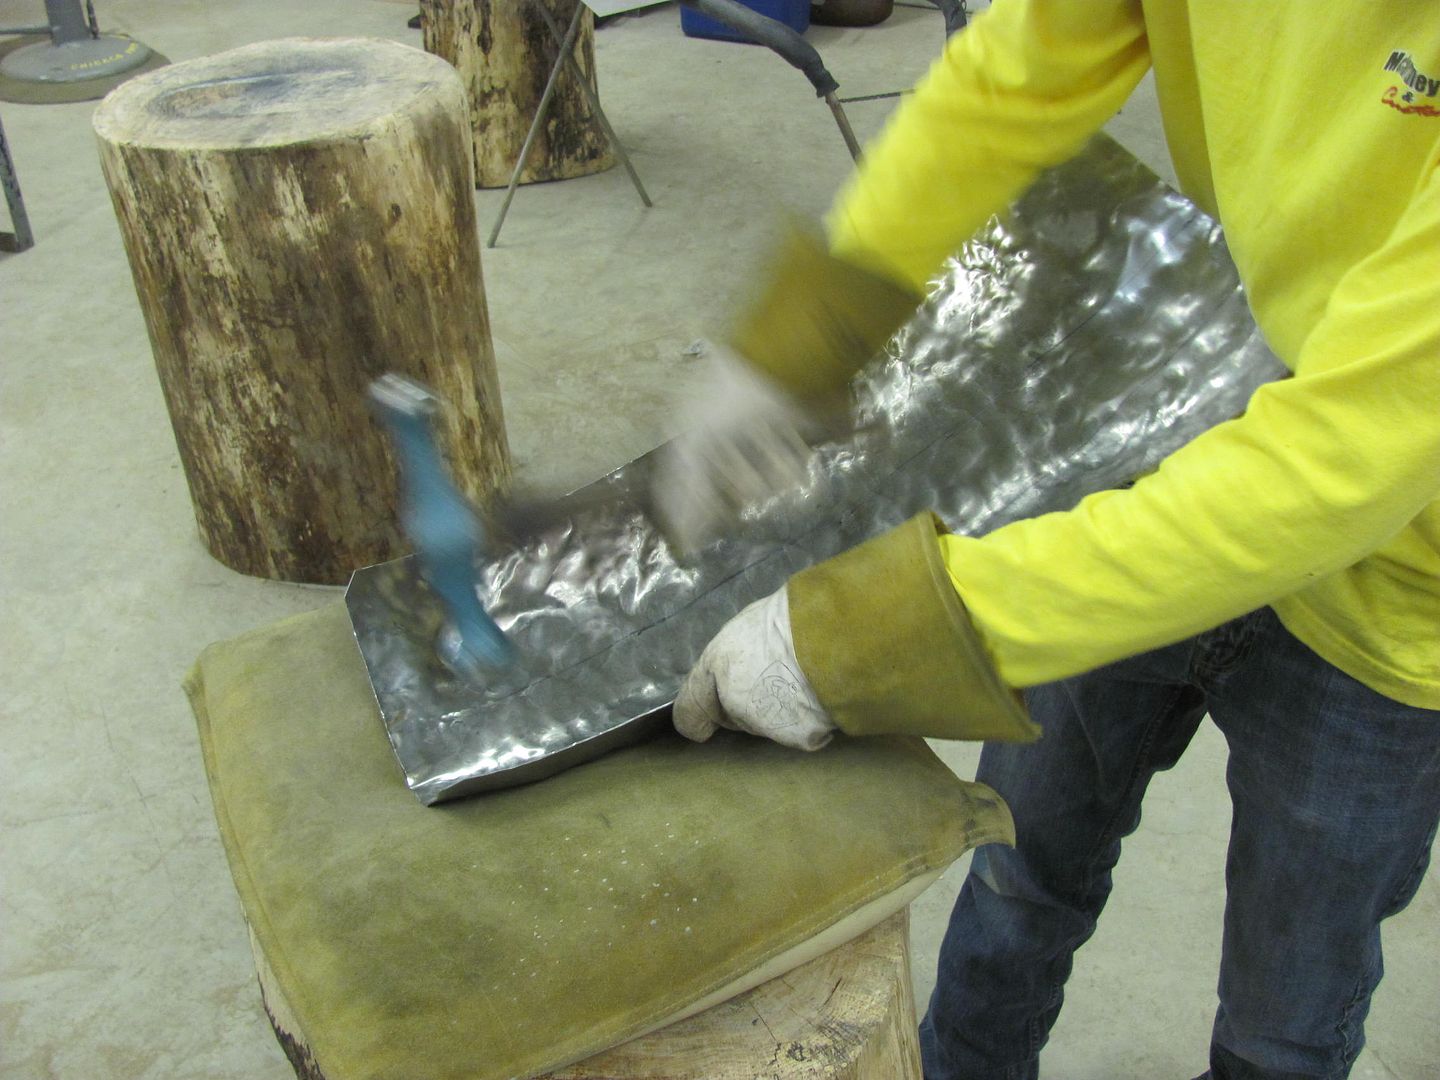 Test fit of a fender panel... 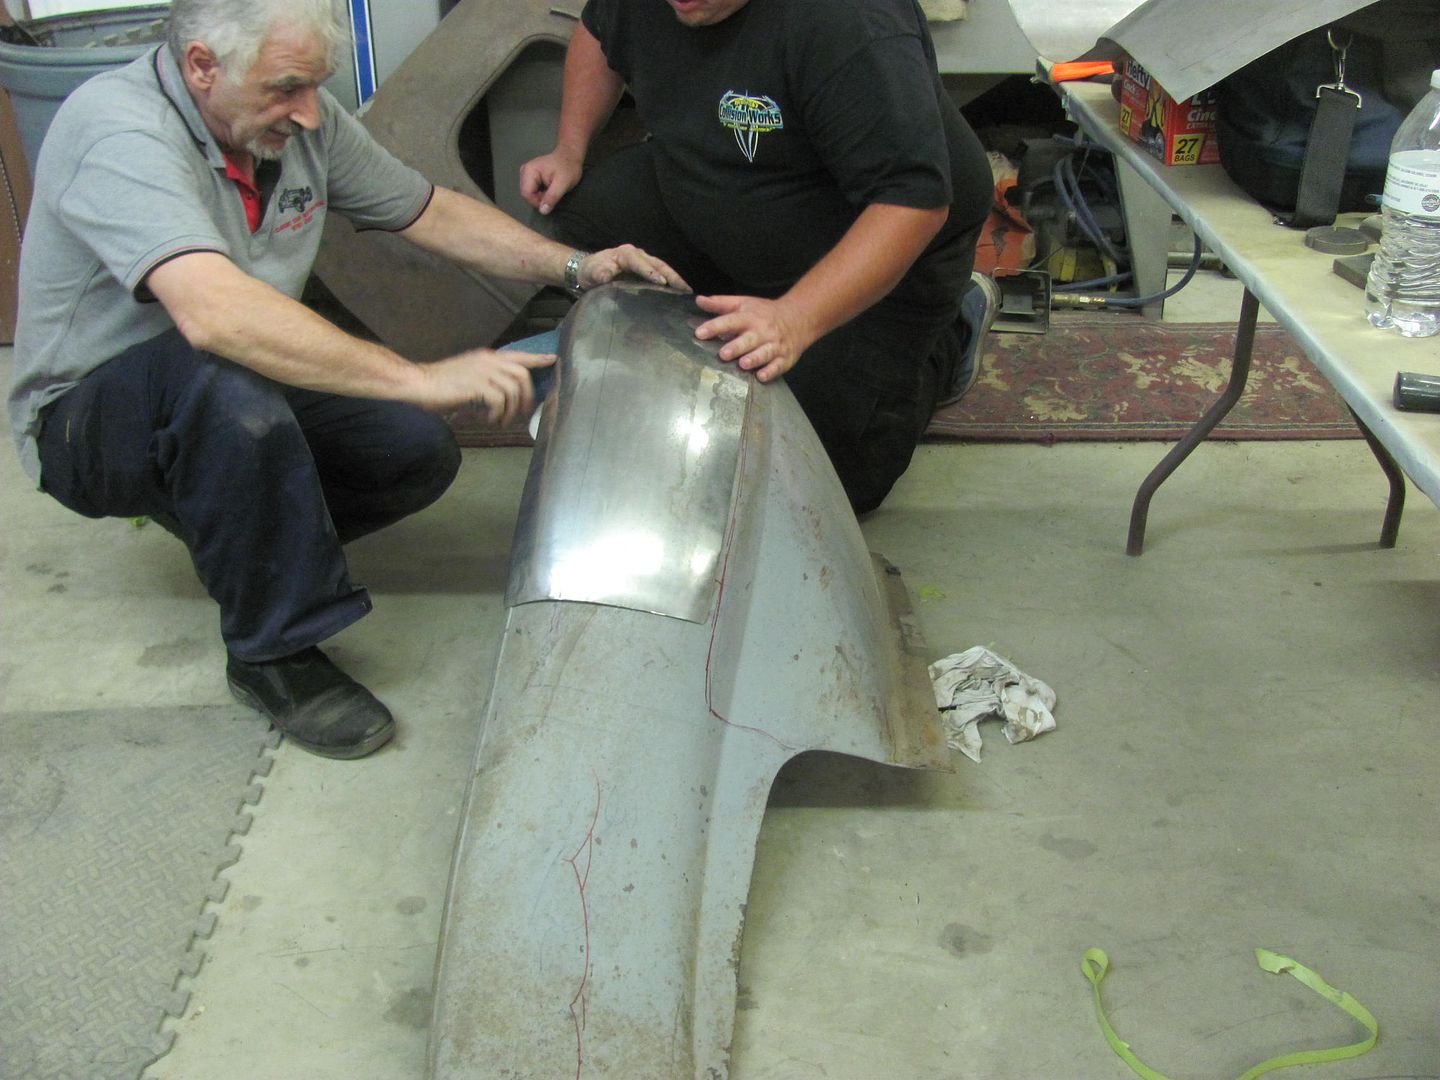 Copper work, trash can taking shape... 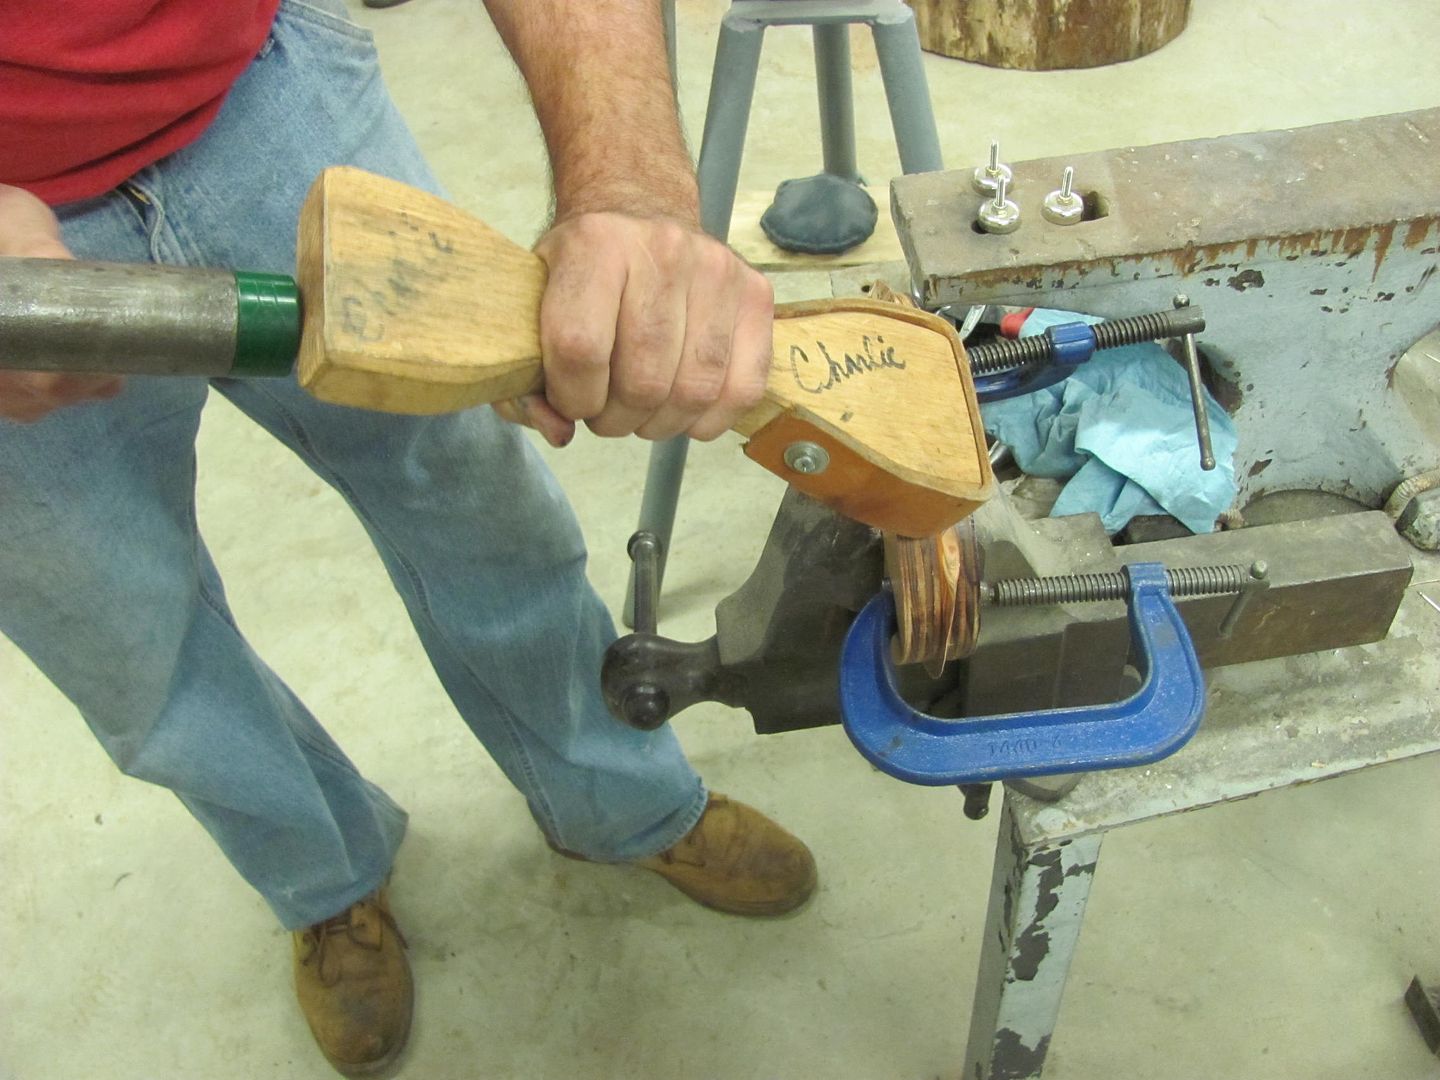 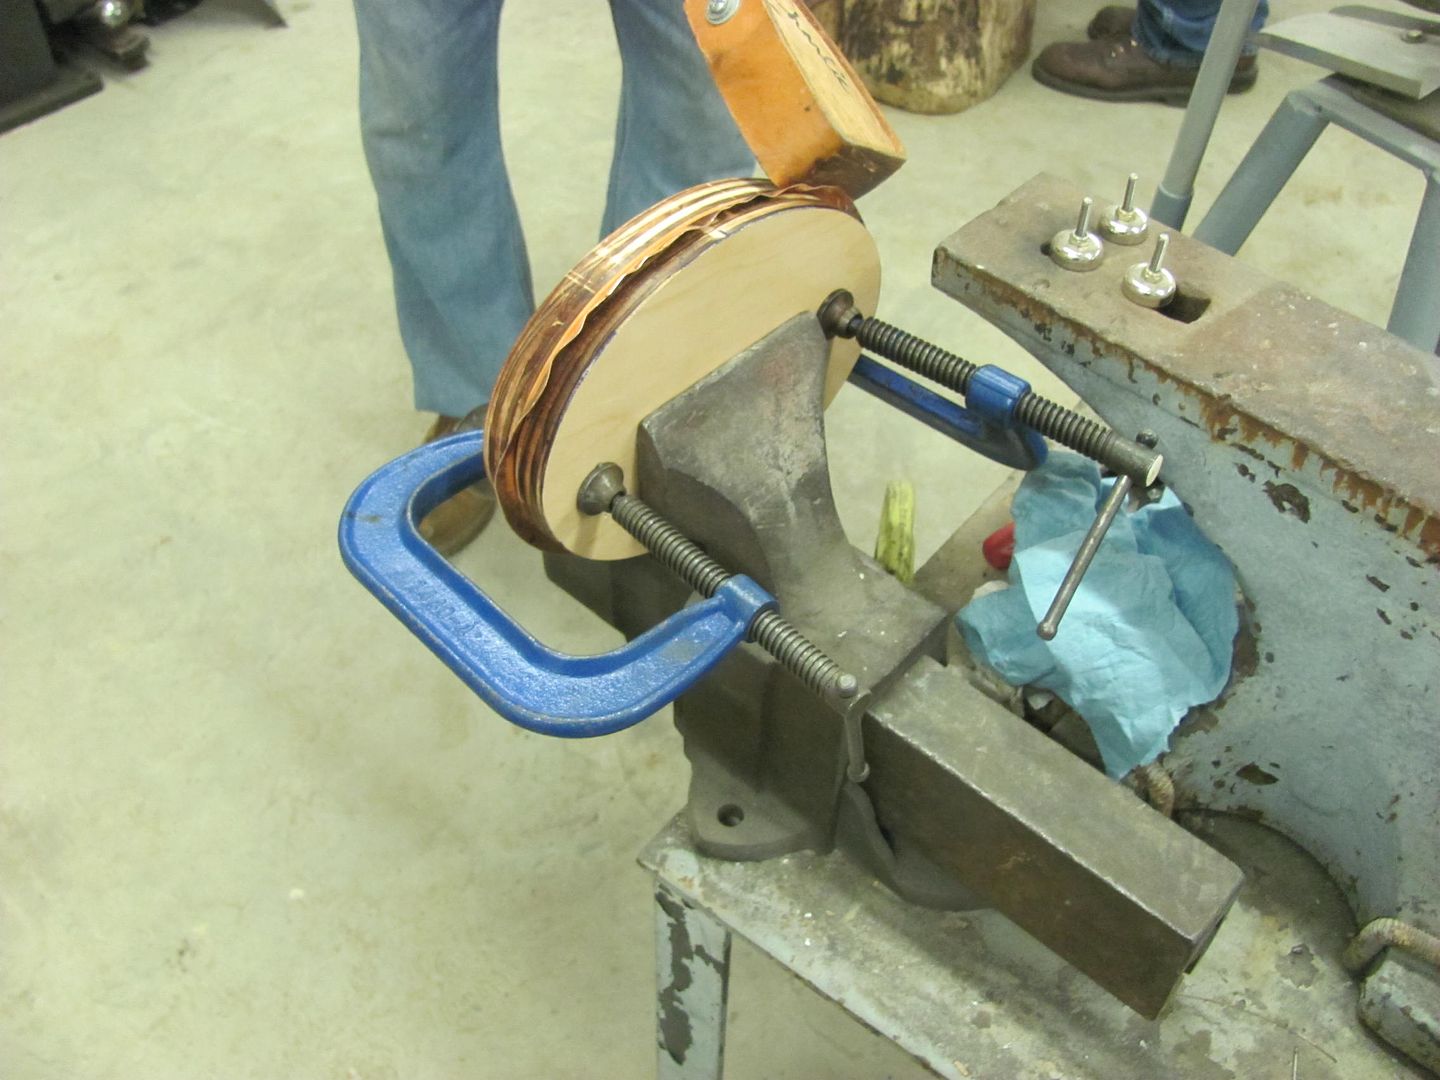 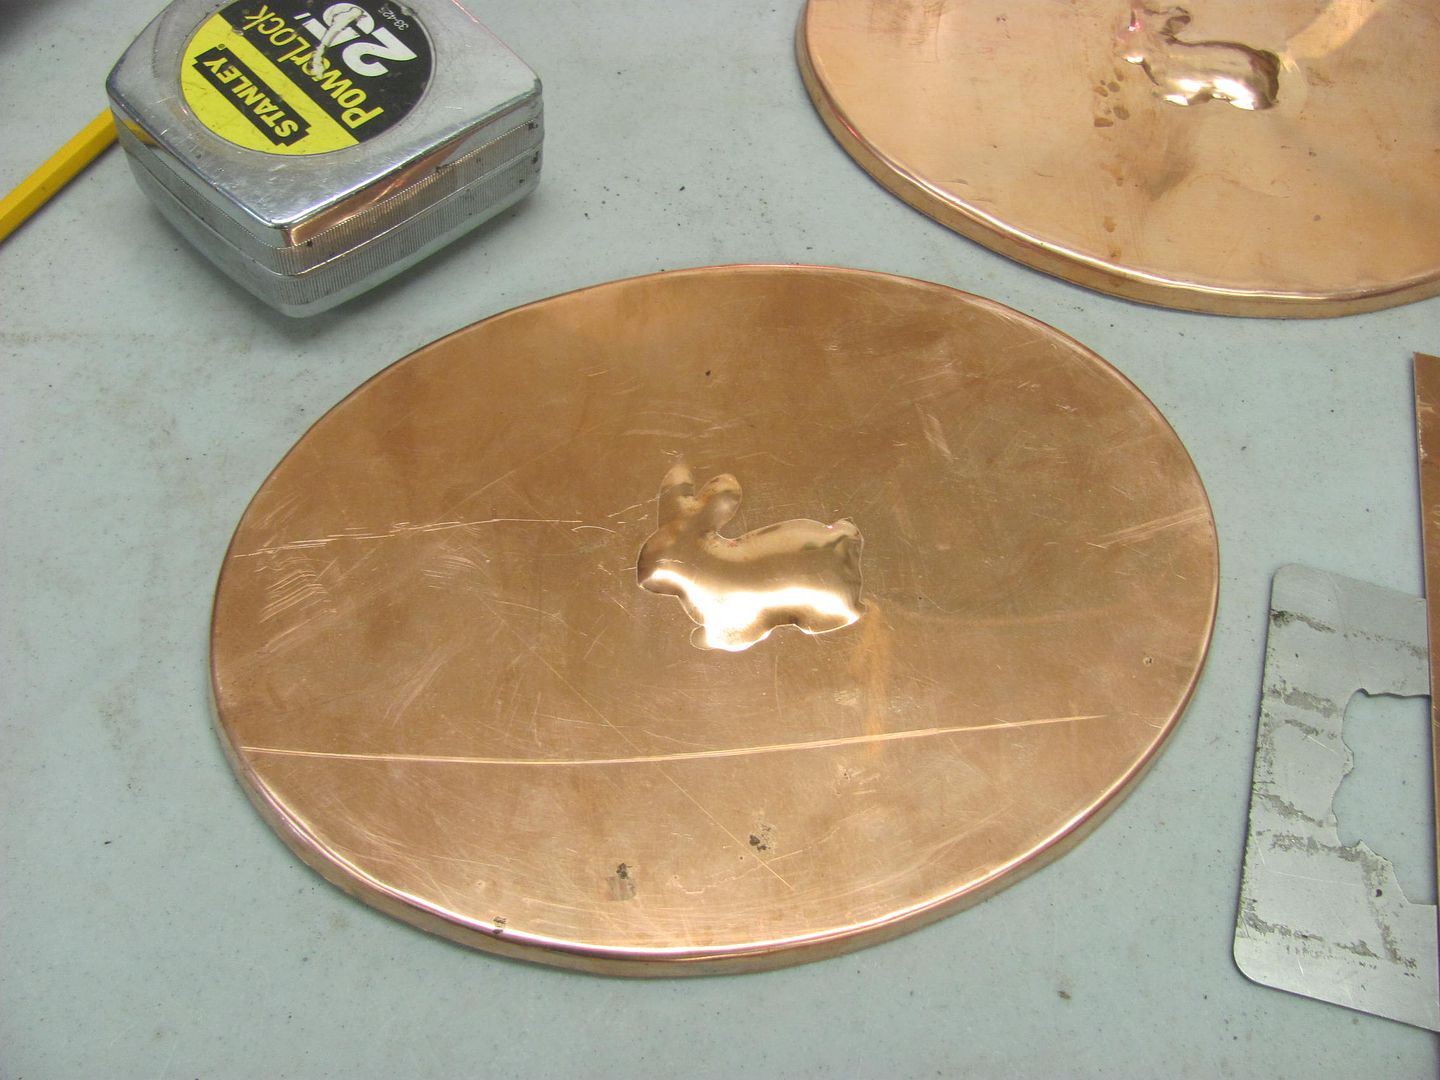 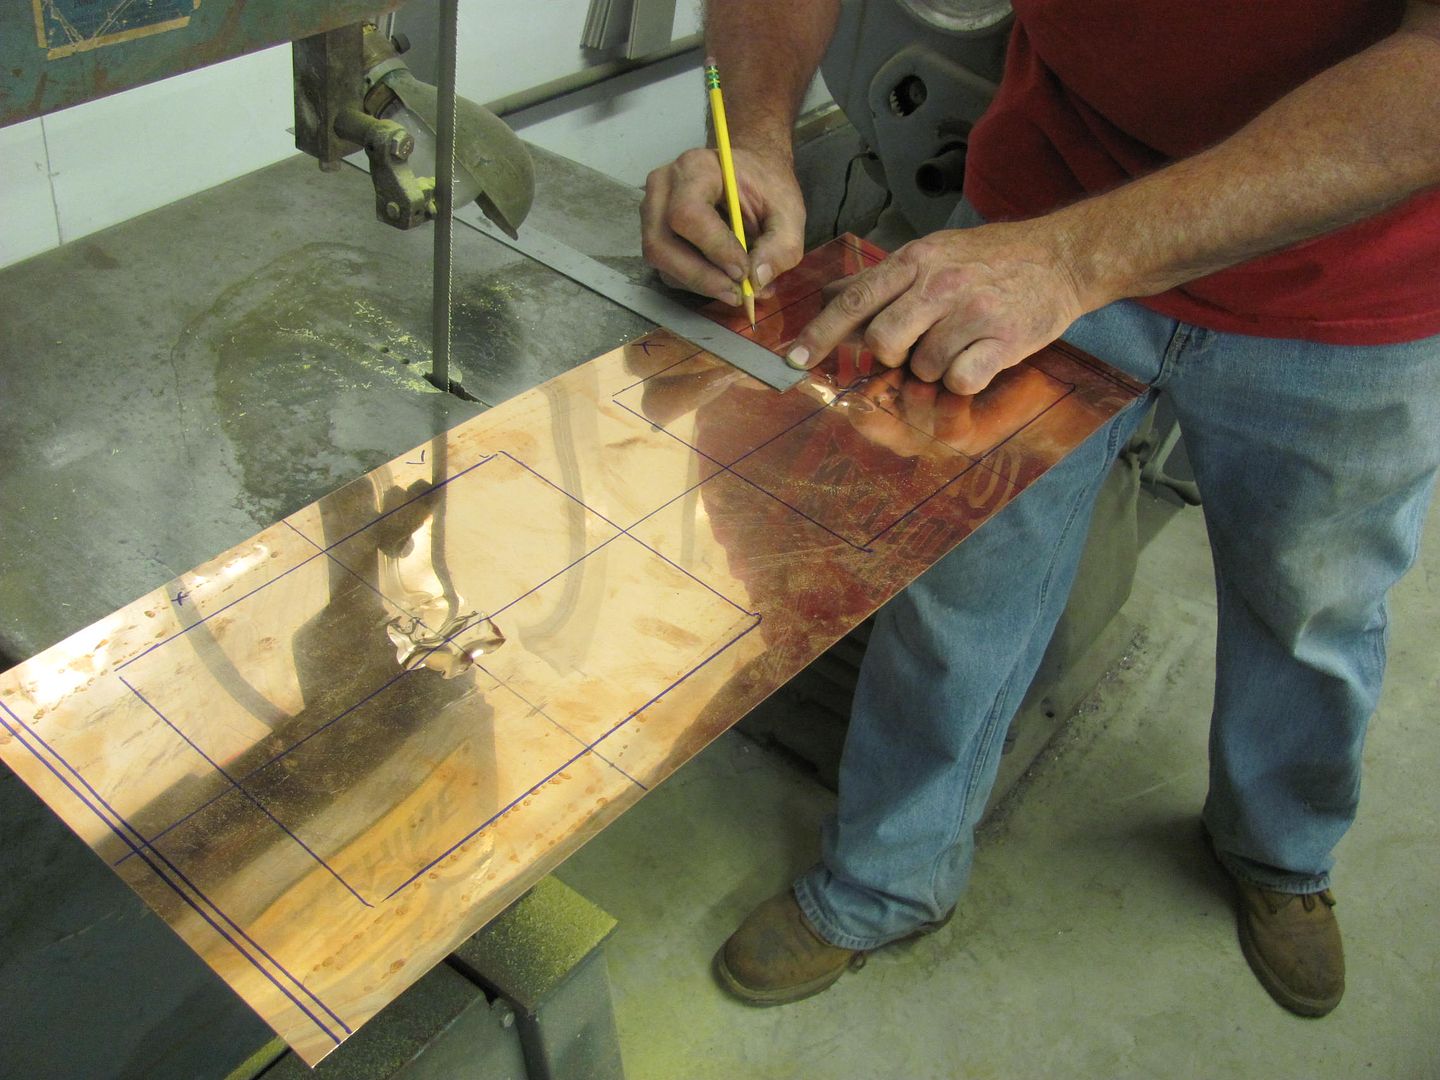 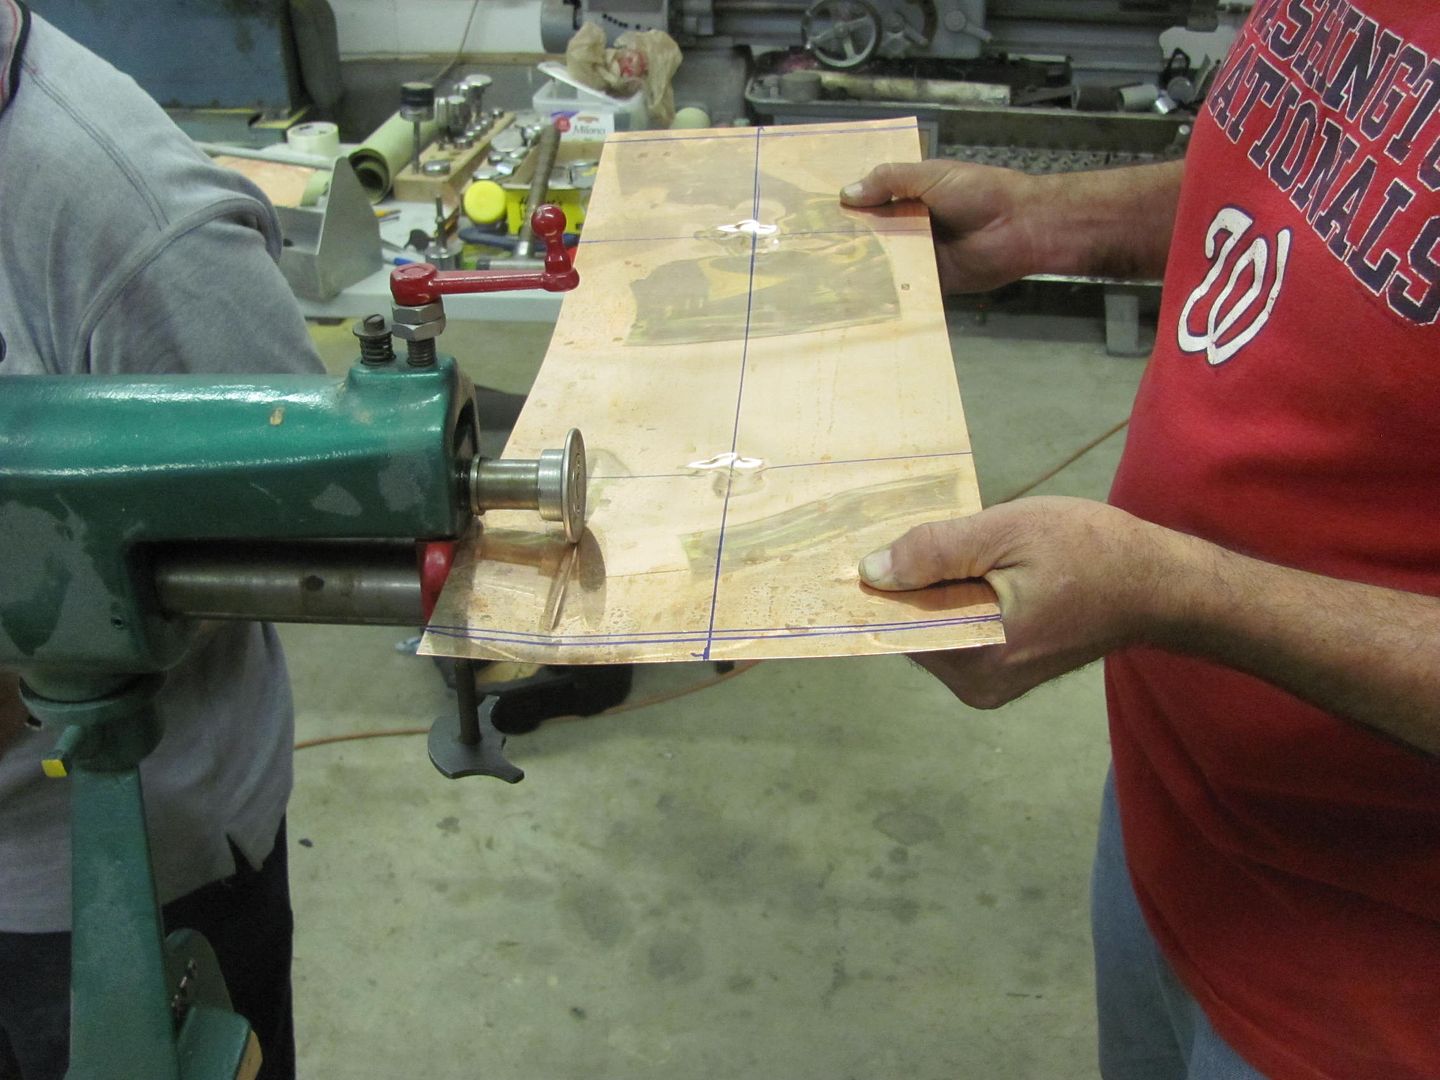 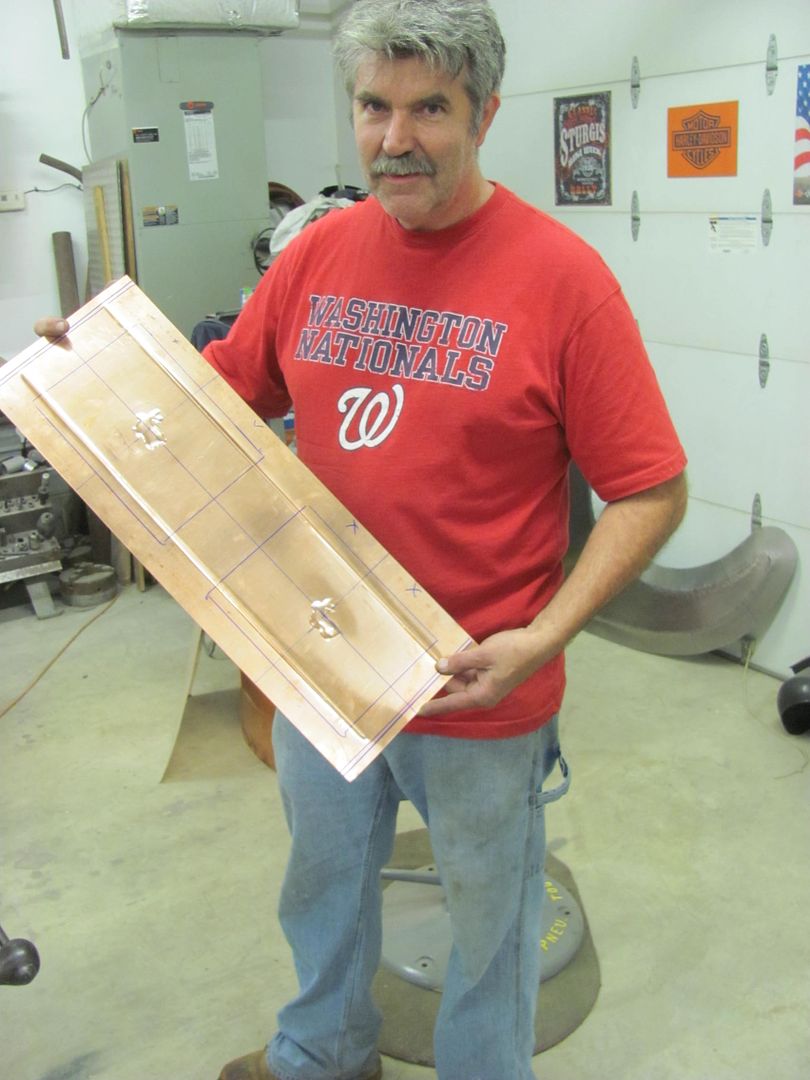 Paper pattern on a roadster quarter panel.... 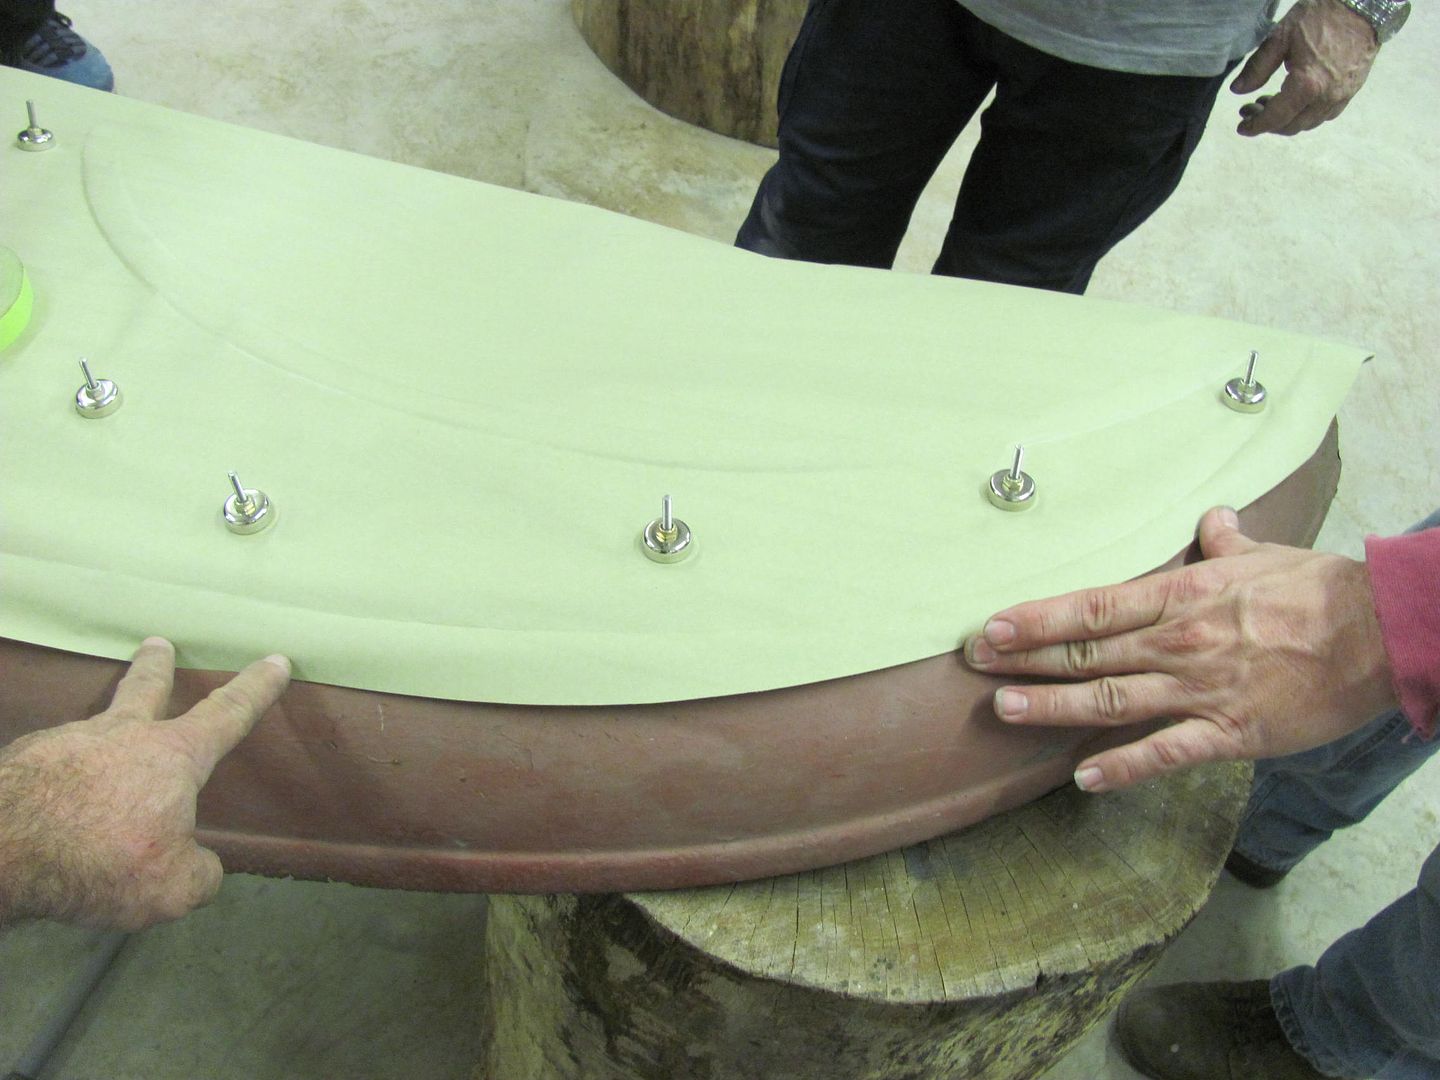 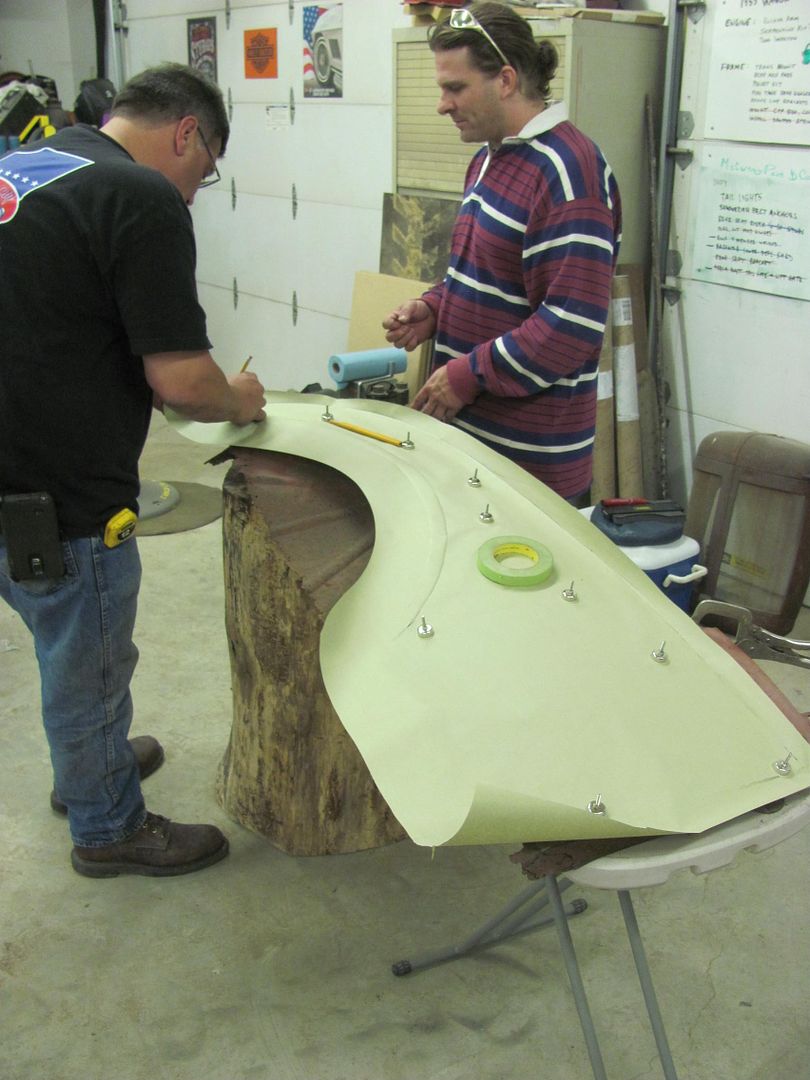 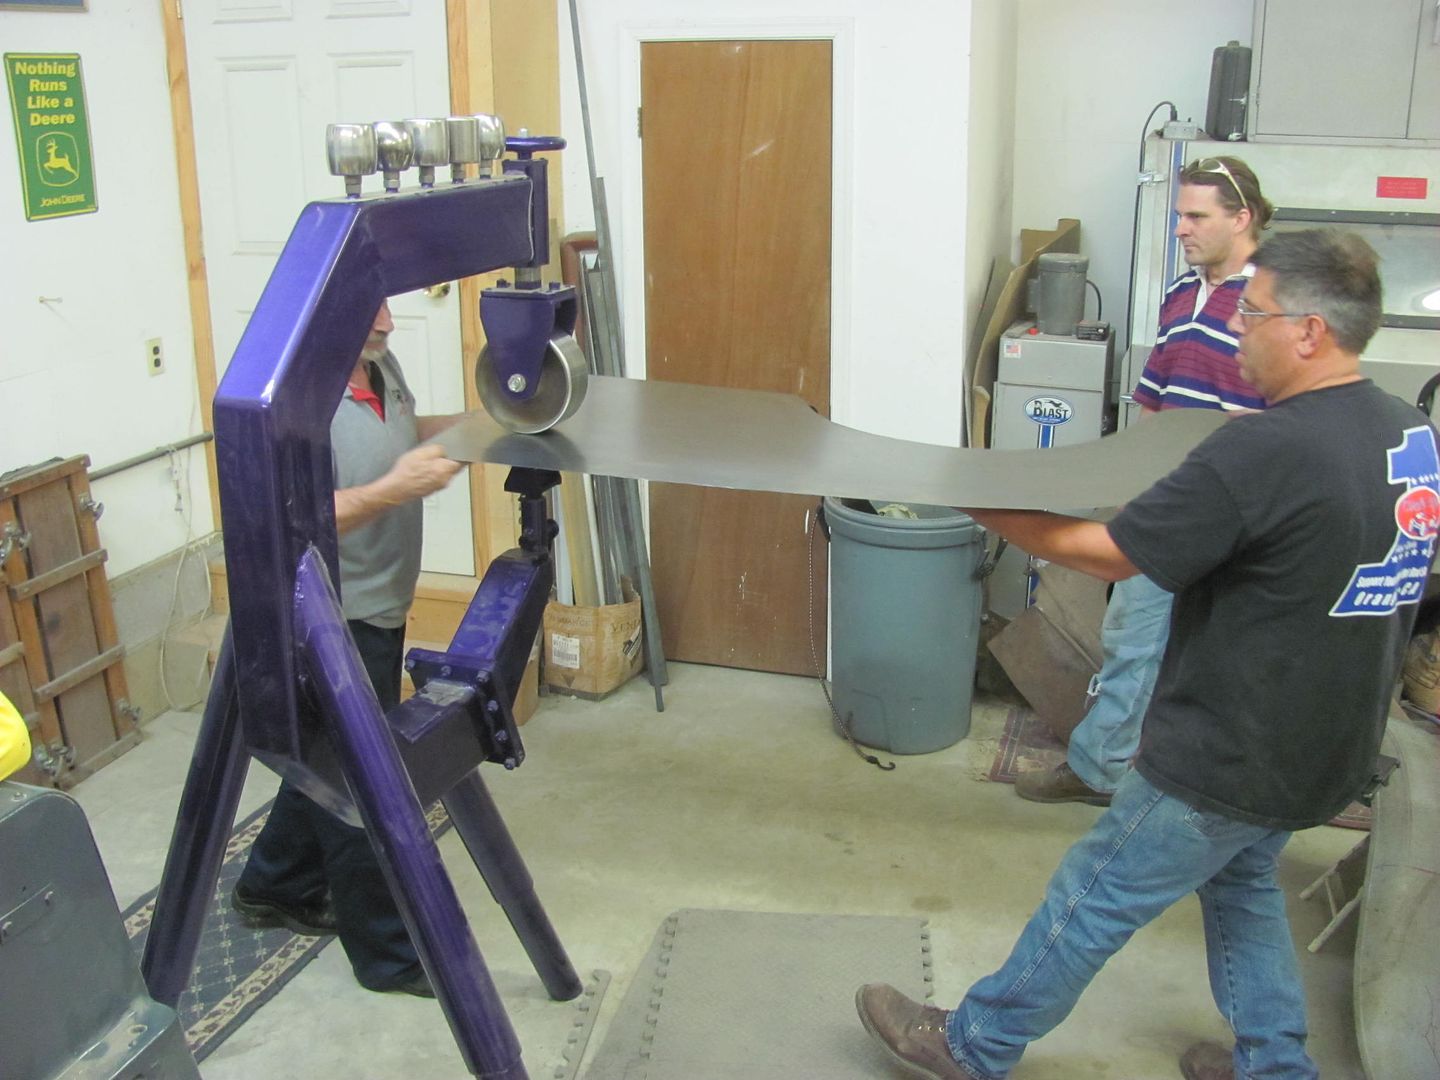 Using the blocking hammer to pre-stretch 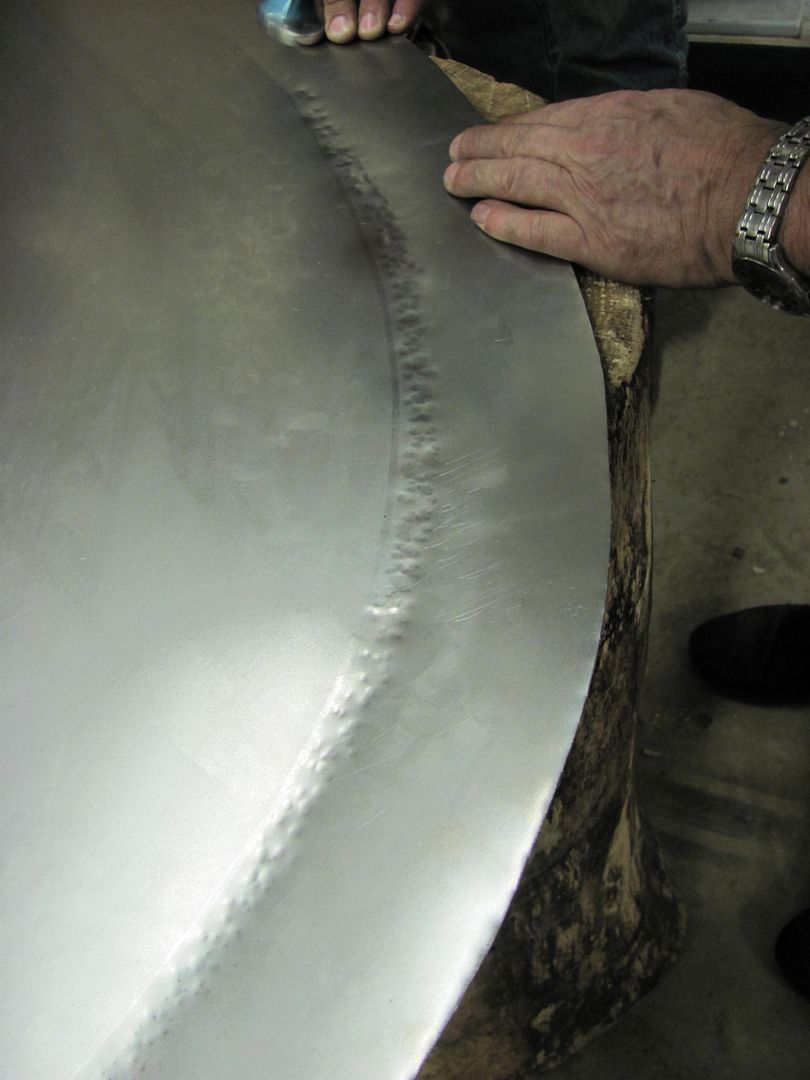 Making a pattern for the dies 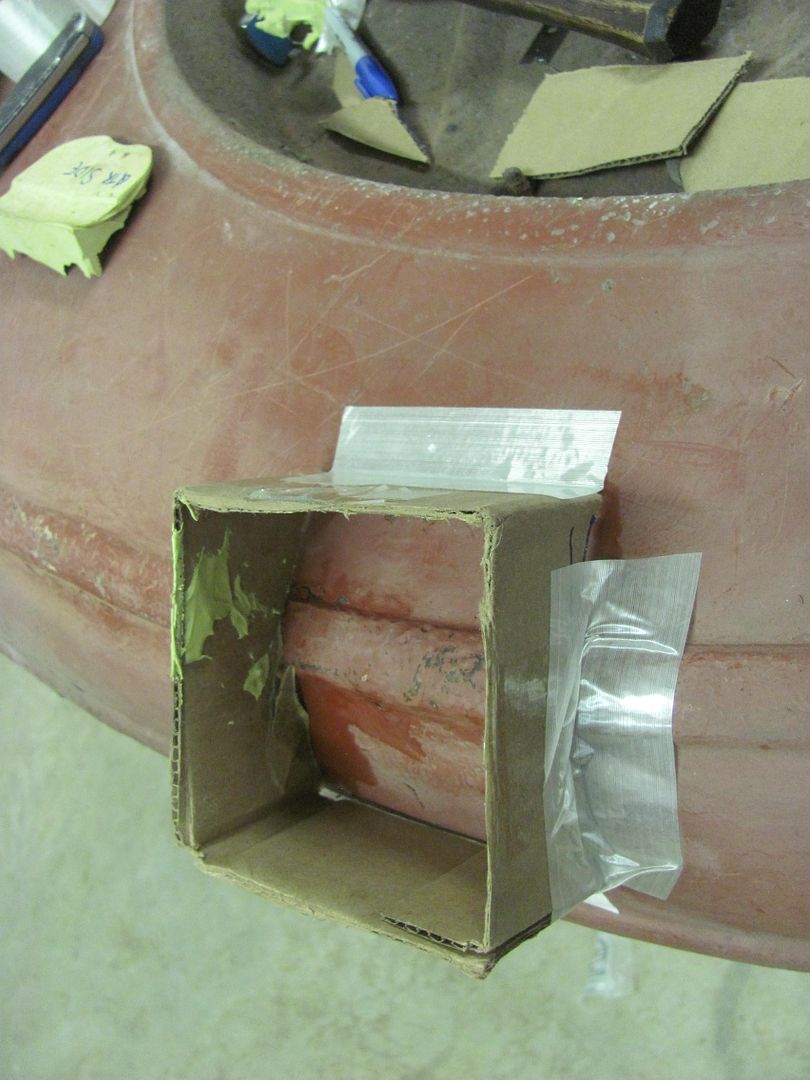 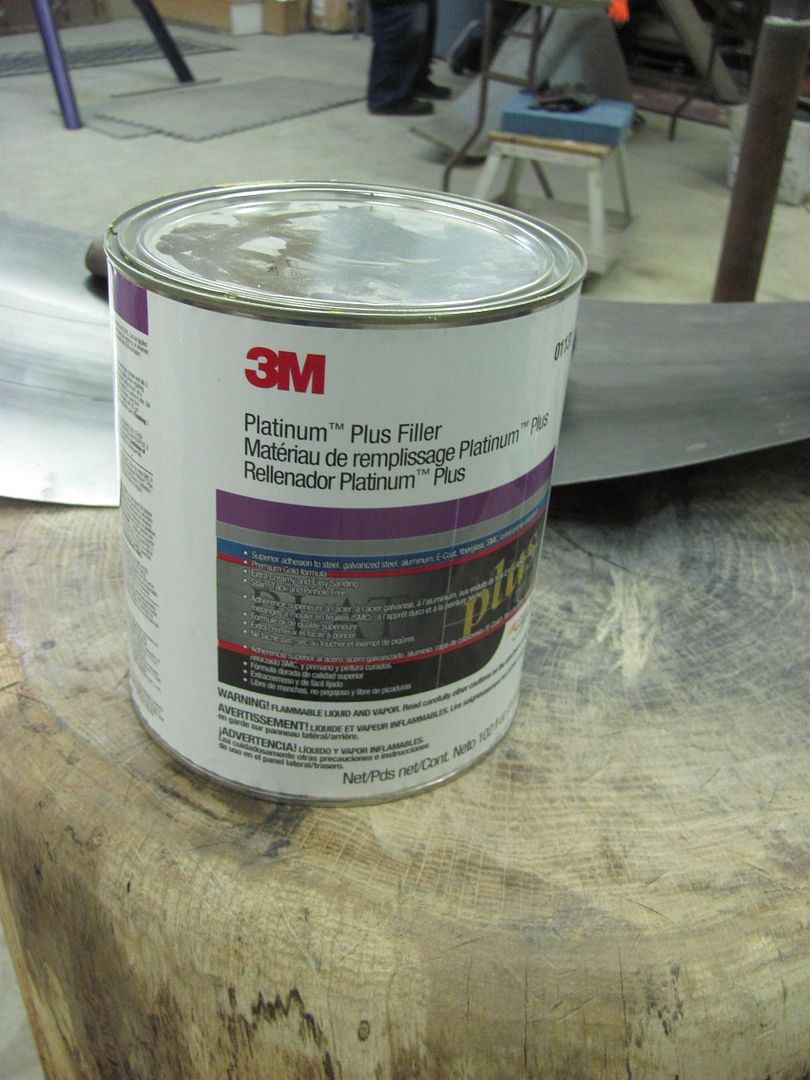 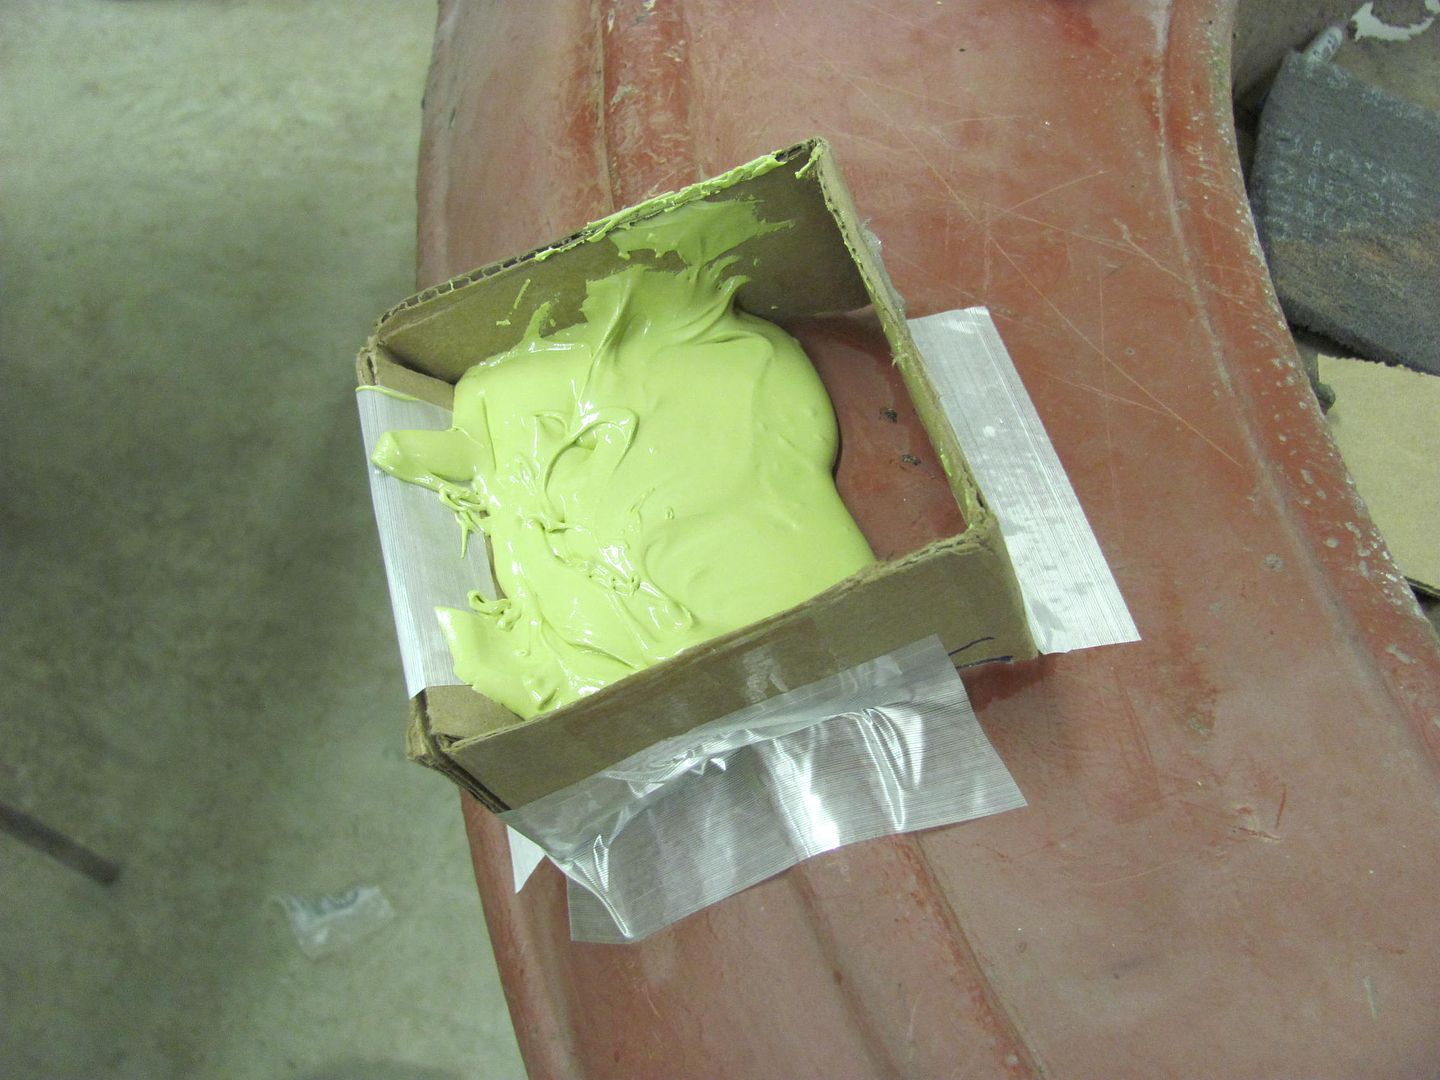 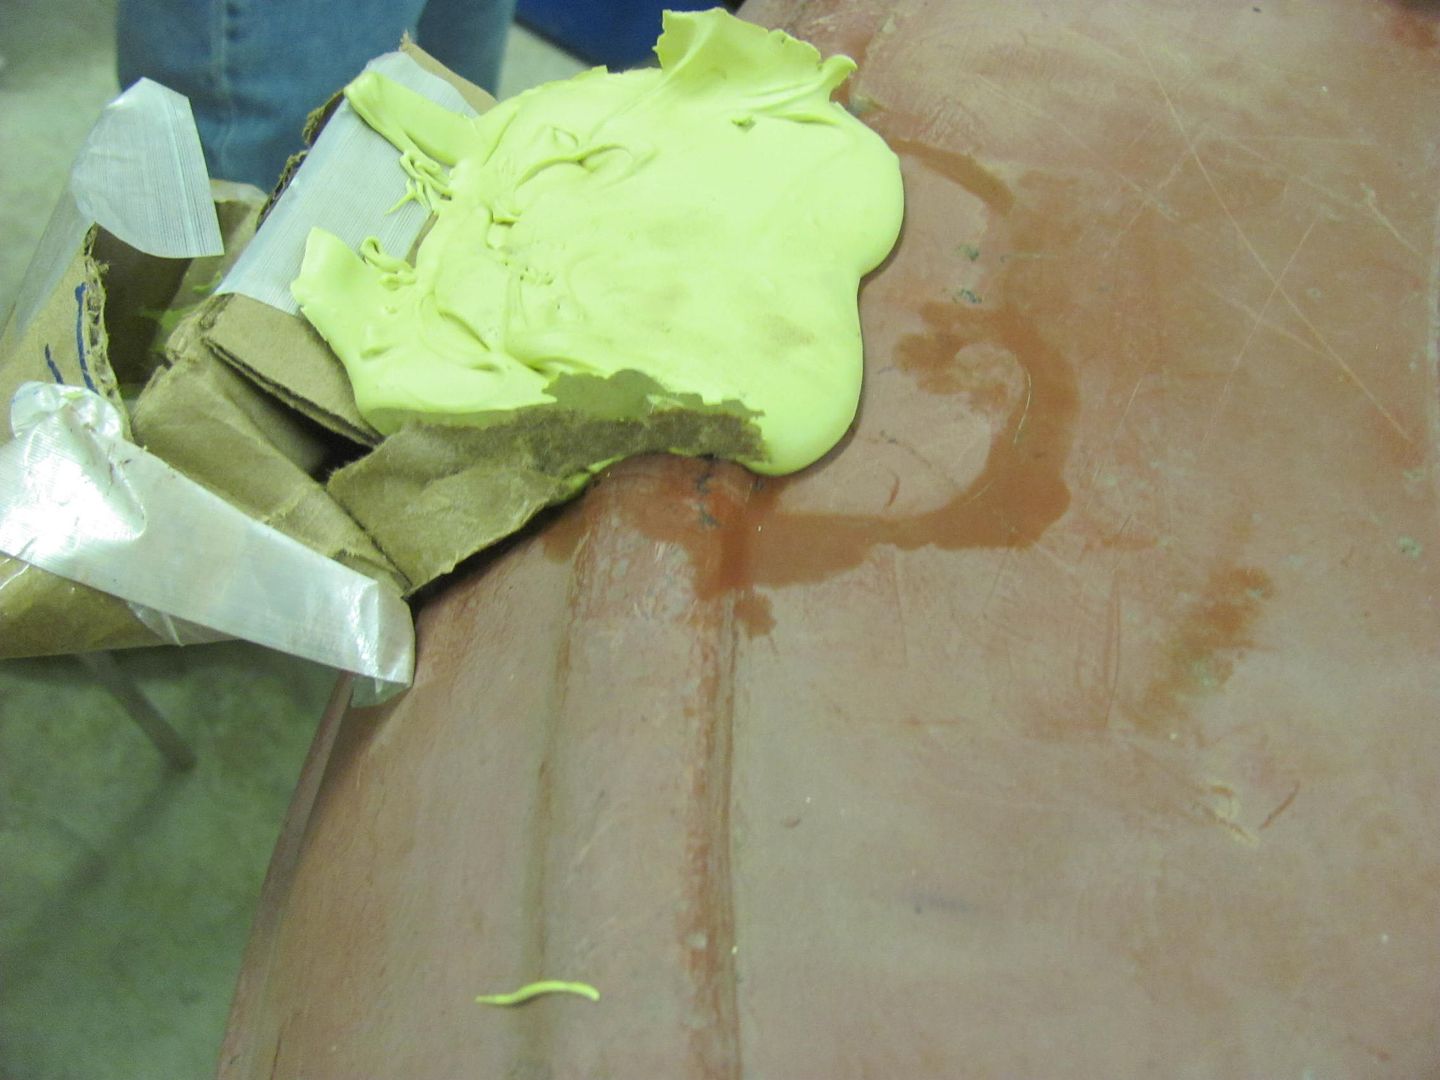 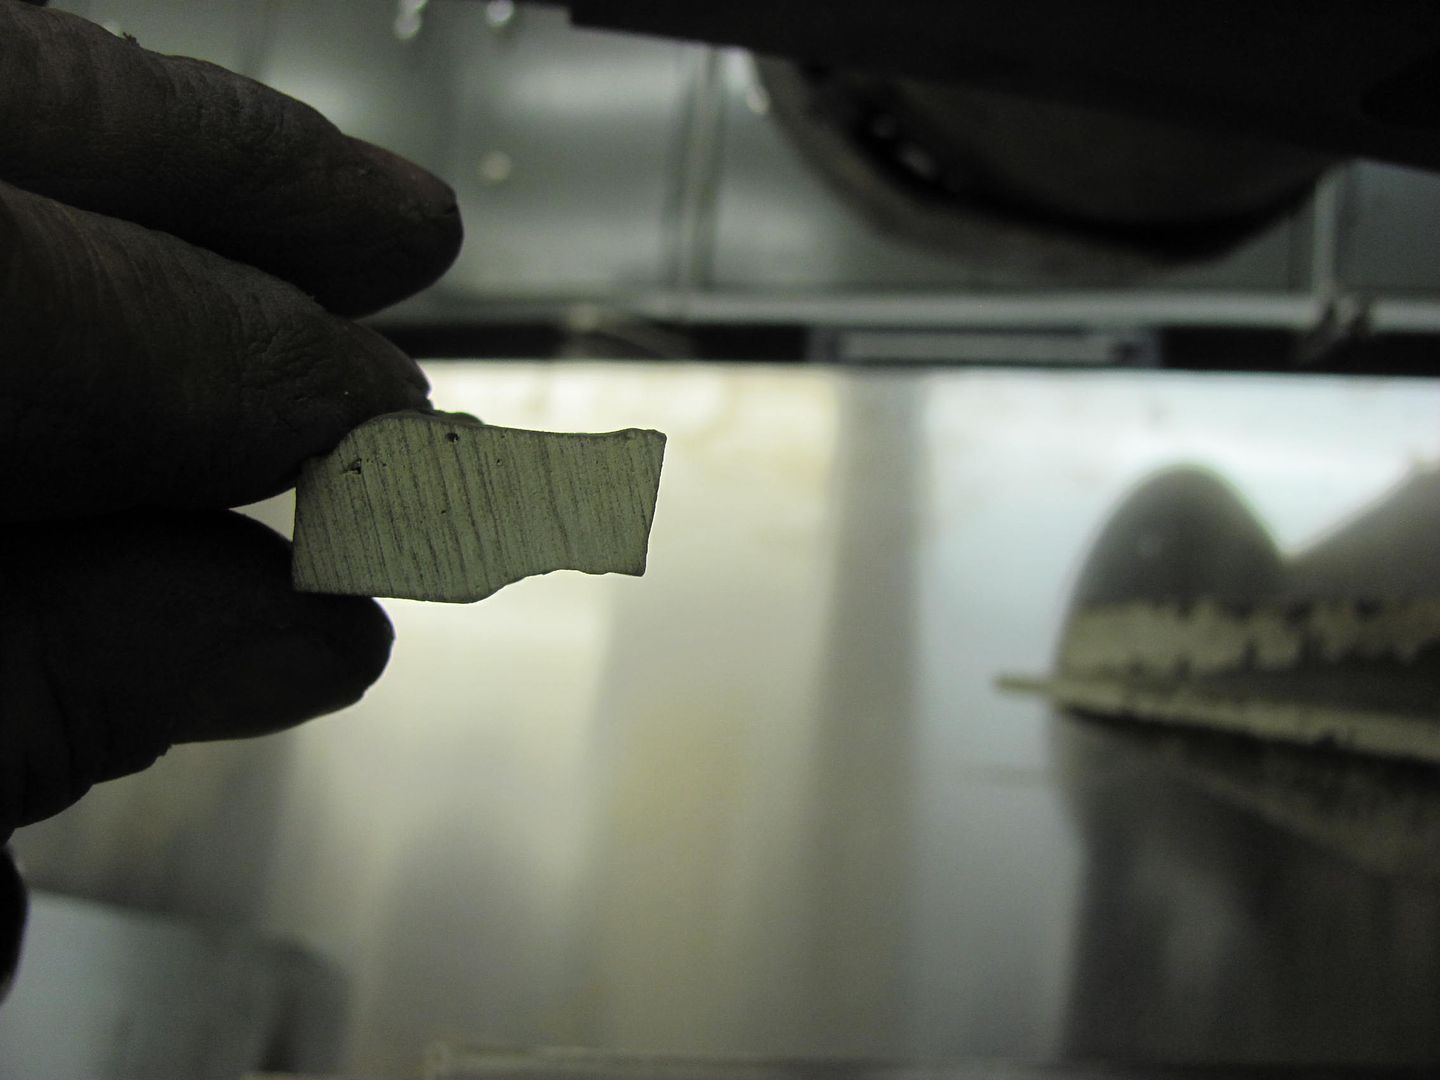 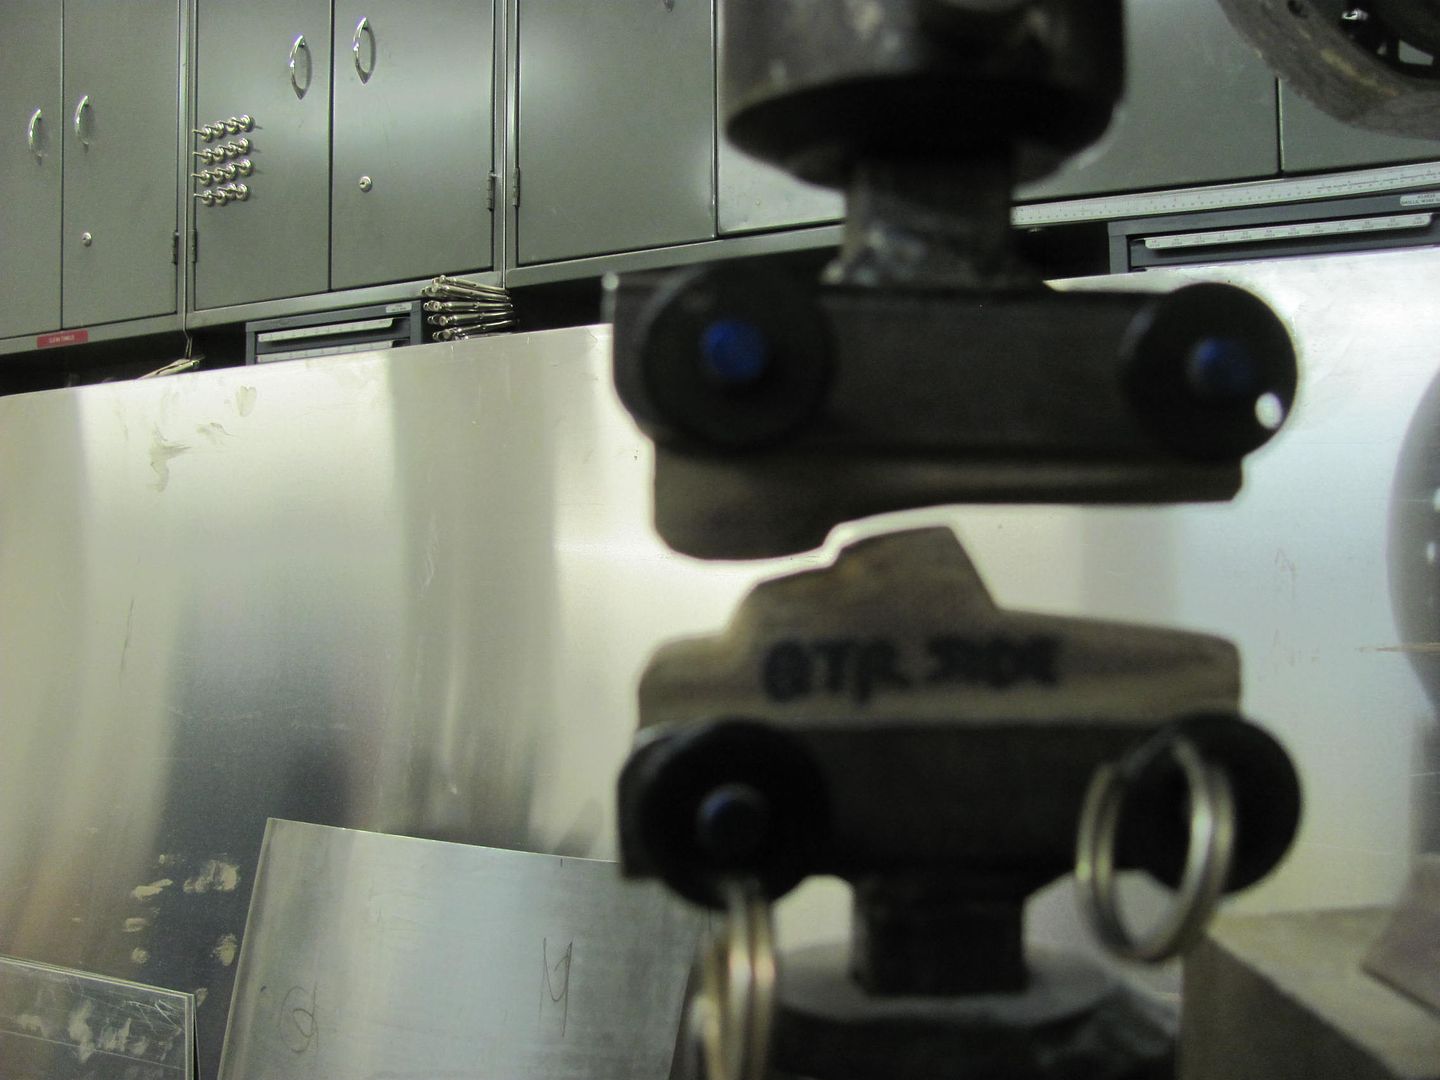 Making a pattern of luan board for a divider offset in trimming the top edge.. 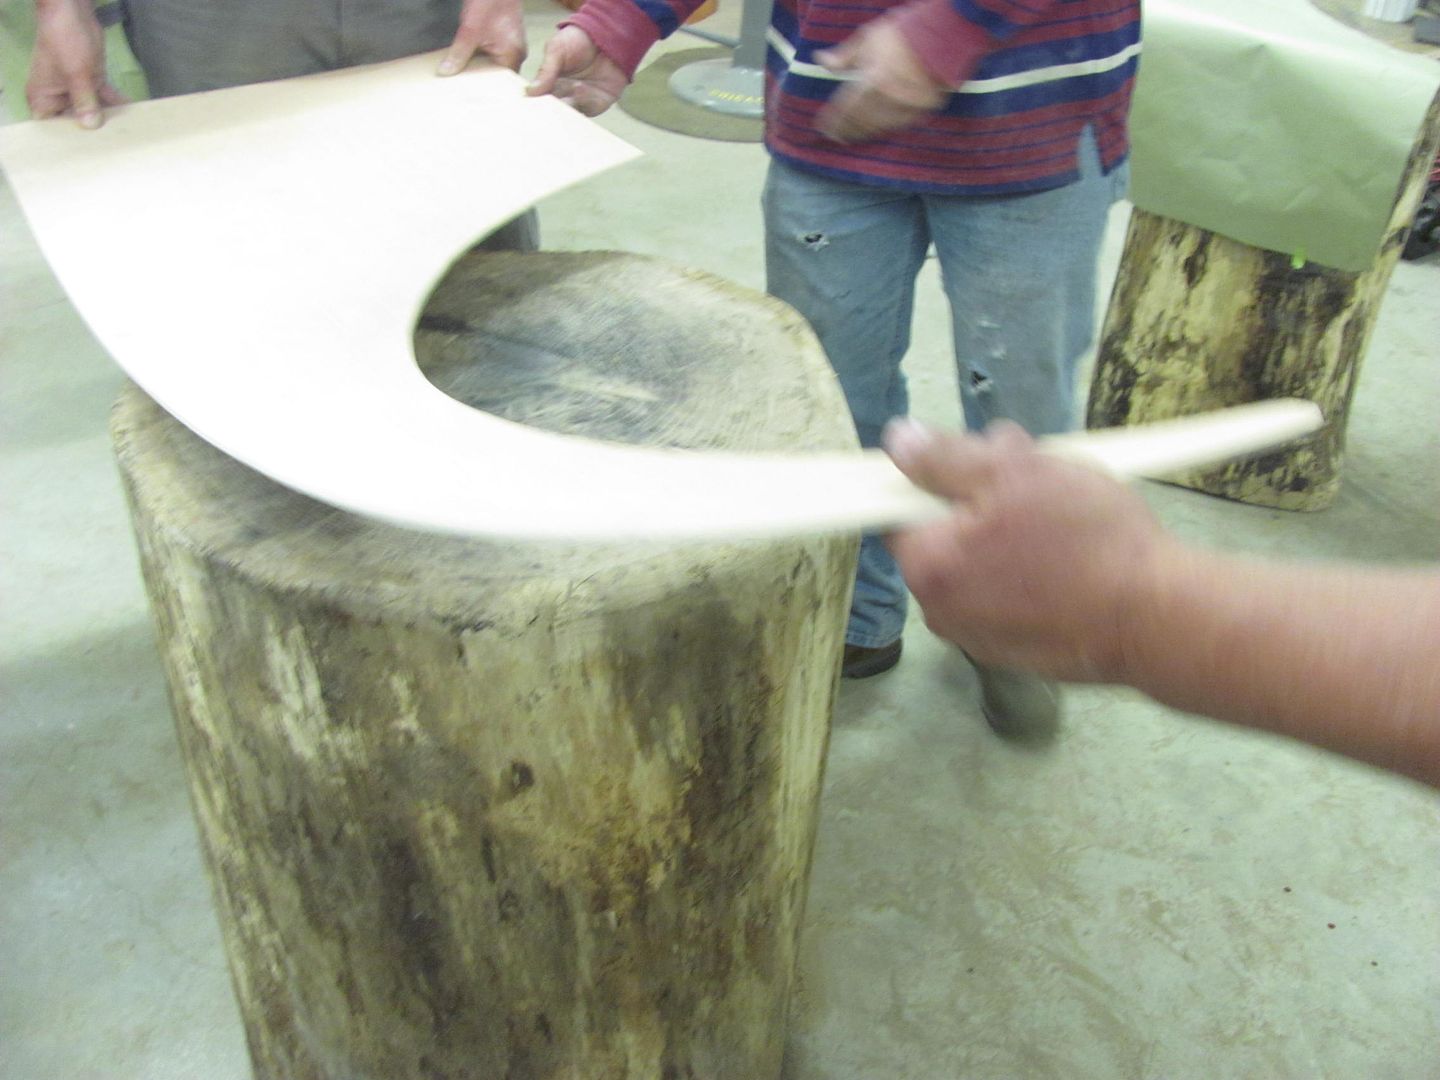 What happens when a metal shaper gets around wood products... 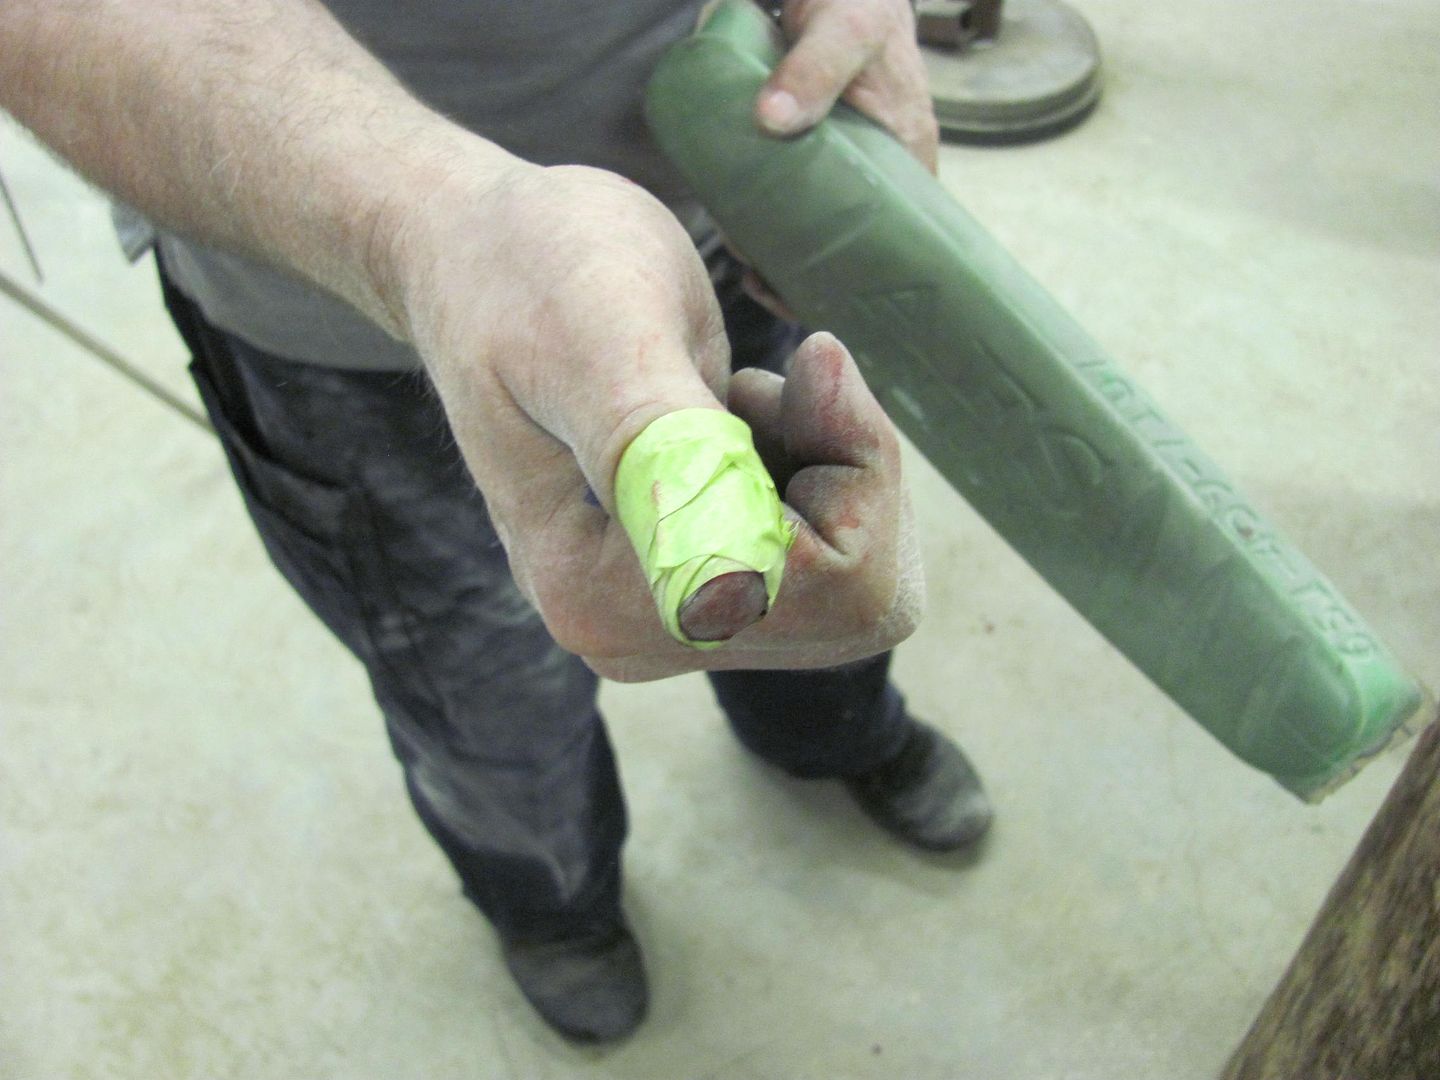  Trimming and filing up the top edge.... 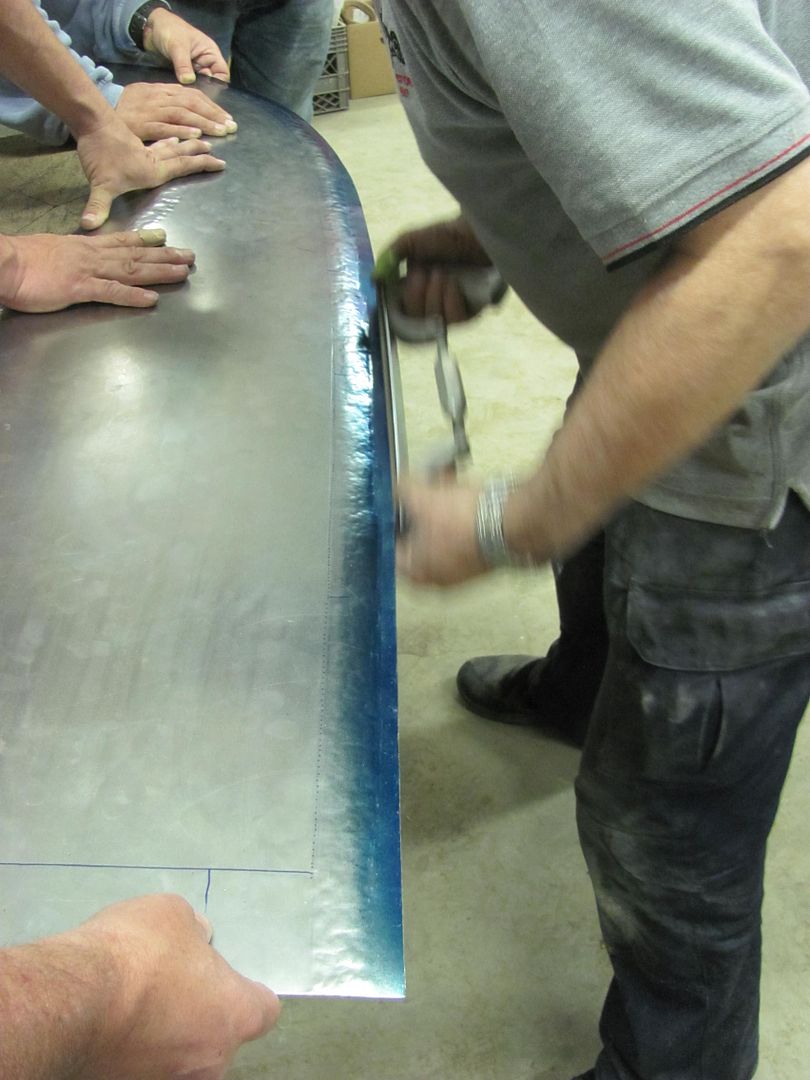 On to the Lennox.... 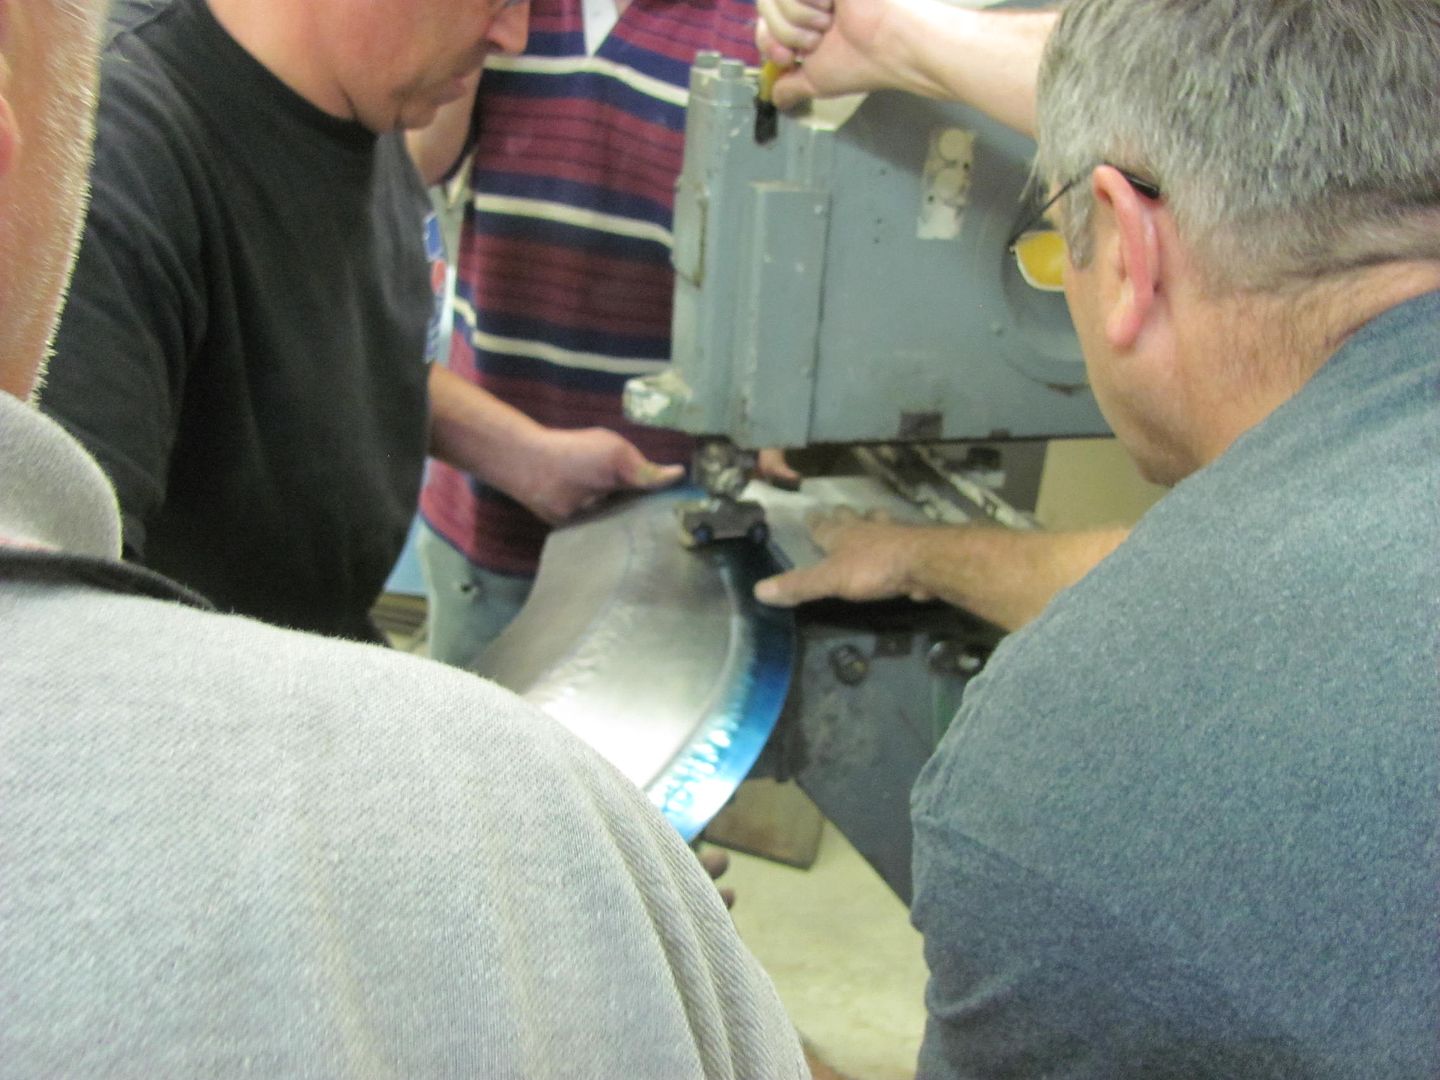 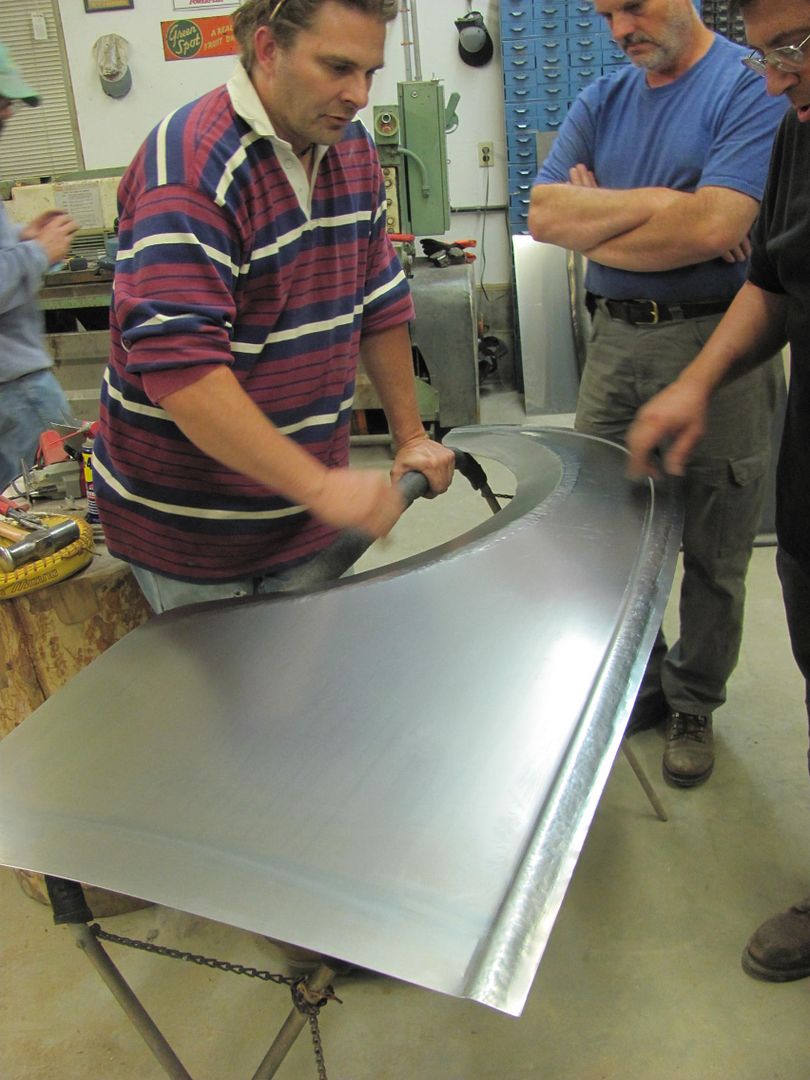 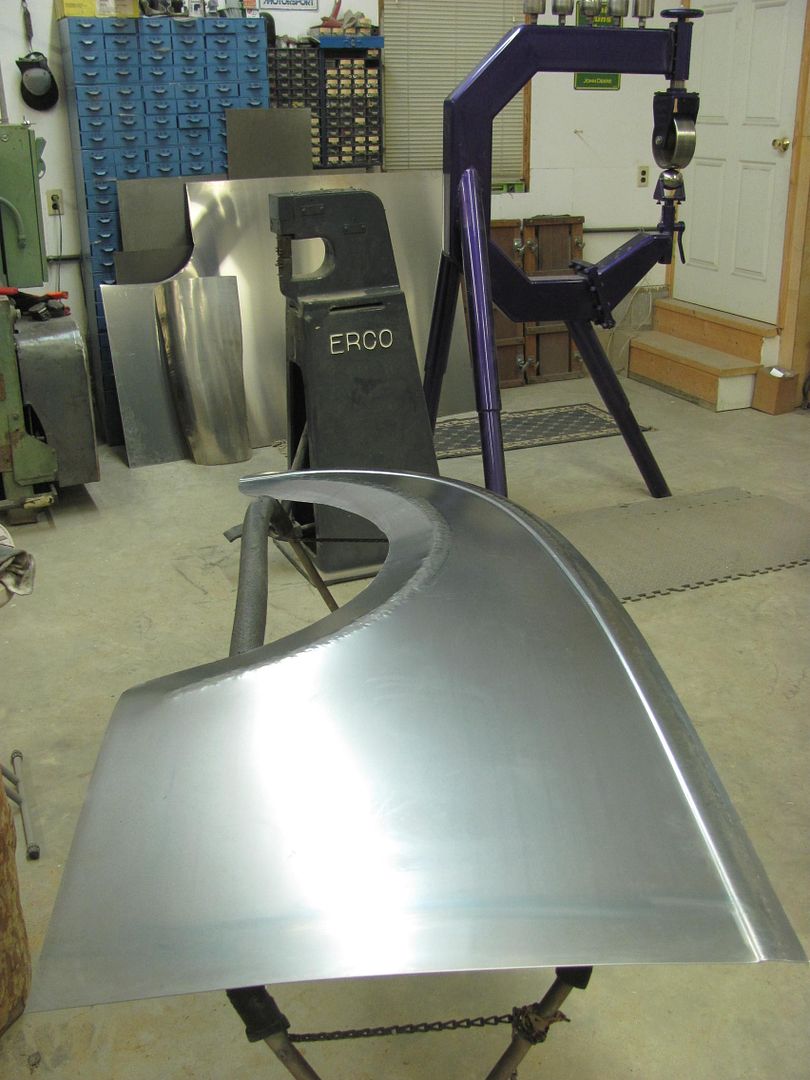
__________________
Robert |
|
|
|
|
10-02-2015, 11:18 PM
|
#10 |
|
Senior Member
Join Date: Mar 2011
Location: West Plains, Missouri
Posts: 7,555
|
Re: 55 Wagon Progress
That quarter is already looking good...Jim
__________________
my build thread: http://67-72chevytrucks.com/vboard/s...d.php?t=459839 Jimbo's long bed step build:http://67-72chevytrucks.com/vboard/s...t=464626<br /> |
|
|
|
|
10-02-2015, 11:21 PM
|
#11 |
|
Registered User
Join Date: Apr 2011
Location: .
Posts: 3,104
|
Re: 55 Wagon Progress
Thanks for the info and pics.
Looks like everyone was having a good learning experience, hope the thumb heals quickly. |
|
|
|
|
10-03-2015, 11:03 PM
|
#12 |
|
Registered User
Join Date: Jan 2013
Location: Leonardtown, MD
Posts: 1,637
|
Re: 55 Wagon Progress
Thanks guys!
Project updates for todays class: Wiring top edge of the copper trash can.. 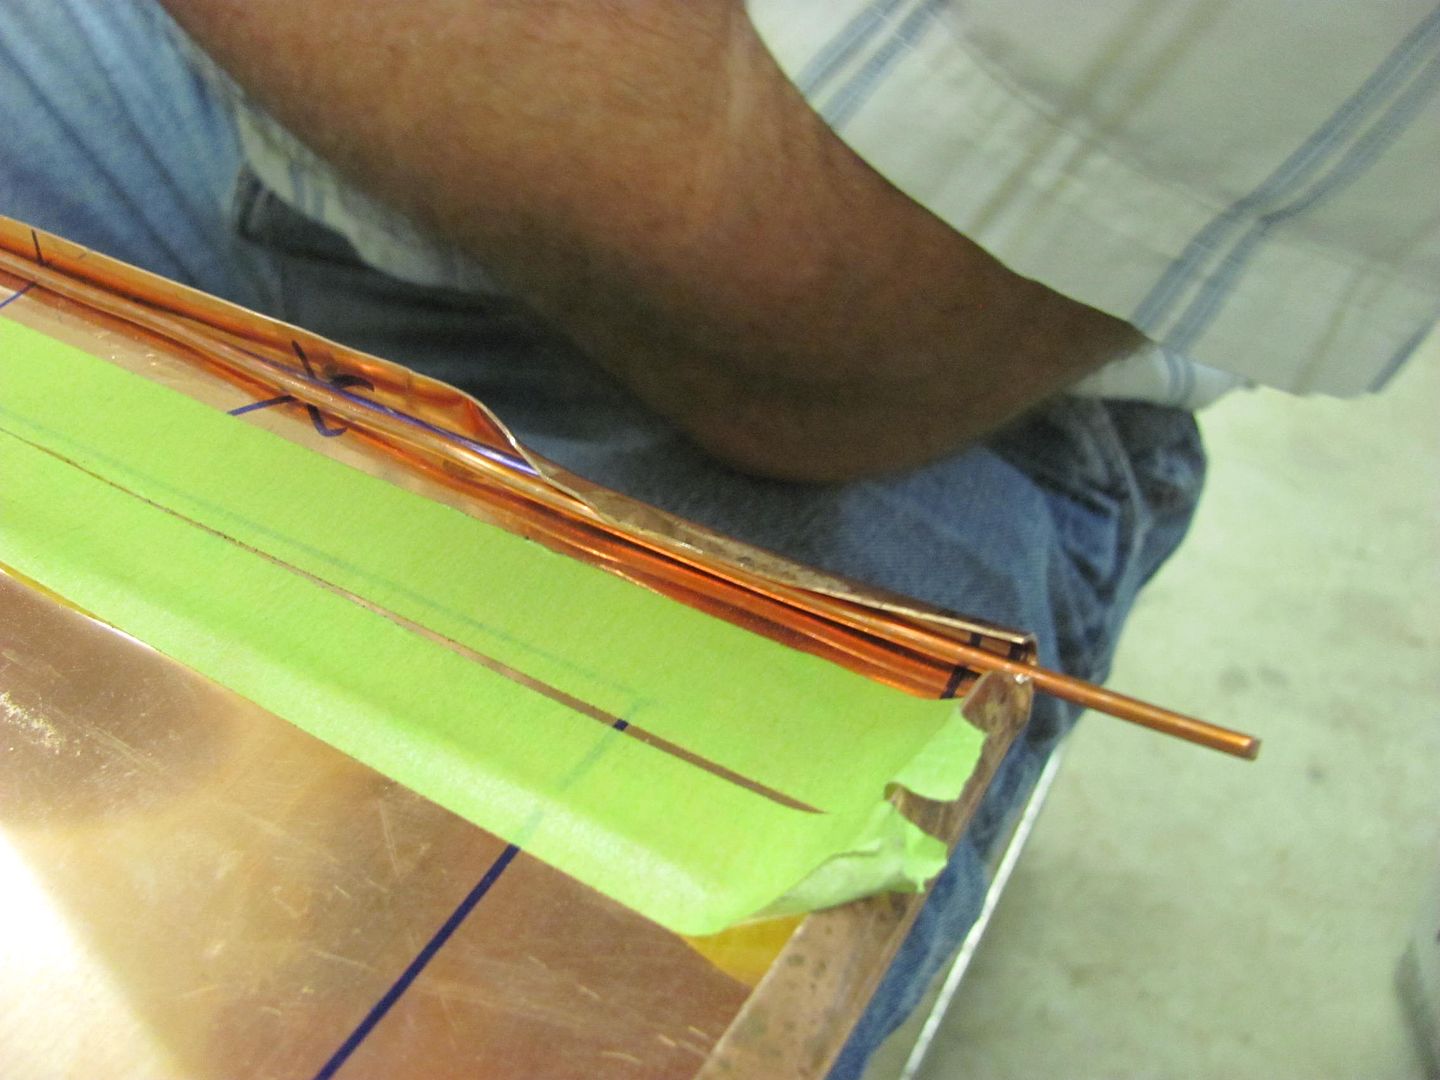 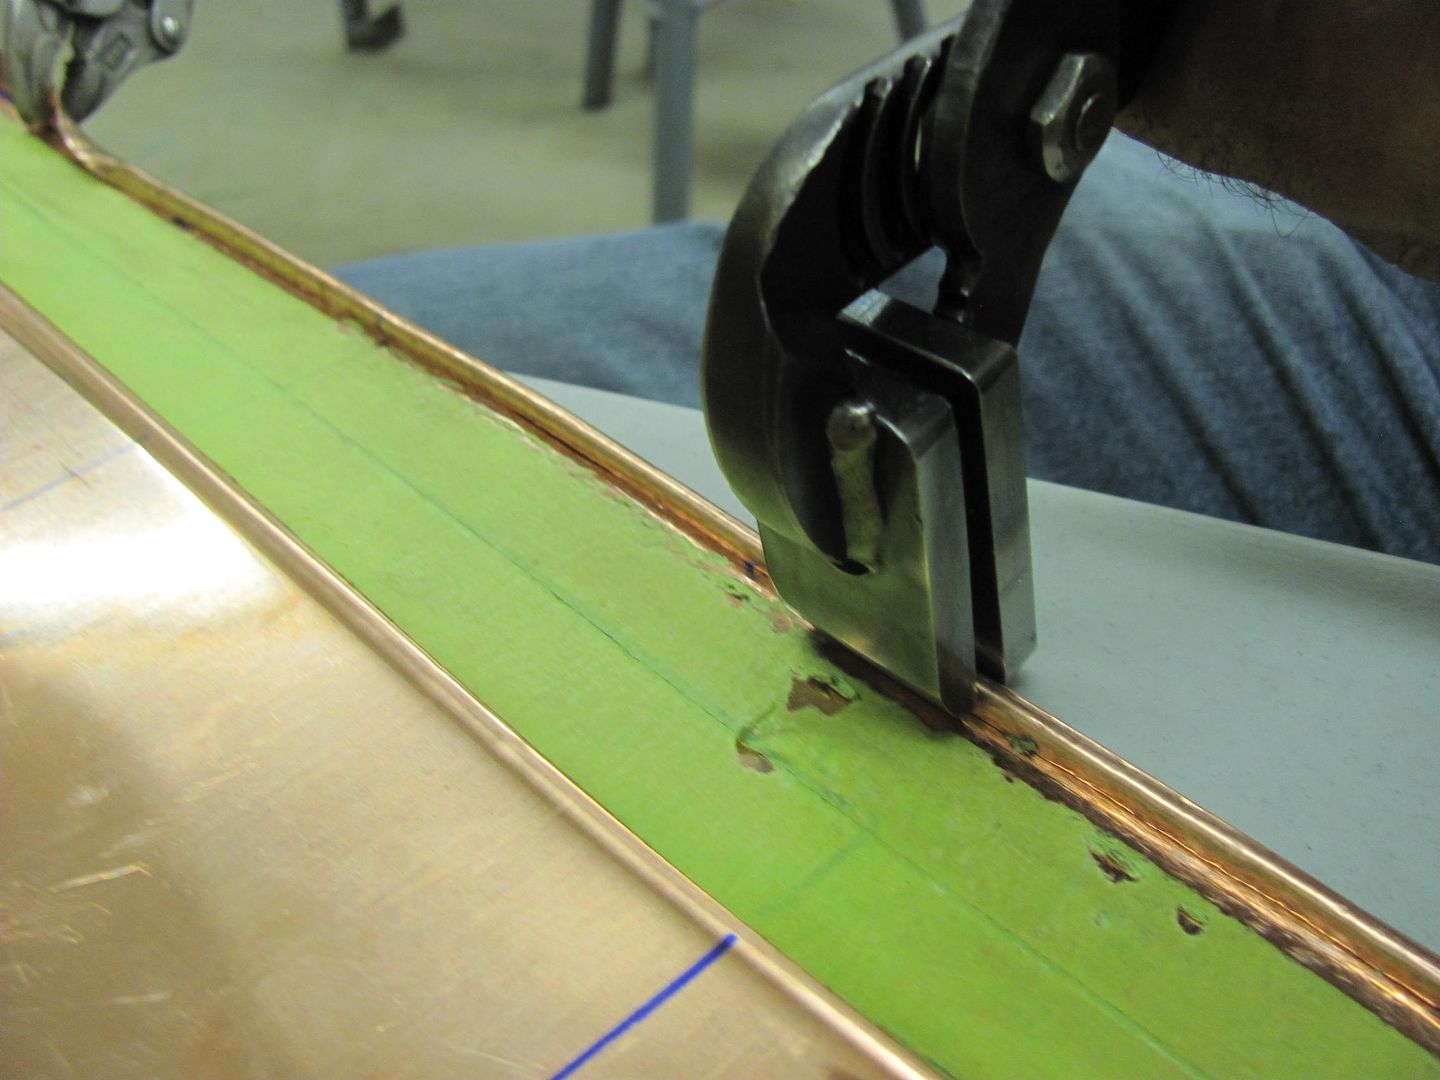 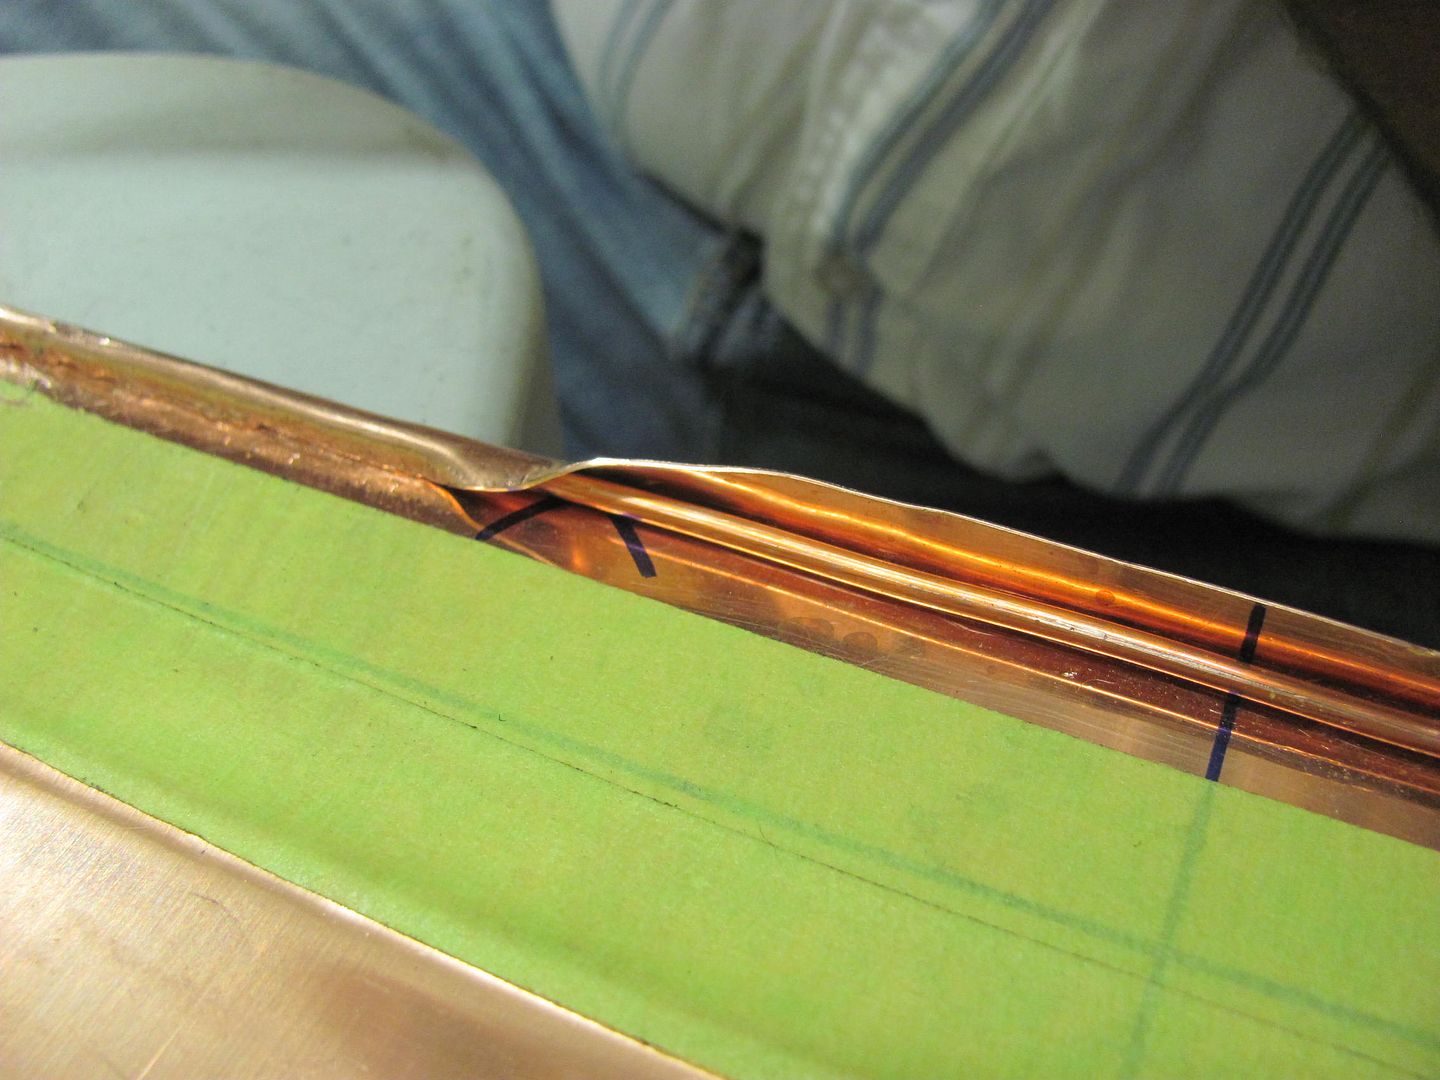 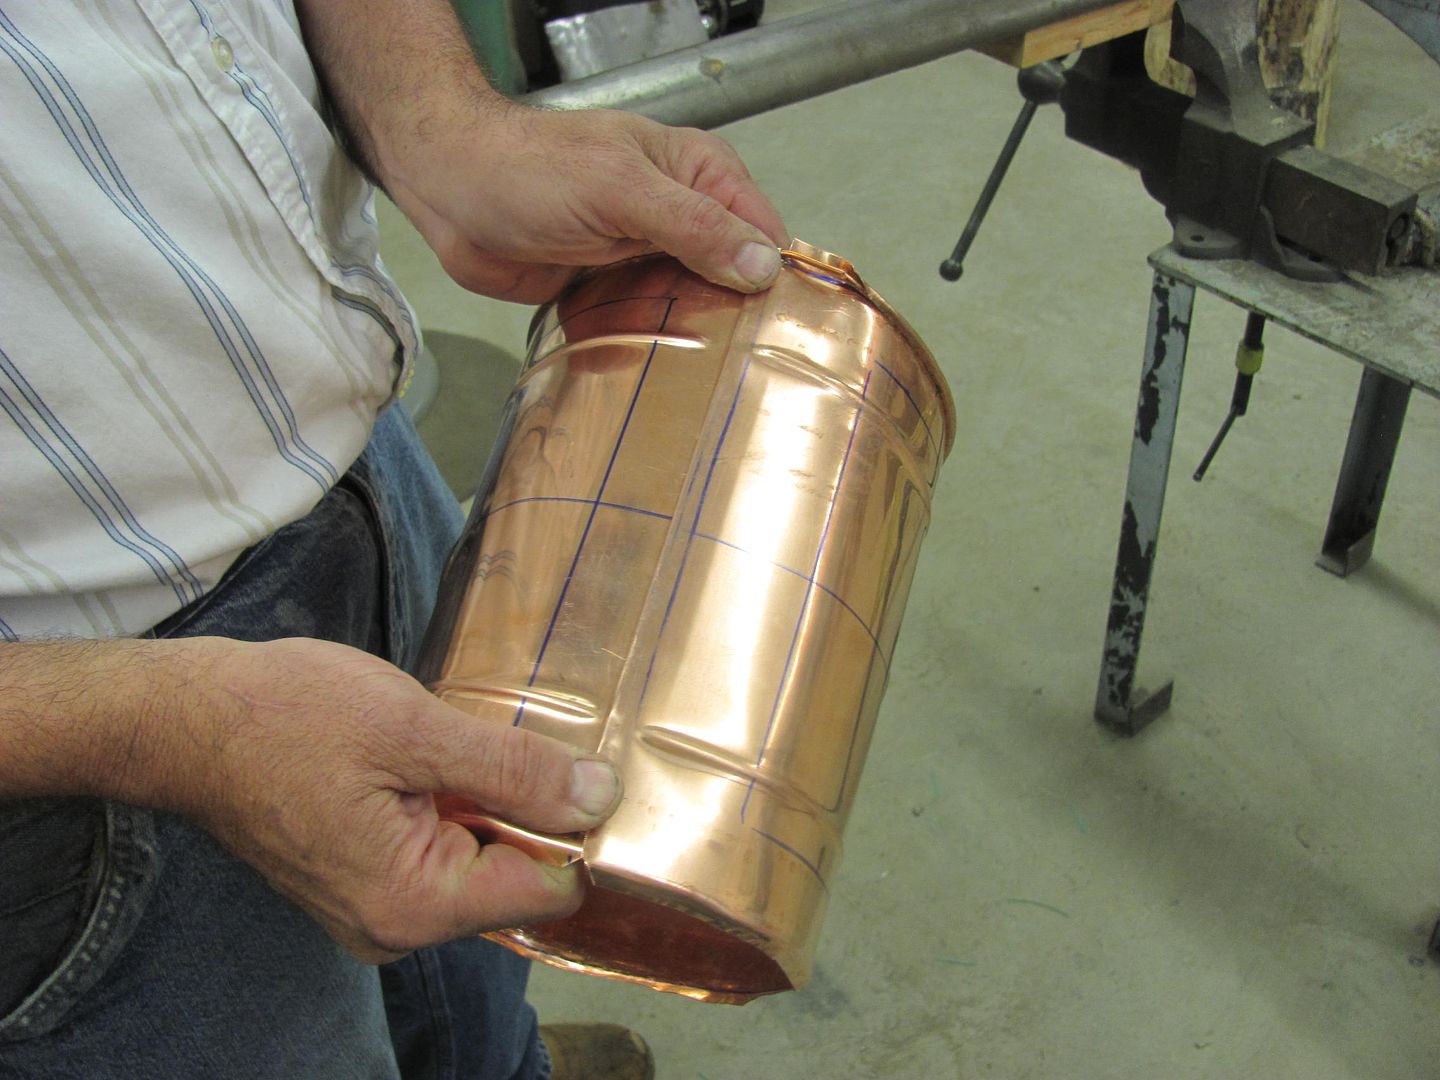 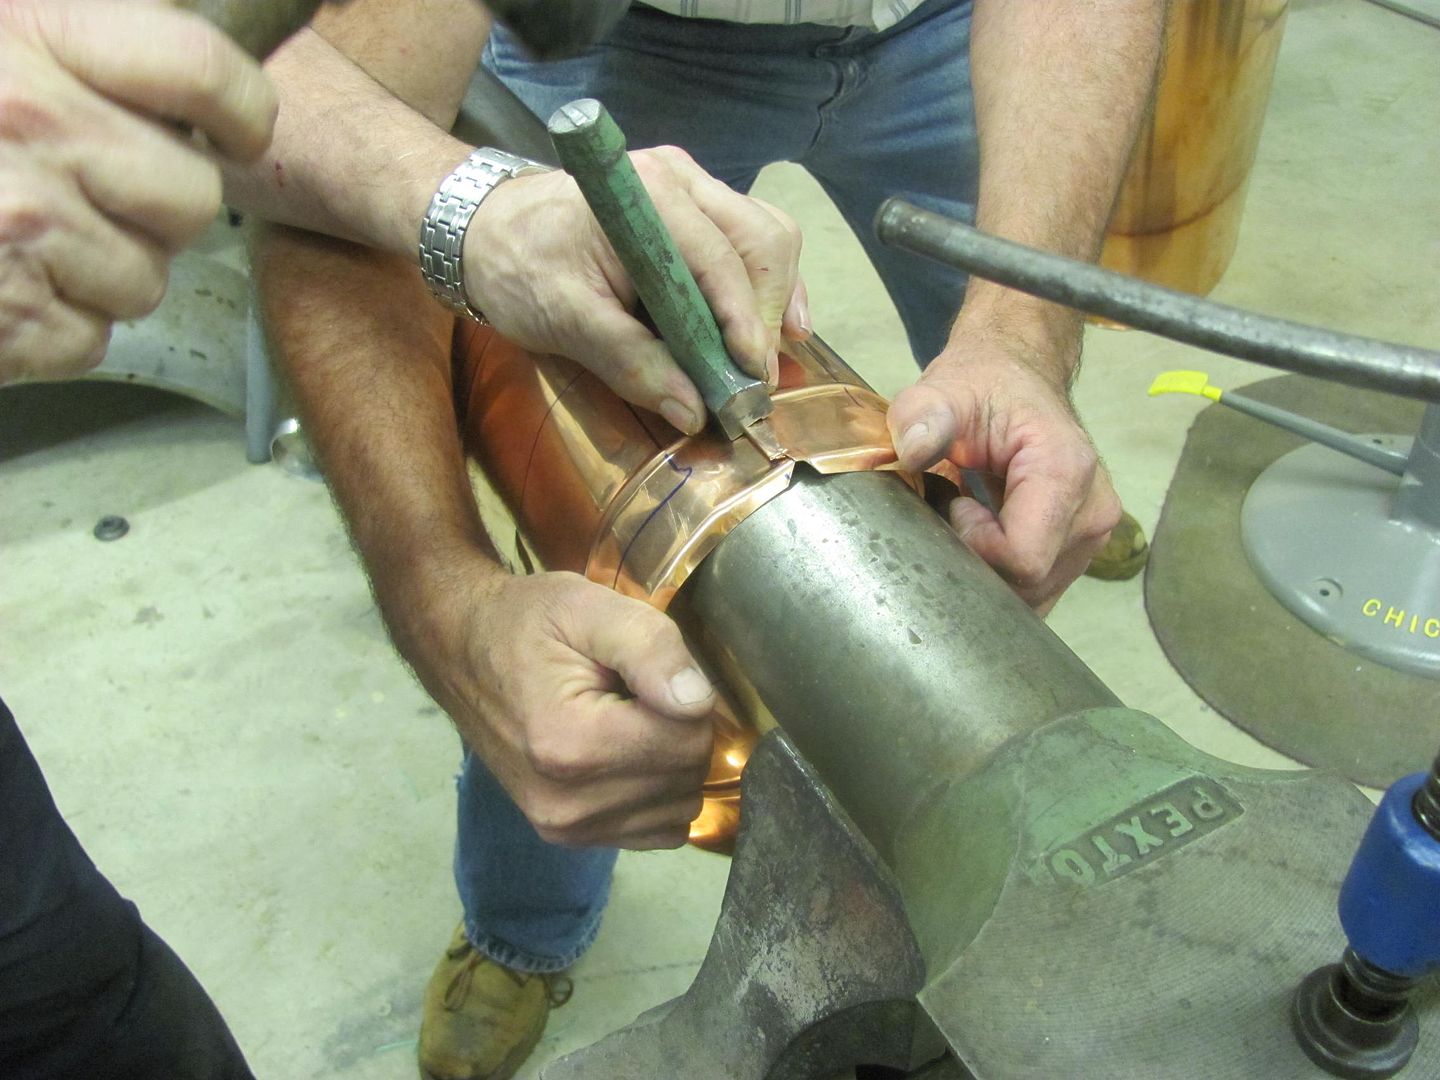 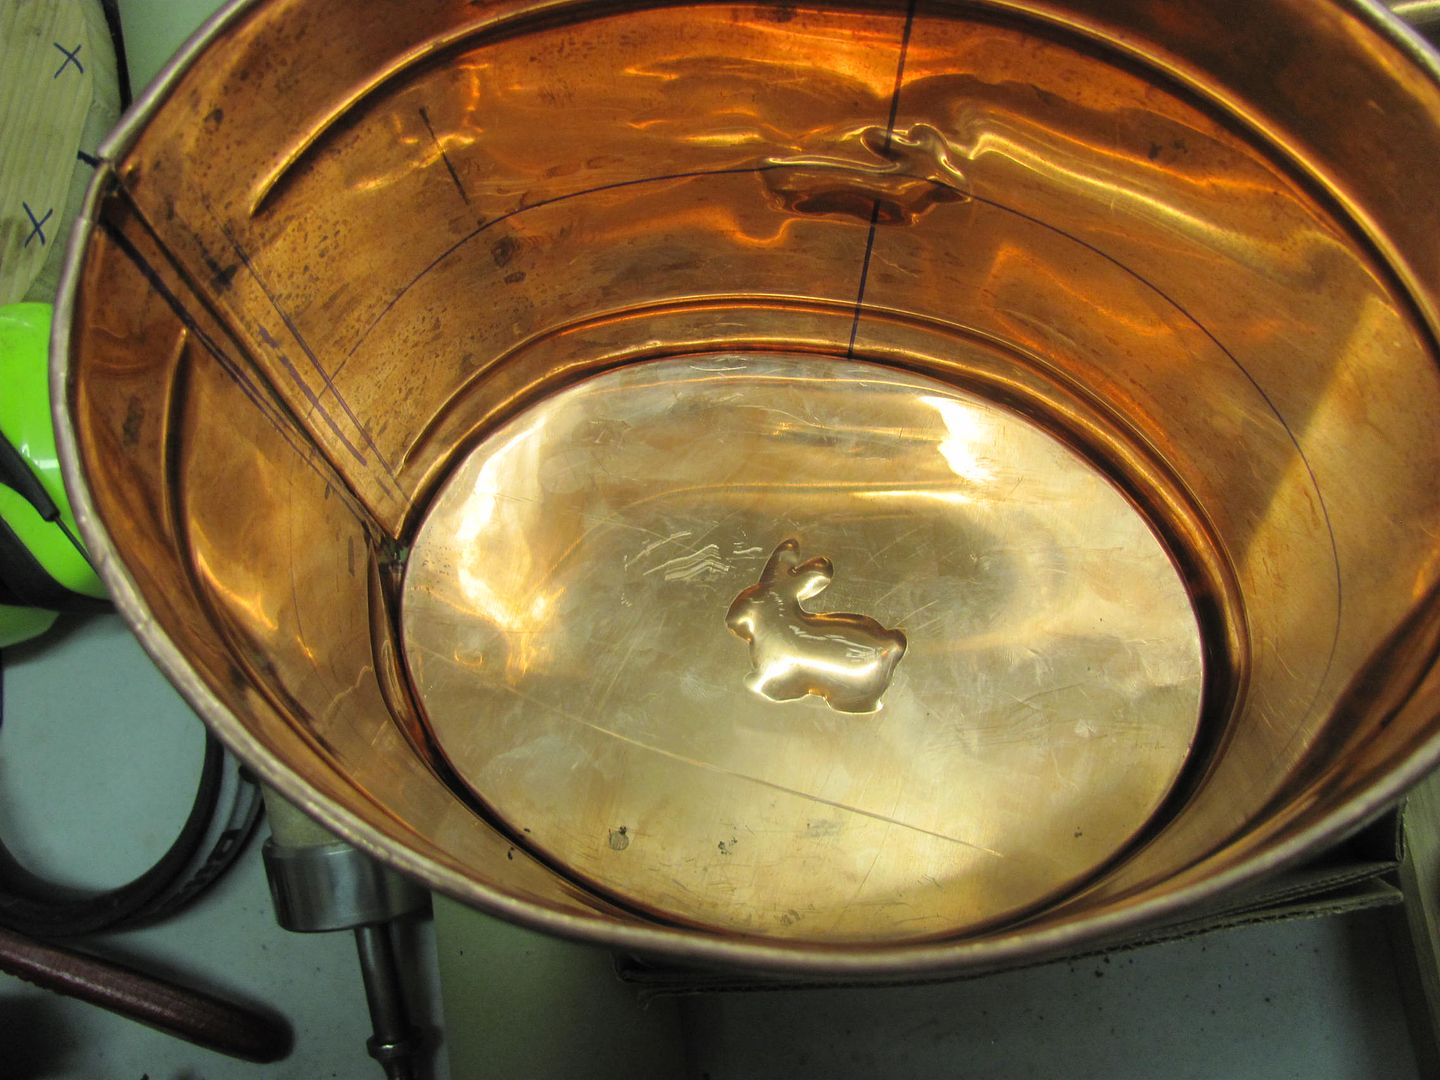 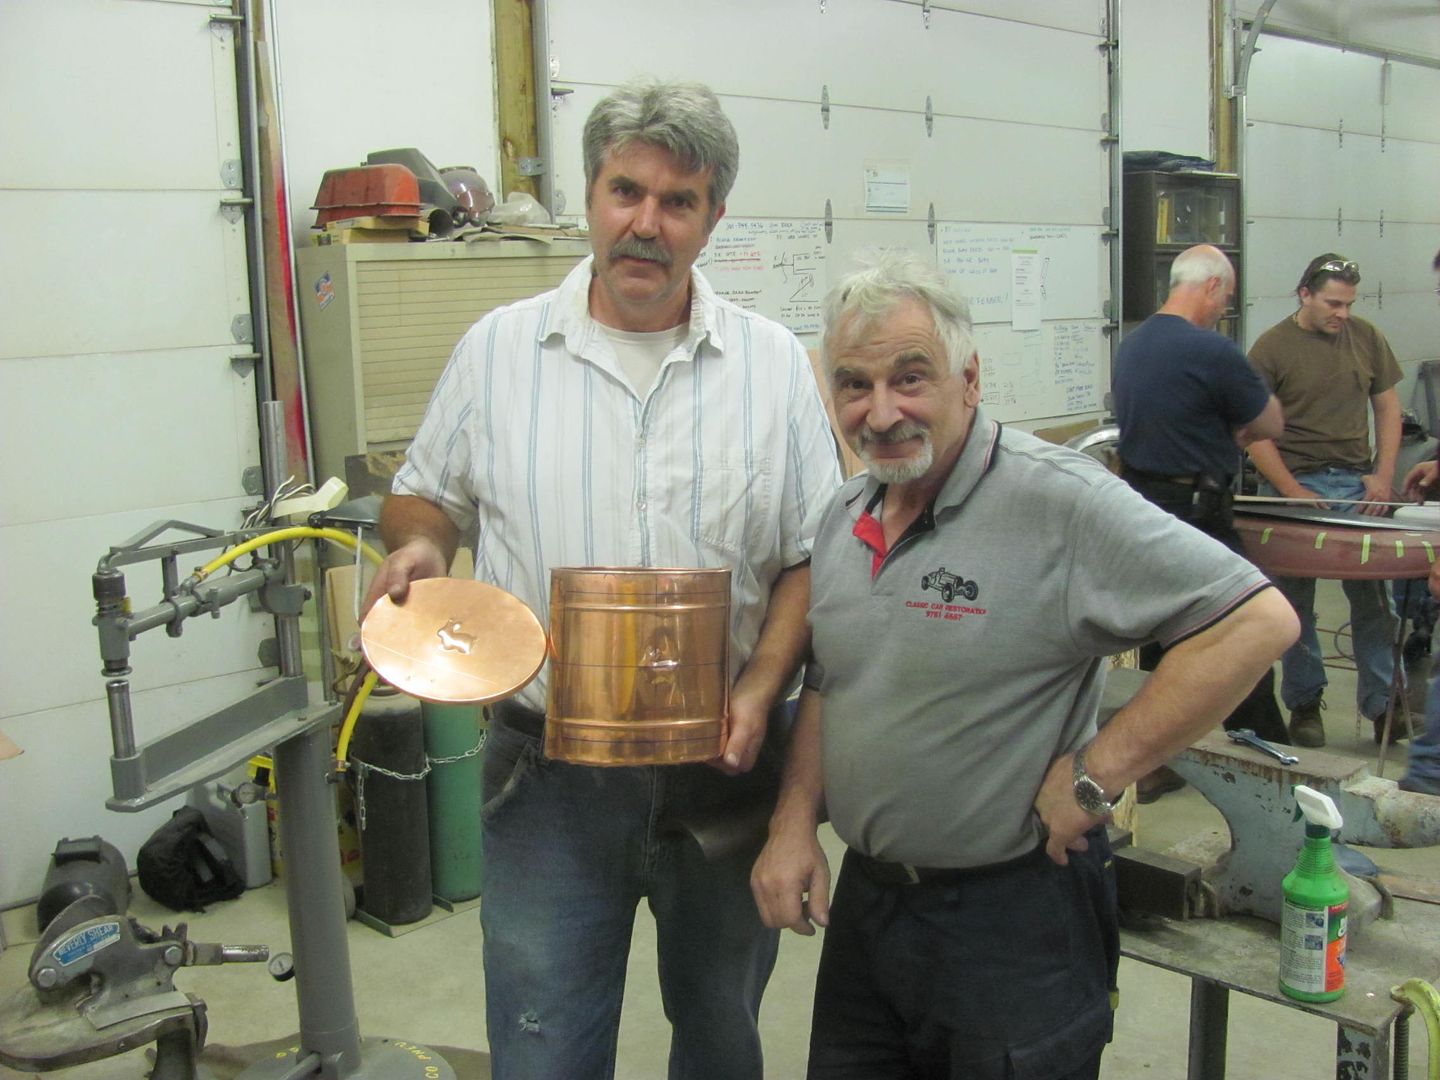 Roadster quarter, making dies for the upper bead detail.... 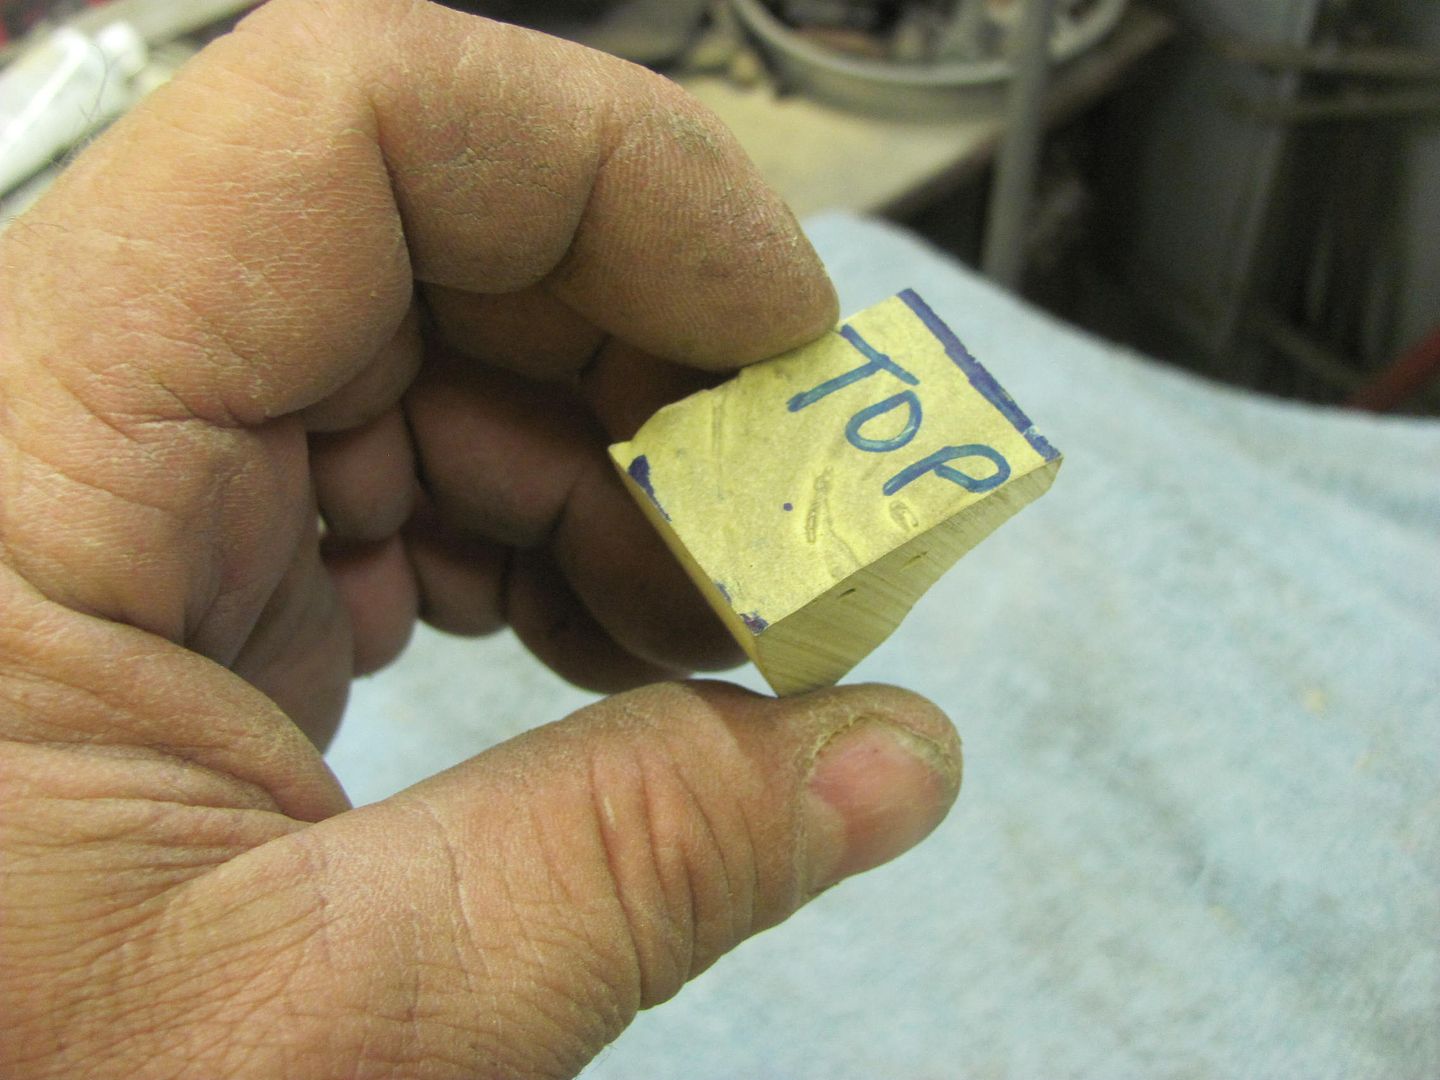 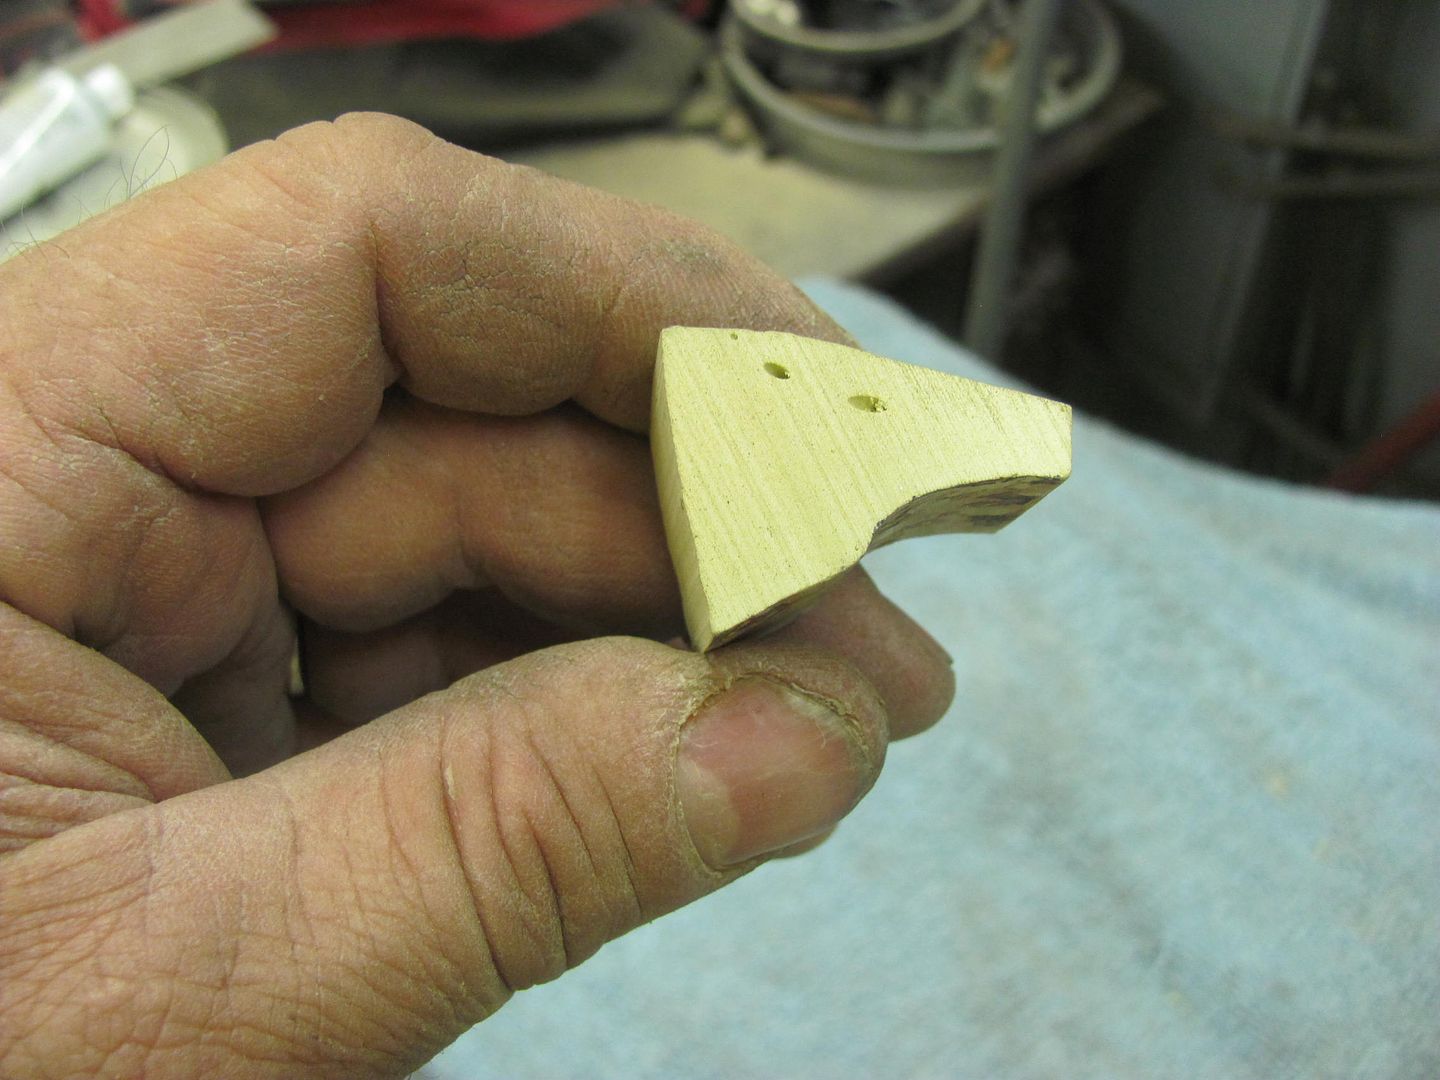 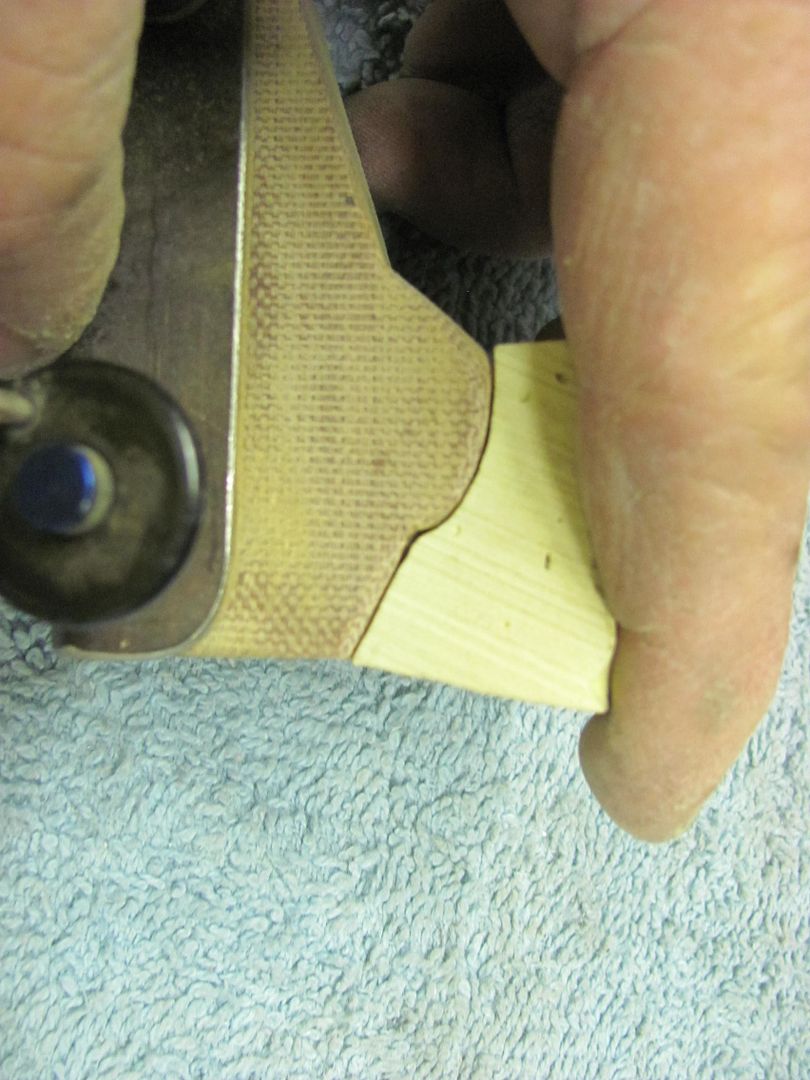 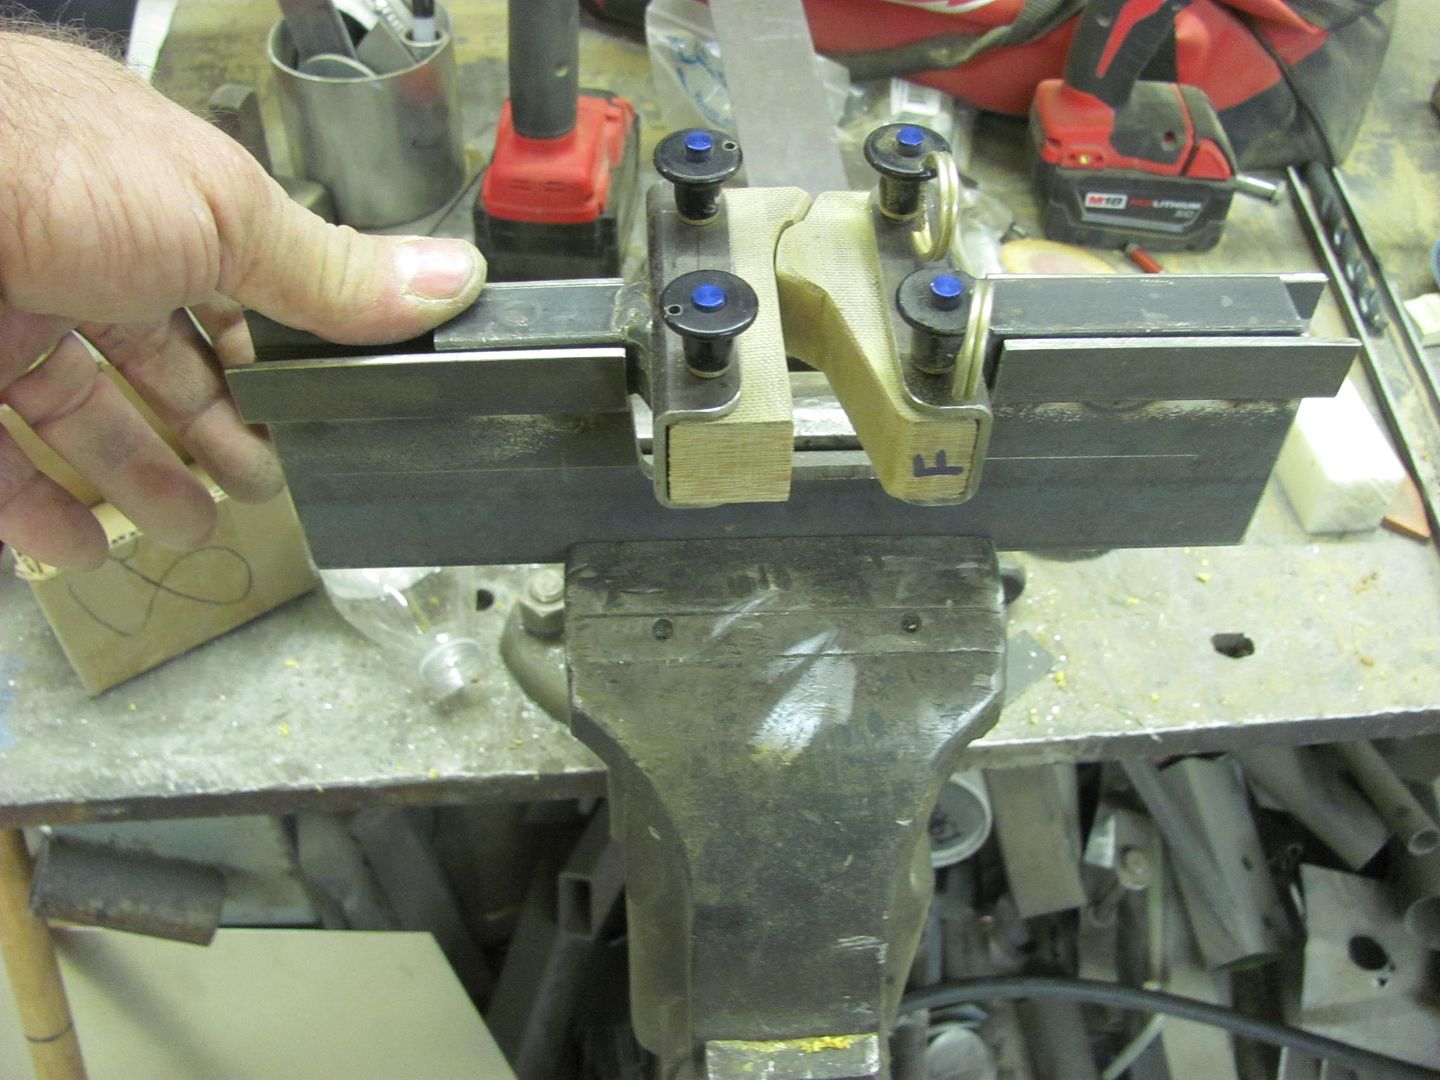 Sharpening the crease 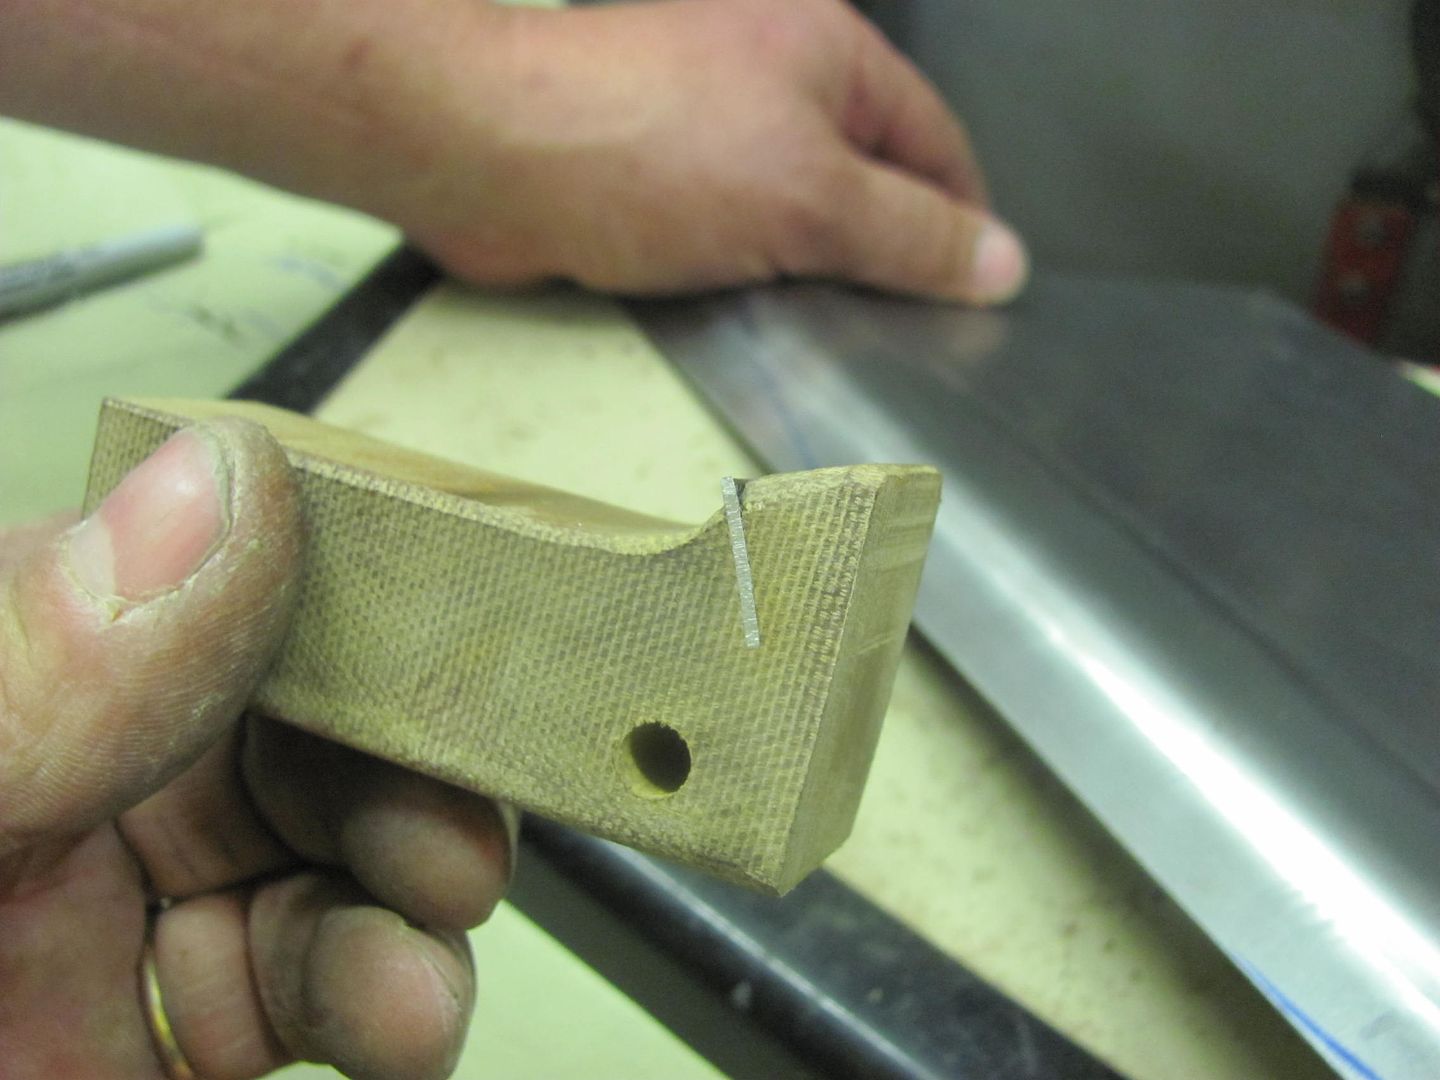 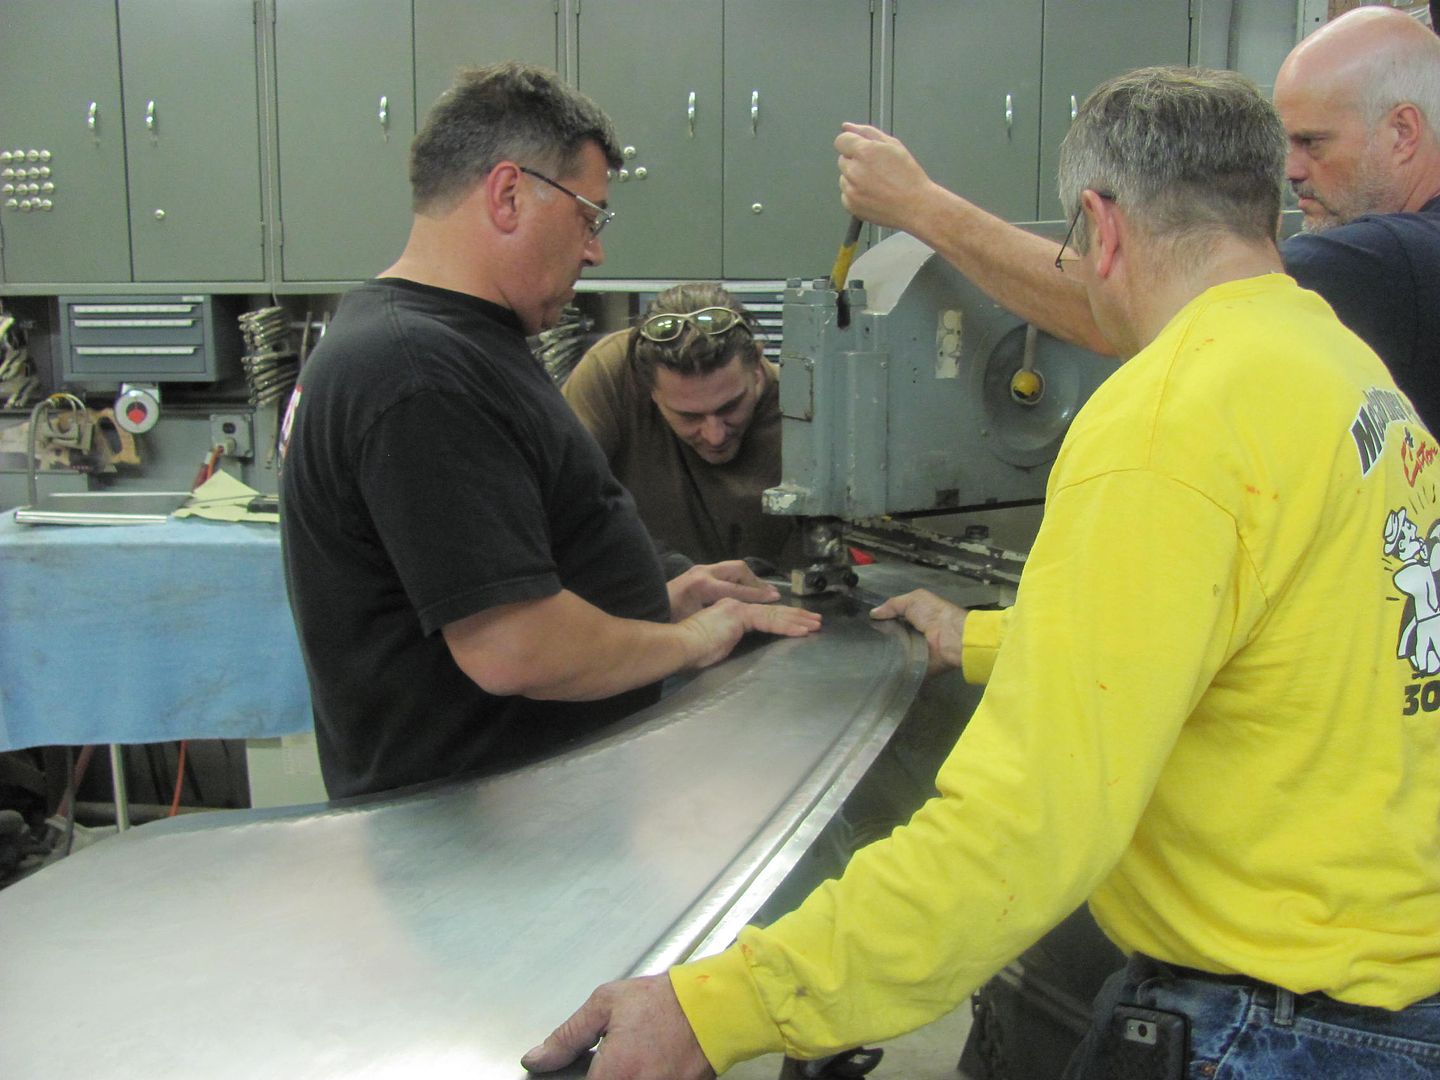 A bit of shrinking.... 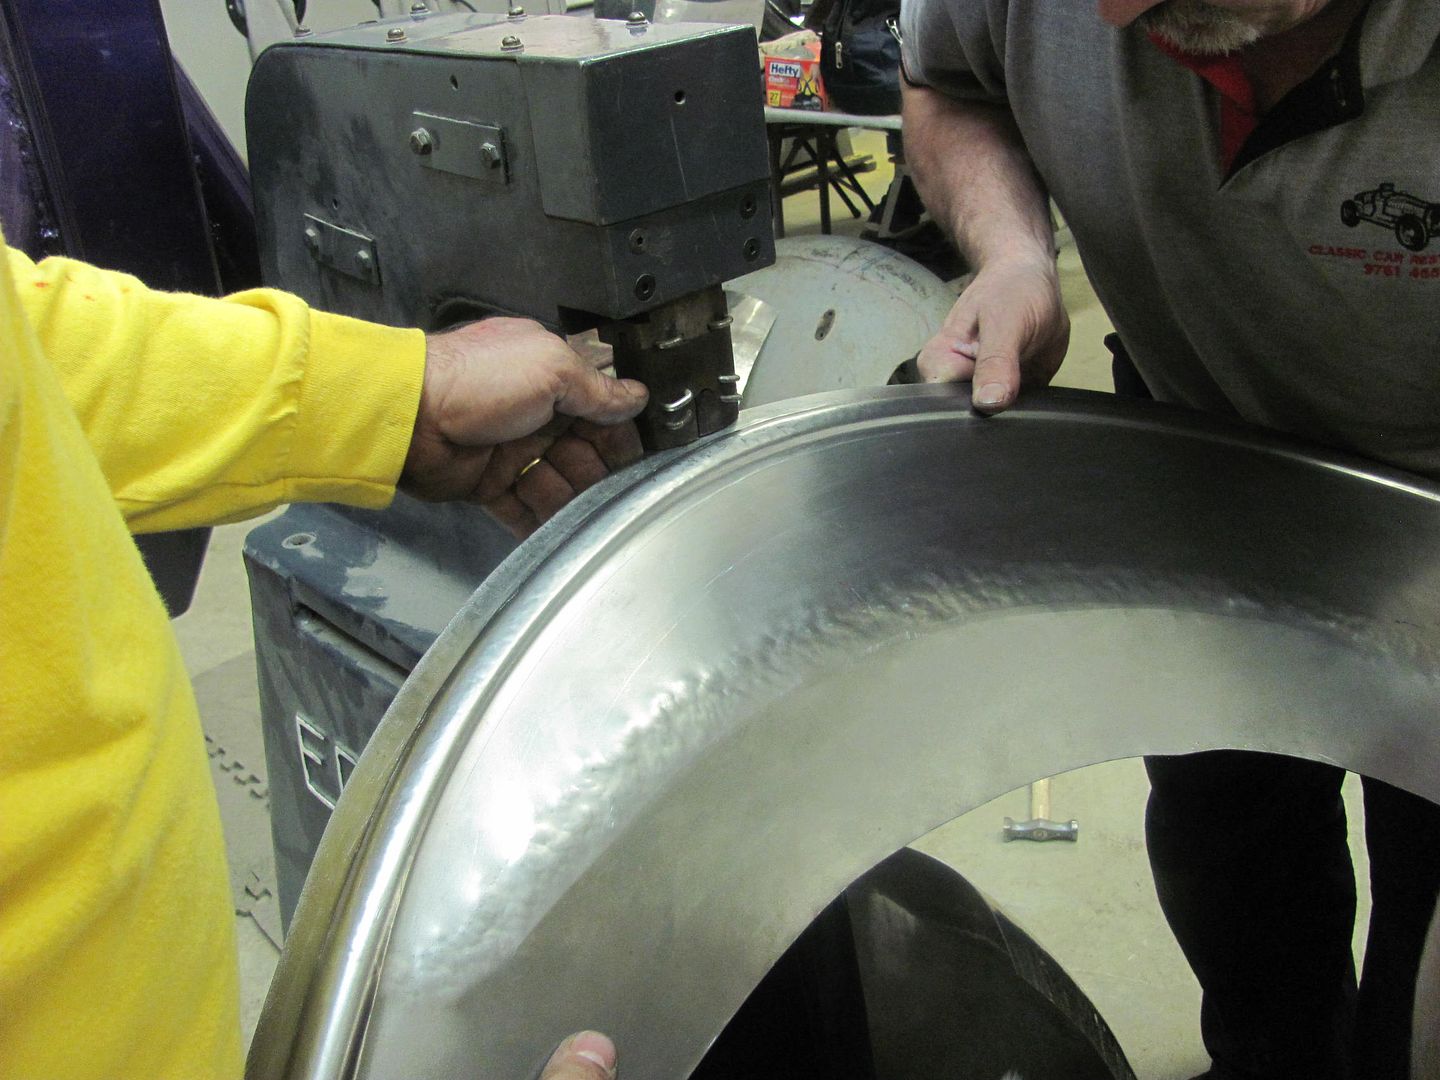 Test fit... 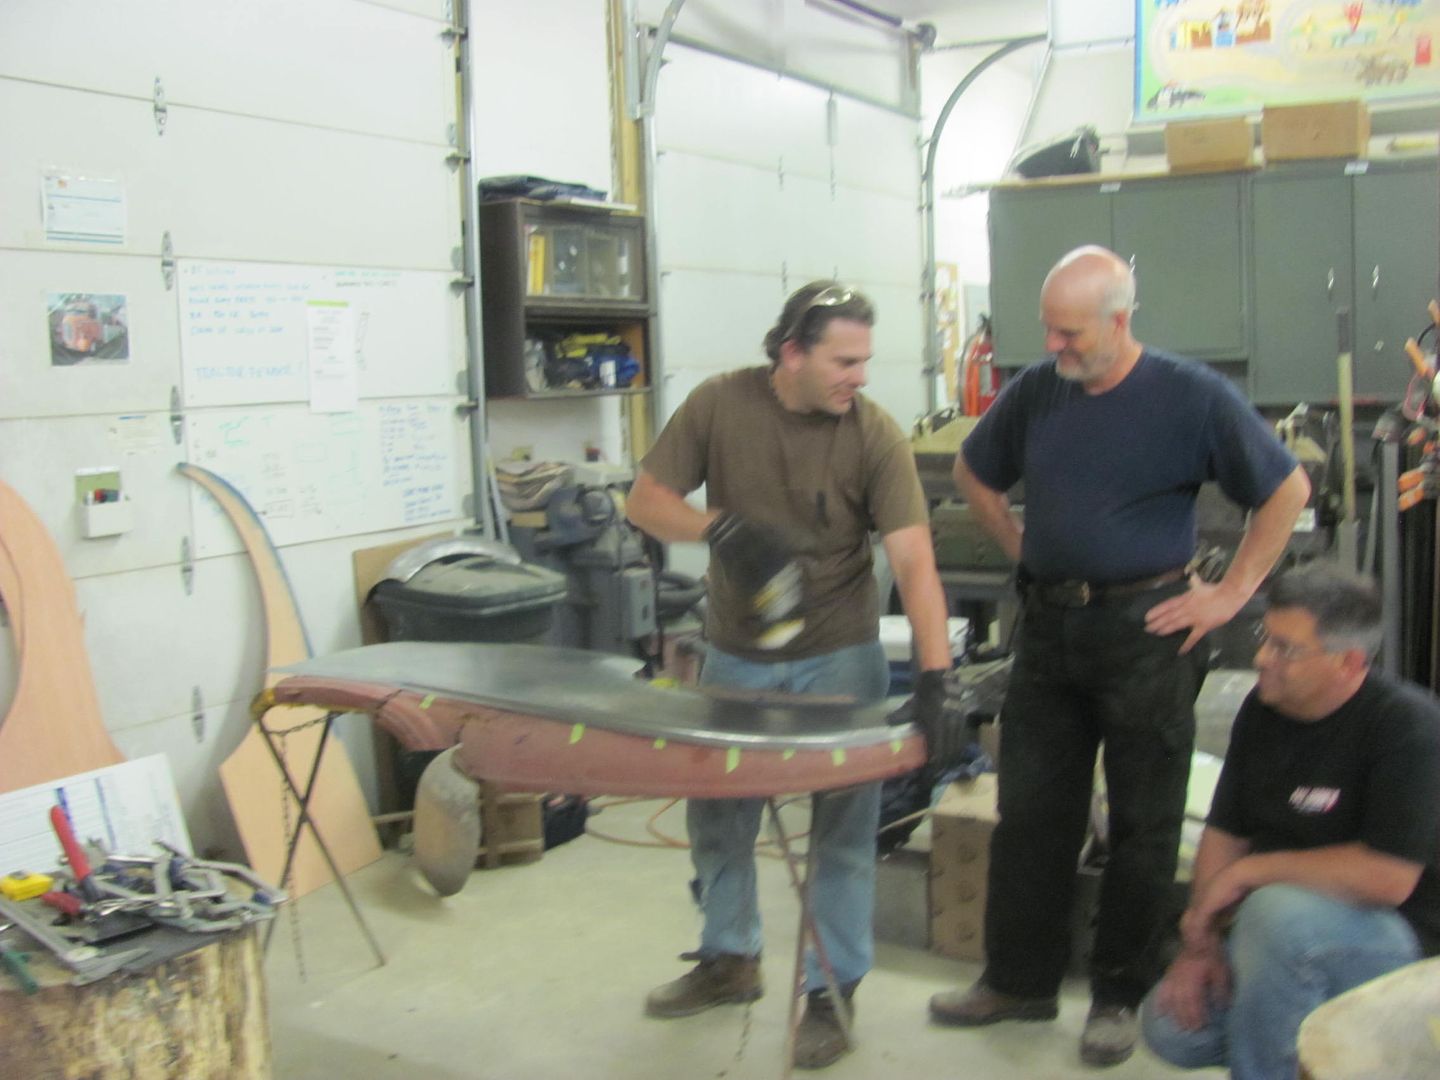 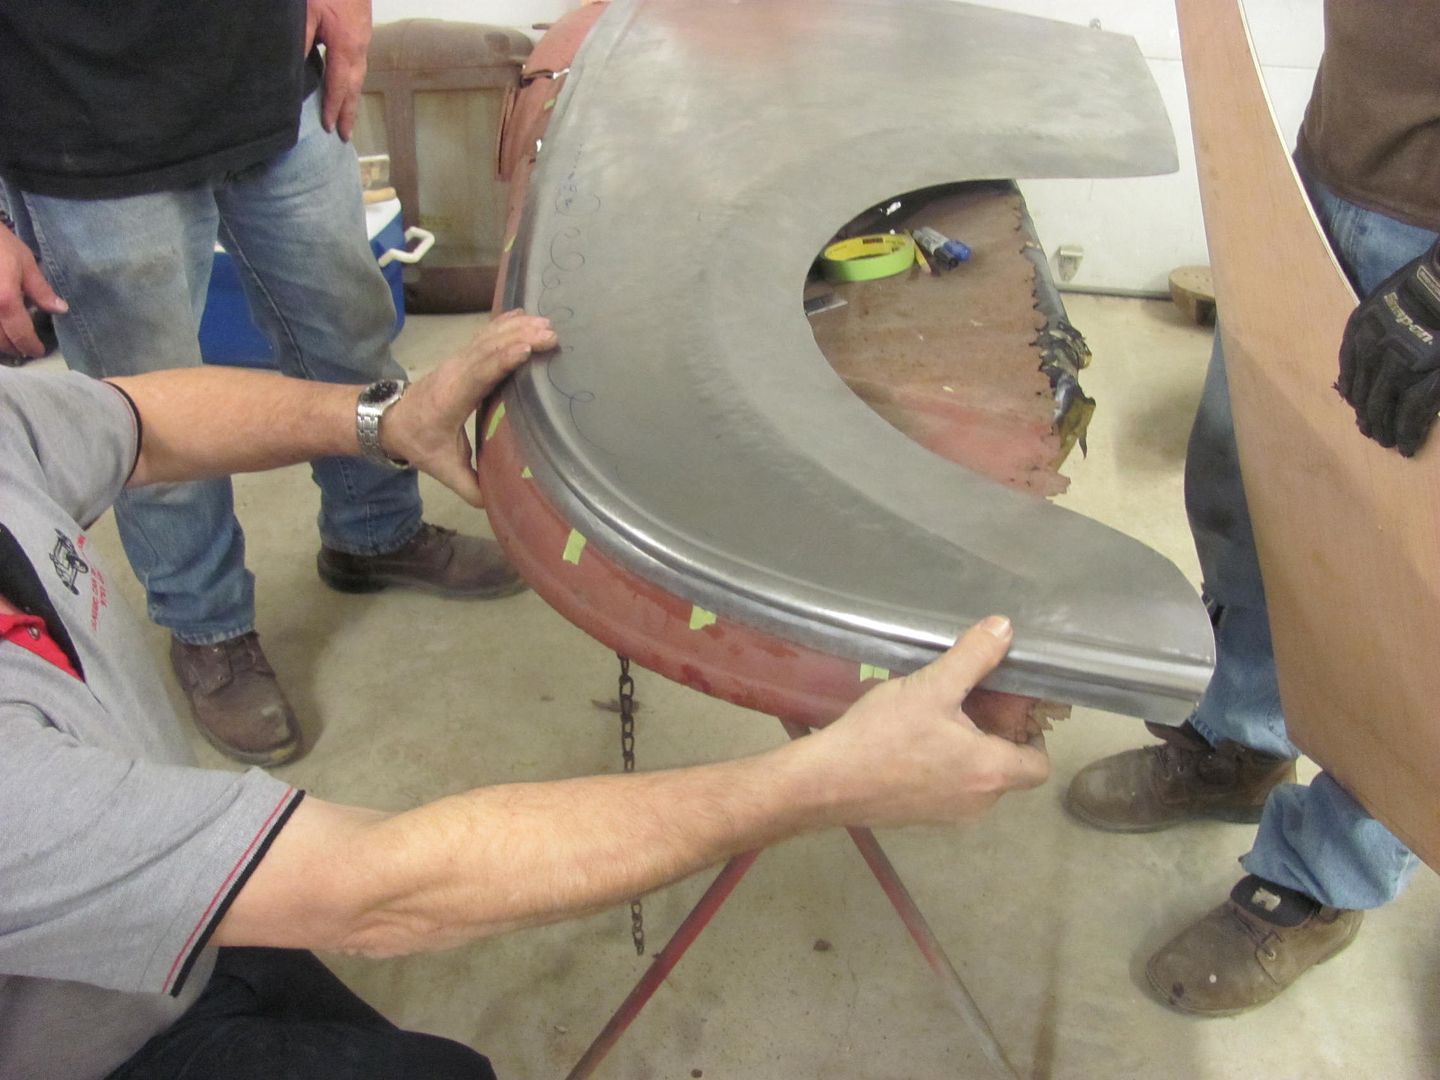 Marking for trimming the wheel opening...   Inside radius backstop  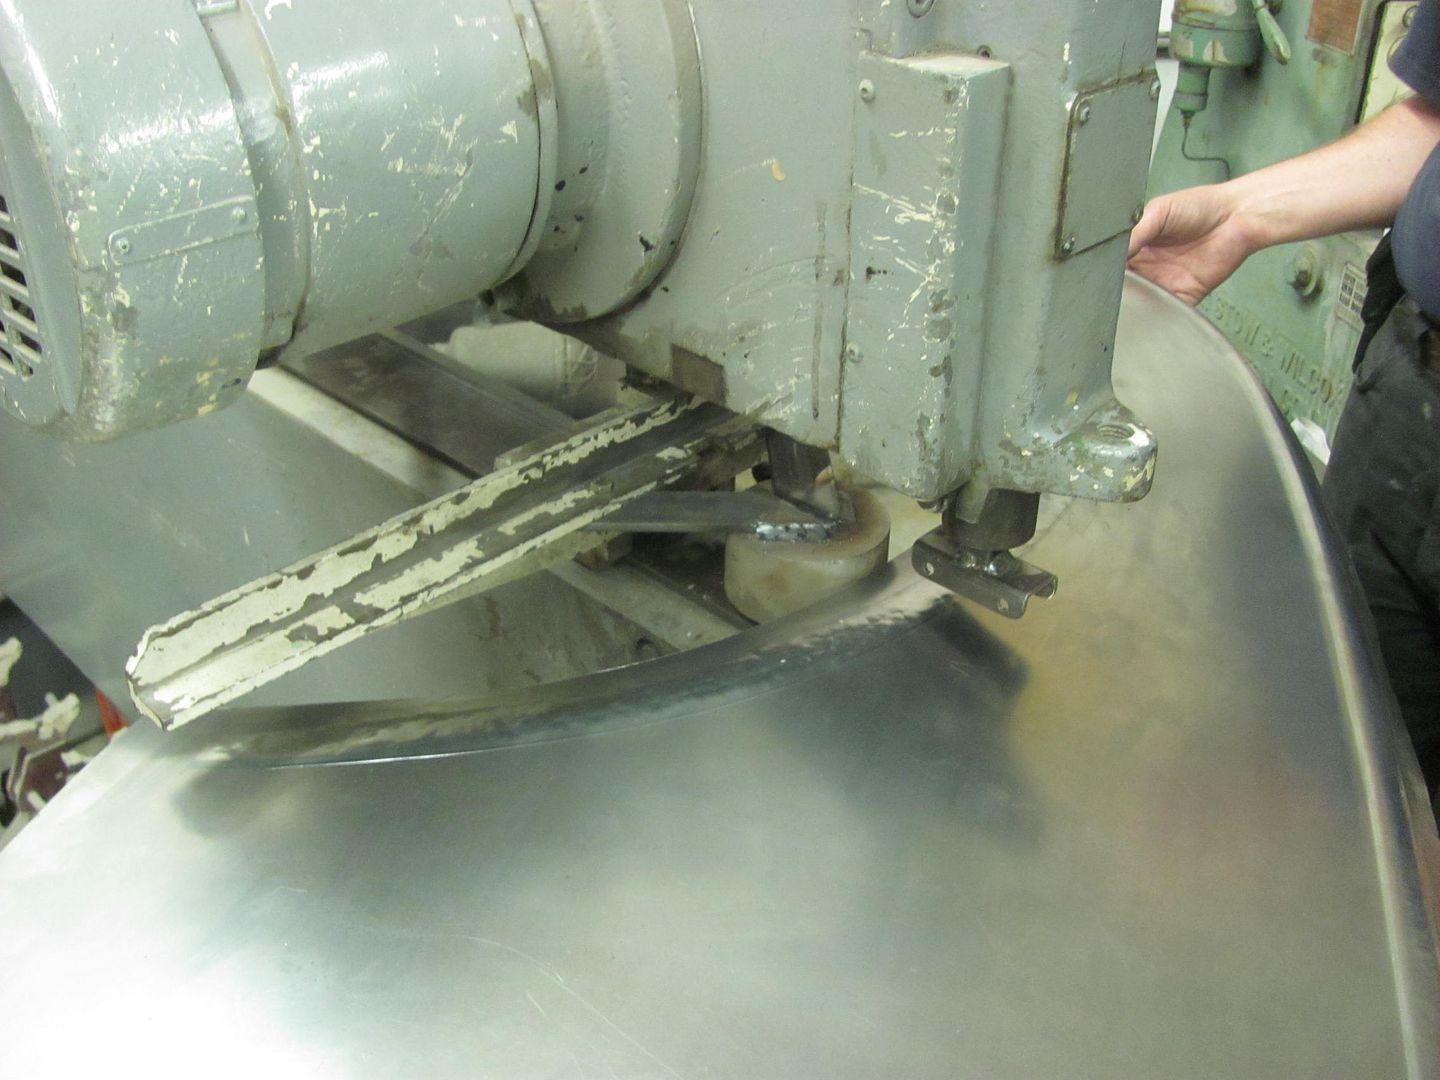 Scooter fender... 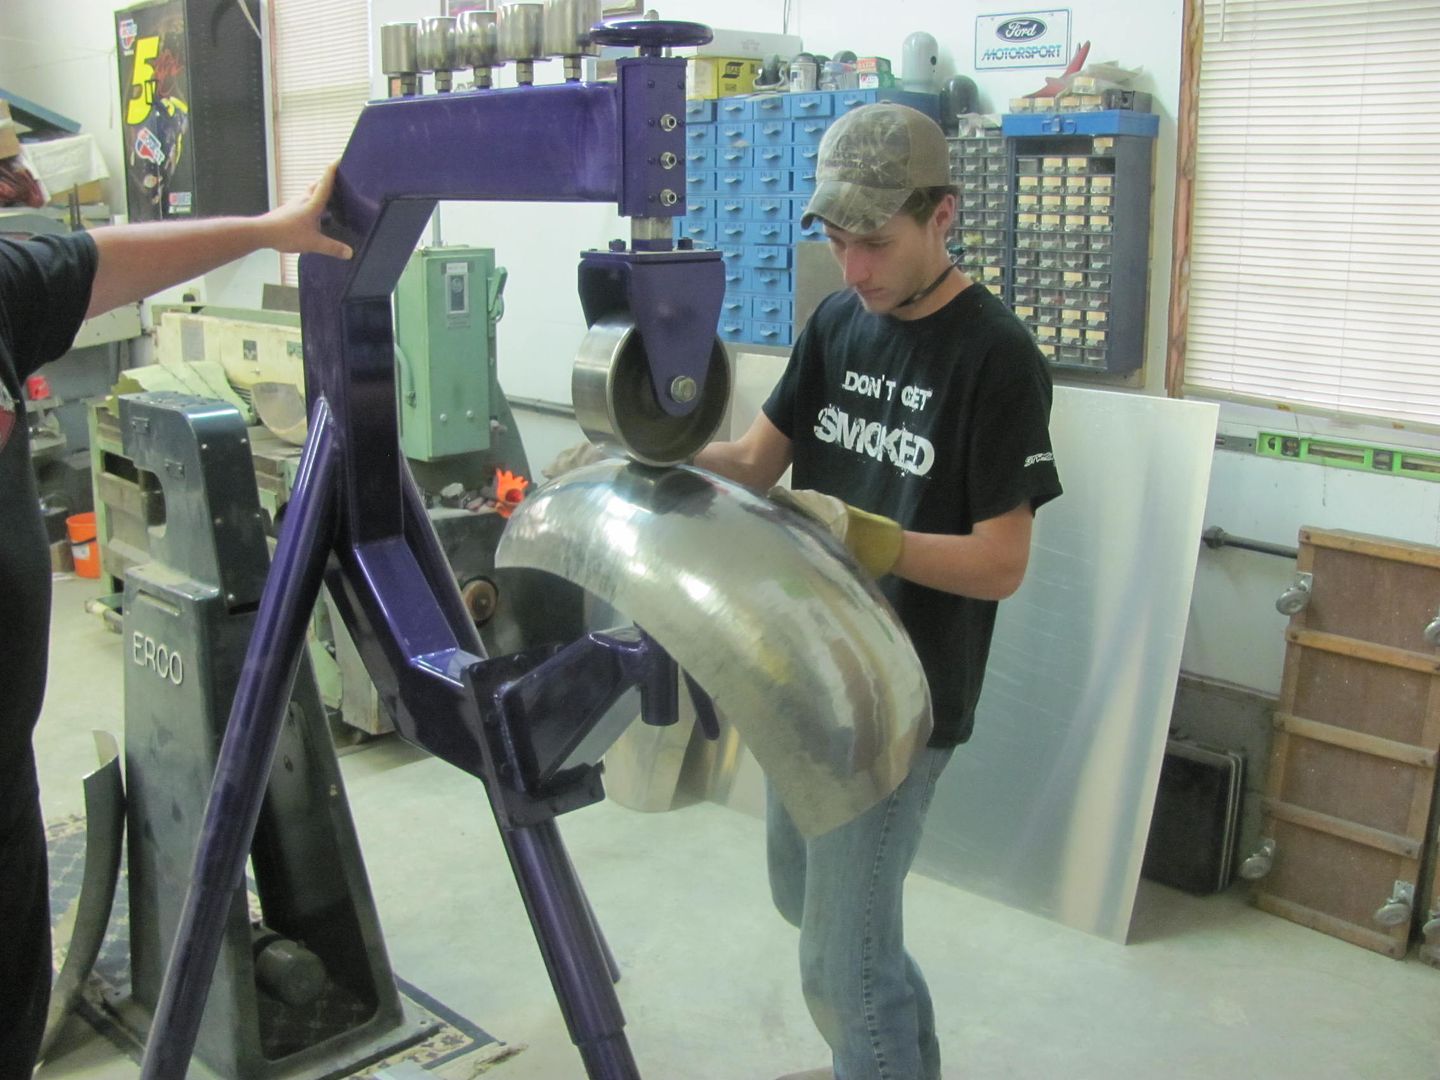 Trimming... 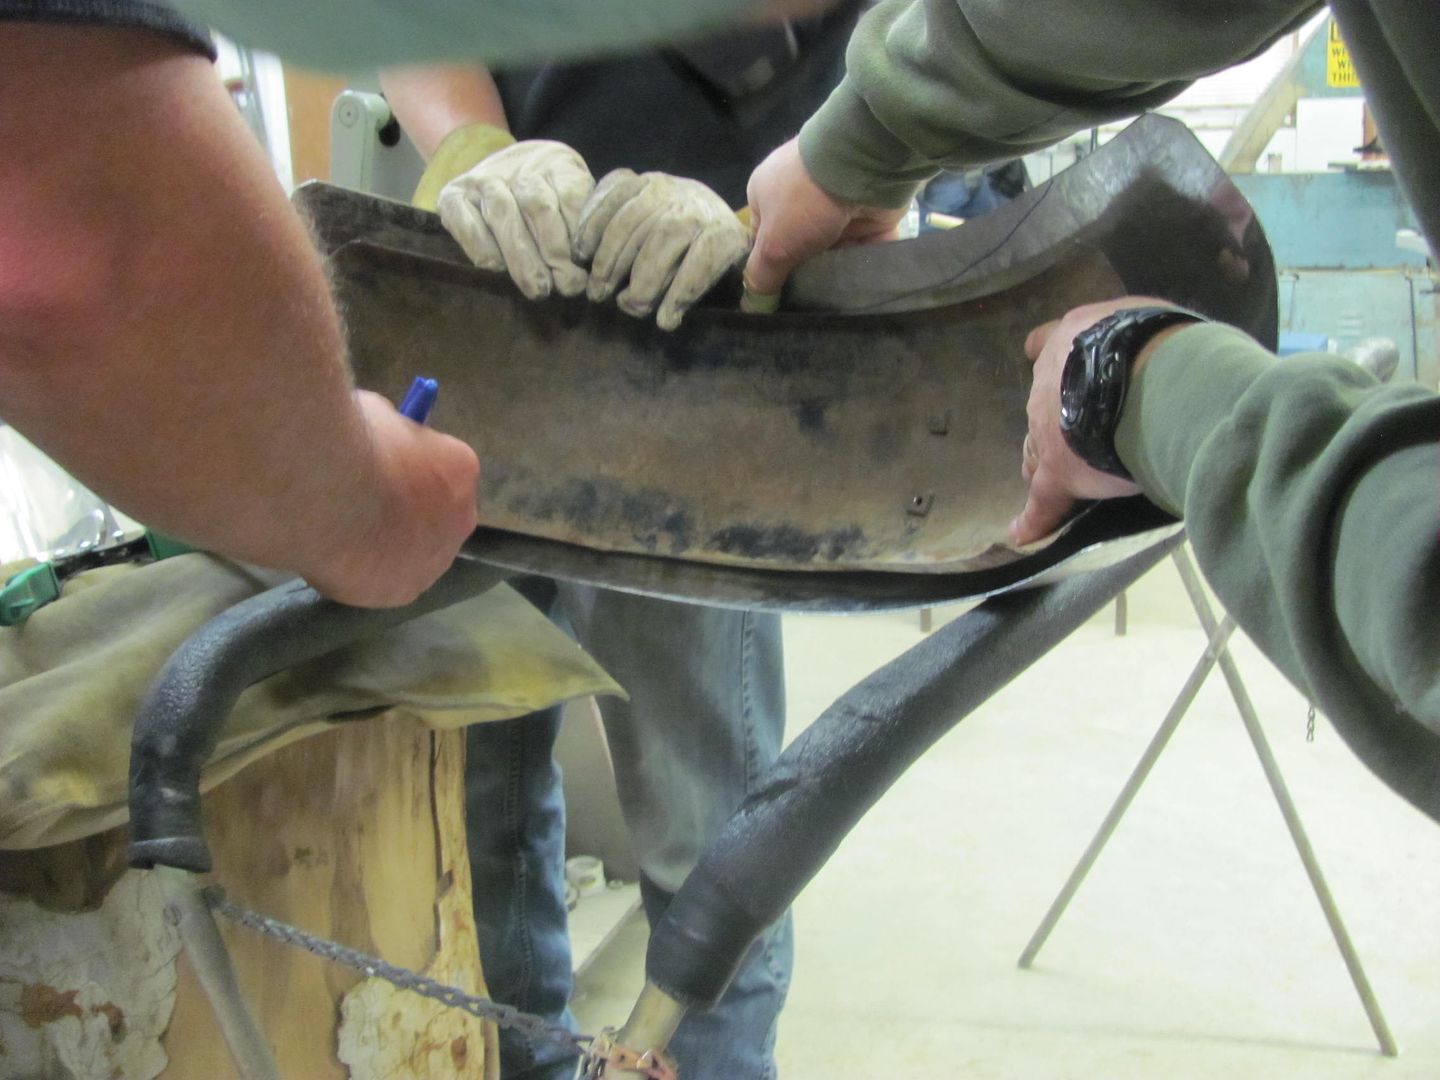 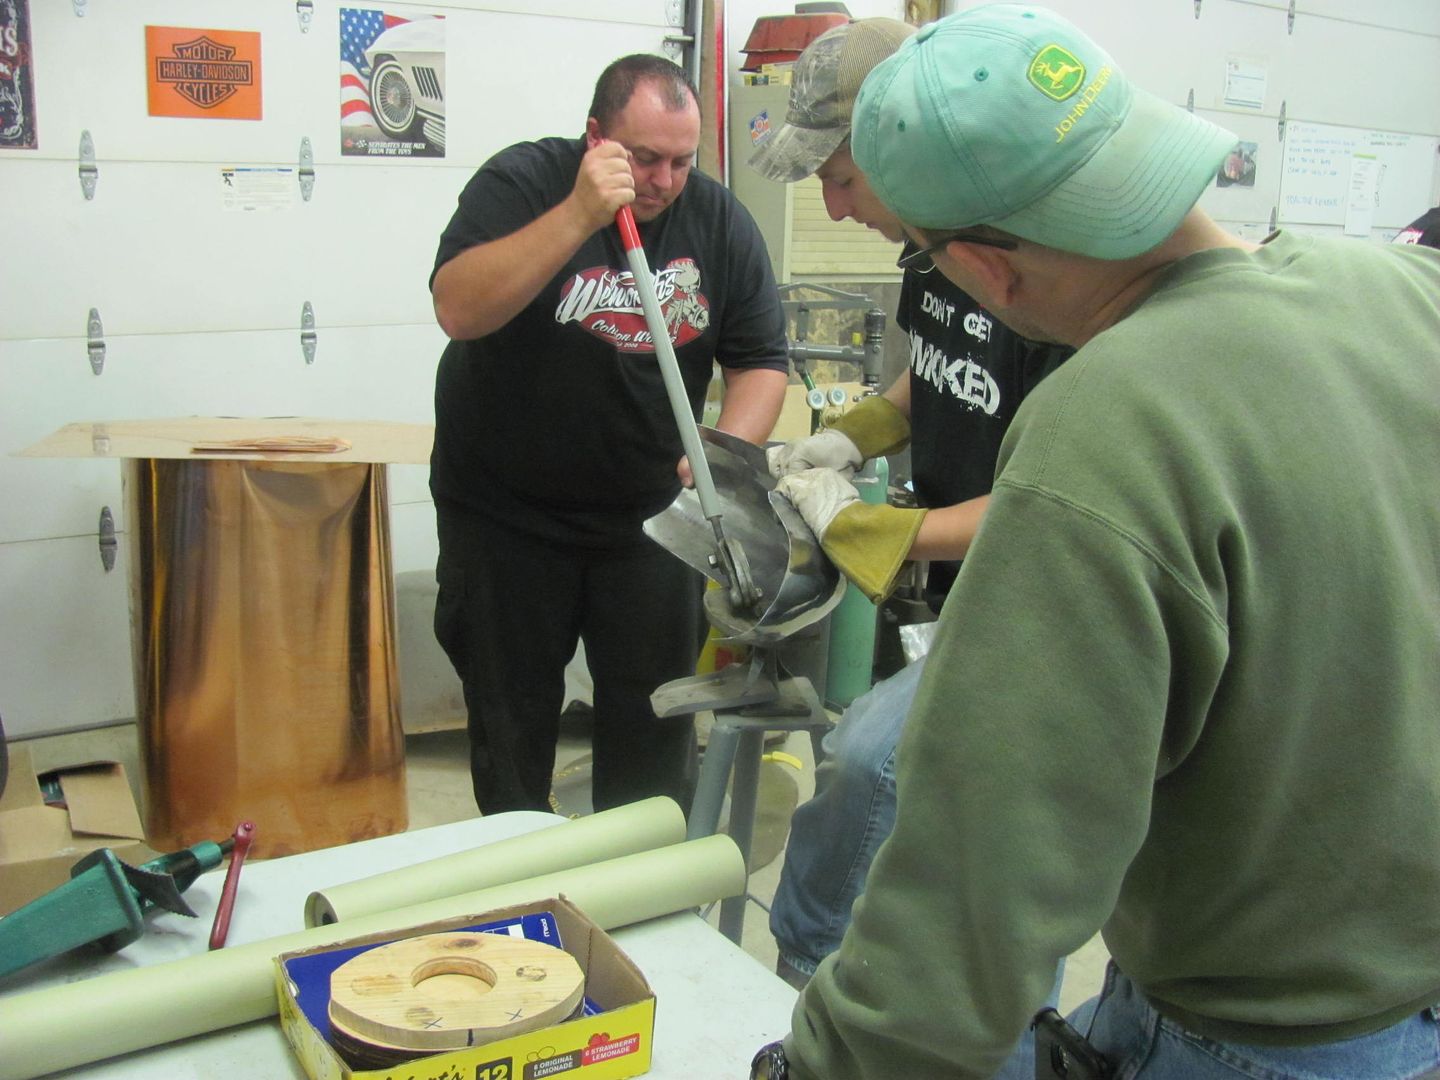 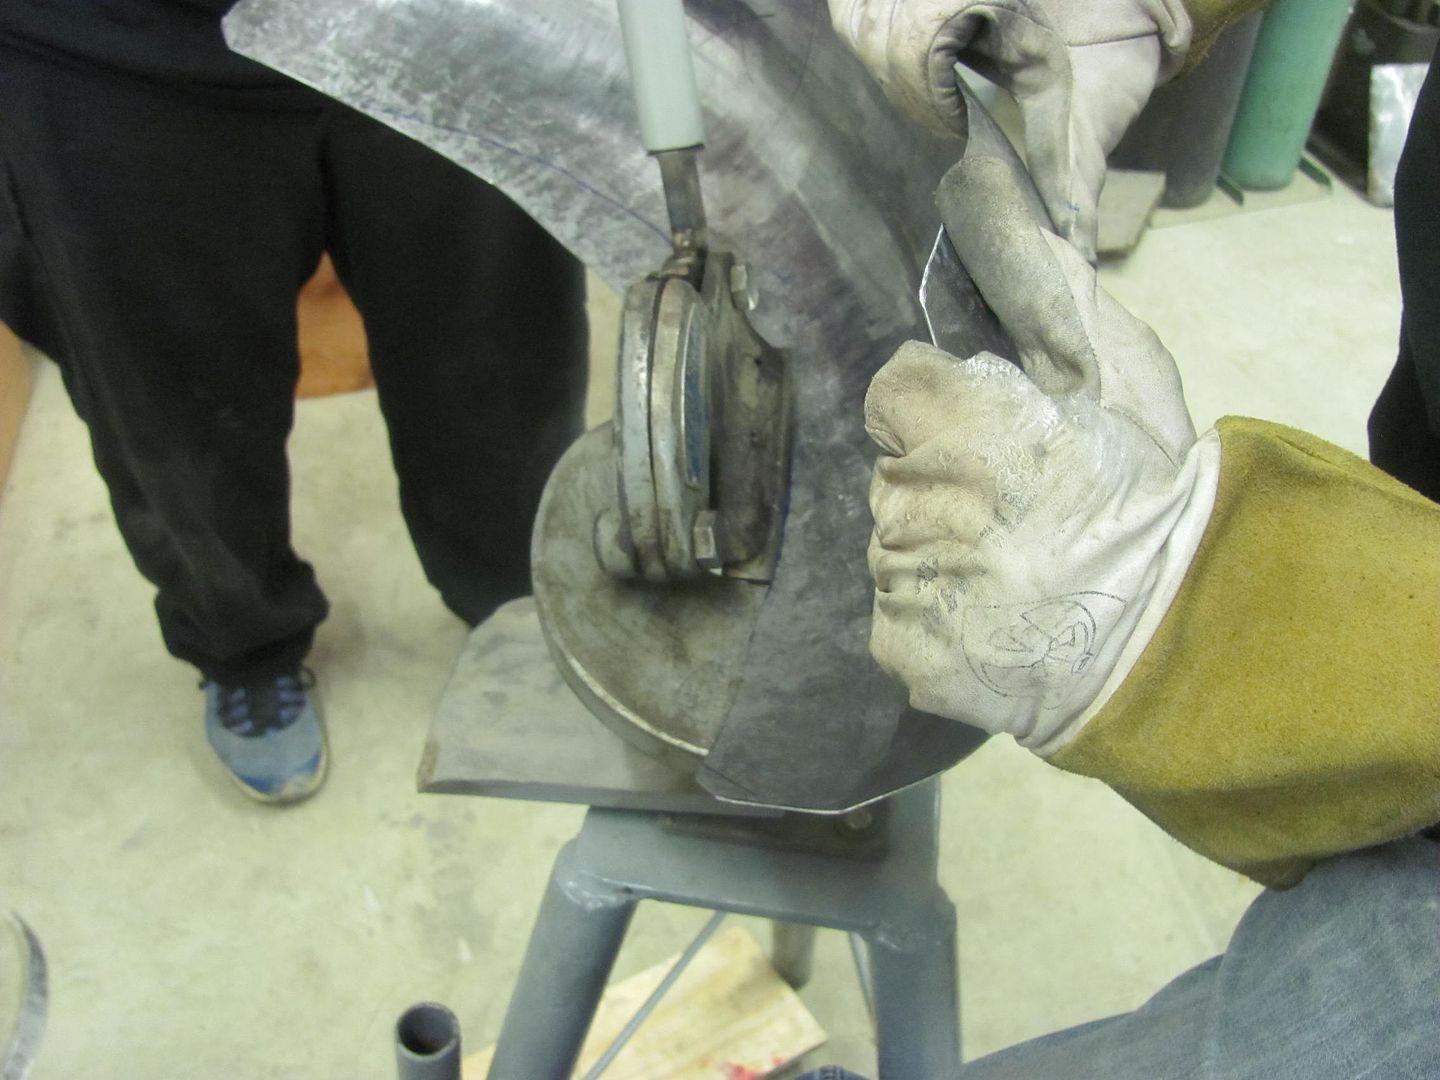 Prepping for Sport Coupe door skin removal 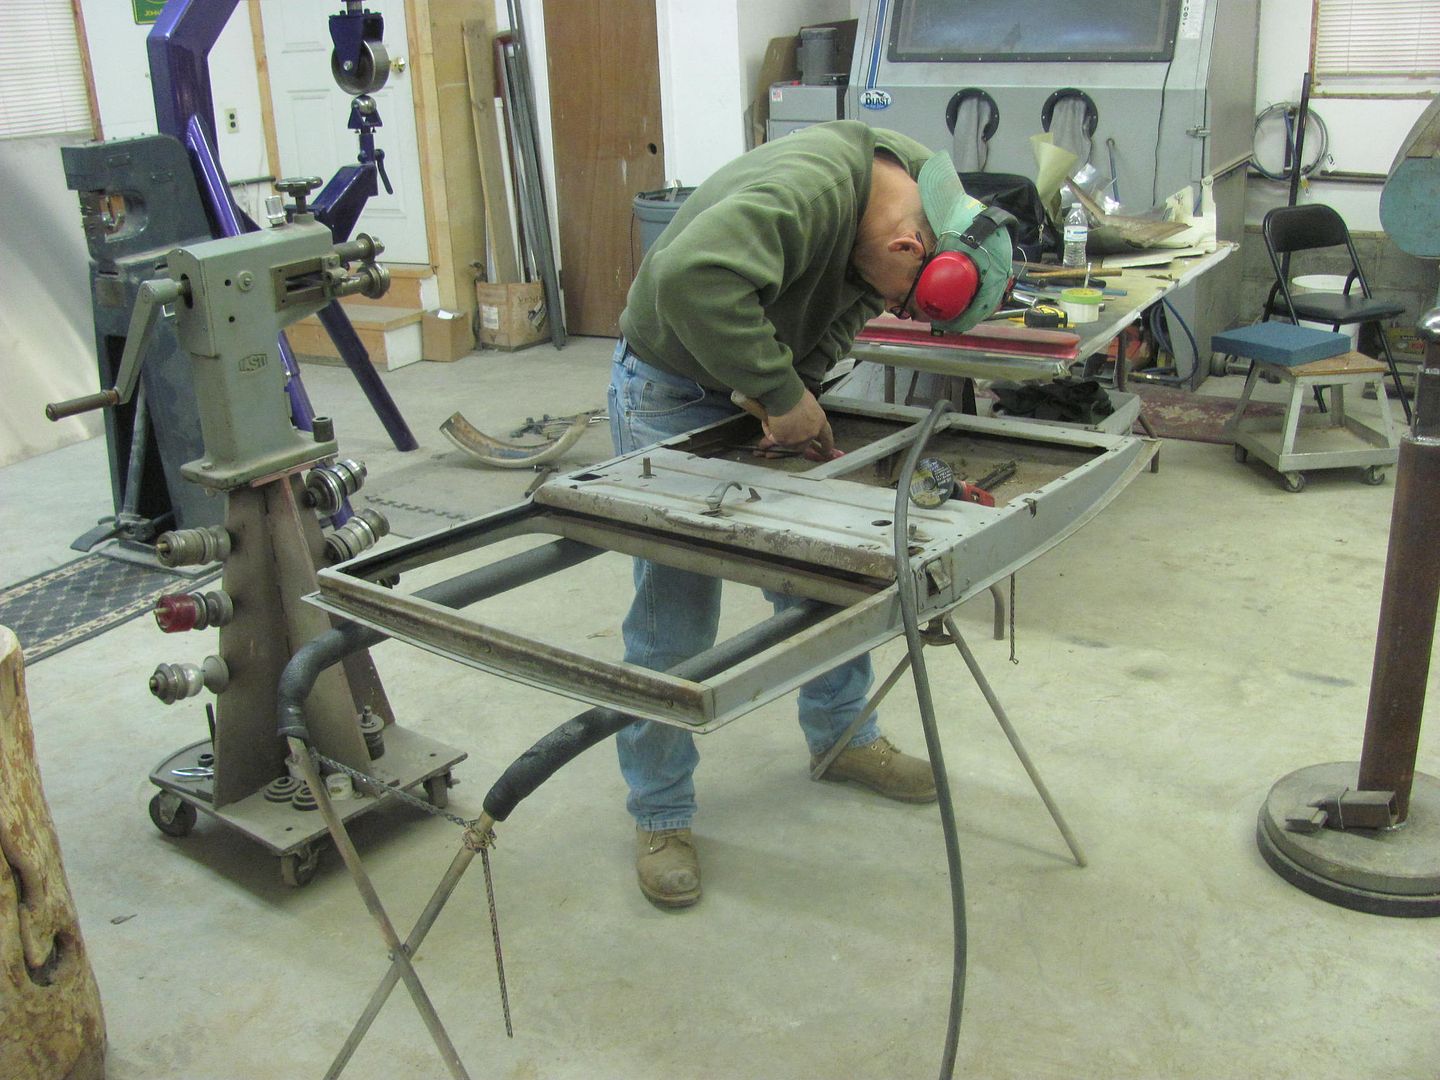 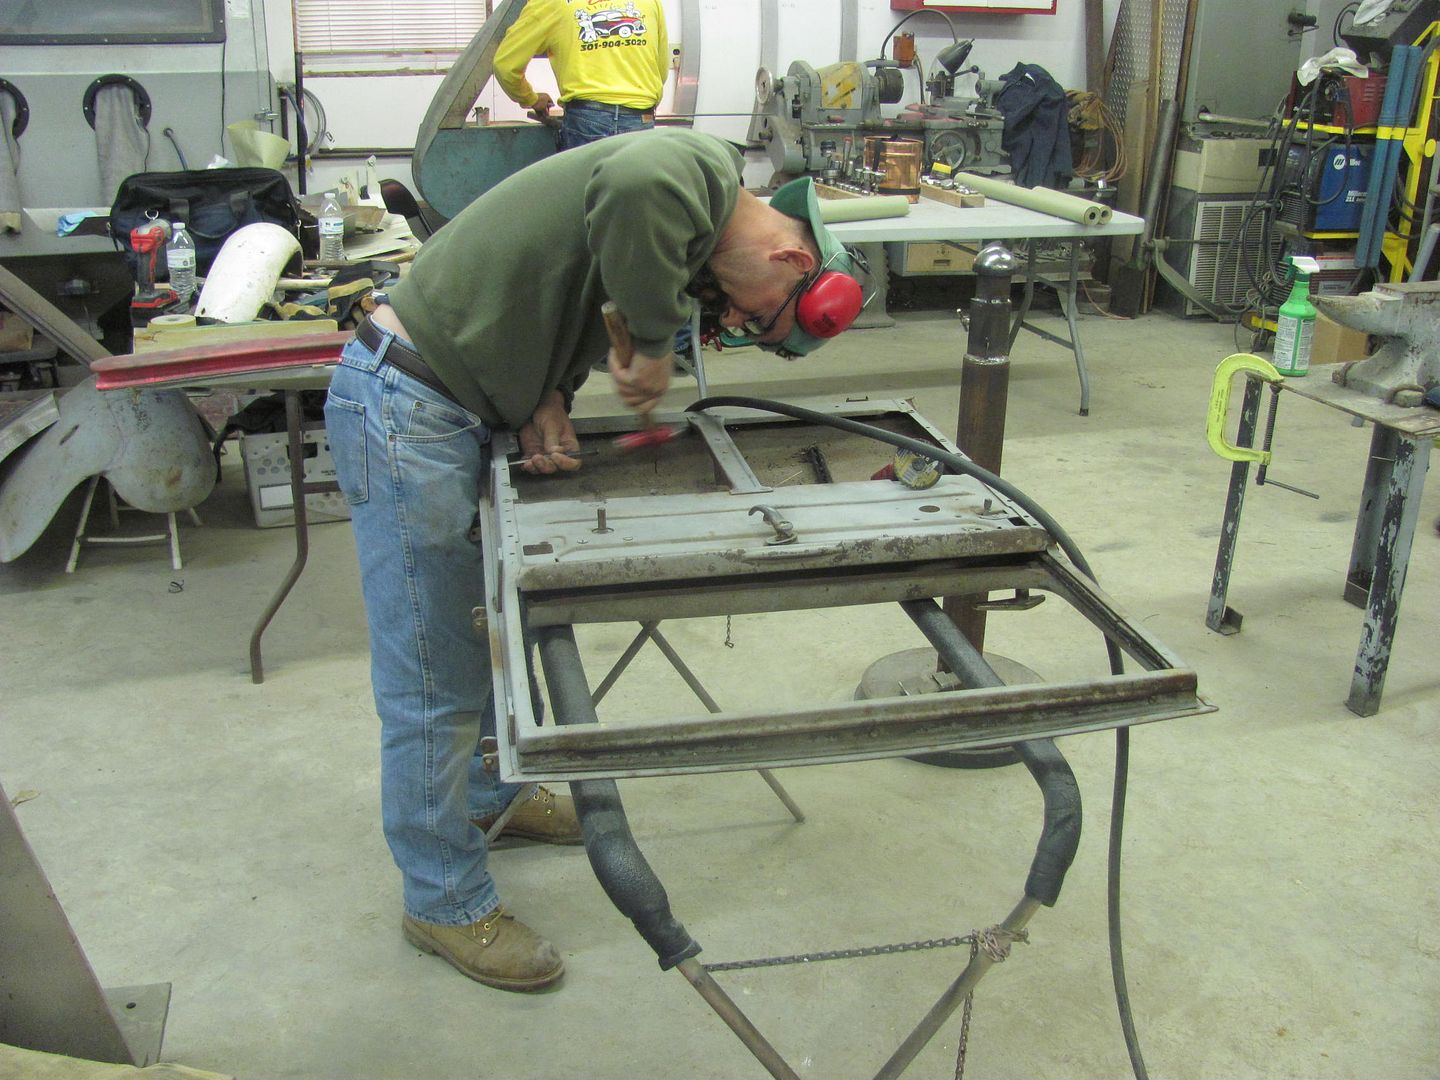 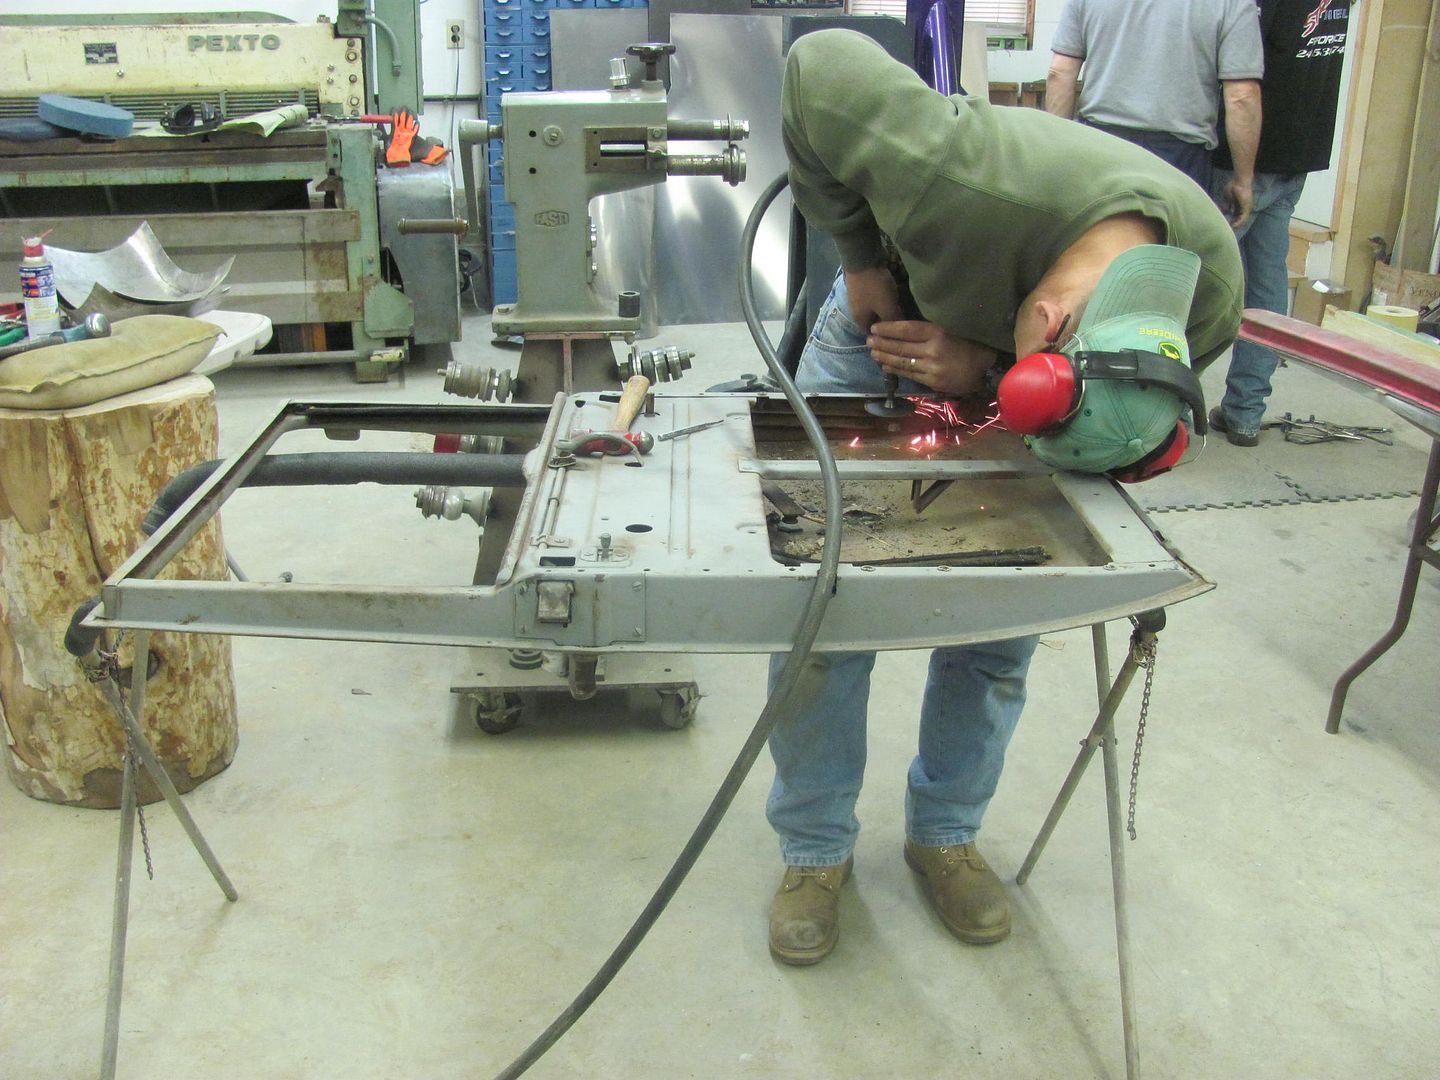 We took a short break for a Maryland treat... 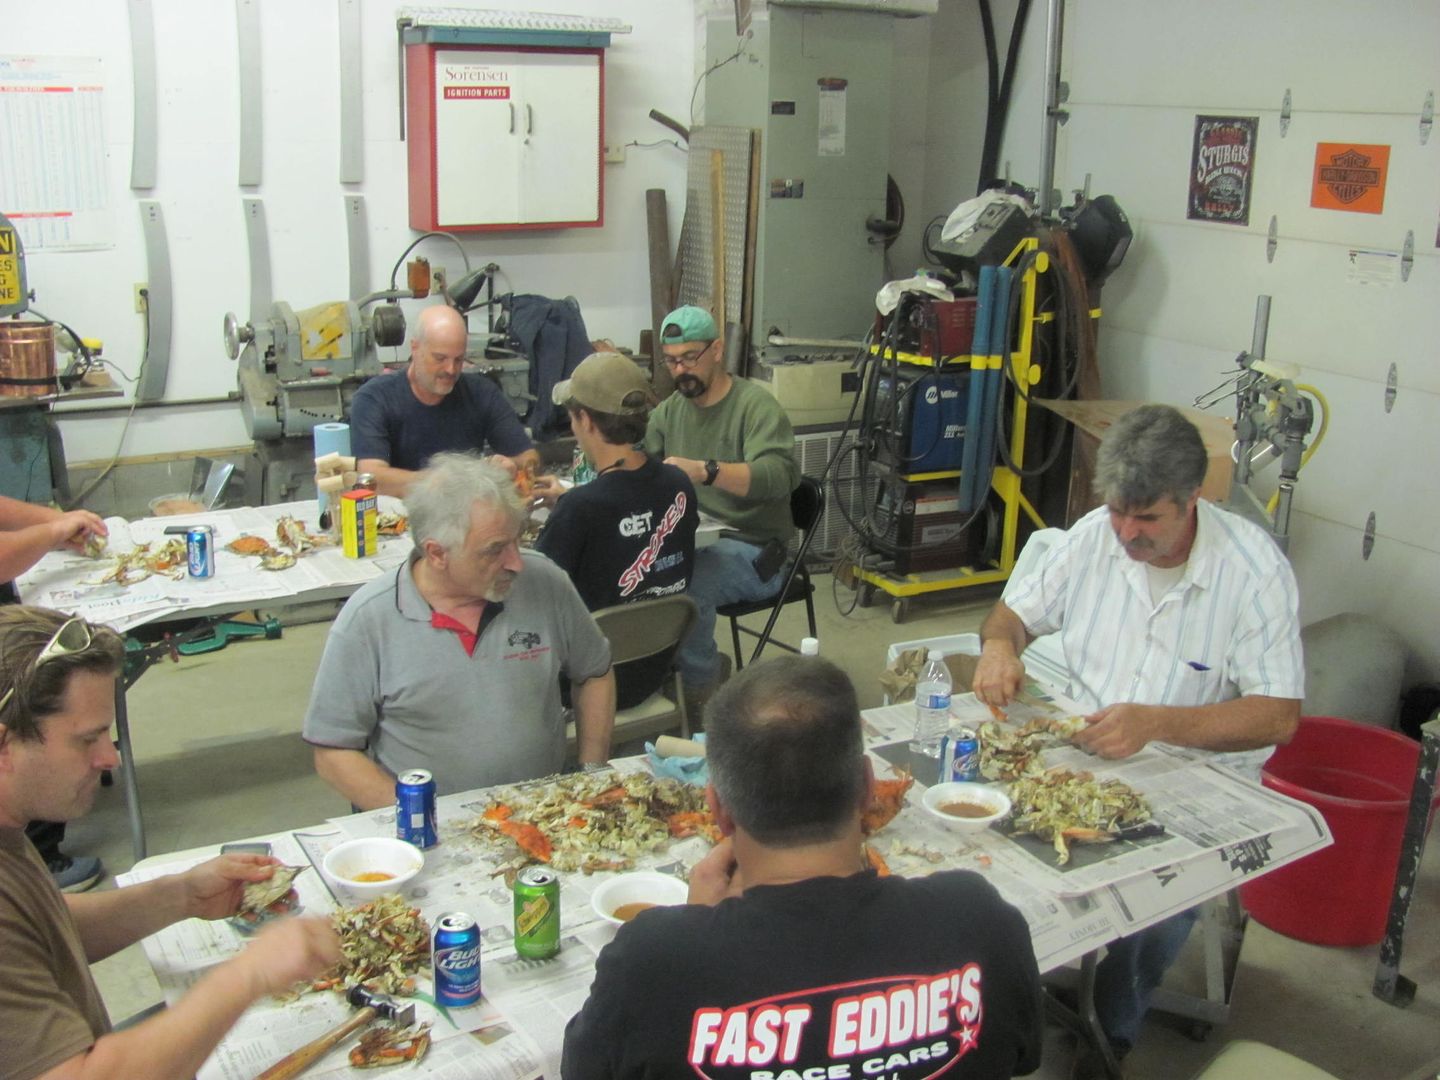 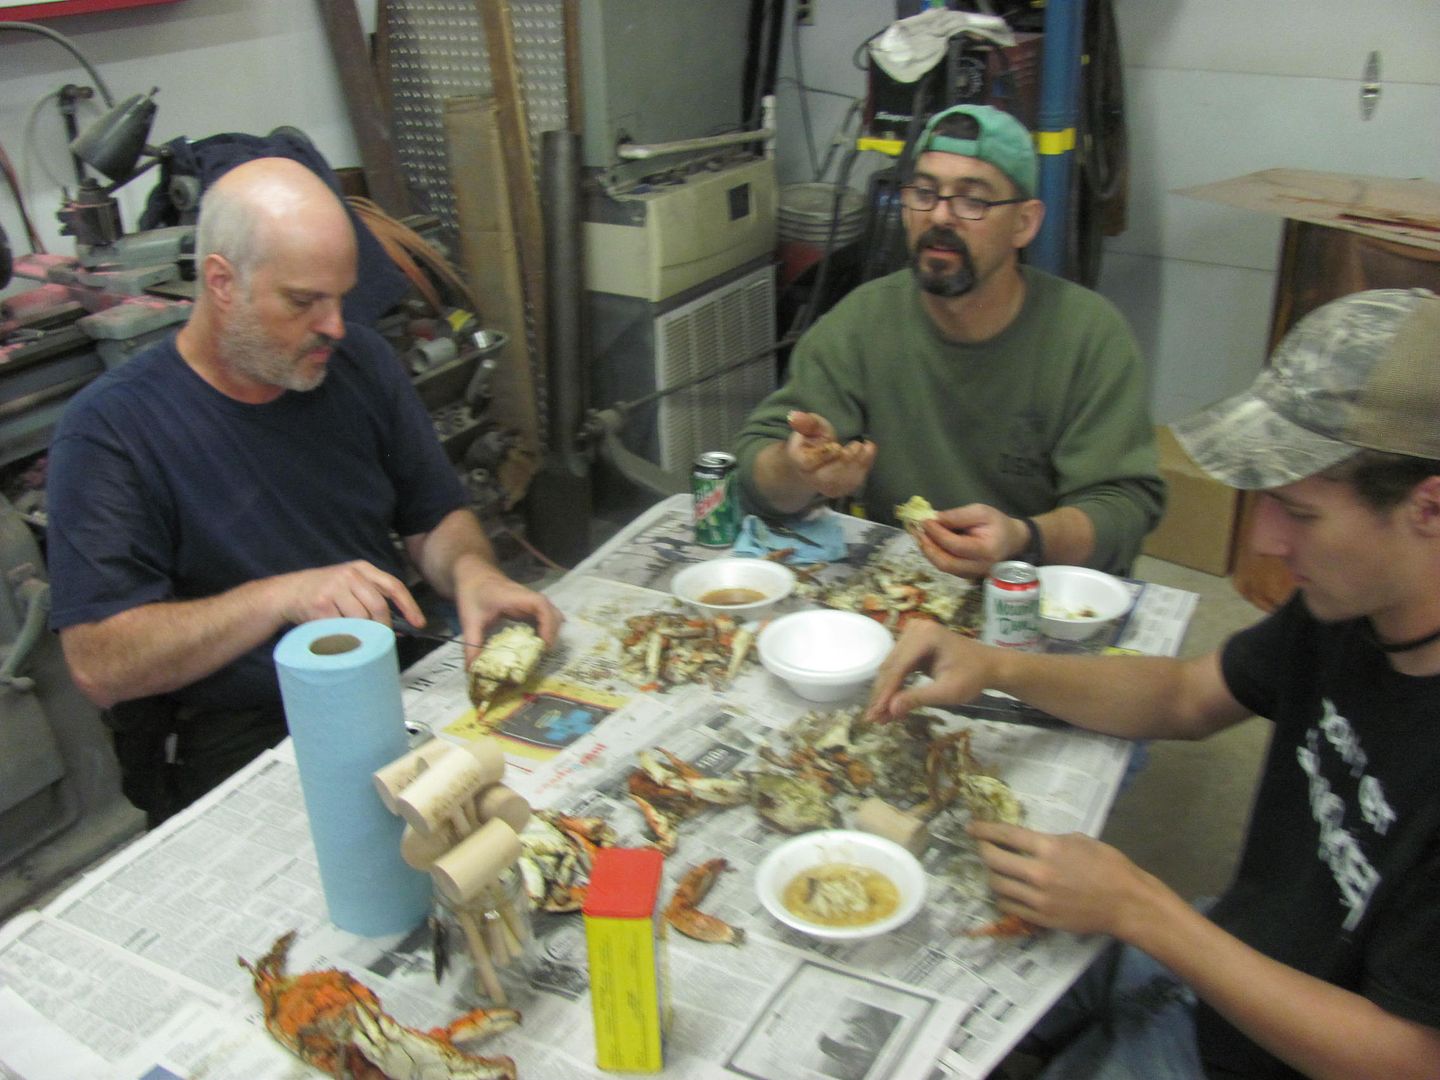 of course, using only the correct utensils.... 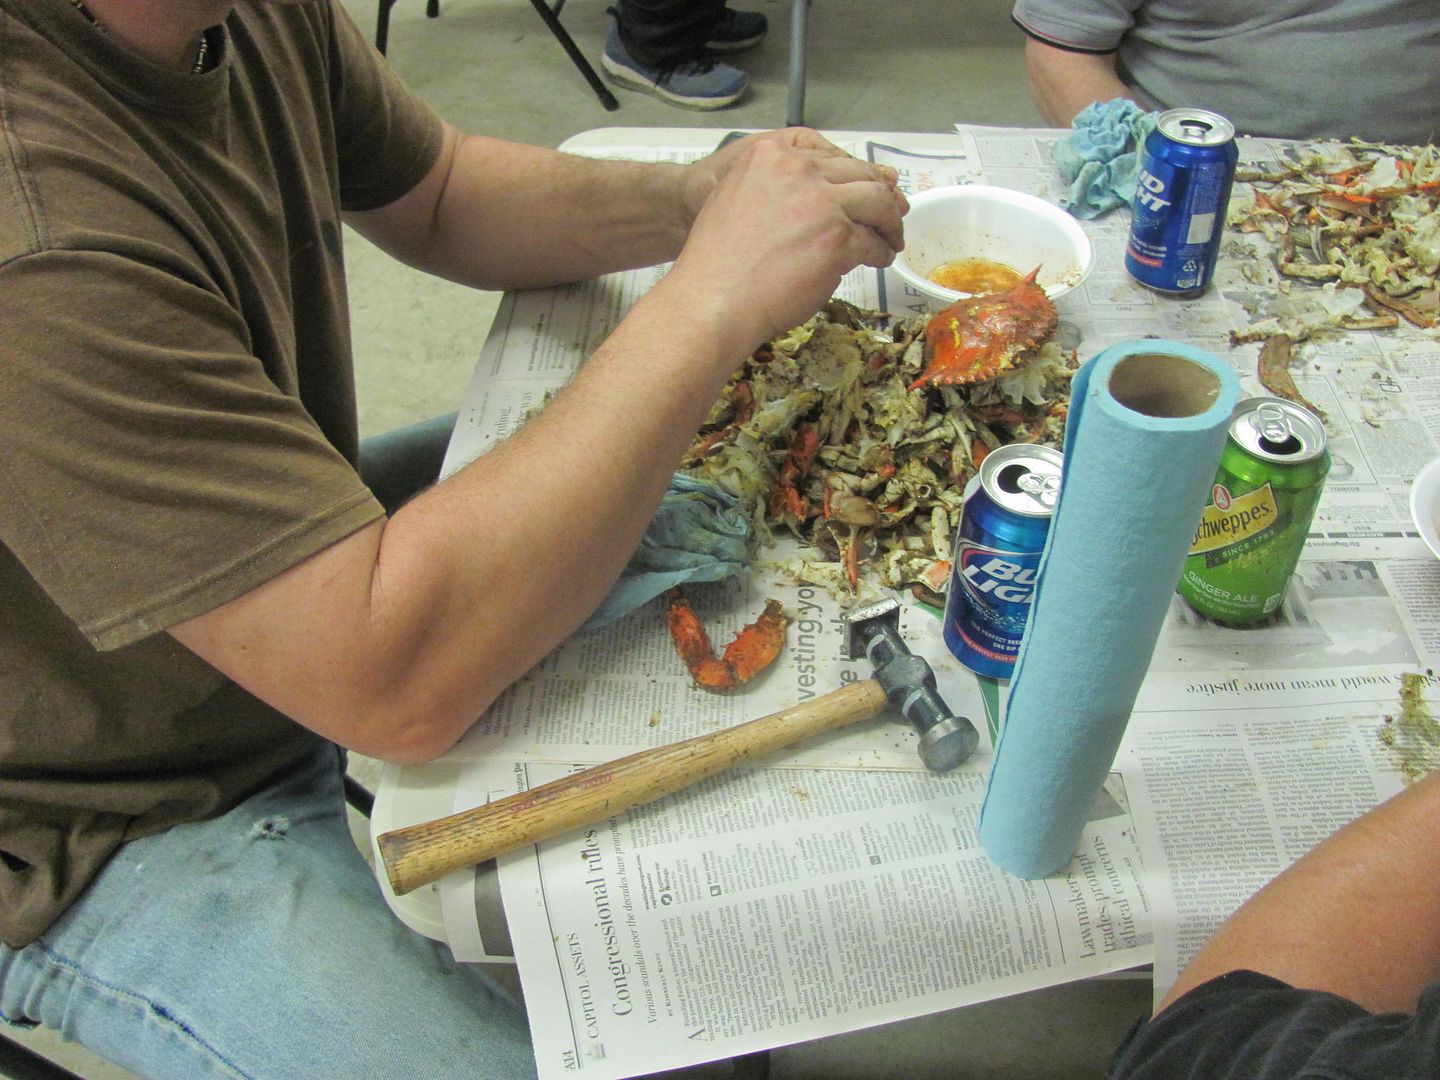 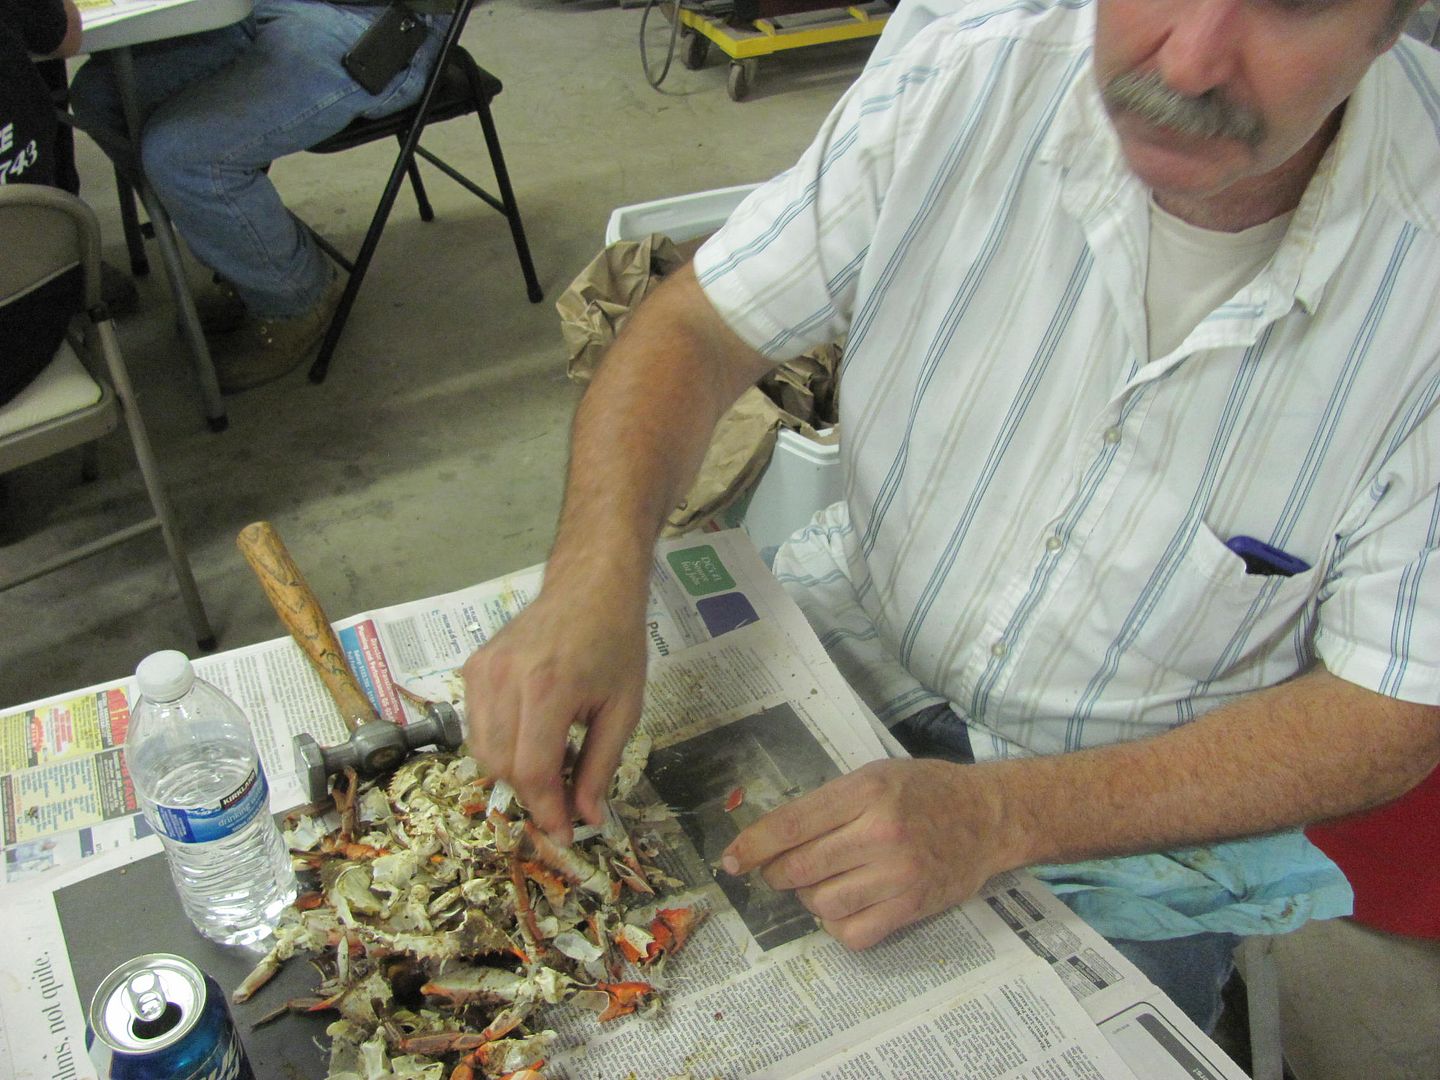 Blocking the top section of the roadster quarter..... 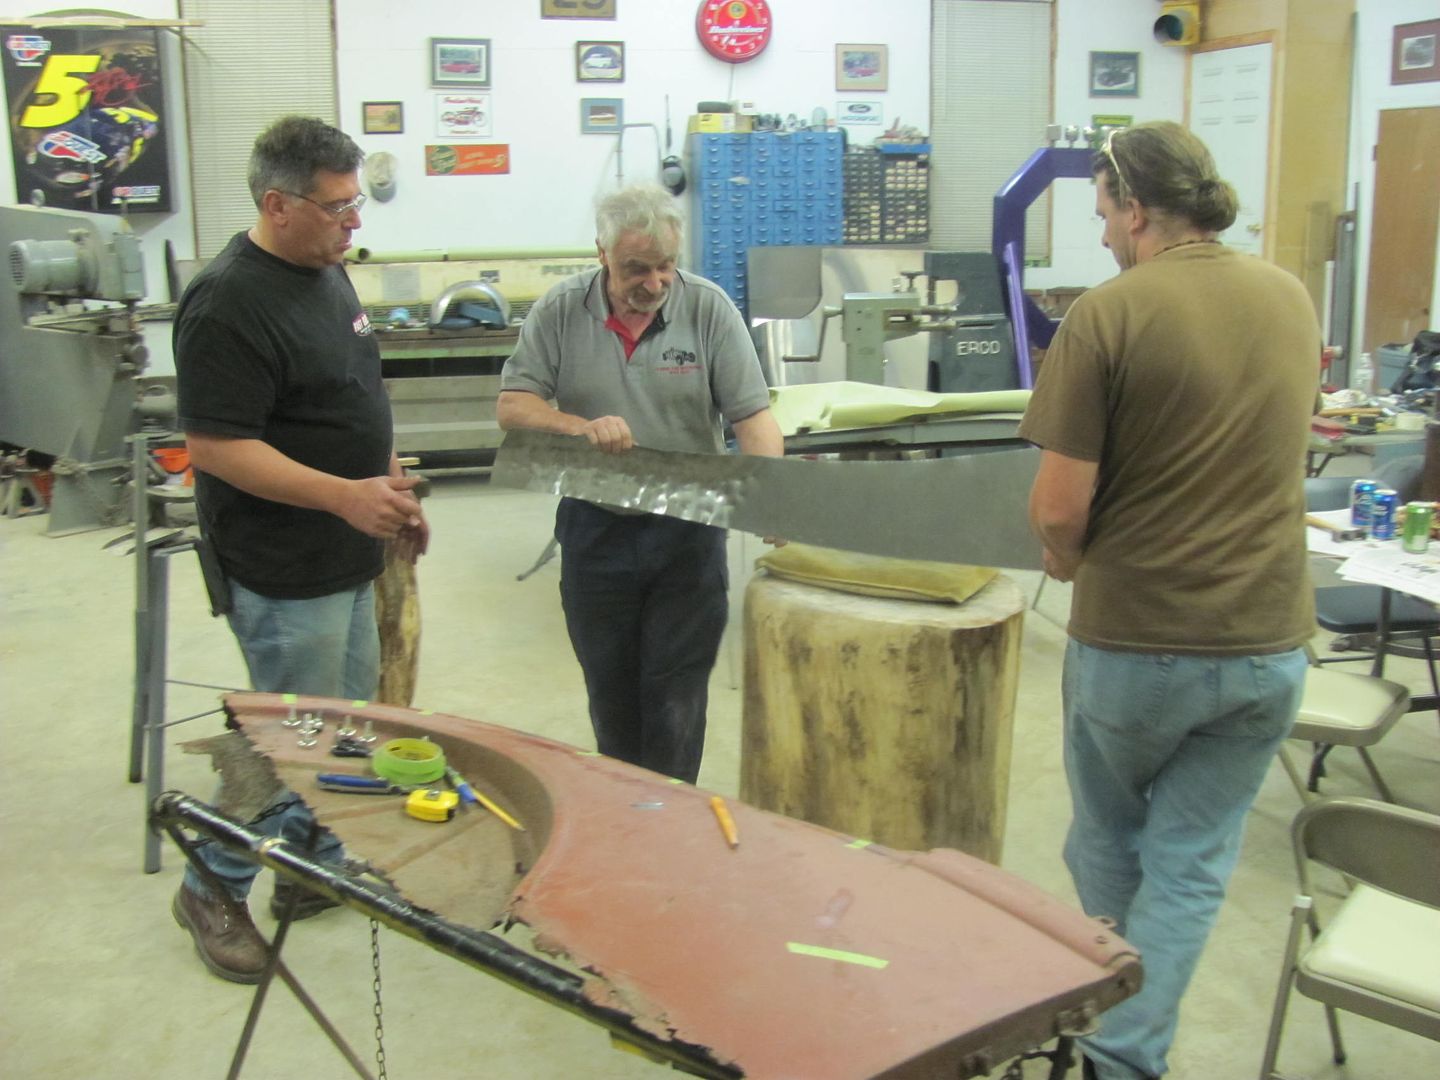 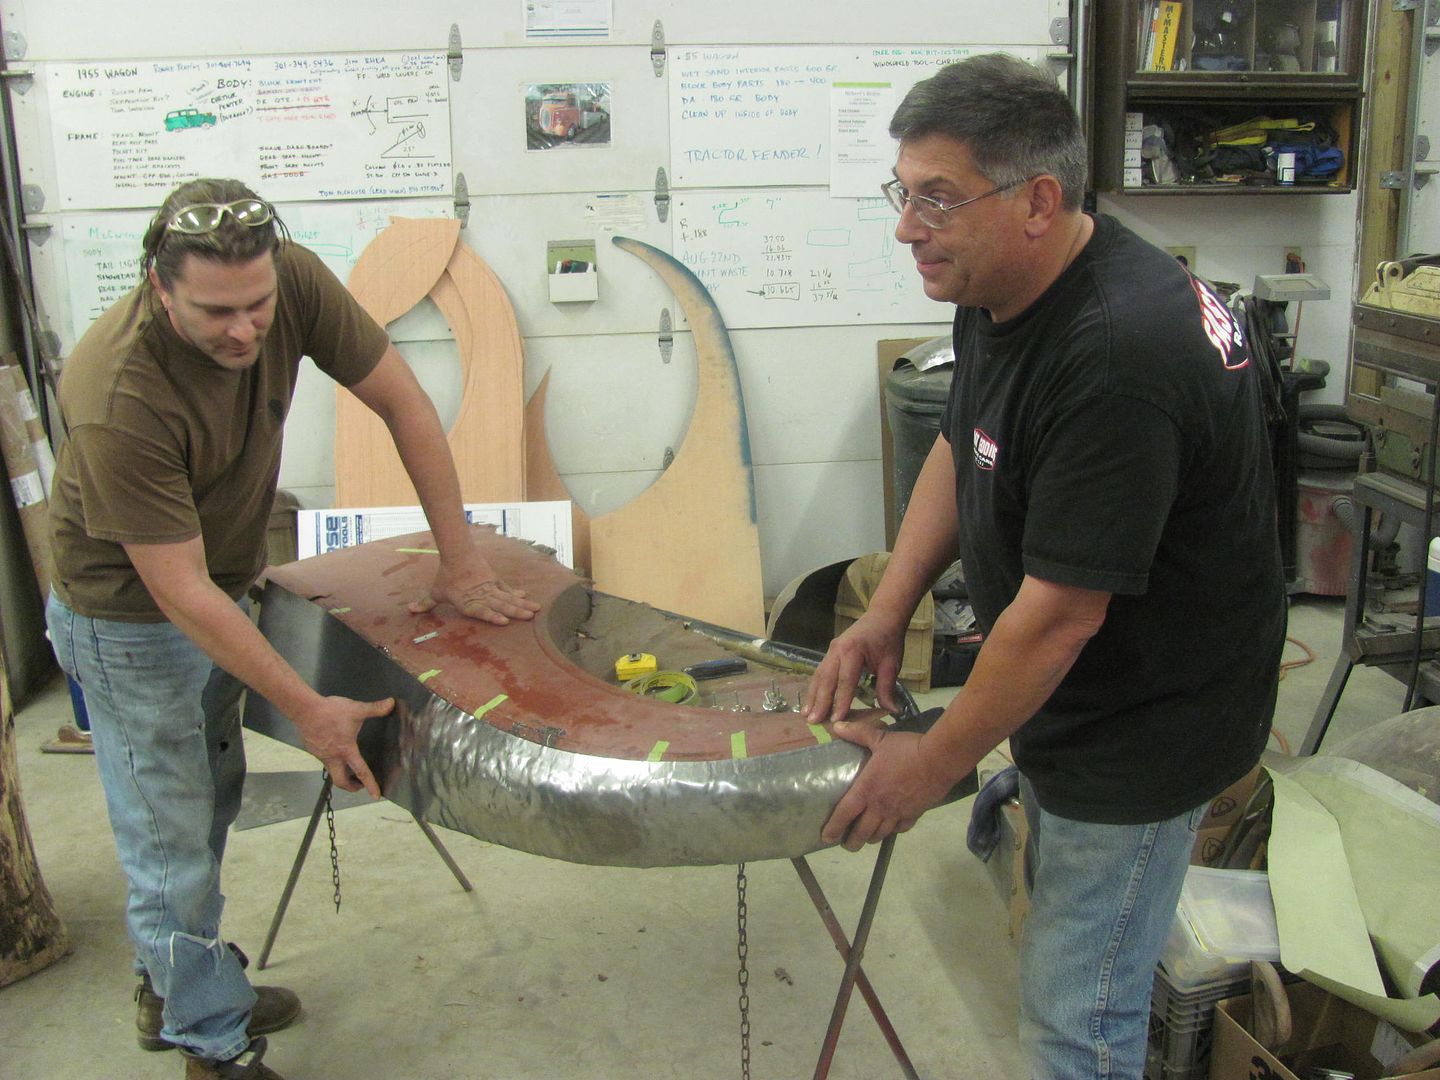 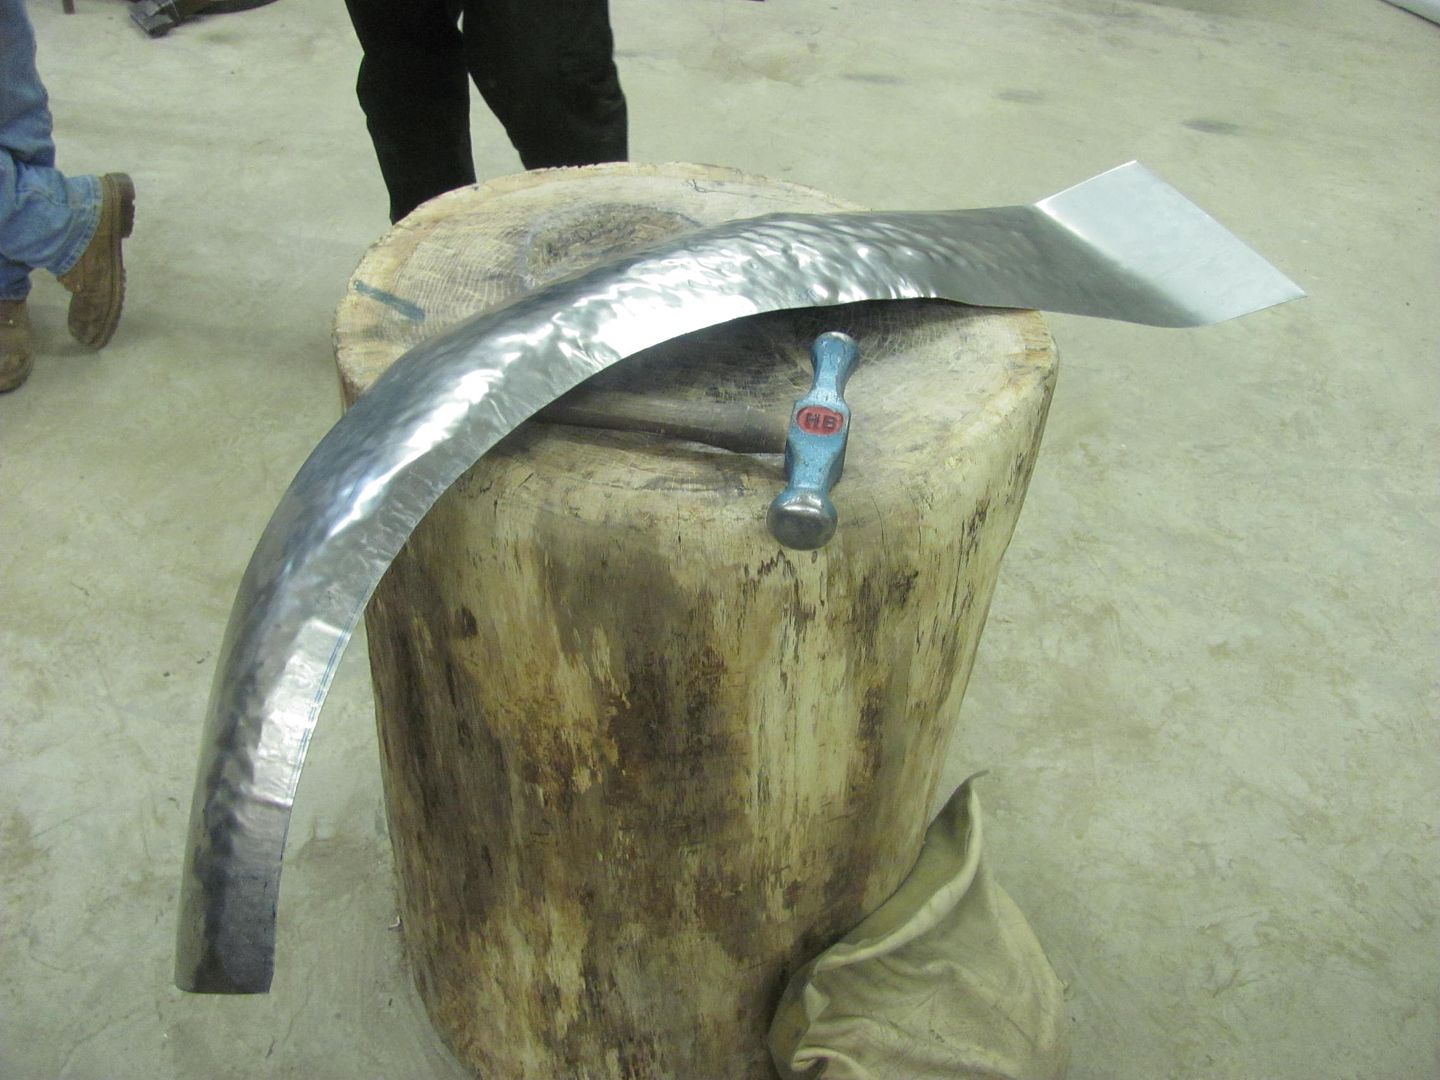
__________________
Robert |
|
|
|
|
10-03-2015, 11:17 PM
|
#13 |
|
Registered User
Join Date: Oct 2007
Location: Spanaway
Posts: 8,451
|
Re: 55 Wagon Progress
Nice, that stuff takes years to master.
__________________
Mike. Swamp Rat build thread : http://67-72chevytrucks.com/vboard/s...d.php?t=595019 72 3/4T 4X4 4" BDS Lift 33" BFG's |
|
|
|
|
10-05-2015, 09:57 AM
|
#14 |
|
Registered User
Join Date: Jan 2013
Location: Leonardtown, MD
Posts: 1,637
|
Re: 55 Wagon Progress
Final update of the class, pictures from yesterday.
Wheeling door skin for a sport coupe:  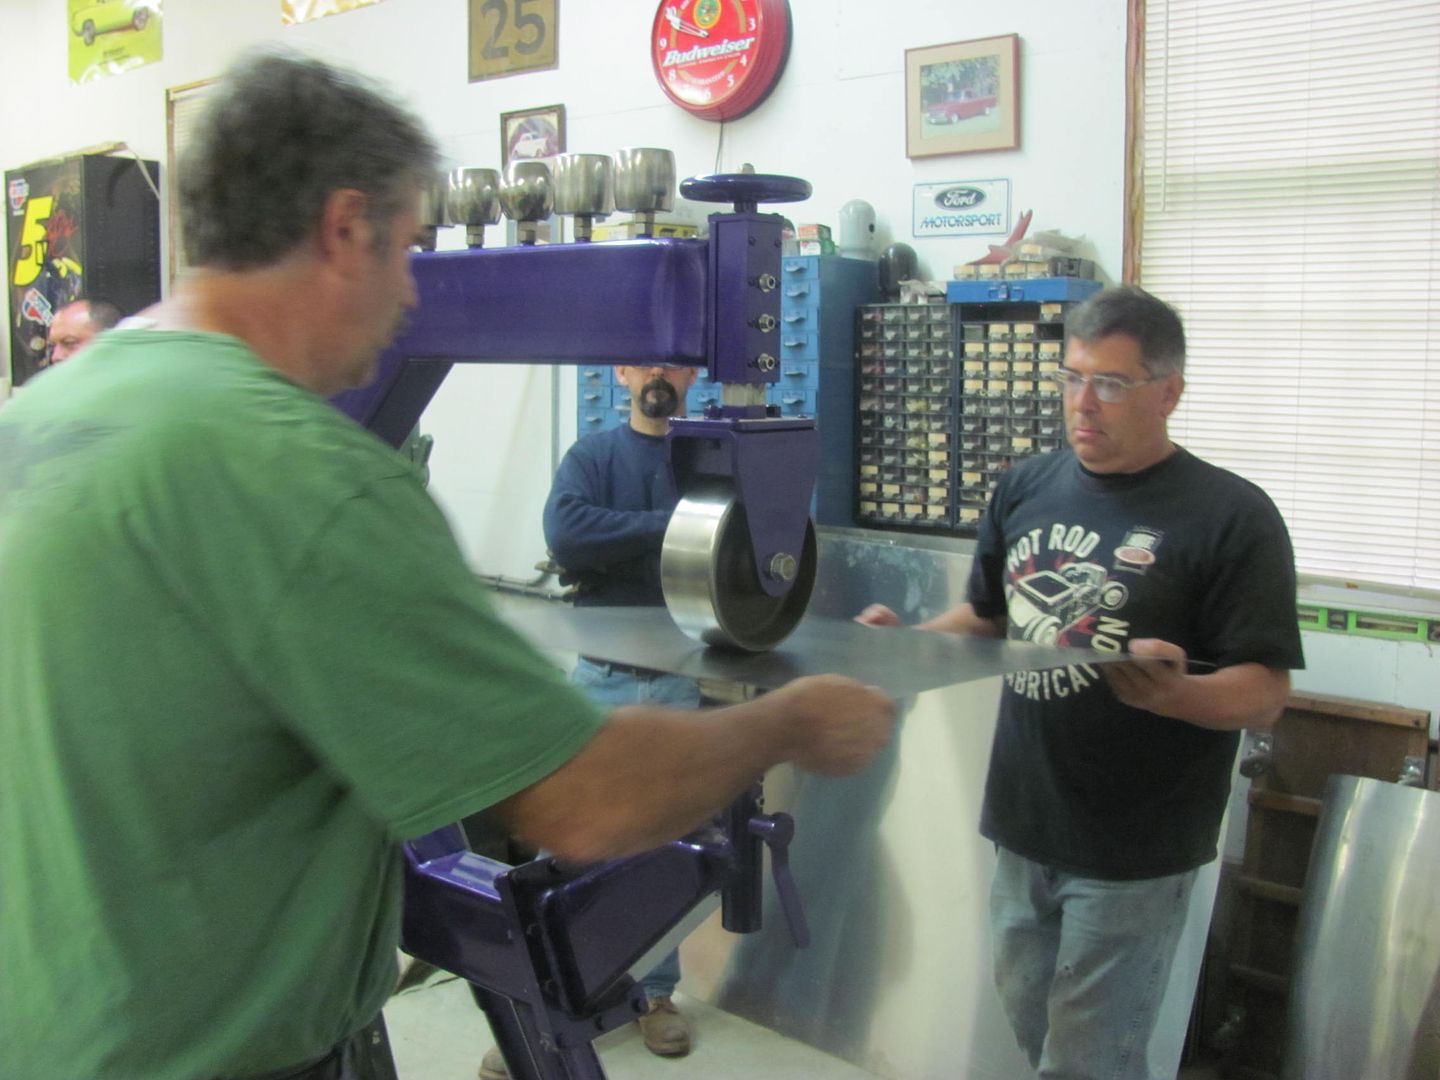 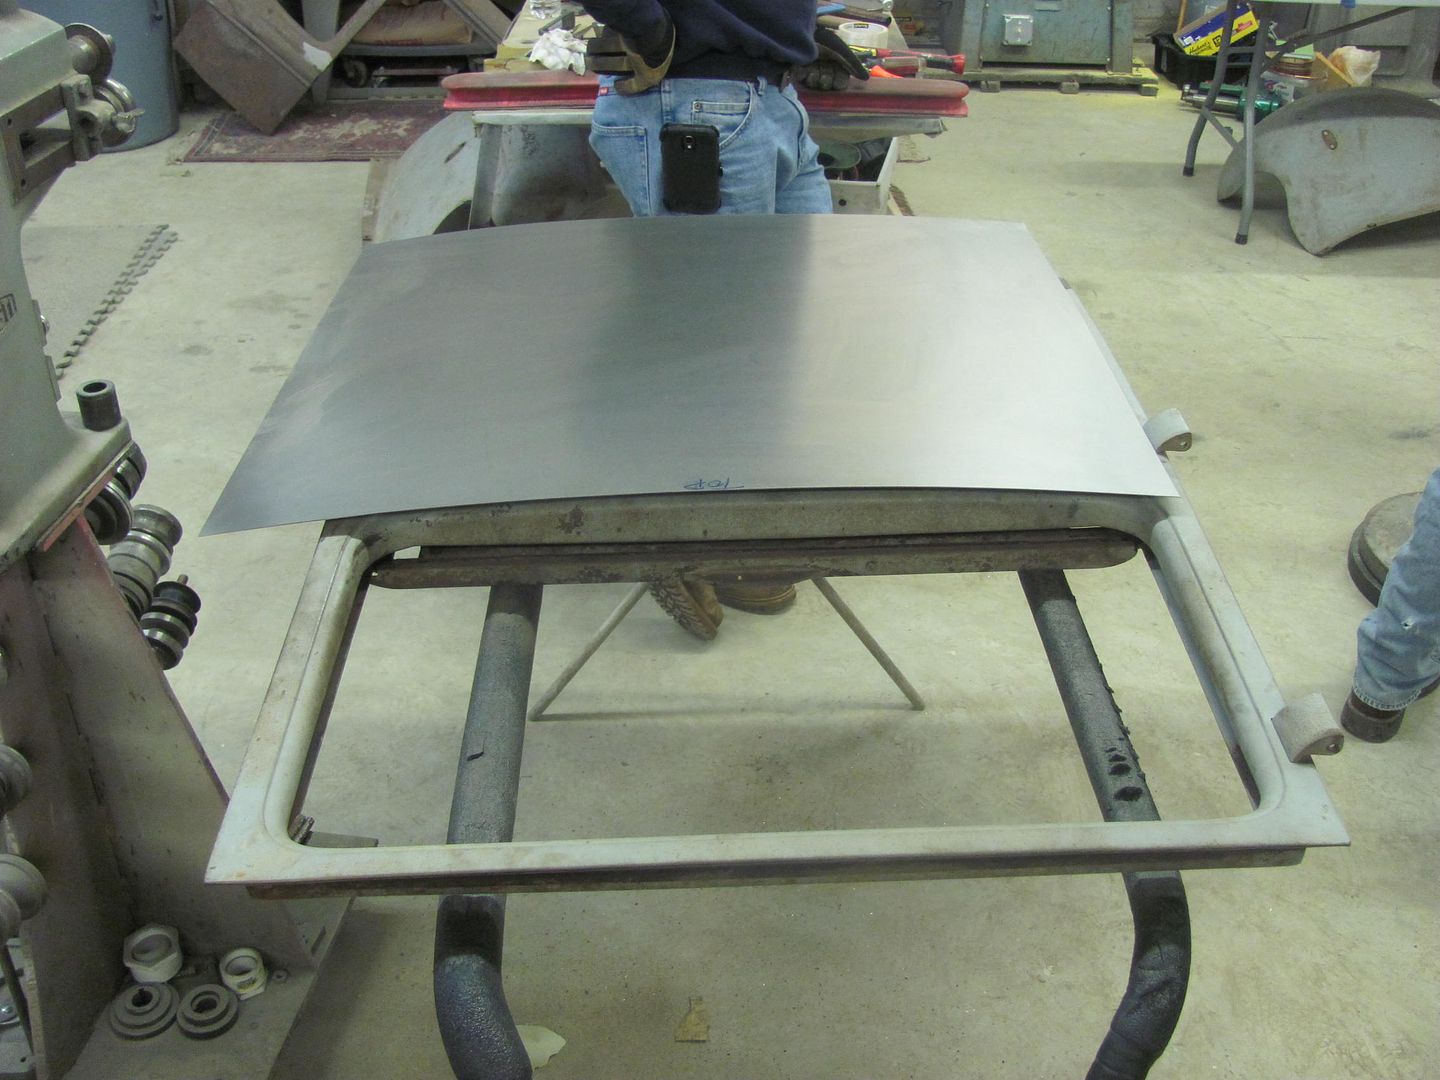 Annealing copper wire to use as rivets:  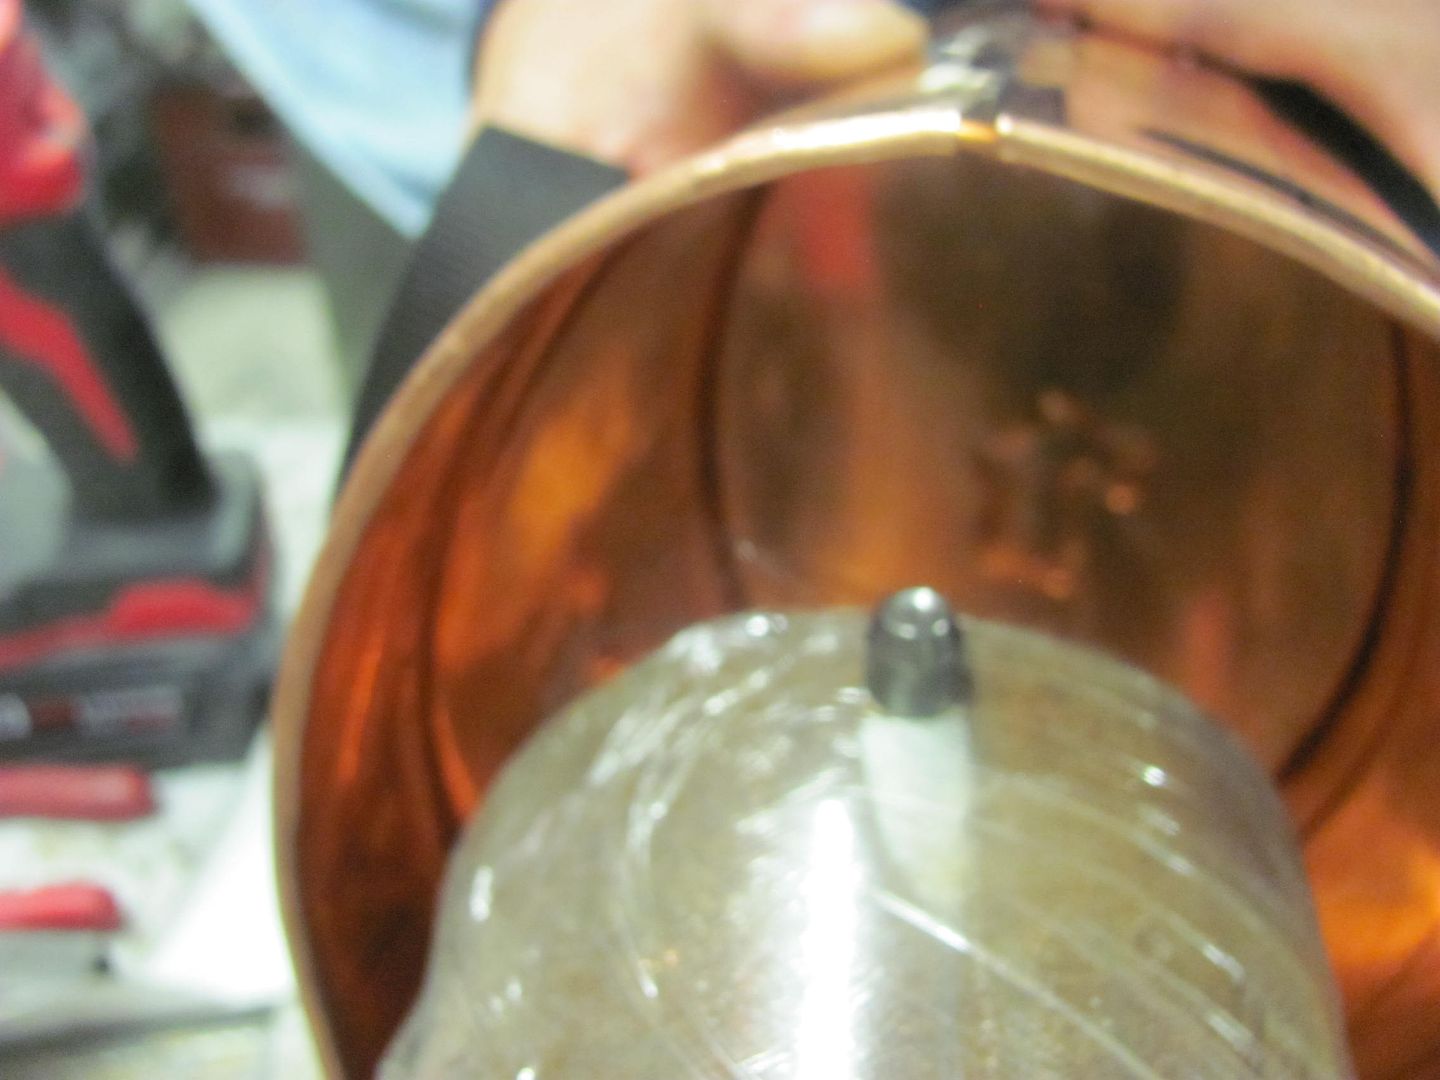 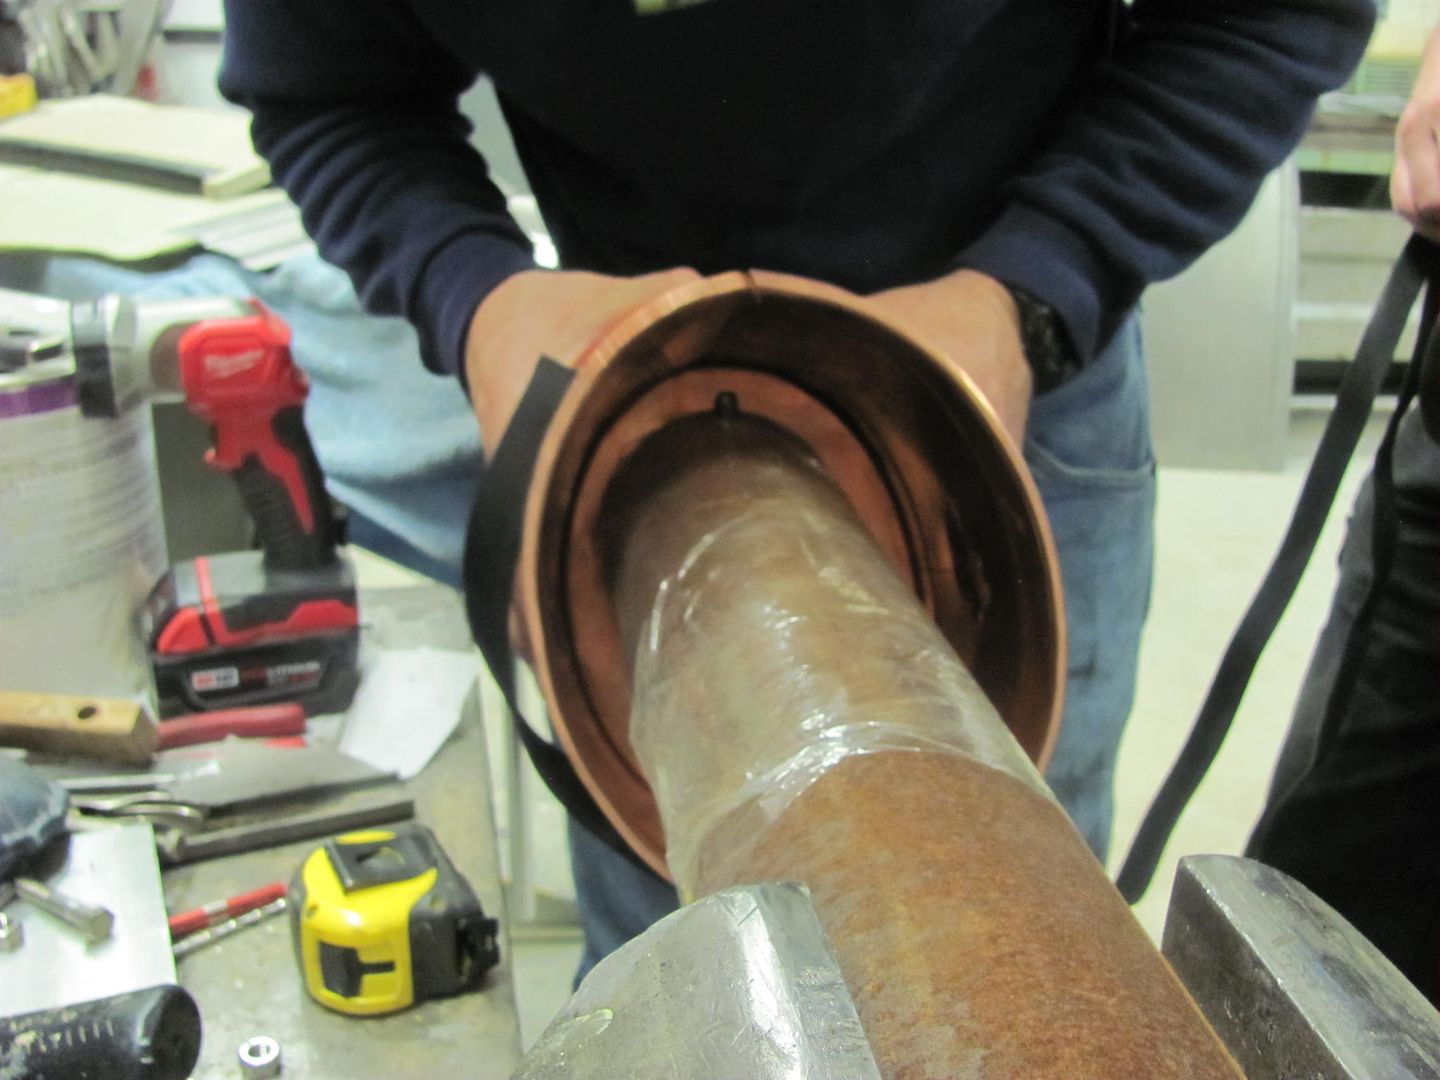 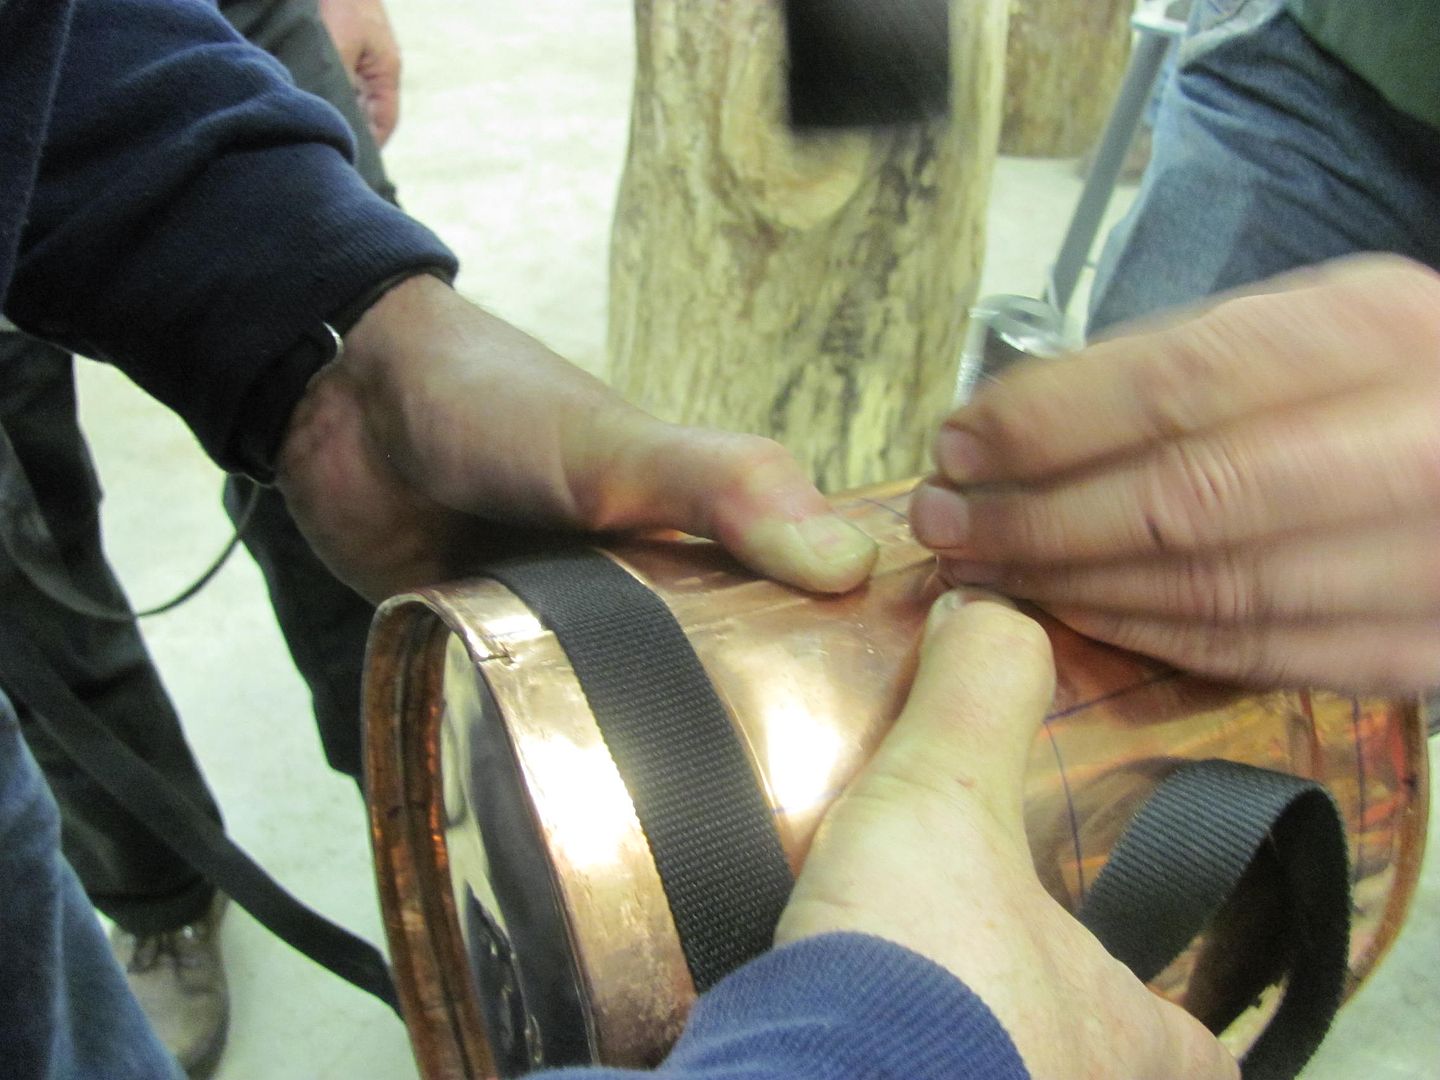 Cover plate for military vehicle: 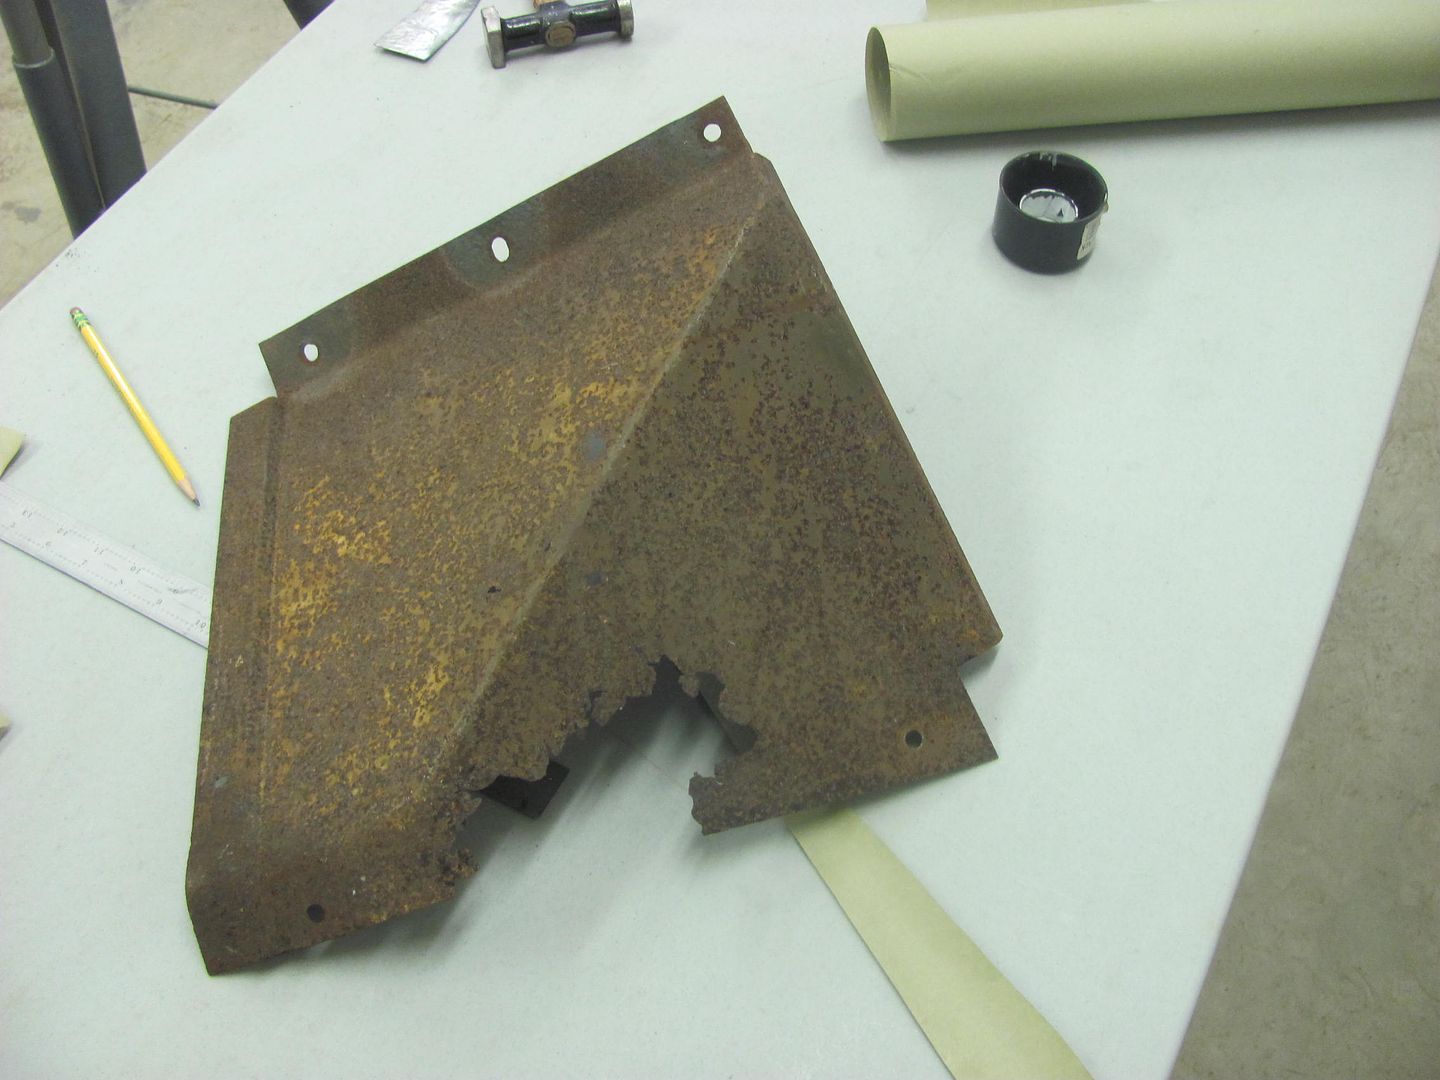 Paper pattern 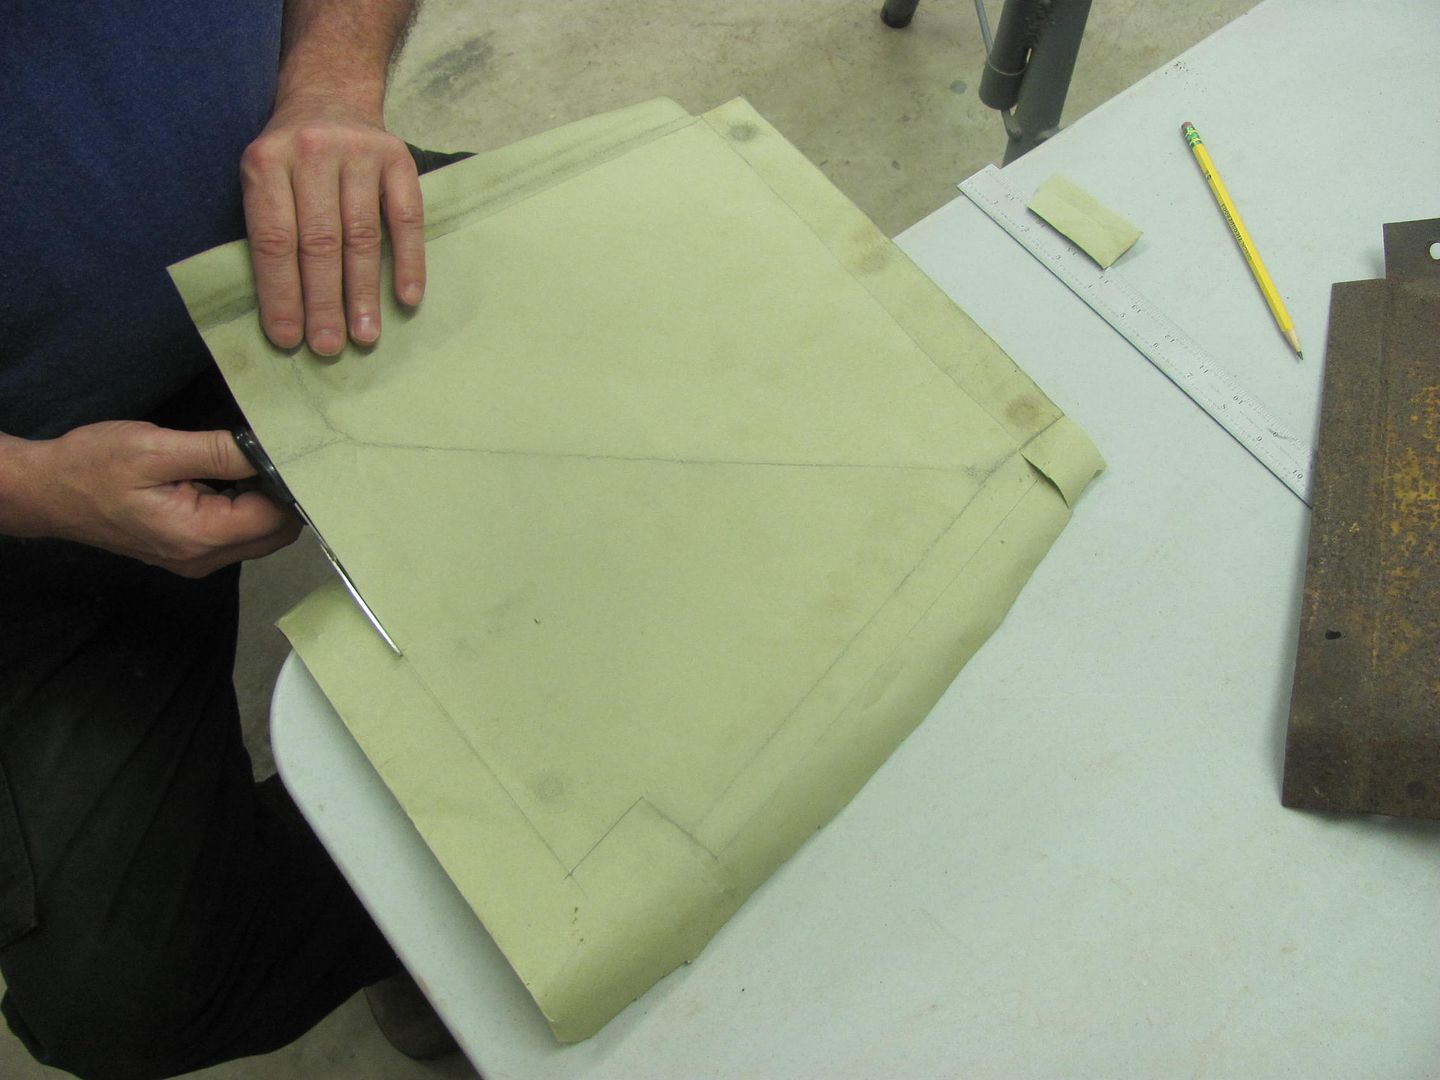 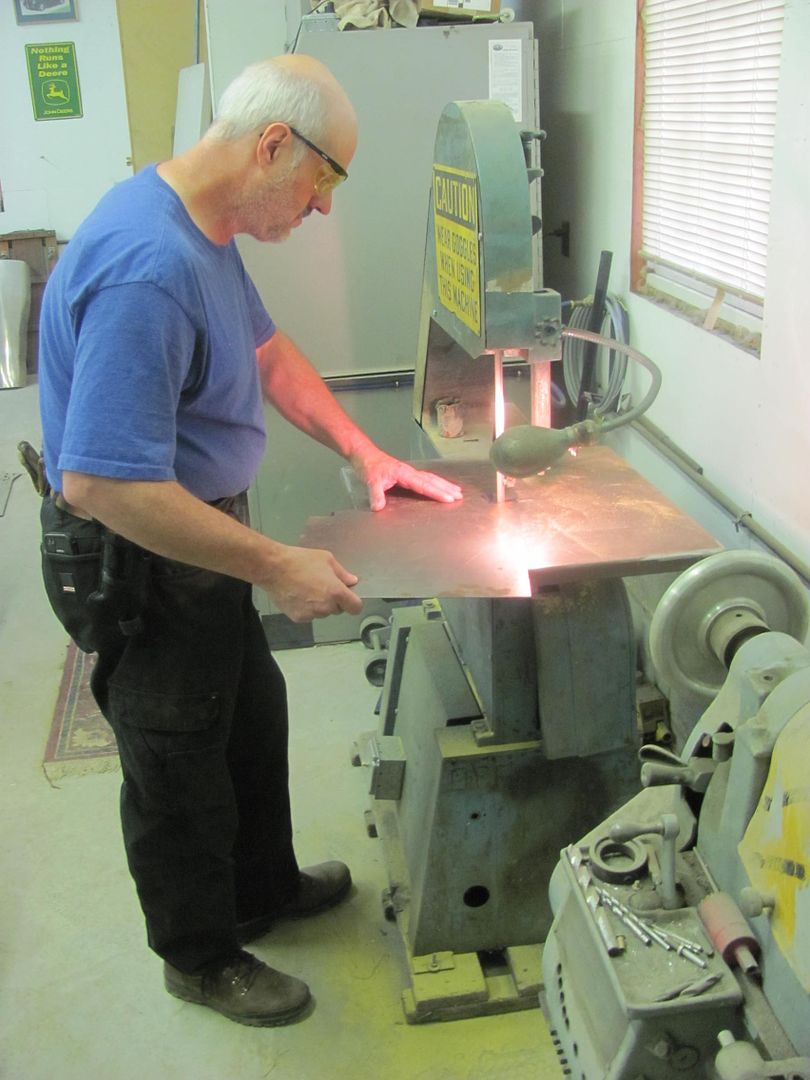  Tuck shrinking on post dolly 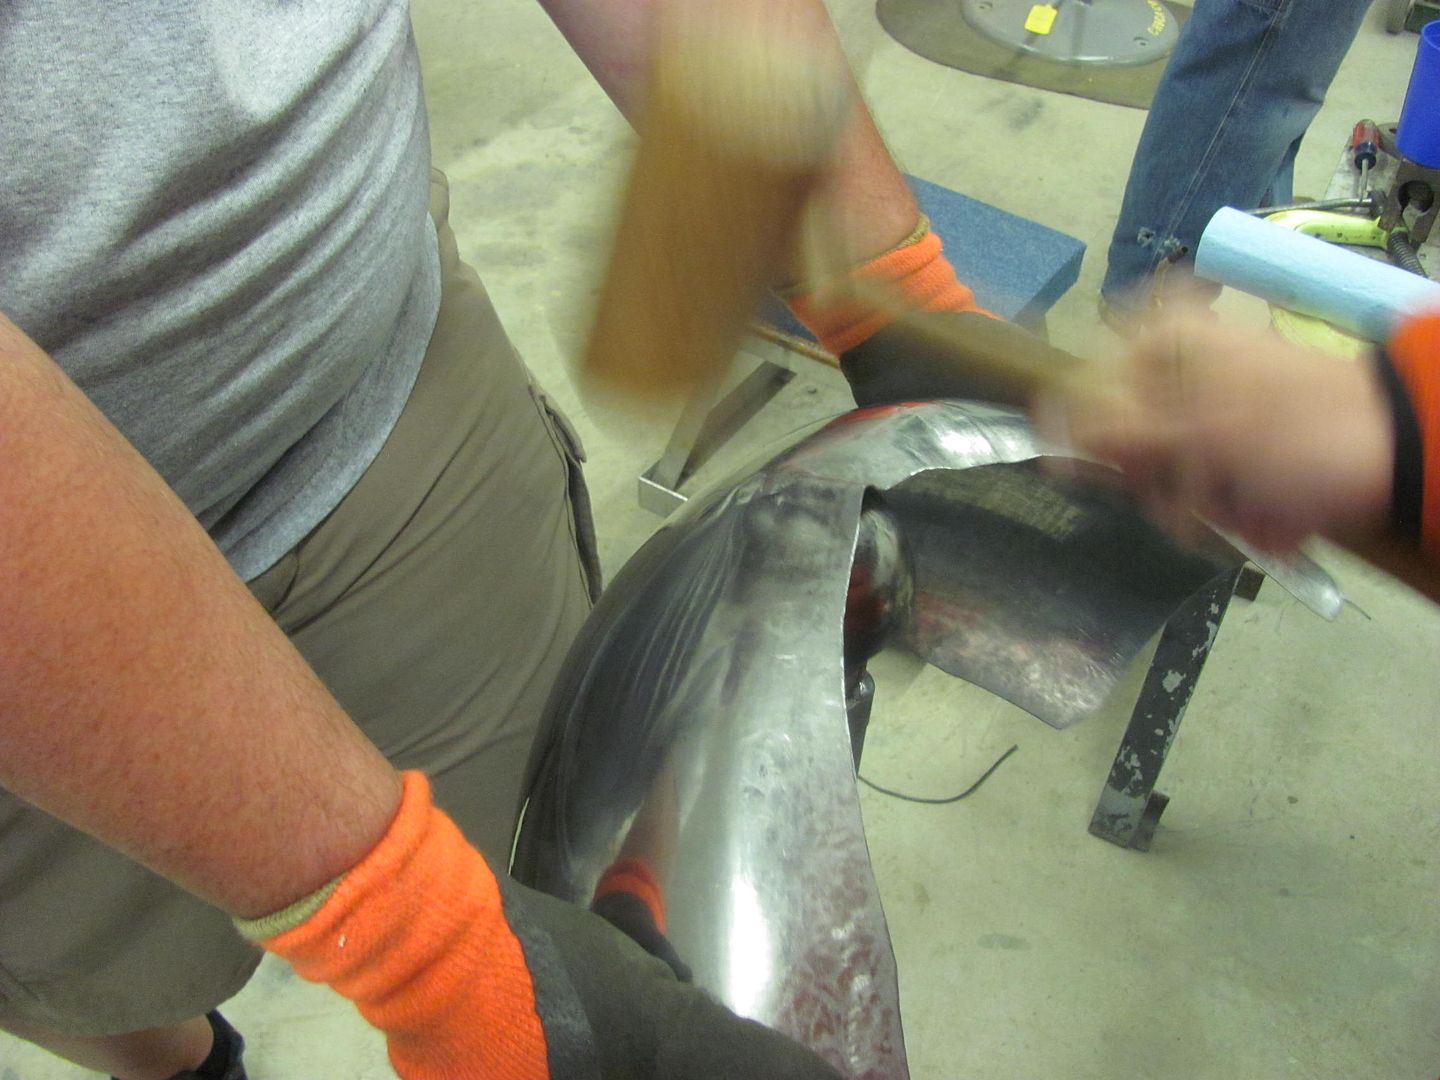 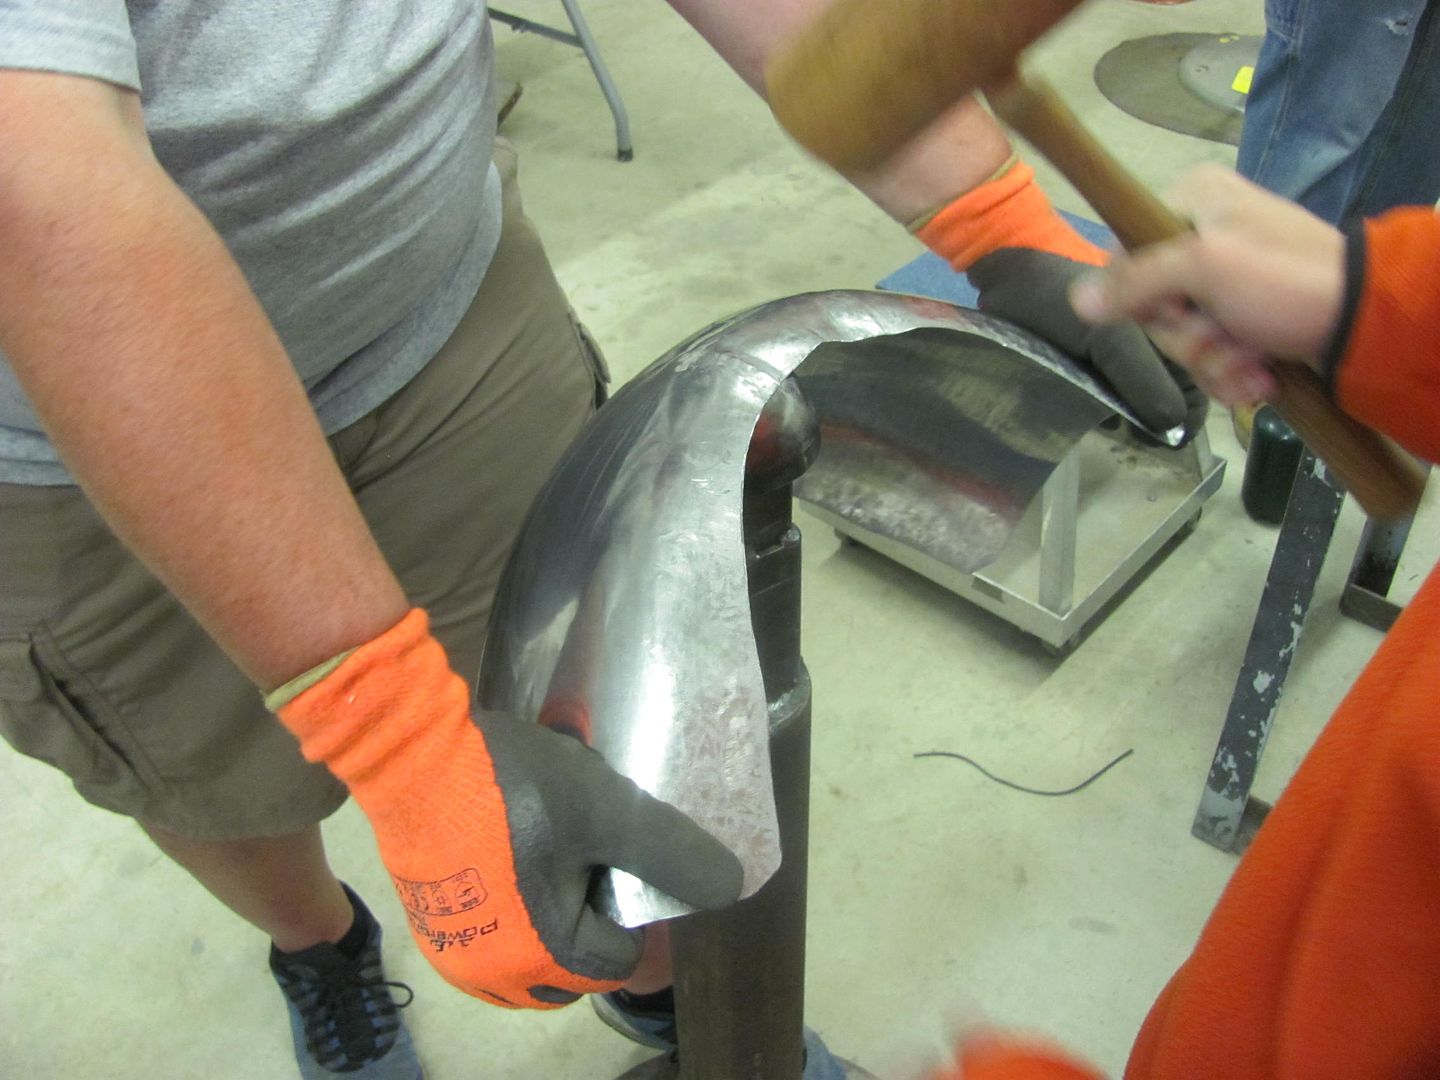 Forming upper quarter reverse 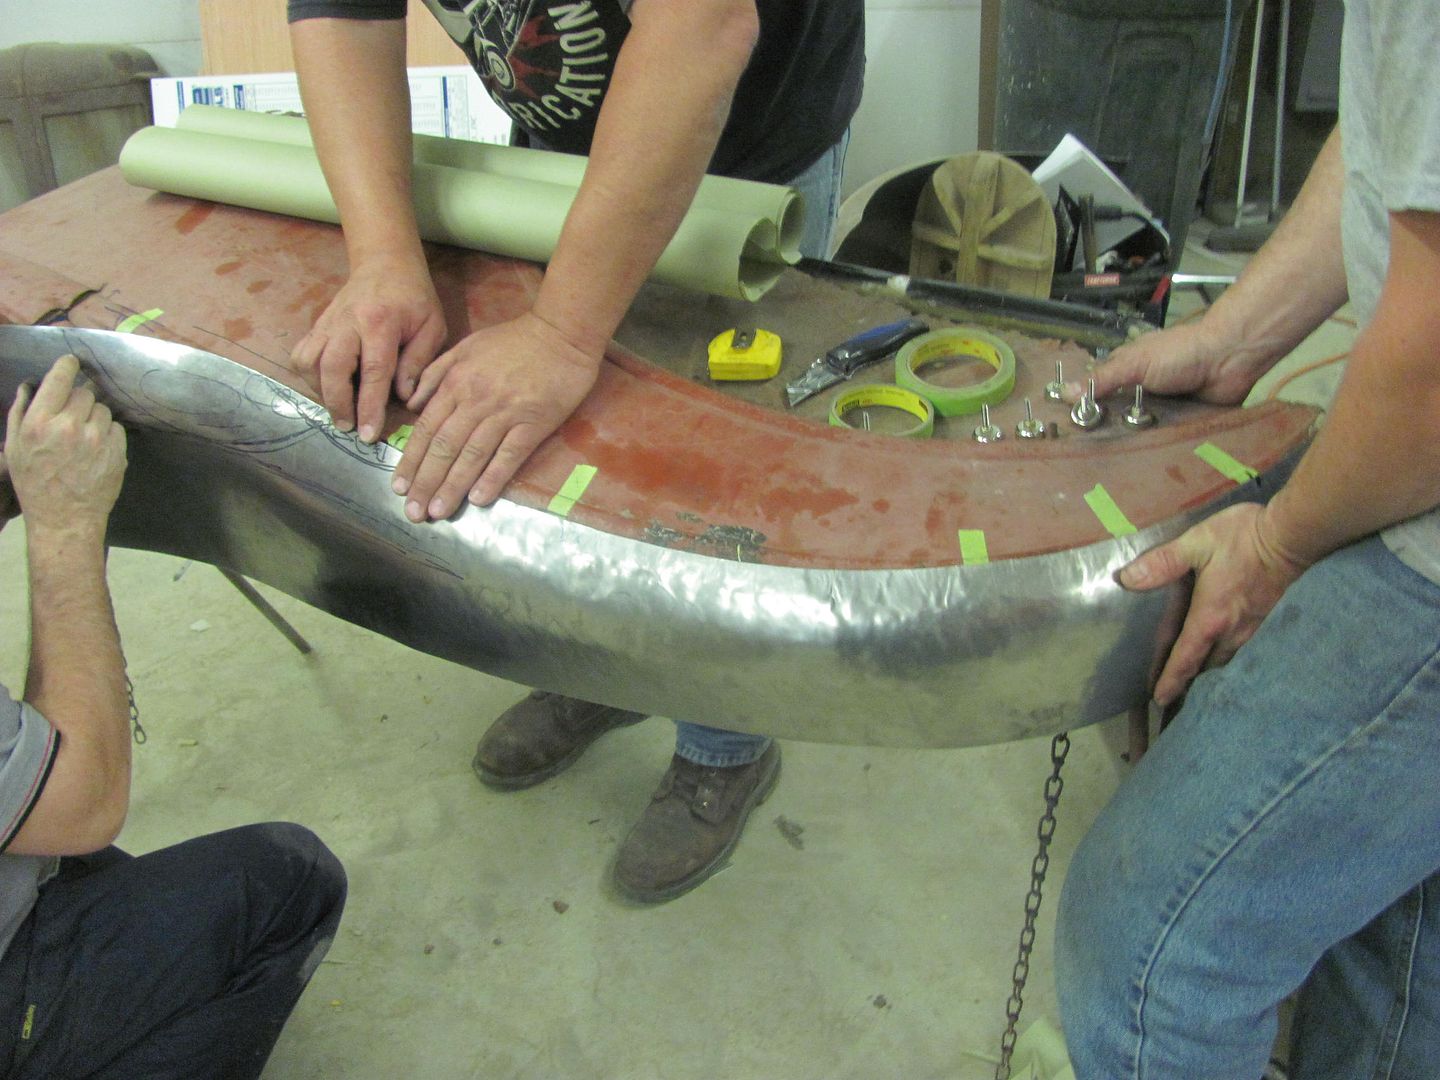 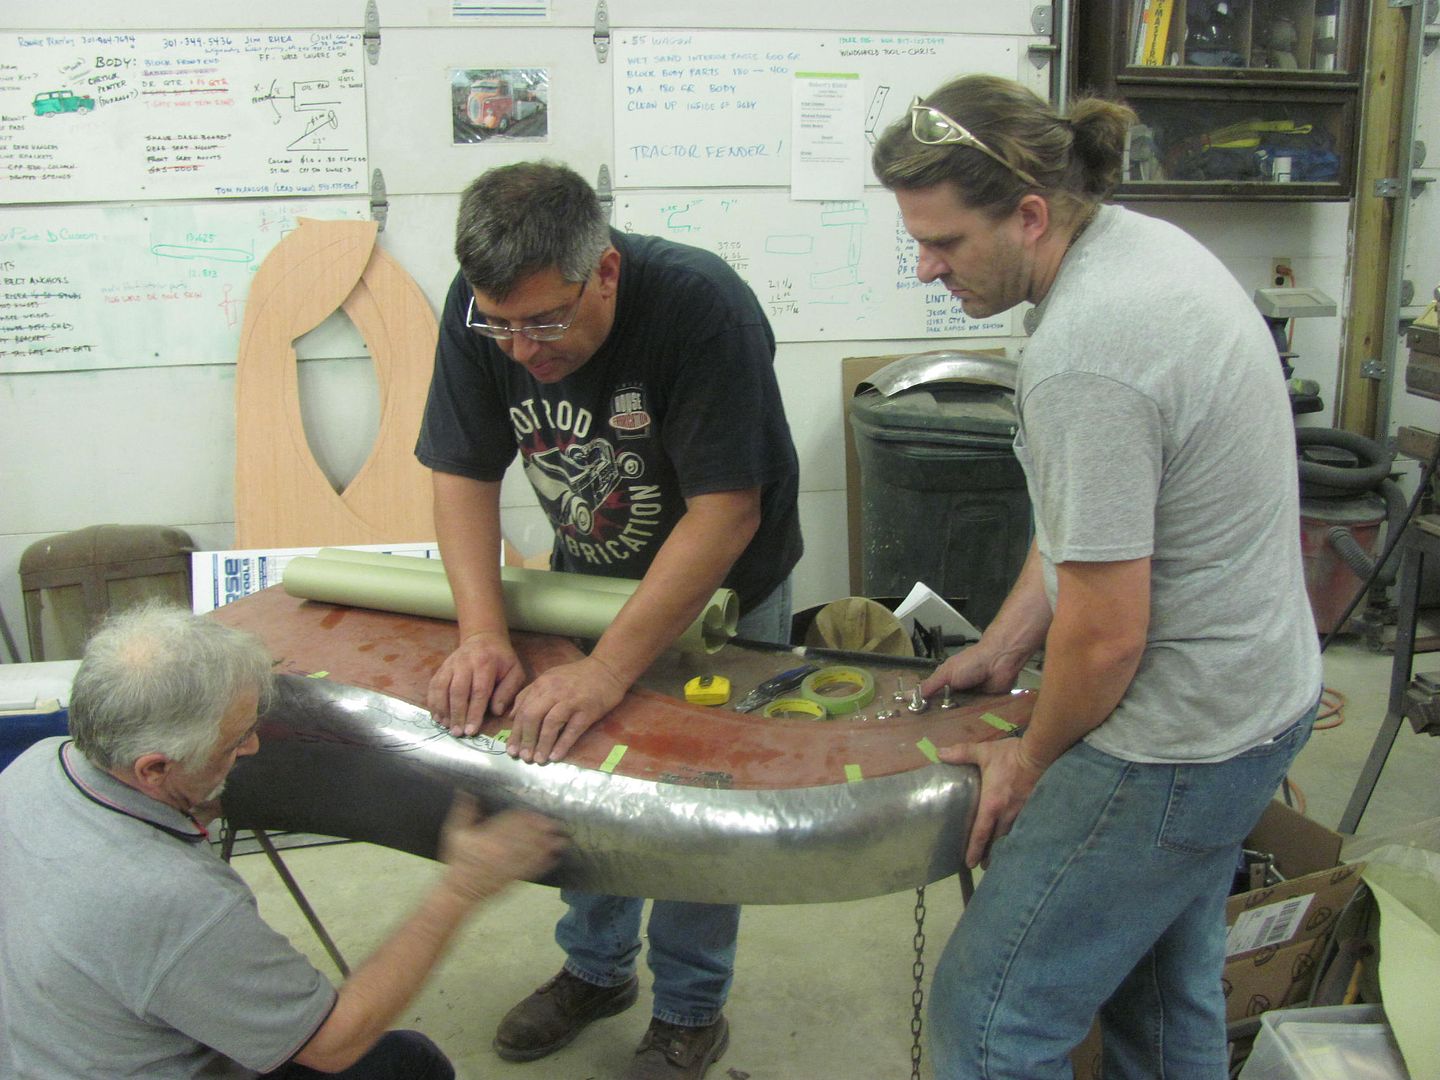 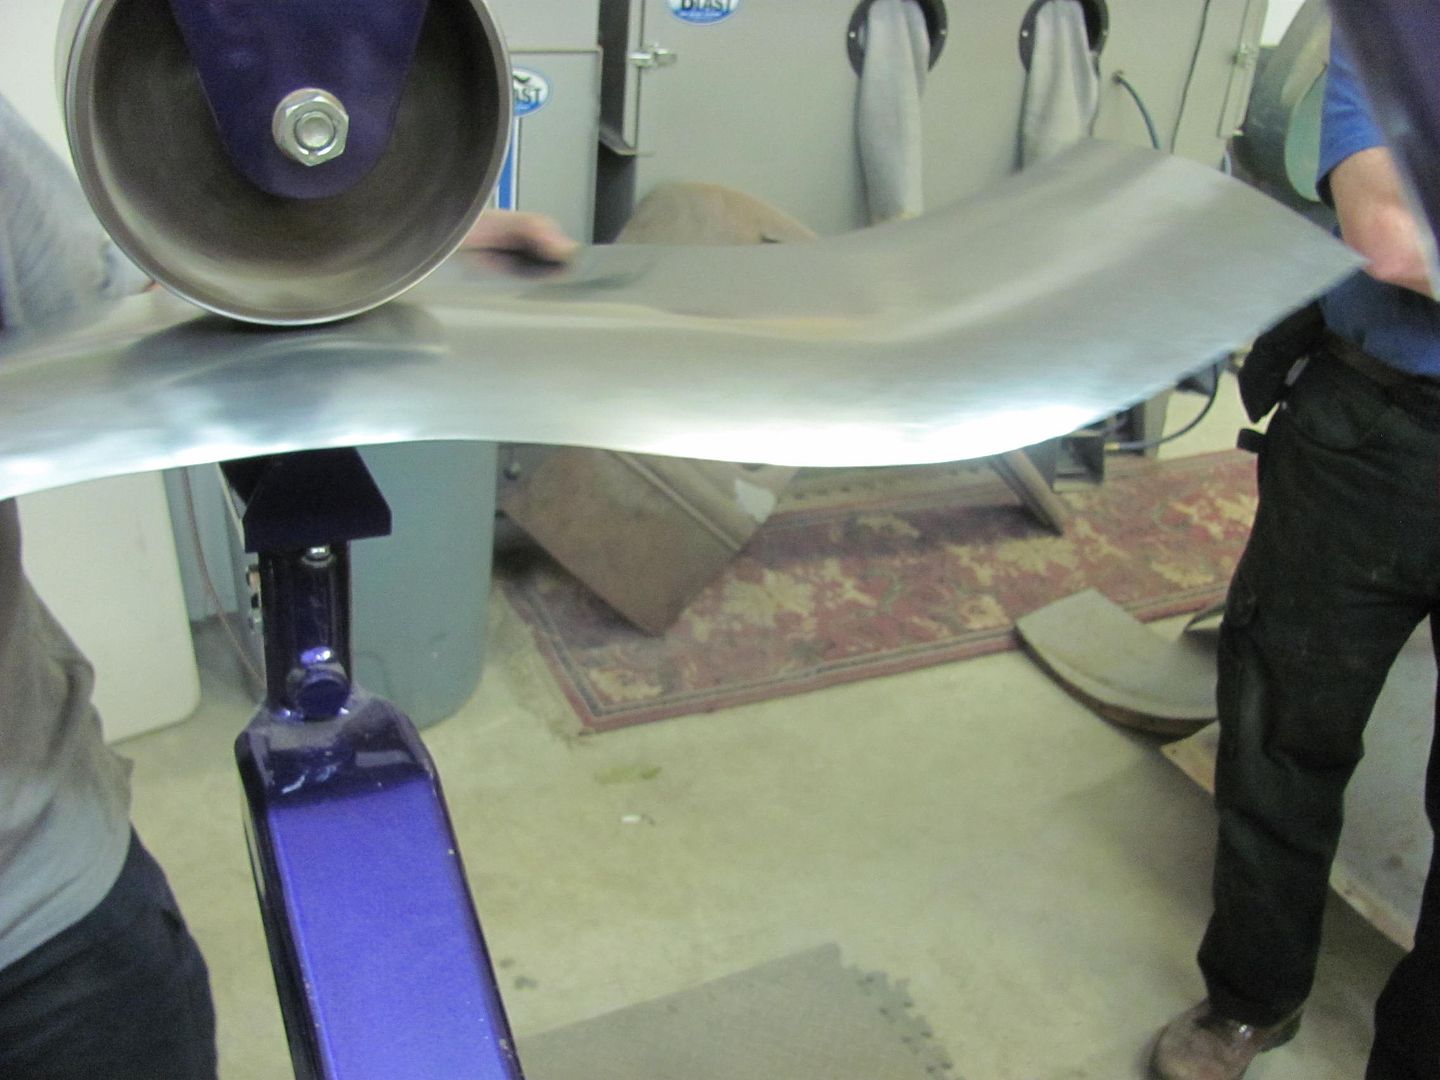 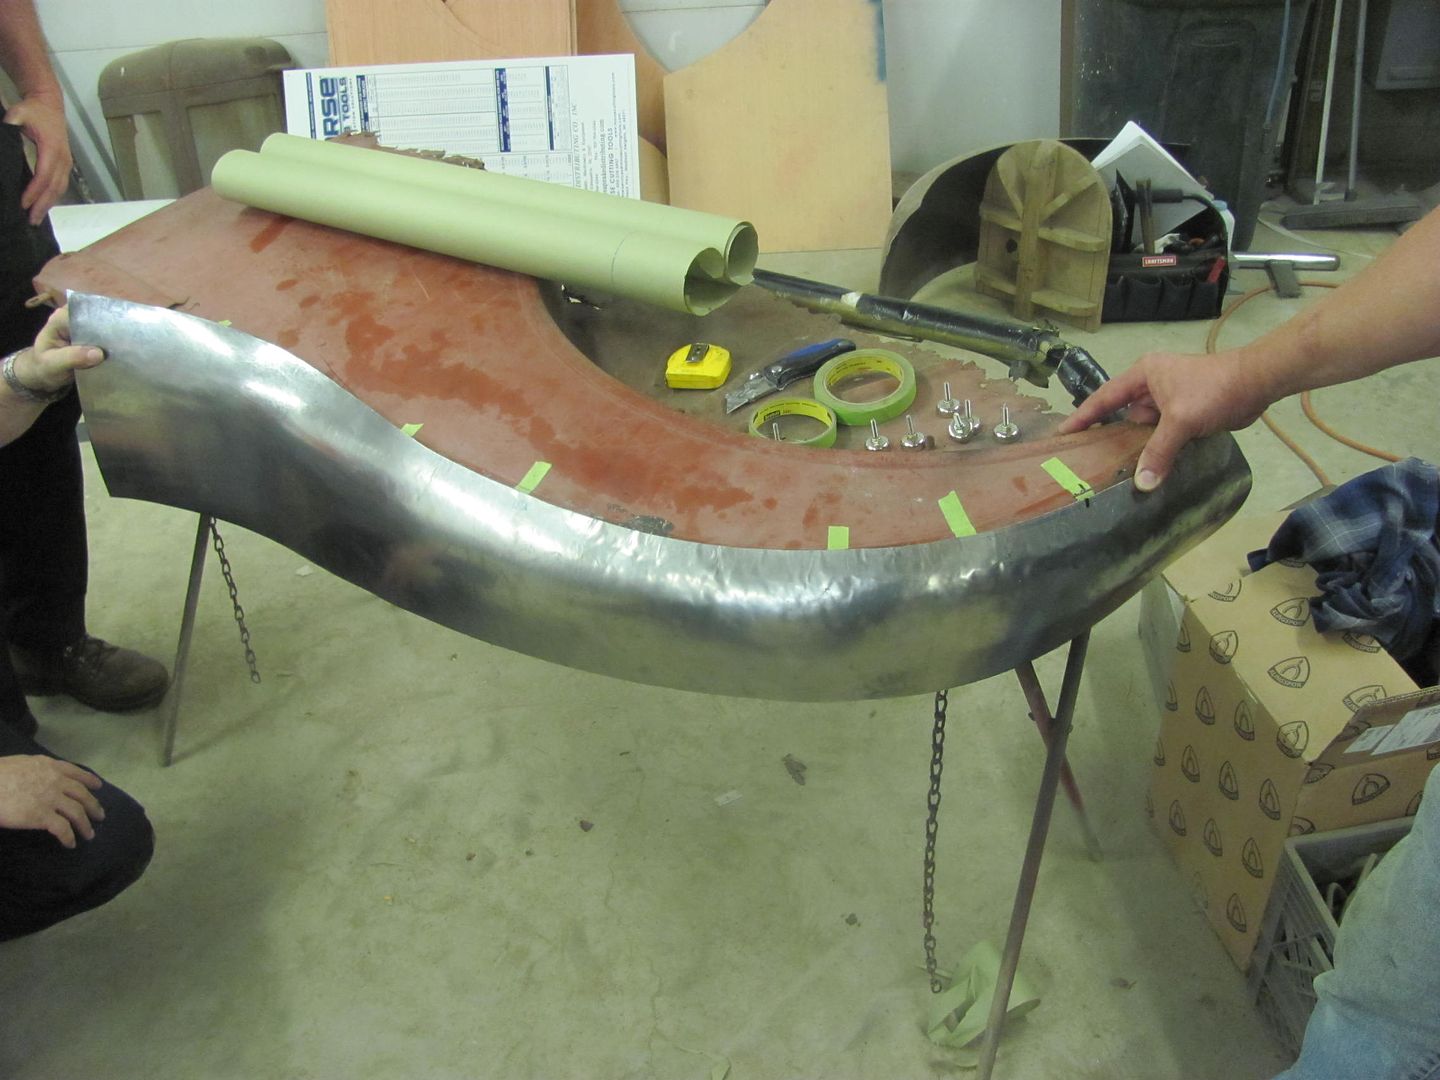 Wheel opening bead detail added 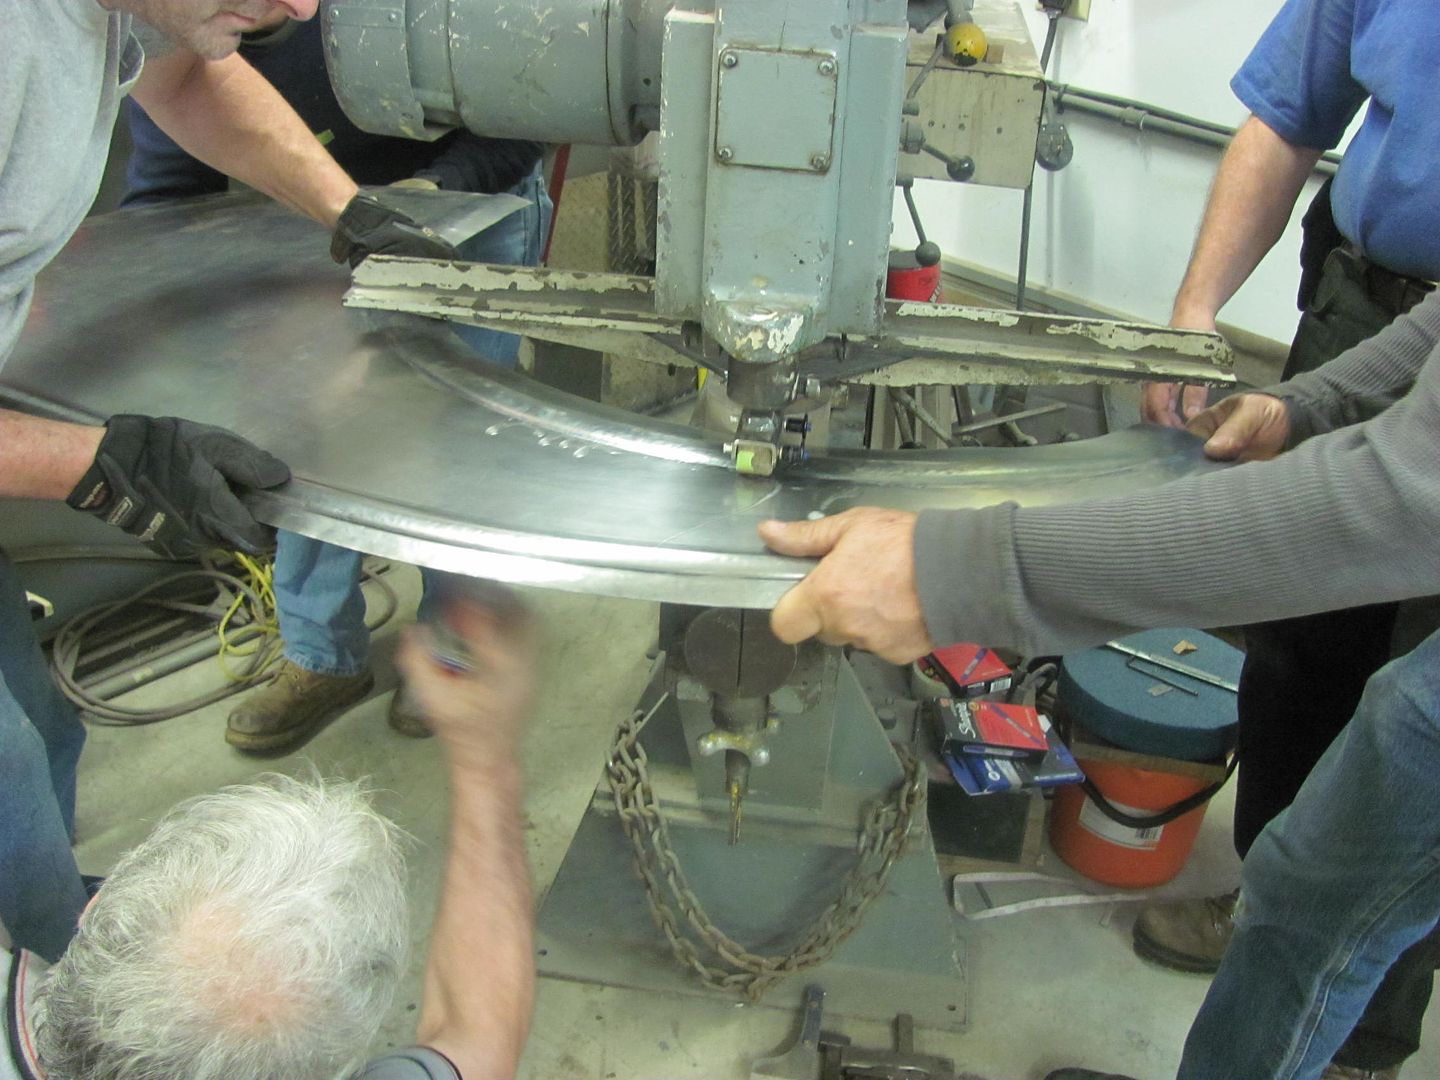 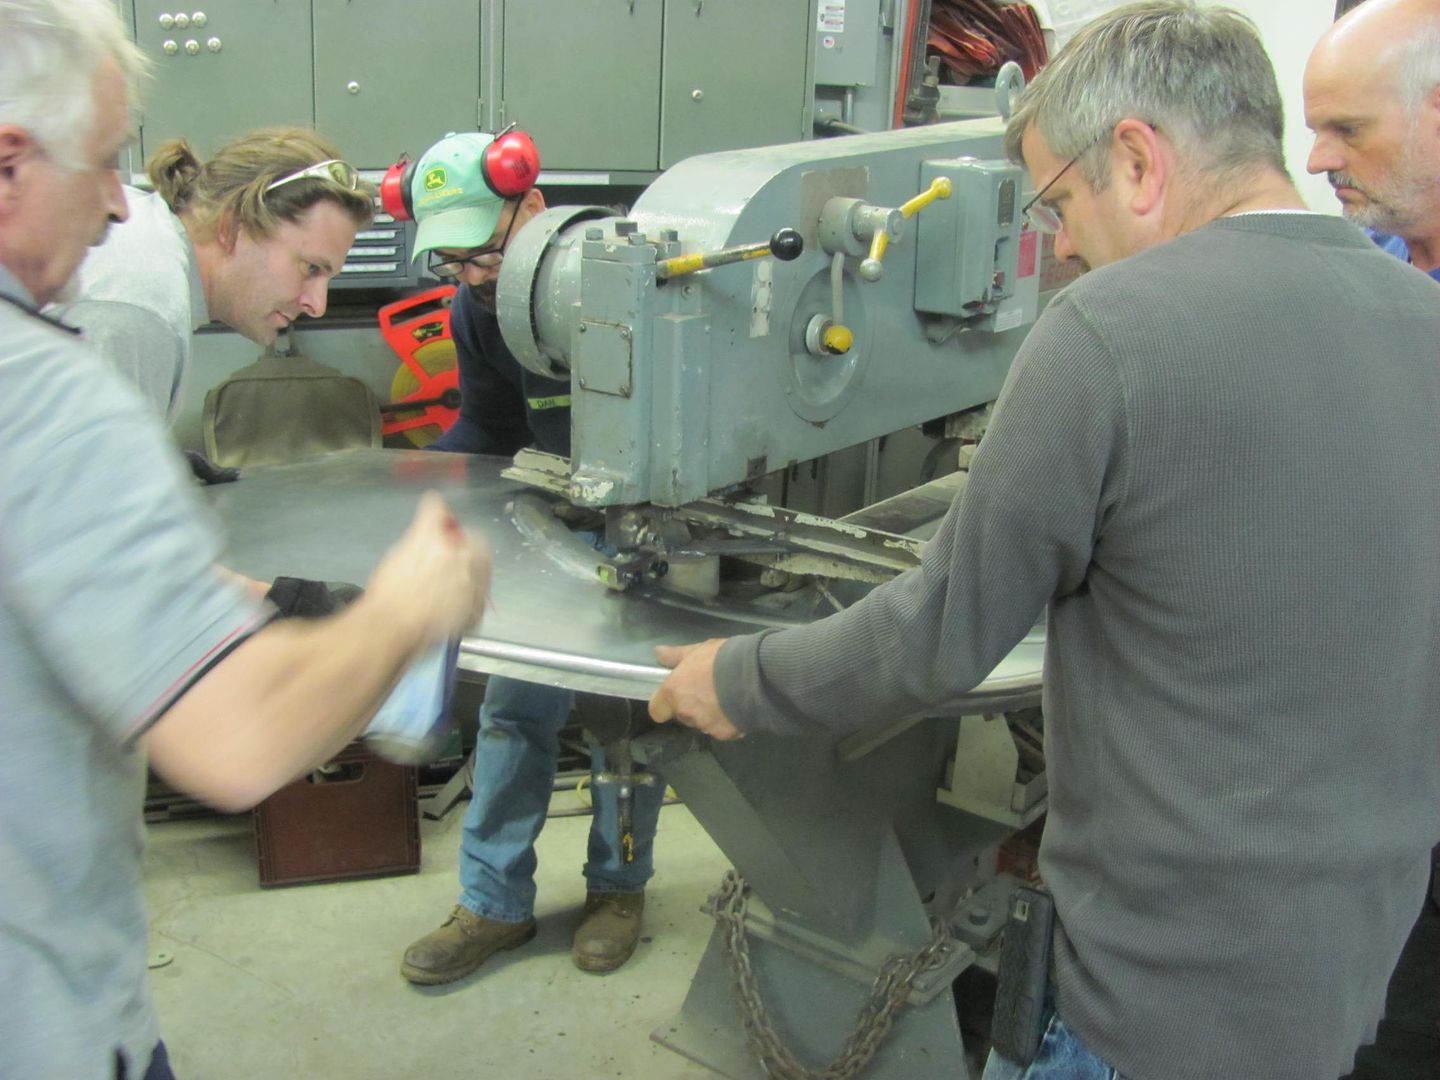  Tipping flange with vise grips with jaws that have been smoothed...  Stretching  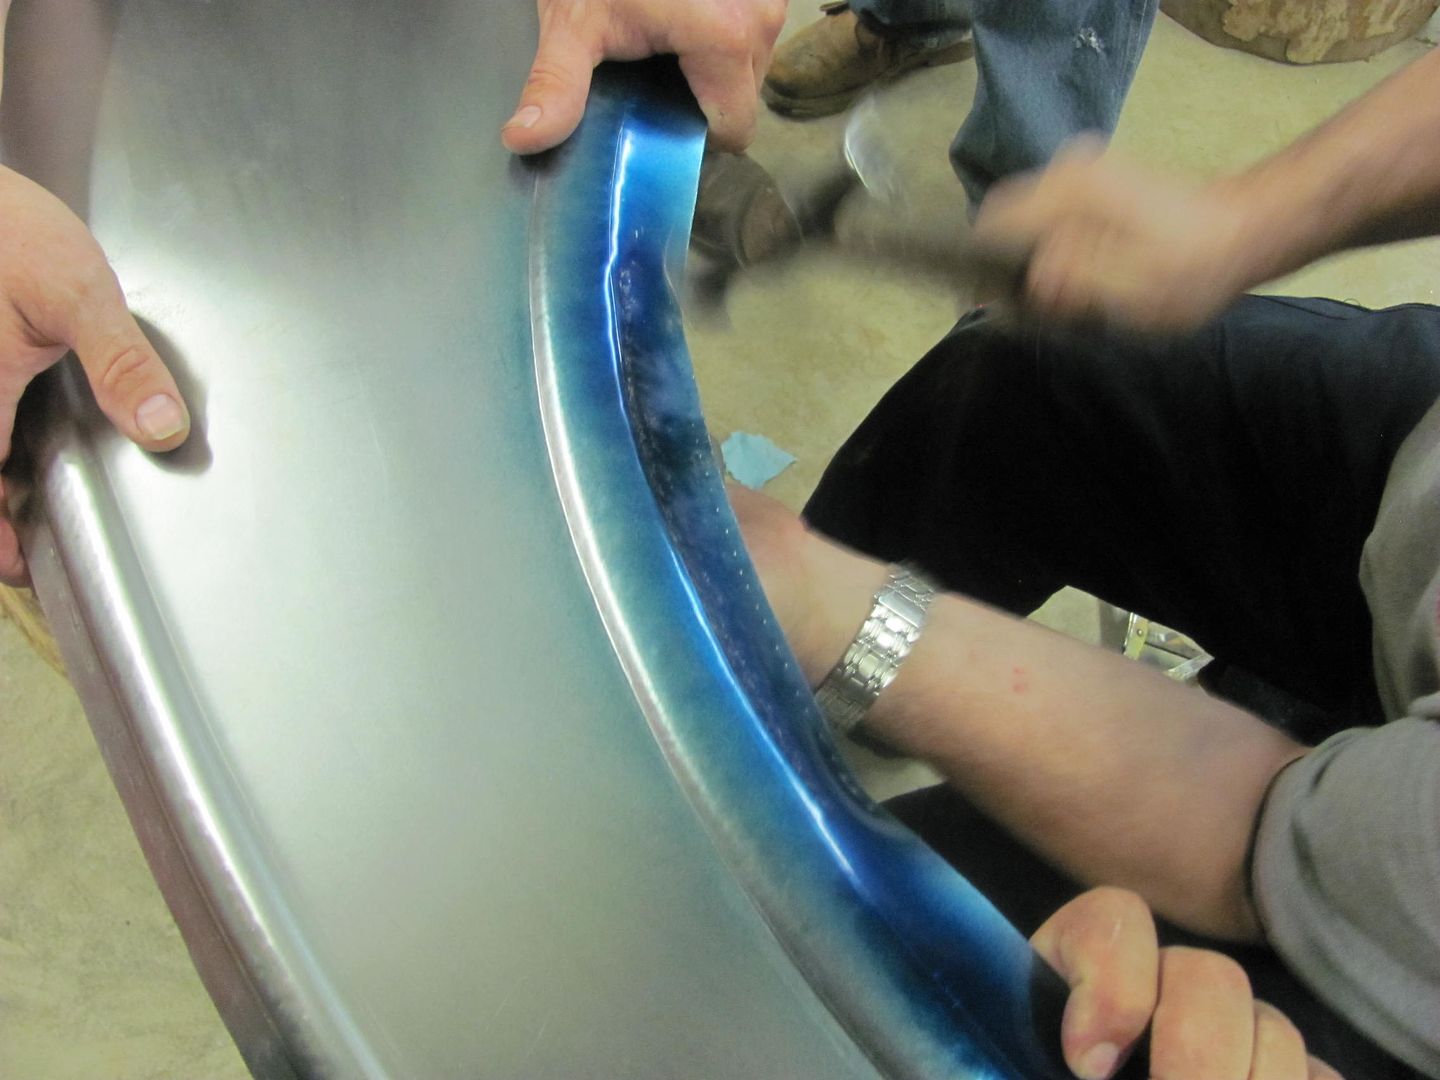 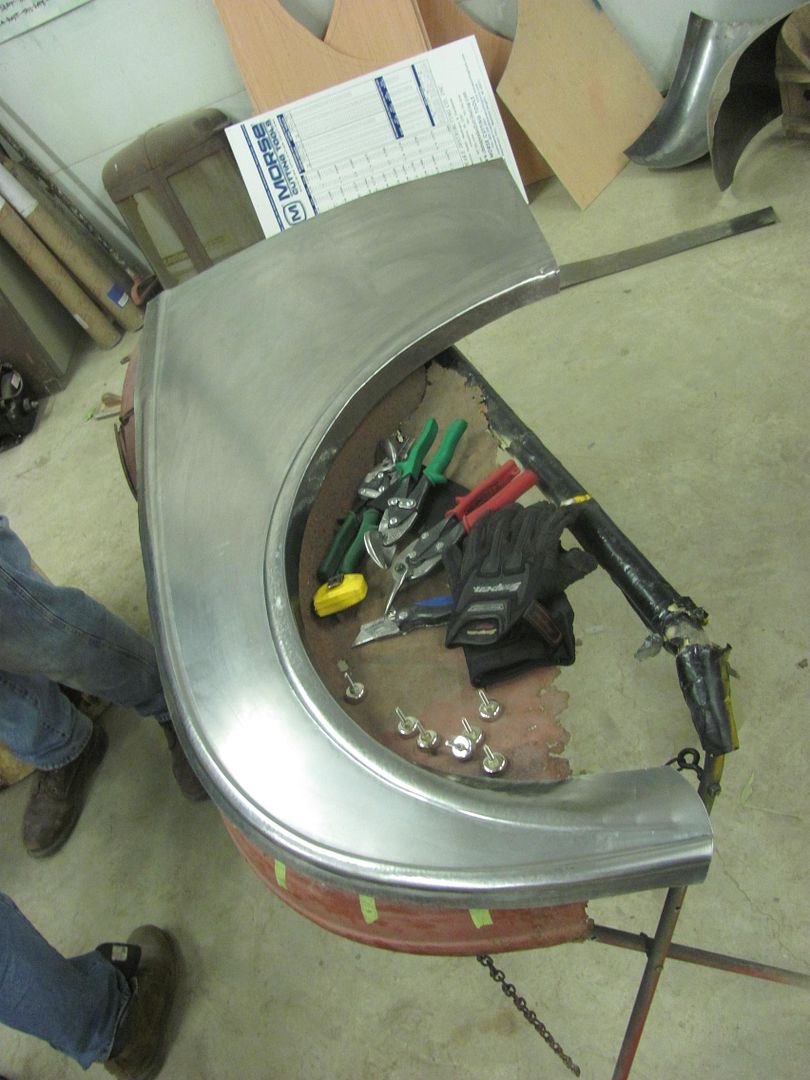 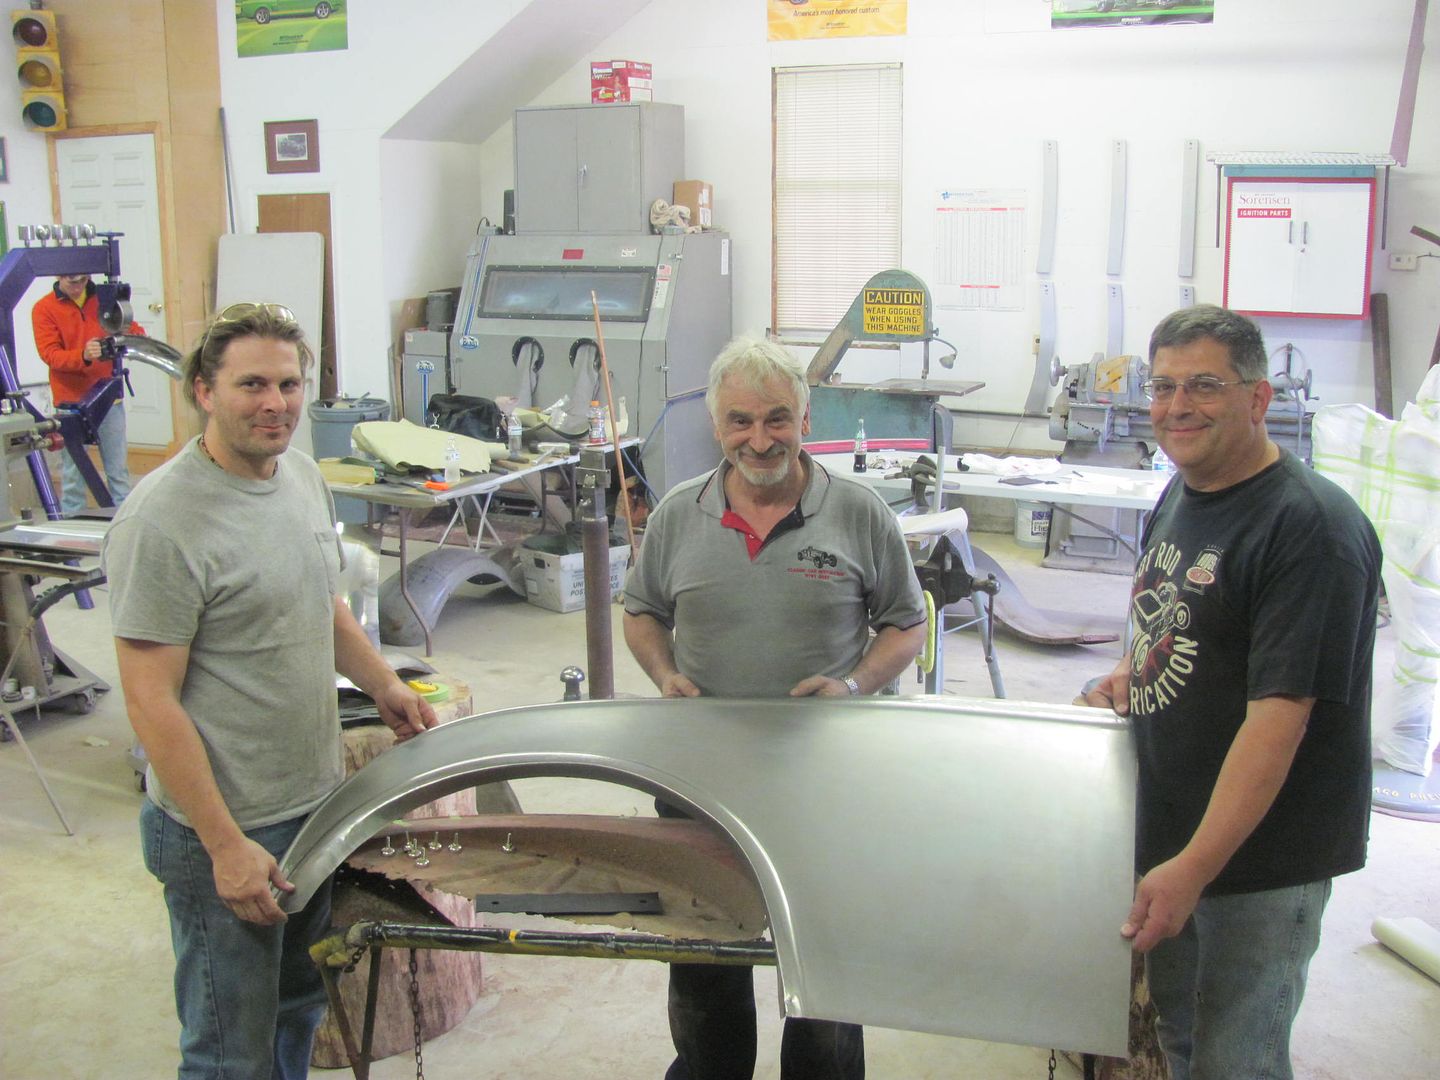 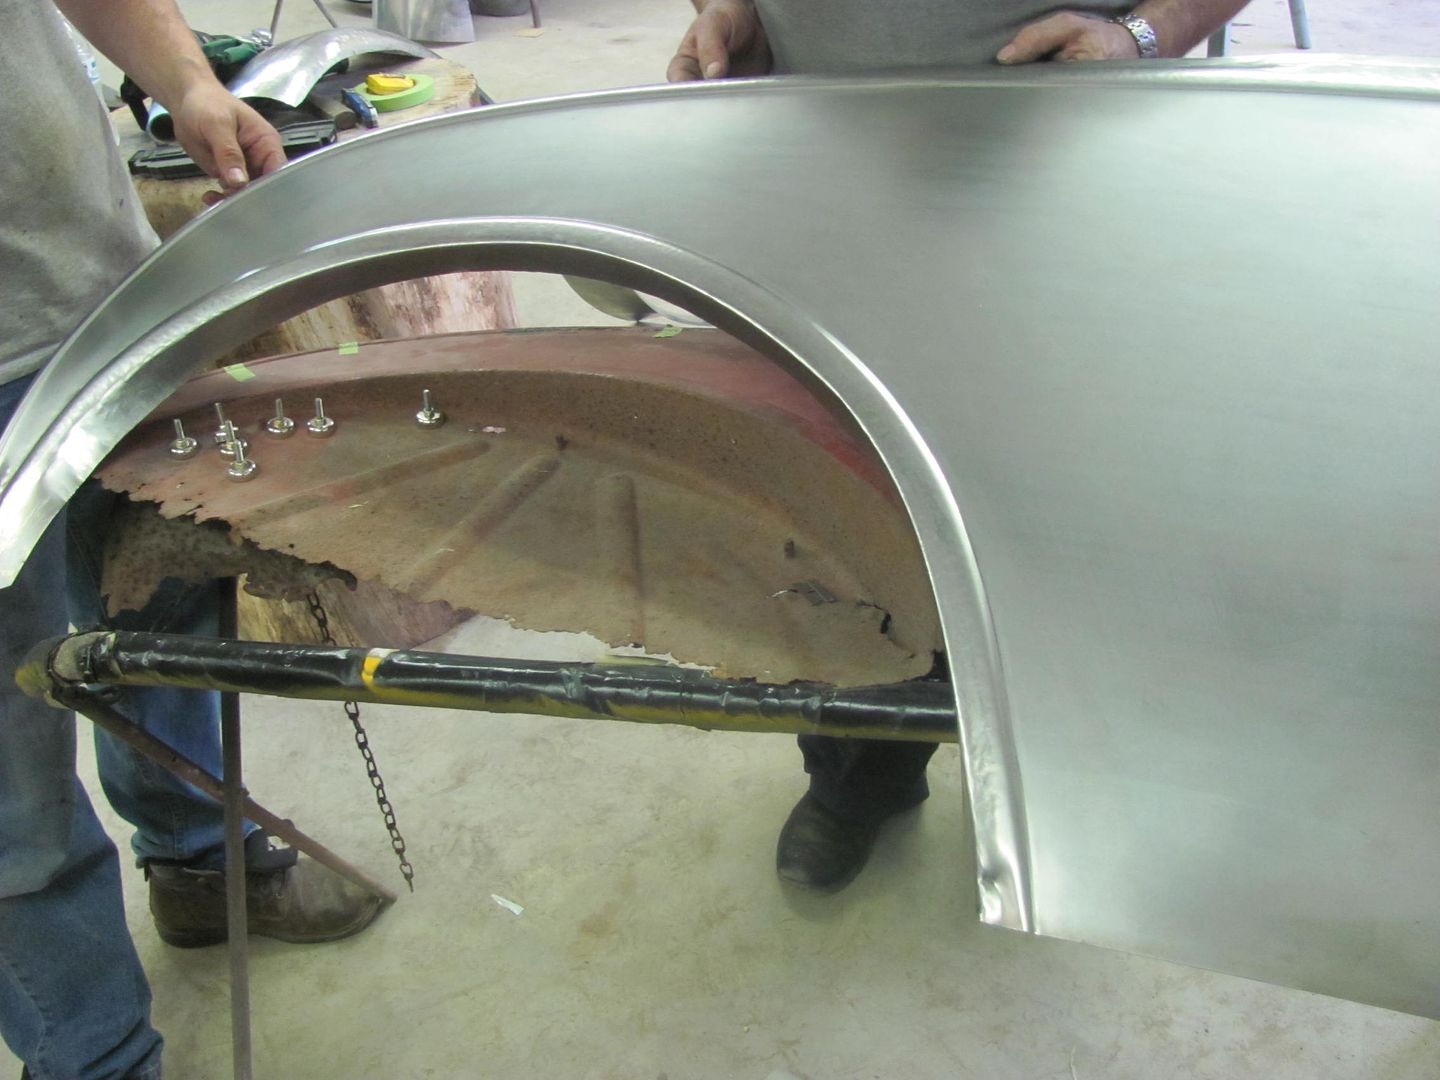 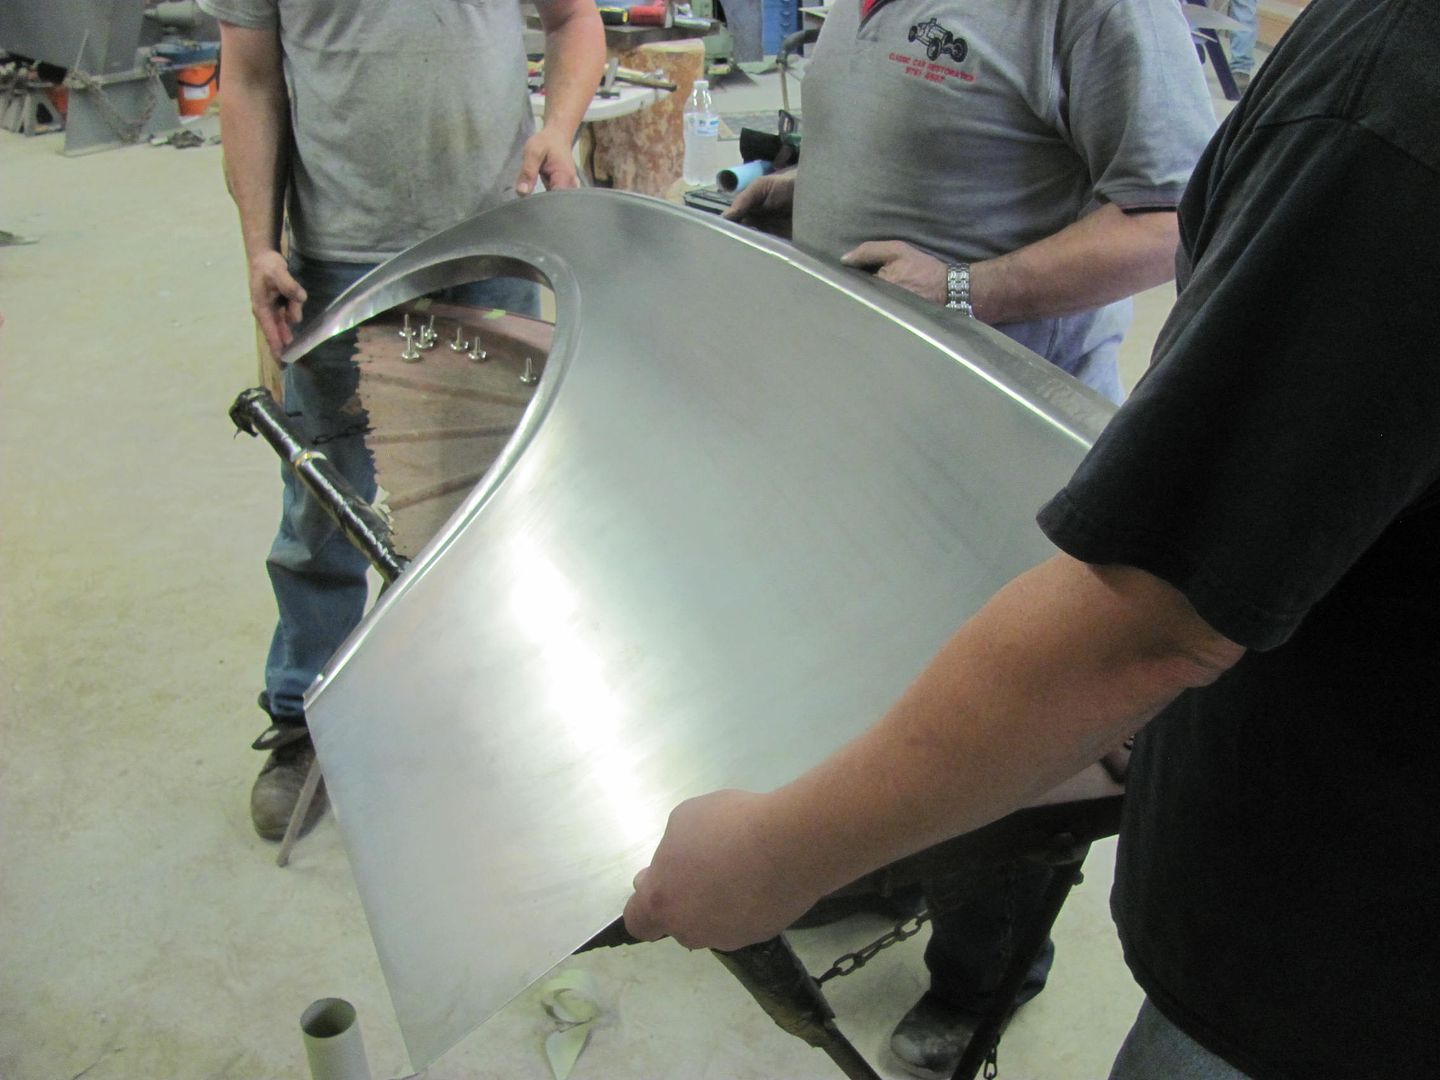 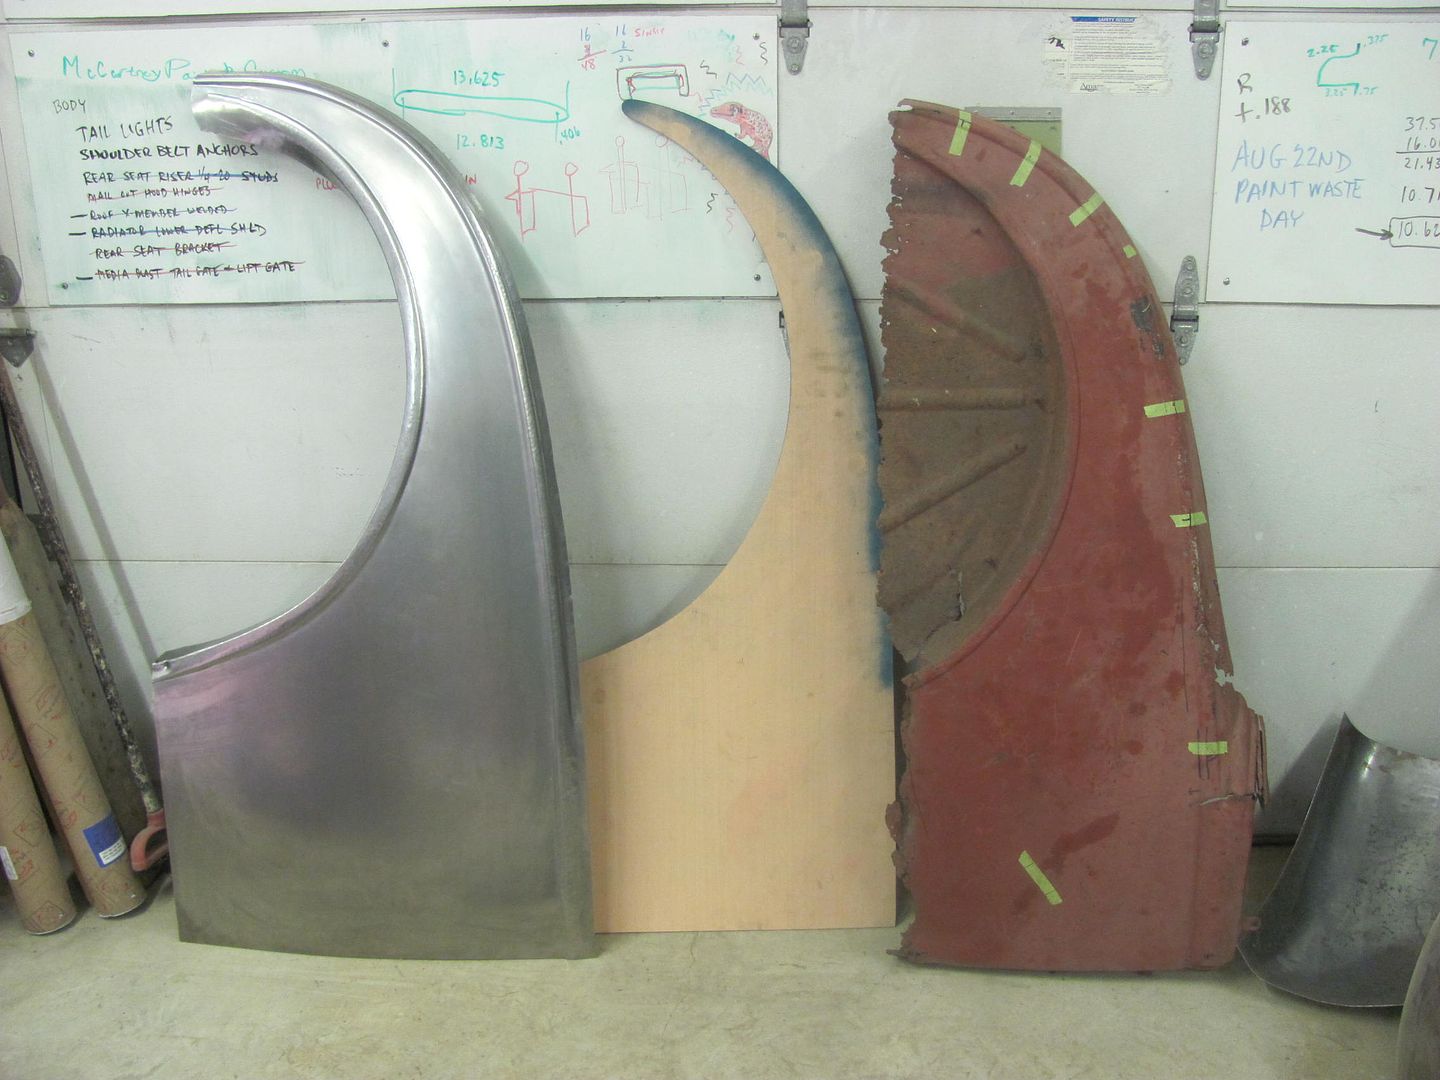 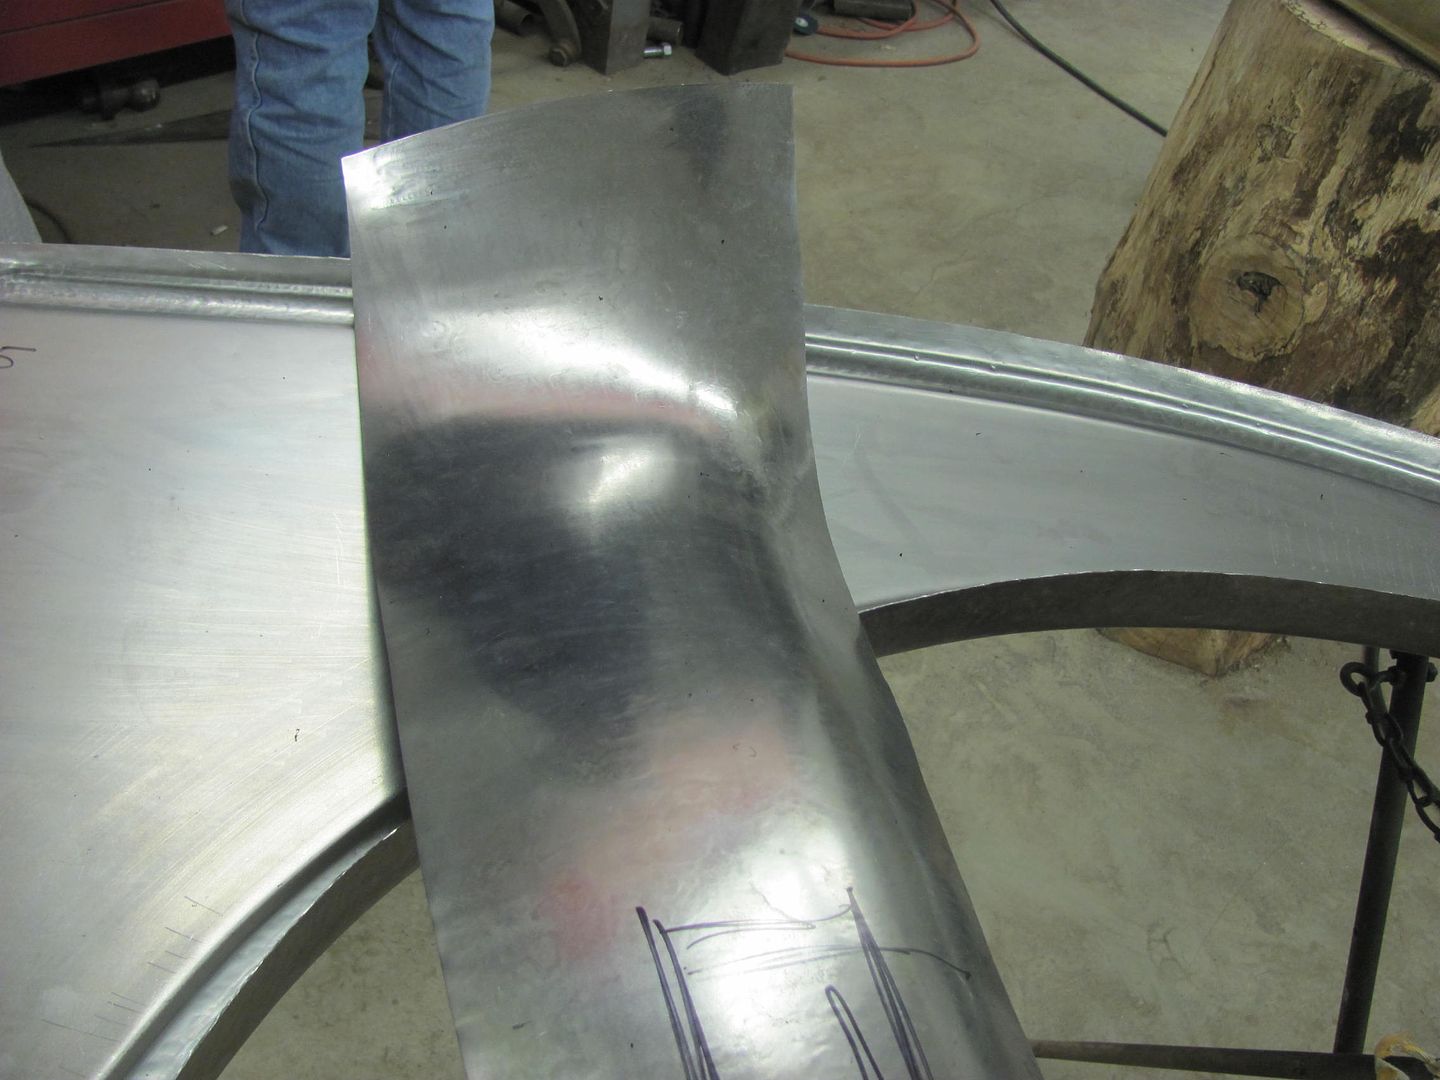 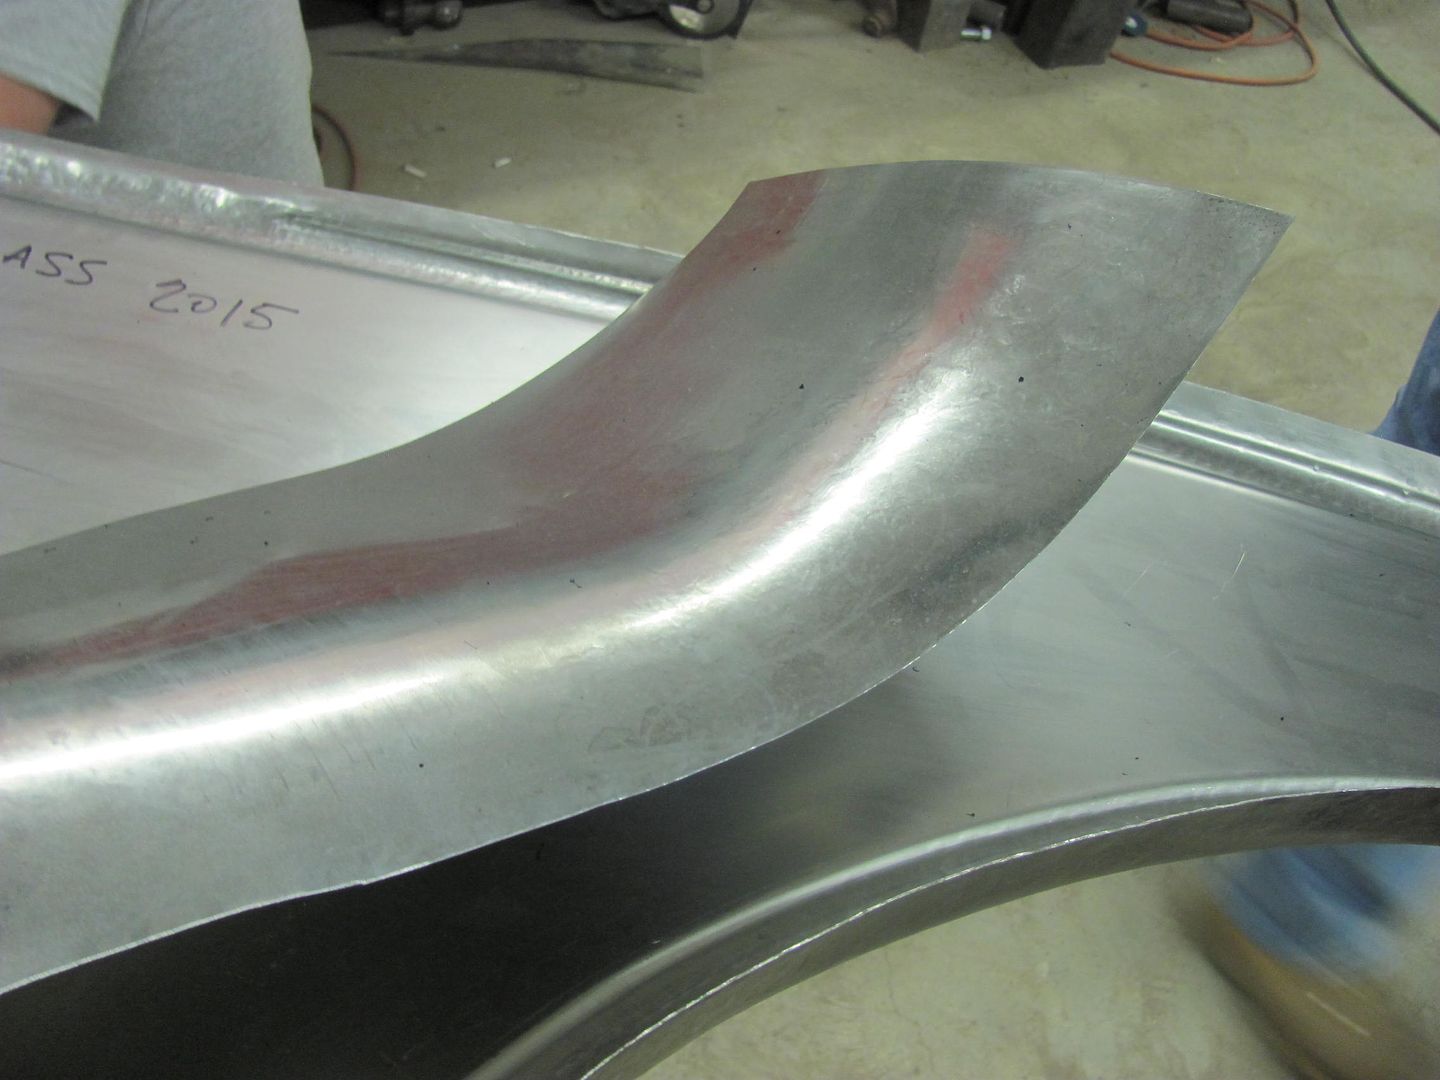 Here's a video of Peter demonstrating lead loading aluminum: https://youtu.be/MSfK9XhnLeM Loading stumps for the journey to their new home.. 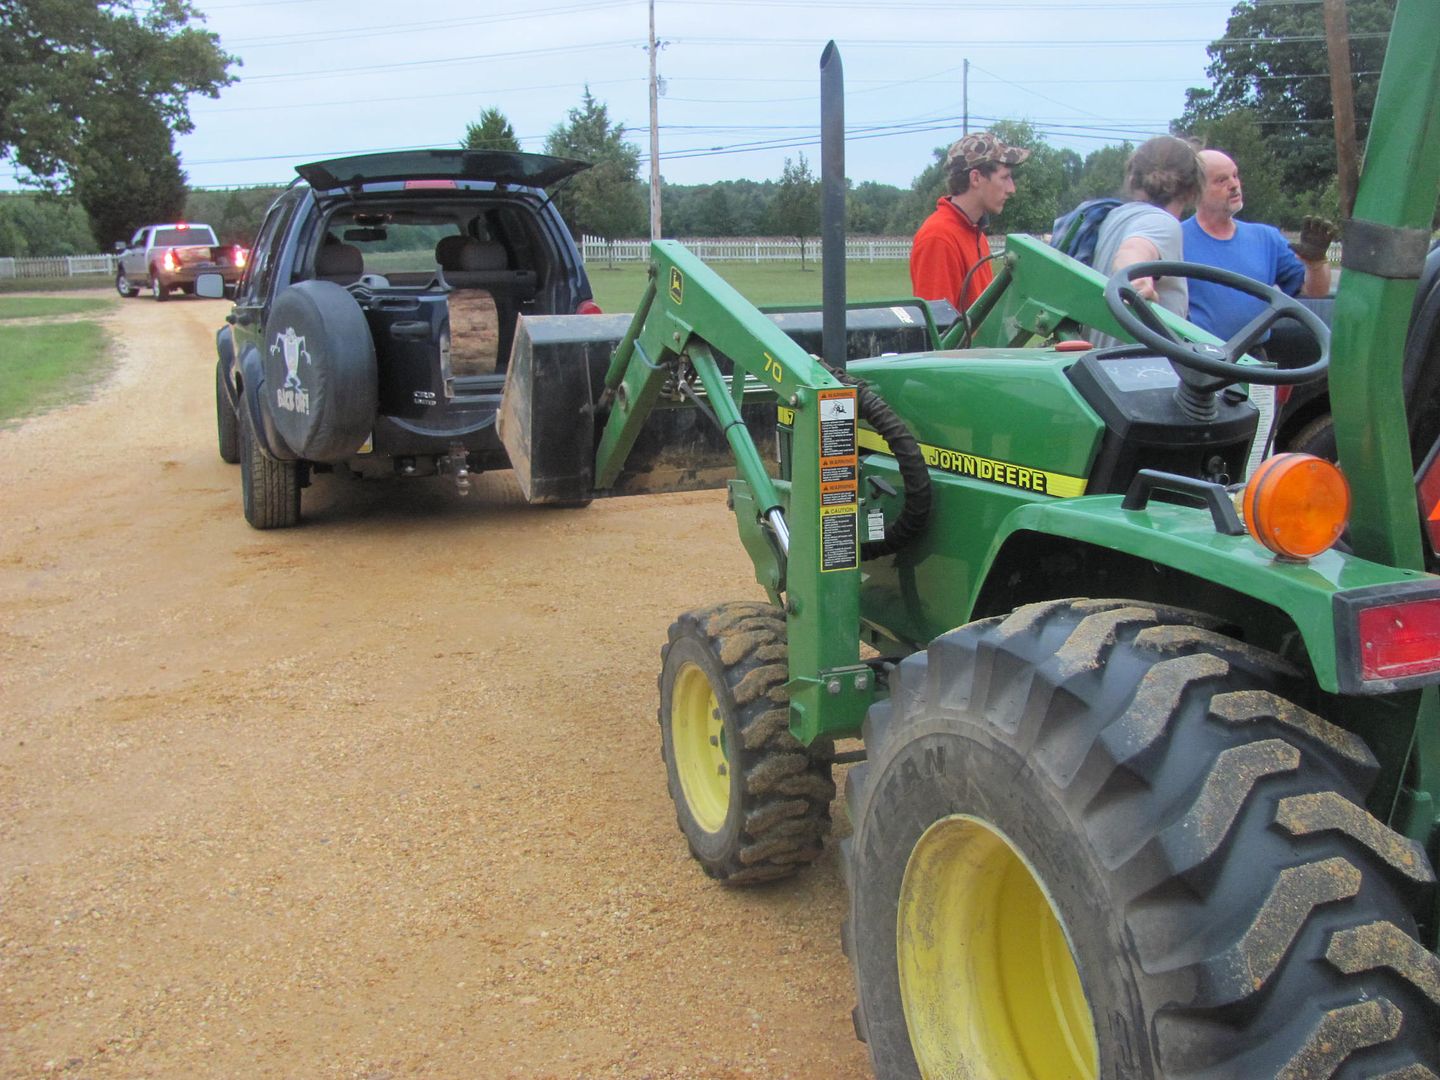 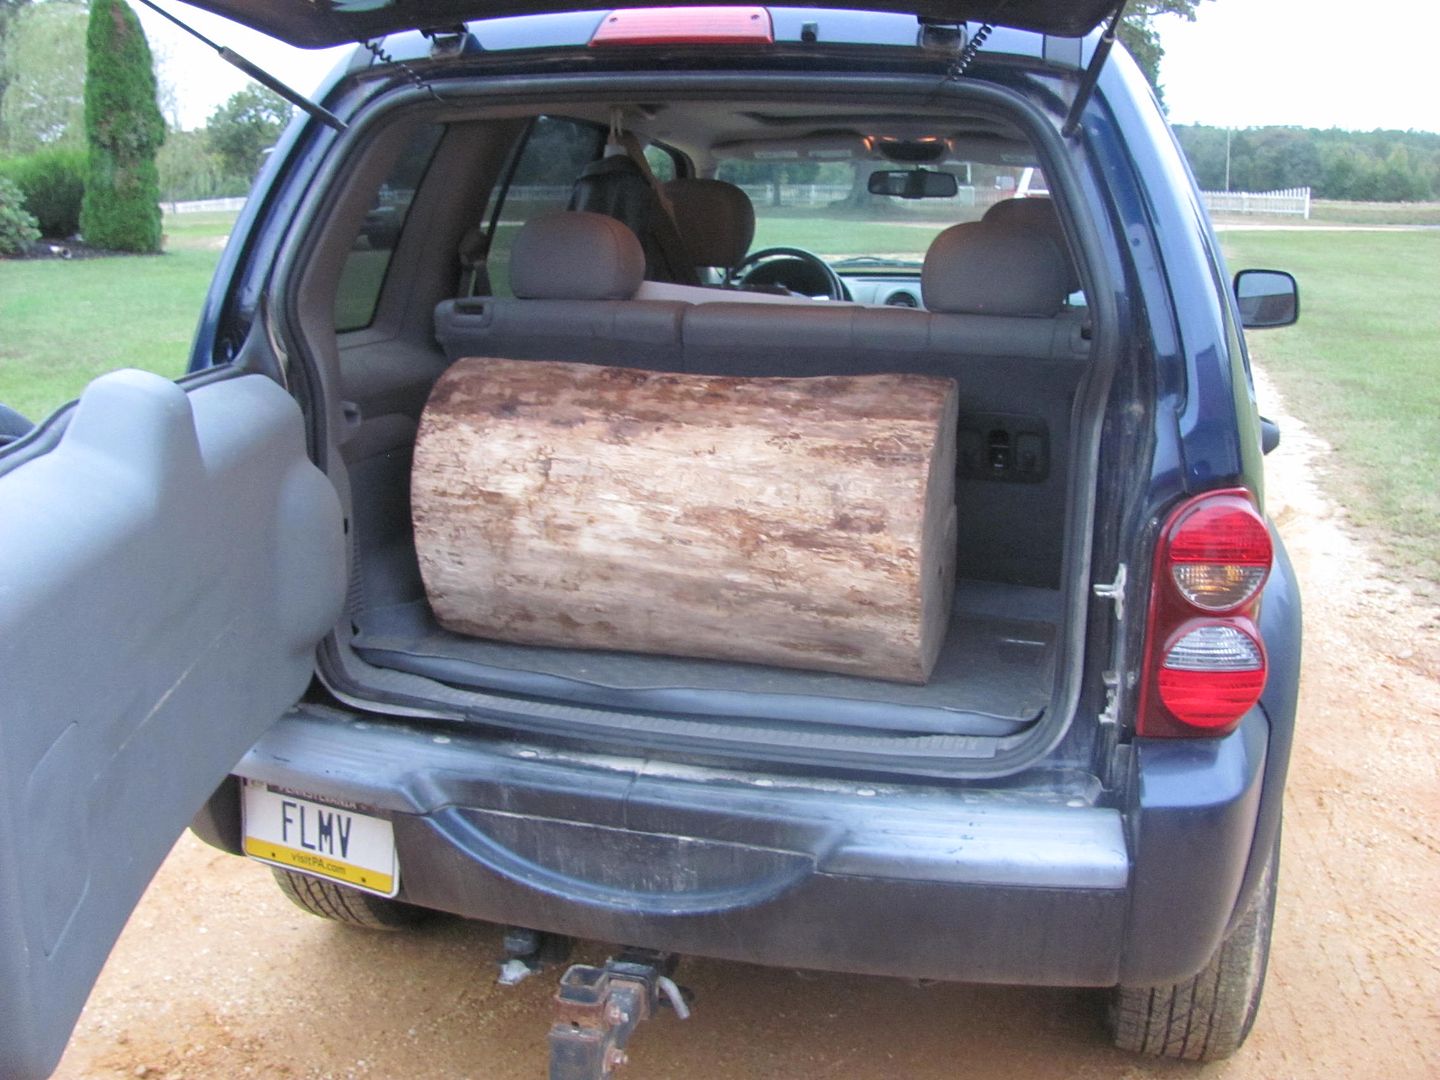 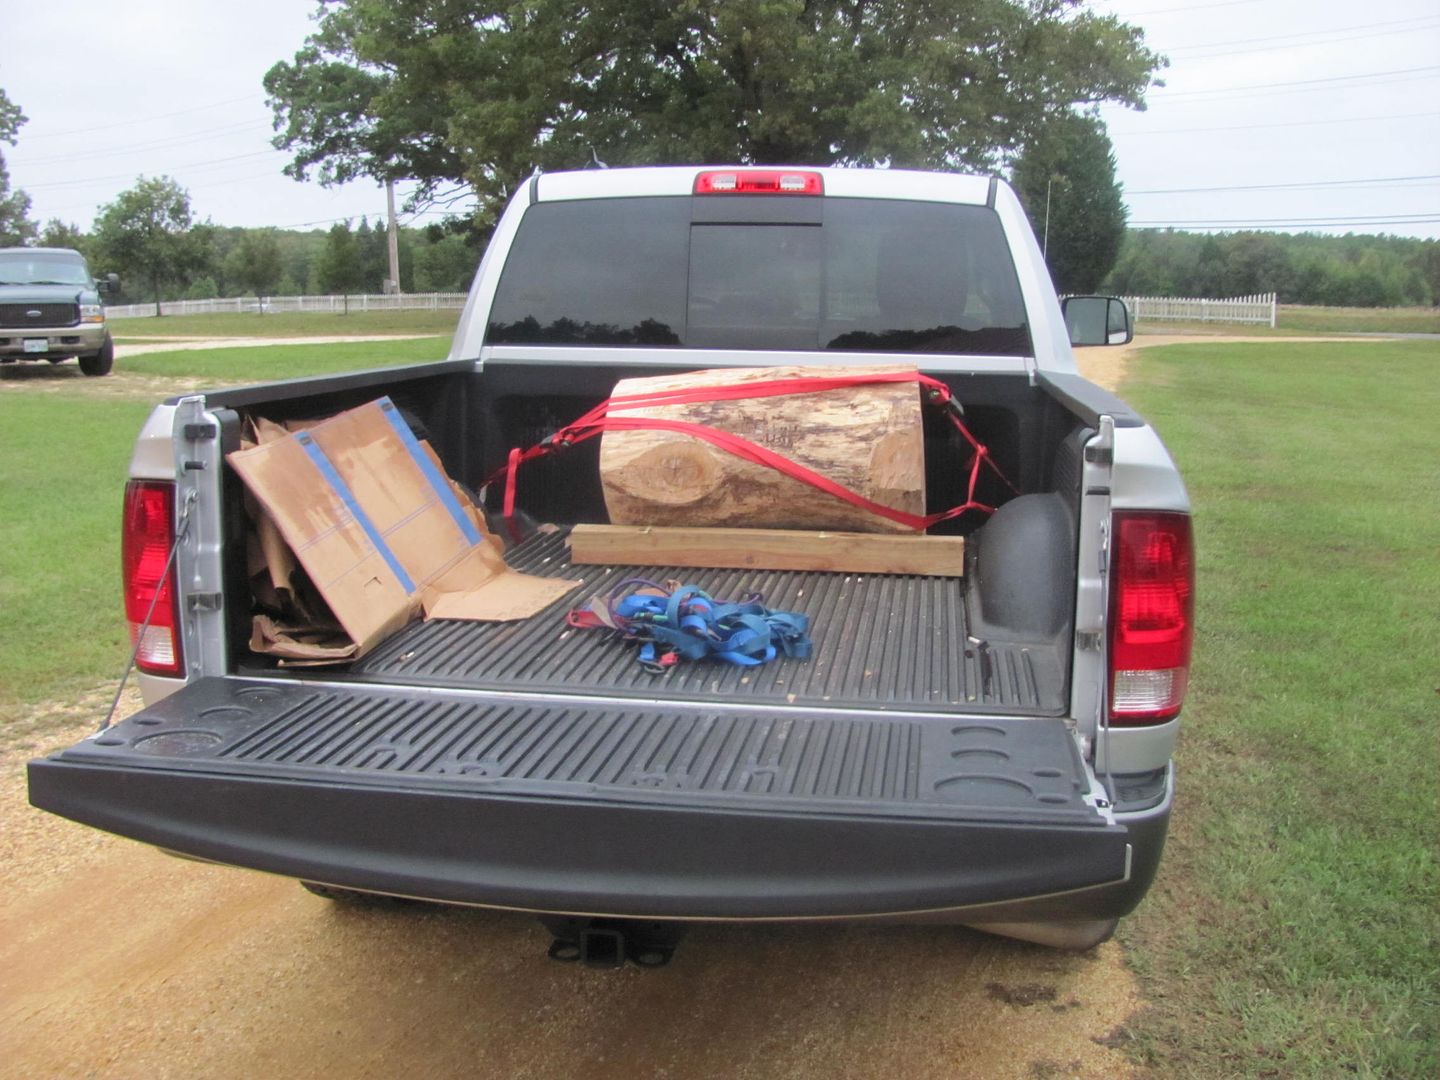 This class has been a blast, Peter is a wealth of knowledge and experience, and we are honored to have him share and pass this on to others. Anxiously looking forward to next year!
__________________
Robert |
|
|
|
|
10-05-2015, 10:58 AM
|
#15 |
|
Registered User
Join Date: Apr 2011
Location: .
Posts: 3,104
|
Re: 55 Wagon Progress
Thanks for the pics and the vid.
Amazing |
|
|
|
|
10-05-2015, 03:36 PM
|
#16 |
|
Senior Member
Join Date: Mar 2011
Location: West Plains, Missouri
Posts: 7,555
|
Re: 55 Wagon Progress
Really glad to look at pics and the video, thanks...Jim
__________________
my build thread: http://67-72chevytrucks.com/vboard/s...d.php?t=459839 Jimbo's long bed step build:http://67-72chevytrucks.com/vboard/s...t=464626<br /> |
|
|
|
|
10-08-2015, 11:49 PM
|
#17 |
|
Registered User
Join Date: Jan 2013
Location: Leonardtown, MD
Posts: 1,637
|
Re: 55 Wagon Progress
thanks guys!
Finishing up the scooter fender.., 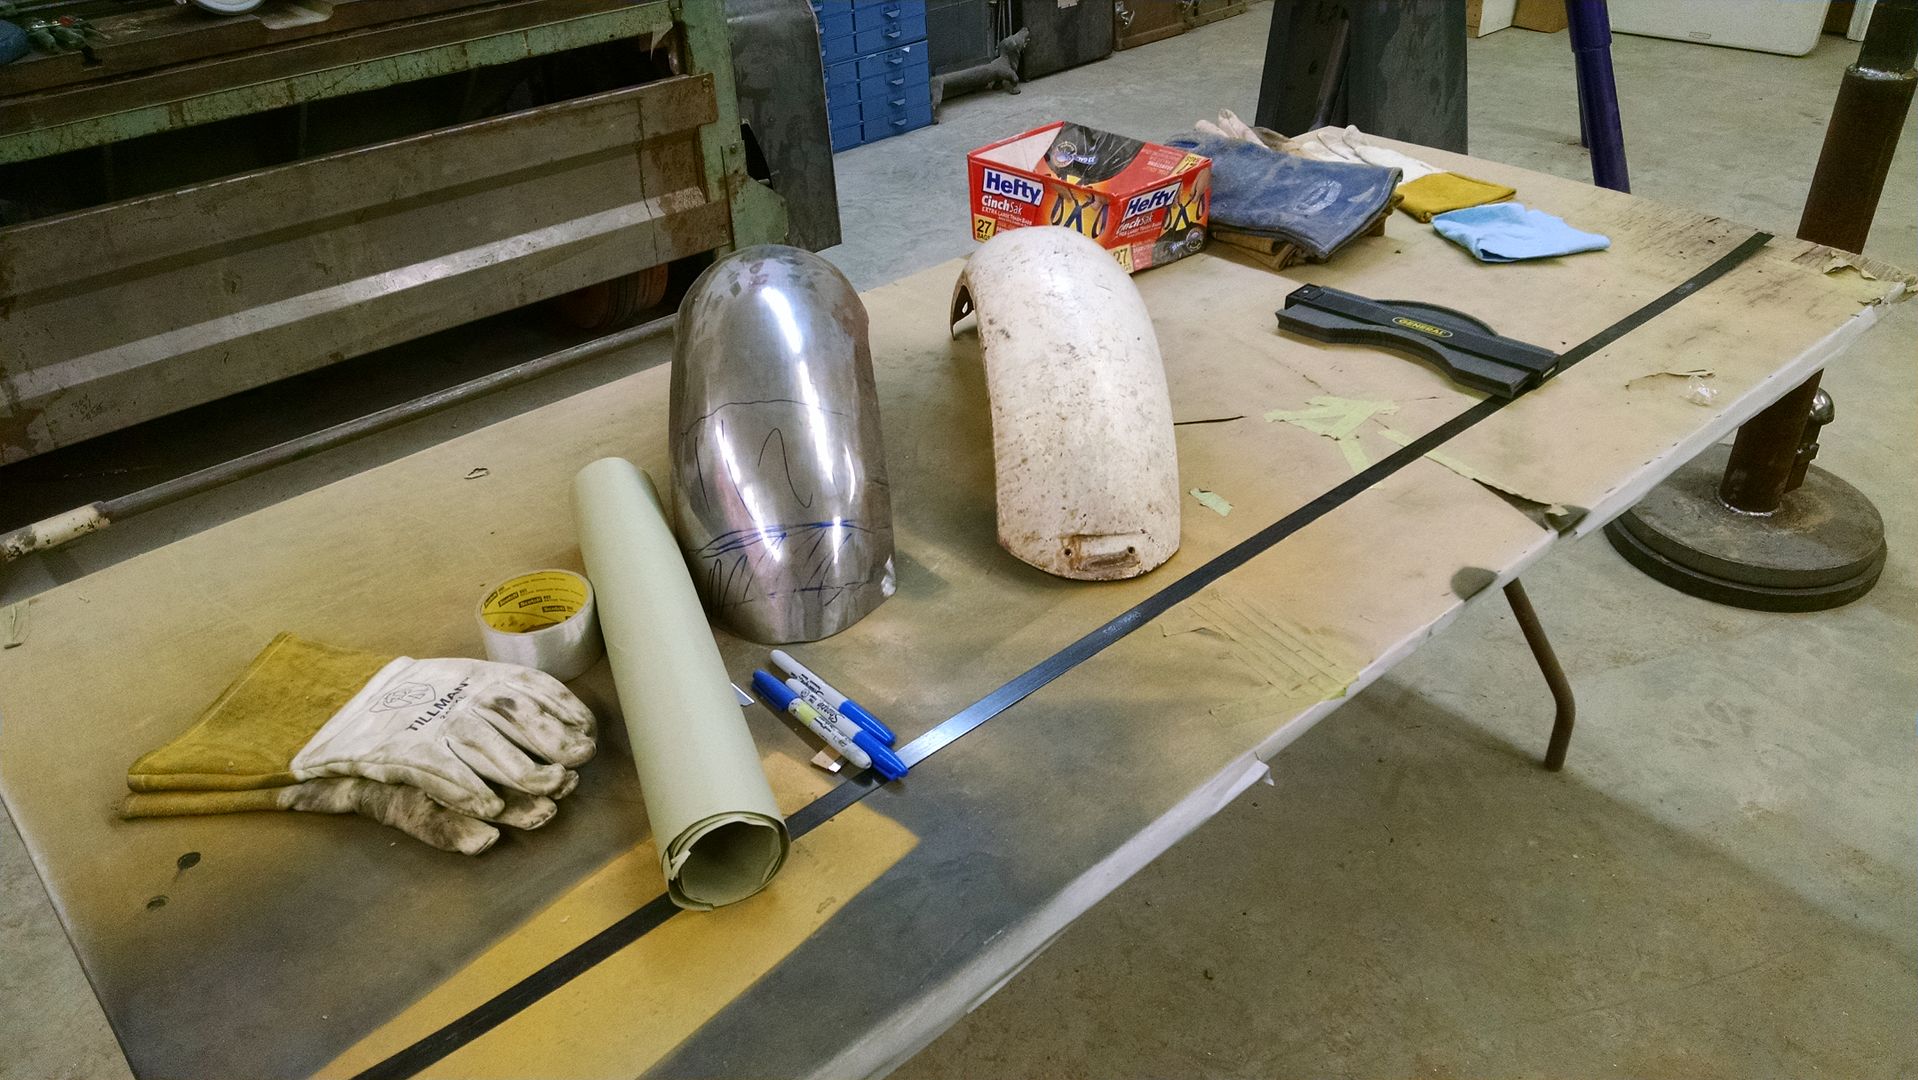 Marked for trimming...  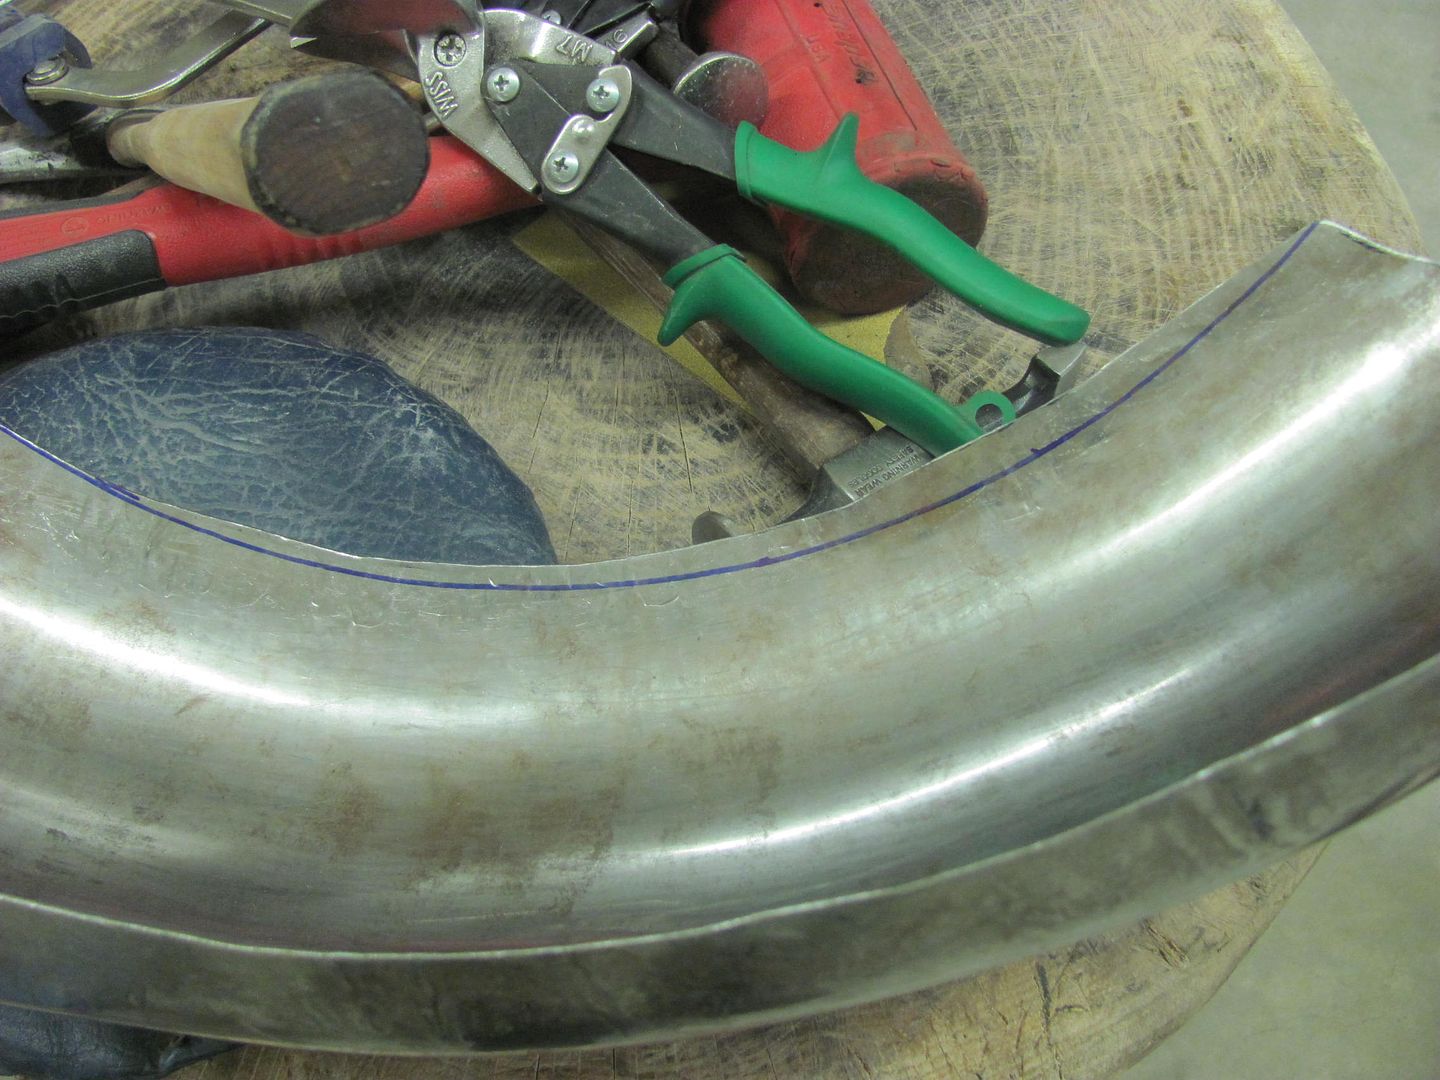 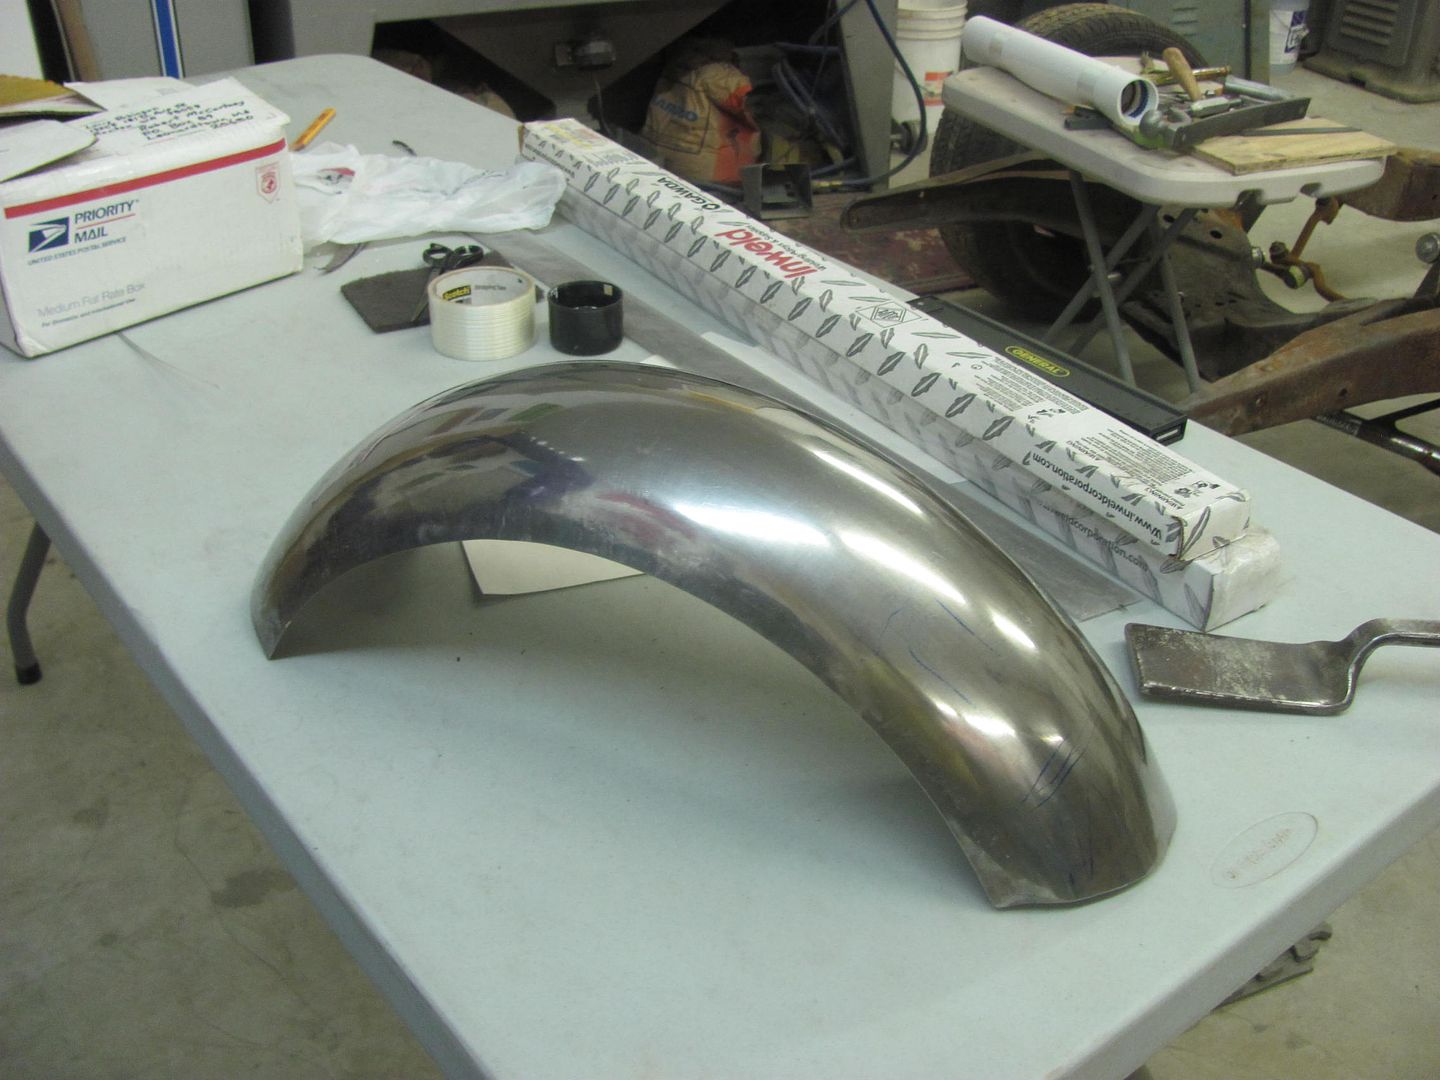 Tipping wheel to set the side flange.... 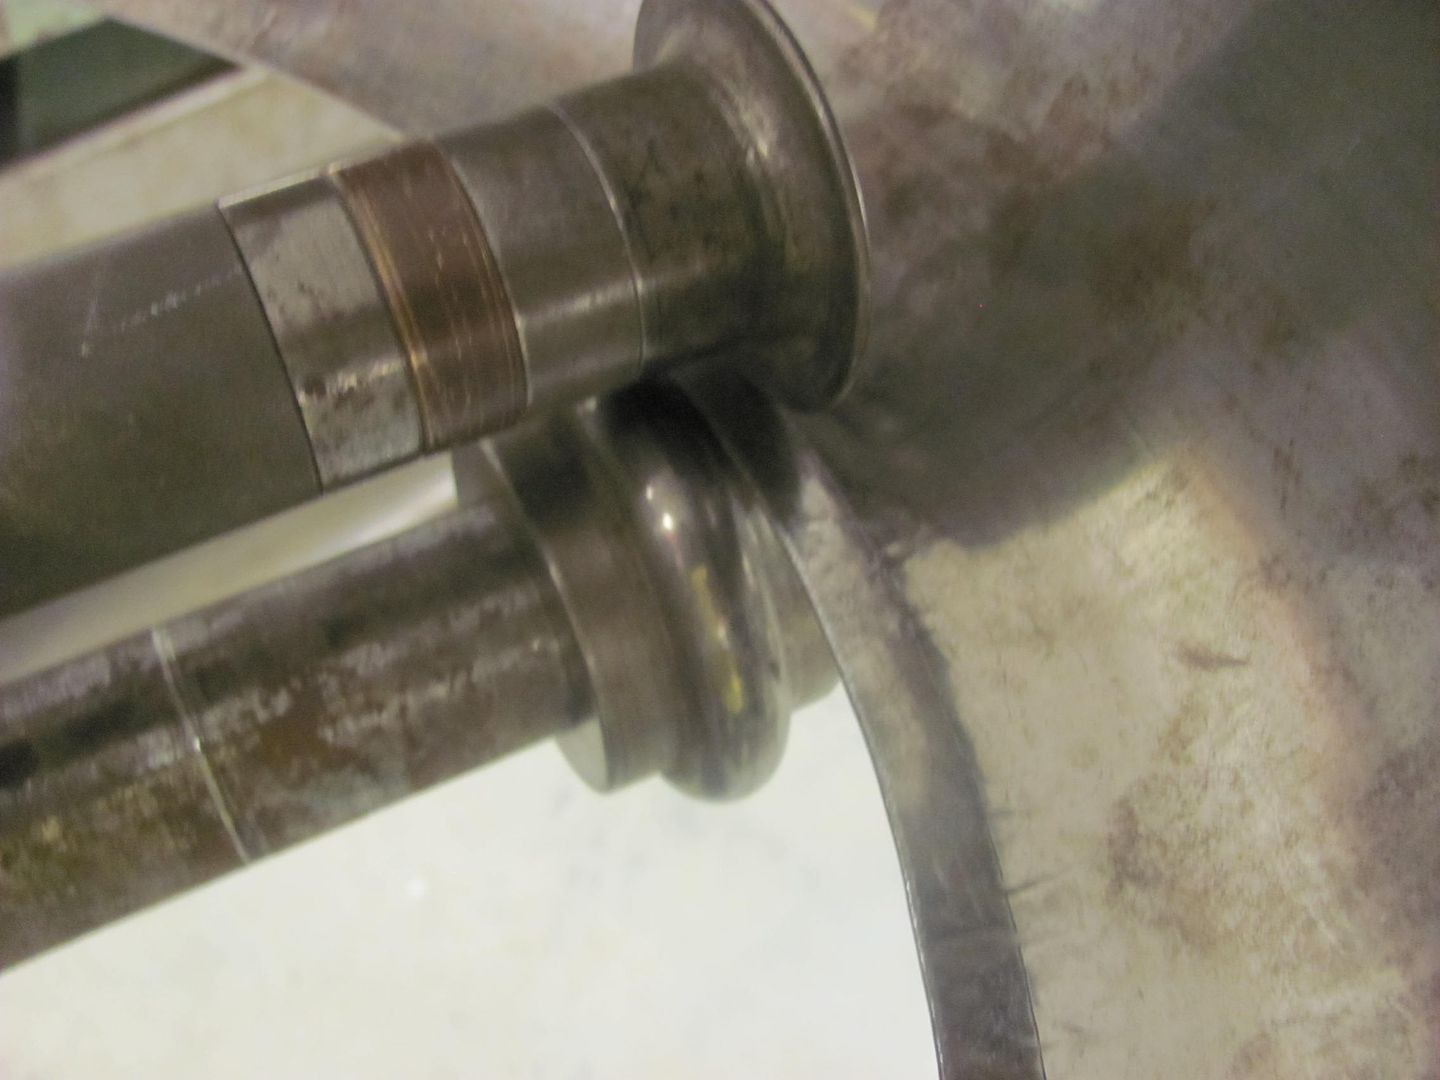 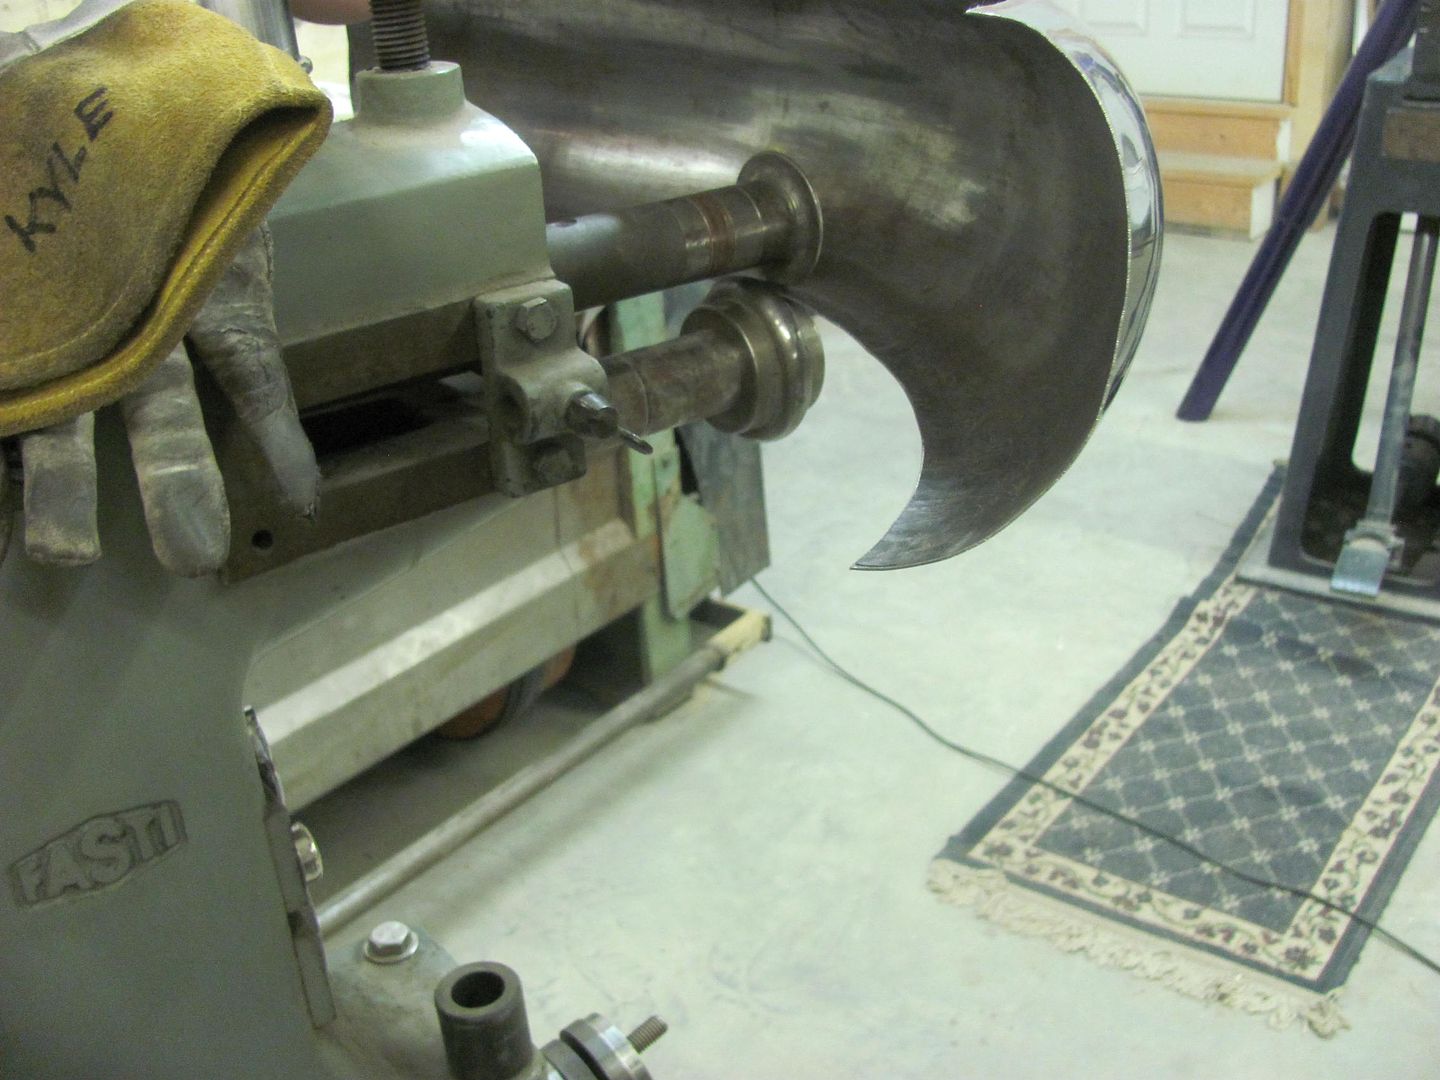 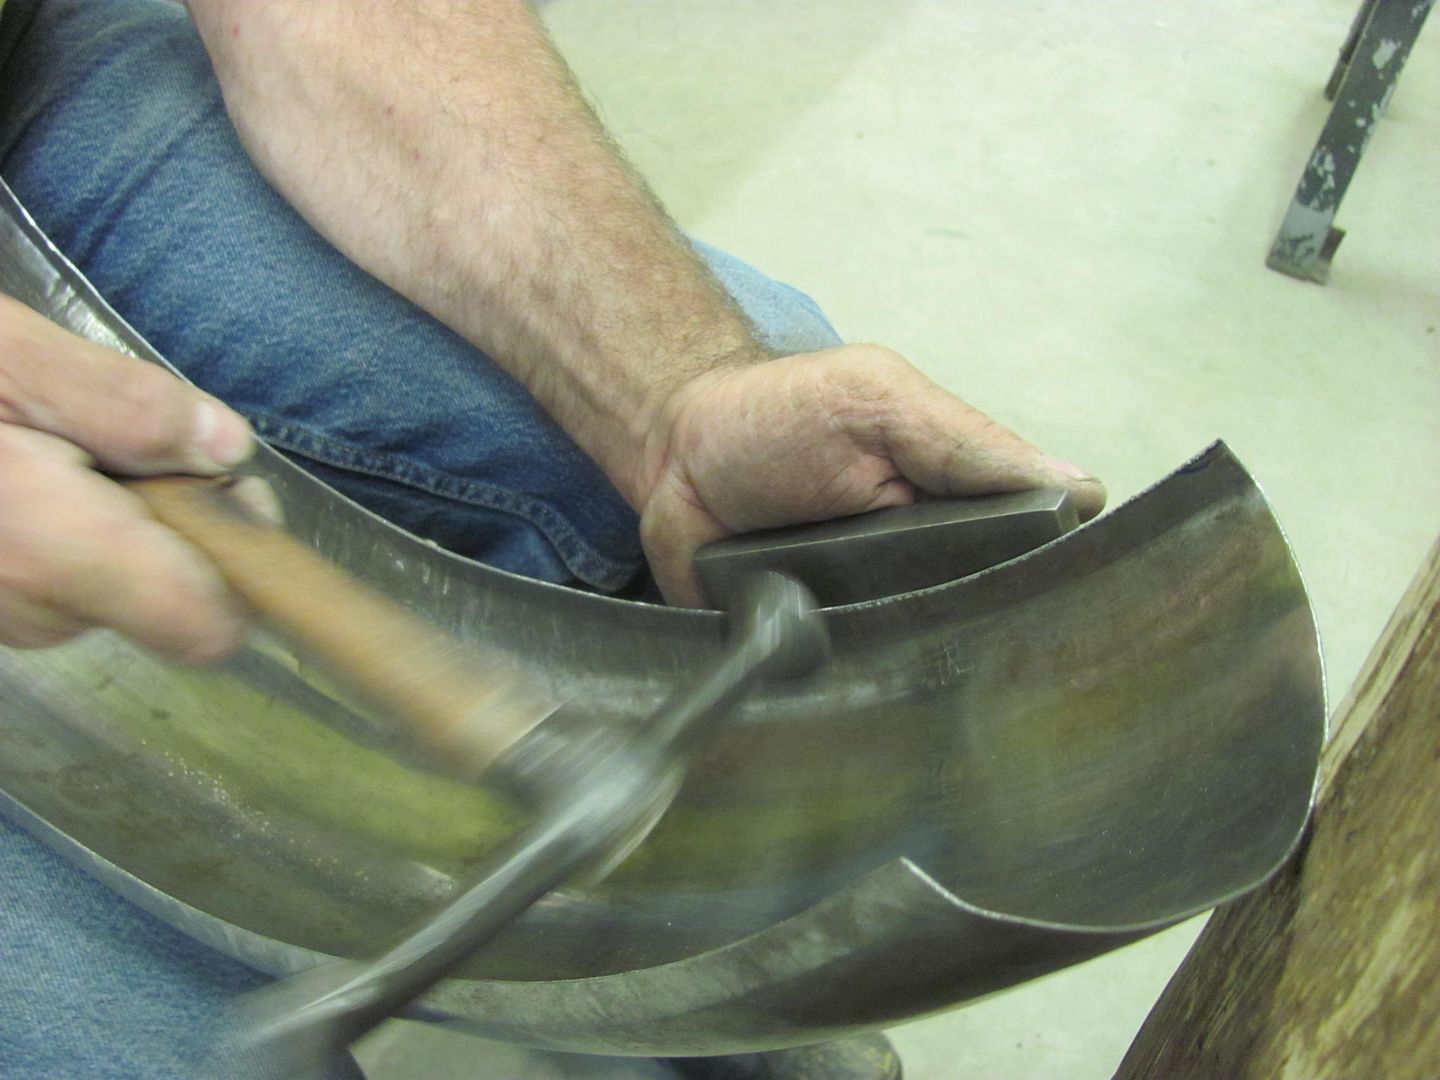 Profile comparison, front to rear... 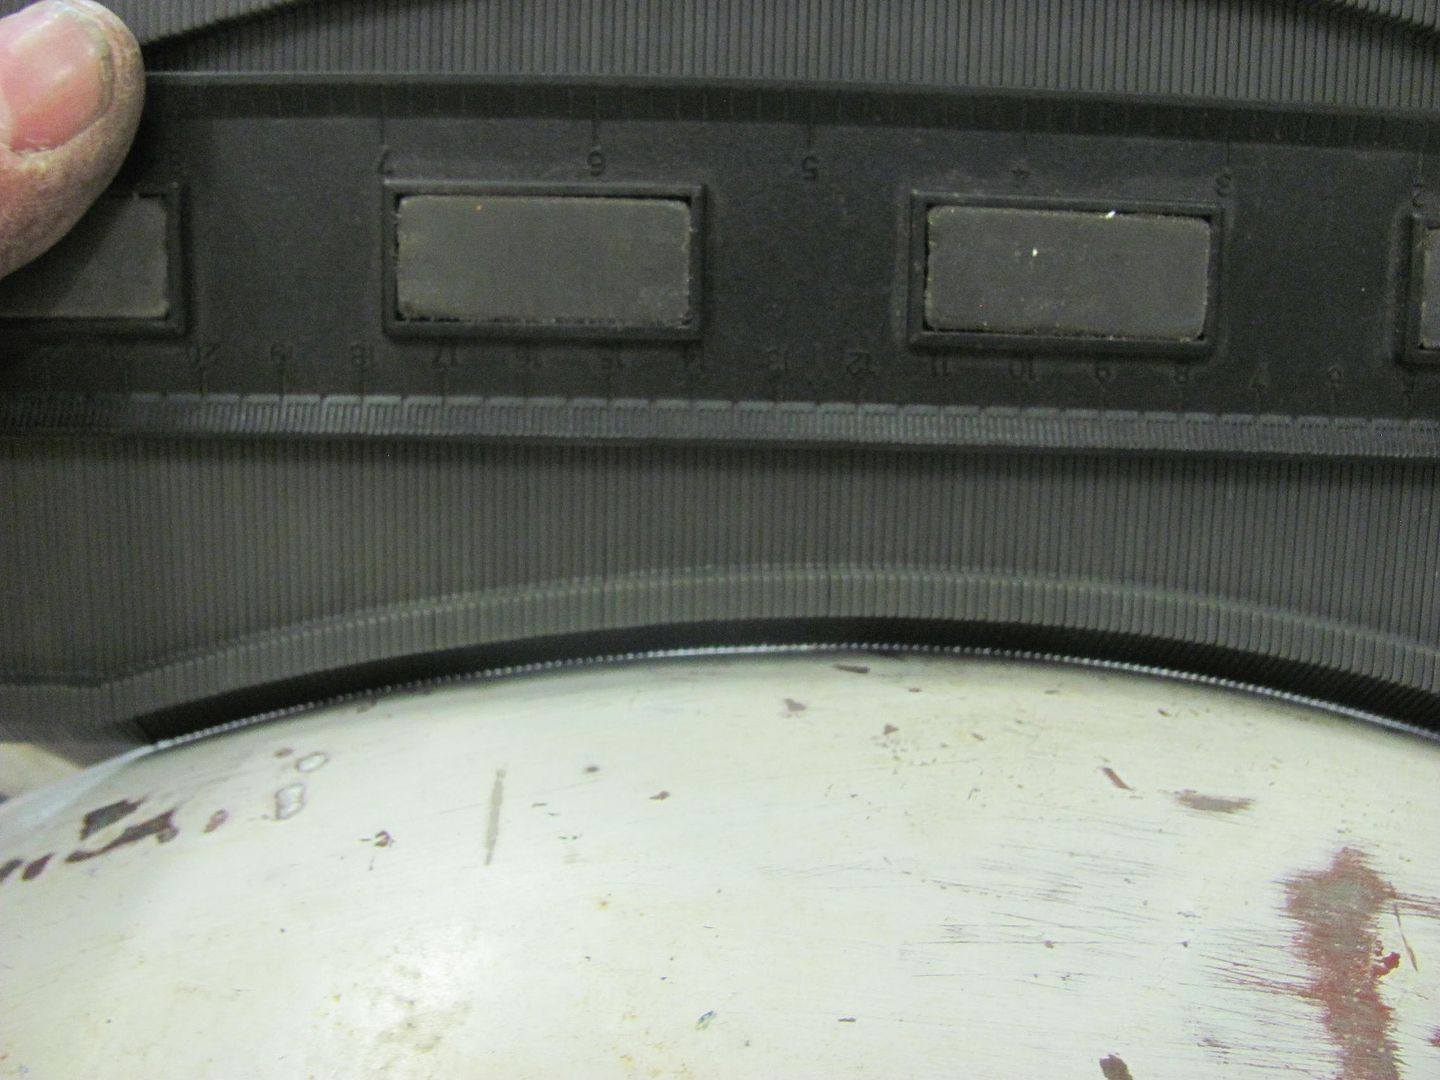 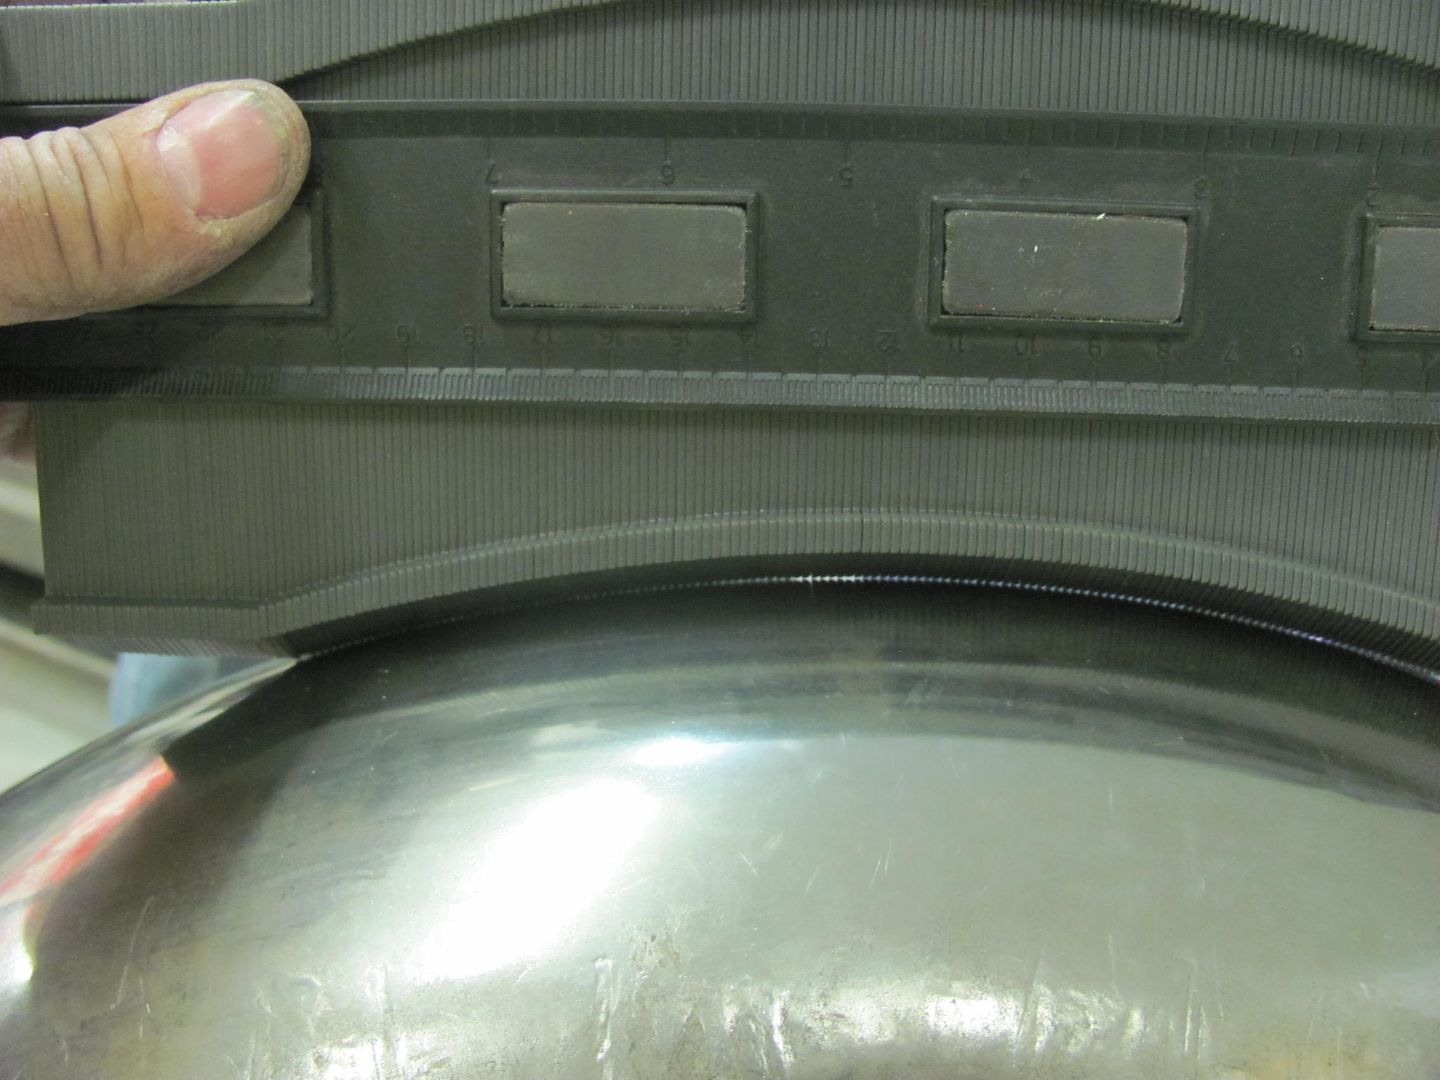 .....and side to side...   about ready for shipping to AZ..... 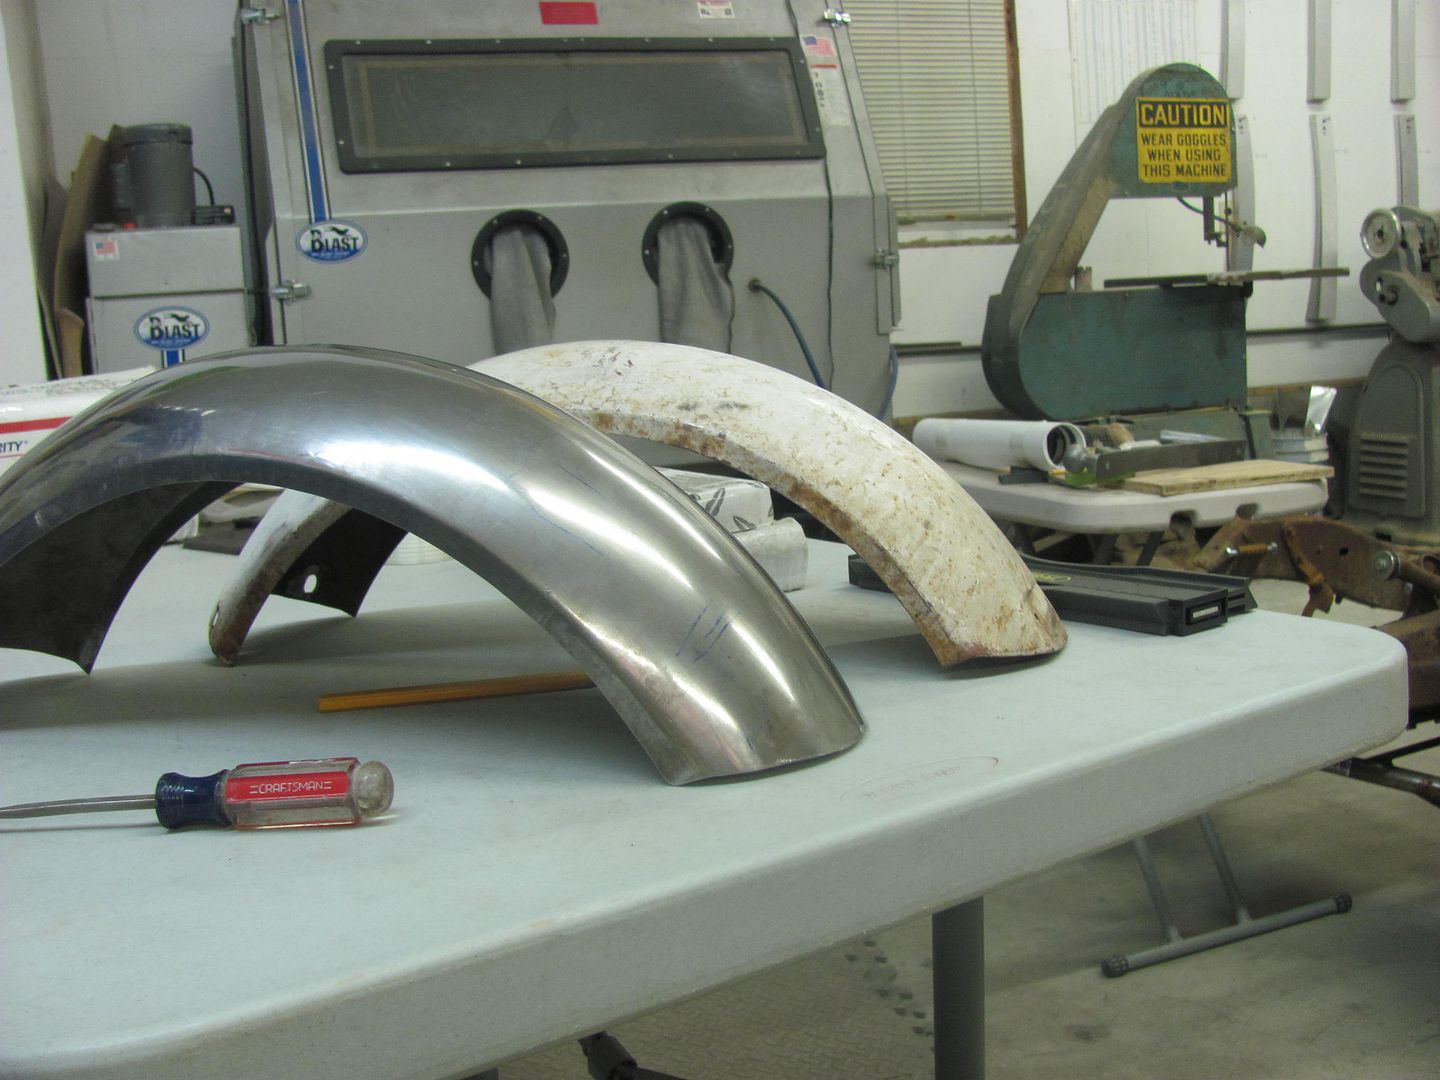 .... and Kyle is dressing some welds and weld touch up to get the body ready for media blasting... 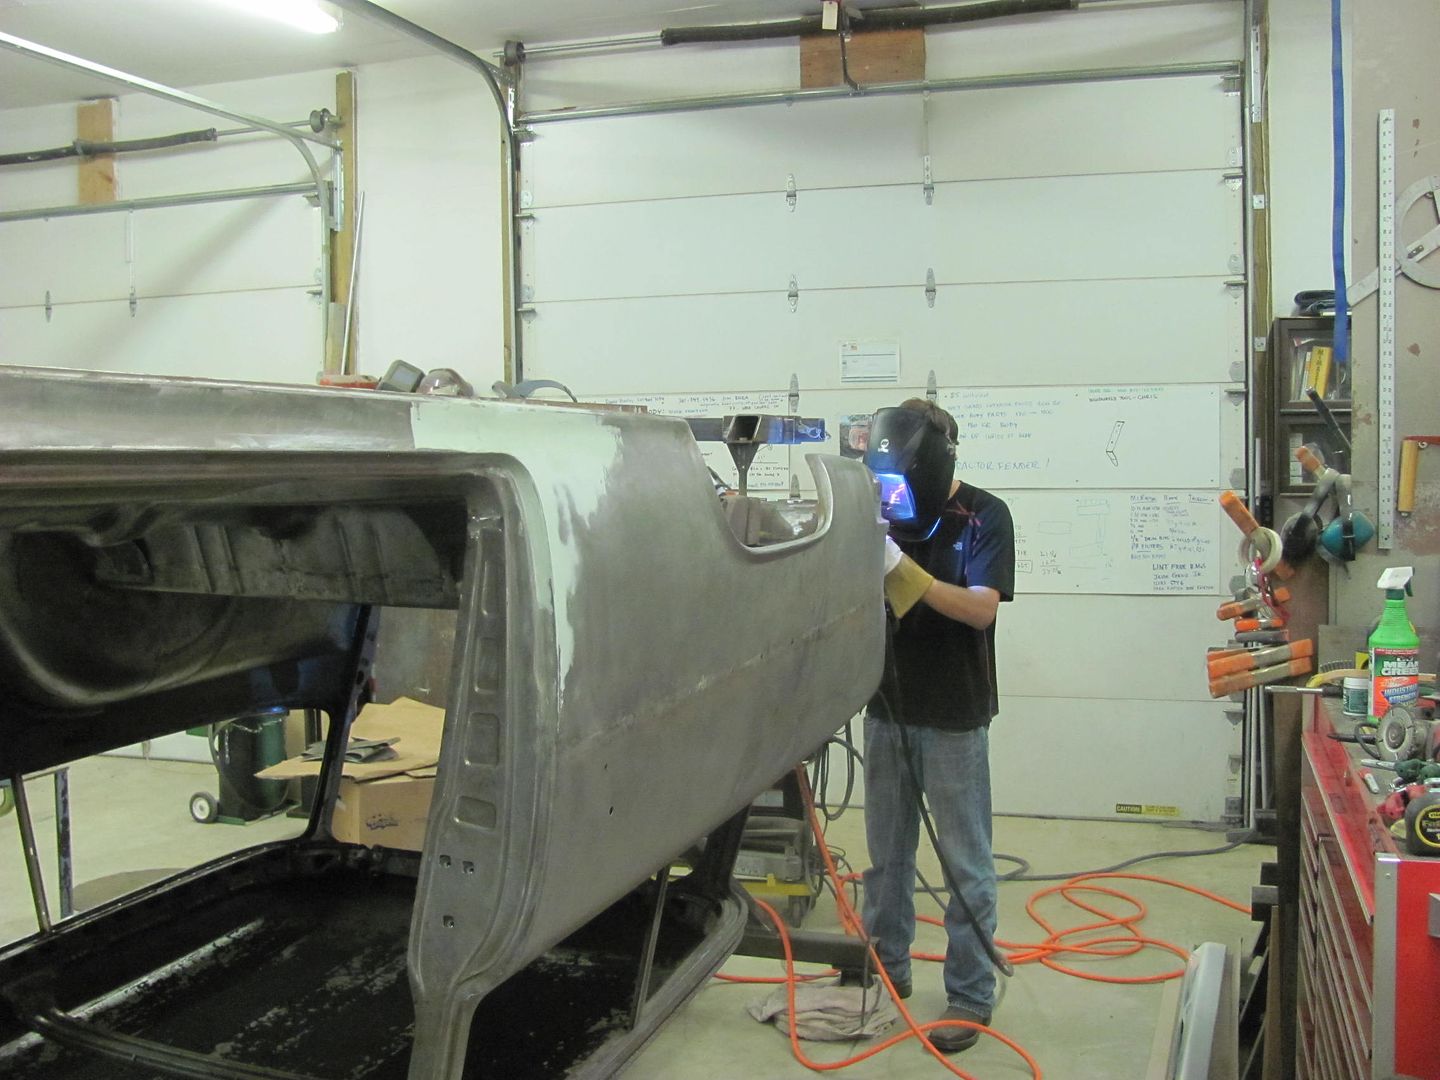  Hey. you can still walk in this place... 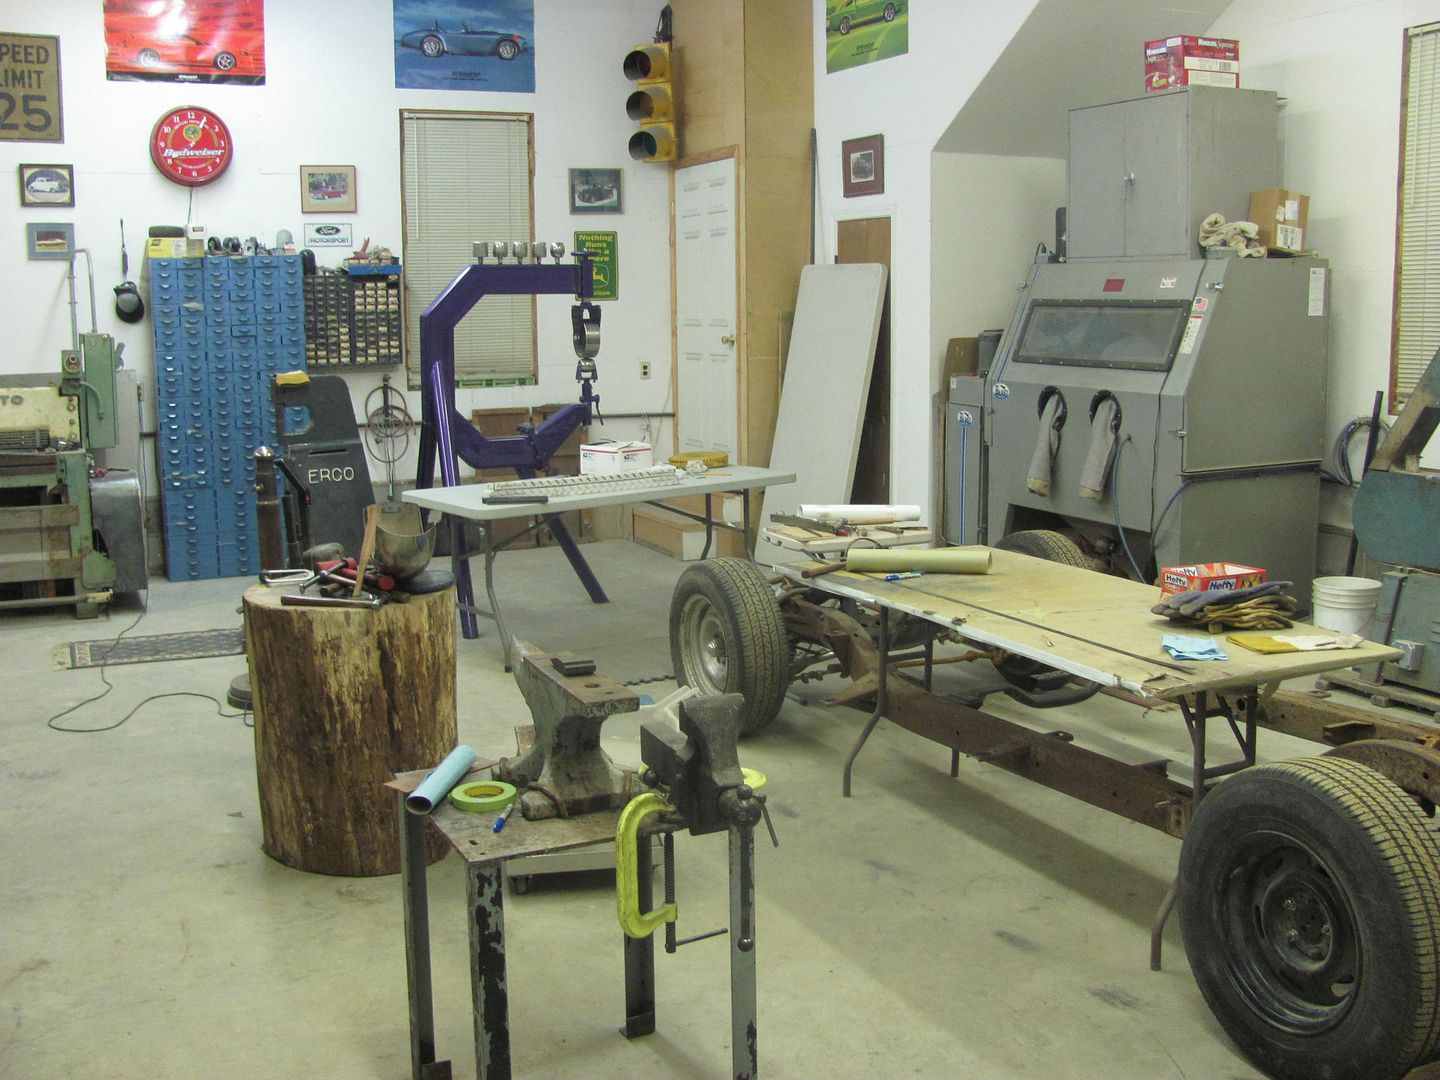
__________________
Robert |
|
|
|
|
10-09-2015, 09:19 AM
|
#18 |
|
Senior Member
Join Date: Mar 2011
Location: West Plains, Missouri
Posts: 7,555
|
Re: 55 Wagon Progress
Fender turned out great...Jim
__________________
my build thread: http://67-72chevytrucks.com/vboard/s...d.php?t=459839 Jimbo's long bed step build:http://67-72chevytrucks.com/vboard/s...t=464626<br /> |
|
|
|
|
10-13-2015, 11:20 PM
|
#19 |
|
Registered User
Join Date: Jan 2013
Location: Leonardtown, MD
Posts: 1,637
|
Re: 55 Wagon Progress
Thanks Jim!
Not much to show, still working on grinding welds and filling pin holes... A good testament to using Tig or O/A welding  Also welded up/shaved the upper firewall seam.... 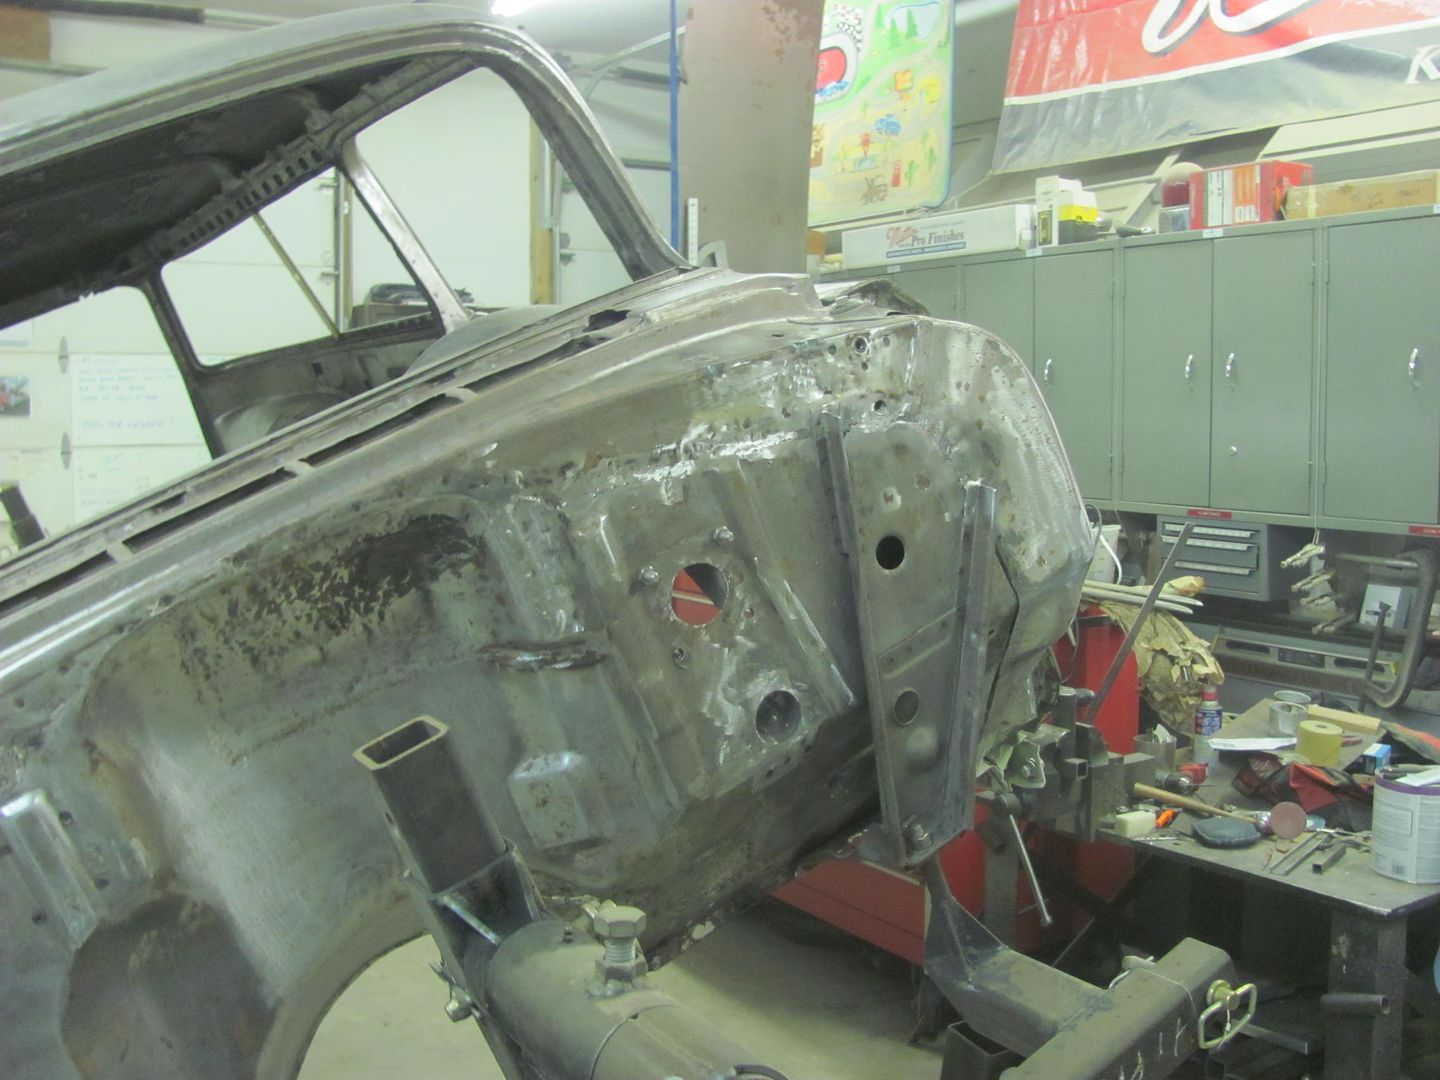  Lesson for this evening is to watch welding around stuff mounted JUST BEHIND the firewall!  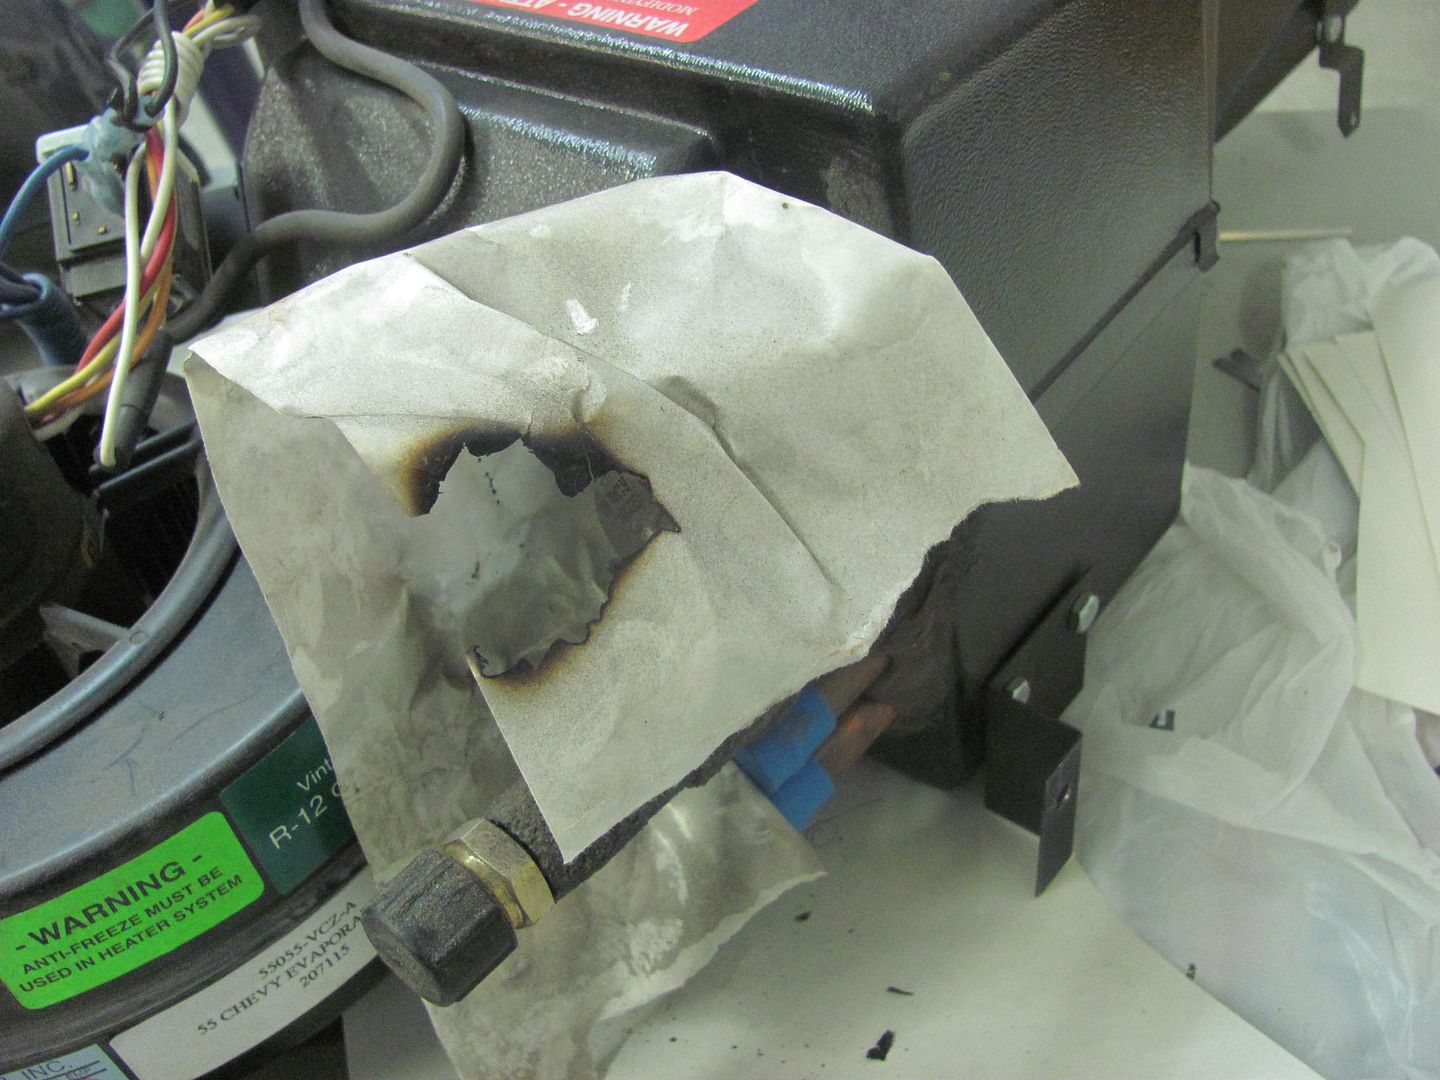
__________________
Robert |
|
|
|
|
10-14-2015, 09:49 PM
|
#20 |
|
Registered User
Join Date: Apr 2003
Location: Indep, MO
Posts: 5,893
|
Re: 55 Wagon Progress
Great stuff. Wish I was there.
__________________
Boppa's Old Yeller Truck Build, Old Yeller's New Heart! Project Buzz Bomb Flyin' Low! |
|
|
|
|
10-15-2015, 11:02 PM
|
#21 |
|
Registered User
Join Date: Jan 2013
Location: Leonardtown, MD
Posts: 1,637
|
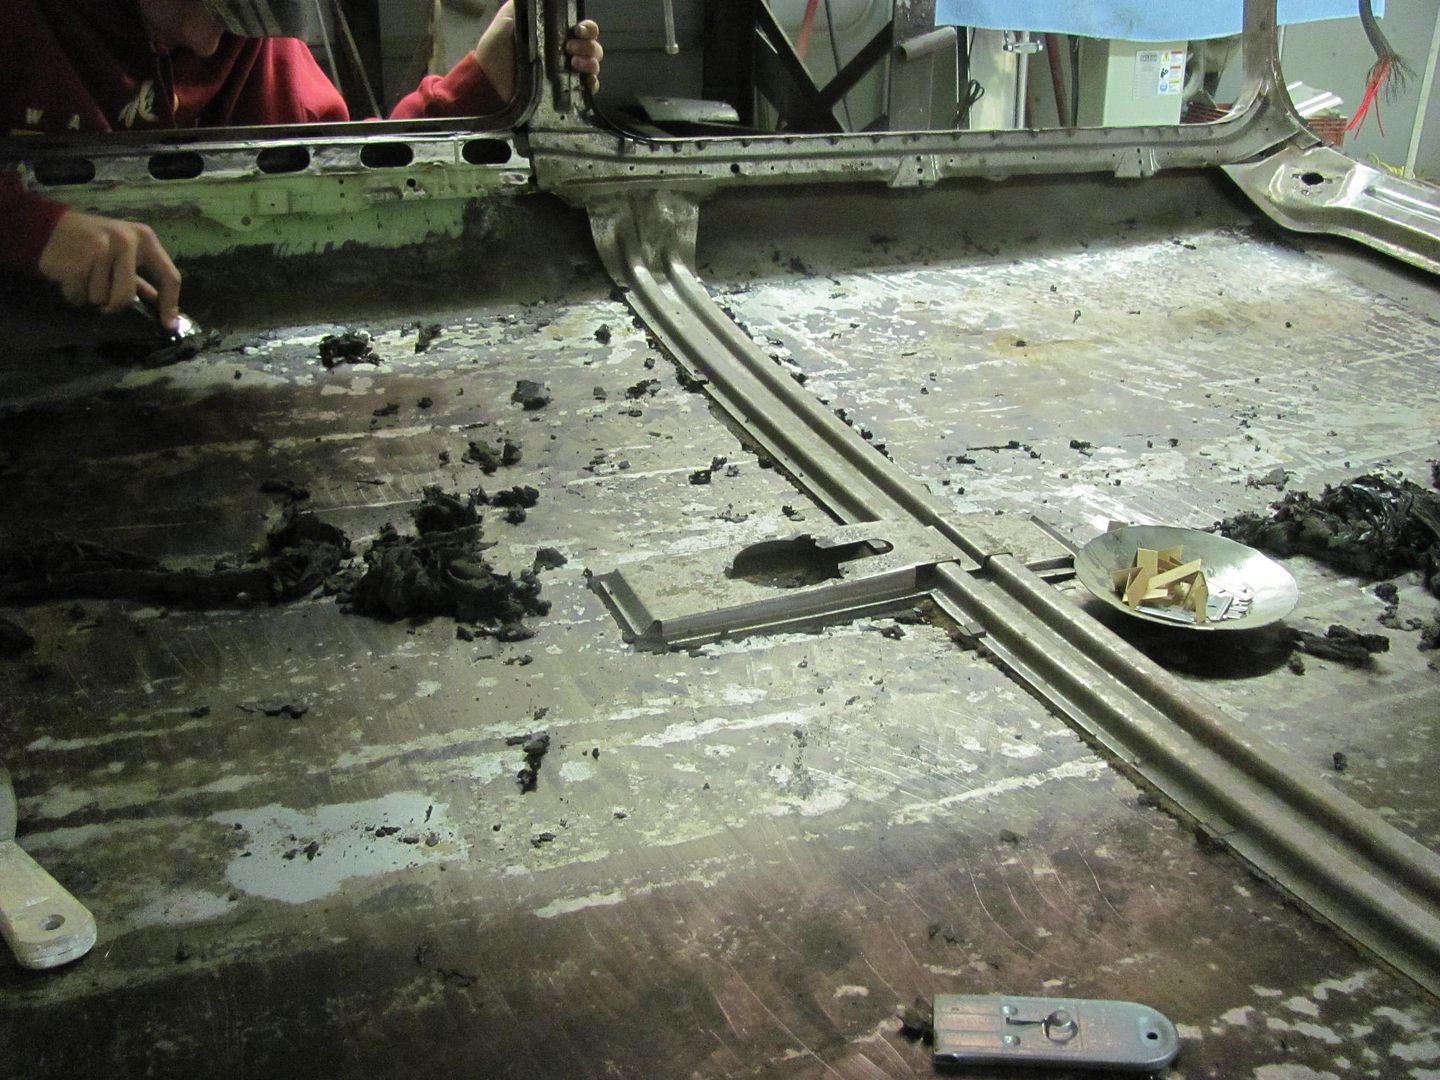
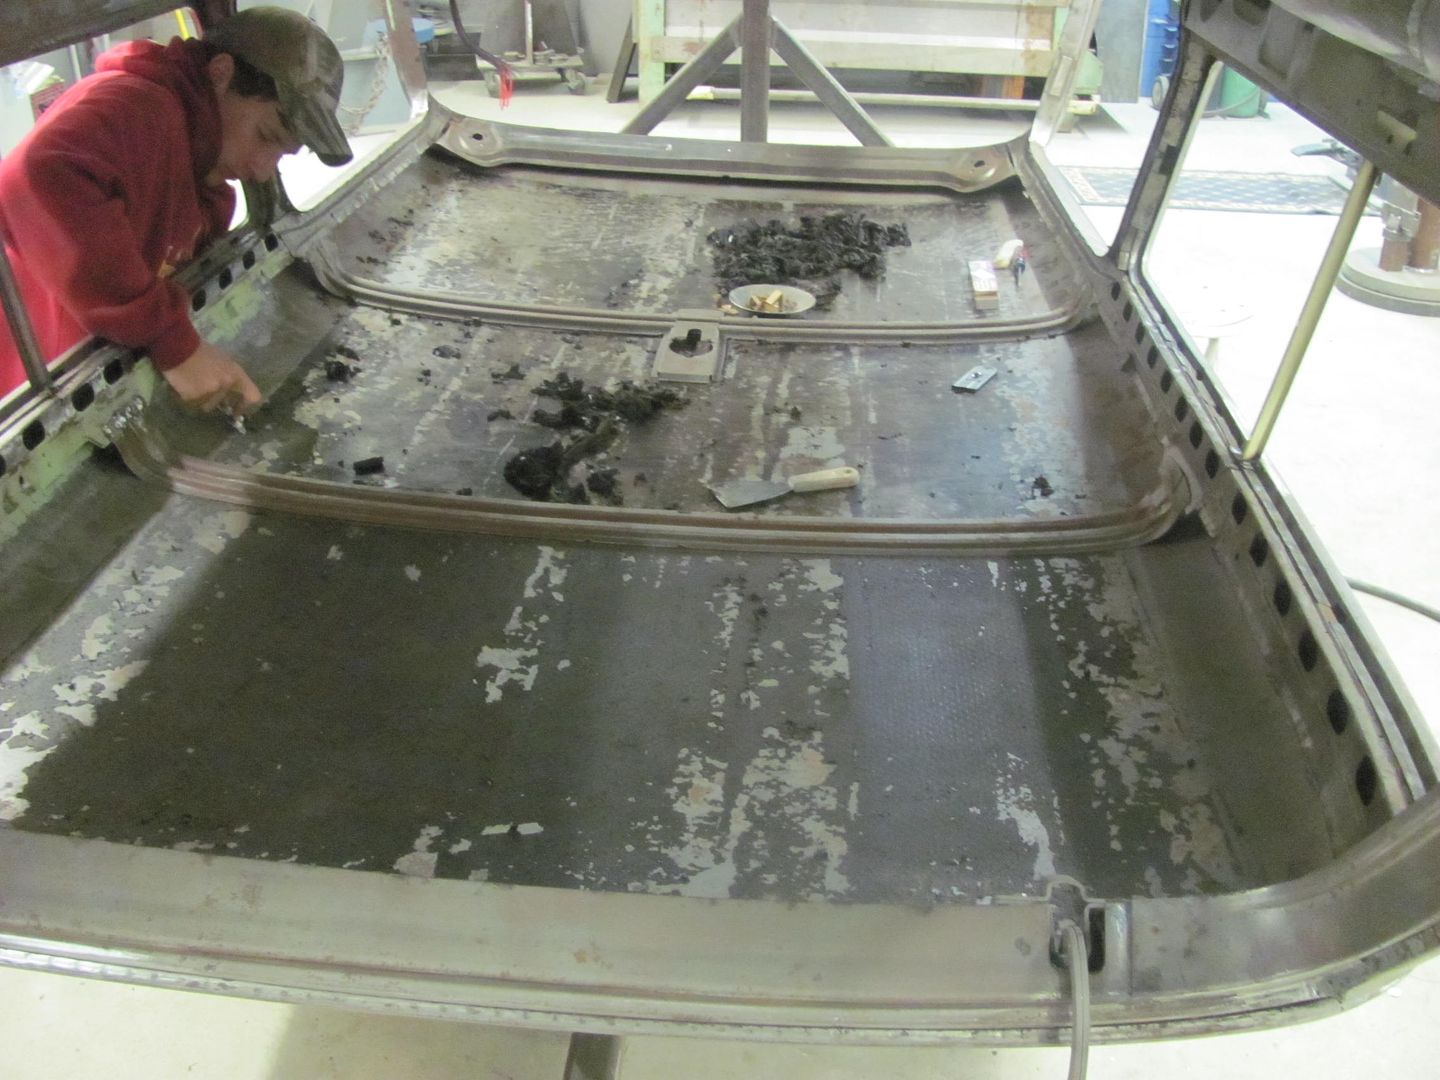
Re: 55 Wagon Progress
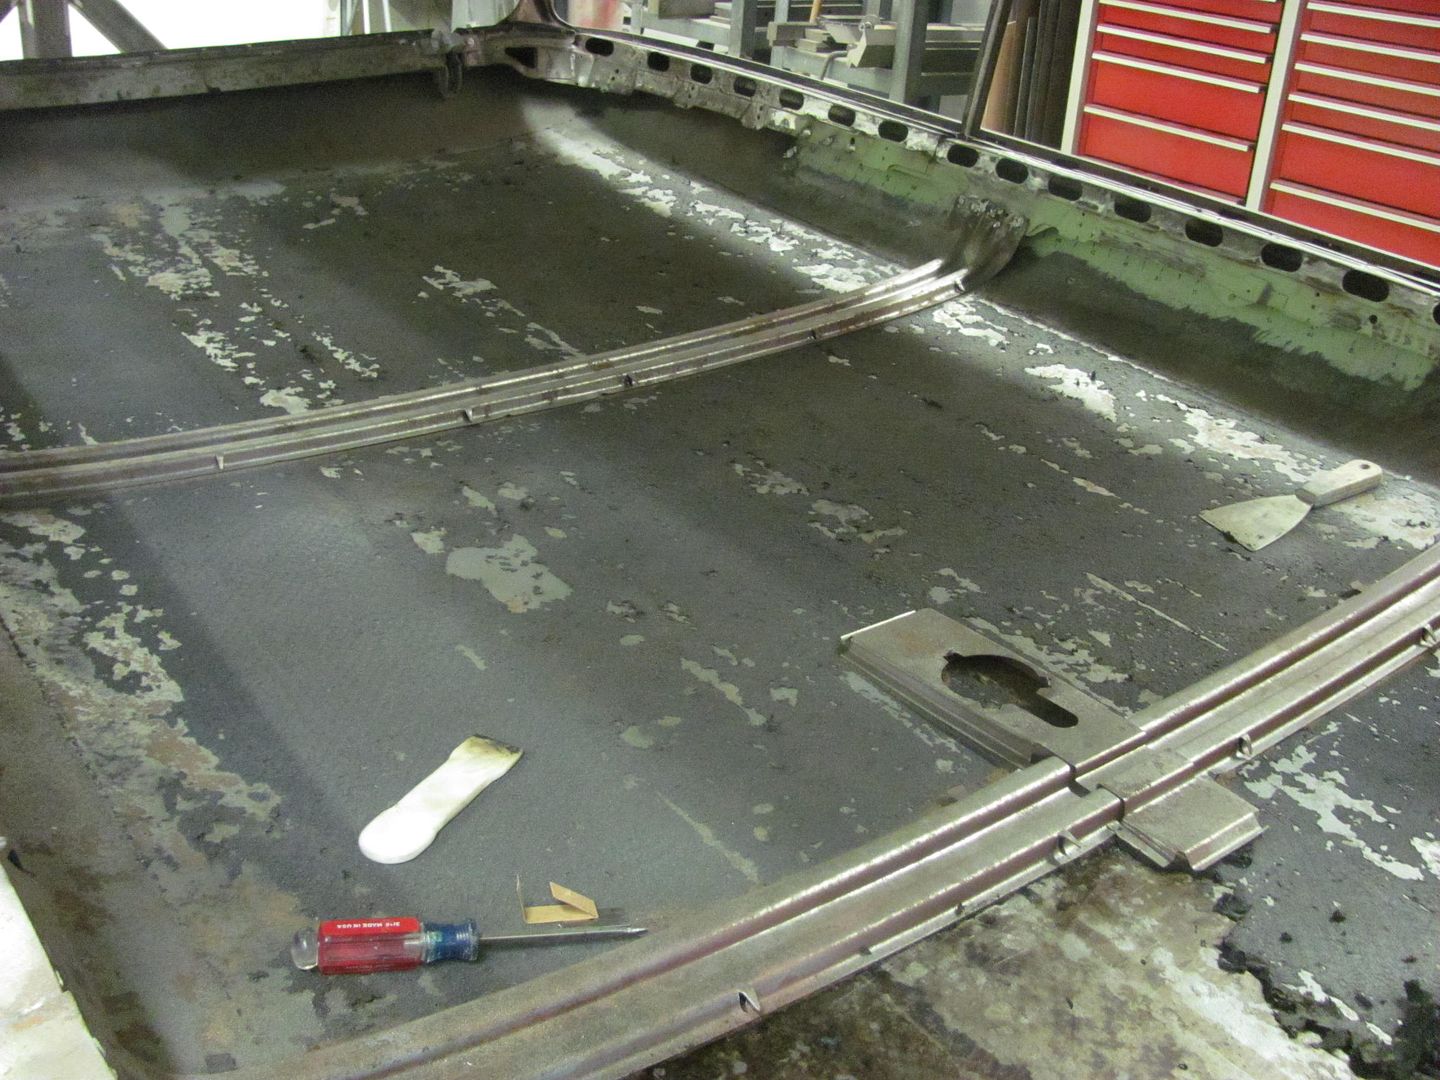
Well, more welding, grinding, and then we decided to give the roof insulation removal a try. Picked a spot and dumped on some lacquer thinner, which softened it up nicely and then made a sticky mess. So we put the putty knives aside and tried the paint scrapers..... without solvents. Dry removal was definitely better...
    Also got another shipment of shirts in from Bonehead Graphics... 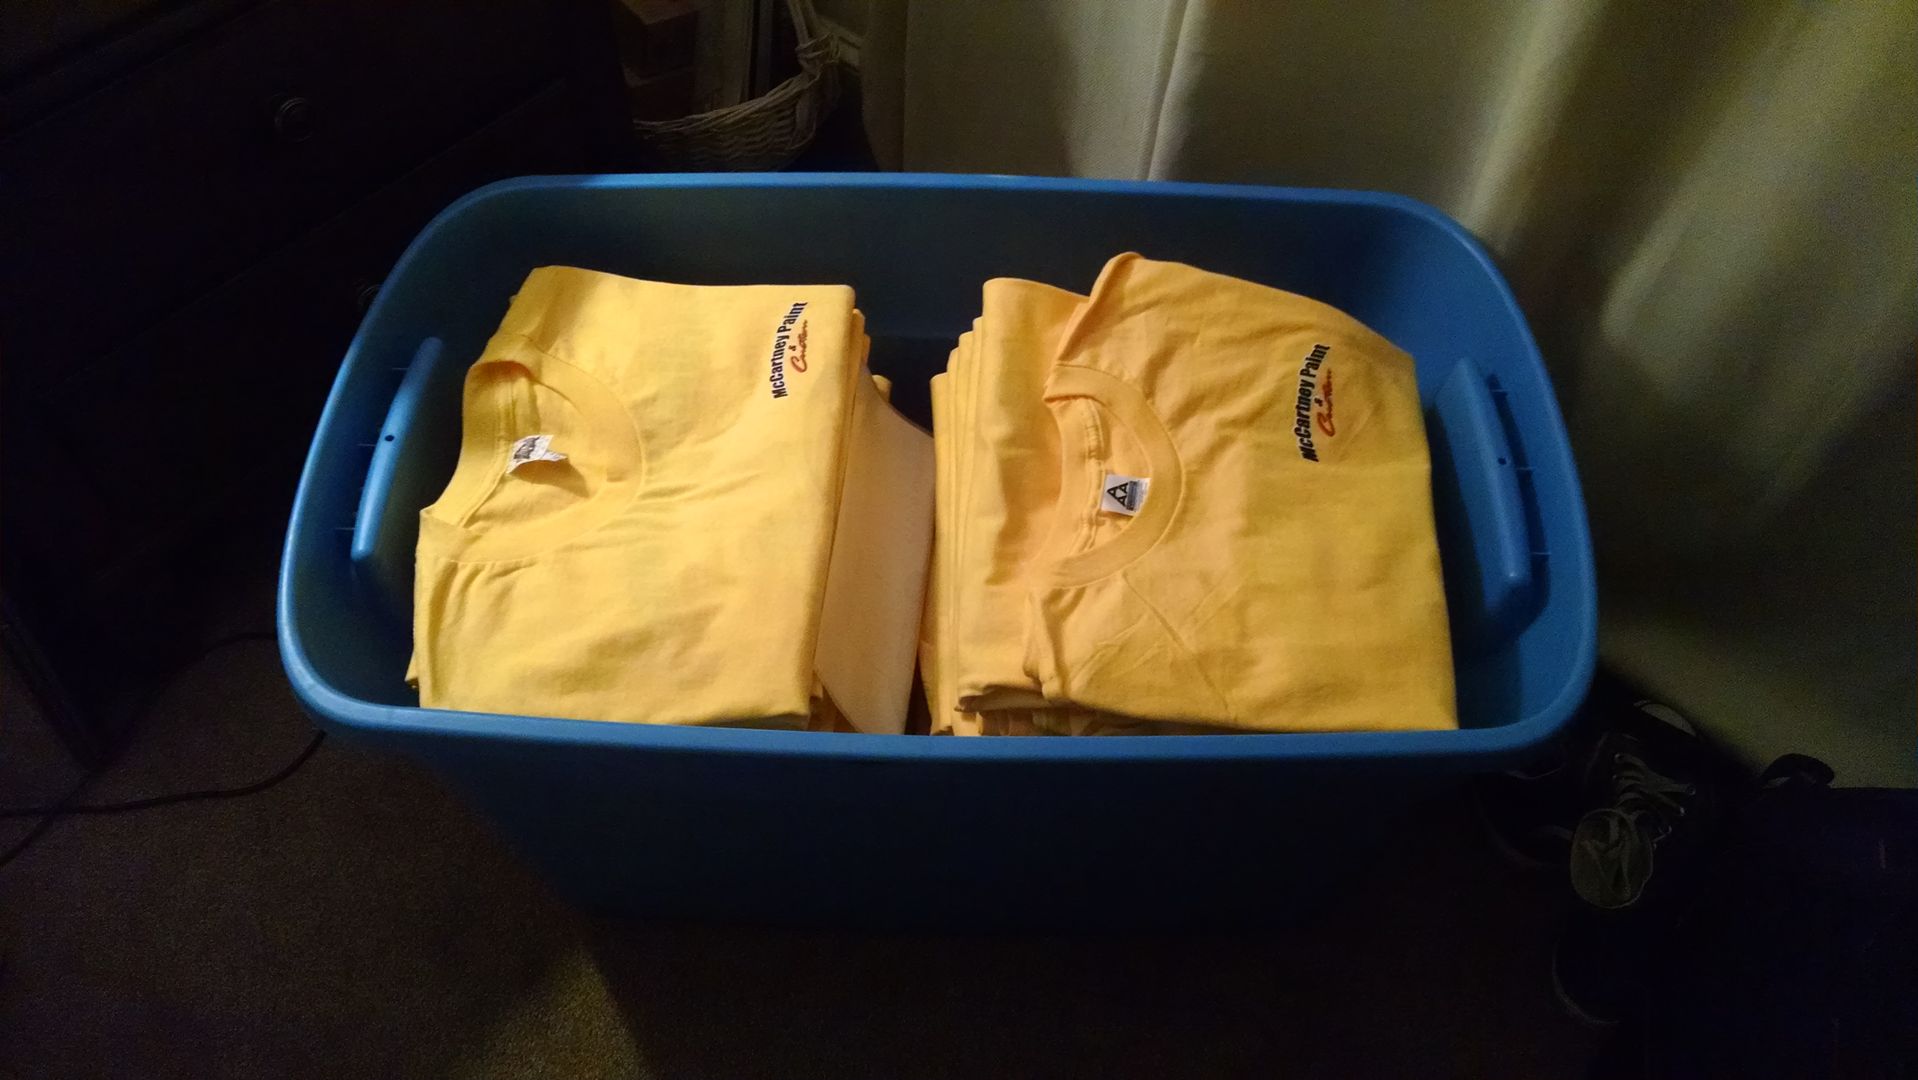 and promised the owner a modified set of spot welder tips to tackle his own wagon roof repairs... 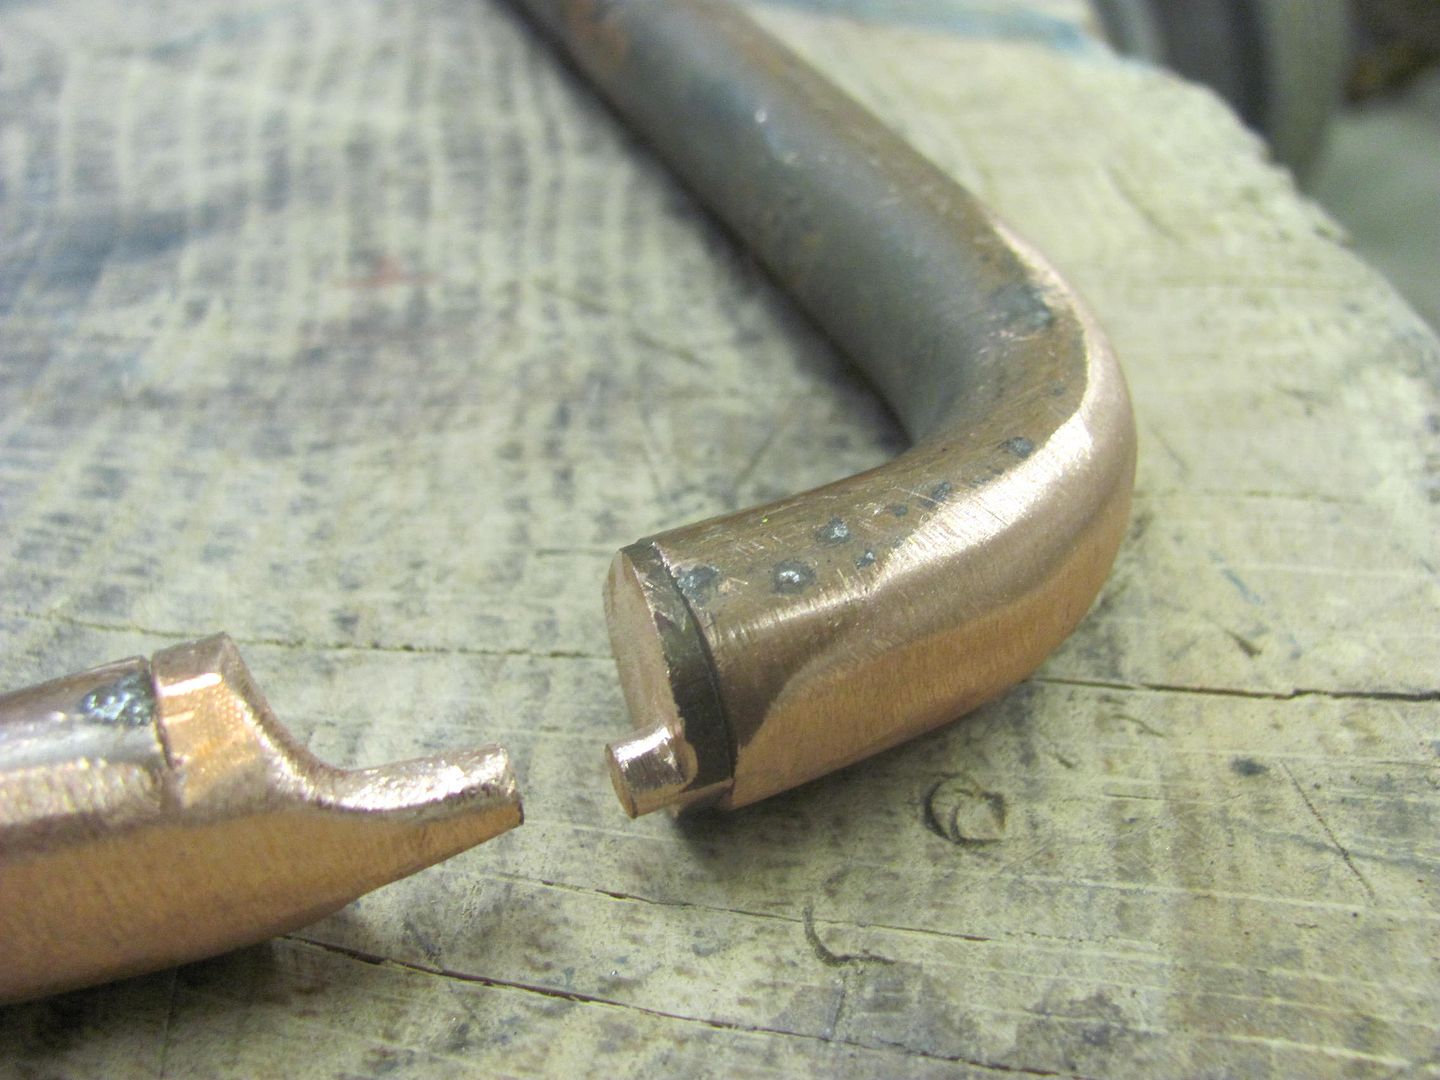  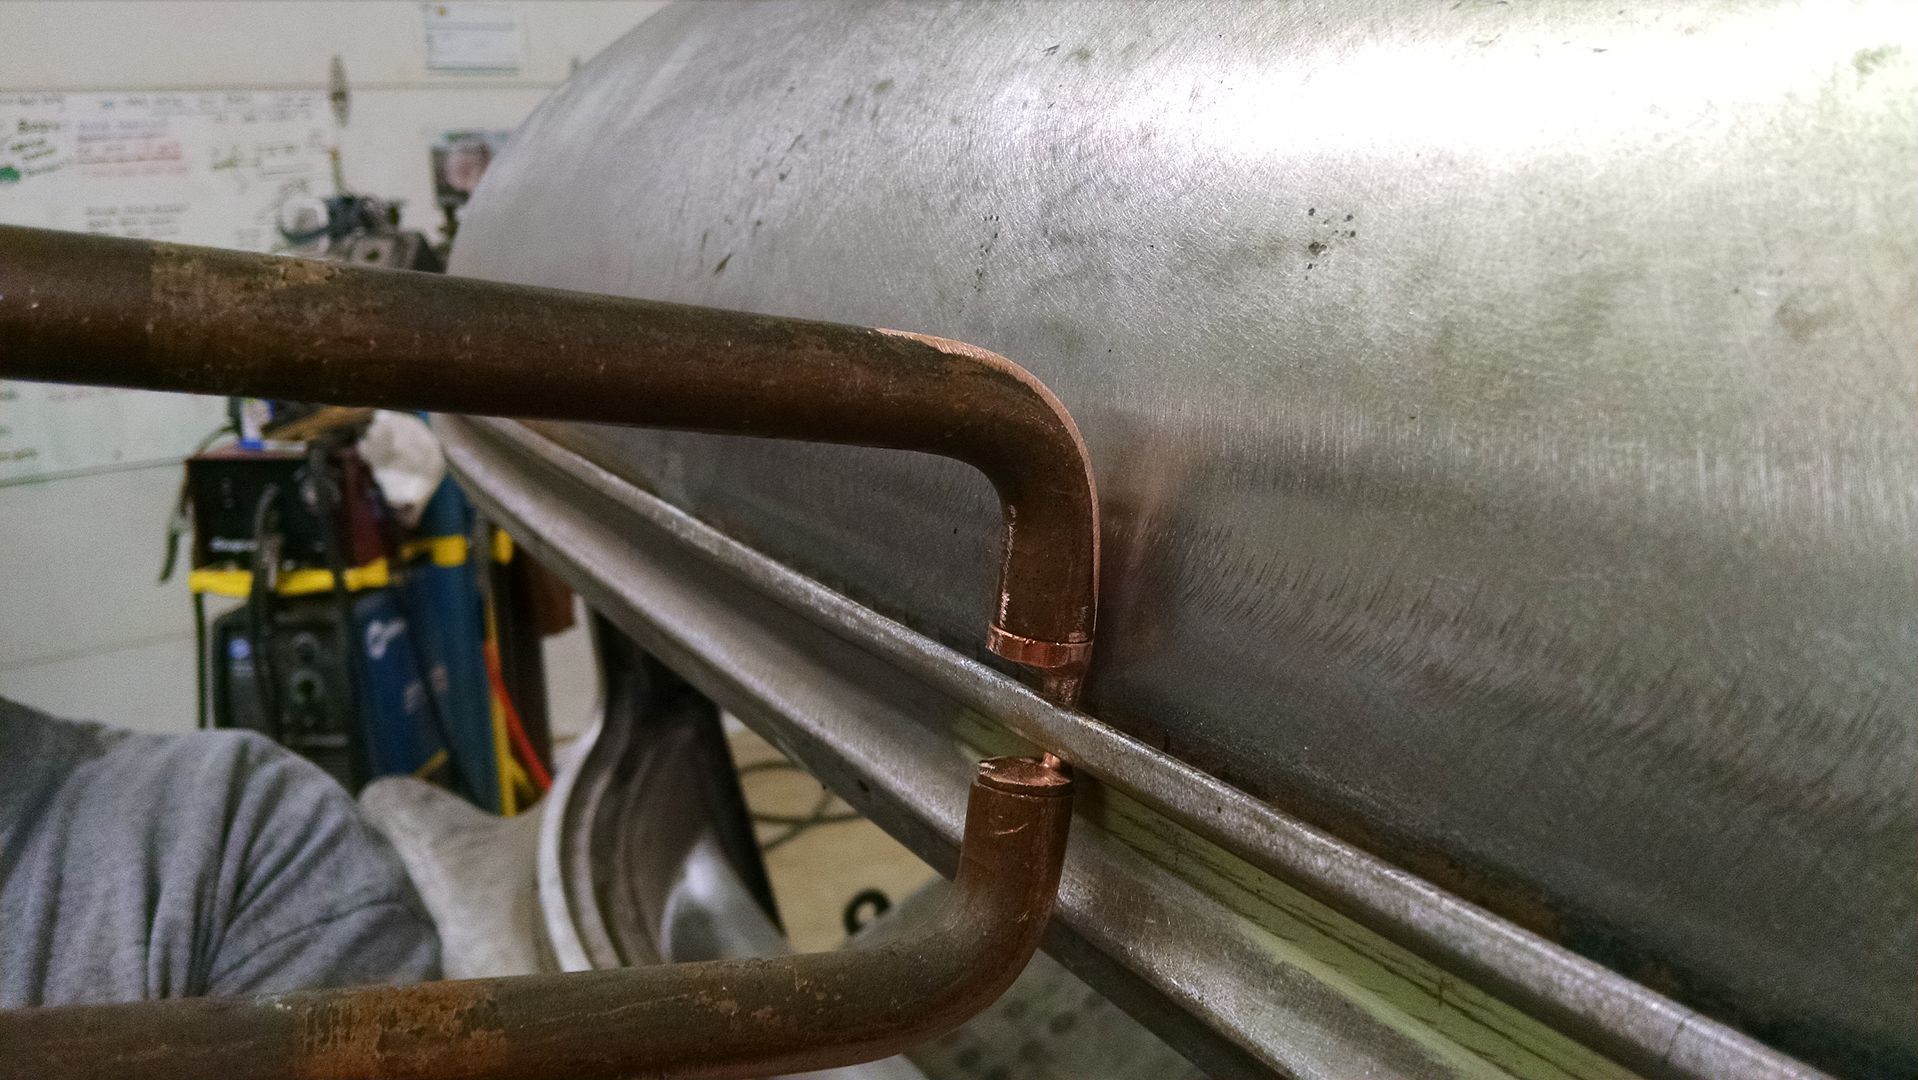
__________________
Robert |
|
|
|
|
10-17-2015, 02:30 PM
|
#22 |
|
Registered User
Join Date: Jan 2013
Location: Leonardtown, MD
Posts: 1,637
|
Re: 55 Wagon Progress
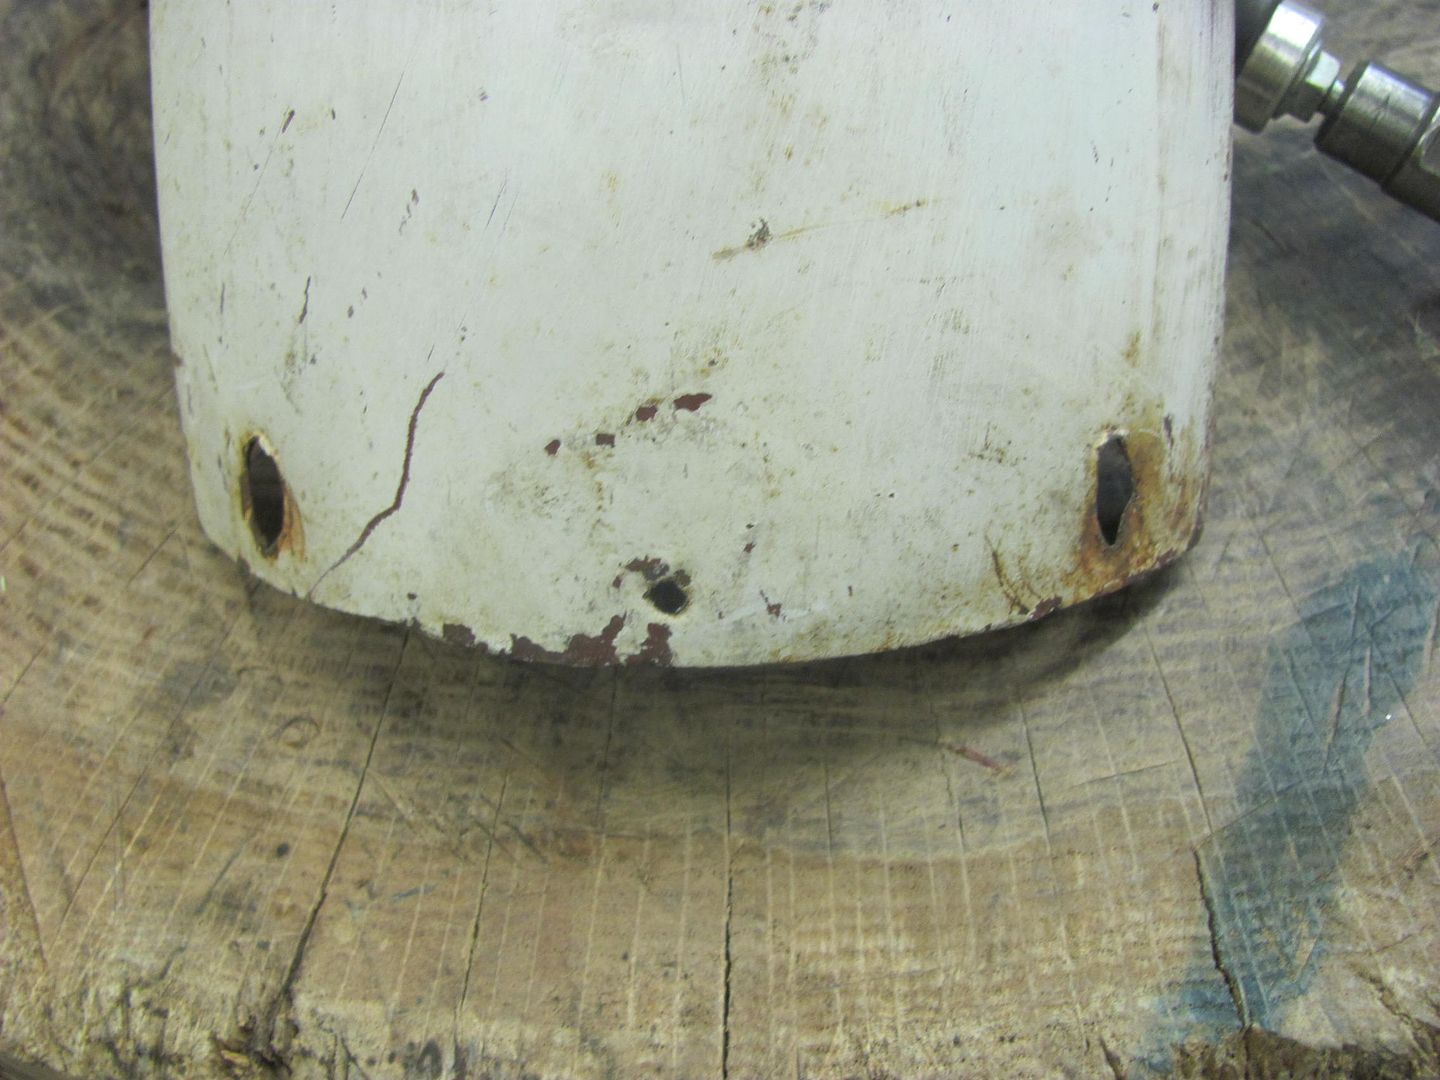
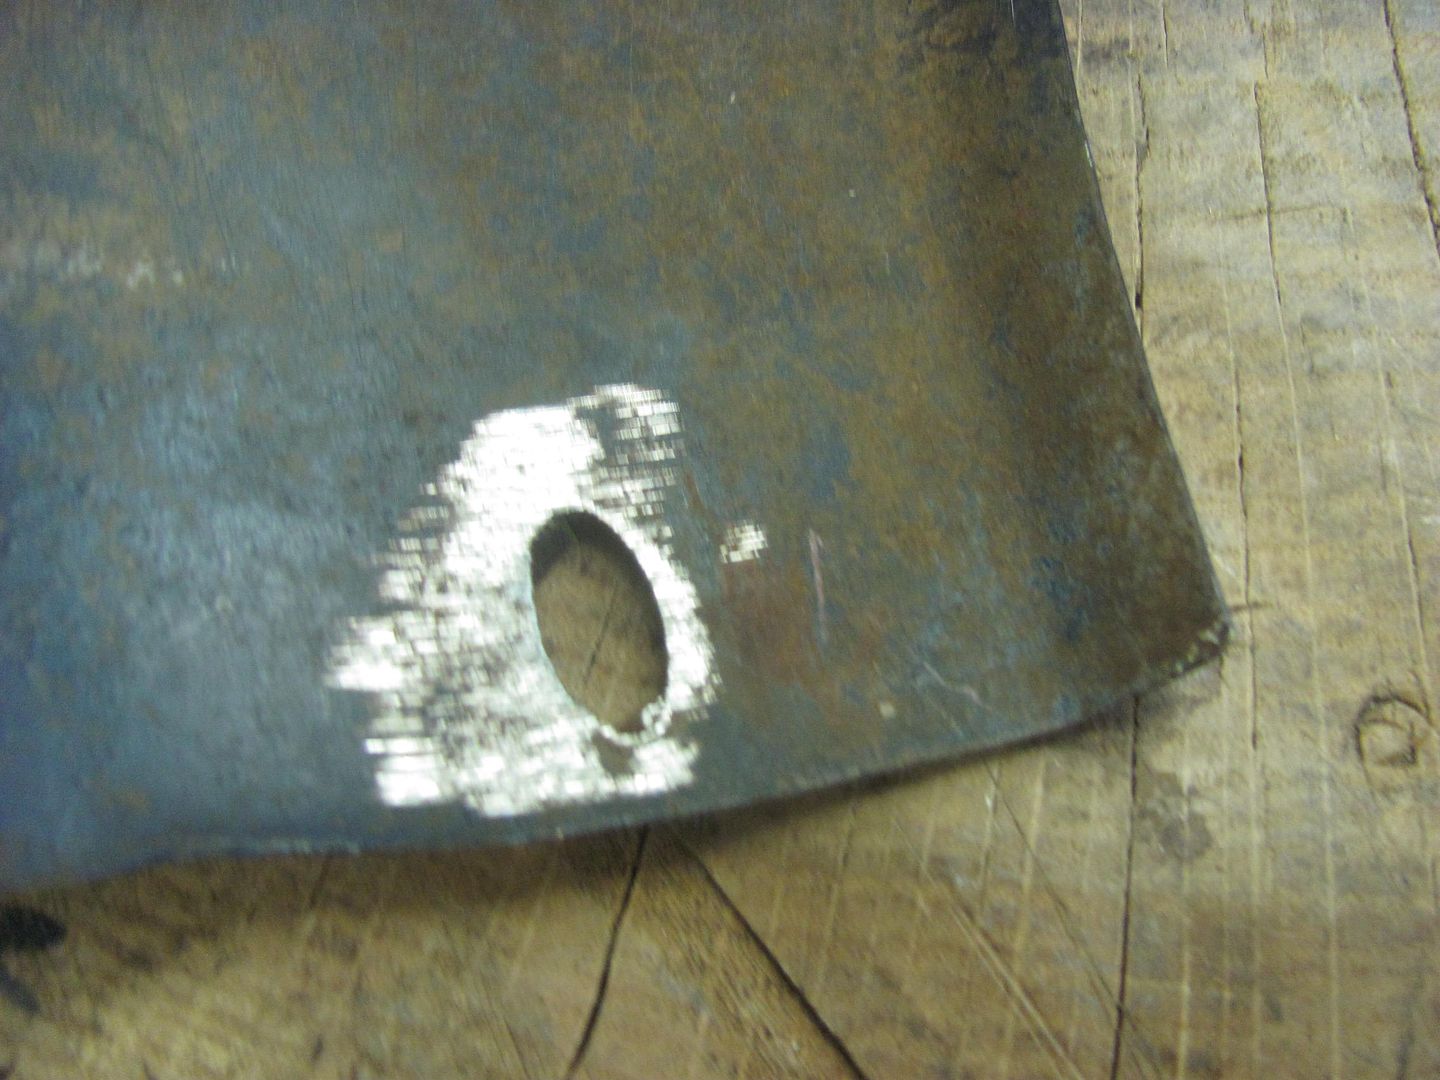
Well time to finish up Randy's scooter fender(s). The original (rear) had been loose at some point as the fender mounting holes were nice and elongated from flopping around. So I'll get them filled in and Randy will need to match drill them to the frame..
  Use the right tools for the job :headscrat 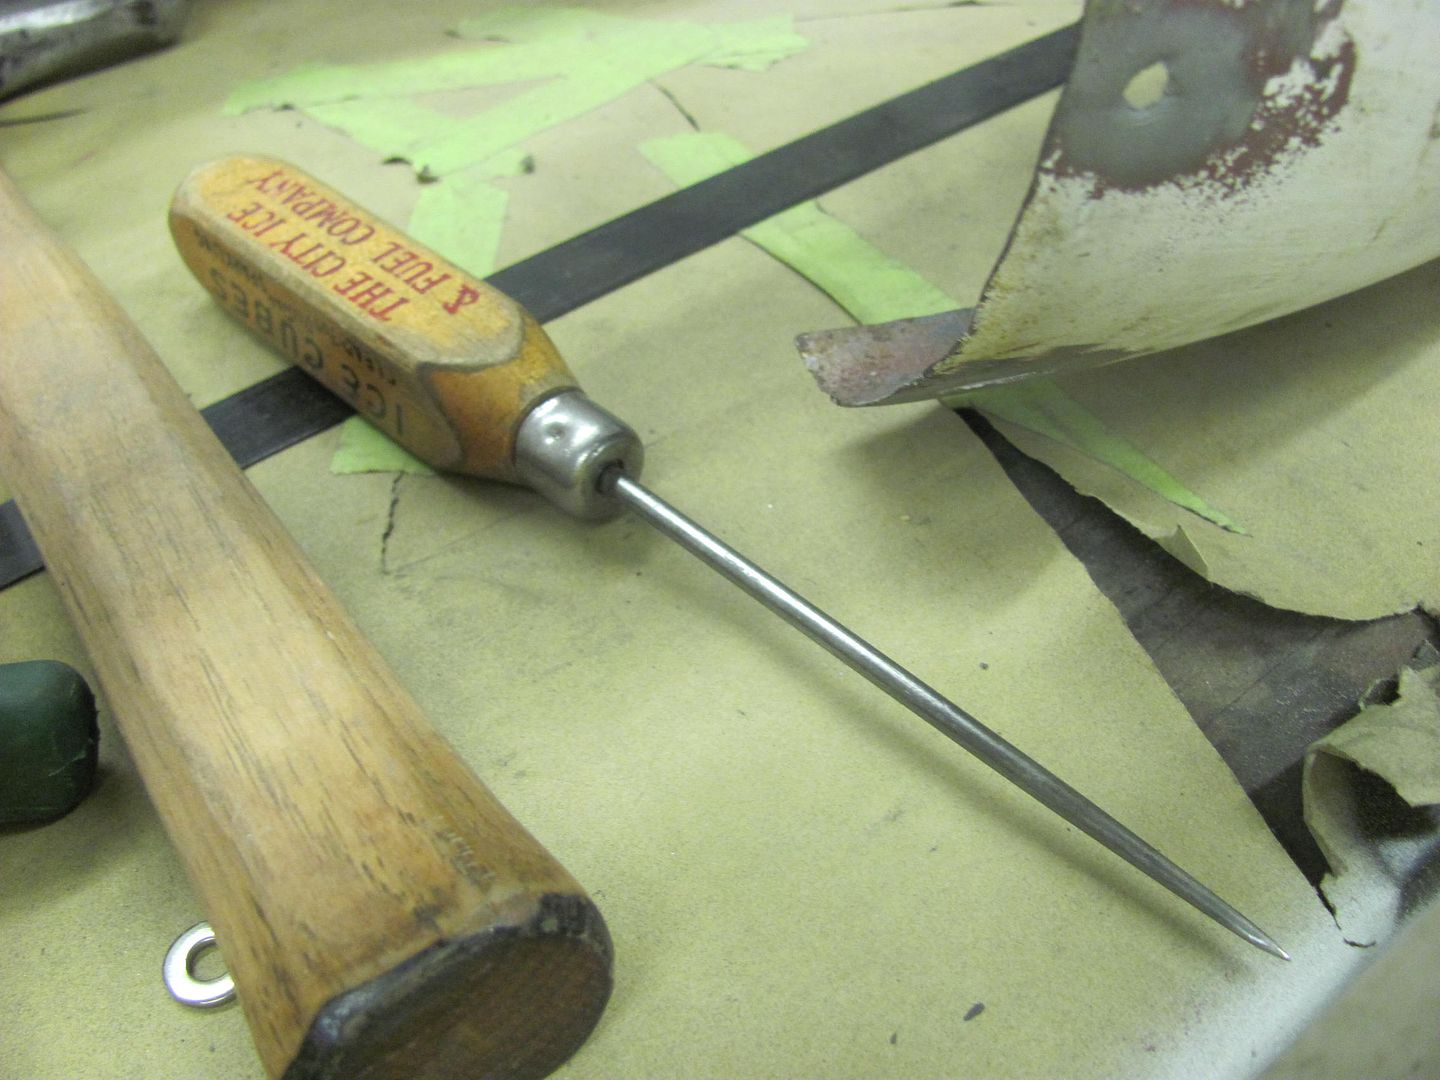 After marking, when cutting out such a small piece I like to leave a "handle" until the very end..  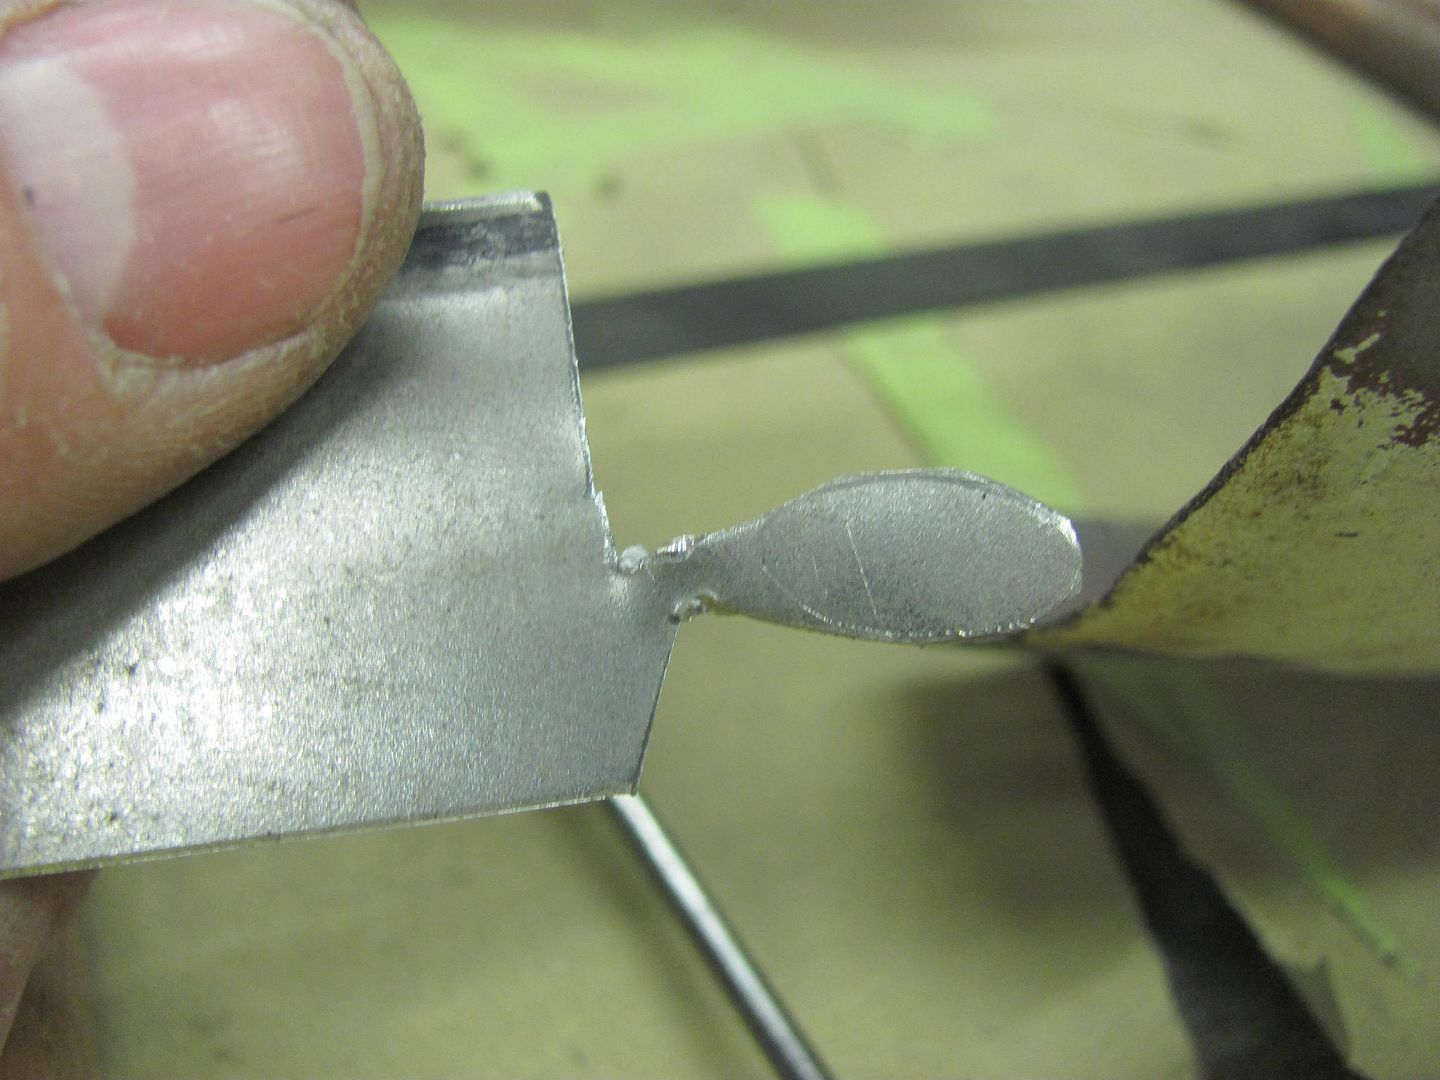 ....gives you something to hold onto while fine tuning the fit 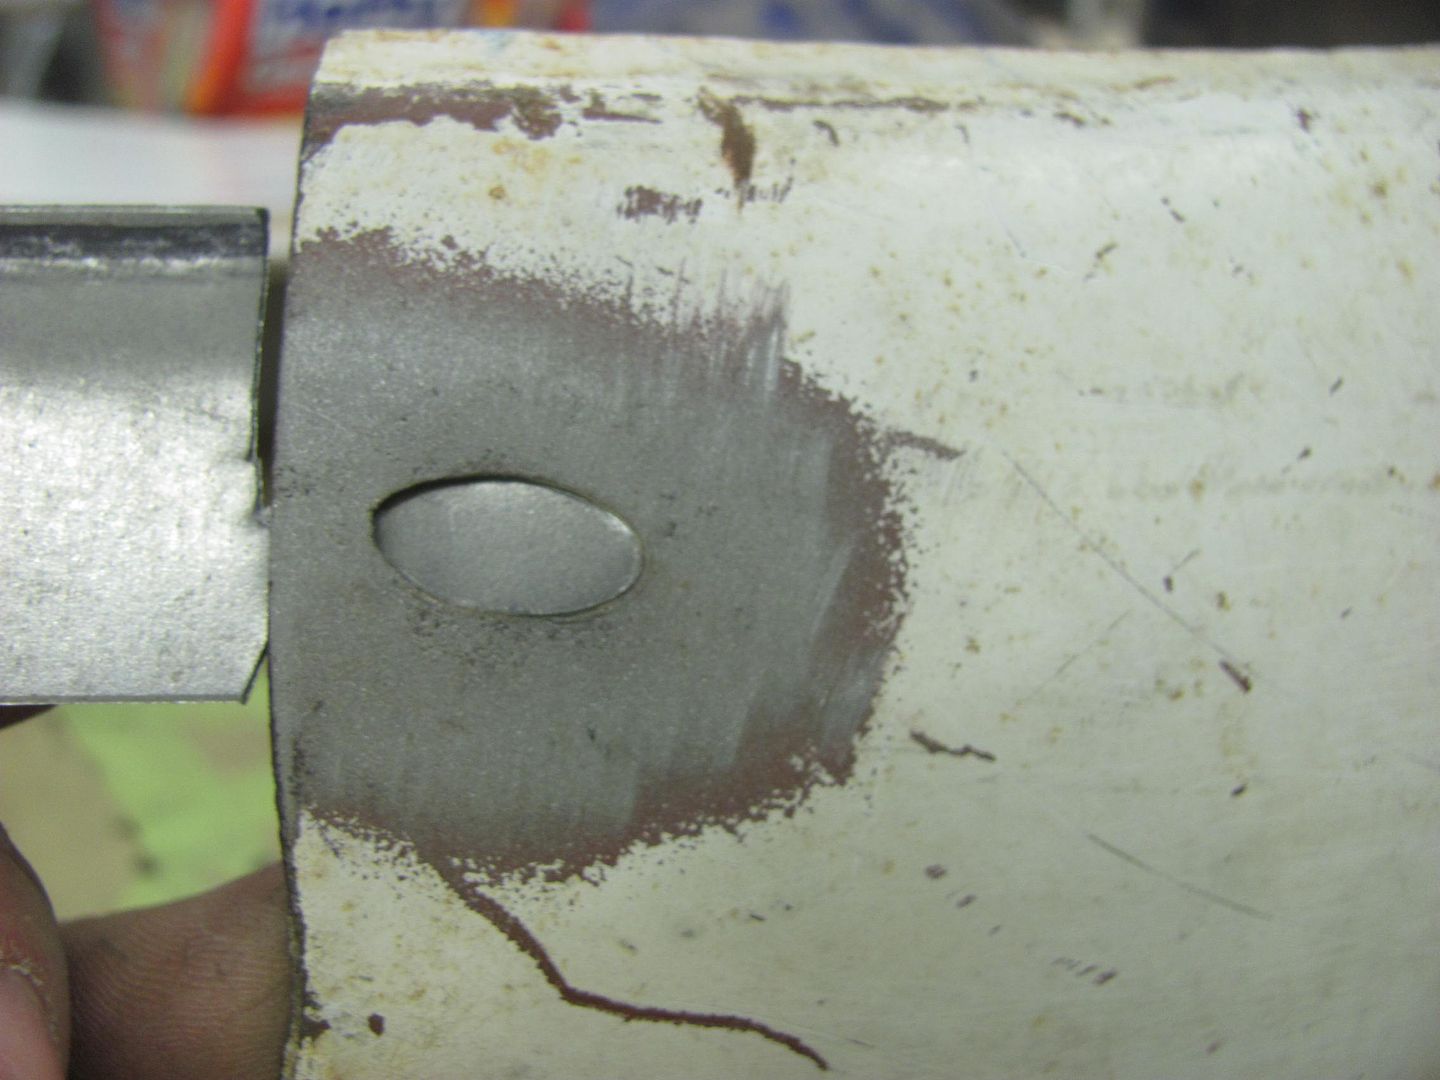 Nice and snug.... 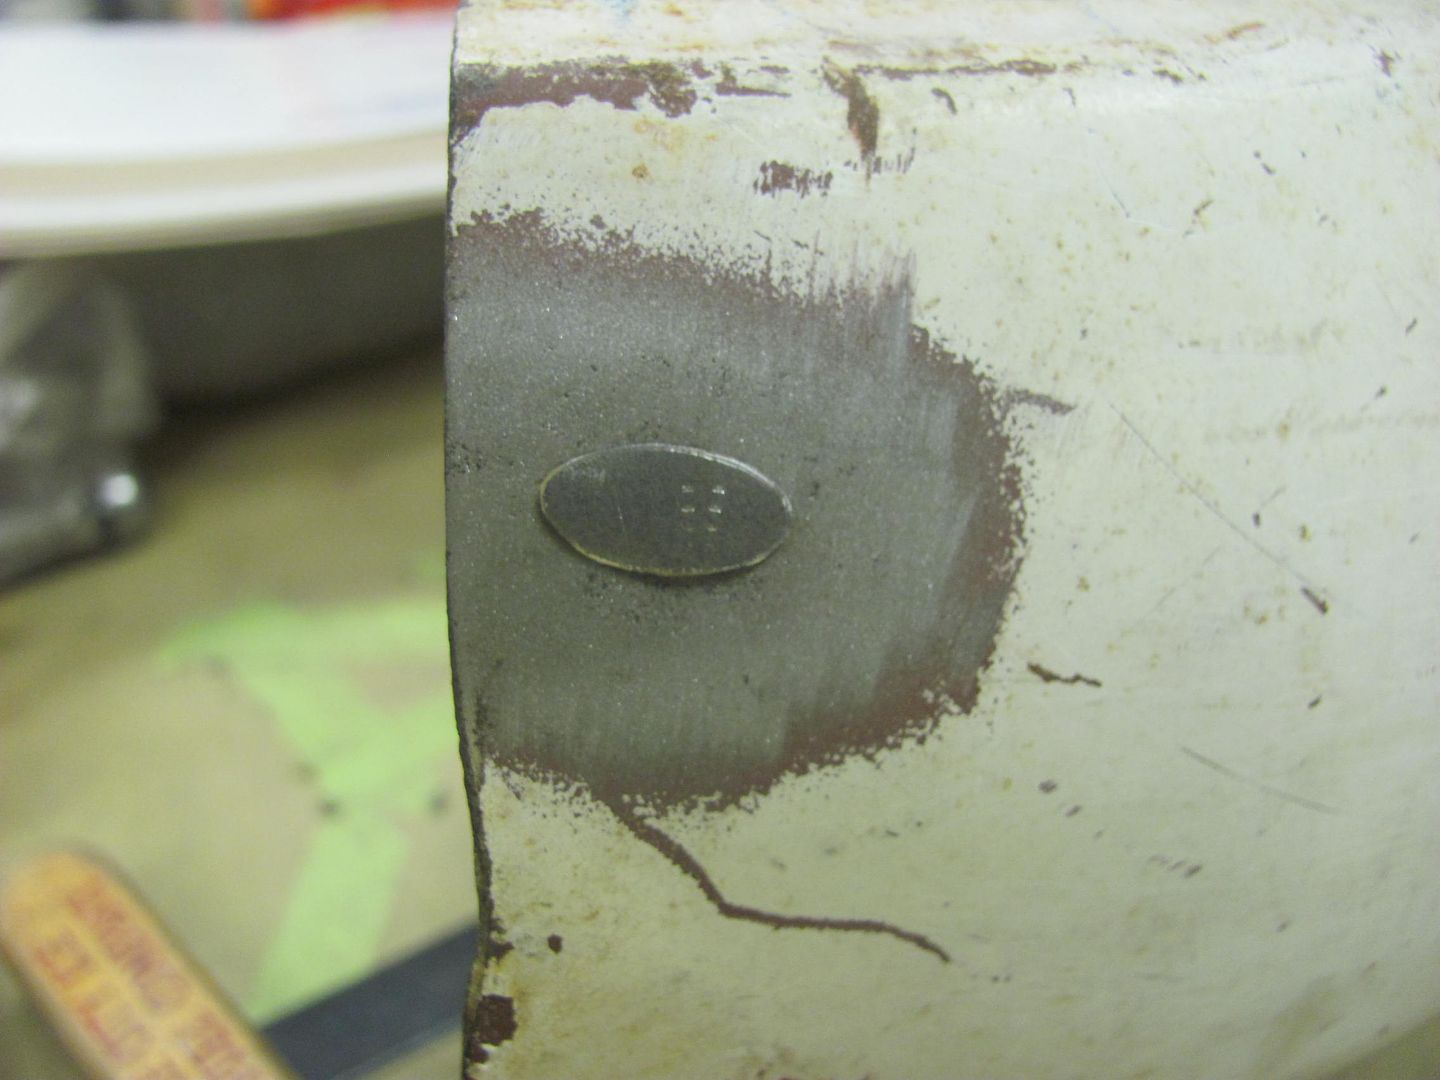 Tacking in the filler piece... 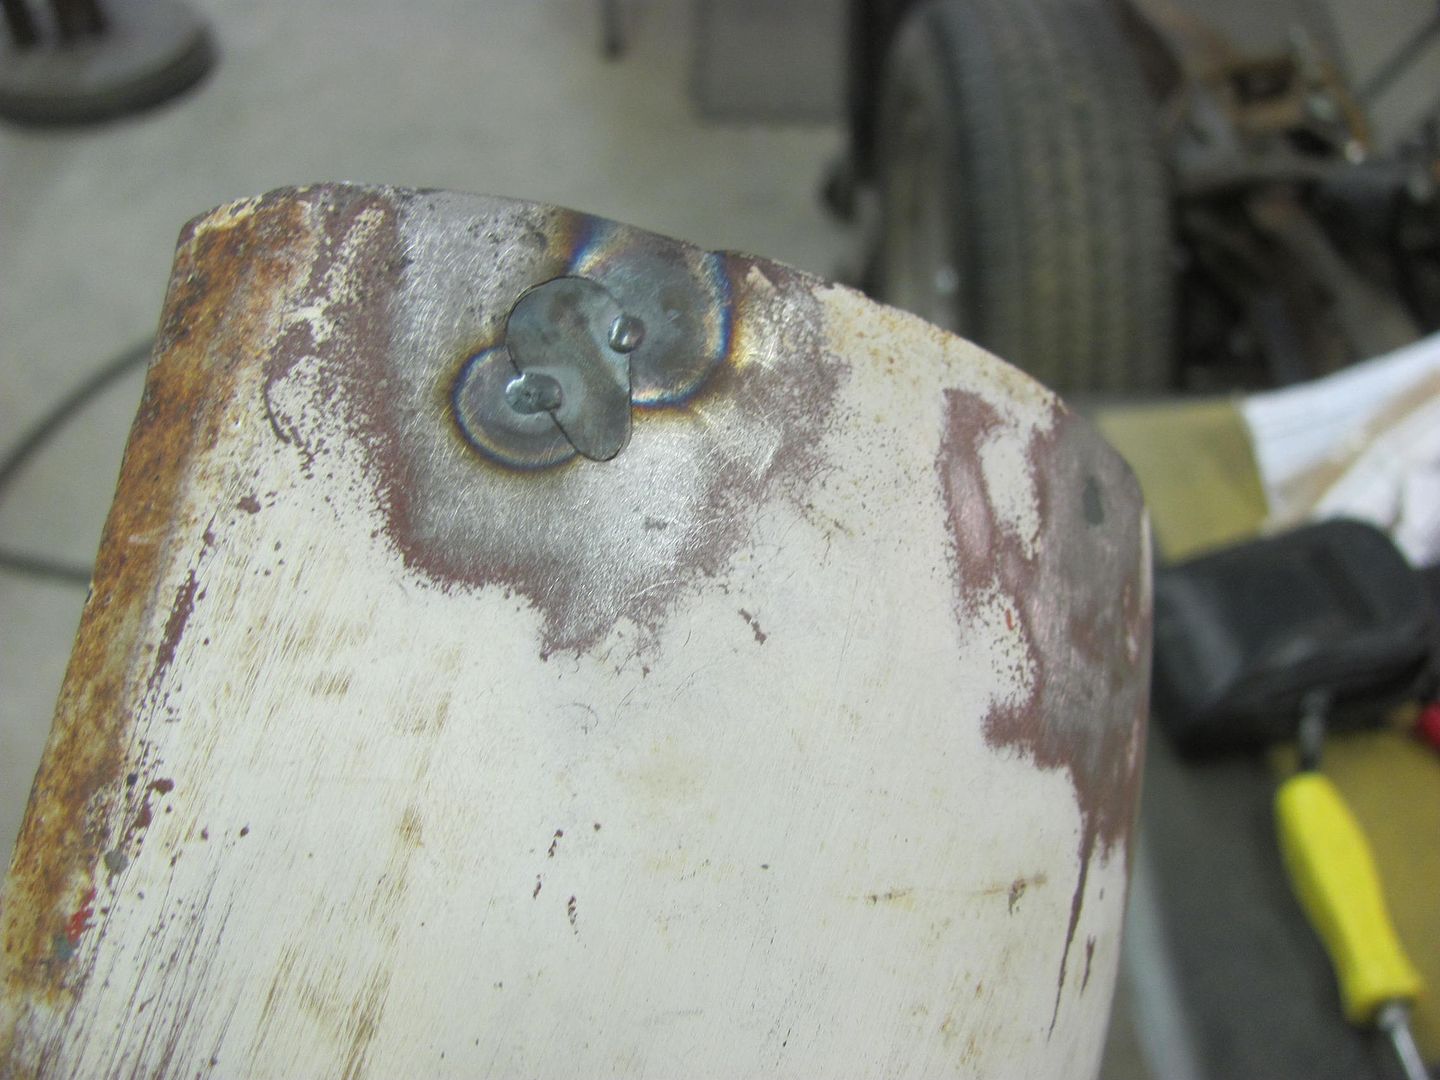 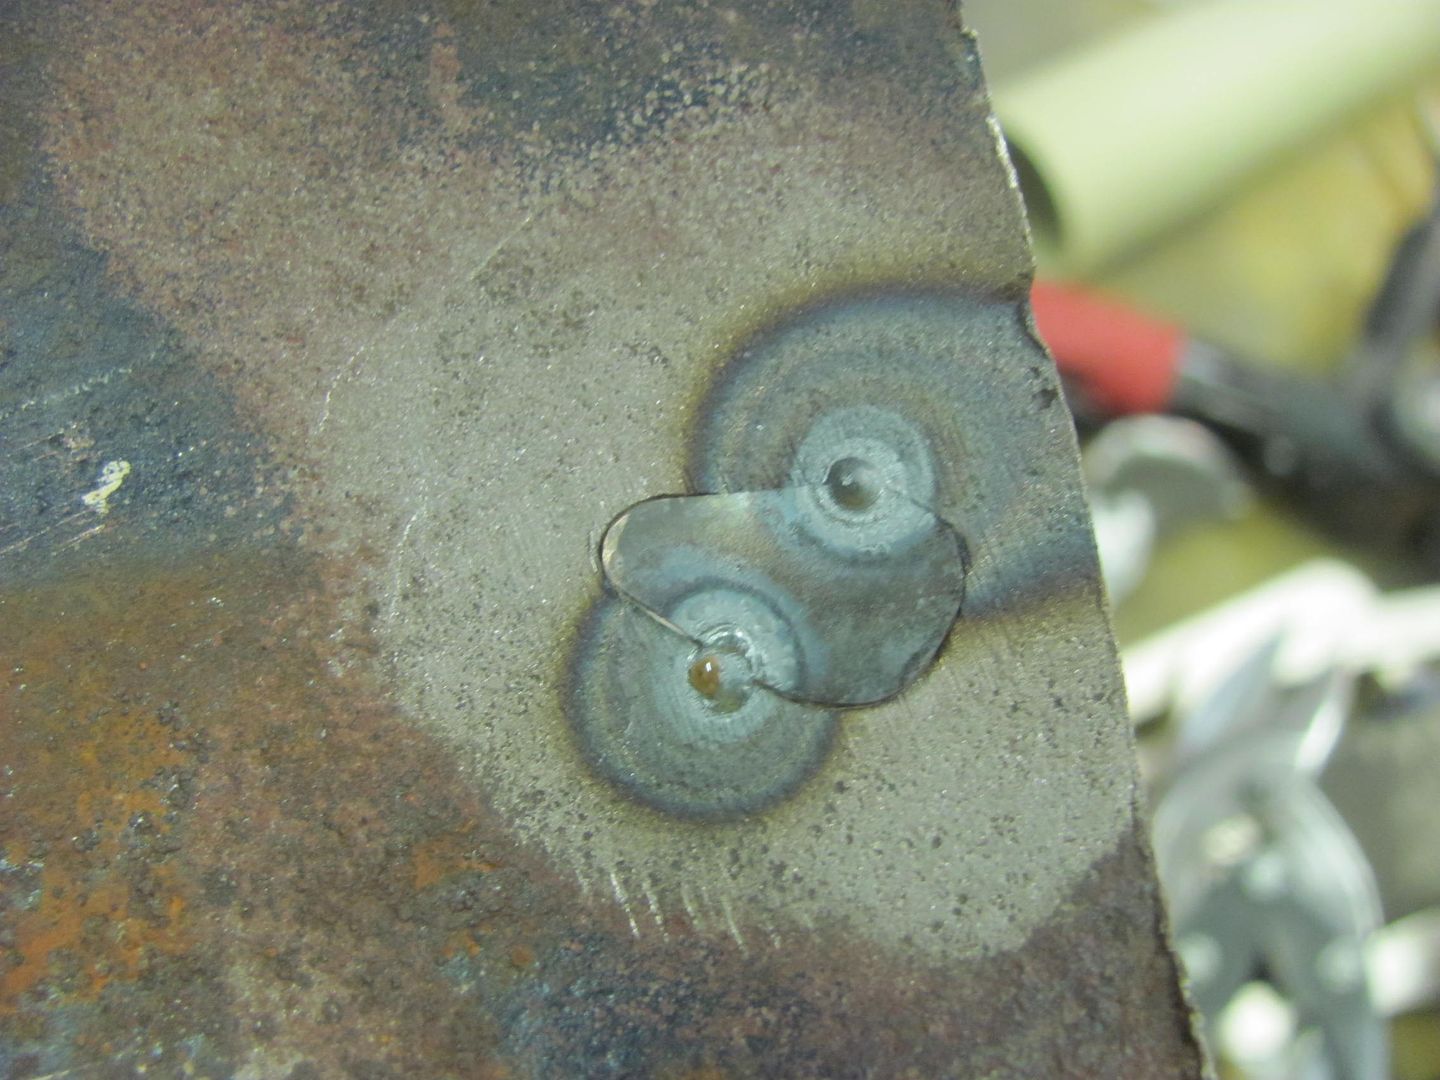 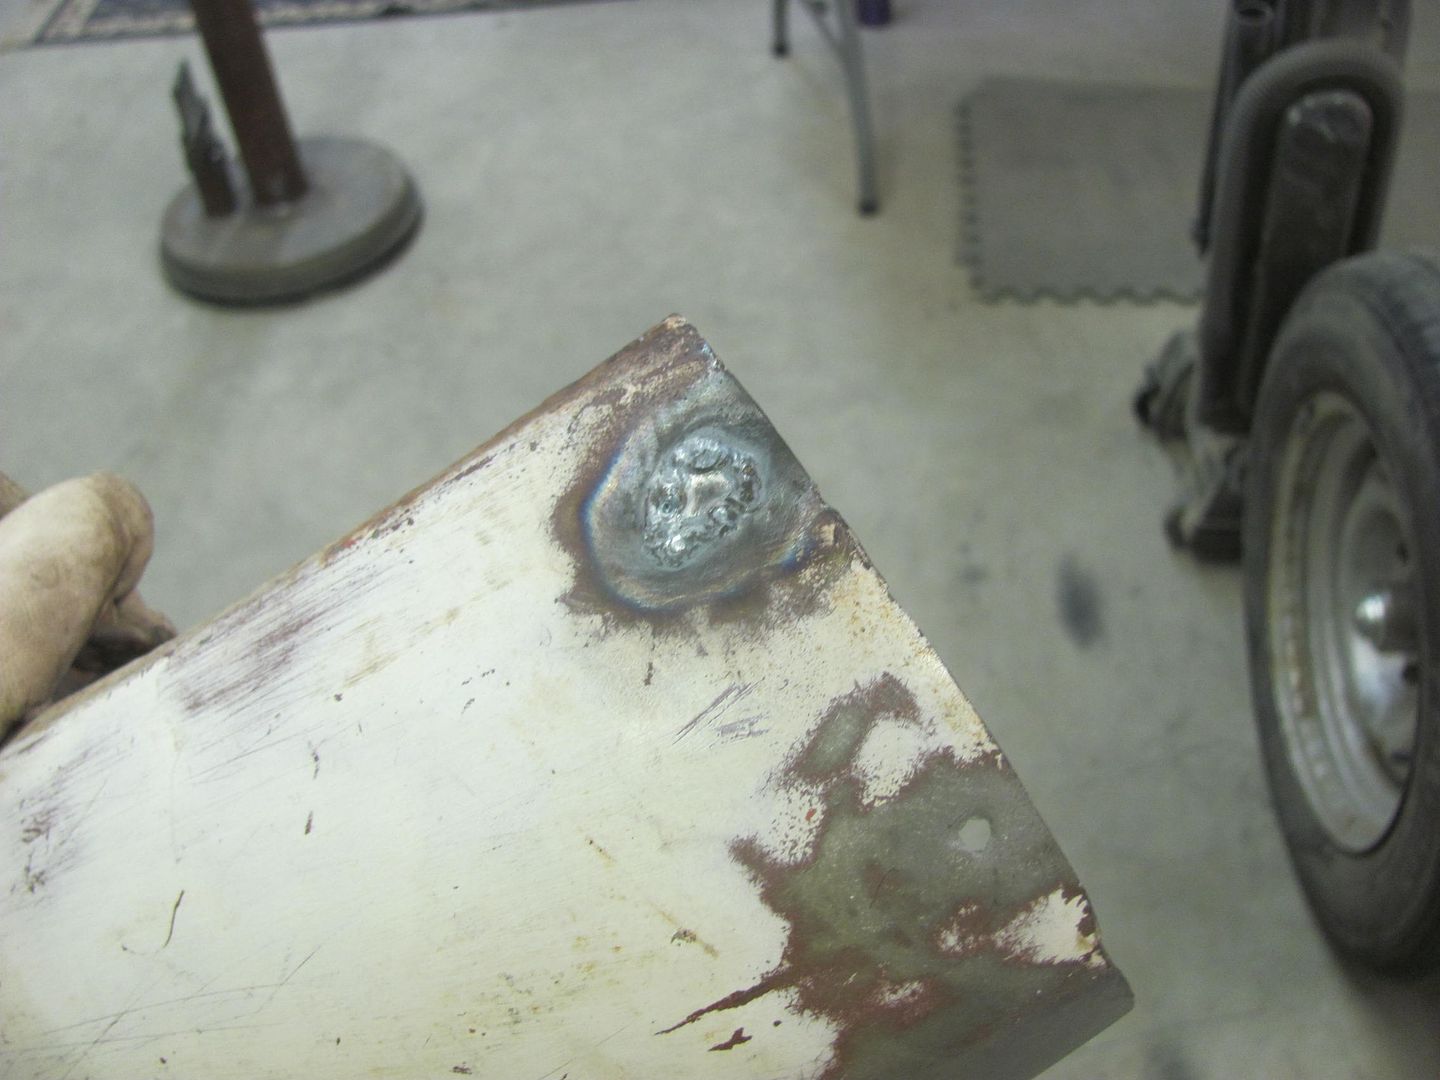 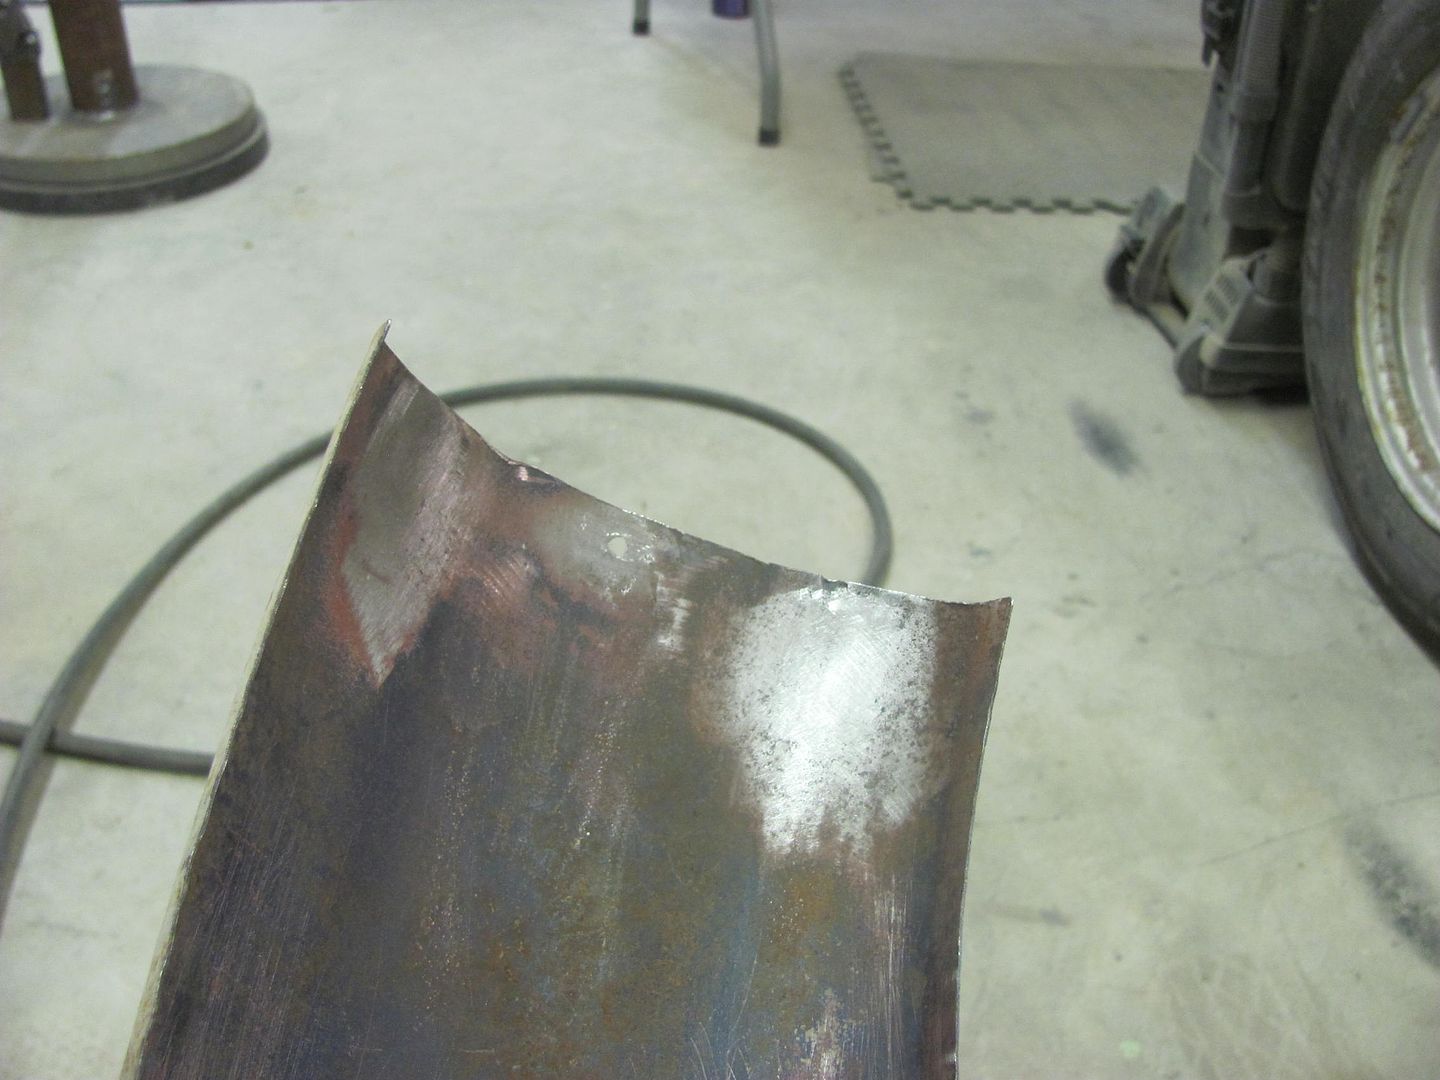 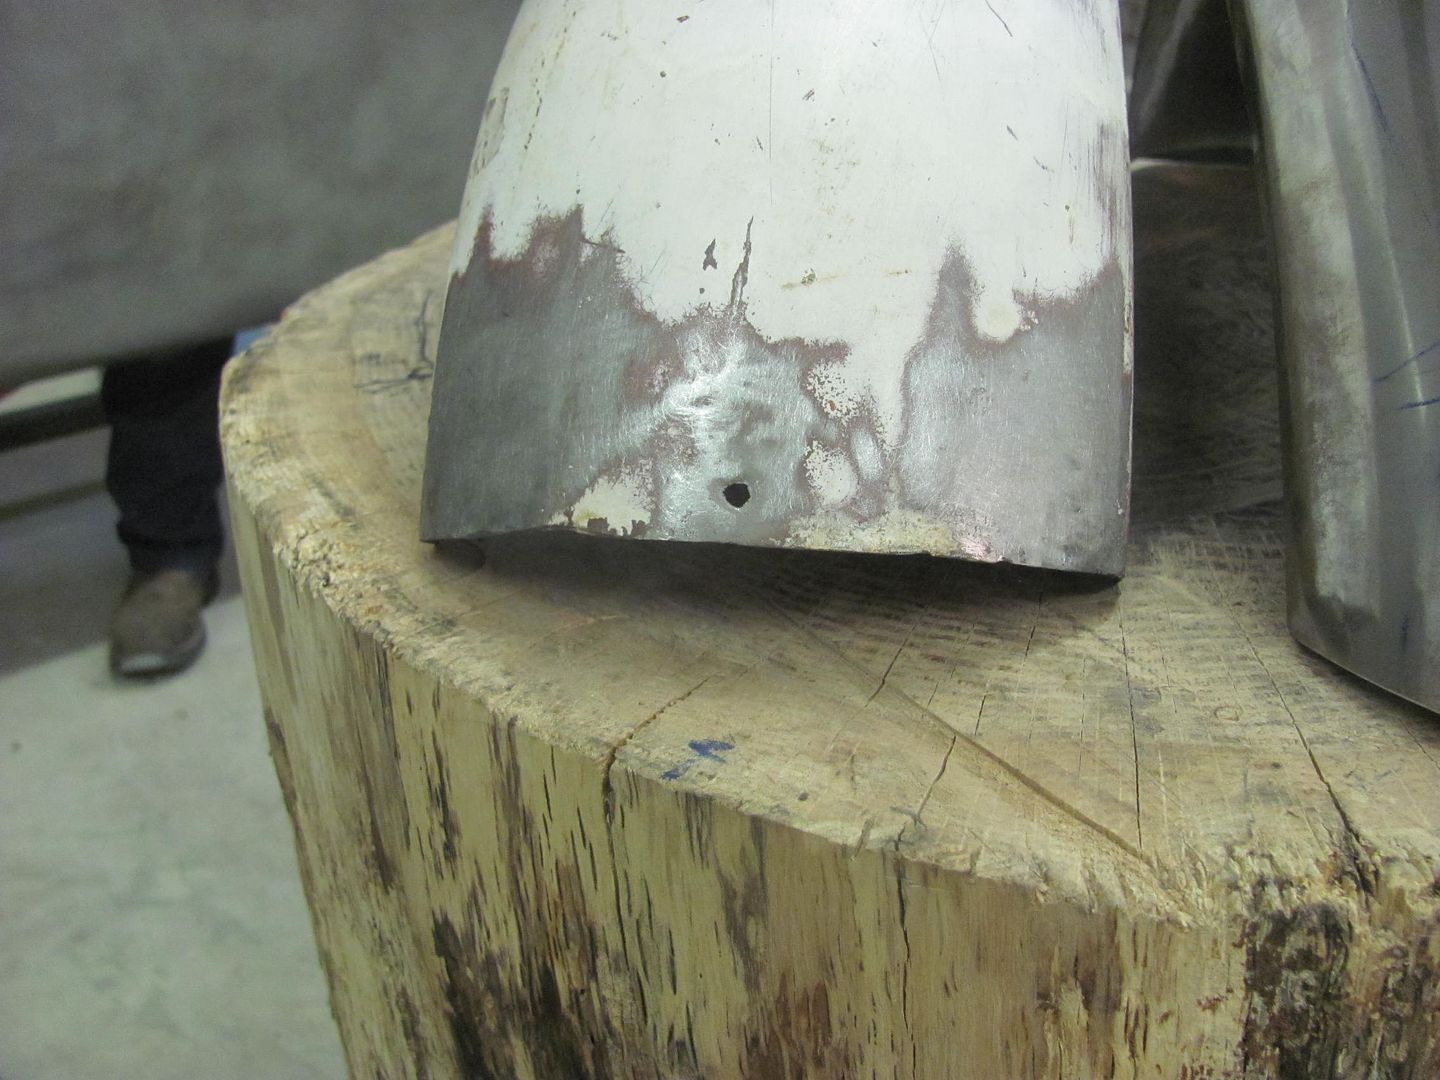 Next was to trim a nice radius on the front and back ends of the new front fender.... 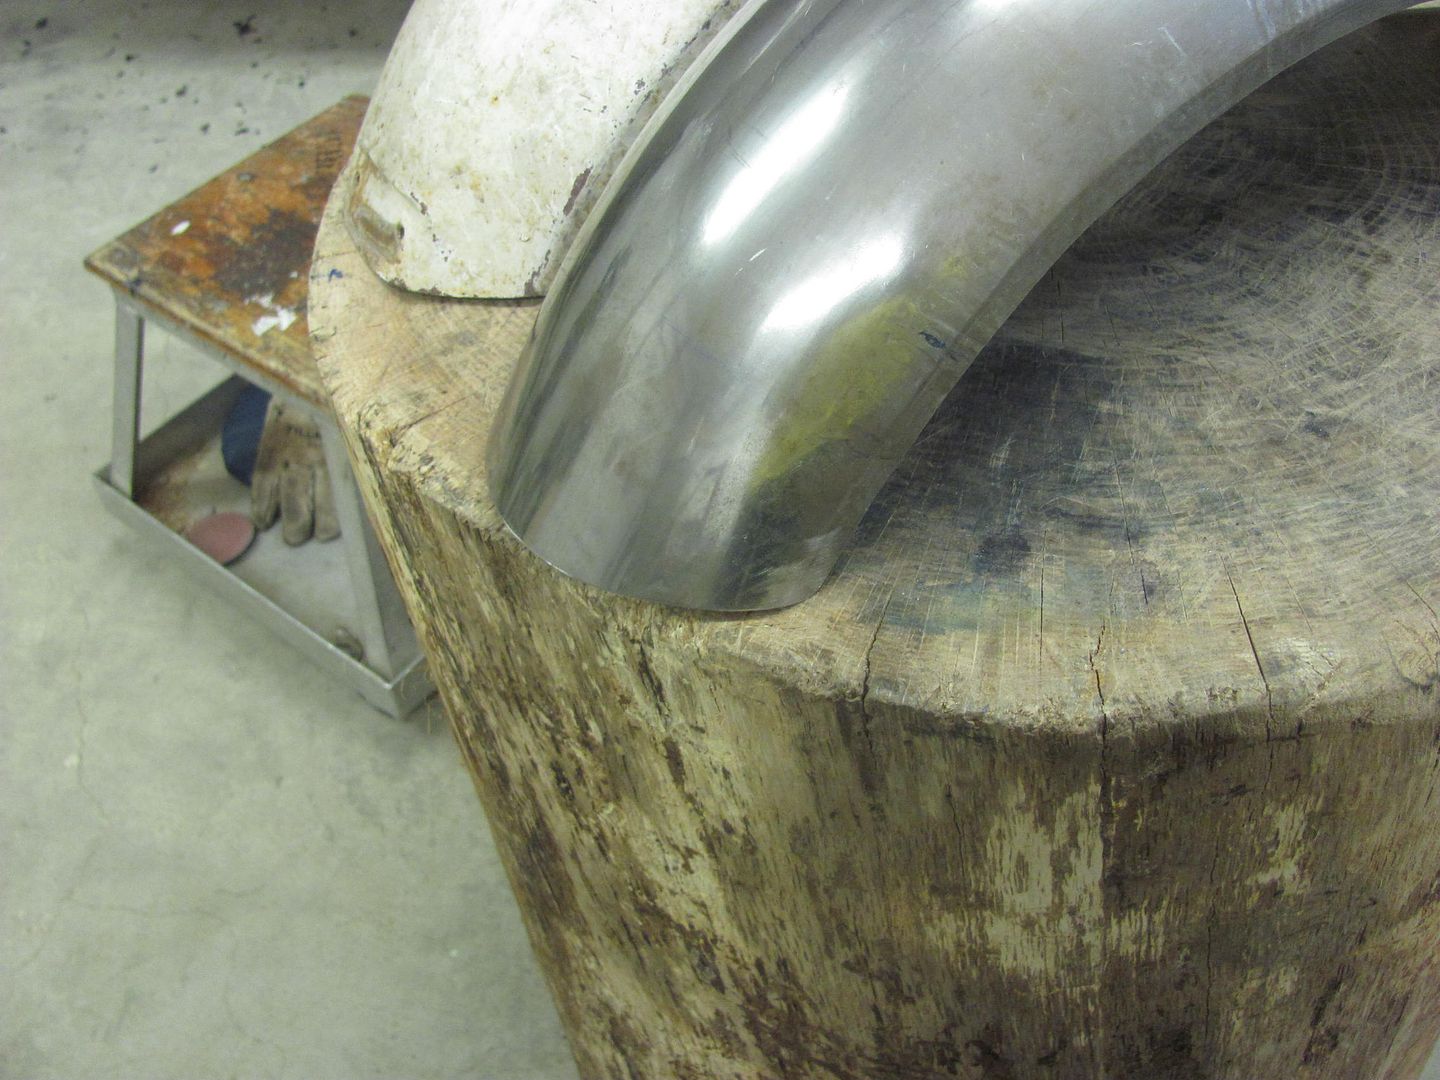 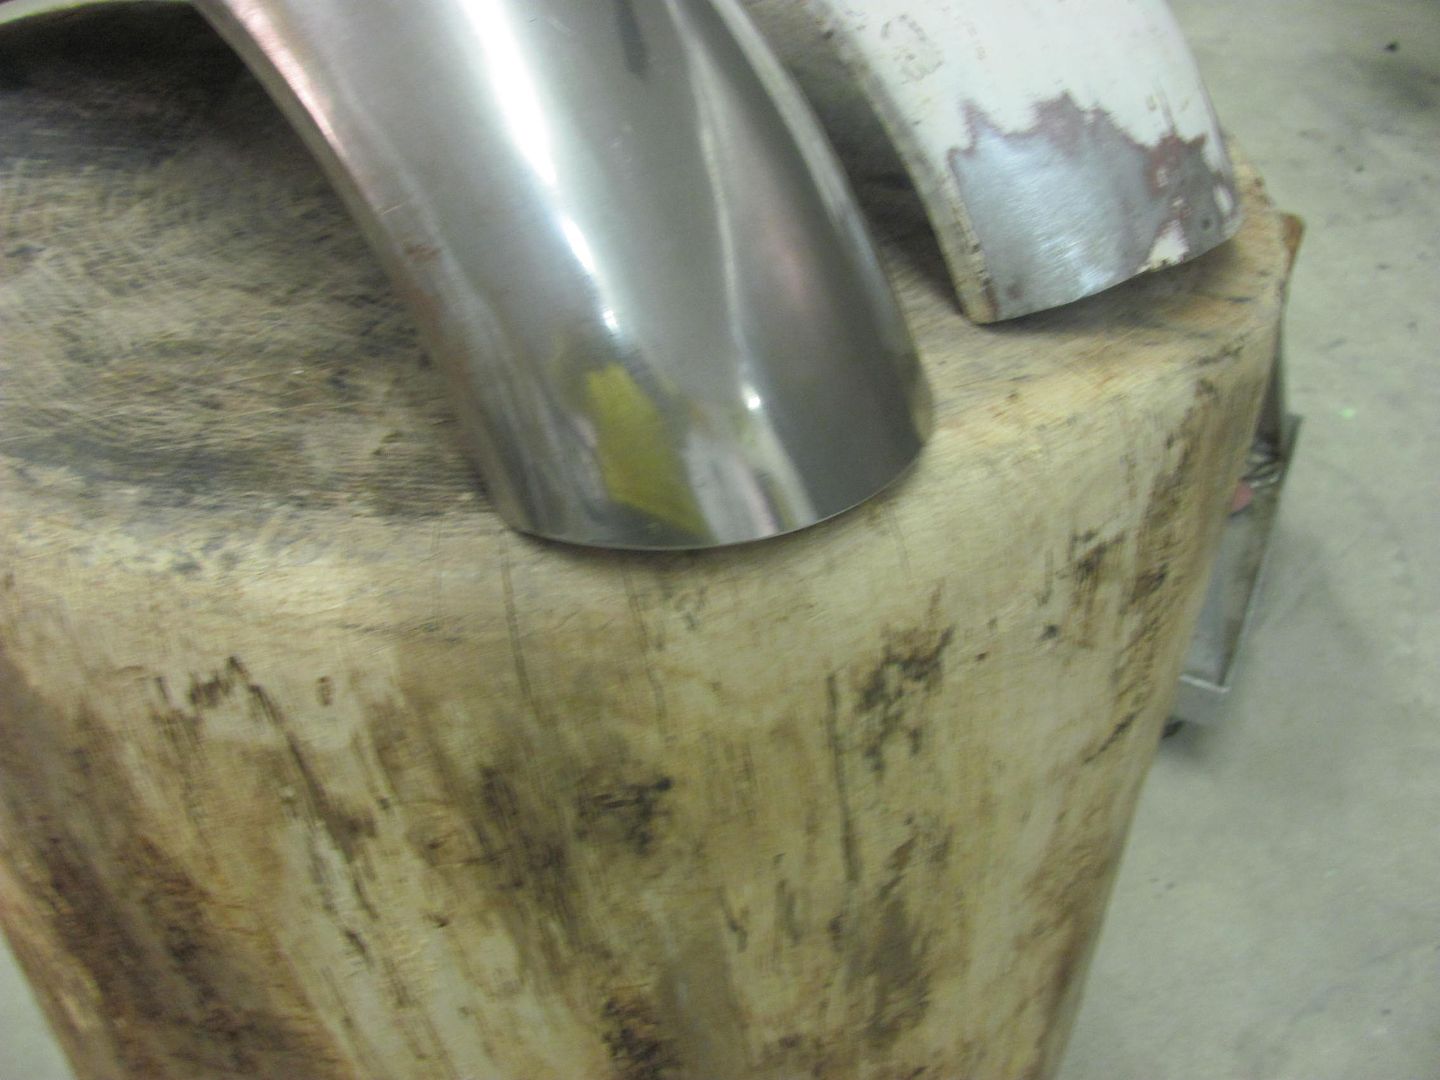 Last on the list, the forming process with the old fender left some "pie crust" edging, as seen here and in an original photo... 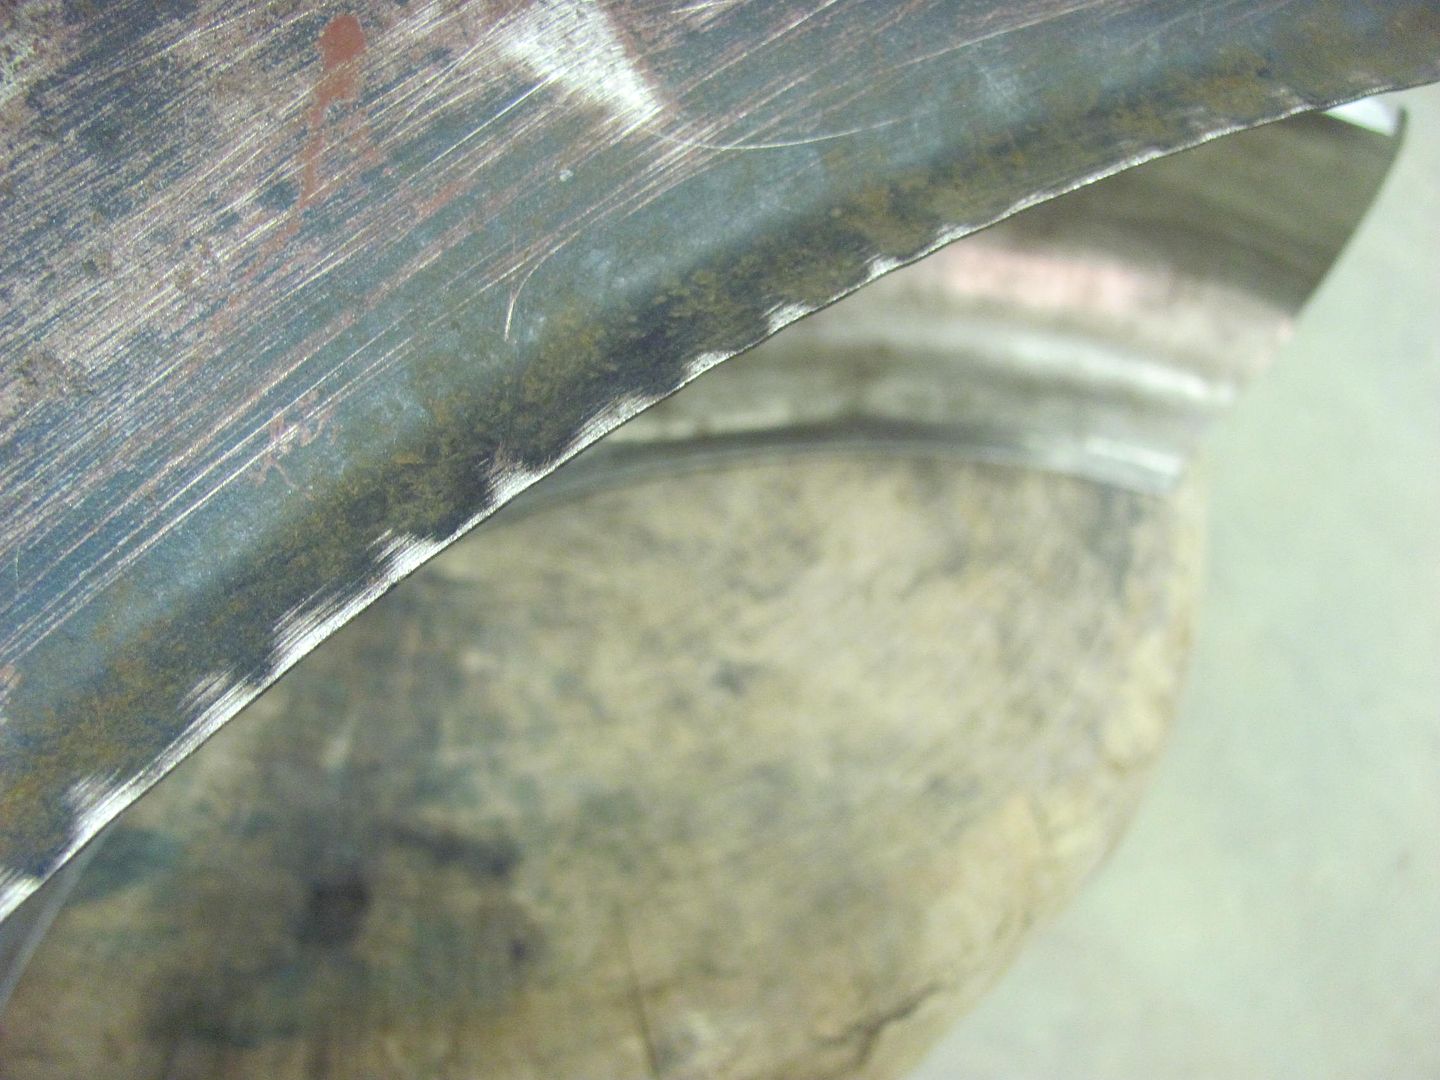 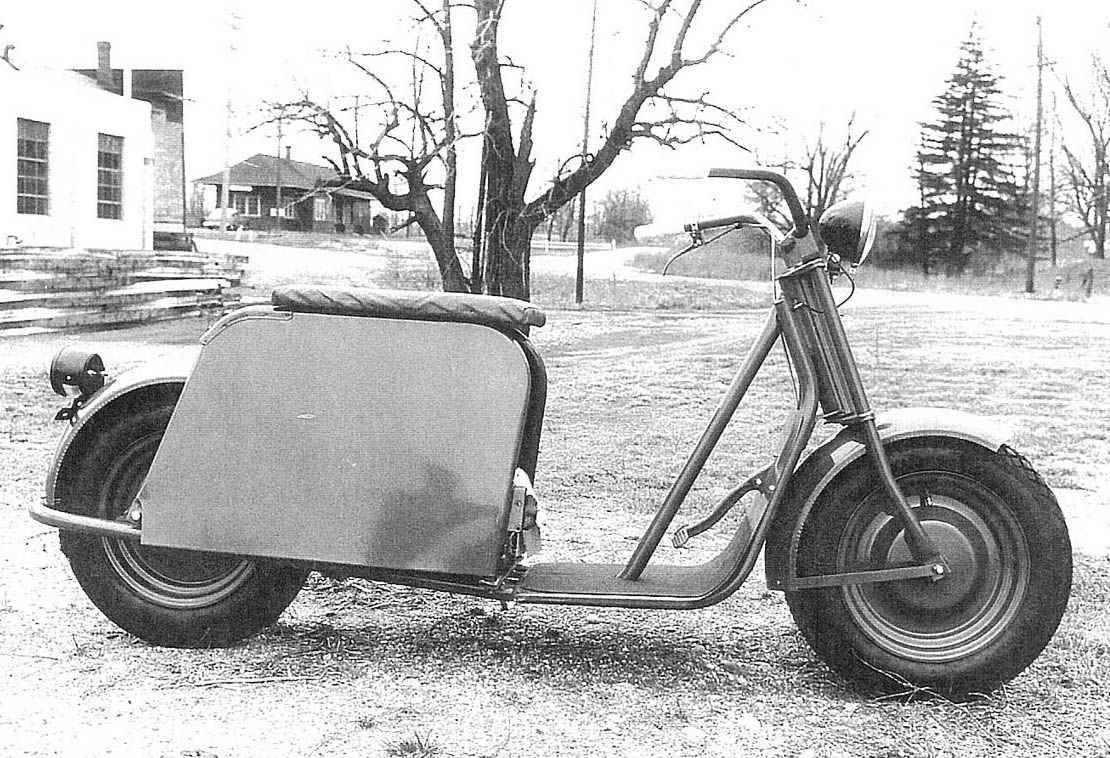 So we needed a special tool in order to duplicate this feature... 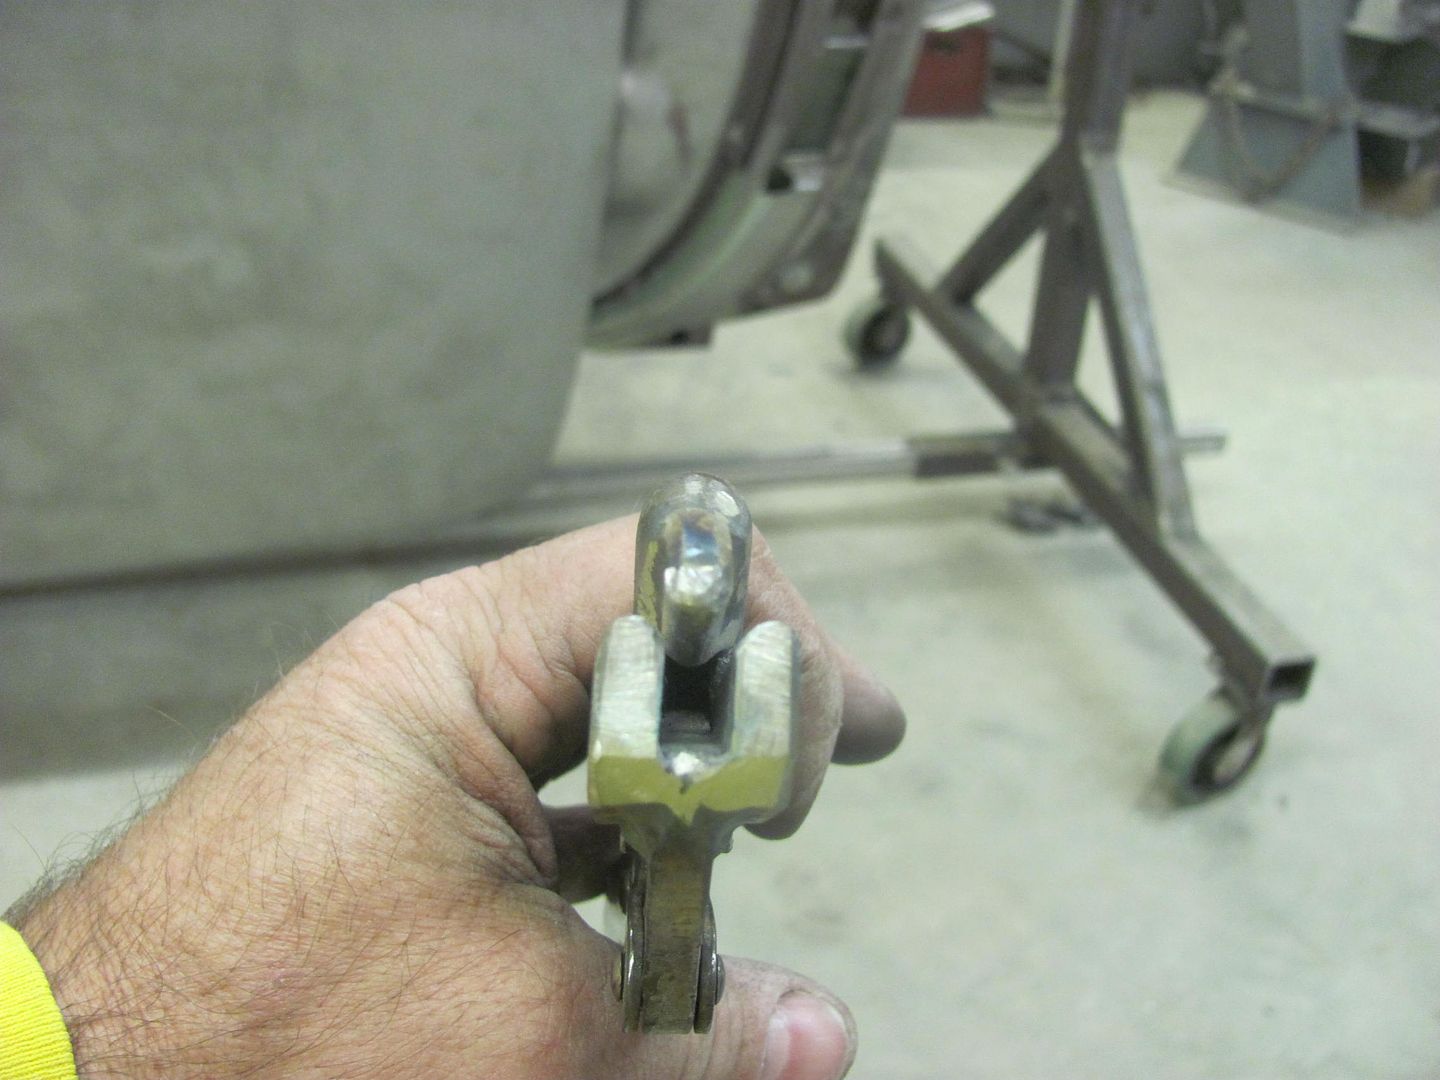  Spacing all marked out.... 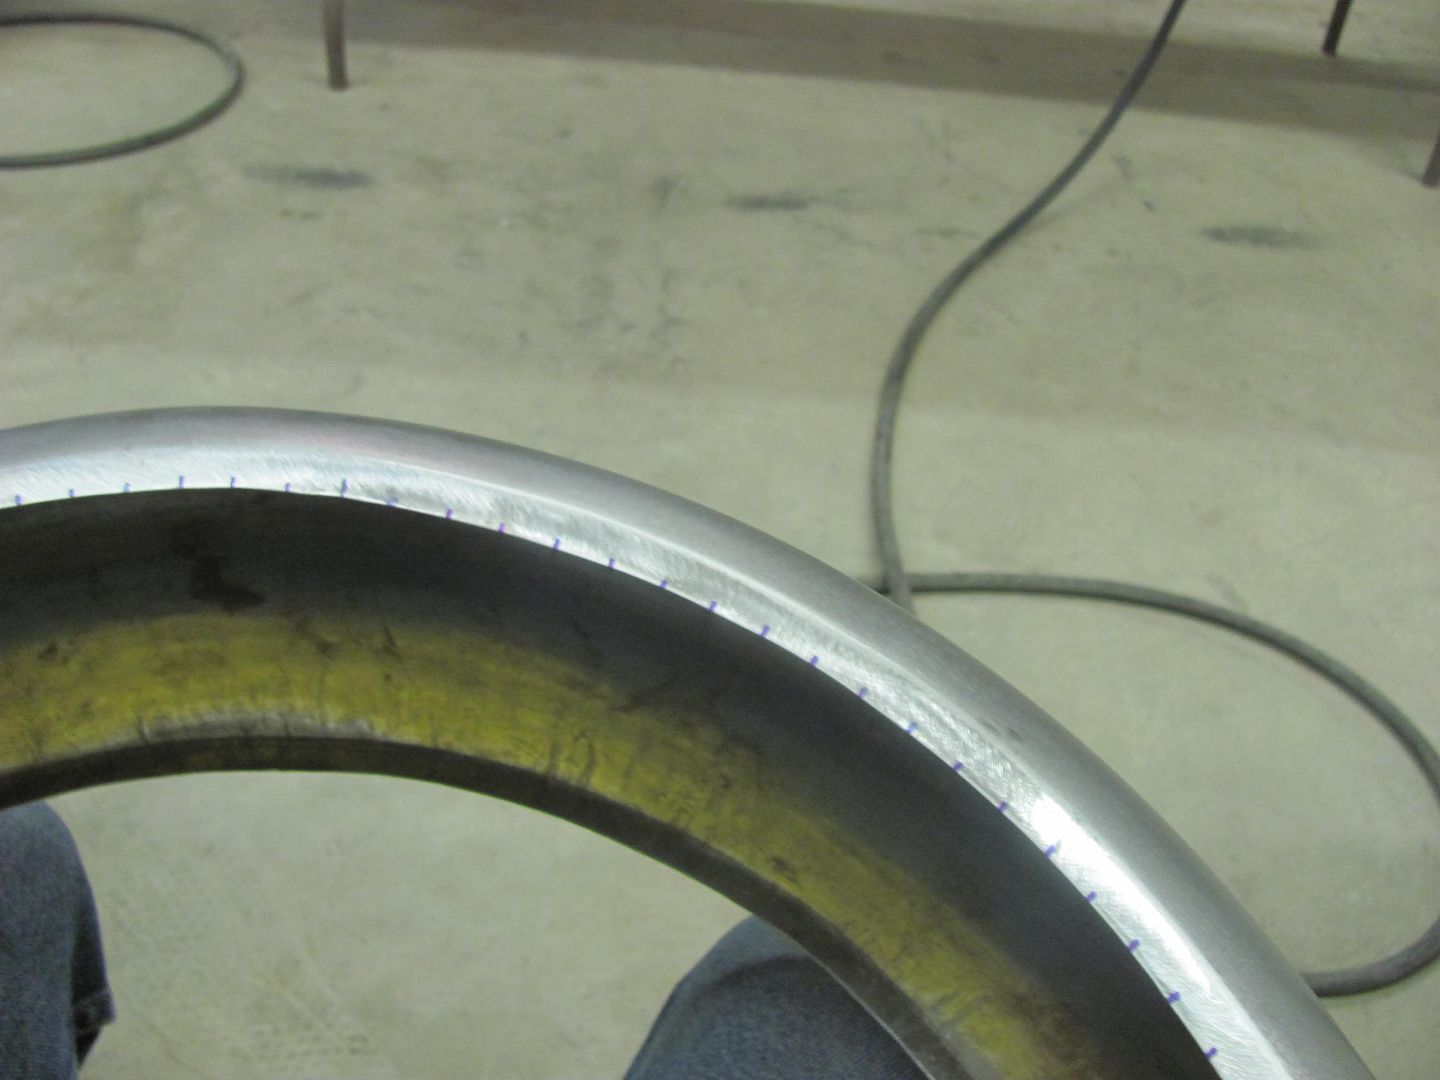 Finished edge...  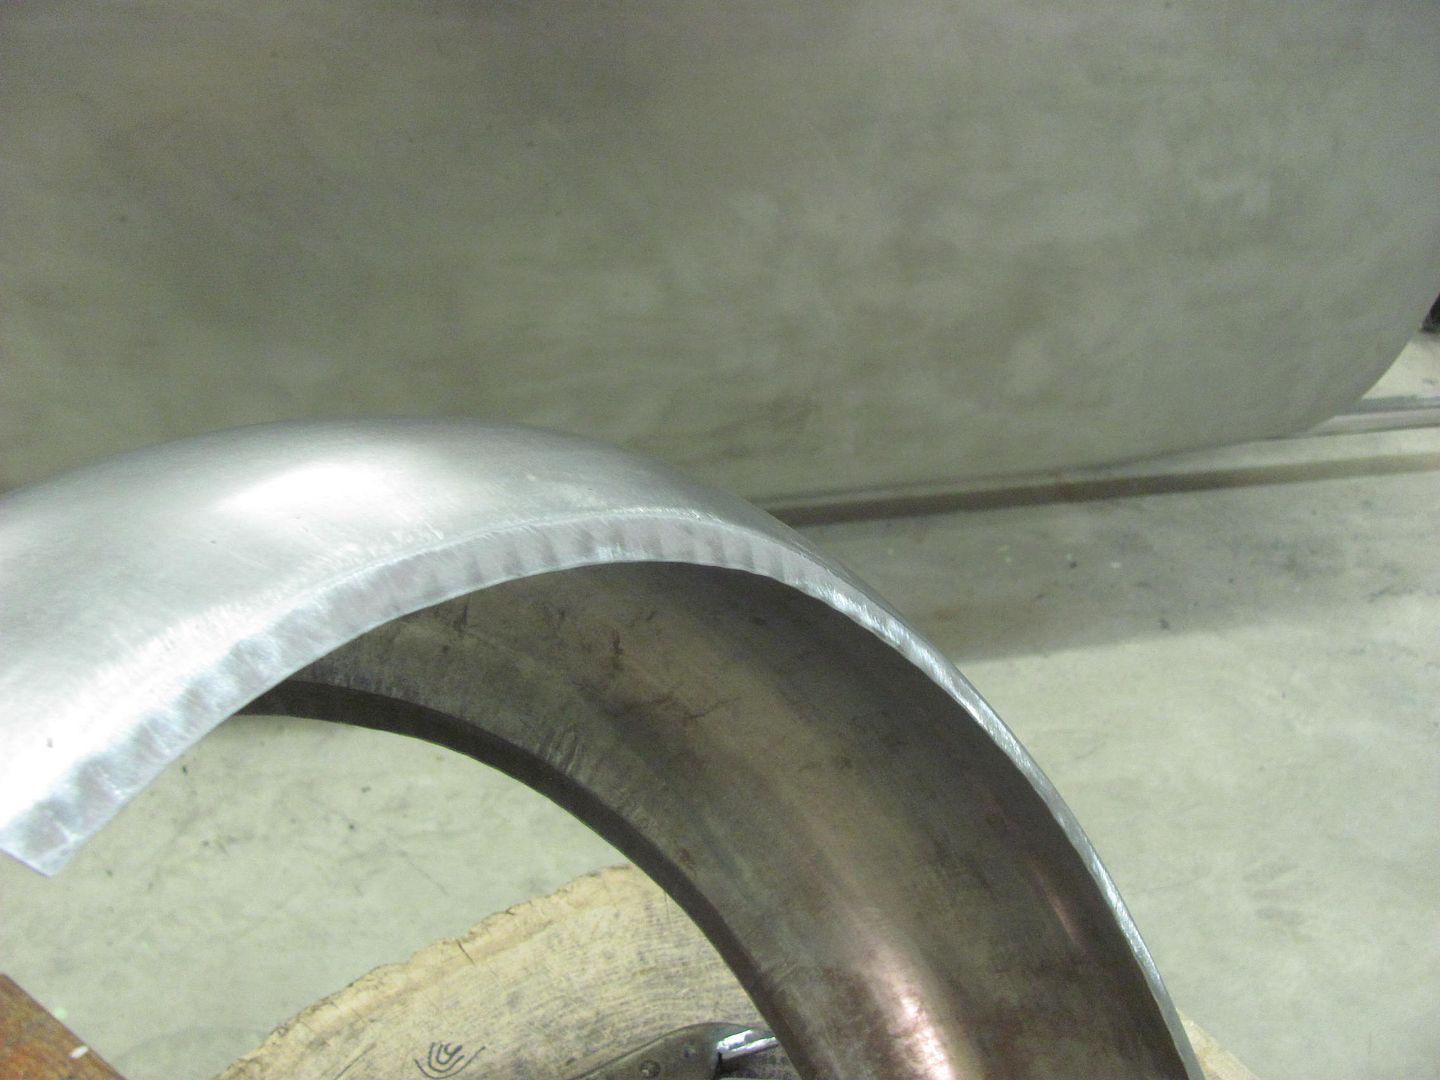 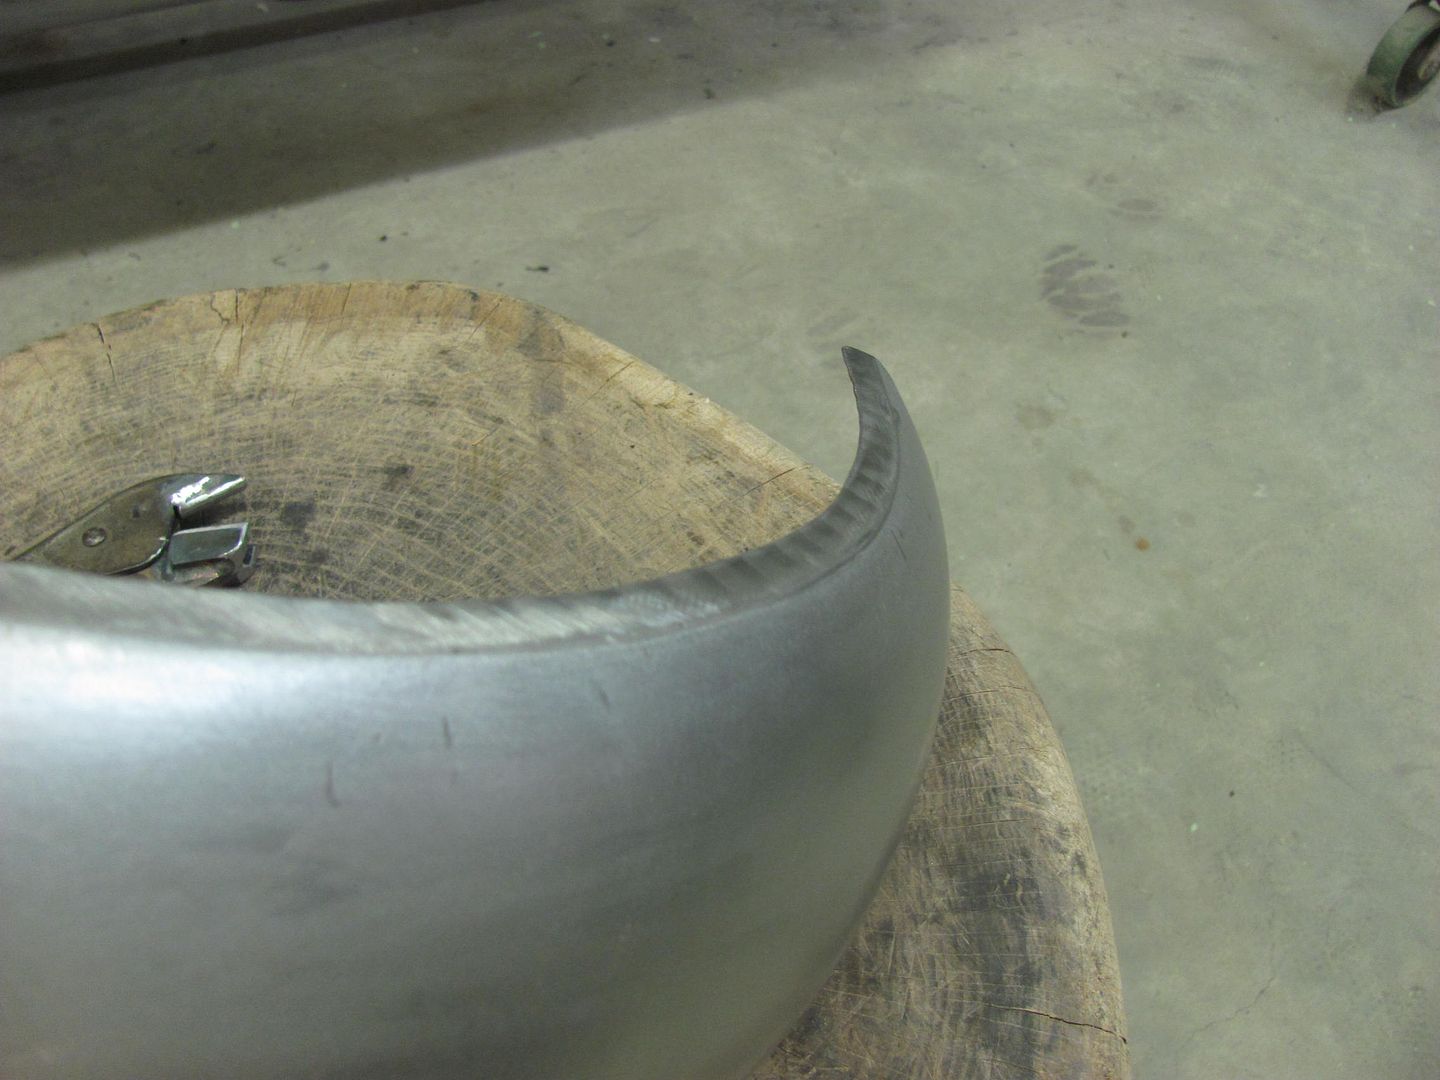 All ready for delivery!
__________________
Robert |
|
|
|
|
10-20-2015, 11:18 PM
|
#23 |
|
Registered User
Join Date: Jan 2013
Location: Leonardtown, MD
Posts: 1,637
|
Re: 55 Wagon Progress
Kyle was off tonight so I missed getting some in-process pictures.. Still cleaning up welds to get the body ready for media blasting. The rear brackets for the gas tank straps were welded in...
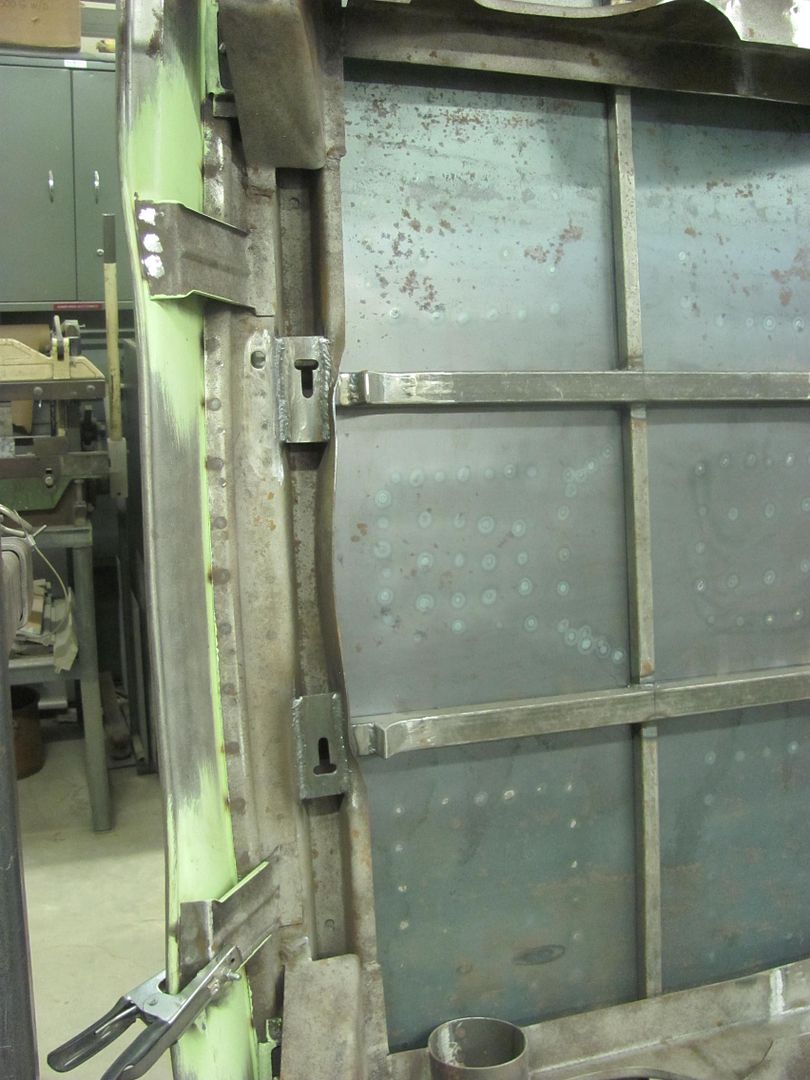 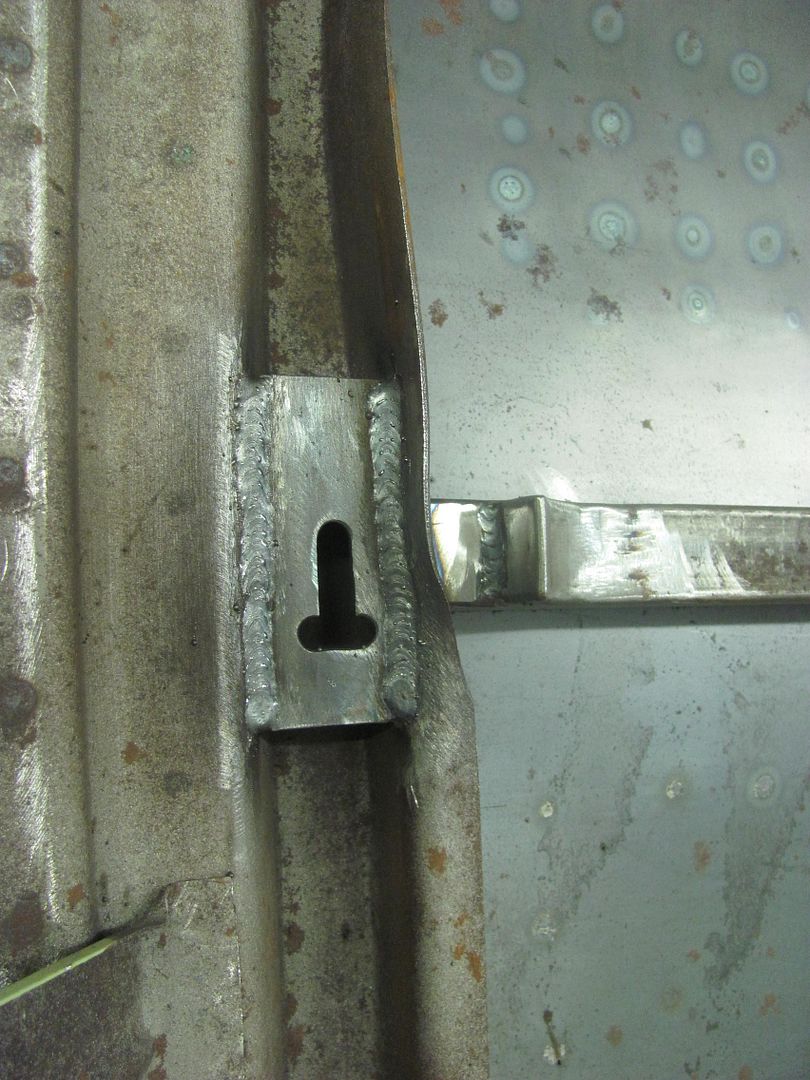 I also worked on the passenger quarter this evening. One of the biggest problems with welding a horizontal seam down through the middle of the quarter on a car is the tendency for the seam to cave inwards.. I had some help this evening using the Watervliet hammer and a 24" radius die..  Still have some highs and lows to address, but the weld seam is back out close to where it should be, and the Atlantic Ocean has calmed quite a bit.. 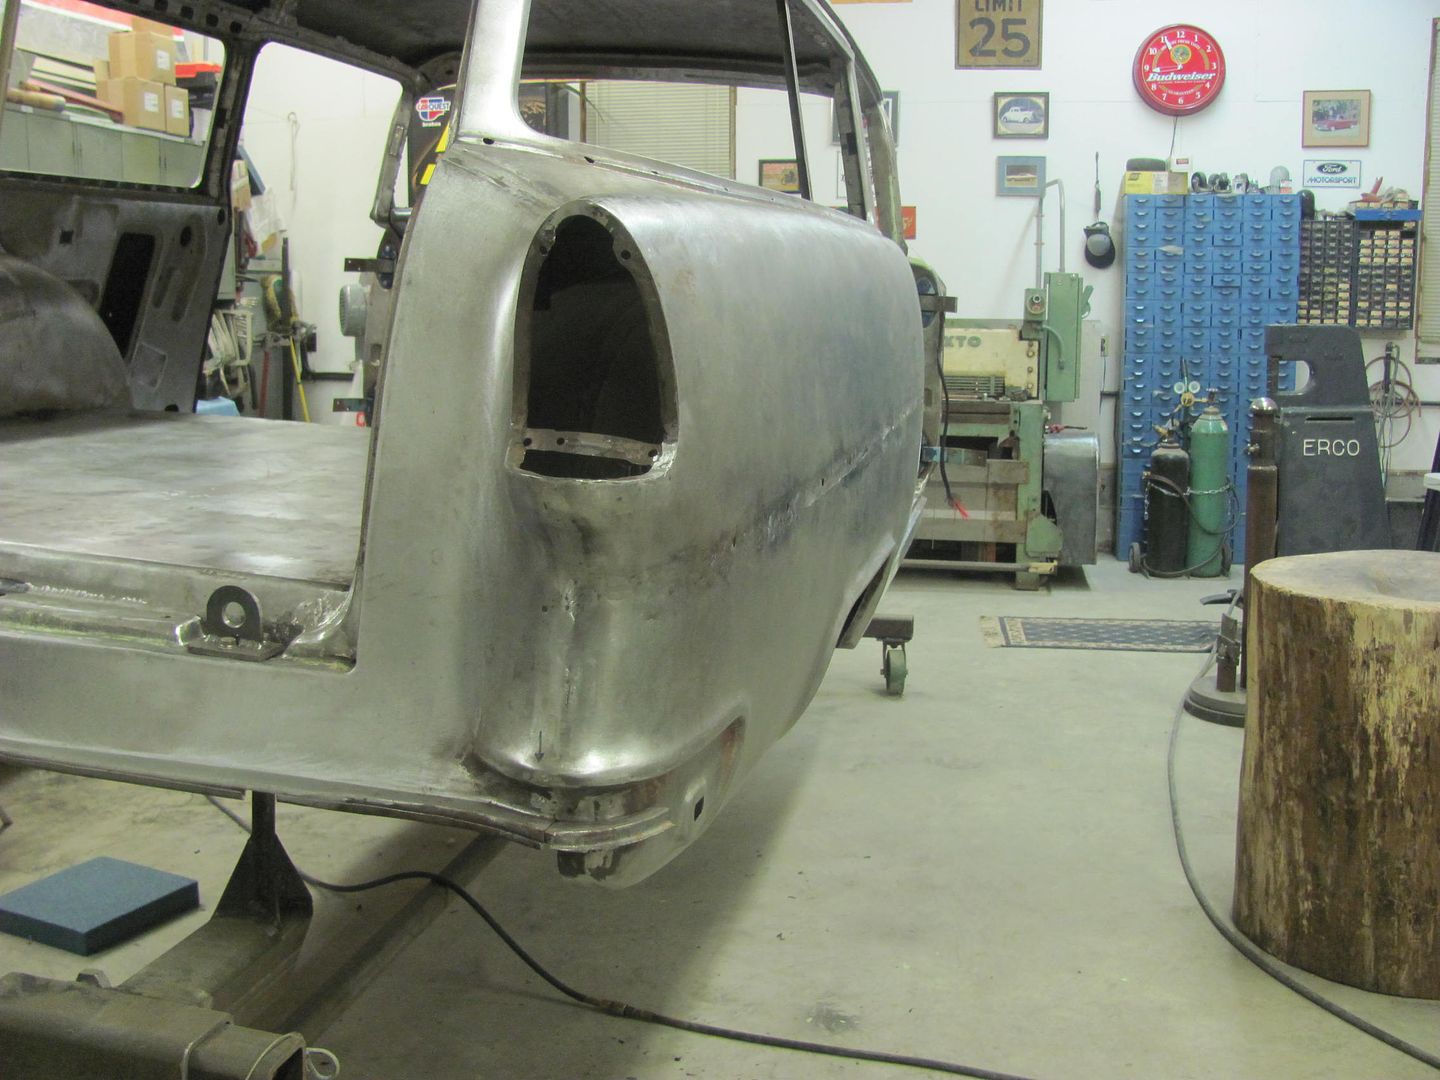 Next was to remove some creases in the cowl vent, seen here... 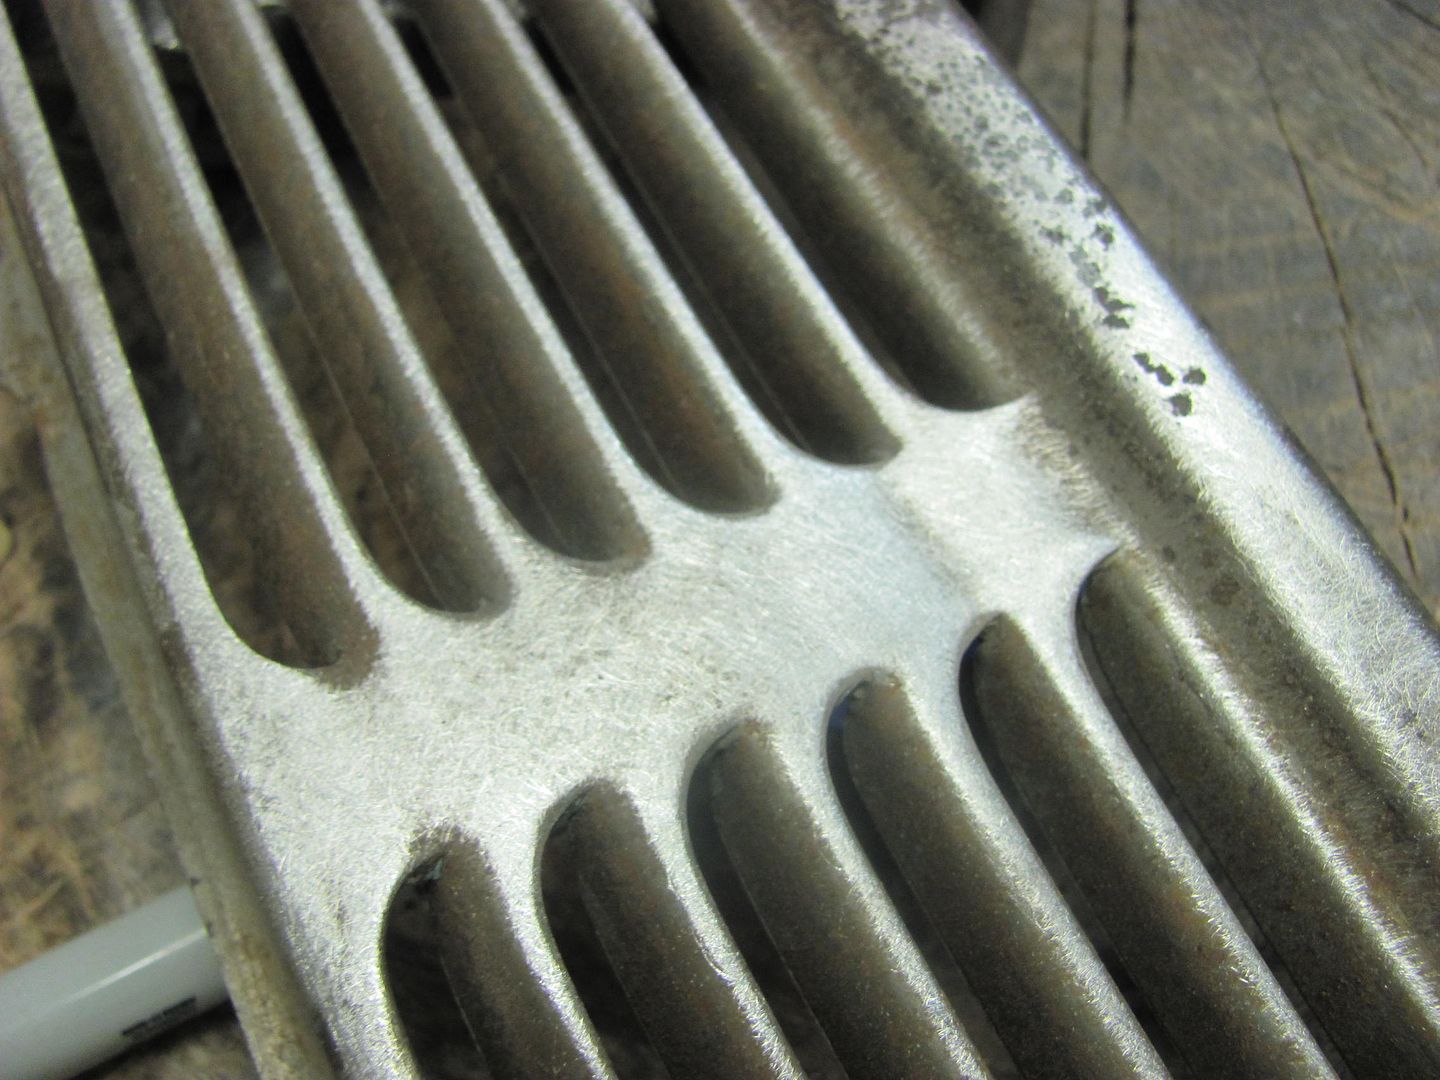 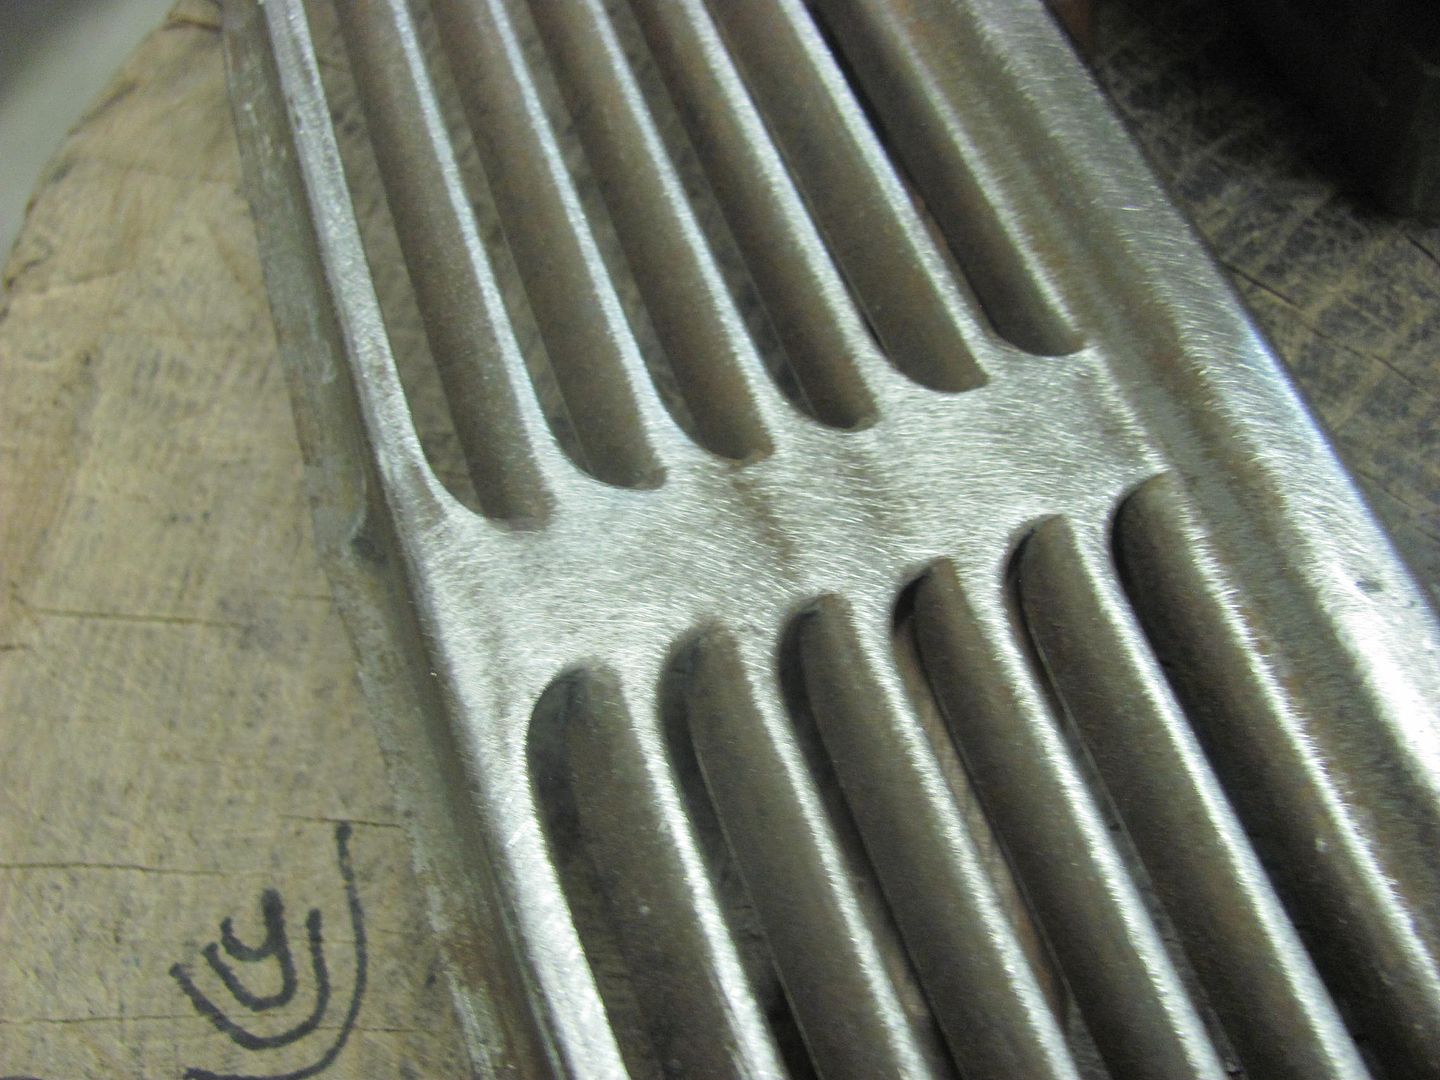 Looks like someone may have kneeled on it at some point in the last 60 years. I've found the easy way to "highlight" an area like this in need of repair is to use a piece of 80 grit on the back side:  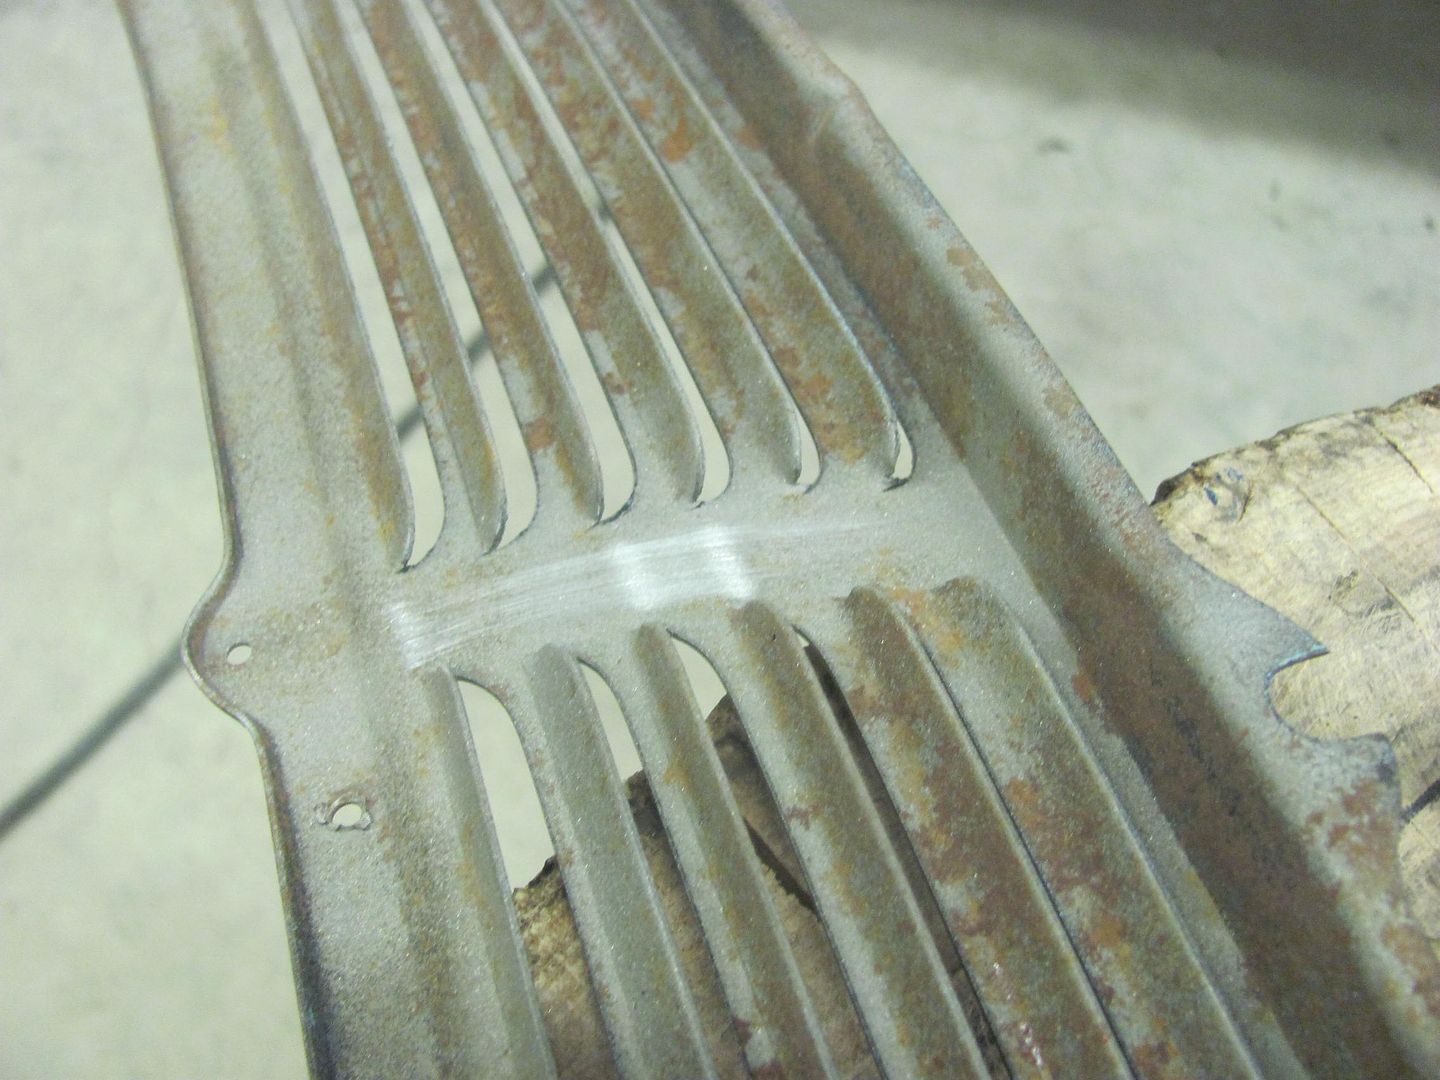 Got the creases out using the body hammer with the chisel tip, and forgot to get the finished pictures. Next time...
__________________
Robert |
|
|
|
|
10-20-2015, 11:48 PM
|
#24 |
|
6>8 Plugless........
 Join Date: Sep 2007
Location: Prairie City, Ia
Posts: 17,140
|
Re: 55 Wagon Progress
More great work! It all looks awesome from my chair.
__________________
Ryan 1972 Chevy Longhorn K30 Cheyenne Super, 359 Inline 6 cylinder, Auto Trans, Tilt, Diesel Tach/Vach, Buckets, Rare Rear 4-link and air ride option Build Thread 1972 GMC Sierra Grande Longhorn 4x4 1972 Chevy Cheyenne Super K20 Long Step side tilt, tach, tow hooks, AC, 350 4 speed 1972 C10 Suburban Custom Deluxe 1969 Chevy milk truck 1971 Camaro RS 5.3 BTR STG3 Cam Super T10 1940 Ford 354 Hemi 46RH Ford 9" on air ride huge project Tired of spark plugs? Check this out. |
|
|
|
|
10-22-2015, 10:40 PM
|
#25 |
|
Registered User
Join Date: Jan 2013
Location: Leonardtown, MD
Posts: 1,637
|
Re: 55 Wagon Progress
Thanks!
Here's the top side of the cowl vent..... 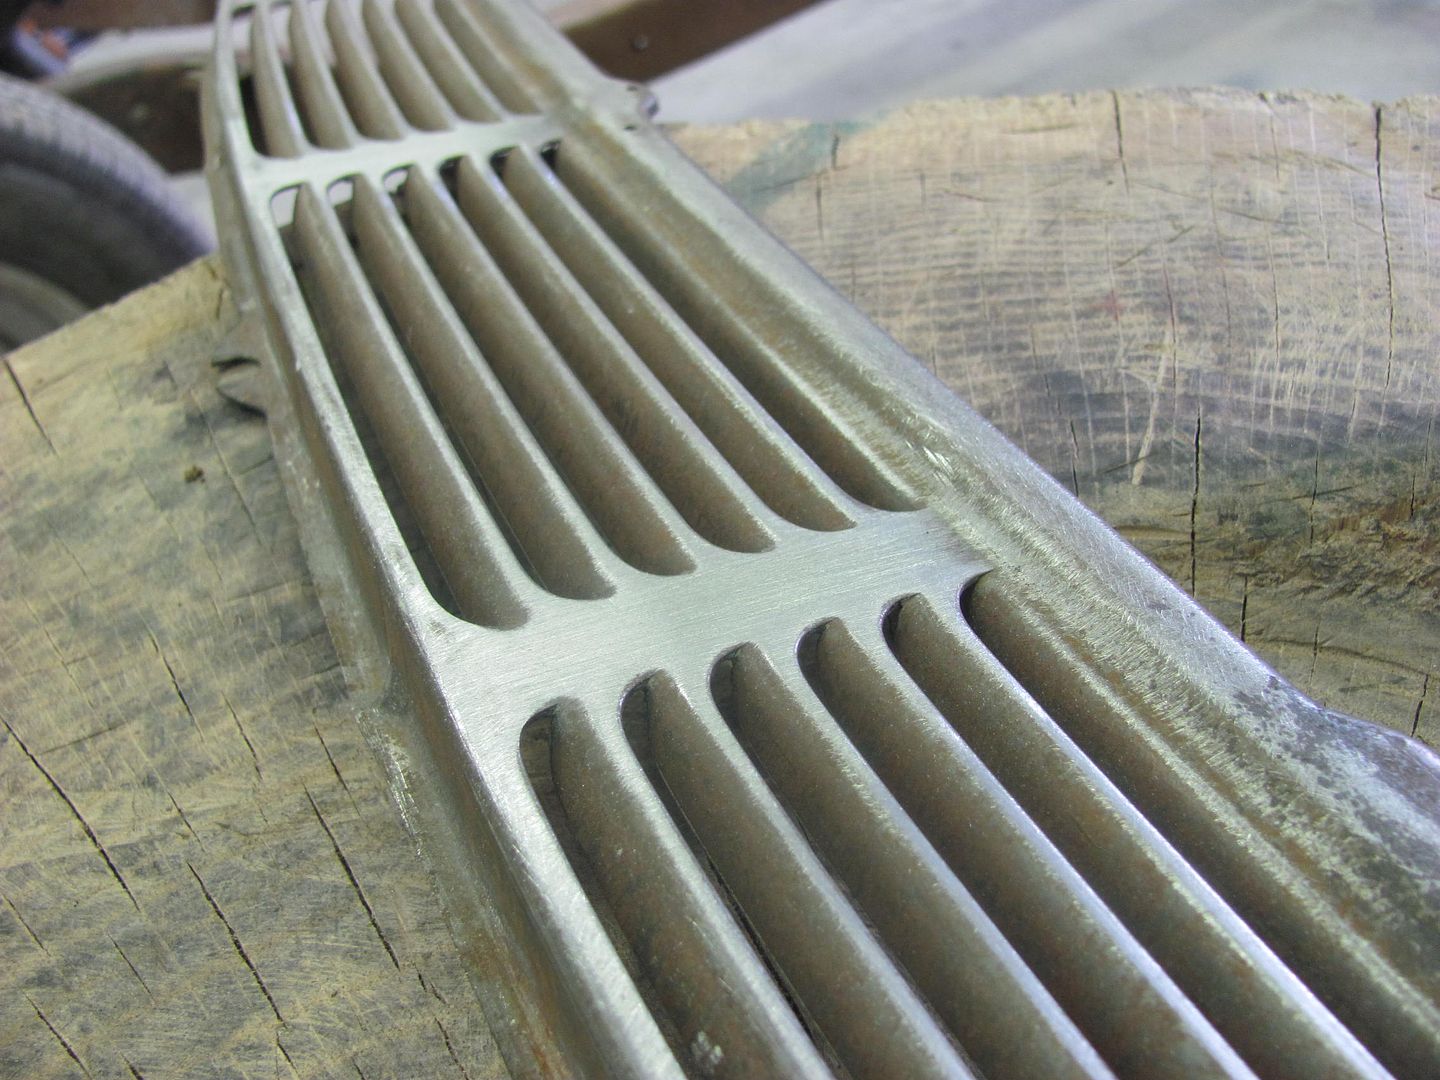 ....using this hammer.... 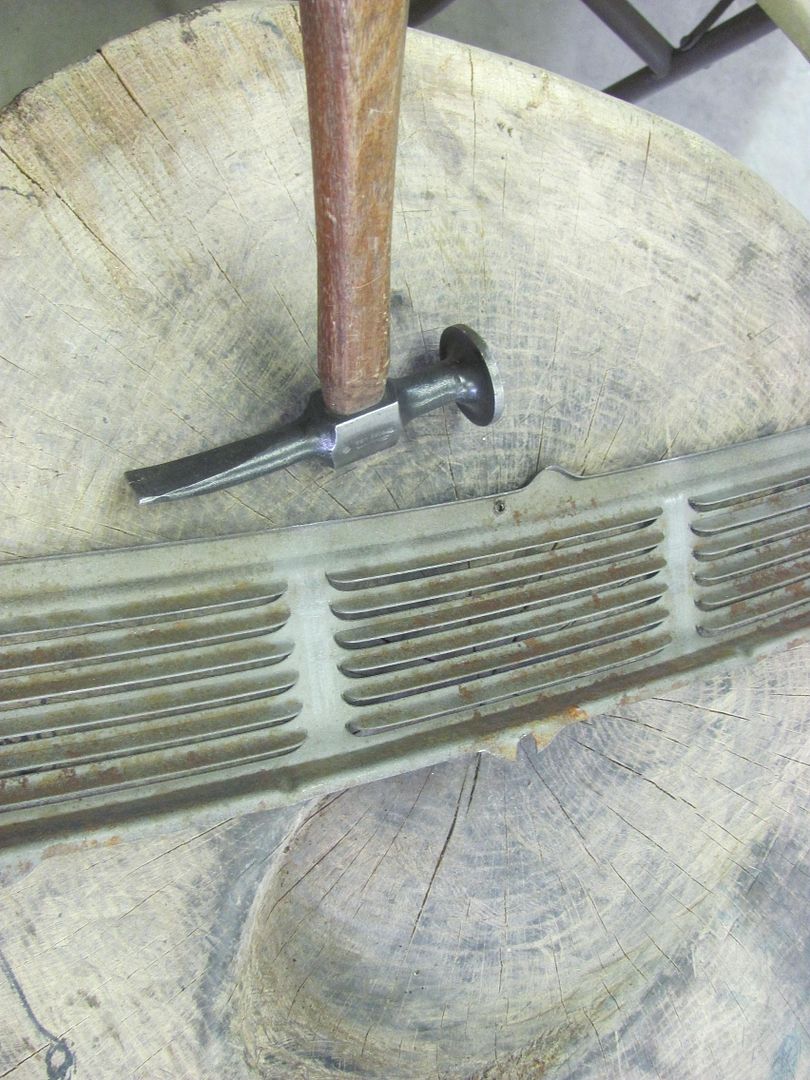 the marks on the back side show where the strikes were placed to remove the creases... 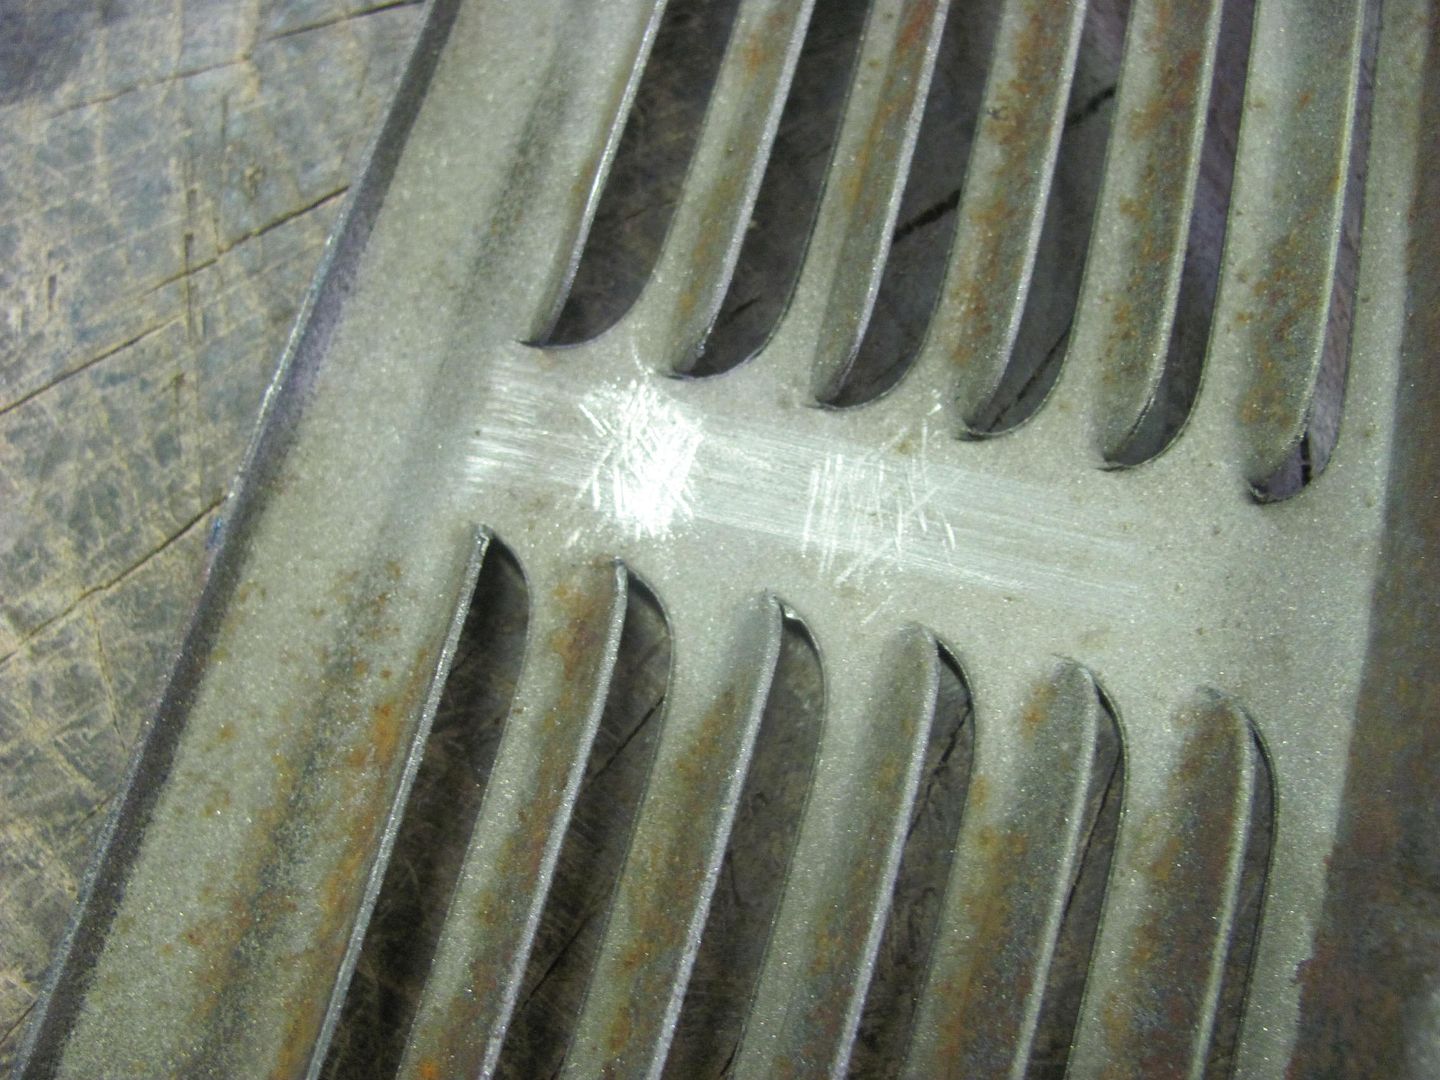 Kyle has the inner roof insulation about gone... 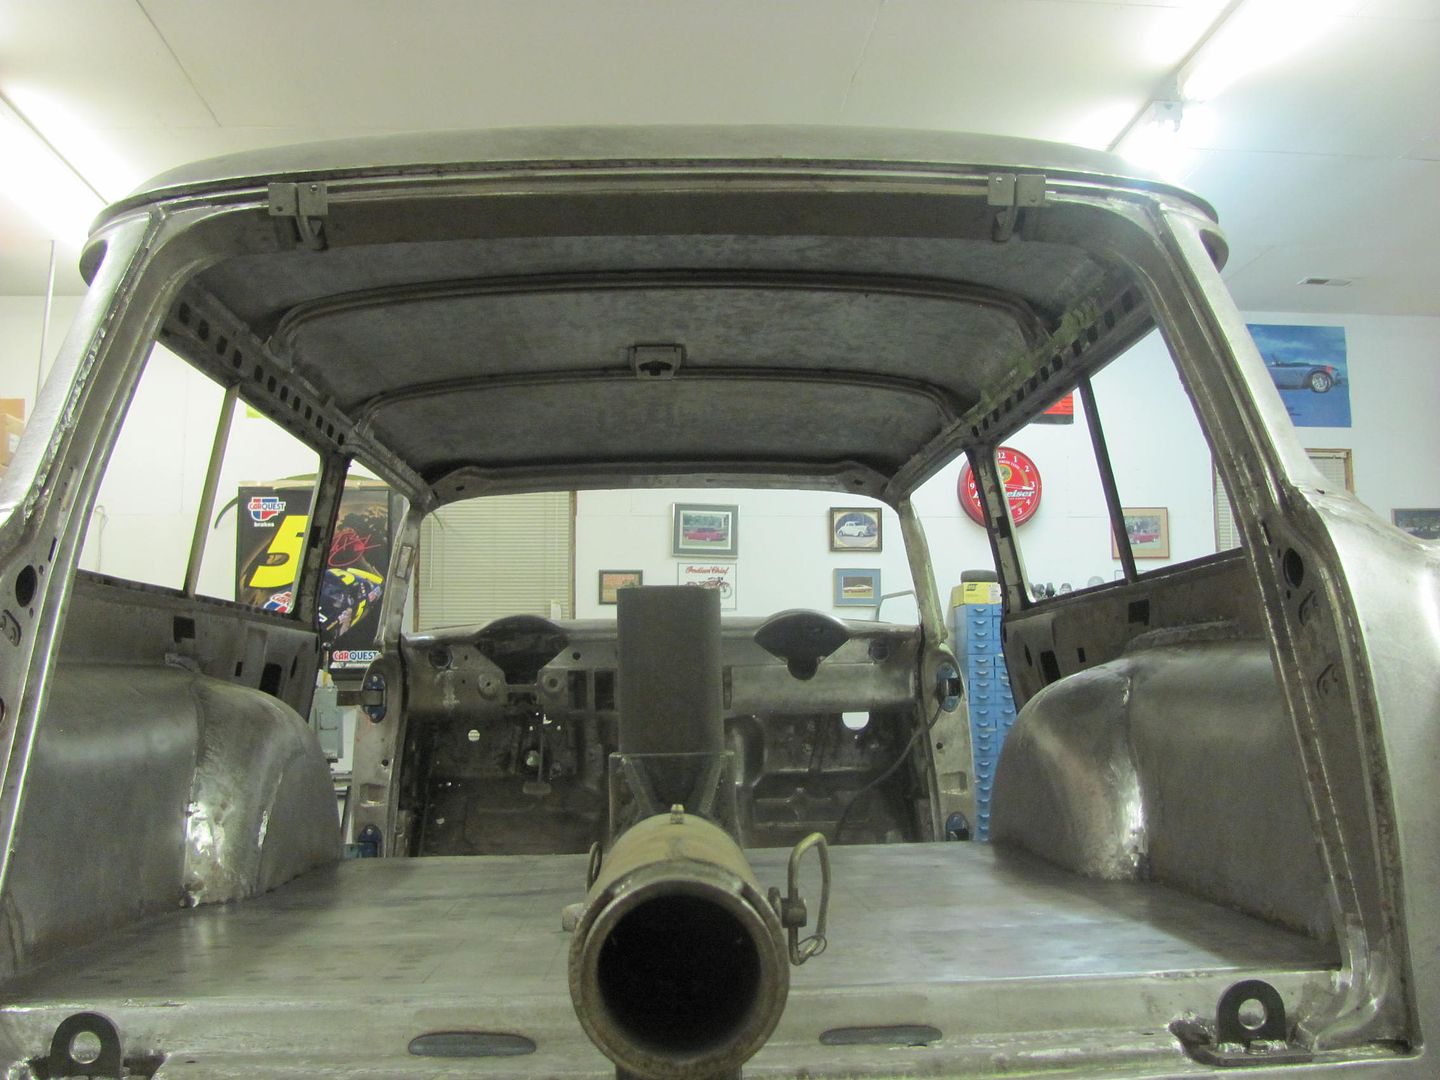
__________________
Robert |
|
|
|
 |
| Bookmarks |
|
|


 Hybrid Mode
