
 |
|
|
|
|
#1 |
|
Registered User
Join Date: Dec 2012
Location: Rochester, KENT
Posts: 10,565
|
Re: 64 C10 Stepside "Jaybird"
Without the shed that rest of the work cannot progress.
But we all know this, so keep at it, and of course keep sharing the progress. Good going Bret.
__________________
MY BUILD LINK: http://67-72chevytrucks.com/vboard/s...585901]Redneck Express - 1966 C10 Short Fleetside MY USA ROADTRIPS http://forum.retro-rides.org/thread/...2018-humdinger IF YOU CAN'T FIX IT WITH A HAMMER, YOU'VE GOT AN ELECTRICAL PROBLEM MATE. |
|
|

|
|
|
#2 |
|
Registered User
Join Date: Sep 2012
Location: Midway, NC
Posts: 3,275
|
Re: 64 C10 Stepside "Jaybird"
I'm not sure where I've been but I'm liking what I'm seeing. Cool truck.
__________________
http://67-72chevytrucks.com/vboard/s...d.php?t=581873 The low buck build threads. Check'em out! http://67-72chevytrucks.com/vboard/s...d.php?t=666022 My build thread Crossmembers CC |
|
|

|
|
|
#3 | ||
|
Registered User
Join Date: Sep 2012
Location: Leander, TX
Posts: 969
|
Re: 64 C10 Stepside "Jaybird"
Quote:
Quote:
So I got my rag joint today from Rockauto I have to say I am very impressed for what it cost. 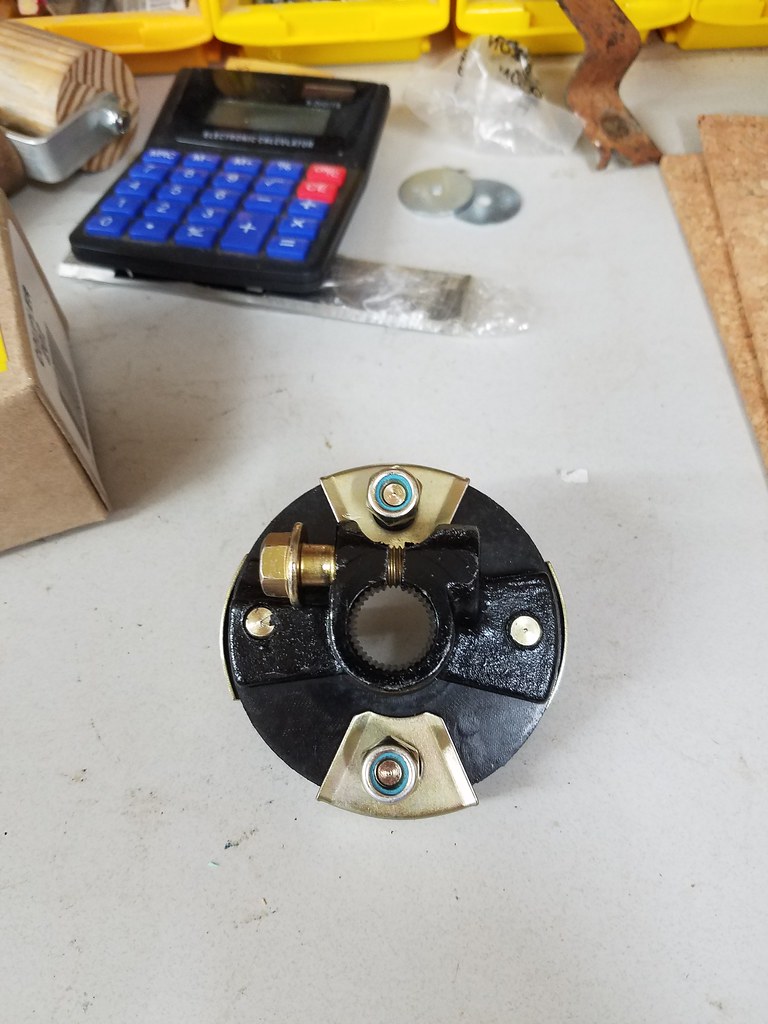 20160616_161500 by bjohnson388, on Flickr 20160616_161500 by bjohnson388, on Flickr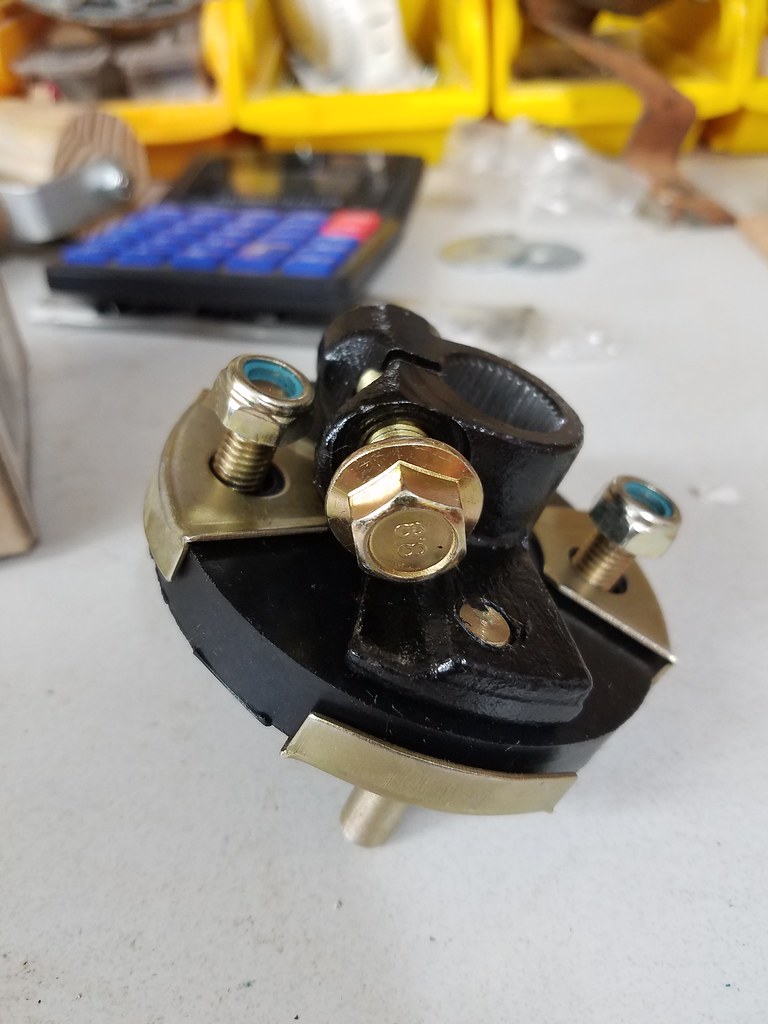 20160616_161506 by bjohnson388, on Flickr 20160616_161506 by bjohnson388, on FlickrThe wife and I painted 3 sides of the shed today before the heat beat us. I bought some Sherwin Williams paint and I am very impressed with how well it laid on.  20160616_134433 by bjohnson388, on Flickr 20160616_134433 by bjohnson388, on Flickr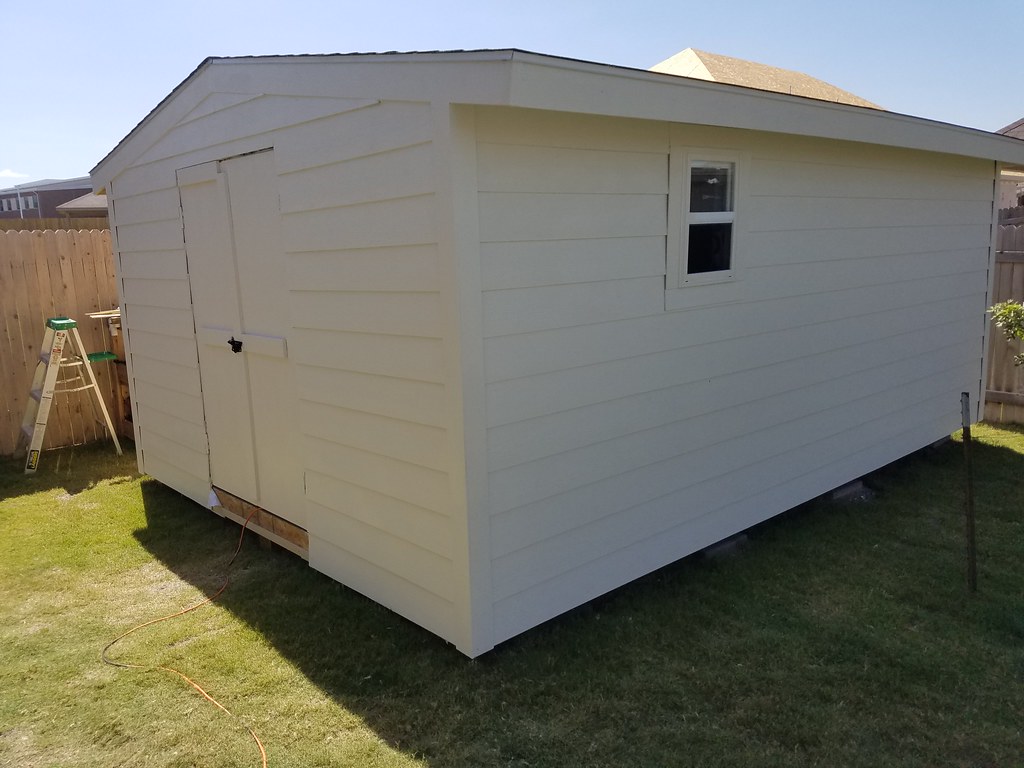 20160616_155859 by bjohnson388, on Flickr 20160616_155859 by bjohnson388, on Flickr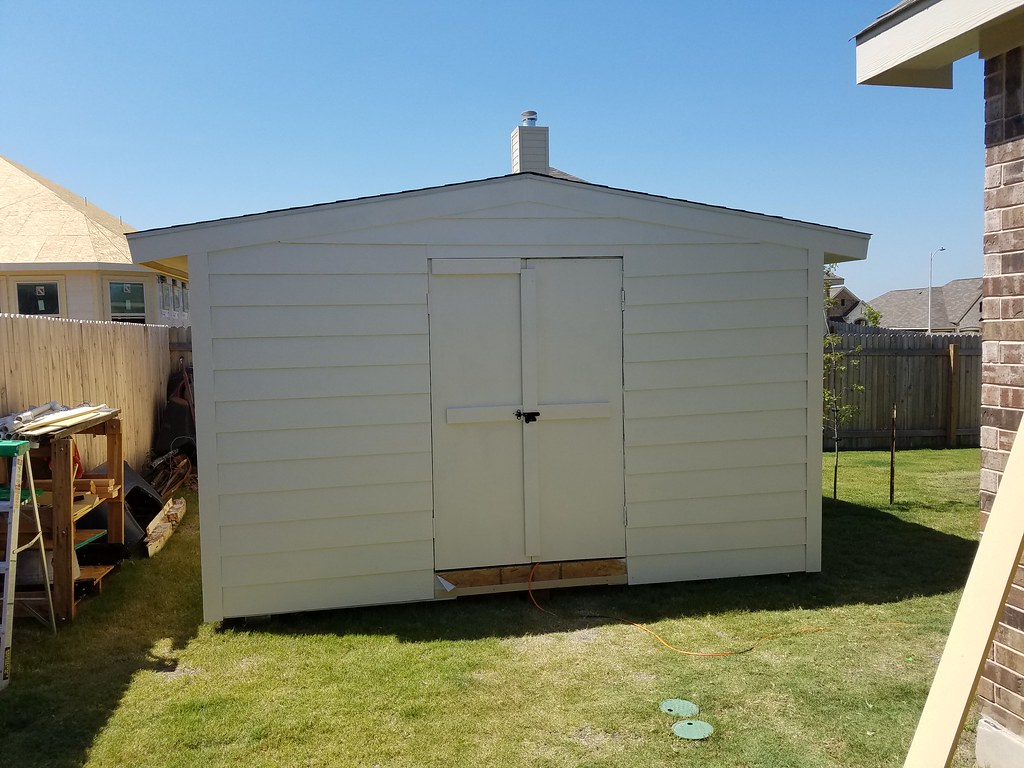 20160616_155911 by bjohnson388, on Flickr 20160616_155911 by bjohnson388, on FlickrTemp inside the shed is at least cooler than outside. With a fan blowing on you it will definitely be workable.  20160616_155812 by bjohnson388, on Flickr 20160616_155812 by bjohnson388, on FlickrBret
__________________
64' Build Thread http://67-72chevytrucks.com/vboard/s...d.php?t=586955 |
||
|
|

|
|
|
#4 |
|
Registered User
Join Date: Nov 2014
Location: Omaha
Posts: 558
|
Re: 64 C10 Stepside "Jaybird"

|
|
|

|
|
|
#5 |
|
Registered User
Join Date: Sep 2012
Location: Leander, TX
Posts: 969
|
Re: 64 C10 Stepside "Jaybird"
Put one of my new push on door seals on today and then test fitted the door to see how it fit. The seal went on perfect.
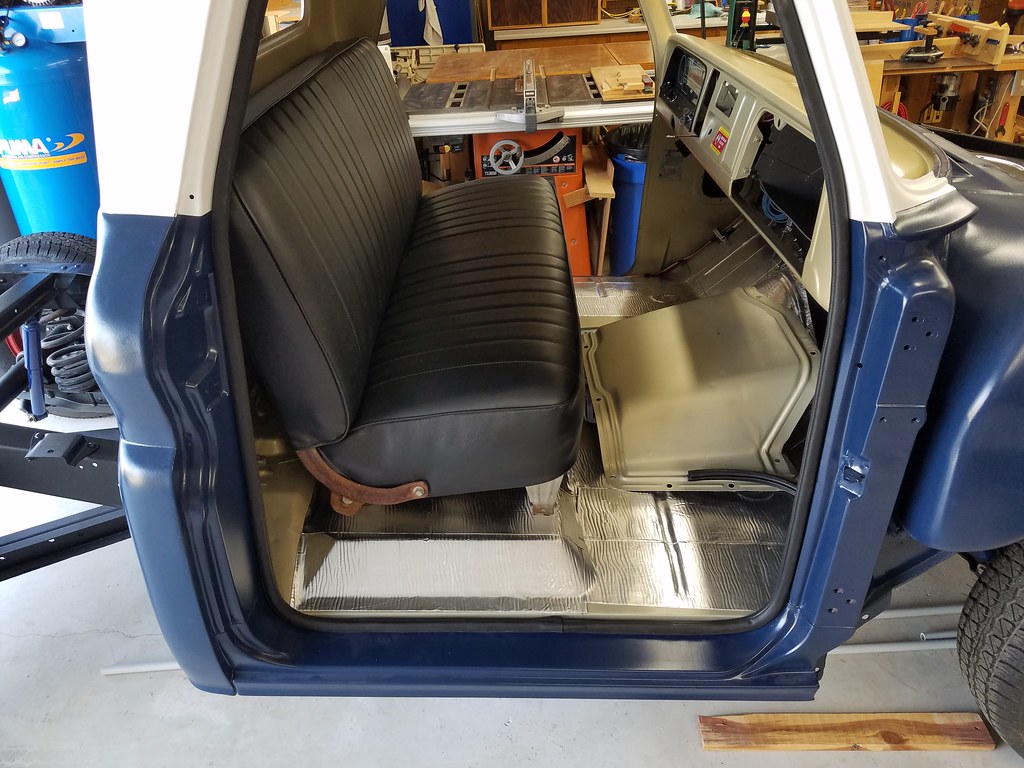 20160619_191537 by bjohnson388, on Flickr 20160619_191537 by bjohnson388, on Flickr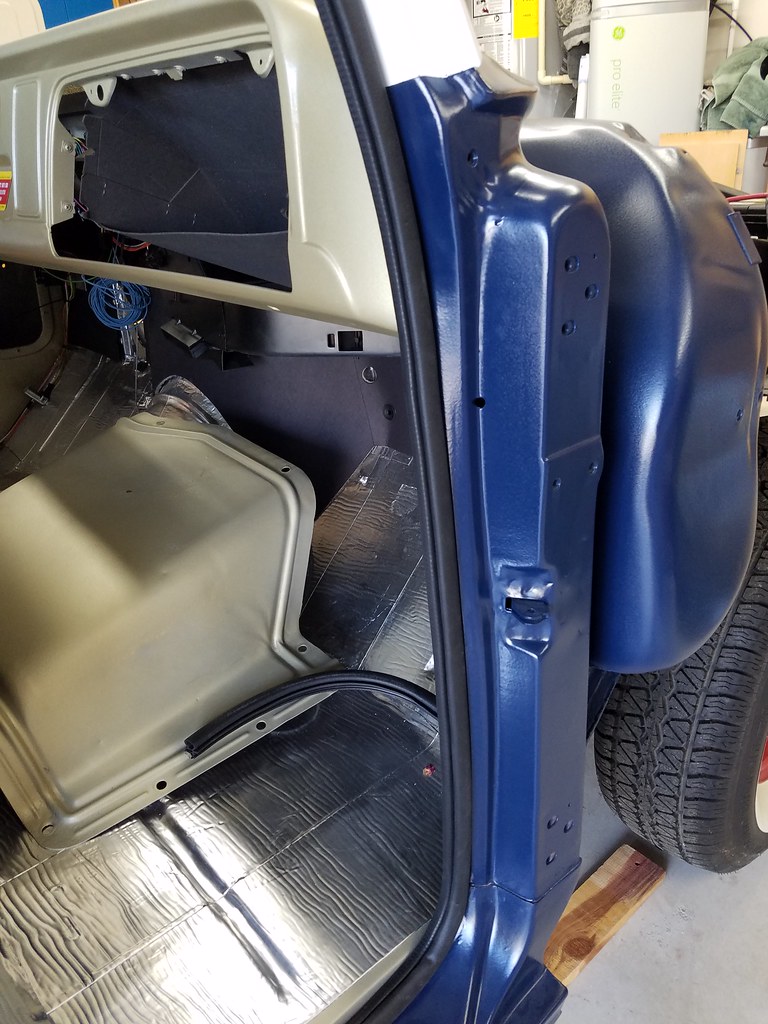 20160619_191545 by bjohnson388, on Flickr 20160619_191545 by bjohnson388, on Flickr 20160619_191623 by bjohnson388, on Flickr 20160619_191623 by bjohnson388, on Flickr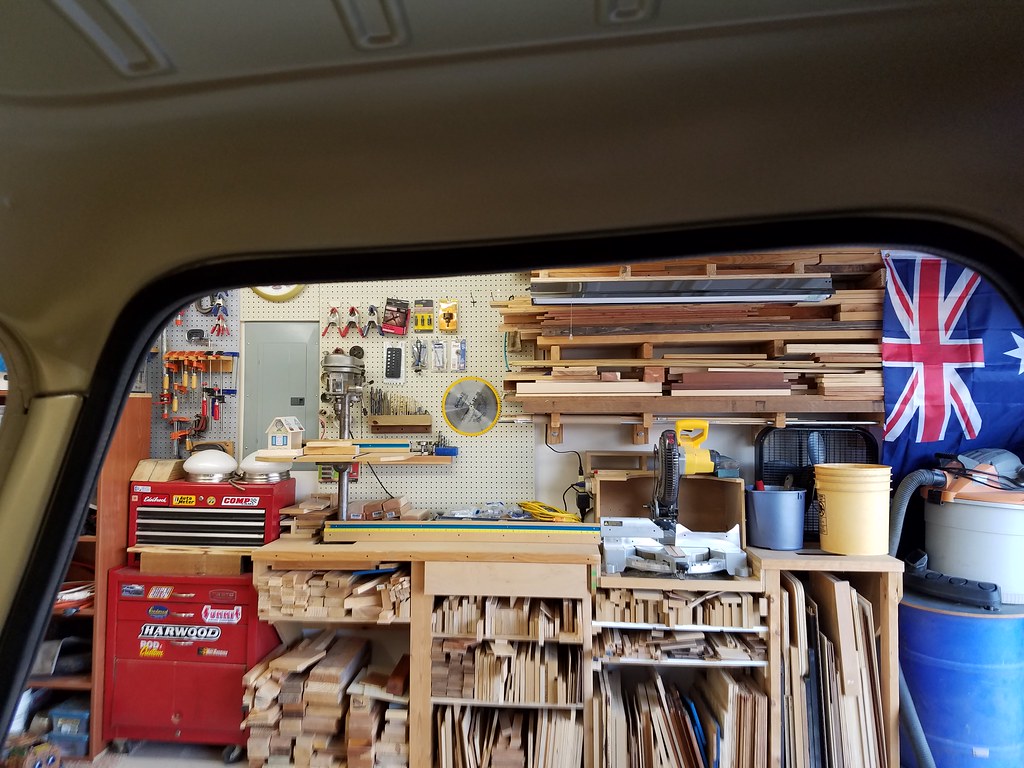 20160619_191642 by bjohnson388, on Flickr 20160619_191642 by bjohnson388, on FlickrI've got a lot of work to do on this fender. Not only the rust but it was hit in the fender well and buckled and pulled this back edge in. 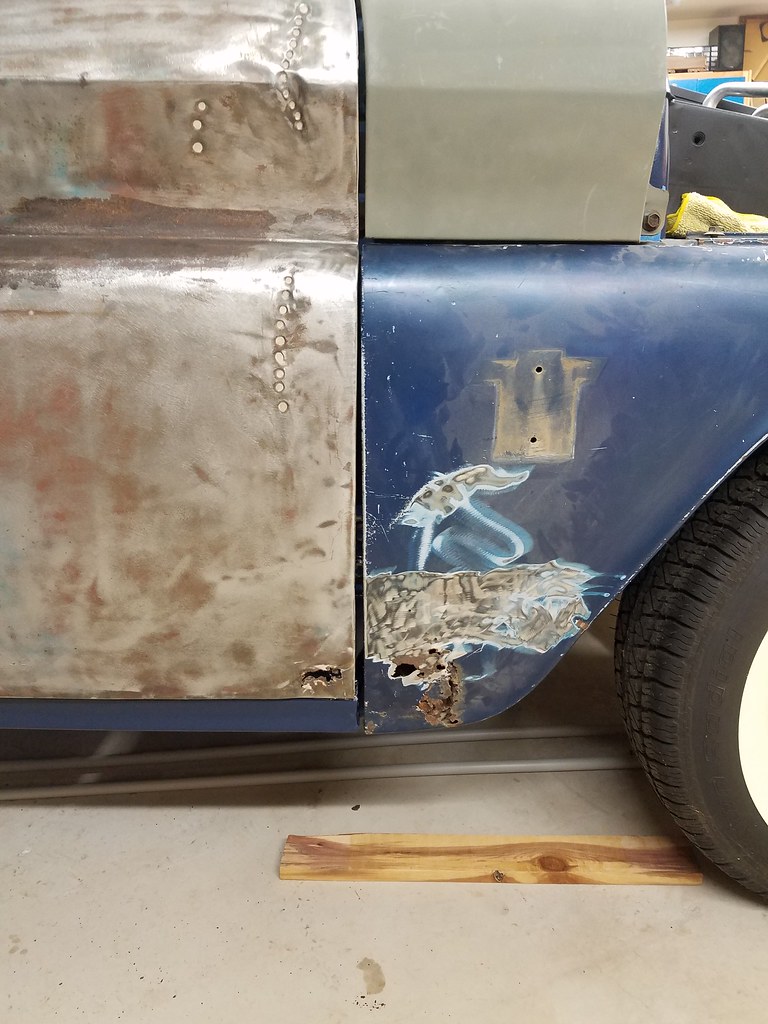 20160619_205423 by bjohnson388, on Flickr 20160619_205423 by bjohnson388, on FlickrAll my other gaps look pretty good not perfect but close enough for me. 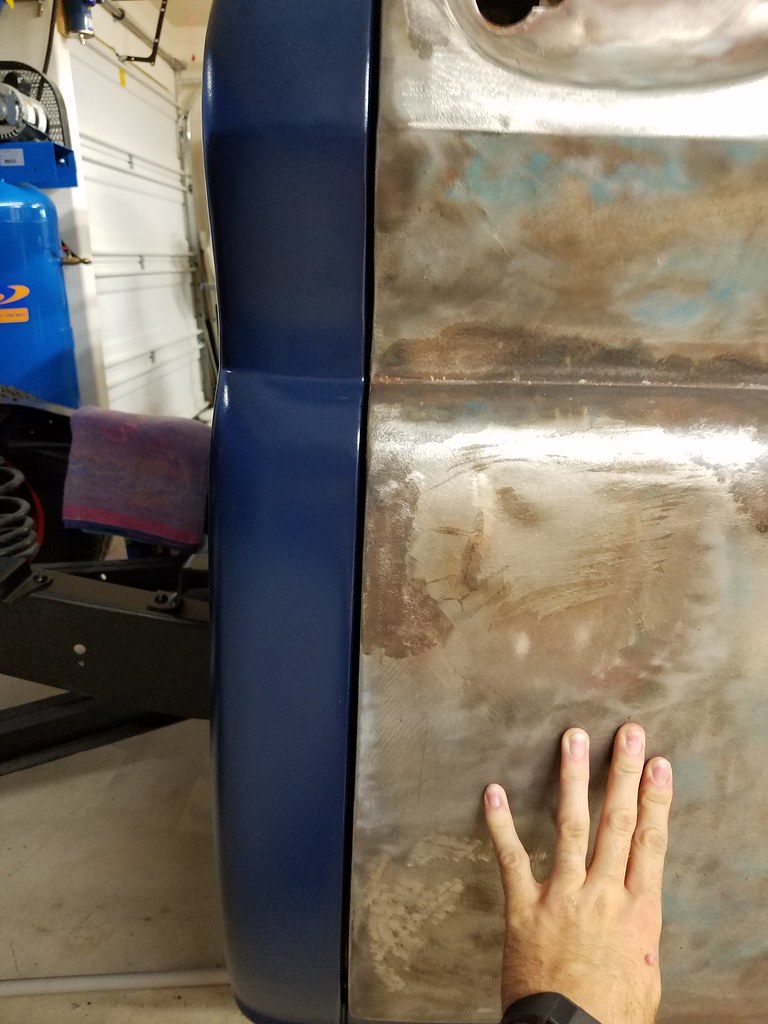 20160619_205455 by bjohnson388, on Flickr 20160619_205455 by bjohnson388, on Flickr 20160619_205459 by bjohnson388, on Flickr 20160619_205459 by bjohnson388, on Flickr 20160619_205702 by bjohnson388, on Flickr 20160619_205702 by bjohnson388, on FlickrHope to start on the door this weekend. I have all the parts to finish out so that is my motivation to get the doors done. Bret
__________________
64' Build Thread http://67-72chevytrucks.com/vboard/s...d.php?t=586955 |
|
|

|
|
|
#6 |
|
Registered User
Join Date: Nov 2014
Location: Omaha
Posts: 558
|
Re: 64 C10 Stepside "Jaybird"

|
|
|

|
|
|
#7 |
|
Senior Member
 Join Date: Oct 2009
Location: Fayetteville, Arkansas
Posts: 1,923
|
Re: 64 C10 Stepside "Jaybird"
gaps look pretty good to me, as good or better than when they rolled off the assembly line. that would be a tough fix on the stretched fender. can you get another from salvage somewhere?
love the wheel tire combo… gonna be a beautiful truck. |
|
|

|
|
|
#8 | |
|
Registered User
Join Date: Sep 2012
Location: Leander, TX
Posts: 969
|
Re: 64 C10 Stepside "Jaybird"
I have some updates to share. Been working on the doors and painted the grille and white part of the grille support. Also painted a bunch of interior parts.
Quote:
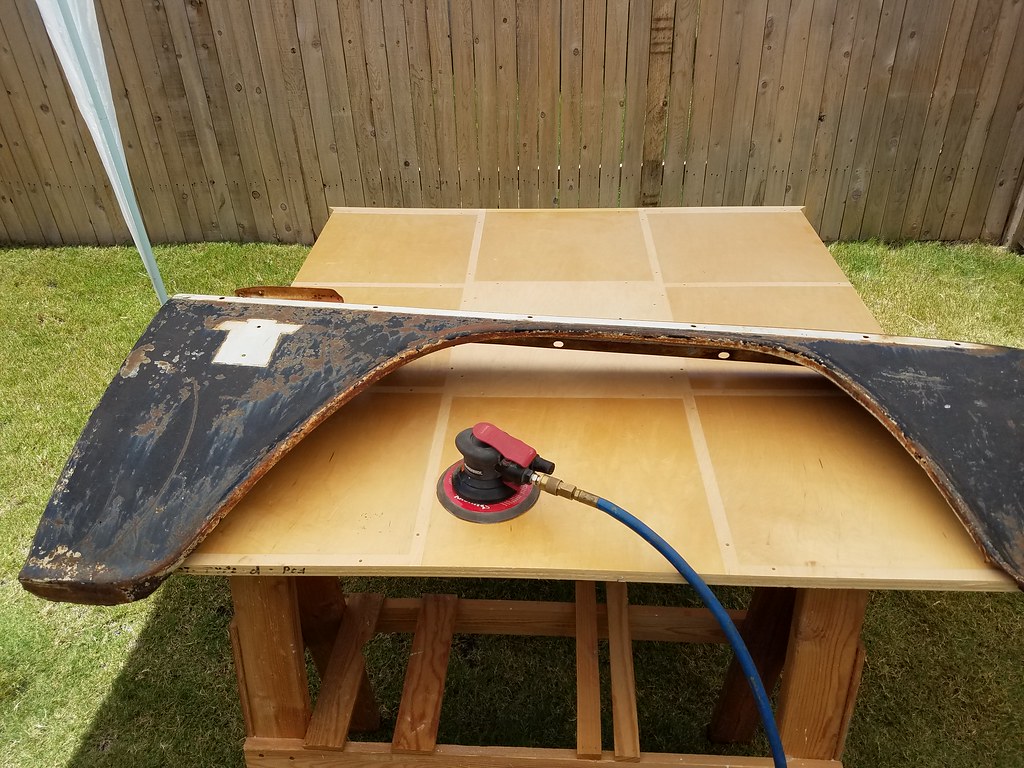 20160715_133437 by bjohnson388, on Flickr 20160715_133437 by bjohnson388, on Flickr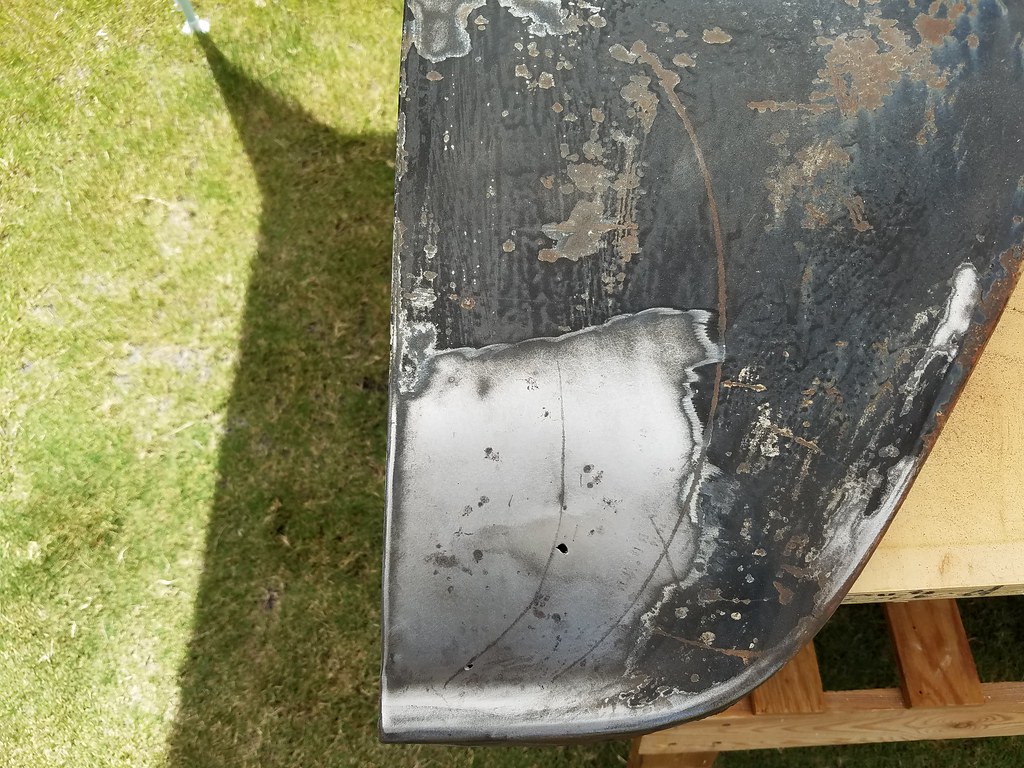 20160715_135850 by bjohnson388, on Flickr 20160715_135850 by bjohnson388, on Flickr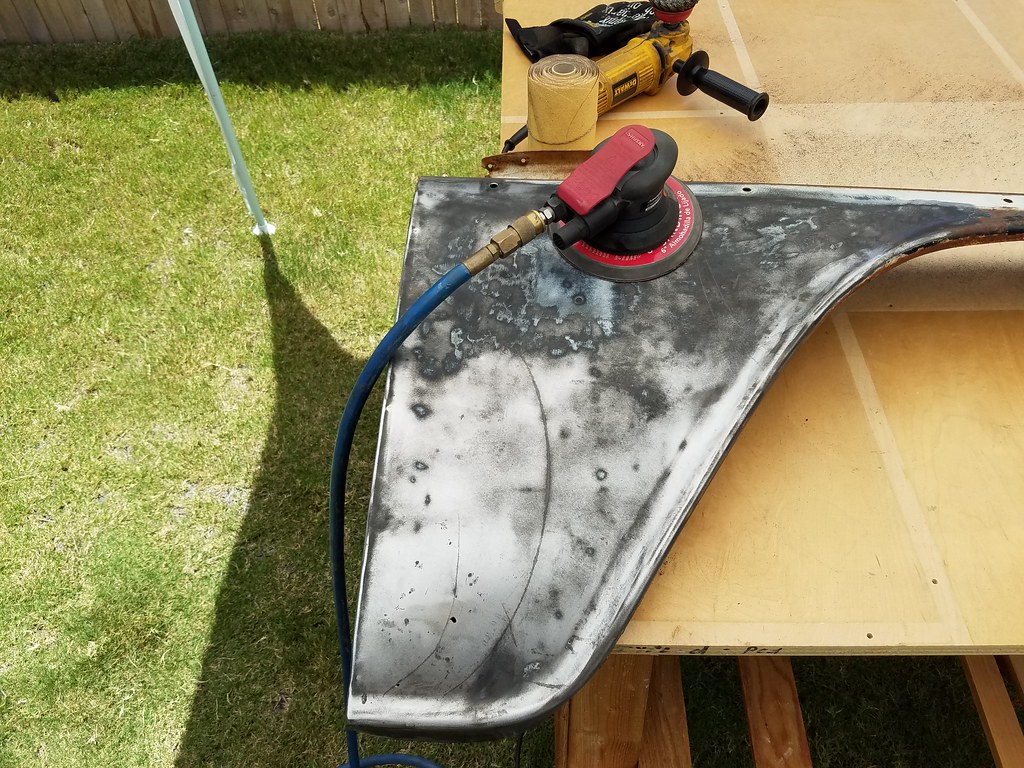 20160715_141616 by bjohnson388, on Flickr 20160715_141616 by bjohnson388, on Flickr 20160715_143411 by bjohnson388, on Flickr 20160715_143411 by bjohnson388, on FlickrNext up fixed the rust on bottom corner of passenger door and put some metal 2 metal over the smile face after I welded all the holes some one left after pulling the dent. Also some metal 2 metal on the inside bottom edge that was a beat up. No rust just ugly. 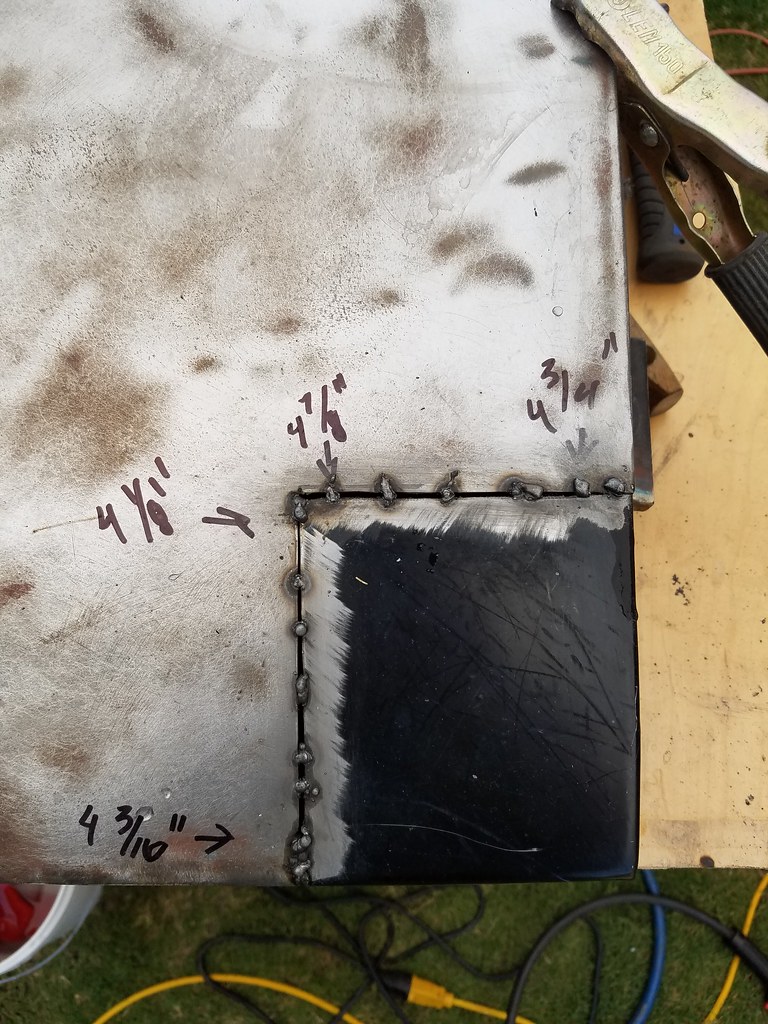 20160716_123809 by bjohnson388, on Flickr 20160716_123809 by bjohnson388, on Flickr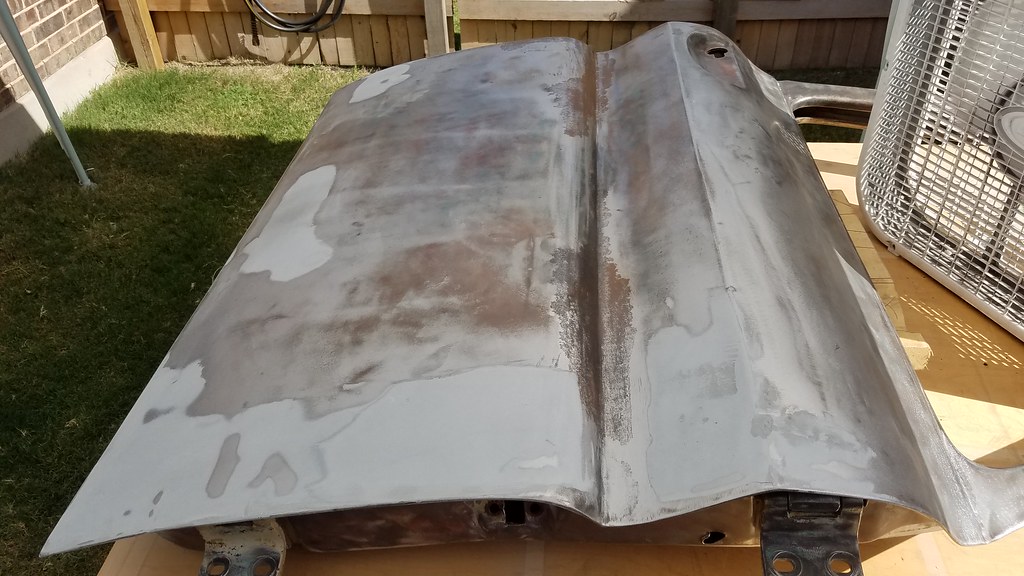 20160724_165420 by bjohnson388, on Flickr 20160724_165420 by bjohnson388, on Flickr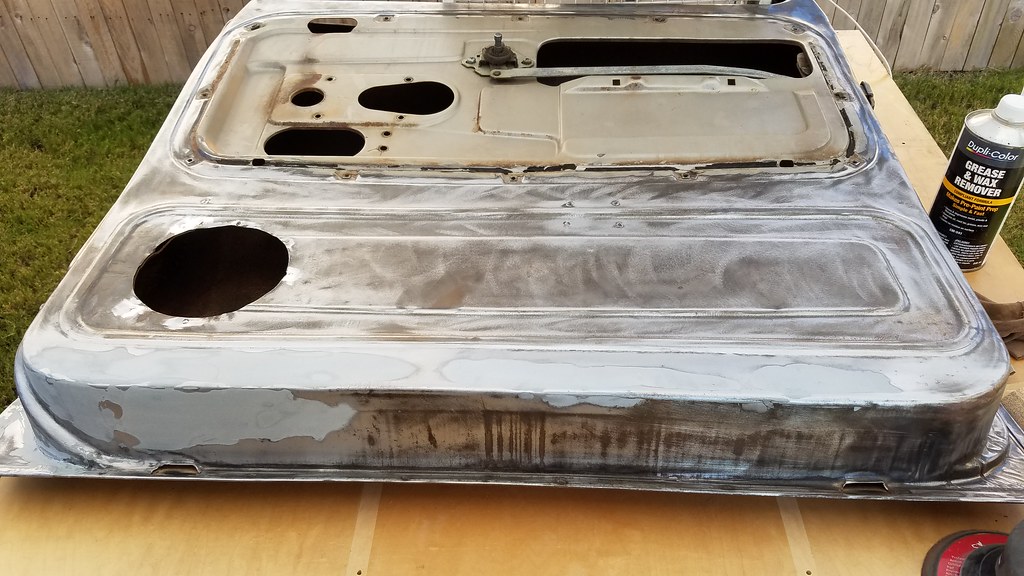 20160724_091050 by bjohnson388, on Flickr 20160724_091050 by bjohnson388, on Flickr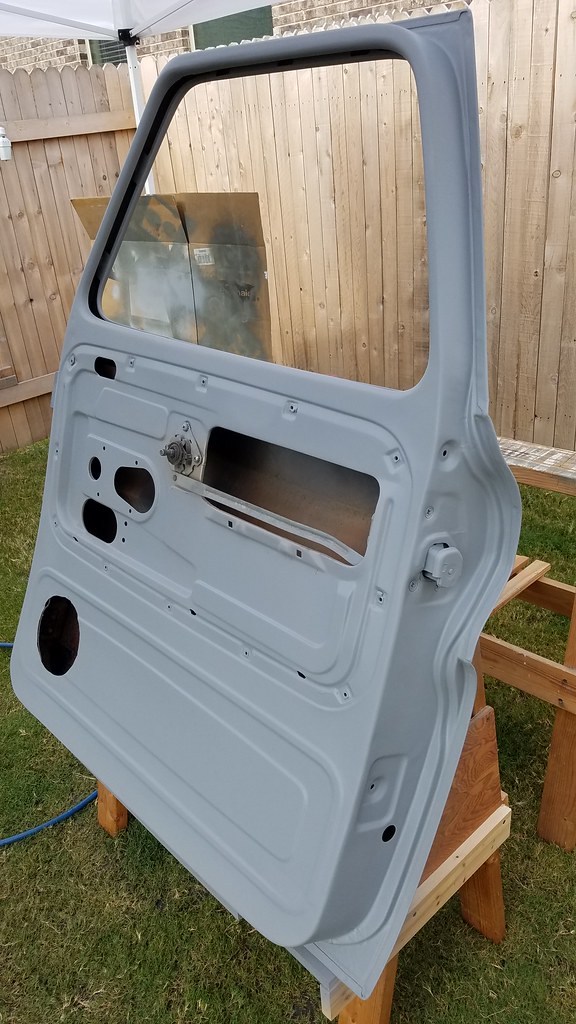 20160726_094953 by bjohnson388, on Flickr 20160726_094953 by bjohnson388, on Flickr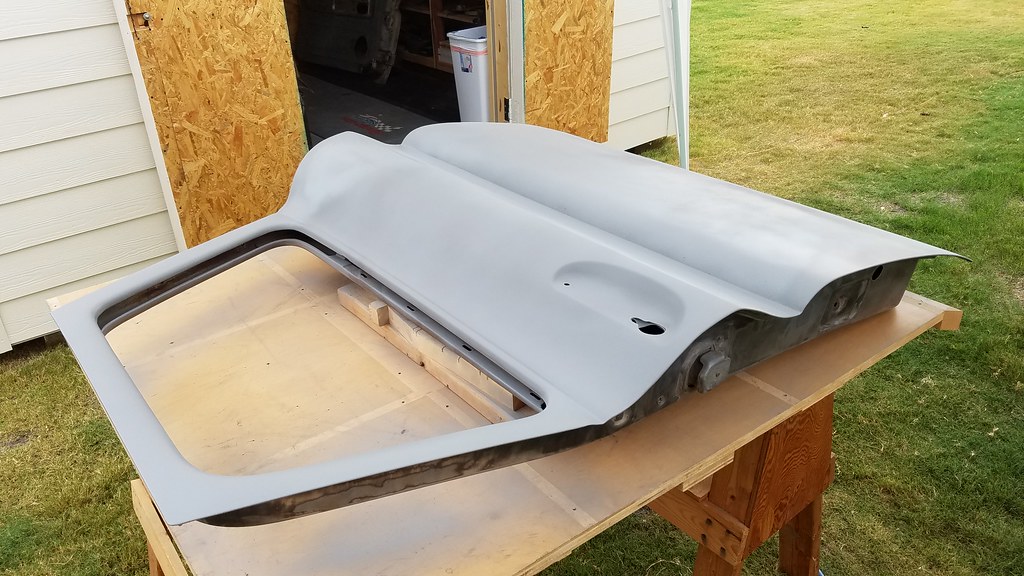 20160725_082421 by bjohnson388, on Flickr 20160725_082421 by bjohnson388, on Flickr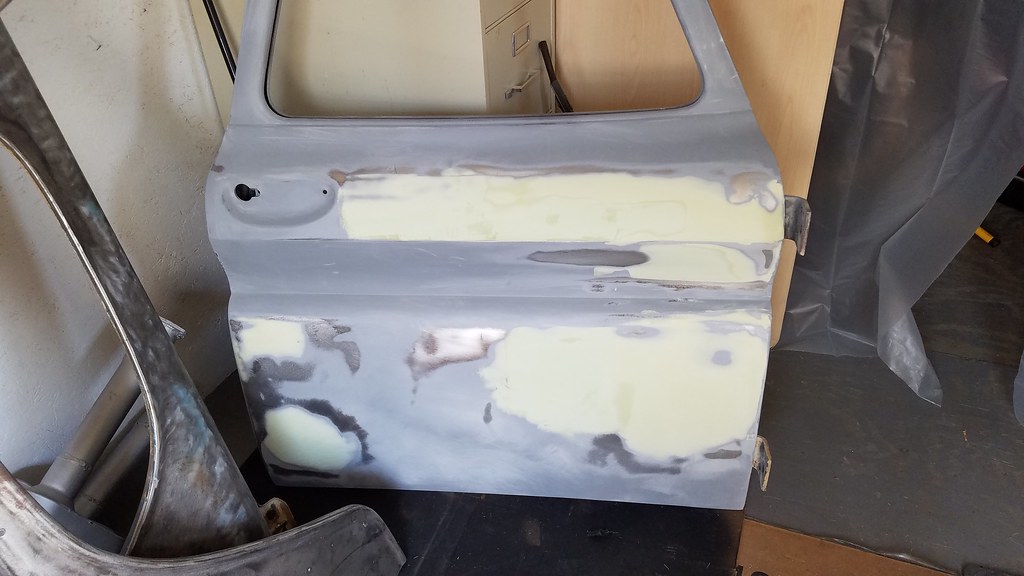 20160725_112540 by bjohnson388, on Flickr 20160725_112540 by bjohnson388, on FlickrPainting the grille and the grille support. 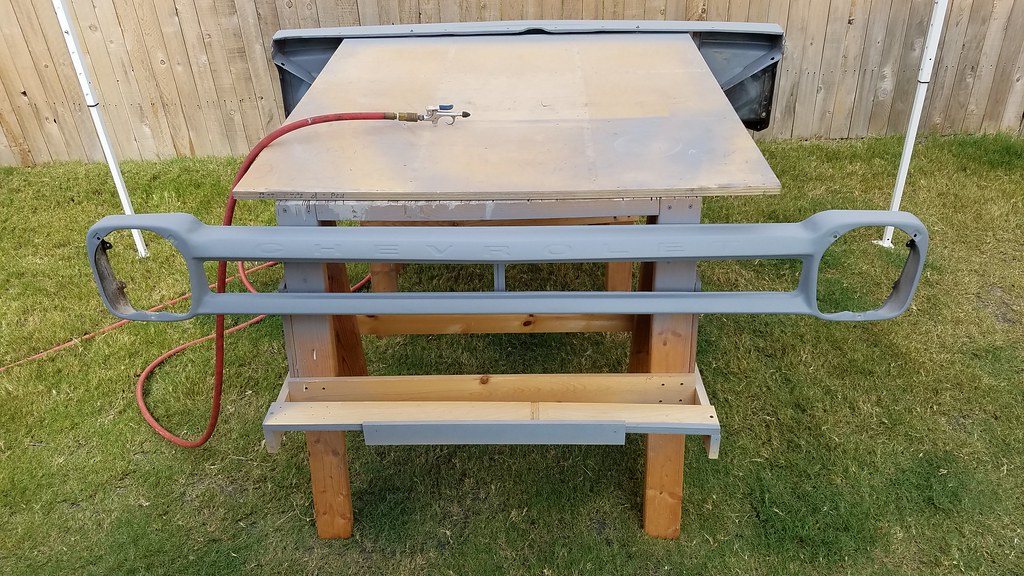 20160726_105009 by bjohnson388, on Flickr 20160726_105009 by bjohnson388, on Flickr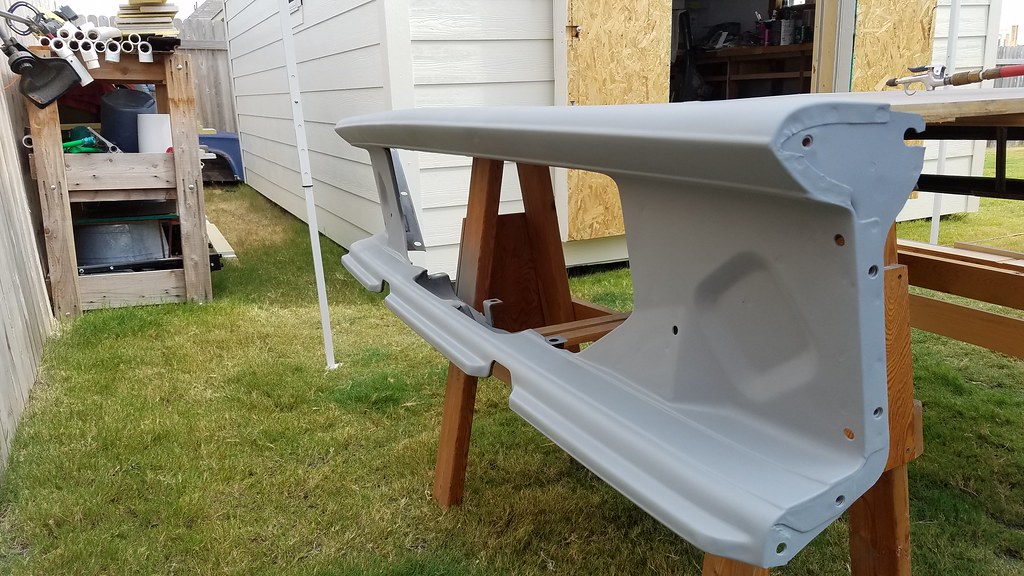 20160726_105020 by bjohnson388, on Flickr 20160726_105020 by bjohnson388, on FlickrLittle bit of bodywork. 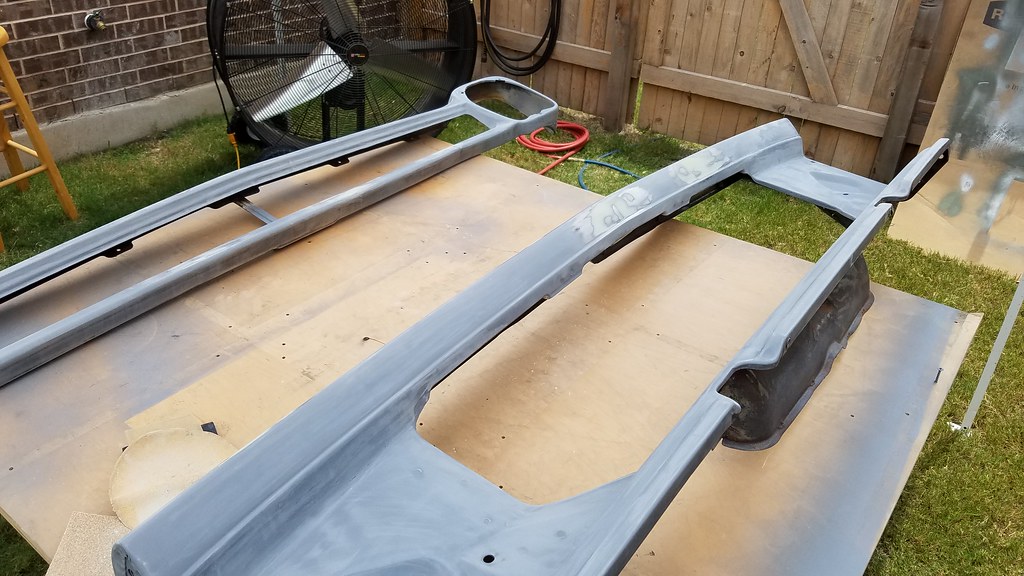 20160726_132822 by bjohnson388, on Flickr 20160726_132822 by bjohnson388, on FlickrPrimed and painted the backsides with rattle can. 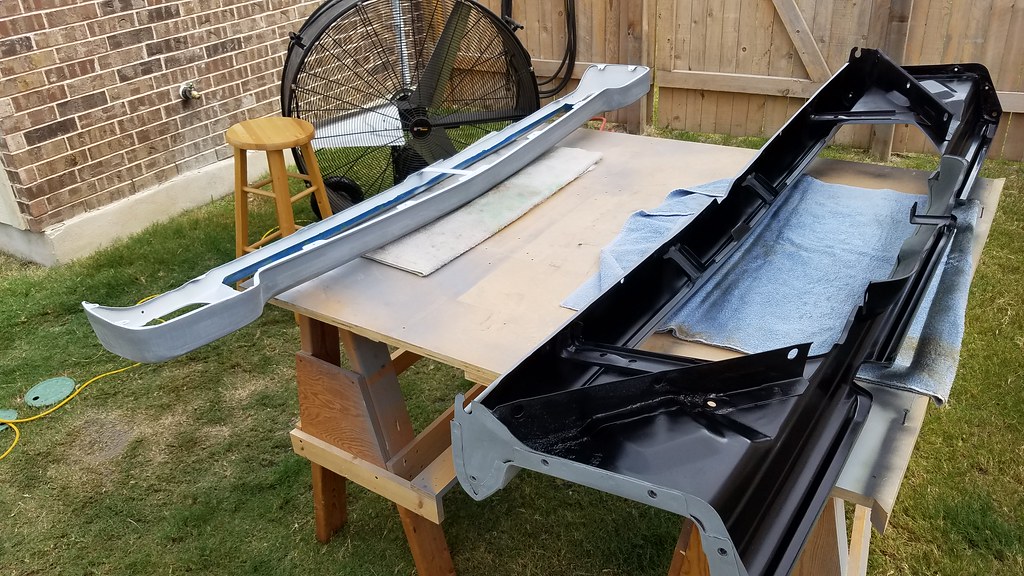 20160726_151124 by bjohnson388, on Flickr 20160726_151124 by bjohnson388, on Flickr 20160727_133012 by bjohnson388, on Flickr 20160727_133012 by bjohnson388, on Flickr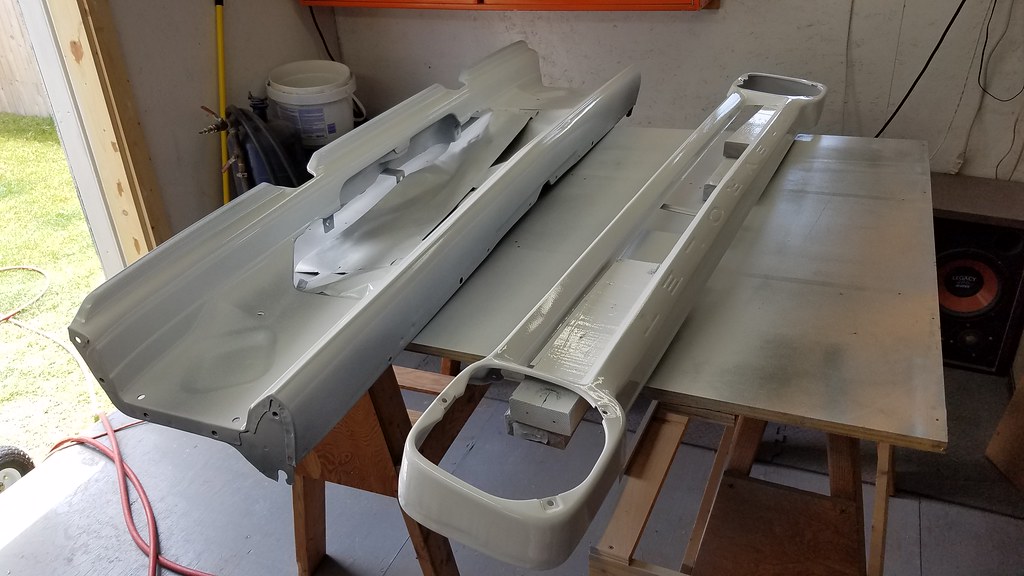 20160727_142323 by bjohnson388, on Flickr 20160727_142323 by bjohnson388, on Flickr 20160727_195917 by bjohnson388, on Flickr 20160727_195917 by bjohnson388, on FlickrThe headlight brackets actually have Chev stamped on them. Very cool. 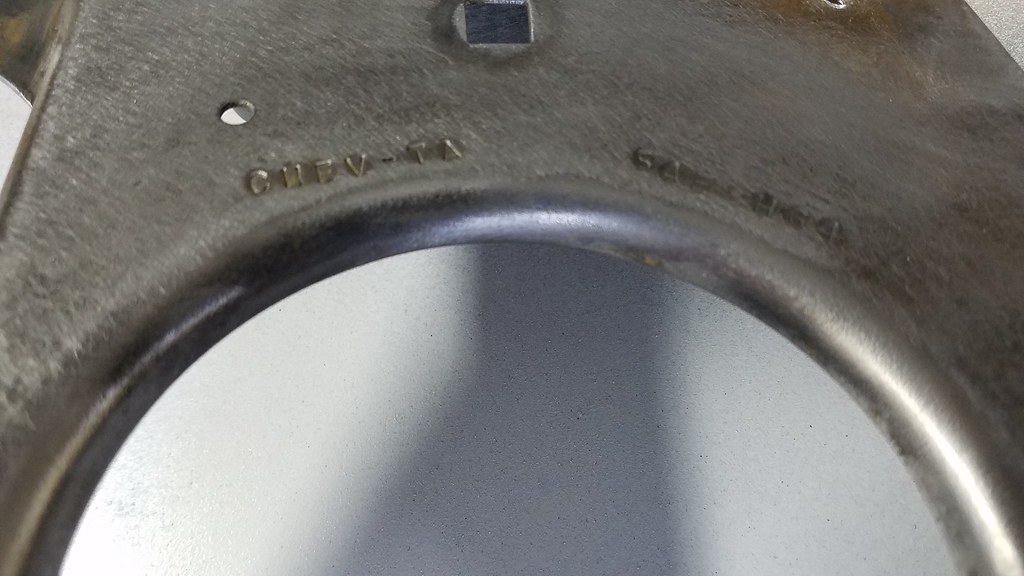 20160727_195605 by bjohnson388, on Flickr 20160727_195605 by bjohnson388, on FlickrMade some patches for inside driver door. Still not finished with it. 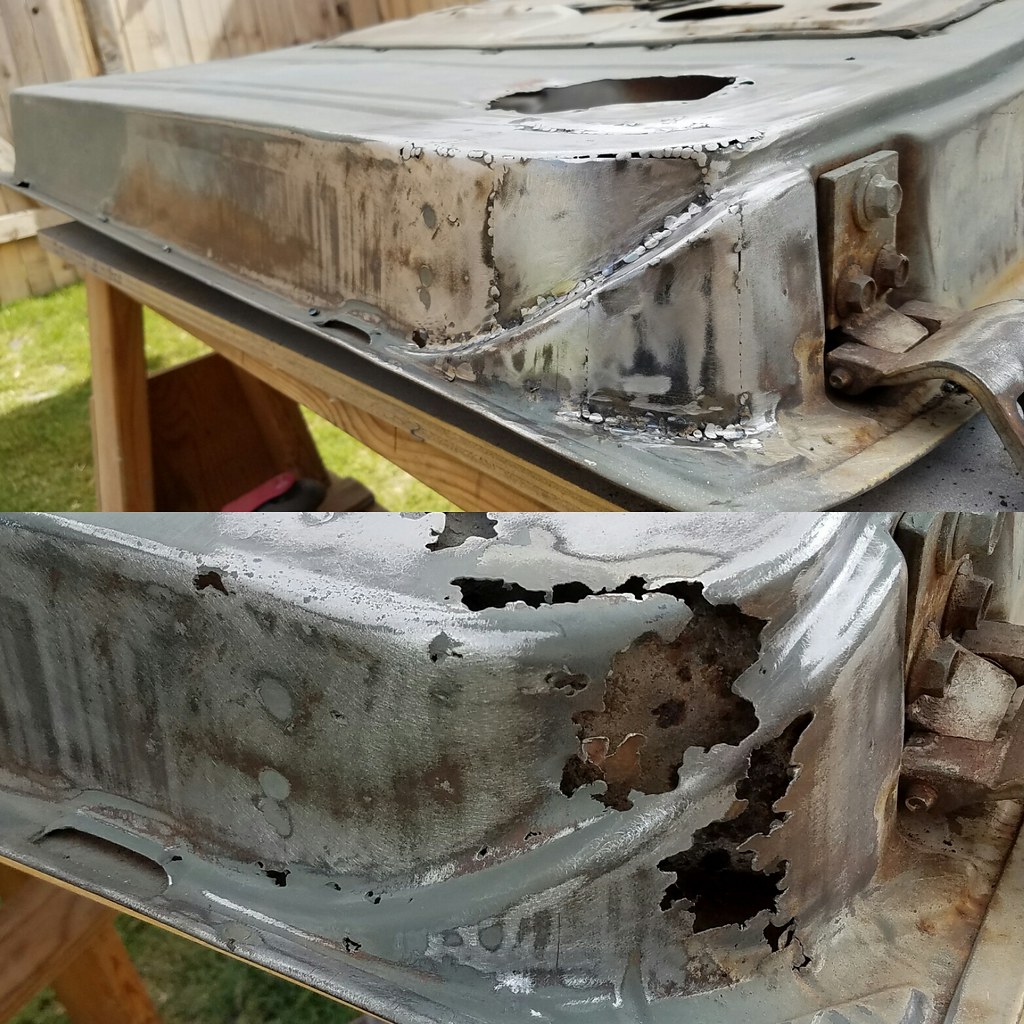 IMG_20160729_205806 by bjohnson388, on Flickr IMG_20160729_205806 by bjohnson388, on FlickrAlso a patch for the outside corner. 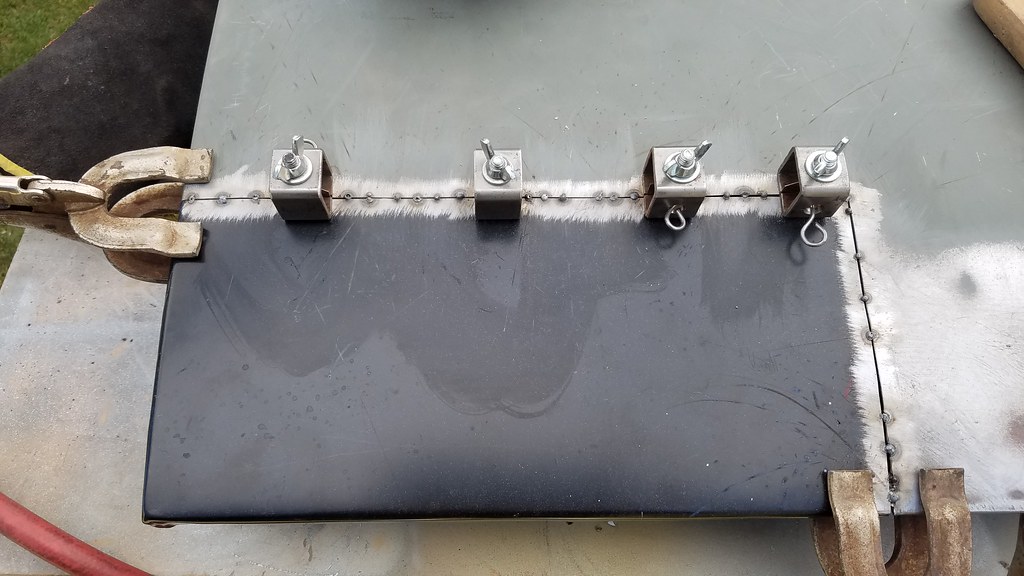 20160801_160515 by bjohnson388, on Flickr 20160801_160515 by bjohnson388, on FlickrMade a junkyard run and found some door checks, heater parts, fuel line, and some rad covers Rian(Grizz1963) 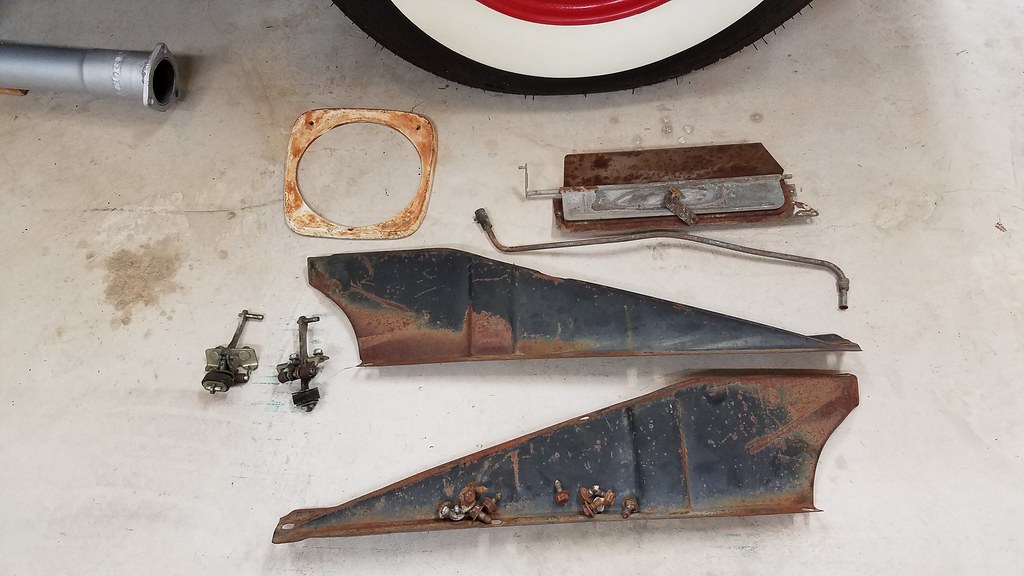 20160728_134132 by bjohnson388, on Flickr 20160728_134132 by bjohnson388, on FlickrBuddy of mine gave me these for free as well. 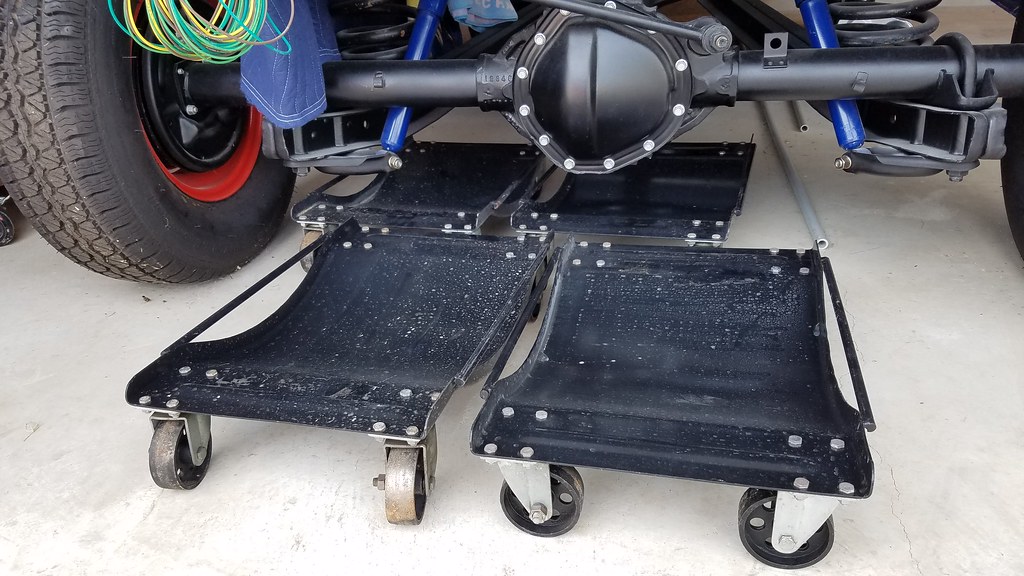 20160728_175646 by bjohnson388, on Flickr 20160728_175646 by bjohnson388, on FlickrInterior parts I painted this morning. 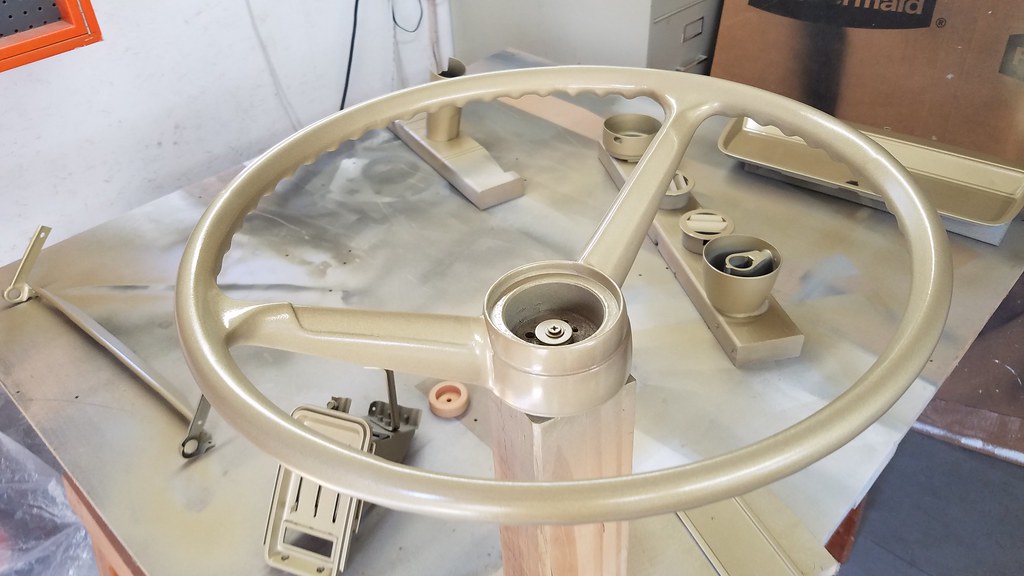 IMG_20160801_105334 by bjohnson388, on Flickr IMG_20160801_105334 by bjohnson388, on Flickr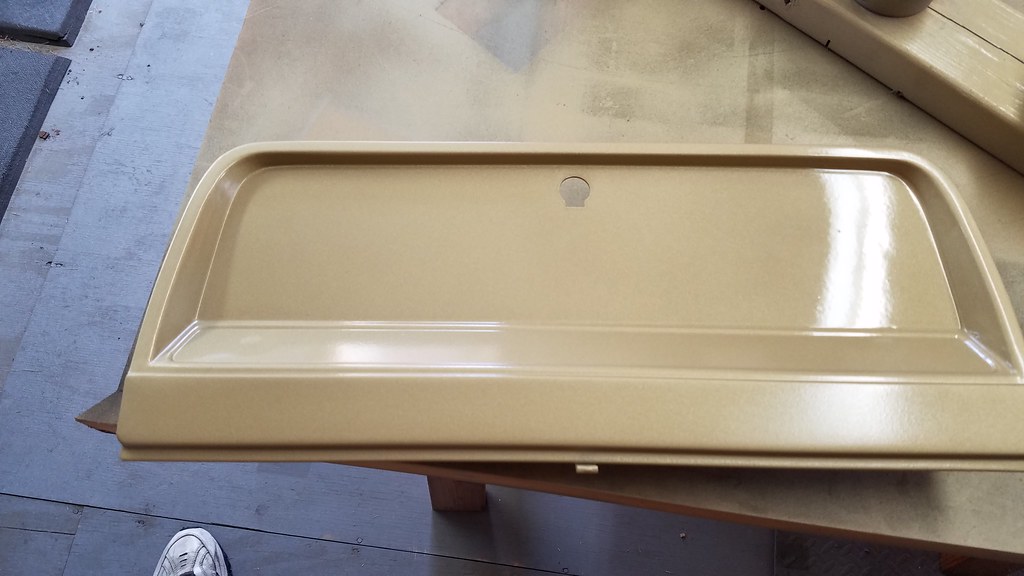 20160801_104921 by bjohnson388, on Flickr 20160801_104921 by bjohnson388, on Flickr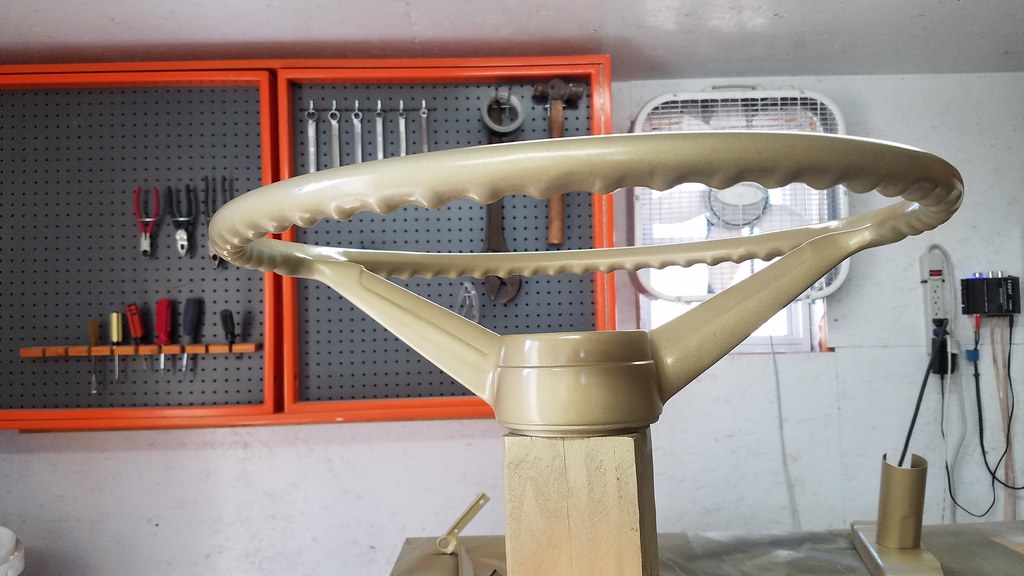 20160801_104939 by bjohnson388, on Flickr 20160801_104939 by bjohnson388, on FlickrAnd that's it back to the daily grind tomorrow. It was a fantastic week. A little on the hot side but I kept cool under my shade and big fan blowing on me. I can't wait for some cooler weather. My basic recipe was painting and bodywork in the morning before it got hot and then stripping and welding and grinding after lunch when it was too hot to paint. The passenger door need to be blocked one more time and might be ready for paint. I have another parts order coming tomorrow. Have the patch and brace for the driver fender so I can get it repaired next and some new hardware for putting the grille back together, the Chevrolet decals for the grille, and some more misc interior parts. Hope to get the column all back together this week and installed. Bret
__________________
64' Build Thread http://67-72chevytrucks.com/vboard/s...d.php?t=586955 |
|
|
|

|
|
|
#9 |
|
Registered User
Join Date: Aug 2014
Location: oklahoma
Posts: 357
|
Re: 64 C10 Stepside "Jaybird"
Looking really good Bret. nice progress!!
__________________
You can find me on Instagram @neveno_cten |
|
|

|
|
|
#10 |
|
Registered User
Join Date: Apr 2012
Location: Searcy, AR
Posts: 4,203
|
Re: 64 C10 Stepside "Jaybird"
Busy week! Looking great! Been following along on IG and diggin' the progress...

__________________
DON Proverbs 27:17  US Air Force Retarded errr Retired My '65 Stepper Build:http://67-72chevytrucks.com/vboard/s...d.php?t=533920 My '60 Rusty Patina Build:http://67-72chevytrucks.com/vboard/s...66#post7402266 My '72 http://67-72chevytrucks.com/vboard/s...59#post7204359 SOLD |
|
|

|
|
|
#11 |
|
Registered User
Join Date: Sep 2013
Location: Kent England
Posts: 1,025
|
Re: 64 C10 Stepside "Jaybird"
Nice progress Bret . Did you use the Honda seals ? Good call on the replacement fender , even better that it was free . There are some good guys on this forum . Keep up the good work and you'll be driving it soon .
__________________
FINALLY PUTTING IT BACK TOGETHER AT LONG LAST MY BUILD THREAD: http://67-72chevytrucks.com/vboard/s...d.php?t=611614 |
|
|

|
|
|
#12 | ||
|
Registered User
Join Date: Sep 2012
Location: Leander, TX
Posts: 969
|
Re: 64 C10 Stepside "Jaybird"
Thank You.
Quote:
Quote:
Scroll about half way down the page. http://www.gmcpaulstruckparts.com/60...ther_strip.htm I know a couple of other vendors are selling these too. They are made by Precision. Bret
__________________
64' Build Thread http://67-72chevytrucks.com/vboard/s...d.php?t=586955 |
||
|
|

|
|
|
#13 |
|
Registered User
Join Date: Sep 2012
Location: Midway, NC
Posts: 3,275
|
Re: 64 C10 Stepside "Jaybird"
Everything looks great.
__________________
http://67-72chevytrucks.com/vboard/s...d.php?t=581873 The low buck build threads. Check'em out! http://67-72chevytrucks.com/vboard/s...d.php?t=666022 My build thread Crossmembers CC |
|
|

|
|
|
#14 |
|
Registered User
Join Date: Dec 2015
Location: Lehi,Utah
Posts: 213
|
Re: 64 C10 Stepside "Jaybird"
Awsome build! Very nice work!
__________________
1964 Chevy Factory K10 Short Bed Mitchell Sampson |
|
|

|
|
|
#15 |
|
Registered User
Join Date: Sep 2012
Location: Leander, TX
Posts: 969
|
Re: 64 C10 Stepside "Jaybird"
Thanks guys for the comments. I got my column all put back together and installed in the truck.
I took a pic when we first got her with my youngest son behind the wheel. Well here is the same pic 4 years later. 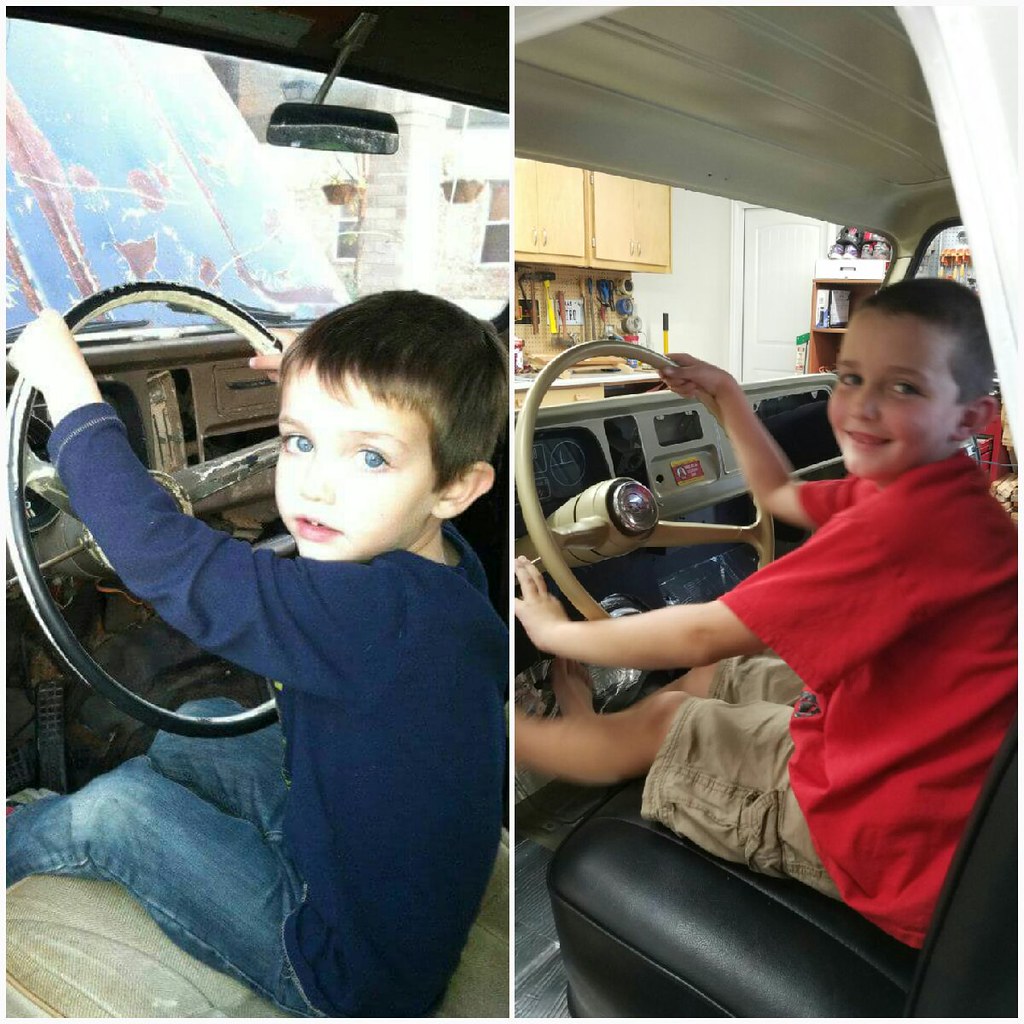 20160803_202018 by bjohnson388, on Flickr 20160803_202018 by bjohnson388, on Flickr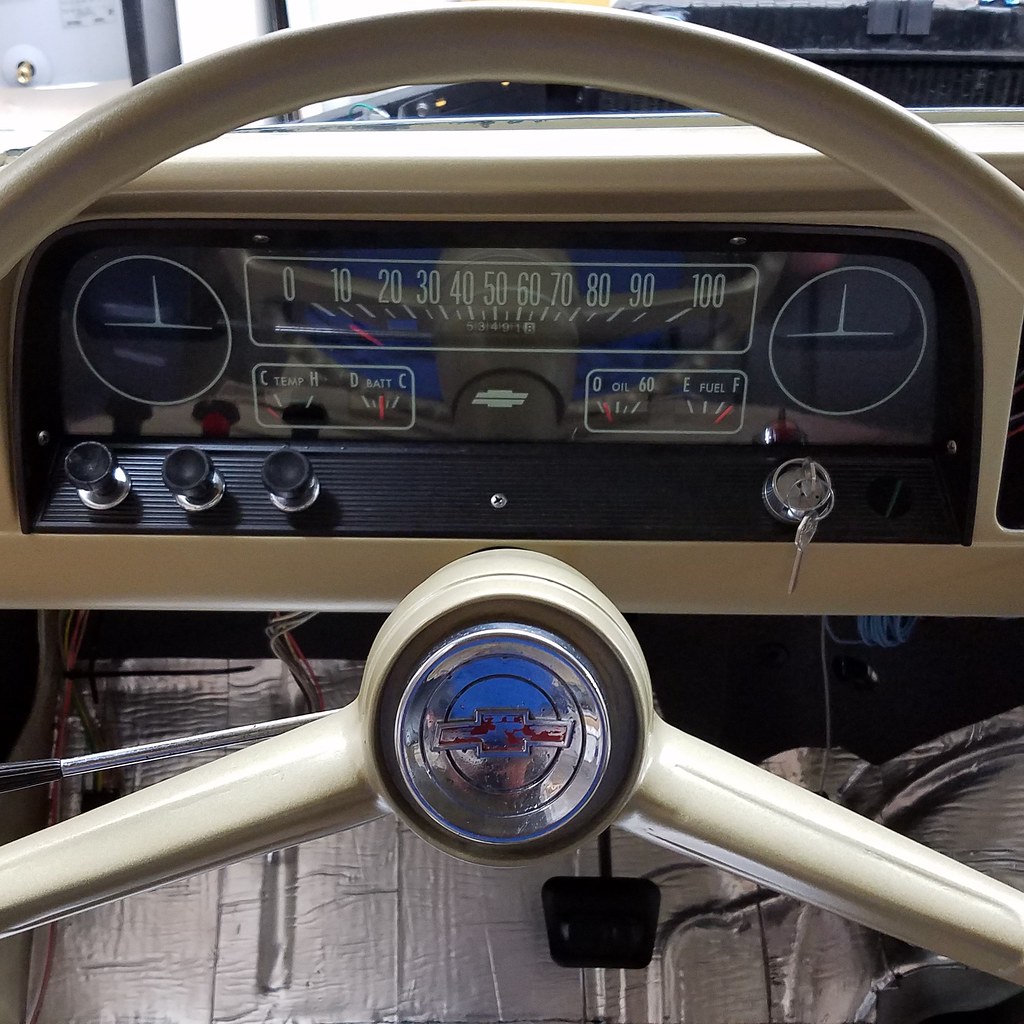 IMG_20160803_213911 by bjohnson388, on Flickr IMG_20160803_213911 by bjohnson388, on Flickr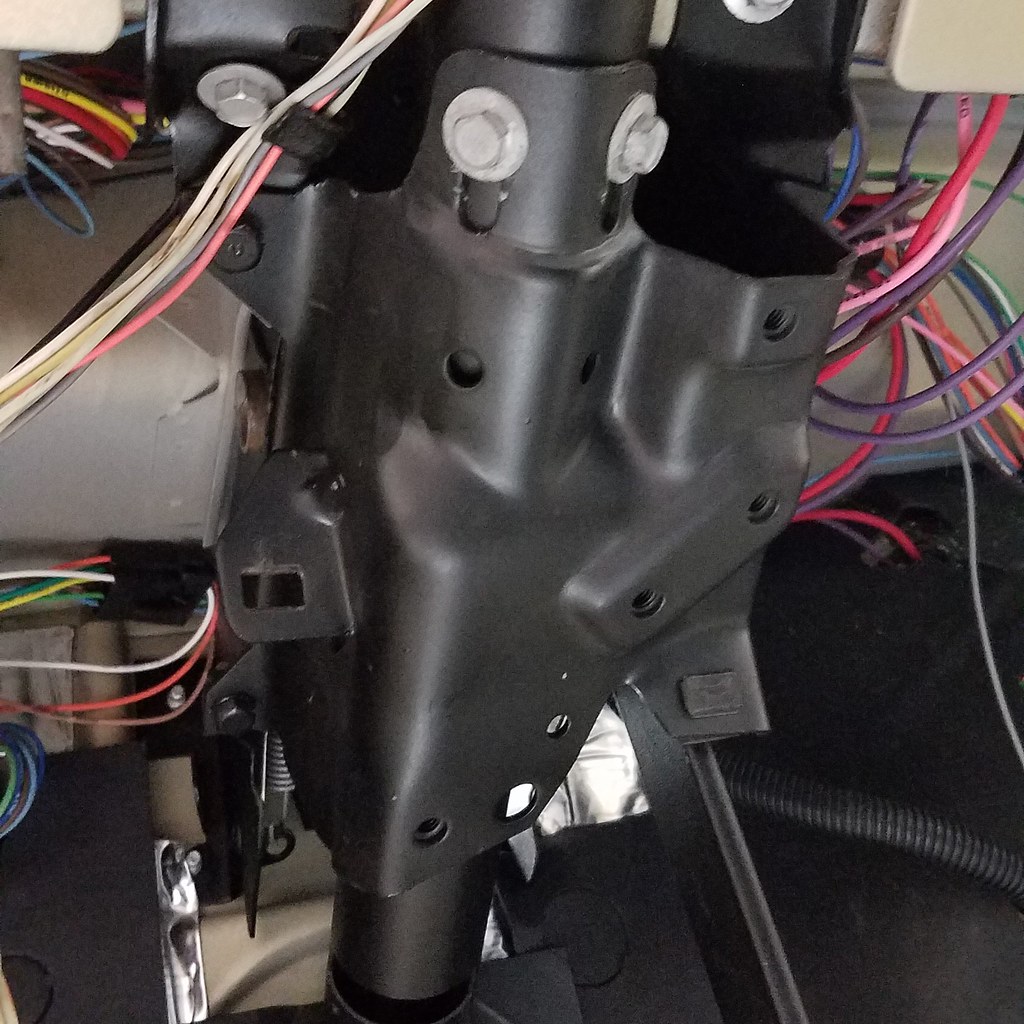 IMG_20160803_213928 by bjohnson388, on Flickr IMG_20160803_213928 by bjohnson388, on Flickr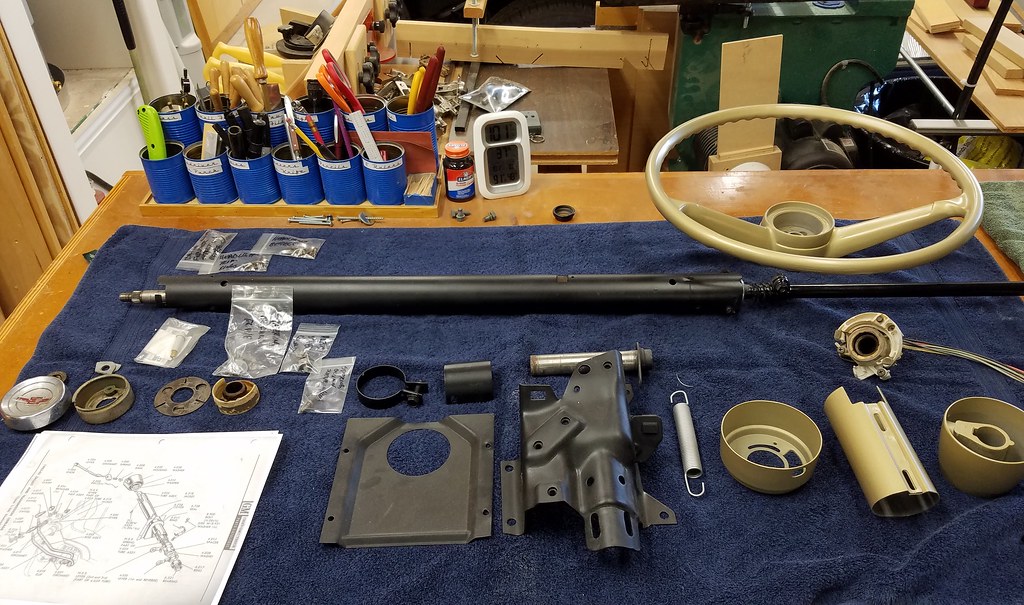 IMG_20160803_214114 by bjohnson388, on Flickr IMG_20160803_214114 by bjohnson388, on Flickr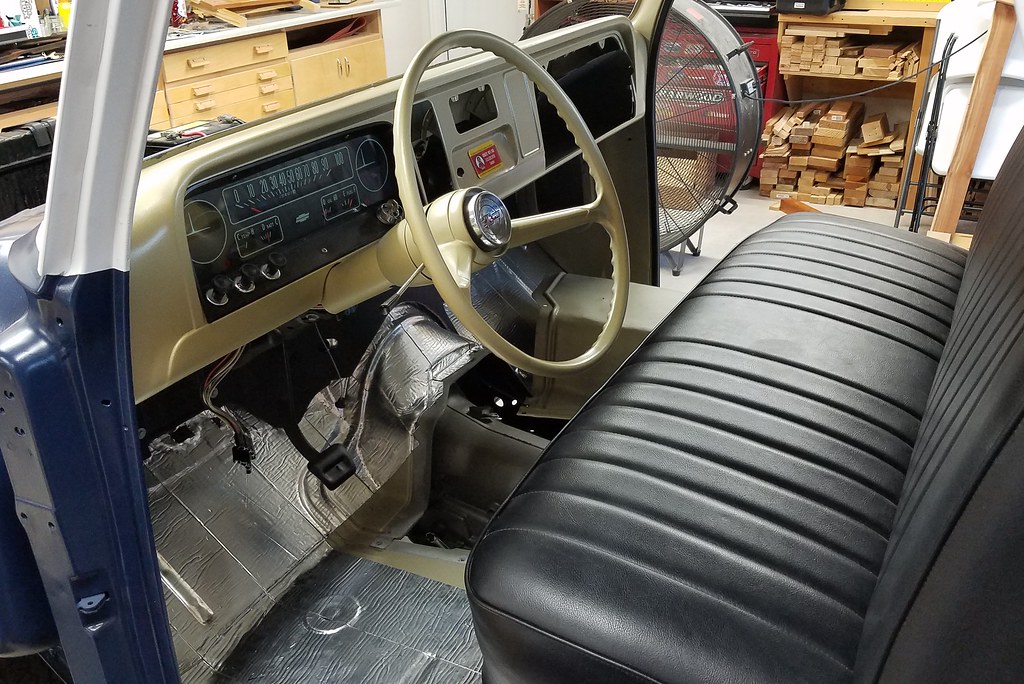 IMG_20160803_214133 by bjohnson388, on Flickr IMG_20160803_214133 by bjohnson388, on Flickr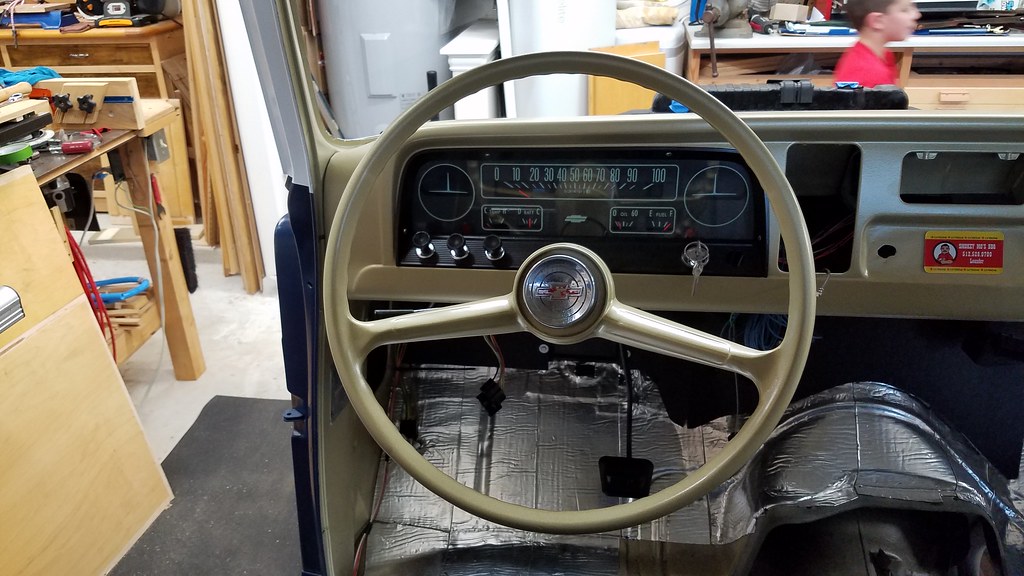 20160803_201654 by bjohnson388, on Flickr 20160803_201654 by bjohnson388, on Flickr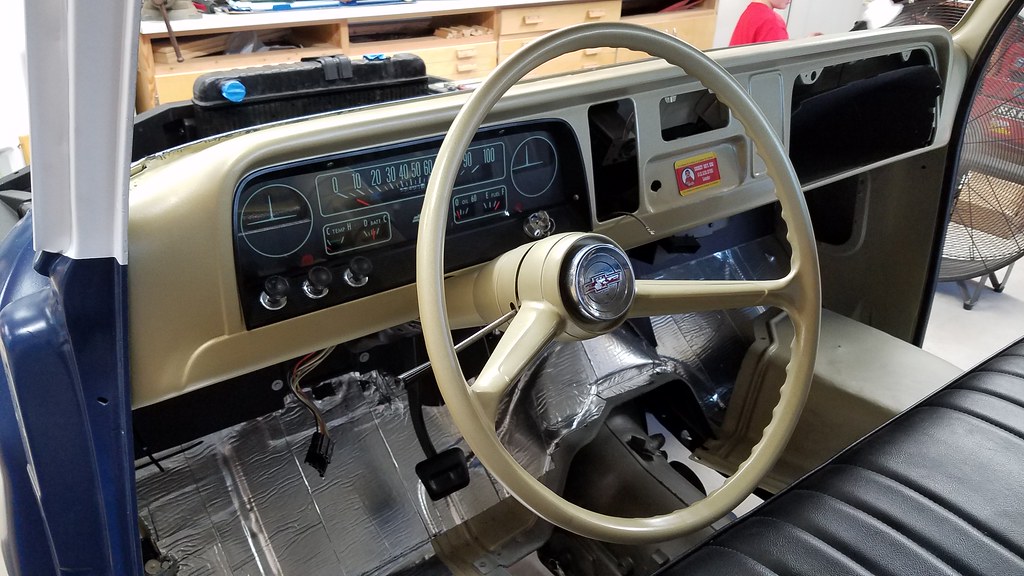 20160803_201700 by bjohnson388, on Flickr 20160803_201700 by bjohnson388, on FlickrIt does have too much of a gap between the steering wheel and the column but I have adjust the outer column up as far is it will go. I think this is caused by the rag joint I bought. It is about 1/8" thicker than the stock one. 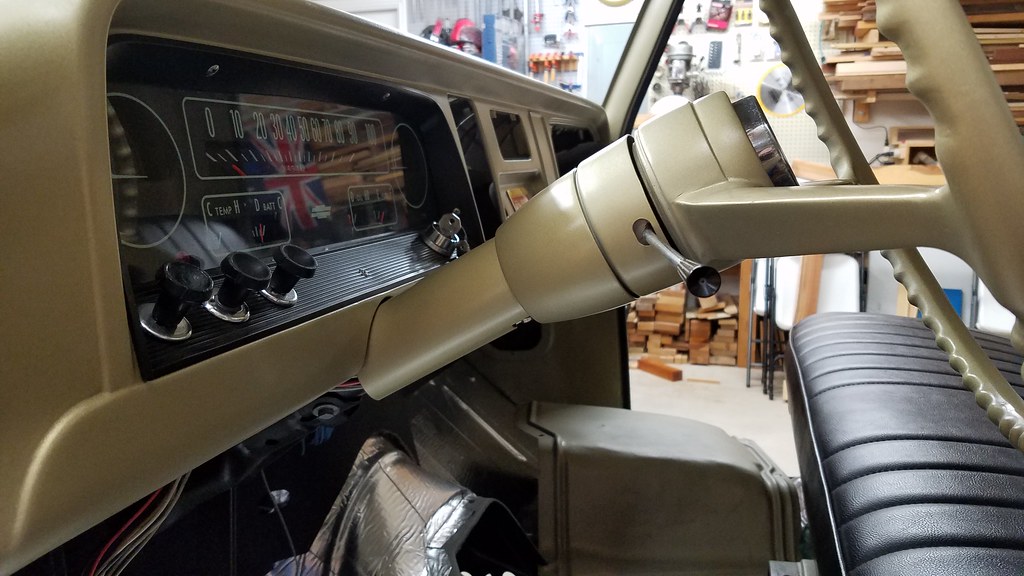 20160803_213007 by bjohnson388, on Flickr 20160803_213007 by bjohnson388, on Flickr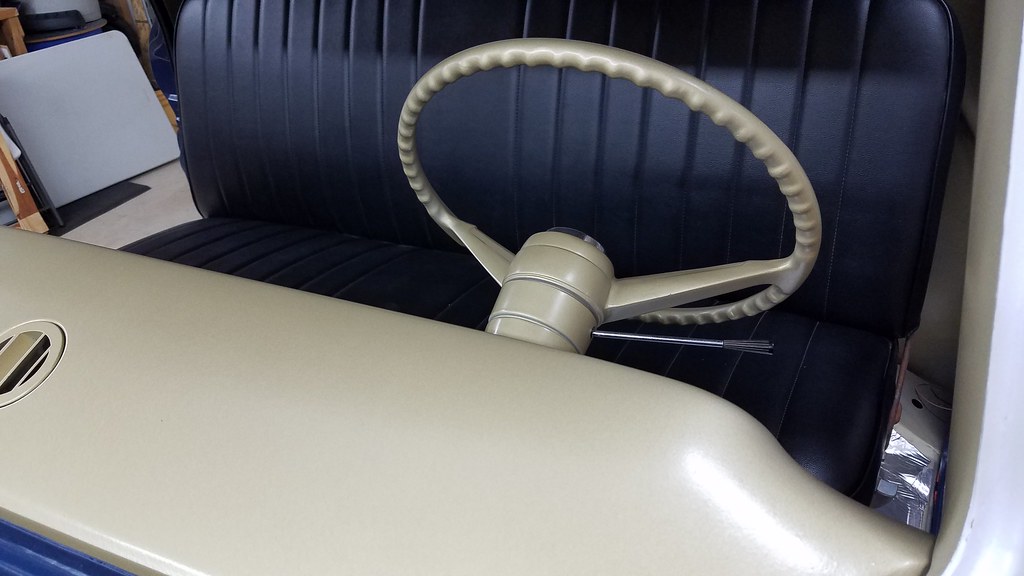 20160803_213105 by bjohnson388, on Flickr 20160803_213105 by bjohnson388, on FlickrSide project. My oldest son got a bunch of vintage license plates for his birthday so I am making some frames to mount them and hang up in his room. 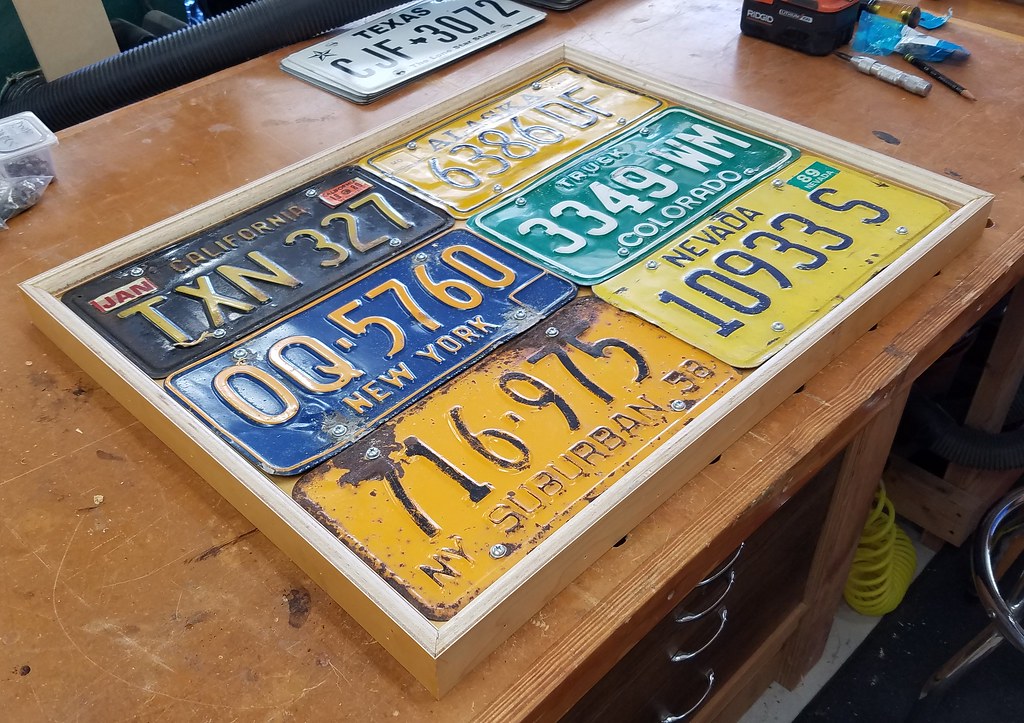 IMG_20160804_115038 by bjohnson388, on Flickr IMG_20160804_115038 by bjohnson388, on Flickr
__________________
64' Build Thread http://67-72chevytrucks.com/vboard/s...d.php?t=586955 |
|
|

|
|
|
#16 |
|
Senior Member
 Join Date: Oct 2009
Location: Fayetteville, Arkansas
Posts: 1,923
|
Re: 64 C10 Stepside "Jaybird"
your prep and paint is as good as it gets. that interior is killer.
nice work my man. kim and i especially liked the time warp with your youngest at the wheel and the changes before and after. |
|
|

|
|
|
#17 |
|
Registered User
Join Date: Dec 2012
Location: Rochester, KENT
Posts: 10,565
|
Re: 64 C10 Stepside "Jaybird"
Looking great Bret.
You are moving along at quite a pace now. I am really impressed with Nick collecting plates. Side project. My oldest son got a bunch of vintage license plates for his birthday so I am making some frames to mount them and hang up in his room.  IMG_20160804_115038 by bjohnson388, on Flickr IMG_20160804_115038 by bjohnson388, on FlickrMaybe members from all over can help him grow his collection and send him a plate in the mail. Same pr e as a letter. I sent him one from my home town, Port Elizabeth in South Africa and a difficult to find plate from Thailand.....
__________________
MY BUILD LINK: http://67-72chevytrucks.com/vboard/s...585901]Redneck Express - 1966 C10 Short Fleetside MY USA ROADTRIPS http://forum.retro-rides.org/thread/...2018-humdinger IF YOU CAN'T FIX IT WITH A HAMMER, YOU'VE GOT AN ELECTRICAL PROBLEM MATE. |
|
|

|
|
|
#18 | ||
|
Registered User
Join Date: Sep 2012
Location: Leander, TX
Posts: 969
|
Re: 64 C10 Stepside "Jaybird"
Quote:
Quote:
Knocked out a bunch of small stuff. Slowly chipping away at it. Put new seals on the fresh vent doors and installed them. 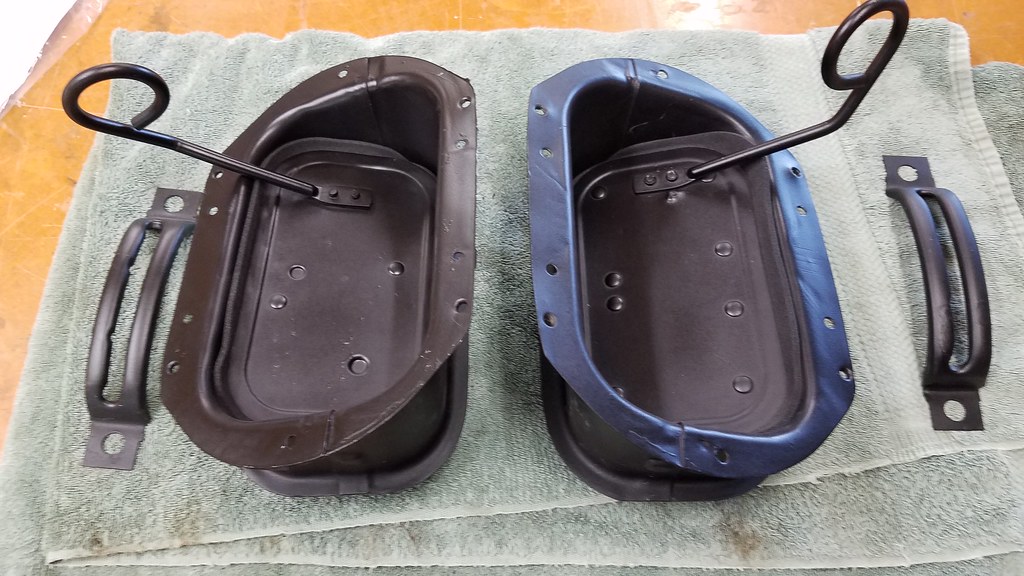 20160809_193424 by bjohnson388, on Flickr 20160809_193424 by bjohnson388, on Flickr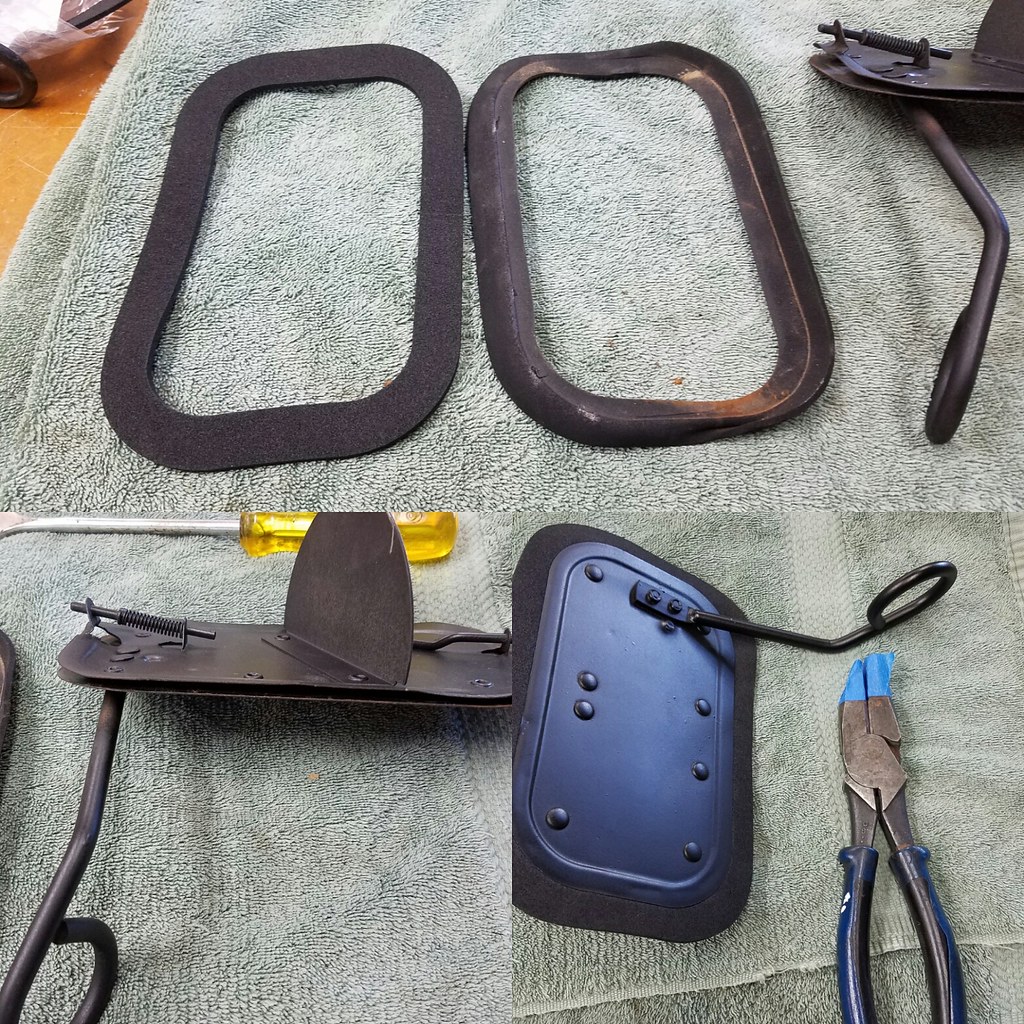 IMG_20160809_205120 by bjohnson388, on Flickr IMG_20160809_205120 by bjohnson388, on Flickr IMG_20160811_163139 by bjohnson388, on Flickr IMG_20160811_163139 by bjohnson388, on Flickr IMG_20160811_163202 by bjohnson388, on Flickr IMG_20160811_163202 by bjohnson388, on FlickrRepo glove box installed. Fought me for a good 20 minutes but I won! The secret for me was installing the top screws first. 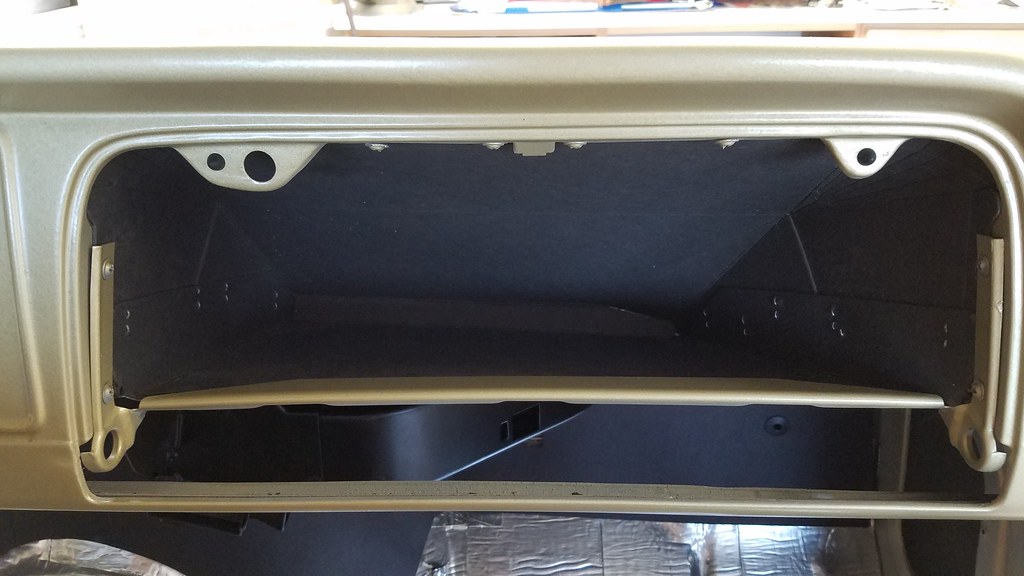 IMG_20160809_205030 by bjohnson388, on Flickr IMG_20160809_205030 by bjohnson388, on FlickrAsh tray all new and shiny. All original parts 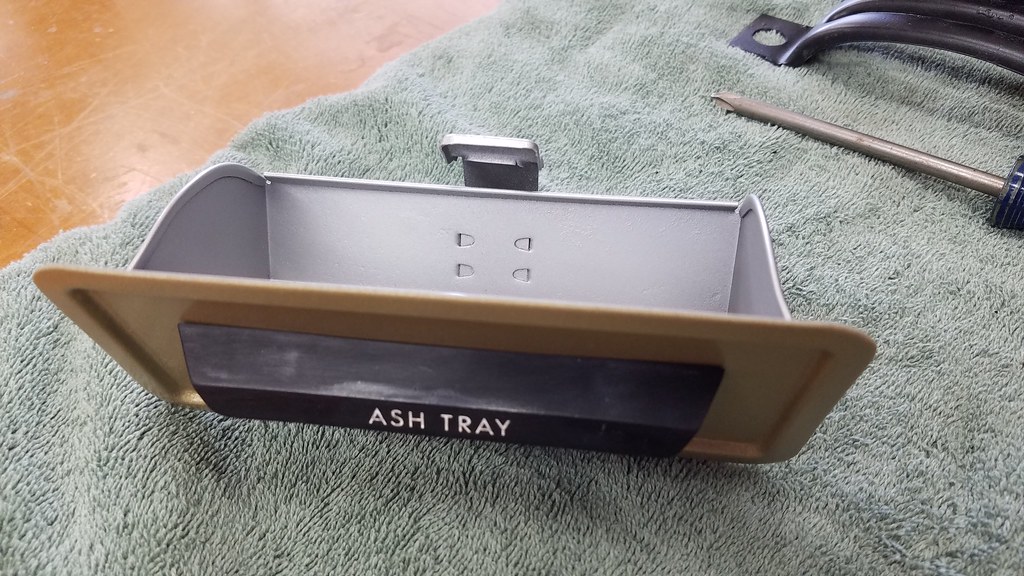 20160811_154906 by bjohnson388, on Flickr 20160811_154906 by bjohnson388, on Flickr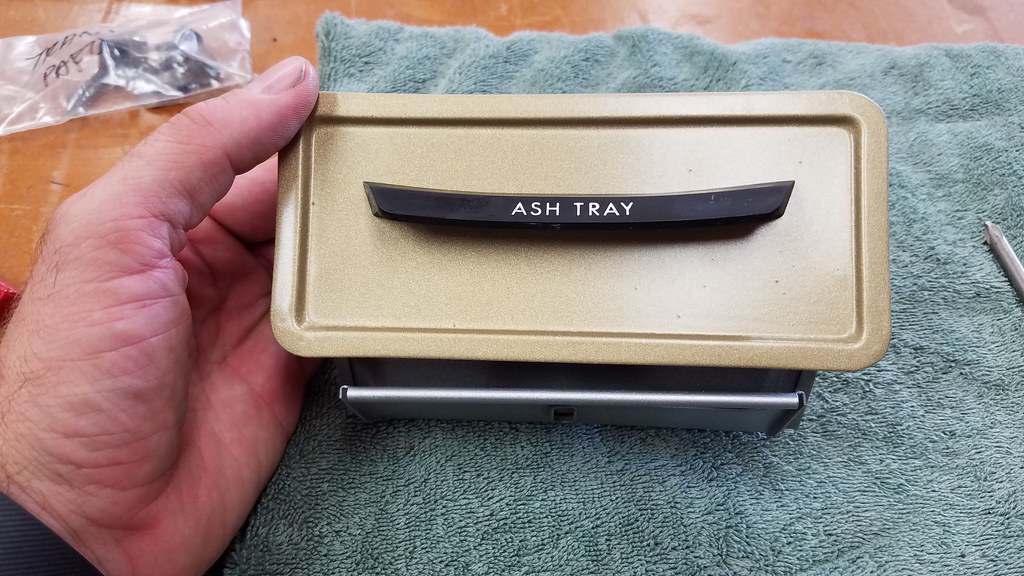 20160811_154911 by bjohnson388, on Flickr 20160811_154911 by bjohnson388, on FlickrDash is almost complete. 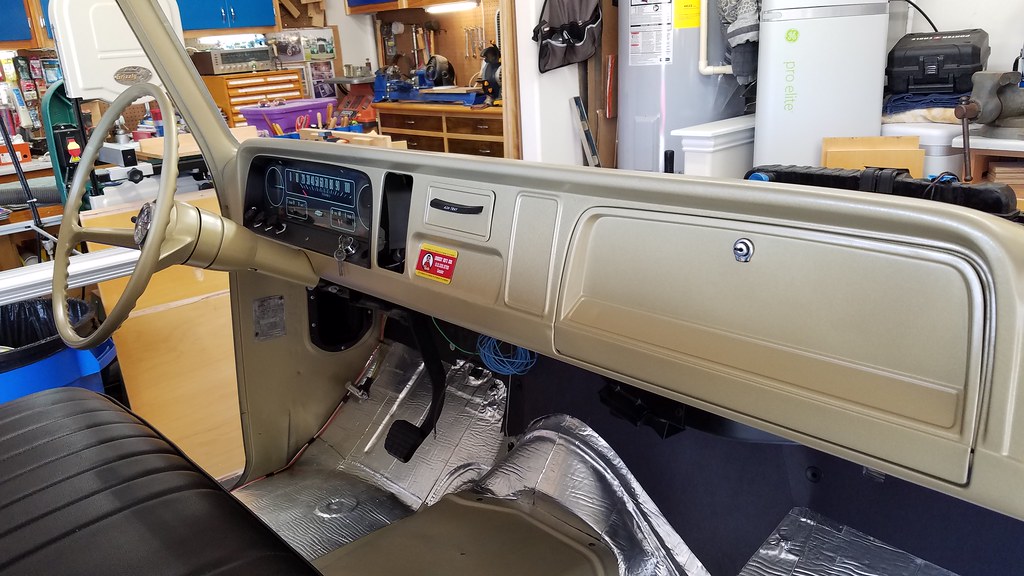 20160811_163318 by bjohnson388, on Flickr 20160811_163318 by bjohnson388, on FlickrSome before and after photos. These always serve as a good motivation for me. I sometimes wonder if I will ever get to the finish line. But when I see these pics I realize I have come along way.  20160811_213501 by bjohnson388, on Flickr 20160811_213501 by bjohnson388, on Flickr 20160811_213533 by bjohnson388, on Flickr 20160811_213533 by bjohnson388, on FlickrI did notice I installed this cover wrong with the bolts going in from the wrong side. No wonder I had such a hard time getting them lined up. But I think it looks better so I am leaving it. HA. Also need to realign my spark plug wires. 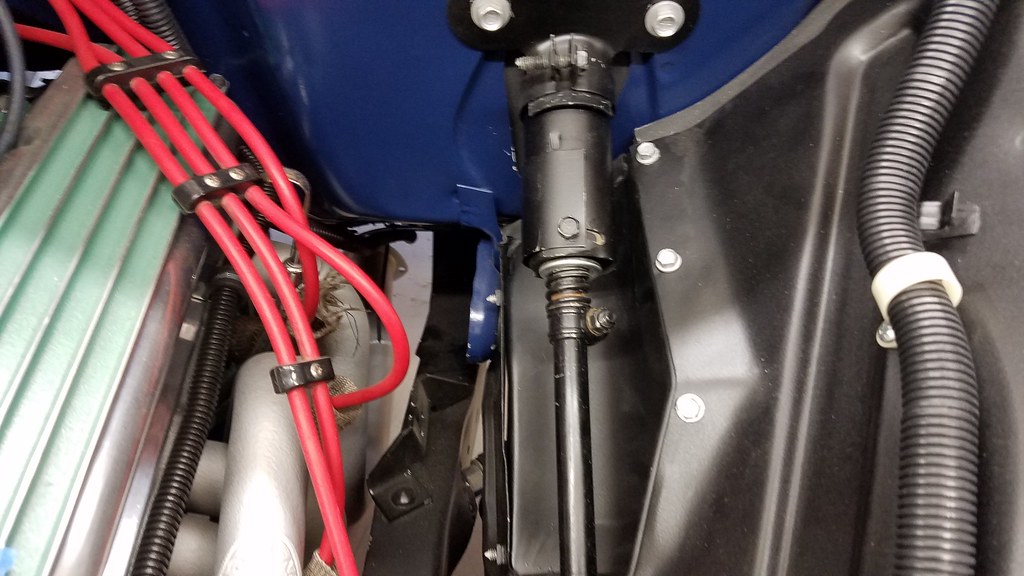 20160810_195731 by bjohnson388, on Flickr 20160810_195731 by bjohnson388, on FlickrMore parts getting into paint. 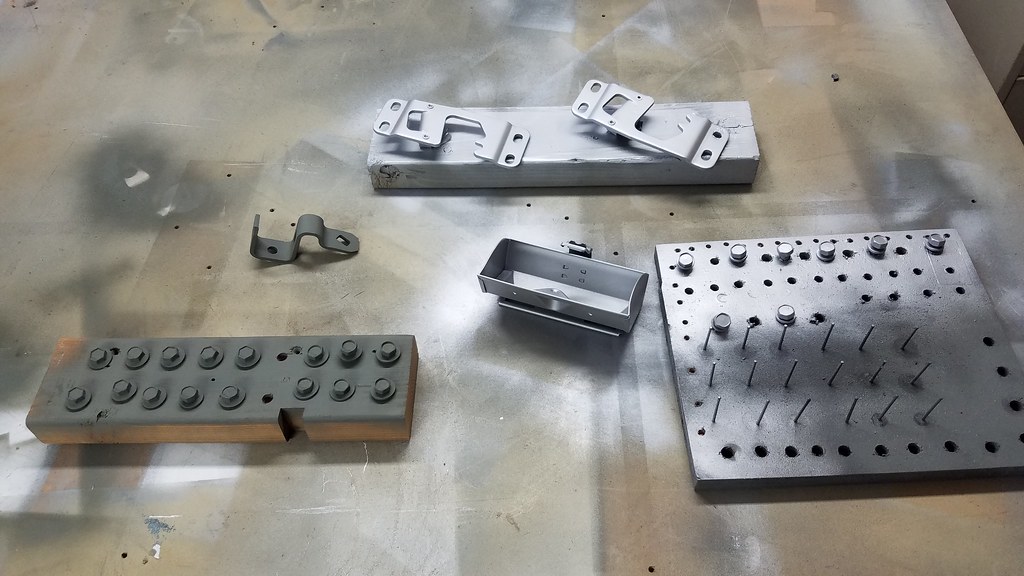 20160810_194236 by bjohnson388, on Flickr 20160810_194236 by bjohnson388, on Flickr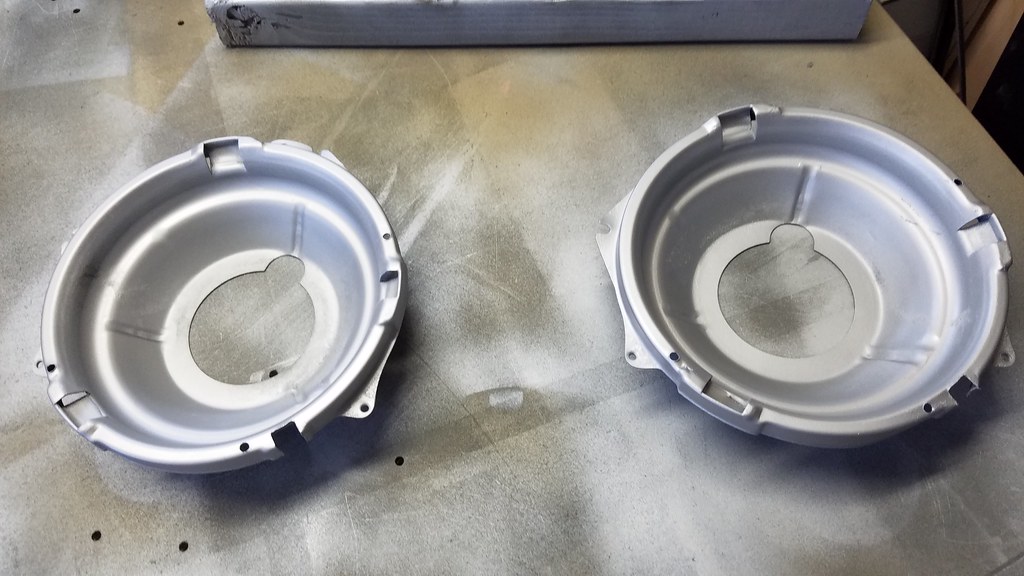 20160811_171647 by bjohnson388, on Flickr 20160811_171647 by bjohnson388, on Flickr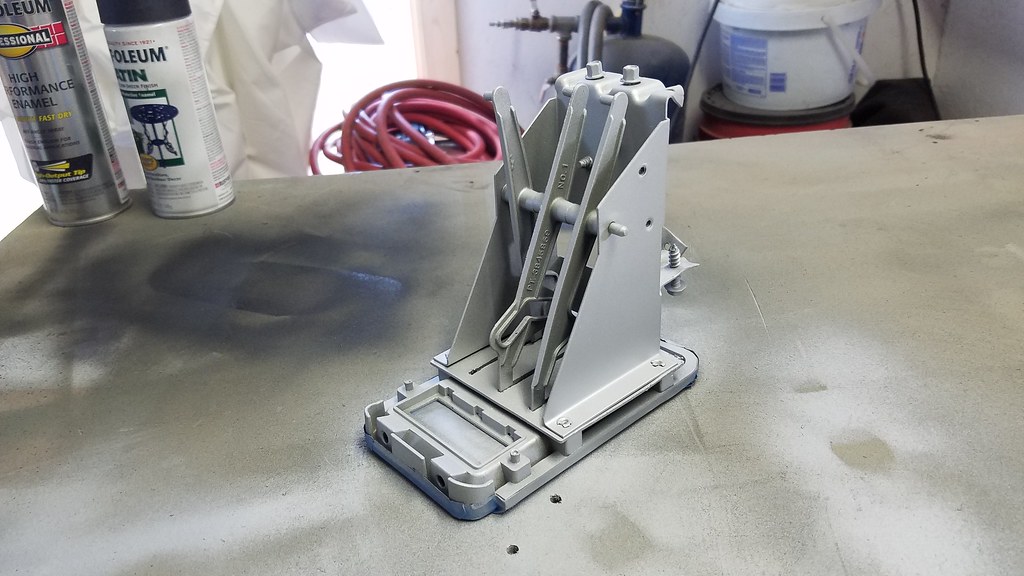 20160811_171654 by bjohnson388, on Flickr 20160811_171654 by bjohnson388, on Flickr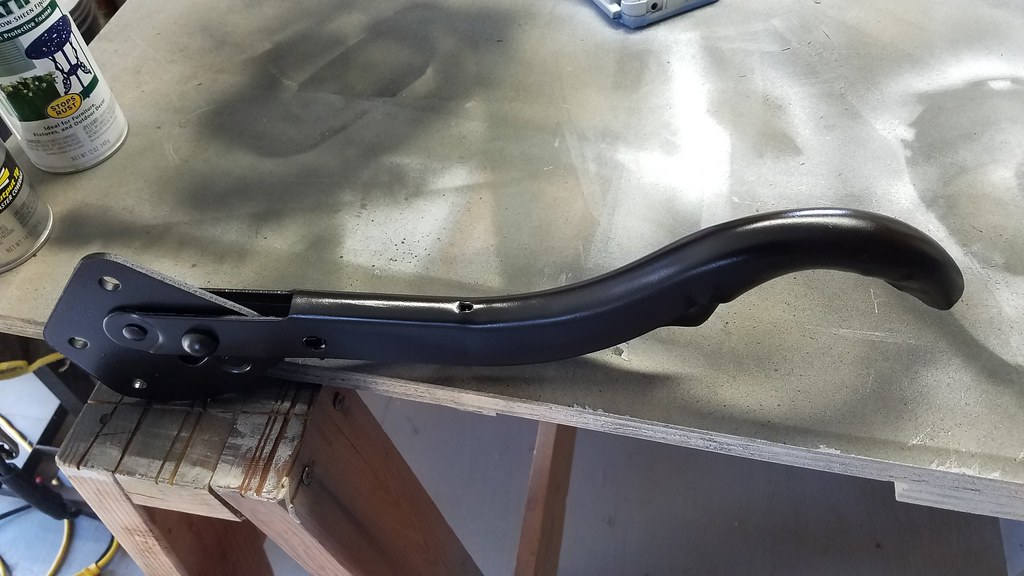 20160811_171700 by bjohnson388, on Flickr 20160811_171700 by bjohnson388, on Flickr
__________________
64' Build Thread http://67-72chevytrucks.com/vboard/s...d.php?t=586955 |
||
|
|

|
|
|
#19 |
|
State of Confusion!
  Join Date: Jul 2002
Location: Gulfport, MS USA
Posts: 47,090
|
Re: 64 C10 Stepside "Jaybird"
Very nice!
__________________
Bill 1970 Chevy Custom/10 LWB Fleetside 2010 Toyota Tacoma PreRunner SR5 Double Cab - DD Member of Louisiana Classic Truck Club (LCTC) Bill's Gallery Life isn't tied with a bow, but it's still a gift. Live simply. Love generously. Care deeply. Speak kindly. Leave the rest to God! |
|
|

|
|
|
#20 | |
|
Registered User
Join Date: Sep 2012
Location: Leander, TX
Posts: 969
|
Re: 64 C10 Stepside "Jaybird"
Quote:
I shot the black on the grille support this morning, and then worked on my driver door. It is a mess. When I welded in my patch it pulled on the metal above it and caused a big oil can dent. I spent about 45 minutes hammer and dollying it back as best I could. It will need some mud for sure. 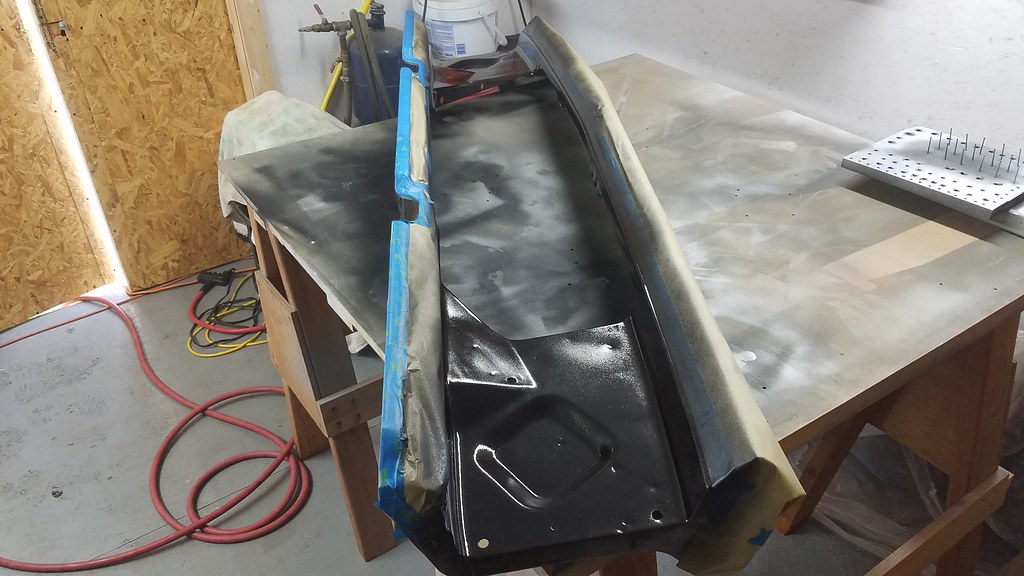 20160814_094823 by bjohnson388, on Flickr 20160814_094823 by bjohnson388, on Flickr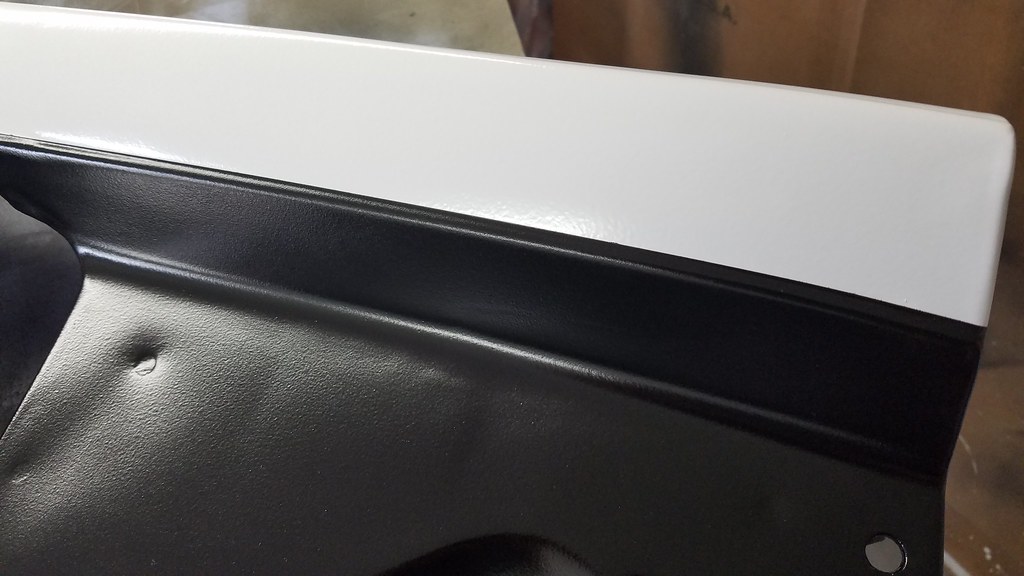 IMG_20160814_120639 by bjohnson388, on Flickr IMG_20160814_120639 by bjohnson388, on Flickr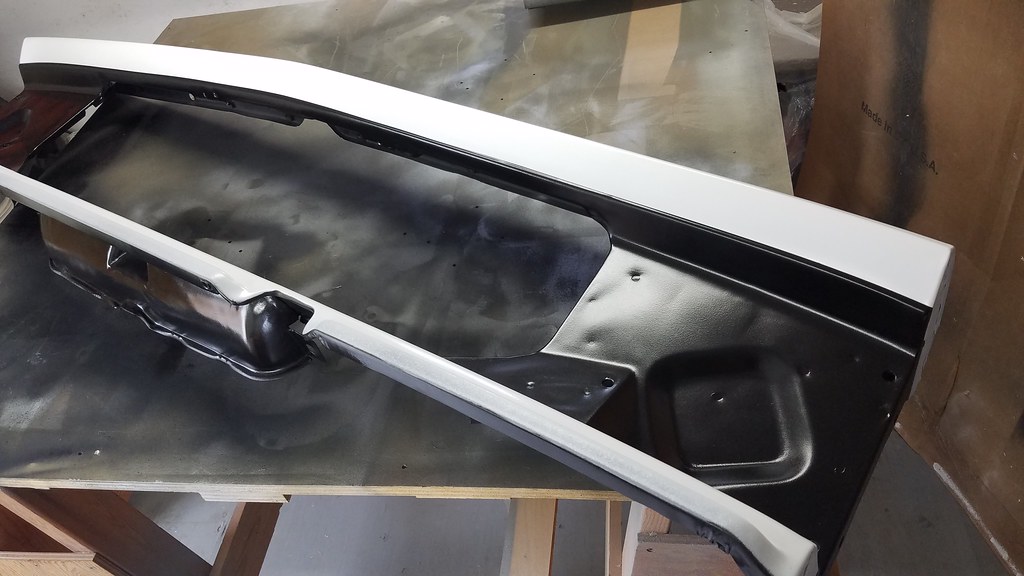 20160814_120439 by bjohnson388, on Flickr 20160814_120439 by bjohnson388, on Flickr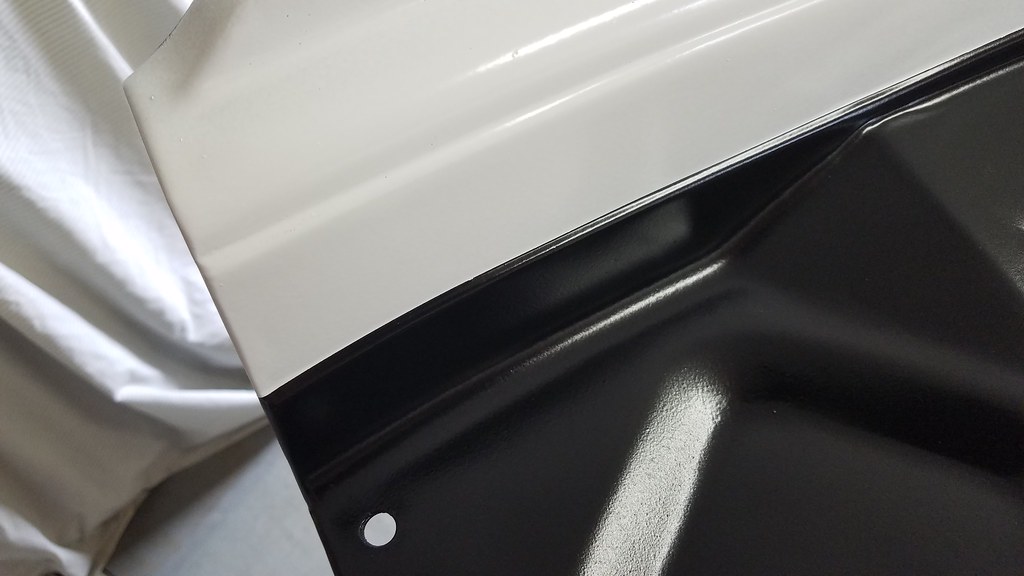 20160814_120449 by bjohnson388, on Flickr 20160814_120449 by bjohnson388, on Flickr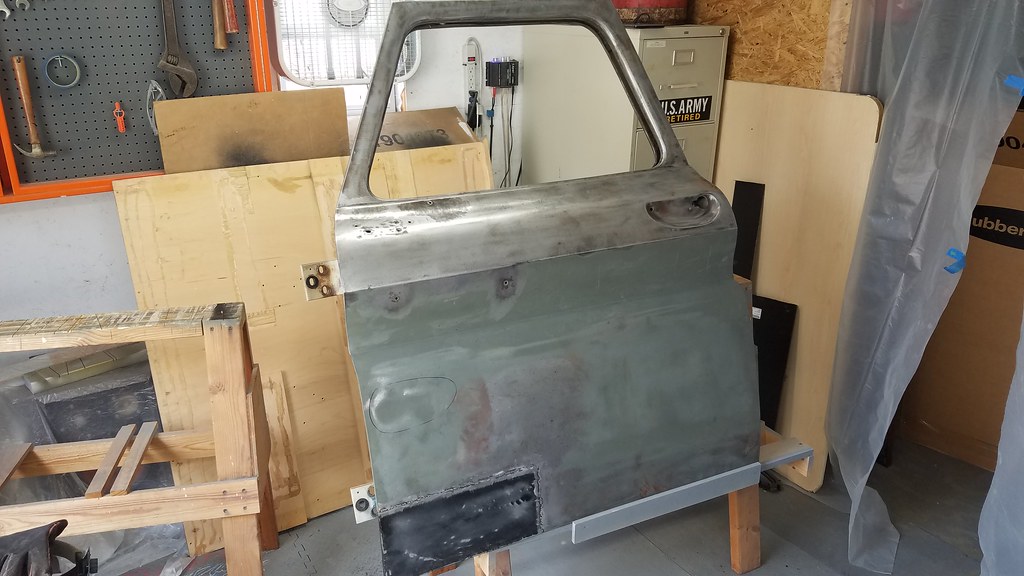 20160814_142241 by bjohnson388, on Flickr 20160814_142241 by bjohnson388, on FlickrBret
__________________
64' Build Thread http://67-72chevytrucks.com/vboard/s...d.php?t=586955 |
|
|
|

|
|
|
#21 |
|
Registered User
Join Date: Sep 2012
Location: Leander, TX
Posts: 969
|
Re: 64 C10 Stepside "Jaybird"
Gas tank is in.
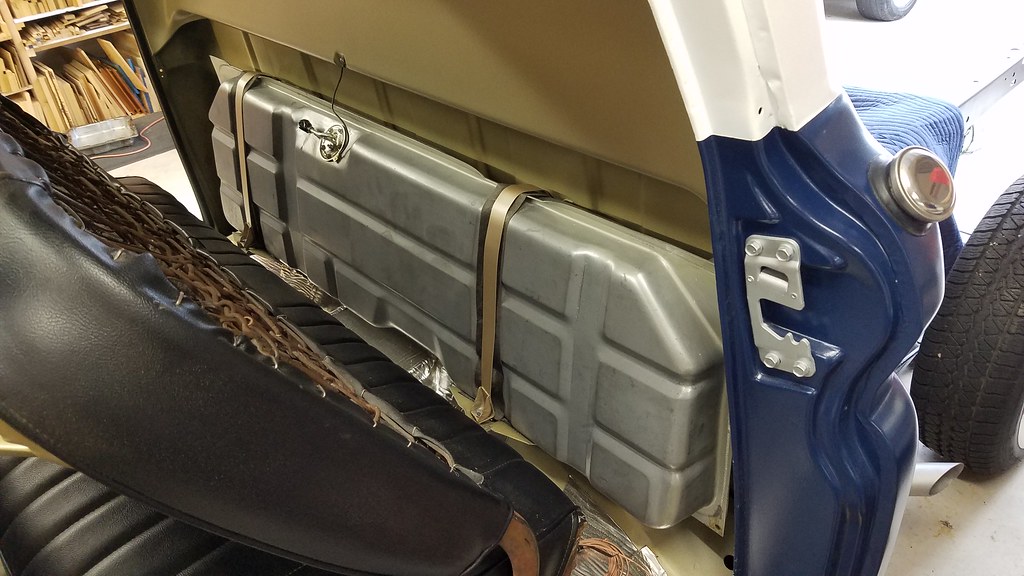 20160926_181946 by bjohnson388, on Flickr 20160926_181946 by bjohnson388, on FlickrGot my trans line bent. Need to paint them and permanently install them with some clips. 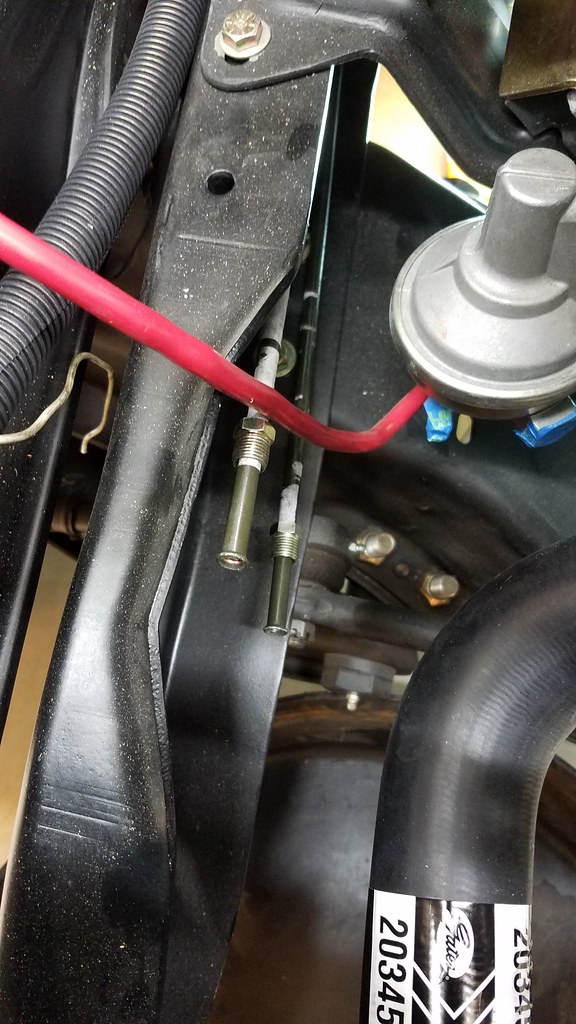 20160926_192805 by bjohnson388, on Flickr 20160926_192805 by bjohnson388, on Flickr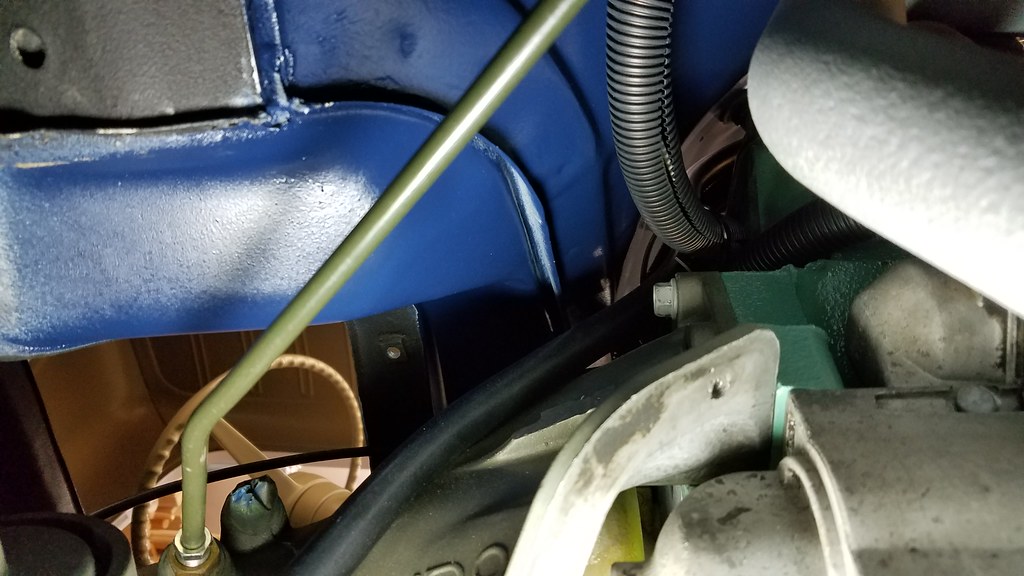 20160926_190944 by bjohnson388, on Flickr 20160926_190944 by bjohnson388, on Flickr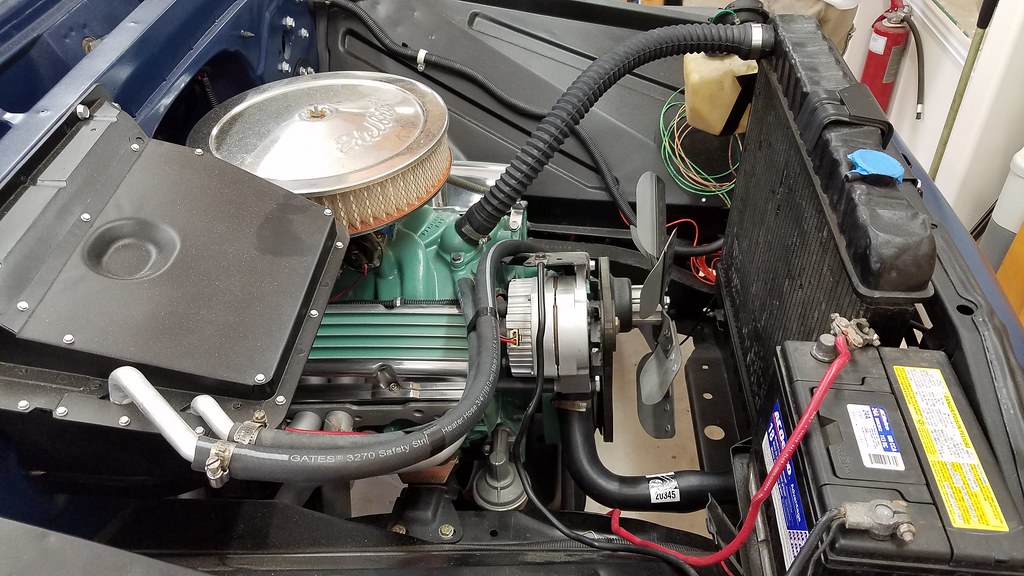 20160922_170718 by bjohnson388, on Flickr 20160922_170718 by bjohnson388, on FlickrGot all my heater hoses and radiator hoses hooked up. Filled the radiator with fluid and come to find out it has a pinhole. Don't know how it was fine when I tore it down 3 years ago. Oh well I have a new Champion one on the way I got off of Amazon. Getting very close to firing her up again after 3 years. Nevermind all my wiring it has not been tied up yet. Bret
__________________
64' Build Thread http://67-72chevytrucks.com/vboard/s...d.php?t=586955 |
|
|

|
|
|
#22 |
|
Registered User
 Join Date: Mar 2013
Location: Southern Oregon
Posts: 10,384
|
Re: 64 C10 Stepside "Jaybird"
Very nice Bret!
__________________
1966 Chevy C10 "Project Two Tone" http://67-72chevytrucks.com/vboard/s...d.php?t=596643 1964 GMC "Crustine" semi-build:http://67-72chevytrucks.com/vboard/s...d.php?t=665056 My youtube channel. Username "Military Chevy": https://www.youtube.com/channel/UC_h...fzpcUXyK_5-uiw |
|
|

|
|
|
#23 |
|
Registered User
Join Date: Nov 2014
Location: Omaha
Posts: 558
|
Re: 64 C10 Stepside "Jaybird"

|
|
|

|
|
|
#24 |
|
Registered User
Join Date: Sep 2012
Location: Leander, TX
Posts: 969
|
Re: 64 C10 Stepside "Jaybird"
New radiator showed up yesterday. The tanks are quite a bit bigger than stock in width so I had to stretch the brackets so it would fit.
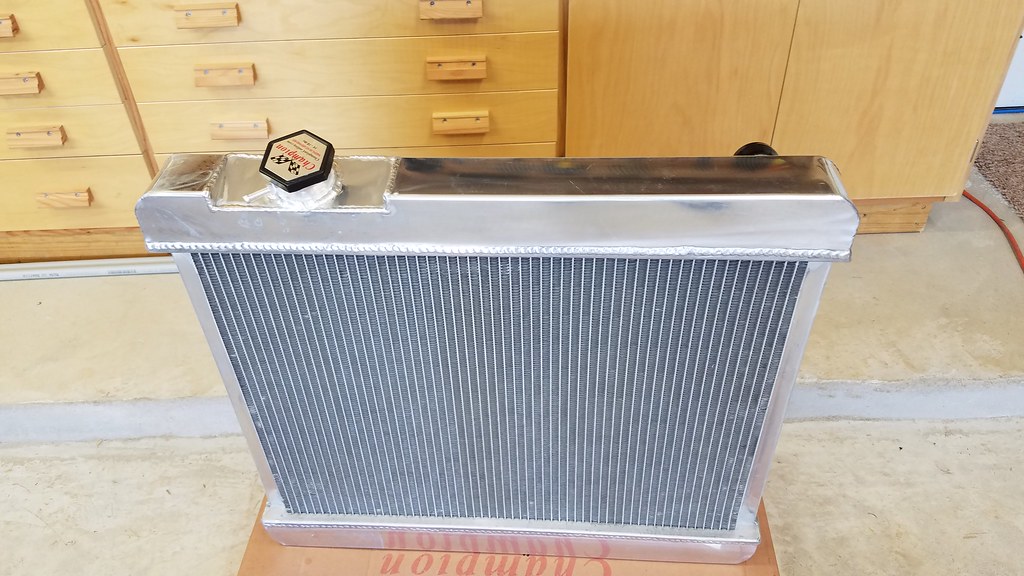 20160928_180707 by bjohnson388, on Flickr 20160928_180707 by bjohnson388, on Flickr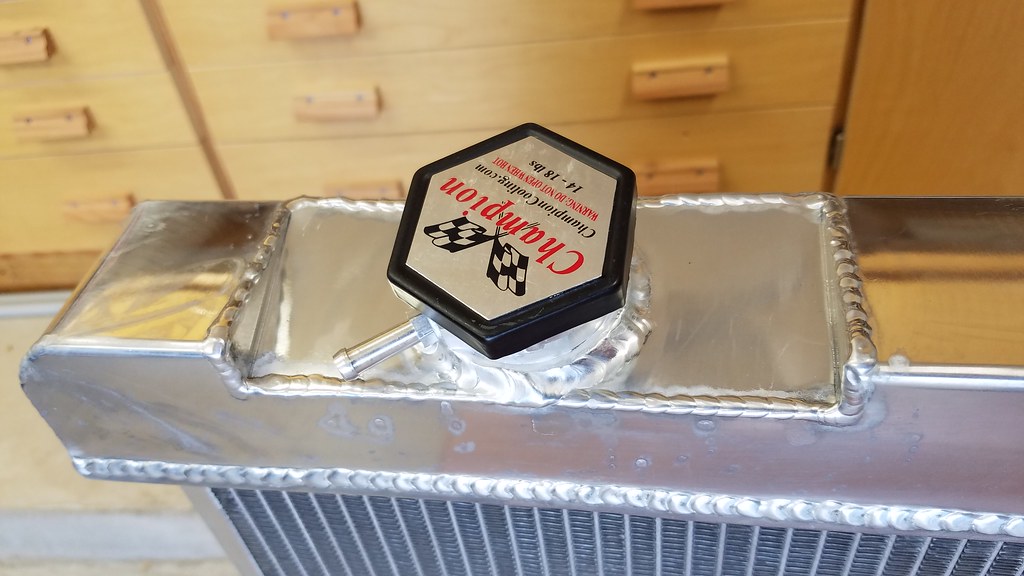 20160928_180722 by bjohnson388, on Flickr 20160928_180722 by bjohnson388, on Flickr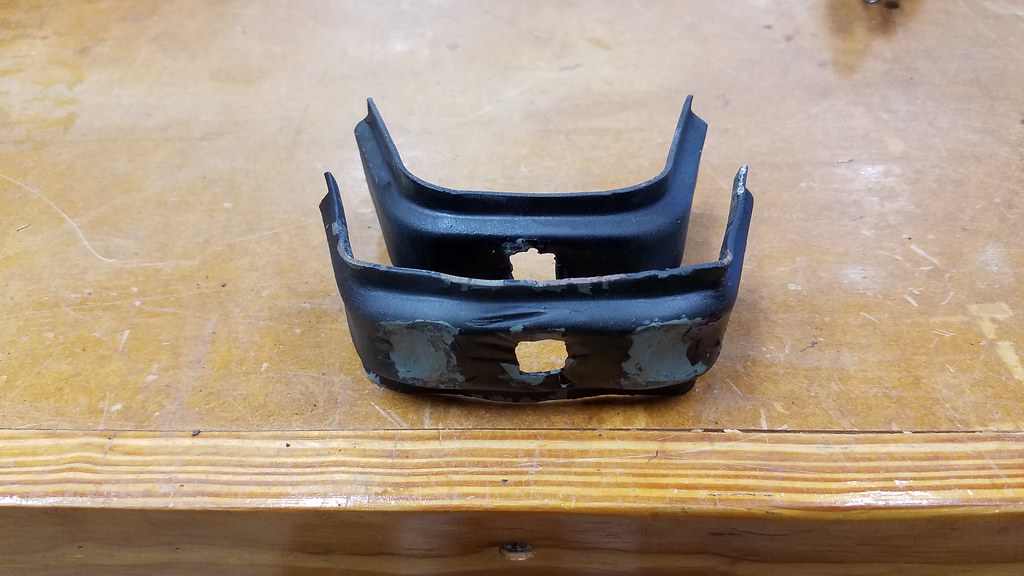 20160928_185946 by bjohnson388, on Flickr 20160928_185946 by bjohnson388, on Flickr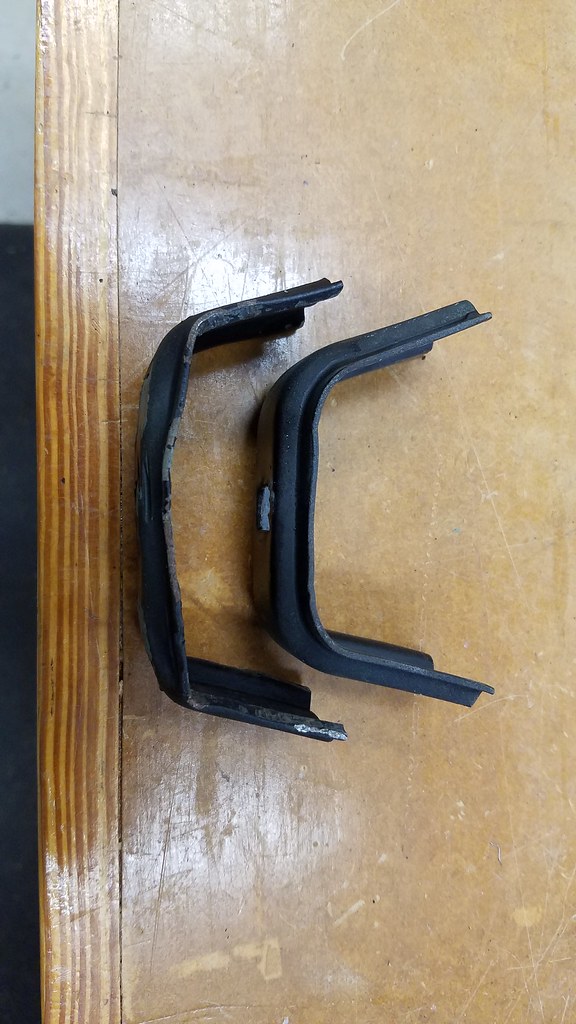 20160928_185942 by bjohnson388, on Flickr 20160928_185942 by bjohnson388, on FlickrHad to repaint the brackets. Will be installing it today. Pics to follow. Bret
__________________
64' Build Thread http://67-72chevytrucks.com/vboard/s...d.php?t=586955 |
|
|

|
|
|
#25 |
|
Registered User
Join Date: Nov 2014
Location: Omaha
Posts: 558
|
Re: 64 C10 Stepside "Jaybird"
WOOOOT
   
|
|
|

|
 |
| Bookmarks |
|
|