
|
|
|
 10-22-2015, 11:34 PM
|
#1 |
|
Senior Member
 Join Date: Mar 2011
Location: West Plains, Missouri
Posts: 7,555
|
Re: 55 Wagon Progress
That came out real nice...Jim
__________________
my build thread: http://67-72chevytrucks.com/vboard/s...d.php?t=459839 Jimbo's long bed step build:http://67-72chevytrucks.com/vboard/s...t=464626<br /> |

|

|
|
10-23-2015, 07:54 AM
|
#2 |
|
Registered User
Join Date: Jan 2012
Location: Eastern Ontario, Canada
Posts: 1,041
|
Re: 55 Wagon Progress
Awesome as usual..
__________________
1952 Canadian Chevy 1300 C4 IFS & D44 IRS 5.3 HO L33 My Build: http://67-72chevytrucks.com/vboard/s...d.php?t=632938 
|
|
|
|
|
10-26-2015, 10:29 PM
|
#3 |
|
Registered User
Join Date: Mar 2008
Location: Waukee, Iowa
Posts: 1,608
|
Re: 55 Wagon Progress
Did you switch to TIG?
__________________
build threads: 86 Suburban 88 Jeep 6.0 swap 49 Chevy truck 54 Chevy wagon 86 Suburban lowered 4/6 54 Chevy wagon 49 Chevy/s10 mix 88 Jeep Wrangler rockcrawler |
|
|
|
|
10-26-2015, 10:37 PM
|
#4 |
|
Registered User
Join Date: Jan 2013
Location: Leonardtown, MD
Posts: 1,637
|
Re: 55 Wagon Progress
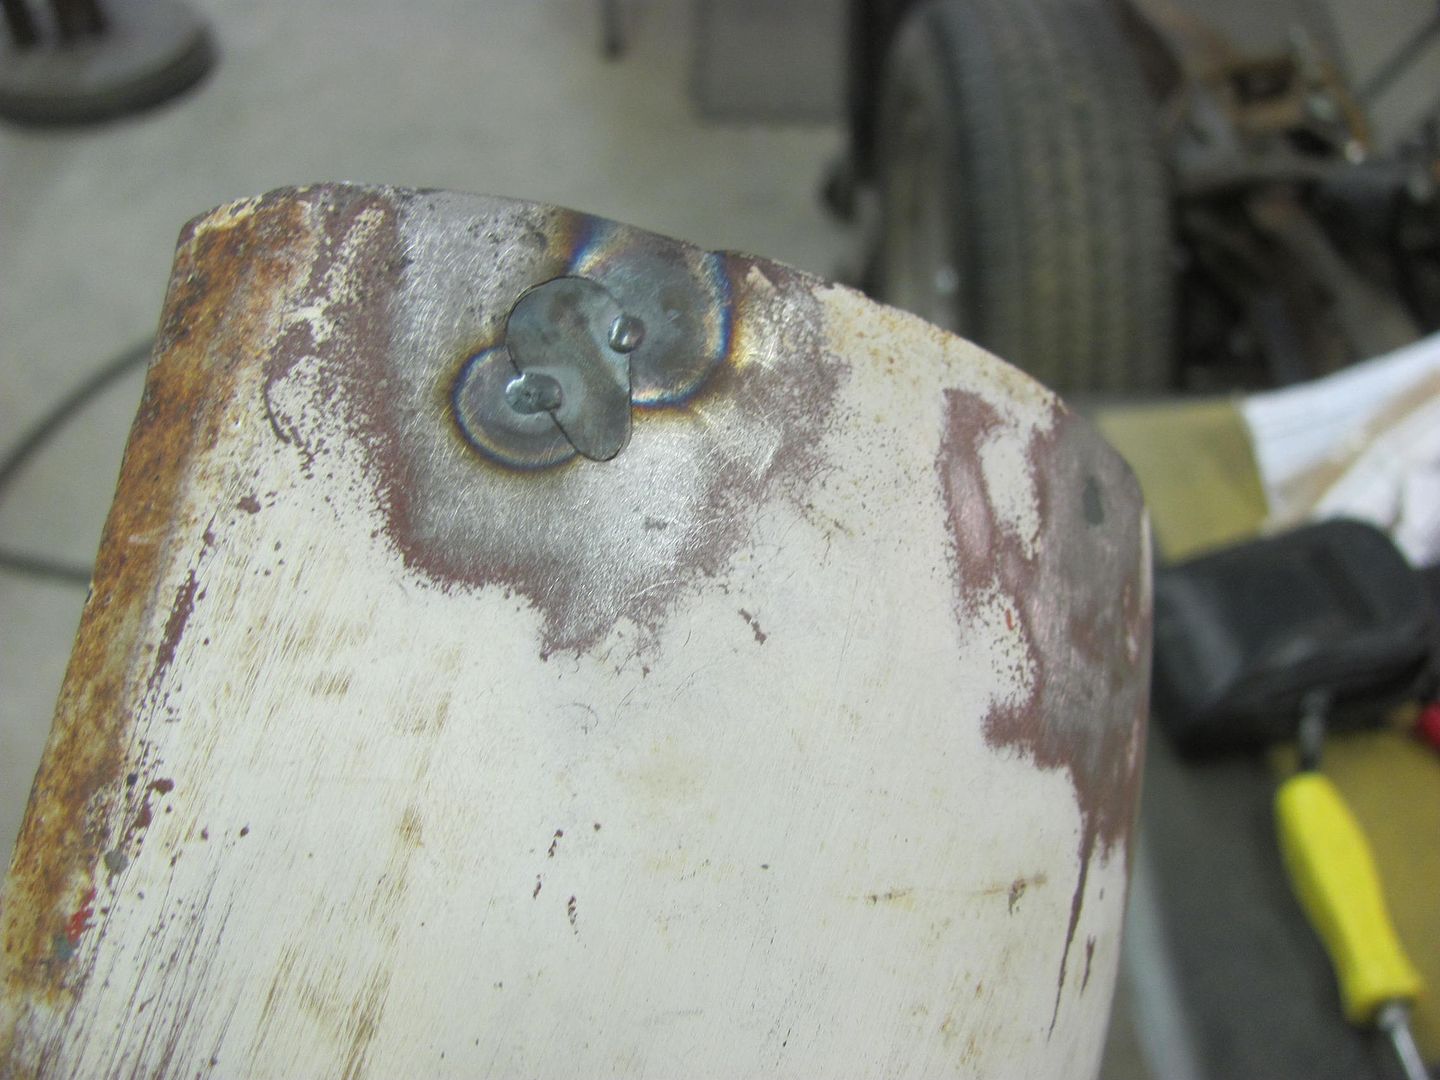
Yes, the fender patches were done with tig, though it would be easier clean up.
__________________
Robert |
|
|
|
|
10-27-2015, 07:12 AM
|
#5 |
|
Registered User
Join Date: Jan 2013
Location: Leonardtown, MD
Posts: 1,637
|
Re: 55 Wagon Progress
Our enclosed trailer has the white wagon wheels that always seem to turn rusty in a few years, so I have been trying different wheels to see what might work....
These are some late model Mustang wheels, the hub hole would need to be opened slightly, but the offset was, well off. 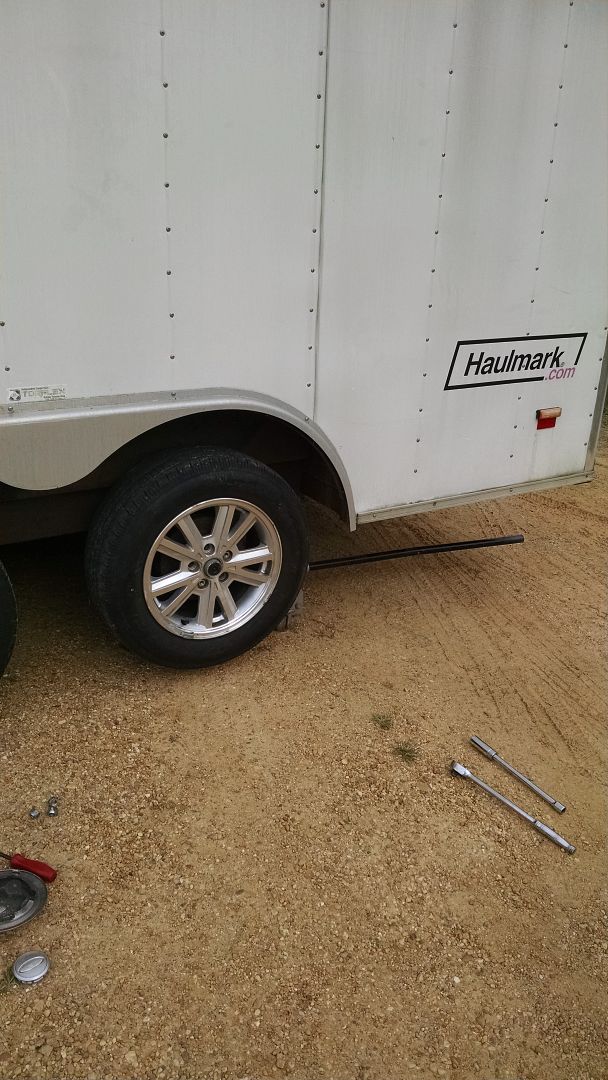 Perhaps on a fancy trailer with more stainless trim, but these just looked too much. Next, some plain Jane Ford Ranger wheels.... 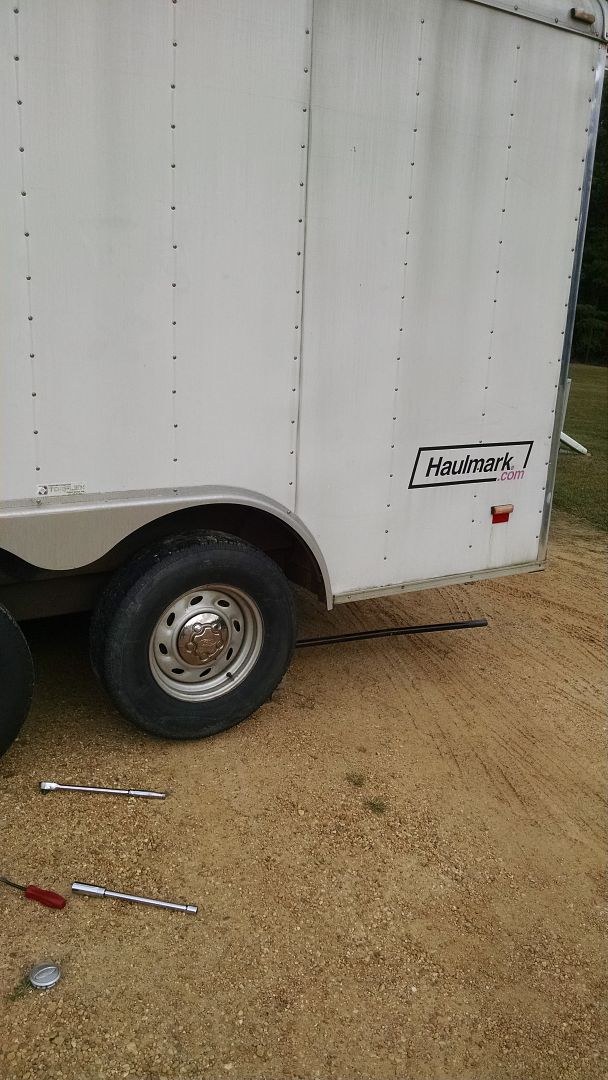 Much better, correct offset, and no wheel modification needed. Just need to change up the color and add some stainless trim rings. I do have some bright orange, some bright red, and a few other colors in the paint locker..  Some before and after media blasting..   Two down, two to go. Can't get it all done in one night. And more weld grinding and other prep work on the wagon continues. Since the big cleanup in preparation for the class in the shop earlier this month, we haven't been able to find our quarter panel profile template, so Kyle made a couple of them, one for in front of the rear wheel, one behind, and we've been working on the weld seams and doing some metal bumping to minimize our stock in filler products. Drivers side is looking much better than it did last week, still about another day to go and the quarters should be good for epoxy primer.. 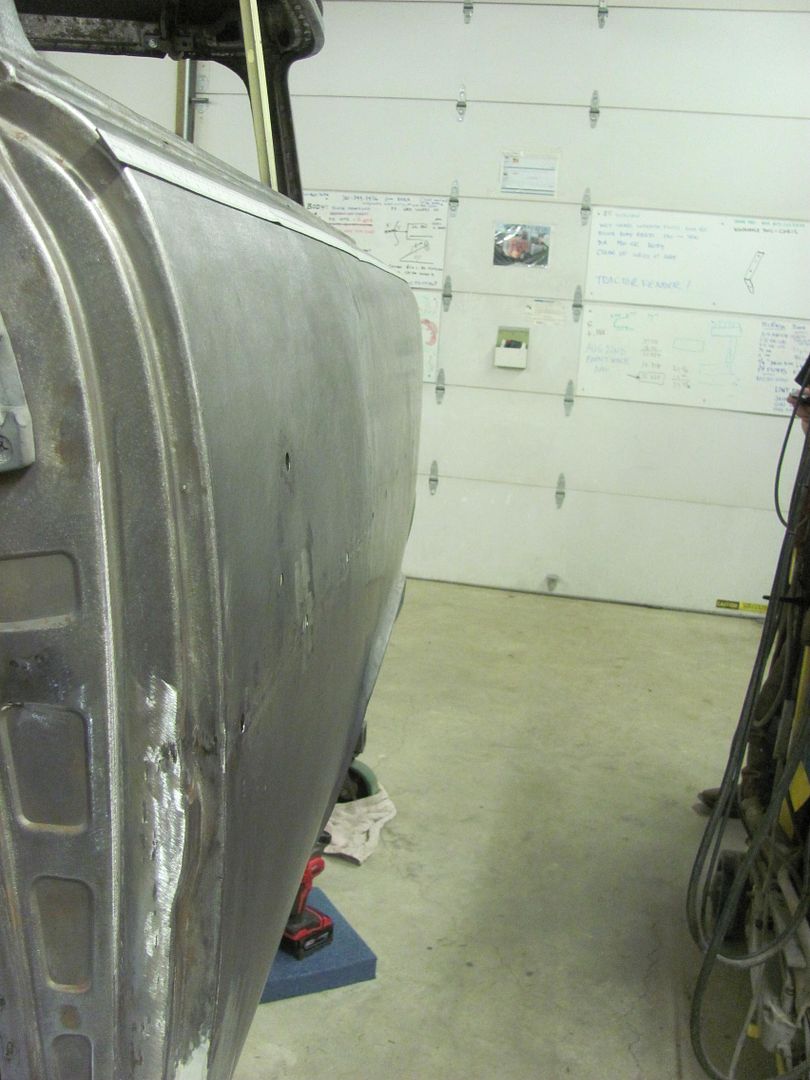 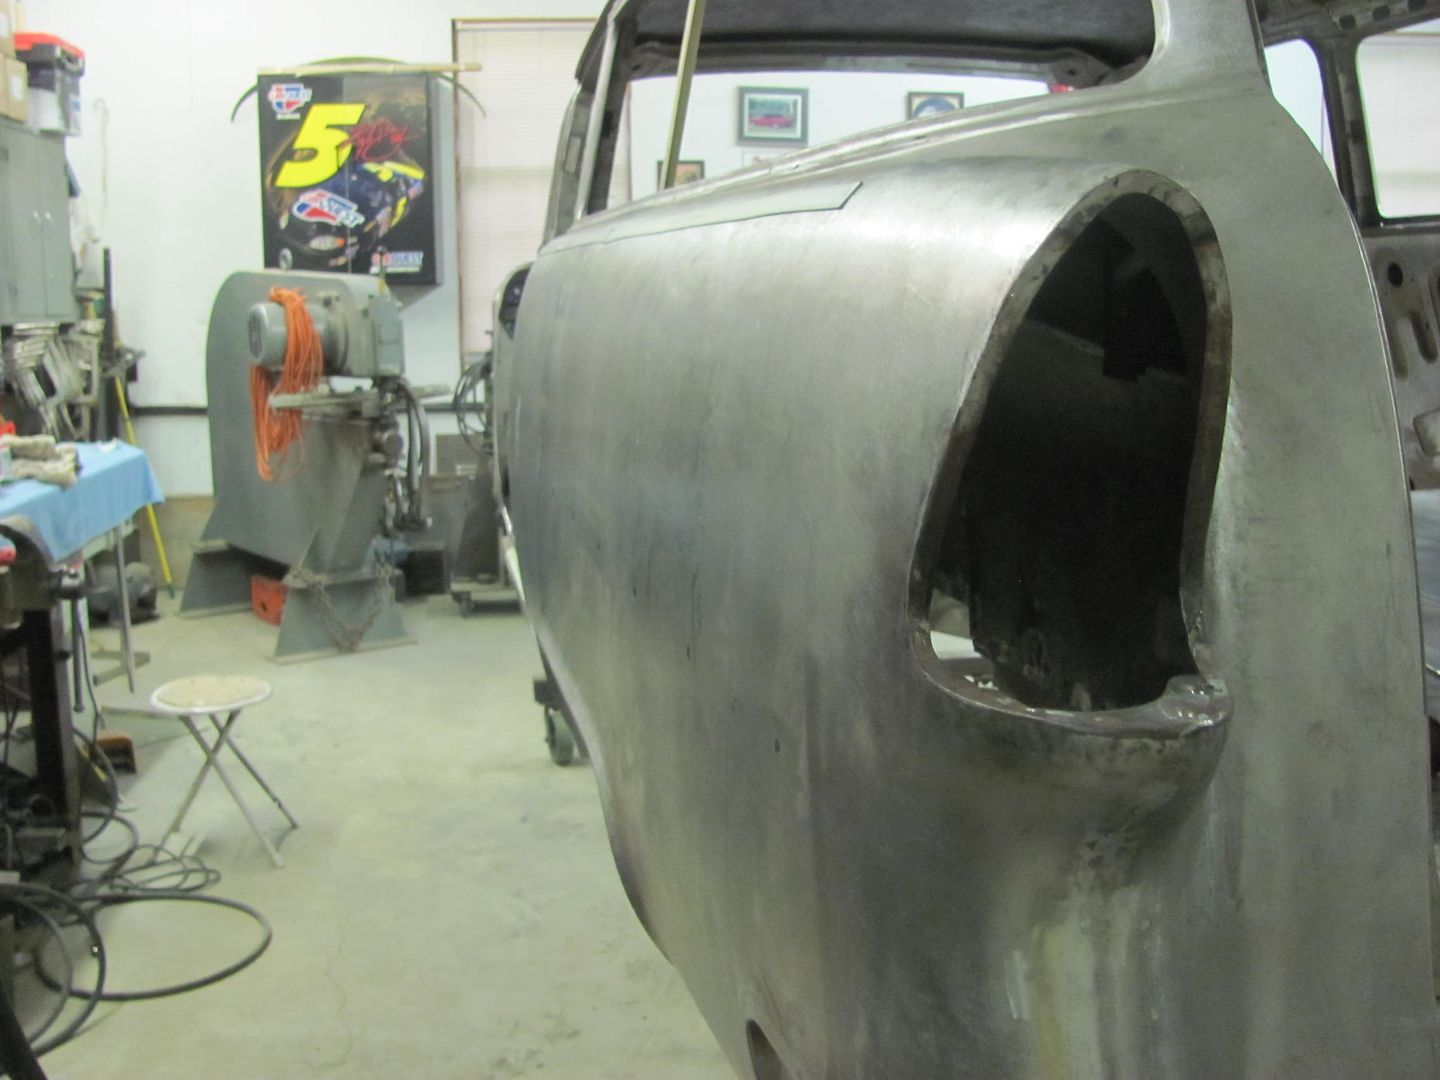
__________________
Robert |
|
|
|
|
10-29-2015, 12:53 PM
|
#6 |
|
Registered User
Join Date: Apr 2003
Location: Indep, MO
Posts: 5,893
|
Re: 55 Wagon Progress
Beautiful as always. Need to stock up on tips for the squarebody bedsides I'm gonna have to do.
__________________
Boppa's Old Yeller Truck Build, Old Yeller's New Heart! Project Buzz Bomb Flyin' Low! |
|
|
|
|
11-01-2015, 11:25 AM
|
#7 |
|
Registered User
Join Date: Jan 2013
Location: Leonardtown, MD
Posts: 1,637
|
Re: 55 Wagon Progress
Thanks!
Well, we didn't get pictures of the funny part. Kyle and I loaded the frame in the trailer and headed off to the local car wash to remove the grease from the front cross member. We had quite a few stares and a couple horns honking as he pushed the frame around the car wash parking lot and I was sitting on the frame rail, maneuvering with the Jr. steering wheel. We found the tire presoak and a wire brush does wonders for the engine grease. The car wash attendant did not look too pleased, but never said a word. Back at the shop, bolting the adapter plates onto the frame... 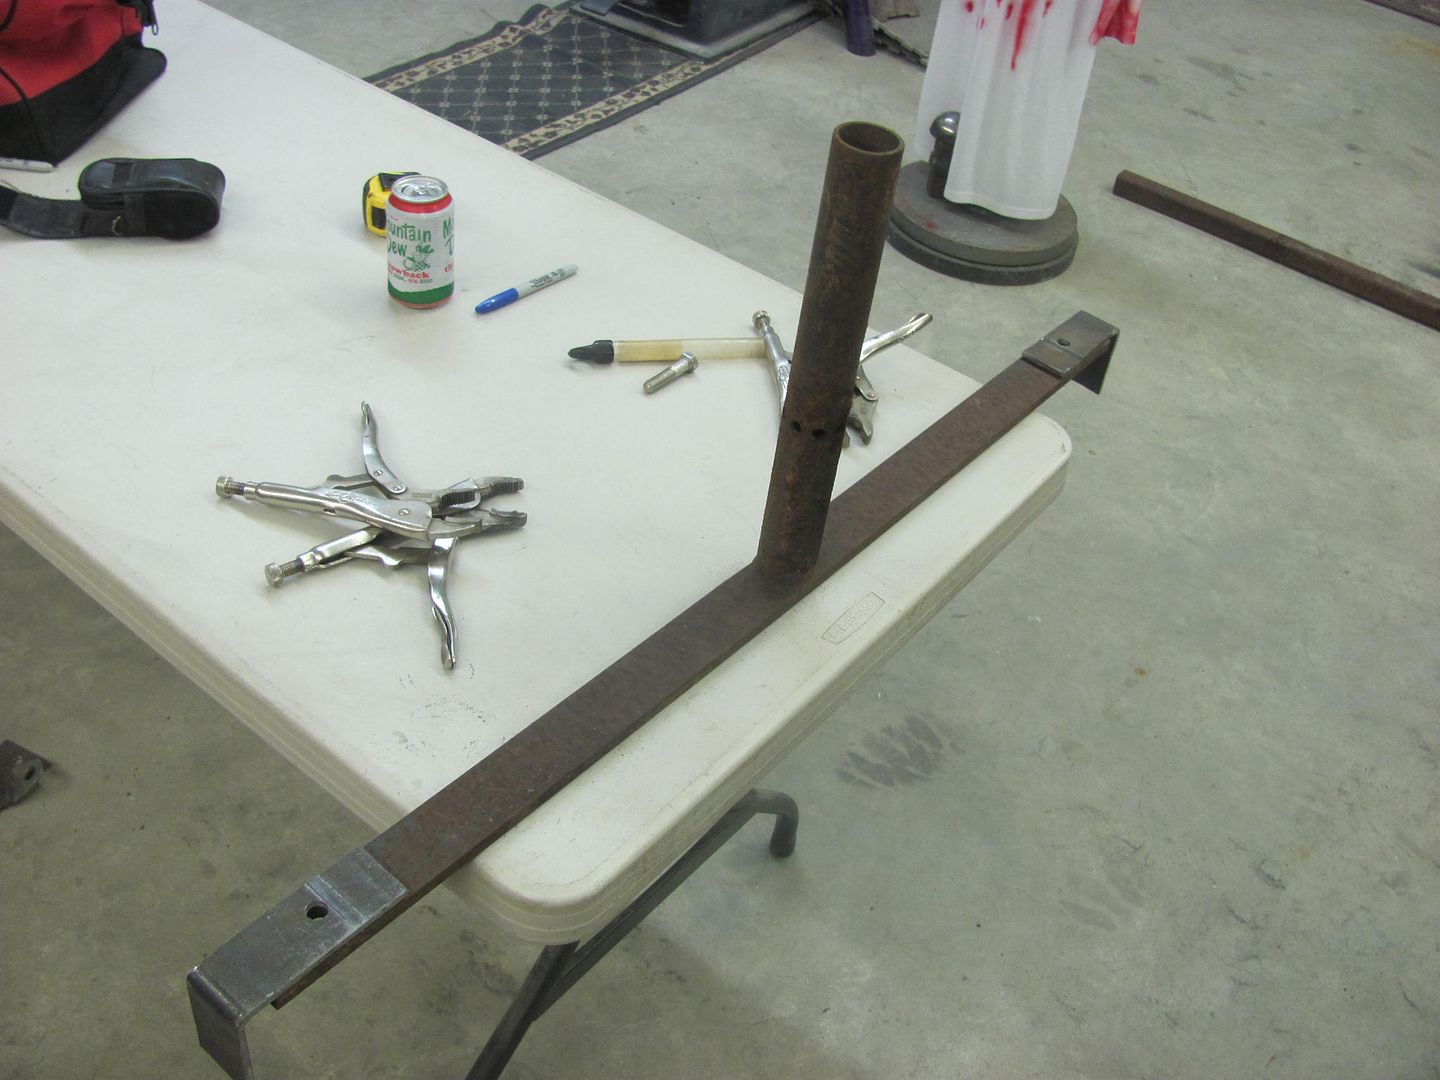 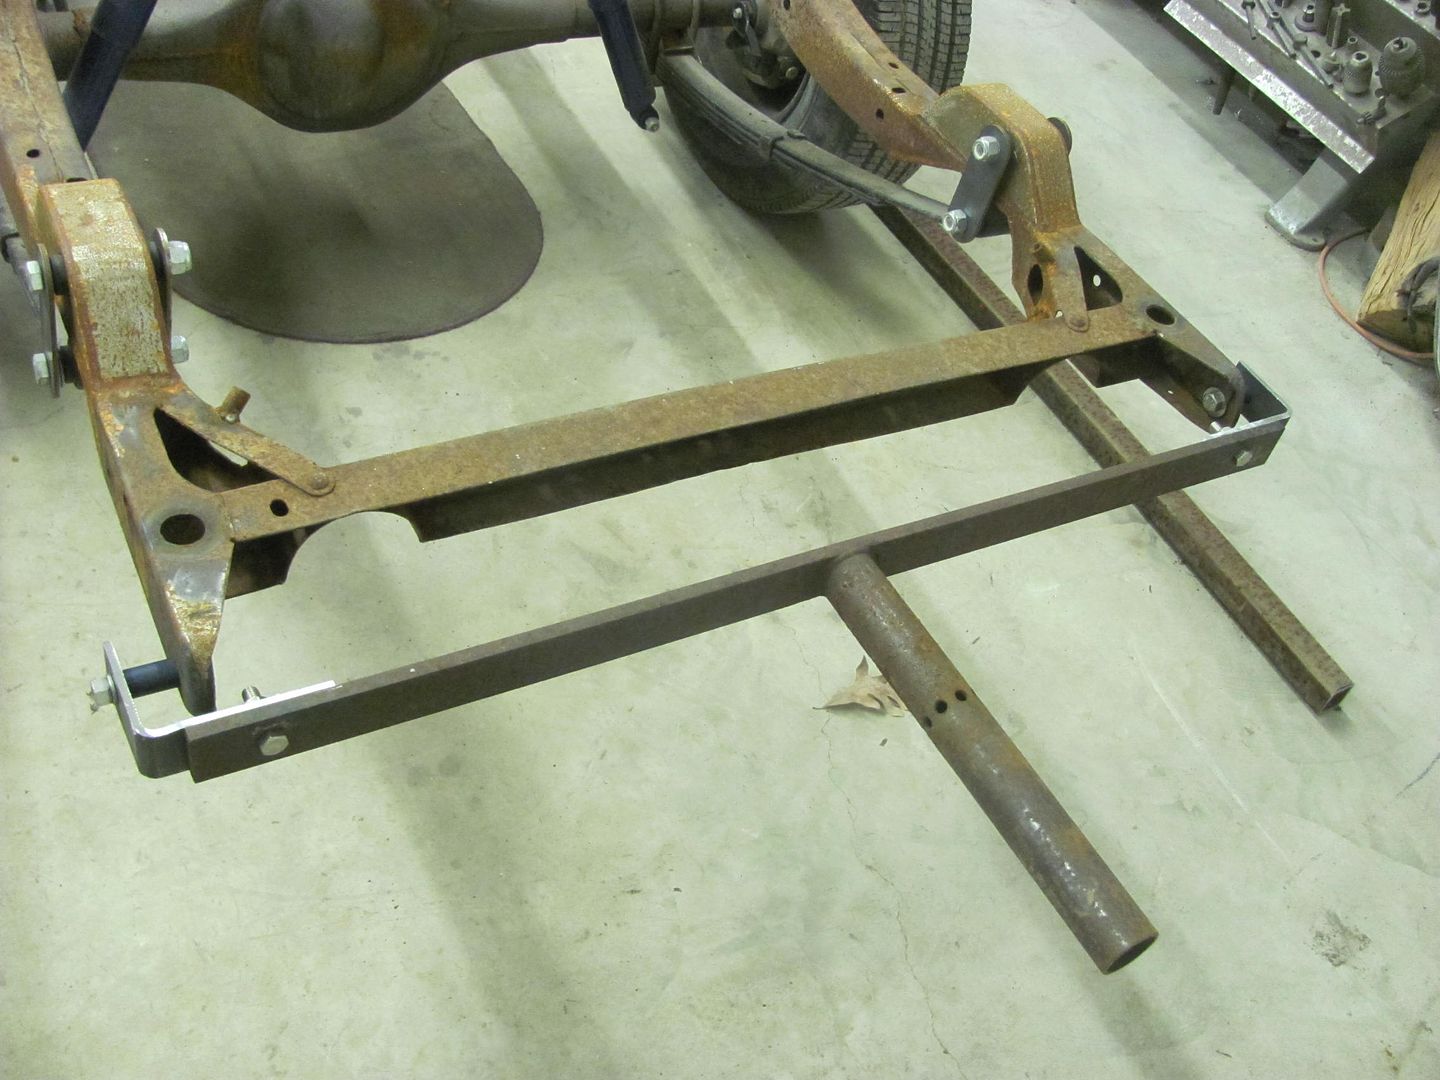 You can see in the above picture we used 1-1/2" long spacers to get a better access for media blasting the frame.. Disassembly starts.... 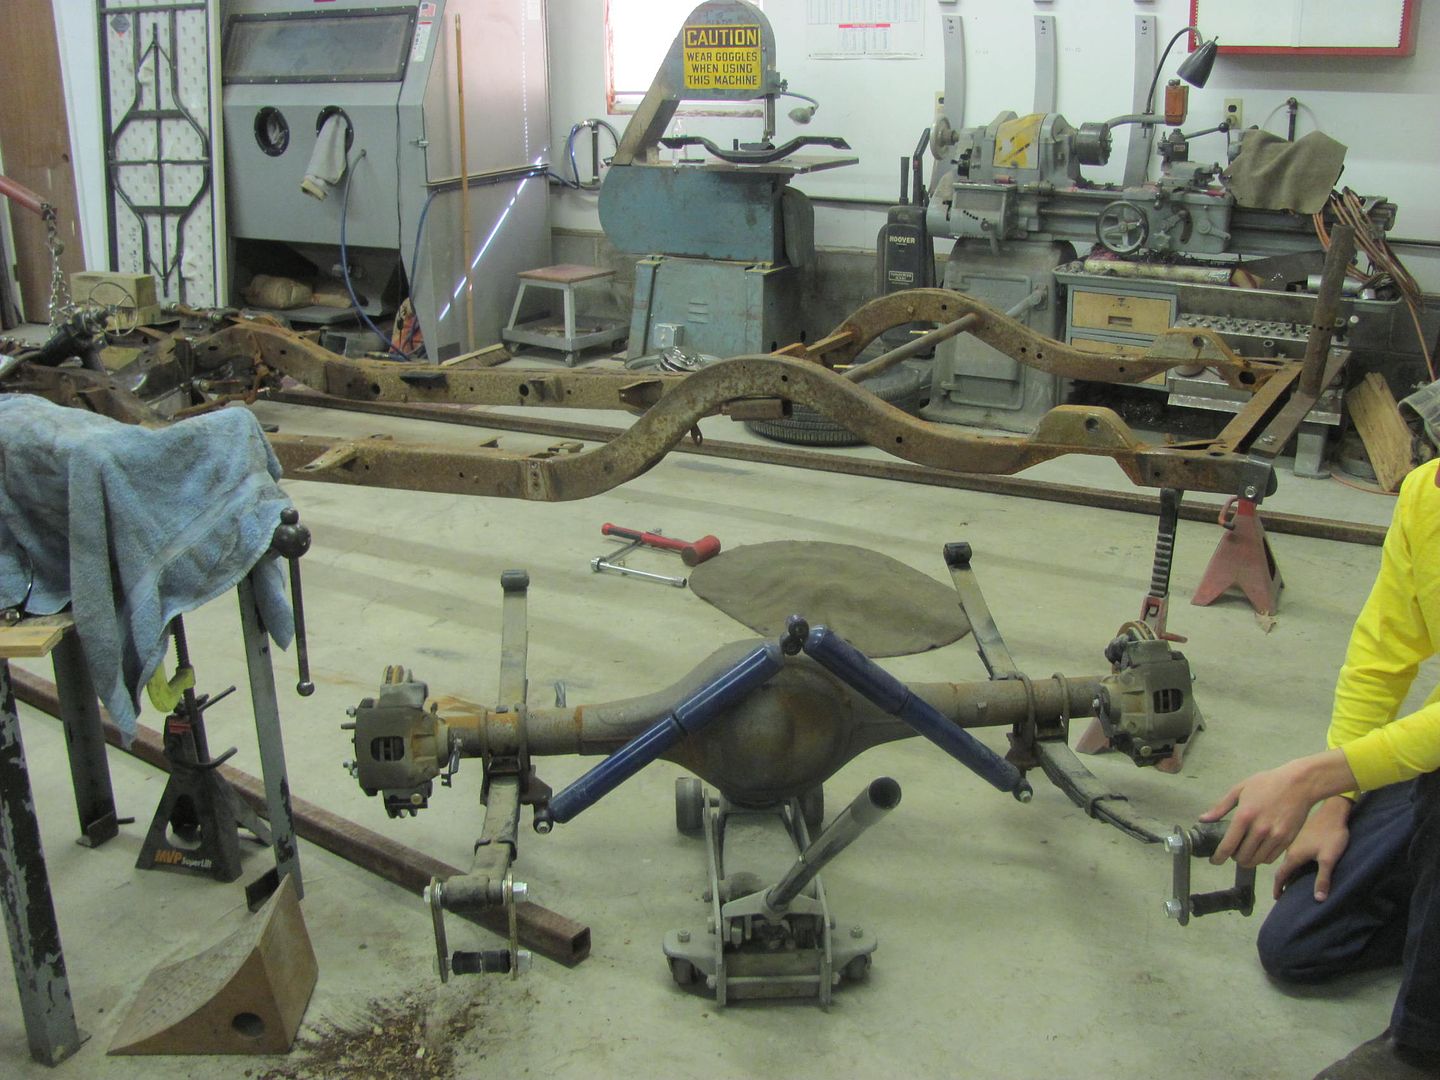 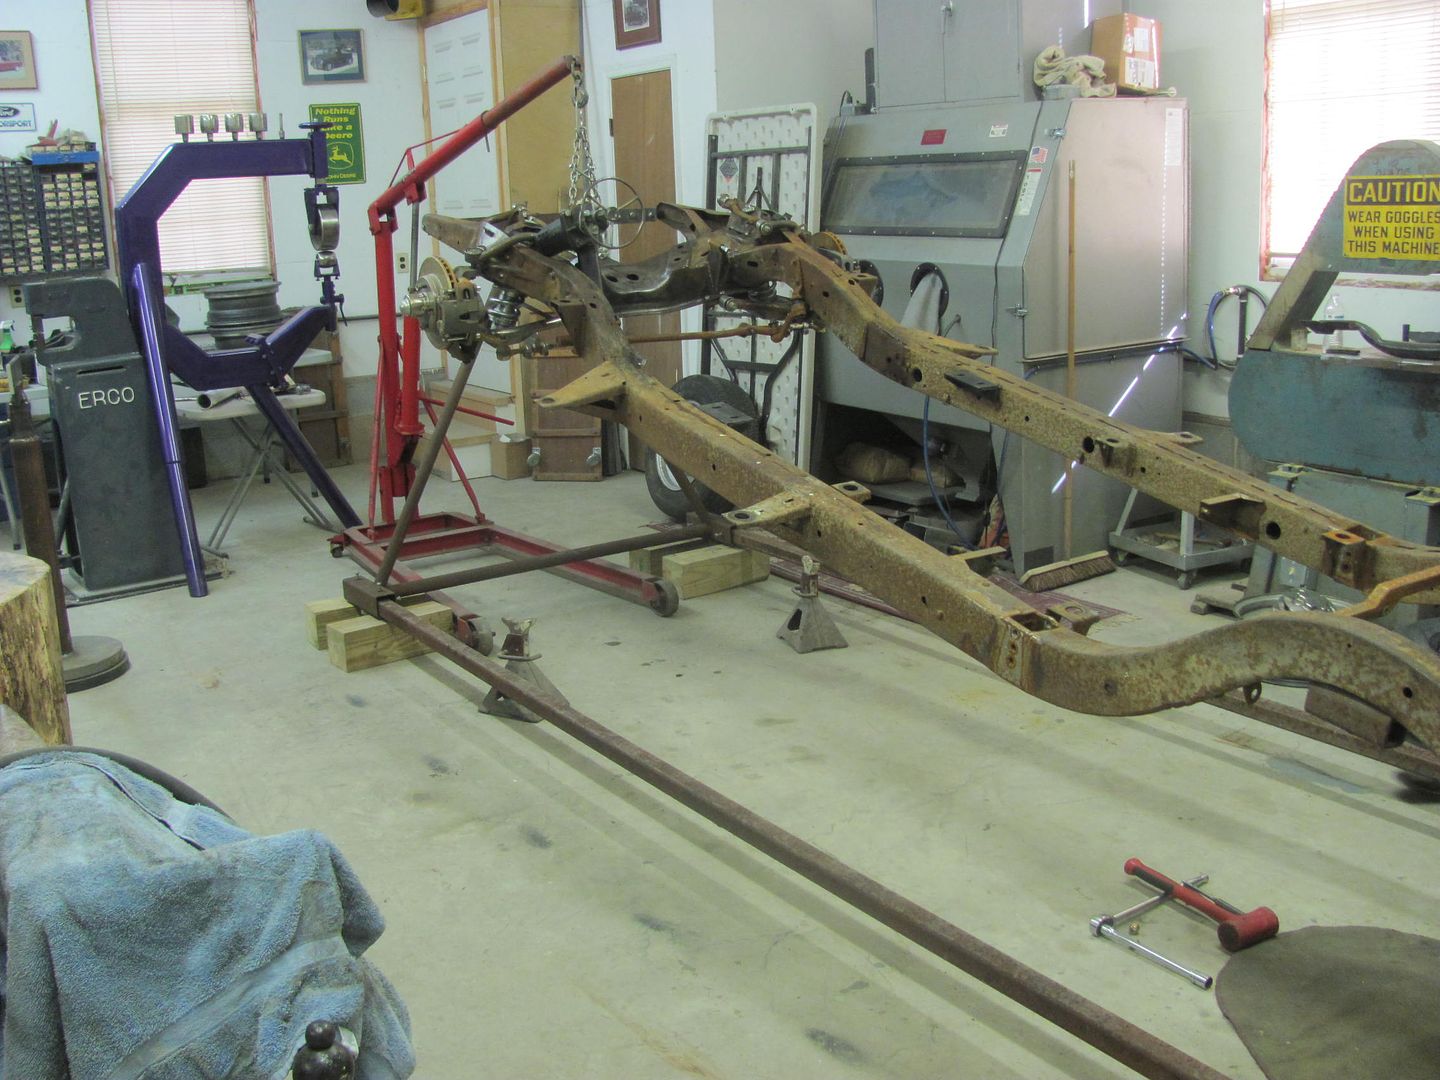 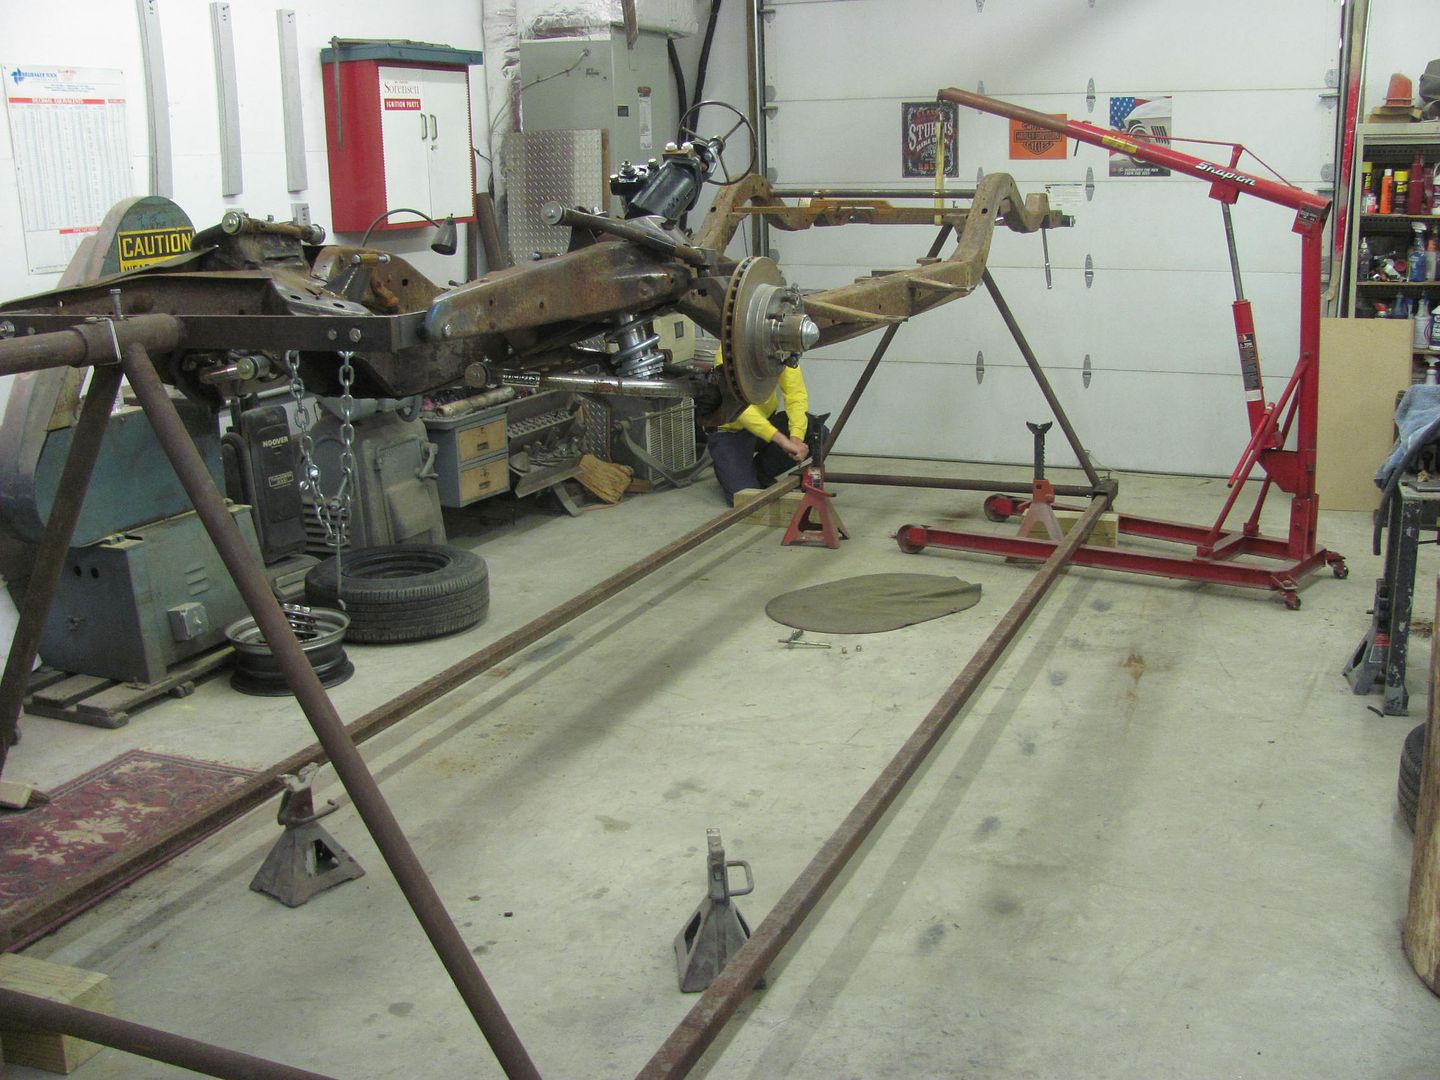 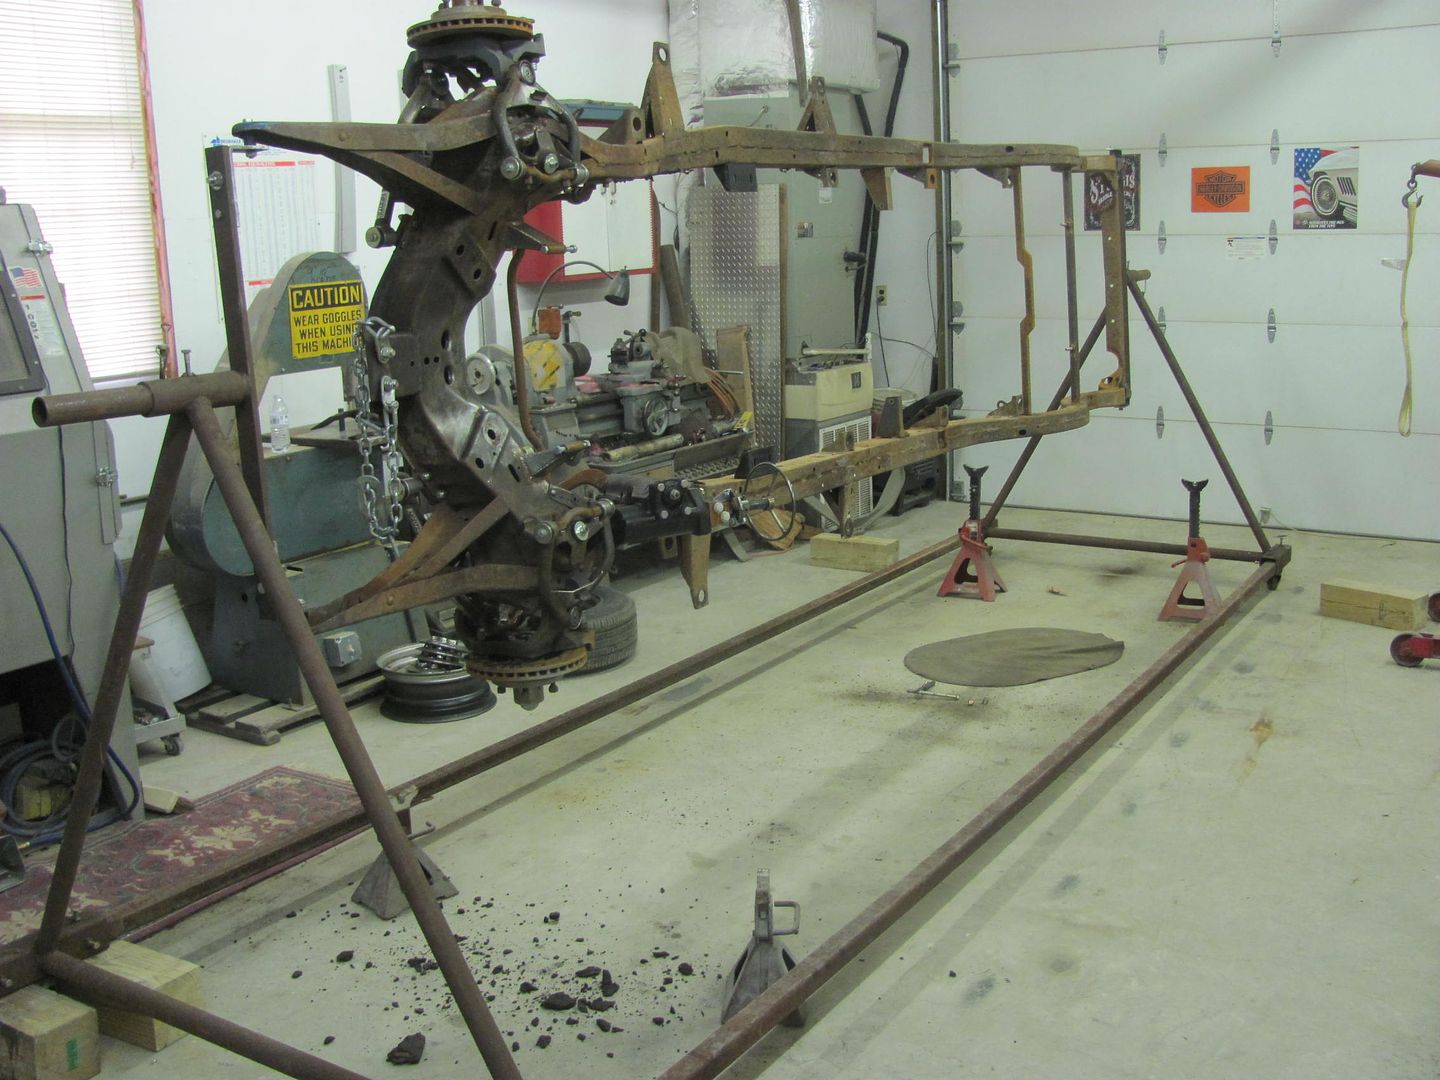 After a few revolutions and a bit of air pressure, we had quite a pile of 60 year old dirt.. 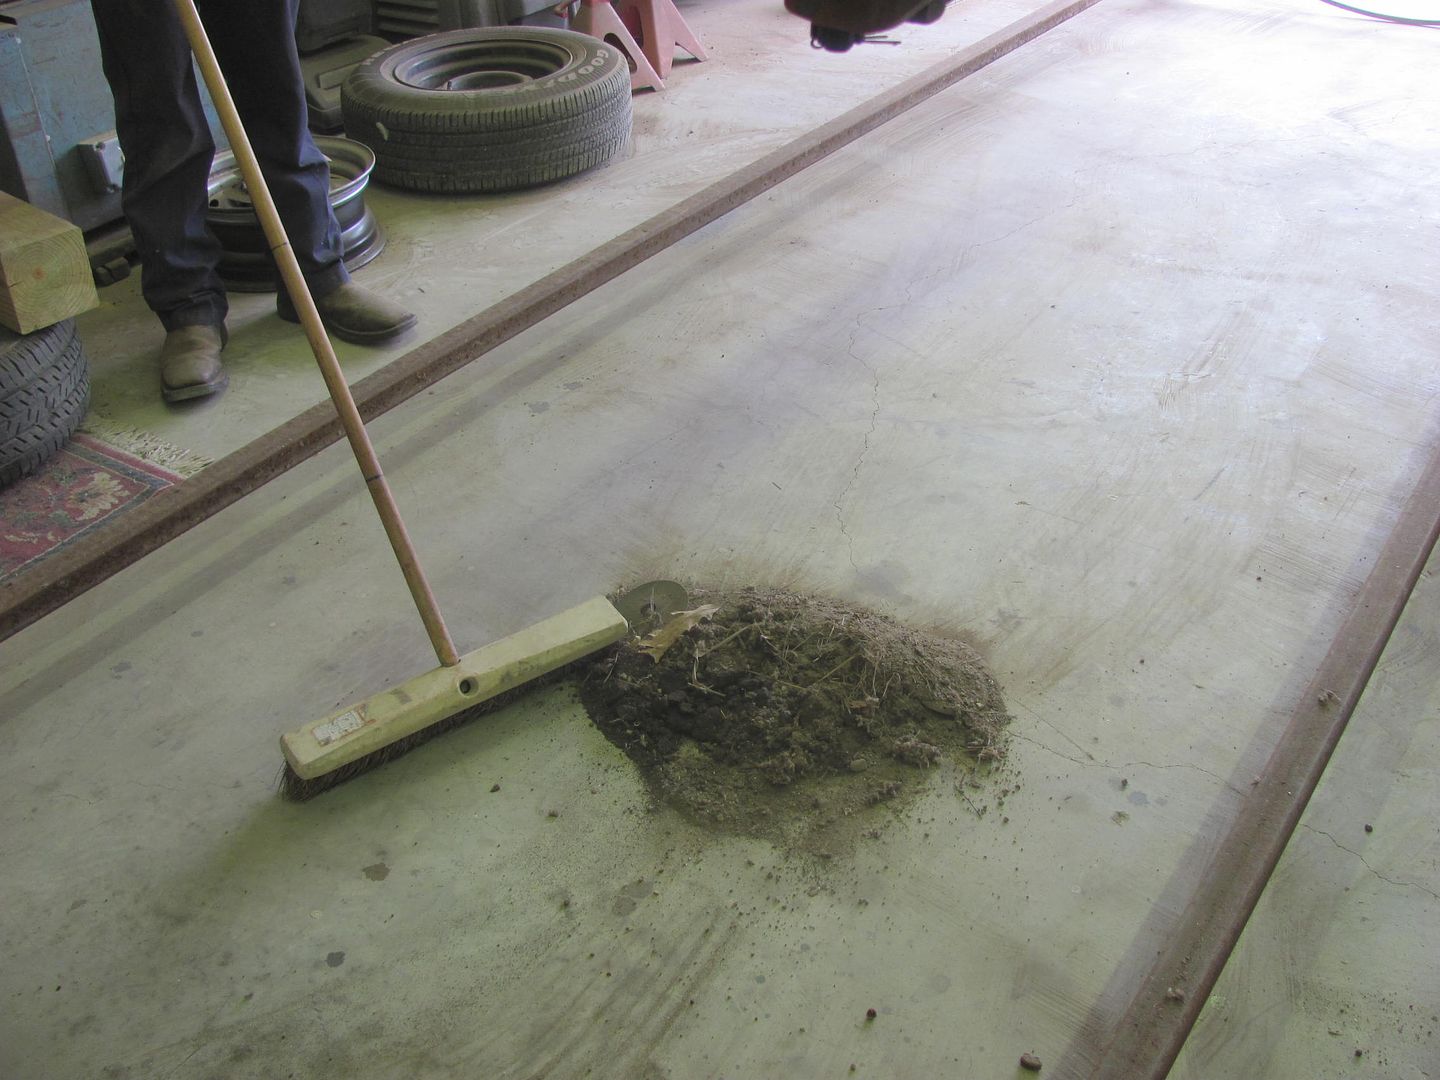 Override springs from the era. The handyman wagons were often used as work vehicles, and this option helped with the heavy loads... 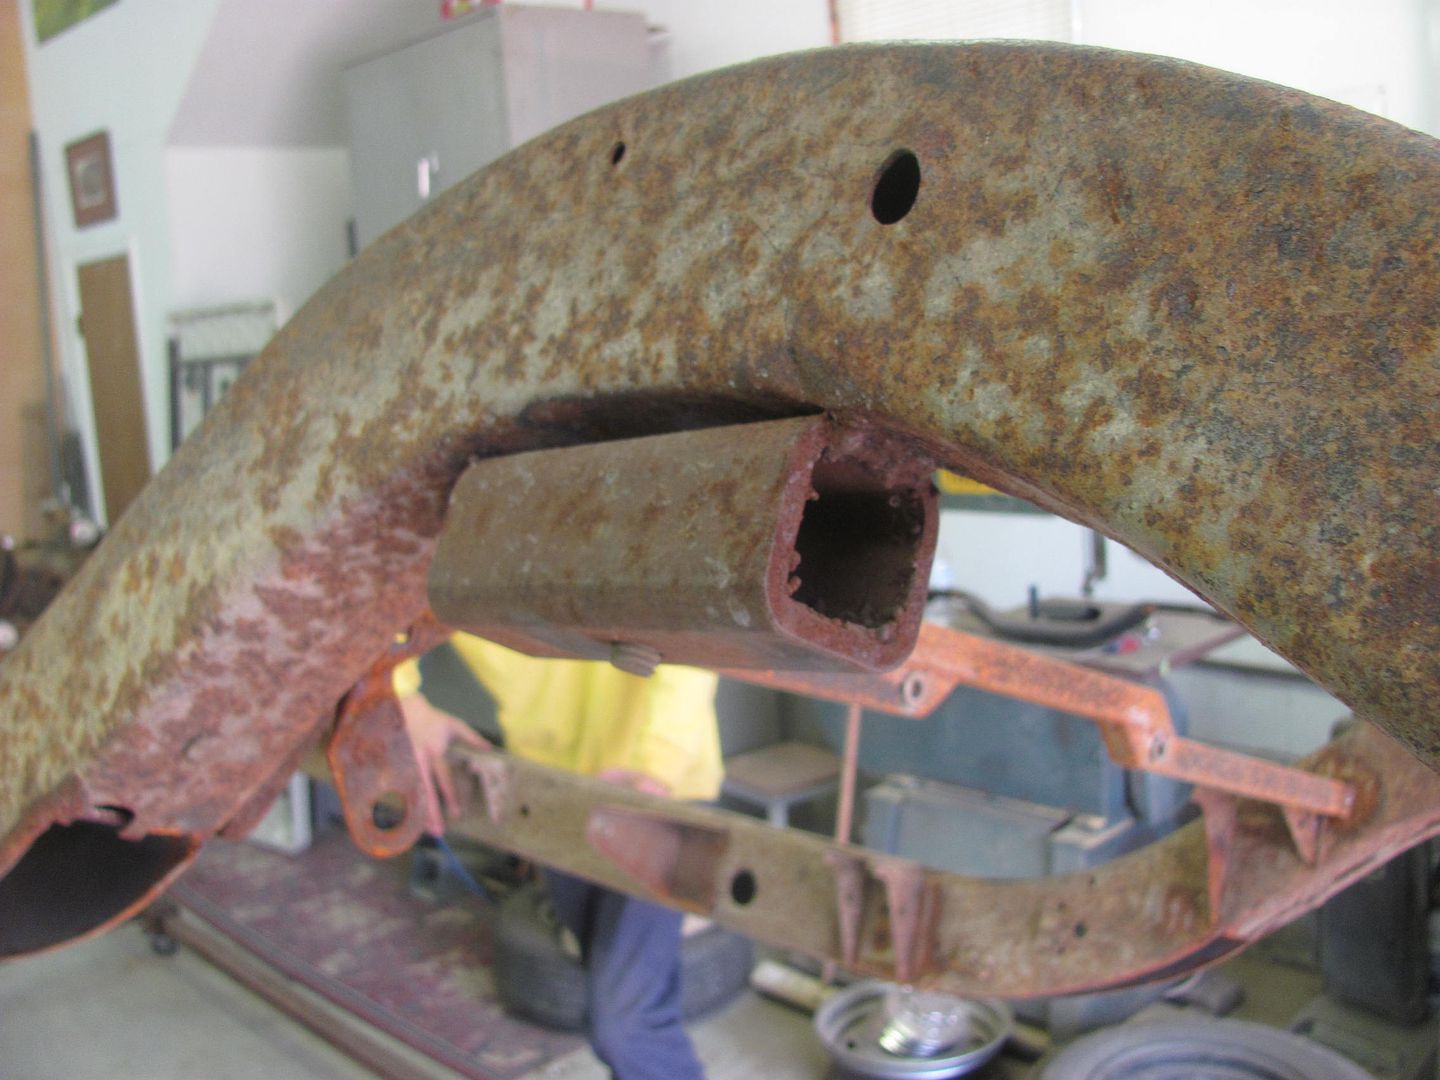 All stripped.... 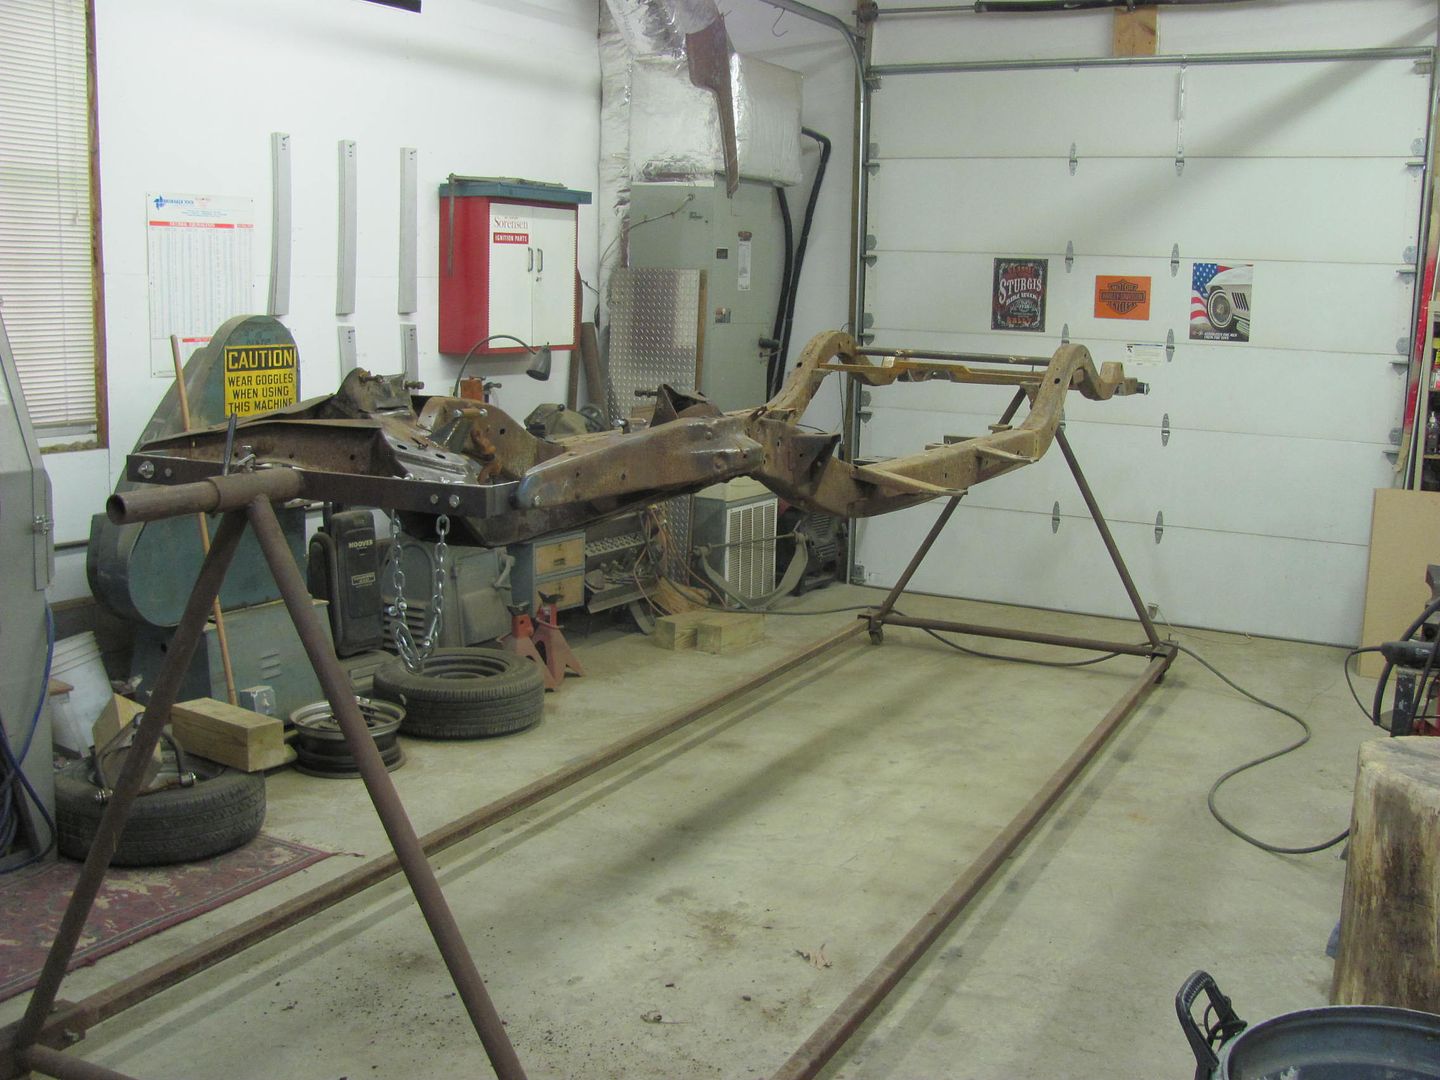 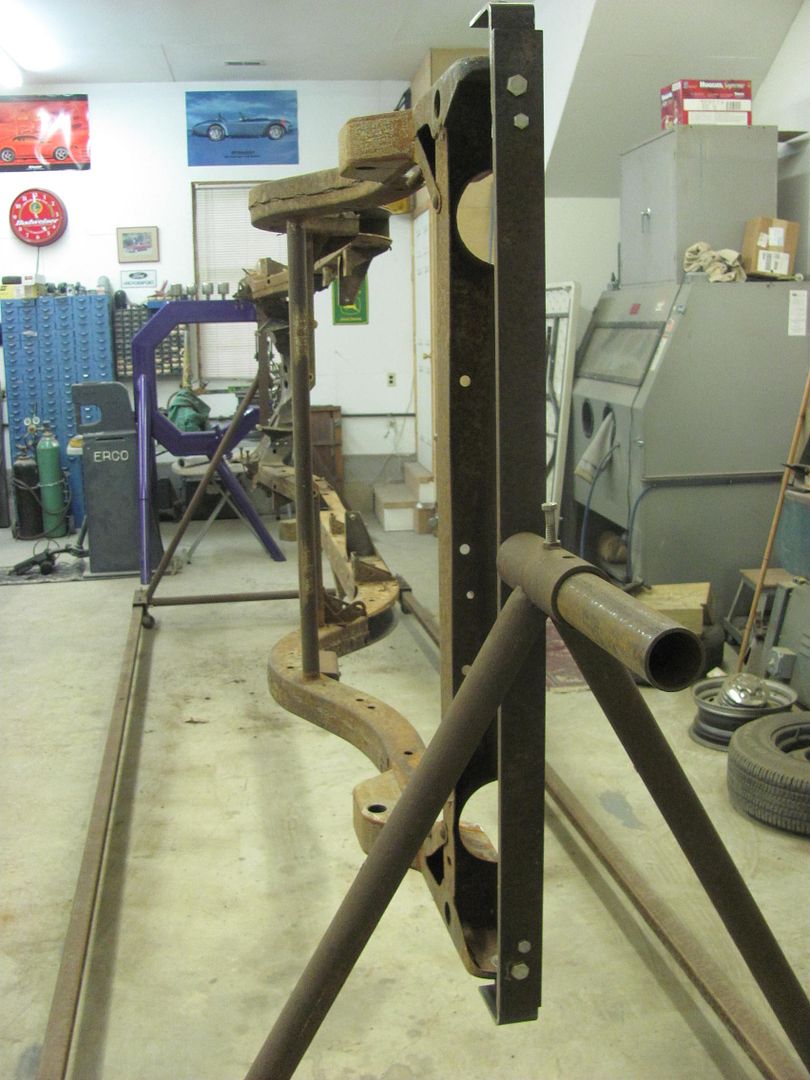
__________________
Robert |
|
|
|
|
11-03-2015, 11:54 PM
|
#8 |
|
Registered User
Join Date: Jan 2013
Location: Leonardtown, MD
Posts: 1,637
|
Re: 55 Wagon Progress
Had an early Chevy hood side show up at the shop tonight, the owner wanted a couple different versions of louver samples made up that he could hold against the hood on the car to better visualize. One style he was looking at lends from an early Alfa Romeo that extends the louvers onto the cowl, as shown in the green tape..
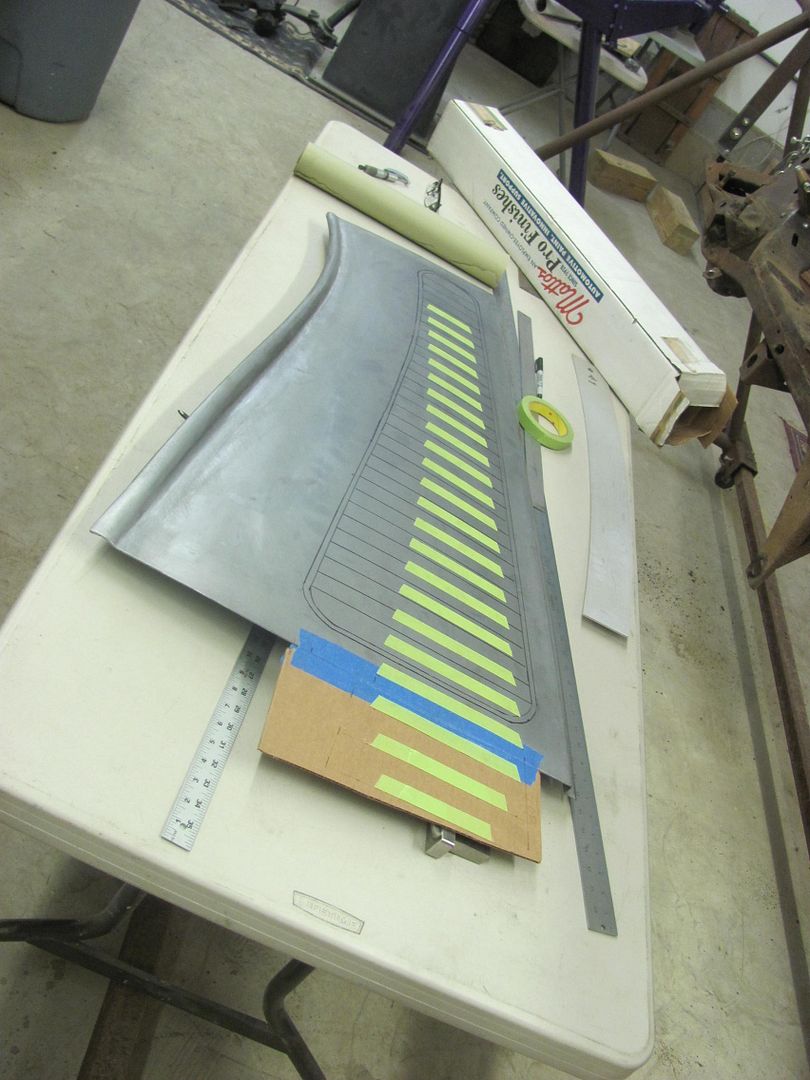 We took a paper pattern of the details so the hood side could go back with him to use as a pattern for the opposite side that still needs to be made. 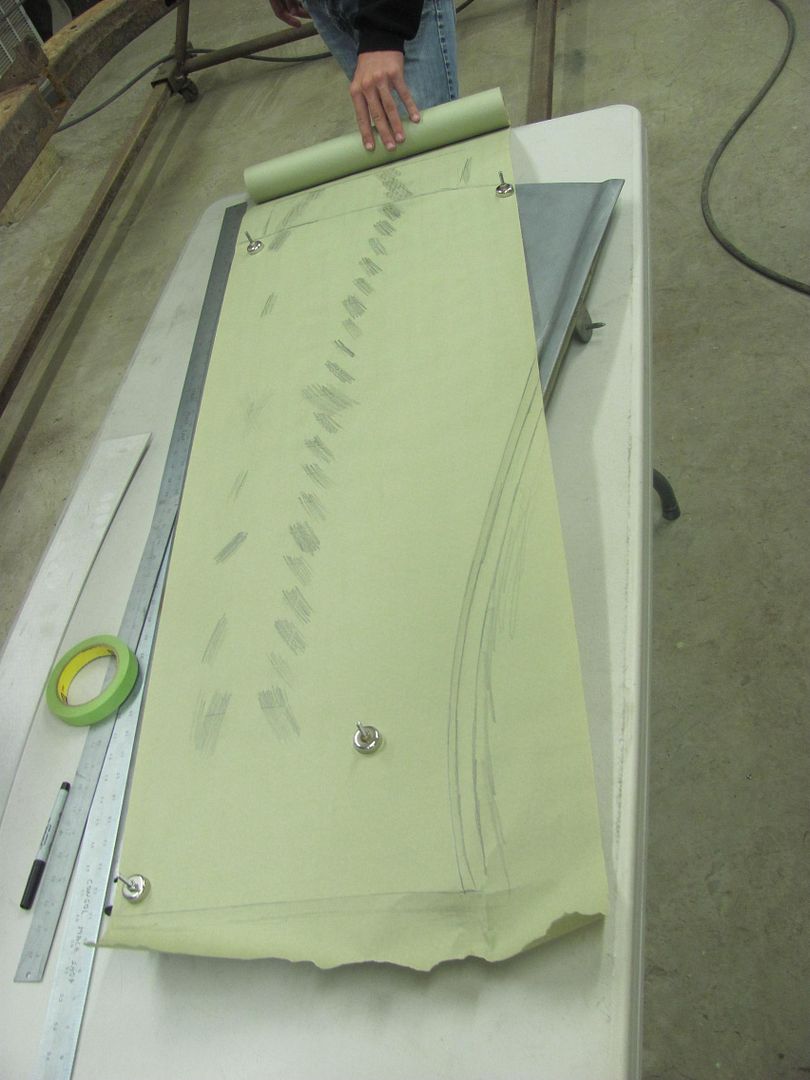 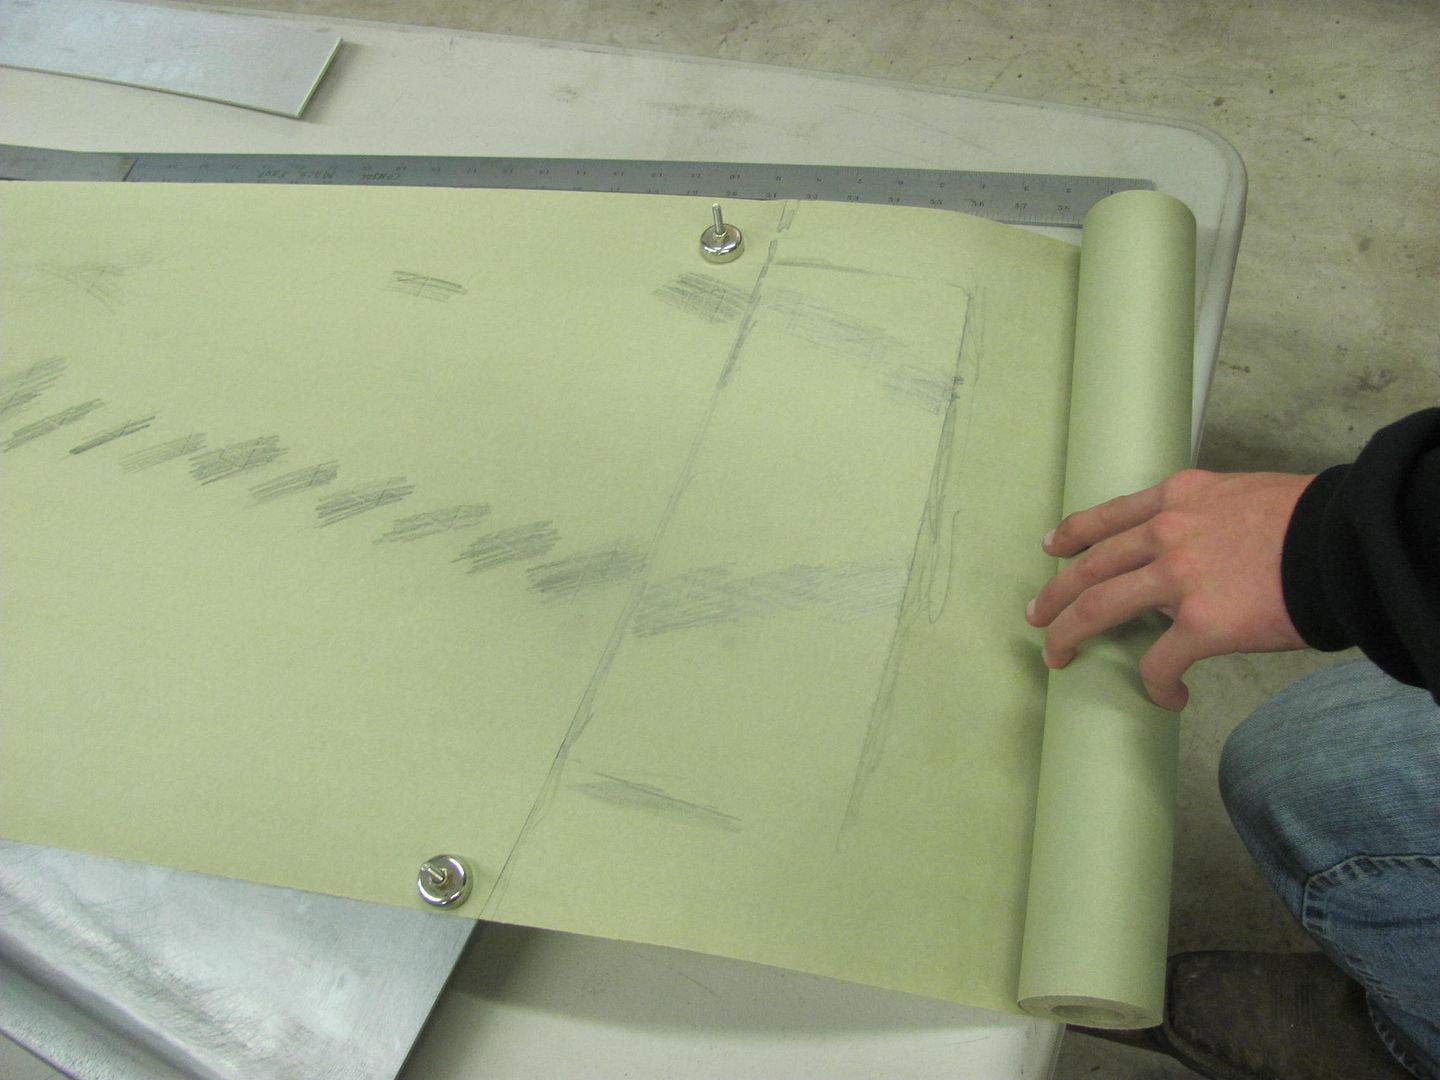 Spot welded on some "end stops" for the louver die..... 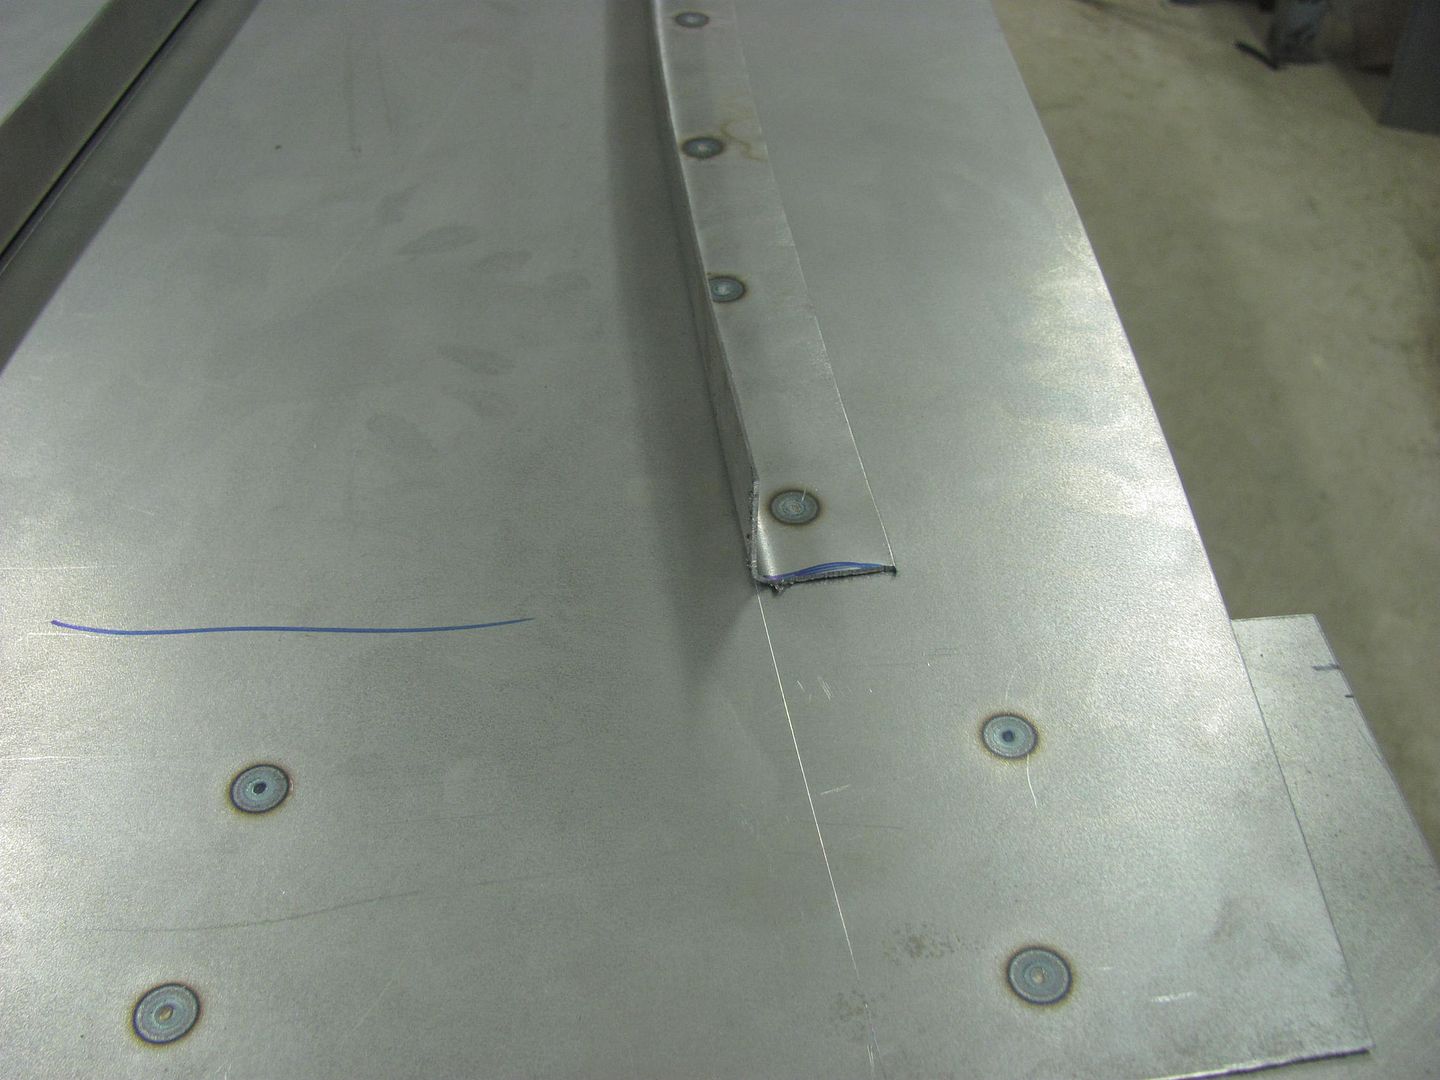 .....and a squared plate for the back gauge. 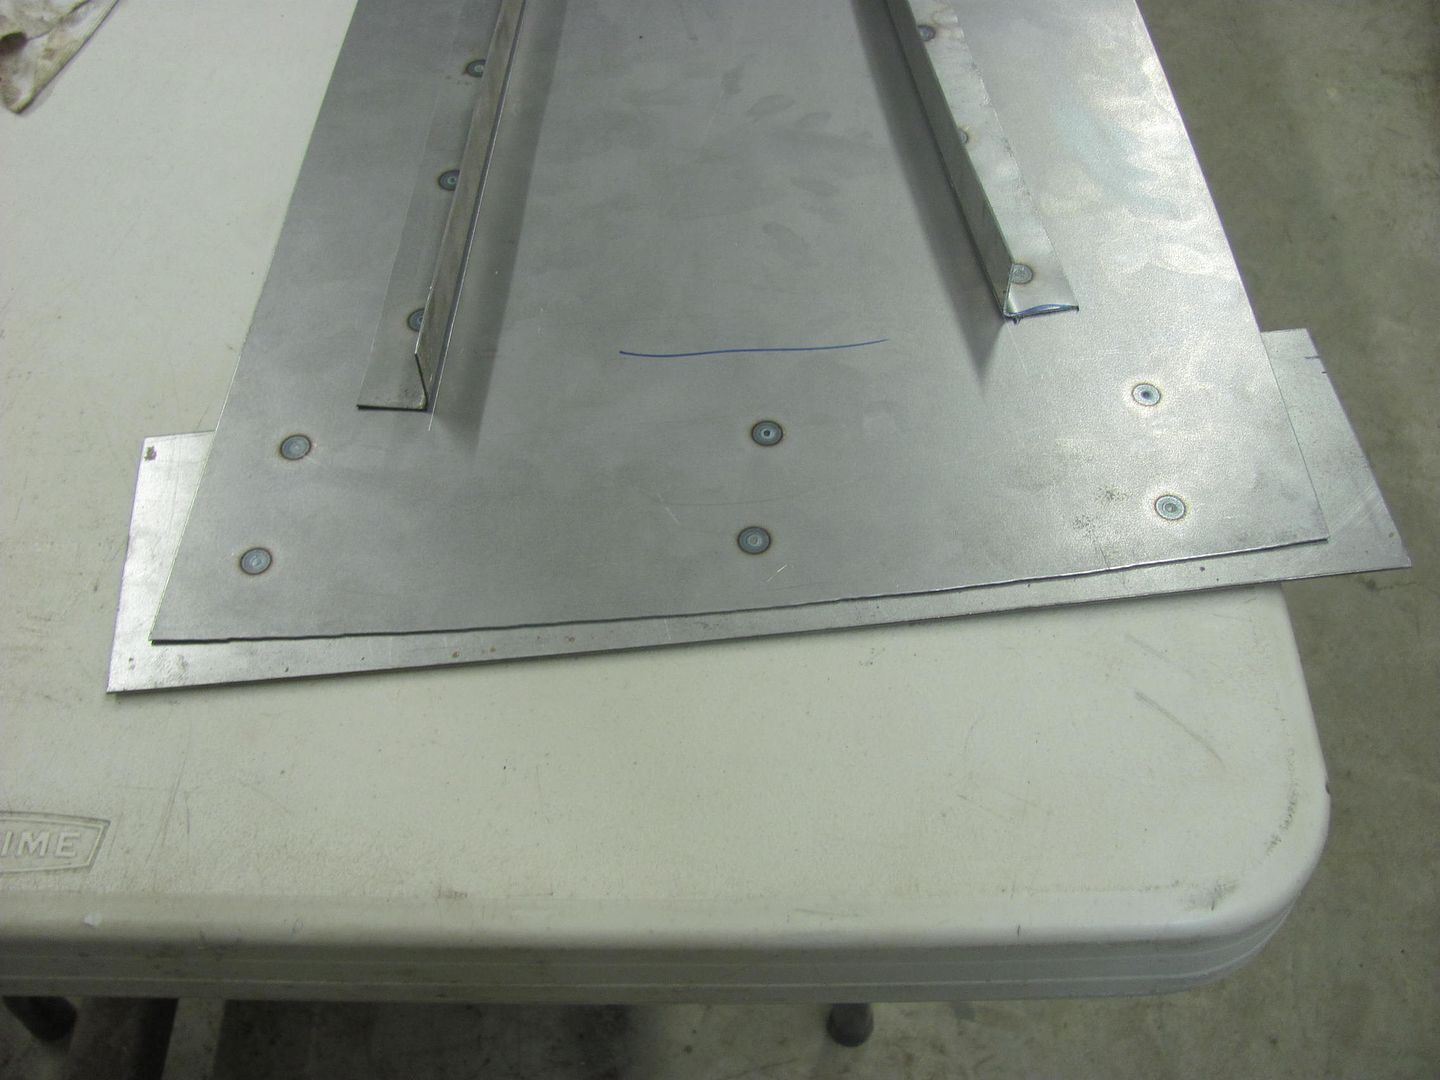 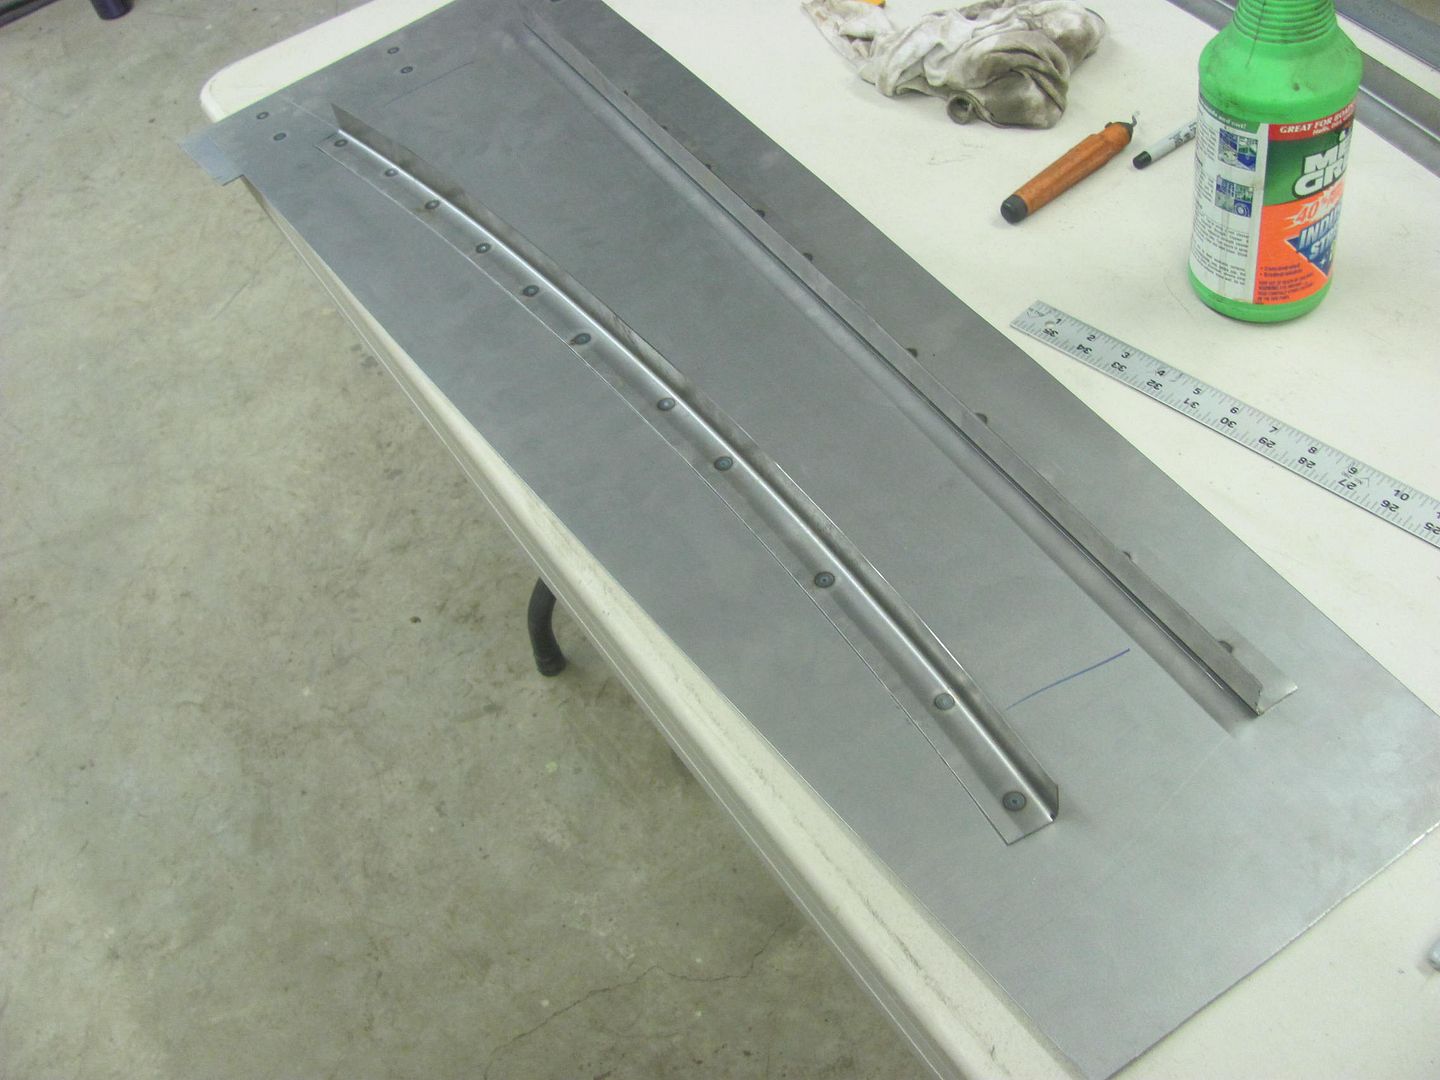 Louvers in the Lennox..... 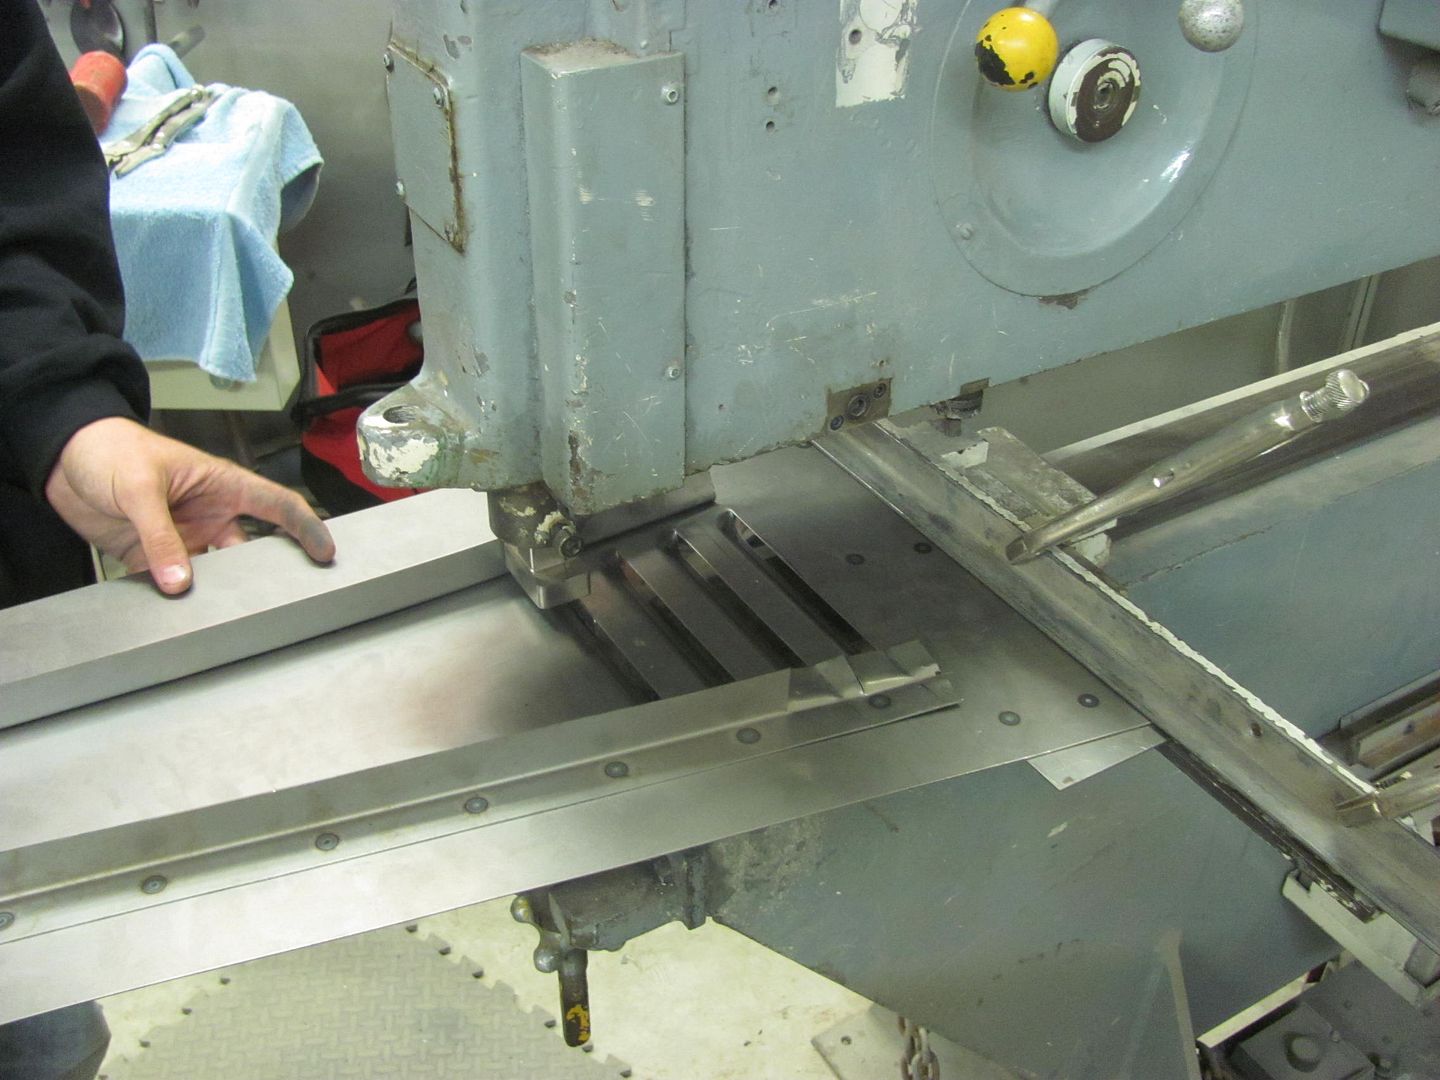 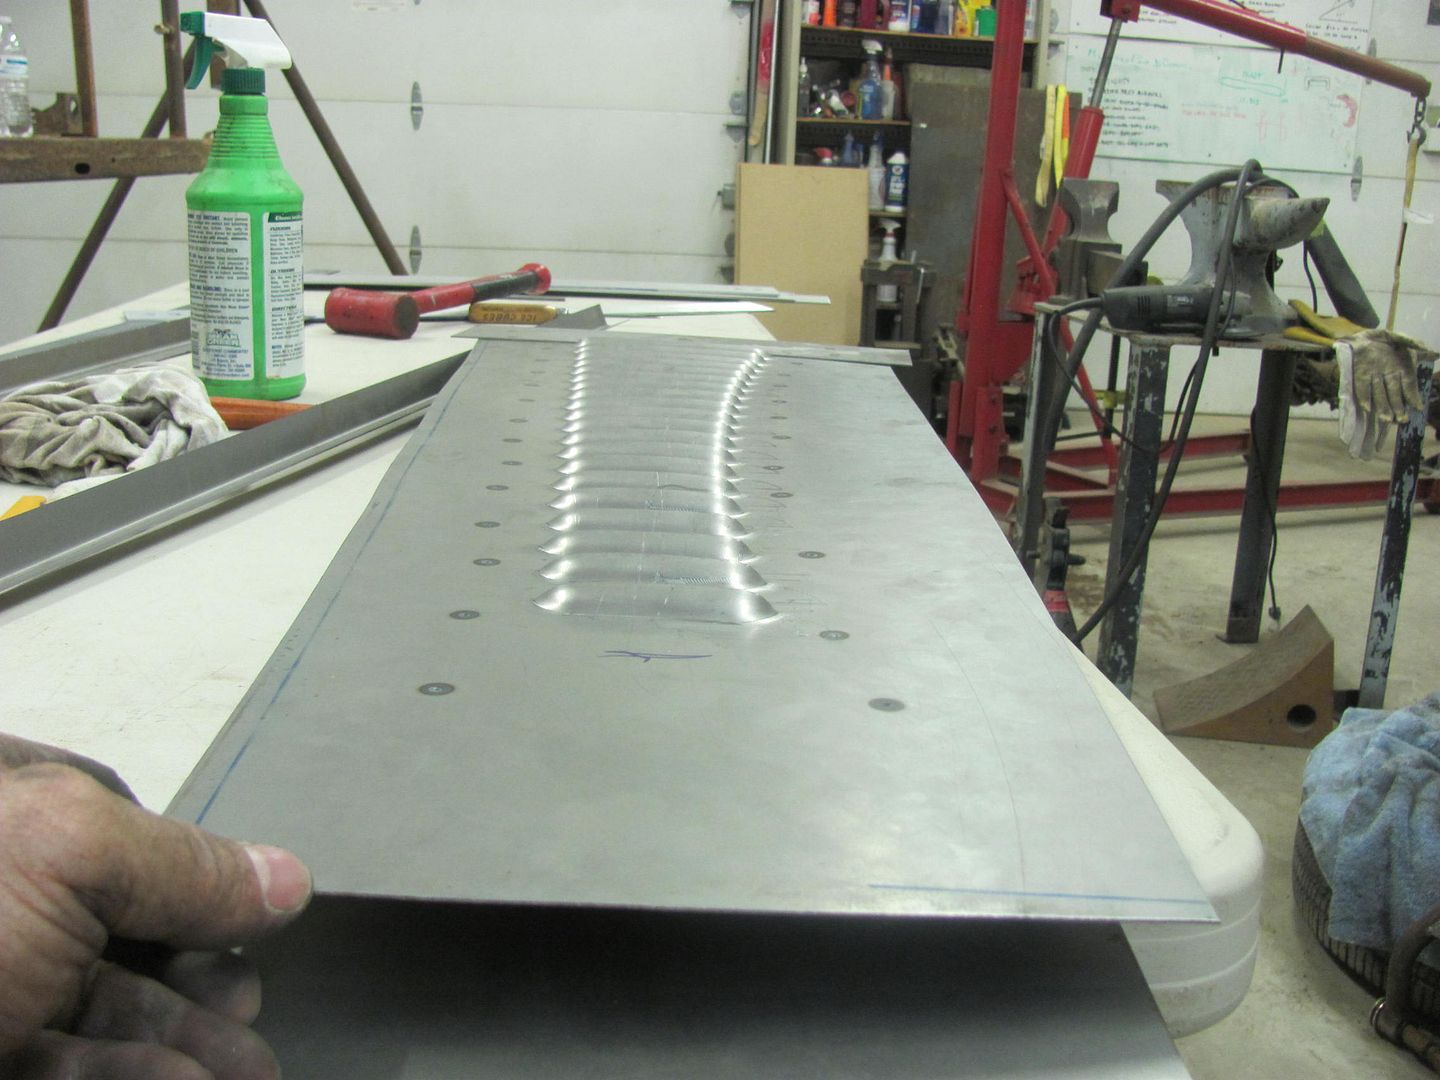 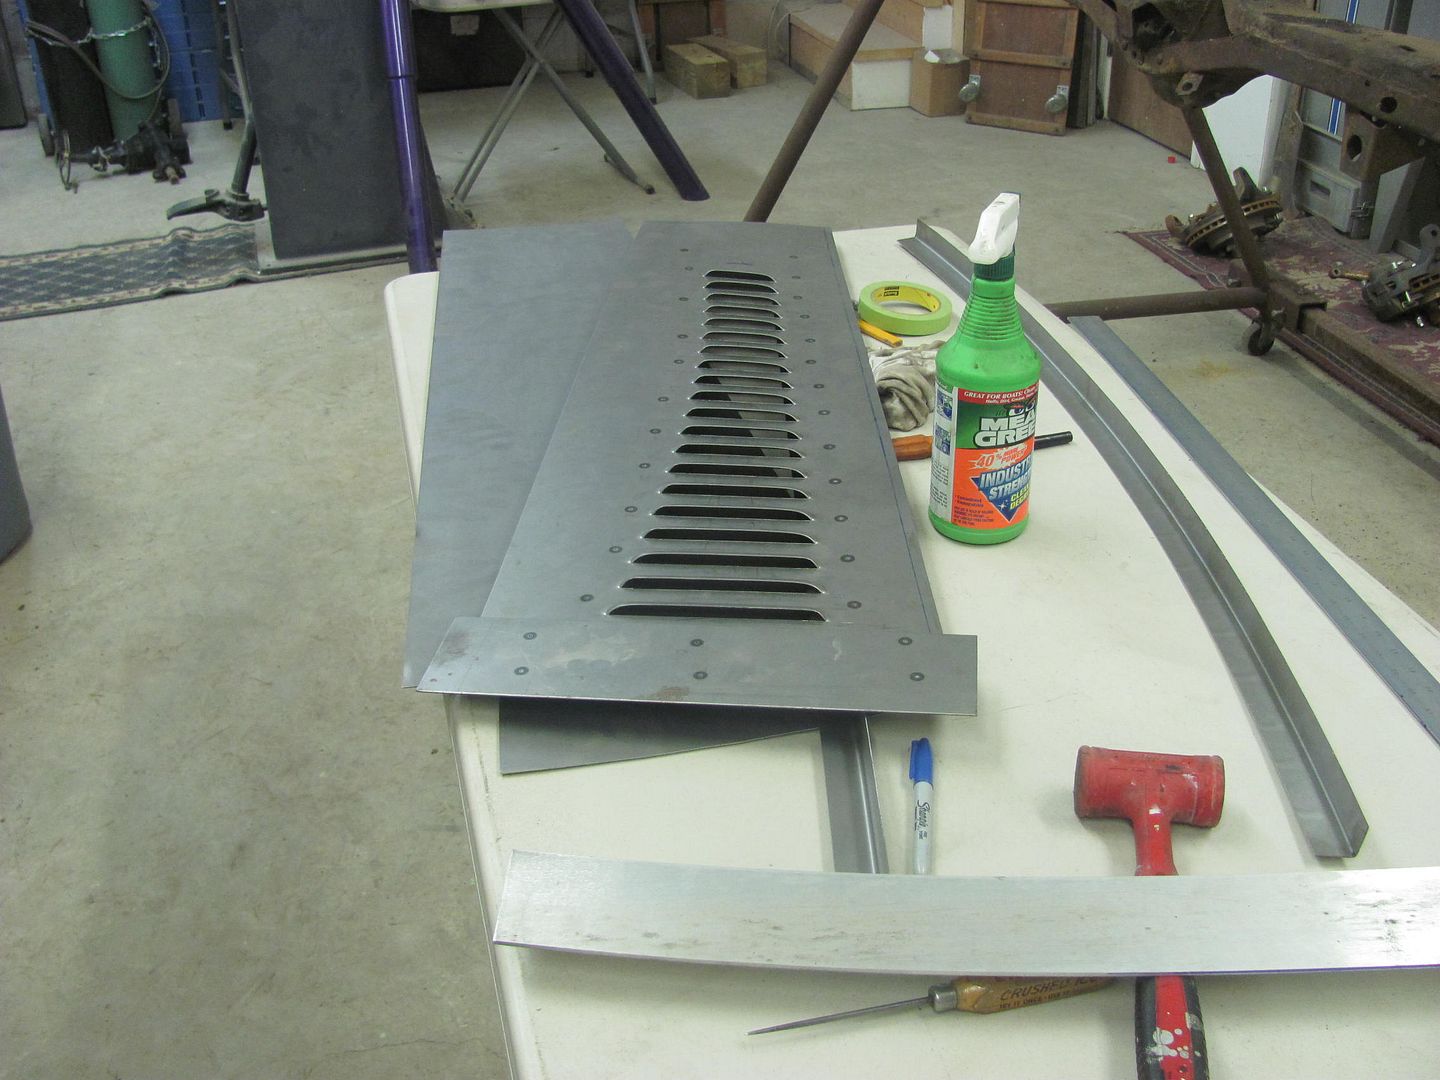 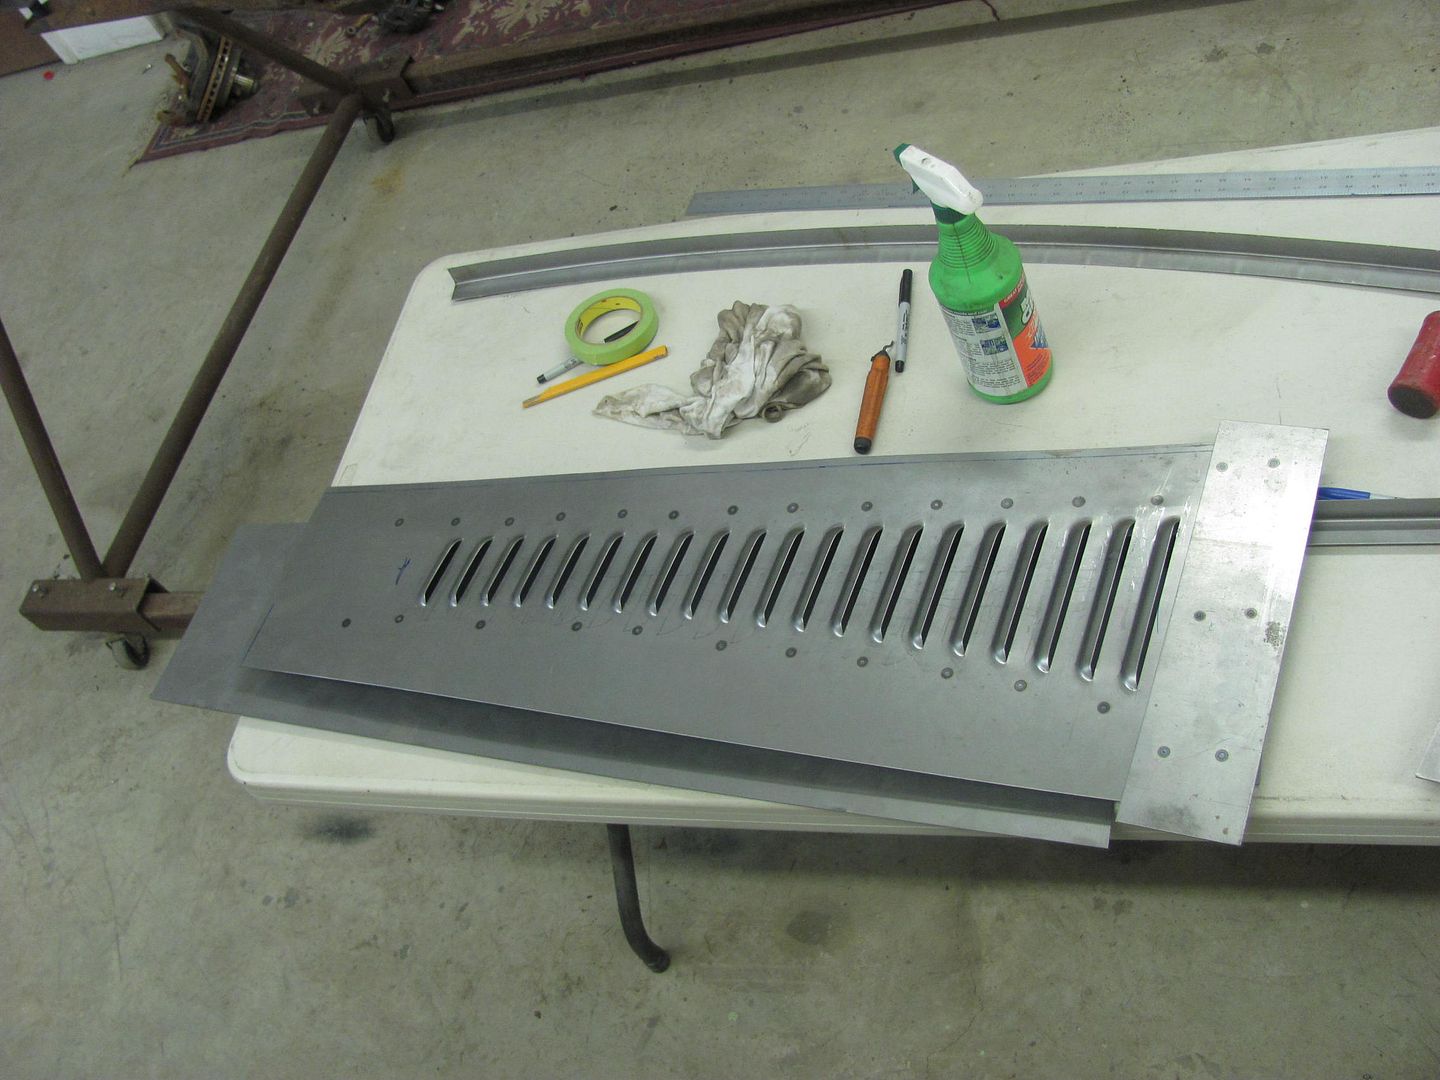 One sample down, one to go..
__________________
Robert |
|
|
|
|
11-04-2015, 12:11 AM
|
#9 |
|
Senior Member
Join Date: Mar 2011
Location: West Plains, Missouri
Posts: 7,555
|
Re: 55 Wagon Progress
Very nice work...Jim
__________________
my build thread: http://67-72chevytrucks.com/vboard/s...d.php?t=459839 Jimbo's long bed step build:http://67-72chevytrucks.com/vboard/s...t=464626<br /> |
|
|
|
|
11-04-2015, 09:30 AM
|
#10 |
|
Registered User
Join Date: Feb 2013
Location: Lakeside Ariz
Posts: 445
|
Re: 55 Wagon Progress
Now that is some kool work. Rich
|
|
|
|
|
11-04-2015, 11:26 AM
|
#11 |
|
Registered User
Join Date: Apr 2011
Location: .
Posts: 3,104
|
Re: 55 Wagon Progress
You make it look so easy.
Fold your arms, nod your head, blink of an eye, poof, done. Perfect |
|
|
|
|
11-05-2015, 01:16 PM
|
#12 |
|
Registered User
Join Date: Apr 2003
Location: Indep, MO
Posts: 5,893
|
Re: 55 Wagon Progress
That... is awesome. Too cool.
__________________
Boppa's Old Yeller Truck Build, Old Yeller's New Heart! Project Buzz Bomb Flyin' Low! |
|
|
|
|
11-05-2015, 11:56 PM
|
#13 |
|
Registered User
Join Date: Jan 2013
Location: Leonardtown, MD
Posts: 1,637
|
Re: 55 Wagon Progress
Thanks guys!
Well FedEx showed up today with a CL delivery, got a matched pair of 48" linear rails. The two bearing blocks will have a material clamp bolted to each block, and used on one rail. We'll get a chance to try it out on the second louver sample. Where we had been manually holding the workpiece against the back stop, this should work better with a simple glide back and forth once clamped in place.. 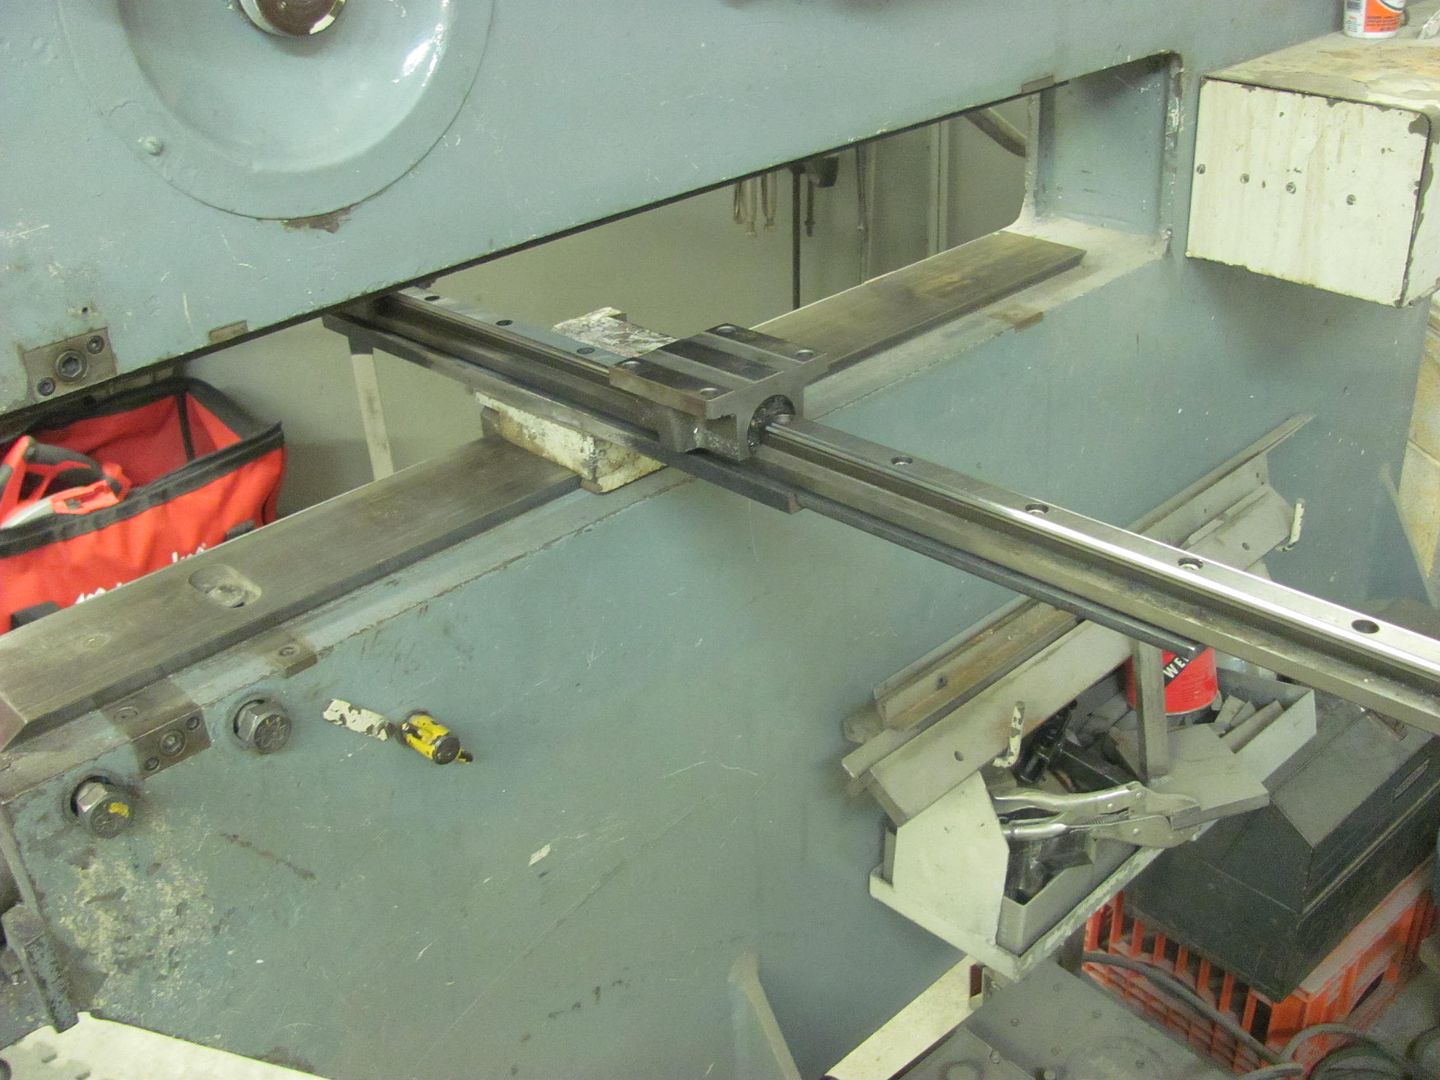 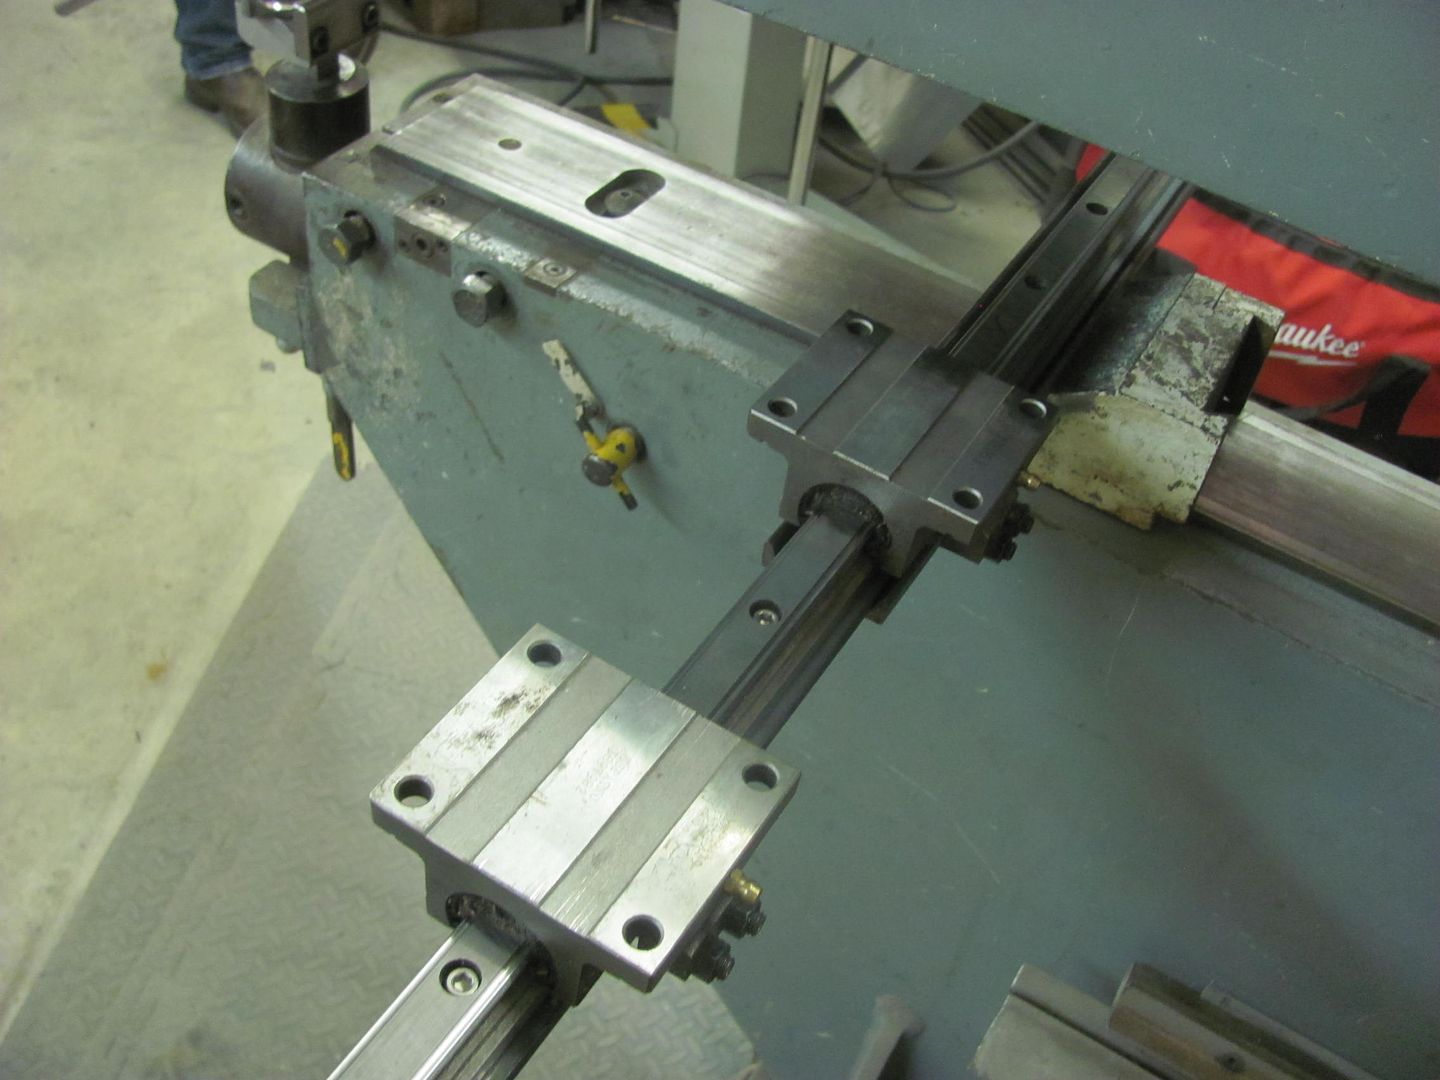 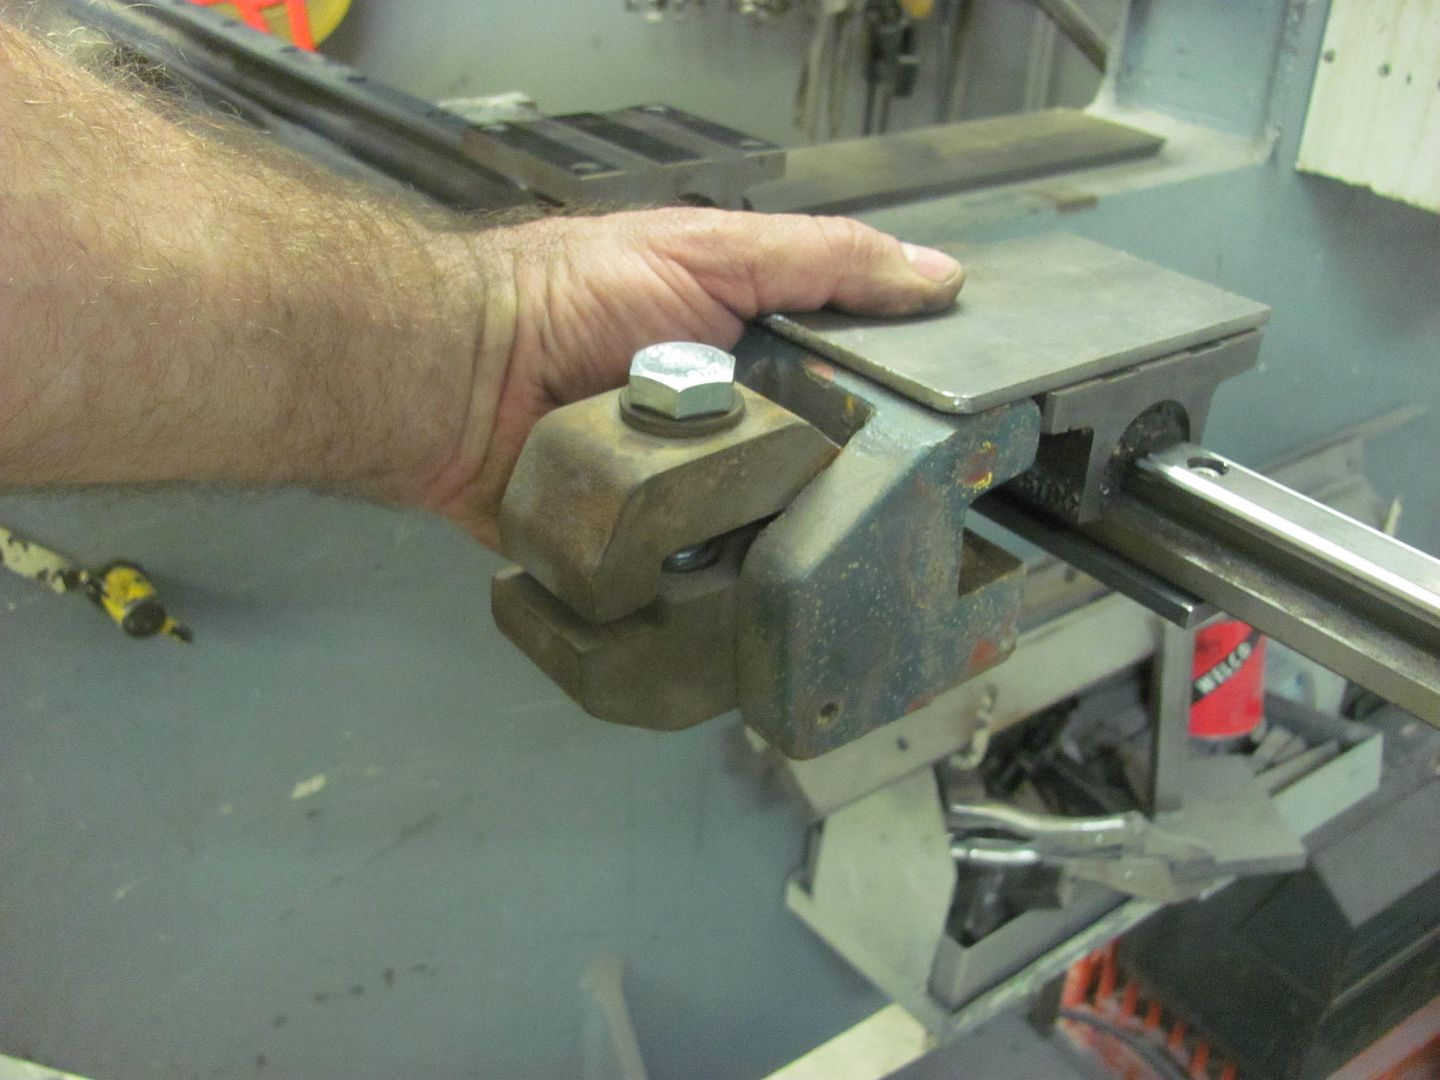 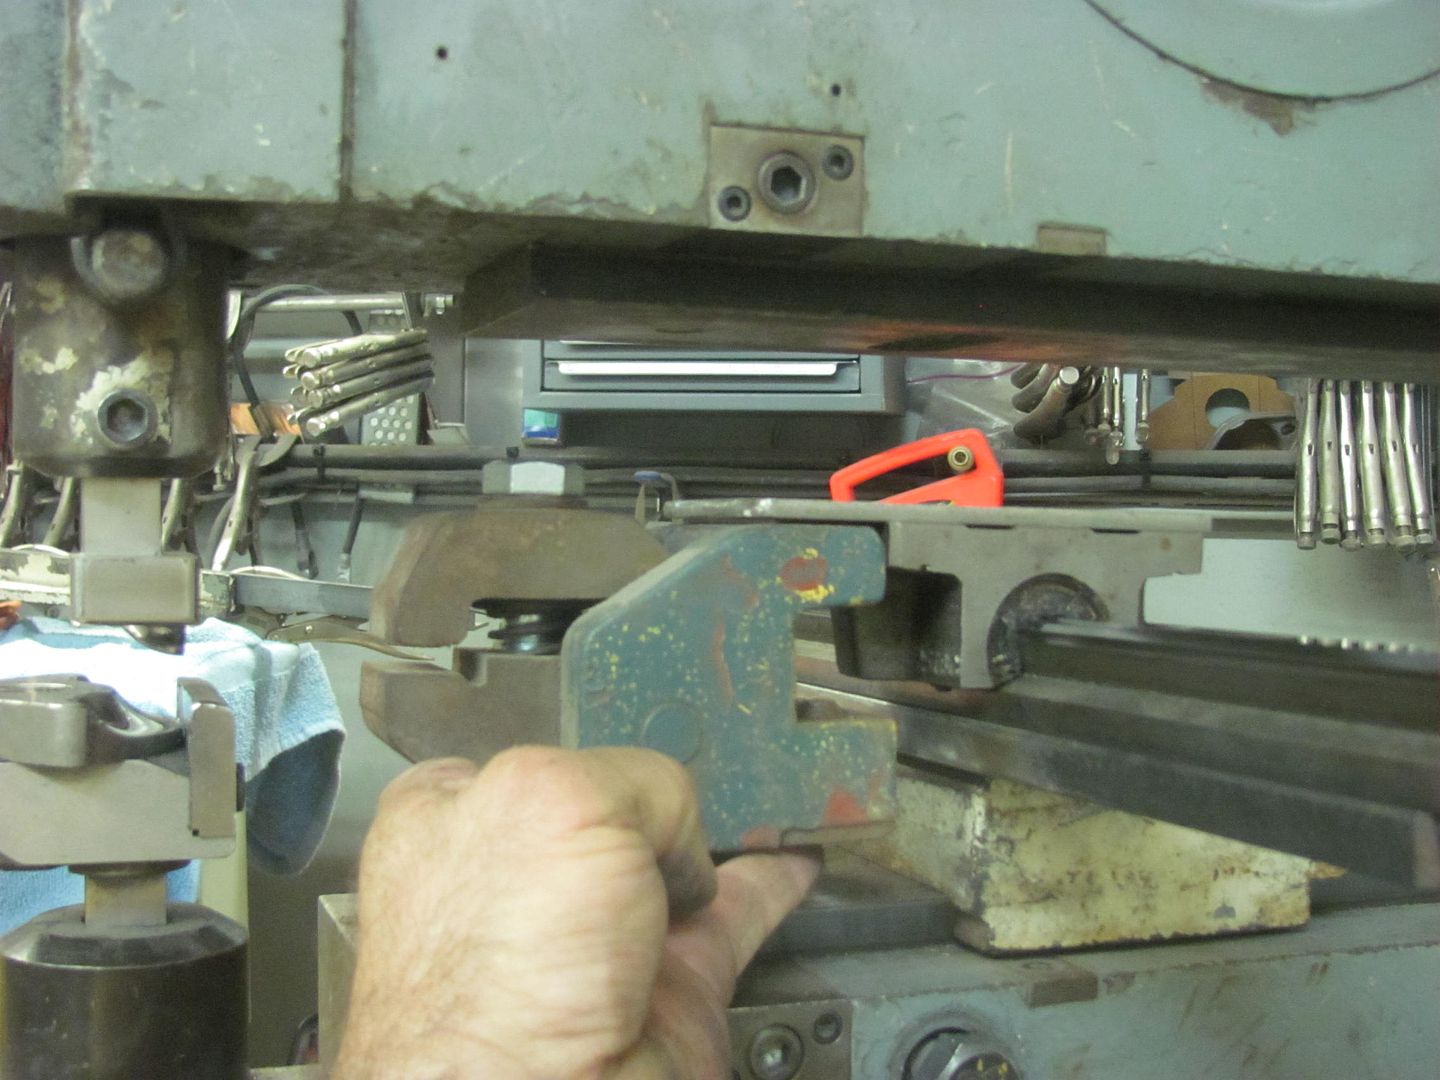 While I was getting that squared away, Kyle was removing some scraps that were left on the frame from the original trans crossmember. 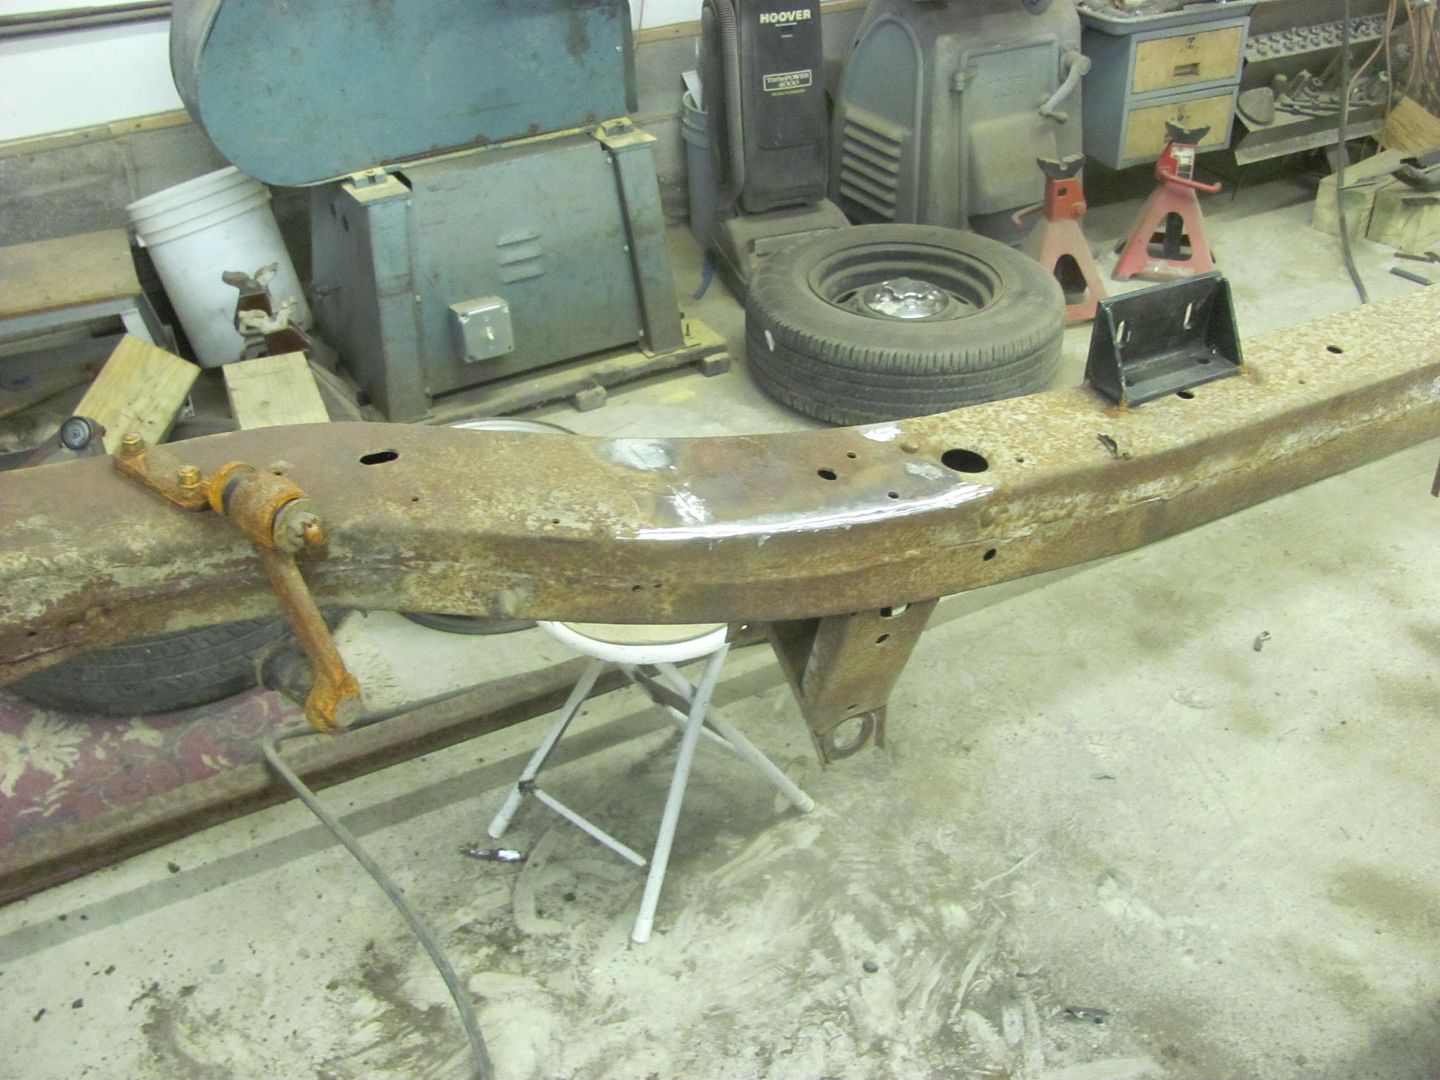 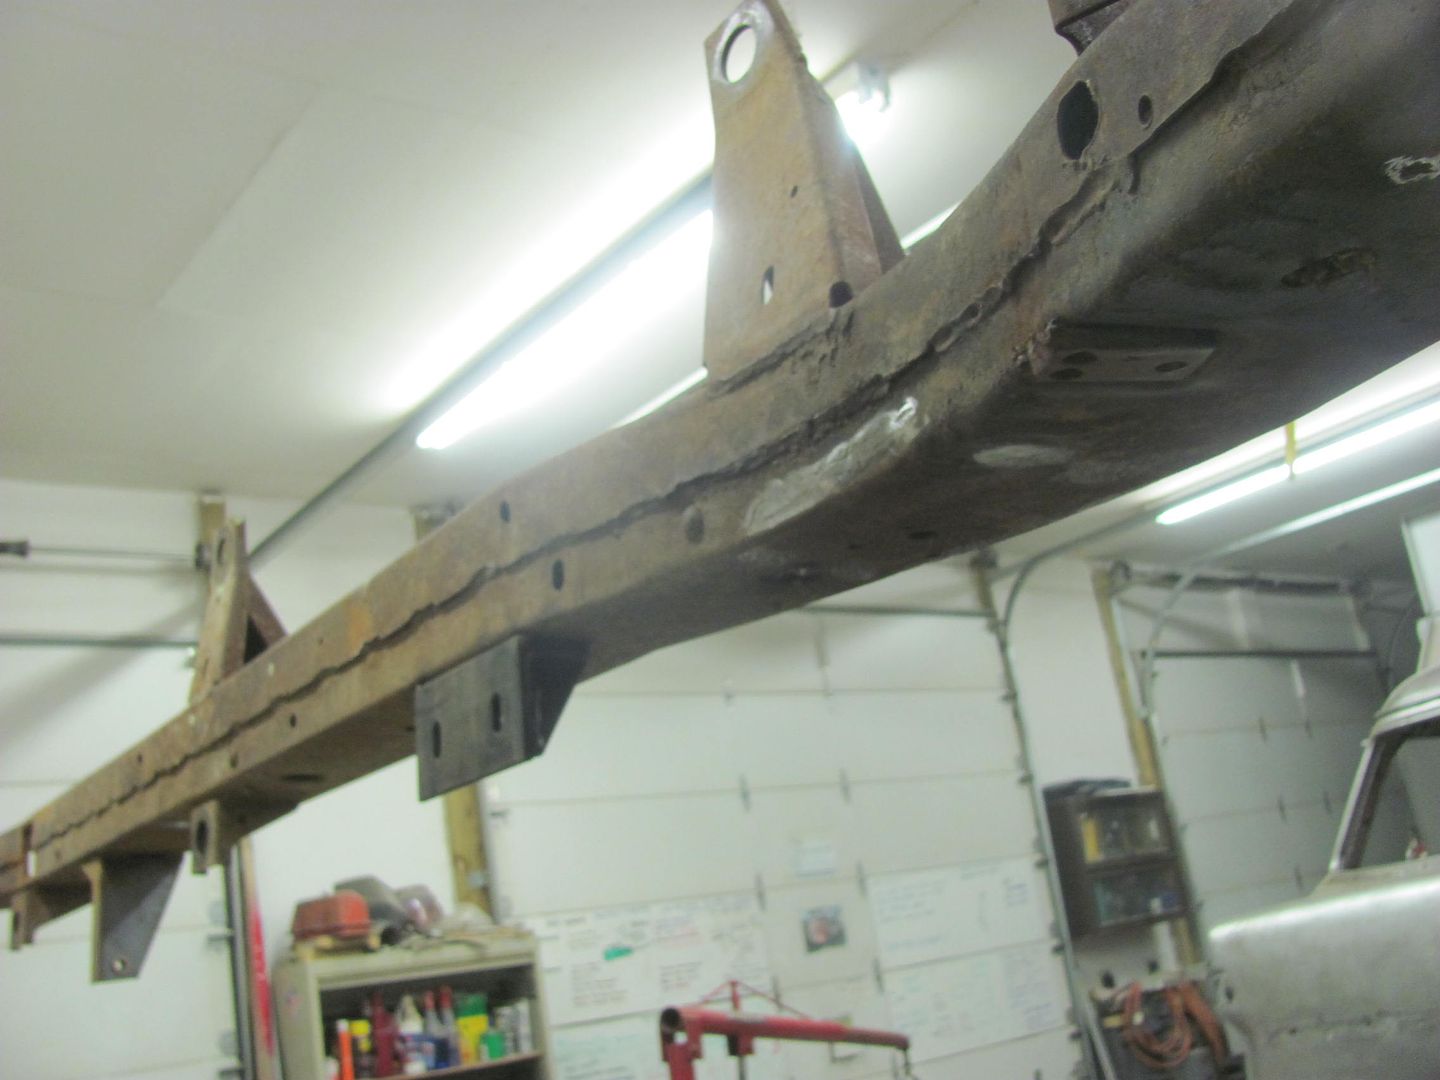 He also removed the spot welded guides from the louver panel. The good part about samples is we can see what works well and what doesn't. Here we can see that we won't use spot welds next time as it's too much clean up. I think we'll give some stainless rivets a shot on version 2... 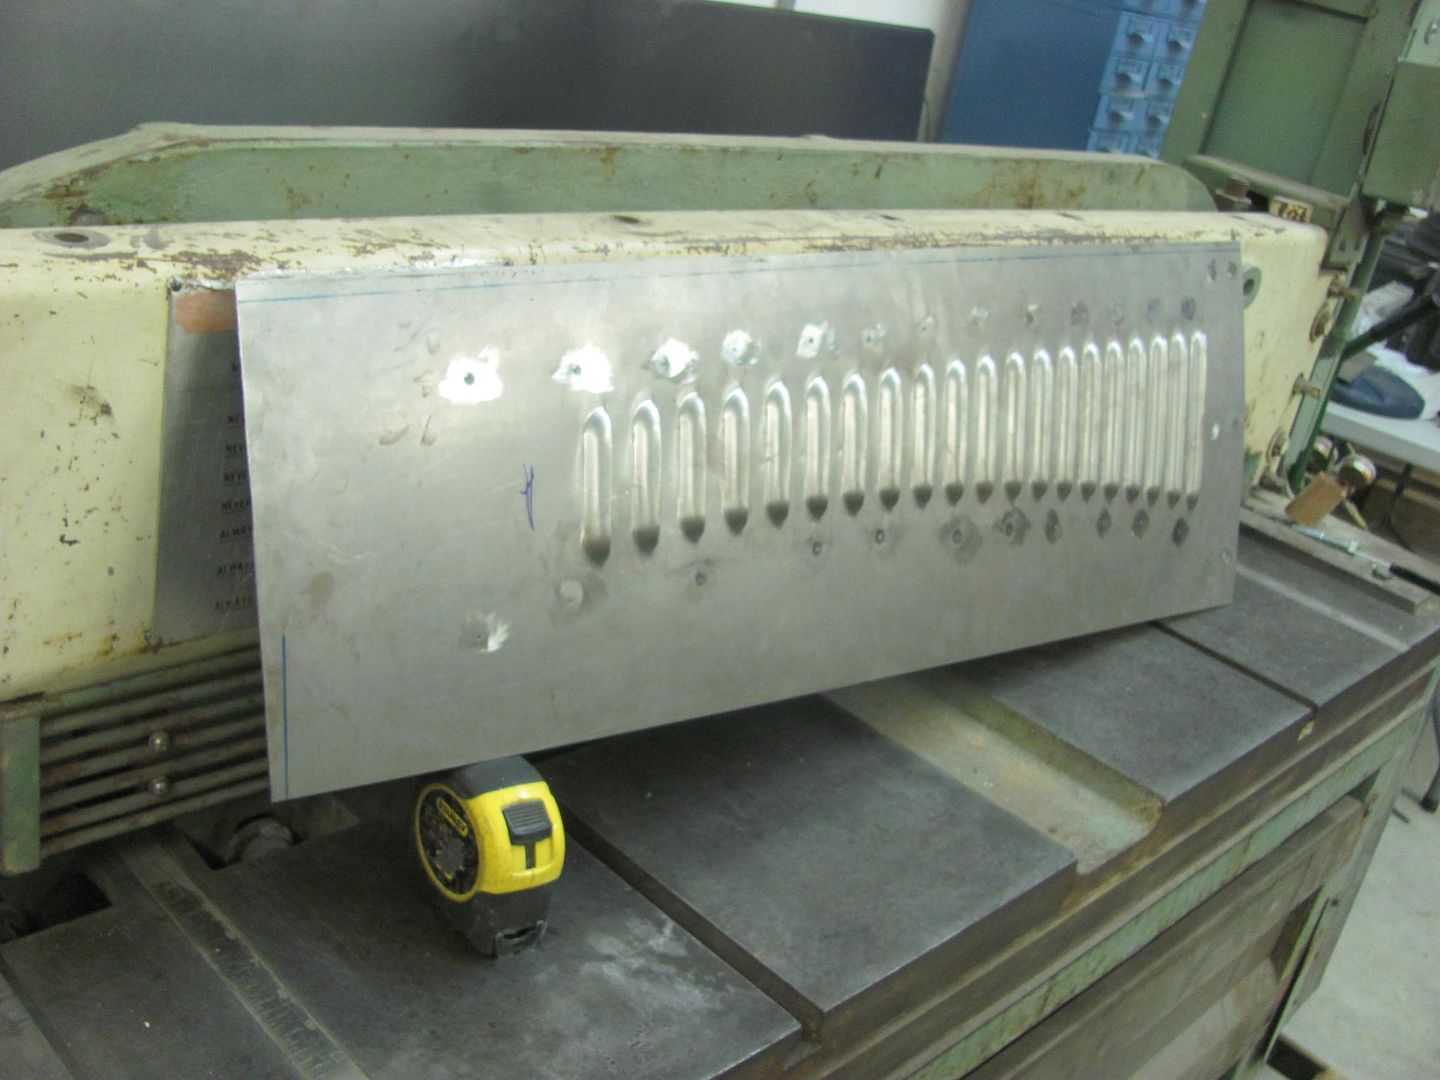 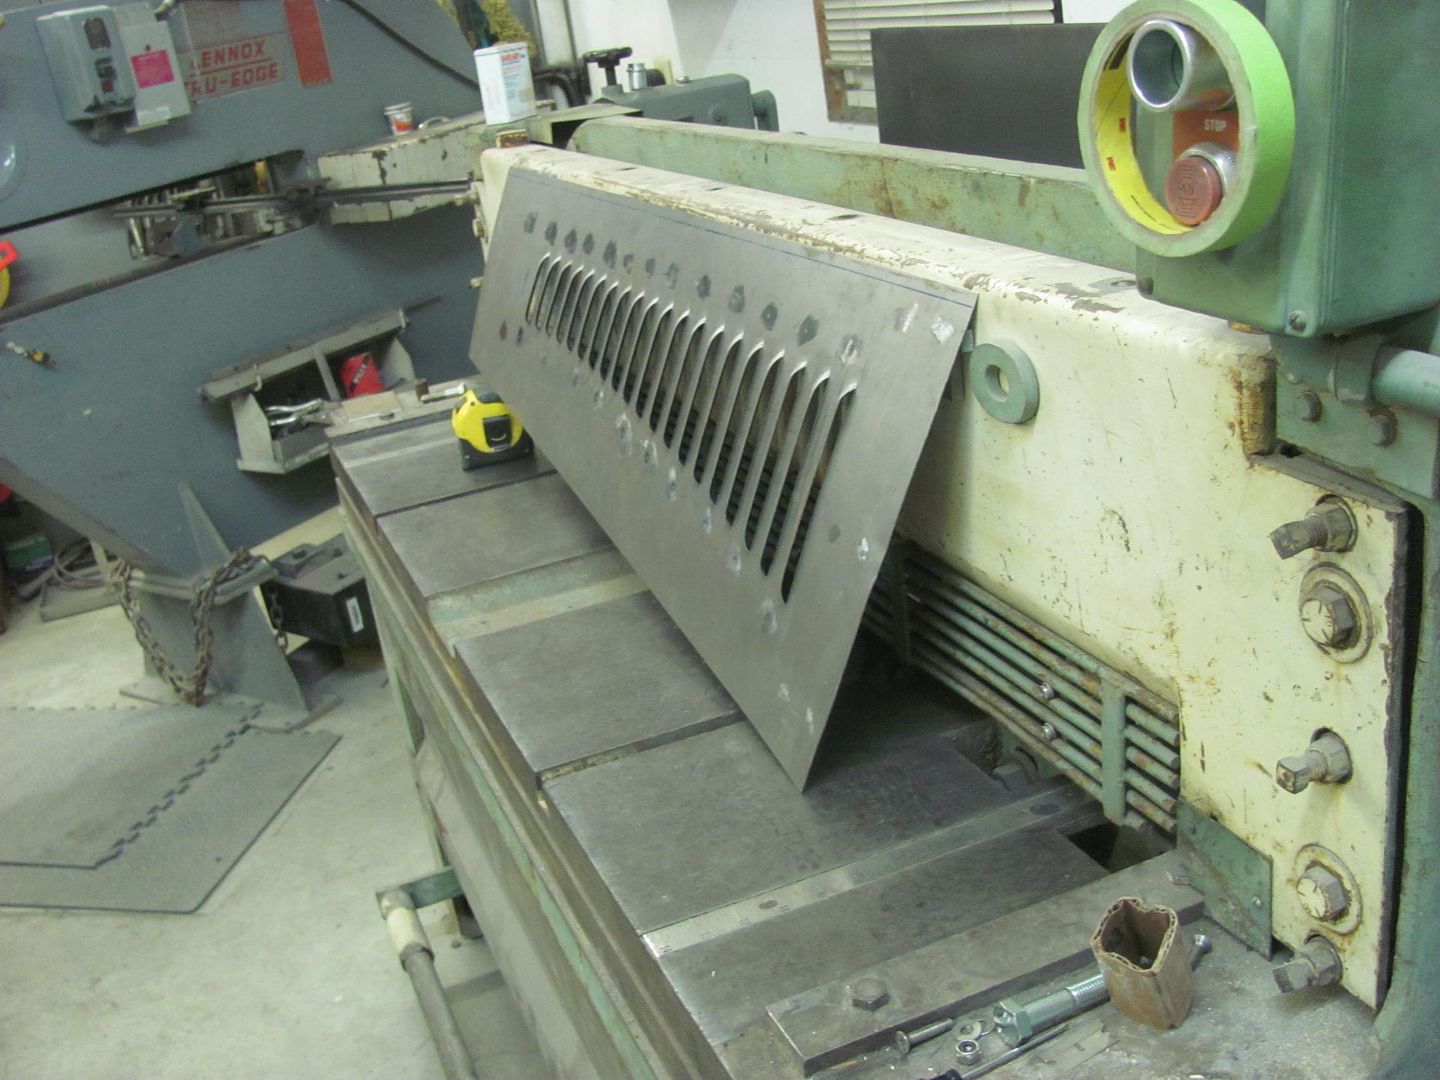 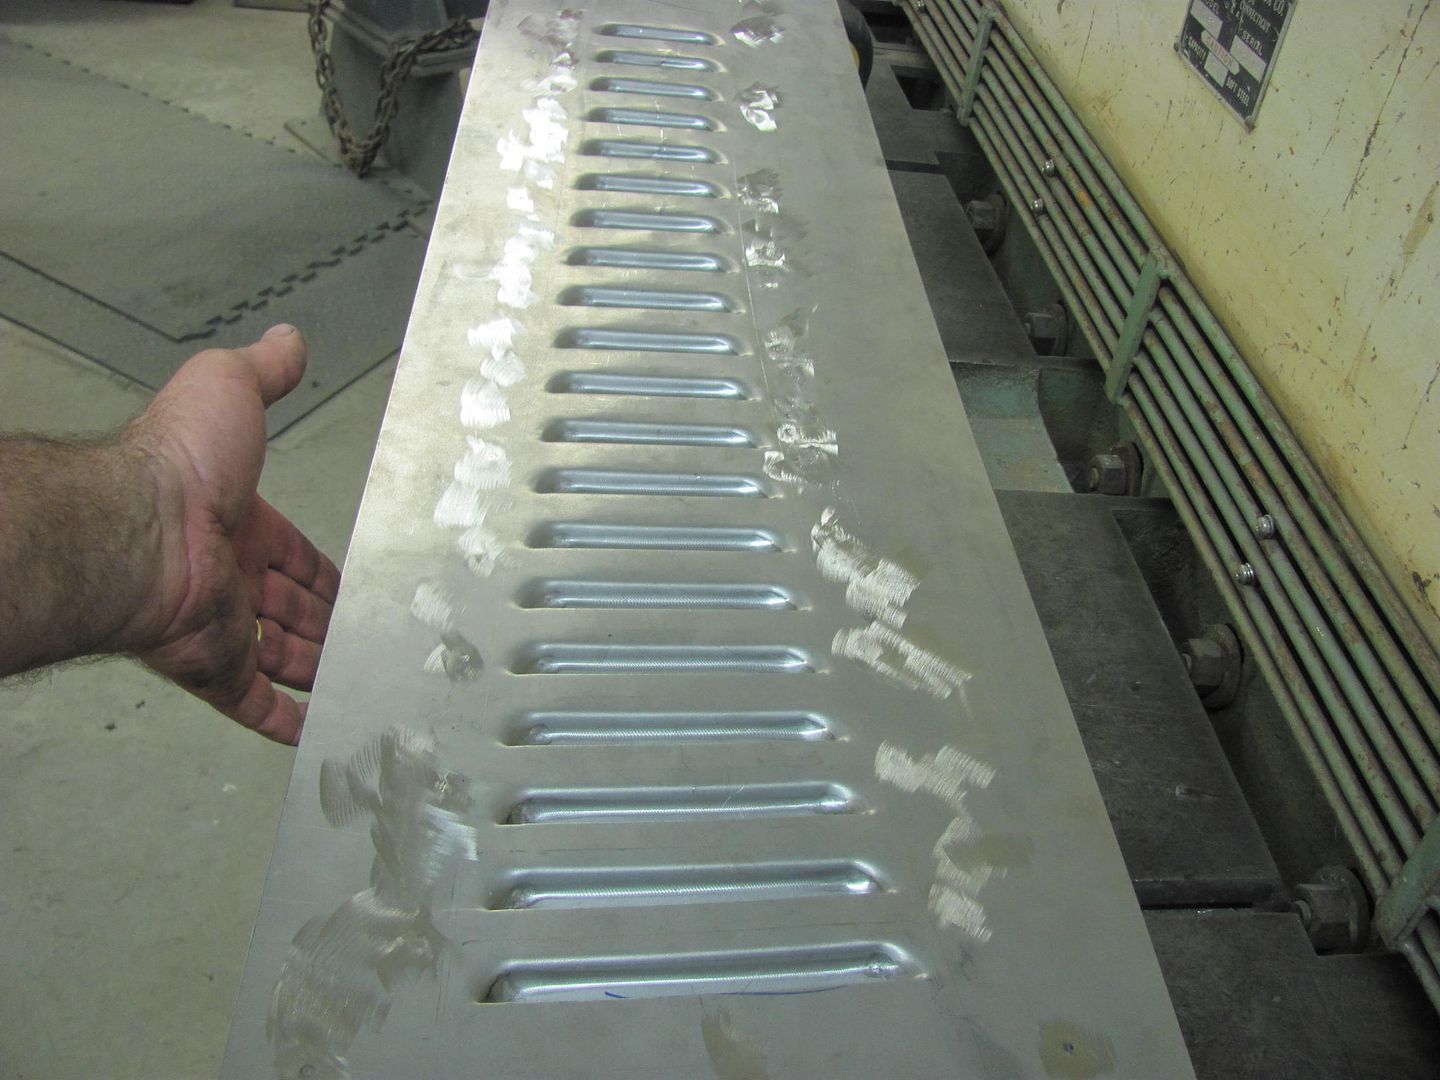
__________________
Robert |
|
|
|
|
11-07-2015, 06:40 PM
|
#14 |
|
Registered User
Join Date: Jan 2013
Location: Leonardtown, MD
Posts: 1,637
|
Re: 55 Wagon Progress
The more I looked at our panel with the spot weld carnage, the more I disliked the result, so with new linear guides installed, we made all new today using stainless pop rivets to hold the guides in place. This will leave a few 1/8" holes to fill, but should be much less issue than cleaning up after the spot welds...
We needed just a bit more throat for this set of "lengthened" hood sides, so one bolt was removed from the material clamp and then rotated the clamp inward 90". This lets the panel pass through rather than bottom out in the clamp. 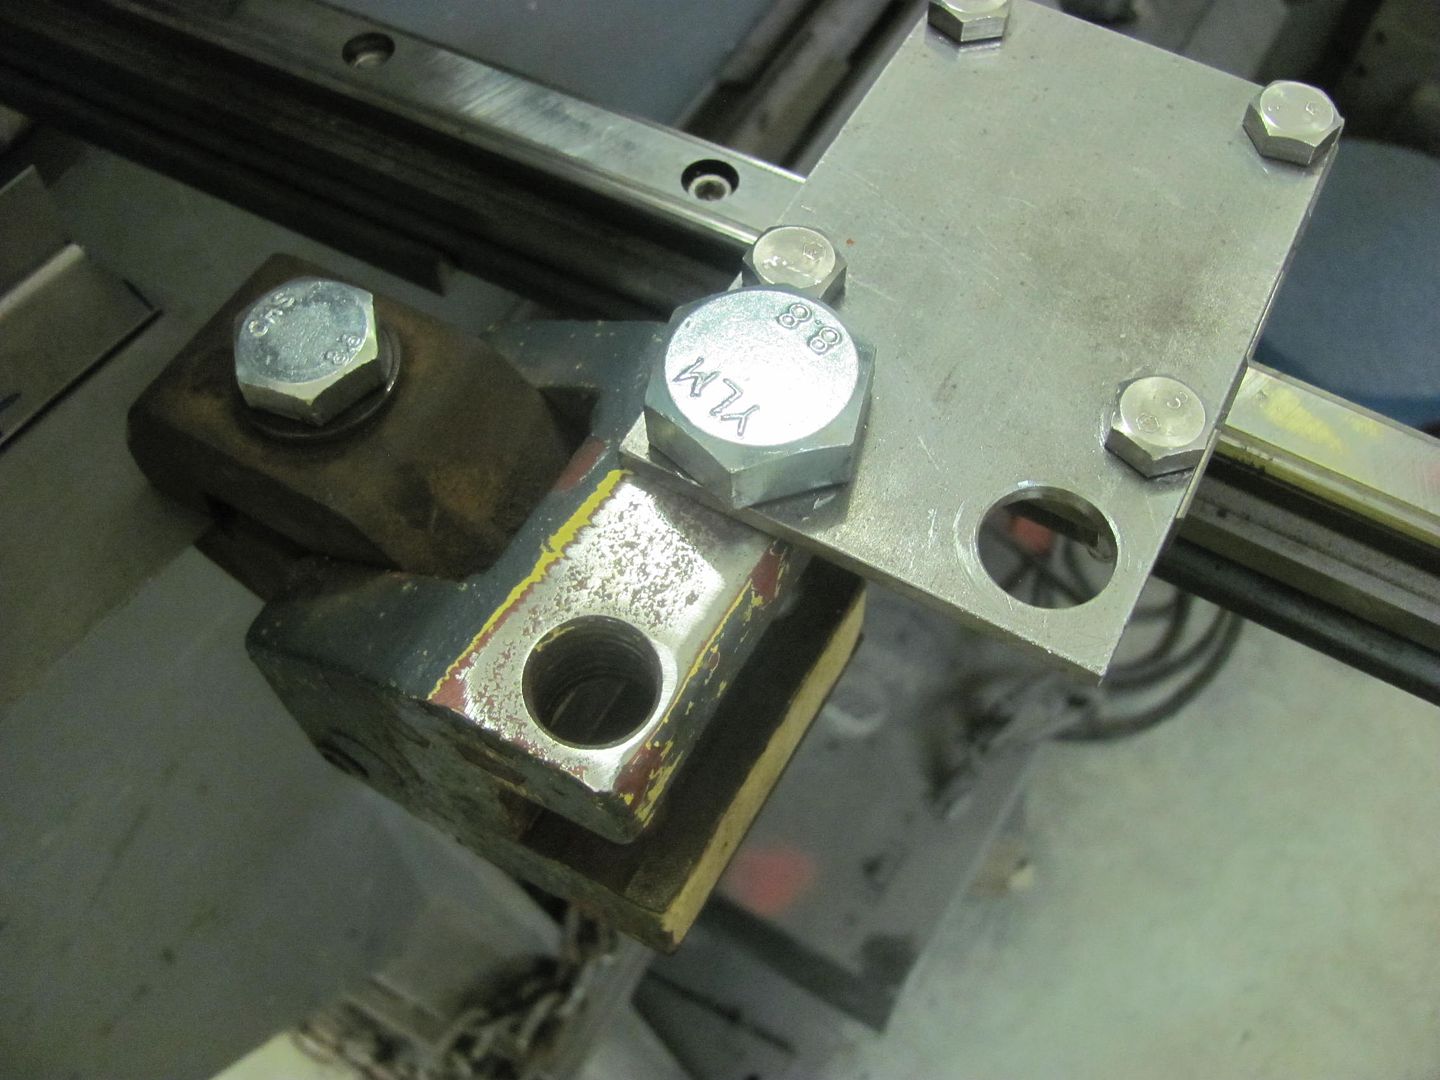 Guides riveted in place.... 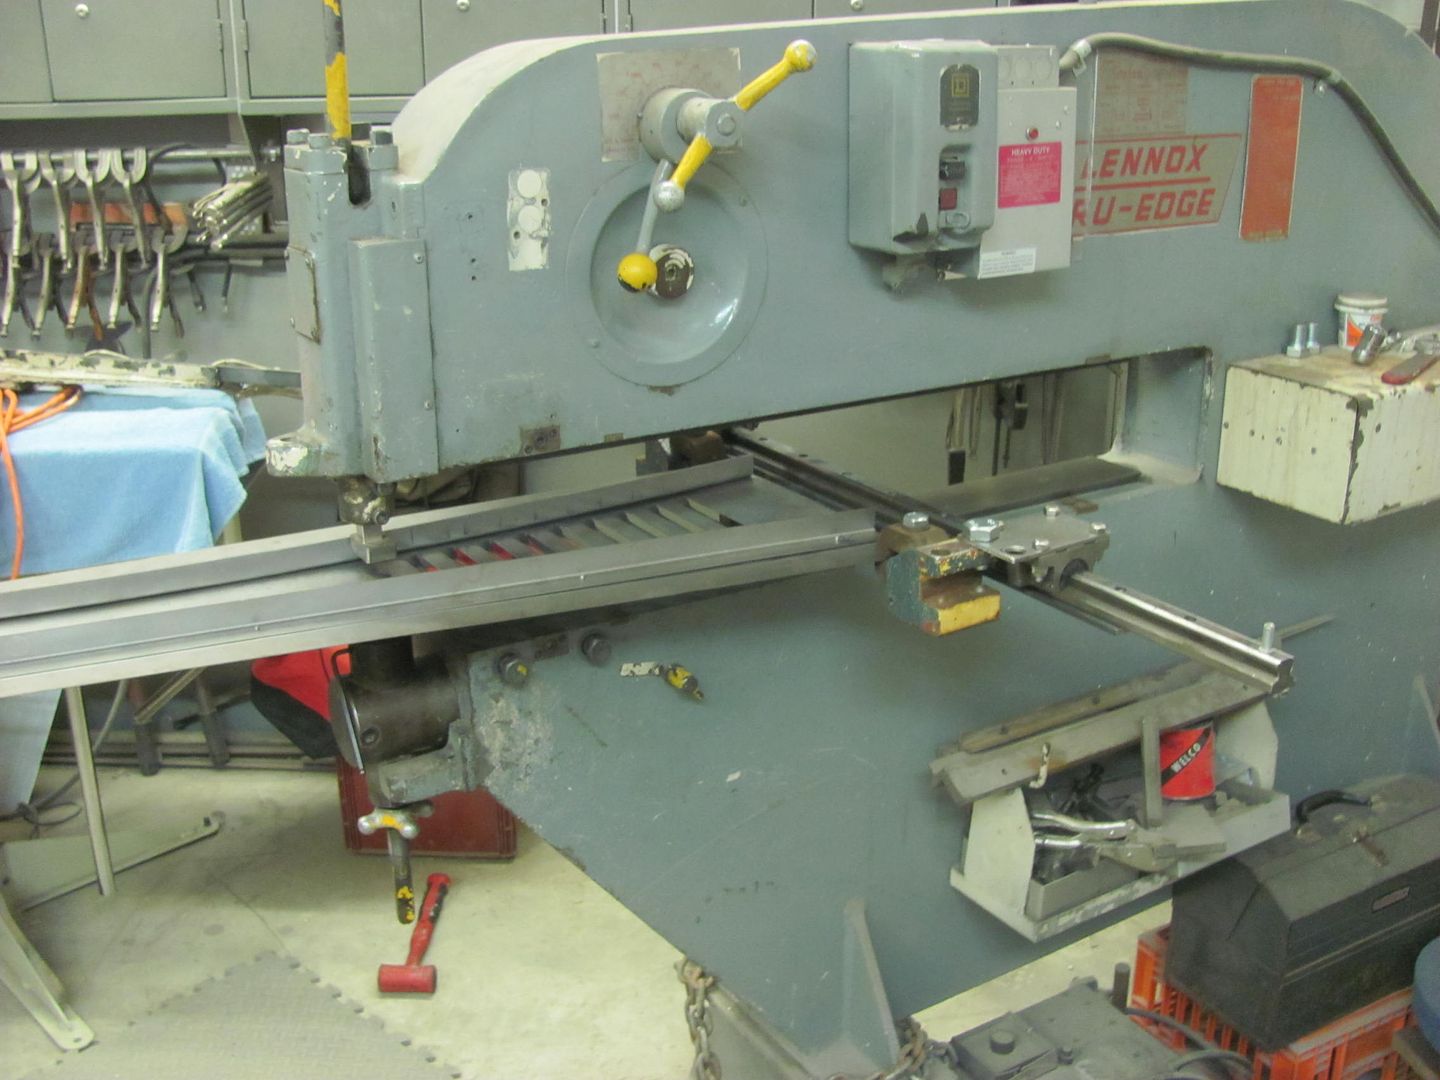 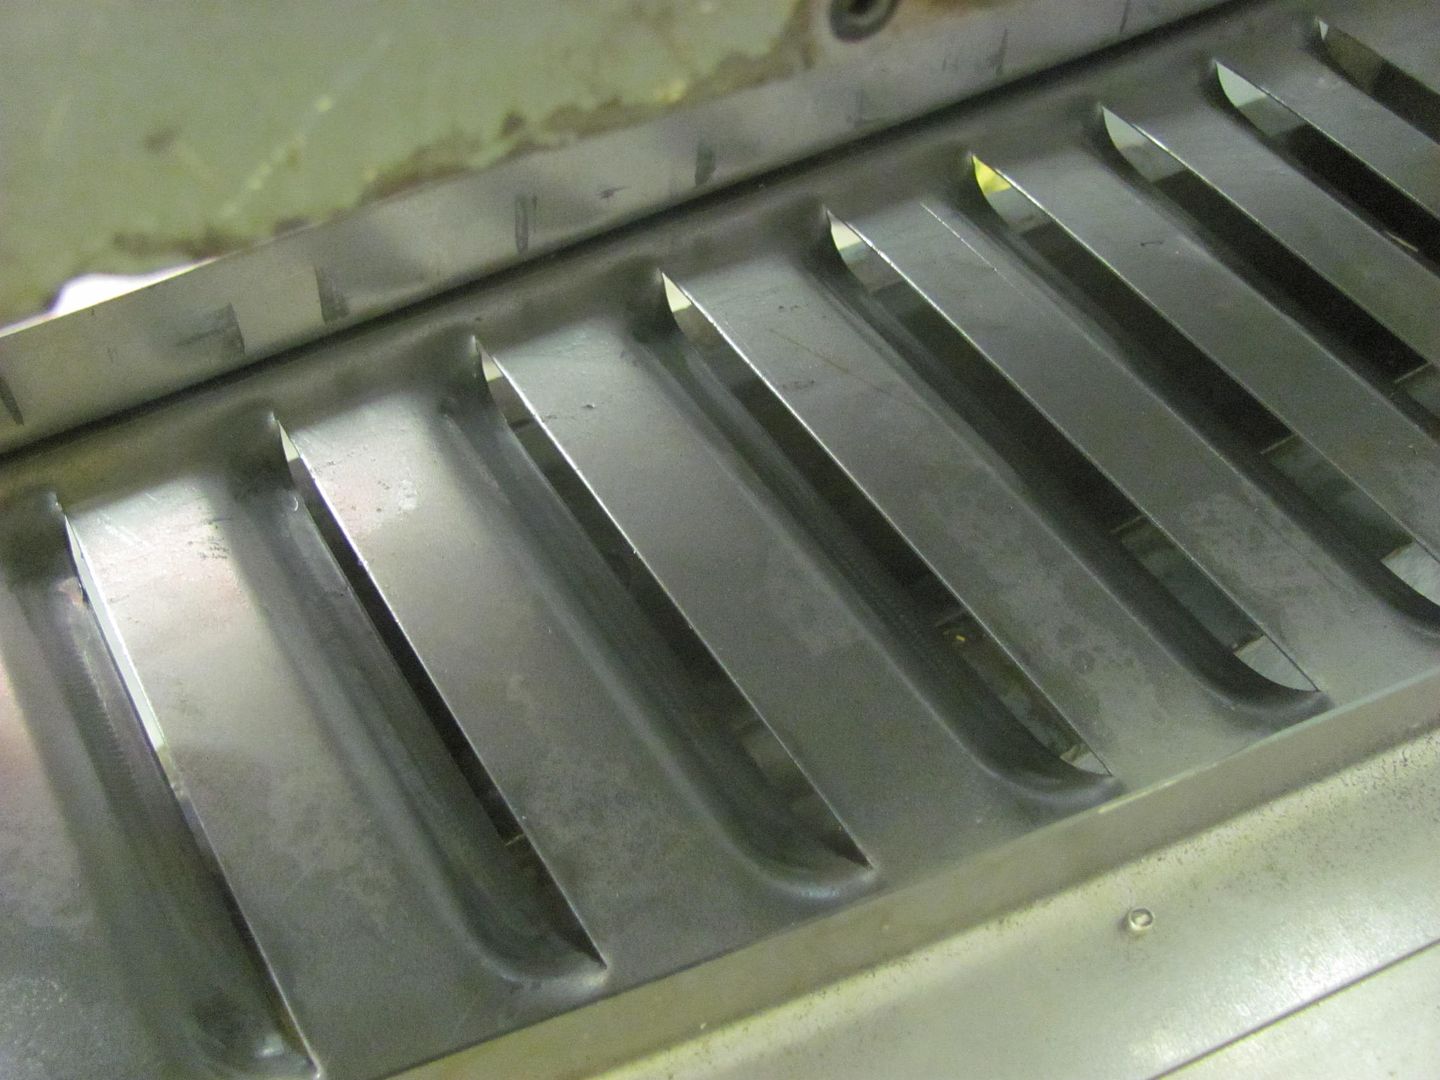 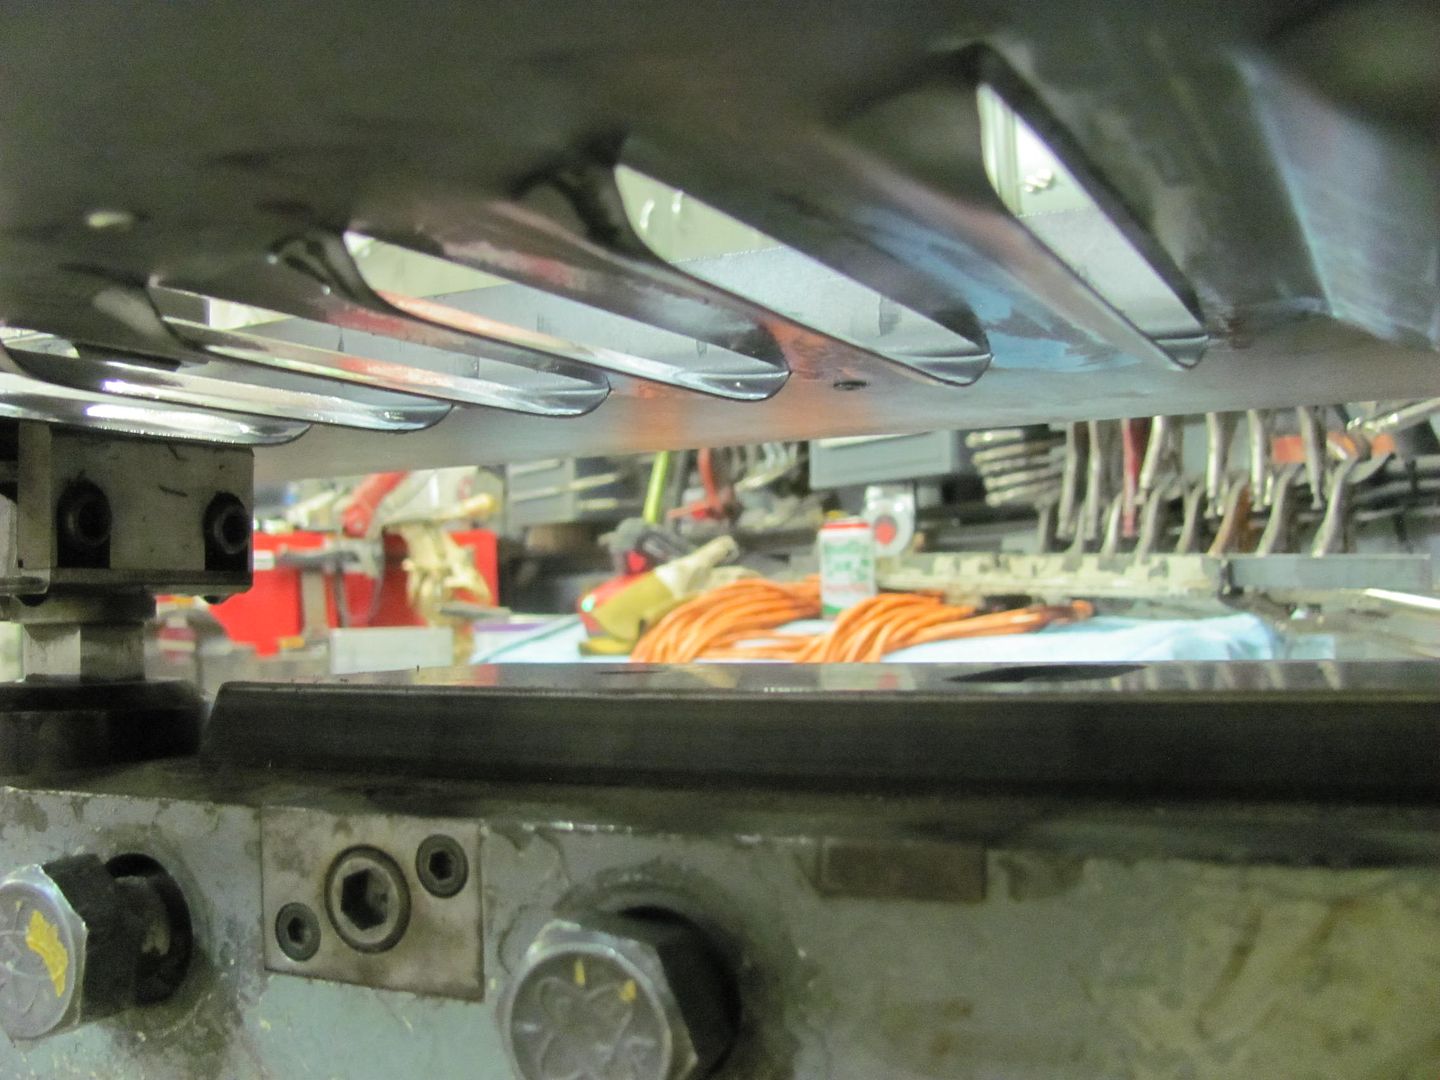 Here's the new version 1, much cleaner, less distortion, and we can re-use the guides... 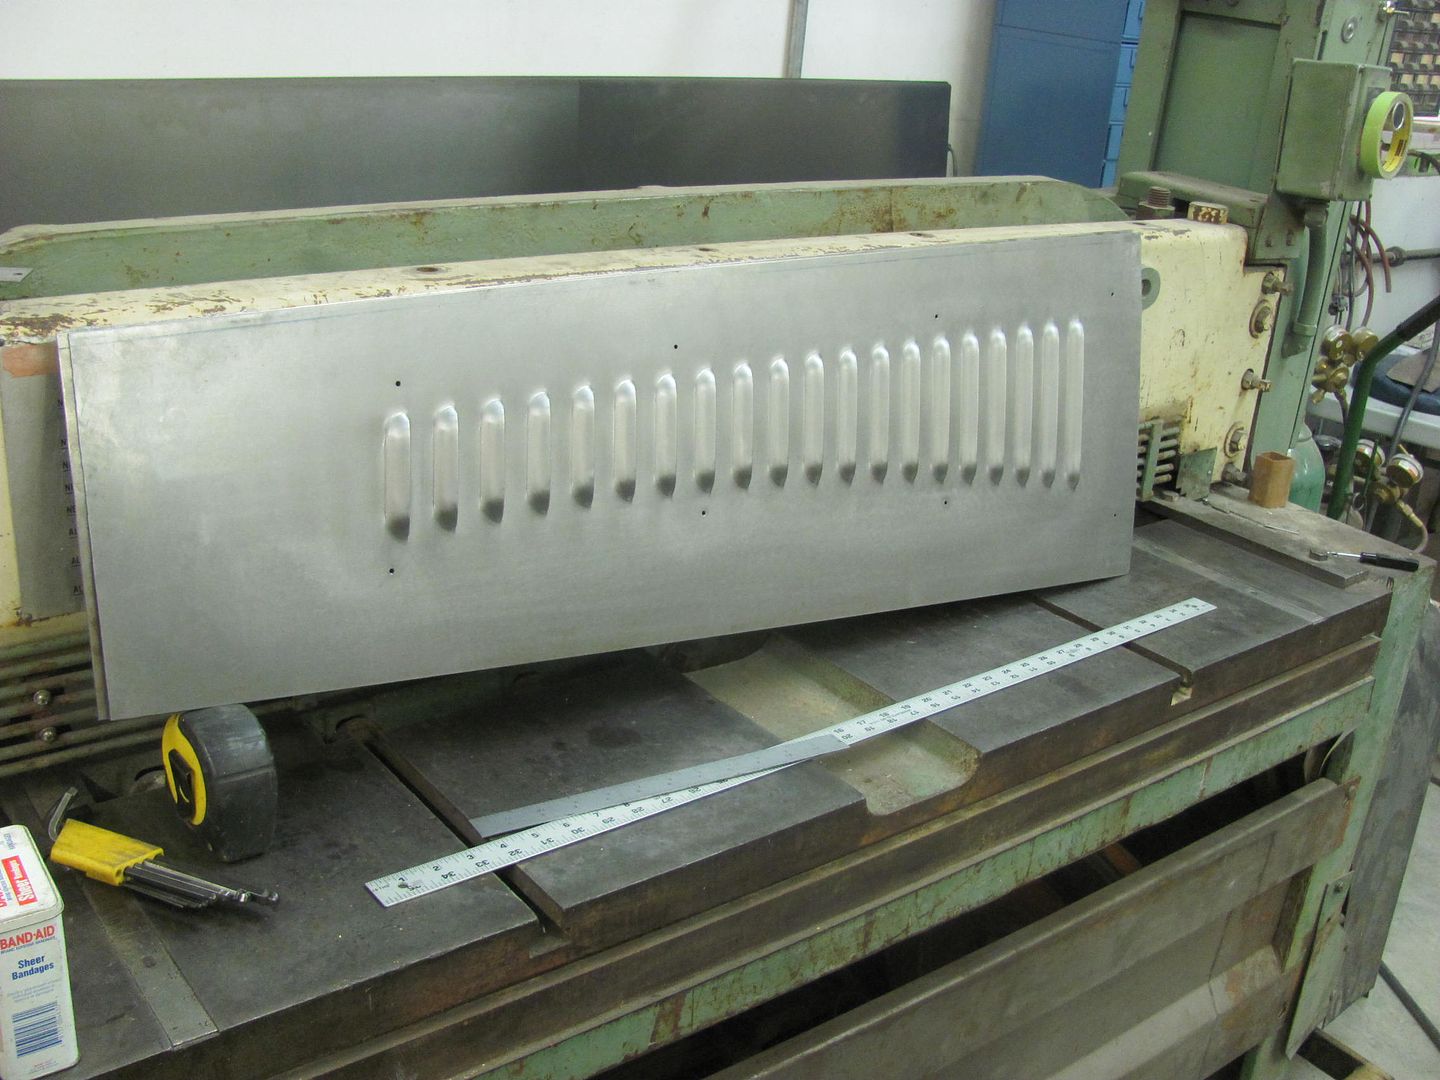 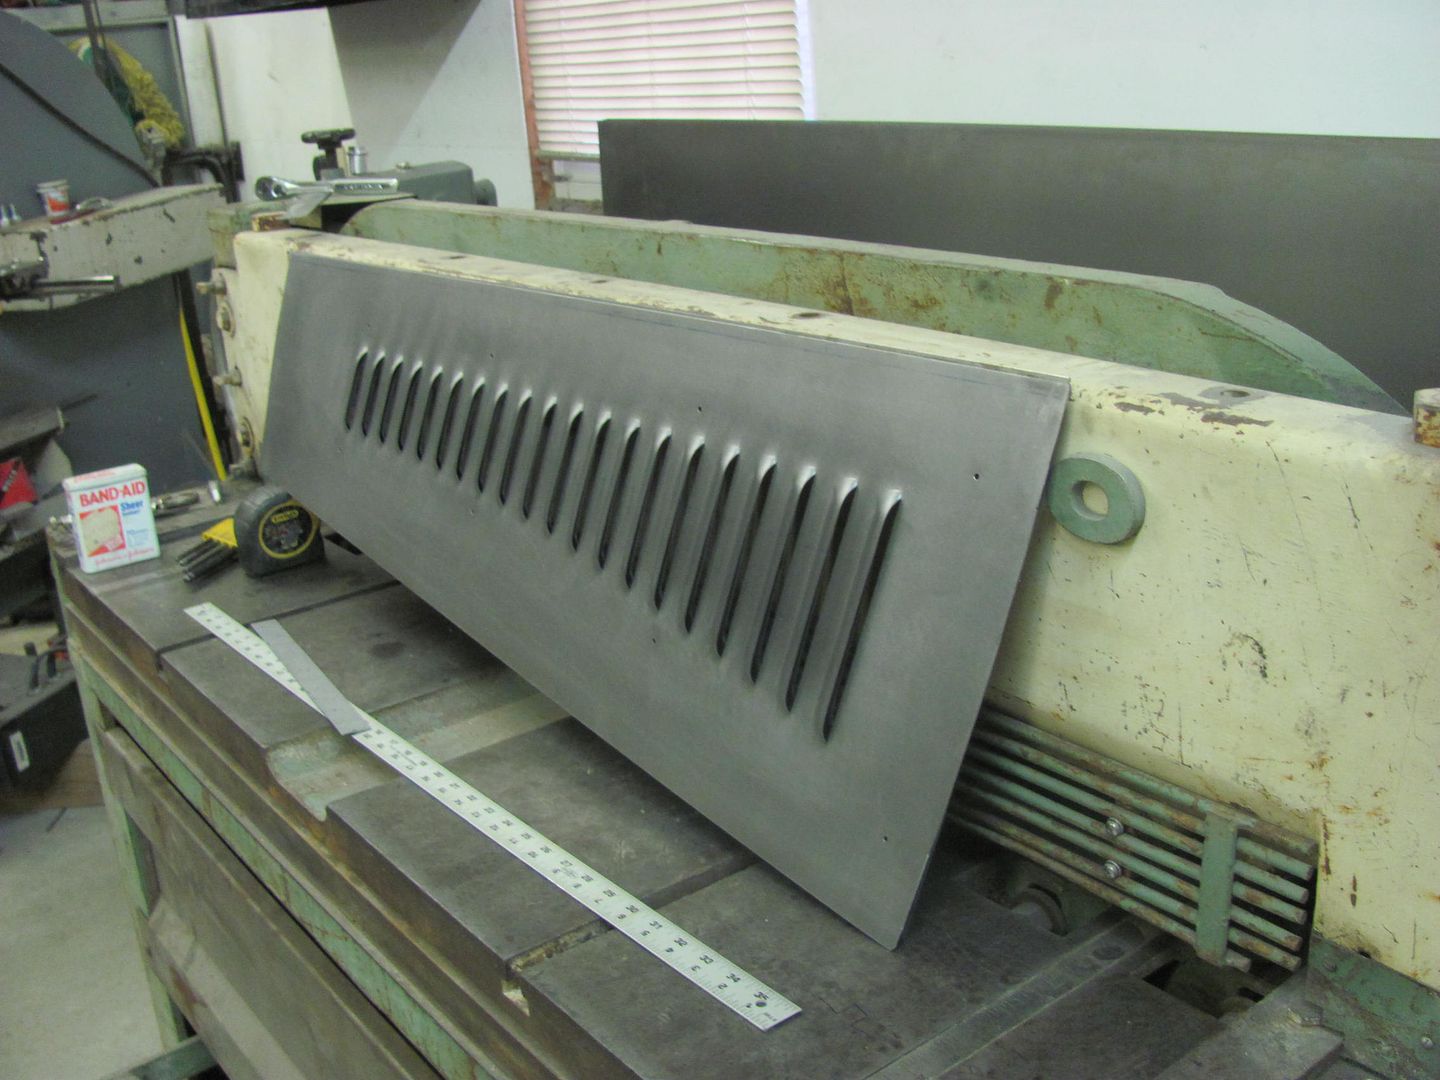 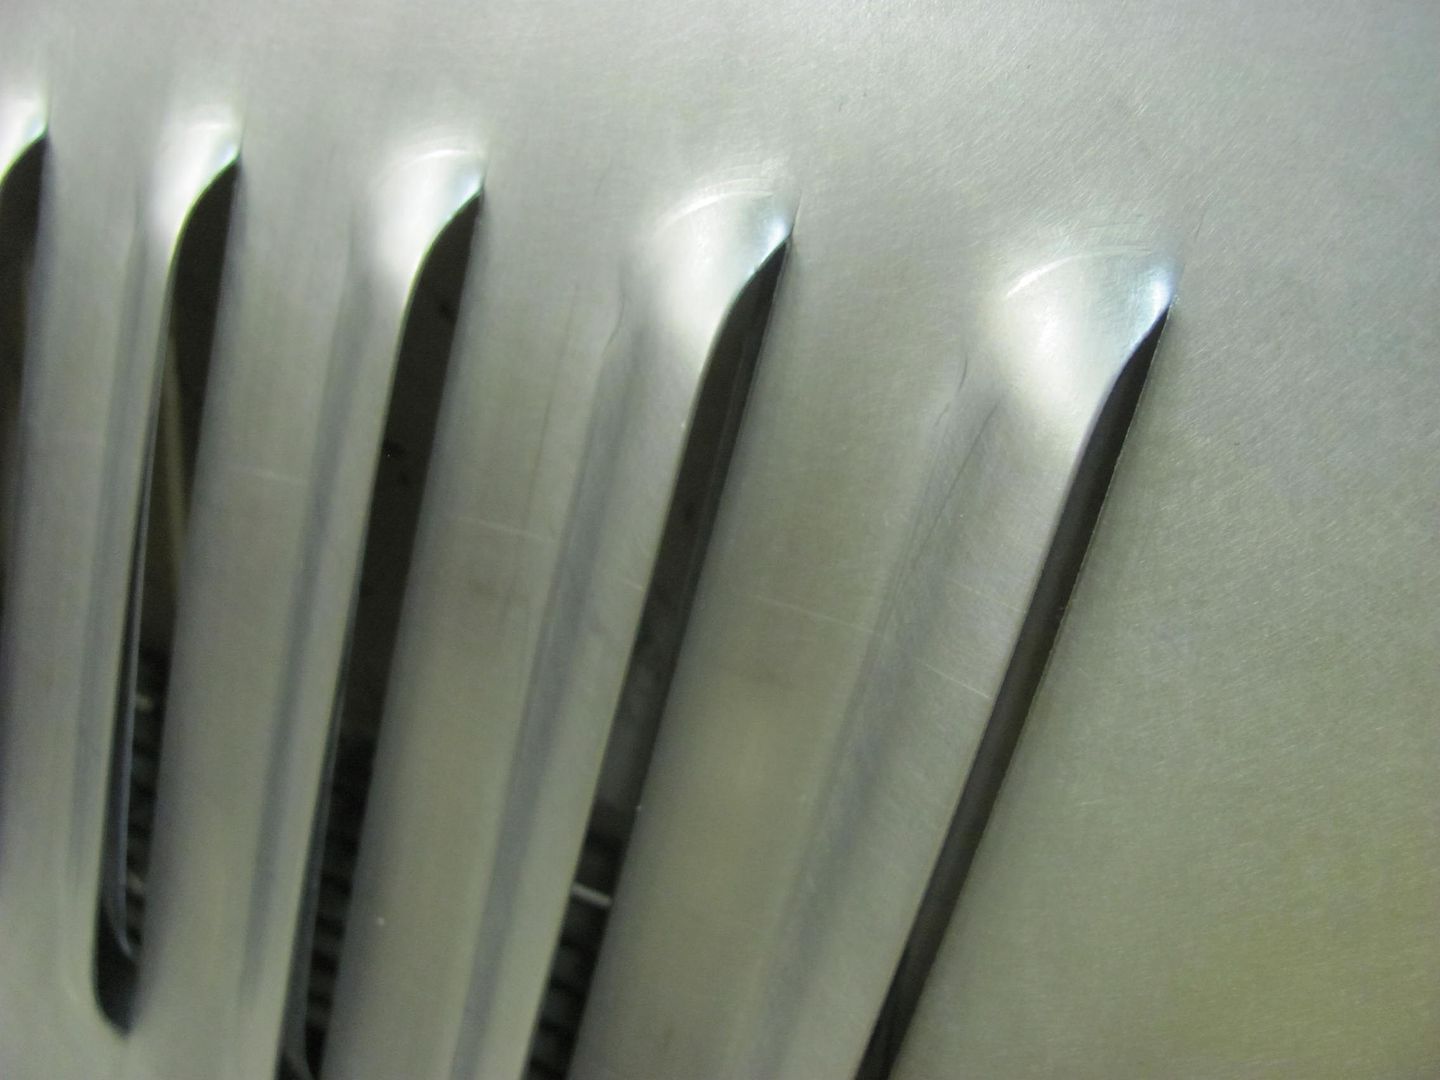 The cowl piece was done without guides.... 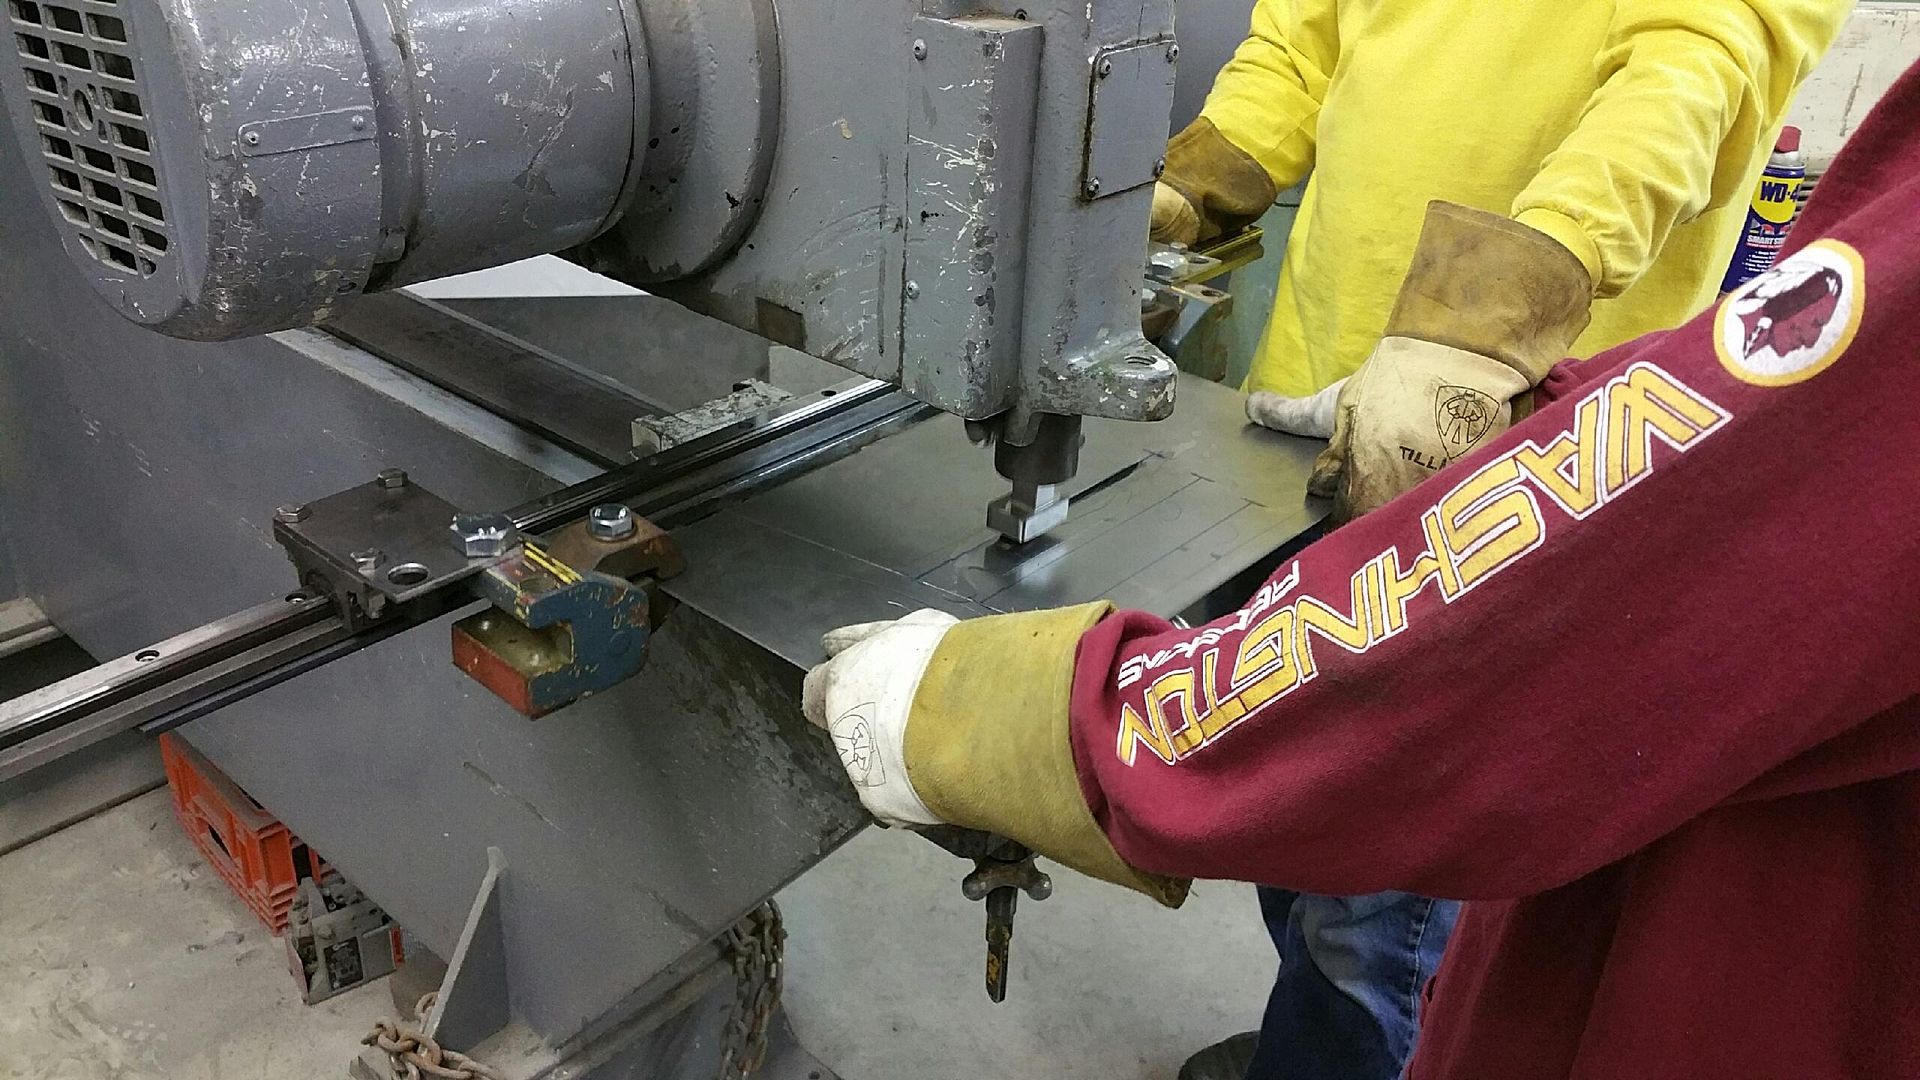 And version 2 with the cowl piece..... 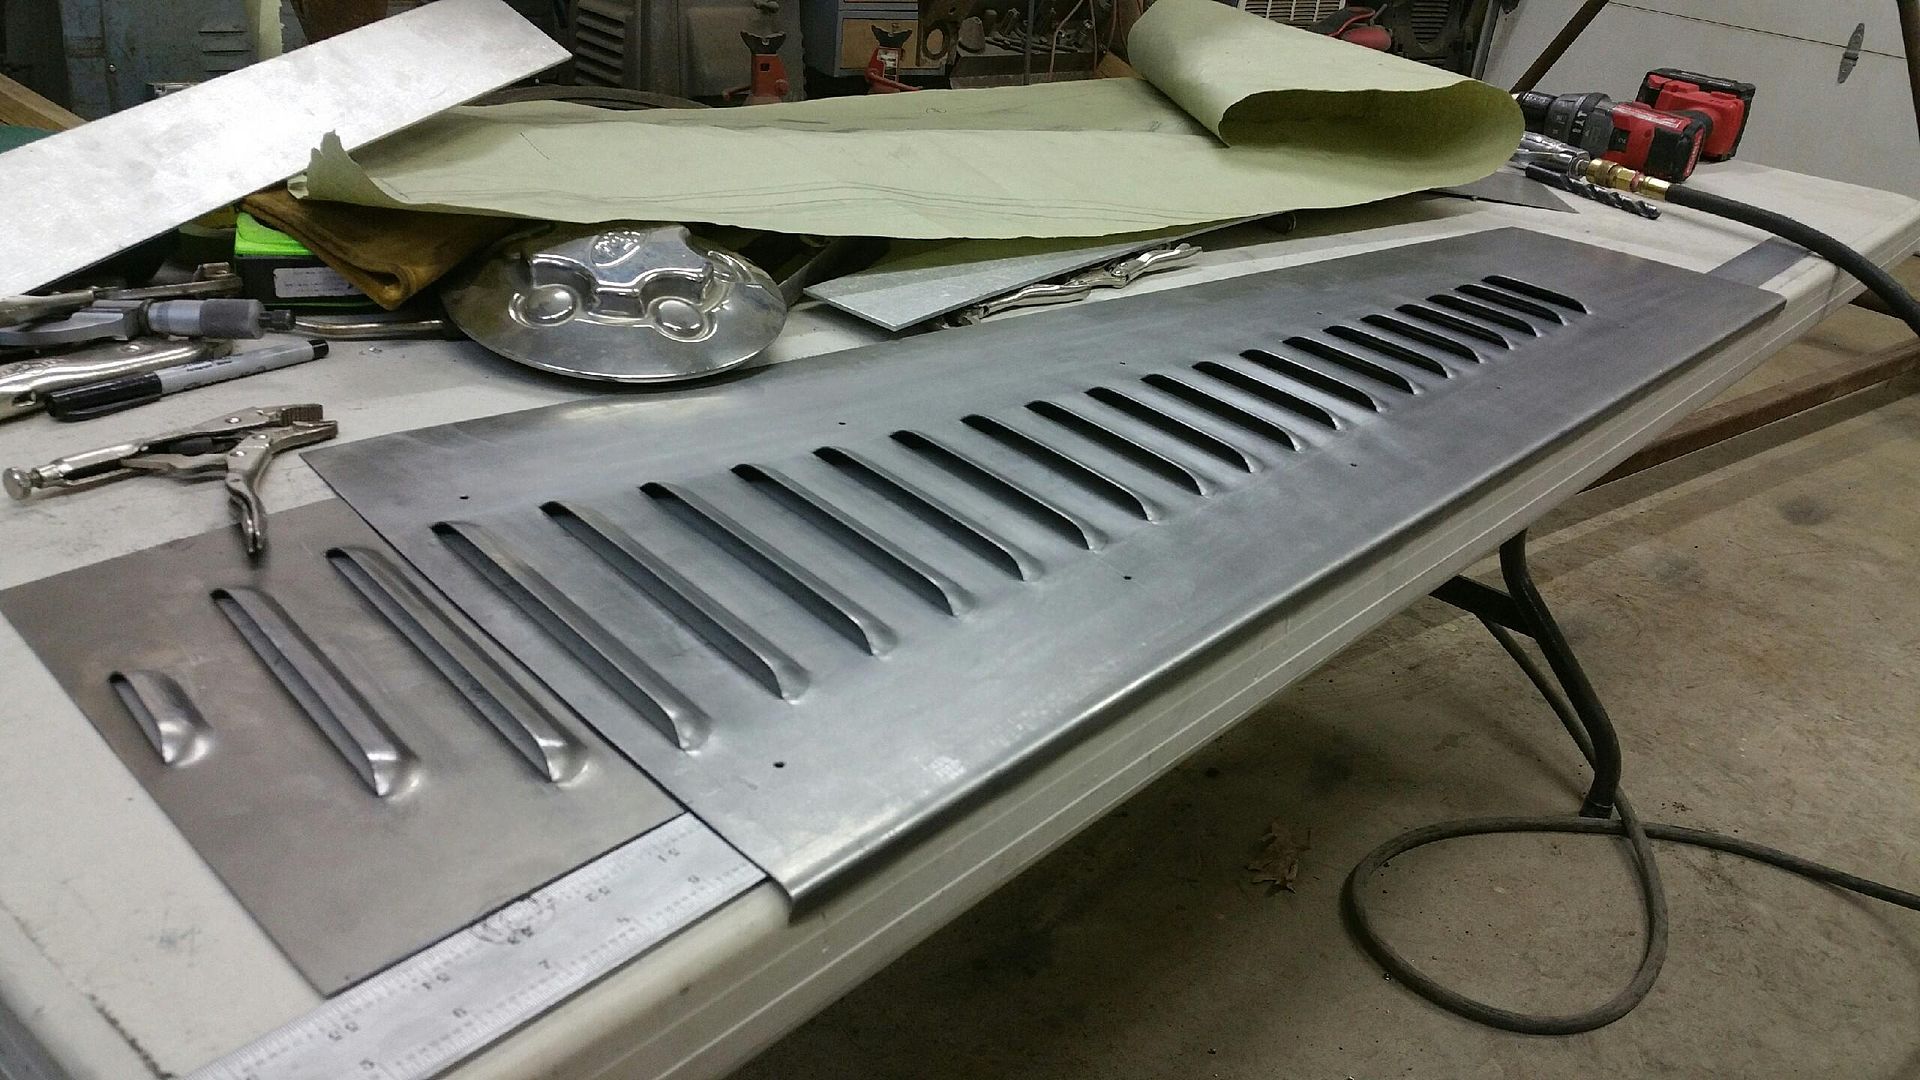 Dave (the car owner) stopped by this afternoon and picked up the samples, and indicated he was being over-ruled by most parties on louvers in the cowl, so likely that version won't be used...
__________________
Robert |
|
|
|
|
11-09-2015, 01:34 PM
|
#15 |
|
Registered User
Join Date: Jan 2013
Location: Leonardtown, MD
Posts: 1,637
|
Re: 55 Wagon Progress
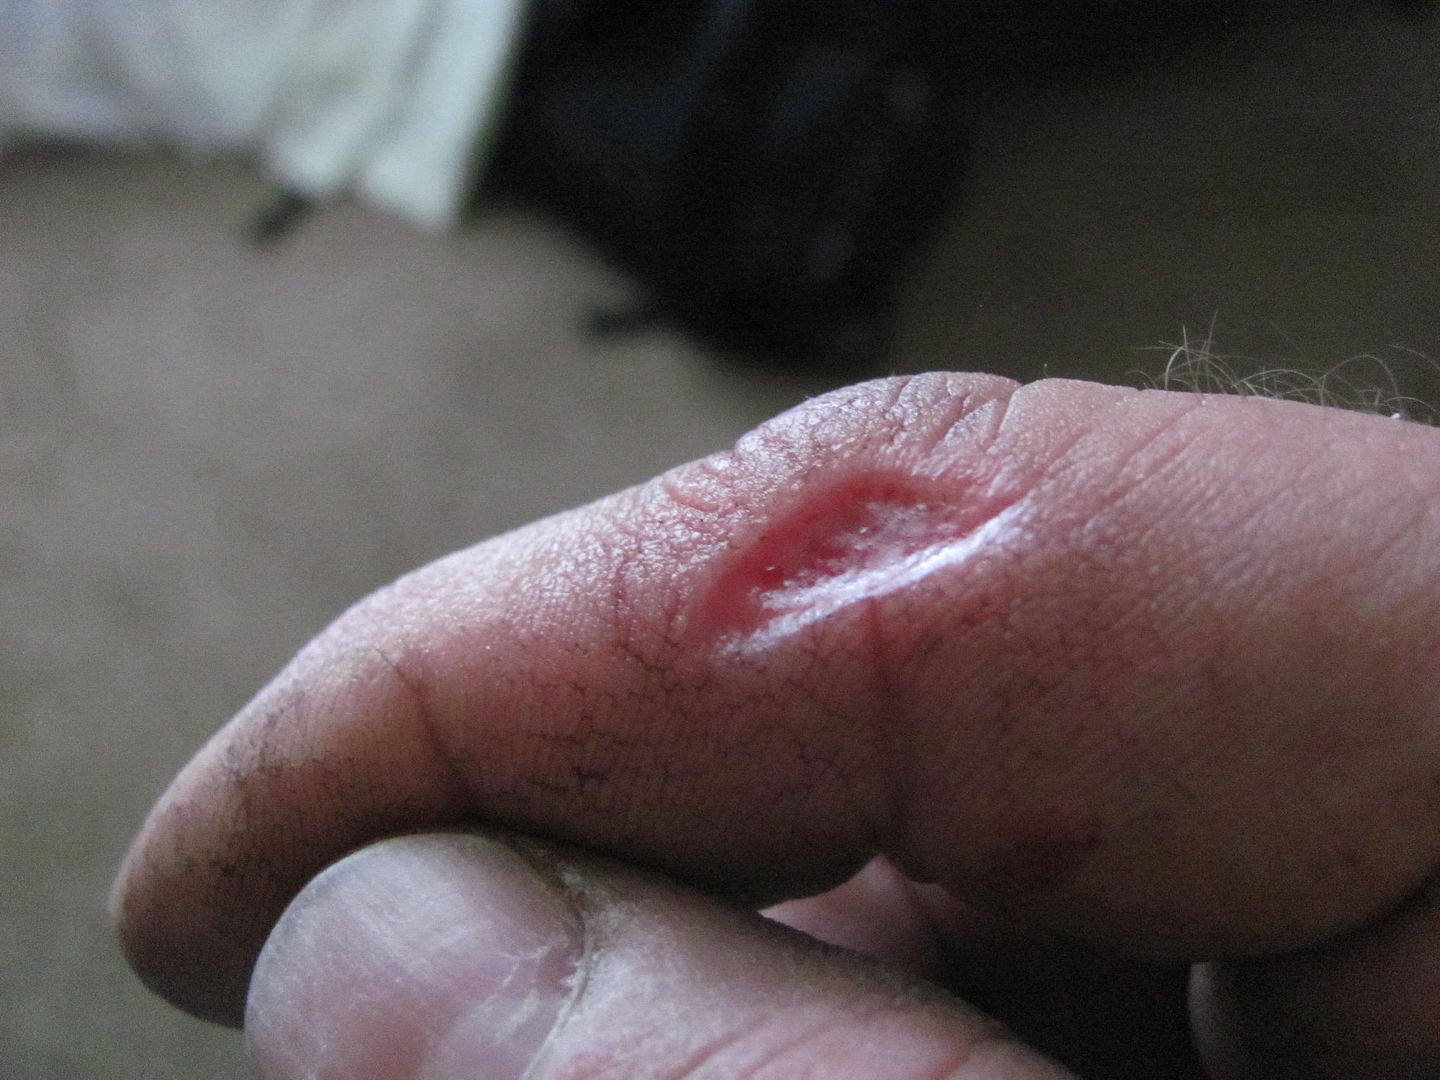
....And, in the interest of showing the good with the bad, the lessons learned if you will, Safety tip of the day is to deburr your sheet metal even if it's only for practice pieces....
__________________
Robert |
|
|
|
|
11-09-2015, 07:43 PM
|
#16 |
|
Senior Member
Join Date: Mar 2011
Location: West Plains, Missouri
Posts: 7,555
|
Re: 55 Wagon Progress
OUCH!!!!!!...Jim
__________________
my build thread: http://67-72chevytrucks.com/vboard/s...d.php?t=459839 Jimbo's long bed step build:http://67-72chevytrucks.com/vboard/s...t=464626<br /> |
|
|
|
|
11-09-2015, 09:00 PM
|
#17 |
|
Registered User
Join Date: May 2007
Location: Deale Md
Posts: 4,663
|
Re: 55 Wagon Progress
That's a good chunk, keep it clean my brother inlaw just spent a week in the hospital for a infection in hes finger.
__________________
James 63 GMC V6 4speed carryall 65 chevy swb bbw V8 auto 68 K20 327/4 speed, buddy buckets 2002 GMC CC Dually Duramax 64 GMC lwb 3/4 V6 4speed SOLD 66 GMC swb bbw buddy buckets SOLD IG duallyjams The only thing that stays the same is constant change! |
|
|
|
|
11-10-2015, 11:48 PM
|
#18 |
|
Registered User
Join Date: Jan 2013
Location: Leonardtown, MD
Posts: 1,637
|
Re: 55 Wagon Progress
So far so good, nothing oozing..
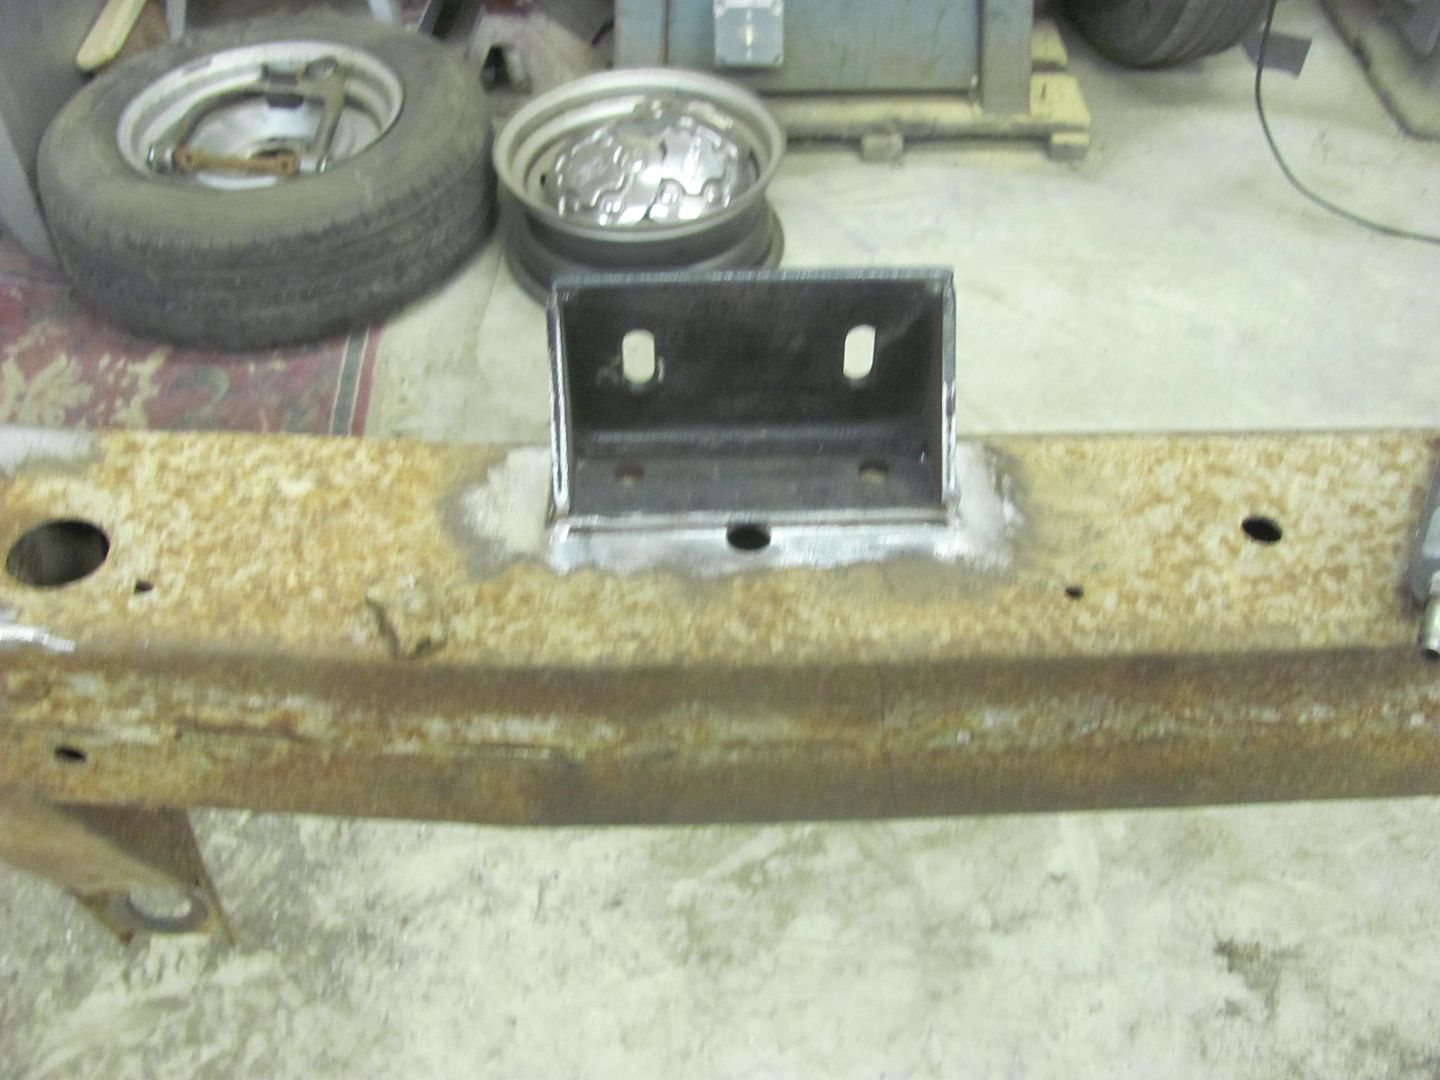
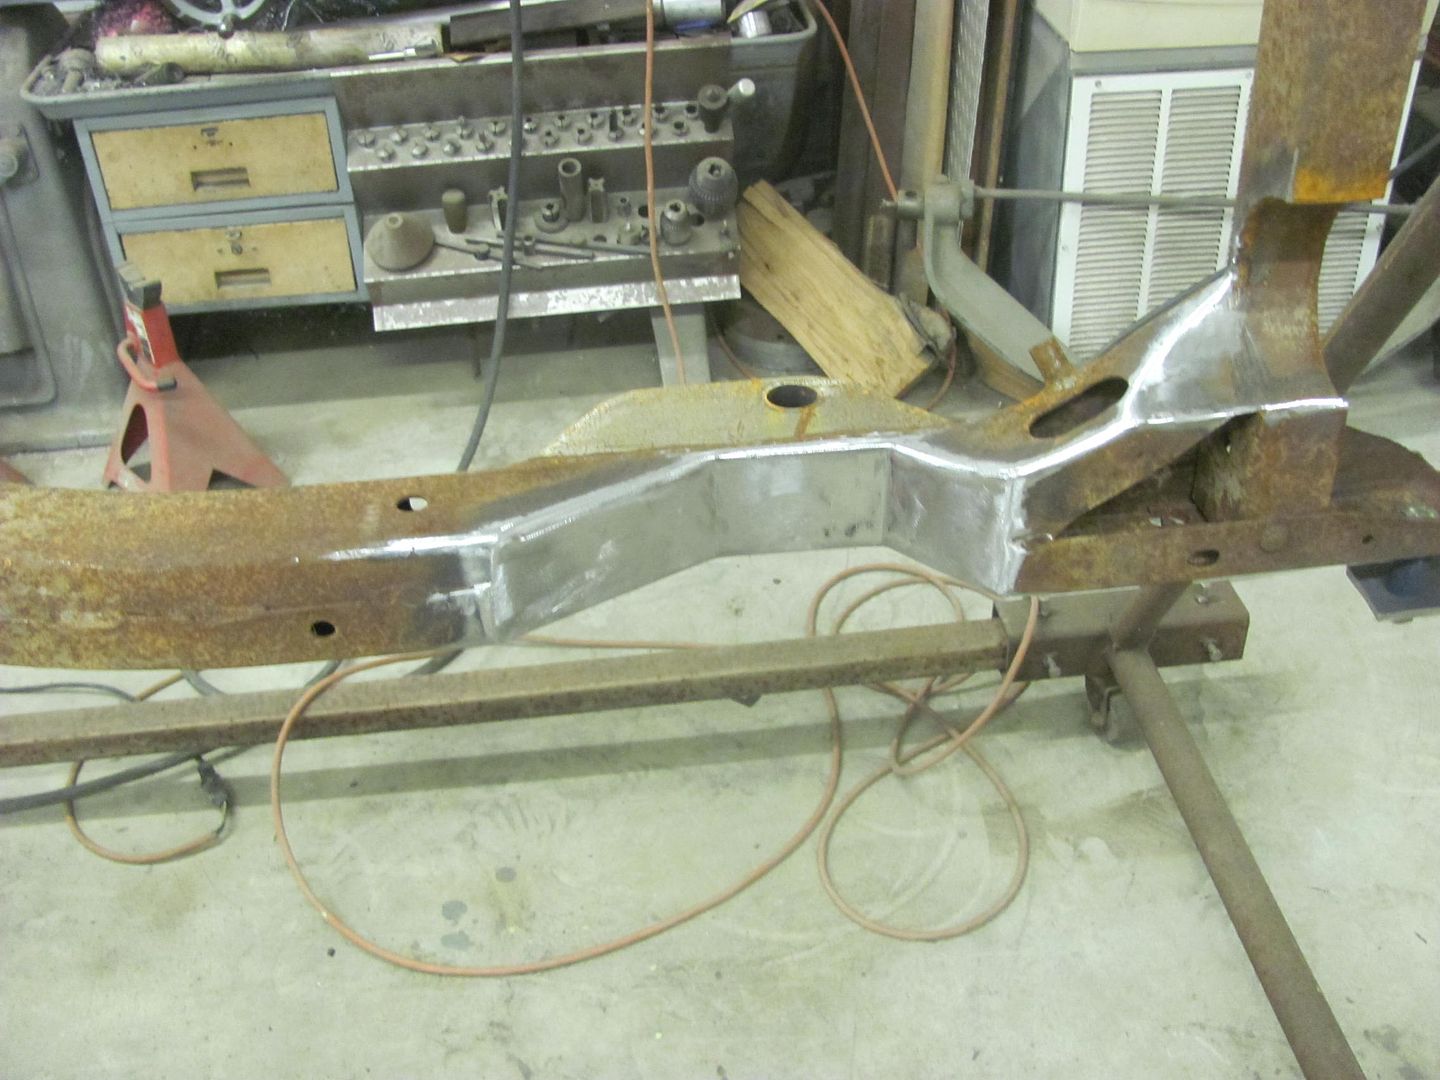
Tonight we worked on the frame, used some poster board to make a pattern for a strengthening plate to span the pocket kit on each frame rail..  While Kyle filled in some frame holes by plug welding to the pocket kit, I cut out the frame plates... 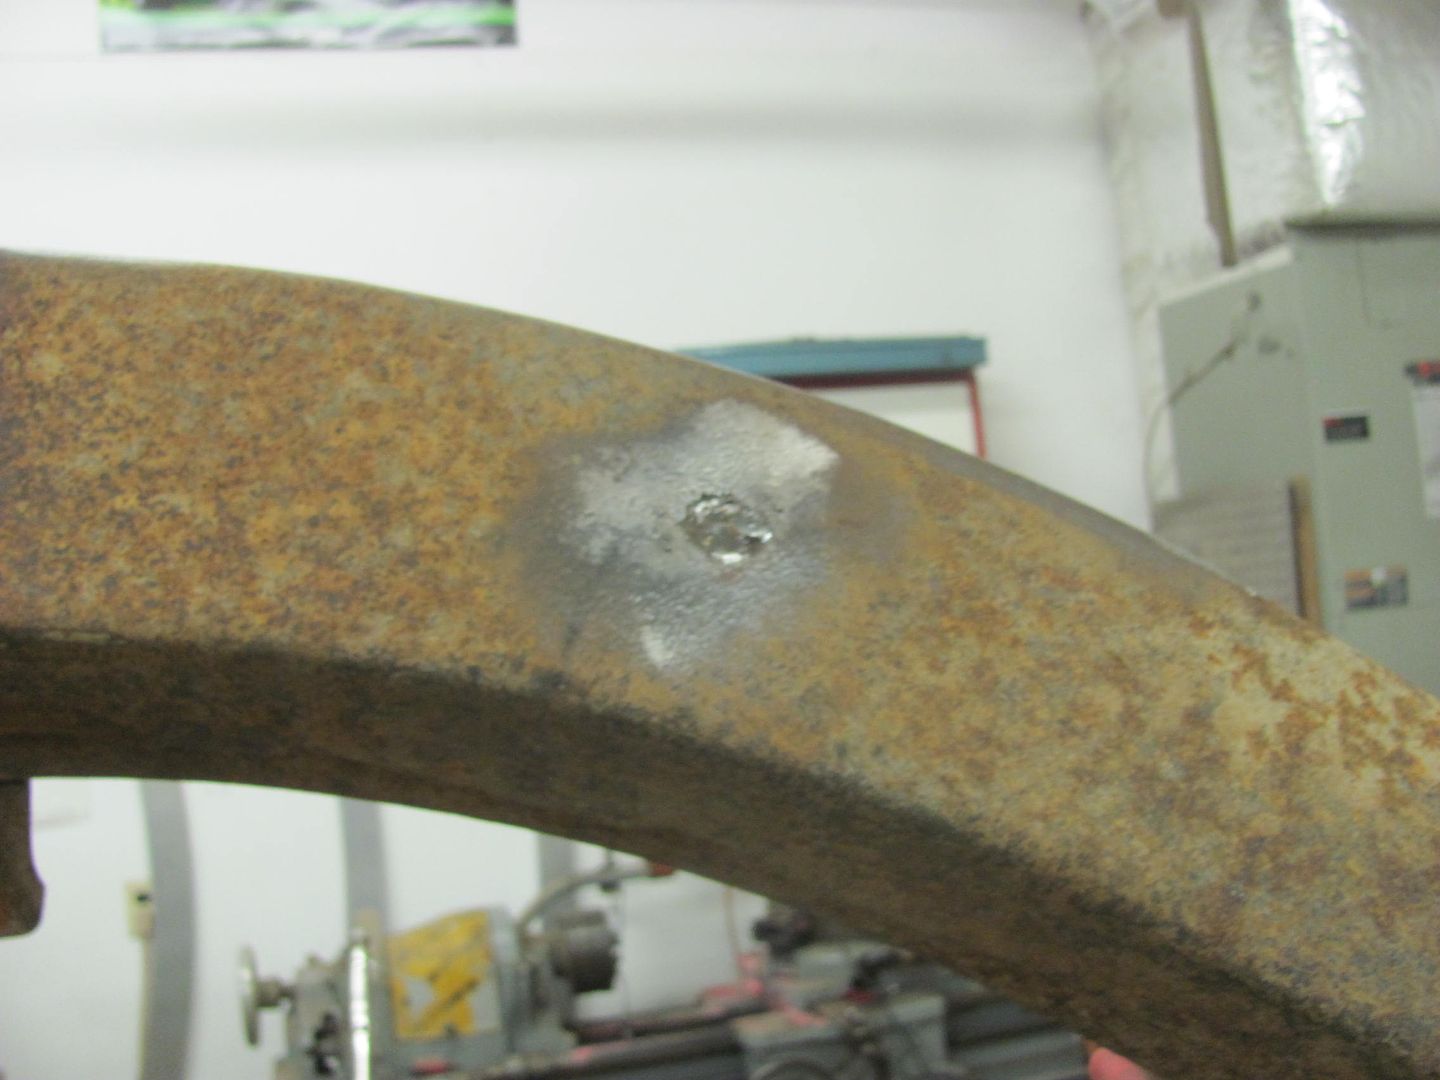   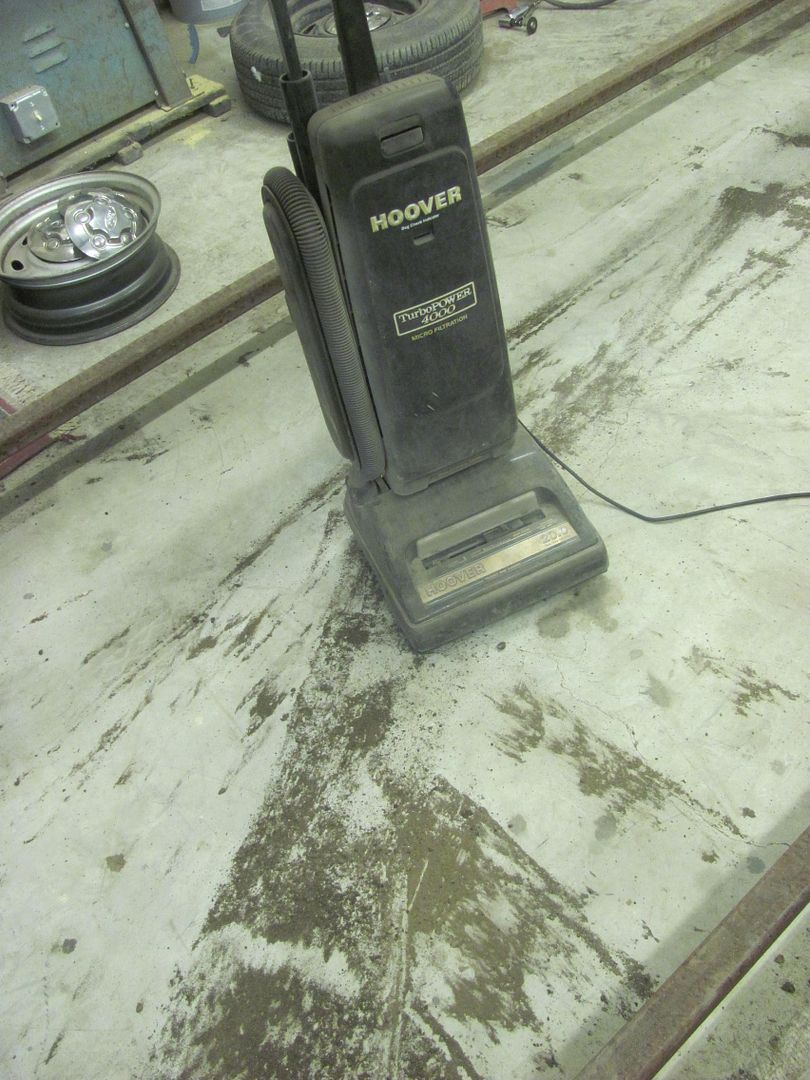 And the shop vacuum is about on it's last leg, it leaves behind about as much as it picks up. For anyone at DYSON or SHARK vacuum that would like to send a test sample, we can sure do a stress analysis on your product..
__________________
Robert |
|
|
|
|
11-13-2015, 12:08 AM
|
#19 |
|
Registered User
Join Date: Jan 2013
Location: Leonardtown, MD
Posts: 1,637
|
Re: 55 Wagon Progress
More prep and welding on the frame....
 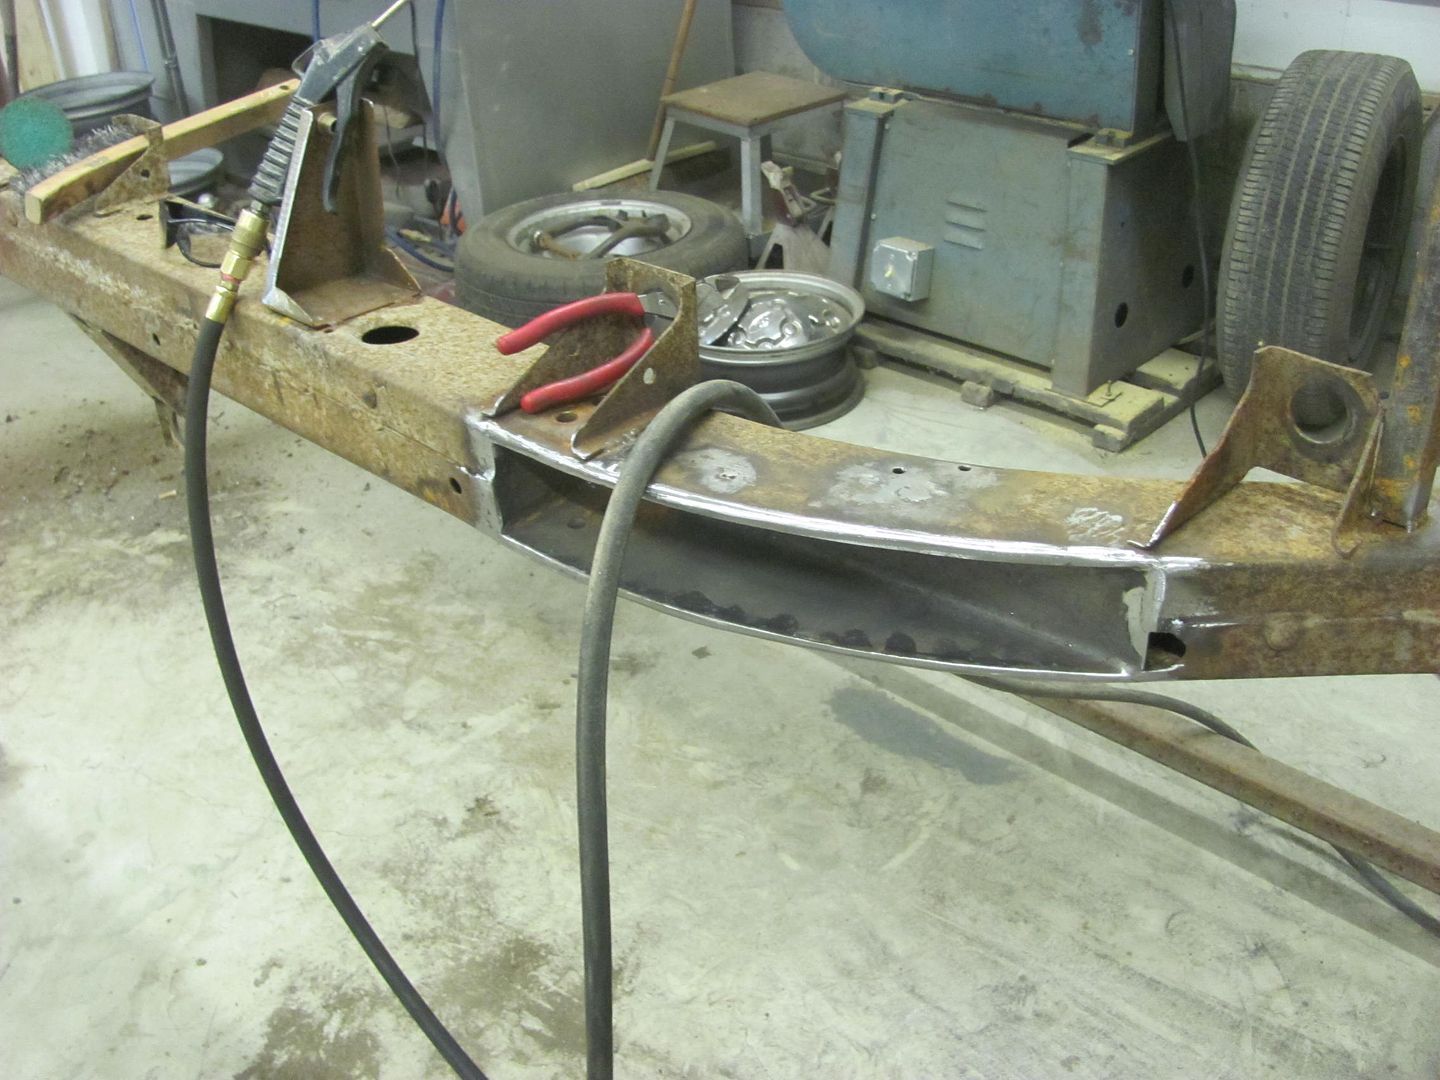  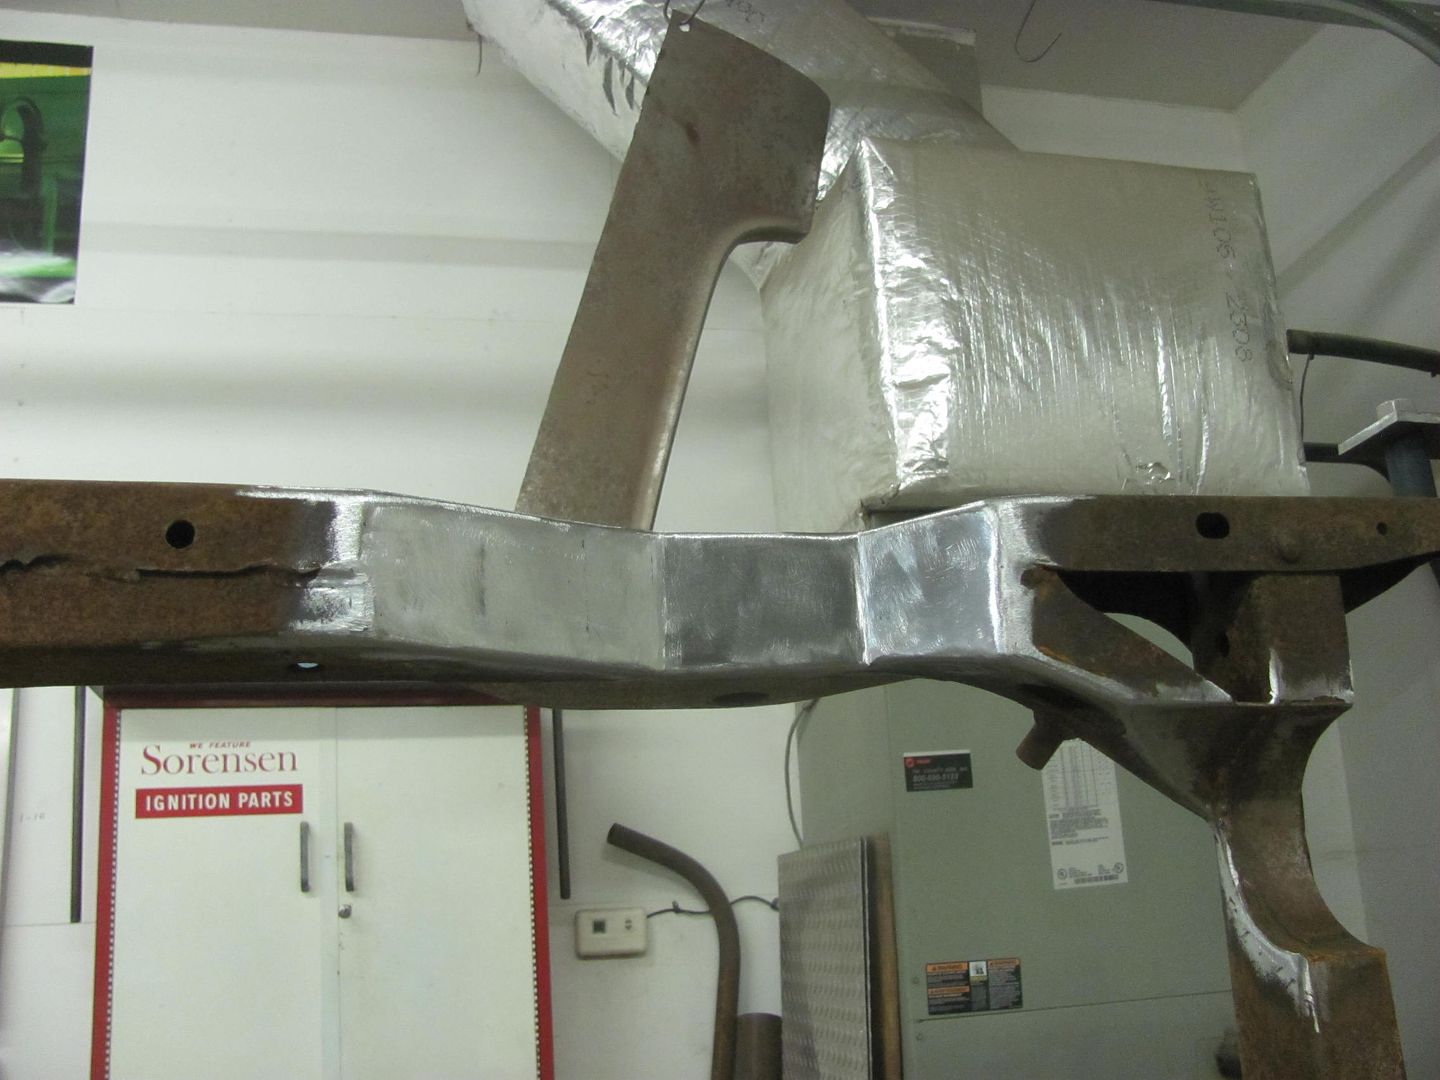 and we cleared out the remaining vacuum inventory from the yard sale pile.. This one is working a bit better! 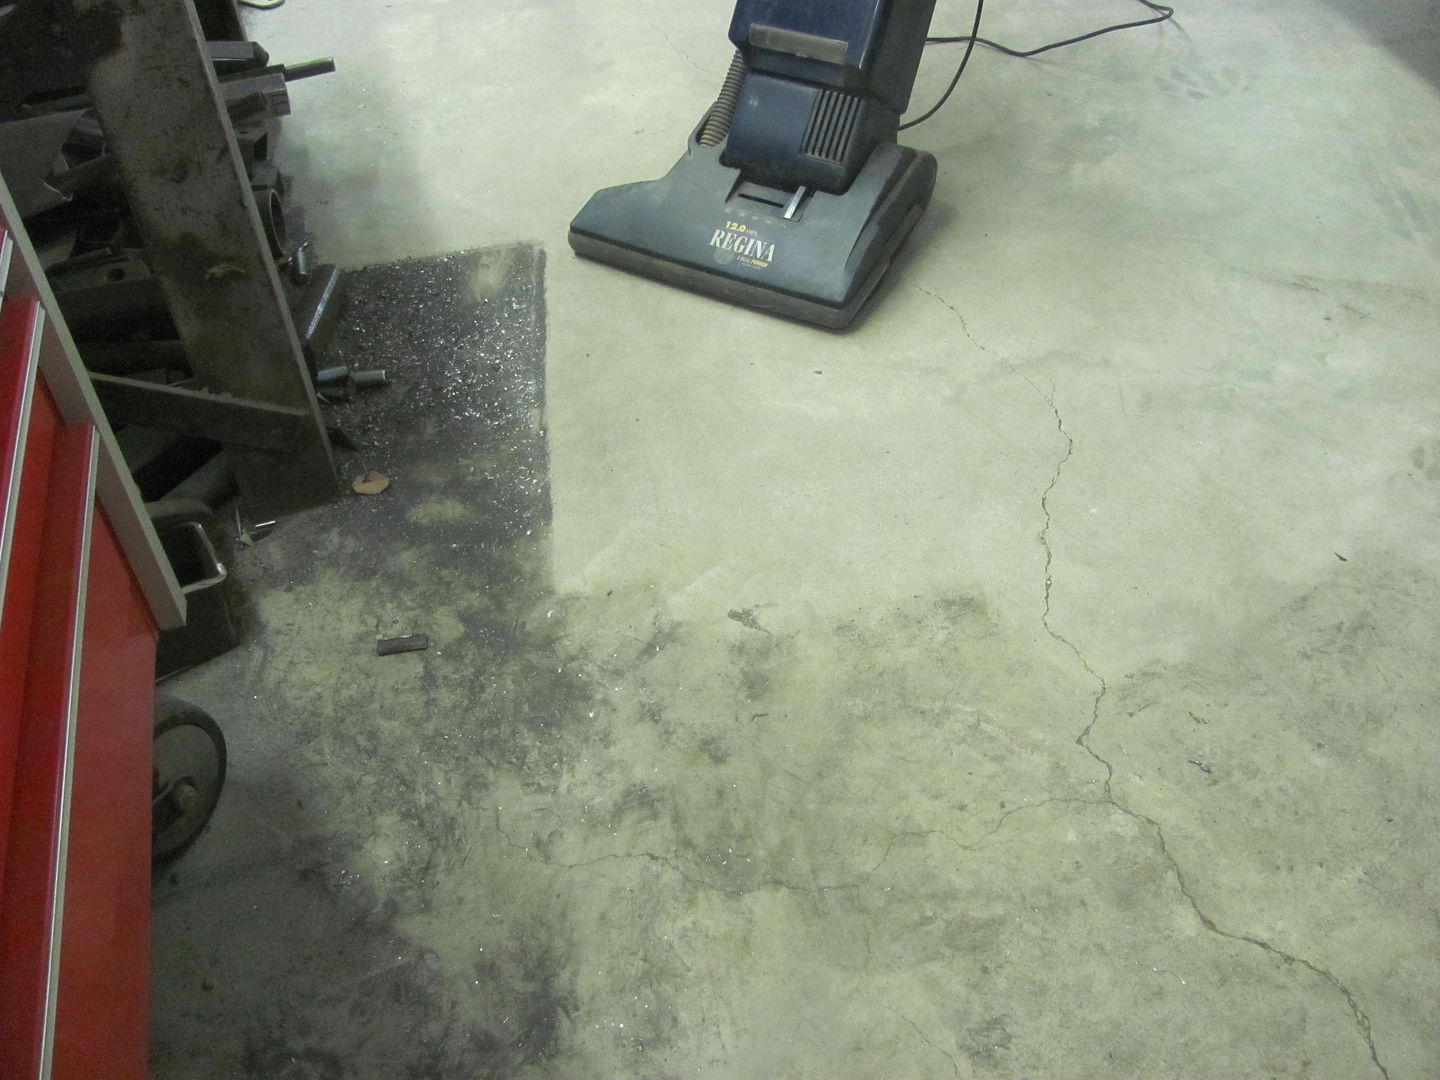 We've been going through a dry spell here in the shop, it's been quite some time since we've seen any yellow body panels. Soon to change.... 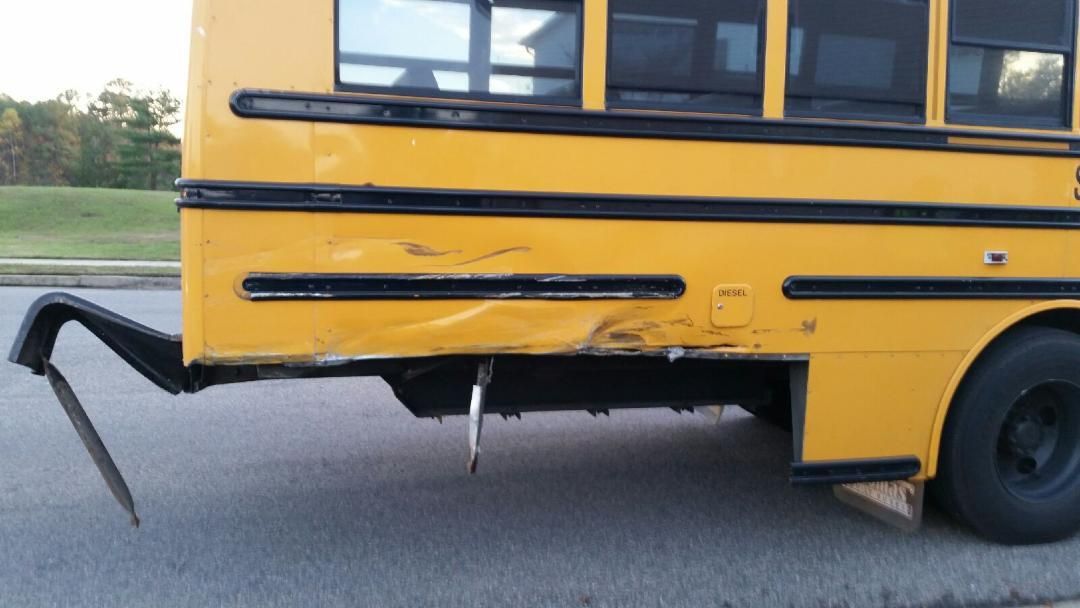 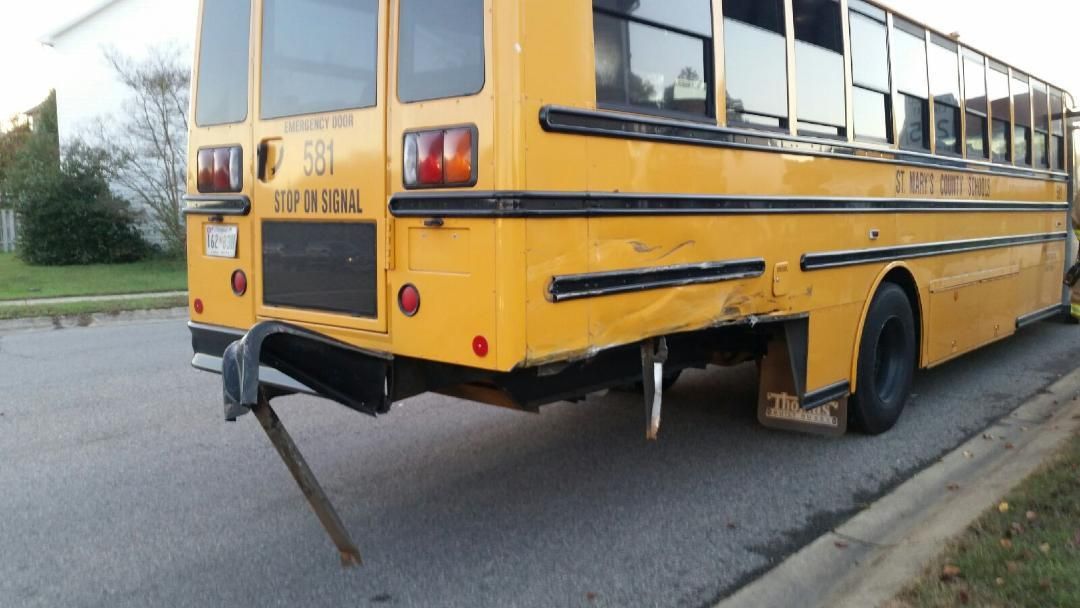
__________________
Robert |
|
|
|
|
11-13-2015, 09:12 AM
|
#20 |
|
Registered User
Join Date: May 2013
Location: Centerville,Ma.
Posts: 1,223
|
Re: 55 Wagon Progress
My first summer working in a body shop was spent sandblasting school buses from the cowl back. I think we did 5 that summer. That was 1974
|
|
|
|
|
11-13-2015, 09:53 AM
|
#21 |
|
Registered User
Join Date: Jan 2013
Location: Leonardtown, MD
Posts: 1,637
|
Re: 55 Wagon Progress
Were they trying to keep ahead of the salt corrosion in stripping/repainting?
__________________
Robert |
|
|
|
|
11-13-2015, 02:24 PM
|
#22 |
|
Registered User
Join Date: May 2013
Location: Centerville,Ma.
Posts: 1,223
|
Re: 55 Wagon Progress
We were stripping and repainting due to old paint peeling in spots. We did one every two weeks. It took as long to tape the windows with cardboard as it did to actually blast them. The paint blew right off. Then sanding ,priming painting plus the two tone. All in Dupont Dulux enamel
|
|
|
|
|
11-13-2015, 02:30 PM
|
#23 |
|
Registered User
Join Date: Apr 2003
Location: Indep, MO
Posts: 5,893
|
Re: 55 Wagon Progress
Lovin' the louvers. What is the pocket kit for? Will this one be going bags and a 4-link?
__________________
Boppa's Old Yeller Truck Build, Old Yeller's New Heart! Project Buzz Bomb Flyin' Low! |
|
|
|
|
11-13-2015, 02:42 PM
|
#24 |
|
Registered User
Join Date: Jan 2013
Location: Leonardtown, MD
Posts: 1,637
|
Re: 55 Wagon Progress
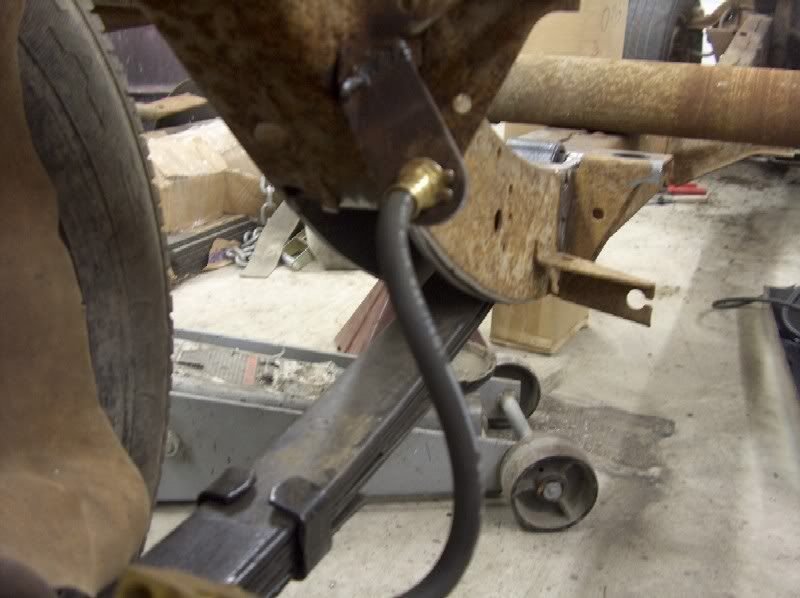
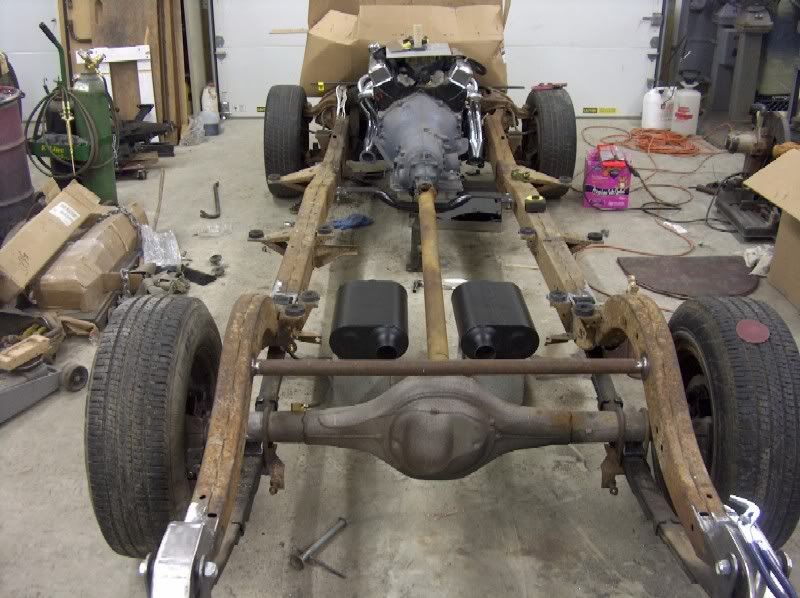
They make a pocket kit for the tri five Chevy that allows moving the leafs into/suspended under the frame for additional tire clearance for those larger meats and still leaves the room between the rails for fuel tank/exhaust.. Like here:
__________________
Robert |
|
|
|
|
11-16-2015, 01:42 AM
|
#25 |
|
Registered User
Join Date: Oct 2007
Location: Spanaway
Posts: 8,451
|
Re: 55 Wagon Progress
Love that spring mod! Great idea.
__________________
Mike. Swamp Rat build thread : http://67-72chevytrucks.com/vboard/s...d.php?t=595019 72 3/4T 4X4 4" BDS Lift 33" BFG's |
|
|
|
 |
| Bookmarks |
|
|


 Hybrid Mode
