
 |
|
|
#526 |
|
meowMEOWmeowMEOW
Join Date: Sep 2009
Location: MKE WI
Posts: 7,128
|
Re: Br3w City's Project omgwtfbbq
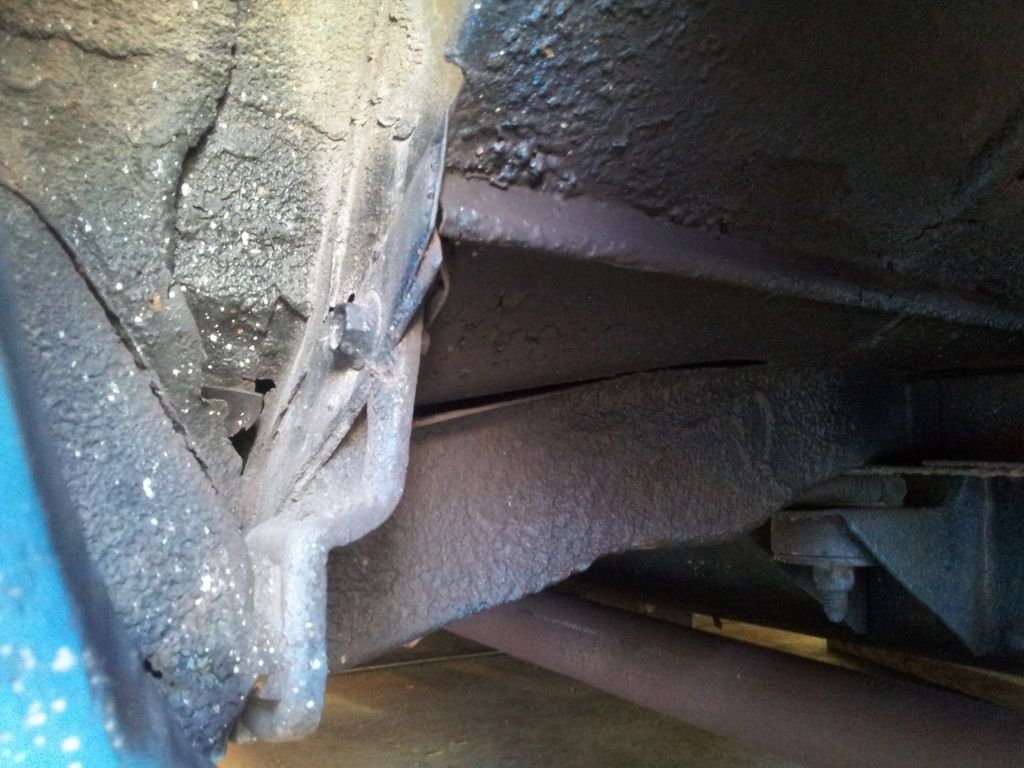
Well we busted a$$ all day today and got the front end all off and started working on removing the inner fenders, marking the cab for our firewall tub, and plotting some detailing and reorganization of things we overlooked in previous go-rounds. After like 6hrs of work, and a bunch of filming for the videos that will come; the only picture I have to show at the moment is one undercoat-covered inner fender bracket bolt, errantly taken with my cellphone camera... doesn't really convey much accomplishment does it haha?
__________________
'66 Short Step / SD Tuned / Big Cam LQ4 / Backhalfed /Built 4l80e / #REBUILDEVERYTHING  |
|
|

|
|
|
#527 |
|
meowMEOWmeowMEOW
Join Date: Sep 2009
Location: MKE WI
Posts: 7,128
|
Re: Br3w City's Project omgwtfbbq
There is a pretty cool game called Automation that has come out in early access a little while ago. It allows for the semi-complete design of a vehicle, hundreds of engine combos (w/ a system of realistic constraints and modeling). It also allows for the management simulation of the production costs etc much like a "sim" or "tycoon" game.
I started playing the early access version and found it fun, so you guys should check it out. I did a beginning lets-play on building a body for my car the "Chebbie Muffintop". Next episode I'll be doing the engine stuff and more. (yes the majority of the video runs at 120% speed 'cuz everyone says I talk to slow while narrating but too fast in real life  ) )
__________________
'66 Short Step / SD Tuned / Big Cam LQ4 / Backhalfed /Built 4l80e / #REBUILDEVERYTHING  |
|
|

|
|
|
#528 |
|
meowMEOWmeowMEOW
Join Date: Sep 2009
Location: MKE WI
Posts: 7,128
|
Re: Br3w City's Project omgwtfbbq
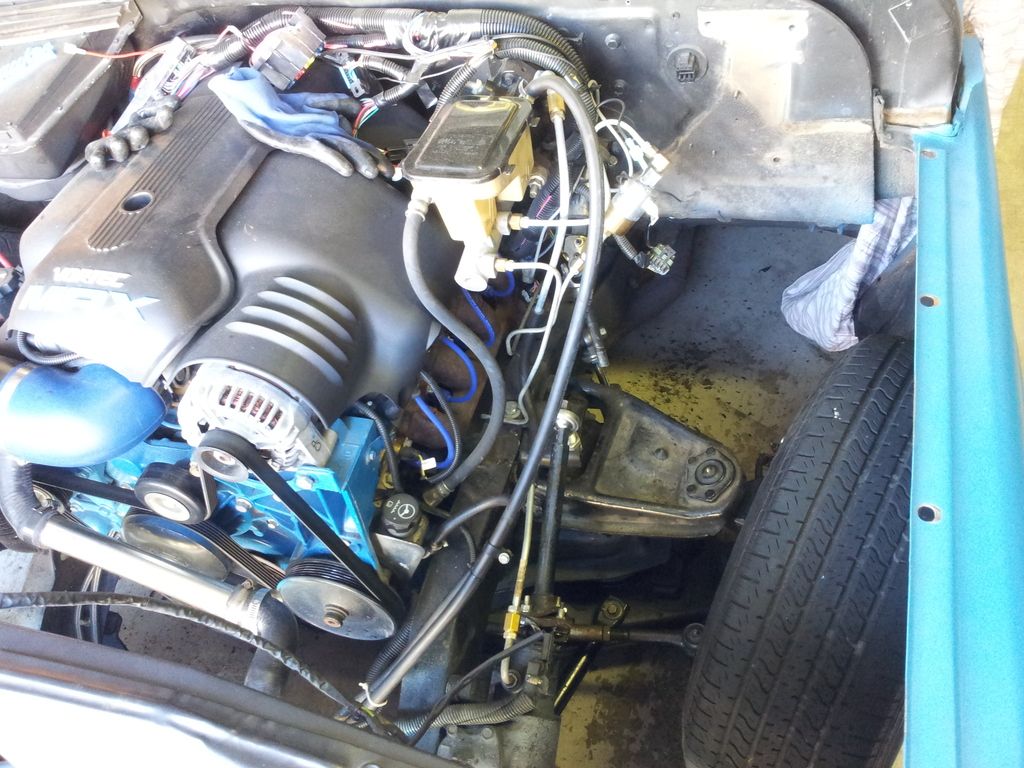
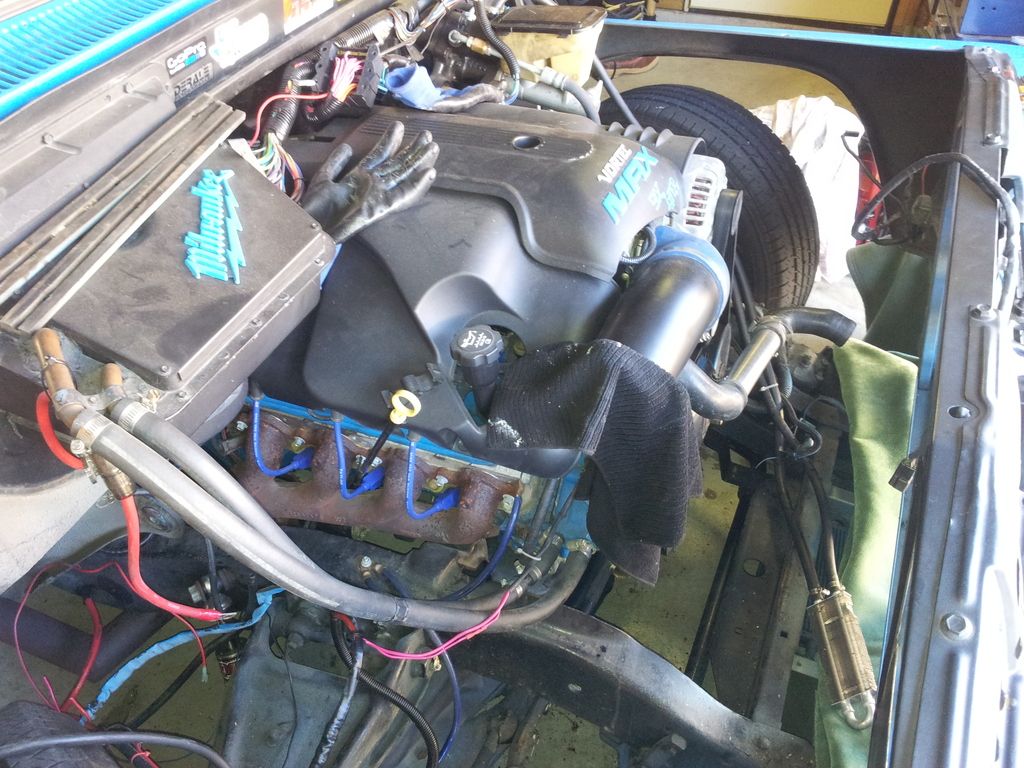
Well the inner fenders are out, and I notice 3 things; There is SOOOO much more room, I need to streamline some of my hosing/wiring, and I need to powerwash the crap out of my front suspension area.
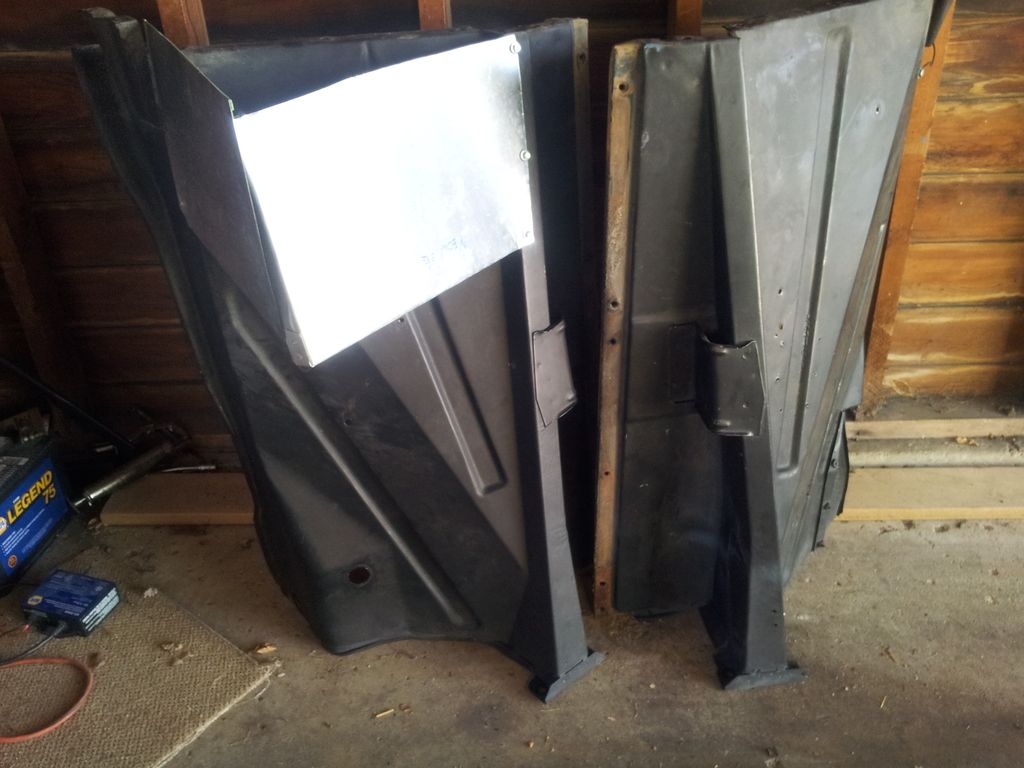   In the process we saw that my fender/cab splash guard thingies were pretty badly chewed up. The truck never really sees rain, but even so we figured it was a good idea to keep them around to prevent crap from building up in the cab/footwell/door hing meeting area....but I just didn't feel like spending $35 each on new ones, then another $10 on the rubber/cardboard part. I blasted mine, finding out the lower parts had swiss cheesed pretty good. I didn't want to weld and shape a new lower piece, so I tried another method. I've done this before on potmetal knobs and oddball cast pieces and figured it would work here too. I taped off the backside and built a few layers of smoothed out JB weld to build some thickness back. All it needs to do it hold its shape for the gasket, and it does so more than fine with that for reinforcement. I coated them with some sealer primer, and I'm coming back to trim the remaining rough edges from the thin metal and JB weld. Then I'll hit it with some black paint, and possibly even some truck bedliner before adding the seals and re installing. 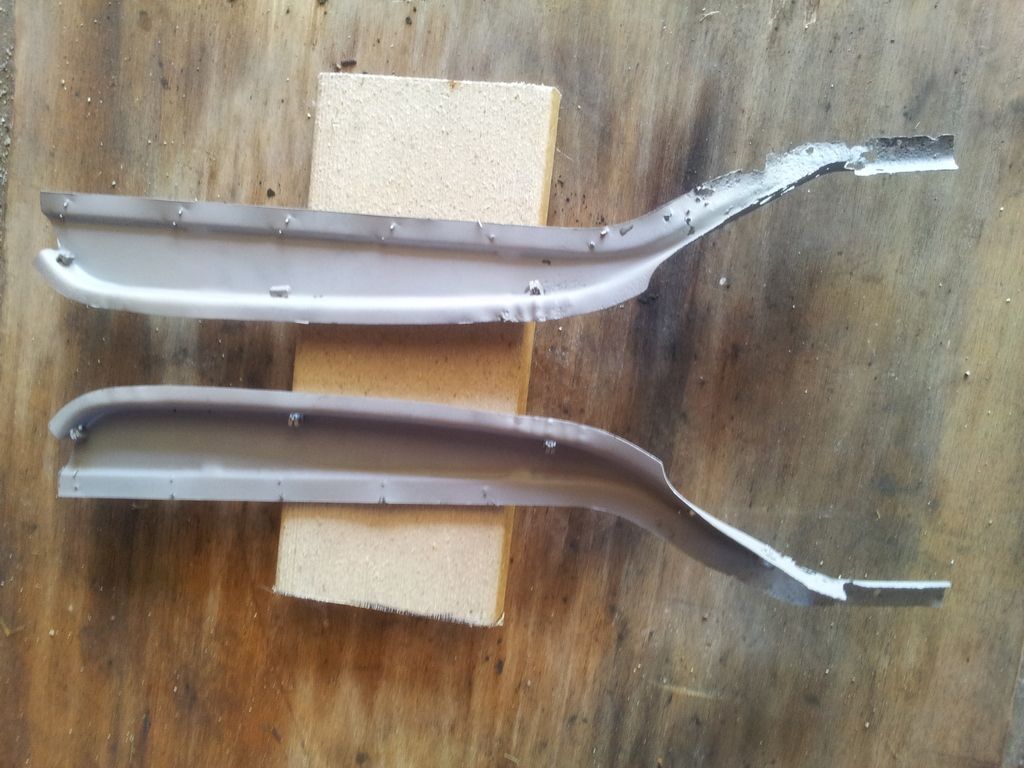 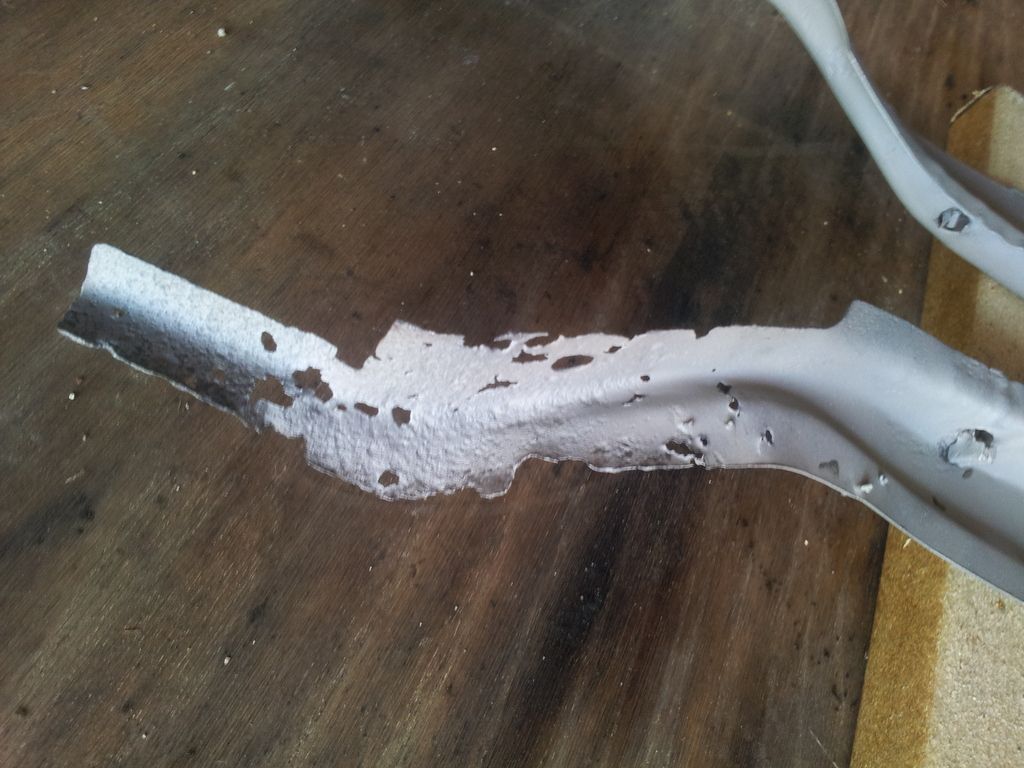 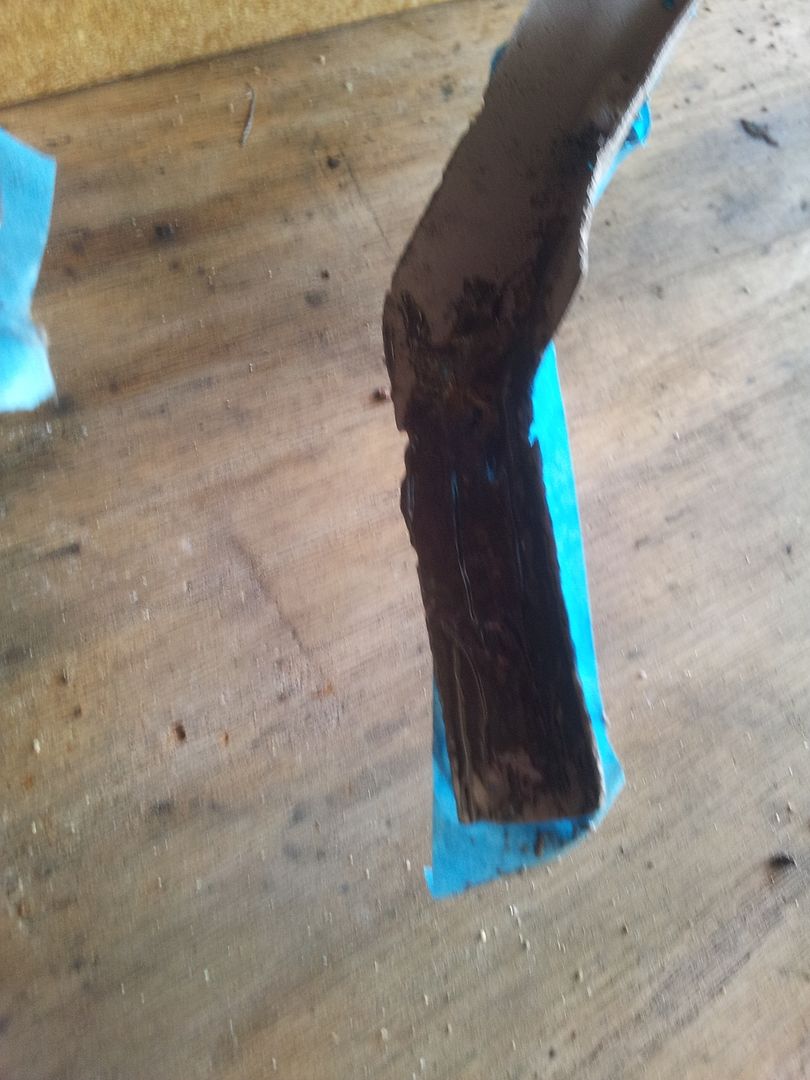 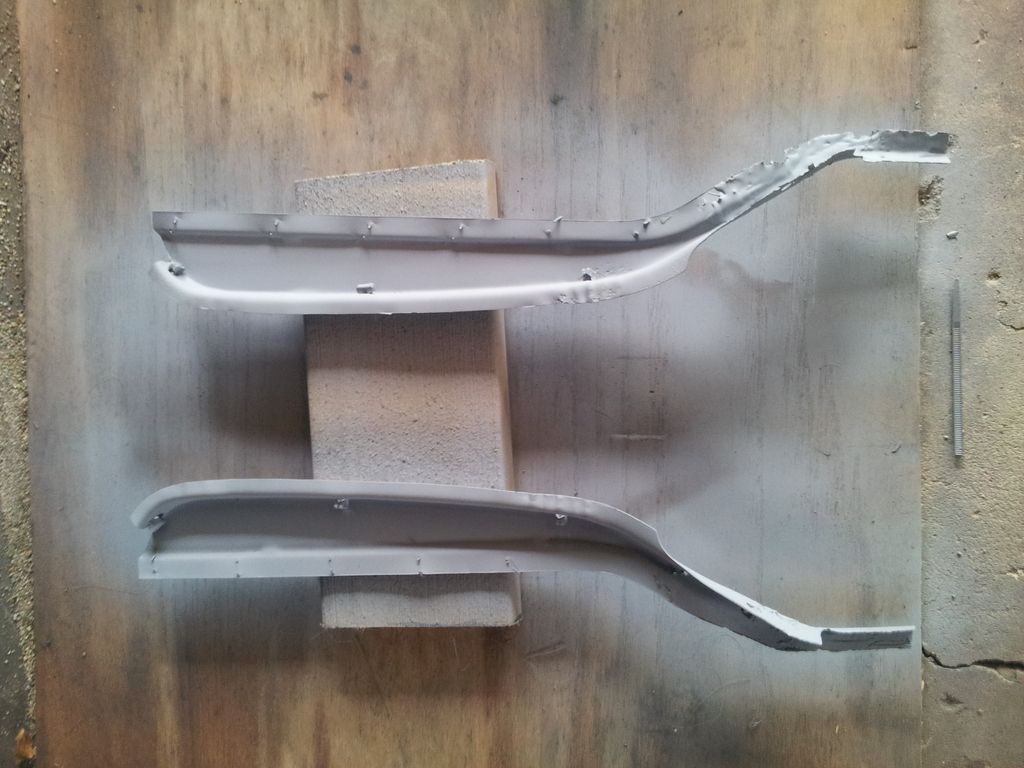 And one more thing.....notice the 2ft square hole in my floor? Wonder what that does? 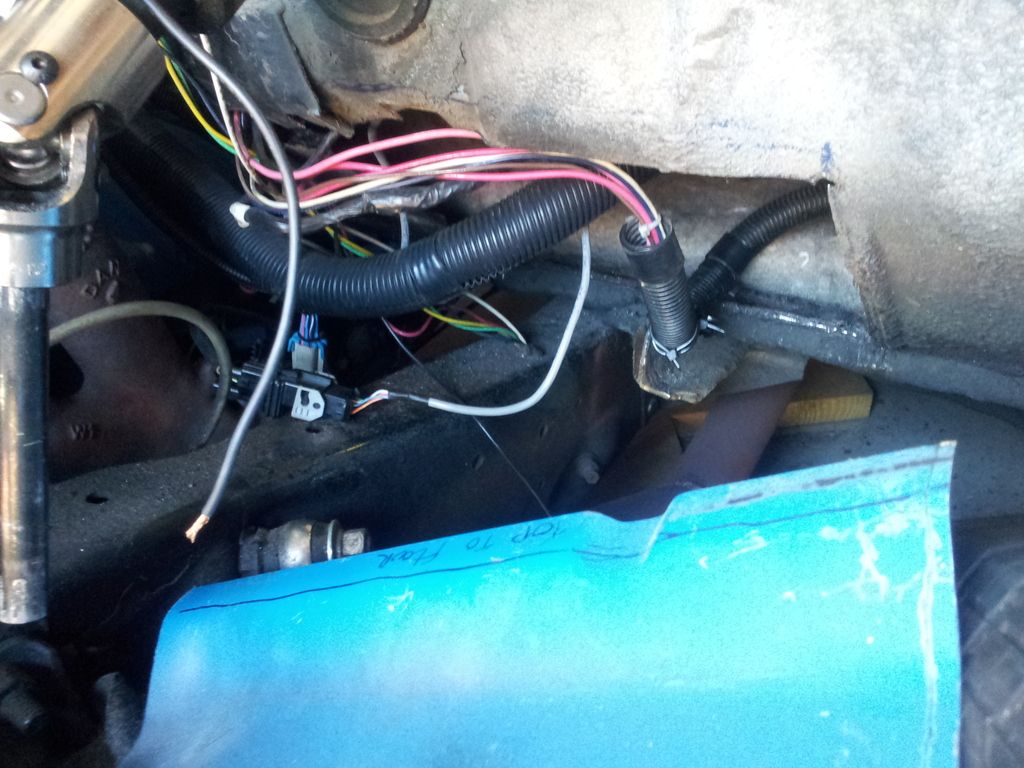
__________________
'66 Short Step / SD Tuned / Big Cam LQ4 / Backhalfed /Built 4l80e / #REBUILDEVERYTHING  |
|
|

|
|
|
#529 |
|
Registered User
Join Date: Dec 2012
Location: Rochester, KENT
Posts: 10,572
|
Re: Br3w City's Project omgwtfbbq
Hole in the floor....??
Aircon or evidence drop out chute?
__________________
MY BUILD LINK: http://67-72chevytrucks.com/vboard/s...585901]Redneck Express - 1966 C10 Short Fleetside MY USA ROADTRIPS http://forum.retro-rides.org/thread/...2018-humdinger IF YOU CAN'T FIX IT WITH A HAMMER, YOU'VE GOT AN ELECTRICAL PROBLEM MATE. |
|
|

|
|
|
#530 |
|
meowMEOWmeowMEOW
Join Date: Sep 2009
Location: MKE WI
Posts: 7,128
|
Re: Br3w City's Project omgwtfbbq
Aircon is for people who are afraid to drive shirtless. I am not one of those people (lap belts only makes it easier, the suntan is more even).
Protip: our trucks actually already have an evidence drop chute from the factory...try and find it  I've got some more pictures that might help explain the 'ol hole in the floor. Simple explanation is sorta like "I did't feel like making an extended cab, so we went the other way" In the meantime, more video.
__________________
'66 Short Step / SD Tuned / Big Cam LQ4 / Backhalfed /Built 4l80e / #REBUILDEVERYTHING  |
|
|

|
|
|
#531 |
|
meowMEOWmeowMEOW
Join Date: Sep 2009
Location: MKE WI
Posts: 7,128
|
Re: Br3w City's Project omgwtfbbq
Heres another view of my new hole...wait..
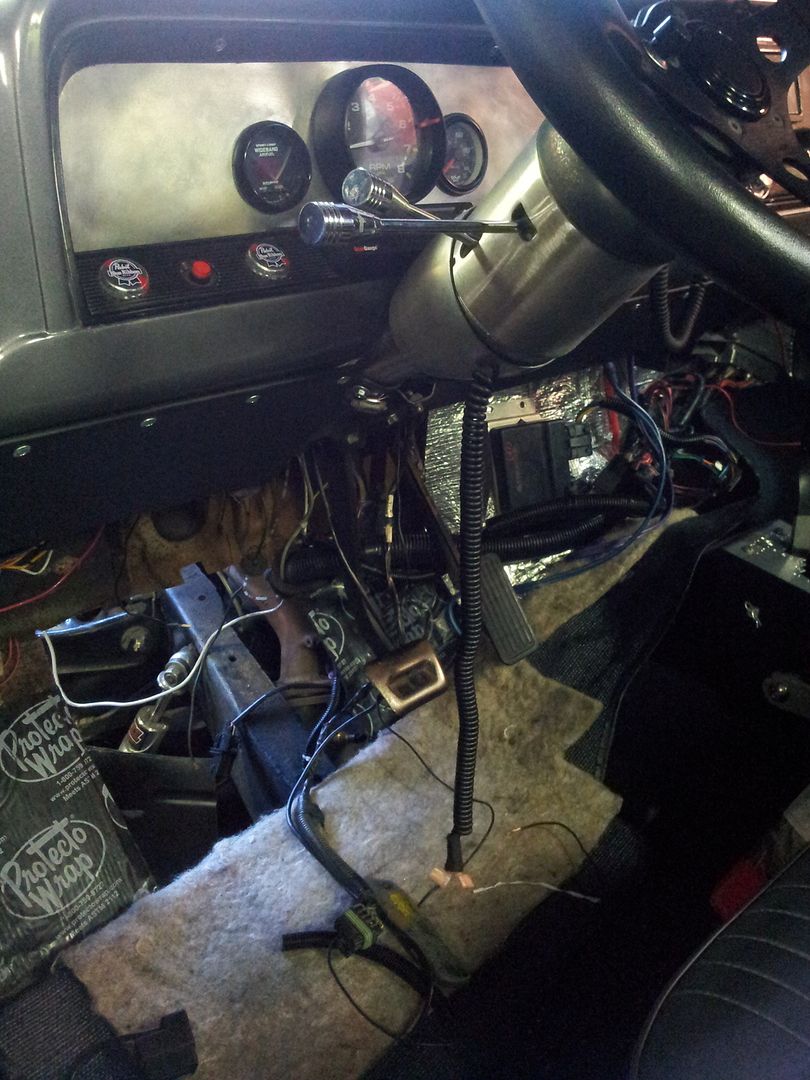 Haha with the front end off like this, it kinda makes it look like a c30 lol. 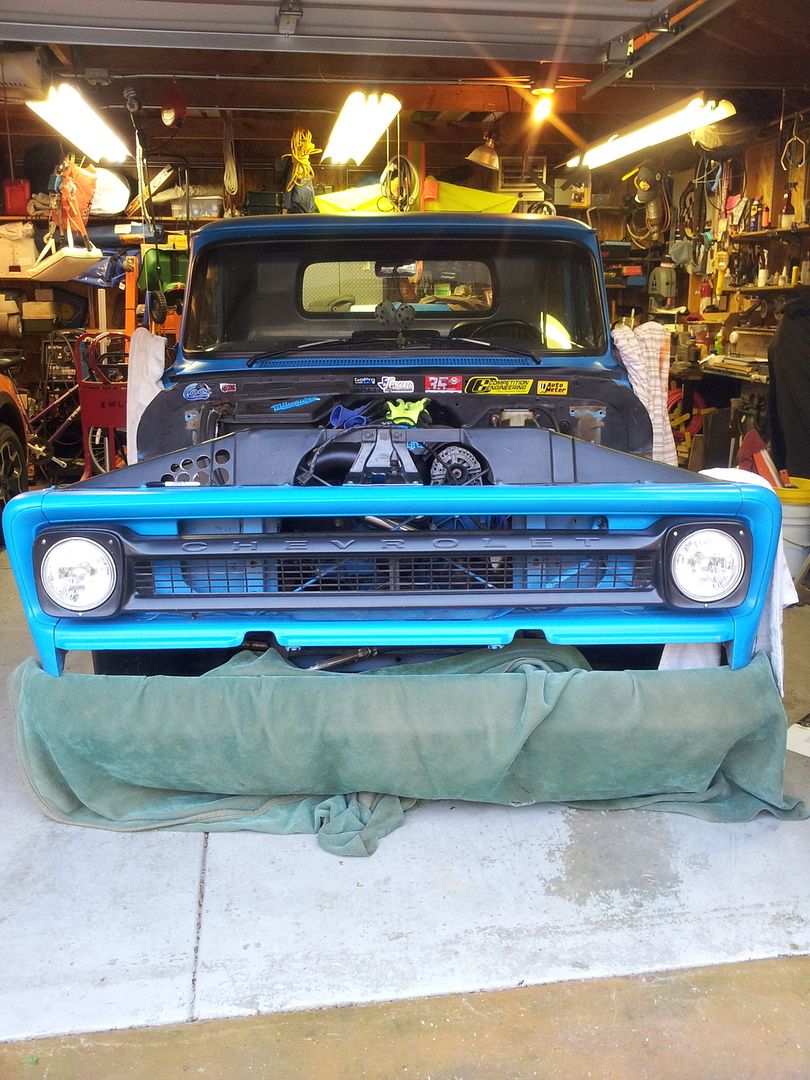 Benefits of owning a truck, I can take it apart and store it in the back! 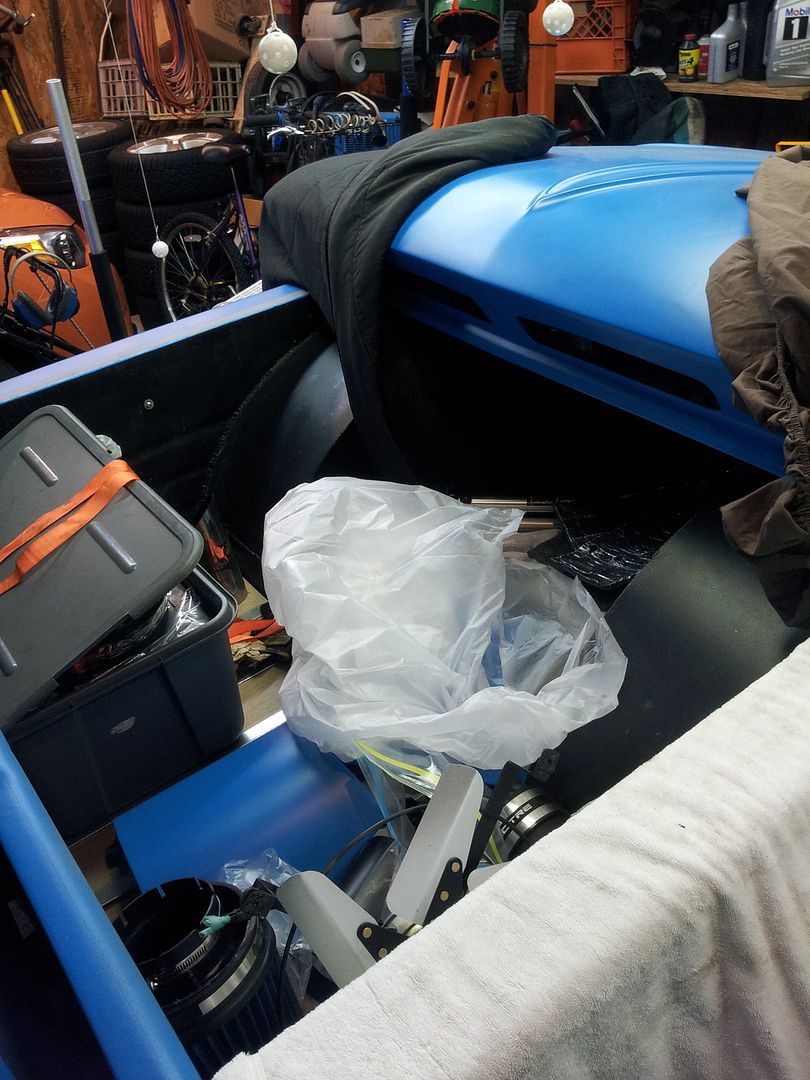 Alright, so heres the firewall without the inner fenders on, and you can see a clear area for mounting a hinge bracket. PB no longer sells the old style, and the new style ones just don't work for me (I refuse to cut the cowl for that hinge.) 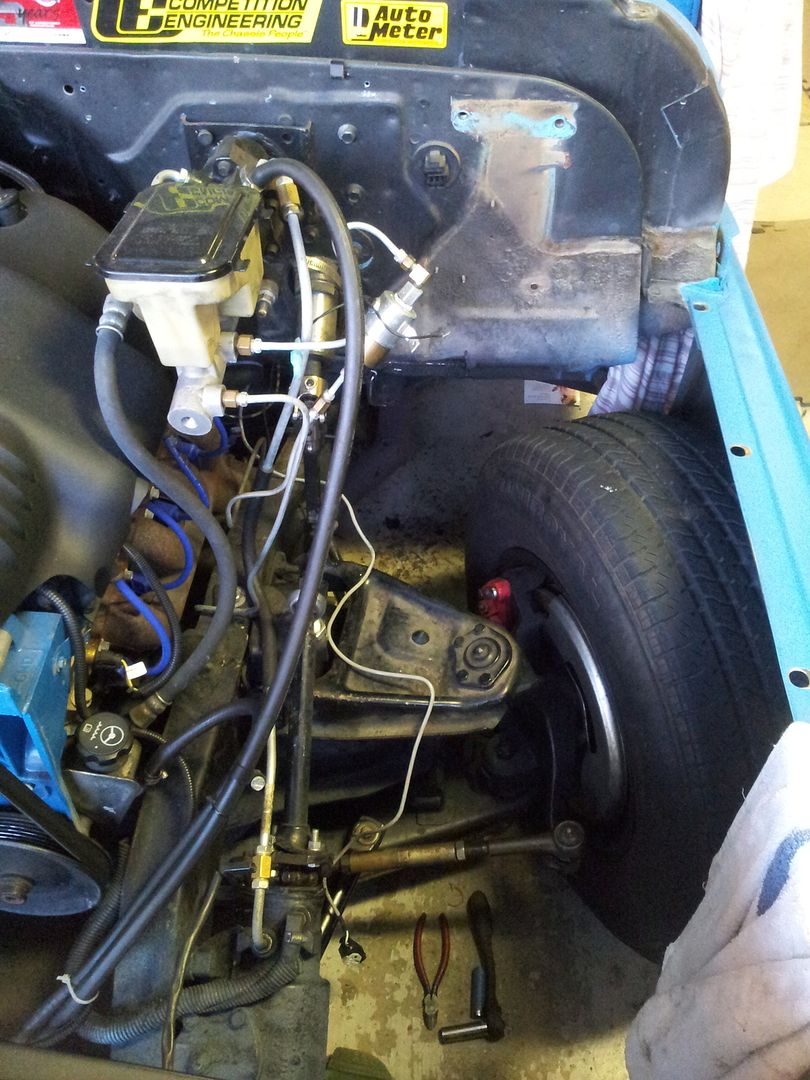 Sooo, if I build more than 1 set of brackets (1/8th plate, waterjetted and welded by me), would yall be interested? I've got cad drawings for my bracket and I'm having a preview set jetted out.
__________________
'66 Short Step / SD Tuned / Big Cam LQ4 / Backhalfed /Built 4l80e / #REBUILDEVERYTHING  |
|
|

|
|
|
#532 |
|
meowMEOWmeowMEOW
Join Date: Sep 2009
Location: MKE WI
Posts: 7,128
|
Re: Br3w City's Project omgwtfbbq
Theres always a spot of rust you somehow didn't find, even after building the truck once before haha.
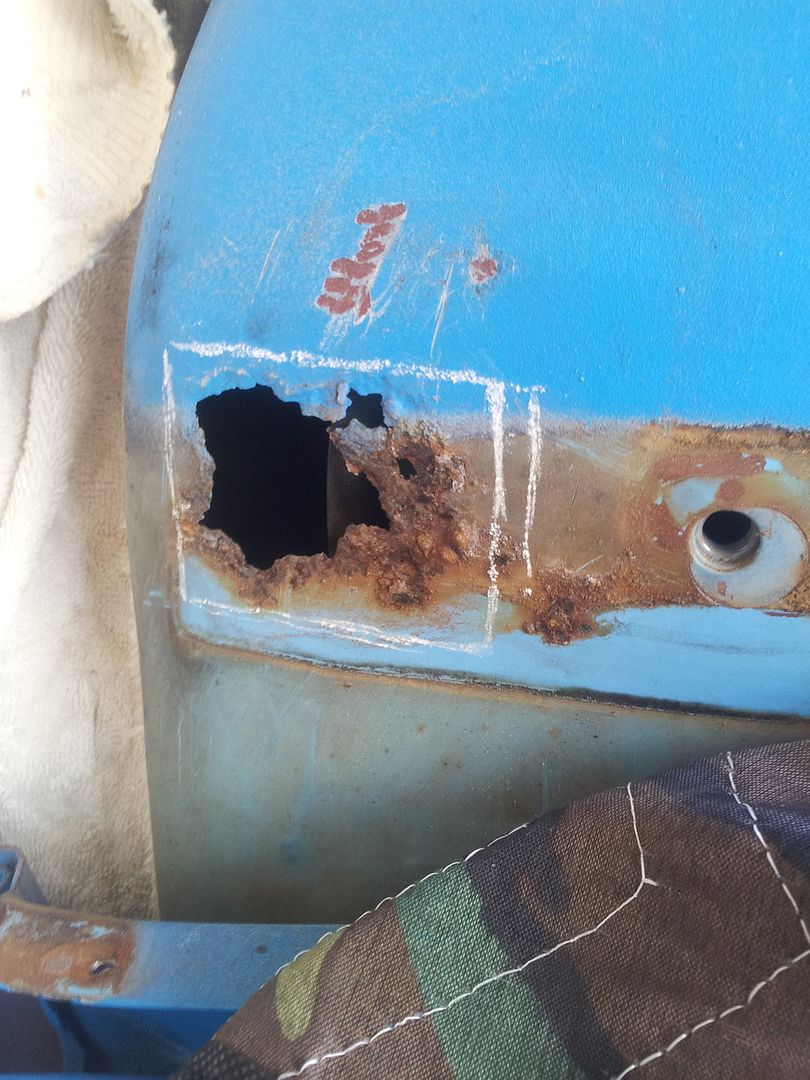 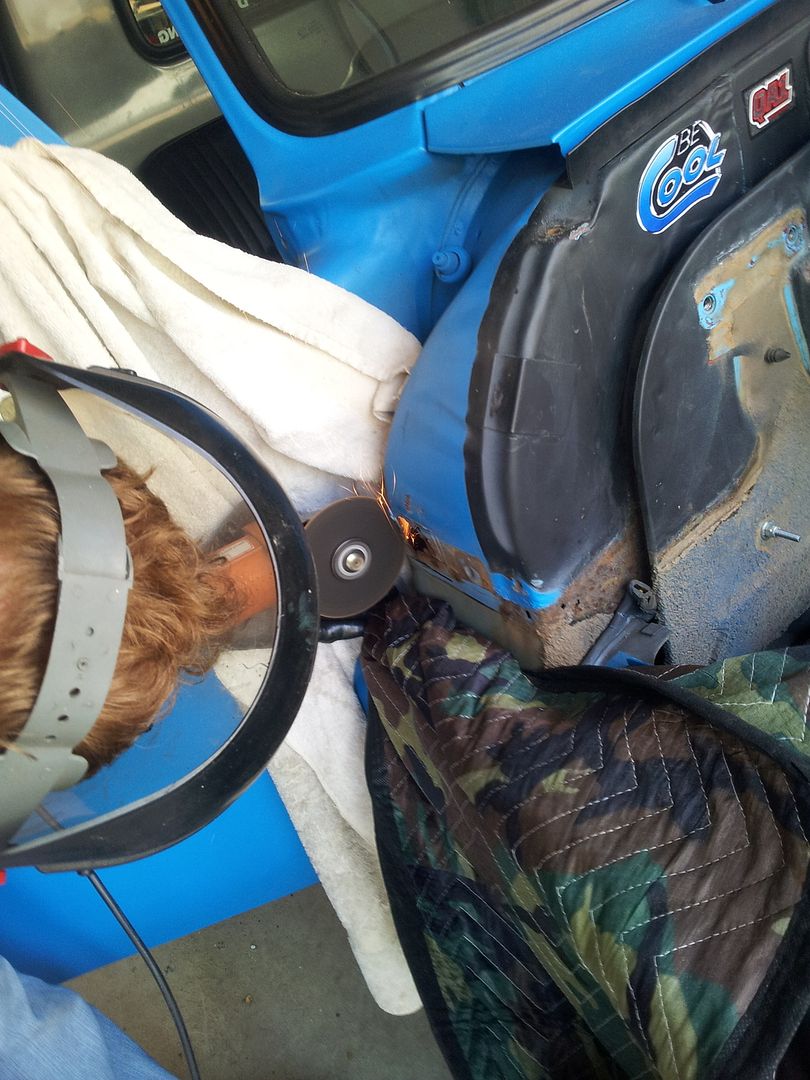 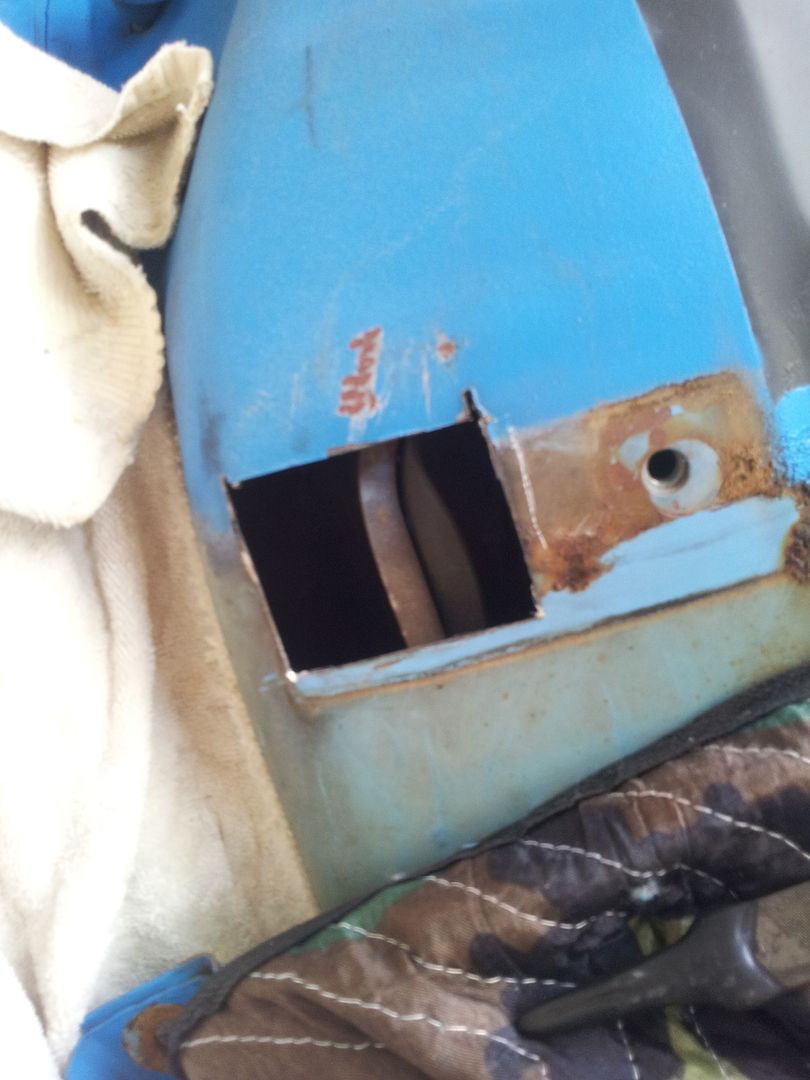 Nabbed some pretty cool little momentary switches. Machined aluminum, and led illuminated. 2 sizes. Might try to incorporate these for my cruise setup and a push start switch. 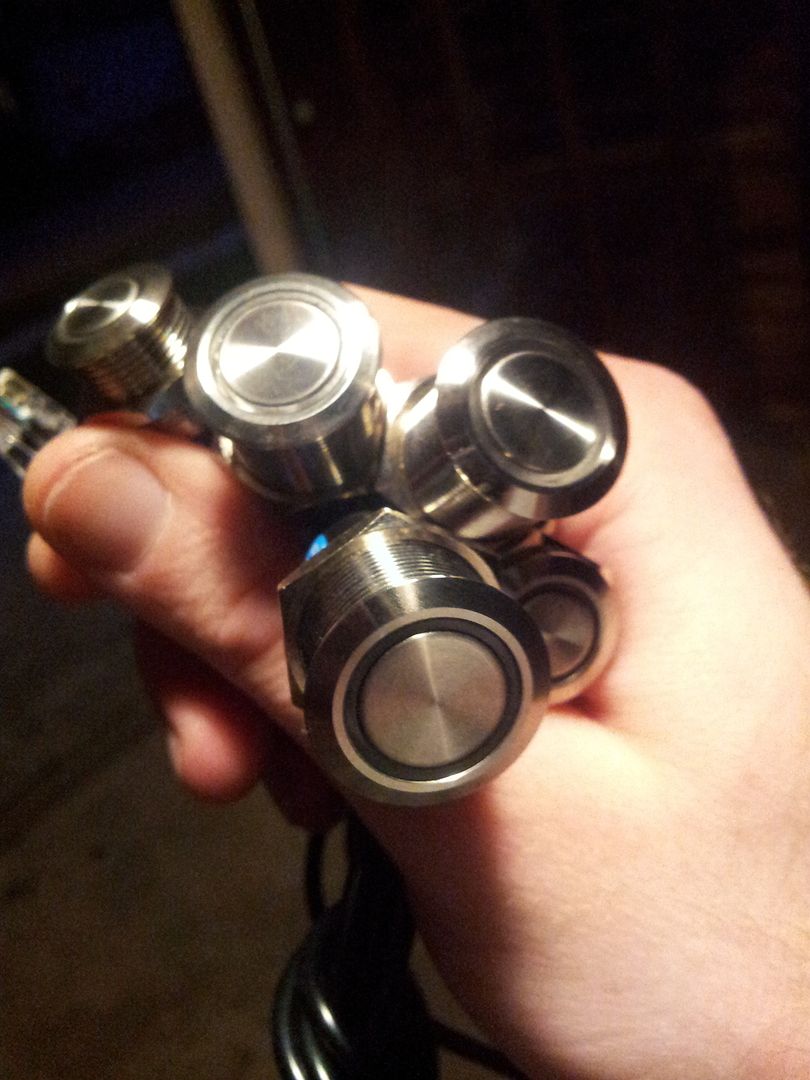 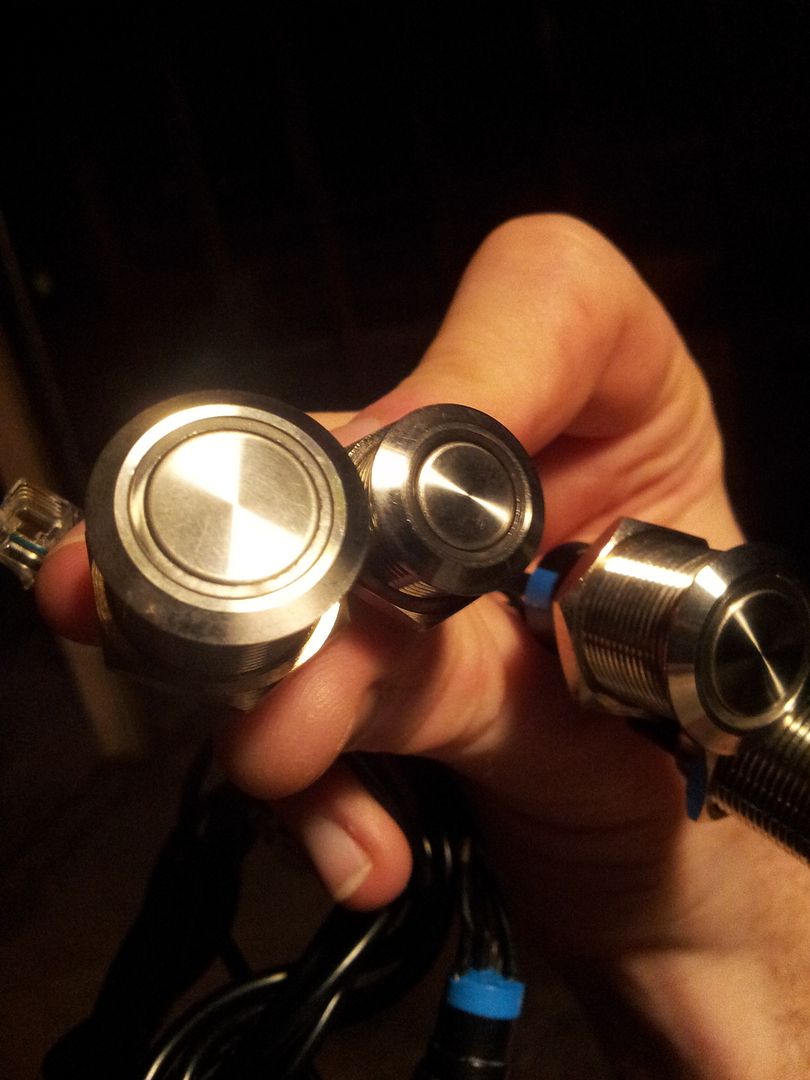
__________________
'66 Short Step / SD Tuned / Big Cam LQ4 / Backhalfed /Built 4l80e / #REBUILDEVERYTHING  |
|
|

|
|
|
#533 |
|
meowMEOWmeowMEOW
Join Date: Sep 2009
Location: MKE WI
Posts: 7,128
|
Re: Br3w City's Project omgwtfbbq
I ended up rebuilding my Inner Fender Splash Guards for the front, saving them from decrepit remains. Take a look at my How-To here: Fender Shield Rebuild
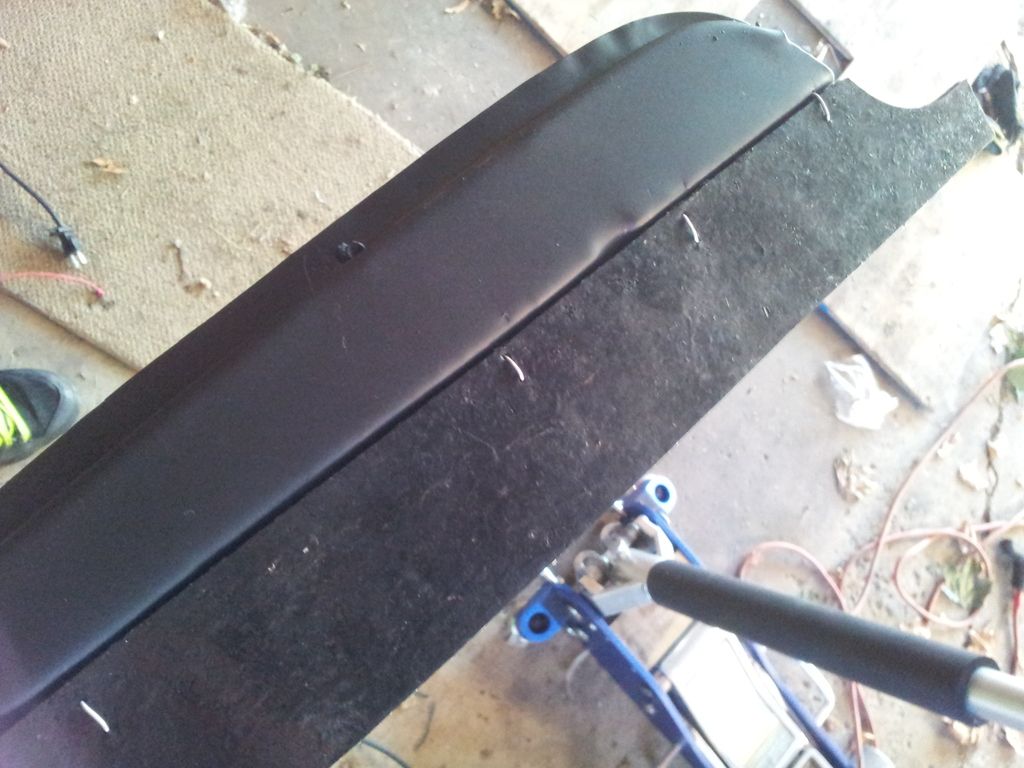 ***there isn't a consensus on WHAT these things are called. We've called them splash guards, cab guards, cab shields, fender shield, inner fender guards, fender guard seals and on and on and on....the point is, I did a thread on rebuilding them, so visit it!
__________________
'66 Short Step / SD Tuned / Big Cam LQ4 / Backhalfed /Built 4l80e / #REBUILDEVERYTHING  Last edited by BR3W CITY; 06-10-2015 at 12:56 AM. |
|
|

|
|
|
#534 |
|
meowMEOWmeowMEOW
Join Date: Sep 2009
Location: MKE WI
Posts: 7,128
|
Re: Br3w City's Project omgwtfbbq
I finished the build on the footwell extension finally. There is no "elegant" solution to get 3-5" more legroom on these old trucks (After all the other mods we've done like the seats etc)...but we're the only ones I know that have ever gone this far to do it.
I used a stock floorpan patch panel, flipped and hammered slightly to make an extended foot egress. Then we made panels to box the toe area, and angle the corner to keep a better shape around the engine. We also trimmed fillers to allow us to retain two factory grommet locations, where the ECU harness is and a few other things passing through. I primed and bedlined both sides thoroughly, then modified some stock carpet to fit comfortably. It adds anywhere from 3-5" of foot room depending which part your measuring. The toe box that protrudes into the engine bay remains well-tucked under the steering column and shaft, and doesn't interfere with any header clearances. At full lock on 235/70's, I have well over an inch of tire clearance at full compression, and around 2.5" under normal conditions. 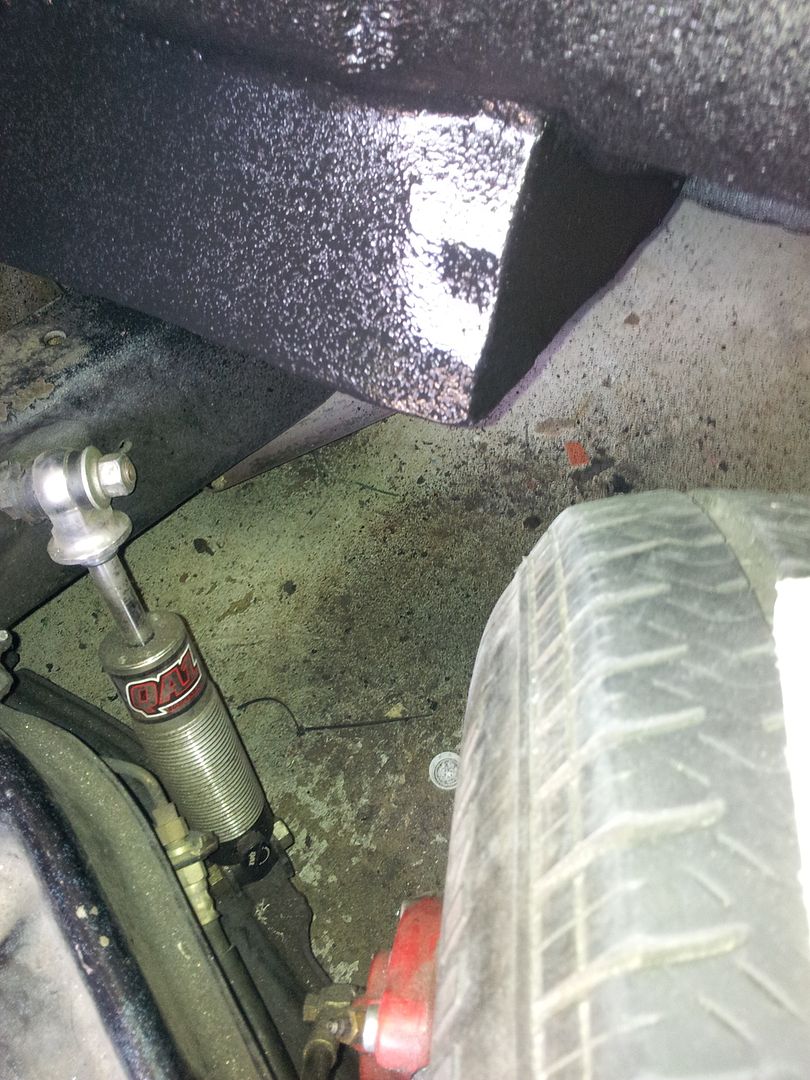 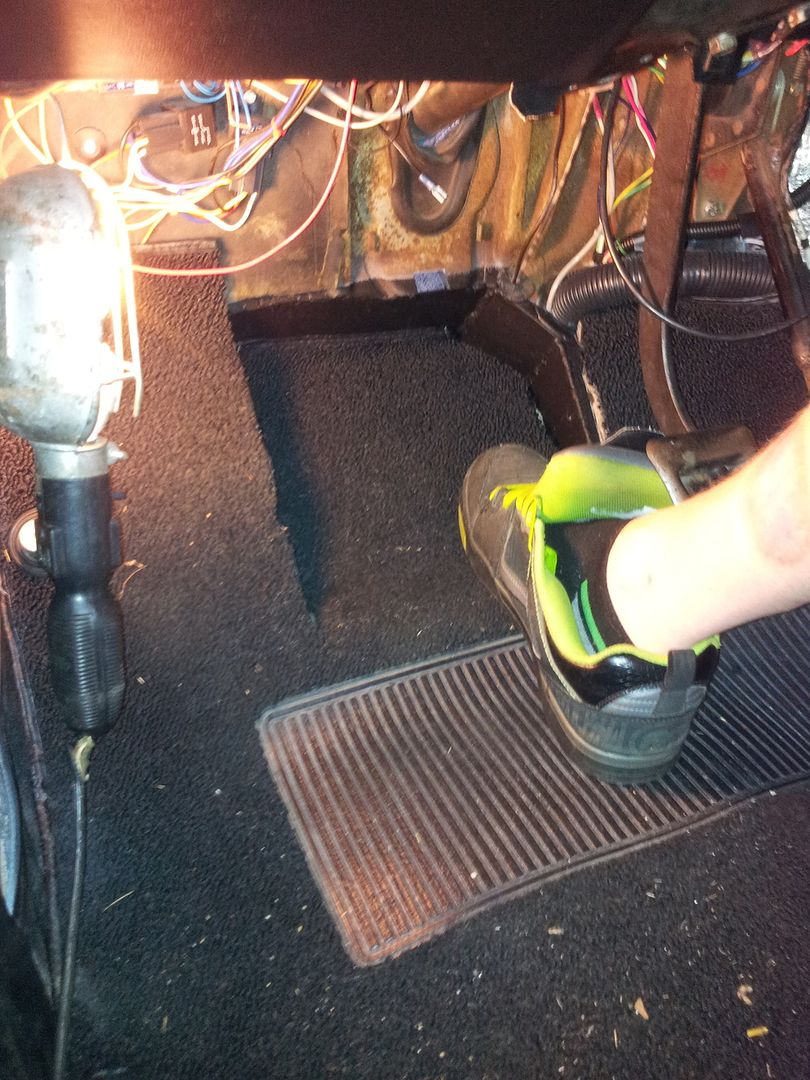 Its not a "sexy" mod like the performance stuff, but it allows for way more comfort, and more ergonomic food positions. The dead pedal is great for the left foot, and but the new toe box is wide enough for two size-14 feet in big shoes if needed. Its sooo nice to be able to stretch out my legs. The brake and gas pedals are actually out now. I'm building a new pedal stalk (goodbye shotgun barrel pedal, I'll miss you!)...out of the DBW pedal base, and the DBW pedal/pivot piece, and some steel. The brake pedal pivot is out as well, and I'm fabbing a new pedal assembly. Its retaining that stock pivot point, and stock pedal rod location so the structure will be essentially the same. The main difference is that the pedal itself will exit in the clutch pedal location, gaining the 2-3" lateral movement we need to center it in the footwell.
__________________
'66 Short Step / SD Tuned / Big Cam LQ4 / Backhalfed /Built 4l80e / #REBUILDEVERYTHING  |
|
|

|
|
|
#535 |
|
meowMEOWmeowMEOW
Join Date: Sep 2009
Location: MKE WI
Posts: 7,128
|
Re: Br3w City's Project omgwtfbbq
Disassembling the brake pedal gear.
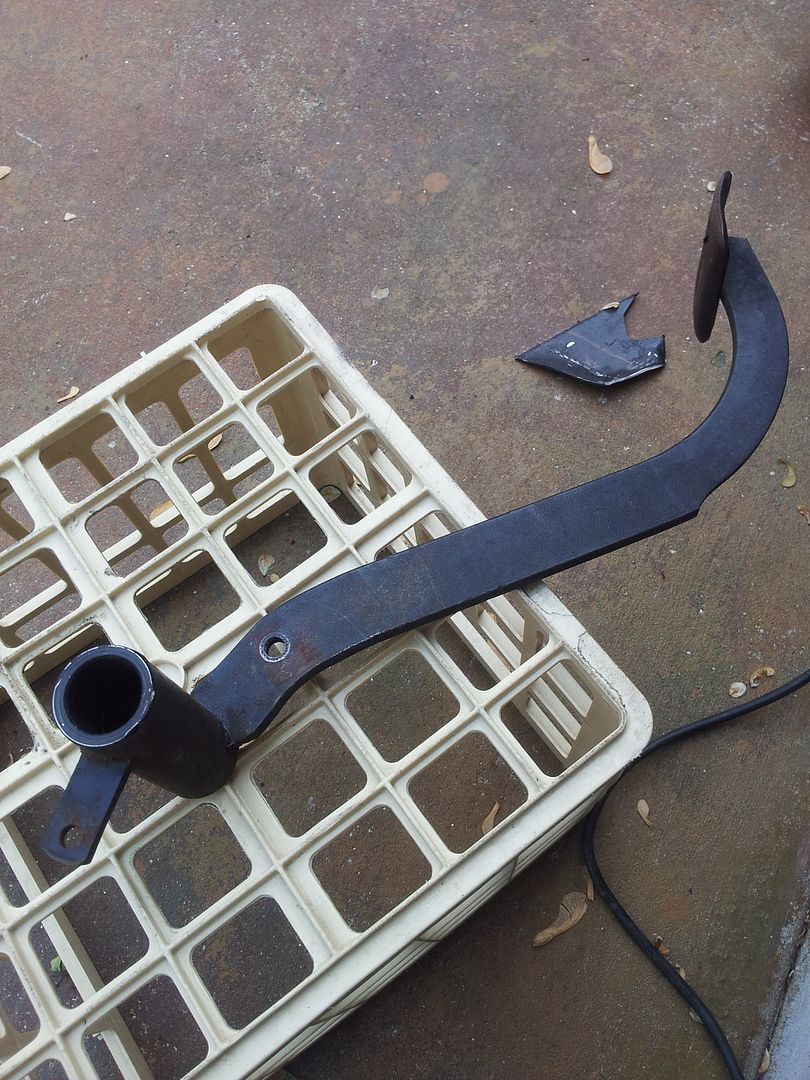 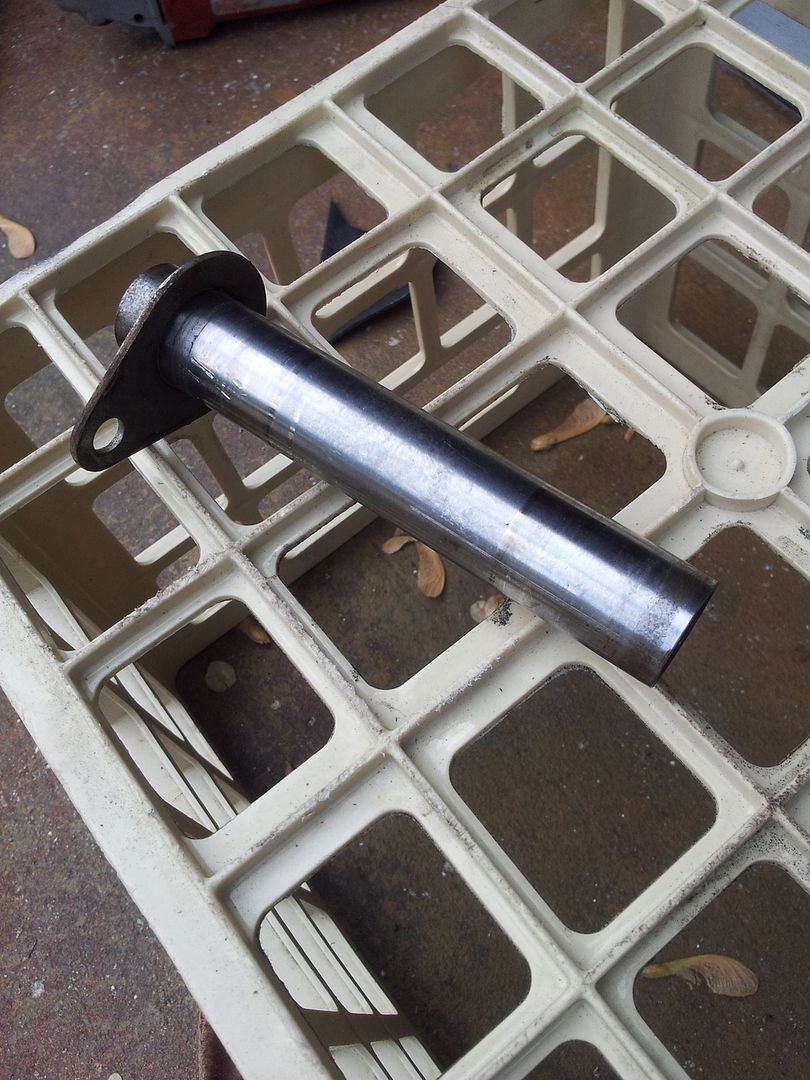 Ugh, hate seeing her like this, but its what you gotta do to make the bigger projects happen! 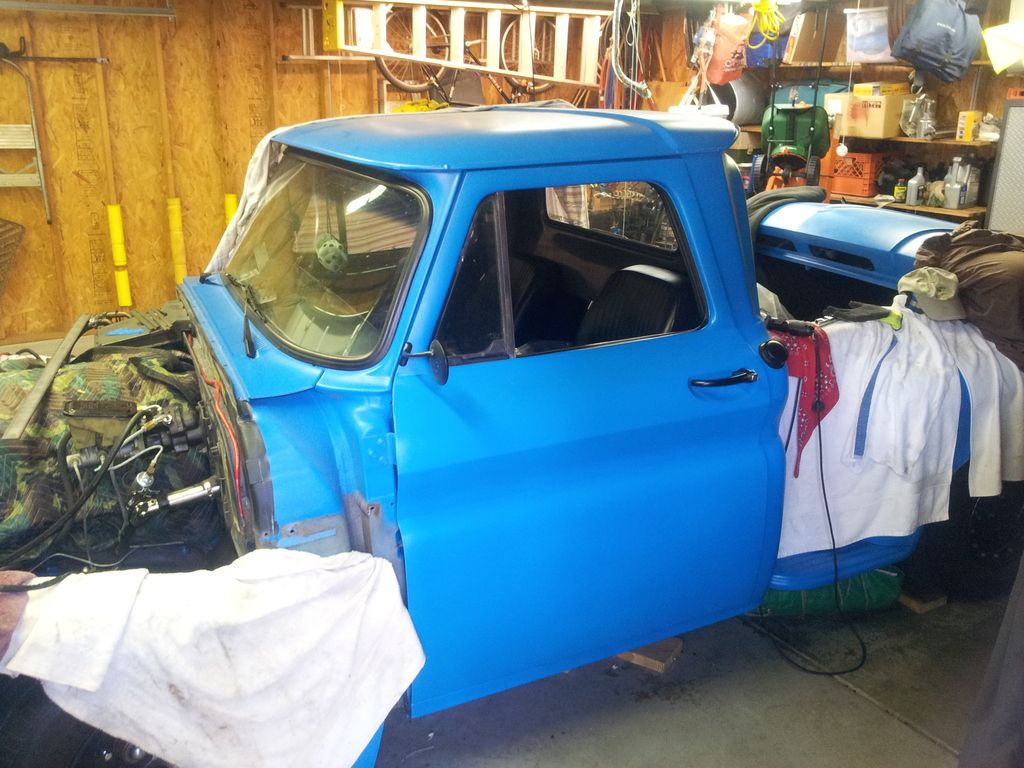
__________________
'66 Short Step / SD Tuned / Big Cam LQ4 / Backhalfed /Built 4l80e / #REBUILDEVERYTHING  |
|
|

|
|
|
#536 |
|
meowMEOWmeowMEOW
Join Date: Sep 2009
Location: MKE WI
Posts: 7,128
|
Re: Br3w City's Project omgwtfbbq
__________________
'66 Short Step / SD Tuned / Big Cam LQ4 / Backhalfed /Built 4l80e / #REBUILDEVERYTHING  |
|
|

|
|
|
#537 |
|
meowMEOWmeowMEOW
Join Date: Sep 2009
Location: MKE WI
Posts: 7,128
|
Re: Br3w City's Project omgwtfbbq
**My phone screen is cracked and the camera is craptastic at the moment. I apologize for the terrible pics since my new OnePlus One phone hasn't come yet, and I didn't have the big DSLR rig at this garage during the project. I will update these and get better ones if yall want to see anything****
Needed to get some fab work done so we spent the last couple days working on that. *(Not pictured) I used a unibit to drill 2 holes in the reinforcement on the inner firewall, but not through the firewall itself. That way I could tap in a pair of hex nuts and weld them in blind. This allows the DBW pedal base to easily install into its new location without visible hardware or having to use something less secure like a self tapping screw. * My old shotgun barrel gas pedal arm was cut free. Then I took some measurements and did some mental sketches, before grabbing some 1/4" x1 steel bar stock to start working with. It was trimmed to length, then sectioned slightly to have a lighter and more compact profile while still being full-thickness metal. It was pie cut and angled, re-welded, then had a more natural contour hammered into it while still hot. I also drilled a hole in the base to continue using the 2004 pedal-face I've been using since the swap. Then grinding/blending, primer sealer, and low gloss black enamel for a clean factory look. I need to get some better pics unmasked, with the pedal on and installed! 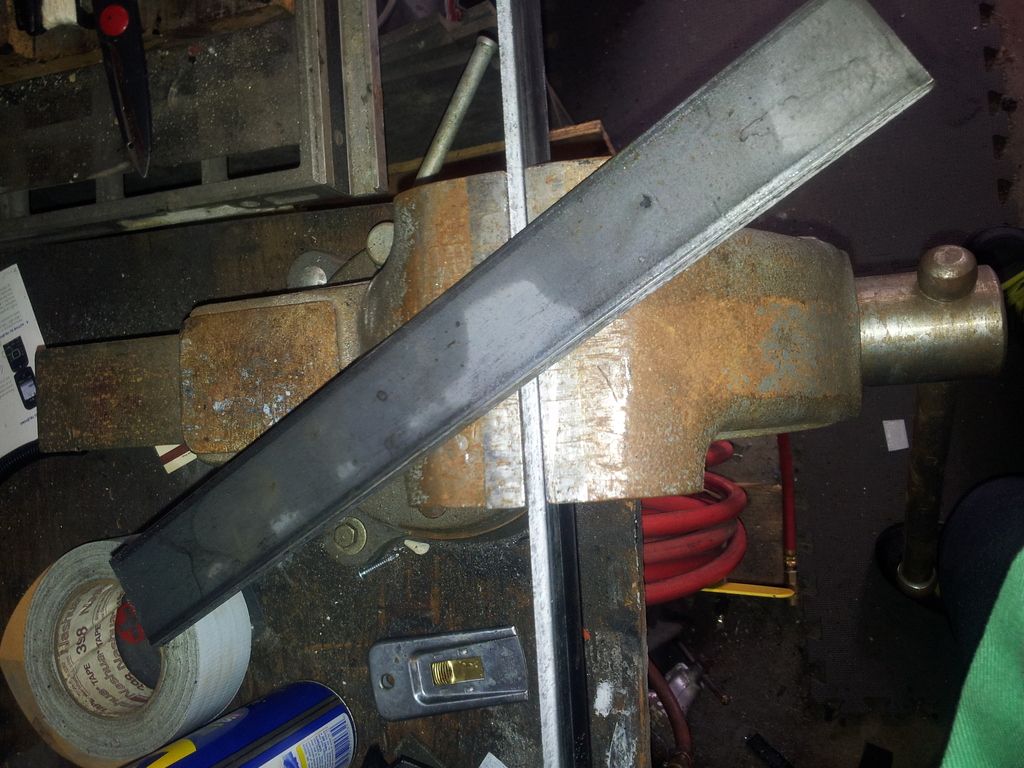 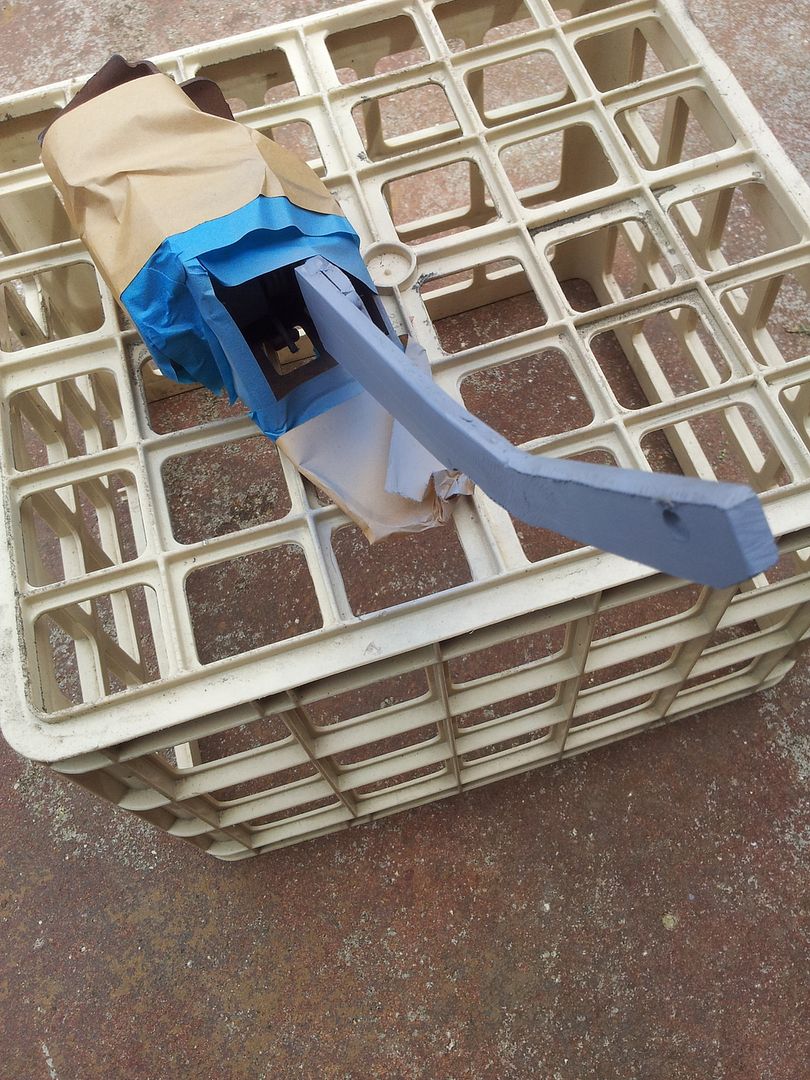 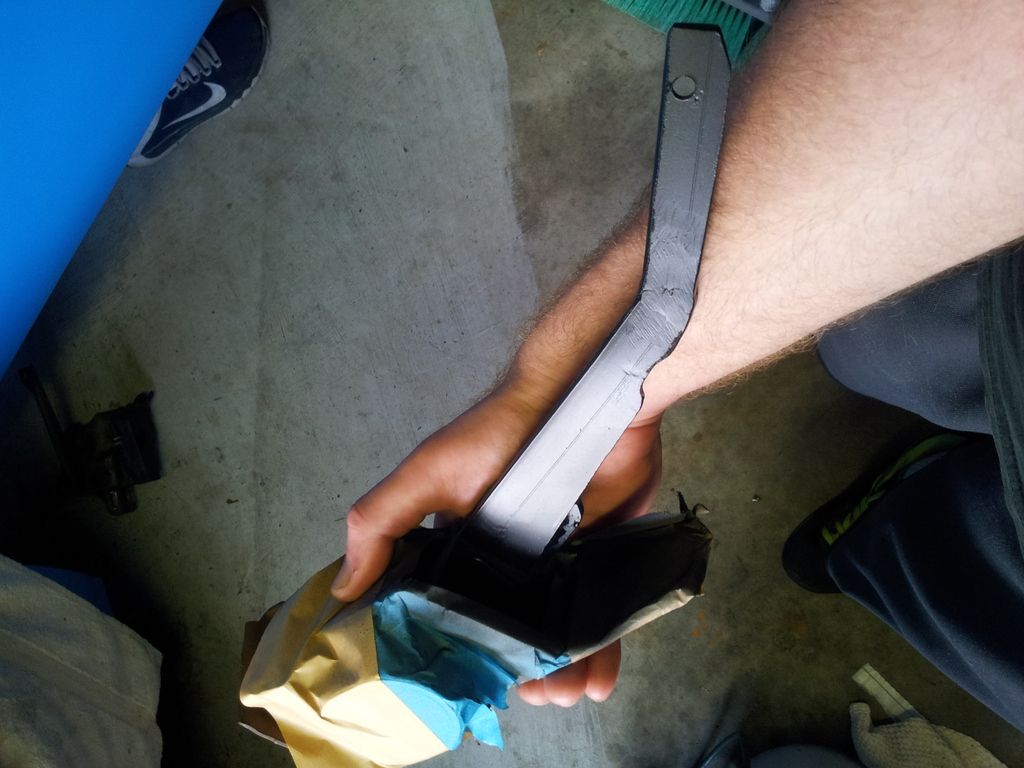 Then it was on to the task of the brake pedal. The column bracket was trimmed to allow the new pedal to exit in about the o.e. clutch pedal location, and make use of its bumpstop. The factory pedal arm was cut just after the bumpstop, so it does still use that stop as well as the standard pedal pushrod location and the standard stop switch location. A new upper-arm was made, radius'd to fit and solidly welded to the stock pedal pivot. We used clamps to find min/max movement, then marked the upper arm as well as the old lower pedal to match. This gave us proper pedal travel and a decent angle, while allowing for a weld with a good amount of surface area and force distribution. The sections were tac'd, then hammered to contour before a stout finish welding. 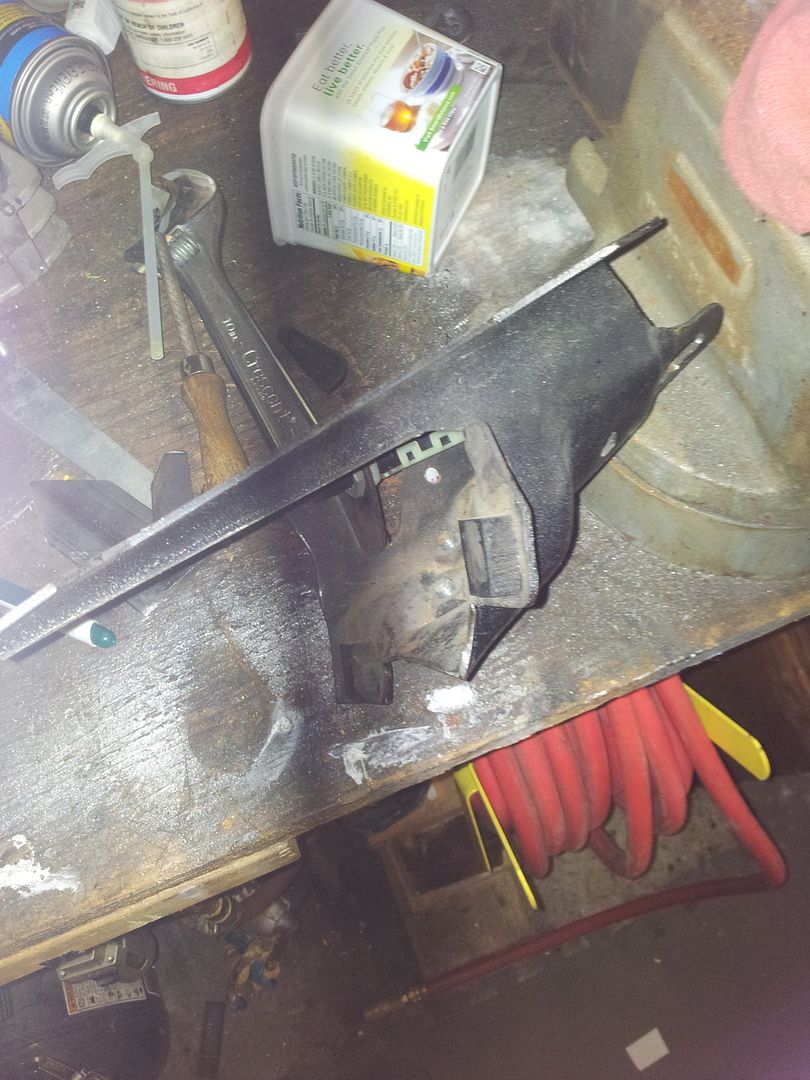 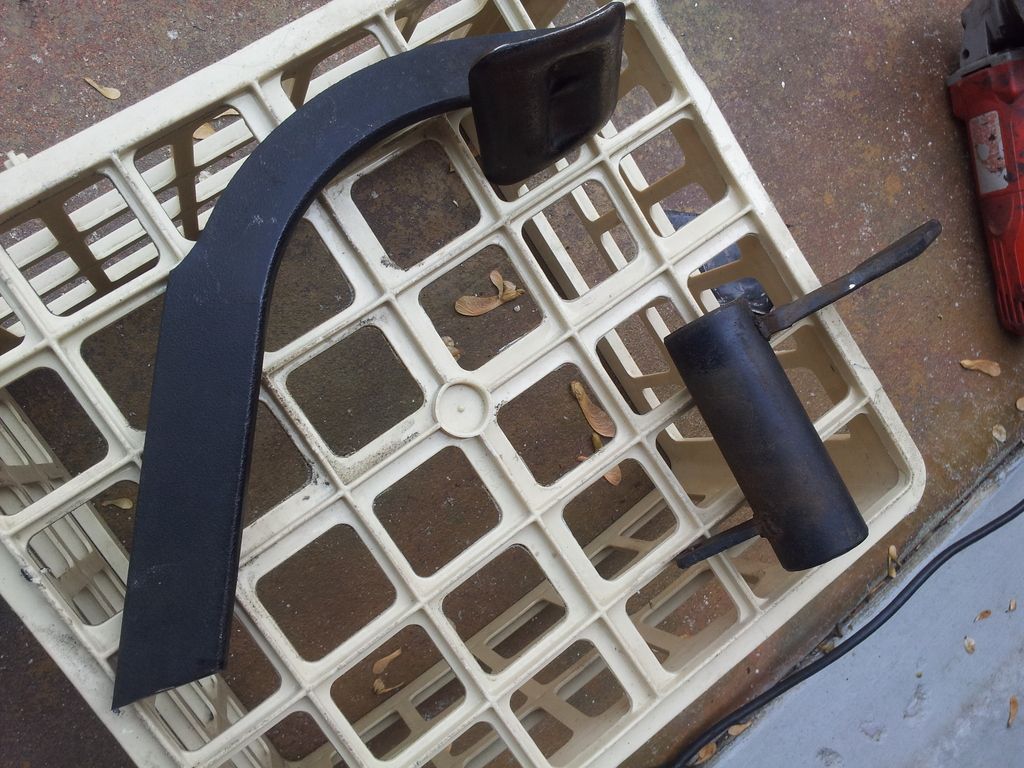 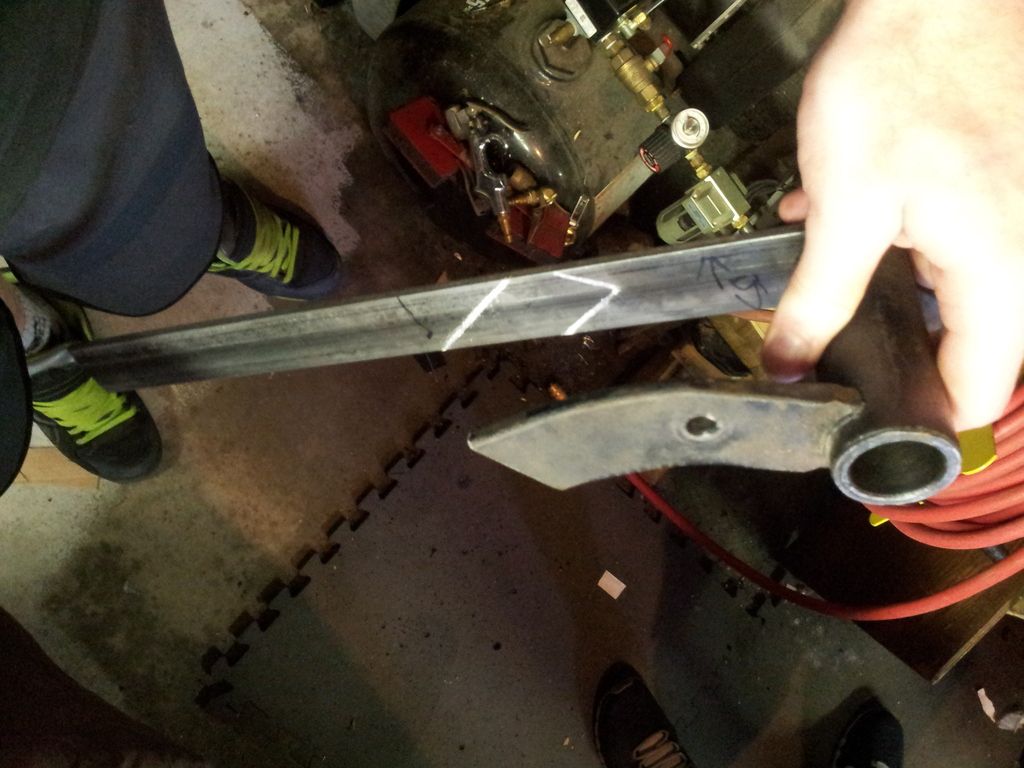 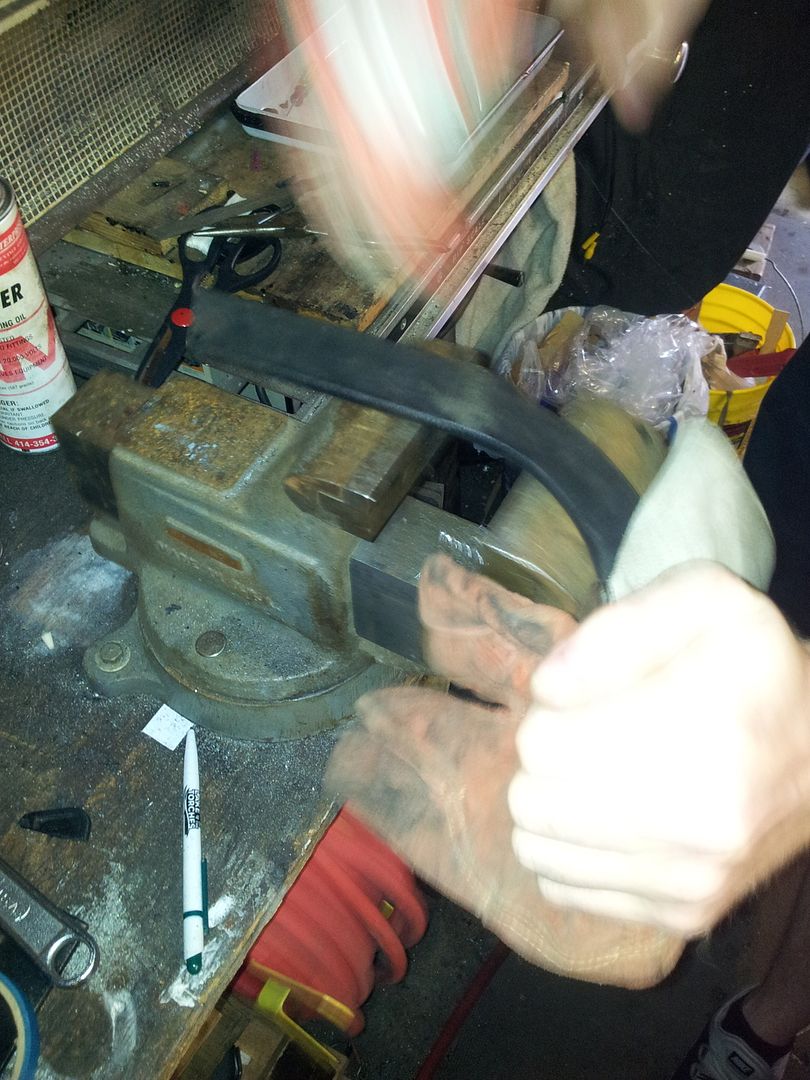 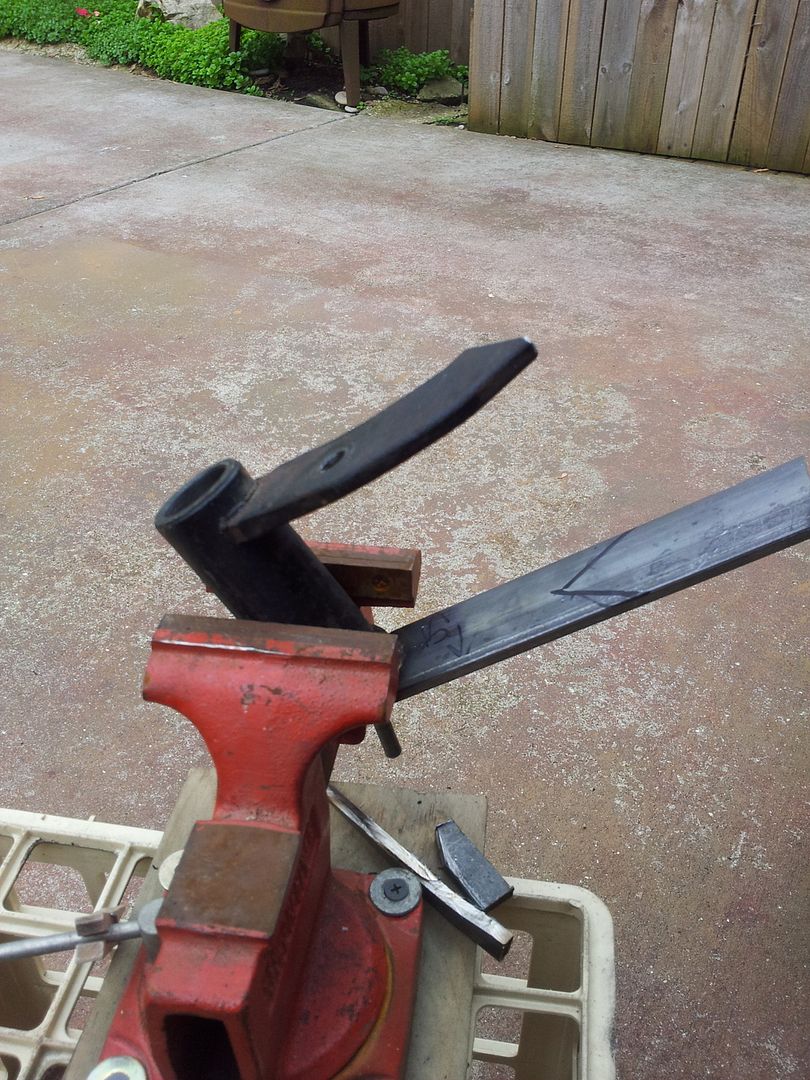 The pedal face was flipped and offset, and I added a reinforcing bar on the backside just in case. The whole thing was blended, primed, and hit with the same low gloss enamel. Since I don't like rubber pedal pads (but understand their anti-slip usefulness), I decided to go ahead and start layering bed liner onto the pedal contact surface. This should work as a built-in effective pad. I need to add some finished pics of that part, and some detail pics of the pedal itself installed. 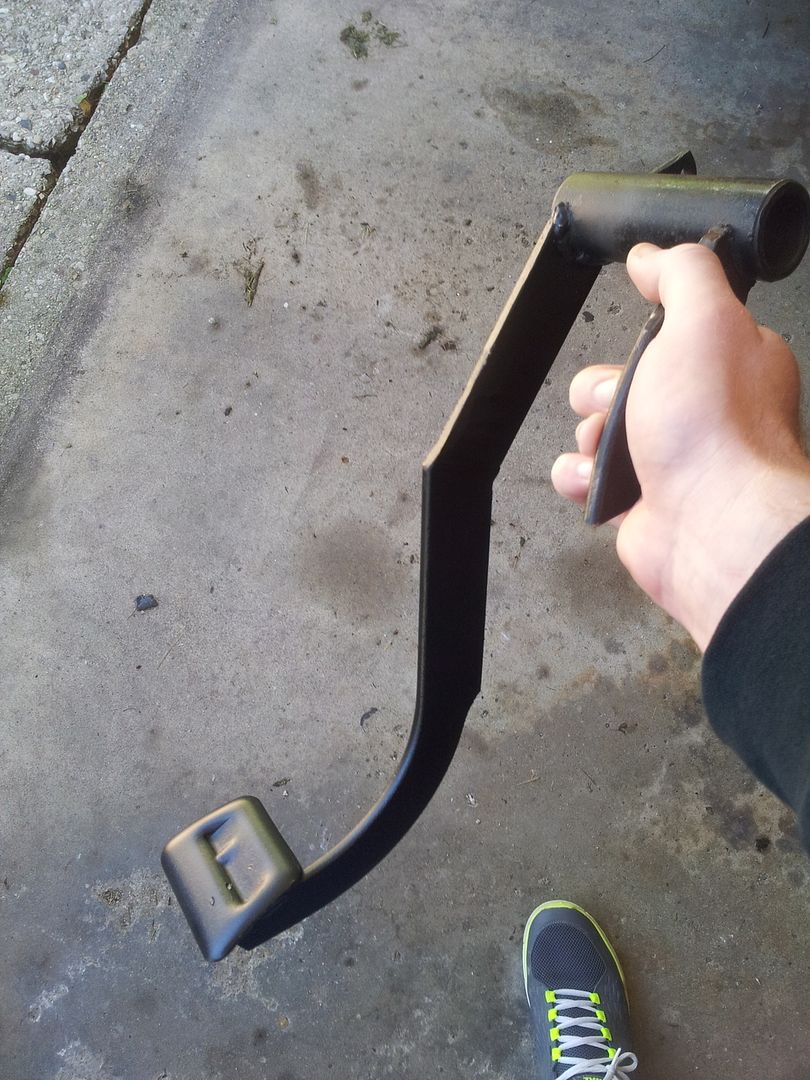 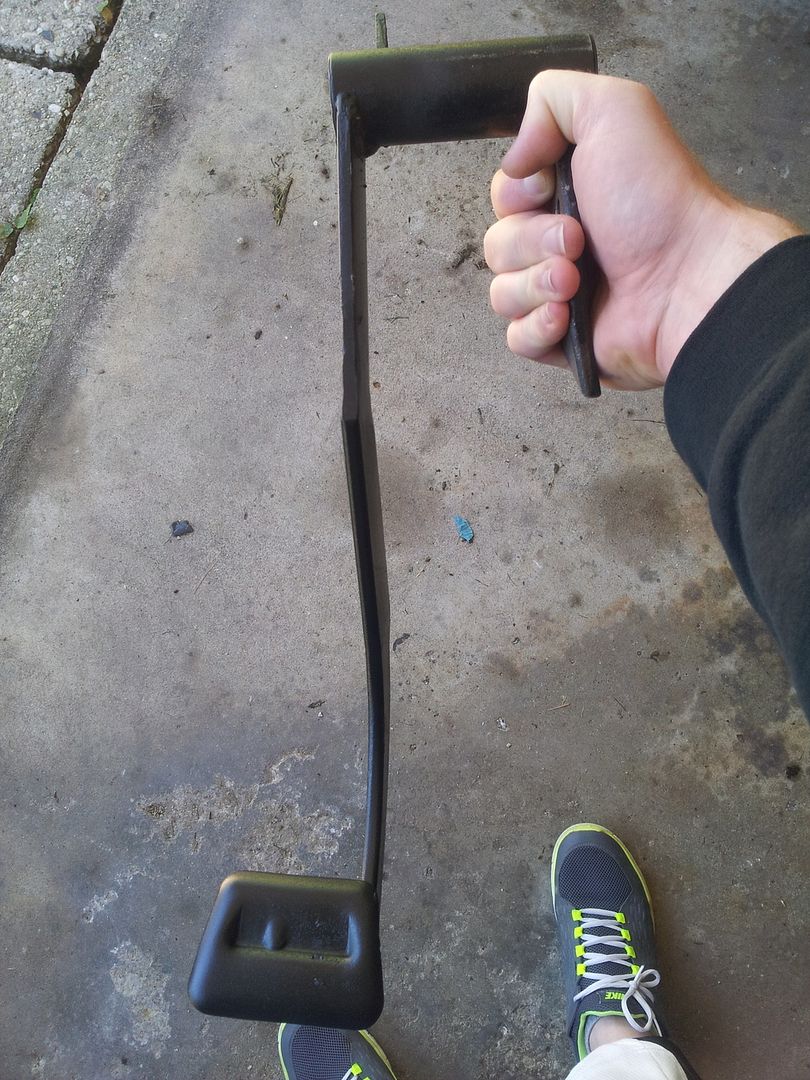 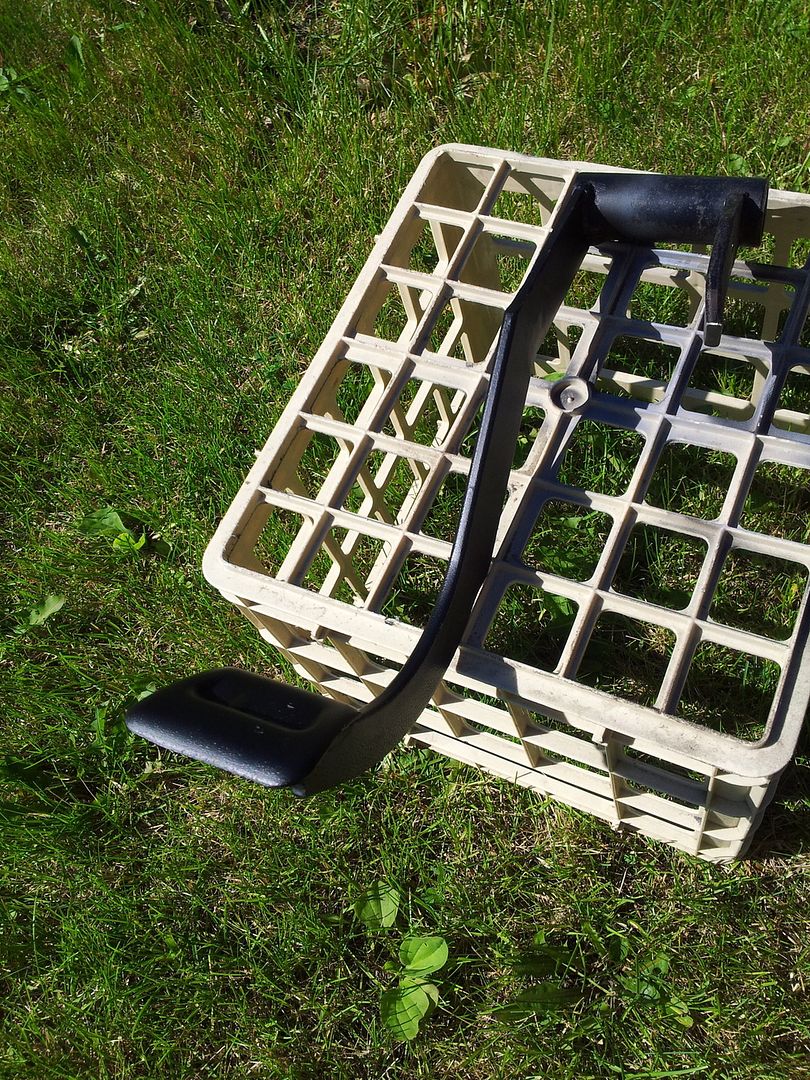 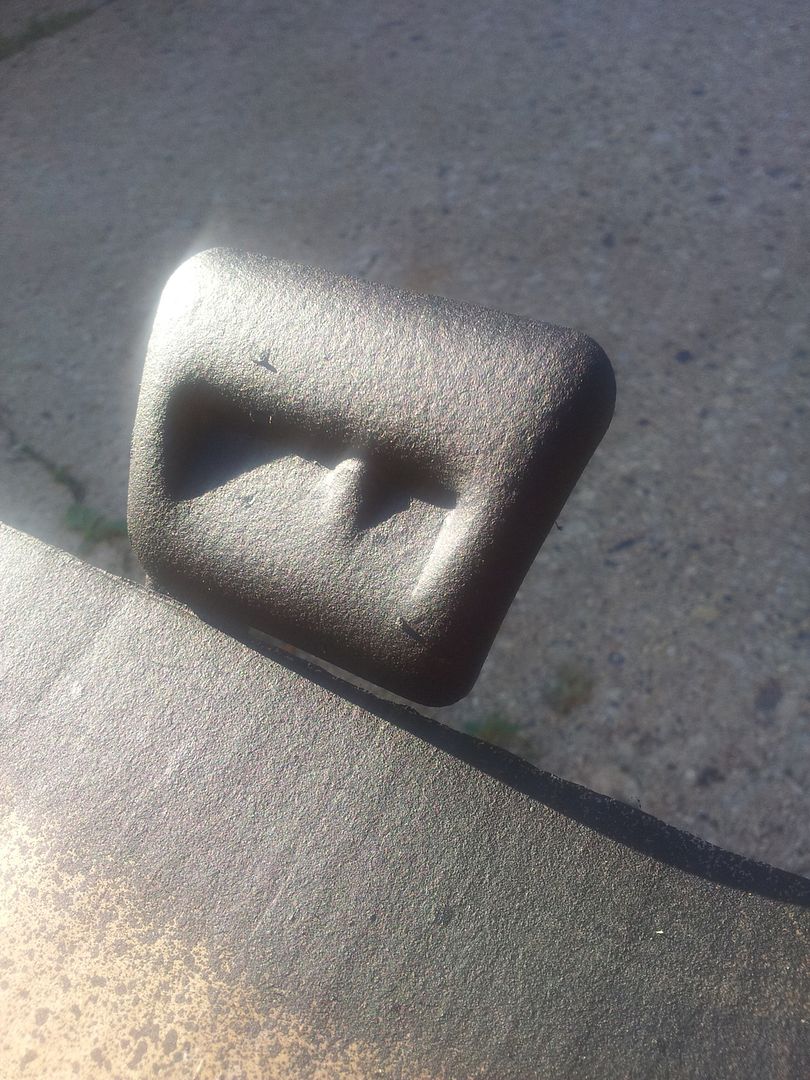 And a side note, I picked up some Prothane Red Poly motor mounts which I'm hoping to toss in while the front all off of it. They should help with the motor twisting, I'm just worried about how much it'll suck to put em in. Clearances are tight, and that stuff hasn't been pulled out since the swap...and was hella tightened down at the time! 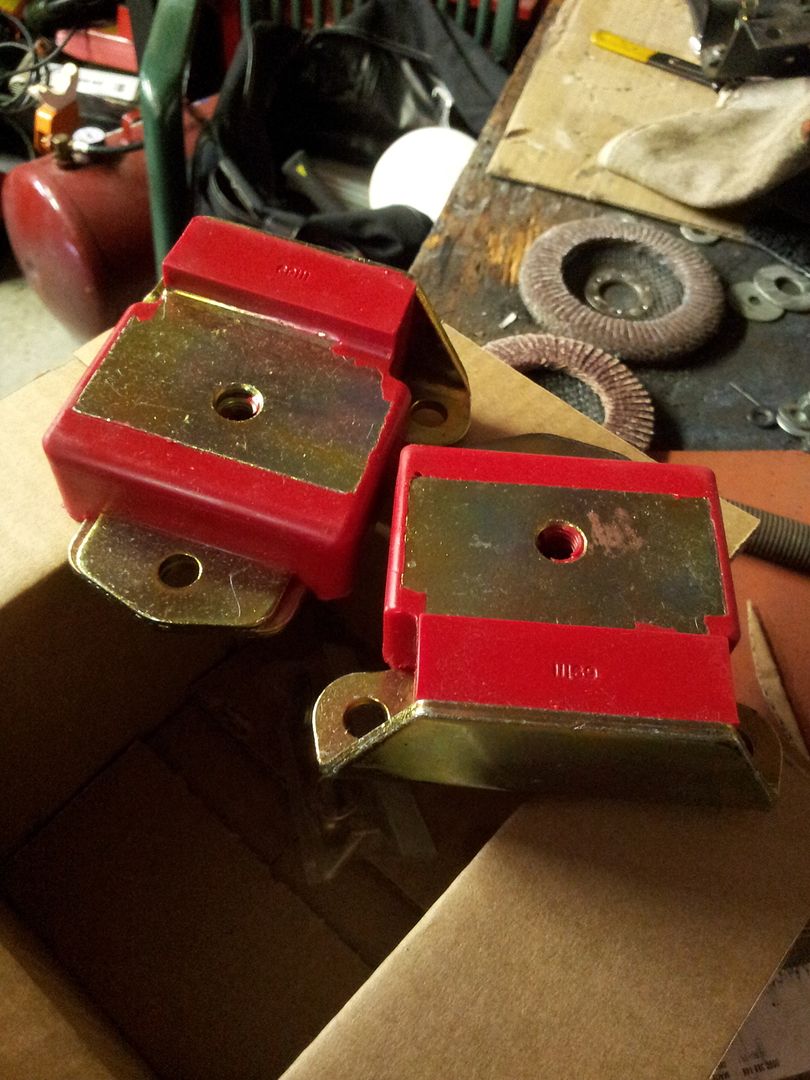
__________________
'66 Short Step / SD Tuned / Big Cam LQ4 / Backhalfed /Built 4l80e / #REBUILDEVERYTHING  |
|
|

|
|
|
#538 |
|
meowMEOWmeowMEOW
Join Date: Sep 2009
Location: MKE WI
Posts: 7,128
|
Re: Br3w City's Project omgwtfbbq
As part of all this lightening and cleaning, we decided to finally tackle some of the crusty wiring leftover from the very first iteration of the truck. Keep in mind that this truck started as an I6, then a v8 w/HEI, and now the Lq4...so there have been a few different sets of wiring installed over the years.
The PO had done some WACKY stuff inside of shrink tubing and sleeving, lots of wires that changed colors halfway through, lots of poorly soldered wires and weird merges. When we went to LS, we redid the entire body from the firewall back, and changed anything that intersected with the motor...but that left things like the headlights, horn, some reused wiring for the starter and alternator, and all sorts of wires doing who knows what. Started off with new H4 headlight plugs, and made our own twisted pairs for the power. We don't include the grounds in the wiring runs, instead choosing to ground them locally on the grill. We did do the factory-style daisy chain for the passenger side bulb keeping the wires to a minimum. 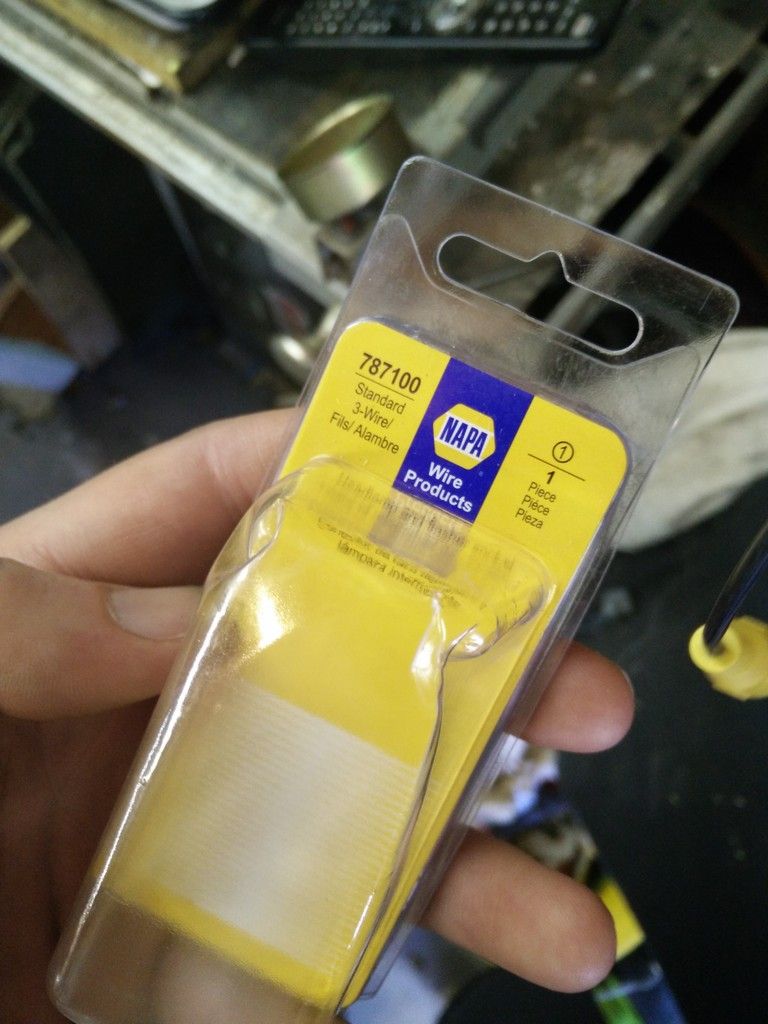 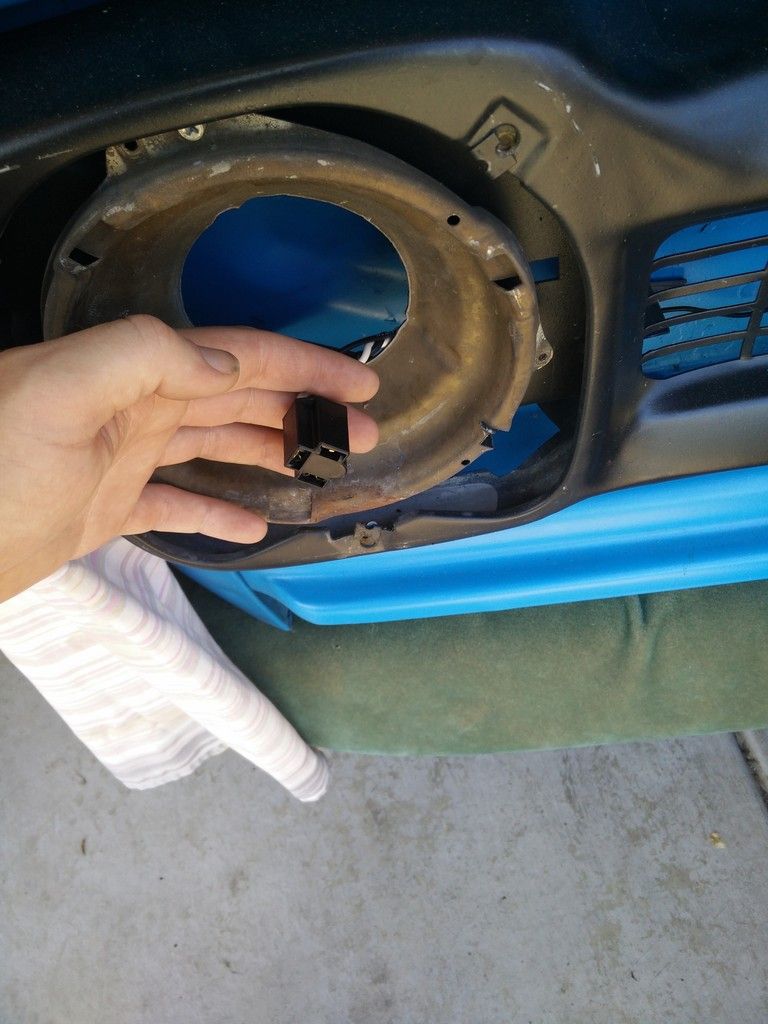 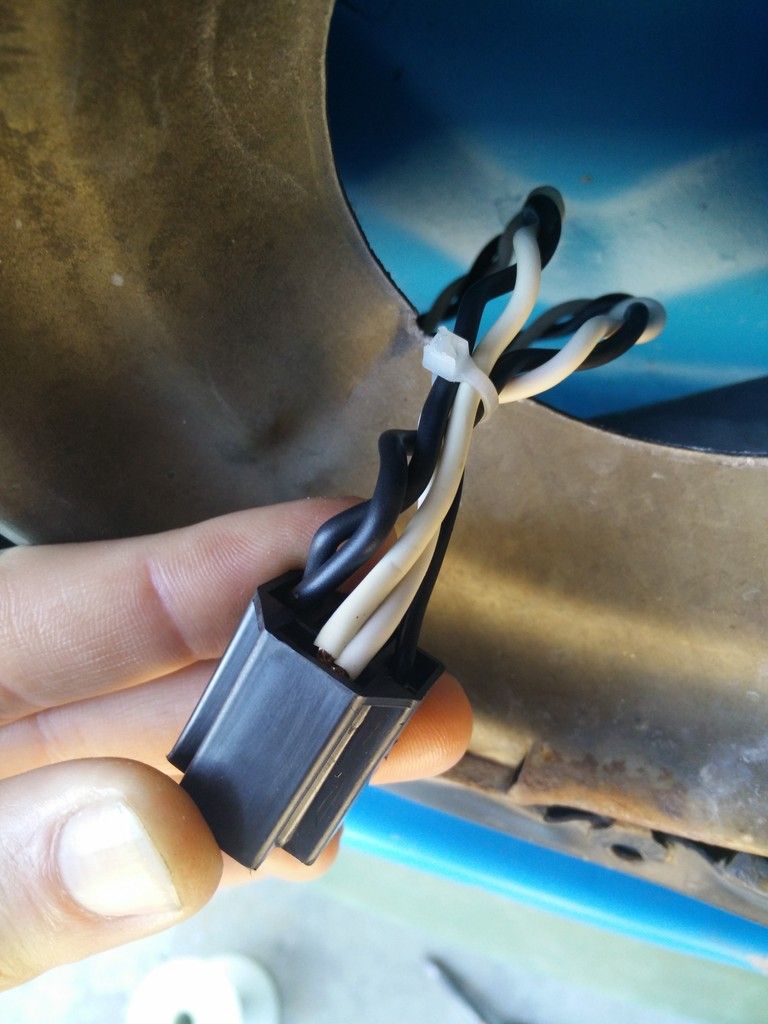 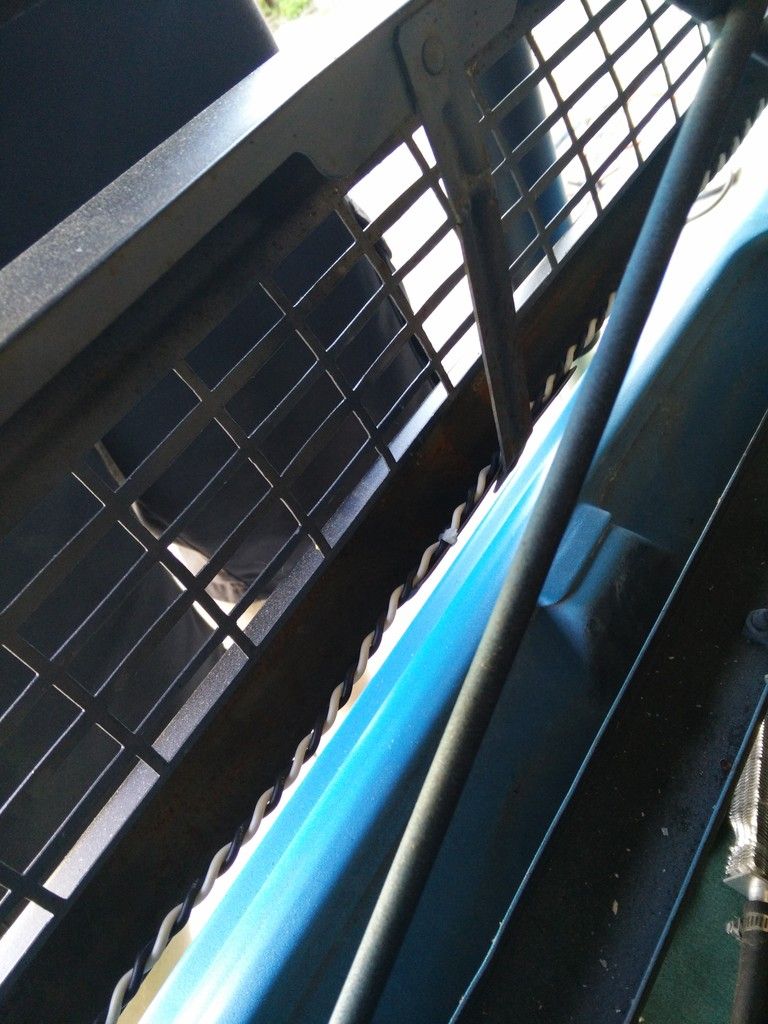 The horn relay combo and all sorts of misc garbage attached to it. 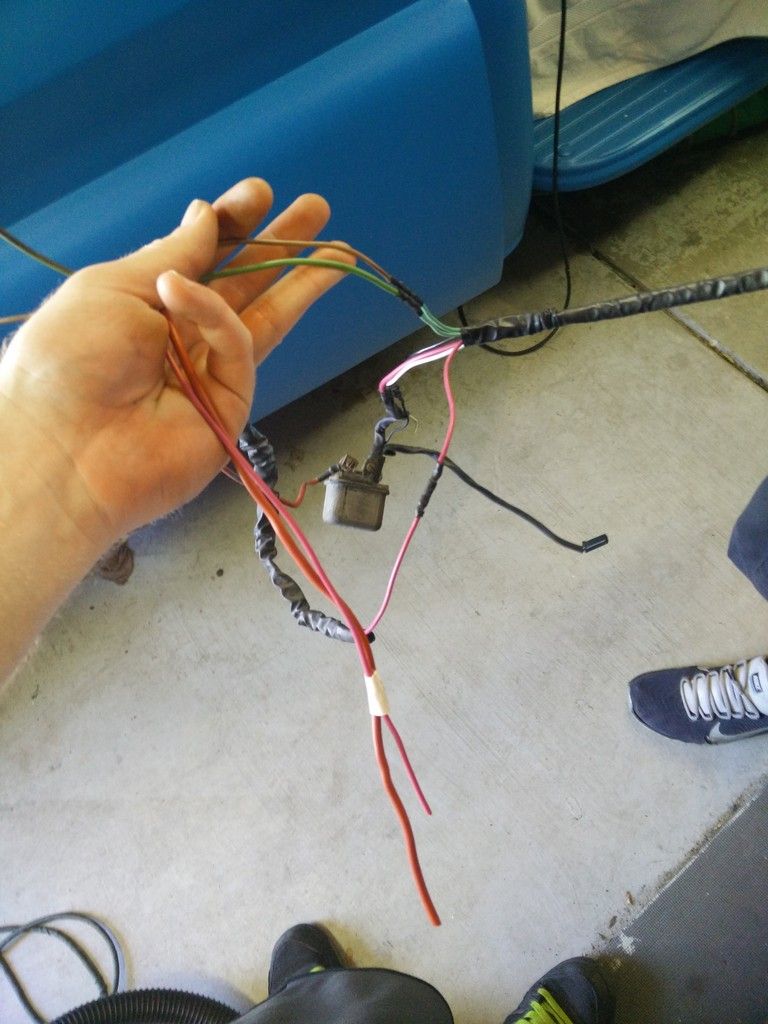 And all the crap that came out! 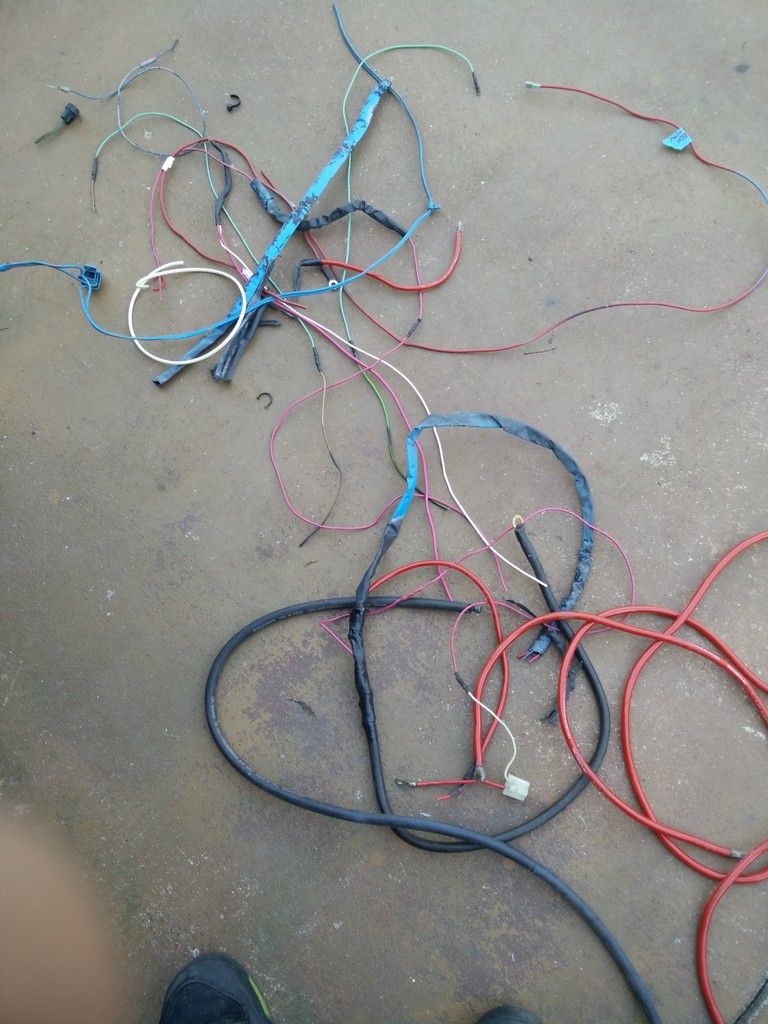
__________________
'66 Short Step / SD Tuned / Big Cam LQ4 / Backhalfed /Built 4l80e / #REBUILDEVERYTHING  |
|
|

|
|
|
#539 |
|
Registered User
Join Date: Jul 2013
Location: Nashville, TN
Posts: 216
|
Re: Br3w City's Project omgwtfbbq
I am interested in those hood hinges if you can work up a design and post it up. I was looking at my truck, and now that I am bagged, front tire clearance is at a minimum due to the inner fenders. Would like to address that with different hinges and whatnot.
James
__________________
'64 C10 Build Officially LQ/NV3500 swapped and Bagged |
|
|

|
|
|
#540 | |
|
meowMEOWmeowMEOW
Join Date: Sep 2009
Location: MKE WI
Posts: 7,128
|
Re: Br3w City's Project omgwtfbbq
Quote:
When I posted a thread in the 60-66 area asking for anyone that has the old style porterbuilt hinges, or had built there own...all I got was crickets.  No one offered specs, dimensions, a reference set, or even to SELL me a set...just nothing. However the very second I mention that I've spent a ton of time measuring, and mocking a bracket design..everyone pops out of the woodwork in threads and pm looking for "free" plans. I'm all for helping members with free knowledge, and have done so for hundreds of hours here, on the phone, in my youtube videos and in person...but this is almost a slap in the face for all the hard work I've already put in here. ***So here's the current state of the brackets. I handed off my drawings to be converted into whatever program the water jet uses. Because of the way I feel about the situation, I will not be handing out my drawings or any of the associated files. However setup costs at the waterjet place mean I'll be getting somewhere between 4-10 sets of these hinges out of the sheet of material I payed for, so if the welding goes well, I will sell the remaining brackets to members who need them to recoup costs. And because I still believe in helping the group as a whole (in spite of those who don't)..I will do a short thread or video on HOW I put them together. It should be more than enough information to start anyone on the right track.
__________________
'66 Short Step / SD Tuned / Big Cam LQ4 / Backhalfed /Built 4l80e / #REBUILDEVERYTHING  |
|
|
|

|
|
|
#541 |
|
Registered User
Join Date: Jul 2013
Location: Nashville, TN
Posts: 216
|
Re: Br3w City's Project omgwtfbbq
I totally understand what you mean. I have gone through similar situations on my Saturn forums. I got my car running on MS with help from pretty much just one person. As soon as it is running though, everyone wants my files for startup and whatnot. I don't mind helping, but sometimes it is a slap in the face when people want all the free stuff without doing any of the legwork.
Thanks for keeping us updated on the status of them though. I can't commit yet, but I am definitely interested after having bagged my truck. Space is at a premium in my front fender wells now. James
__________________
'64 C10 Build Officially LQ/NV3500 swapped and Bagged |
|
|

|
|
|
#542 |
|
meowMEOWmeowMEOW
Join Date: Sep 2009
Location: MKE WI
Posts: 7,128
|
Re: Br3w City's Project omgwtfbbq
Are you going to be running a large/wide rim as well? It seems like with 20+ at full drop, you only get a couple inches between the firewall and the start of the wheel, almost less while turning if your riding aired out.
Hopefully these should only take up 1-2" at the base and angle up, gaining some space where it counts at the bottom. I'll post up more when I have them in my hand.
__________________
'66 Short Step / SD Tuned / Big Cam LQ4 / Backhalfed /Built 4l80e / #REBUILDEVERYTHING  |
|
|

|
|
|
#543 |
|
Registered User
Join Date: Jul 2013
Location: Nashville, TN
Posts: 216
|
Re: Br3w City's Project omgwtfbbq
Eventually, I would like to be riding on a 20" wheel. For now I am riding on a 17.
James
__________________
'64 C10 Build Officially LQ/NV3500 swapped and Bagged |
|
|

|
|
|
#544 |
|
meowMEOWmeowMEOW
Join Date: Sep 2009
Location: MKE WI
Posts: 7,128
|
Re: Br3w City's Project omgwtfbbq
__________________
'66 Short Step / SD Tuned / Big Cam LQ4 / Backhalfed /Built 4l80e / #REBUILDEVERYTHING  Last edited by BR3W CITY; 07-05-2015 at 12:58 AM. |
|
|

|
|
|
#545 |
|
meowMEOWmeowMEOW
Join Date: Sep 2009
Location: MKE WI
Posts: 7,128
|
Re: Br3w City's Project omgwtfbbq
Got the fender/cab splash guard things back in, put the front end back on and also installed the new "A" seals that go where the front clip meets the firewall/cab.
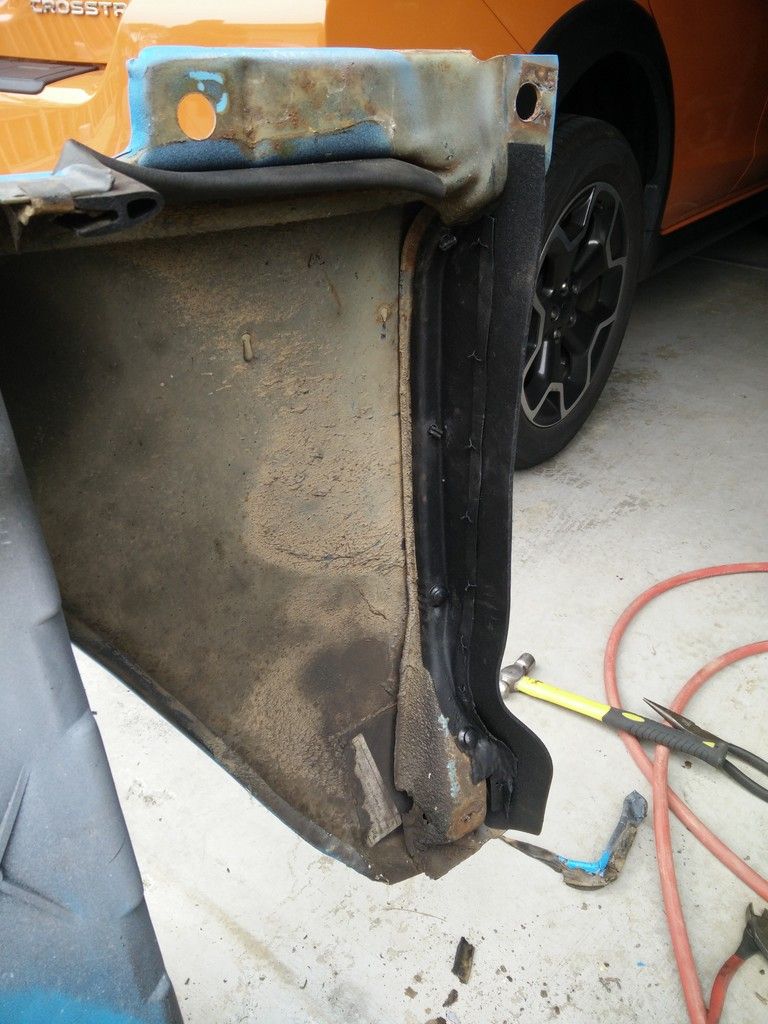 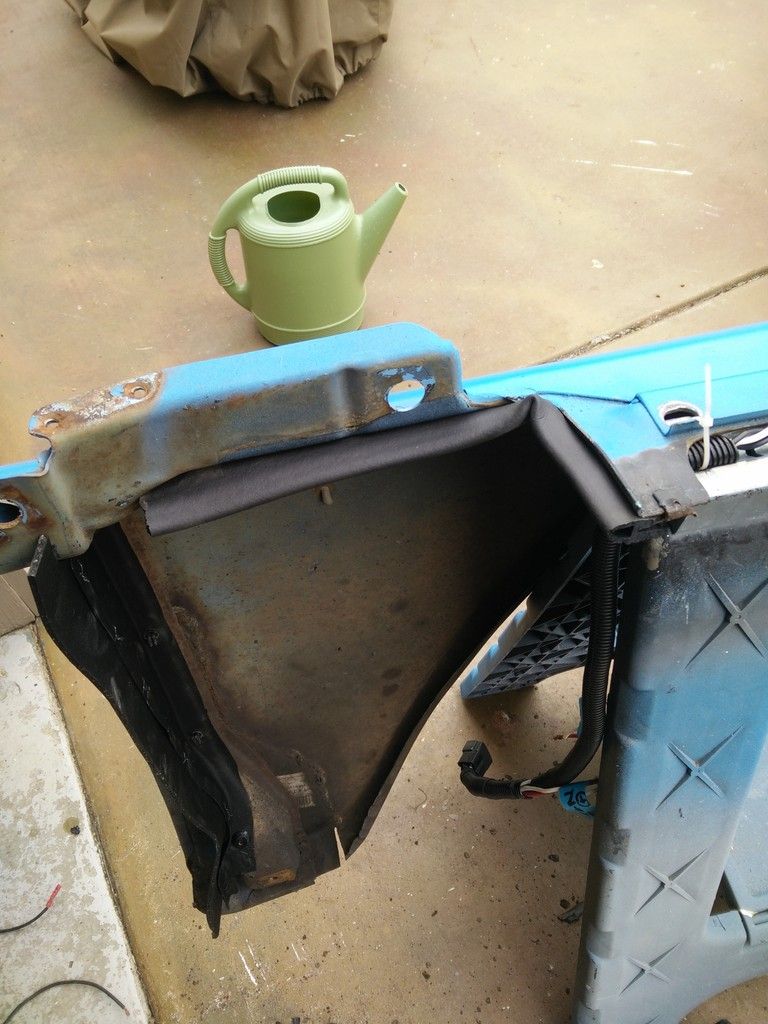 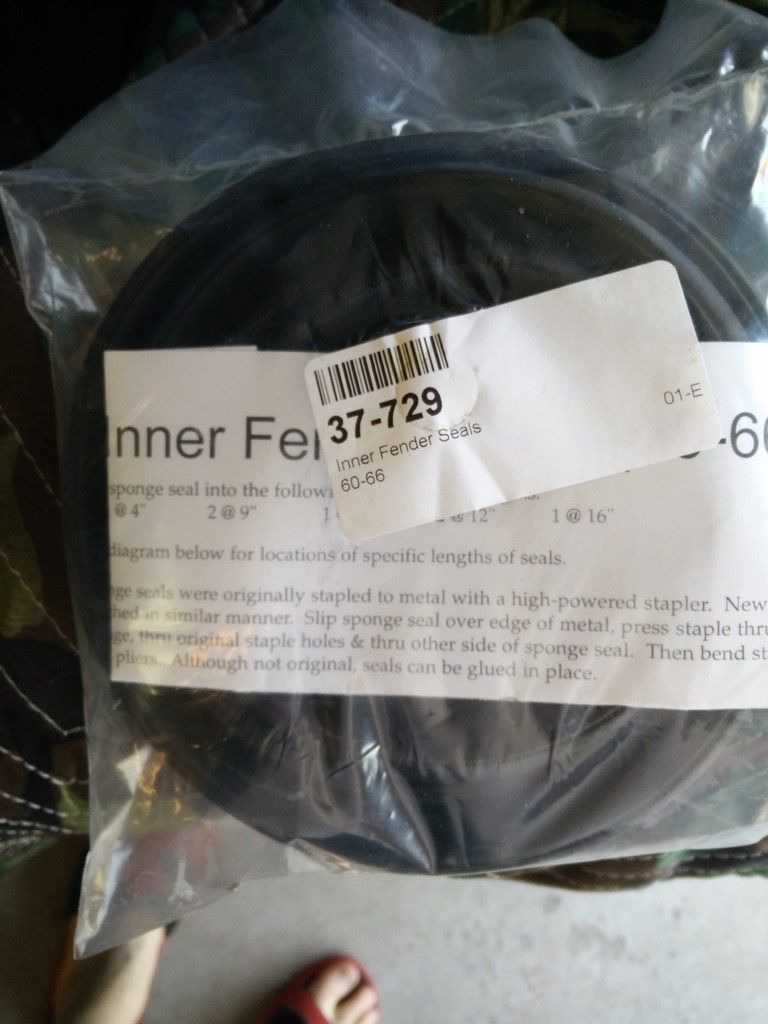 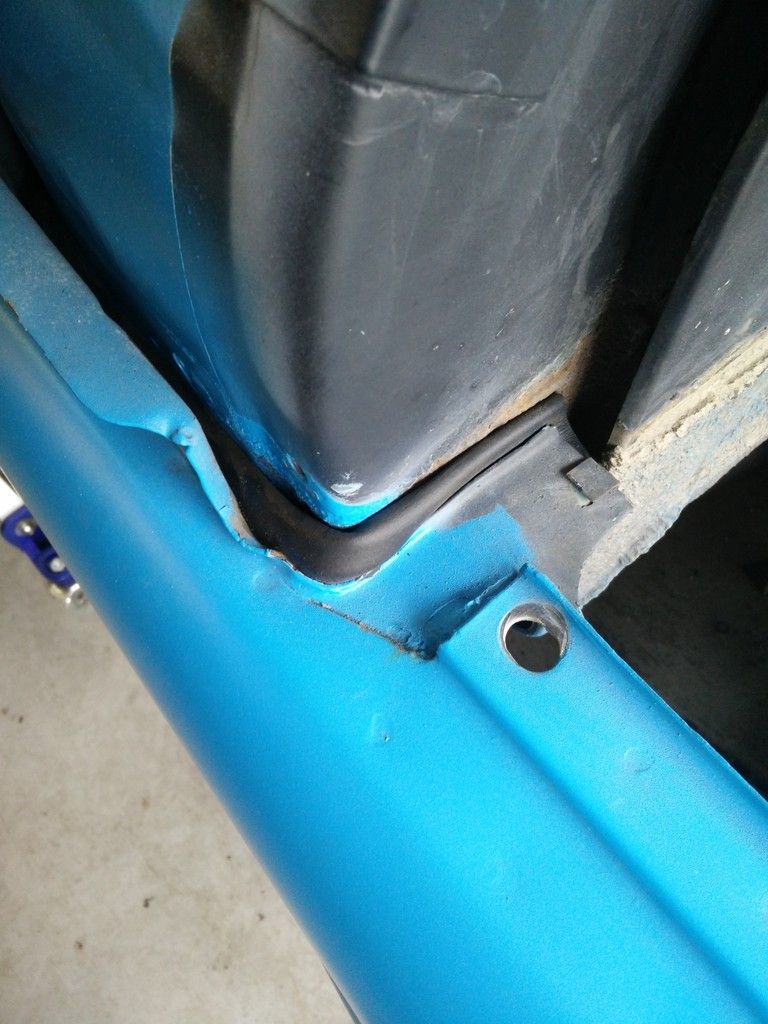 Put some aircraft stripper on the radiator to pull the old overspray thats been on there. Just a little dirty huh? 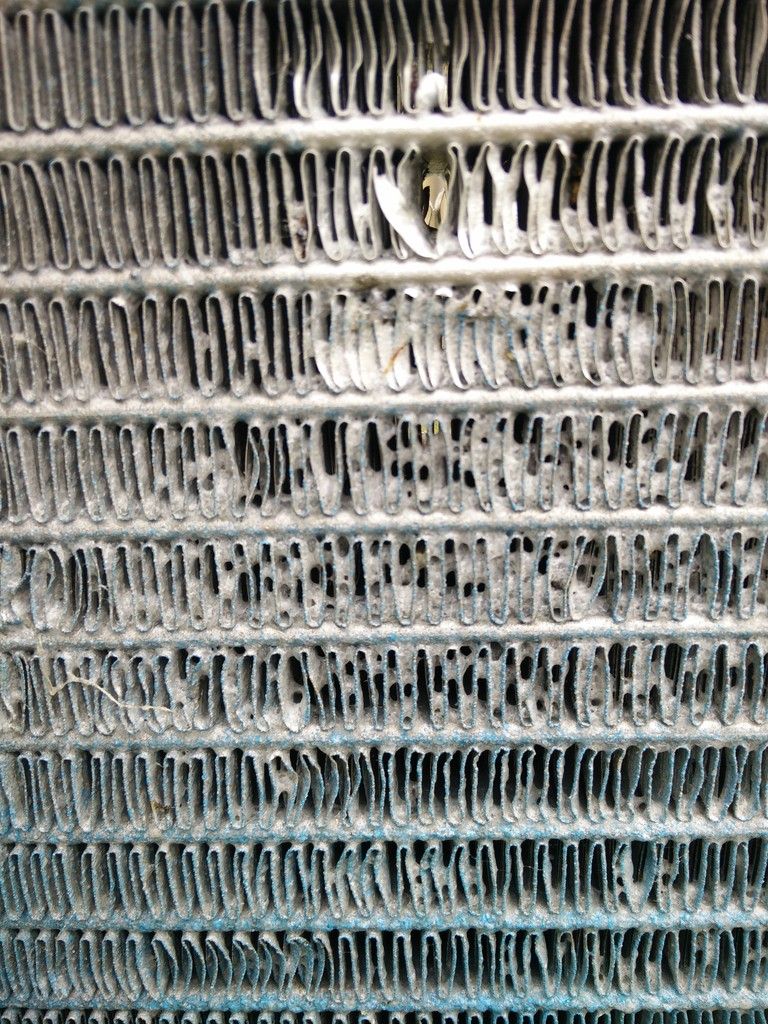 Got soo tired of not having a fuse chart, so I printed a big one out and laminated it so I can just toss it in the glovebox or my toolkit. Need to do another for the body-fuses, and possibly one as a wiring quick-reference. 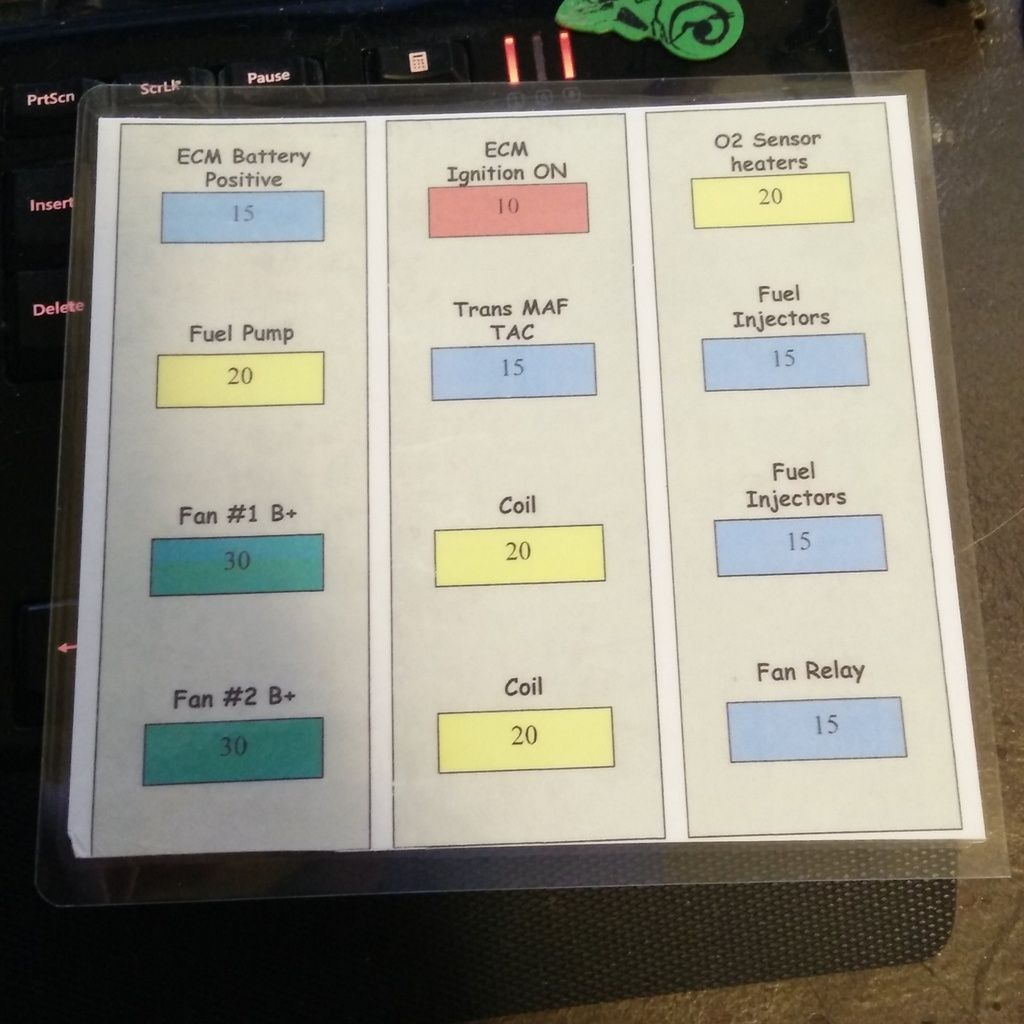 My coolant puke tank was hazy and had buildup on it from dripped coolant and all the other side effects of living in the engine bay. Since its stainless (And stupid thick/strong for a coolant overflow), I could use a little polish and give it some life again. 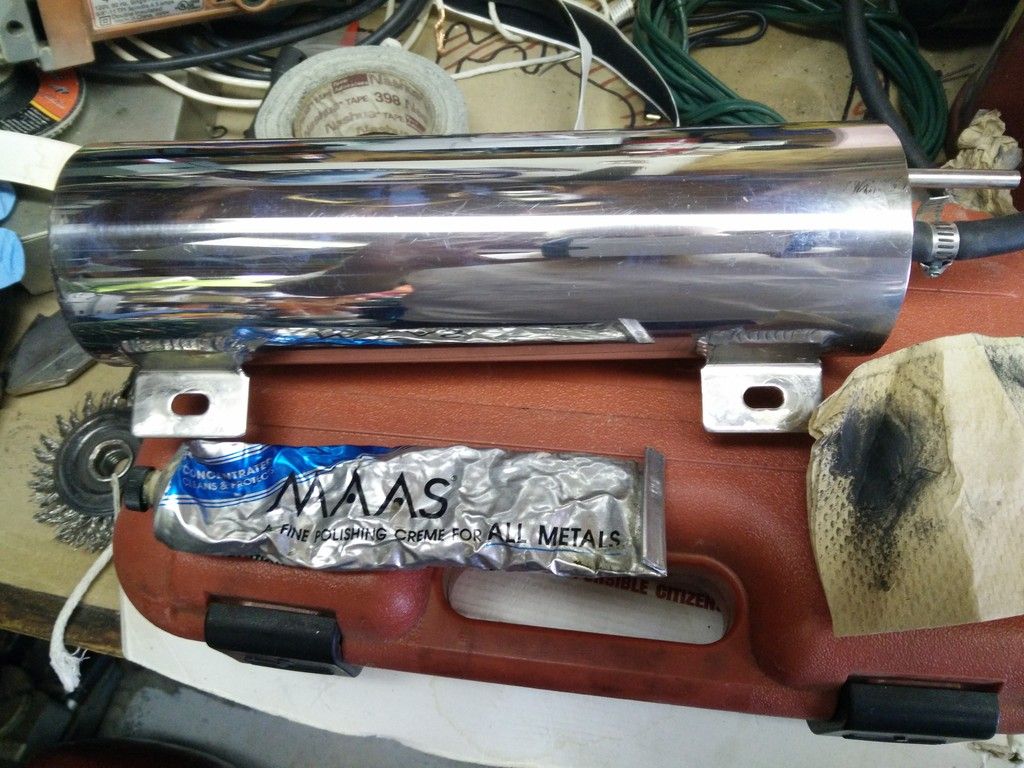 Even without a hood, she still looks good. Put a few miles on it hoodless and inner-fender-less for a 4th o July BBQ, no problems at all. 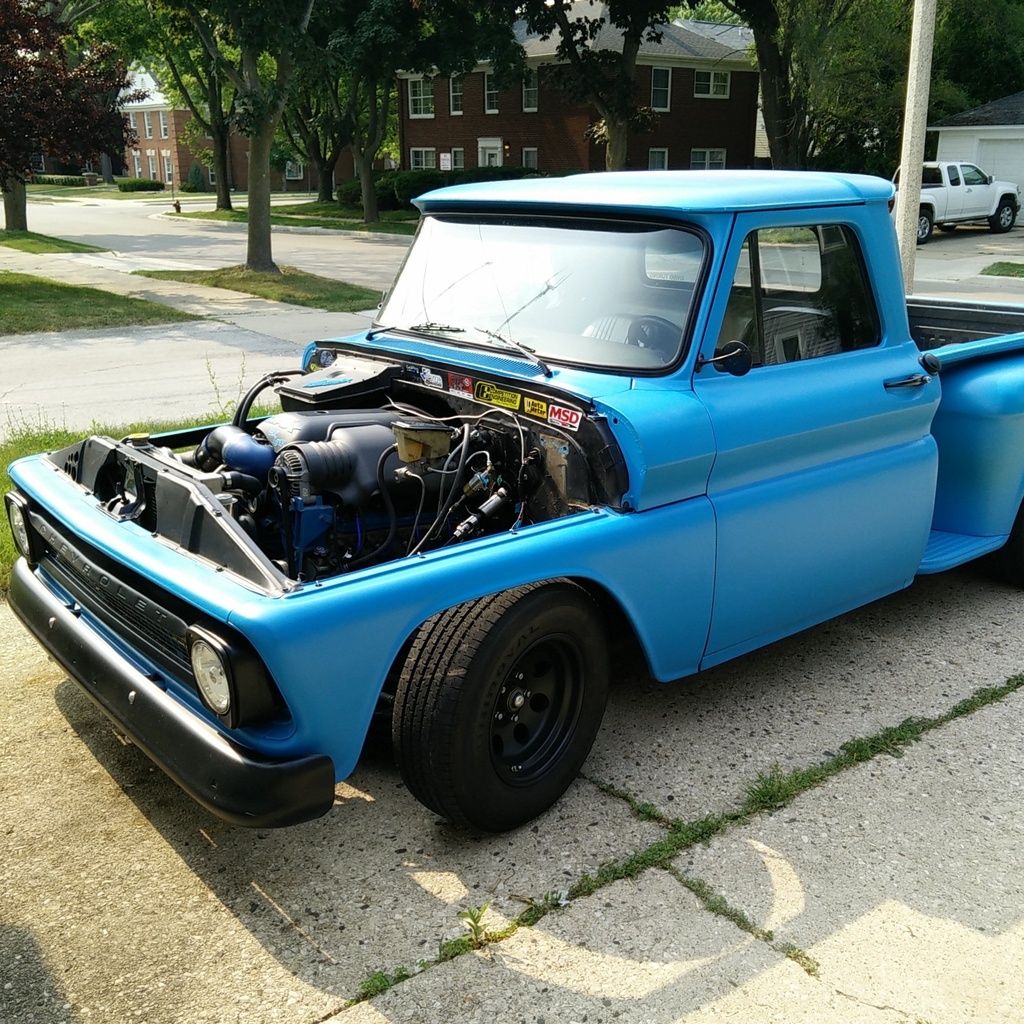 Aaaannnd lastly. Finally got around to starting my Ed Roth inspired tribute tattoo to the HatredCopter C10, and my beloved kitty. This is only the first session, so lots of details and lines are still missing, as well as all the color. Even without a bunch of the hood lines yet or any of the depth shading, his recreation of the truck is pretty damn good. 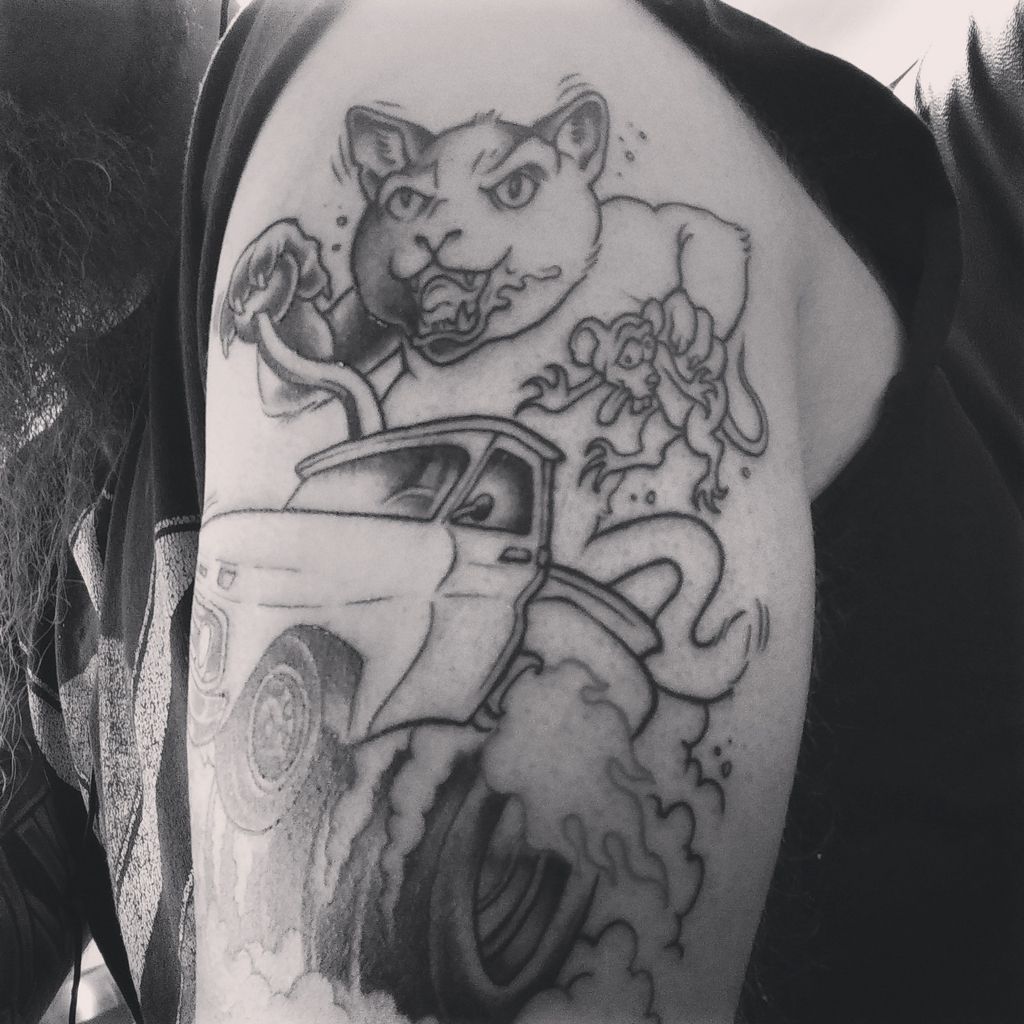
__________________
'66 Short Step / SD Tuned / Big Cam LQ4 / Backhalfed /Built 4l80e / #REBUILDEVERYTHING  |
|
|

|
|
|
#546 |
|
meowMEOWmeowMEOW
Join Date: Sep 2009
Location: MKE WI
Posts: 7,128
|
Re: Br3w City's Project omgwtfbbq
Permanente'
__________________
'66 Short Step / SD Tuned / Big Cam LQ4 / Backhalfed /Built 4l80e / #REBUILDEVERYTHING  |
|
|

|
|
|
#547 |
|
meowMEOWmeowMEOW
Join Date: Sep 2009
Location: MKE WI
Posts: 7,128
|
Re: Br3w City's Project omgwtfbbq
Wow, another LONG video is on the way. A 30 minute special on building a good road kit for your hot rod. Don't have a road kit? Check the channel or here on the build next week for more info!
__________________
'66 Short Step / SD Tuned / Big Cam LQ4 / Backhalfed /Built 4l80e / #REBUILDEVERYTHING  |
|
|

|
|
|
#548 |
|
meowMEOWmeowMEOW
Join Date: Sep 2009
Location: MKE WI
Posts: 7,128
|
Re: Br3w City's Project omgwtfbbq
__________________
'66 Short Step / SD Tuned / Big Cam LQ4 / Backhalfed /Built 4l80e / #REBUILDEVERYTHING  |
|
|

|
|
|
#549 |
|
meowMEOWmeowMEOW
Join Date: Sep 2009
Location: MKE WI
Posts: 7,128
|
Re: Br3w City's Project omgwtfbbq
__________________
'66 Short Step / SD Tuned / Big Cam LQ4 / Backhalfed /Built 4l80e / #REBUILDEVERYTHING  |
|
|

|
|
|
#550 |
|
One day...
 Join Date: Apr 2008
Location: Tuttle, Ok
Posts: 9,243
|
Re: Br3w City's Project omgwtfbbq
Its been a while since i checked in, looking good!!!
|
|
|

|
 |
| Bookmarks |
|
|