
 |
|
|
|
|
#1 |
|
Registered User
Join Date: Sep 2012
Location: Leander, TX
Posts: 969
|
Re: 64 C10 Stepside "Jaybird"
Radiator is installed along with new B&M trans cooler. Used some premade brake lines to make the fuel line and trans lines. Everything is buttoned up except I was 2 clamps short on the trans cooler.
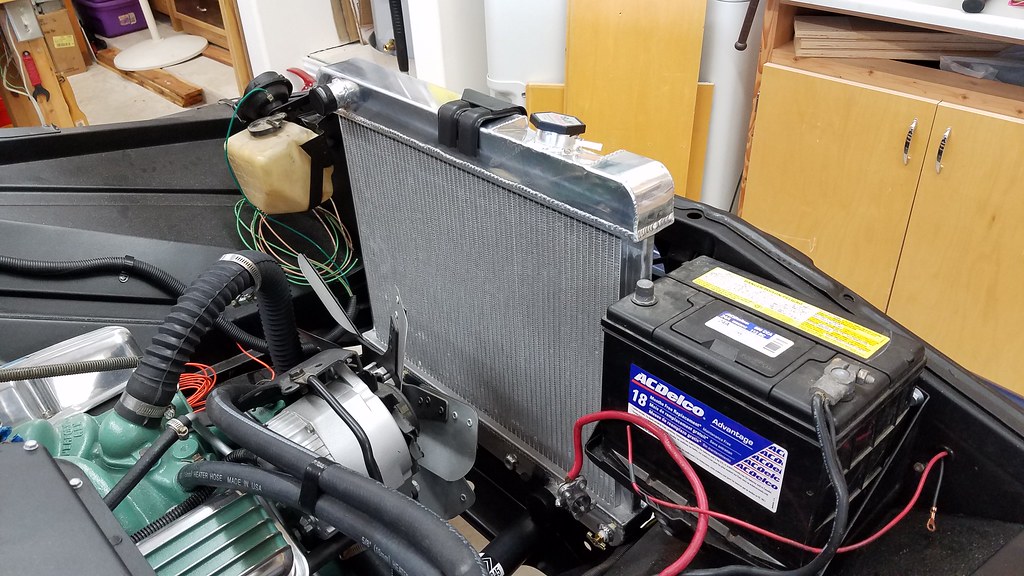 20160929_075312 by bjohnson388, on Flickr 20160929_075312 by bjohnson388, on Flickr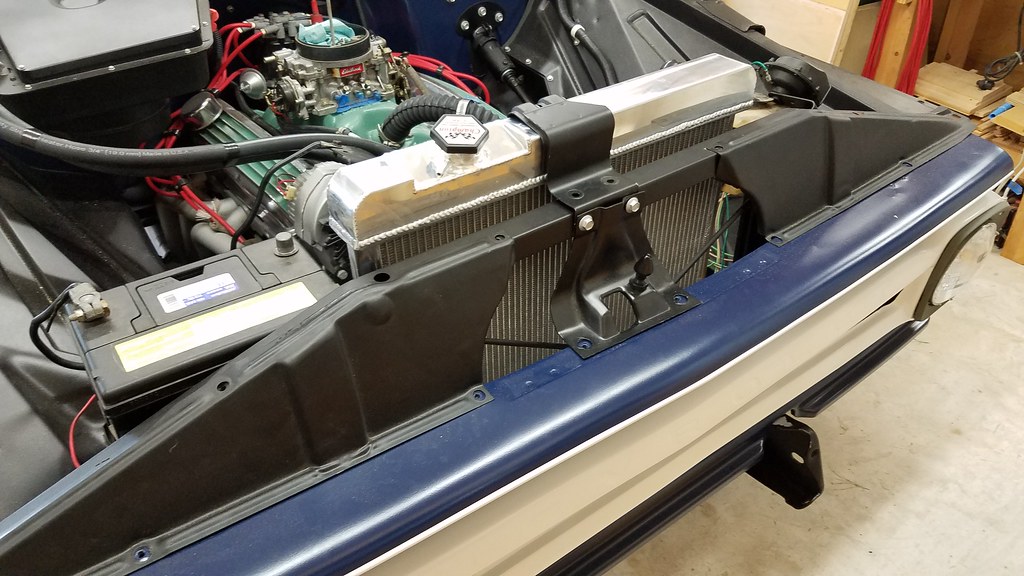 20160929_075318 by bjohnson388, on Flickr 20160929_075318 by bjohnson388, on Flickr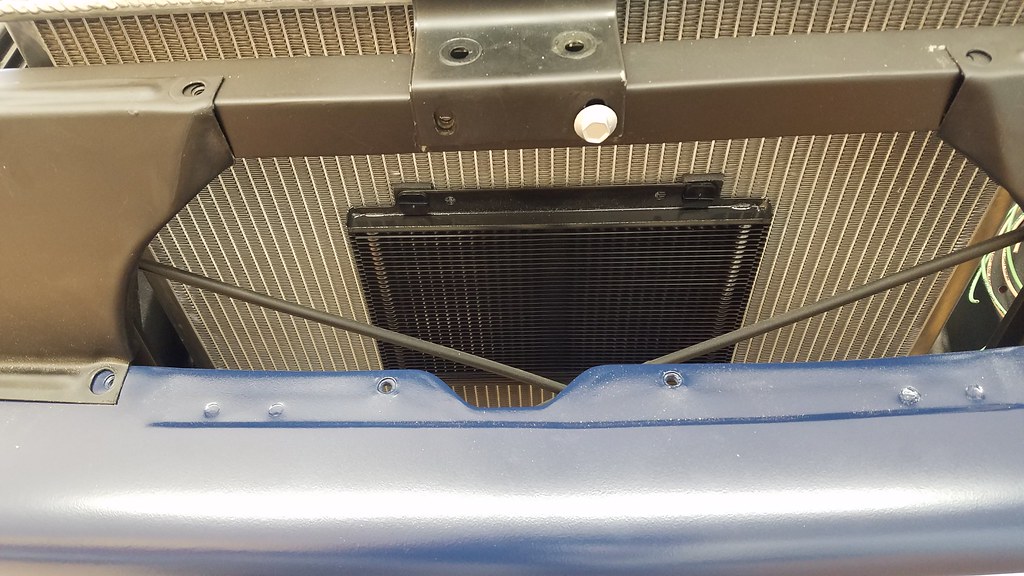 20160929_120815 by bjohnson388, on Flickr 20160929_120815 by bjohnson388, on FlickrHave some massaging to do to get the top bracket to fit properly. It seems the Champion radiator is quite a bit taller than the stock one. It fits fine without the rubbers in. 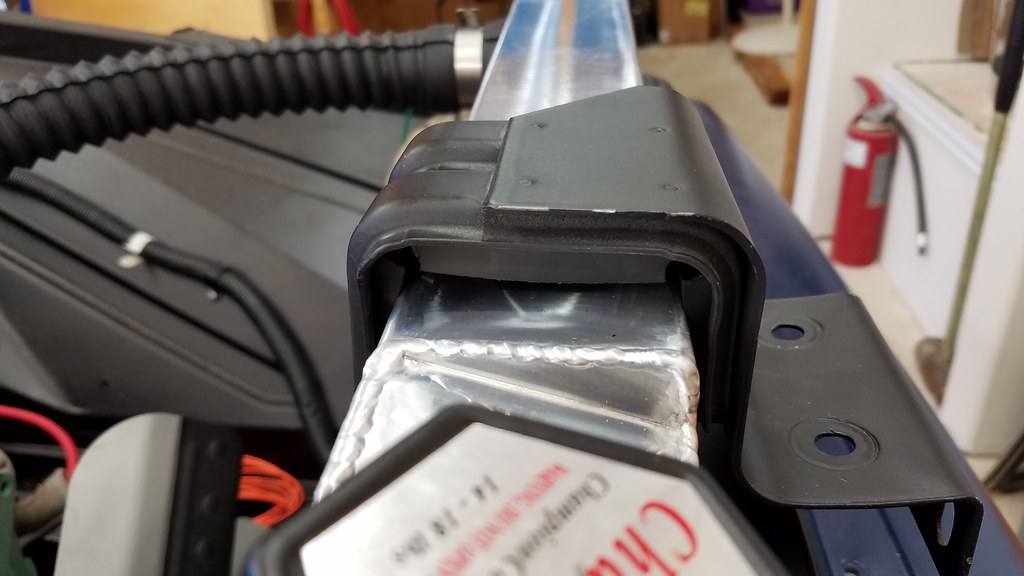 20160929_140452 by bjohnson388, on Flickr 20160929_140452 by bjohnson388, on Flickr 20160929_140455 by bjohnson388, on Flickr 20160929_140455 by bjohnson388, on Flickr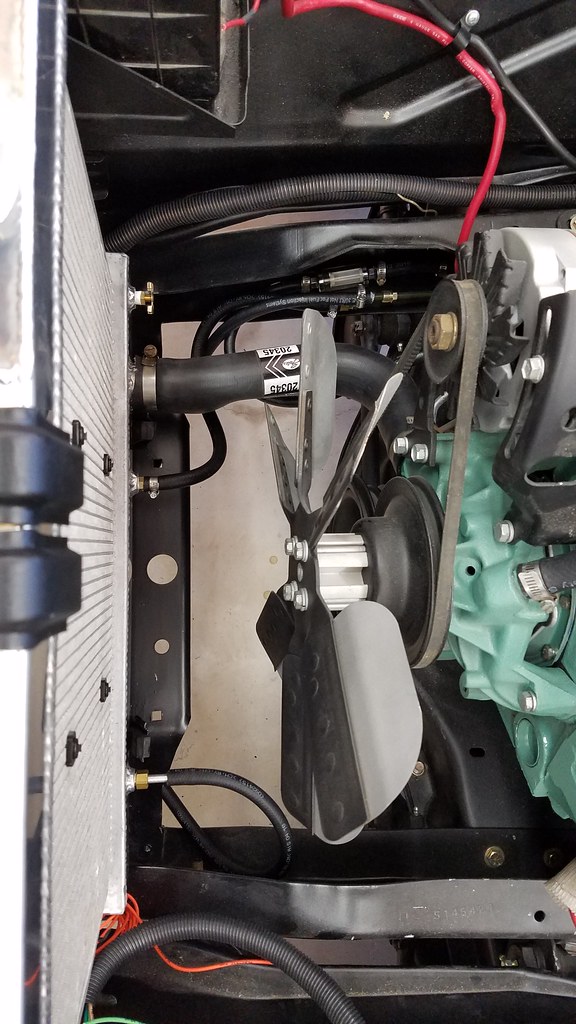 20160929_155139 by bjohnson388, on Flickr 20160929_155139 by bjohnson388, on Flickr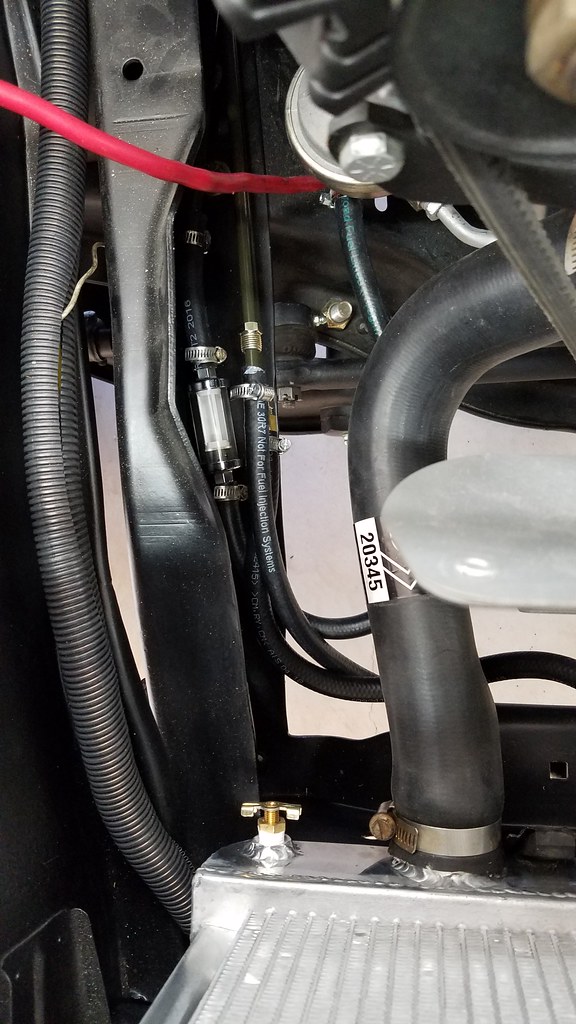 20160929_155145 by bjohnson388, on Flickr 20160929_155145 by bjohnson388, on Flickr
__________________
64' Build Thread http://67-72chevytrucks.com/vboard/s...d.php?t=586955 |
|
|

|
|
|
#2 |
|
Registered User
 Join Date: Mar 2013
Location: Southern Oregon
Posts: 10,384
|
Re: 64 C10 Stepside "Jaybird"
Nice!!!
__________________
1966 Chevy C10 "Project Two Tone" http://67-72chevytrucks.com/vboard/s...d.php?t=596643 1964 GMC "Crustine" semi-build:http://67-72chevytrucks.com/vboard/s...d.php?t=665056 My youtube channel. Username "Military Chevy": https://www.youtube.com/channel/UC_h...fzpcUXyK_5-uiw |
|
|

|
|
|
#3 |
|
Registered User
Join Date: Apr 2012
Location: Searcy, AR
Posts: 4,203
|
Re: 64 C10 Stepside "Jaybird"
Looking Great Bret!!!

__________________
DON Proverbs 27:17  US Air Force Retarded errr Retired My '65 Stepper Build:http://67-72chevytrucks.com/vboard/s...d.php?t=533920 My '60 Rusty Patina Build:http://67-72chevytrucks.com/vboard/s...66#post7402266 My '72 http://67-72chevytrucks.com/vboard/s...59#post7204359 SOLD |
|
|

|
|
|
#4 |
|
Senior Member
 Join Date: Oct 2009
Location: Fayetteville, Arkansas
Posts: 1,923
|
Re: 64 C10 Stepside "Jaybird"
very clean work… nice job pal.
|
|
|

|
|
|
#5 |
|
Registered User
Join Date: Sep 2012
Location: Leander, TX
Posts: 969
|
Re: 64 C10 Stepside "Jaybird"
Thanks TJ.
Thanks Don. You almost road worthy? Thanks Clem. You are about to have a lot of fun in a week or so. Couple more pictures. The gas gauge works. I never had it hooked up before the resto so happy about that. Need to clean all the sawdust off of it.  IMG_20161001_180951 by bjohnson388, on Flickr IMG_20161001_180951 by bjohnson388, on FlickrGot all the wiring done for startup and installed the coil and bracket. I forgot to run a wire from the MSD box up into the cab for the Tach so working on that too what a pain that is after I have everything buttoned up.  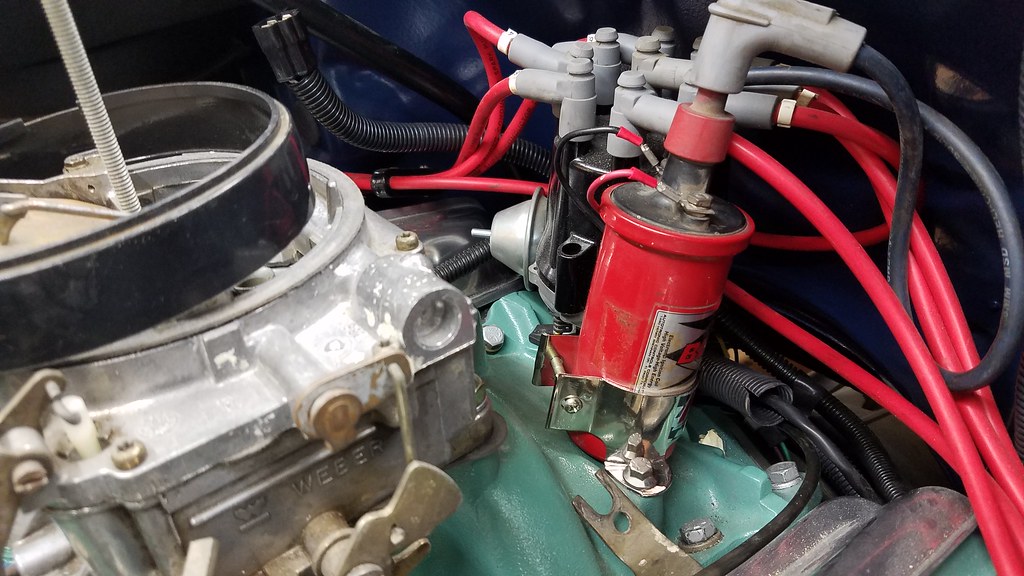 20161001_200000 by bjohnson388, on Flickr 20161001_200000 by bjohnson388, on FlickrEverything is just about hooked up just need to fill the tank with gas and go through and double check everything. Still need to hookup vacuum from distributor and the pcv valve. 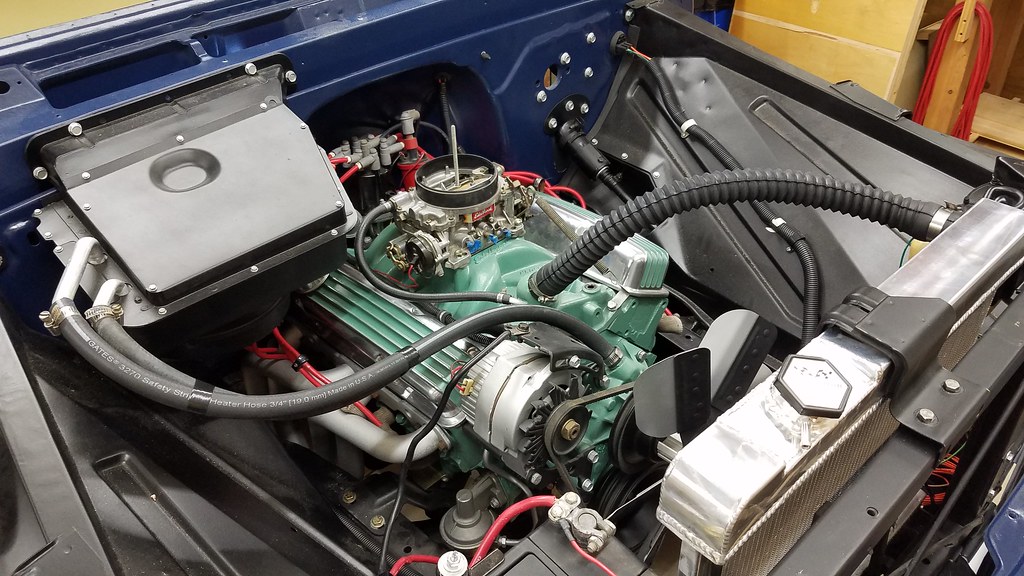 20161001_200058 by bjohnson388, on Flickr 20161001_200058 by bjohnson388, on FlickrGot the battery trickle charging so it will be nice and hot with plenty of juice. Bret
__________________
64' Build Thread http://67-72chevytrucks.com/vboard/s...d.php?t=586955 |
|
|

|
|
|
#6 |
|
Registered User
Join Date: Sep 2012
Location: Leander, TX
Posts: 969
|
Re: 64 C10 Stepside "Jaybird"
So I started on Monday to start this thing and after 2 lower radiator hoses leaking and then the weep hole in the water pump leaking. I had to order a new pump. I bought one from Amazon a brand new AC Delco because all the parts stores had was store brand rebuilt. So it arrived yesterday and of course I had to paint it.
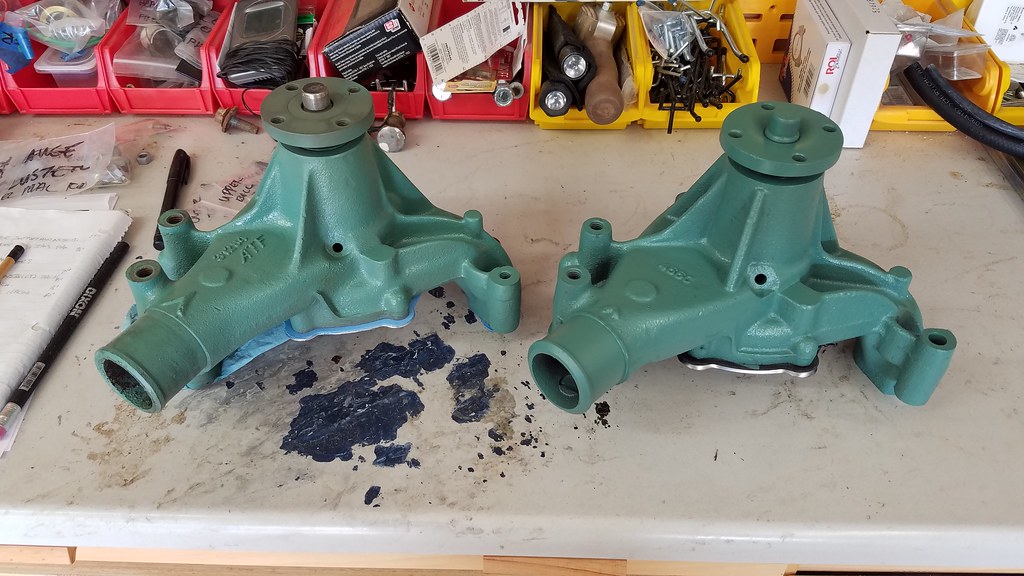 20161008_093409 by bjohnson388, on Flickr 20161008_093409 by bjohnson388, on FlickrThis morning I fired up Jaybird without a hitch. First time it has been started since July of 2013. Couple of reference photos from that time. 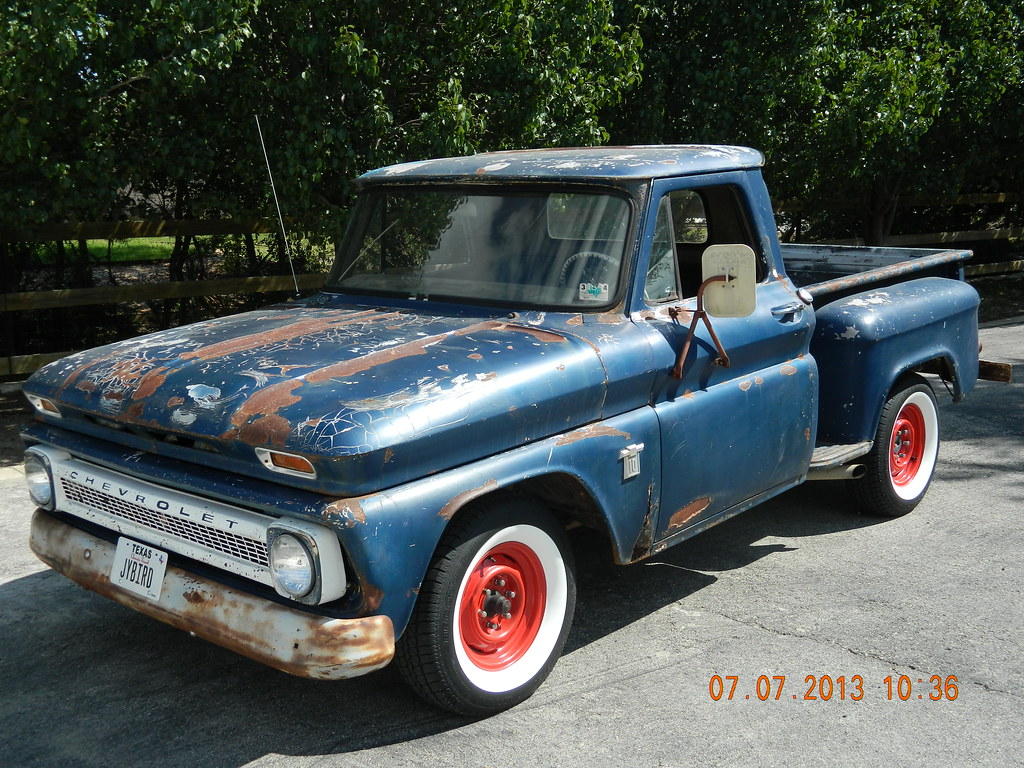 DSCN6792 by bjohnson388, on Flickr DSCN6792 by bjohnson388, on Flickr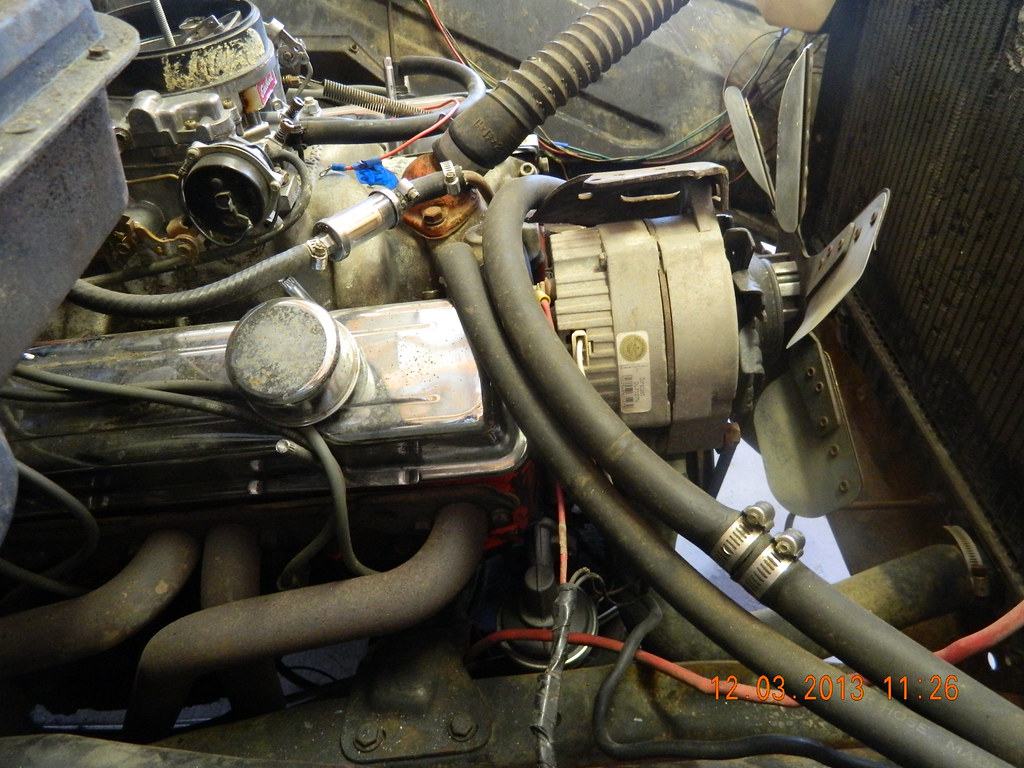 DSCN7586 by bjohnson388, on Flickr DSCN7586 by bjohnson388, on Flickr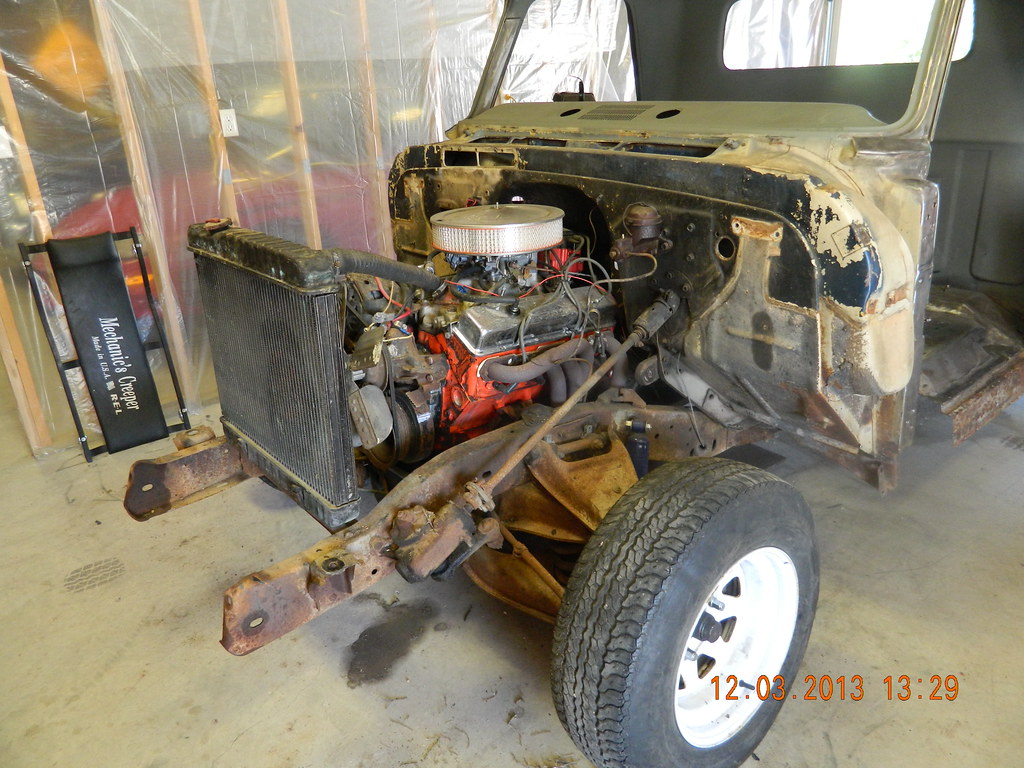 DSCN7613 by bjohnson388, on Flickr DSCN7613 by bjohnson388, on FlickrMy wife wanted to start it. After all it is her truck. So here is the video. One happy mommy. Couldn't have come at a better time either because tomorrow is my birthday and I just earned all kinds of brownie points. Only downside she asked if we could drive it around the block and I had to tell her there are no brakes! Next on the project list though.
__________________
64' Build Thread http://67-72chevytrucks.com/vboard/s...d.php?t=586955 Last edited by bj383ss; 10-08-2016 at 04:37 PM. |
|
|

|
|
|
#7 |
|
Senior Member
 Join Date: Oct 2009
Location: Fayetteville, Arkansas
Posts: 1,923
|
Re: 64 C10 Stepside "Jaybird"
|
|
|

|
|
|
#8 | |
|
Registered User
Join Date: Sep 2012
Location: Leander, TX
Posts: 969
|
Re: 64 C10 Stepside "Jaybird"
Thanks Greg
Quote:
Well I haven't done anything to Jaybird. I have really run out of steam and just have no motivation to work on it. I did however have a new windshield put in and the original back glass installed. This guy was a pro. 17 years installing vintage auto glass. He had both installed in under an hour in the first try. 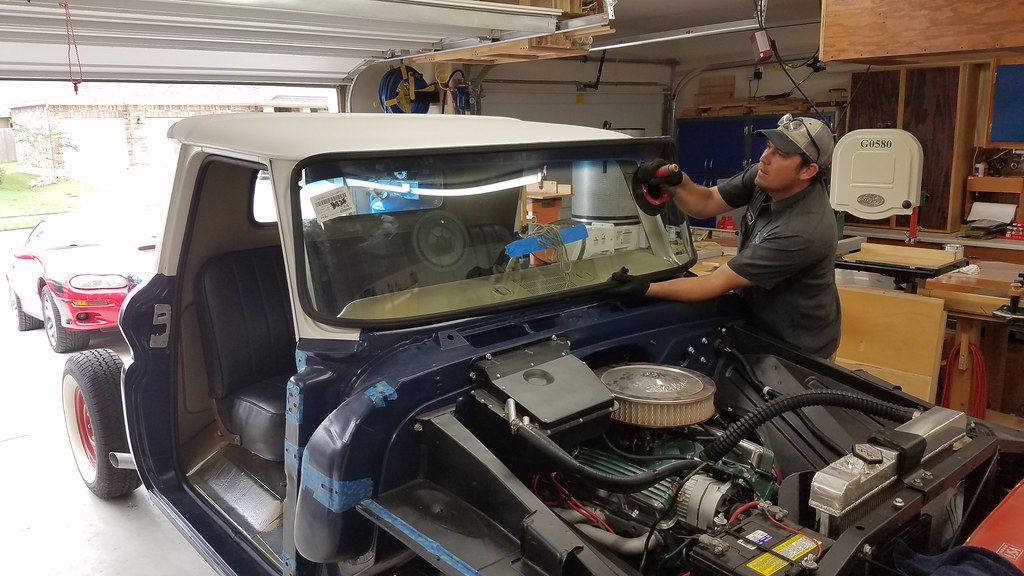 20161020_093516 by bjohnson388, on Flickr 20161020_093516 by bjohnson388, on Flickr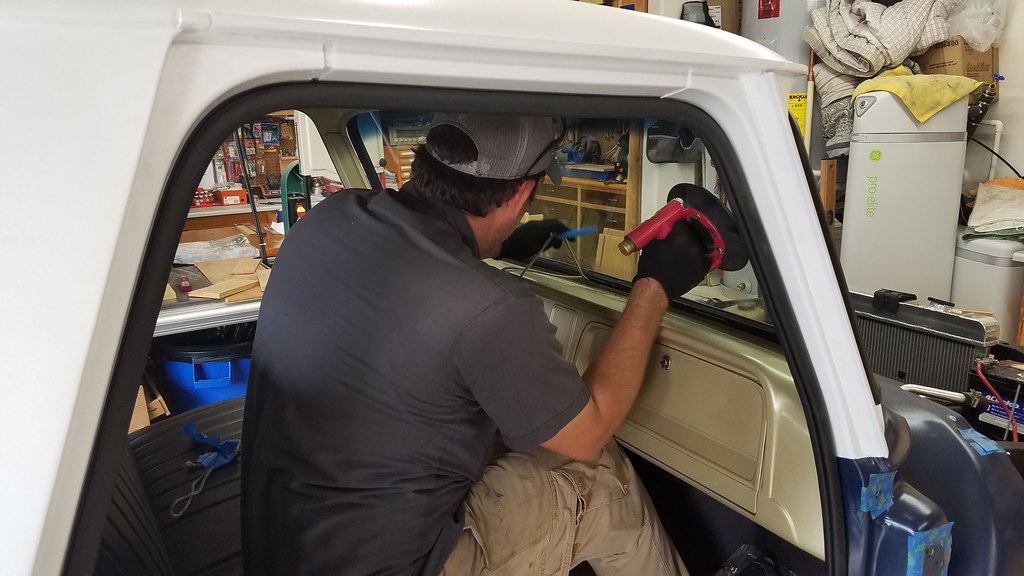 20161020_093635 by bjohnson388, on Flickr 20161020_093635 by bjohnson388, on Flickr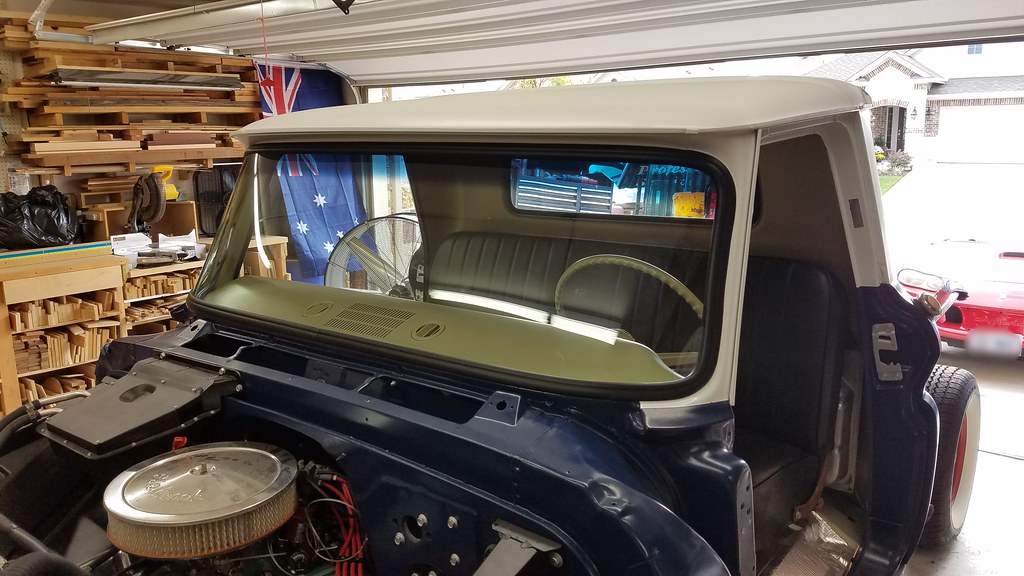 20161020_100107 by bjohnson388, on Flickr 20161020_100107 by bjohnson388, on Flickr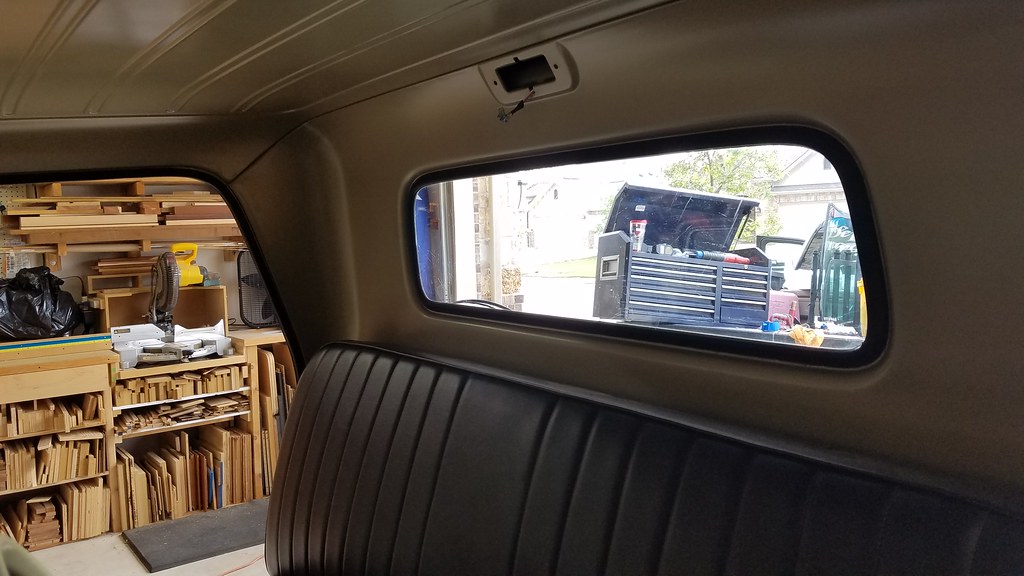 20161020_100116 by bjohnson388, on Flickr 20161020_100116 by bjohnson388, on Flickr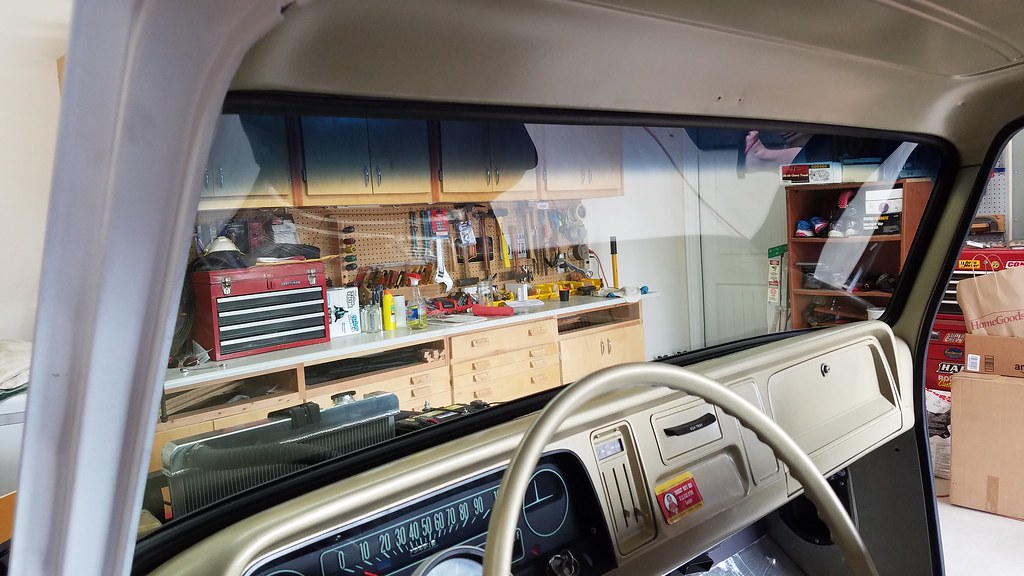 20161020_100124 by bjohnson388, on Flickr 20161020_100124 by bjohnson388, on Flickr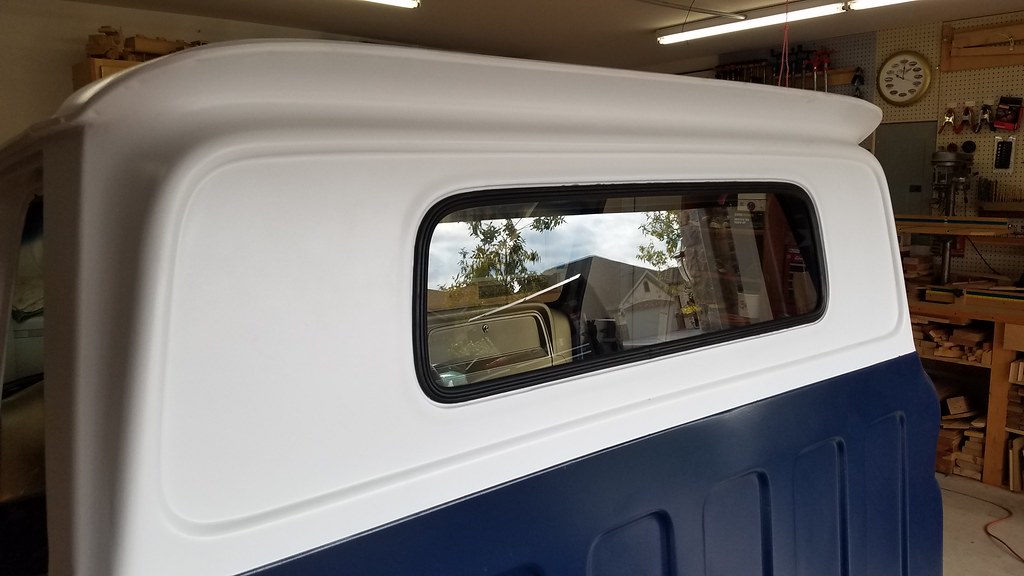 20161020_100131 by bjohnson388, on Flickr 20161020_100131 by bjohnson388, on FlickrAnd my favorite thing a before and after pic. This before pic was taken right when the tear down started July of 2013. You will notice there is about 6 inches on the bottom center of the gasket that is gone. One of the things that prompted to take the windshield out. And when I took it out it fell apart. 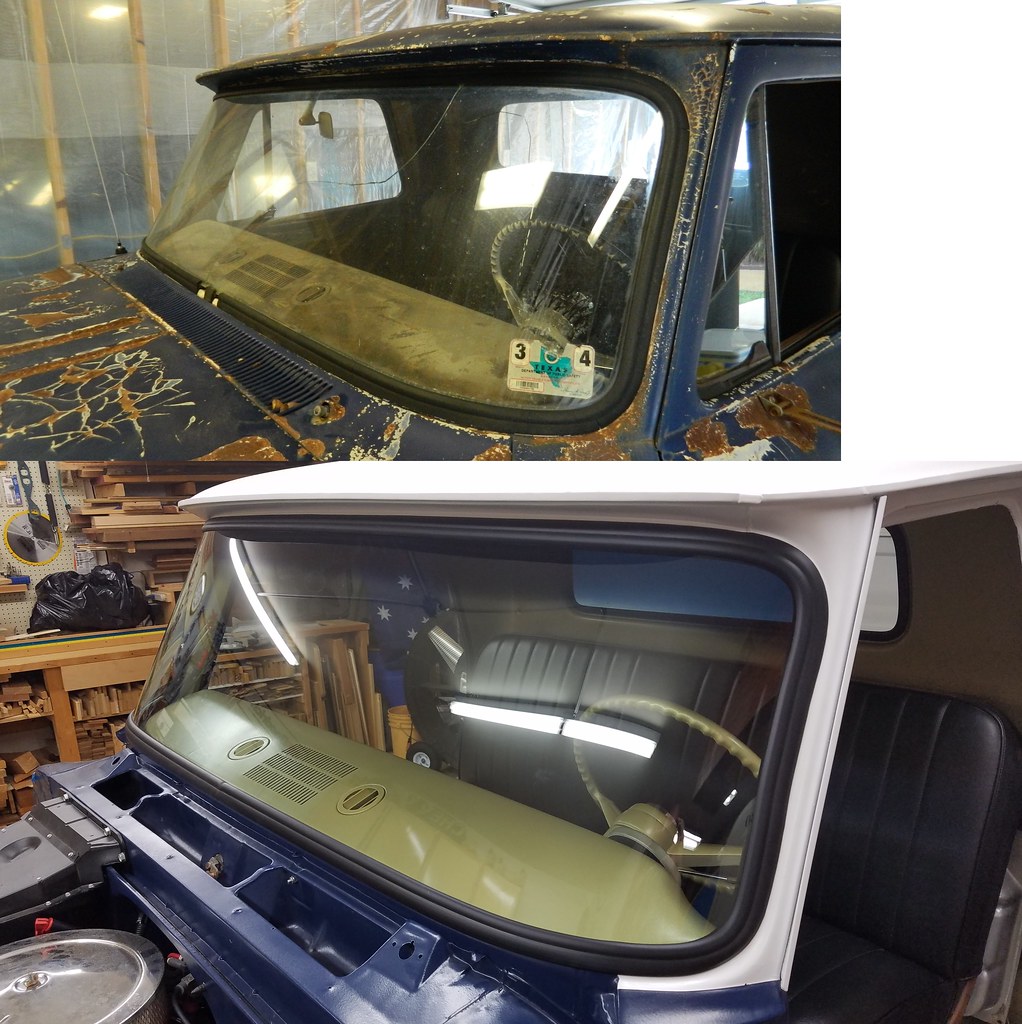 Windshield BeforeAfter by bjohnson388, on Flickr Windshield BeforeAfter by bjohnson388, on FlickrBret
__________________
64' Build Thread http://67-72chevytrucks.com/vboard/s...d.php?t=586955 |
|
|
|

|
|
|
#9 |
|
Registered User
Join Date: Apr 2011
Location: .
Posts: 3,104
|
Re: 64 C10 Stepside "Jaybird"
Congrats, saw this great moment on Fb. Awesome.
|
|
|

|
|
|
#10 |
|
Registered User
Join Date: Nov 2014
Location: Omaha
Posts: 558
|
Re: 64 C10 Stepside "Jaybird"

|
|
|

|
|
|
#11 |
|
Registered User
Join Date: Aug 2014
Location: oklahoma
Posts: 357
|
Re: 64 C10 Stepside "Jaybird"
Looking good!
__________________
You can find me on Instagram @neveno_cten |
|
|

|
|
|
#12 |
|
Registered User
Join Date: Dec 2012
Location: Rochester, KENT
Posts: 10,565
|
Re: 64 C10 Stepside "Jaybird"
This is all so good to see.
I know what you mean with running out of steam. Side projects help though. I restored a 63 VW beetle 25 years ago and ran out of steam just as I bolted the front and rear bumpers back on, fortunately all that was left was the hubcaps. My life is a bit screwed right now, but I do look forward to phase two of my trucks build, there may also be a phase 3,4,5 but that OK too.
__________________
MY BUILD LINK: http://67-72chevytrucks.com/vboard/s...585901]Redneck Express - 1966 C10 Short Fleetside MY USA ROADTRIPS http://forum.retro-rides.org/thread/...2018-humdinger IF YOU CAN'T FIX IT WITH A HAMMER, YOU'VE GOT AN ELECTRICAL PROBLEM MATE. |
|
|

|
|
|
#13 |
|
Registered User
Join Date: Sep 2012
Location: Leander, TX
Posts: 969
|
Re: 64 C10 Stepside "Jaybird"
Have few updates for the truck. I will be honest I ran out of motivation to work on her but after not doing anything for 11 months I finally got some "Mojo".
I lost my storage spot for my old car so I had to move it home to my garage. This is what brought my mojo back. She wasn't running. In order for her to take my wife's parking spot she had to run and drive so I could move it around. 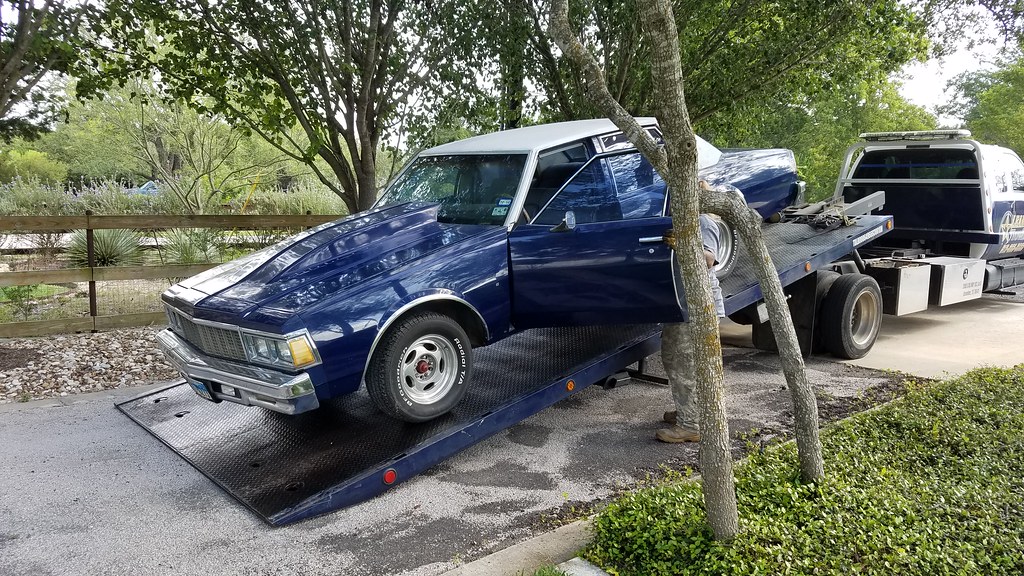 20170817_103528 by bjohnson388, on Flickr 20170817_103528 by bjohnson388, on FlickrShe barely fit. 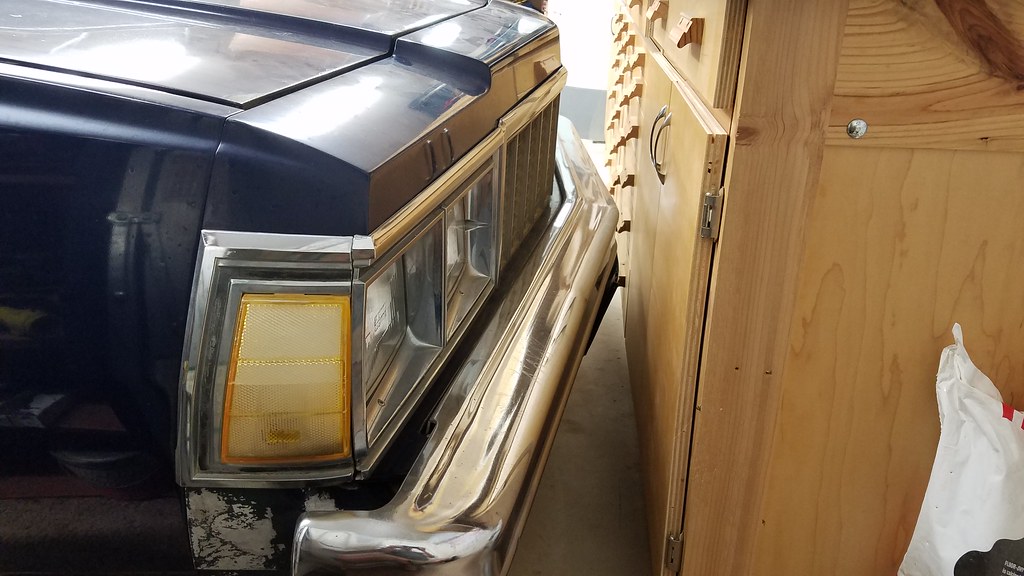 20170817_111816 by bjohnson388, on Flickr 20170817_111816 by bjohnson388, on FlickrI remedied that by tucking the bumpers. 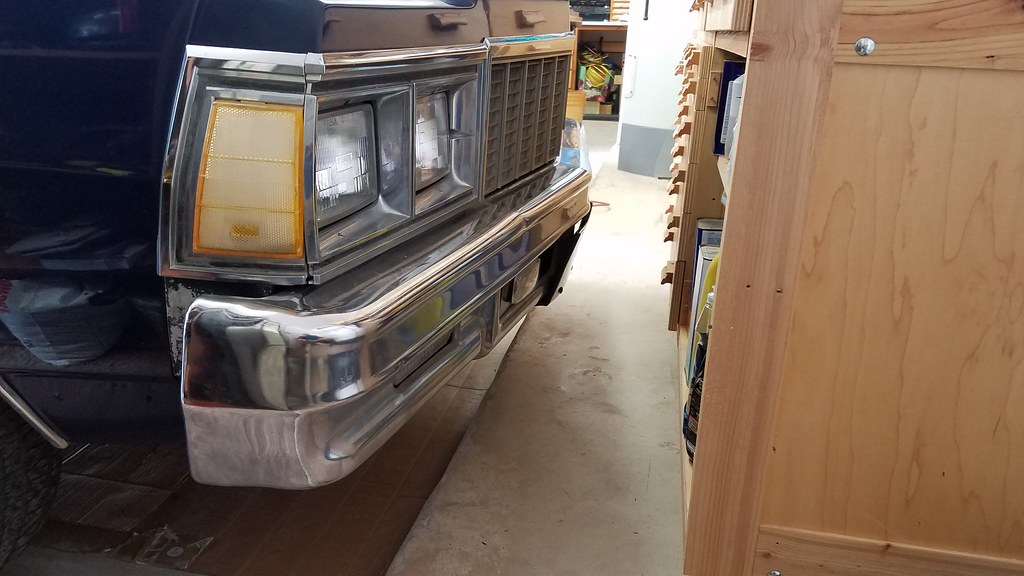 20170903_143356 by bjohnson388, on Flickr 20170903_143356 by bjohnson388, on Flickr 20170903_115038 by bjohnson388, on Flickr 20170903_115038 by bjohnson388, on FlickrI got her running and driving so she can be moved around. Still needs a new trans. 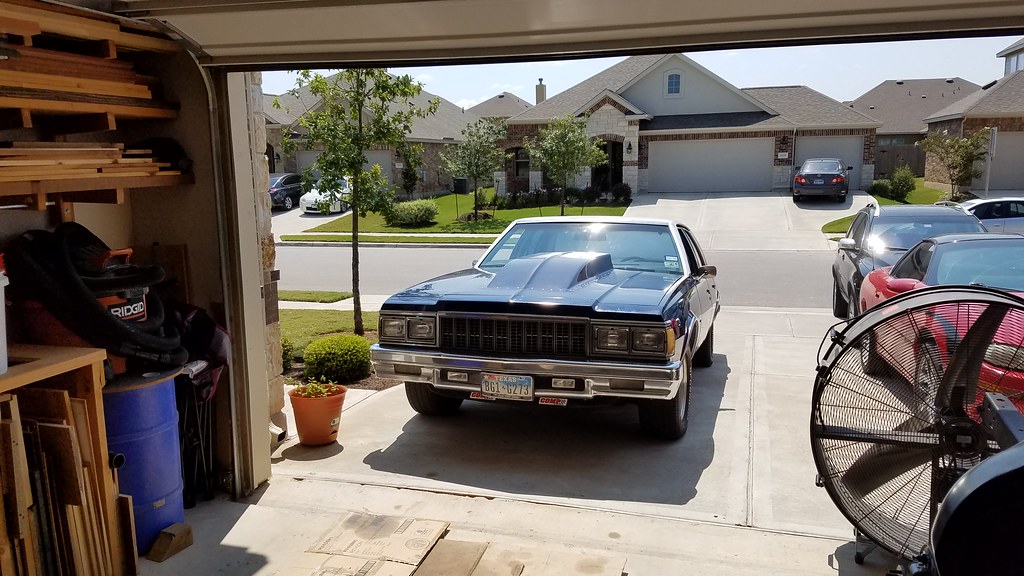 20170910_121528 by bjohnson388, on Flickr 20170910_121528 by bjohnson388, on FlickrOk on to the truck. Started off by installing some parts I got for Xmas last year. New dual horns, chrome TC cover and the front brake lines. 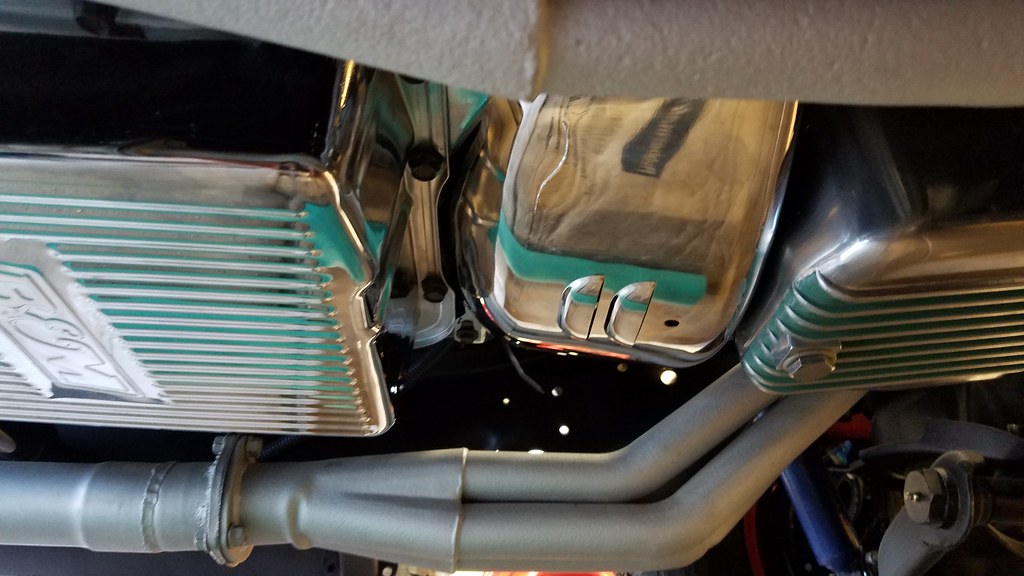 20170907_190823 by bjohnson388, on Flickr 20170907_190823 by bjohnson388, on FlickrAlso bought new rear shoes, MC, and rear axle brake line. Took me 2 hours to locate this box of parts for the rear brakes. They have been patiently waiting in this box for 3 years now. 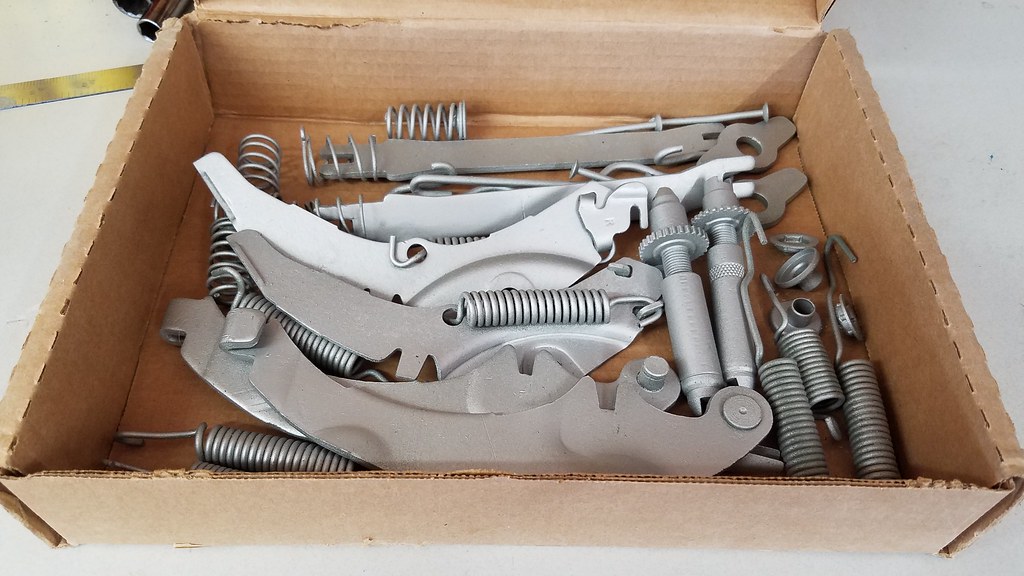 20170907_161151 by bjohnson388, on Flickr 20170907_161151 by bjohnson388, on Flickr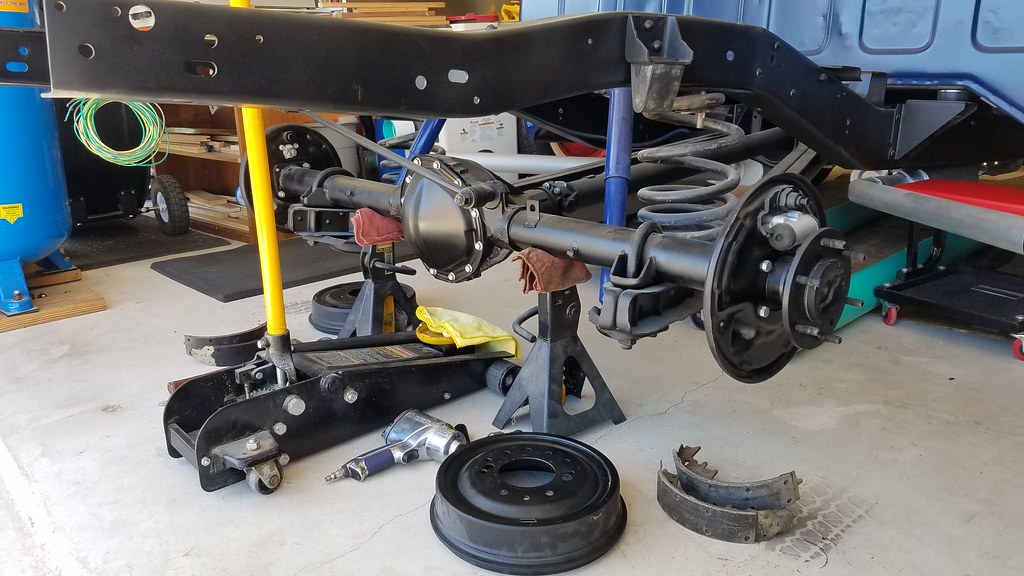 20170907_161113 by bjohnson388, on Flickr 20170907_161113 by bjohnson388, on Flickr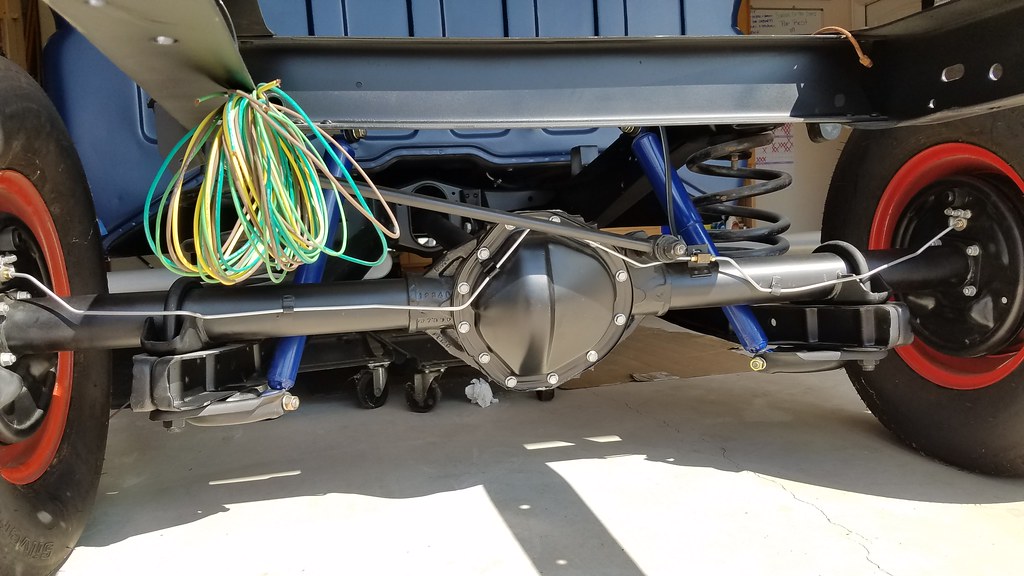 20170917_105415 by bjohnson388, on Flickr 20170917_105415 by bjohnson388, on Flickr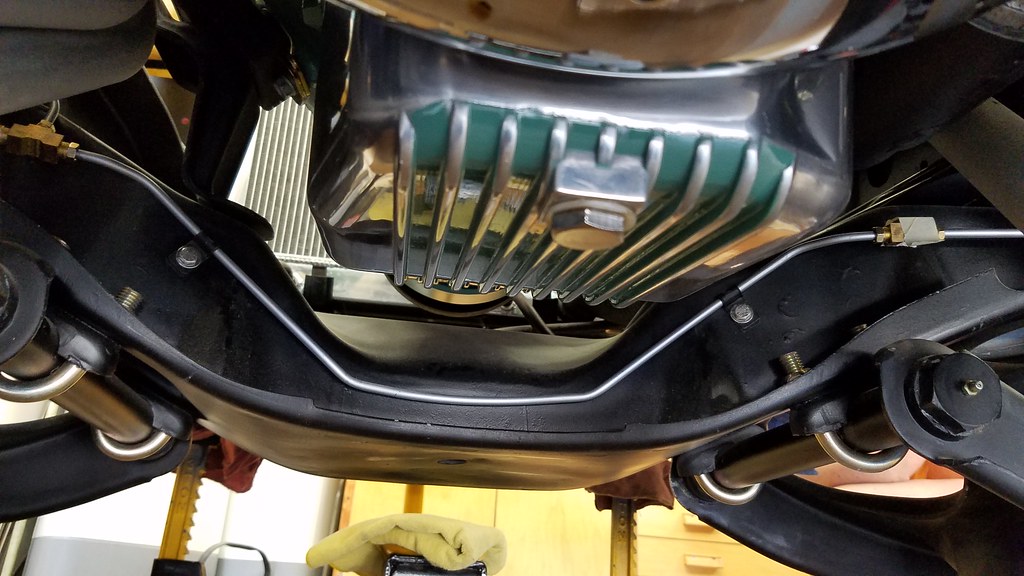 20170914_144425 by bjohnson388, on Flickr 20170914_144425 by bjohnson388, on Flickr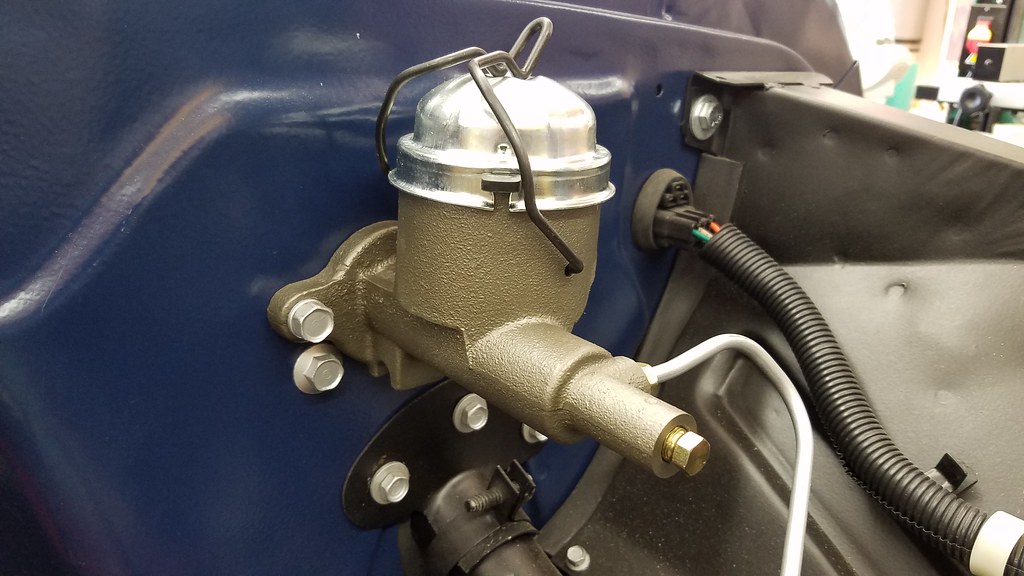 20170914_144344 by bjohnson388, on Flickr 20170914_144344 by bjohnson388, on FlickrNext I finished up the passenger door. It is about 95% there. 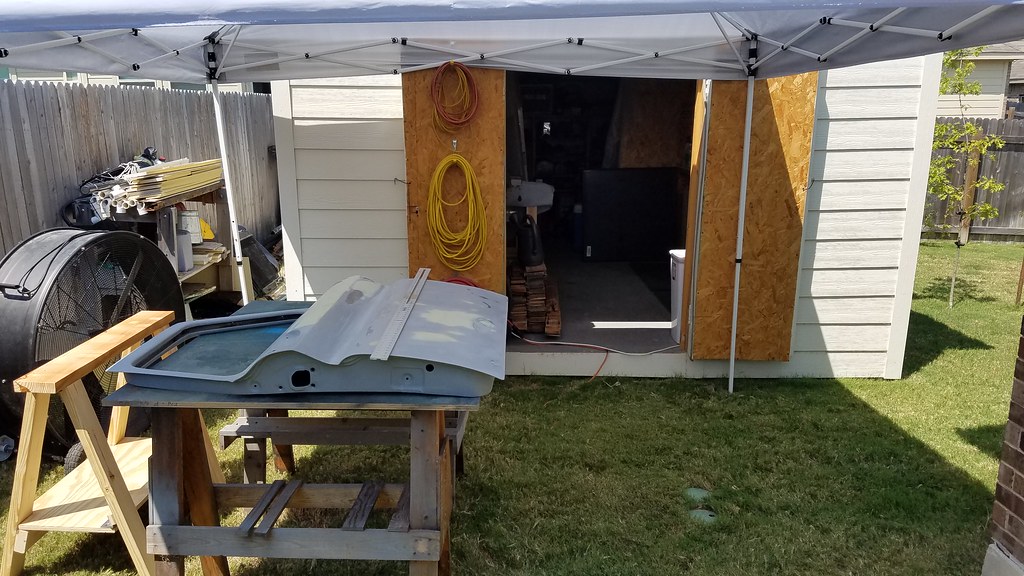 20170910_140818 by bjohnson388, on Flickr 20170910_140818 by bjohnson388, on Flickr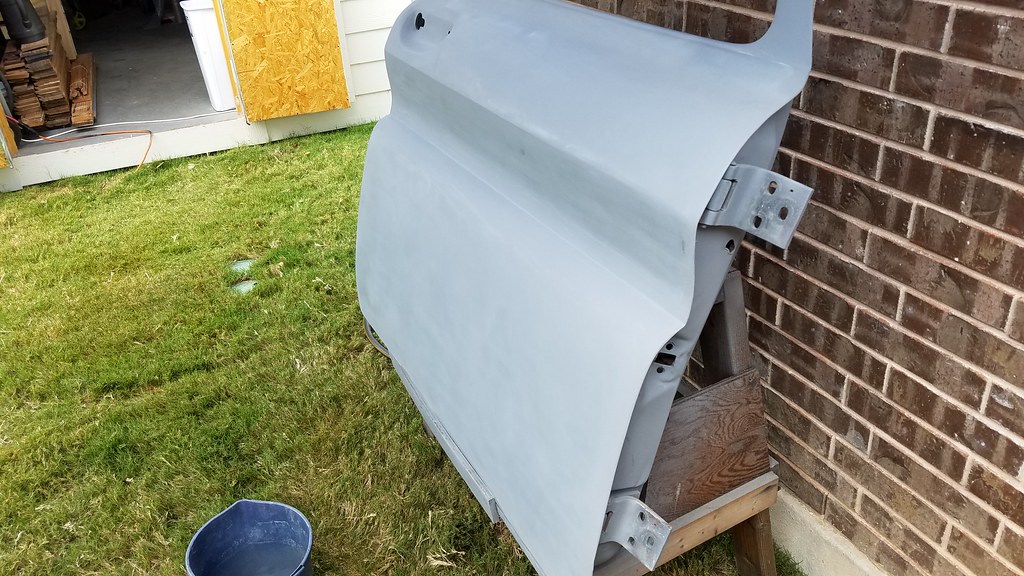 20170910_161746 by bjohnson388, on Flickr 20170910_161746 by bjohnson388, on FlickrDoor installed on truck. It fits pretty good. I just watched on youtube how to get that lower corner pushed in some more. Will give that a try when I get a chance. 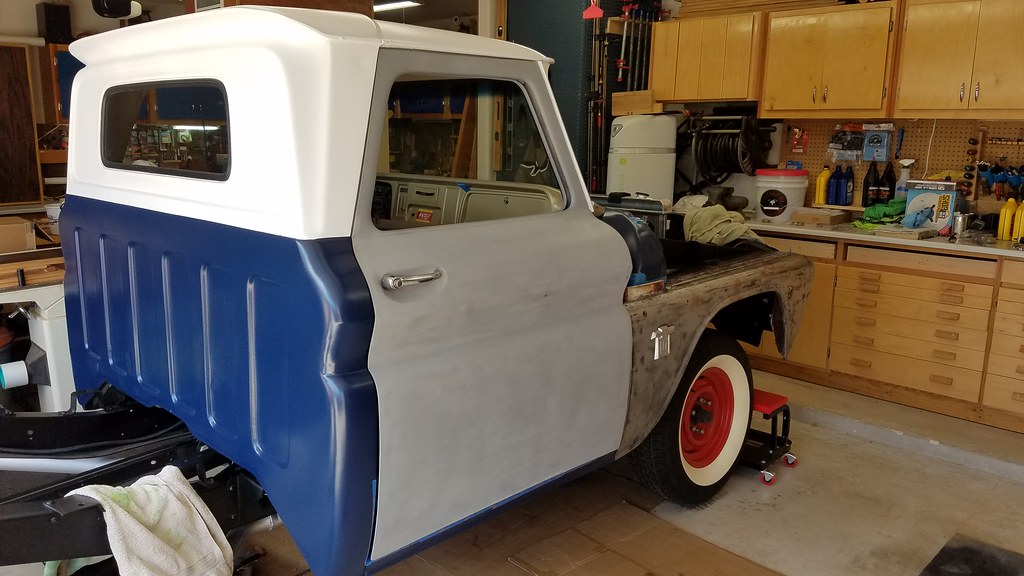 20170917_141504 by bjohnson388, on Flickr 20170917_141504 by bjohnson388, on Flickr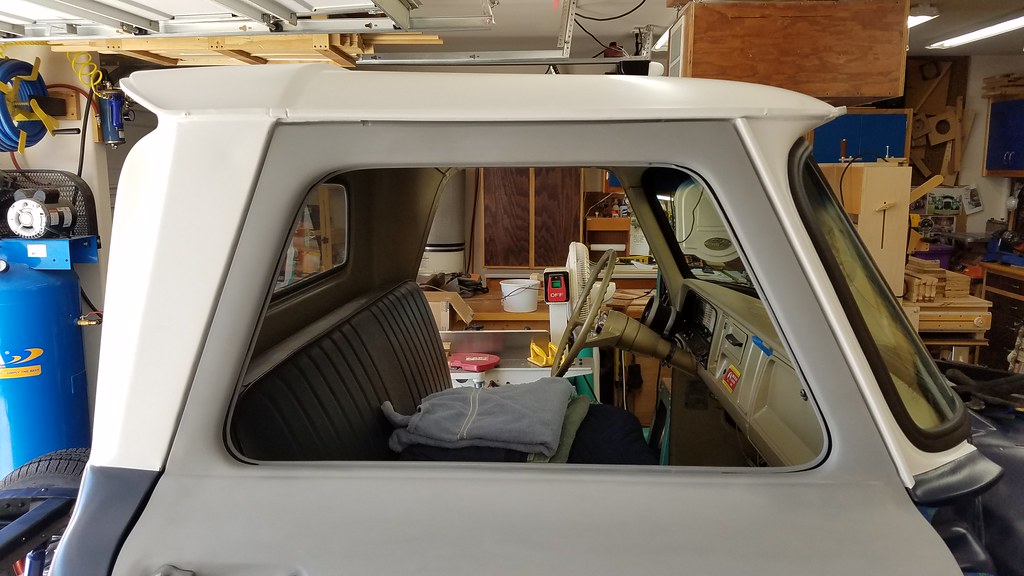 20170917_141512 by bjohnson388, on Flickr 20170917_141512 by bjohnson388, on Flickr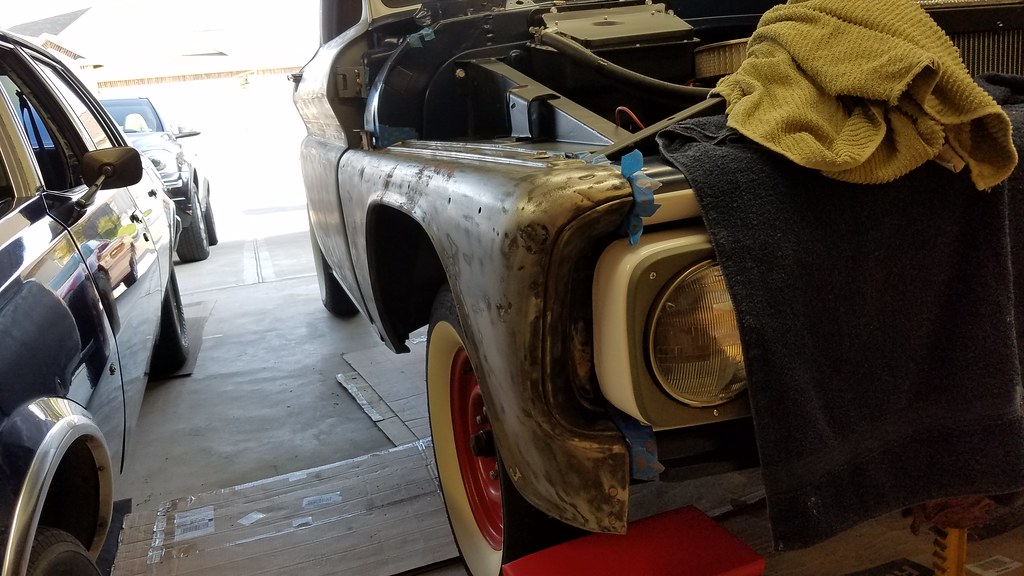 20170917_183030 by bjohnson388, on Flickr 20170917_183030 by bjohnson388, on Flickrto be cont'd Bret
__________________
64' Build Thread http://67-72chevytrucks.com/vboard/s...d.php?t=586955 Last edited by bj383ss; 10-01-2017 at 09:45 AM. |
|
|

|
|
|
#14 |
|
Registered User
Join Date: Dec 2012
Location: Rochester, KENT
Posts: 10,565
|
Re: 64 C10 Stepside "Jaybird"
Great to see you back Bret.
If you stored those brake parts in my shop for three years they would be perfectly patina' by now. Door looks great as do tucked bumpers.
__________________
MY BUILD LINK: http://67-72chevytrucks.com/vboard/s...585901]Redneck Express - 1966 C10 Short Fleetside MY USA ROADTRIPS http://forum.retro-rides.org/thread/...2018-humdinger IF YOU CAN'T FIX IT WITH A HAMMER, YOU'VE GOT AN ELECTRICAL PROBLEM MATE. Last edited by Grizz1963; 10-01-2017 at 09:28 AM. |
|
|

|
|
|
#15 |
|
Registered User
Join Date: Sep 2012
Location: Leander, TX
Posts: 969
|
Re: 64 C10 Stepside "Jaybird"
Next thing to work on was the all original pass fender I got from CustomCab66.
Very minimal rust a few dents to knock out and trim holes to weld up. I also had to fix the stripped out lower nut. Here's how I did that. I tried to drill out the stripped of bolt but the nut came loose from its weld. 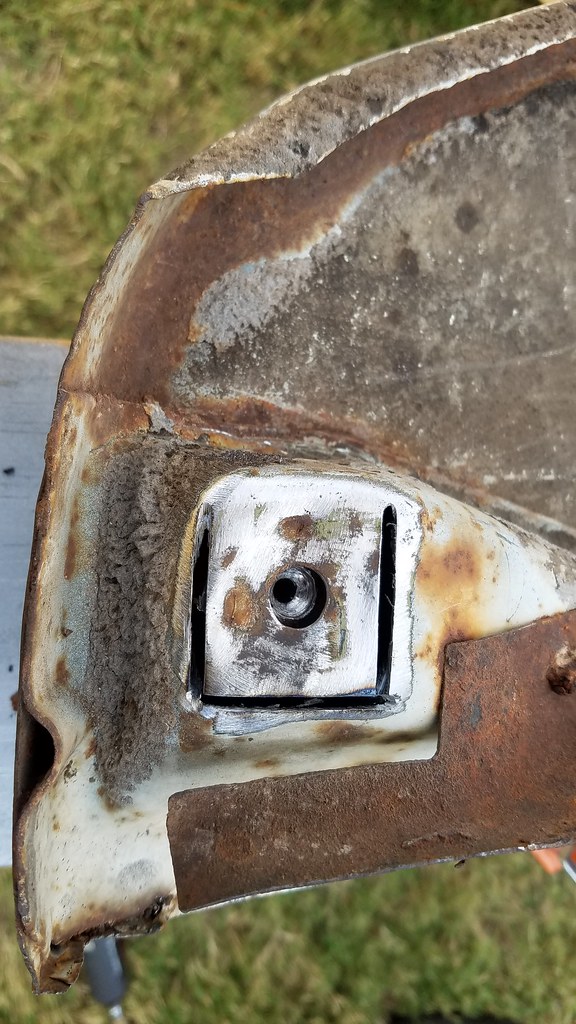 20170921_125741 by bjohnson388, on Flickr 20170921_125741 by bjohnson388, on Flickr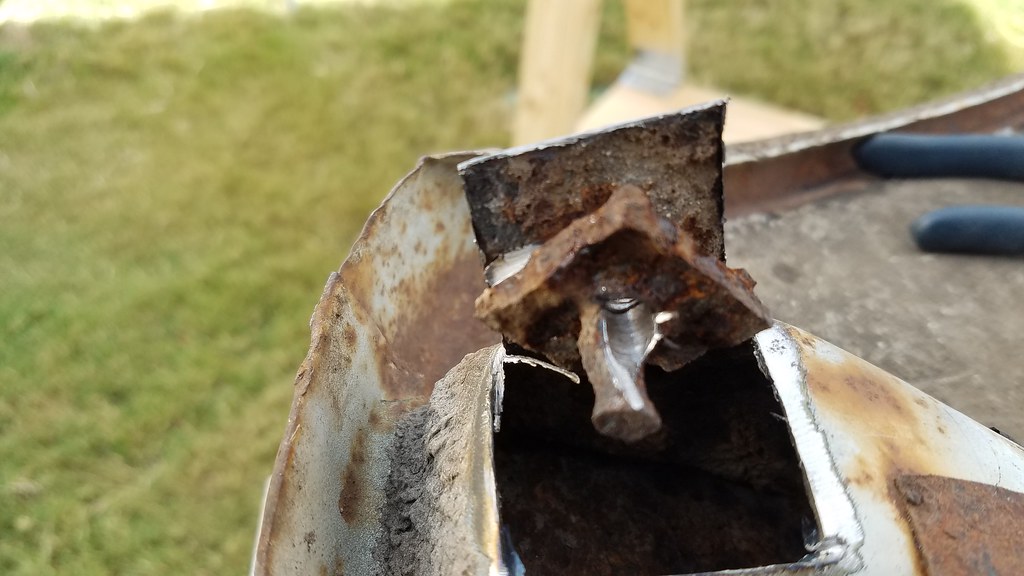 20170921_125909 by bjohnson388, on Flickr 20170921_125909 by bjohnson388, on Flickr 20170921_130335 by bjohnson388, on Flickr 20170921_130335 by bjohnson388, on Flickr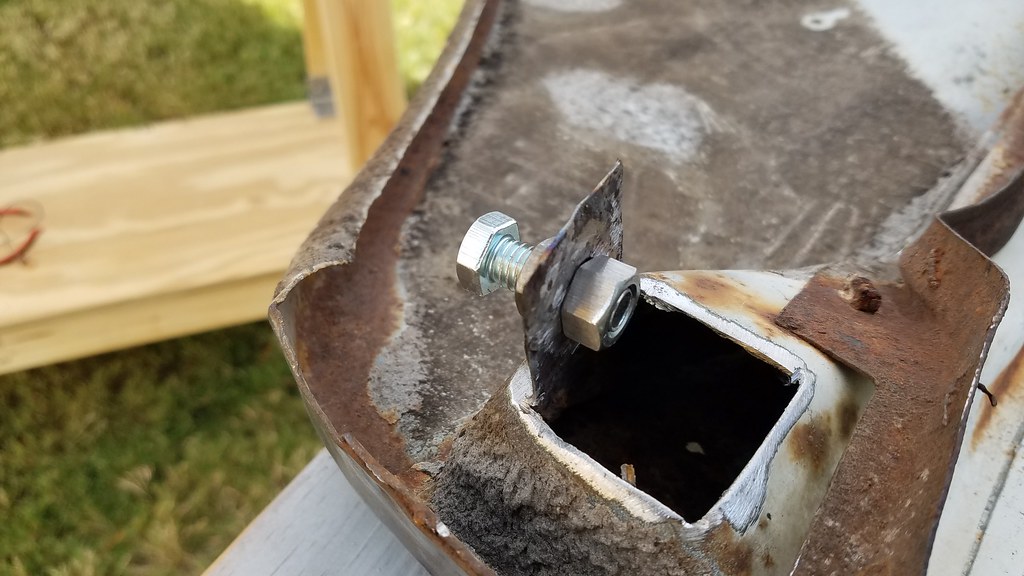 20170921_132021 by bjohnson388, on Flickr 20170921_132021 by bjohnson388, on FlickrYes my weld is ugly but it plenty strong. 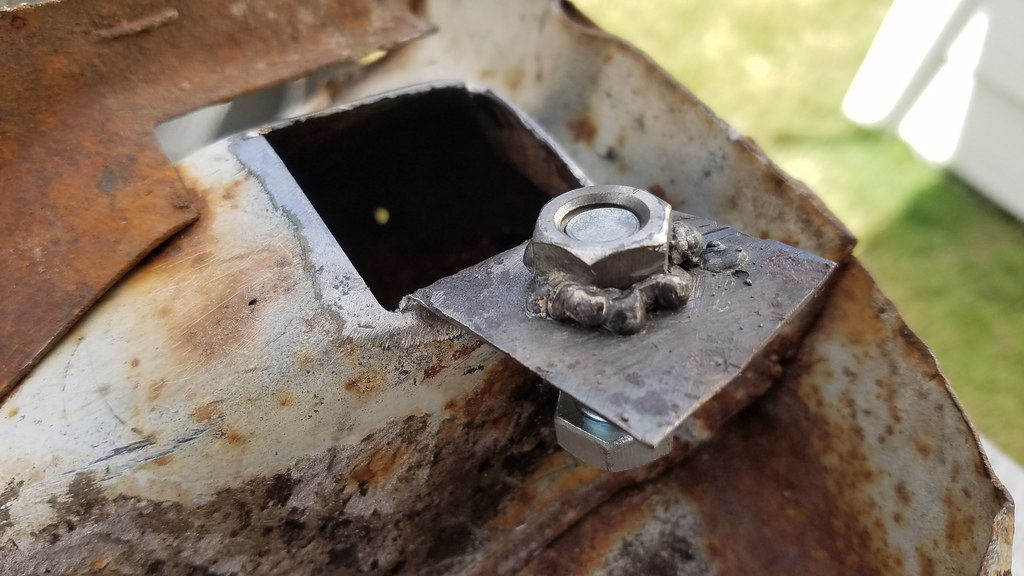 20170921_134630 by bjohnson388, on Flickr 20170921_134630 by bjohnson388, on Flickr 20170921_141822 by bjohnson388, on Flickr 20170921_141822 by bjohnson388, on Flickr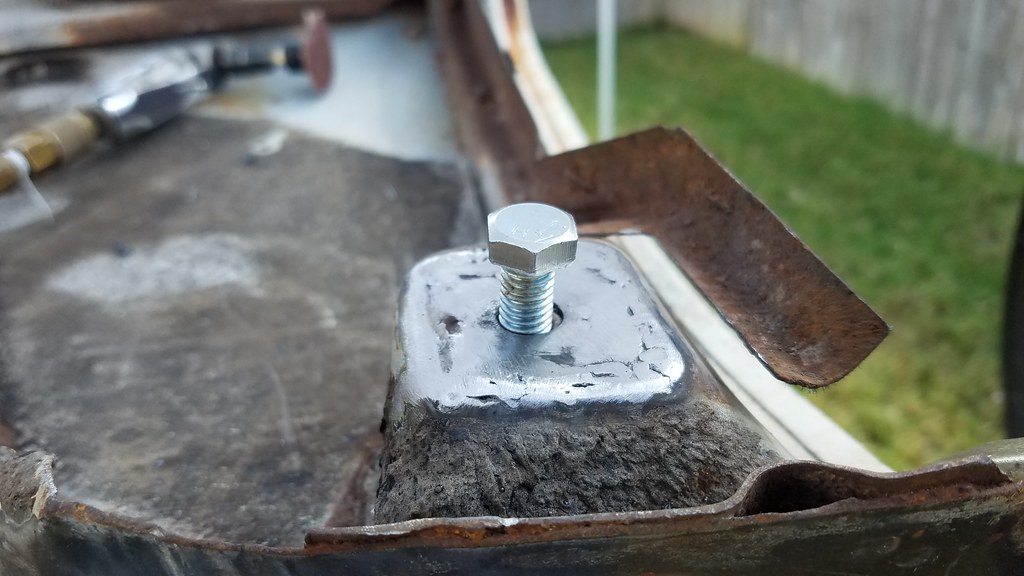 20170921_141839 by bjohnson388, on Flickr 20170921_141839 by bjohnson388, on FlickrFilling the trim holes next. 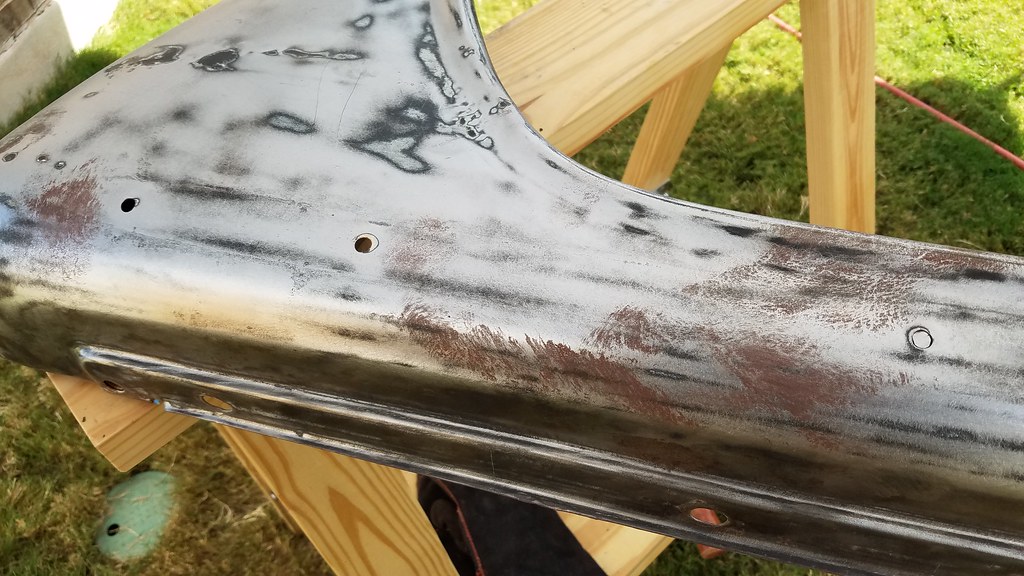 20170921_143812 by bjohnson388, on Flickr 20170921_143812 by bjohnson388, on FlickrNot to bad for a amateur welder I mean grinder.  20170921_154805 by bjohnson388, on Flickr 20170921_154805 by bjohnson388, on FlickrHad a very small cancer hole at the bottom I drilled out with a bit and welded in a nail head. Worked great.  20170921_163109 by bjohnson388, on Flickr 20170921_163109 by bjohnson388, on Flickr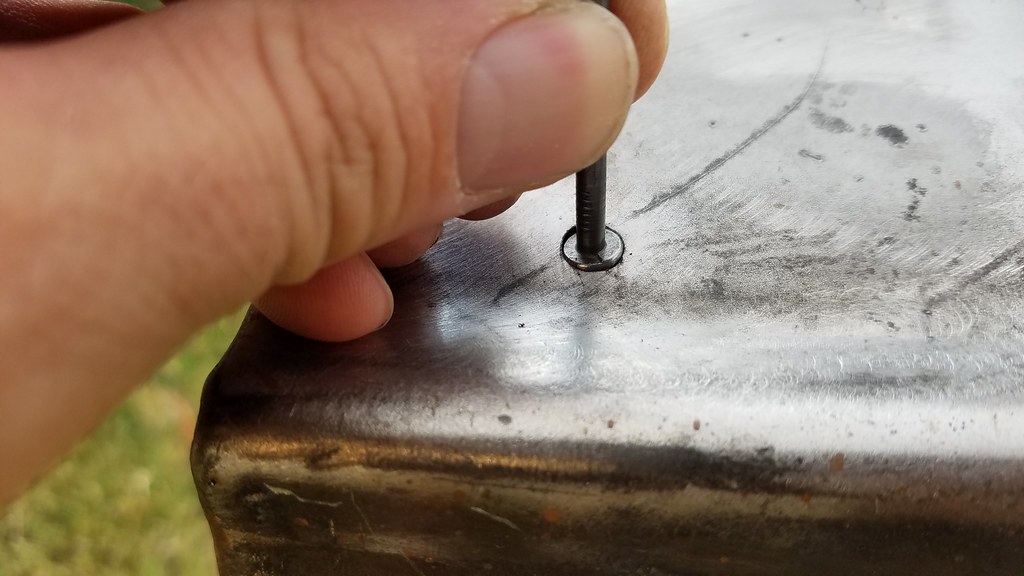 20170924_110239 by bjohnson388, on Flickr 20170924_110239 by bjohnson388, on Flickr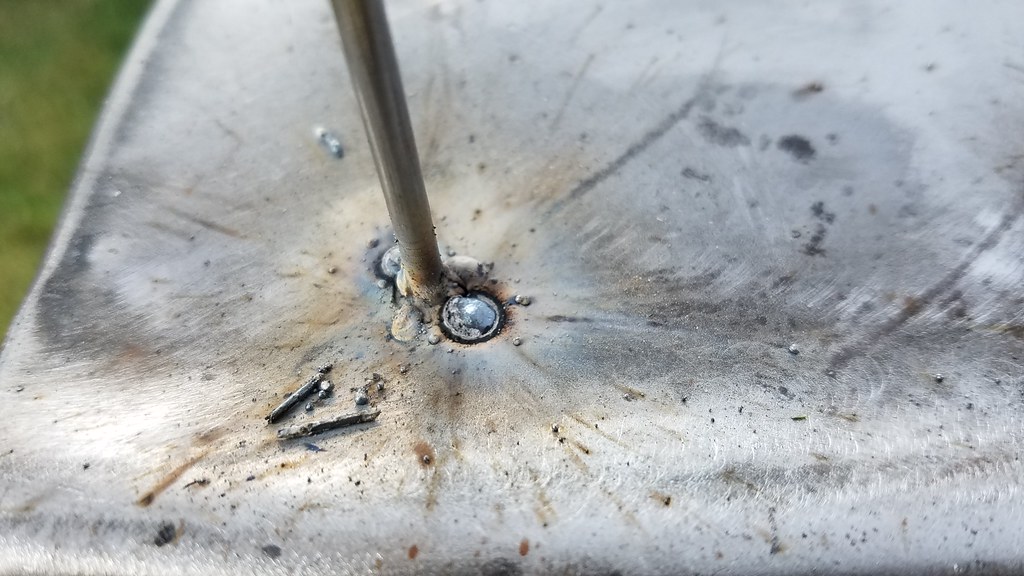 20170924_111006 by bjohnson388, on Flickr 20170924_111006 by bjohnson388, on Flickr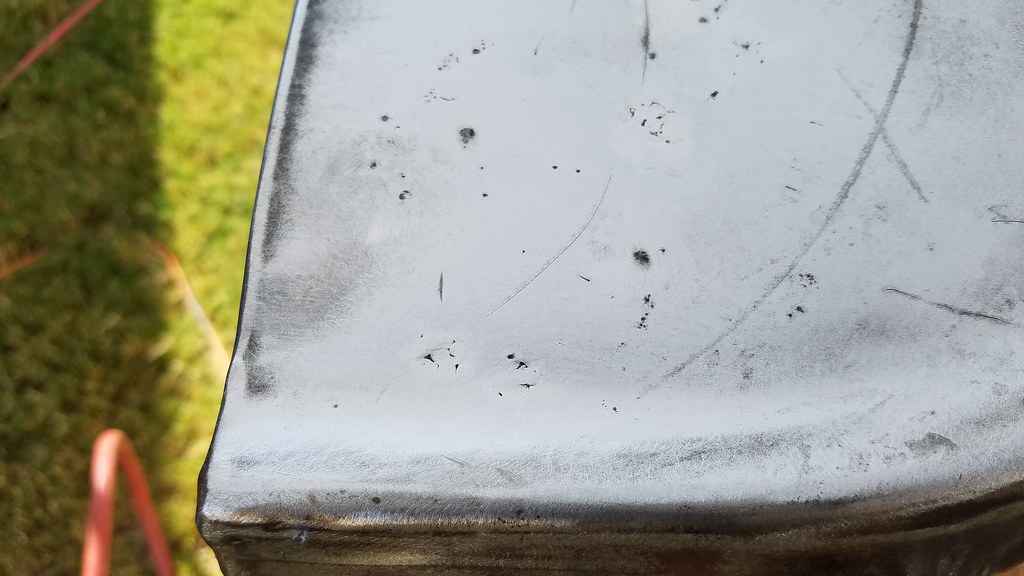 20170924_113957 by bjohnson388, on Flickr 20170924_113957 by bjohnson388, on FlickrCleaning the inside next.  20170924_115629 by bjohnson388, on Flickr 20170924_115629 by bjohnson388, on Flickr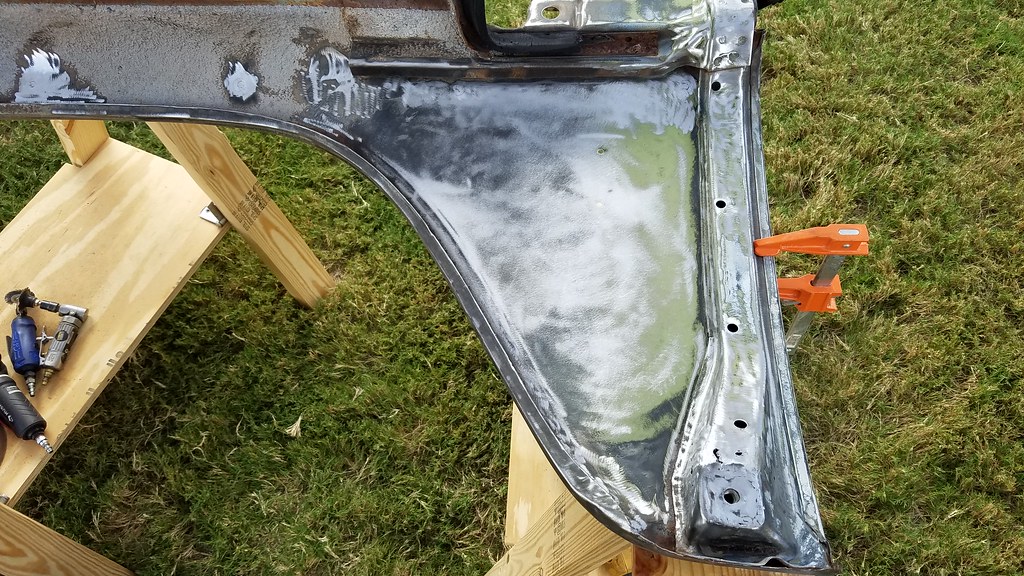 20170924_122451 by bjohnson388, on Flickr 20170924_122451 by bjohnson388, on Flickr 20170924_125936 by bjohnson388, on Flickr 20170924_125936 by bjohnson388, on FlickrRust encapsulator on the places I couldn't reach and etching primer on the rest. 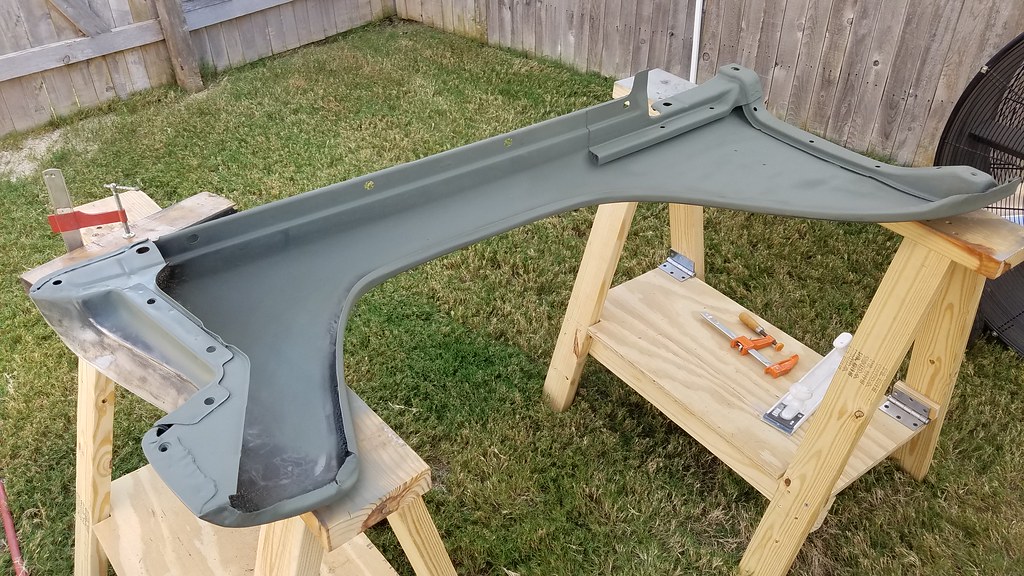 20170924_162213 by bjohnson388, on Flickr 20170924_162213 by bjohnson388, on Flickr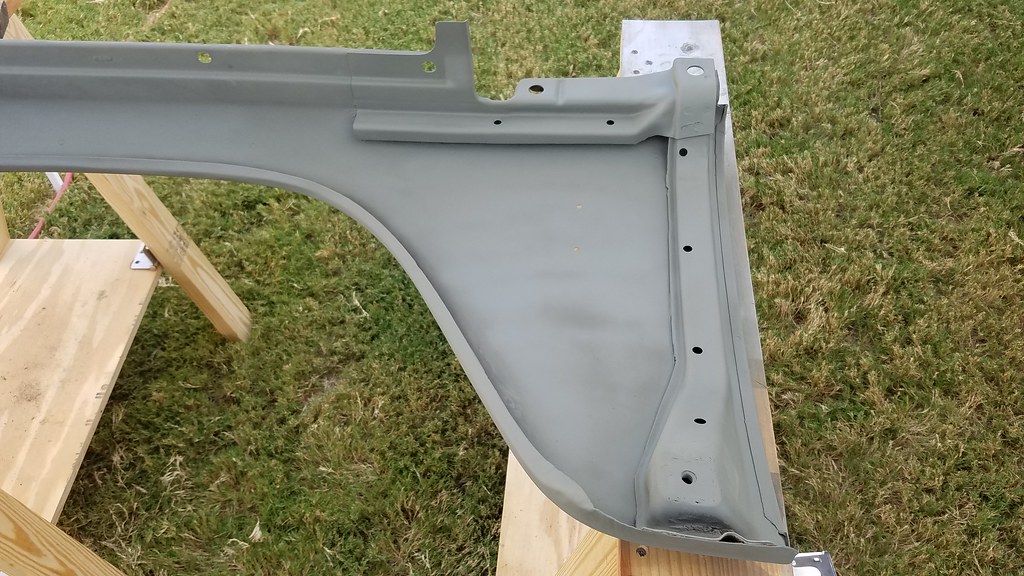 20170924_162208 by bjohnson388, on Flickr 20170924_162208 by bjohnson388, on FlickrSome Metal 2 metal for all my welds and a few small dents.  20170929_145035 by bjohnson388, on Flickr 20170929_145035 by bjohnson388, on FlickrHad to work in the shed on Friday due to the rain. 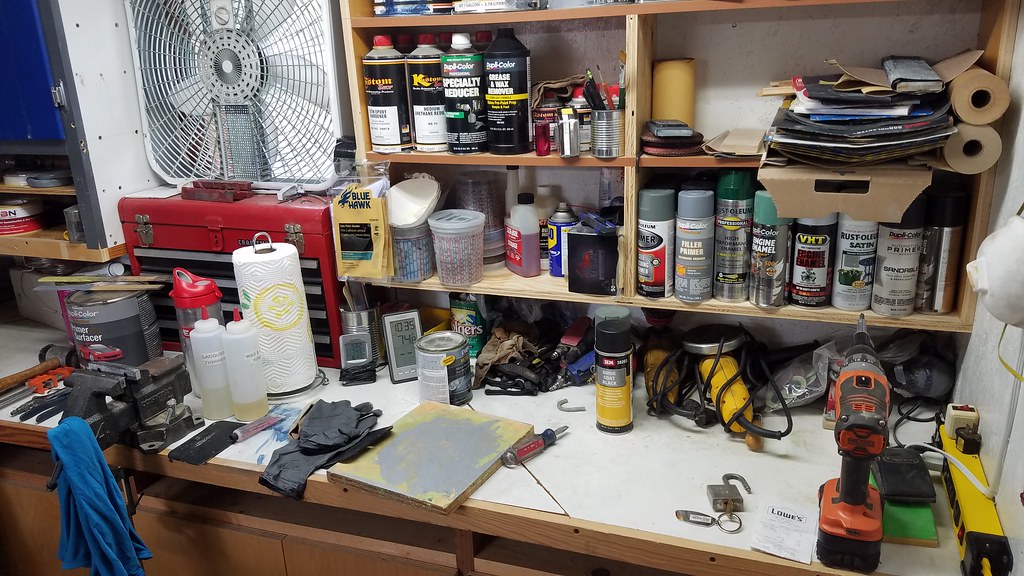 20170929_145054 by bjohnson388, on Flickr 20170929_145054 by bjohnson388, on FlickrIn primer. Almost there. Just needs some high build and some blocking.  20170929_175530 by bjohnson388, on Flickr 20170929_175530 by bjohnson388, on Flickr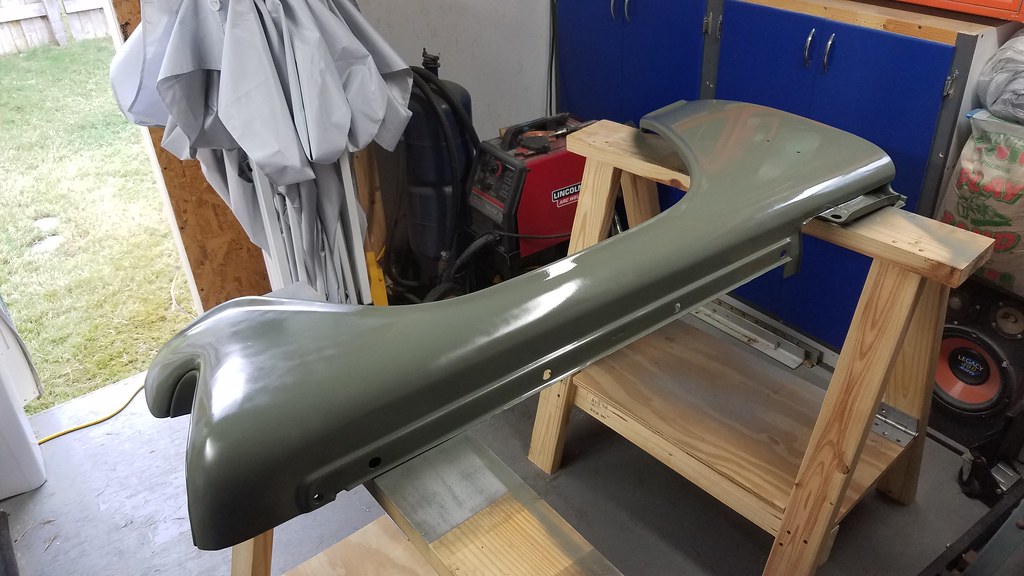 20170929_175541 by bjohnson388, on Flickr 20170929_175541 by bjohnson388, on Flickr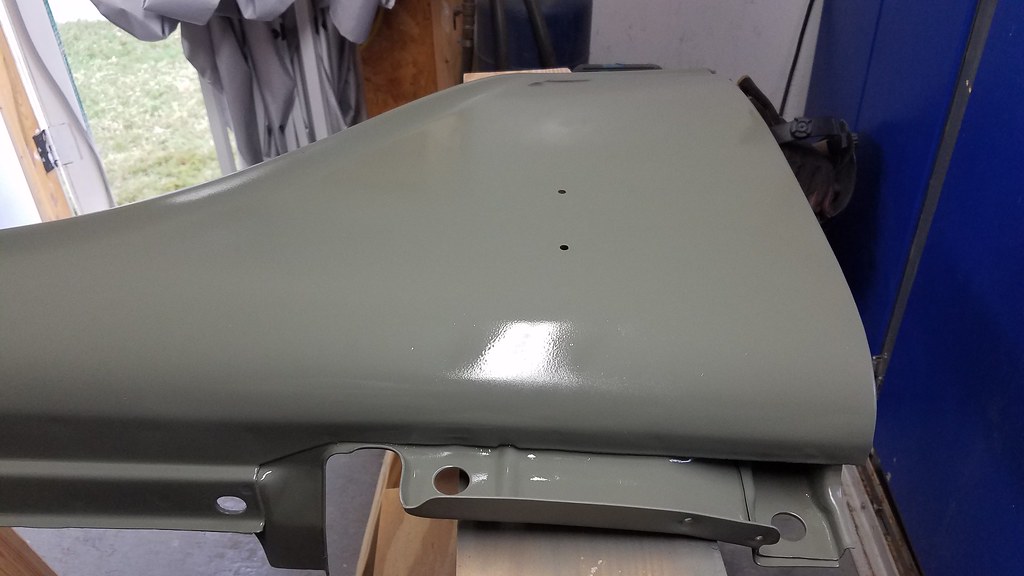 20170929_175546 by bjohnson388, on Flickr 20170929_175546 by bjohnson388, on FlickrHigh build. 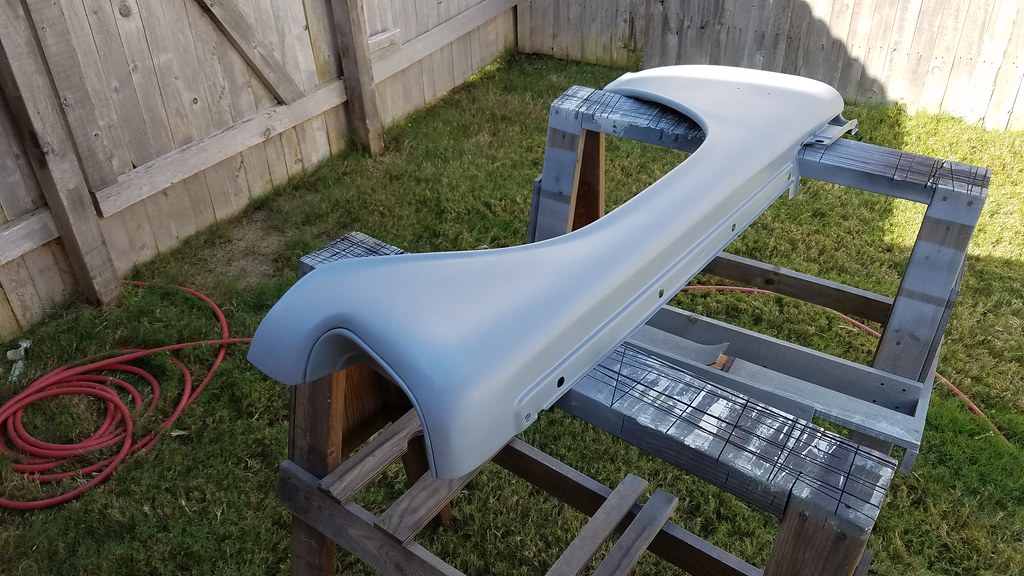 20170930_095843 by bjohnson388, on Flickr 20170930_095843 by bjohnson388, on FlickrWhile I was waiting on that to dry started on this disaster again. It warped on me pretty bad even though I only welded a few spots far apart and gave it time to cool. This door is junk but for now going to make it work. 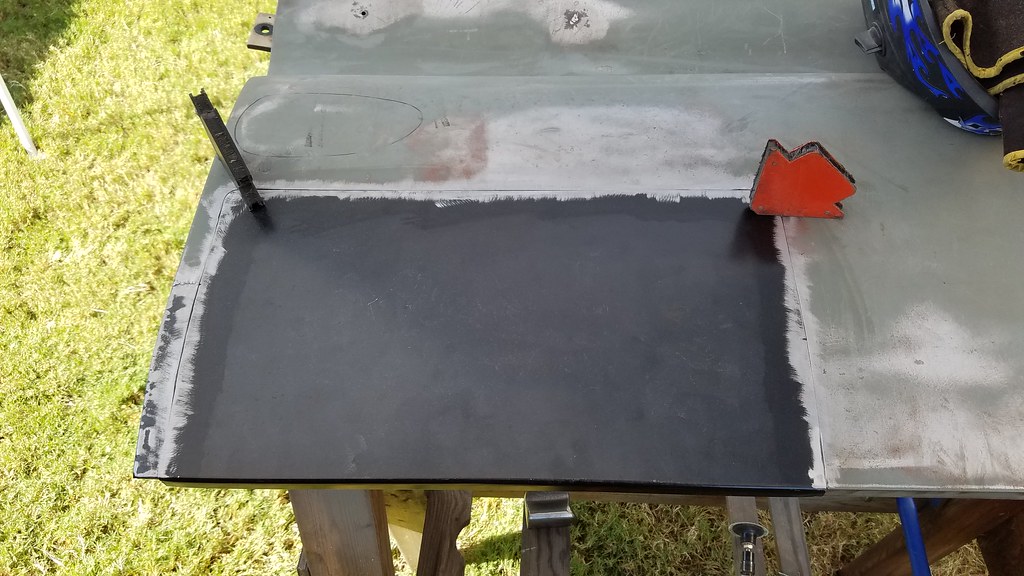 20170930_113032 by bjohnson388, on Flickr 20170930_113032 by bjohnson388, on FlickrBret
__________________
64' Build Thread http://67-72chevytrucks.com/vboard/s...d.php?t=586955 Last edited by bj383ss; 10-01-2017 at 09:47 AM. |
|
|

|
|
|
#16 |
|
Registered User
 Join Date: Mar 2013
Location: Southern Oregon
Posts: 10,384
|
Re: 64 C10 Stepside "Jaybird"
Glad you got motorvated again man! Looks great and keep up the good work!
__________________
1966 Chevy C10 "Project Two Tone" http://67-72chevytrucks.com/vboard/s...d.php?t=596643 1964 GMC "Crustine" semi-build:http://67-72chevytrucks.com/vboard/s...d.php?t=665056 My youtube channel. Username "Military Chevy": https://www.youtube.com/channel/UC_h...fzpcUXyK_5-uiw |
|
|

|
|
|
#17 |
|
Registered User
Join Date: Nov 2014
Location: Omaha
Posts: 558
|
Re: 64 C10 Stepside "Jaybird"

|
|
|

|
|
|
#18 |
|
Registered User
Join Date: Apr 2011
Location: .
Posts: 3,104
|
Re: 64 C10 Stepside "Jaybird"
One of the hardest things is motivation. Glad to see you're hard at it again.
Totally understand about doors. They push a guy to the limit. Mine have anyways. Following,,, always was and still am. |
|
|

|
|
|
#19 | |||
|
Registered User
Join Date: Sep 2012
Location: Leander, TX
Posts: 969
|
Re: 64 C10 Stepside "Jaybird"
Quote:
Thanks Mike. Quote:
Quote:
Bret
__________________
64' Build Thread http://67-72chevytrucks.com/vboard/s...d.php?t=586955 |
|||
|
|

|
|
|
#20 |
|
Registered User
Join Date: Sep 2012
Location: Leander, TX
Posts: 969
|
Re: 64 C10 Stepside "Jaybird"
I didn't get as much done today as I wanted but I made some progress.
I started the morning with the driver door and came to the realization that I messed it up too bad for myself to fix so I ordered a whole new door skin. Third time will be the charm I hope. My plan is to just replace the bottom half right below the bottom belt line in the crown. I did a block sand on the passenger fender and then fitted it to the truck to see where I am at. The front fits very good. The lower back will need a few more spacers to bring it out even with the rocker and I will need to massage the bottom of the door in with the hammer and dolly just a little bit.  20171001_113232 by bjohnson388, on Flickr 20171001_113232 by bjohnson388, on FlickrAfter I took this pic I realized it was just a little bit too low to the front panel. 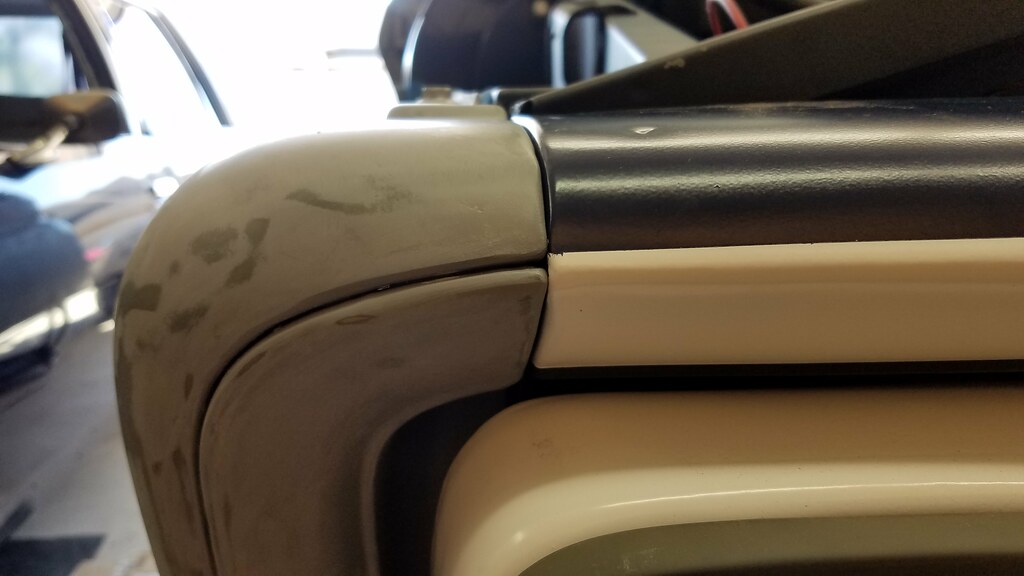 20171001_113249 by bjohnson388, on Flickr 20171001_113249 by bjohnson388, on Flickr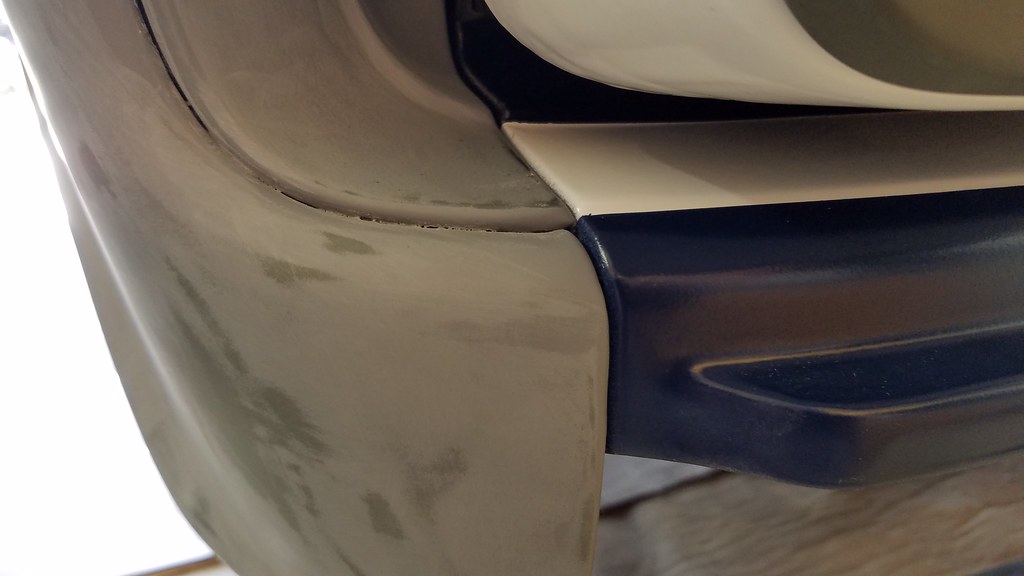 20171001_113252 by bjohnson388, on Flickr 20171001_113252 by bjohnson388, on FlickrOnce I bring the fender out and massage the door a little bit I think this will all look about right. 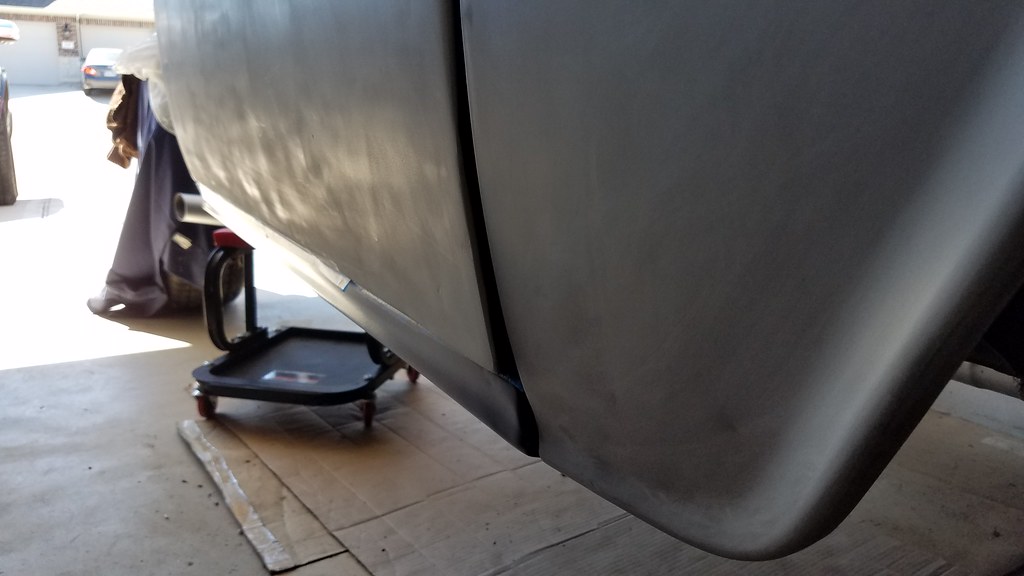 20171001_113341 by bjohnson388, on Flickr 20171001_113341 by bjohnson388, on FlickrThe door needs to be moved forward just a bit as well. 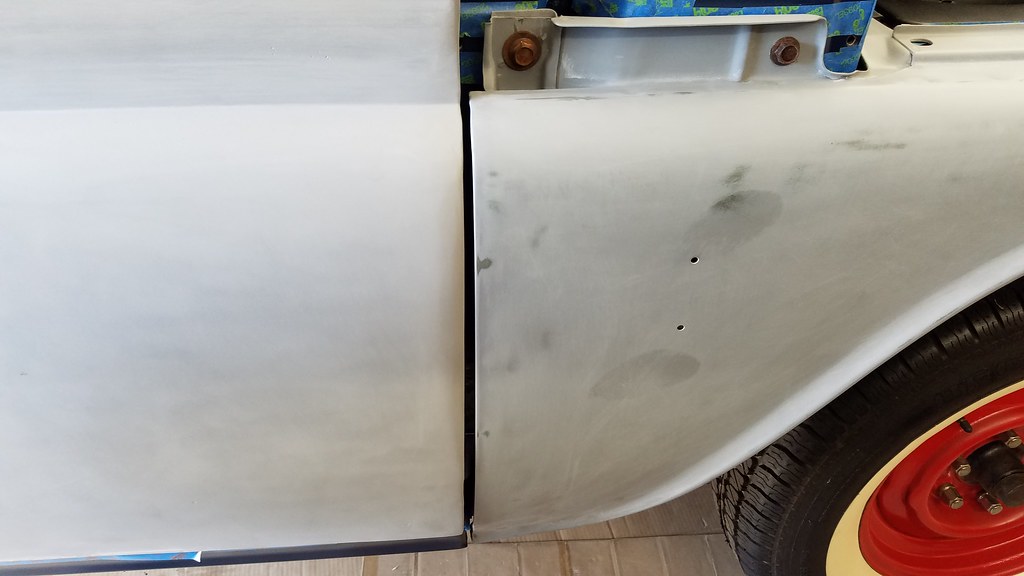 20171001_113350 by bjohnson388, on Flickr 20171001_113350 by bjohnson388, on Flickr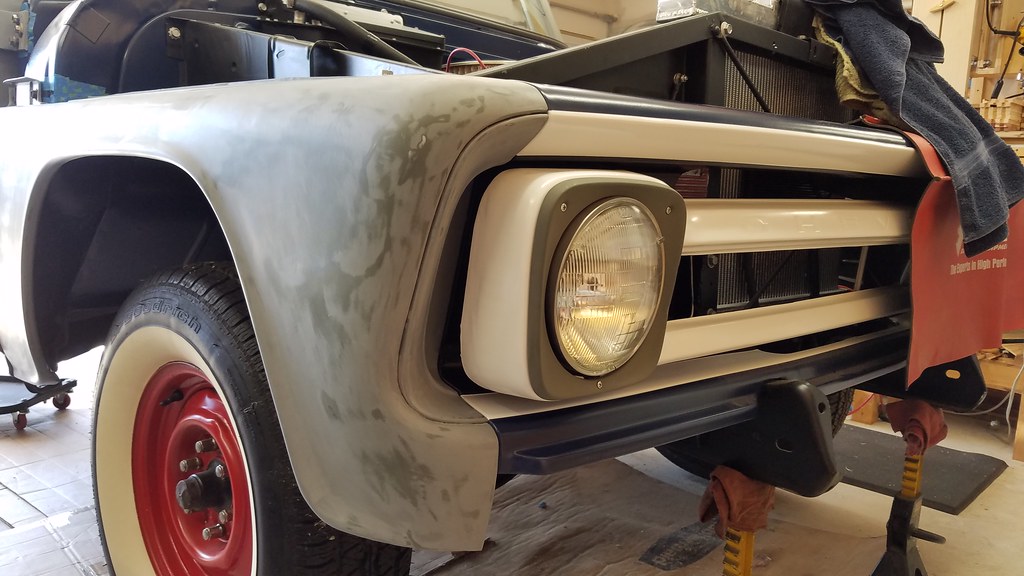 20171001_113304 by bjohnson388, on Flickr 20171001_113304 by bjohnson388, on FlickrIt feels really good to see the door and the fender back on and very close for the first time in almost 4 years.  20171001_113403 by bjohnson388, on Flickr 20171001_113403 by bjohnson388, on FlickrSo while I wait for the door skin to arrive I tackled the driver fender patch.  20171001_141311 by bjohnson388, on Flickr 20171001_141311 by bjohnson388, on Flickr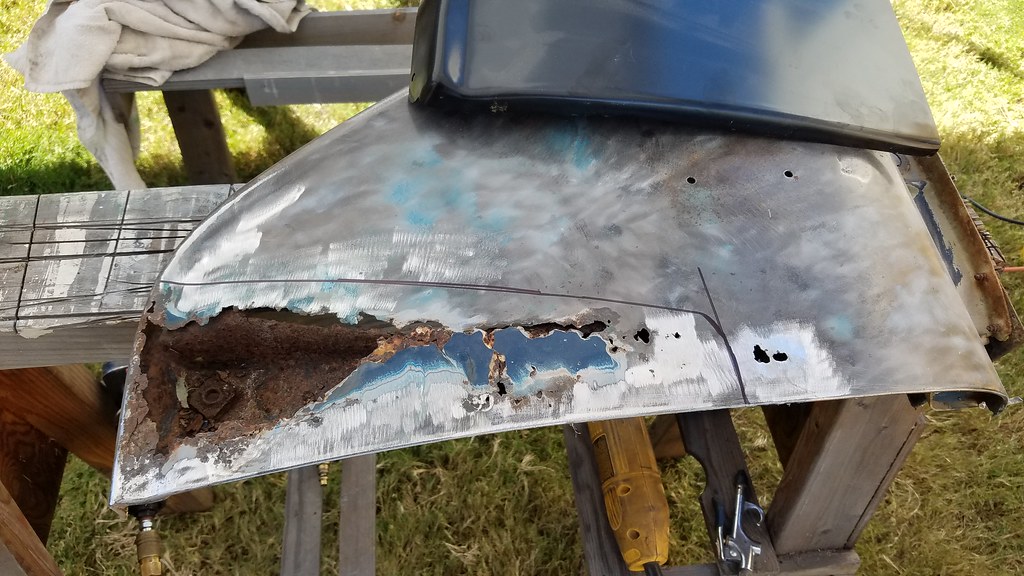 20171001_141315 by bjohnson388, on Flickr 20171001_141315 by bjohnson388, on FlickrFollowing some tips from a youtube video from Gibson63. I took a bunch of measurements to make sure I get back in the same place since my patch is rather large and I have to replace in the bottom of the inner brace. 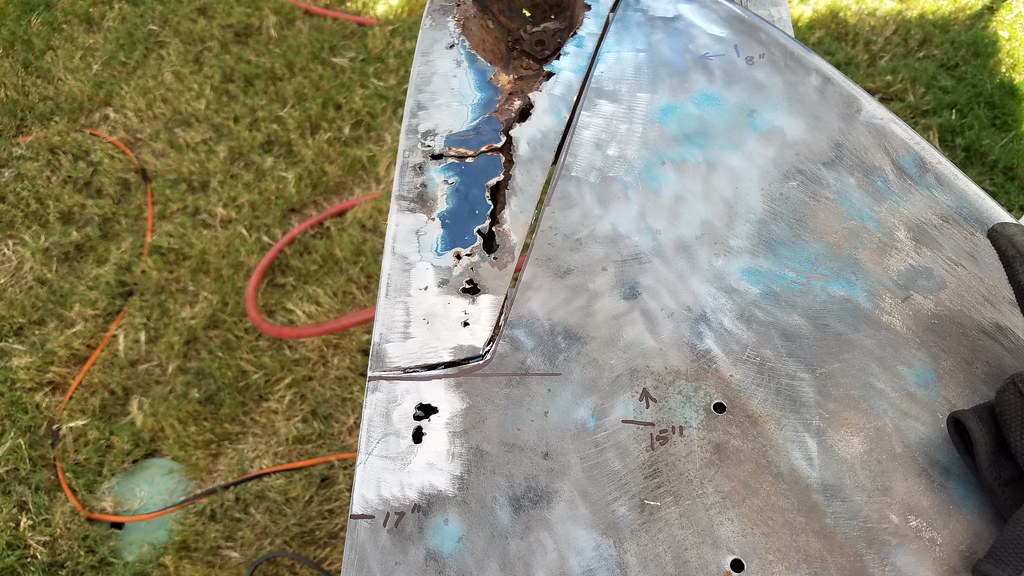 20171001_142153 by bjohnson388, on Flickr 20171001_142153 by bjohnson388, on Flickr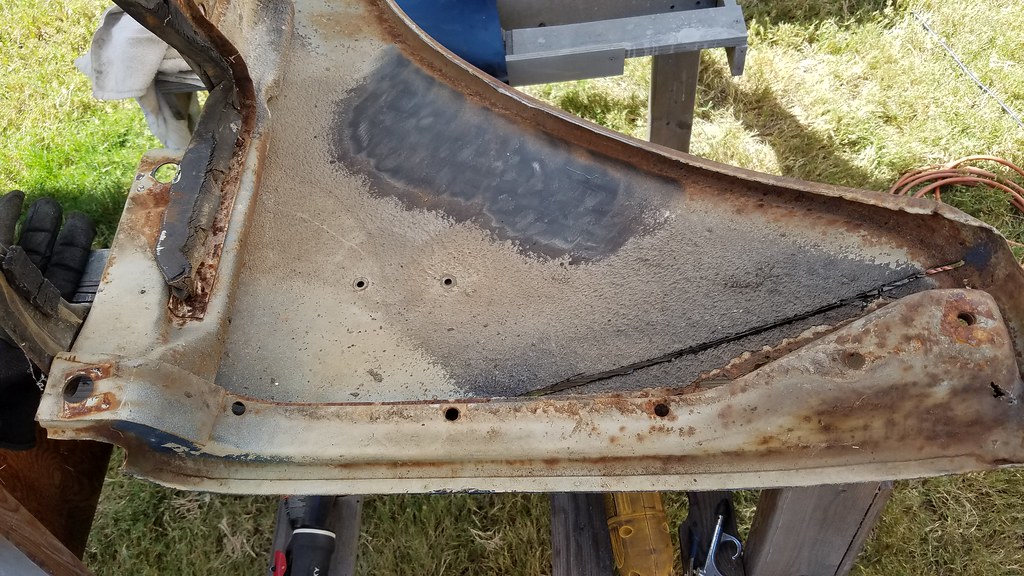 20171001_142701 by bjohnson388, on Flickr 20171001_142701 by bjohnson388, on FlickrThis is the original color of my truck Fawn. I am not a fan. 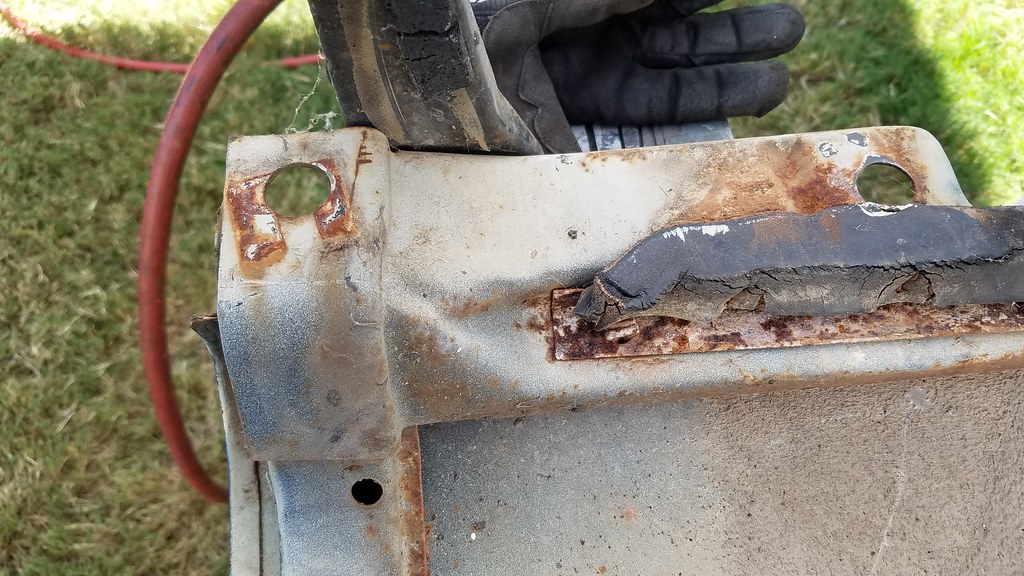 20171001_142704 by bjohnson388, on Flickr 20171001_142704 by bjohnson388, on FlickrScribed a line on the patch a little oversize so I can sneak up on the fit. 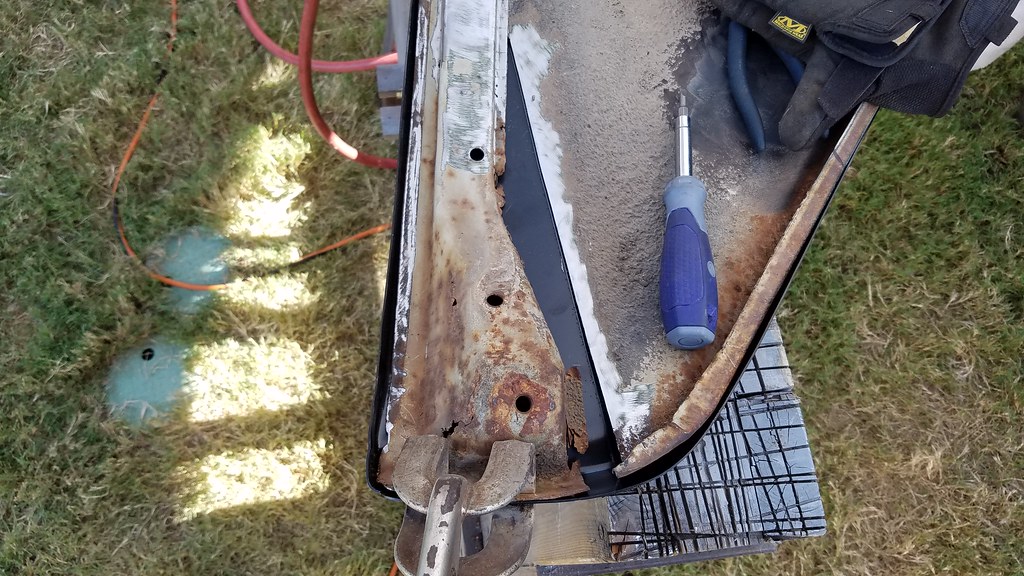 20171001_161736 by bjohnson388, on Flickr 20171001_161736 by bjohnson388, on FlickrI was getting the patch close and my parents stopped by and before I knew the afternoon was gone. 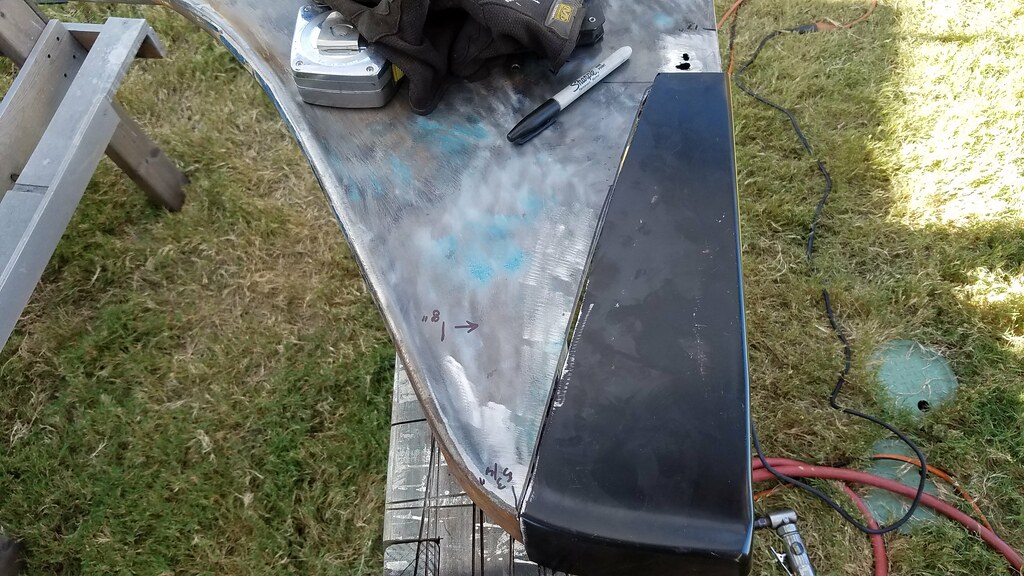 20171001_164210 by bjohnson388, on Flickr 20171001_164210 by bjohnson388, on FlickrWill pick back up on it in the morning. Bret
__________________
64' Build Thread http://67-72chevytrucks.com/vboard/s...d.php?t=586955 |
|
|

|
|
|
#21 |
|
Registered User
Join Date: Sep 2013
Location: Kent England
Posts: 1,025
|
Re: 64 C10 Stepside "Jaybird"
Glad to see you back at it Bret , as they say progress is progress . Shame about the drivers door , but the wing is looking good
__________________
FINALLY PUTTING IT BACK TOGETHER AT LONG LAST MY BUILD THREAD: http://67-72chevytrucks.com/vboard/s...d.php?t=611614 |
|
|

|
|
|
#22 |
|
Senior Member
 Join Date: Oct 2009
Location: Fayetteville, Arkansas
Posts: 1,923
|
Re: 64 C10 Stepside "Jaybird"
Nice work on the right fender and the door. Looks like everything will fit together just fine though sometime the micro adjustments can drive you crazy. Keep after it Bro.
|
|
|

|
|
|
#23 |
|
Registered User
Join Date: Apr 2012
Location: Searcy, AR
Posts: 4,203
|
Re: 64 C10 Stepside "Jaybird"
Bret,
Glad to see you back in the groove... Looking good. I too used nail heads to fill holes, worked great.  
__________________
DON Proverbs 27:17  US Air Force Retarded errr Retired My '65 Stepper Build:http://67-72chevytrucks.com/vboard/s...d.php?t=533920 My '60 Rusty Patina Build:http://67-72chevytrucks.com/vboard/s...66#post7402266 My '72 http://67-72chevytrucks.com/vboard/s...59#post7204359 SOLD |
|
|

|
|
|
#24 |
|
Registered User
Join Date: Dec 2012
Location: Rochester, KENT
Posts: 10,565
|
Re: 64 C10 Stepside "Jaybird"
Just loving this Bret.
Fender repairs are part of my futur.
__________________
MY BUILD LINK: http://67-72chevytrucks.com/vboard/s...585901]Redneck Express - 1966 C10 Short Fleetside MY USA ROADTRIPS http://forum.retro-rides.org/thread/...2018-humdinger IF YOU CAN'T FIX IT WITH A HAMMER, YOU'VE GOT AN ELECTRICAL PROBLEM MATE. |
|
|

|
|
|
#25 | |||
|
Registered User
Join Date: Sep 2012
Location: Leander, TX
Posts: 969
|
Re: 64 C10 Stepside "Jaybird"
Quote:
Quote:
Quote:
Looking forward to future endeavors Rian. HeHe. Bret
__________________
64' Build Thread http://67-72chevytrucks.com/vboard/s...d.php?t=586955 |
|||
|
|

|
 |
| Bookmarks |
|
|