
|
|
|
 02-02-2016, 01:07 AM
|
#1 |
|
Registered User
Join Date: Jan 2013
Location: Leonardtown, MD
Posts: 1,637
|
Re: 55 Wagon Progress
We worked Sunday this past weekend, Kyle got a few more pieces media blasted so we could get some epoxy sprayed.. Then, as I was spraying, Kyle gave the wagon a Scotchbrite scrub with some soapy water to neutralize the soda...
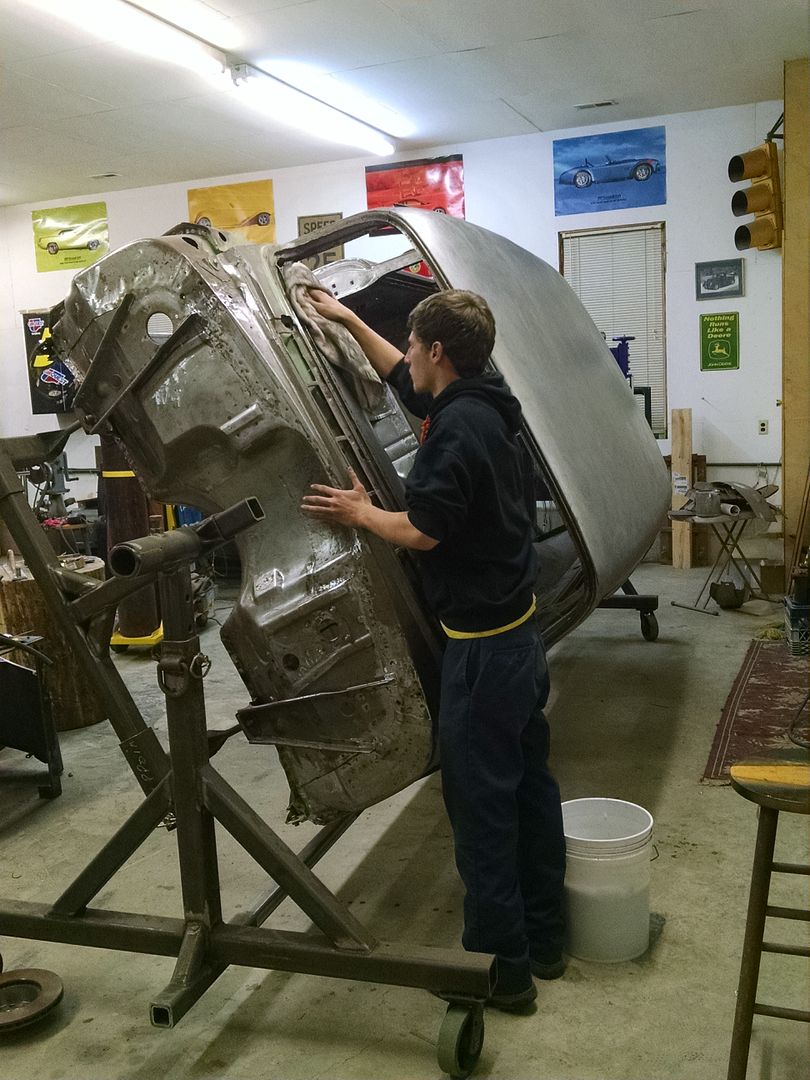 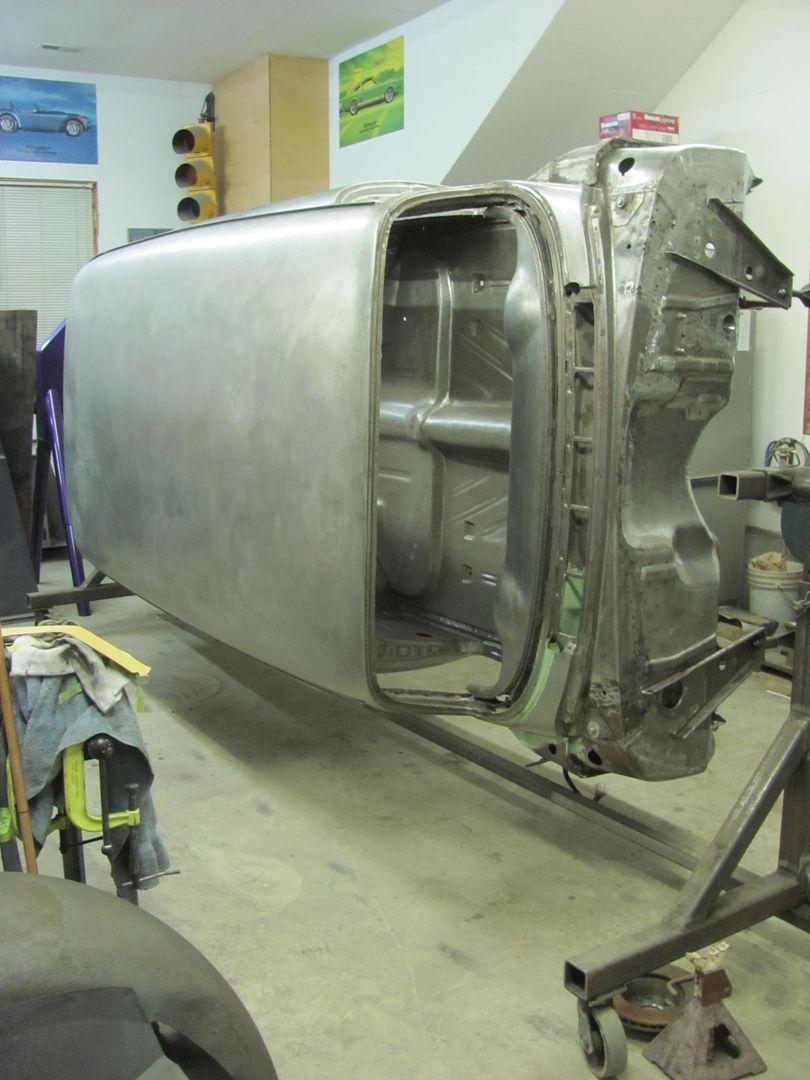 Doors moved out of the way.....for now..   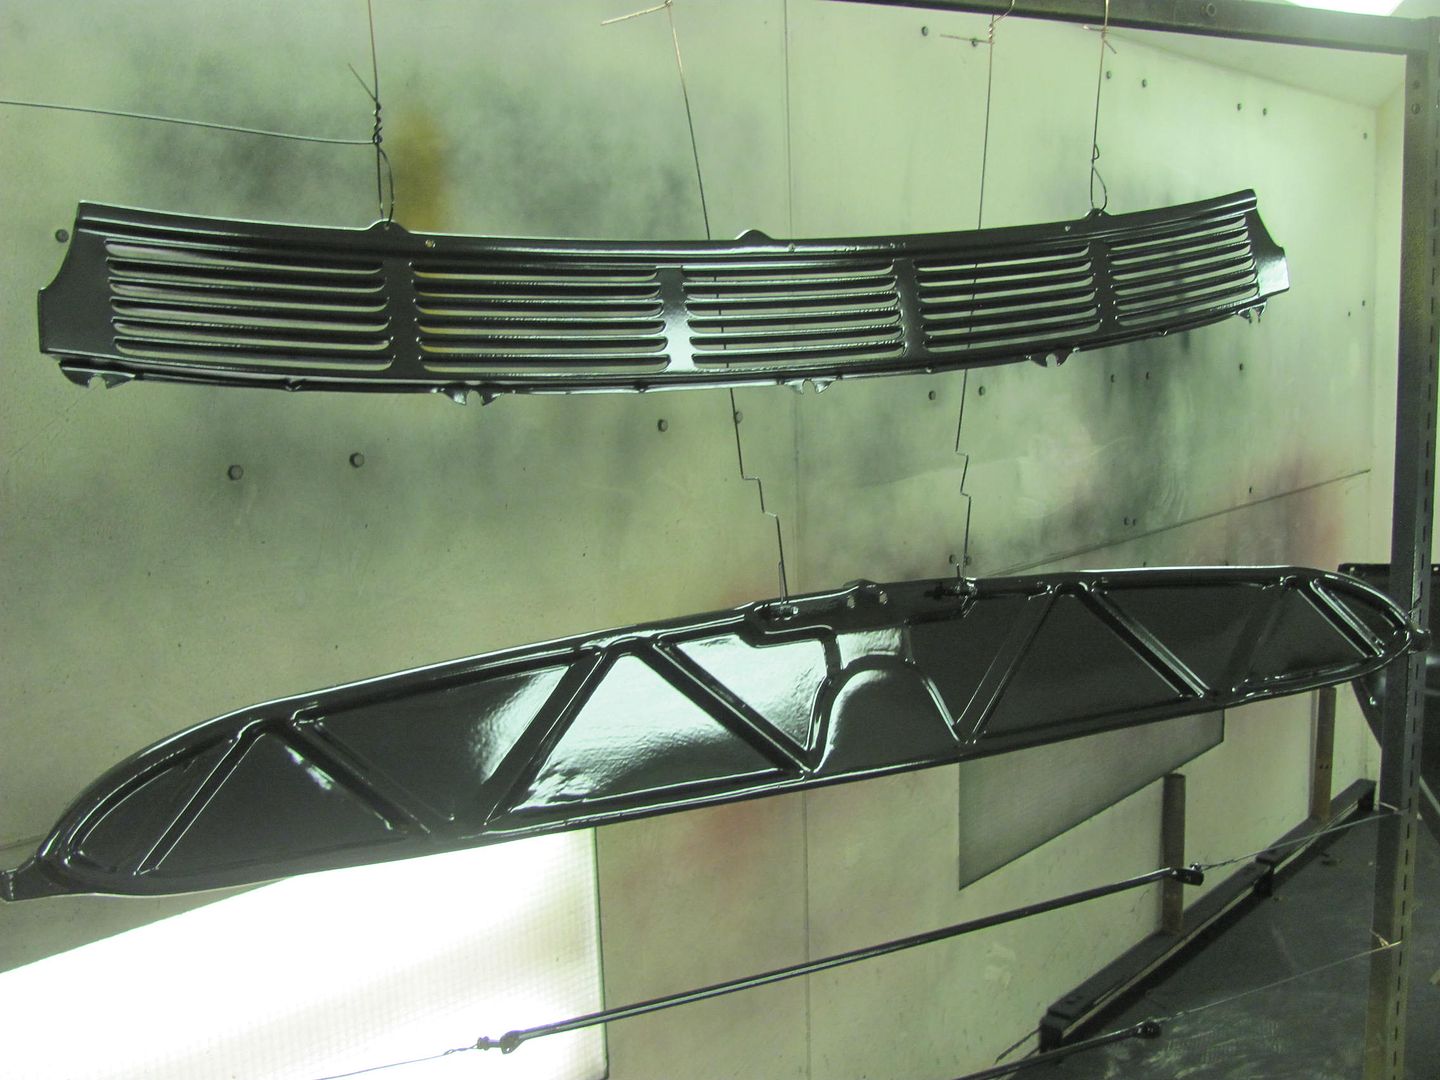 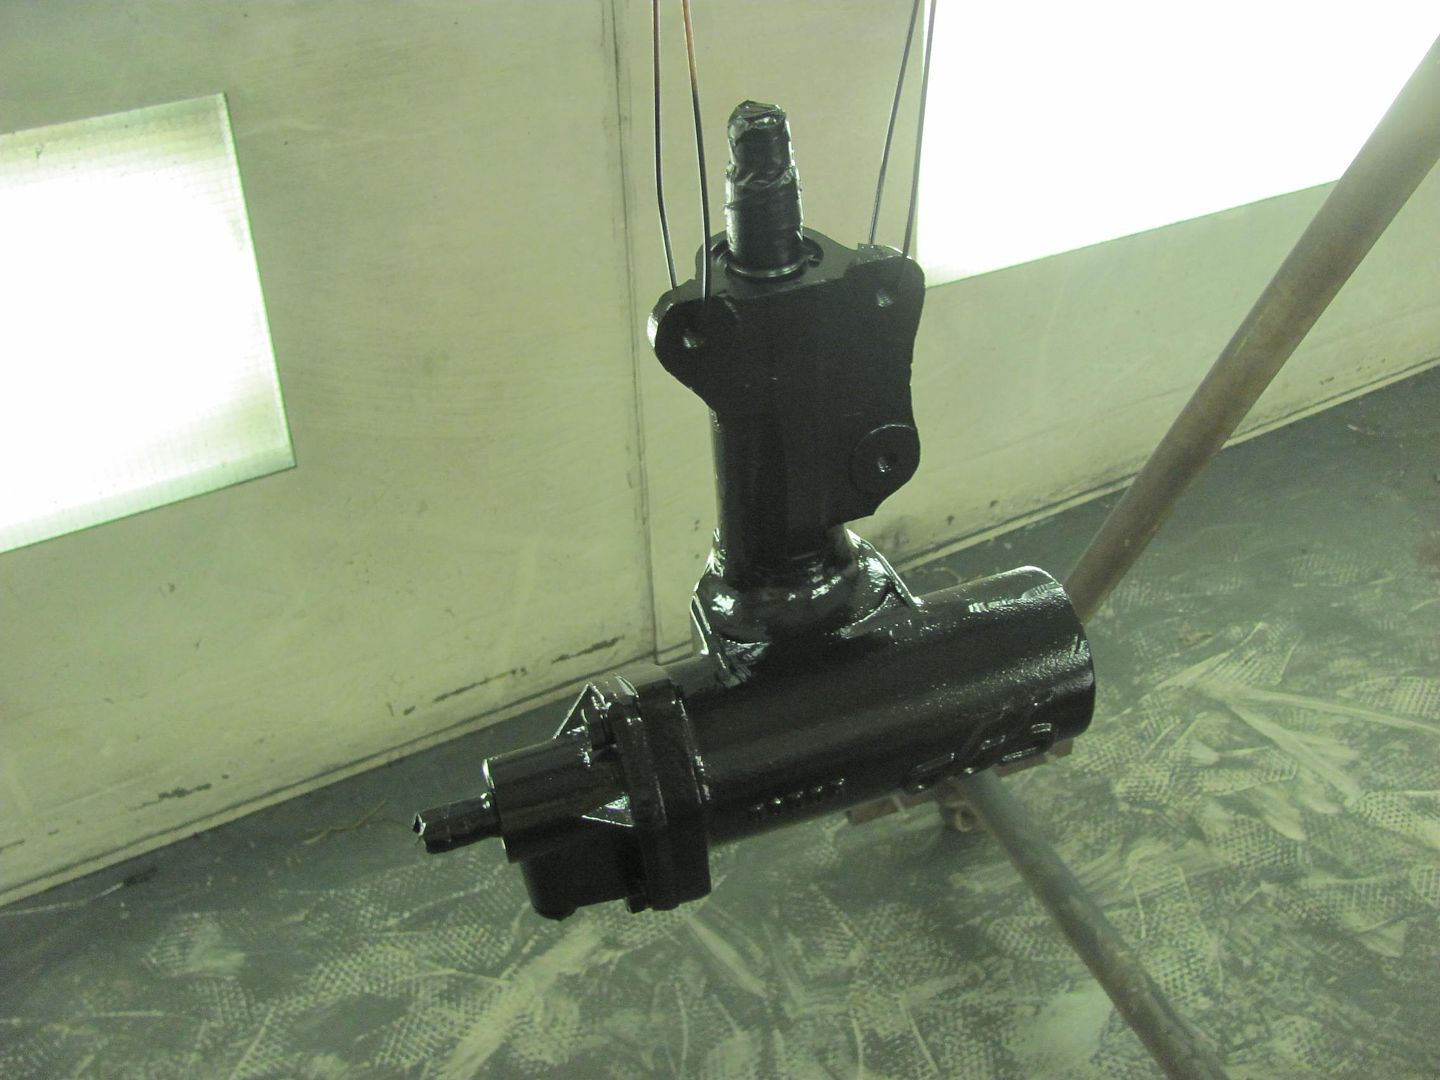 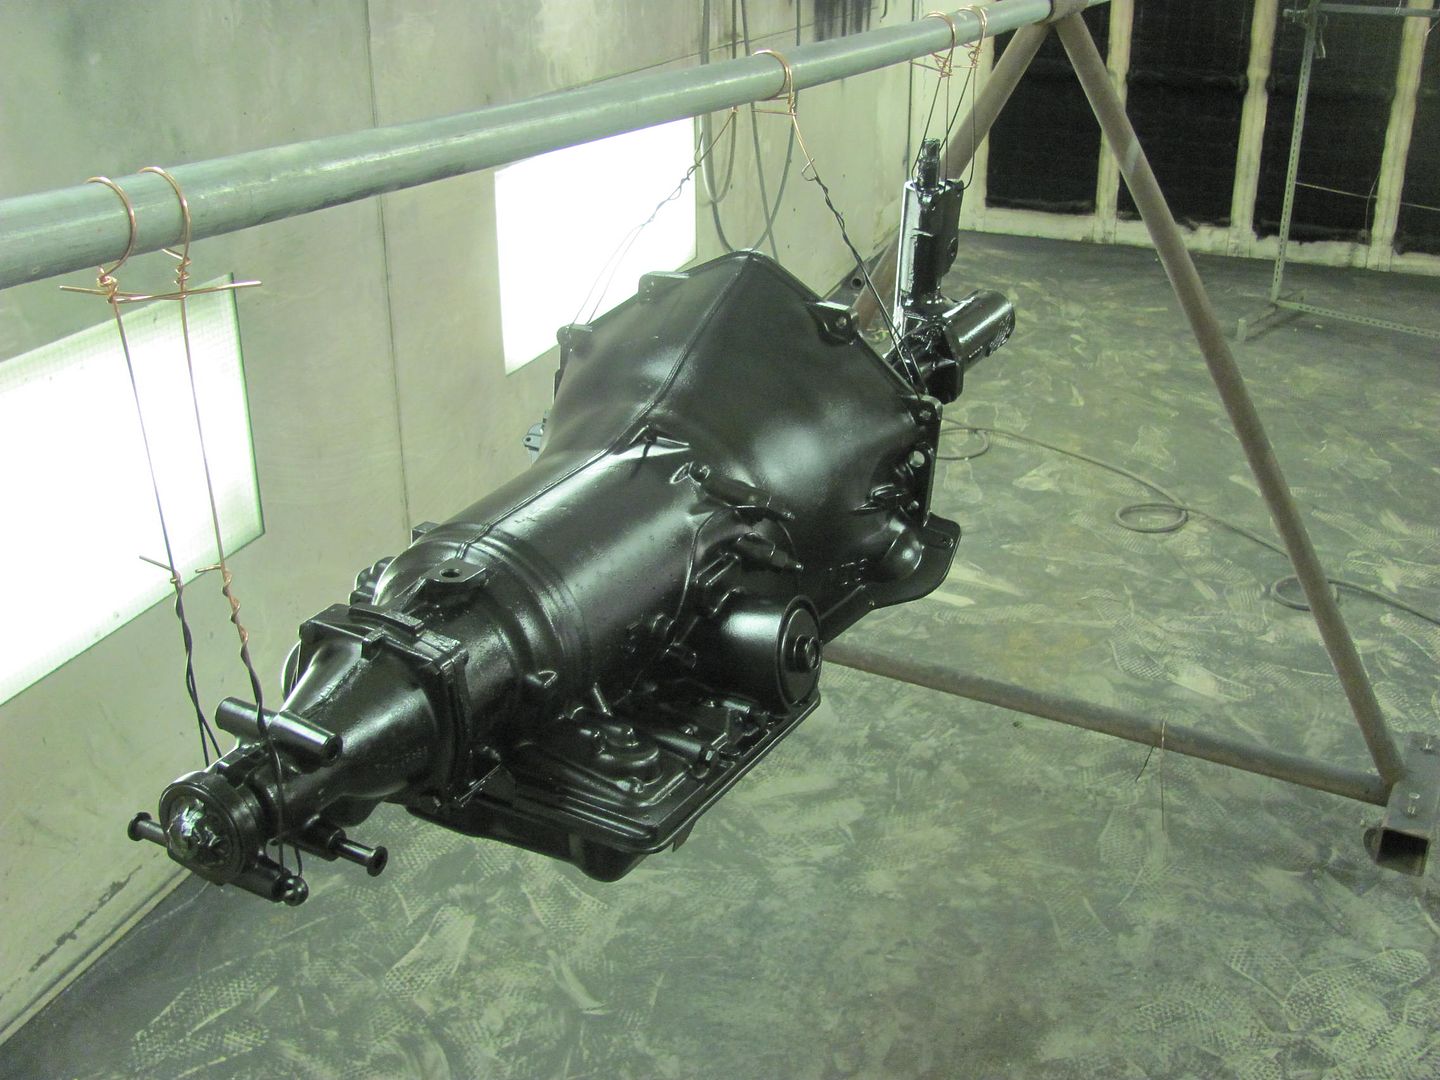  Sometimes the part has no holes for securing for paint.... 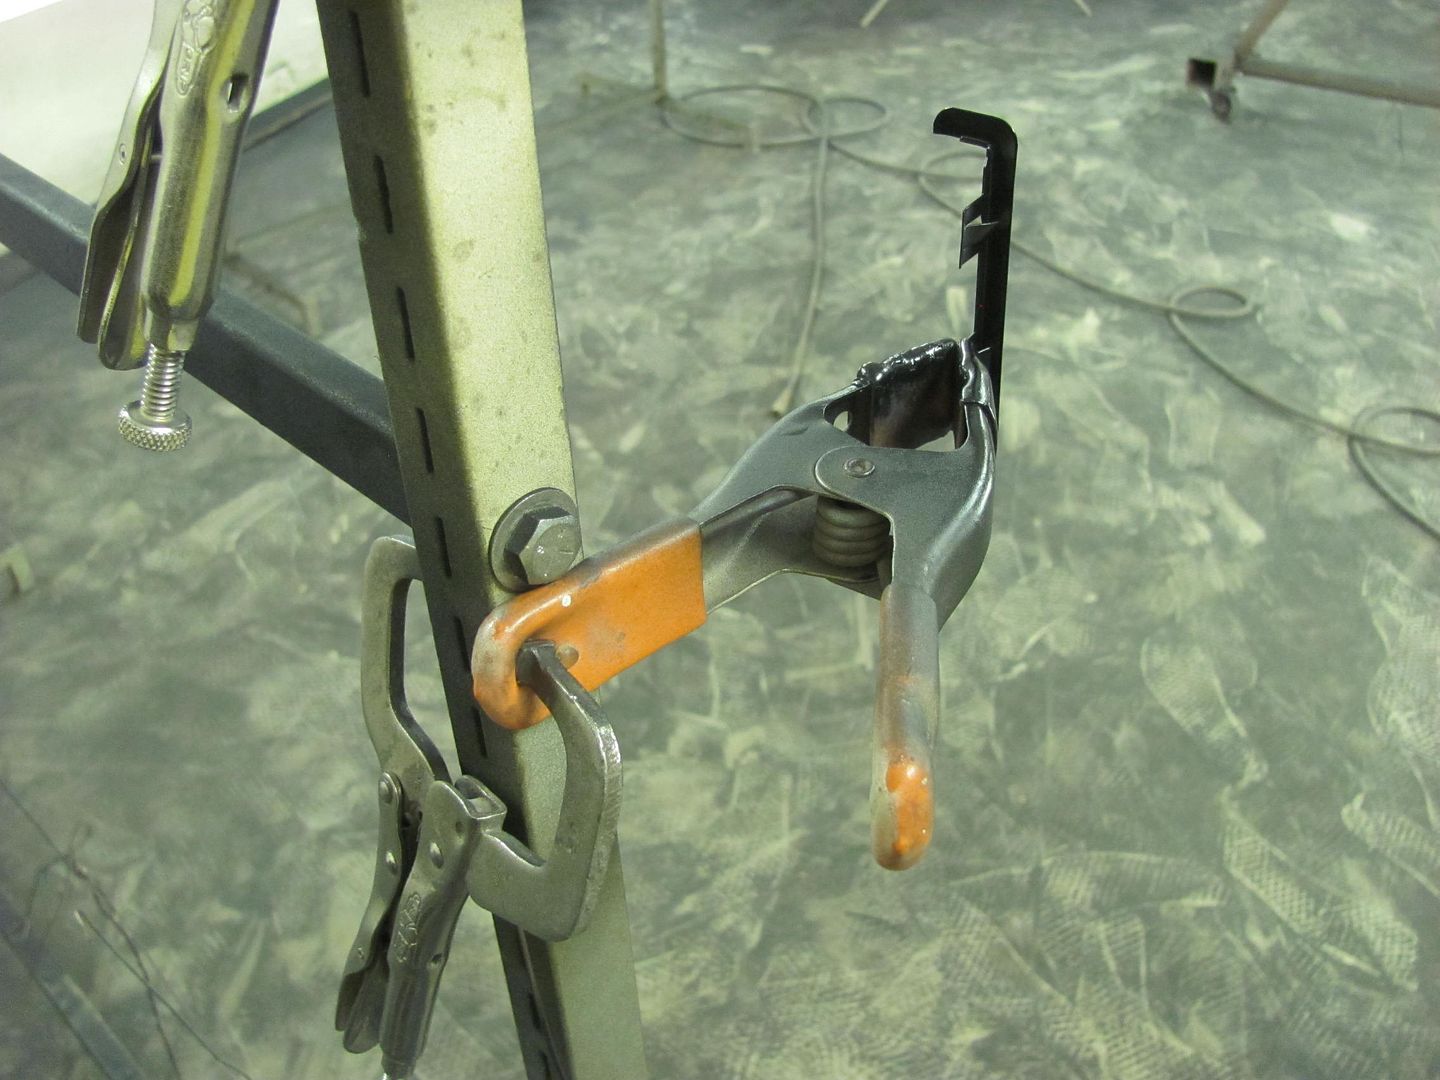 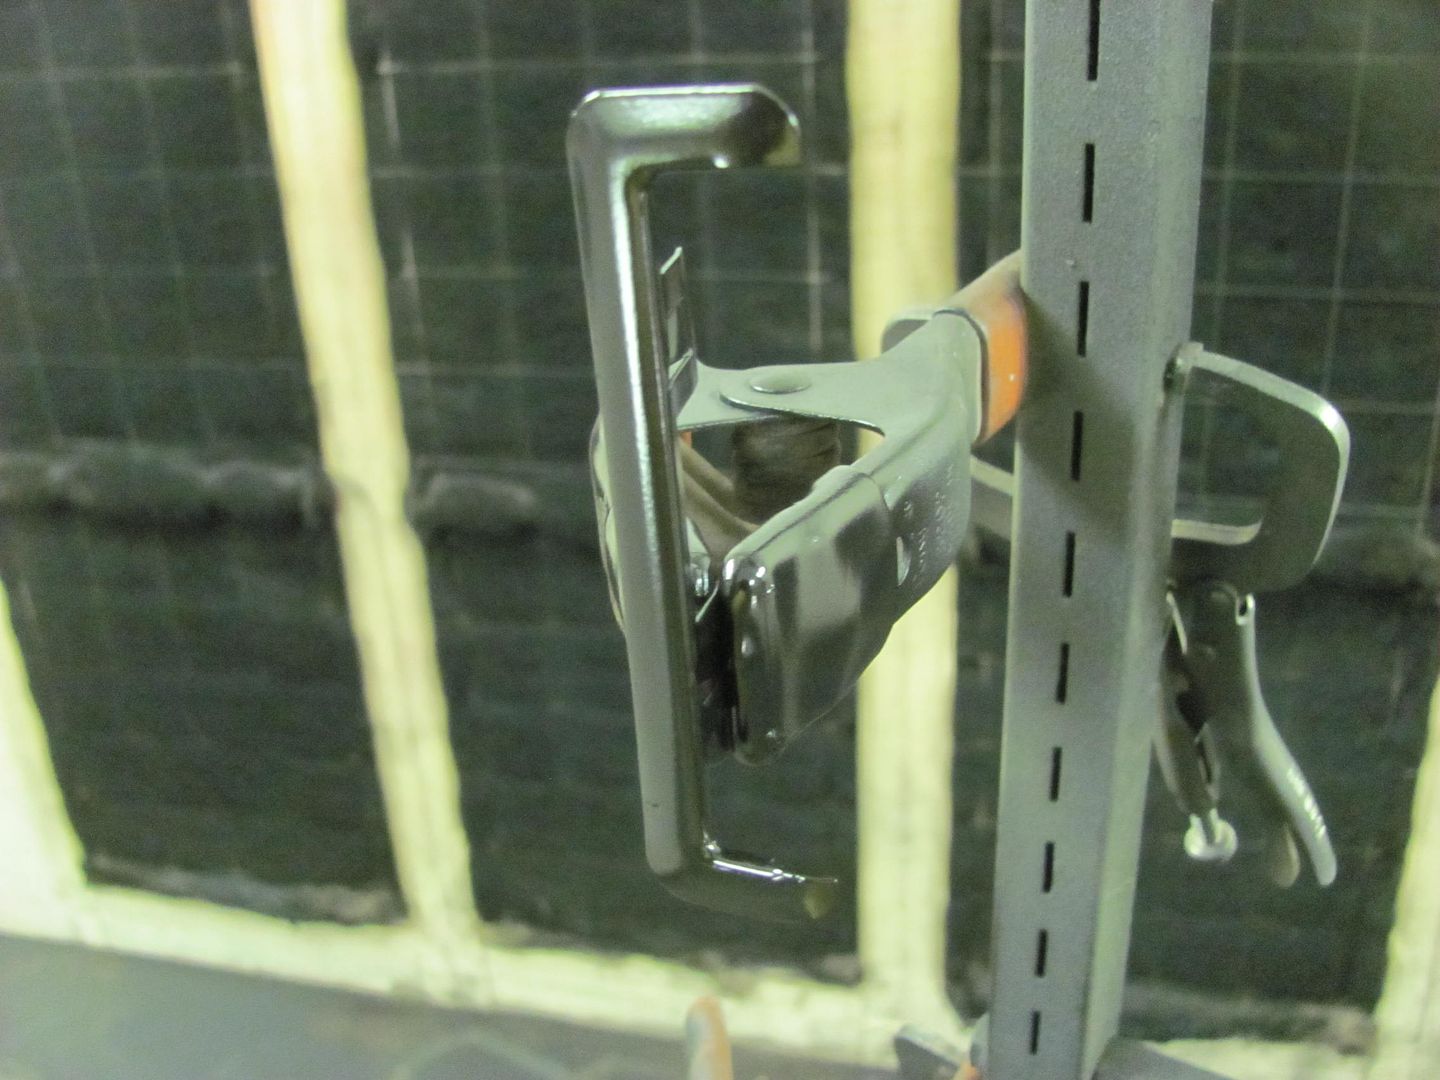
__________________
Robert |

|

|
|
02-05-2016, 12:06 AM
|
#2 |
|
Registered User
Join Date: Jan 2013
Location: Leonardtown, MD
Posts: 1,637
|
Re: 55 Wagon Progress
Tonight's update, Headers installed using stainless socket heads....
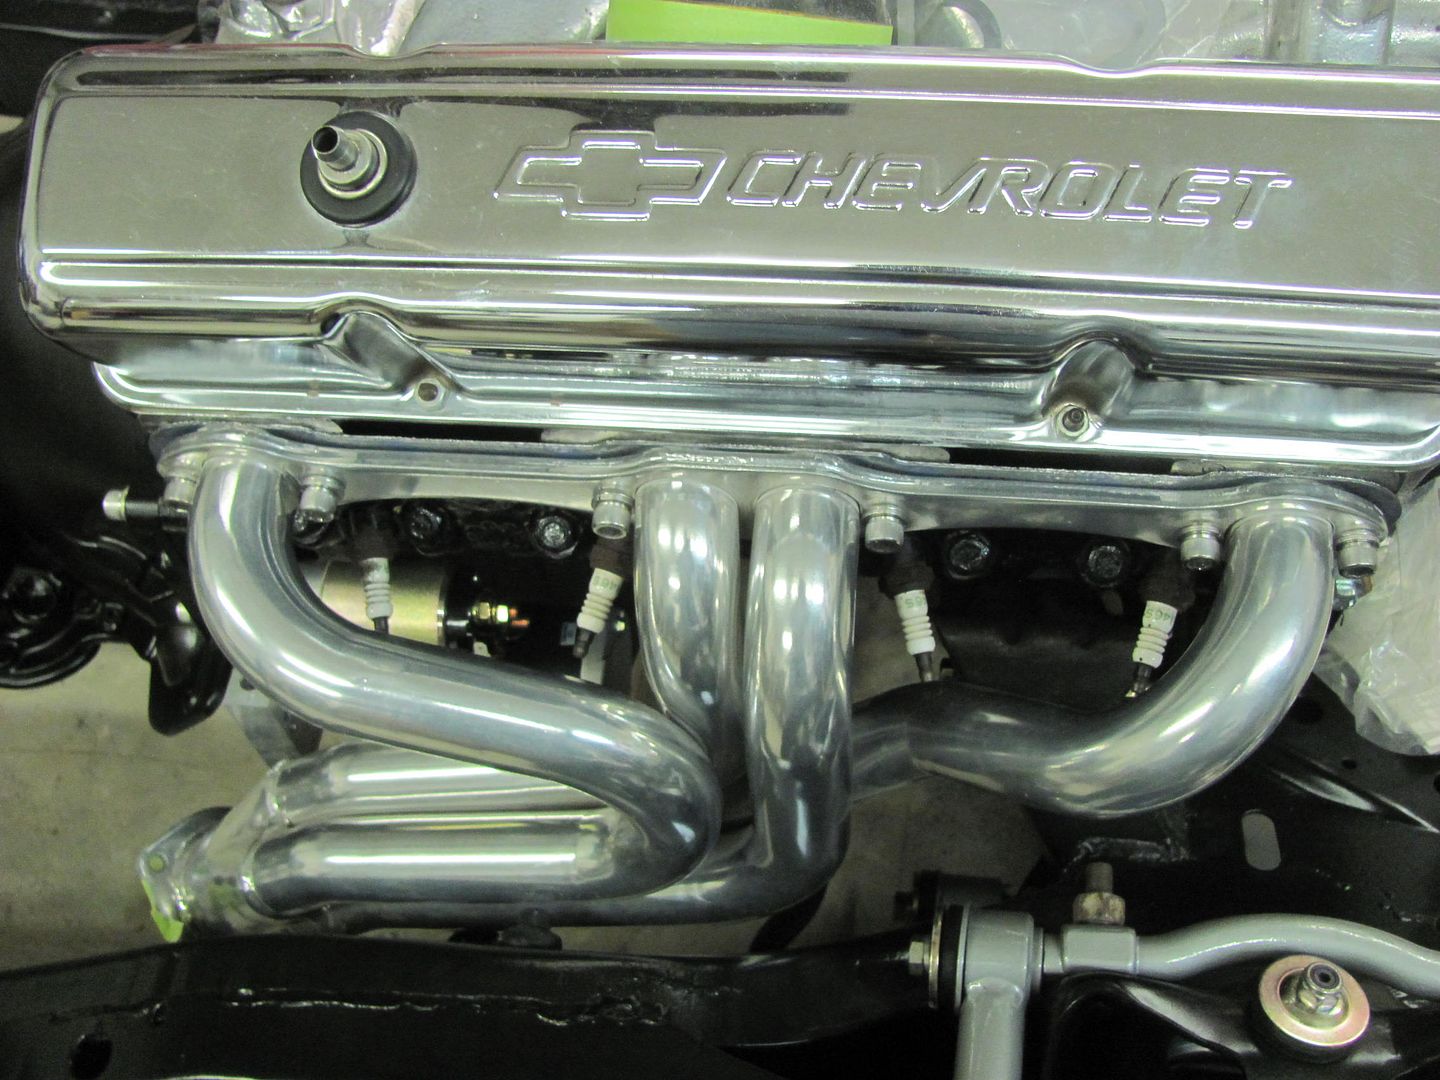 Trans and driveshaft installed 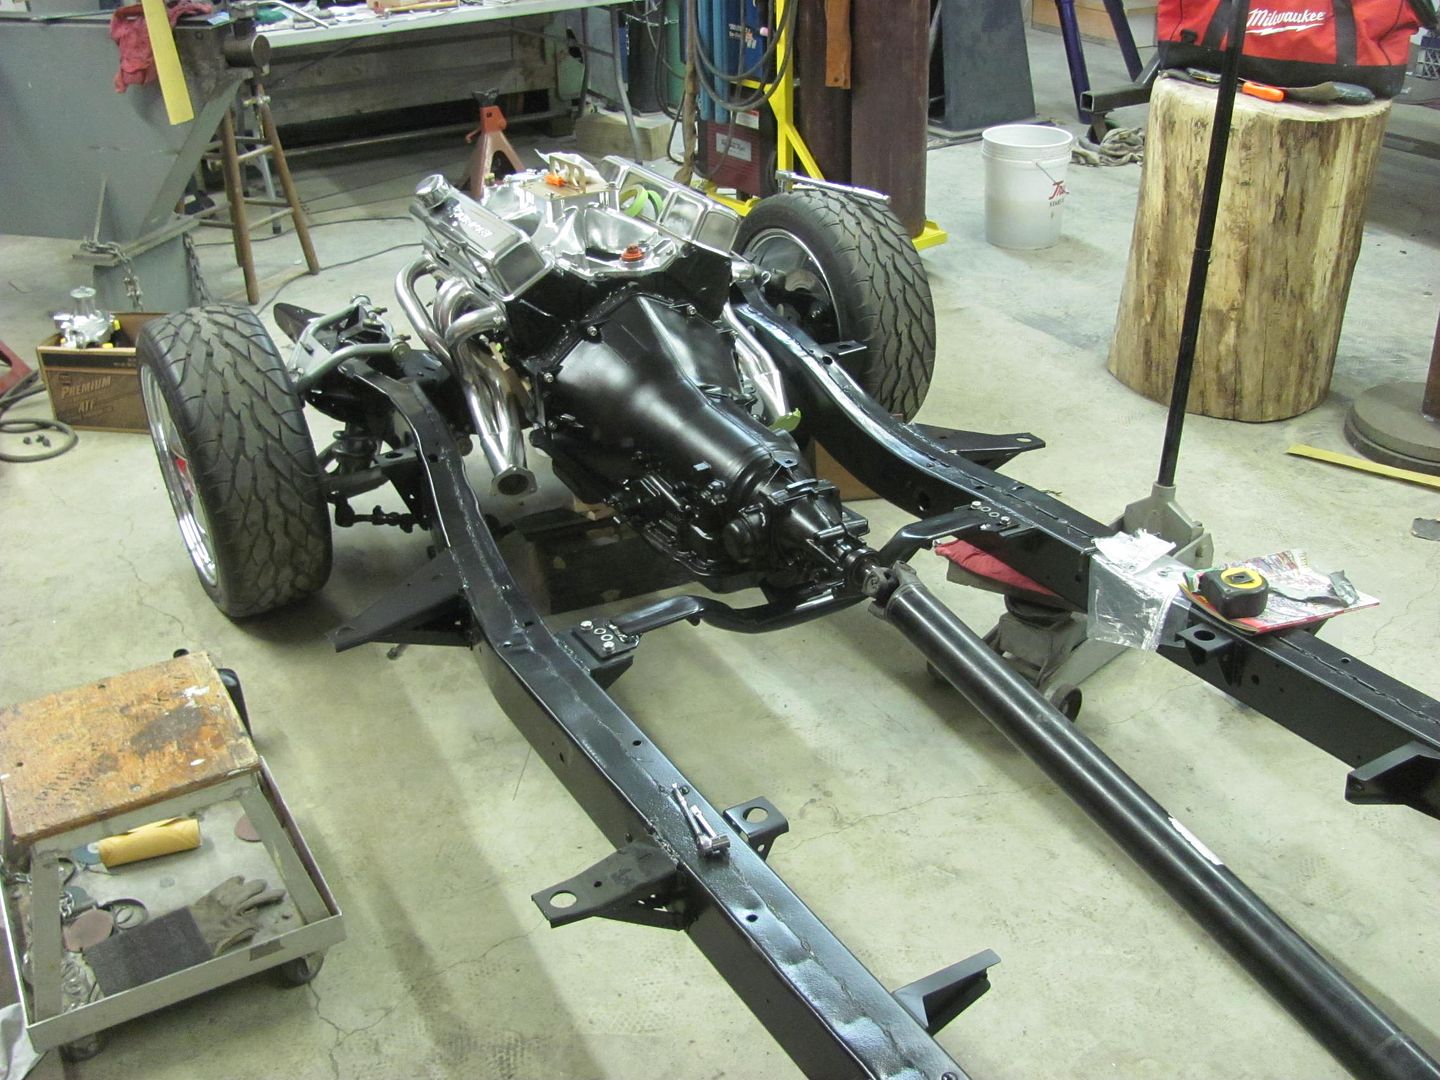 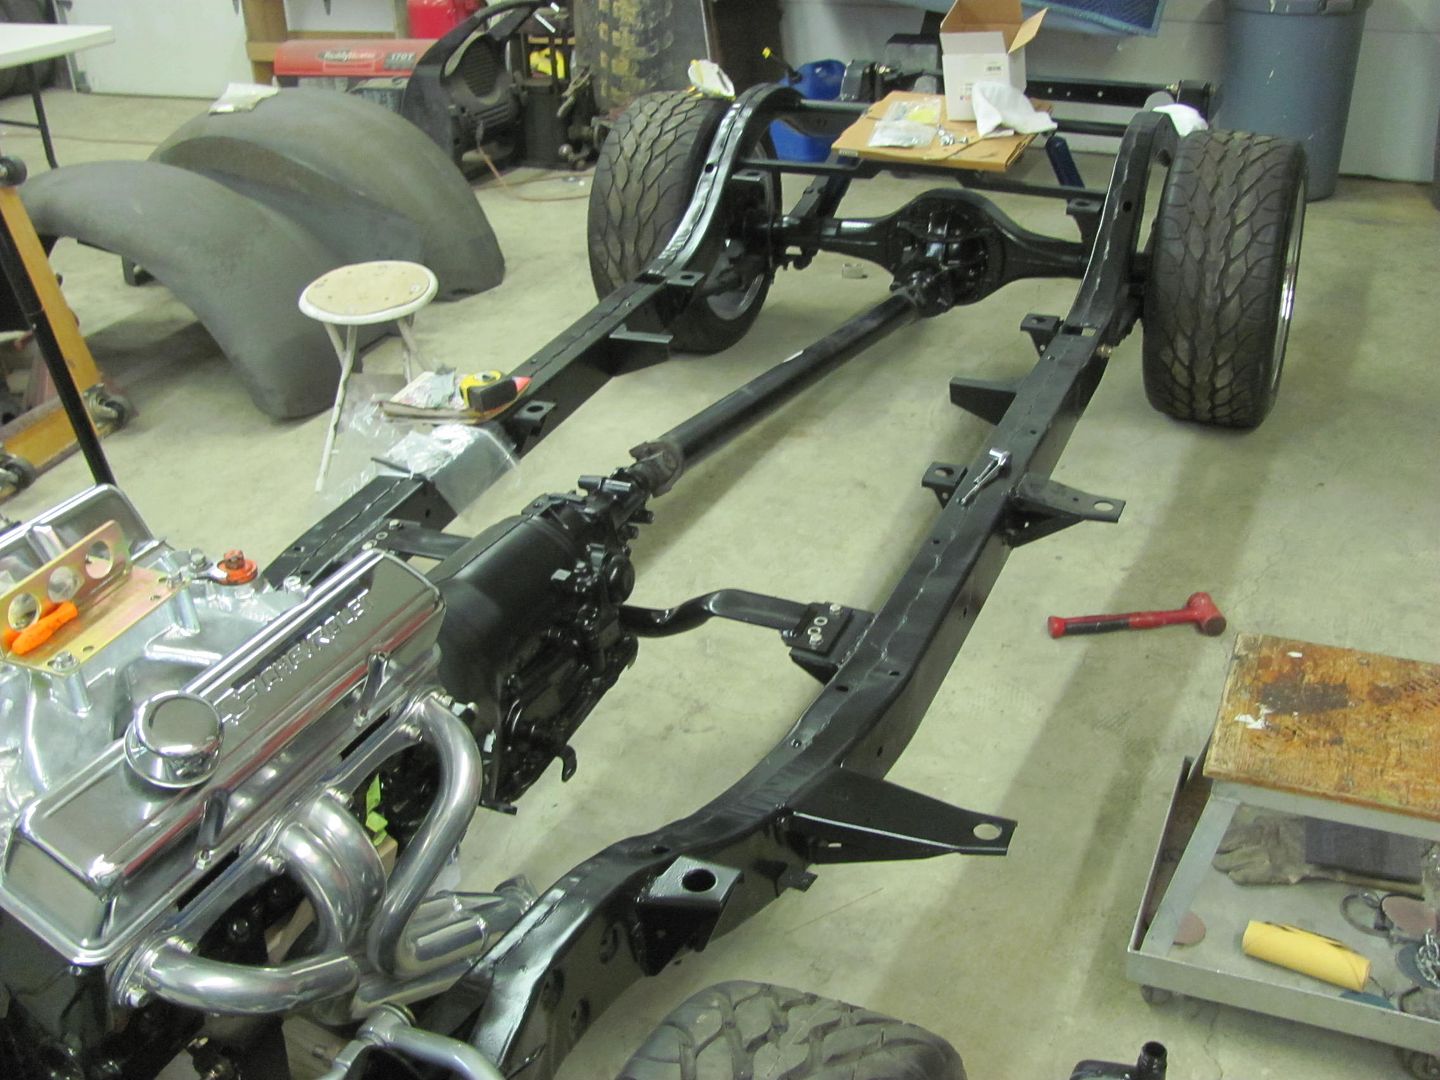 Exhaust installation... 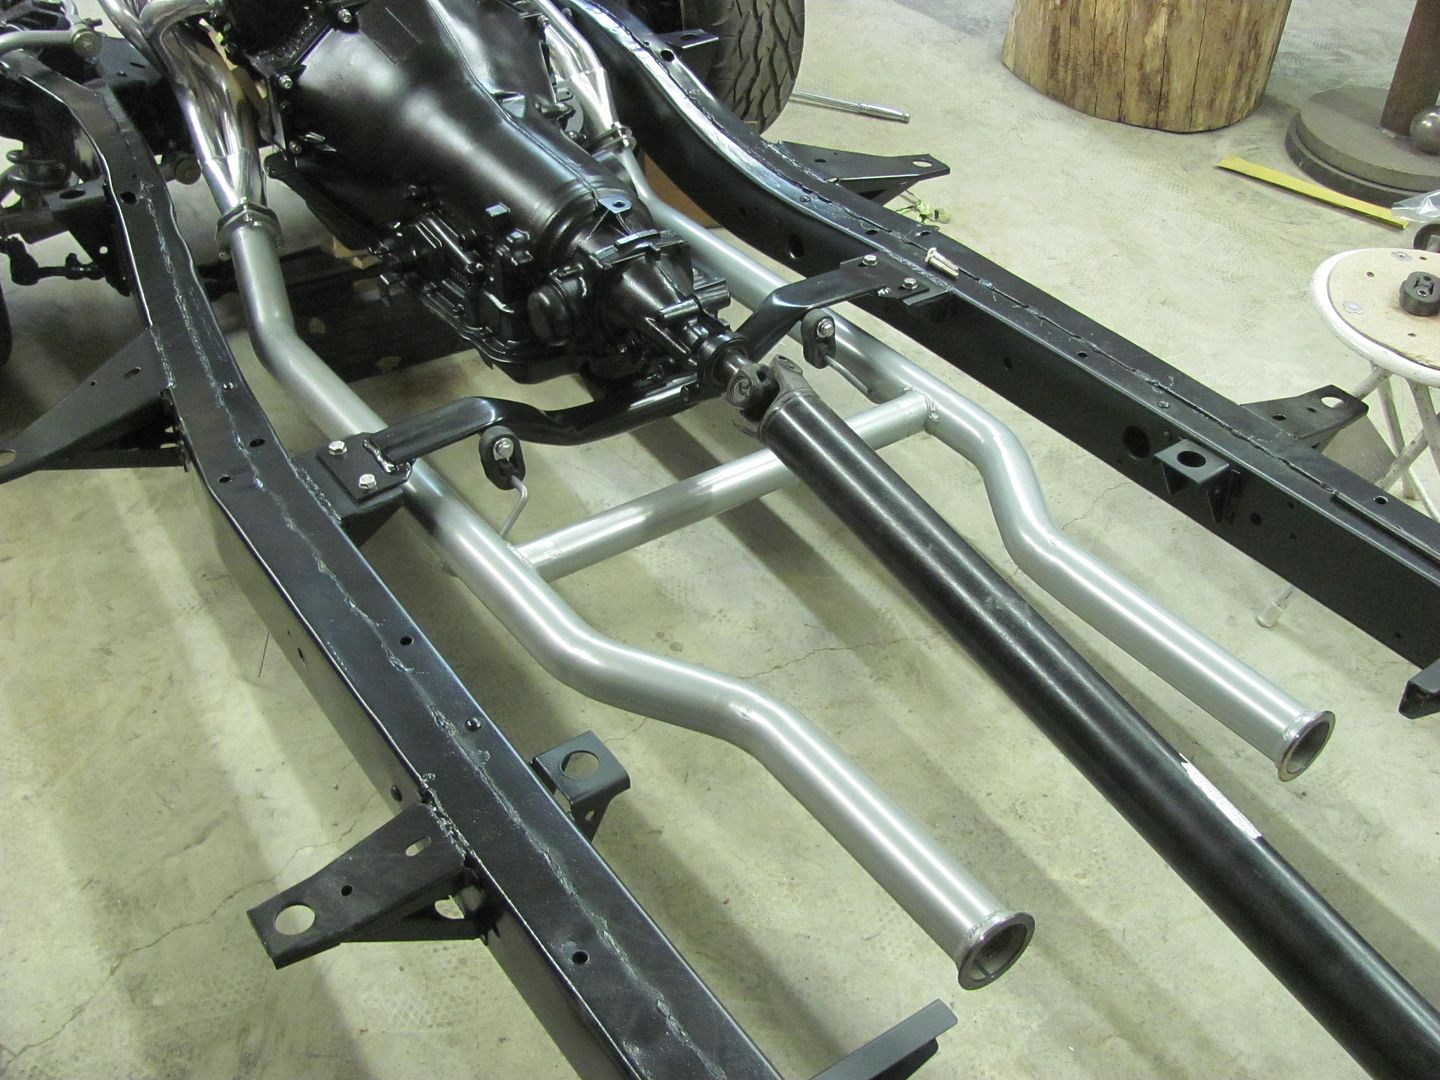 Steel donut gaskets.... 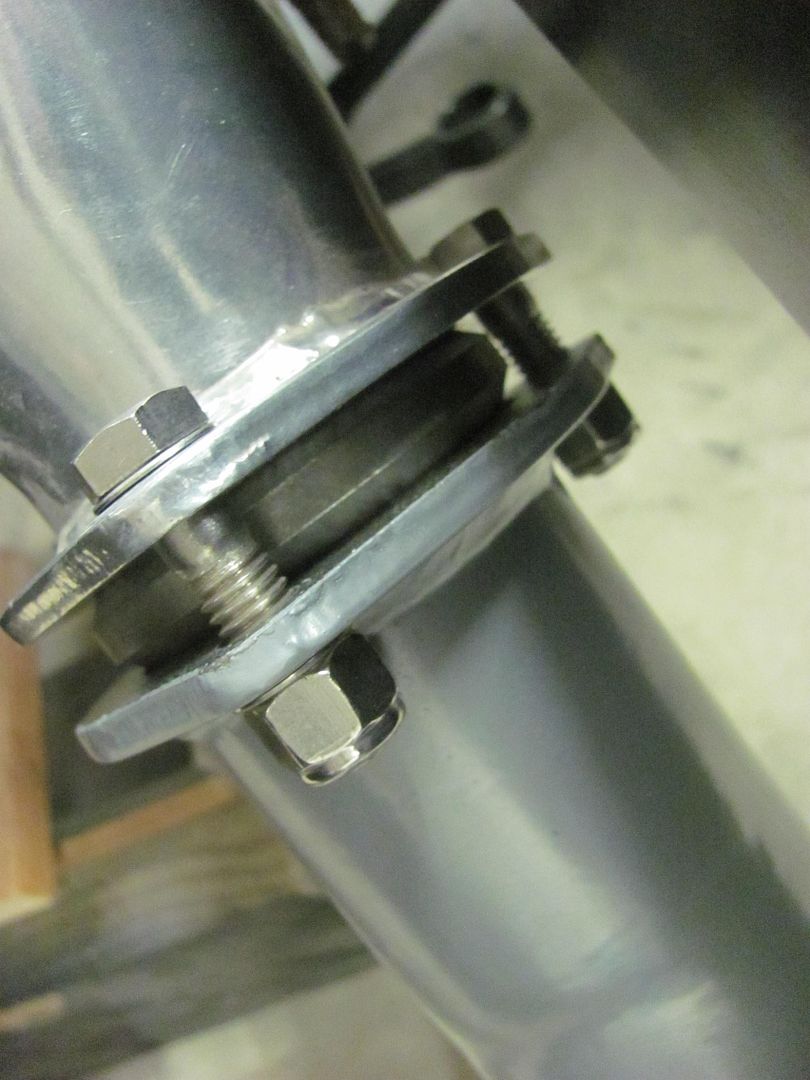 Exhaust that will be heard but not seen.... 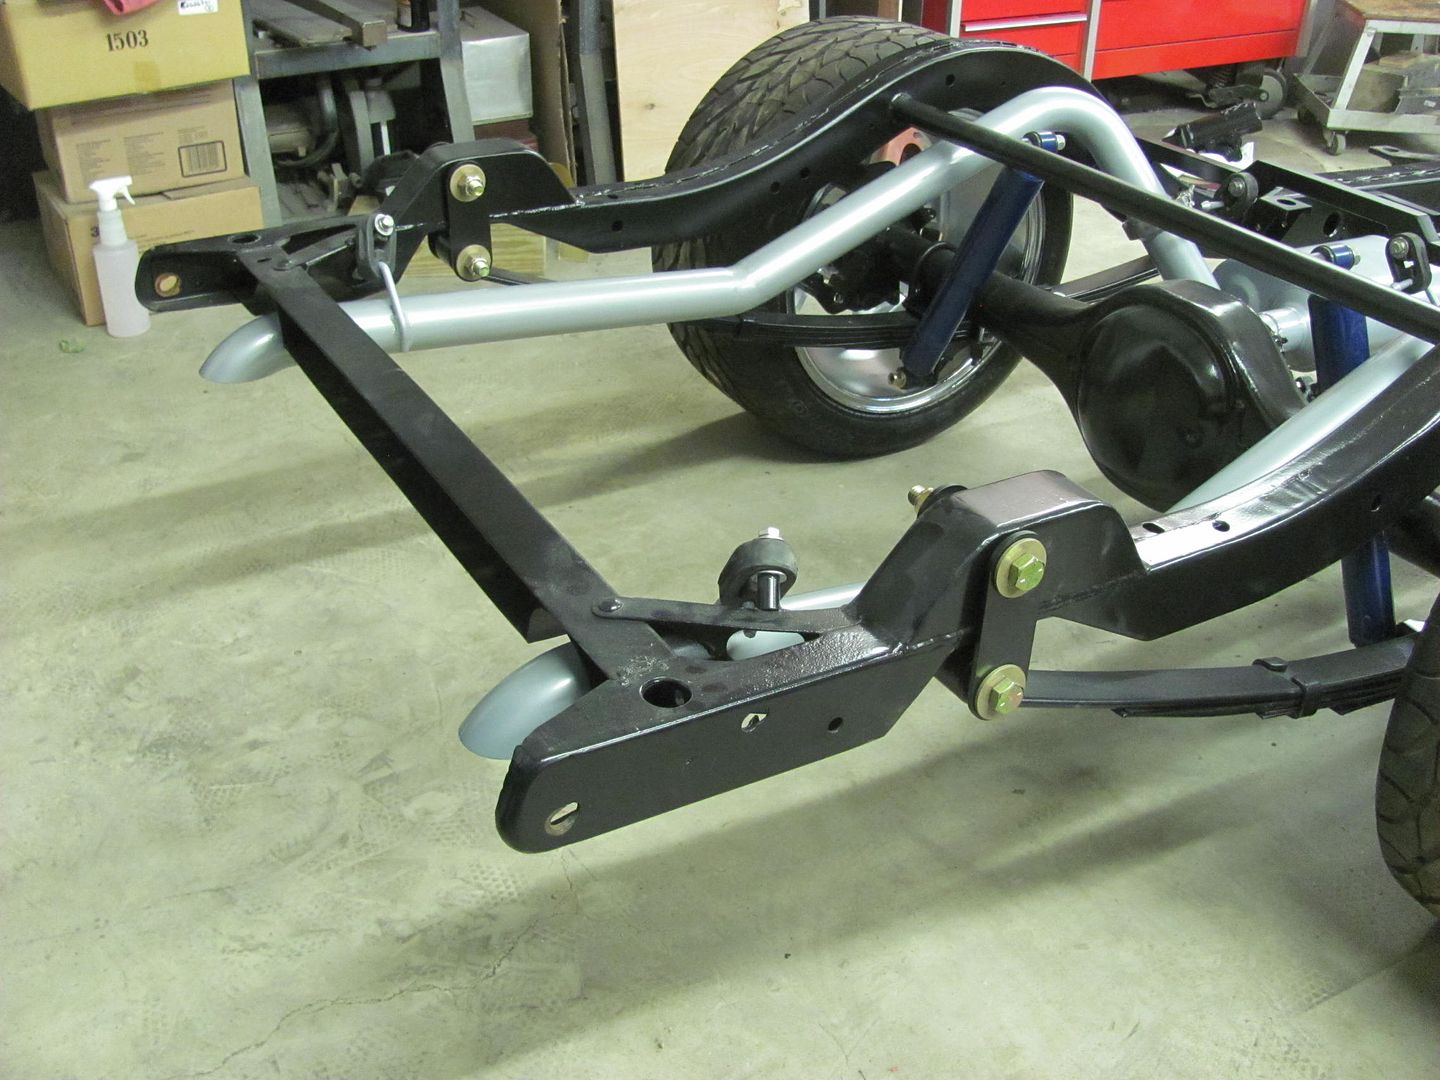 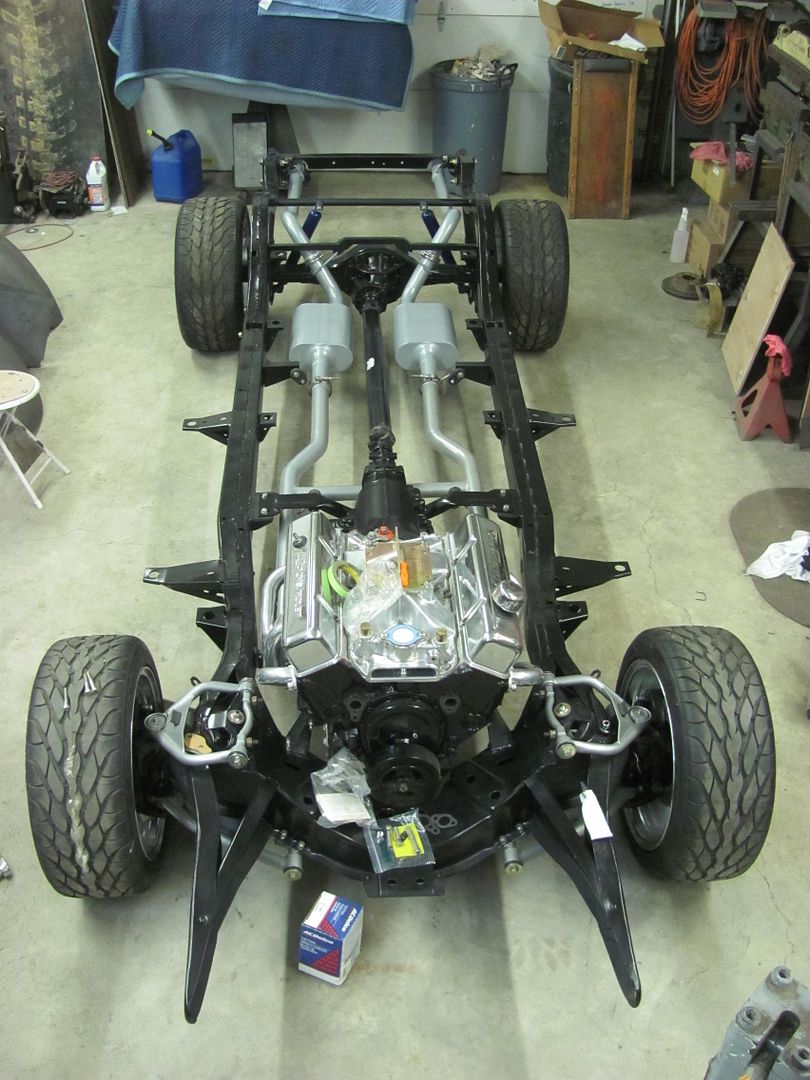 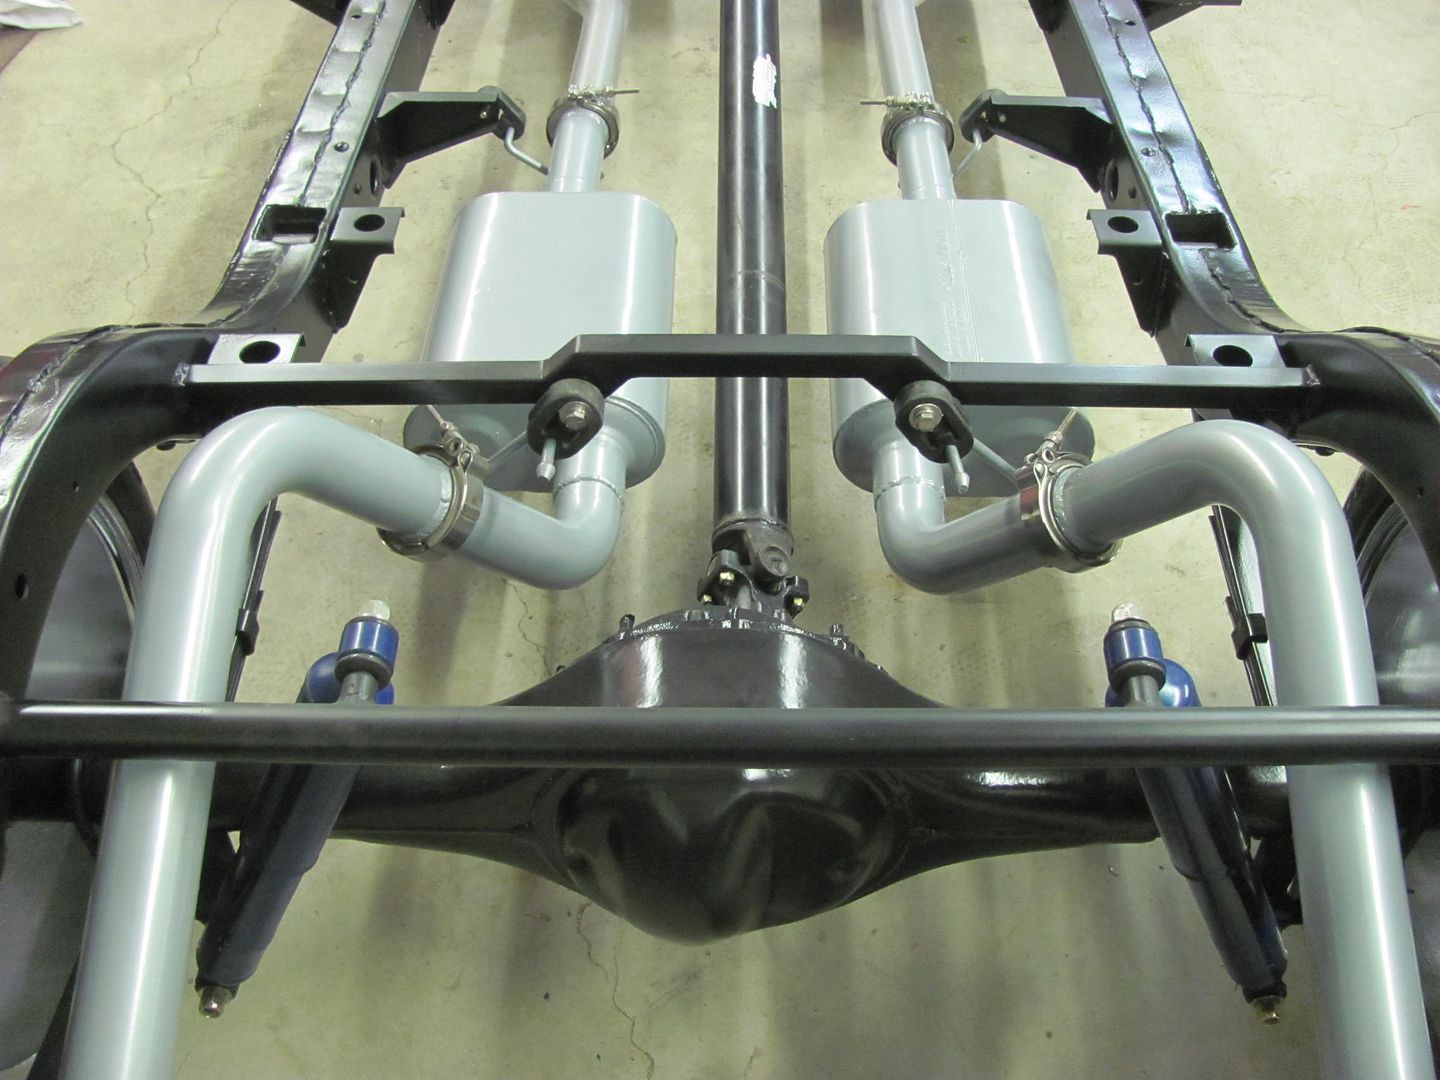 Header clearance issues to the steering box...  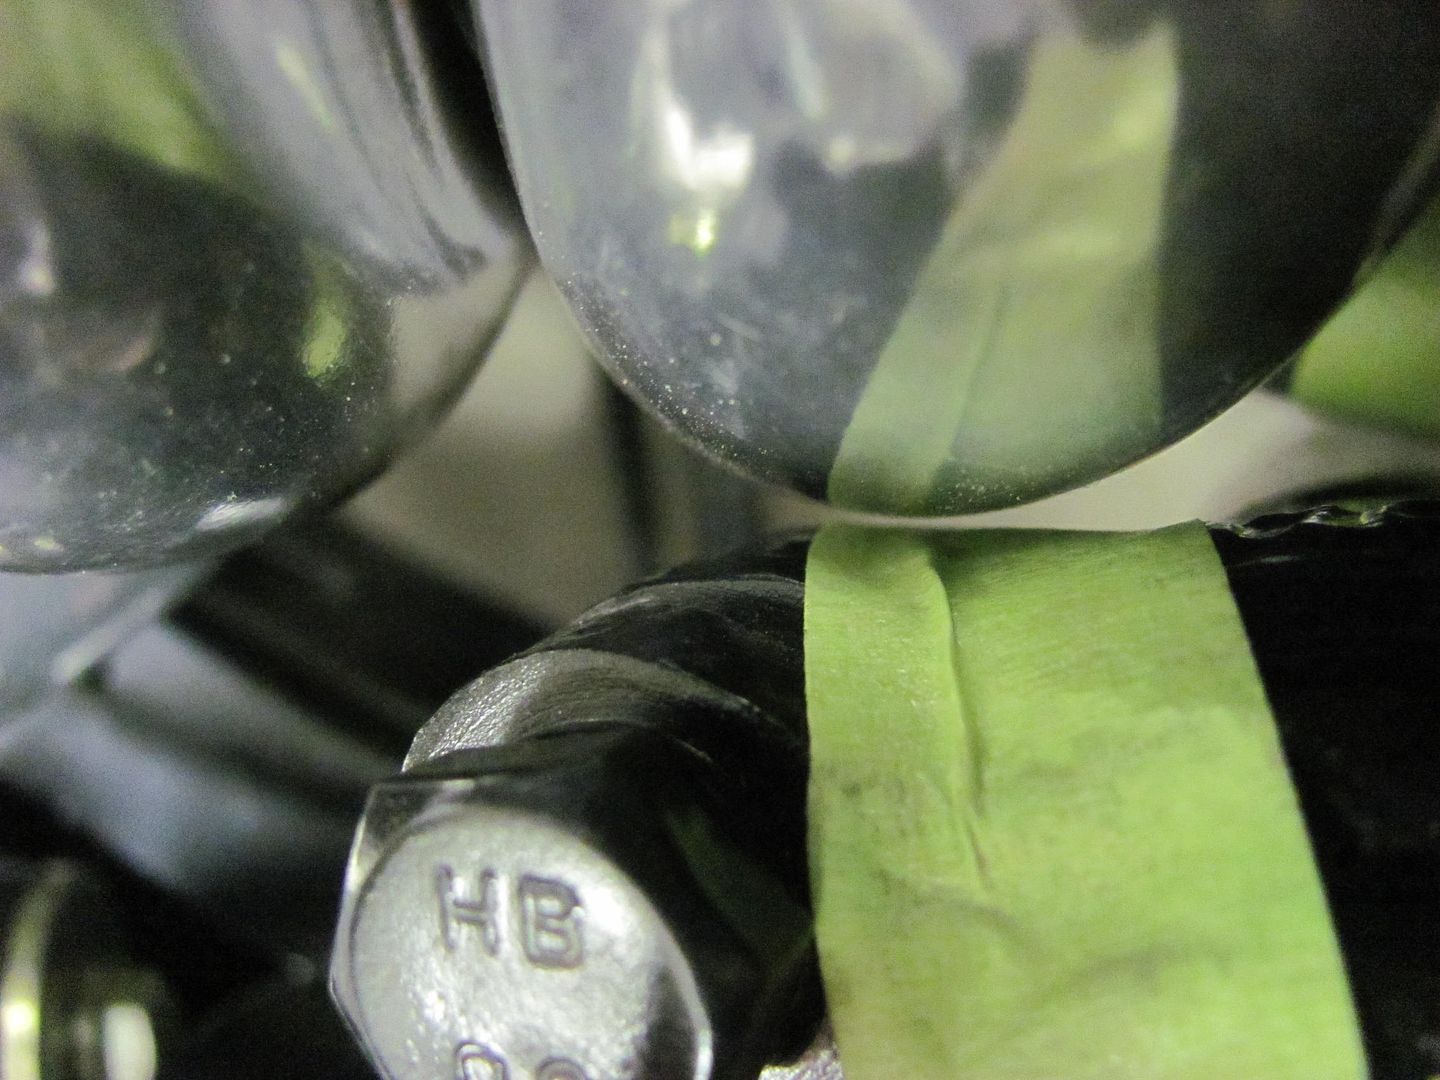 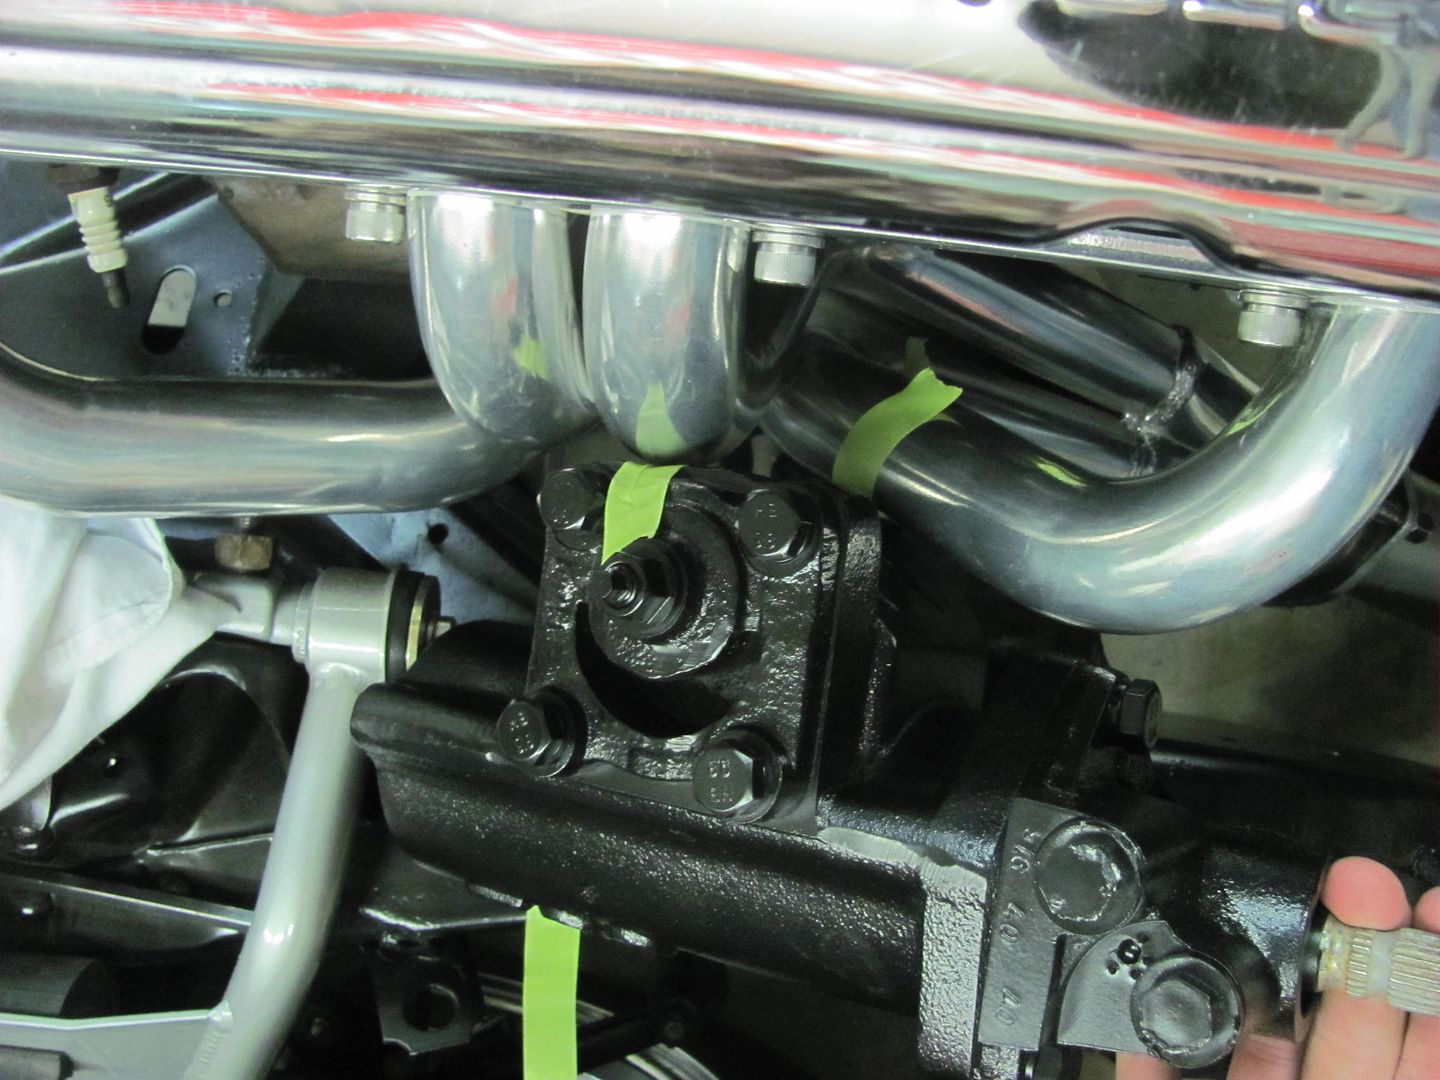 Header clearance tool for tube #3... 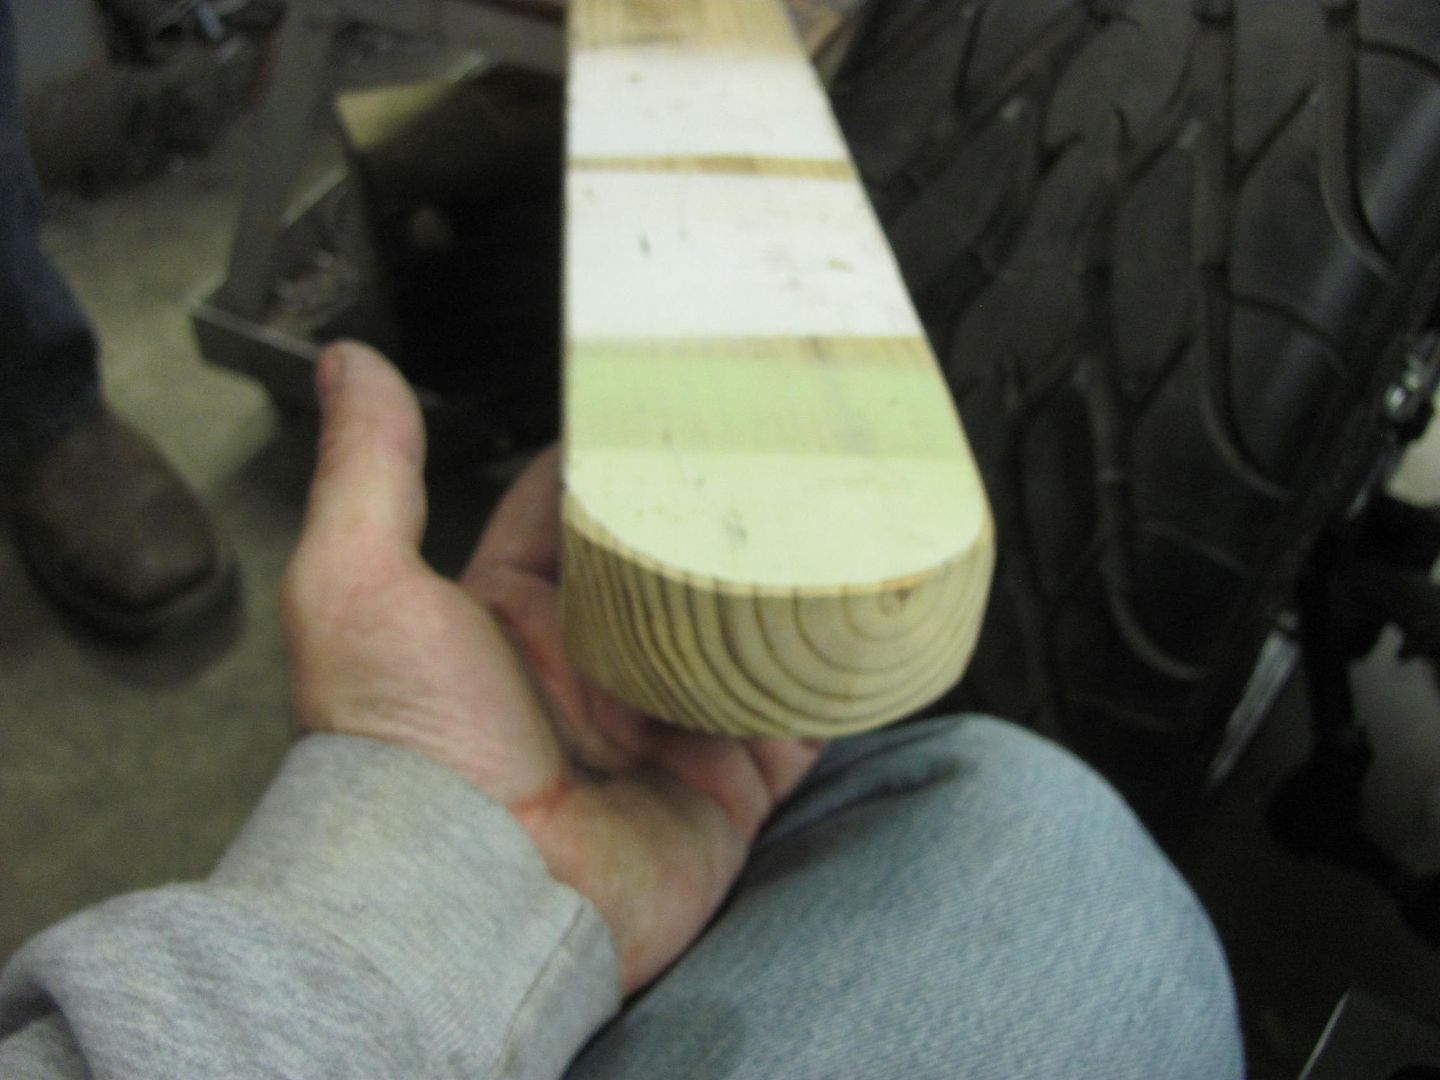 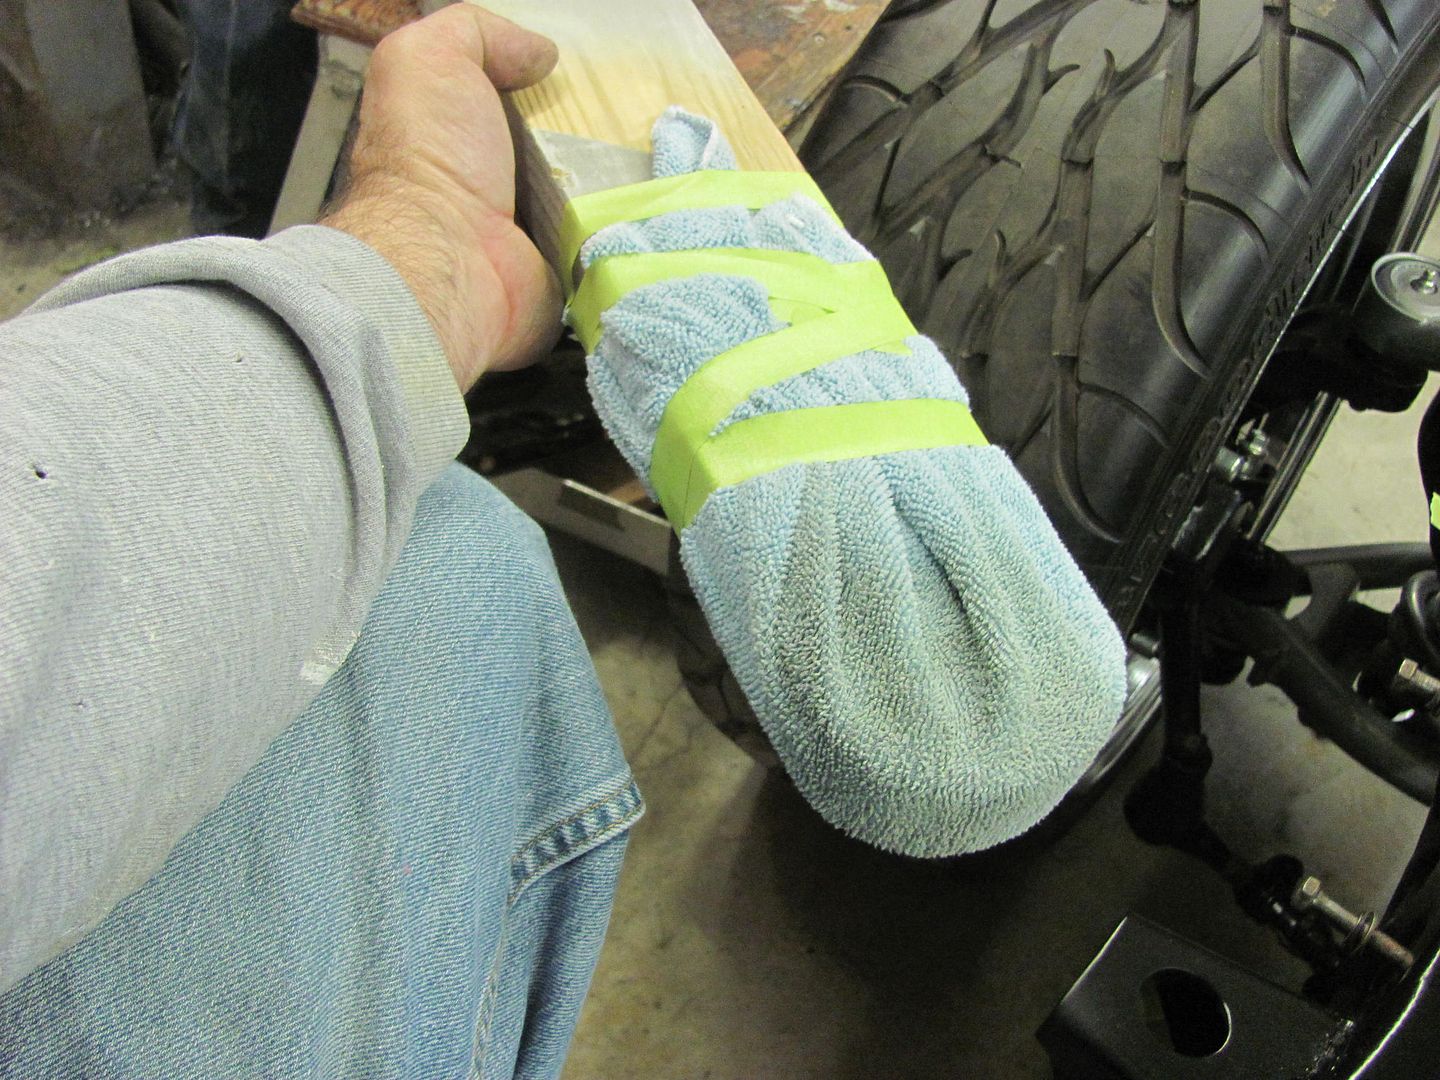 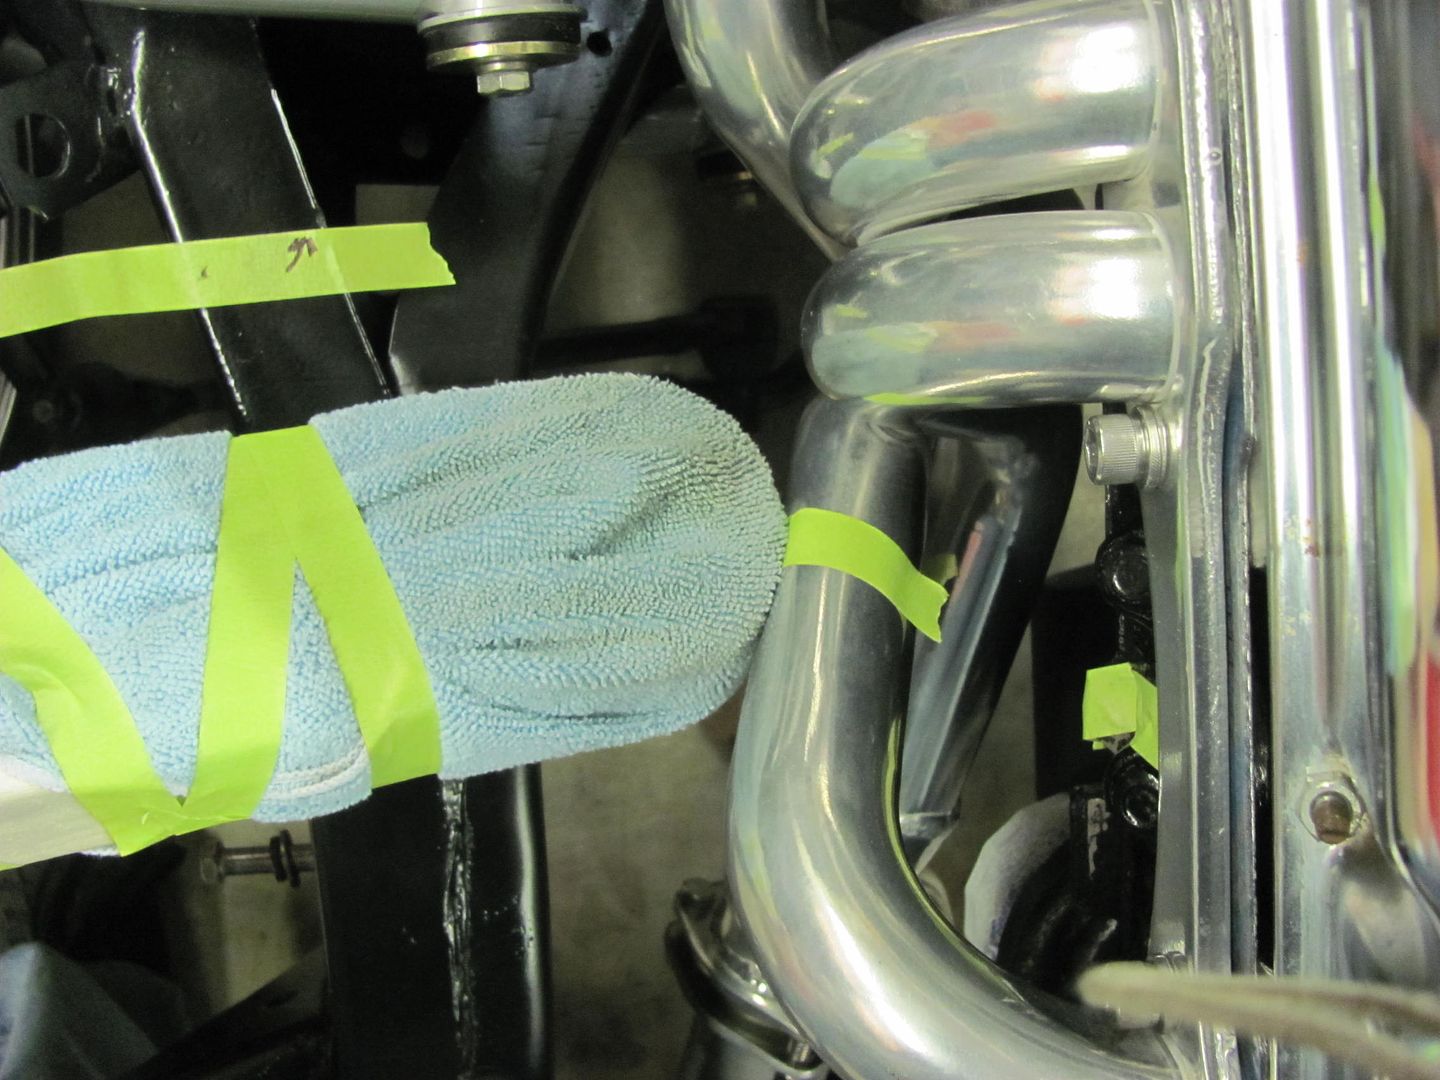 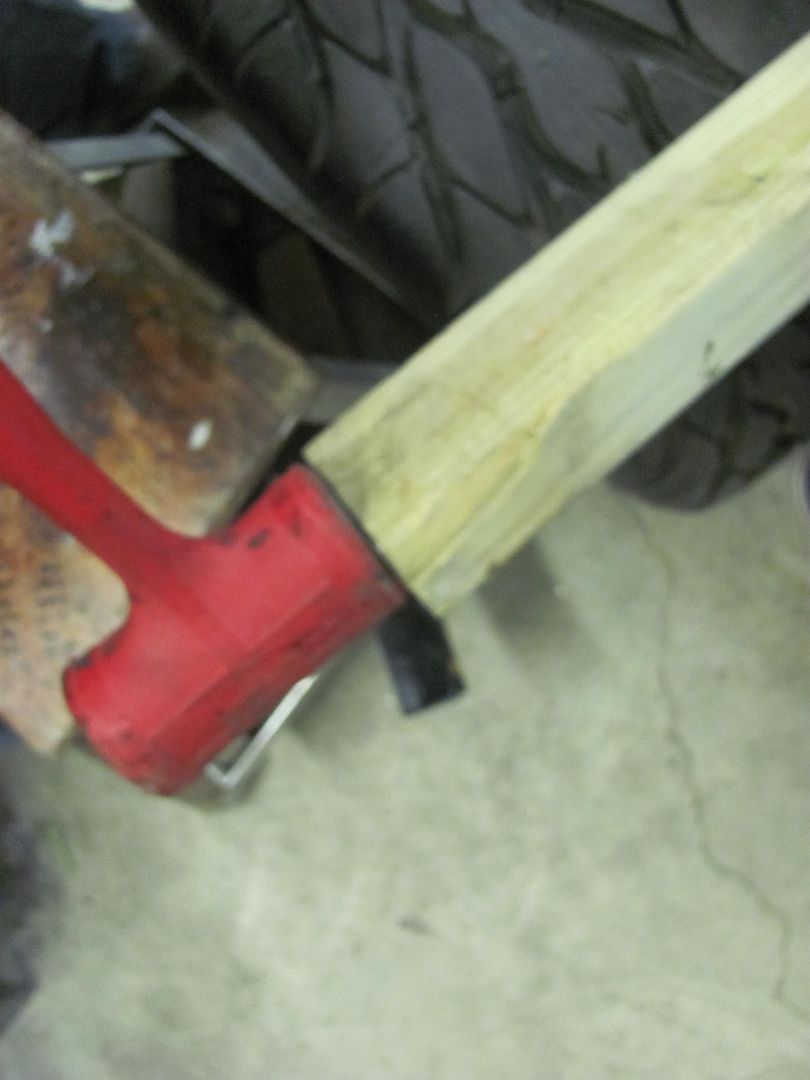 Drum sander clearance for tube #2... looks like we have some touch up painting to do.. 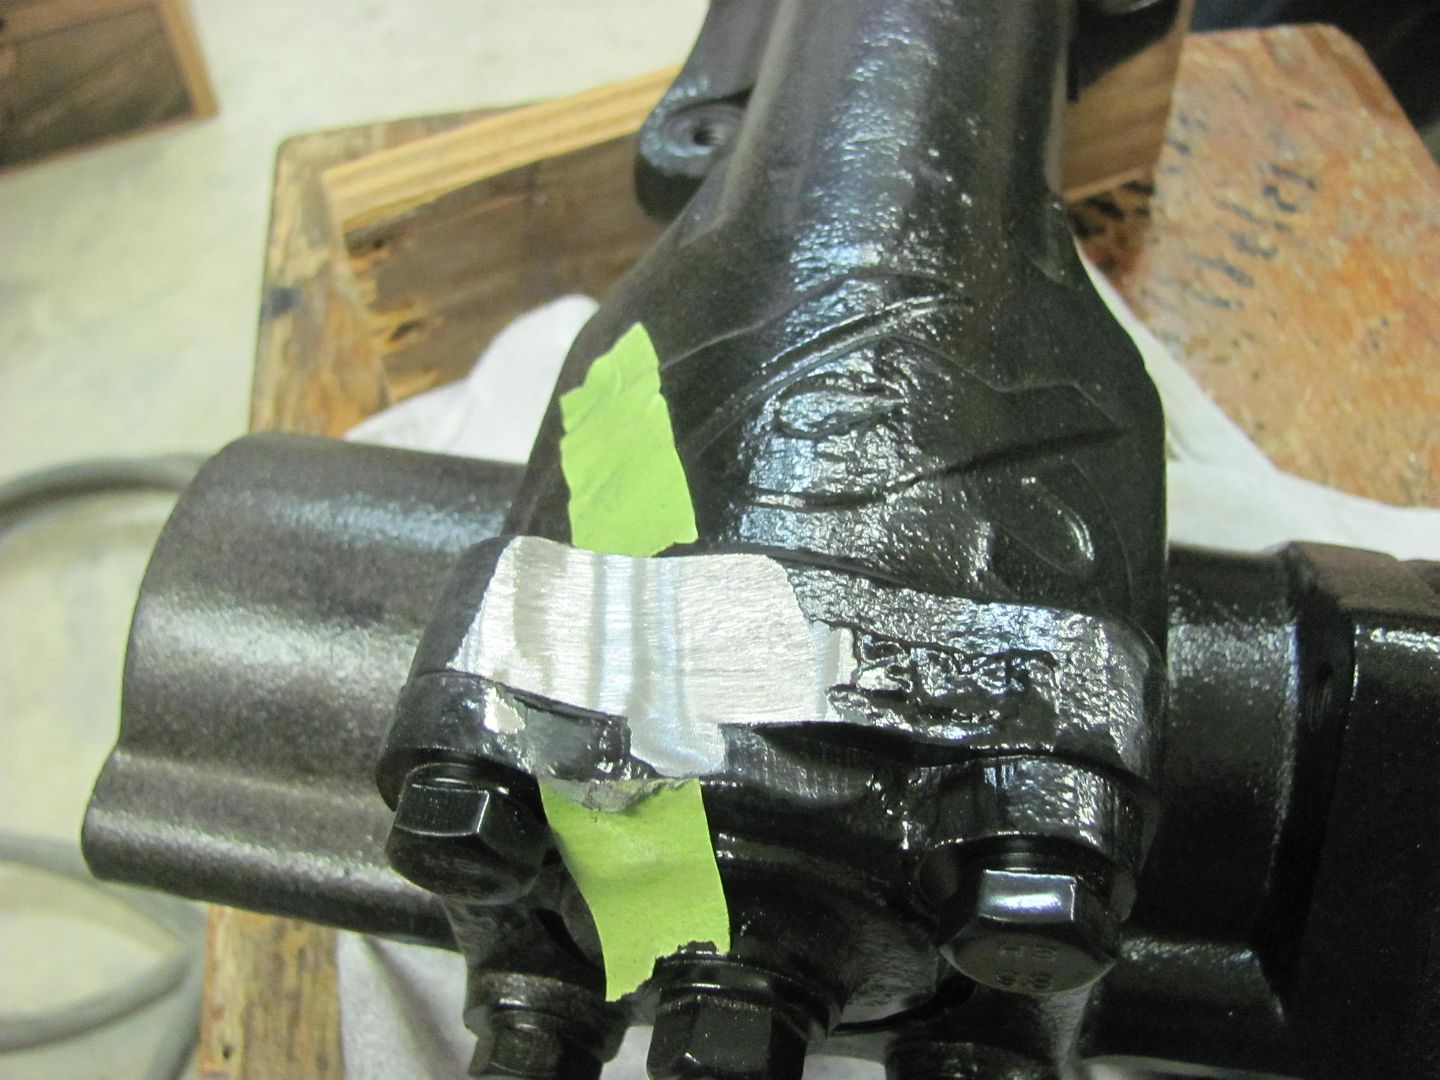 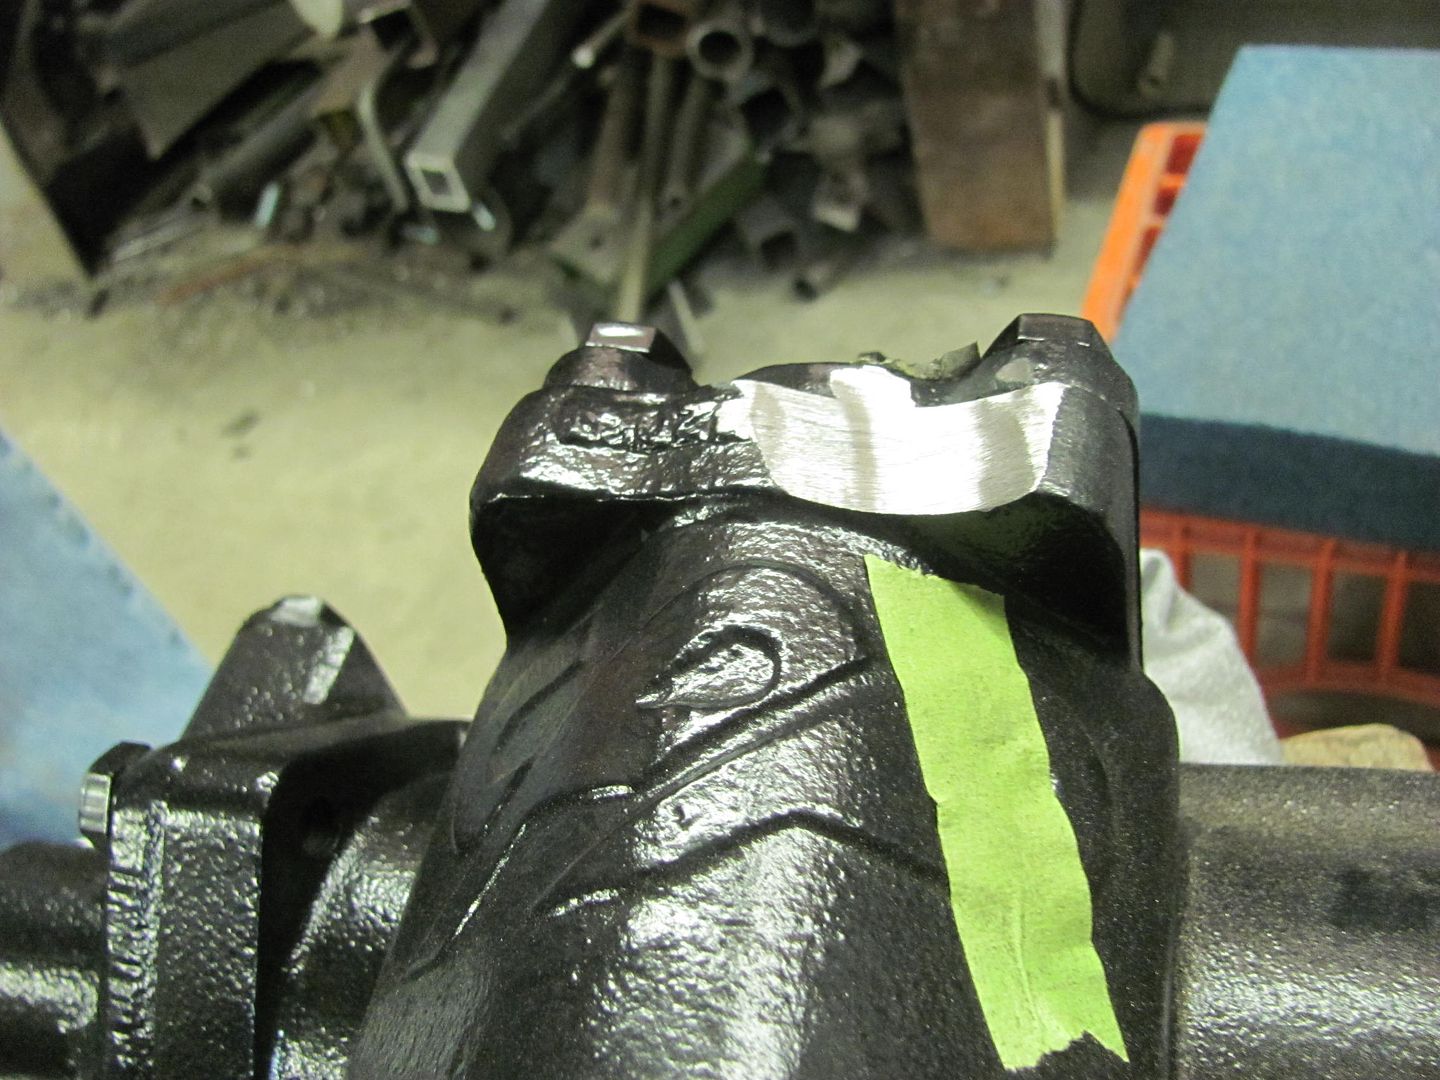 Much better... 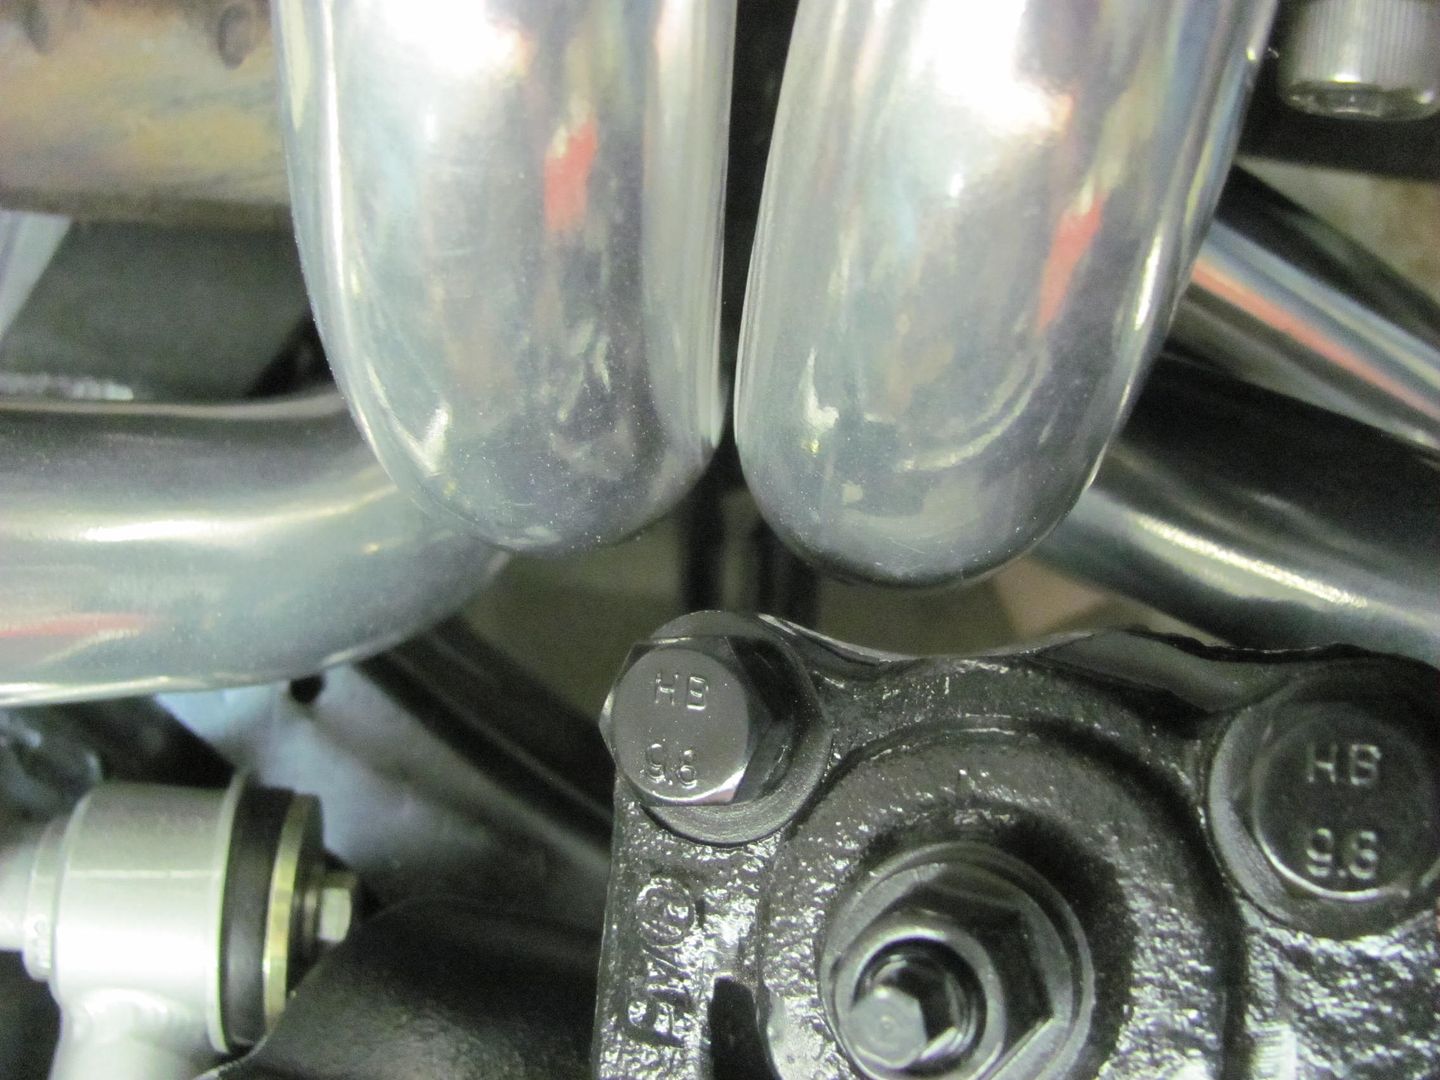 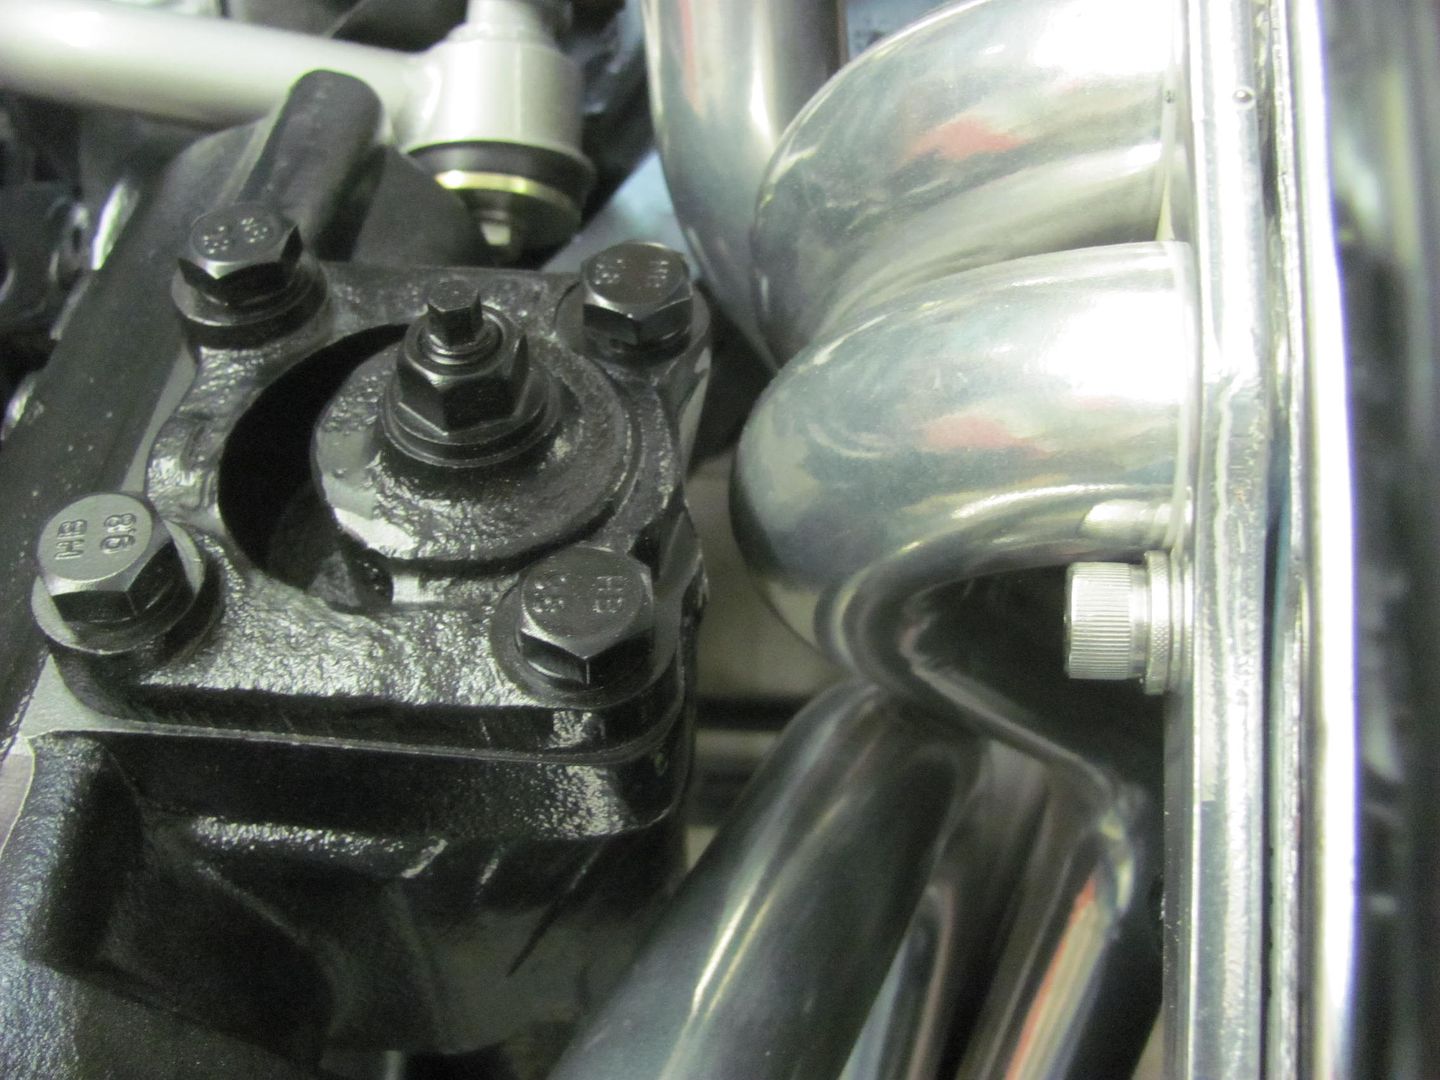
__________________
Robert |
|
|
|
|
02-05-2016, 10:25 AM
|
#3 |
|
Registered User
Join Date: Nov 2011
Location: West Plains Missouri
Posts: 2,088
|
Re: 55 Wagon Progress
Looking good Robert...
Mark..
__________________
http://67-72chevytrucks.com/vboard/s...d.php?t=645774 Project Orangepeel 52 A.D. http://67-72chevytrucks.com/vboard/s...d.php?t=653337 John's LS 49 dodge http://67-72chevytrucks.com/vboard/s...d.php?t=655780 Blake's 67 GMC LS stepside http://67-72chevytrucks.com/vboard/s...d.php?t=690527 Reed 78 FJ40 Rebuild http://67-72chevytrucks.com/vboard/s...d.php?t=733259 Barger's 78 FJ40 |
|
|
|
|
02-06-2016, 10:18 AM
|
#4 |
|
Senior Member
 Join Date: Mar 2008
Location: tyler texas
Posts: 1,536
|
Re: 55 Wagon Progress
Awesome work. I know the finished product will be top notch.
By thee way it looks like you put your flexplate on backwards?
__________________
NHRA Super Street 469C It only runs 10.90 at 156 mph |
|
|
|
|
02-07-2016, 09:25 PM
|
#5 |
|
Registered User
Join Date: Jan 2013
Location: Leonardtown, MD
Posts: 1,637
|
Re: 55 Wagon Progress
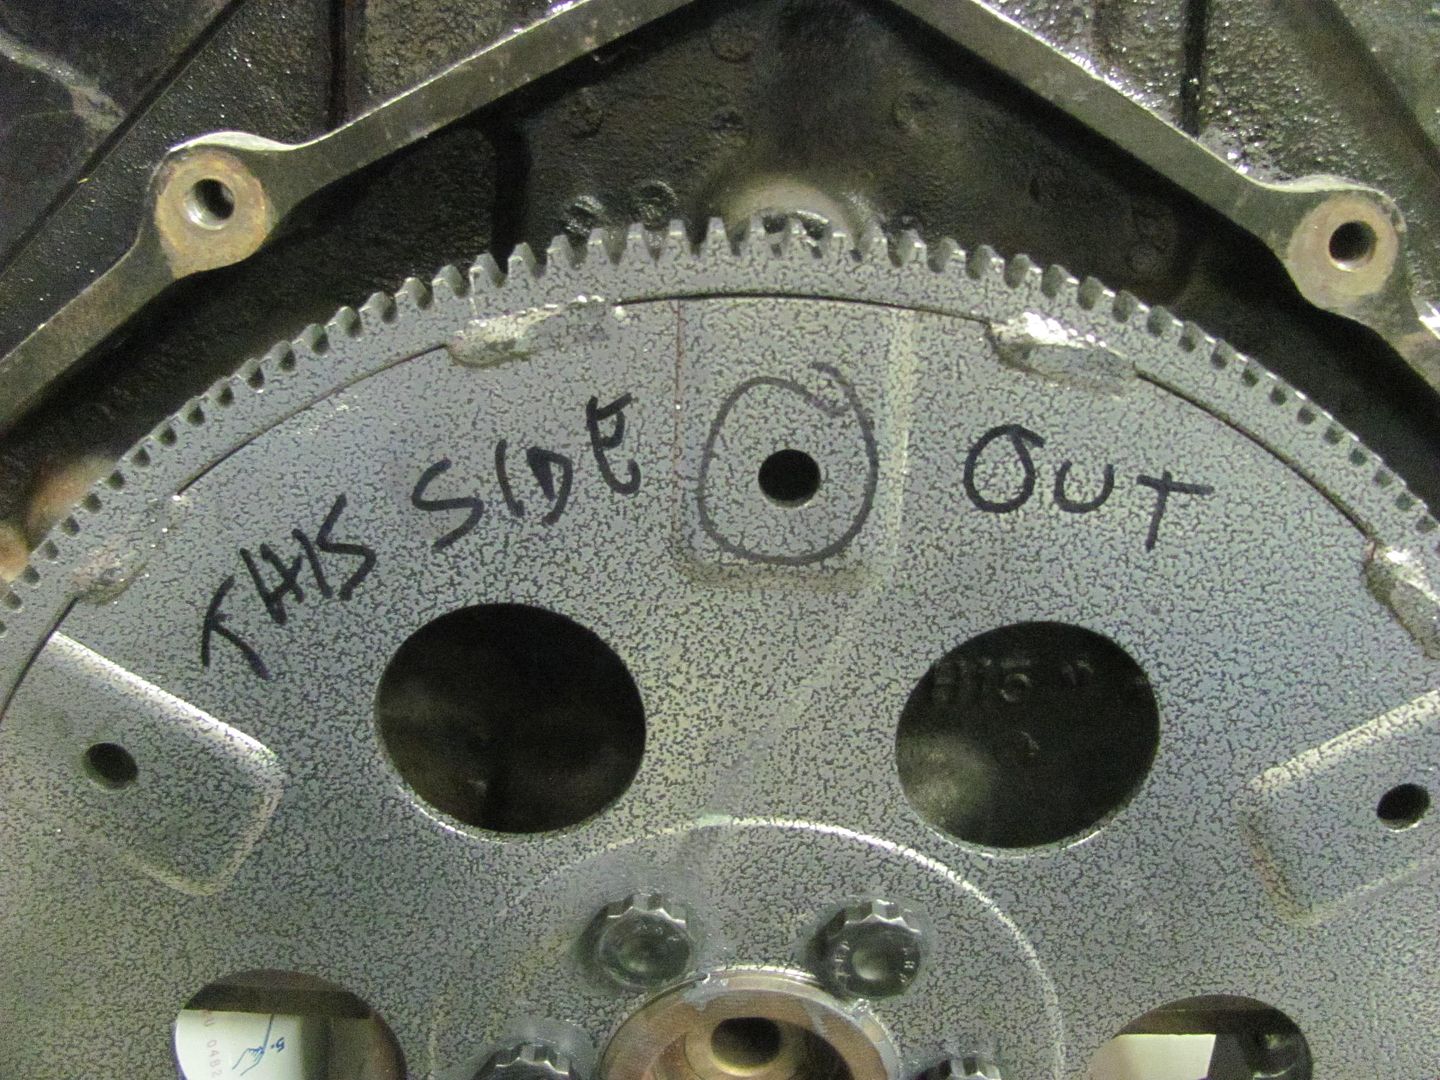
First off, thanks to all who let me know the flex plate was in backwards. I don't normally wrench on drivetrains, so glad to find out before the body was on the frame. I guess all the decals gave the false sense of "this side out". Wouldn't you know, when I turned it over, the instructions for dummies was right there in plain sight!
 All back together.... 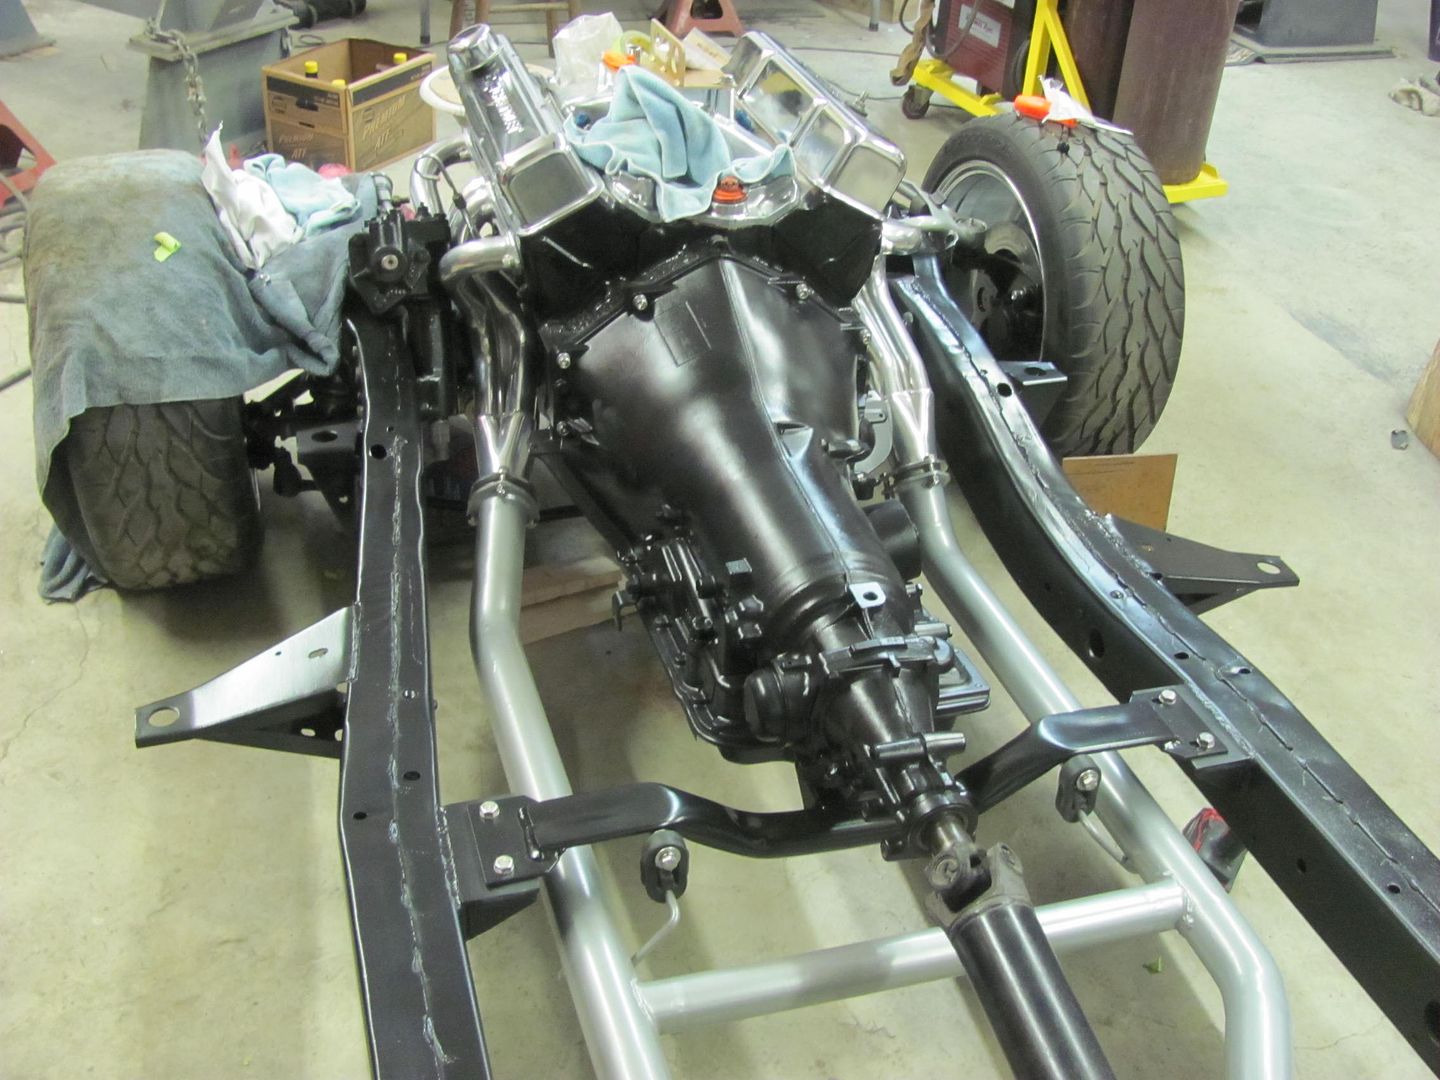 Working on another header clearance issue... 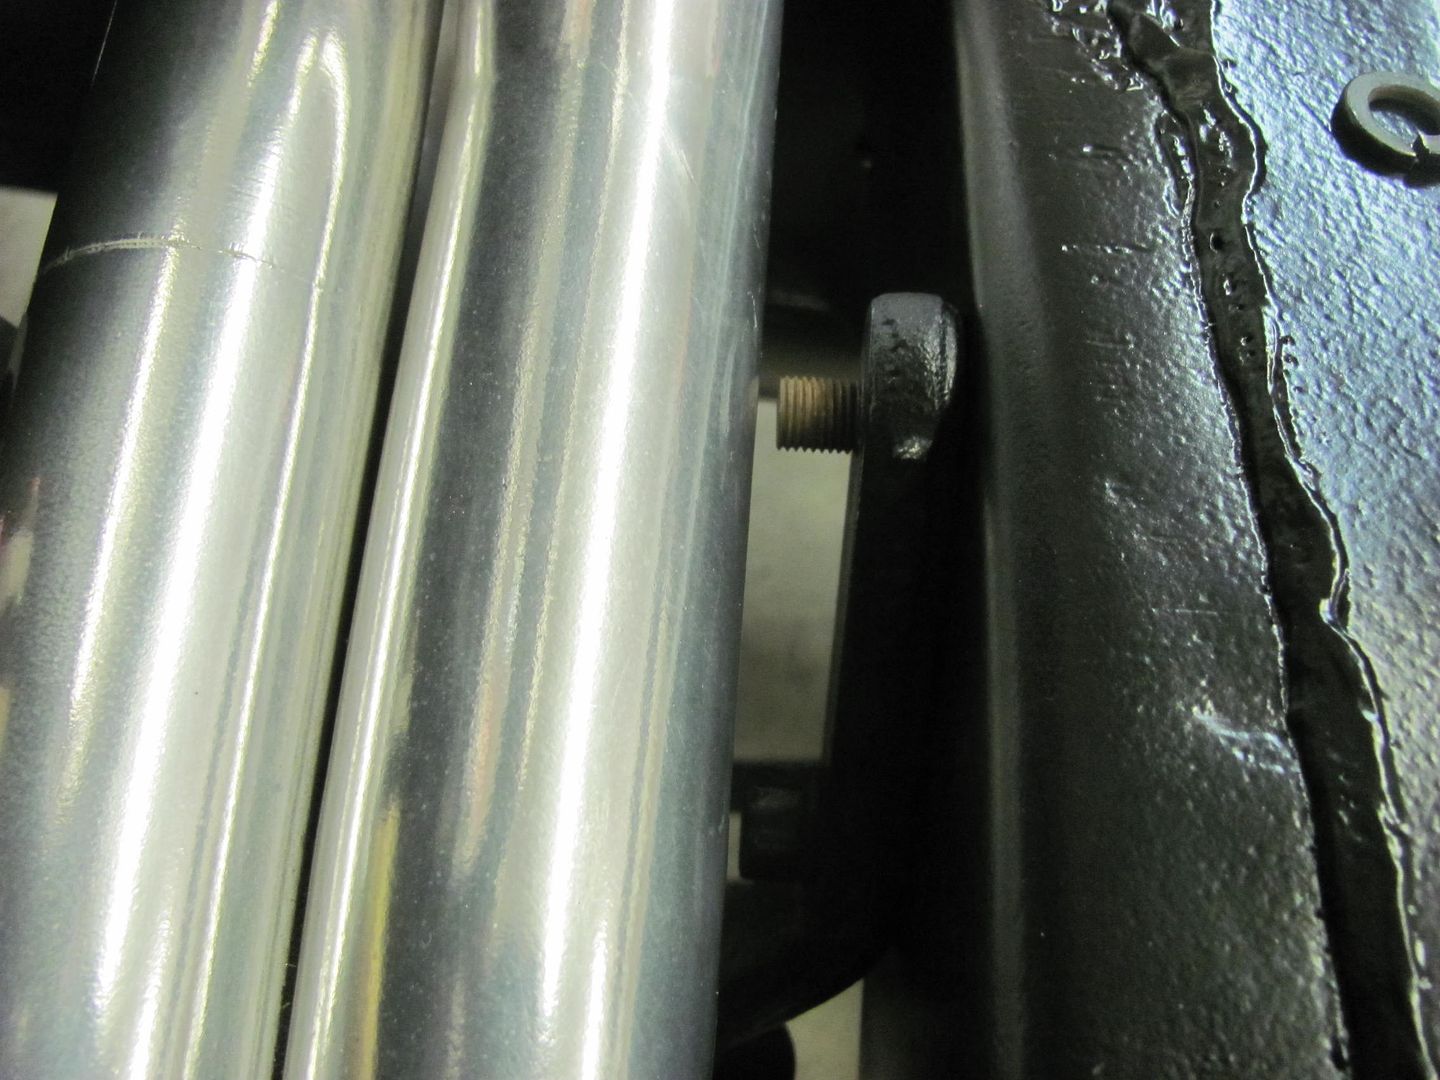 Removed the factory carriage bolts, they will be replaced with some grade 8 hex head bolts, and to add more clearance we'll get rid of the nuts inside and use some locking heli-coils.. 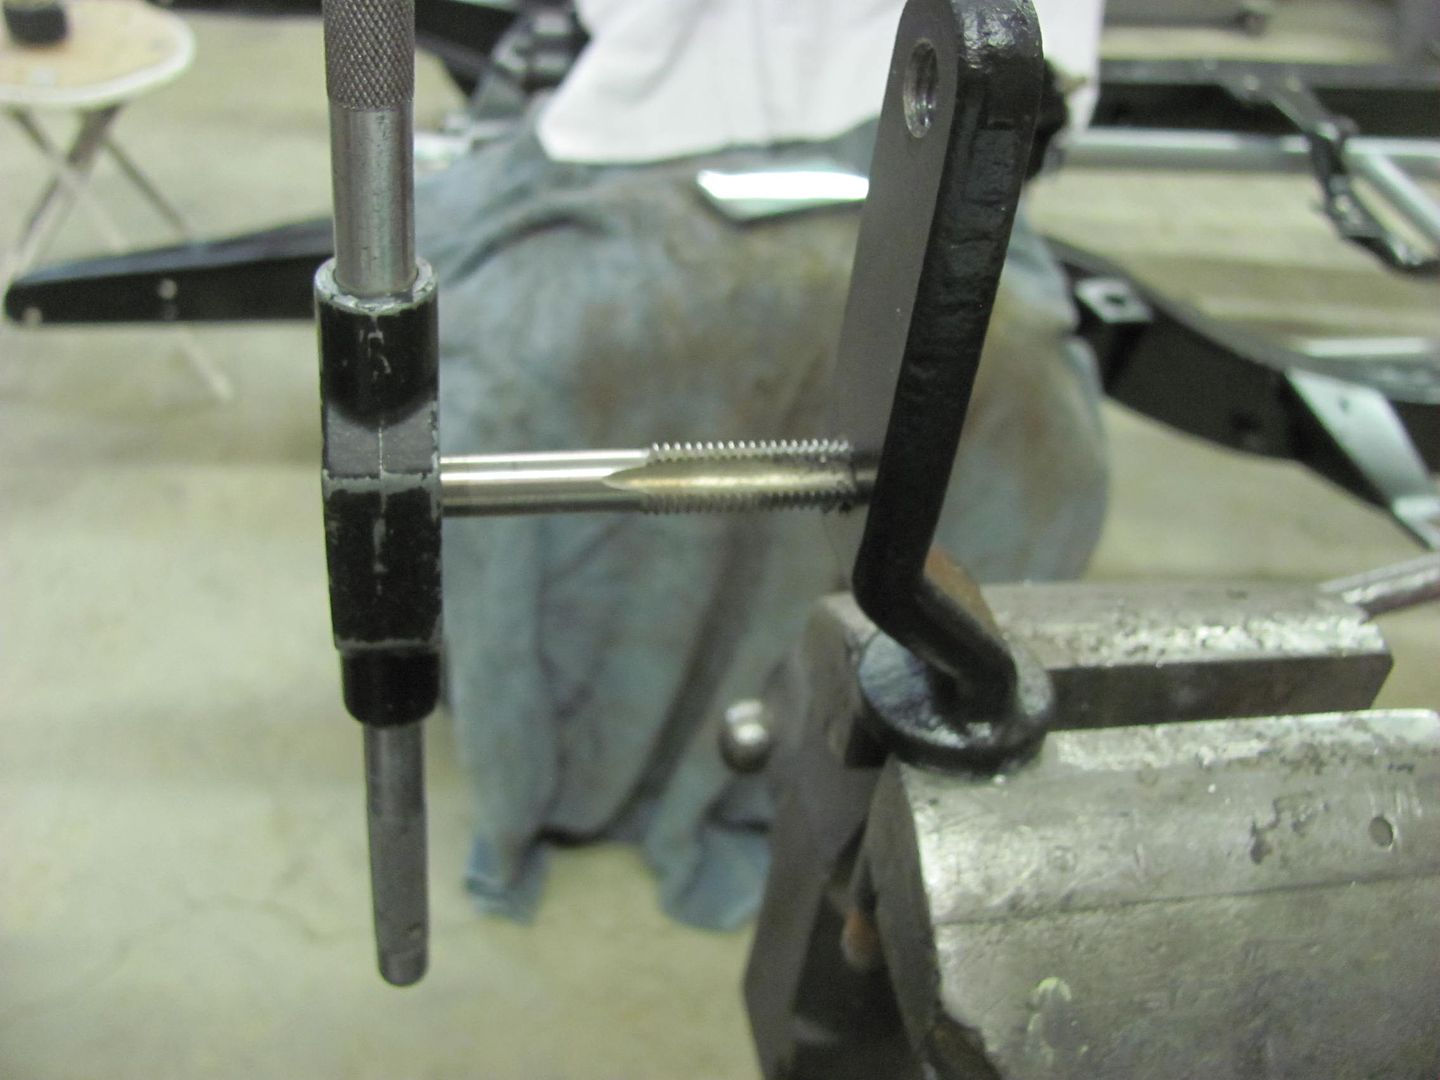 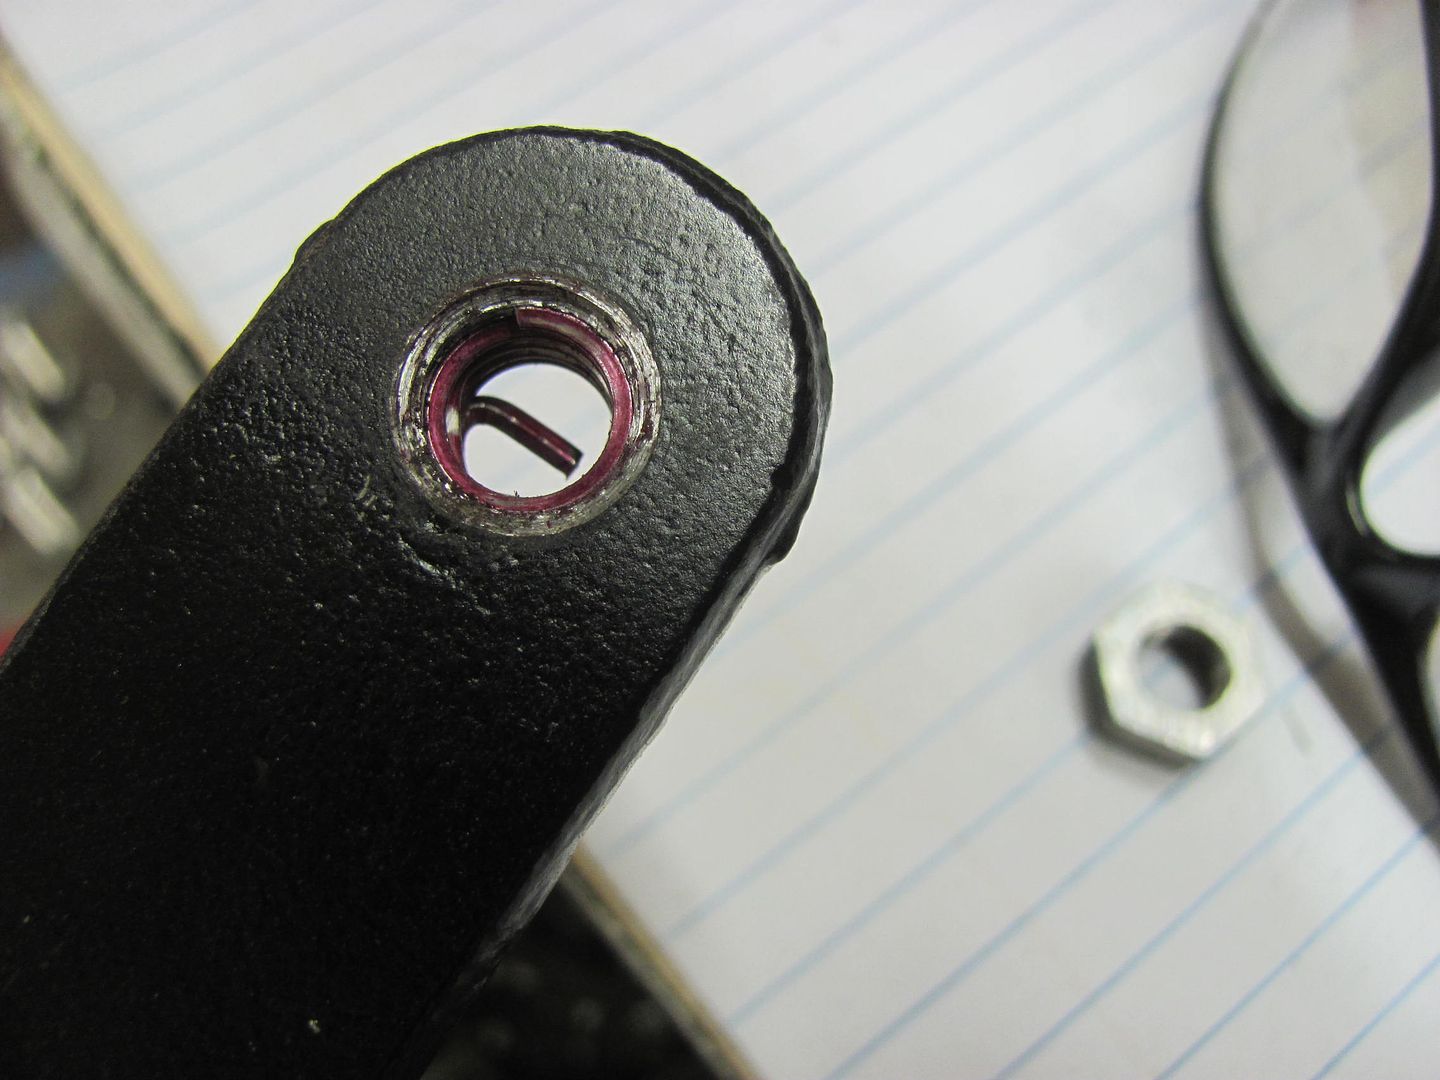 ....for much better clearance. 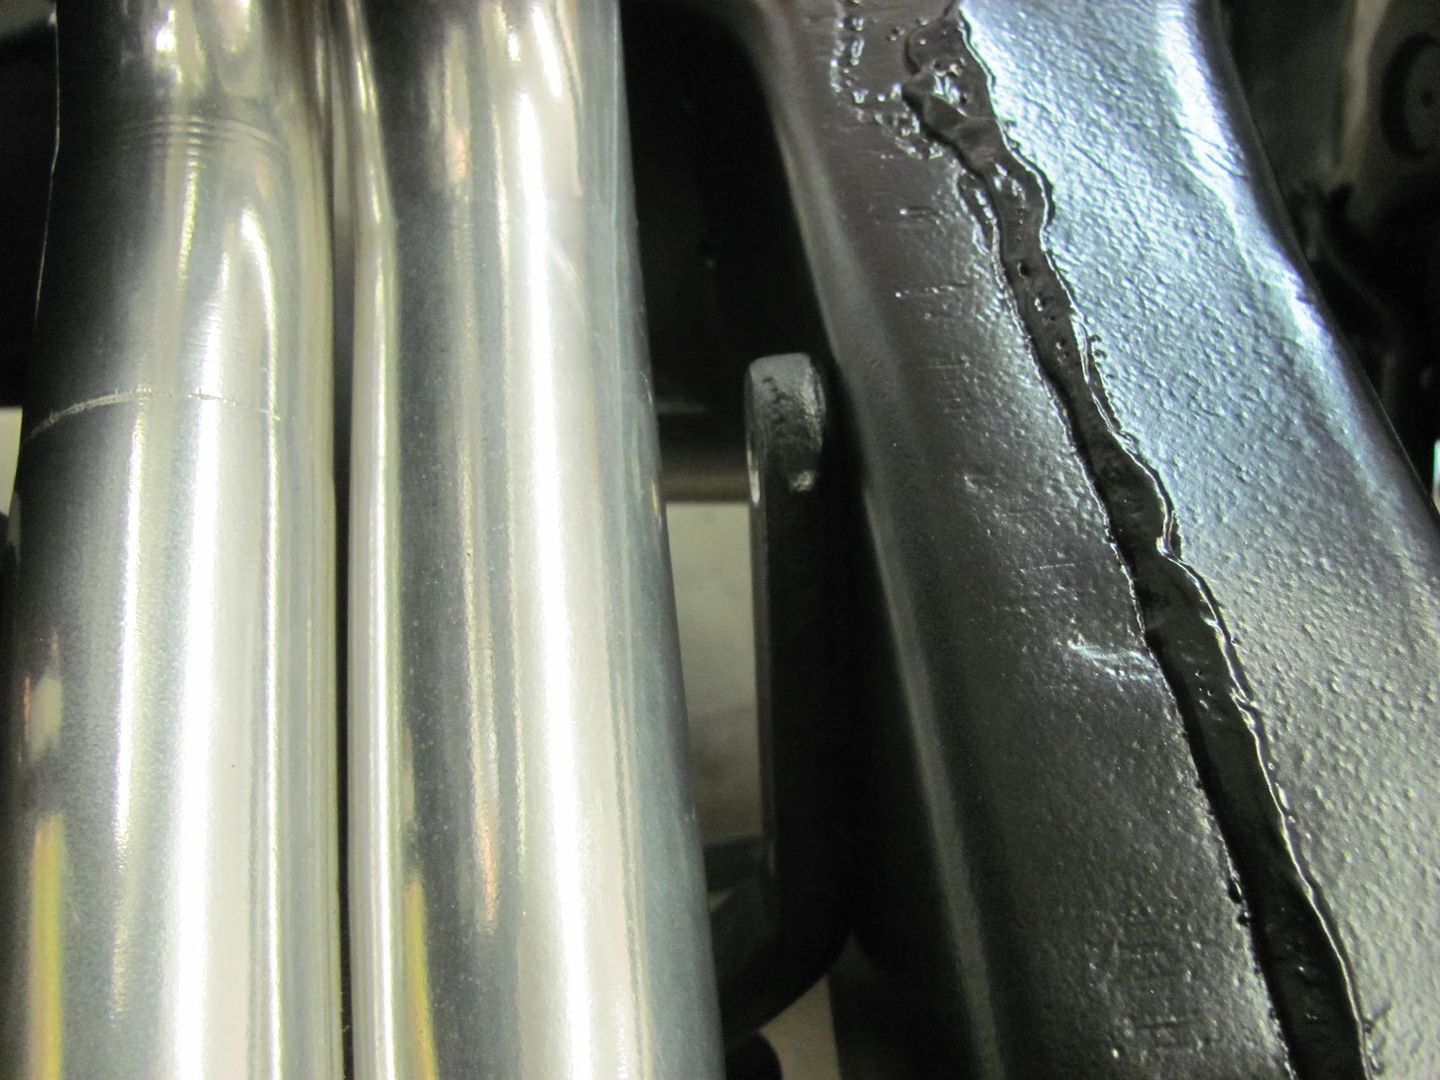 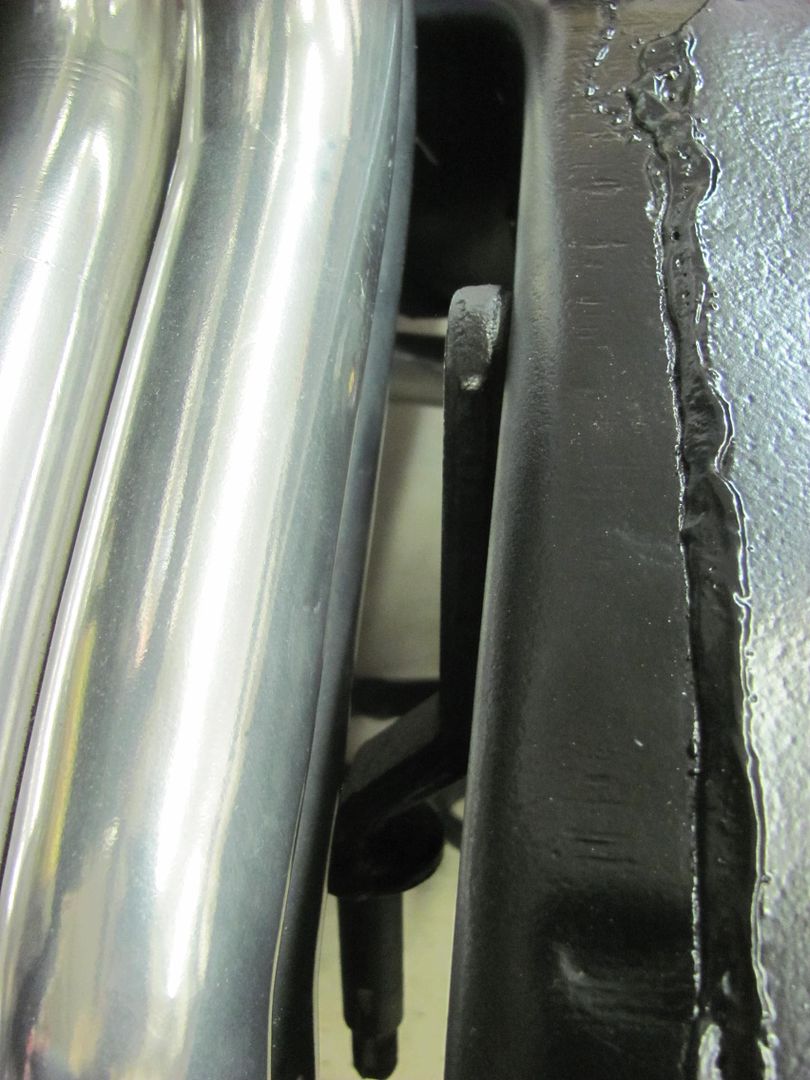 More parts added.... 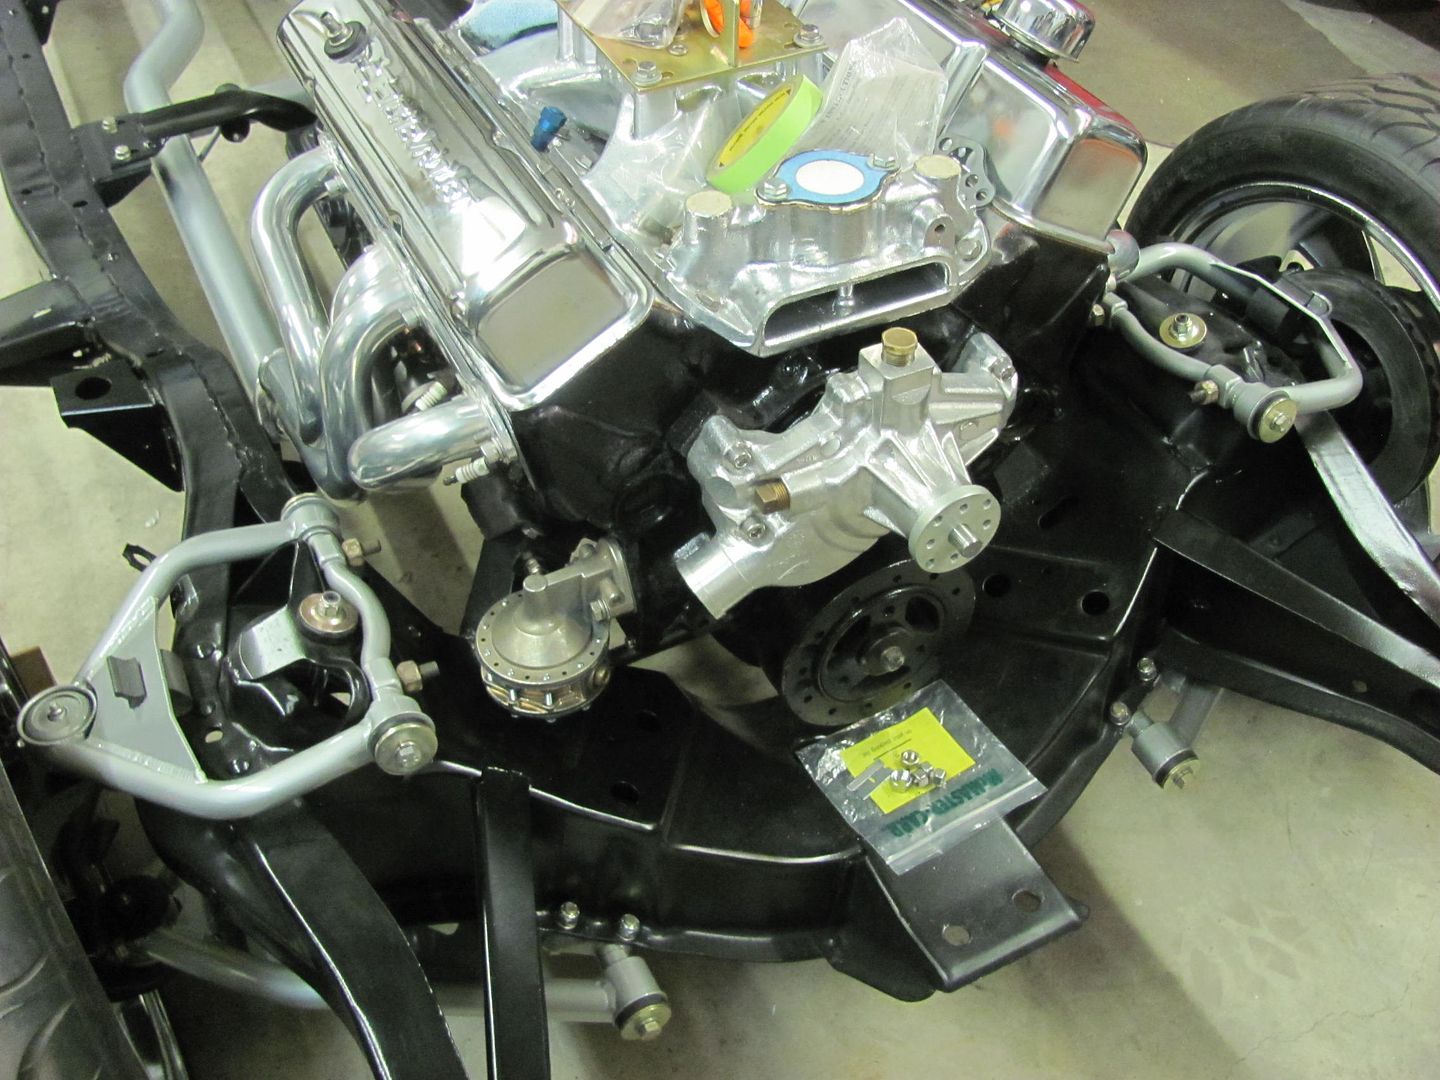 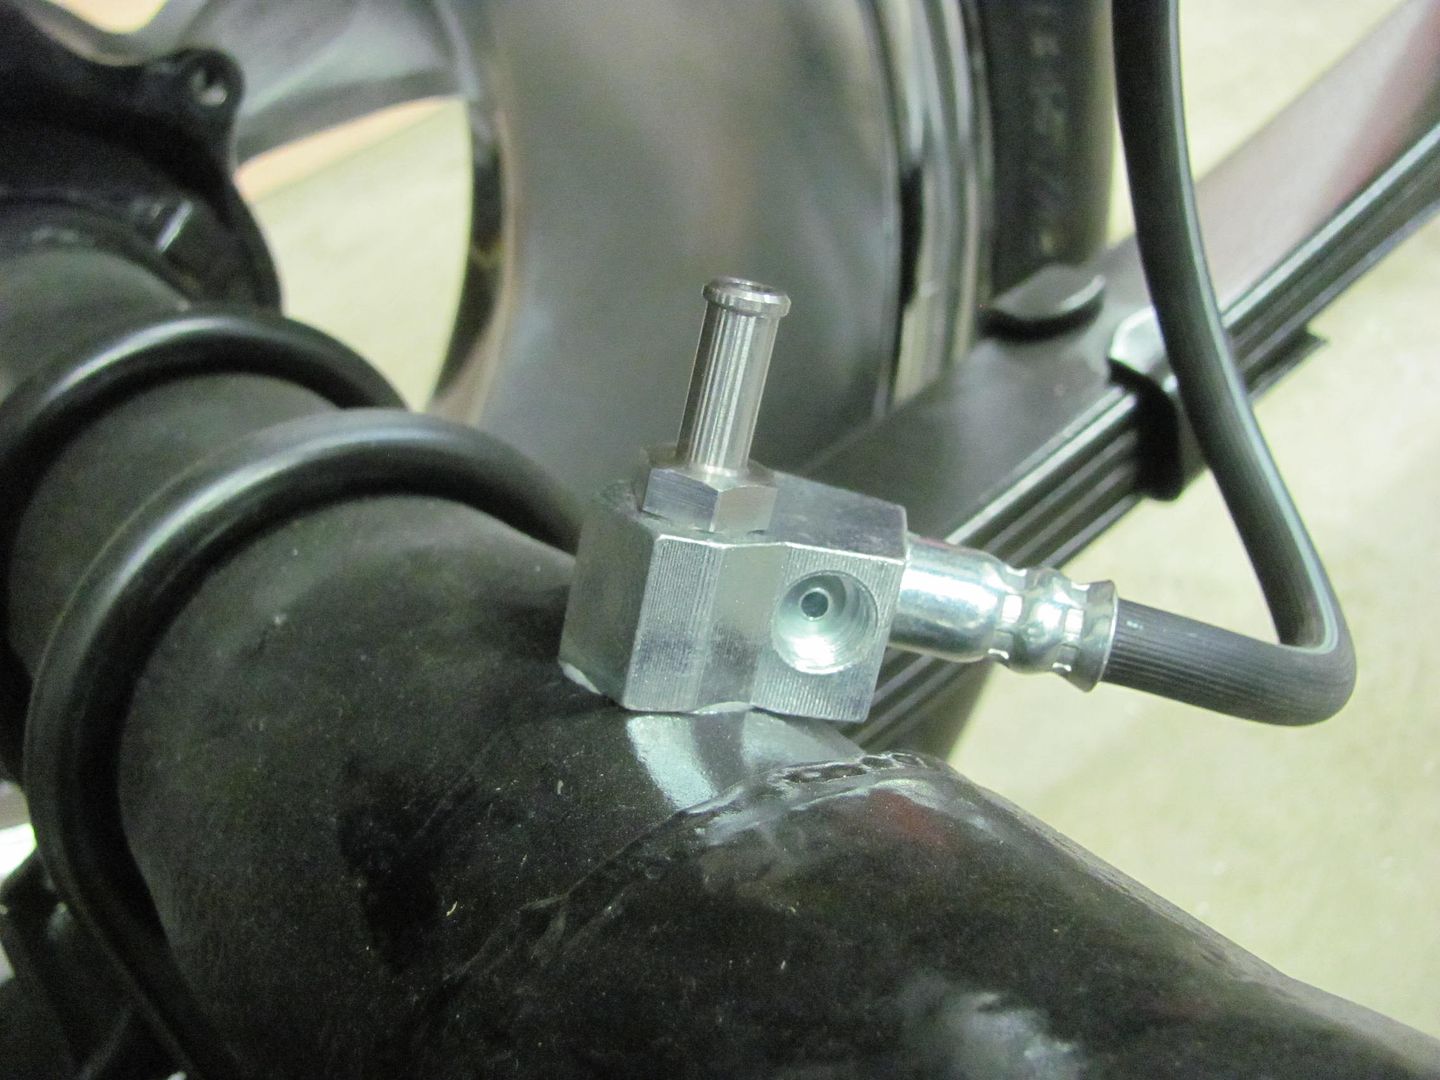 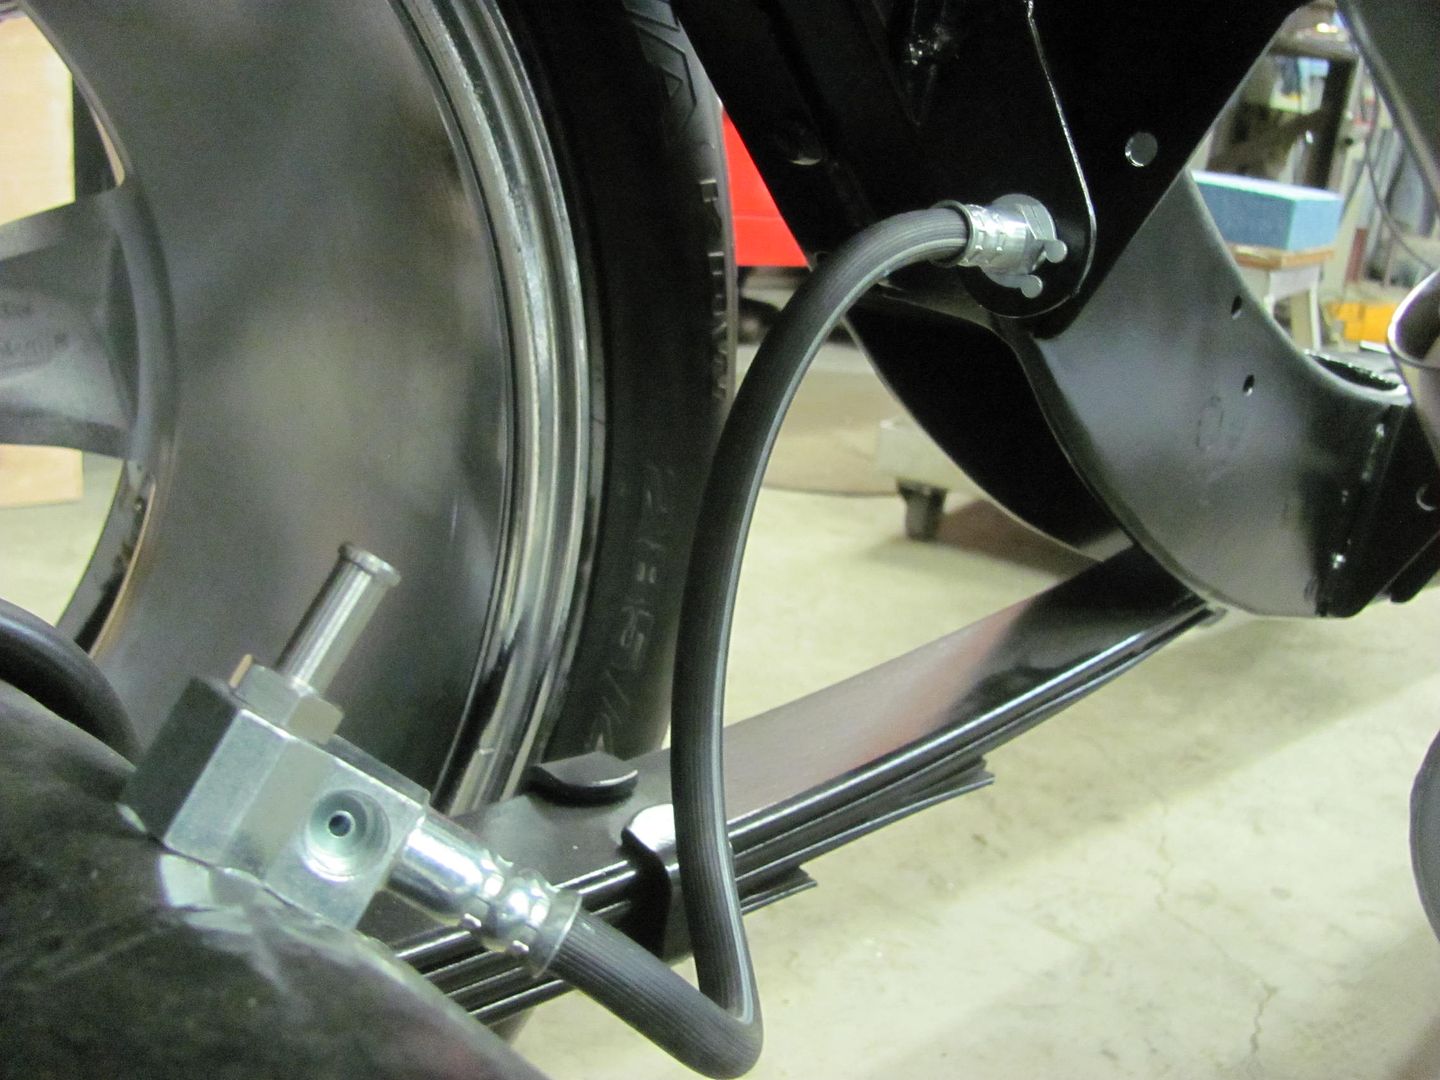
__________________
Robert |
|
|
|
|
02-12-2016, 09:17 AM
|
#6 |
|
Registered User
Join Date: Jan 2013
Location: Leonardtown, MD
Posts: 1,637
|
Re: 55 Wagon Progress
This one is the flex to the frame, and has the distribution block for each side of the axle housing. The flex at the calipers are only to allow for caliper movement..
__________________
Robert |
|
|
|
|
02-07-2016, 10:49 PM
|
#7 |
|
Registered User
Join Date: May 2011
Location: Anderson SC
Posts: 3,881
|
Re: 55 Wagon Progress
Looking good! Where did you get the new vented brake tee bolt on the axle?
__________________
Project Goldilocks '66 C10 Short Fleet BBW Build '65 C10 Highly Detailed Stock Restoration Thread '78 Camaro Targa Roof Build '55 International Metal/Body/Paint Work '66 F100 Full Rotisserie Restoration '40 Packard 120 Convertible Coupe Restoration How To Restore and Detail an Original Gauge Cluster How To Detail Sand Body Panels, Edges, Corners, Etc |
|
|
|
|
02-07-2016, 10:59 PM
|
#8 |
|
Registered User
Join Date: Jan 2013
Location: Leonardtown, MD
Posts: 1,637
|
Re: 55 Wagon Progress
__________________
Robert |
|
|
|
|
02-08-2016, 09:06 AM
|
#9 |
|
Senior Member
Join Date: Mar 2008
Location: tyler texas
Posts: 1,536
|
Re: 55 Wagon Progress
Ha ha . i put mine on backwards before. You couldnt turn the motor over because it was bound up against the convertor. The SFI stickers go towards the front. That way you can see them from under the vehicle.
__________________
NHRA Super Street 469C It only runs 10.90 at 156 mph |
|
|
|
|
02-11-2016, 11:46 PM
|
#10 |
|
Registered User
Join Date: Jan 2013
Location: Leonardtown, MD
Posts: 1,637
|
Re: 55 Wagon Progress
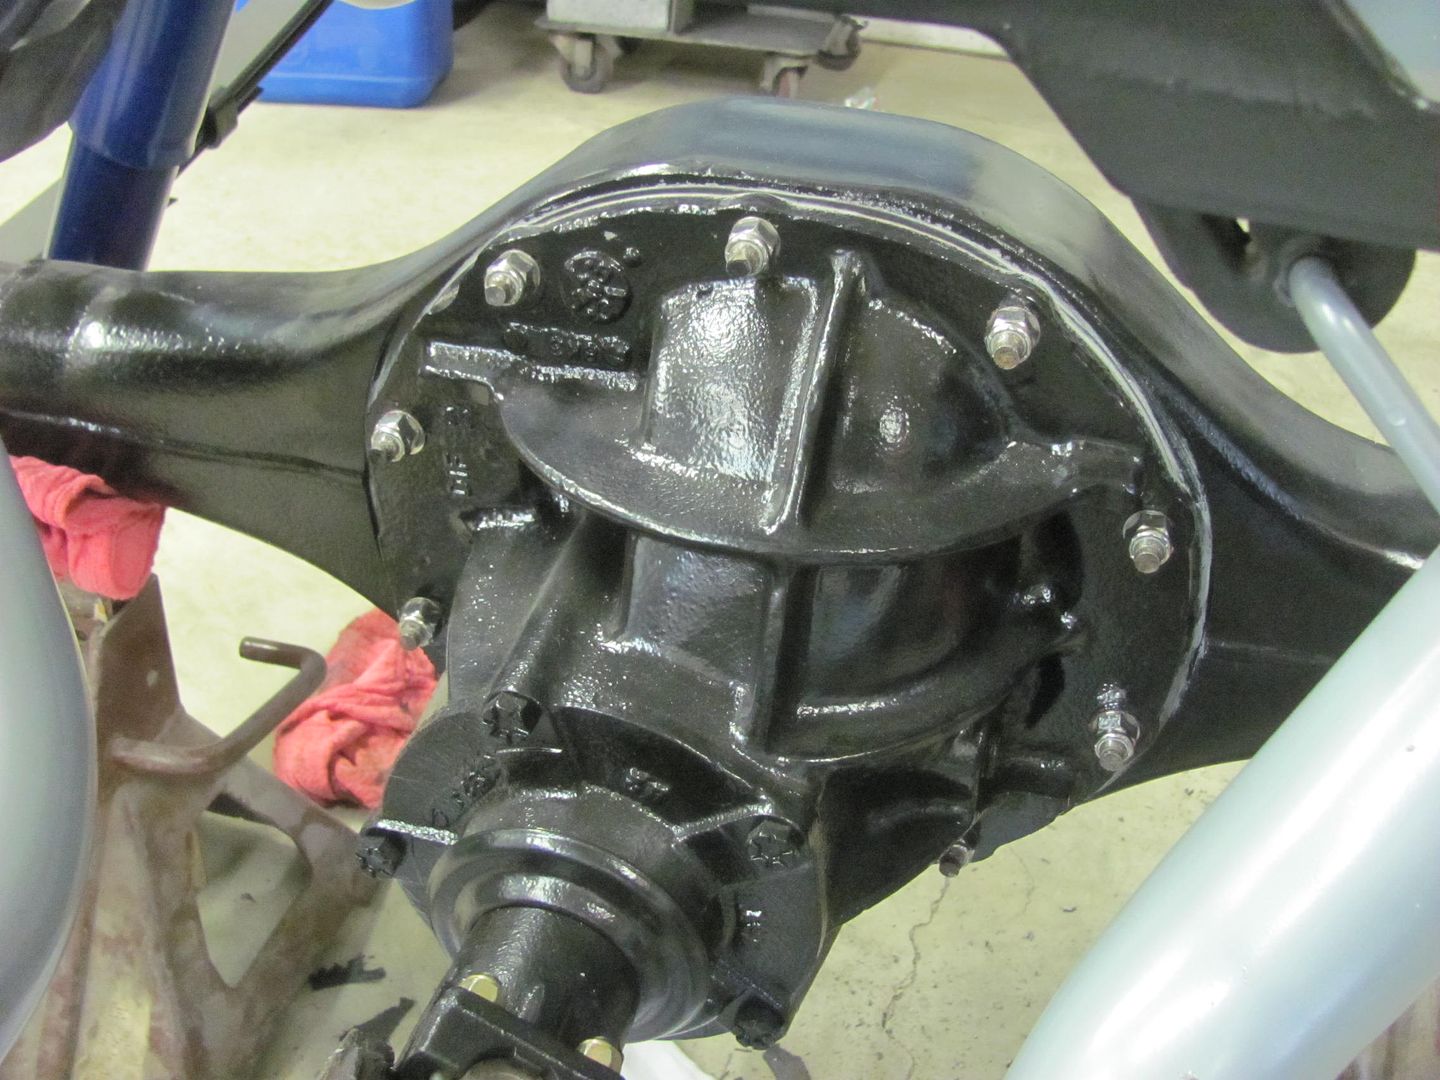
Well the stainless lock nuts showed up today, so we pulled the third member, cleaned the mounting surfaces, installed a new gasket and torqued things down.
  We also had taken delivery of the Explorer brake kit that gives us shoes inside the rotor for the parking brake. So we have some Lincoln Versailles parts if anyone needs some... 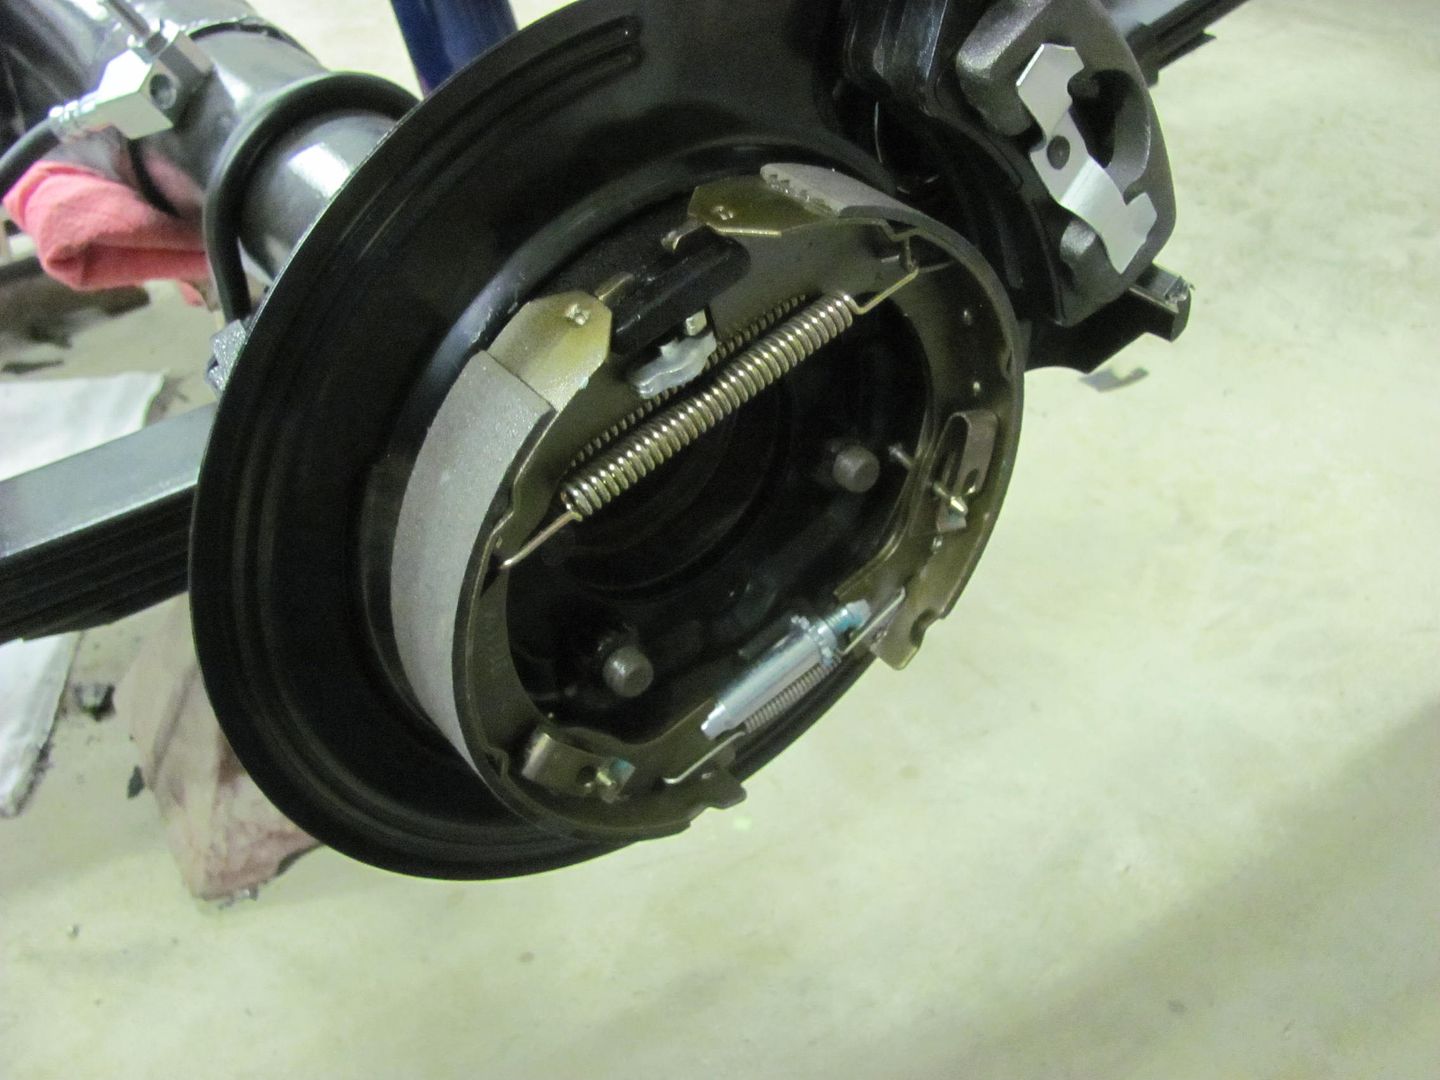 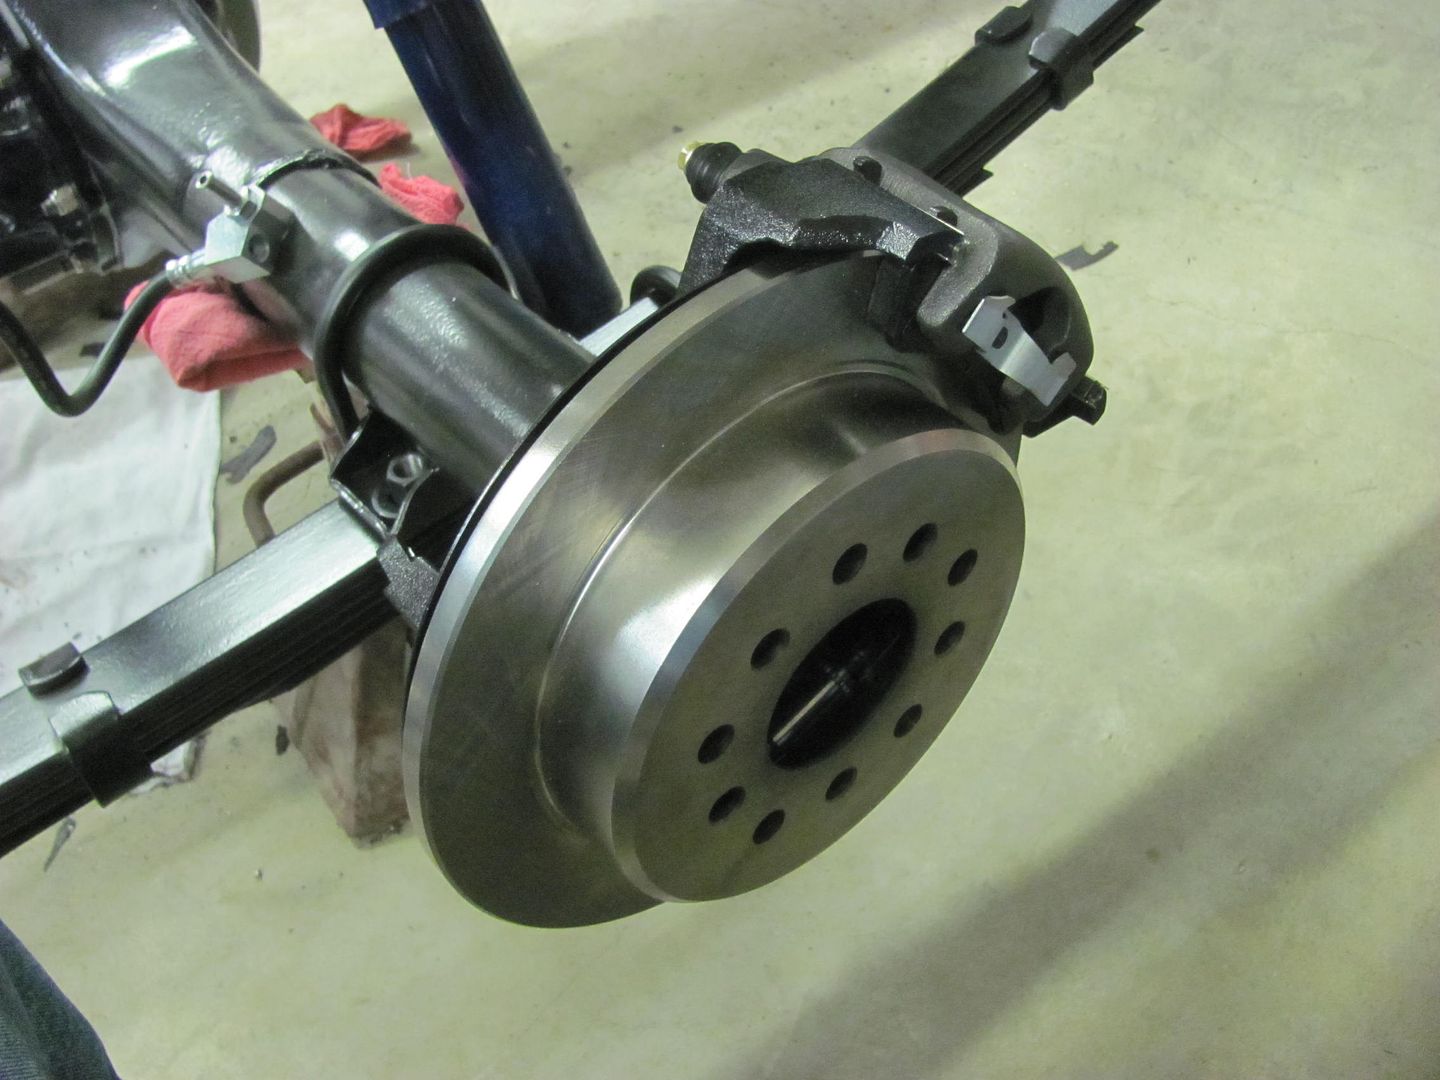 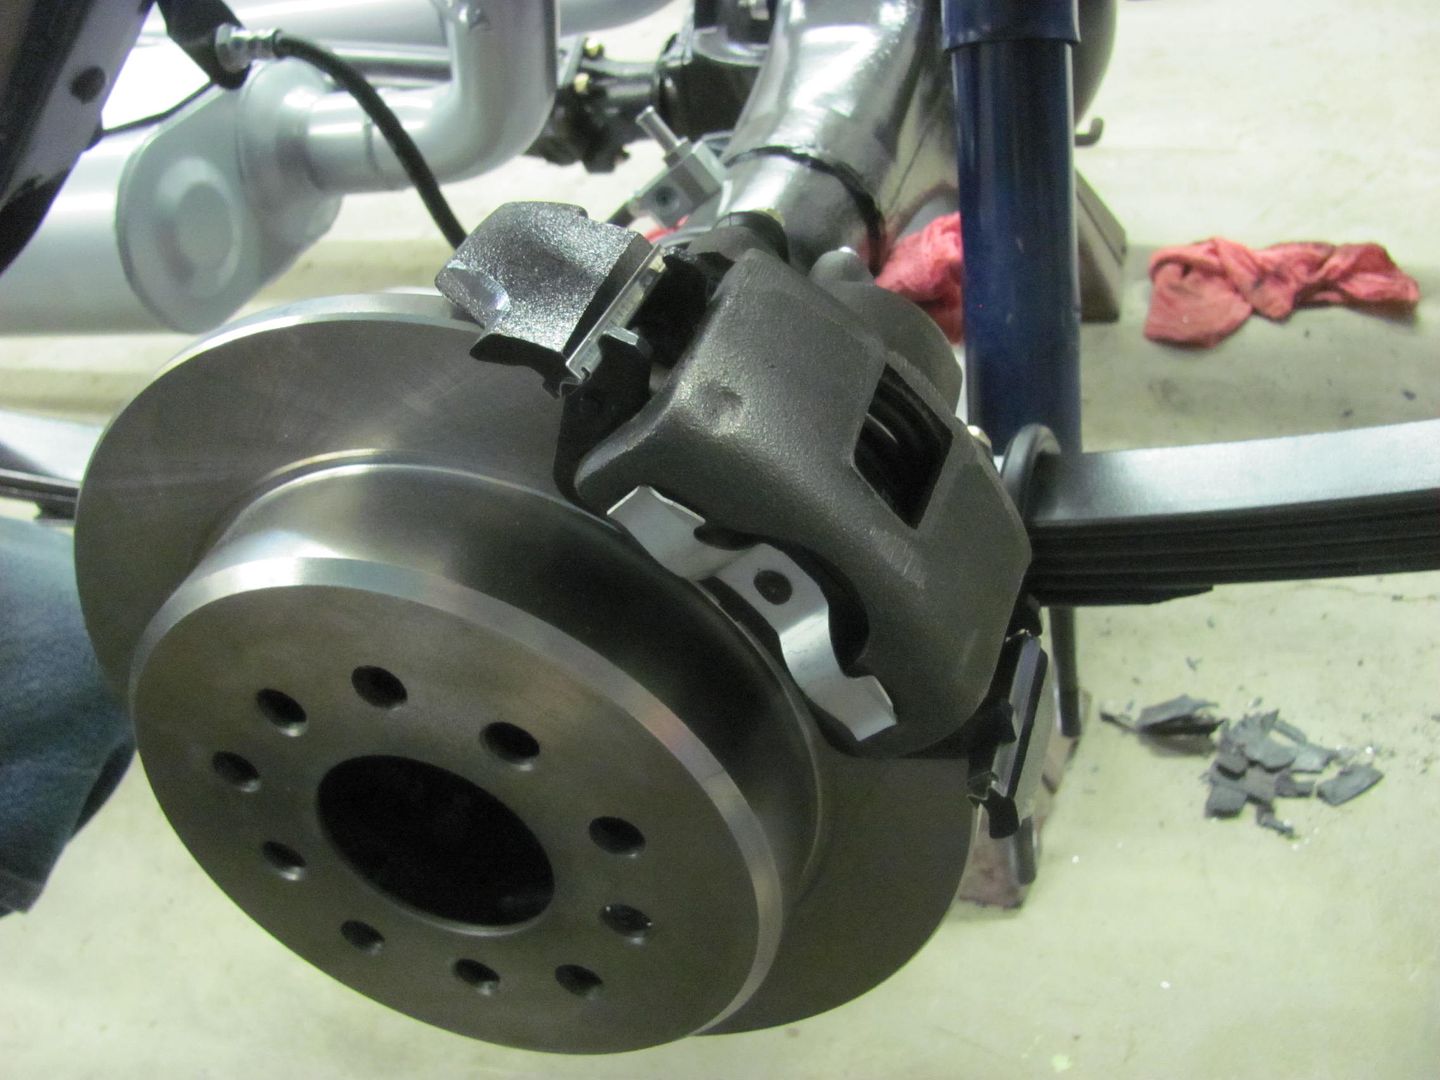 Went digging through the brake hose selection at the local Napa store, Guy Auto Parts. This should work for the rear, front hoses should be here Saturday. 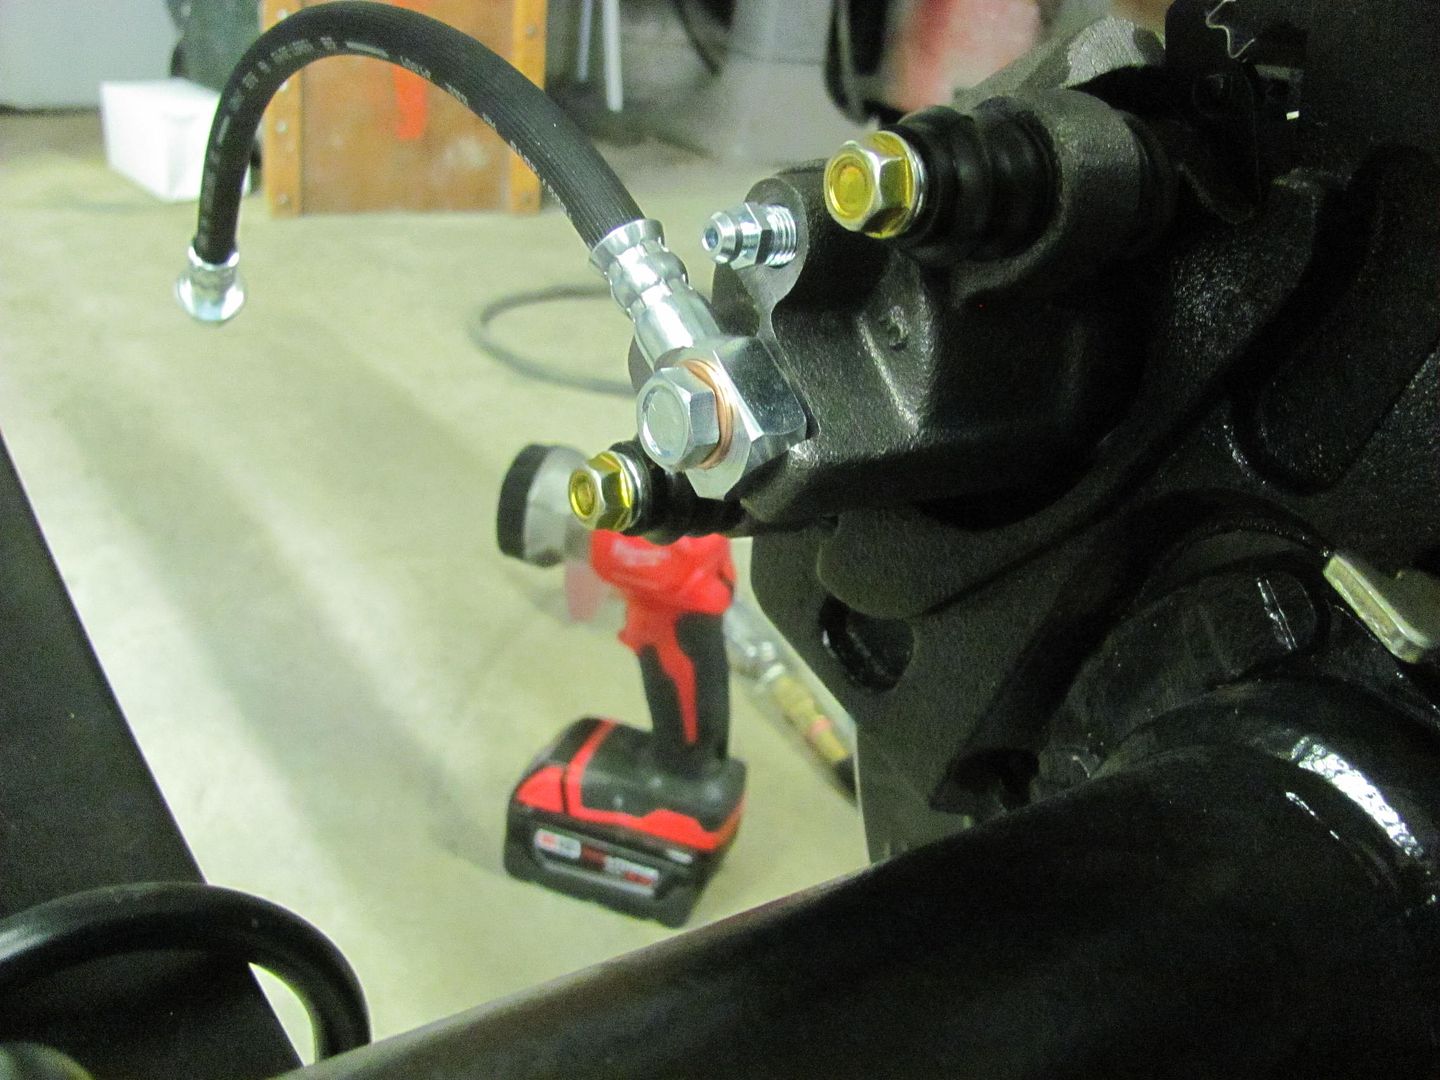 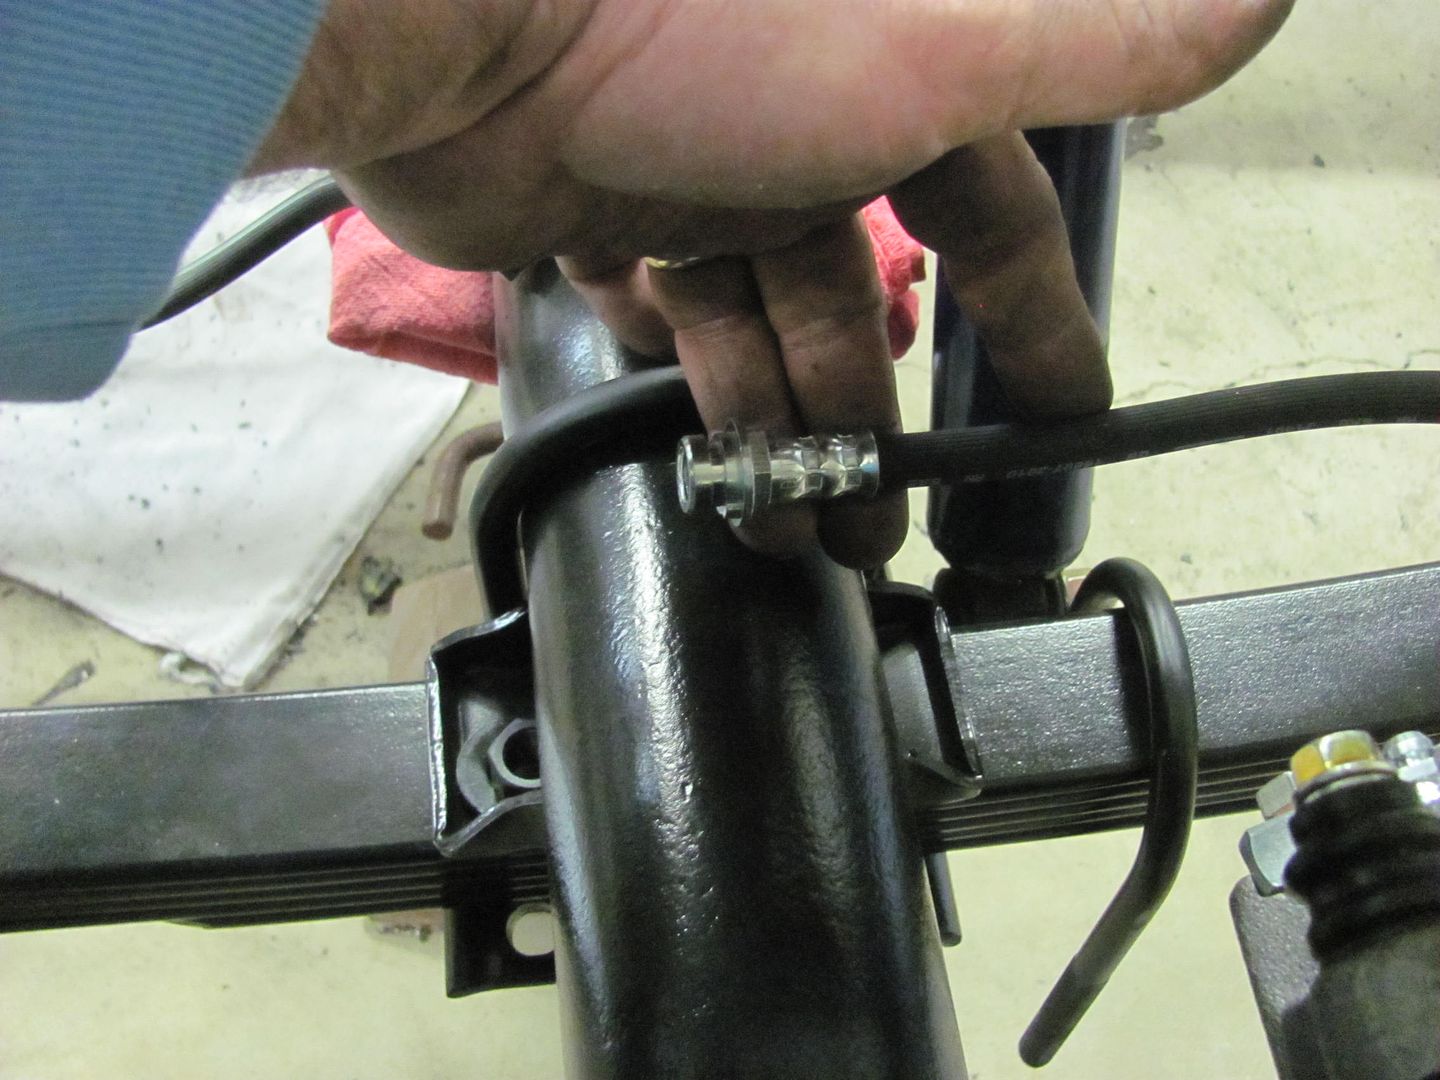 Now we need a bracket to anchor the hose end... We came up with this design using 16 gauge CRS, and planned to clamp it under the U-bolts... 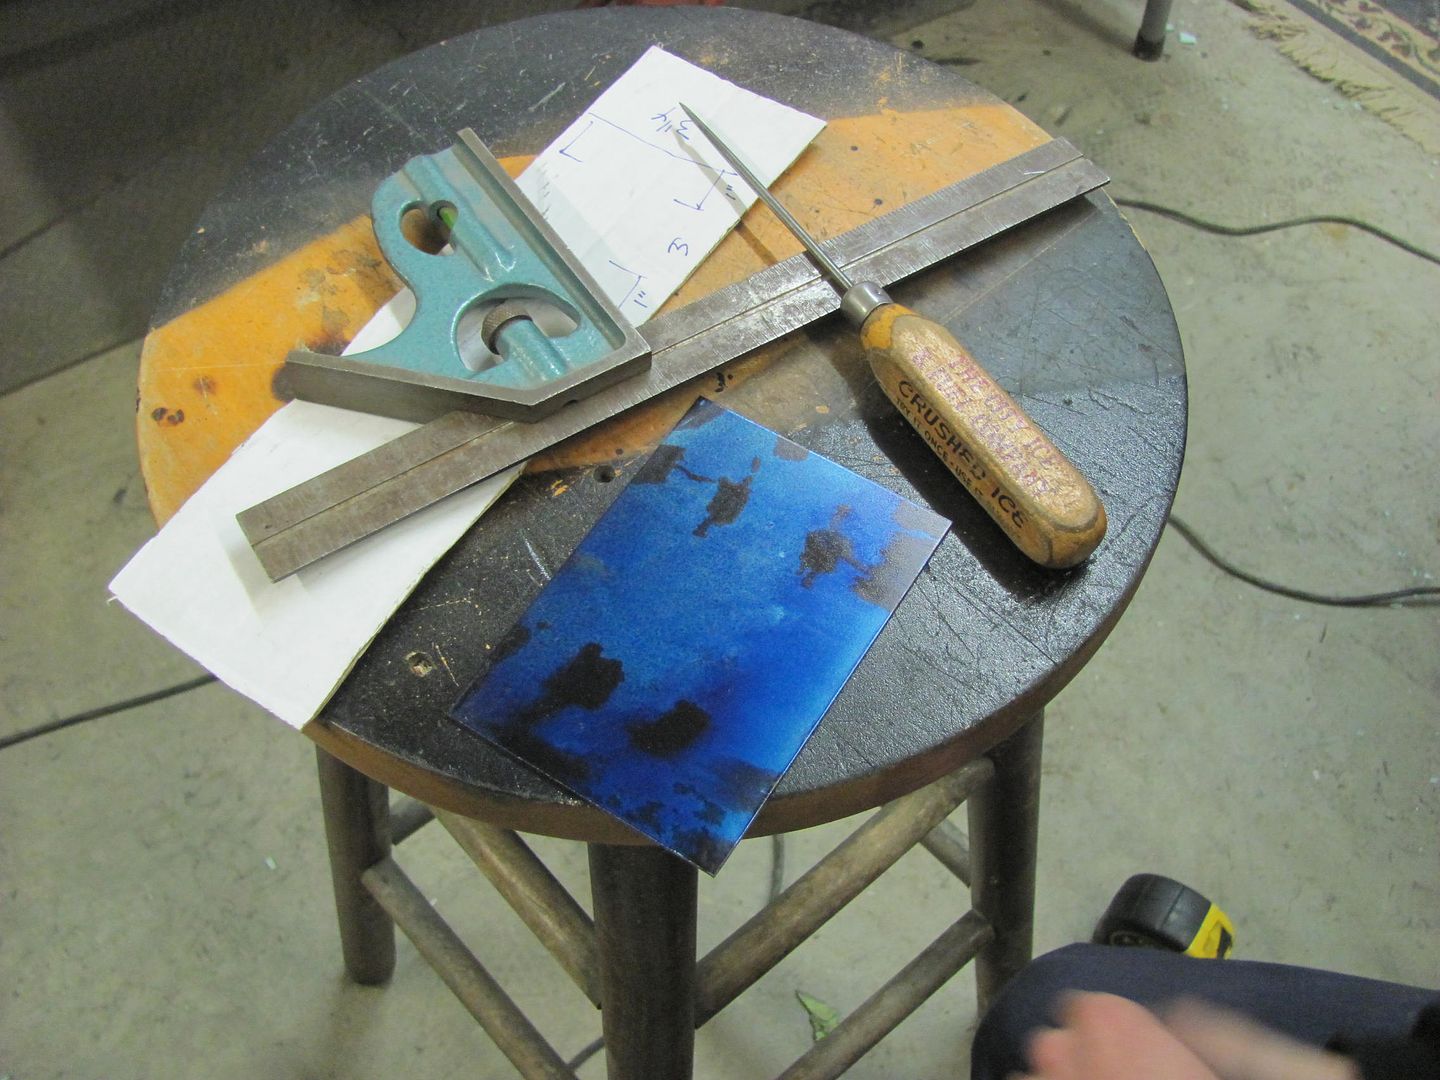 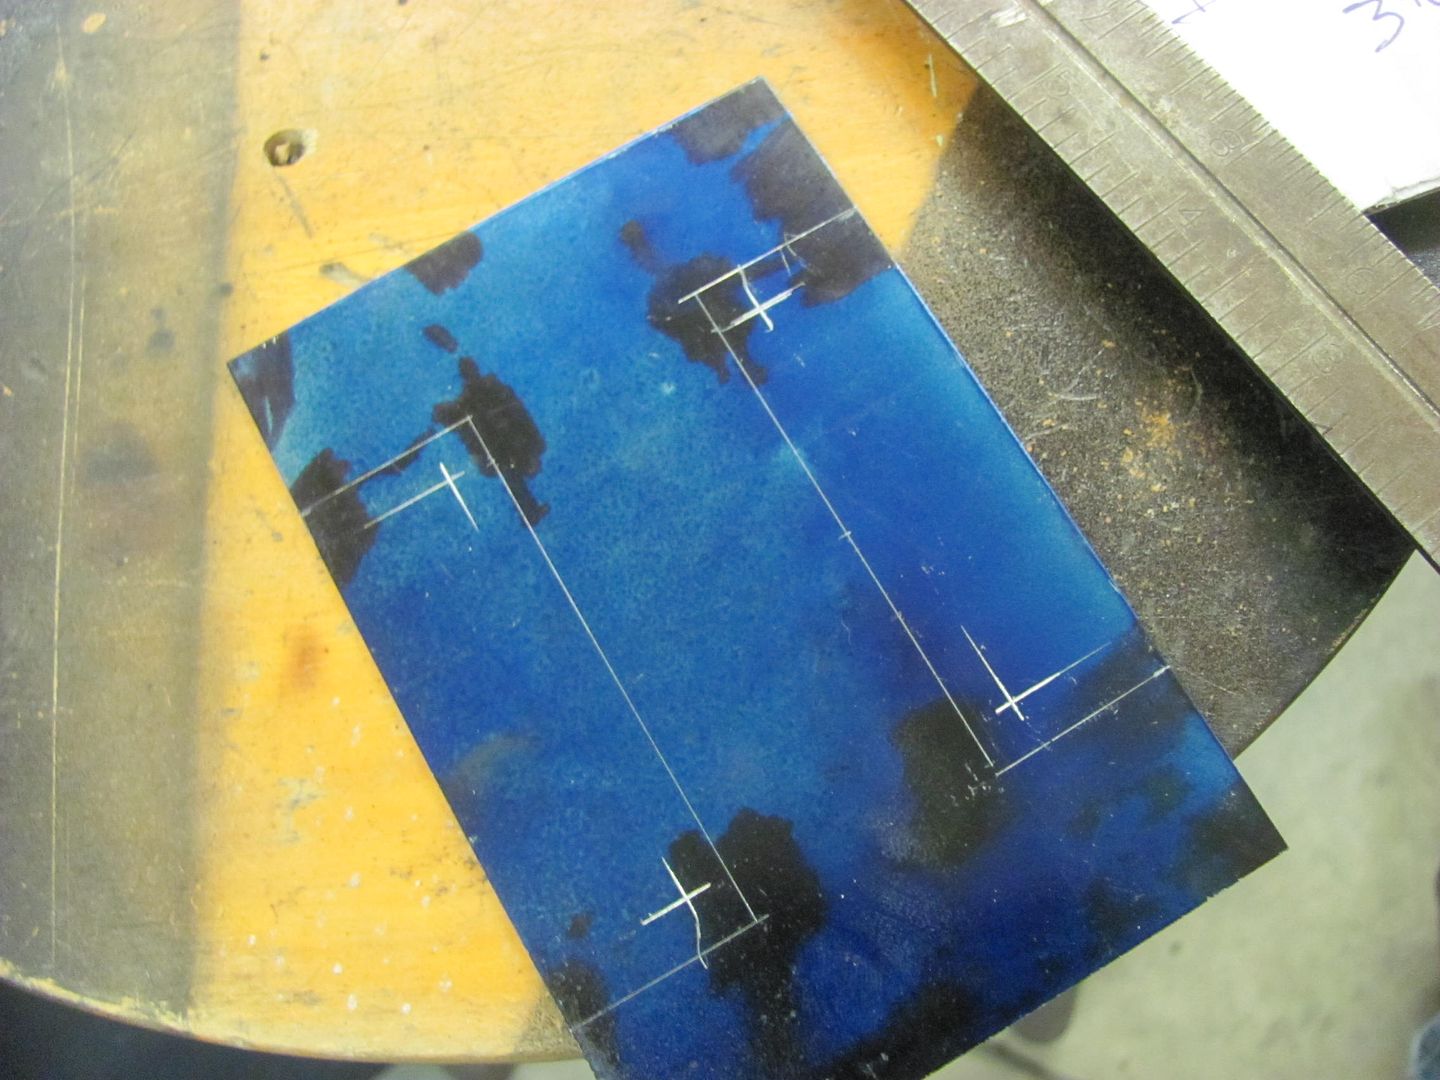 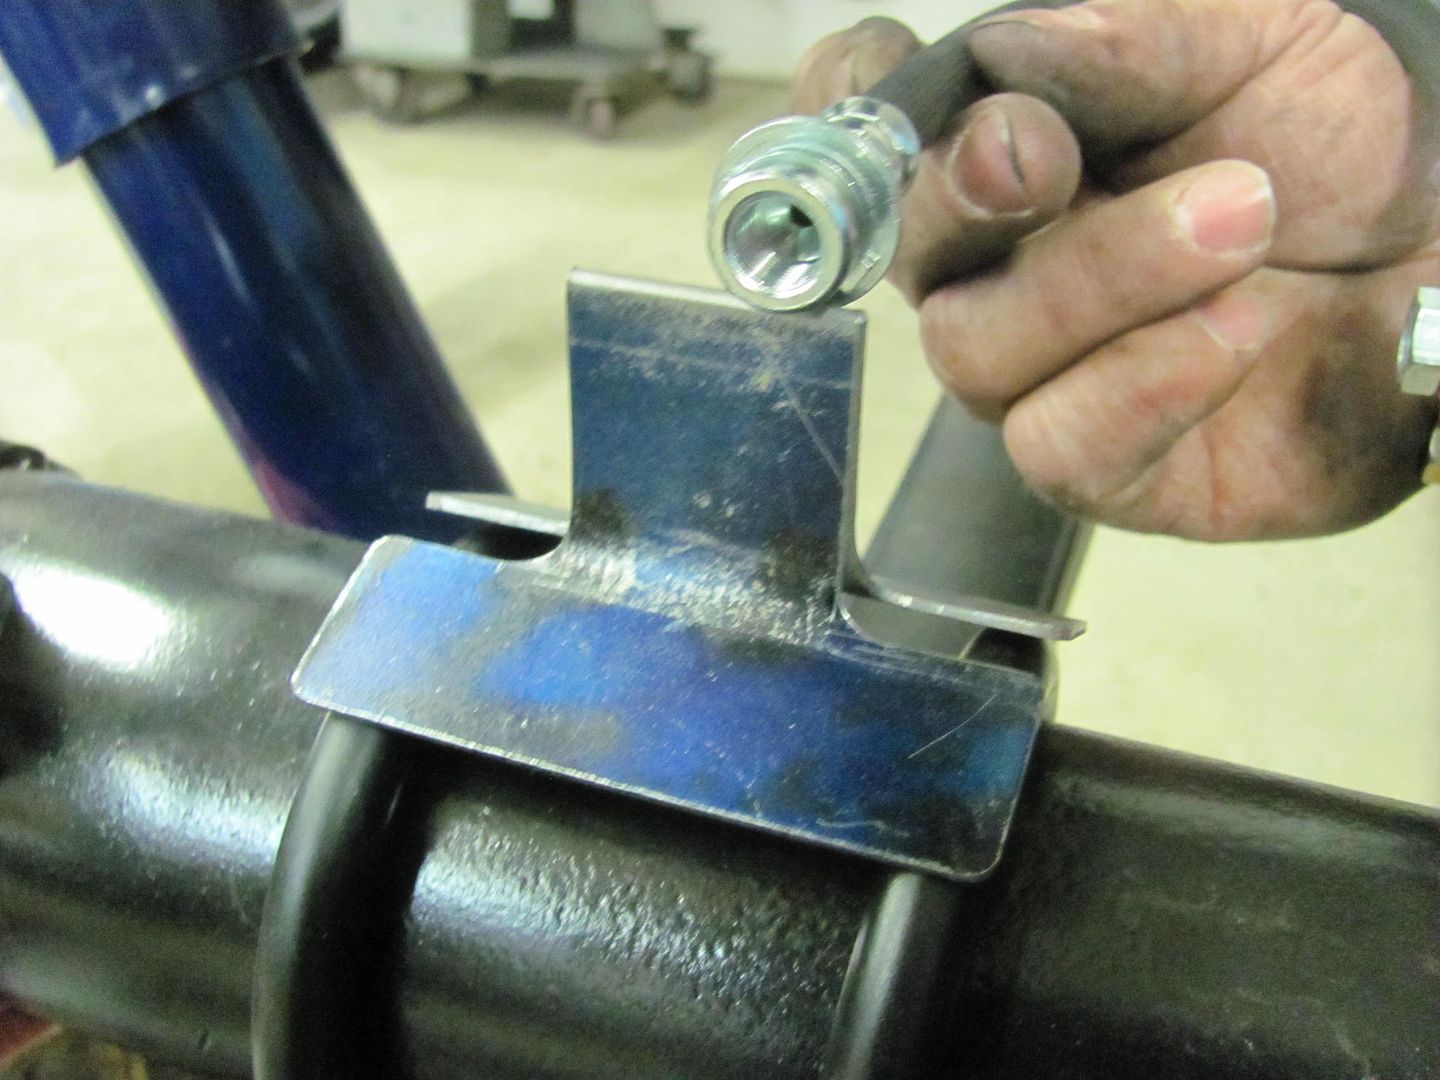 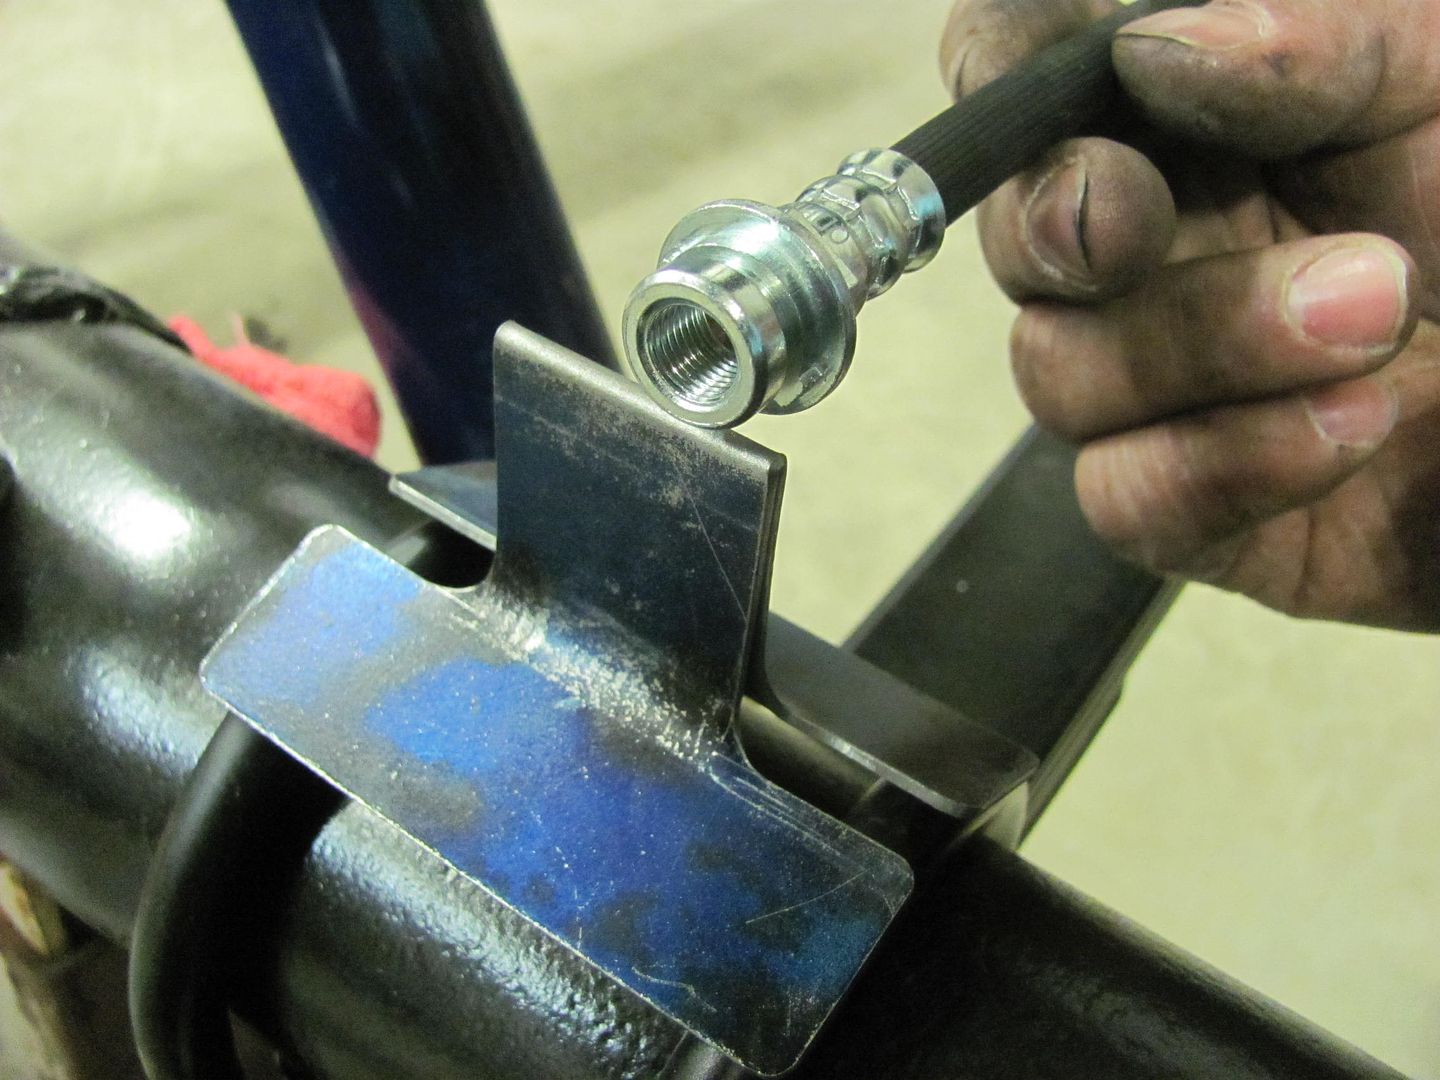 Now looking at it, I'm not sure I want the U-bolts off the axle housing, and may just cut the ears off and plug weld the bracket to the housing. Thoughts?
__________________
Robert |
|
|
|
|
02-12-2016, 08:56 AM
|
#11 |
|
Registered User
Join Date: Jan 2012
Location: Eastern Ontario, Canada
Posts: 1,041
|
Re: 55 Wagon Progress
Nice! Wouldn't it be better to have the flex to hard line bracket on the frame? Less vibration and flexing on the frame. Just my thoughts and not necessarily the right way. I'm in the middle of figuring out what flex lines I need on my build. Having a hard time with it.
__________________
1952 Canadian Chevy 1300 C4 IFS & D44 IRS 5.3 HO L33 My Build: http://67-72chevytrucks.com/vboard/s...d.php?t=632938 
|
|
|
|
|
02-12-2016, 10:17 AM
|
#12 |
|
Registered User
Join Date: Jan 2012
Location: Eastern Ontario, Canada
Posts: 1,041
|
Re: 55 Wagon Progress
Ok Gotcha! Do you mind schooling me on brake lines? No idea on what fittings to use on the hard lines as well as what type of flare to use. I can PM you if you want so not to derail your build thread.
__________________
1952 Canadian Chevy 1300 C4 IFS & D44 IRS 5.3 HO L33 My Build: http://67-72chevytrucks.com/vboard/s...d.php?t=632938
|
|
|
|
|
02-12-2016, 10:37 AM
|
#13 |
|
Registered User
Join Date: Jan 2013
Location: Leonardtown, MD
Posts: 1,637
|
Re: 55 Wagon Progress
typically they are a reverse flare
__________________
Robert |
|
|
|
|
02-12-2016, 11:12 AM
|
#14 |
|
Registered User
Join Date: Jan 2013
Location: Leonardtown, MD
Posts: 1,637
|
Re: 55 Wagon Progress
Sorry, meant to say Inverted flare
__________________
Robert |
|
|
|
|
02-12-2016, 01:43 PM
|
#15 |
|
Senior Member
Join Date: Jul 2012
Location: Oblong, Illinois
Posts: 7,026
|
Re: 55 Wagon Progress
Robert, I went with a tab welded on the axle tube to allow for caliper movement and kept them (tabs and hoses) away from the jounce bumpers.
|
|
|
|
|
02-13-2016, 07:00 PM
|
#16 |
|
Registered User
Join Date: Jan 2013
Location: Leonardtown, MD
Posts: 1,637
|
Re: 55 Wagon Progress
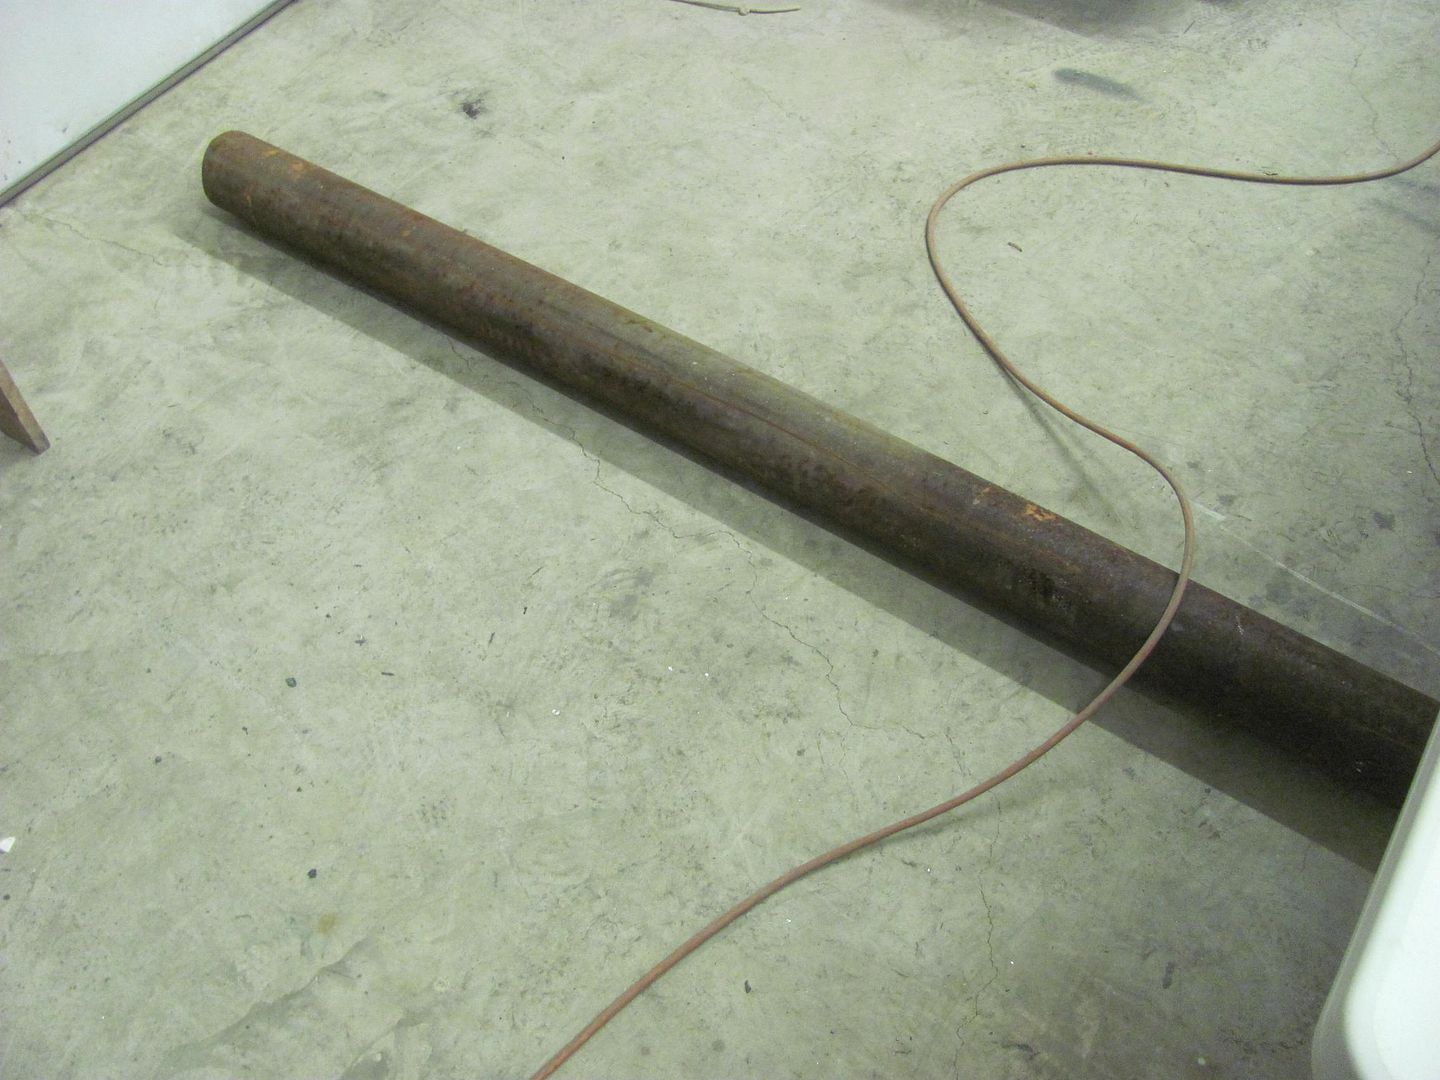
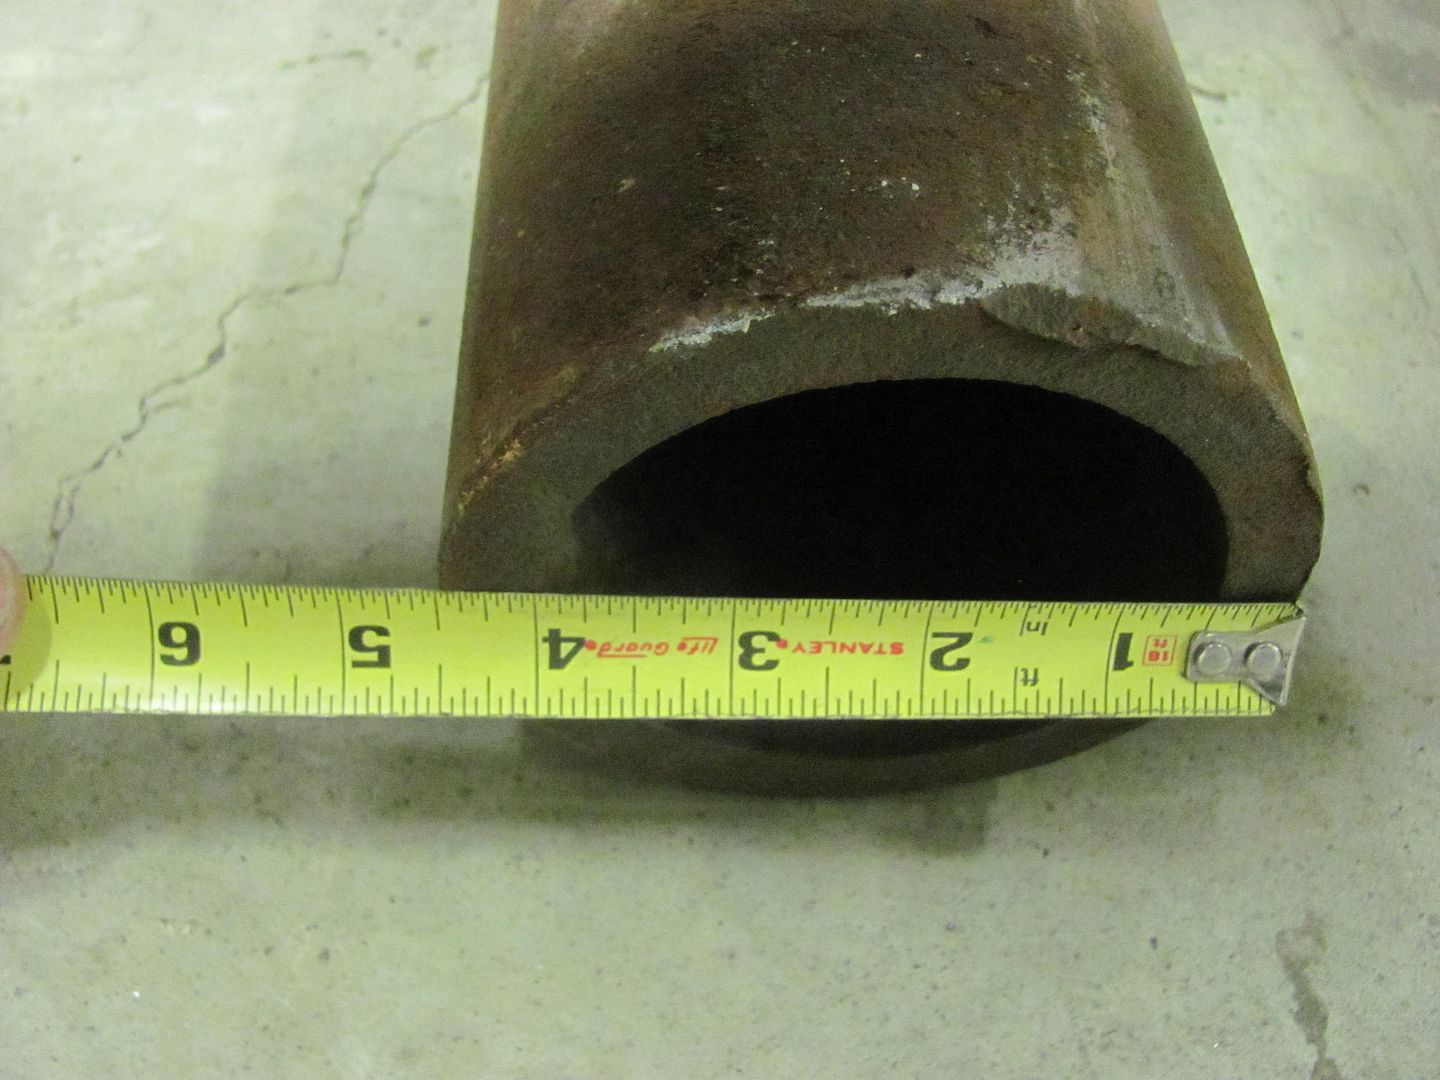
Yesterday we took delivery on an 8' piece of pipe, 4-1/2" OD with 1/2" wall thickness. Will come in handy as the column for the pedestal planishing hammer build..
  A bit more clearancing for the header tube. Perhaps this fine tuning will also add a few HP... 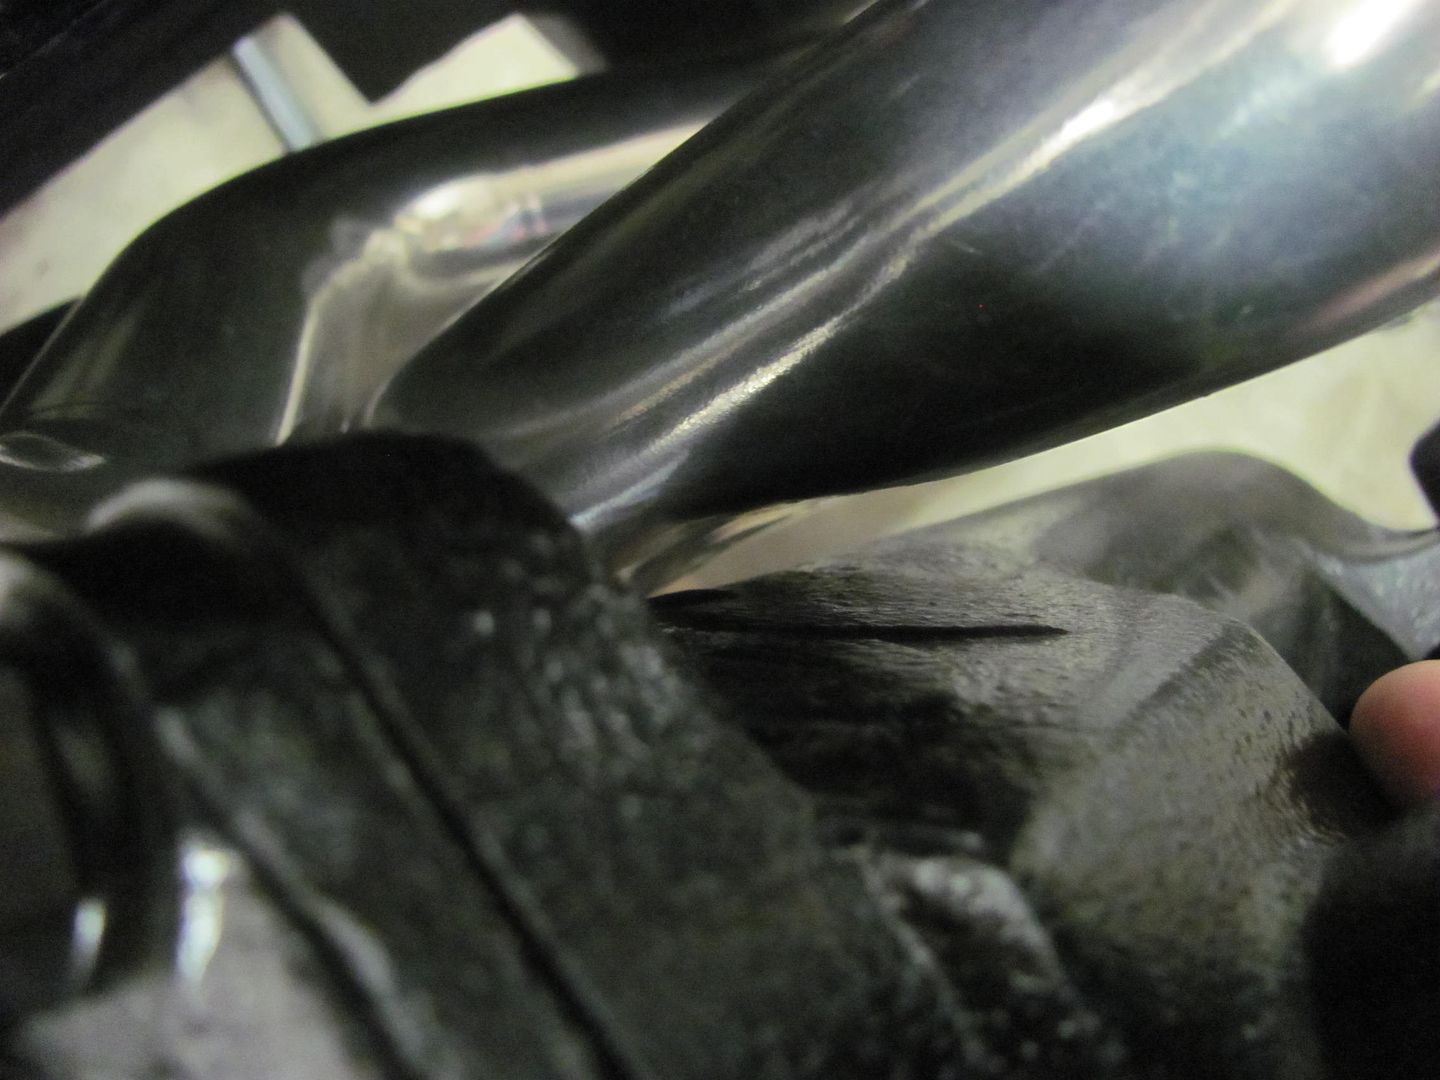 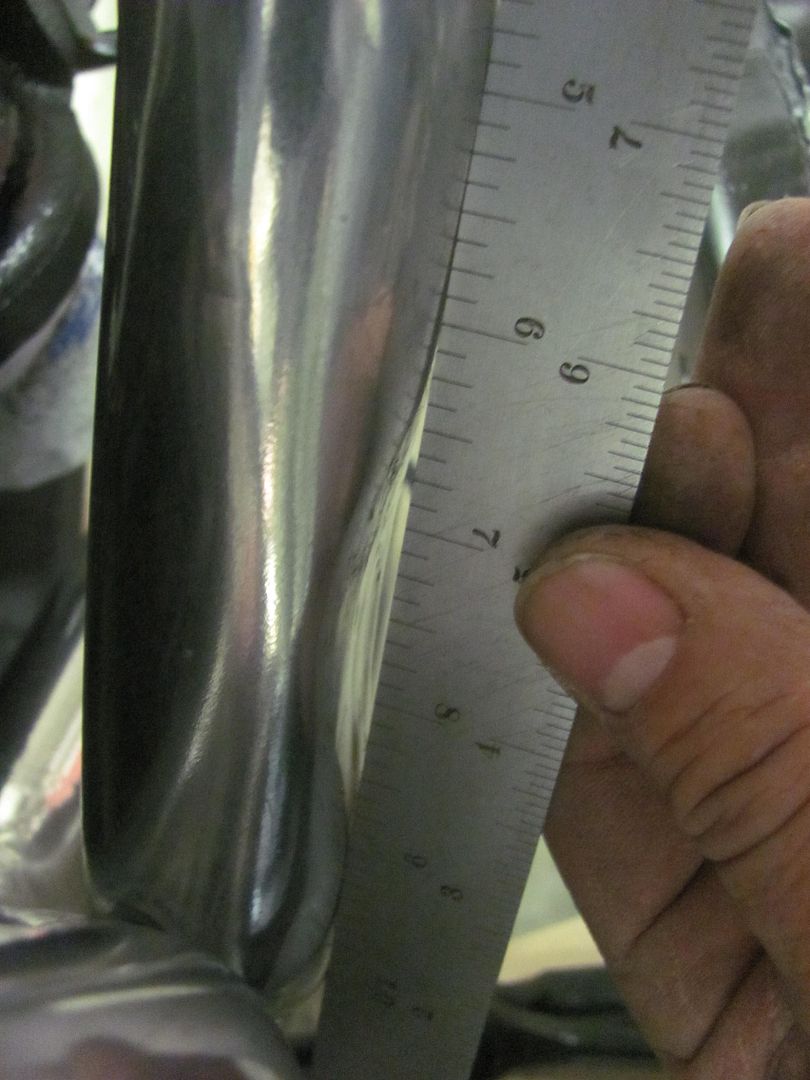 Didn't show too much detail on the Explorer brake install last week, so let's see if we can do better today.. The "kit" was designed for the big bearing rear housing with the Torino ends. As luck would have it, the Lincoln Versailles used a big bearing early style, so we'll need to align and enlarge some holes.. 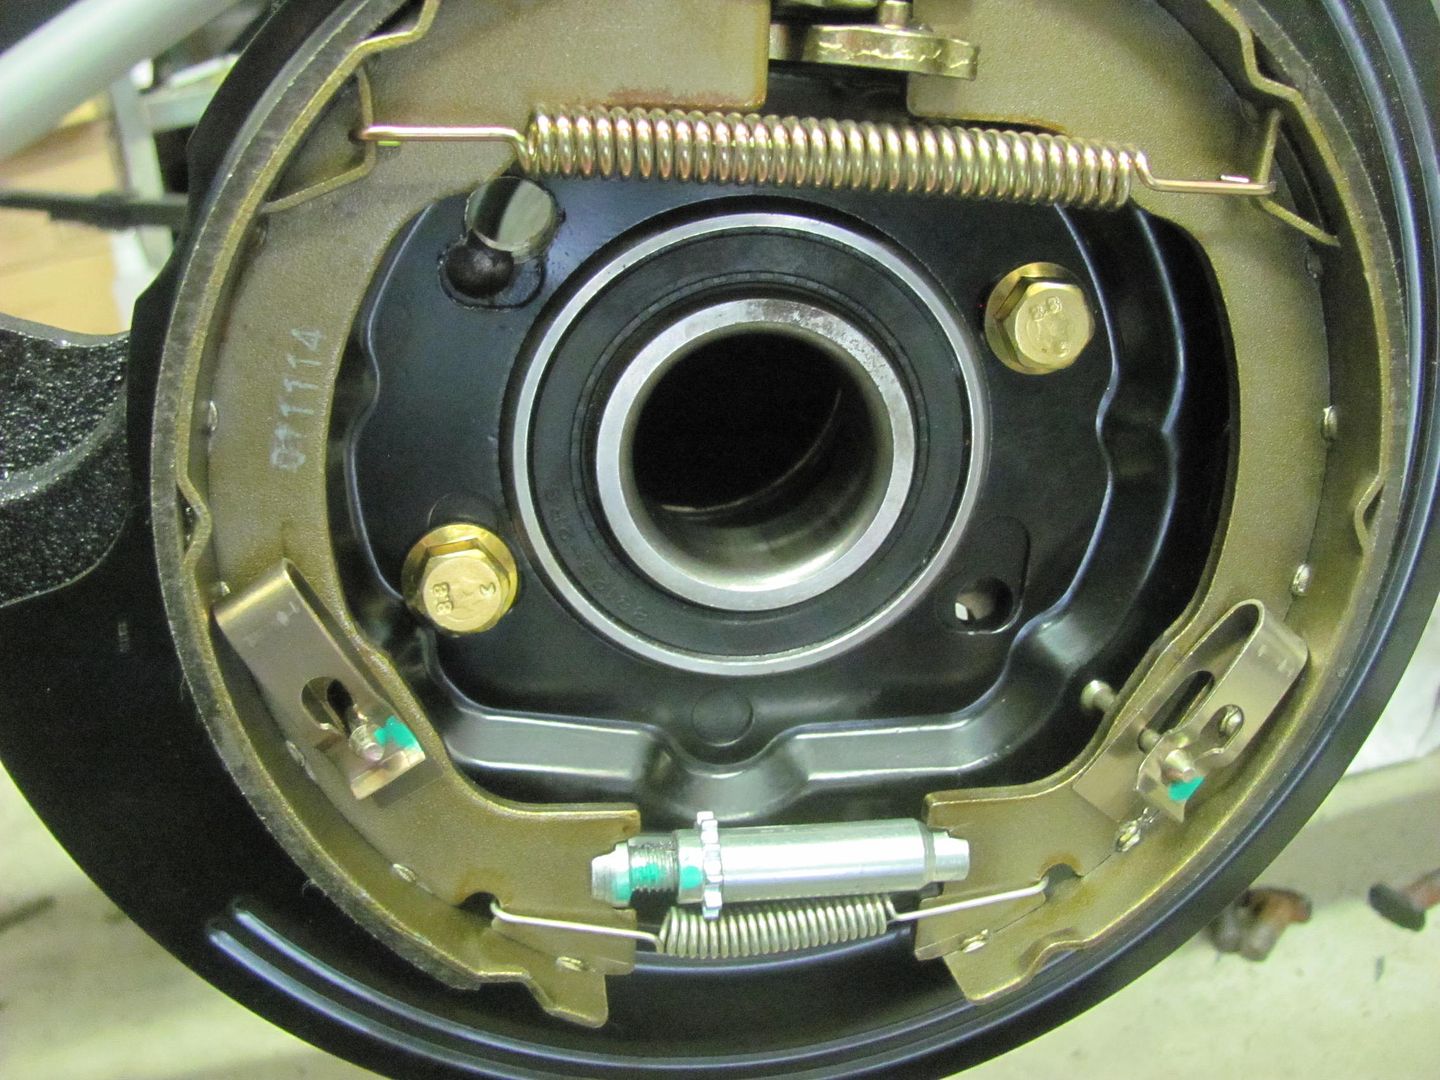 Bolted in place using two opposite holes and the included metric bolts, we used the axle bearing as an alignment tool for the backing plates.. 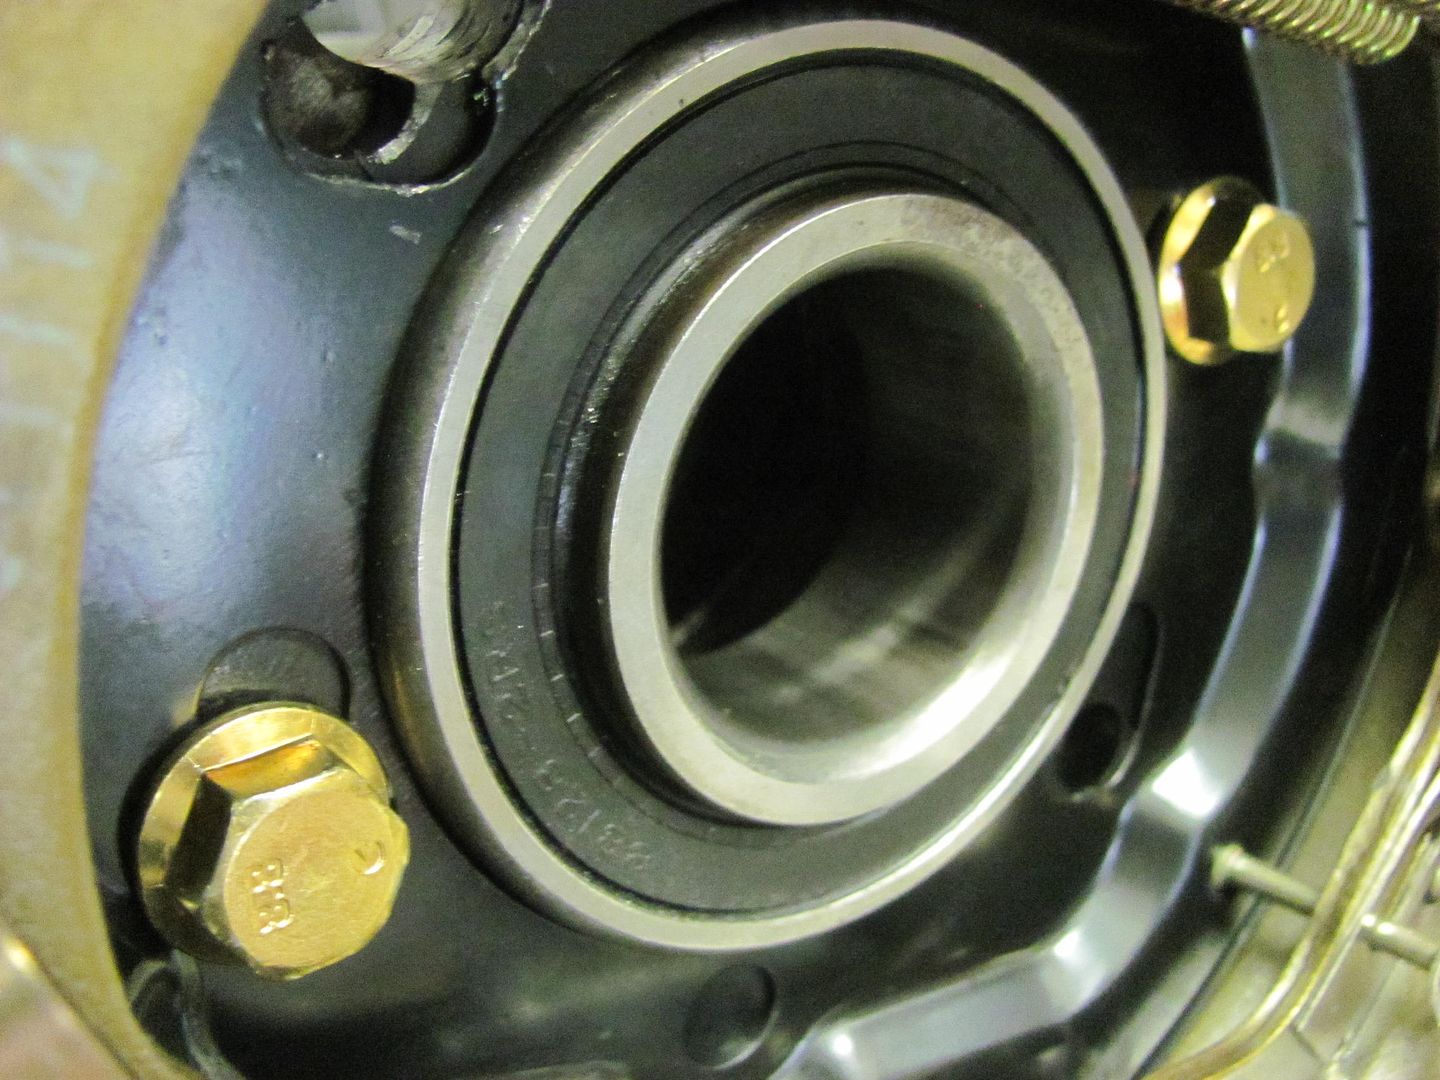 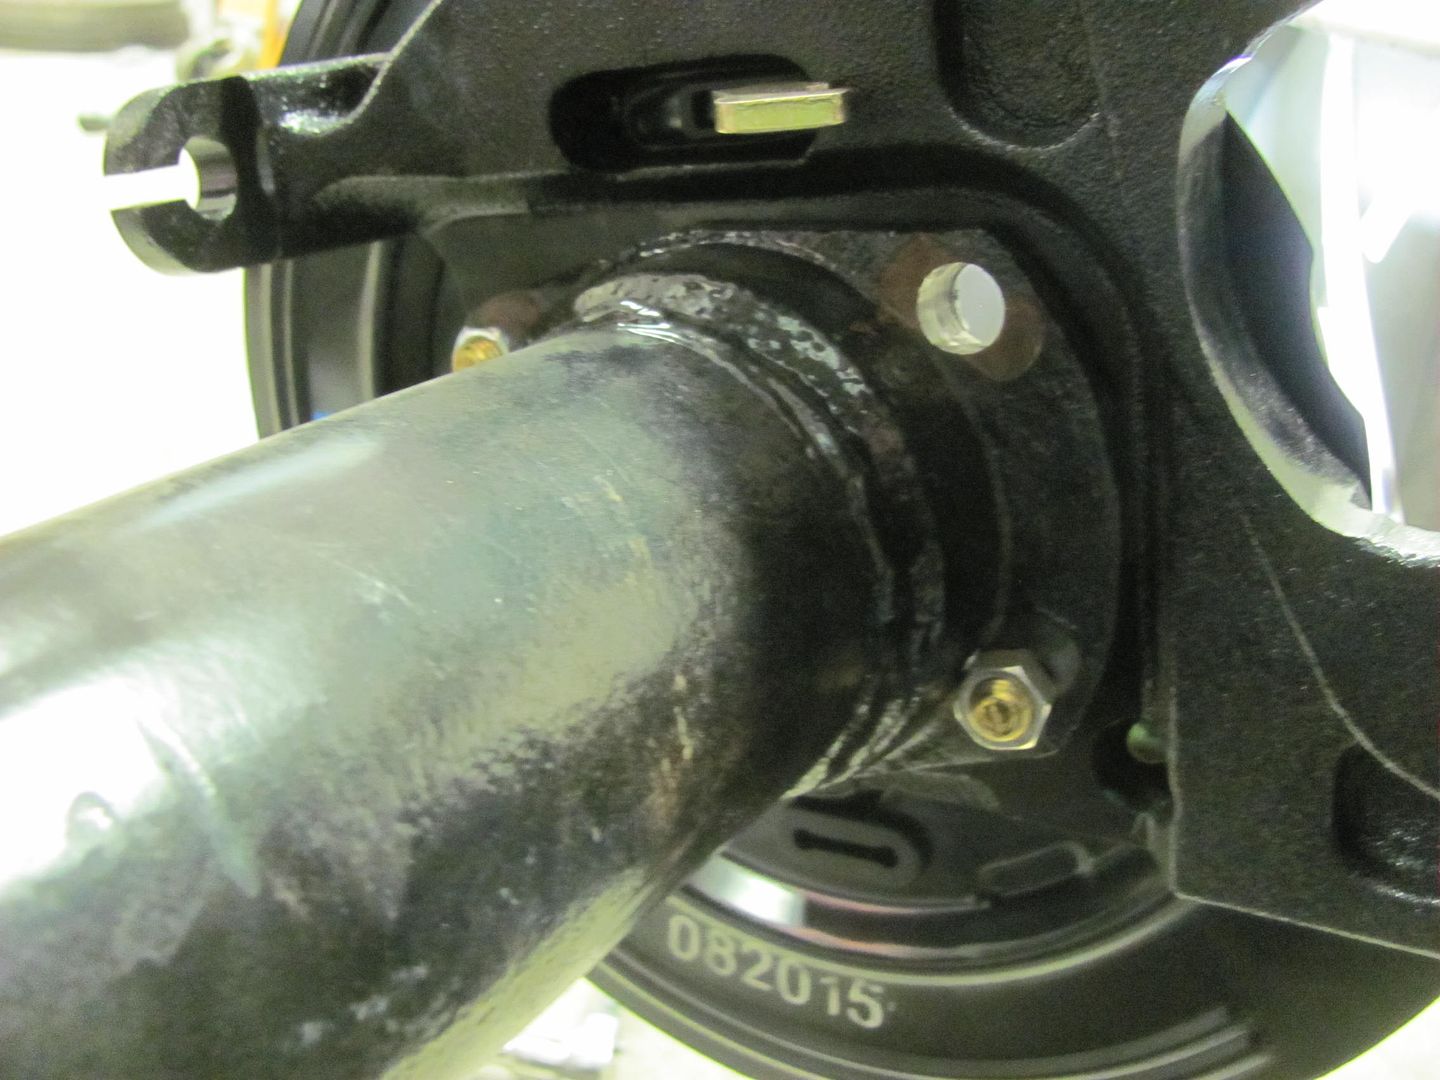 Then used a right angle drill for better access in drilling the holes.. 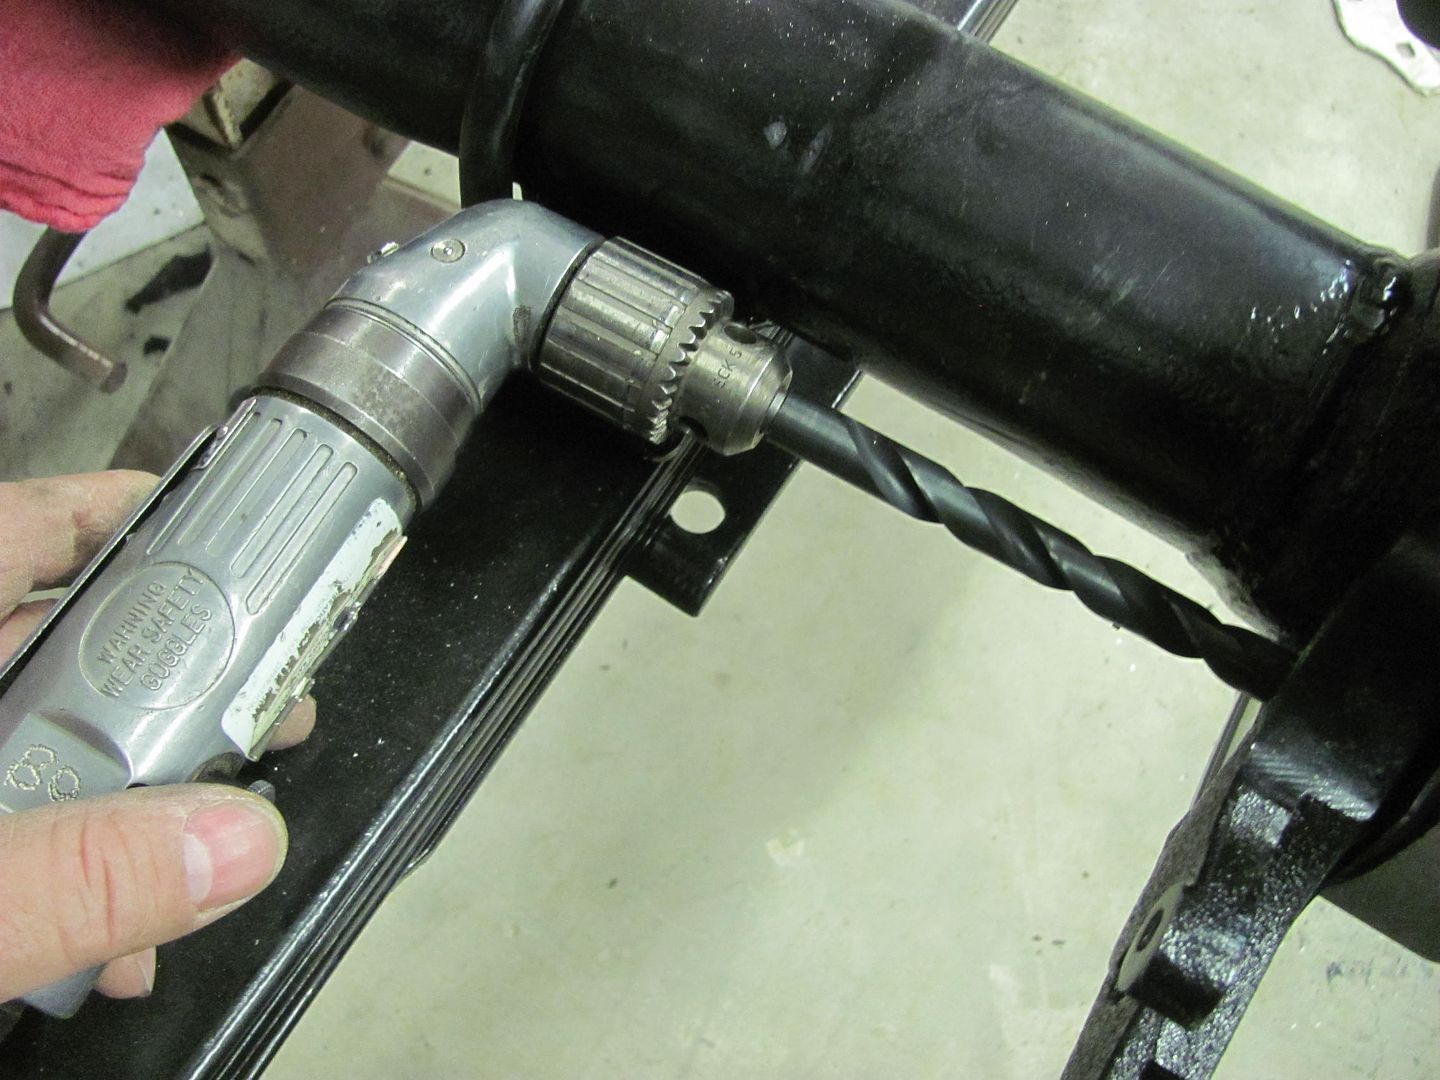 This worked for all but one hole that was directly in line with the axle pad.. So we had ordered some shorty 1/2" bits, and still had to take another inch off the length and step the diameter for the drill chuck. 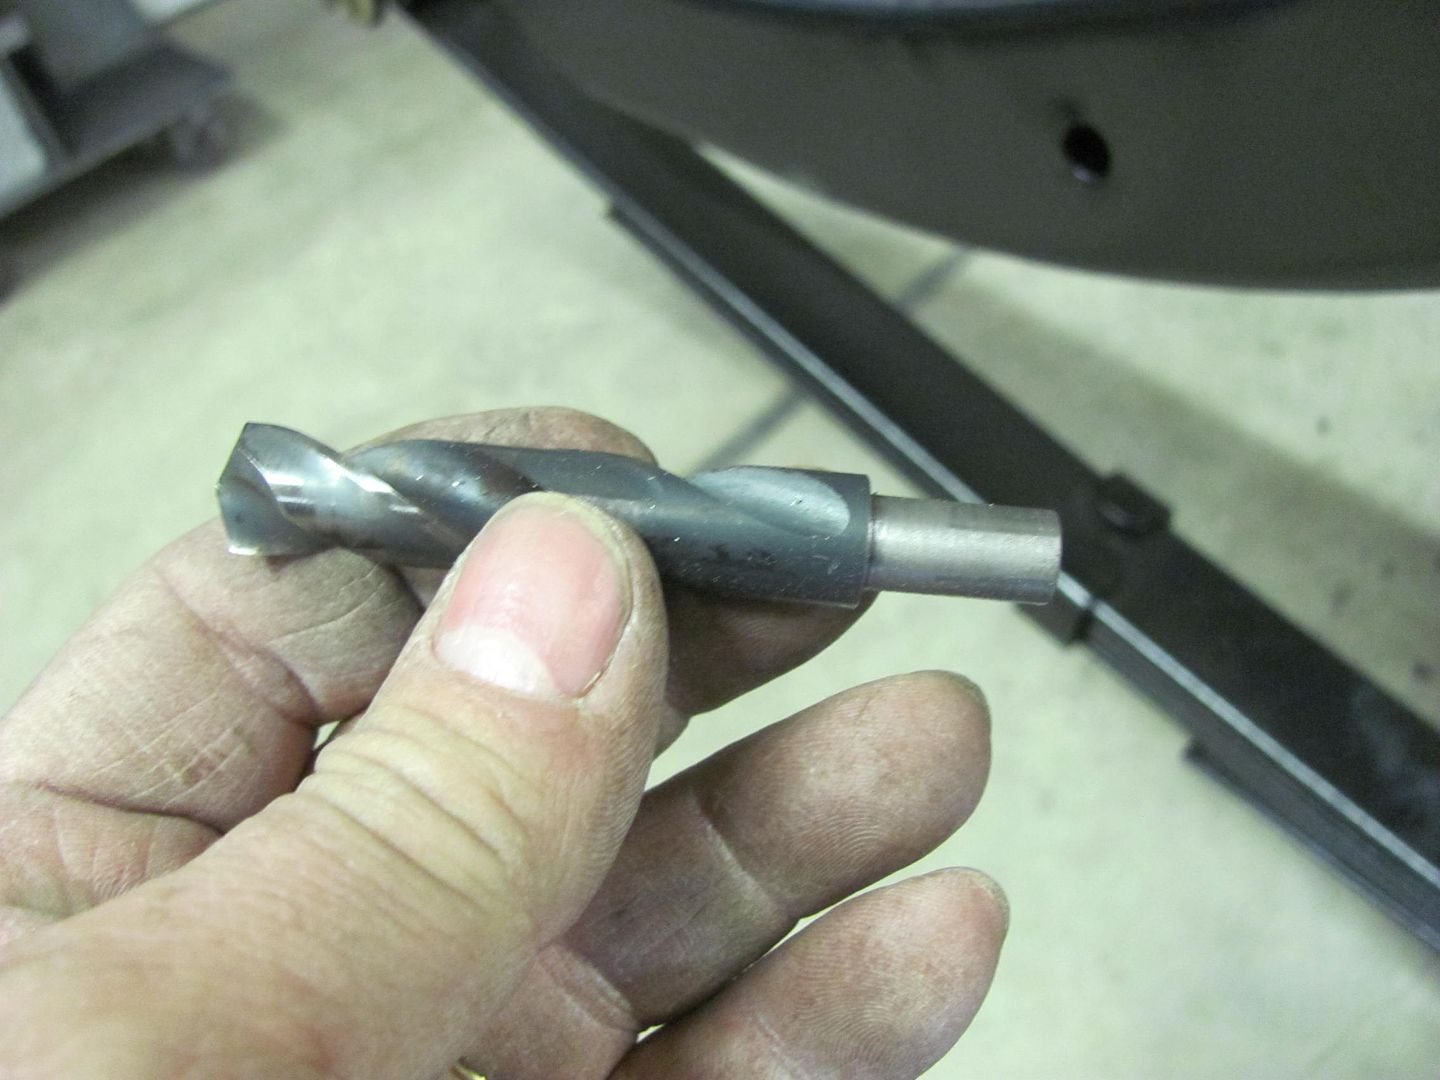 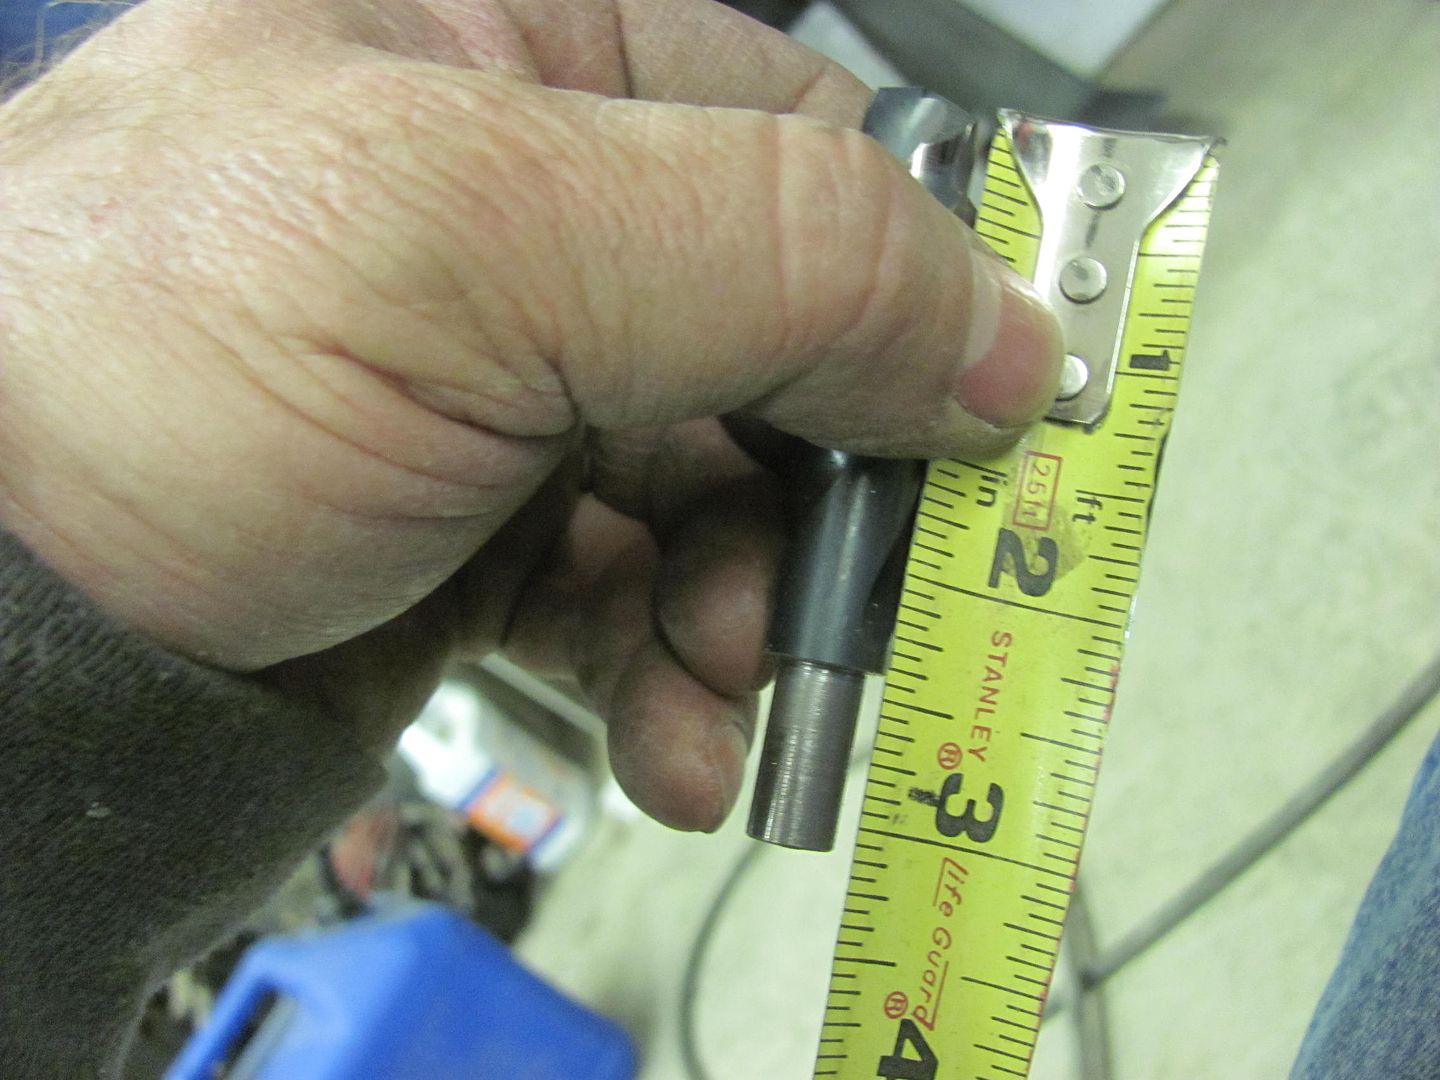 Backed into a corner? No problem! 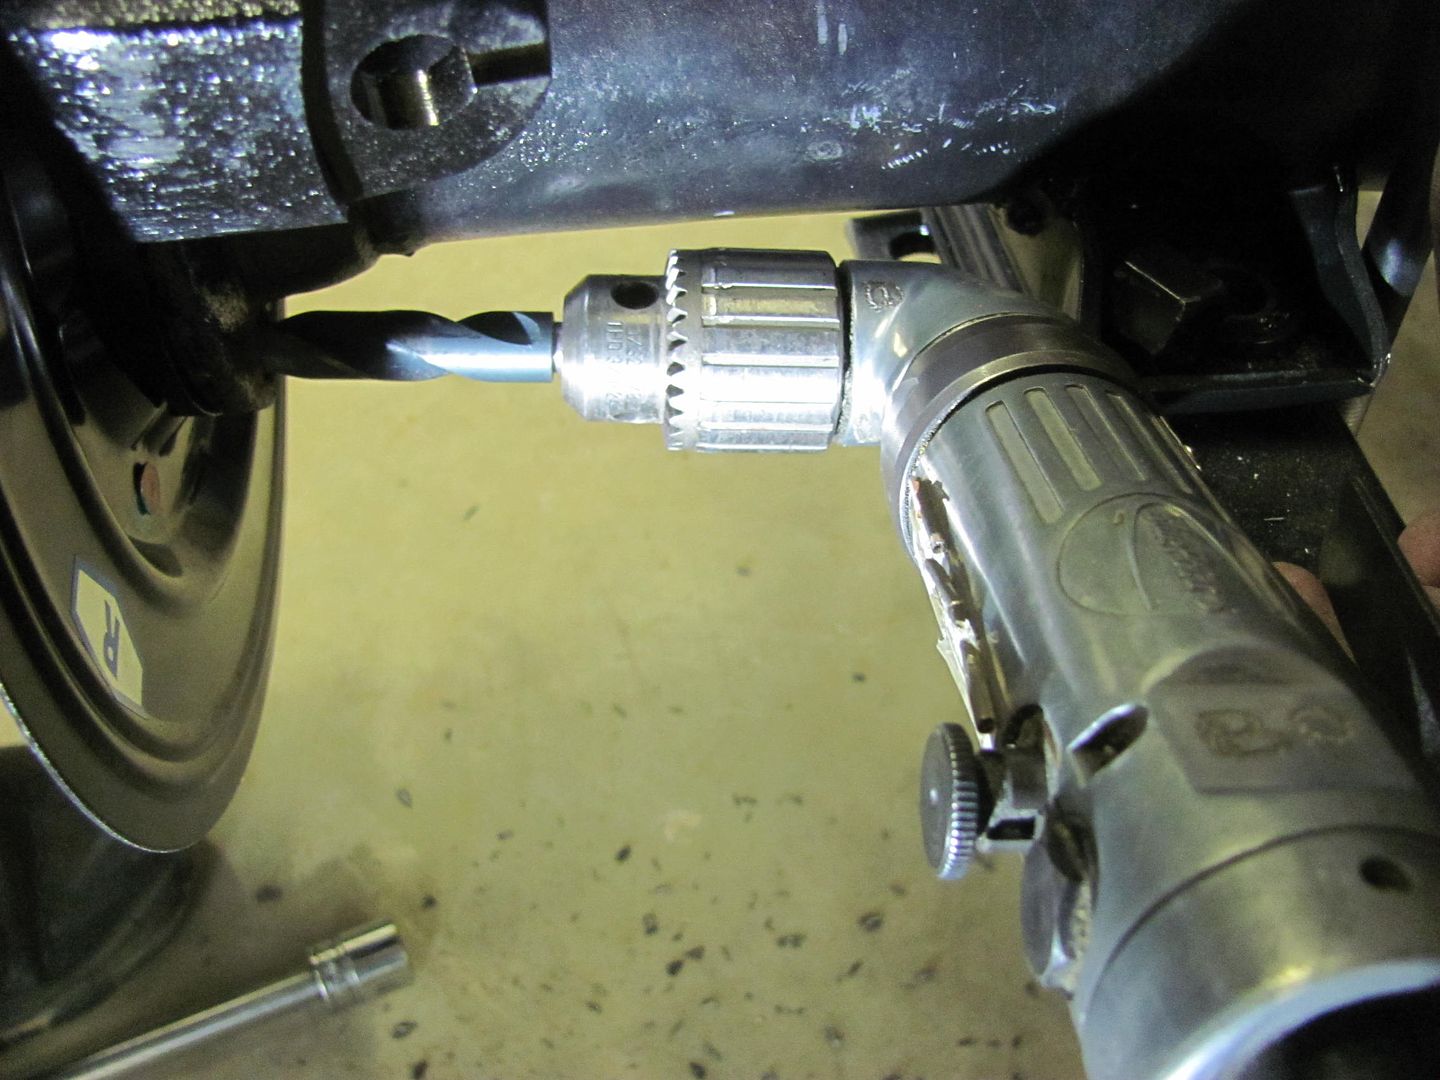 And here's our final version on the brake hose anchor bracket, by popular demand! 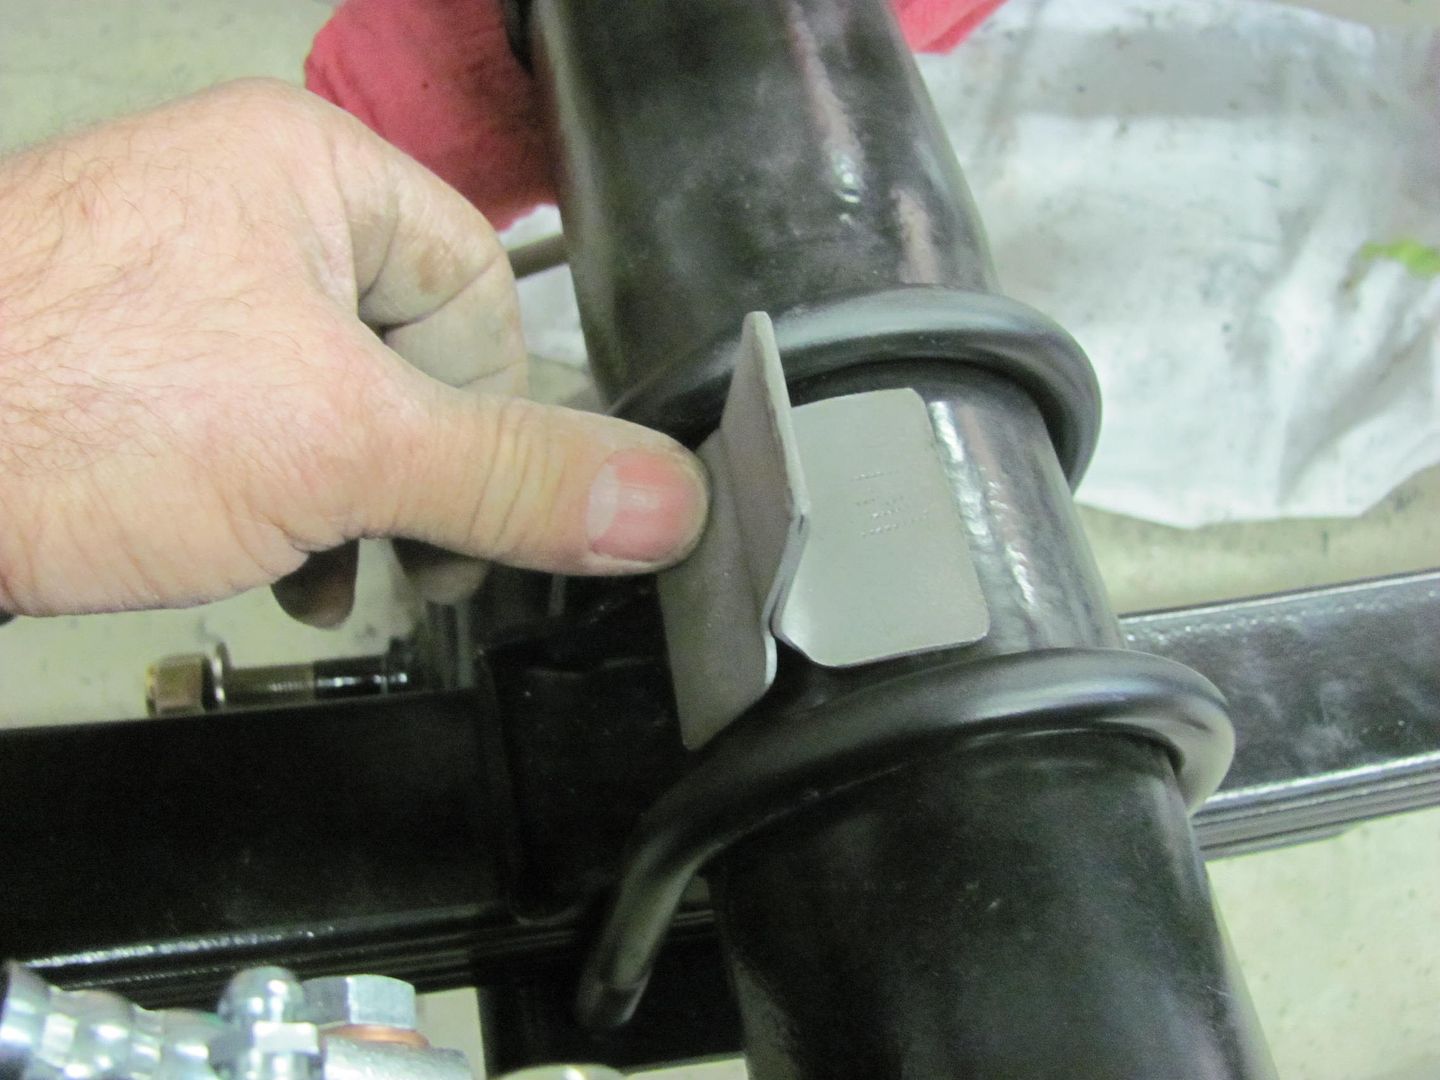 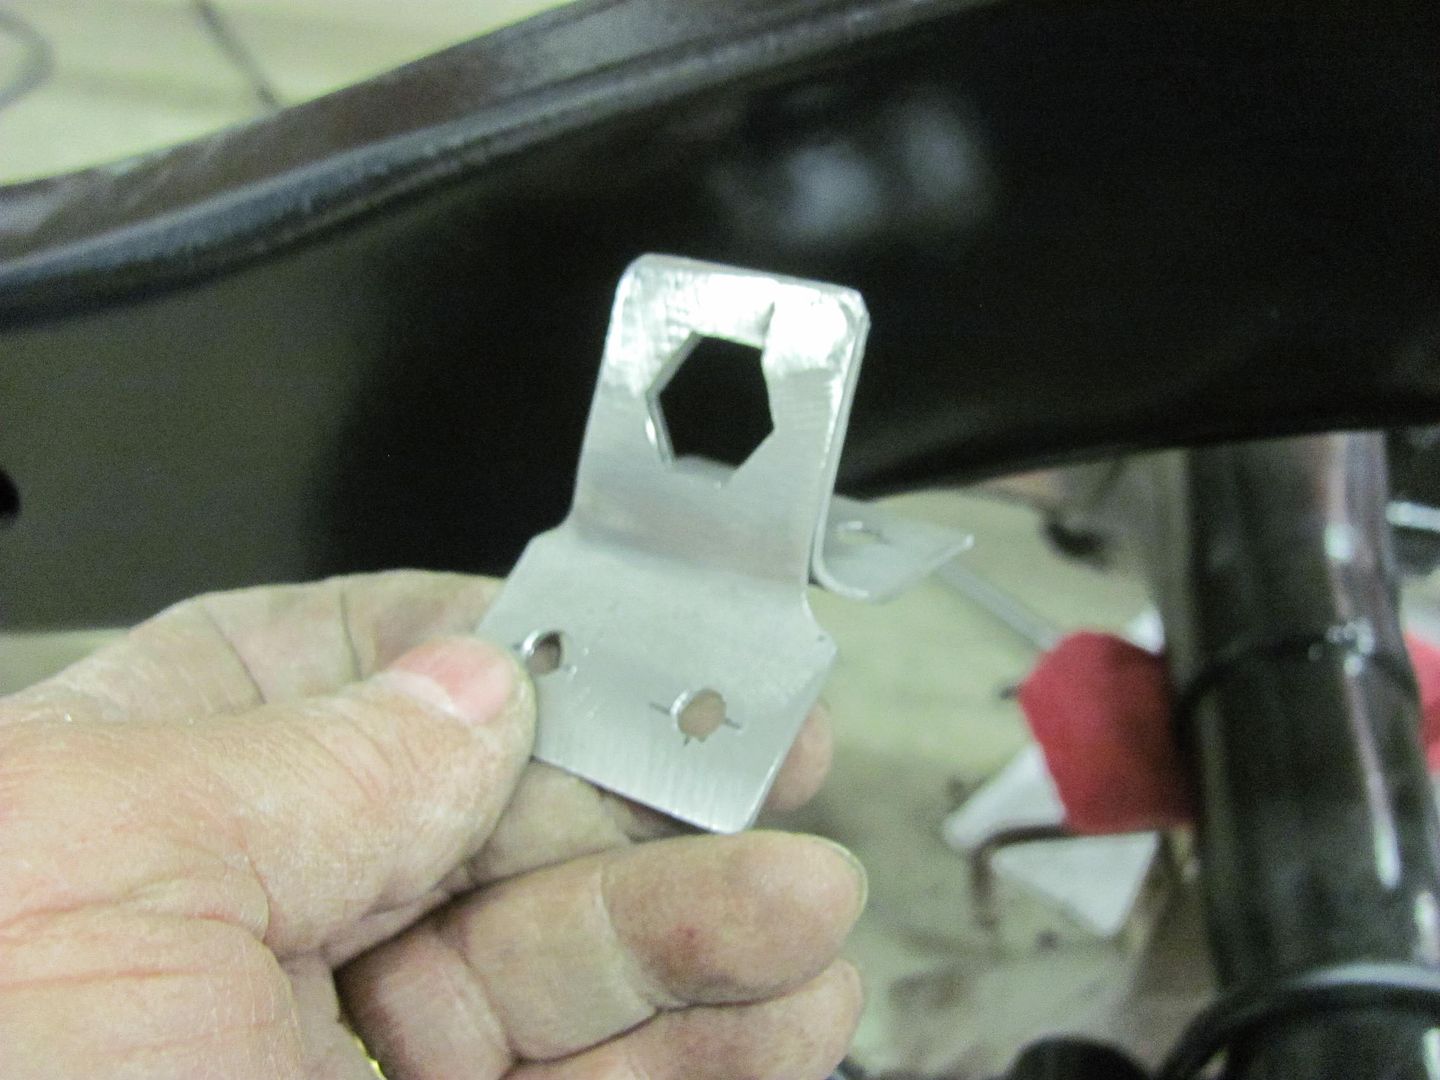 Then this will get epoxy primed along with the other bare brake parts and we'll just touch up the plug welds after welding in place.. 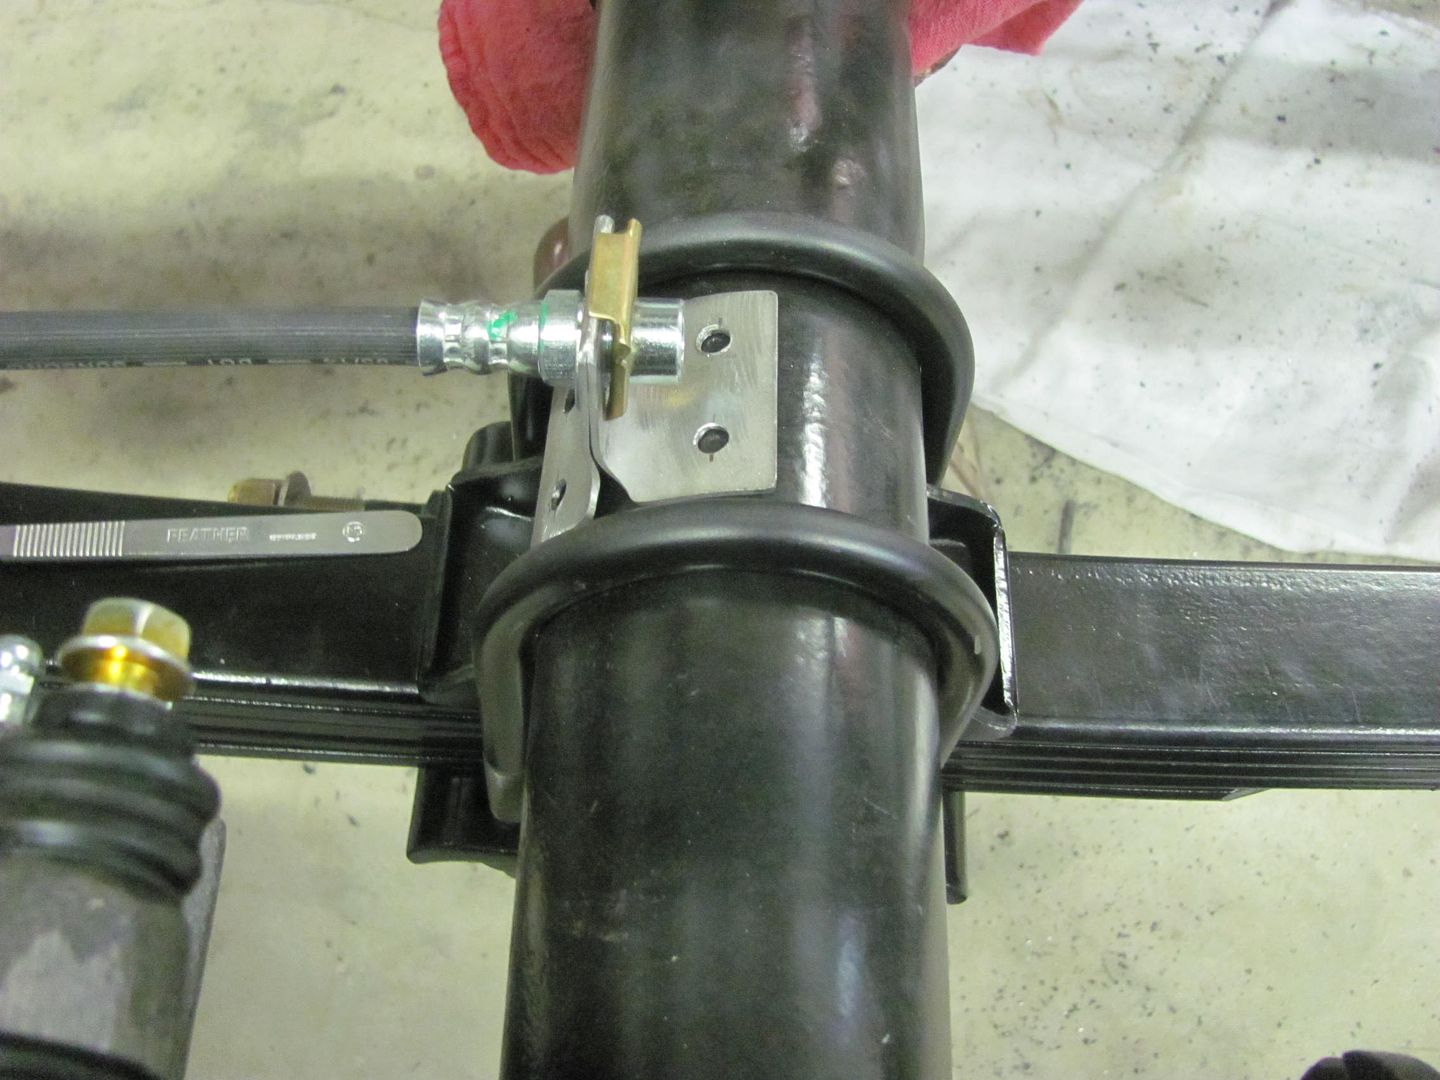 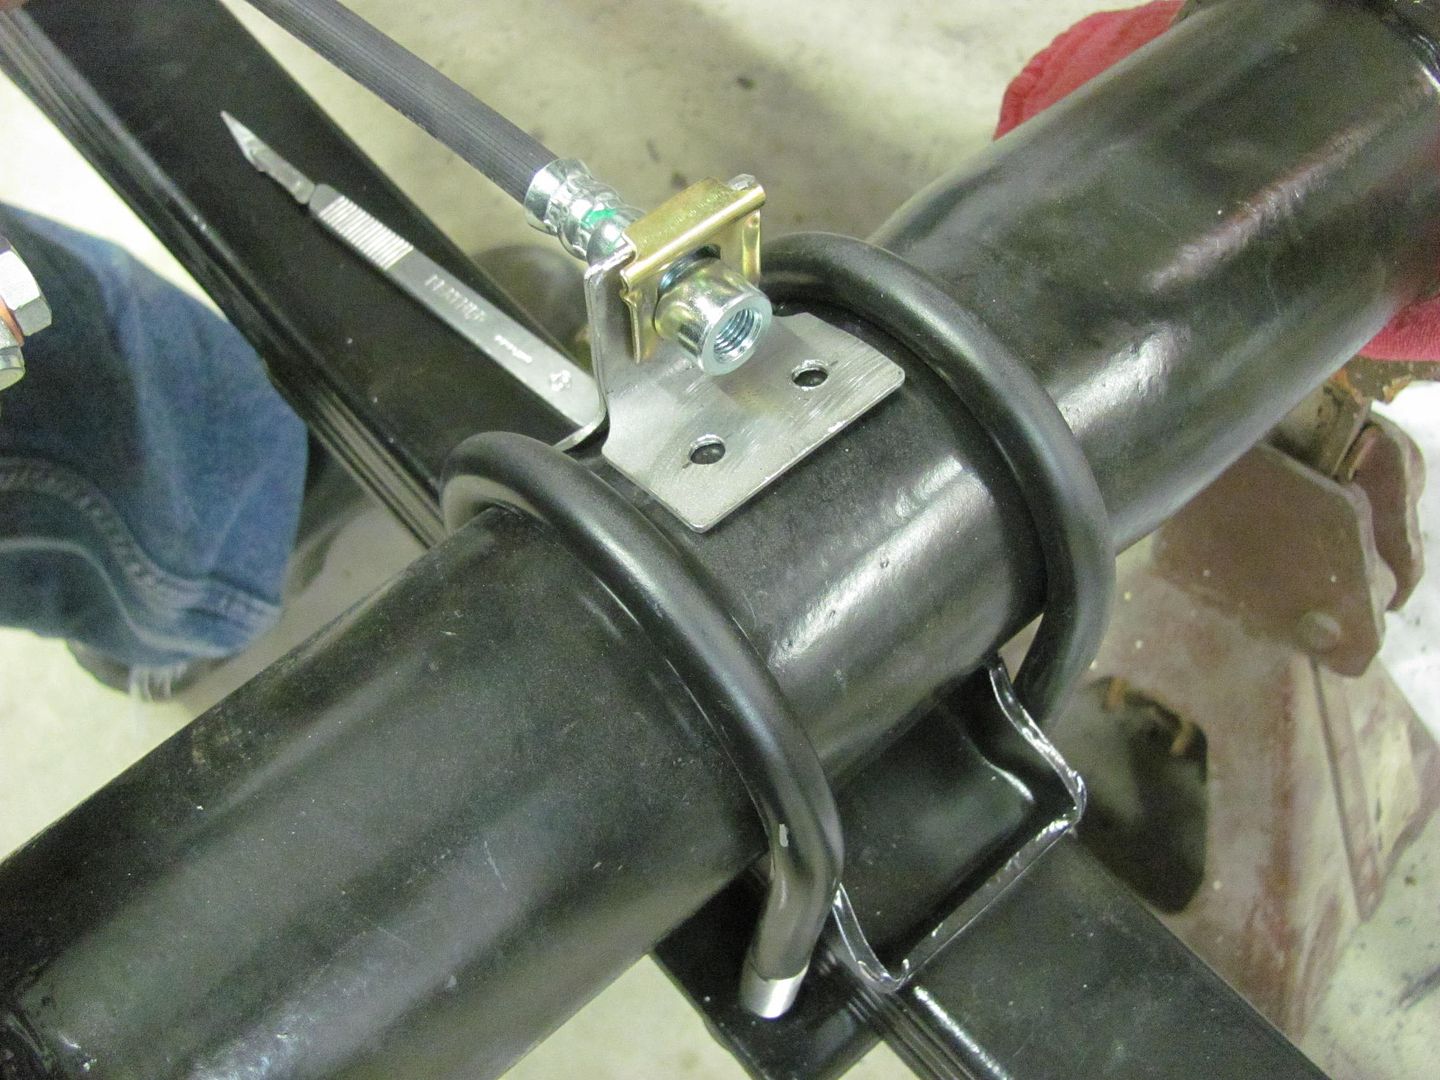
__________________
Robert |
|
|
|
|
02-15-2016, 10:31 PM
|
#17 |
|
6>8 Plugless........
 Join Date: Sep 2007
Location: Prairie City, Ia
Posts: 17,140
|
Re: 55 Wagon Progress
Great work on building that bracket. Do you use a file to get those crisp corners like that?
__________________
Ryan 1972 Chevy Longhorn K30 Cheyenne Super, 359 Inline 6 cylinder, Auto Trans, Tilt, Diesel Tach/Vach, Buckets, Rare Rear 4-link and air ride option Build Thread 1972 GMC Sierra Grande Longhorn 4x4 1972 Chevy Cheyenne Super K20 Long Step side tilt, tach, tow hooks, AC, 350 4 speed 1972 C10 Suburban Custom Deluxe 1969 Chevy milk truck 1971 Camaro RS 5.3 BTR STG3 Cam Super T10 1940 Ford 354 Hemi 46RH Ford 9" on air ride huge project Tired of spark plugs? Check this out. |
|
|
|
|
02-15-2016, 11:37 PM
|
#18 |
|
Registered User
Join Date: Jan 2013
Location: Leonardtown, MD
Posts: 1,637
|
Re: 55 Wagon Progress
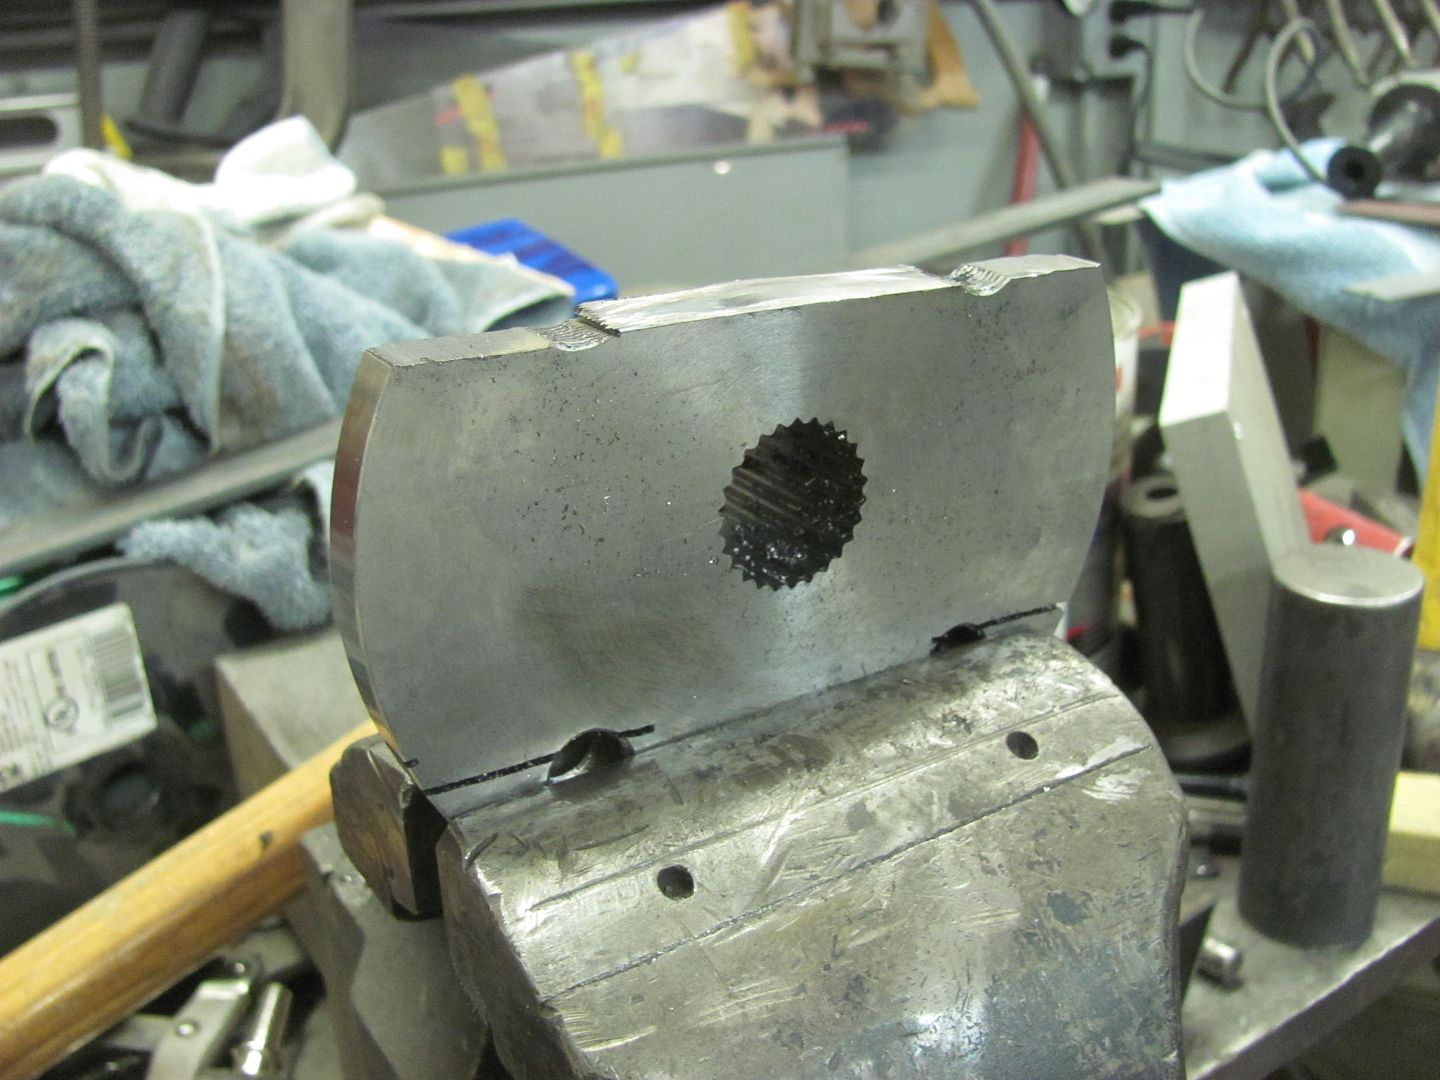
Used a step drill to open the hole up to the size of across the flats, then triangular file to make the corners...
__________________
Robert |
|
|
|
|
02-17-2016, 12:16 AM
|
#19 |
|
Registered User
Join Date: Jan 2013
Location: Leonardtown, MD
Posts: 1,637
|
Re: 55 Wagon Progress
With the new brake parts all prepped for paint, and the owner not too keen on blue Monroe shocks (I told her it was Ford blue just to instigate), time for some more Epoxy this evening..
Meanwhile Kyle worked on repairing the cross piece for my brother in law's press that we tore up the other night. seems the "peg" hanging down didn't have room for the long axle under, so I put it next to it. We cracked the weld around the peg and pushed it in pretty good. So to make sure he'd let us use it again, we got some replacement parts... 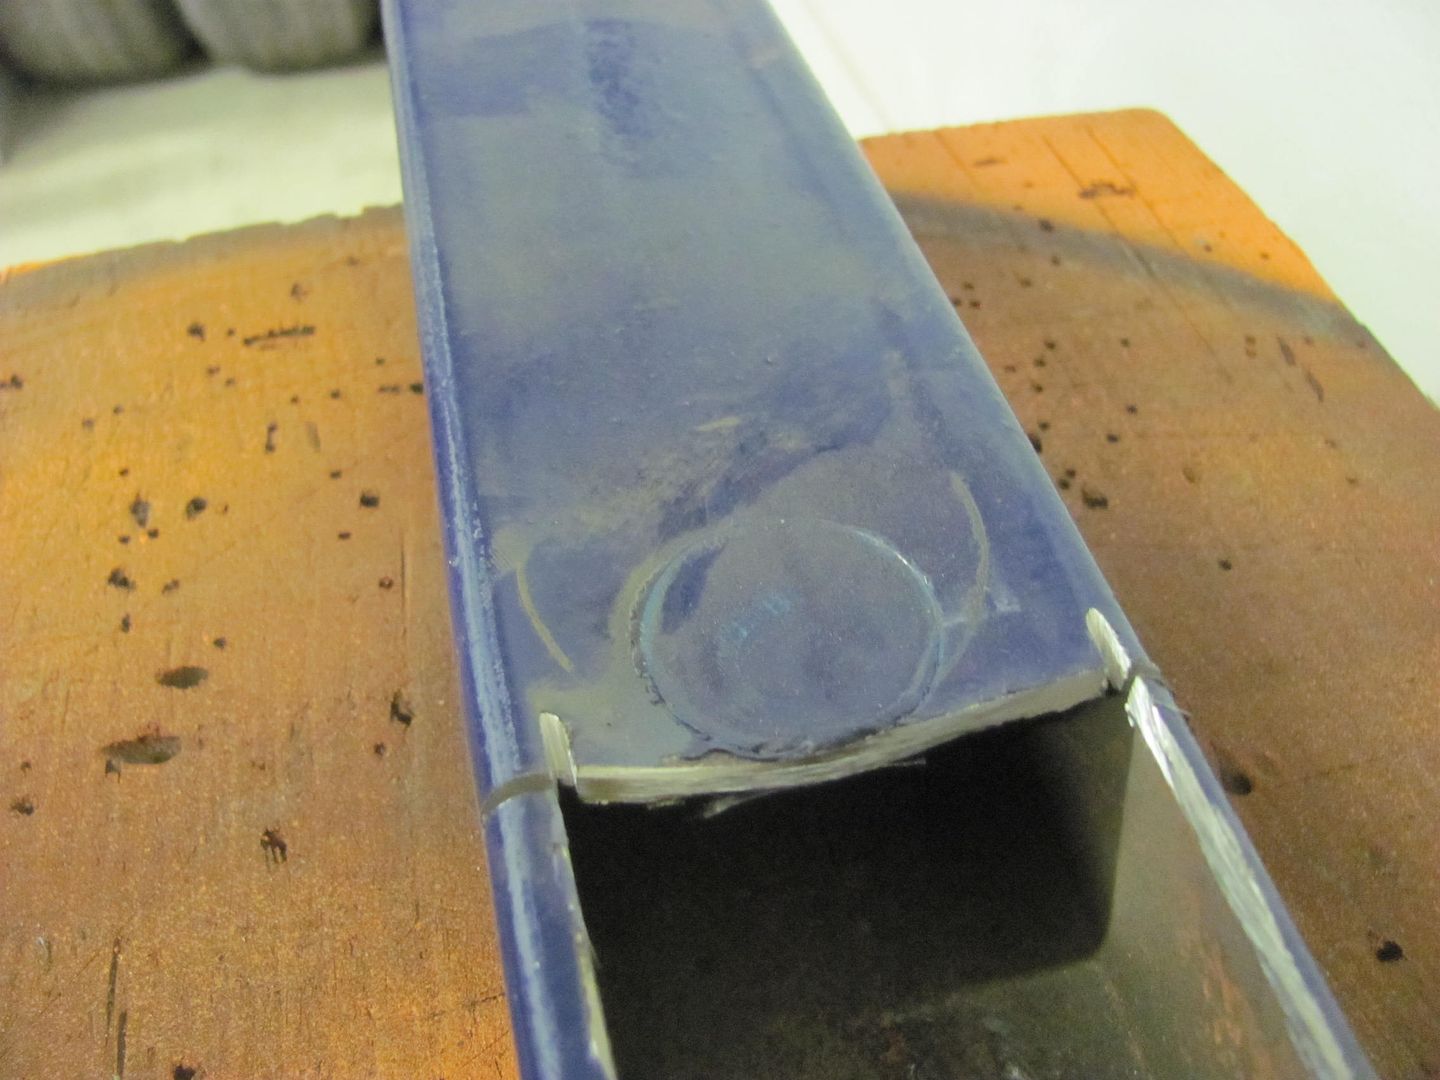 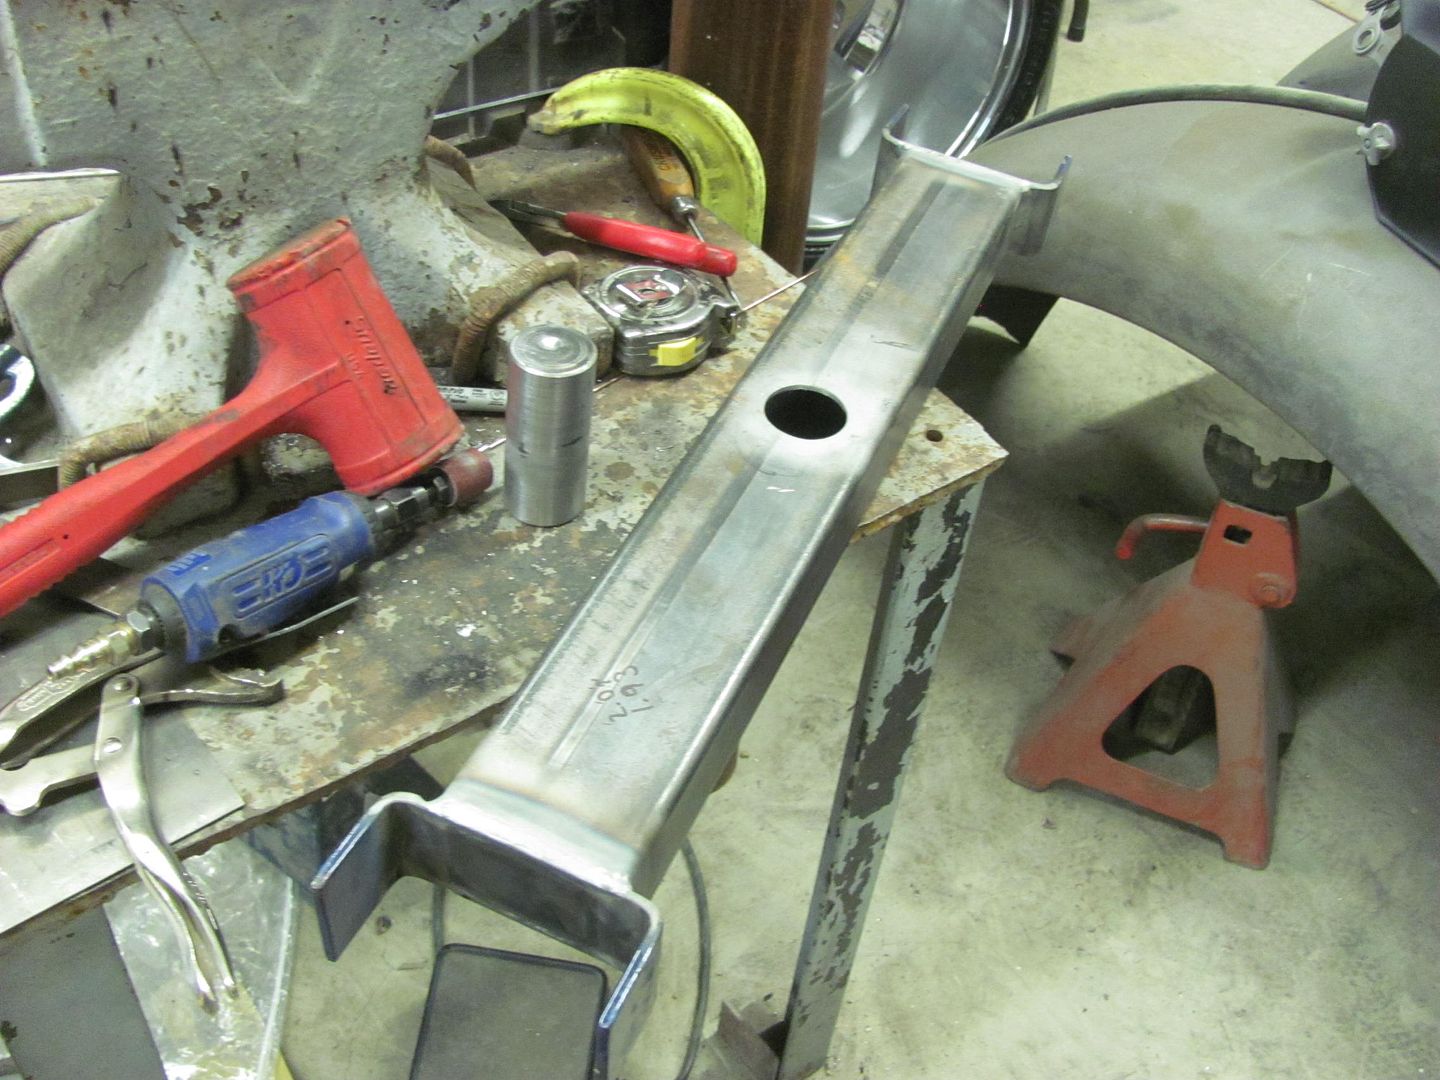 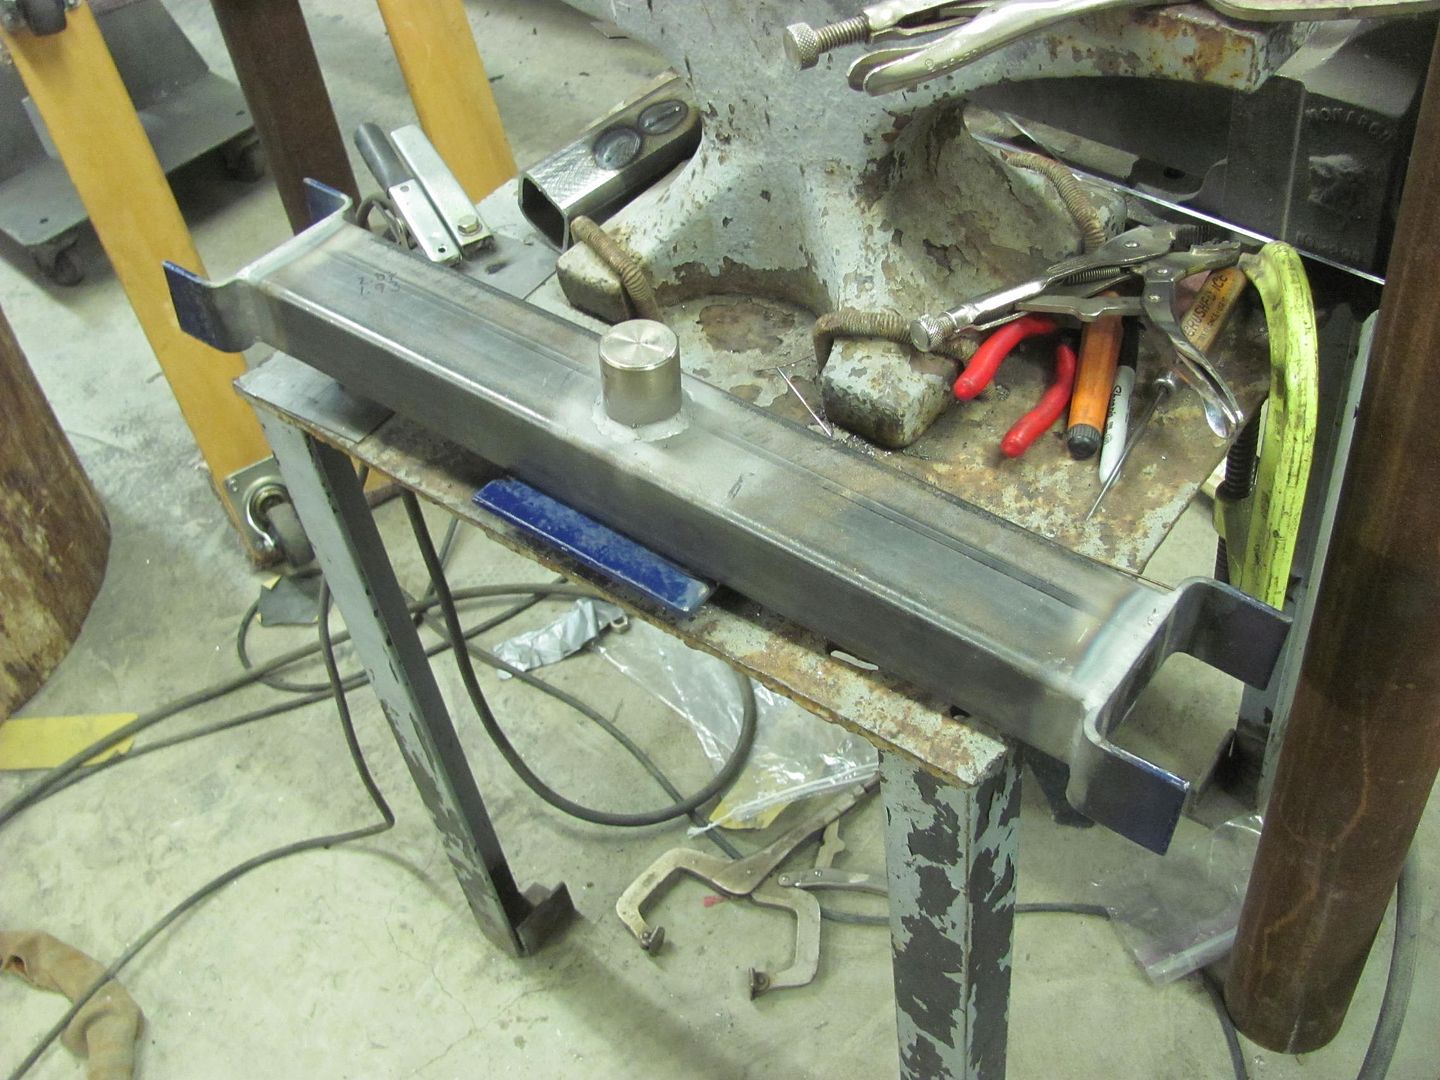 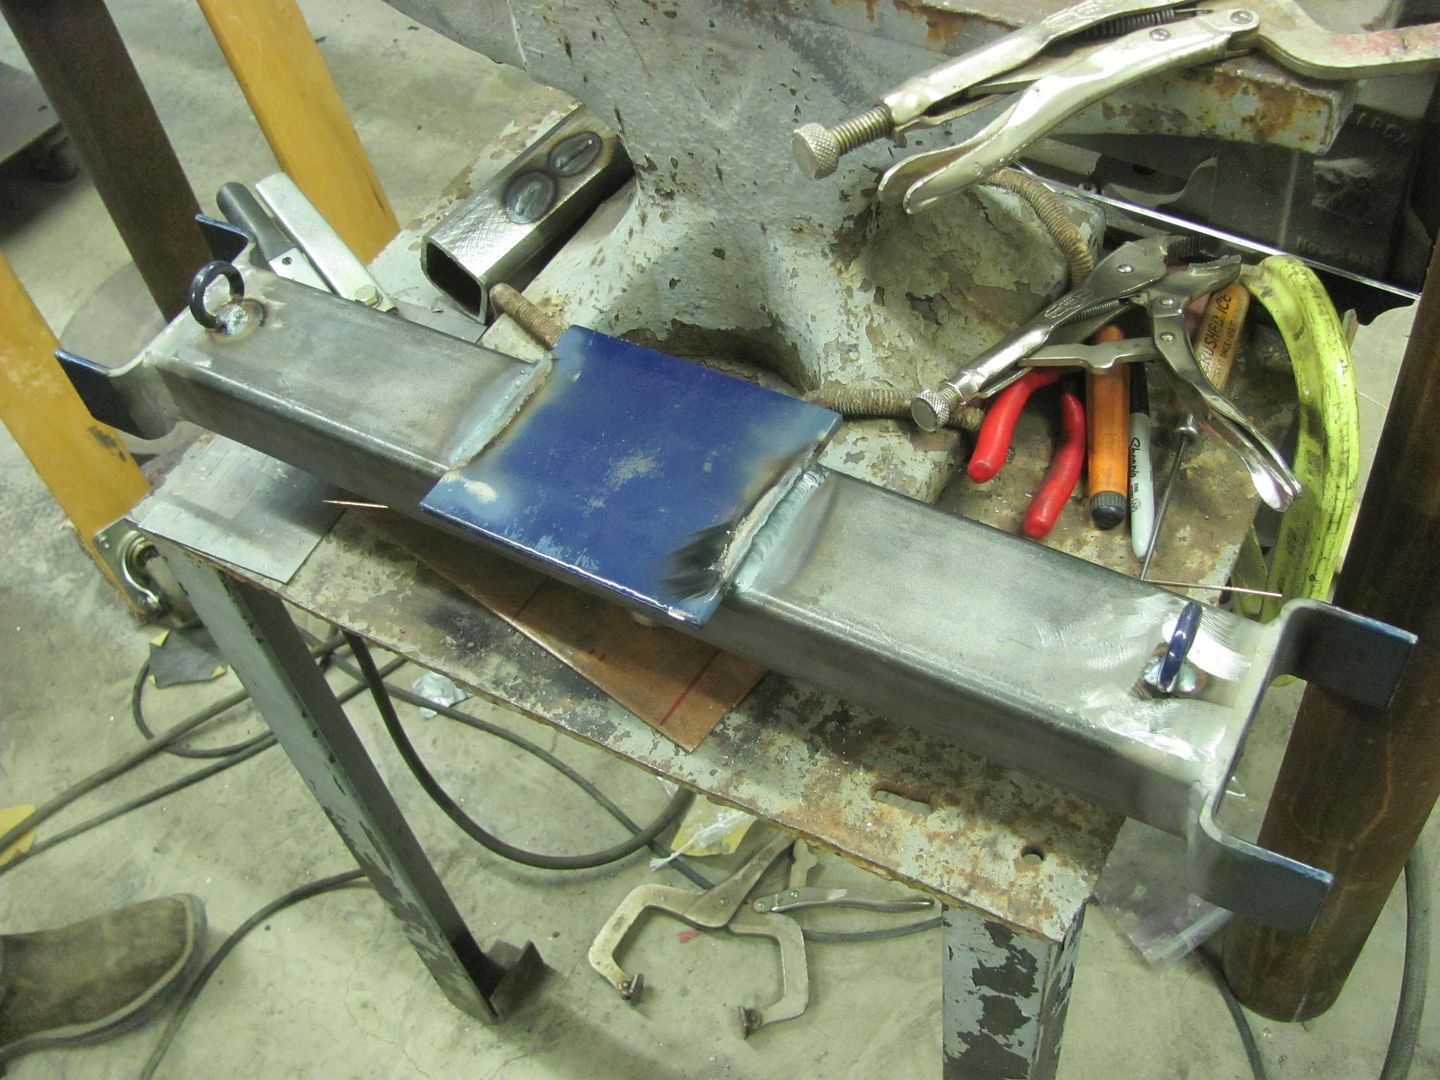 The brake anchor brackets had been spread apart and a quick coat of SPI sprayed on the inside, then clamped closed with NNVG for the remaining spray session.  Quite the clamping conglomeration... 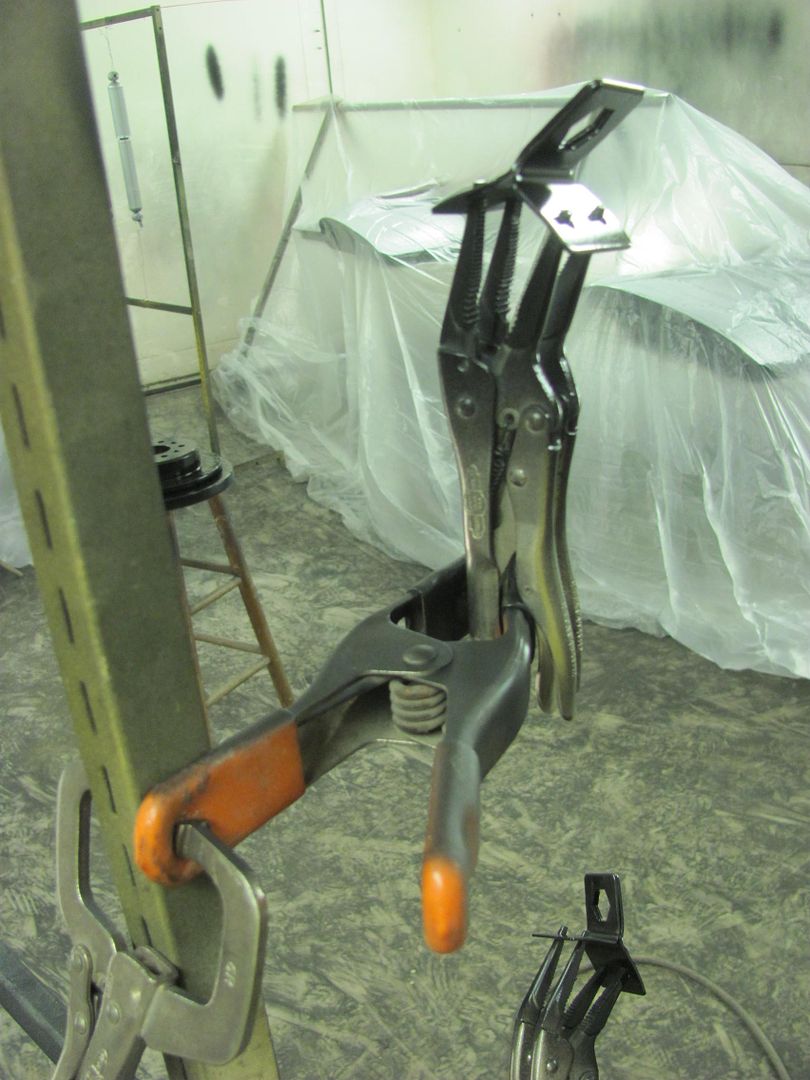 ....and the rest of the parts... 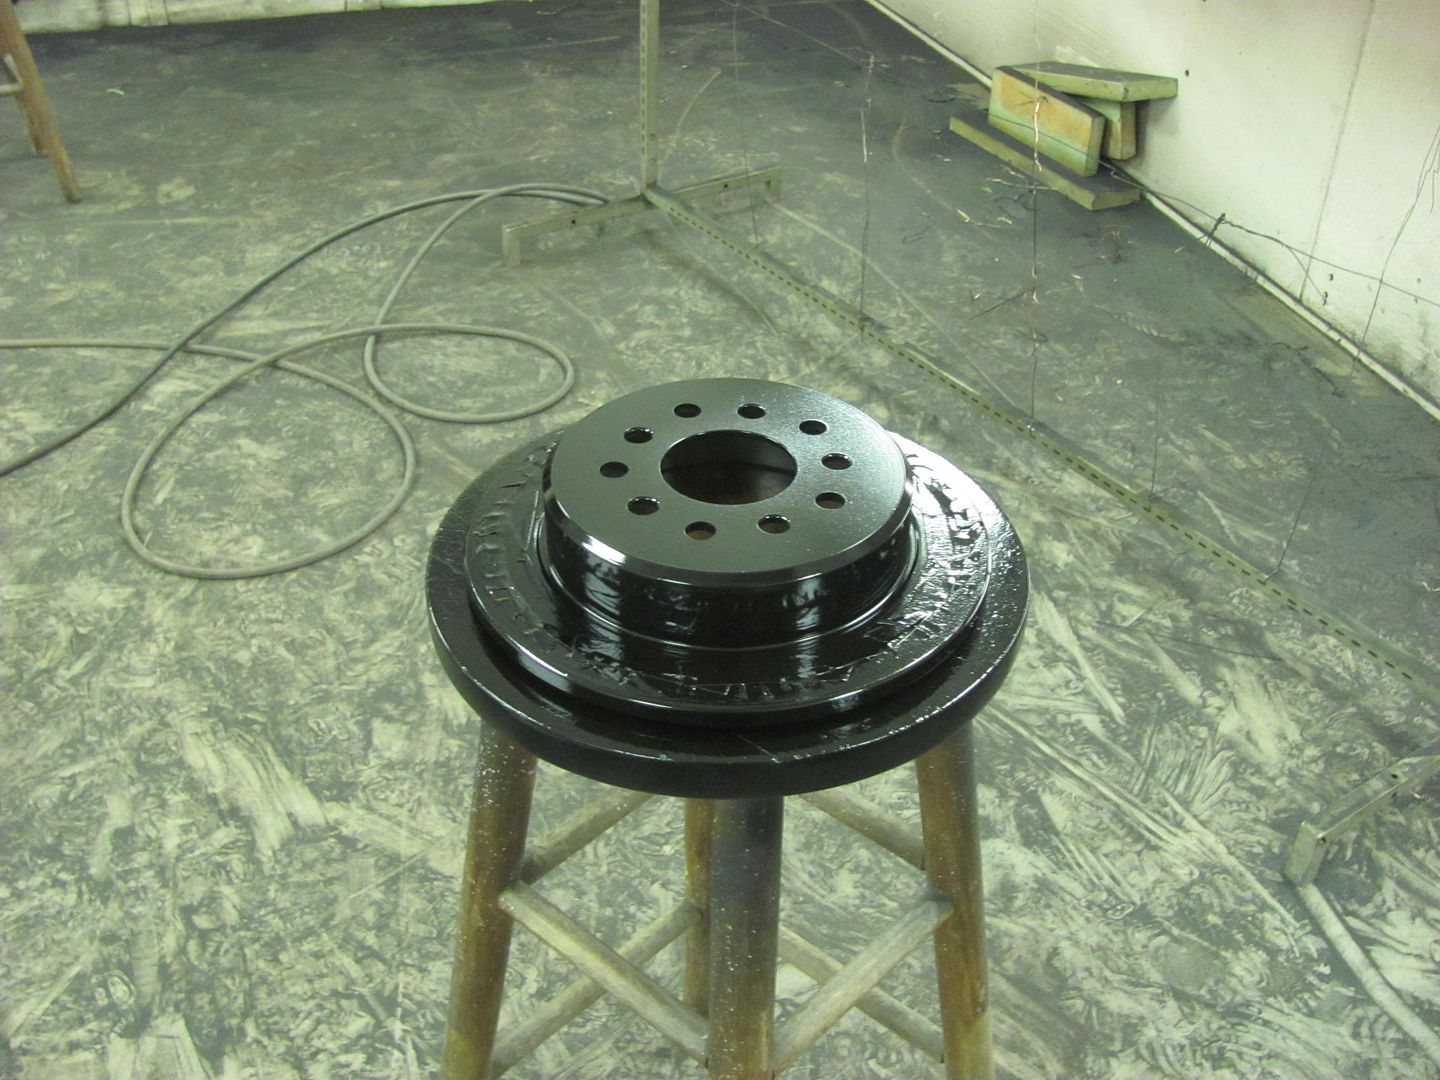 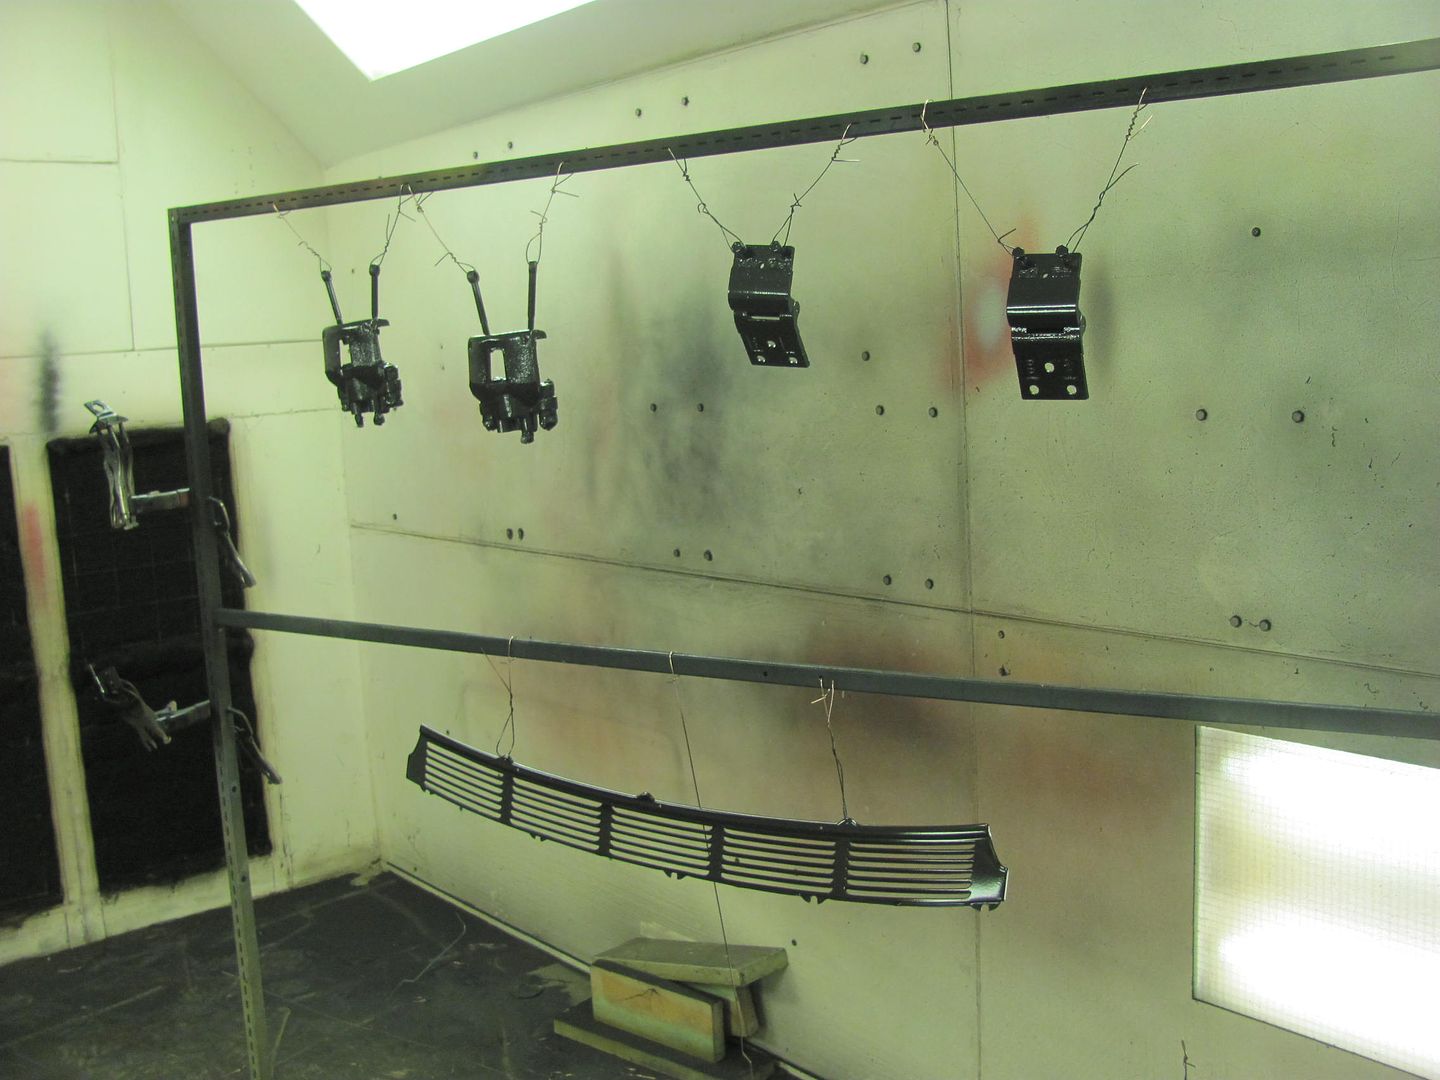 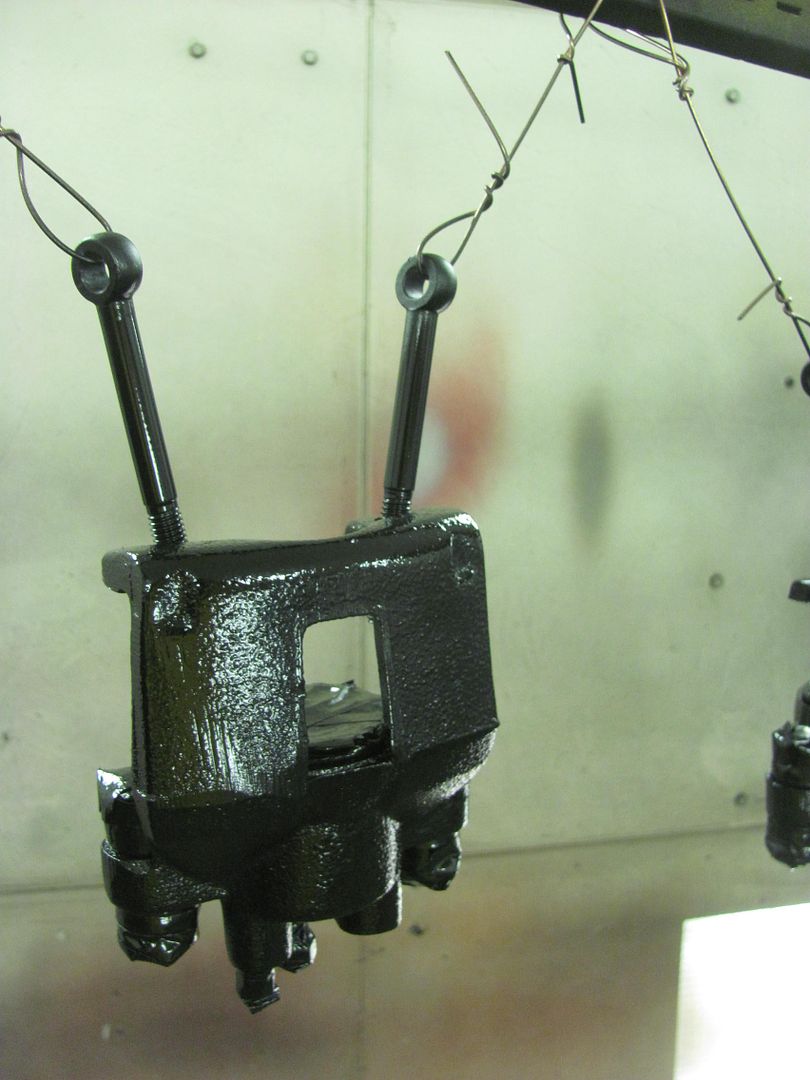 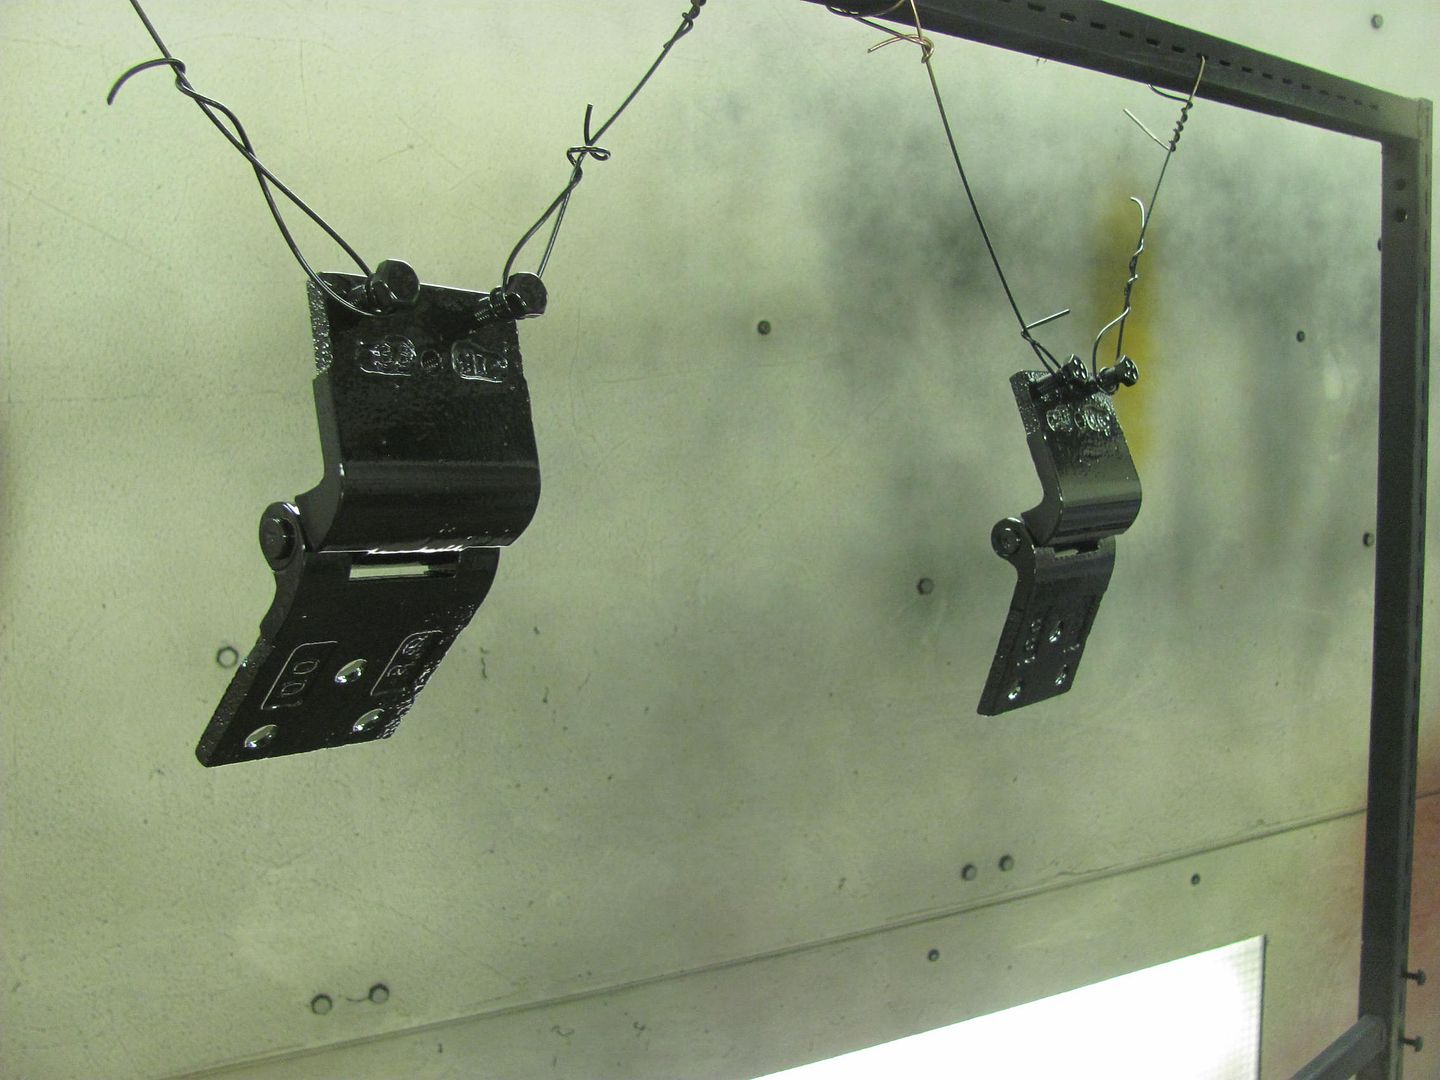 After the shocks first coat of epoxy had flashed, they got two coats of the silver Imron... 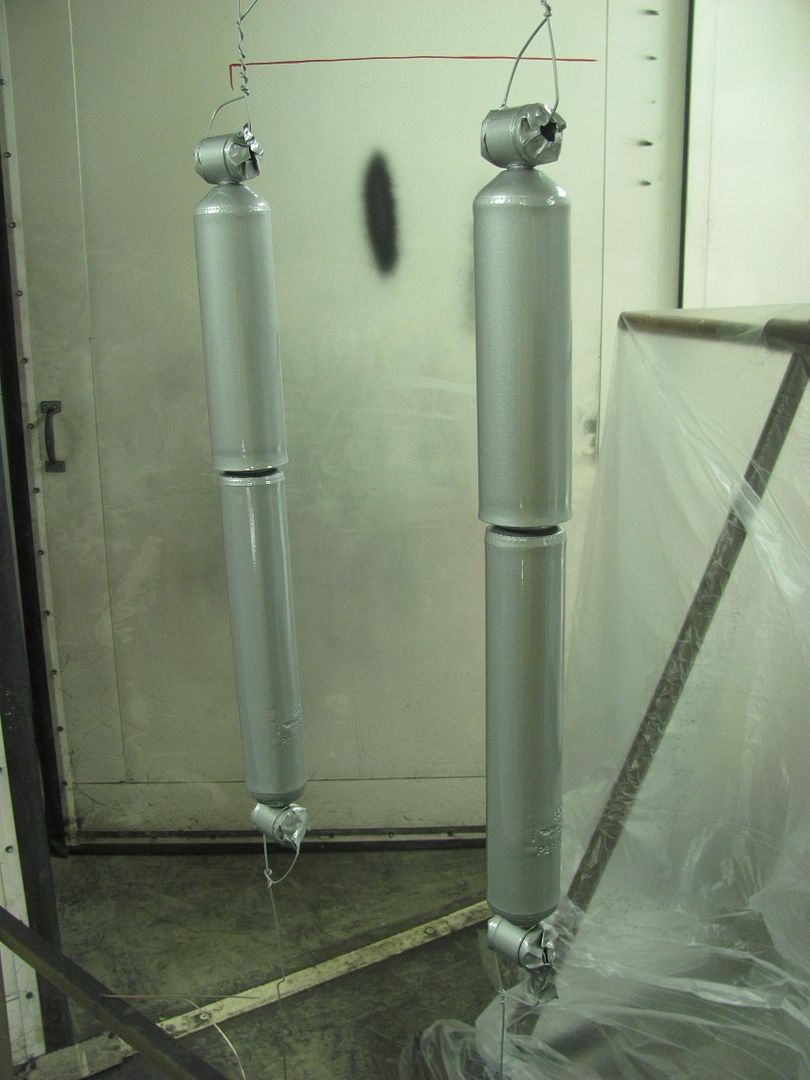
__________________
Robert |
|
|
|
|
02-21-2016, 08:13 PM
|
#20 |
|
Registered User
Join Date: Jan 2013
Location: Leonardtown, MD
Posts: 1,637
|
Re: 55 Wagon Progress
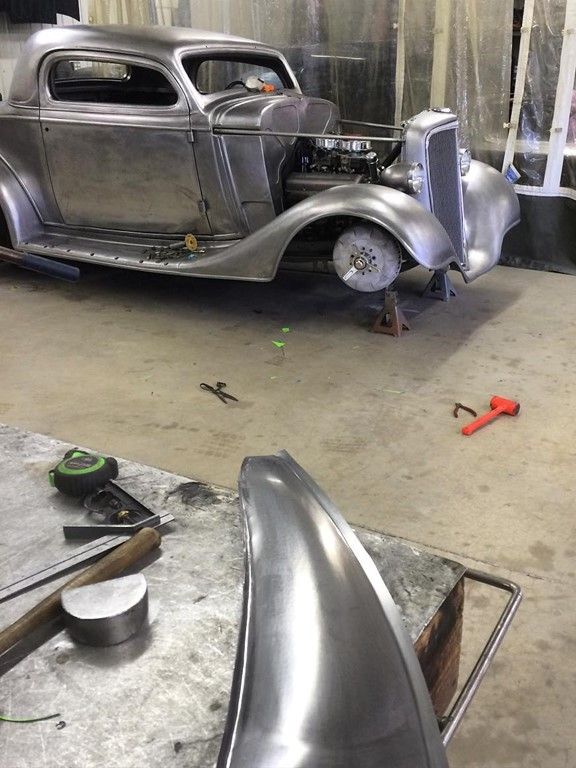
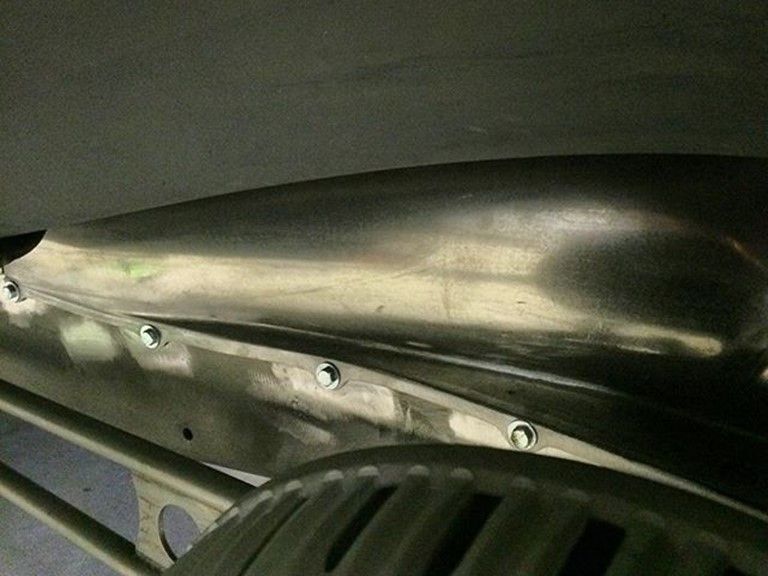
Well soon after the 35 Chevy returned from GNRS, Cody had it blown apart again to tackle more items on the to-do list.. One of them being inner fenders, which he had asked if we would punch some louvers in those as well. He hand fabricated these parts, seen here:
  He had quite a bit of work in these and had suggested shipping them down, but we aren't that far apart so I suggested meeting in the middle to pass off the parts rather than trust them to shipping. So we guessed on Parole, MD as being close to a good midpoint, and picked the Double TT Diner to grab some breakfast and catch up on his trip to Pomona. Kyle and I arrived and had made about one lap through the parking lot when Cody pulled in, so this worked to be a good halfway point between Southern MD and Milford DE. Here's what we picked up.... 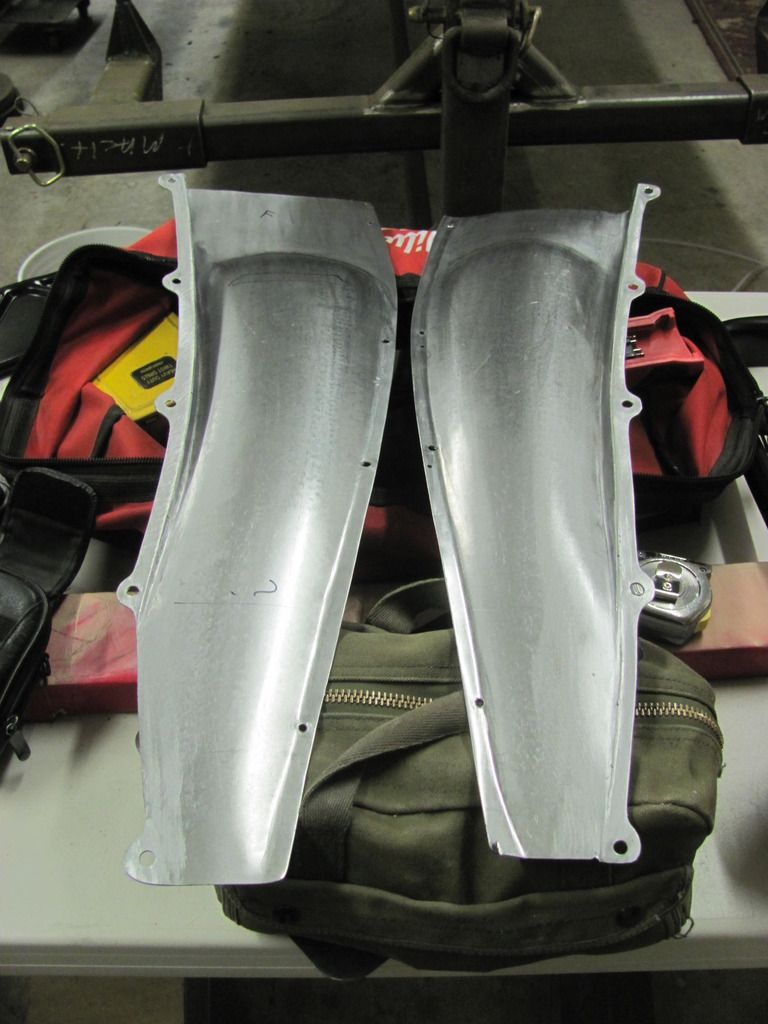 This has a tighter radius than what we had done for the hood sides, so for the punch to better follow the contour, or sit perpendicular to the point of punch, we plan on a rotational fixture attached to the linear slide that the "trough" of the inner fender can be rolled from side to side.. More on that to come.. On the way home from Parole, we made a stop to look at an old fire truck that was slated for a total restoration. We did a quick survey of the truck and made some recommendations to the owner.. While we were there, also stumbled across another 35 Chevy. These 35's are coming out of the woodwork it seems.. 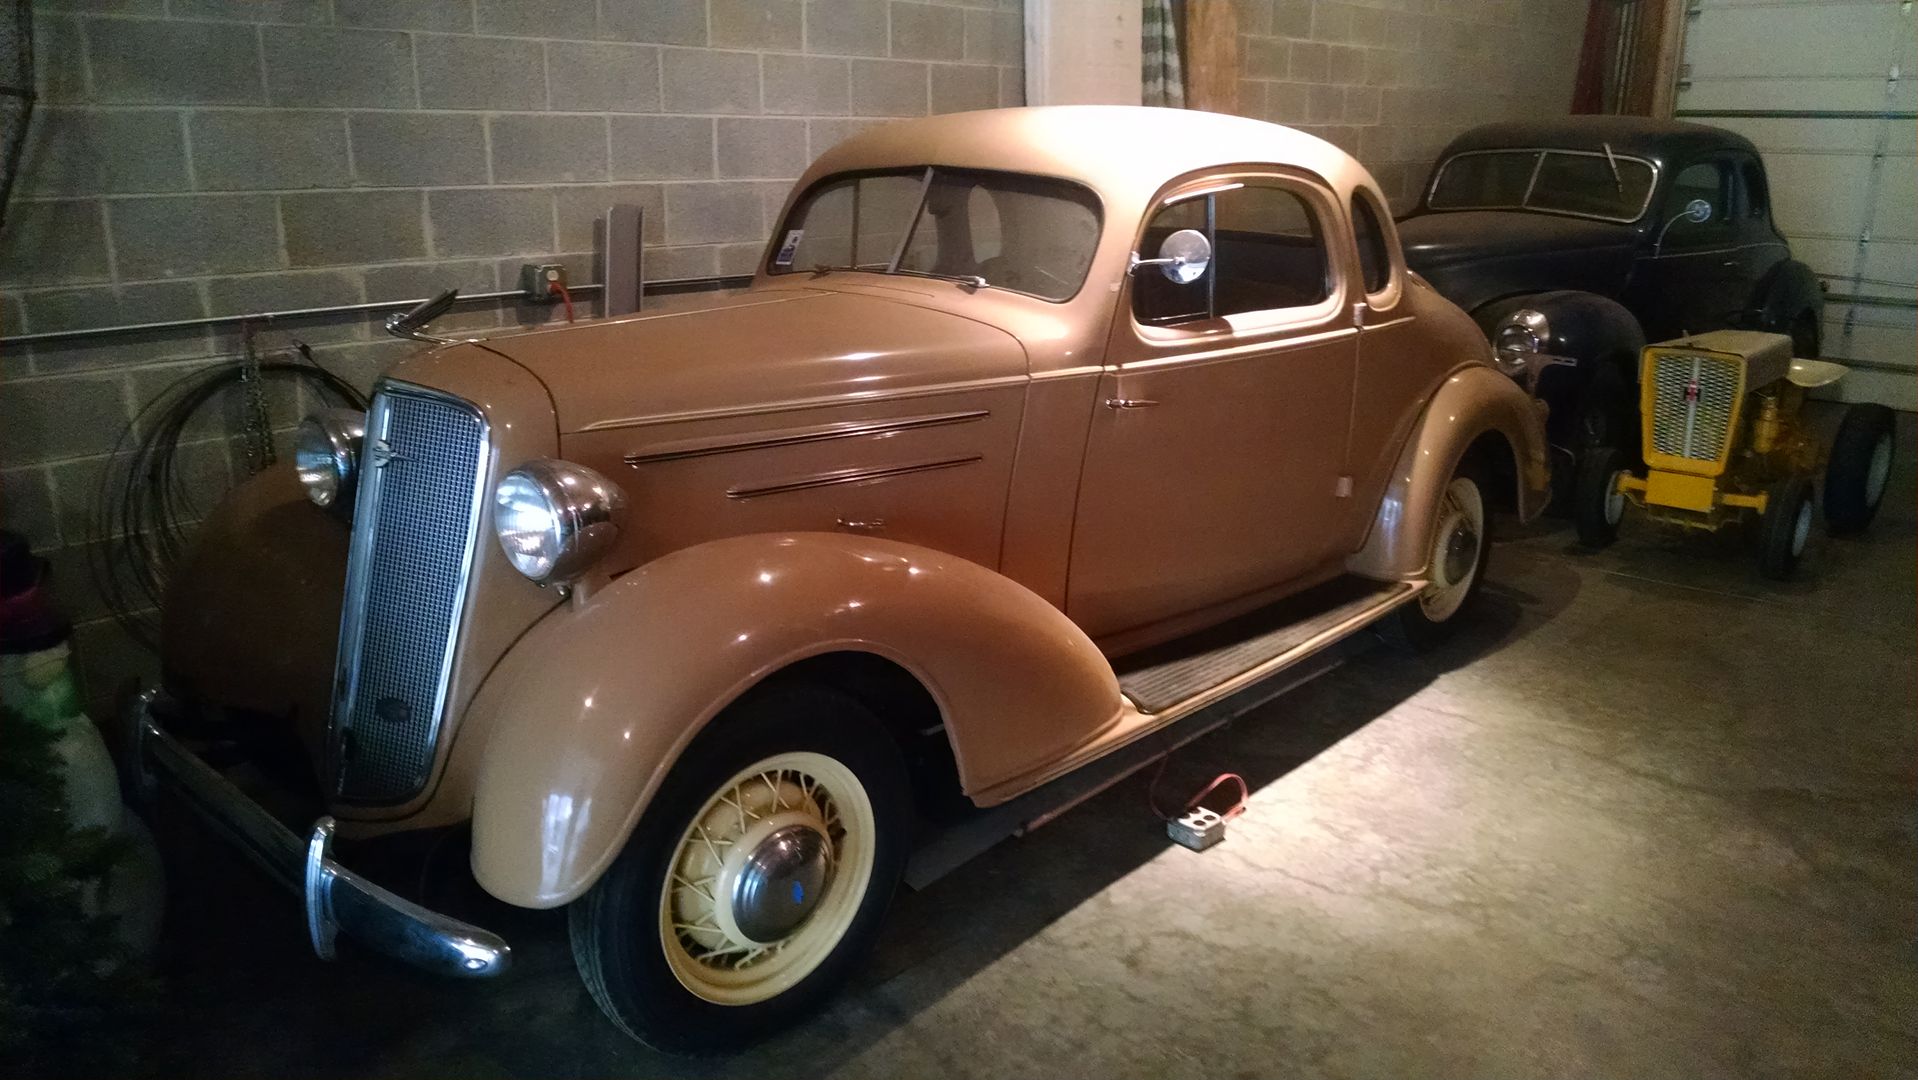 Back in the shop, getting ready to re-assemble the rear. Test fitting the rear axle bearings, as the brake kit had come with some .250 thick spacers... 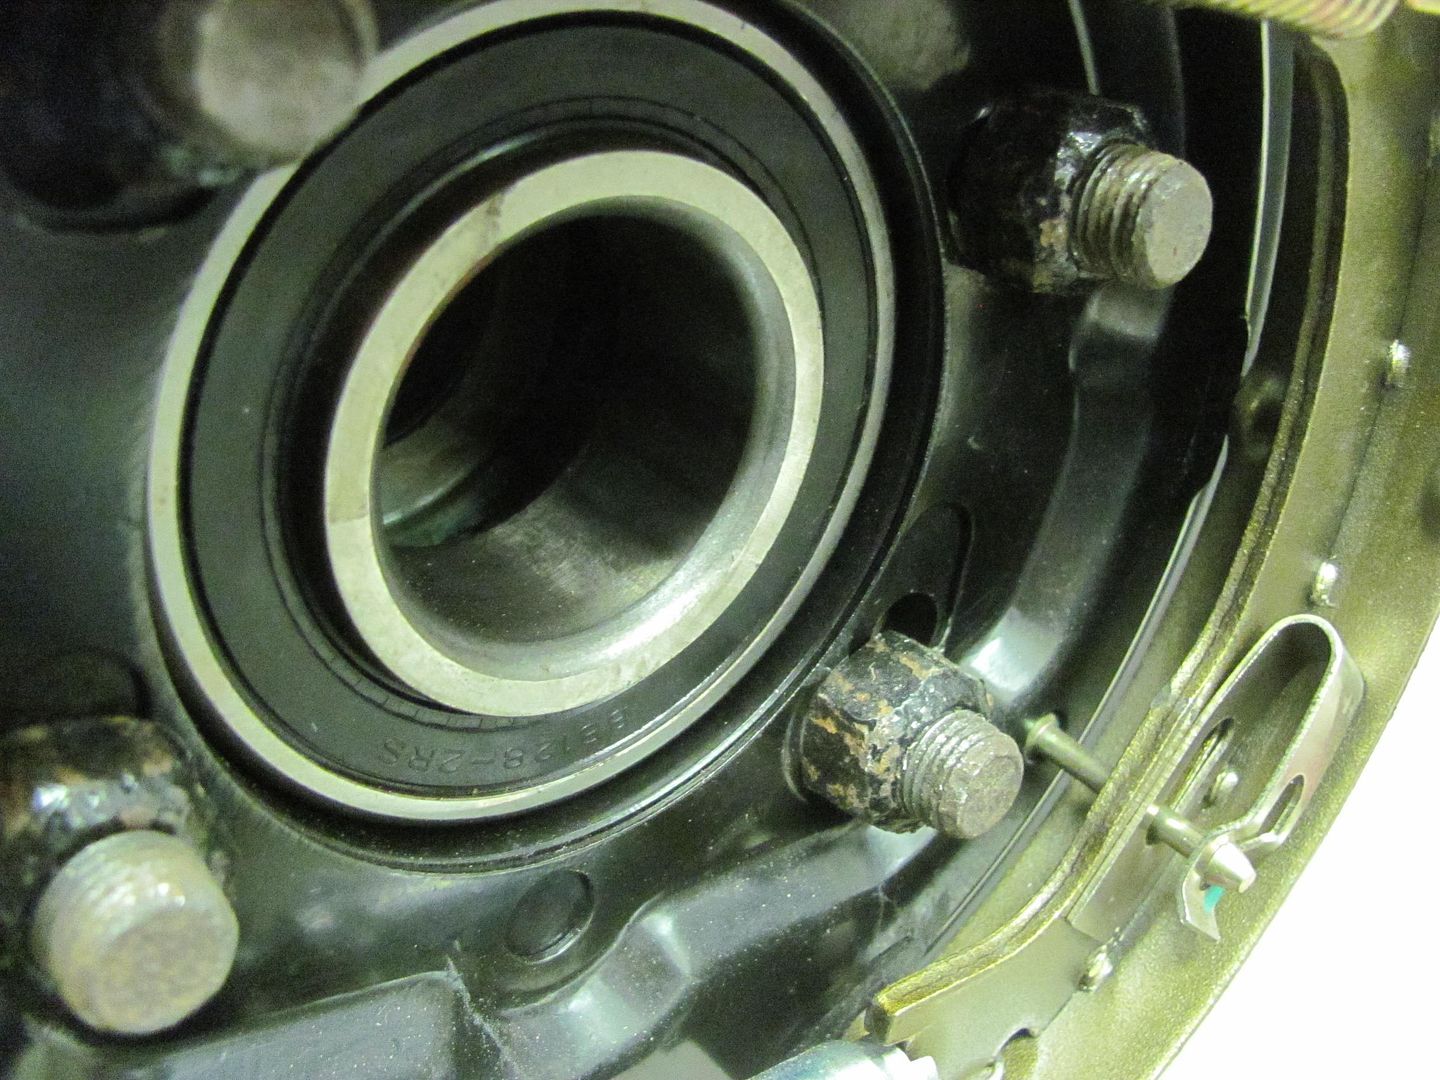 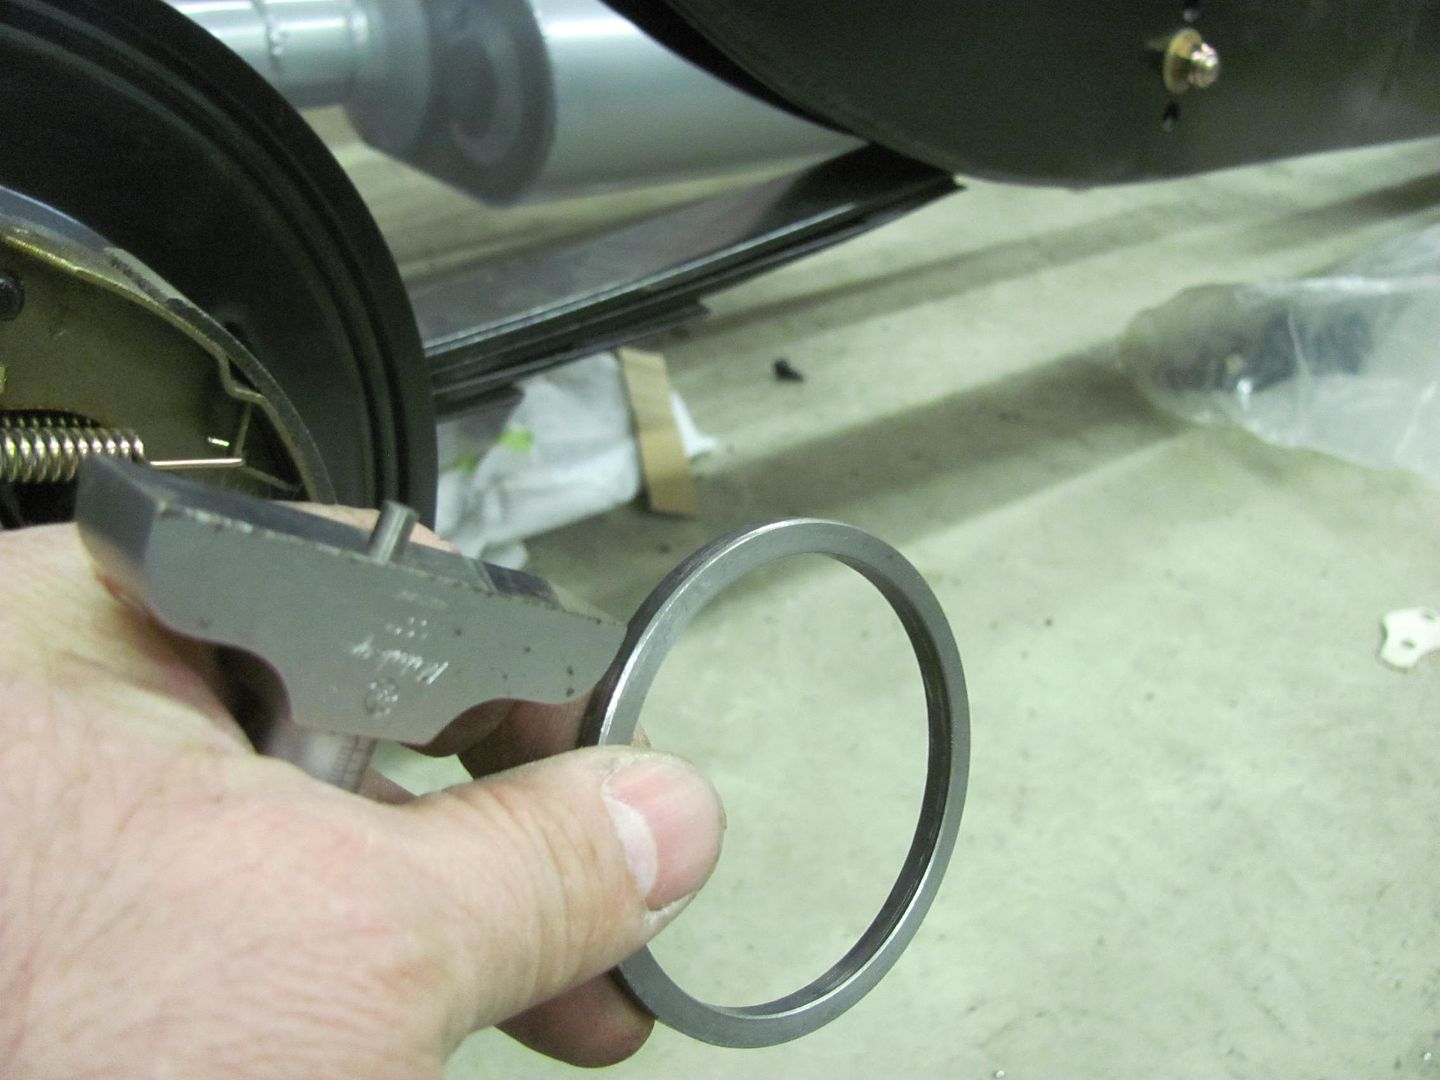 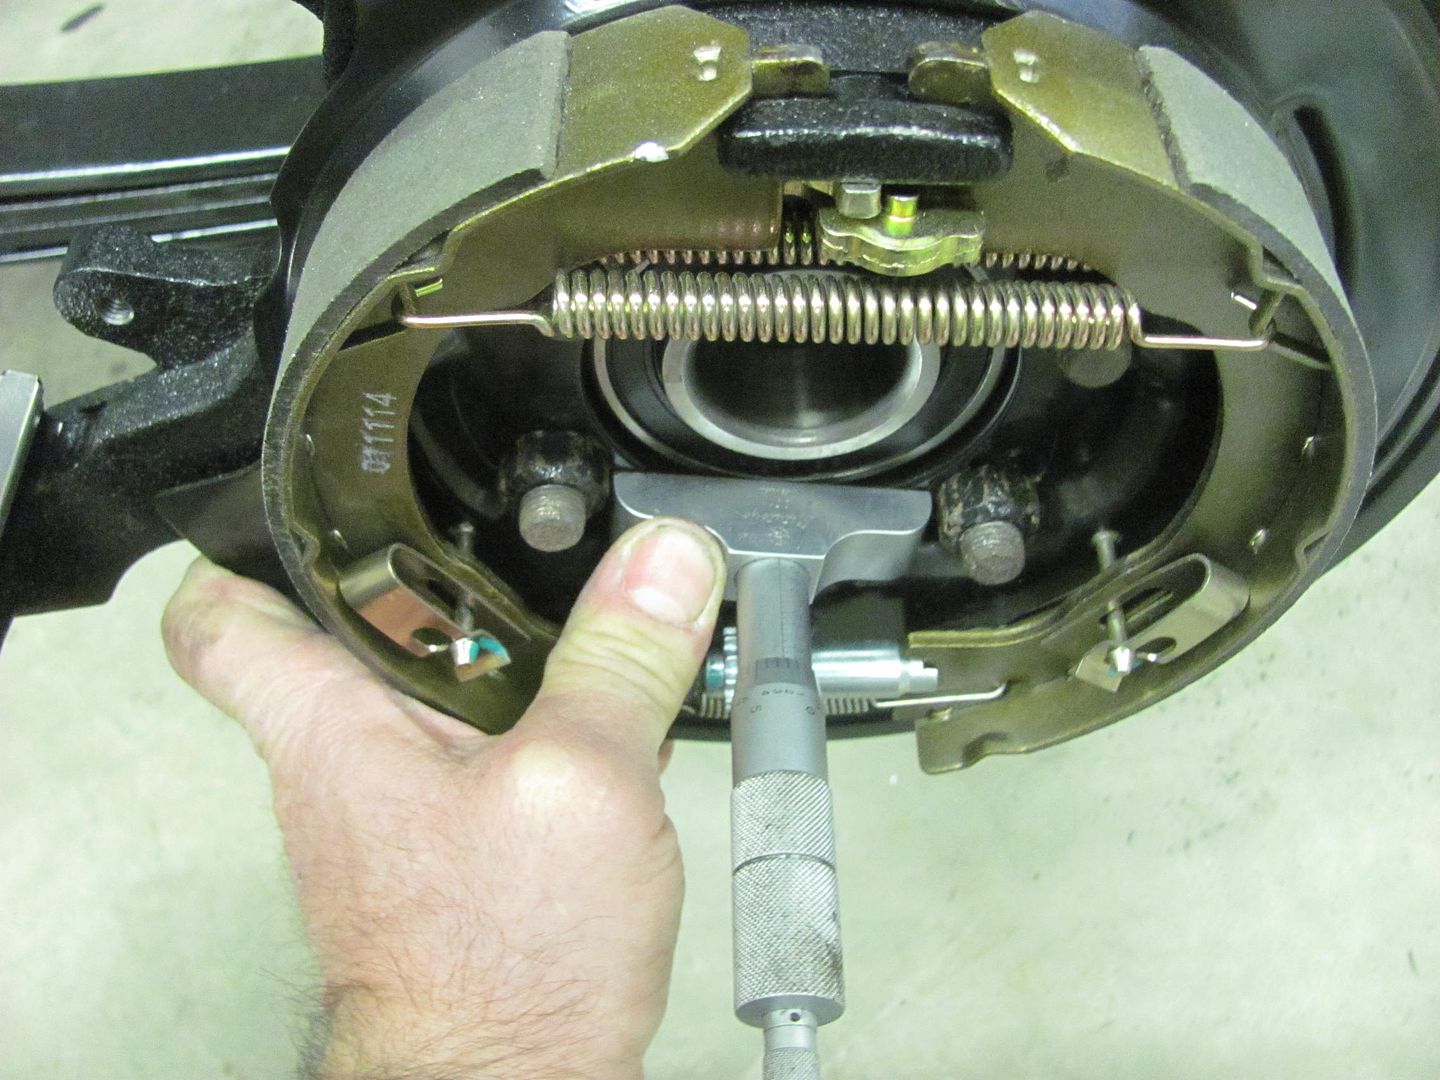 My vernier depth gauge showed that the actual distance was .203, so some trimming was in order... 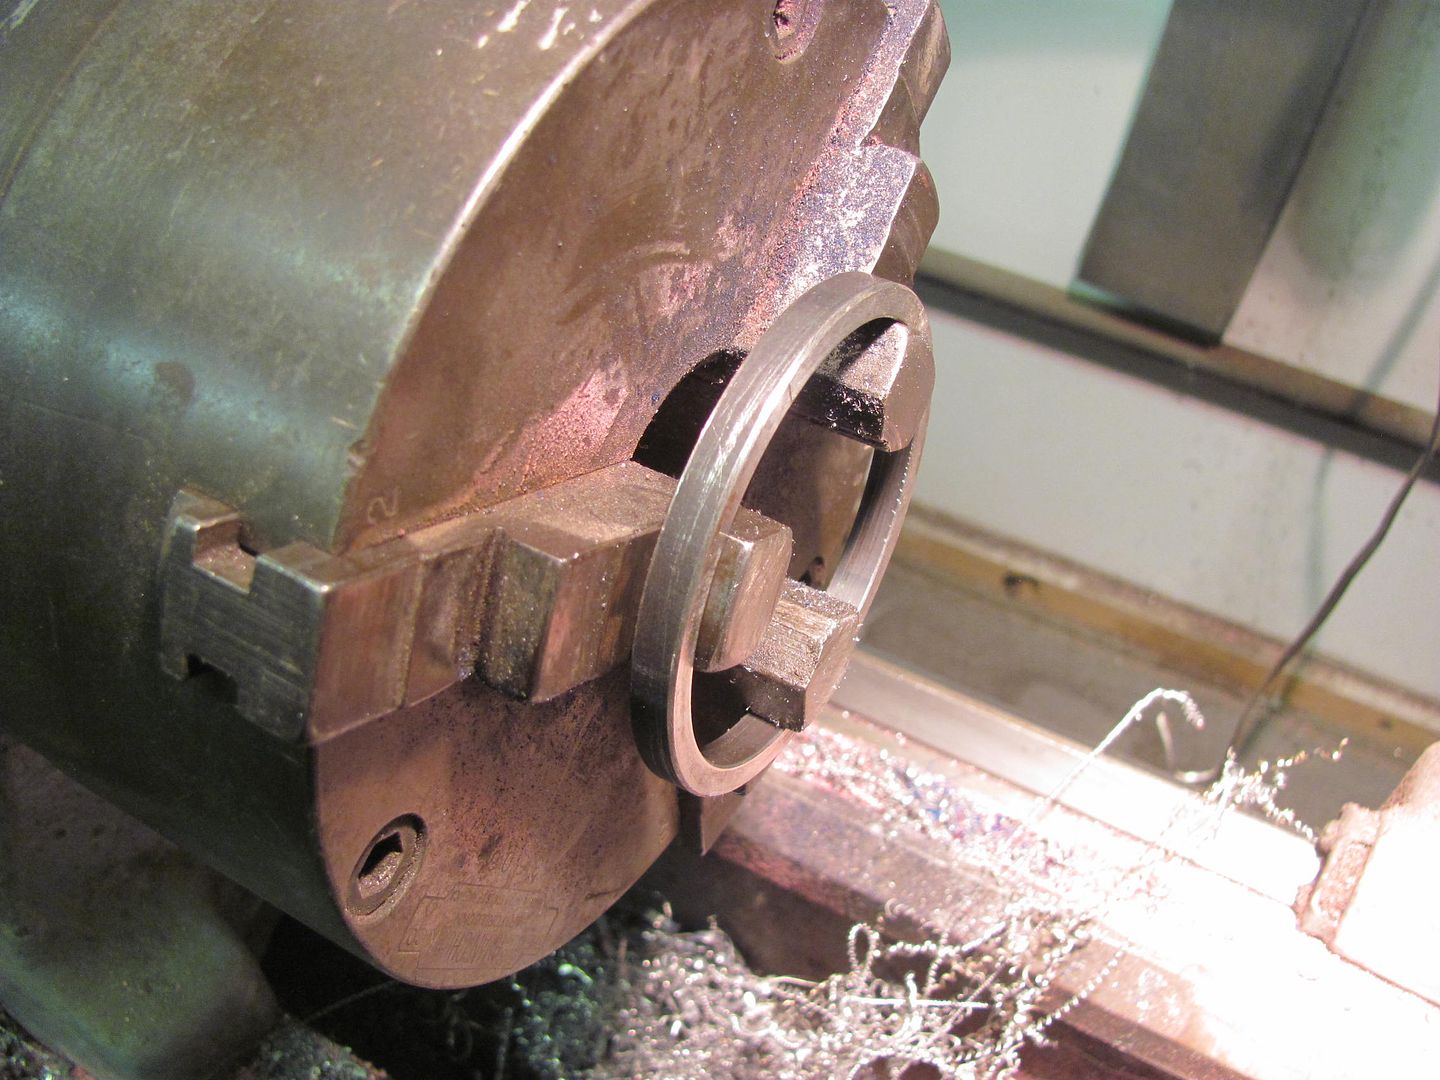 With all the parts now test fitted, we took the rebuilt press parts back and gave them a trial run... 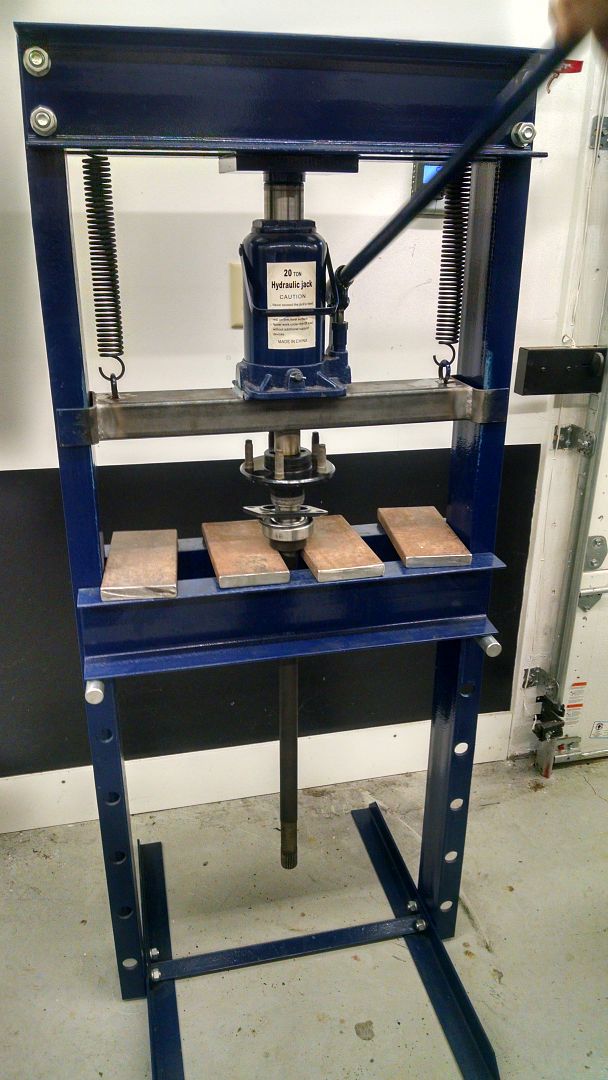 With the press back in business, the only thing left to do there is to add it in the mix the next time we spray some epoxy, and I generously offered some of the leftover orange from the trailer wheel painting, but my brother-in-law seems a bit apprehensive. Brake line brackets were removed from the paint stand, and this is the first time I noticed these Vise Grips had a Gene Winfield fade paint job on them.. 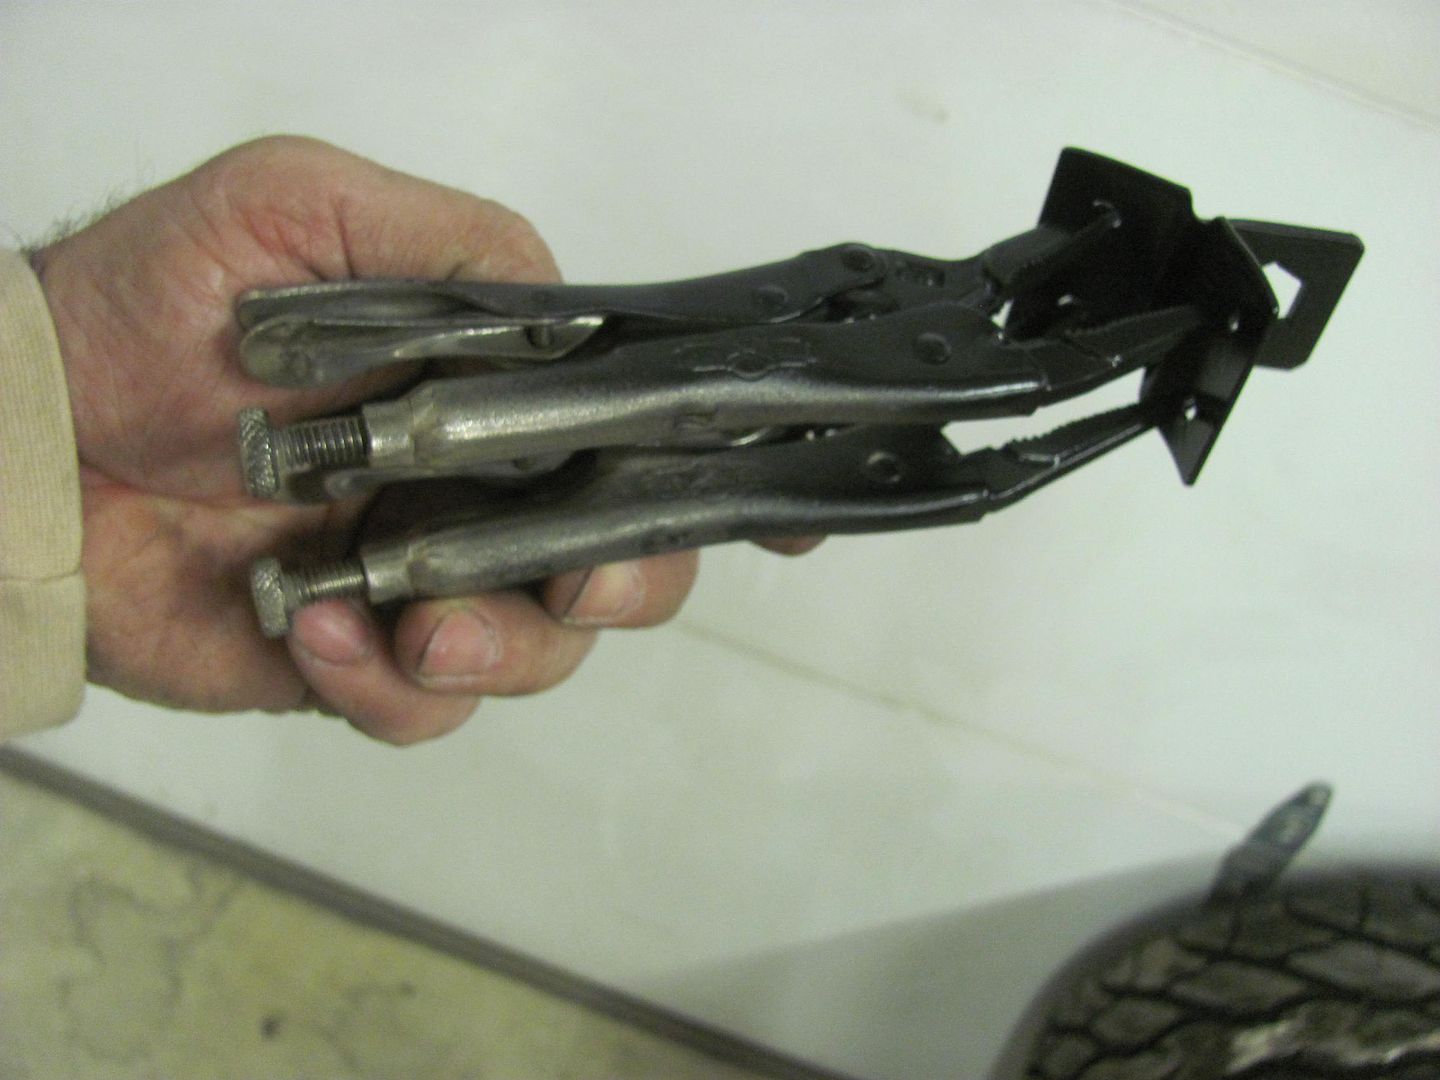 Brackets were plug welded to the housing, welds scuffed and touched up with some SPI epoxy.. 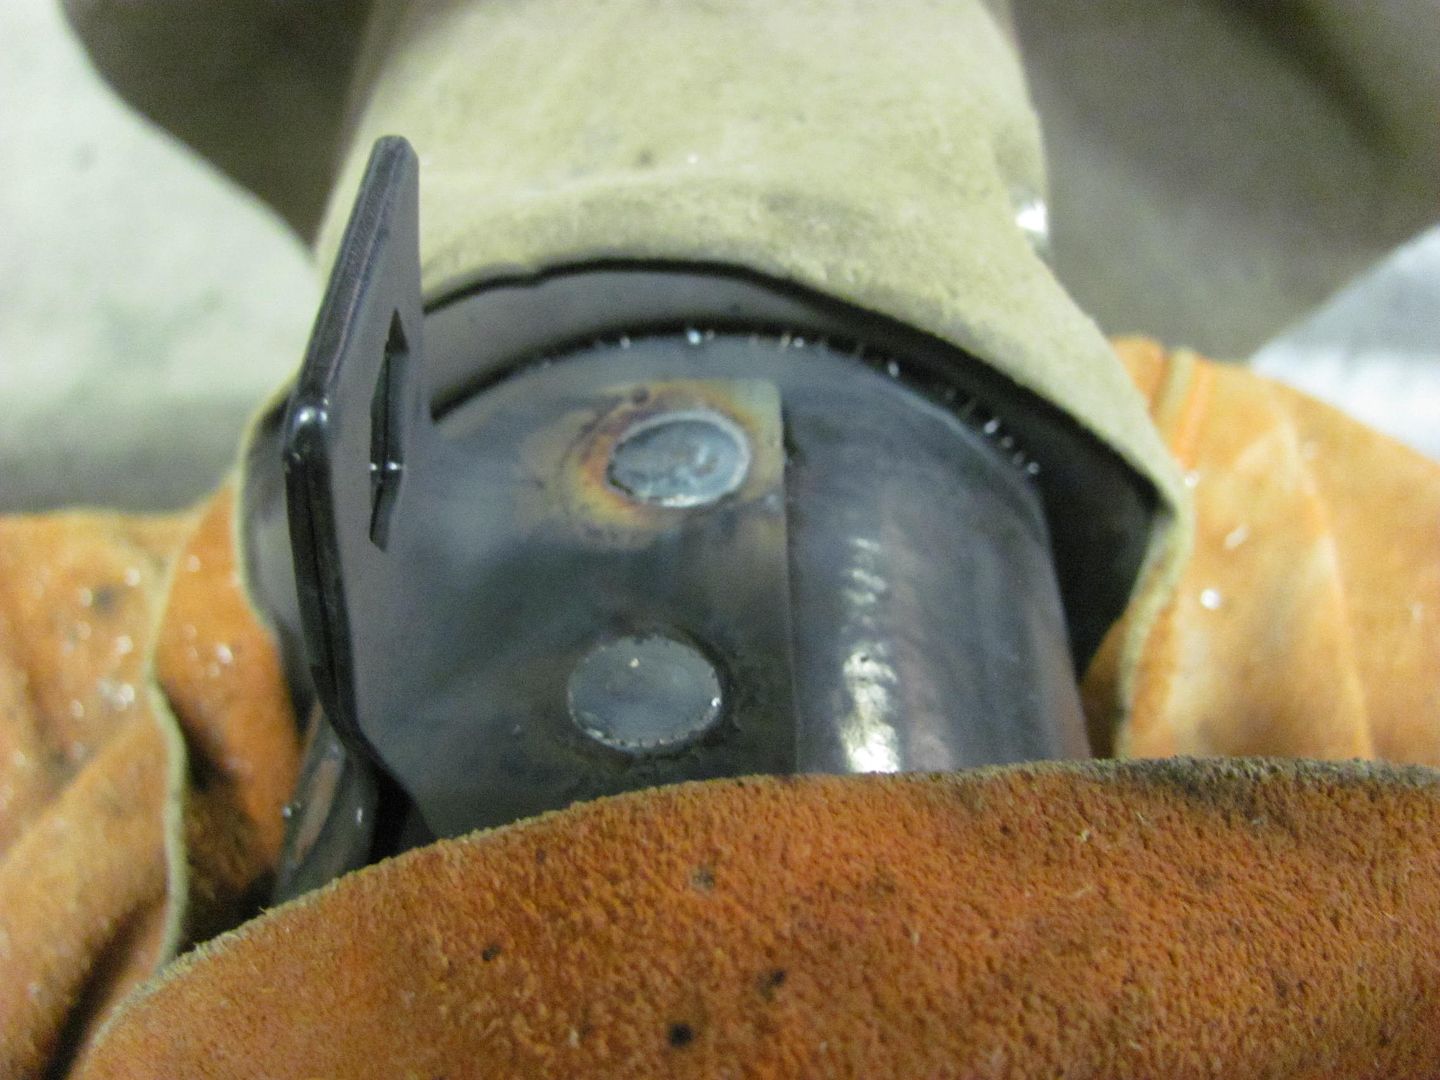 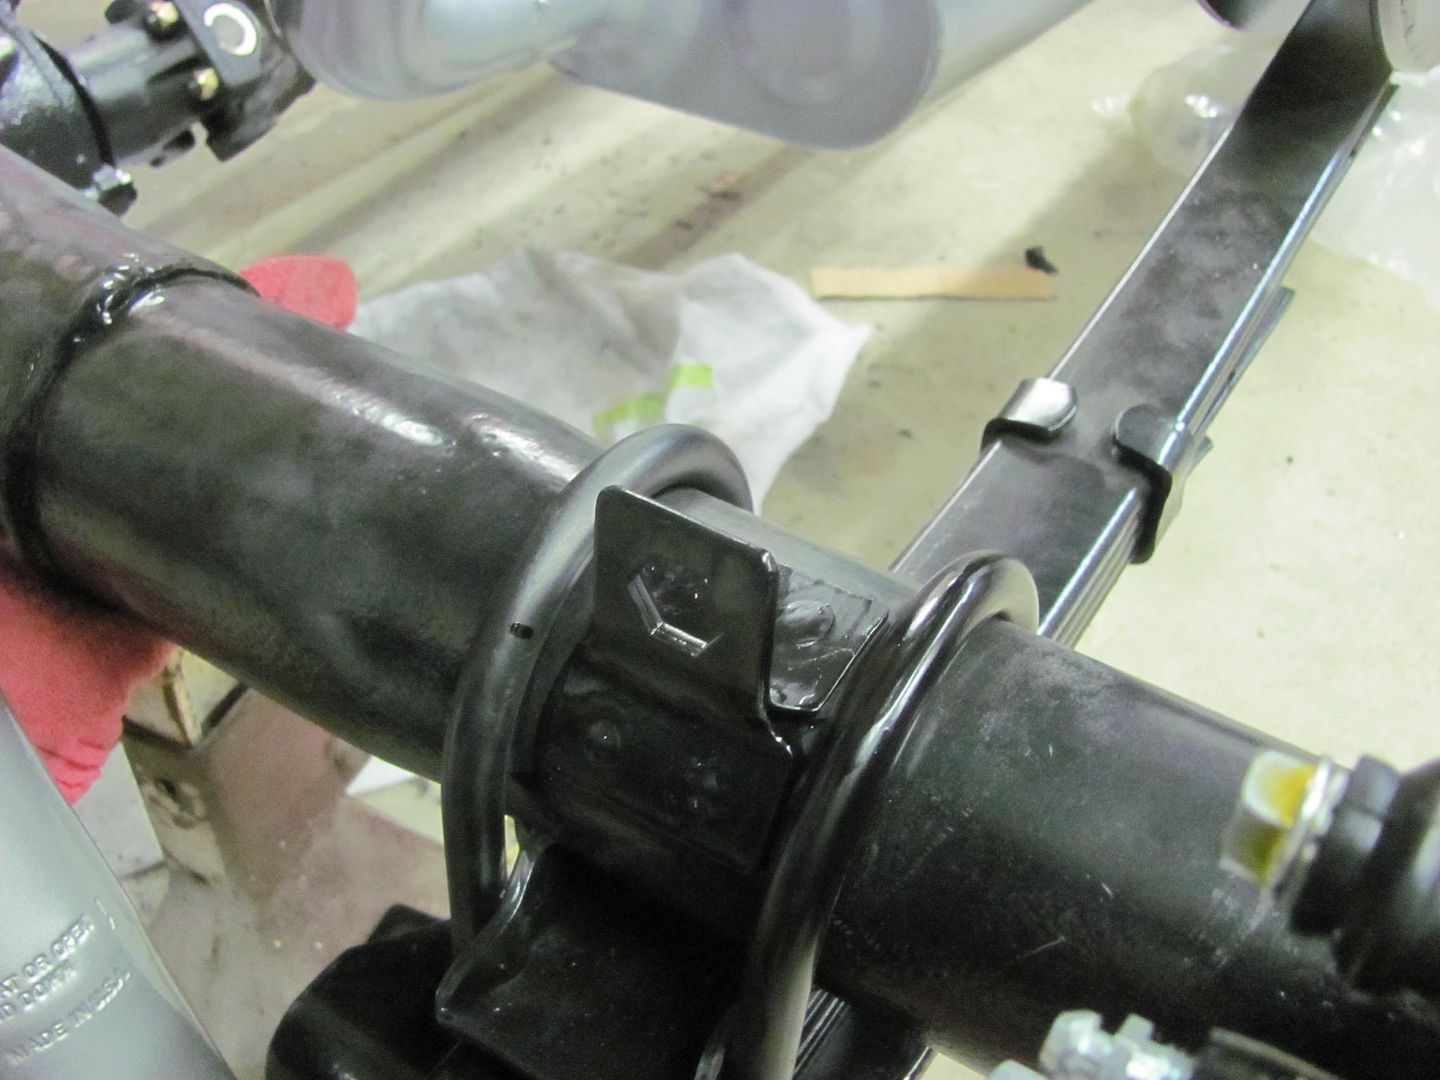 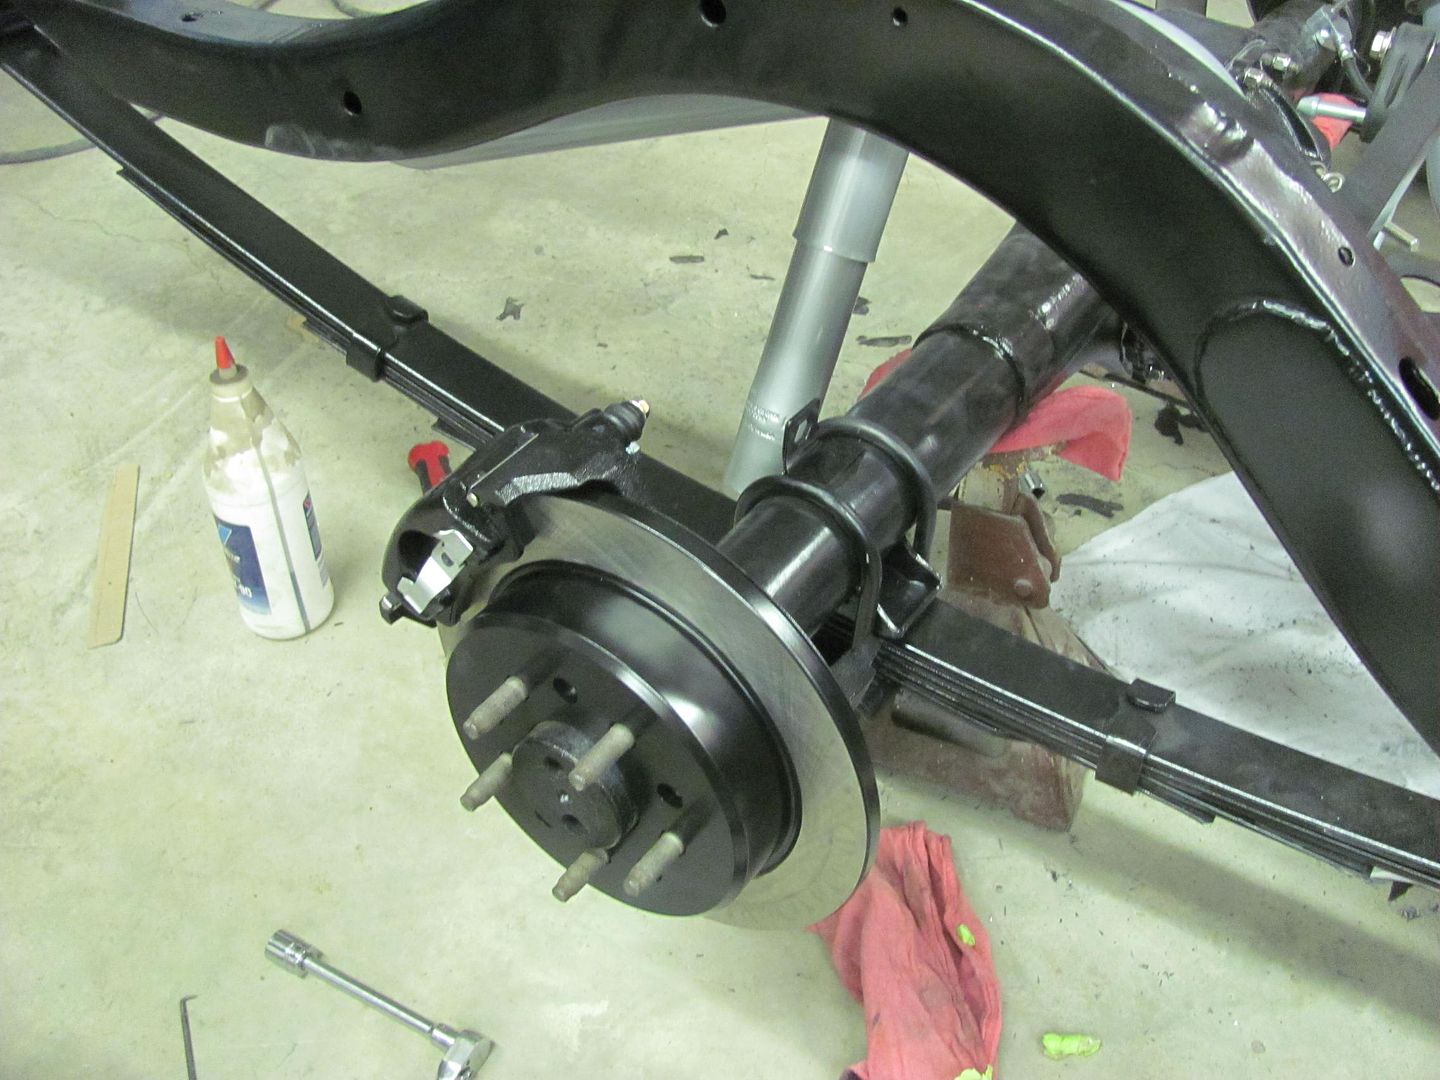 Newly painted shocks were reinstalled, and rear brake parts all installed..  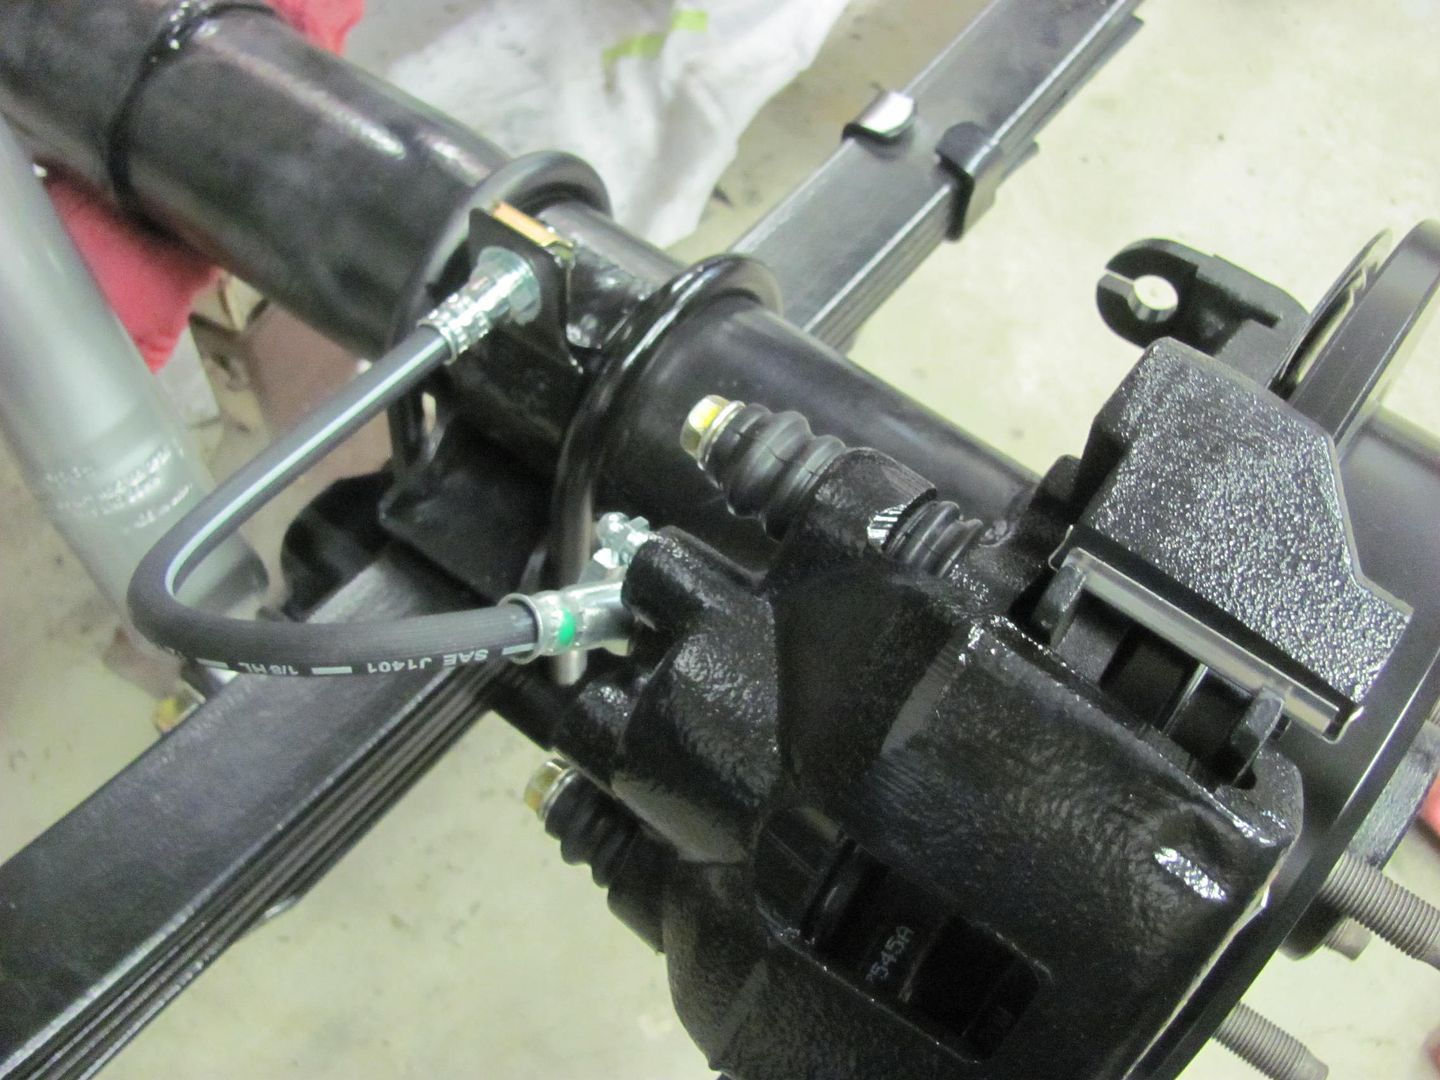 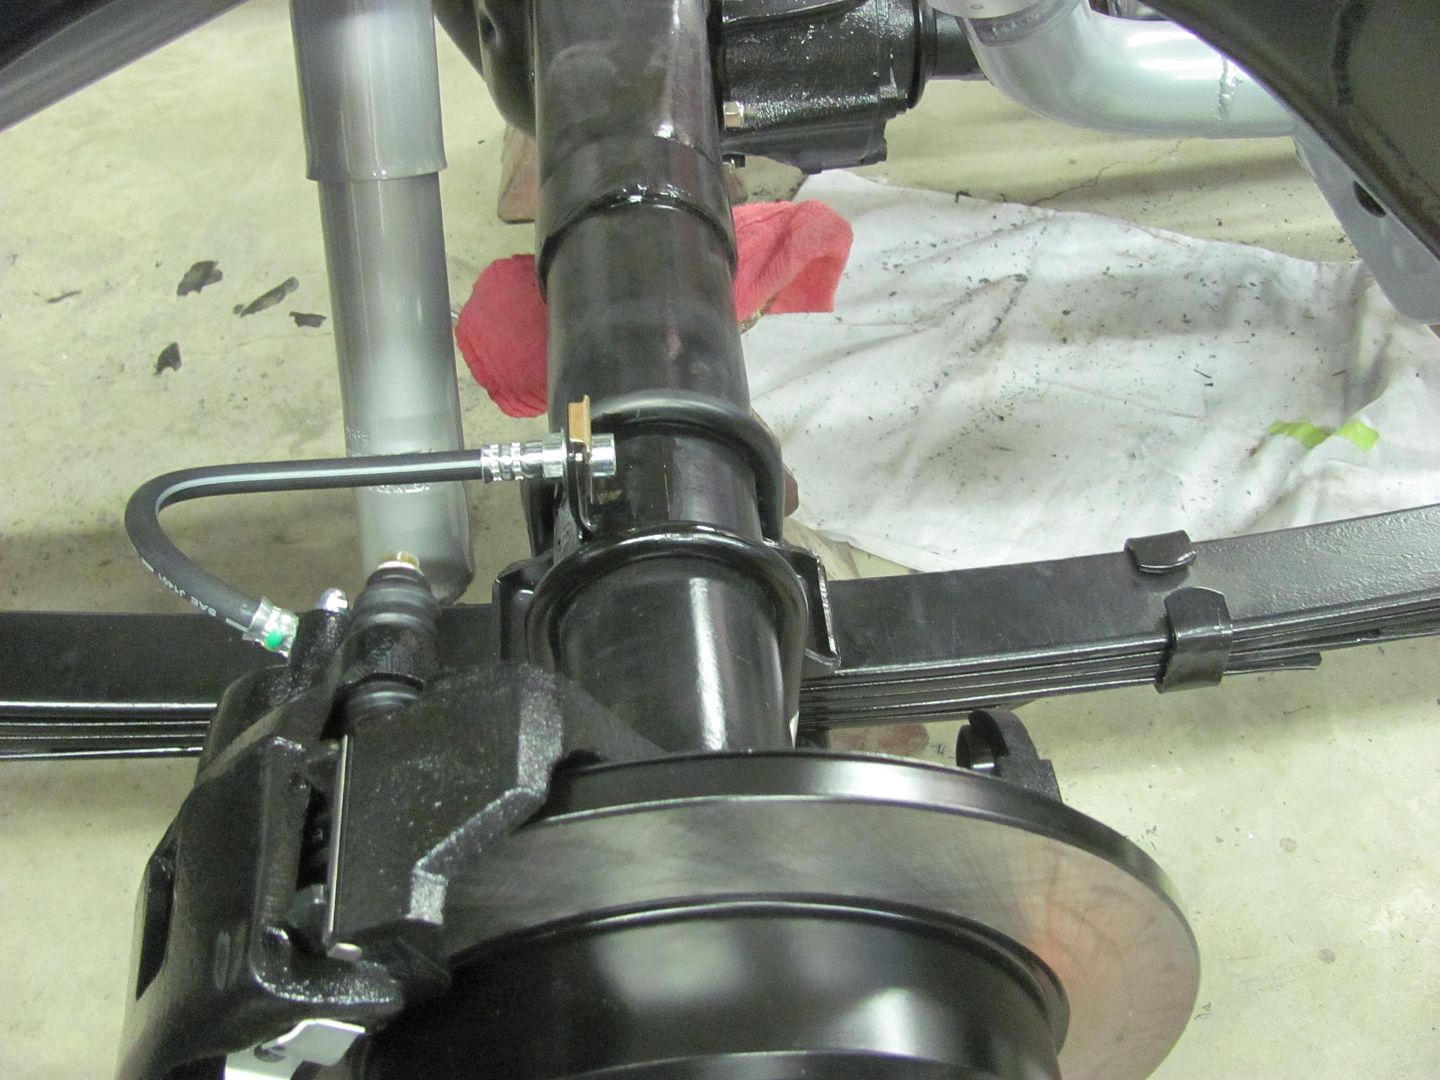 A bit closer....
__________________
Robert |
|
|
|
|
04-14-2016, 03:33 PM
|
#21 | |
|
*************
Join Date: Apr 2005
Location: Pensacola, FL
Posts: 17,837
|
Re: 55 Wagon Progress
Quote:
__________________
Rob - https://www.instagram.com/hart_rod_c10 As Iron Sharpens Iron, So One Man Sharpens Another. Proverbs 27:17 FOR SALE: DBW pedal bracket - http://67-72chevytrucks.com/vboard/s...d.php?t=651123 FOR SALE: Hood Brackets http://67-72chevytrucks.com/vboard/s...d.php?t=679945 1987 Silverado SWB - 34.5K original miles http://67-72chevytrucks.com/vboard/s...d.php?t=801834 1969 SuperBurb - http://67-72chevytrucks.com/vboard/s...d.php?t=200387 1968 Farm truck - http://67-72chevytrucks.com/vboard/s...d.php?t=358692 1968 SWB - http://67-72chevytrucks.com/vboard/s...d.php?t=551258 1948 Chevy - http://67-72chevytrucks.com/vboard/s...=122164&page=3 |
|
|
|
|
|
02-23-2016, 11:41 PM
|
#22 |
|
Registered User
Join Date: Jan 2013
Location: Leonardtown, MD
Posts: 1,637
|
Re: 55 Wagon Progress
The Mini Cooper wheel bearing/hub assembly had come in yesterday (looks like this)
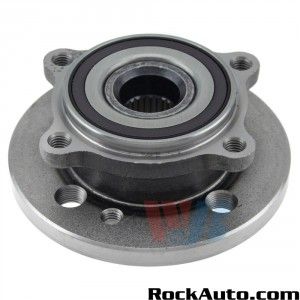 ....so the first order of business was to void the warranty. Made a trip over to David's shop to make sure the press was still operational, and pressed the hub out of the bearing. We need a flat surface for the new material clamps, so Kyle worked on the lathe to get rid of the excess metal here: 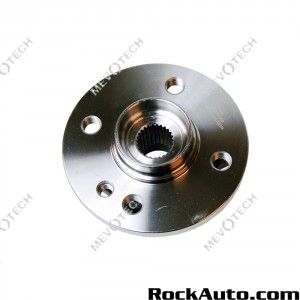 He got this far tonight...  These are the new clamps we'll be using, the single 8mm bolt will connect it to the flange Kyle it working on.. 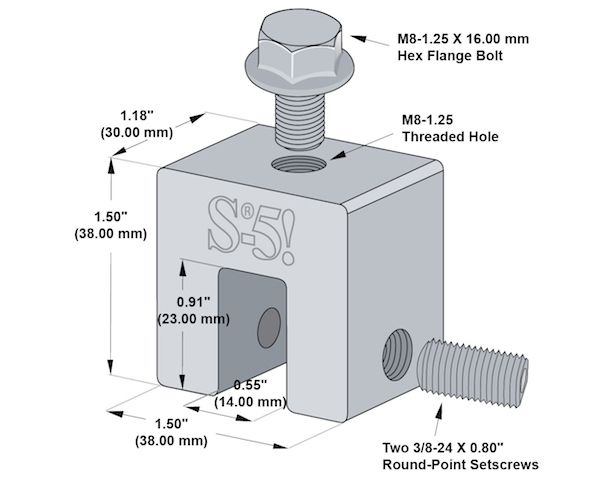 Meanwhile, I cut out the plate to hold the bearing... 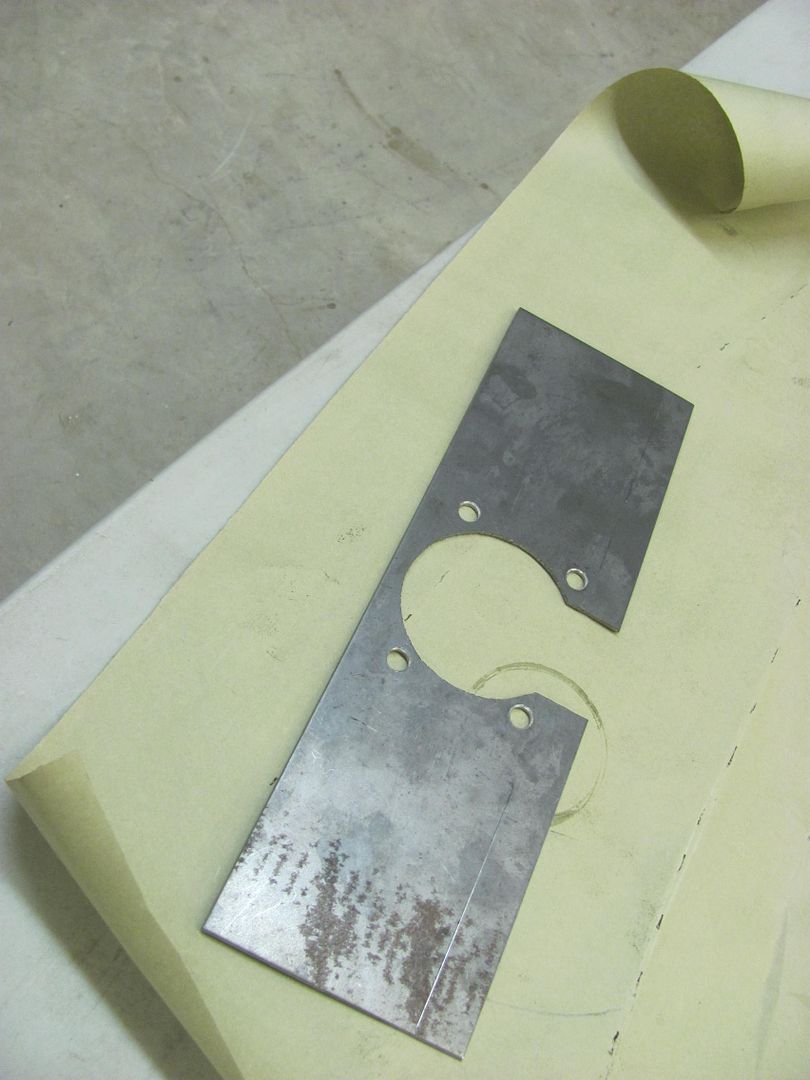 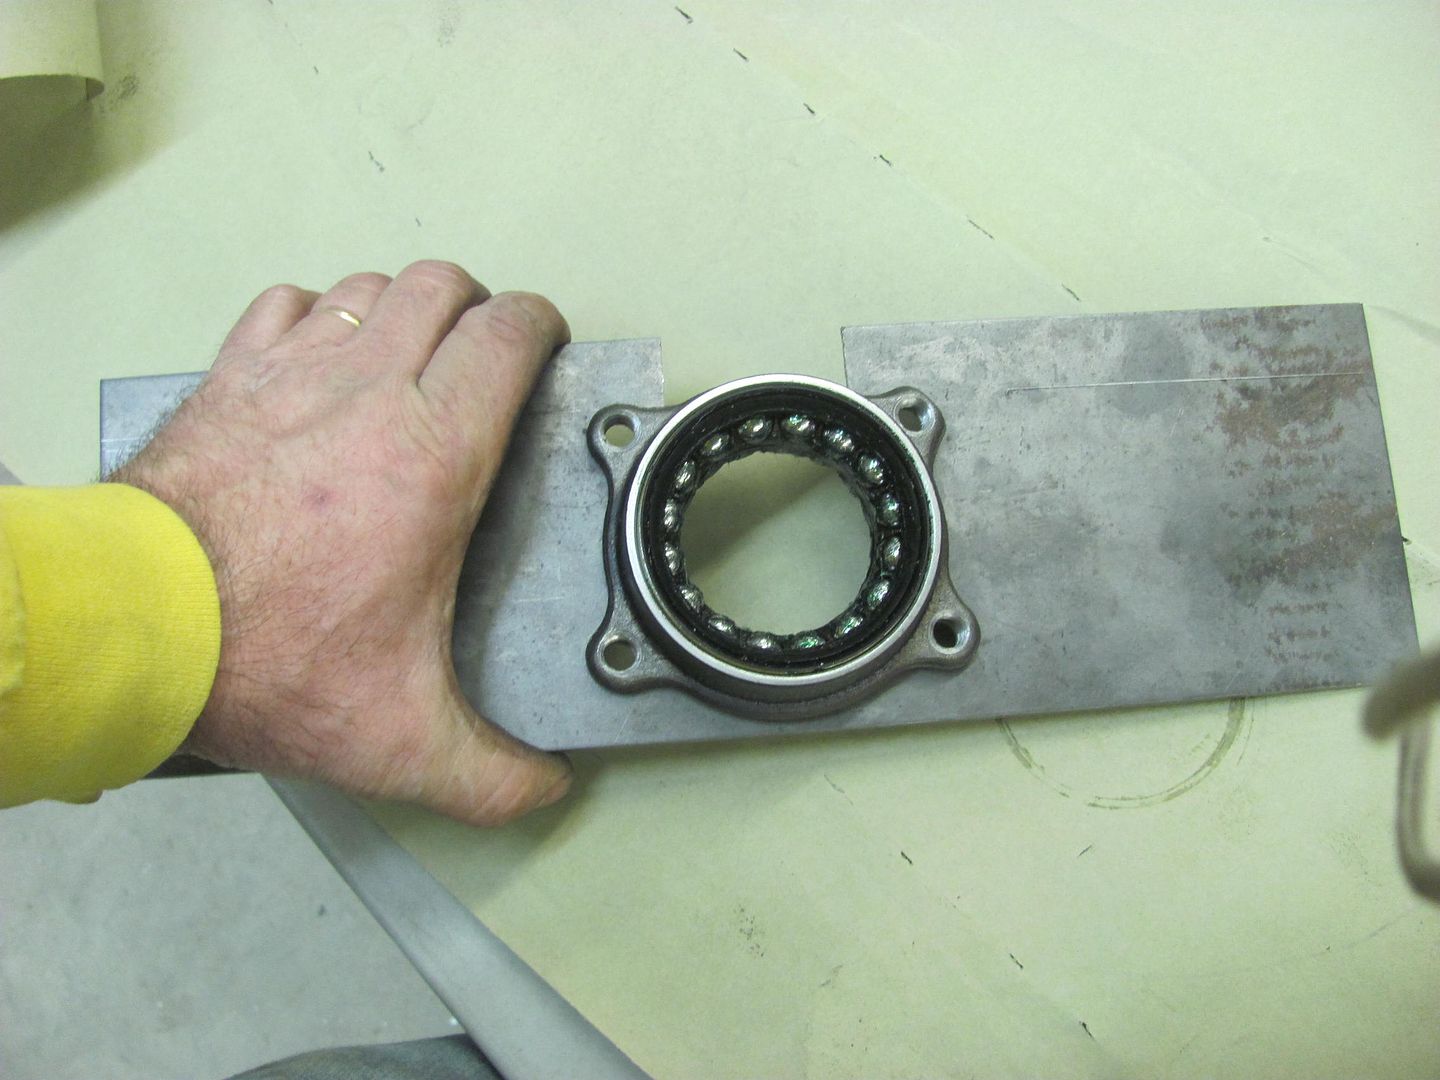 The top will be folded 90* and that flange bolted to the top of the glide blocks here... 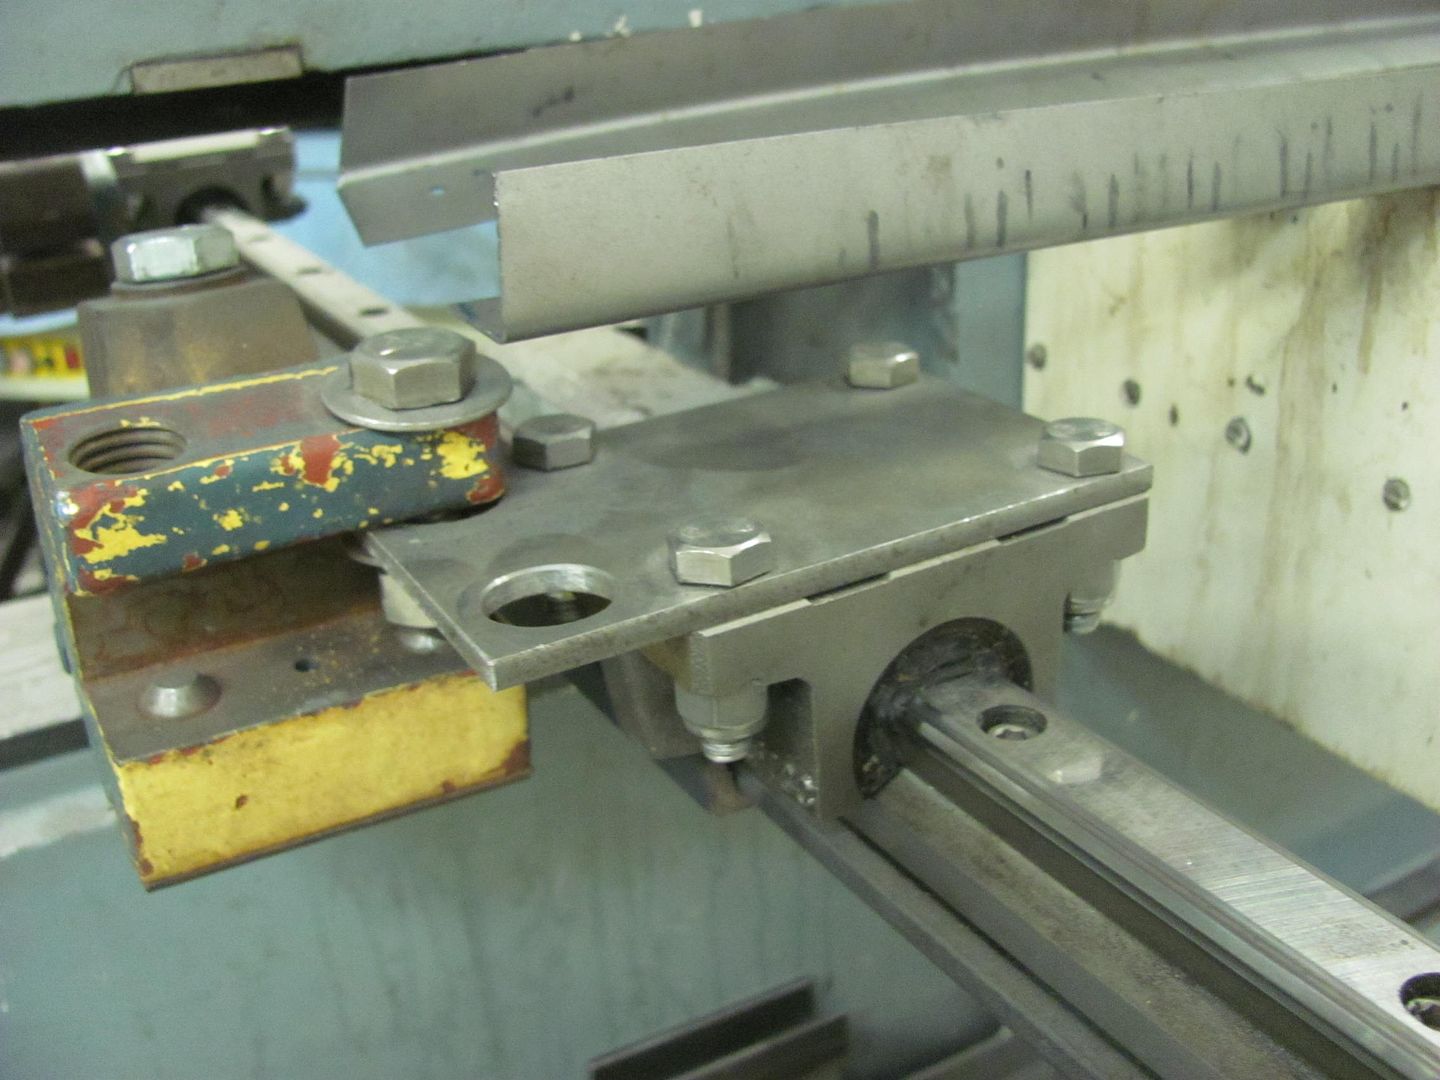 Once complete this should allow us to rotate the inner fenders as we punch the louvers. Oh, and finally, looking at the bare spot in the floor here.... 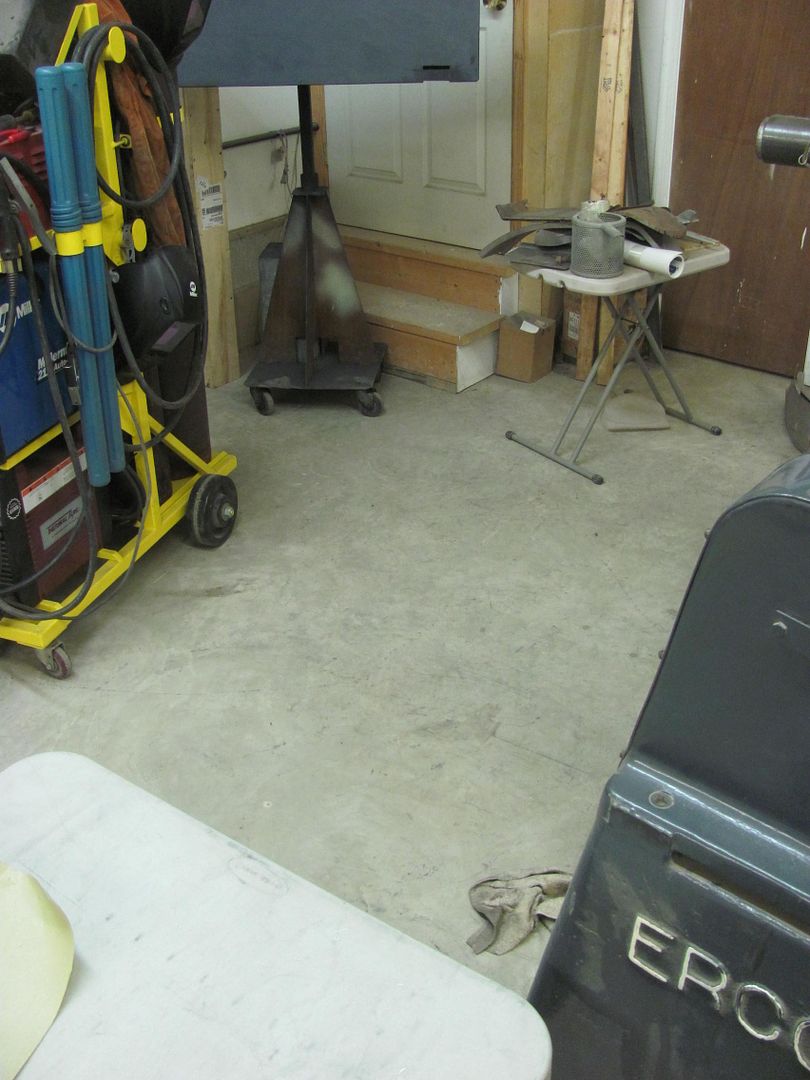 The English Wheel has left the building. It is headed to a Porsche restoration shop on Eastern shore, should be putting out some 356 parts soon..
__________________
Robert |
|
|
|
|
02-25-2016, 11:18 PM
|
#23 |
|
Registered User
Join Date: Jan 2013
Location: Leonardtown, MD
Posts: 1,637
|
Re: 55 Wagon Progress
With the wheel hub faced, the flange is trimmed...
 The attachment bracket....  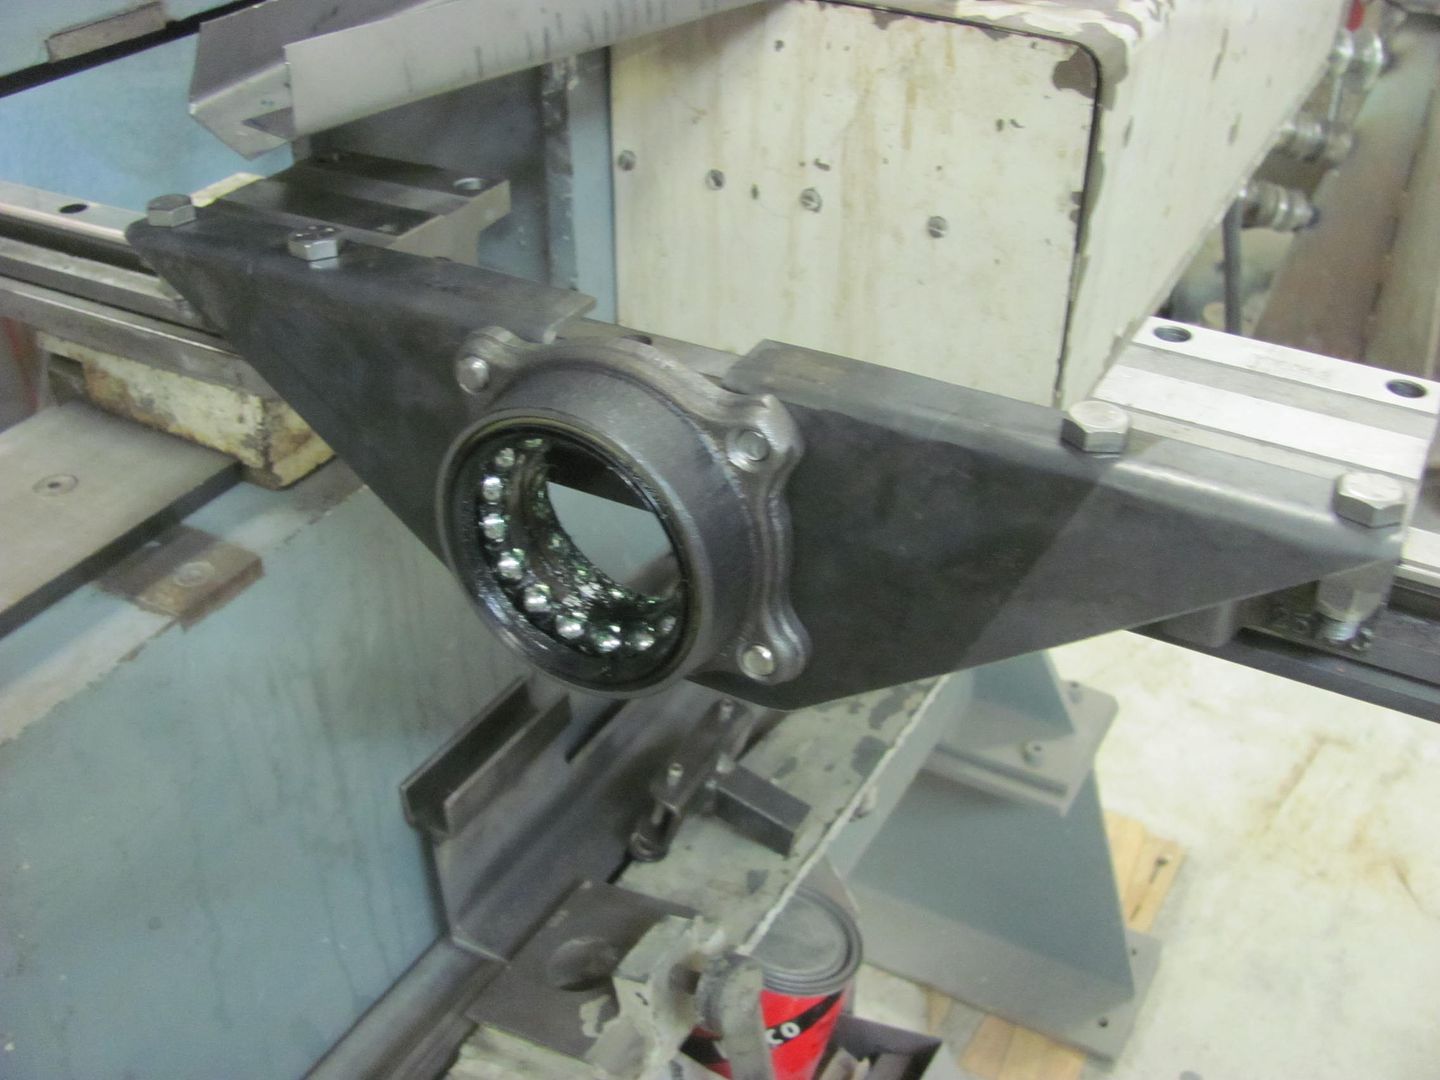 Pressed back together... 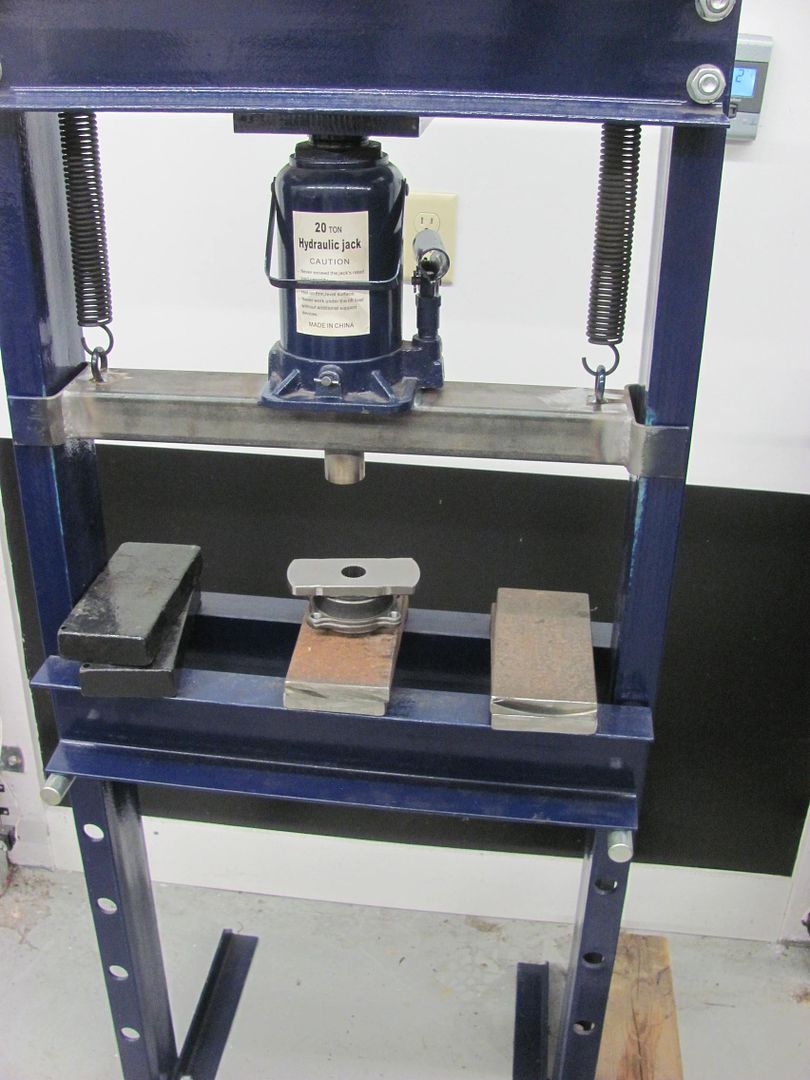 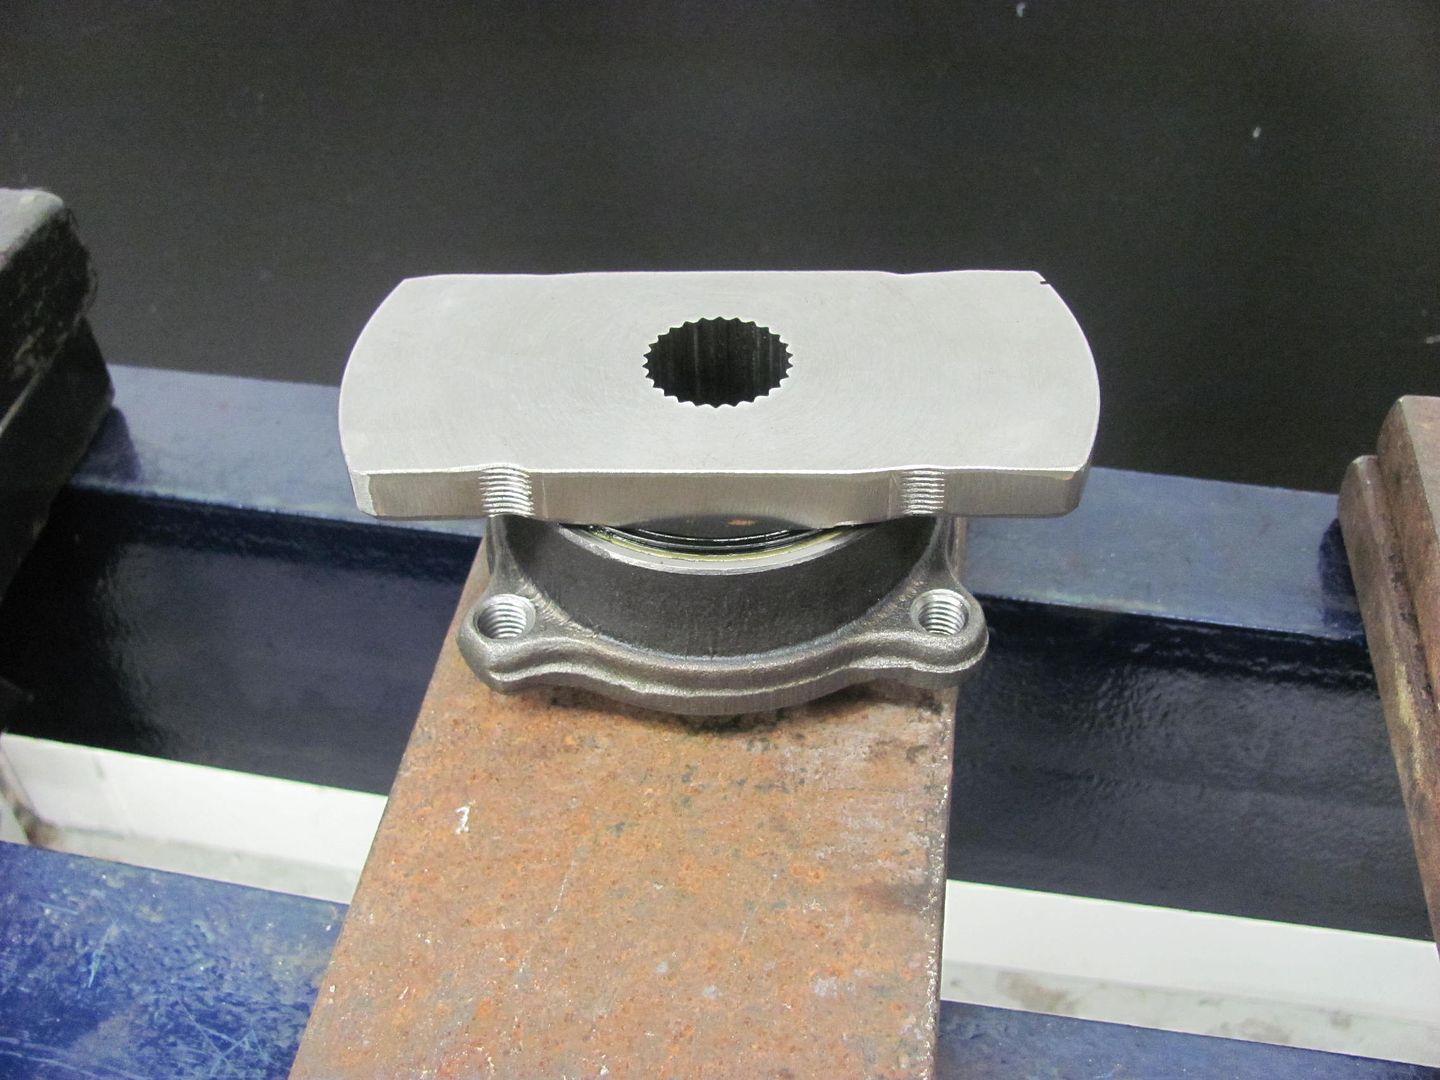 "test run" videos: https://youtu.be/zsDe02QEmyo https://youtu.be/1JB4kHLbjQc 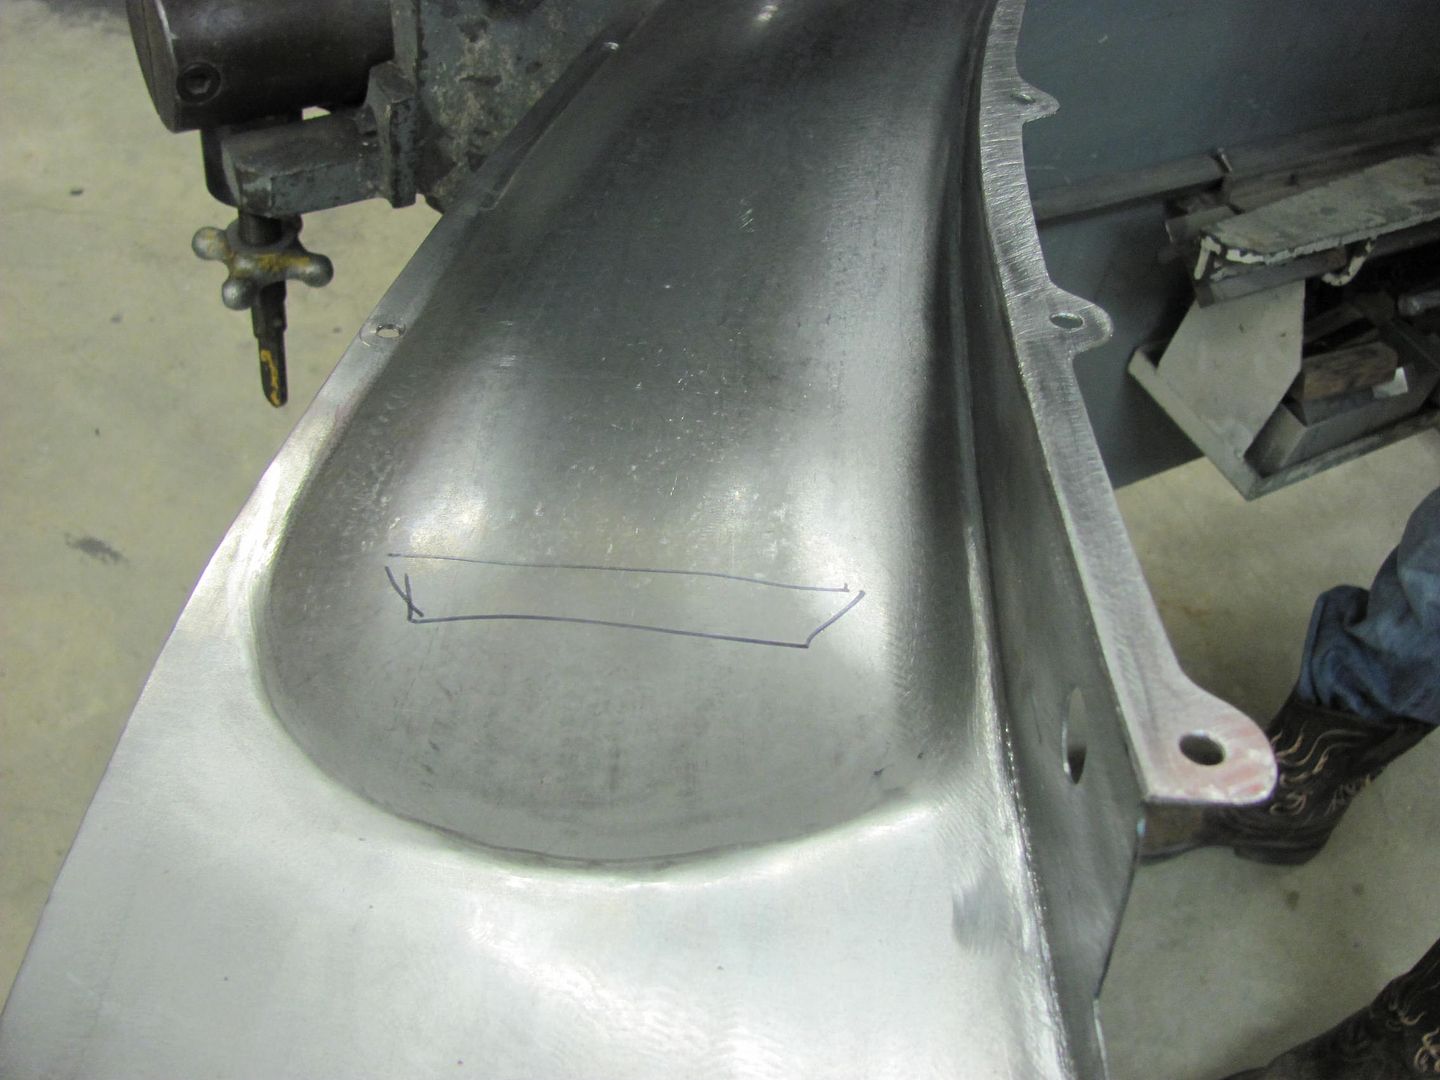 Material clamps should be here tomorrow, so we'll try and get some louvers punched next week.
__________________
Robert |
|
|
|
|
02-26-2016, 11:52 AM
|
#24 |
|
Registered User
Join Date: Jul 2012
Location: Rosenberg, Texas
Posts: 3,506
|
Re: 55 Wagon Progress
That's pretty clever. It's cool seeing it in action, even if it is a "test run". I bet that makes things easier this time around.
__________________
-Duane C/10 Club Texas member 1971 Chevy C10 "Brutus" SWB Fleetside 2016 6.0L (L96) 6L90E (driver/project) 1965 Pontiac GTO "Royal Goat" 400/TH400 w/AC (my baby) |
|
|
|
|
02-26-2016, 12:08 PM
|
#25 |
|
Registered User
Join Date: Apr 2011
Location: .
Posts: 3,104
|
Re: 55 Wagon Progress
Nice set up.
dig the cowboy boots. |
|
|
|
 |
| Bookmarks |
|
|


 Hybrid Mode
