 |
|
|
#51 | |
|
Senior Member
 Join Date: Aug 2007
Location: Morgan County Utah
Posts: 706
|
Re: My winter project
Quote:
7D2N
__________________
Just for the fun of it |
|
|
|

|
|
|
#52 |
|
Senior Member
 Join Date: Jun 2015
Location: Acton Ma
Posts: 761
|
Re: My winter project
Looks great thanks for taking the time and posting all the pics
|
|
|

|
|
|
#53 |
|
2WD Jimmy
 Join Date: Mar 2005
Location: Davis County, Utah
Posts: 2,565
|
Re: My winter project
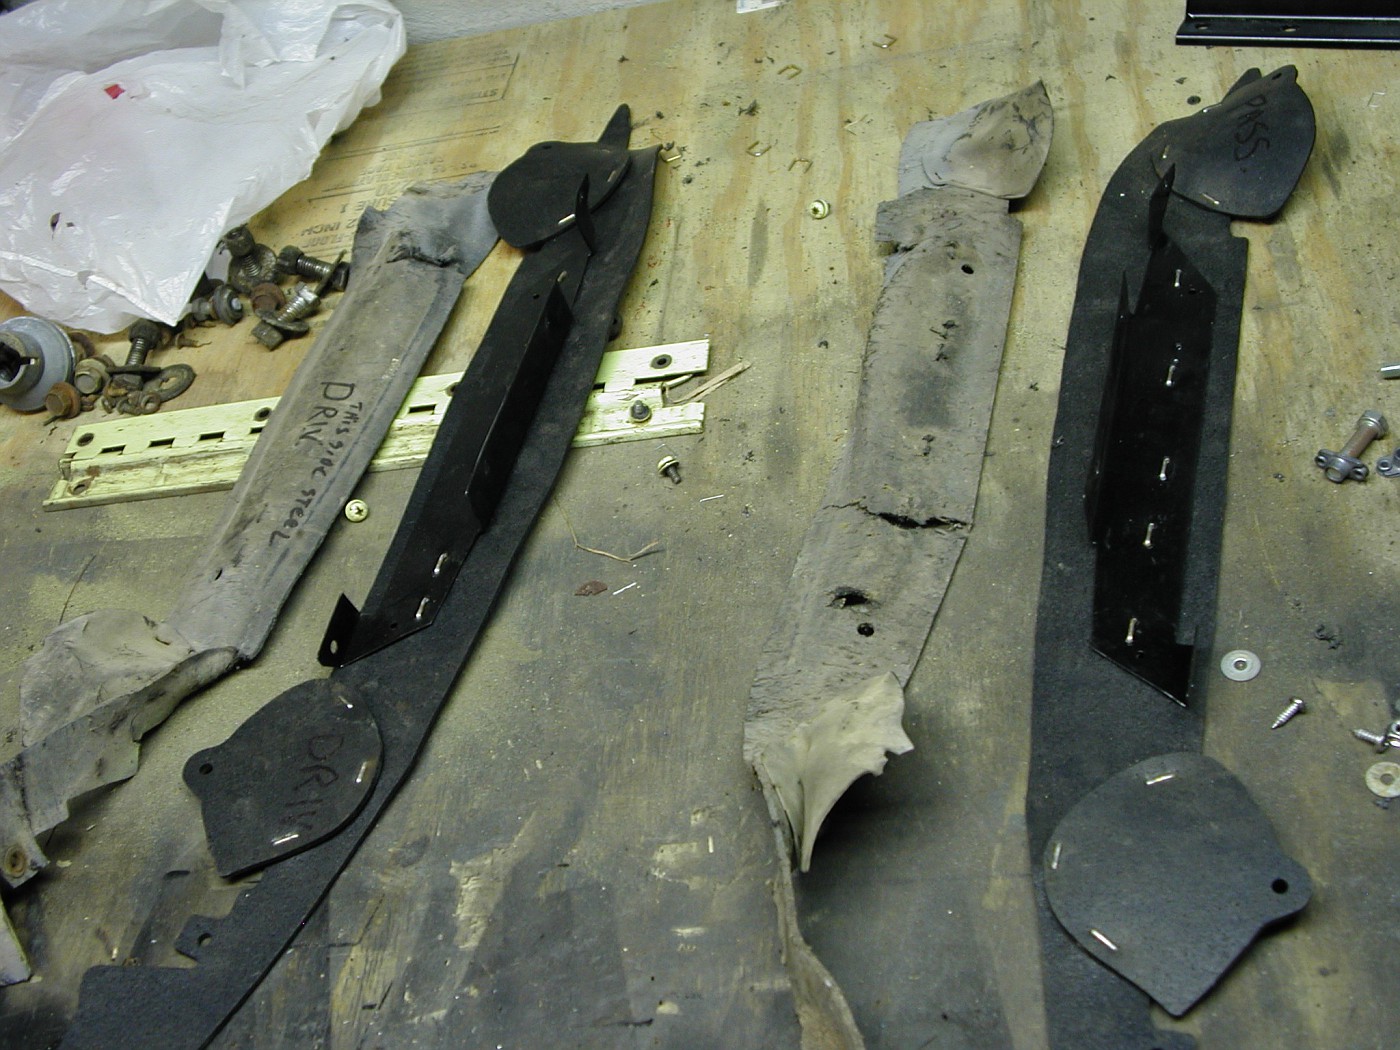
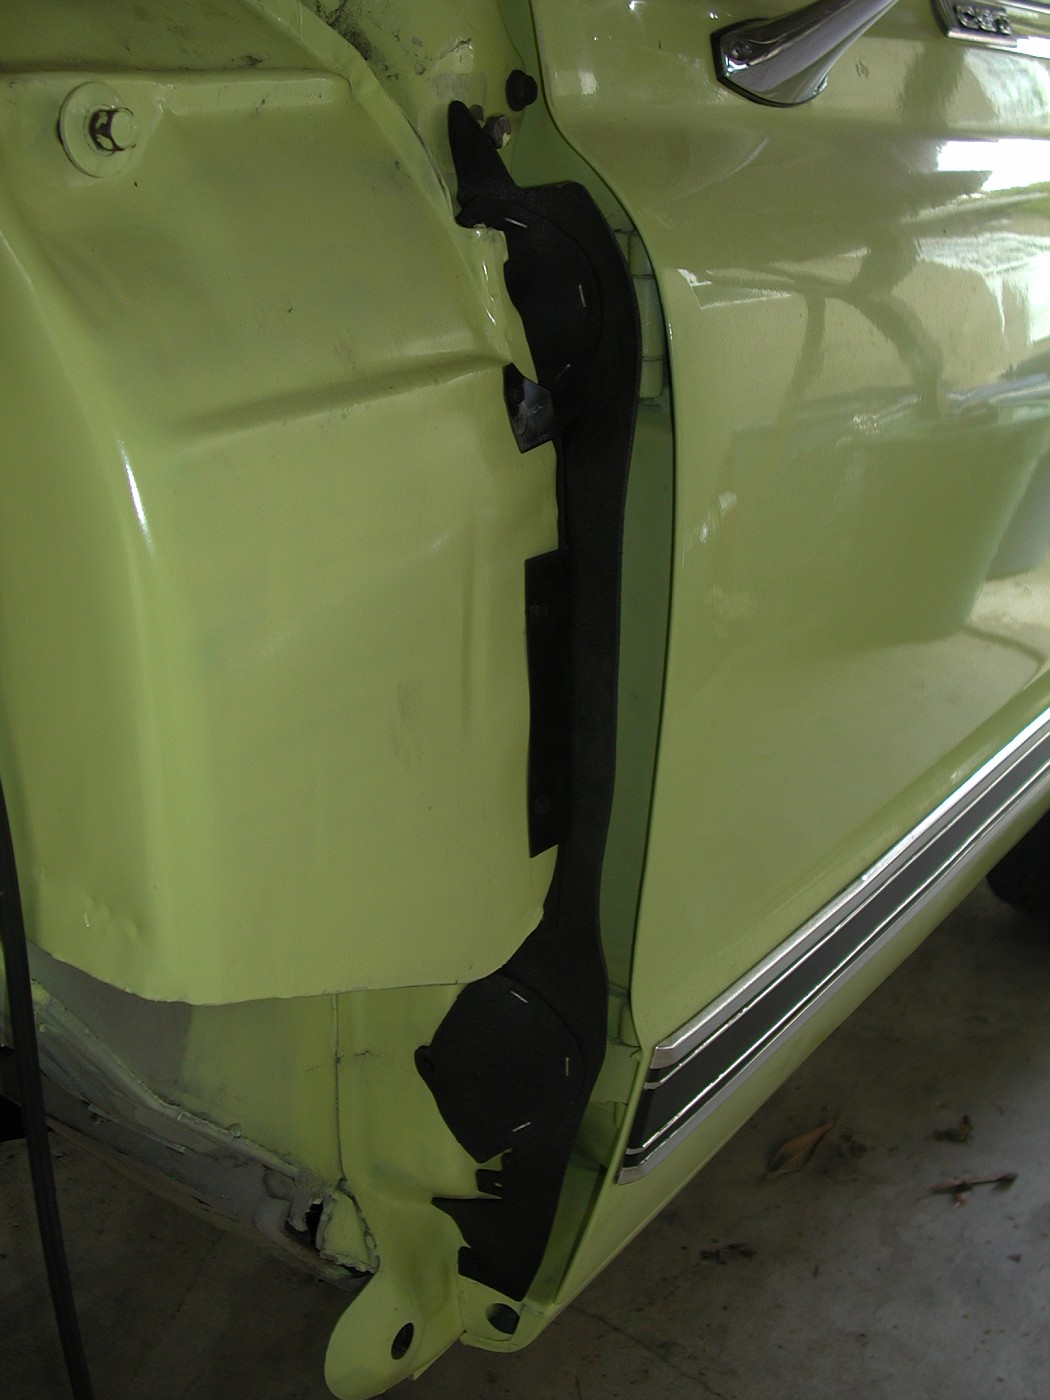
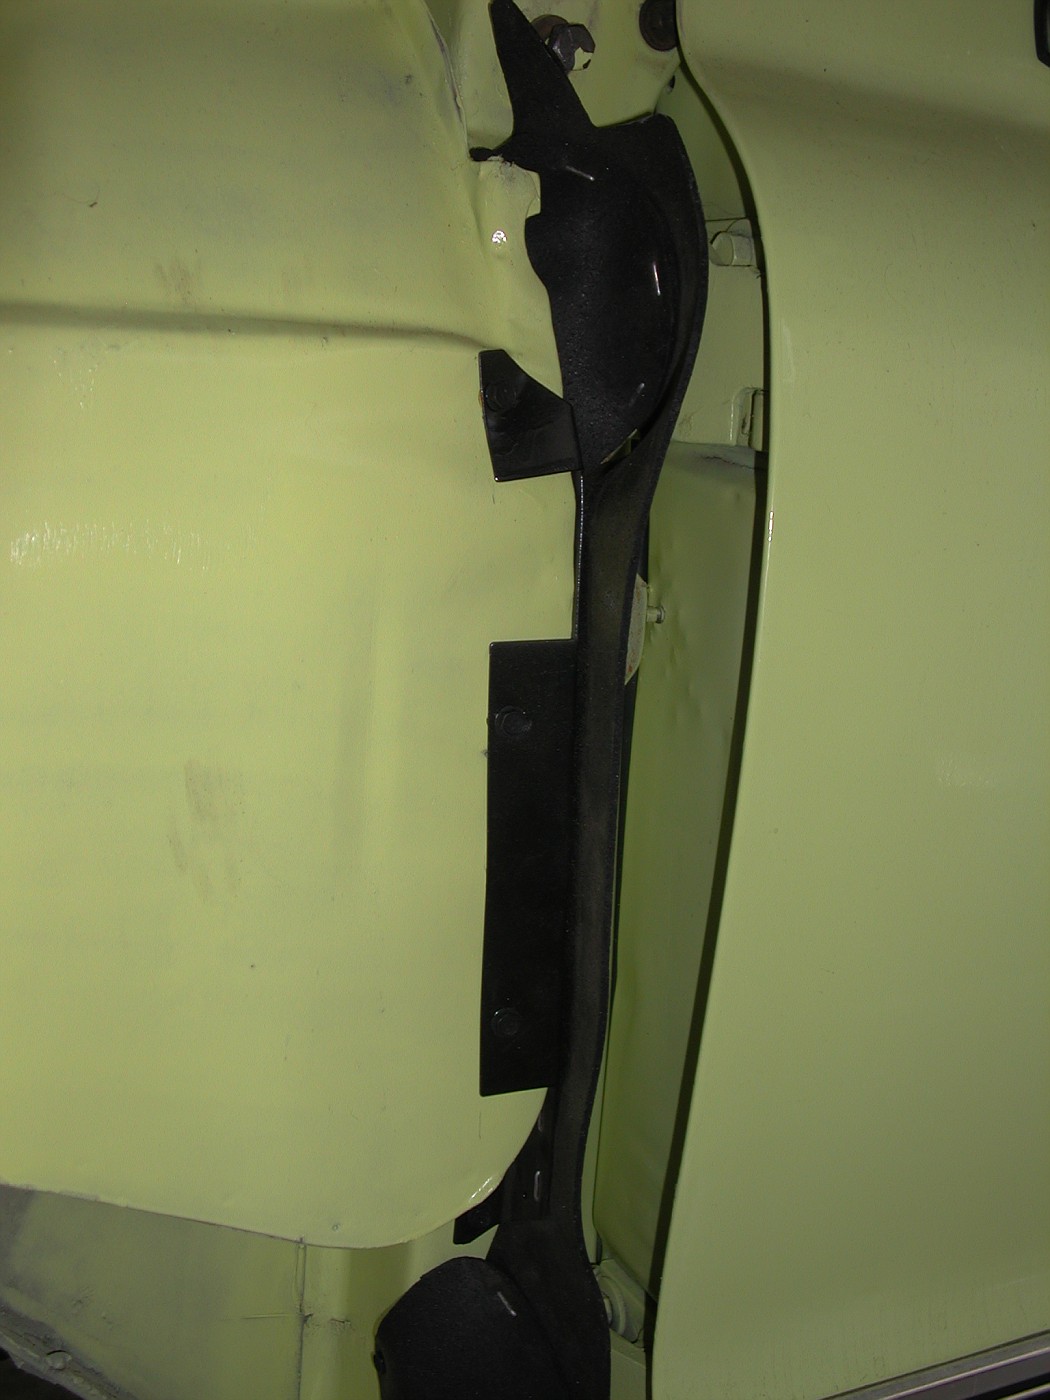
Those things are kind of a pain to install.
|
|
|

|
|
|
#54 |
|
Senior Member
 Join Date: Aug 2007
Location: Morgan County Utah
Posts: 706
|
Re: My winter project
I found seat support patches from a truck to use. The floor mounting braces look close but the mounting holes are a bit different, I need to cut the blazer floor and move the braces to the new patches.
__________________
Just for the fun of it |
|
|

|
|
|
#55 |
|
Registered User
 Join Date: Jan 2007
Location: Columbus, Ohio
Posts: 4,347
|
Re: My winter project
You are getting in the fun part of the build. Once you have the mechanical in good enough shape to drive it - you can repair the cosmetic and rust as you go.
Nice work so far! |
|
|

|
|
|
#56 |
|
Senior Member
 Join Date: Aug 2007
Location: Morgan County Utah
Posts: 706
|
Re: My winter project
Now the front is off and I can see what I'm working with, the sway bar and these brackets are going. I plan to get a stock look with an minor lift. Anyone know if this harness for the smog pump.
Thanks 7D2N
__________________
Just for the fun of it |
|
|

|
|
|
#57 |
|
Senior Member
 Join Date: Aug 2007
Location: Morgan County Utah
Posts: 706
|
Re: My winter project
I got the windshield header today. I'm checking measurements and it looks pretty good so far and a lot better than what I have now.
__________________
Just for the fun of it |
|
|

|
|
|
#58 |
|
Registered User
 Join Date: Jan 2007
Location: Columbus, Ohio
Posts: 4,347
|
Re: My winter project
Cool - new parts - will be watching you work with the header piece - needed it in the past and sold the truck before that part came out.
Some light reading for another member who used the same parts and found some challenges using them. http://67-72chevytrucks.com/vboard/s...d.php?t=655031 Not sure if the parts have changed any since that post is from 2015. Keep us posted on your progress with the new header pieces. |
|
|

|
|
|
#59 |
|
2WD Jimmy
 Join Date: Mar 2005
Location: Davis County, Utah
Posts: 2,565
|
Re: My winter project
I do not believe the smog pump had any electric hookup. I also believe that Morgan county is smog exempt for your truck. Am I wrong on that?
|
|
|

|
|
|
#60 |
|
Registered User
Join Date: May 2008
Location: 204
Posts: 903
|
Re: My winter project
I'm not sure if you saw my thread on my experience with installing one of these but bolt up your visors to make sure everything lines up, I had to move some of the nut serts a significant amount to have the visors sit right.
__________________
1969 Chevy Custom Camper 3/4 ton Rust free survivor 1972 Chevy Blazer CST 4x4 Almost Rust free survivor 1972 GMC Jimmy 2wd Undergoing surgery |
|
|

|
|
|
#61 | |
|
Senior Member
 Join Date: Aug 2007
Location: Morgan County Utah
Posts: 706
|
Re: My winter project
Quote:
Thanks 7D2N
__________________
Just for the fun of it |
|
|
|

|
|
|
#62 | |
|
Senior Member
 Join Date: Aug 2007
Location: Morgan County Utah
Posts: 706
|
Re: My winter project
Quote:
7D2N
__________________
Just for the fun of it |
|
|
|

|
|
|
#63 |
|
Senior Member
 Join Date: Aug 2007
Location: Morgan County Utah
Posts: 706
|
Re: My winter project
Windshield is out, I'll have my work cut out for this and really test my skill level.
__________________
Just for the fun of it |
|
|

|
|
|
#64 |
|
Senior Member
 Join Date: Aug 2007
Location: Morgan County Utah
Posts: 706
|
Re: My winter project
I got the mock up done so now start welding together. 69-72 I had to move the mounting holes for the visors also. Thanks for sharing your information it help me alot.
7D2N
__________________
Just for the fun of it |
|
|

|
|
|
#65 |
|
Senior Member
 Join Date: Aug 2007
Location: Morgan County Utah
Posts: 706
|
Re: My winter project
more.
__________________
Just for the fun of it |
|
|

|
|
|
#66 |
|
Registered User
Join Date: May 2008
Location: 204
Posts: 903
|
Re: My winter project
Looks good. Triple check everything, hard to change later.
__________________
1969 Chevy Custom Camper 3/4 ton Rust free survivor 1972 Chevy Blazer CST 4x4 Almost Rust free survivor 1972 GMC Jimmy 2wd Undergoing surgery |
|
|

|
|
|
#67 |
|
Registered User
Join Date: Feb 2003
Location: Santa Ana, CA
Posts: 2,191
|
Re: My winter project
Cutting the windshield frame off is a BIG leap of faith when you first do it. But once you have it repaired you will feel great. I nearly crapped myself when I stepped back after cutting mine off. But after grafting the donor frame back on, I felt a great boost of confidence.
|
|
|

|
|
|
#68 | |
|
Senior Member
 Join Date: Aug 2007
Location: Morgan County Utah
Posts: 706
|
Re: My winter project
Quote:
__________________
Just for the fun of it |
|
|
|

|
|
|
#69 |
|
Senior Member
 Join Date: Aug 2007
Location: Morgan County Utah
Posts: 706
|
Re: My winter project
Finished the windshield header and the top is bolted down to start floor work. I will say it's a bit time consuming but will work great.
__________________
Just for the fun of it |
|
|

|
|
|
#70 |
|
Senior Member
 Join Date: Aug 2007
Location: Morgan County Utah
Posts: 706
|
Re: My winter project
more...
__________________
Just for the fun of it |
|
|

|
|
|
#71 |
|
Senior Member
 Join Date: Aug 2007
Location: Morgan County Utah
Posts: 706
|
Re: My winter project
and some more.
__________________
Just for the fun of it |
|
|

|
|
|
#72 | |
|
Registered User
Join Date: May 2000
Location: Petrolia,Ontario,Canada but working in Port Huron,Mi.
Posts: 1,771
|
Re: My winter project
Quote:
http://www.gmcpauls.com/ Kind of a pain to put together.   
__________________
71 blazer,350SBC,approx.375HP,700R4,factory GM TPI.Dual electric fans,33x12.5x15 ATR on stock suspension. Petrolia,Ontario,Canada but working in Port Huron,MI. See ALL my Blazer pic's HERE Last edited by BobbyK; 07-29-2017 at 08:54 AM. |
|
|
|

|
|
|
#73 |
|
2WD Jimmy
 Join Date: Mar 2005
Location: Davis County, Utah
Posts: 2,565
|
Re: My winter project
The progress is looking good!
|
|
|

|
|
|
#74 |
|
Senior Member
 Join Date: Aug 2007
Location: Morgan County Utah
Posts: 706
|
Re: My winter project
Slow progress but still moving along. I have the old lift out and working on a new 4" with rear blocks, the old springs are shot but found a set of rear that will replace the ones if have.
__________________
Just for the fun of it |
|
|

|
|
|
#75 |
|
Senior Member
 Join Date: Aug 2007
Location: Morgan County Utah
Posts: 706
|
Re: My winter project
I worked with two sets of rear springs replacing broken leafs and making a good set, rear blocks and springs for the lift are set.
__________________
Just for the fun of it |
|
|

|
 |
| Bookmarks |
|
|