
 |
Register or Log In To remove these advertisements. |
|
|
|
|||||||
 |
|
|
Thread Tools | Display Modes |
|
|
|
|
#1 | |
|
Sofa King Crazy!!
Join Date: Oct 2008
Location: Houston, TX
Posts: 3,090
|
Re: Project: "ResuWrecktion" '71 Custom Deluxe C-10
Quote:

__________________
You found the Tater.  My Blazer Build (New) - http://67-72chevytrucks.com/vboard/s...d.php?t=654650 My 67 Build - http://67-72chevytrucks.com/vboard/s...d.php?t=335650 67 Chevy LWB big window a/c AKA TOTALLED BY A JACKASS.  1972 2wd Blazer "Porterbuilt and Sloshed" 
|
|
|
|

|
|
|
#2 |
|
Registered User
Join Date: Jul 2012
Location: franklin.tn
Posts: 600
|
Re: Project: "ResuWrecktion" '71 Custom Deluxe C-10
Very nice build... following
__________________
69 step side http://67-72chevytrucks.com/vboard/s...d.php?t=613407 |
|
|

|
|
|
#3 |
|
Registered User
 Join Date: Oct 2012
Location: Burnet, Tx
Posts: 332
|
Re: Project: "ResuWrecktion" '71 Custom Deluxe C-10
Made a little progress this weekend installing patch panels. Some of these things don't fit too well at all so I'm learning on the fly of how to make them fit better. My metal skills are no where near what some of these guys have but by the time I'm done with this project I will have improved a bunch.
So I started with the rear door pillar patch, the contours looked close until I got it chopped down and in place. Had to do some slicing and welding some filler metal in places. 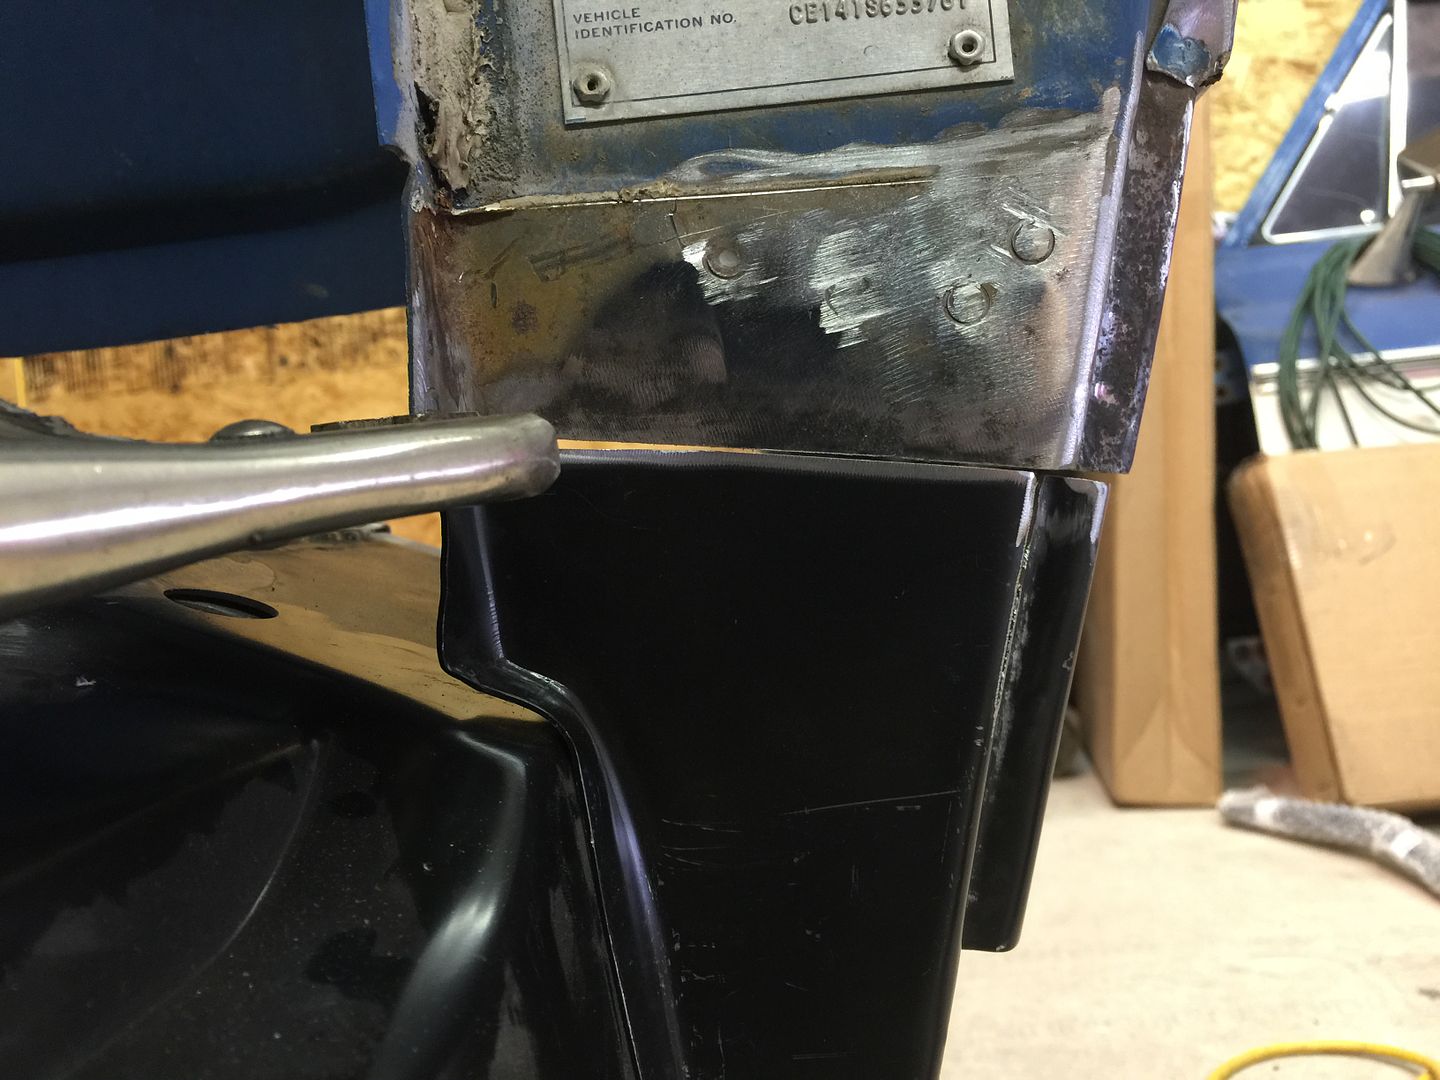 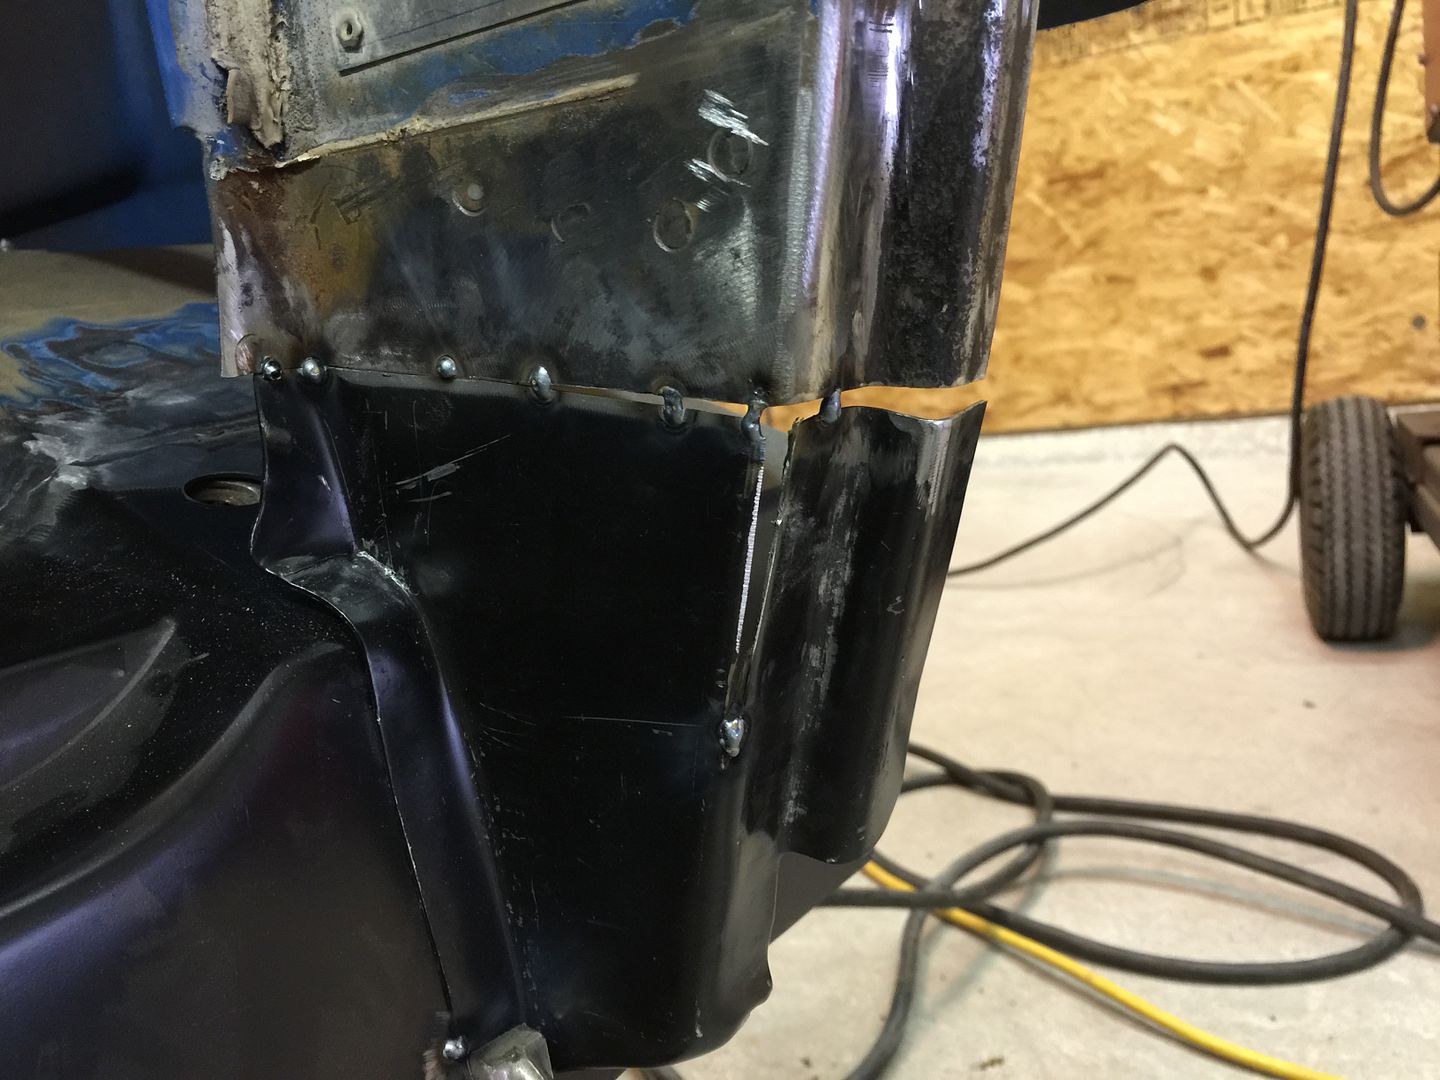 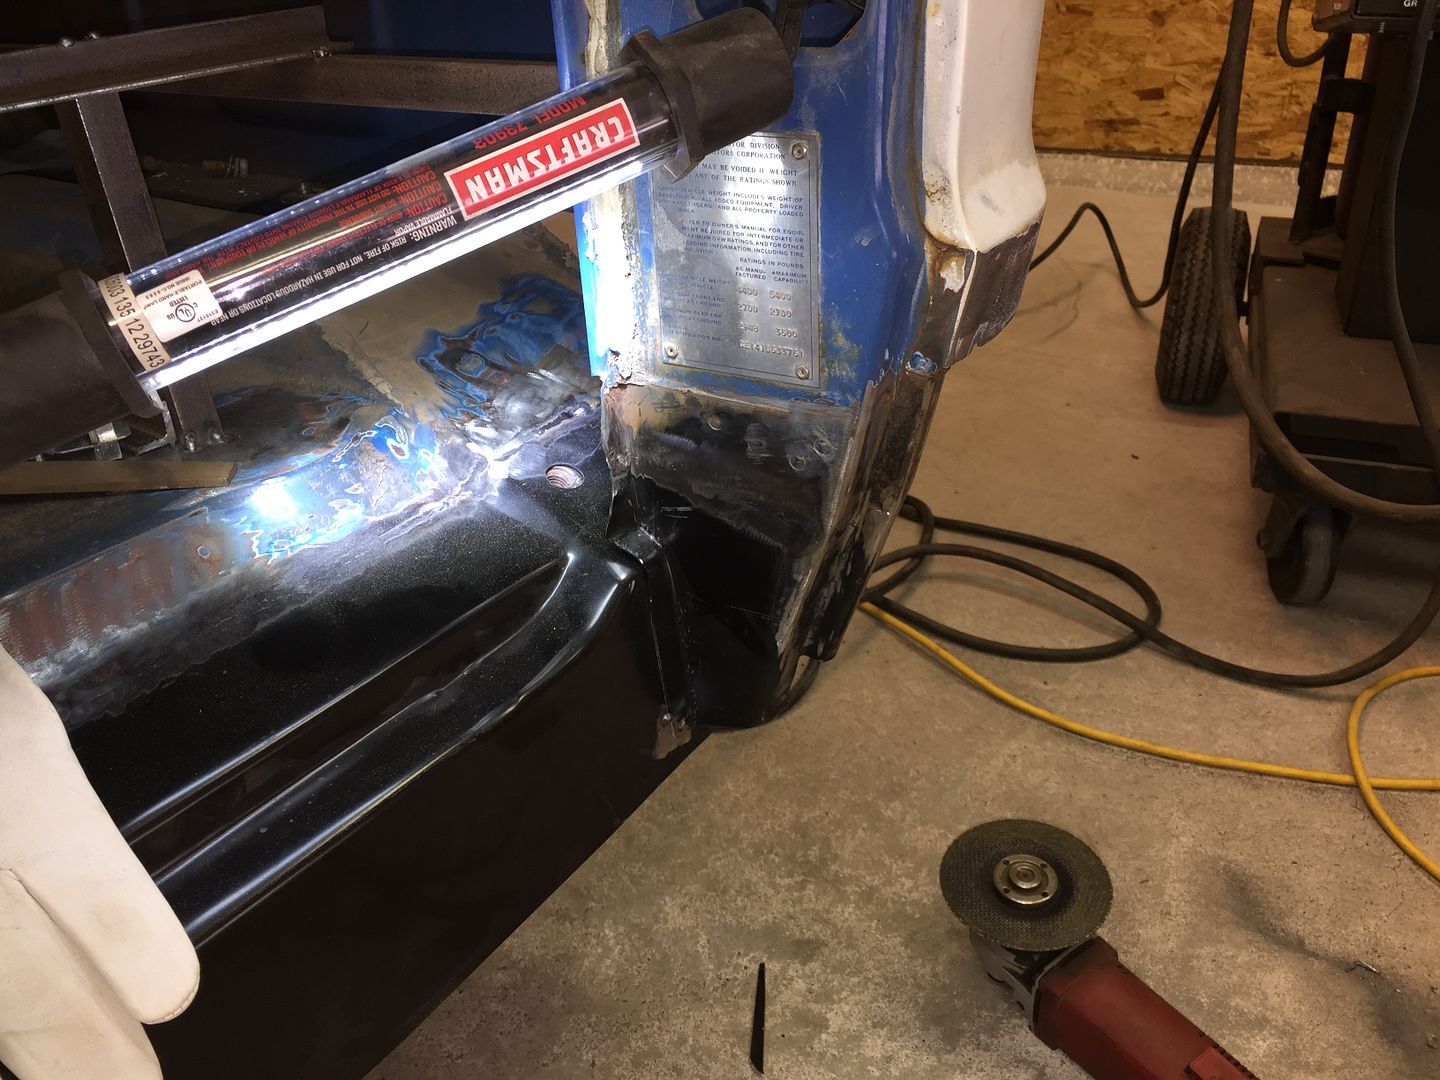 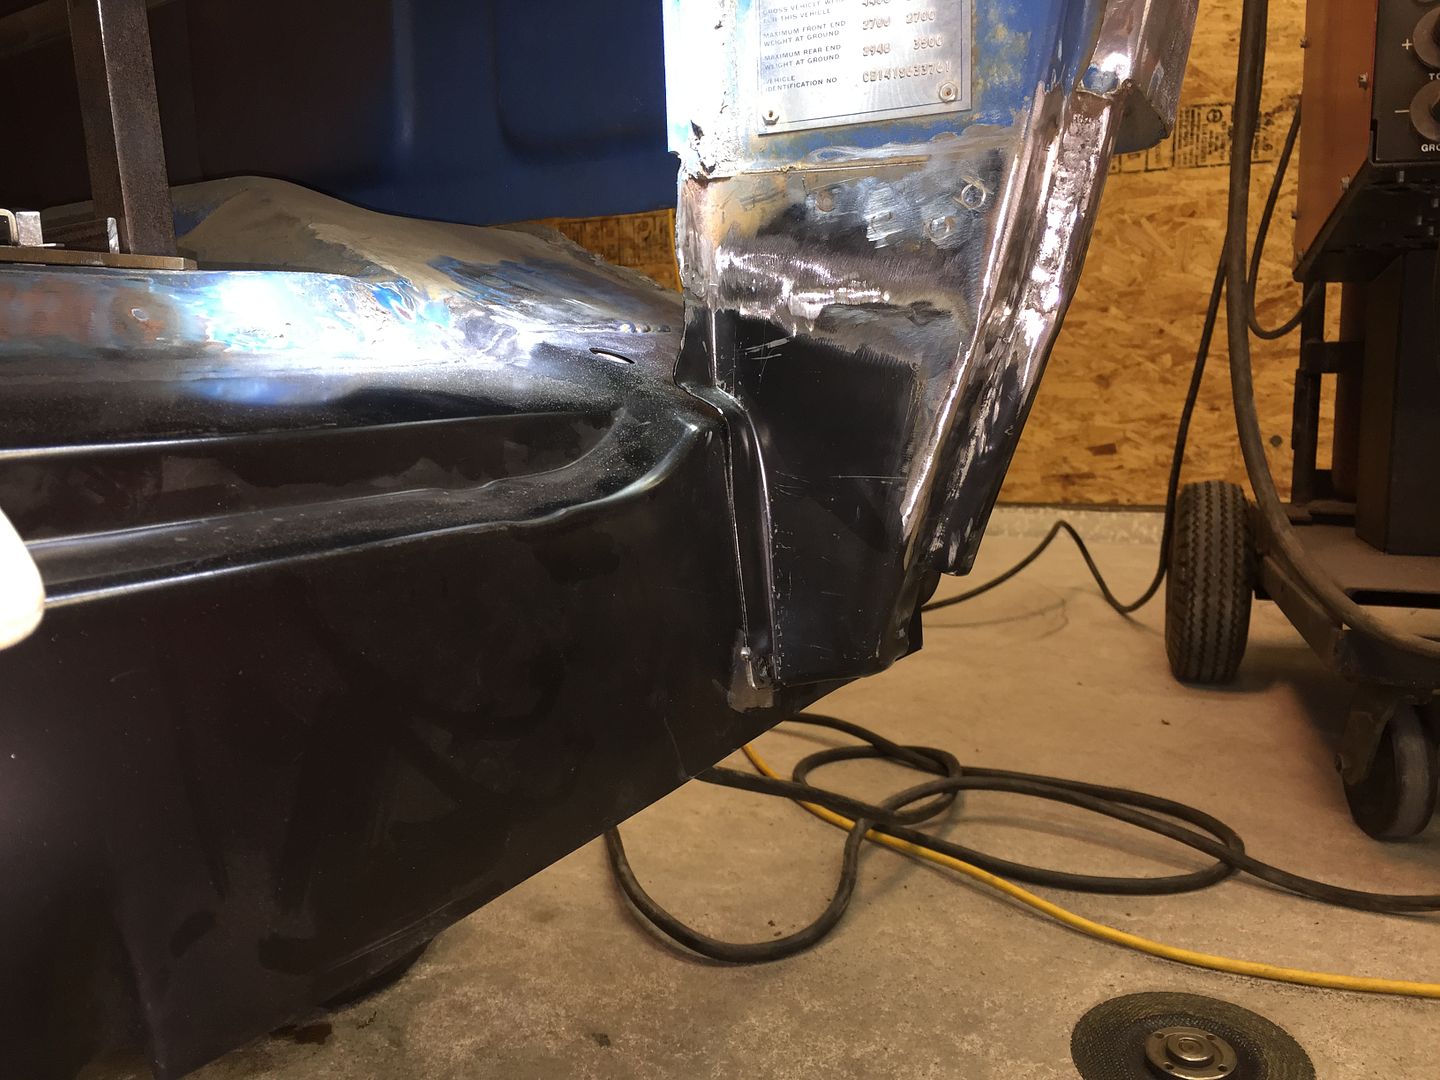 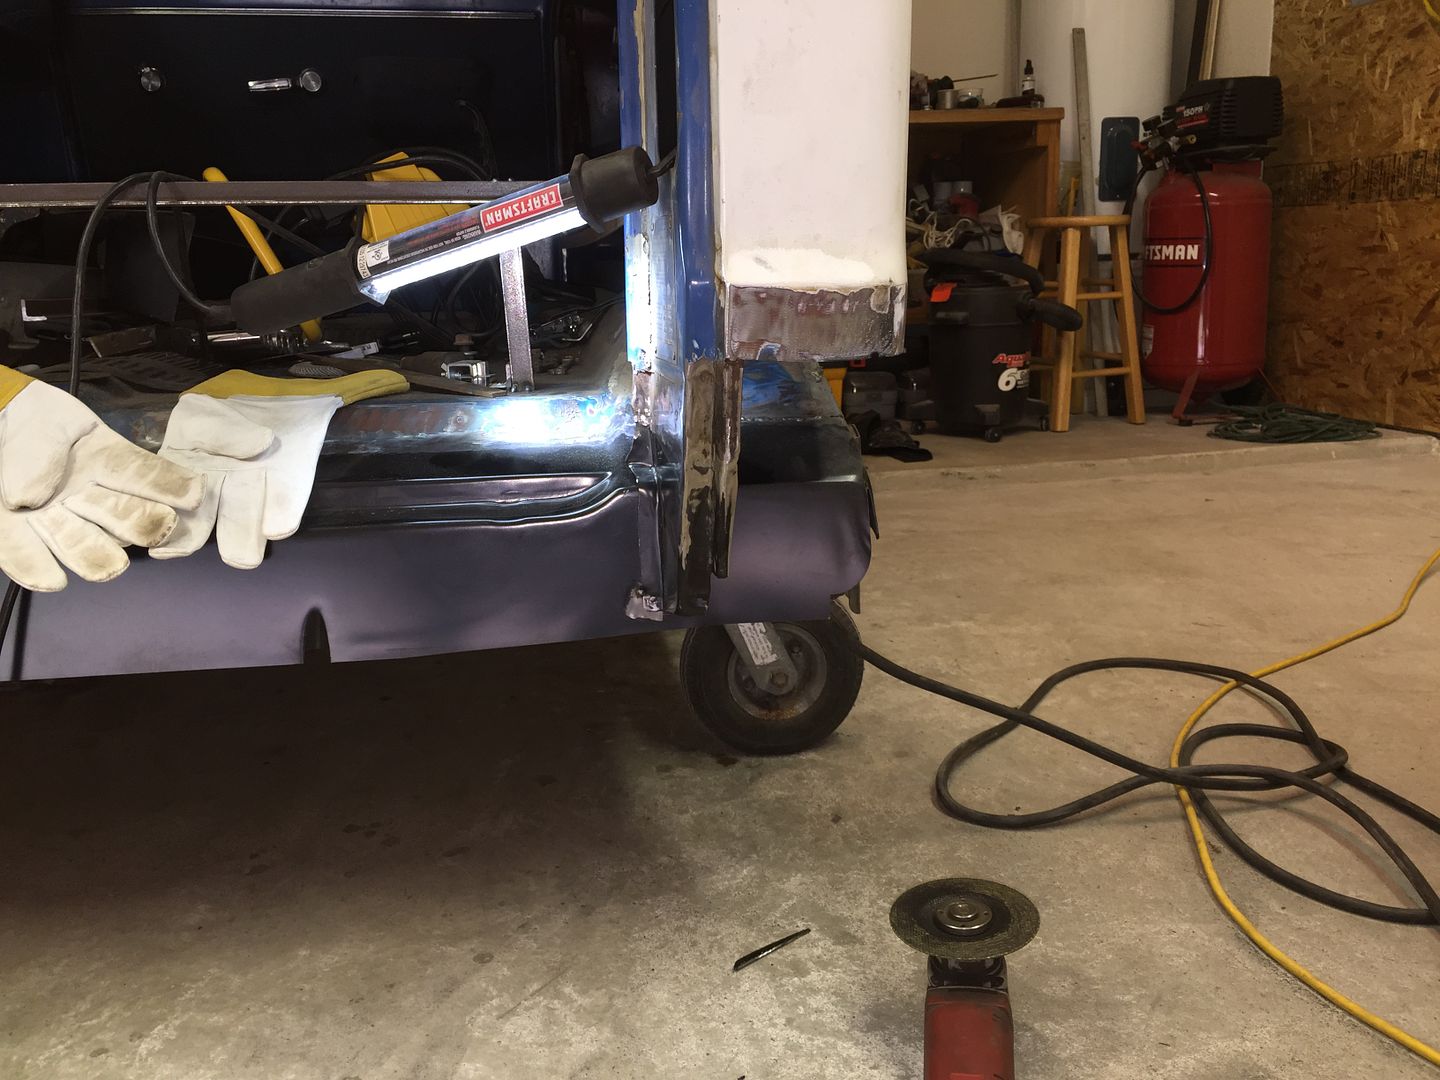 Then I moved to the front door pillar patch, this thing was a major PITA! Slipping it over the original pillar, it looked like it was pretty close. Really took my time cutting it down and finally came to the conclusion that no matter how much I tried to reshape it, it wasn't gonna fit. So I took the grinder and sliced it in half, fit one side then the other. You can see the gap.. 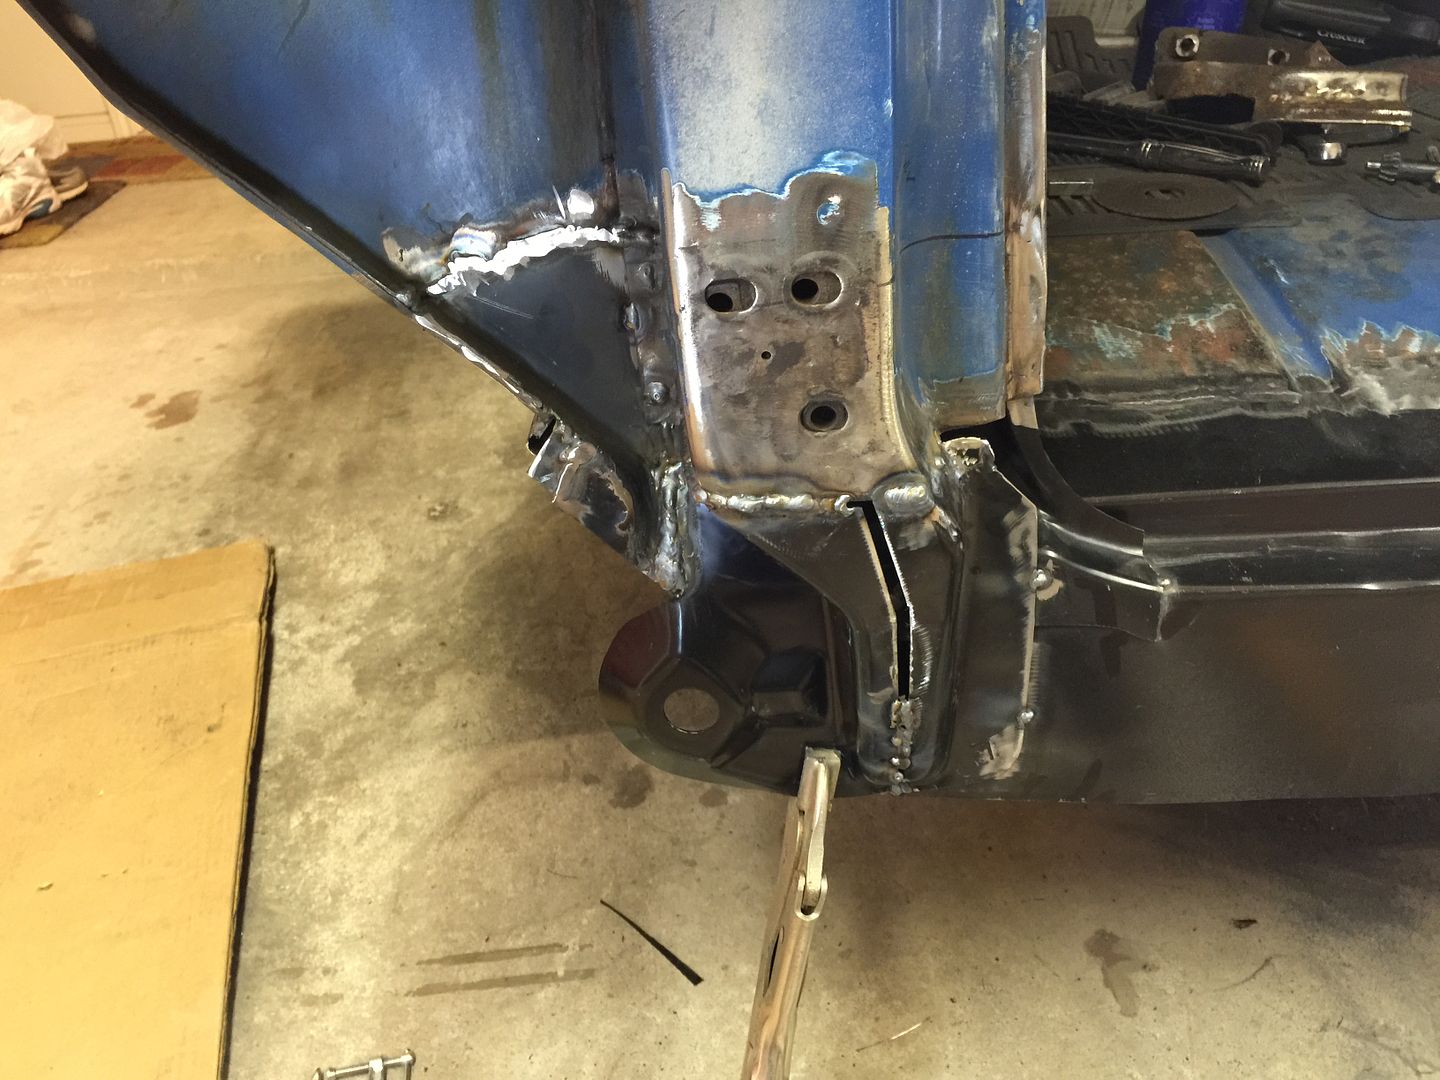 Very frustrated with the fit but finally got it to a point that I can live with. It is far from perfect but once the rocker panel goes on, it will not see daylight for another 40 years ( I hope)!  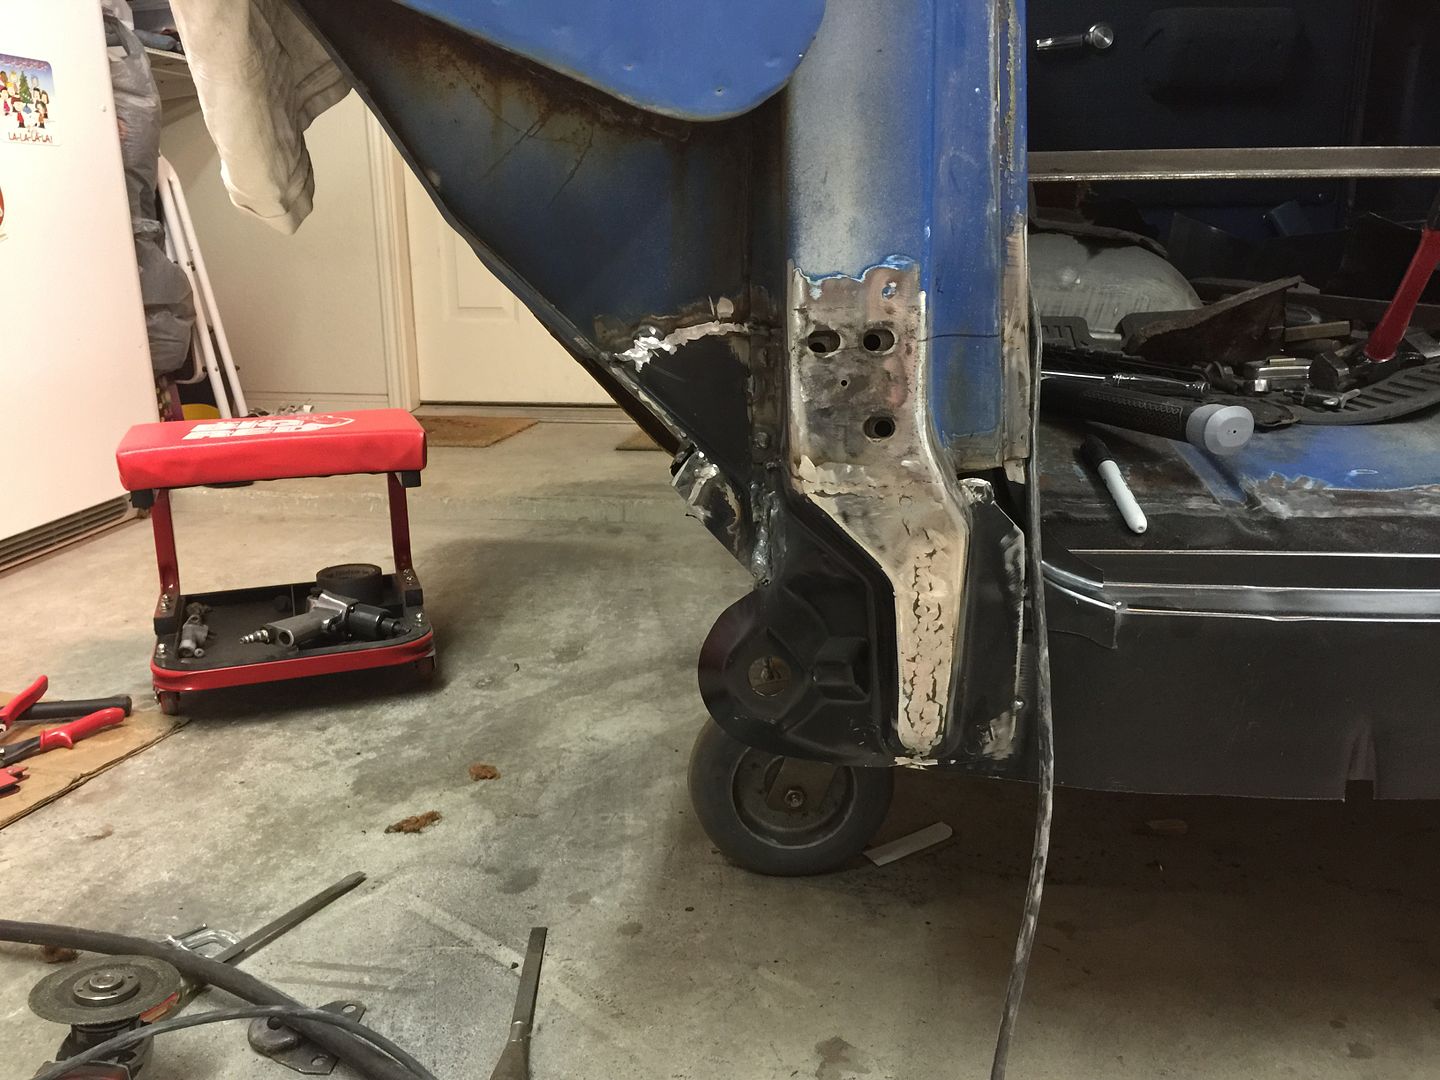 Decided to delete the clutch rod hole. Used some of the trimmed patch panels to make a delete plate then weld it in. 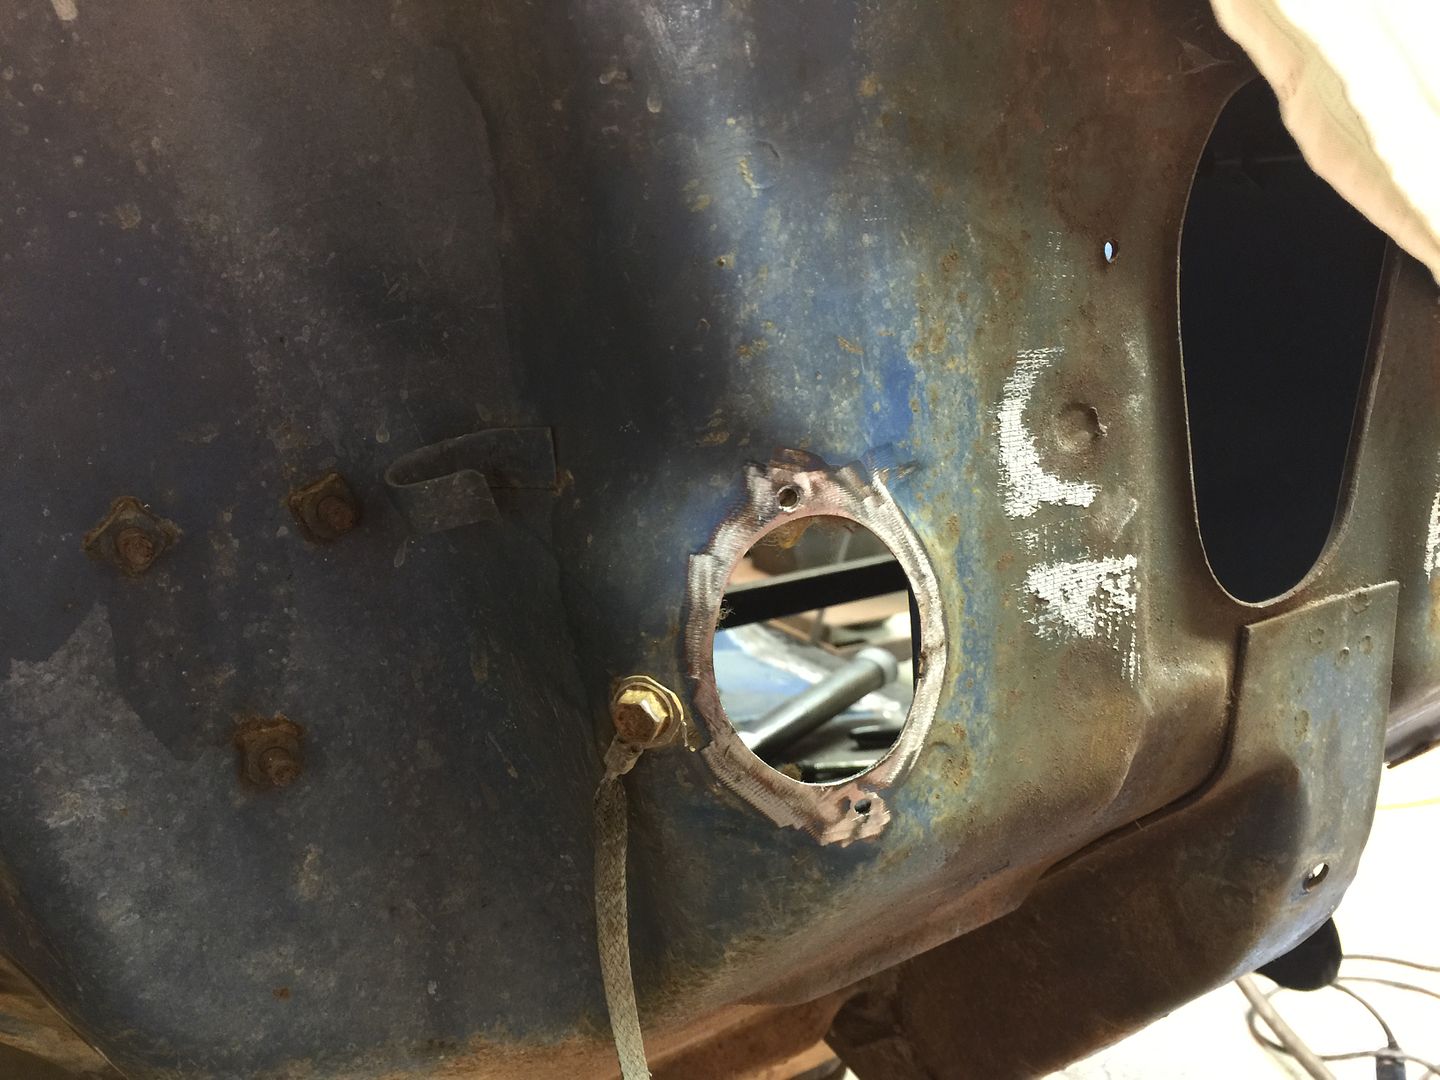 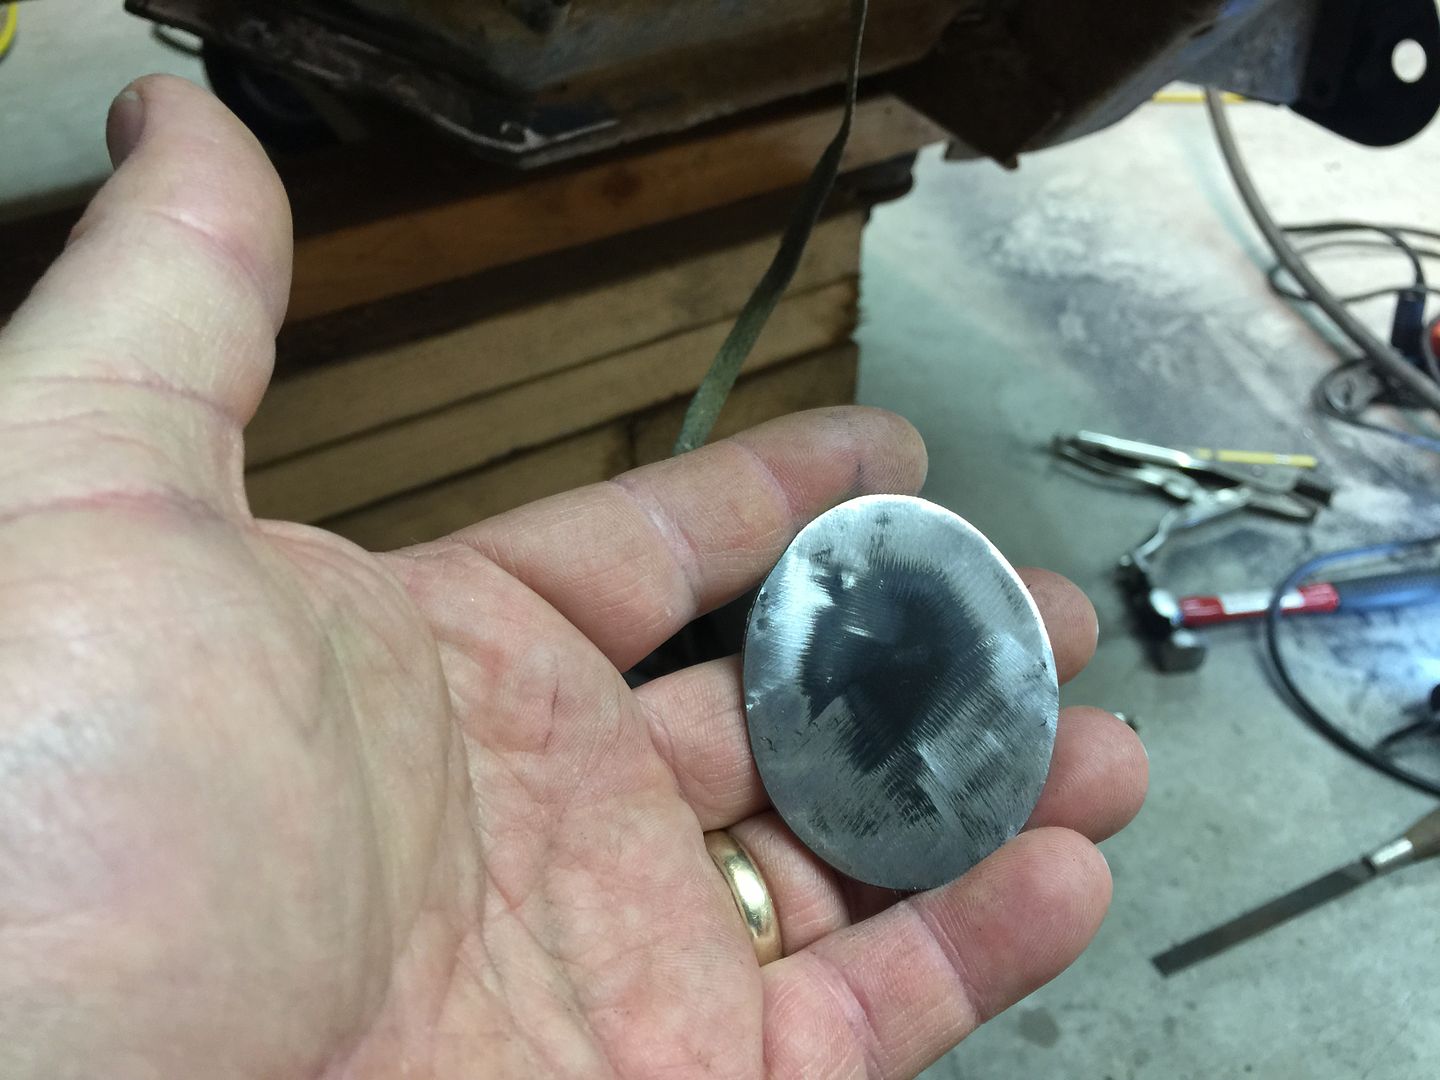 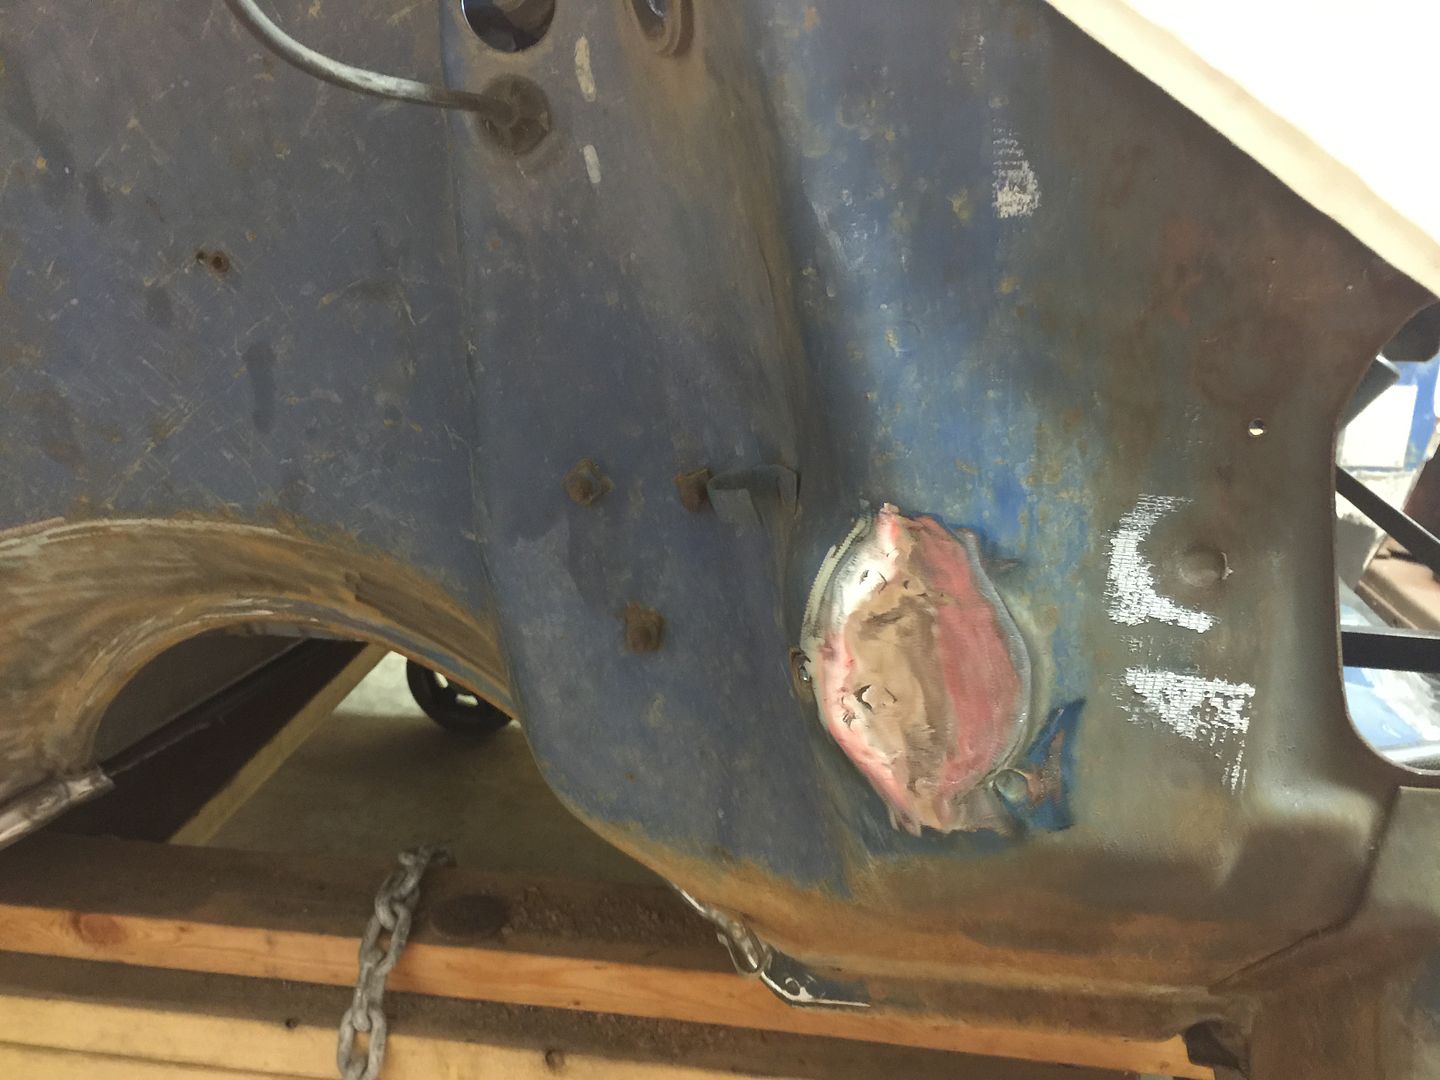 Some parts arrived this week. New cab supports from GMC Pauls (no pics) and my front sway bar I ordered from Travis at AZ Pro Performance. 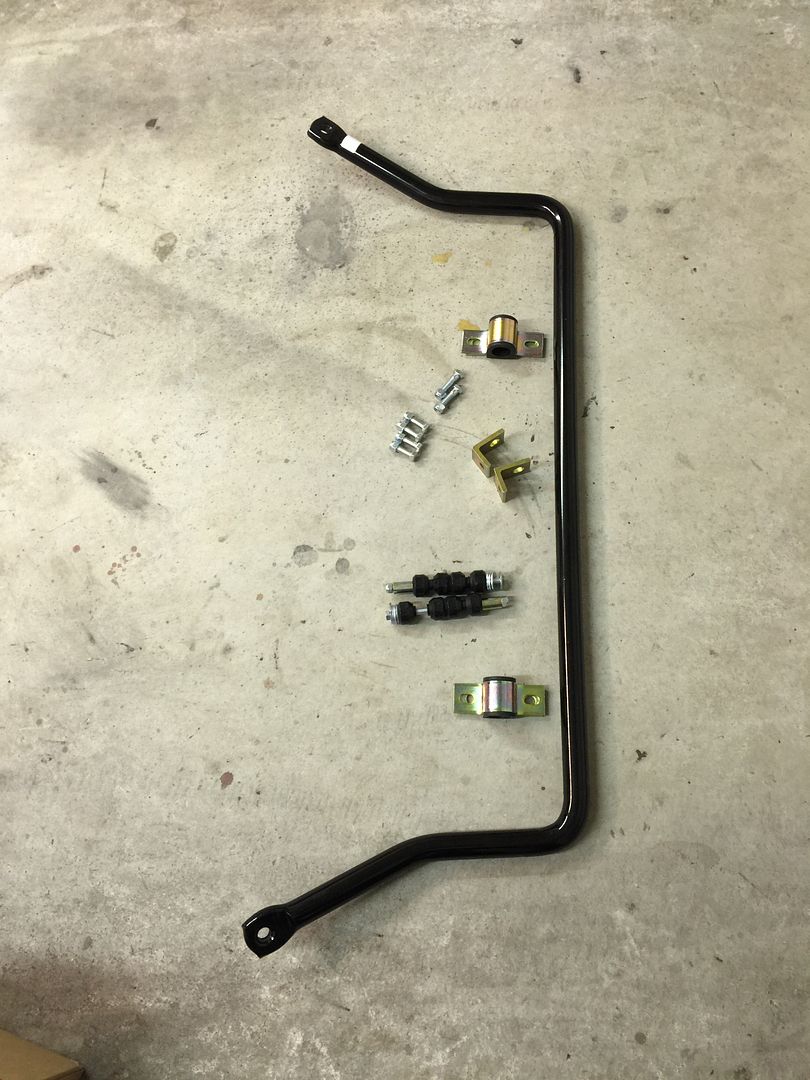
|
|
|

|
|
|
#4 |
|
Still Learning
Join Date: Jul 2009
Location: Central Oklahoma
Posts: 10,108
|
Re: Project: "ResuWrecktion" '71 Custom Deluxe C-10
Nice progress on the rust repair. I know what you mean about the patch panels not fitting too good. I remember a few times when I was working on mine where I had to just walk away....
|
|
|

|
|
|
#5 | |
|
Registered User
 Join Date: Oct 2012
Location: Burnet, Tx
Posts: 332
|
Re: Project: "ResuWrecktion" '71 Custom Deluxe C-10
Quote:
I wish I had the metal working skills of some of these guys on the forum but I'll do the best I can do and just use a little extra body filler. 
|
|
|
|

|
|
|
#6 |
|
Sofa King Crazy!!
Join Date: Oct 2008
Location: Houston, TX
Posts: 3,090
|
Re: Project: "ResuWrecktion" '71 Custom Deluxe C-10
You have to improvise a ton with patch panels. It's a cruel trick they play on us to test our patience and laugh at our misery. But you did really good on em!! Totally impressed with your metal working skillz. Go Jarrod!!

__________________
You found the Tater.  My Blazer Build (New) - http://67-72chevytrucks.com/vboard/s...d.php?t=654650 My 67 Build - http://67-72chevytrucks.com/vboard/s...d.php?t=335650 67 Chevy LWB big window a/c AKA TOTALLED BY A JACKASS.  1972 2wd Blazer "Porterbuilt and Sloshed" 
|
|
|

|
|
|
#7 |
|
Registered User
 Join Date: Oct 2012
Location: Burnet, Tx
Posts: 332
|
Re: Project: "ResuWrecktion" '71 Custom Deluxe C-10
Seemed like I spent most of the weekend spinning my wheels!
 I picked up a sand blast pot at Tractor Supply earlier in the week and then went to Lowe's on Saturday morning and bought a compressor since my little 15 gallon Craftsman wasn't gonna cut the mustard. 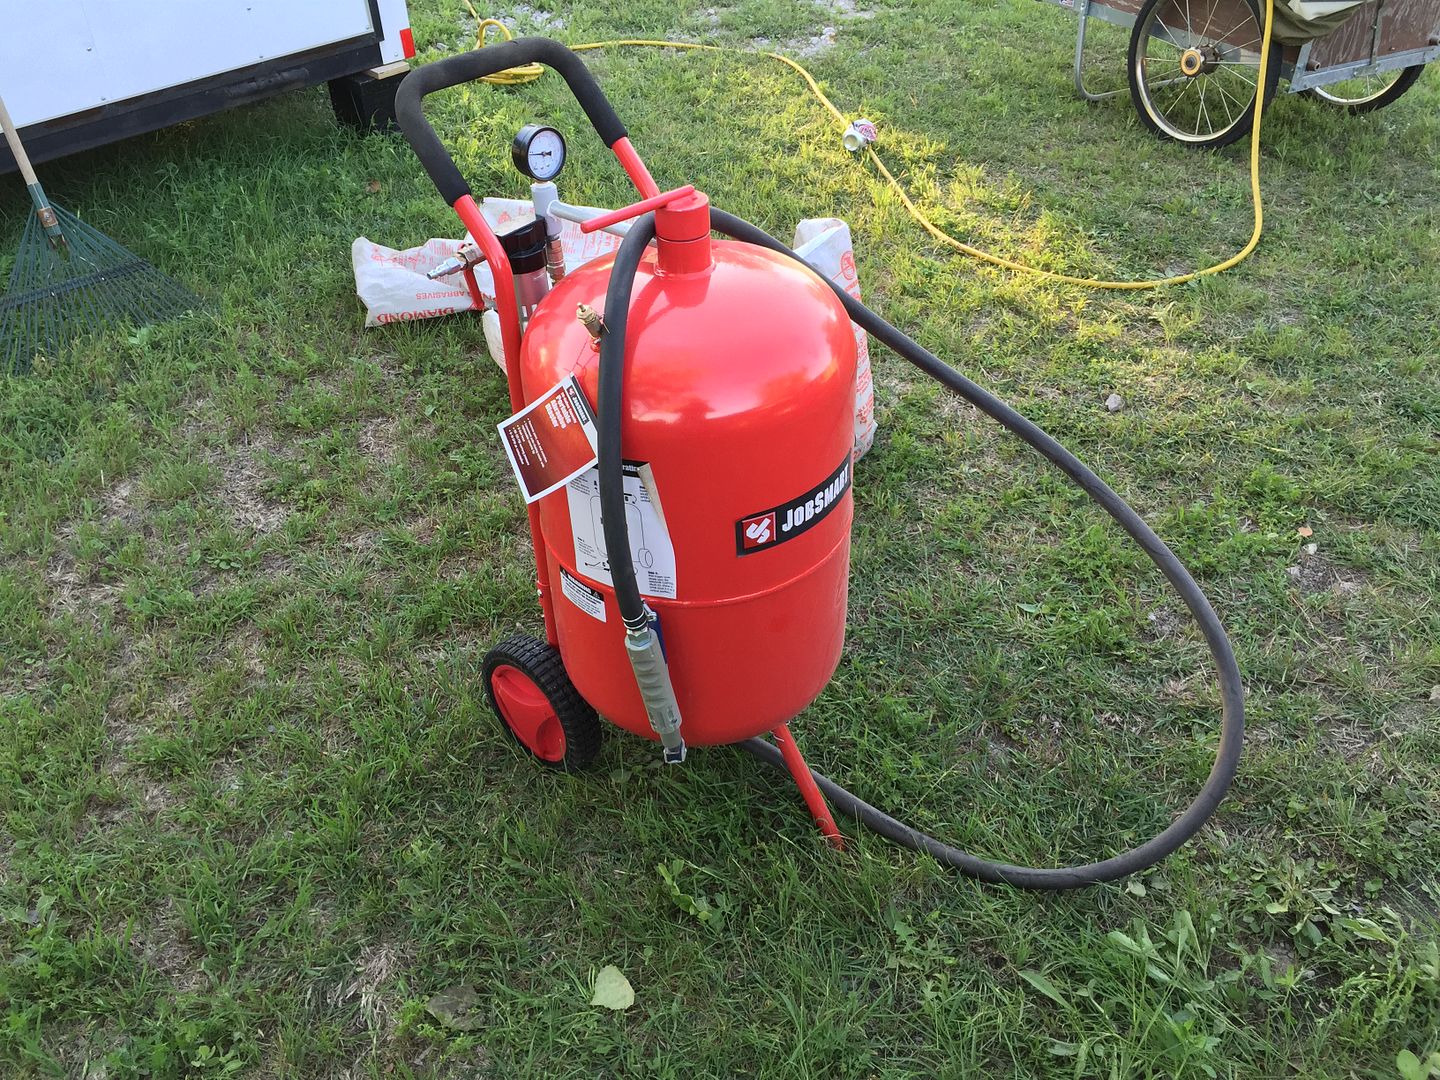 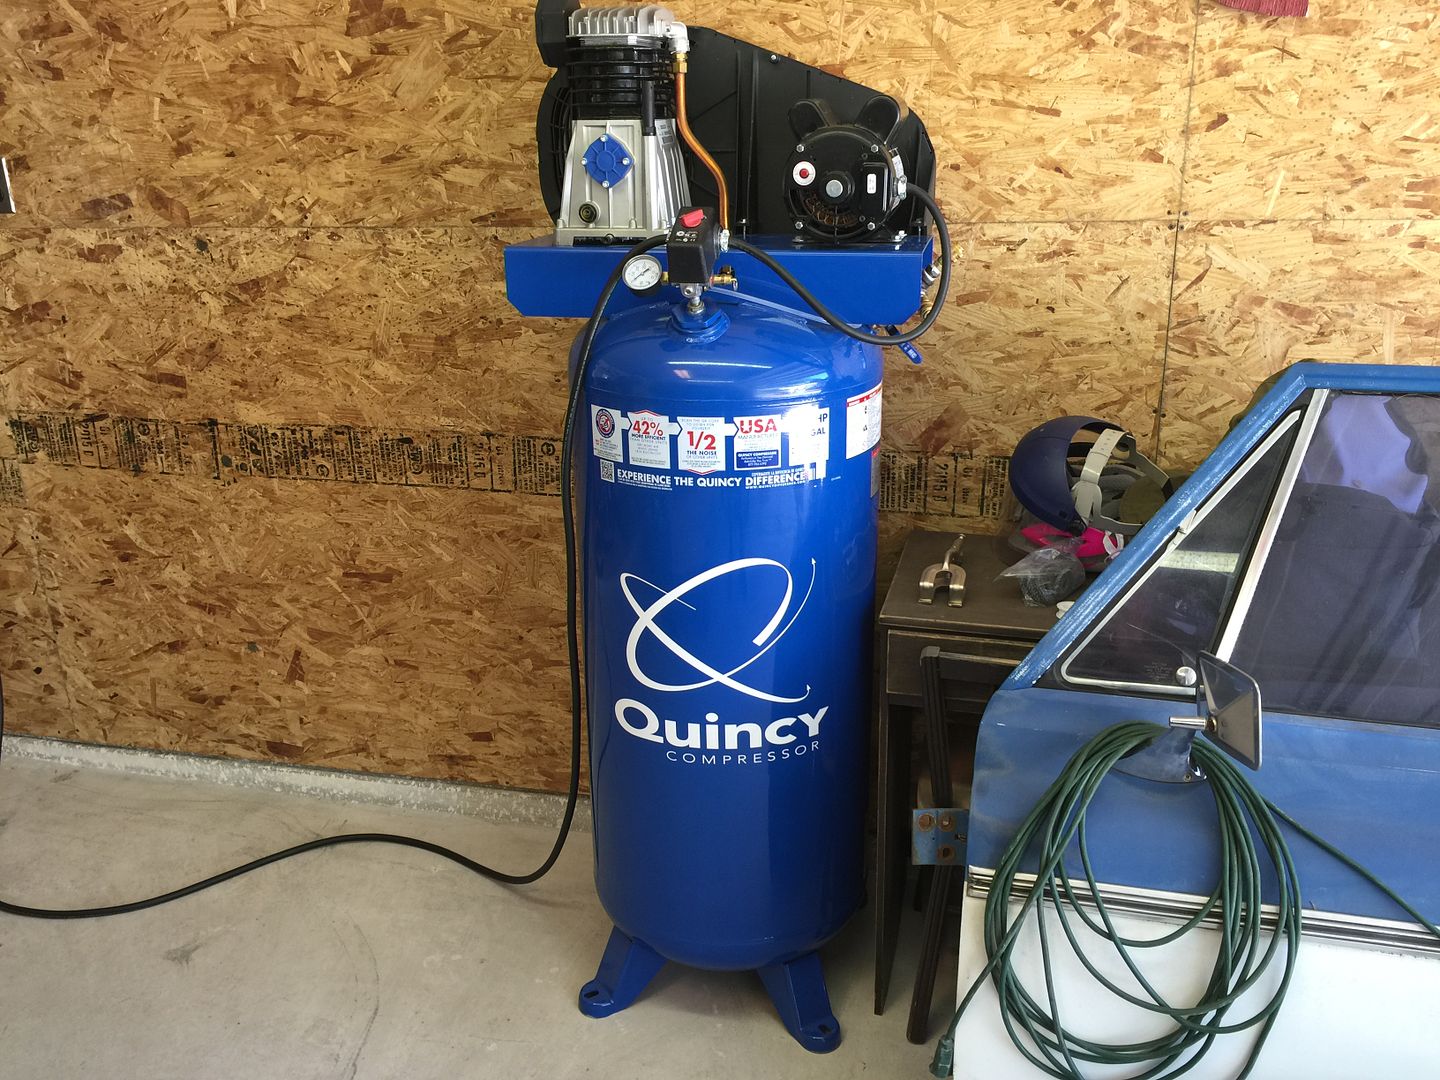 Finally got things setup and started blasting on the frame rails, got one done and ran out of abrasive. With the threat of rain Sunday wasn't productive on the blasting project. 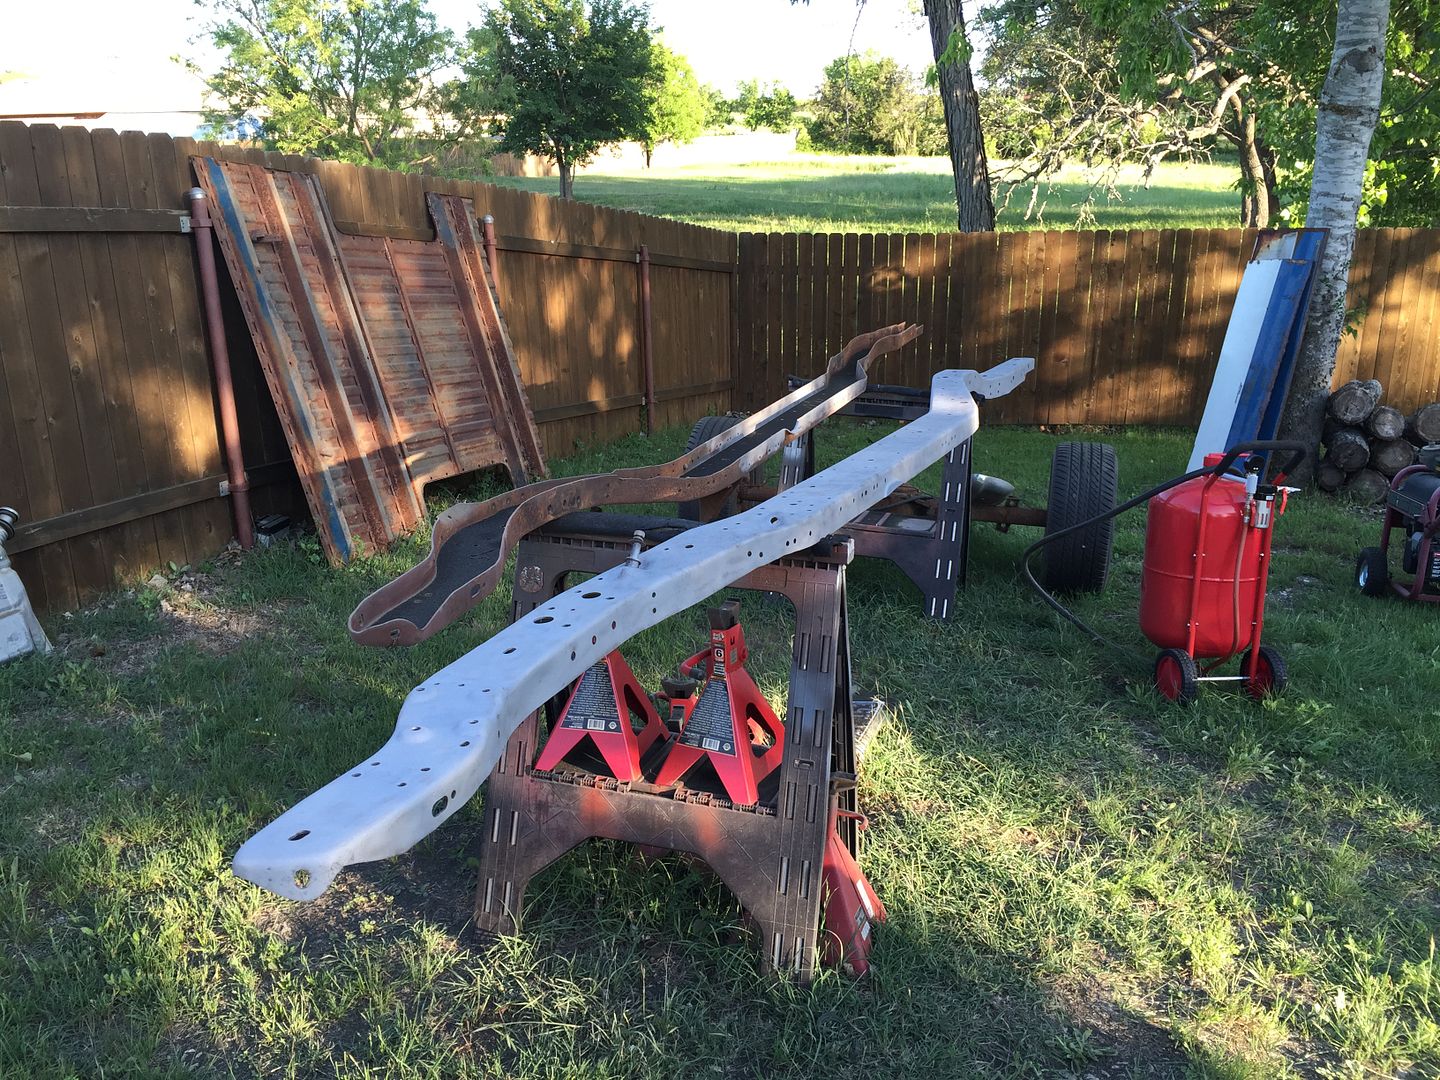 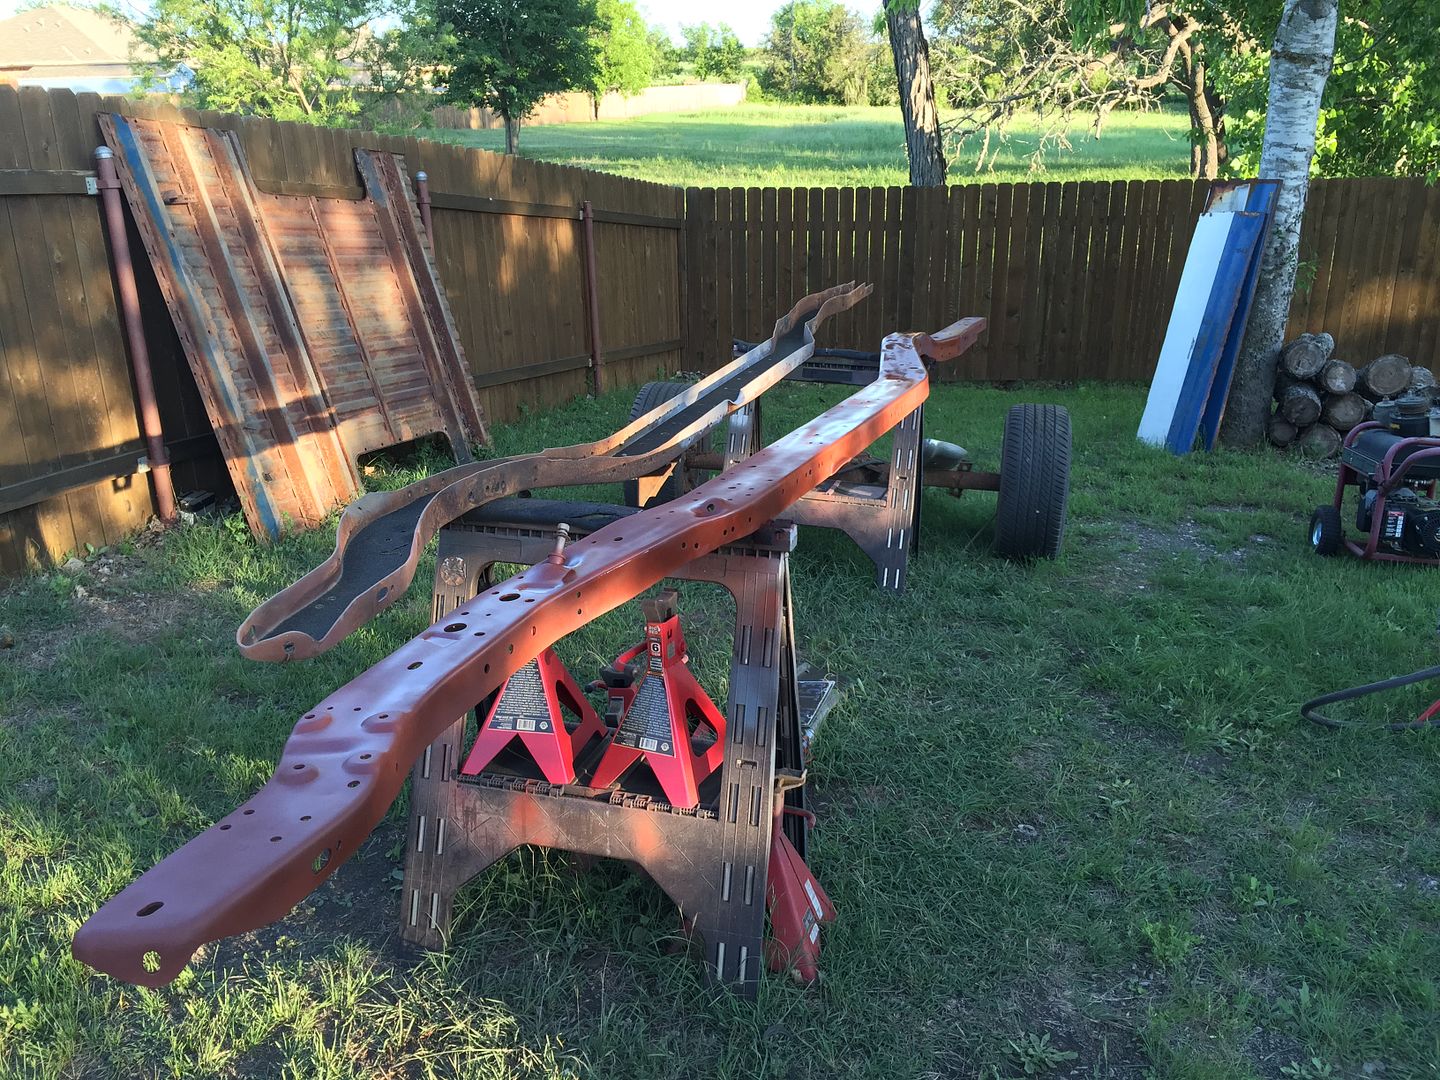 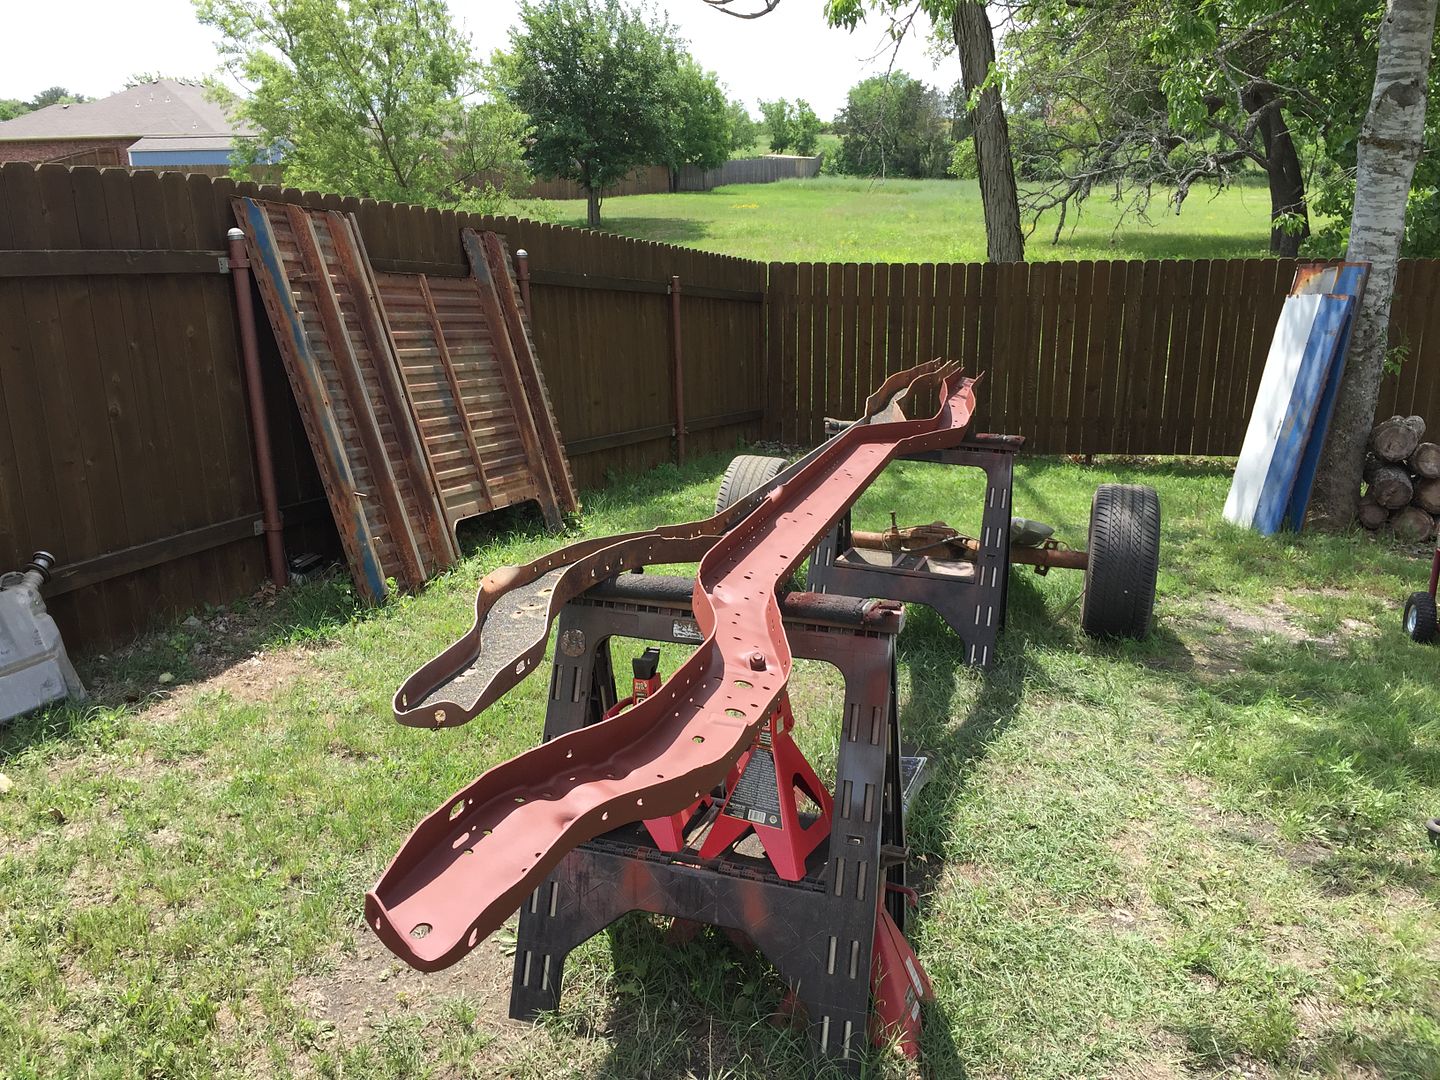 A little rattle can primer to keep the rust away! I'll get more abrasive this week and finish the other rail this coming weekend I hope. Pulled the front and rear glass out of the cab, found some rough areas in the front windshield channel. Pretty much what we all see with these trucks. 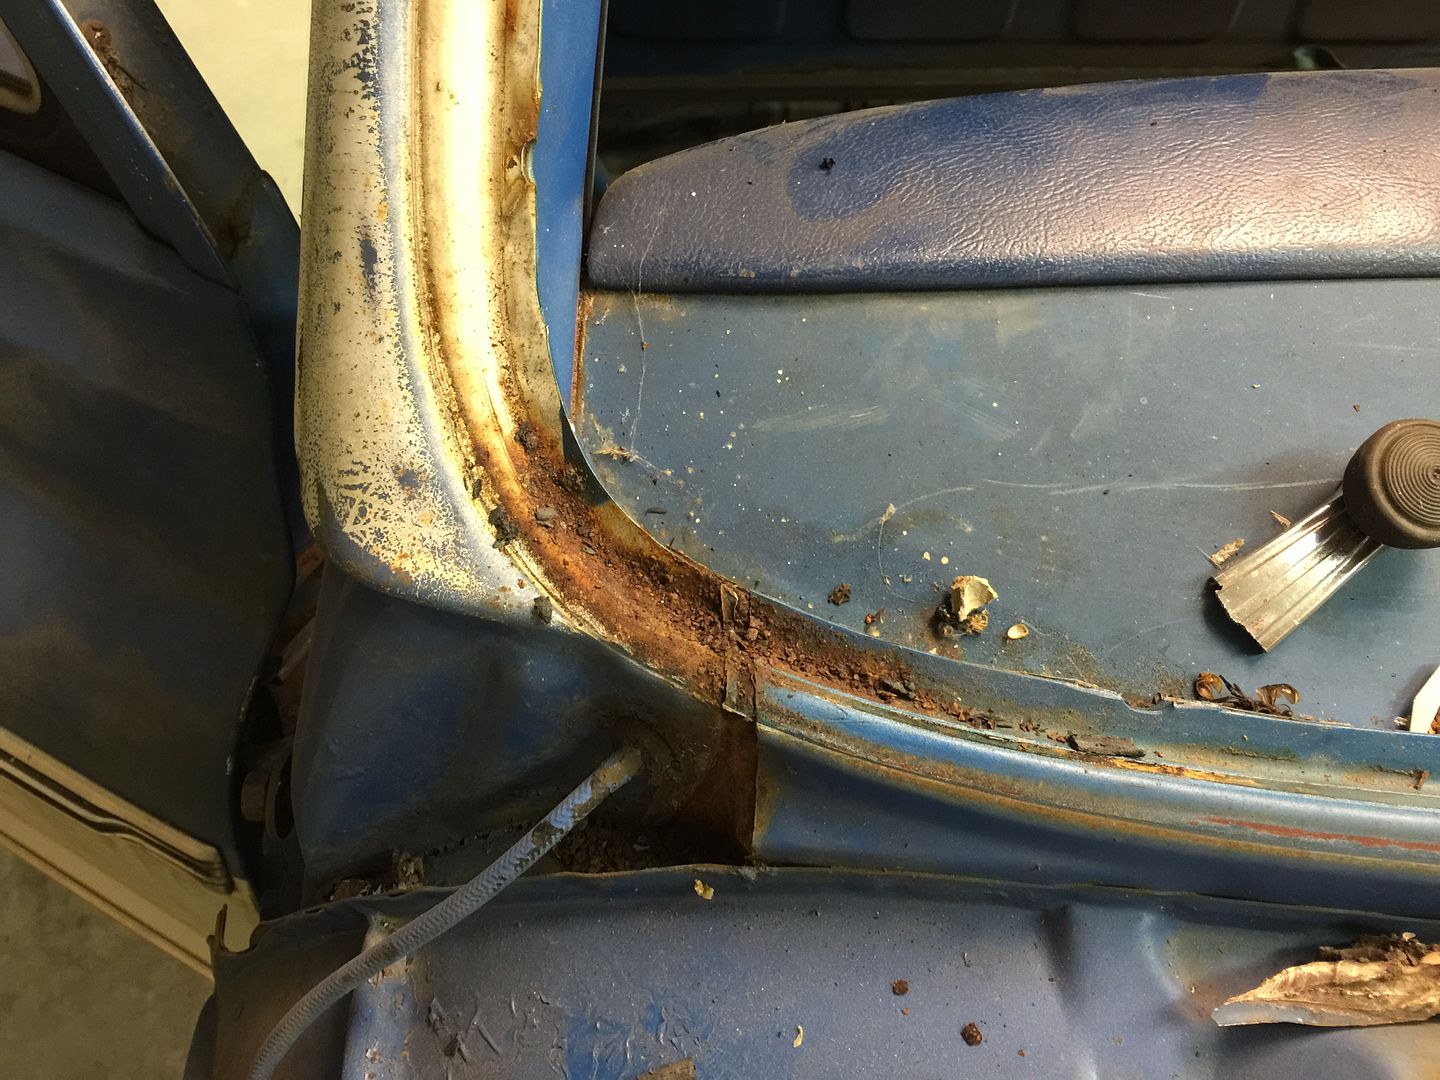 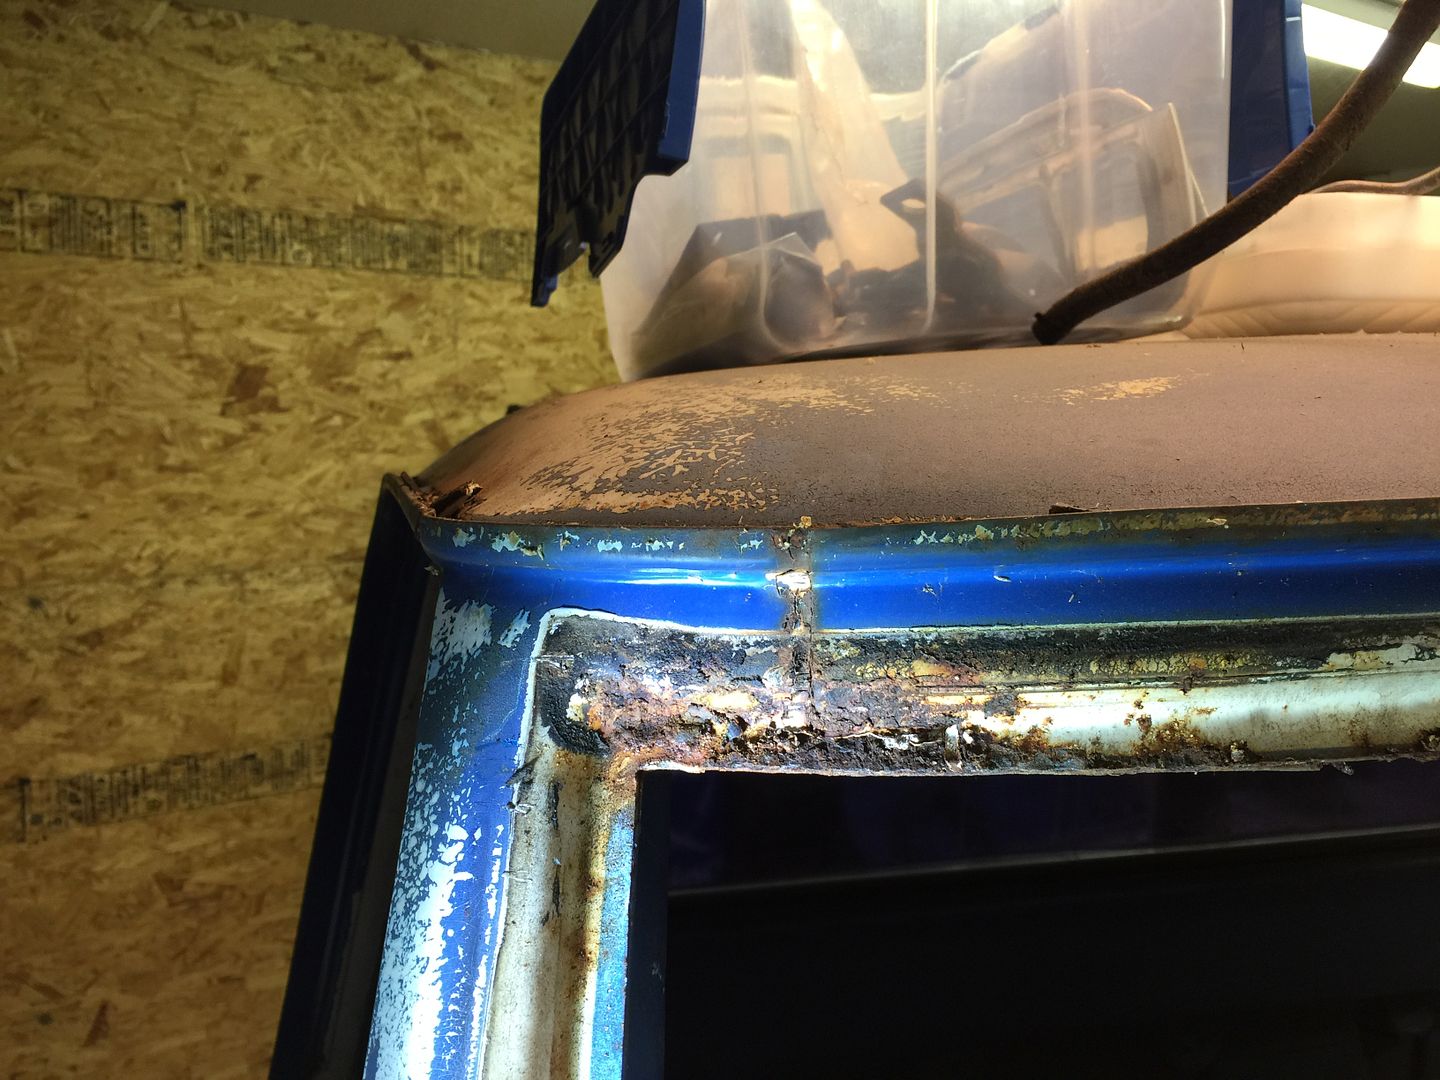 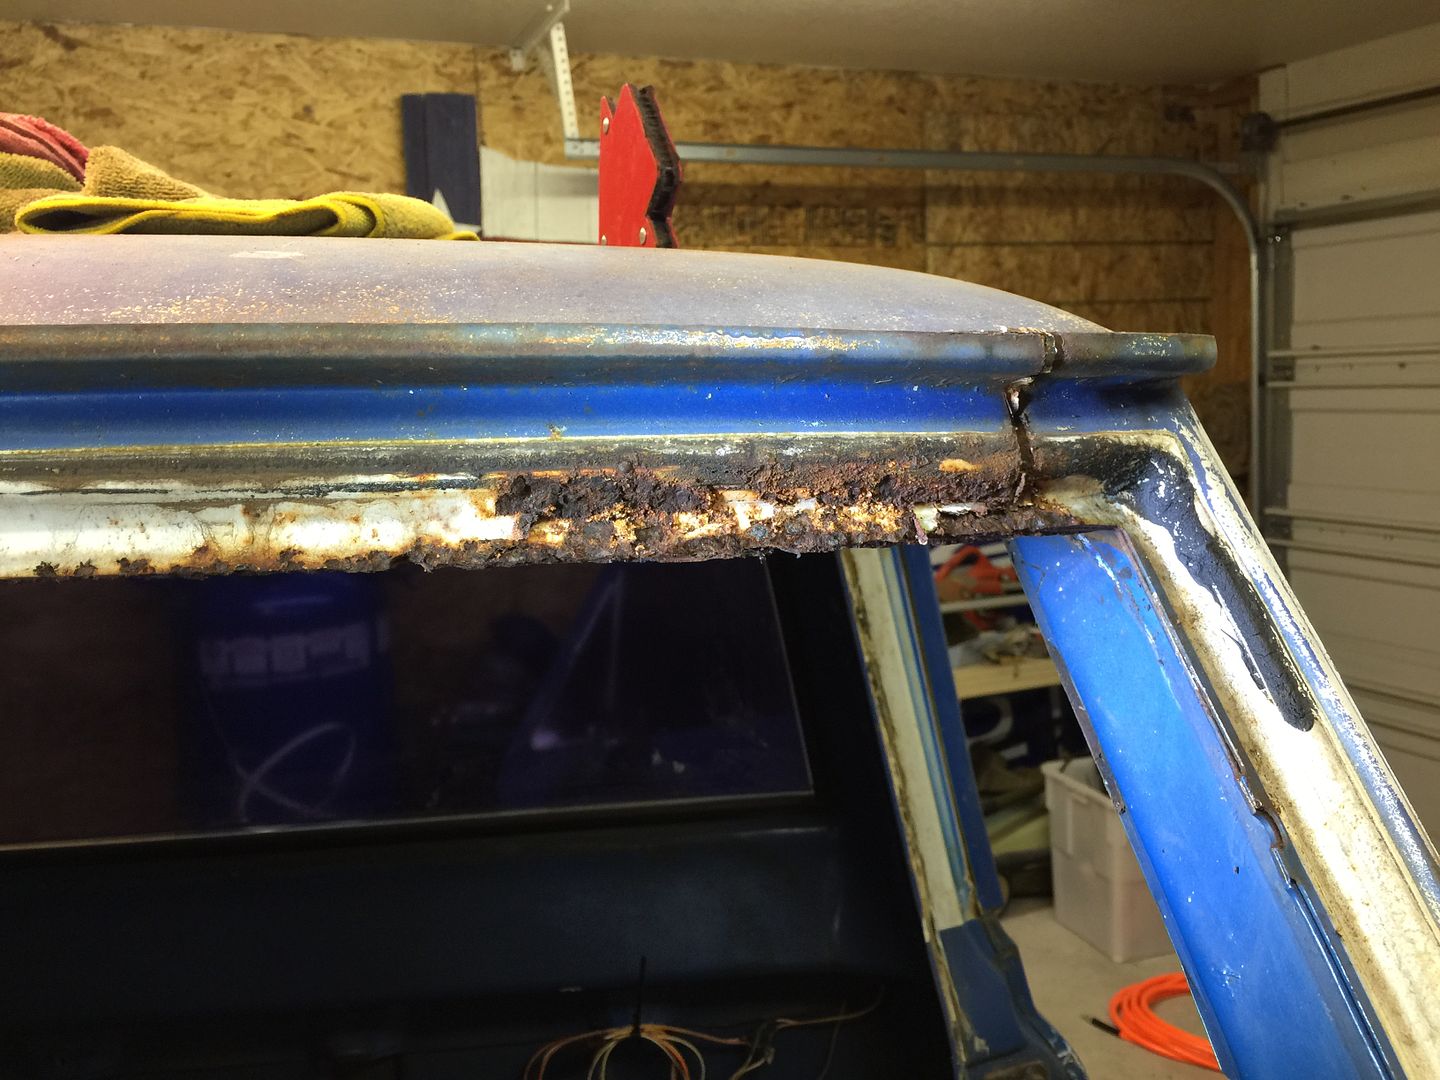 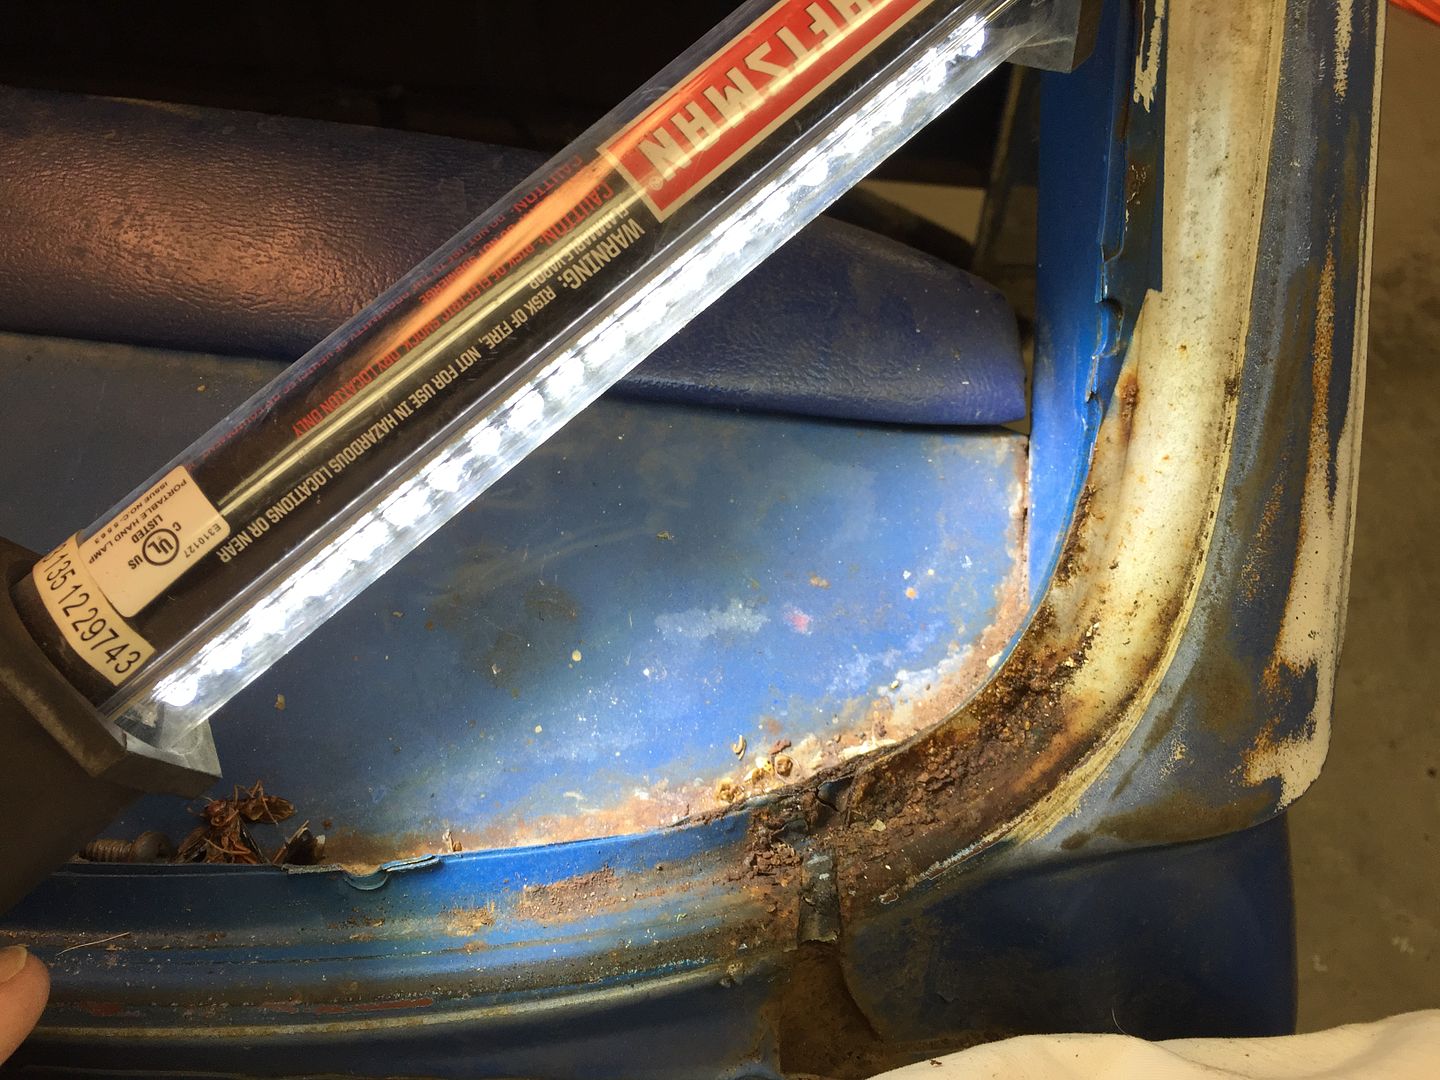 The rear glass channel looks about perfect, so I'm happy with that. 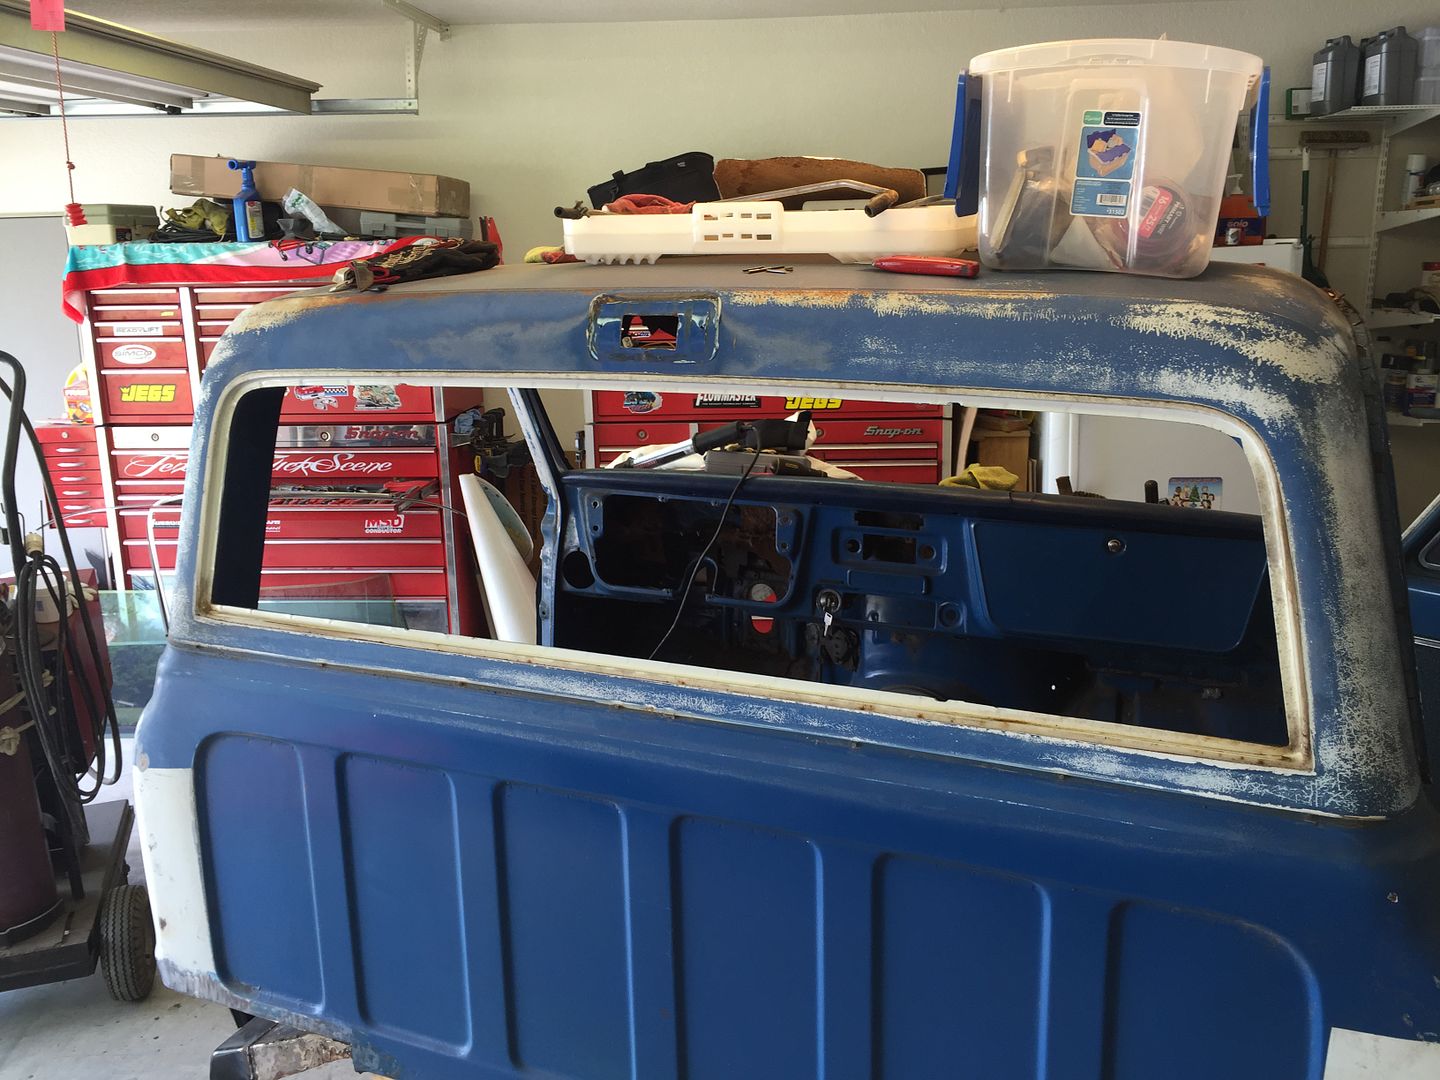 Hopefully next weekend is more productive, I'd like to blast the rusted areas of the cab before I put the cab corner on because I don't want to risk bending it when I roll the cab on it's back. |
|
|

|
|
|
#8 |
|
Sofa King Crazy!!
Join Date: Oct 2008
Location: Houston, TX
Posts: 3,090
|
Re: Project: "ResuWrecktion" '71 Custom Deluxe C-10
Tools must be bought!!! Even some we don't really need.

__________________
You found the Tater.  My Blazer Build (New) - http://67-72chevytrucks.com/vboard/s...d.php?t=654650 My 67 Build - http://67-72chevytrucks.com/vboard/s...d.php?t=335650 67 Chevy LWB big window a/c AKA TOTALLED BY A JACKASS.  1972 2wd Blazer "Porterbuilt and Sloshed" 
|
|
|

|
|
|
#9 |
|
Registered User
 Join Date: Oct 2012
Location: Burnet, Tx
Posts: 332
|
Re: Project: "ResuWrecktion" '71 Custom Deluxe C-10
We're manly men, we never need an excuse to fill the tool box.
Posted via Mobile Device |
|
|

|
|
|
#10 |
|
Registered User
 Join Date: Oct 2012
Location: Burnet, Tx
Posts: 332
|
Re: Project: "ResuWrecktion" '71 Custom Deluxe C-10
Took the past week off to burn some vacation time before I lose it and thinking my Porterbuilt stuff would arrive while I was home.
 No PB stuff yet.  Spread some filler on the gas tank hole. 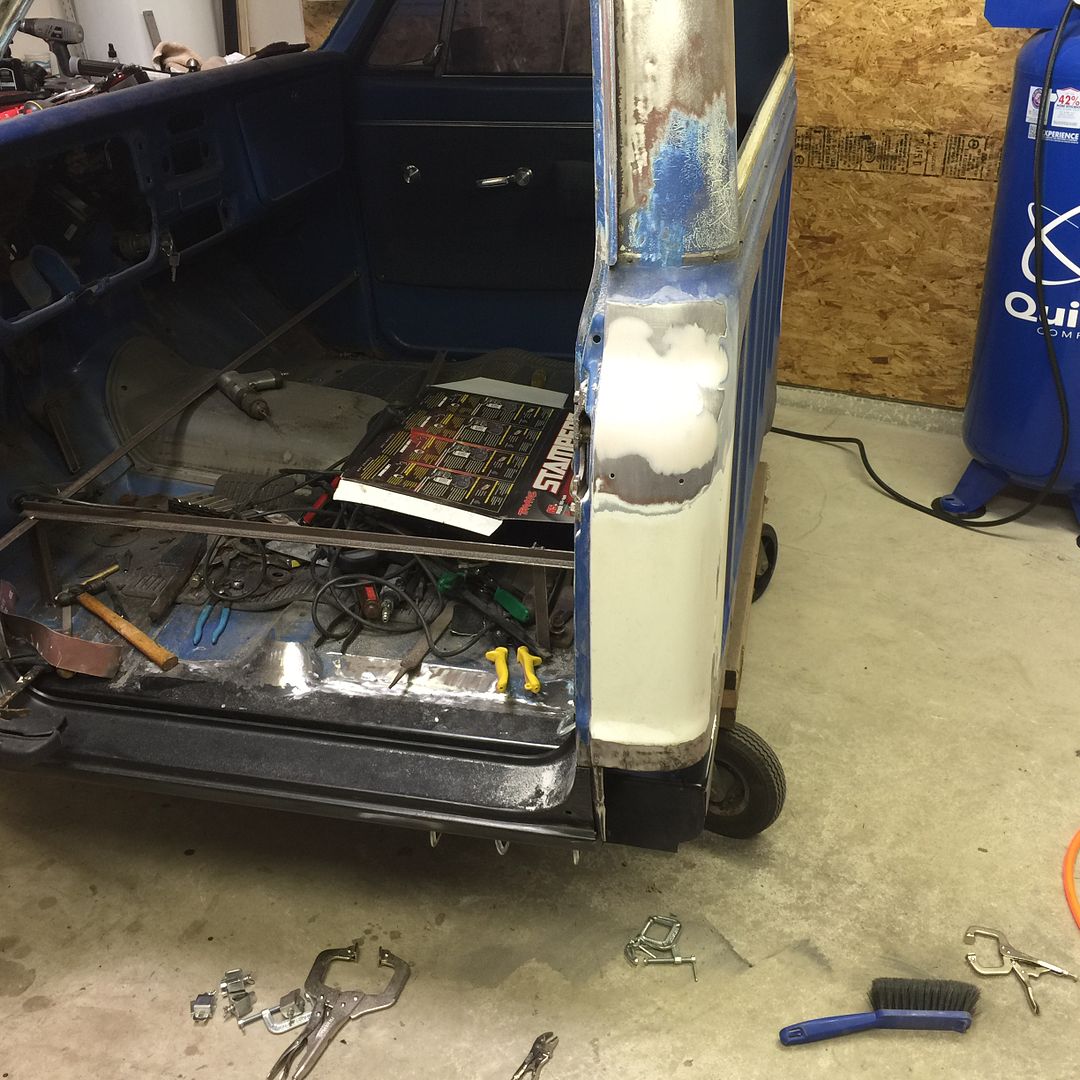 Started working on the left cab corner and got it in, the usual PITA on the patch panels. But they are rust free so I can't complain much. 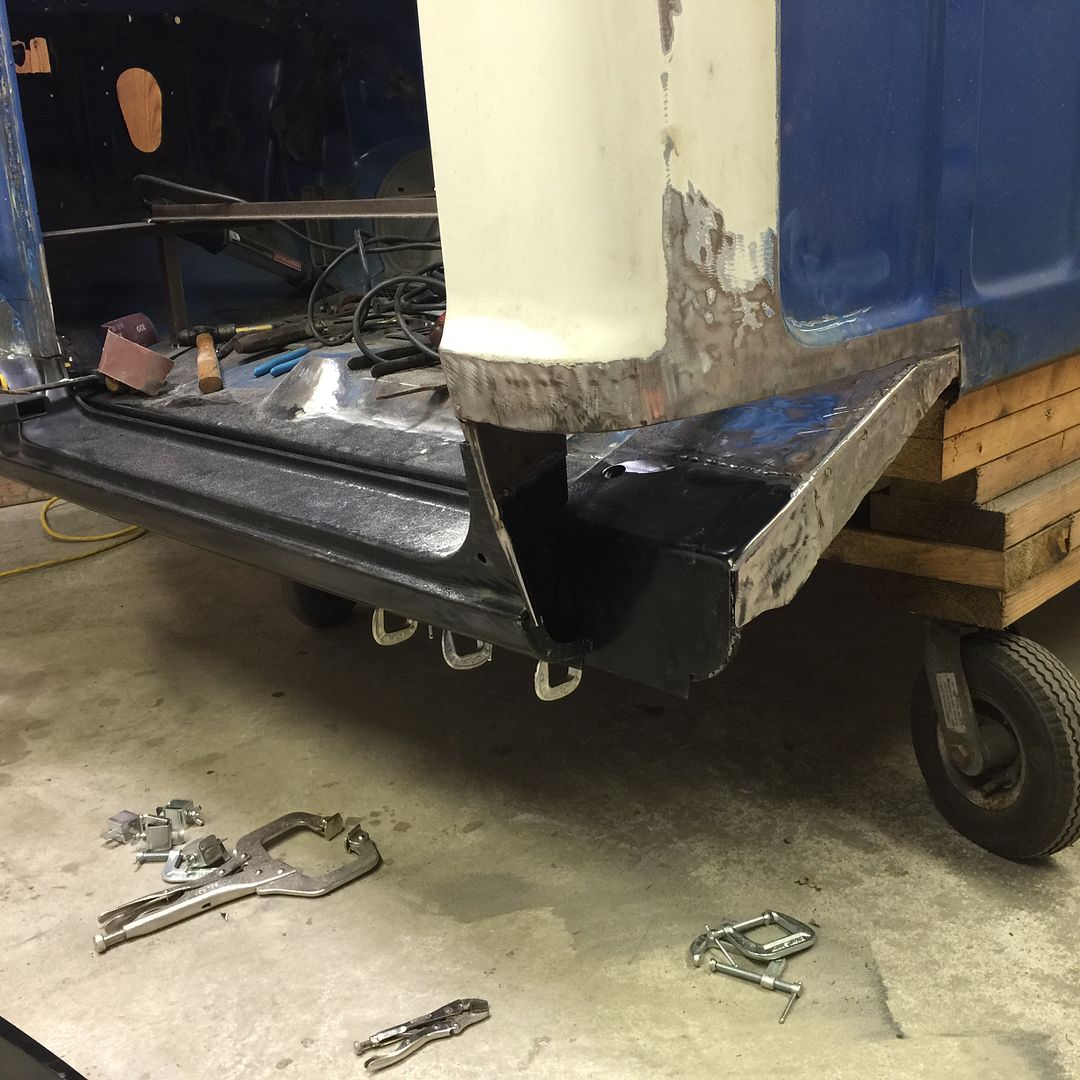 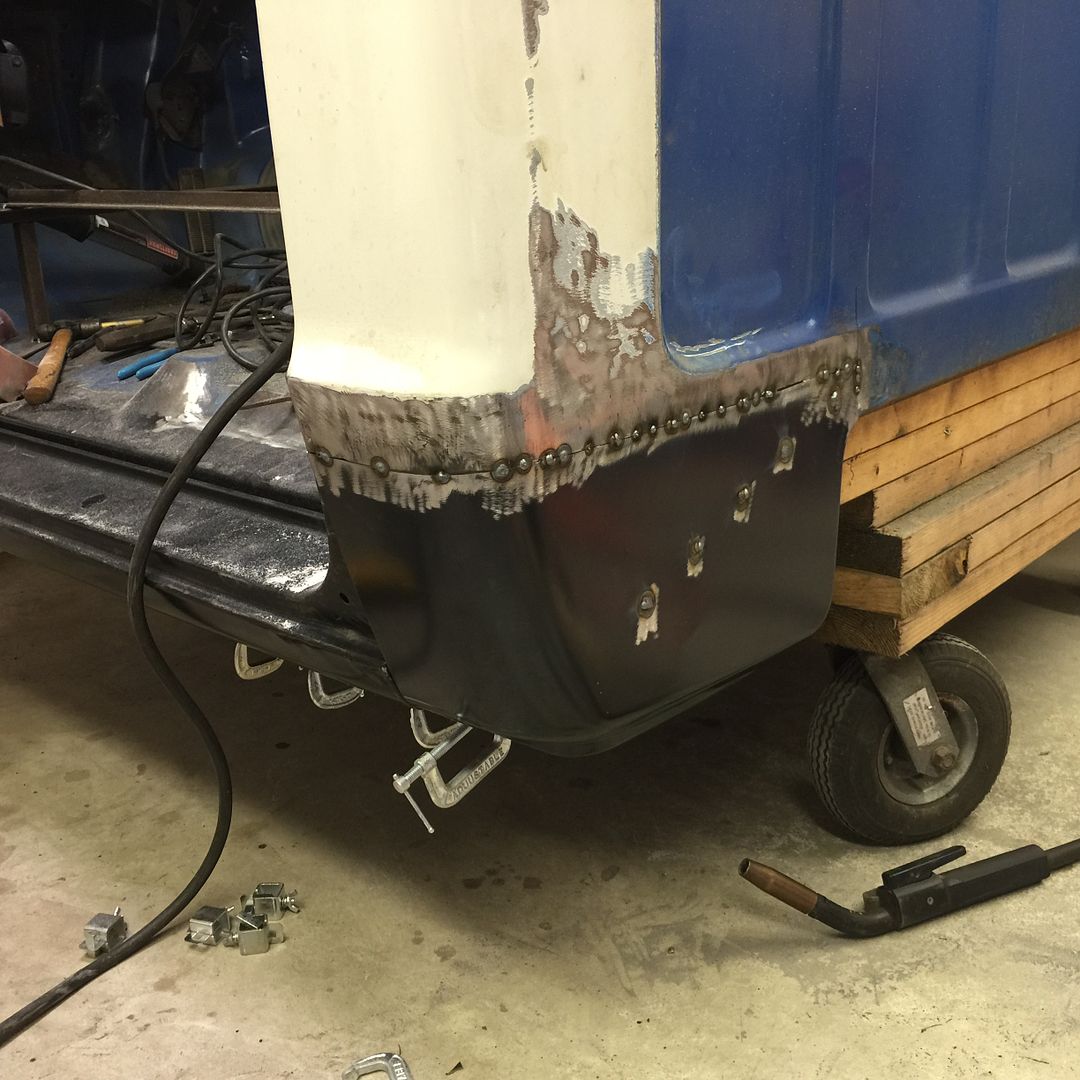 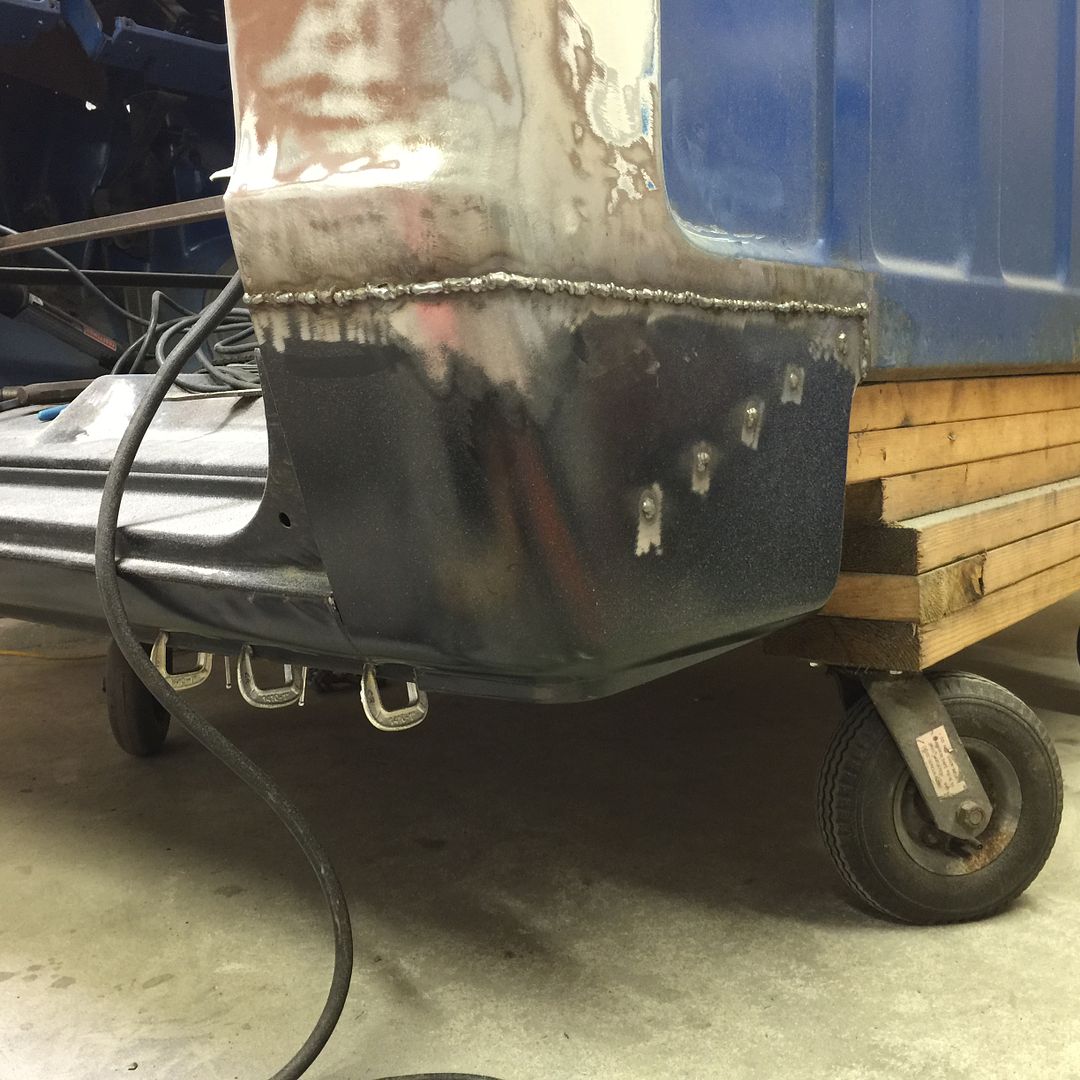 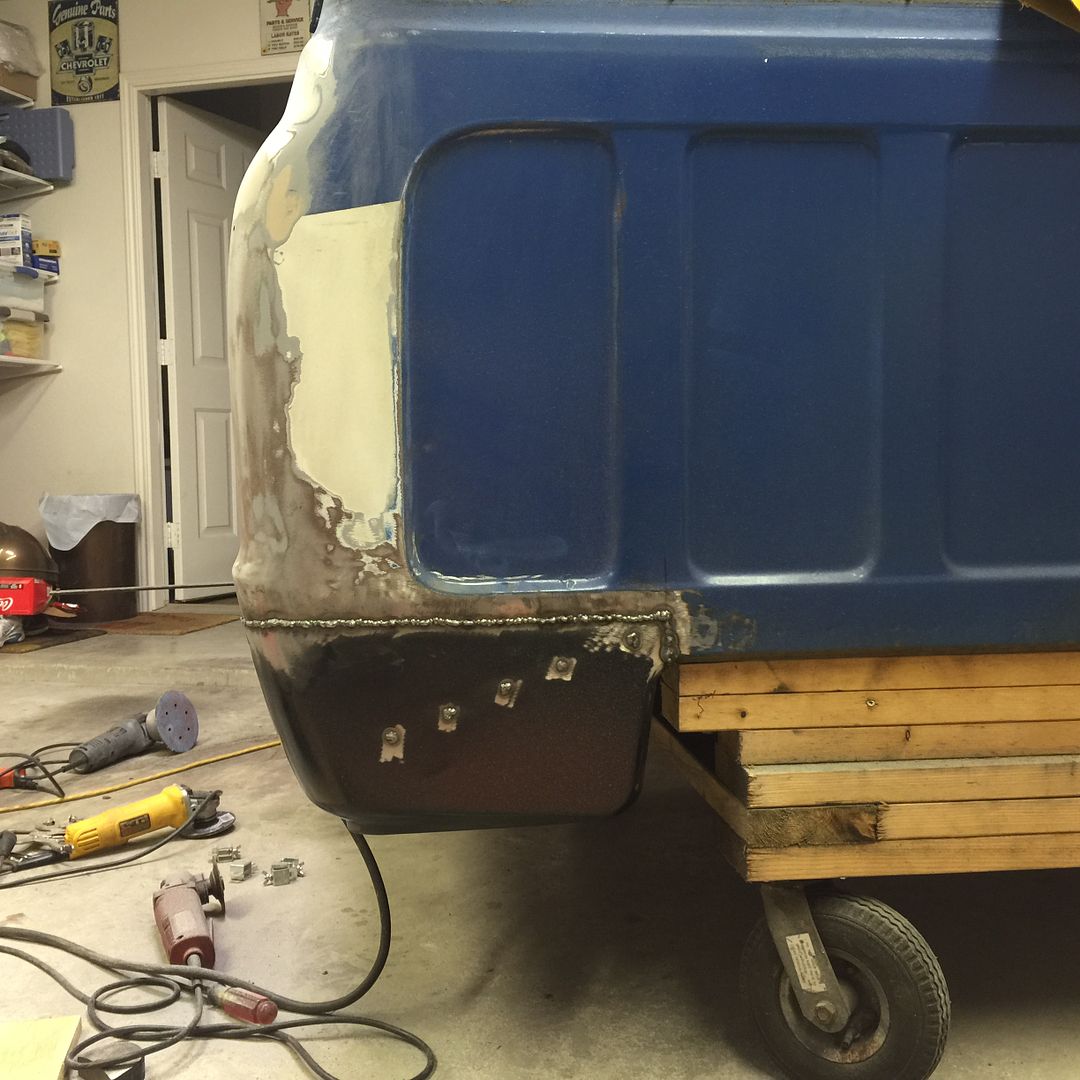 Stripped all the guts out of the doors to lighten them up. Pulled the cloth off the door panels, I had forgotten what the old vinyl looked like.  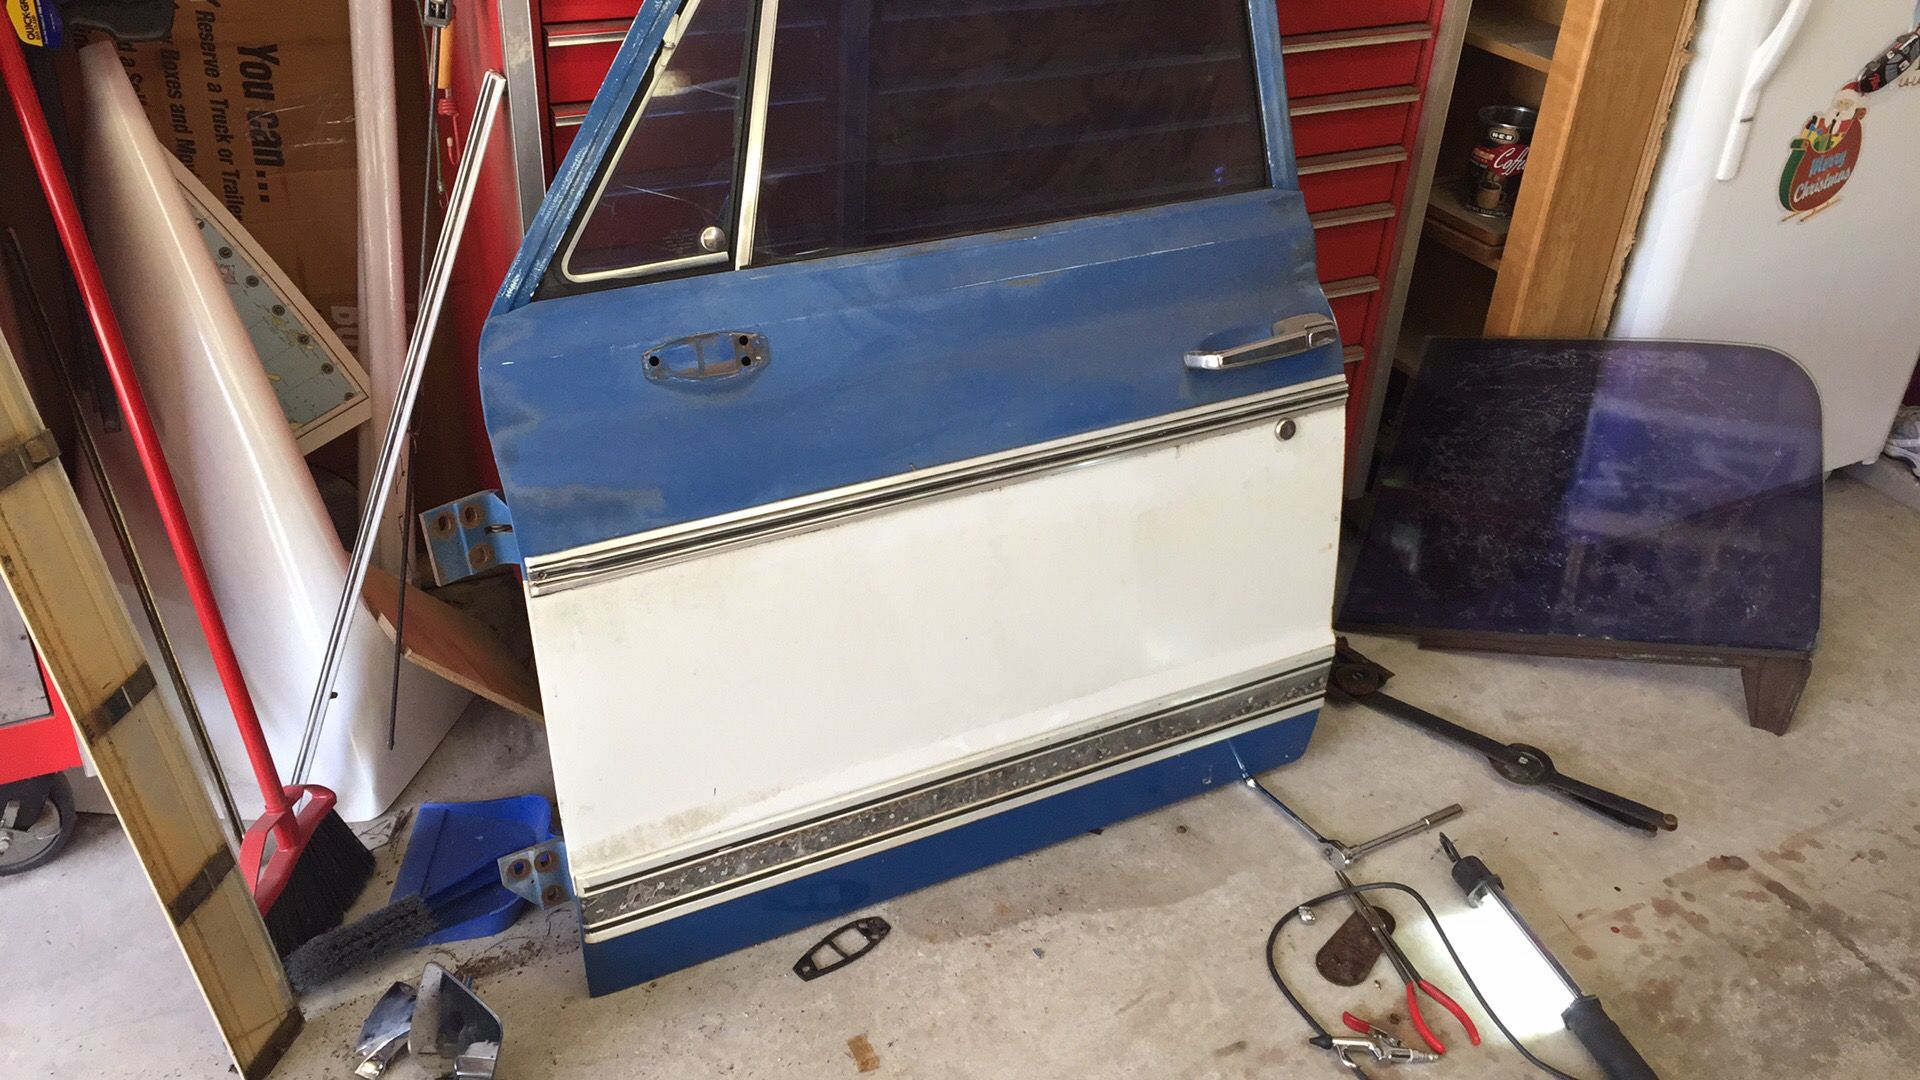 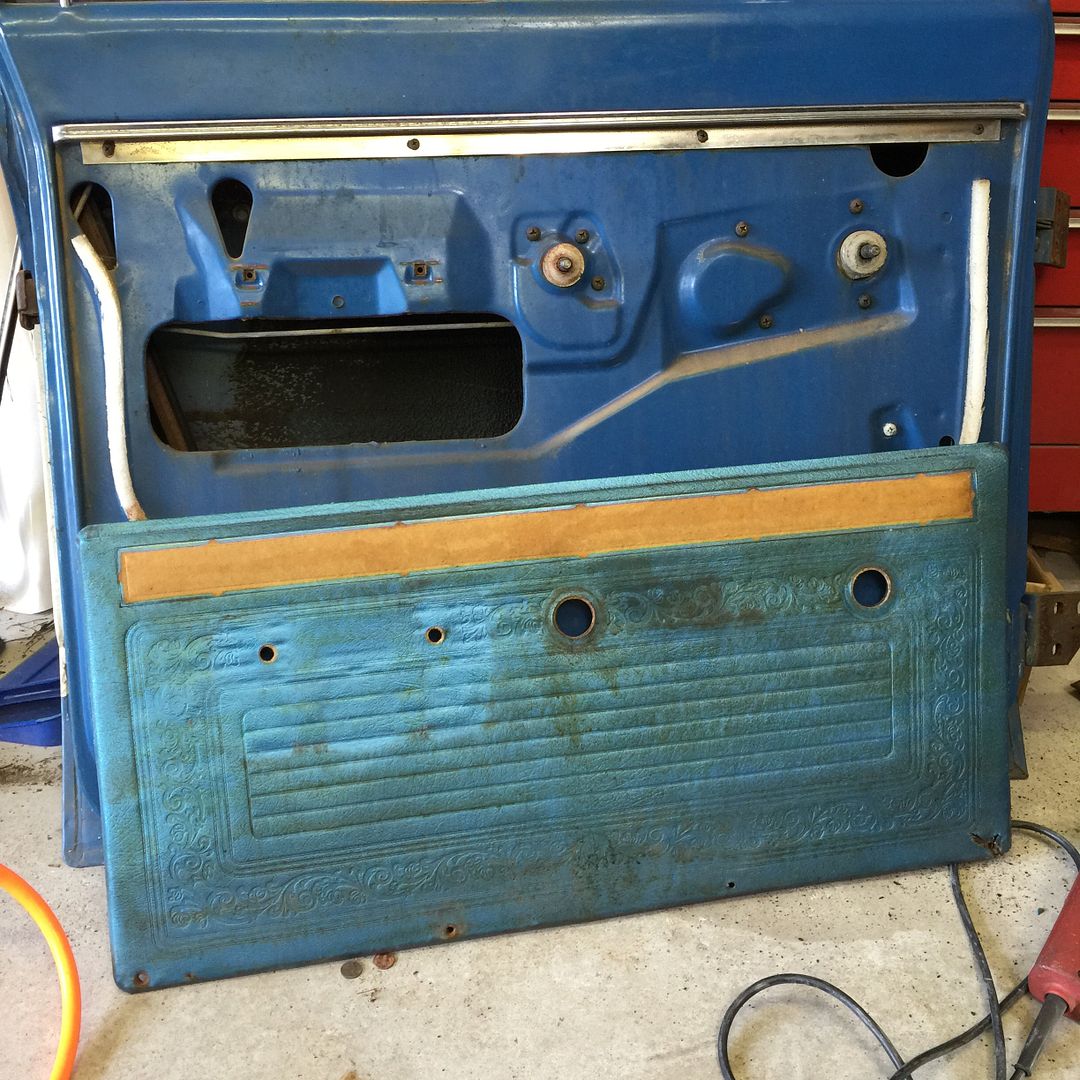 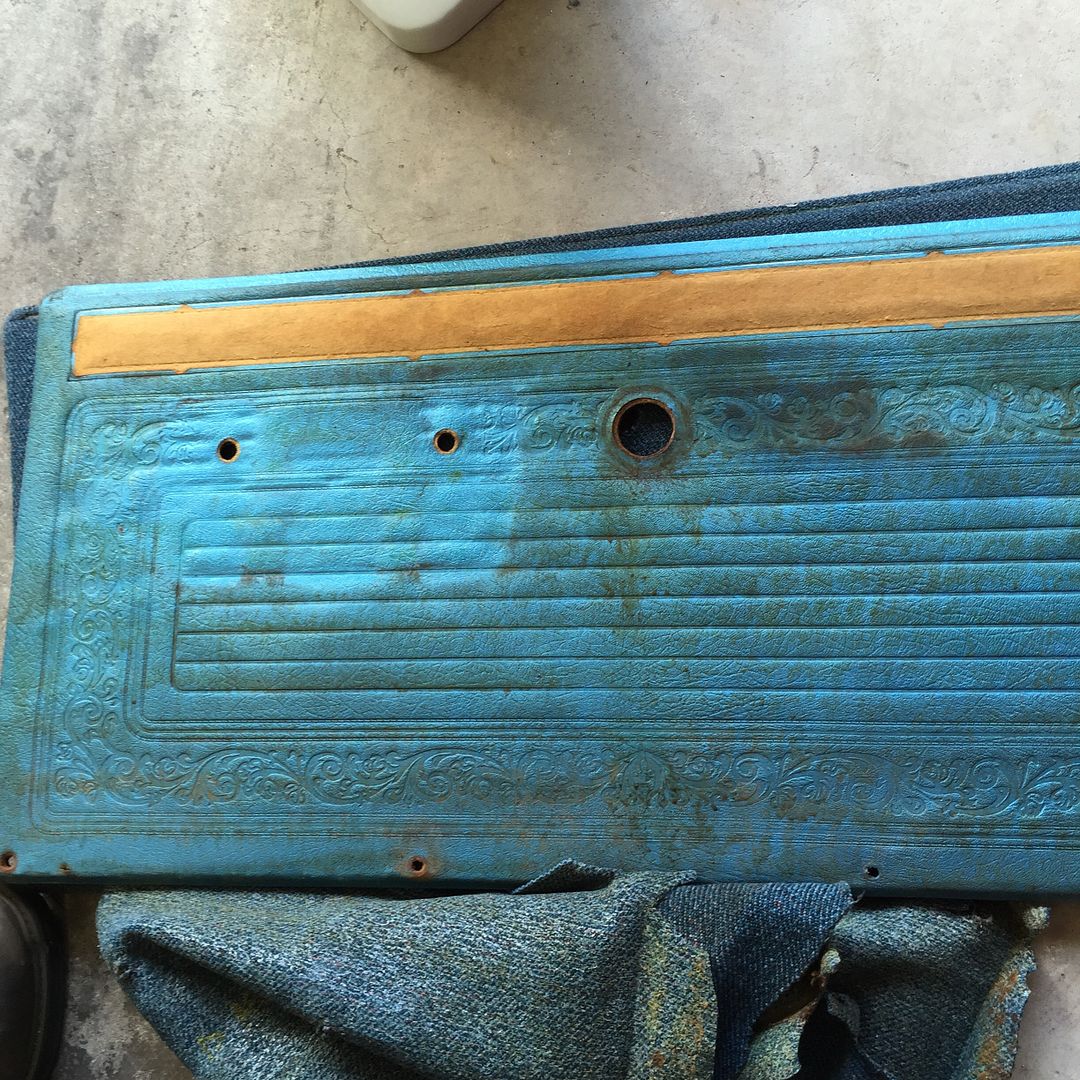 I flipped the cab on it's nose so I could start replacing the cab supports and remove the gunk and undercoating from the undersides. 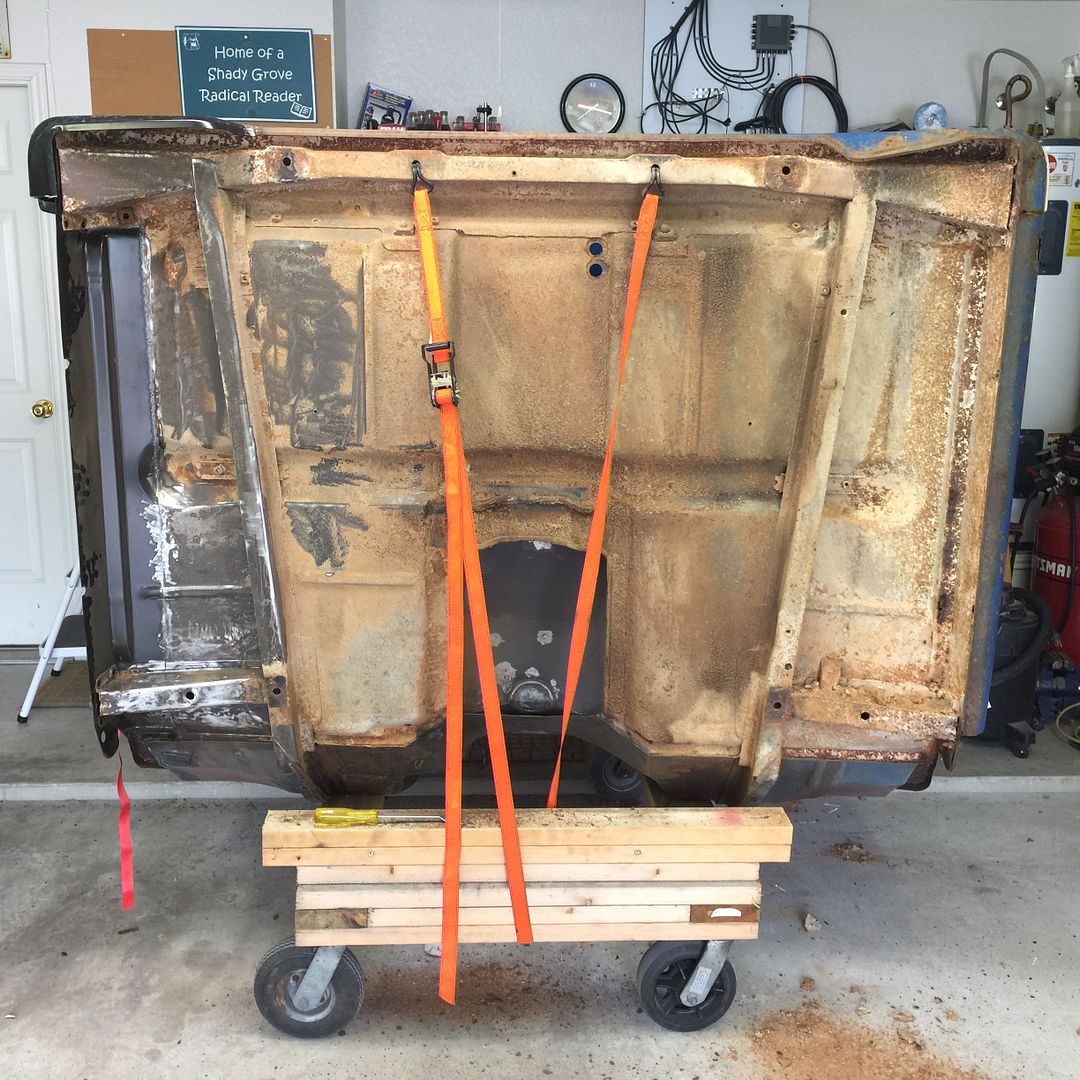 Left front removed. 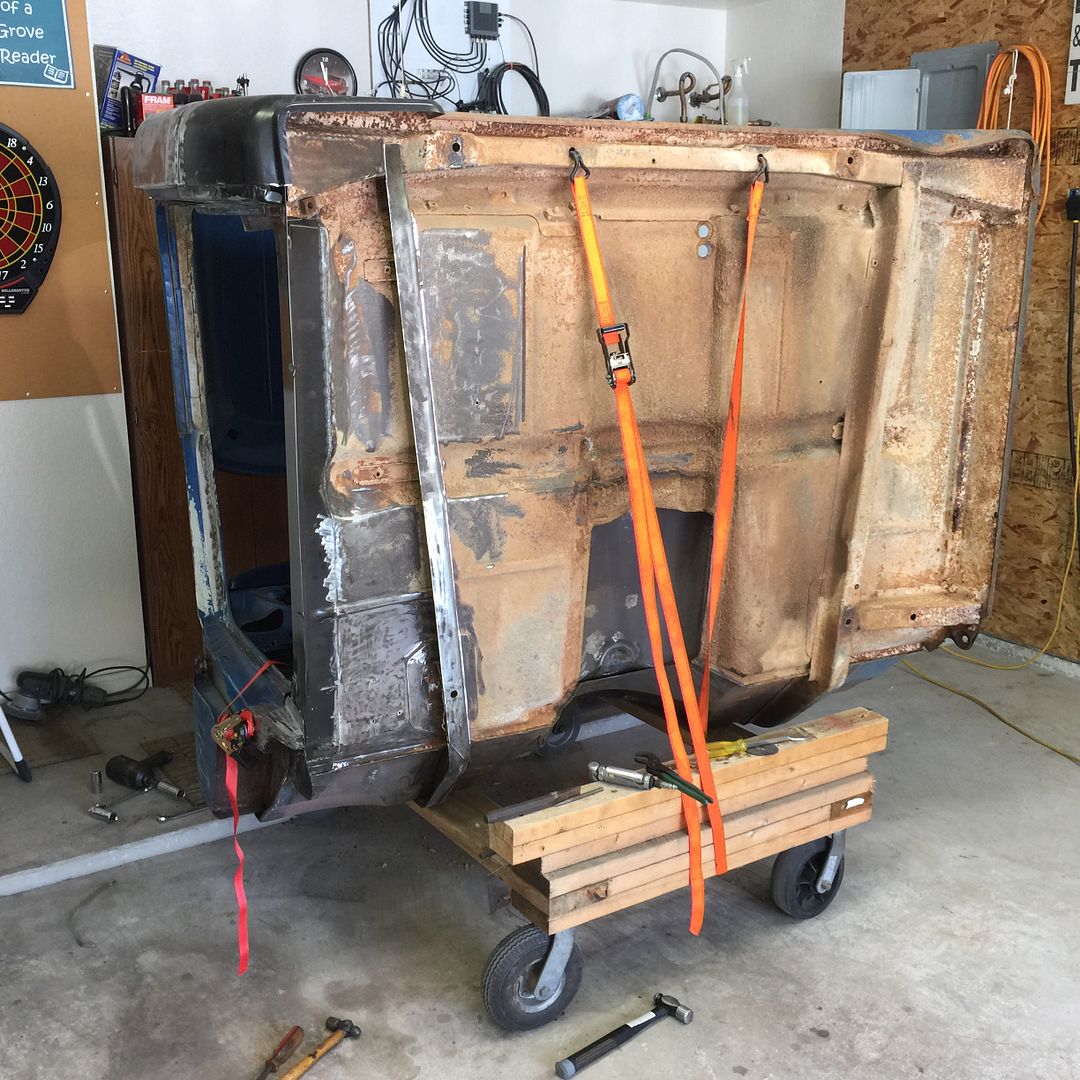 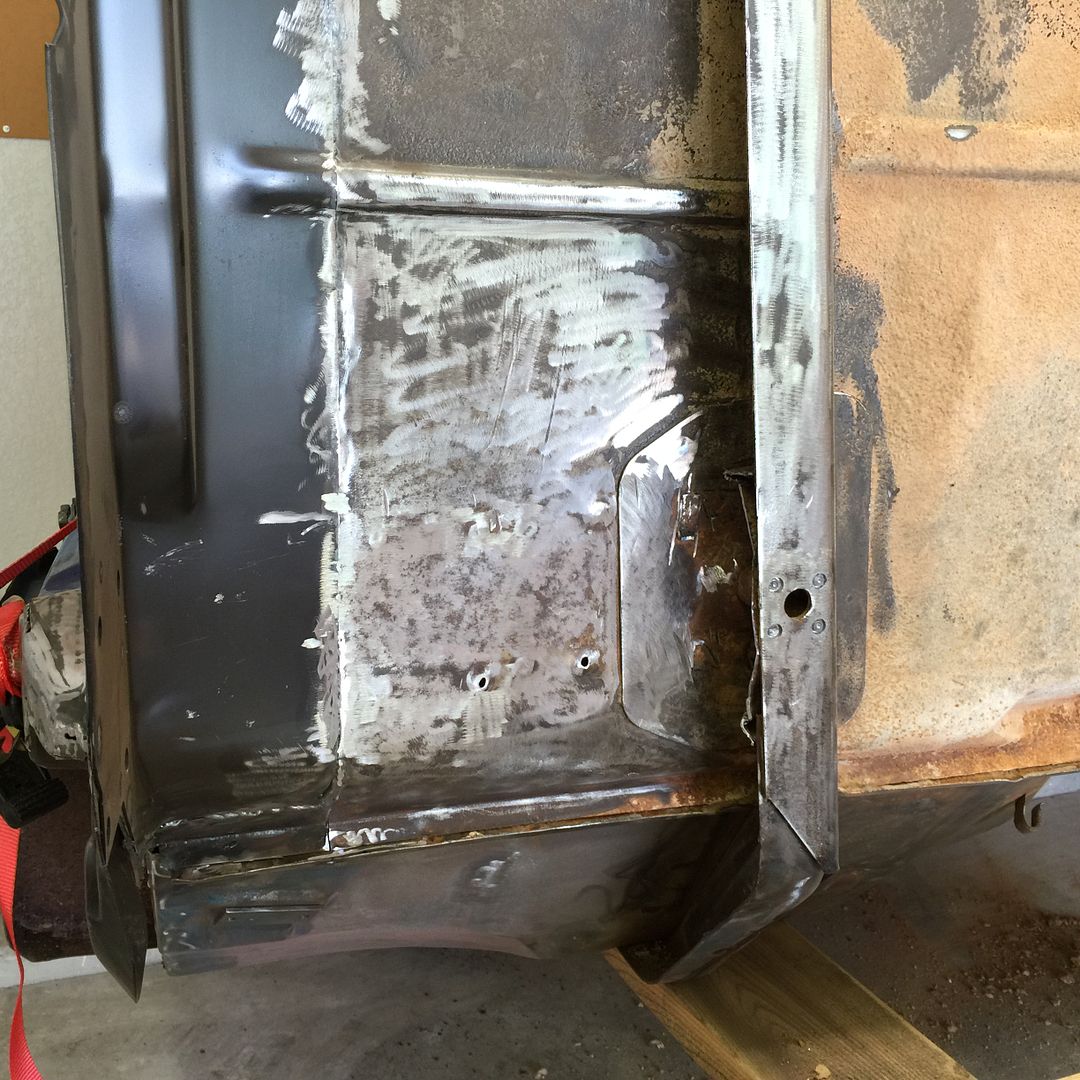 New support installed. 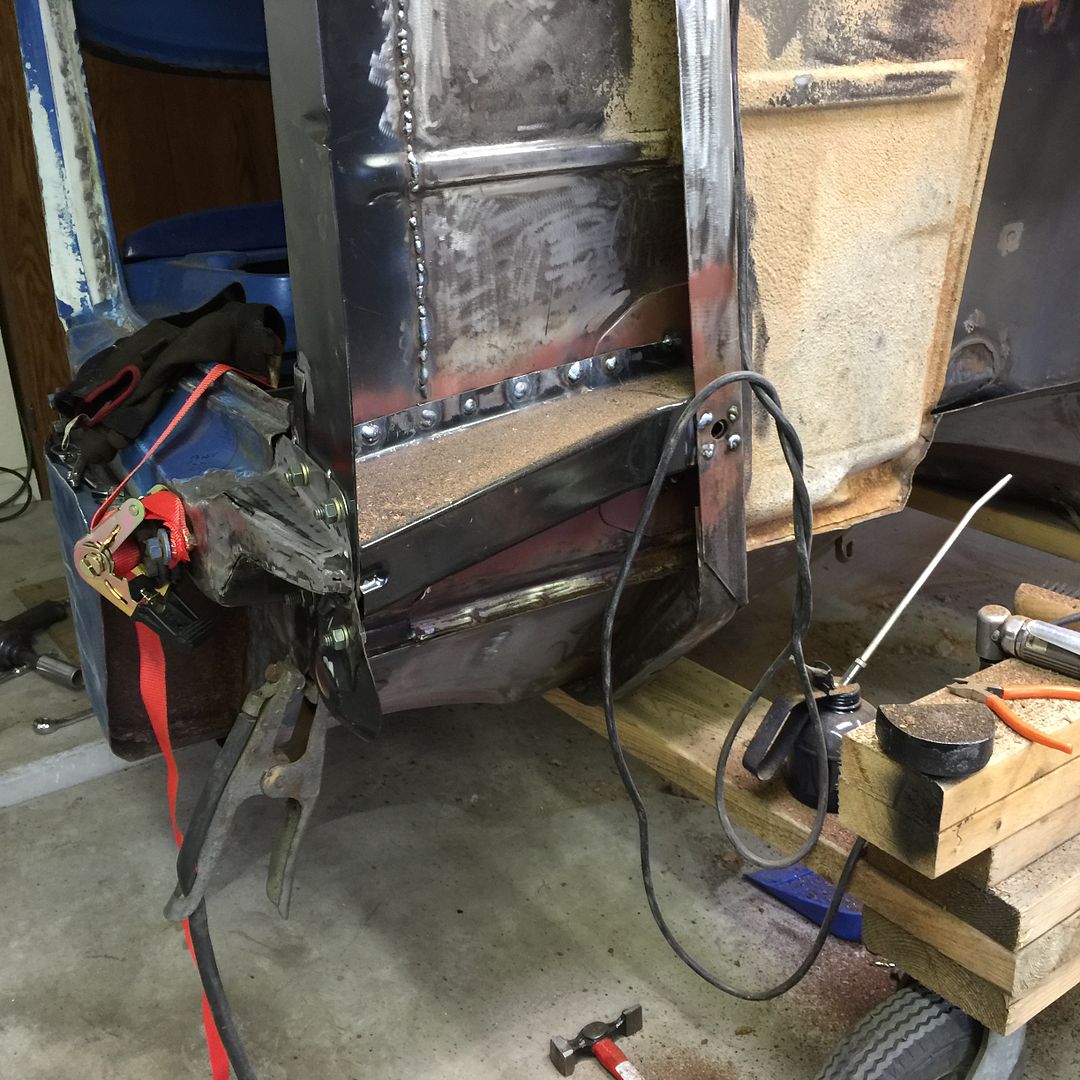 Cutting out the left rear support was fun. 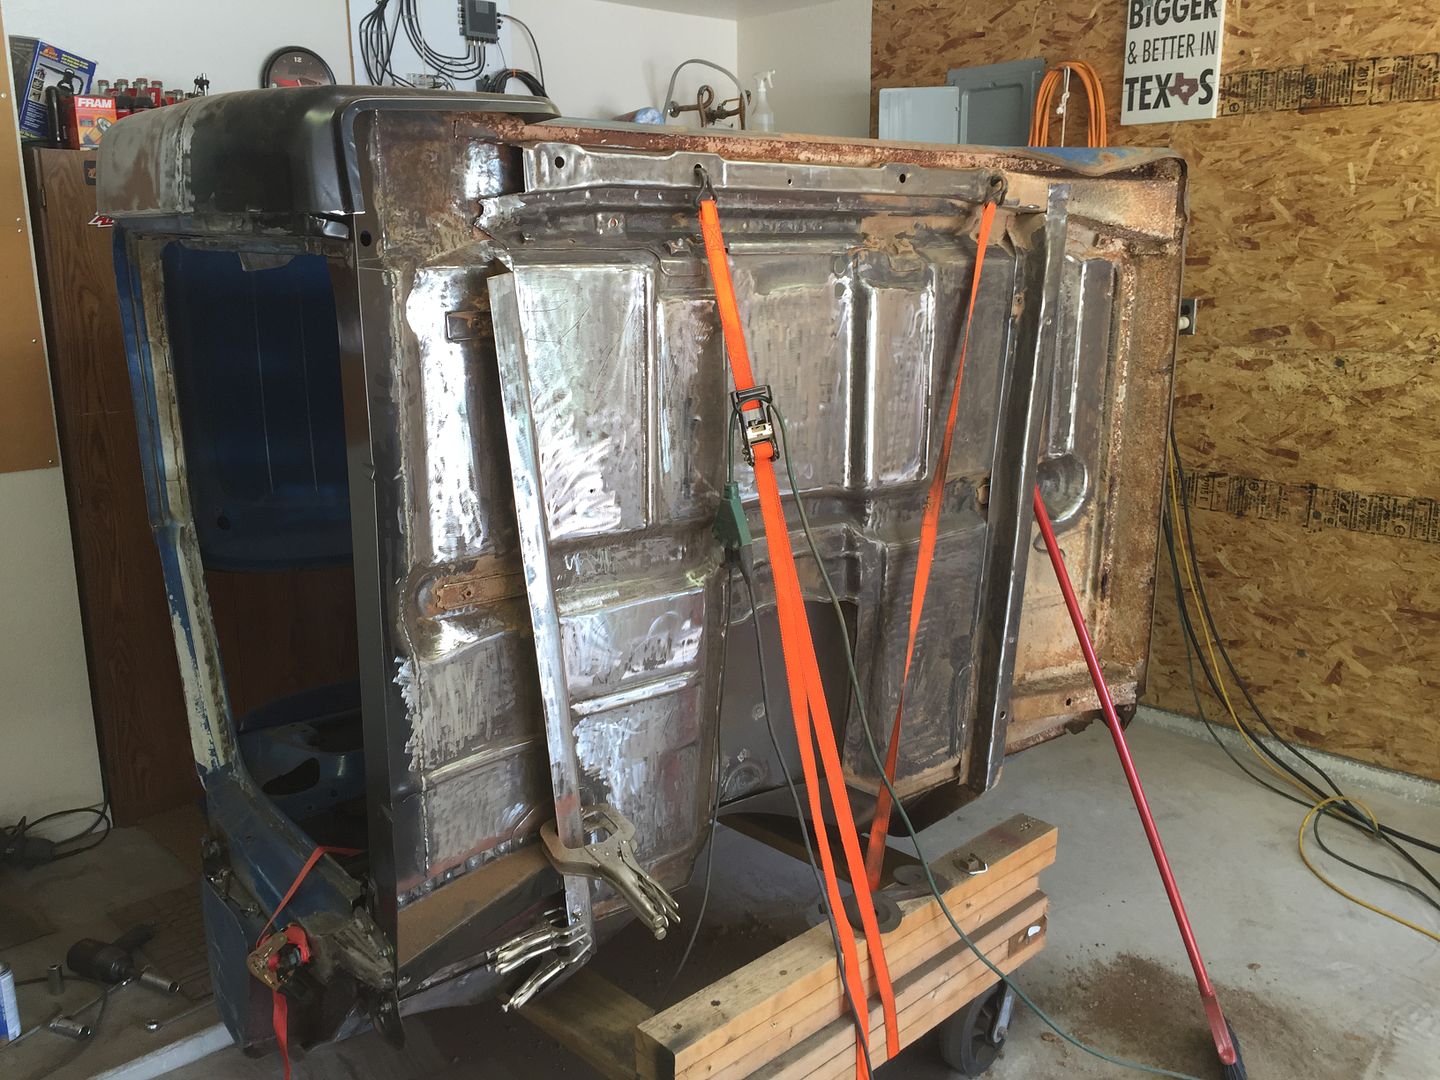 It required a cold one! 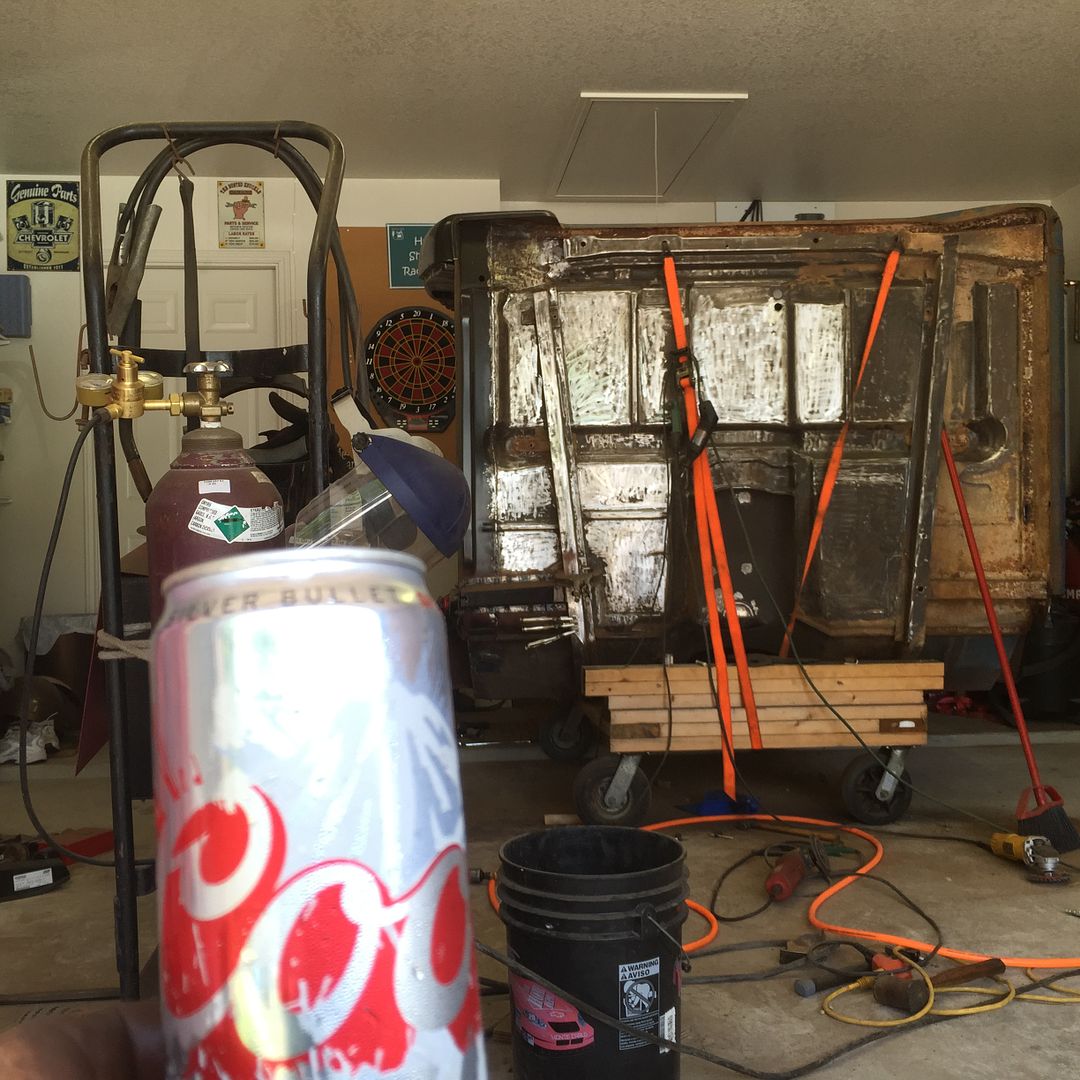 Left rear installed, had to cut the brace out of the way and re weld it after the support was in there. 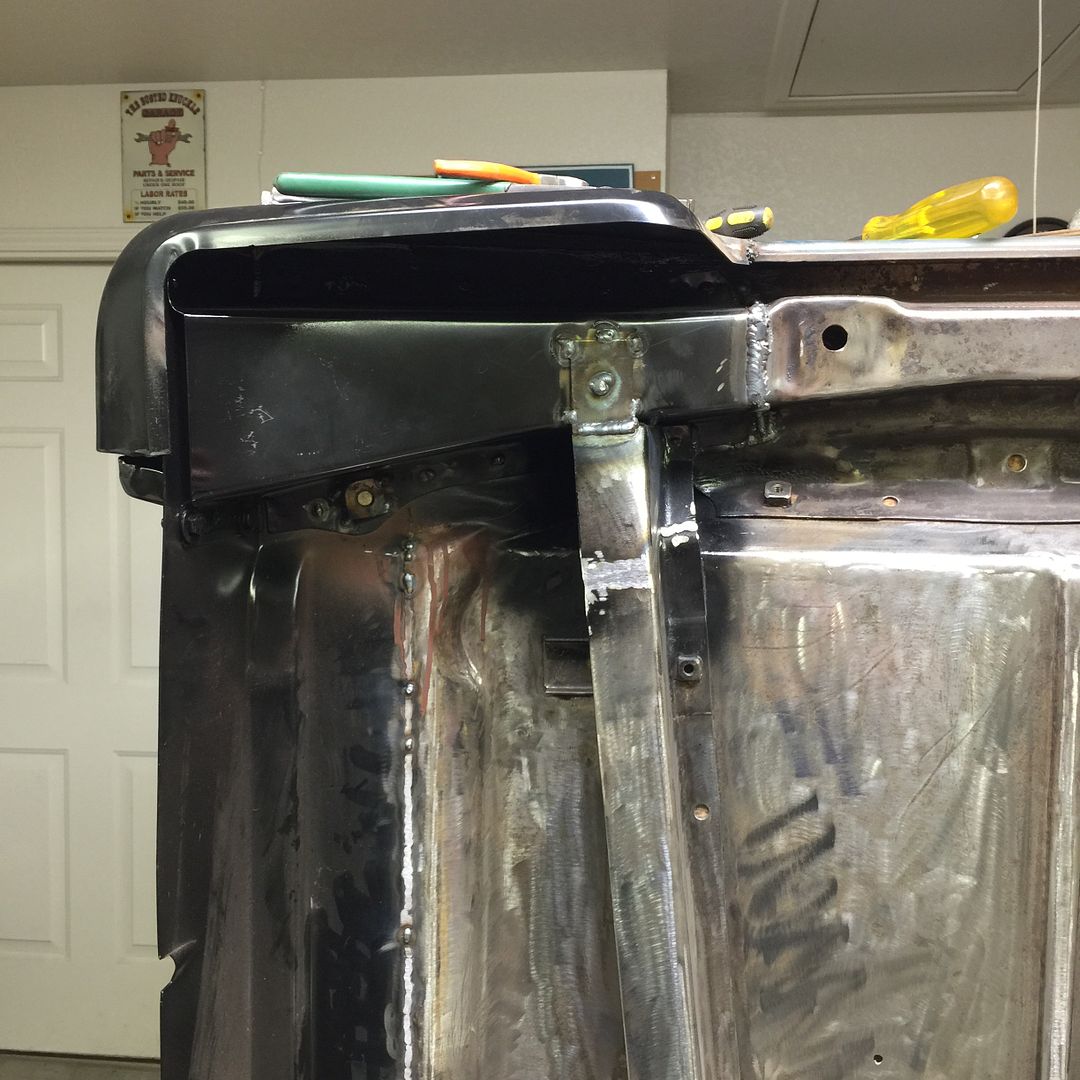 On to the right front support. 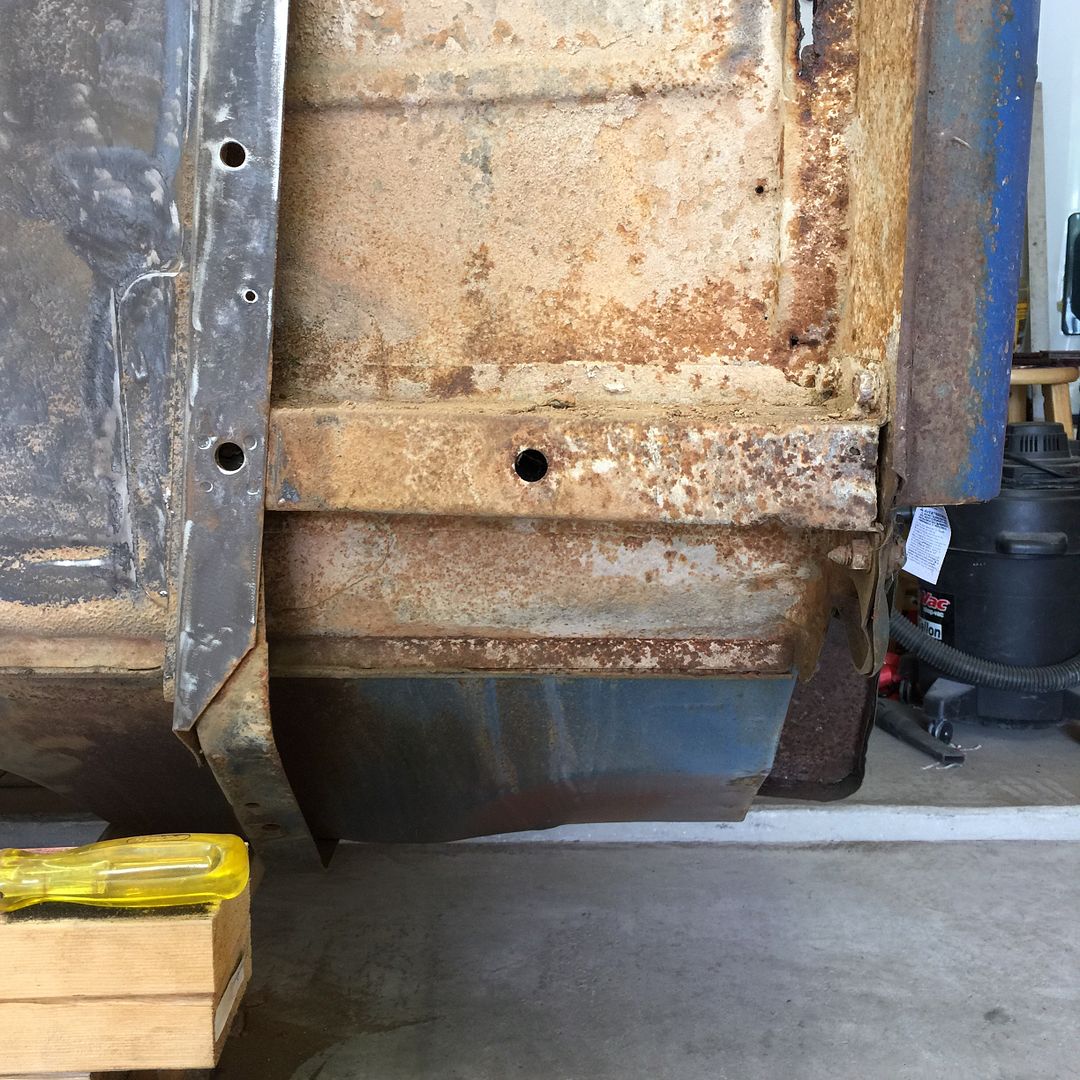 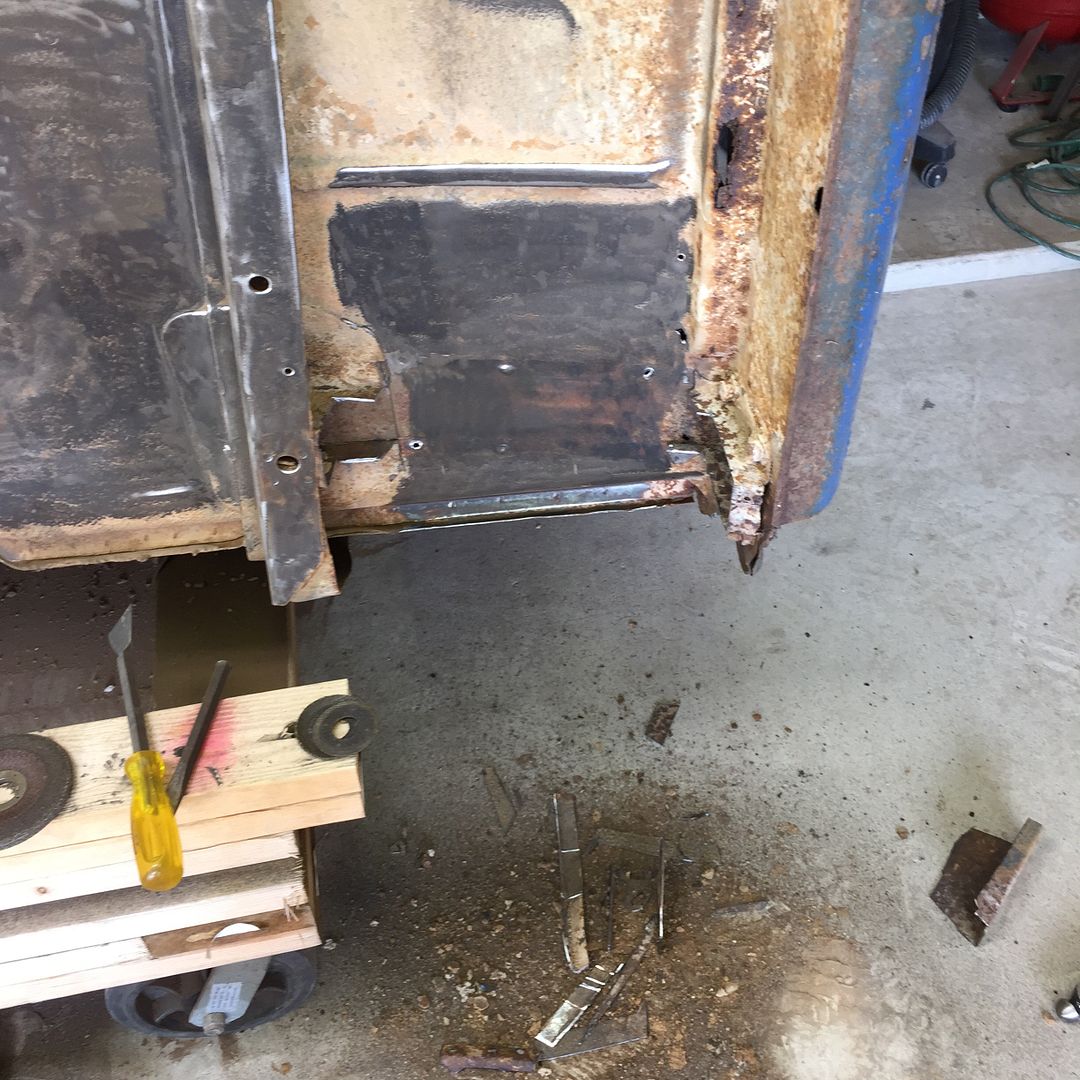 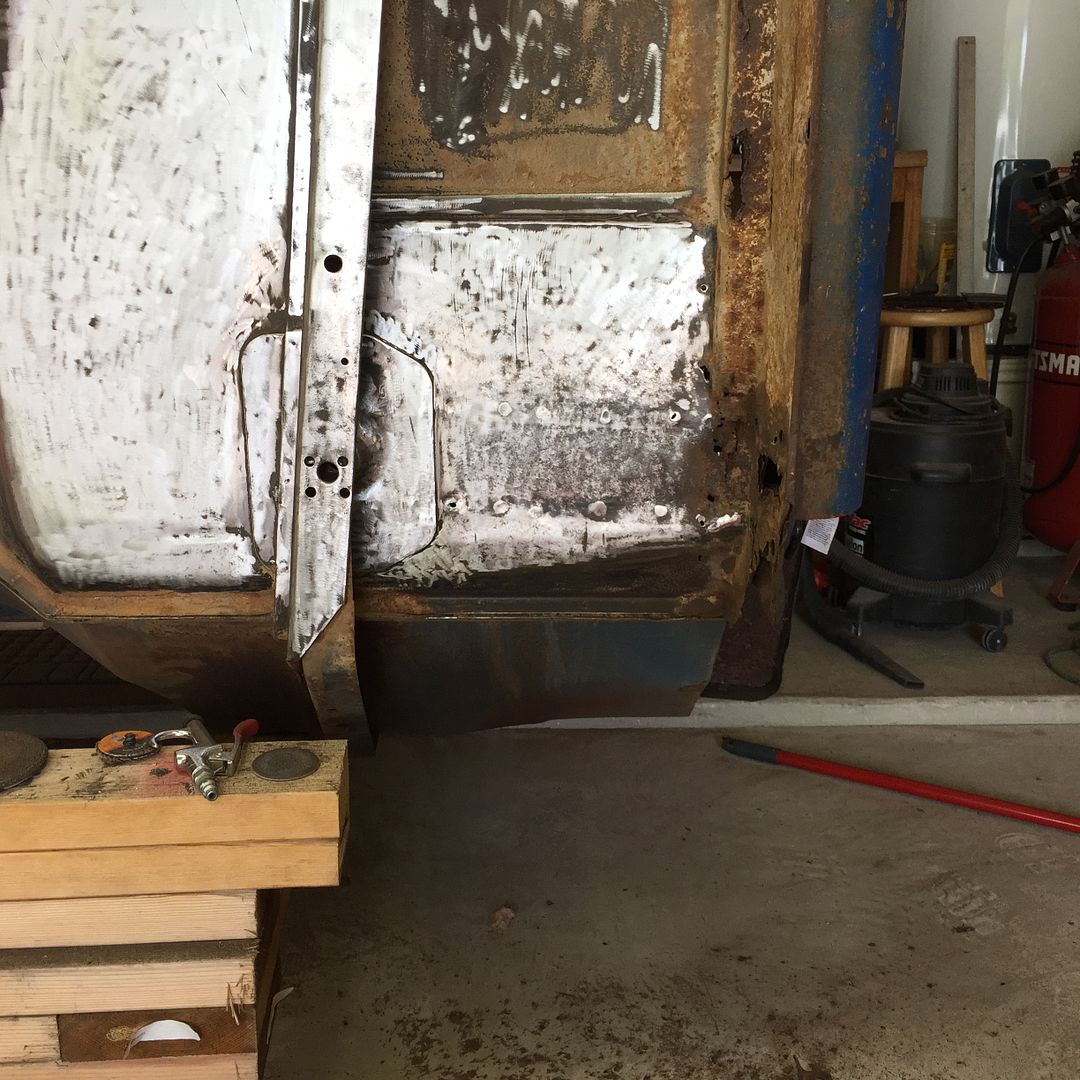 To give you an idea of how off the shape is on most of the patch panels.. Hammer and dolly, block of wood and my hands and knee and it finally got shaped in enough to stick in place. 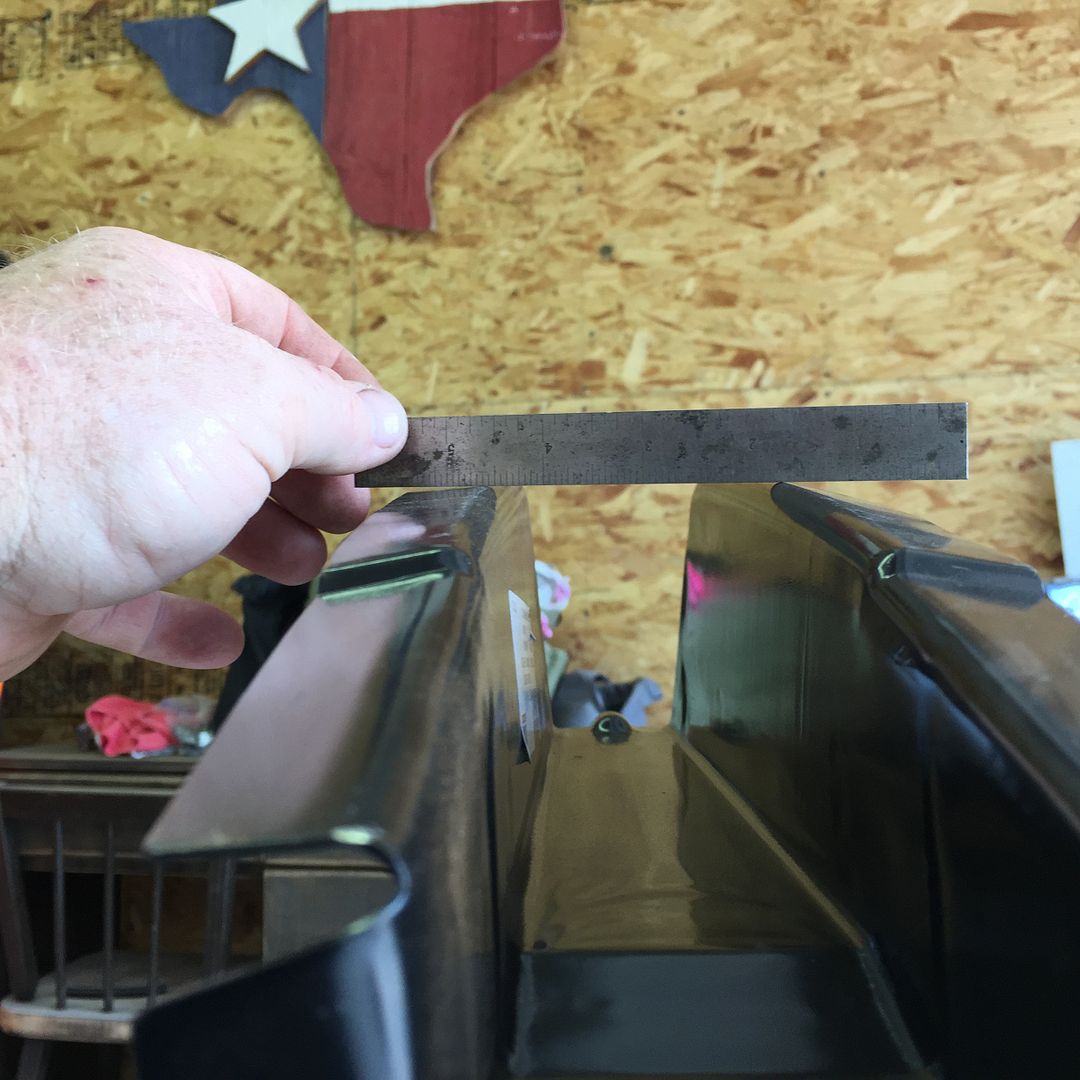 Once the floor panel gets replaced I'll weld out the remainder but I wanted to keep my distances close. 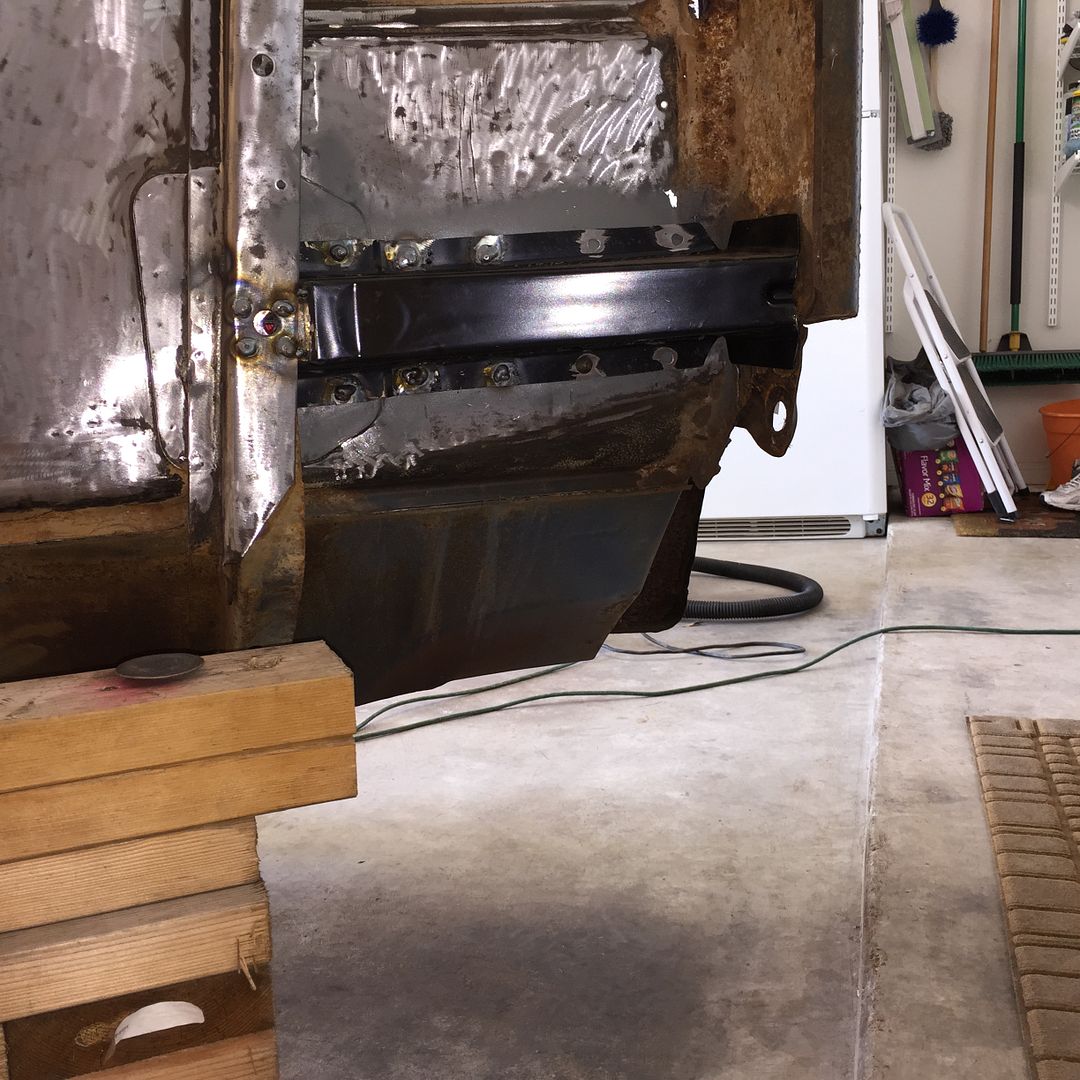 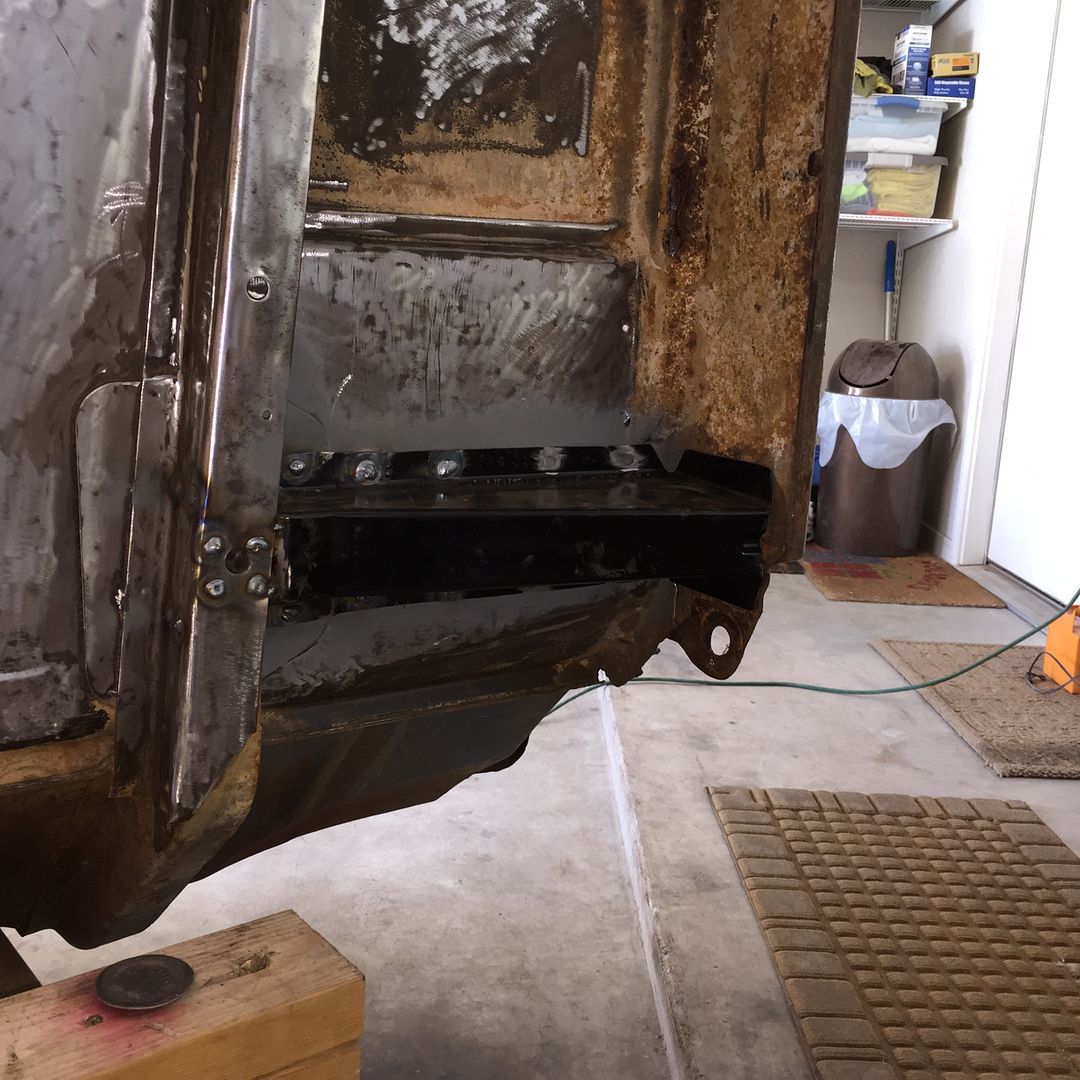 Spent Sunday cleaning up the garage so the wife can have her spot back this week. Hoping to finish the Right rear support this next weekend and start on the floor, A pillar, B pillar, Cab corner and Rocker panel. |
|
|

|
|
|
#11 |
|
Sofa King Crazy!!
Join Date: Oct 2008
Location: Houston, TX
Posts: 3,090
|
Re: Project: "ResuWrecktion" '71 Custom Deluxe C-10
Dude!! You are making all kinds of progress!! Couldn't think of a better way to burn some vacation days. It sounds like its about time to contact Travis on the PB stuff. Maybe he forgot.
 The cab supports look like a PITA, glad I never had to deal with replacing those. The cab supports look like a PITA, glad I never had to deal with replacing those.
__________________
You found the Tater.  My Blazer Build (New) - http://67-72chevytrucks.com/vboard/s...d.php?t=654650 My 67 Build - http://67-72chevytrucks.com/vboard/s...d.php?t=335650 67 Chevy LWB big window a/c AKA TOTALLED BY A JACKASS.  1972 2wd Blazer "Porterbuilt and Sloshed" 
|
|
|

|
|
|
#12 | |
|
Registered User
 Join Date: Oct 2012
Location: Burnet, Tx
Posts: 332
|
Re: Project: "ResuWrecktion" '71 Custom Deluxe C-10
Quote:
 Yes cab supports are a pain but I'm tackling them slowly but surely. 
|
|
|
|

|
|
|
#13 |
|
Registered User
 Join Date: Oct 2012
Location: Burnet, Tx
Posts: 332
|
Re: Project: "ResuWrecktion" '71 Custom Deluxe C-10
Time for an update, seems like for as much as I've put into the patch panel repairs the progress is slow.
 Installed the final, right rear cab support and began cutting out the right side rocker and other rusted metal. 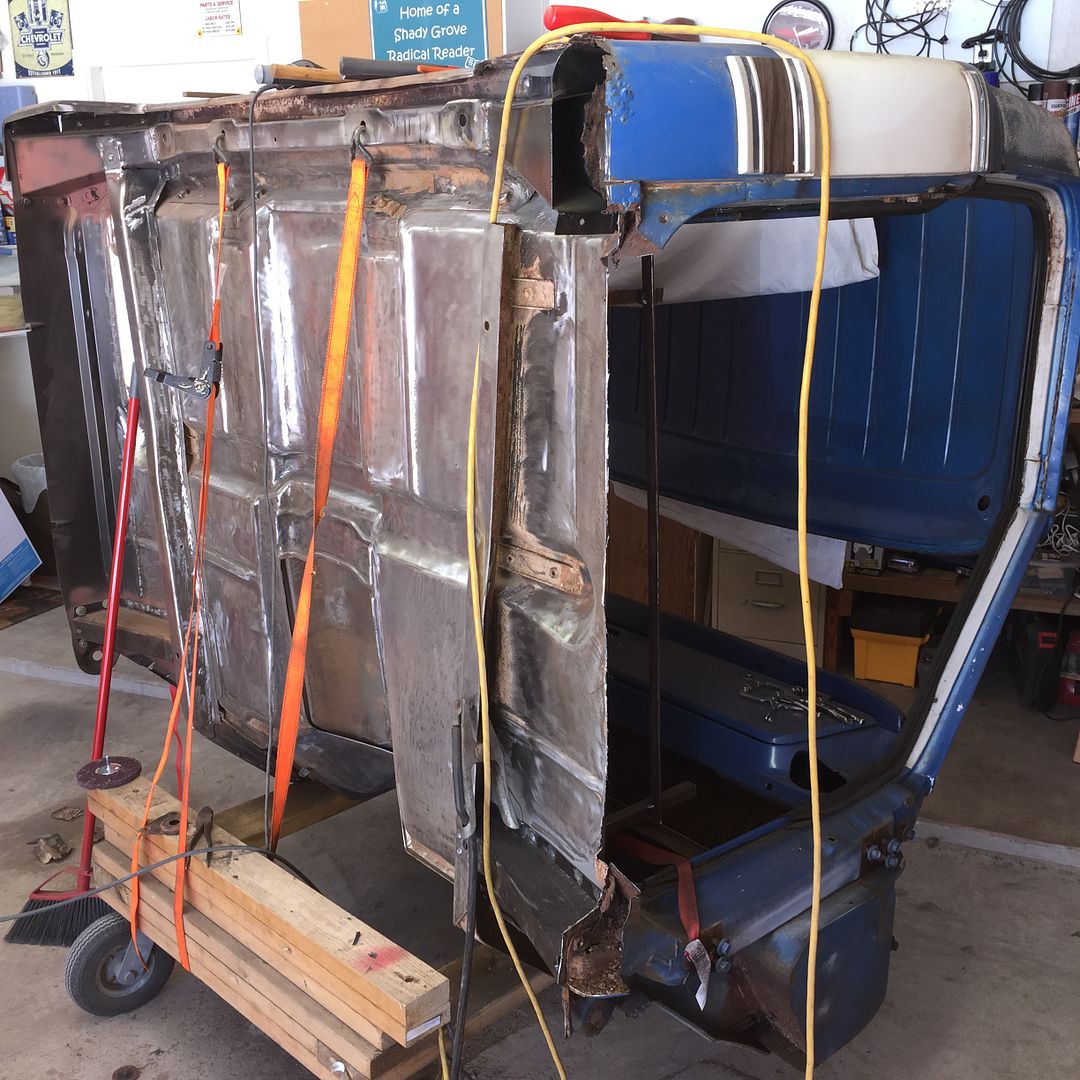 Piles of rust laying on the bottom of the A pillar after I cut the rocker panel out. 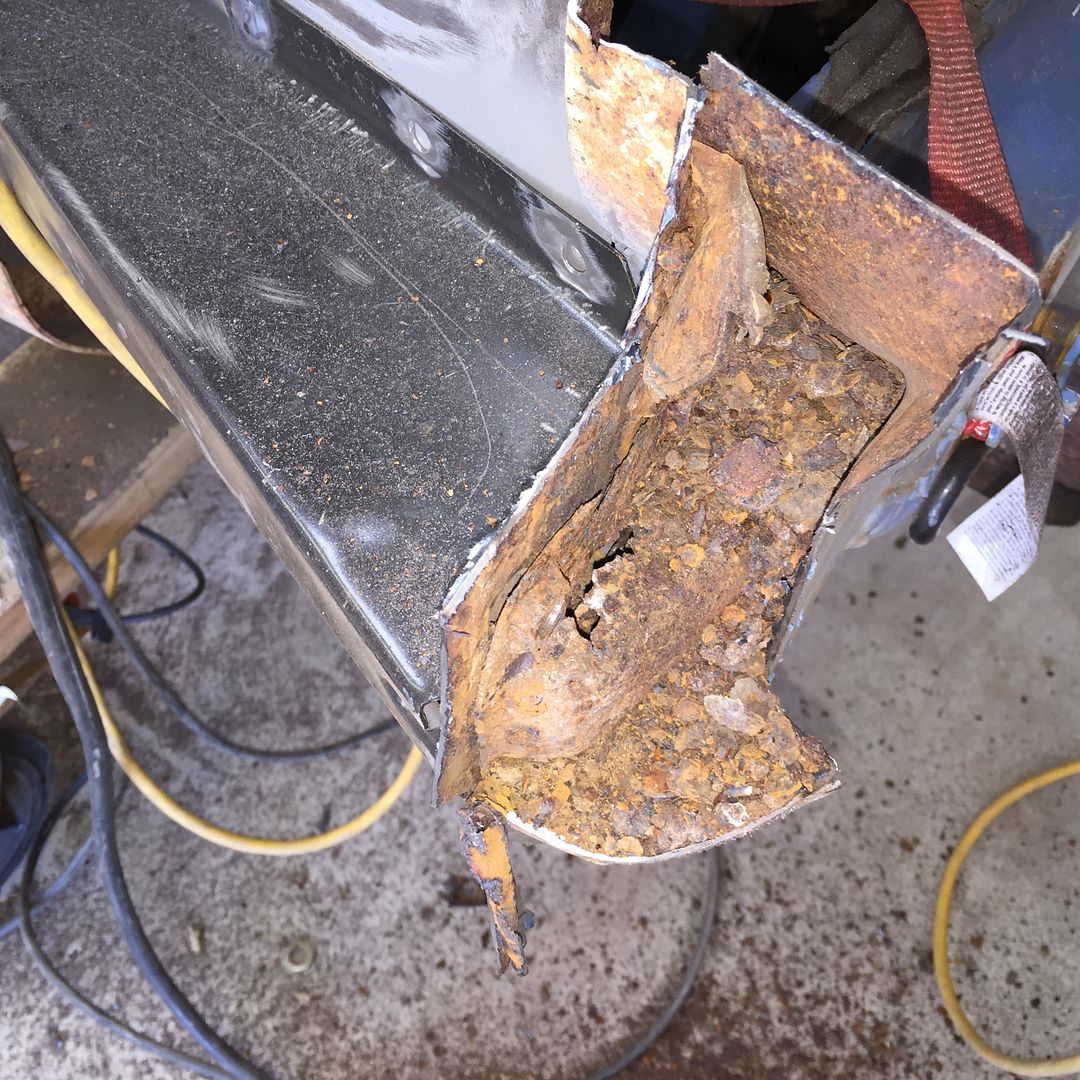 Not a lot left of the rear floor and cab corner.. 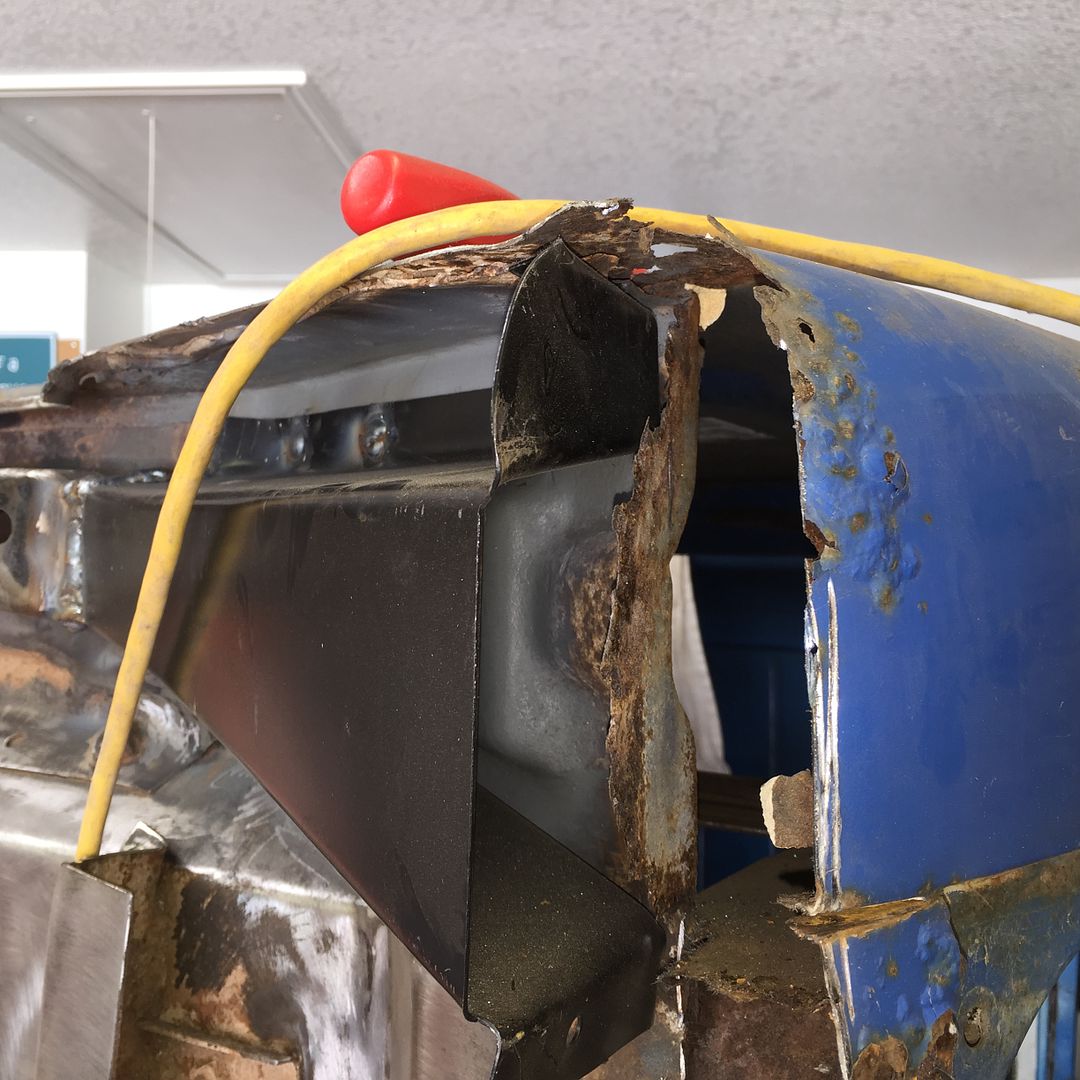 Old rocker and pieces of rusted metal, slowly trimming out the cancer. 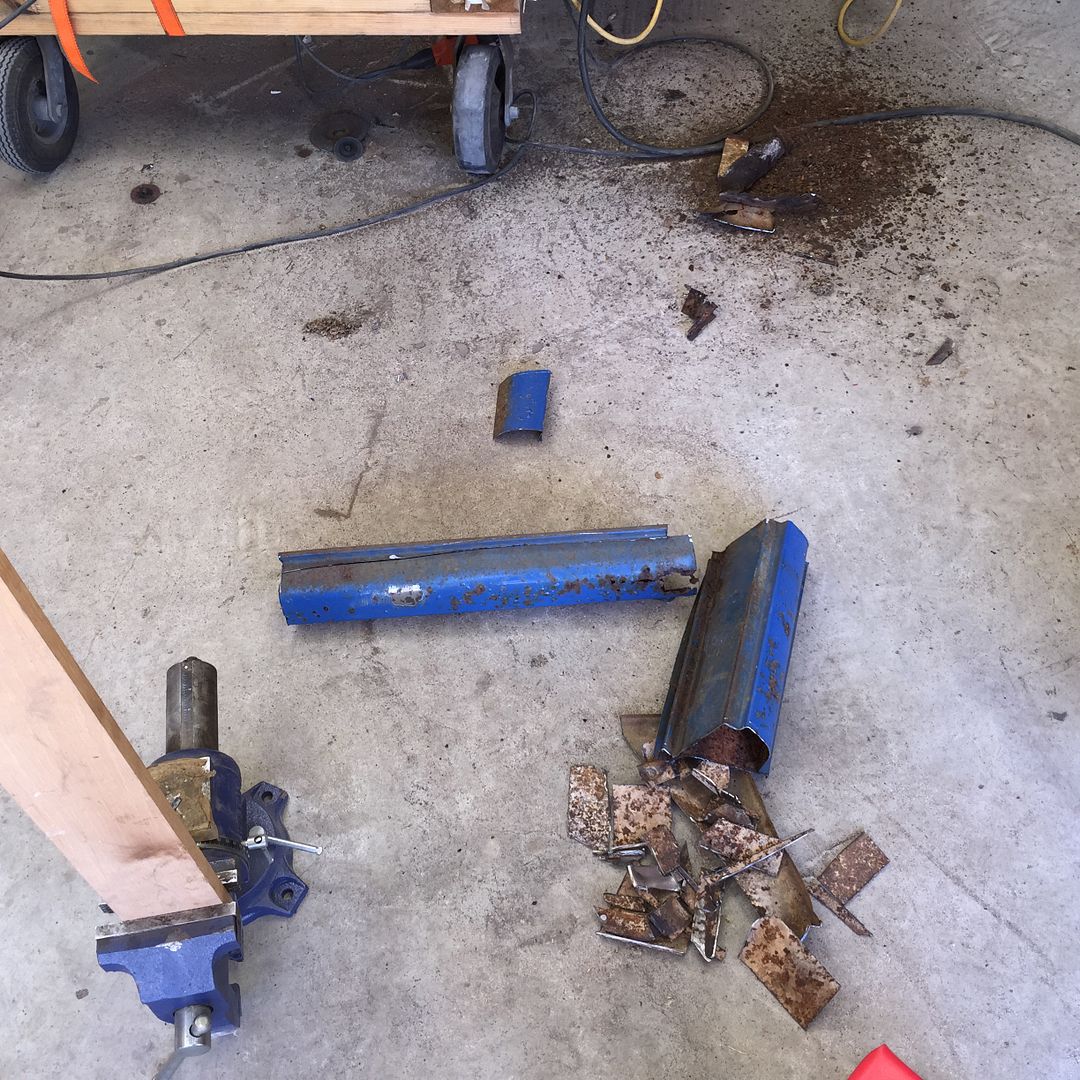 Ordered some front fender reinforcing tabs from GMC Pauls. Thanks to the guys here on the forum for recommending him. Quick shipping and good prices, these are hopefully the final patch pieces I will need for the cab. 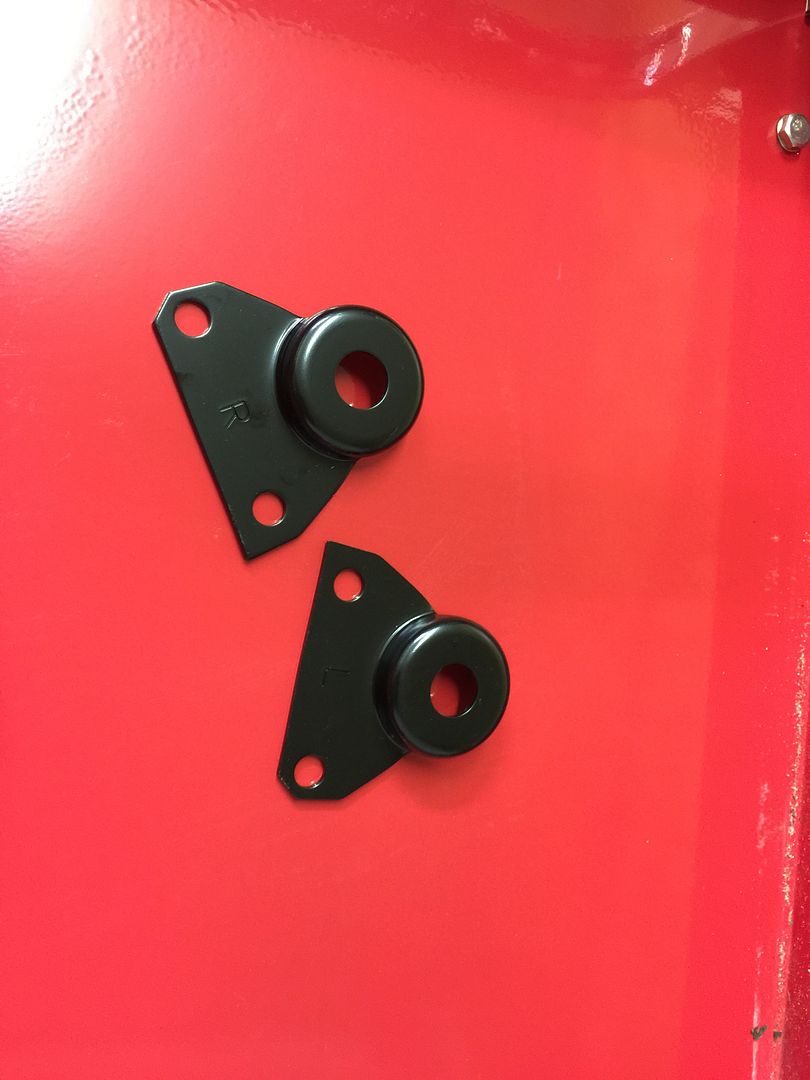 Slowly cutting out the rocker and exposing the lower A pillar, pretty rough shape. Already have the patch panel for it though. 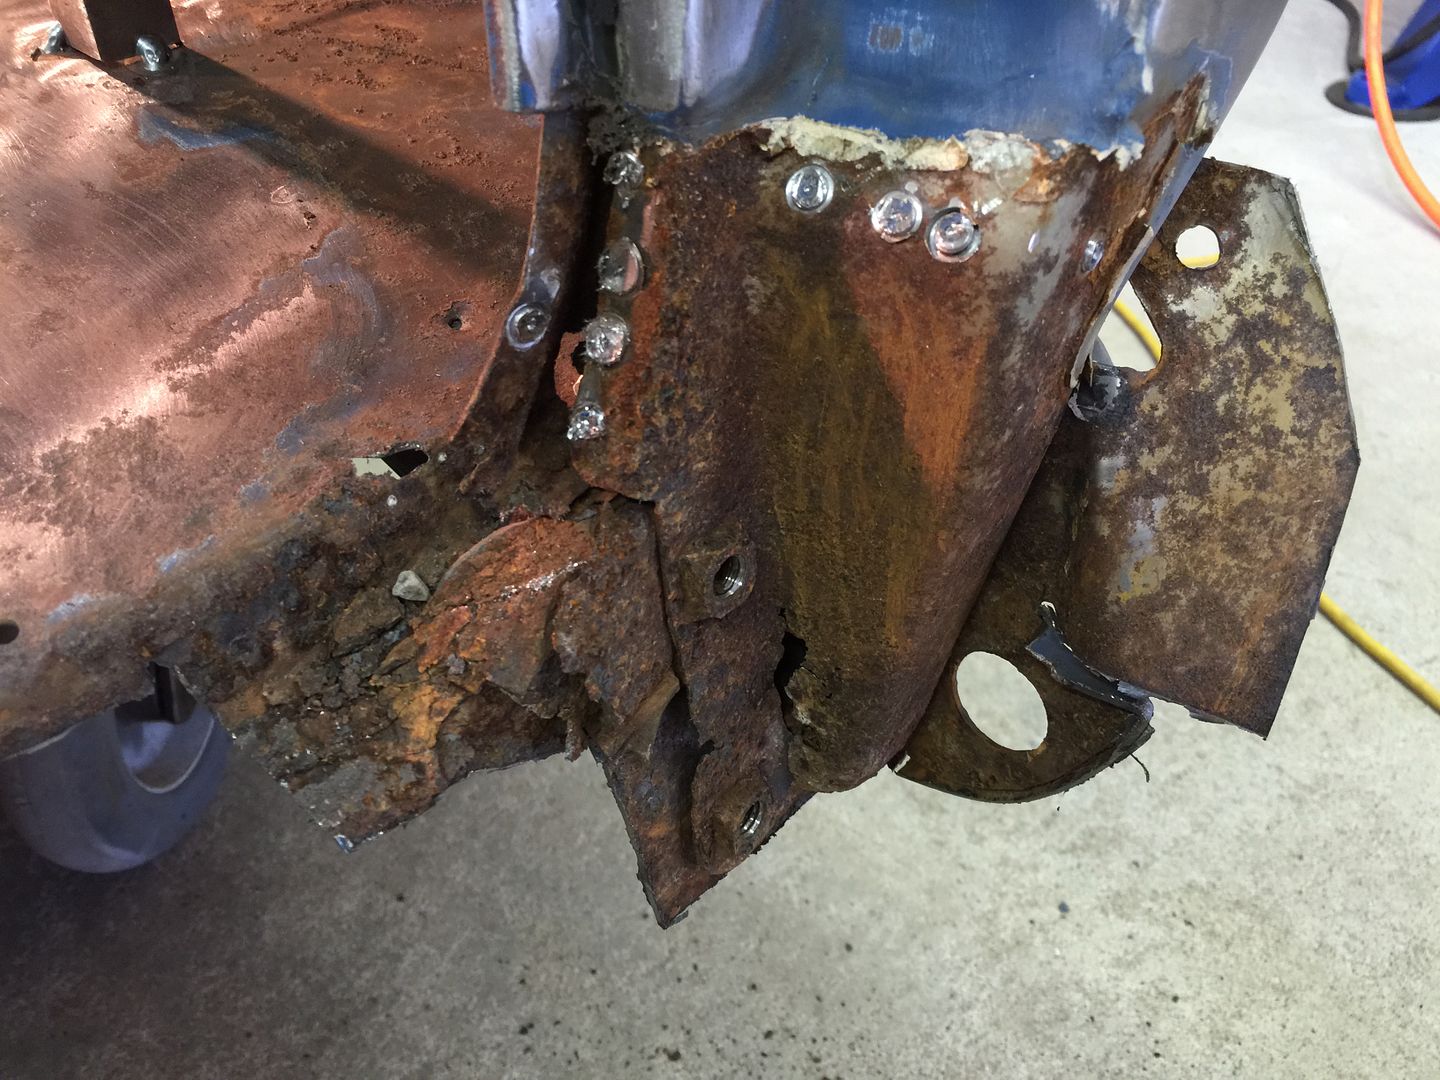 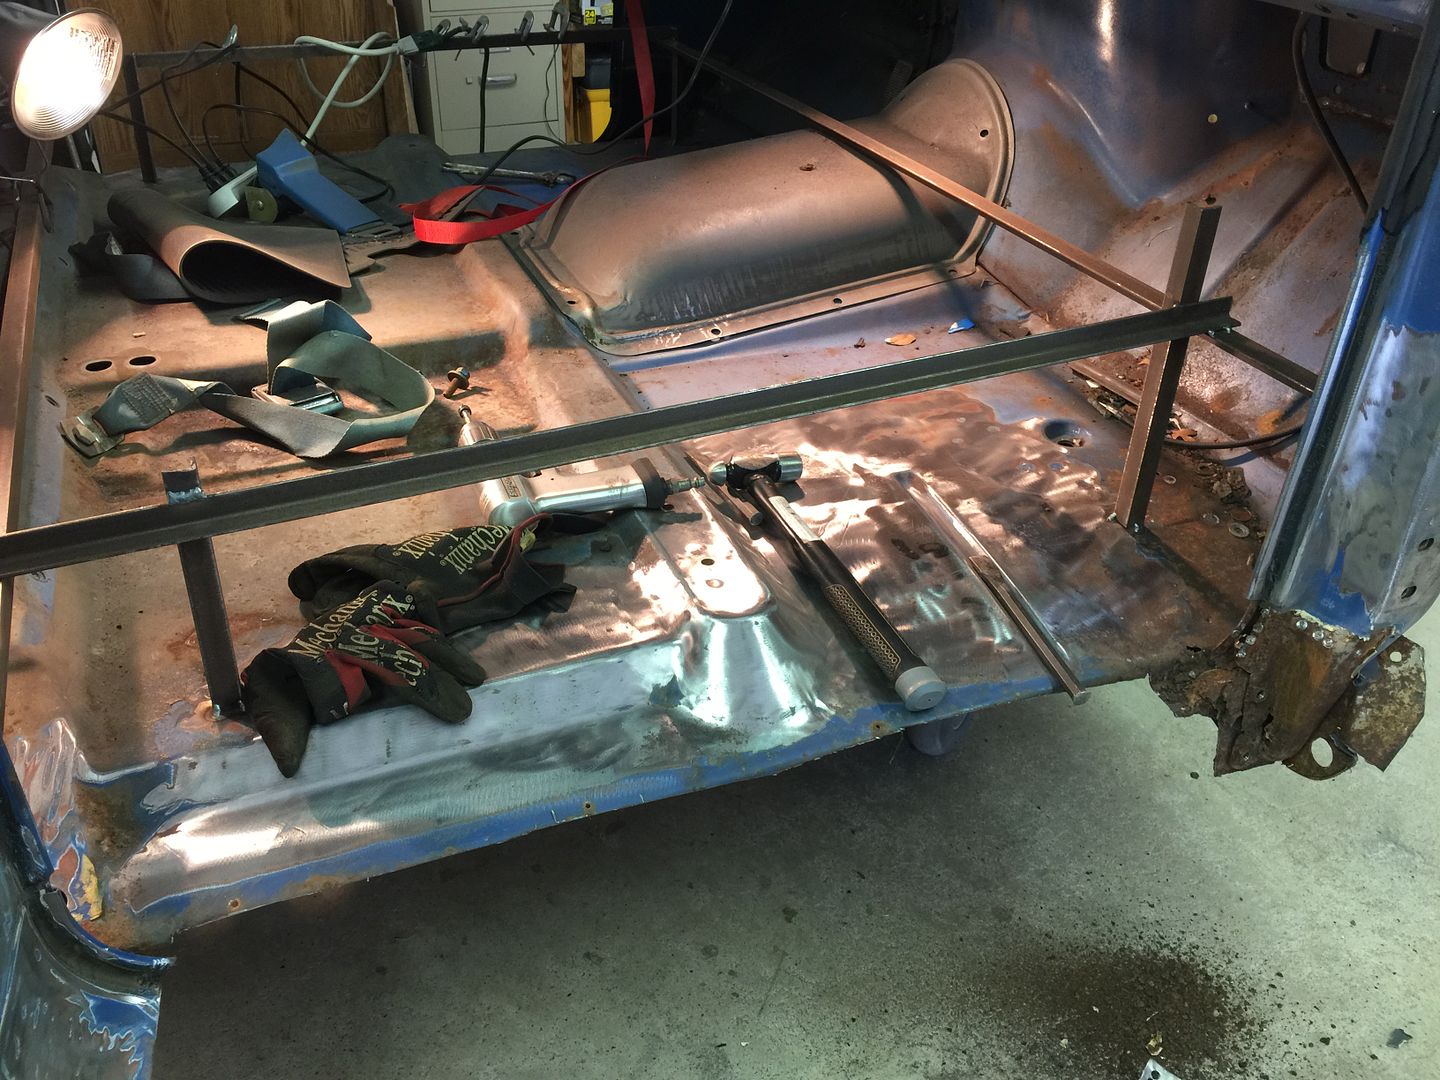 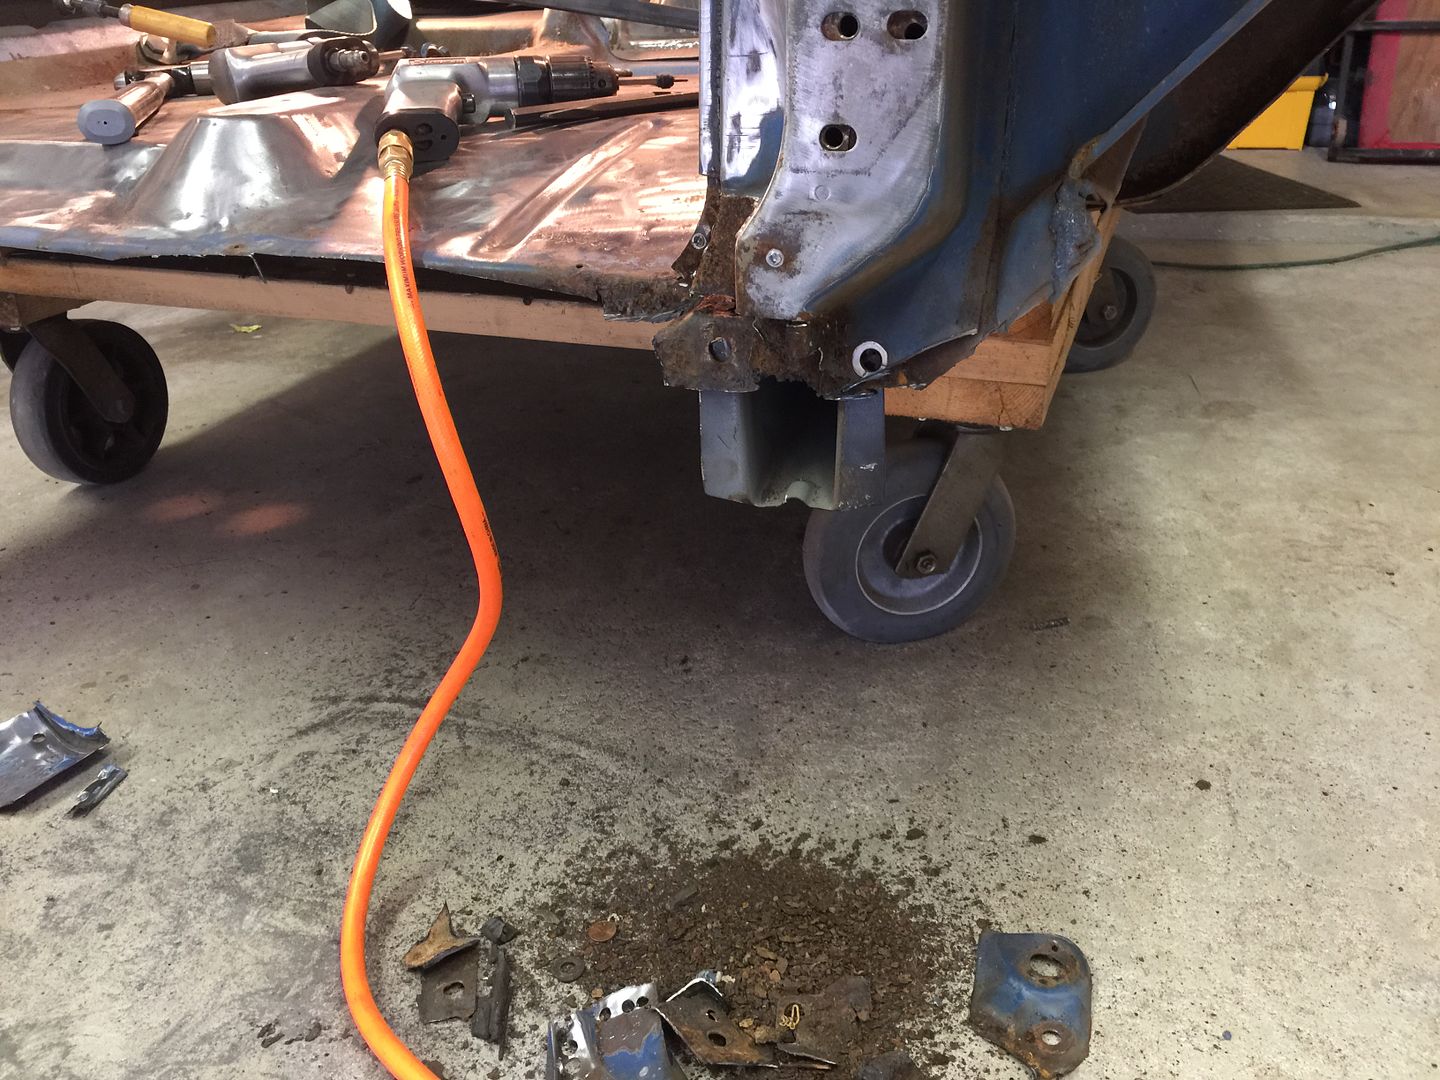 The bottom of the B pillar is gone, have a new patch on hand also. 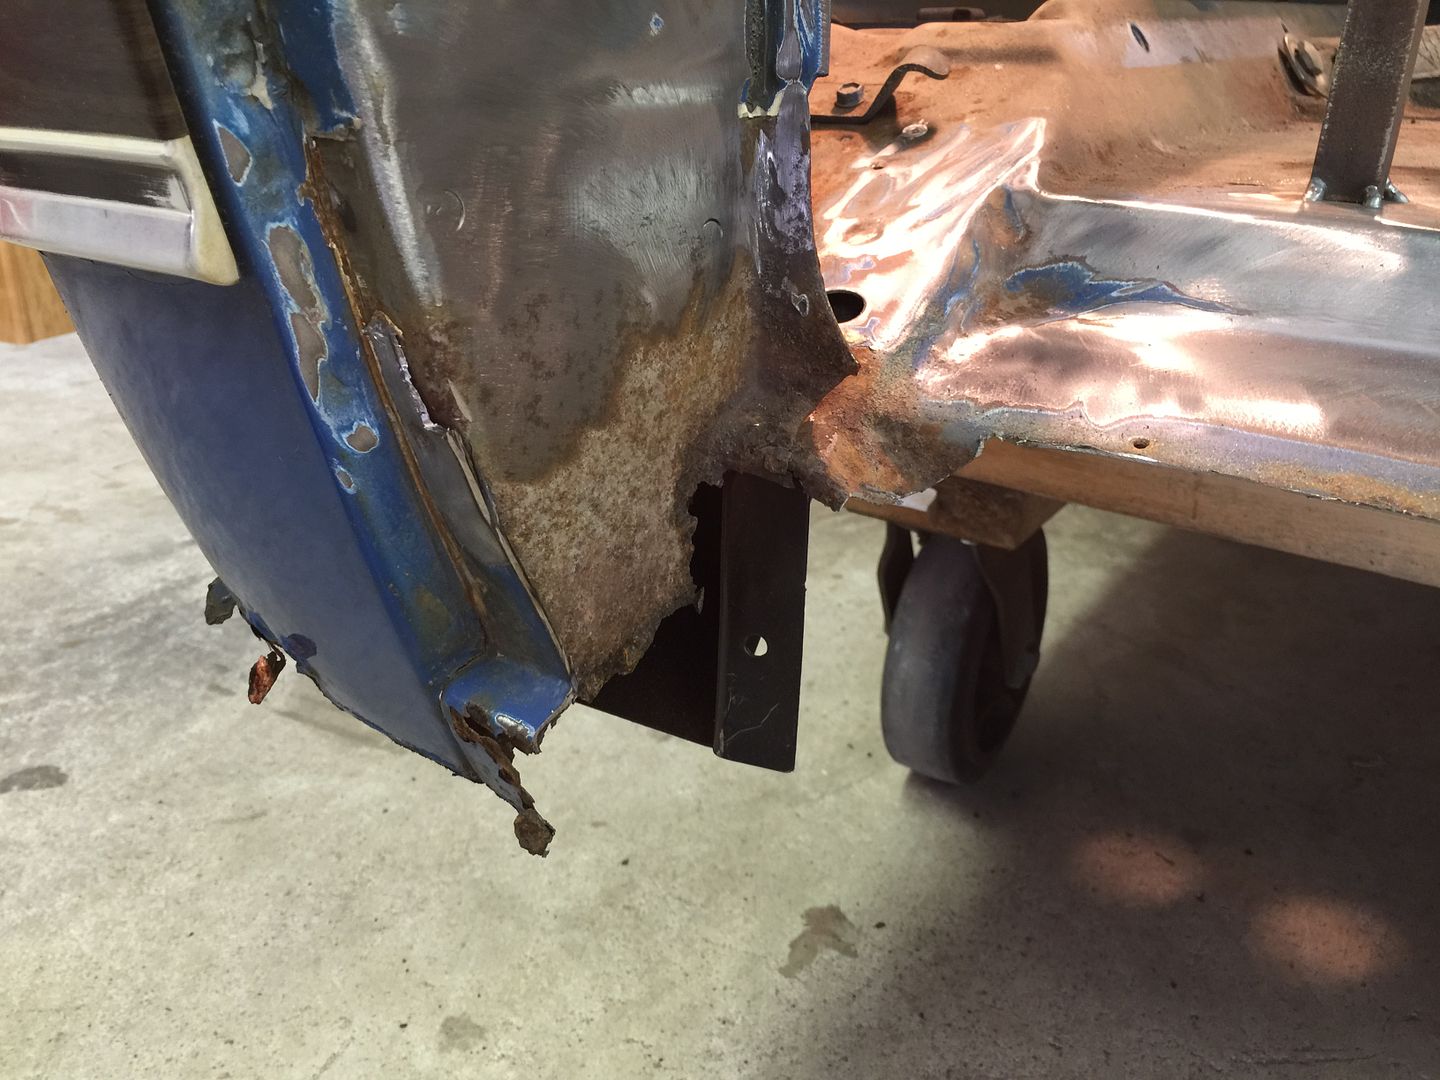 Kick panel wasted. 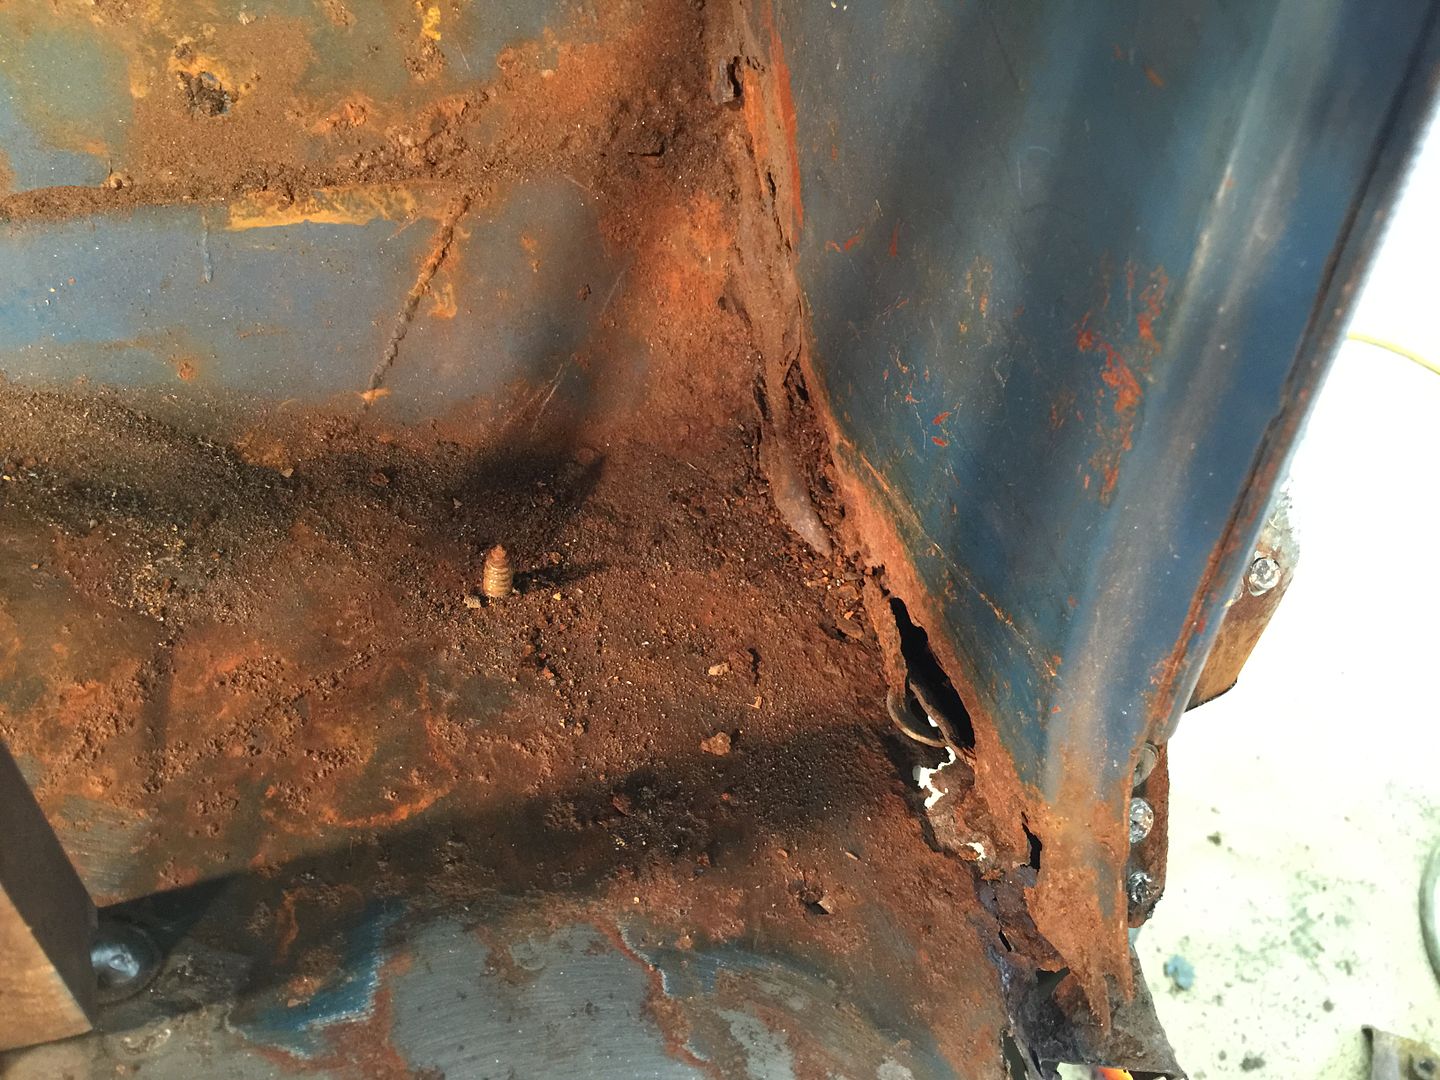 Finally got the outer floor patch panel in and almost completely welded, still have a bunch of grinding to do but it's getting there. 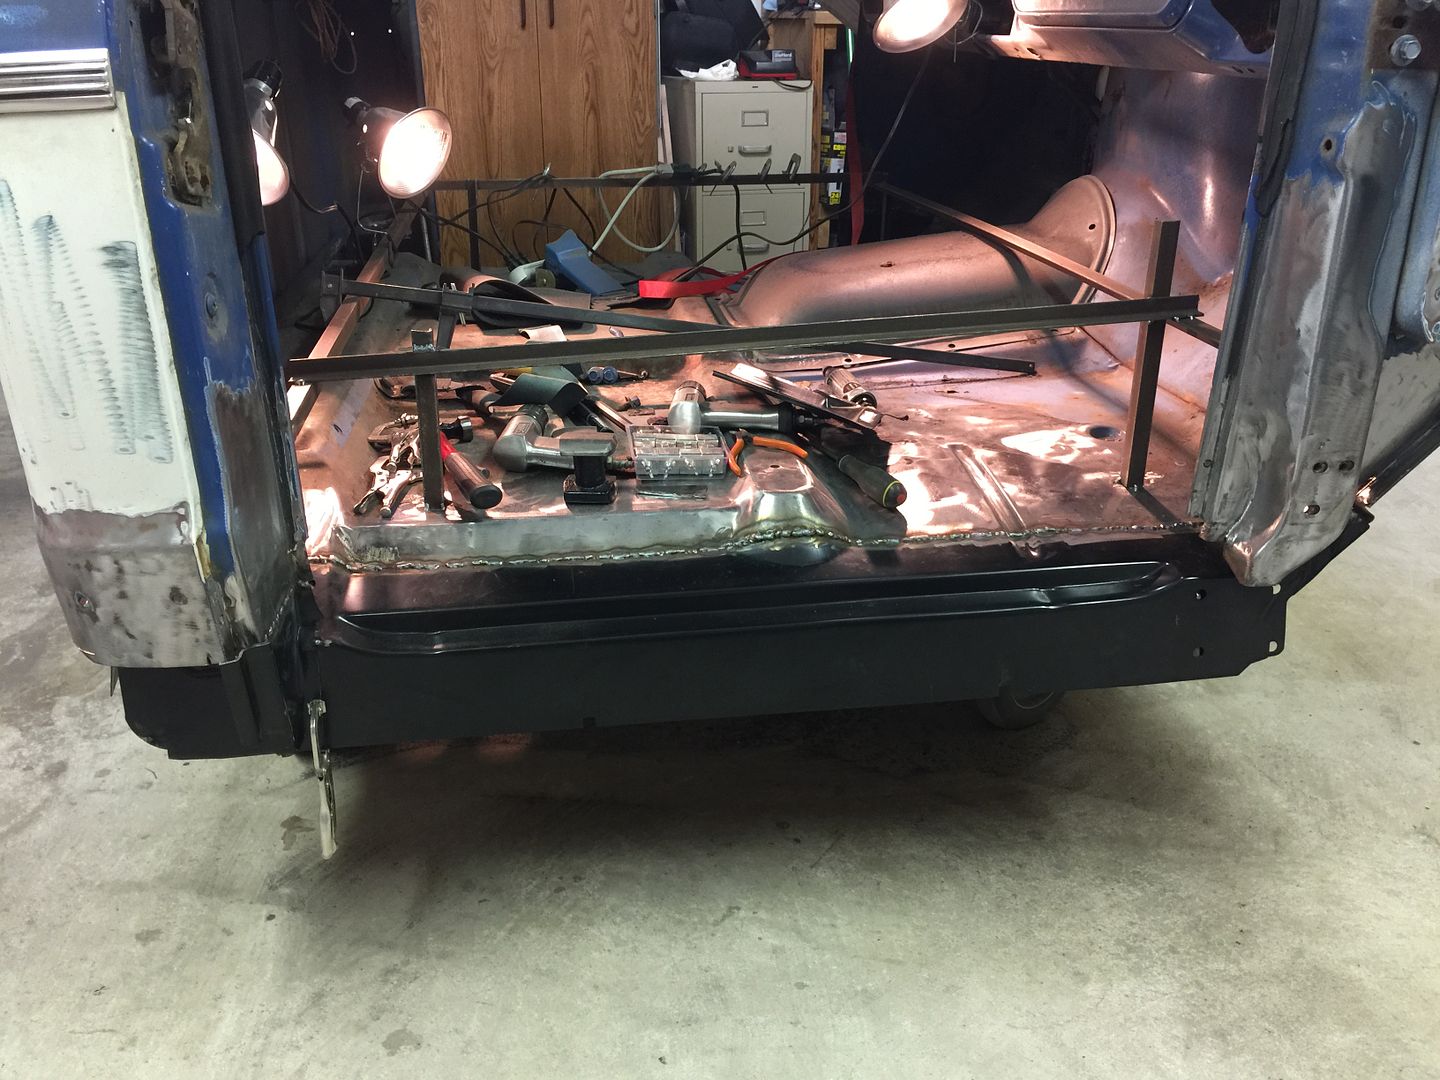 Tacked the lower B pillar patch in place, I went ahead and sliced it before I tacked it in because I knew it would need some tweaking. So I have more tacking and grinding to do still but that's the way it goes.  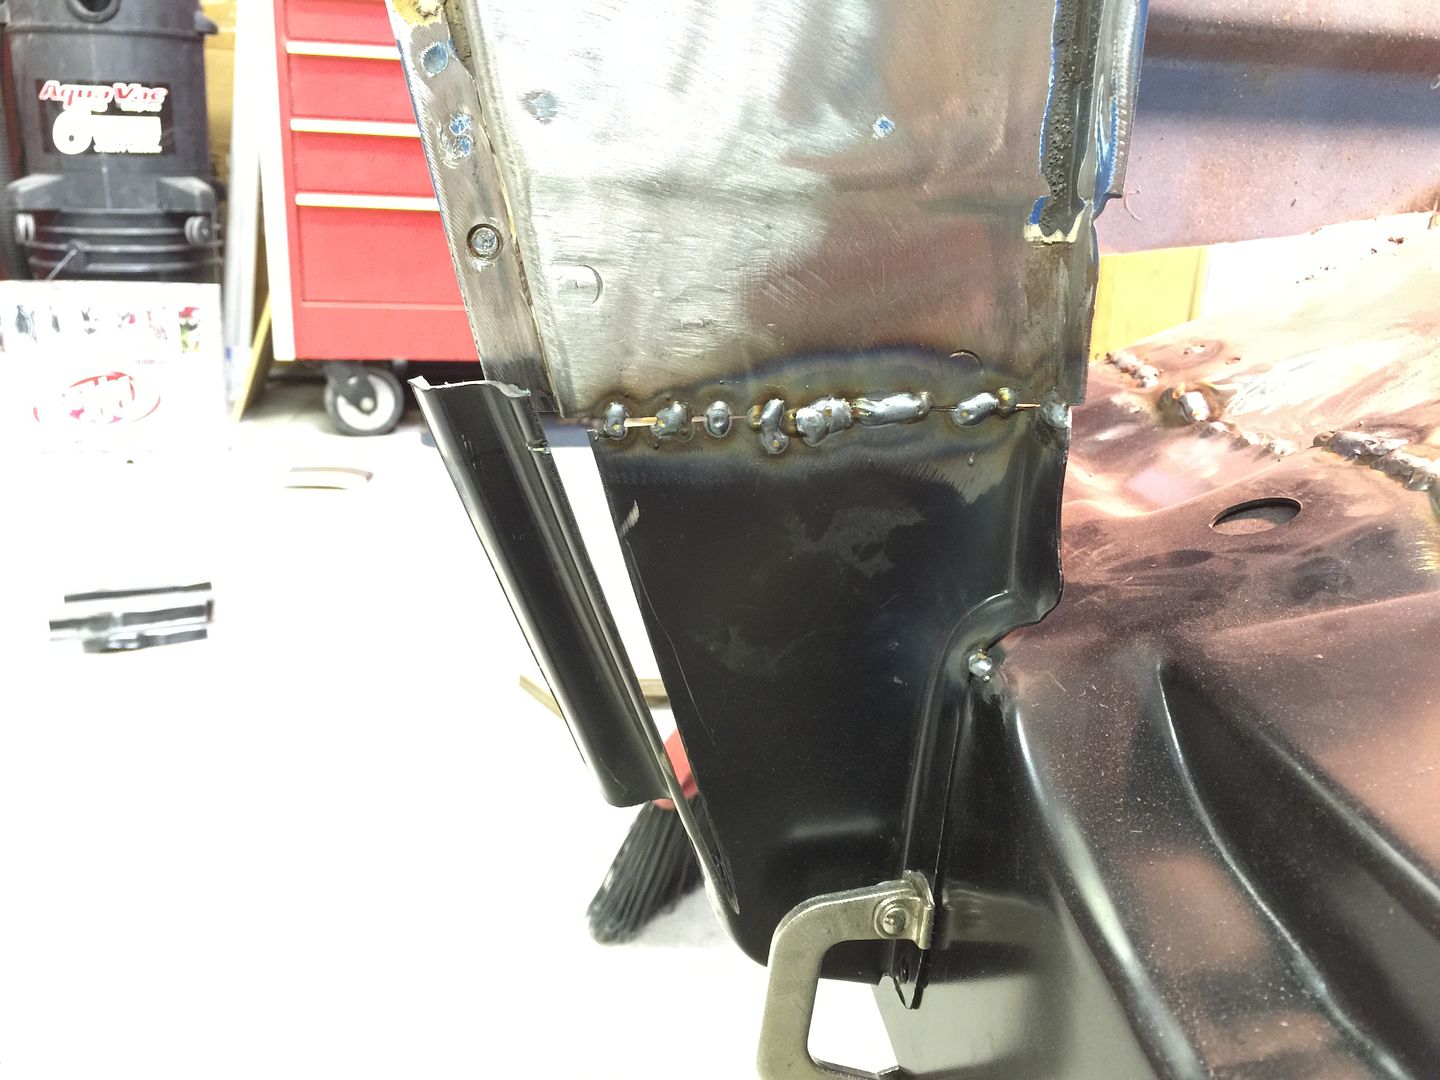
|
|
|

|
|
|
#14 |
|
Registered User
 Join Date: Oct 2012
Location: Burnet, Tx
Posts: 332
|
Re: Project: "ResuWrecktion" '71 Custom Deluxe C-10
|
|
|

|
|
|
#15 |
|
Registered User
 Join Date: Oct 2012
Location: Burnet, Tx
Posts: 332
|
Re: Project: "ResuWrecktion" '71 Custom Deluxe C-10
Finally after a 17 week late my Porterbuilt suspension has started to roll in. Full extreme kit front and rear with the 24x15 rear. First box arrived today and I got to tell ya I was as happy as a kid at Christmas. I have been patiently waiting and even though I am no where near being ready for the suspension I am stoked to have it coming in.
 If you want the best, you will wait for it. I didn't mind waiting! Huge thanks to Travis at AZ Pro Performance for all of his help in getting me setup with the goods. 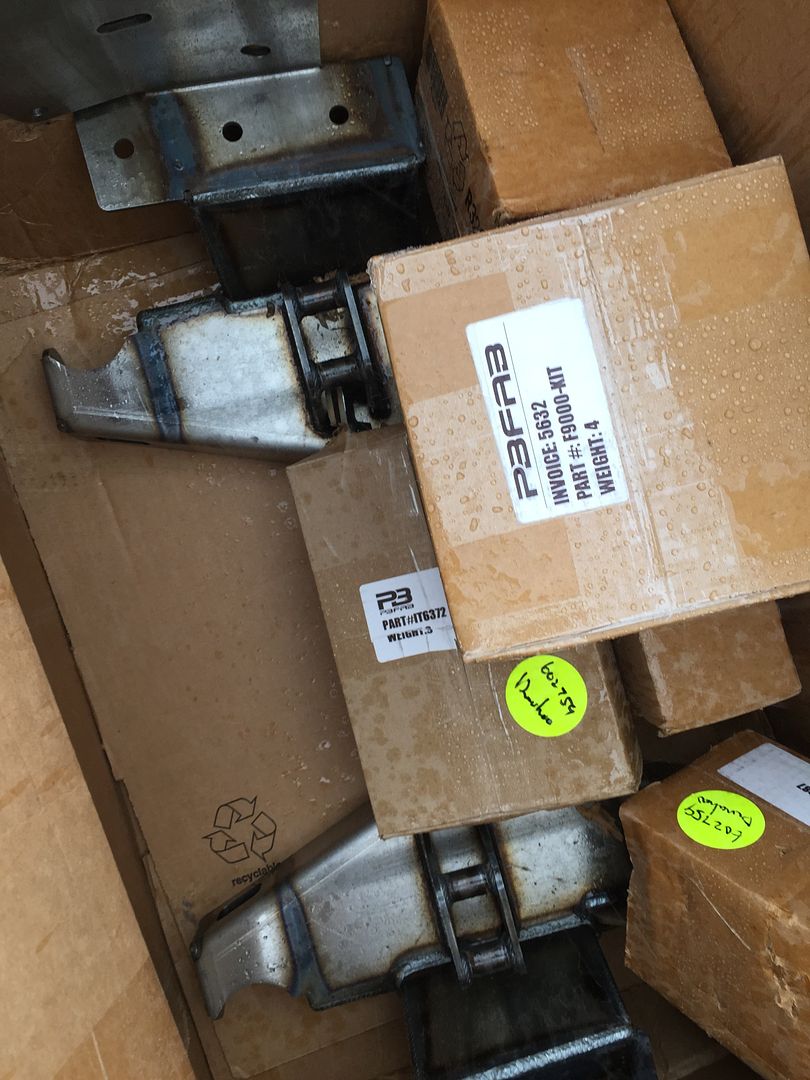 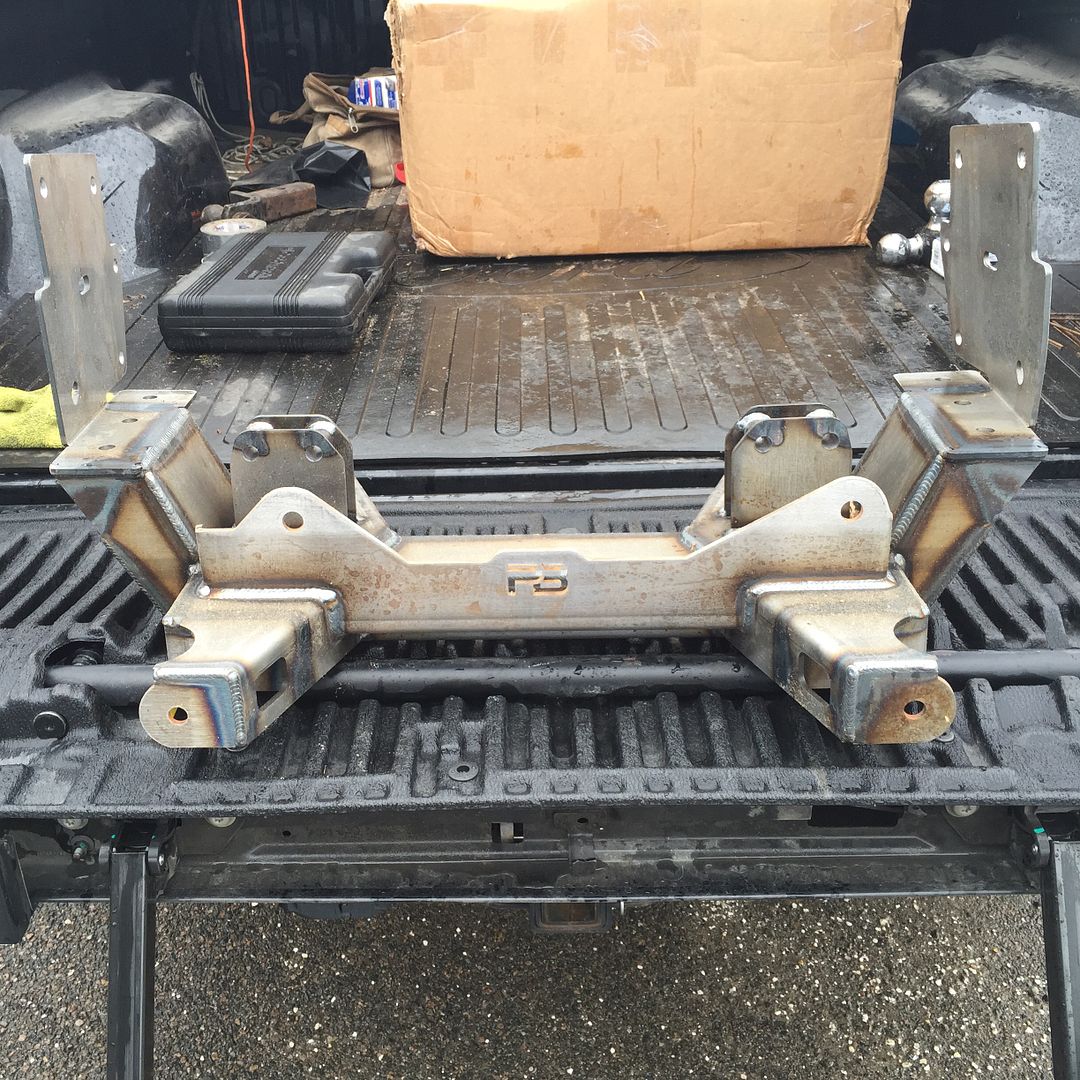
|
|
|

|
|
|
#16 |
|
Registered User
Join Date: Sep 2009
Location: ottawa,canada
Posts: 4,550
|
Re: Project: "ResuWrecktion" '71 Custom Deluxe C-10
congrats.. it's nice stuff.
__________________
my build threads '86 C10 http://67-72chevytrucks.com/vboard/s...d.php?t=415628 '67 C10 http://67-72chevytrucks.com/vboard/s...d.php?t=635078 '63 GMC http://67-72chevytrucks.com/vboard/s...d.php?t=674682 |
|
|

|
|
|
#17 |
|
Registered User
 Join Date: Oct 2012
Location: Burnet, Tx
Posts: 332
|
Re: Project: "ResuWrecktion" '71 Custom Deluxe C-10
Thanks, yeah it is some quality stuff for sure.
|
|
|

|
|
|
#18 |
|
Registered User
Join Date: Mar 2015
Location: Washington State
Posts: 1,651
|
Re: Project: "ResuWrecktion" '71 Custom Deluxe C-10
can i ask where you got the gas tank hole filler plate along with the stake holes.
Great start!! |
|
|

|
|
|
#19 | |
|
Registered User
 Join Date: Oct 2012
Location: Burnet, Tx
Posts: 332
|
Re: Project: "ResuWrecktion" '71 Custom Deluxe C-10
Quote:
|
|
|
|

|
|
|
#20 |
|
Registered User
Join Date: Aug 2012
Location: Topeka Kansas
Posts: 2,655
|
Re: Project: "ResuWrecktion" '71 Custom Deluxe C-10
I wish someone would have referred you to Tabco for patch panels, I always cringe when I see someone stuck with the foreign made patch panels going through hell trying to make them fit.
I wish there was a sticky at the top of projects and builds that would let people know that Tabco makes the best fitting patch panels so people can get the right parts the first time. |
|
|

|
|
|
#21 | |
|
Registered User
 Join Date: Oct 2012
Location: Burnet, Tx
Posts: 332
|
Re: Project: "ResuWrecktion" '71 Custom Deluxe C-10
Quote:
These Taiwan panels will definitely test your patience.  It has definitely been a "live and learn" process! |
|
|
|

|
|
|
#22 |
|
Registered User
 Join Date: Oct 2012
Location: Burnet, Tx
Posts: 332
|
Re: Project: "ResuWrecktion" '71 Custom Deluxe C-10
Well it's time for an update.
After being away from home for a month for training and vacation it's been hard to get out in the garage in the heat after working in it all week. But I finally got out there this weekend and got going on the passenger side cab corner.  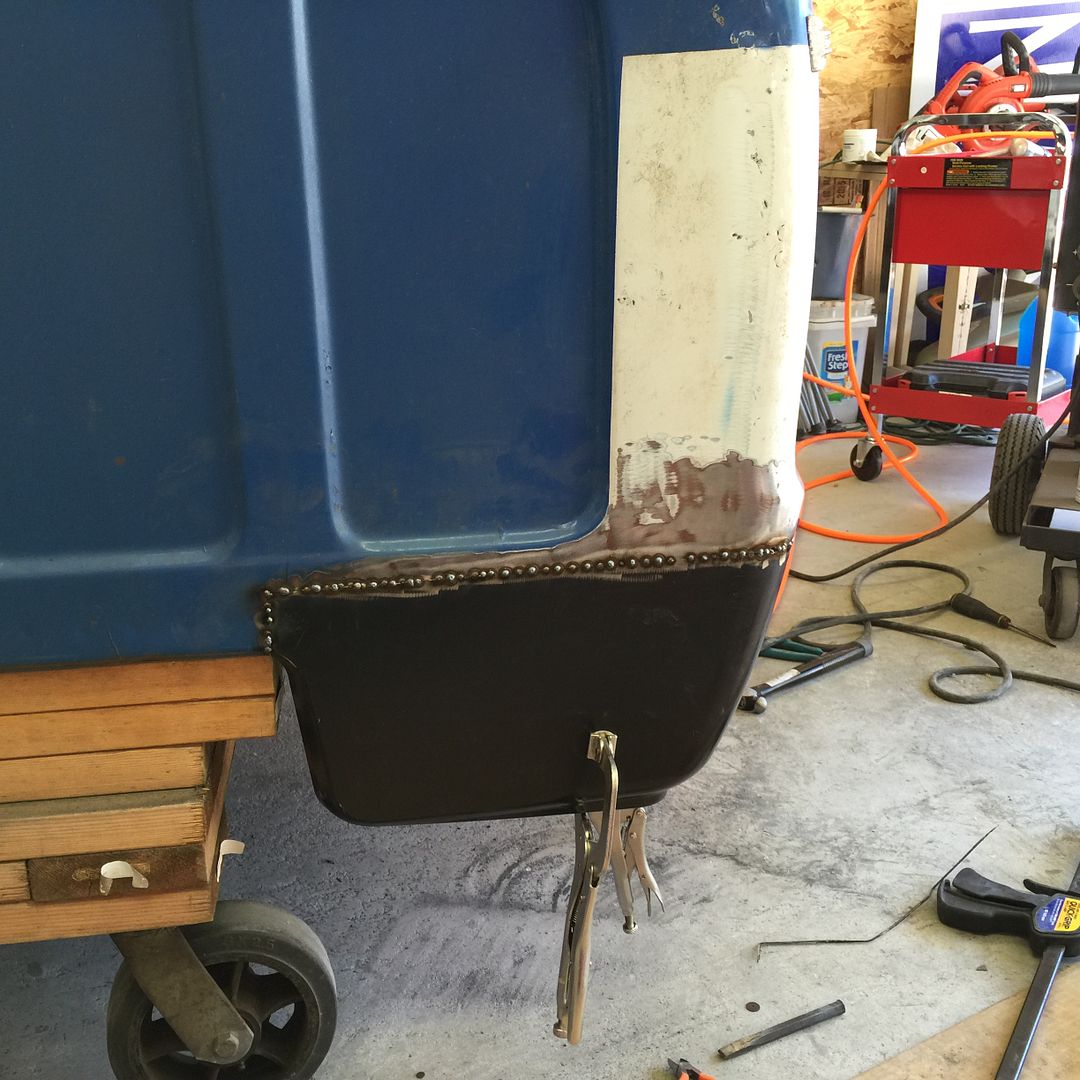 It's hard to stay focused on the cab metal work when I have all this Porterbuilt stuff laying around.  Inner frame structure 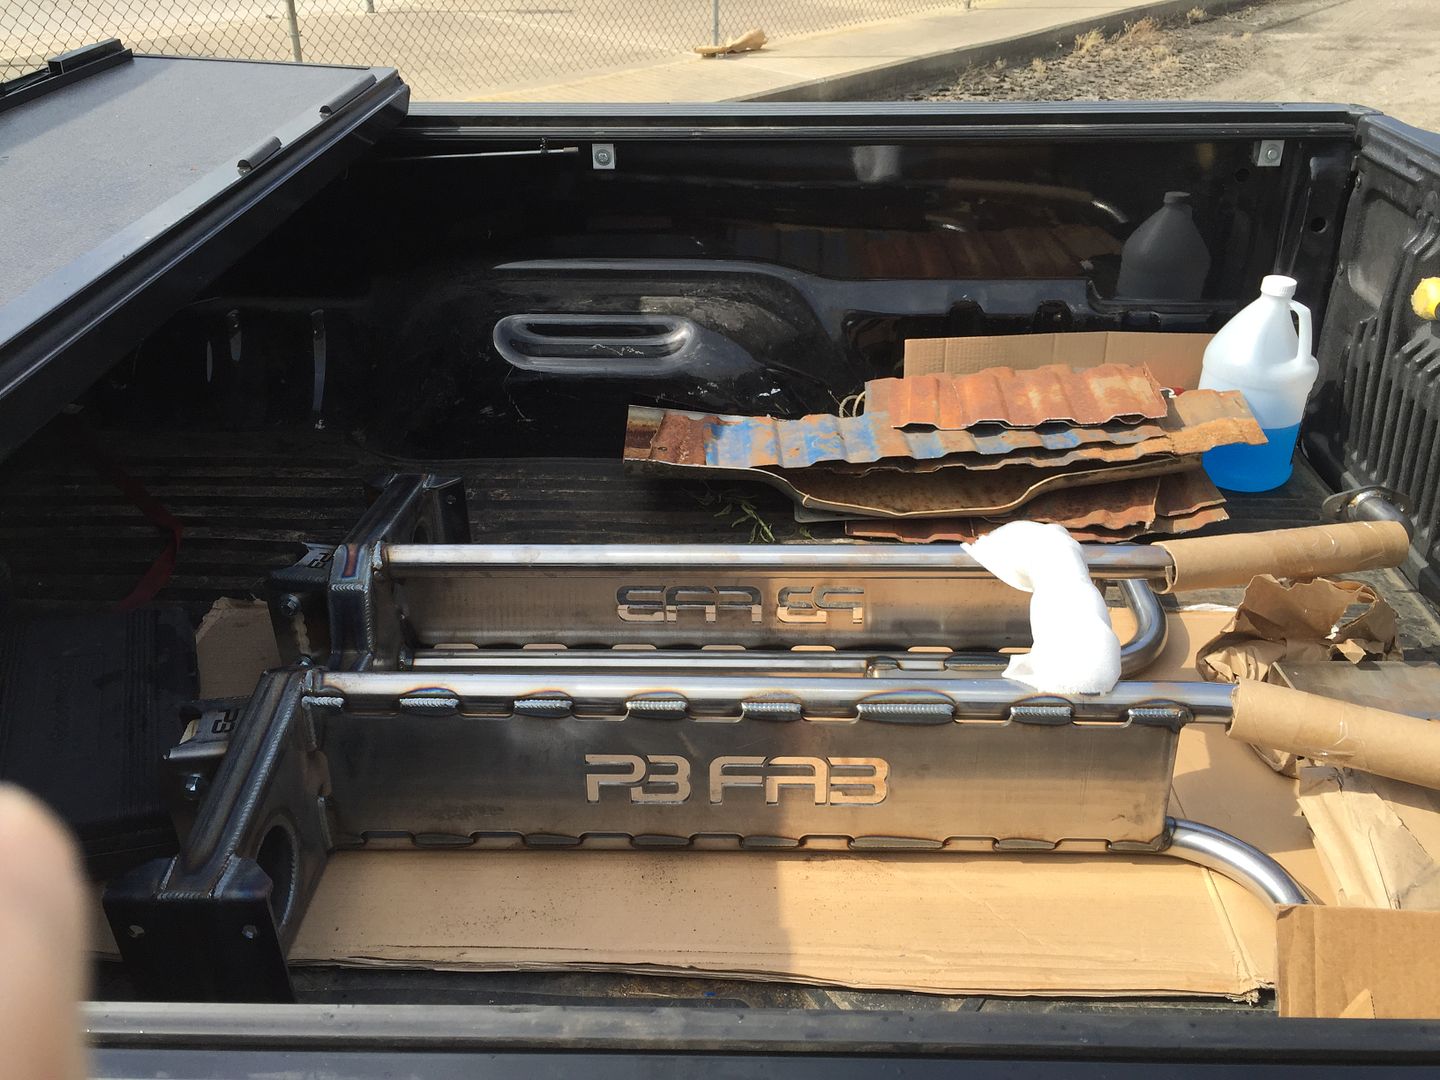 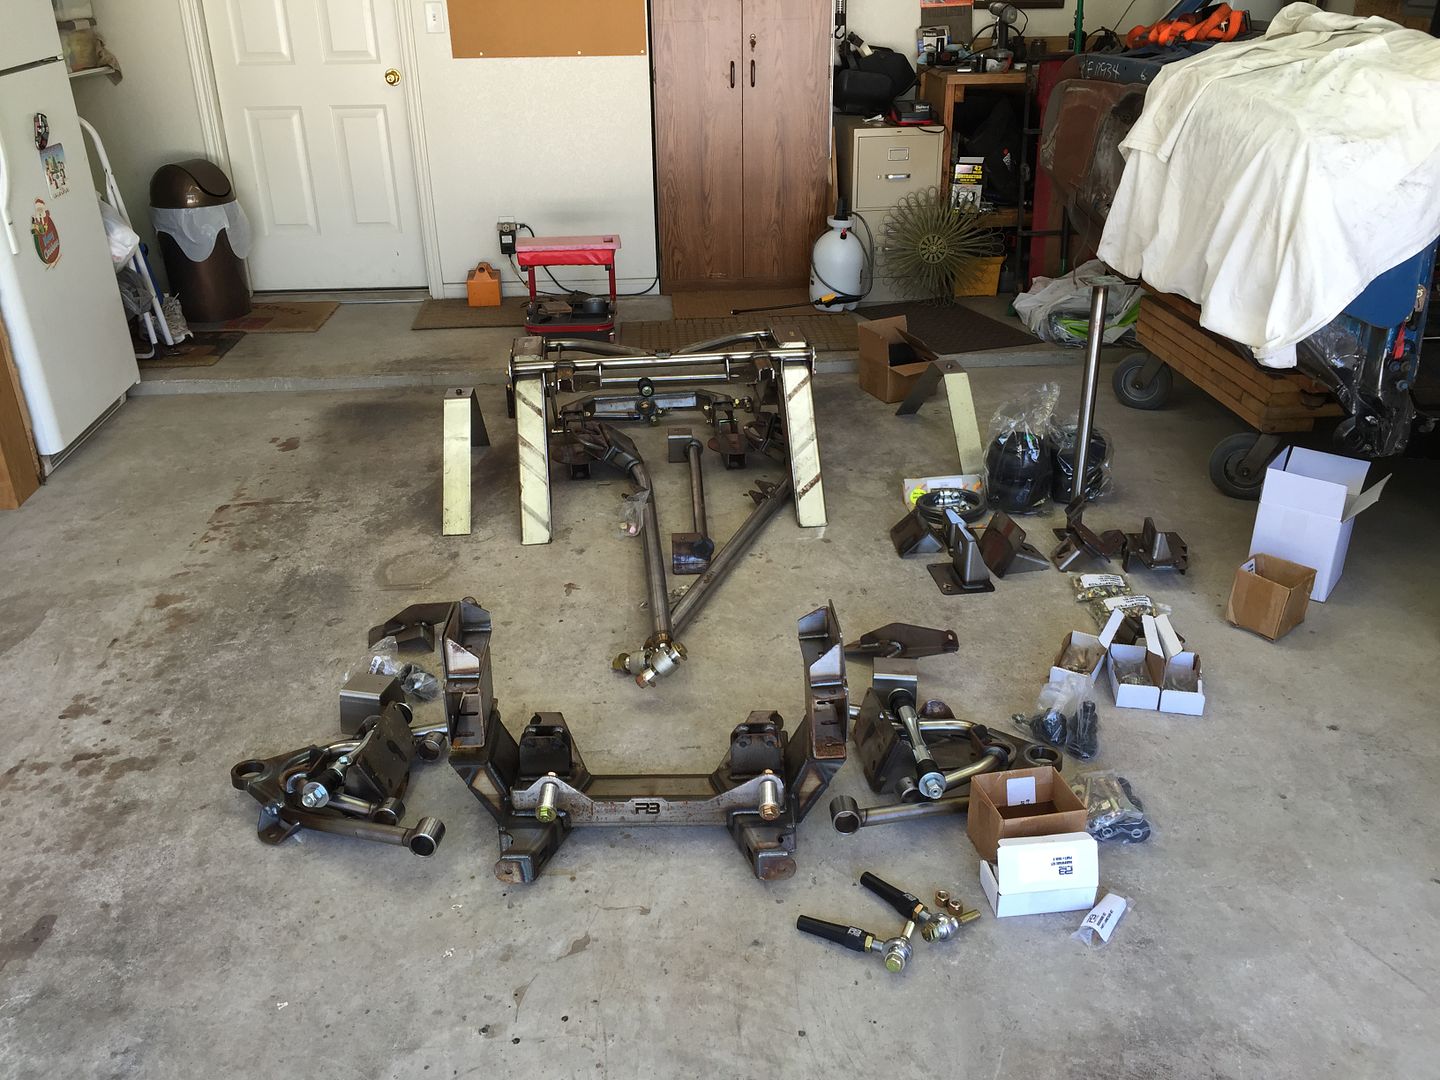 Most of the rear 24x15 kit with Watts link. 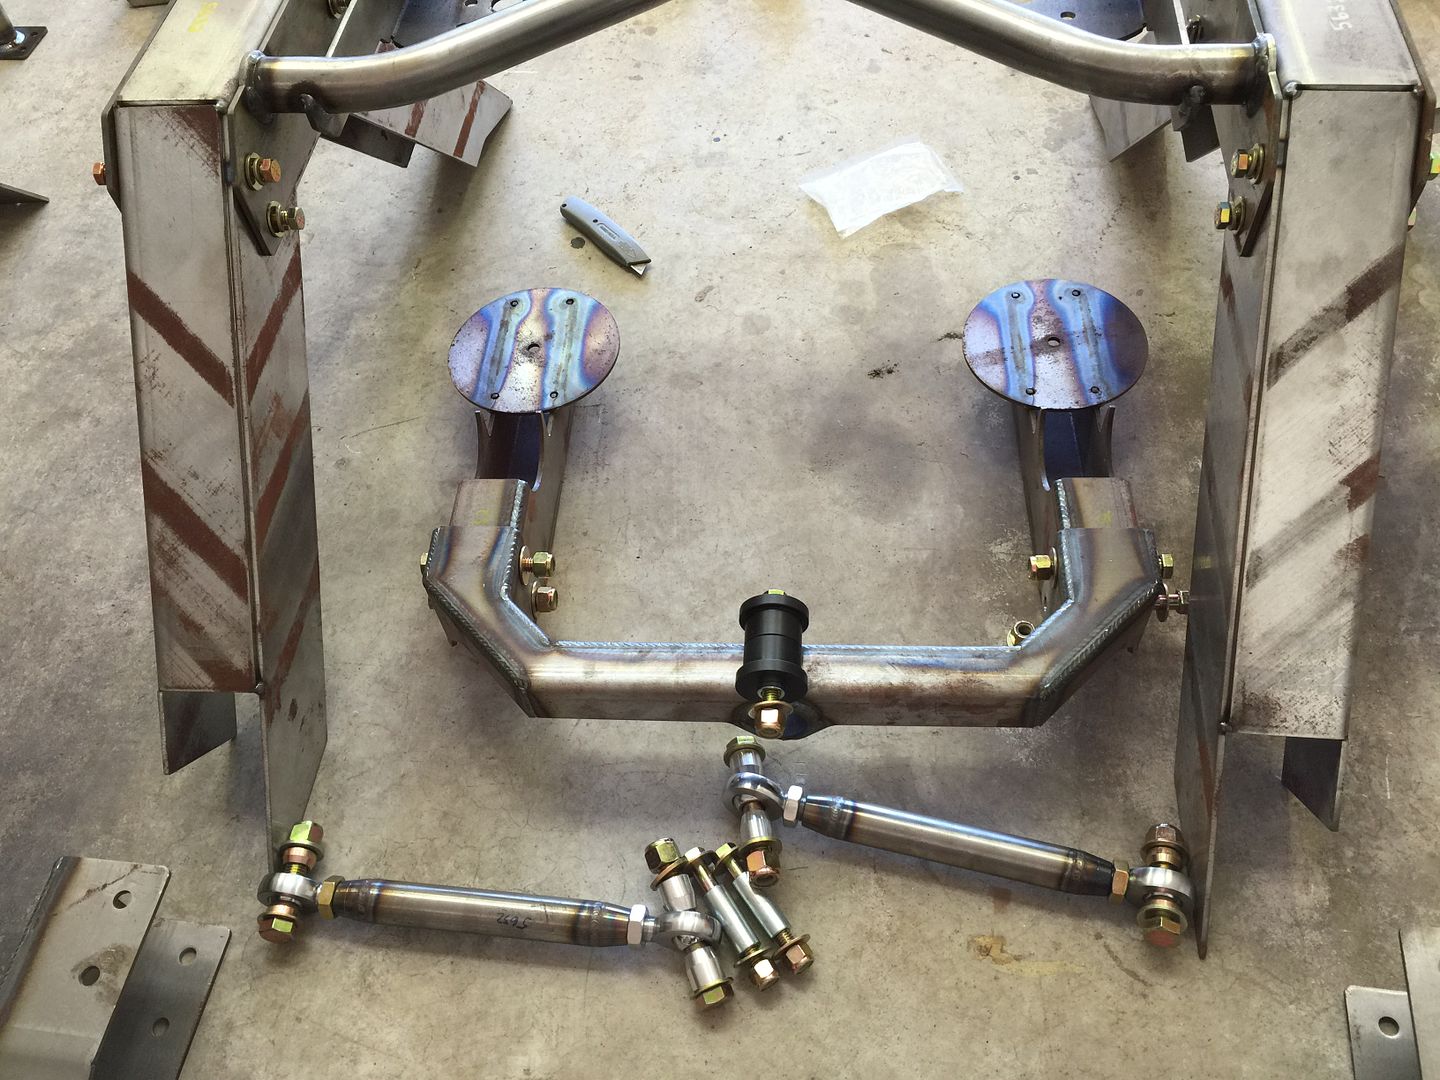 Front Extreme Dropmember 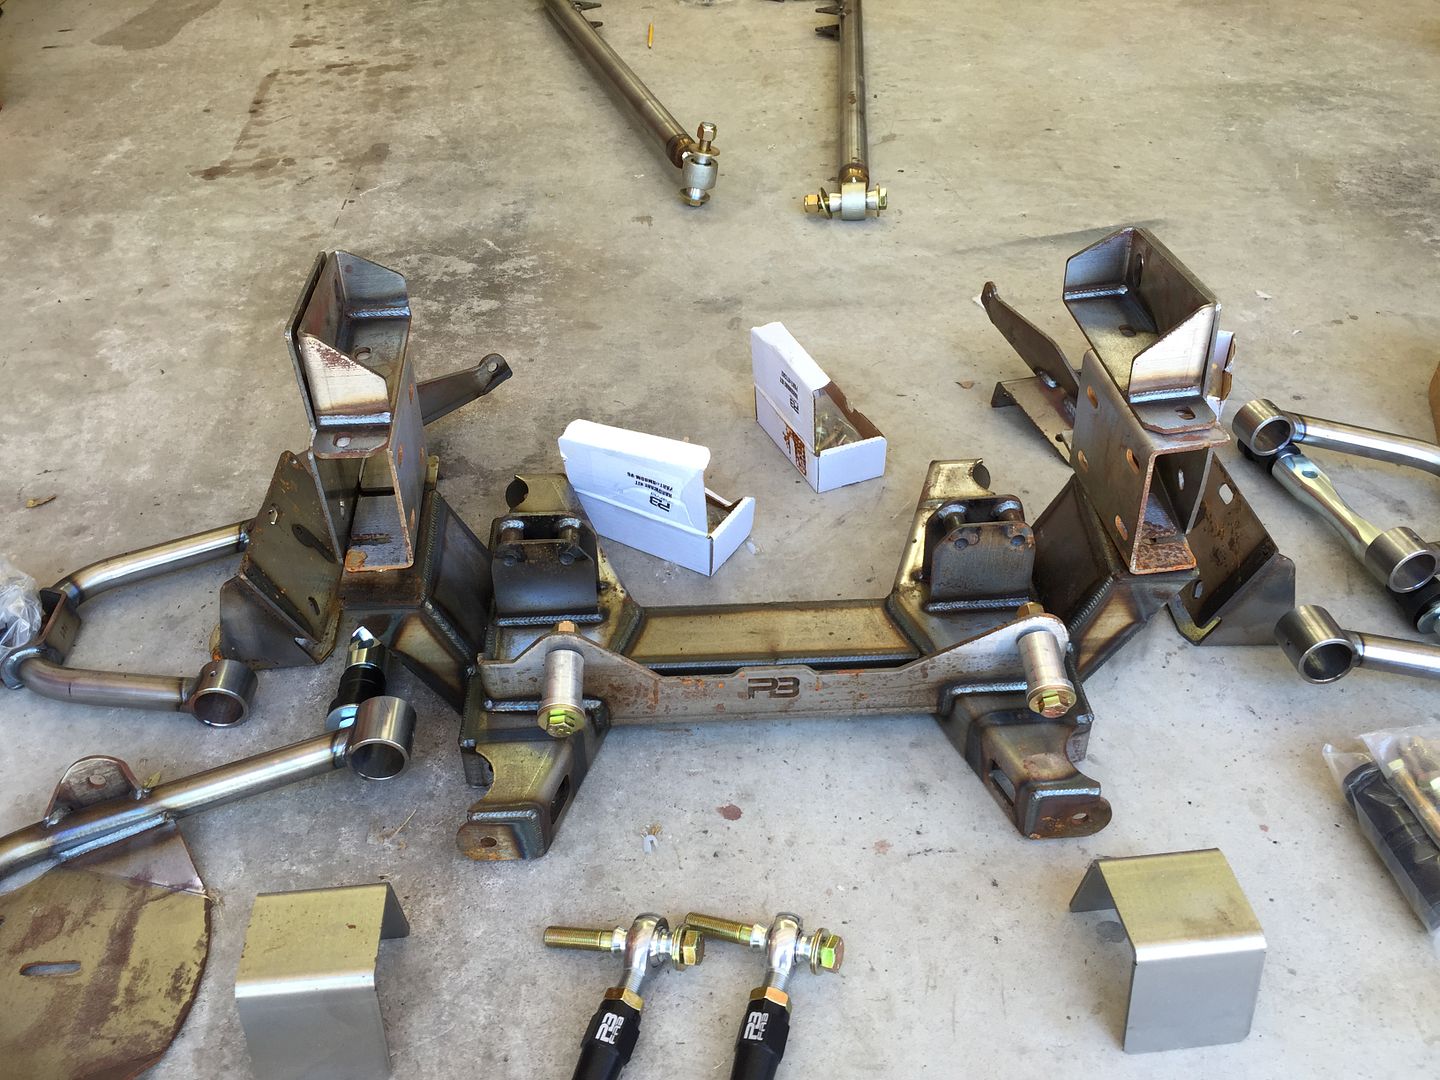
|
|
|

|
|
|
#23 |
|
Still Learning
Join Date: Jul 2009
Location: Central Oklahoma
Posts: 10,108
|
Re: Project: "ResuWrecktion" '71 Custom Deluxe C-10
Awesome progress on the cab! I'm digging all the PBfab parts too!

|
|
|

|
|
|
#24 |
|
Registered User
Join Date: Aug 2012
Location: Topeka Kansas
Posts: 2,655
|
Re: Project: "ResuWrecktion" '71 Custom Deluxe C-10
Nice work and nice parts!
|
|
|

|
|
|
#25 |
|
Sofa King Crazy!!
Join Date: Oct 2008
Location: Houston, TX
Posts: 3,090
|
Re: Project: "ResuWrecktion" '71 Custom Deluxe C-10
Ur killin it!!! I am dreading the rockers, hope you make it by on the weekend I decide to do it!! Too bad you aren't closer I could stop by and give you grief.
 
__________________
You found the Tater.  My Blazer Build (New) - http://67-72chevytrucks.com/vboard/s...d.php?t=654650 My 67 Build - http://67-72chevytrucks.com/vboard/s...d.php?t=335650 67 Chevy LWB big window a/c AKA TOTALLED BY A JACKASS.  1972 2wd Blazer "Porterbuilt and Sloshed" 
|
|
|

|
 |
| Bookmarks |
| Tags |
| az pro, baer, cpp, porterbuilt, porterbuilt 24x15 |
|
|