
 |
|
|
#51 |
|
Registered User
Join Date: Oct 2010
Location: Rich Virginia
Posts: 336
|
Re: My Build: Home Depot Machine
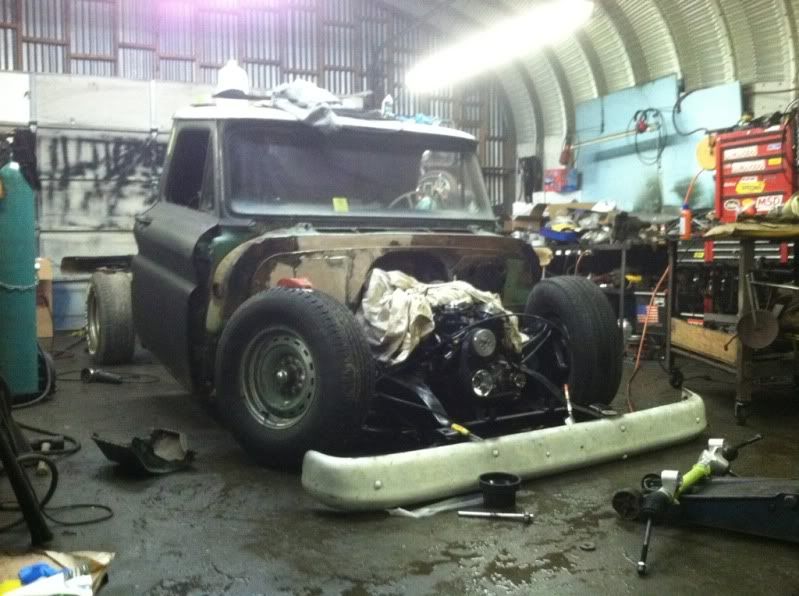
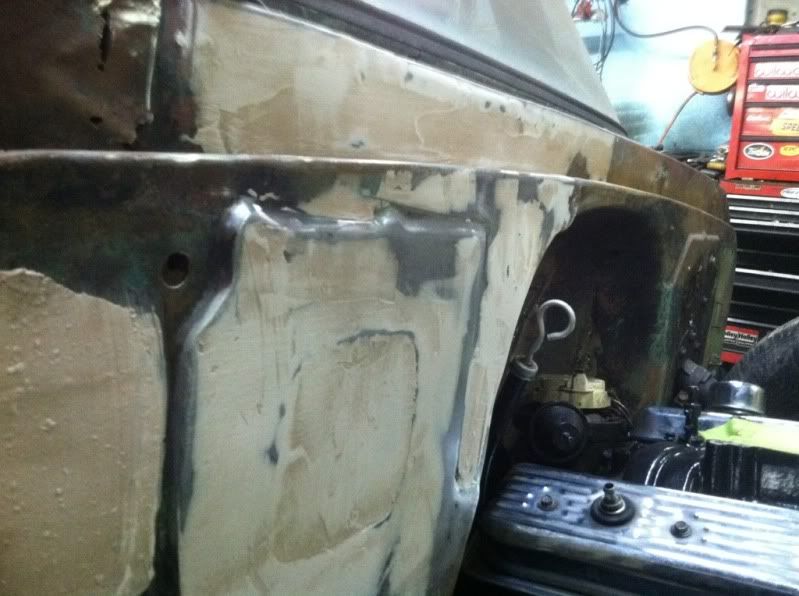
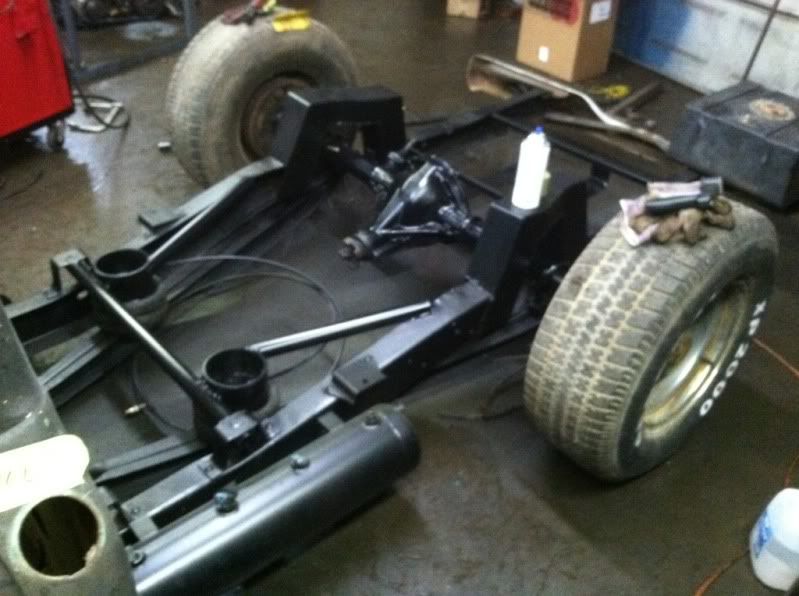
My first attempt at bondo work. The deepest area is the thickness of the sheet metal. I ground down all the welds until flush and then filled with bondo. I built up more so I could sand it down, but damn it is tough to sand. I am going to do some more research on body work and try to save myself time and energy. I also test fit the new alternator, the other one didnt fit. I will paint this one once all the fab work is done. I also finished the rear fuel cell support, redid the rear axle and painted the rear back setup. Still more X bracing to do in the rear for shock mounts and the 2" rear blocks are still being mailed. I also test fit my gilmer drive setup and my new headers, and amazingly I can fit the steering rack in there!!!
 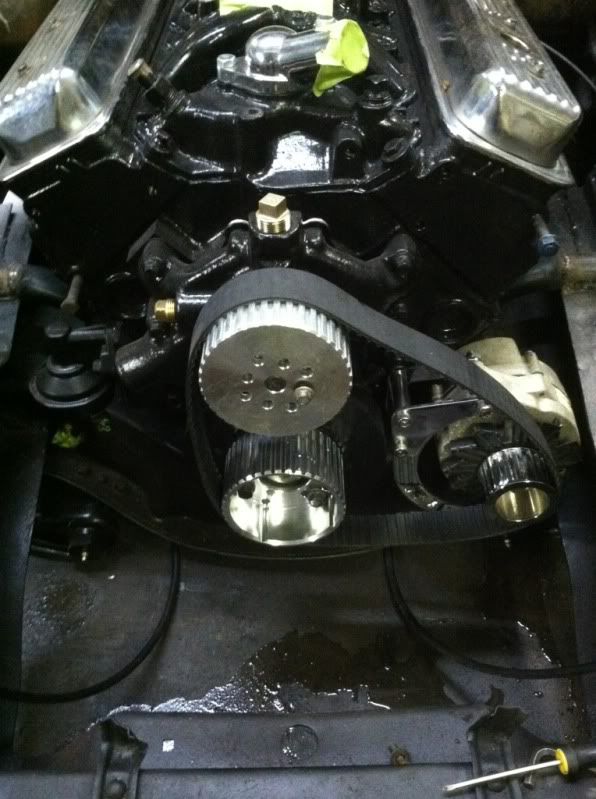   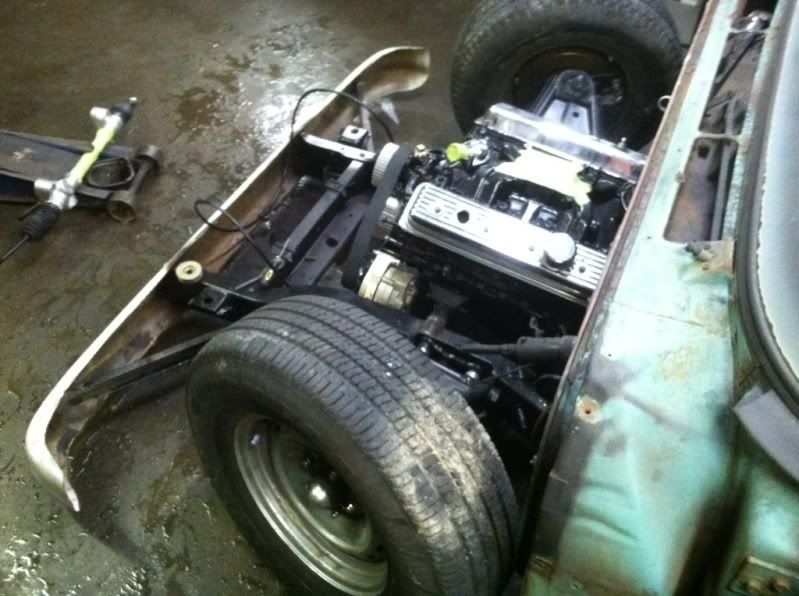 needs a shorter belt 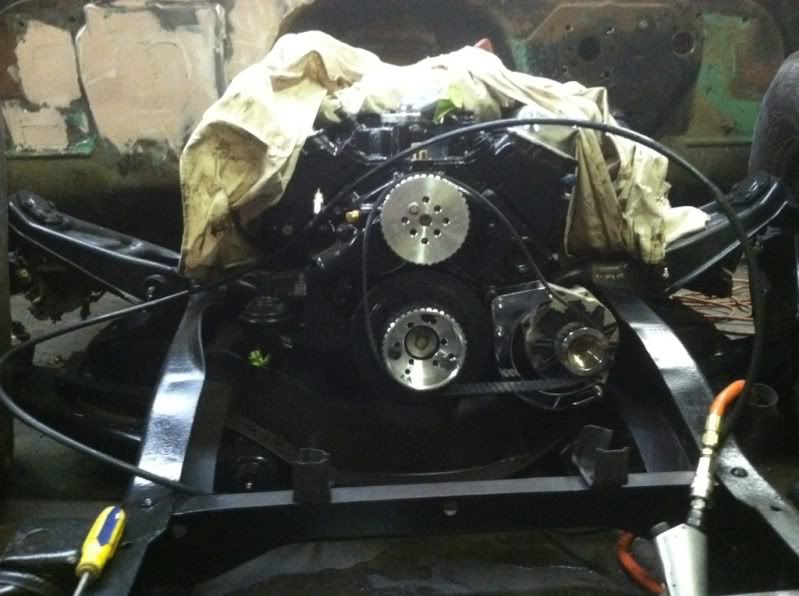
|
|
|

|
|
|
#52 |
|
Registered User
Join Date: Jul 2010
Location: los angeles,ca
Posts: 3,617
|
Re: My Build: Home Depot Machine
Can't wait to see the seat And the wheels on there. Keep it up
Posted via Mobile Device |
|
|

|
|
|
#53 |
|
Registered User
Join Date: Oct 2010
Location: Rich Virginia
Posts: 336
|
Re: My Build: Home Depot Machine
Still waiting on the driveshaft and shocks to come in. So this a free labor week.
Stripping pain down to bare metal. 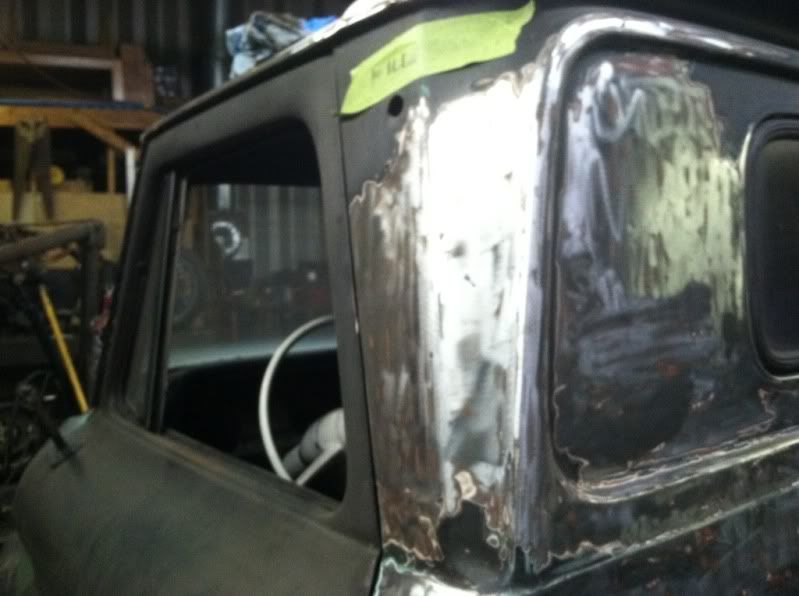 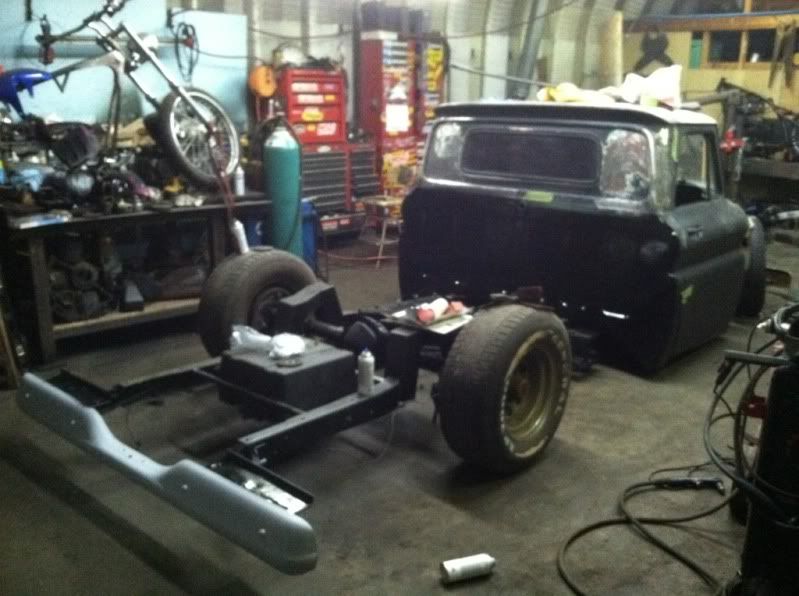 just signed up to instagram so I am messing with the photo editing 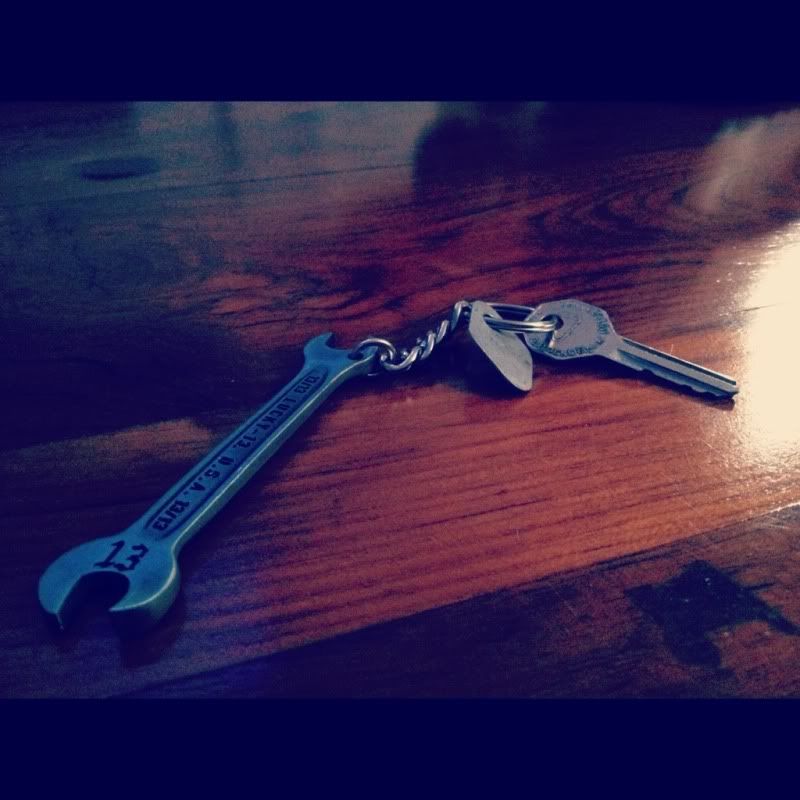 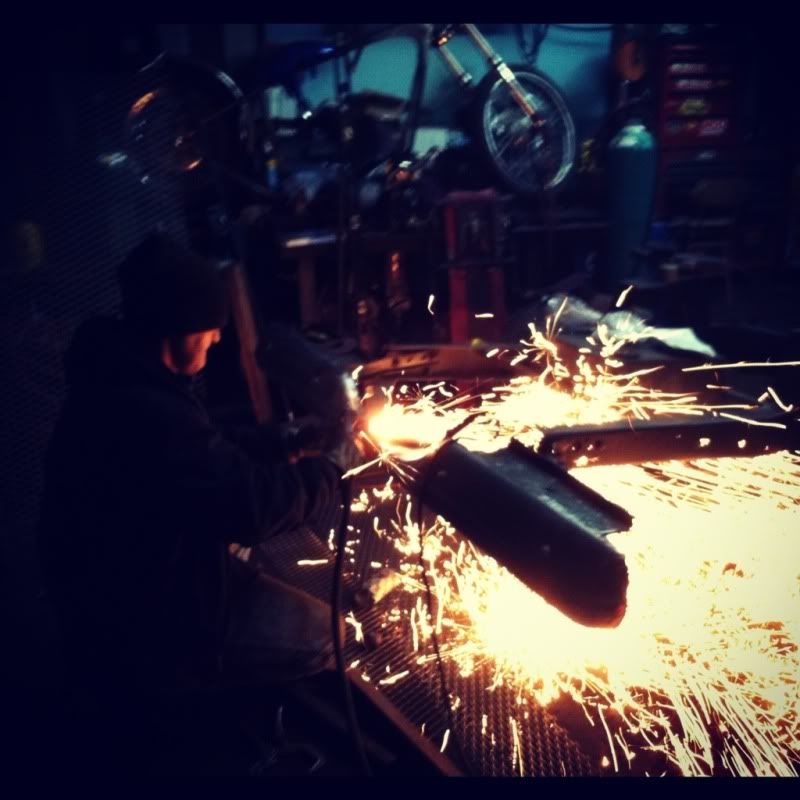 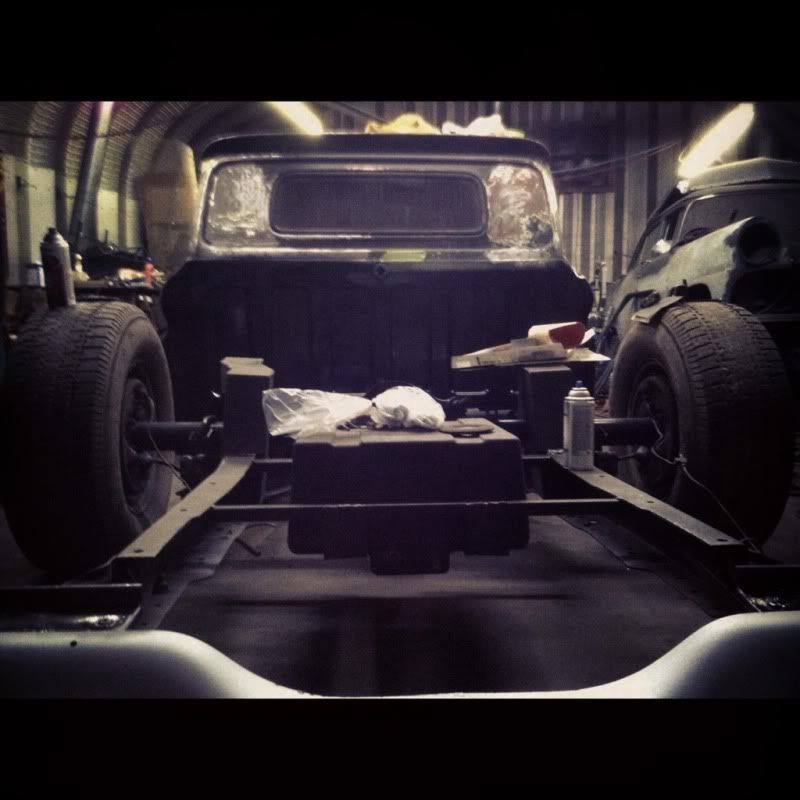 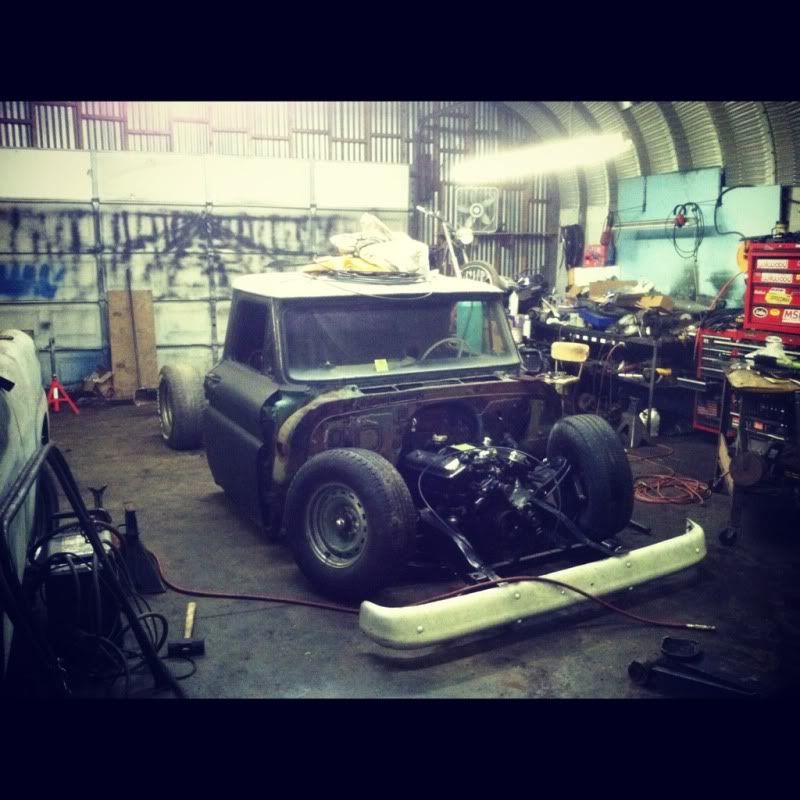 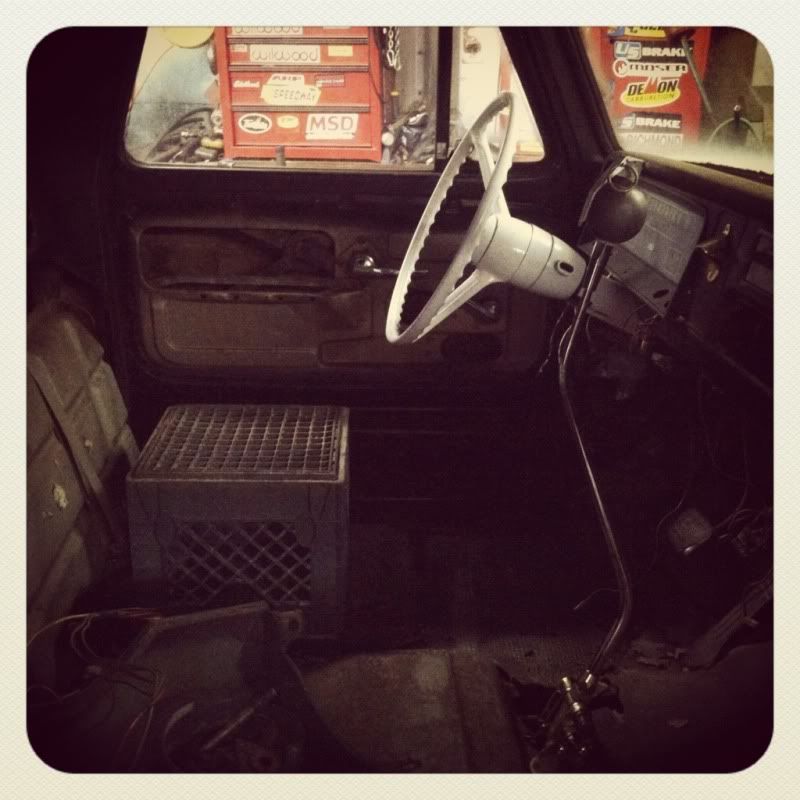 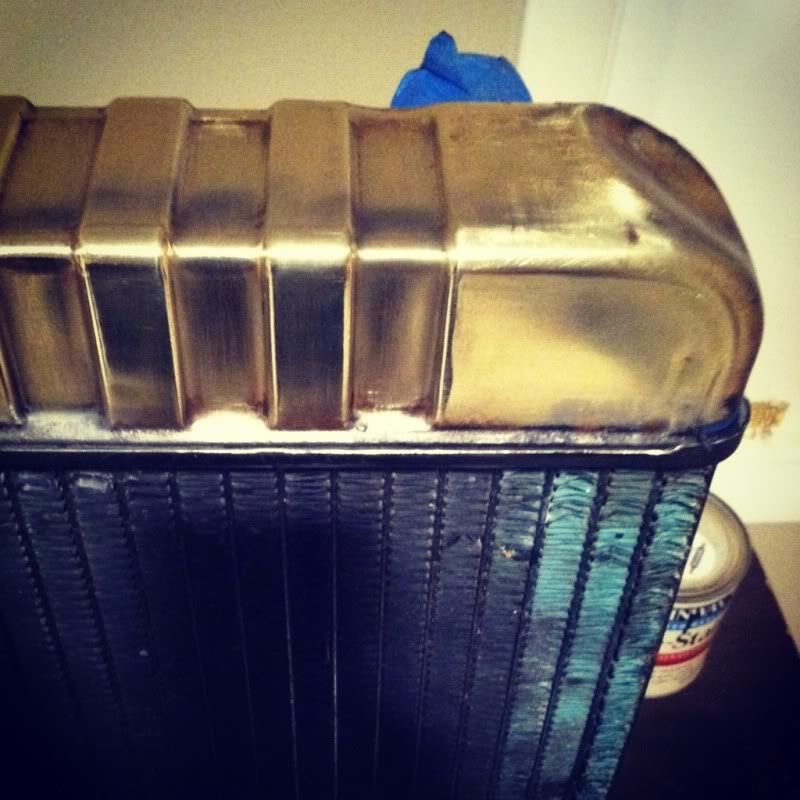
|
|
|

|
|
|
#54 |
|
Registered User
Join Date: Oct 2011
Location: Blanchard Oklahoma
Posts: 424
|
Re: My Build: Home Depot Machine
Very nice build. Love the shift knob.. I remember a truck my brother had, Three on the tree with a 8 ball for the knob. It was so heavy that is would shift from 2nd to third just by pushing in the clutch. That part was cool everything else sucked..
__________________
My Build CAPRICKUP 1964 Chevy SWB on a 94 Caprice http://67-72chevytrucks.com/vboard/s...d.php?t=492640 |
|
|

|
|
|
#55 |
|
Registered User
Join Date: Oct 2010
Location: Rich Virginia
Posts: 336
|
Re: My Build: Home Depot Machine
Thanks, My Lokar has a shift lockout so I am hoping I dont shift gears when hitting speed bumps!
|
|
|

|
|
|
#56 | |
|
Registered User
Join Date: Sep 2011
Location: Tacoma, WA
Posts: 2,425
|
Re: My Build: Home Depot Machine
Quote:
Note to self: Go easy on the bondo, or work the rest of your life sanding! LOL You are looking good so far, your engine has my attention now too!
__________________
Michael McMurphy My 66 Stepside My 64 Tow Truck My 66 Tempest Table Of Contents Added to Page1 |
|
|
|

|
|
|
#57 |
|
Resistance is Futile
Join Date: Dec 2006
Location: Mesa,Arizona
Posts: 3,520
|
Re: My Build: Home Depot Machine
BBB.......dont know what product you are using for body filler, but some are light weight and much easier to sand. For instance, Rage Gold as opposed to Rage.
I sometimes use a palm sander to get down to where I need to start hand sanding to save some time/elbow-grease.
__________________
64 CHEVY PICK-UP > http://67-72chevytrucks.com/vboard/s...otrash+re-hash 64 CARRYALL >http://67-72chevytrucks.com/vboard/s...=1964+suburban 66 LB >http://67-72chevytrucks.com/vboard/s...d.php?t=427852 STRENGTH/DETERMINATION/MERCILESS/FOREVER .......posted via stationary device |
|
|

|
|
|
#58 |
|
Registered User
Join Date: Oct 2010
Location: Rich Virginia
Posts: 336
|
Re: My Build: Home Depot Machine
I am using regular bondo.
Before 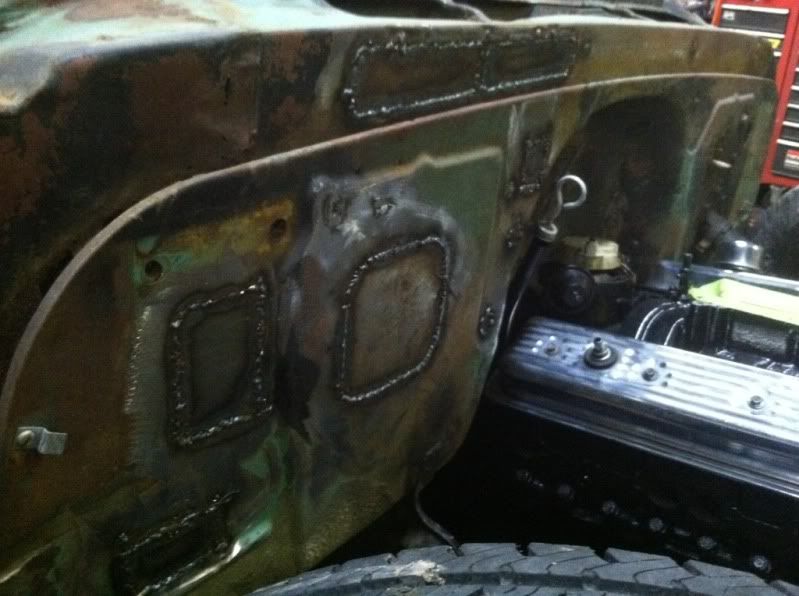 After 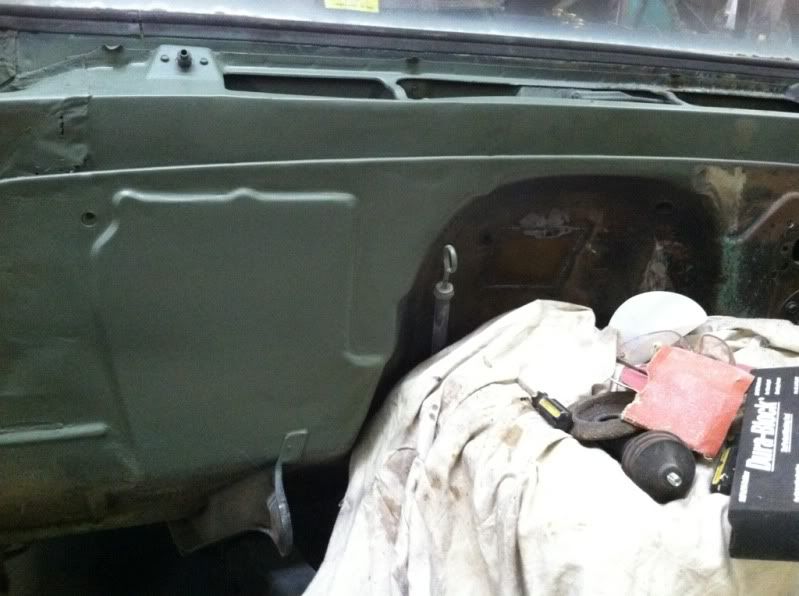 Also I started the short bed process. 20" shorter by manana. |
|
|

|
|
|
#59 |
|
Registered User
Join Date: Oct 2010
Location: Rich Virginia
Posts: 336
|
Re: My Build: Home Depot Machine
Well I will keep this post short. Like 20" short!!!!!!
Truck has been shortened to factory shortbed frame and wheel base length. 8" out of the back frame 12" out of the frame before the back tires. Boxed on the inside, vertical weld was were the battery tray was and will go back. 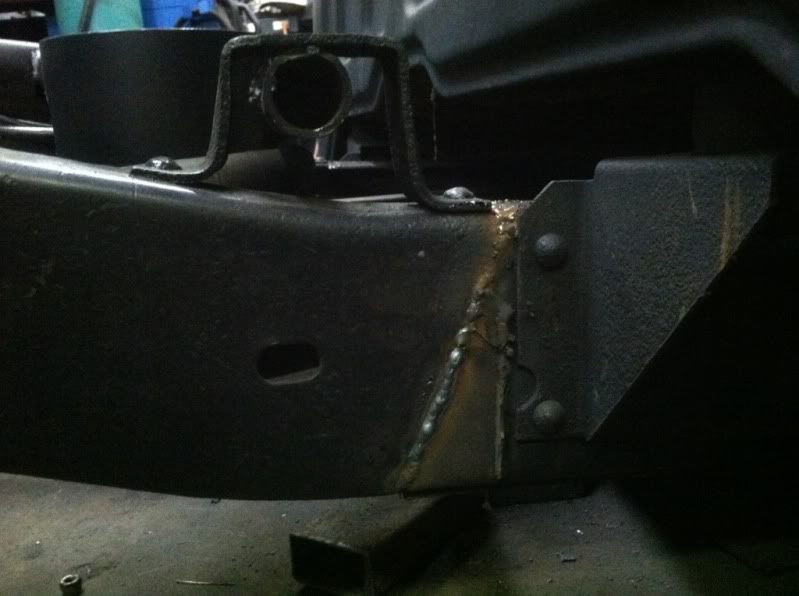 Rear shortened 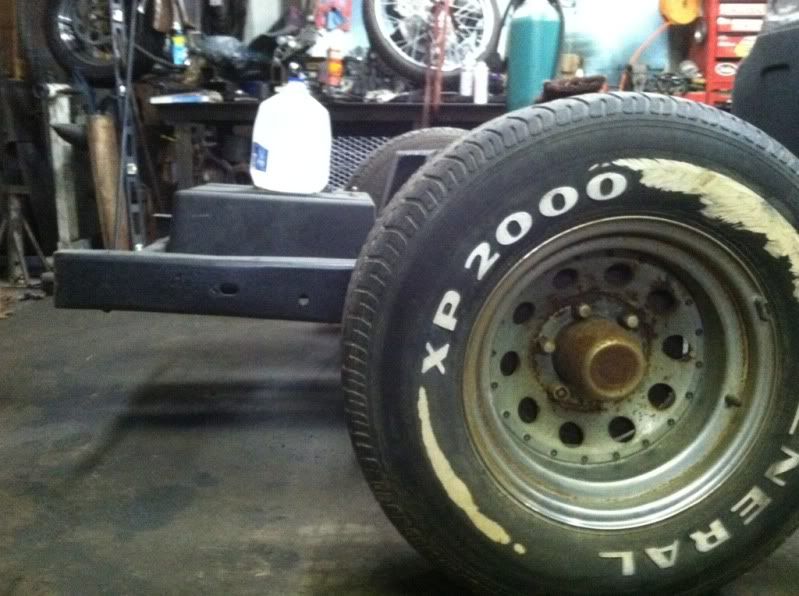 Long bed  Short bed 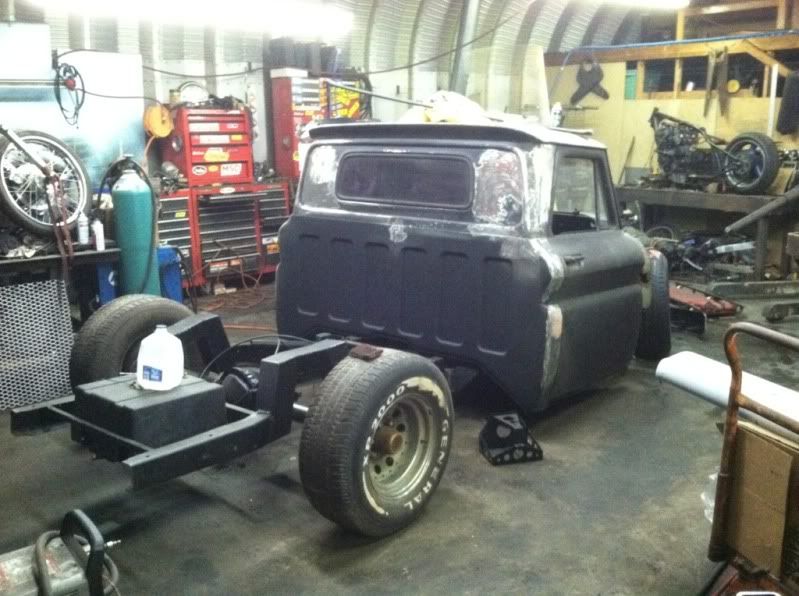 Front of long bed  front shot of short 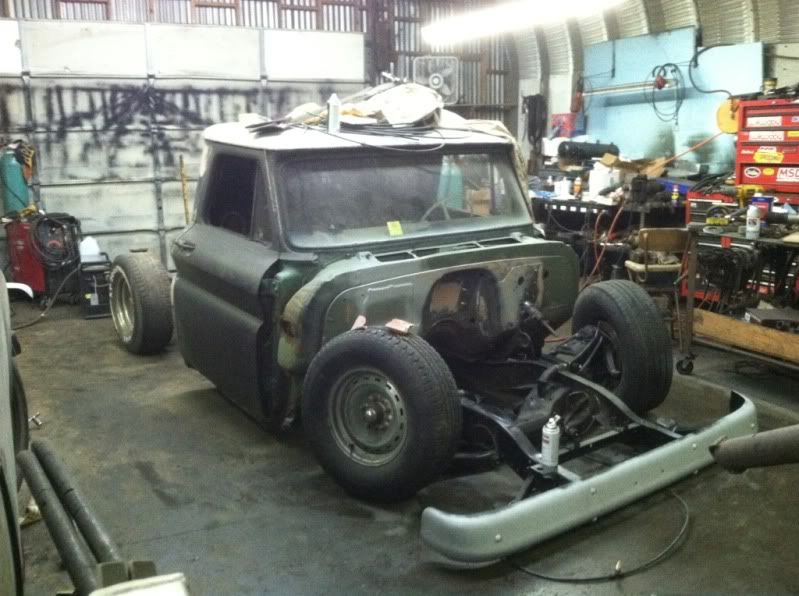 Engine is out for firewall finishing. 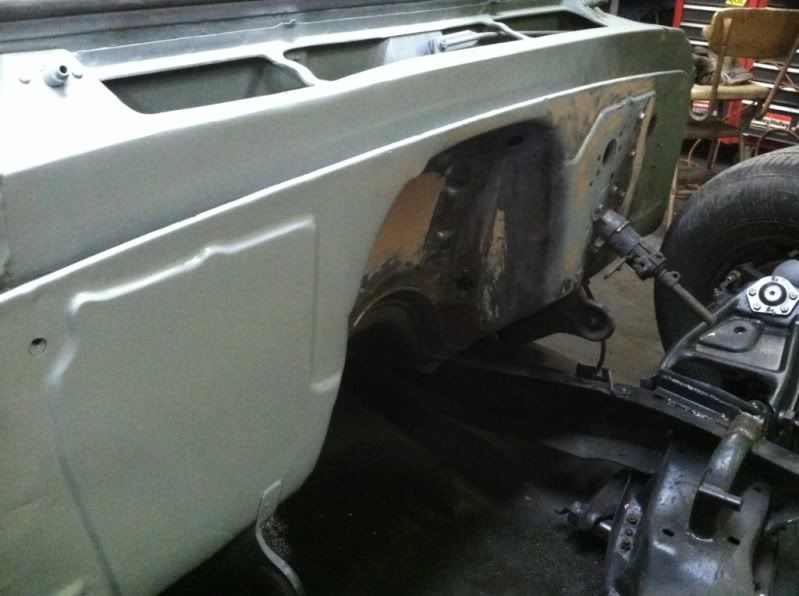 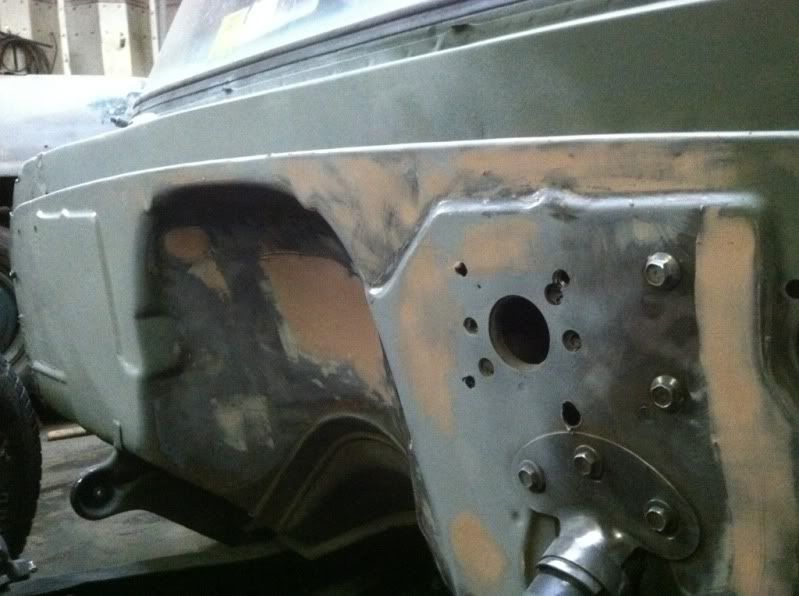 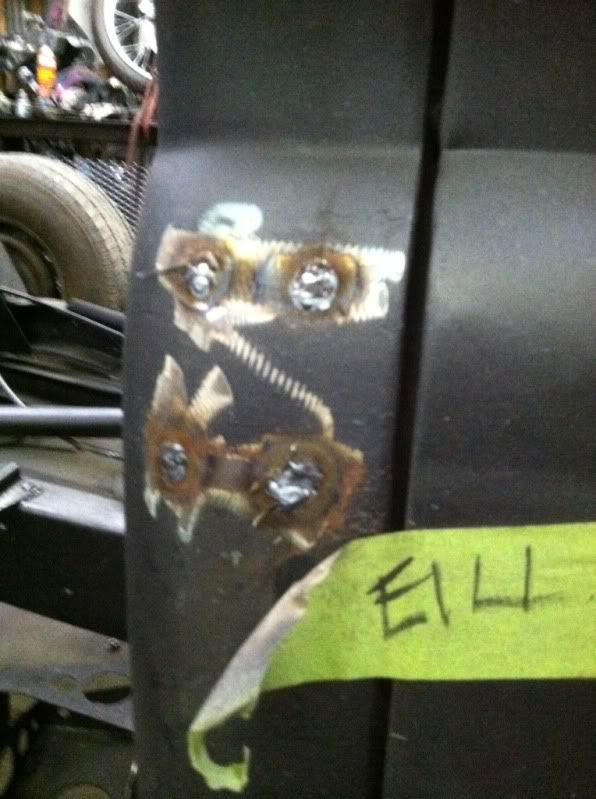 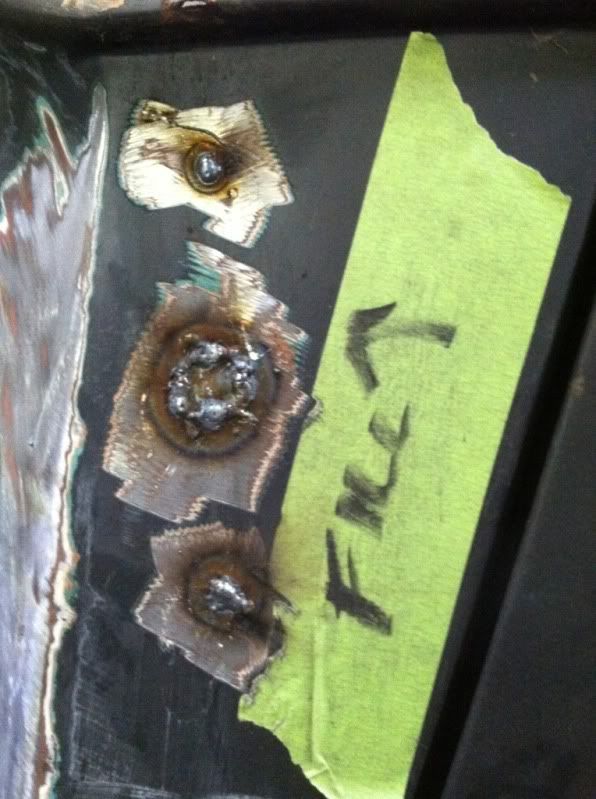 5 min job, will do more sanding and blocking later 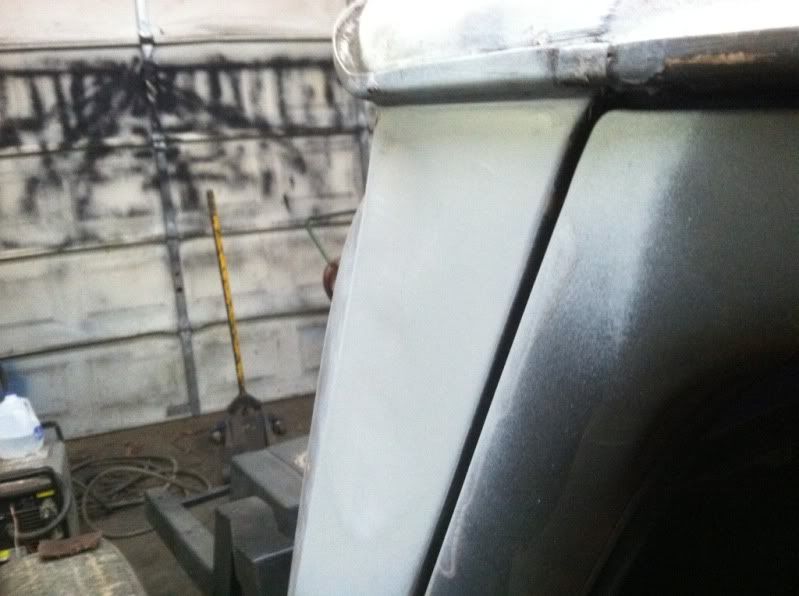 Front and rear bumpers strpped to bare metal, etched, high build for now, then matte white next week 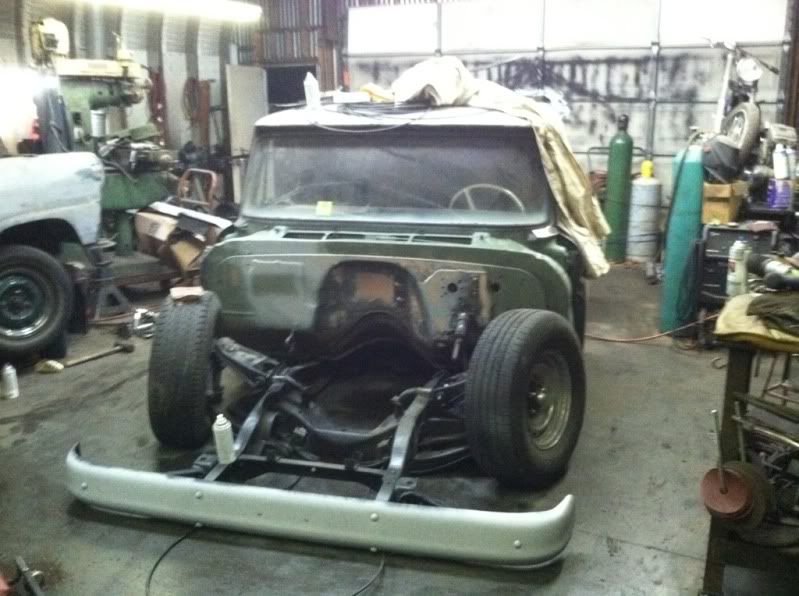
|
|
|

|
|
|
#60 |
|
Registered User
Join Date: Oct 2011
Location: Blanchard Oklahoma
Posts: 424
|
Re: My Build: Home Depot Machine
Nice work!!! Like'm low!!
Posted via Mobile Device
__________________
My Build CAPRICKUP 1964 Chevy SWB on a 94 Caprice http://67-72chevytrucks.com/vboard/s...d.php?t=492640 |
|
|

|
|
|
#61 |
|
VA72C10
 Join Date: Mar 2008
Location: Midlothian, VA
Posts: 25,269
|
Re: My Build: Home Depot Machine
NICE progress!!!
__________________
Looking for a 67-72 swb or blazer project in or around VA. 
|
|
|

|
|
|
#62 |
|
Registered User
Join Date: Sep 2011
Location: Tacoma, WA
Posts: 2,425
|
Re: My Build: Home Depot Machine
I just got some bondo this week, going to spread some mud this weekend!
Looking good man!
__________________
Michael McMurphy My 66 Stepside My 64 Tow Truck My 66 Tempest Table Of Contents Added to Page1 |
|
|

|
|
|
#63 |
|
Registered User
Join Date: Oct 2010
Location: Rich Virginia
Posts: 336
|
Re: My Build: Home Depot Machine
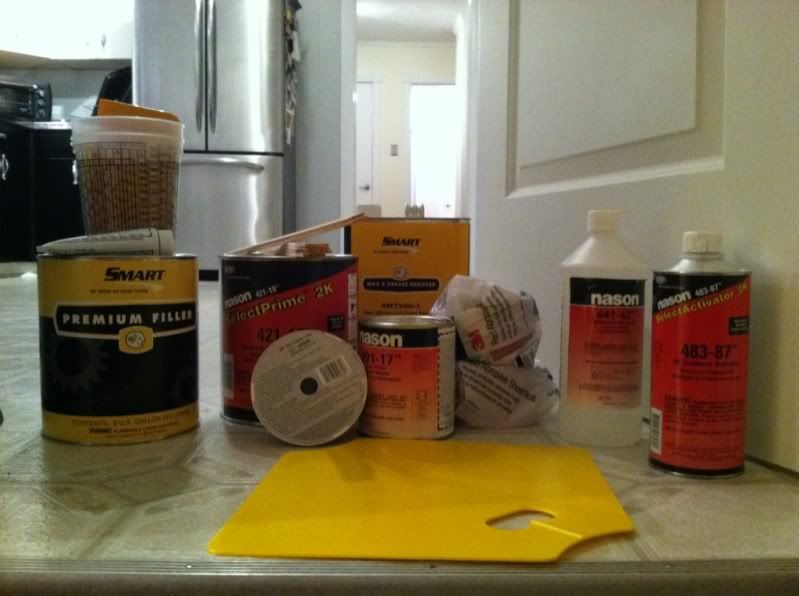
Well I am no pro, but I hated the bondo so much that I went to a body shop supply store, spent about $280 but got everything to do it right. Sticky backed 180 & 320 paper, wax and degreaser, Rage Gold Extreme filler, etching primer, high build primer, better filler blades and mixing plate.
|
|
|

|
|
|
#64 |
|
Registered User
Join Date: Oct 2010
Location: Rich Virginia
Posts: 336
|
Re: My Build: Home Depot Machine
Picked up some higher quality body work materials from a body shop supply store
Fvck Bondo, Rage Gold Extreme (under non retail name Smart)  Sanded down all my work and redid it. 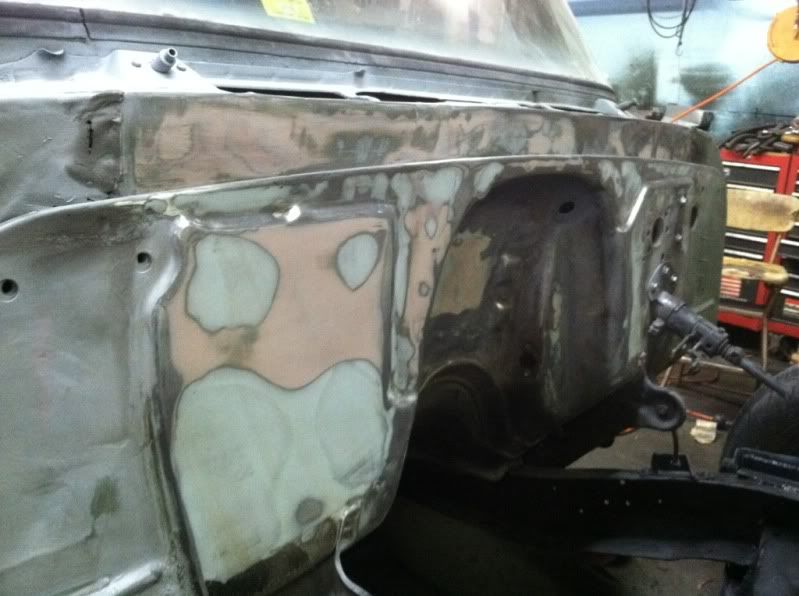 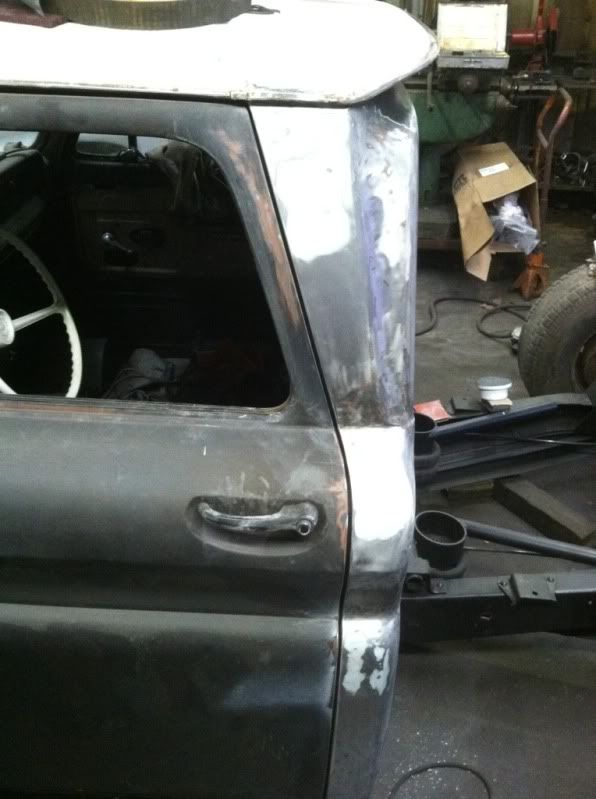 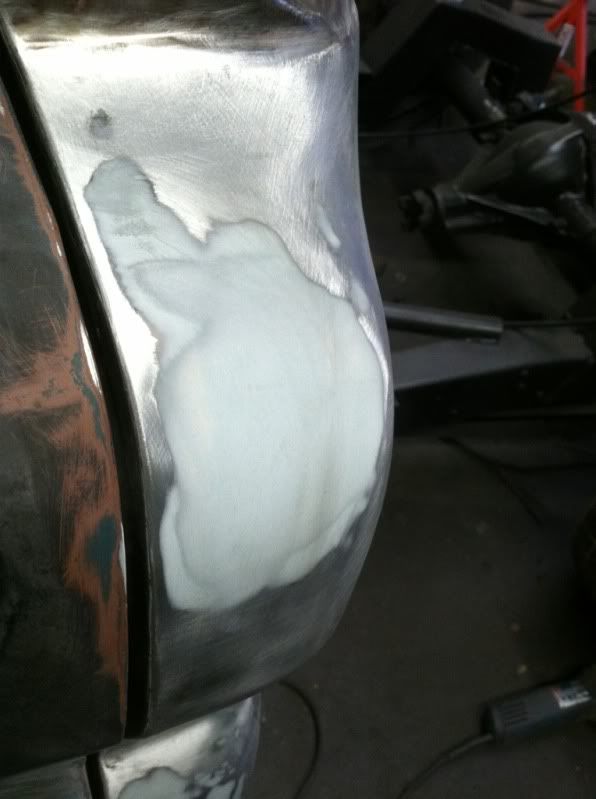 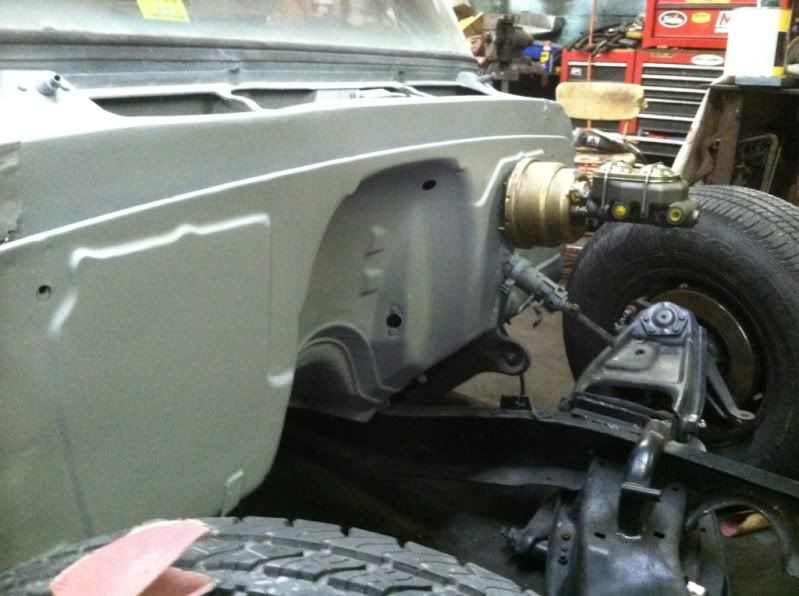 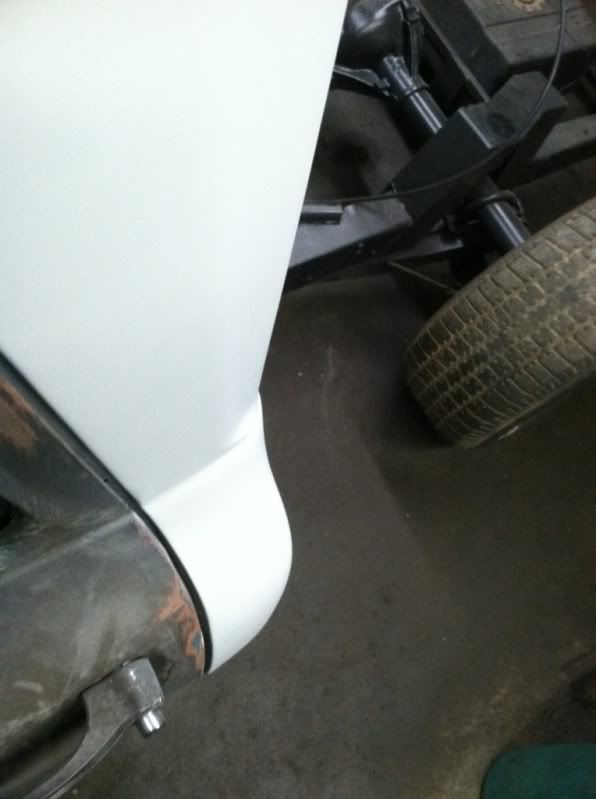 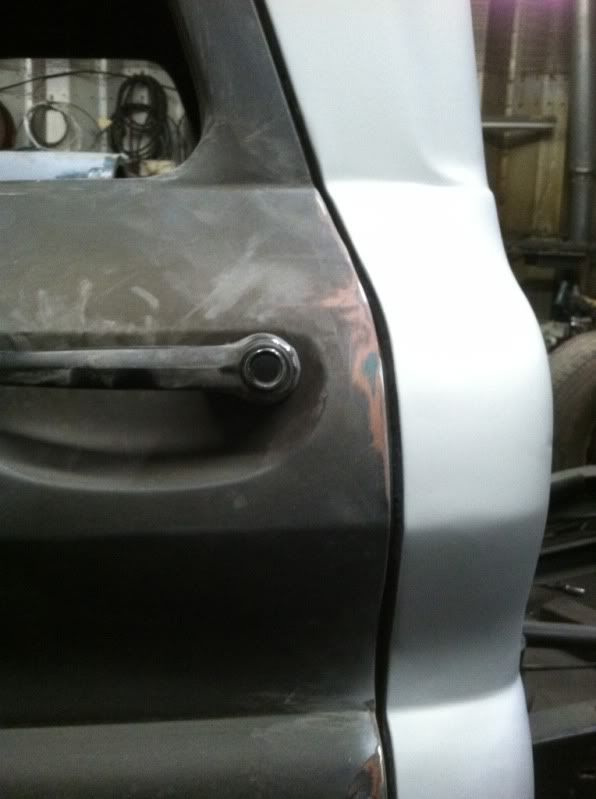 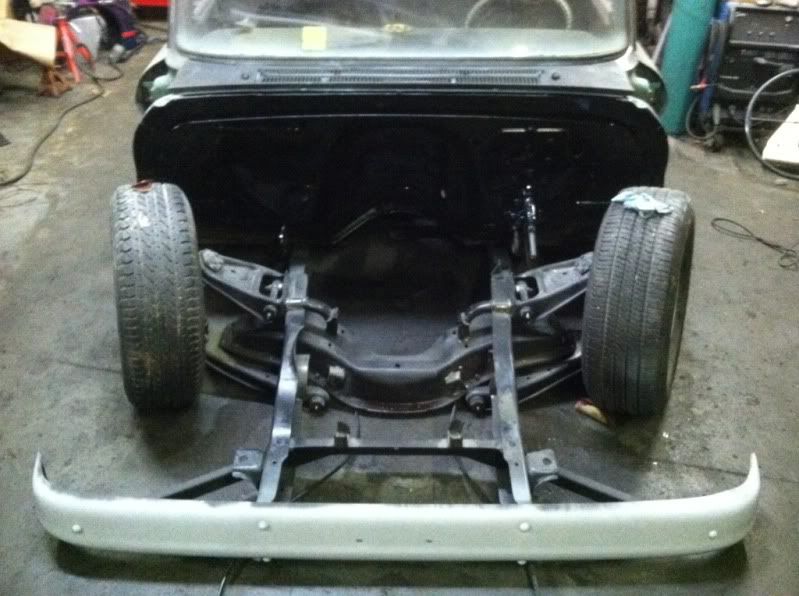 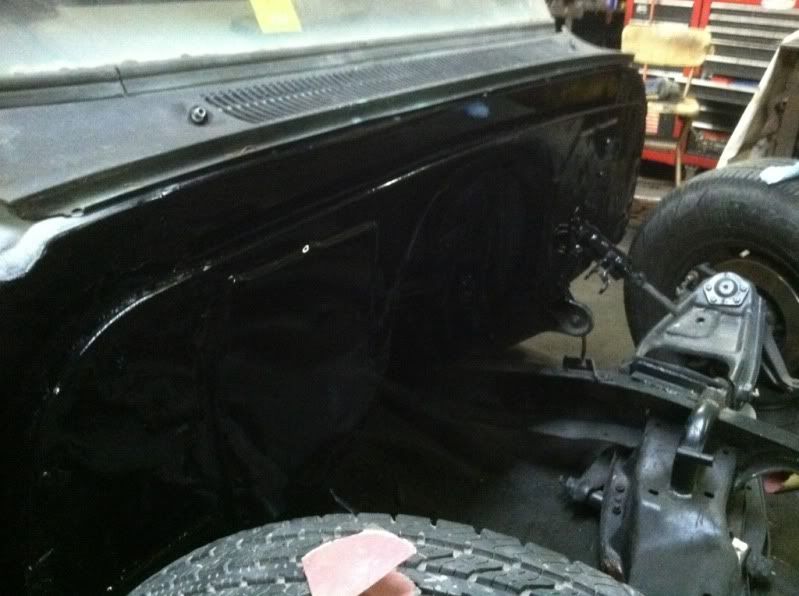 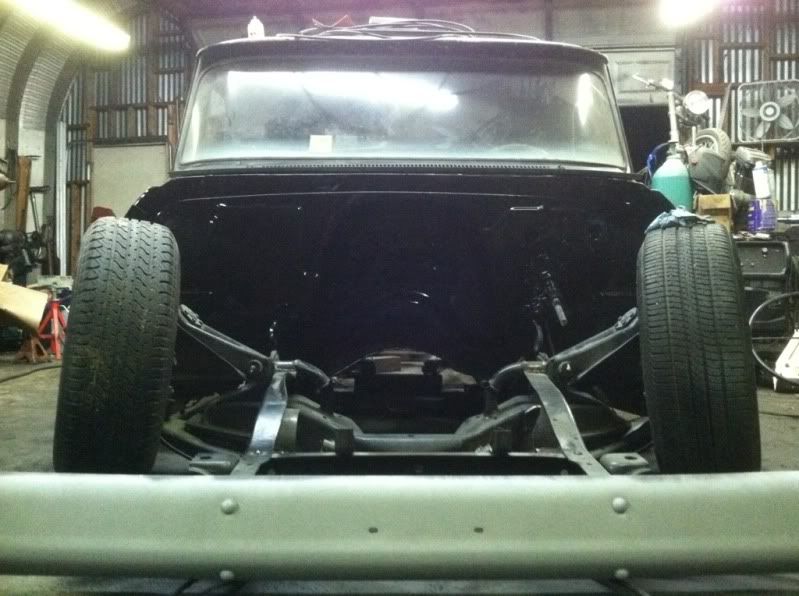 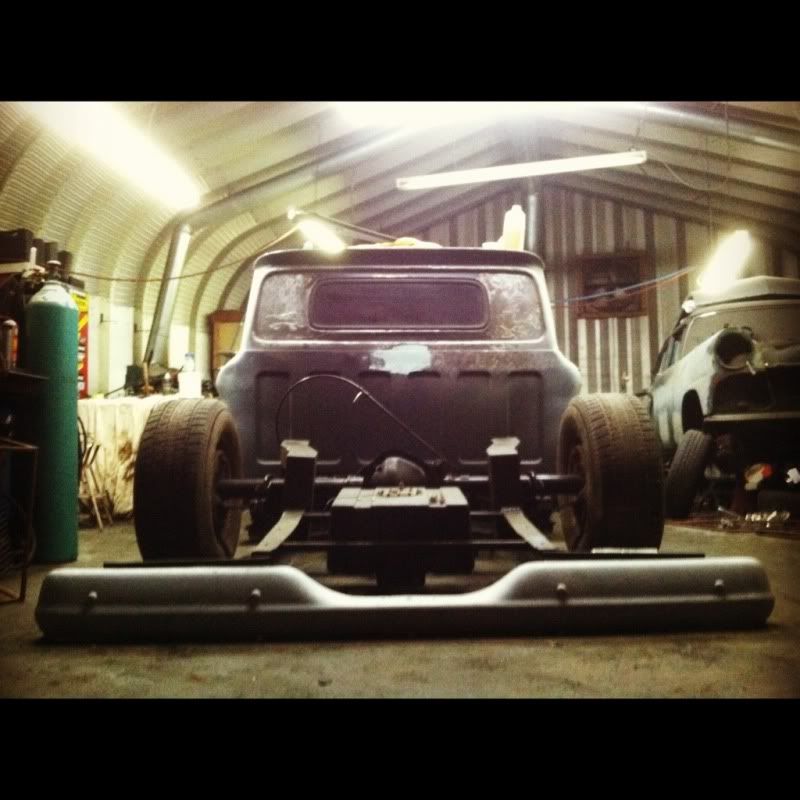 The whole truck is being stripped to bare metal and dents filled, etching primer, high build primer, guide coated and blocked then painted a 2 stage flat black. It is taking forever to do. I should have soda blasted,but I knew stripping by hand would have no chemical reactions to the paint. |
|
|

|
|
|
#65 |
|
Registered User
Join Date: Sep 2011
Location: Tacoma, WA
Posts: 2,425
|
Re: My Build: Home Depot Machine
Coming along real nice man!
Your firewall really came out good.
__________________
Michael McMurphy My 66 Stepside My 64 Tow Truck My 66 Tempest Table Of Contents Added to Page1 |
|
|

|
|
|
#66 |
|
Registered User
Join Date: Dec 2011
Location: Blytheville/Bentonville, AR
Posts: 393
|
Re: My Build: Home Depot Machine
Coming along great! Firewall looks awesome but that toe-in is gonna ruin tires, lol...
Posted via Mobile Device |
|
|

|
|
|
#67 |
|
Registered User
Join Date: Sep 2011
Location: Tacoma, WA
Posts: 2,425
|
Re: My Build: Home Depot Machine
Heyyyyy look at what I found at the bone yard this weekend !!!
I have no real use for it, but it was in great shape and was too good to pass up.
__________________
Michael McMurphy My 66 Stepside My 64 Tow Truck My 66 Tempest Table Of Contents Added to Page1 |
|
|

|
|
|
#68 |
|
Registered User
Join Date: Dec 2010
Location: sanford nc
Posts: 499
|
Re: My Build: Home Depot Machine
firewall looks good. keep up the good work, keep the pics coming.
__________________
  69 chevelle malibu, 64 C-10 shortbed 69 chevelle malibu, 64 C-10 shortbed
|
|
|

|
|
|
#69 |
|
Registered User
Join Date: Oct 2010
Location: Rich Virginia
Posts: 336
|
Re: My Build: Home Depot Machine
Moar Moar Moar Sanding Stripping and body work. Mocked up fenders and had to due some trimming. Rear tires will be flush with rear rolled fenders but up front I already cut 1" from the fender. Any more and the hood wont cover it. Here are a few more pics. Stripping the whole truck to bare metal sucks!!!!
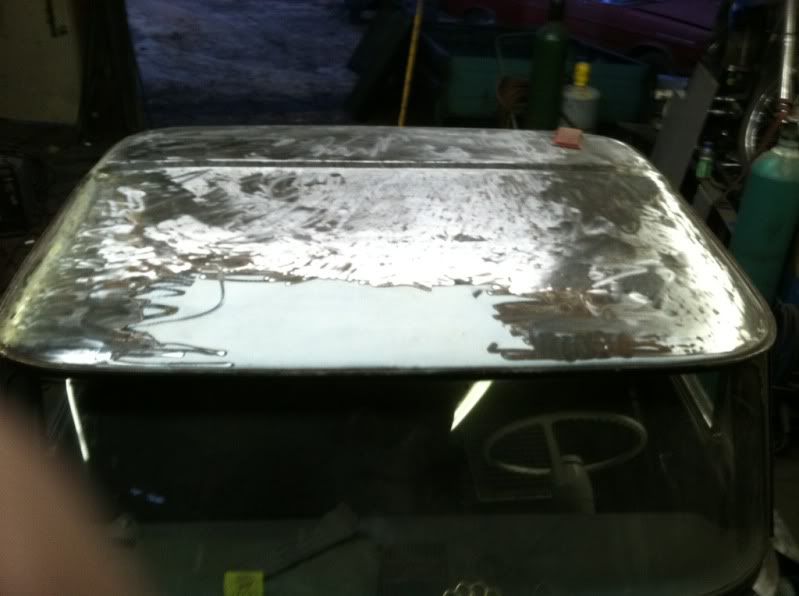 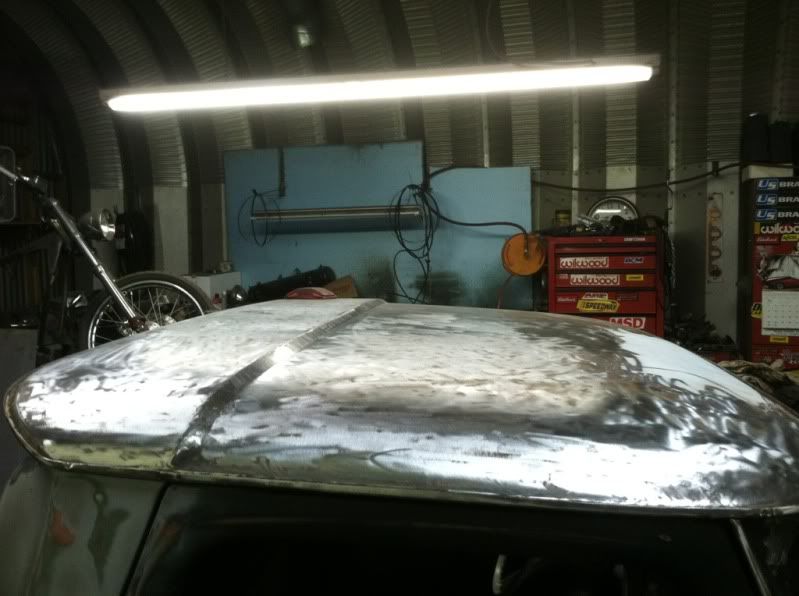 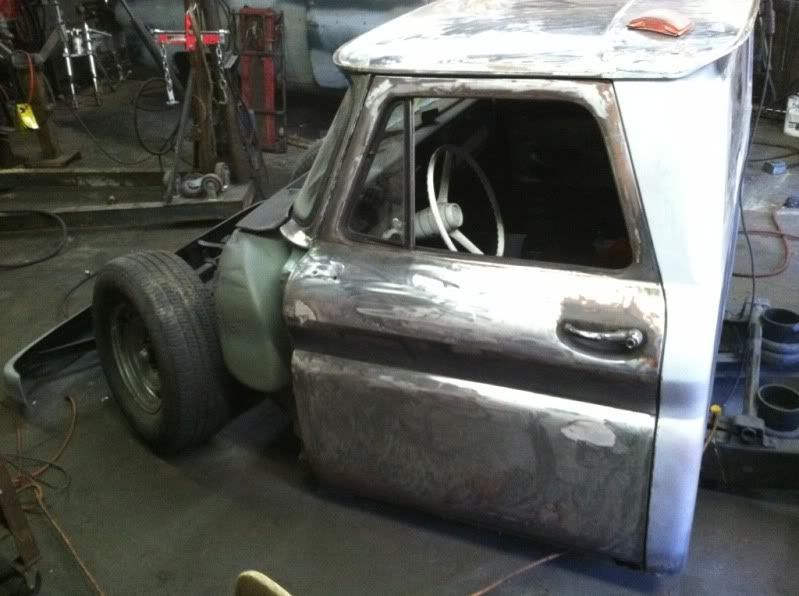 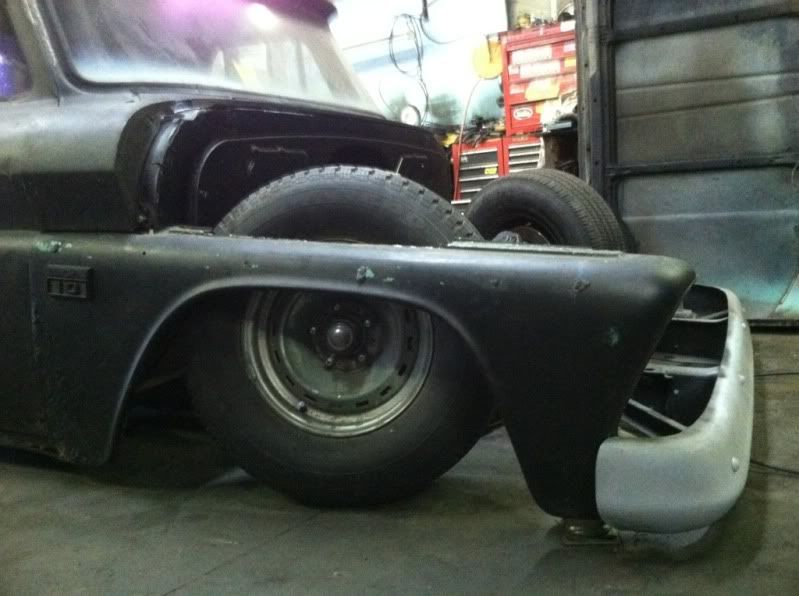 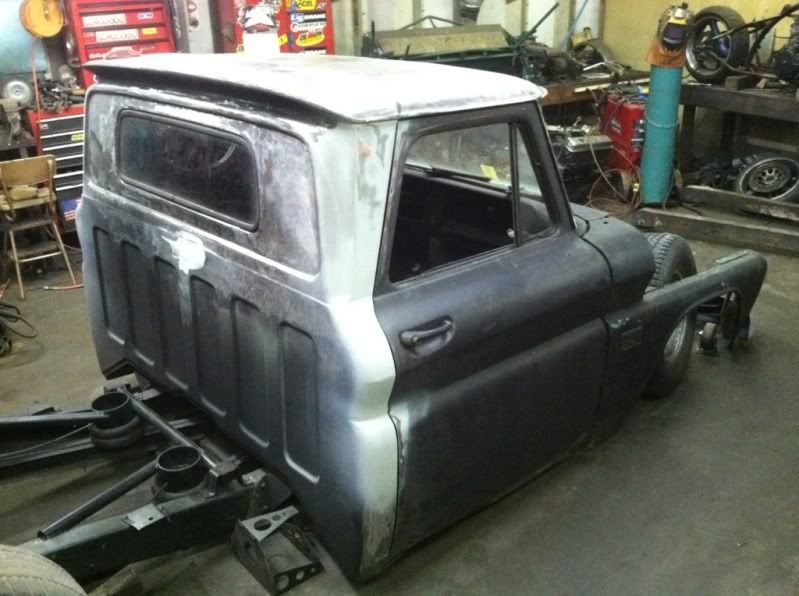 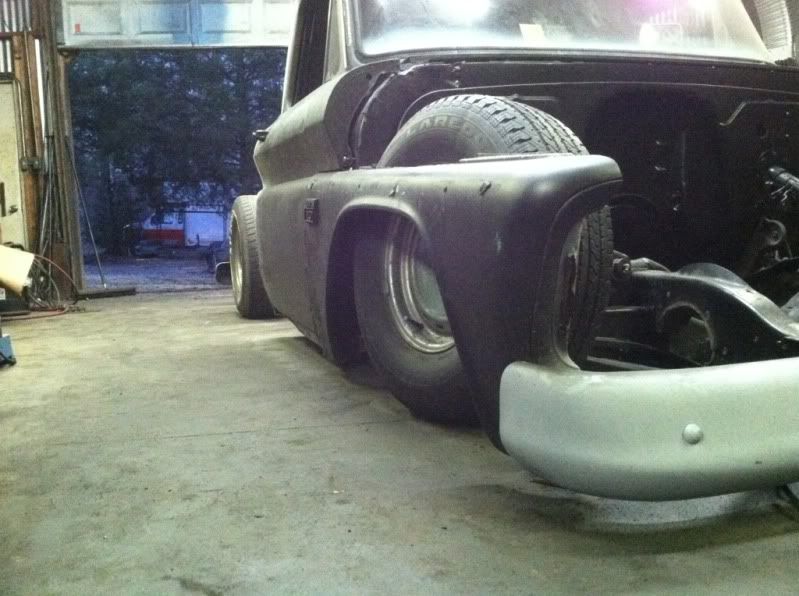 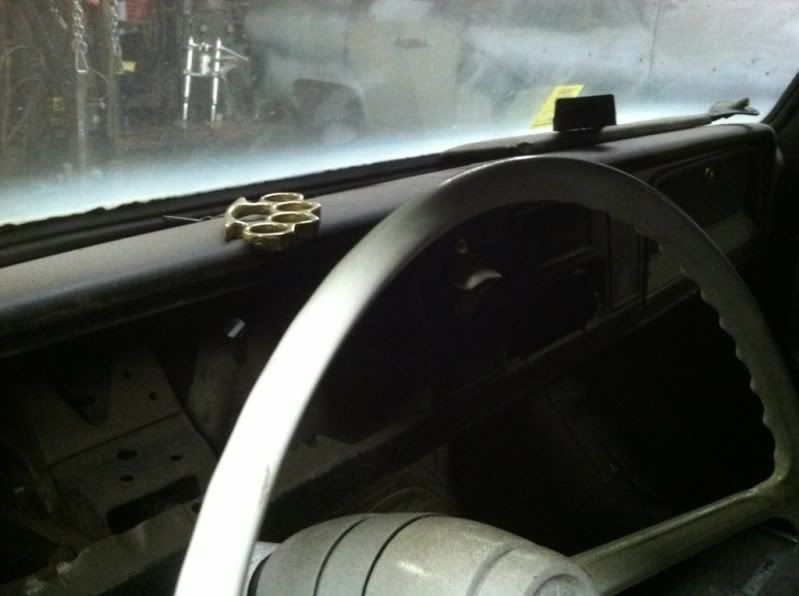 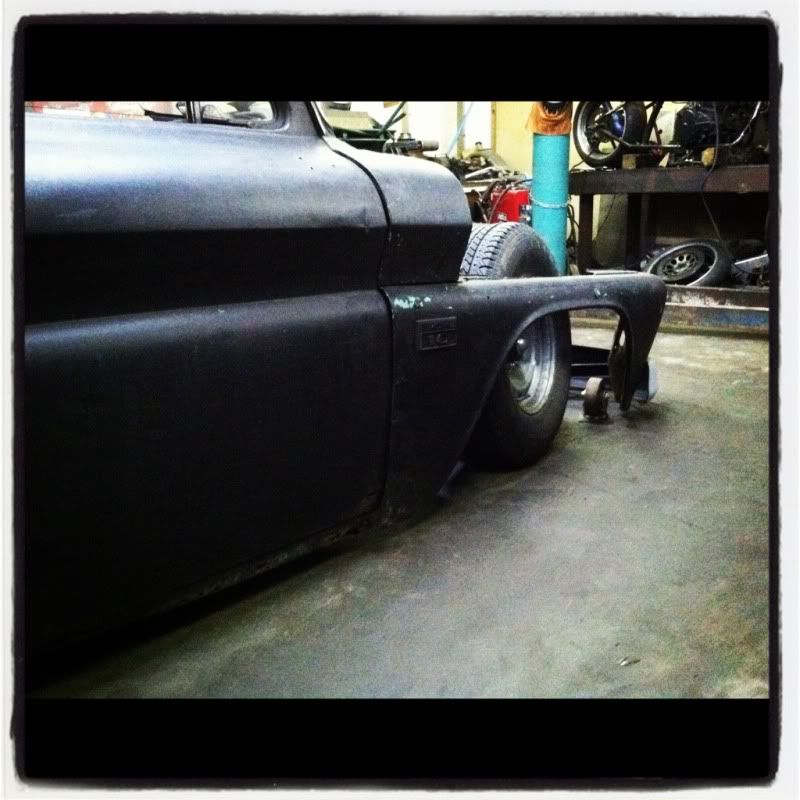 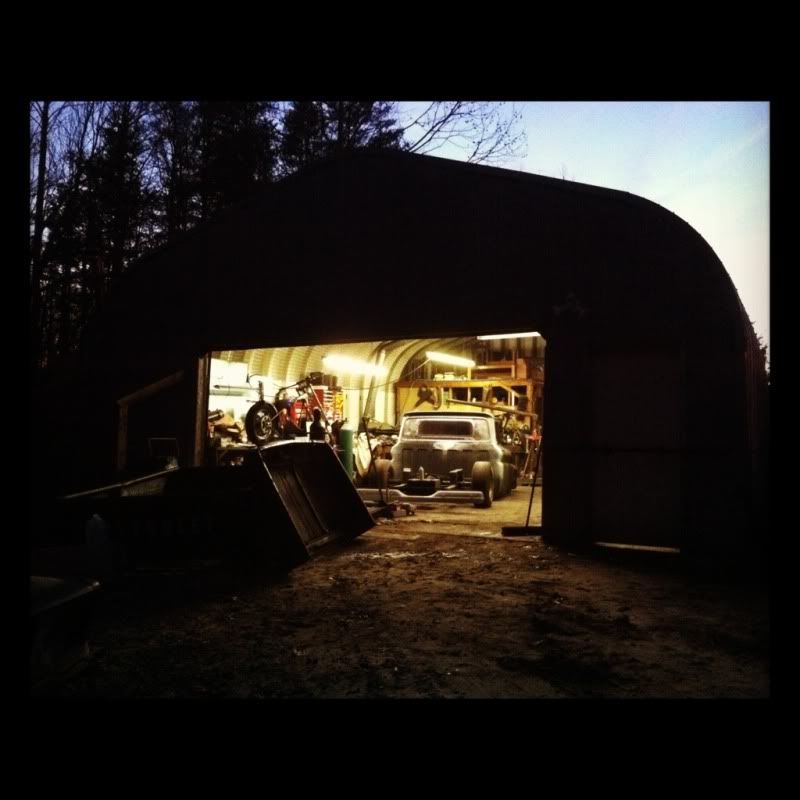 Wiring, reinstalling the drive train, and replacing rusted panels will be next. I pray 6 weeks and it will be done |
|
|

|
|
|
#70 |
|
Registered User
Join Date: Sep 2011
Location: Tacoma, WA
Posts: 2,425
|
Re: My Build: Home Depot Machine
I like your shop by the way !!
__________________
Michael McMurphy My 66 Stepside My 64 Tow Truck My 66 Tempest Table Of Contents Added to Page1 |
|
|

|
|
|
#71 |
|
Registered User
Join Date: Dec 2011
Location: Alaska
Posts: 405
|
Re: My Build: Home Depot Machine
Looks good...keep it up and thanks for sharing updates
|
|
|

|
|
|
#72 |
|
Registered User
Join Date: Dec 2011
Location: Czech Rebublic / Europe
Posts: 165
|
Re: My Build: Home Depot Machine
Dope project! And very cool pics! Also love the place where you work. Good luck homie! Really looking forward to the final look!
|
|
|

|
|
|
#73 |
|
Registered User
Join Date: Feb 2011
Location: muskogee, ok
Posts: 1,091
|
Re: My Build: Home Depot Machine
if you get all that done in 6 weeks you will be the MVP!!! lol great work so far!! starting to look really cool
__________________
 bagged 66 longbed build http://67-72chevytrucks.com/vboard/s...d.php?t=449548 my favorite colors.. black, rust, and shiny!!!! instagram: @coulter918 |
|
|

|
|
|
#74 |
|
Registered User
Join Date: Oct 2010
Location: Rich Virginia
Posts: 336
|
Re: My Build: Home Depot Machine
Thanks guys! I ordered all the new sheet metal, Truck must have been parked on a slope on the passenger side is rusted. New rockers, 1 cab corner, front cab floor supports, 1 lower door patch, floor pans. Going to wait on the fenders for some $$$. Removed all the paint on the whole hood and cab, removed the windshield and its looks brand new in there. Was painting my steering rack when the hook broke and it fell on my windshield. Well the inside was milky white, so time to buy a windshield!
I haven't put the drive shaft back in, but I wonder is it possible to fit an X pipe under the truck? I have the tubular rear crossmember so I can pass the pipes through that. One pic of me having fun stripping the last door. 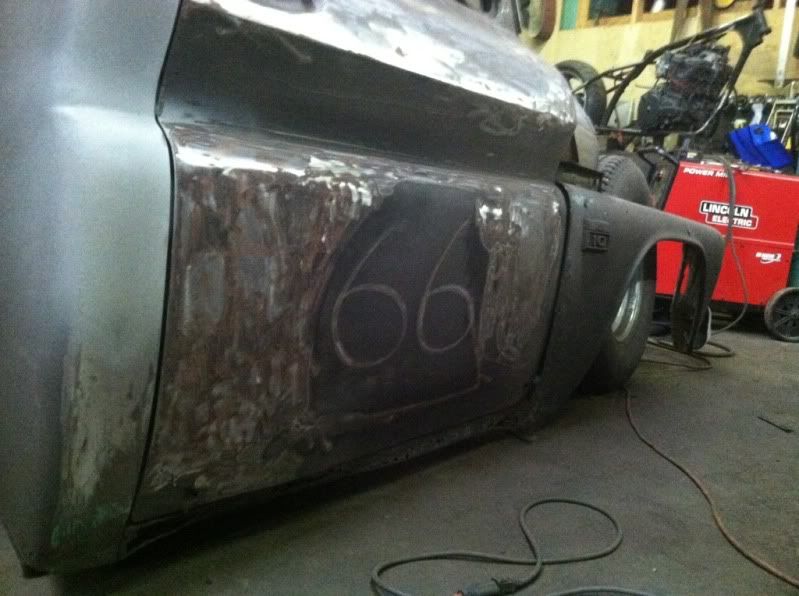
|
|
|

|
|
|
#75 |
|
Registered User
Join Date: Oct 2010
Location: Rich Virginia
Posts: 336
|
Re: My Build: Home Depot Machine
A few more pics. I modified the trans crossmember so now the front is 3/4" lower, if you look close from the pics before you can tell. More paint stripping and body prep. Going back Monday to finally work on new sheet metal, no more rust. The Firewall has been notched for the tires to clear, pics on that monday as well. Just a few more. May not look like much but there is 18 more hours in there.
Motor and trans go back in monday as well and install the rear lowering blocks to get it fully on the ground front and back. Pics! 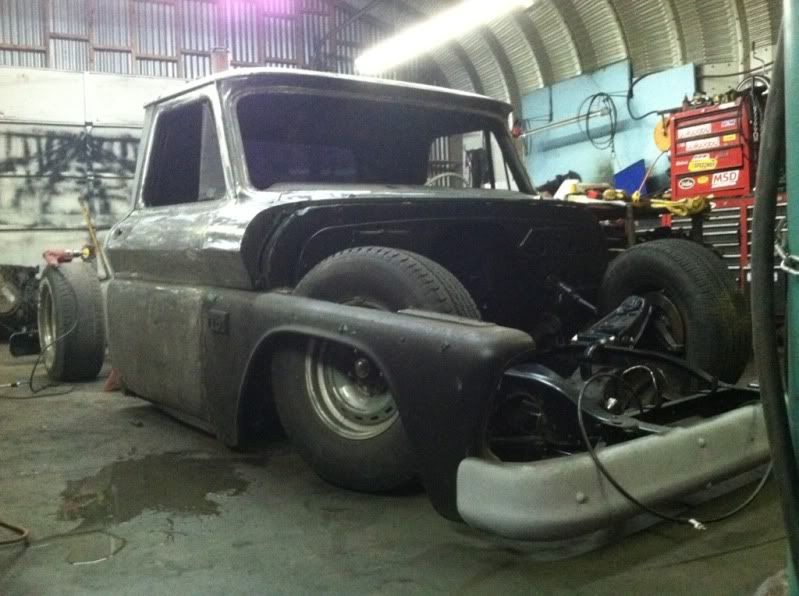 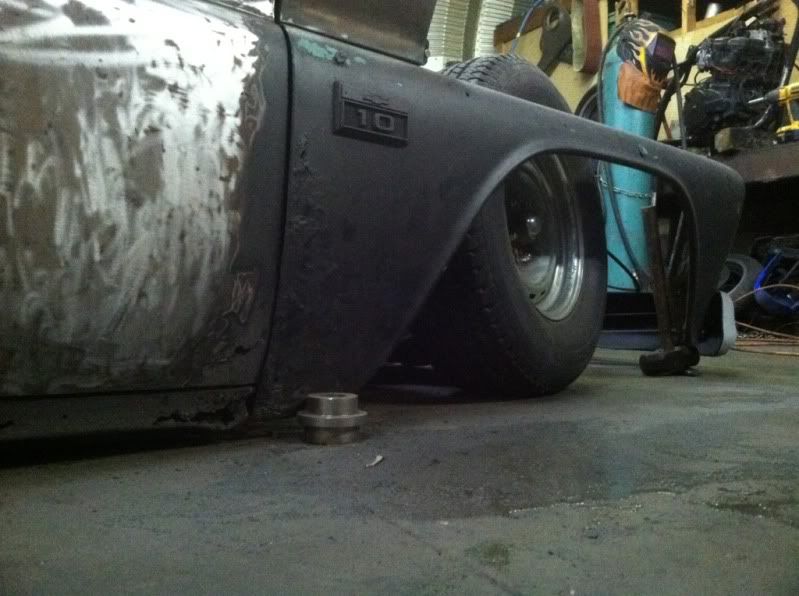 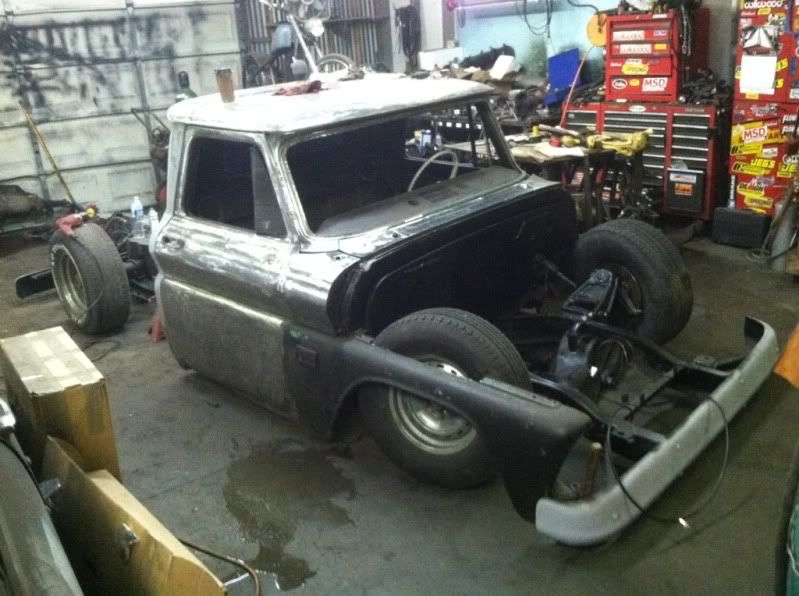 Satin brake booster and master 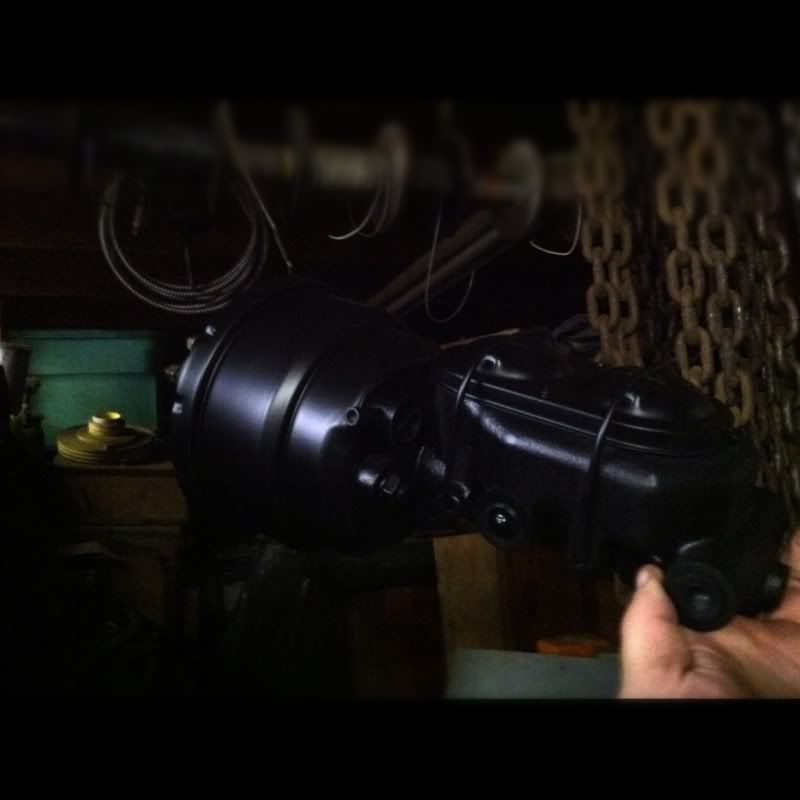  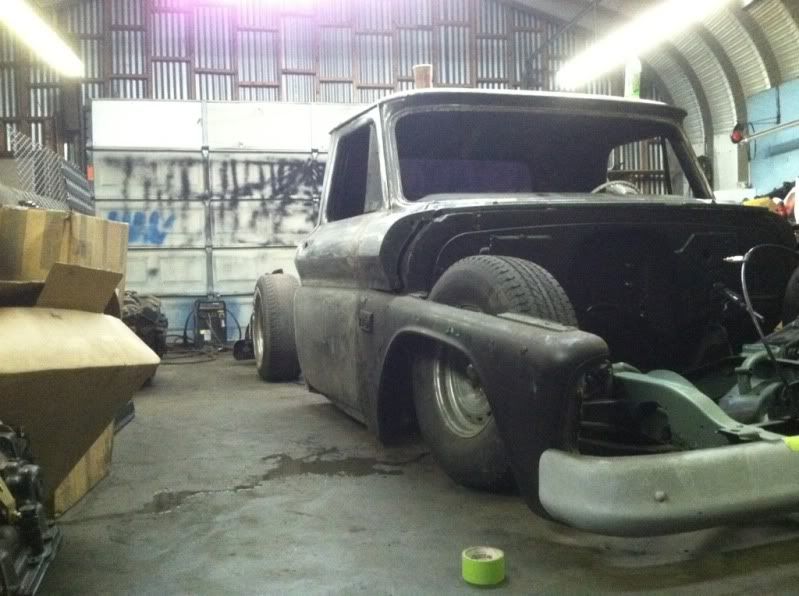 Heavy Metal! 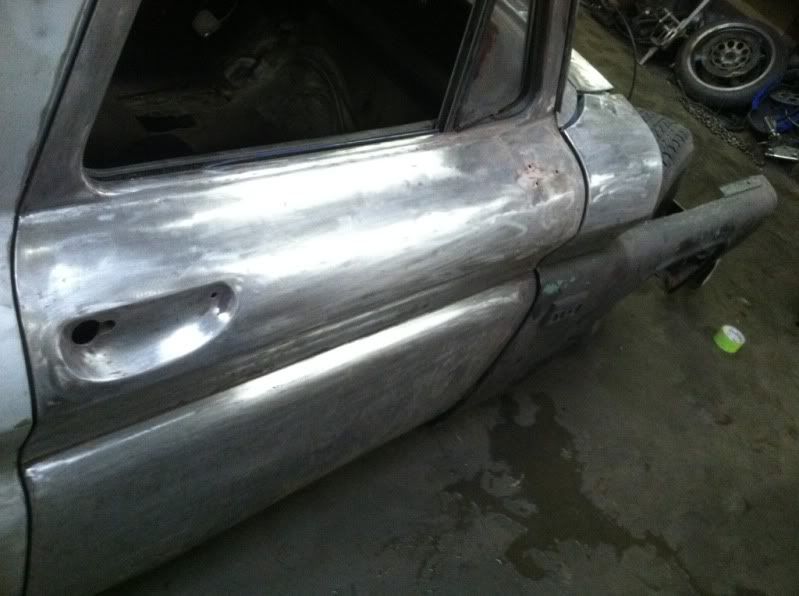
|
|
|

|
 |
| Bookmarks |
|
|