
 |
|
|
|
|
#1 |
|
Registered User
Join Date: Jan 2013
Location: Imperial, MO
Posts: 1,003
|
Re: Bringing the '65 back to life
I put some hours in on the truck this weekend. First up was to get the rear floor pan cut out.
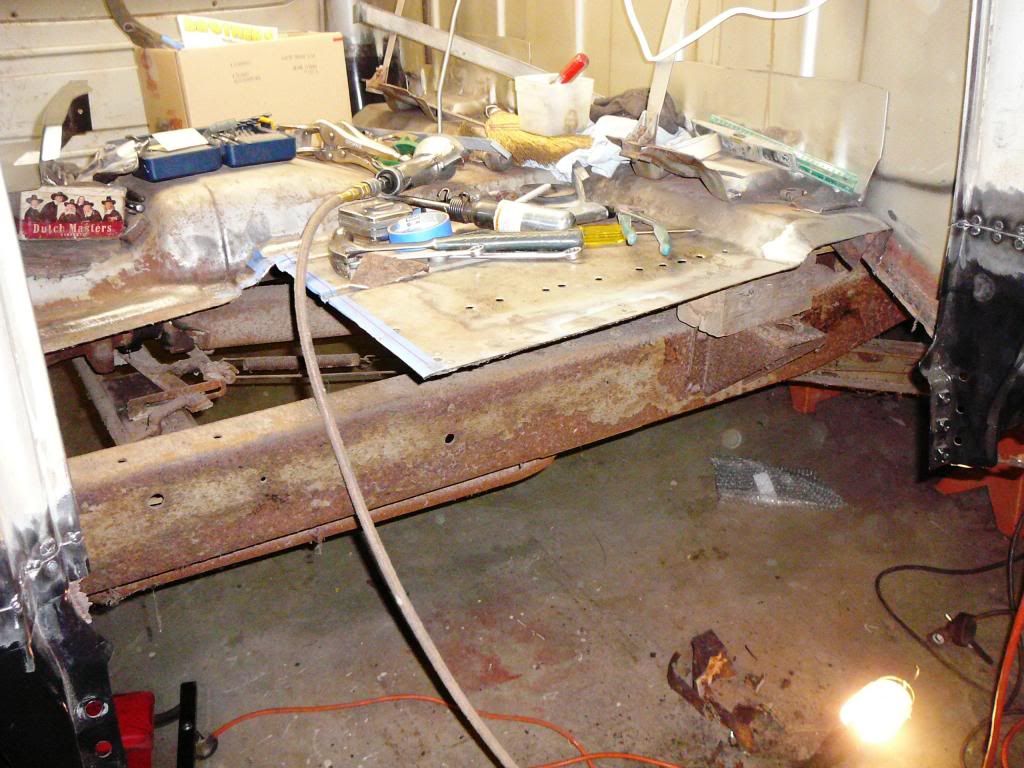 Dad took a turn throwing sparks. 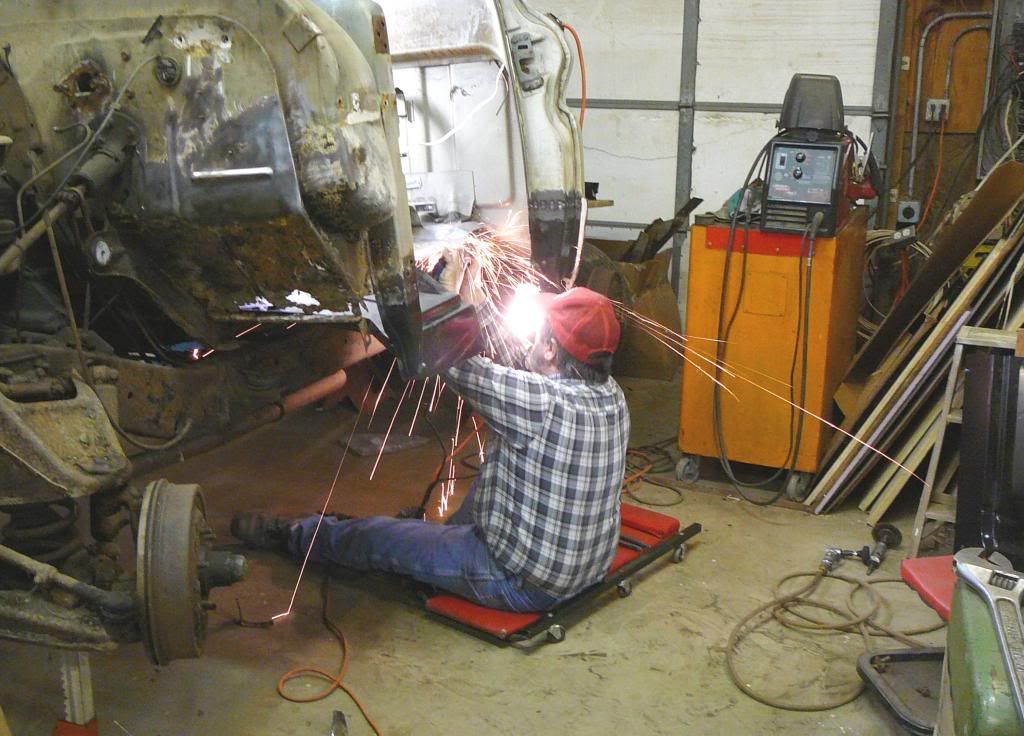 Once it was punched, flanged, and screwed in place, I cut out the kickpanel. 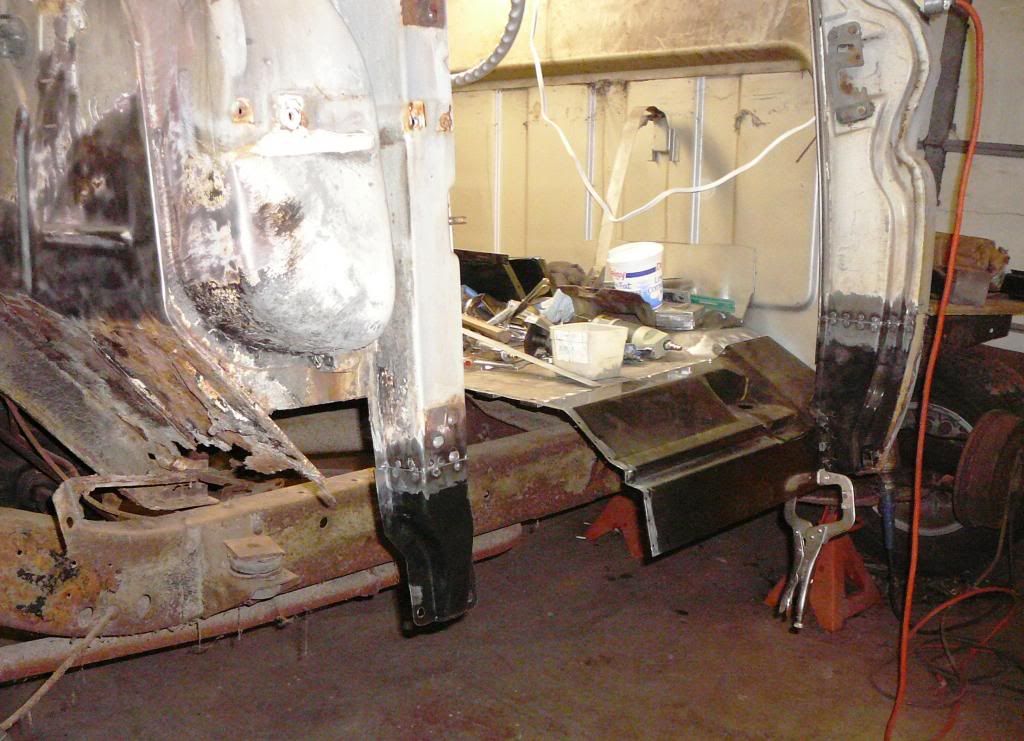 It's easy to access the kickpanel with the floorpan out of the way. 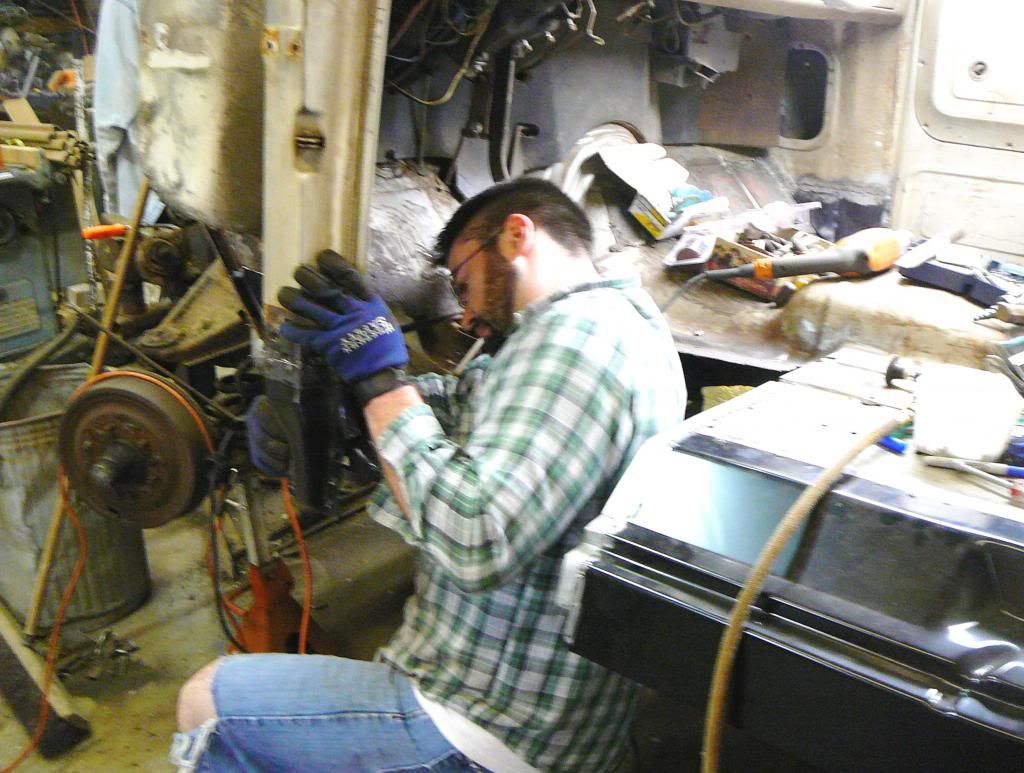 Getting there. Kickpanel and floorpans trimmed, flanged, and screwed in place. I still need to fit all of the bracing under the floor, check the door gaps and rocker panel fitment, and tweak/trim a few pieces, then it's time to weld it all up. That will probably have to wait a couple of weeks, as I'm booked pretty solid next weekend. 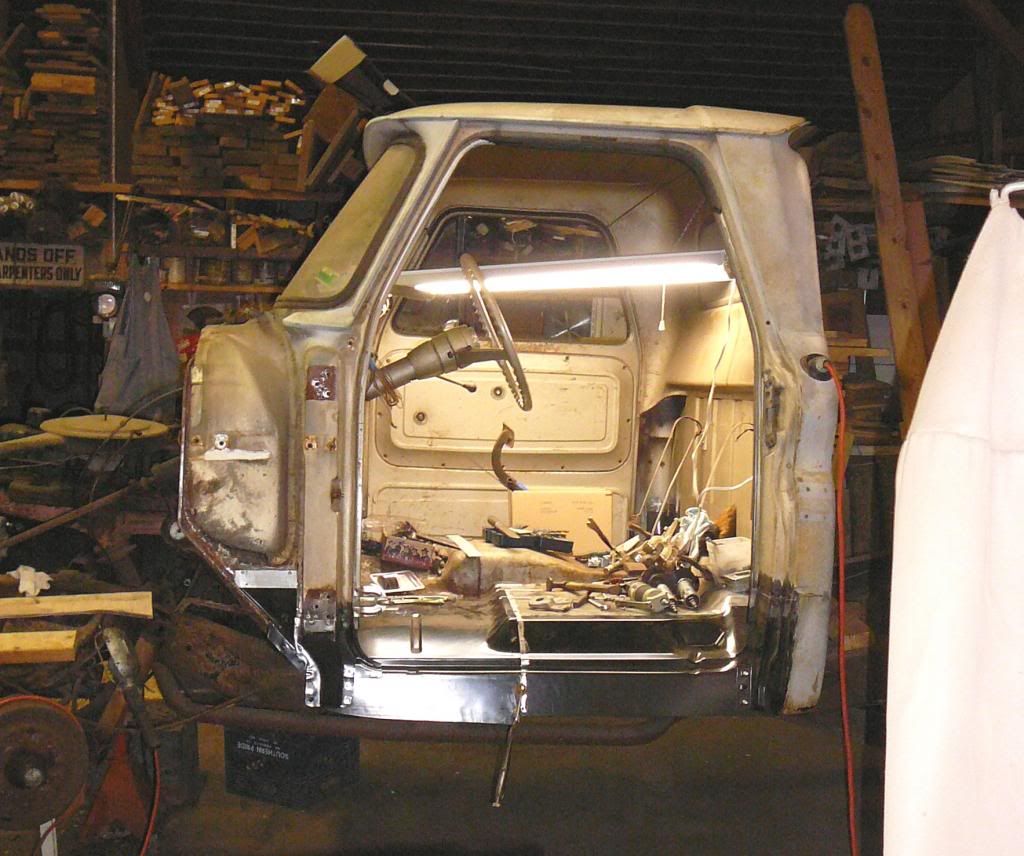
|
|
|

|
|
|
#2 |
|
Registered User
Join Date: Feb 2013
Location: Genoa, IL
Posts: 387
|
Re: Bringing the '65 back to life
Good progress! Having been through this I appreciate the time and effort to get it all lined up and then welded.
Posted via Mobile Device
__________________
Jeff Simplify Life! My build thread: http://67-72chevytrucks.com/vboard/s...d.php?t=566533 |
|
|

|
|
|
#3 |
|
Registered User
Join Date: Jan 2013
Location: Imperial, MO
Posts: 1,003
|
Re: Bringing the '65 back to life
Thanks! Yep, there's a bit of time involved. Heck, there's probably a few hours just cleaning/weld-prepping metal.
|
|
|

|
|
|
#4 |
|
Registered User
Join Date: Jan 2013
Location: Imperial, MO
Posts: 1,003
|
Re: Bringing the '65 back to life
|
|
|

|
|
|
#5 |
|
Registered User
Join Date: Jan 2013
Location: Imperial, MO
Posts: 1,003
|
Re: Bringing the '65 back to life
|
|
|

|
|
|
#6 |
|
Registered User
Join Date: Jan 2013
Location: Imperial, MO
Posts: 1,003
|
Re: Bringing the '65 back to life
|
|
|

|
|
|
#7 |
|
Registered User
Join Date: Jan 2013
Location: Imperial, MO
Posts: 1,003
|
Re: Bringing the '65 back to life
|
|
|

|
|
|
#8 |
|
Registered User
Join Date: Jan 2013
Location: Imperial, MO
Posts: 1,003
|
Re: Bringing the '65 back to life
After a day of cutting, bending, and welding, the front floor pan and front cab support actually fit correctly. The driverside front floor pan stamping had quite a few flaws. If you look in the pictures, you'll see that I still need to trim the lower edge of the pan where it meets the rocker panel, as that edge is completely wrong. Both parts are screwed/bolted in place and ready to be welded up as soon as I get back to it in a couple weeks (going camping next weekend).
Using the old copper trick to weld up and redrill a hole that was slightly off. 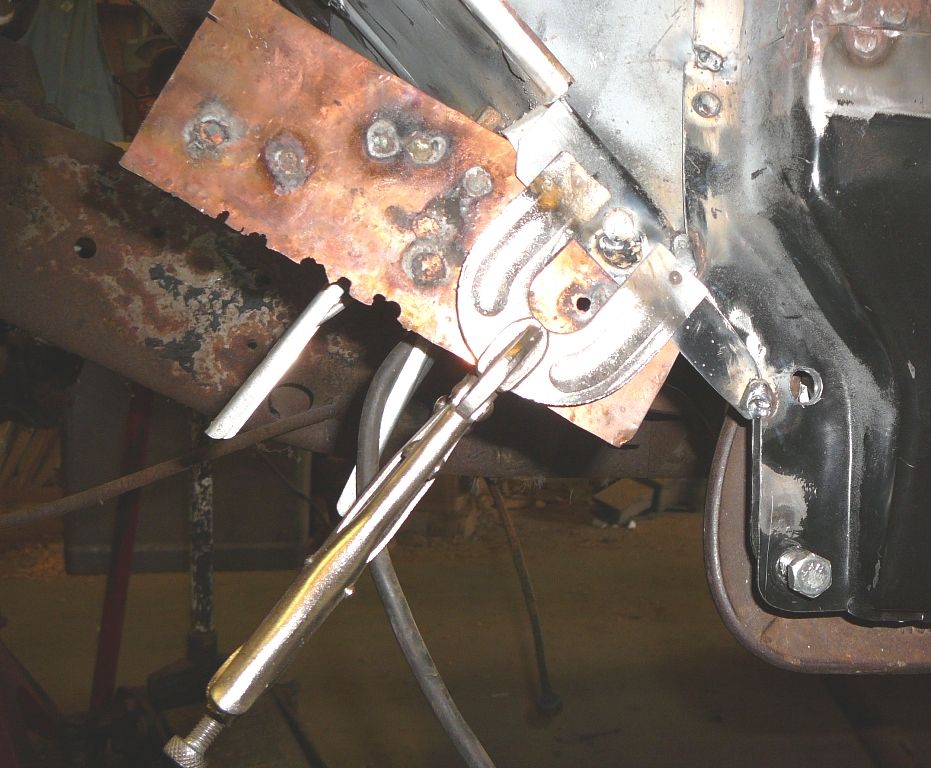 Had to move the body mount bolt hole as well. 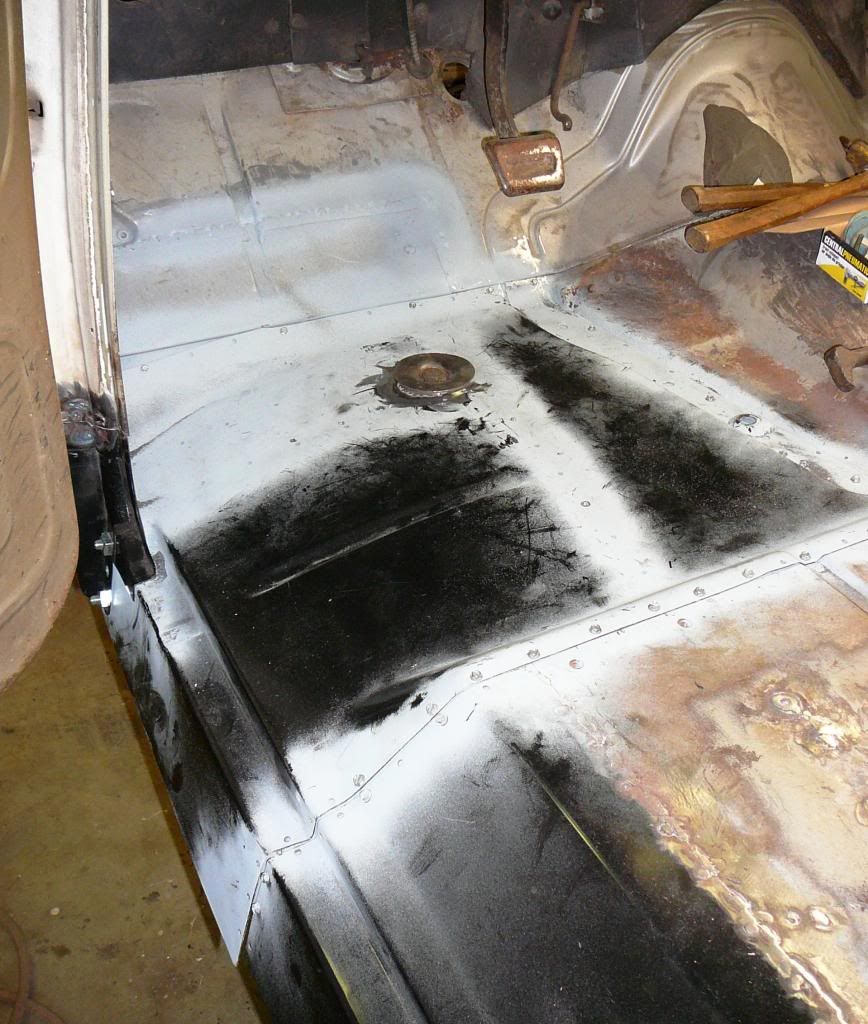 We stuck the door back on the cab just to verify that nothing has moved before the floor pan gets welded in place. 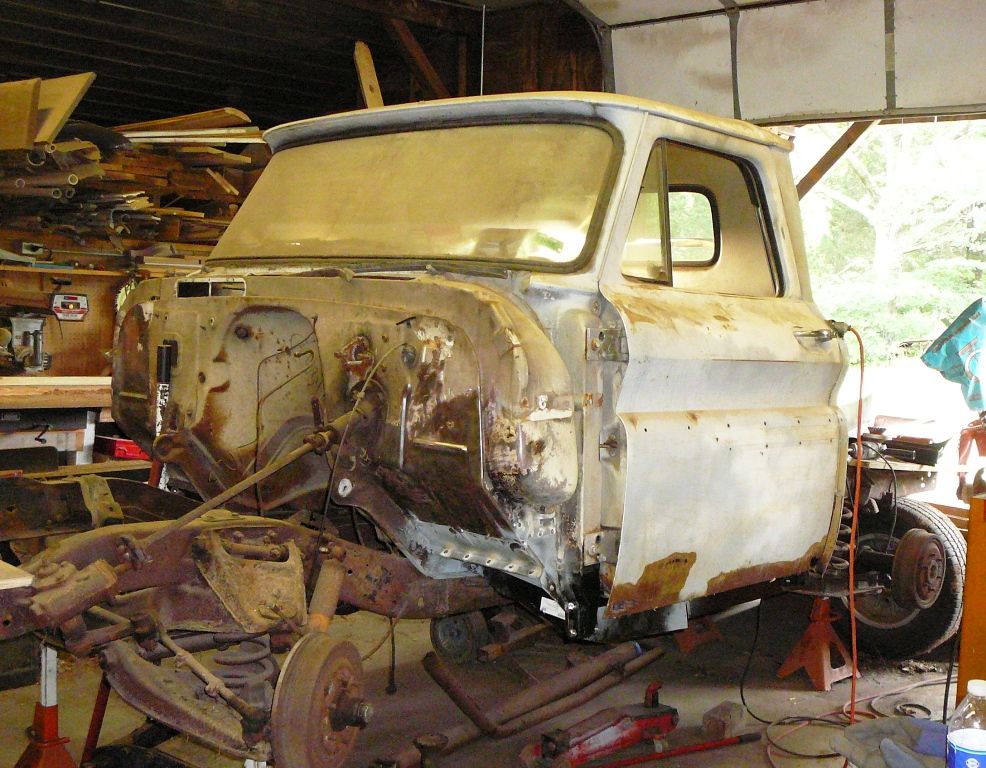
|
|
|

|
|
|
#9 |
|
Registered User
Join Date: Jan 2013
Location: Imperial, MO
Posts: 1,003
|
Re: Bringing the '65 back to life
|
|
|

|
|
|
#10 |
|
hillbilly
Join Date: Apr 2007
Location: hampton,tn
Posts: 459
|
Re: Bringing the '65 back to life
looking good man. im at the same place as you.
__________________
-1962 C-10 |
|
|

|
|
|
#11 |
|
Registered User
Join Date: Jan 2013
Location: Imperial, MO
Posts: 1,003
|
Re: Bringing the '65 back to life
|
|
|

|
|
|
#12 |
|
Registered User
Join Date: Jan 2013
Location: Imperial, MO
Posts: 1,003
|
Re: Bringing the '65 back to life
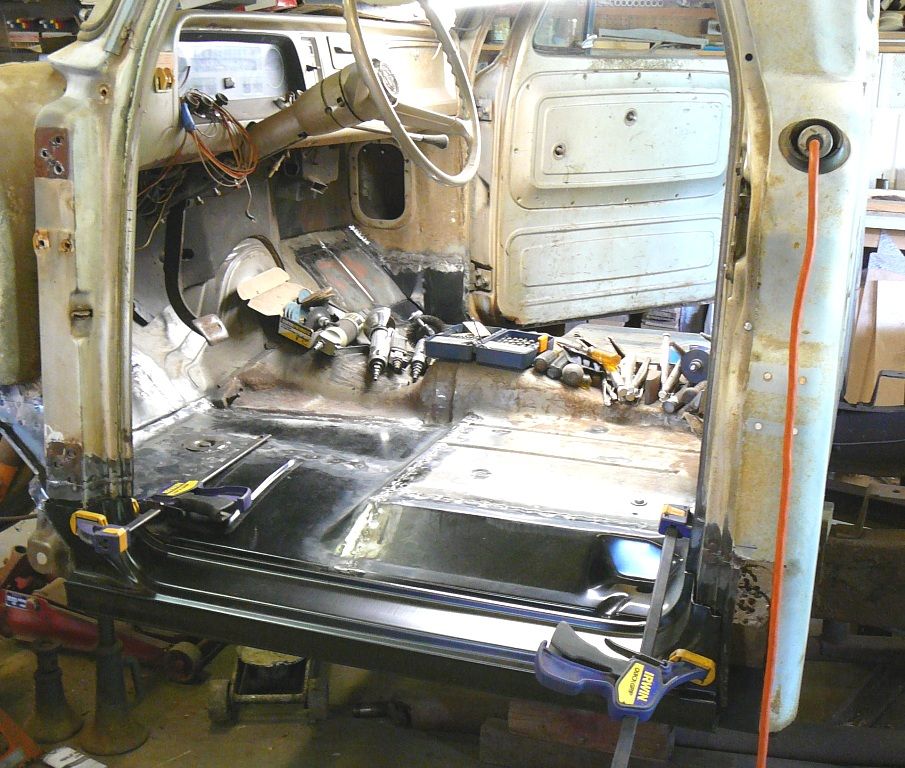
This morning I filled the factory holes for the original jack mounts on the floor pan, repaired and installed the driverside lower front fender mounting bracket, spent some time smoothing out welds, and began to fit the driverside rocker panel. It's going to require the same rework as the passenger side.
|
|
|

|
|
|
#13 |
|
Registered User
Join Date: Jan 2013
Location: Imperial, MO
Posts: 1,003
|
Re: Bringing the '65 back to life
|
|
|

|
|
|
#14 |
|
Registered User
Join Date: Apr 2011
Location: .
Posts: 3,104
|
Re: Bringing the '65 back to life
Your going to re-hang your doors to make sure the rockers are set correctly before welding?
I had to ask. Looks great. |
|
|

|
|
|
#15 |
|
Senior Member
 Join Date: Oct 2009
Location: Fayetteville, Arkansas
Posts: 1,923
|
Re: Bringing the '65 back to life
just read your thread and the first thought was you've really come a long way in a short time. even with all the distractions you've stayed the course.
nice work and dam good welding... gotta be making dad proud. stay after it and an A+ on the pics... |
|
|

|
|
|
#16 | |
|
Registered User
Join Date: Jan 2013
Location: Imperial, MO
Posts: 1,003
|
Re: Bringing the '65 back to life
Quote:
Thanks! Like I said earlier, the hardest part is finding the time to get over to the shop and work on it. I'm looking forward to getting the repairs finished on the cab so we can remove it and get started on the chassis. |
|
|
|

|
|
|
#17 |
|
Registered User
Join Date: Jan 2013
Location: Imperial, MO
Posts: 1,003
|
Re: Bringing the '65 back to life
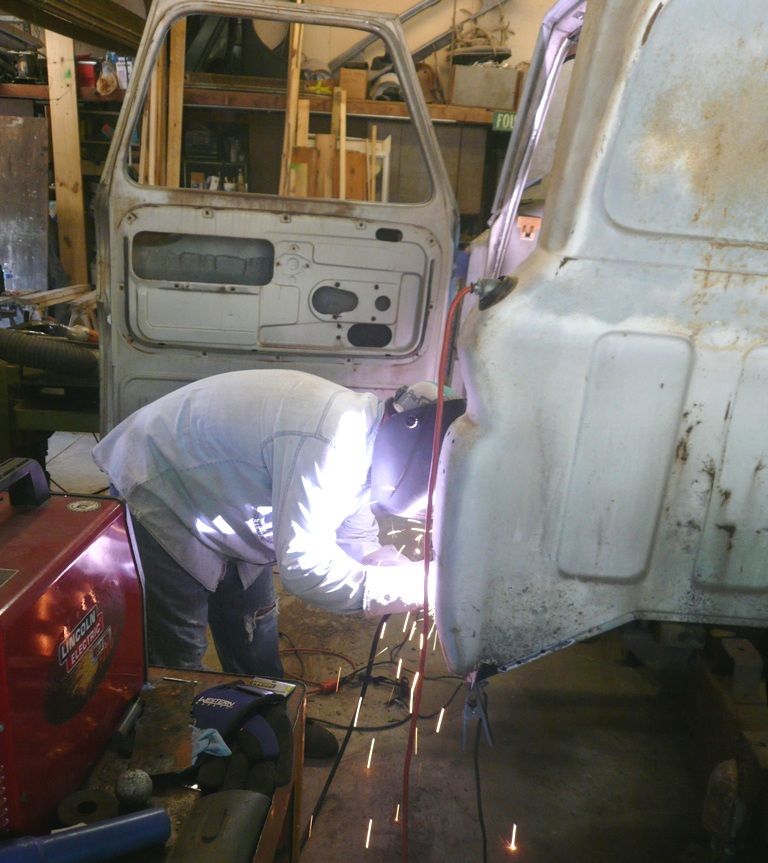
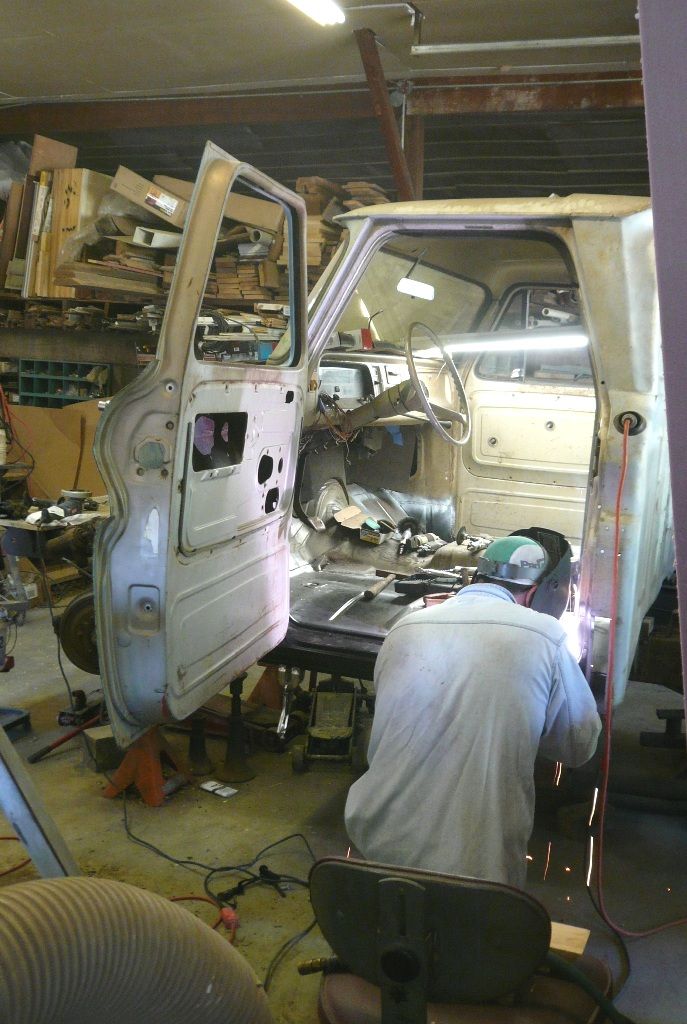
Dad scored a original paint, rust-free door, so we installed it to verify the rocker panel location, made a few adjustments, and got to welding on the rocker panel.
  The door has a small crease at the front. I tacked an eyebolt in the crease, just above the body line. We'll use it to provide a little tension while working out the dent. 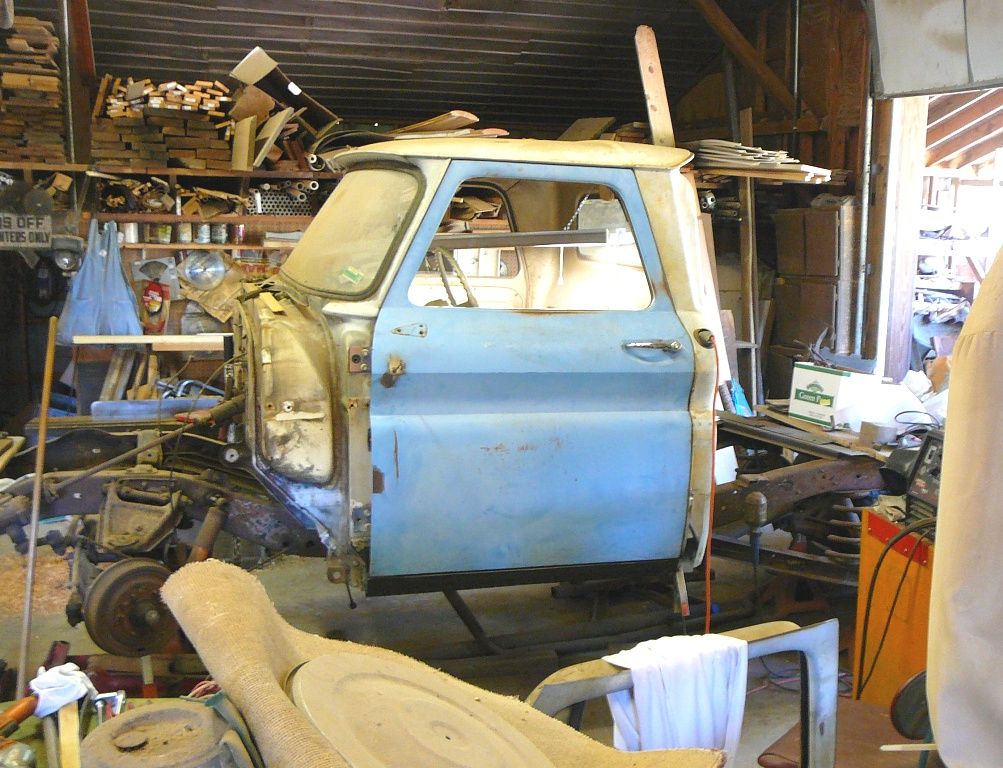 We'll be at a car cruise next weekend with my XR7 and my buddies '64 C10, so I'll attack the cab corner the following weekend. |
|
|

|
|
|
#18 |
|
Registered User
Join Date: Apr 2012
Location: CT
Posts: 265
|
Re: Bringing the '65 back to life
Nice work on the floor and rockers. Keep chippin away at it.
__________________
http://67-72chevytrucks.com/vboard/s...d.php?t=742865 66 SWB, C4 Dropmember timmytimm3 on IG "If you don't have time to do it right the first time, when will you?" -Dad |
|
|

|
|
|
#19 |
|
Registered User
Join Date: Jan 2013
Location: Imperial, MO
Posts: 1,003
|
Re: Bringing the '65 back to life
Thanks!
I forgot to post this earlier, too. The "plan" as of 9/1/13: The current thinking is satin black with a gloss white roof (just to the drip rail, not down the pillars), stripe (between the chrome strips that run the length of the truck), and tailgate letters. For the interior, we're leaning toward silvers/grays, with the factory fawn still being a possibility, and a black rubber/vinyl full floor mat. The chassis will be black, though the gloss level and/or texture has yet to be decided, as that will depend on how it looks after blasting it. I have some ideas for the engine and engine bay, but that will really depend on what drivetrain ends up in it. The rear wheeltubs will be widened ~4", the front suspension will receive 2-1/2" drop spindles, and the plan is to run a staggered wheel setup, 15's and 17's maybe, with bigs and littles. The bed will have an aluminum diamond-tread floor, extending up to the factory ledge on the inner bed sides. I was thinking about frenching in a power antenna and moving the fuel tank under the bed with a fuel door in the bed side, but that's probably about as far as the body mods will go. As far as safety upgrades go, at the minimum, it will receive front disc brakes, a dual reservoir master cylinder, and seat belts. It should have a decently aggressive look while still being functional. It isn't going to be a total pavement scraper, as it has to be able to manage to make it in and out of their driveway (a 3/4 mile long steep/curvy gravel road). |
|
|

|
|
|
#20 |
|
Registered User
Join Date: Aug 2012
Location: Smithfield rhode island
Posts: 722
|
Re: Bringing the '65 back to life
Nice progress and sounds like a well thought out list, I'm sure you glad to be done with that part of the build
 Posted via Mobile Device
__________________
My frame Layin 63 short bed project  http://67-72chevytrucks.com/vboard/s...d.php?t=551353 |
|
|

|
|
|
#21 |
|
Registered User
Join Date: Jan 2013
Location: Imperial, MO
Posts: 1,003
|
Re: Bringing the '65 back to life
Thanks. I'm sure the plan will evolve as we go, but that's the rough idea for now. And yes, I'll be glad to have the rust repair finished. As soon as the driverside cab corner is replaced, the cab will be ready to leave the frame so we can get started on the chassis.
|
|
|

|
|
|
#22 |
|
Registered User
Join Date: Jan 2013
Location: Imperial, MO
Posts: 1,003
|
Re: Bringing the '65 back to life
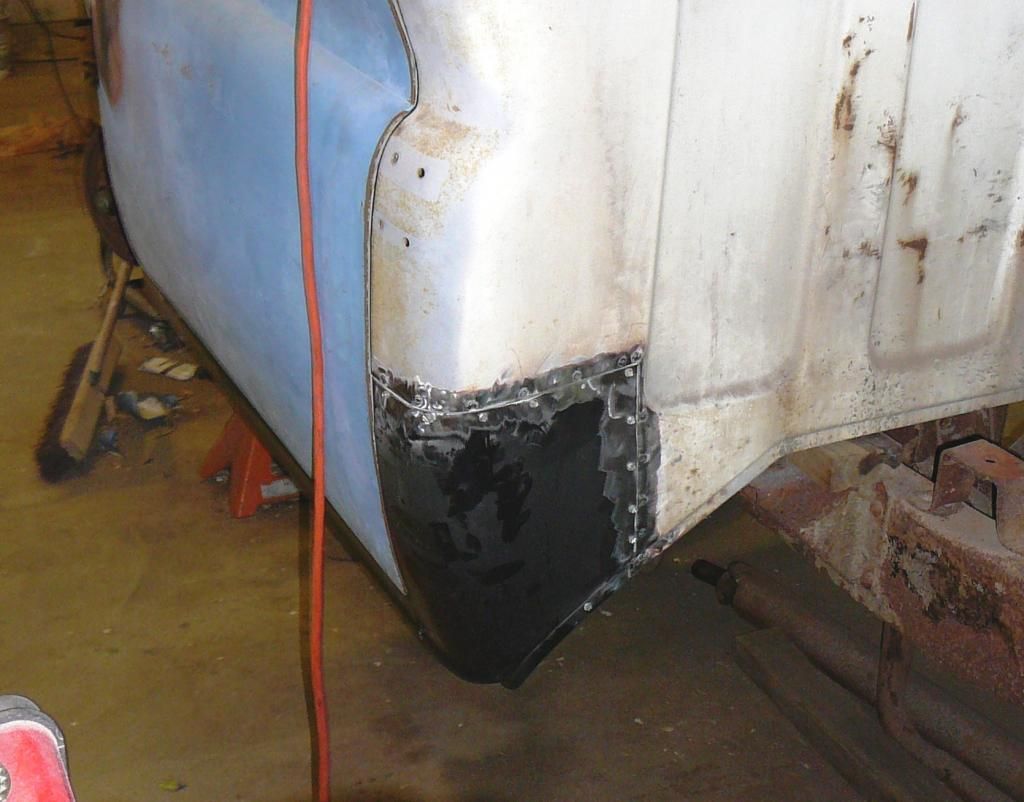
Today I removed the rusty driverside cab corner, made up and installed flanges, then fit the new cab corner and screwed it into place. It's ready to weld up.
 Dad picked up a stud gun last week and he started working the dents out of the driverside door. He's been getting plenty of practice with it while prepping a rust-free bed for my F150. 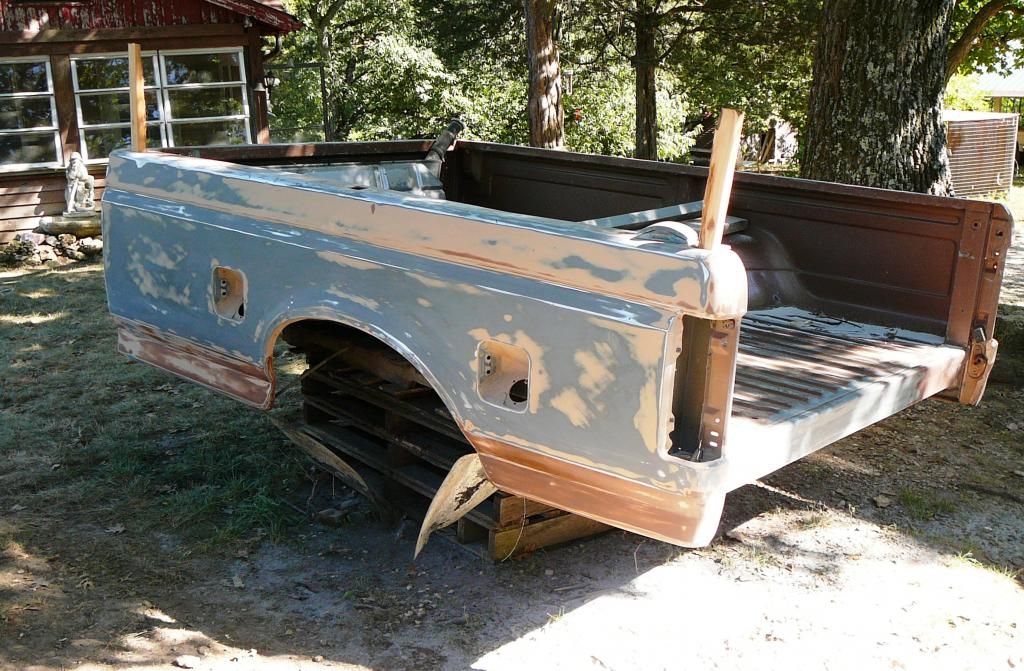
Last edited by racecougar; 09-14-2013 at 07:09 PM. |
|
|

|
|
|
#23 |
|
Registered User
Join Date: Apr 2012
Location: Searcy, AR
Posts: 4,203
|
Re: Bringing the '65 back to life
Late to the Party...
 but I'm in now!!!  Great work... Keep Rockin' da Sparkmaker! 
__________________
DON Proverbs 27:17  US Air Force Retarded errr Retired My '65 Stepper Build:http://67-72chevytrucks.com/vboard/s...d.php?t=533920 My '60 Rusty Patina Build:http://67-72chevytrucks.com/vboard/s...66#post7402266 My '72 http://67-72chevytrucks.com/vboard/s...59#post7204359 SOLD |
|
|

|
|
|
#24 |
|
Registered User
Join Date: Jan 2013
Location: Imperial, MO
Posts: 1,003
|
Re: Bringing the '65 back to life
|
|
|

|
|
|
#25 |
|
Registered User
Join Date: Jan 2013
Location: Imperial, MO
Posts: 1,003
|
Re: Bringing the '65 back to life
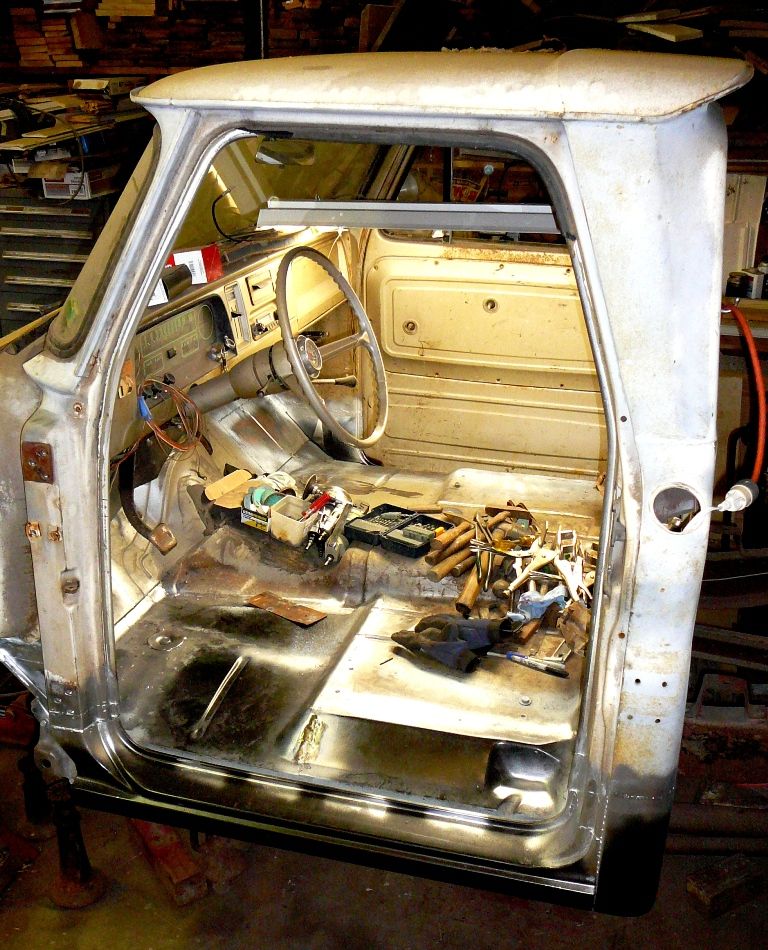
Yesterday, I filled the hole in the driverside floor pan stamping for the fuel selector (heavy trucks) and the hole in the passenger side floor pan for the fuel line. Then I spent some time going over everything, doing a little finish welding and smoothing out welds. The driverside door was in my way, so it left the cab once again.
 Today, I attacked the fuel tank mounts. I removed the front of each mount, made a couple pie cuts in each, shaped the metal, welded them up, then smoothed them out. With the fuel tank mounts out of the way, the seat should be able to move just a bit further back, and there will be plenty of room for storage or stereo components behind the seat. 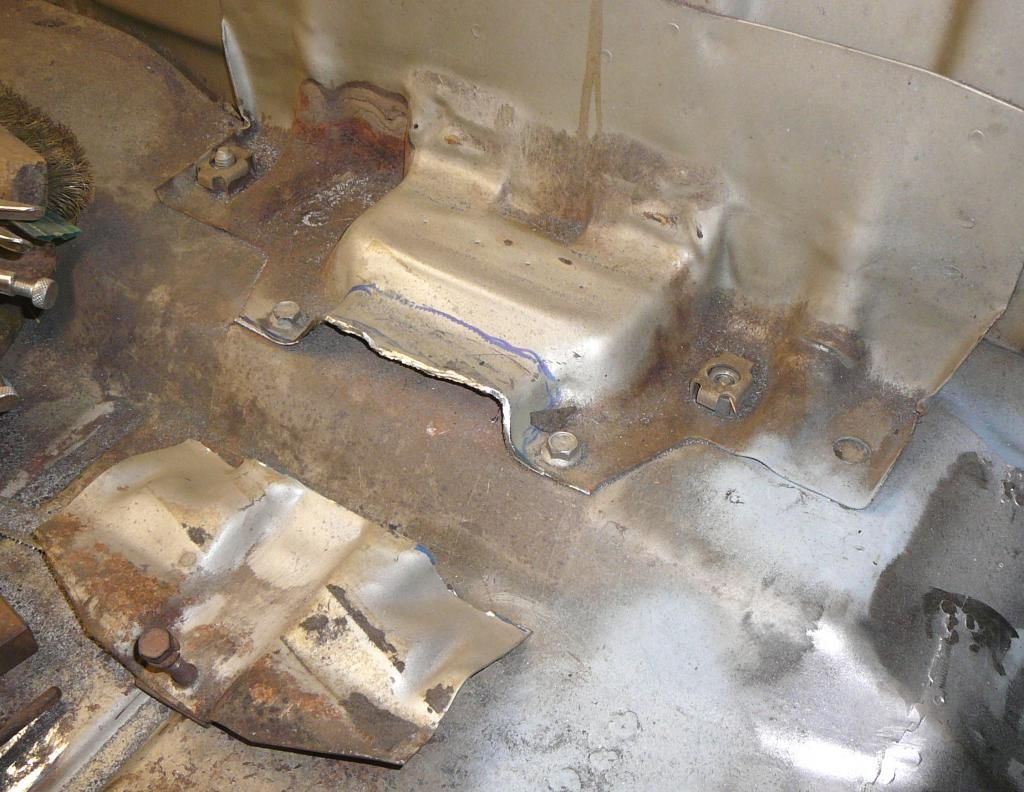 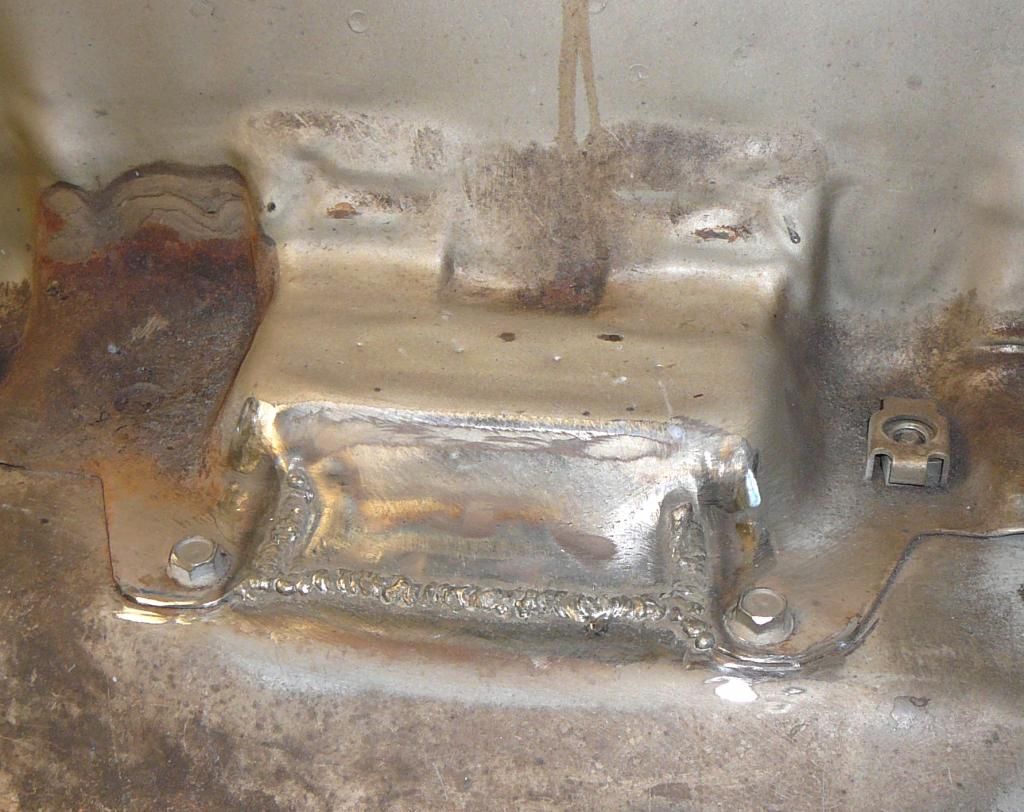 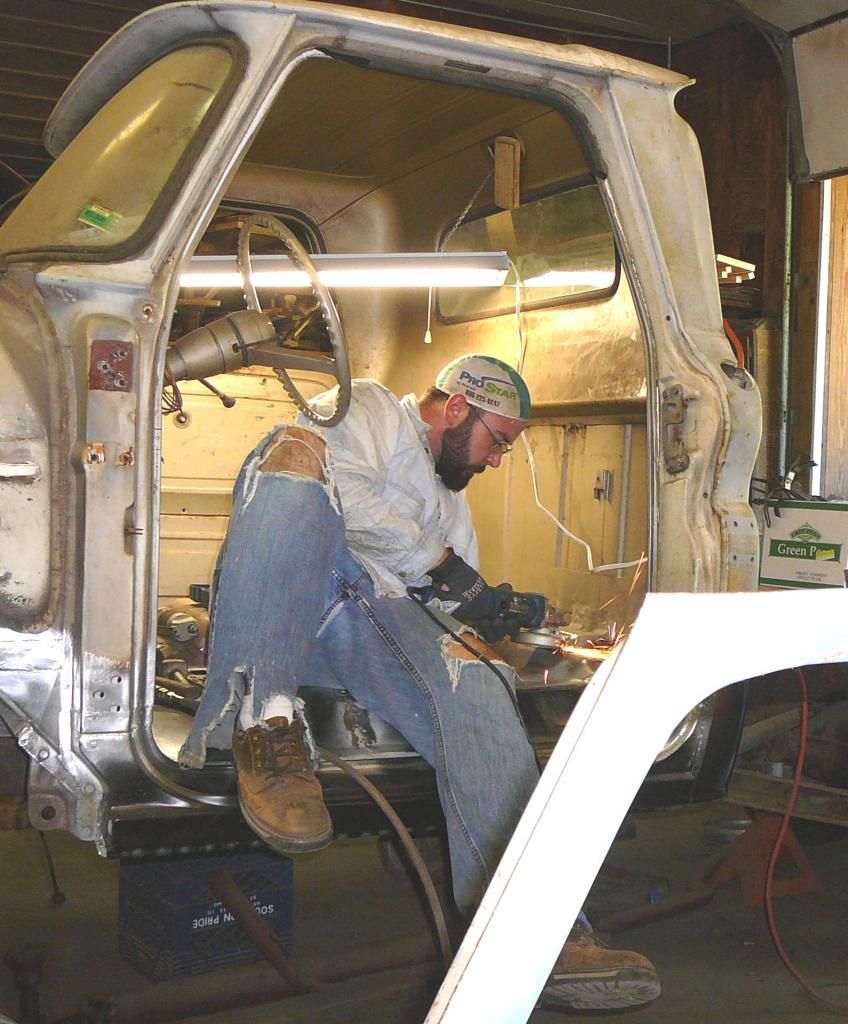 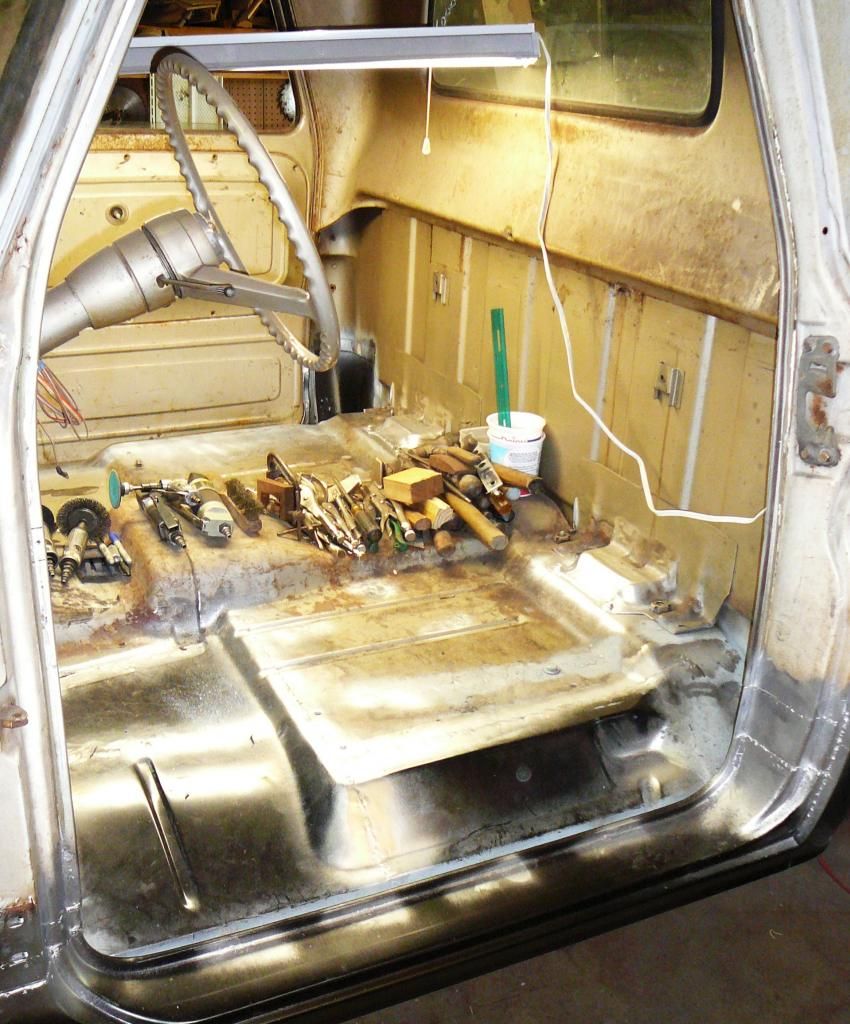
|
|
|

|
 |
| Bookmarks |
|
|