
|
Register or Log In To remove these advertisements. |
|
|
|
|||||||
 |
|
|
Thread Tools | Display Modes |
 02-07-2018, 11:00 AM
|
#51 |
|
Registered User
 Join Date: Mar 2009
Location: salt lake city, utah
Posts: 208
|
Re: rust repair on the '77...here goes nothin
Thanks for the kudos y'all. I couldn't do any of this without sites like this.
__________________
'80 SRW C35 - 355/700R4/4:11/2.5-3/DD '77 Cheyenne K5 - Roller cam 355/NV4500/205/4:88's/35's/DD rust repair on the '77 http://67-72chevytrucks.com/vboard/s...d.php?t=740291 |

|

|
|
02-08-2018, 09:11 PM
|
#52 |
|
Senior Member
Join Date: Jan 2003
Location: Grand Junction, Colorado
Posts: 611
|
Re: rust repair on the '77...here goes nothin
Amazing work!
__________________
Doug Wright aka K5NUTT over @coloradok5.com Owner of http://groups.yahoo.com/group/ChevyK5BlazerChalets Certified K5 Nut |
|
|
|
|
02-10-2018, 10:44 AM
|
#53 |
|
Registered User
Join Date: Mar 2009
Location: salt lake city, utah
Posts: 208
|
Re: rust repair on the '77...here goes nothin
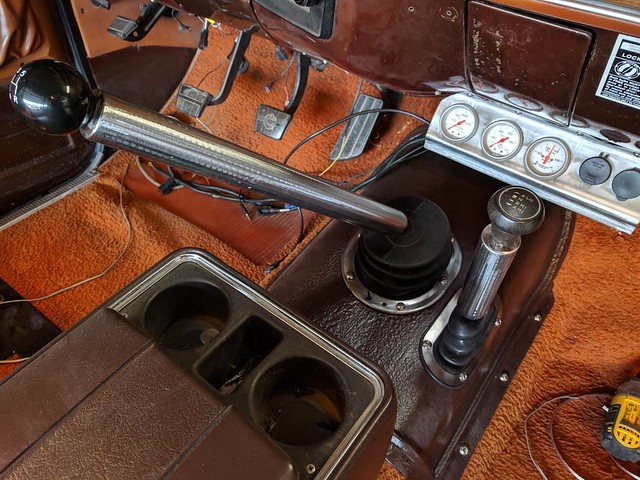
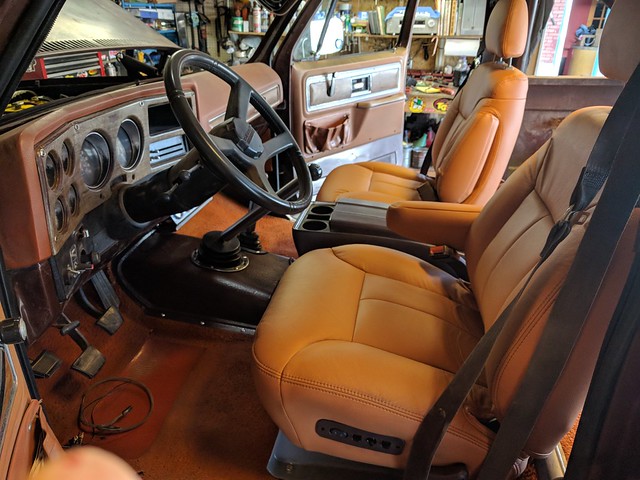
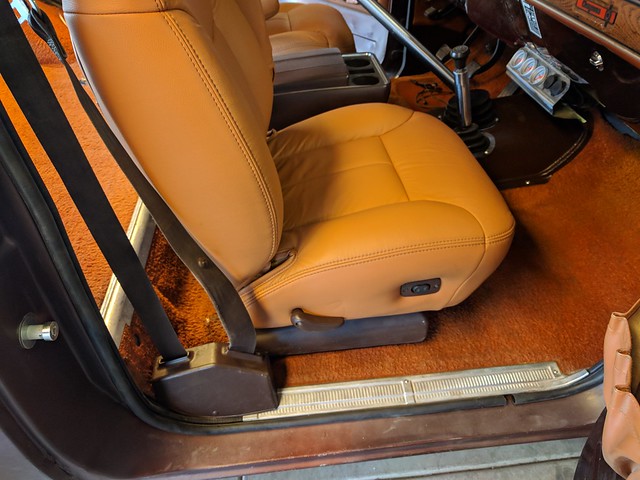
Got a bit more interior put together.
__________________
'80 SRW C35 - 355/700R4/4:11/2.5-3/DD '77 Cheyenne K5 - Roller cam 355/NV4500/205/4:88's/35's/DD rust repair on the '77 http://67-72chevytrucks.com/vboard/s...d.php?t=740291 |
|
|
|
|
02-10-2018, 12:41 PM
|
#54 |
|
Registered User
Join Date: Feb 2018
Location: oak hills, so-cal
Posts: 1
|
Re: rust repair on the '77...here goes nothin
seats look good in there, you said your going soft top, id use the same leather!!
|
|
|
|
|
02-19-2018, 12:52 PM
|
#55 |
|
Registered User
Join Date: Mar 2009
Location: salt lake city, utah
Posts: 208
|
Re: rust repair on the '77...here goes nothin
The big challenge for the interior was to save as much of the stock orange as I could. I know there's a zillion different options on replacement carpet, but I've never found anything close to the original orange. As it turned out I was able to save it good enough. I'll get another few years out of it anyway.
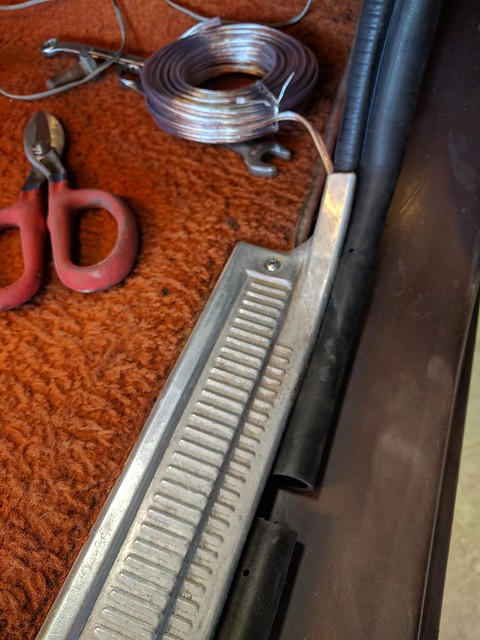
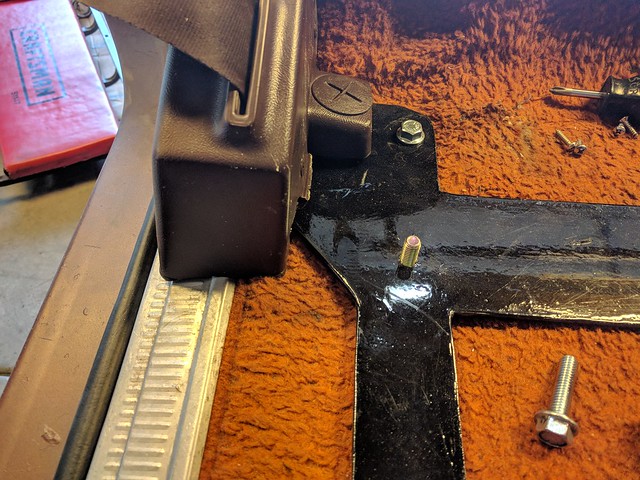
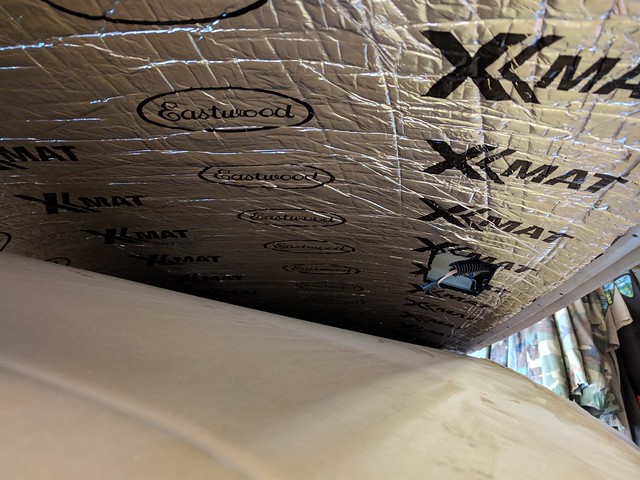
continuing the ad for Eastwood. 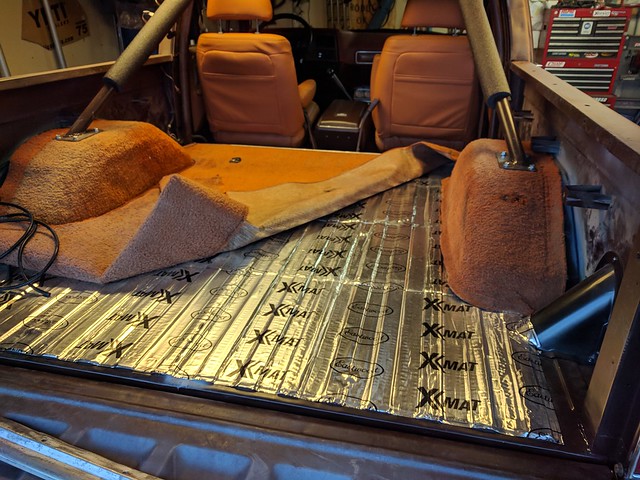 tie downs out of a '99 Tahoe to keep the Yeti 75 from giving me a body check. 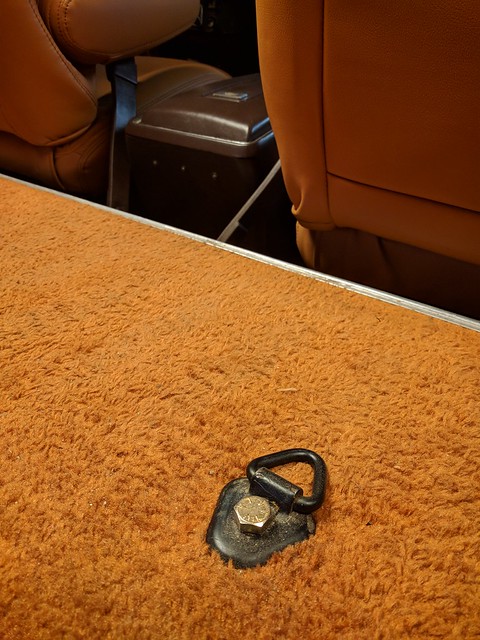  Got this quick release fire extinguisher mount from DIY4X. Decided to go with a "clean agent" Halotron FE. 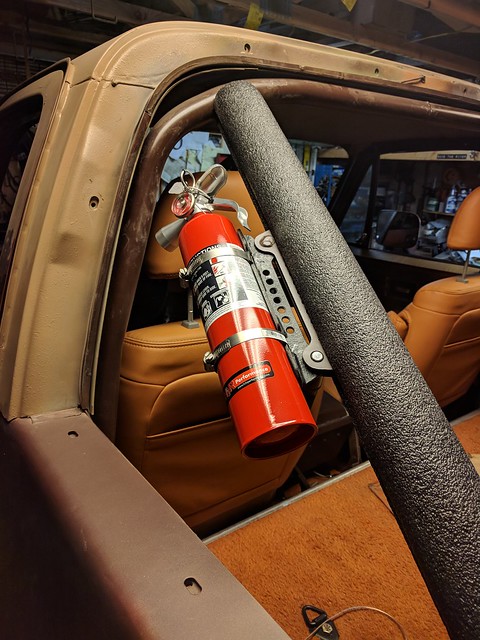 I was going to just use the unfinished sail panel for a headliner, but decided to finish it instead. Used a liner from Pepboys, but probably would've had fair luck with something from a fabric store too. 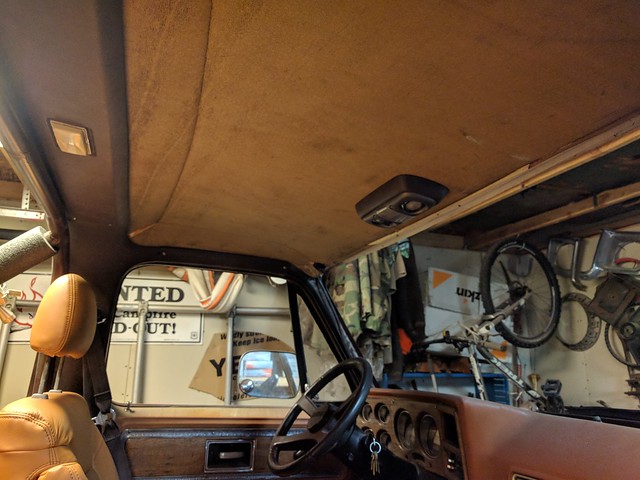 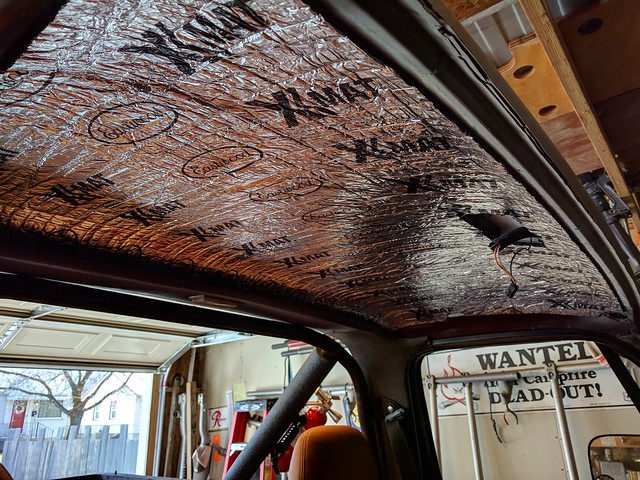 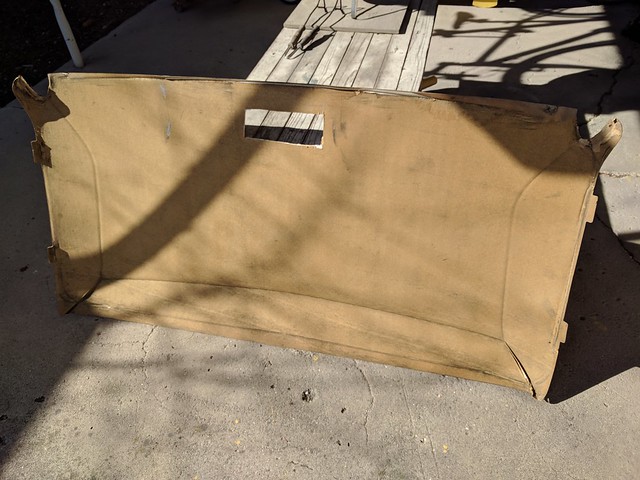 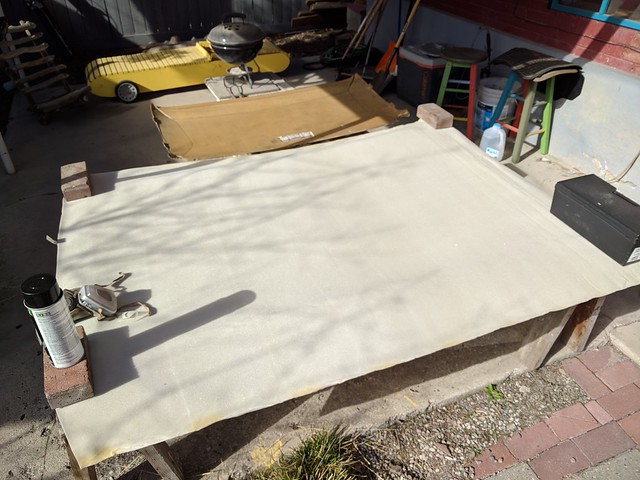 3M #08090 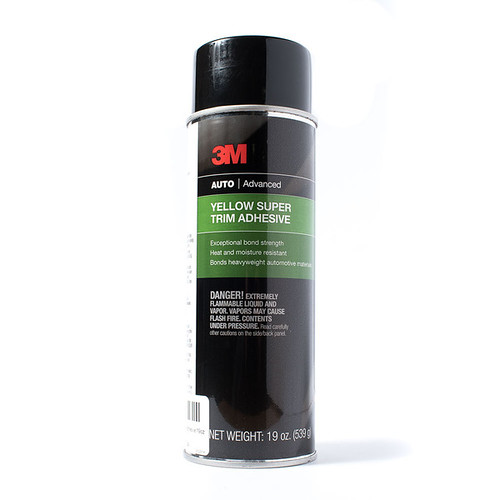 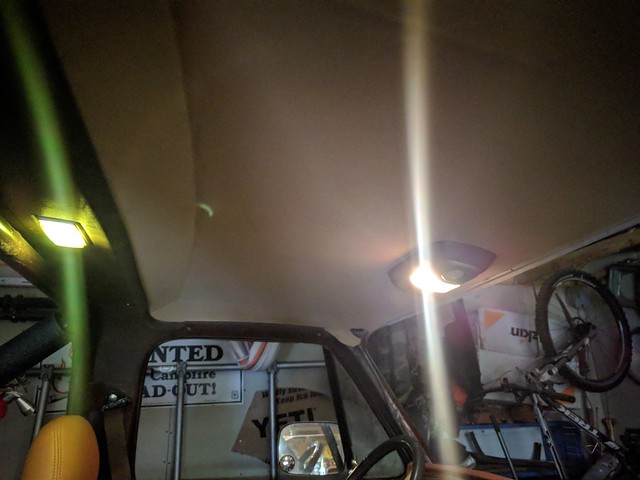 Truck tailgate needed an upgrade to make it a better camping table. Months ago, with this in mind, I scored a couple big sheets of 16G aluminum off the local classifieds for $60. Used the bead roller to give it some rigidity and used the leftover headliner Xmat to keep it from rattling. 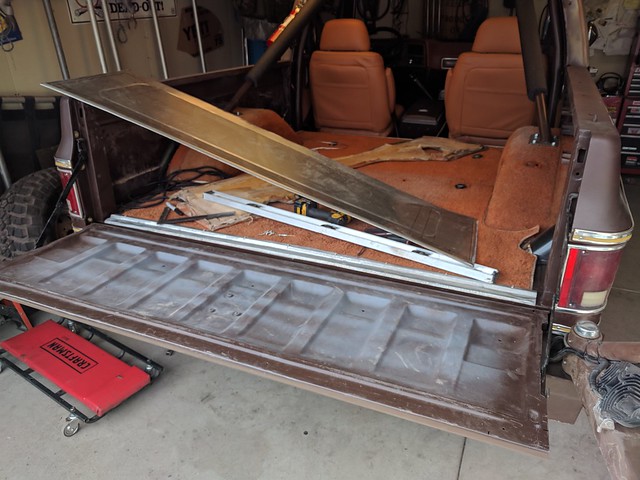  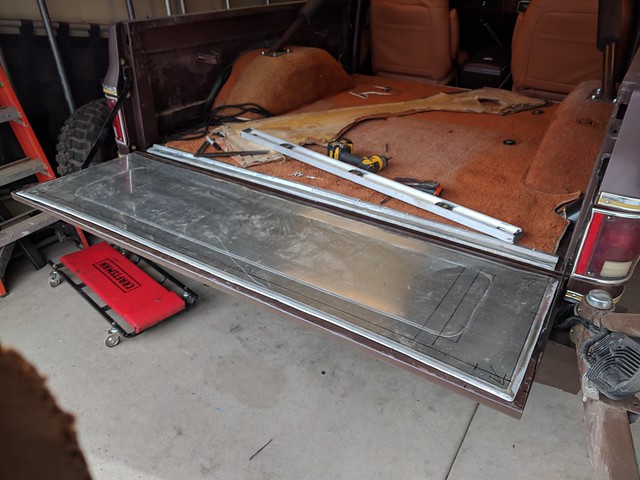 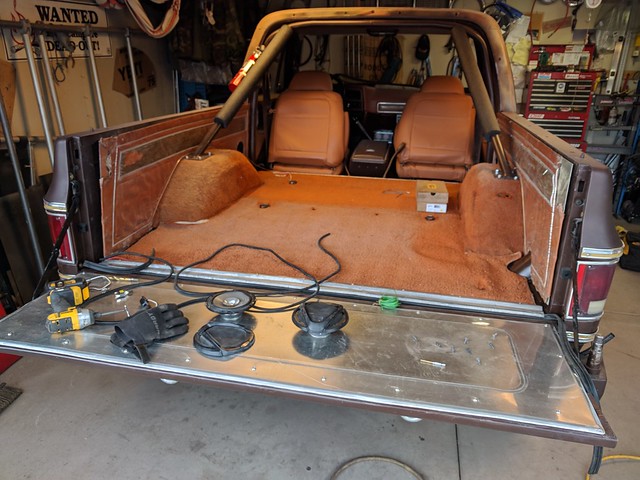 LMC 38-6963 tailgate seal. Not sure how this is supposed to be installed, but this is how I did it. 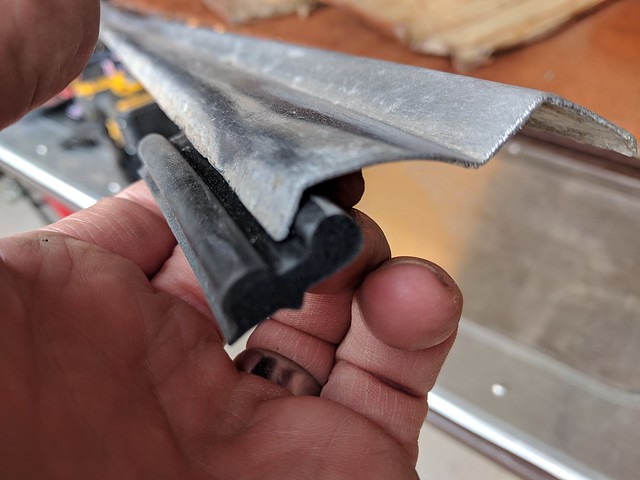 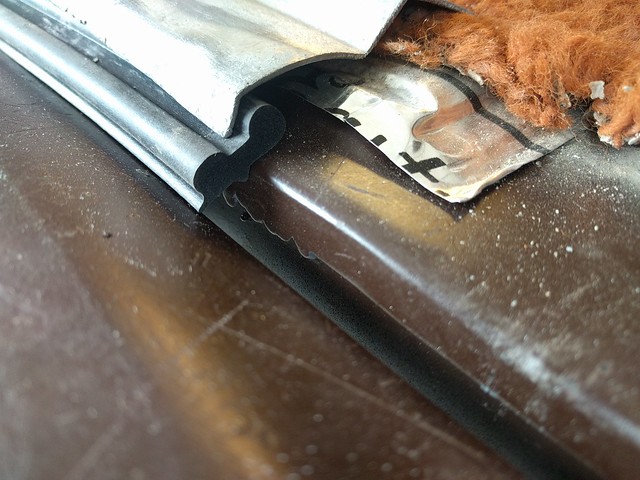 Upright piece is pinched behind the aluminum side panels, (built next). Partially held to the bed post with 3M Bedding and Glazing Compound, same stuff that holds windshield rubber to pinch weld, as recommended by Precision Replacement Parts, manufacturer of the windshield seal. 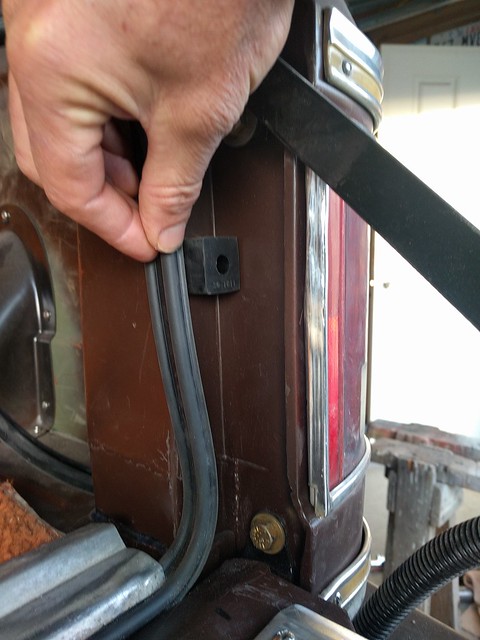 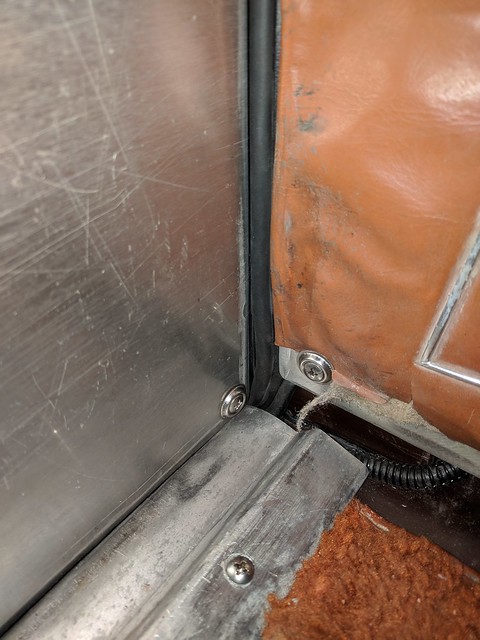 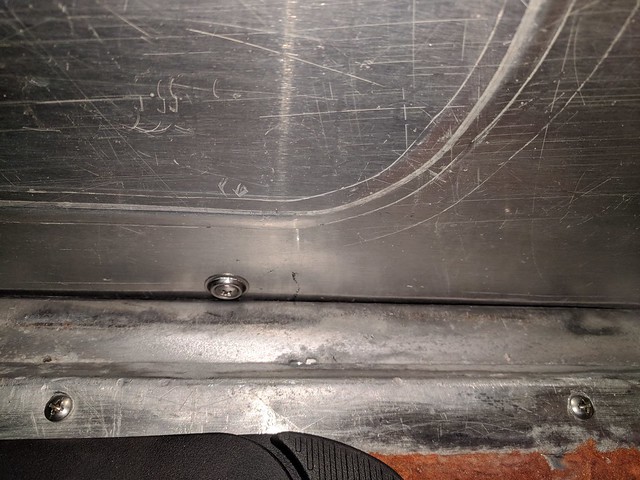  On the inside panels I went back and forth for months on if I wanted to save them. They were pretty beat up, but in the end I decided to give it a go and see what happened. First I separated the old vinyl from the cardboard style backing. 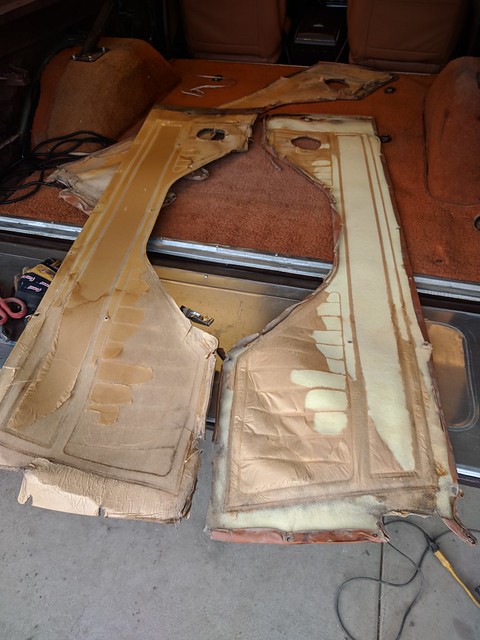 Discovered this date stamp inside that I had to save and staple to the wall of the garage as a relic, and a memory of this project.  Another relic saved and tacked to the wall. 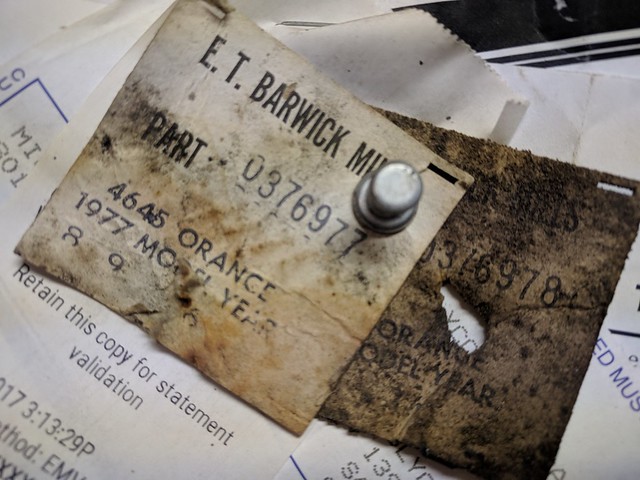 Replacing cardboard backing with 16G aluminum sheeting 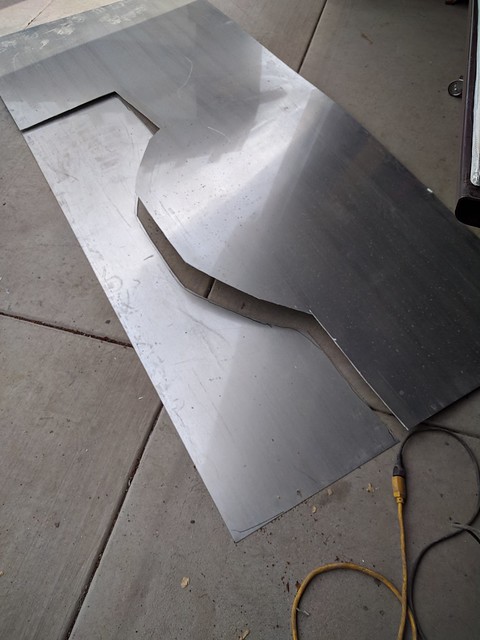 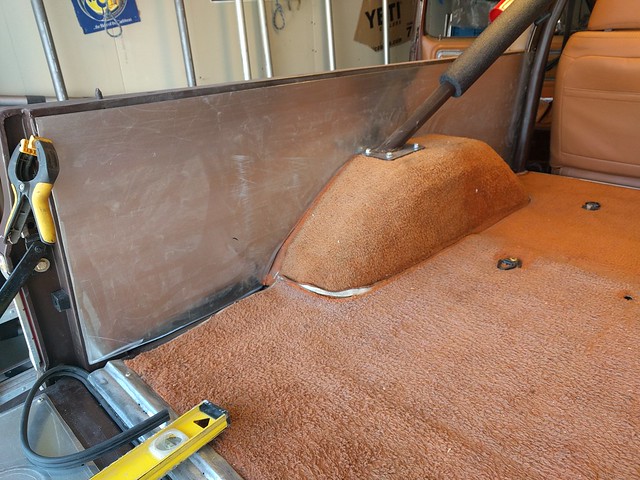 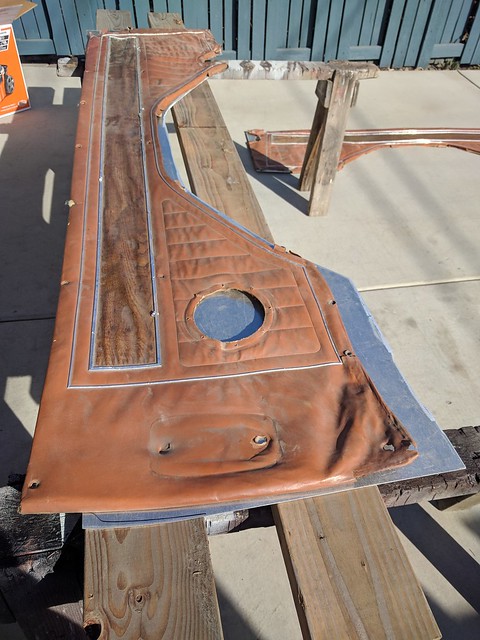  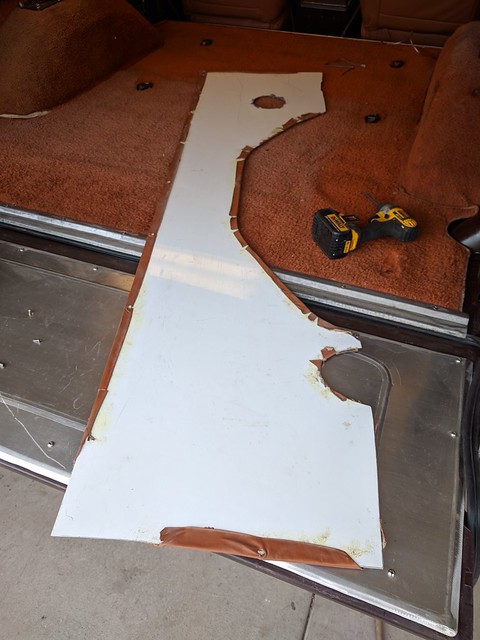 Glued vinyl to aluminum using same 3M 08090 as I used for the headliner.  Xmat on backside to keep things quiet 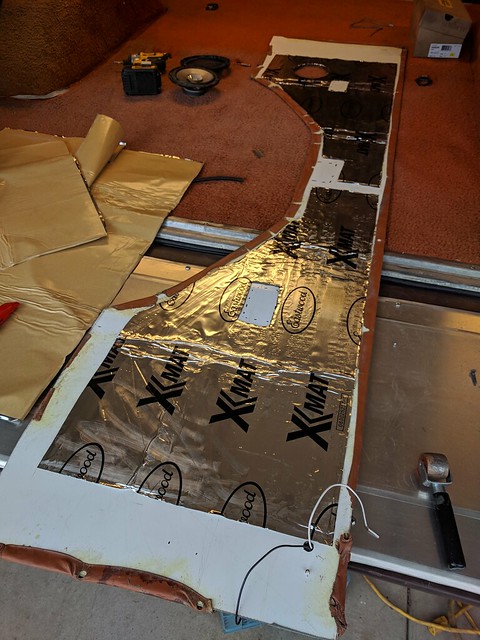 Far from perfect, but solid and good enough. 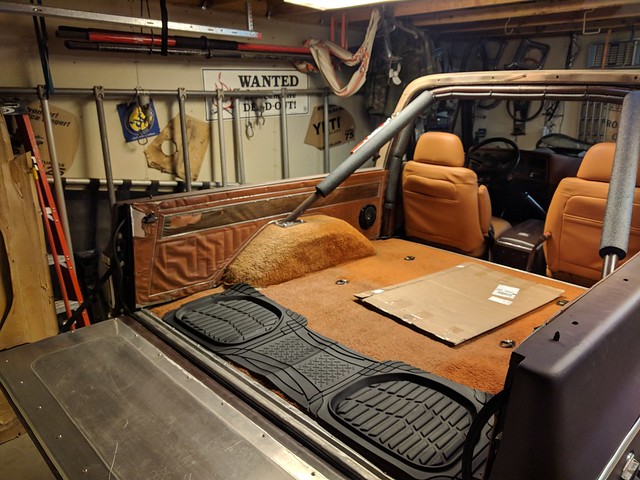 I've had this box in the basement for months waiting to install.  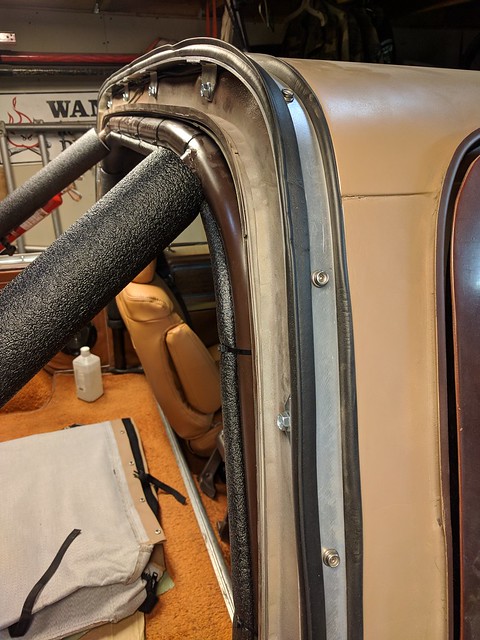 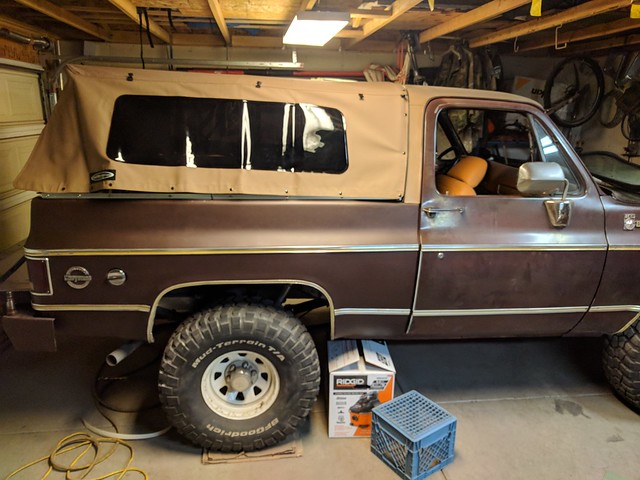  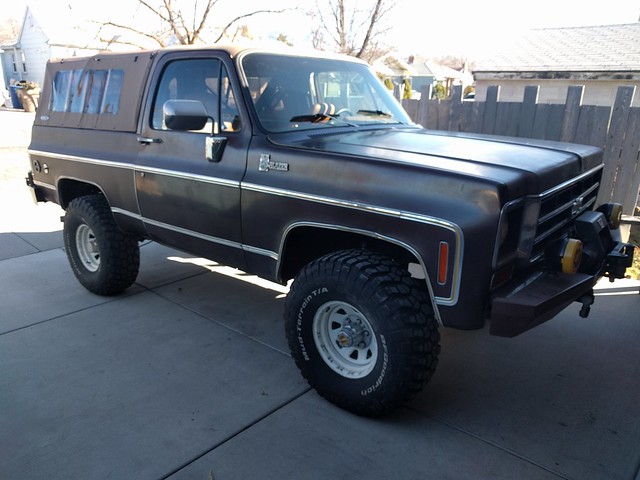 I think I'll leave this spot on the door just cause I can. 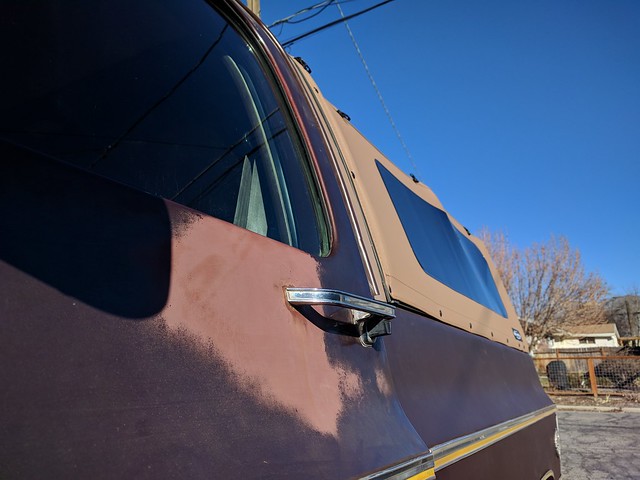 Drove about 30 miles the other day, but had a leaky psi line so I turned around. Overdrive is sort of a novelty. Got a couple tid-bits to follow up on. Oil pan is leaking a little, kinda knew it would cause it didn't go together right. Need to go see Tom Woods for a CV driveshaft, etc. Otherwise, I think I'm done. What a 9 months this has been! Time to take a day off.
__________________
'80 SRW C35 - 355/700R4/4:11/2.5-3/DD '77 Cheyenne K5 - Roller cam 355/NV4500/205/4:88's/35's/DD rust repair on the '77 http://67-72chevytrucks.com/vboard/s...d.php?t=740291 |
|
|
|
|
02-20-2018, 03:39 AM
|
#56 |
|
I know the pieces fit
Join Date: Nov 2007
Location: MONTGOMERY, AL
Posts: 5,523
|
Re: rust repair on the '77...here goes nothin
Such a functional, solid, and cool rebuild. Looks great!
|
|
|
|
|
05-10-2018, 08:21 AM
|
#57 |
|
Registered User
Join Date: Jun 2004
Location: El Lago, TX
Posts: 1,668
|
Re: rust repair on the '77...here goes nothin
I just found this build thread. Very nice work!!! Now post some wheeling or camping pics for us!

|
|
|
|
|
05-13-2018, 05:38 AM
|
#58 |
|
Registered User
Join Date: Oct 2015
Location: PNW
Posts: 3,600
|
Re: rust repair on the '77...here goes nothin
I blanched when I saw some of the rust you had to cut into. Great job in keeping it a working driver and functional without over-restoring it. Hard to draw the line and you did it well.
|
|
|
|
|
05-30-2018, 09:11 AM
|
#59 | |
|
Registered User
Join Date: Mar 2009
Location: salt lake city, utah
Posts: 208
|
Re: rust repair on the '77...here goes nothin
Quote:
I put about a 1000 miles on it this spring then pulled it back apart for a Sniper EFI install. I'm in the middle of my busy season now so not much time to work on it. Will put up some camping pics this winter. We got a little off road pop up trailer that I've got some work to do on. Right now we're planning a 2 week trip, before Christmas, down to Phoenix then across the desert backroads to Palm Springs. Maybe a quick trip south of the border thrown in too. 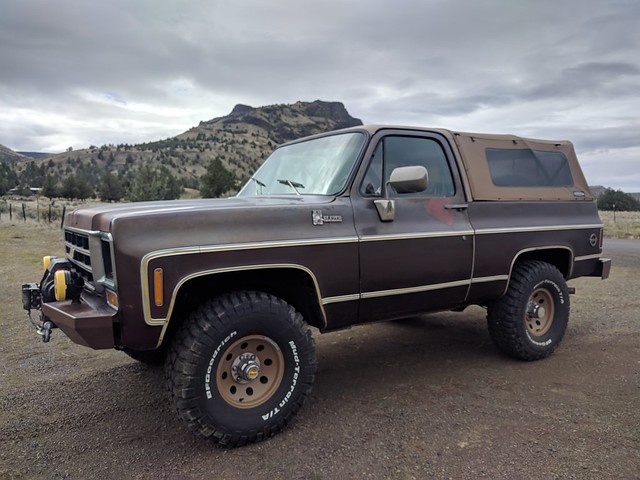 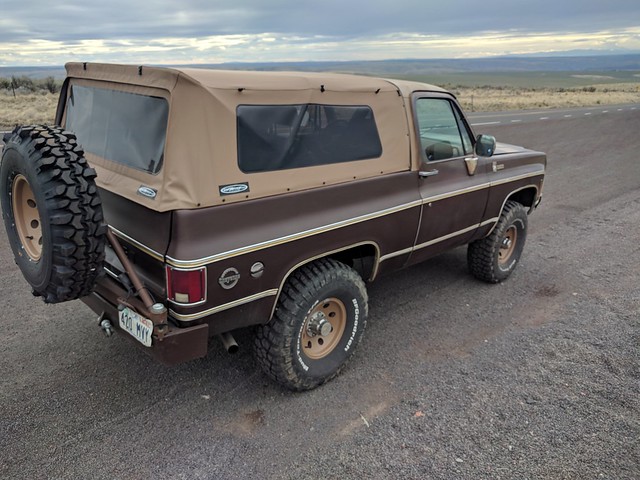
__________________
'80 SRW C35 - 355/700R4/4:11/2.5-3/DD '77 Cheyenne K5 - Roller cam 355/NV4500/205/4:88's/35's/DD rust repair on the '77 http://67-72chevytrucks.com/vboard/s...d.php?t=740291 |
|
|
|
|
|
| Bookmarks |
|
|


 Linear Mode

