 |
Register or Log In To remove these advertisements. |
|
|
|
|||||||
 |
|
|
Thread Tools | Display Modes |
|
|
#51 |
|
Registered User
Join Date: Jan 2012
Location: Eastern Ontario, Canada
Posts: 1,041
|
Re: Operation 1950 Burn Victim
Nice pictures. LT4 would be nice. Ha.
__________________
1952 Canadian Chevy 1300 C4 IFS & D44 IRS 5.3 HO L33 My Build: http://67-72chevytrucks.com/vboard/s...d.php?t=632938 
|
|
|

|
|
|
#52 |
|
Registered User
Join Date: Mar 2012
Location: Boise, Idaho
Posts: 65
|
Re: Operation 1950 Burn Victim
Since the Camaro is done now I am back in full with the 50' Chevy.
Fitting new parts and making all the fine details look good. We got the rearend brakes and such together. A lot of cleaning and scraping. Thank you Oven Cleaner.         She's all new. Thanks Brett.  We are only awaiting the brake lines. Next was bolting all the spring brackets on..    Rockstar:  Fitting the gas tank and brake lines.     
|
|
|

|
|
|
#53 |
|
Senior Member
 Join Date: Mar 2011
Location: West Plains, Missouri
Posts: 7,559
|
Re: Operation 1950 Burn Victim
Looks real nice...Jim
__________________
my build thread: http://67-72chevytrucks.com/vboard/s...d.php?t=459839 Jimbo's long bed step build:http://67-72chevytrucks.com/vboard/s...t=464626<br /> |
|
|

|
|
|
#54 |
|
Senior Member
 Join Date: Jul 2012
Location: Oblong, Illinois
Posts: 7,028
|
Re: Operation 1950 Burn Victim
Very nice. That is a Camaro tank isn't it?
|
|
|

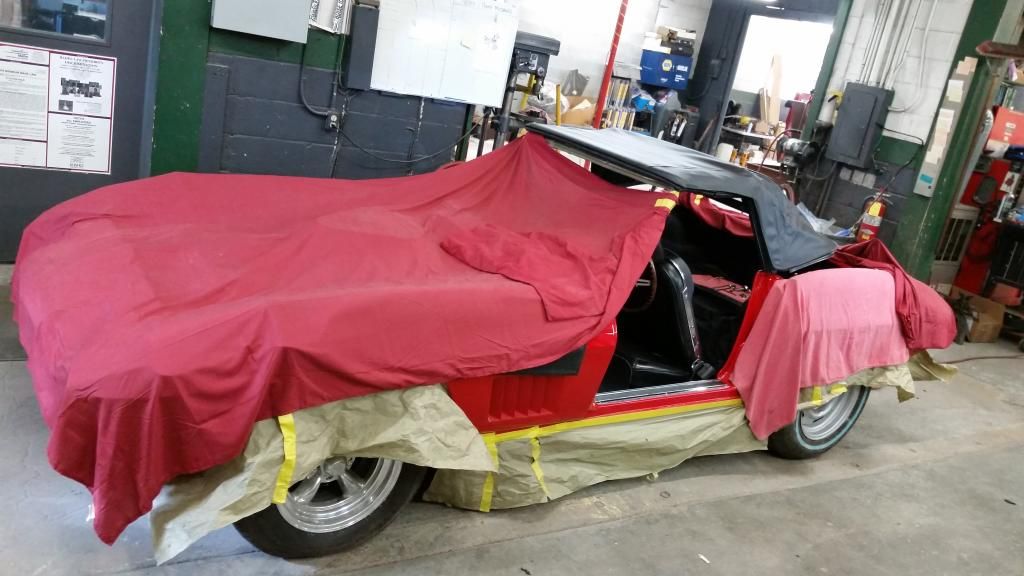
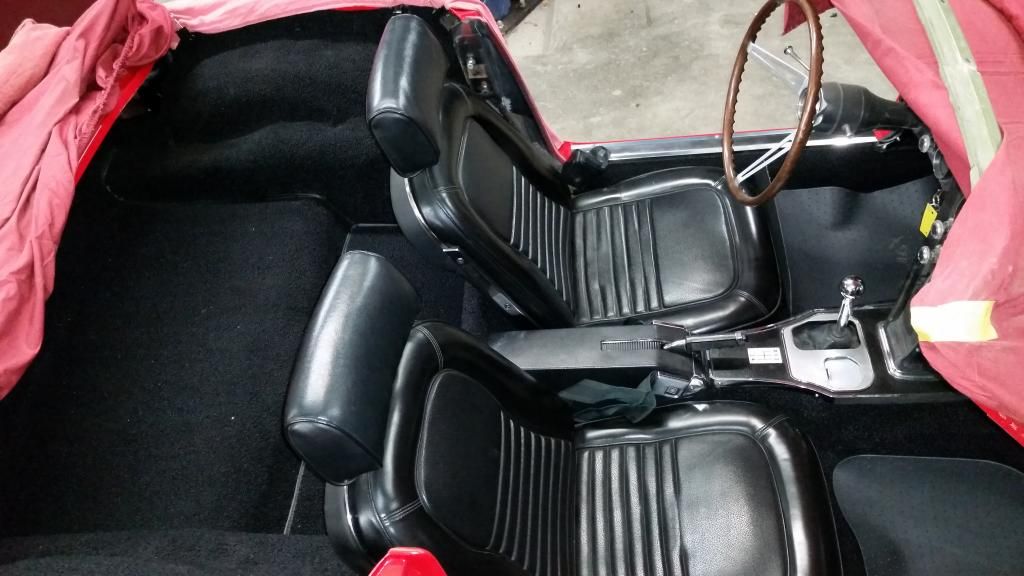
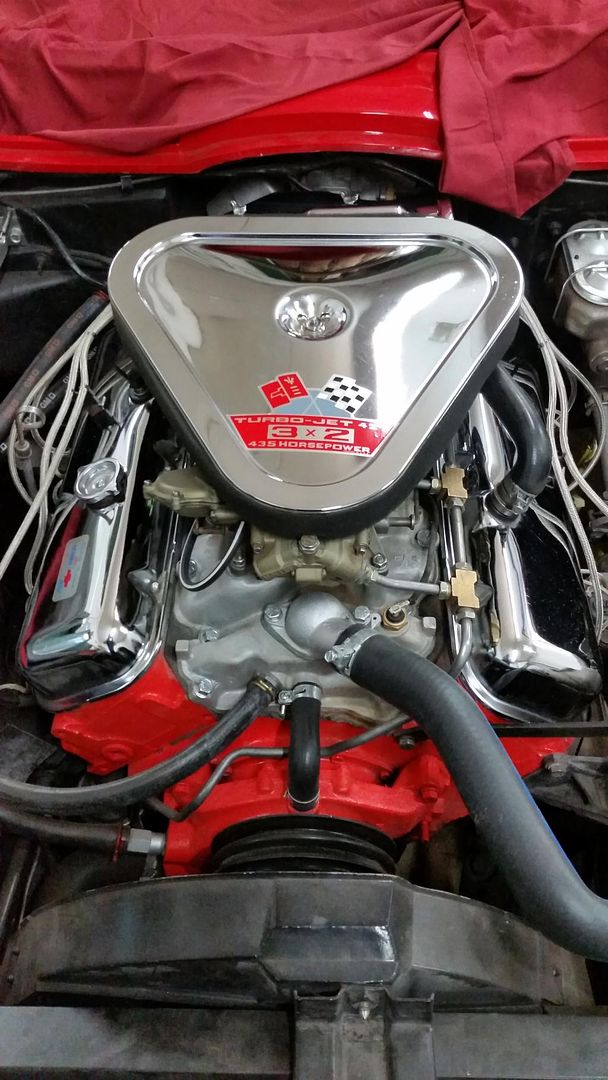
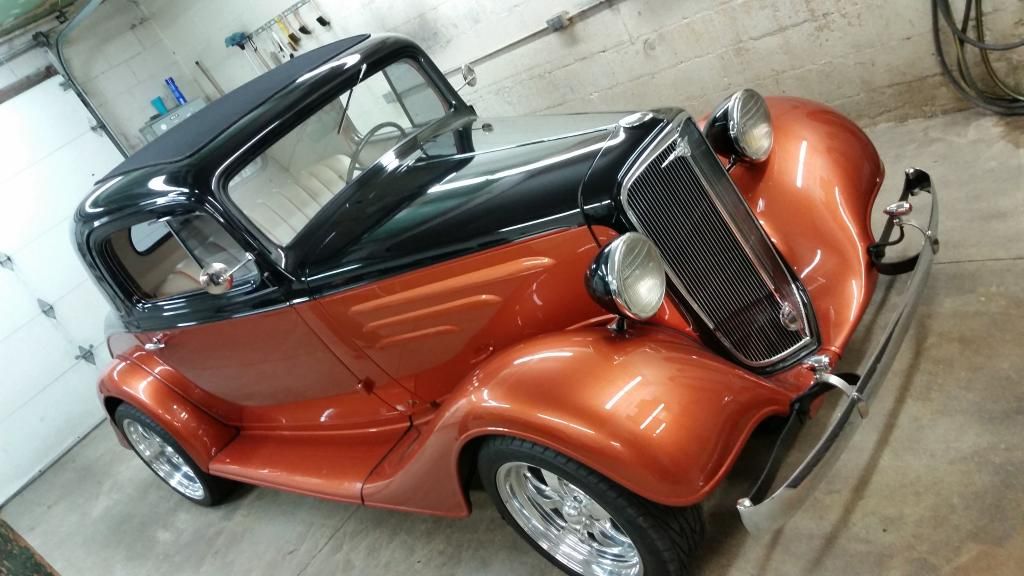
|
|
|
#55 |
|
Registered User
Join Date: Mar 2012
Location: Boise, Idaho
Posts: 65
|
Re: Operation 1950 Burn Victim
|
|
|

|
|
|
#56 |
|
Registered User
Join Date: Mar 2012
Location: Boise, Idaho
Posts: 65
|
Re: Operation 1950 Burn Victim
|
|
|

|
|
|
#57 | |
|
Senior Member
 Join Date: Jul 2012
Location: Oblong, Illinois
Posts: 7,028
|
Re: Operation 1950 Burn Victim
Quote:
Oven cleaner is a great degreaser....just picked that idea up last year. Looking forward to your next updates. |
|
|
|

|
|
|
#58 | |
|
Registered User
Join Date: Mar 2012
Location: Boise, Idaho
Posts: 65
|
Re: Operation 1950 Burn Victim
Quote:
I have worked for this company for almost 20 years now. We deal in a lot of classic cars. Chevy mostly. Vette's and Camaro's. Minor resto and engine detail has been a main function for me the whole time I have been here. Oven cleaner has been used for many of these past years. Back in the day it was much worse to the lungs but much better for cleaning. Take some and leave some I guess. HAHA. This 50' Chevy is the owners truck he has owned since he was 12. Thanks so much for checking her out. |
|
|
|

|
|
|
#59 |
|
Registered User
Join Date: Feb 2014
Location: Indiana
Posts: 40
|
Re: Operation 1950 Burn Victim
Irondougal, I've been quietly reading along your build thread, and very interested. I'm only subscribed to four threads on this forum, one is this one. Very nice work. I'm curious, have you given up on a dropped front axle? Seems to me you will have a nose-high attitude to the truck if you go with TCI's dropped rear springs and factory original front springs. Quite a lot actually. Most guys go with a forward rake, or, as the case with my truck, low and level. One other thing, I found with TCI's kit, (I have it also) the rear axle needs moved rearward an additional 1.5" to 2" to center the wheels in the rear fenders.
I'm also curious, tire and wheel size? and back space? Again, excellent work, keep it up!
__________________
Steve. 1950 Chevy, 3100, built in Norwood Ohio, USA. My build thread, http://talk.classicparts.com/showthread.php?t=19110 |
|
|

|
|
|
#60 | |
|
Registered User
Join Date: Mar 2012
Location: Boise, Idaho
Posts: 65
|
Re: Operation 1950 Burn Victim
Quote:
Thanks for following.  It took a while to get a new built front drop axle. Speedway Motors finally got a small shipment in from their supplier and sent one my way. It is a 3" drop so I am hoping to be sitting even front to back. The front springs are new. I purchased them from CPP along with the front disk brake kit. From what I found this should sit very evenly. If not I know a group of guys that can arch the springs to any drop I need. I was under the impression that the TCI kit would align the rear axle to where it needed to be. I got the kit that was for this particular build. ie Stock frame and 2nd gen F-body rear diff. Let's hope it works eh'.. The wheels that are rolling around on it are not for this truck. They go on my 73' Trans Am build. I just needed them for this. They are however 17" wheels. 17" x 9.5" rear 275/40/17 with about 5.75 back spacing, and the fronts are 17" 8.0" with 4.5" back spacing and 245/45/17 tires. Thanks again for following. Things are moving right along. The front axle is getting chromed right now and should be back next week. The rear axle will be going in later today.    Toby... |
|
|
|

|
|
|
#61 |
|
Registered User
Join Date: Mar 2012
Location: Boise, Idaho
Posts: 65
|
Re: Operation 1950 Burn Victim
With the gas tank in place and mounted, it was time to get the diff in place to double check alignment.
    On the ground. No more jack stands.     Setting the CPP master up. I thought I had lost this little bracket. I couldn't find it for a few days. Luckily we don't throw everything away.  That dang undercoating.  BOOM!!!!     Next it was time to clean up some little engine parts and get the intake and exhaust mounted.  [URL=http://s1295.photobucket.com/user/IronDougal/media/Mobile%20Uploads/20141119_174327_zpshctxawd5.jpg.html]  [URL=http://s1295.photobucket.com/user/IronDougal/media/Mobile%20Uploads/20141119_175556_zpsa6rtyhyq.jpg.html]   In the process of building the rest of the brake and fuel lines. More next week, Stay tuned!!!! |
|
|

|
|
|
#62 |
|
Senior Member
 Join Date: Mar 2011
Location: West Plains, Missouri
Posts: 7,559
|
Re: Operation 1950 Burn Victim
Very nice work, looks great...Jim
__________________
my build thread: http://67-72chevytrucks.com/vboard/s...d.php?t=459839 Jimbo's long bed step build:http://67-72chevytrucks.com/vboard/s...t=464626<br /> |
|
|

|
|
|
#63 |
|
Registered User
Join Date: Mar 2012
Location: Boise, Idaho
Posts: 65
|
Re: Operation 1950 Burn Victim
|
|
|

|
|
|
#64 |
|
Registered User
Join Date: Mar 2012
Location: Boise, Idaho
Posts: 65
|
Re: Operation 1950 Burn Victim
Updates big time this past week. There was a lot of time spent cleaning the "little" detail parts. Paint removal. Wire wheel and grinder. Clean and paint. More cleaning; more painting.
But first I will show off the rest of the rear diff and brakes.       Sure looks purdy to me.  Now for some details. The Starter pivot thing. Still not sure that I will use this starting system, but for now I detailed it.  All cleaned up.    The clutch fork that I will be using.   Just some random this and that. Plus the bellhousing.  Brake and clutch. ( I think ) haha  This is ugly.  We still have the original horn so I figured I should restore it.     I will get this re-chromed.      It turns out that the 57' 235 water pump does not come with a pulley. Since we did not have a pump for this engine it has made it difficult to find something to fit. So after much contemplation and searching, I found this original pulley on some website like ebay but not.  All cleaned up (yes, that is a 1967 Vette Roadster 427 Tripower in the background. Side pipes and all)  You can tell its age.   Like a glove!!  Now for some bellhousing tricks. A little base black.      Starter thing installed. I need shorter bolts.    And with the clutch fork.  Mad props to my monkey boy for doing the steam cleaning for me.  
|
|
|

|
|
|
#65 |
|
Senior Member
 Join Date: Mar 2011
Location: West Plains, Missouri
Posts: 7,559
|
Re: Operation 1950 Burn Victim
Very nice detail work, that takes a lot of time, looks great...Jim
__________________
my build thread: http://67-72chevytrucks.com/vboard/s...d.php?t=459839 Jimbo's long bed step build:http://67-72chevytrucks.com/vboard/s...t=464626<br /> |
|
|

|
|
|
#66 |
|
Registered User
Join Date: Mar 2012
Location: Boise, Idaho
Posts: 65
|
Re: Operation 1950 Burn Victim
|
|
|

|
|
|
#67 |
|
Registered User
Join Date: Mar 2012
Location: Boise, Idaho
Posts: 65
|
Re: Operation 1950 Burn Victim
Don't have a lot, but I have a little.
I got the front axle back from the Chrome guys. It looks really nice. So time to disassemble the front and detail parts.      Got the NEW springs cleaned up and coated.  And here she is.   Ugly Before   Short and sweet. I will hopefully be back on her Monday morning, but I have been put in the mix to finish up the 67' Corvette resto we are doing. So if I have parts then that is 1st. Enjoy all. Toby... |
|
|

|
|
|
#68 |
|
Registered User
Join Date: Mar 2012
Location: Boise, Idaho
Posts: 65
|
Re: Operation 1950 Burn Victim
Stayed late at the shop last night to get something done worth while.
 The new drop axle has bigger ends on it than the stock one, so in-turn, the king pin bearings that came in the upgrade kit do not fit. Waiting for some new ones to show up. So for now I got the bulk of the front axle installed. Enjoy:       Hope that wasn't too redundant.  Finished the horn last night too. The factory horn that mounts to the intake manifold is dead. Not sure if I care enuff to rebuild that one.    Hopefully I get my bearings together today. I also need to find the front shock mounts. Toby.. |
|
|

|
|
|
#69 |
|
Senior Member
 Join Date: Jul 2012
Location: Oblong, Illinois
Posts: 7,028
|
Re: Operation 1950 Burn Victim
All the detail parts are coming together nicely...looks really good all clean and painted! Love it.
|
|
|

|
|
|
#70 |
|
Registered User
Join Date: Mar 2012
Location: Boise, Idaho
Posts: 65
|
Re: Operation 1950 Burn Victim
|
|
|

|
|
|
#71 |
|
Registered User
Join Date: Mar 2012
Location: Boise, Idaho
Posts: 65
|
Re: Operation 1950 Burn Victim
|
|
|

|
|
|
#72 |
|
Registered User
 Join Date: Aug 2012
Location: West Side of the valley, CA
Posts: 878
|
Re: Operation 1950 Burn Victim
Motor looks GORGEOUS!
|
|
|

|
|
|
#73 |
|
Registered User
Join Date: Mar 2012
Location: Boise, Idaho
Posts: 65
|
Operation 1950 Burn Victim
It's been a while boys. I had to put this old girl on hold while I was doing the resto on our 1967 Vette. I will share a couple images of that just for fun. But first!!!! A couple images of the 1950/
  Nothing too special to post today except the fact that I am back on her.  And now for something completely different:   Just a little bit of sugar.  And then my Boss got himself a toy that was just too good to pass up.  Until next time kids. Thank you for keeping up. Toby... |
|
|

|
|
|
#74 |
|
Senior Member
 Join Date: Jul 2012
Location: Oblong, Illinois
Posts: 7,028
|
Re: Operation 1950 Burn Victim
Toby, chassis and engine is looking reall good. Nice looking Vette and new toy too. Staying tuned in for truck updates.
|
|
|

|
|
|
#75 | |
|
Registered User
Join Date: Mar 2012
Location: Boise, Idaho
Posts: 65
|
Re: Operation 1950 Burn Victim
Quote:
Thanks AD. As much as I enjoy the Vette, I really love building the 50' pu. It was a relief to be able to install some bolts and paint some stuff after this long. Thanks again for checking her out. |
|
|
|

|
 |
| Bookmarks |
| Tags |
| 1950, 1950 chevy truck, chevy |
|
|