
|
Register or Log In To remove these advertisements. |
|
|
|
|||||||
|
|
Thread Tools | Display Modes |
 05-26-2007, 06:49 PM
|
#1 |
|
GEARHEAD
Join Date: Aug 2003
Location: MN
Posts: 6,126
|
Junkyard Jimmy Super Low Buck Build Thread
Here goes the slowest, cheapest build thread you ever saw. I'm sure most of you are familiar with Rokcrln's low buck build. I'd like to say that is the inspiration for this, but I don't have that kind of cash or his skills. This is for the truly broke, parts scrounging, beater lovin', build as you can find it, that many of us really are.
I bought this 72 Jimmy from my local salvage yard. I had seen it and pulled parts from it over the last couple years. Not for my truck, but to help other members out. Which is why the rear hatch is gone and the spare tire carrier and one of the hold downs for the rear seat. I got what you see here, minus the wheels and tires, for $250.00. I think I overpaid a bit, but I'm OK with the deal. It has front disc brakes (power), a fair top, windshield frame looks OK, rear seat is good, frame is straight and solid (I think), grill is OK with some surface rust, good visors and dash pad, front seats are there but need recovered and foam. Now for the negative. Its rusted and dented as bad as I've seen just about anything. All of the drive train was missing except the axles. Front crossmember was cut out, big section of floor on the passenger side cut out, missing rear hatch, drivers door, passenger vent window, radiator, and probably a mess of other parts yet undiscovered. Almost forgot, what are my plans for it?, you ask. Firstly is to make it move under its own power. Hows that for a lofty goal? Take a look at the pictures. It will be challenge to do on the super cheap. After that, make it street legal. I know that seems a bit much at first, but I have confidence in my mad build skills. Then comes the real challenge, make it a good woods trail crawler. I live on the prairie, so I'm not building a rock crawler, besides, they cost too much. Mudding requires large tires and lockers or spools. Go too large on the tires and the axles need to be replaced with heavier stuff, again, gets costly. But how about a good trail rig? You can get by with the installed axles, maybe add a cheap spool, NP205 is solid, get it running good with a good tranny and you can have a ball. Try and scrounge up a winch or make sure the trucks you're with have one and get good tow hooks. (BTW, this originally had tow hooks that are long gone. If it still had them, they would be sold to buy parts for this rig). So there it is, a man, a plan and a wreck. 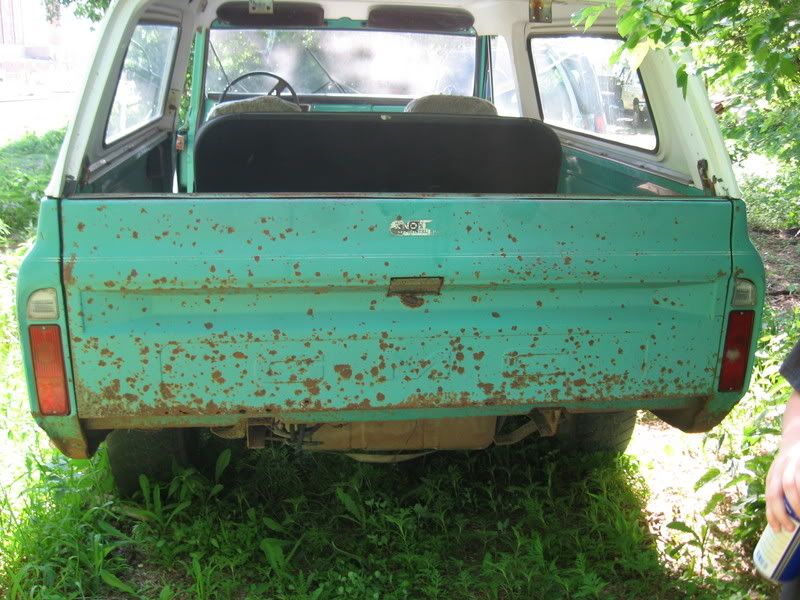  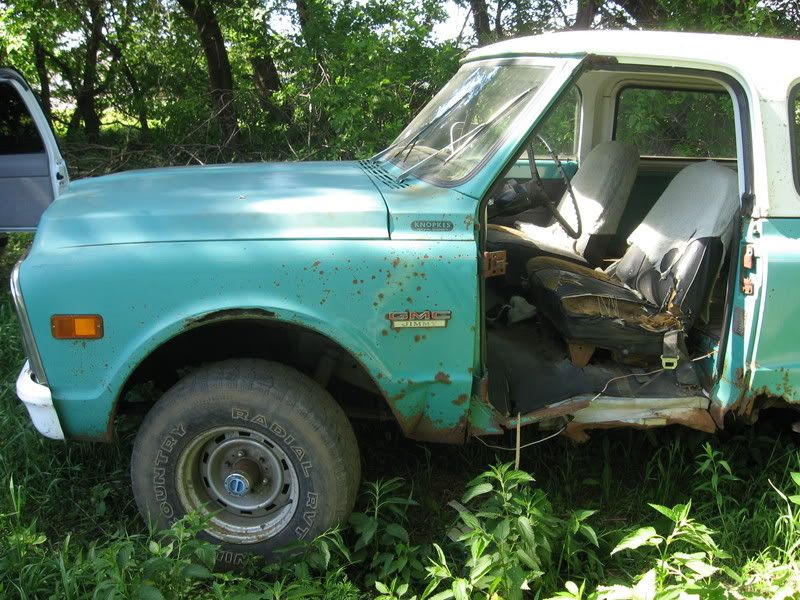 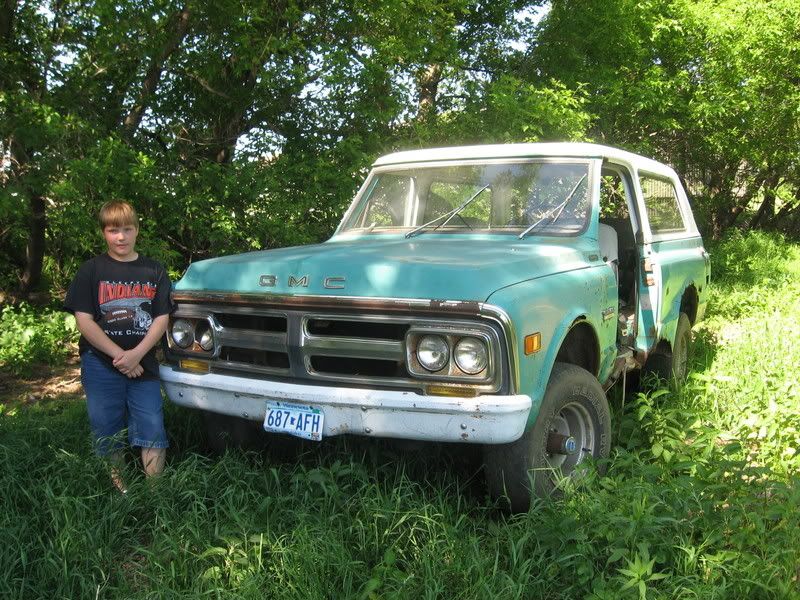 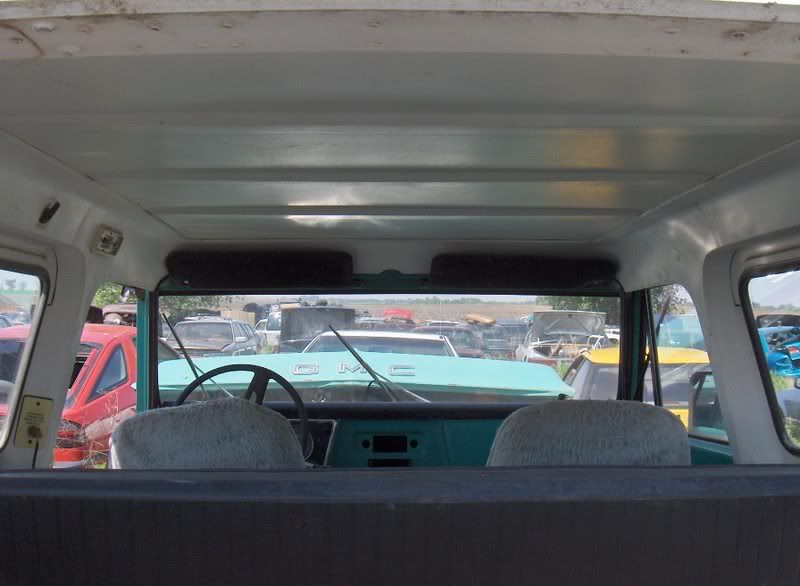
__________________
If no one knows what you're doing, they can't tell you you're doing it wrong HG's Dream Car Build - Shelby Cobra Kit Build your own adjustable track bar 71  Long Fleet C/10 Long Fleet C/10 72  Jimmy 4x4 (Junkyard Jimmy) Jimmy 4x4 (Junkyard Jimmy)HG's Plow Truck '78  K35 Dually K35 DuallyBigass Farm Truck HG's thread of miscellaneous stuff Last edited by hgs_notes; 03-07-2012 at 12:46 PM. |

|

|
| Bookmarks |
|
|


 Threaded Mode