
 |
|
|
#76 |
|
Registered User
Join Date: Aug 2010
Location: Hoofddorp, the Netherlands
Posts: 582
|
Re: 1969 Custom/10 clean up
@ FrankieD, probably not...don't want Tattoo like fellows screaming:"Zee plane, zee plane boss" everytime I cruise by.
@Bollybib and Calvin; thanks and the one finger salute is a popular way in Dutch traffic to express your dissagreement about one's driving style..  @Gdavis, it's to late for late for the cabin: 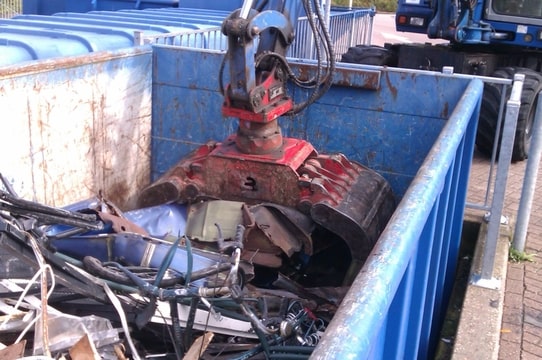 but here are some update pictures, I took the painted parts over to see if the would fit. 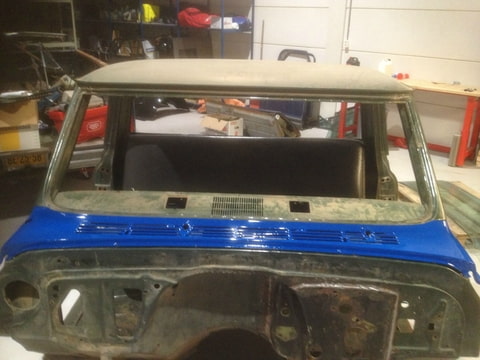 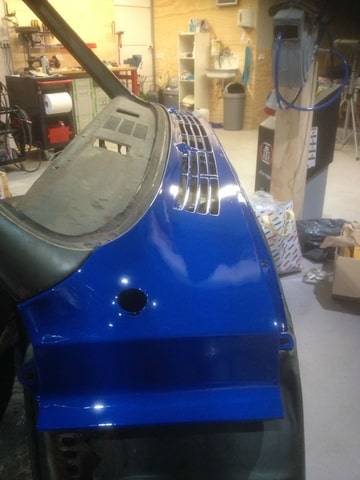 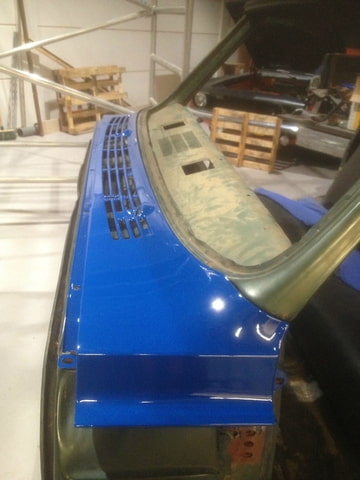 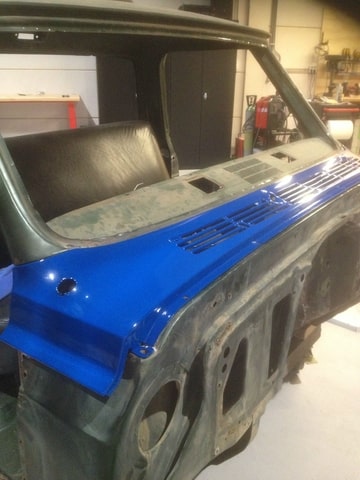 the inner fenders turned out nice aswell 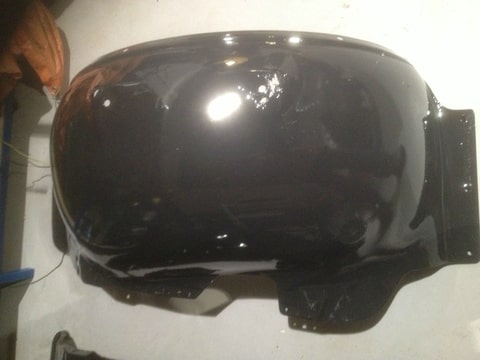 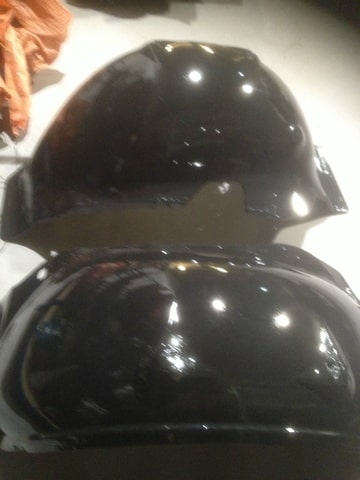 today the hood arms (or whatever you call them) will be painted 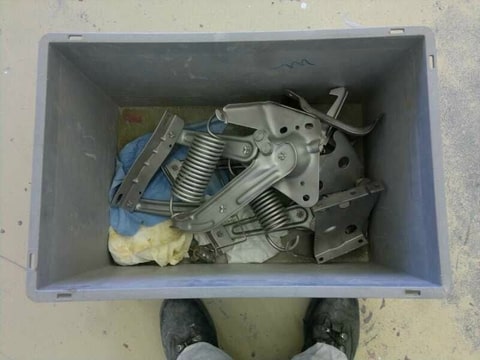 I also got some stuff in I ordered, like my windshield rubber and the one for the rear window.. but it's the wrong one 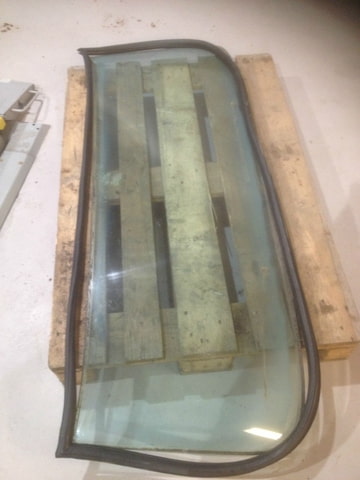 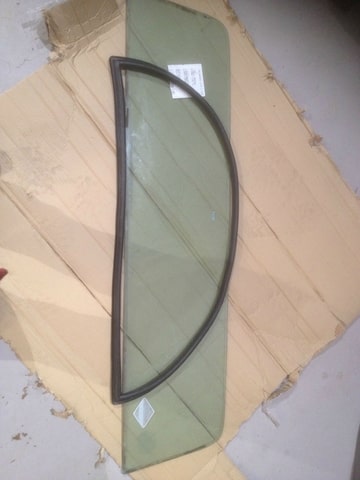
__________________
Feedback is always welcome! projects: 1969 Chevy C10 1950 GMC 100 1958 Chevy C60 Viking ratrod |
|
|

|
|
|
#77 |
|
Registered User
Join Date: Aug 2010
Location: Hoofddorp, the Netherlands
Posts: 582
|
Re: 1969 Custom/10 clean up
small update; friday I've take the day off, because I've rented a truck to transport the cabine to the sandblaster. If all goes well, we might even get some paint on it!
so tomorrow night I'll be in the garage, taking off the radiator core support. That needs to get blasted aswell. pictures will follow!
__________________
Feedback is always welcome! projects: 1969 Chevy C10 1950 GMC 100 1958 Chevy C60 Viking ratrod |
|
|

|
|
|
#78 |
|
Registered User
Join Date: Aug 2010
Location: Hoofddorp, the Netherlands
Posts: 582
|
Re: 1969 Custom/10 clean up
Tonight at 21:00 I picked up the van to transport my cabin to the DIY (!) sandblasting company. I hope I will manage to get there because the weather forcast says: Blizzard like conditions, 3"'s of snow and gailforce winds...knowing the dutch, it'll be mayham traffic tomorrow.. it's like people forget how to drive a car when a snowflake hits their windshield..
here's some update pictures Backed it up into the garage without hitting anything. 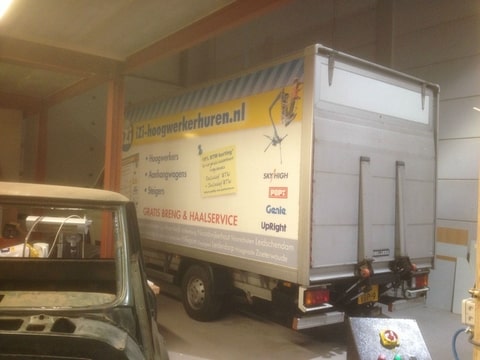 Maybe I should move the cabin before opening the lift? 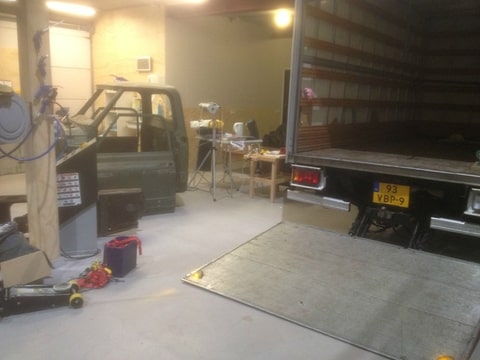 I was alone, but with locking caster wheels, its easy. 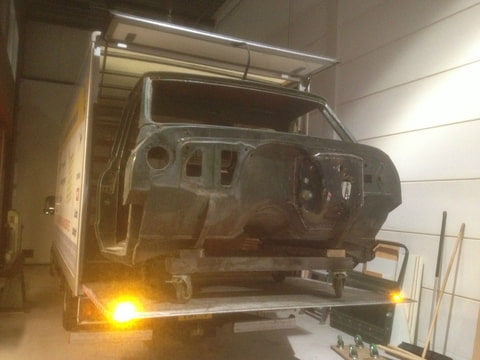 Bottem looks rock solid 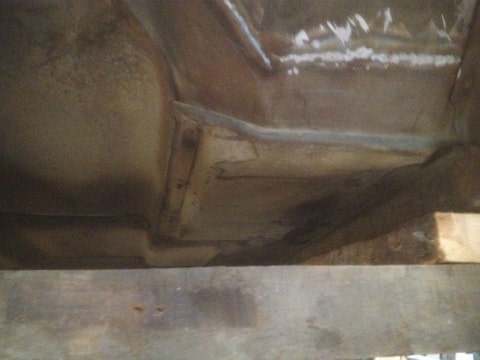 otherside 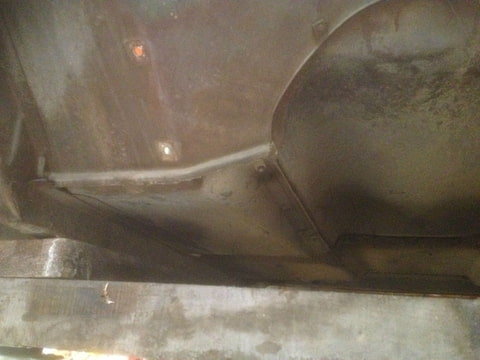 the middle 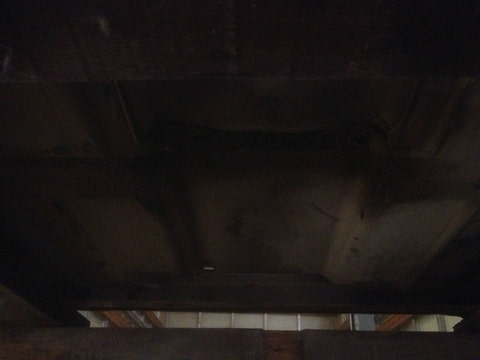 A picture through the cab into the garage..yes on the left its a '71 Cuda AAR replica 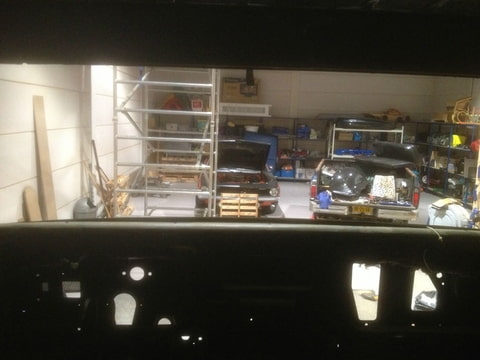 lock and load! 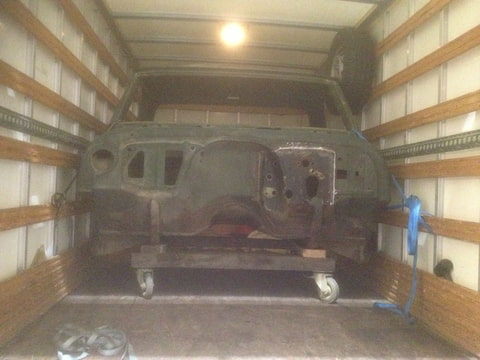 I'm bringing the hood, which looks pretty decent, apart from a few spots. 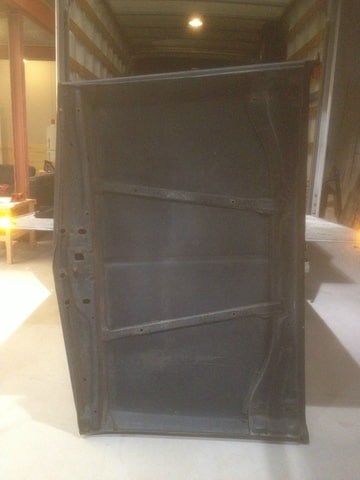 did I say bring da hood? WESTCOAST MECHANICS!  Almost forgot to take out the the ID plate 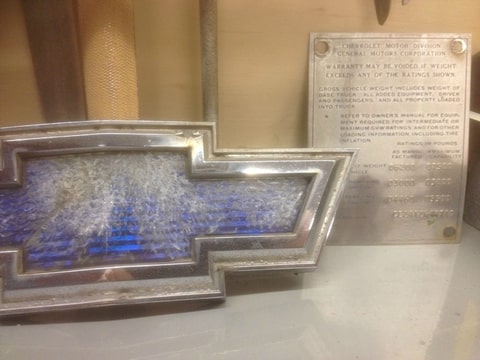 the trofee cabinet 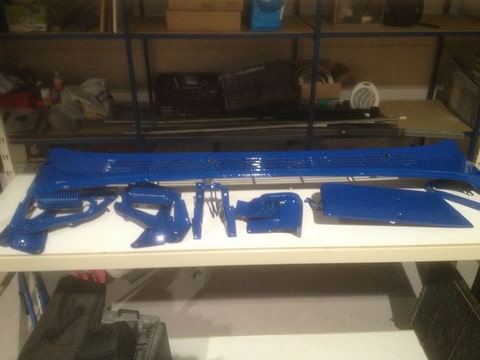
__________________
Feedback is always welcome! projects: 1969 Chevy C10 1950 GMC 100 1958 Chevy C60 Viking ratrod |
|
|

|
|
|
#79 |
|
Registered User
Join Date: Aug 2010
Location: Lafayette In.
Posts: 252
|
Re: 1969 Custom/10 clean up
I'm enjoying your build. I got a lot of respect for builders of our stuff over seas. Takes alot of commitment, and money. If I need a bolt, I just drive three blocks to Ace Hardware, sounds like you have to order yours since you have metric stuff. I've had a small taste of what you must expierience from building, and maintaining a Triumph motorcycle. Same thing, got to order almost everything. Cant zip down to Ace and expect to find whitworth threads. Keep it up!
|
|
|

|
|
|
#80 | |
|
Registered User
Join Date: Aug 2010
Location: Hoofddorp, the Netherlands
Posts: 582
|
Re: 1969 Custom/10 clean up
Quote:
for instance: http://www.prinstruckshop.nl (check it out, he has an english page aswell) and hardware stores will sell US bolts and nuts..so yes it's more expensive, but not impossible.
__________________
Feedback is always welcome! projects: 1969 Chevy C10 1950 GMC 100 1958 Chevy C60 Viking ratrod |
|
|
|

|
|
|
#81 |
|
67cheby
 Join Date: Sep 2008
Location: siloam springs ar 72761
Posts: 17,890
|
Re: 1969 Custom/10 clean up
Sweet !
|
|
|

|
|
|
#82 |
|
Registered User
Join Date: Aug 2010
Location: Hoofddorp, the Netherlands
Posts: 582
|
Re: 1969 Custom/10 clean up
So here's a rundown of my weekend,which was hellish!. On friday morning I wanted a early start, so at eight I cranked over the van's engine...nothing, battery dead, so it took me 40 minutes to get somebody to help me with booster cables (my car was at the workshop and my wife had left for work) The van didn't have wintertires, so driving it through 3" of snow was like dancing with a whale... after several feeble attempts to get up the sloped(!) driveway to the sandblasting company (what were they thinking) I managed to get the cab unloaded and into the blasting room (only 2 hours late).
then we spend the next 5 hours sand blasting the hell of the cabin and the hood..then in the evening we spend the same amount of time taking out the grit and dust..ofcourse we ended up rekitting all the seams. I was home at 2:30 end at 7 my "human alarmclock" dawid was jumping up and down our bed. that day we had a full agenda so I didn't manage to get back to the workshop before 21:30...and guess what? the cabin was already painted!!! My mate Ferry had gone to the workshop at 18:00 and got a head start. Because this is airplane grade paint, you can spray this wet on wet..so every 20 minutes you give it a fresh coat, so painting doesn't take that long. I was home again at 2:30,but with a very satisfied feeling. and now the moment we have all been wainting for!!: Ferry kitting 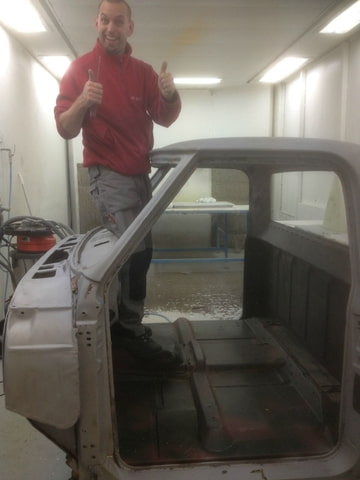 blasted rear, firewall and inner roof 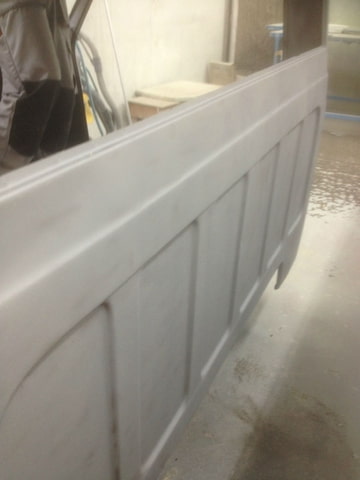 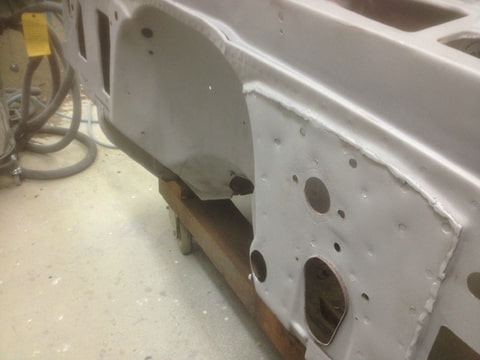 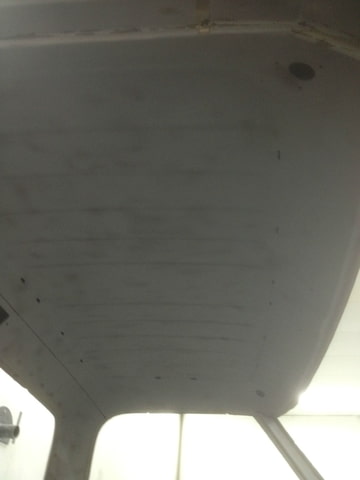 Hard rocker panels! we didn't blast the inside floor seeing it didn't have any rust and will be covered by carpet anyway 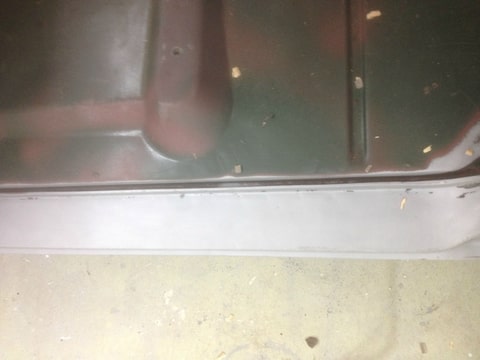 we almost got a 2gallon bucket full of grit out of the cab. 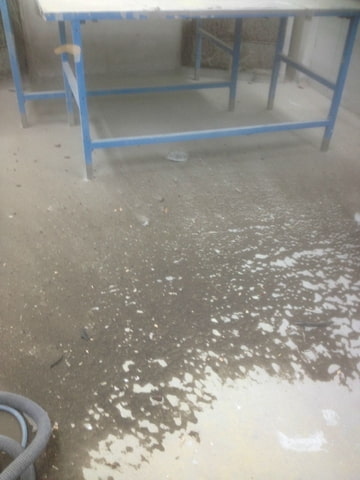 rekitting 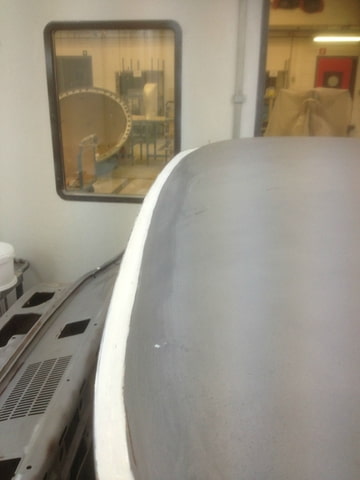 and now some color! 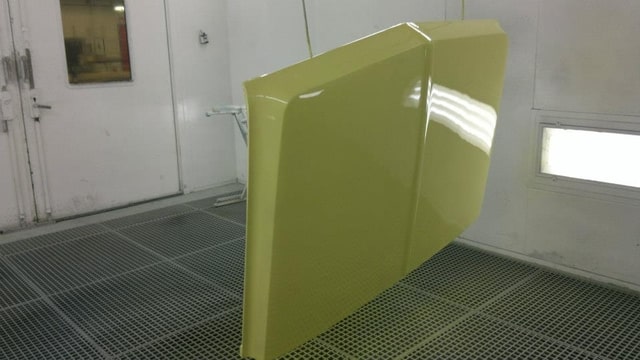 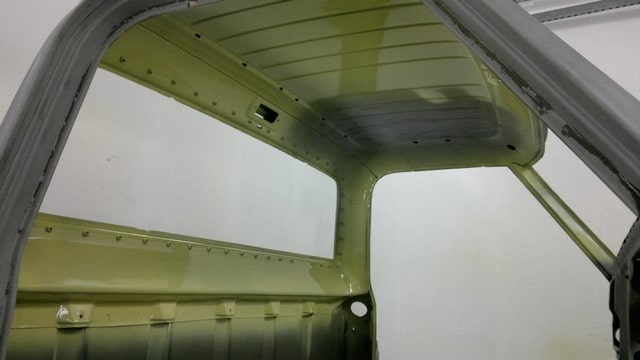  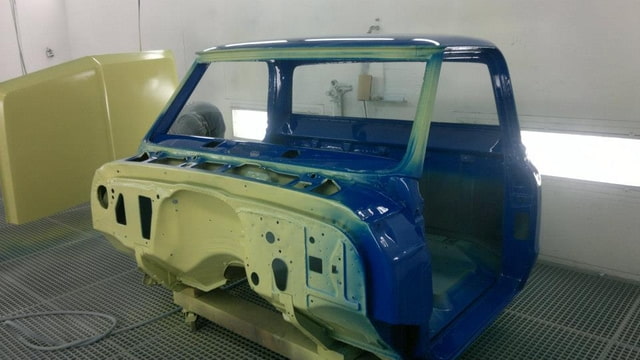 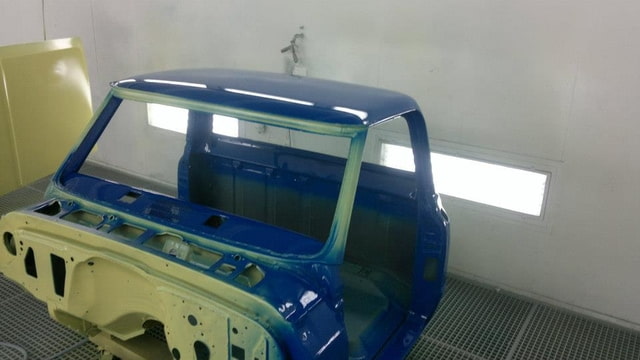 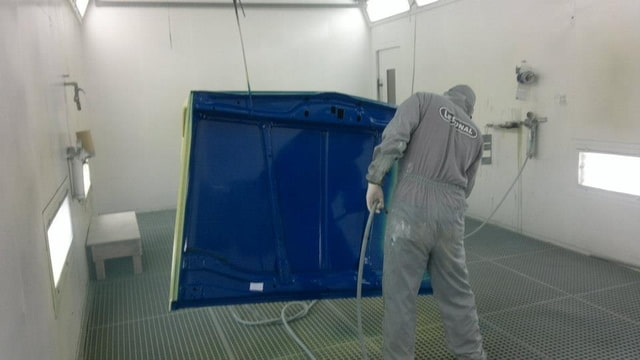  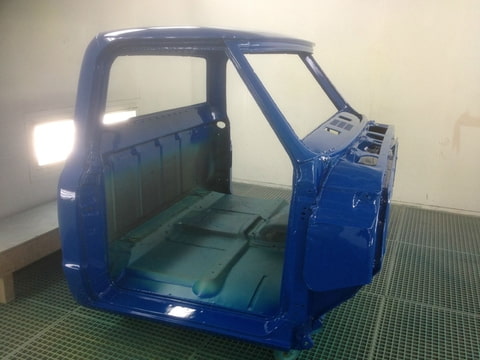 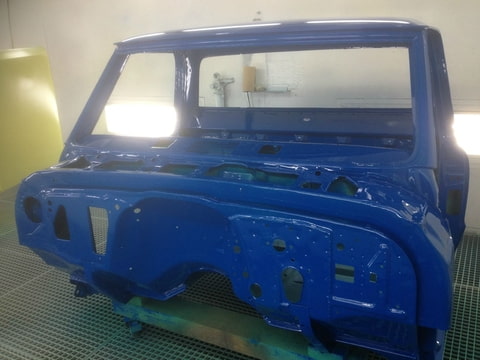 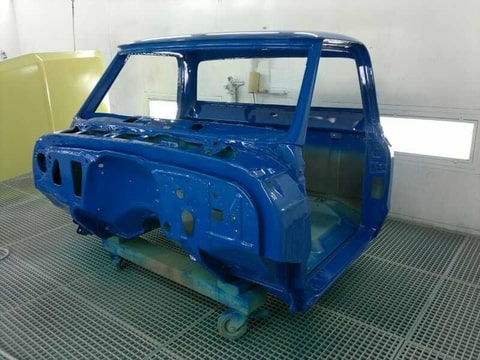 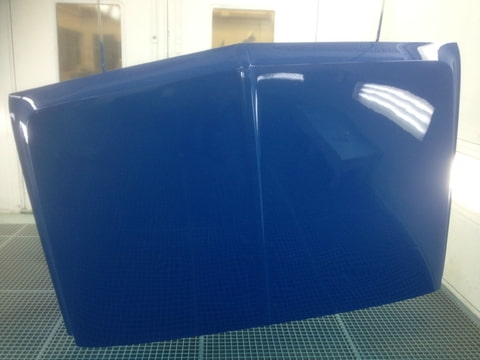 when Ferry was painting I gpt back to my favorit hobby; sandblasting the radiator support. 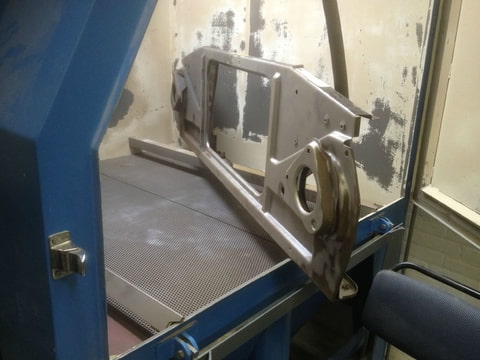 like a famous Italian actor often says: you do,you like?
__________________
Feedback is always welcome! projects: 1969 Chevy C10 1950 GMC 100 1958 Chevy C60 Viking ratrod |
|
|

|
|
|
#83 |
|
Registered User
Join Date: Mar 2010
Location: Aledo, Texas
Posts: 803
|
Re: 1969 Custom/10 clean up
I love it man!Looks great.Keep up the good work.
Posted via Mobile Device
__________________
84 step side 87 swb |
|
|

|
|
|
#84 |
|
Registered User
Join Date: Aug 2010
Location: Lafayette In.
Posts: 252
|
Re: 1969 Custom/10 clean up
Looky there! Fresh paint! Looks good.
|
|
|

|
|
|
#85 | |
|
Registered User
 Join Date: Aug 2012
Location: Homosassa, Fl.
Posts: 2,965
|
Re: 1969 Custom/10 clean up
Quote:
|
|
|
|

|
|
|
#86 |
|
Registered User
Join Date: Aug 2010
Location: Hoofddorp, the Netherlands
Posts: 582
|
Re: 1969 Custom/10 clean up
After this enormous progress, everything has basicly come to a standstill..but I should be able to get something done this weekend. my EZ Wiring kit, Cab mounting kit, window and door rubbers all got delivered, so I'm a happy camper...apart from the cab mounting kit, because the diameter of thew inner bus is much wider than the bolt that goes throught it...I alwasy thought it had to be snug? I'll take some pictures tomorrow evening.
here is a PDF from the paint I used, so you can see it is really aerospace grade stuff  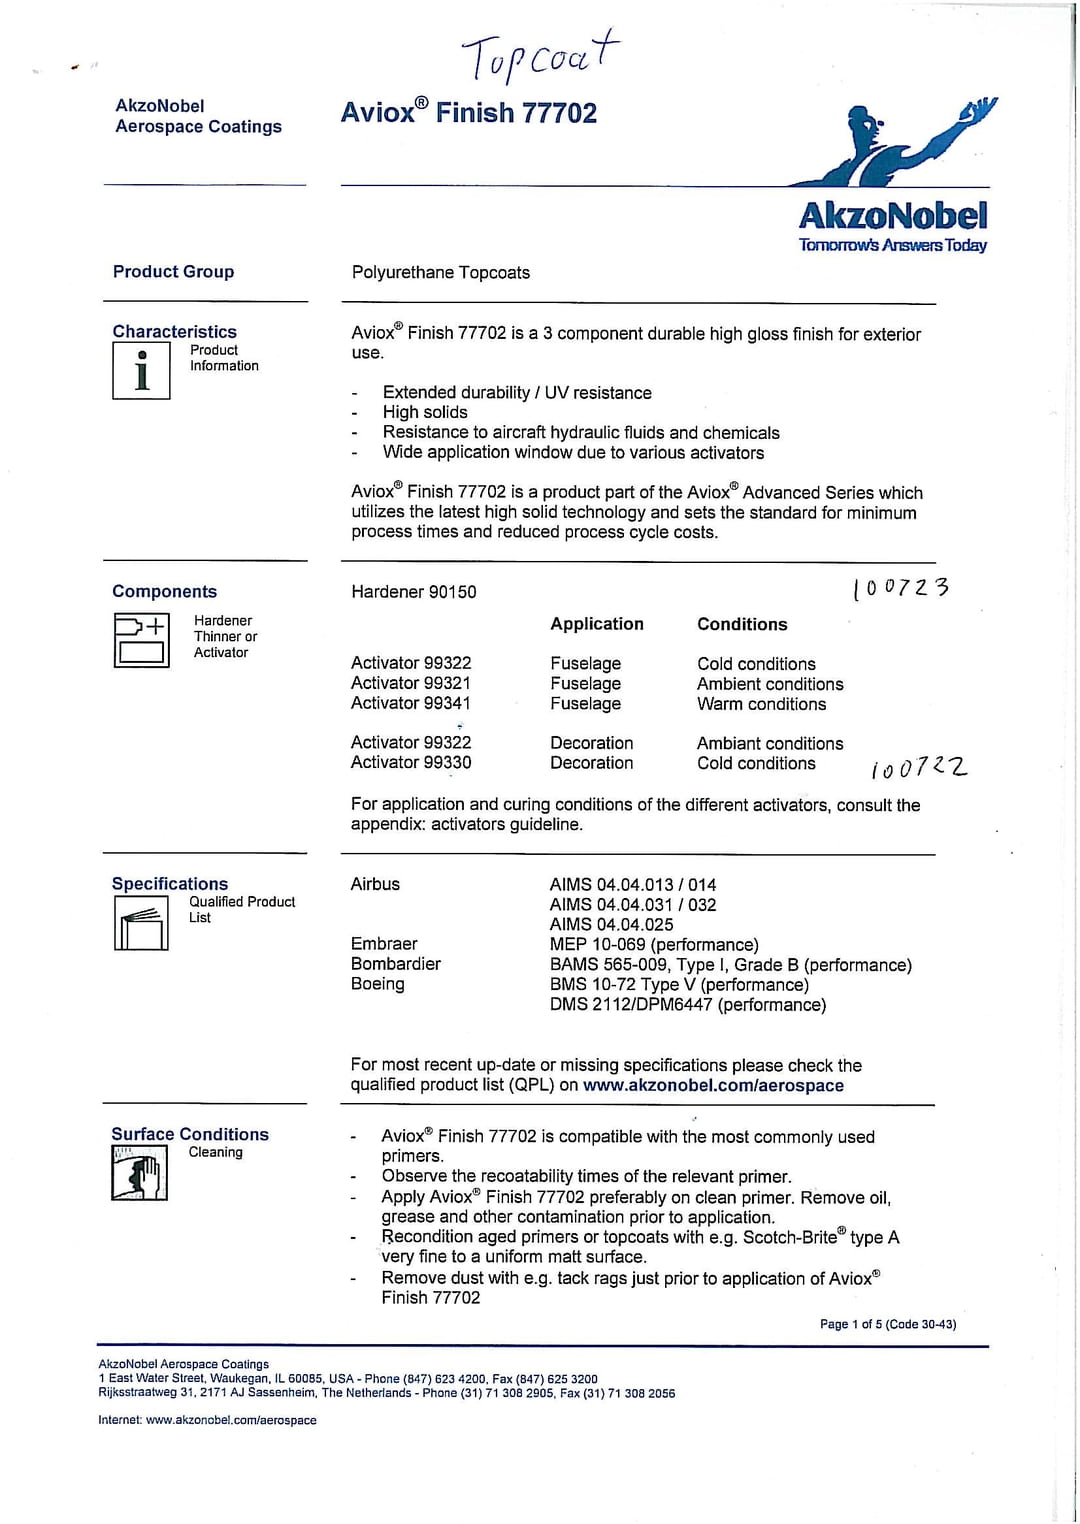 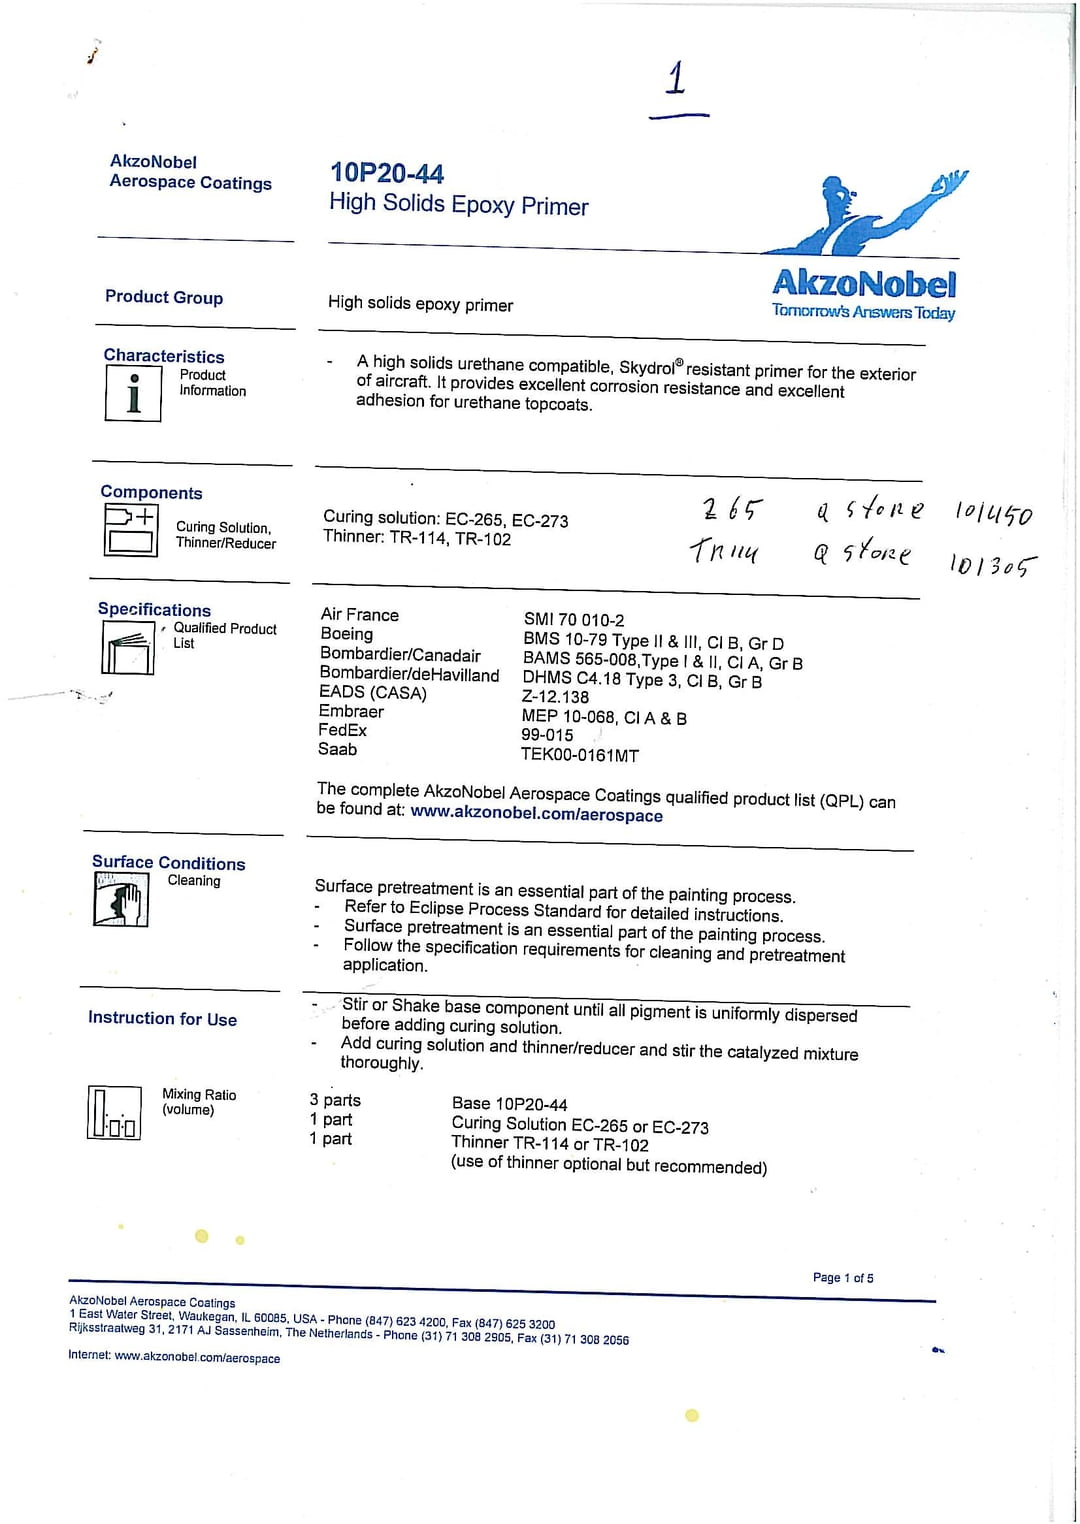
__________________
Feedback is always welcome! projects: 1969 Chevy C10 1950 GMC 100 1958 Chevy C60 Viking ratrod |
|
|

|
|
|
#87 | |
|
Registered User
 Join Date: Aug 2012
Location: Homosassa, Fl.
Posts: 2,965
|
Re: 1969 Custom/10 clean up
Quote:
|
|
|
|

|
|
|
#88 |
|
Registered User
Join Date: Aug 2010
Location: Hoofddorp, the Netherlands
Posts: 582
|
Re: 1969 Custom/10 clean up
have ever seen paint chipping on a plane?
they fly 600Mph...guess the paint can take it..hahaha btw..this paint isnīt available for anyone else than aircraft builders..
__________________
Feedback is always welcome! projects: 1969 Chevy C10 1950 GMC 100 1958 Chevy C60 Viking ratrod |
|
|

|
|
|
#89 |
|
Registered User
Join Date: Apr 2012
Location: Denver, CO
Posts: 232
|
Re: 1969 Custom/10 clean up
Somewhere in my build thread you say you have a $3000 budget, but I'm thinking you may end up with that just in shipping. It must be really hard building one of these in countries outside the US. I wouldn't think you have great parts availability and probably not many in salvage yards where as we have an abundance. Anyway, it's looking good and that shop you have sure is nice, makes me jealous. That thing should fly with that special paint on there!!!!!!! Get it, ha.
__________________
Another 71 My truck In tank fuel pump how to LS factory gauges wiring how to-post 18 |
|
|

|
|
|
#90 | |
|
Registered User
Join Date: Aug 2010
Location: Hoofddorp, the Netherlands
Posts: 582
|
Re: 1969 Custom/10 clean up
Quote:
 We do have a dedicated c10 forum and a USAtruck forum a few scrapyards..but anything good will be gone in a blink of an eye. So we end up ordering mostly from LMC.
__________________
Feedback is always welcome! projects: 1969 Chevy C10 1950 GMC 100 1958 Chevy C60 Viking ratrod |
|
|
|

|
|
|
#91 |
|
Registered User
Join Date: Aug 2010
Location: Hoofddorp, the Netherlands
Posts: 582
|
Re: 1969 Custom/10 clean up
Time for a major update: the eagle has landed!
first I cleaned of the frame part where the cabin sits and sprayed it with Hammerite. hard-as-nails stuff you can use for anything from autobodies to old rusted fences. no primer, no de-rusting. I don't think it's sold in the US? 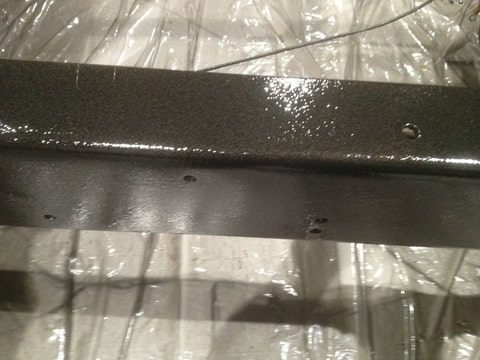 also did the backside of the bed 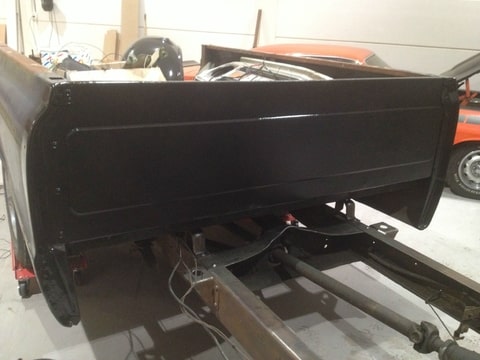 getting it set up under the winch 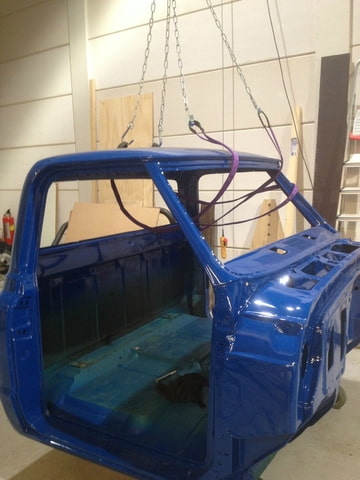 "Housten, we have lift off" 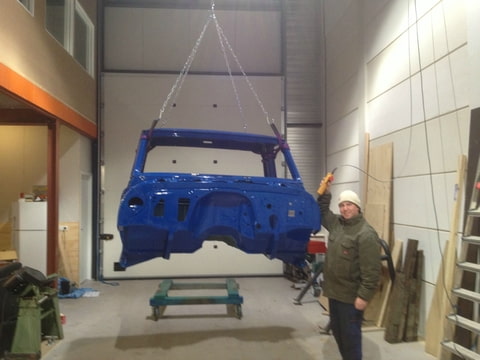 Like a glove 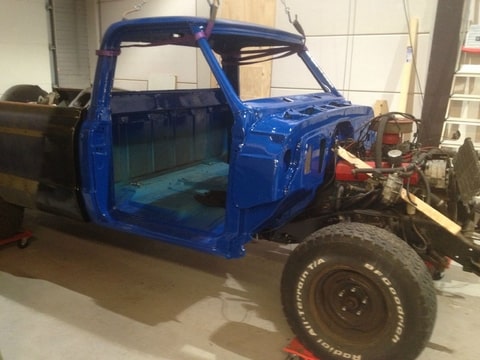 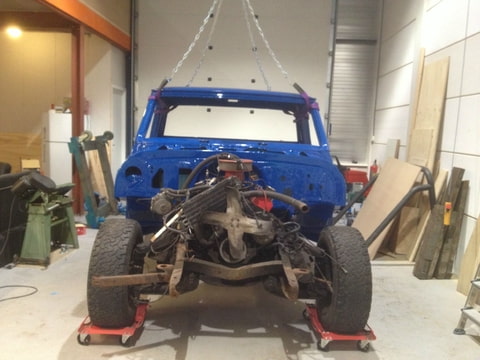 Instead of the standard 3/8" bolts I went for 3/4" because the fit nices in the bushing 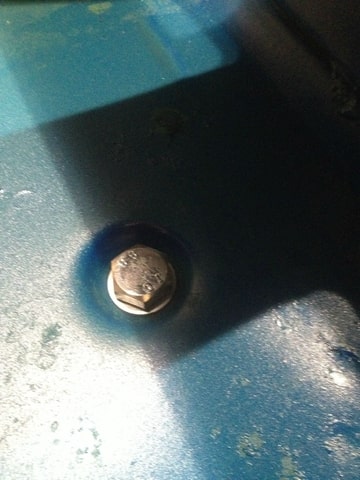 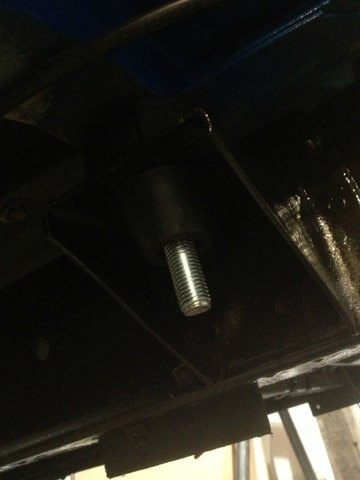 looking good 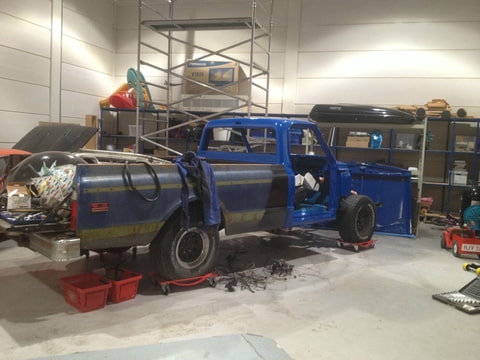 I think I'll paint the bed in this color.....hammerite 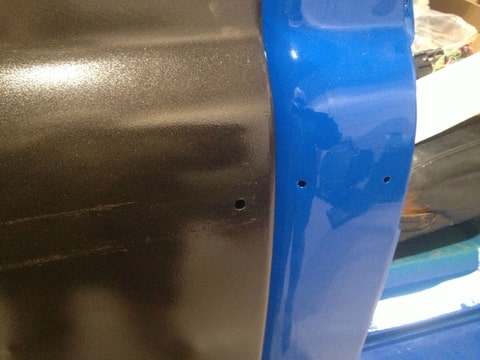  so what's the smartest do do next? the wiring I guess right?
__________________
Feedback is always welcome! projects: 1969 Chevy C10 1950 GMC 100 1958 Chevy C60 Viking ratrod |
|
|

|
|
|
#92 | |
|
Registered User
 Join Date: Aug 2012
Location: Homosassa, Fl.
Posts: 2,965
|
Re: 1969 Custom/10 clean up
Quote:
|
|
|
|

|
|
|
#93 |
|
Registered User
Join Date: Jan 2013
Location: mexico city
Posts: 6
|
Re: 1969 Custom/10 clean up
its a wonderfull work man! i like it!!!
|
|
|

|
|
|
#94 | ||
|
Registered User
Join Date: Aug 2010
Location: Hoofddorp, the Netherlands
Posts: 582
|
Re: 1969 Custom/10 clean up
Quote:
nevermind, it's bolted down and I'll see how the rest lines up  Quote:
__________________
Feedback is always welcome! projects: 1969 Chevy C10 1950 GMC 100 1958 Chevy C60 Viking ratrod |
||
|
|

|
|
|
#95 |
|
Registered User
Join Date: Aug 2010
Location: Hoofddorp, the Netherlands
Posts: 582
|
Re: 1969 Custom/10 clean up
Okidoki..what have I been up to in the meantime?
got the brakes sorted out. got myself a new BPV (brake proportioning valve) because the old one was for a drum/drum set-up without a booster, so it wouldn't have worked. then I got into heaps of trouble with the new front brake hoses, because I thought my new crossmember came from a '73 Sub, but the the brake hoses I ordered (for that model) wouldn't line up...so we had to be creative. then there was the position of the bpv.. I could have made a support bracket, but I ended up at the firewall.. please feel free to tell me off if that's not the way to go!. This made it tricky for the brake lines down to the front hoses, but again I got creative with the bending tool  . .Steering is all done, I found out that the old steering arms wouldn't fit the spindle, because their diameter was to small. luckily I got the steering arms with the '73 crossmember, so I only had to swap it. now some pictures  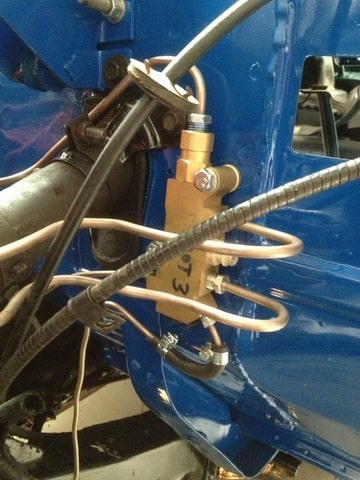  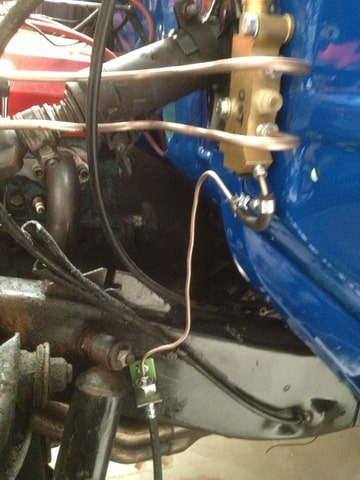 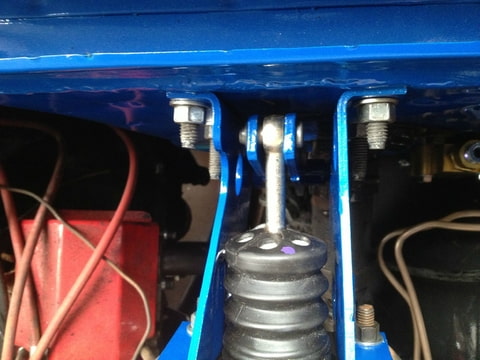 ok I have a few questions and I would appreciate any help on these: (1) I read somewhere that the 2 brakelines between the master brake cylinder and the proportioning valve should be exact the same lenght: true of false? and if true..why so? (2) the 2 bearings in the steering columb; I have a spring at the bottom one hoding it at tension, do you also need a spring at the top one, or is it the steeringwheel keeping it in place? (3) I got replacement doorweather striping and it doesn't hold itself, so it falls down? do you need to glue it, or are there clamps? (see pic) 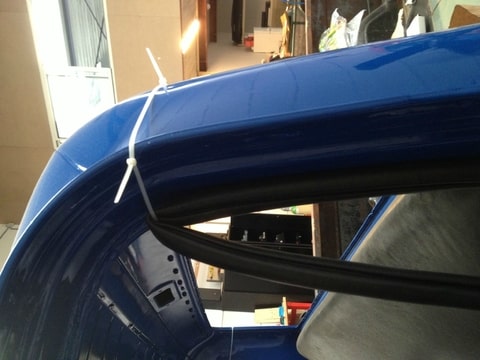 thanks in adevance for the answers!
__________________
Feedback is always welcome! projects: 1969 Chevy C10 1950 GMC 100 1958 Chevy C60 Viking ratrod Last edited by Steve-W; 04-28-2013 at 12:35 PM. |
|
|

|
|
|
#96 |
|
Registered User
Join Date: Apr 2012
Location: Denver, CO
Posts: 232
|
Re: 1969 Custom/10 clean up
My steering column has a spring on both top and bottom, the one at the steering wheel is only about 3/4" long if I remember right. That's 18mm or so to you! The weatherstrip does need to be glued, 3m weatherstrip adhesive is the best, available at most parts stores in the states, maybe you could find some easily too? As for the brakes someone else will need to chime in on that one.
__________________
Another 71 My truck In tank fuel pump how to LS factory gauges wiring how to-post 18 |
|
|

|
|
|
#97 |
|
Registered User
Join Date: Aug 2010
Location: Hoofddorp, the Netherlands
Posts: 582
|
Re: 1969 Custom/10 clean up
I'm going to leave the brakelines as they are, if it gives me any trouble it's not that hard to re-do. thanks for confirming the spring part, now I just have to find one..
 speaking of which, I've got some parts I'm looking for and perhaps someone can help me out (I'll also open up a seperate thread for this) I need, the E-brake unit (or is it called the park brake?) 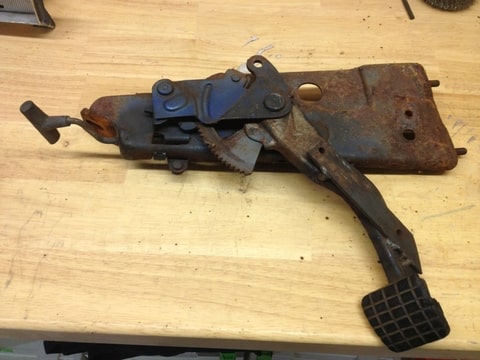 I need the heating adjustment sliding arm holder thingy 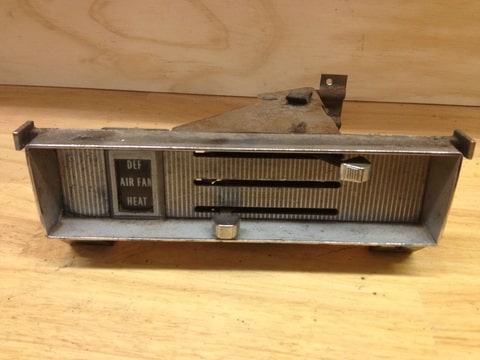 and I need the plug that goes on the ignition, preferable with some wires attached 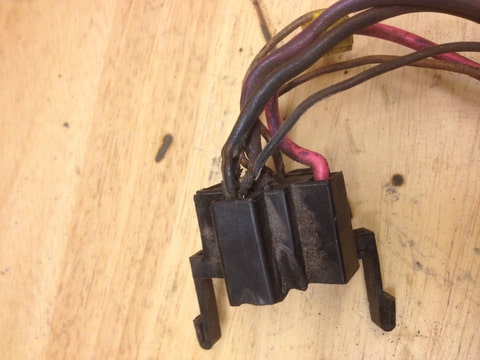
__________________
Feedback is always welcome! projects: 1969 Chevy C10 1950 GMC 100 1958 Chevy C60 Viking ratrod |
|
|

|
|
|
#98 |
|
Registered User
Join Date: Aug 2010
Location: Hoofddorp, the Netherlands
Posts: 582
|
Re: 1969 Custom/10 clean up
So .. is about time for an update
In the summer I have done very little because of other things that required more attention , but we're back full on and I have a new deadline : April 2014 the heap must be able to drive . What did I do in the meantime? E -brake pedal mounted and connected, brake lines connected , filled and bled ... do not laugh when you see the pictures of the brake lines , it was my first time and its good for now, but I'll redo them some other time. it works and there is room enough .. to be sure I have bought a new brake force distribution , because the Original one was on was not suitable for power-assisted disc brakes . rear window mounted , I opted for the standard window that was in the new cab and not the slider because I just don't like it welded all the holes in my doors , primed and painted ... unfortunately we did rush spraying the doors...because you don't see it in the pictures , but they are not, how shall i put this..nice. Anyway, something more for a future winter project. here is my to do list : Make the columnshift work , because I have various brackets and rods but just doesn't line up the way I would like . In conjunction with this I think my steering column also is not 100% , but it will be in due course . Wiring up the truck. I bought a new tree EZ -wiring set and it is easy because on each cable it says what it is ... but then again .. I could use some help , so if anyone is good with wiring and wants a holiday in the Netherlands to help me ..mi casa su casa. Heater repair and installation , no idea what I 'm going to come across here. front Windshield mount, I just ordered it , and still have to pick it up. Doors are painted and now everything can go back together , window mechanism , door handles , rubbers etc etc. Mount the exhaust, there were two side pipes on it , not my taste, so I want one thick pipe to the back, or two regular sized pipes adjacent to the rear . Will buy some loose bends and pipes and then weld, weld and weld some more. upholstery, including the seat .. needs to be re-done..gosh I'm sure I'm leaving out a tone of stuff..but we'll start with this and then see what **** can hit the fan. What do I still have to buy .. Or new headlights or brackets / holder things if they can be bought seperatly?(where do you buy that ? ) Exhaust silencer ( s ) Steering column ? ( .. parts .. ? ) heater parts Soundproofing mat , door / floor / dashboard trim And probably tons of small junk that I forget to mention Here some pictures : the doors in color 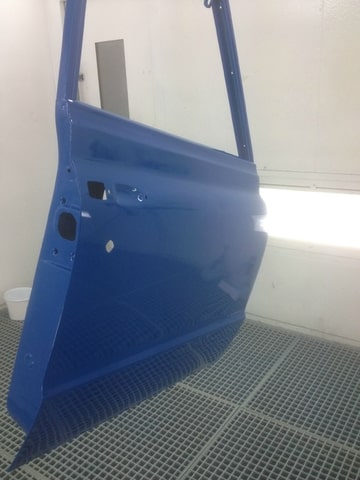 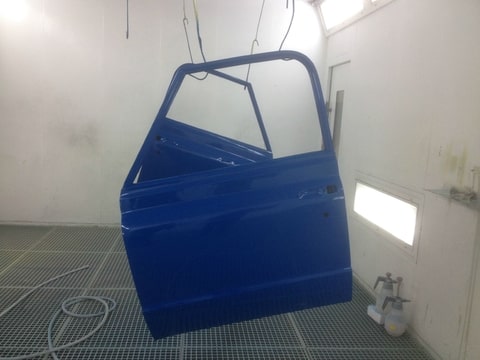 Wooden steeringwheel sand blasted 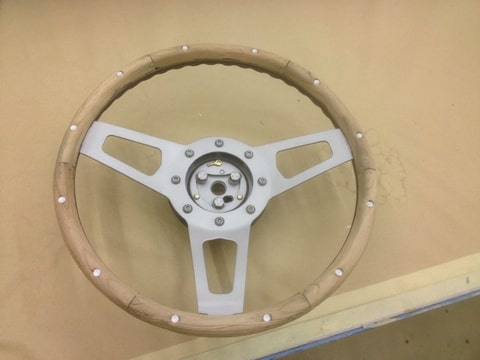 puzzle pieces , called gear selector rods and the like 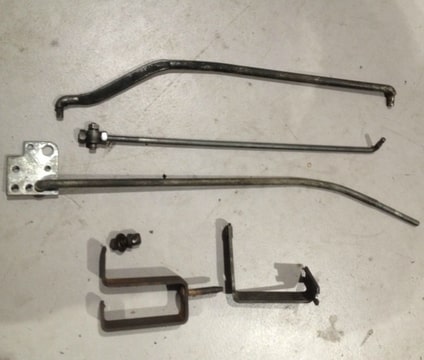 the better brake spaghetti work 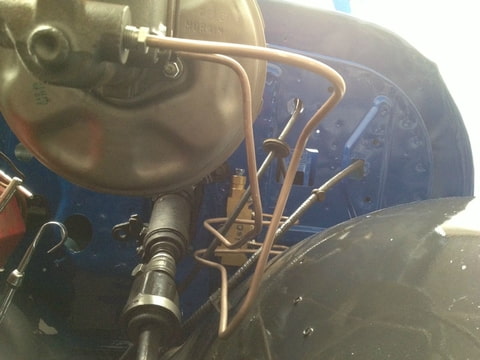 there is indeed a new resident in the workshop 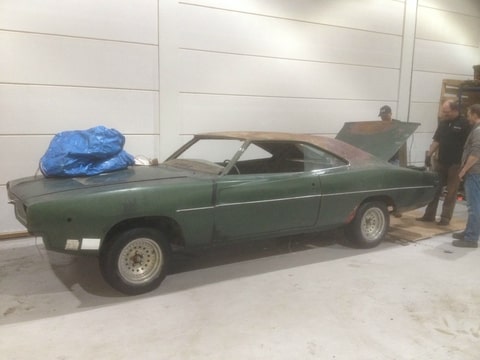
__________________
Feedback is always welcome! projects: 1969 Chevy C10 1950 GMC 100 1958 Chevy C60 Viking ratrod Last edited by Steve-W; 11-11-2013 at 08:08 PM. |
|
|

|
|
|
#99 |
|
Registered User
Join Date: Aug 2010
Location: Hoofddorp, the Netherlands
Posts: 582
|
Re: 1969 Custom/10 clean up
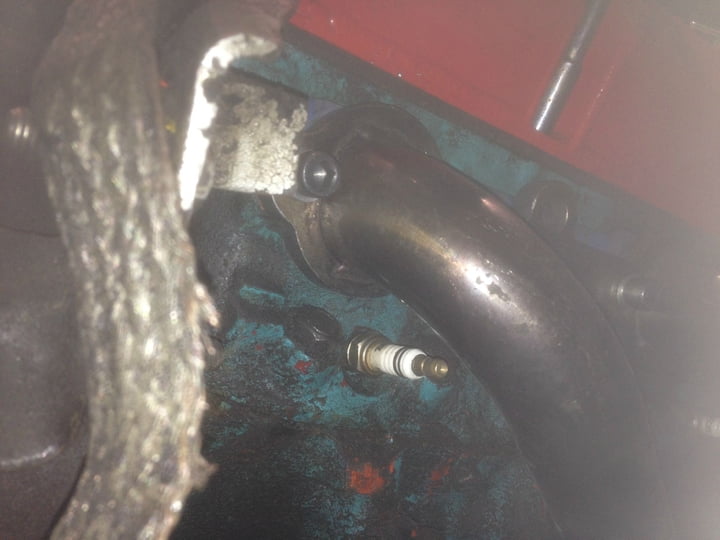
Since I started refurbishing the truck, the headers have been bugging me . while dismanteling I found out the headers where only bolted down with 5 of the 8 bolts per side . This was because the previous owner used standard 6-point bolts, so the bolts where rubbing against the tubes. By using allen bolts and grinding out some of the holes I could get the headers properly fitted . But I was still not a 100% happy because I had to grind off a small piece of my left upper control arm too to get it properly fitted and two spark plugs sit directly below the outlet pipe ( see photo )
 A while ago I bought some stock manifolds , but it wouldn’t fit because of a strange looking power steering hose .. which seemed much too long to me, but at that point I didn’t feel like I replacing it. So I kept the headers on. 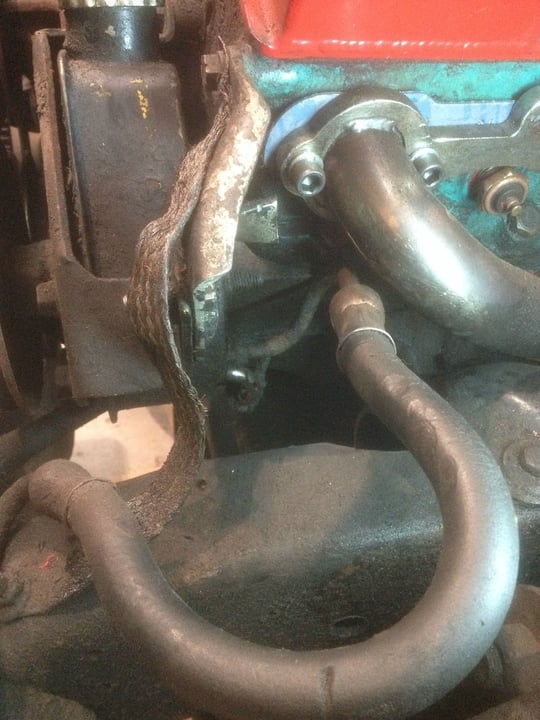 Last week I did decided to replace the hose and while I was at it, I thought I might as well mount the standard manifolds… Guess what? They still didn’t fit! The left sided hits the engine mount and then too many holes won’t lign up. 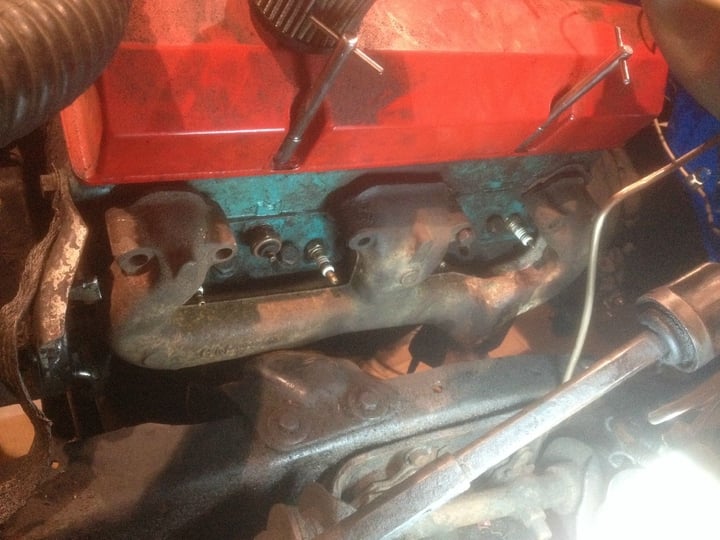 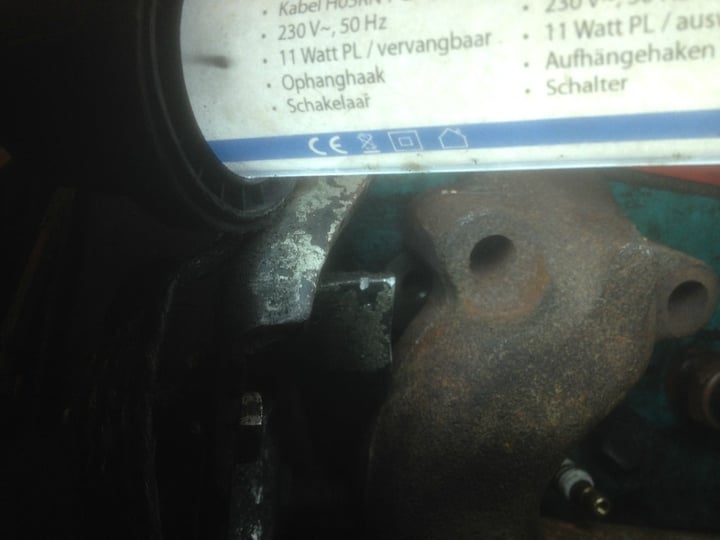 So now are the headers back on..again Then I got busy with my HEI ignition.. because I was smart enough to remove all the spark plug wires, assuming that there would be a mark on the distributor showing cylinder 1 .... But unfortunately I was wrong 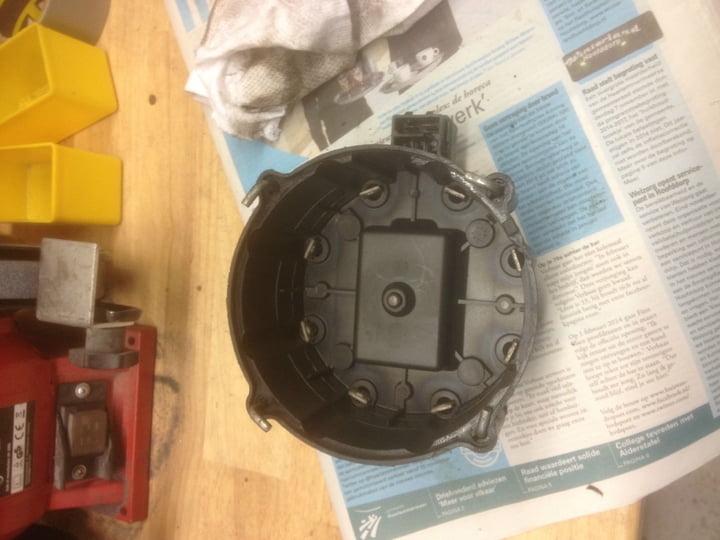 So after some contemplating I realized that if the engine is at TDC ( top dead center ) that the rotor of the ignition should point to the first spark plug .. TDC can be seen on the harmonic balancer when the line Lines up with the 0 degrees mark. 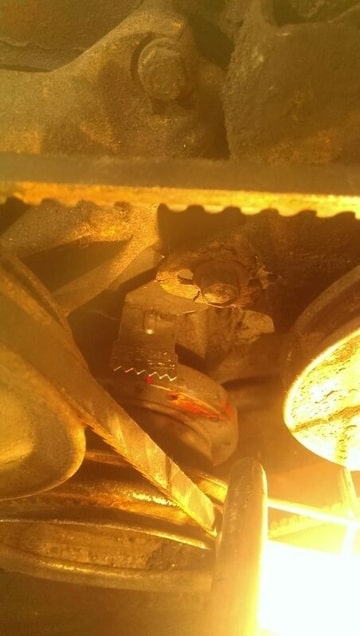 1 cylinder must then be on the compression stroke , this I checked by taking off the valve cover and checking whether the rockers of cylinder 1 both had clearance . the annoying part is that when the engine is at tdc , the rotor of the ignition is directly between two points on the distributor ... so I assume I take the one before the rotor as cylinder 1?, or after .. suggestions are welcome
__________________
Feedback is always welcome! projects: 1969 Chevy C10 1950 GMC 100 1958 Chevy C60 Viking ratrod |
|
|

|
|
|
#100 |
|
Registered User
Join Date: Jul 2011
Location: Des Moines, Iowa
Posts: 3,016
|
Re: 1969 Custom/10 clean up
Cool, you have a steering wheel similar to mine (I don't see them around).
I didn't sandblast mine though, just sanded down the wood. Any idea what brand/model? I've enjoyed reading your build thread. I like seeing how it's done overseas.  Keep up the good work. Keep up the good work.Mine 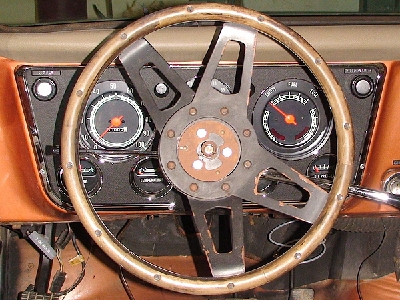
__________________
project: "my happy mess" |
|
|

|
 |
| Bookmarks |
| Tags |
| c10, europe, netherlands, rebuild, swapped |
|
|