
 |
|
|
#101 |
|
Registered User
Join Date: Aug 2011
Location: new york, ny
Posts: 1,063
|
Re: Crash's 72 K10
Nice project, Crash. I am amazed at how much you have done so quickly. Let me know how the sand blasting goes. I am trying to decide between attempting it myself or having it done for me.
|
|
|

|
|
|
#102 | |
|
Registered User
Join Date: Nov 2011
Location: Edmond, OK.
Posts: 1,362
|
Re: Crash's 72 K10
Quote:
Sand Blasting SUCKS!.. It cost me about $110 in media, and 6 hours of time to get it done. If I had to do it again I would have someone else do it if I could get it done for less than $250.. I have a blaster now, so I would still do the small pieces myself..
__________________
Mark ----------------------- Crash's 69 4x4 SWB Crash's Roof over Lake Home Crash's 1988 Land Cruiser Build |
|
|
|

|
|
|
#103 | |
|
Registered User
Join Date: Nov 2011
Location: Edmond, OK.
Posts: 1,362
|
Re: Crash's 72 K10
Quote:
Thanks Mike... slowly be surly.. Hope you get a lot done this weekend..:-)
__________________
Mark ----------------------- Crash's 69 4x4 SWB Crash's Roof over Lake Home Crash's 1988 Land Cruiser Build |
|
|
|

|
|
|
#104 |
|
Registered User
Join Date: Nov 2011
Location: Benton, Arkansas
Posts: 75
|
Re: Crash's 72 K10
Nice work on this project. A lot of good info here.
__________________
Jerry |
|
|

|
|
|
#105 |
|
Registered User
Join Date: Nov 2011
Location: Edmond, OK.
Posts: 1,362
|
Re: Crash's 72 K10
__________________
Mark ----------------------- Crash's 69 4x4 SWB Crash's Roof over Lake Home Crash's 1988 Land Cruiser Build |
|
|

|
|
|
#106 |
|
Registered User
Join Date: Nov 2011
Location: Edmond, OK.
Posts: 1,362
|
Re: Crash's 72 K10
Almost finished with the harness. I added a fuse block, and a couple of termination strips. I still need to install 4 relays. Fuel Pump, Fan 1, Fan 2, and I will be adding a relay for the Hot in Run & Start source voltage. I have not decided if I will be using a relay or a switch for the TCC control…
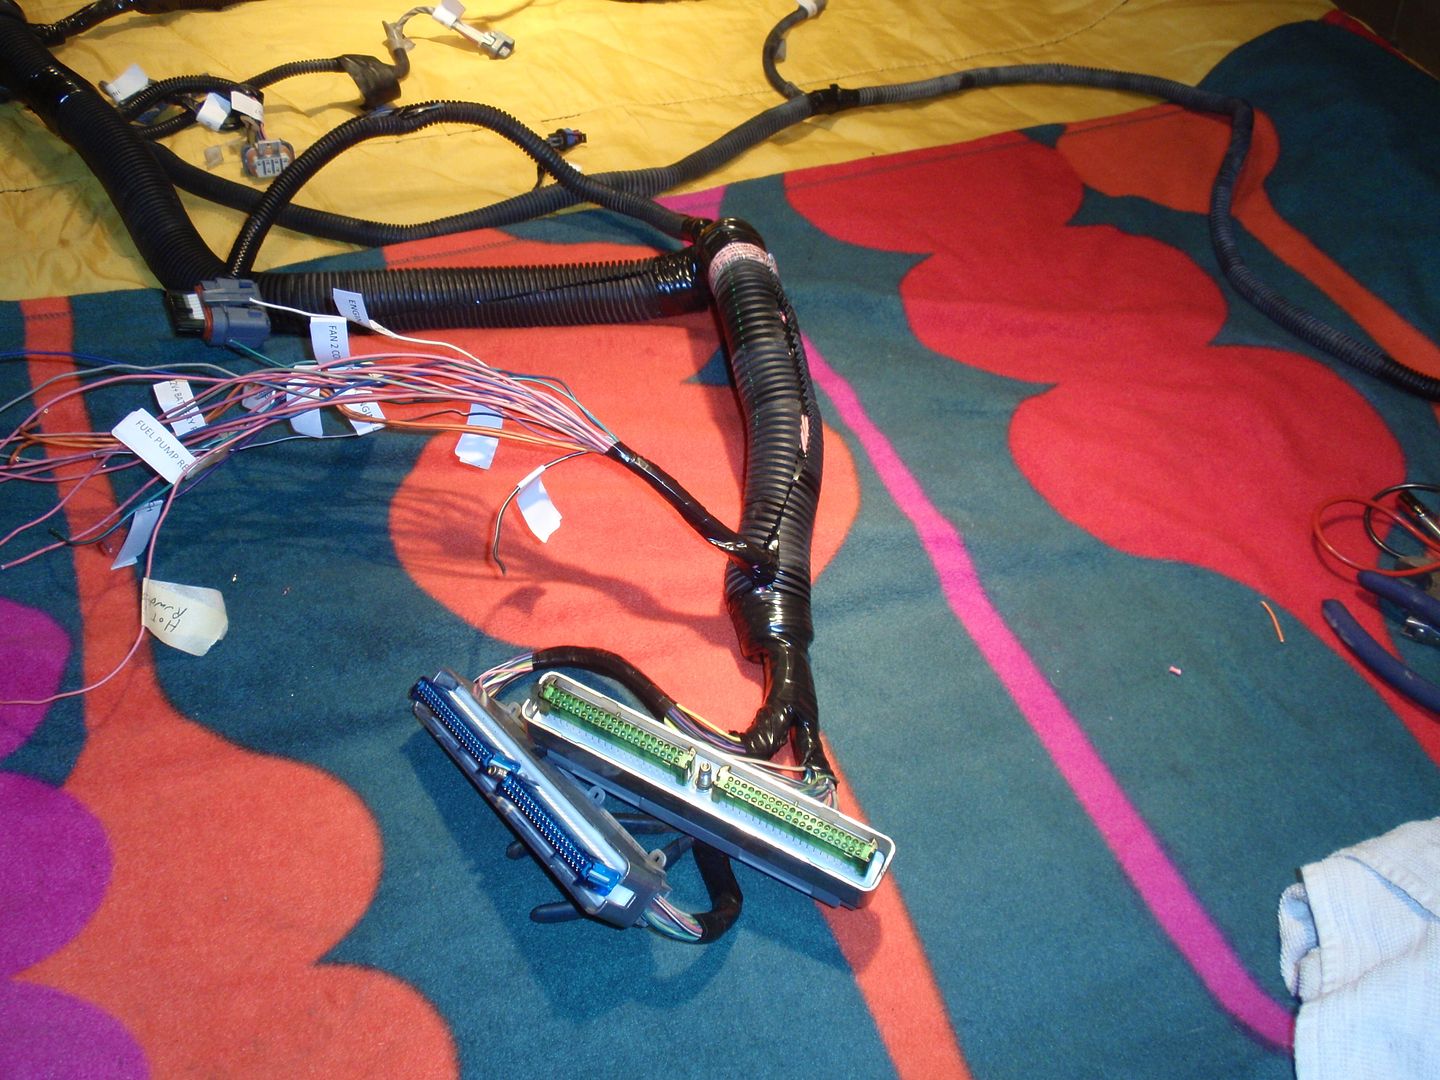 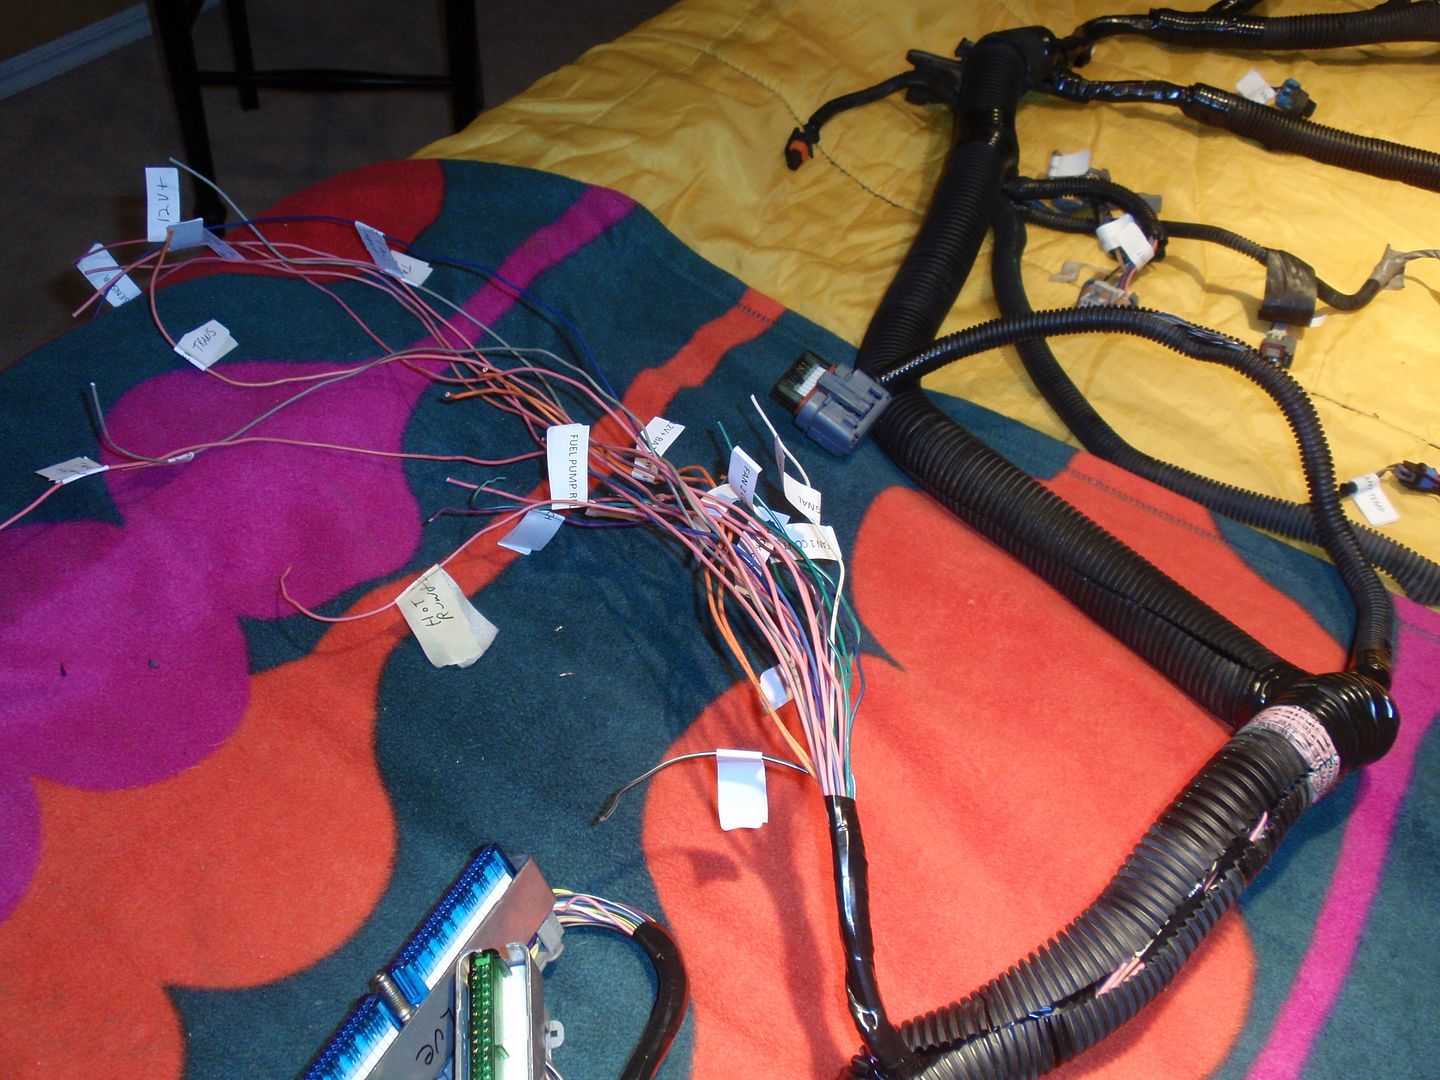 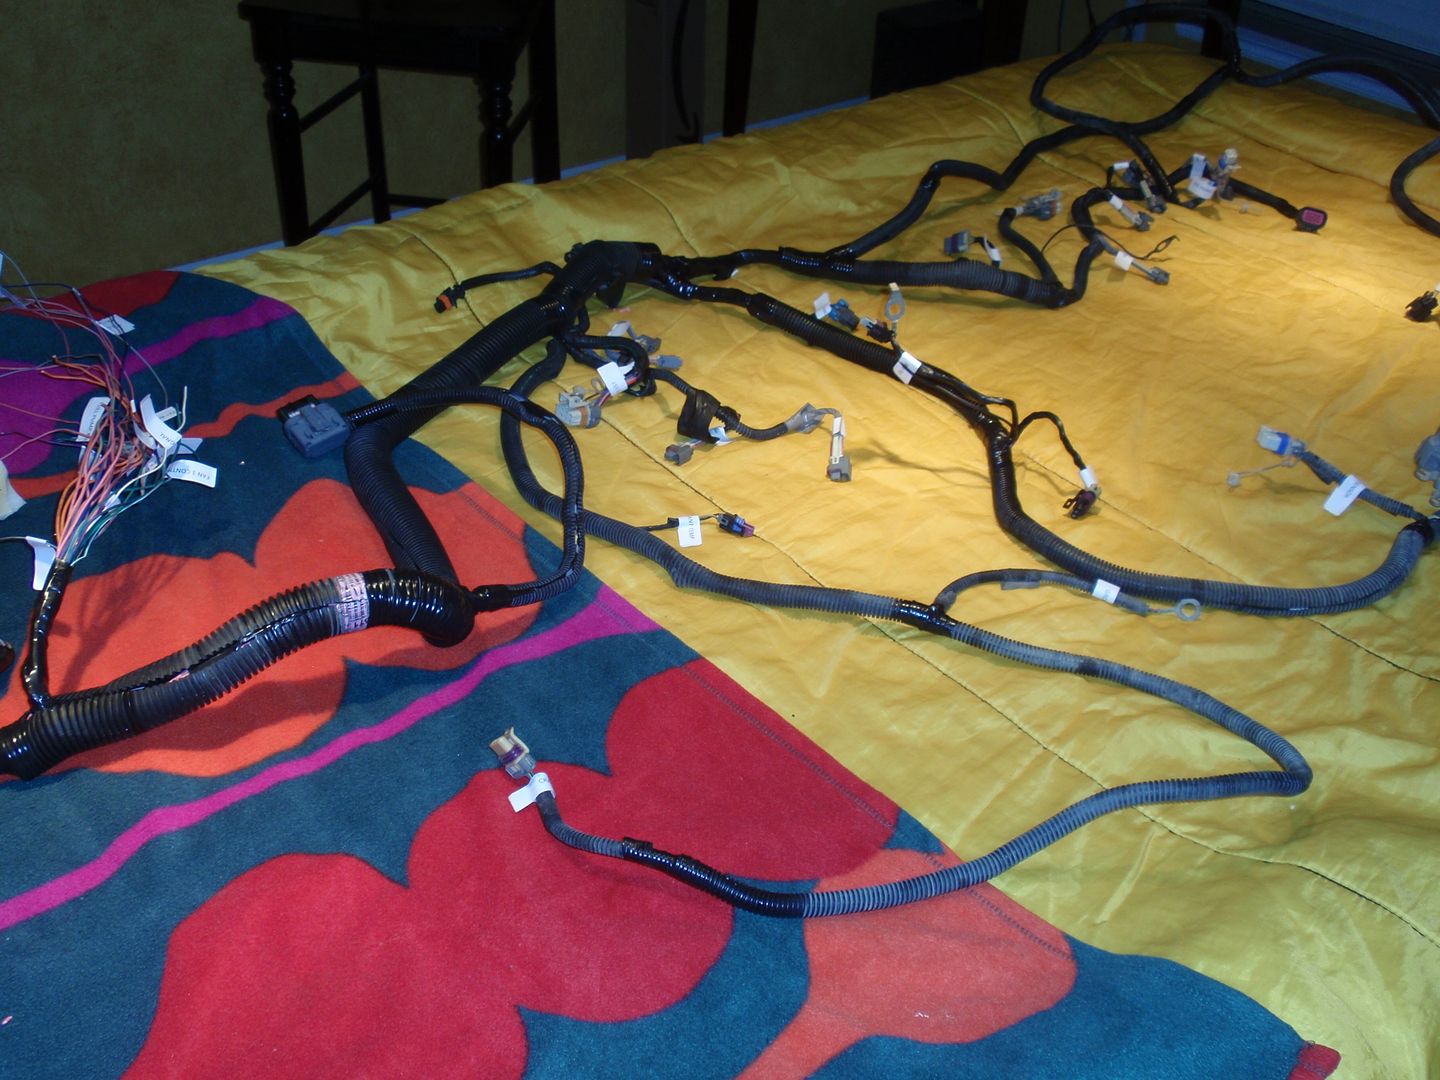 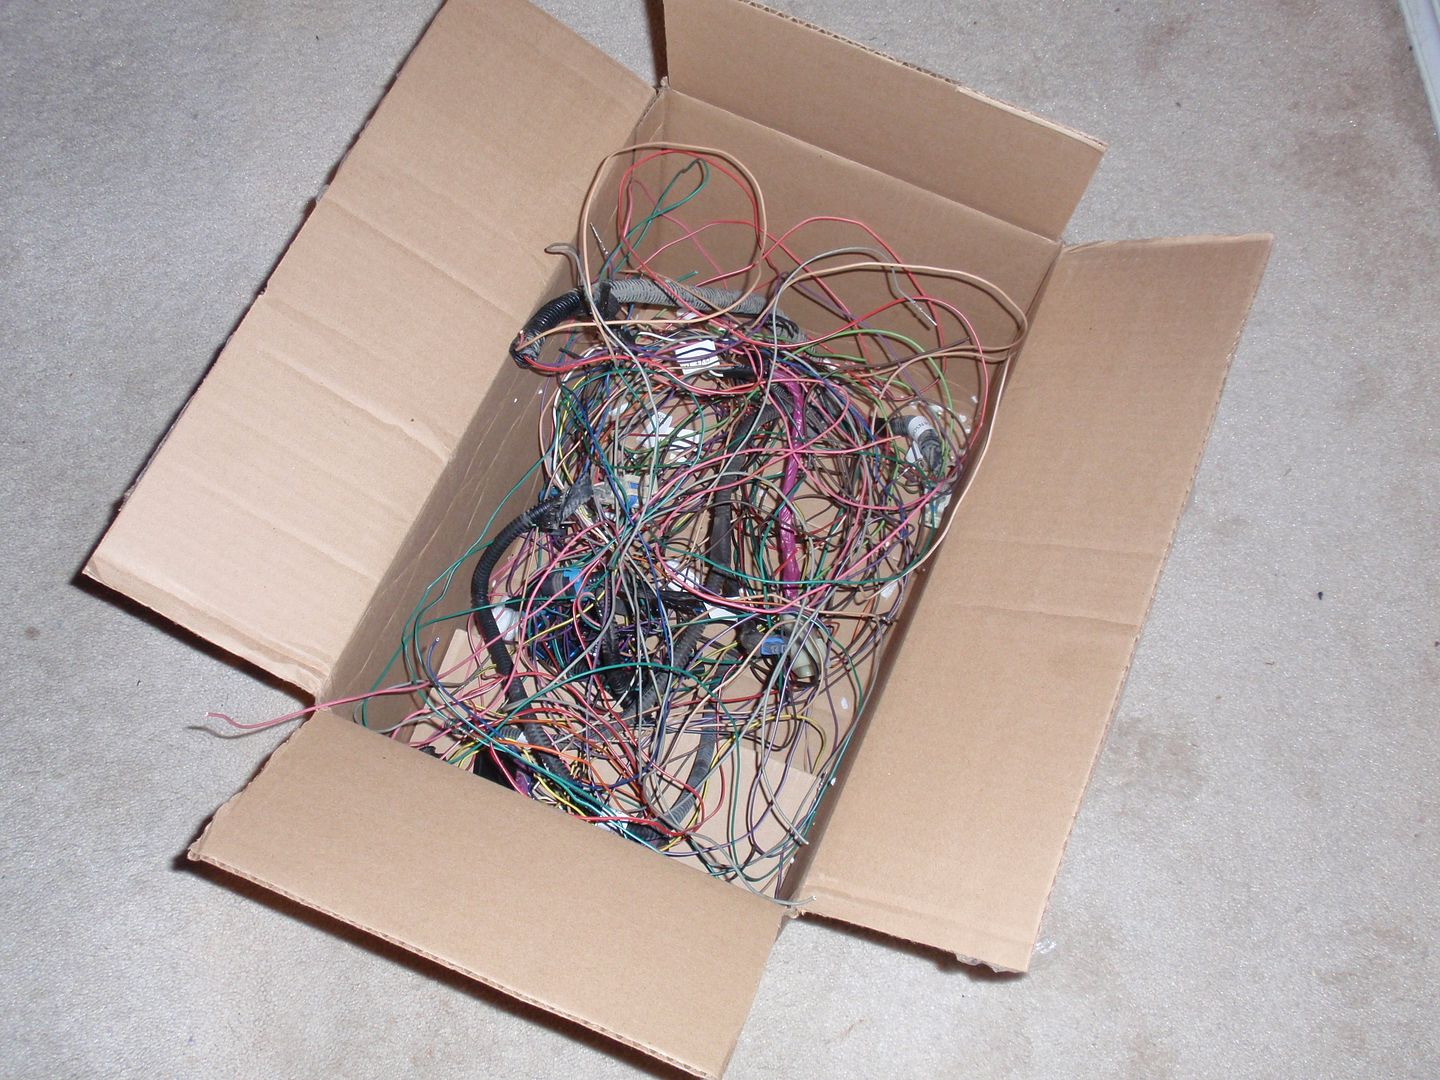 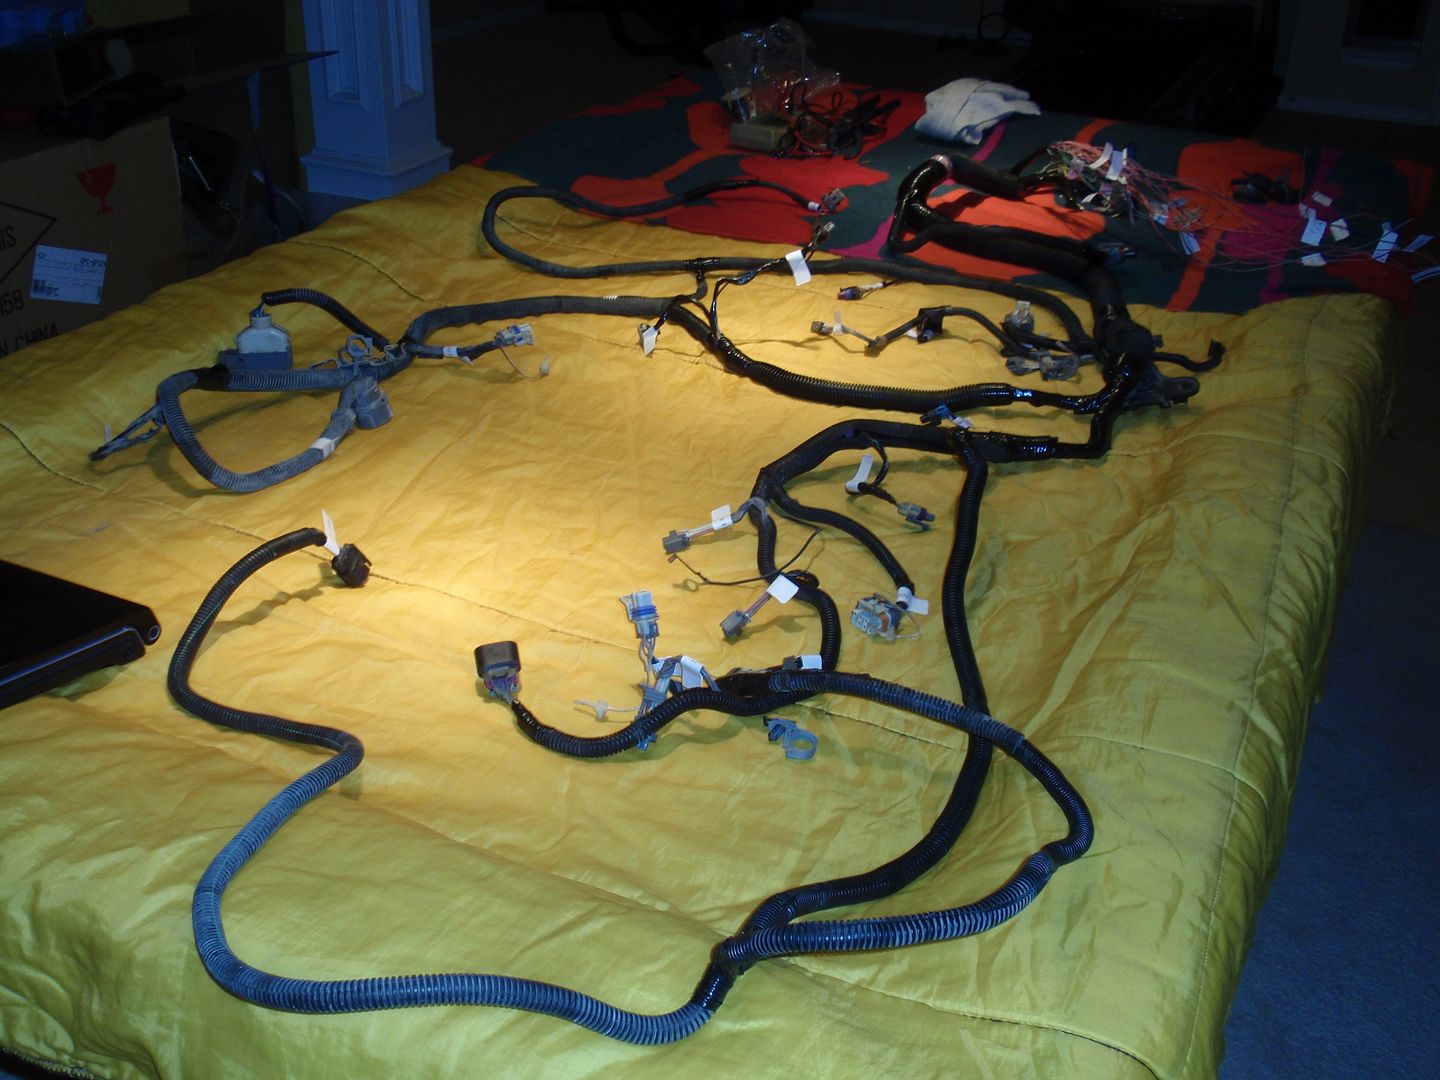 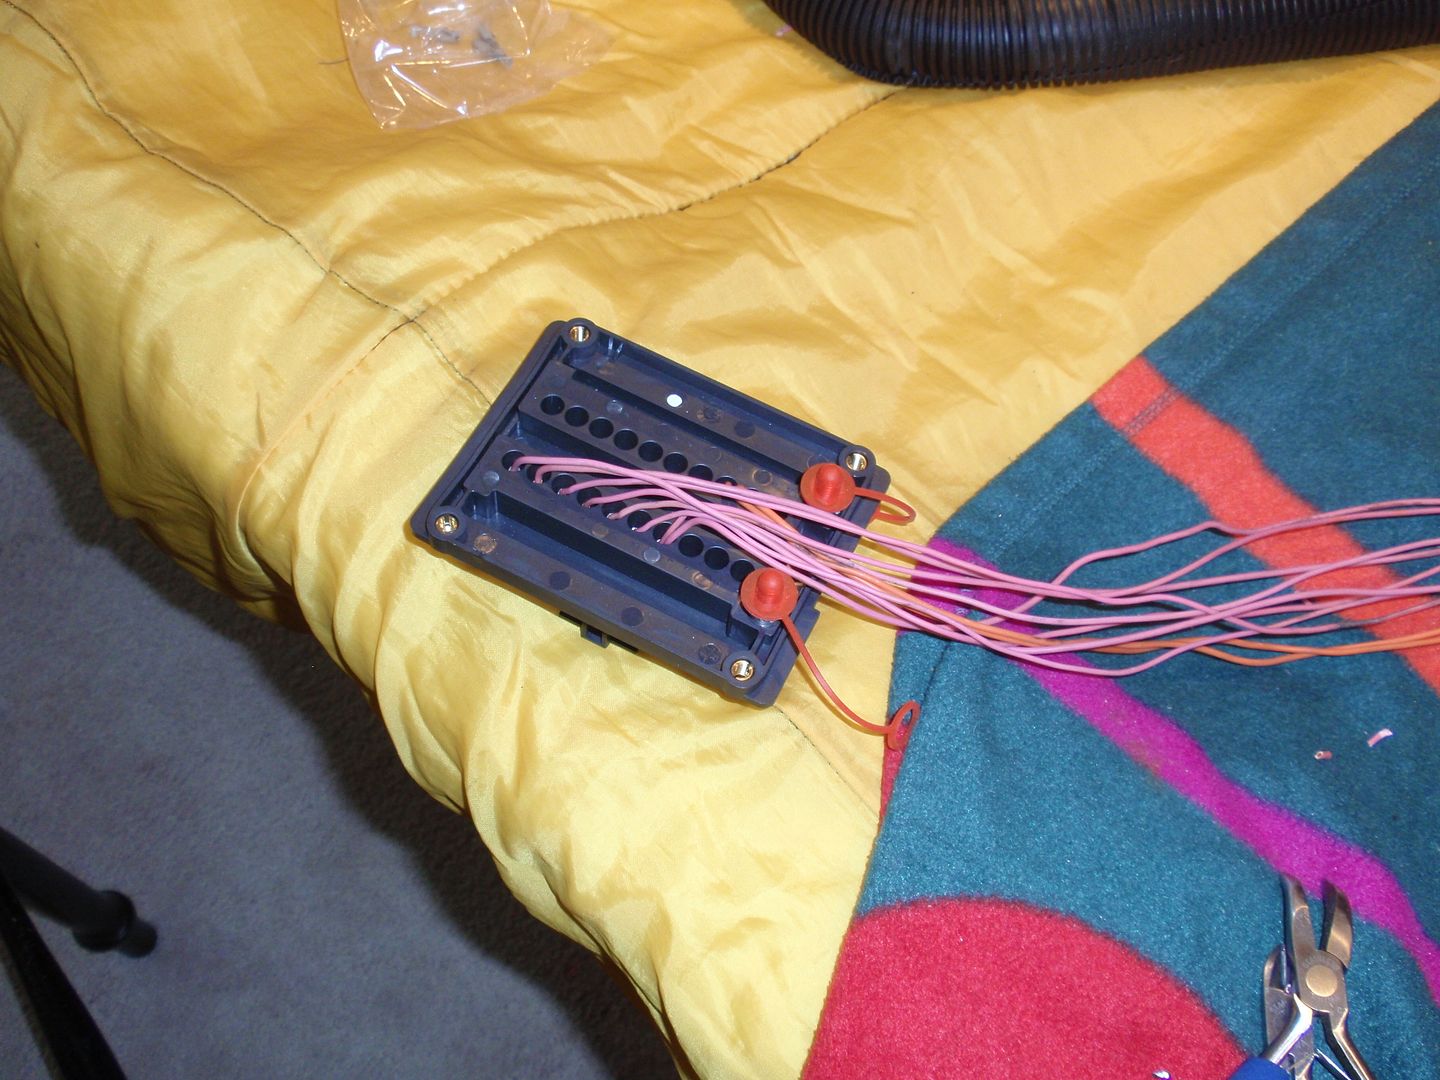 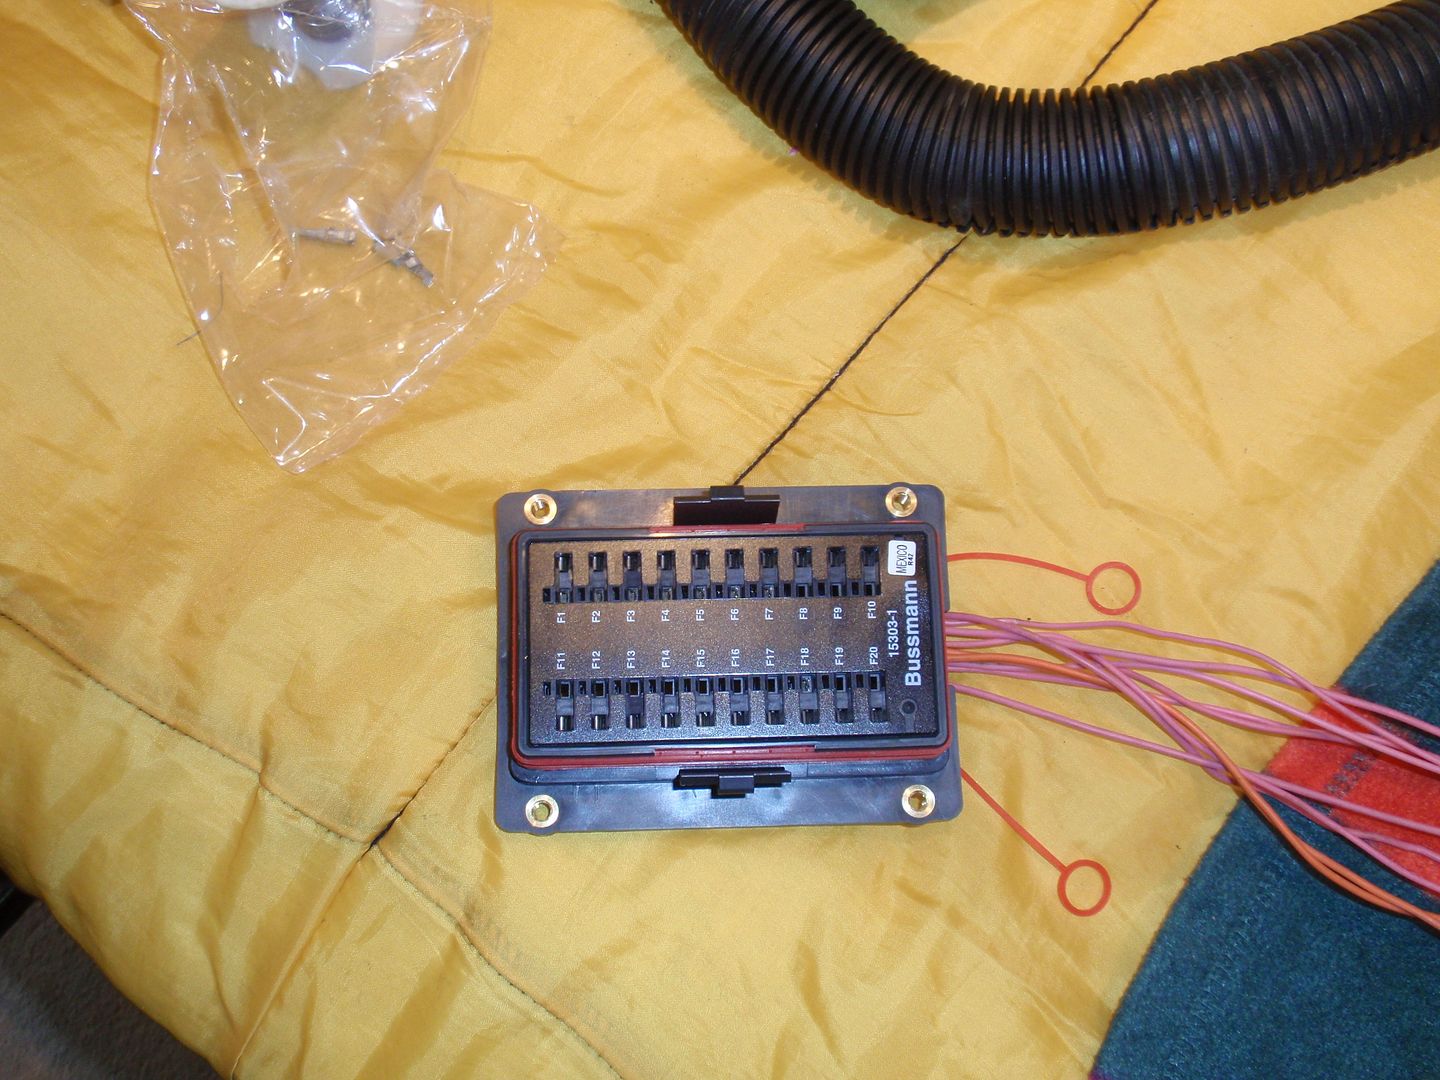 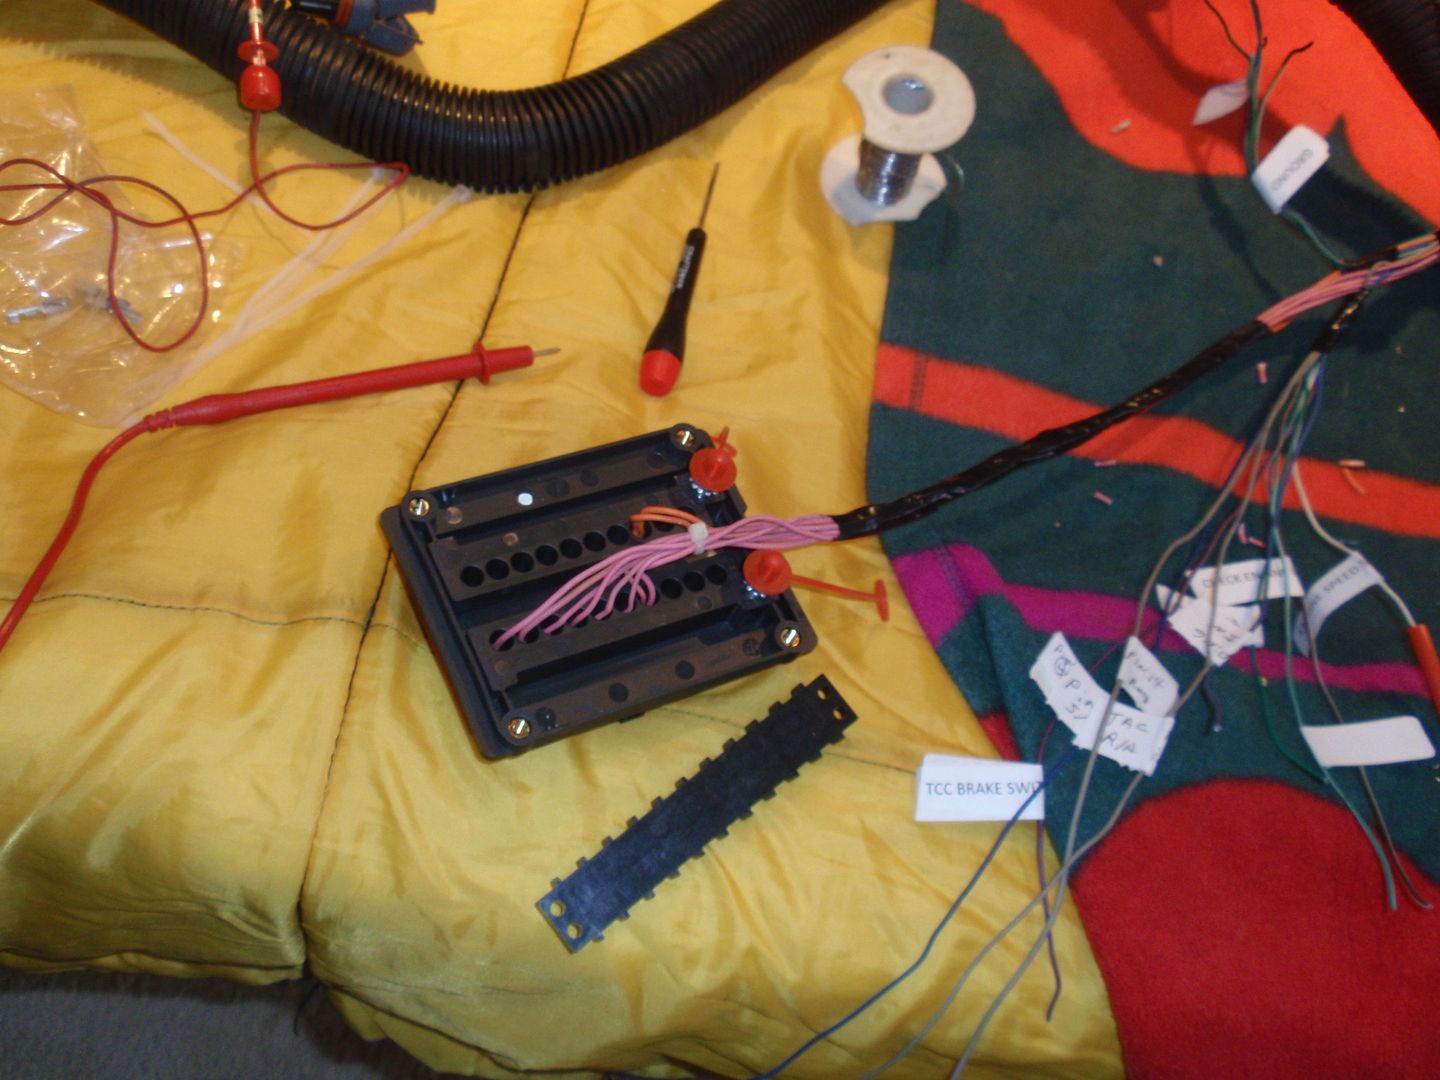 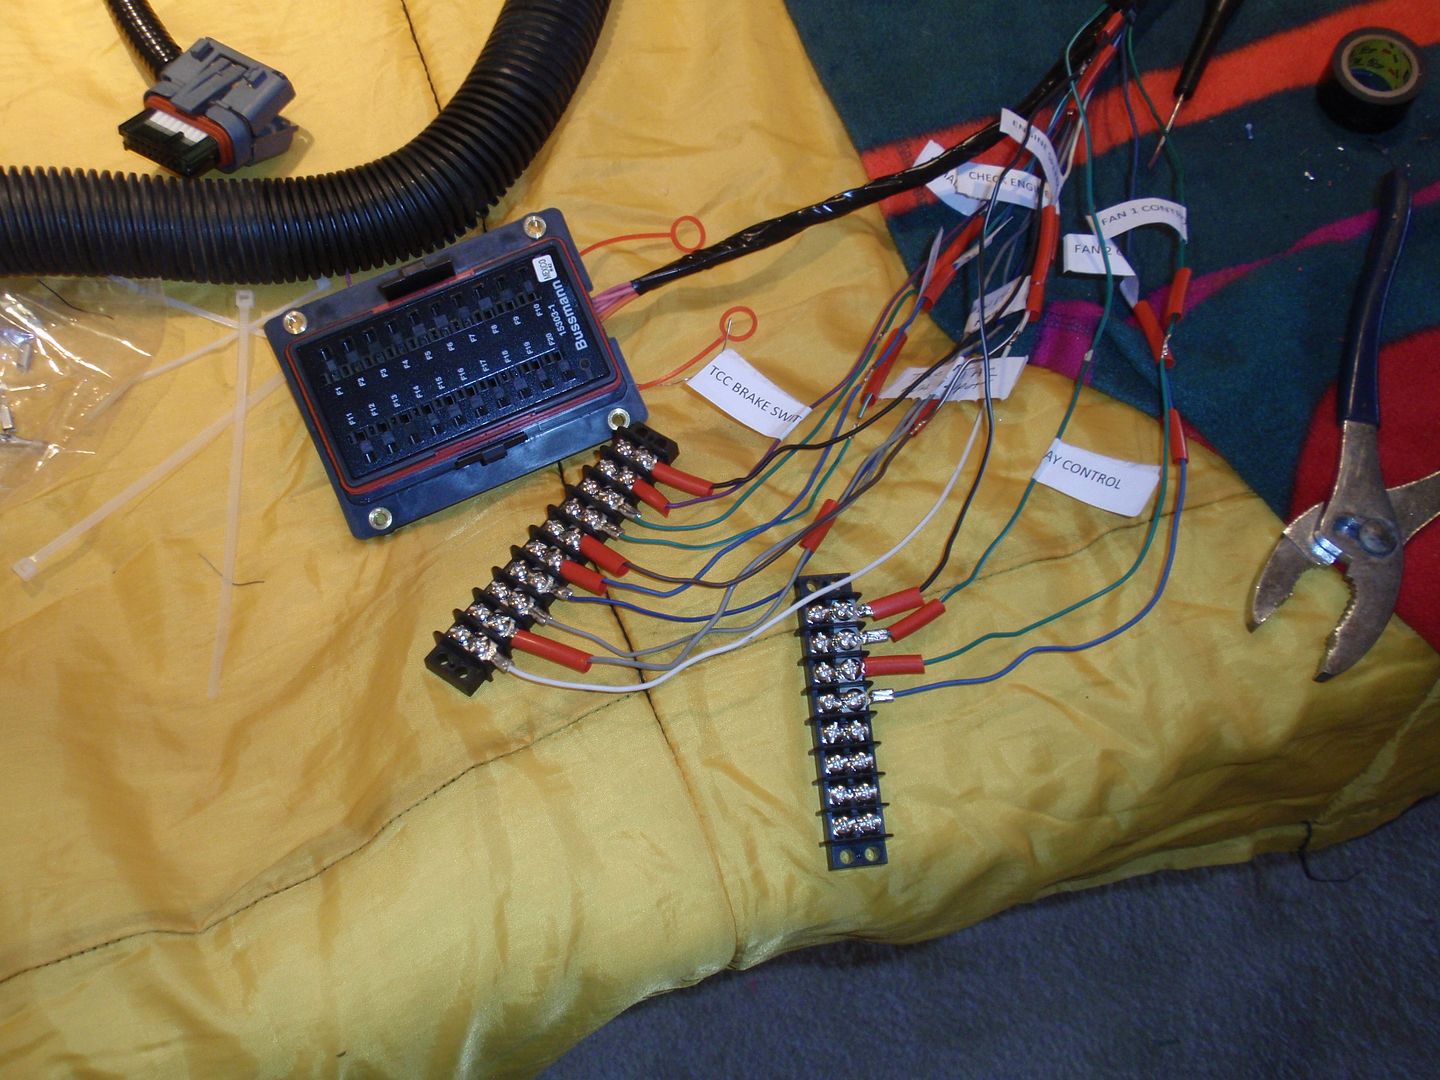 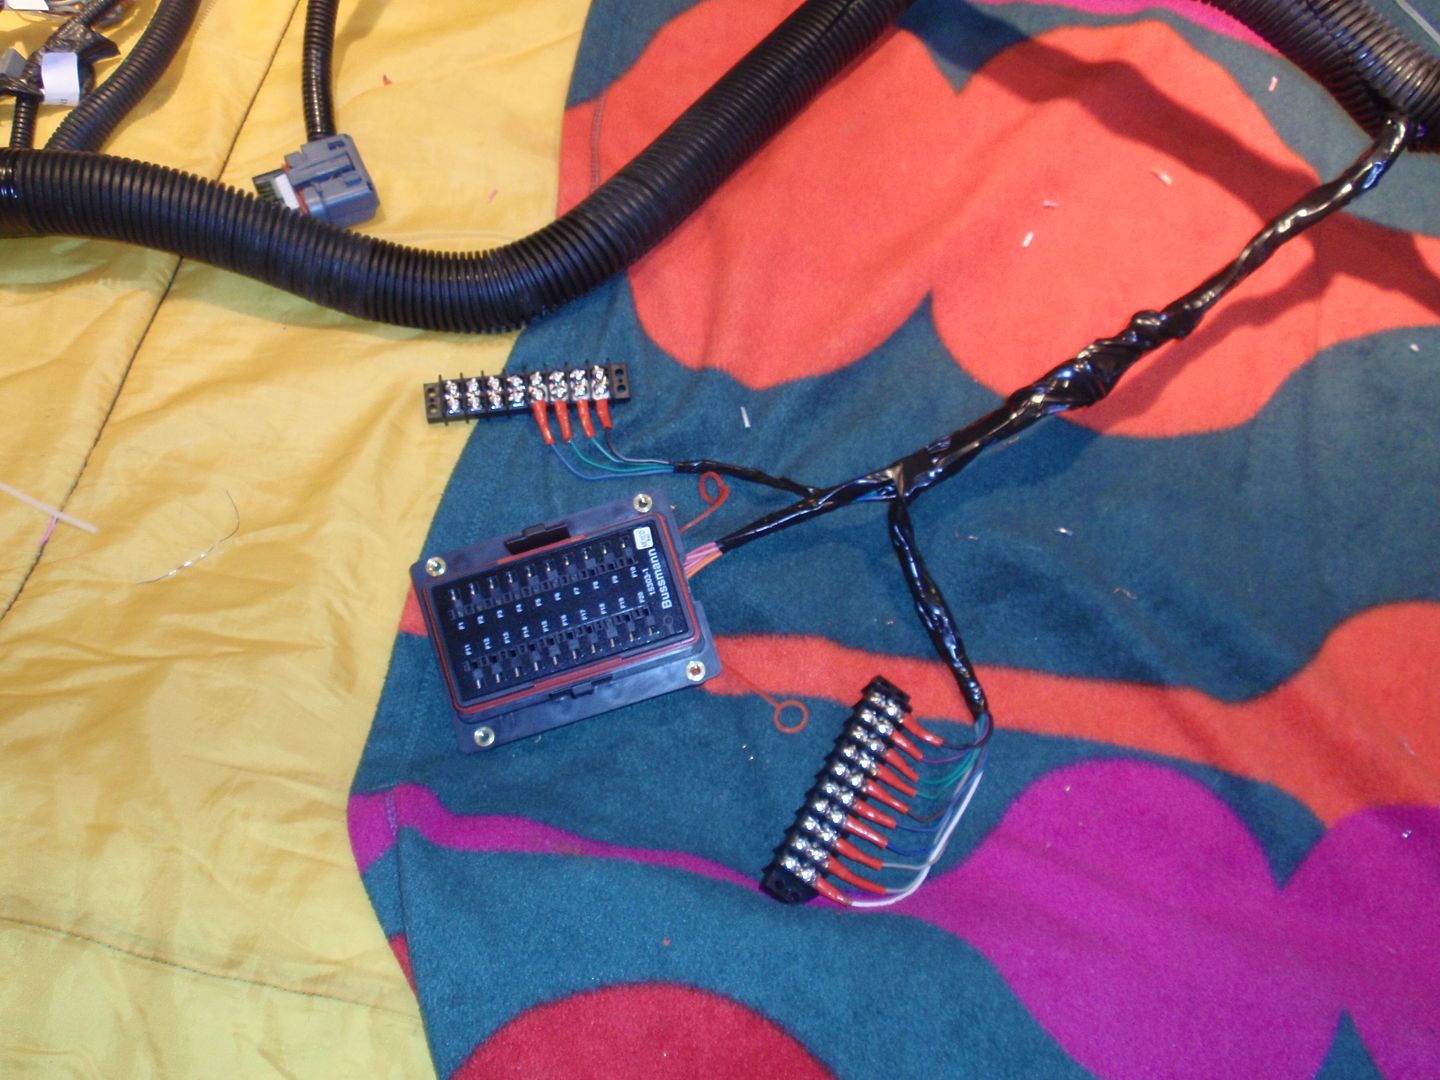 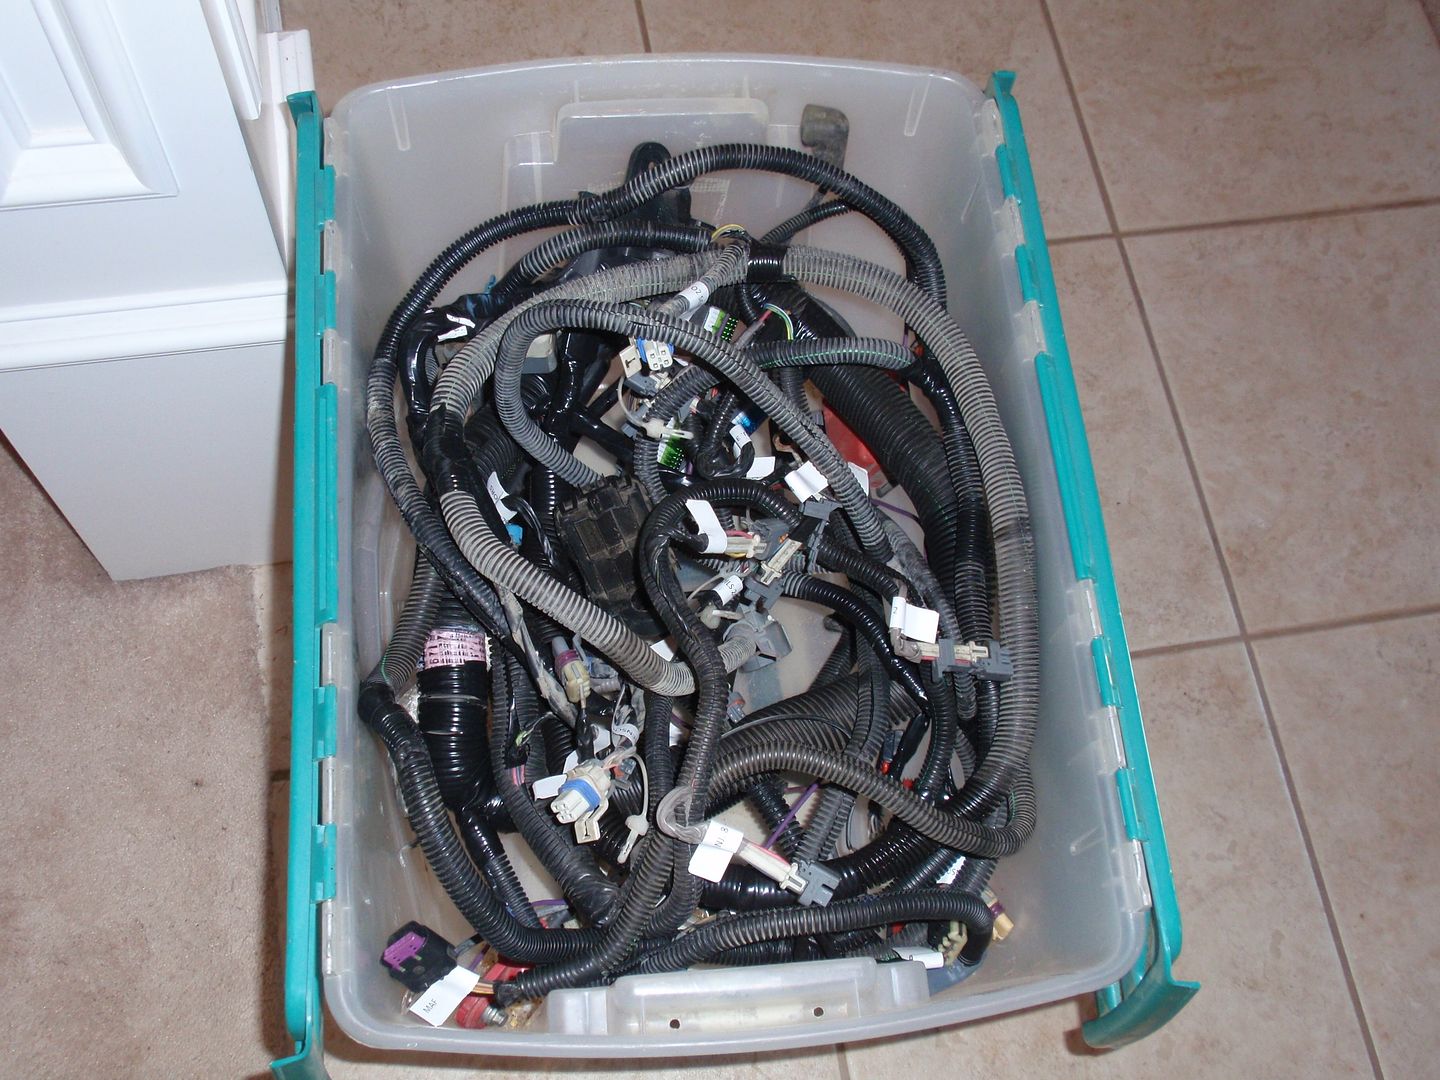 Tomorrow I am going to start on the fuel system..
__________________
Mark ----------------------- Crash's 69 4x4 SWB Crash's Roof over Lake Home Crash's 1988 Land Cruiser Build |
|
|

|
|
|
#107 |
|
Registered User
Join Date: Nov 2011
Location: Edmond, OK.
Posts: 1,362
|
Re: Crash's 72 K10
Worked on the fuel system a little today.. Started with the tank..
Before I bolted it up, I realized that this would be an issue. The rear support on the bed runs right across the area that the bed fits (see bolt holes in picture).. Don’t know if I am the only one that has had this problem, but I will need to come up with a solution. Right now I see two options.. a body lift or move the bed support cross member back towards the back of the bed. (I don't like body lifts.) 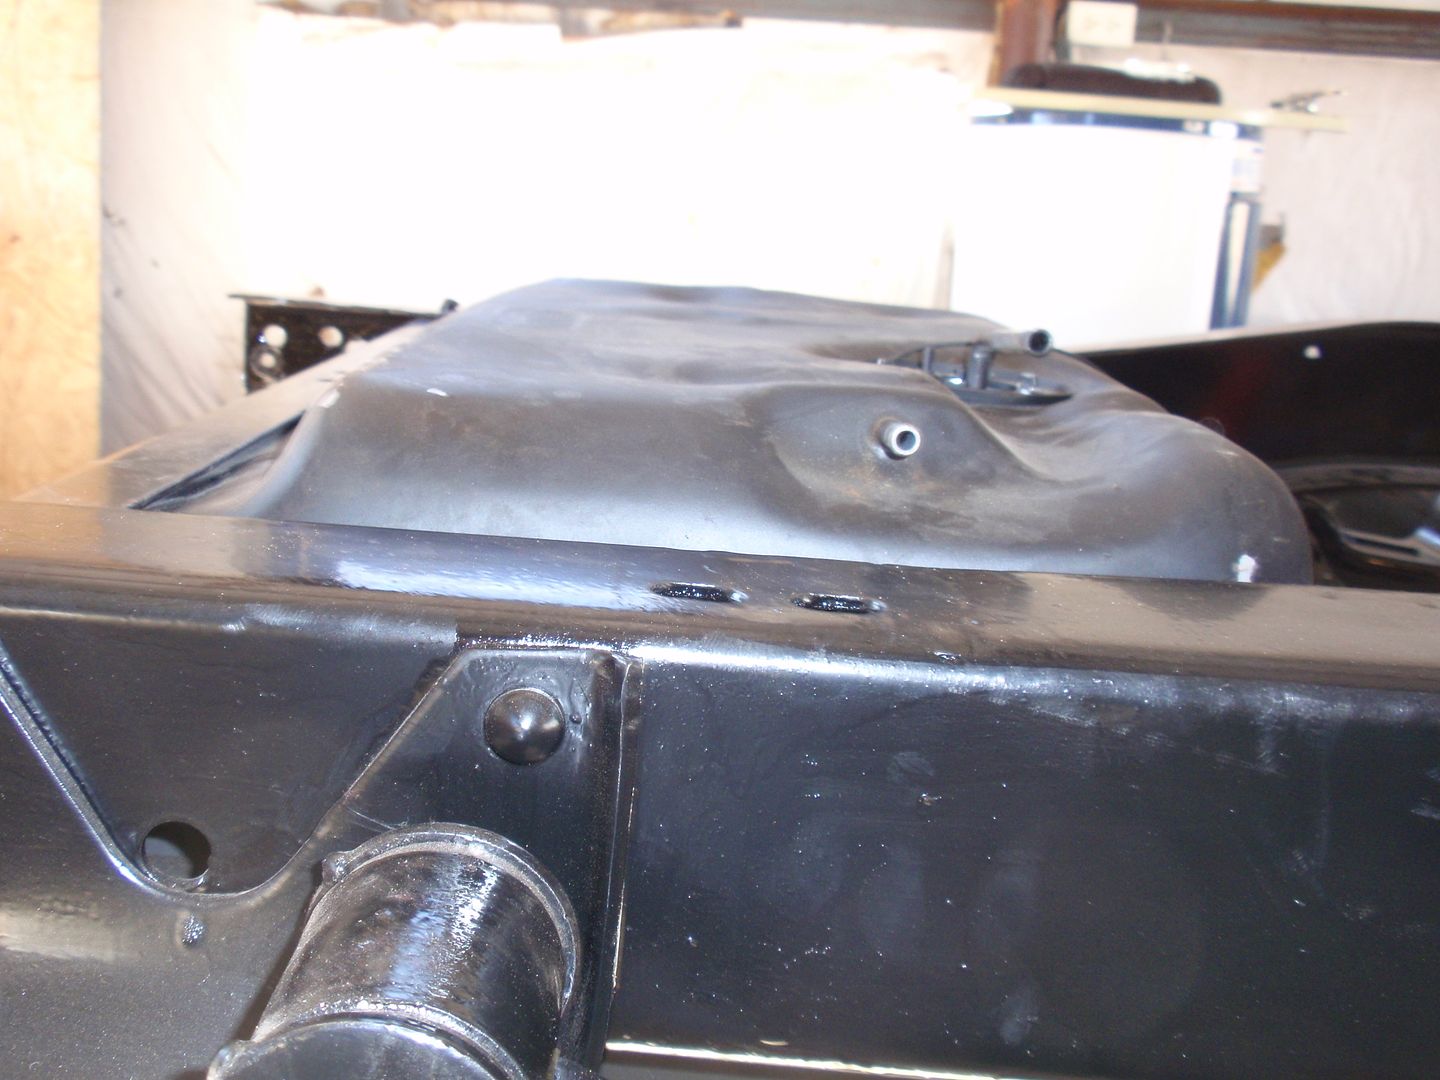 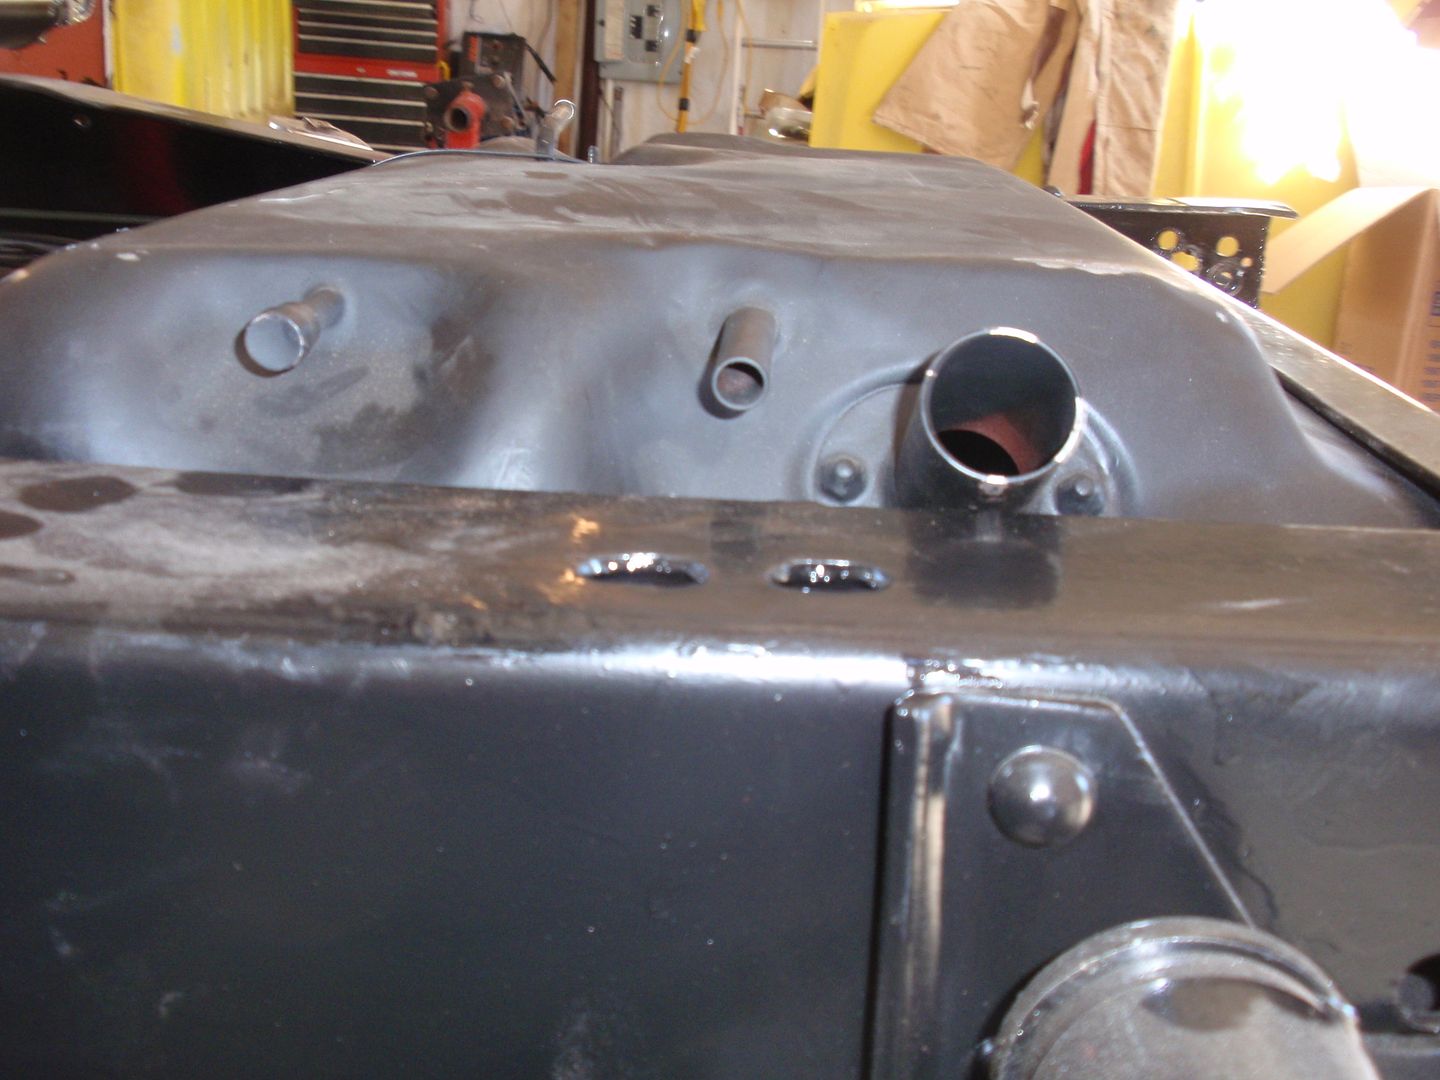 Tank mounted… 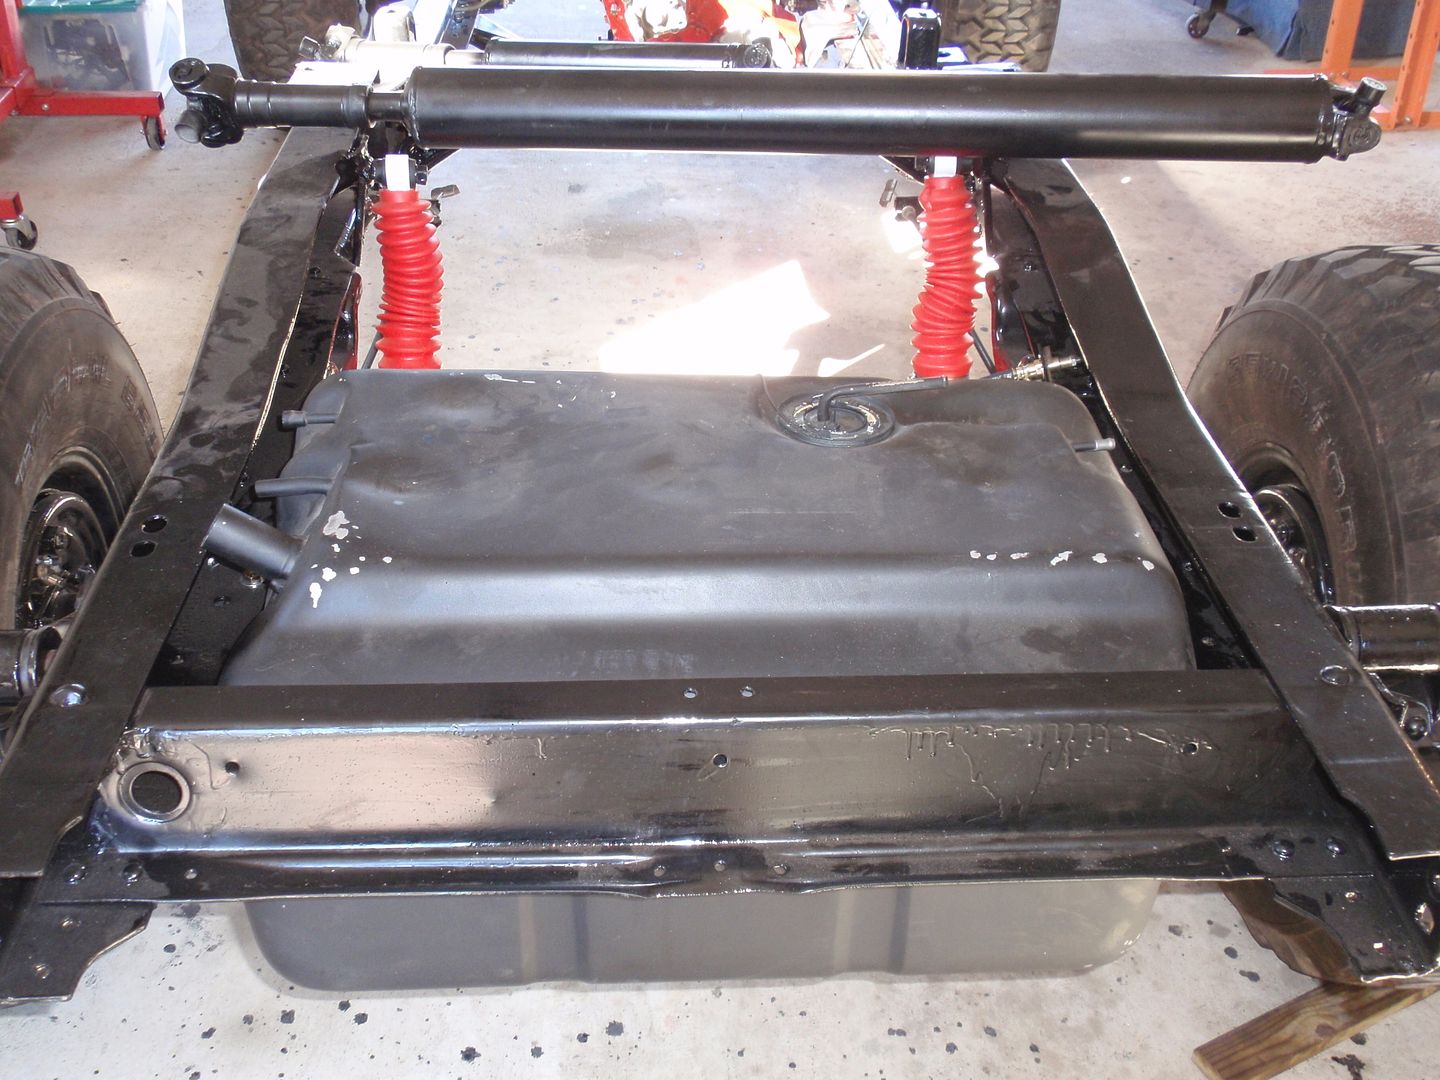 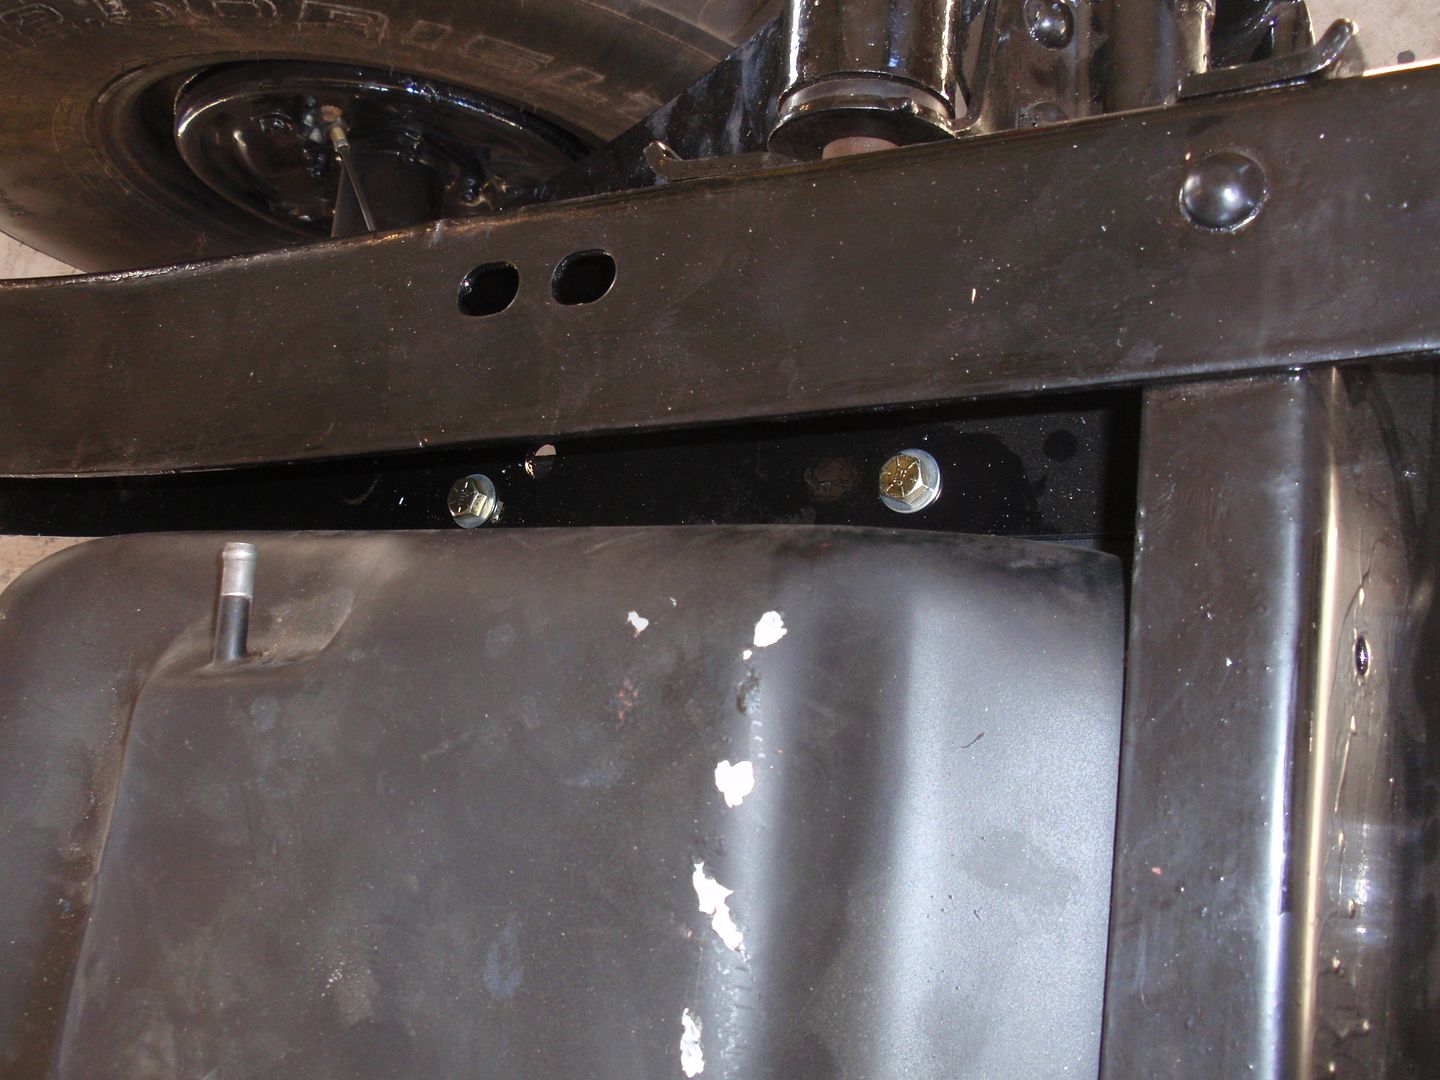 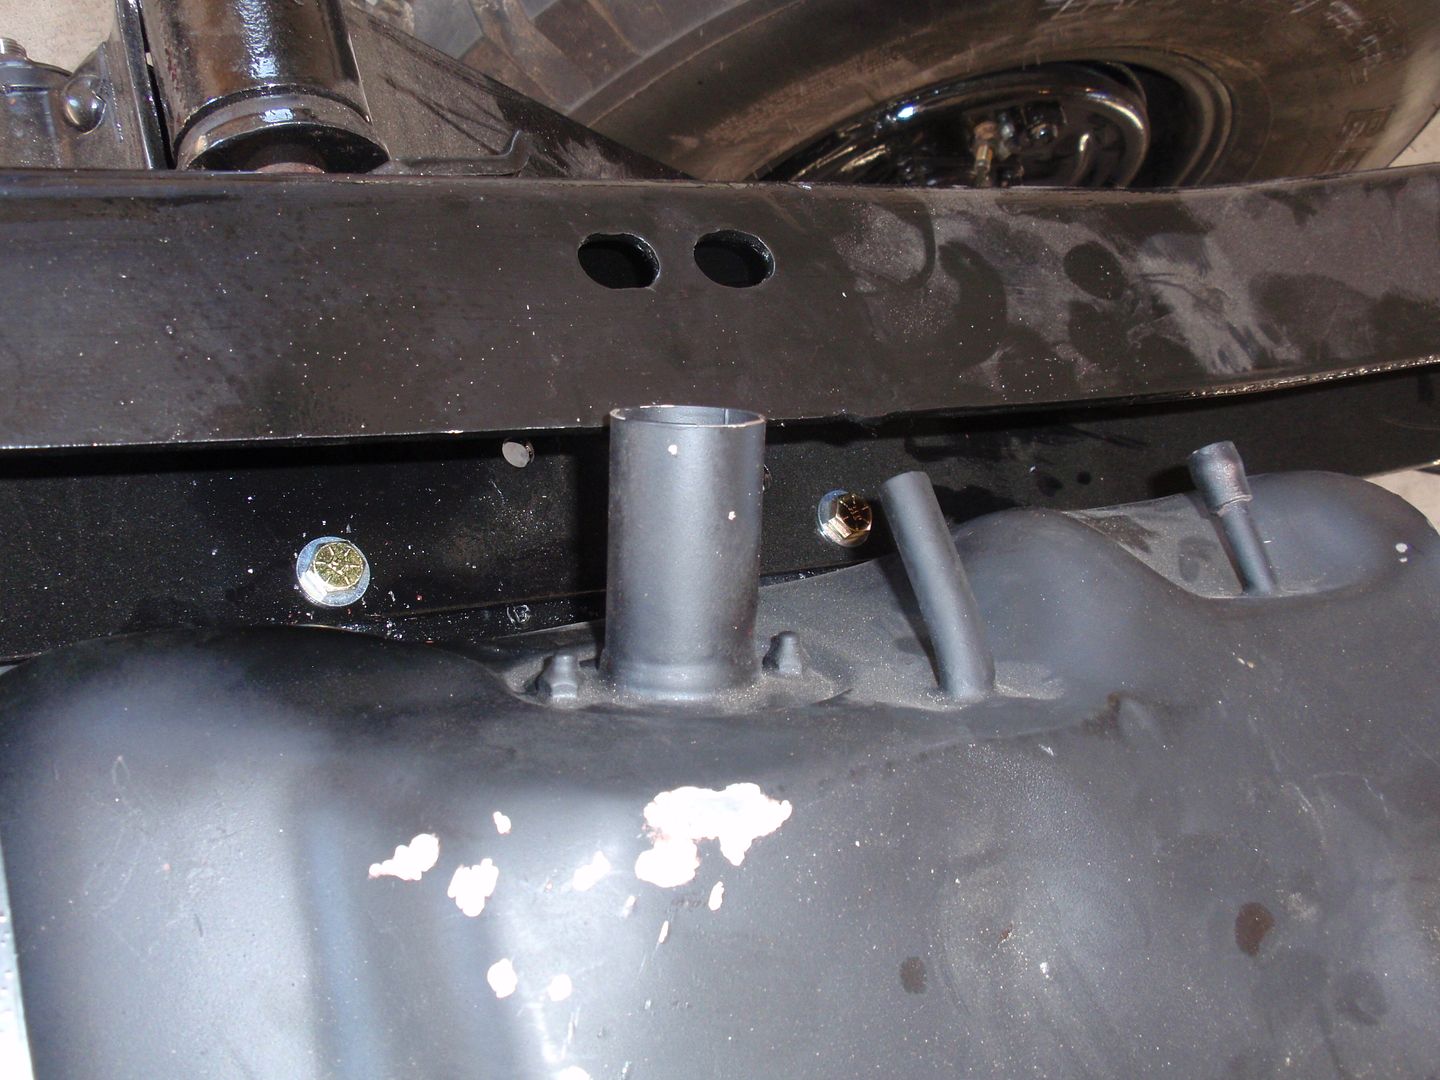 Bent some tubing for the supply line of the pump 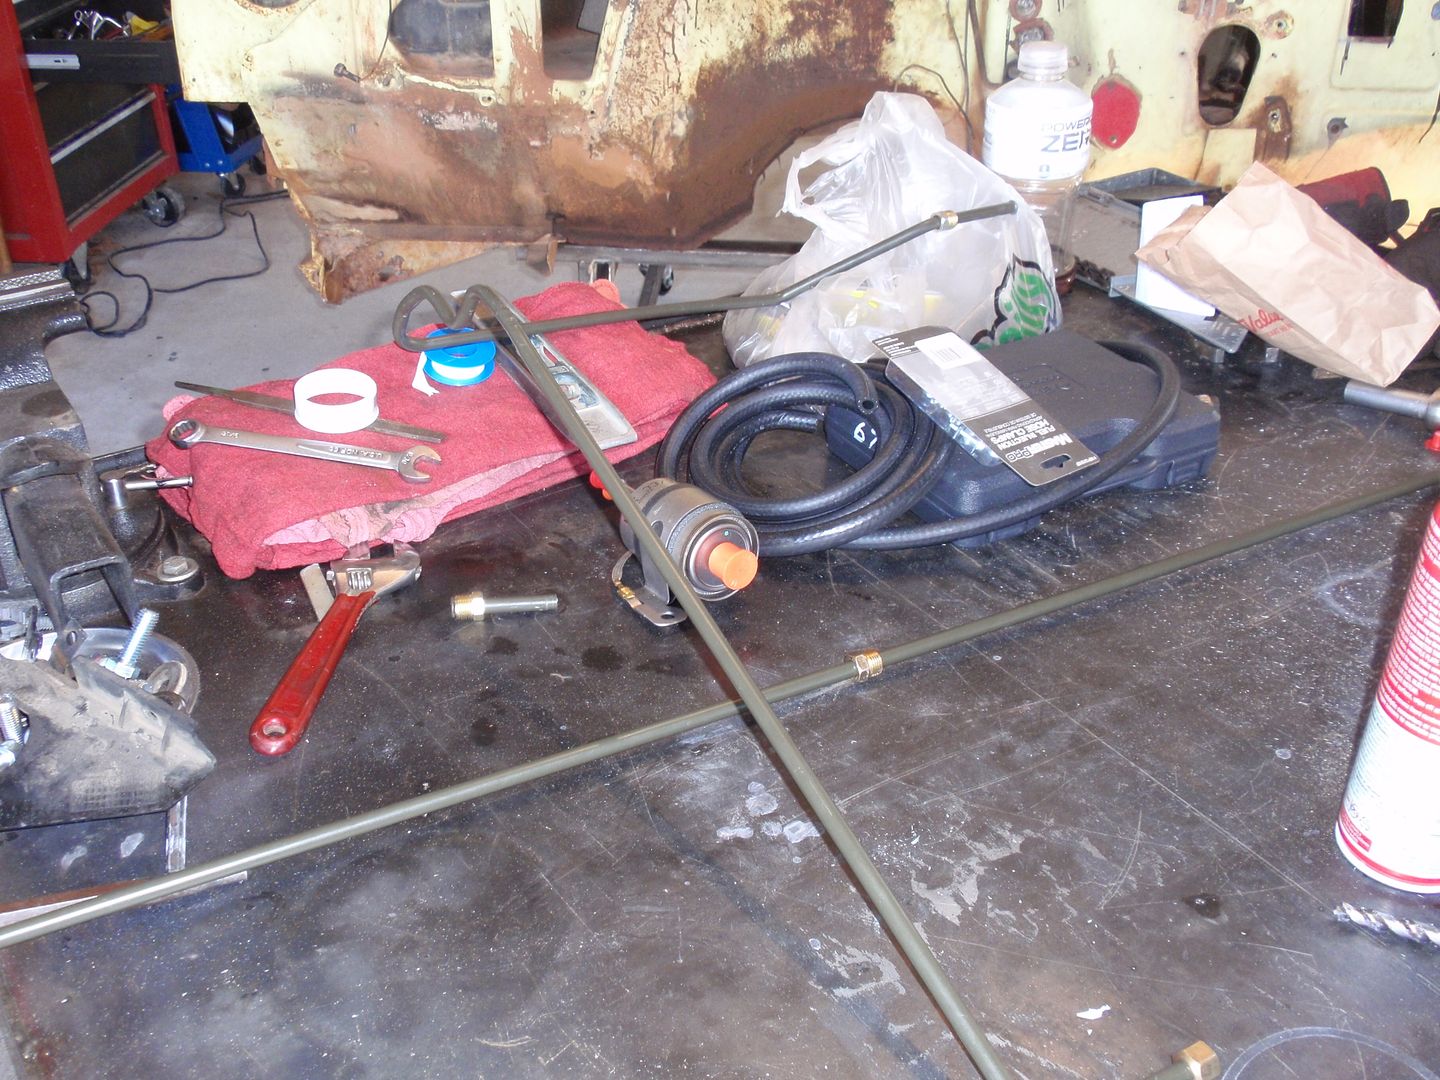 Pump mounted.. will almost.. still need to drill a hole and install another bolt.. 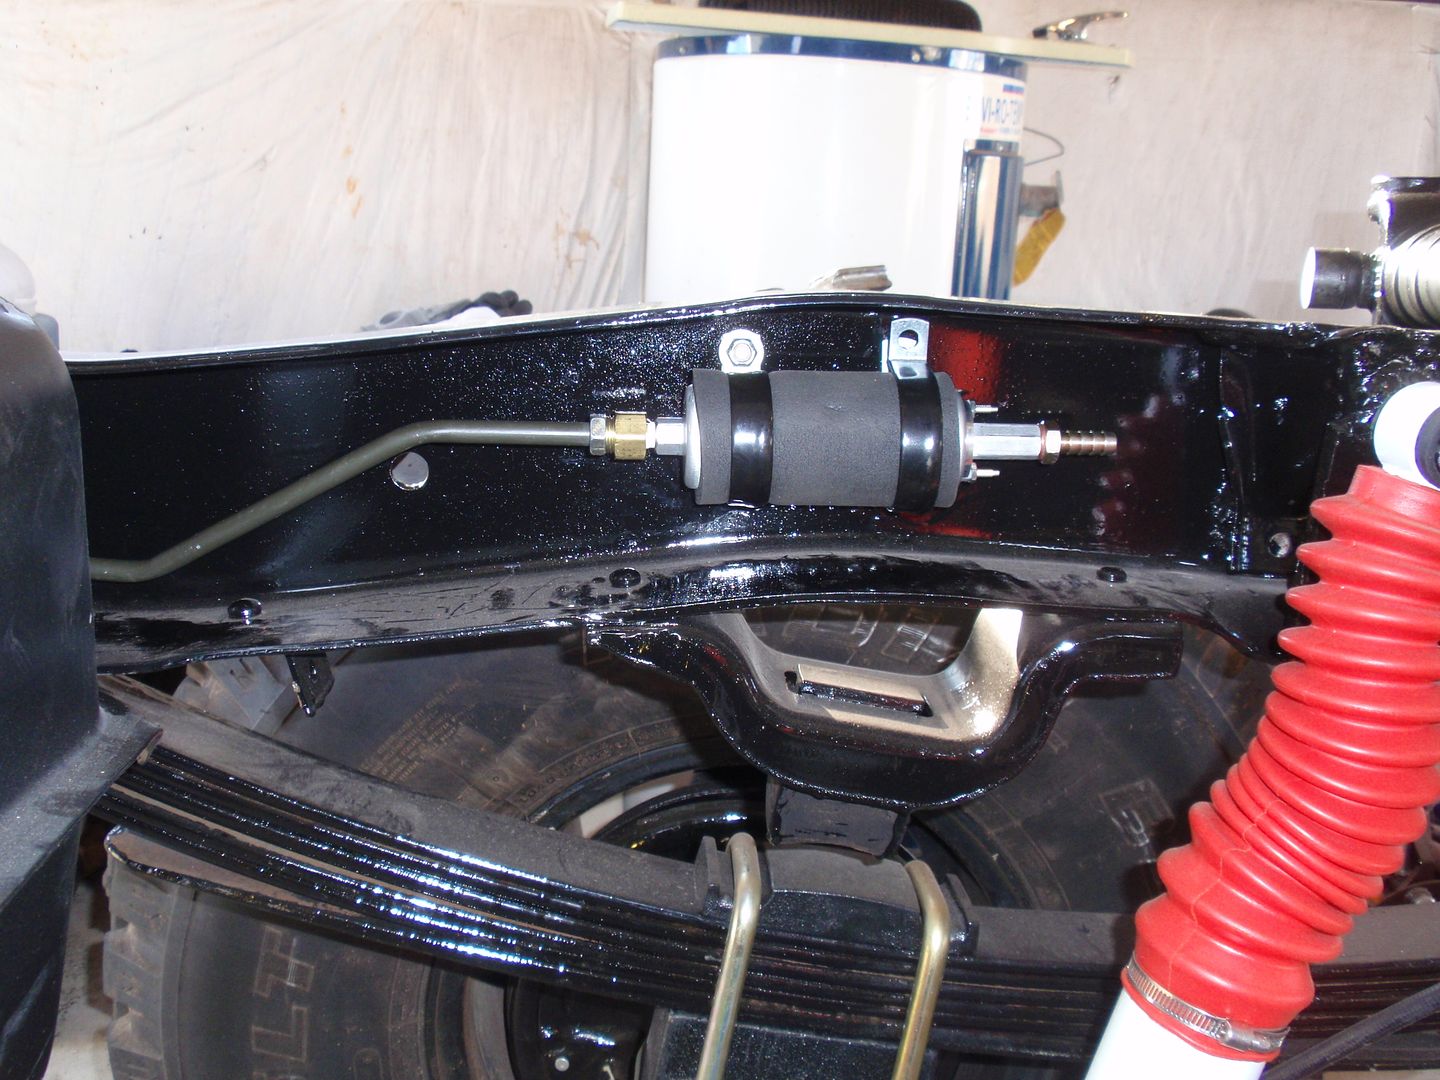 Went to McAlester and picked up some more tubing to complete the fuel system tomorrow… I have the wiring harness completed, should have the fuel system complete tomorrow, need to start thinking about the exhaust system.. I need to go to Tulsa this week to pick up the exhaust manifolds… I will also start gathering the stuff I need for the cooling system. My initial plan was to use a mechanical fan, but I wired the harness to handle electric fans… so I need research and figure out the pros and cons of each. I think I am looking for anything to work on except the body work… ;-)
__________________
Mark ----------------------- Crash's 69 4x4 SWB Crash's Roof over Lake Home Crash's 1988 Land Cruiser Build |
|
|

|
|
|
#108 |
|
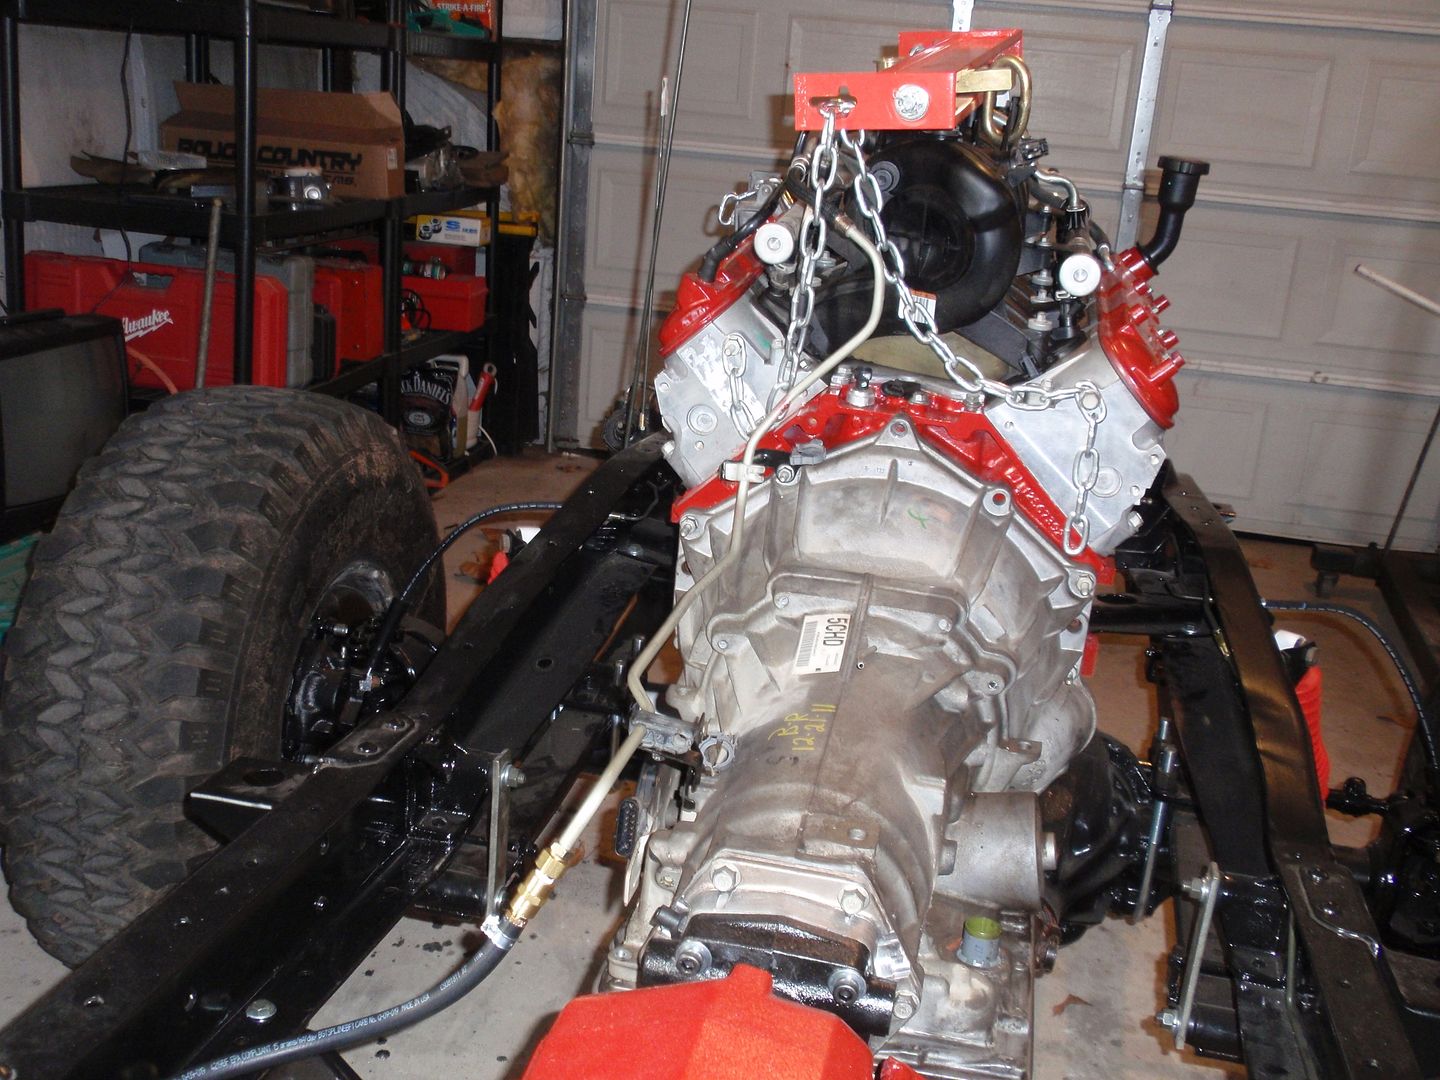
Senior Member
 Join Date: Oct 2011
Location: Lewiston, ID.
Posts: 628
|
Re: Crash's 72 K10
Wow Mark your project is looking great!!! A lot of progress in a short time!!! (and a lot of pics)

__________________
Wade  , JUST WALK AWAY, AND I'LL SPARE YOUR LIVES!!! , Build thread "TANGERINE" http://67-72chevytrucks.com/vboard/s...d.php?t=498570 Board Members Met: bigblock68, ol_skool_chevy ,68TT,atvpro |
|
|

|
|
|
#109 |
|
Registered User
Join Date: Nov 2011
Location: Edmond, OK.
Posts: 1,362
|
Re: Crash's 72 K10
Thanks Fakerwade... As I have mentioned before.. I am a very mechicanal type of person.. When the body work starts... everything will slow down...
__________________
Mark ----------------------- Crash's 69 4x4 SWB Crash's Roof over Lake Home Crash's 1988 Land Cruiser Build |
|
|

|
|
|
#110 |
|
Still Learning
Join Date: Jul 2009
Location: Central Oklahoma
Posts: 10,108
|
Re: Crash's 72 K10
Wow, Mark you are kicking on this build!
That is a really cool looking fuse box. I may steal that idea on my next build. It looks pricey though but high quality. I totally forgot about the tank sticking up high enough to hit the cross brace. I planned to just cut mine and cap it. I may end up moving it. Sorry, I didn't give you the heads up. No dice on the body lift. You do some nice work with the gas lines. I think those hard lines are smart idea. You'll be ready to fire this thing up in no time. Keep the pictures coming. |
|
|

|
|
|
#111 |
|
Registered User
Join Date: Sep 2010
Location: ND
Posts: 520
|
Re: Crash's 72 K10
I think most people that use a rear tank end up at least cutting the cross brace. Some cap and some dont. Mine isnt for now but my box is also shot. I have a different one that will be cut and capped before it gets put on.
__________________
Name: Les ---------------------- Couple 80s Couple 70s One 68 
|
|
|

|
|
|
#112 | |
|
Newbee
Join Date: Jan 2010
Location: Phoenix, Arizona
Posts: 1,406
|
Re: Crash's 72 K10
Quote:
Great job so far! |
|
|
|

|
|
|
#113 |
|
Laid Back
 Join Date: Apr 2010
Location: mcloud ok
Posts: 2,658
|
Re: Crash's 72 K10
Cool build!!! Great work!!!
Posted via Mobile Device
__________________
72 chevy swb Direct dealers for.. Vintage Air, Porterbuilt, Billet Specialties,Budnik wheels ,eddie motorsports, raceline wheels, intro wheels, Dakota Digital, precision, unisteer, Trimparts, and many many more... Laid Back Recreations.. Full restoration shop and full paint and body.. Kyle http://67-72chevytrucks.com/vboard/s...d.php?t=574629 |
|
|

|
|
|
#114 | |
|
Registered User
Join Date: Nov 2011
Location: Edmond, OK.
Posts: 1,362
|
Re: Crash's 72 K10
Quote:
Mike, I gave more for the fuse box than I should have. I got it at NAPA, I could have got it off the internet for half of the NAPA cost.. I will know better on the next one. No problem on the cross brace.. I am sure there will be other surprises on this build :-) I have bent a lot of tubing in my life… I am still make mistakes.. don’t look to close or you will see them .. I am shooting for engine start by Feb. 12th.. Need to figure out what I am going to do with the exhaust… Hope you had a good weekend…
__________________
Mark ----------------------- Crash's 69 4x4 SWB Crash's Roof over Lake Home Crash's 1988 Land Cruiser Build |
|
|
|

|
|
|
#115 | |
|
Registered User
Join Date: Nov 2011
Location: Edmond, OK.
Posts: 1,362
|
Re: Crash's 72 K10
Quote:
Thanks.. I will do some research...
__________________
Mark ----------------------- Crash's 69 4x4 SWB Crash's Roof over Lake Home Crash's 1988 Land Cruiser Build |
|
|
|

|
|
|
#116 | |
|
Registered User
Join Date: Nov 2011
Location: Edmond, OK.
Posts: 1,362
|
Re: Crash's 72 K10
Quote:
Thanks Dunenutt... The pictures help...
__________________
Mark ----------------------- Crash's 69 4x4 SWB Crash's Roof over Lake Home Crash's 1988 Land Cruiser Build |
|
|
|

|
|
|
#117 | |
|
Registered User
Join Date: Nov 2011
Location: Edmond, OK.
Posts: 1,362
|
Re: Crash's 72 K10
Quote:
Thanks screamin... good to see another okie on here....
__________________
Mark ----------------------- Crash's 69 4x4 SWB Crash's Roof over Lake Home Crash's 1988 Land Cruiser Build |
|
|
|

|
|
|
#118 |
|
Registered User
Join Date: Nov 2011
Location: Edmond, OK.
Posts: 1,362
|
Re: Crash's 72 K10
I finished up the fuel system today..
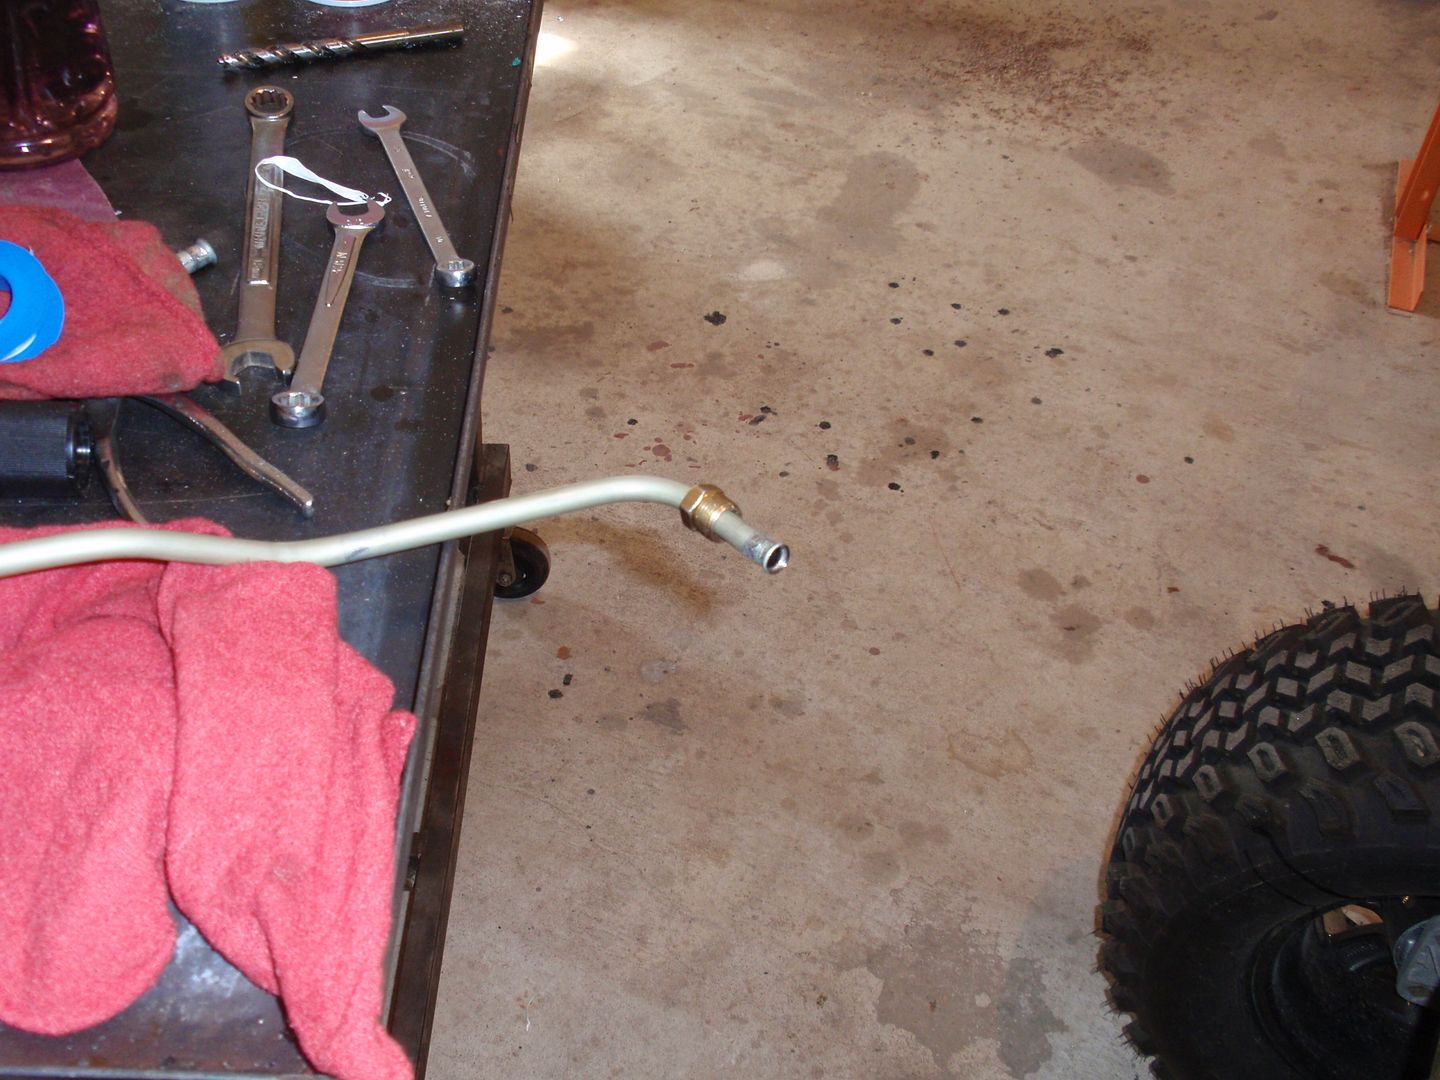 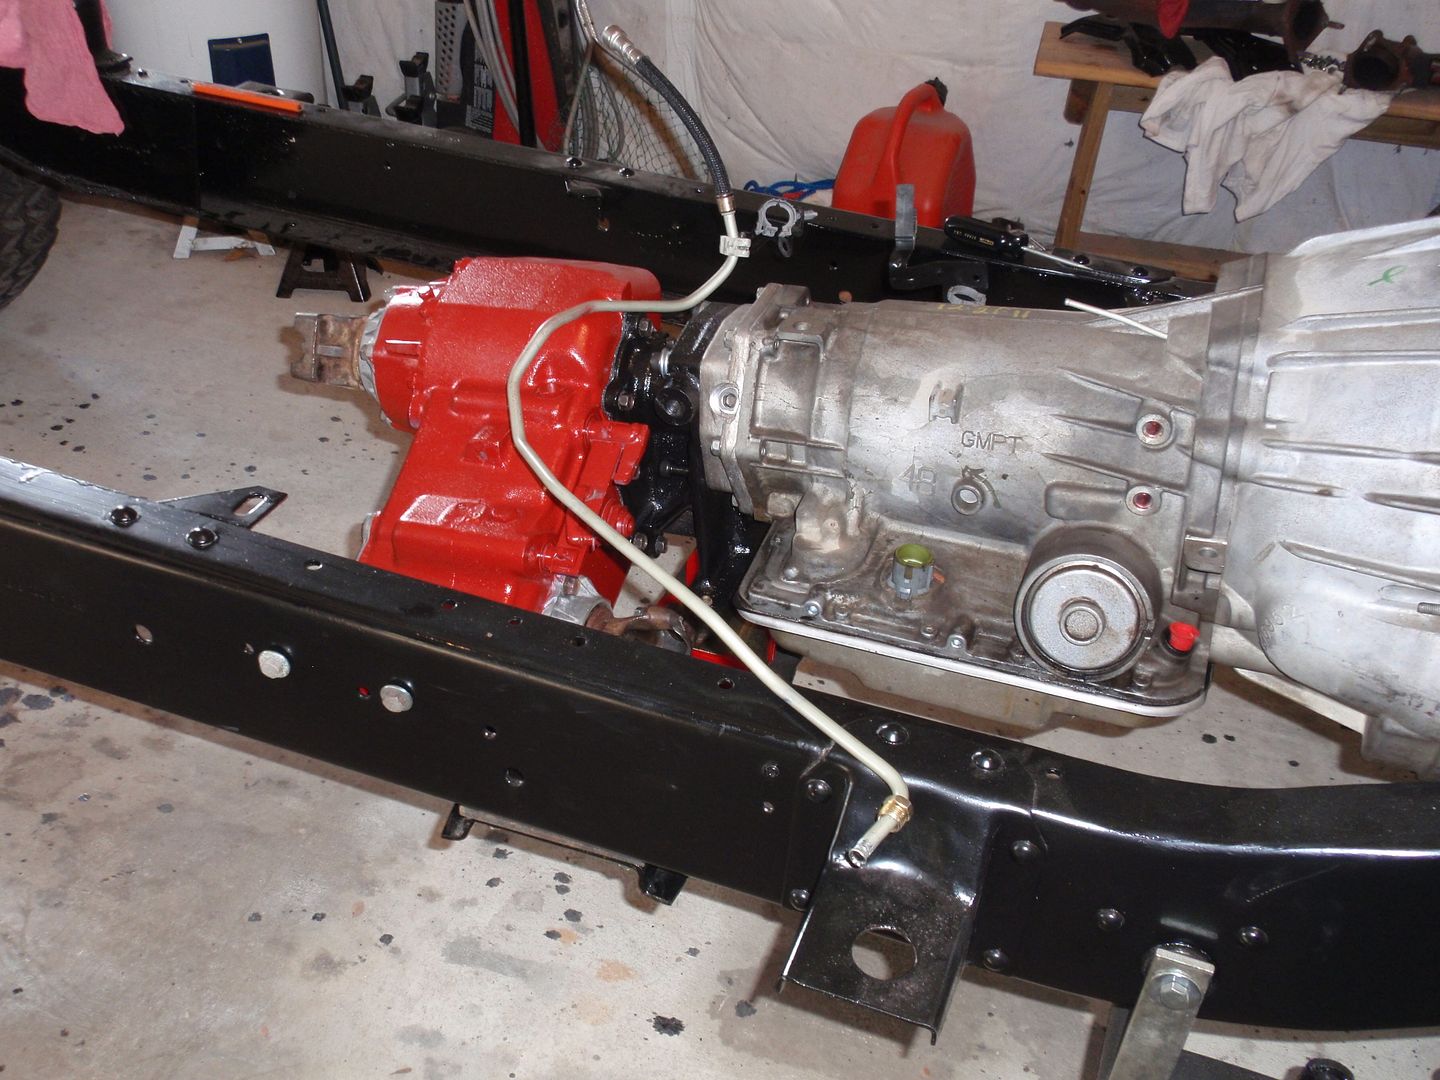 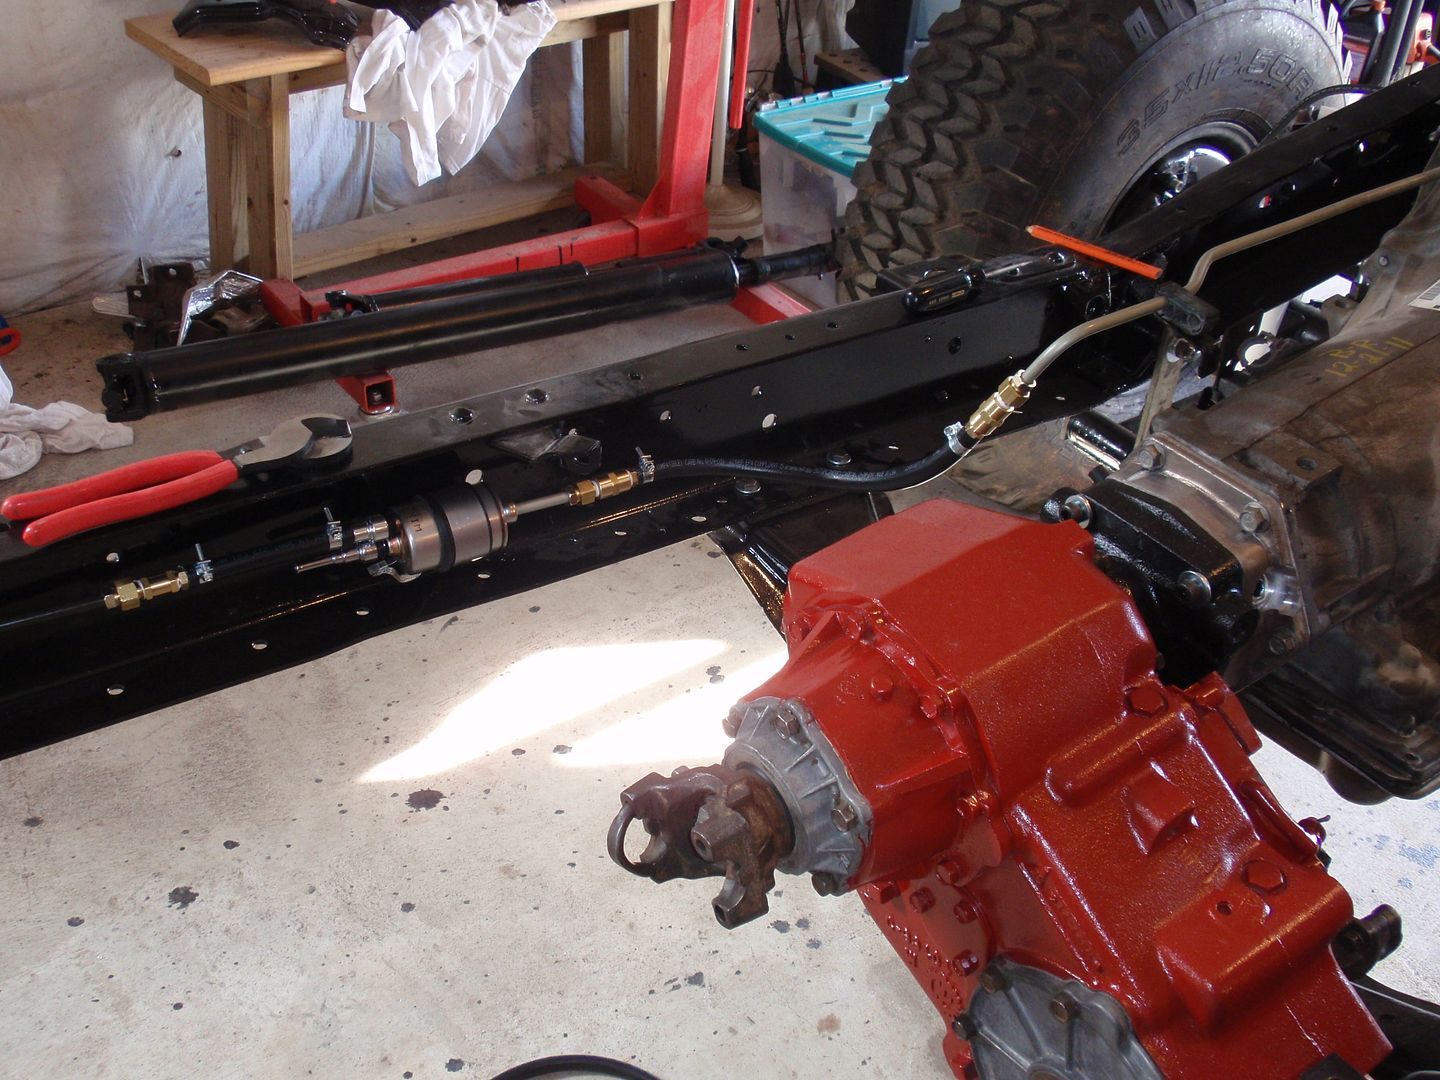 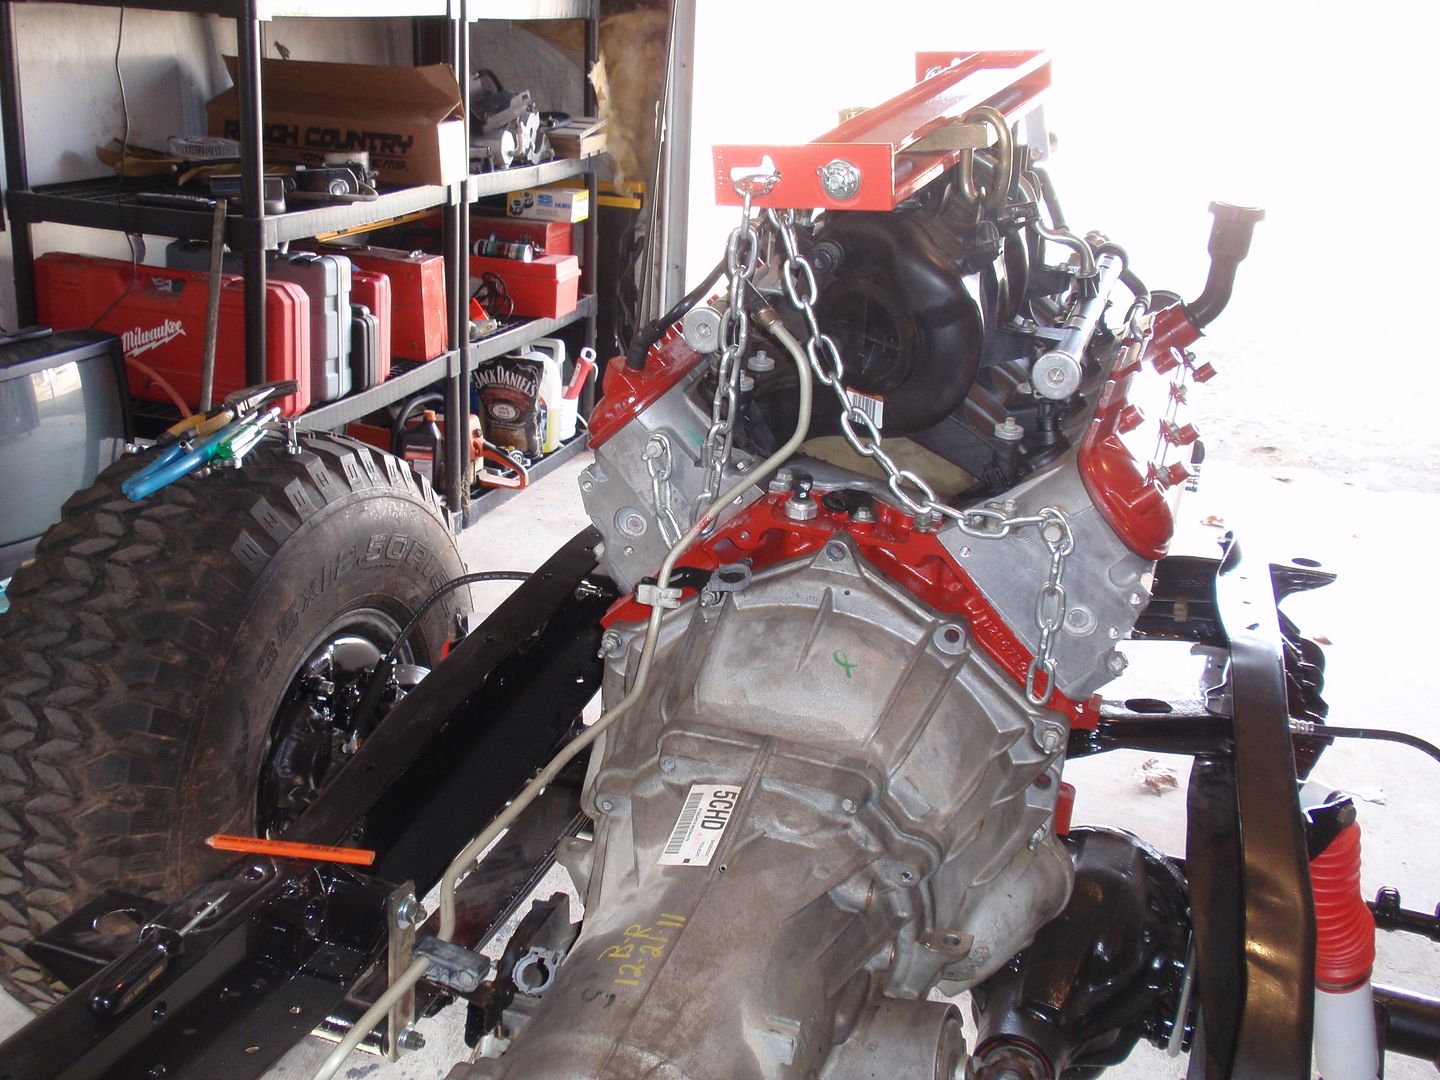 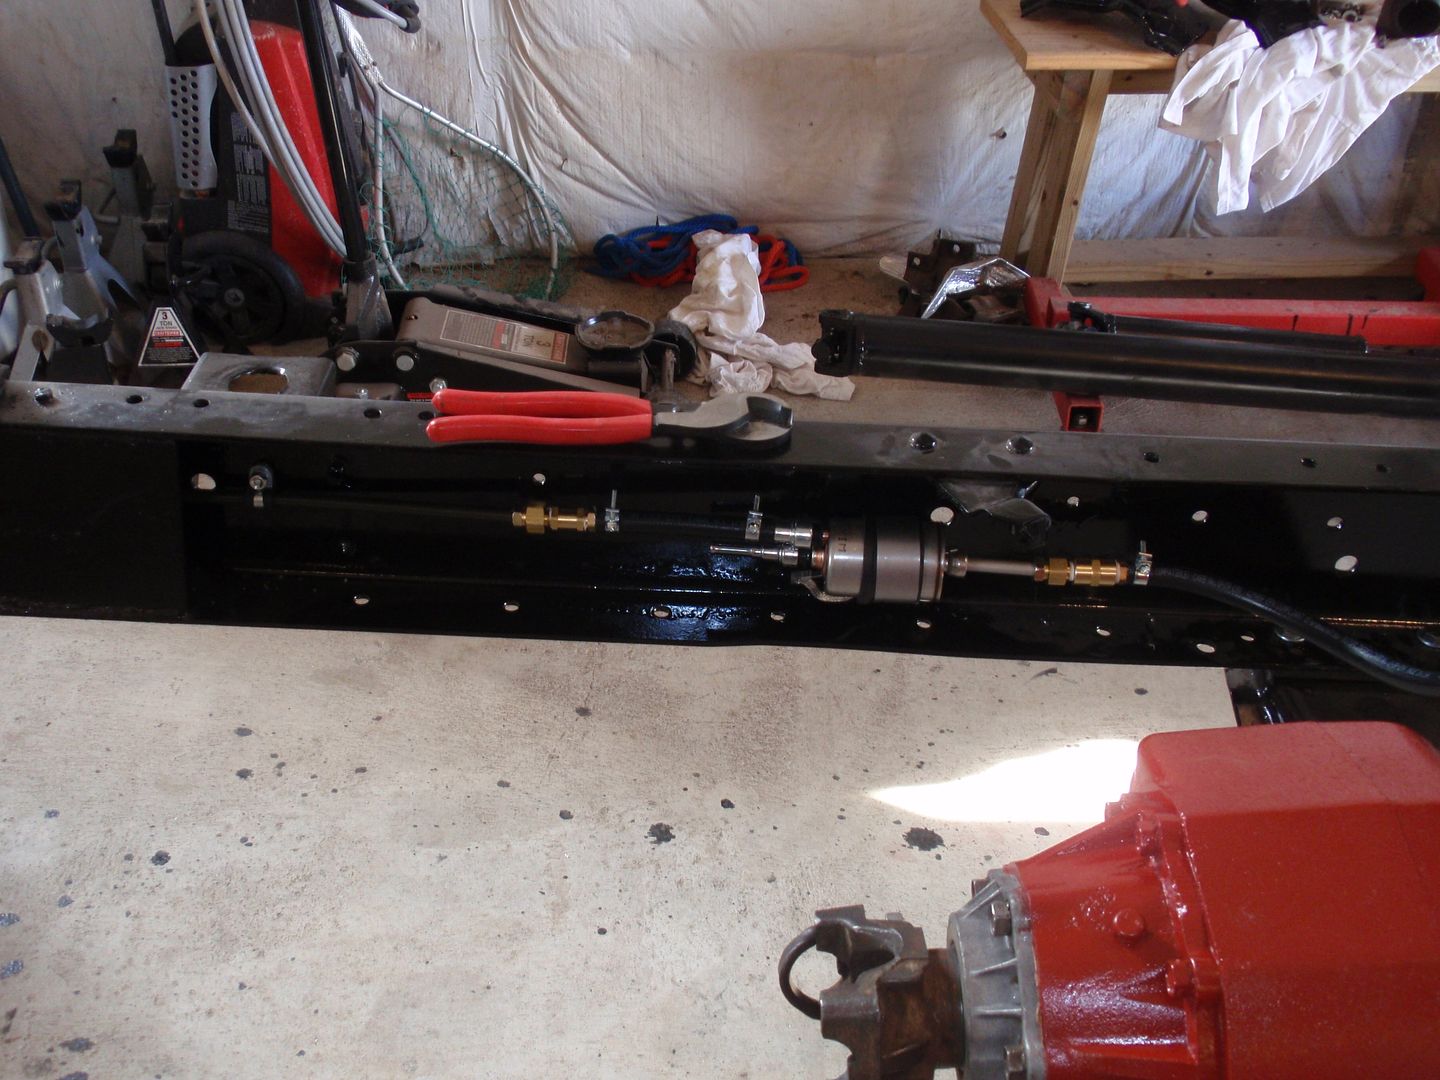 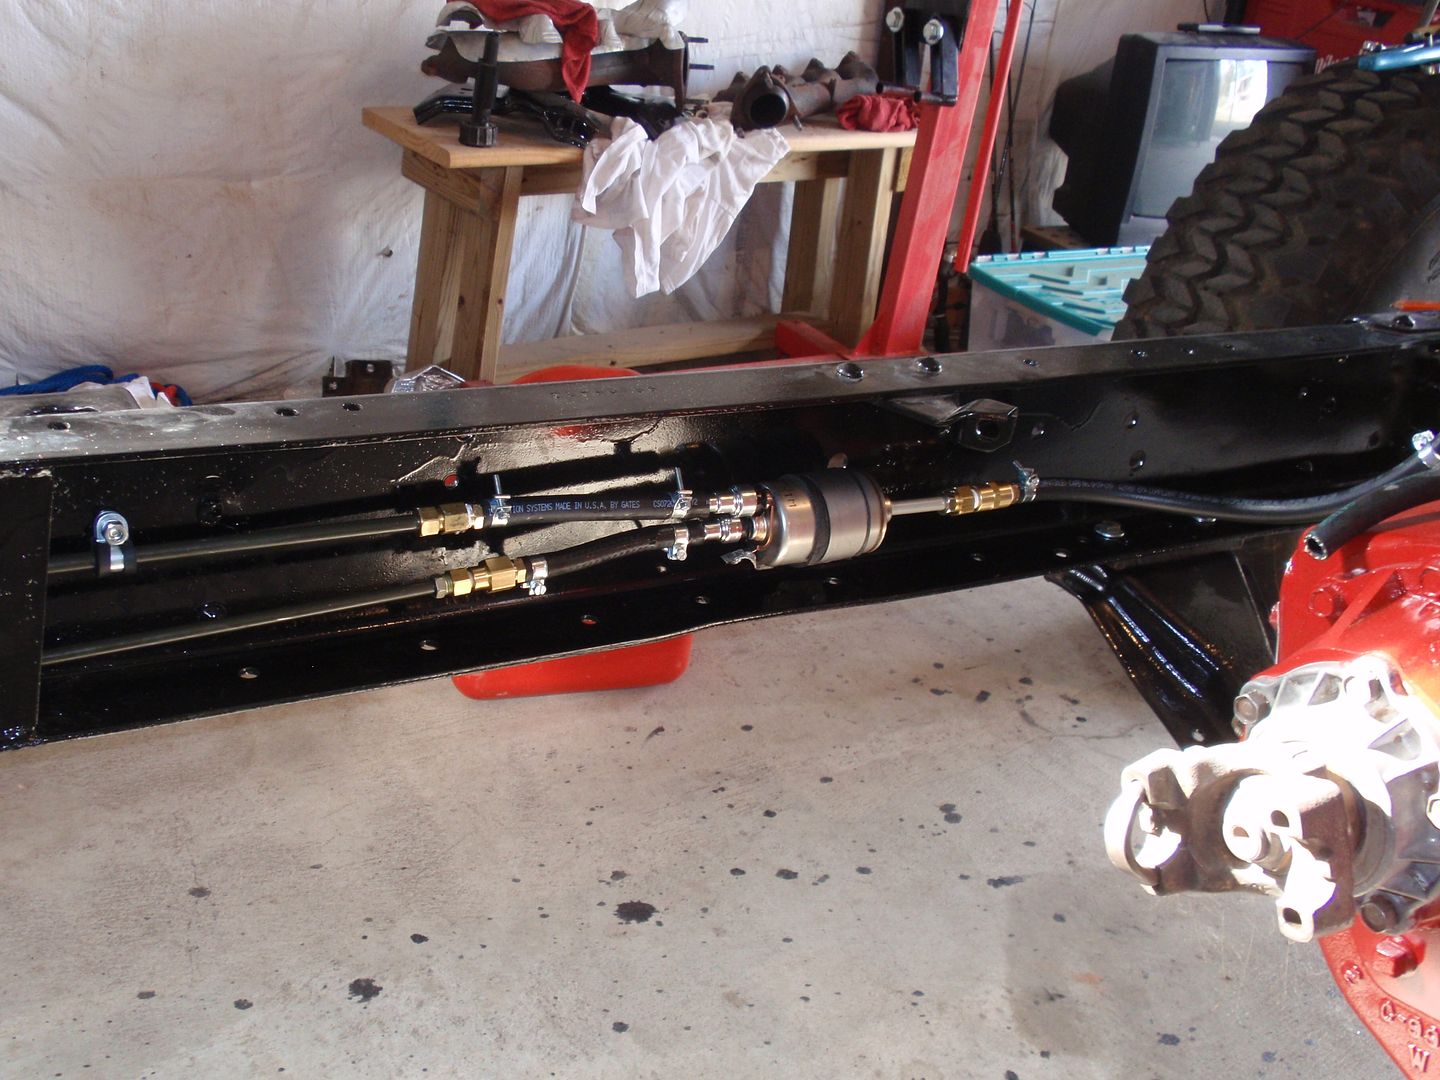 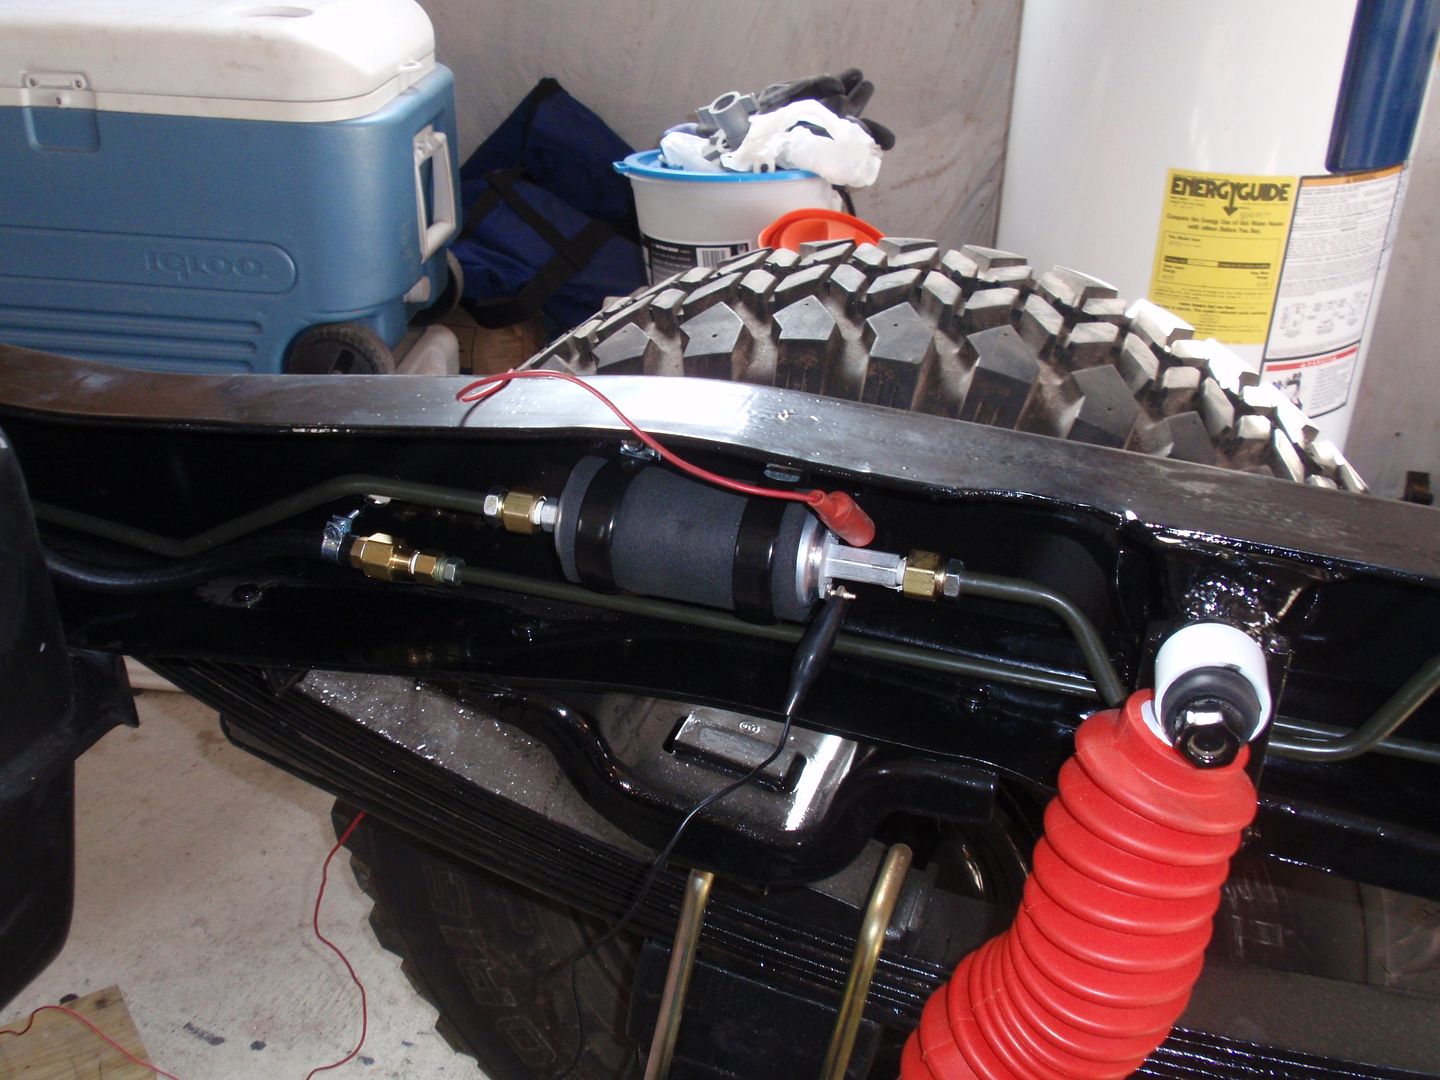 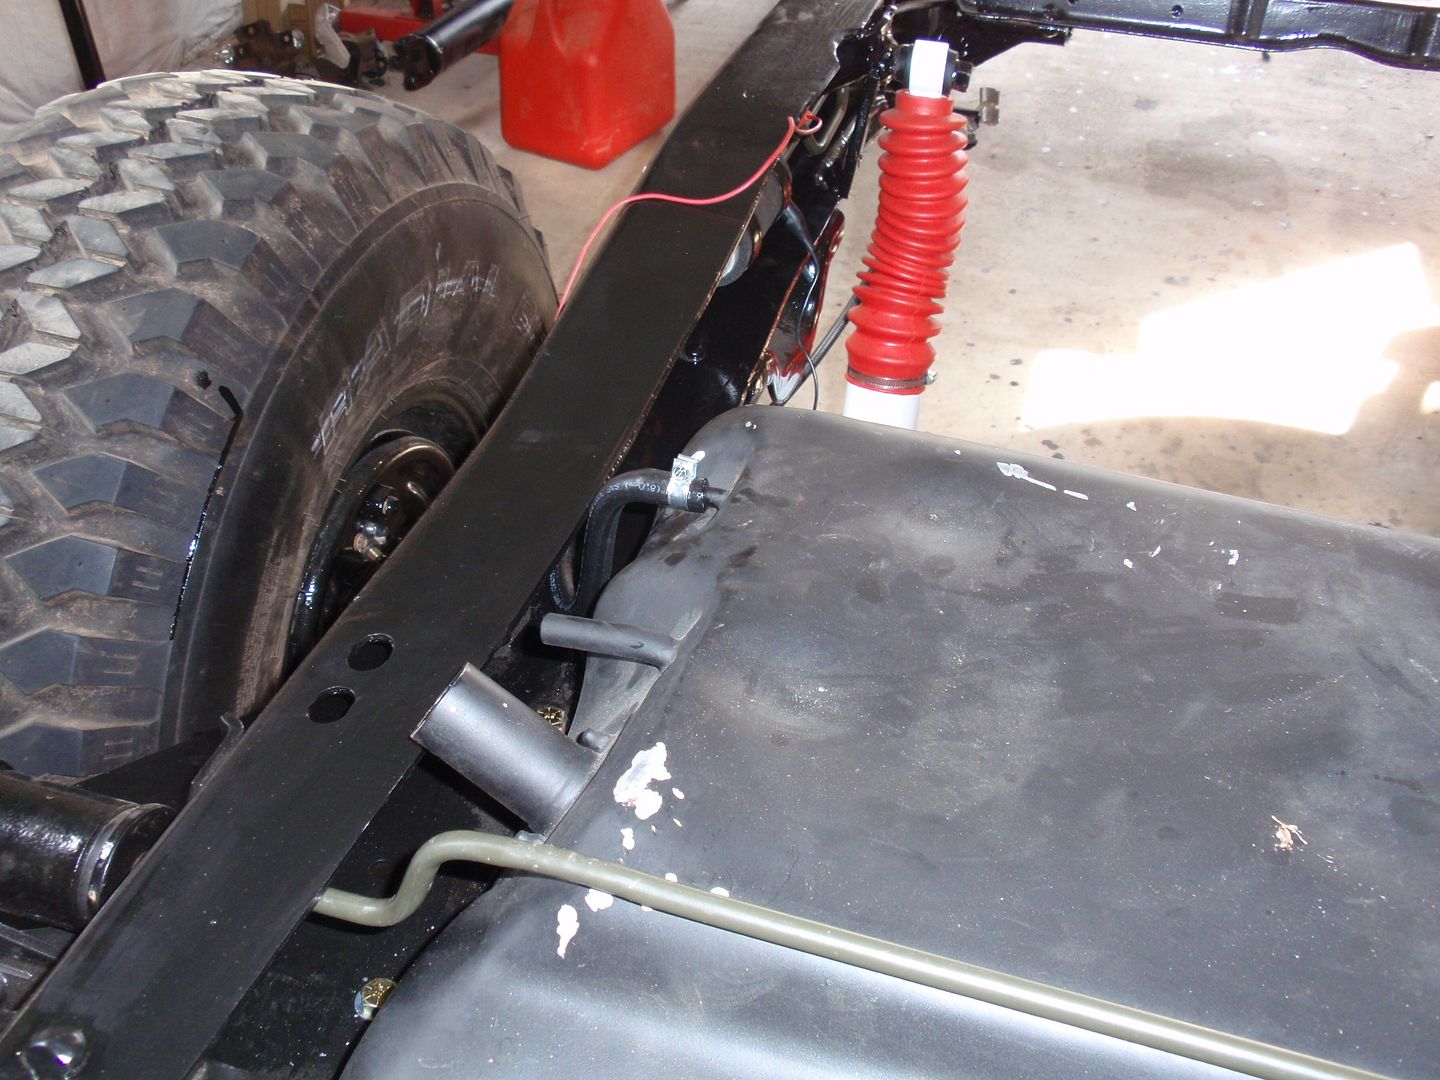 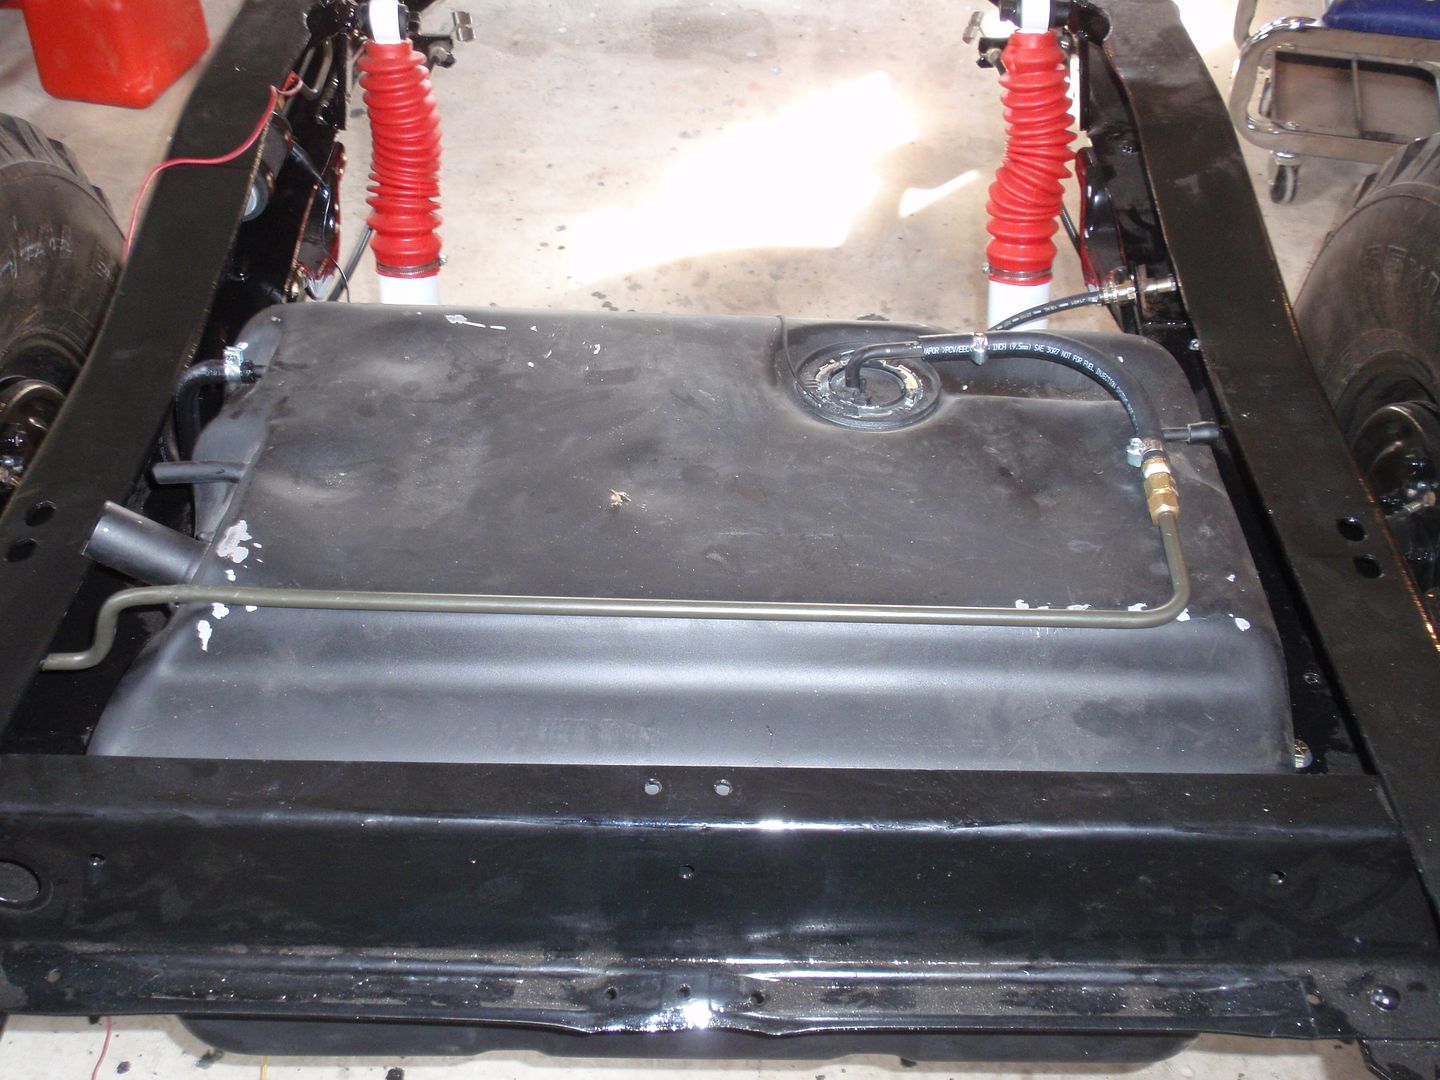 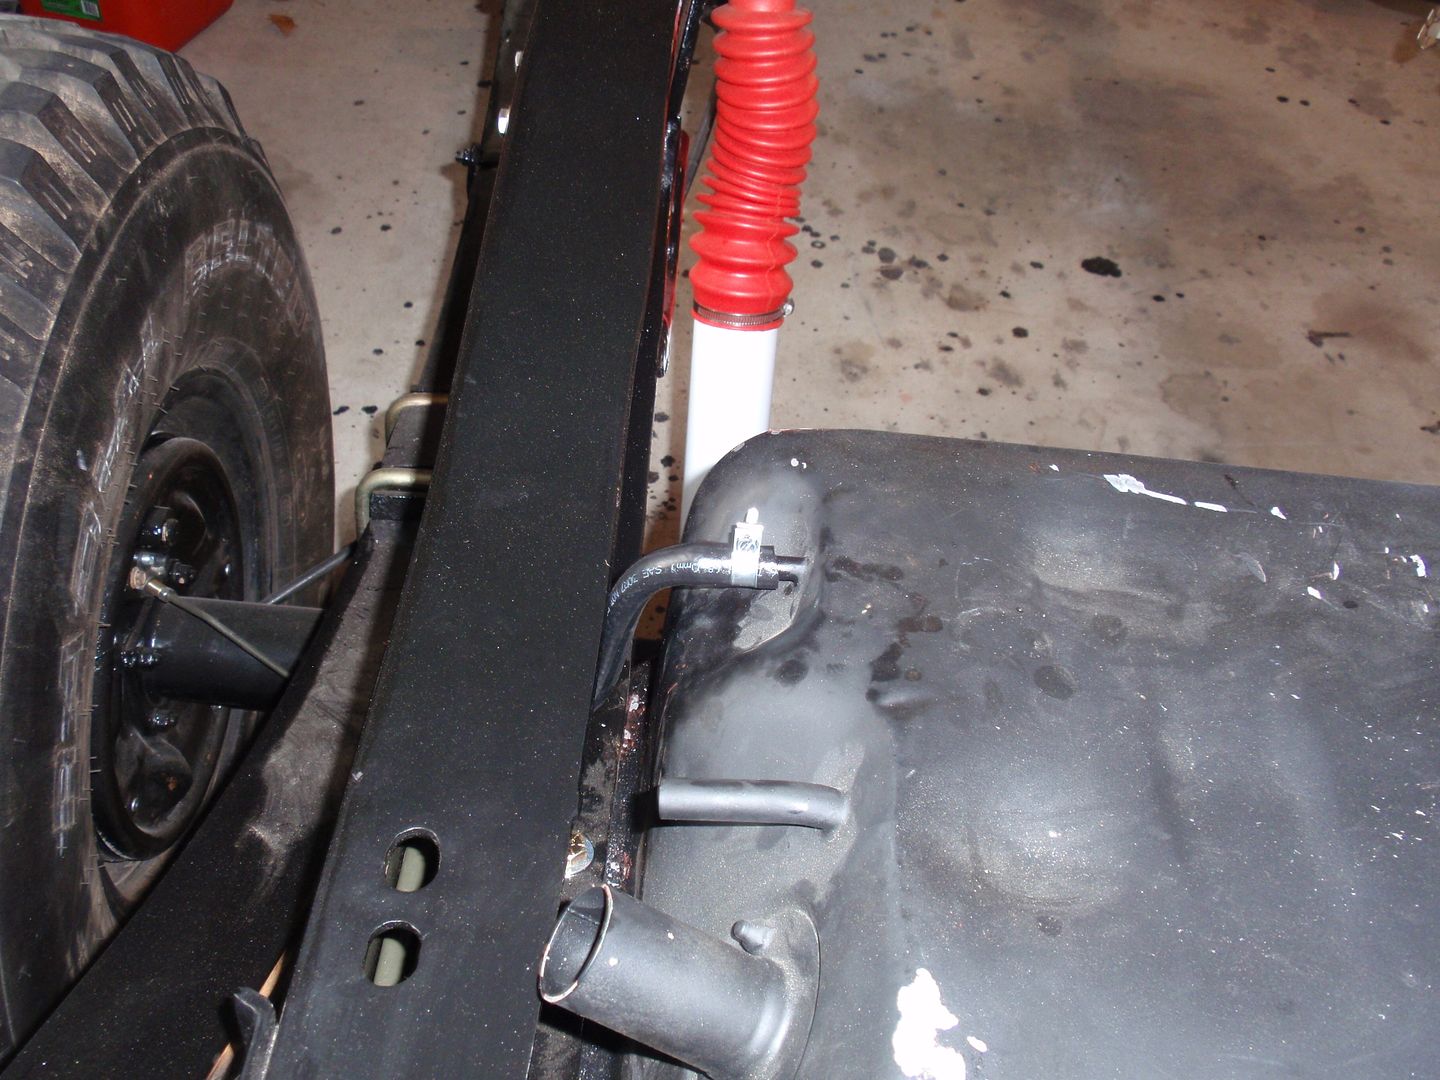 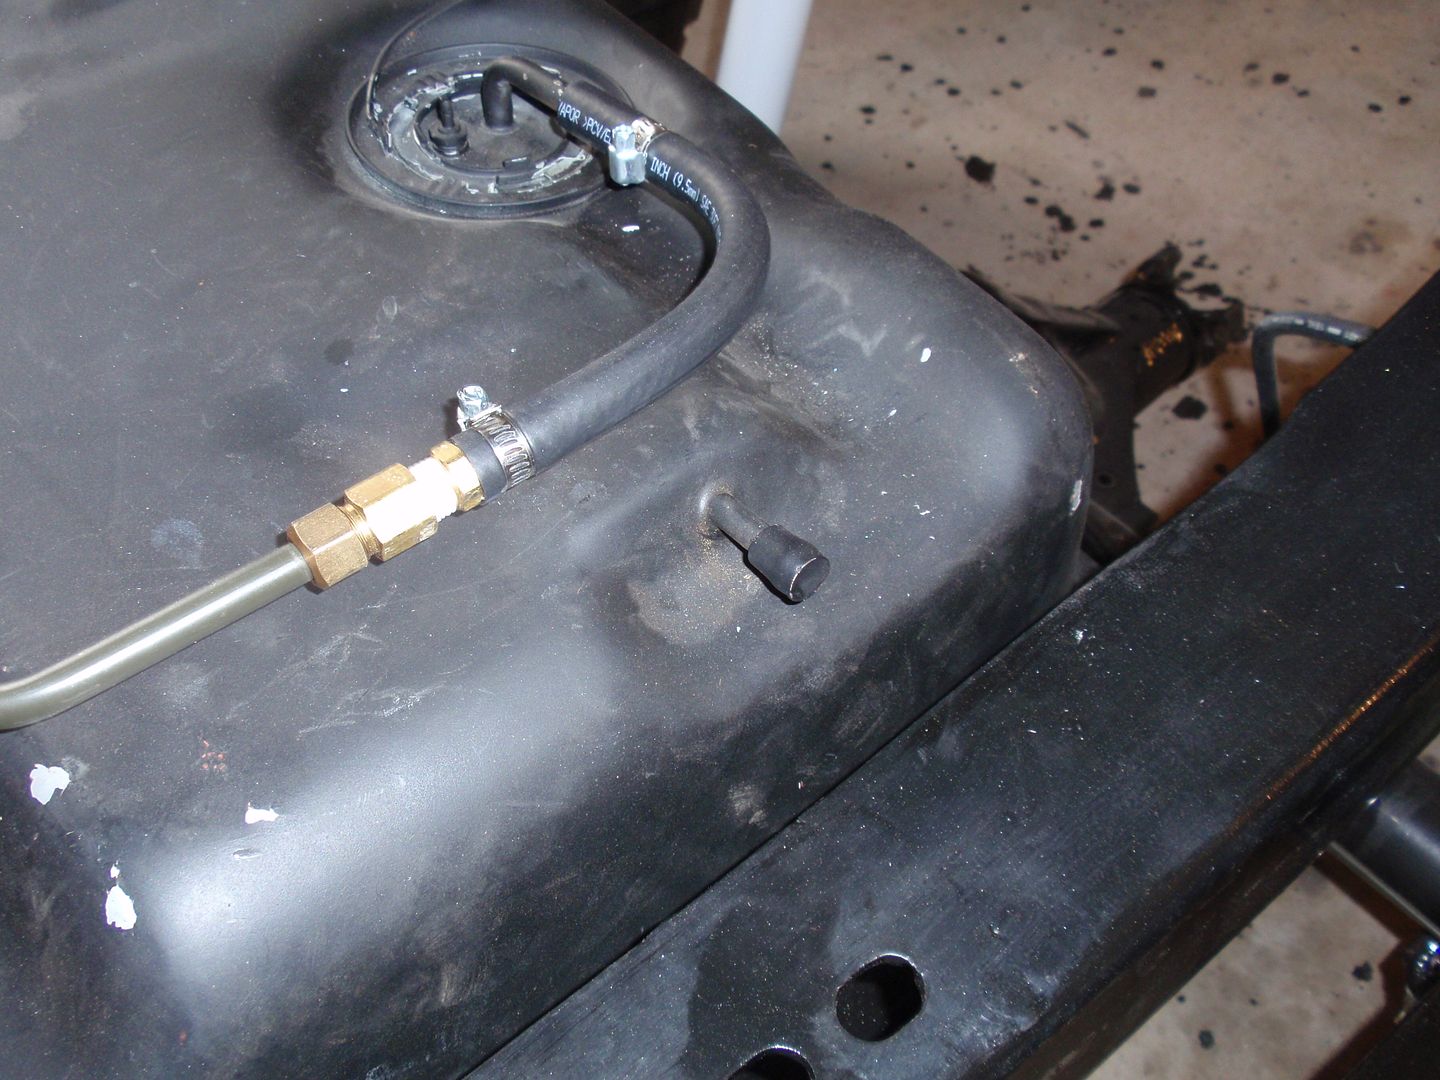 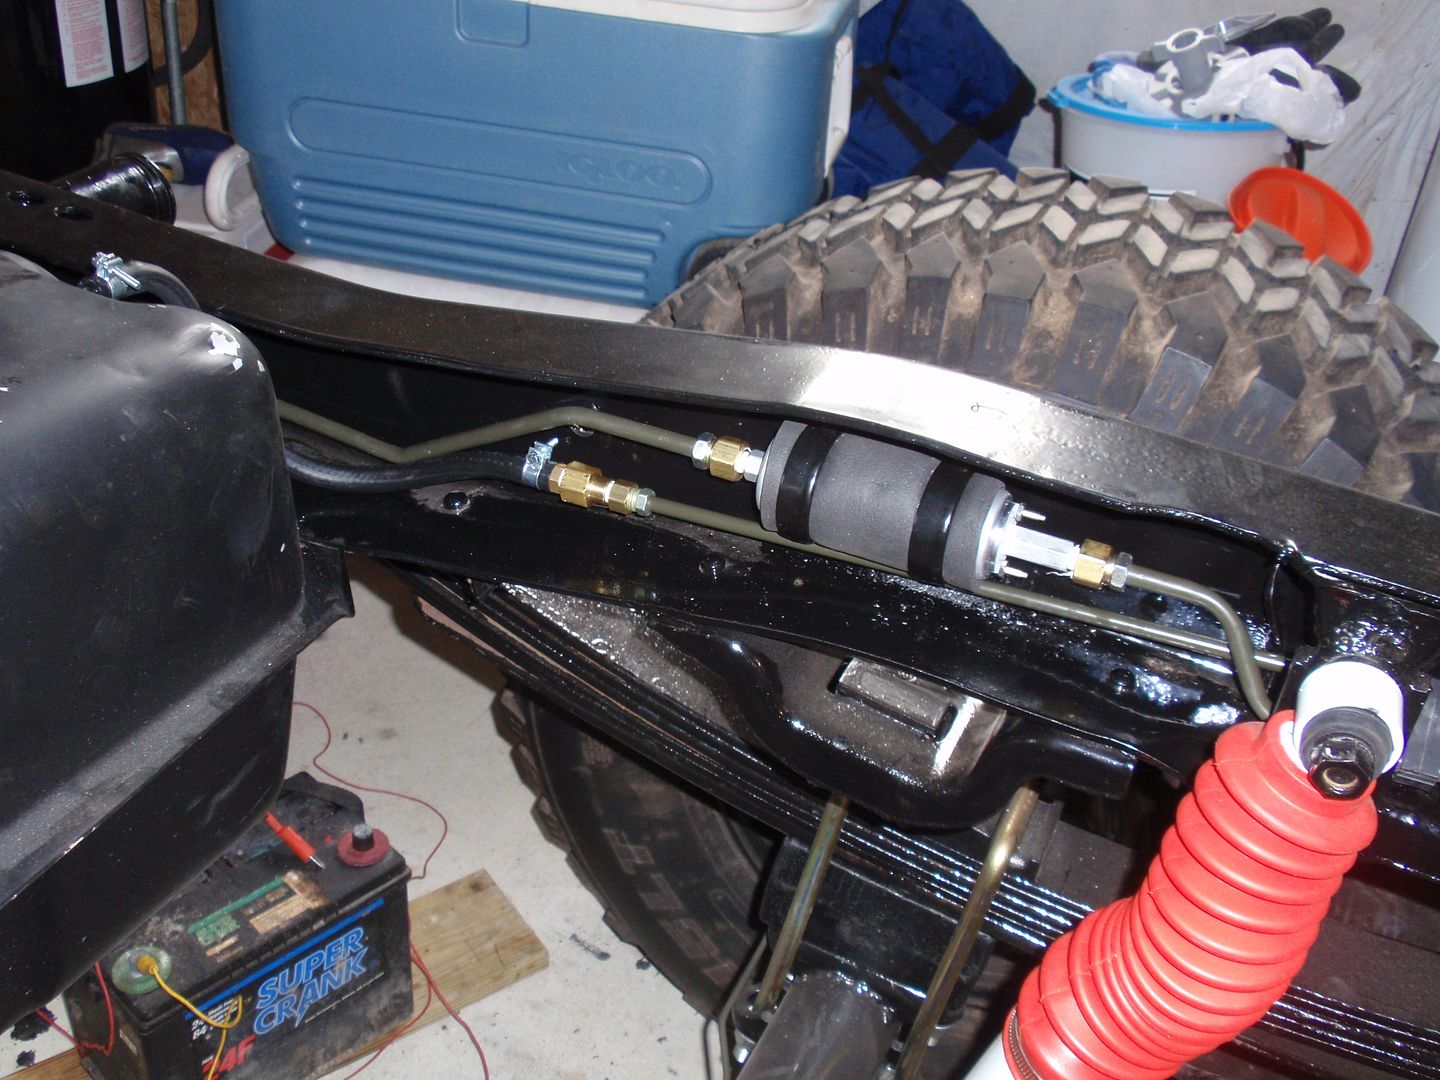 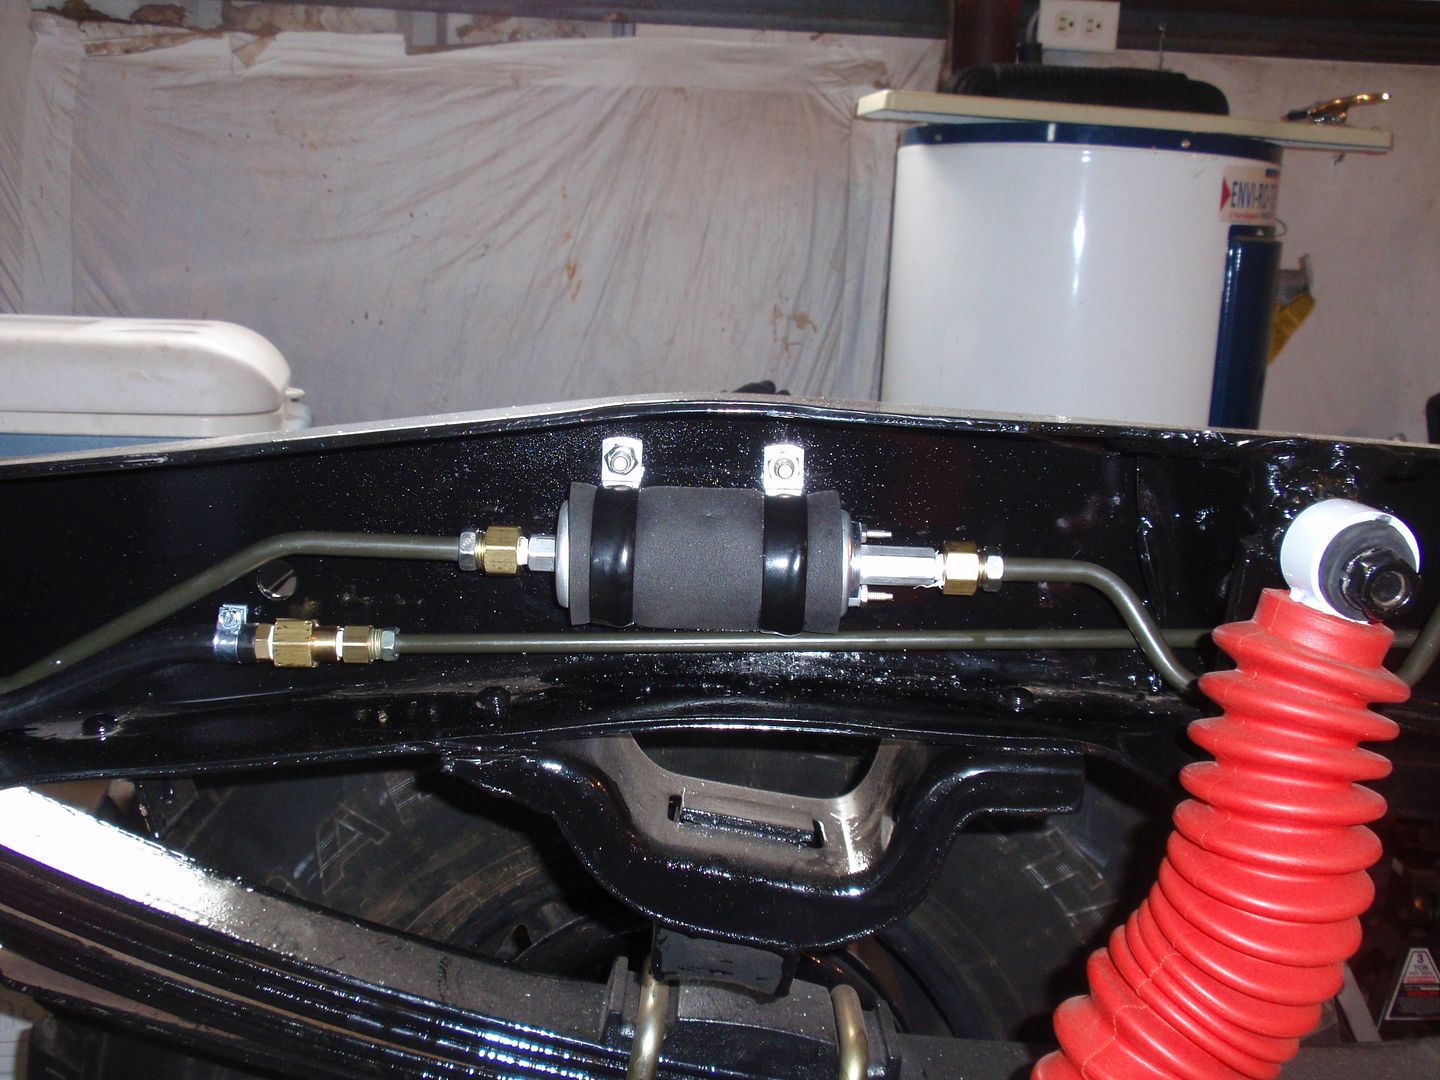 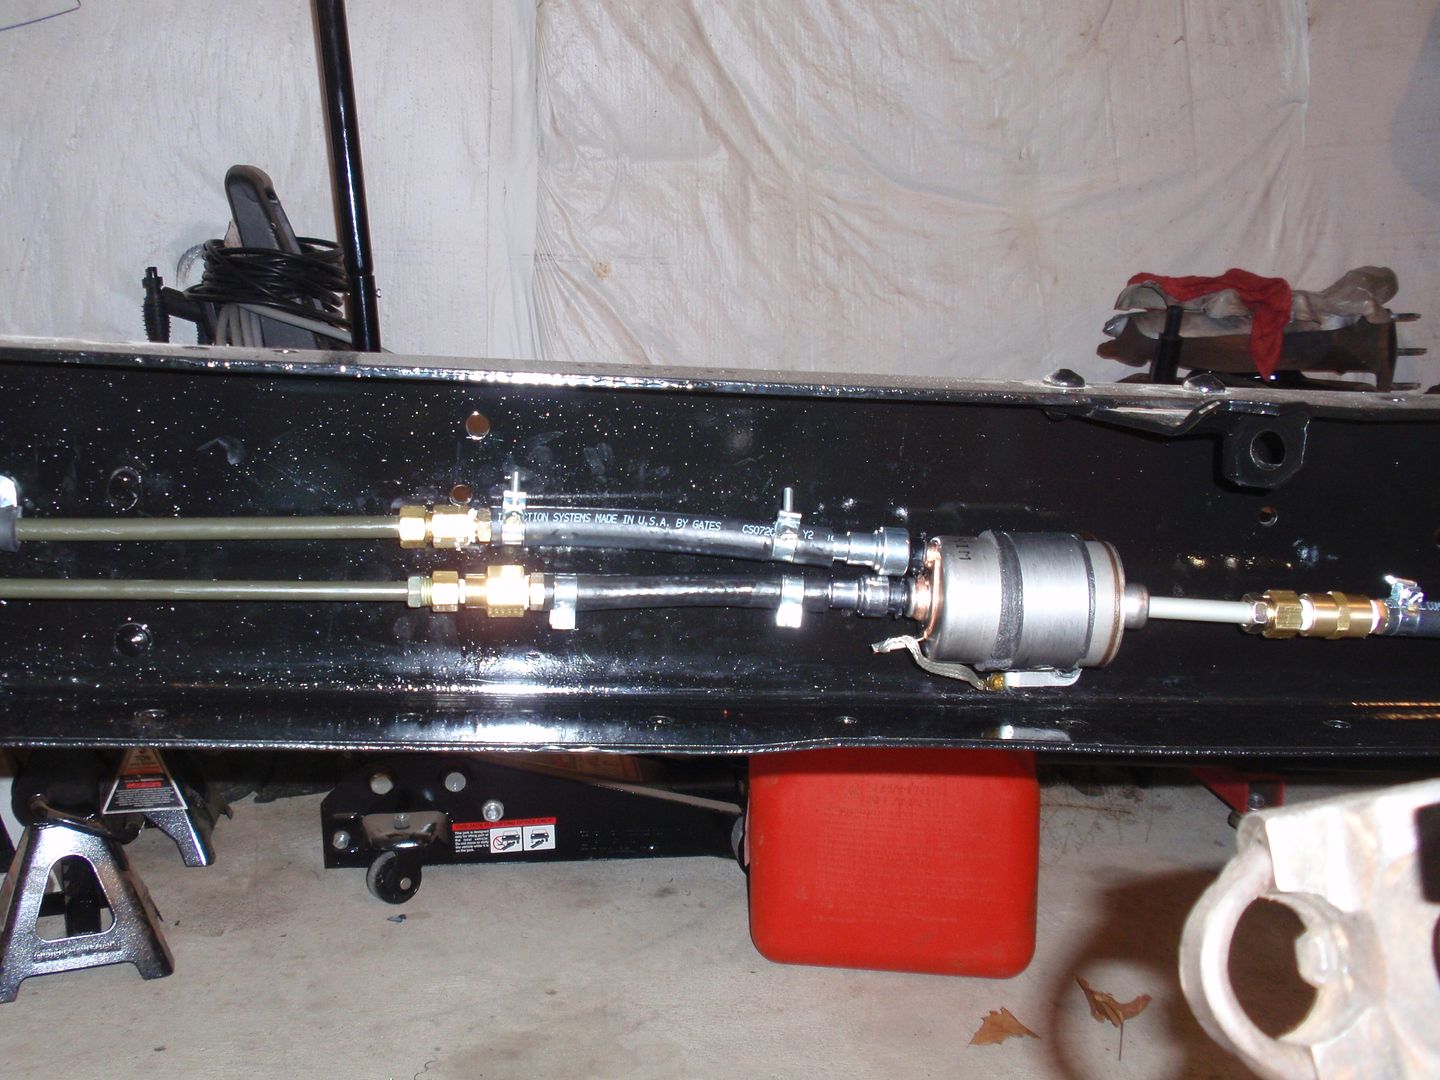  Still need to install a couple of tubing clamps on the return line... Need to come up with a plan for the exhaust…
__________________
Mark ----------------------- Crash's 69 4x4 SWB Crash's Roof over Lake Home Crash's 1988 Land Cruiser Build |
|
|

|
|
|
#119 |
|
Registered User
Join Date: Nov 2011
Location: Edmond, OK.
Posts: 1,362
|
Re: Crash's 72 K10
Yesterday I received the x-member from Pacific Fabrication. This was needed due to the 5.3L not fitting into the factory x-member. I had purchased a set of Dirty Dingo 4x4 sliders that were designed for the application, but they would not work.. I was not so much a problem with the Dirty Dingo Sliders; it was more a problem with the 5.3L being too wide for the factory x-member. Brent with Dirty Dingo believes I may have a 6 cyl. X-member. Brent with Dirty Dingo has personally seen several installs using their sliders with no issues. However, in my case the Dirty Dingo 4x4 sliders would not work. I have offered to help him determine why they would not work in my application and we will share that information as soon as we have it. If anyone knows the difference between the 6cyl. and V8 x-members please let me know.
So, back to the new x-member from Pacific Fabrication. I will be doing a complete write up after I have installed the x-member. For now, all I can say is that the x-member arrived at my house in perfect condition. All the pieces were wrapped in corrugated cardboard. The x-member appears to be powder coated with a very nice black finish. All the bolts were quality grade 8 bolts. The welds looked very nice and the clam shell motor mounts look like a high end piece. 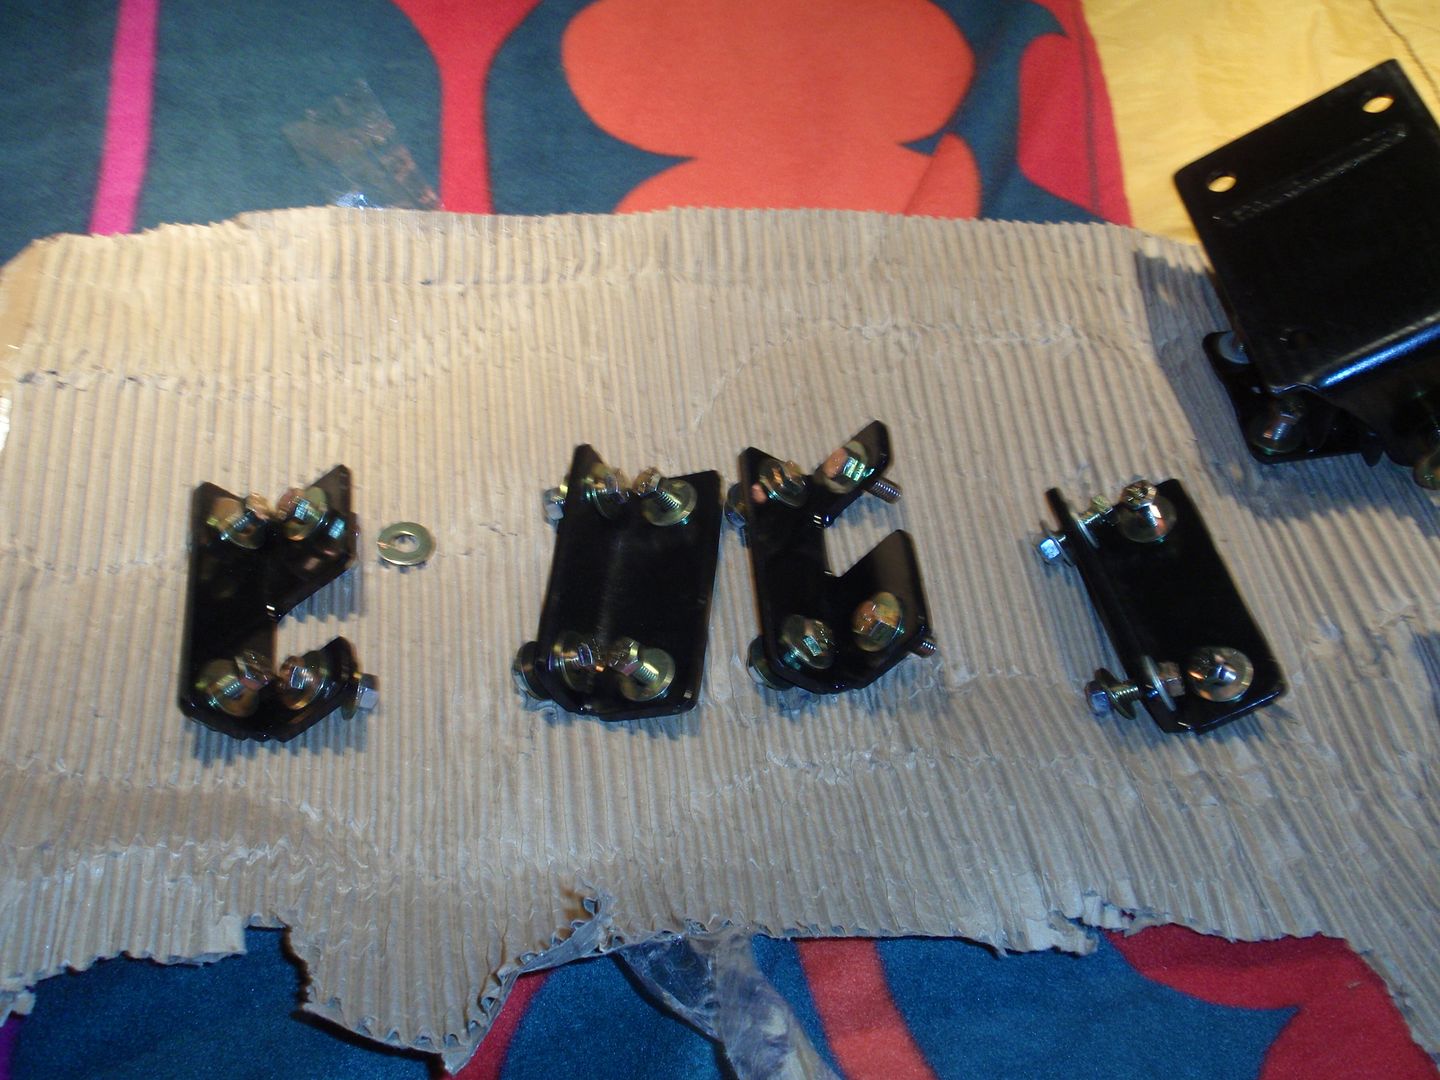 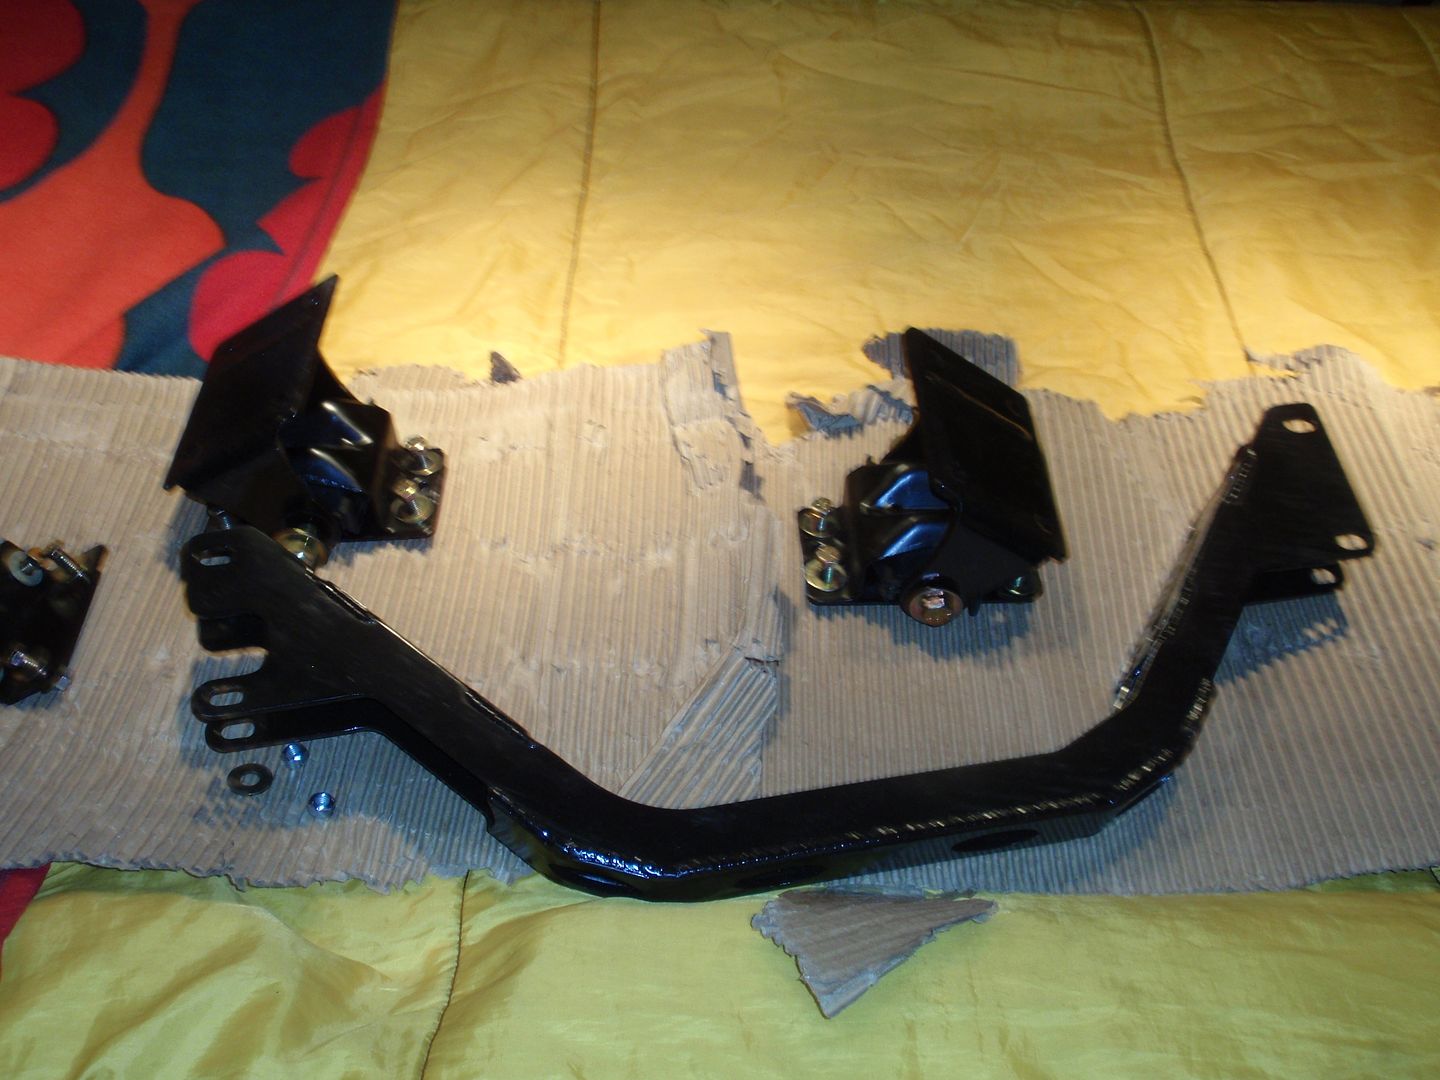 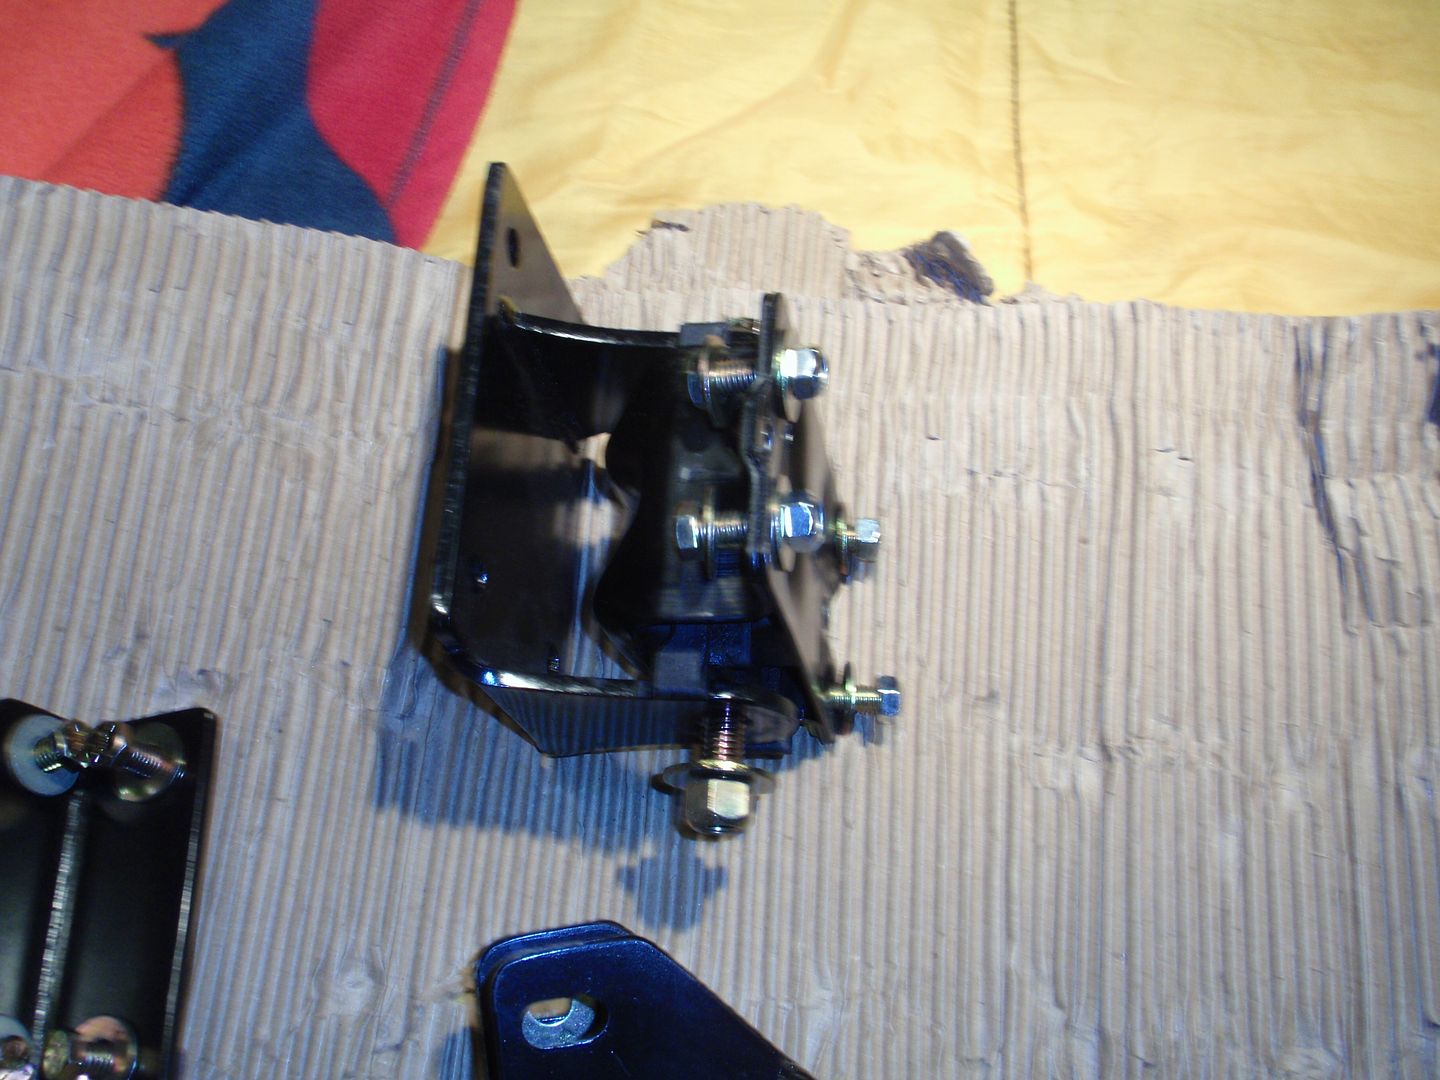 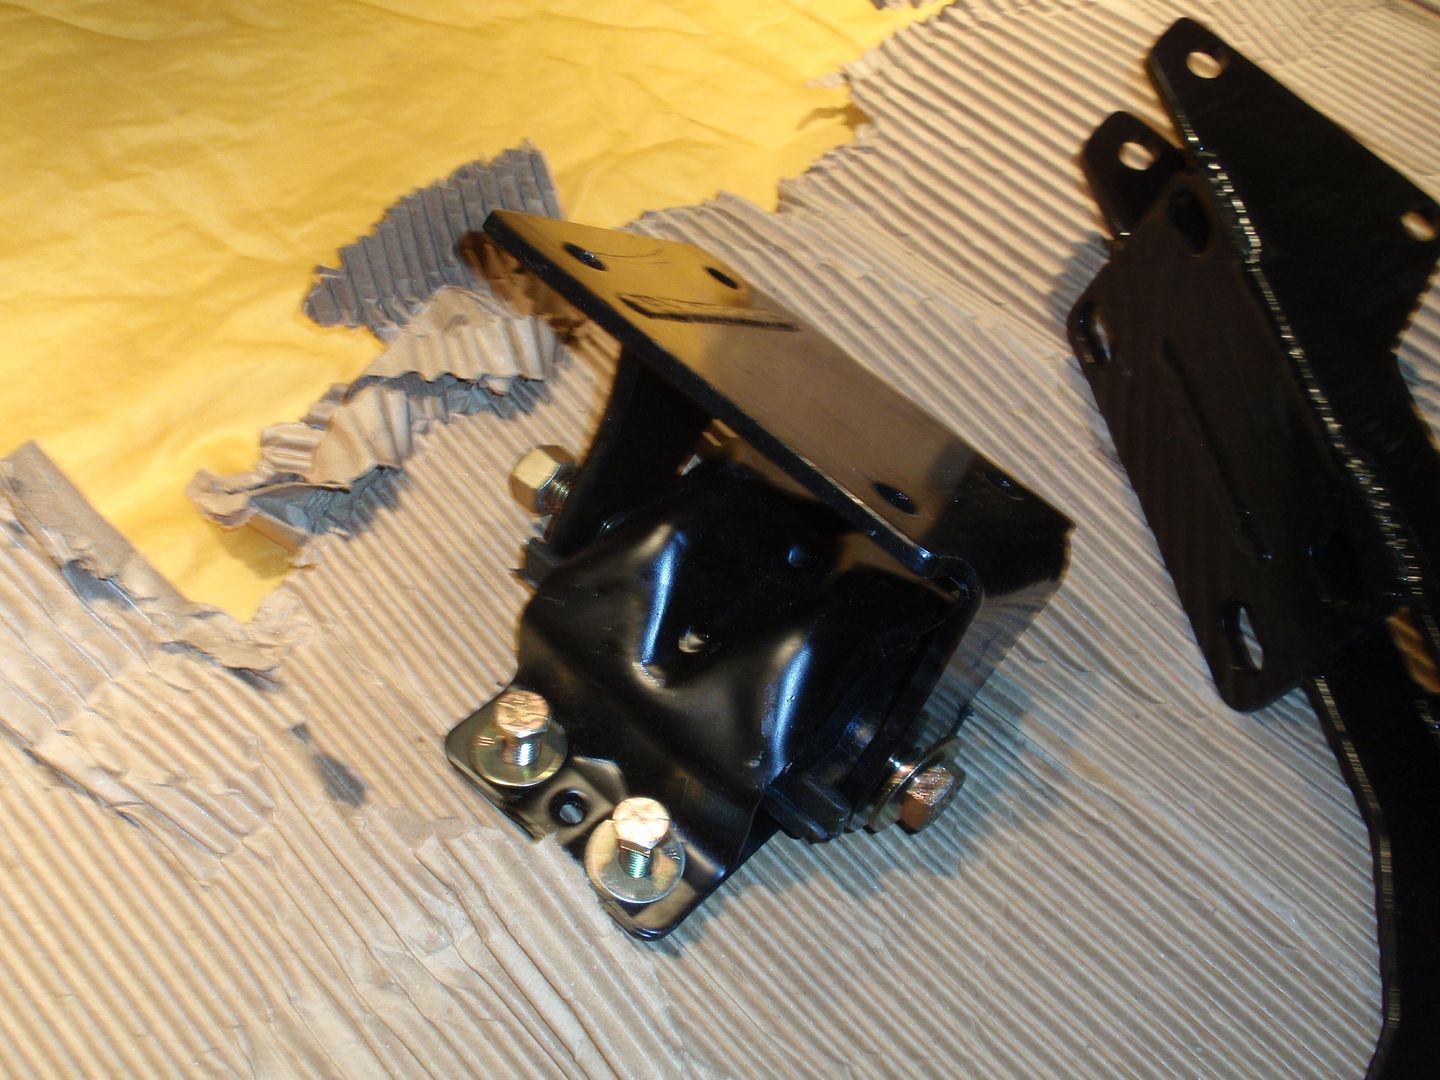 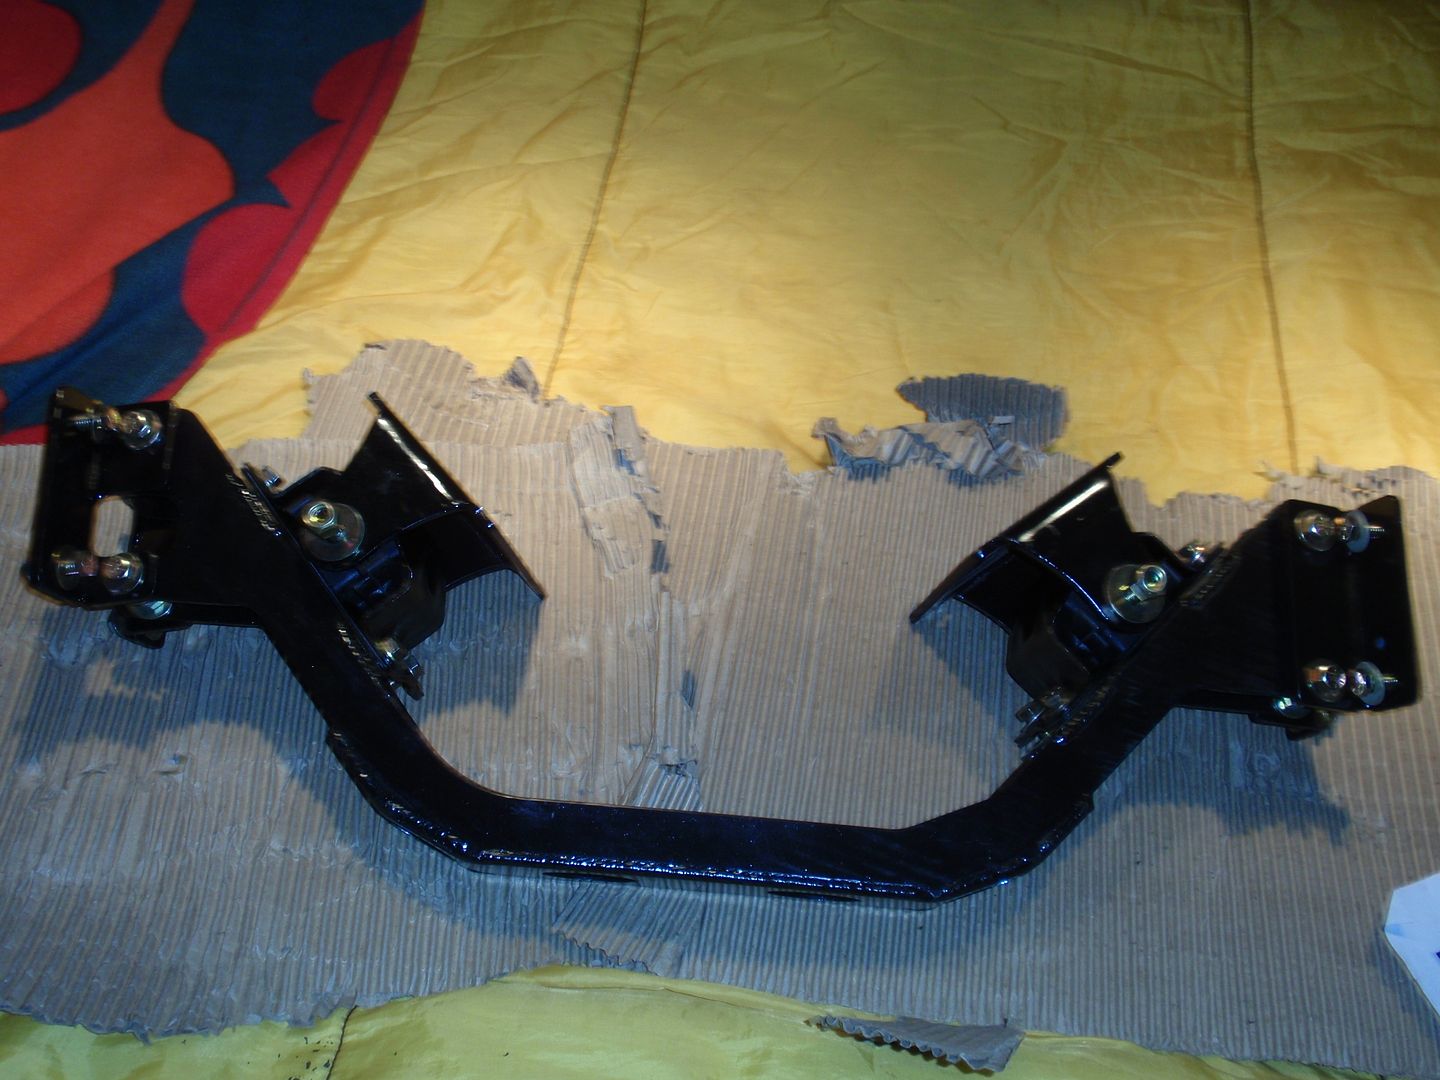 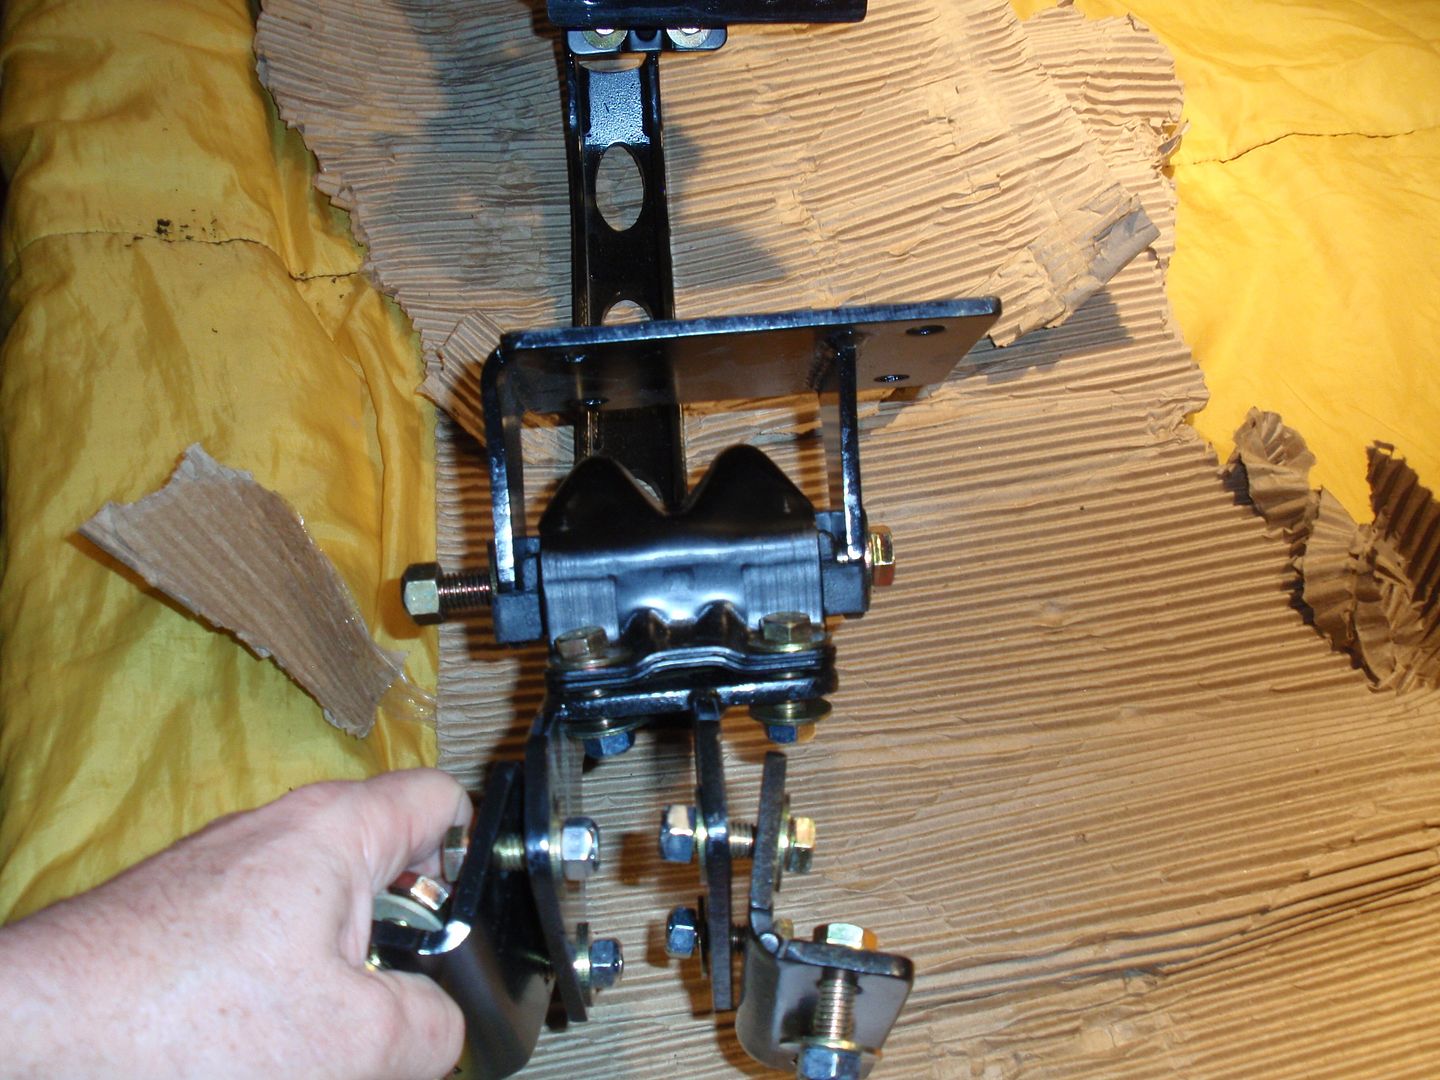 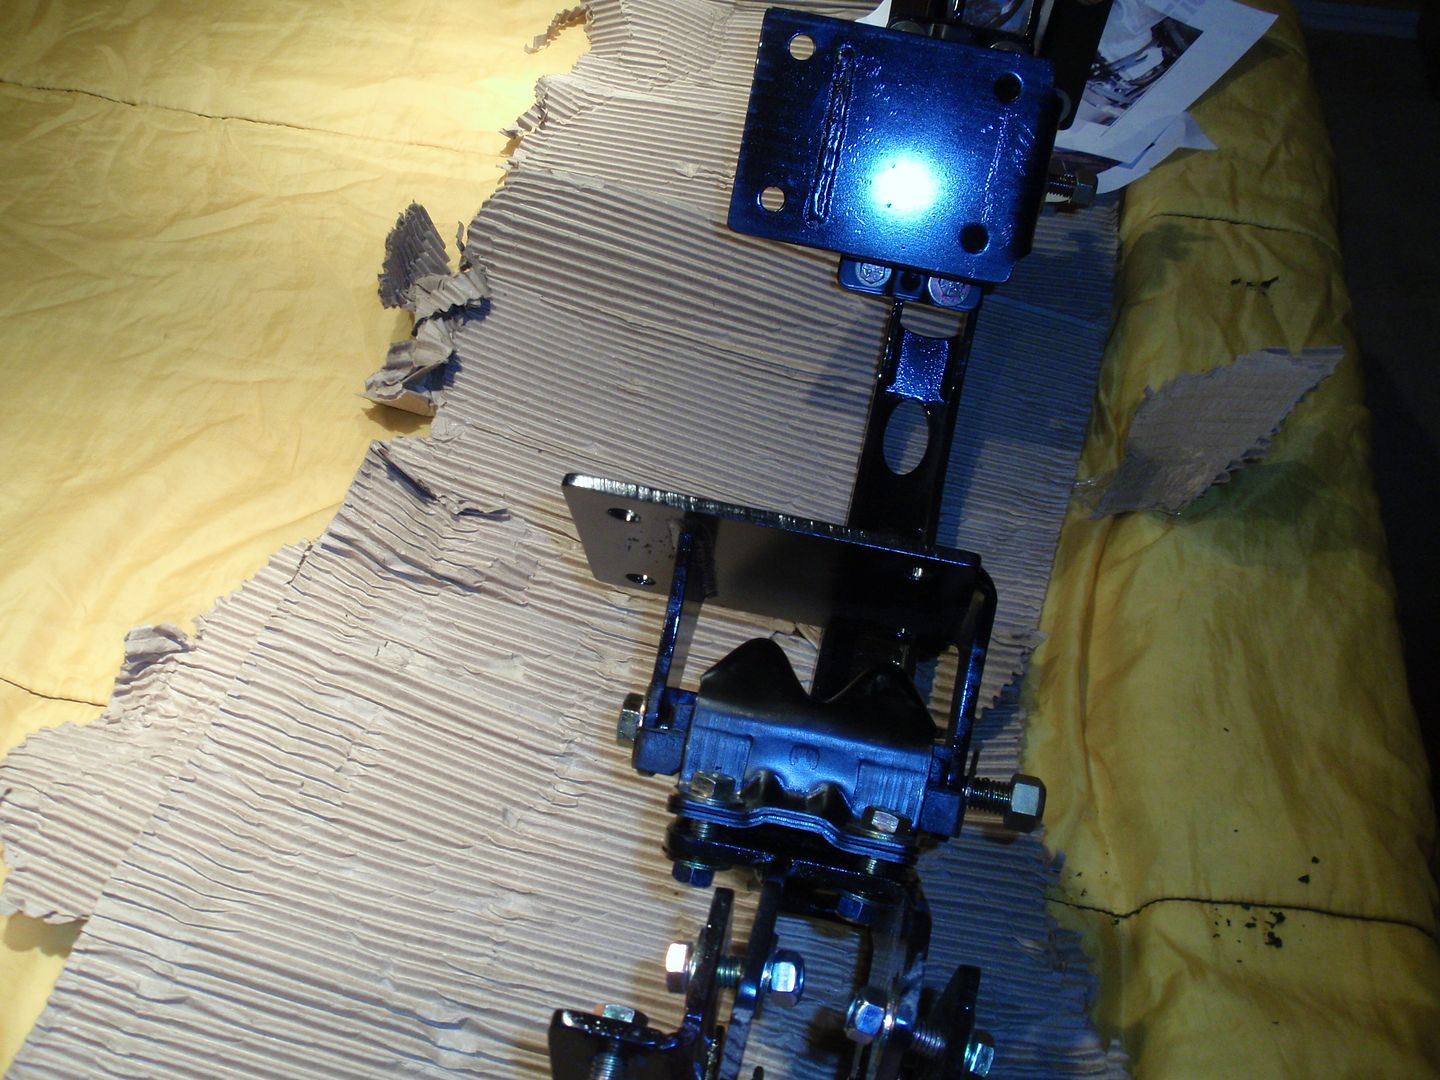 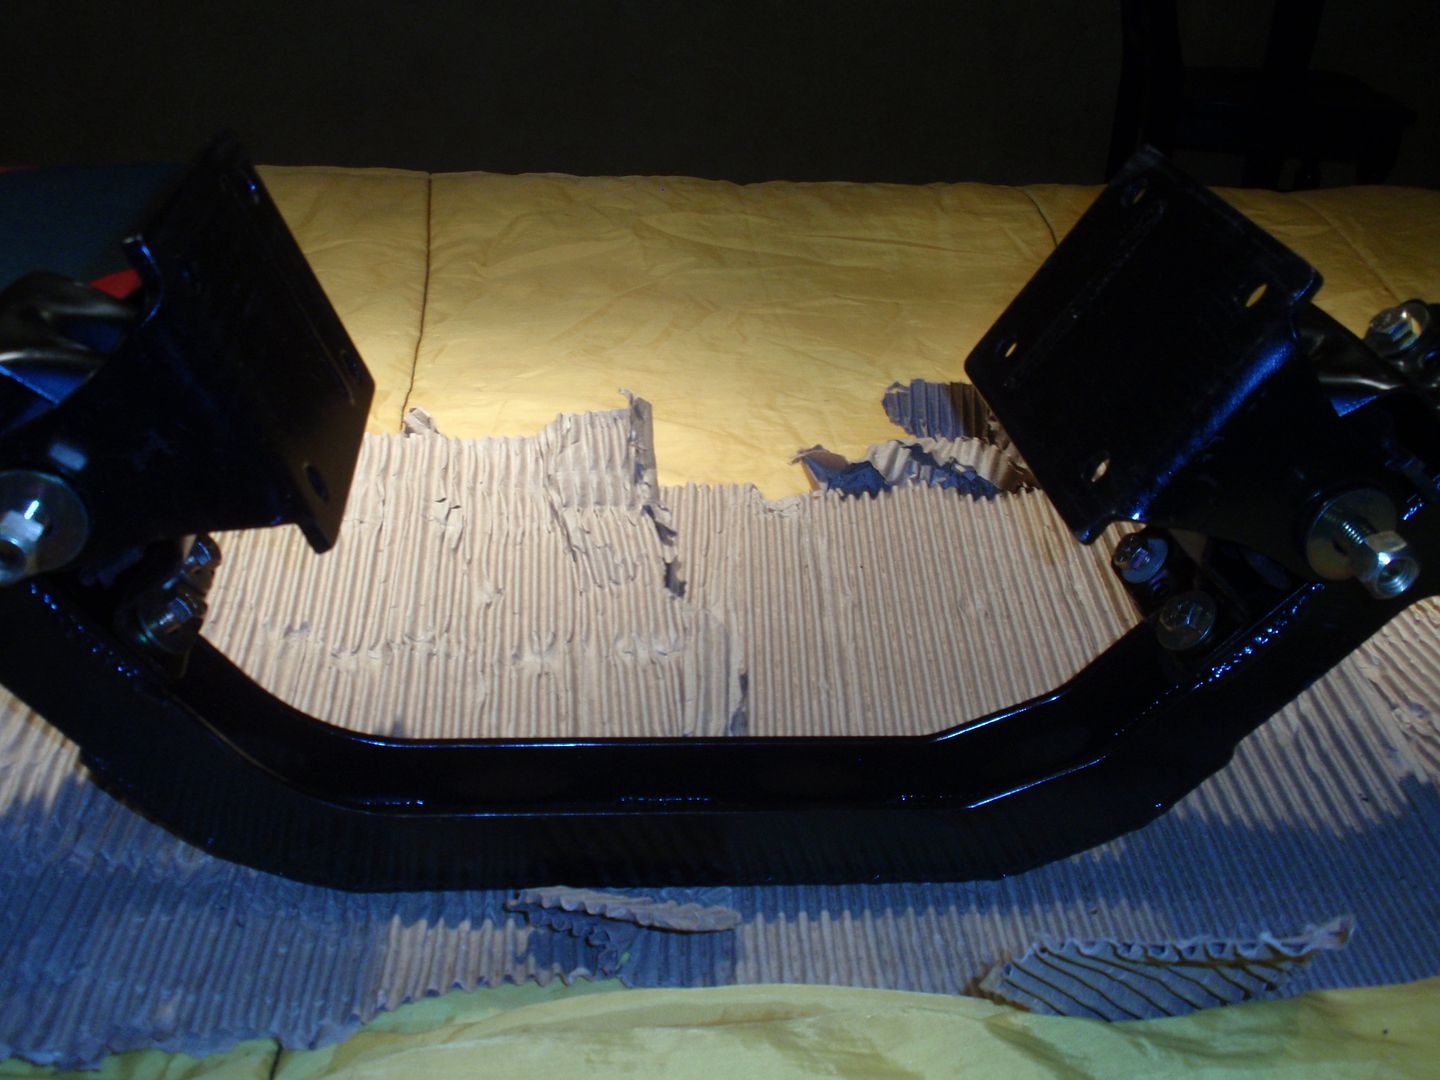 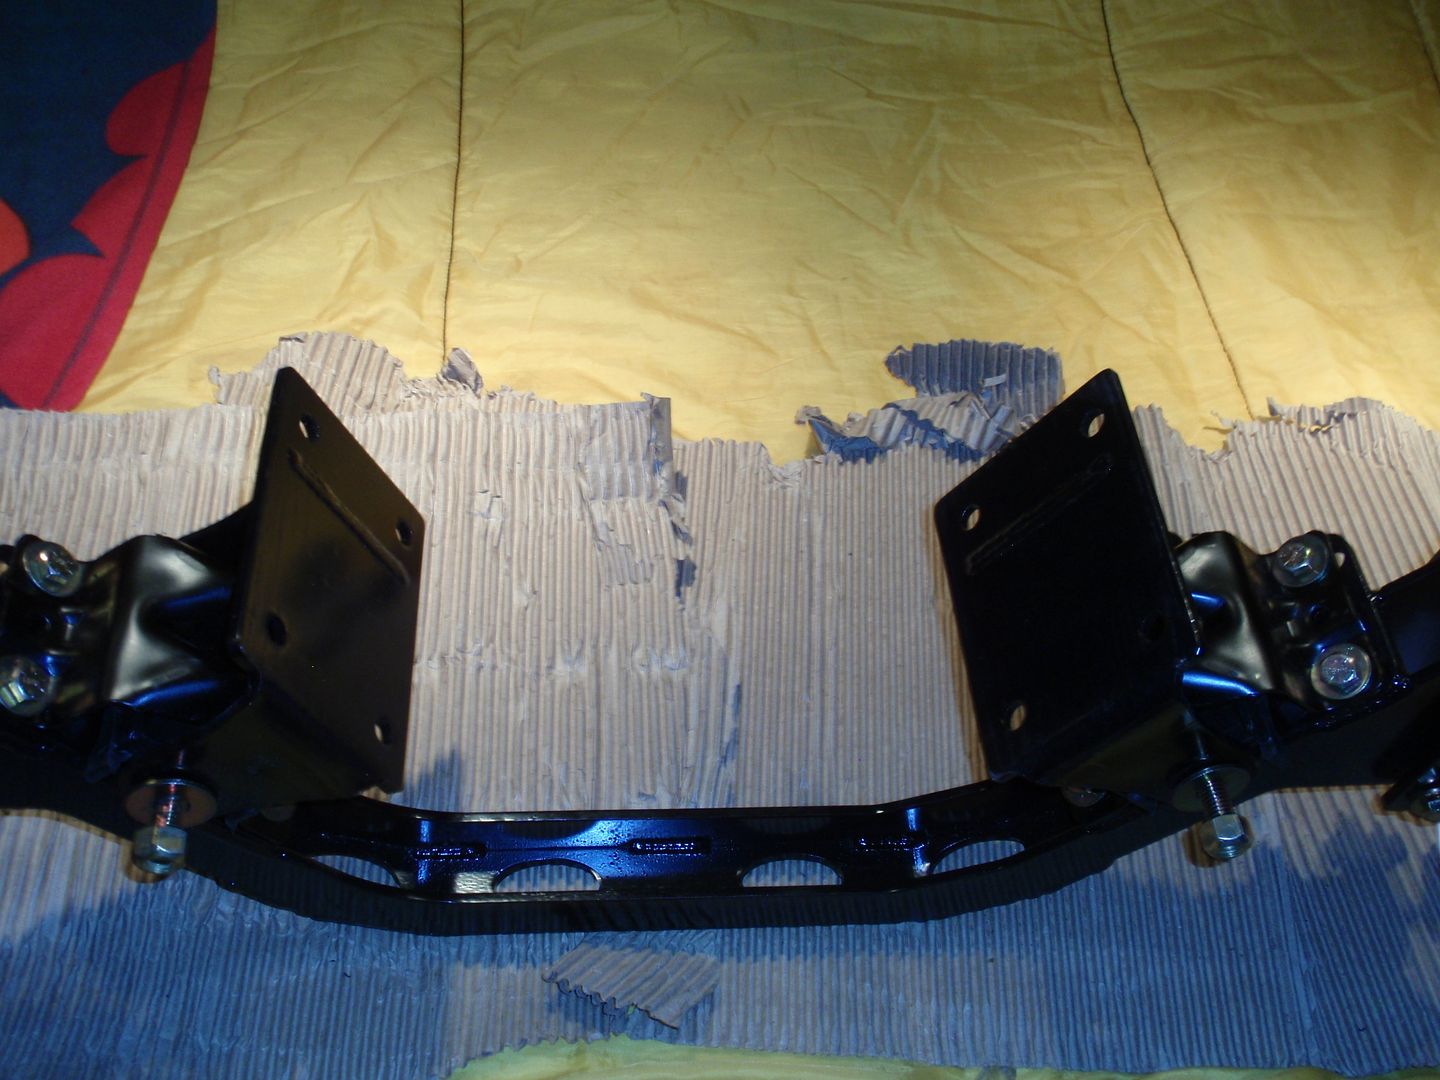 Once again If anyone knows the difference between the 6cyl. and V8 x-members please let me know.
__________________
Mark ----------------------- Crash's 69 4x4 SWB Crash's Roof over Lake Home Crash's 1988 Land Cruiser Build |
|
|

|
|
|
#120 |
|
Registered User
Join Date: Nov 2011
Location: Edmond, OK.
Posts: 1,362
|
Re: Crash's 72 K10
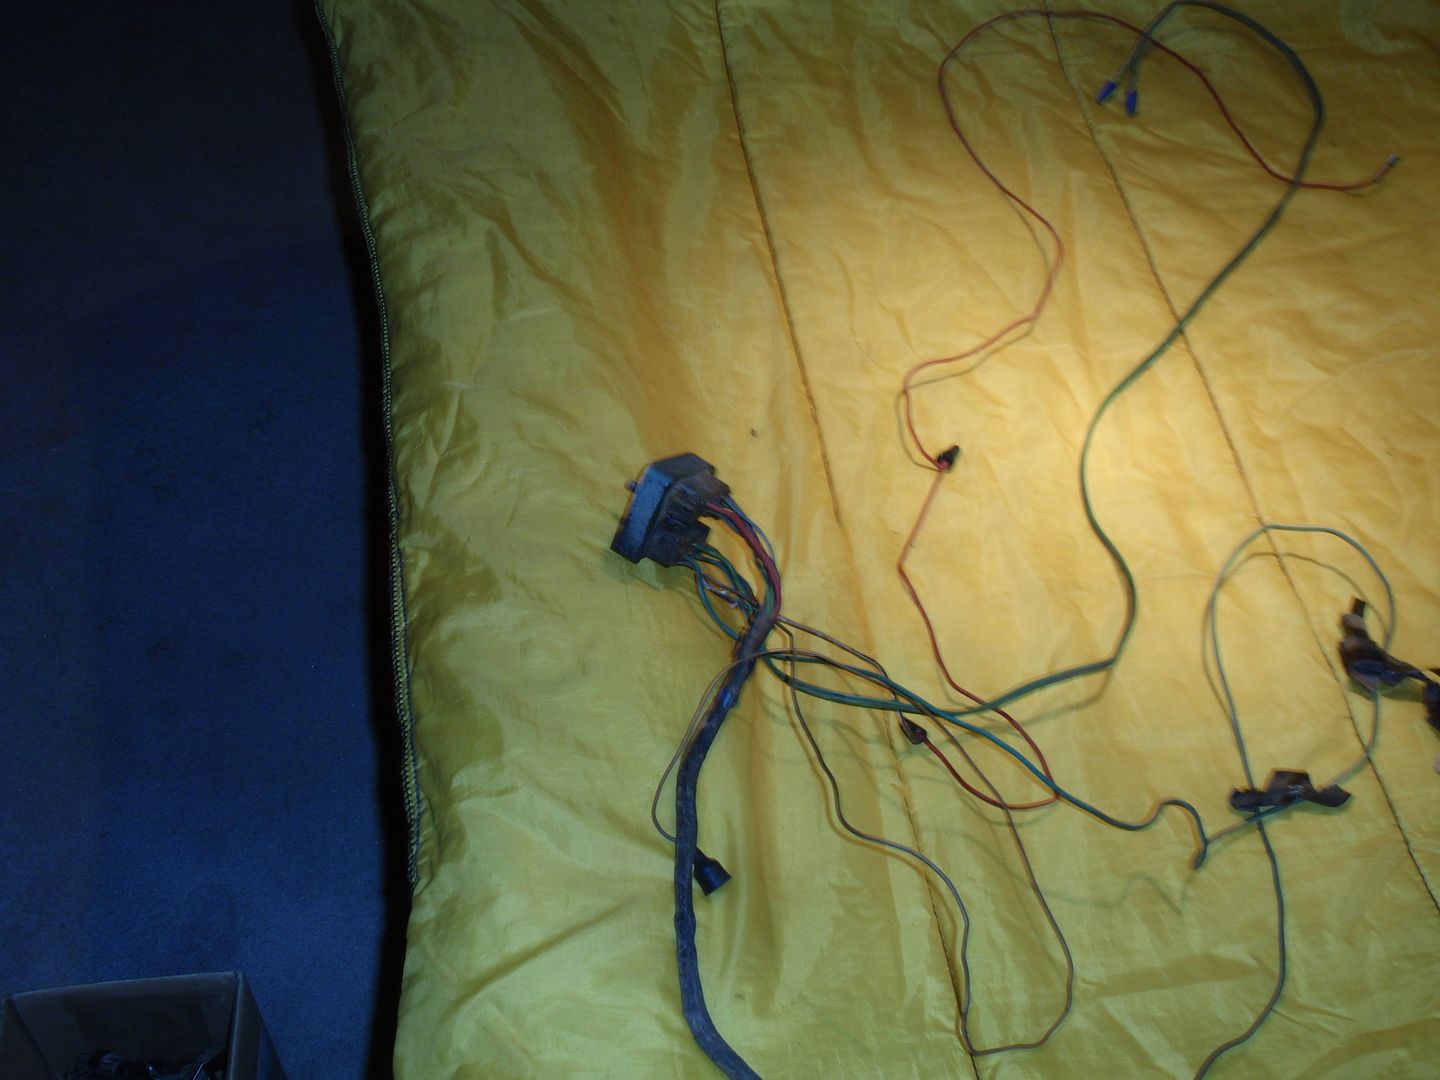
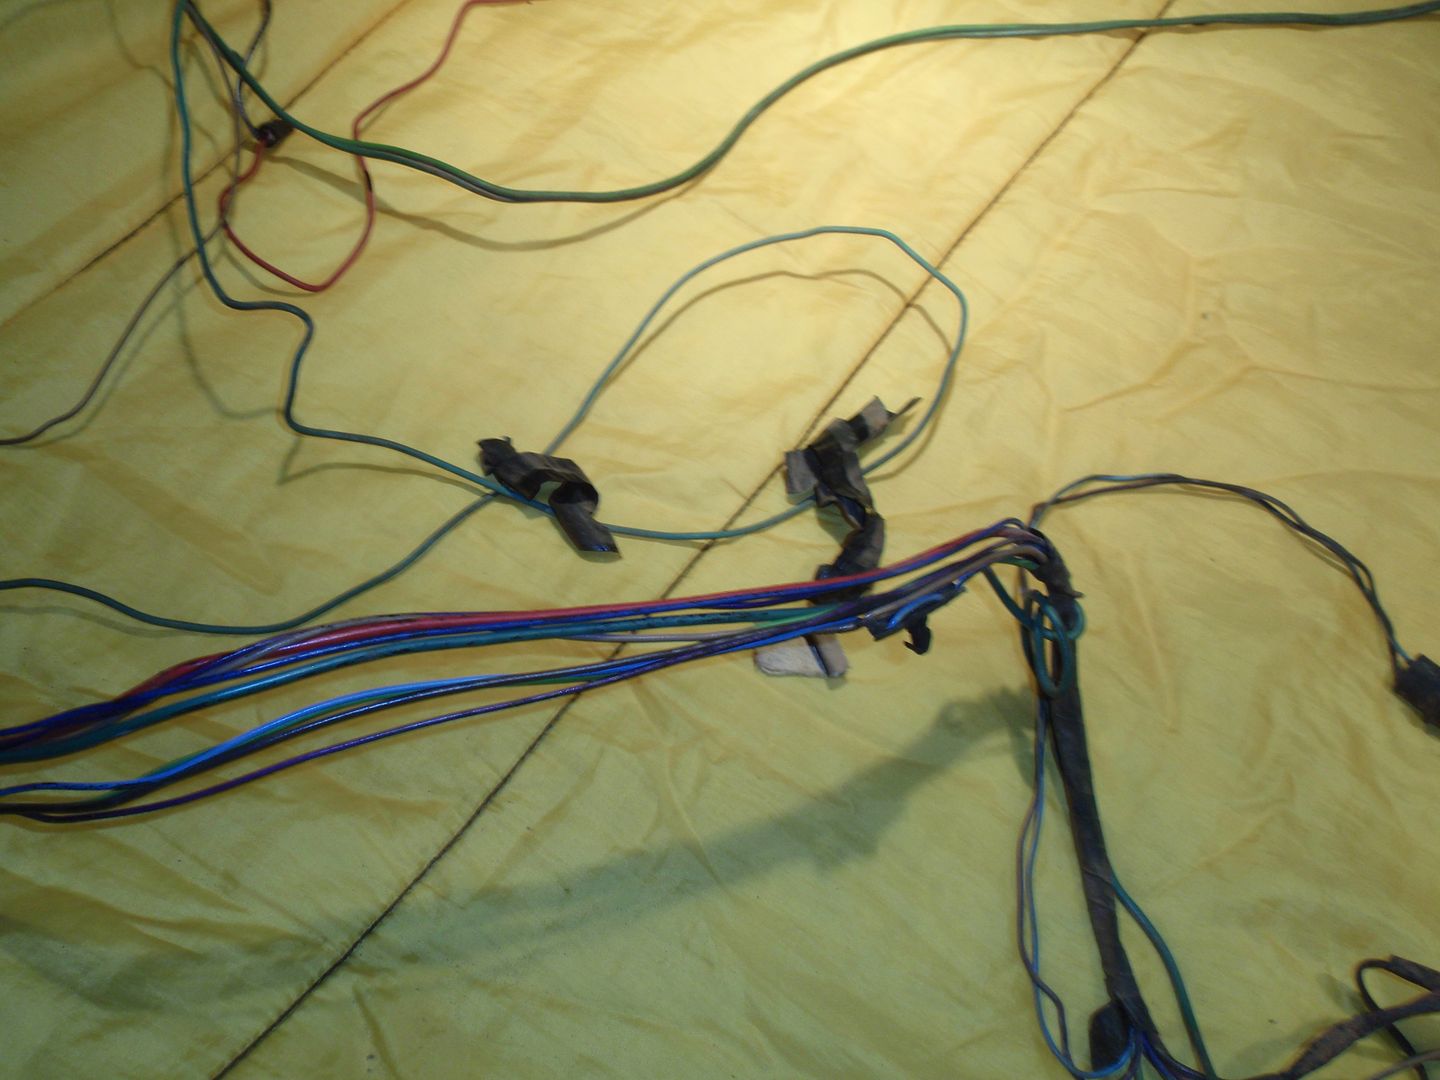
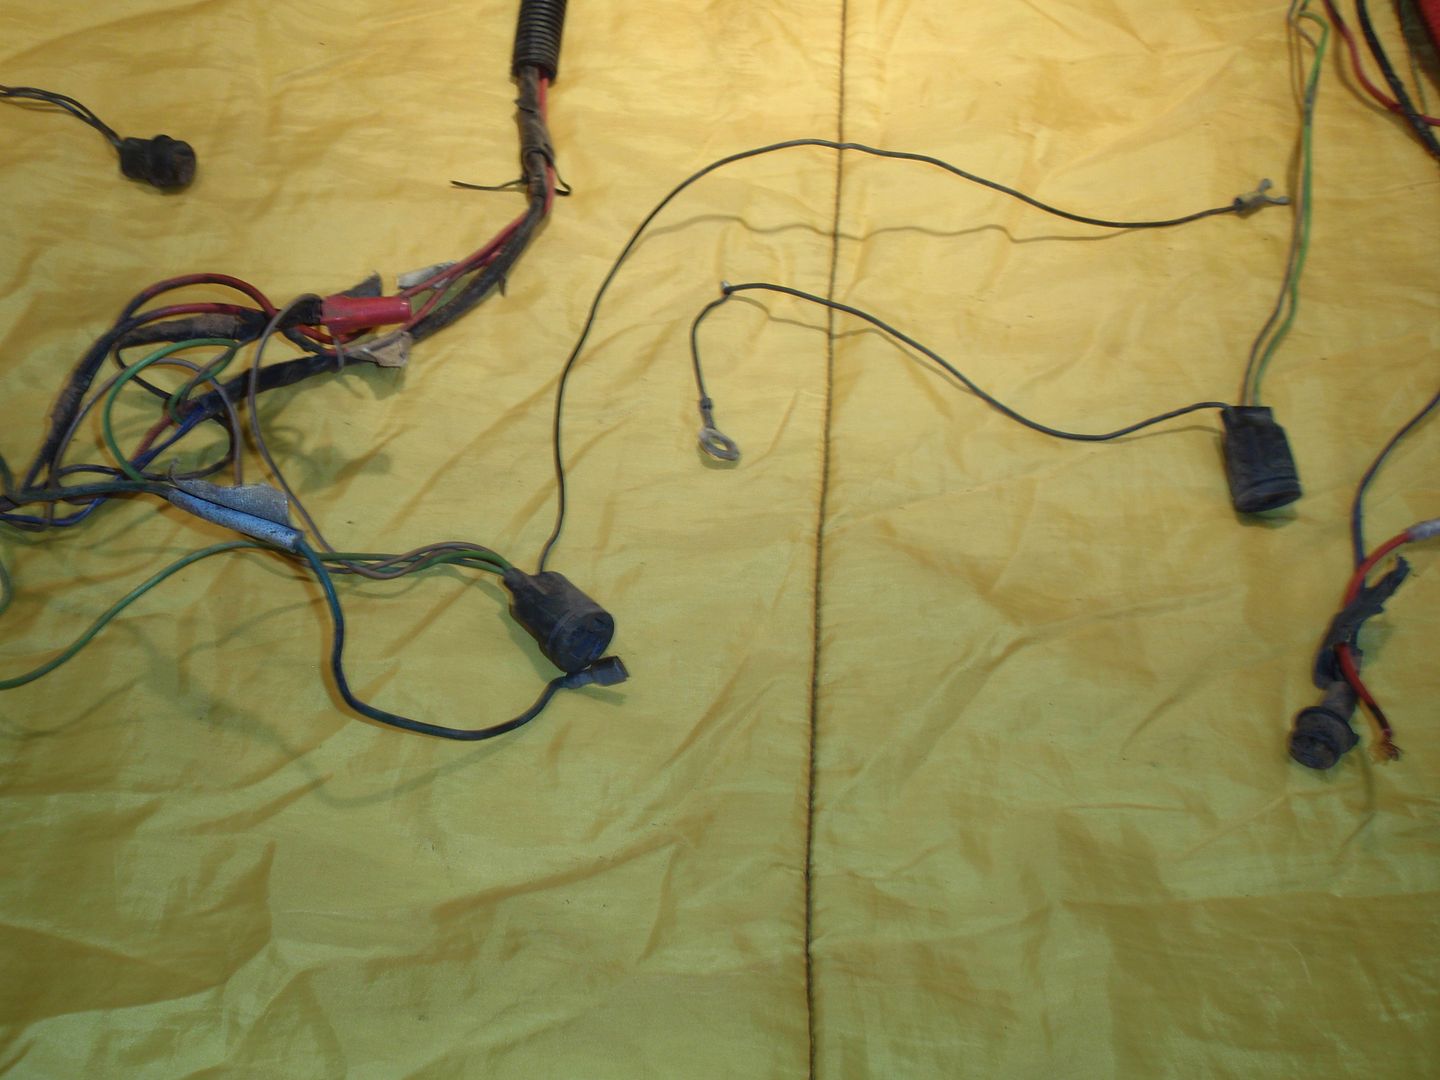
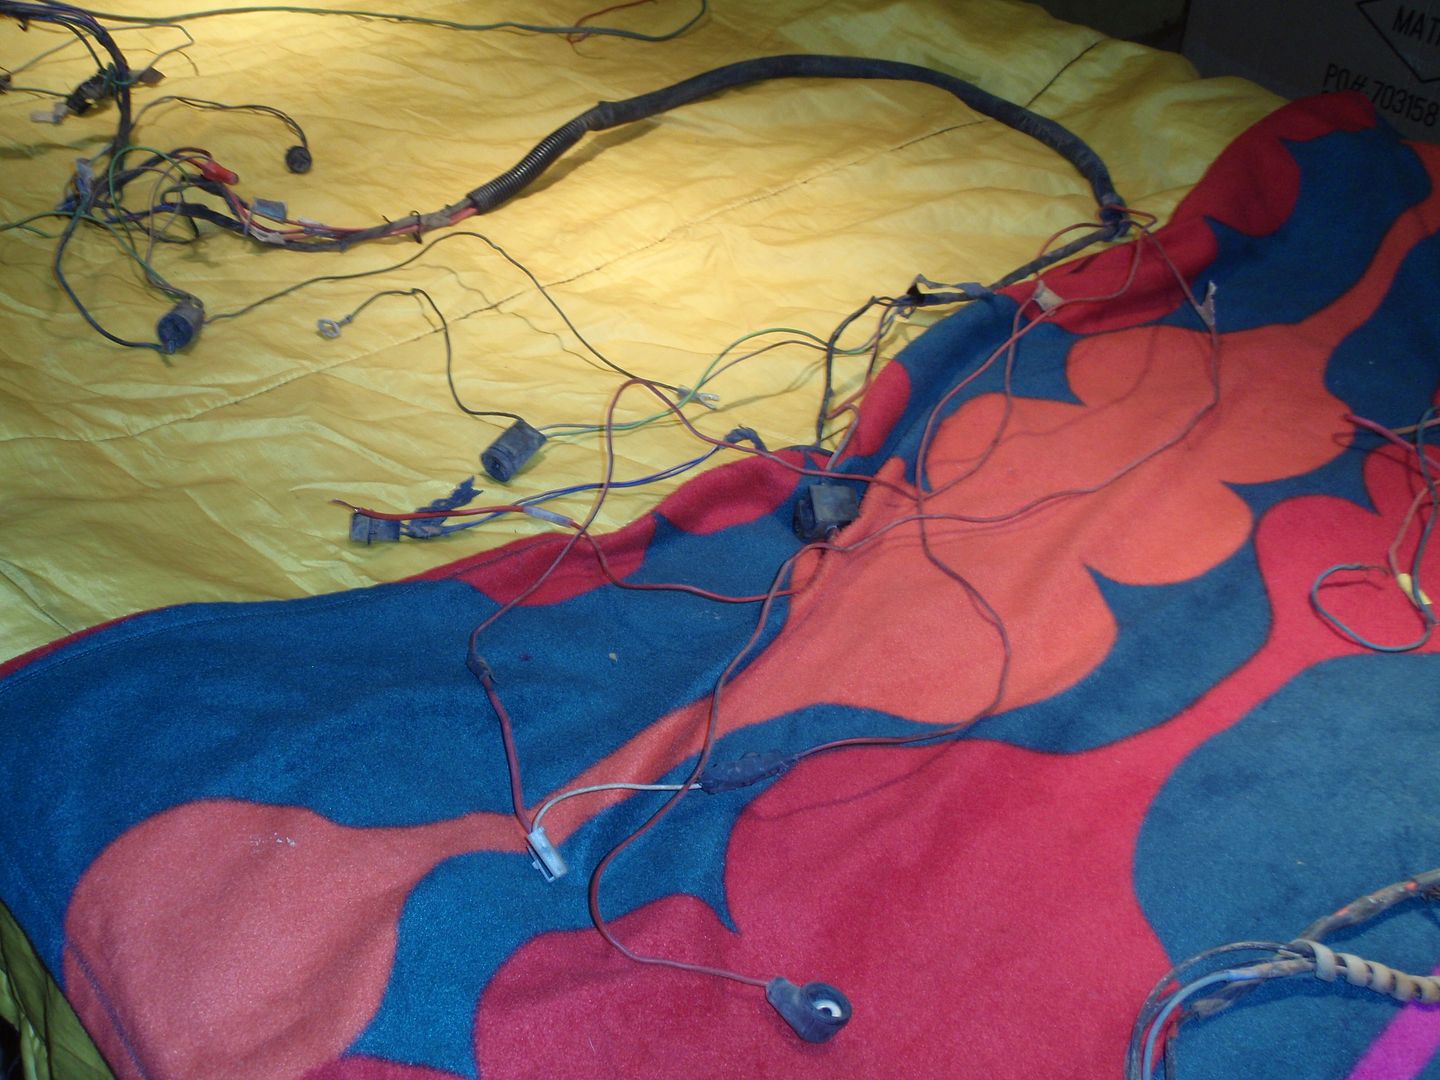
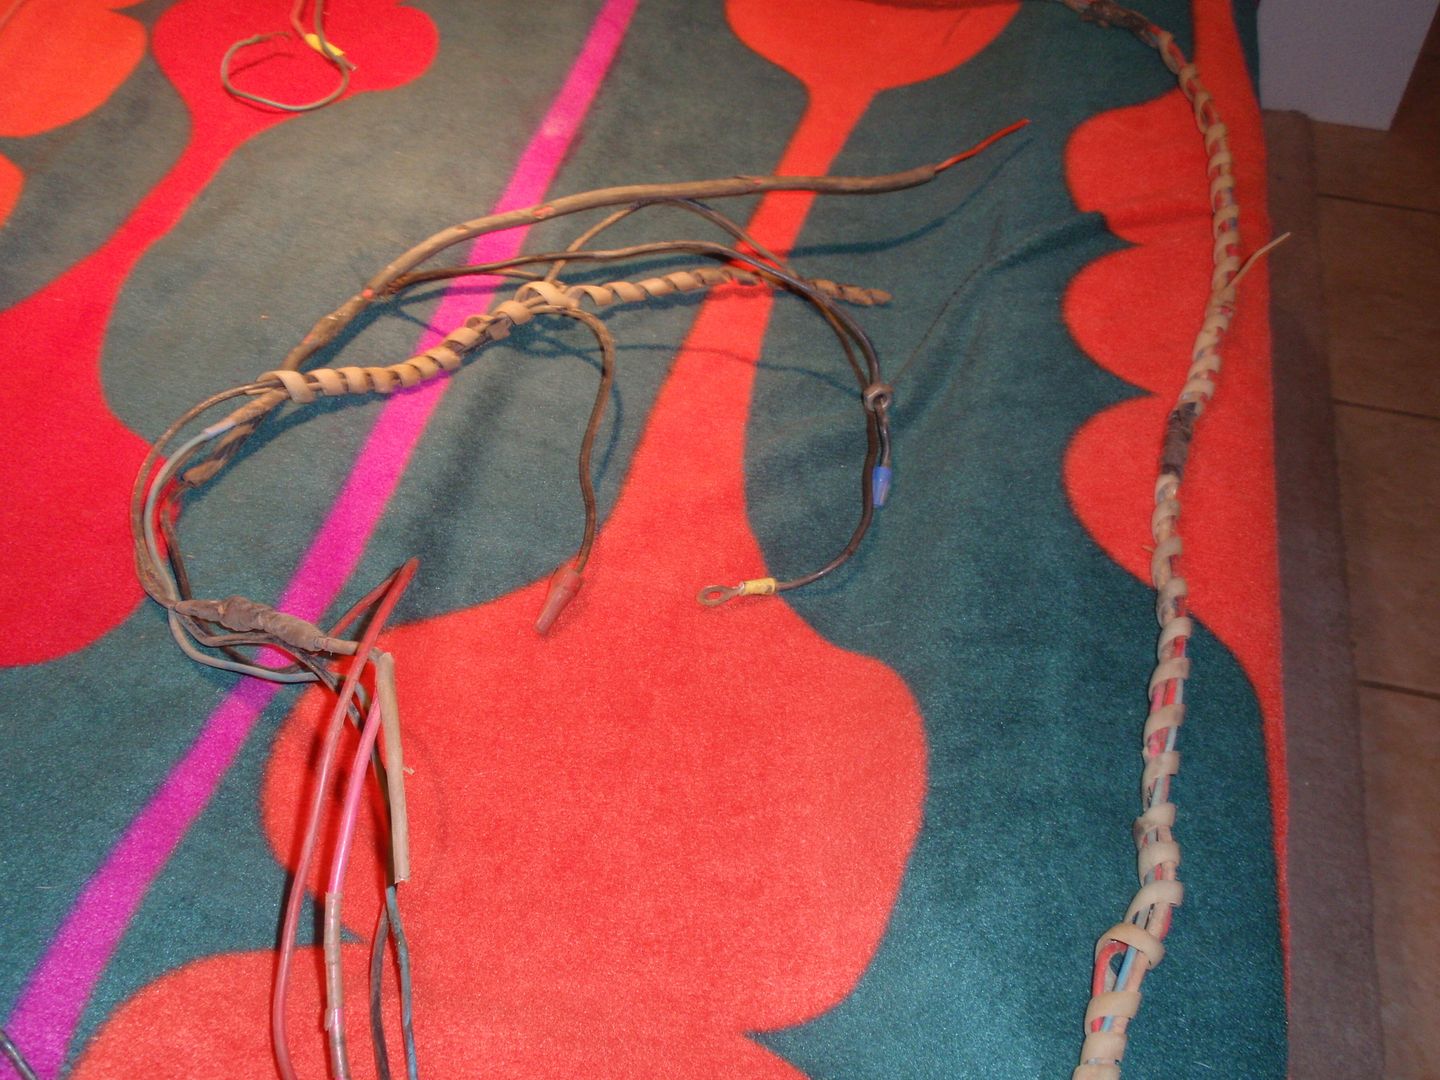
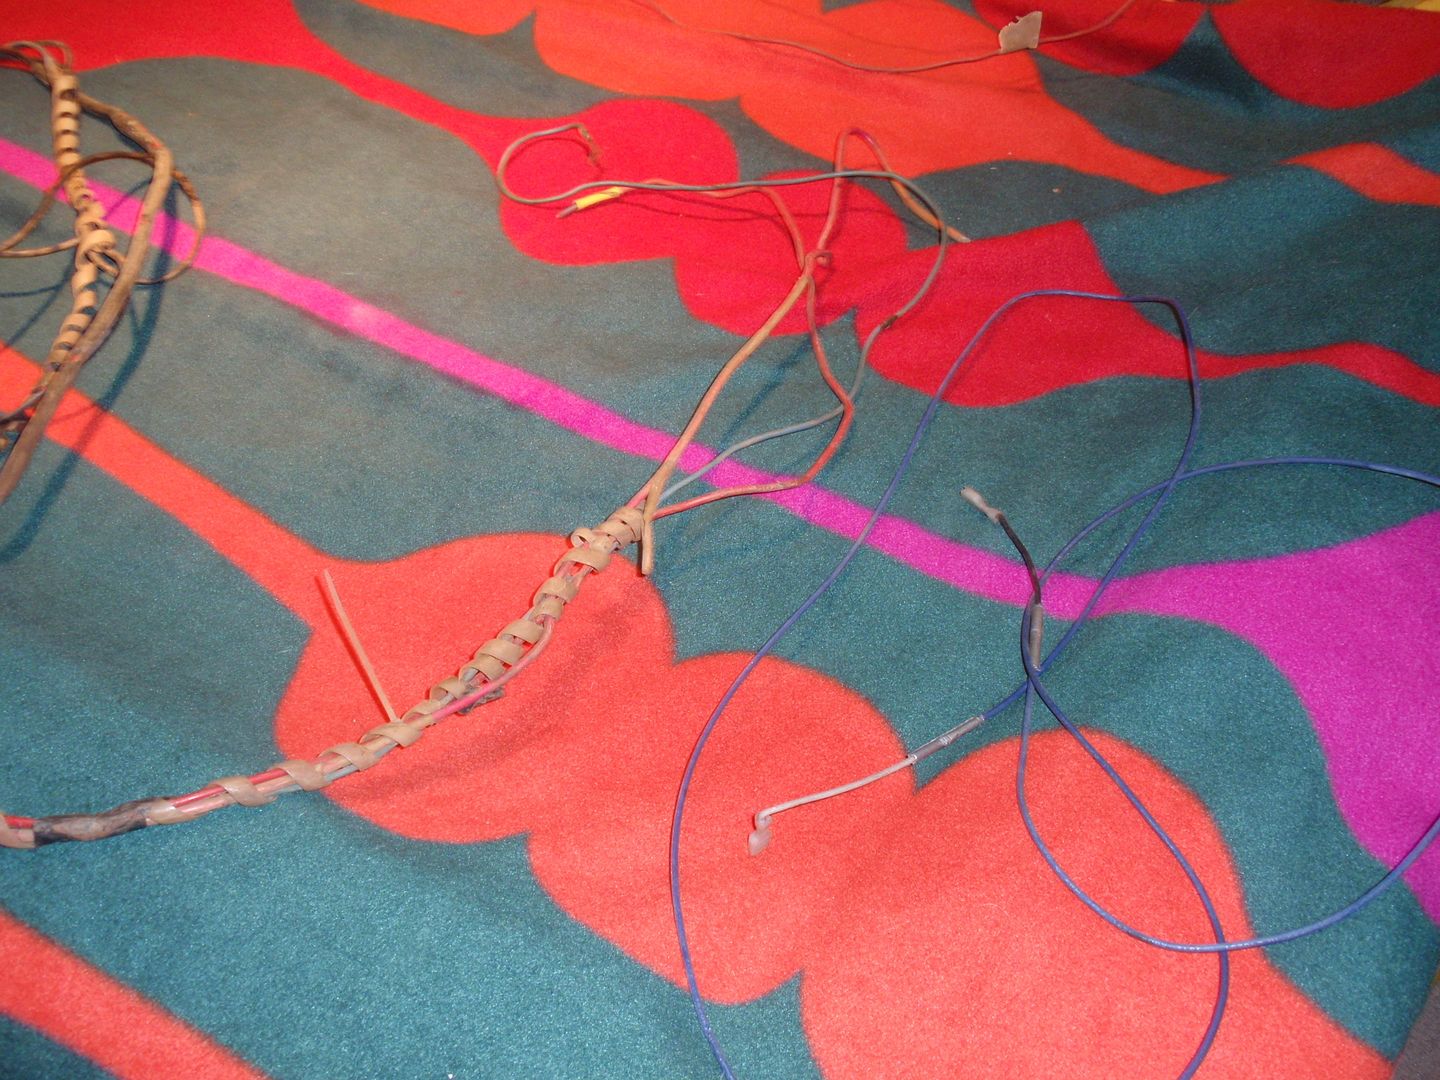
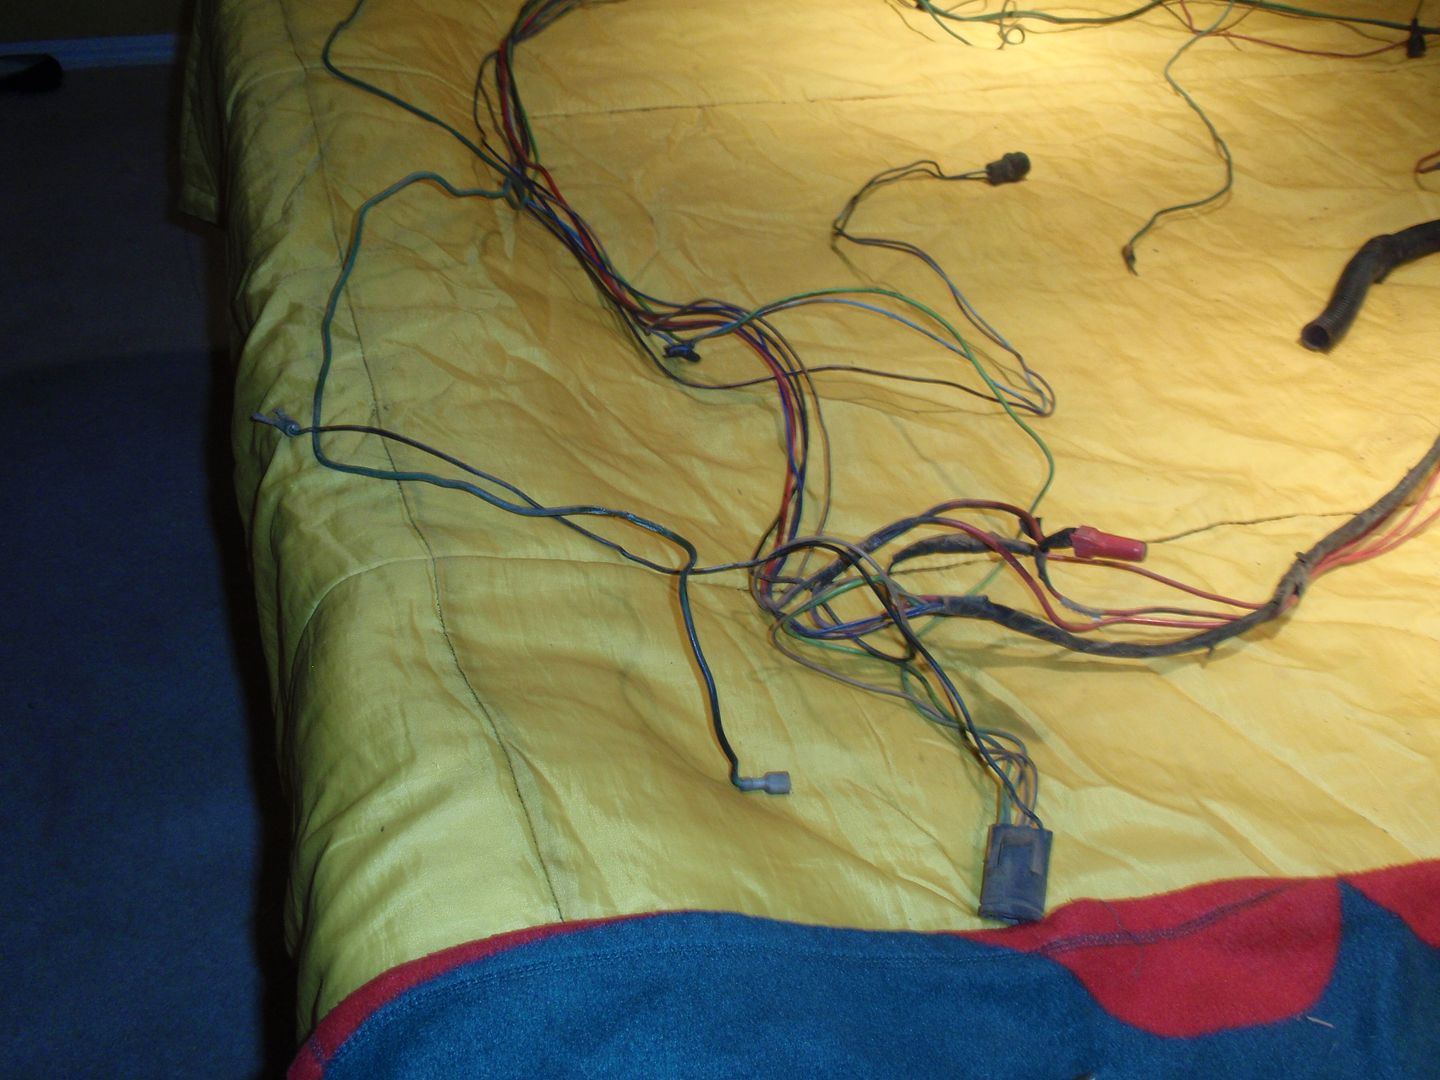
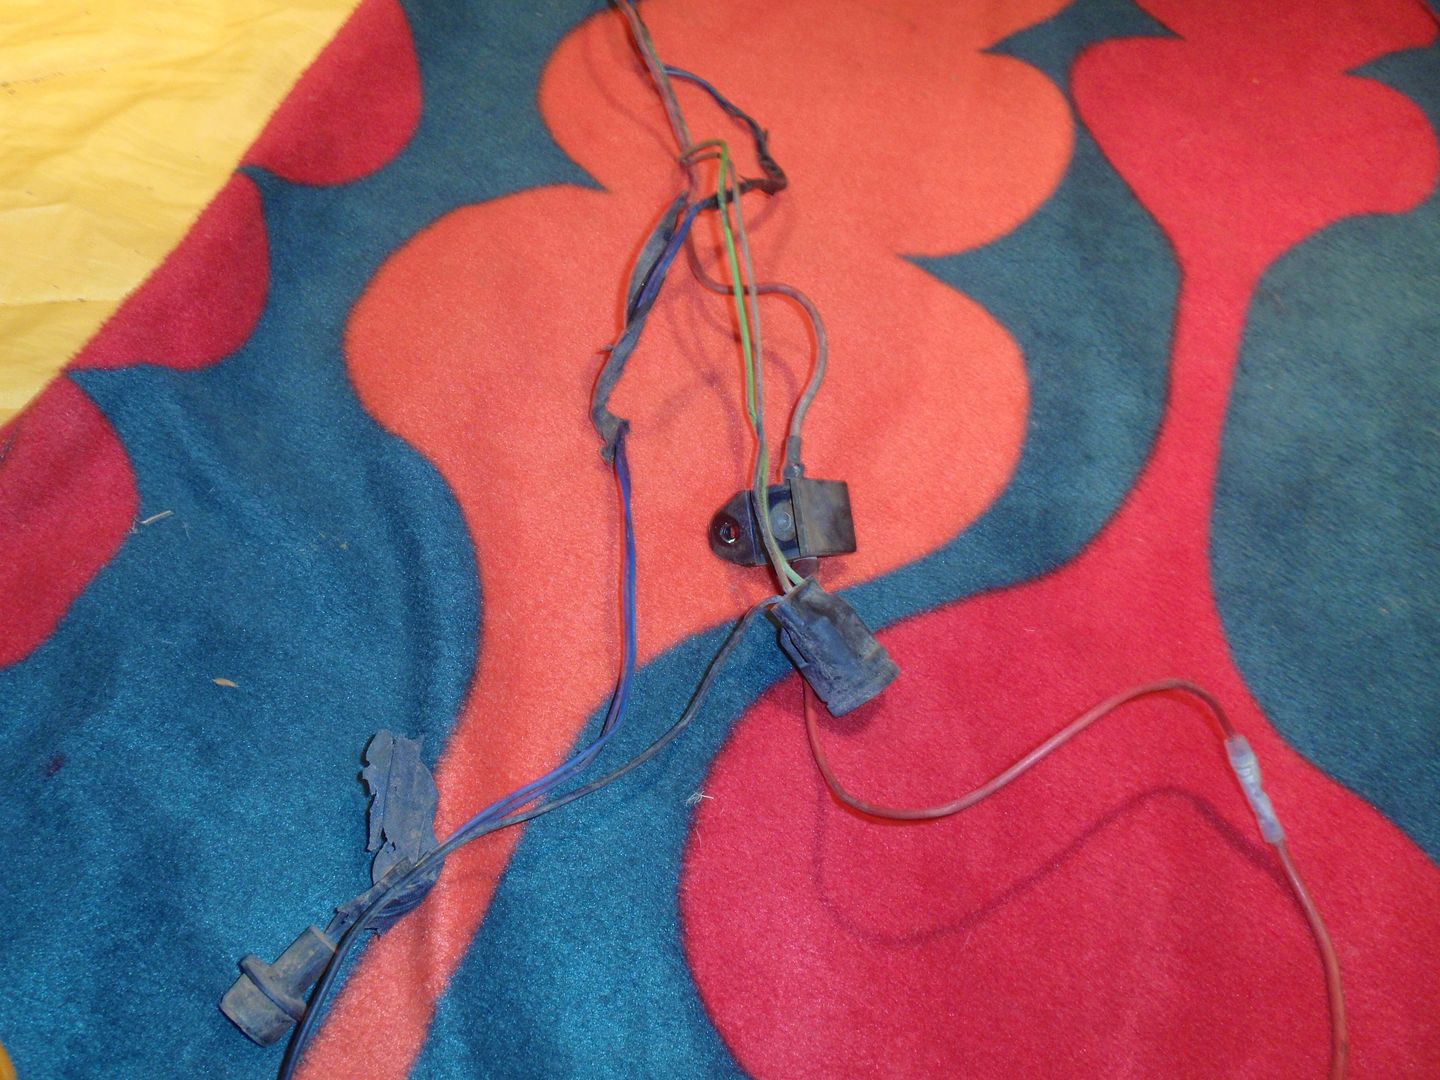
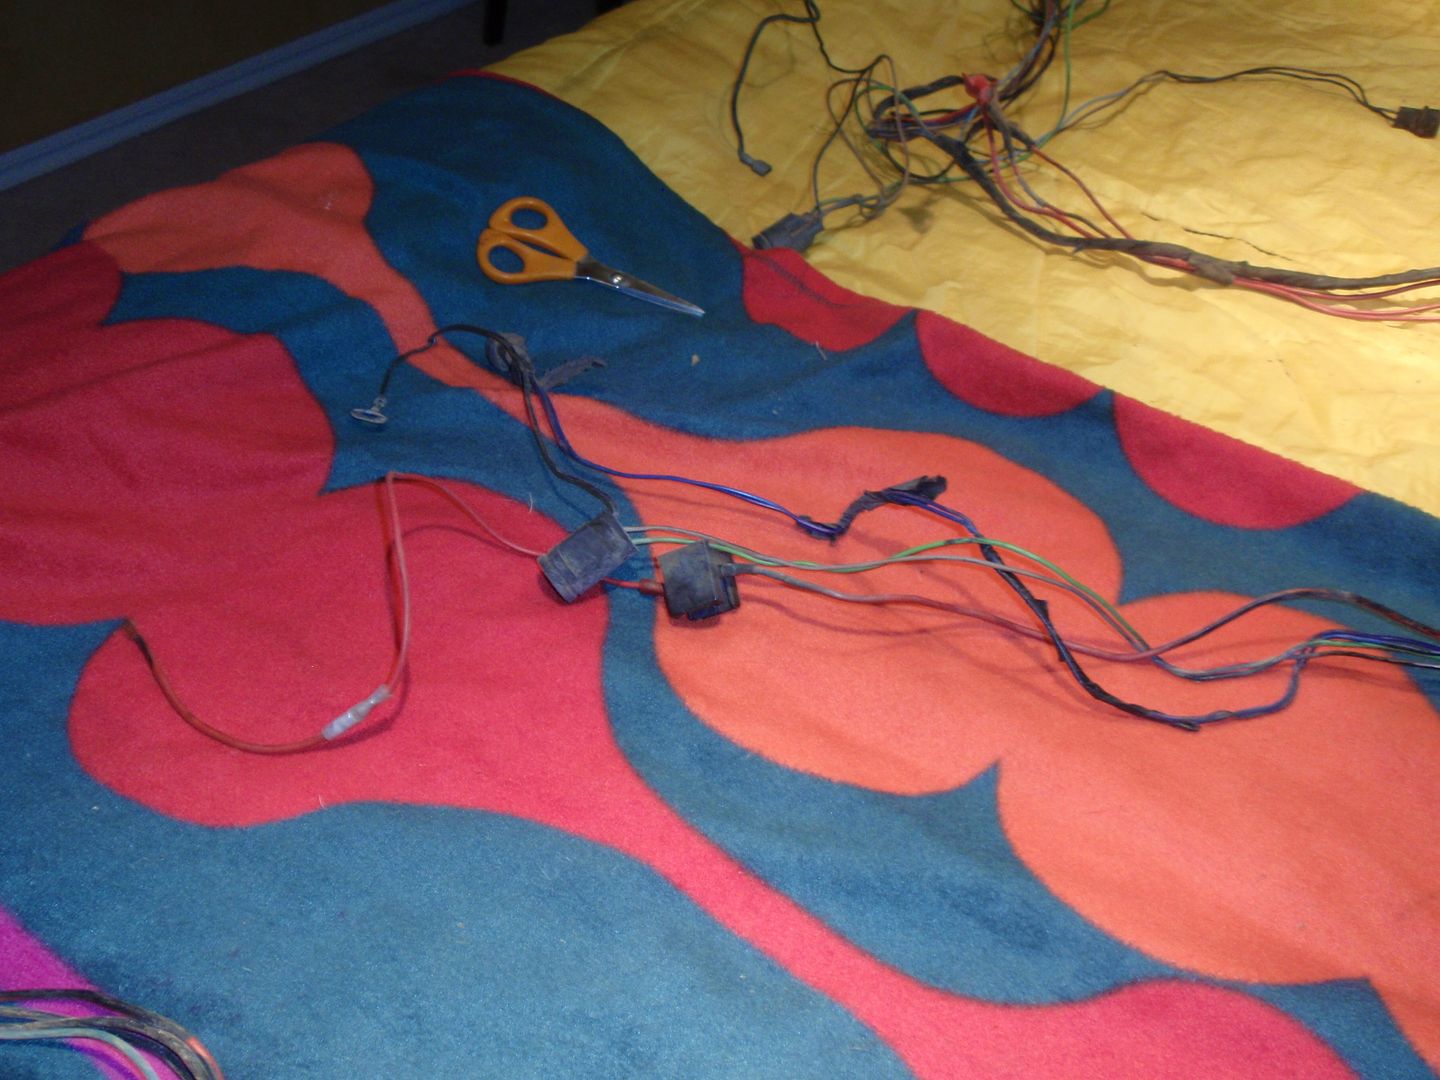
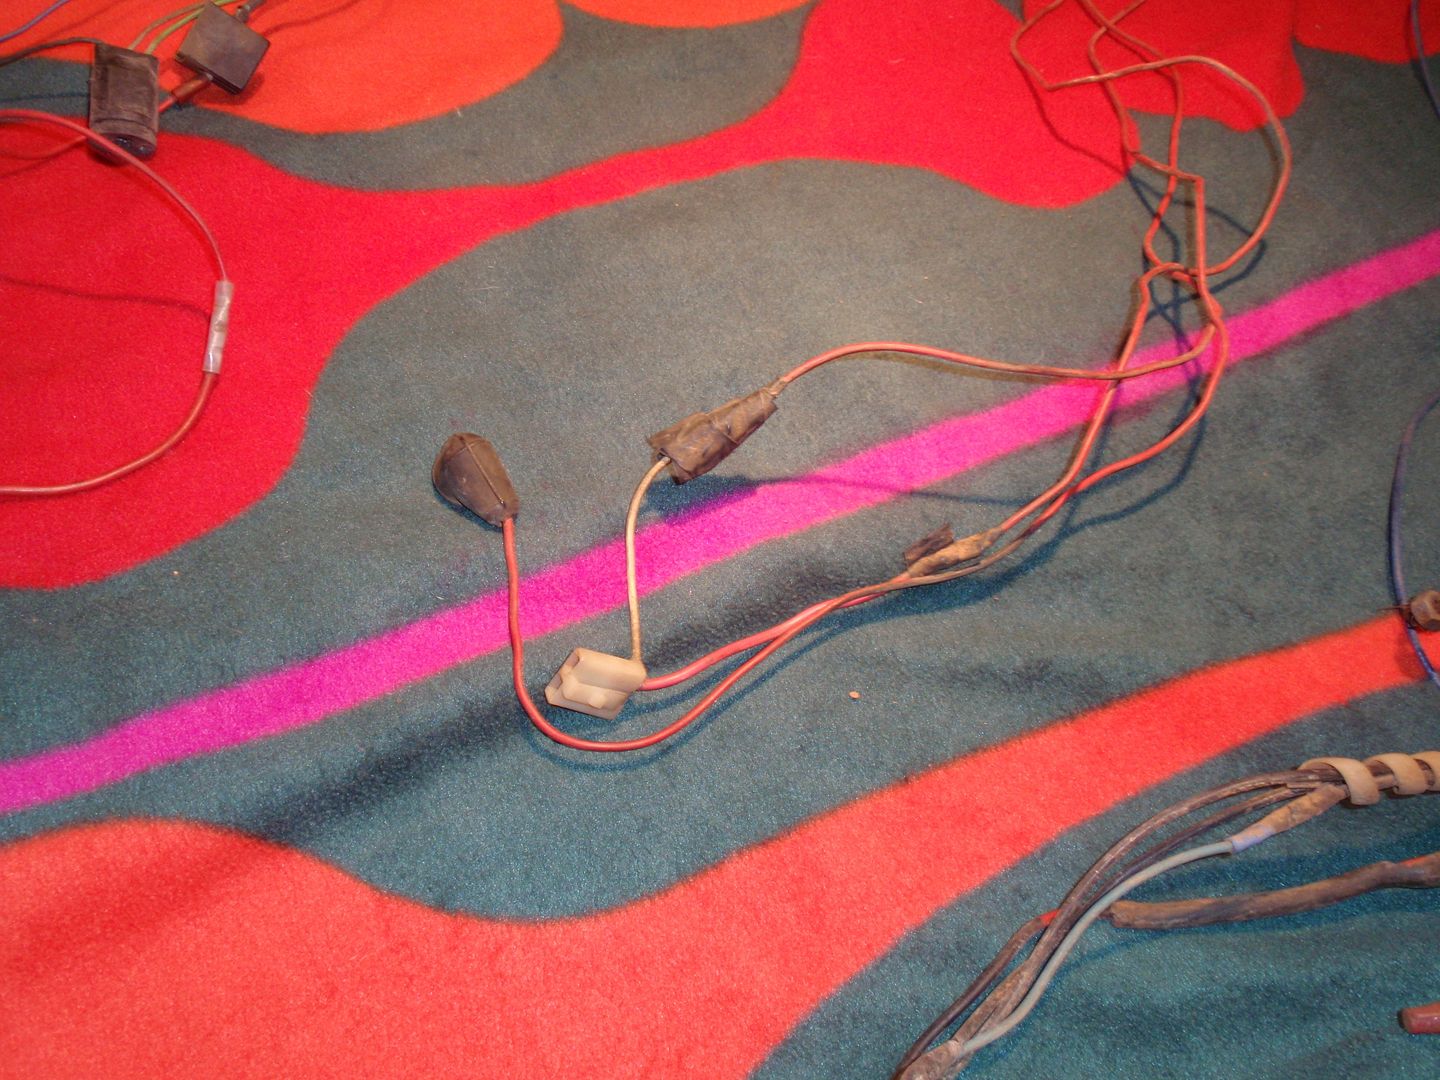
Last night I started on the wiring harness for the truck. Some wires need to be removed, some need to added, and some need to be repaired.
__________________
Mark ----------------------- Crash's 69 4x4 SWB Crash's Roof over Lake Home Crash's 1988 Land Cruiser Build |
|
|

|
|
|
#121 |
|
Registered User
Join Date: Nov 2011
Location: Edmond, OK.
Posts: 1,362
|
Re: Crash's 72 K10
Tuesday I received the x-member from Pacific Fabrication. This was needed due to the 5.3L not fitting into my factory x-member. The x-member arrived at my house in perfect condition. All the pieces were wrapped in corrugated cardboard. The x-member appeared to be powder coated with a very nice black finish. All the bolts were high quality grade 8 bolts. The welds looked very nice and the clam shell motor mounts look like a high end piece.
     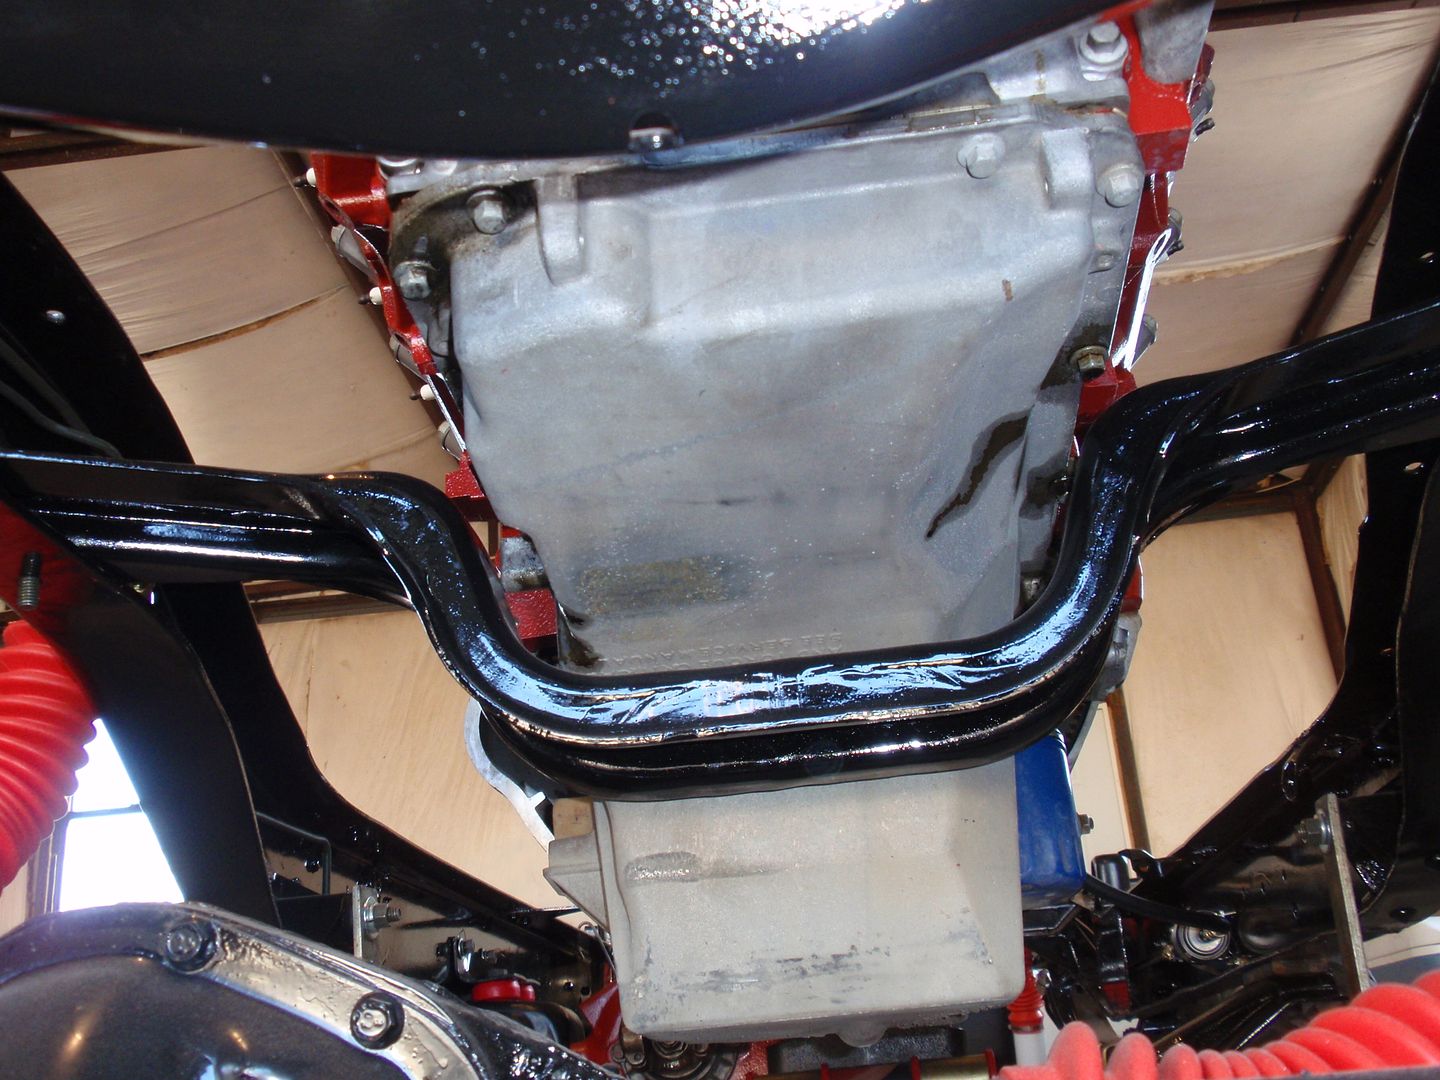 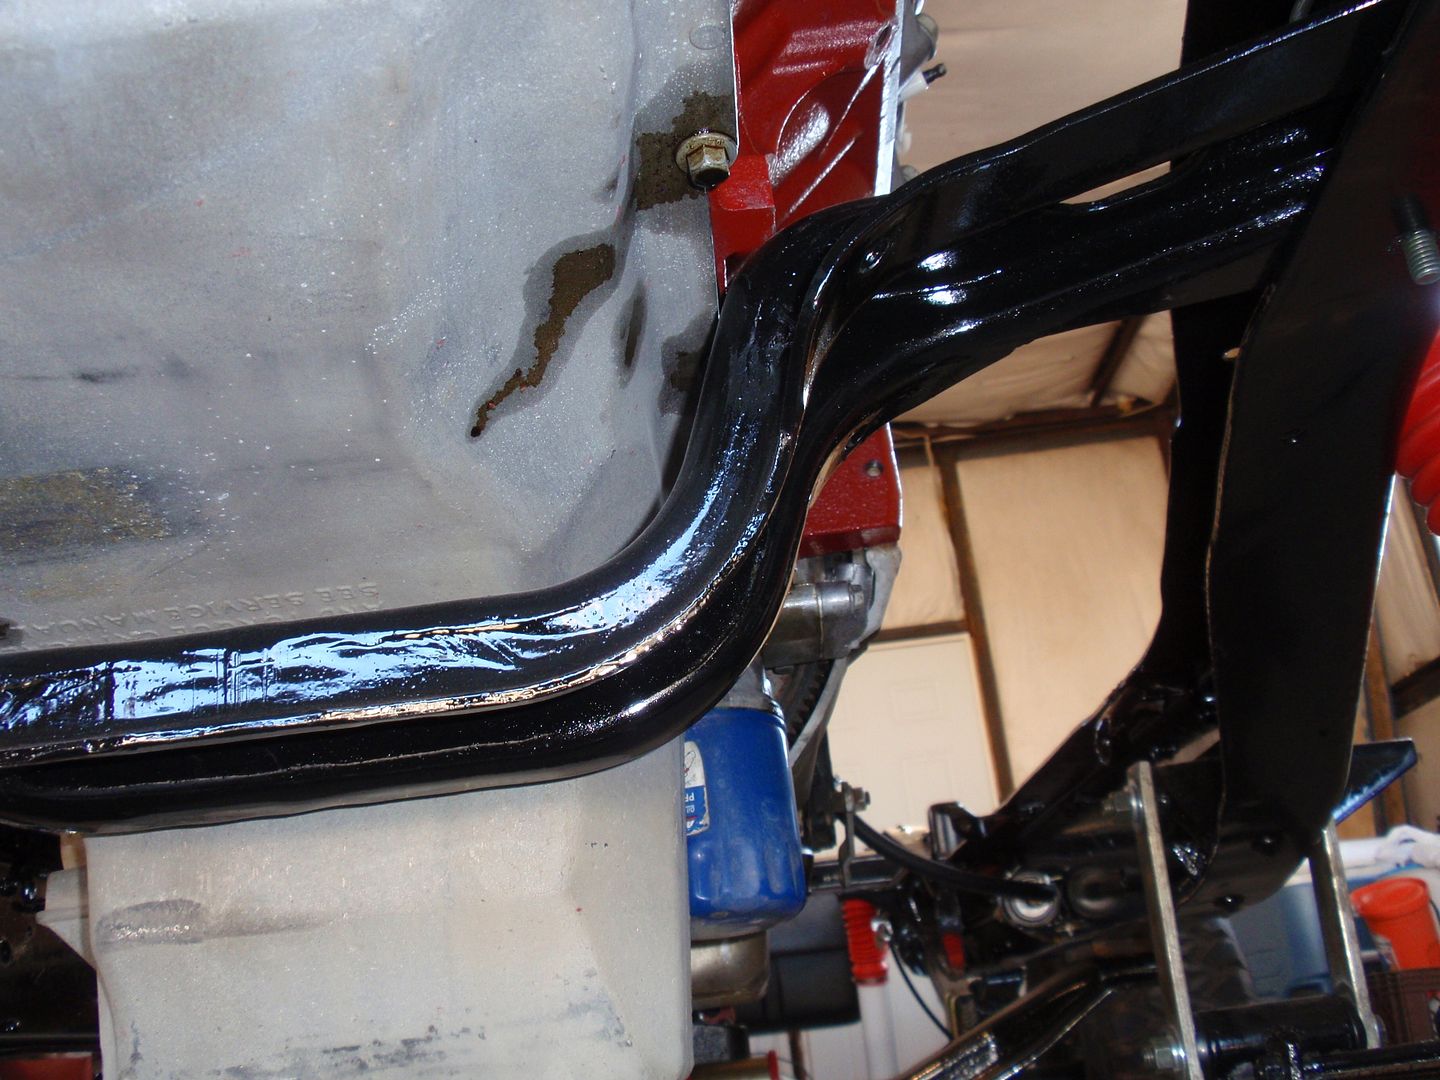 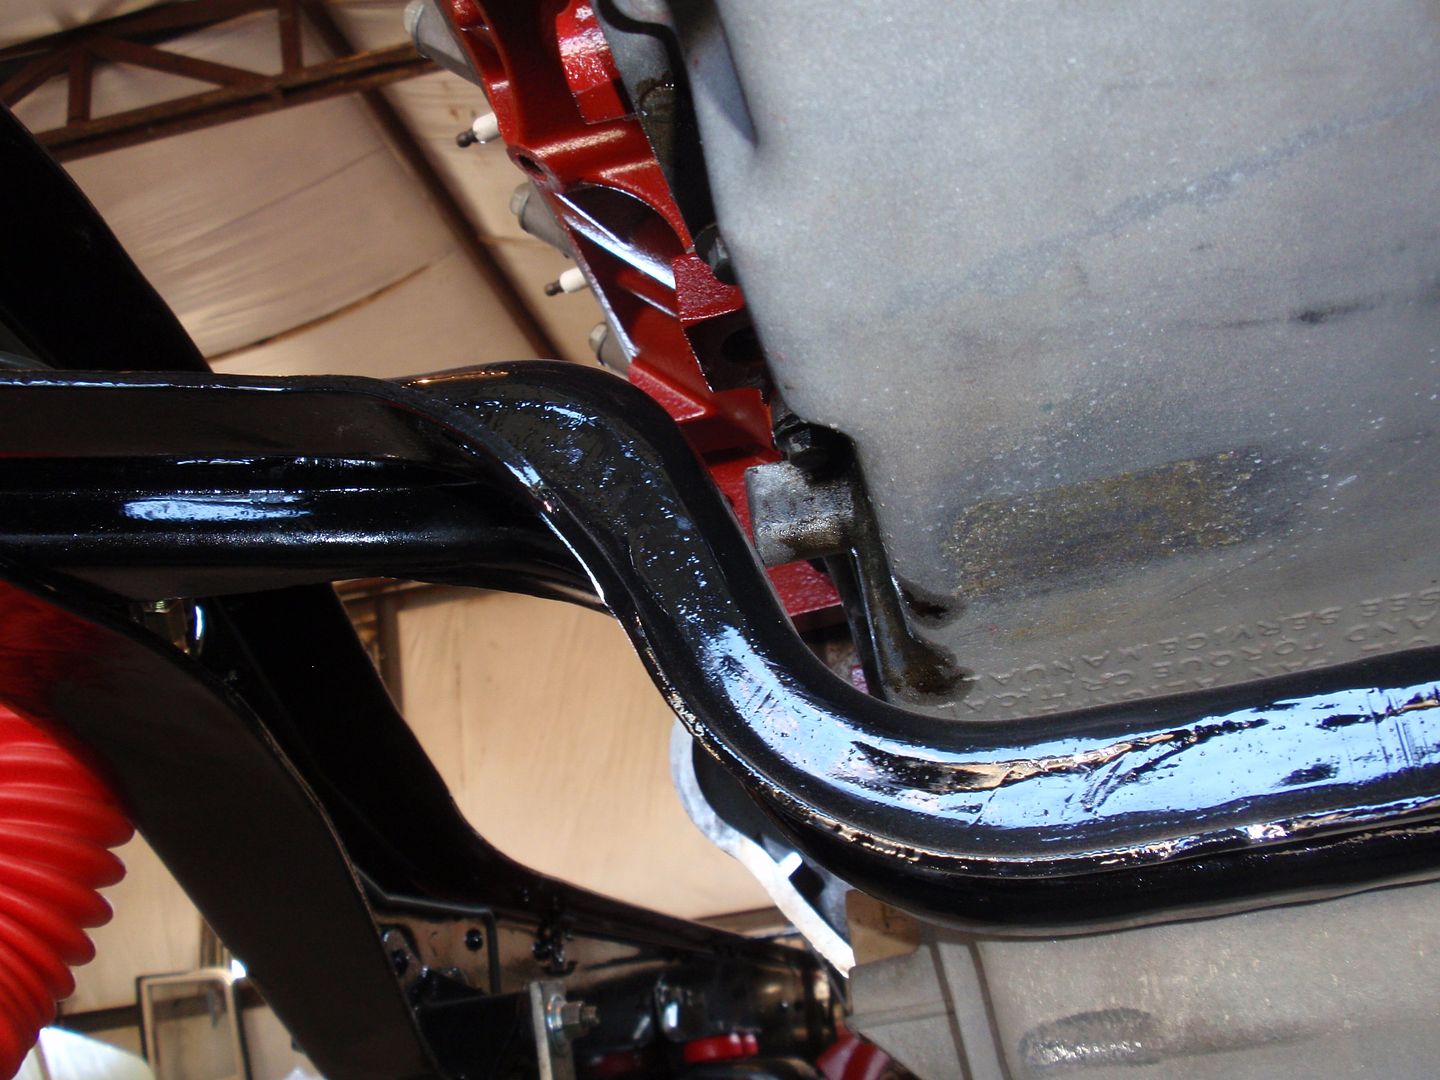 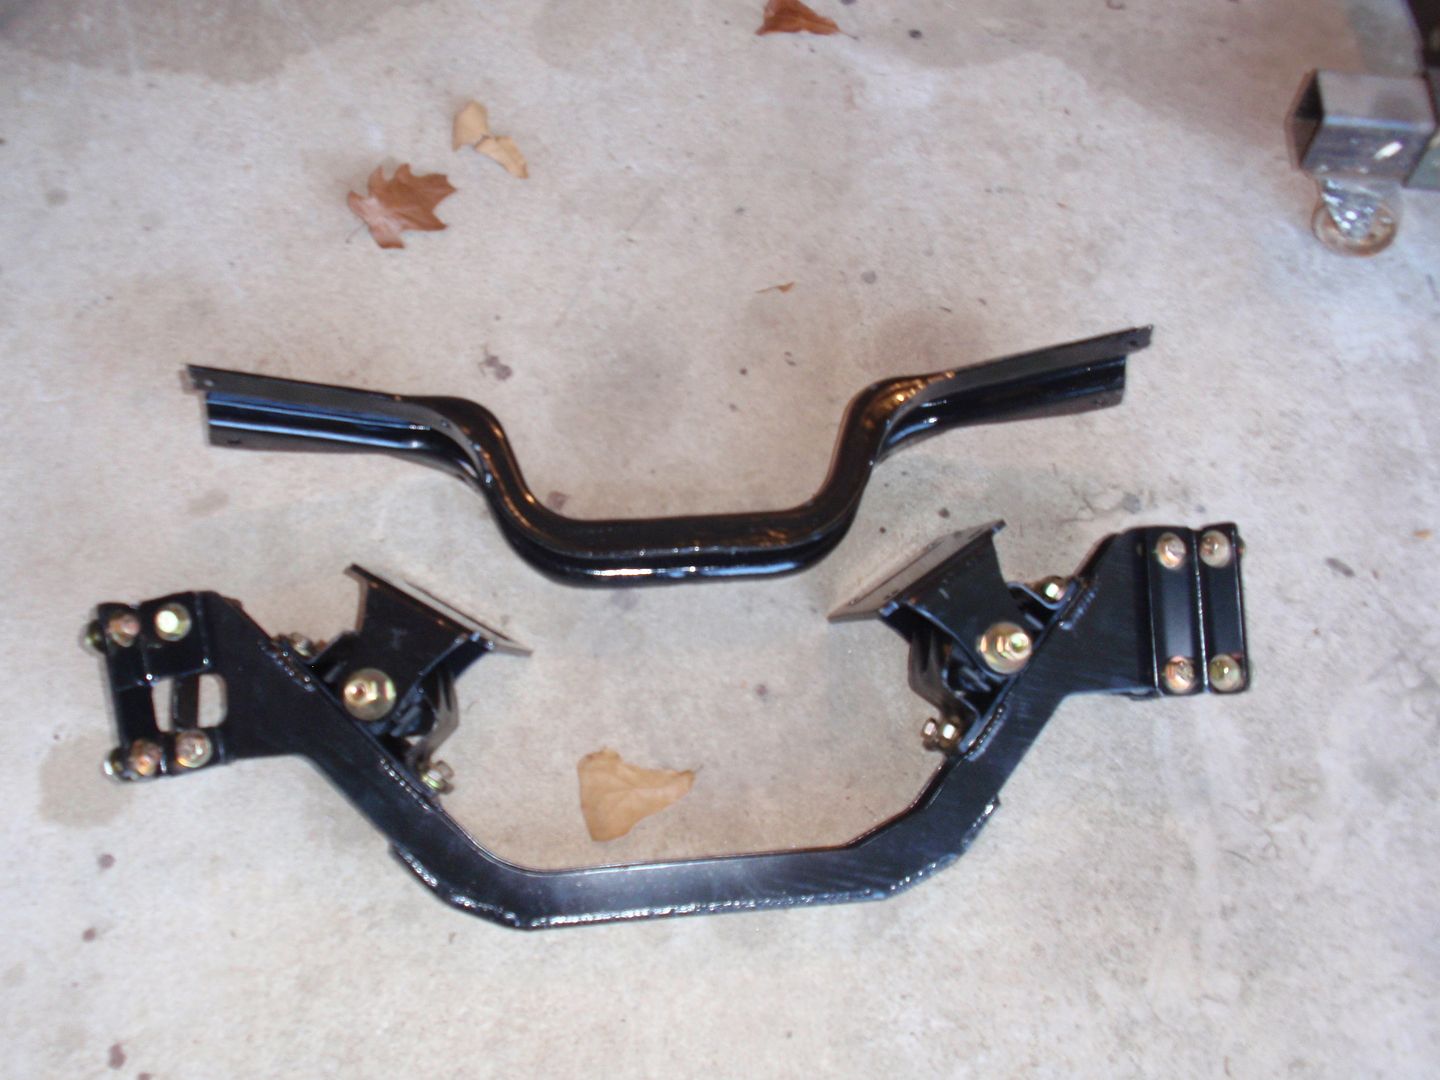 Installation – Installation is straight forward. Position the x-member into proper position, drill holes, and mount.. Obviously, there is more to it than that. The installation sheet states that the x-member is designed to be mounted with the motor out of the way. Basically, you remove the factory x-member, and then install the new Pacific Fabrication x-member. Mock the engine into place to determine the proper location for the x-member. After the position has been determined remove the engine, mark the location for the x-member to frame bolts, and then drill the 8 holes required to mount the x-member. Bolt the x-member to the frame and you are ready to swing the engine into place. I decided not to follow that course. I installed the x-member with the engine in place and supported with a cherry picker. This made the installation difficult, but it is still very doable. I did run into some issue with my install due to my use of a 4L60e instead of the factory TH350. This required my engine to be moved forward 1.875 inches. Moving the engine forward allowed me to leave the transfer case in the stock location. This in turn allows me to use the stock drive shafts with no modification. Moving the engine forward caused me to have to make a couple of modifications to the install. On a normal install the front of the x-member would slide right up to the rivets holding the front bump stops in place. In my case I had to remove the bump stops to get the x-member in the correct position (1.875” forward of stock). This would have been a 5 minute job with the engine out of the way, it took me a little longer.. maybe 20 minutes. The second modification was drilling the mounting holes from the outside of the frame instead of the inside. I needed to do some measuring and marking to transfer the bolt locations to the outside of the frame. Another issue that really turned into a non-issue is that the frame narrows as you move forward in the x-member area. This makes the x-member fit a little tighter than normal (due to moving the engine forward). It really wasn’t a big issue after the rivets to the bump stops were removed. Other items to note.. The x-member is notched on the passenger side for brake lines and fuel line. I went ahead and removed my brake lines to easy the installation, I believe it could be done without removing the lines. Below are some pictures of the x-member and installation. 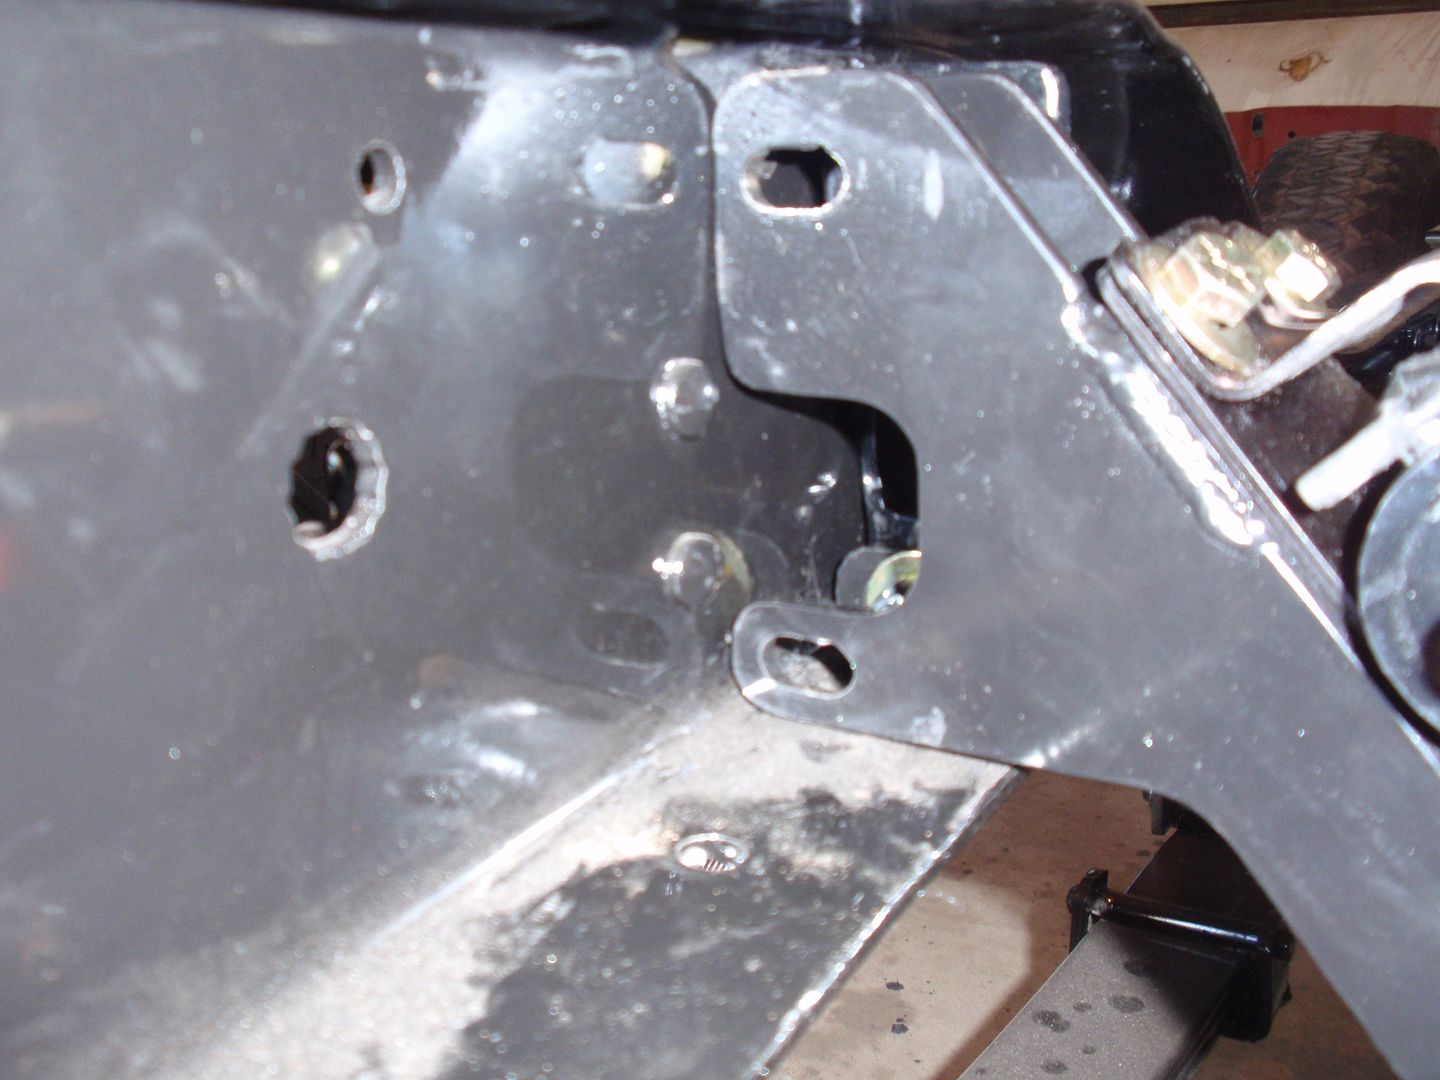 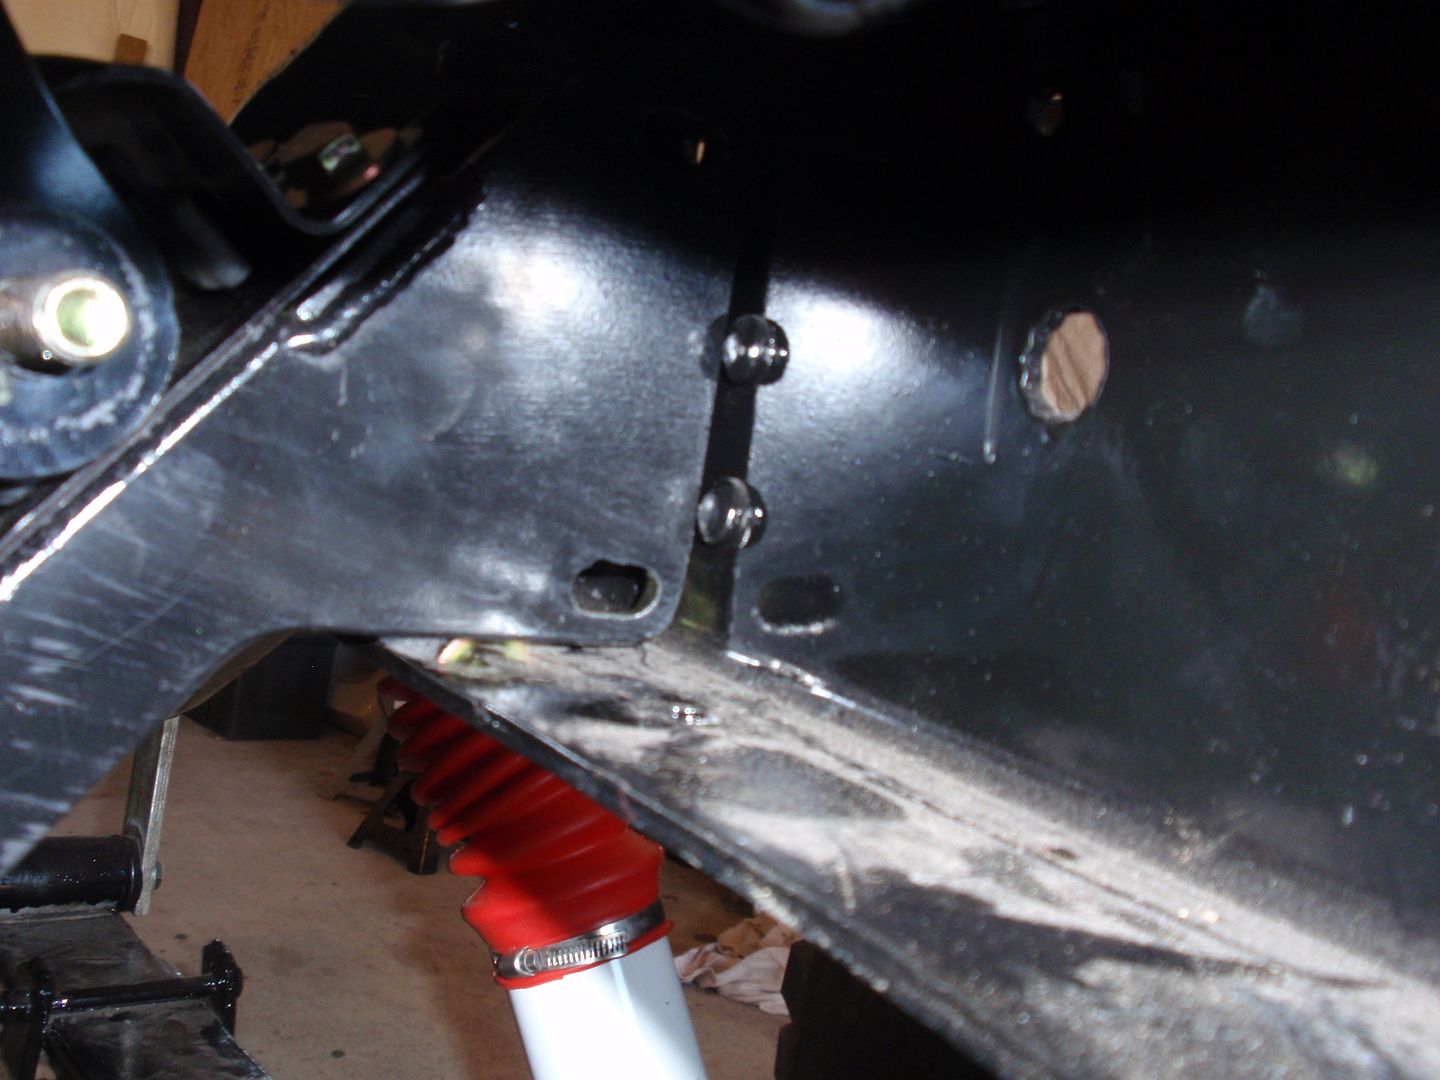 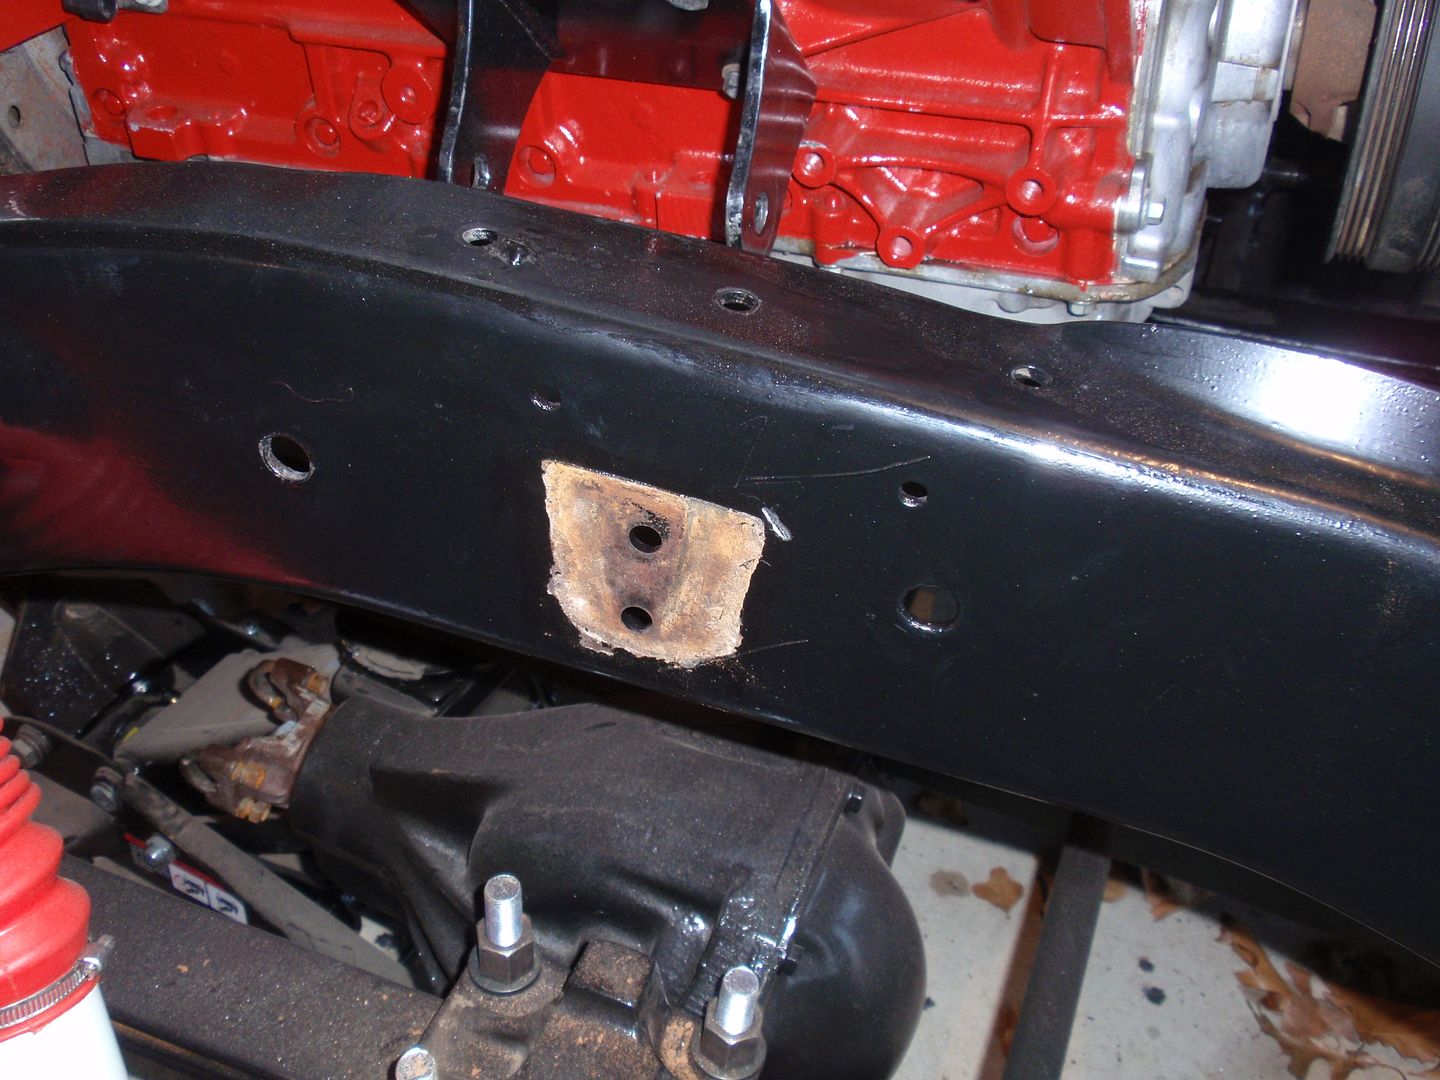 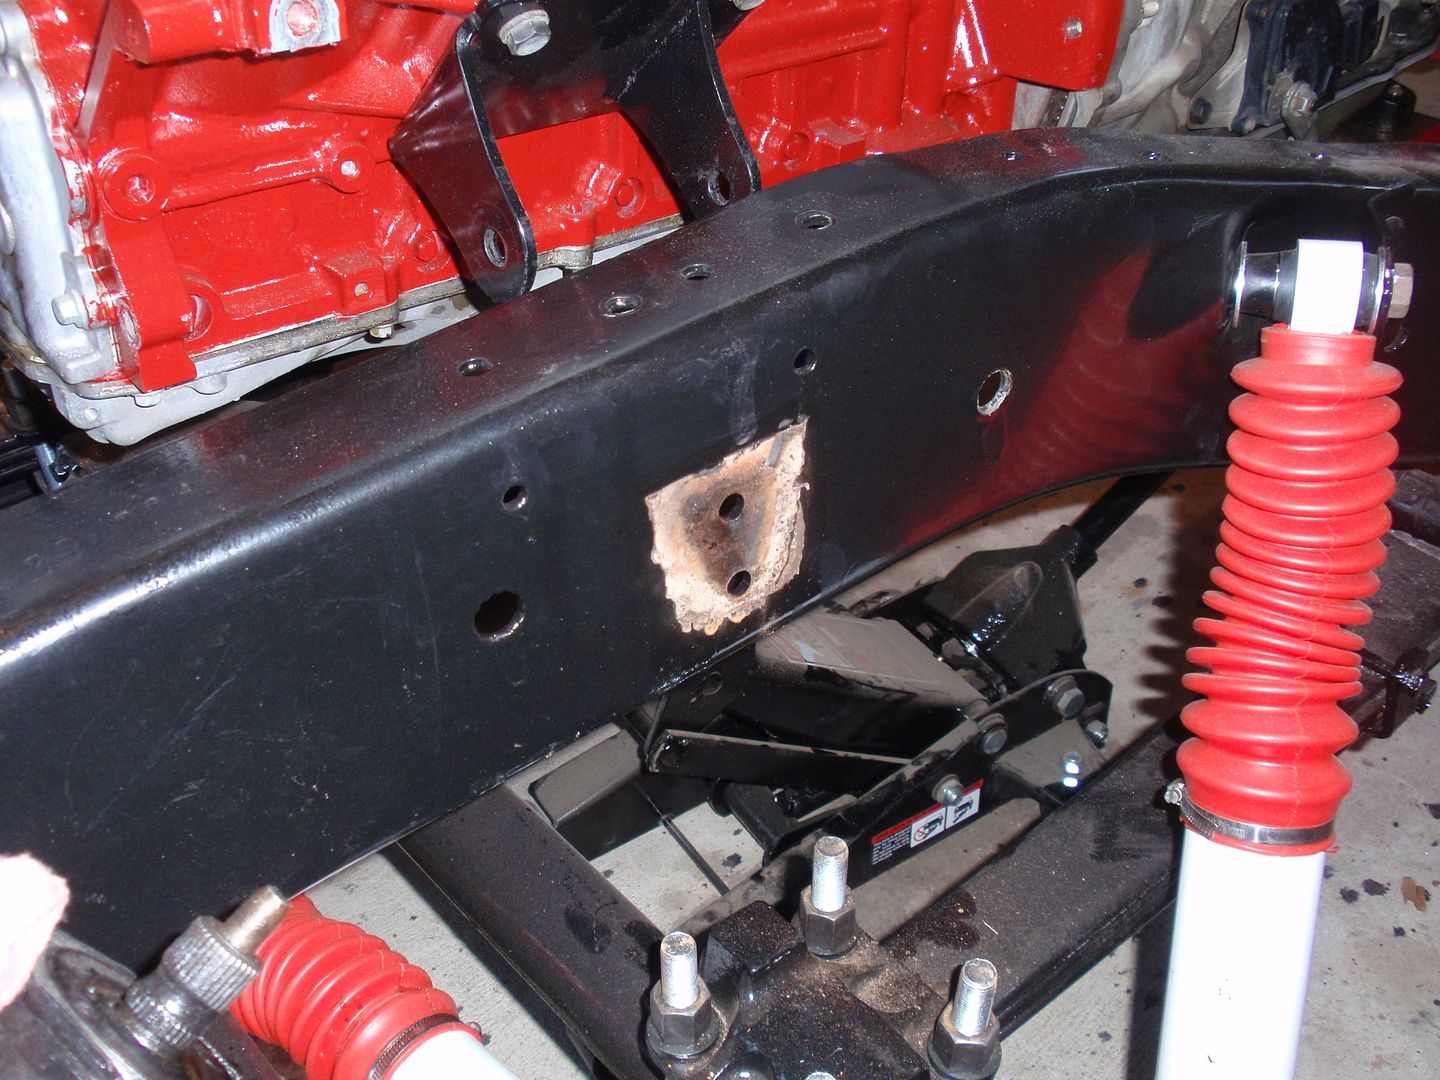 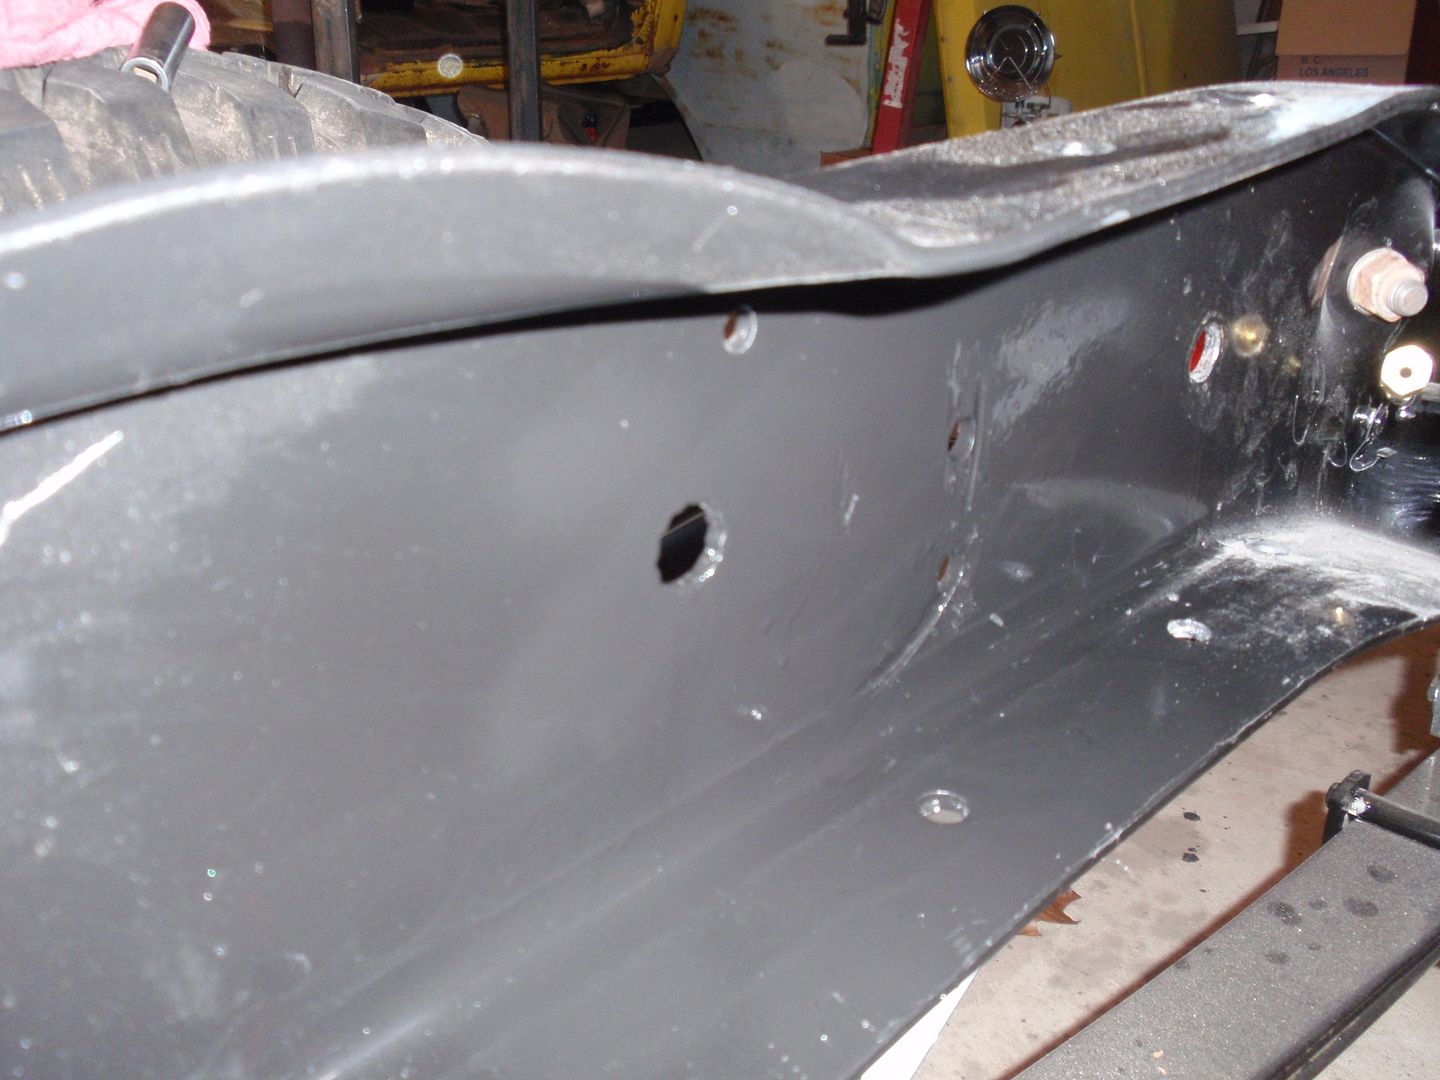 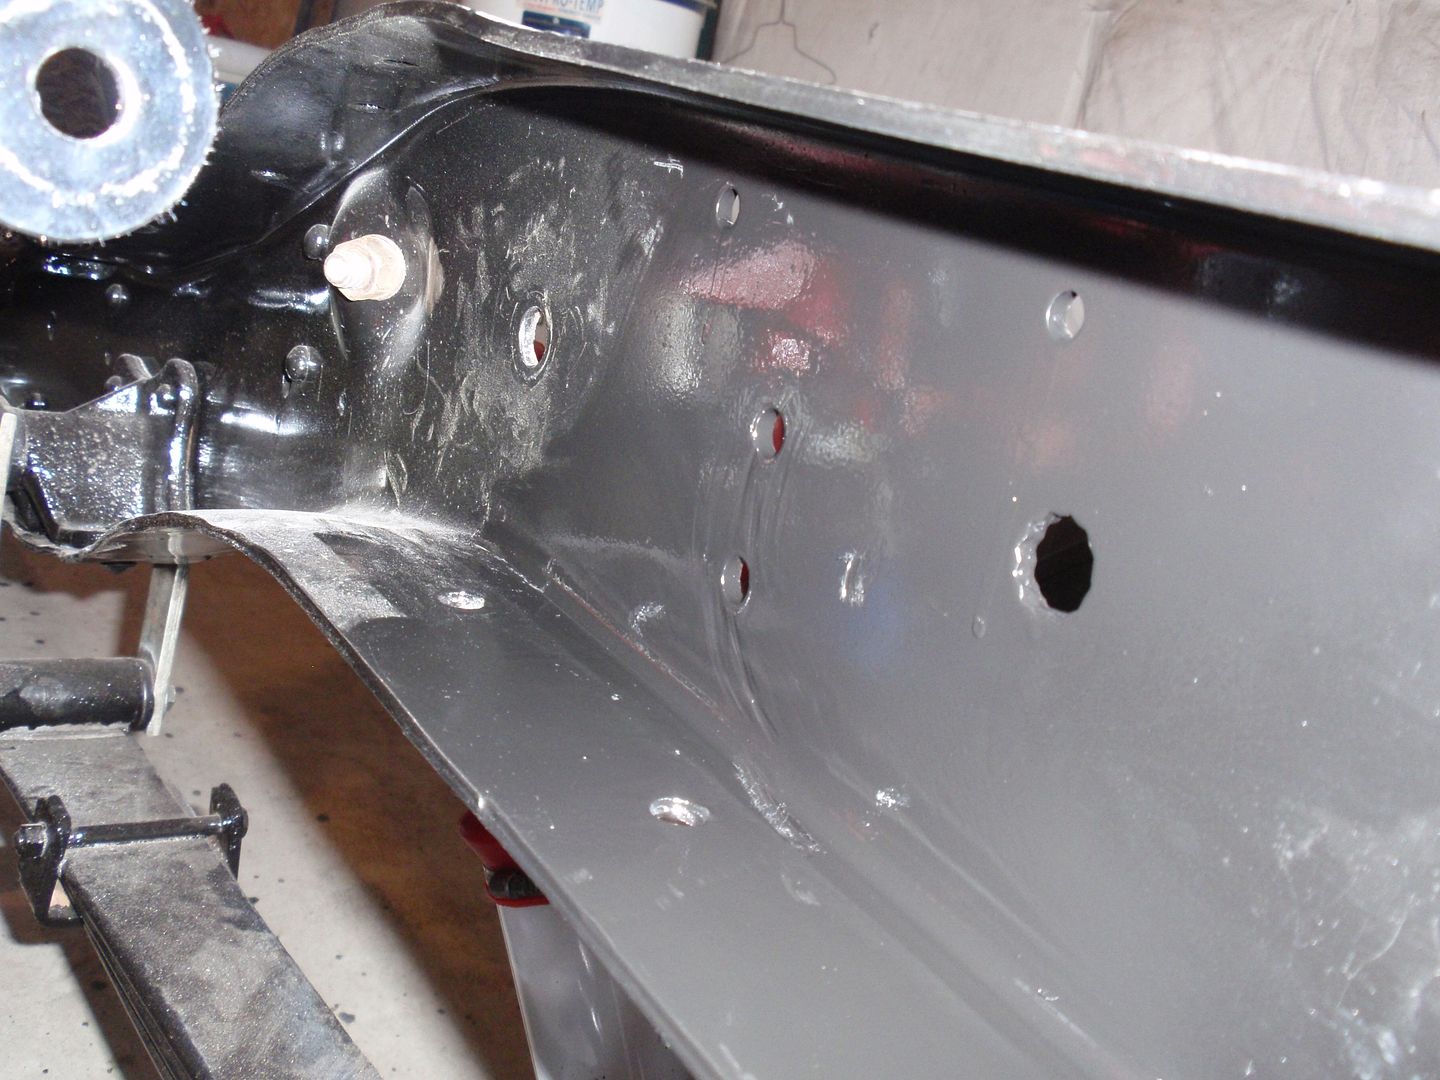 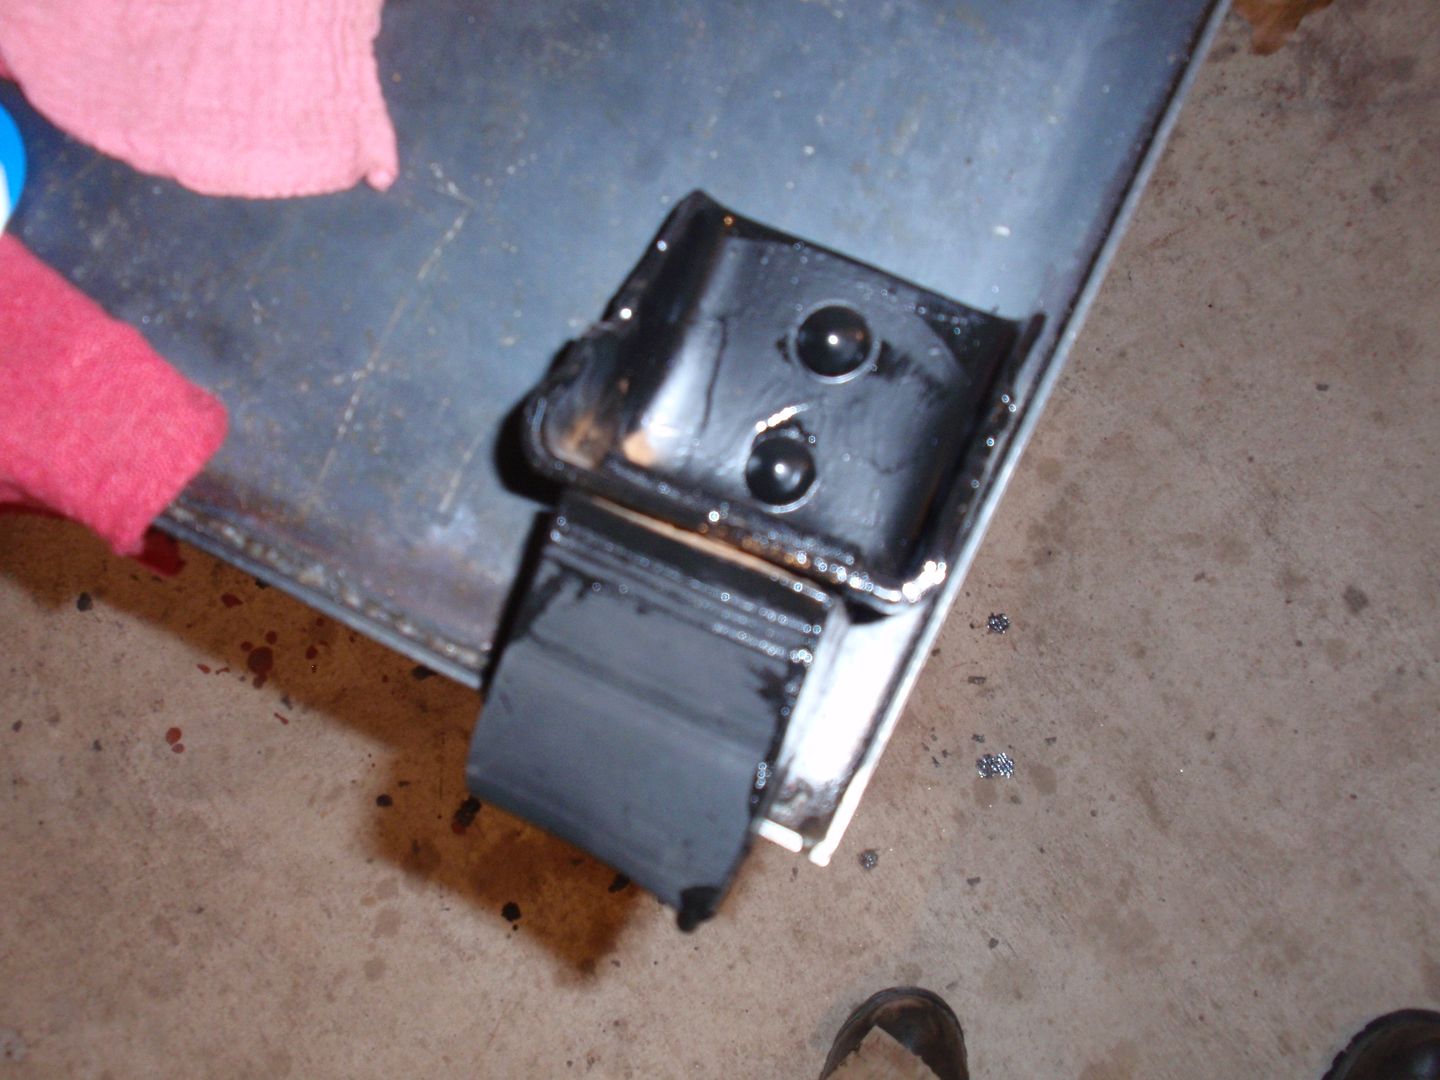 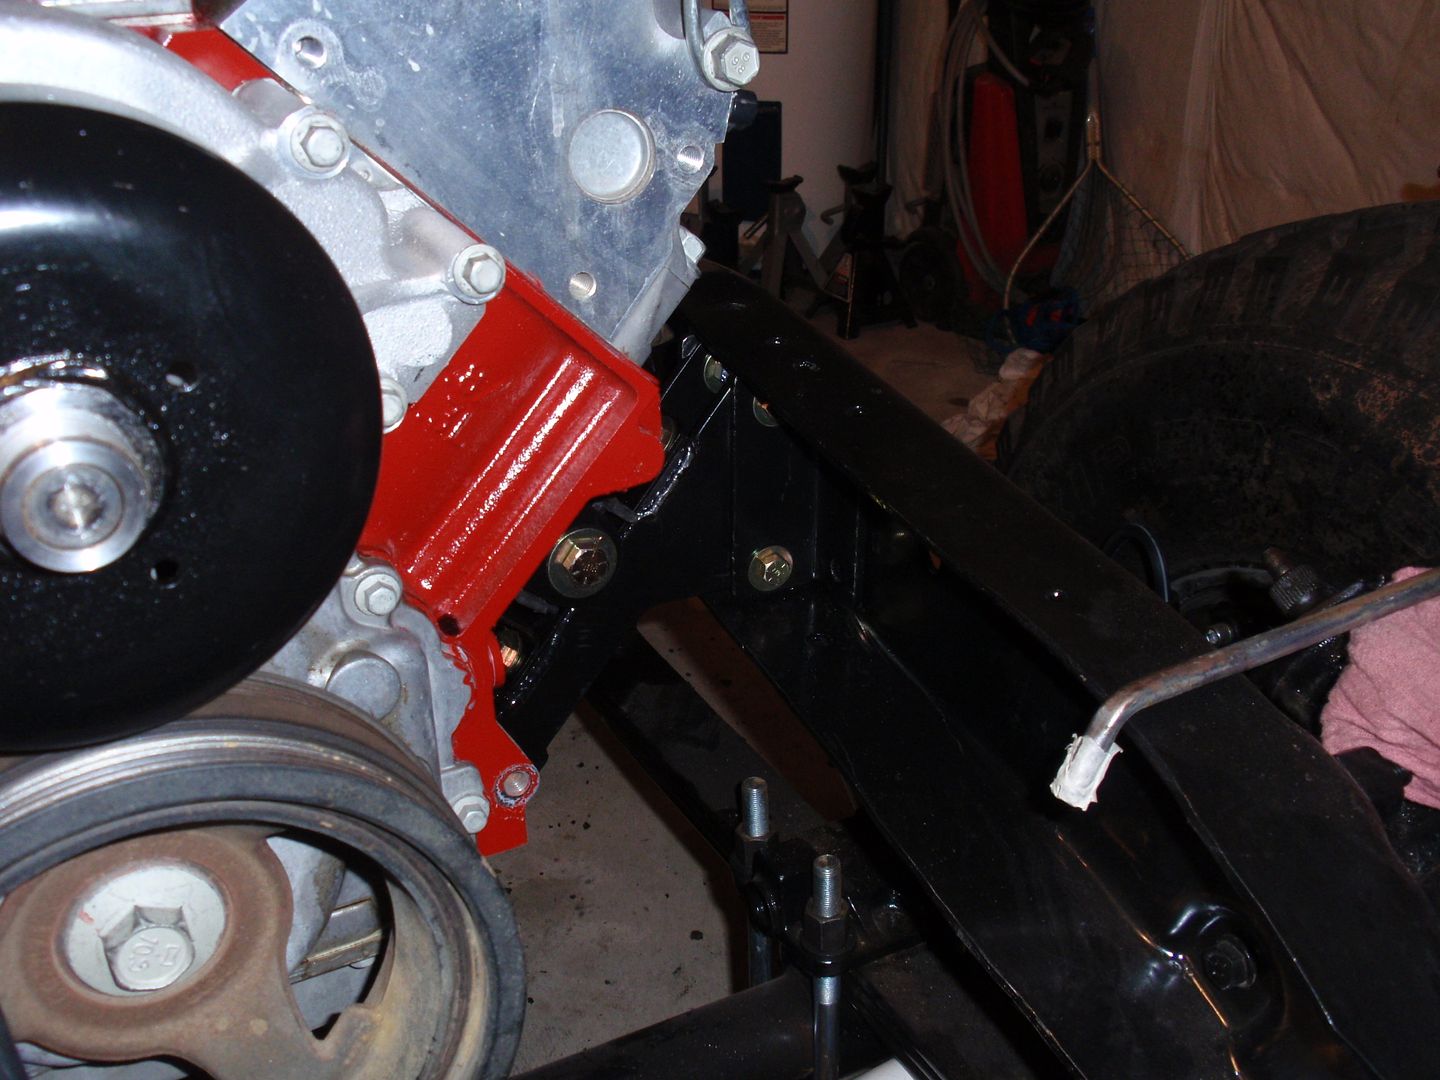 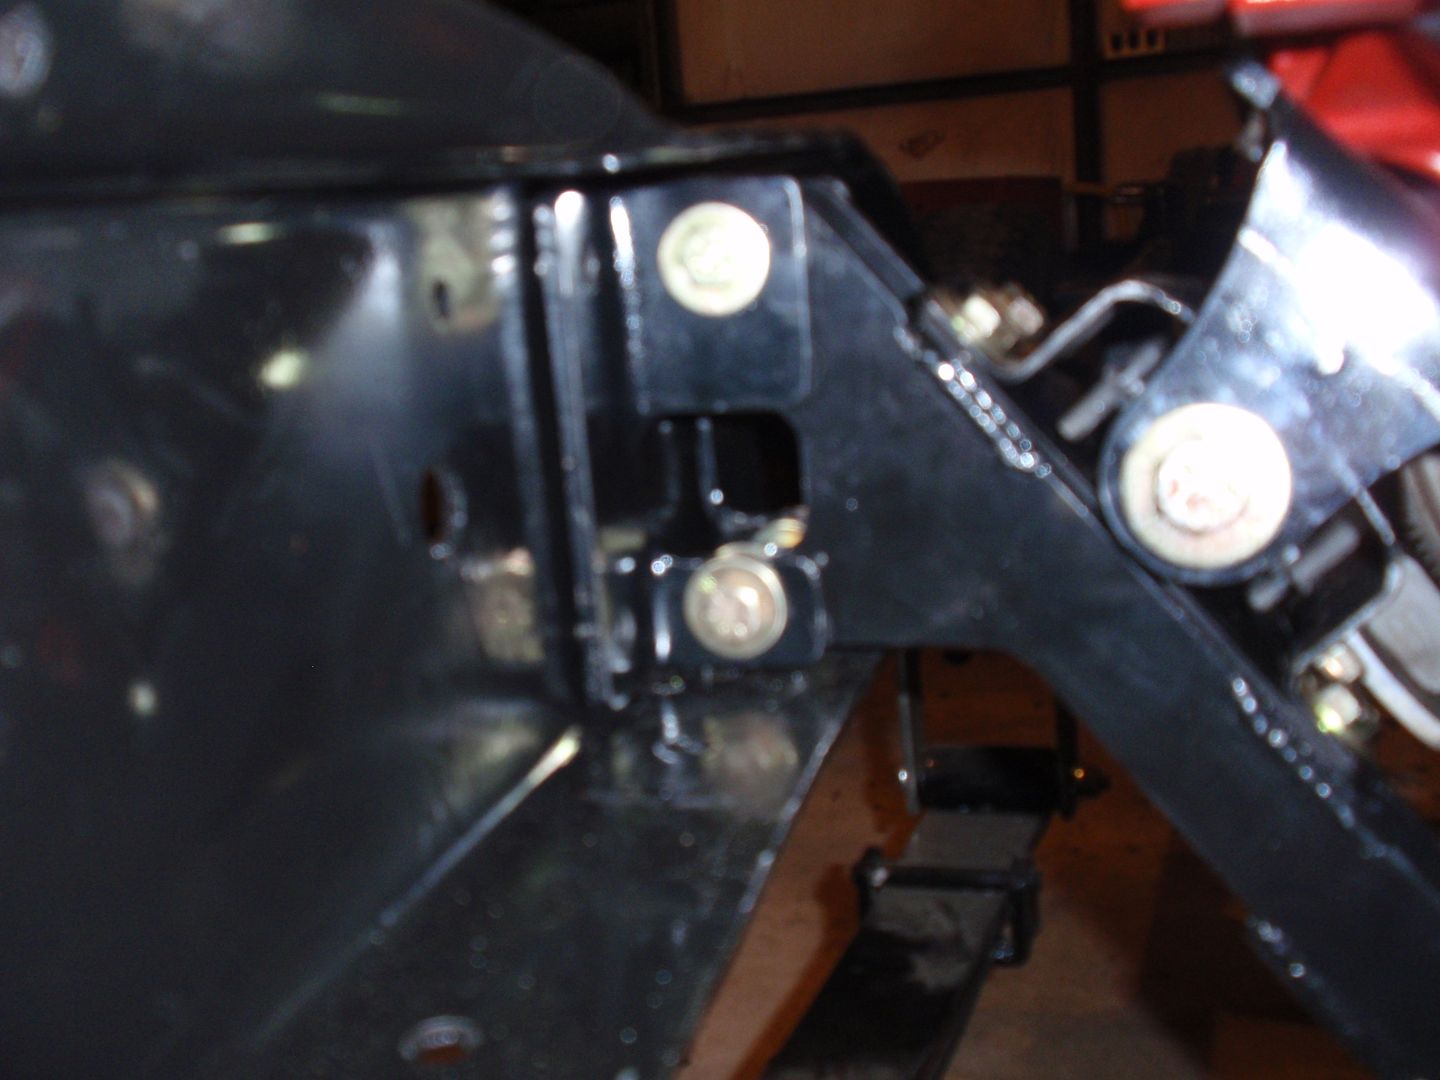 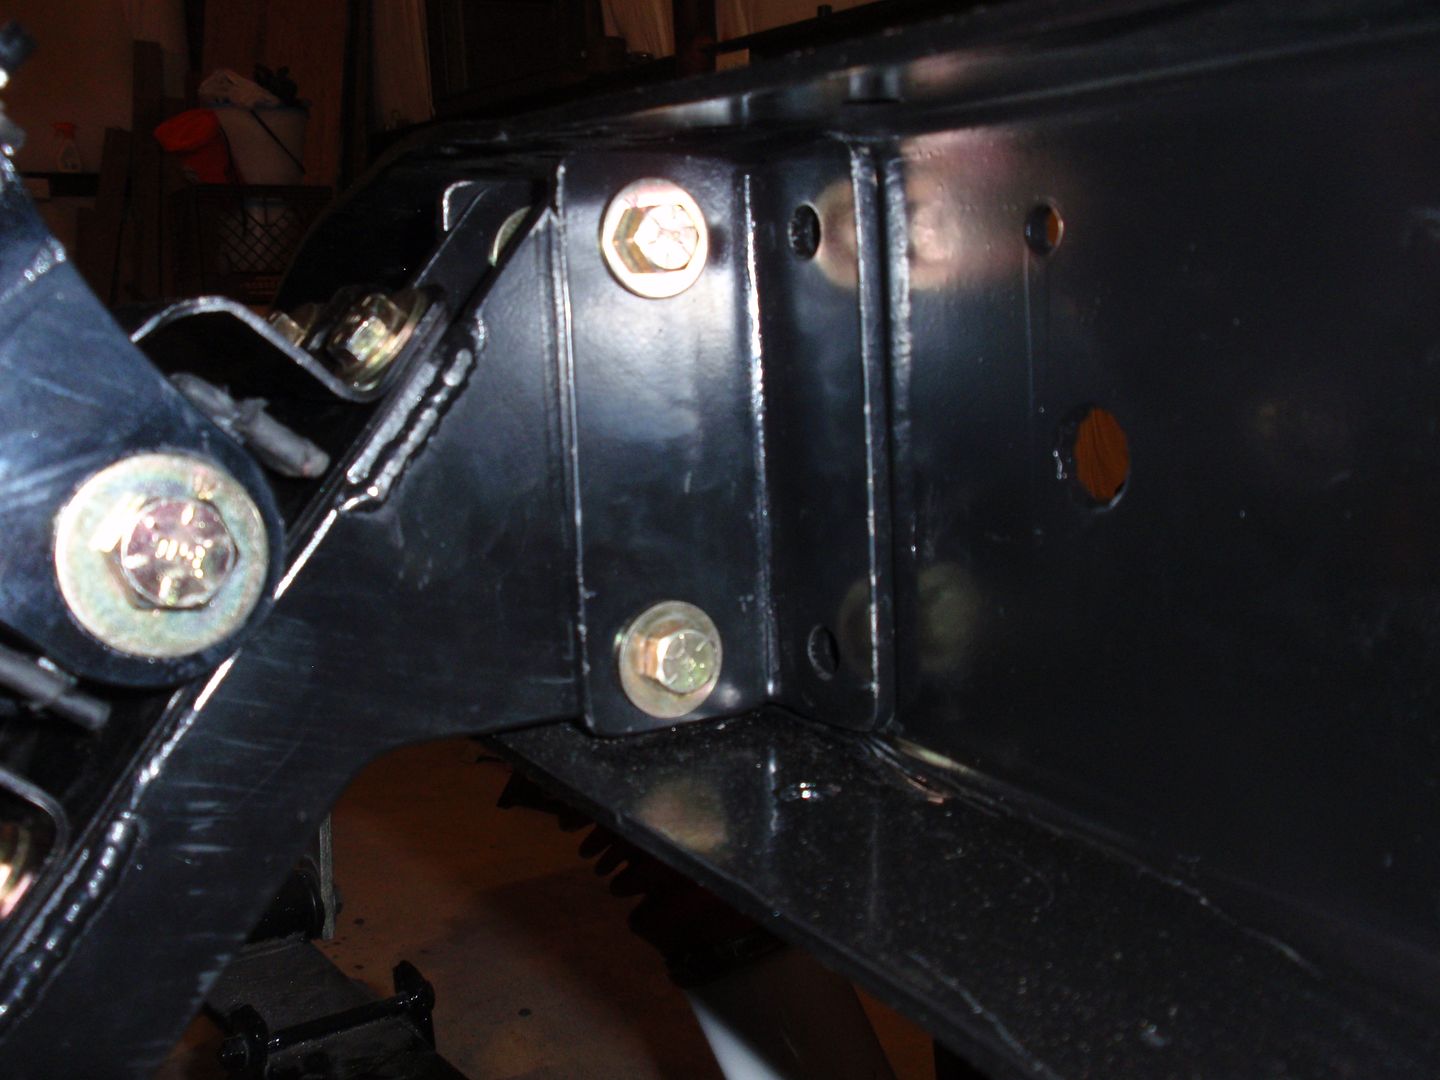 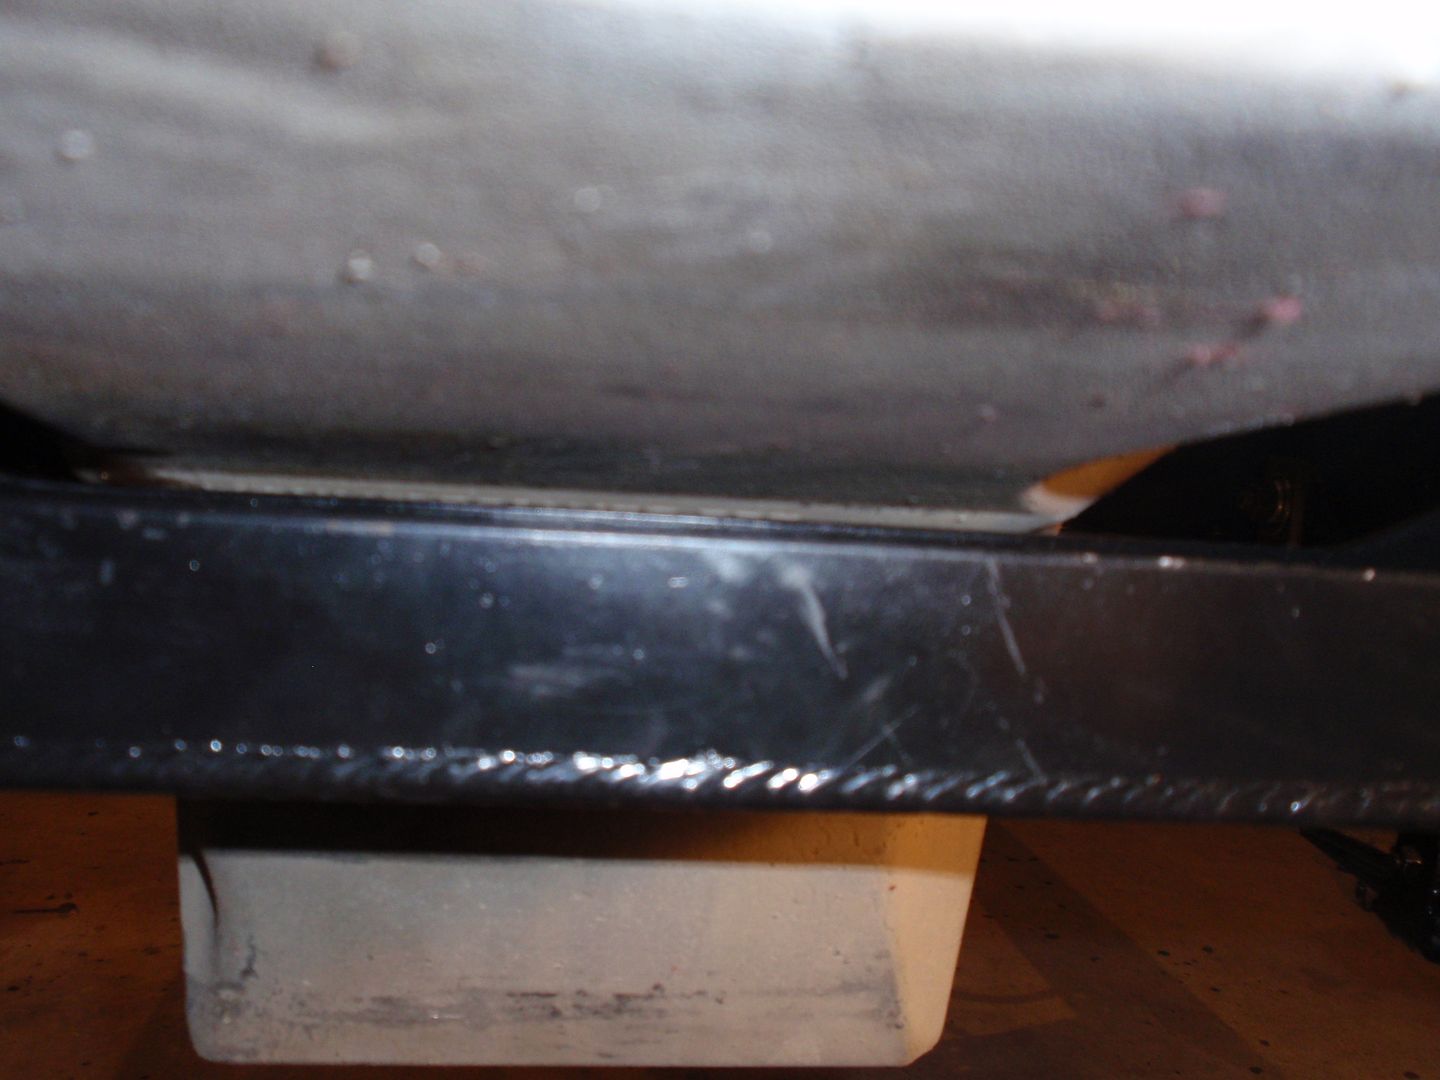 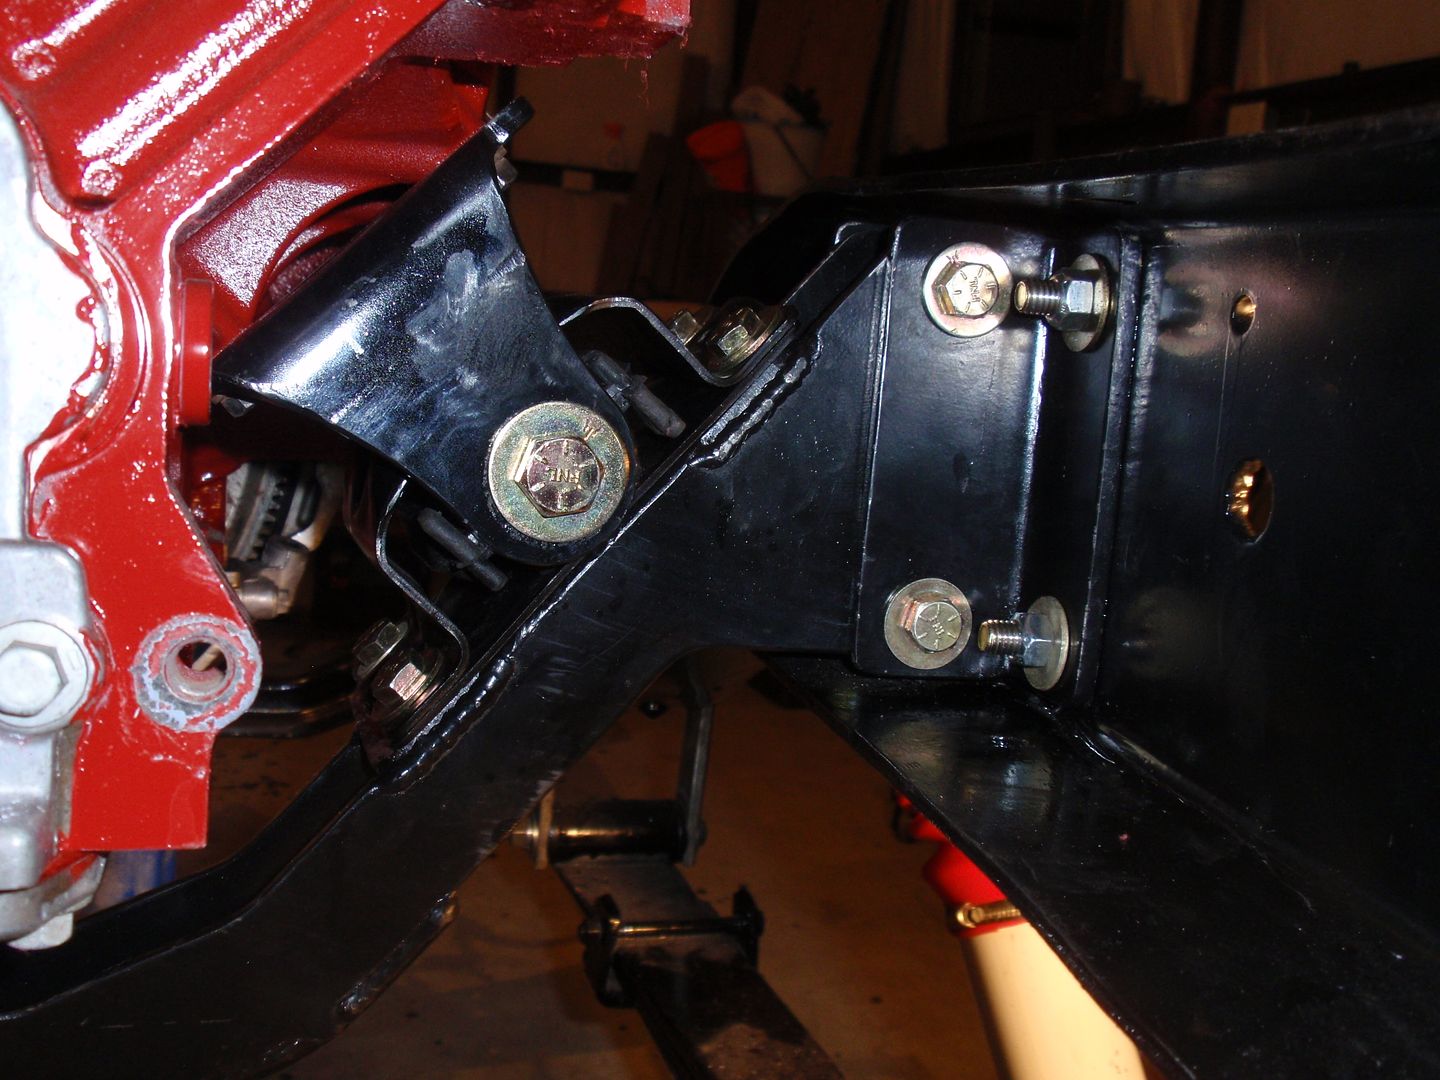 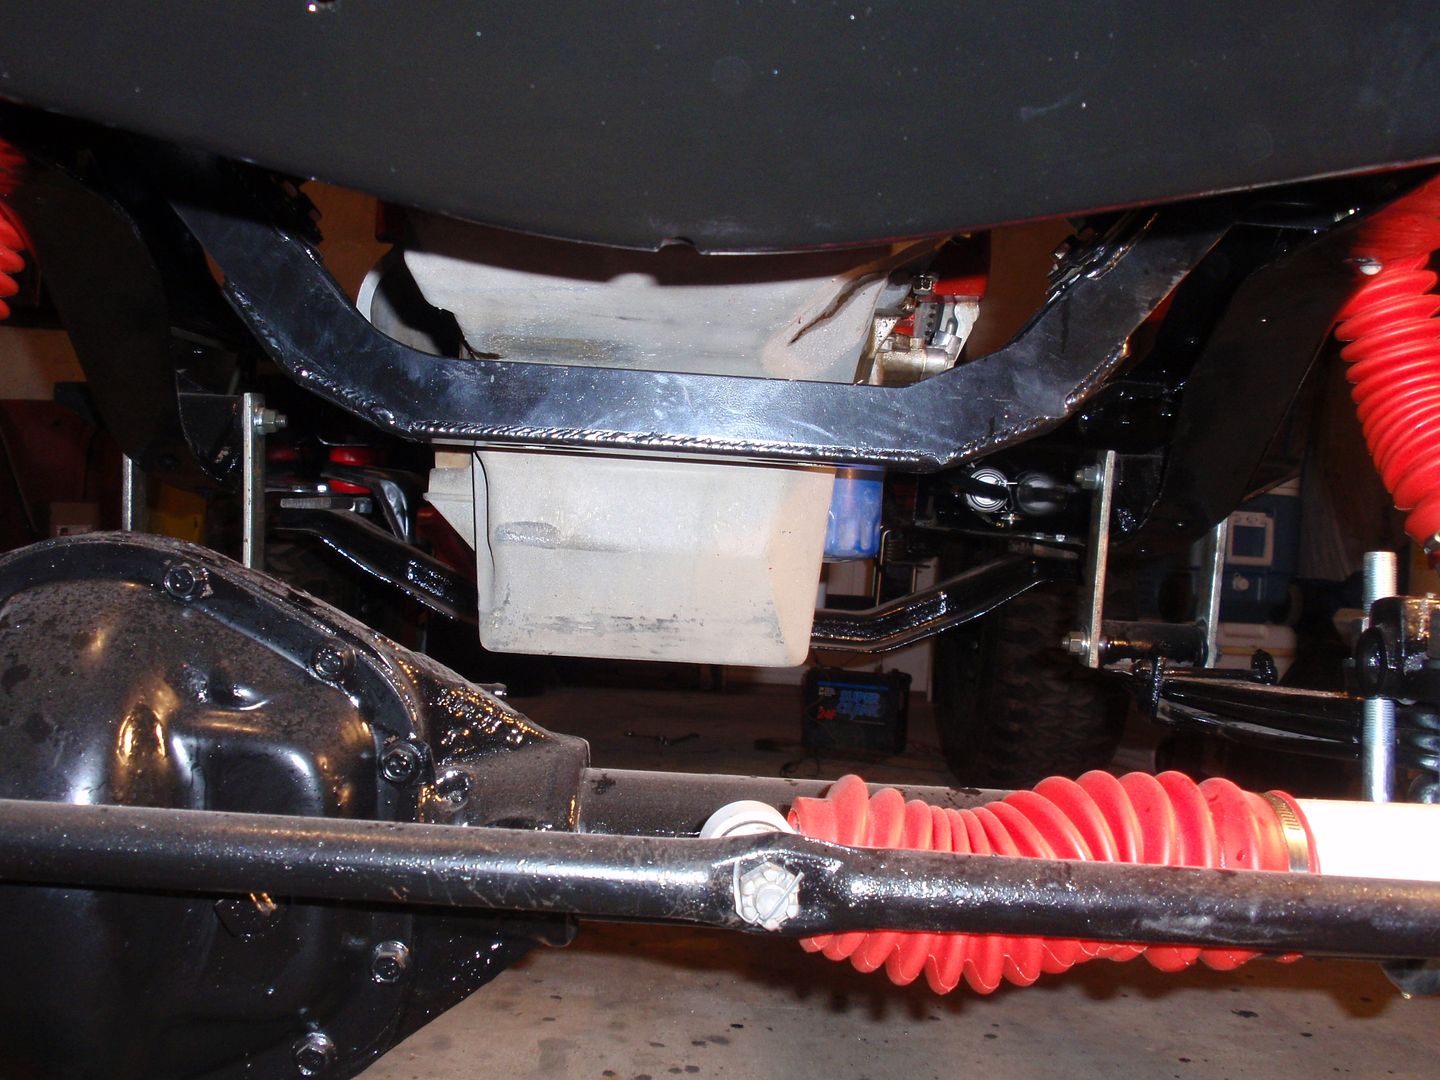 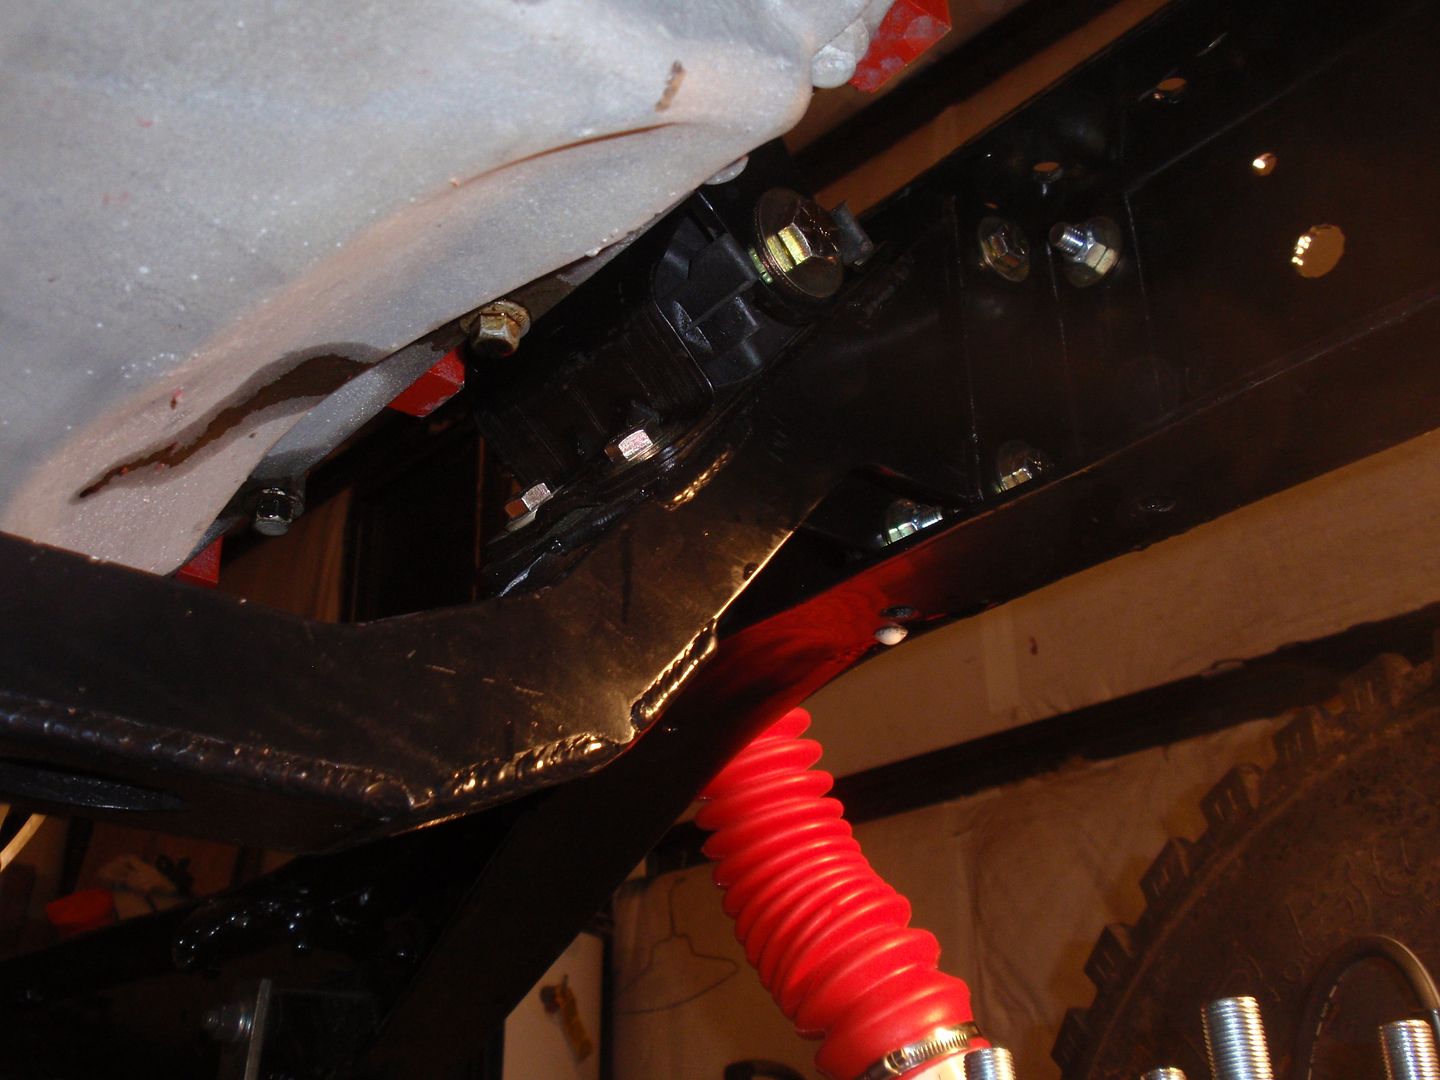 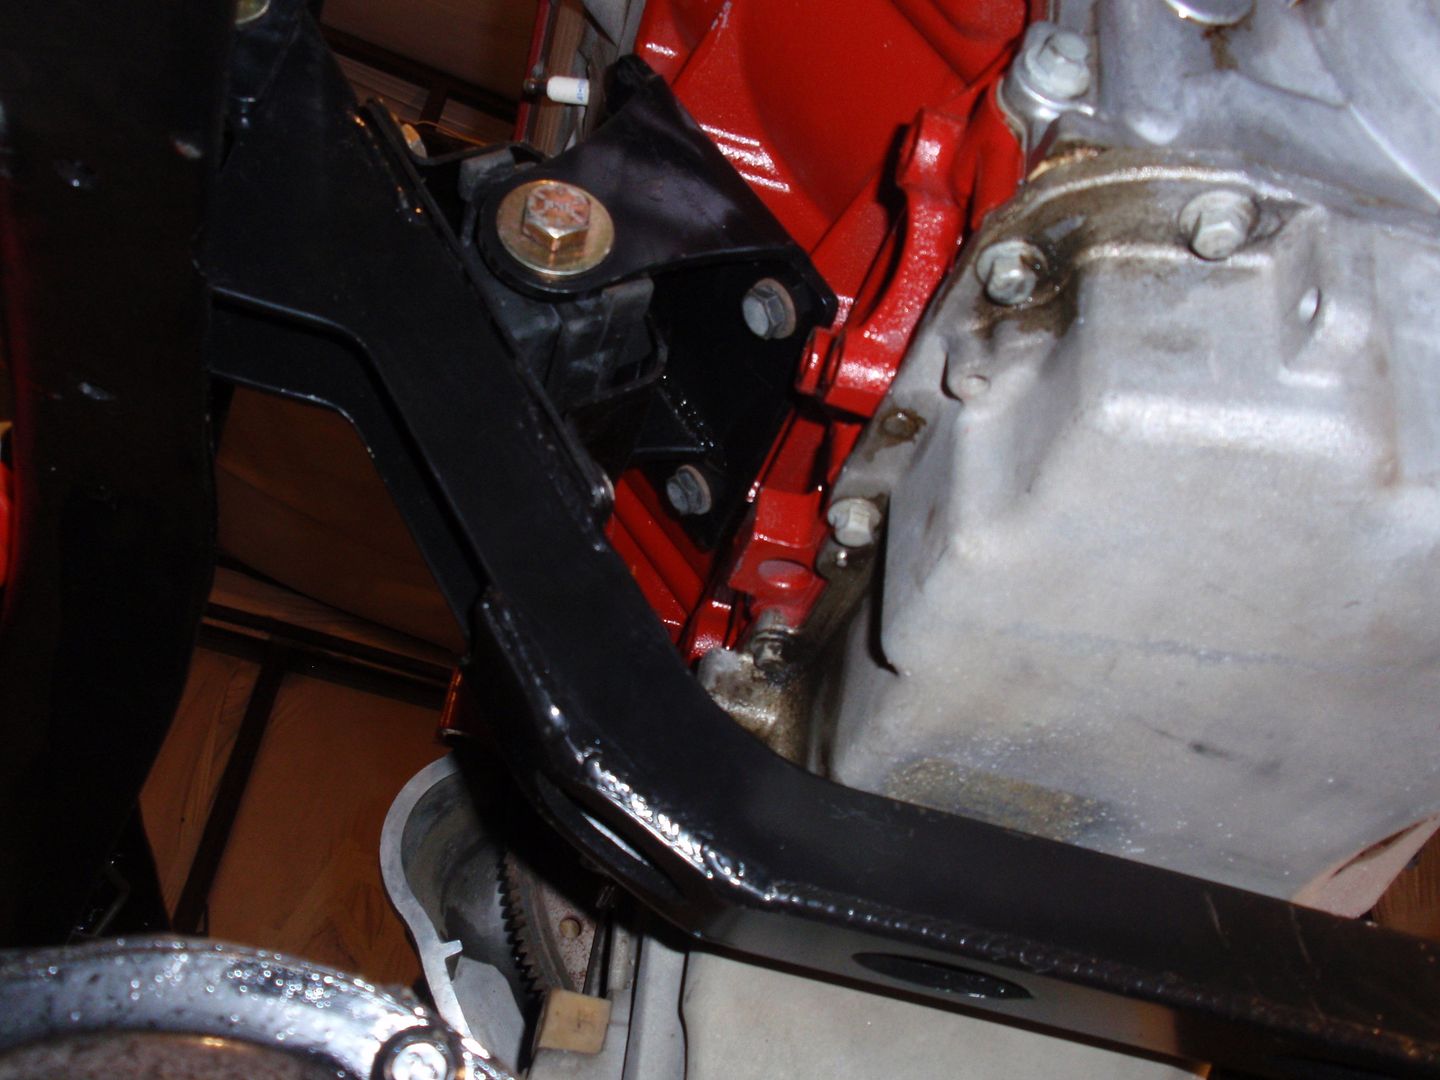 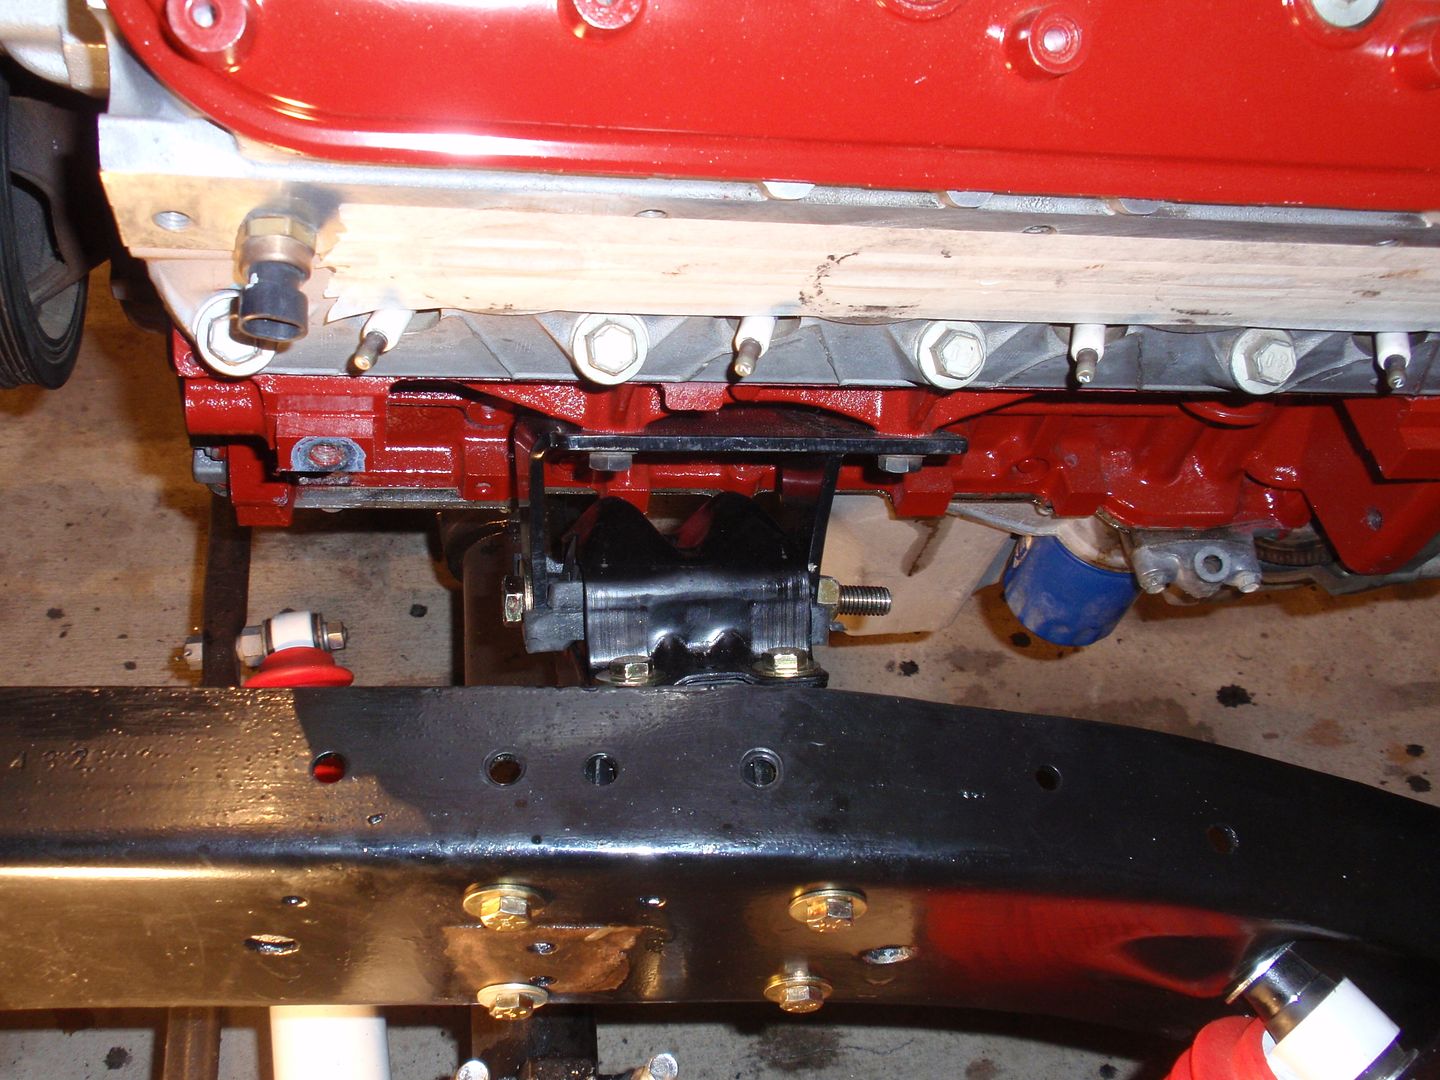 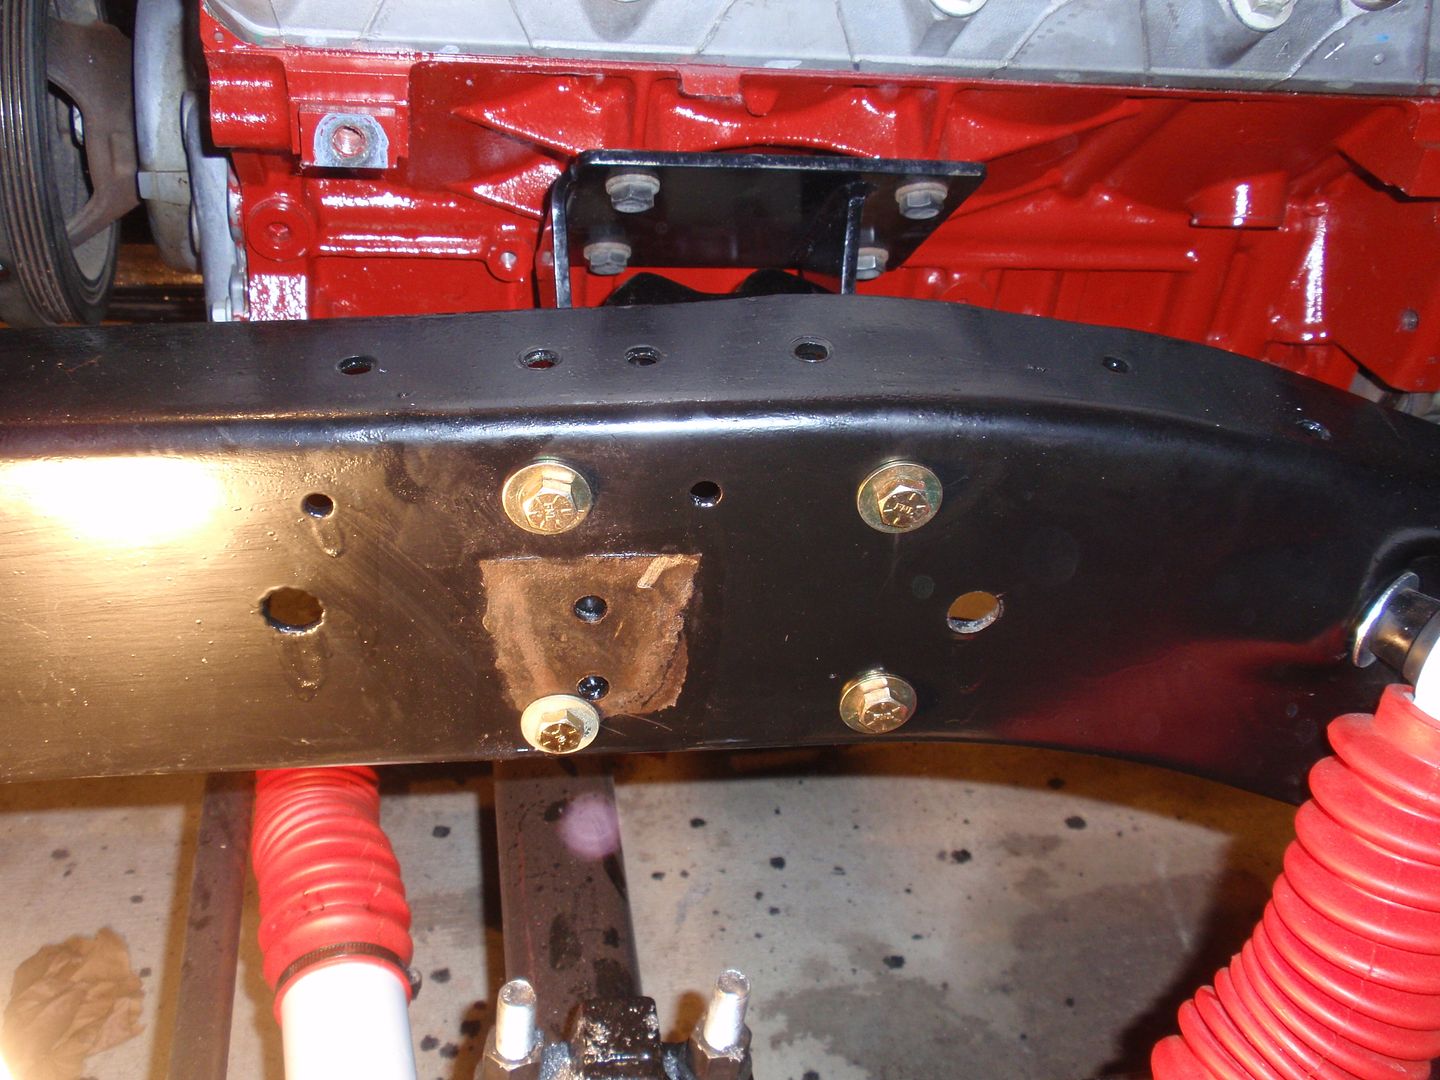 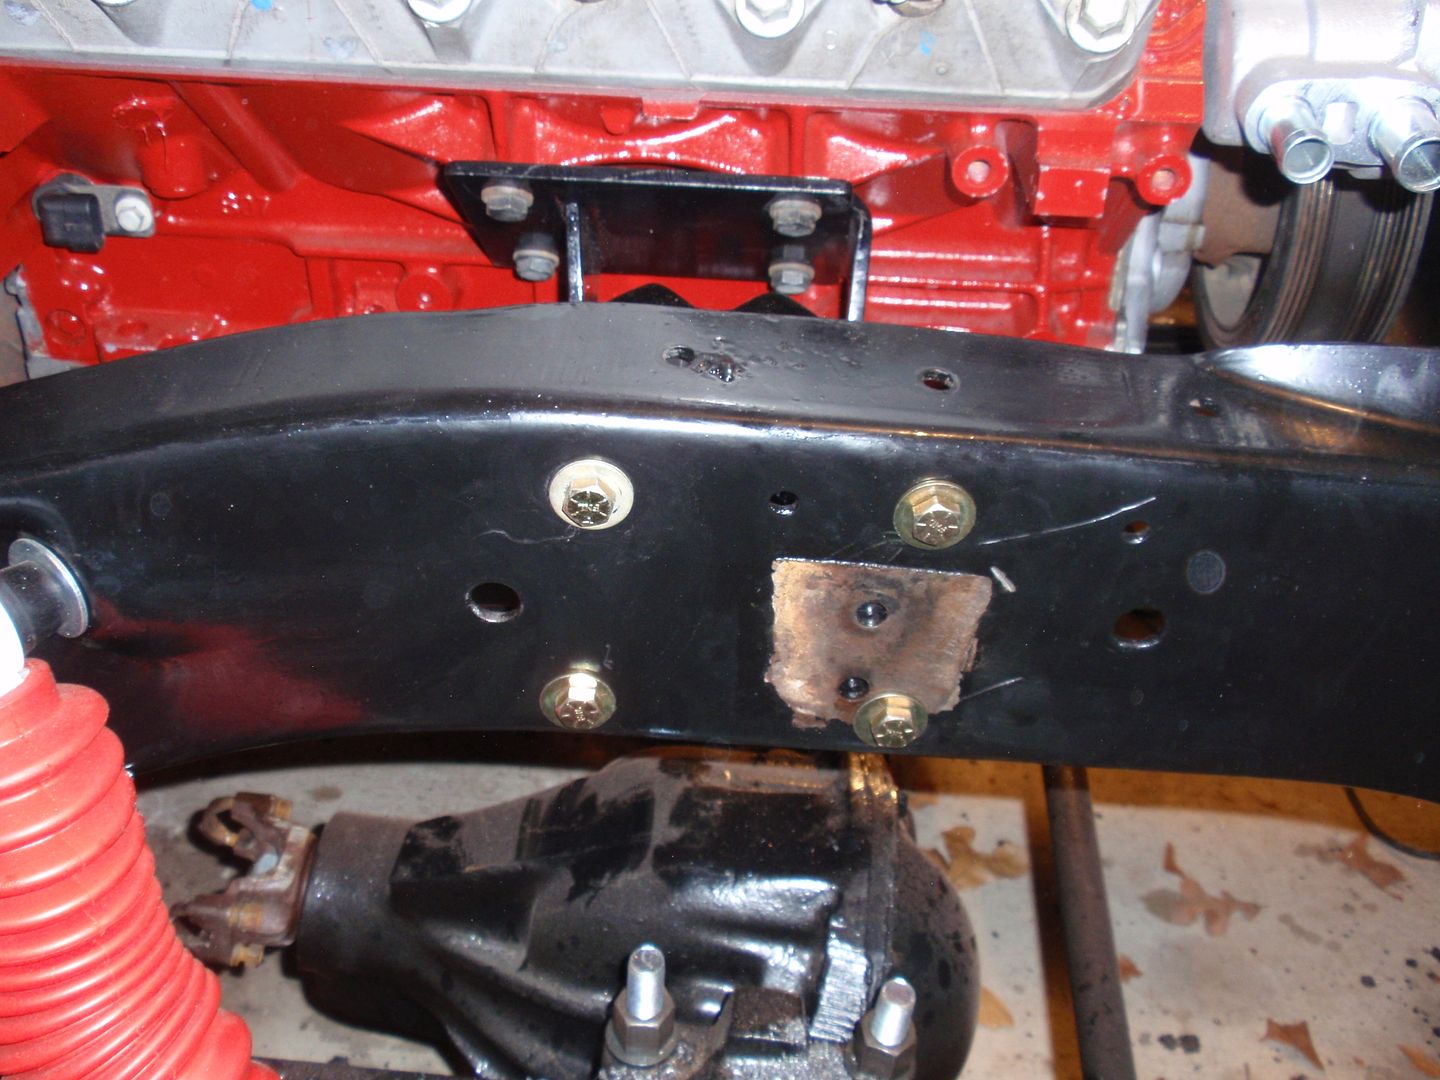 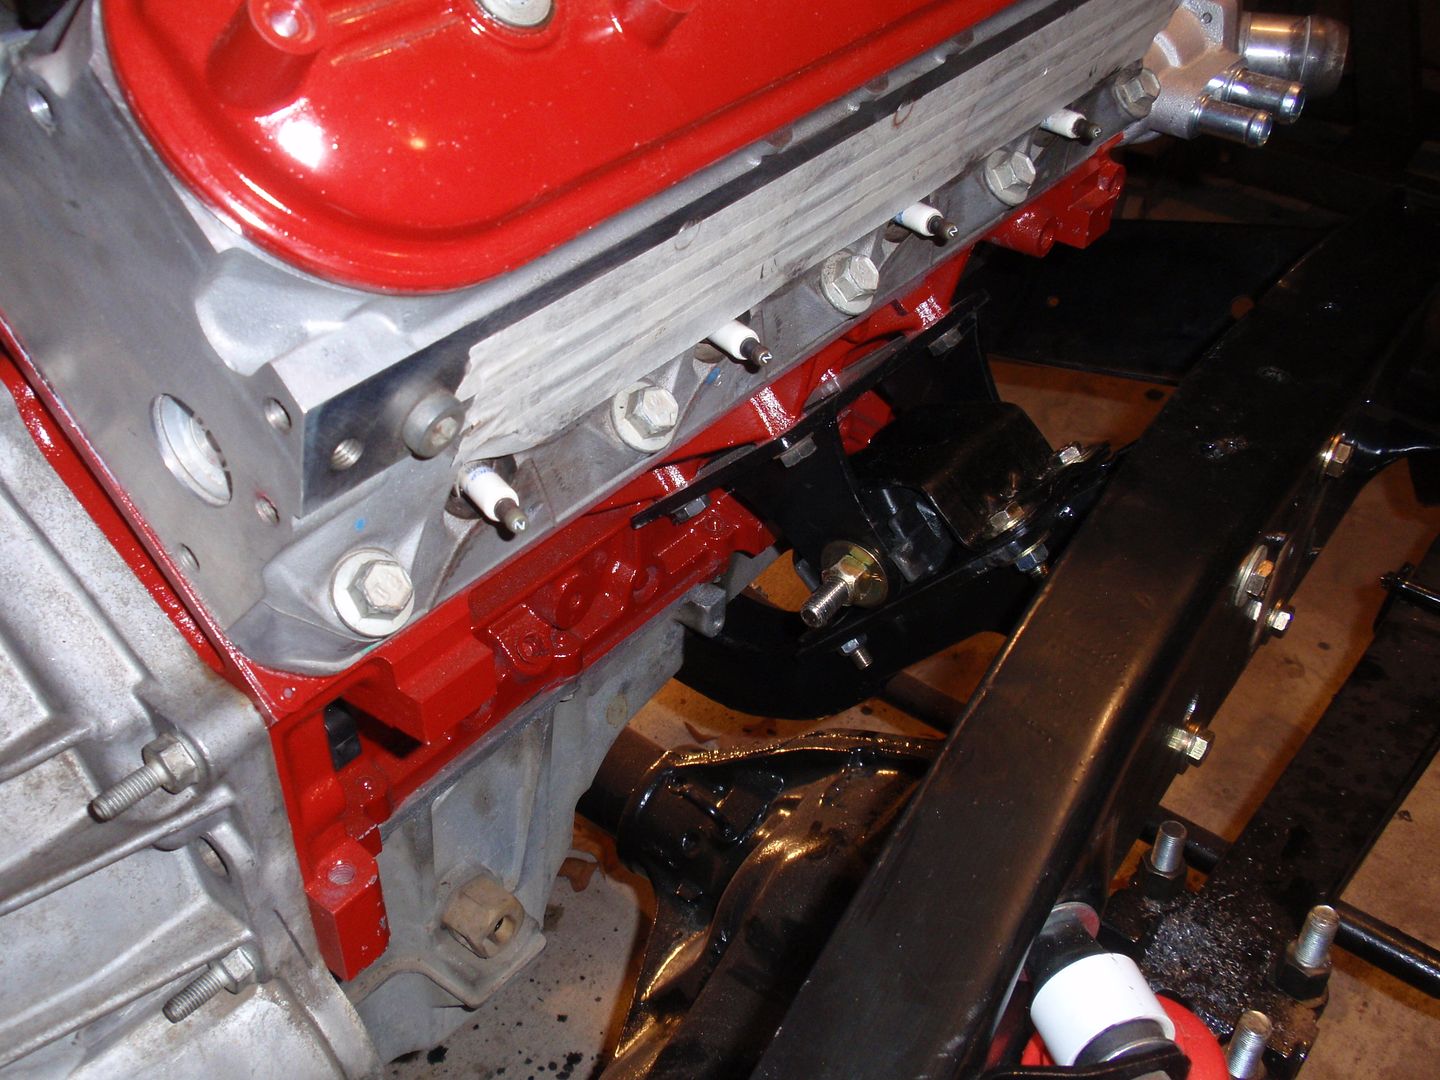 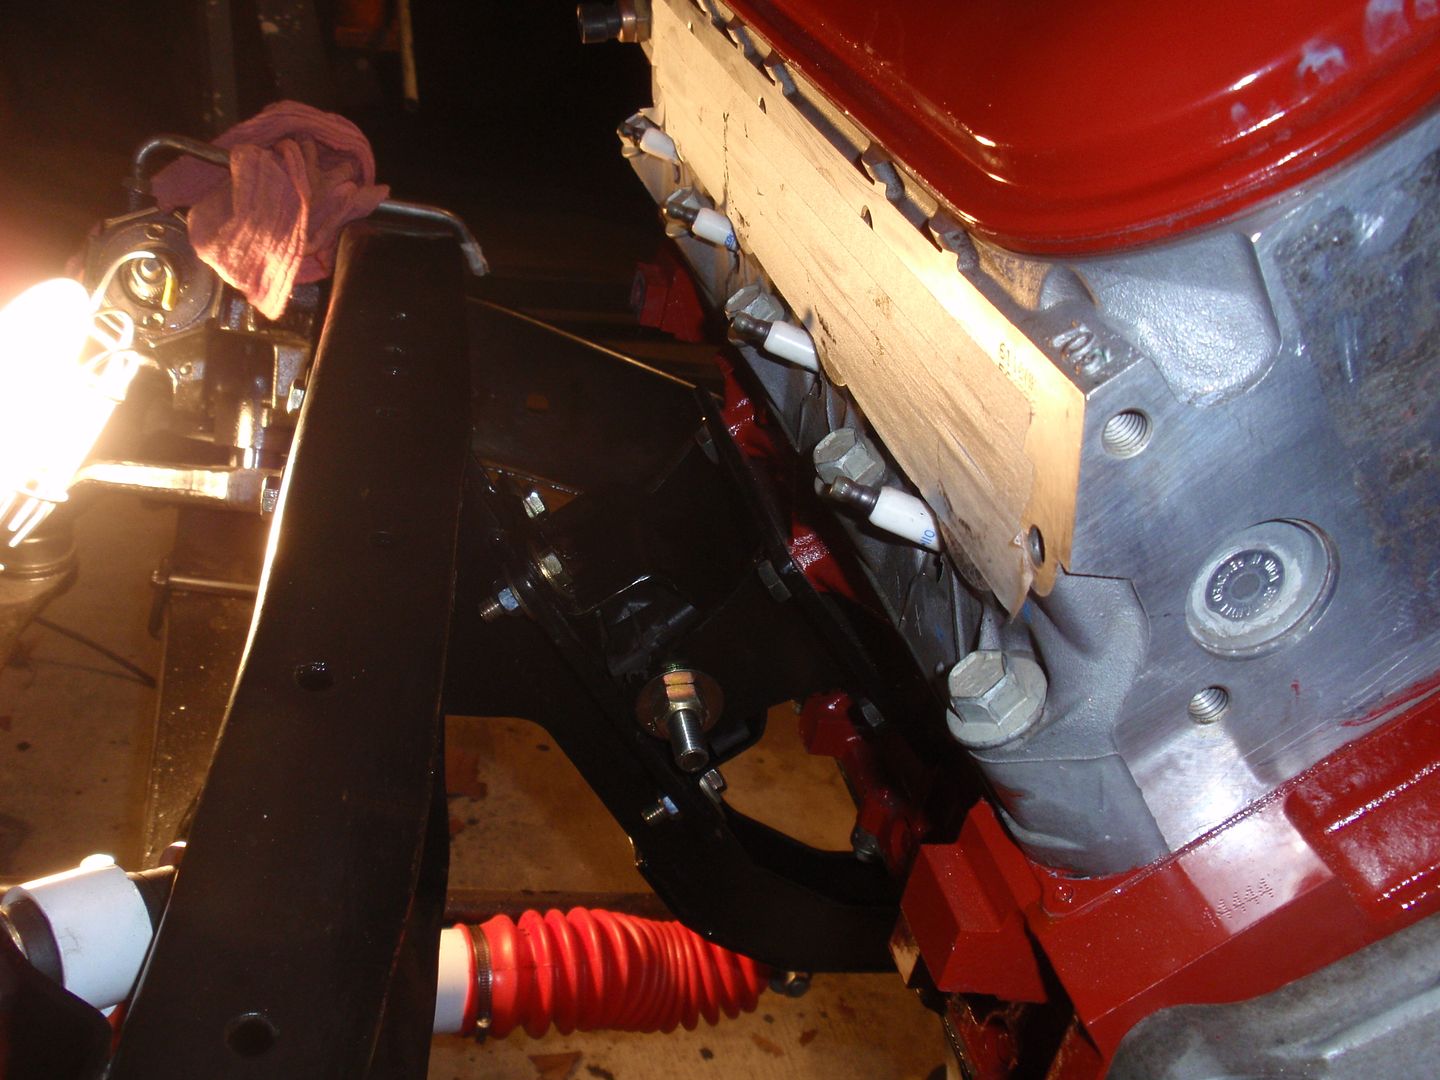 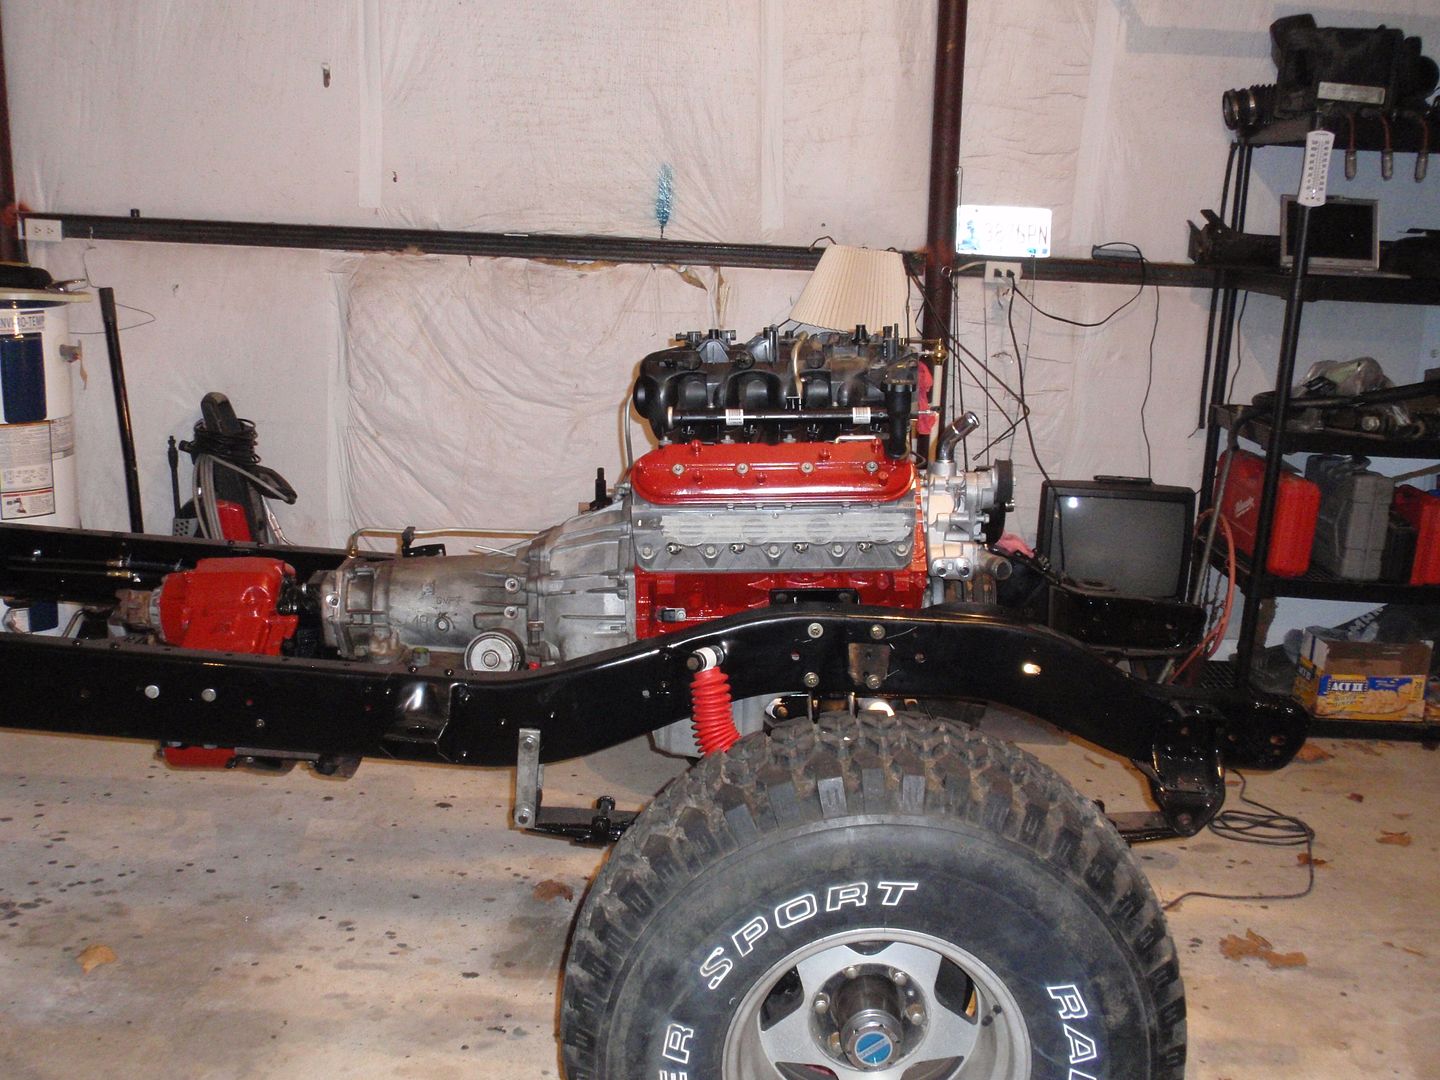 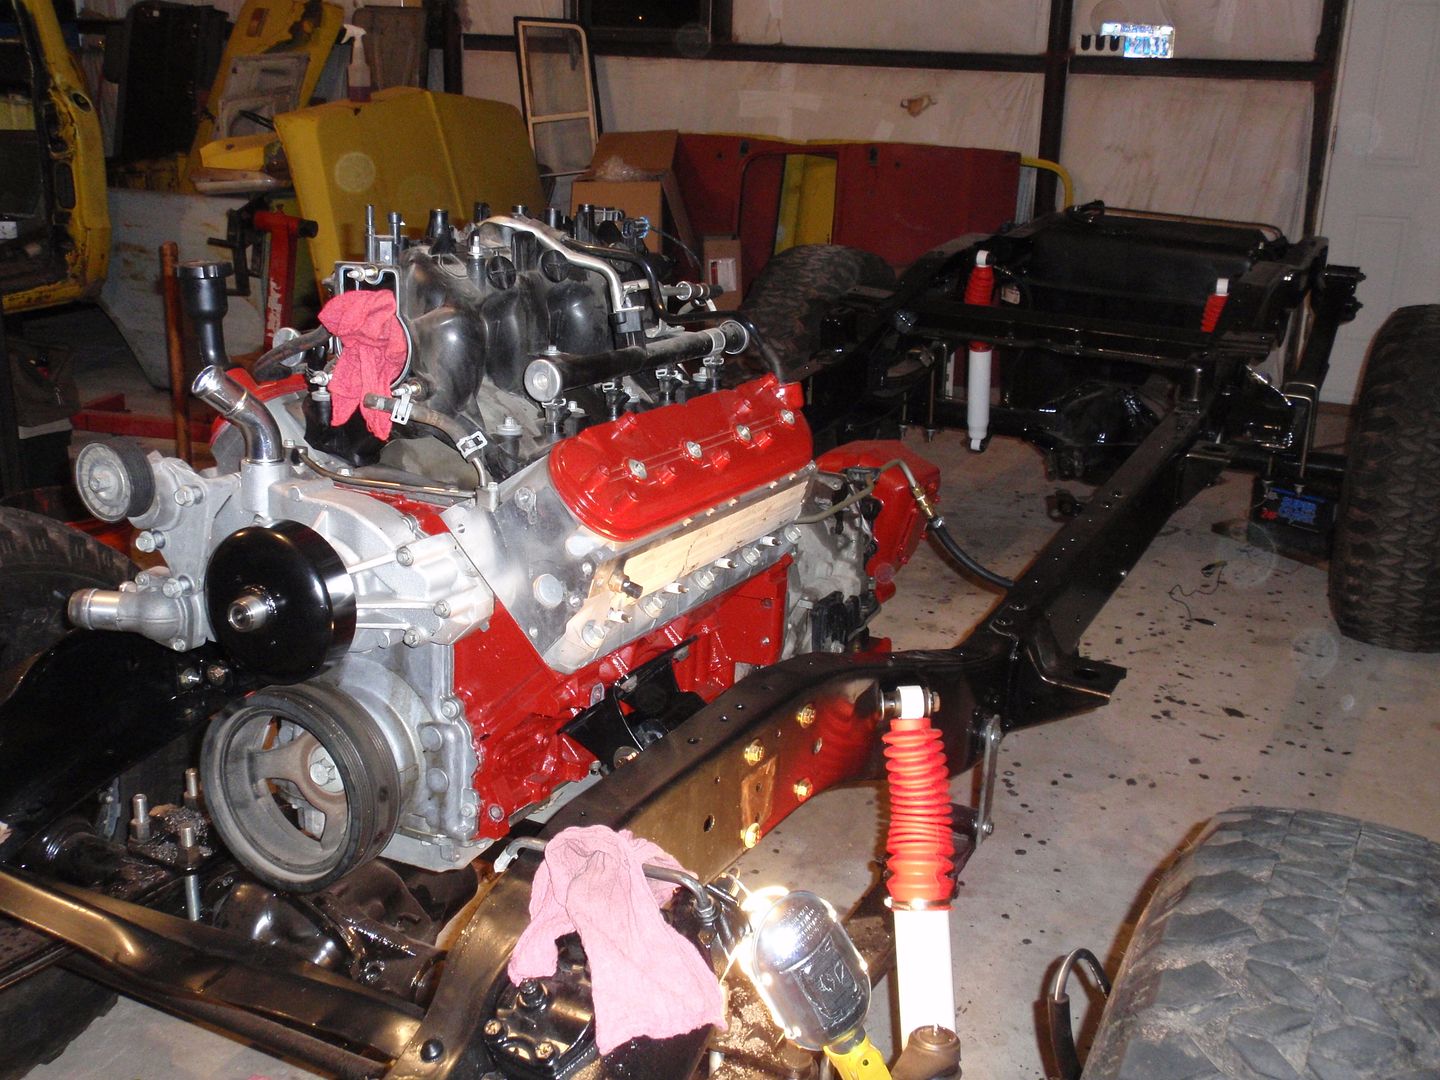 The entire installation took me about 3 hours. It could have been done in half of that time on the stock length transmission and following the manufactures recommendation on removing the engine. Conclusion – I would/will purchase this item in the future. It is very well designed and constructed. As I mentioned before, the item was well packed and delivered very quickly. I considered building my own, but by the time you included, the grade 8 bolts, the clam shell motor mounts, the ¼” plate material, and the time it would take to do the fabrication, I believe a person would be far ahead purchasing this from Pacific Fabrication. I highly recommend this item. Let me know if you have any specific questions on the x-member or the install.
__________________
Mark ----------------------- Crash's 69 4x4 SWB Crash's Roof over Lake Home Crash's 1988 Land Cruiser Build |
|
|

|
|
|
#122 |
|
Registered User
Join Date: Nov 2011
Location: Edmond, OK.
Posts: 1,362
|
Re: Crash's 72 K10
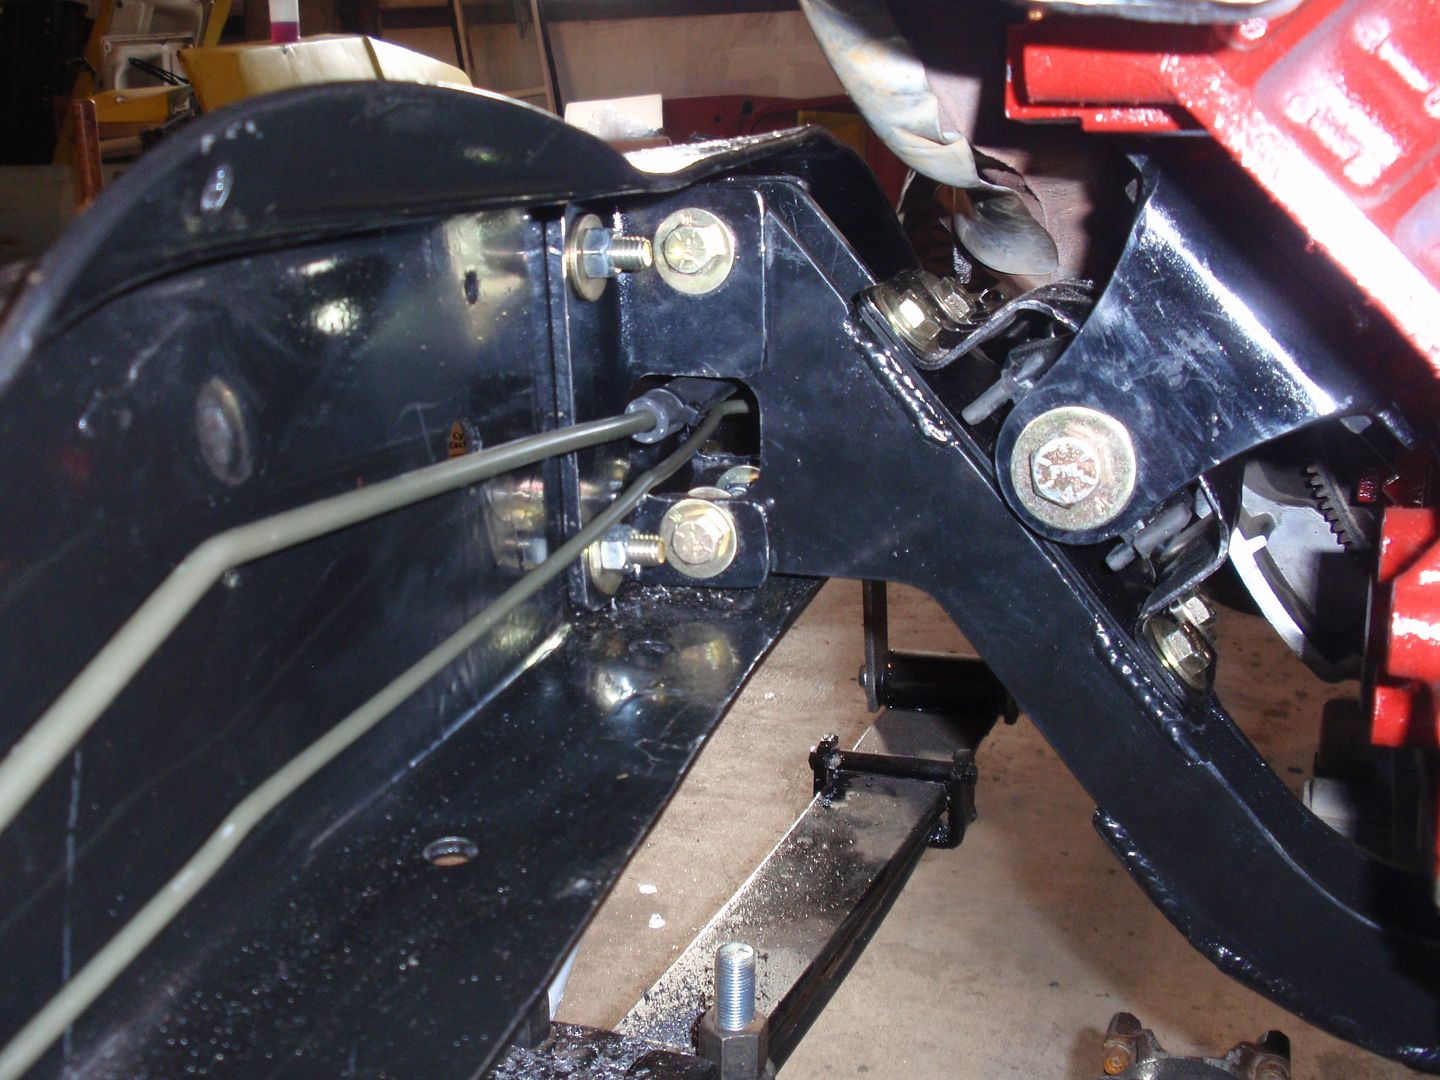
Started the day out by re-installing the brake lines. I was able to use the ones on the passenger side with a little re-bending.
 I had to bend a new line for the drivers side 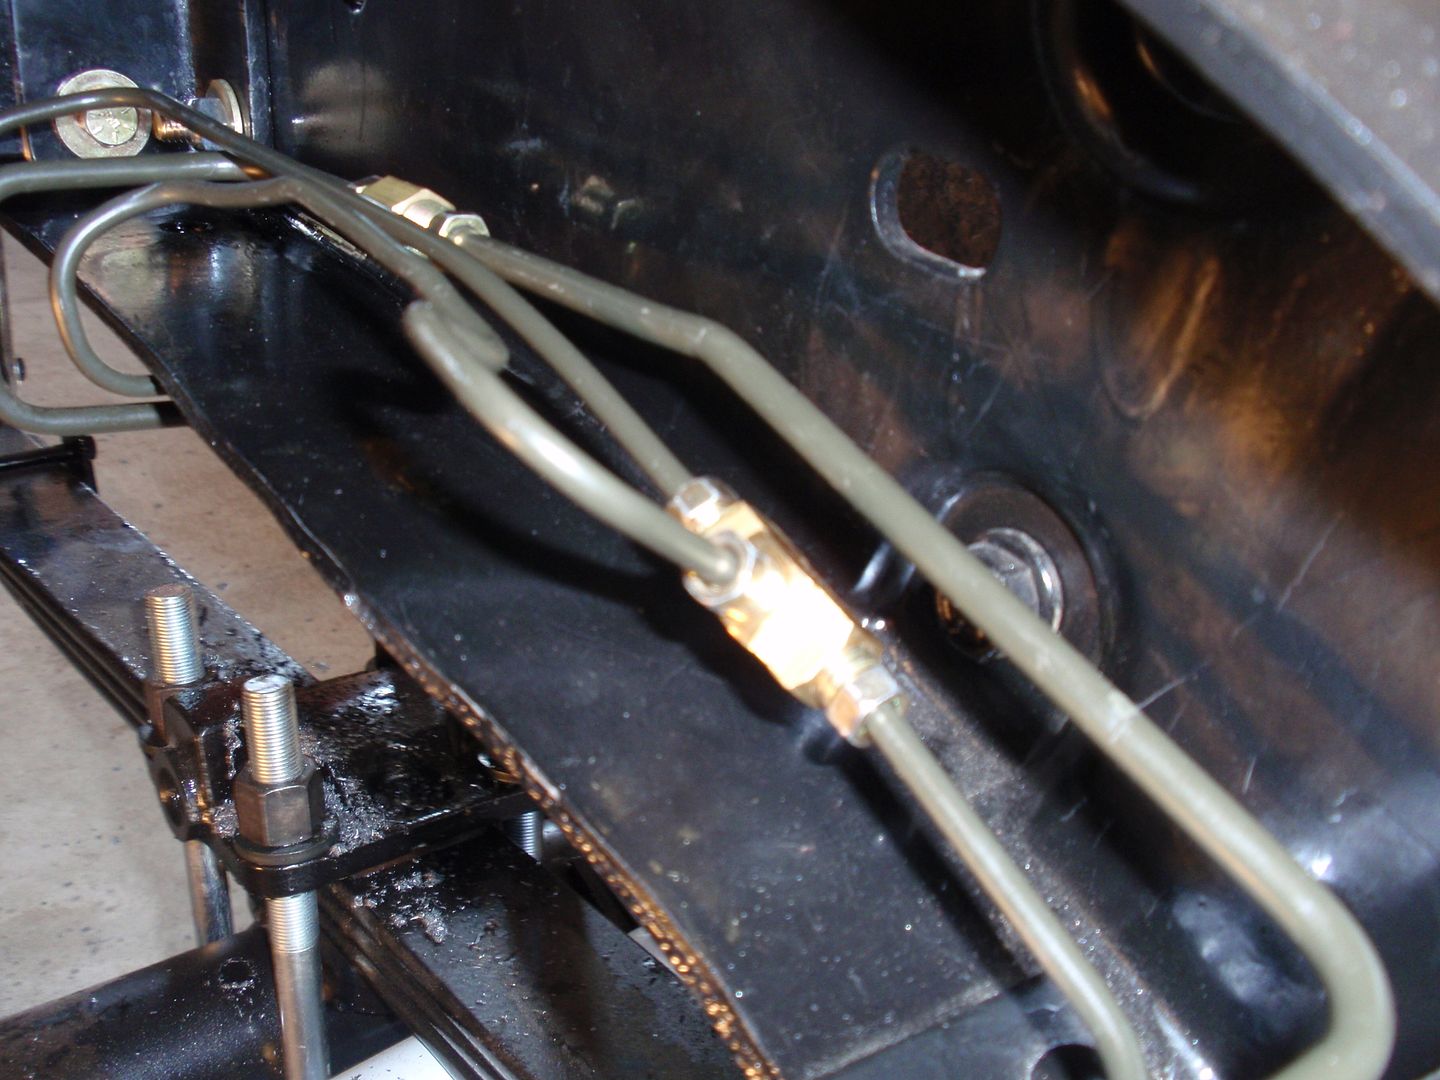 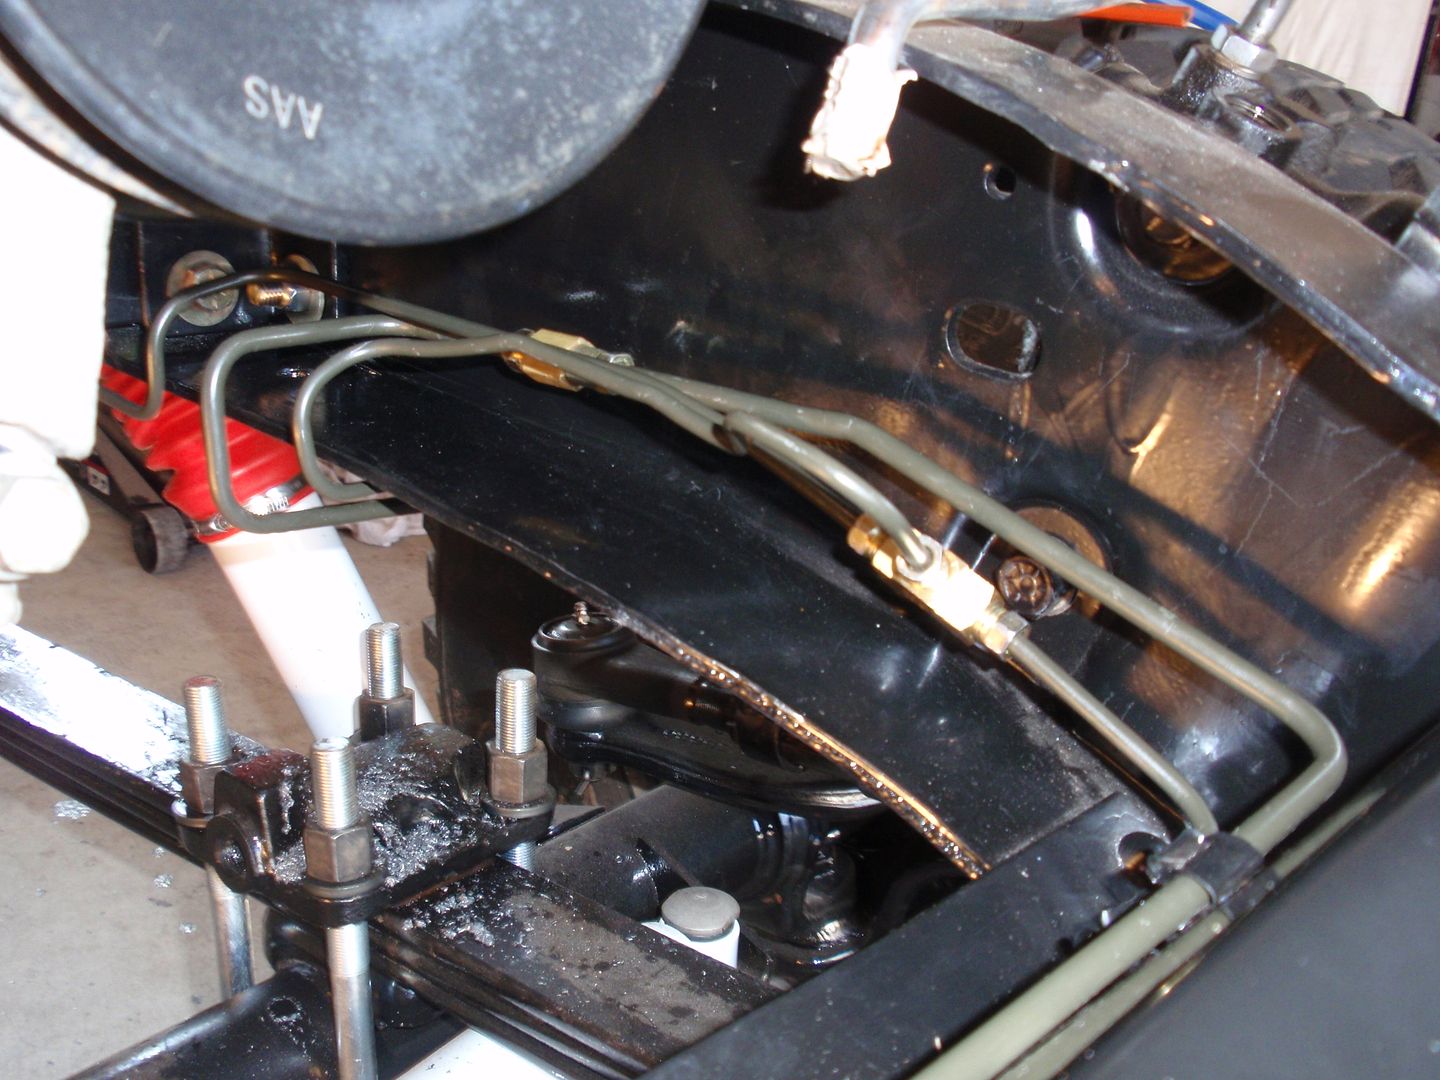 Next step was the exhaust manifolds. I was able to find a set of 5.3L Envoy manifolds. They fit like they were made for the truck. 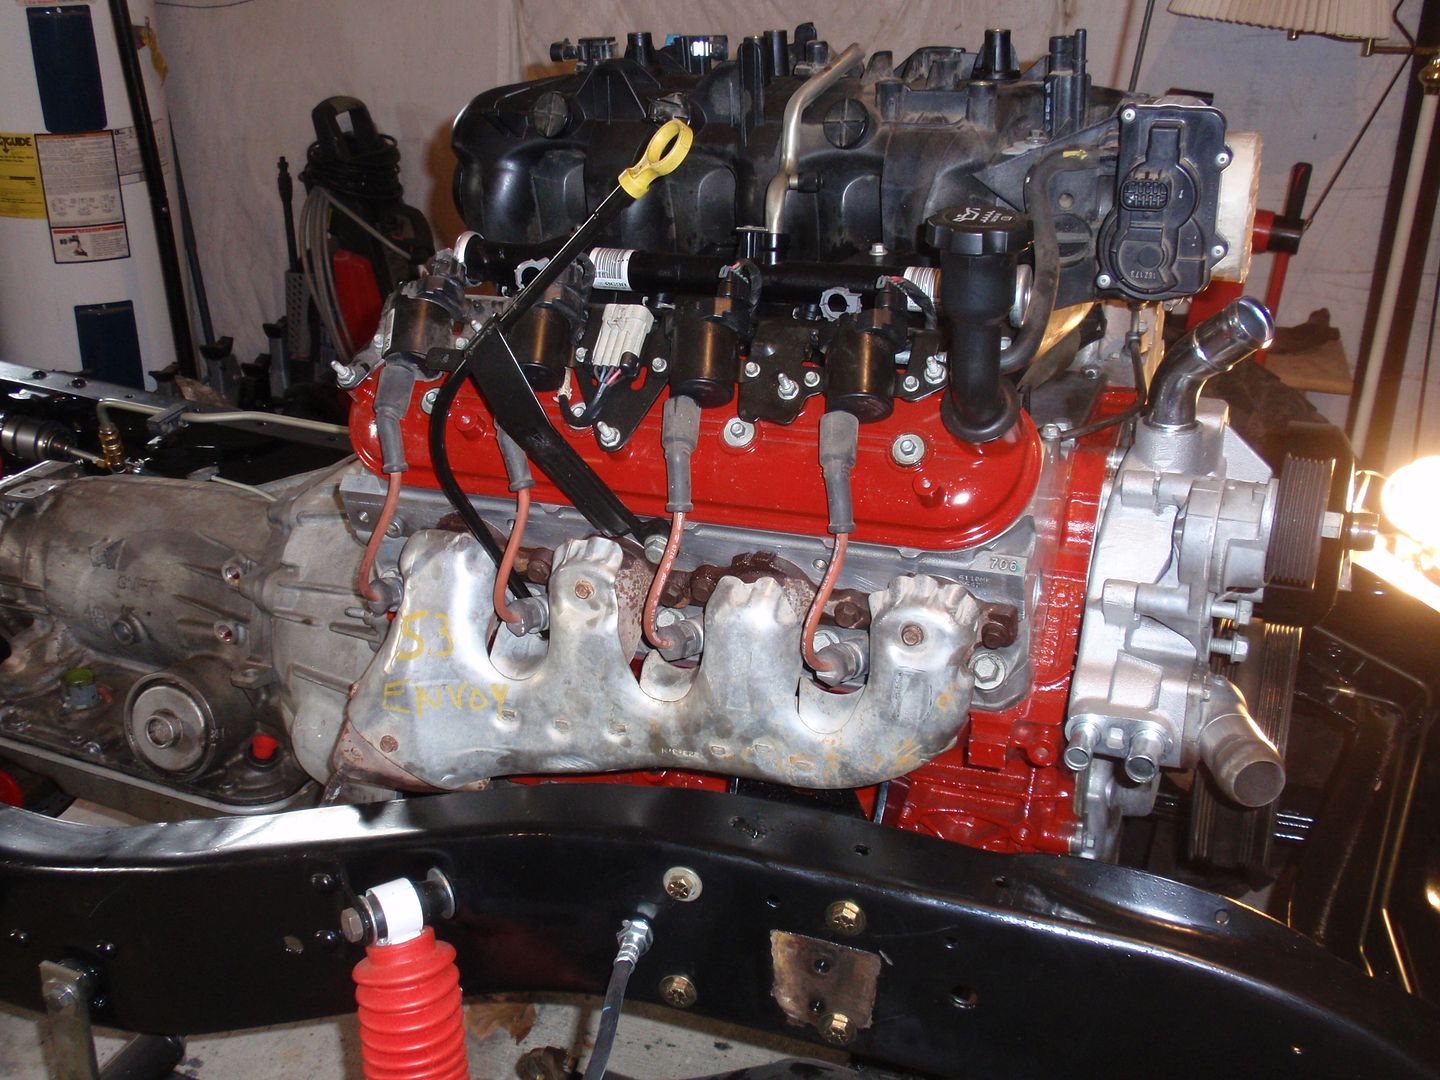 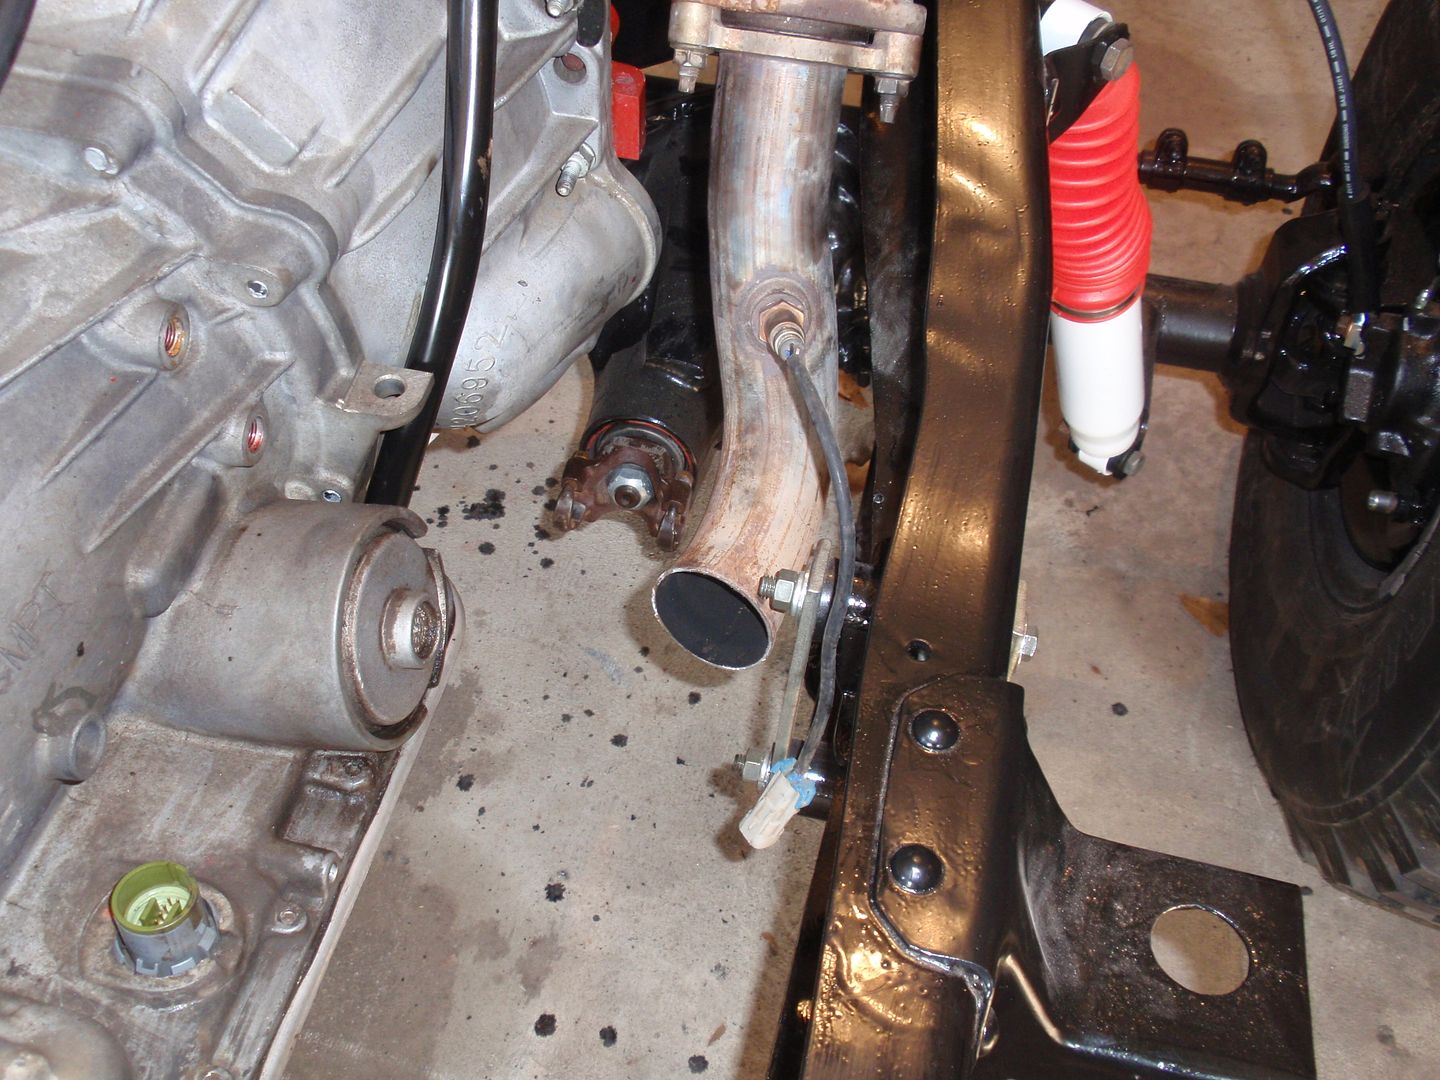 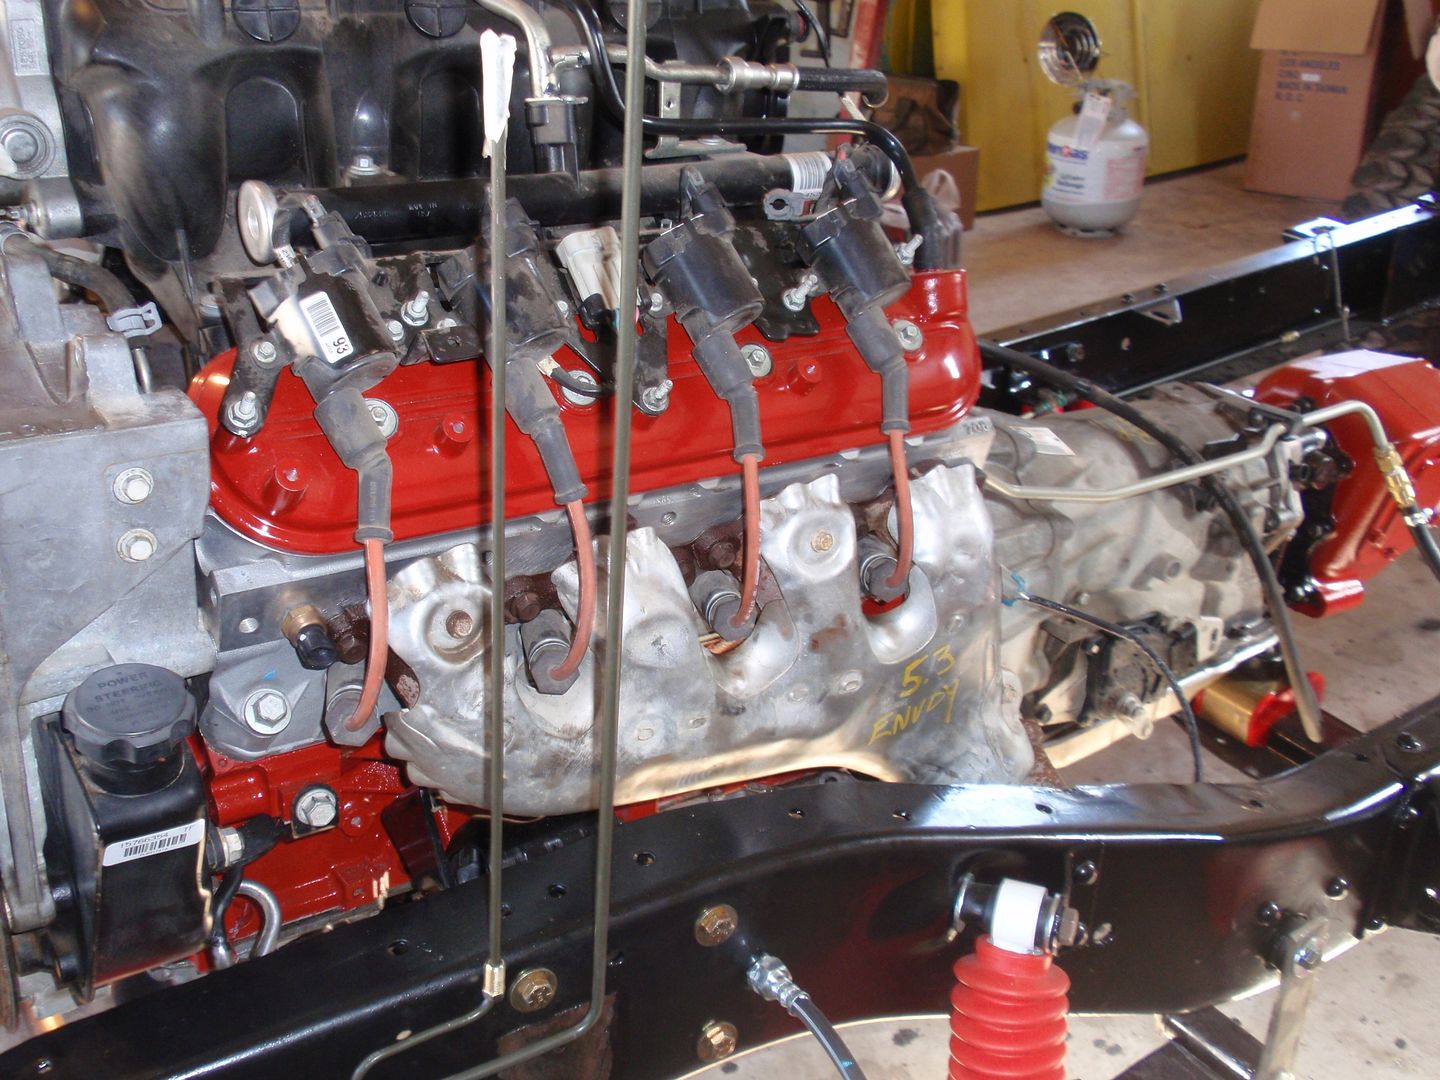 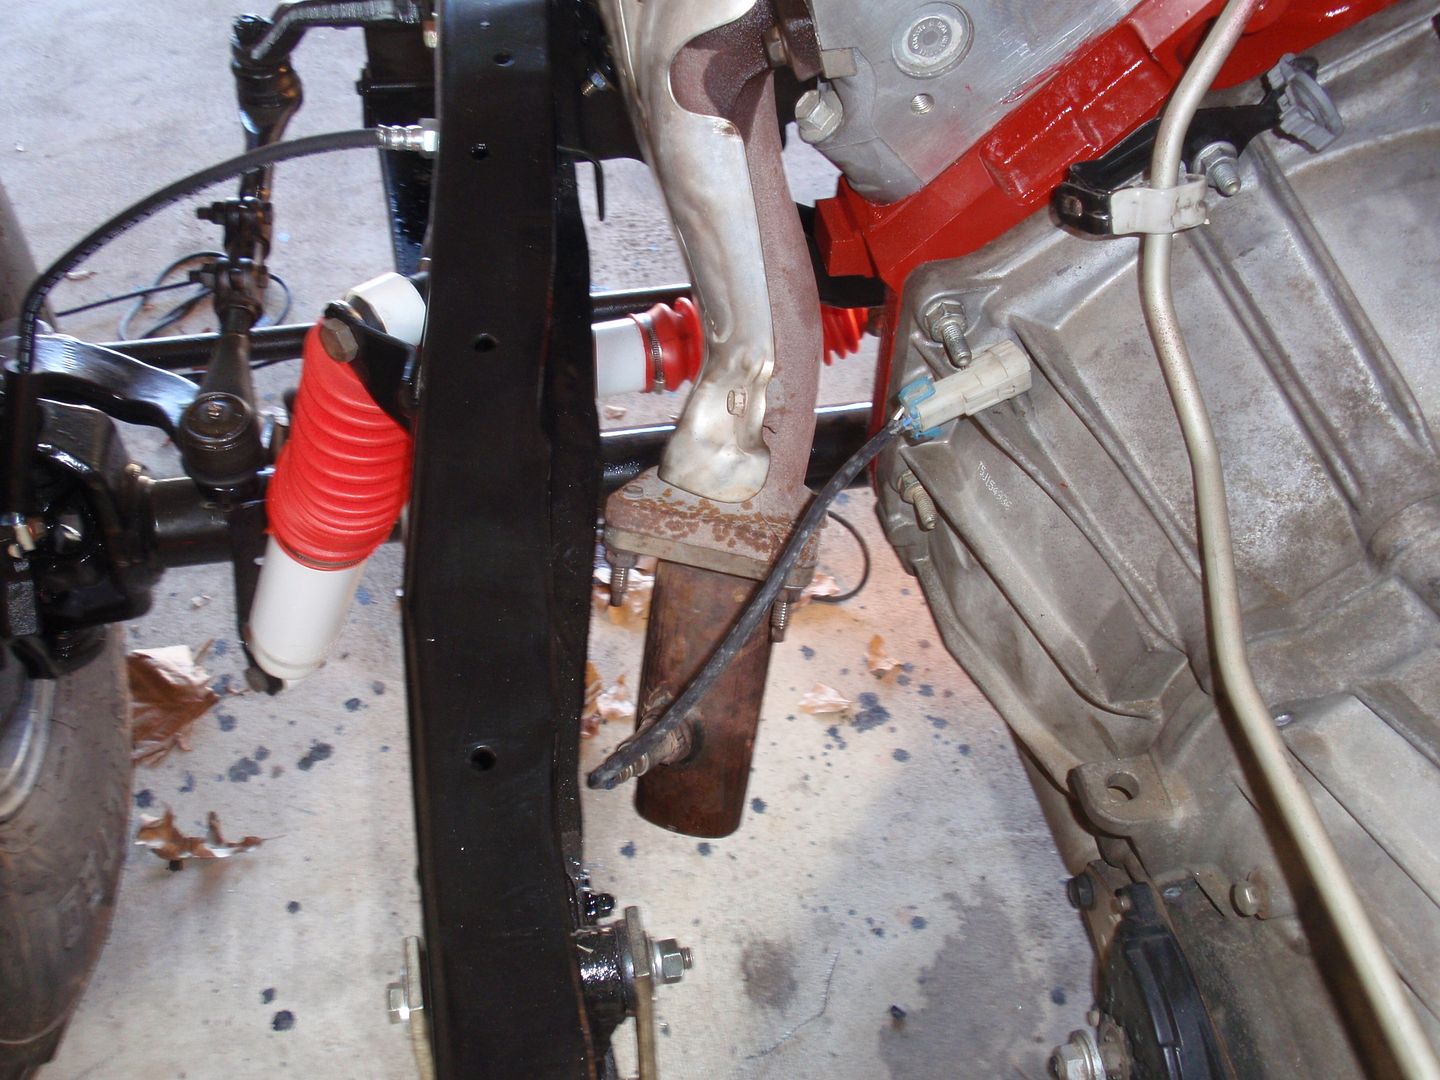 Next was the air conditioner compressor. It fit with no problems using the Pacific Fabrication x-member. 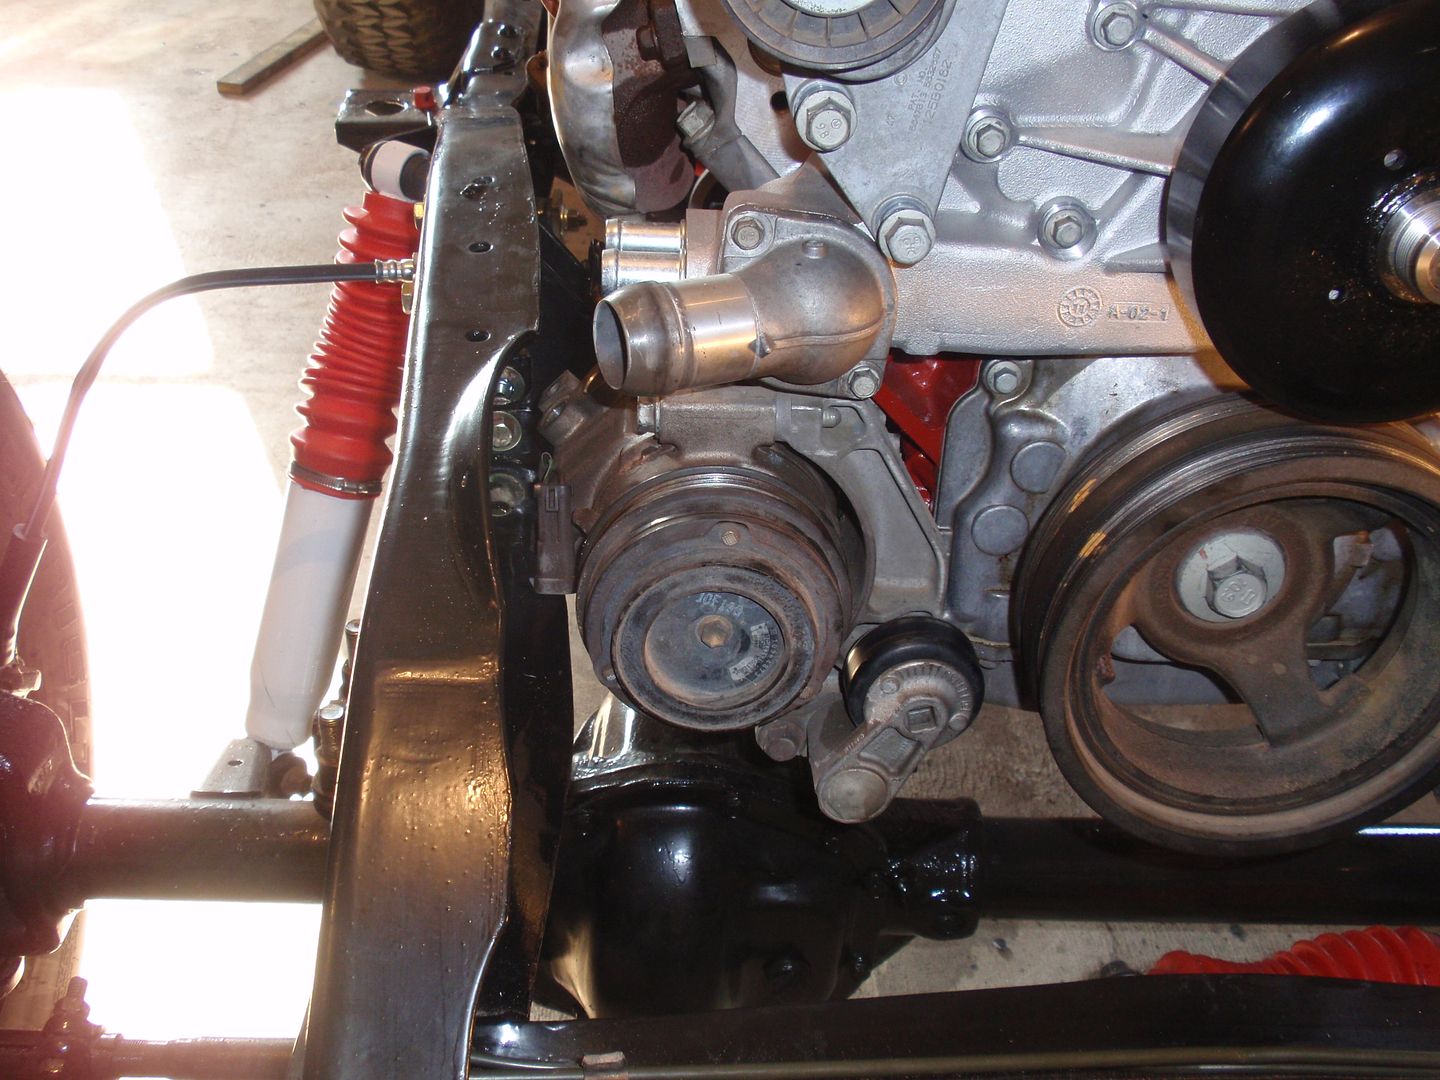 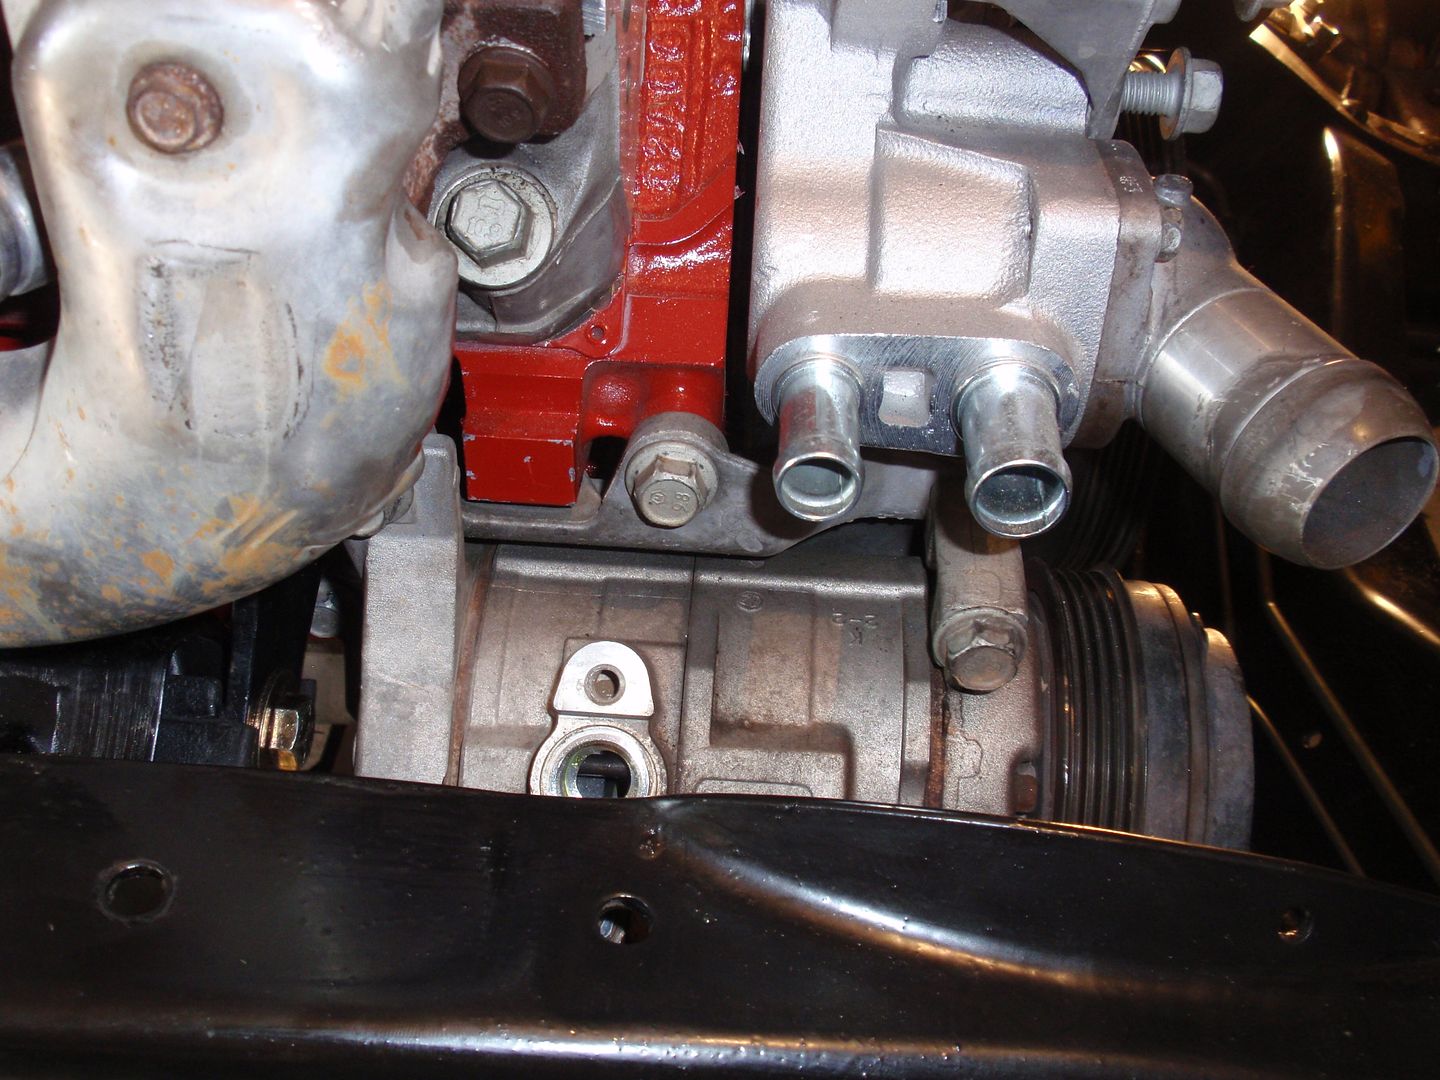 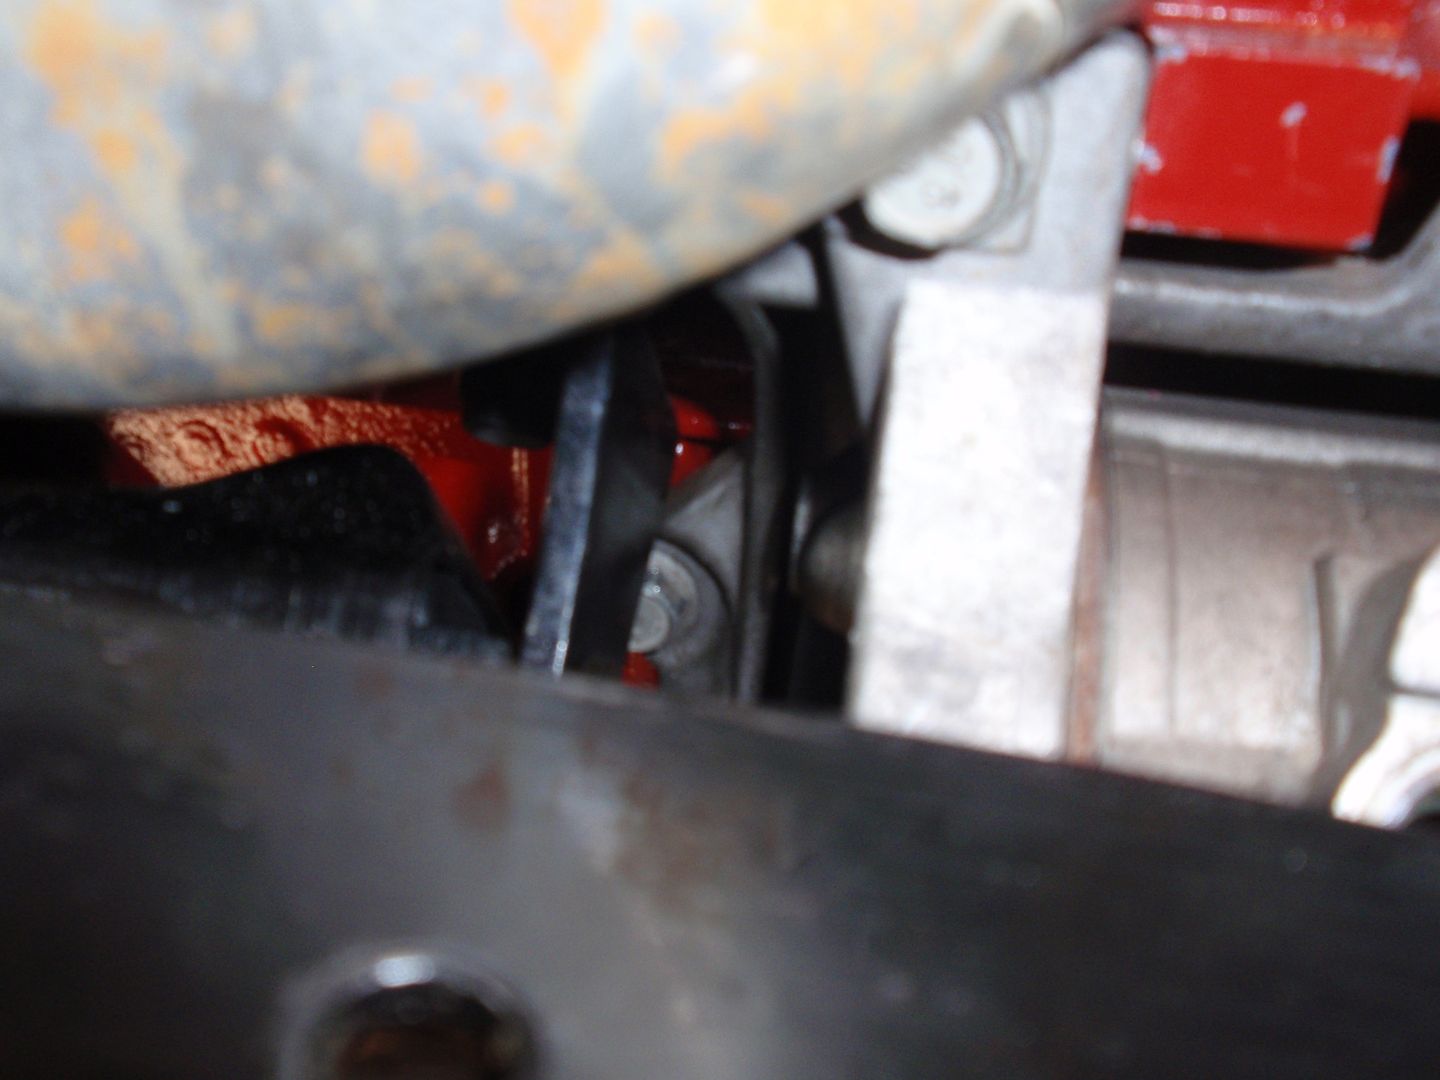 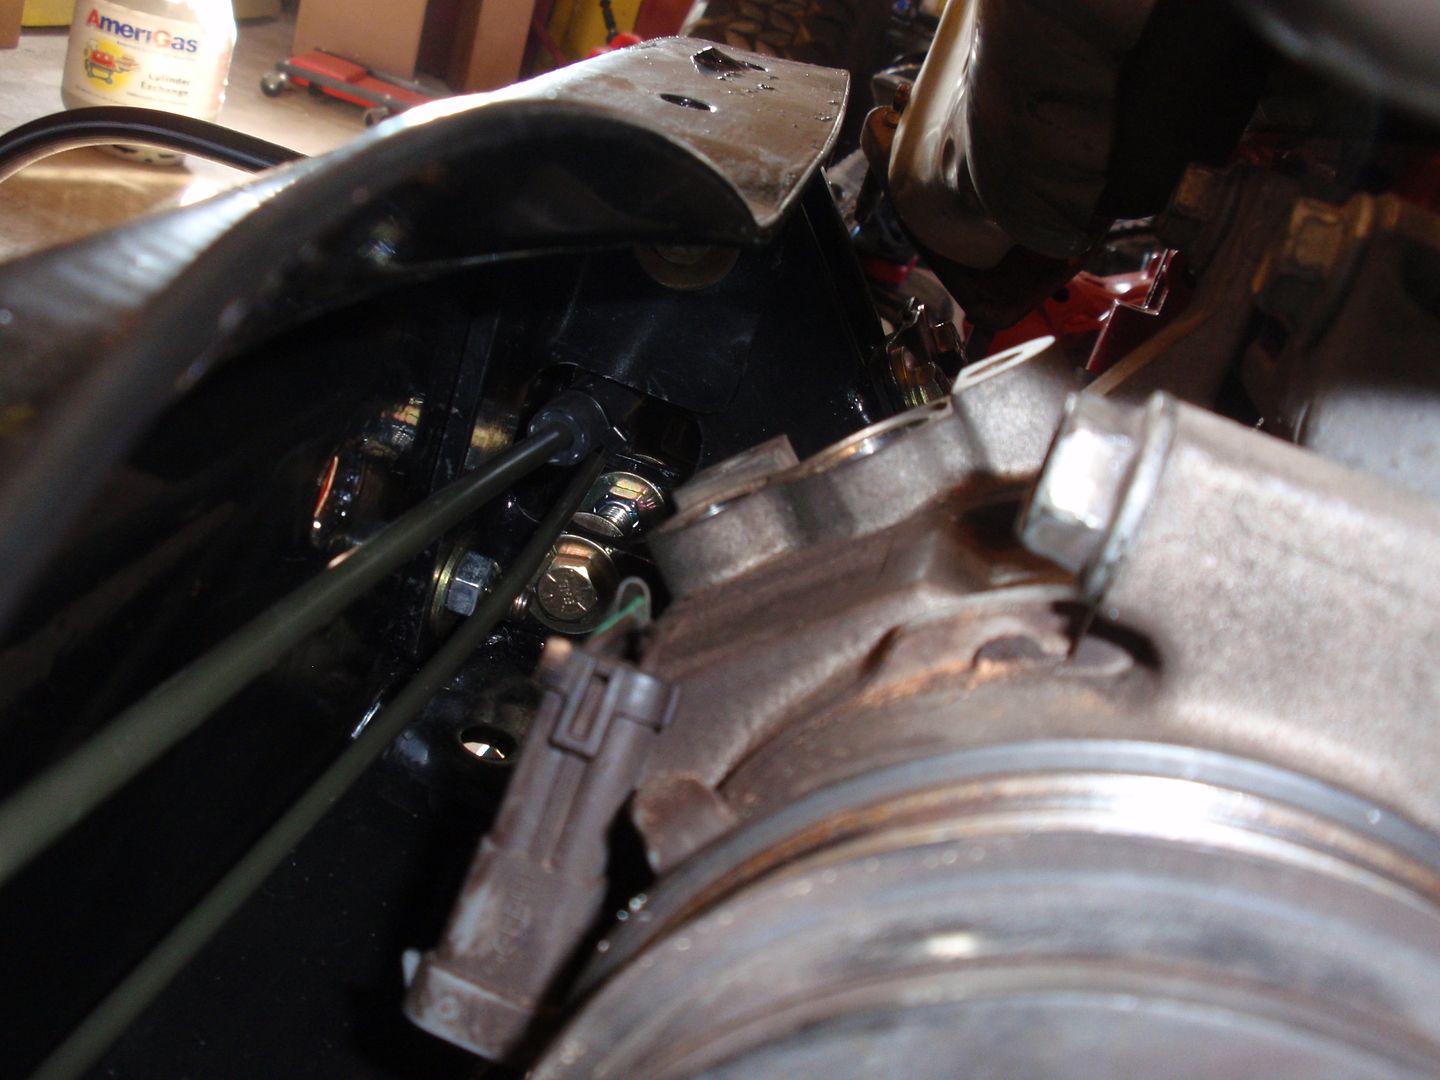 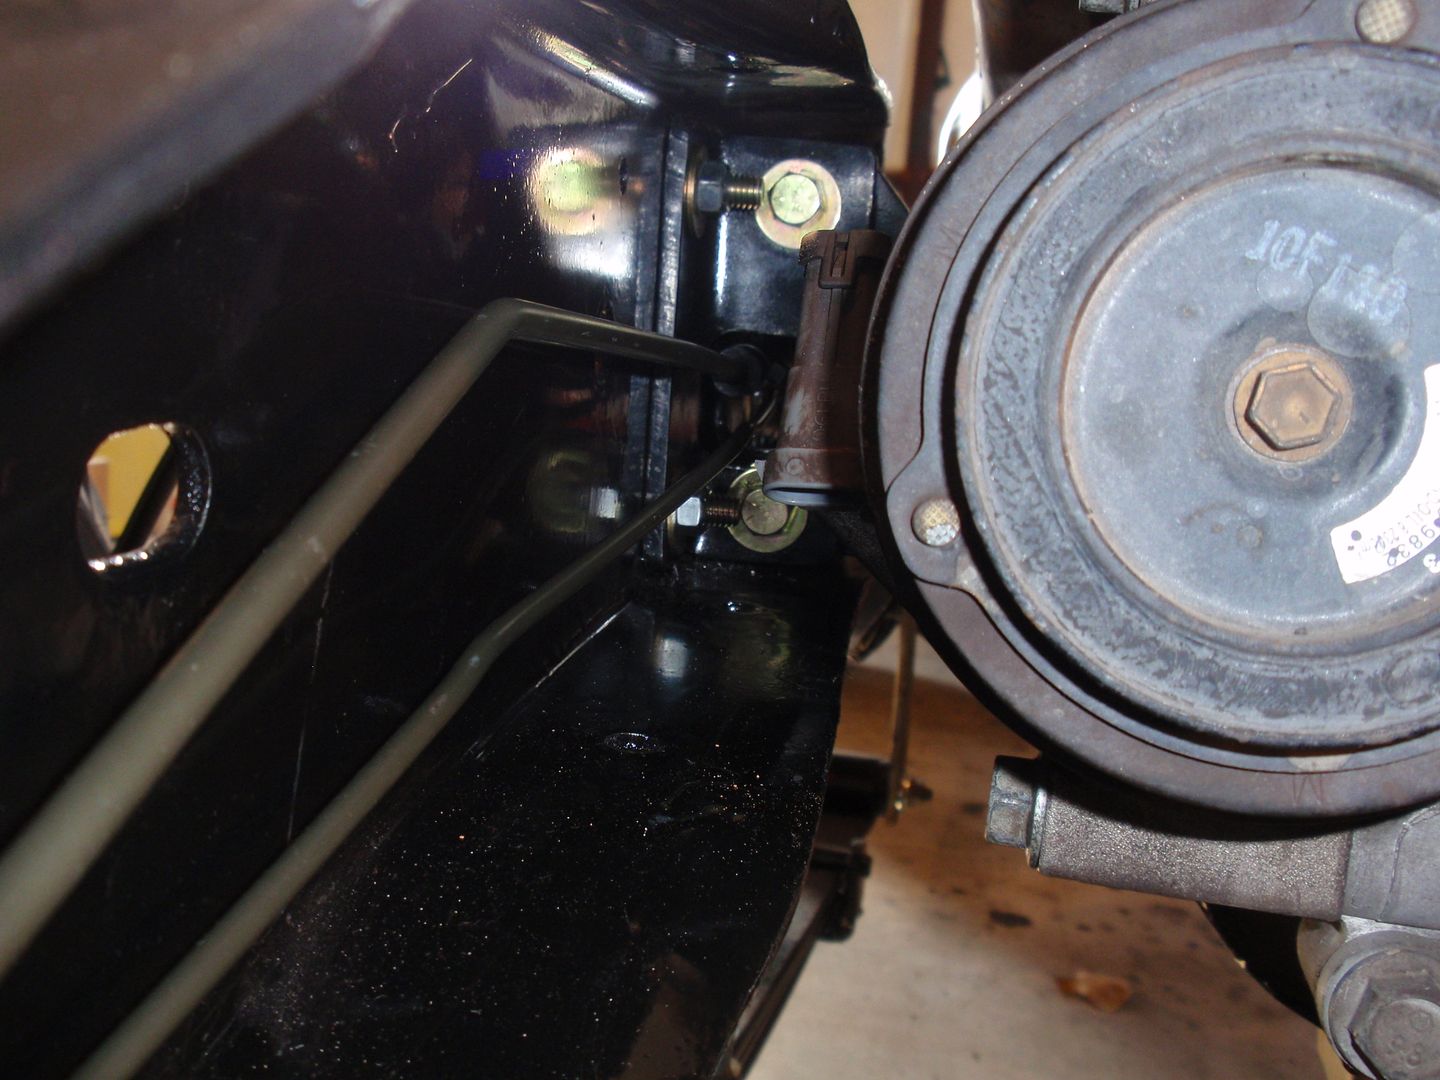 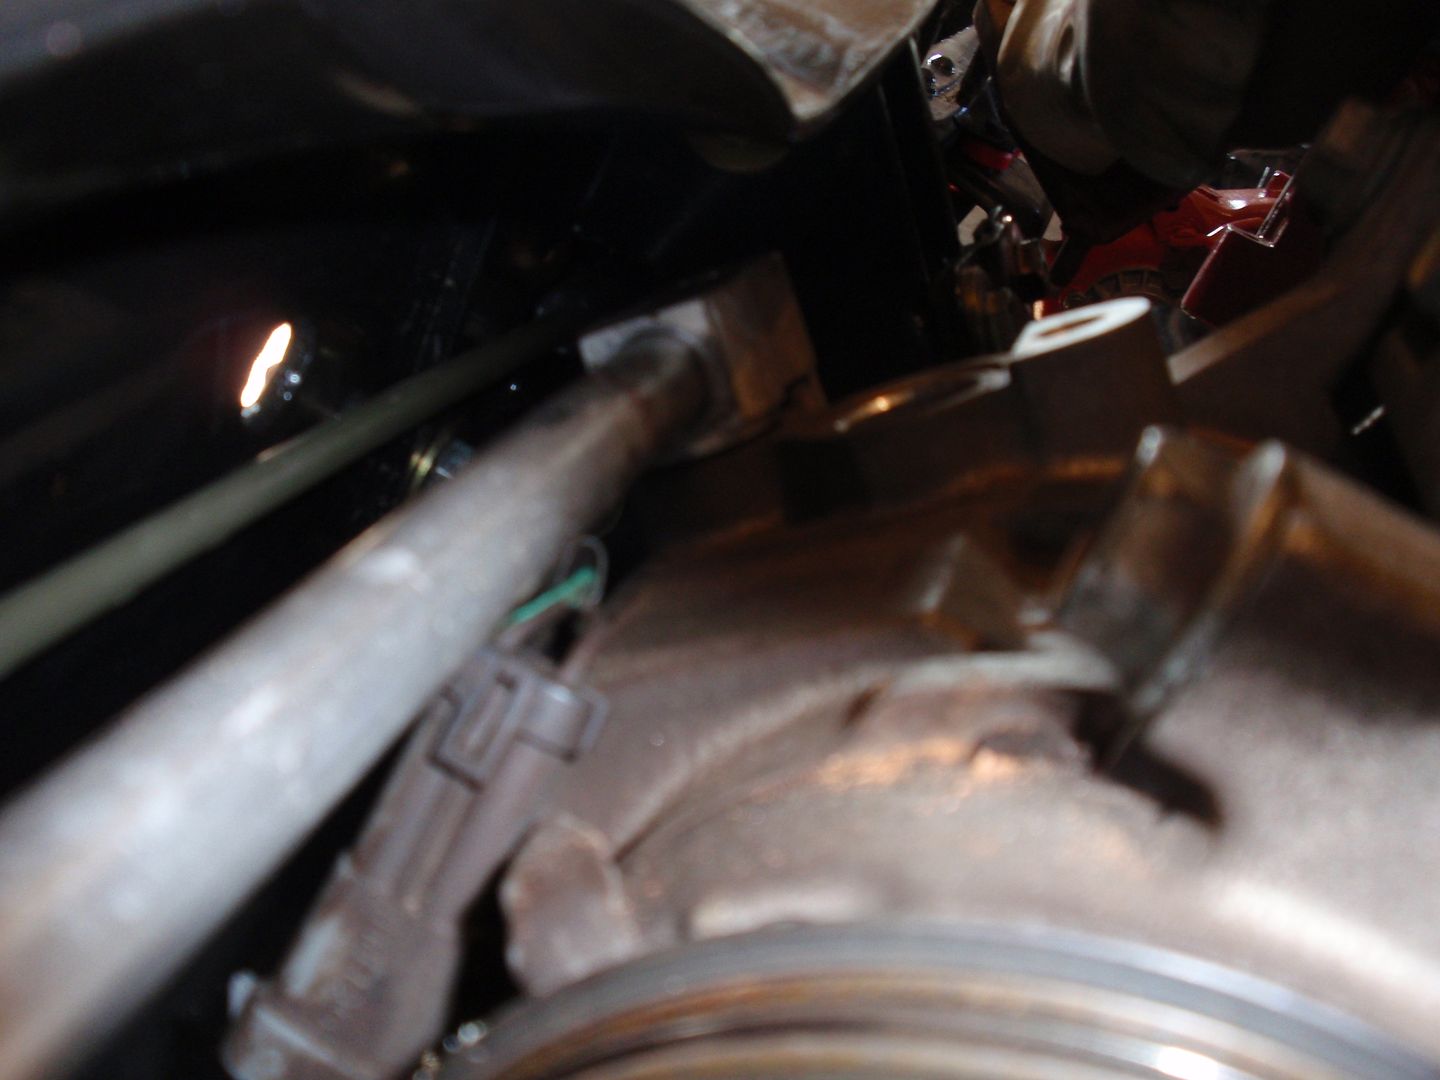 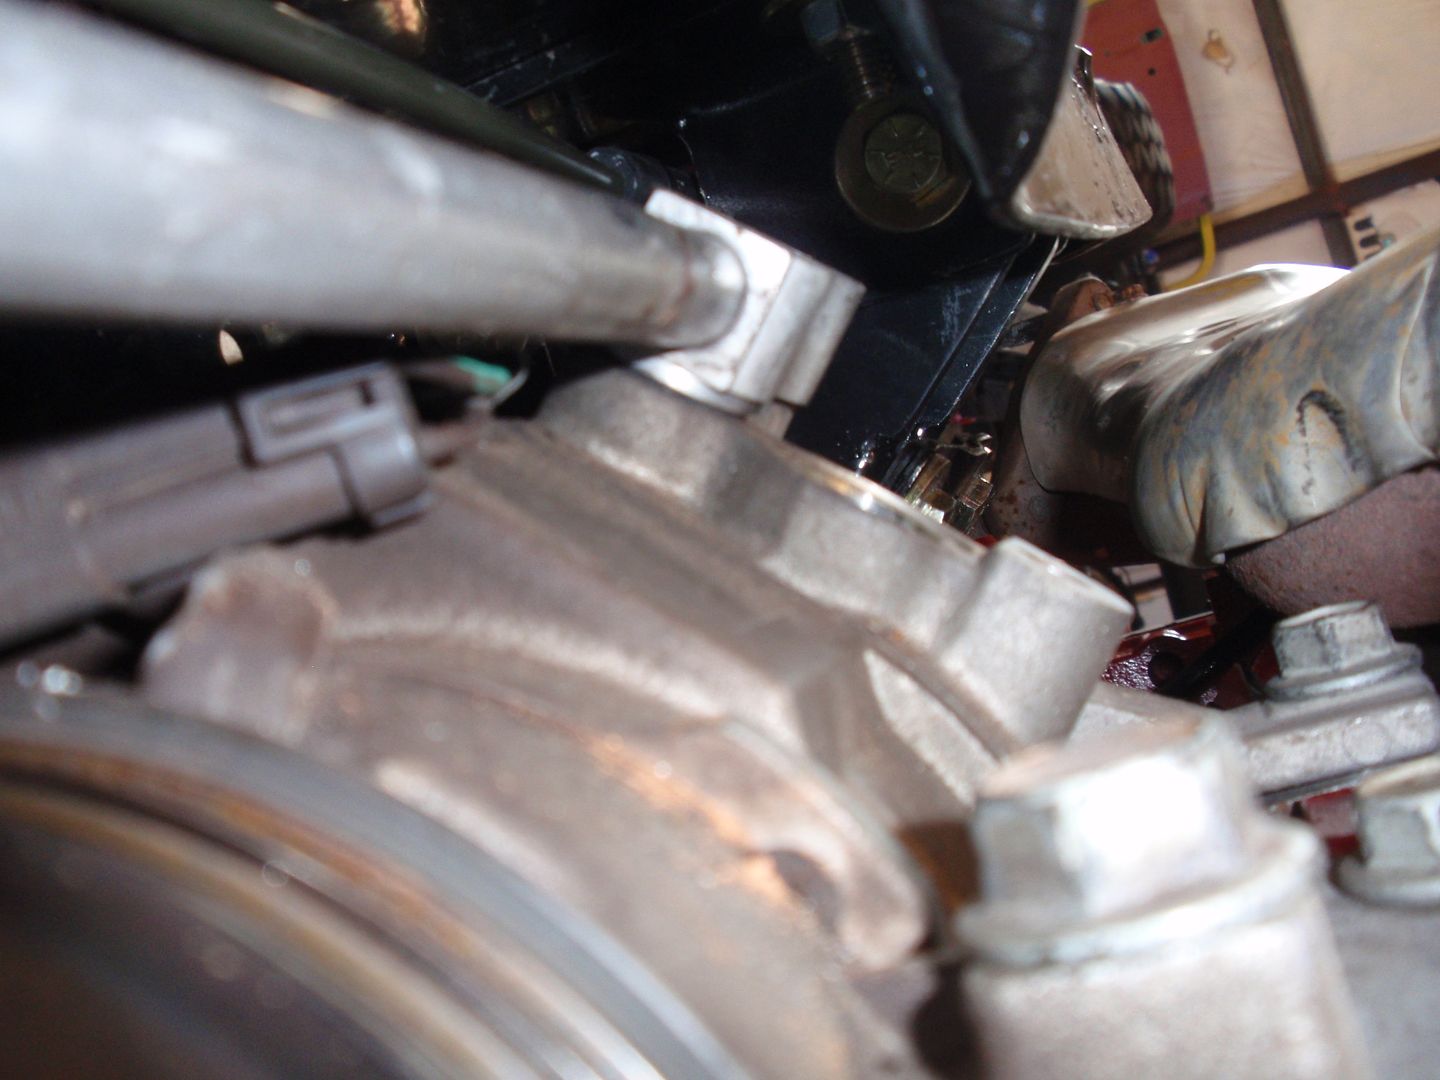 I will have some problems with this line. I either cut a notch in the frame, or I found another line. 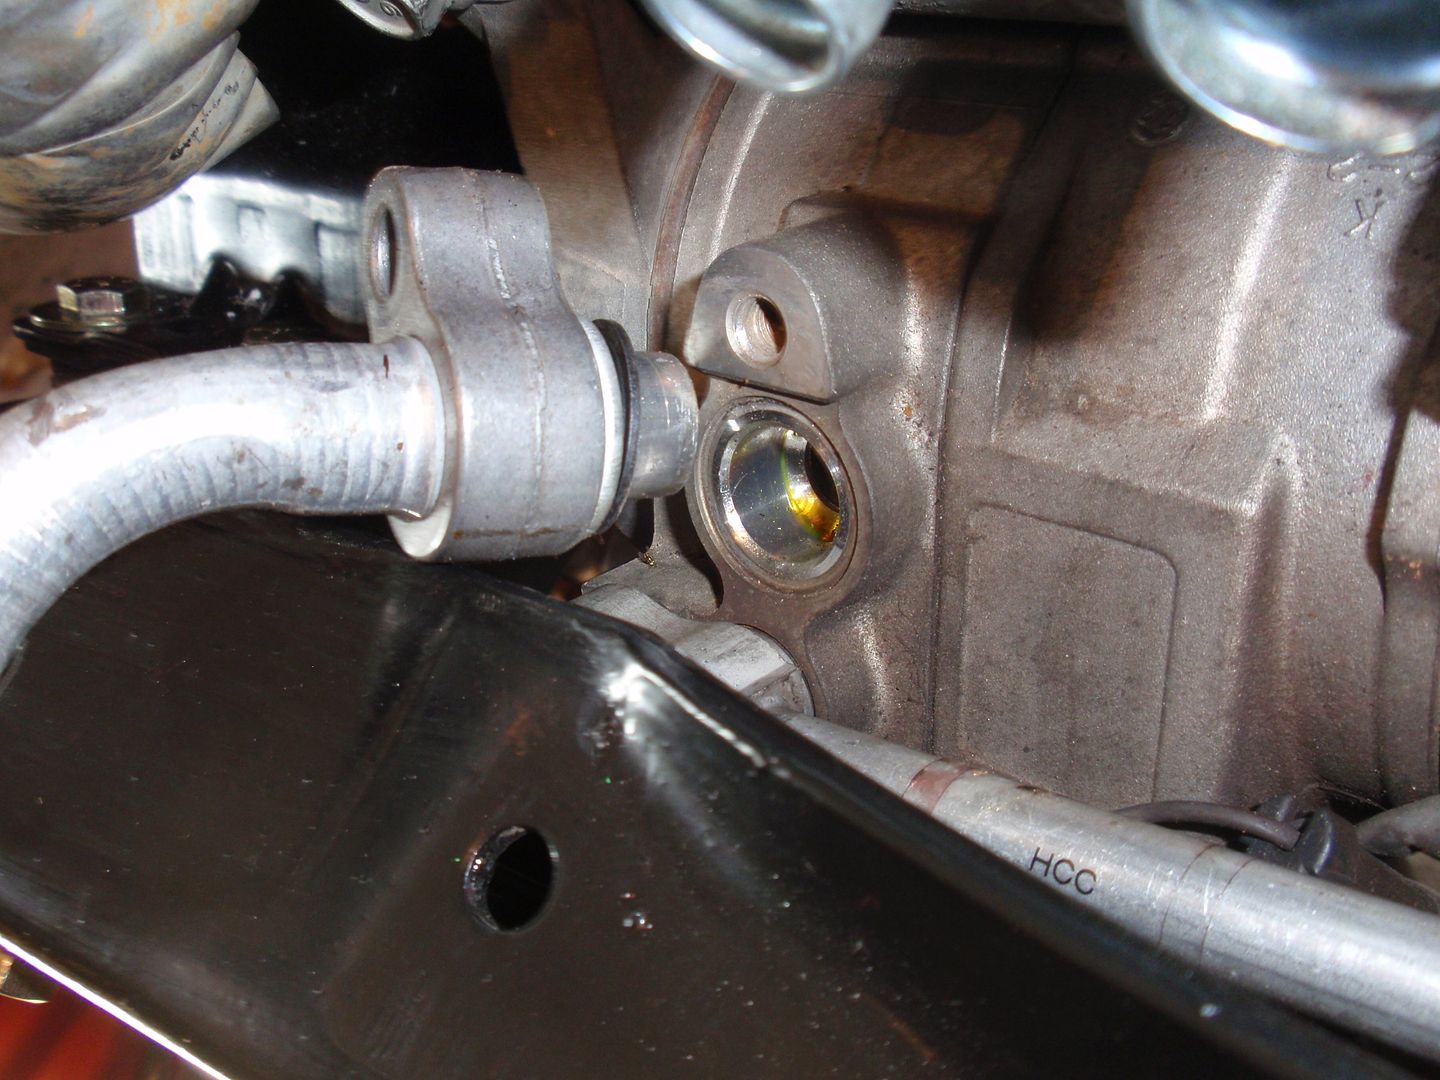 Power steering pump install. 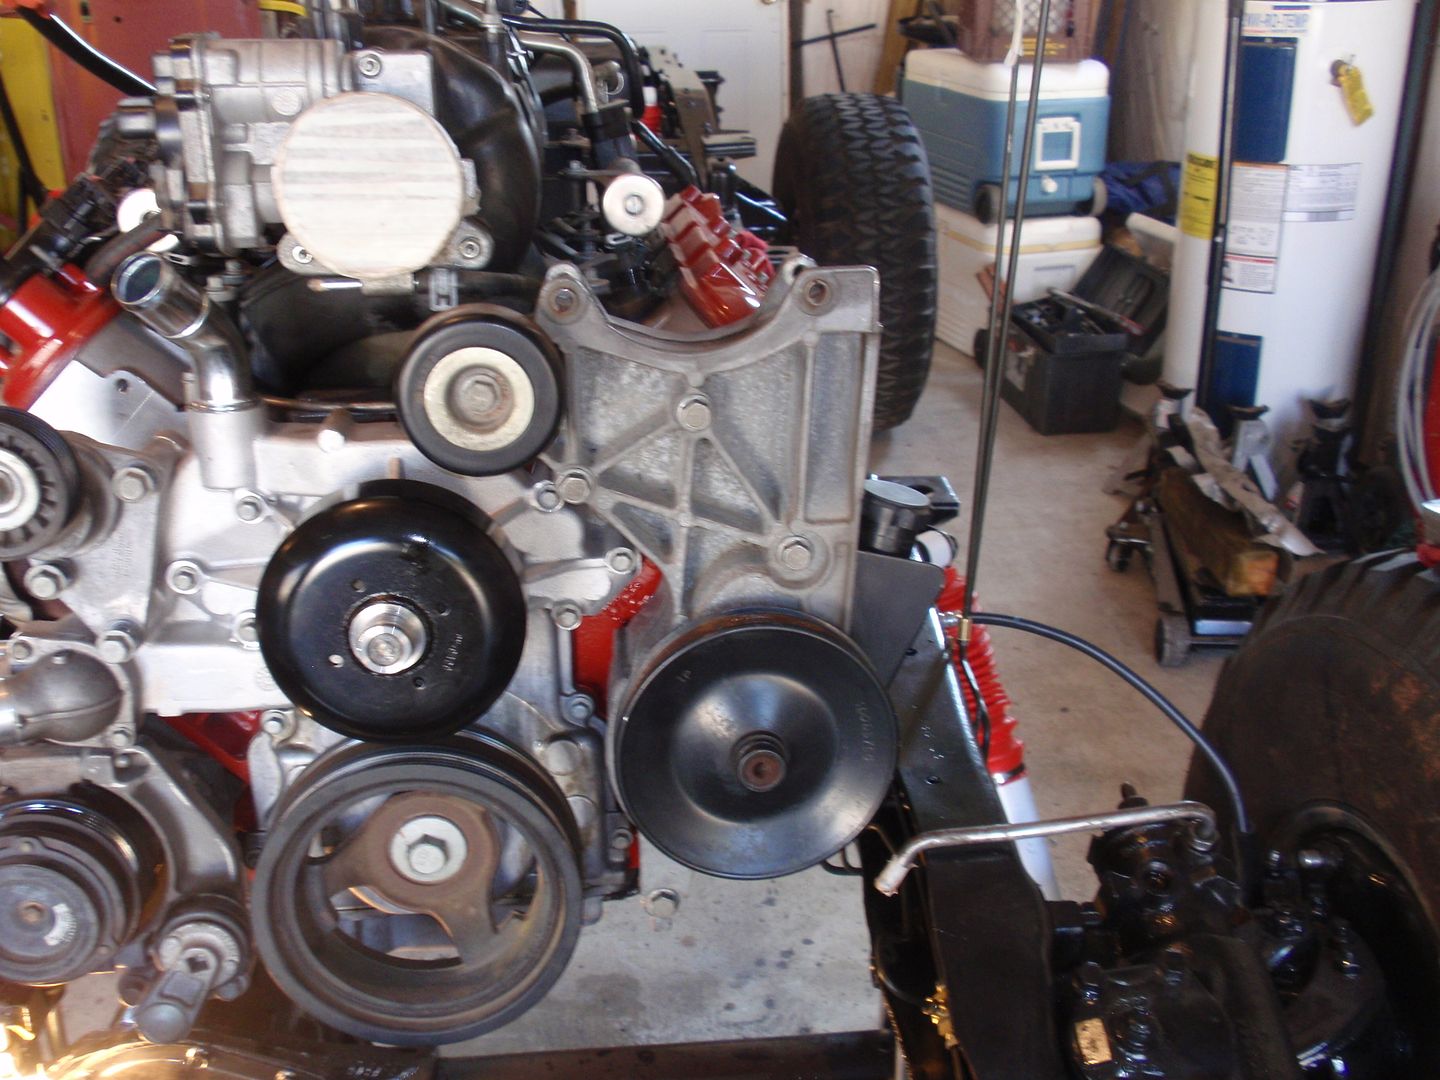 Coil packs and plug wires installed.  Then I worked on getting the belts installed. 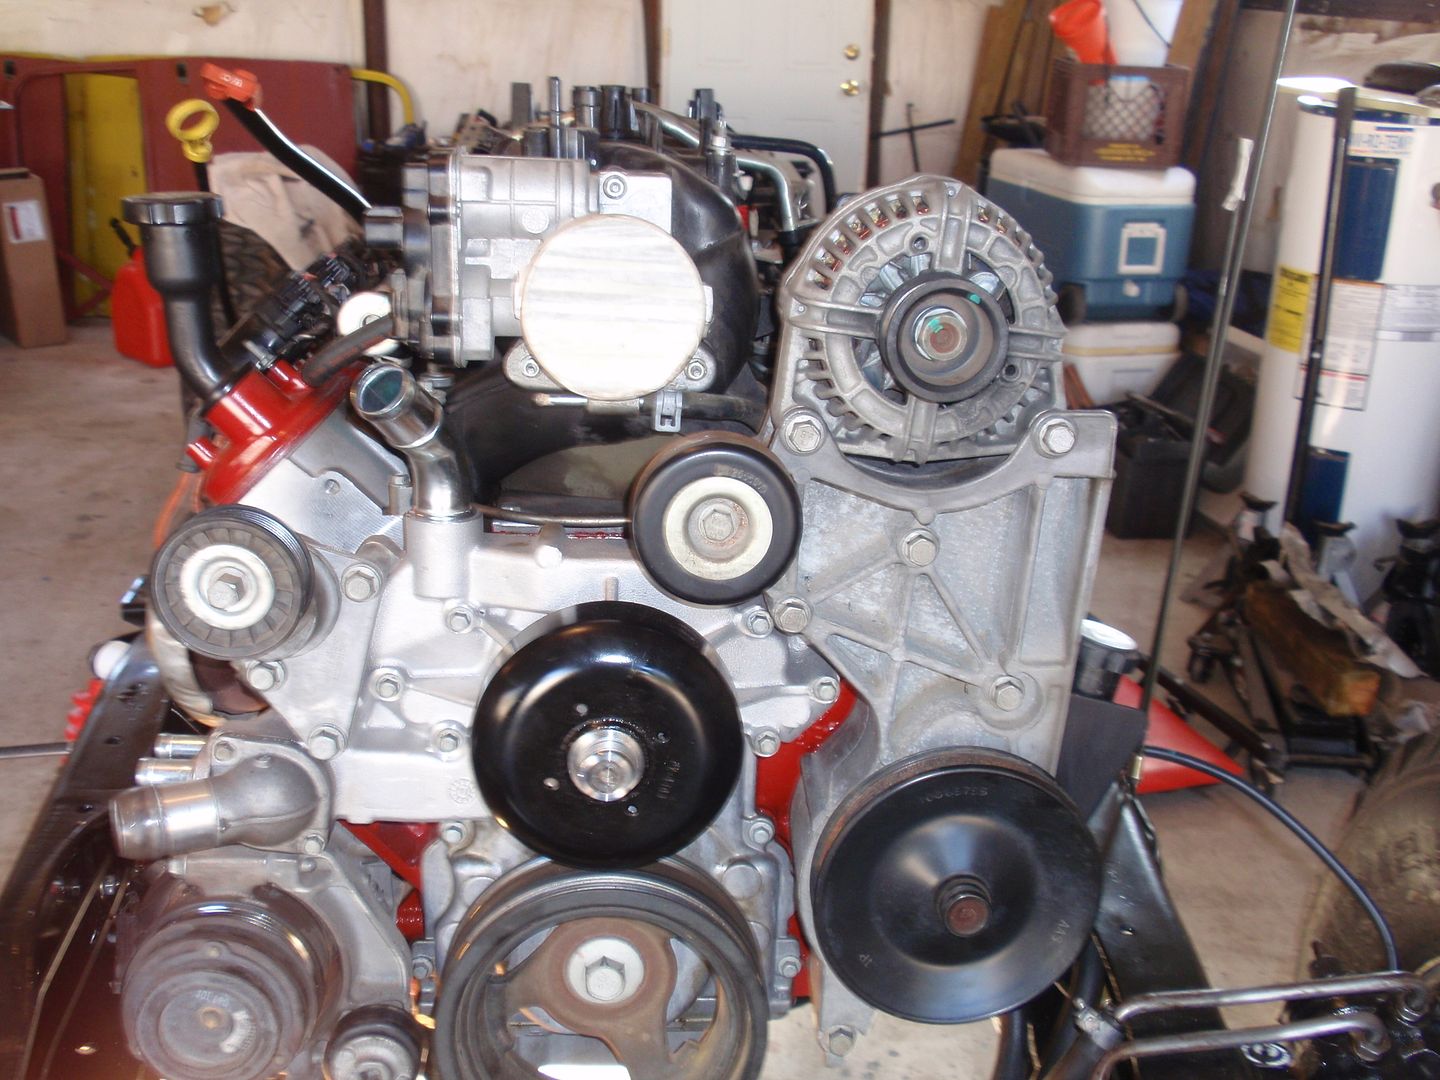 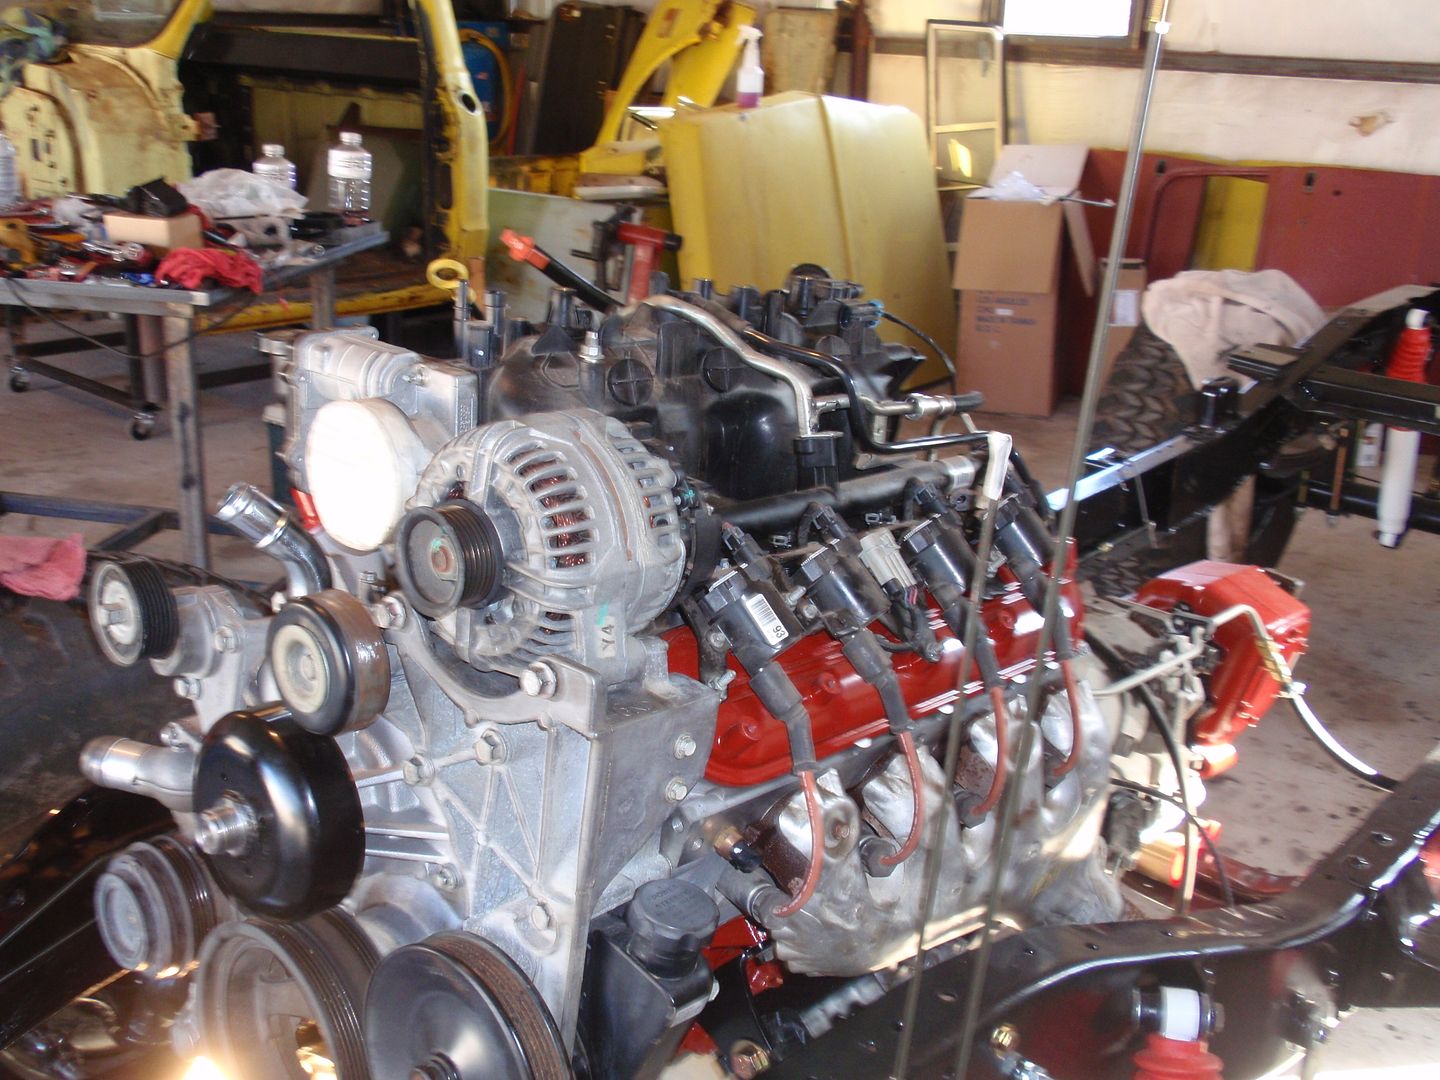 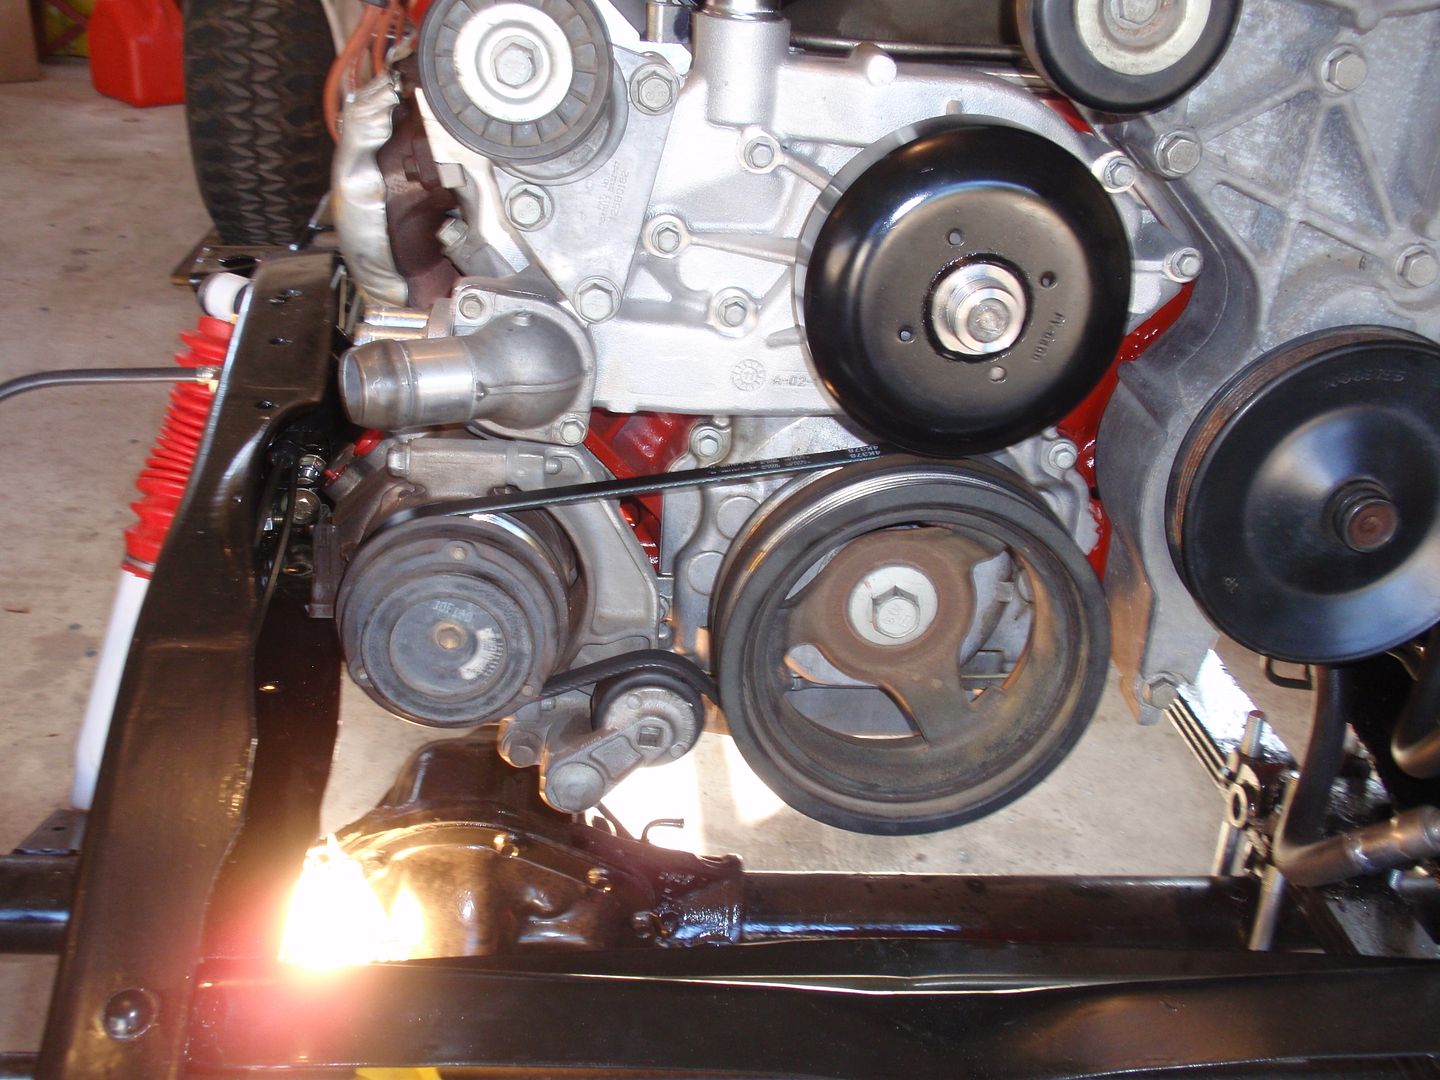 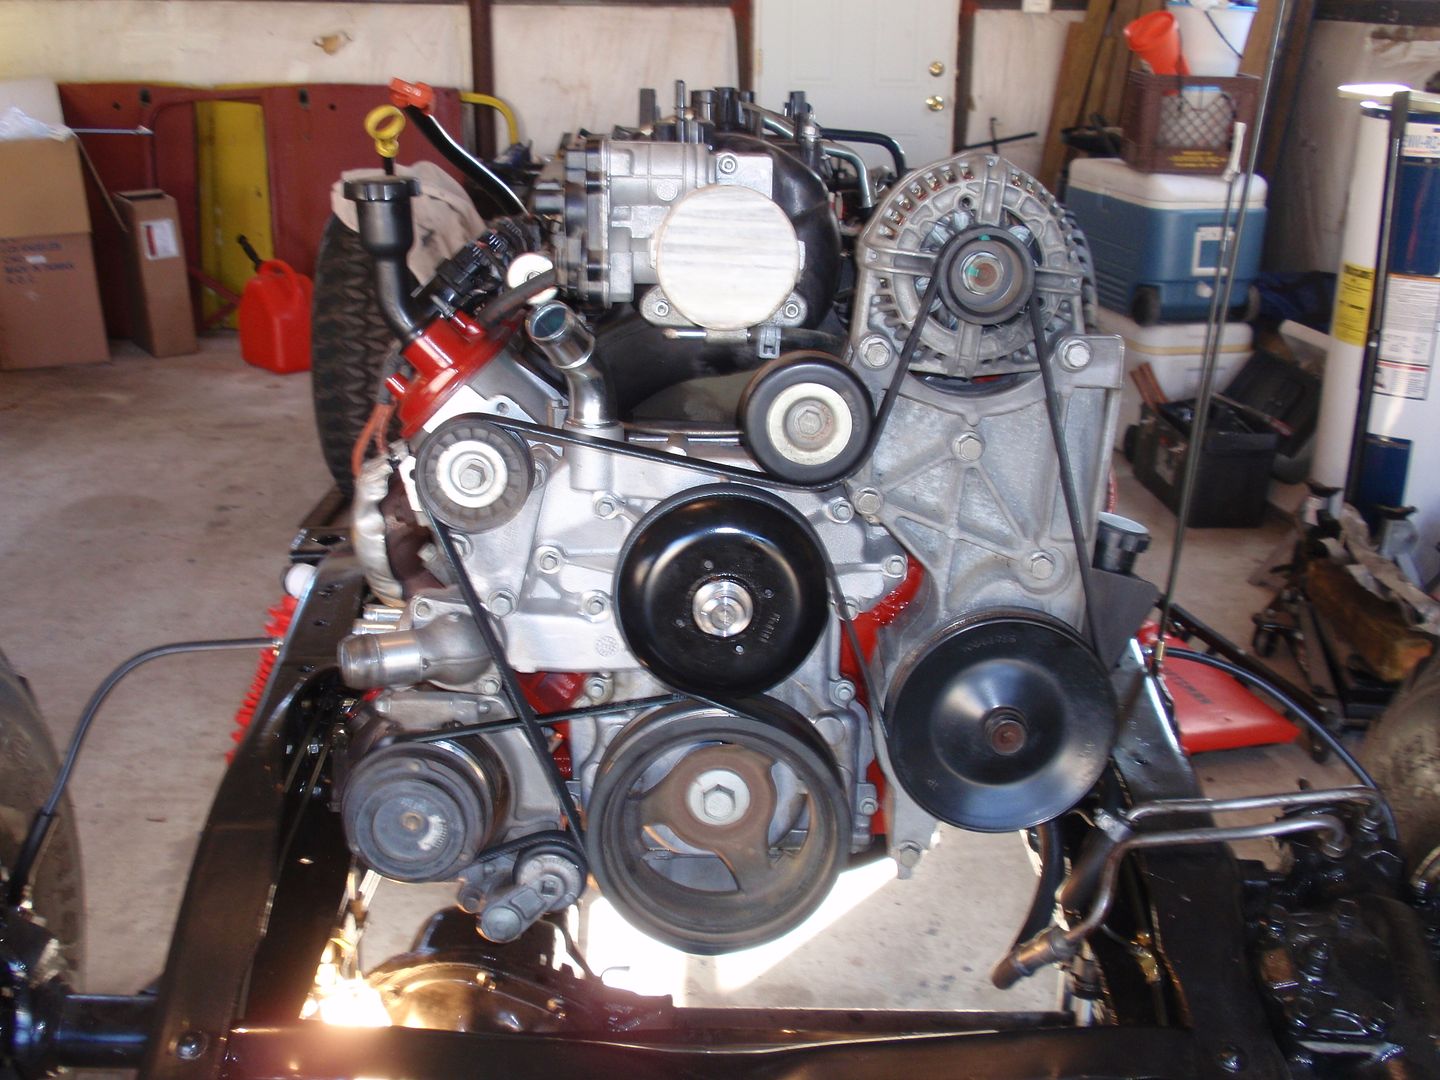 Next was the wiring… Starting right here makes the installation of the wiring harness easy. 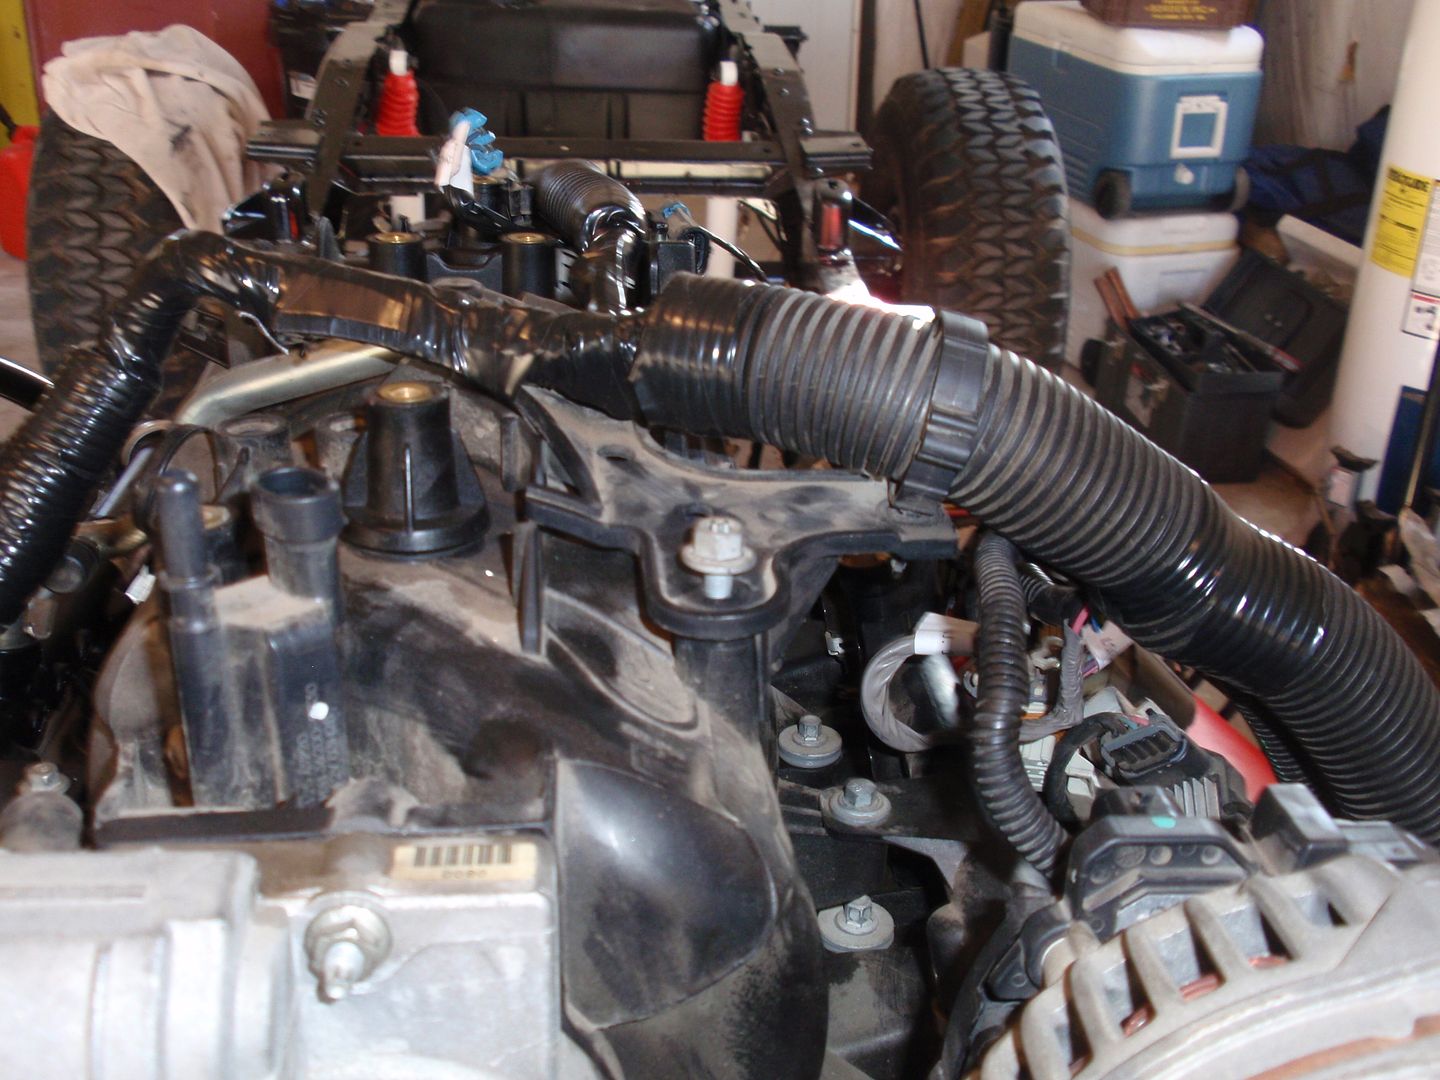 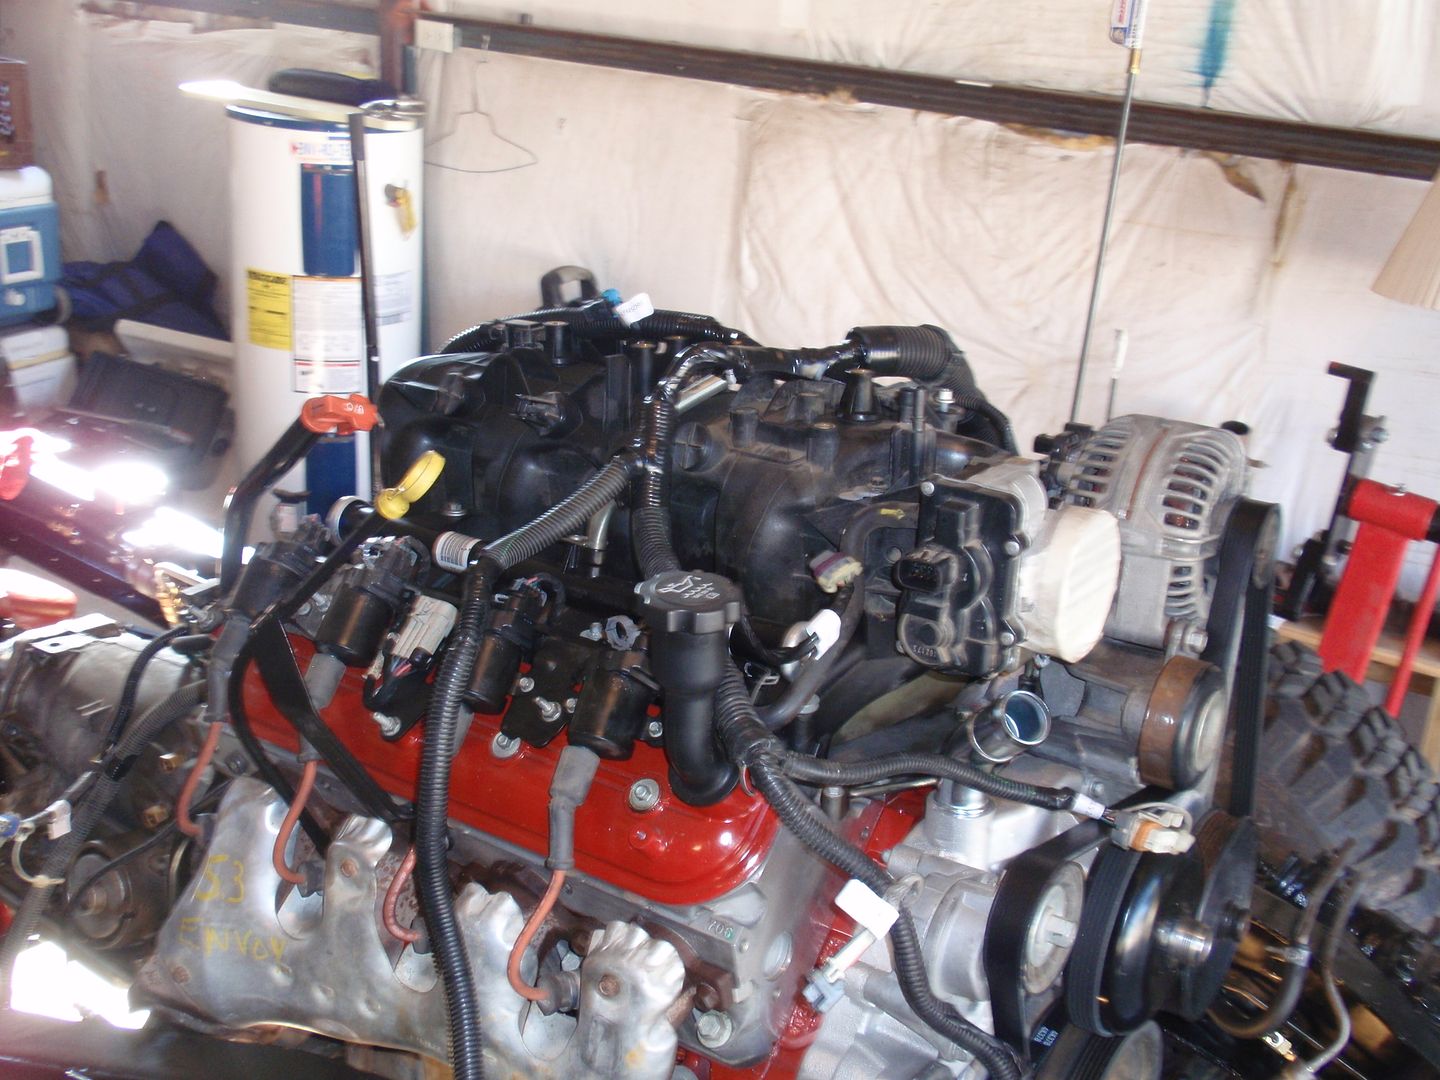 Then I installed the radiator support and radiator. 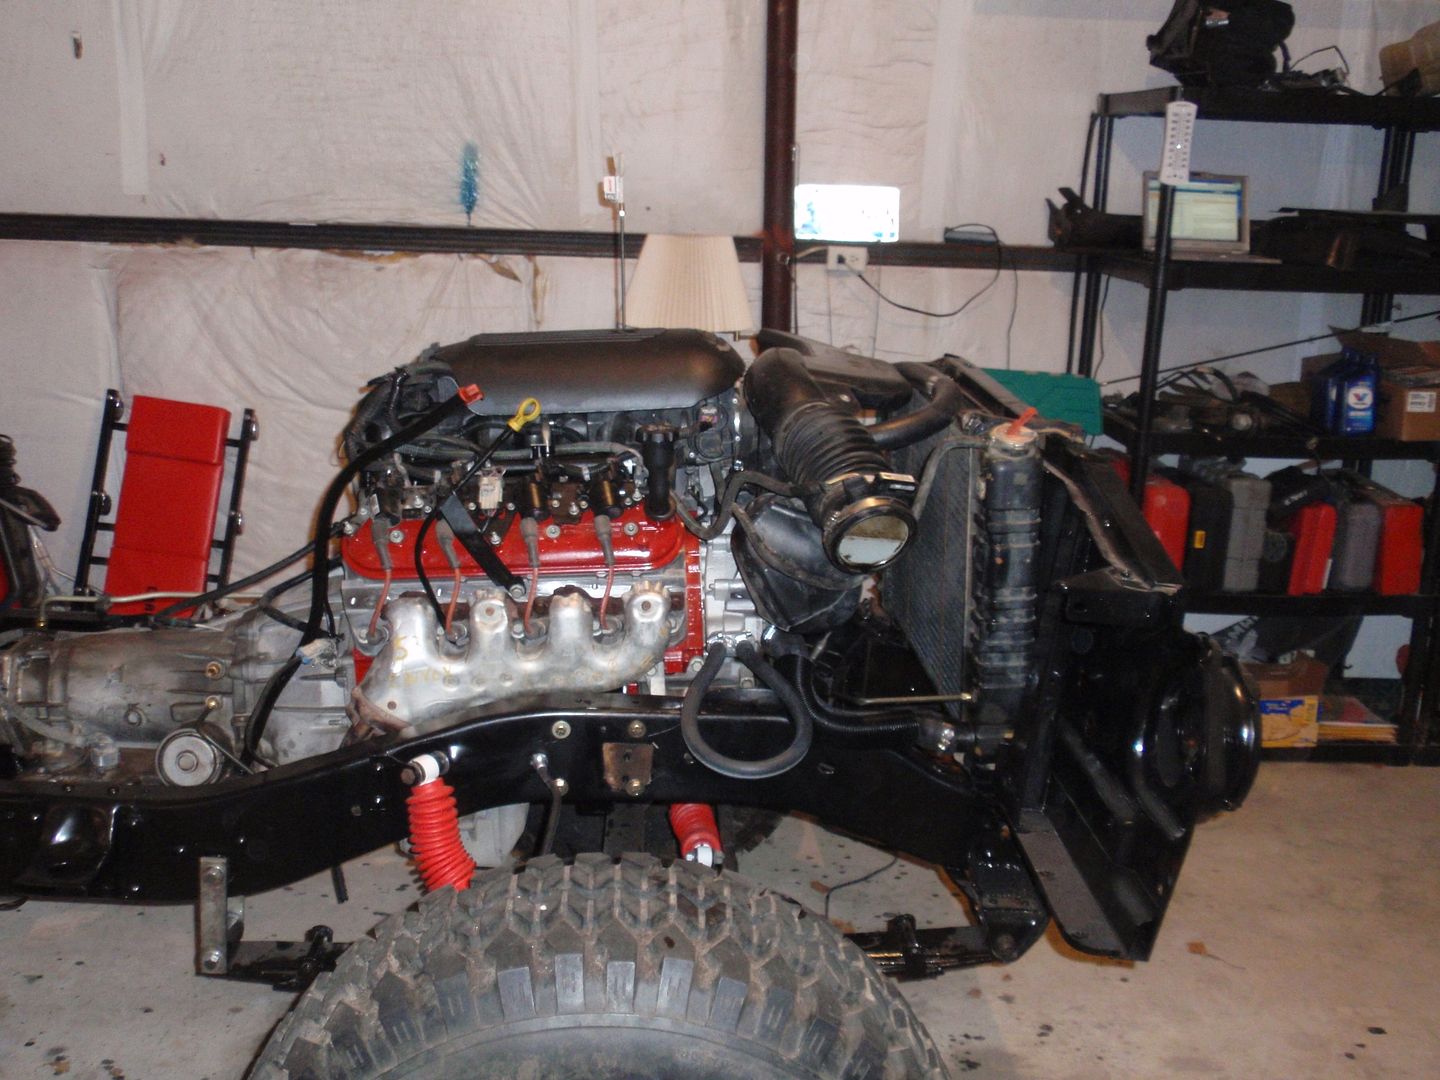 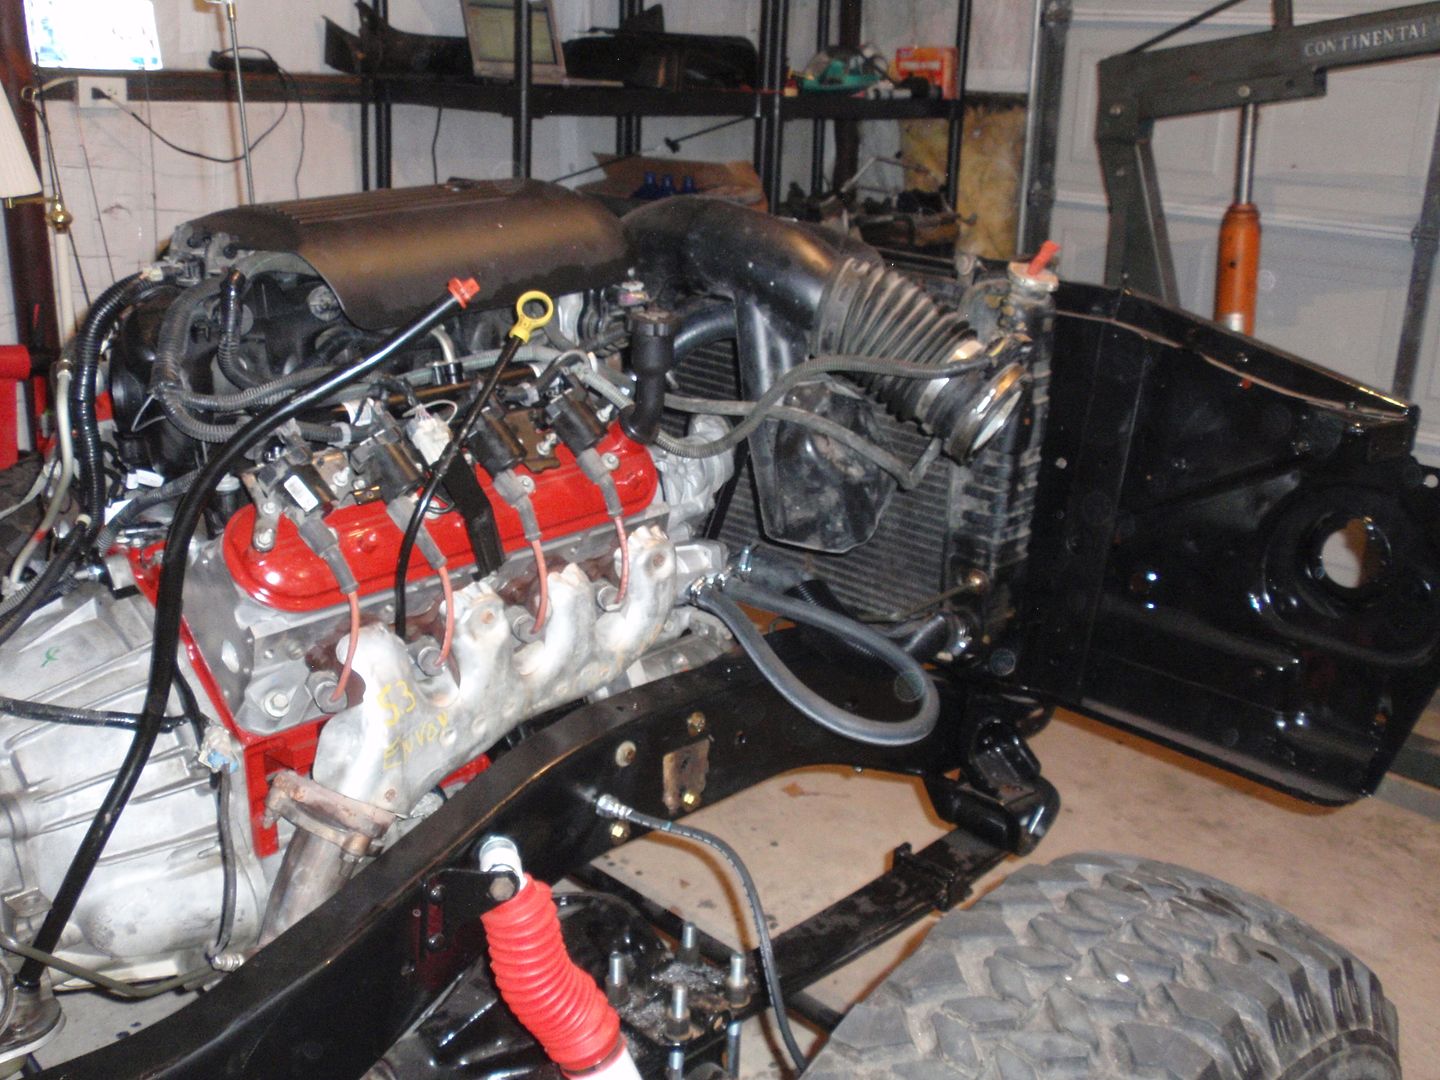 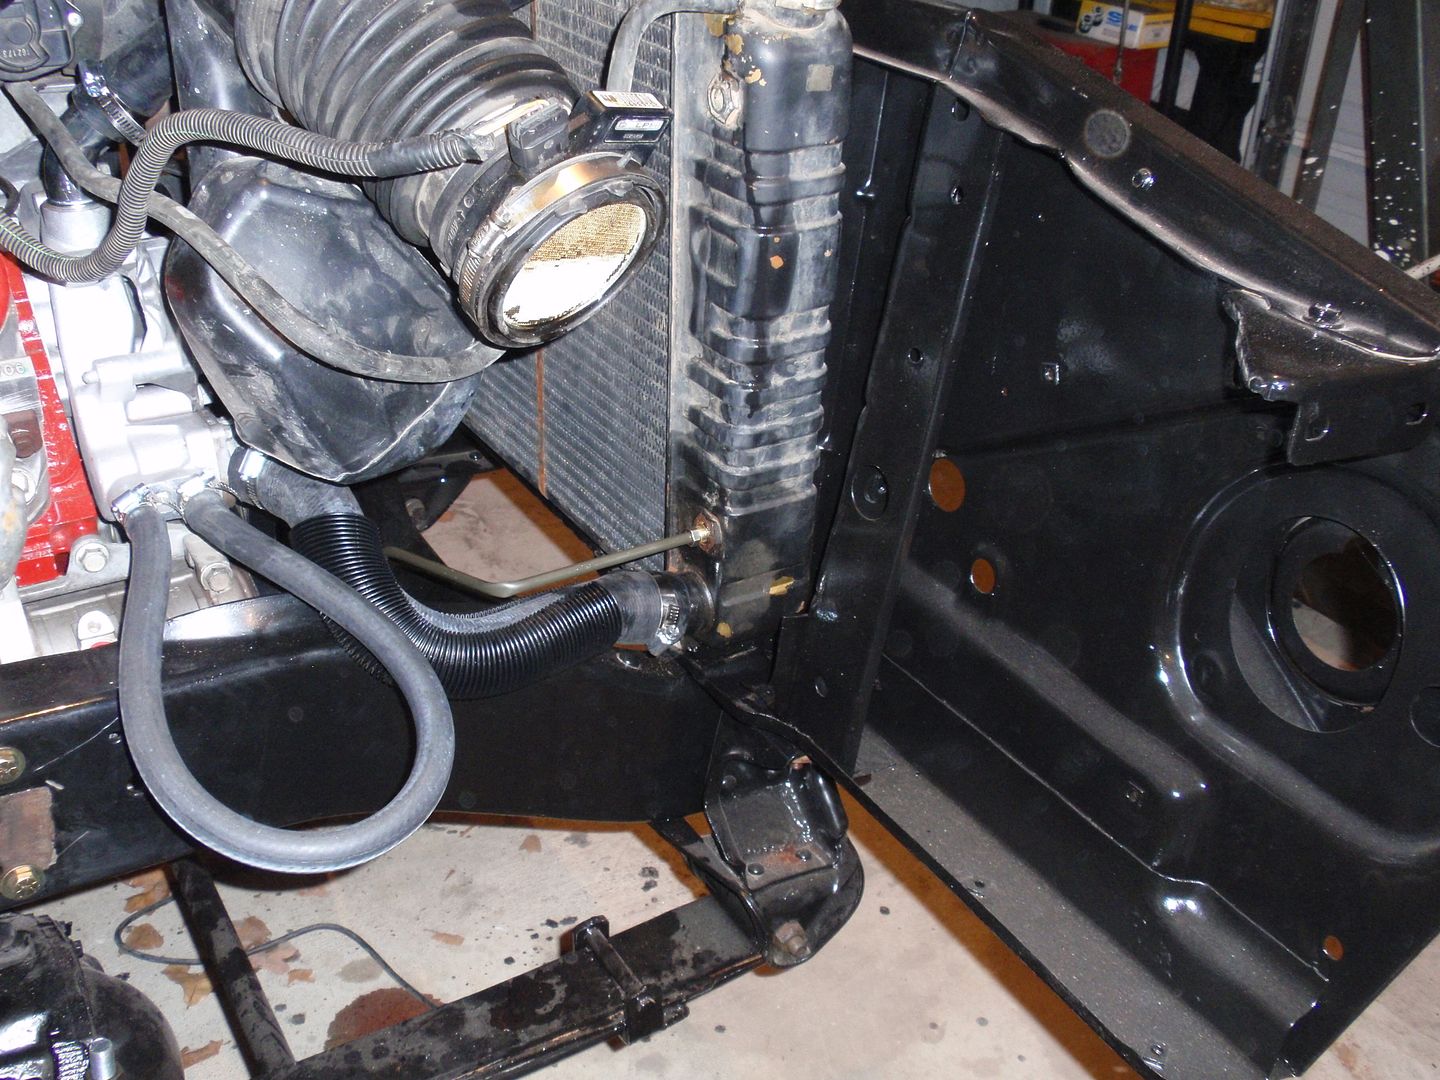 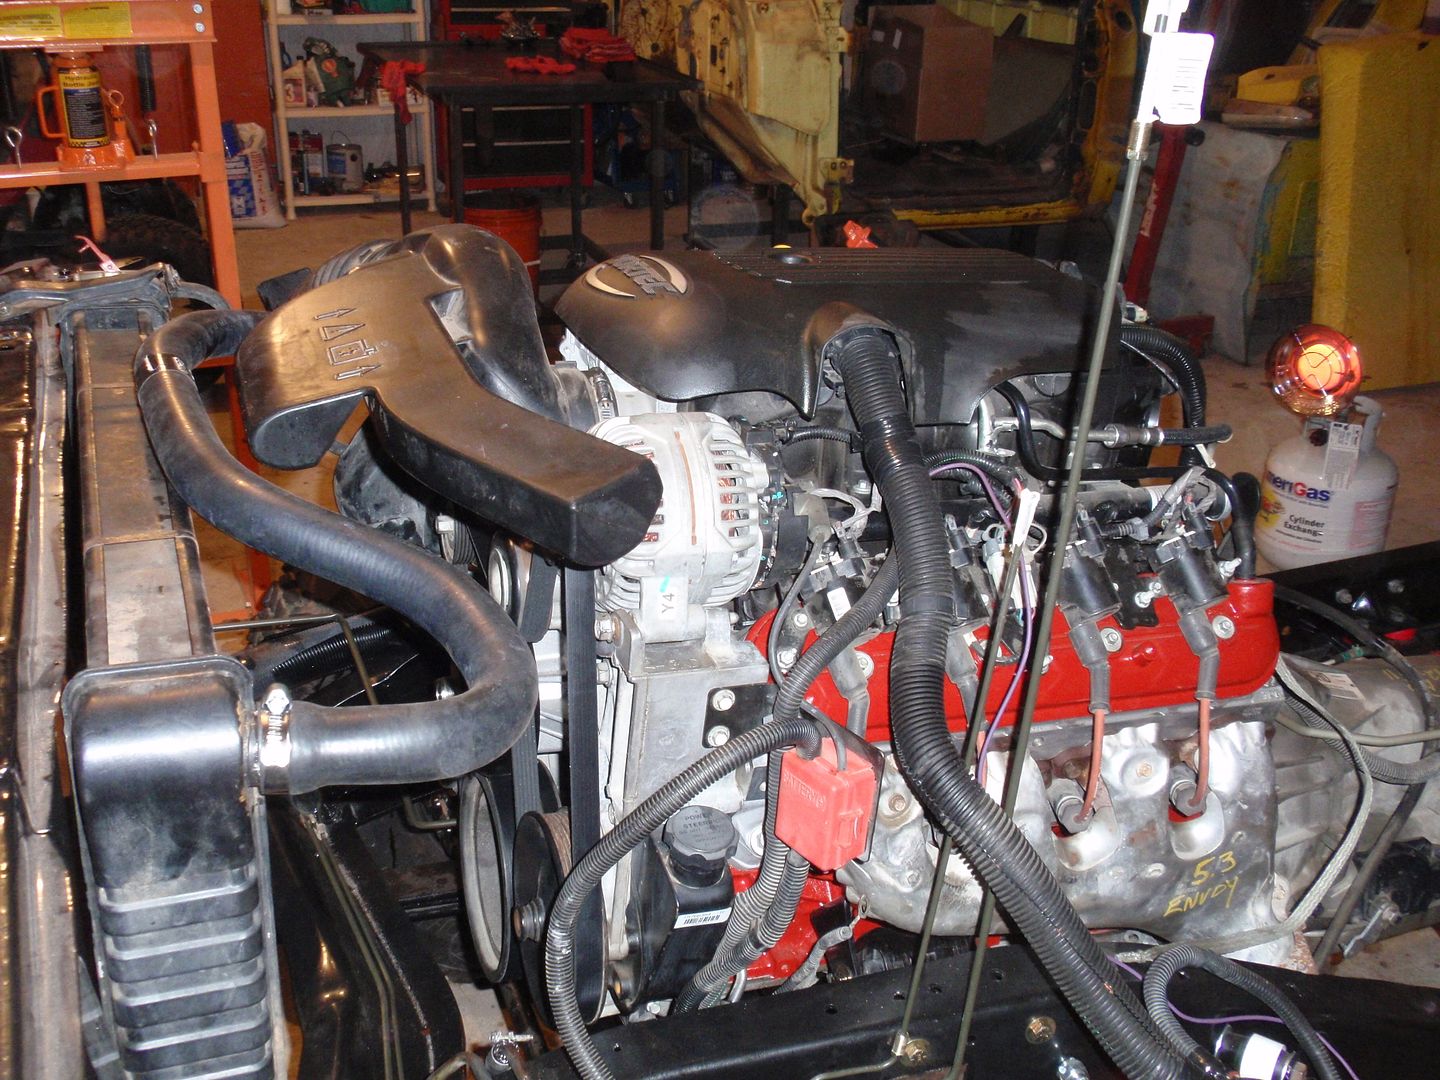 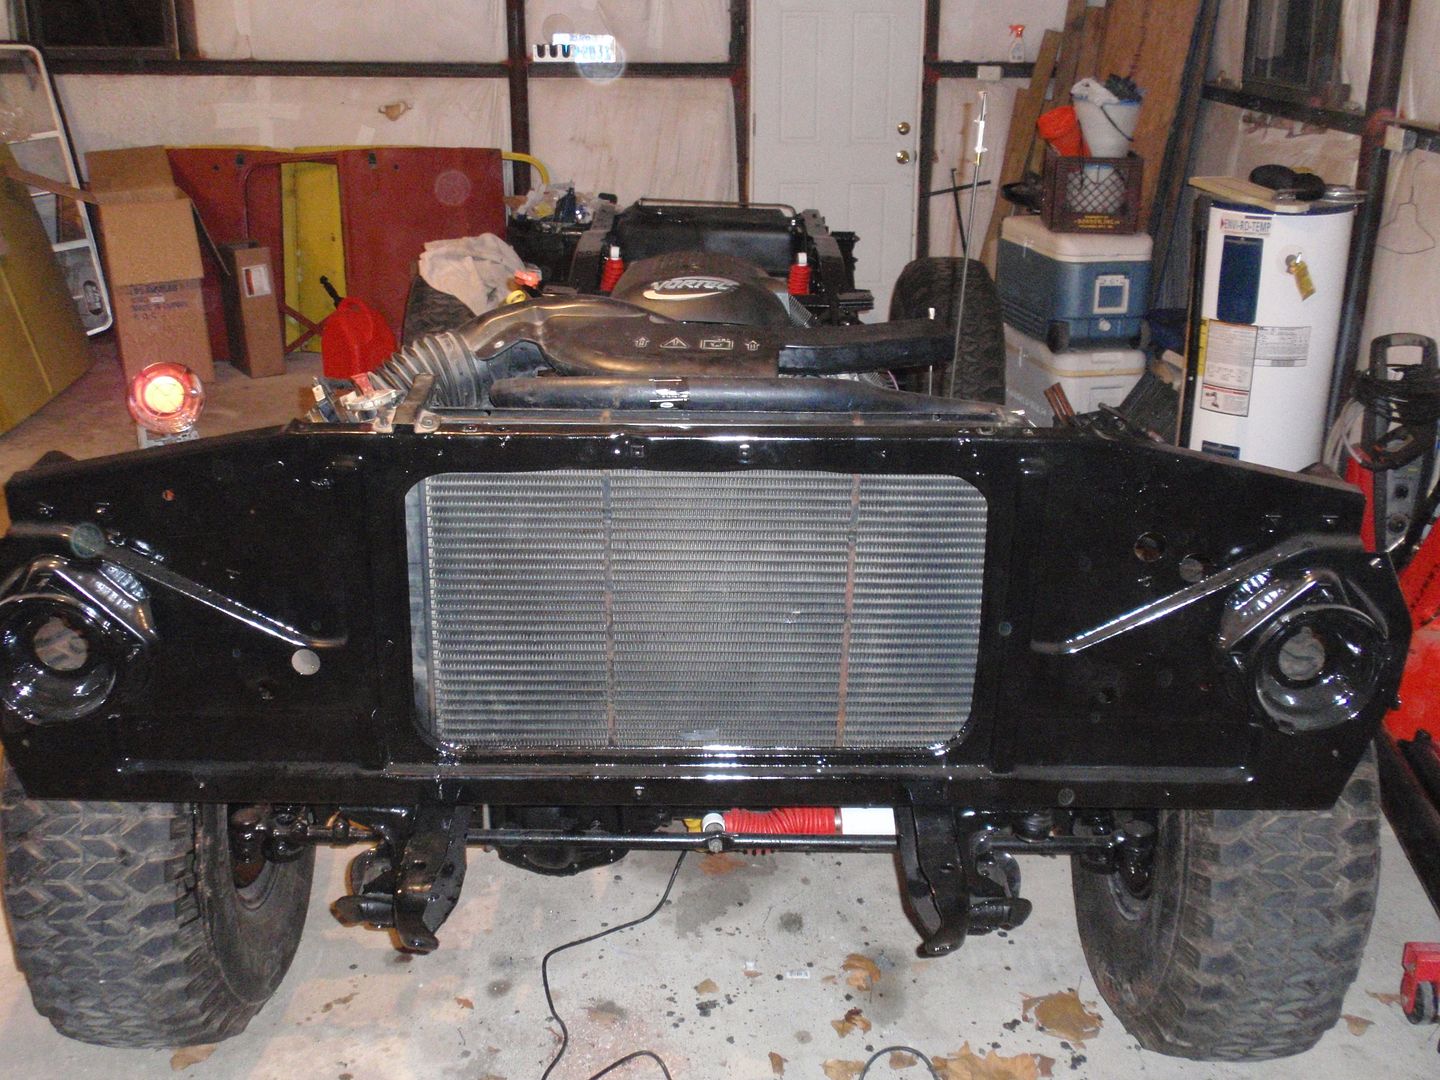 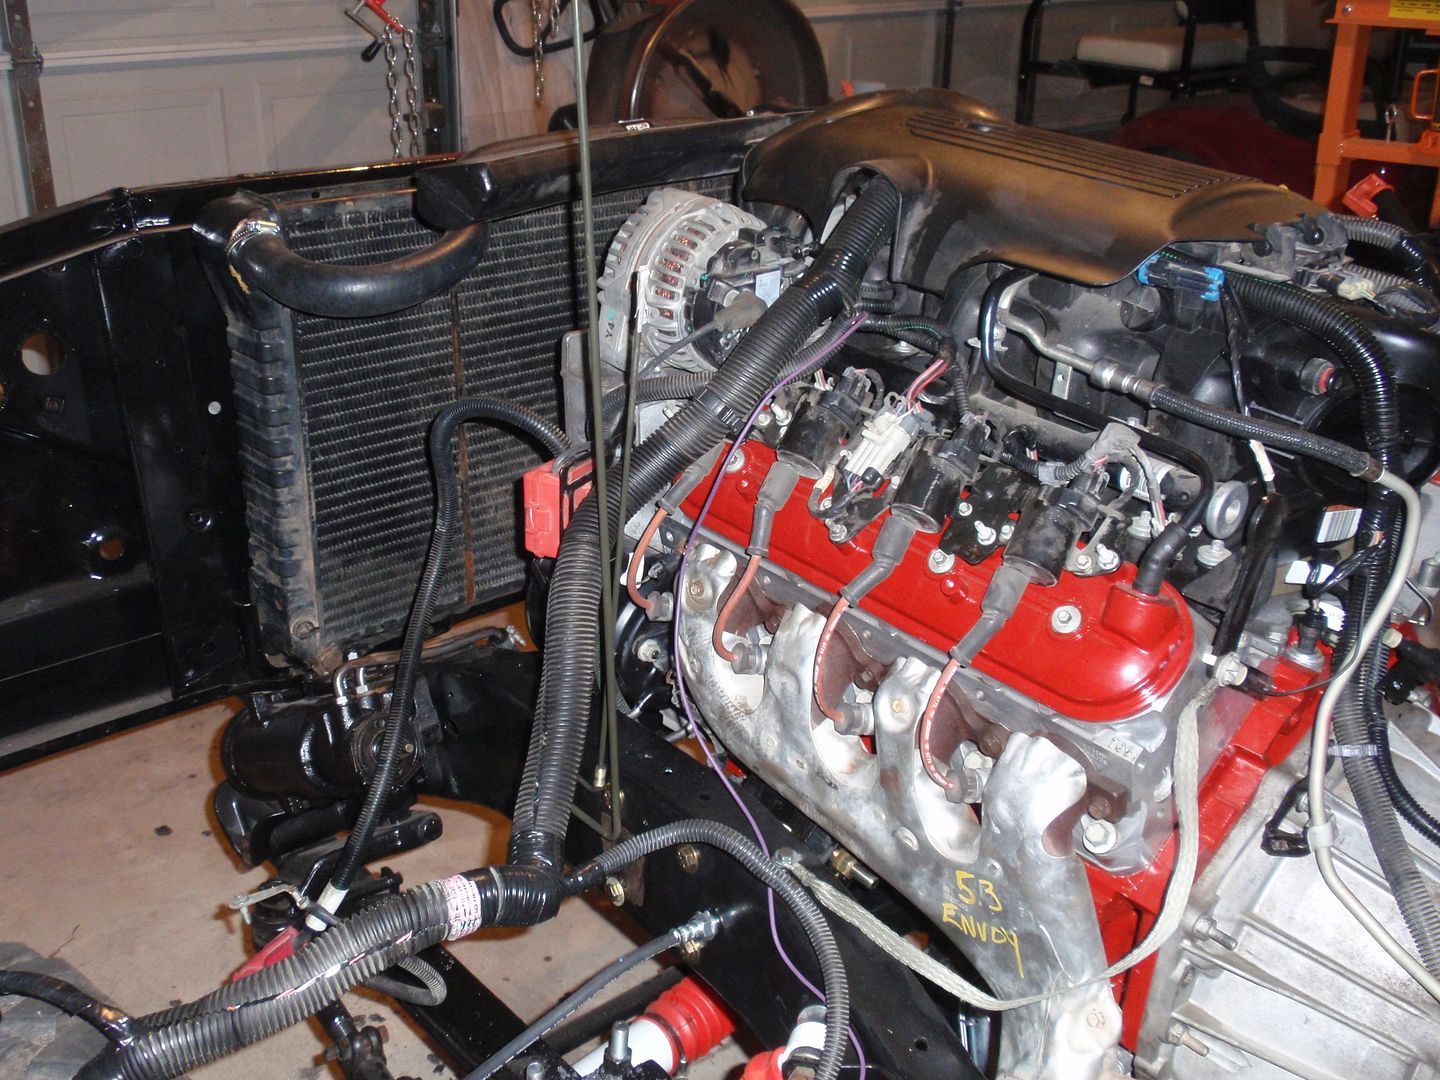 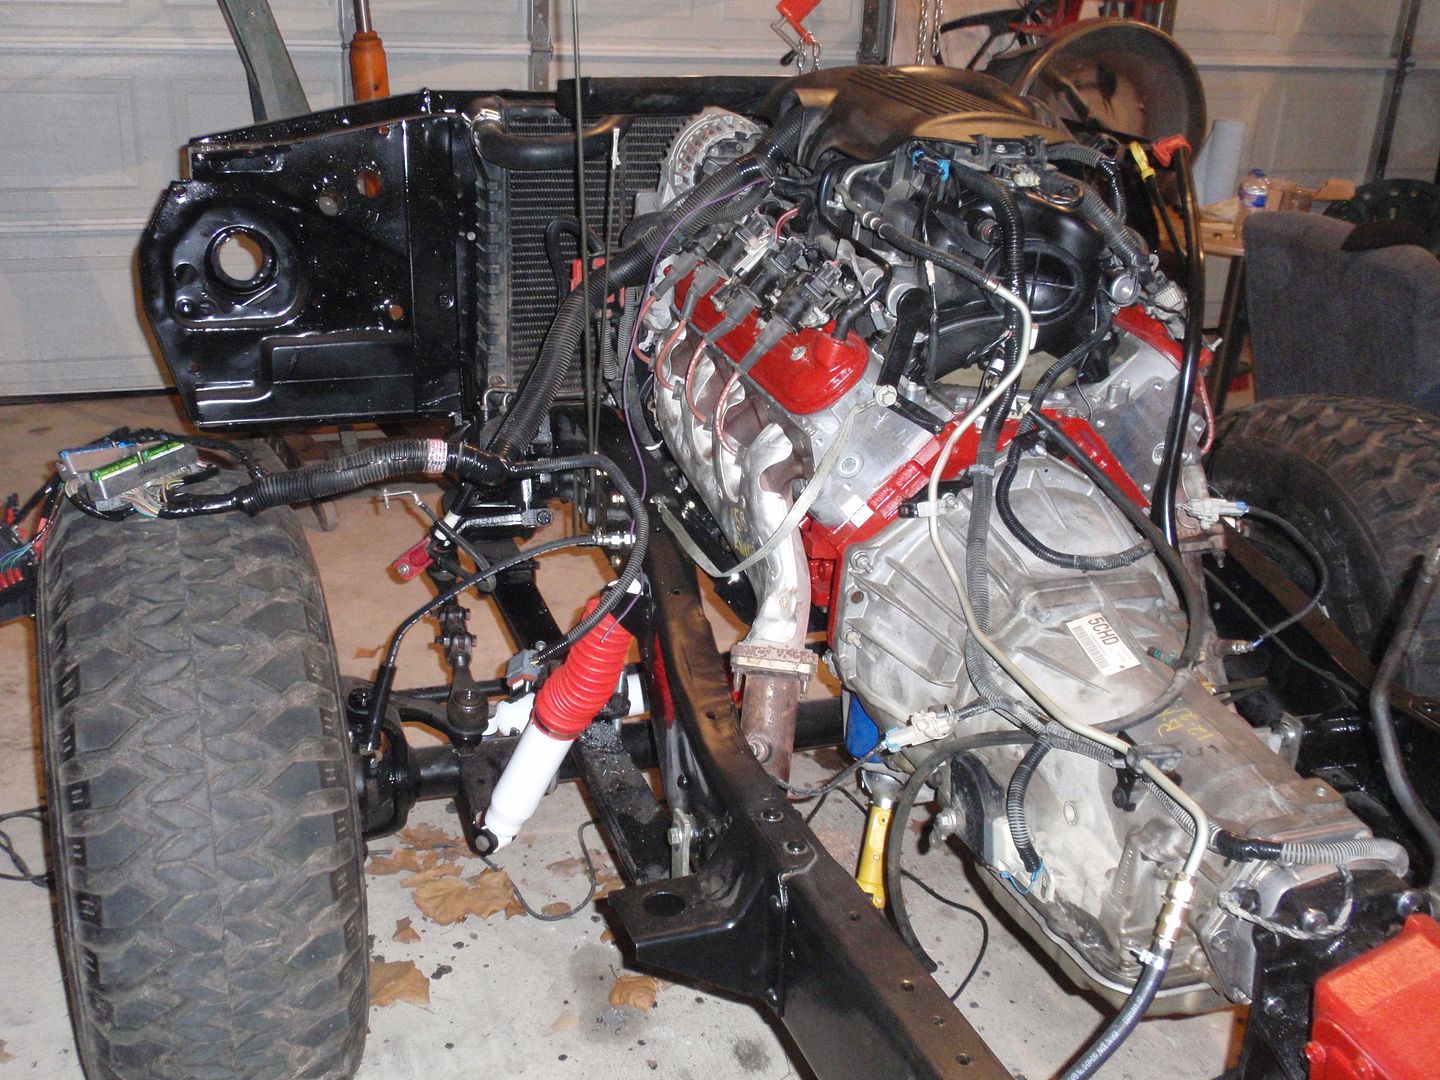 By the way.. it was 69 here today.. light winds.. I should have been fishing.. 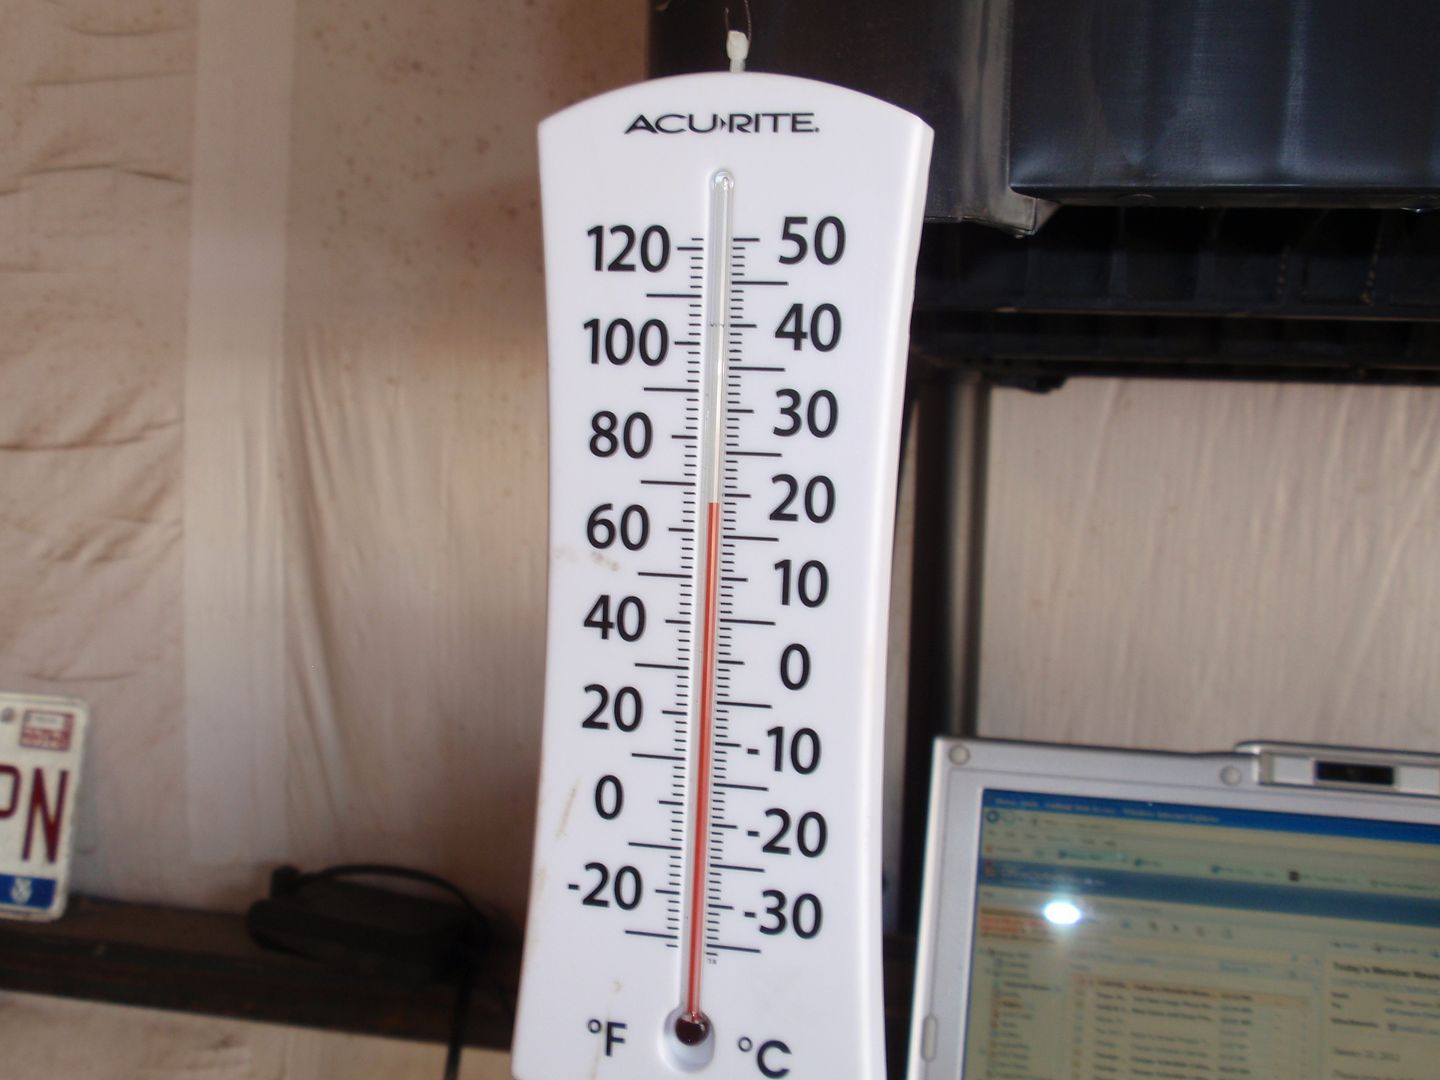 I need to bend the tubing for the transmission lines the cheap ass tubing bender O’Reilly’s sold me does not work on steel lines (copper only). Tomorrow I hope to find a set of 5/16” tubing benders and get the transmission lines done. Next big hurdle is the exhaust. I need to put something together until I can get to a muffler shop.
__________________
Mark ----------------------- Crash's 69 4x4 SWB Crash's Roof over Lake Home Crash's 1988 Land Cruiser Build Last edited by Crash_OK; 01-20-2012 at 10:12 PM. |
|
|

|
|
|
#123 |
|
Still Learning
Join Date: Jul 2009
Location: Central Oklahoma
Posts: 10,108
|
Re: Crash's 72 K10
Whoa Mark! You are moving so fast I can't keep up with the progress. I like the new cross member. It looks like your wiring fell right into place. You have done your homework on this build. Keep the updates coming.
|
|
|

|
|
|
#124 |
|
Registered User
Join Date: Dec 2011
Location: Creighton Sask. Canada
Posts: 4,121
|
Re: Crash's 72 K10
Sat here and looked at your complete build so far, very nice work and a lot of head scratching, good luck on the part you don't like, the bodywork. I'm sure it will turn out like the rest of your build. Good work.
|
|
|

|
|
|
#125 |
|
Registered User
Join Date: Nov 2011
Location: Edmond, OK.
Posts: 1,362
|
Re: Crash's 72 K10
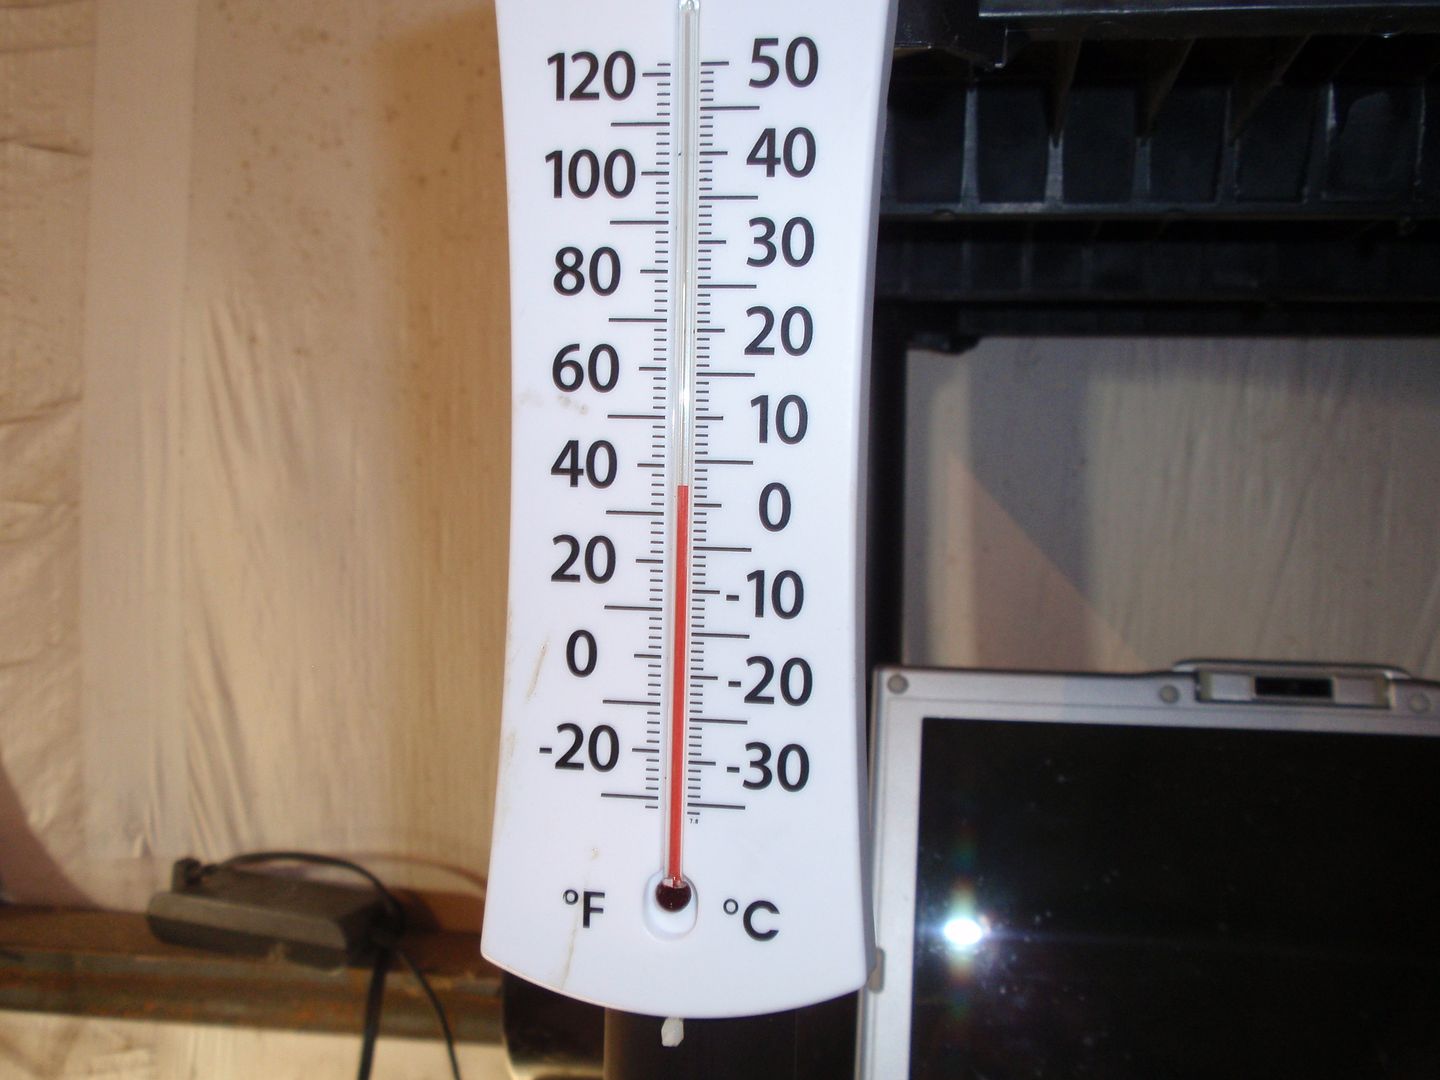
Saturday morning was a bit cooler than Friday afternoon…
 Started out the day by bending the transmission lines, and creating the inverted flare for the line connections. 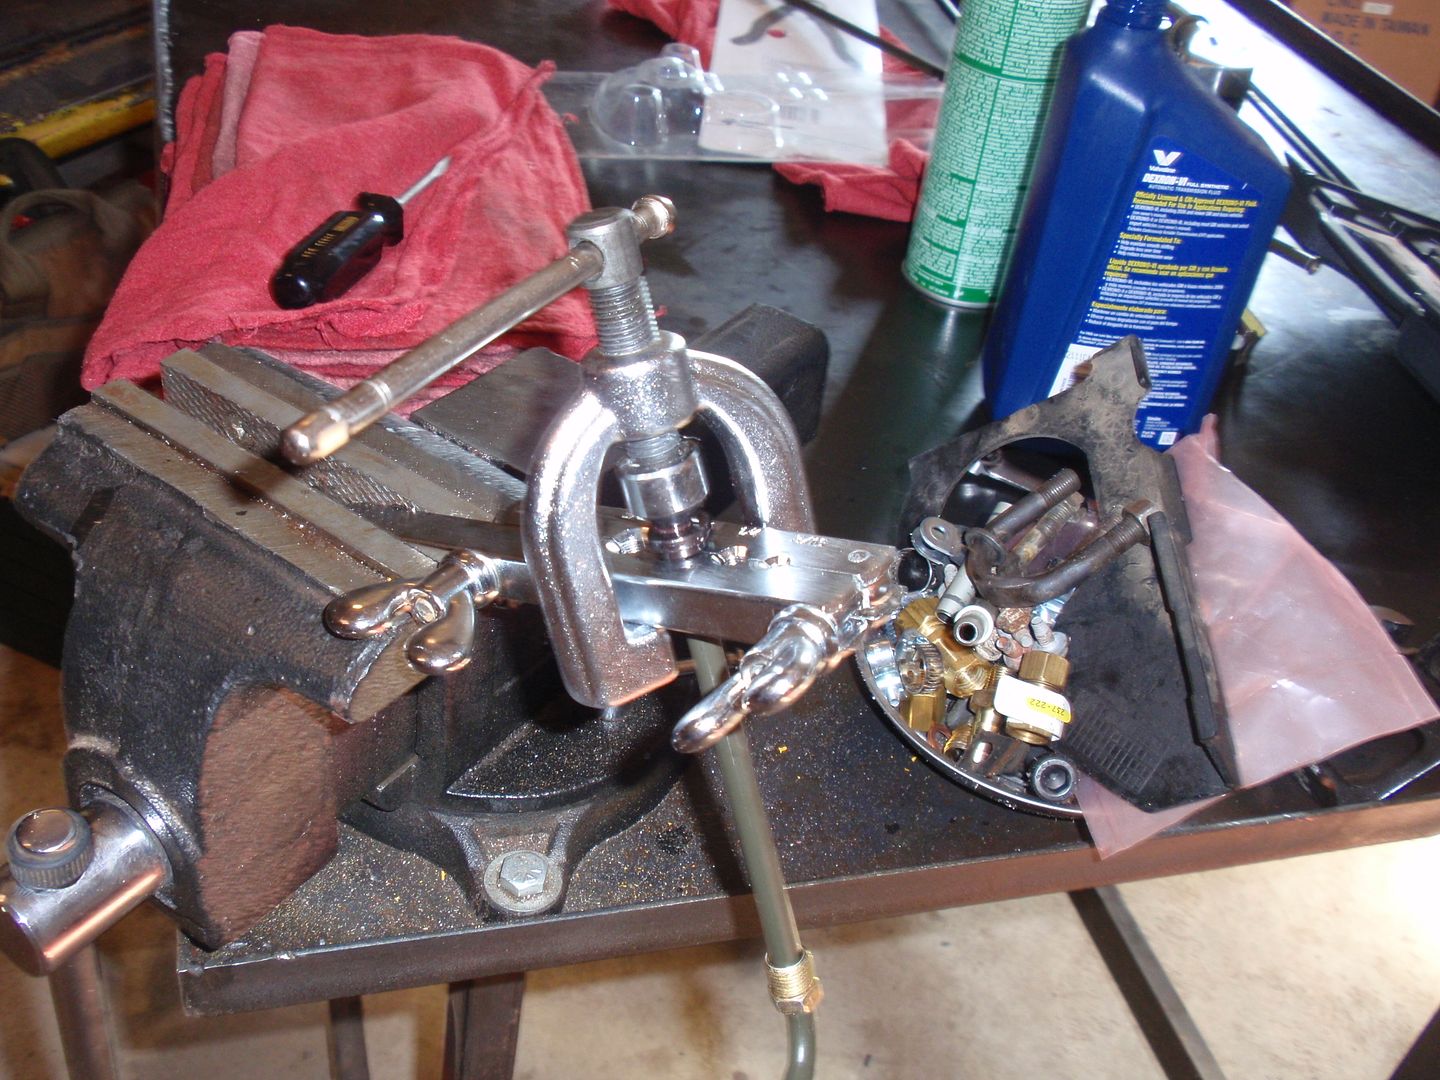 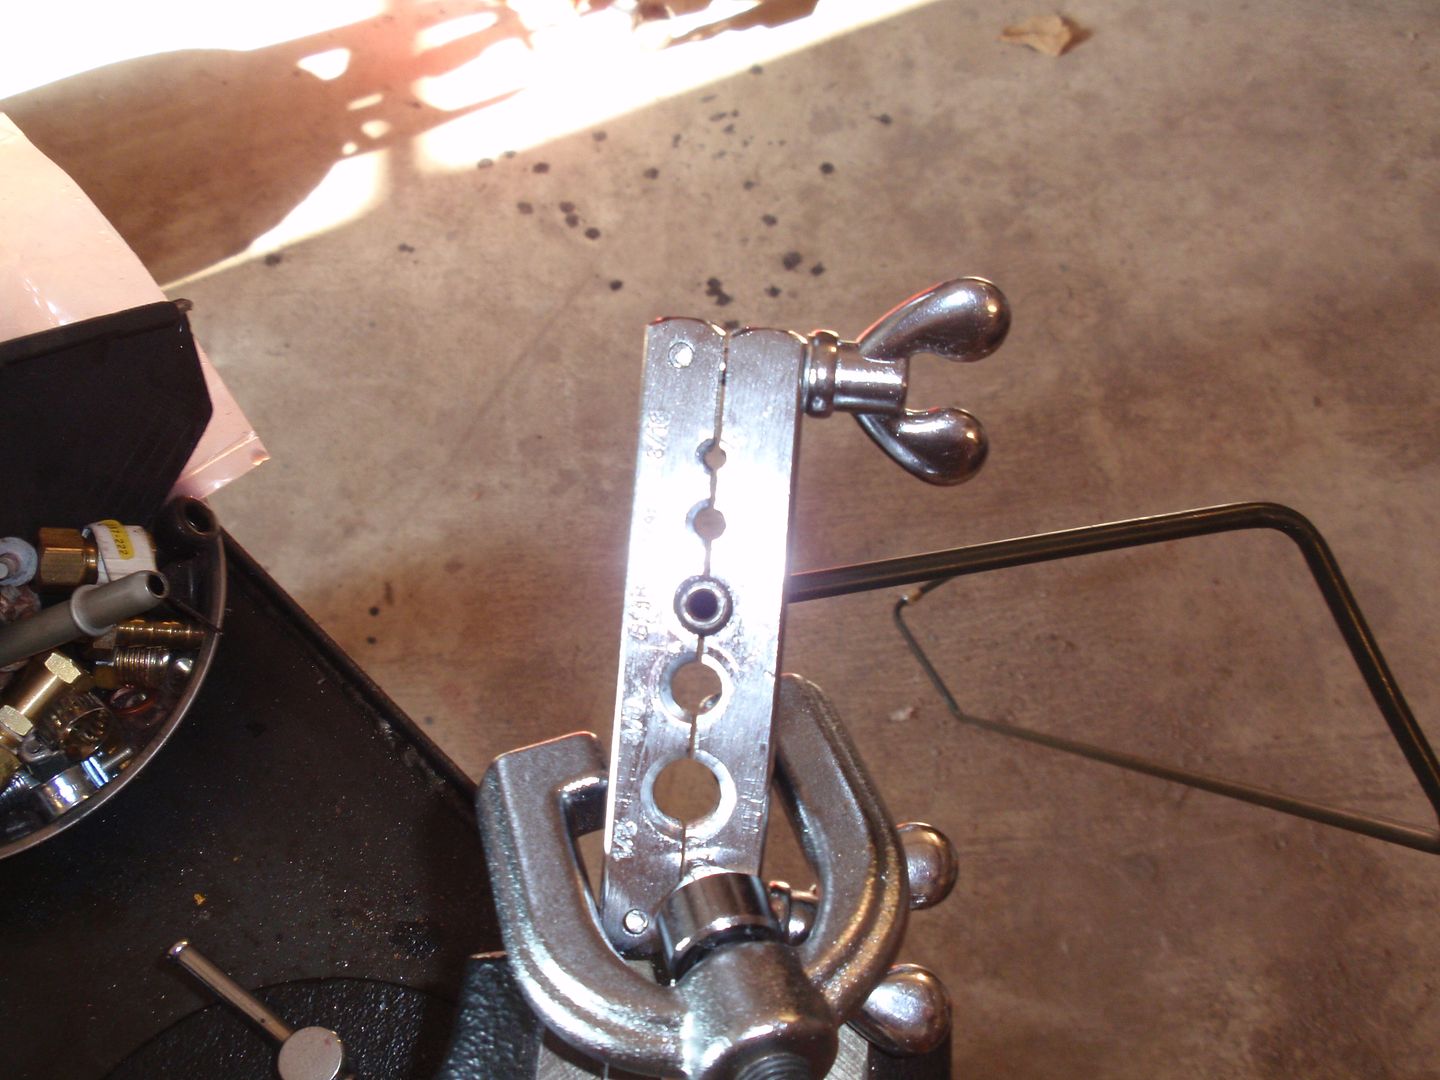 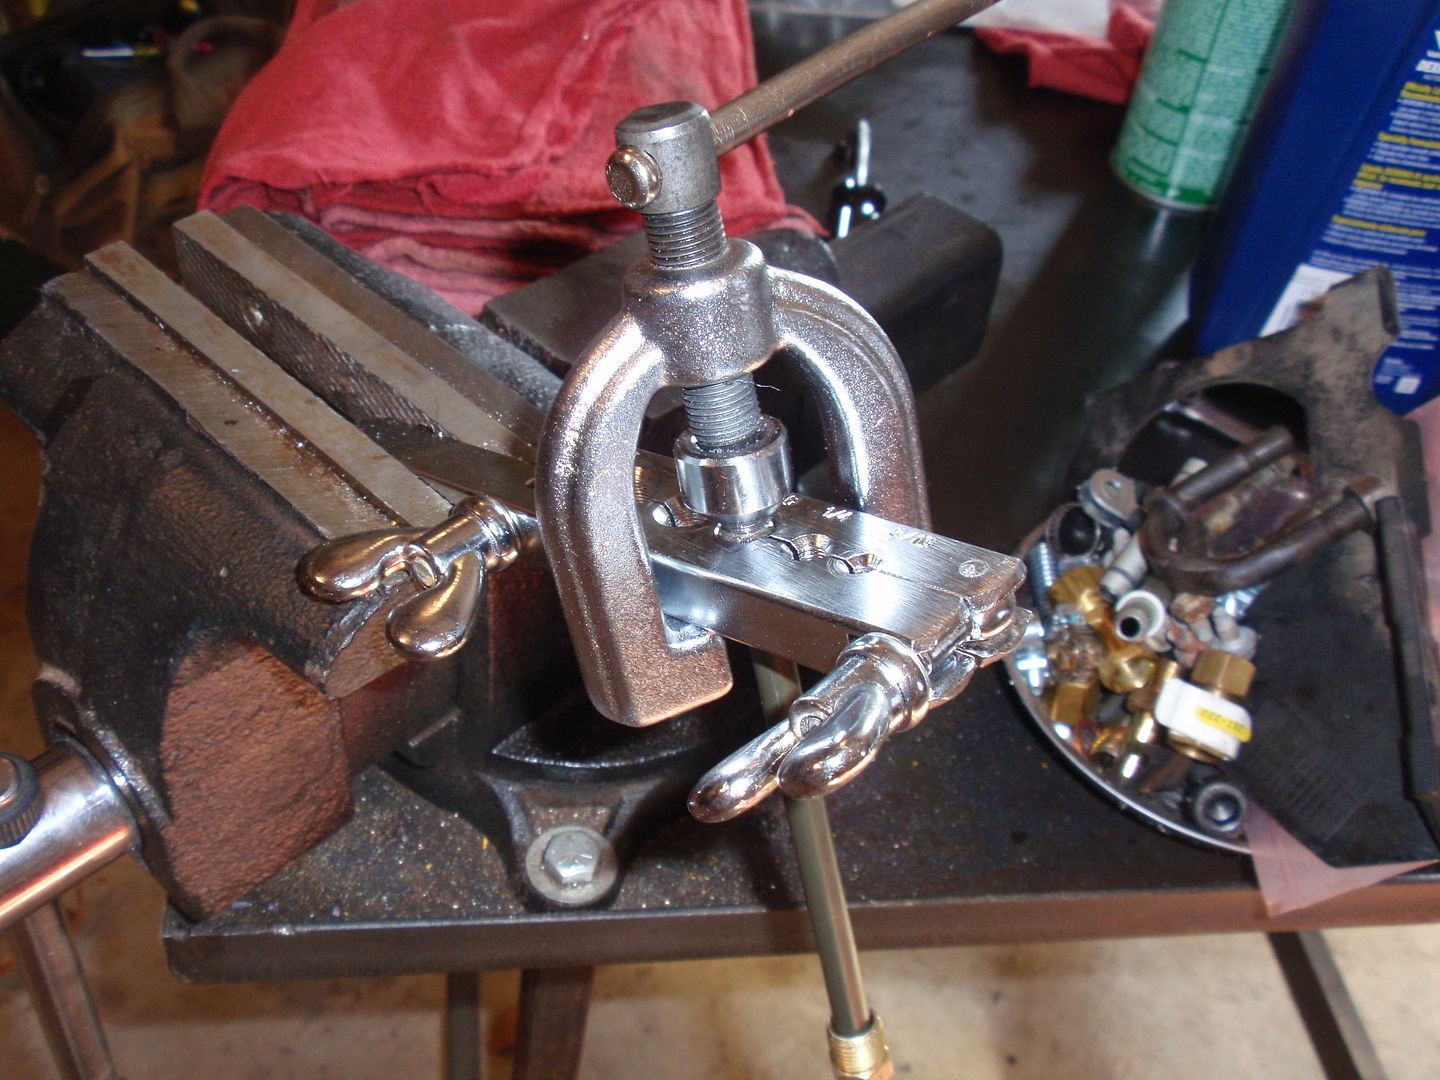 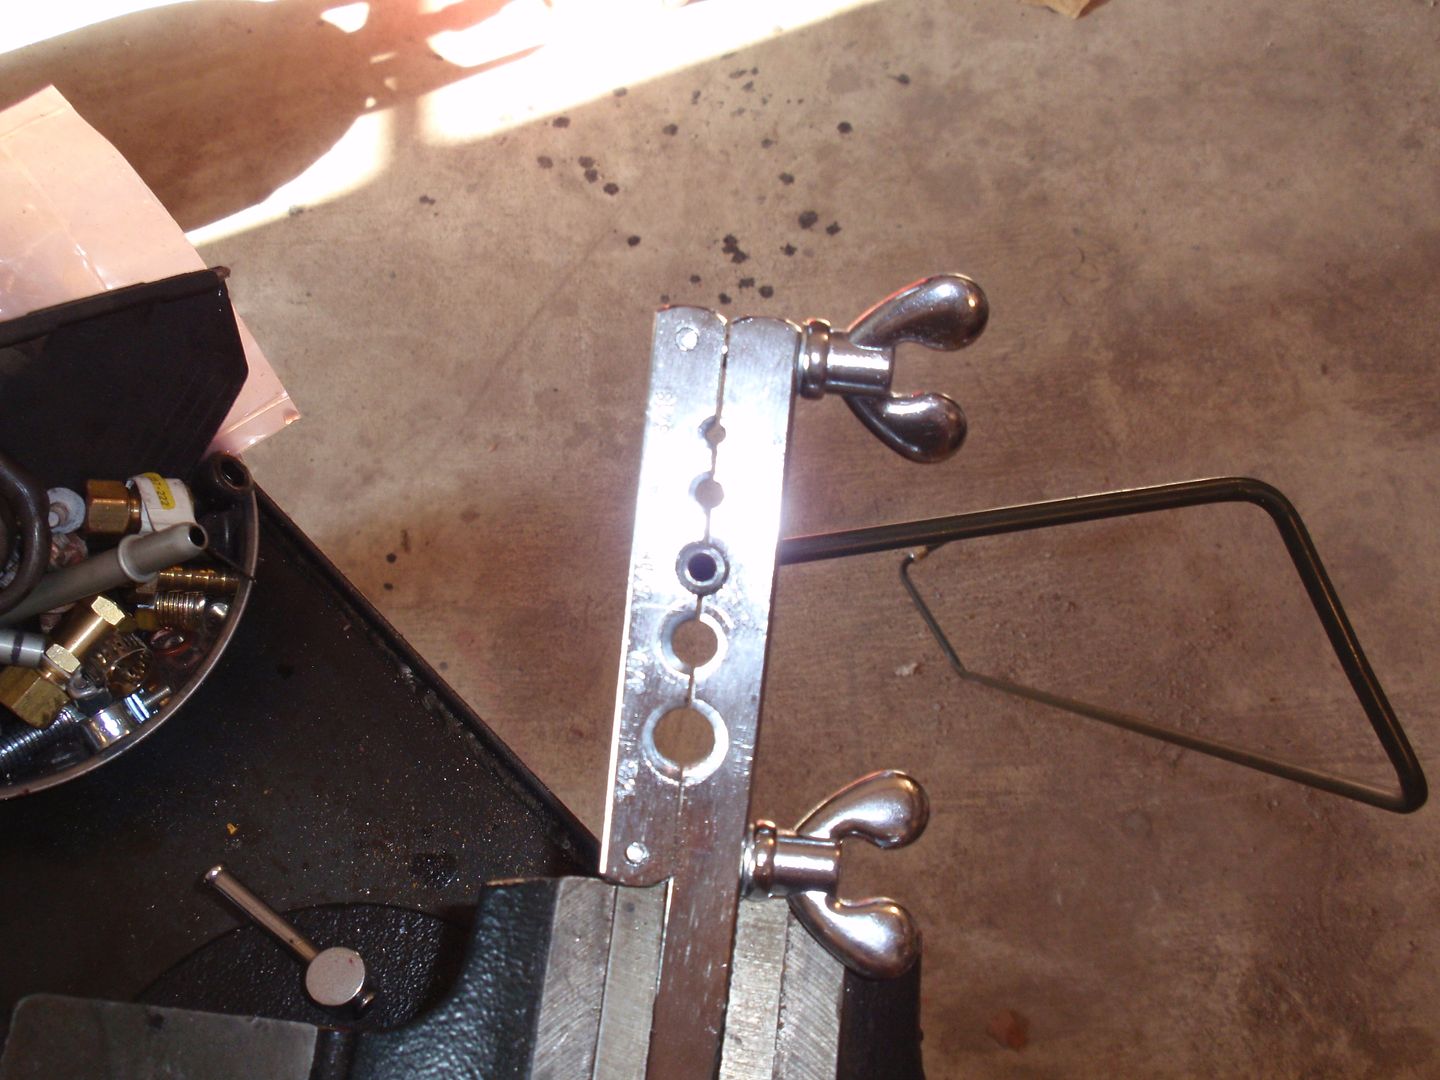 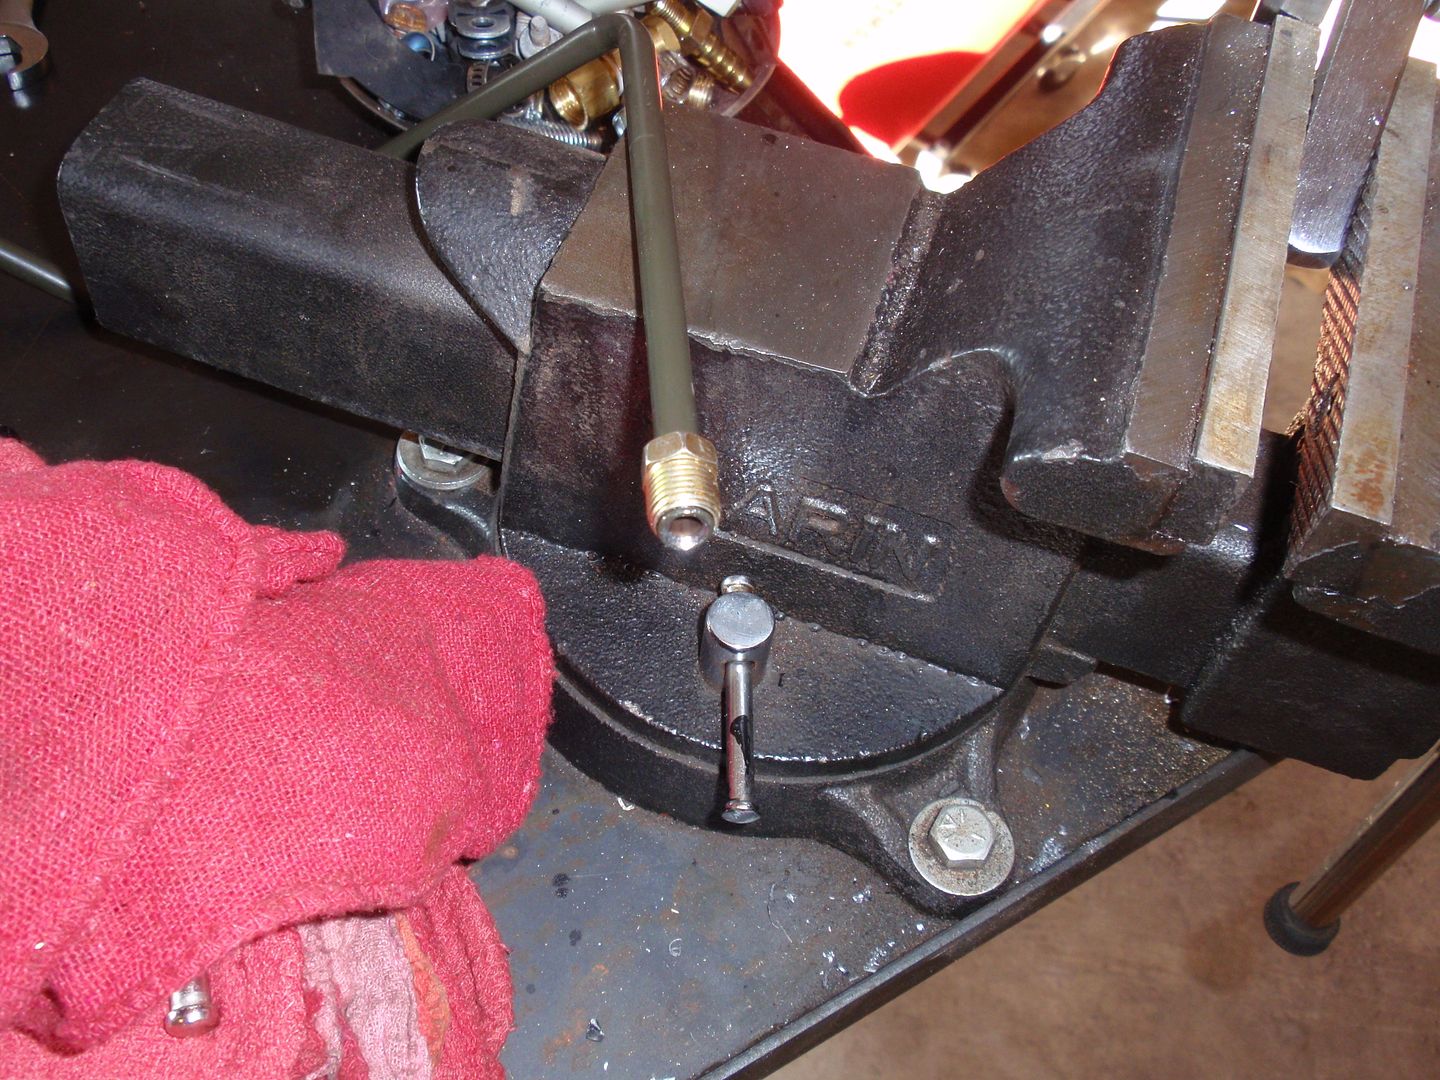 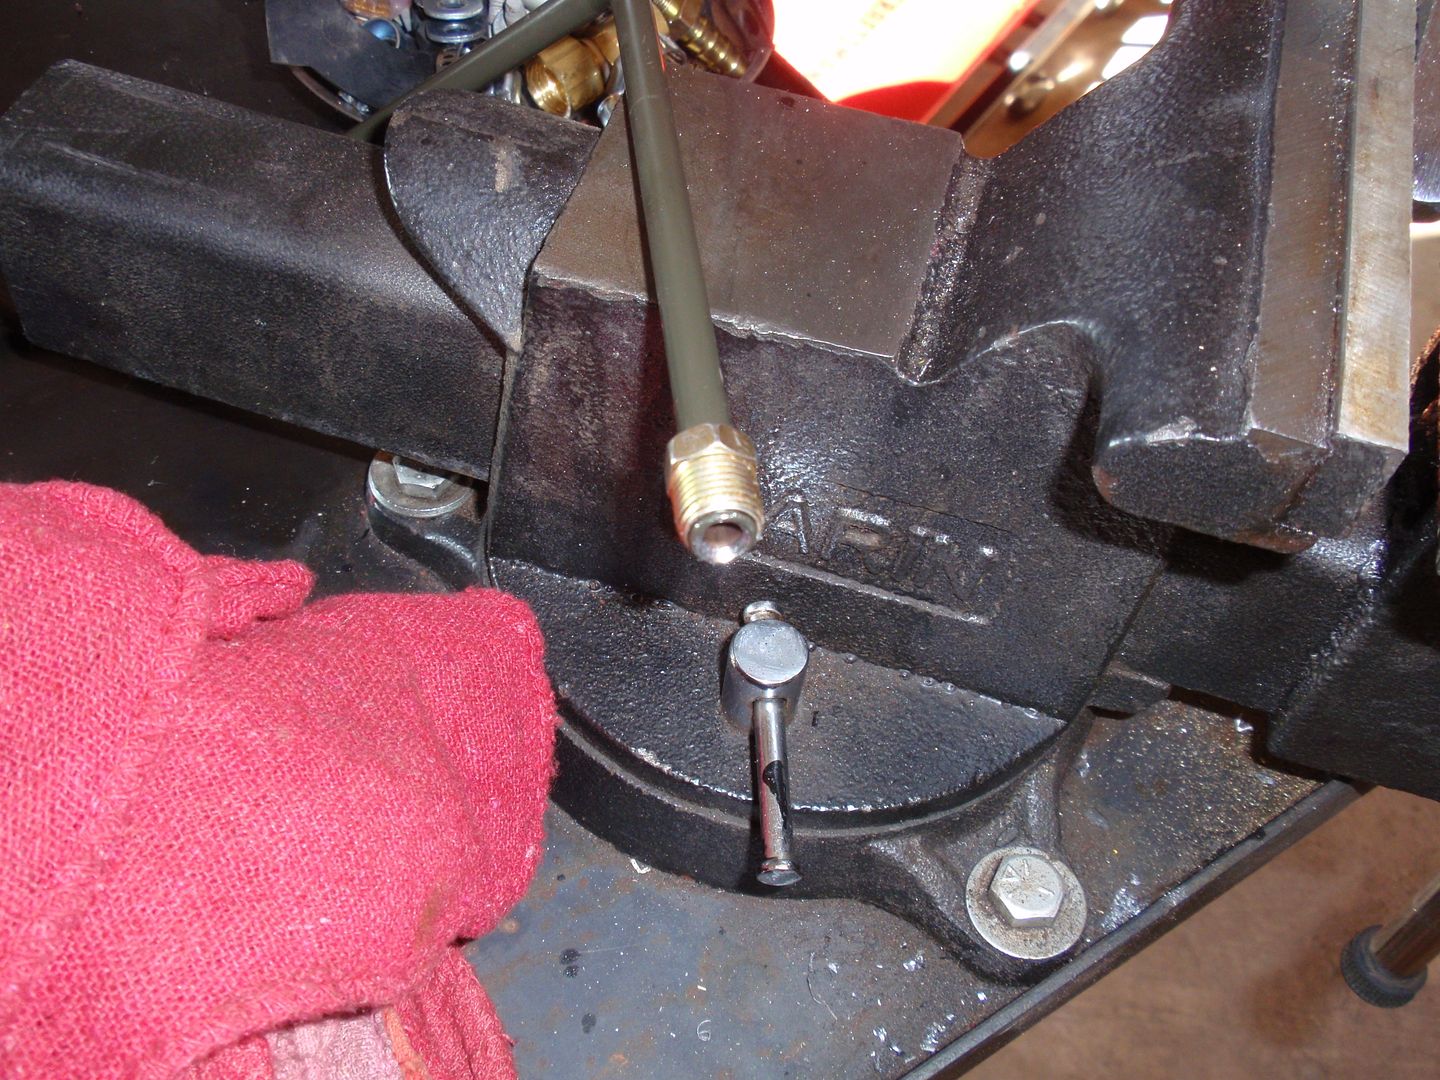 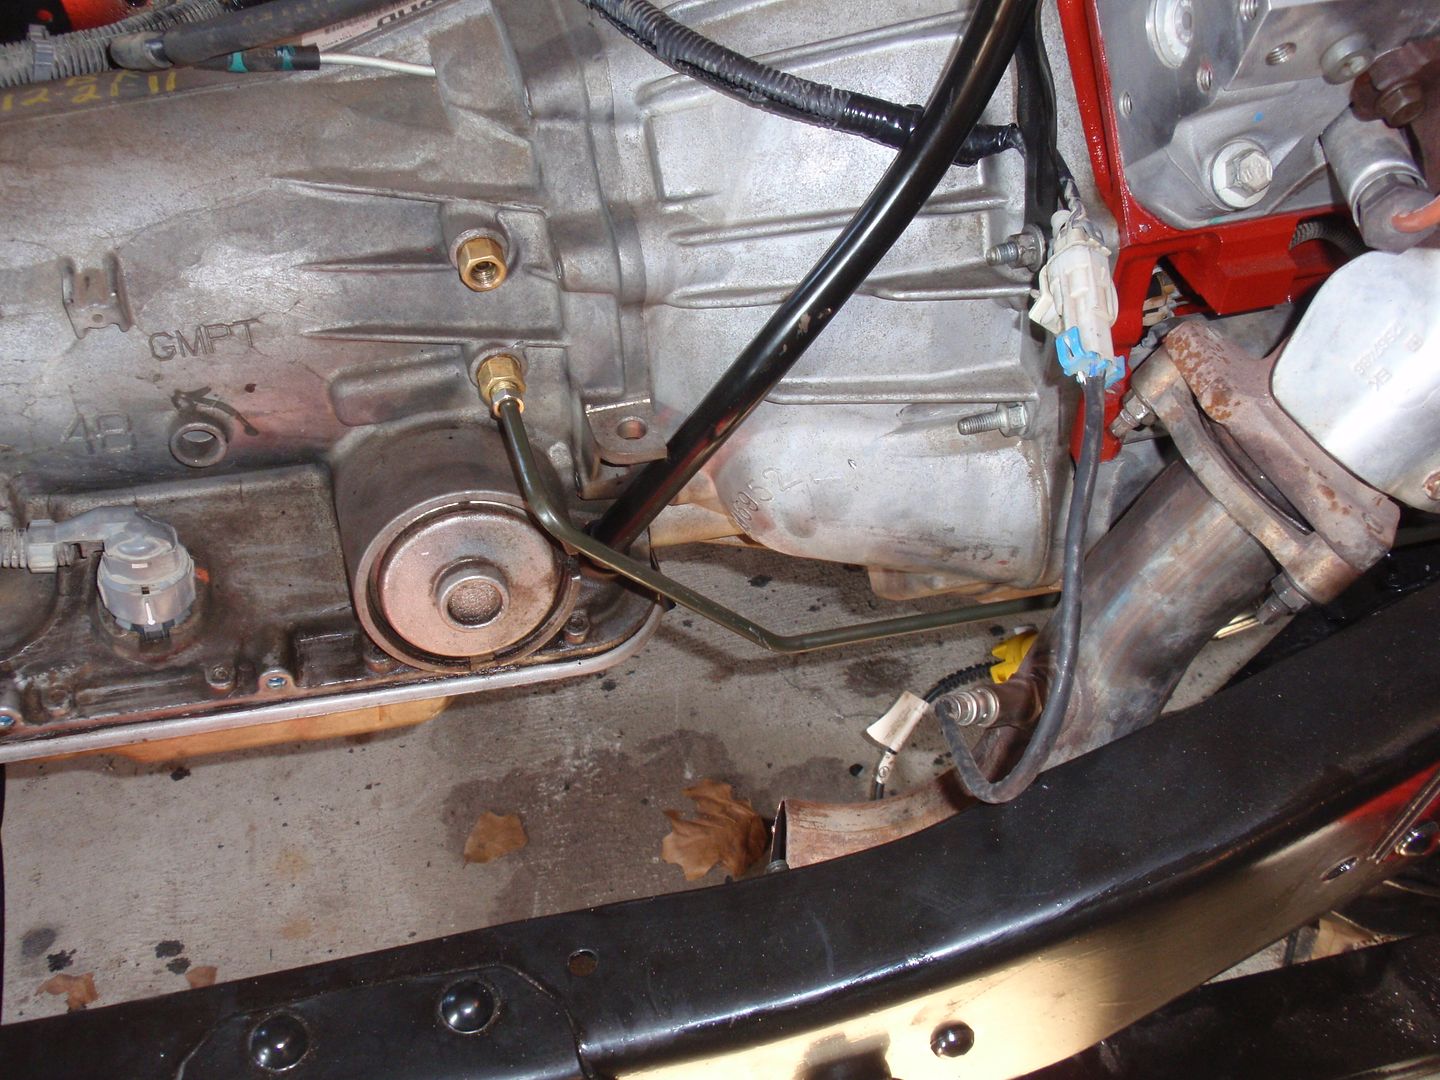  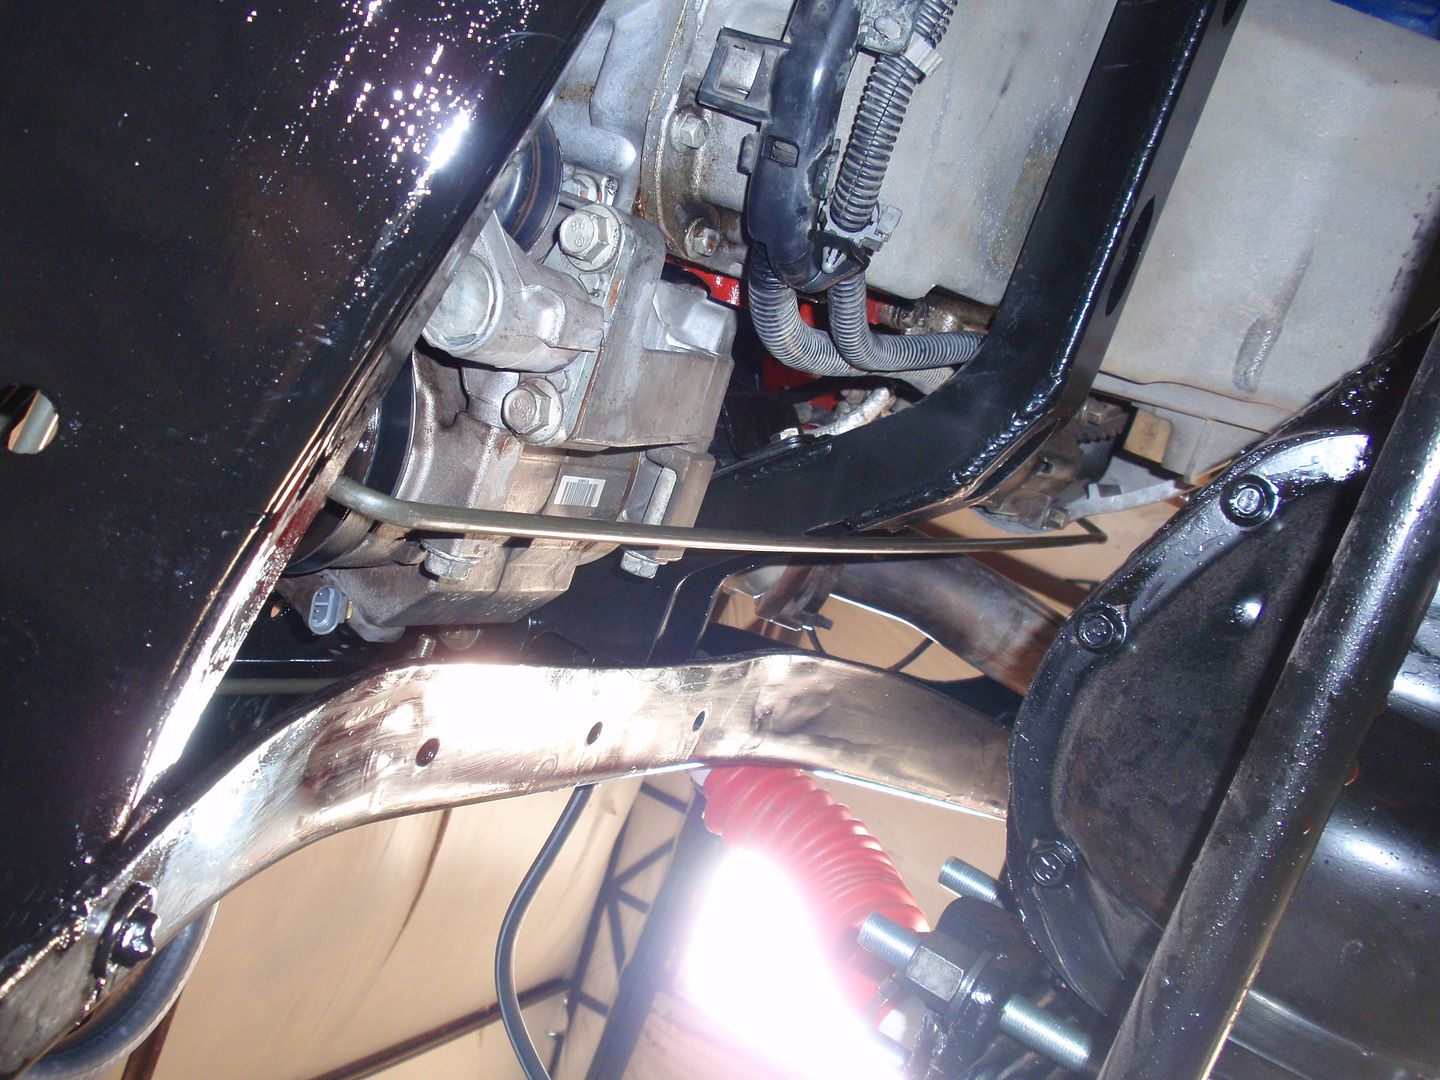 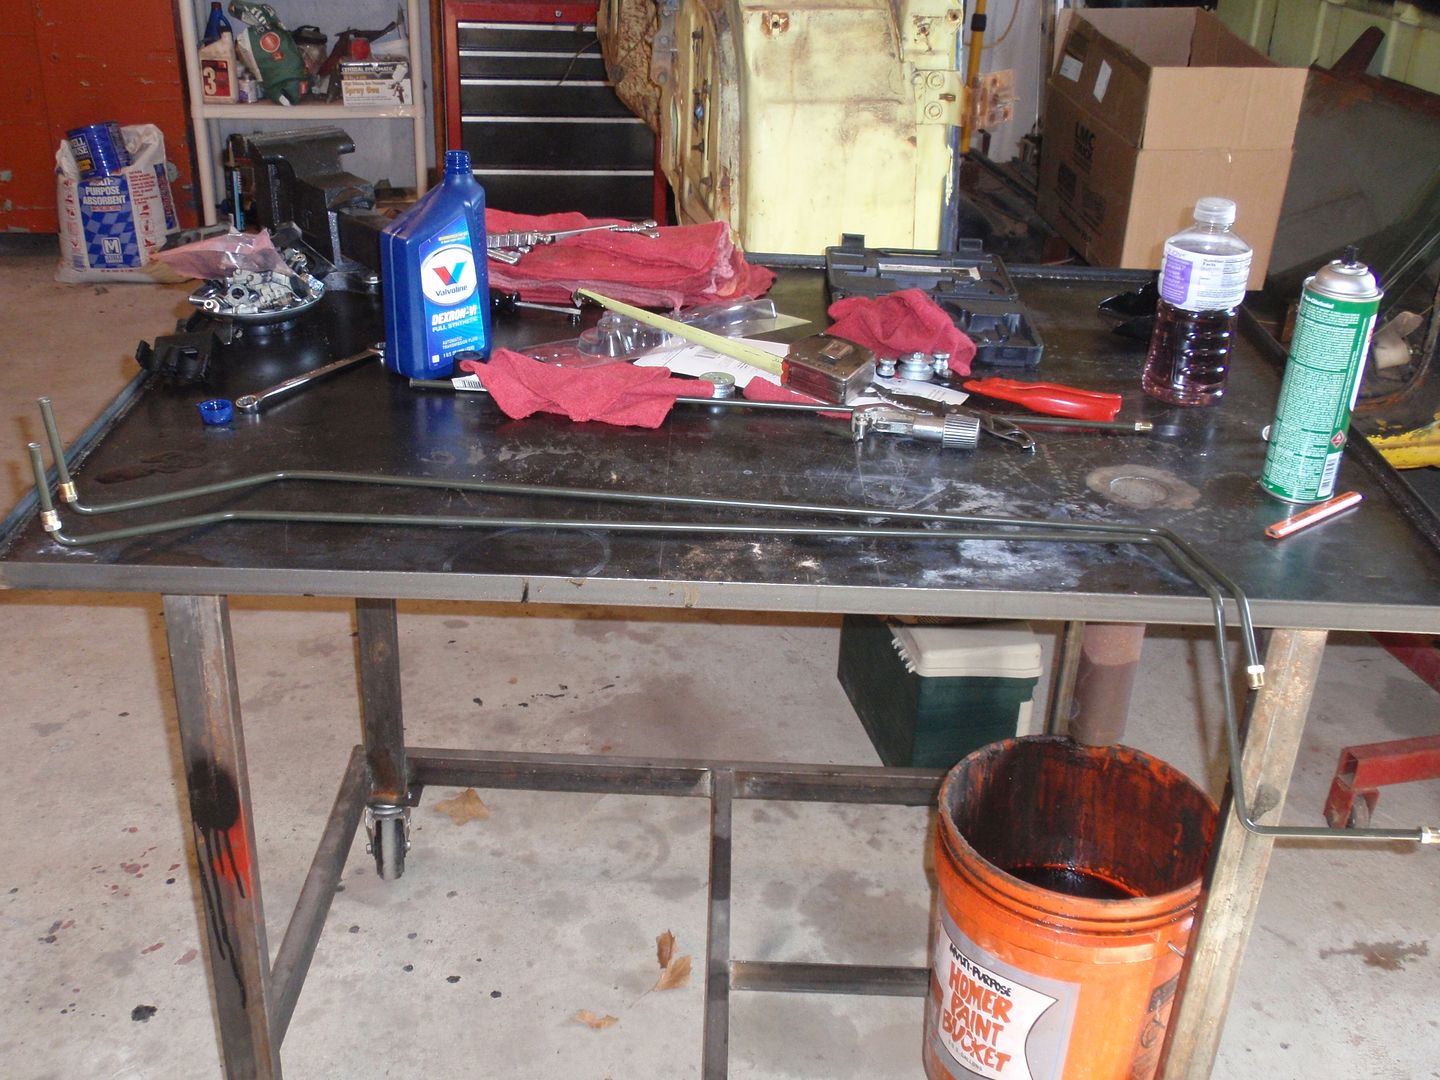 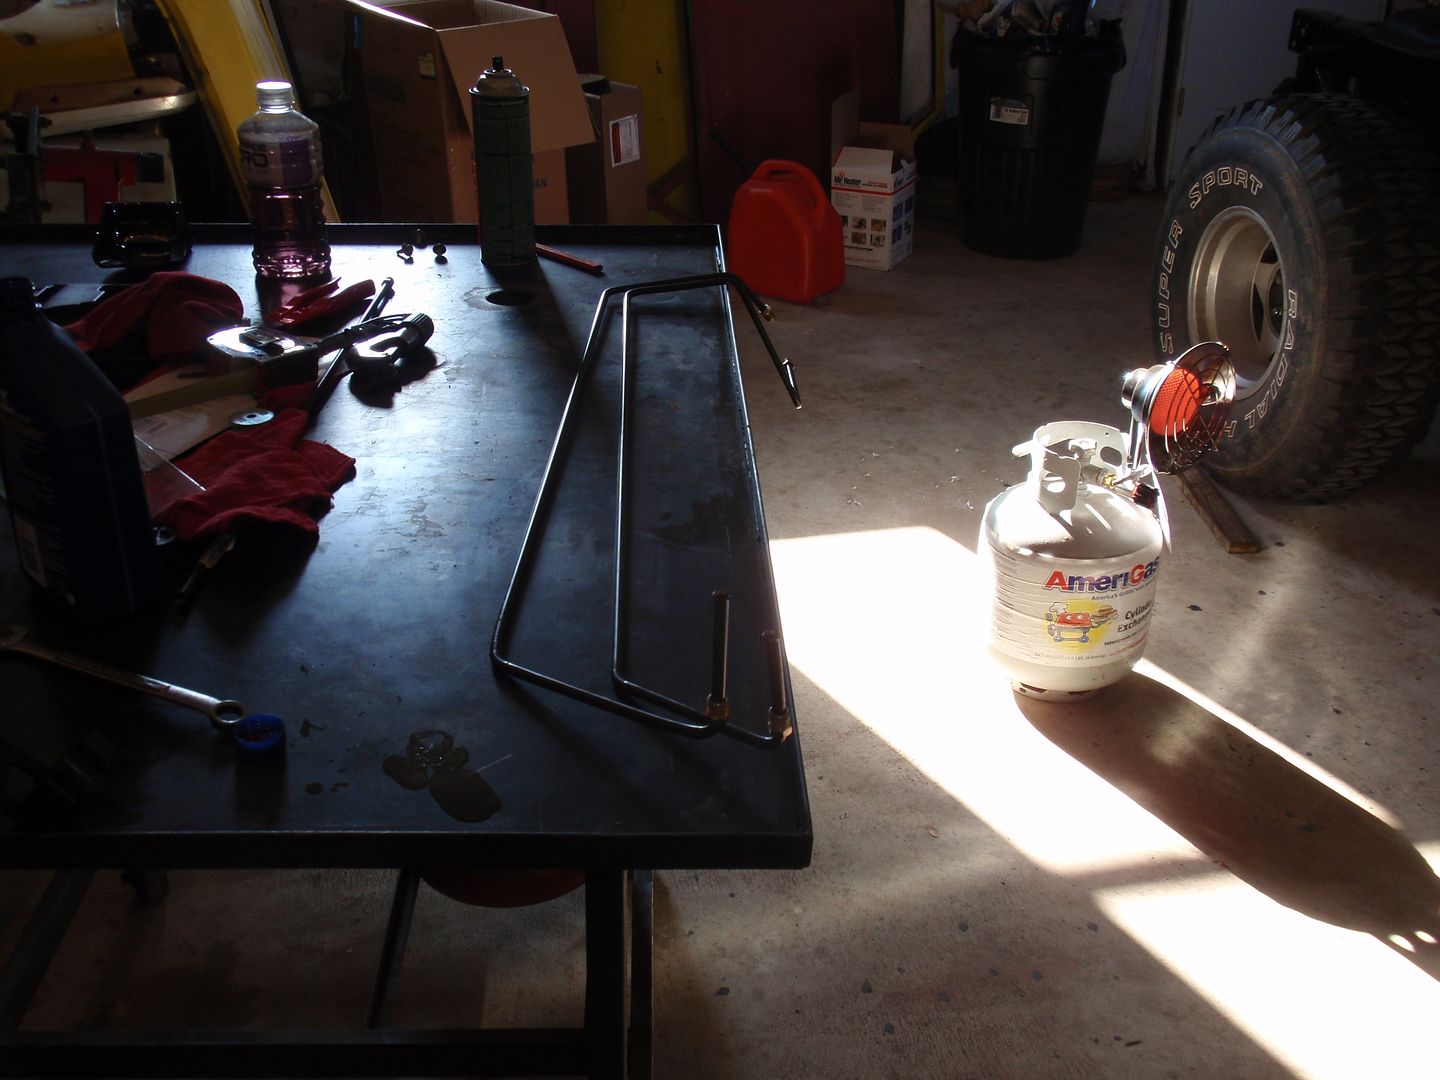 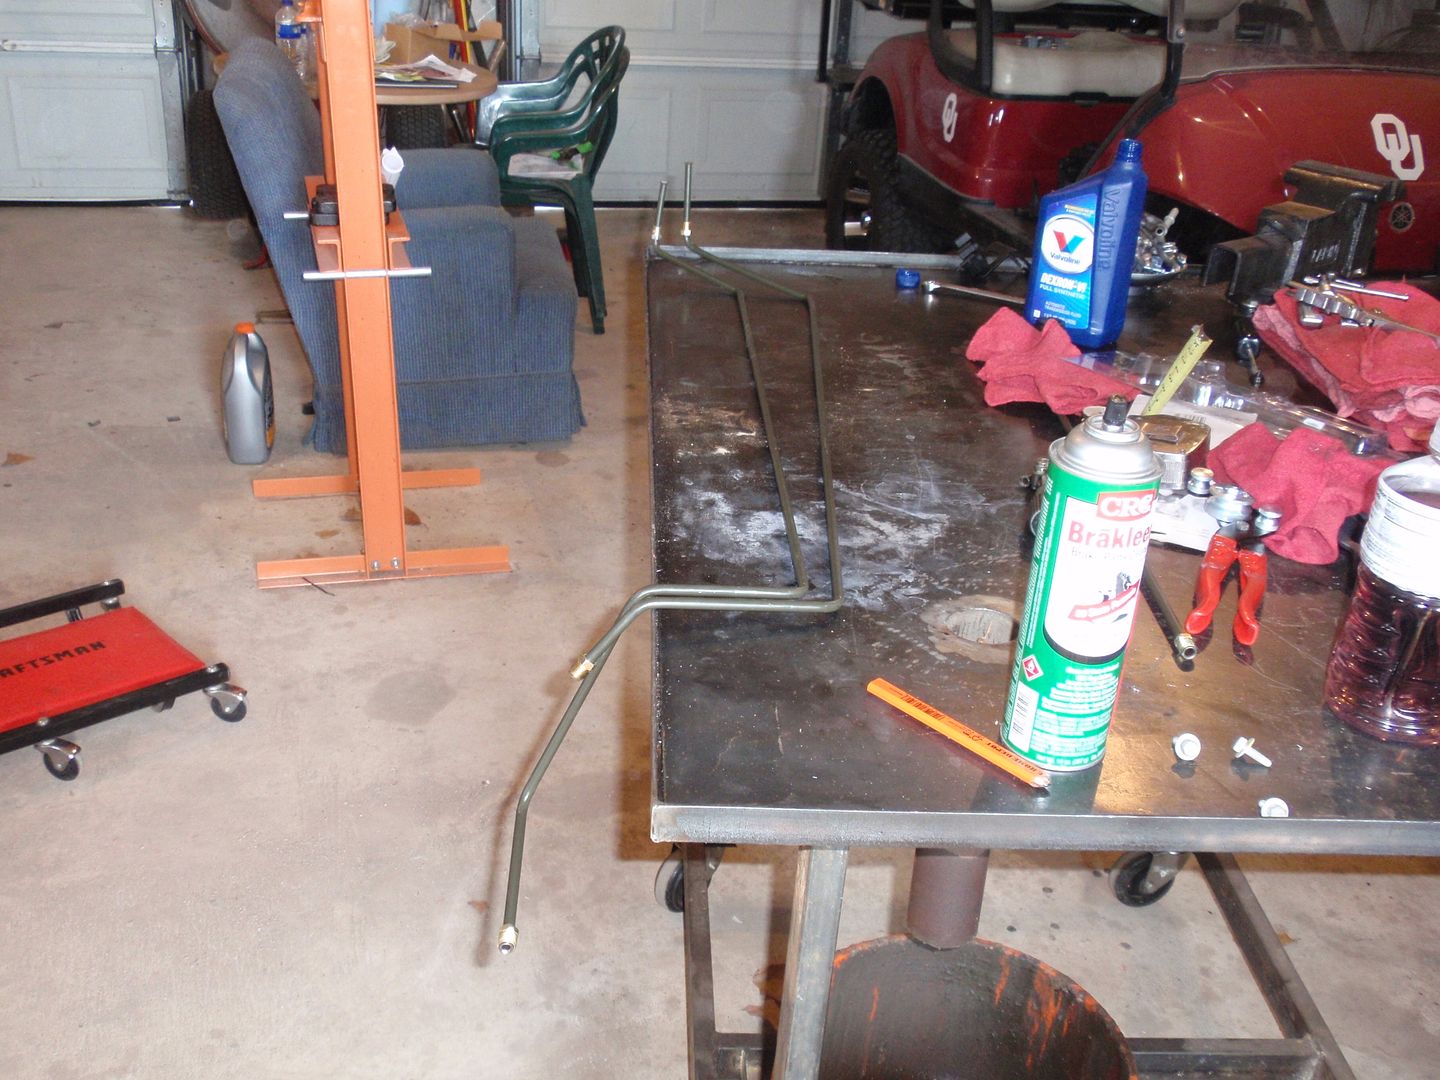 I modified one of the transmission mounting brackets from the 5.3L to use on the new setup. 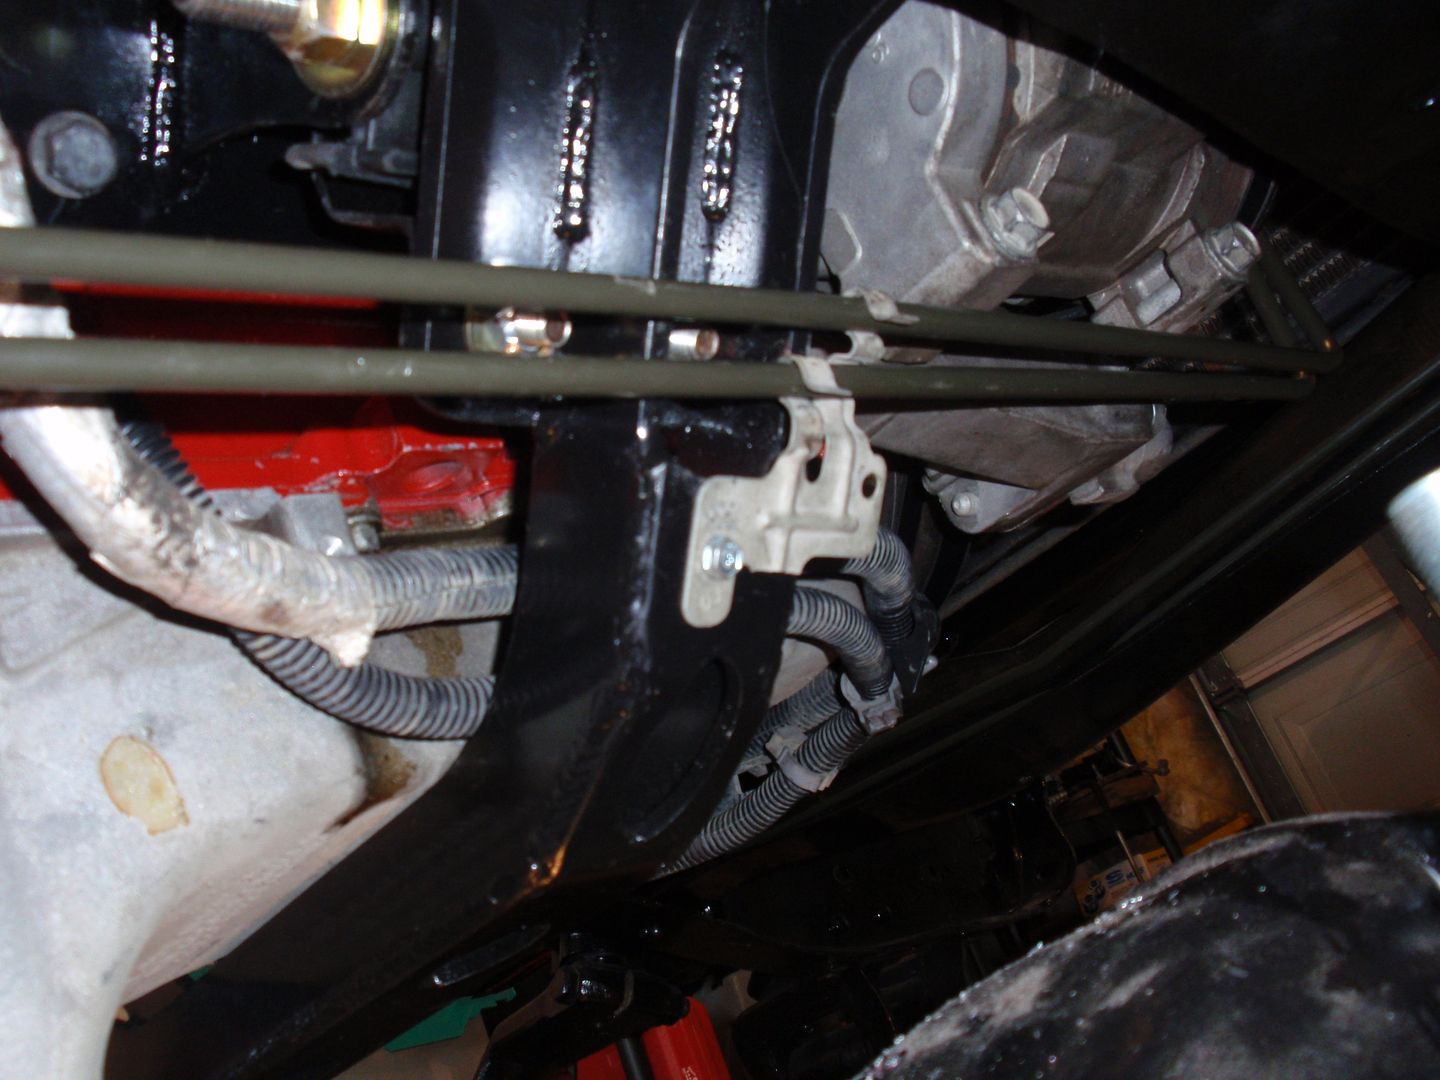 Finally, I dirt dobbered a temporary exhaust system together.. This will work until I can get it to a muffler shop. I decided to leave the dirt on the mufflers.. I think you should always have something old from the past… 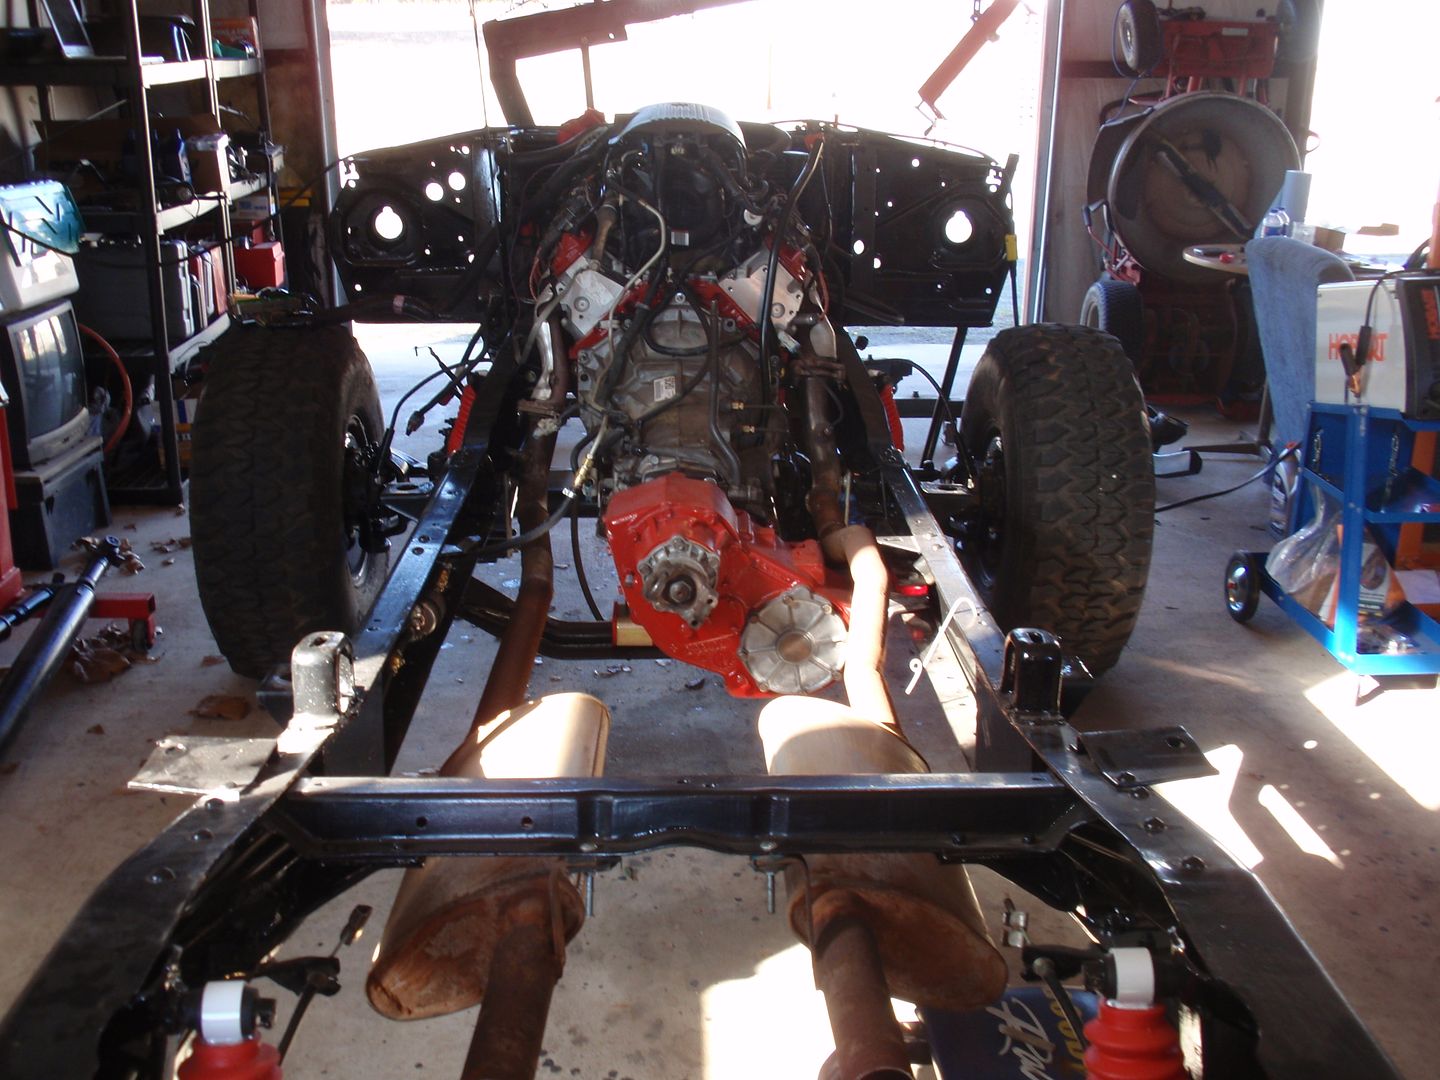 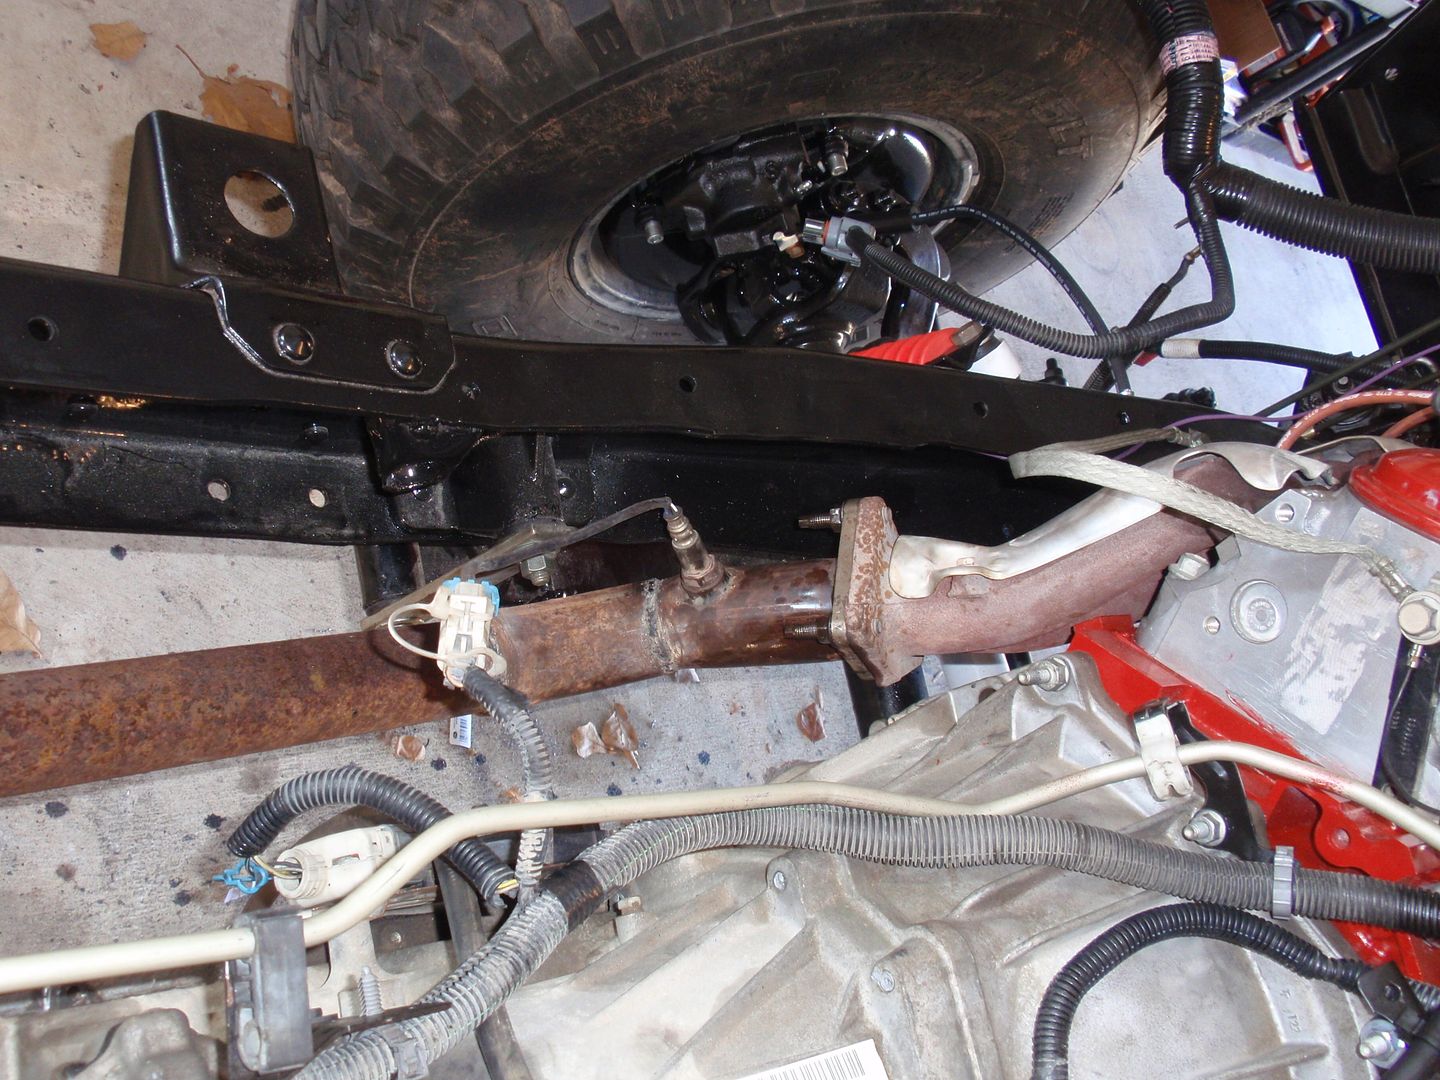 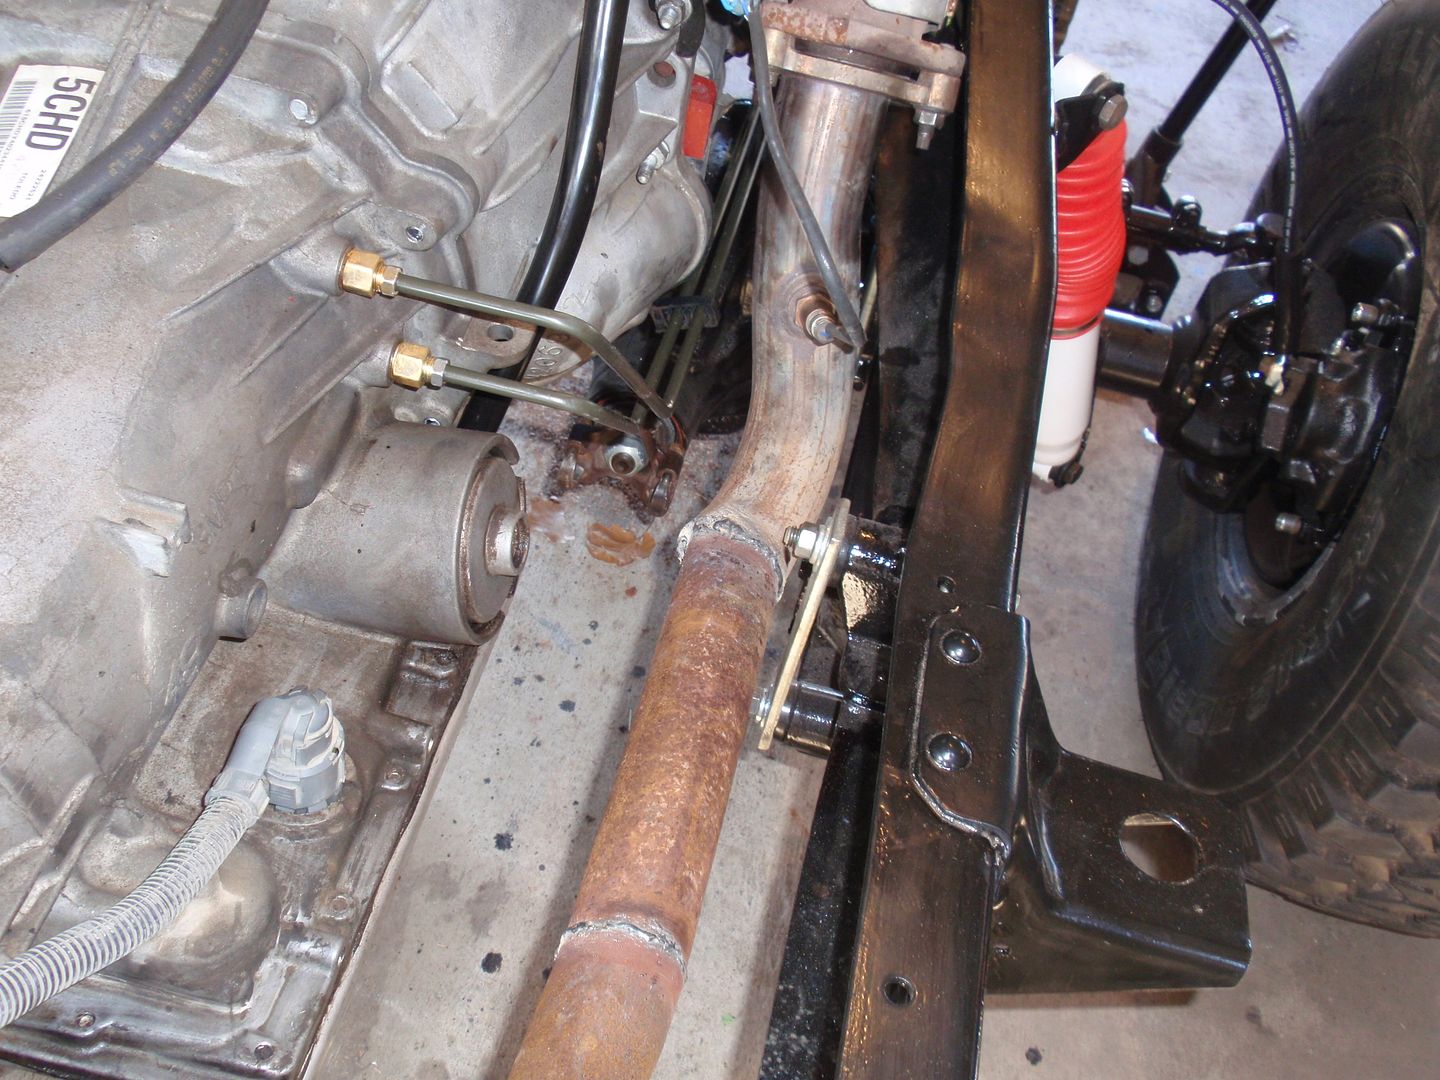 Got some pictures of it moved outside while I sweep the shop.. 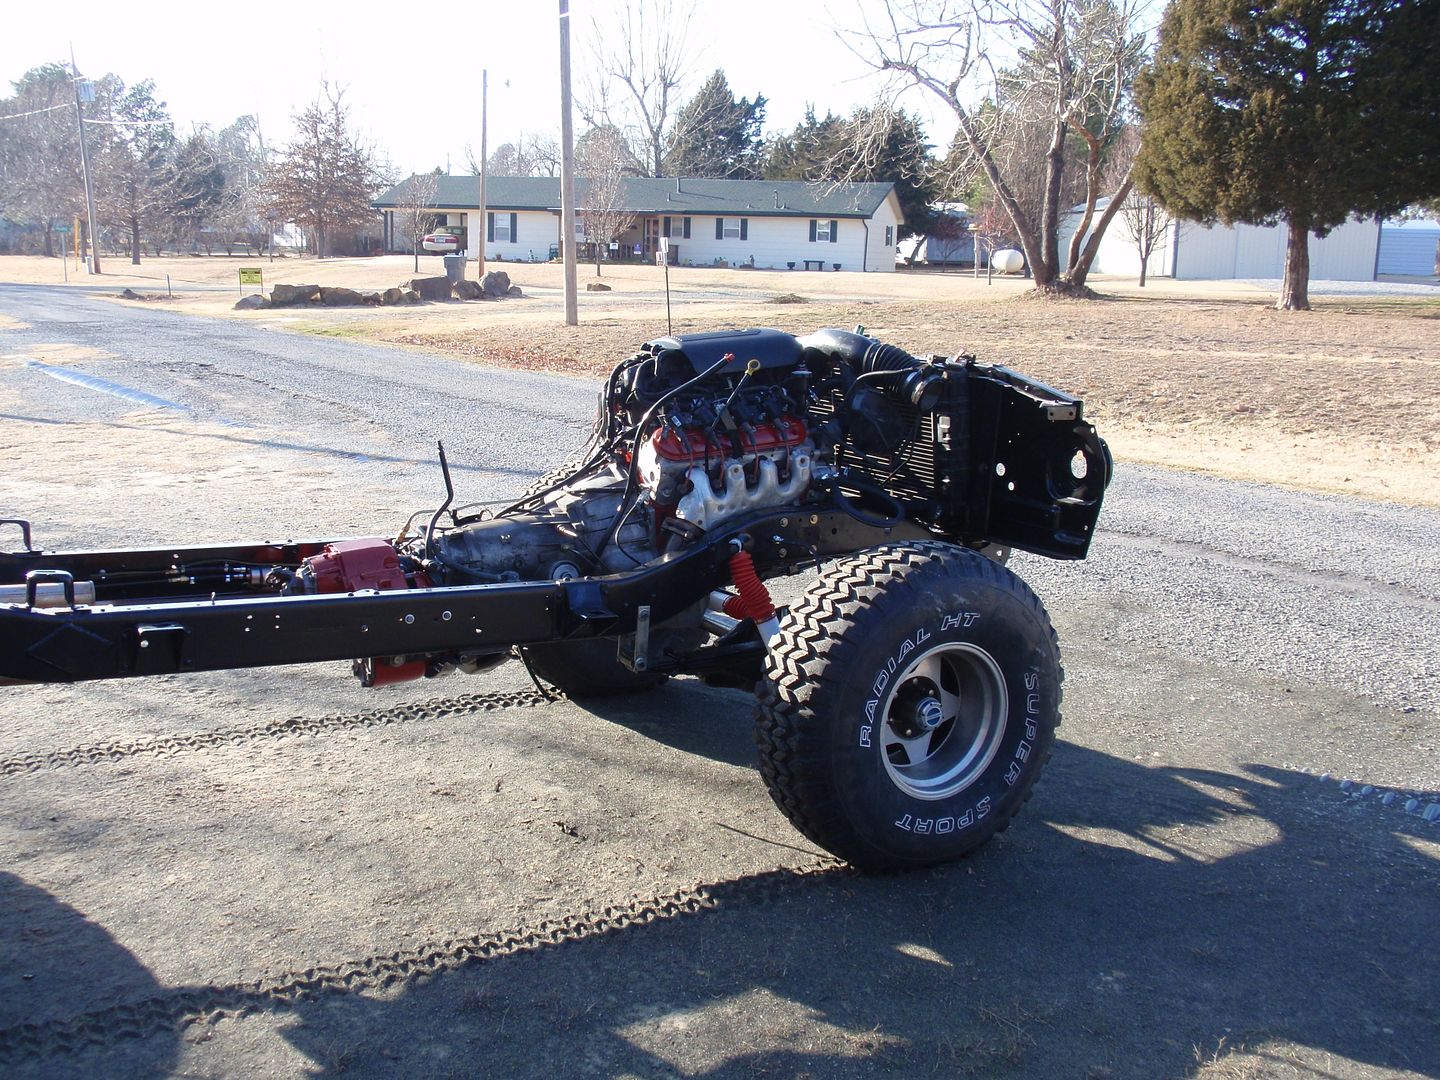 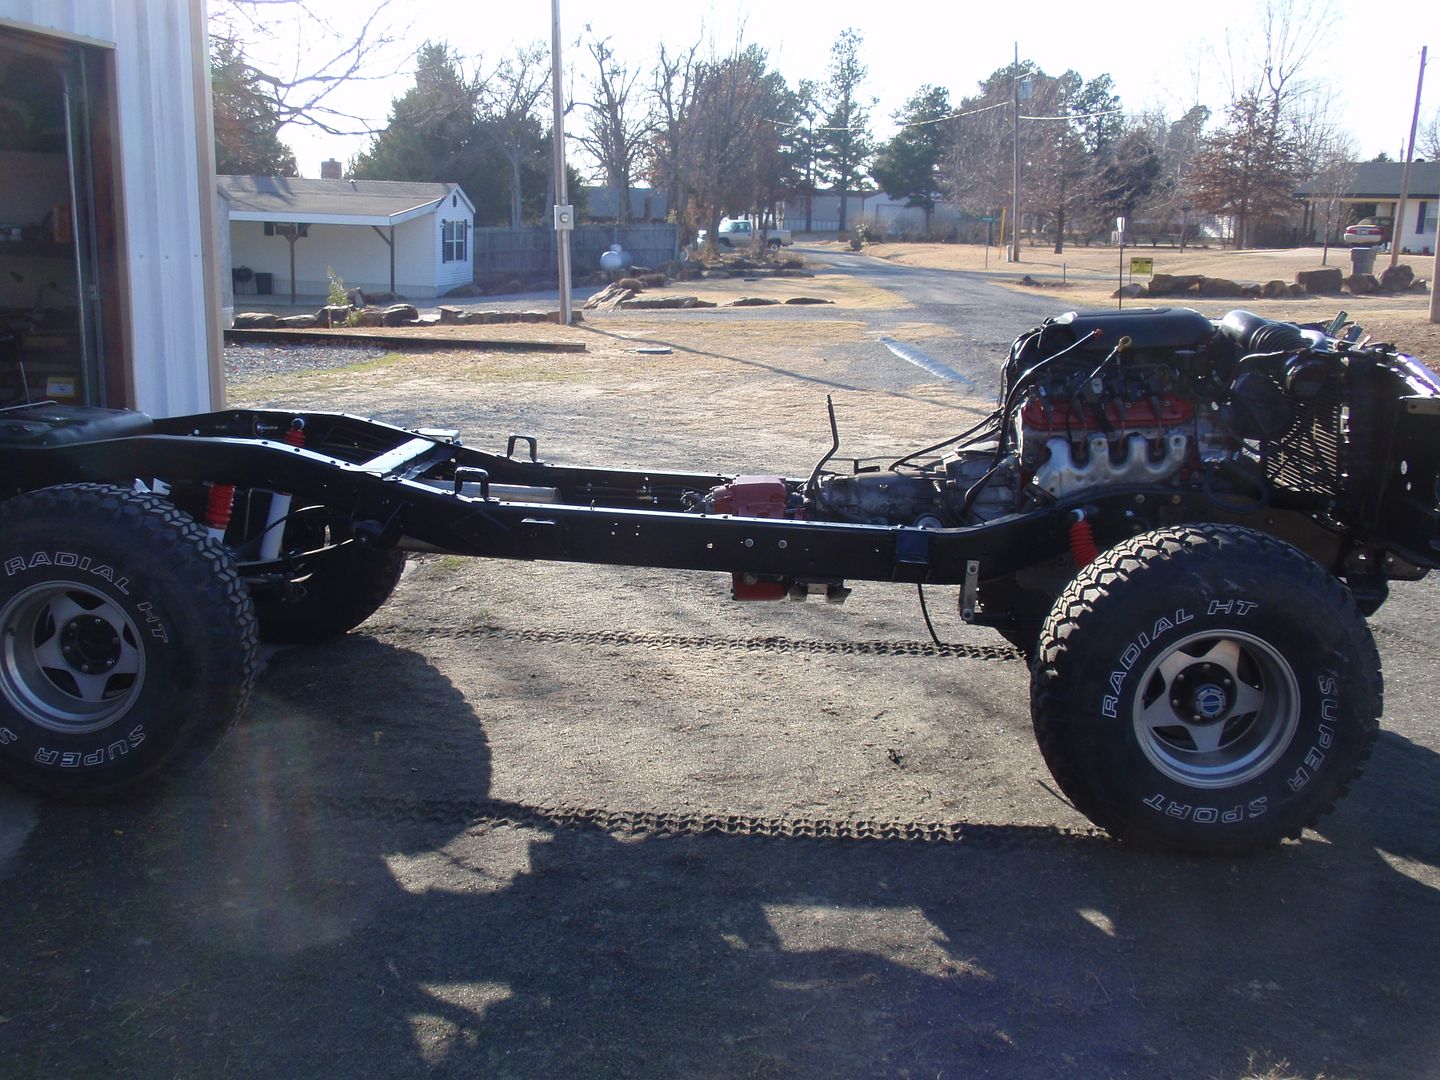 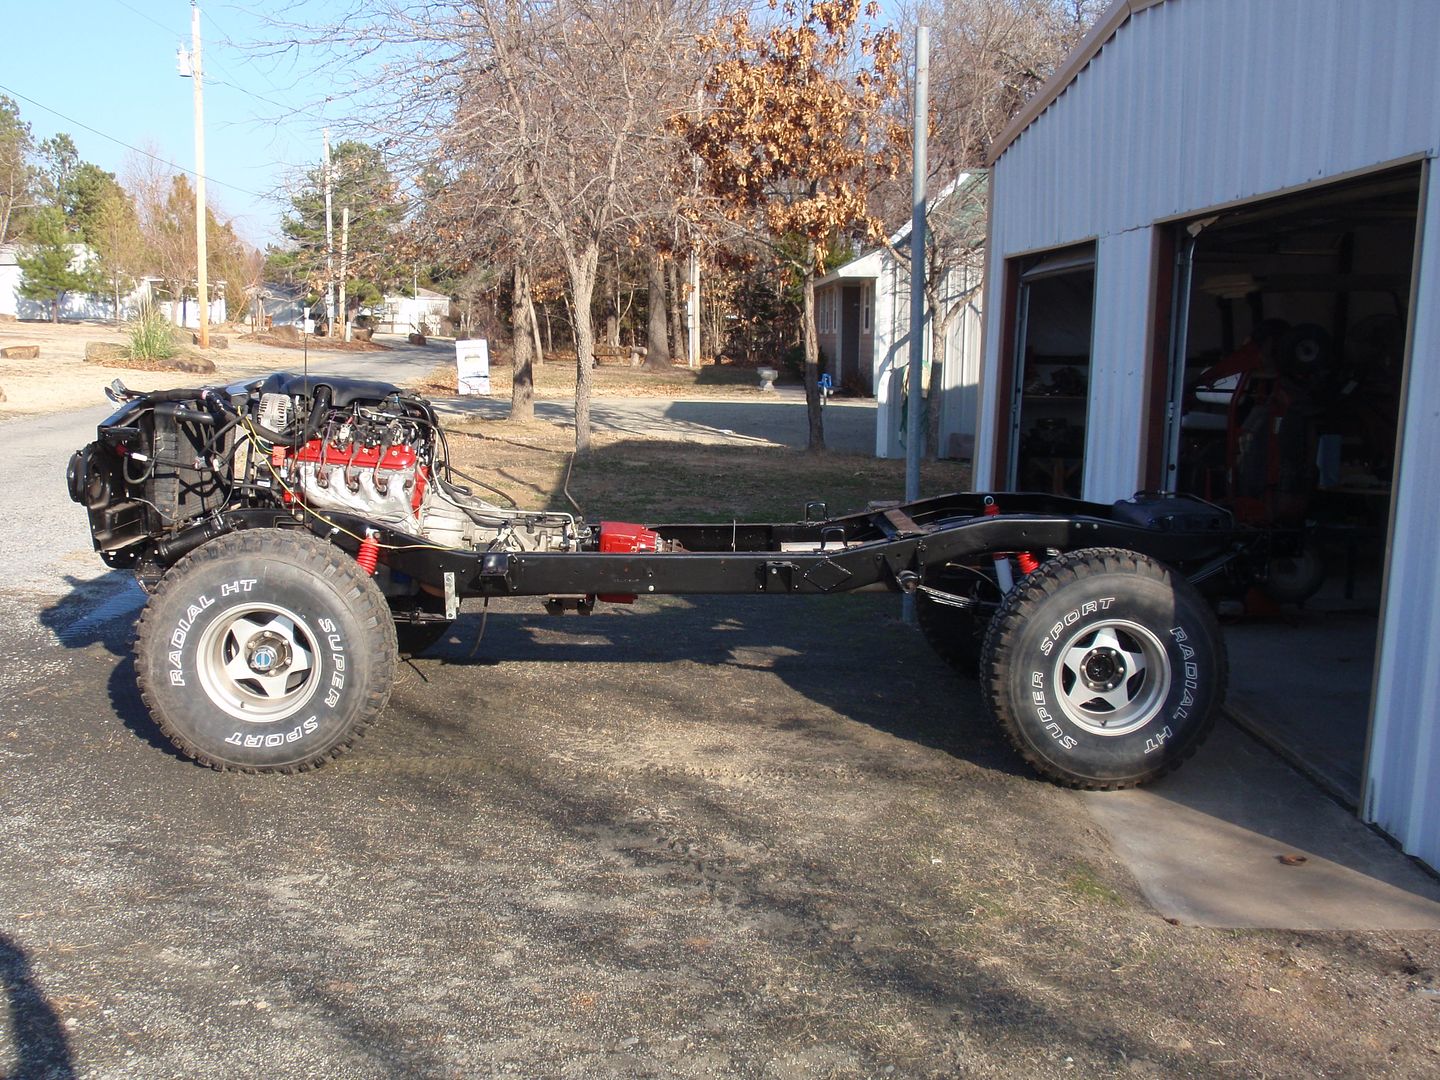 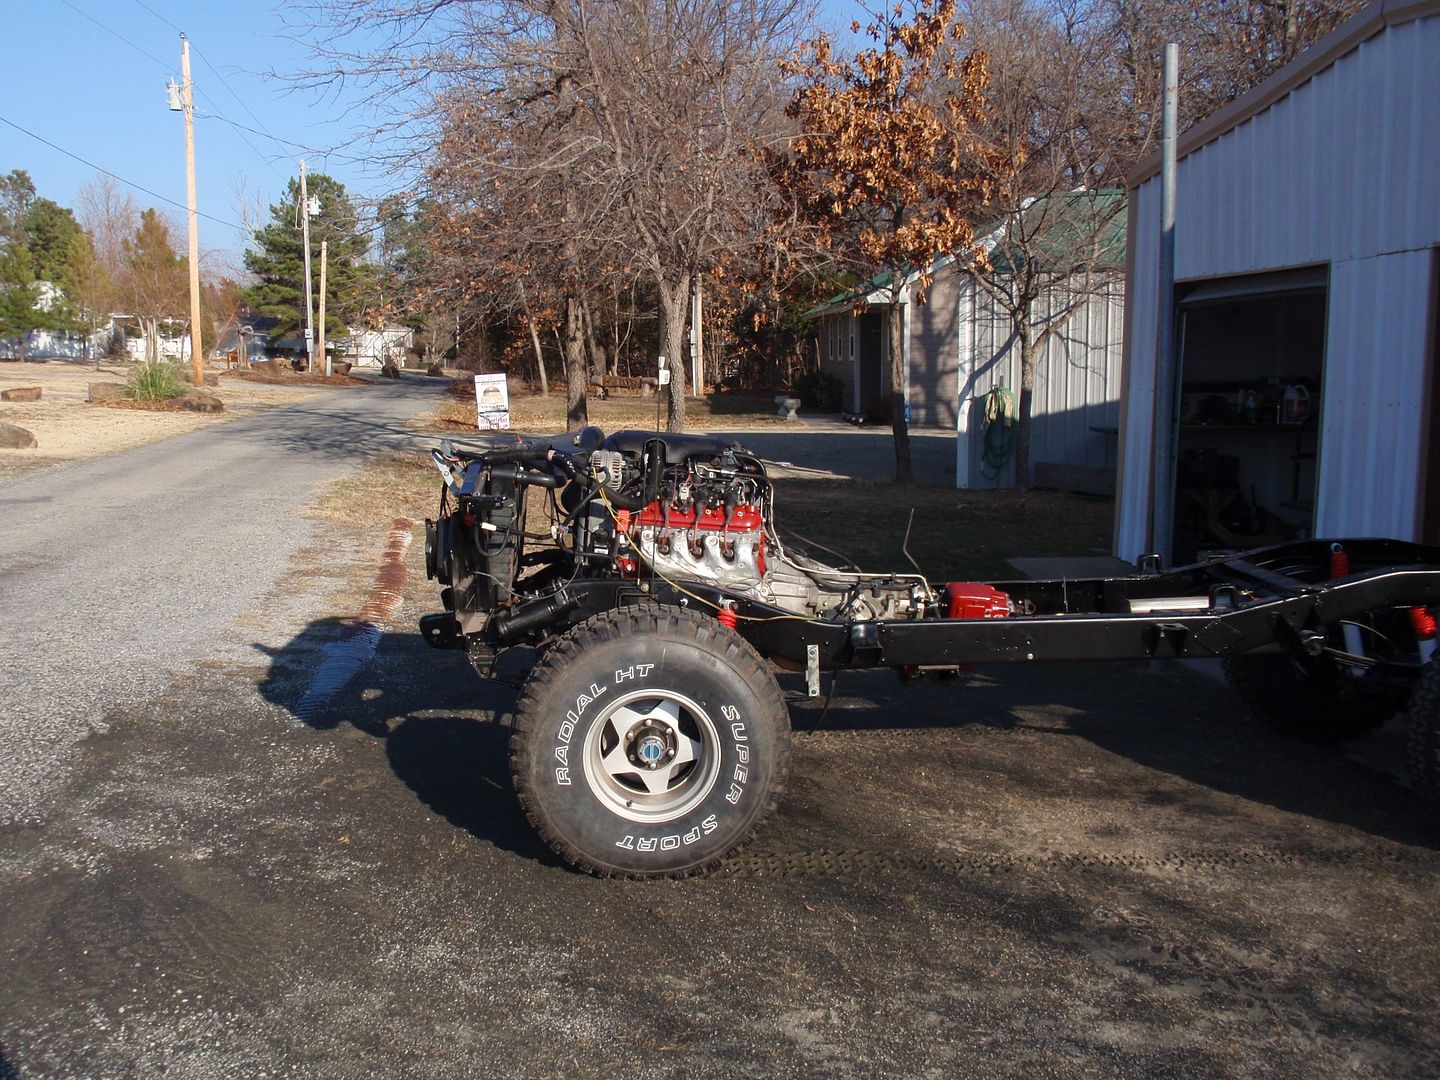 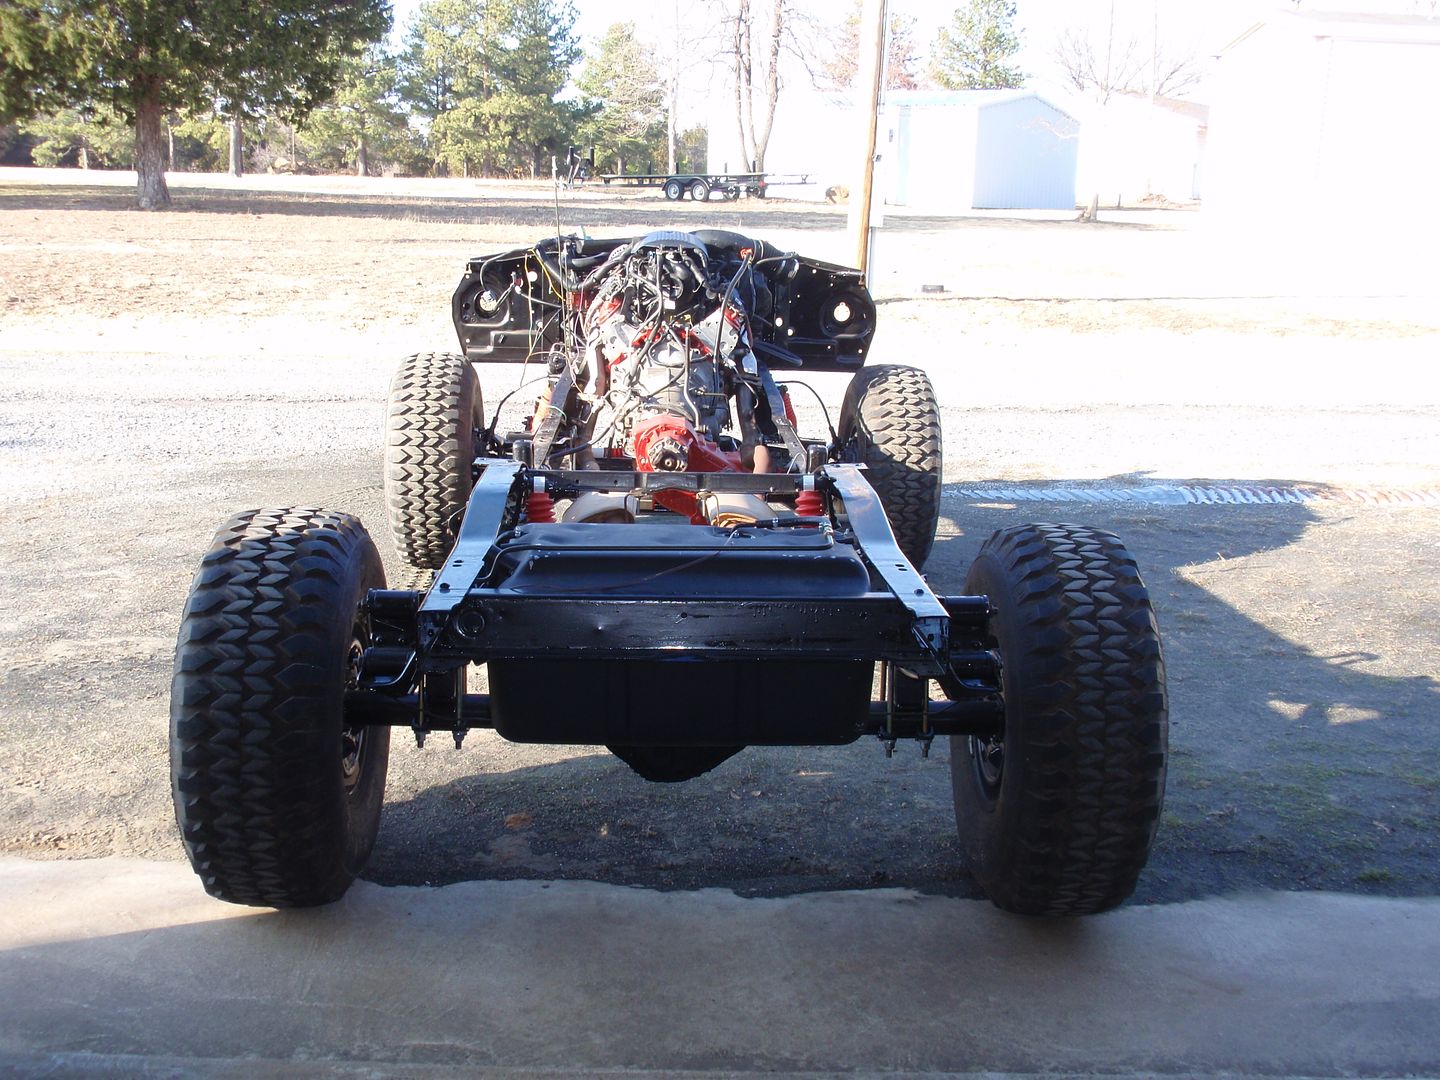 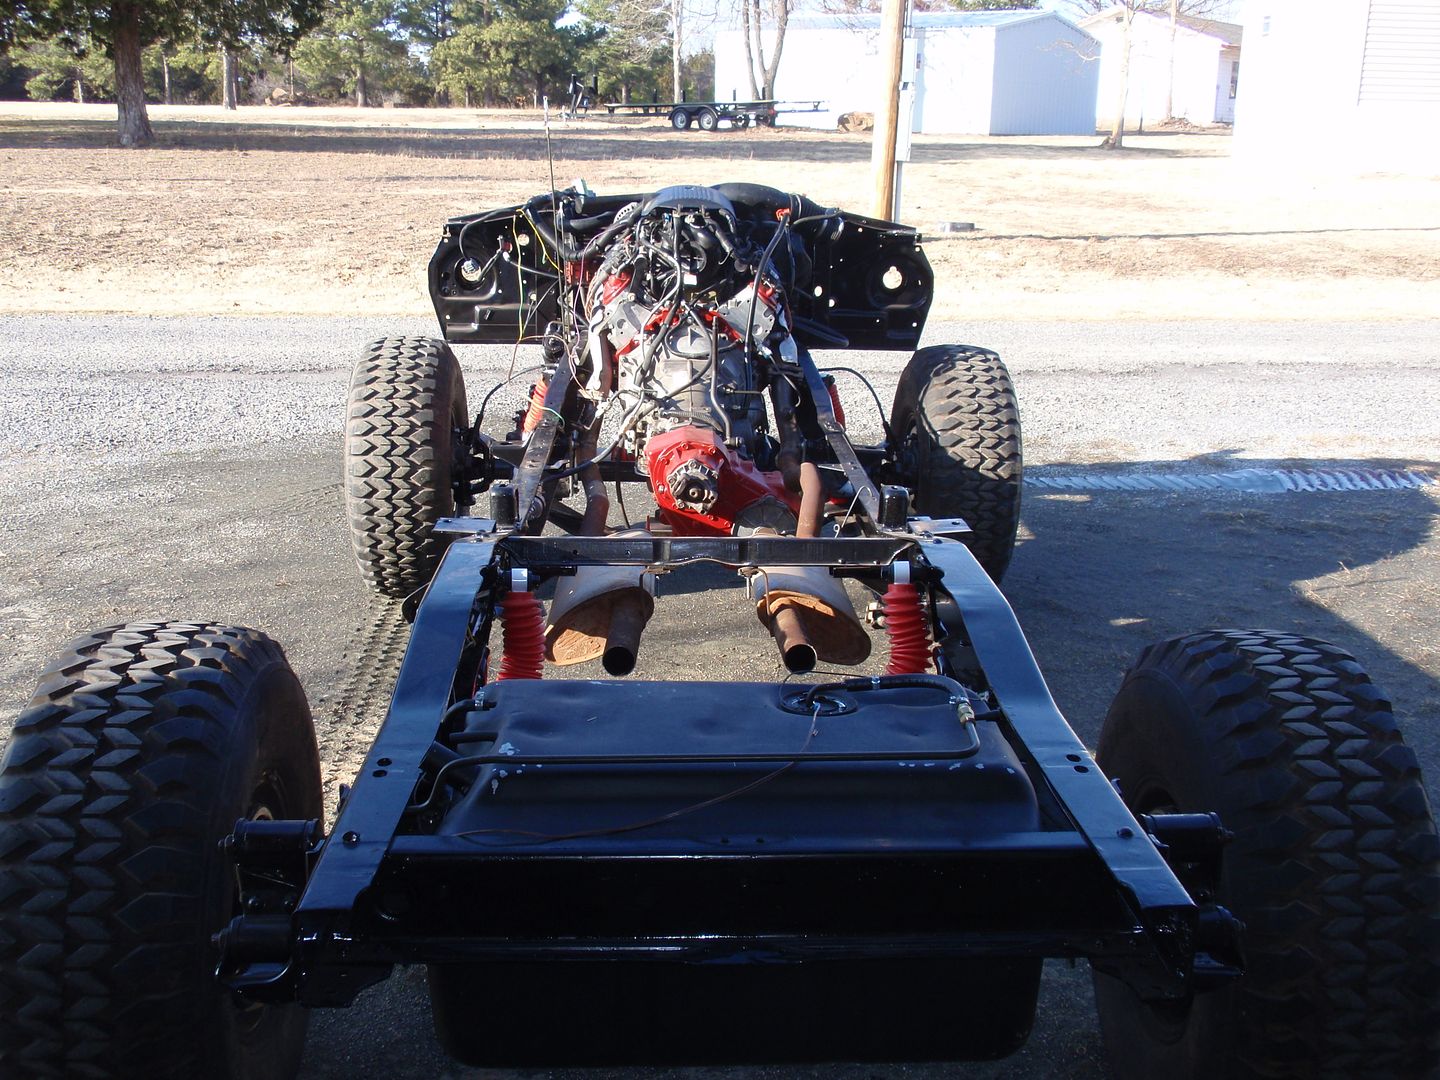 My PCM arrived late yesterday.. This week I will be working on building a driver’s side battery box, getting the relays ready for the fuel pump and fans. With a little luck, I might be able to fire the engine up next weekend..
__________________
Mark ----------------------- Crash's 69 4x4 SWB Crash's Roof over Lake Home Crash's 1988 Land Cruiser Build |
|
|

|
 |
| Bookmarks |
|
|