
|
|
|
 10-25-2023, 07:03 AM
|
#1 |
|
Registered User
Join Date: Jan 2013
Location: Leonardtown, MD
Posts: 1,637
|
Re: 55 Wagon Progress
Well in our typical back up and punt fashion, the original battery hold downs that we had already powder coated did not fit the battery, too short. So we ordered some round stock in stainless to fabricate some new ones.
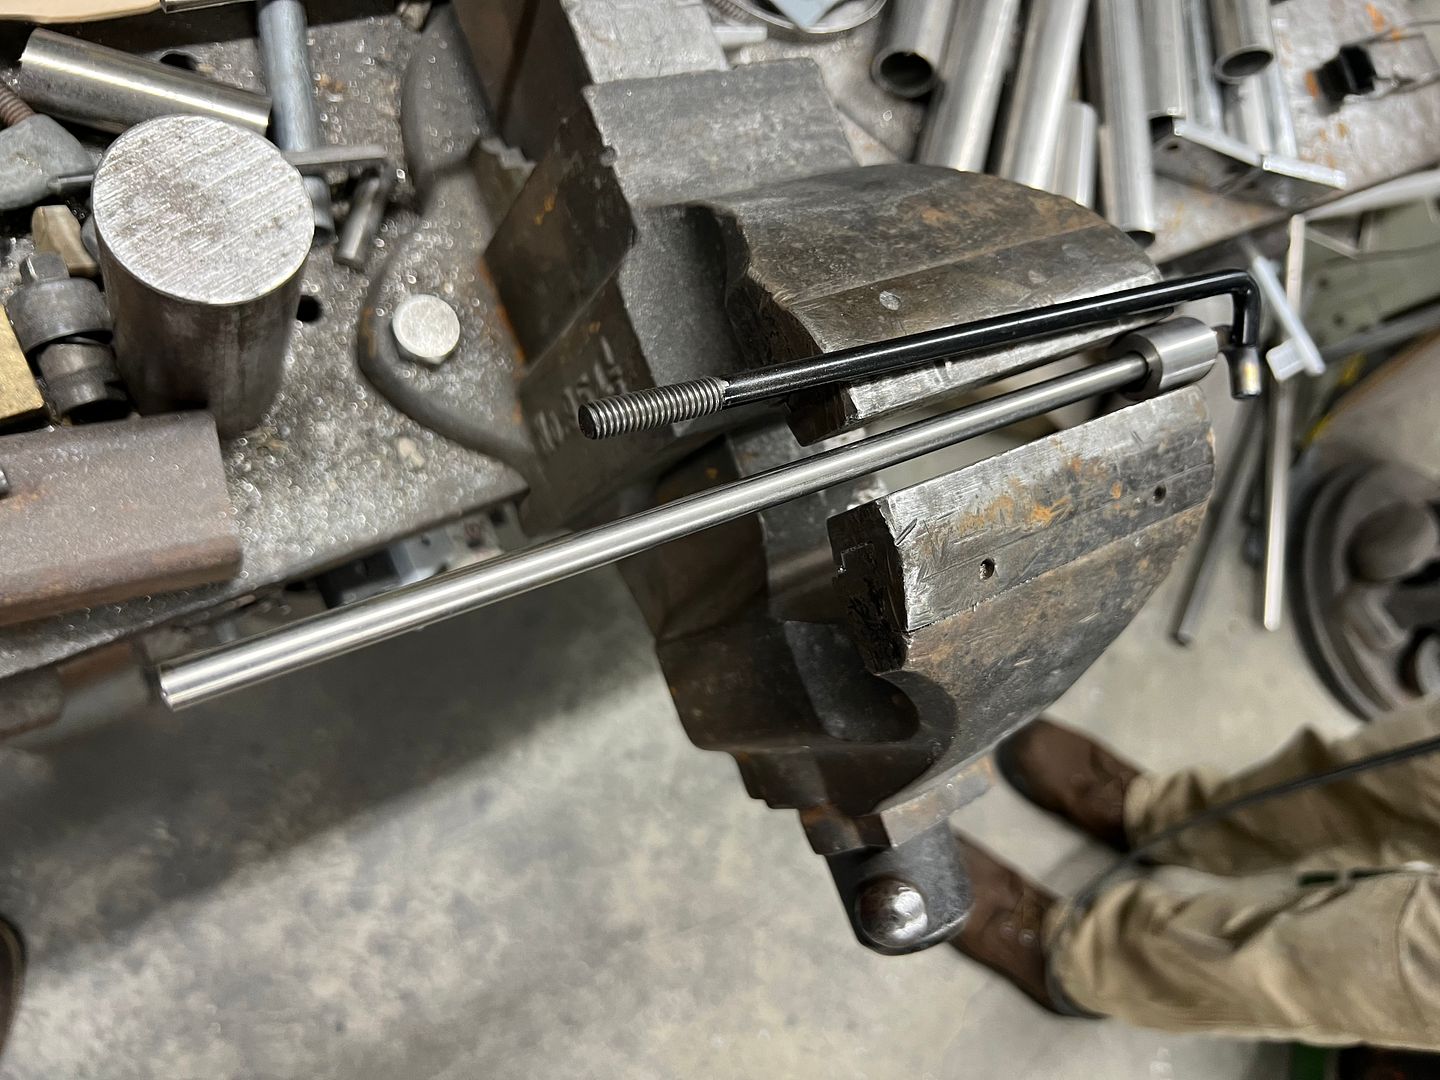 A threaded standoff was modified to provide an angled surface for using as a hammer form to get the bottom "hooks" consistent... 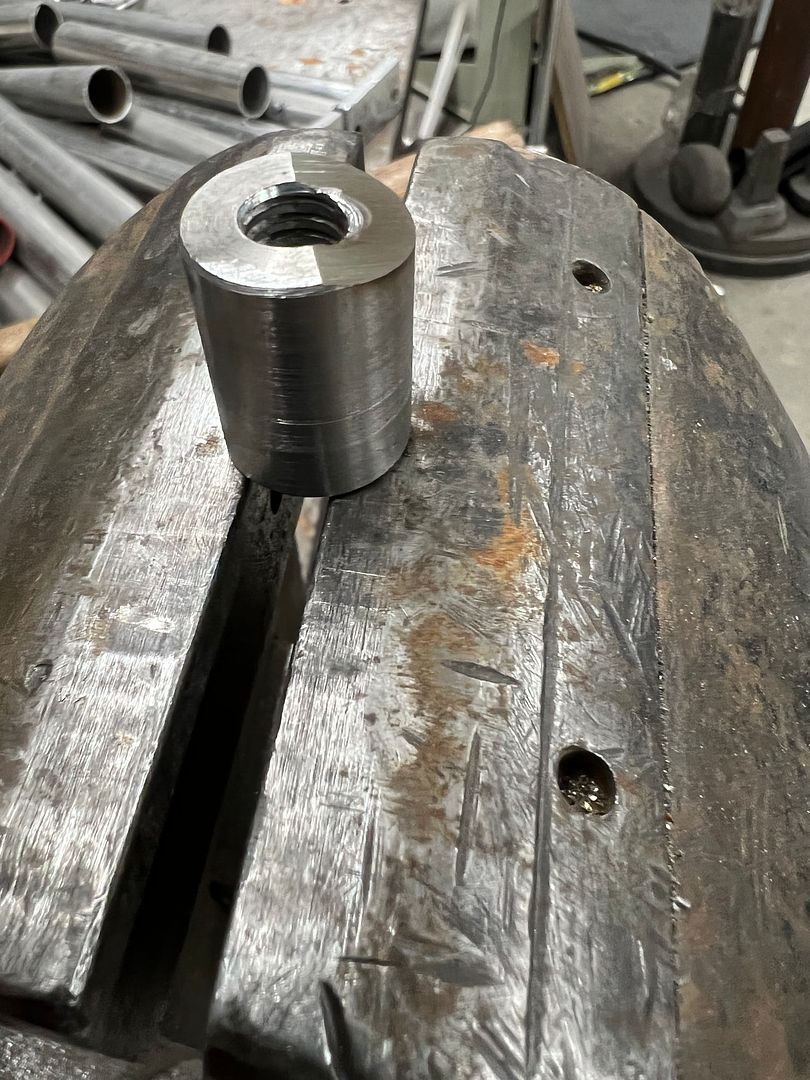 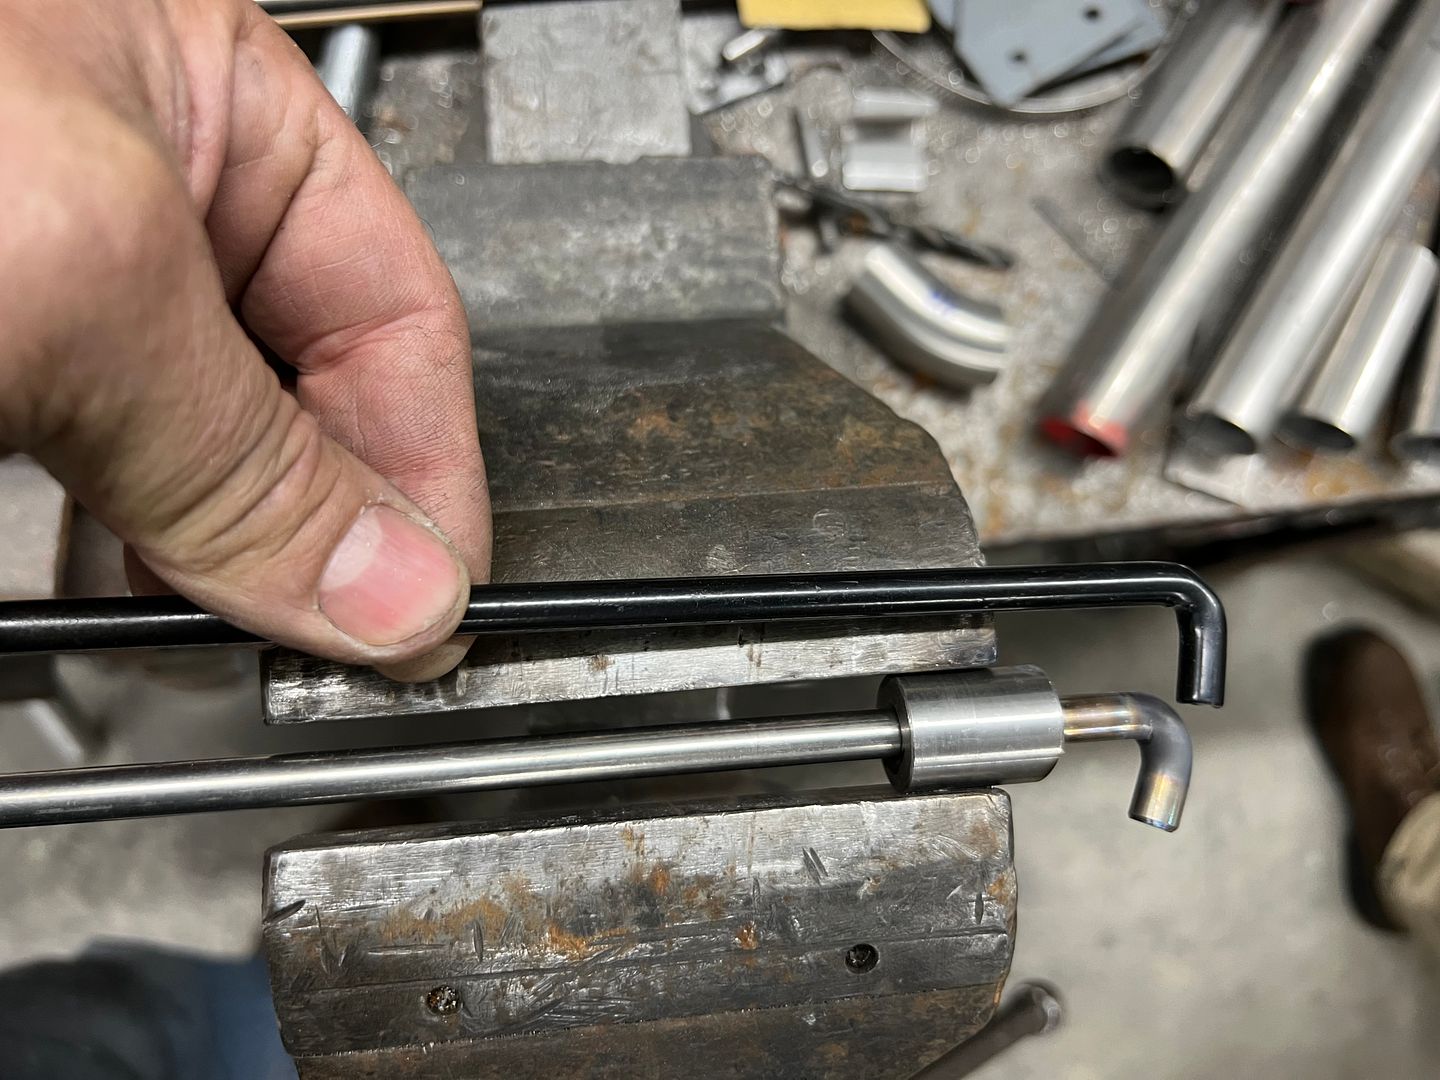 All polished up...  Installed, and no polish job is complete without addressing the ends of the rods.. 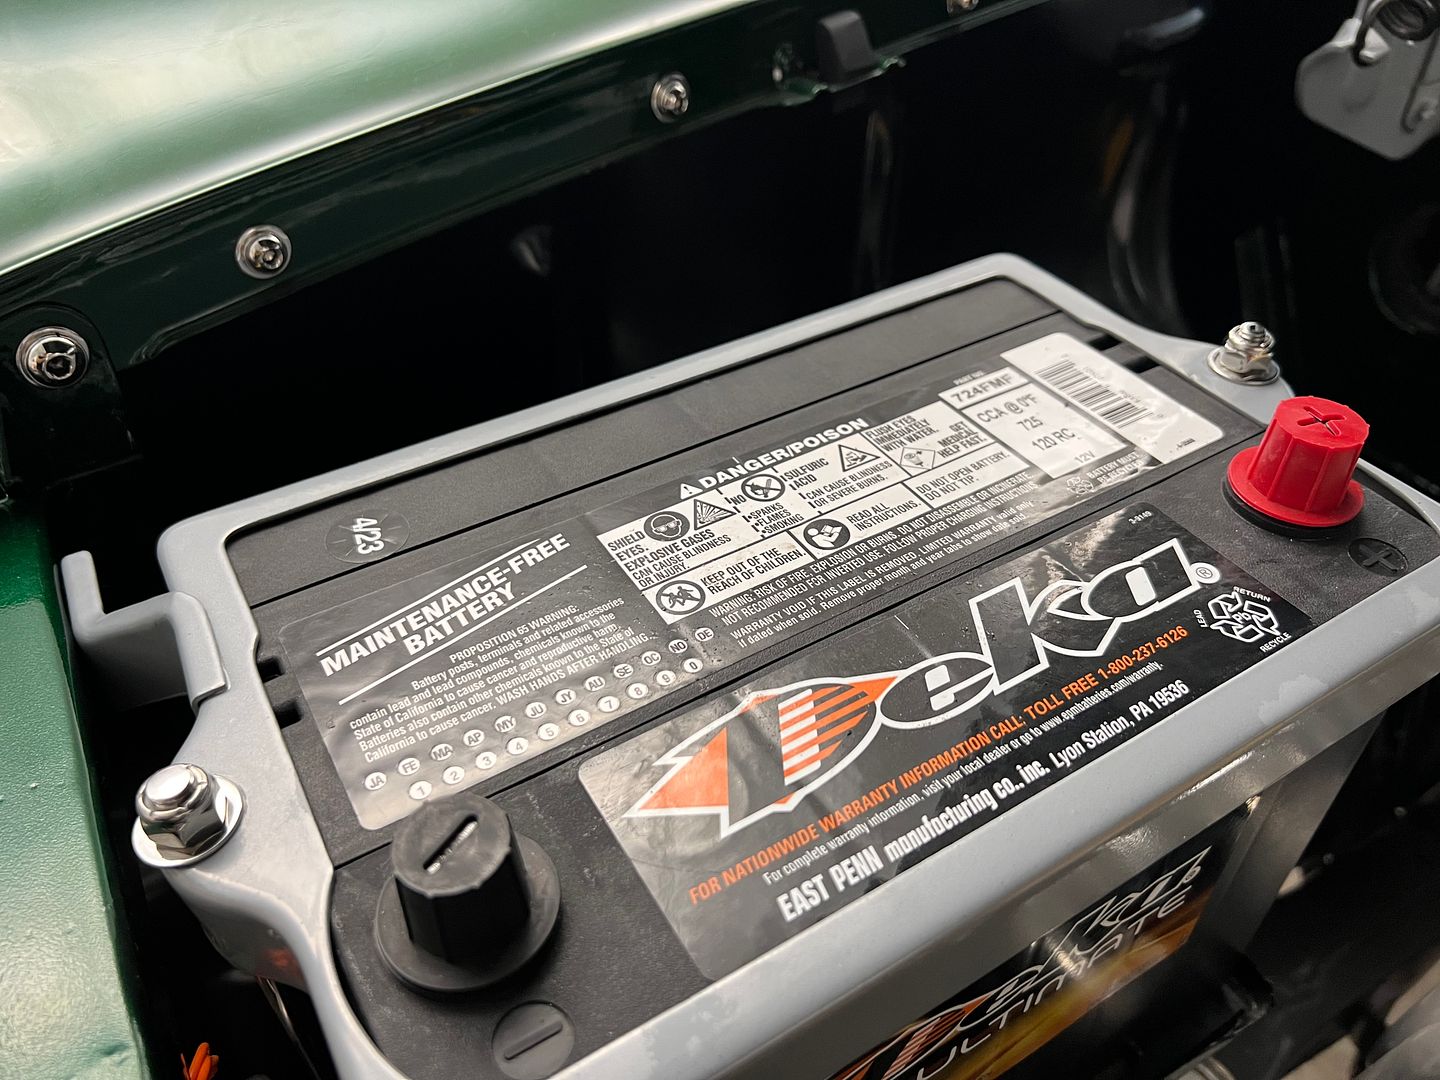 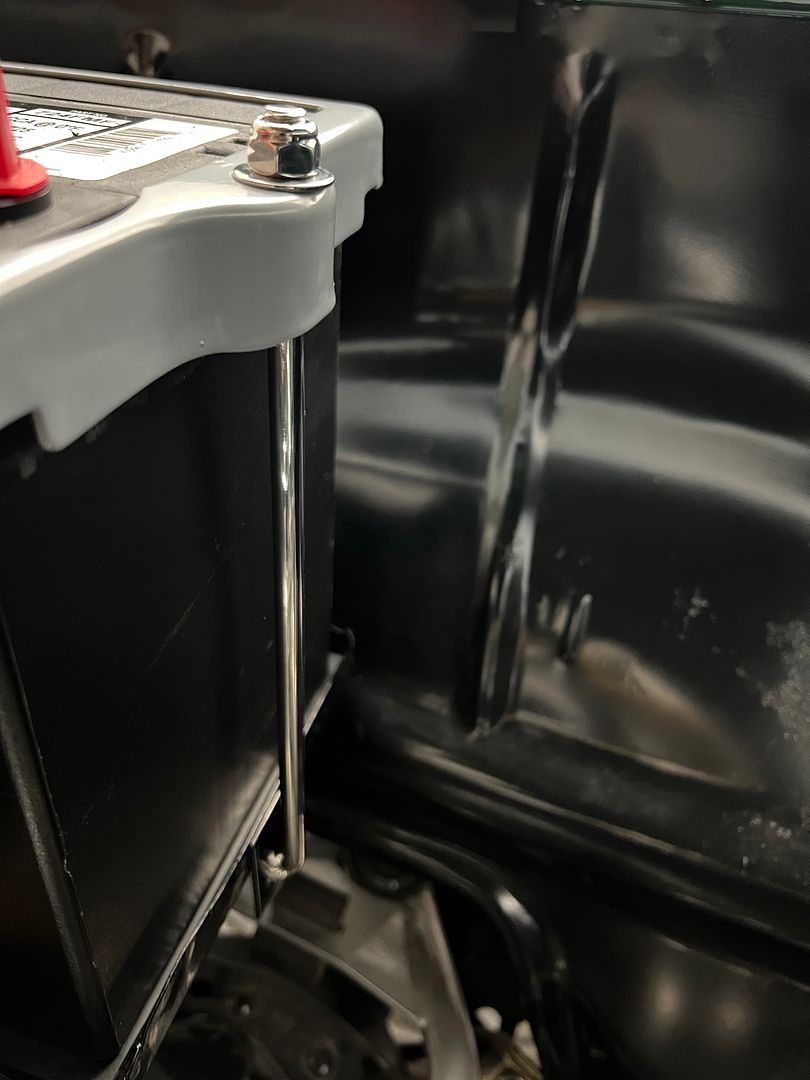 Assembling our vent windows, the excess rubber is trimmed using a No. 11 scalpel blade for a nice and tidy fit 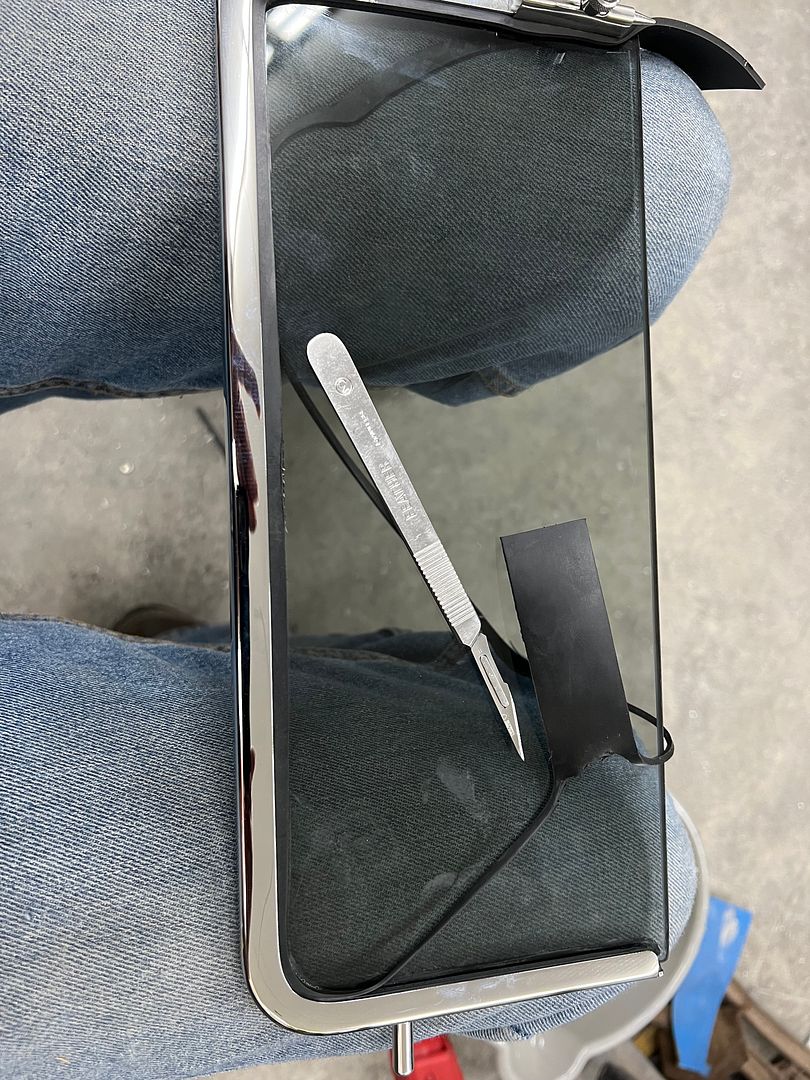  All the bits assembled 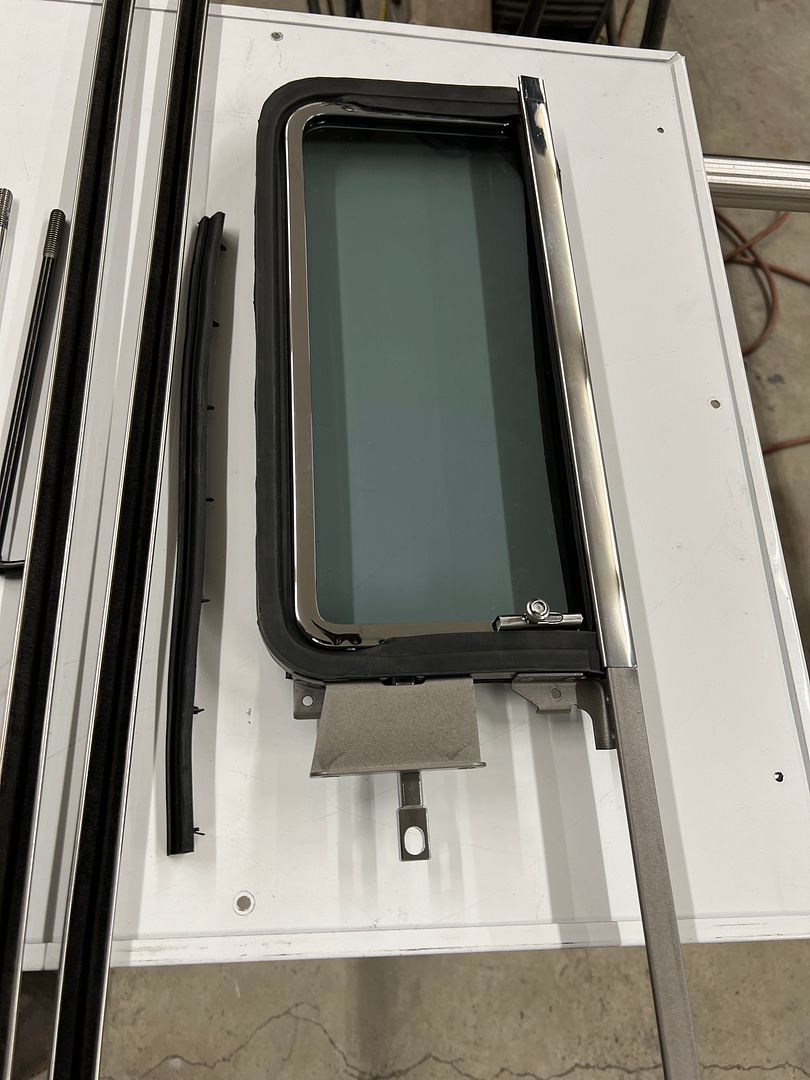 installed... 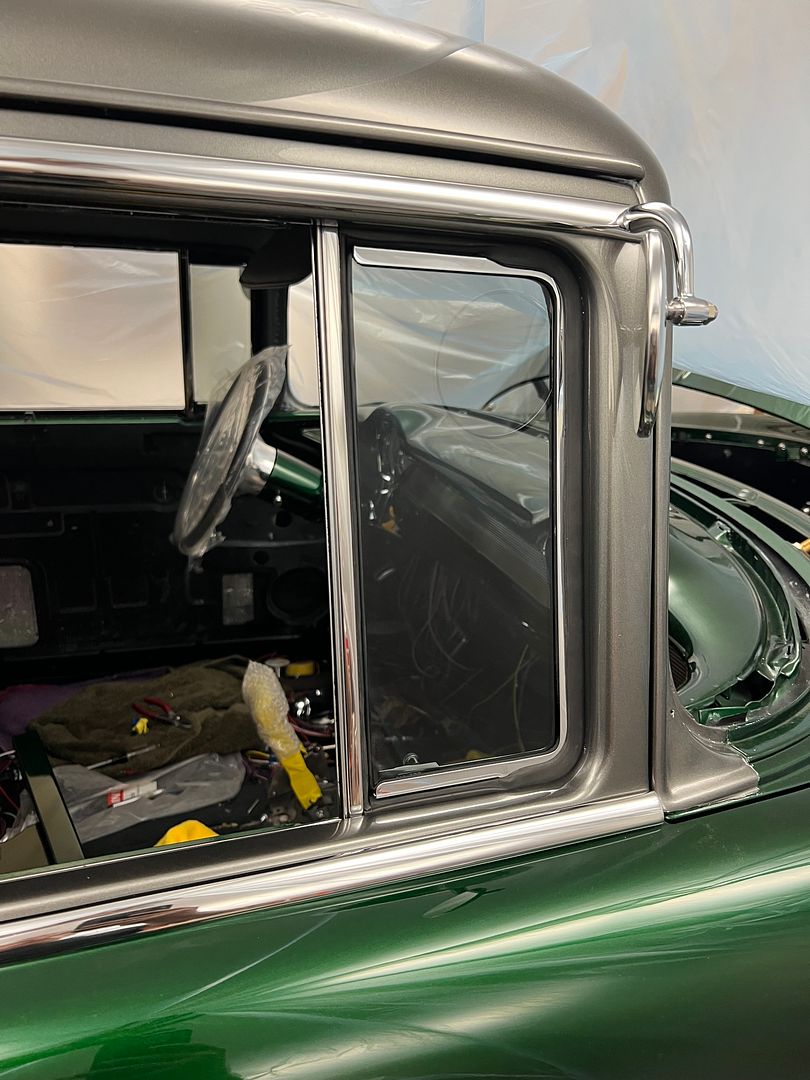 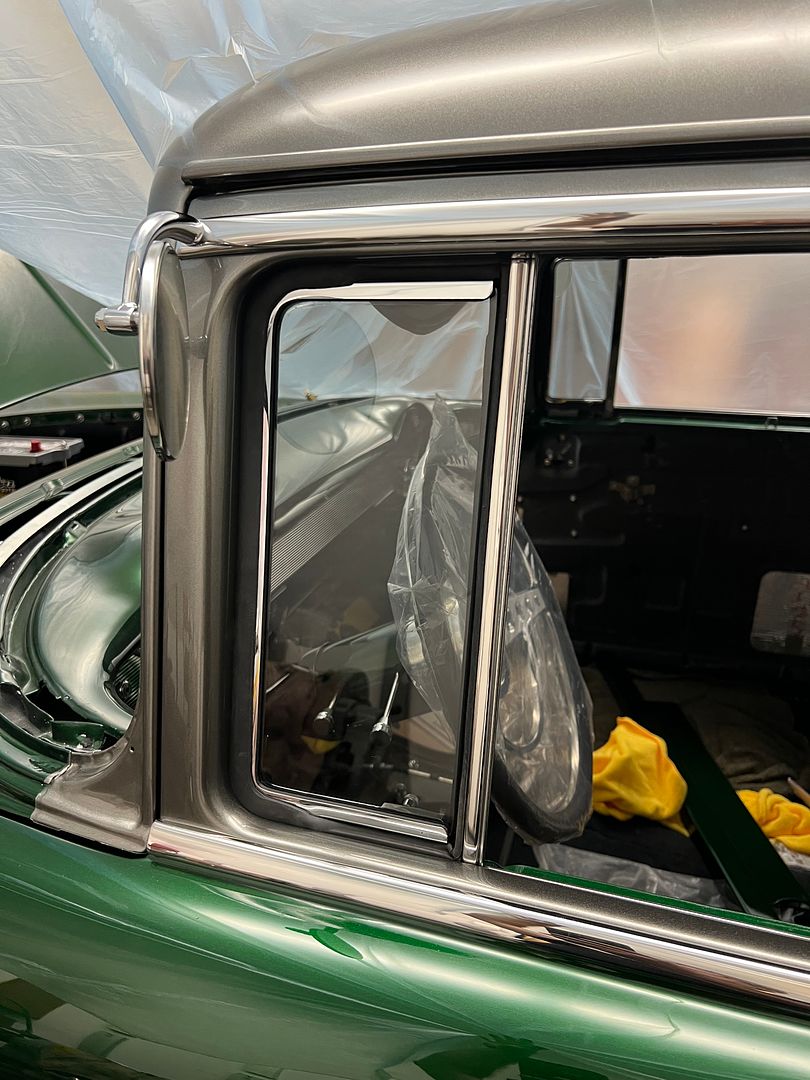 And more stainless we missed, the parting bands for the front arm rests, complete with a form-fitted sanding/polishing fixture 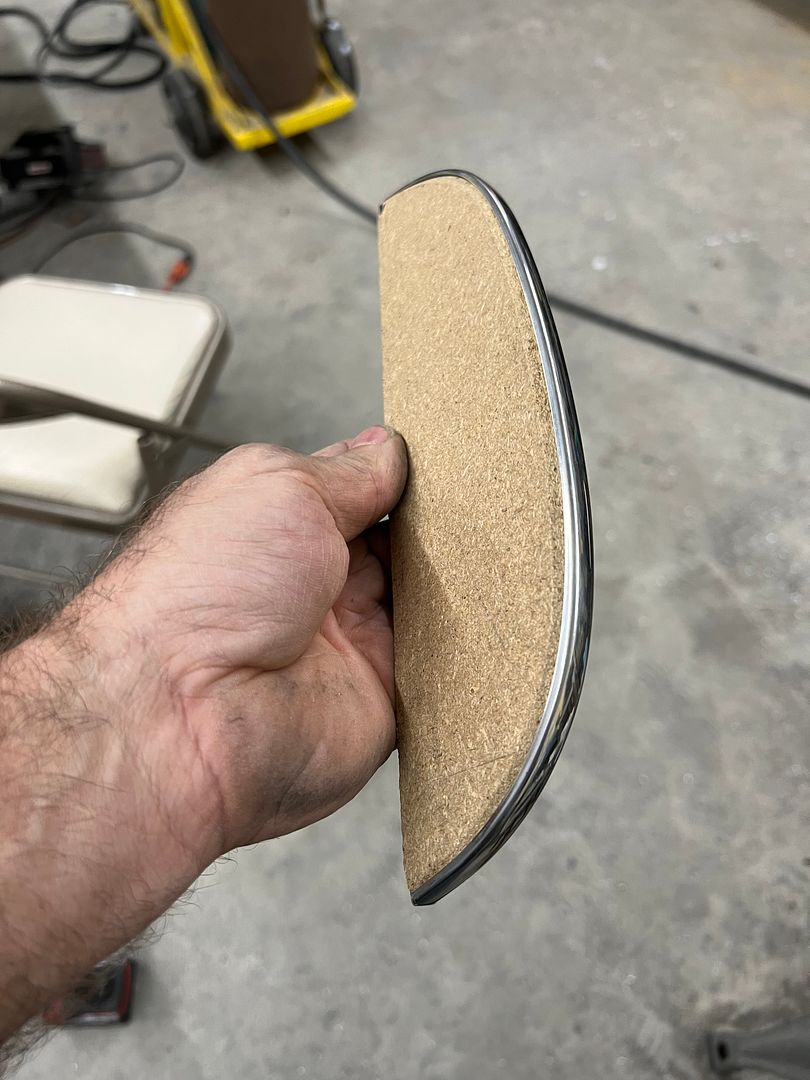
__________________
Robert |

|

|
|
03-22-2024, 01:42 PM
|
#2 |
|
Registered User
Join Date: Jan 2013
Location: Leonardtown, MD
Posts: 1,637
|
Re: 55 Wagon Progress
Trying to assemble the tailgate so we can put it on, but our latch actuator is absolutely worn out in the square hole, the handle just about rotates inside of it. They don't make repop's (that I'm aware of) and someone just offered a rebuilding service at over $300. So I reached out to my go to used parts outlet and a good used one is on the way, mailed the same day.. Reference photo:
 So while we're waiting on parts to load up the rest of the bits on the tailgate, lets chase the threaded holes.... 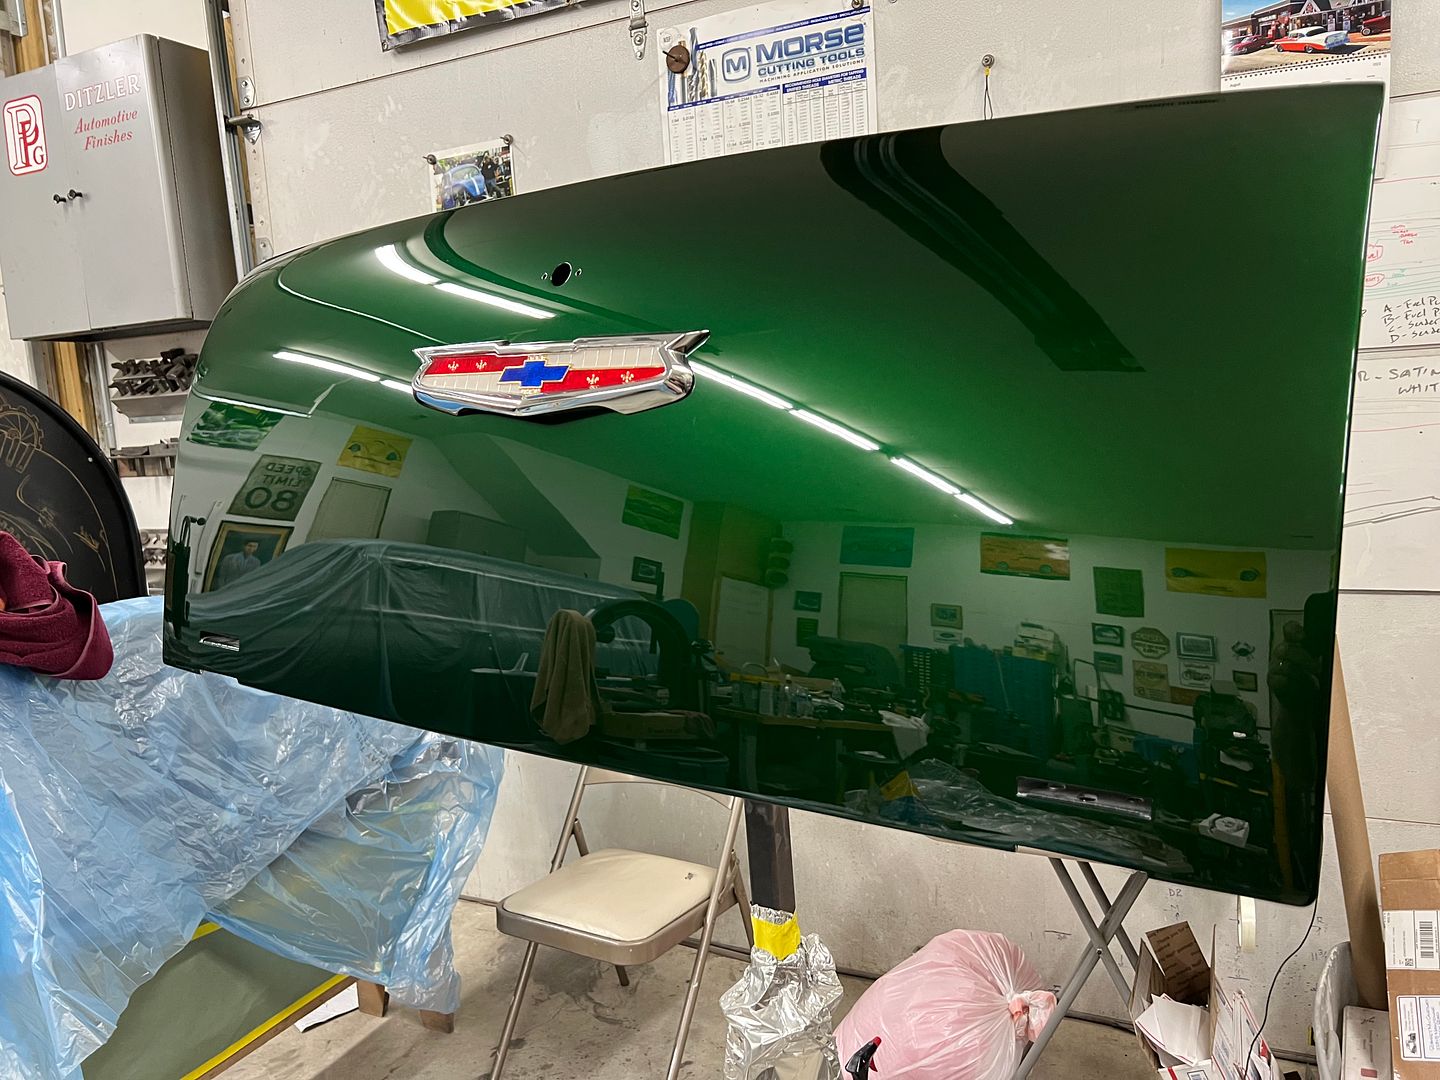 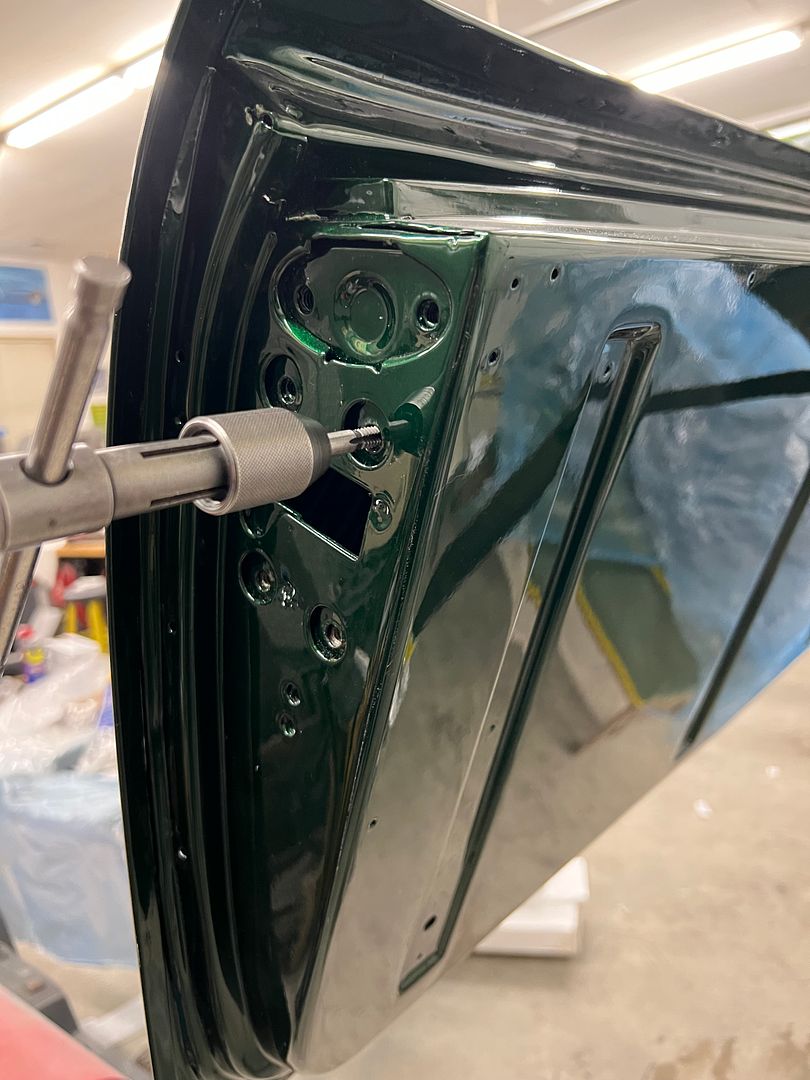 The console just got dropped off, we had some material in the corners that was pulling due to all the stretching that had taken place. In order to keep things more permanent, I came up with some 19 gauge stainless "trim lock". A hemmed edge helps keep from cutting into the upholstery. It gets clipped in place, shoved into the corner snugly, and through drilled for installing solid rivets. 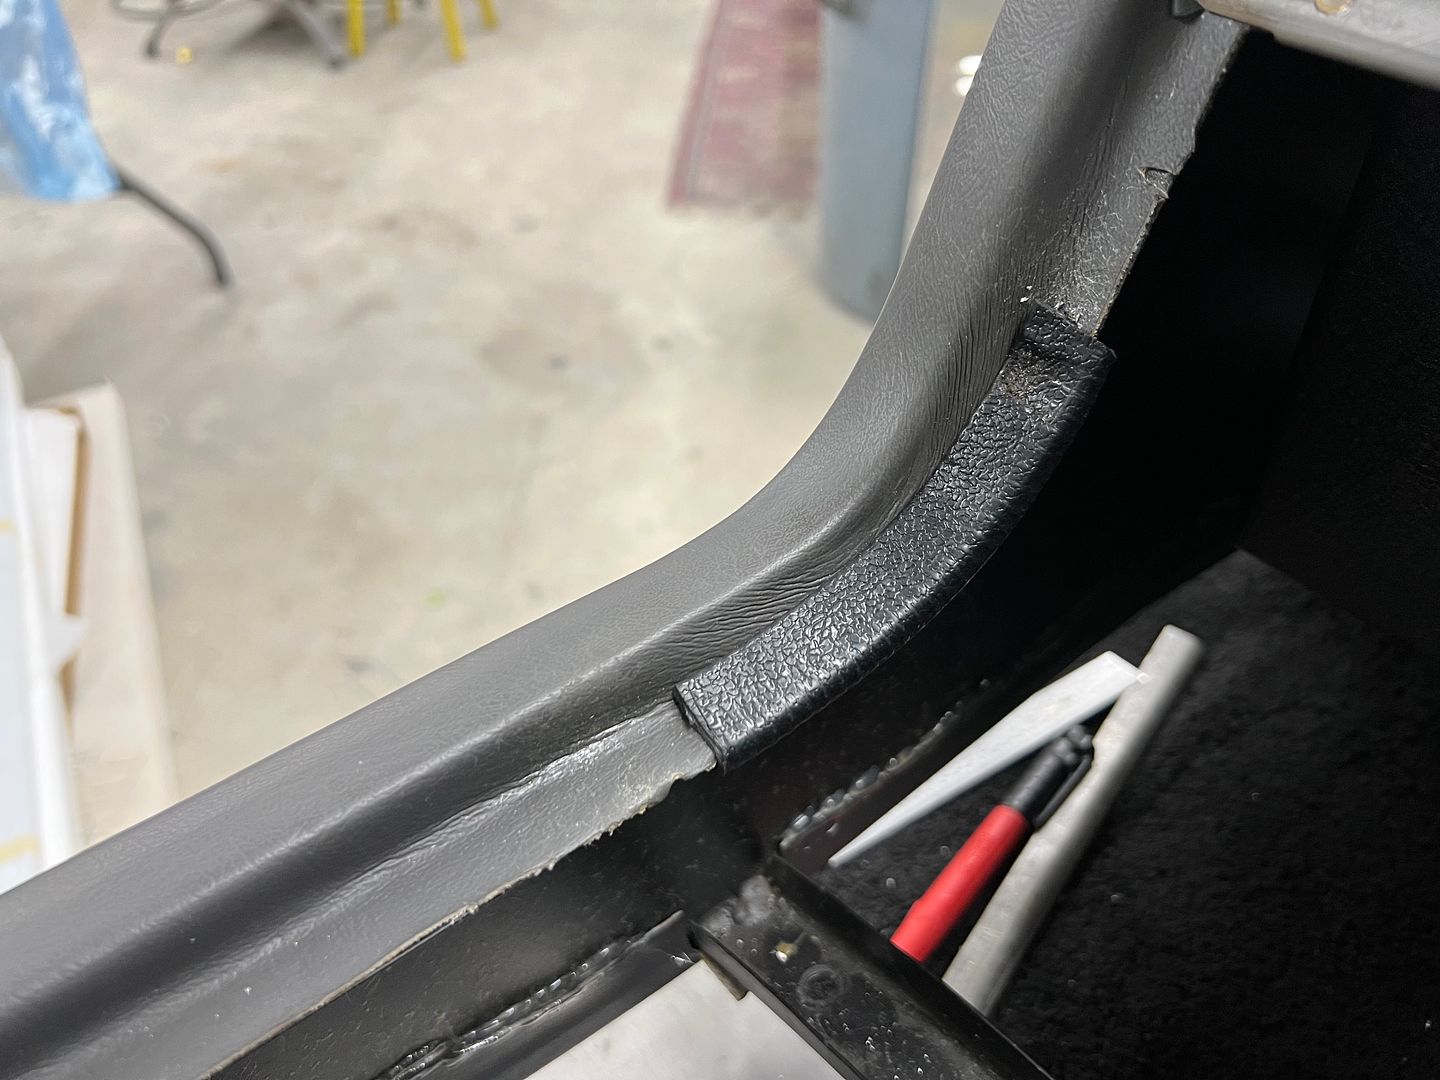 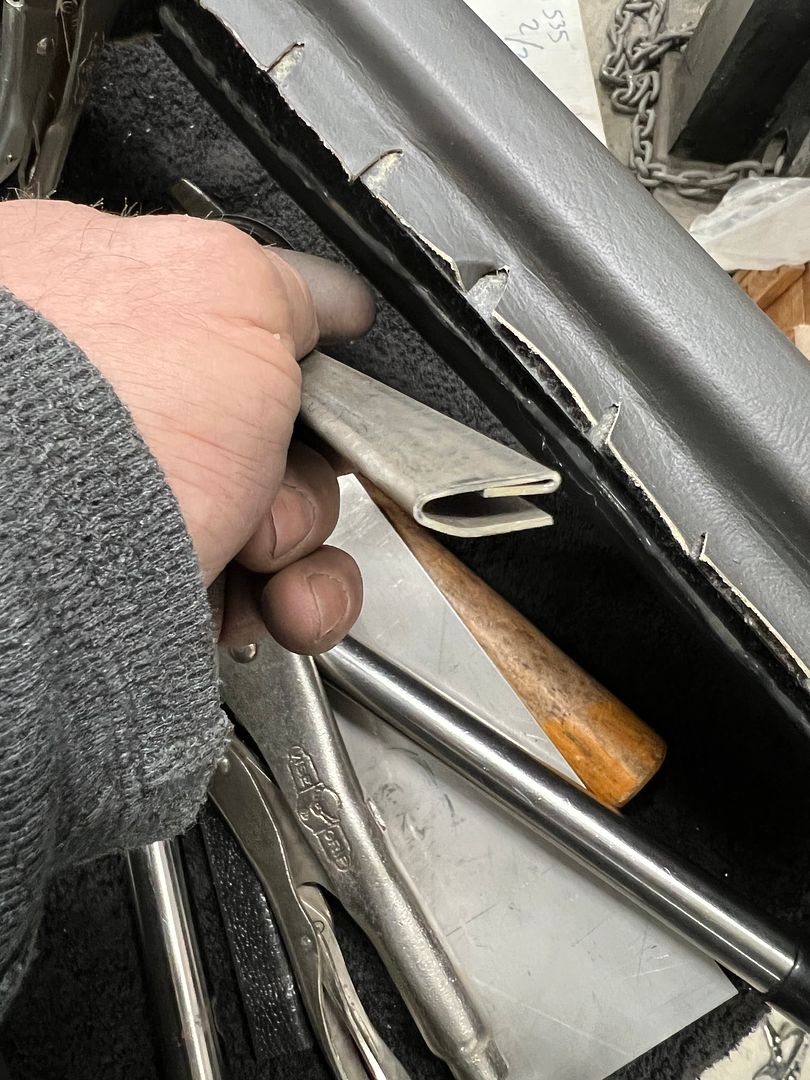 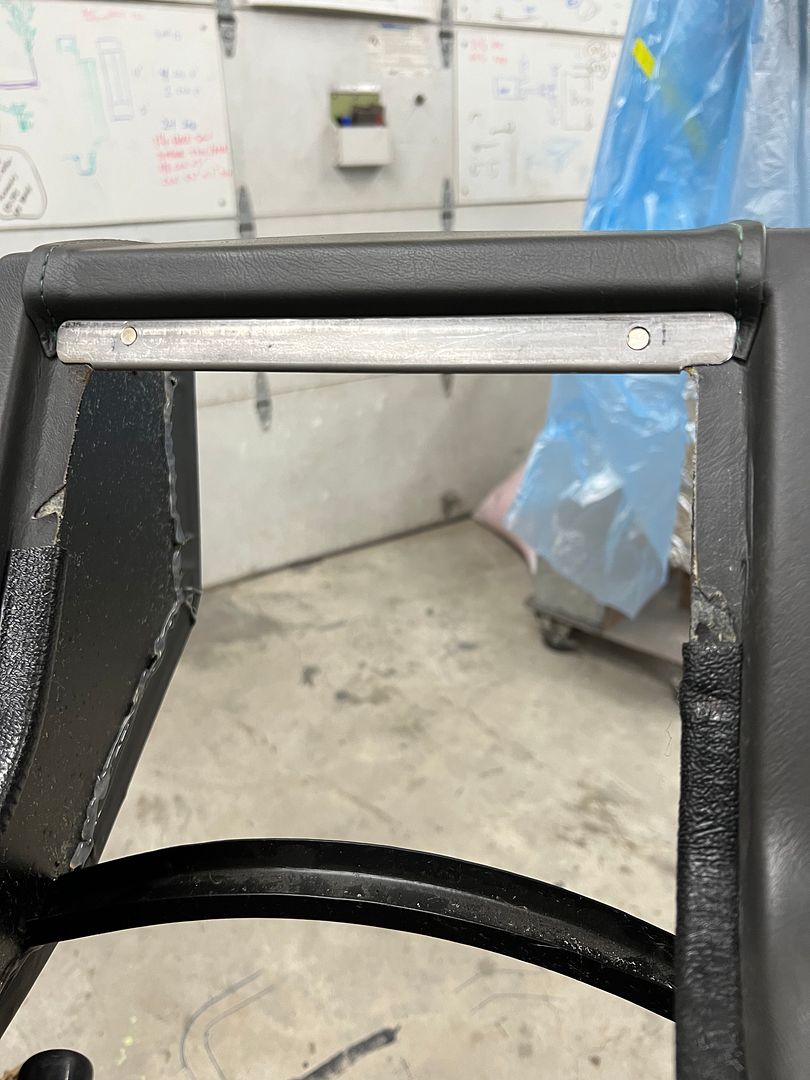  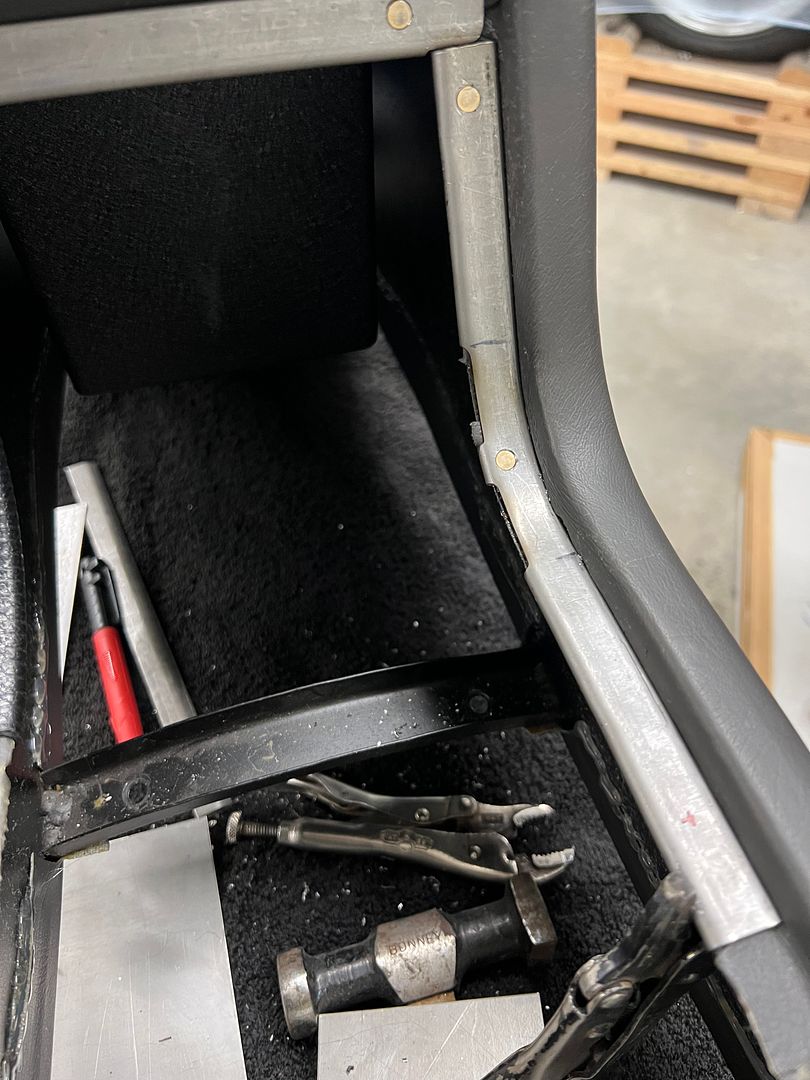 In order to match our dash insert, the console insert will also be oriented horizontally (lines left to right) 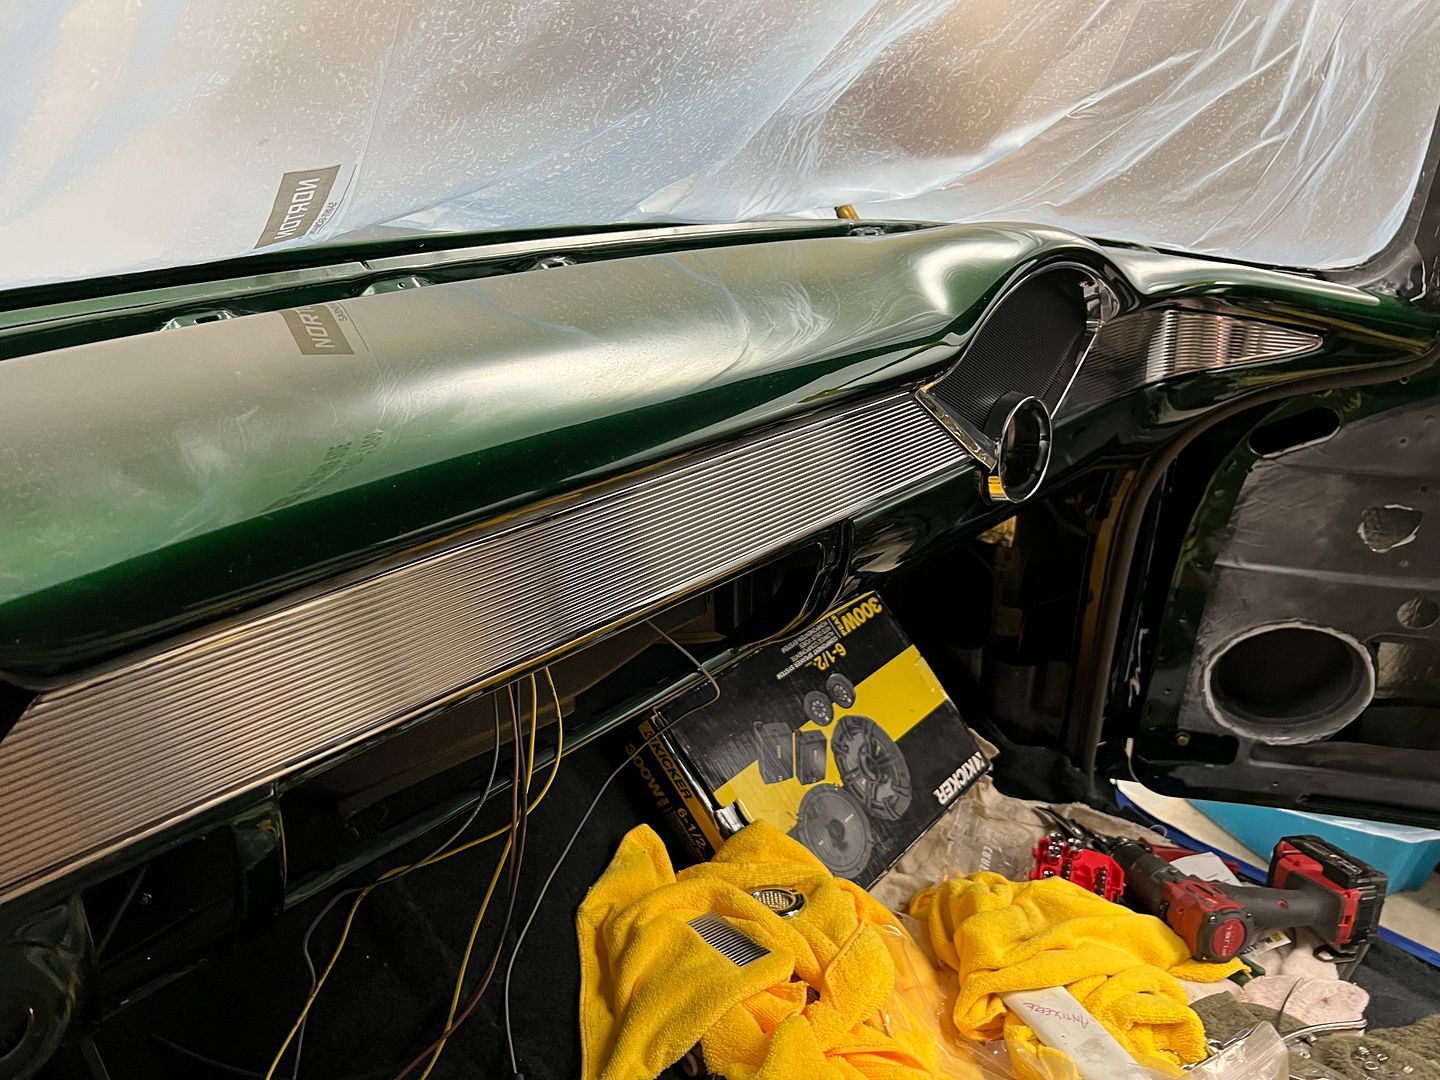 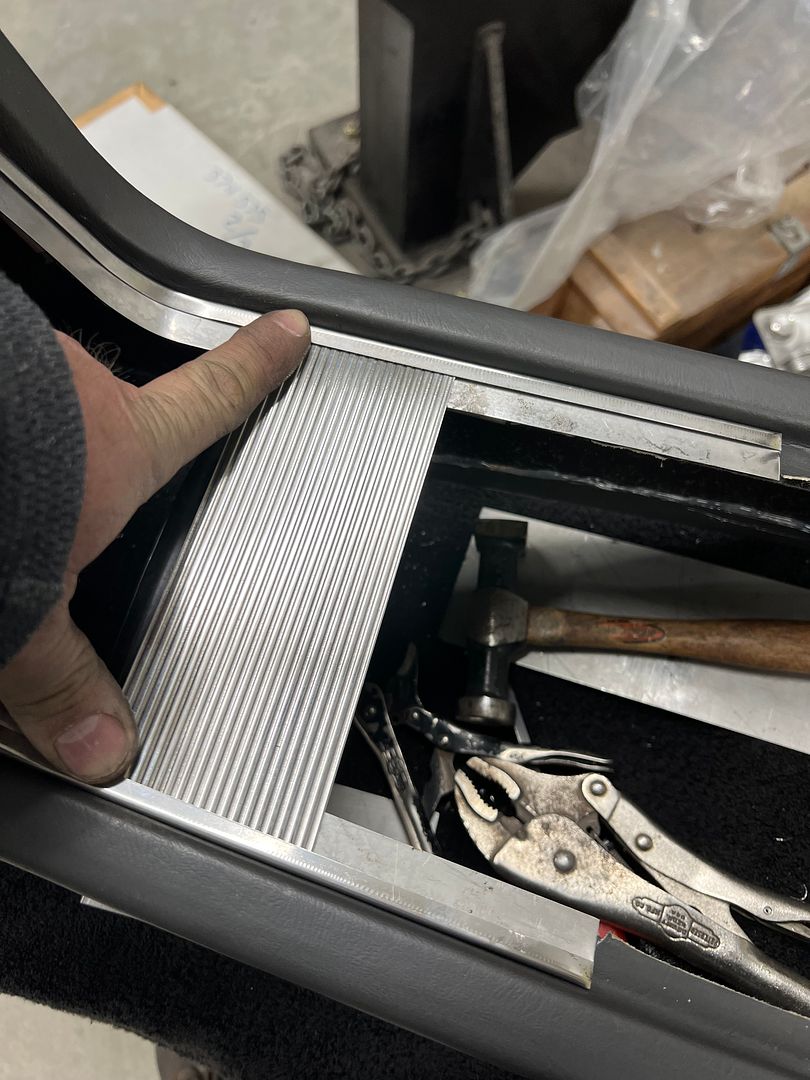 We also got some of the stainless added to the front end. What an alignment pita. Still have some tweaks to do.. 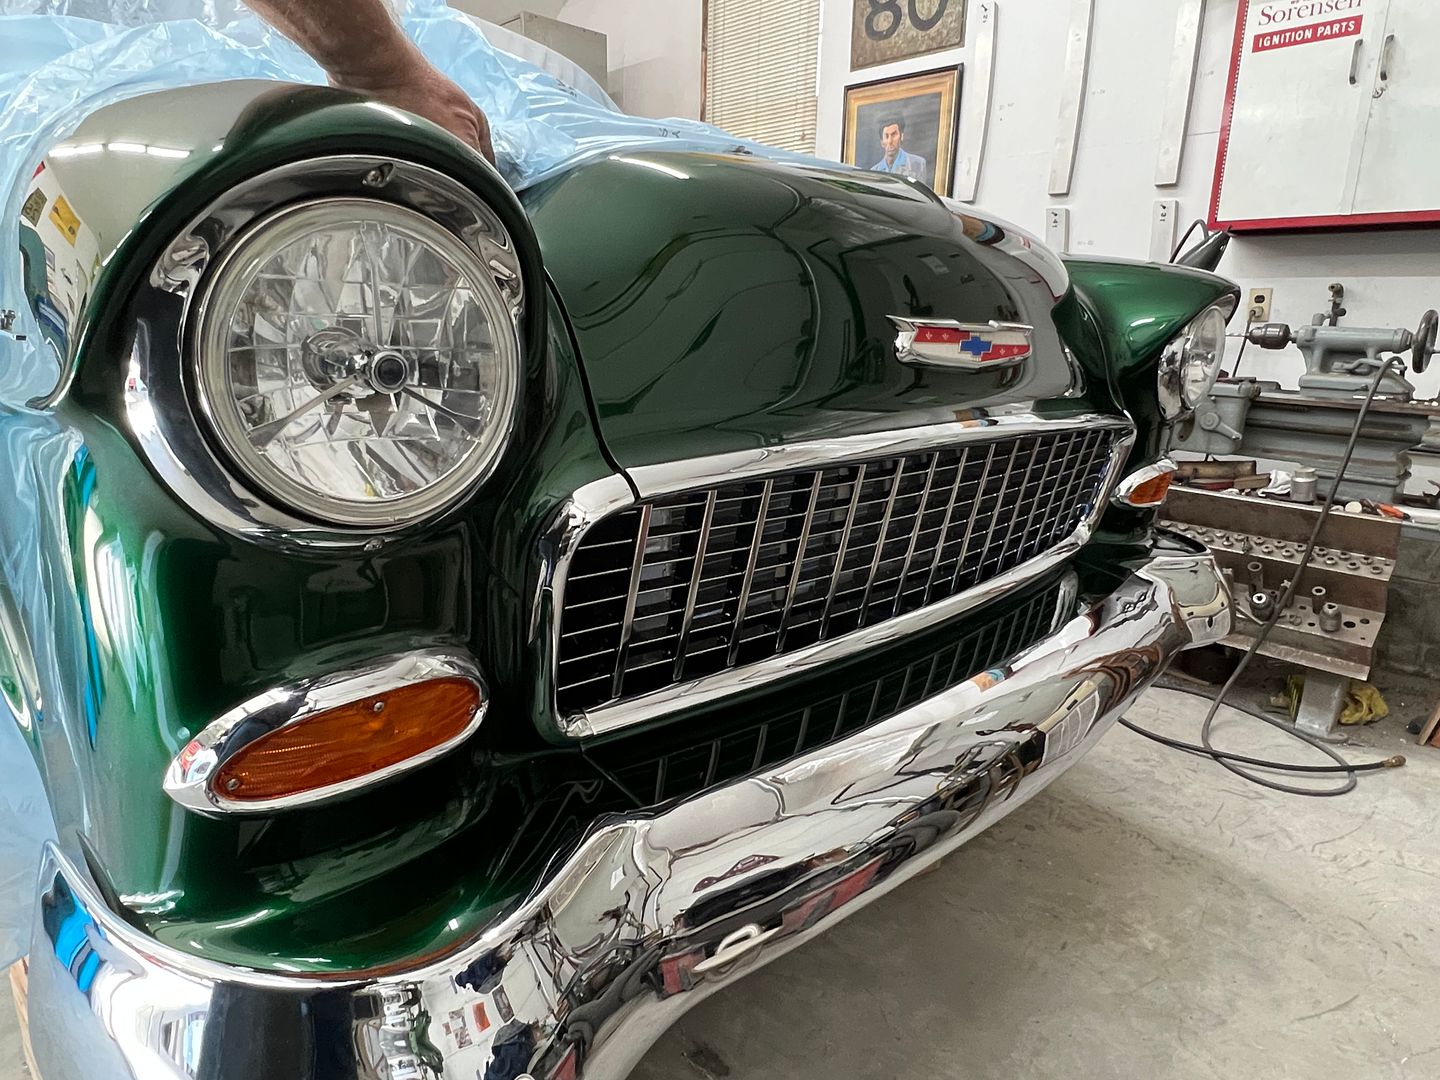
__________________
Robert |
|
|
|
|
03-25-2024, 07:15 AM
|
#3 |
|
Registered User
Join Date: Sep 2008
Location: Newport, North Carolina
Posts: 622
|
Re: 55 Wagon Progress
Incredible work. This will be one of those cars that you can just look at for hours and still not catch all of the fine details. Love following along with your progress. Thanks for sharing.
|
|
|
|
|
03-26-2024, 01:16 PM
|
#4 |
|
Registered User
Join Date: Jan 2013
Location: Leonardtown, MD
Posts: 1,637
|
Re: 55 Wagon Progress
Thanks Joe! That's what we've strived for all along, subtle little changes to have people scratching their head...

__________________
Robert |
|
|
|
|
03-28-2024, 01:32 PM
|
#5 |
|
Senior Member
 Join Date: Mar 2011
Location: West Plains, Missouri
Posts: 7,555
|
Re: 55 Wagon Progress
Looking good Robert...Jim
__________________
my build thread: http://67-72chevytrucks.com/vboard/s...d.php?t=459839 Jimbo's long bed step build:http://67-72chevytrucks.com/vboard/s...t=464626<br /> |
|
|
|
|
03-30-2024, 11:43 PM
|
#6 |
|
Registered User
Join Date: Jan 2013
Location: Leonardtown, MD
Posts: 1,637
|
Re: 55 Wagon Progress
Thanks Jim!
More console work, time to fabricate the hemmed surround for the insert. In order for the surround to be seamless, we need to do some welding. 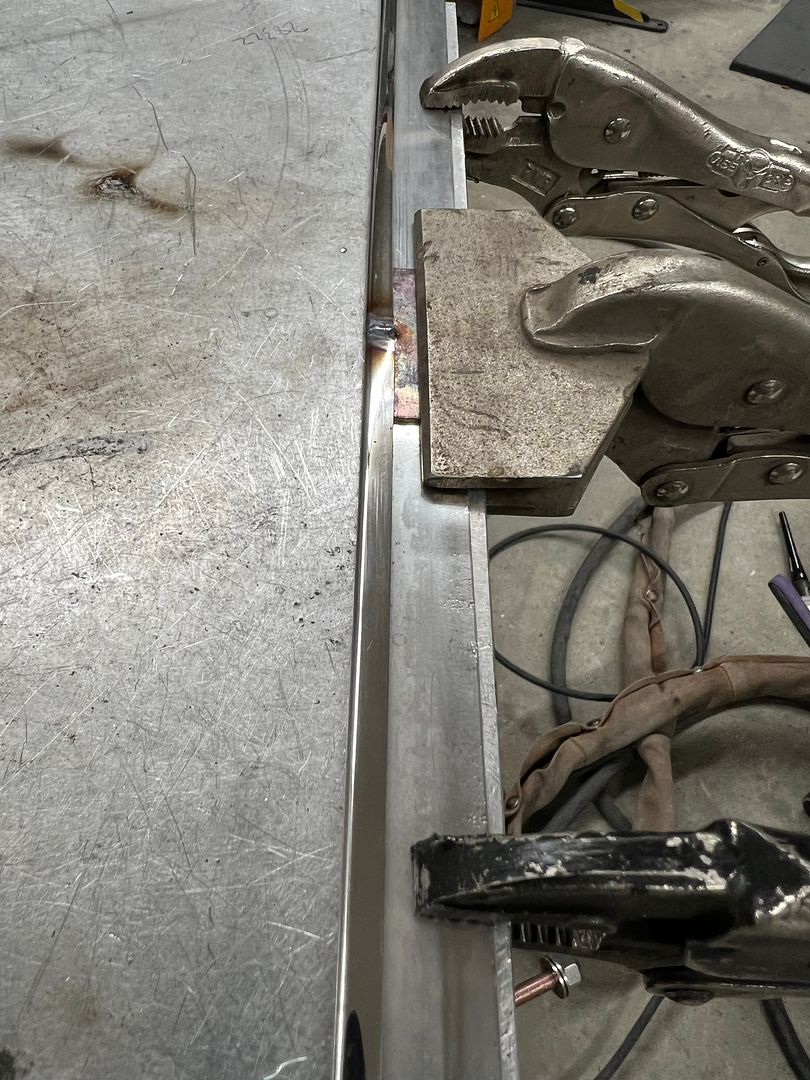 For our corners we relieve the flange and trim the back side to about half the hem width. This gives us less material in the tucks for shrinking in the corners.  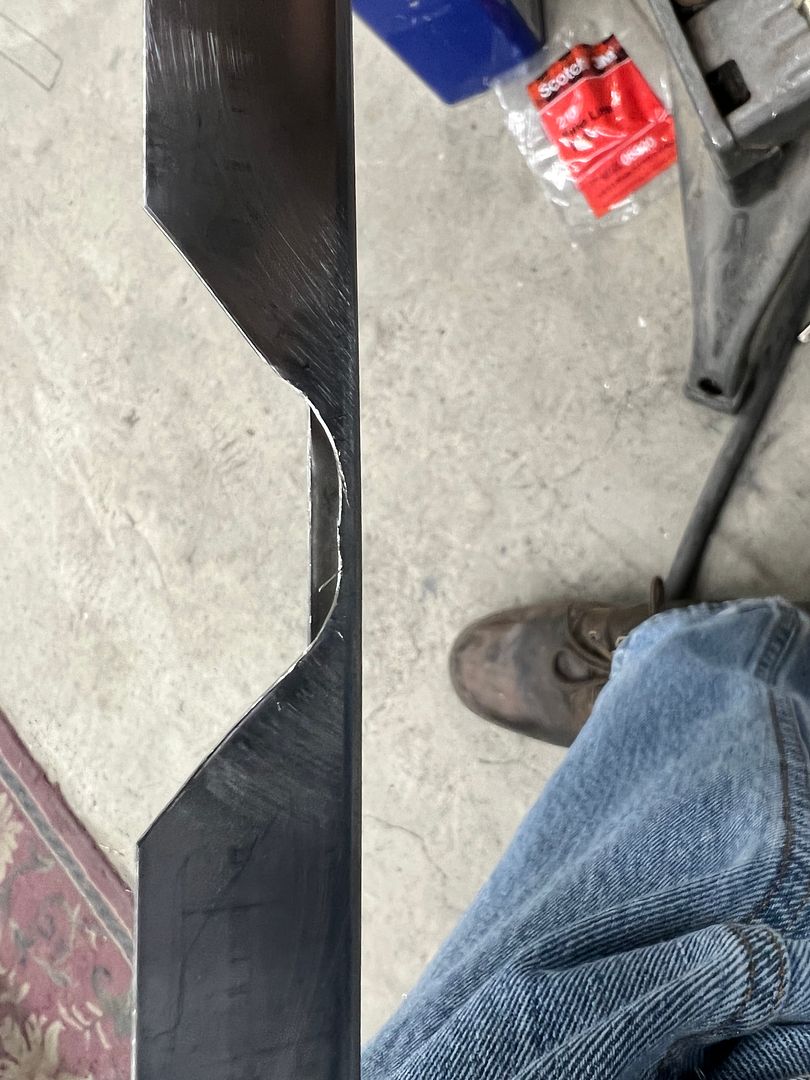 We cut a fake insert out of 18 gauge CRS with rounded corners to use as a hammer form, gives us something to hammer against when we heat up the corners. 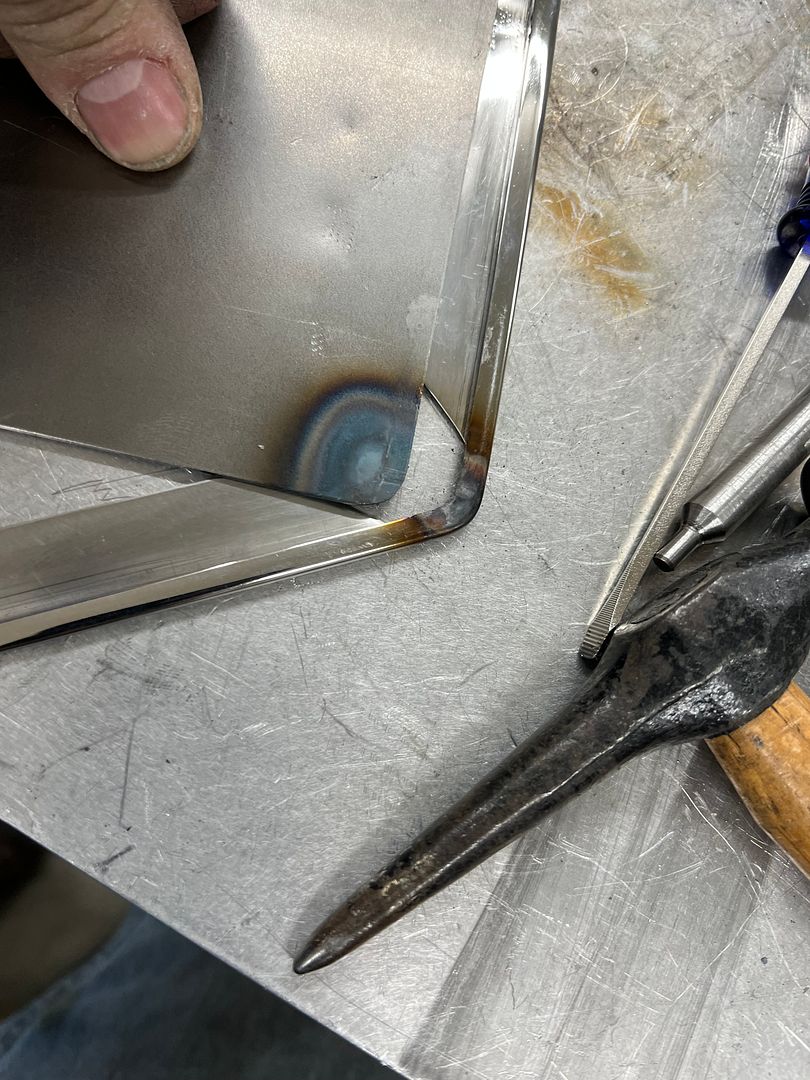 _IMG_8985.png) Everything's a tool, and when the PVC pipe is the only thing in the shop that matches our needed radius, it's what we use for a radius bender. 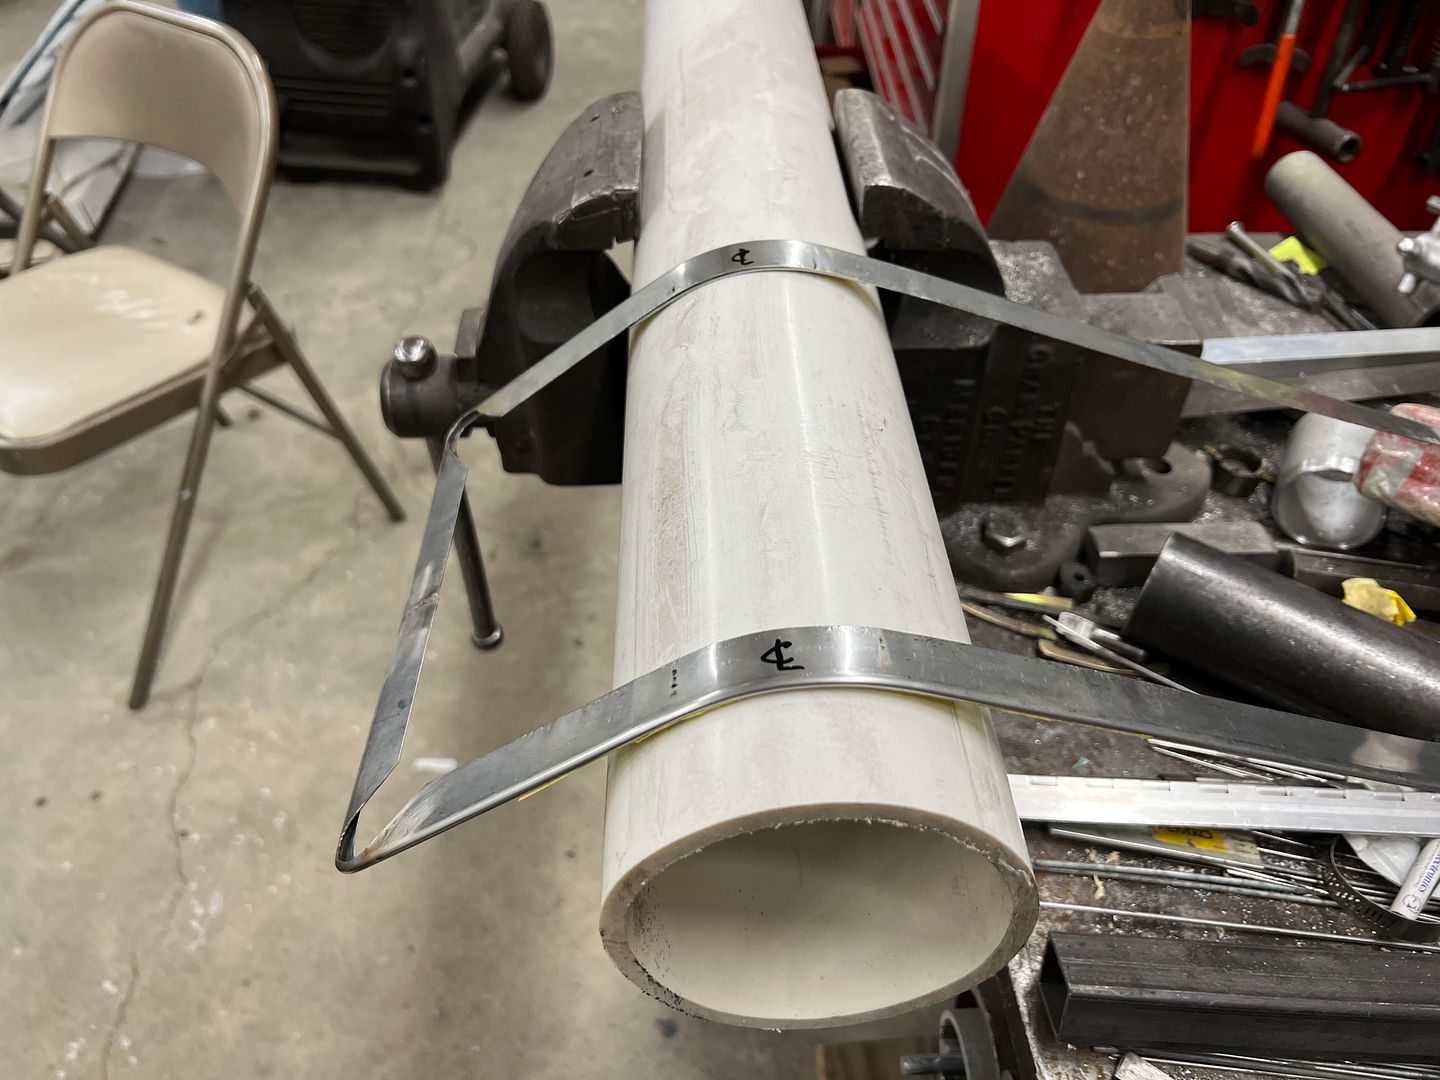 To prevent our hem from closing during the radius forming, some 18 gauge strips were placed in the hem. 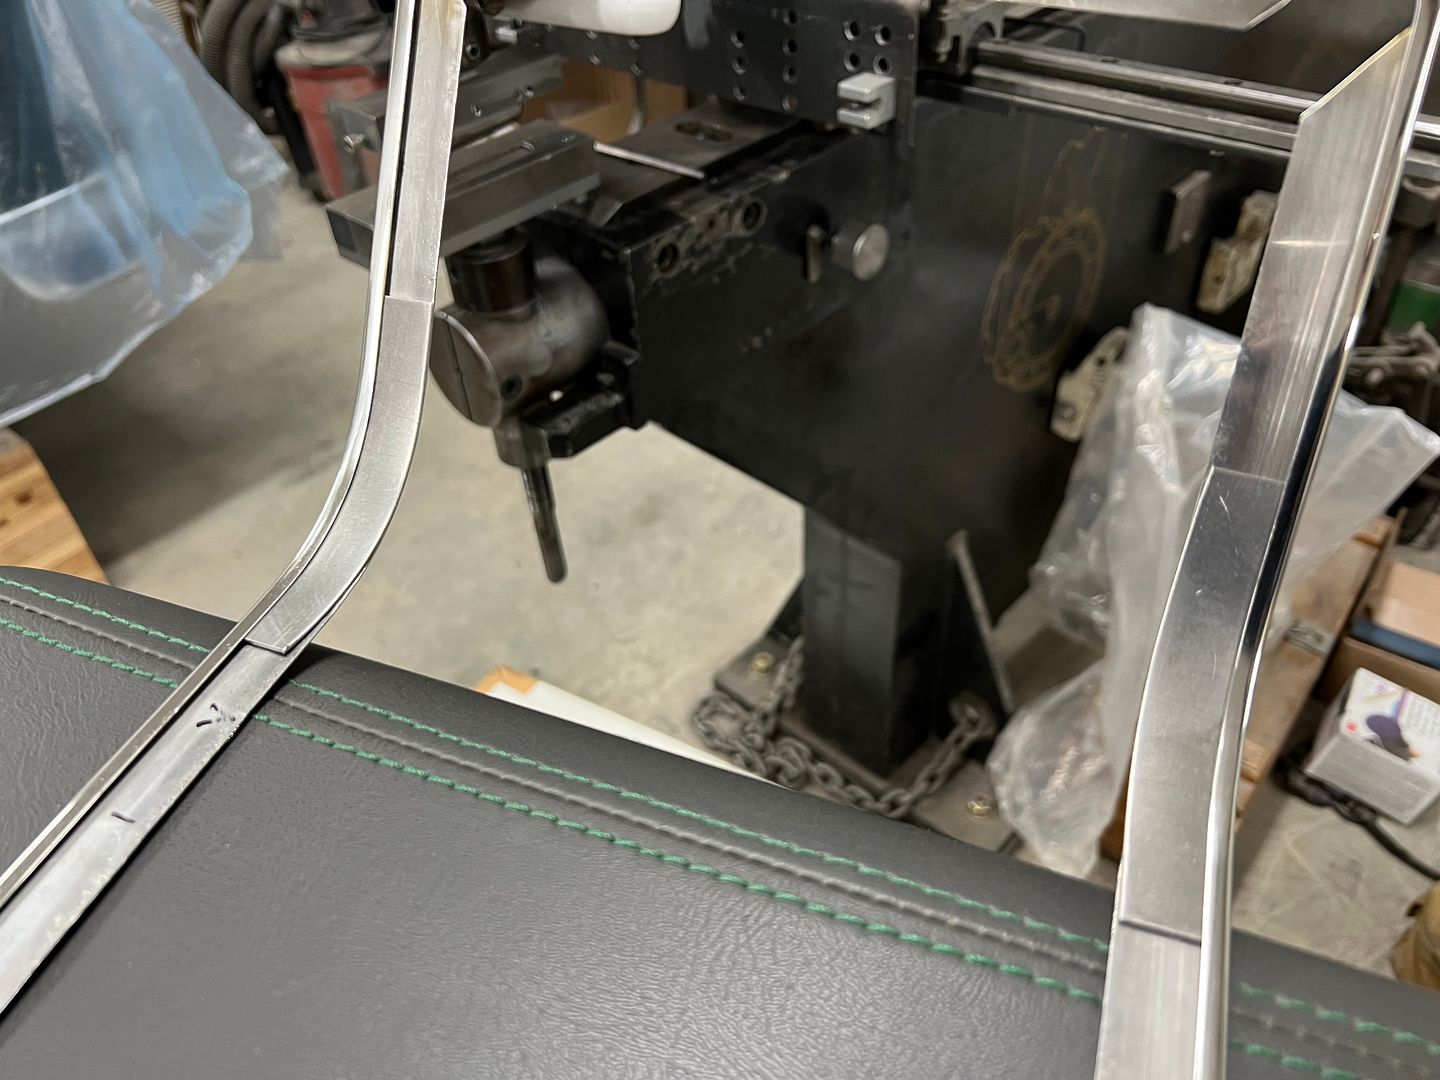 Press studs used to attach to the console and will be hidden underneath the center panel. 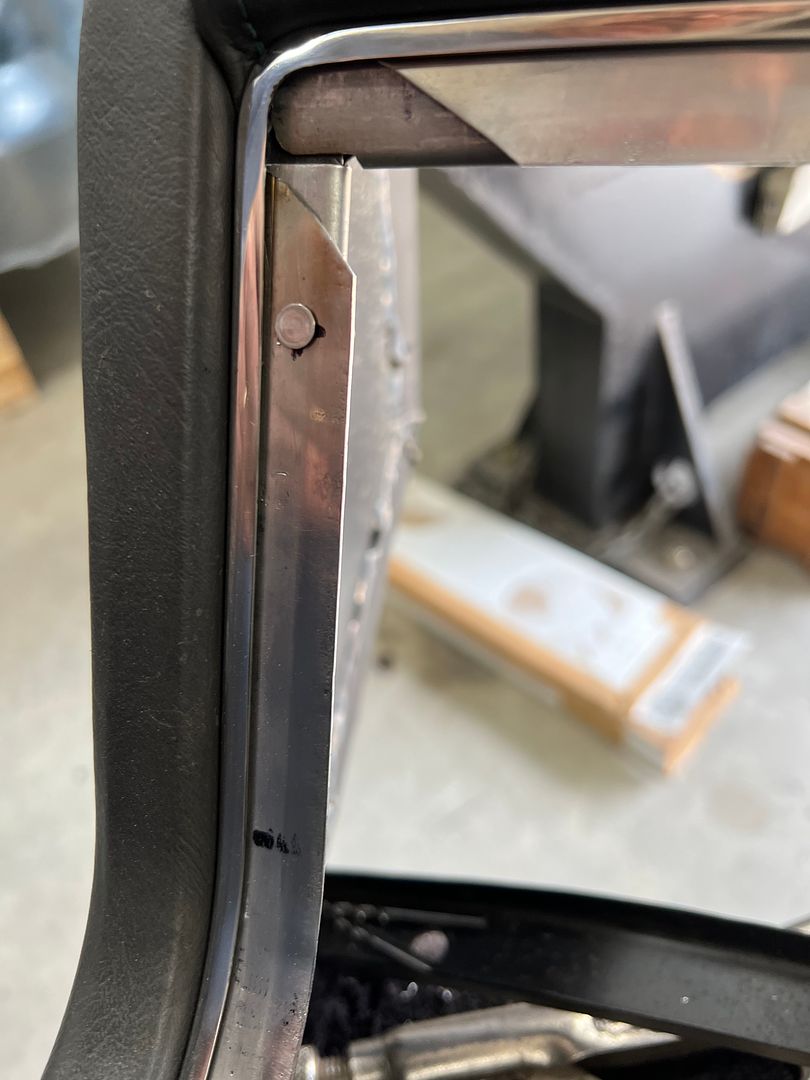 Insert cut out to match our poster board sample, then it gets 800 grit, then 1000 through 5000 foam pads, then buffed.. 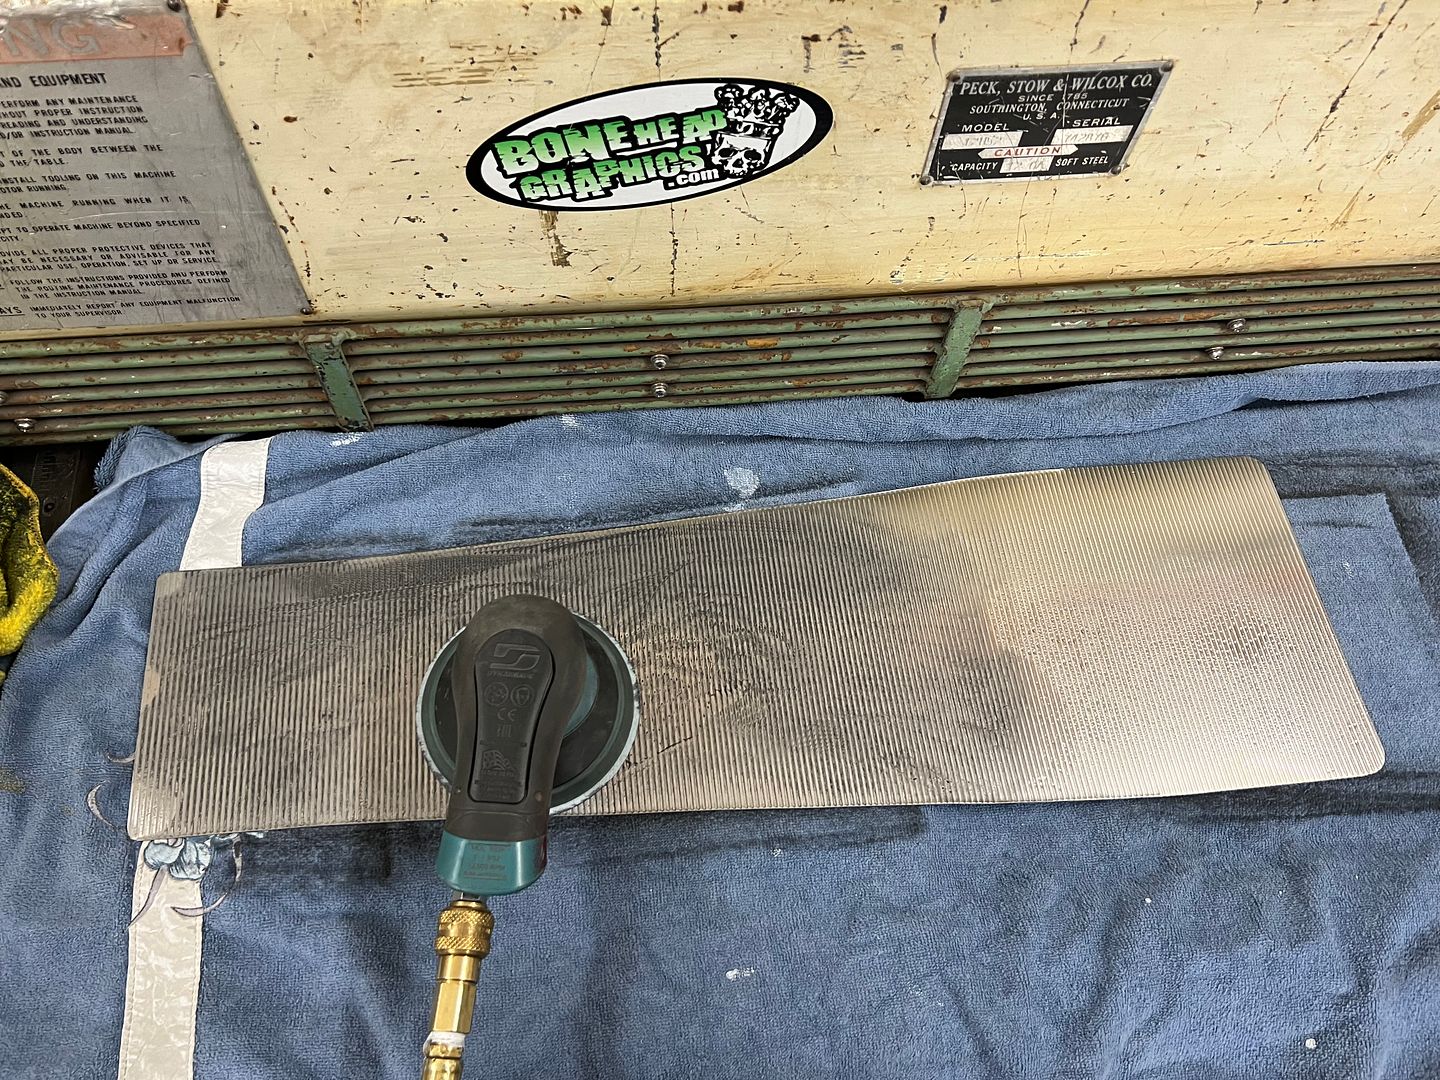 https://youtube.com/shorts/Wlbrs908h...H0gssNlu9xhBkm Then we cover it with frisk film to protect our buffed surface. 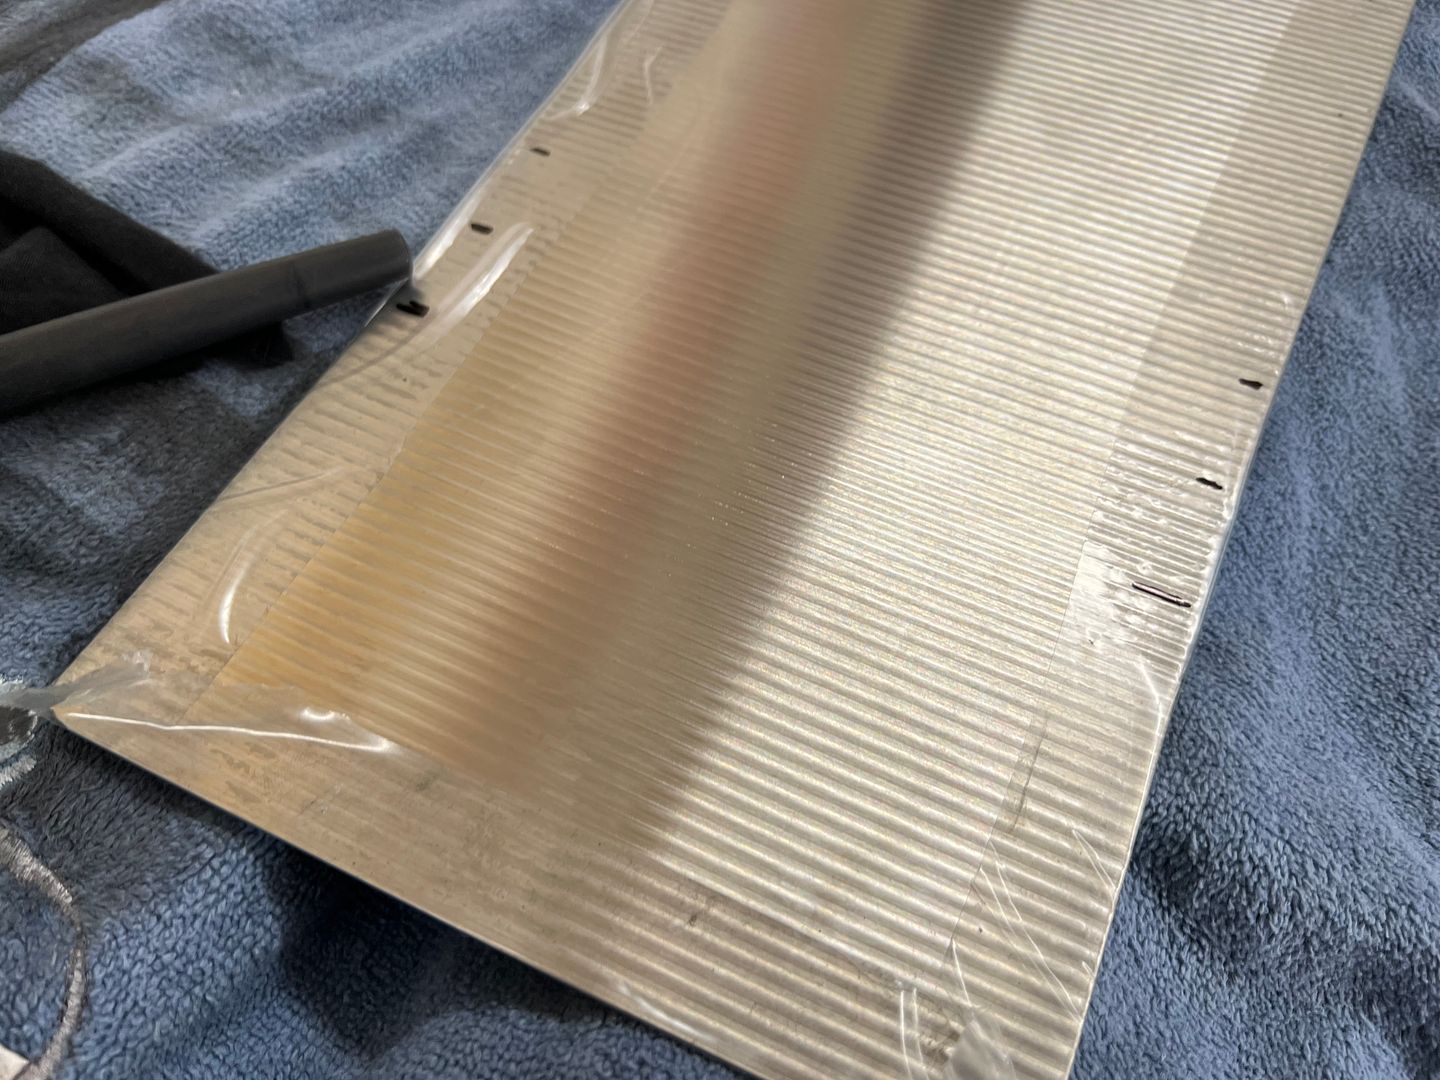 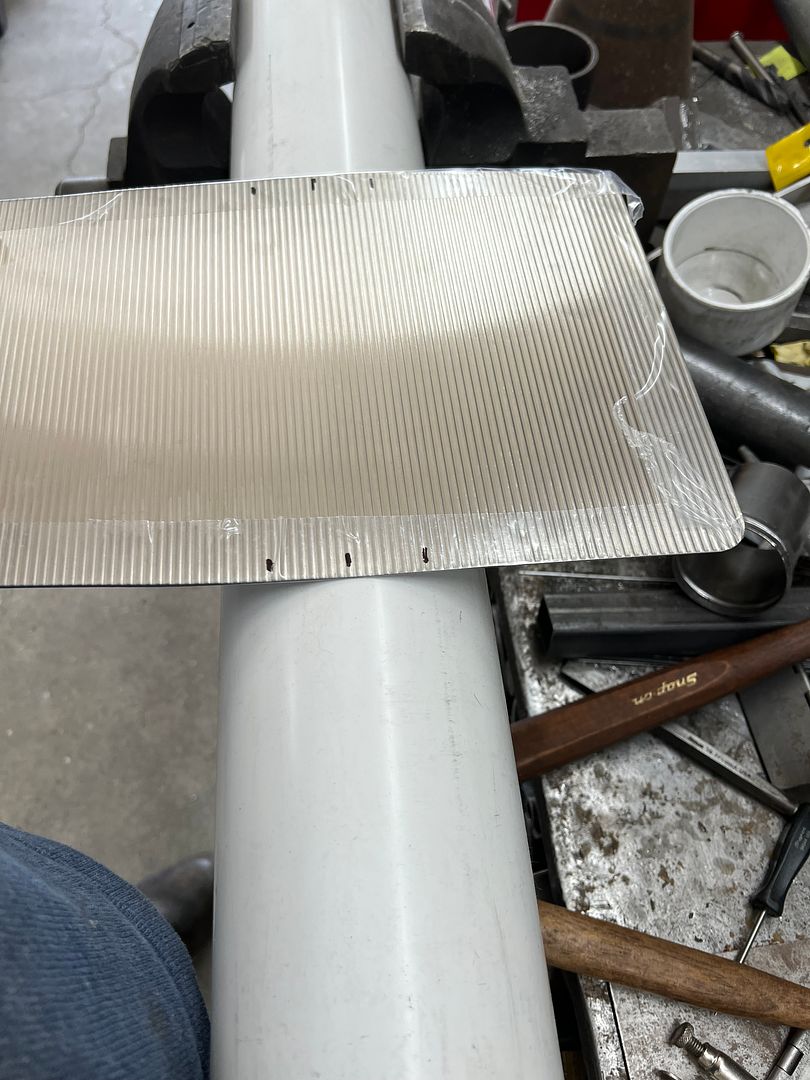 Test fit...  Installing the surround to the filler panel 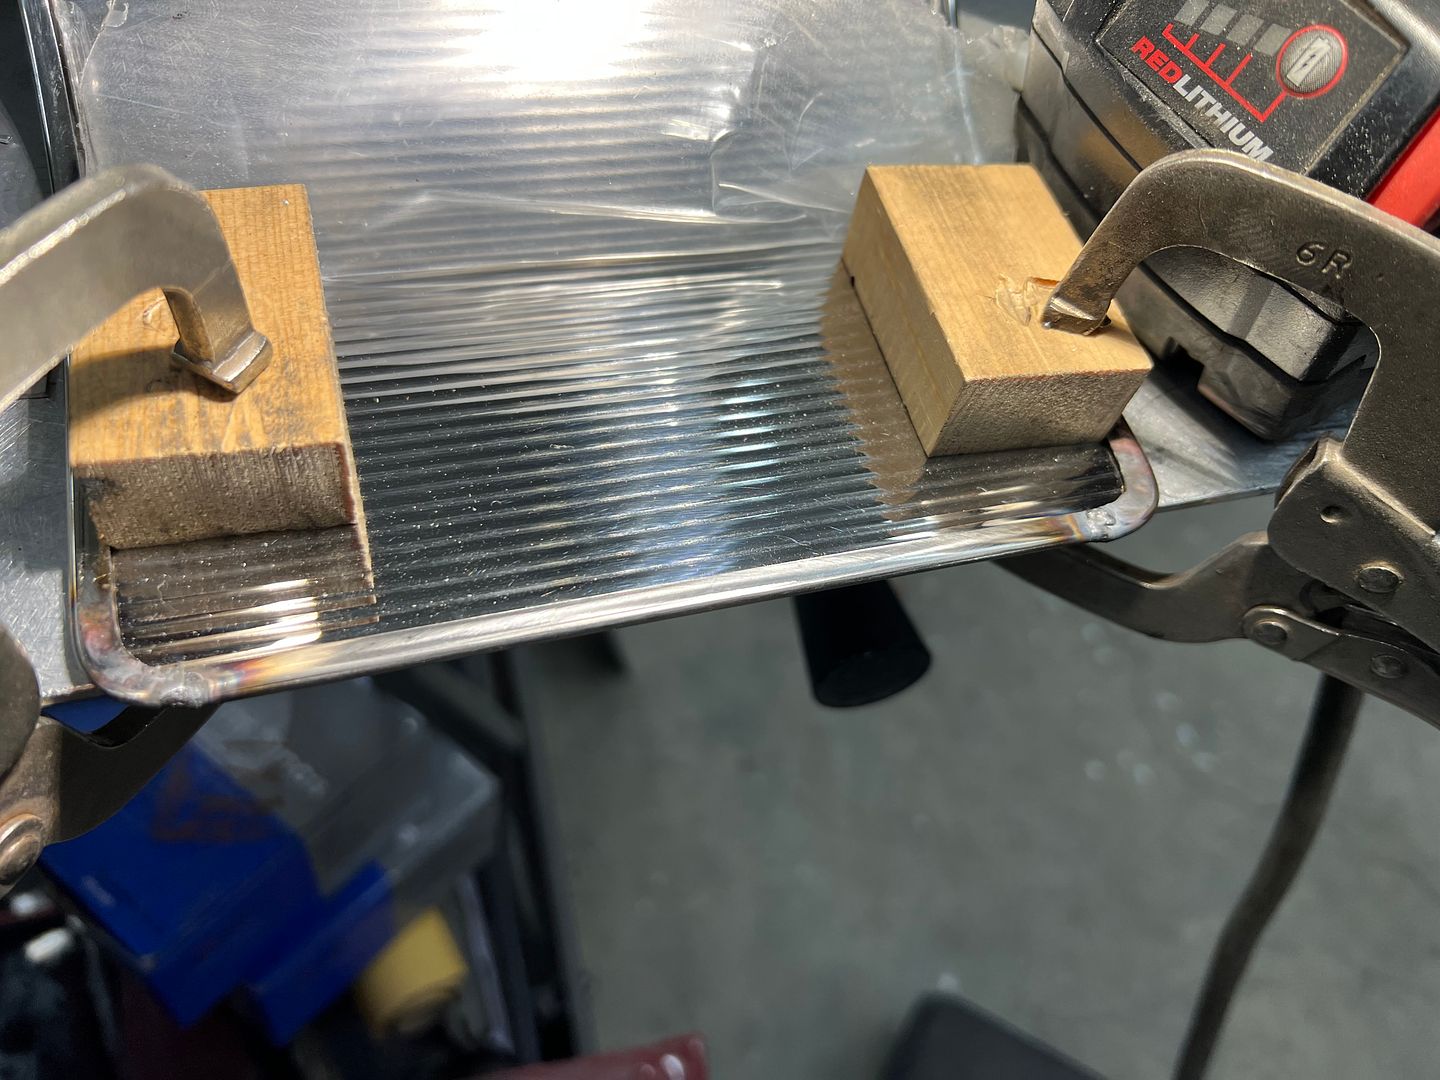 Still have to touch up some areas with the buffer (heat from tacking the press studs) but here's the test fit. 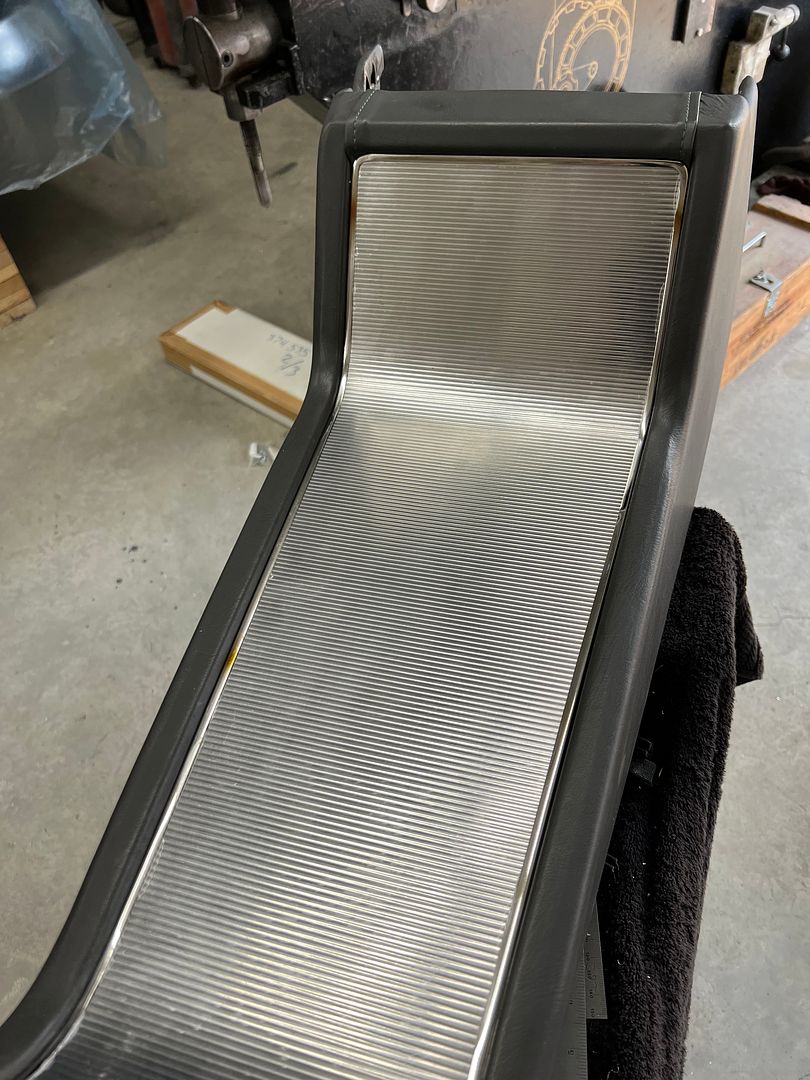 https://youtube.com/shorts/0FhzILNBY...Pzr-q_-0oYgu6S .
__________________
Robert |
|
|
|
|
04-14-2024, 02:37 AM
|
#7 |
|
Registered User
Join Date: Jan 2013
Location: Leonardtown, MD
Posts: 1,637
|
Re: 55 Wagon Progress
Next step for the console, we need to cut some holes for the shifter. Using the Chevelle style horseshoe shifter, we don't have the factory style brush seals or trim bezel for the center plexi indicator. So lets see what we can come up with first to seal the shifters side arms. I didn't have any brush stock left over from the splice trailer, and window felt wasn't thick enough. But I did have some bulb seal that looked promising. To make a surround to hold the bulb seal, we used a folded piece of 16 gauge stainless, and put an offset to hide as much of the edge trim that holds the seal as possible.
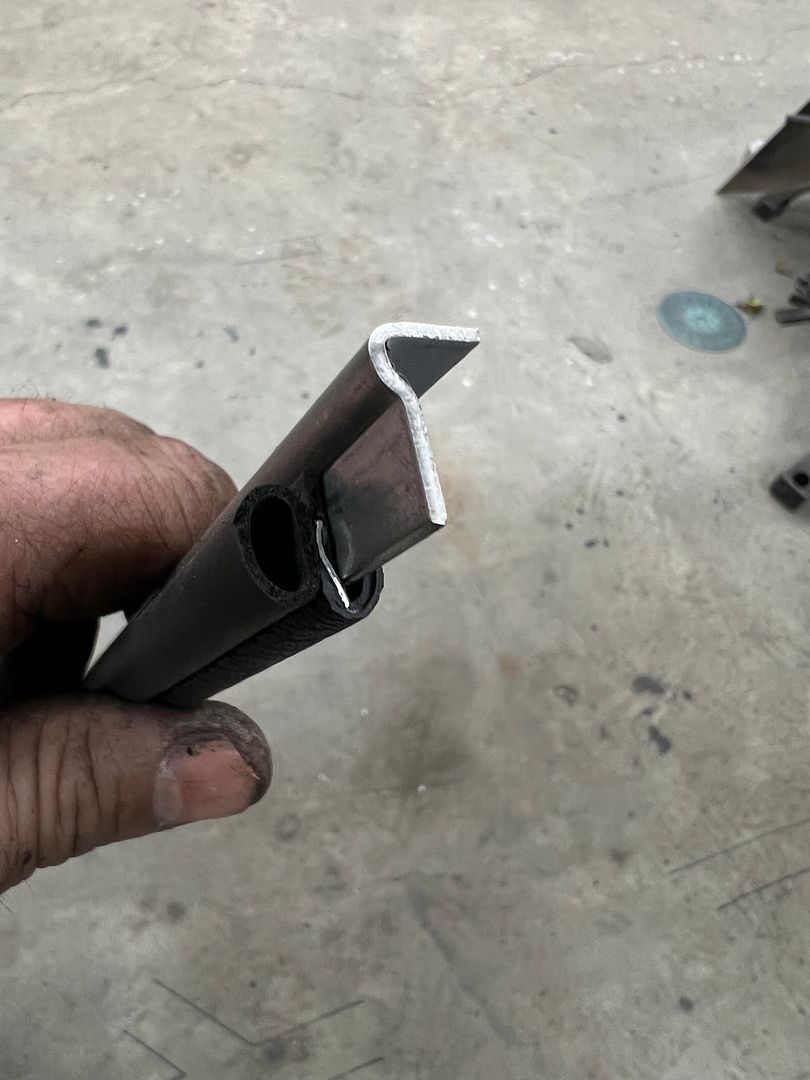 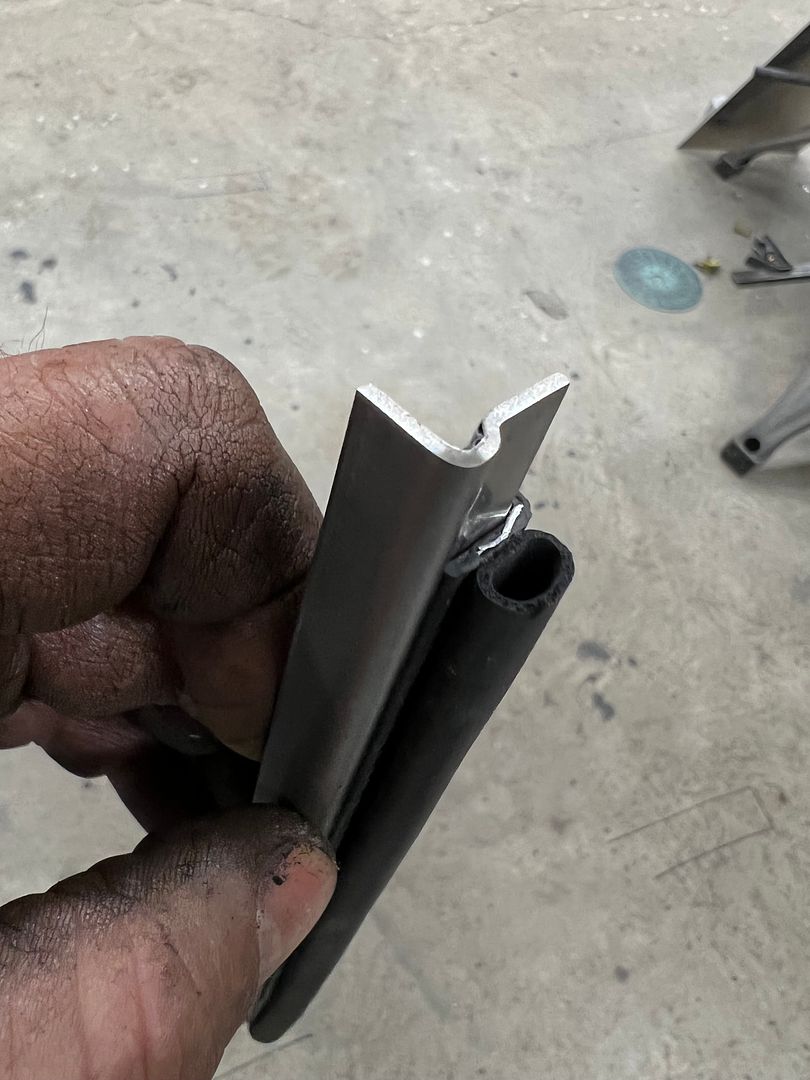 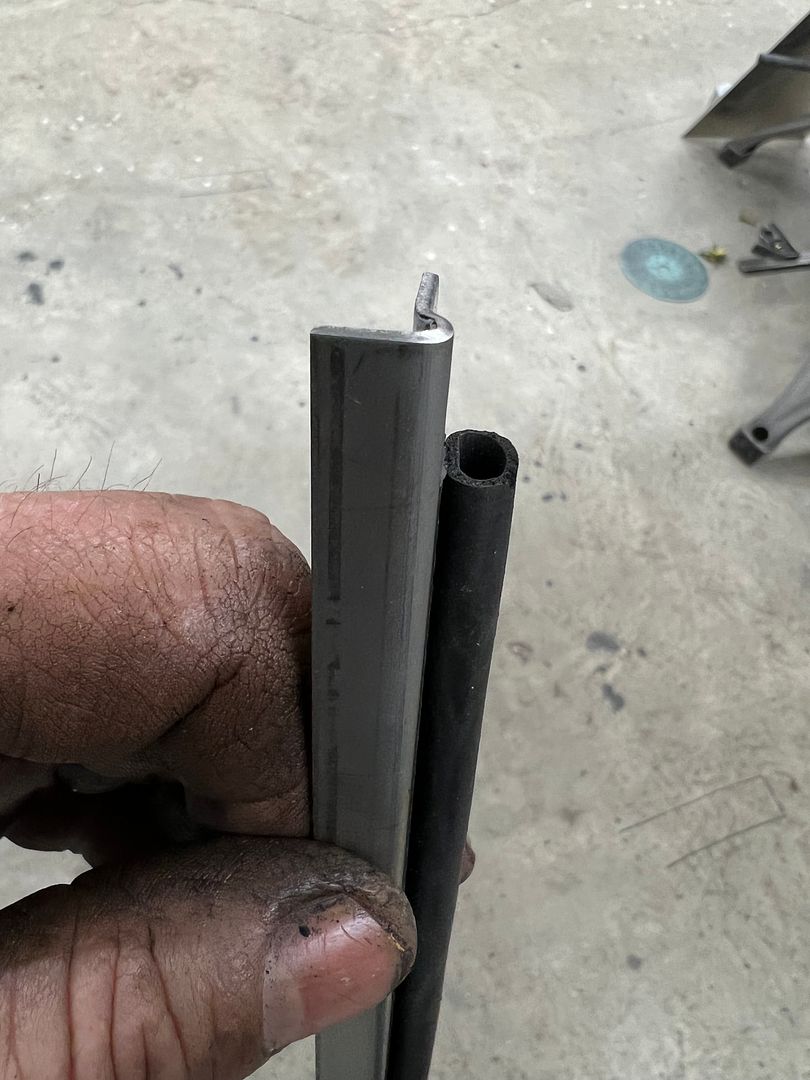 To close off the ends, we used the linear stretch dies in the Lennox... https://youtube.com/shorts/cD1TrEwah...kBU5isw7LFb_dK https://youtube.com/shorts/--rTDf9M2...5Dk3opzAYzdQtD After welding the one end in place, the console was mocked up to get the overall length needed on the shifter seal. https://youtube.com/shorts/N9mJWH6Rj...w6PBdNXo32kGPq 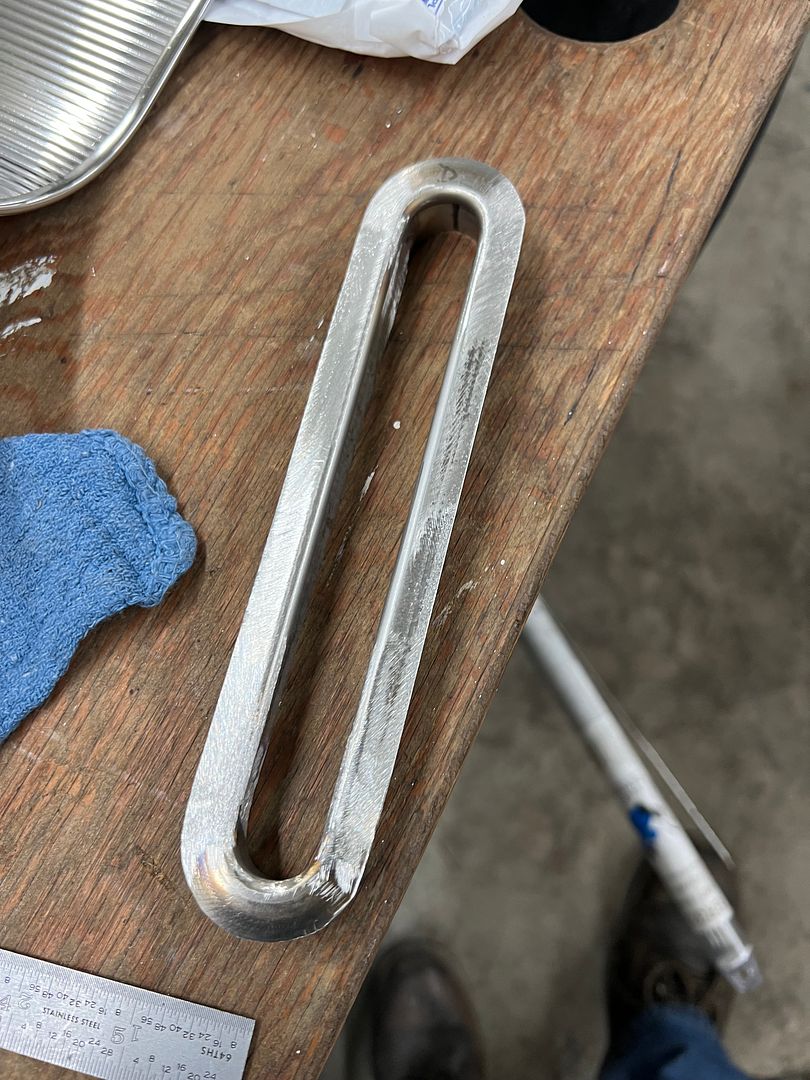 The top flanges will be trimmed to the same width as our polished stainless edge trim surround on the console insert. This one will be used for the passenger side arm, the drivers side will have a wider flange toward the driver to accommodate the shift selector position marking.
__________________
Robert |
|
|
|
|
04-14-2024, 10:24 PM
|
#8 |
|
Post Whore
 Join Date: May 2015
Location: Alabama
Posts: 14,611
|
Re: 55 Wagon Progress
Very nice Robert..!!!...
__________________
Mongo...aka Greg RIP Dad RIP Jesse 1981 C30 LQ9 NV4500..http://67-72chevytrucks.com/vboard/s...d.php?t=753598 Mongos AD- LS3 TR6060...http://67-72chevytrucks.com/vboard/s...34#post8522334 Columbus..the 1957 IH 4x4...http://67-72chevytrucks.com/vboard/s...63#post8082563 2023 Chevy Z71..daily driver |

|
|
|
04-14-2024, 10:26 PM
|
#9 |
|
Senior Member
Join Date: Dec 2009
Location: TN.
Posts: 7,914
|
Re: 55 Wagon Progress
Amazing Progress.

__________________
________________________________________________________________________________________ ____________________________________________ 84 Chevy K-20 63 Impala (my high school car) http://67-72chevytrucks.com/vboard/s...Crew Cab Build |
|
|
|
|
04-15-2024, 09:08 AM
|
#10 |
|
Registered User
Join Date: Jan 2013
Location: Leonardtown, MD
Posts: 1,637
|
Re: 55 Wagon Progress
Thanks guys! the stretching dies used on the ends took the metal from 16 gauge (.059) to .031 thickness.
__________________
Robert |
|
|
|
|
05-01-2024, 08:18 AM
|
#11 |
|
Registered User
Join Date: Jan 2013
Location: Leonardtown, MD
Posts: 1,637
|
Re: 55 Wagon Progress
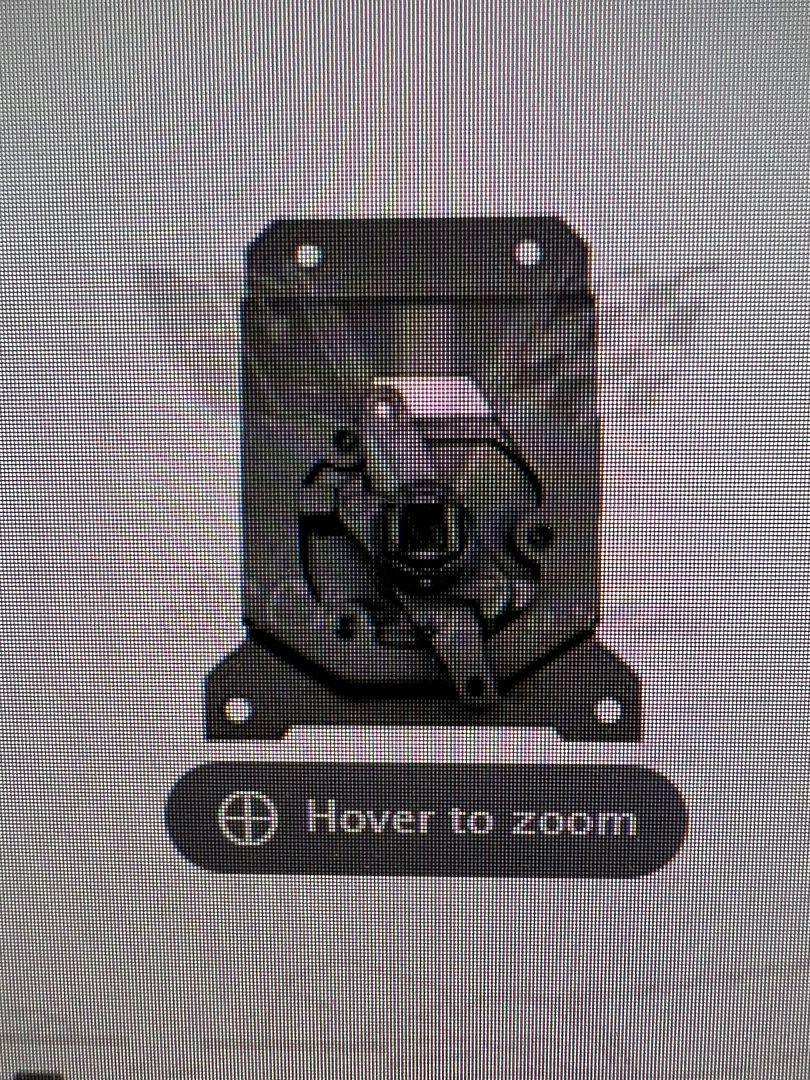
We had ordered a 4 position switch for the power windows in the wagon, with plans to install in the console. Not knowing the origin of the part when it showed up, I thought some due diligence was in order and broke out the multimeter to test all the switch positions for connectivity. Wouldn't you know, one of the end switches had no contact in one position. Further investigation showed that the spring contact board was held in place with four tabs from the factory, except we only had three, which allowed the board/switch to lose contact. I sent the next picture of the damaged part (pointing to the damage with a white wire) in a message to the eBay seller who immediately questioned my abilities with a multimeter and assured me it functioned exactly as it should.
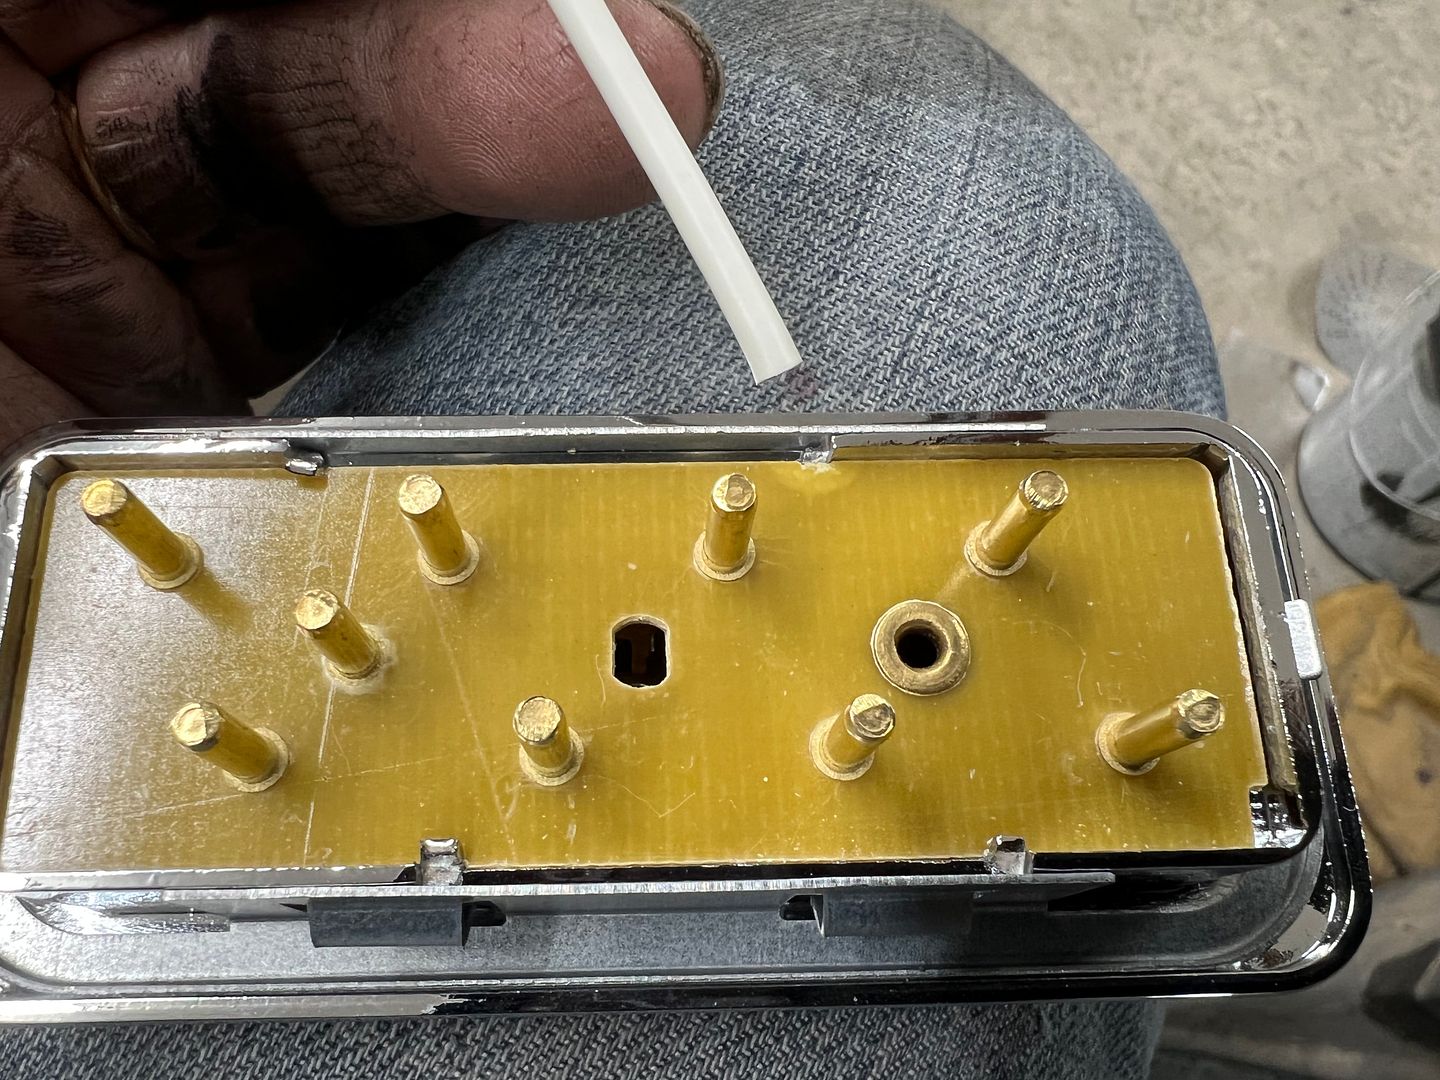 So for a more direct approach, I assured them I knew how to operate a multimeter, and perhaps they should look at the attached picture this time. To help eliminate any interpretation errors, I had doctored the original rear view picture to make things more obvious since they missed the visual cues the first time.... 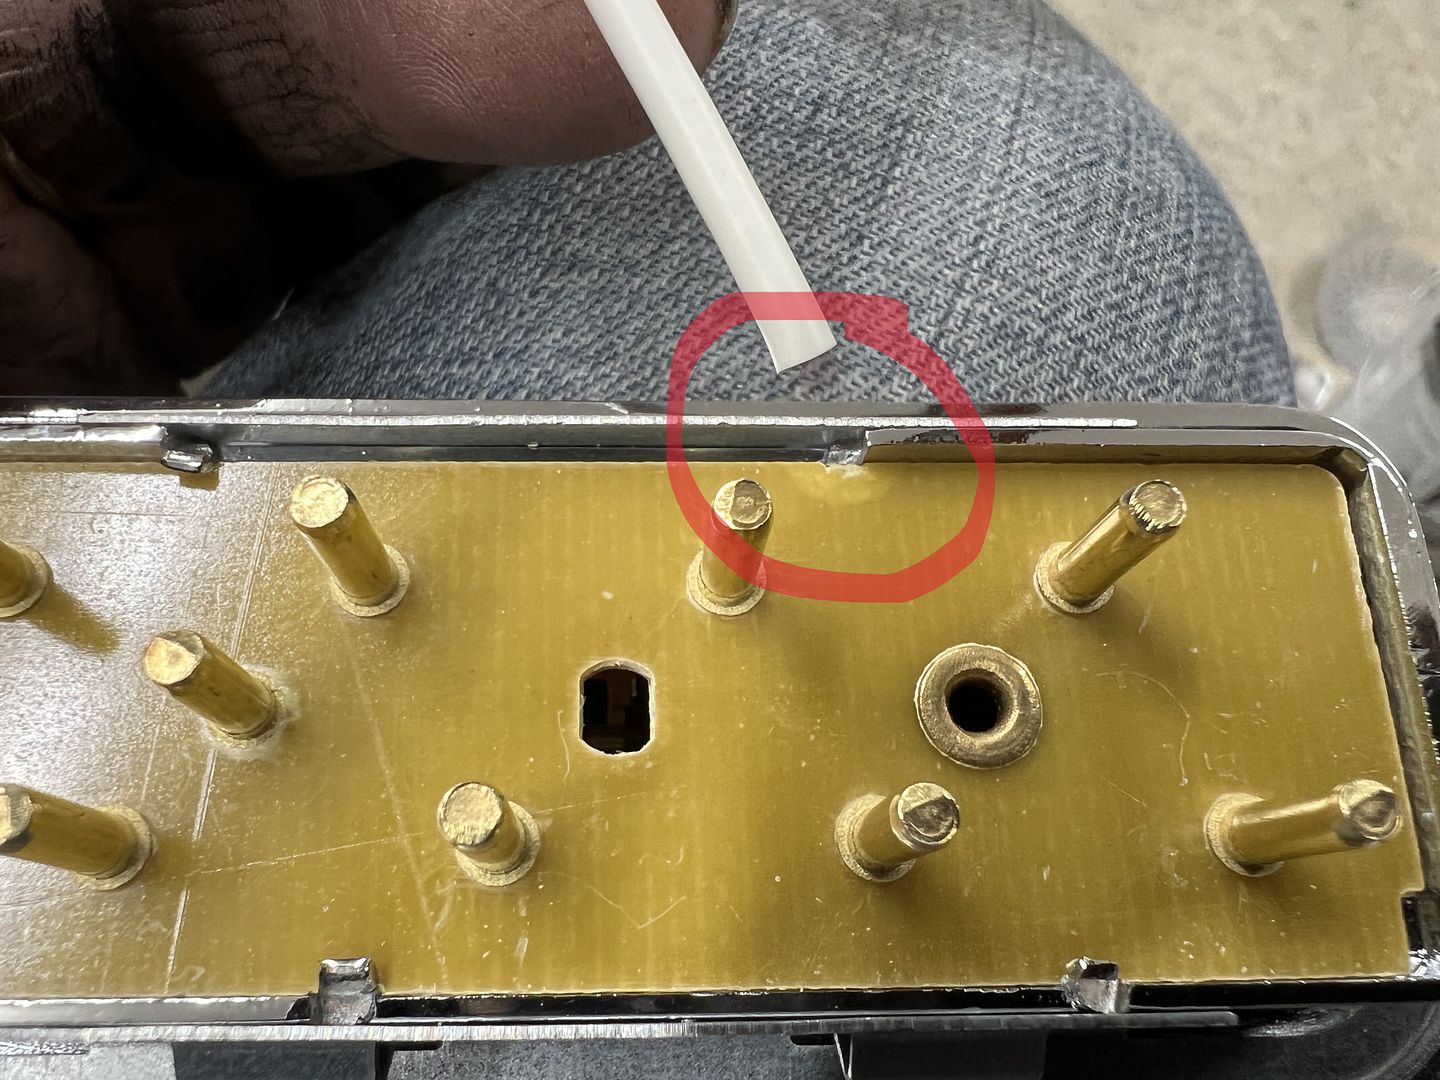 Oh, that. We'll send out a new switch. Thank you.. So with the console on hold to make sure we didn't have to use a different style switch (in case their whole batch was bad) we turned our attention to the tailgate, and started the fit up of the Mad Mooks polished stainless border trim. https://madmooks.com/ To preface, I will say the Mad Mooks parts are some of the nicest fit and finish parts you'll find ANYWHERE to trim out your Tri-five Chevy, as well as parts for other GM vehicles. Only the corner pieces didn't fit our tailgate. It appears that when yours truly did the rust repairs of the tailgate (before repop's were available) the replacement patches weren't exactly spot on. So yes, this is my F-up.. 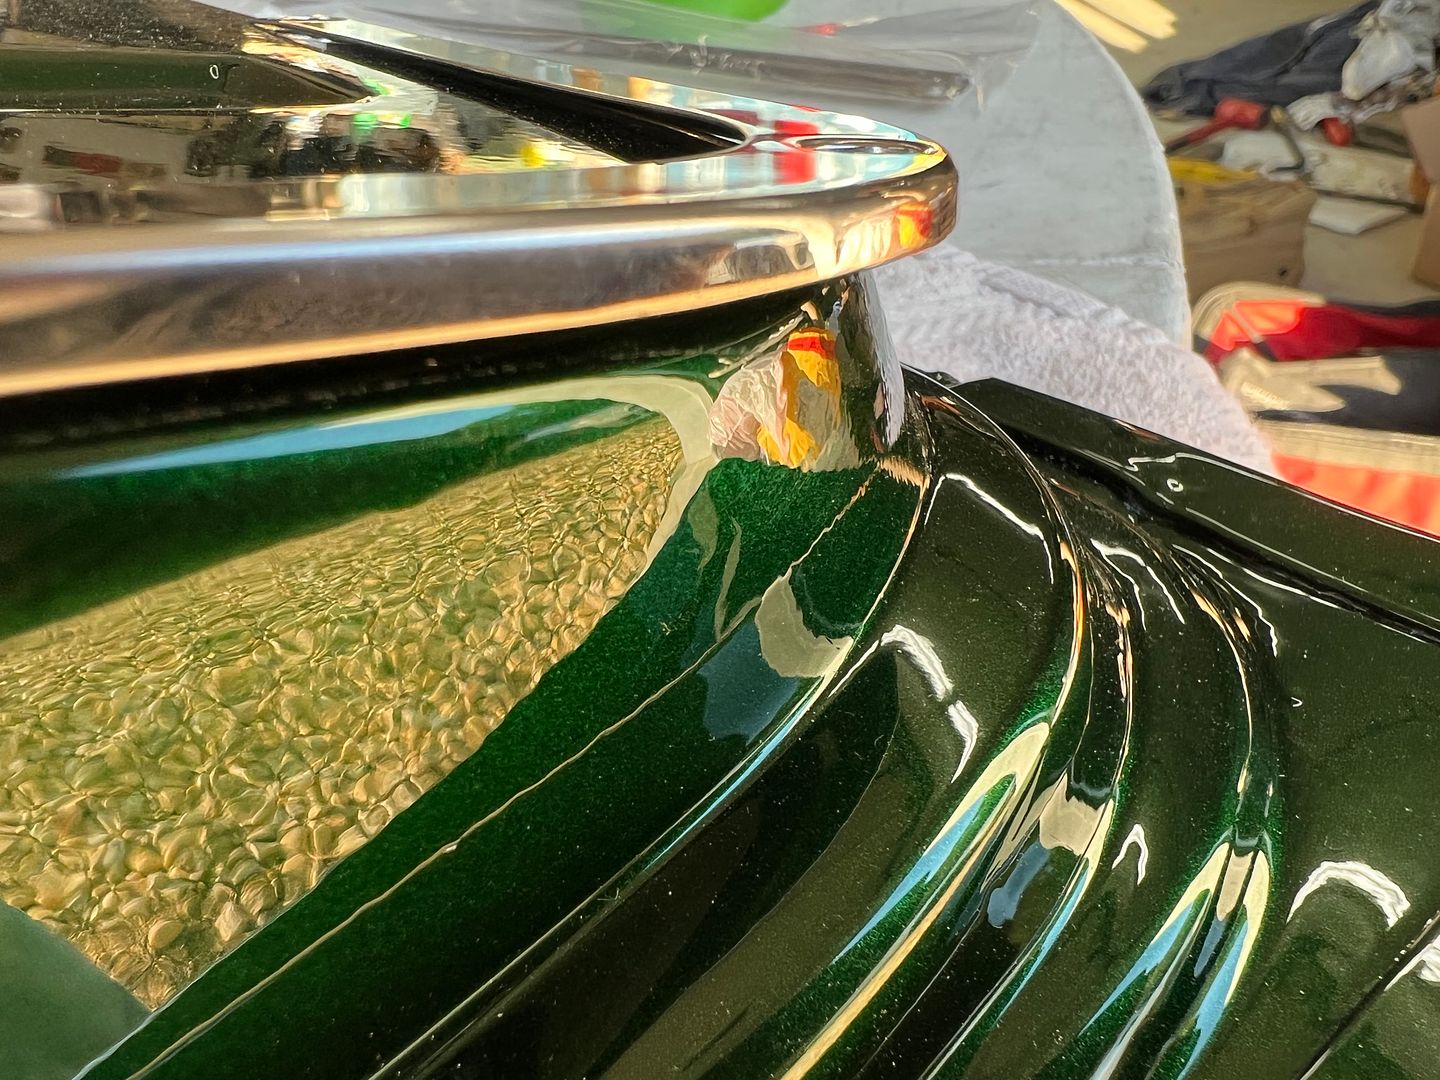 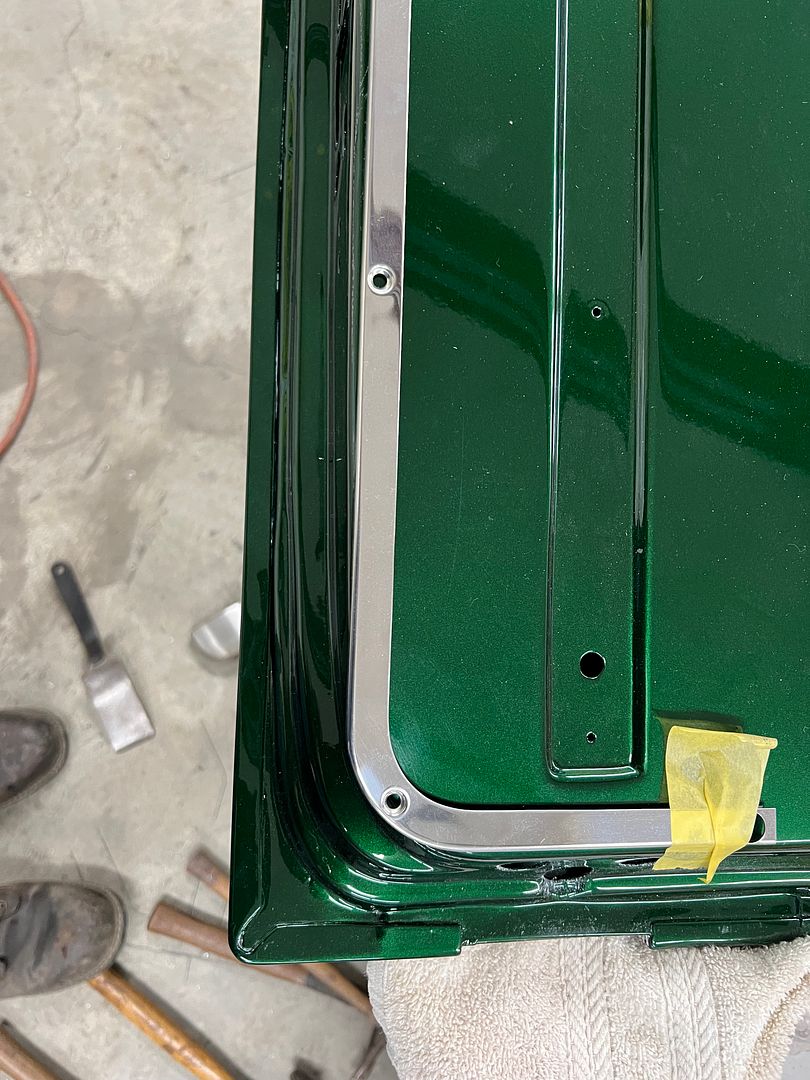 We had also ordered some stainless strips for the voids in the tailgate from McMillan Rod and Custom and wanted to retain the stainless border to use with these parts. 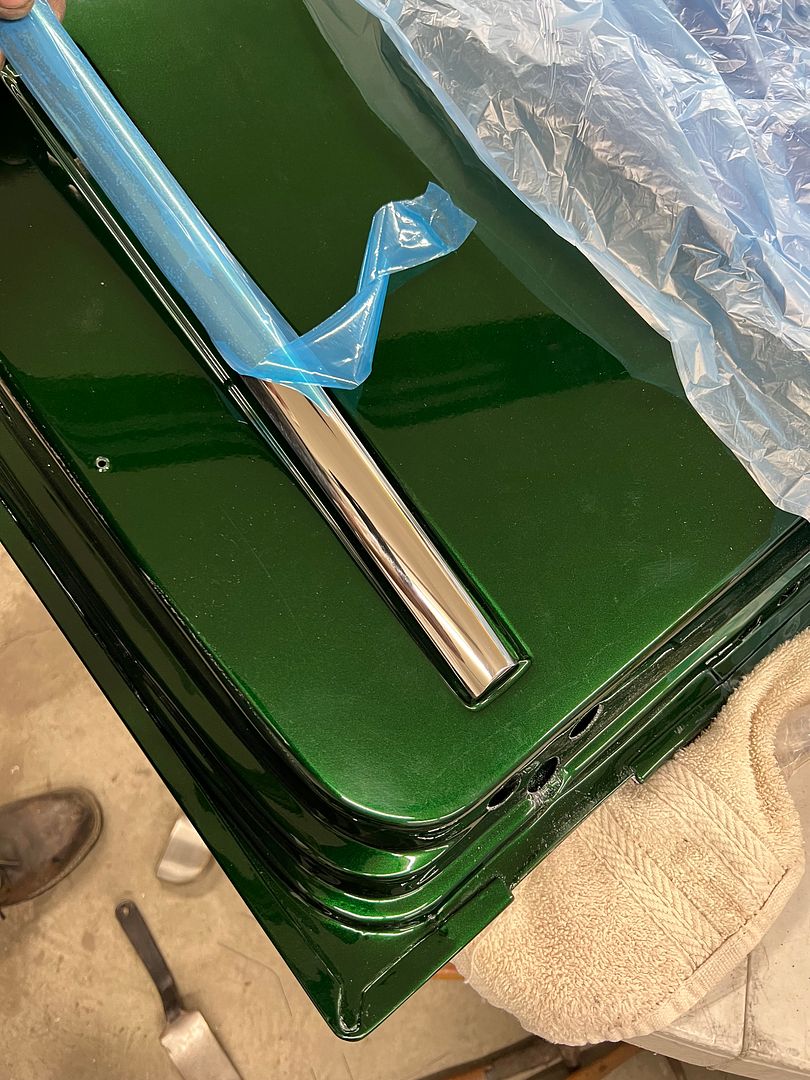 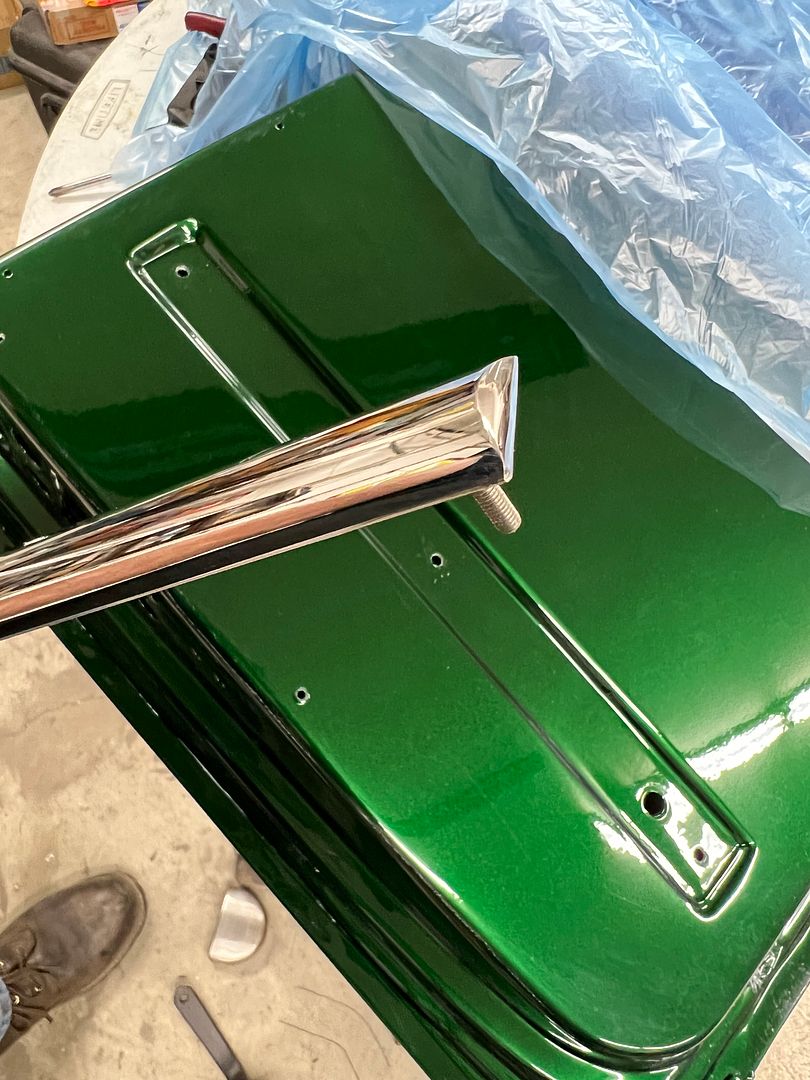 We had some 19 gauge stainless in stock, so let's give this a go. First order is to make sure we can duplicate the dimpled hole for the countersunk screws... 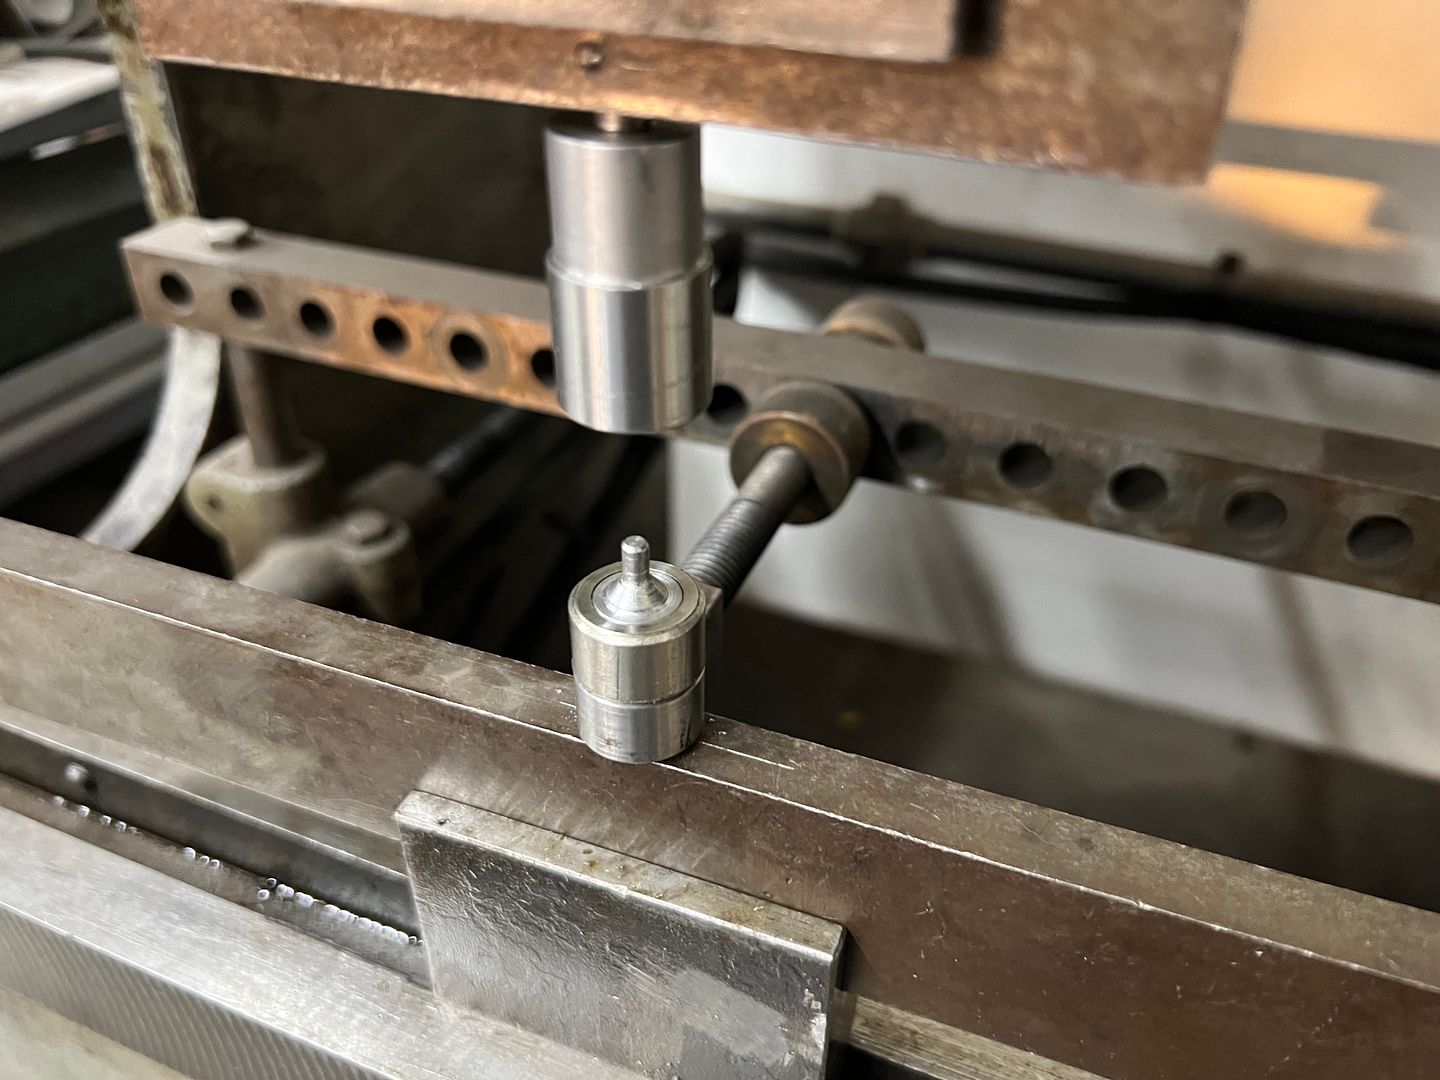 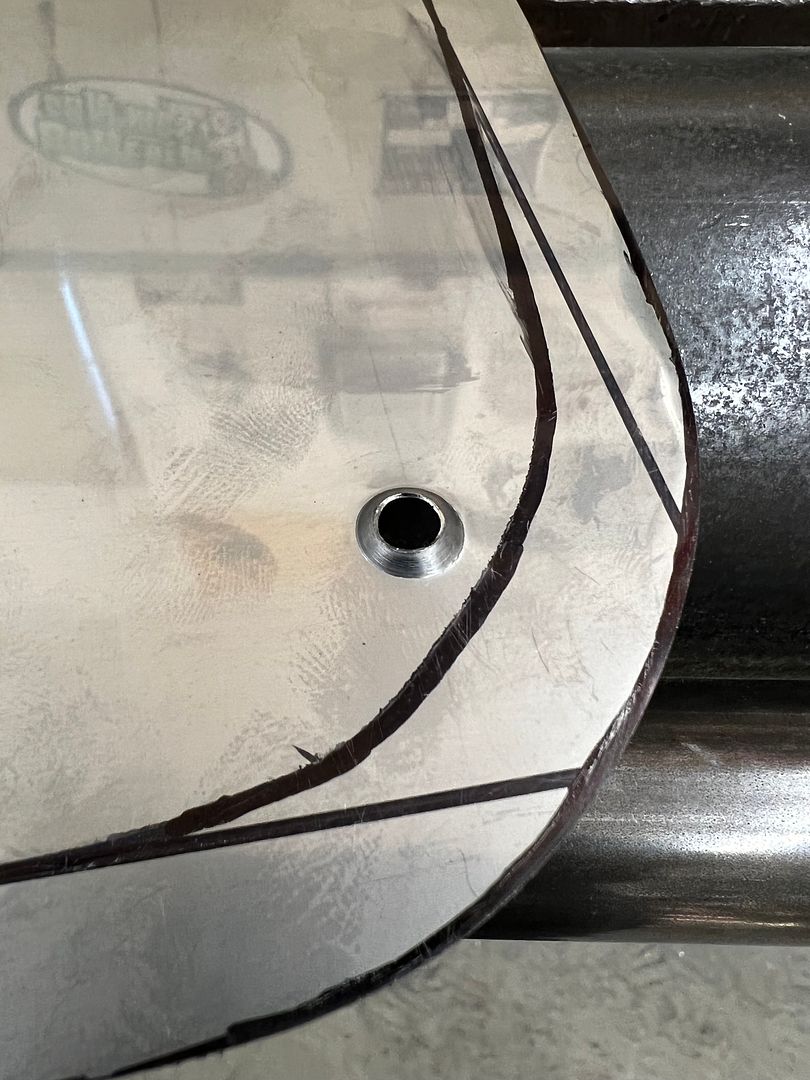 Next, the folded (side) flange on the trim piece is a consistent width and will need to be real accurate. So we opted for a hammer form to match the shape, used a tipping die to thin the bend location (to tell the metal where to bend) and a backstop on the Lennox to set the flange height. A paper pattern was used to capture the tailgate outline. 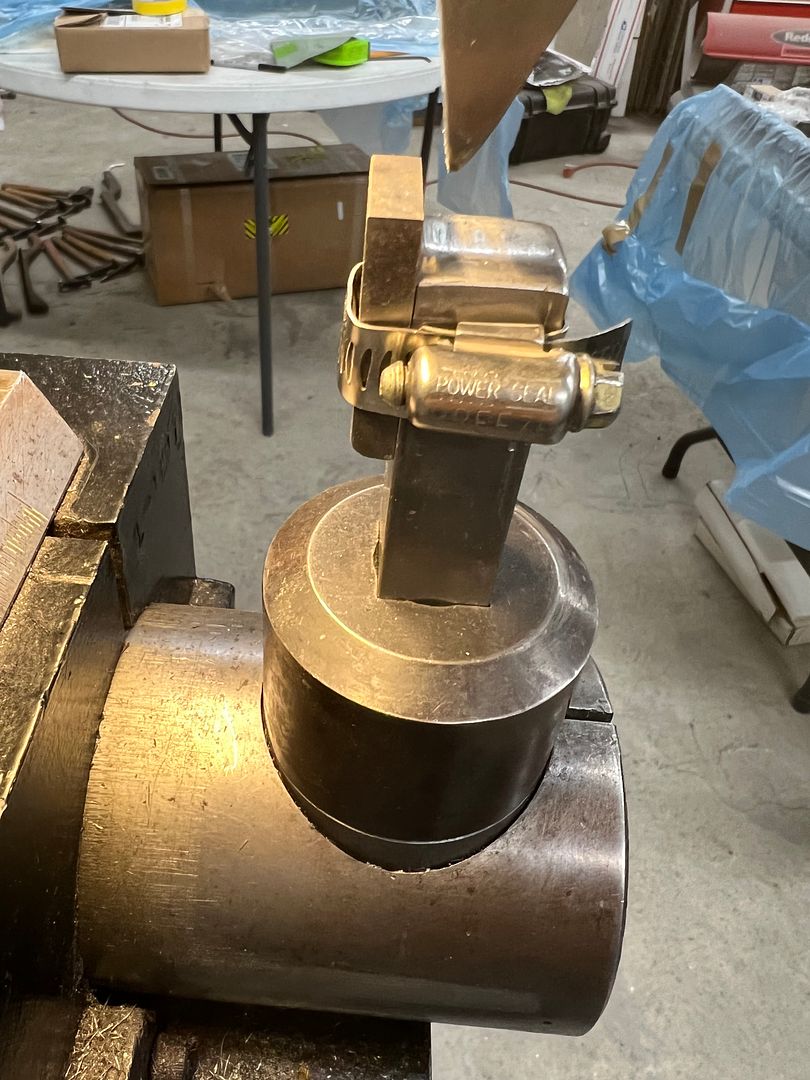 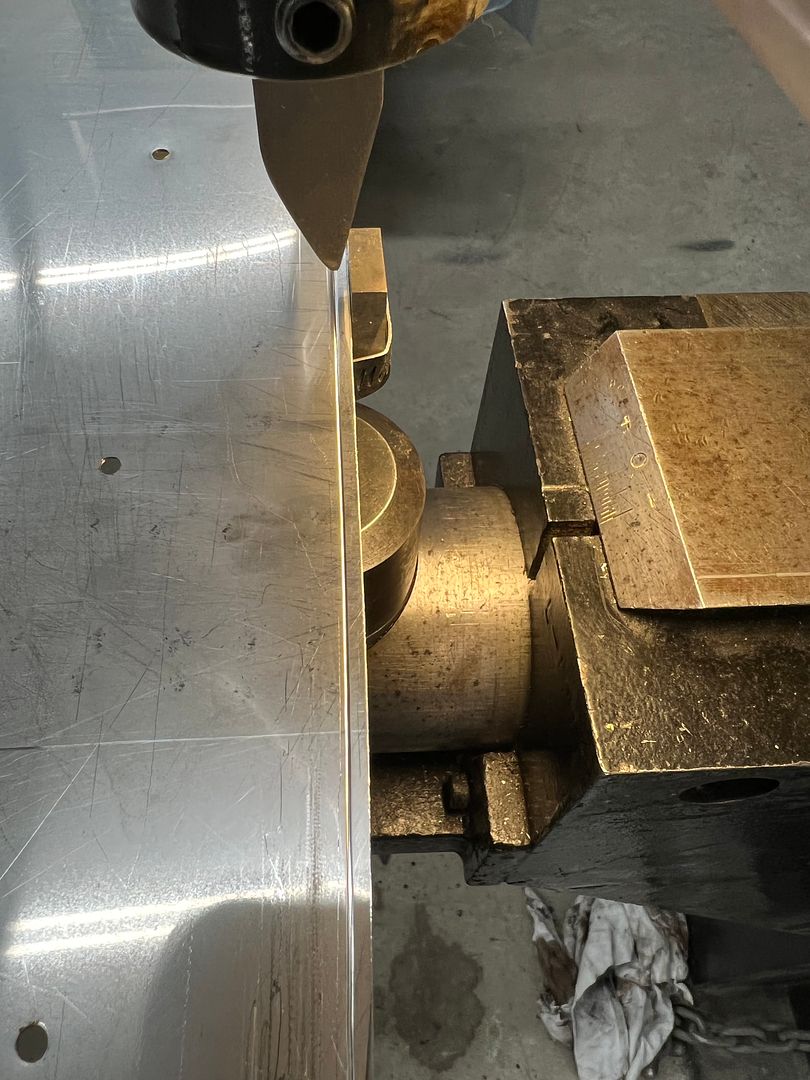 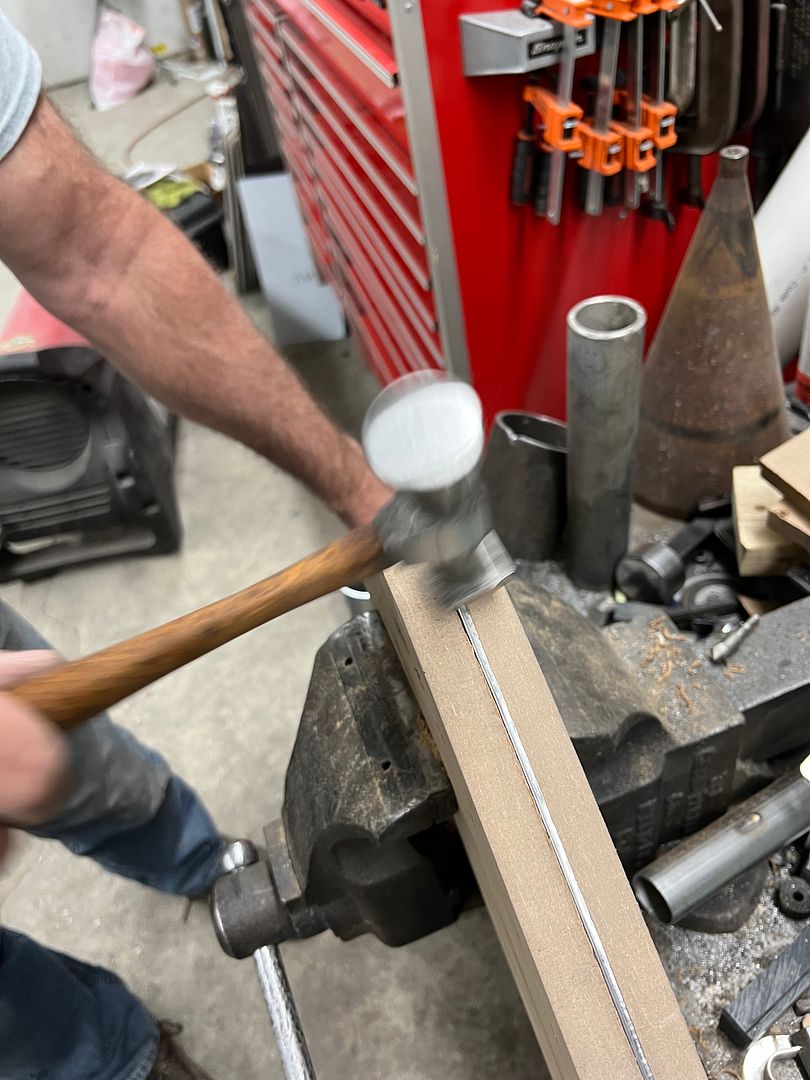 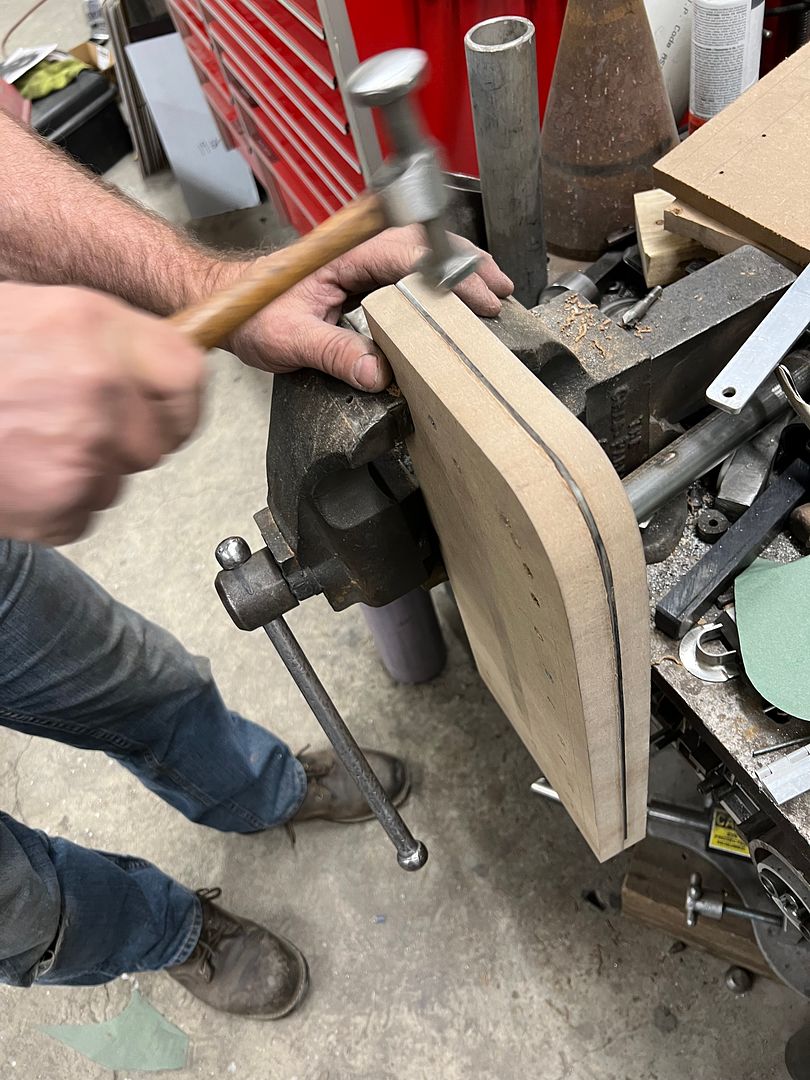 After the flange had been folded, the top part of the hammer form is set aside and the bottom section used to hold the part for polishing. We'll get it polished, trim the width and punch dimple holes, and then do a final polish.  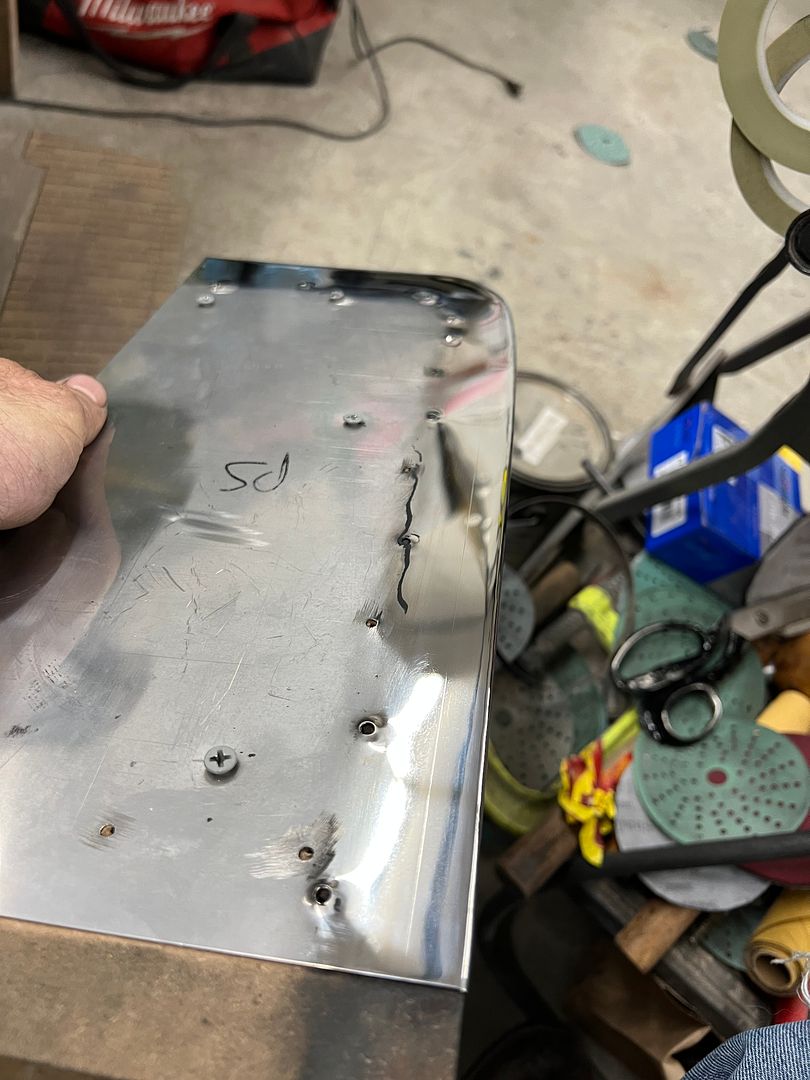 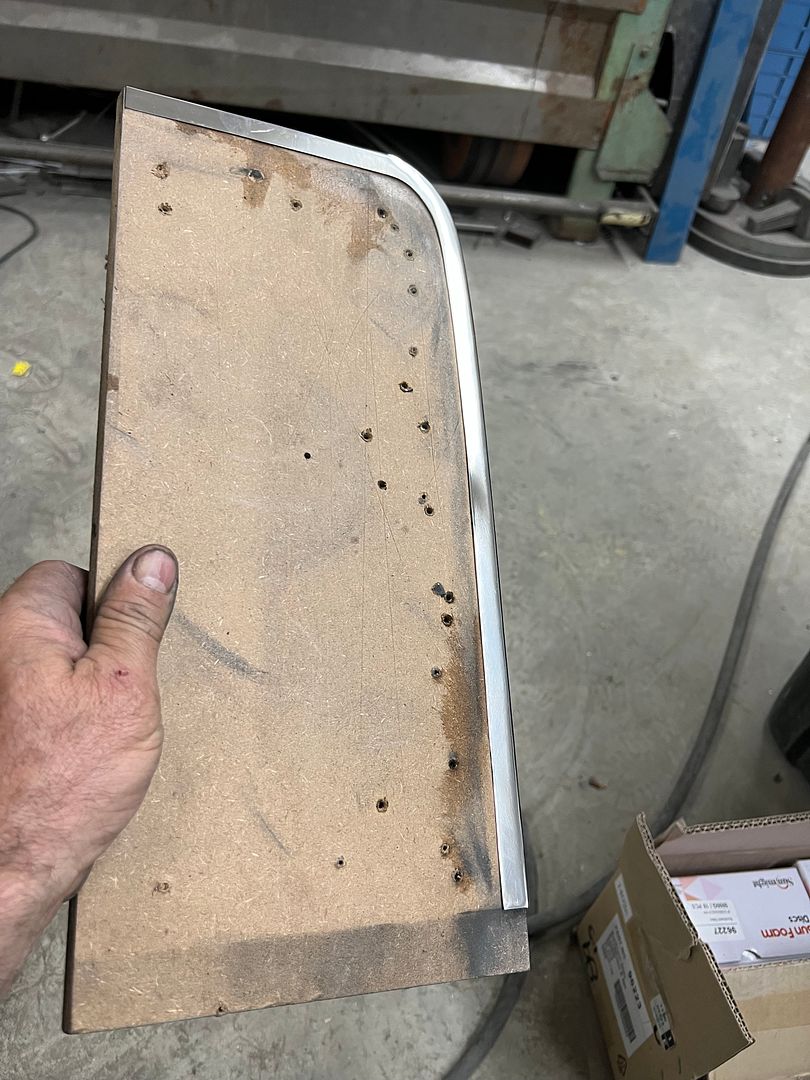 Test fit looks much better to match our one-off tailgate. 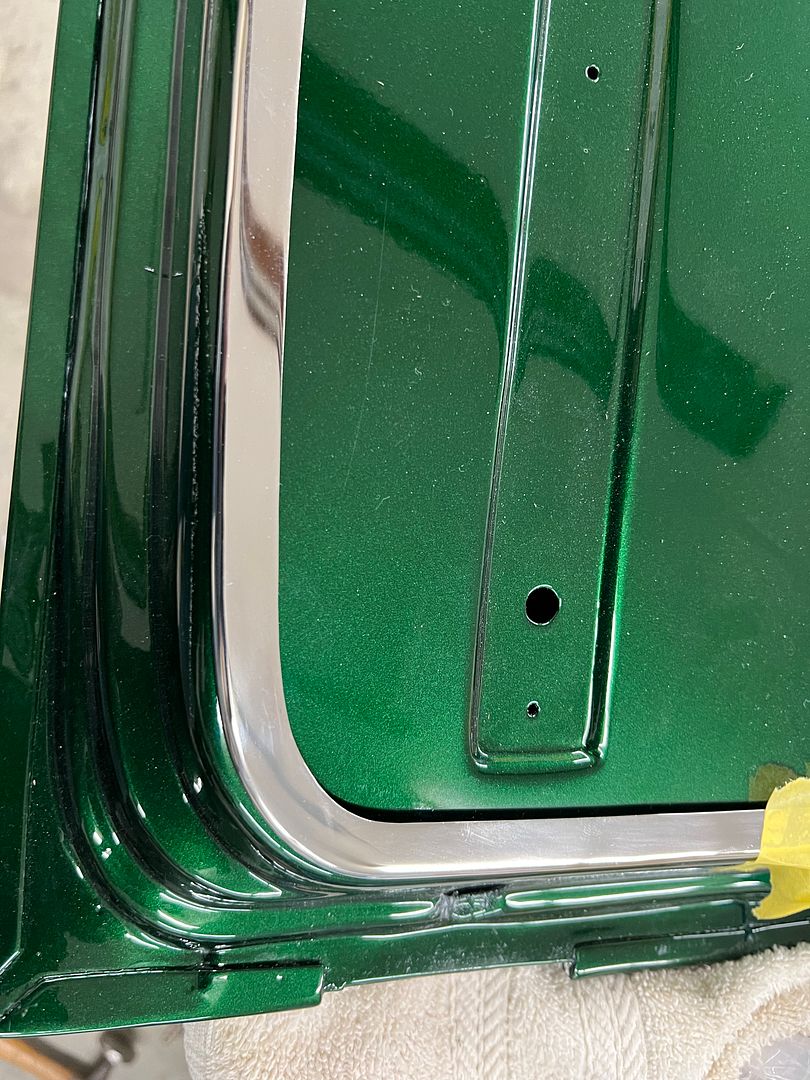 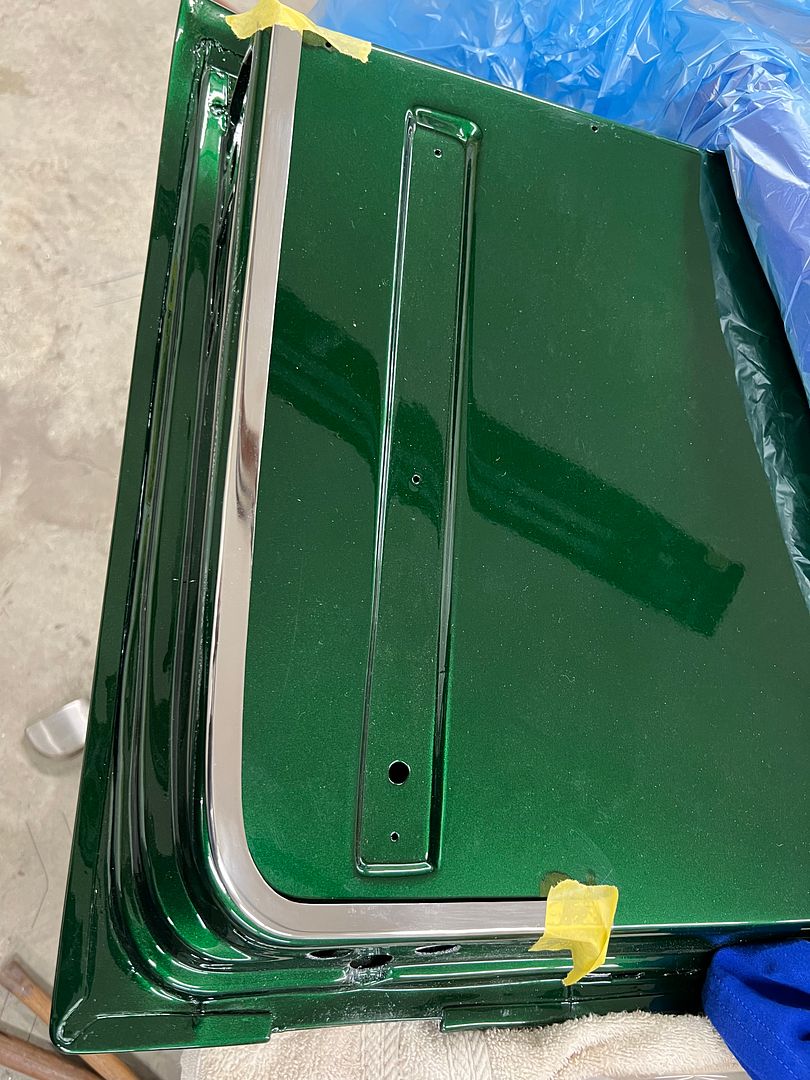 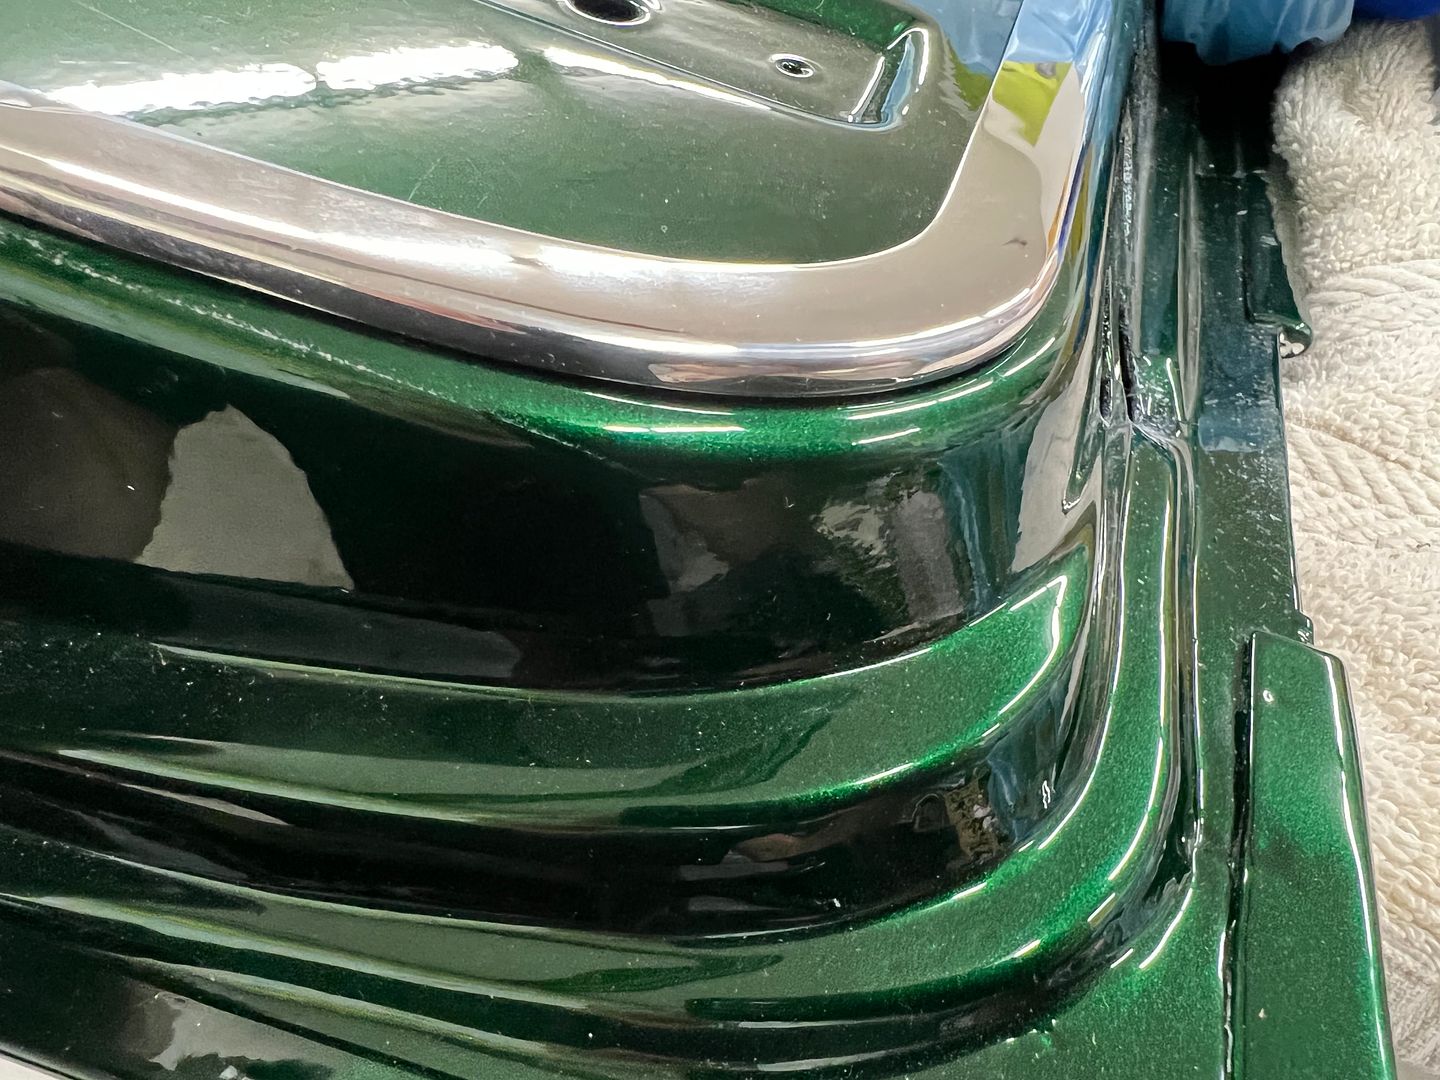
__________________
Robert |
|
|
|
|
05-09-2024, 08:50 AM
|
#12 |
|
Registered User
Join Date: Jan 2013
Location: Leonardtown, MD
Posts: 1,637
|
Re: 55 Wagon Progress
We got the other side trim done for the tailgate and I had been asked to show the hammer form in more detail, so here's another go.. We actually started by pulling a paper pattern of the profile, some autobody masking paper is taped to hang over the edge, and the tracing done to show where to trim. Although we didn't have the plastic in the way at the time, here the pattern is after trimming.
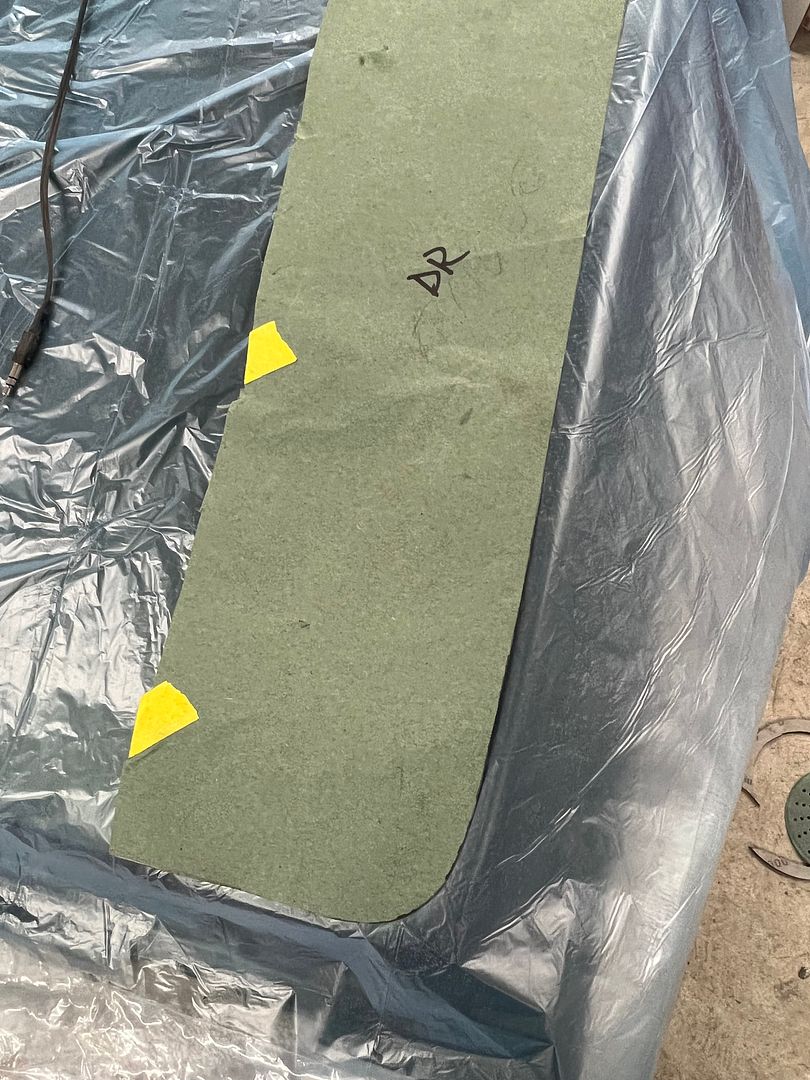 This is the pattern we use for the overall of the stainless, so that once the flange has been folded we will have a border of paint surrounding the trim (set in somewhat). Once the 19 gauge stainless has been trimmed to match our pattern, we use the tipping die in the Lennox to thin the "bend line", this gives the metal a suggestion of where it needs to bend so we should have a somewhat sharper crease given how the MDF tends to compress under a hammer blow. Where I would normally use one of our round backstops on the lower die, this shows to leave us without contact with the backstop at the initial entry and final exit from the machine, as the backstop is centered on the die. To correct that, we opted for 3/4 flat stock that gives us contact the entire width of the die set. 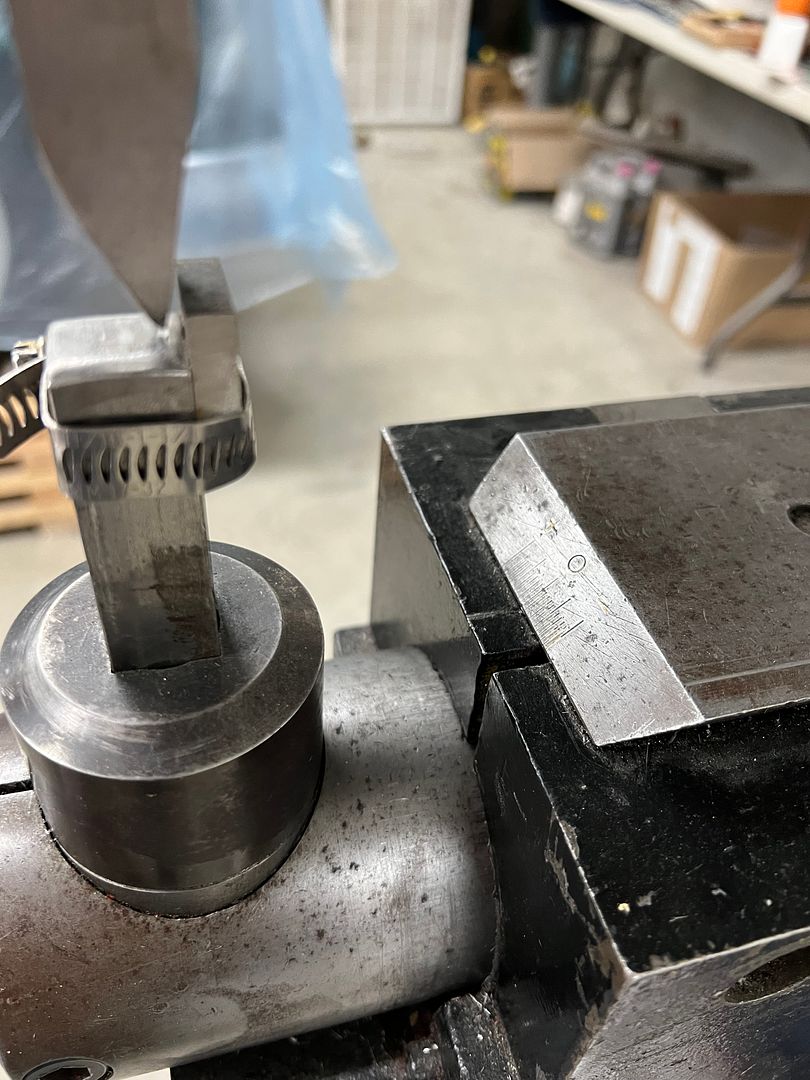 The backstop distance sets the height of the side flange of the trim, and here is the stainless after running through the tipping die for thinning the bend line. 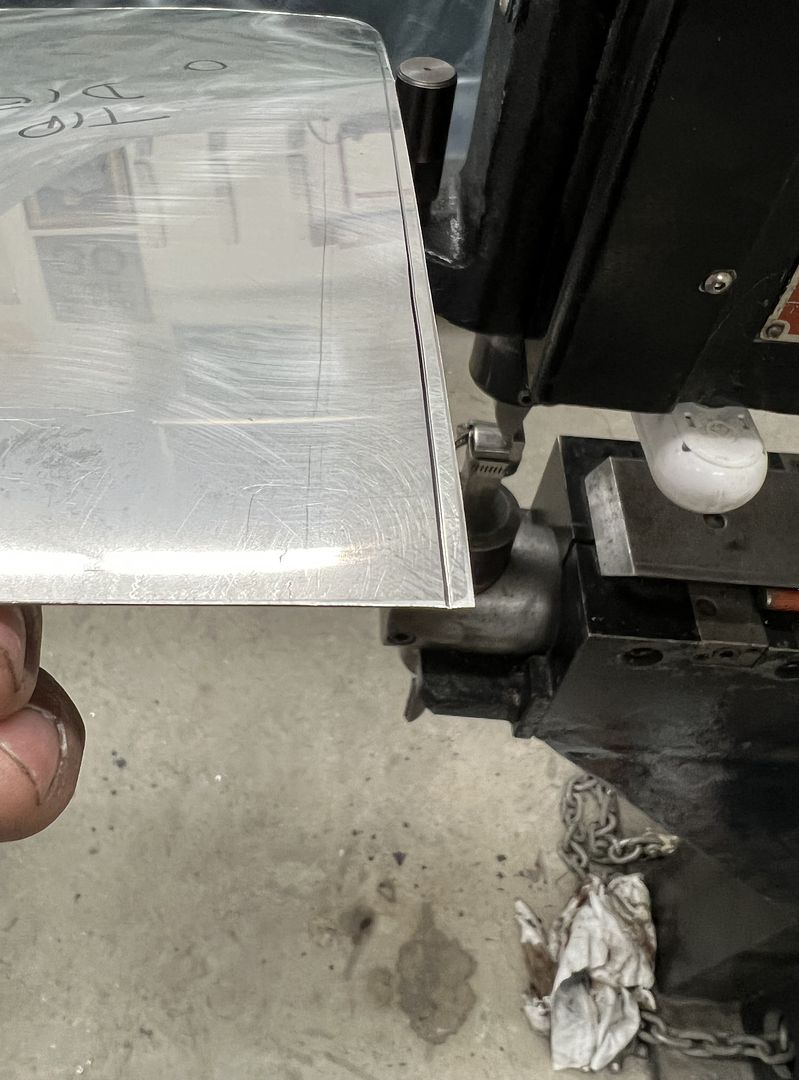 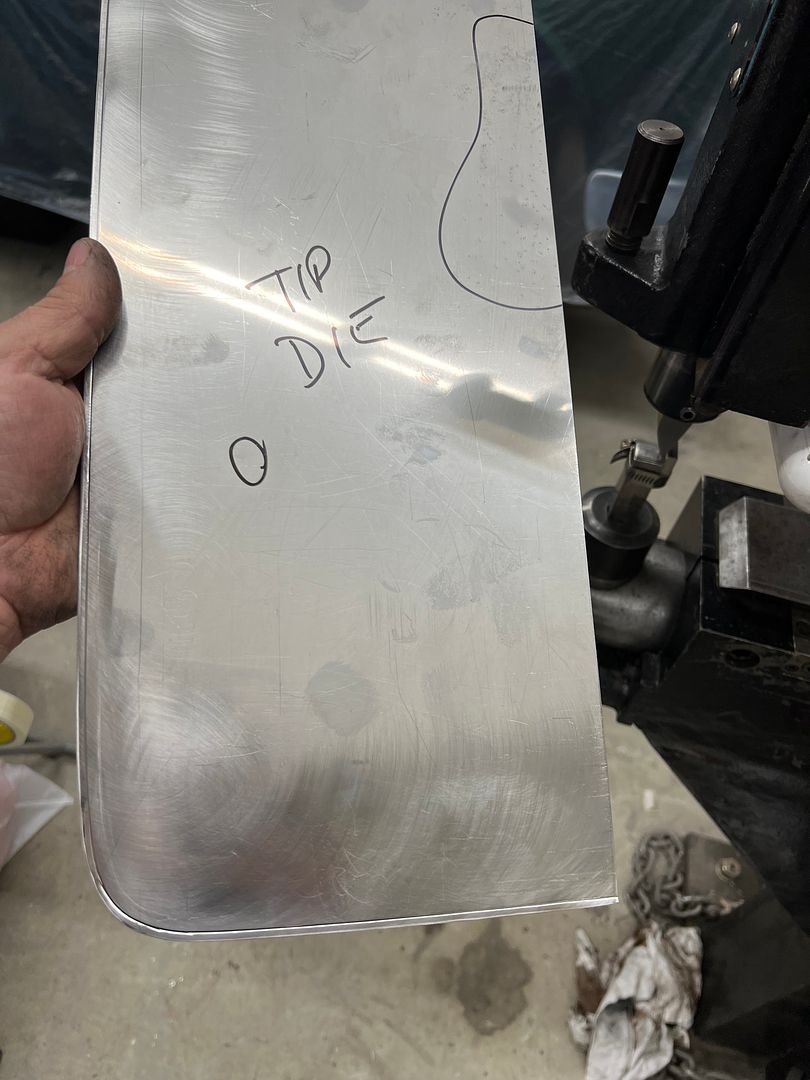 Then the stainless is clamped between our MDF hammer form, note the outer portion of the hammer form matches the thinned bend line exactly. 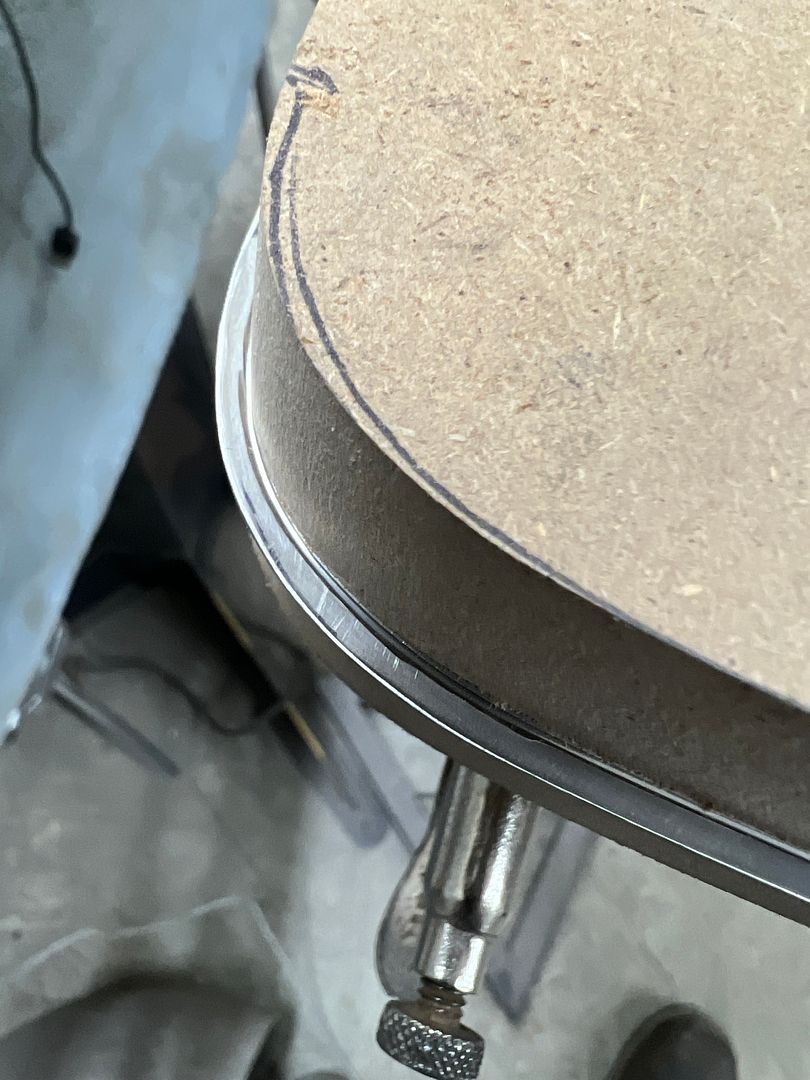 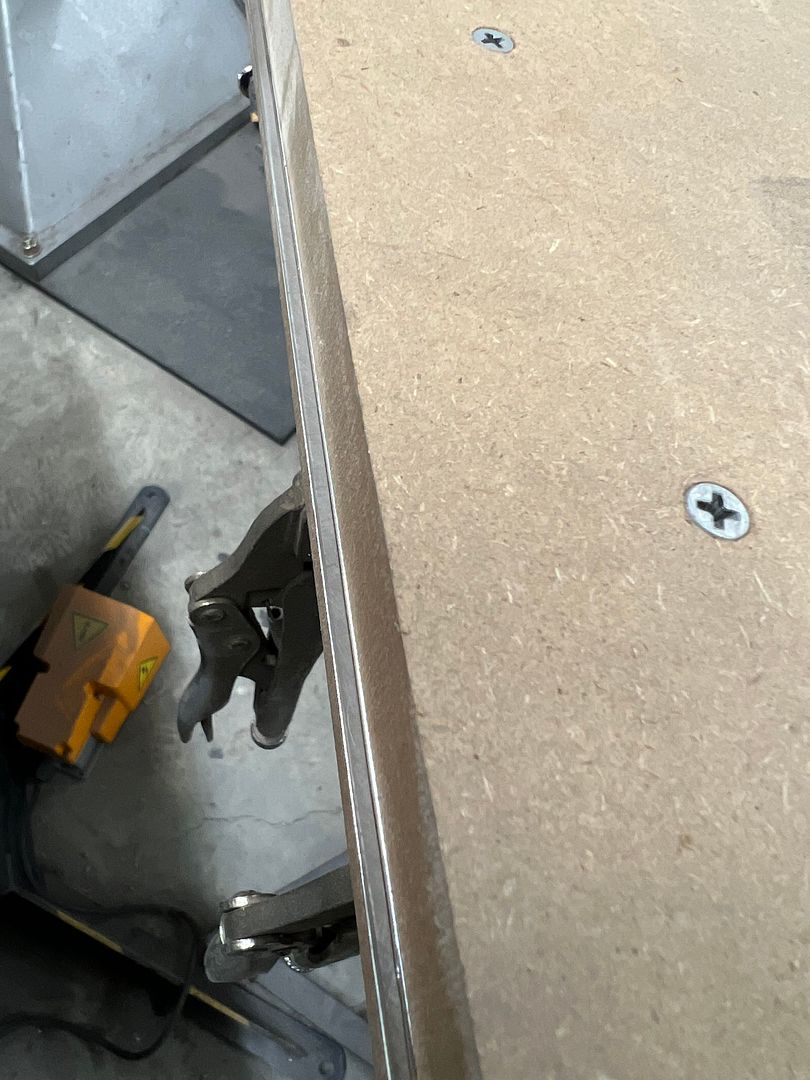 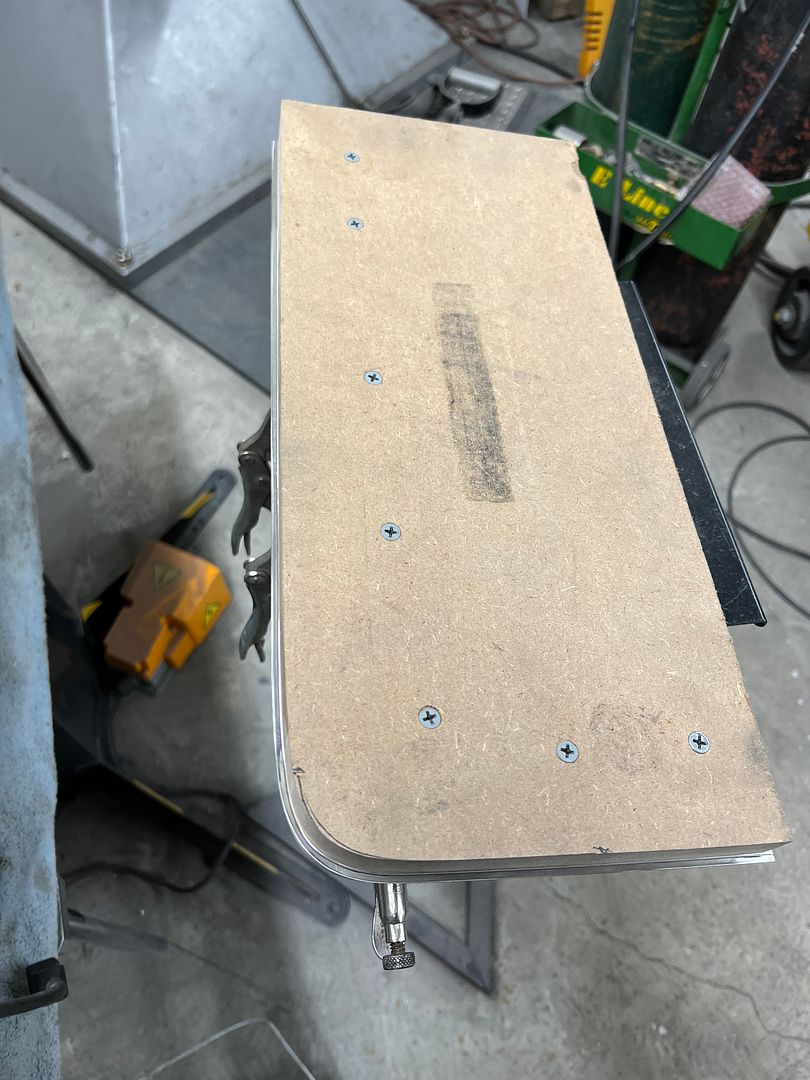 The Sandwich is held together with screws and then clamped in the vise for the hammering operation... https://youtube.com/shorts/5WiGK0550...bhT7Mo5BjpPIHR Once complete the bottom half of the hammer form becomes a stable base for pre-polishing, and some shorter screws are used to keep thing in unison. We use our typical polishing sequence of 400, 800, 1500, and then polishing on the buffer using green compound for a darker hue. https://youtu.be/3OGAjPCnGwQ?si=cryFGWW1Q2eeEVfL After the initial polish, the outer flange is covered with masking tape (to protect from scratching at this next step) and calipers are used to set the width and mark the cut line, like shown here.. The bulk is trimmed away using our Milwaukee M18 shears, and final done using Wurth snips. The edge is fine tuned with our Dynabrade belt file, and then the holes are located and dimple countersunk. Then another polish job, and all the parts are located in prep for drilling the screw holes into the tailgate. Really happy with the nice parallel setback from the edge with these new trim pieces to match my patch panels. 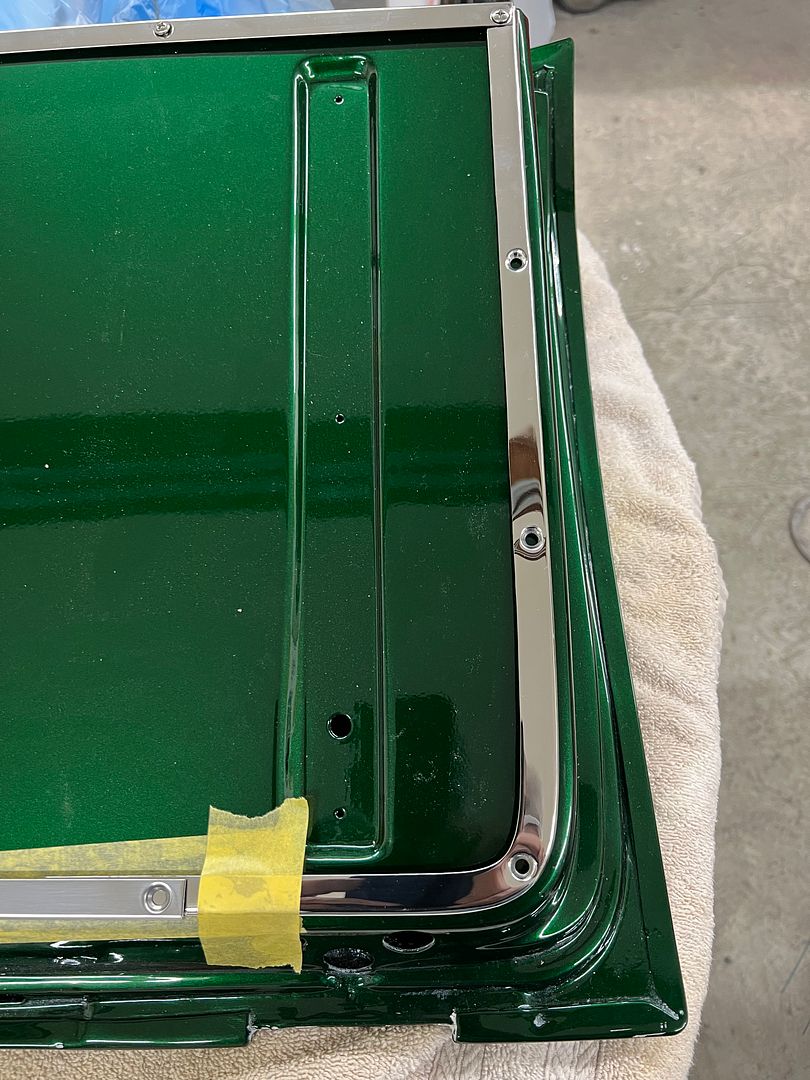 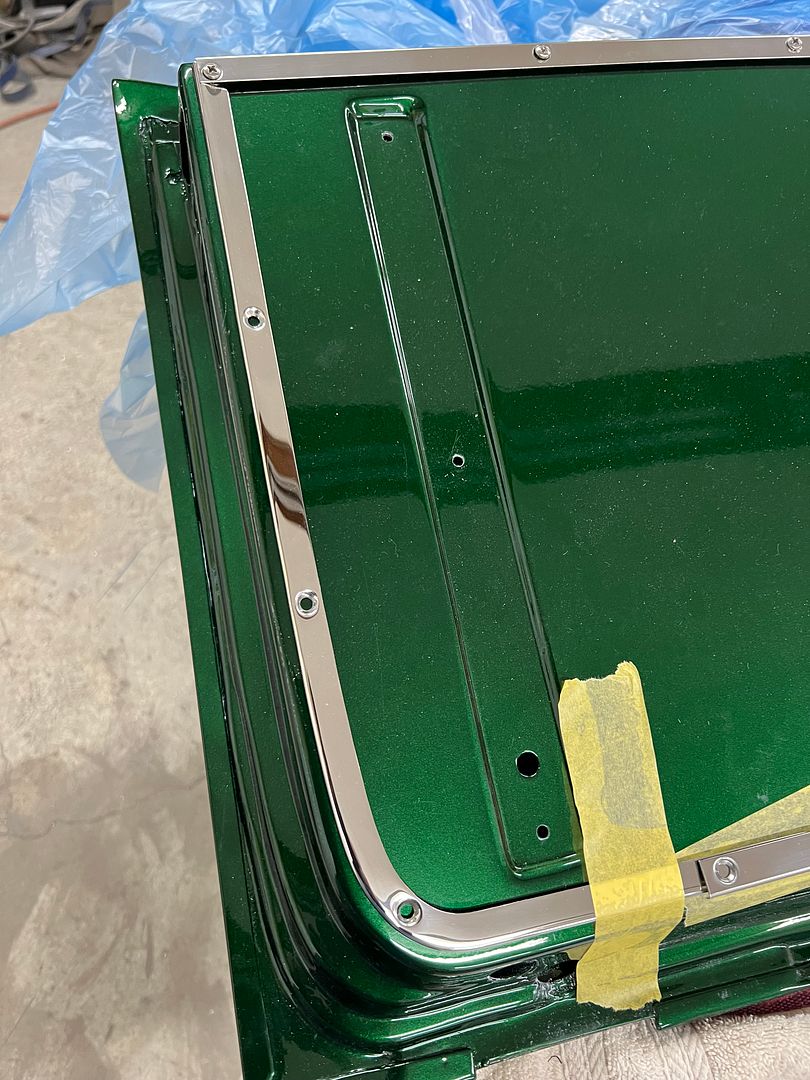 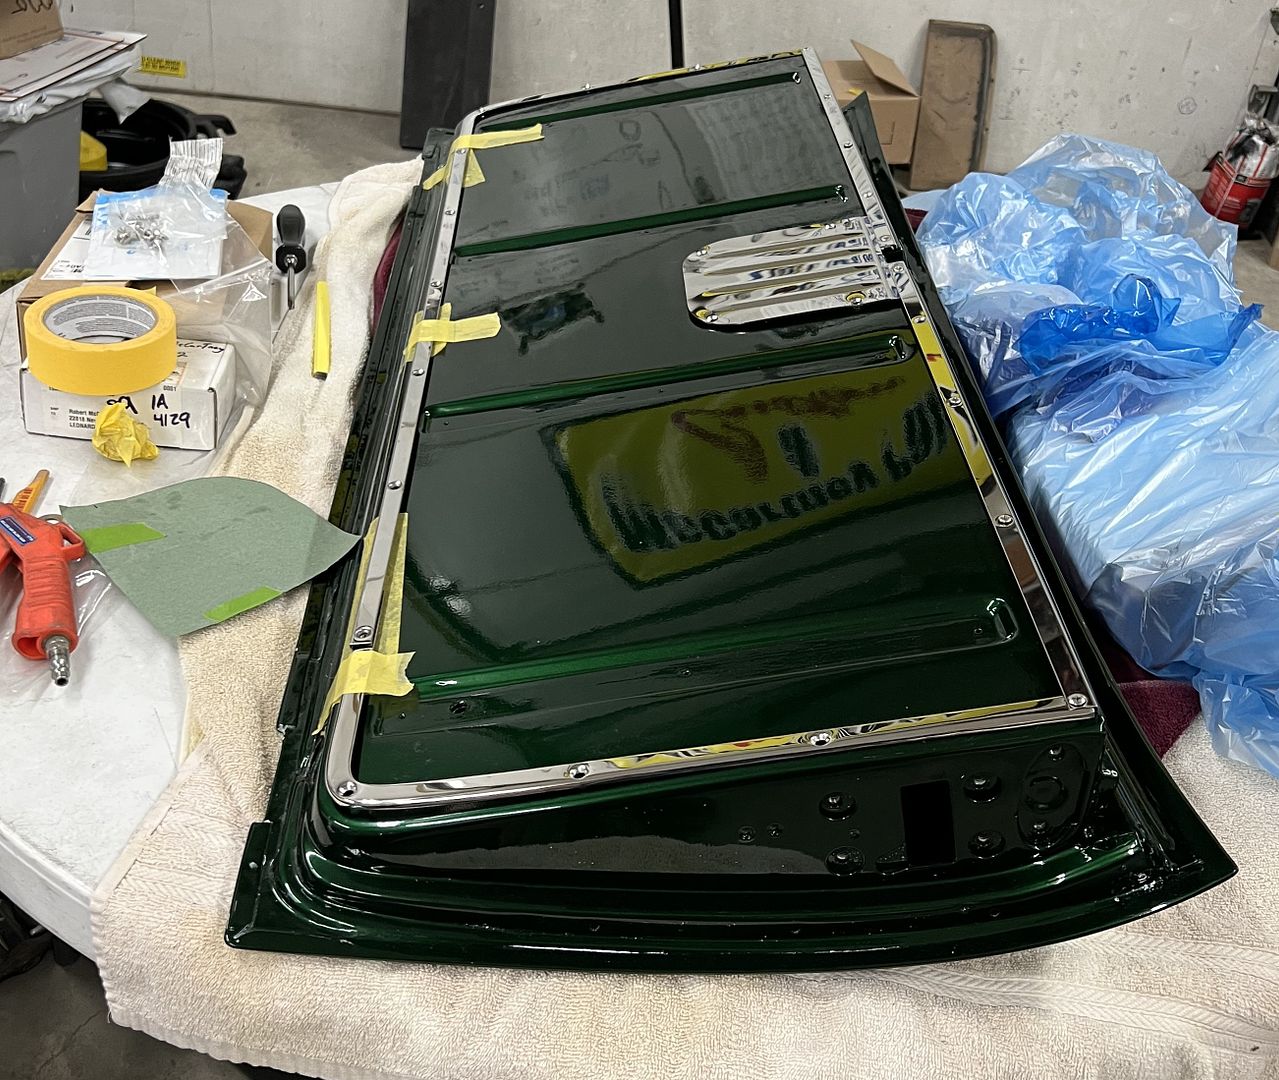 Next we'll get all the holes drilled and our upholstery added in the center...
__________________
Robert |
|
|
|
|
05-29-2024, 09:35 AM
|
#13 |
|
Registered User
Join Date: Jan 2013
Location: Leonardtown, MD
Posts: 1,637
|
Re: 55 Wagon Progress
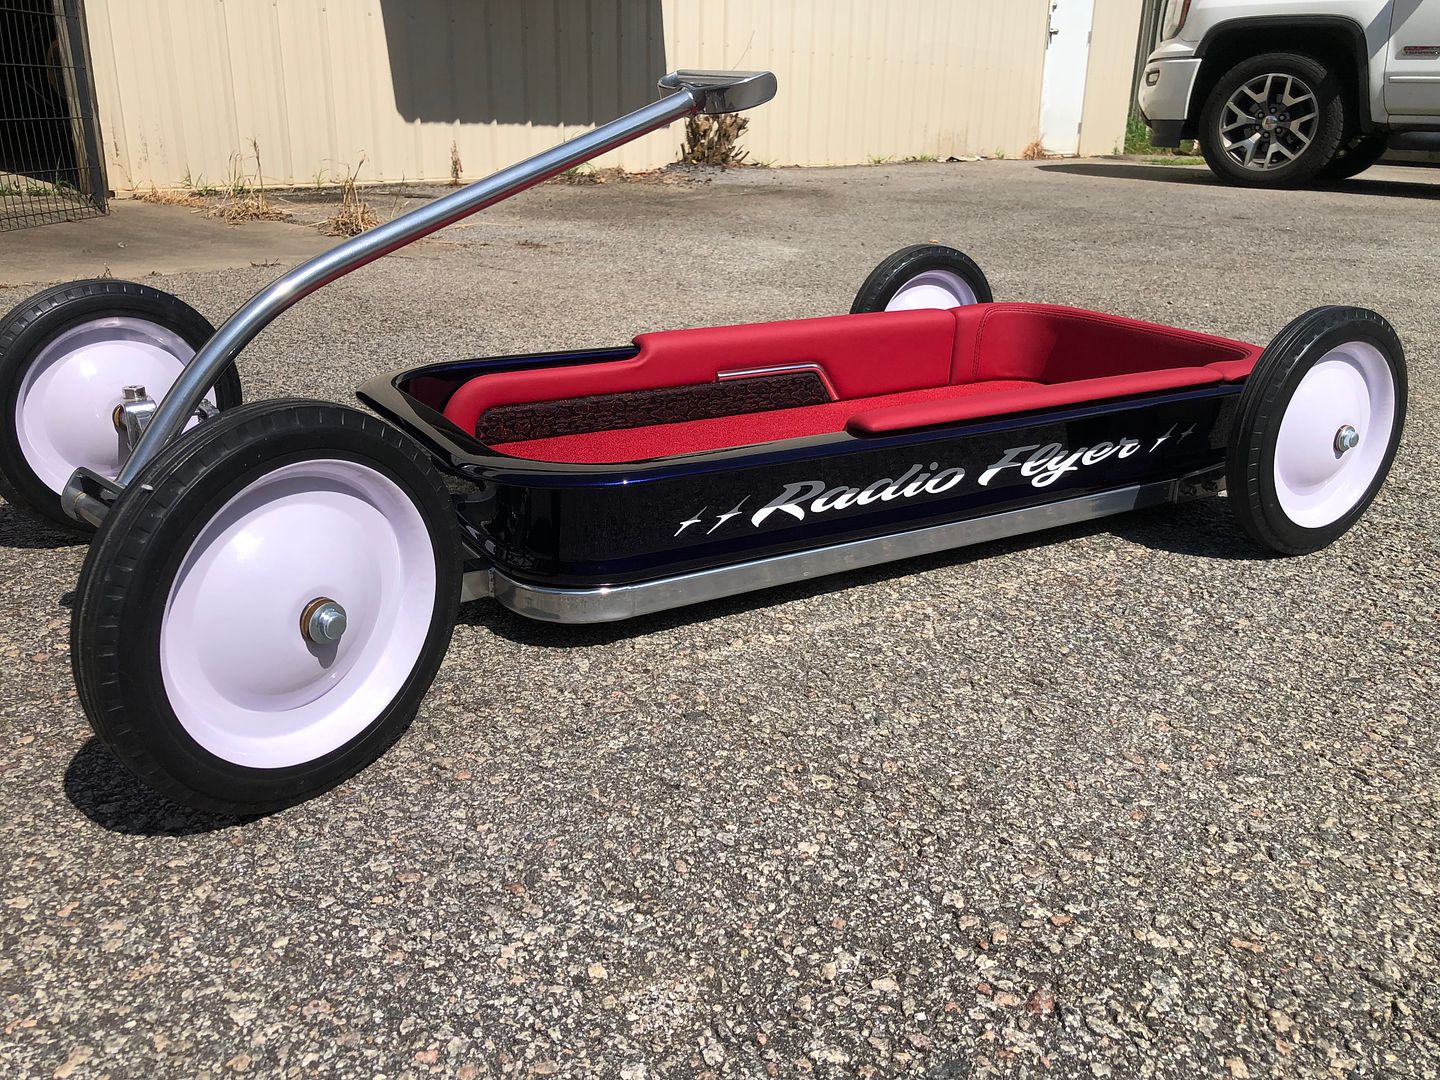
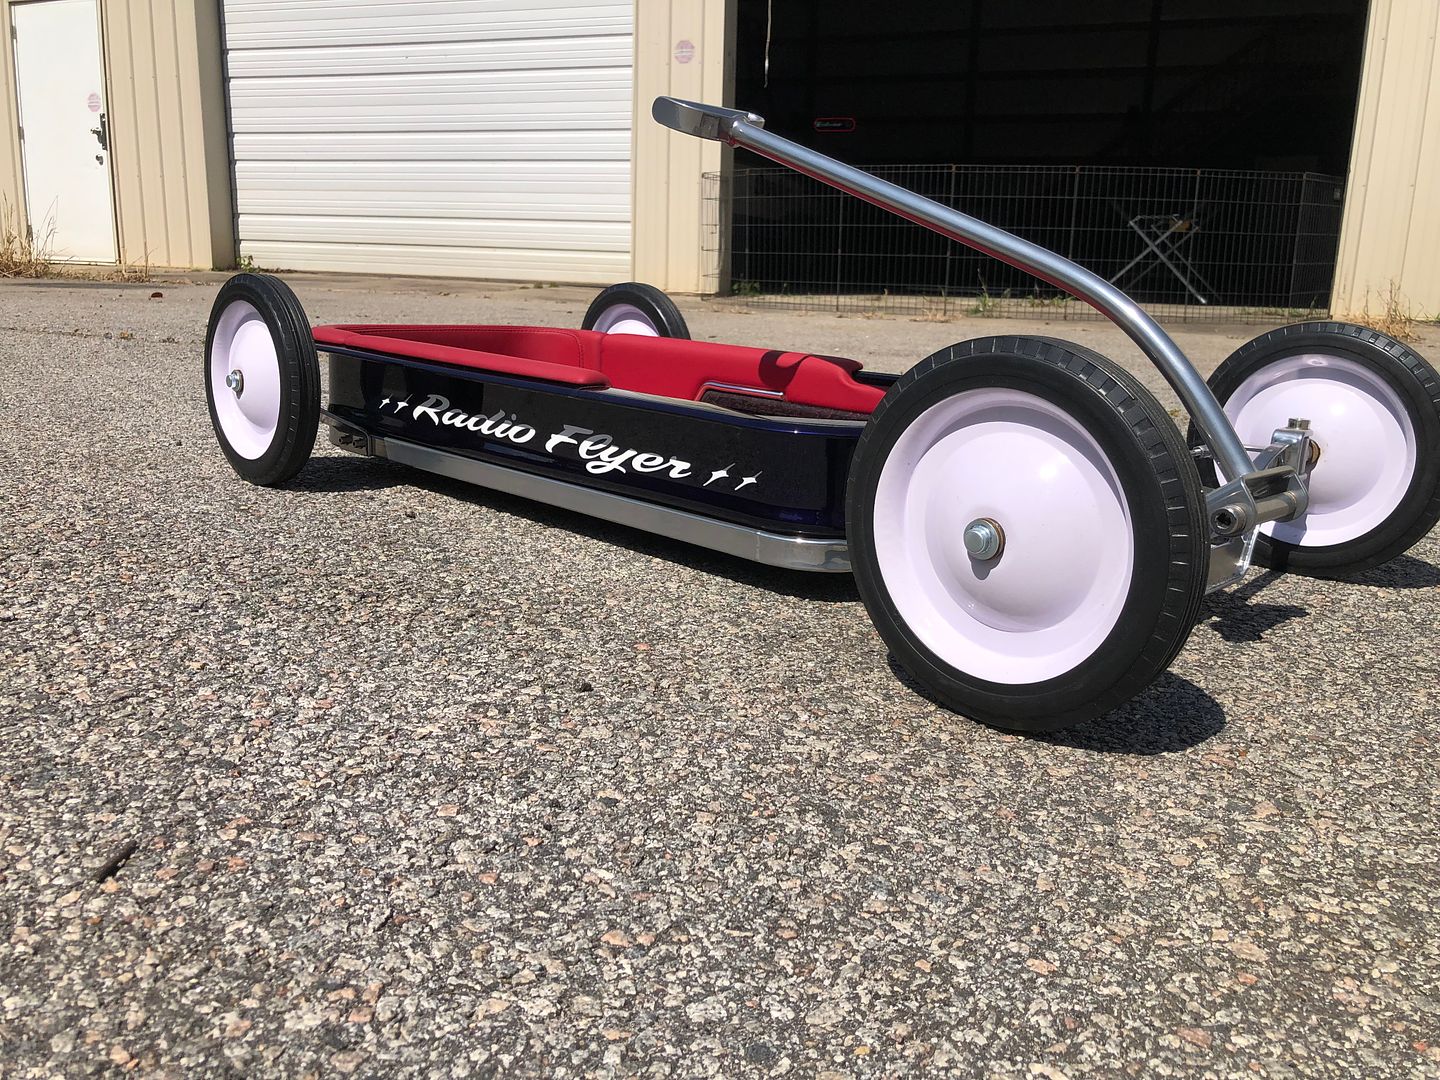
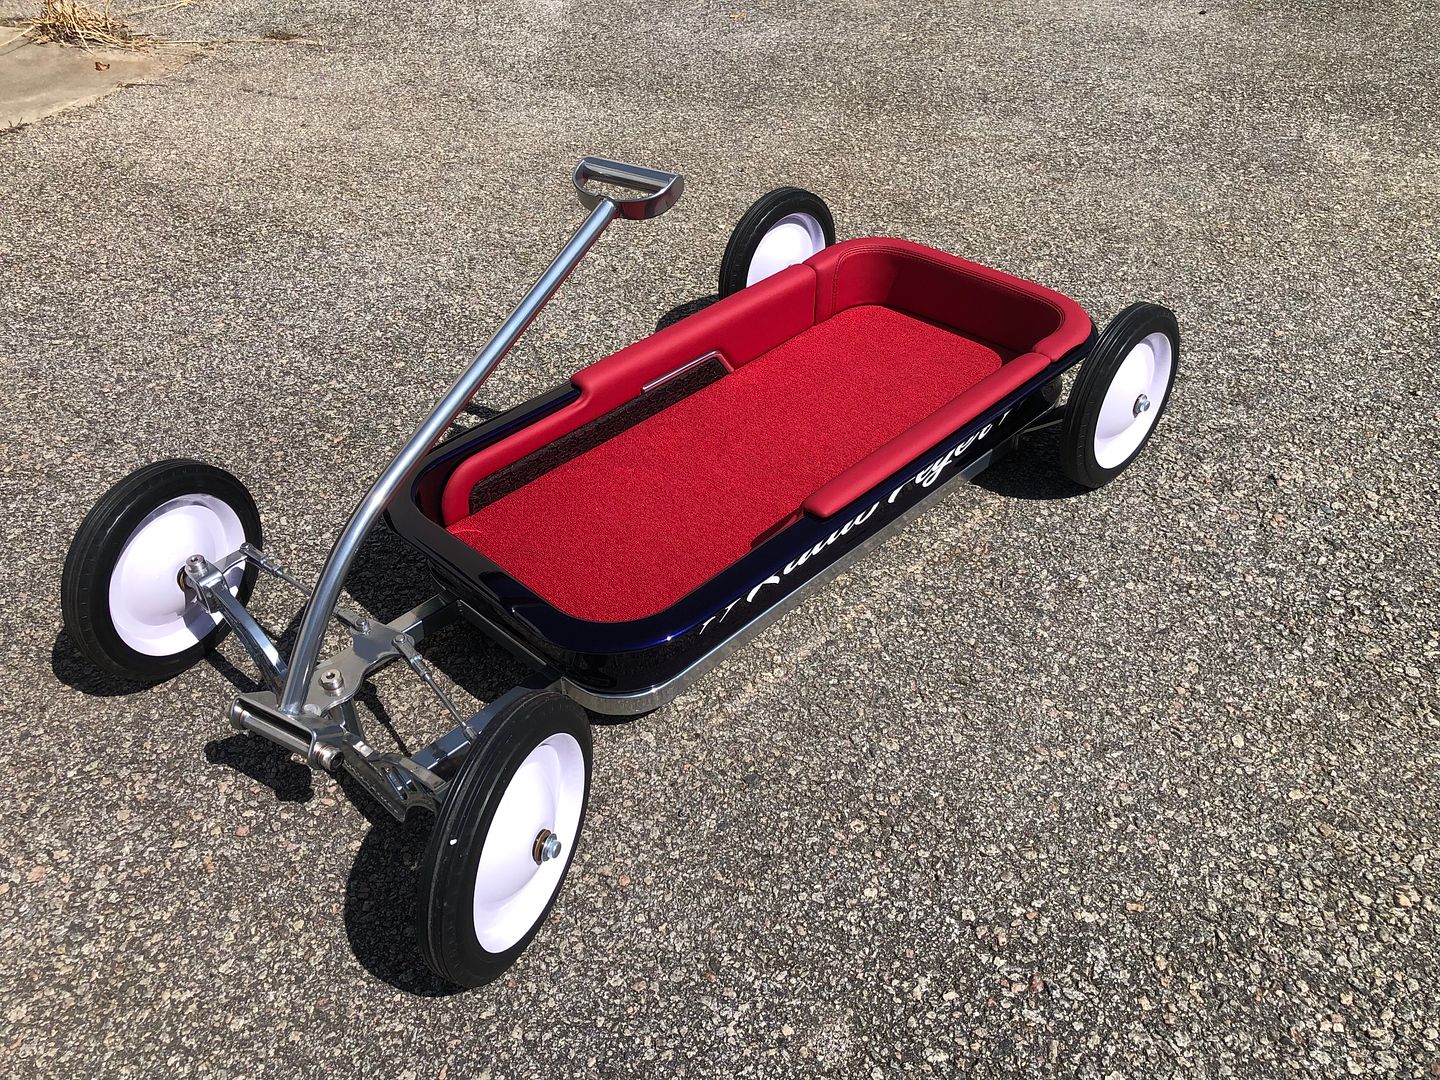
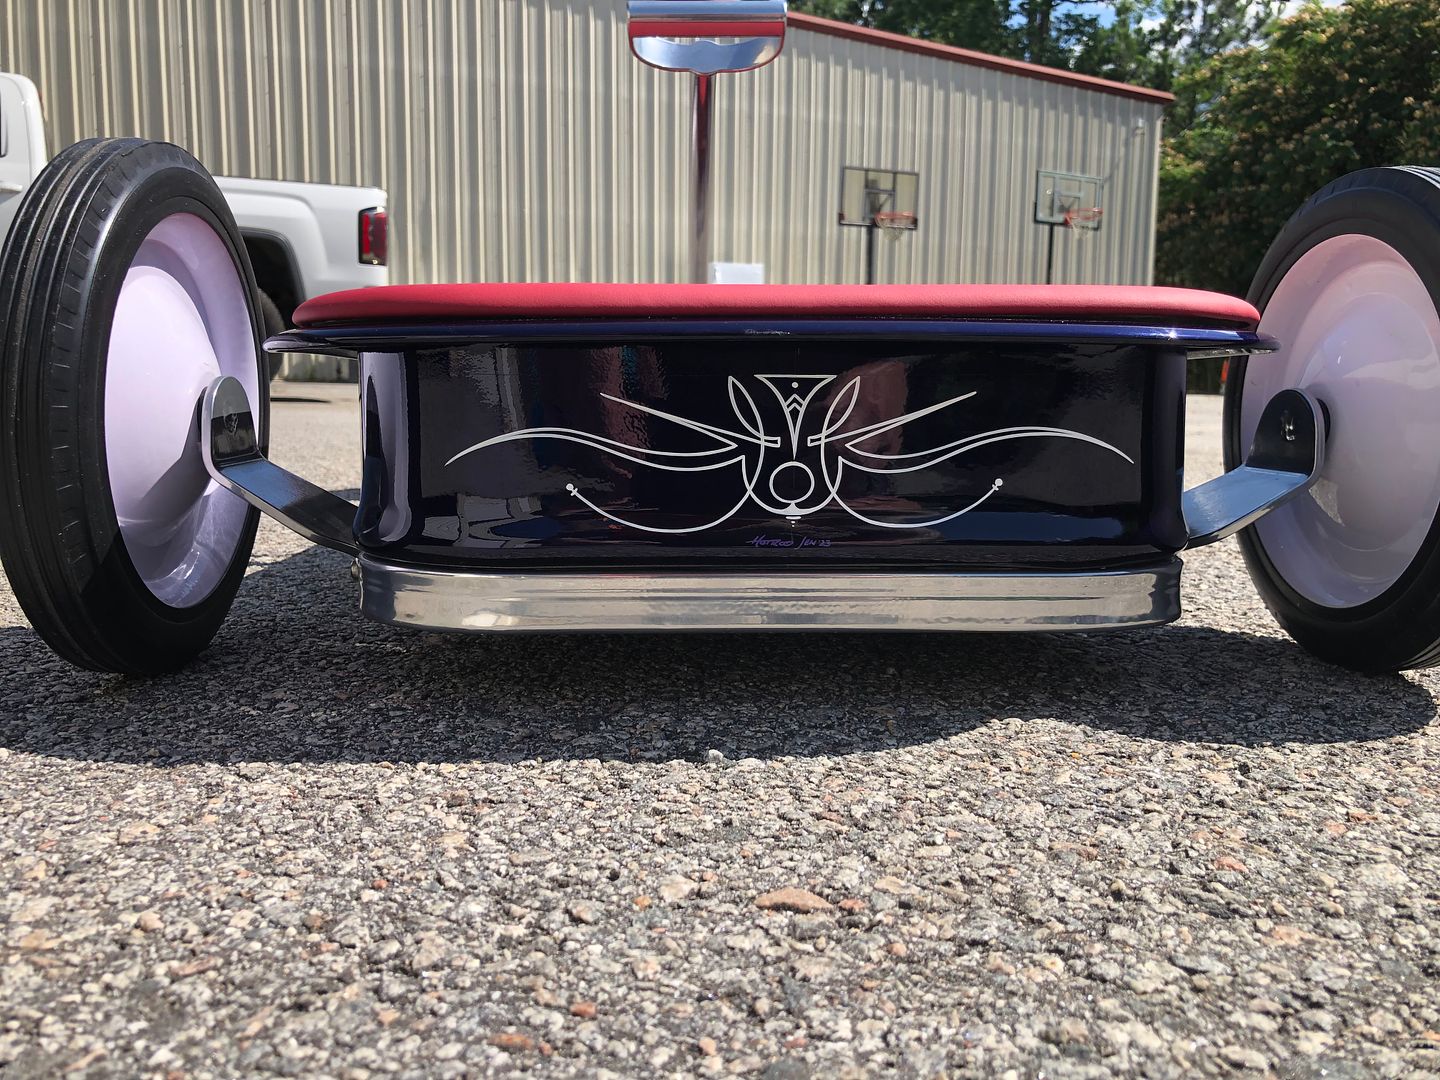
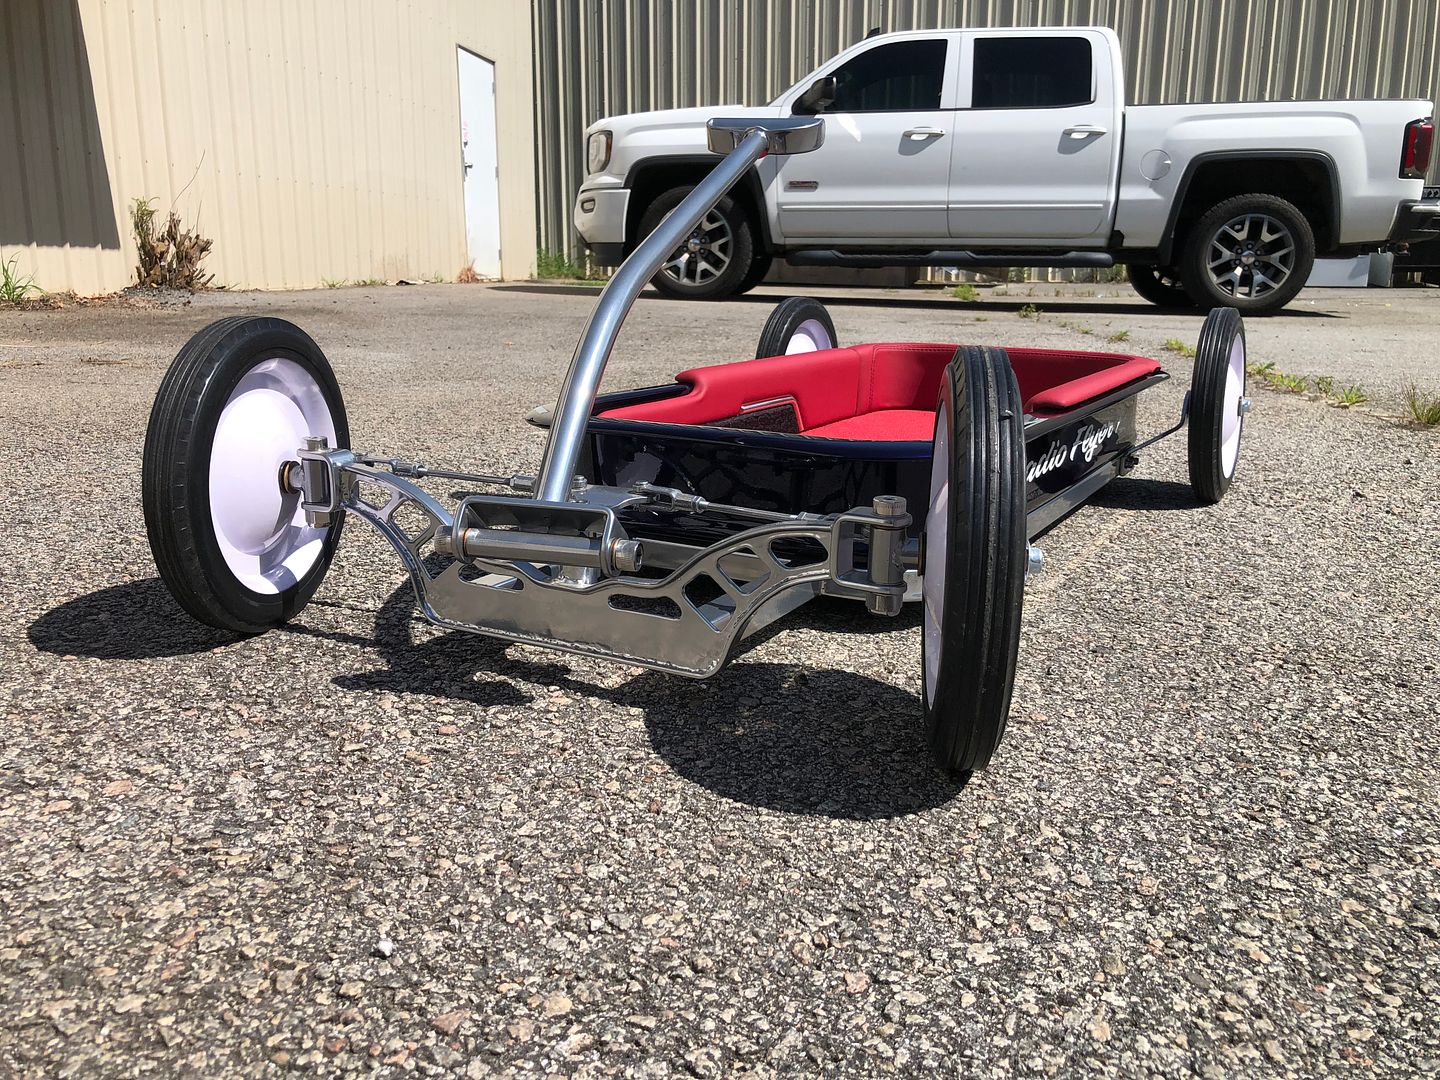
Got some pics from JB at the upholstery shop yesterday. The Radio Flyer wagon is now complete. He was initially going to do tan upholstery, but when he laid the red against the wagon he said the wild color won out. Better match to the build. So this little wagon was painted in Leonardtown MD, lettered and striped in Hummelstown PA, and now upholstered in Lexington SC. It really gets around..
__________________
Robert |
|
|
|
|
05-30-2024, 12:32 AM
|
#14 |
|
Post Whore
Join Date: May 2015
Location: Alabama
Posts: 14,611
|
Re: 55 Wagon Progress
WOW..!!! that is slick!!
__________________
Mongo...aka Greg RIP Dad RIP Jesse 1981 C30 LQ9 NV4500..http://67-72chevytrucks.com/vboard/s...d.php?t=753598 Mongos AD- LS3 TR6060...http://67-72chevytrucks.com/vboard/s...34#post8522334 Columbus..the 1957 IH 4x4...http://67-72chevytrucks.com/vboard/s...63#post8082563 2023 Chevy Z71..daily driver |
|
|
|
 |
| Bookmarks |
|
|


 Hybrid Mode
