
 |
|
|
#126 |
|
Registered User
 Join Date: Jan 2012
Location: Antioch, IL
Posts: 418
|
Re: 1965 Suburban Resto-Rebuild
|
|
|

|
|
|
#127 |
|
Registered User
 Join Date: Jan 2012
Location: Antioch, IL
Posts: 418
|
Re: 1965 Suburban Resto-Rebuild
Well, here are the pics of the passenger vent window.. these were much more pleasant than rebuilding the ones in my '62 VW Bug.. But--still can't stand doing the rivets.. I need one of those tools that does not involve a hammer and a "helper".. I had to re-mask the frame once after scratching the fresh black paint as I was trying to juggle the duties to hold the frame/window assembly, hammer, and little "punch" tool from Classic Parts for the rivet punch.. Over the past week I have spent some time getting small parts cleaned/blasted/and painting them.. This way--when it gets to the re-assembly time these little parts are all done and can get slapped back together..
BEFORE.... 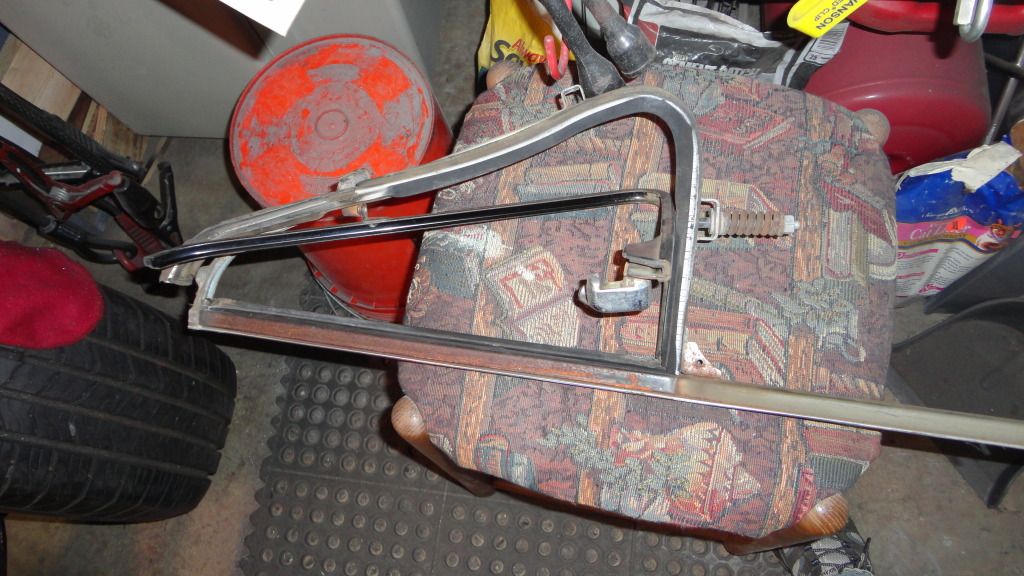 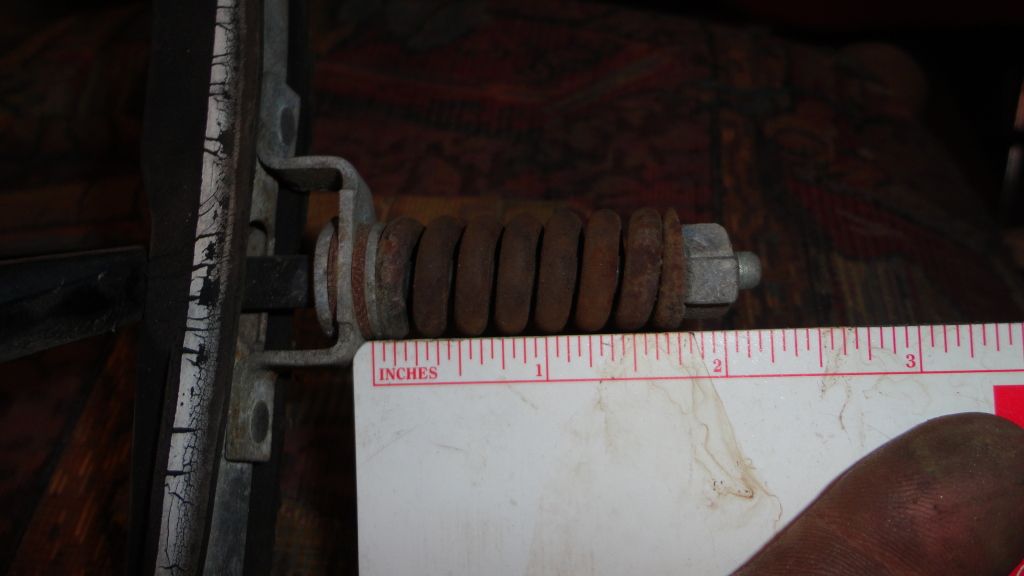 AFTER 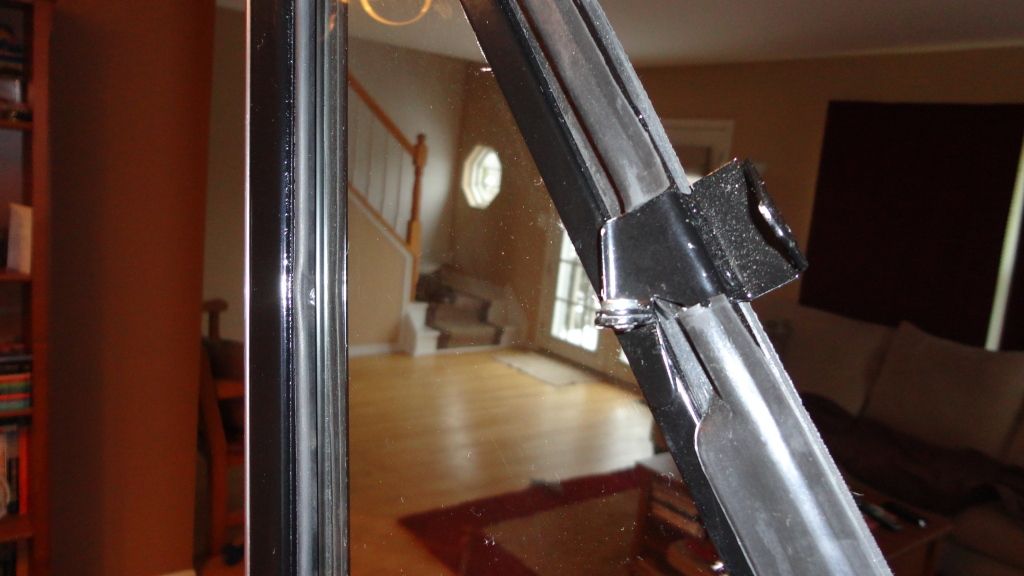 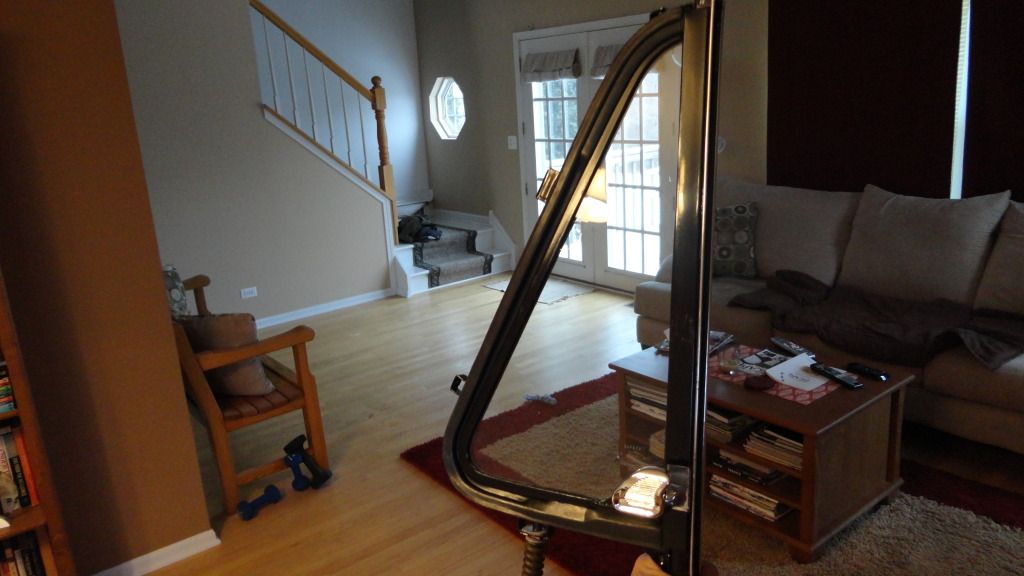 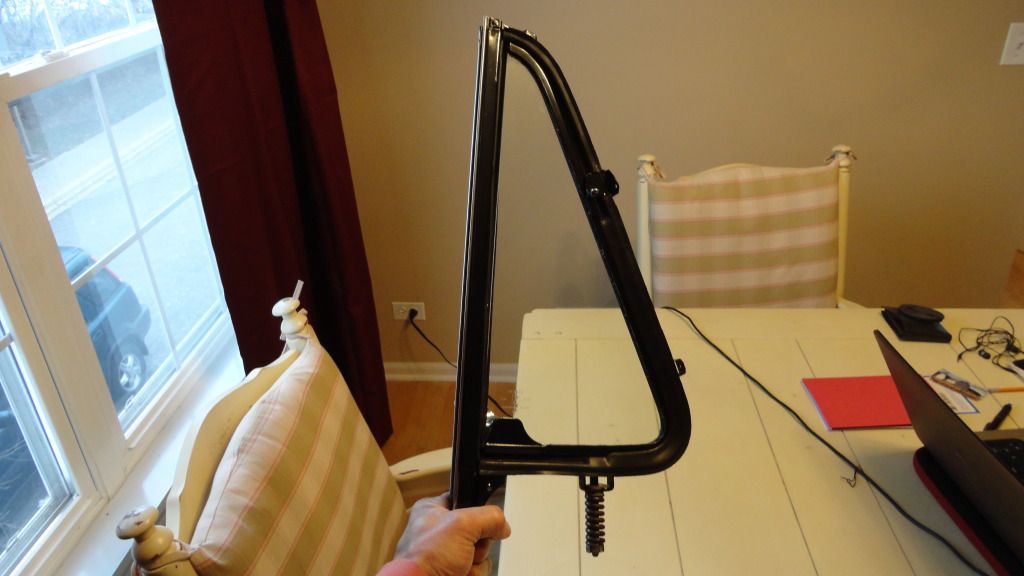 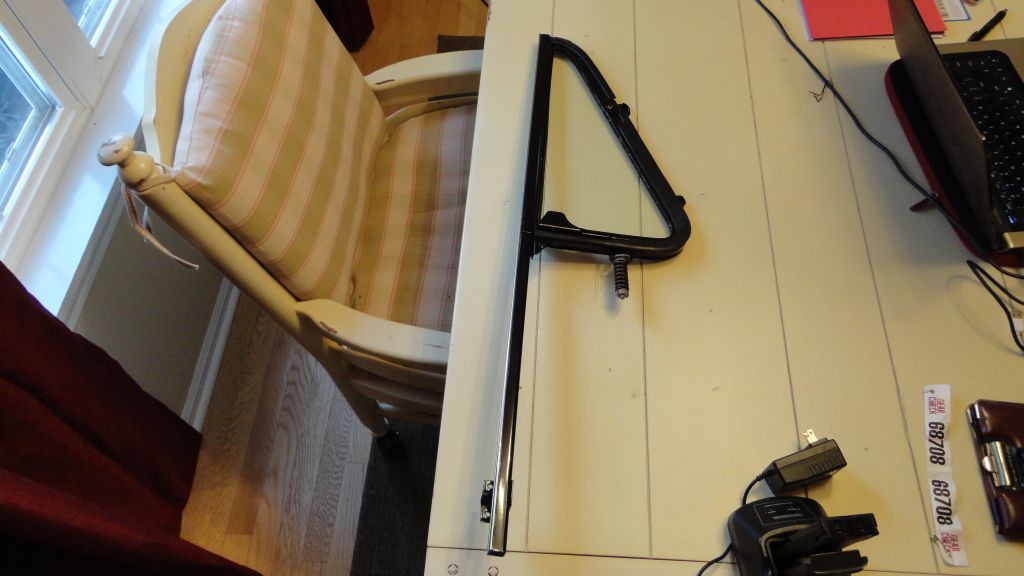
Last edited by hemifalcon; 12-24-2012 at 02:03 PM. |
|
|

|
|
|
#128 |
|
Registered User
 Join Date: Jan 2012
Location: Antioch, IL
Posts: 418
|
Re: 1965 Suburban Resto-Rebuild
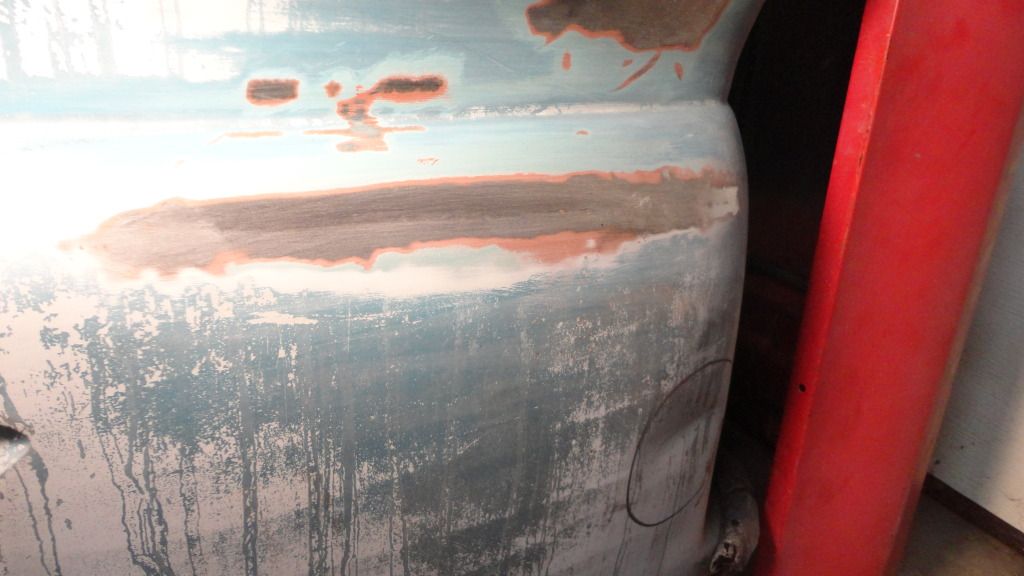
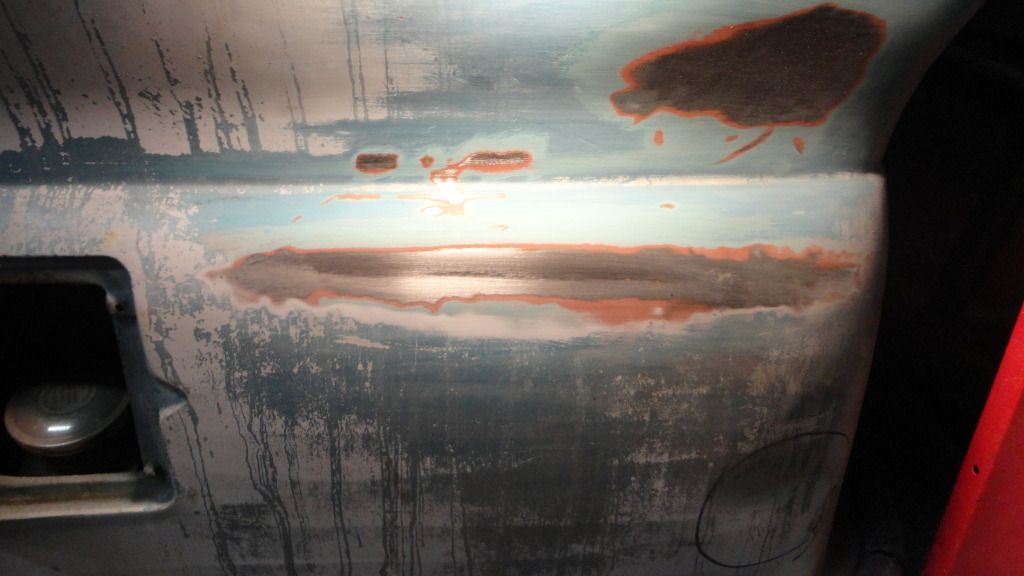
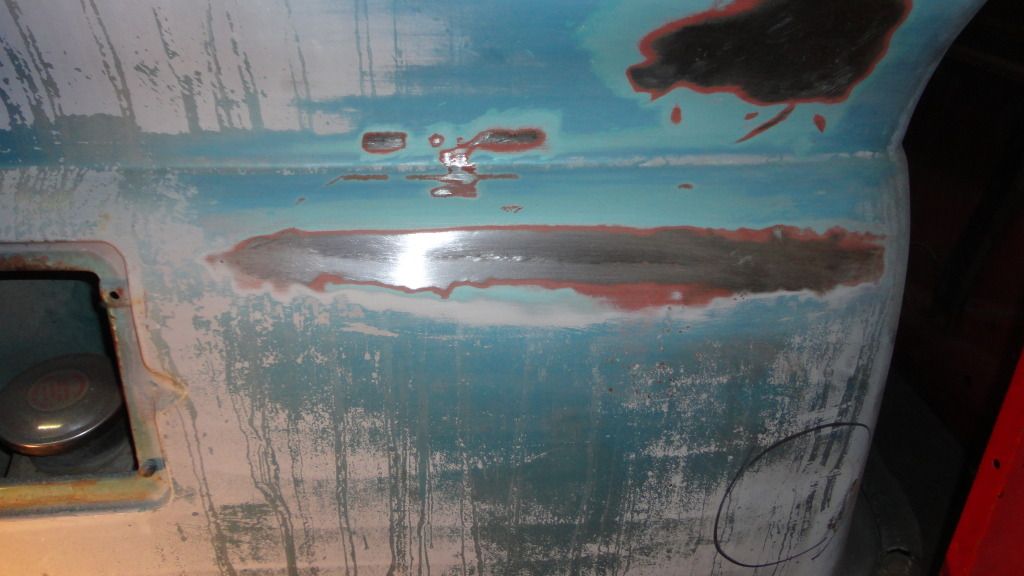
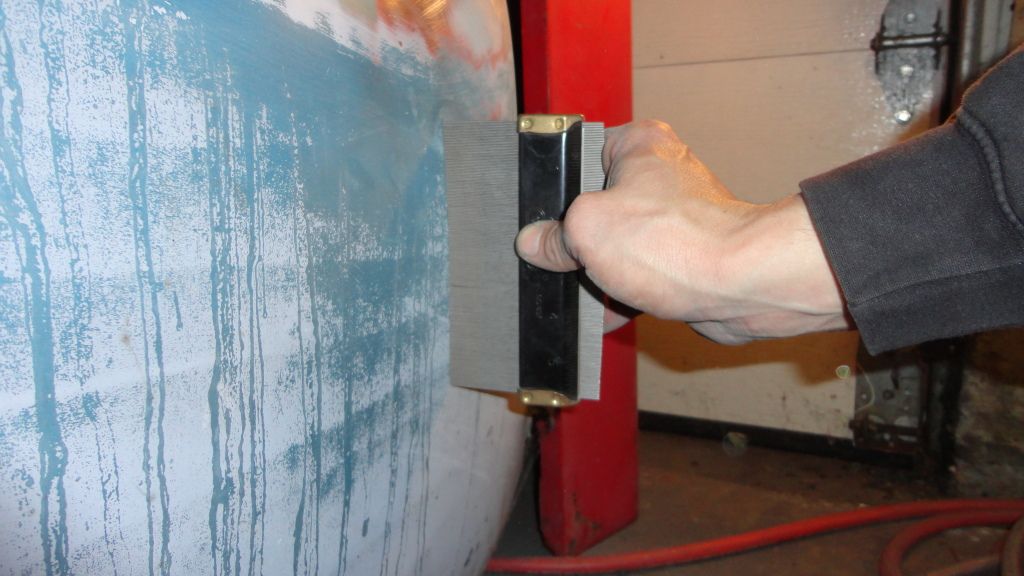
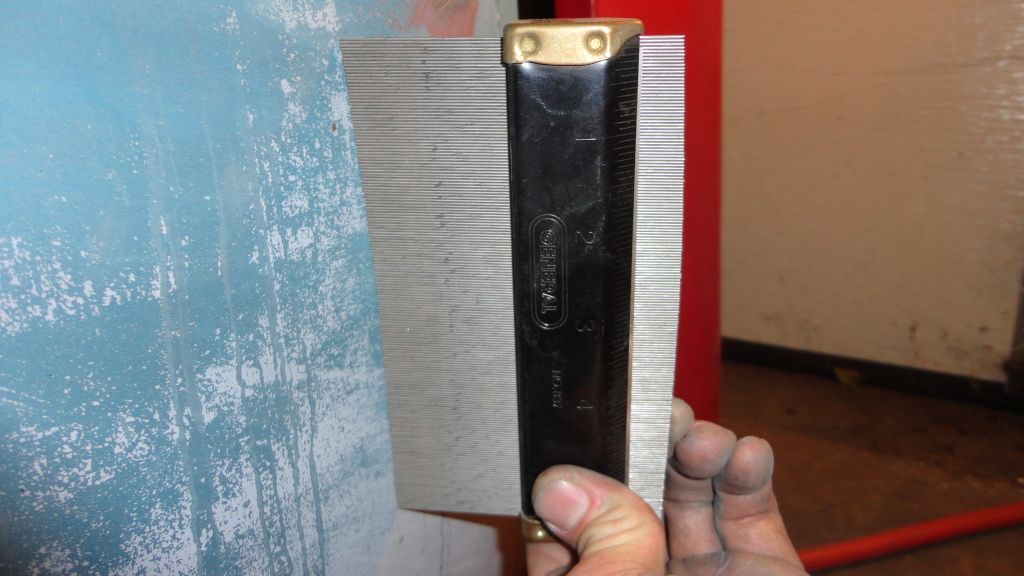
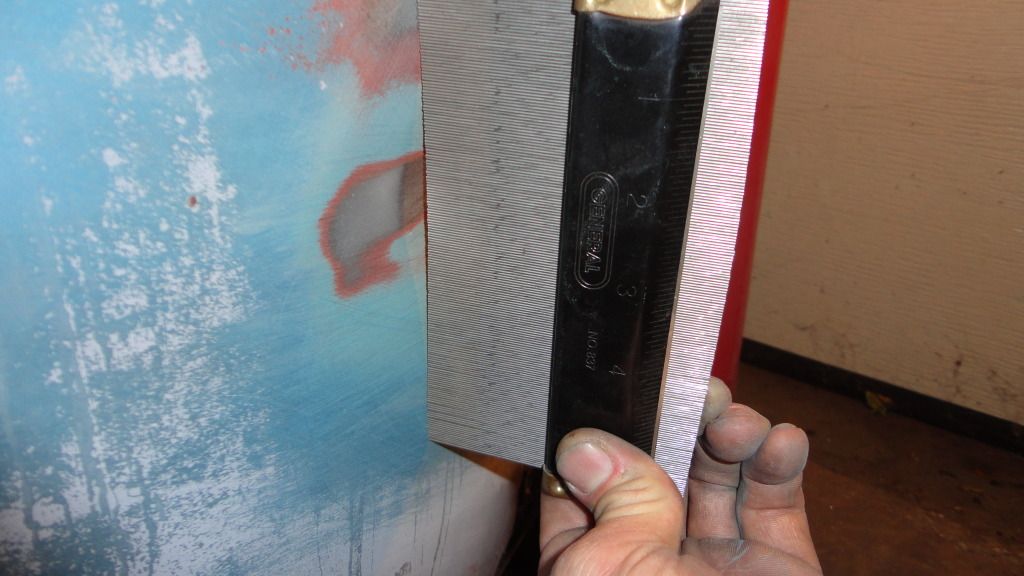
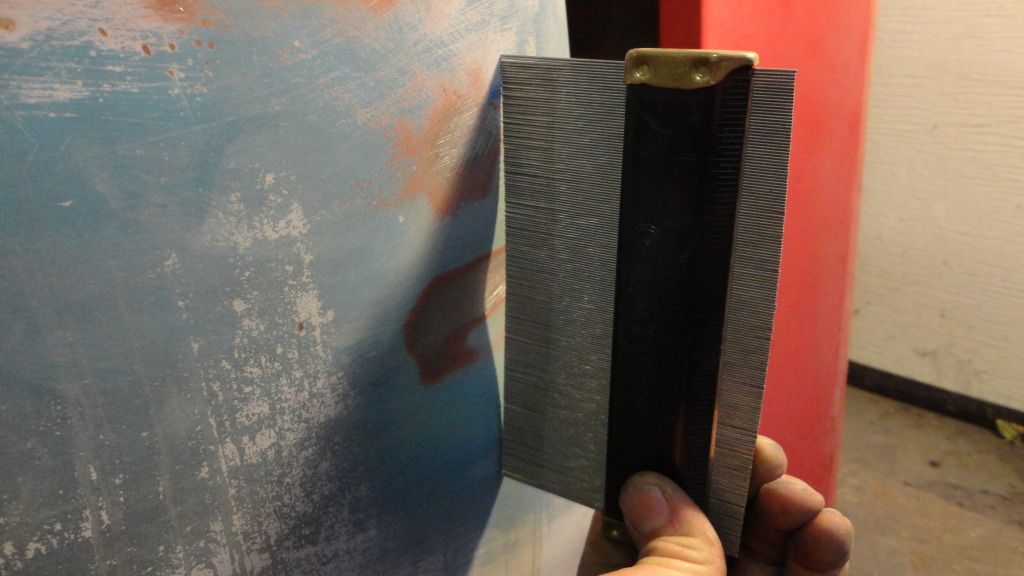
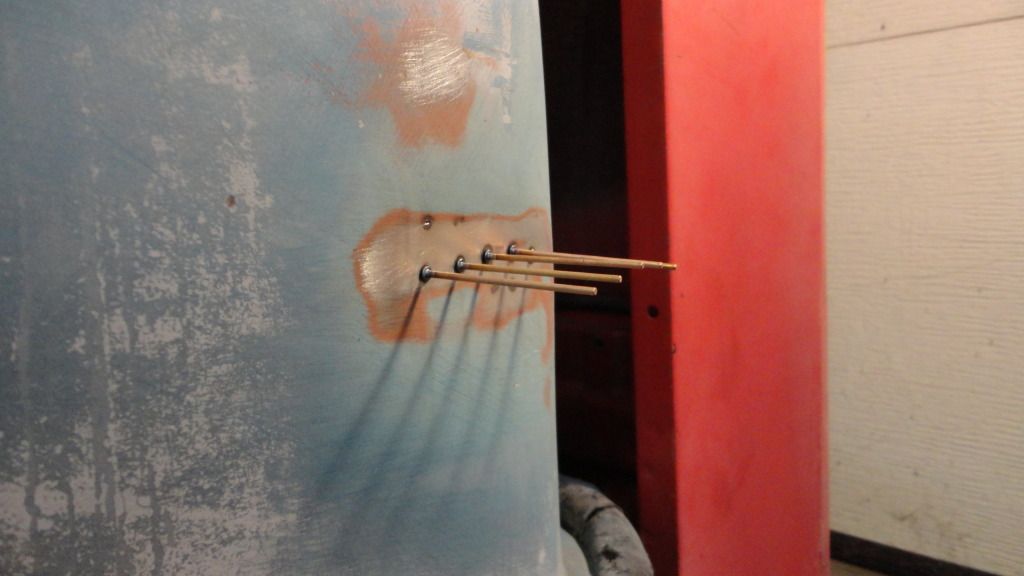
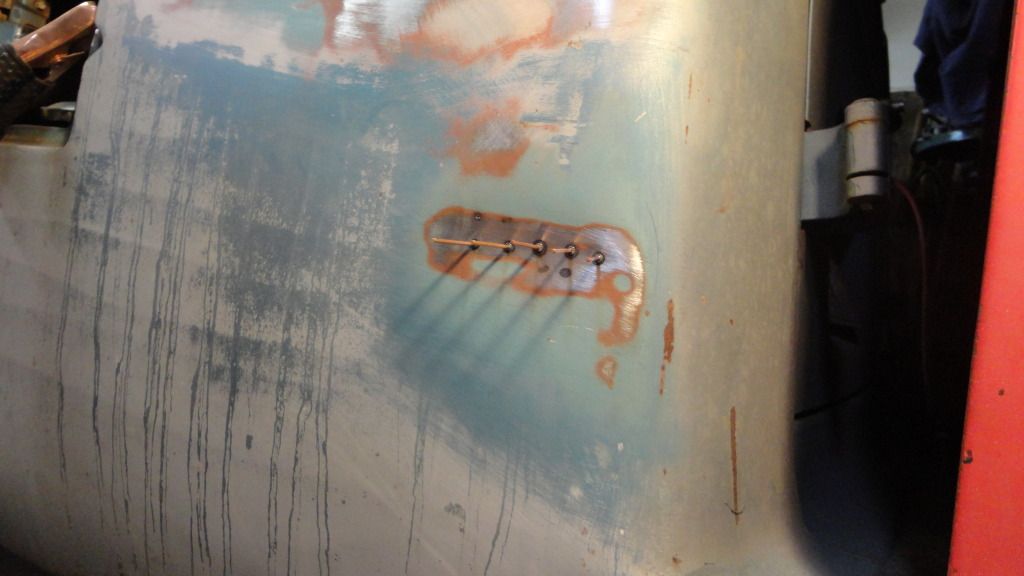
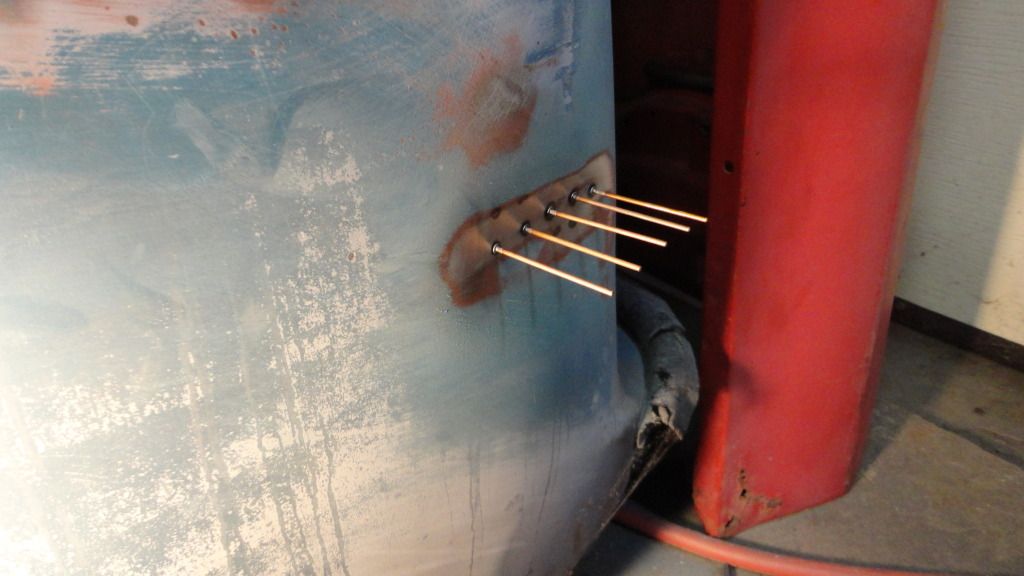
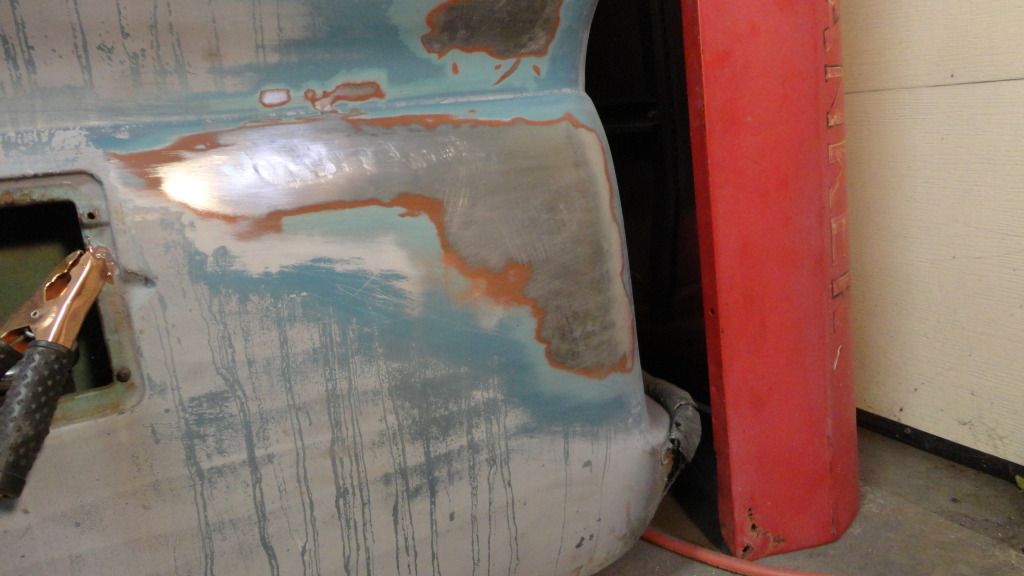
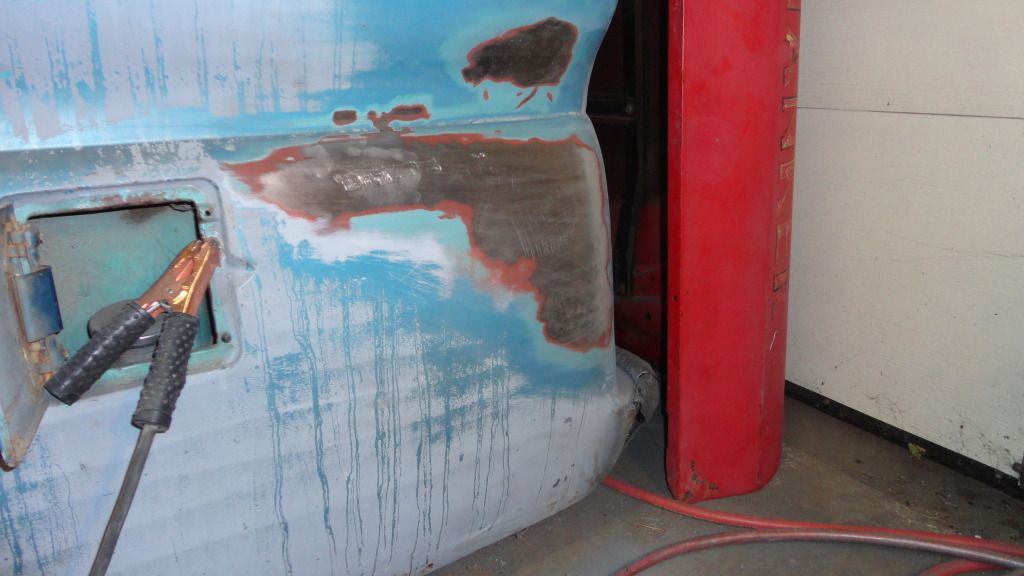
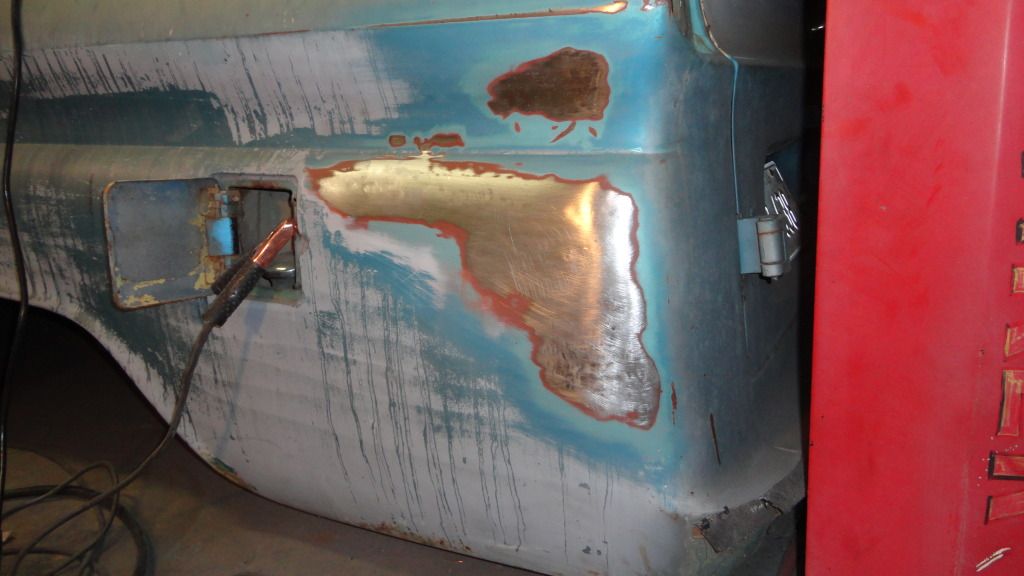
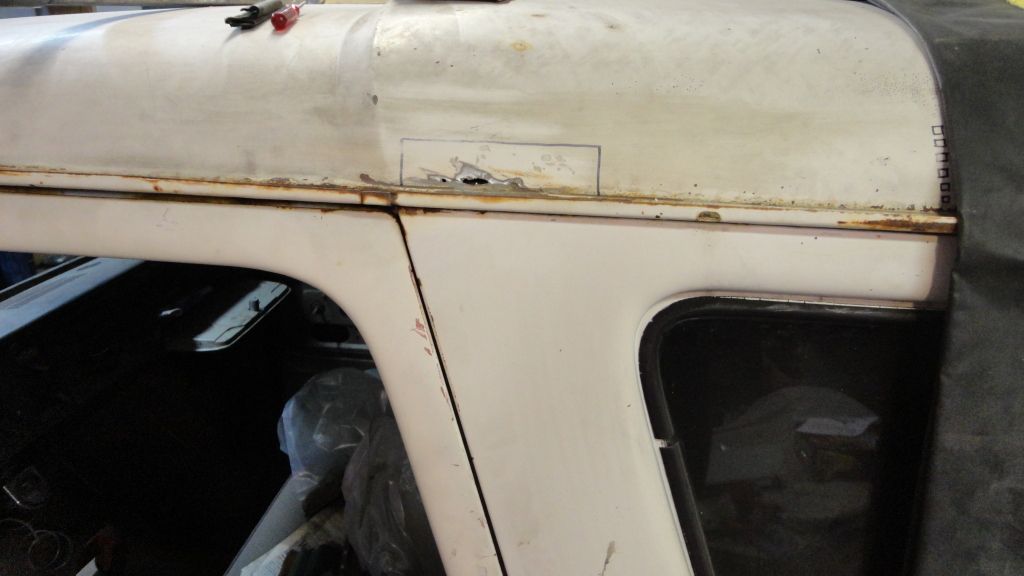
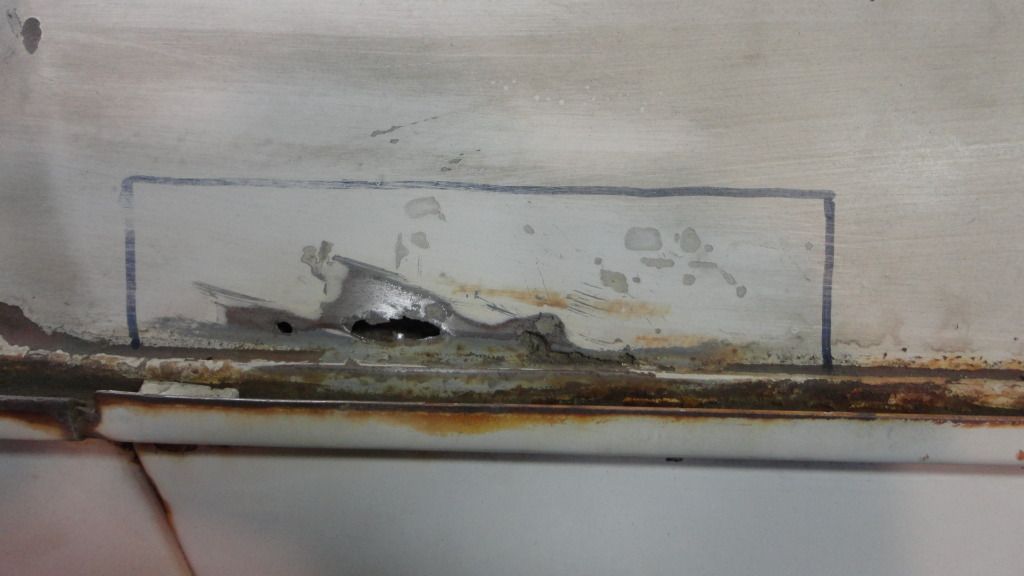
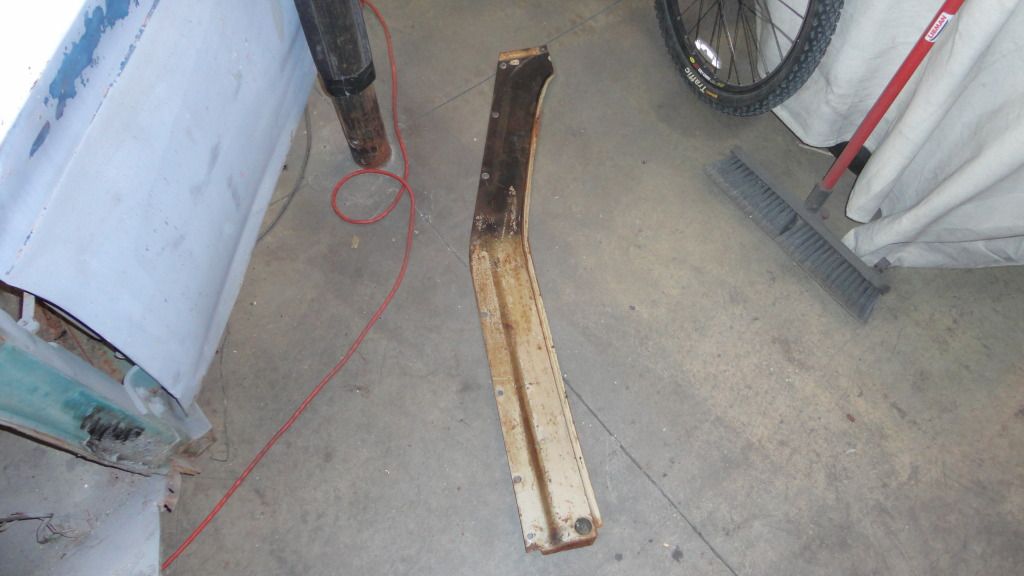
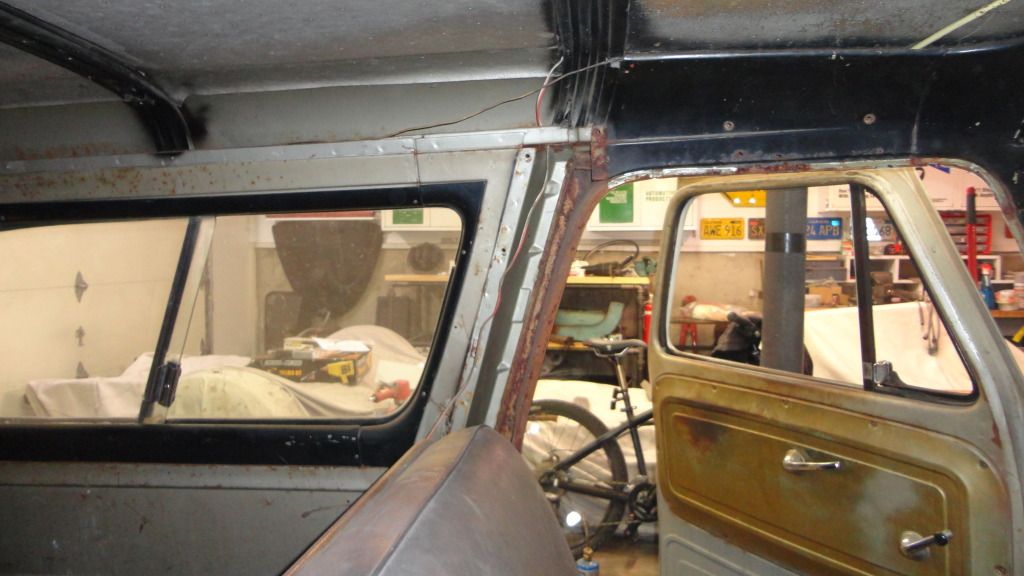
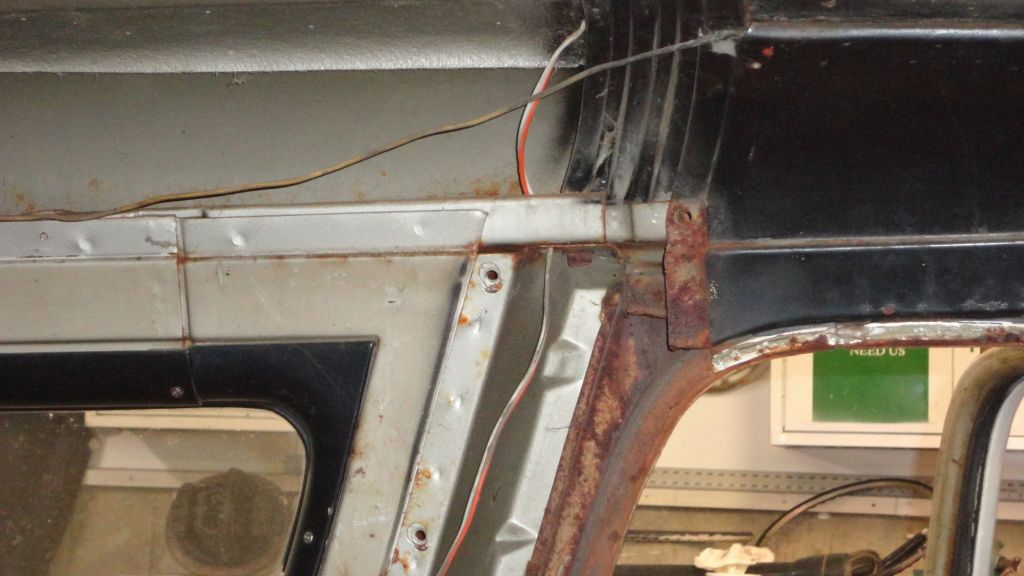
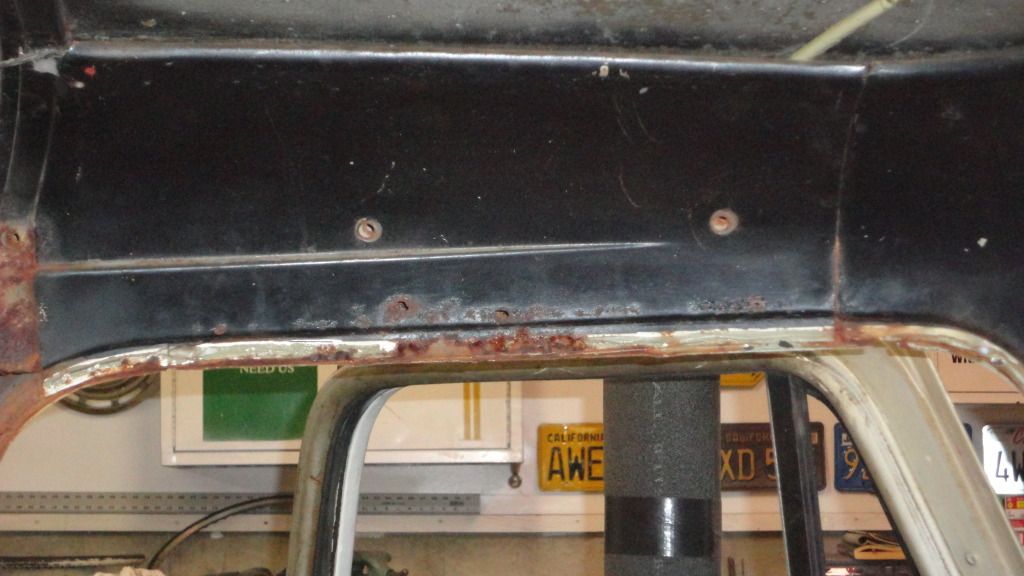
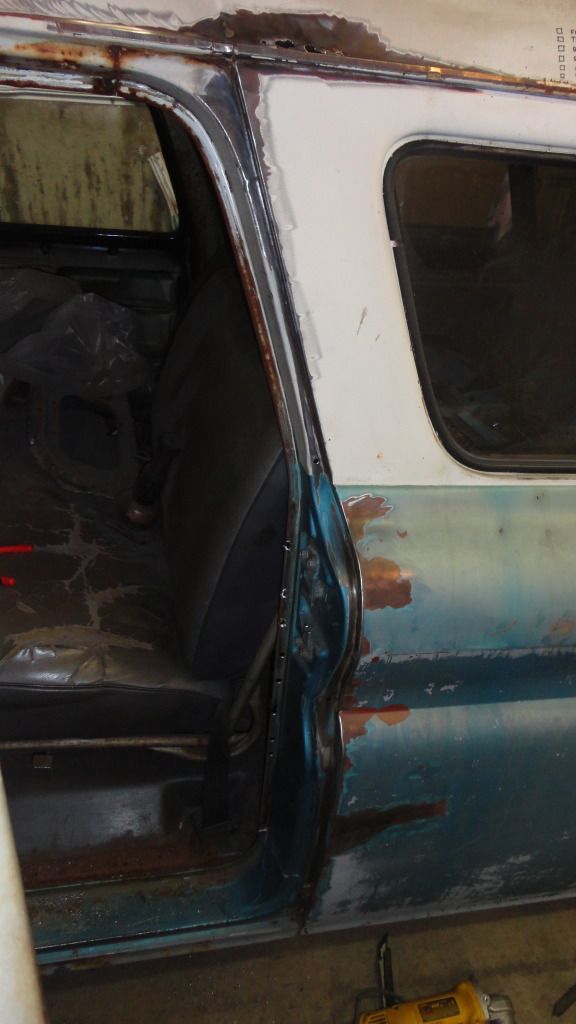
So--I went and bought n today myself a cheapie Harbor Freight stud gun and pulled some dents and filled some holes today.. Here are the progress pictures.. The "fix" over the top of the driver's door roof section was the aggravating job of the day... The rust on the inside of the roof is soo bad, every time I'd knock down my welds, I'd have pinholes.. I'll hopefully finish it tomorrow..
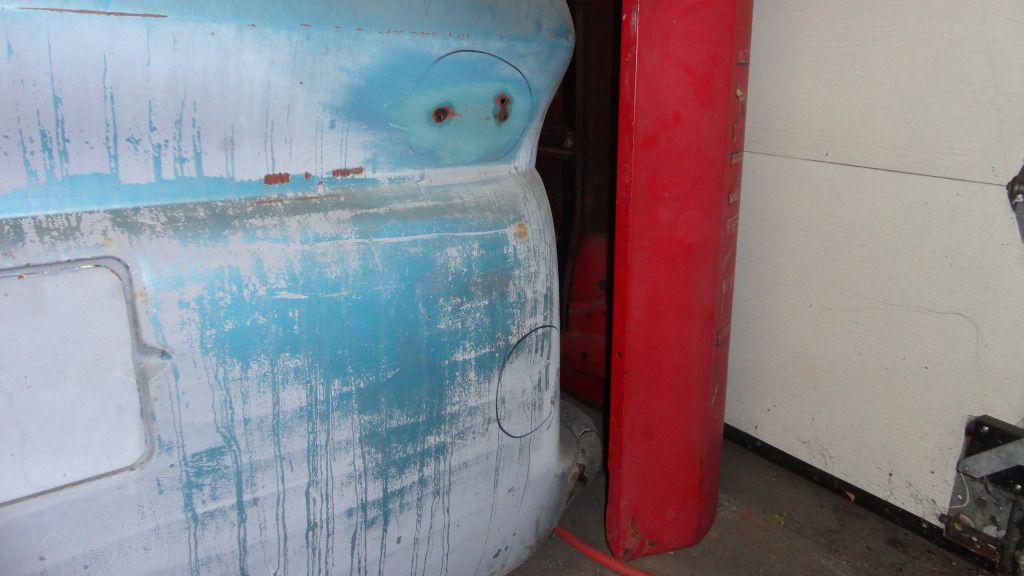 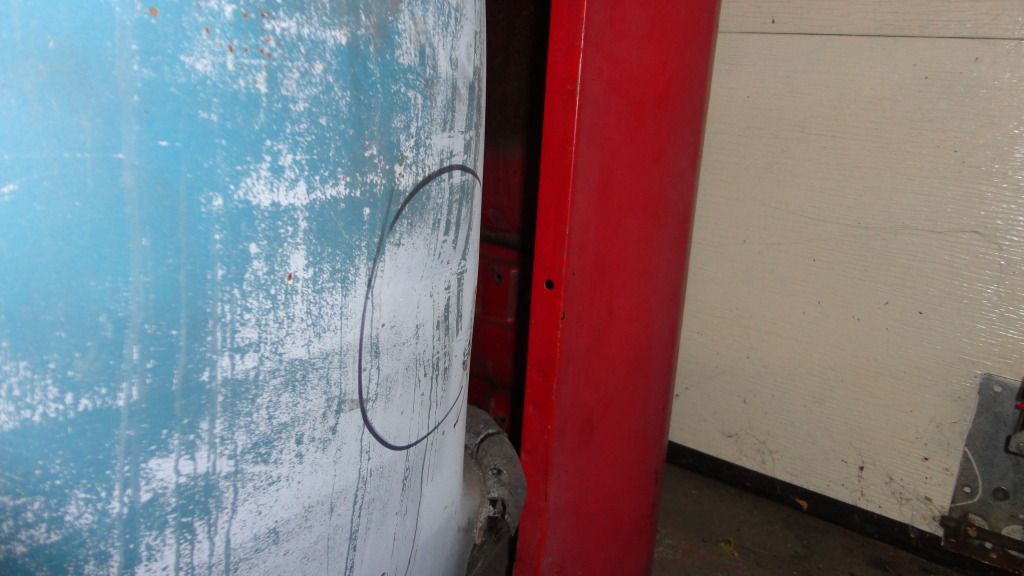                     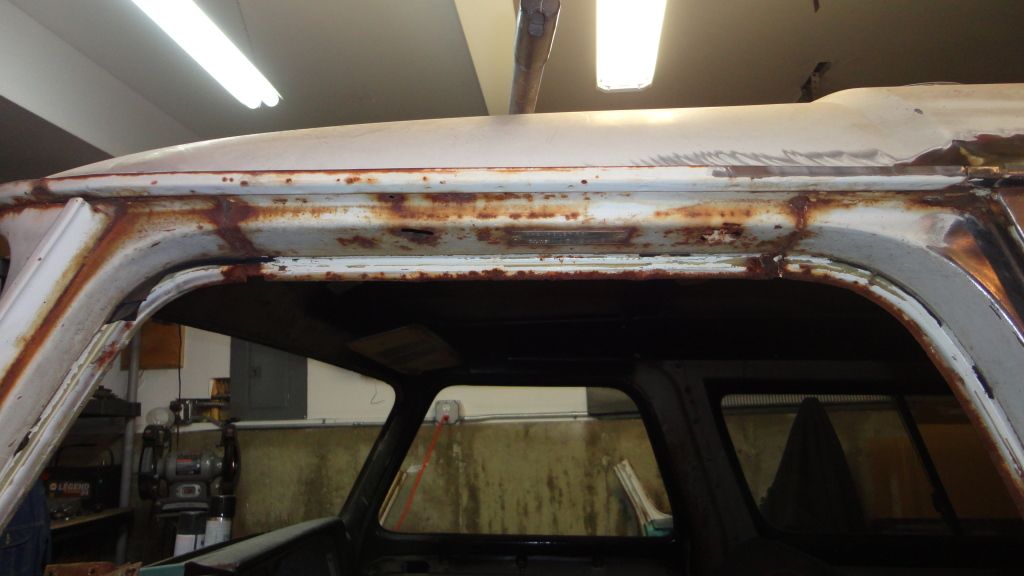 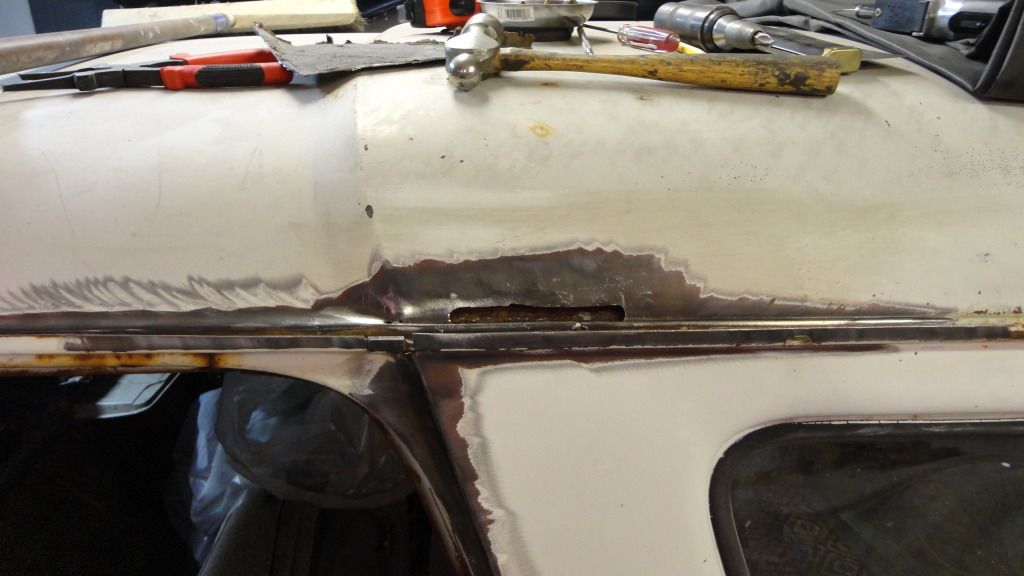 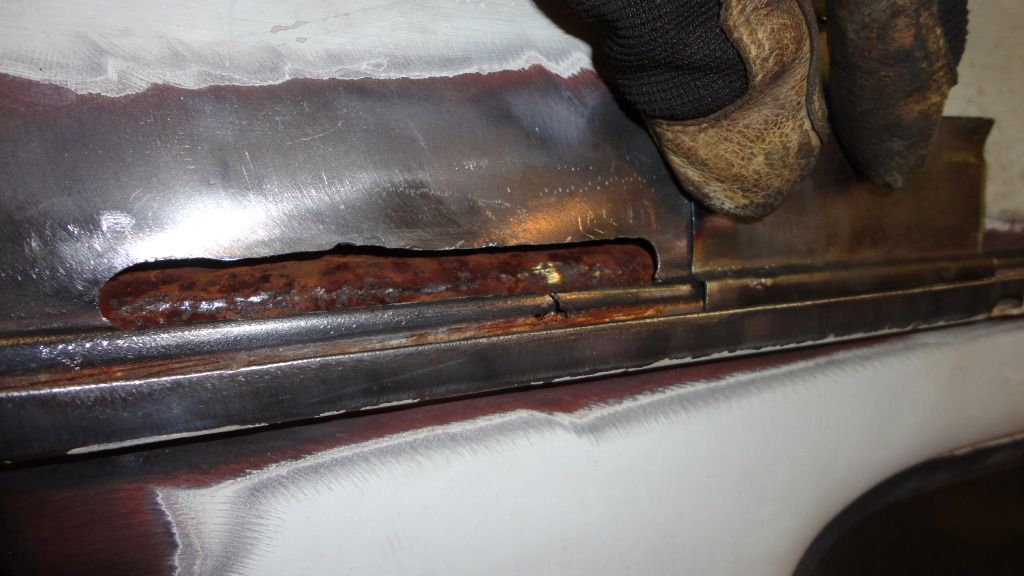 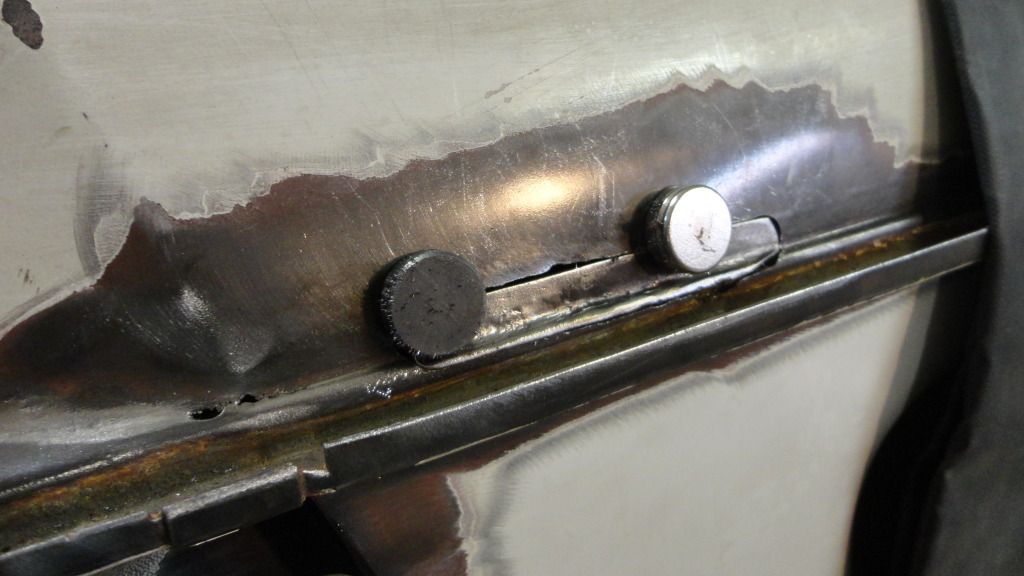 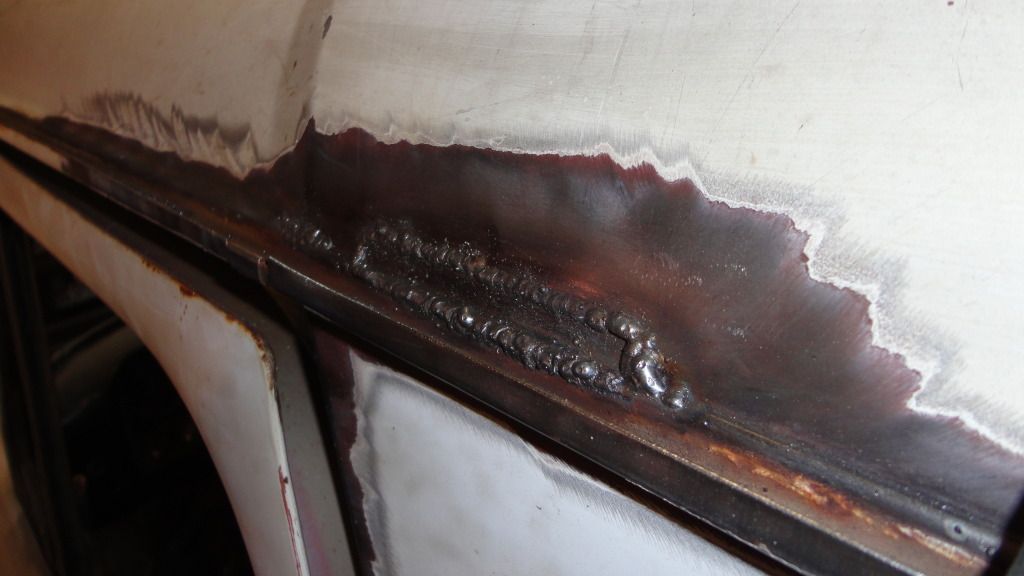 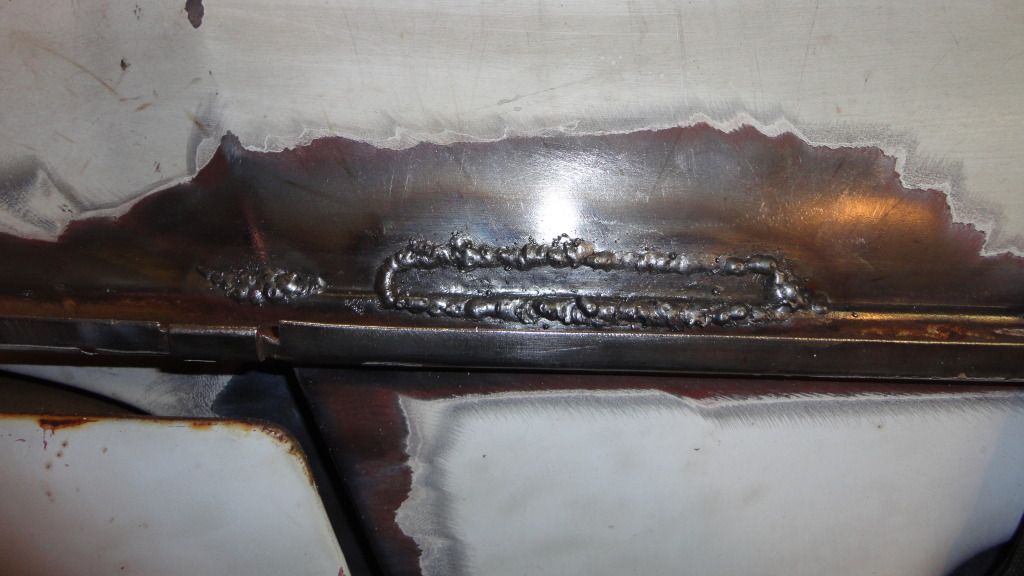
|
|
|

|
|
|
#129 |
|
Registered User
 Join Date: Jan 2012
Location: Antioch, IL
Posts: 418
|
Re: 1965 Suburban Resto-Rebuild
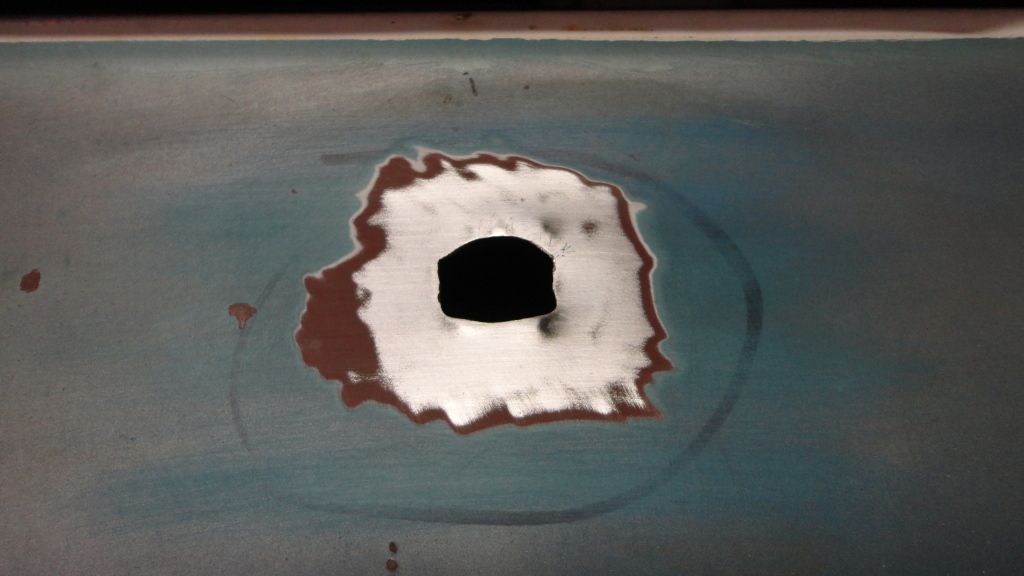
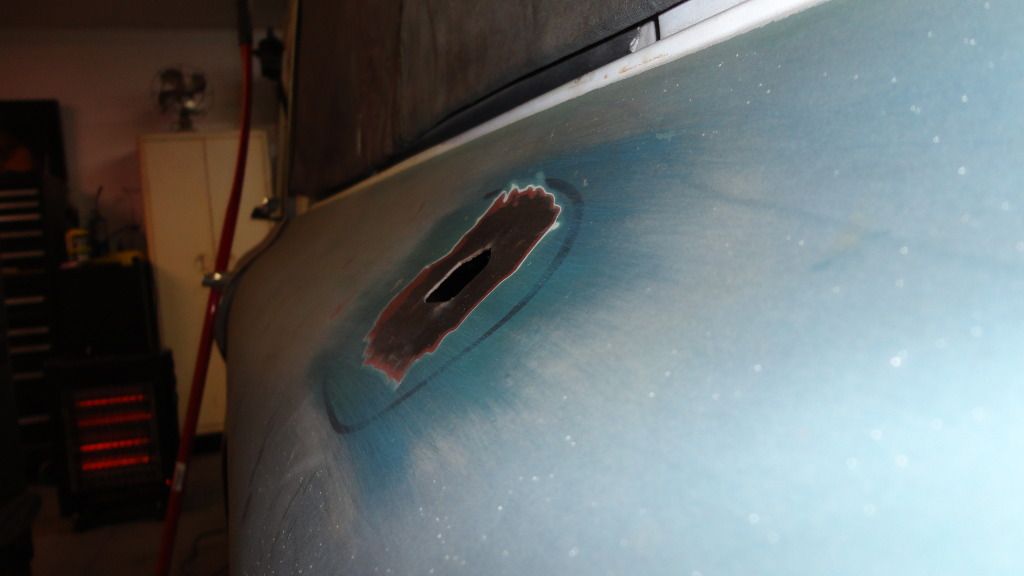
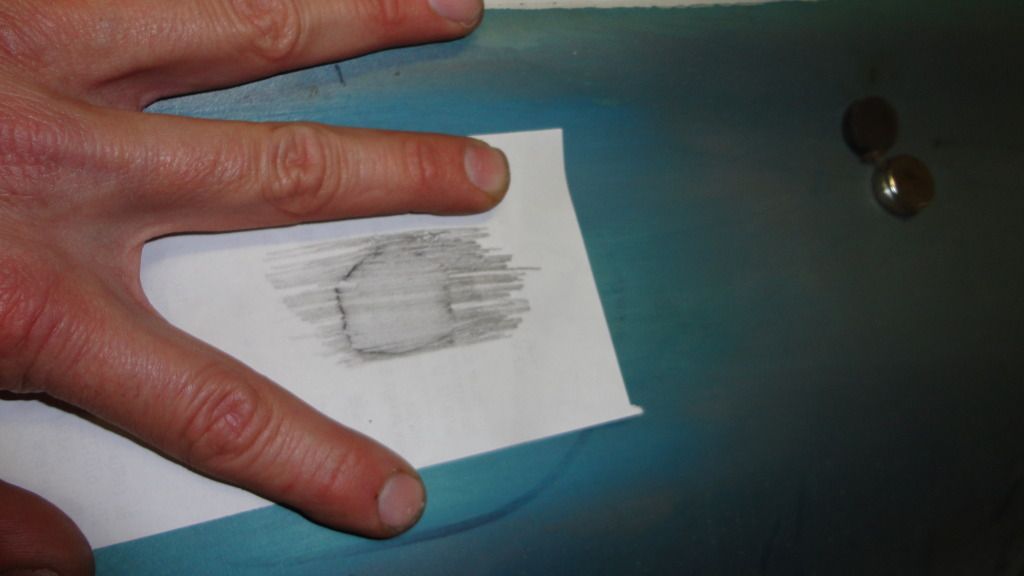
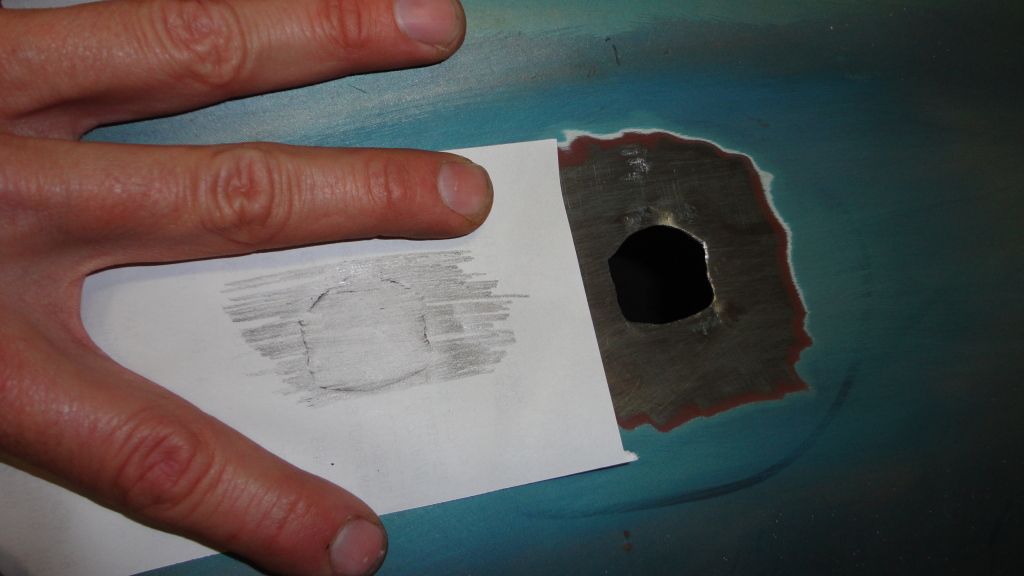
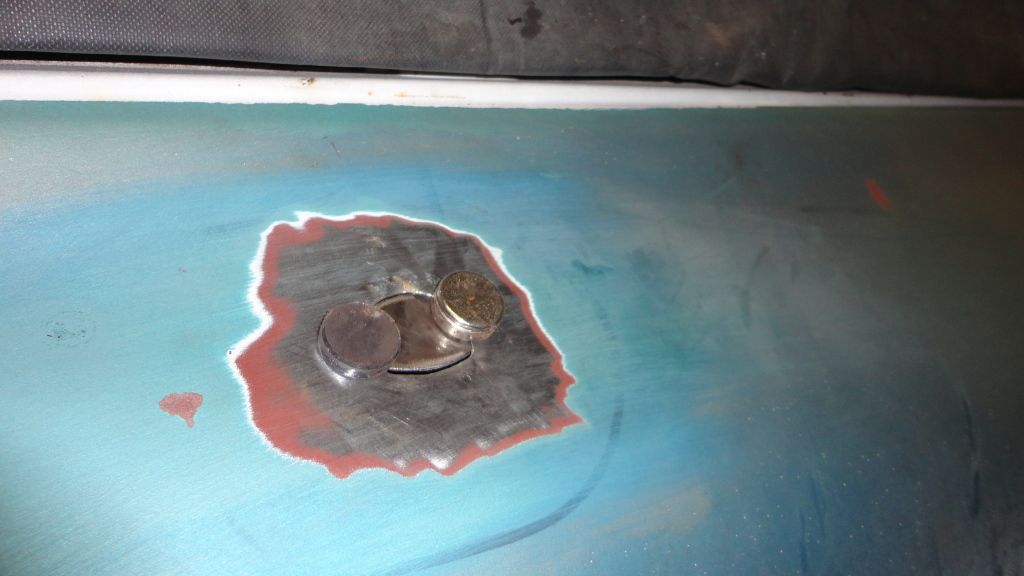
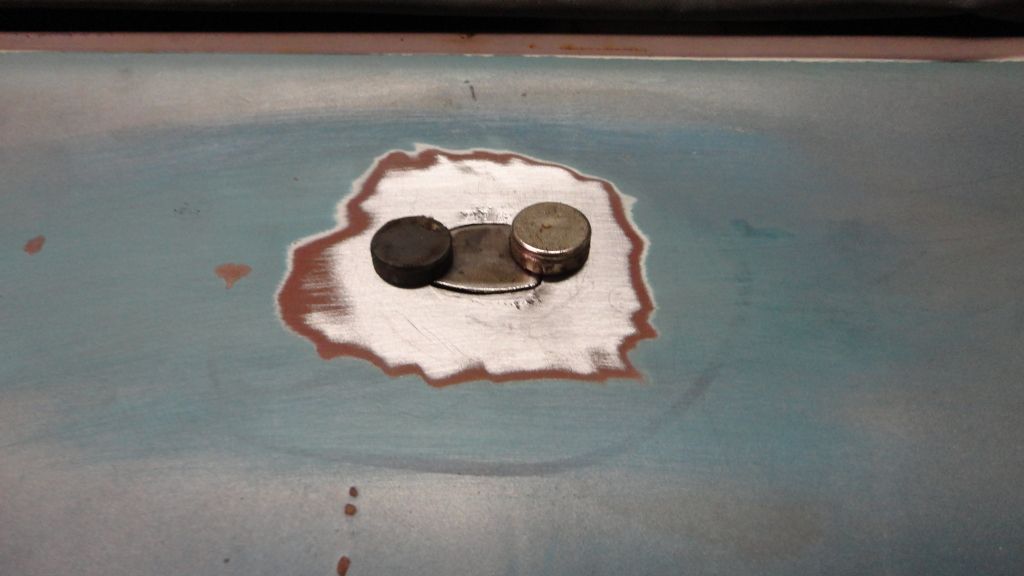
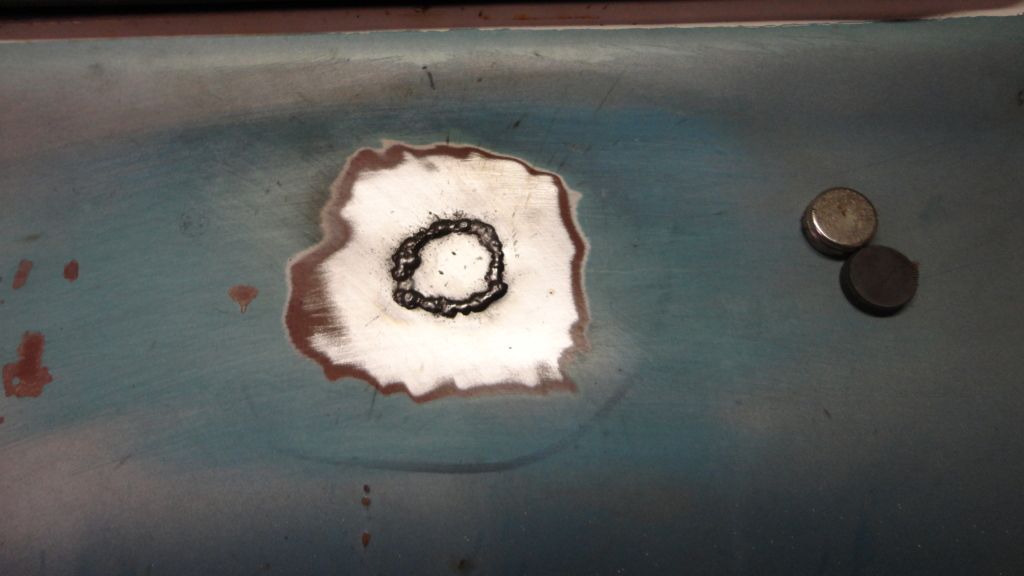
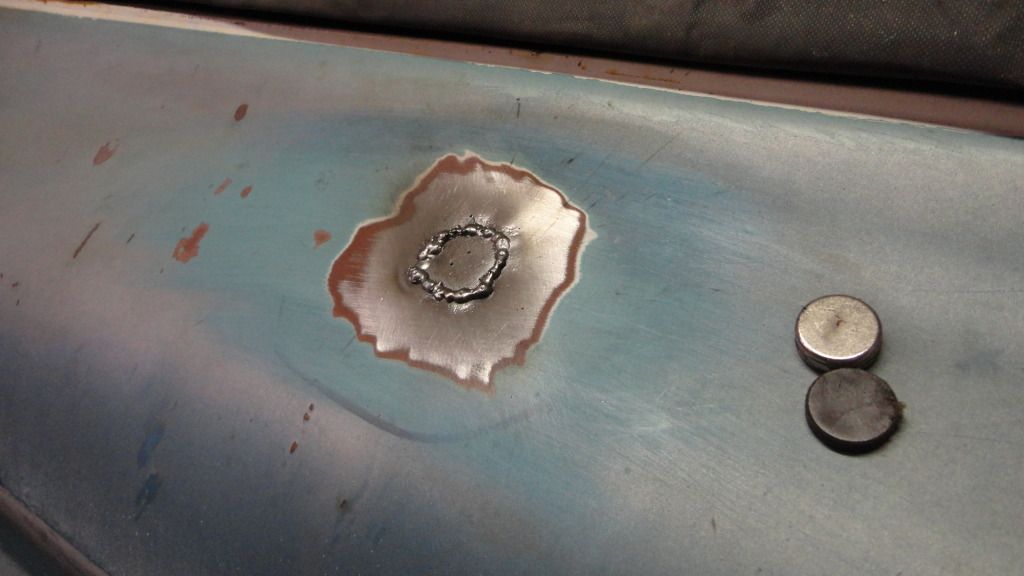
I did this before the stuff above.. This was an old antenna hole I believe that was left open forever I imagine...
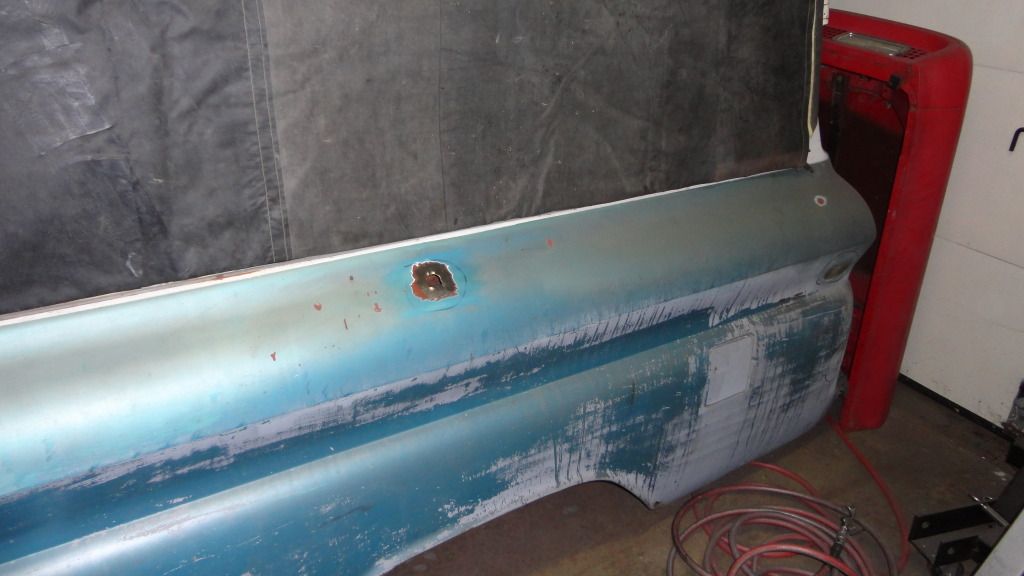 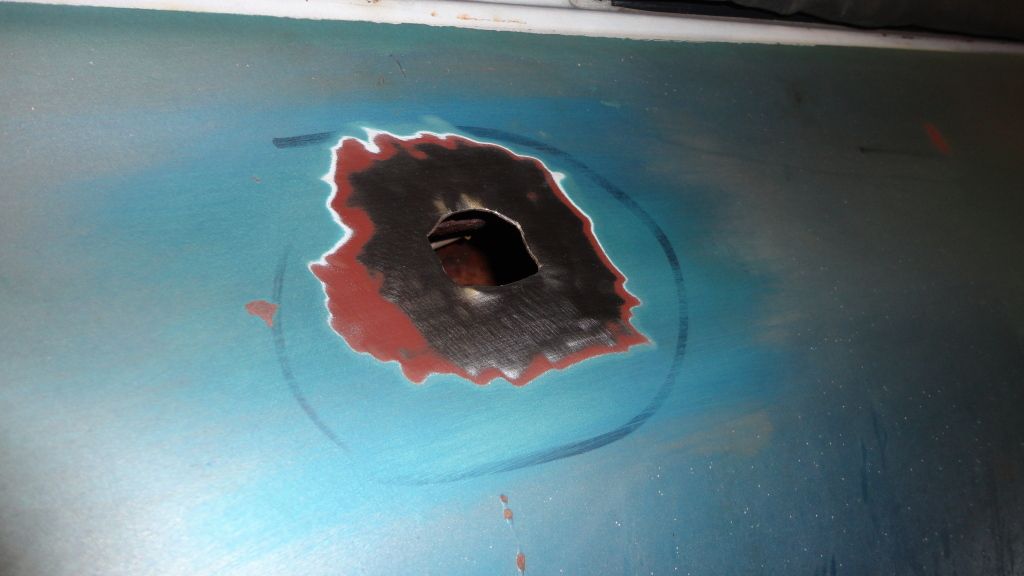        
|
|
|

|
|
|
#130 |
|
Registered User
 Join Date: Jan 2012
Location: Antioch, IL
Posts: 418
|
Re: 1965 Suburban Resto-Rebuild
Got some more stuff done today.. I ended up unloading the seats and remaining interior parts, windows and dash parts today... I feel much better having the whole body open to work with.. I will be looking for some help I think when it comes to rebuilding my side sliding windows. They look like they might be a pain in the @$$... There was only one spot of rust on the lower frame on the passenger side that I'll have to address.. Otherwise--I'll need to locate all new rubber for the windows as well as the slider felts.. Anyone have an extra "lift" portion for the slider locks?? I'm missing one of those on my windows..
I also decided that I will do all my cleaning up of dents and rust repair areas with lead.. I did quite a bit of reading over the past week and ended up making a purchase from TP Tools of some lead, maple paddles, and other consumables.. I'm looking forward to getting to working with the lead.. So--here is where it's at today.. I'm still wondering about maybe going seatless in the back and putting down a nice wooden floor like in the truck beds... hmmmm.. I started restoring the steering wheel yesterday using the PC-7 epoxy.. I really liked the stuff I used on my VW wheel better as it was easier to mix and work with.. 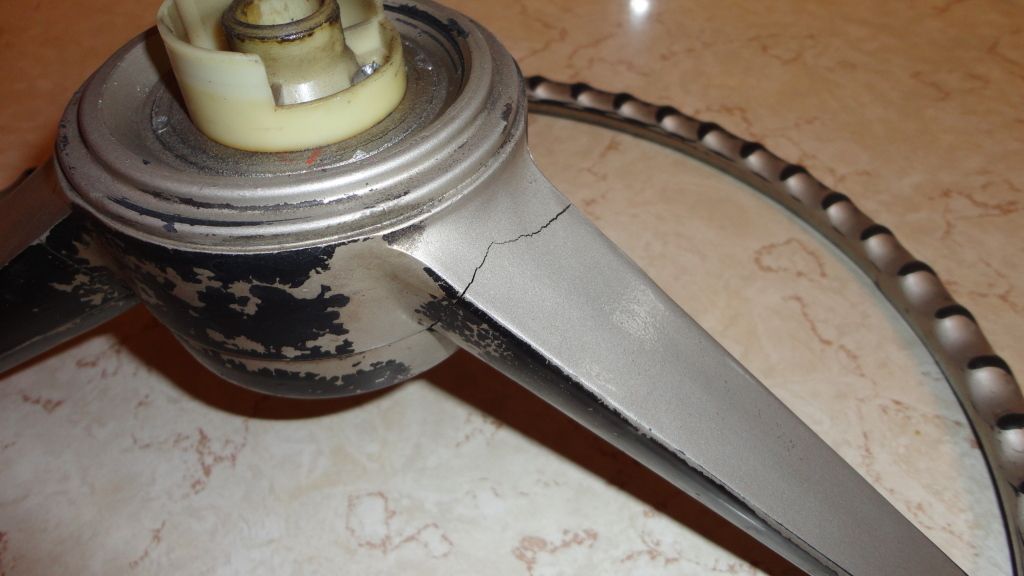 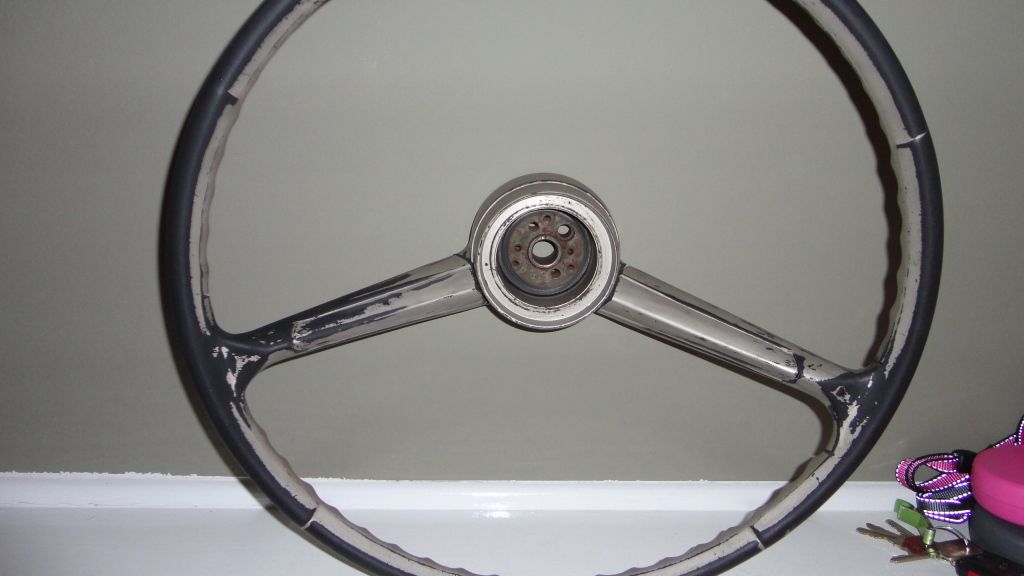 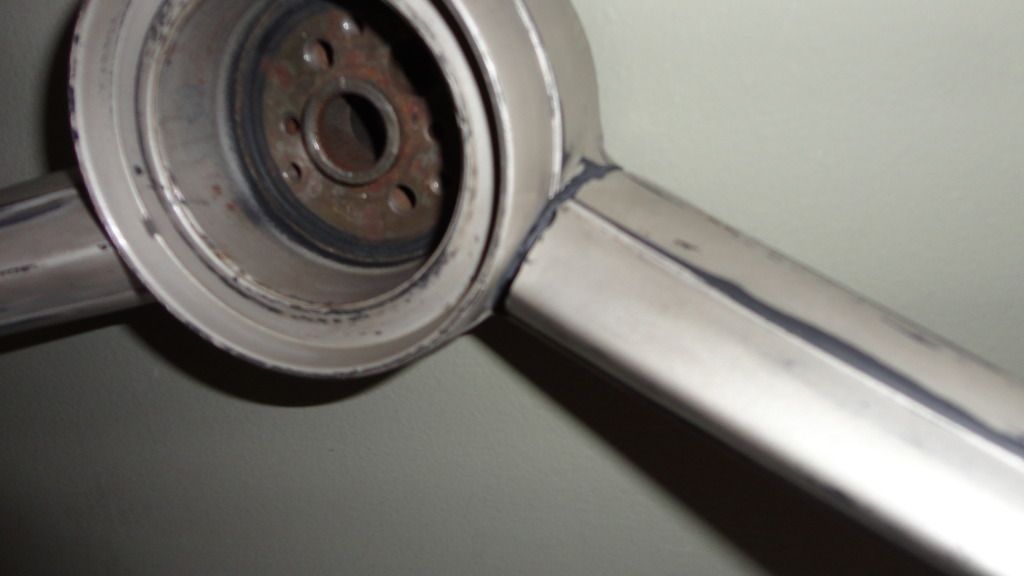 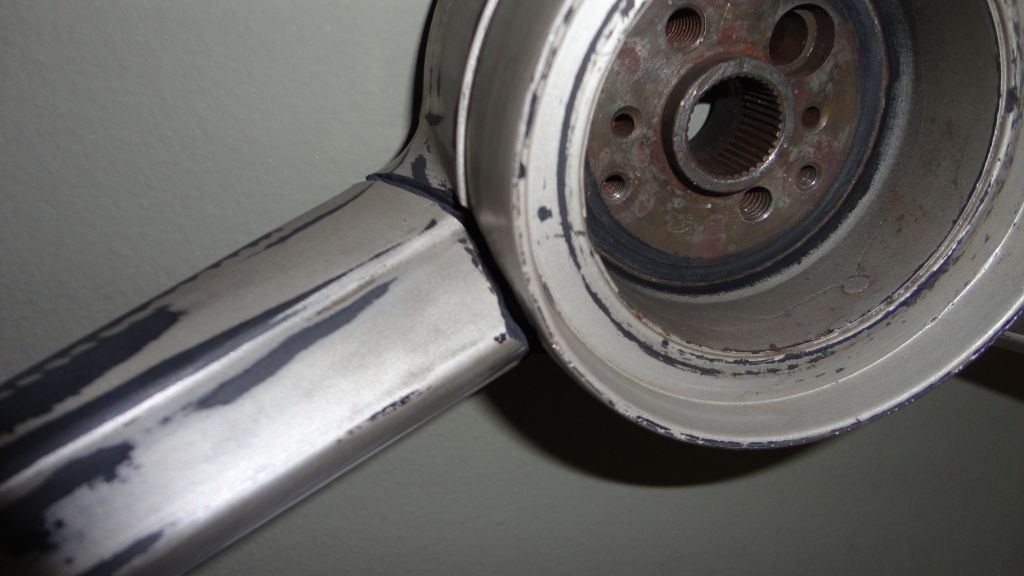 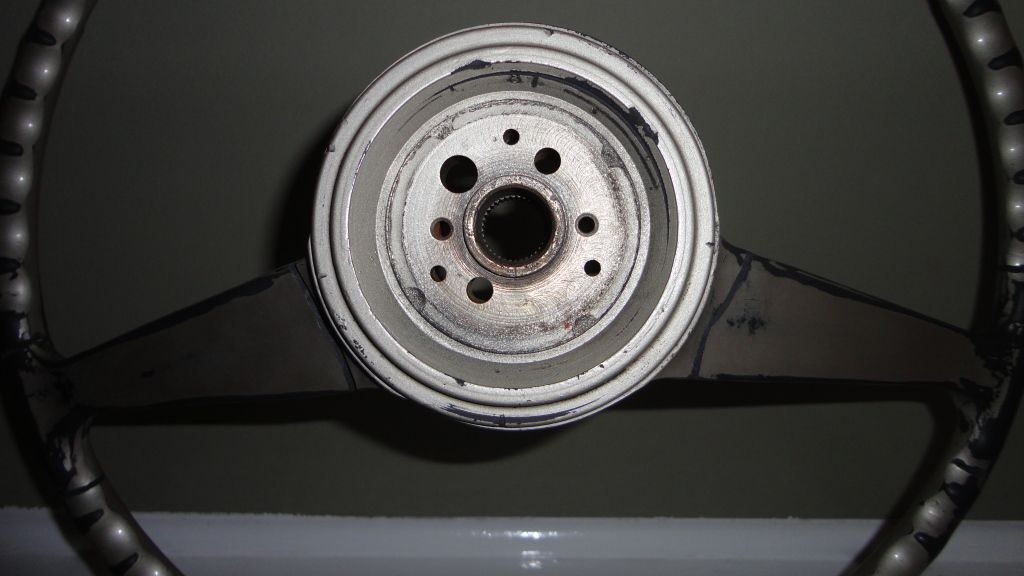 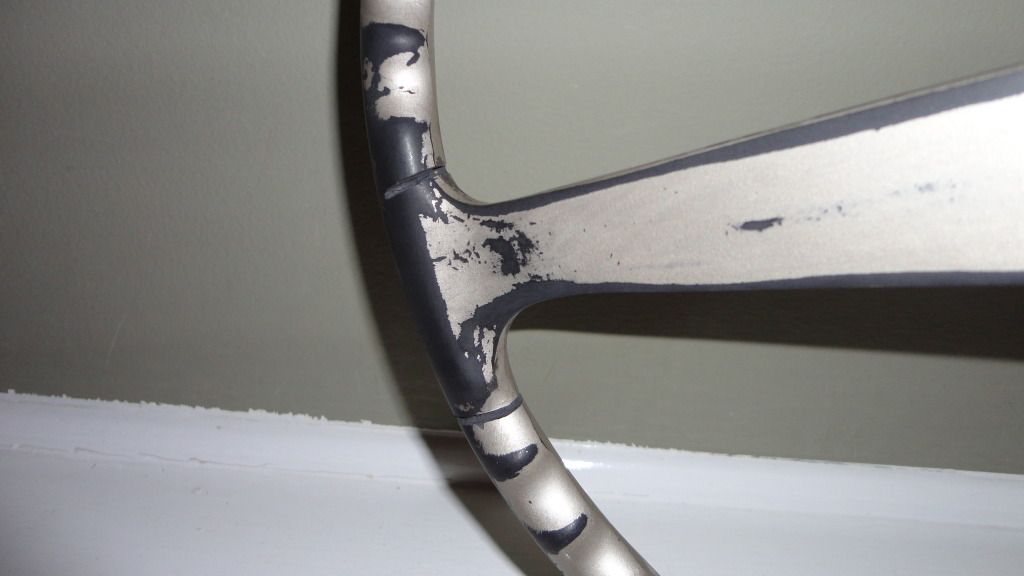 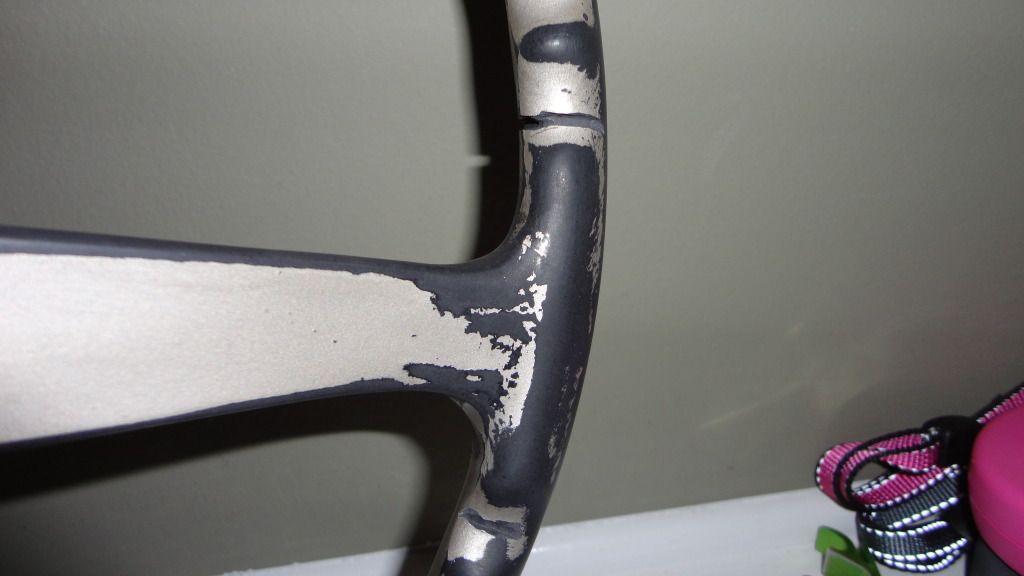 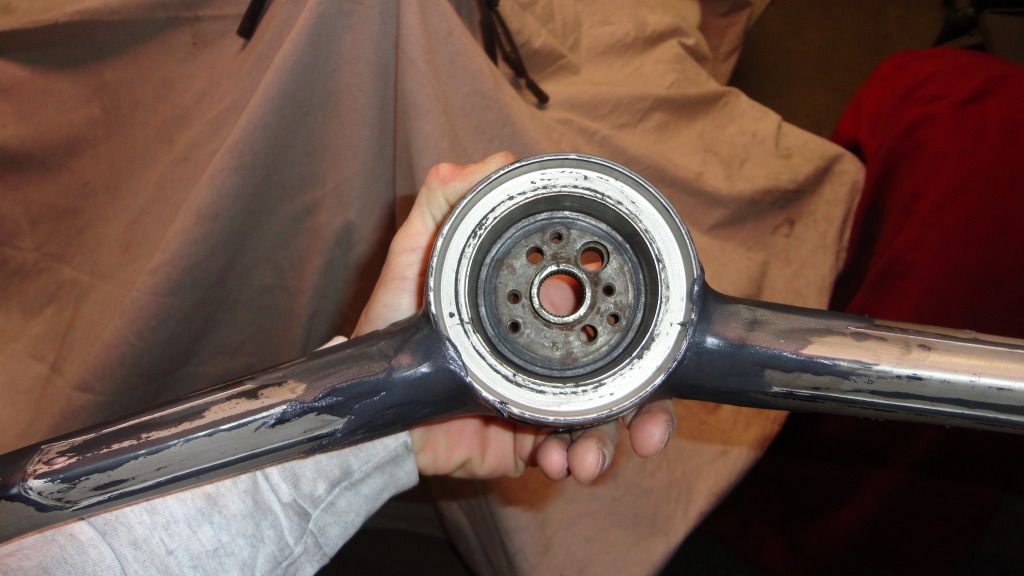 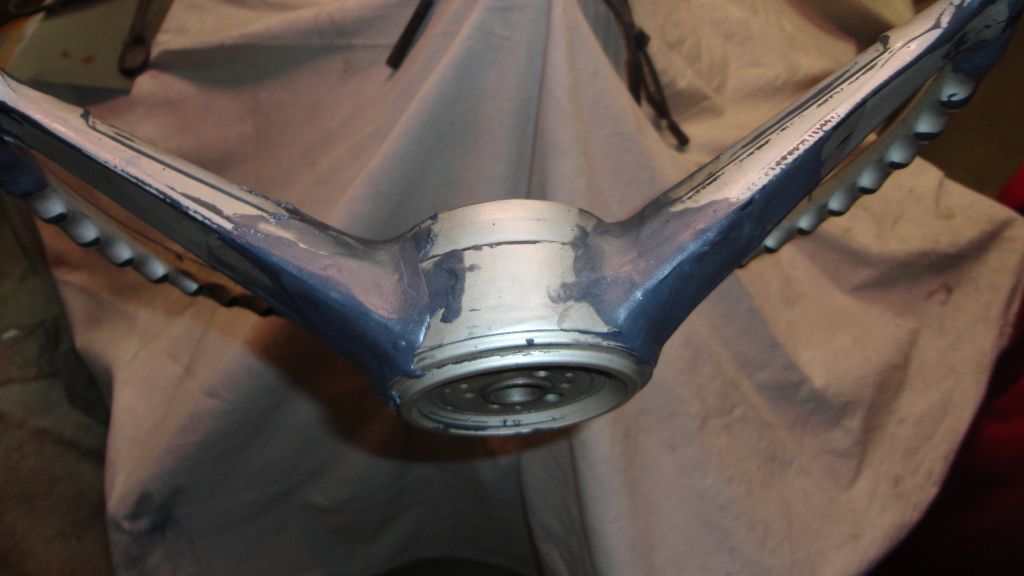 Looking at the front seat removed from my sub--I see these steel plates secured between the slider and seat frame.. I'm assuming these were added on for some extra or lesser distance for the driver. The spring and cable is missing for the slider to function on the right side obviously.. The other driver seat that I have is intact though so it may get used instead.. 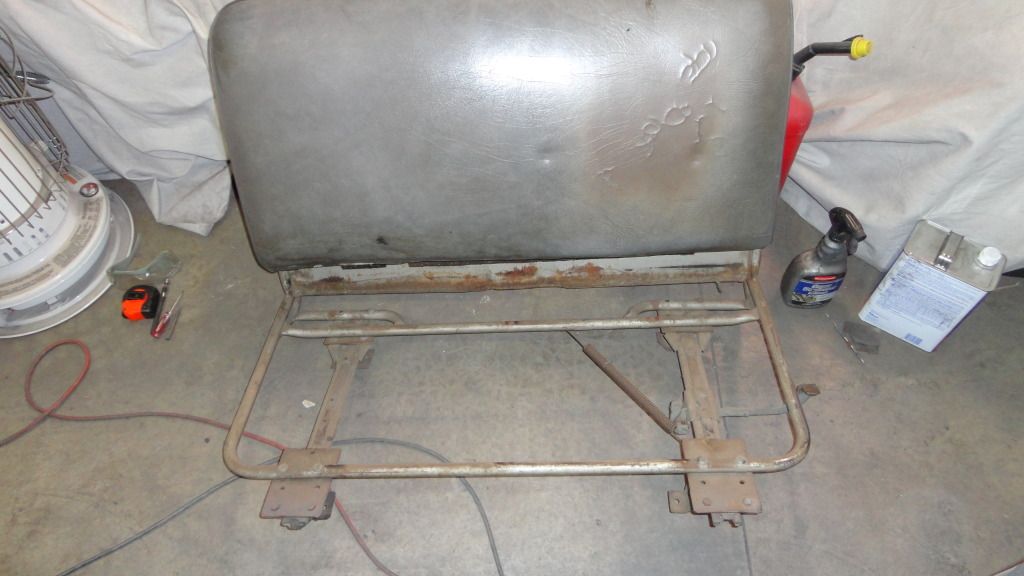 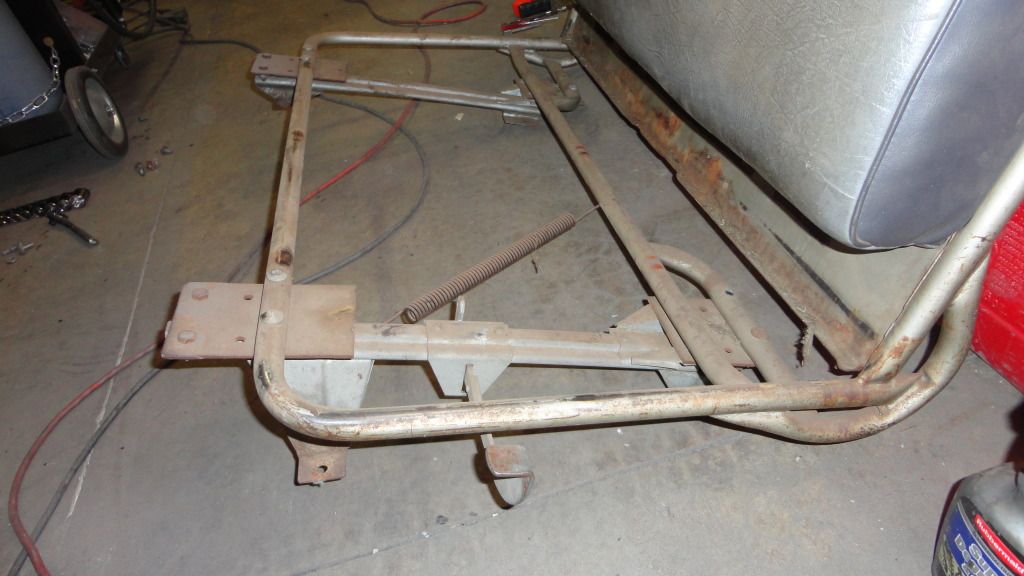 Can someone show me a picture of what the jump seat is SUPPOSED to look like WITHOUT the steel pipe welded to it? 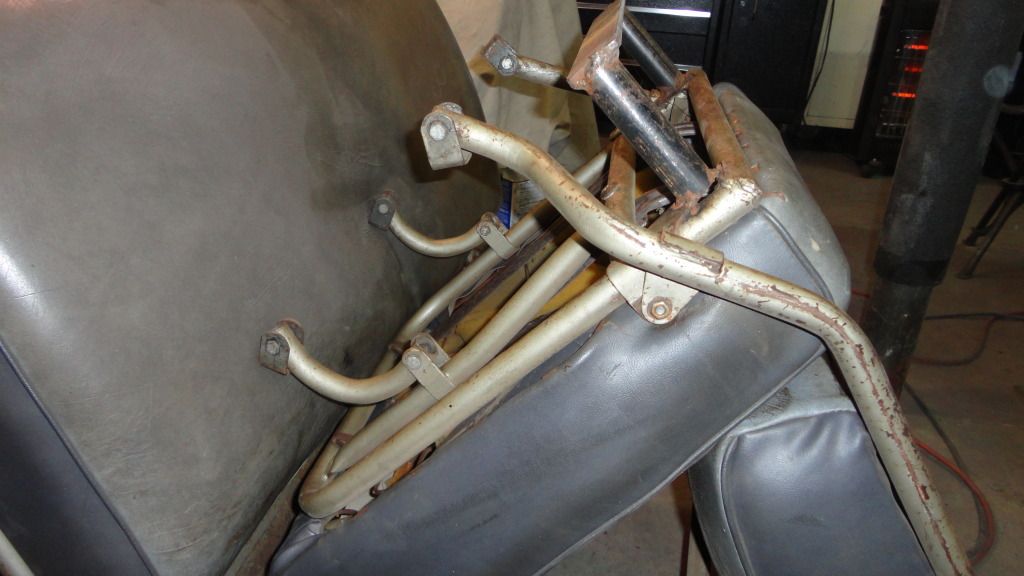 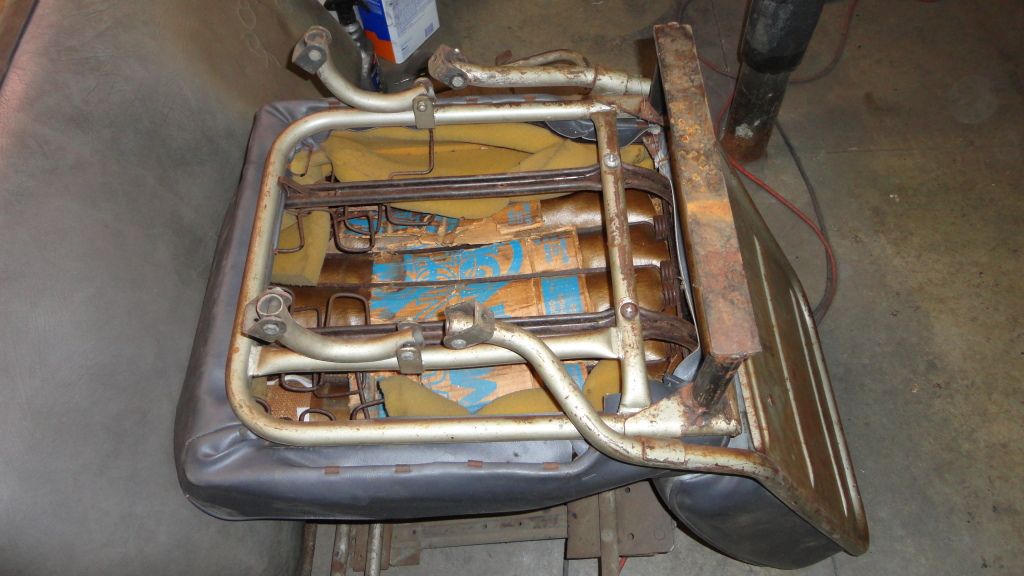 and as other random thoughts go--I'm thinking that I'll be leaning towards a silver color for the interior instead of the original fawn coloring... Just more "universal" I feel... And--the original color hides under my license plate on the rear barn door. Looks like at one time when the truck was sprayed half-assedly, they painted over the license plate.. 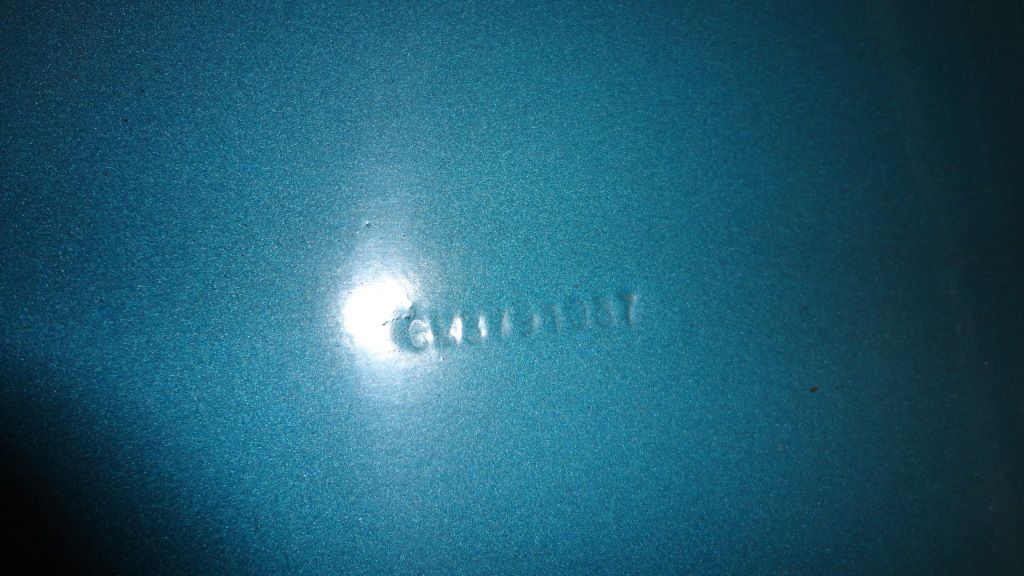 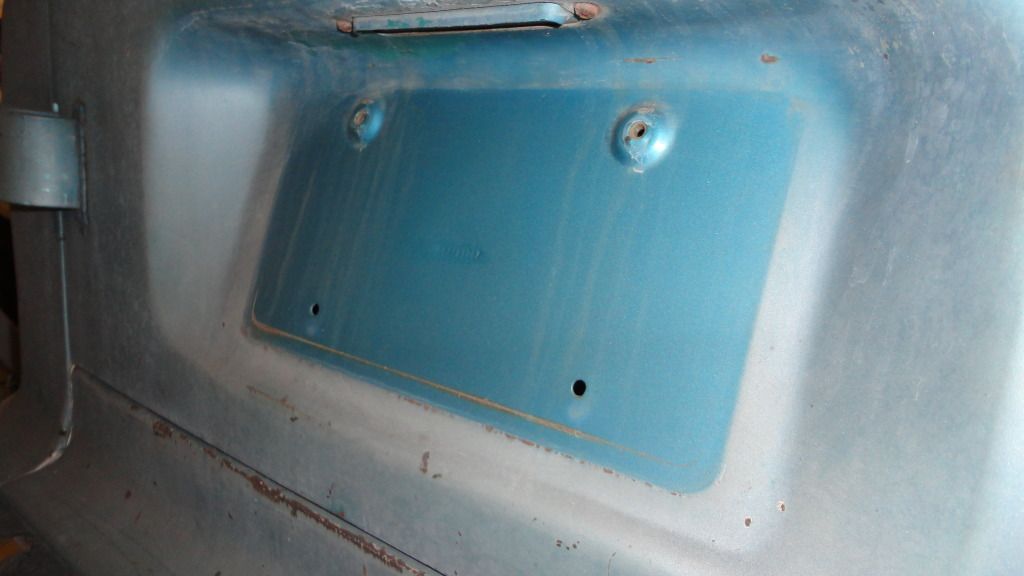 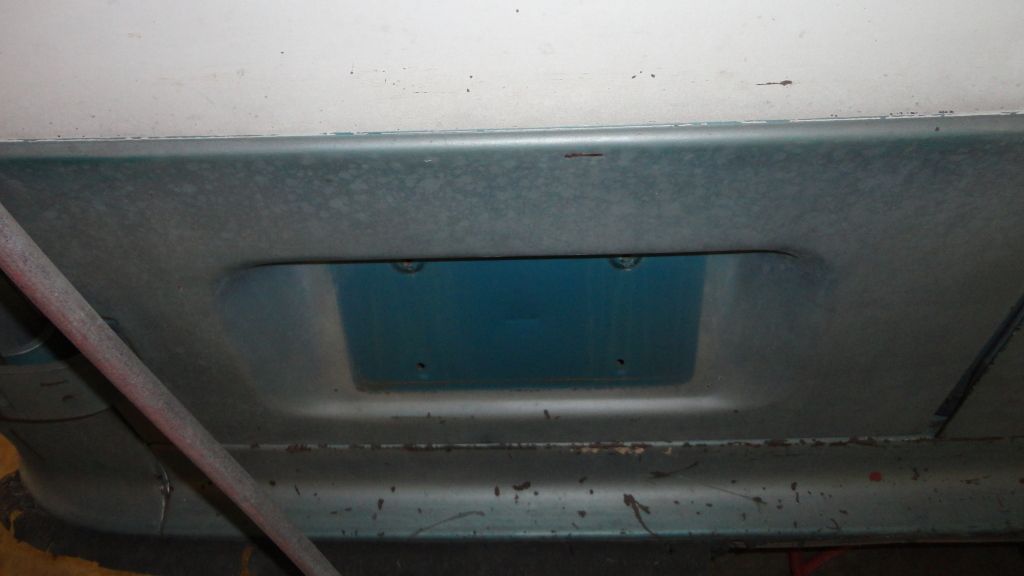 Here's some of the dash parts, heater ducting, and controls.. Also the wire loom for under the dash. I think I'll be able to re-use it with some minor wire repair/replacements. Does anyone have an heater control unit that they would like to donate? I need the single lever arm to replace the left "driver" side lever which is broken.. 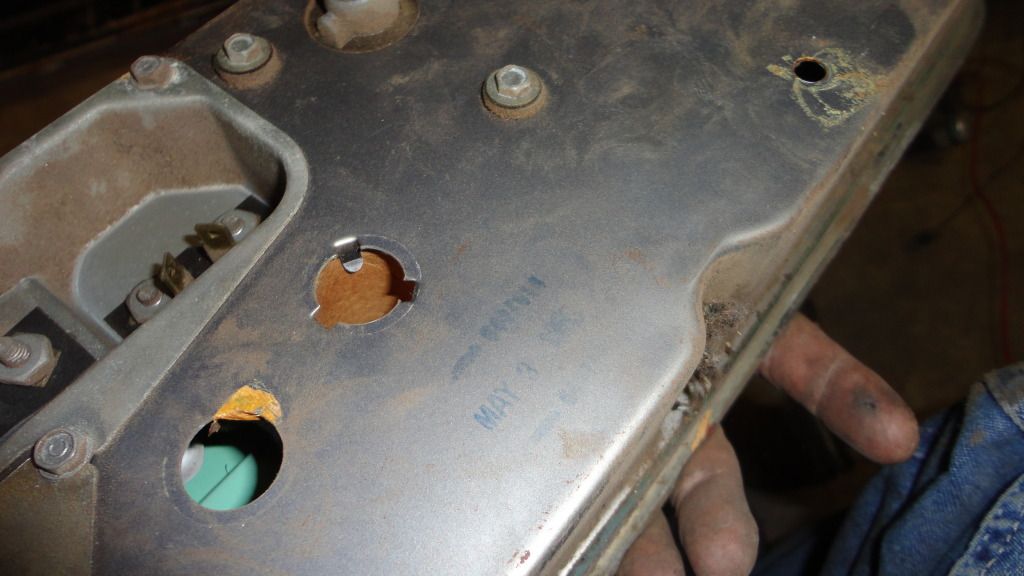 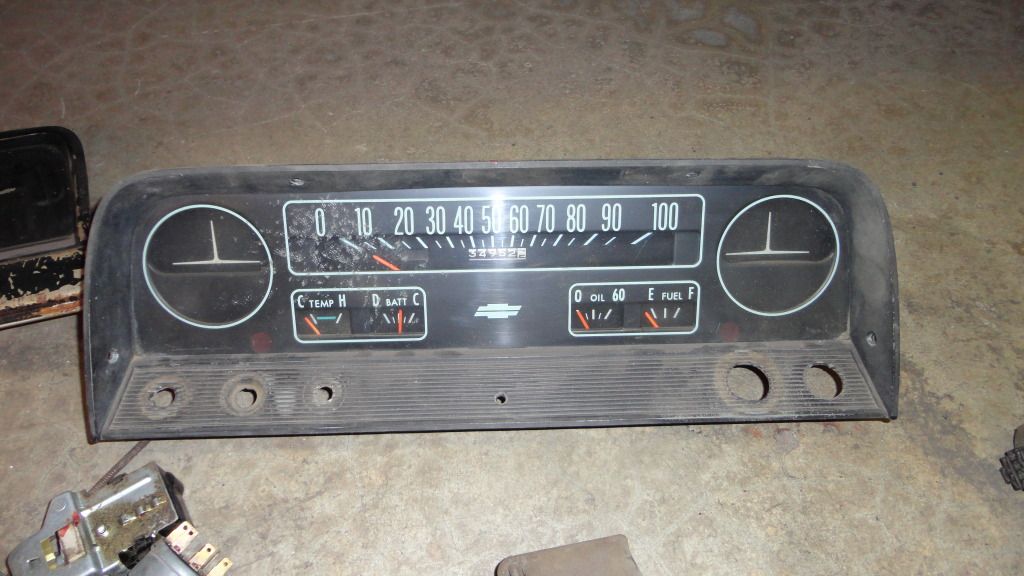 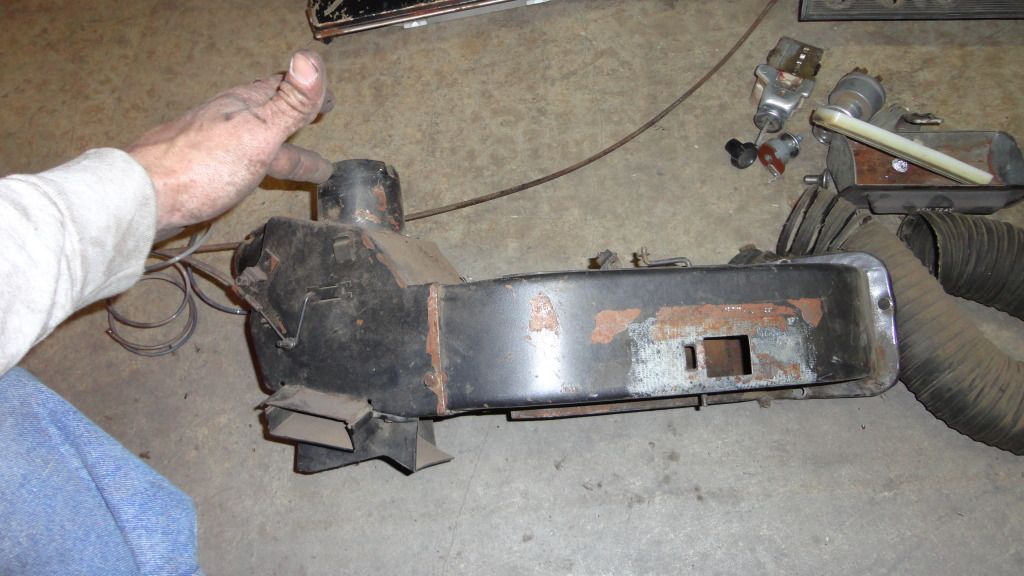 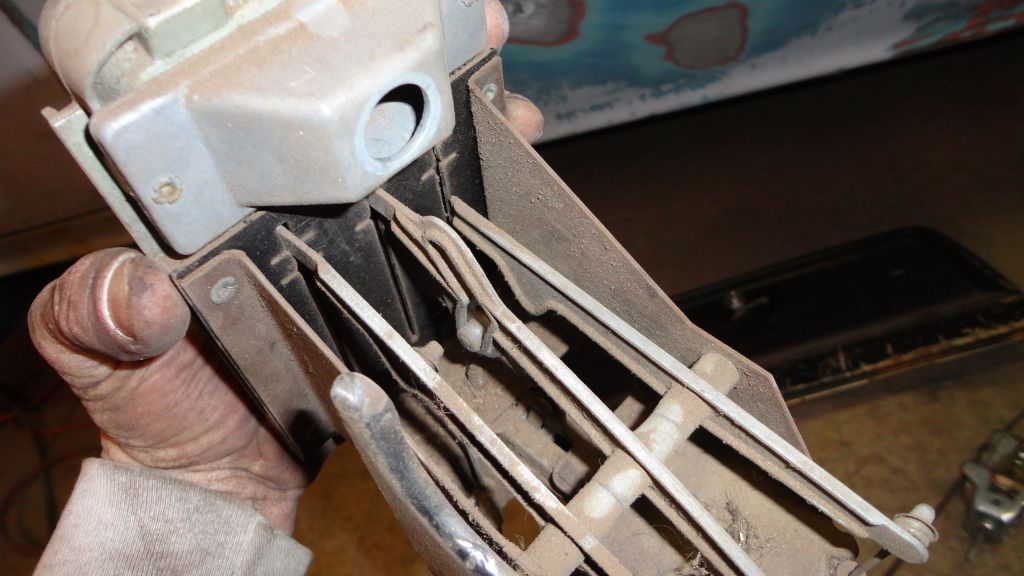 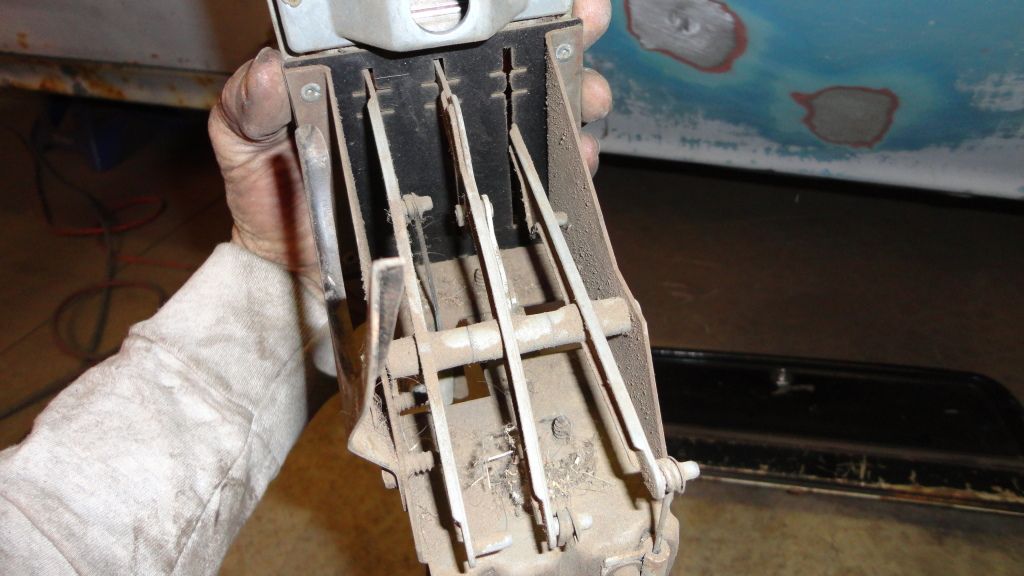 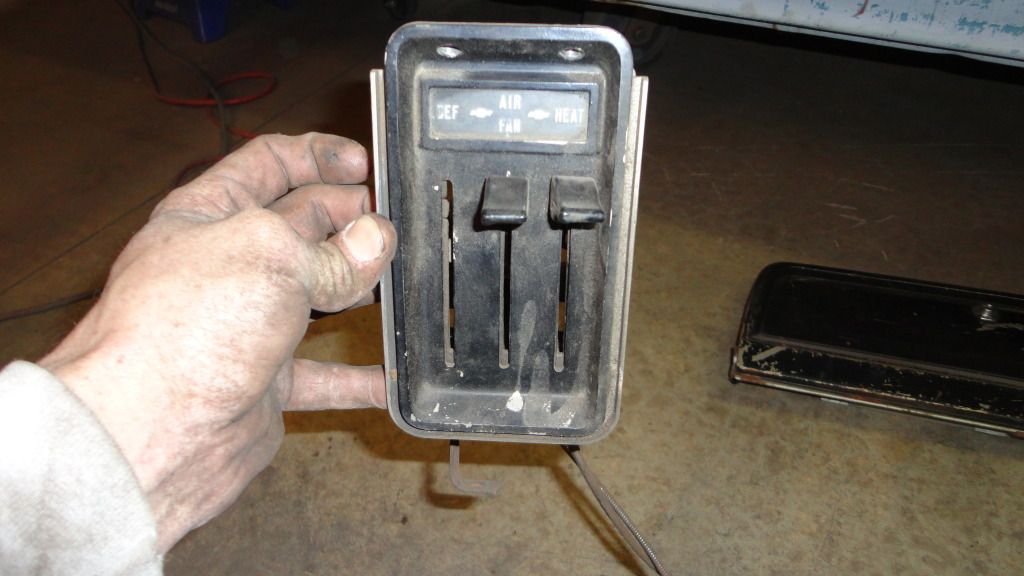 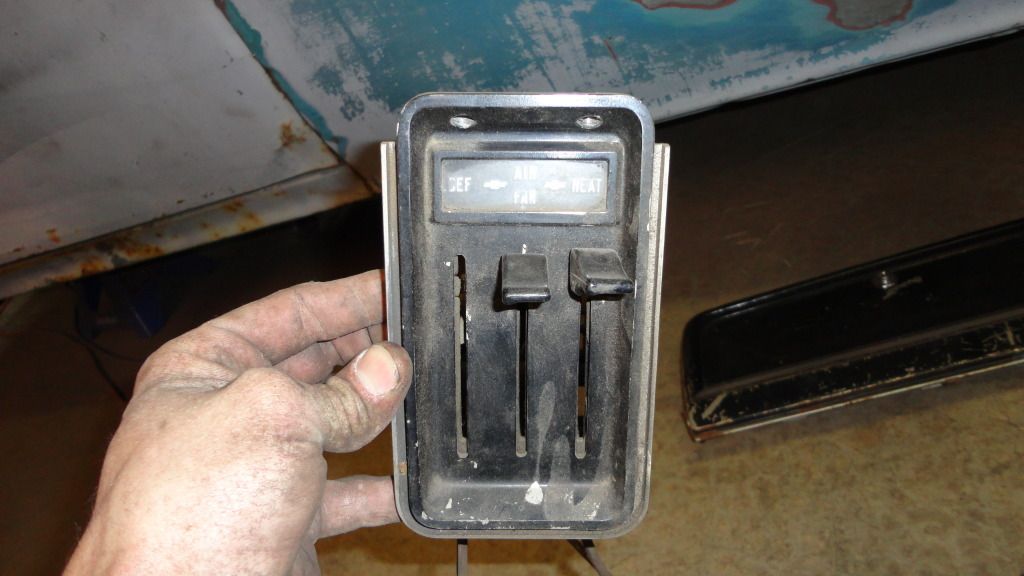 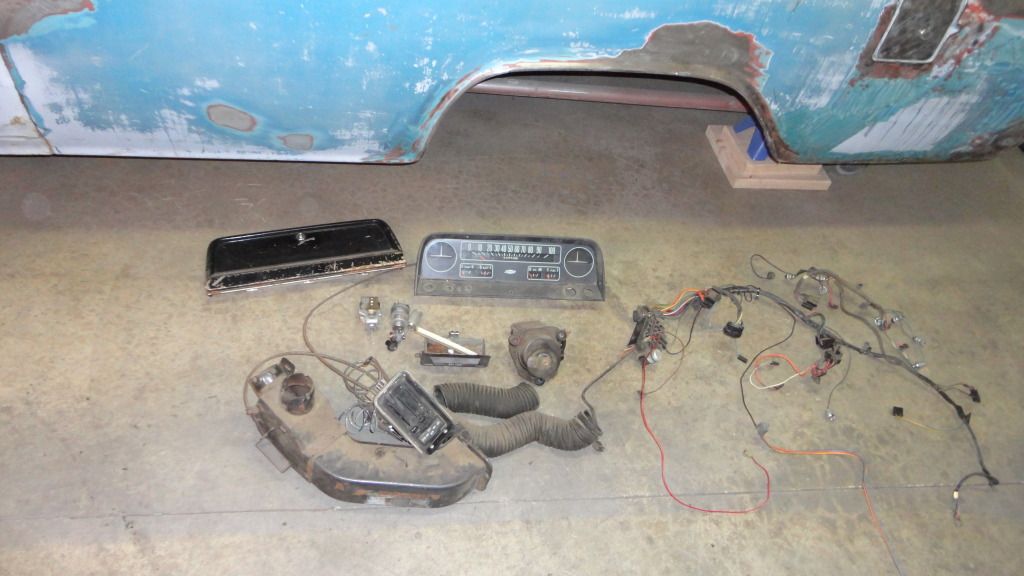 The following photos are boring--but are more or less 'reference' photos for me when I put the windows back together. Thankfully window channels are in fair shape with no rust. Hell I even got paid like $0.11 today for my efforts.. 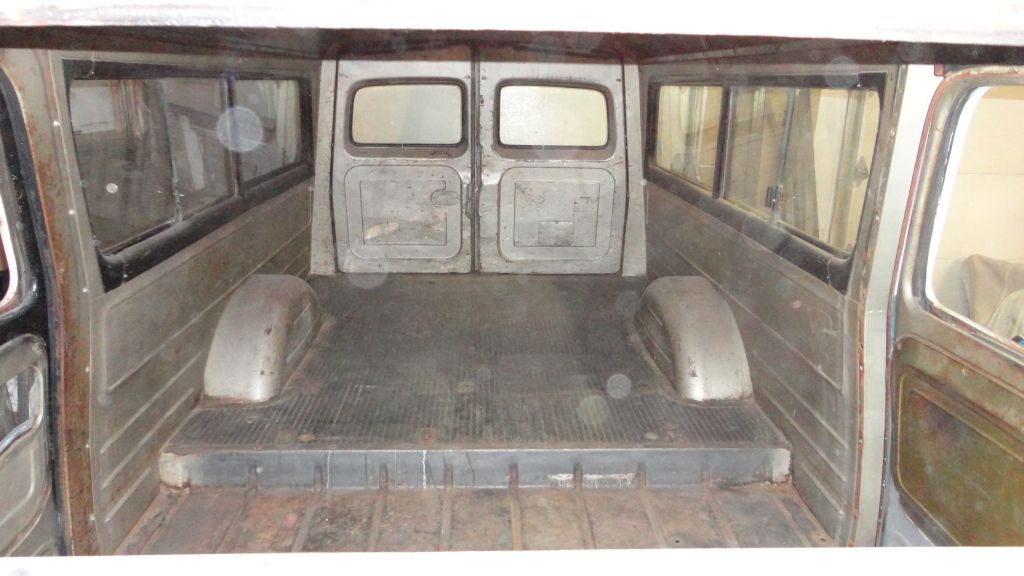 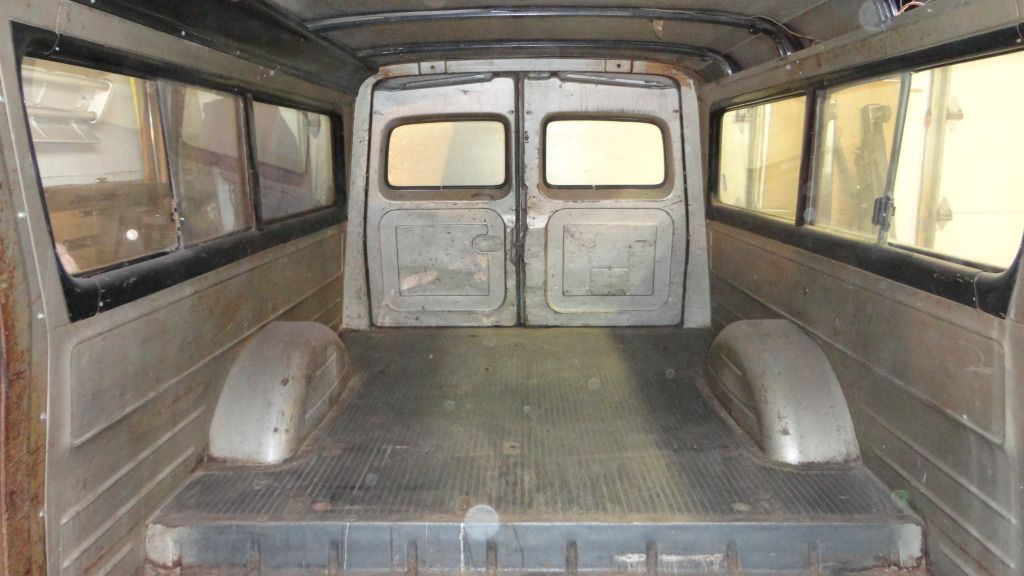 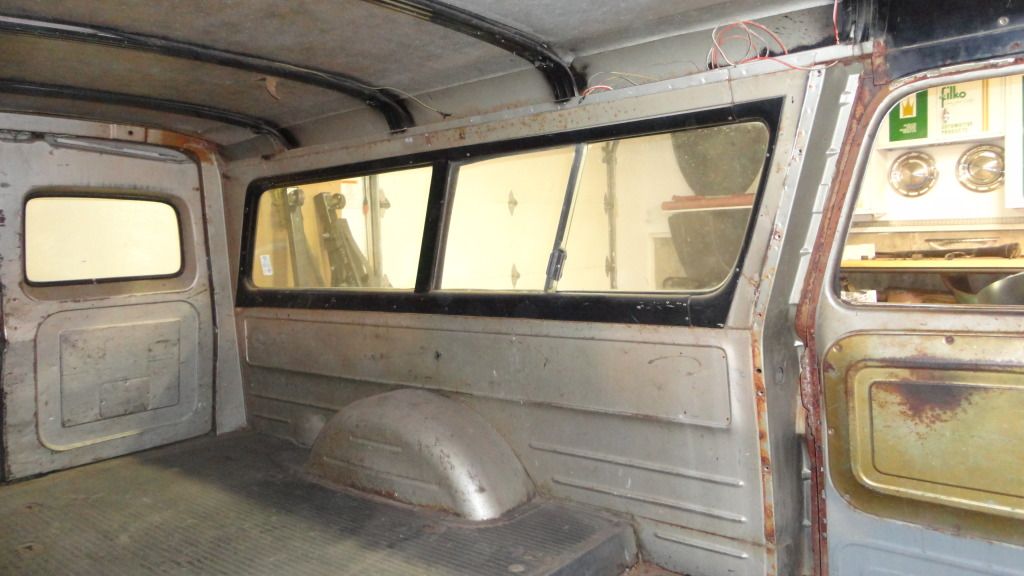 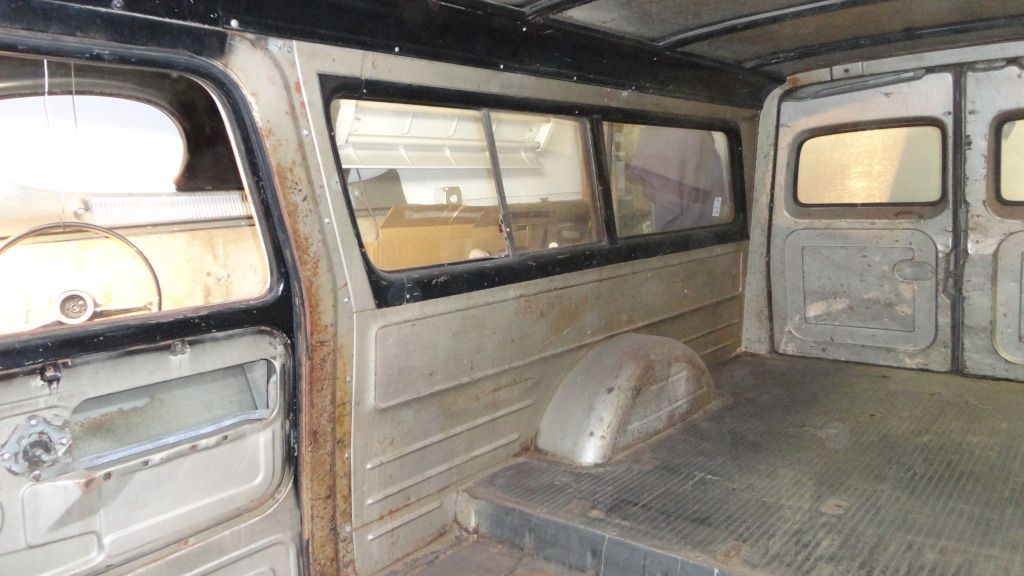 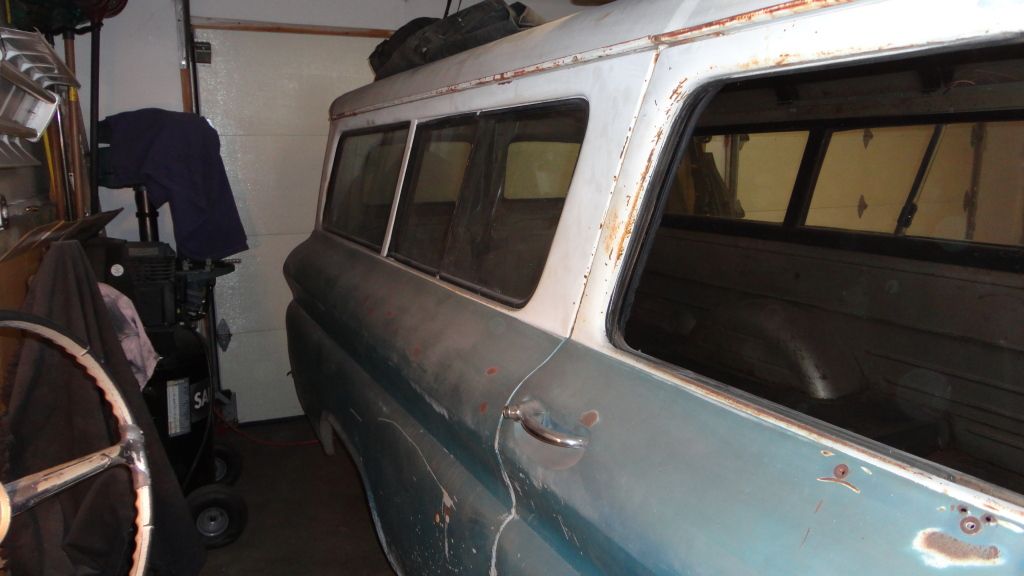 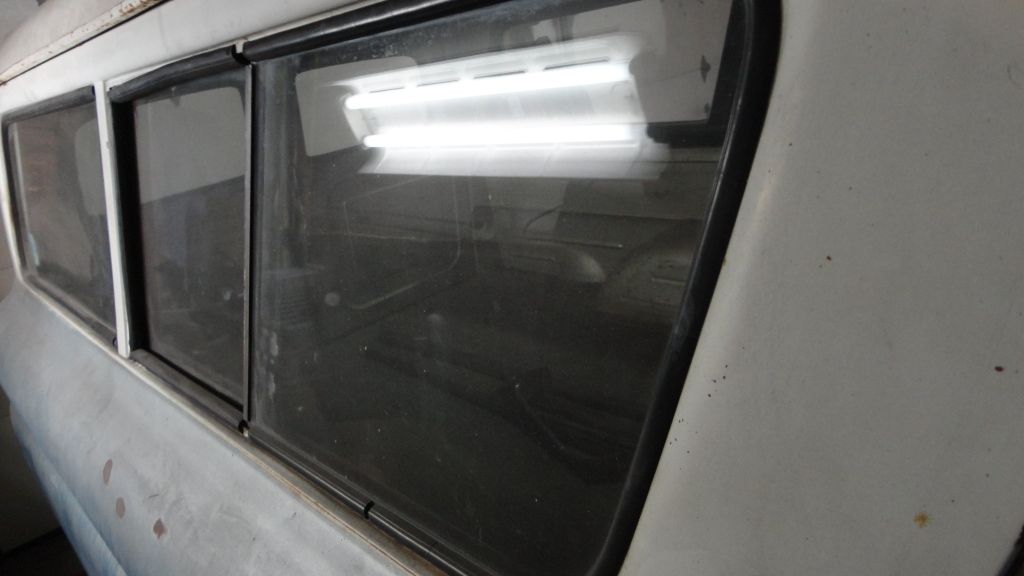 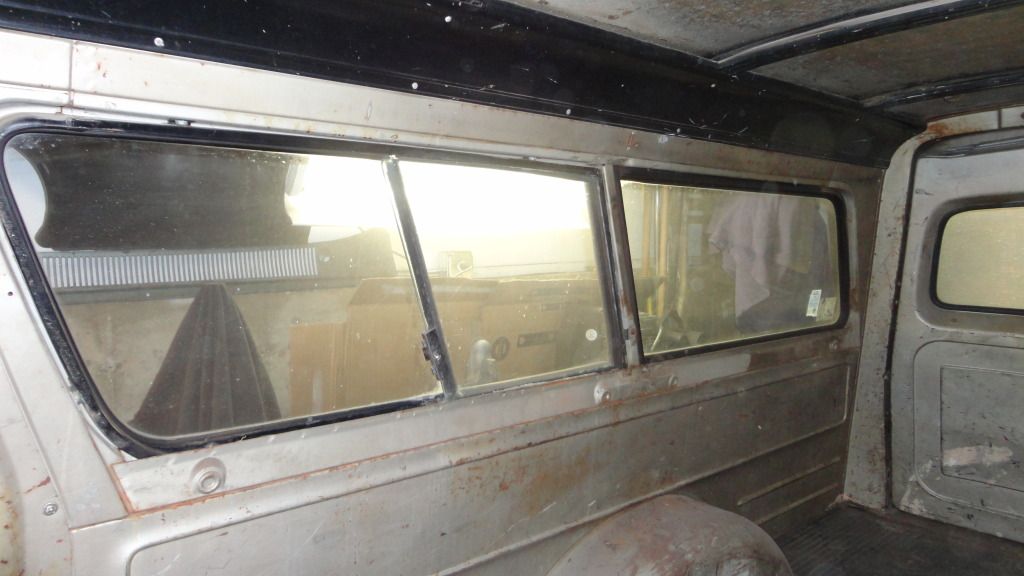 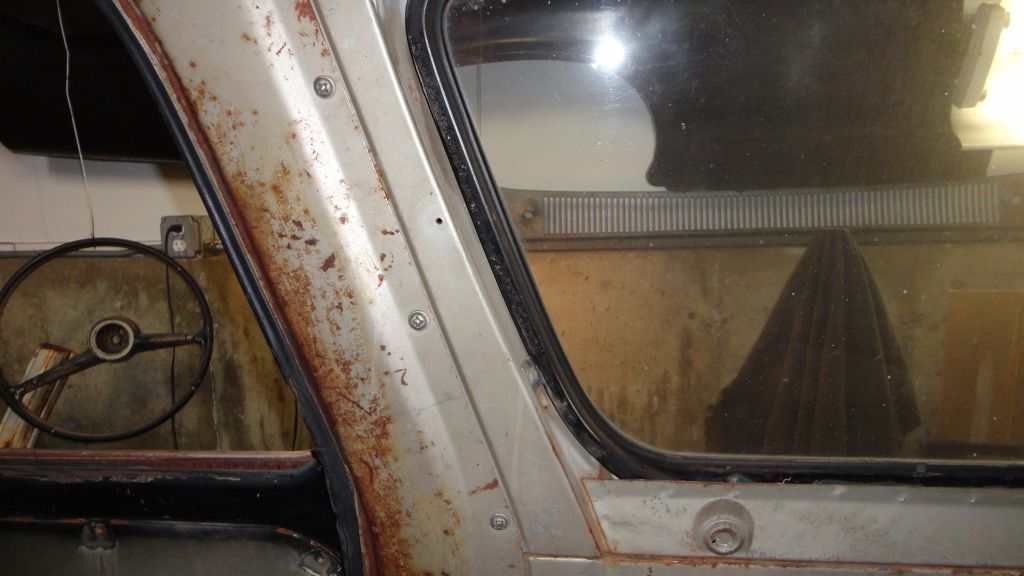 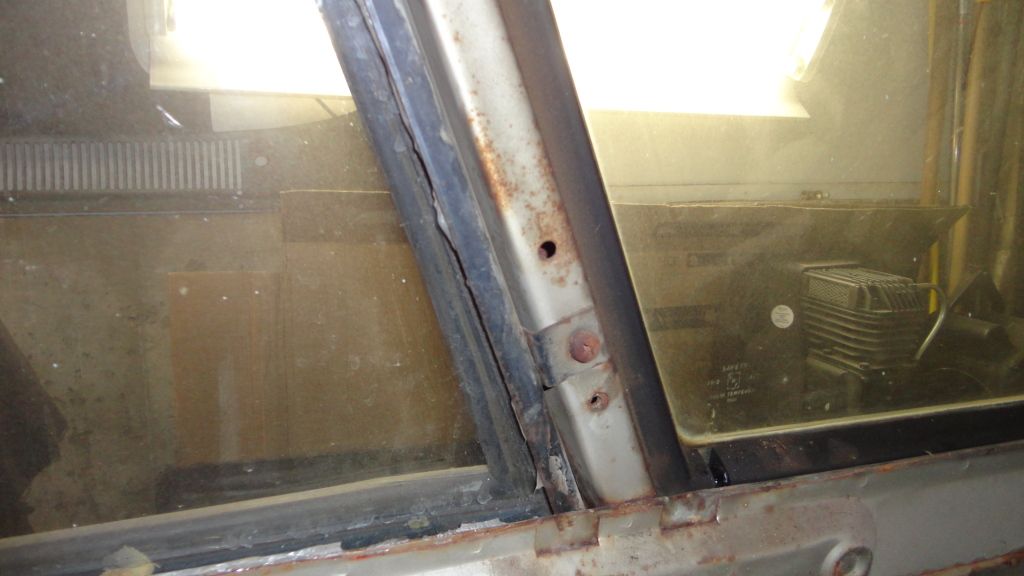 Here are the windows out.. I used some steel wool and glass cleaner and have the side and rear fixed glass looking nice and crystal clear again.. 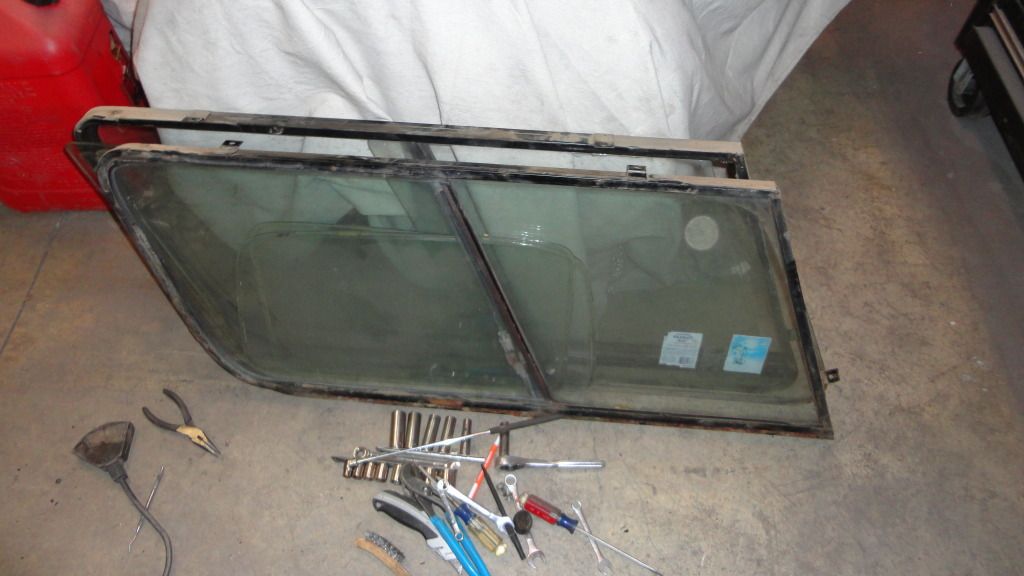 Here's some rust-reference photos before I get to chopping out the rockers and outer floorboards.. Also, note the custom access hole for the seat belt mount on the passenger side! 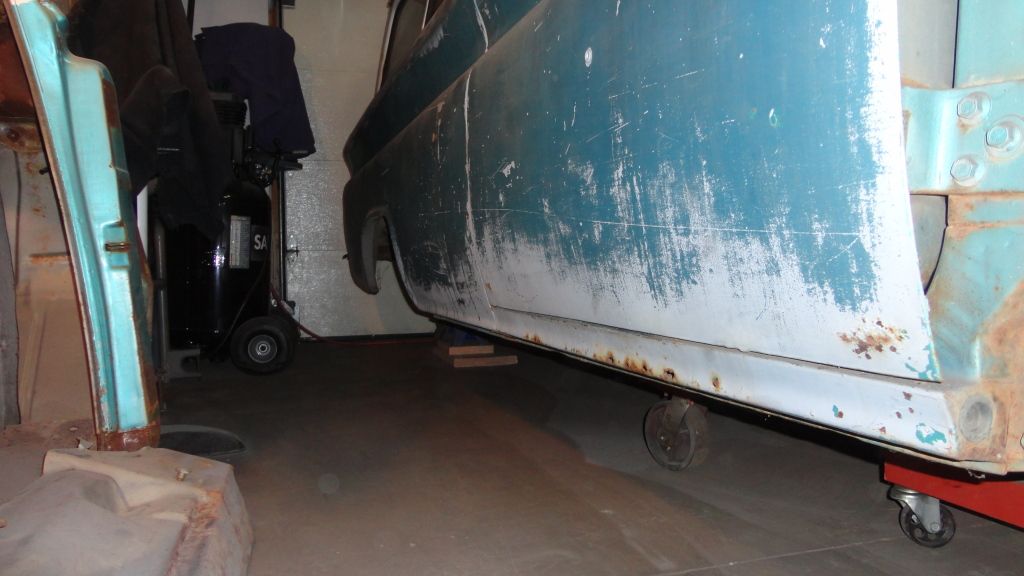 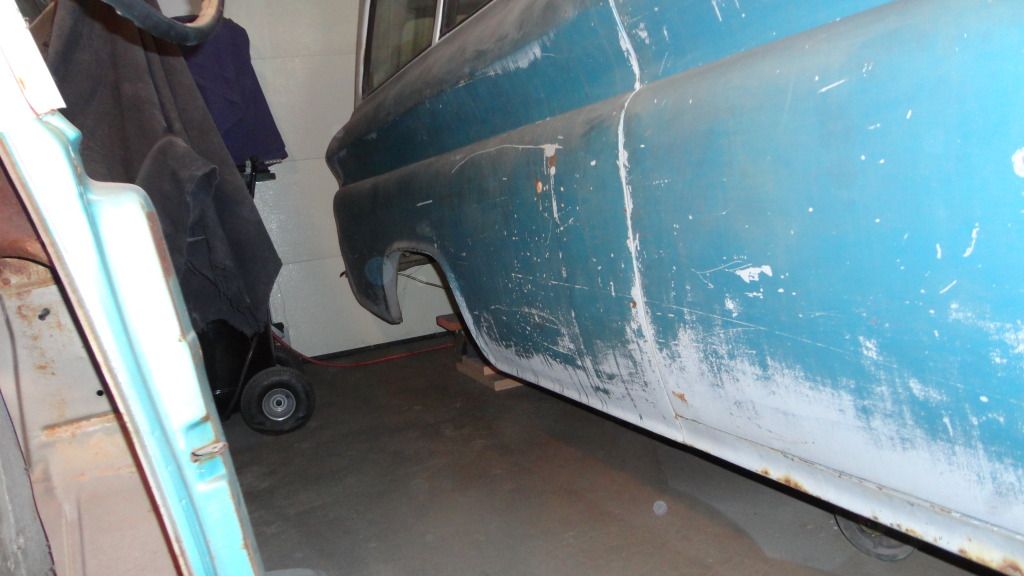 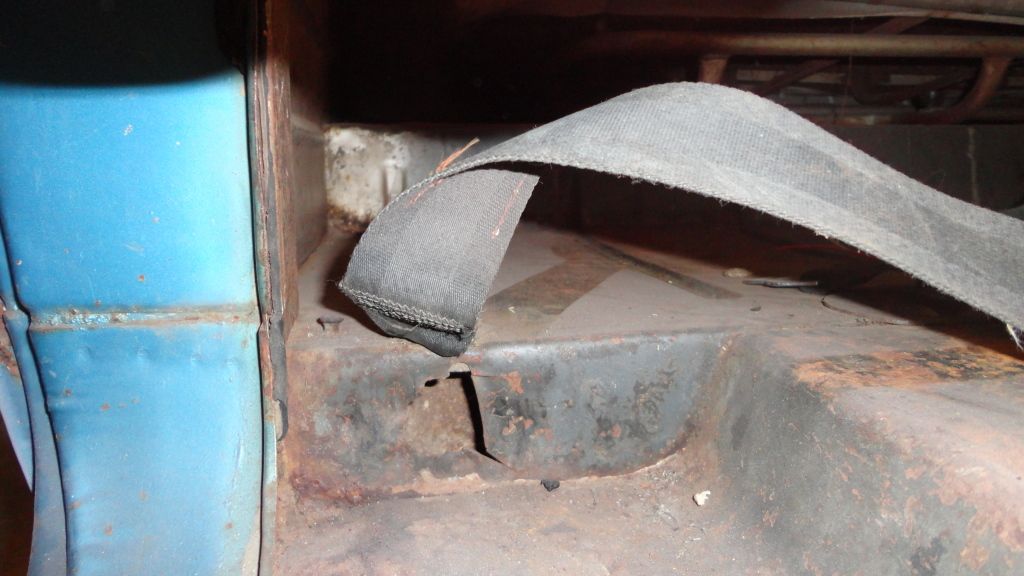 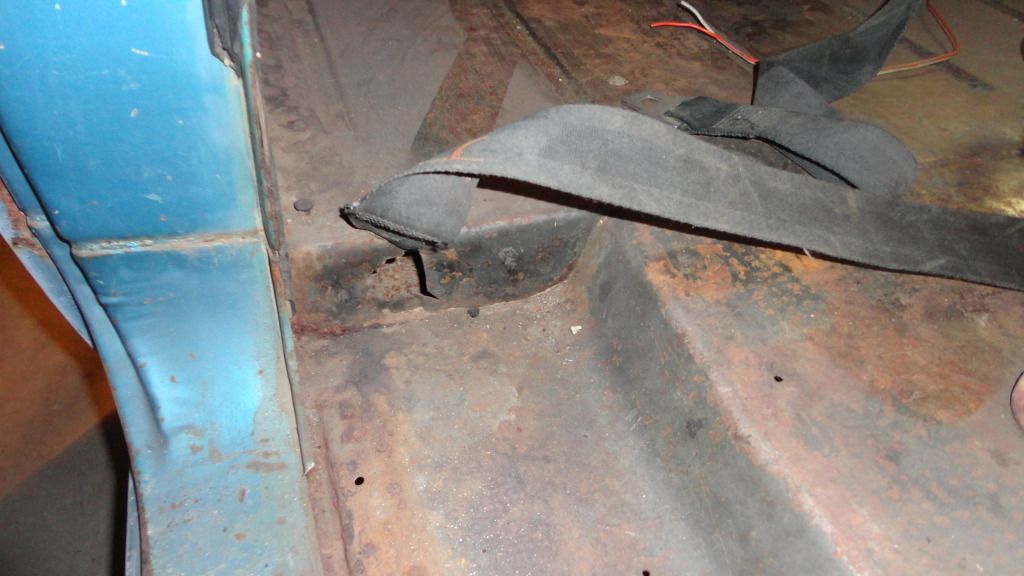 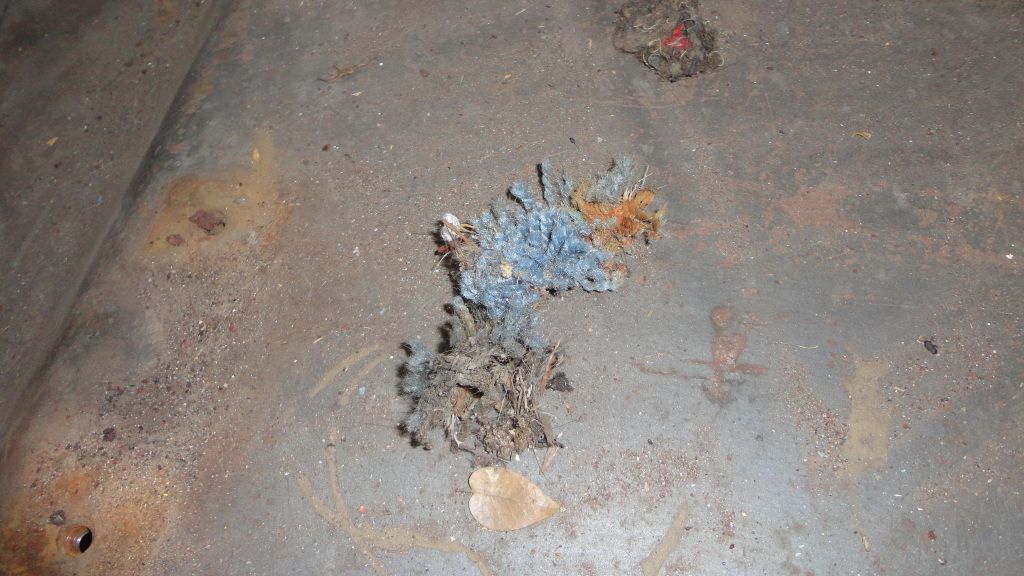 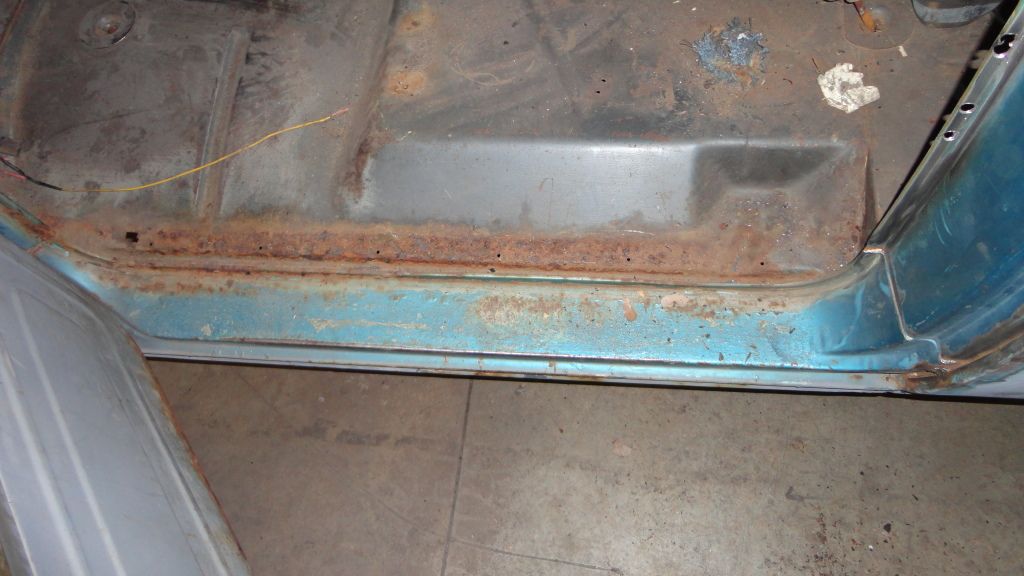 Here's how it sits today.. 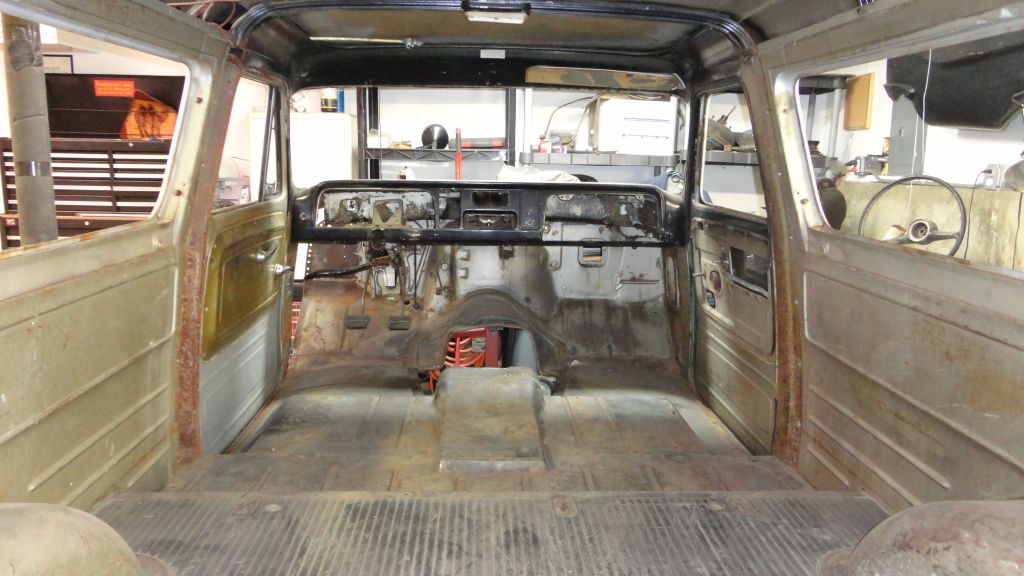
Last edited by hemifalcon; 01-05-2013 at 12:56 AM. |
|
|

|
|
|
#131 |
|
Registered User
 Join Date: Jan 2012
Location: Antioch, IL
Posts: 418
|
Re: 1965 Suburban Resto-Rebuild
Well--Here's where we are at today.. I got the driver's rear quarter "solid" once again.. I had one shortbed rear quarter patch from Classic Chevy Truck parts and made up a couple separate pieces to get the quarter back in shape..
I also started practicing with the lead as I finally got some files from the ebay wins... It's not bad--and it's getting easier.. I'll spare y'all the pictures explosion.. If you want to see more, click on the photobucket link in my signature line... Before.. 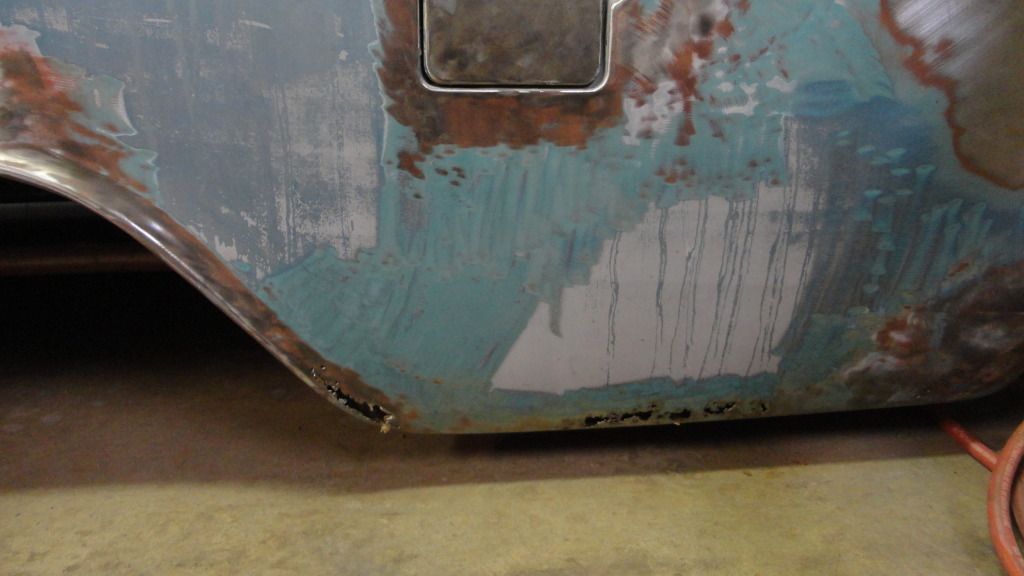 After.. 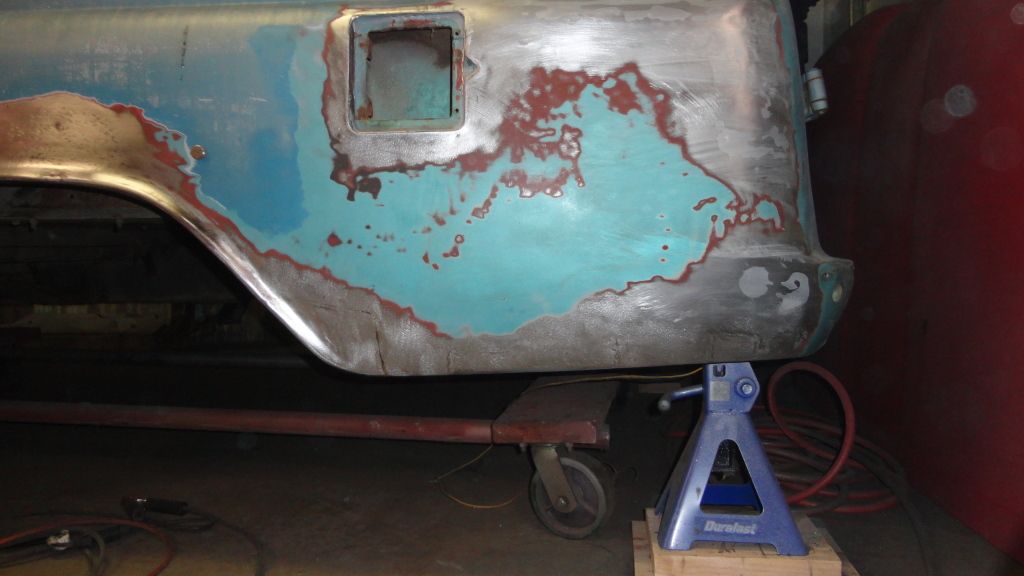
|
|
|

|
|
|
#132 |
|
Registered User
 Join Date: Mar 2005
Location: apple valley, ca
Posts: 2,670
|
Re: 1965 Suburban Resto-Rebuild
Nice work! It looks like you've got plenty of work ahead of you, but if it turns out like what you've done so far, it'll all look great.
__________________
Check out my latest endeavor: https://roundsixpod.com My build threads: '55 Chevy: http://67-72chevytrucks.com/vboard/s...d.php?t=247512 '64 C-20: http://67-72chevytrucks.com/vboard/s...d.php?t=446527 |
|
|

|
|
|
#133 |
|
Registered User
 Join Date: Jan 2012
Location: Antioch, IL
Posts: 418
|
Re: 1965 Suburban Resto-Rebuild
Thank you--just slowly moving ahead...
__________________
My '65 Suburban Resto build-- http://smg.photobucket.com/albums/v6...65%20Suburban/ And it's story of being 'saved' http://www.jalopyjournal.com/forum/s...d.php?t=631495 |
|
|

|
|
|
#134 |
|
Registered User
 Join Date: Jan 2012
Location: Antioch, IL
Posts: 418
|
Re: 1965 Suburban Resto-Rebuild
Alright.... no turning back now.. Found all the rust on the driver's "lower" part of the truck...
I drilled out all the spot-welds on the driver's rocker and found what I was expecting.. The lower portion of the A pillar is gone--I'll be using much more of the spare driver's cab corner than expected.. I'm glad I saved it... So--this week I plan on the following.. 1. Completely dismantling the '65 Truck cab floor/a-pillar section from my parts cab via removal of all spot welds. 2. Cut out floor of Suburban and replace with solid floor structure from parts 3. Remove dashboard to repair rust on inner A-pillar through replacement of entire sheetmetal interior panel. 4. Cut and repair outer A-pillar. Cut and replace driver's upper corner of firewall. 5. Check everything for fit and alignment and final-weld everything. 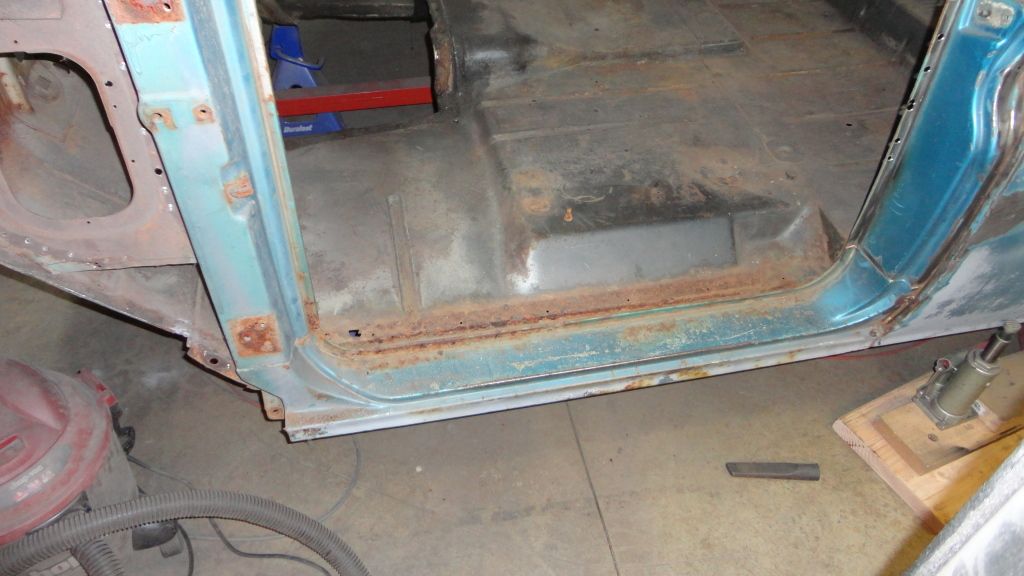 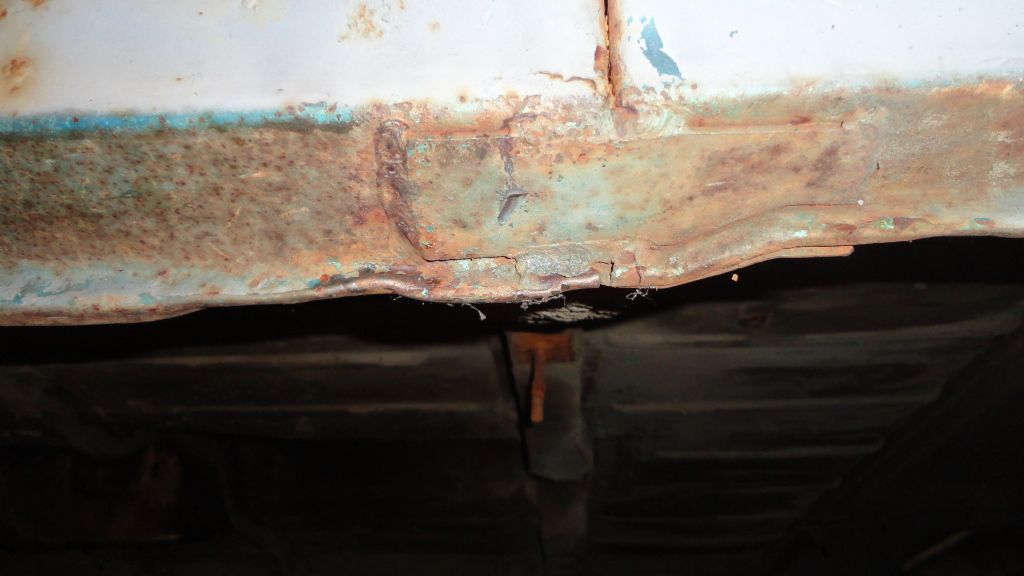 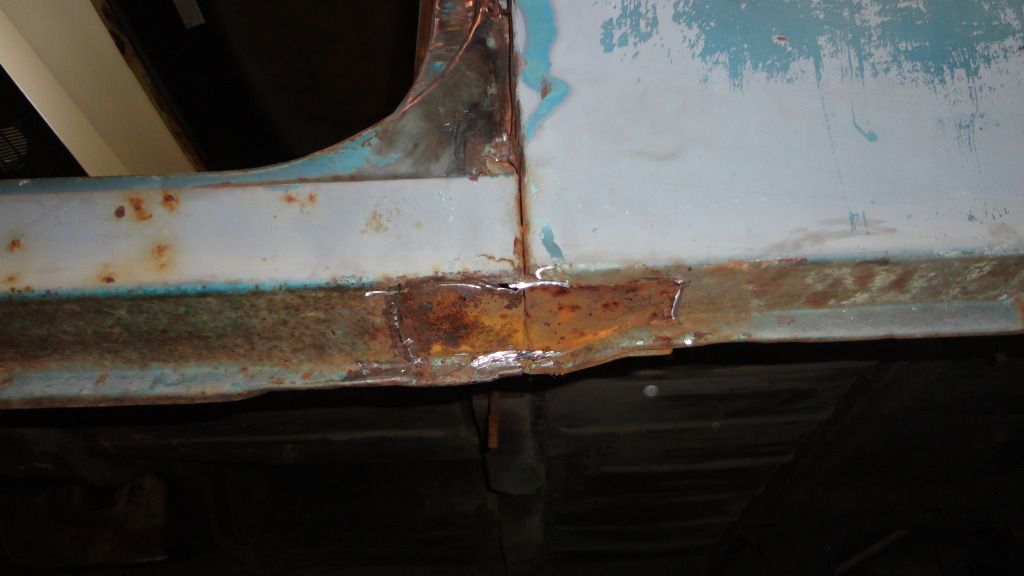 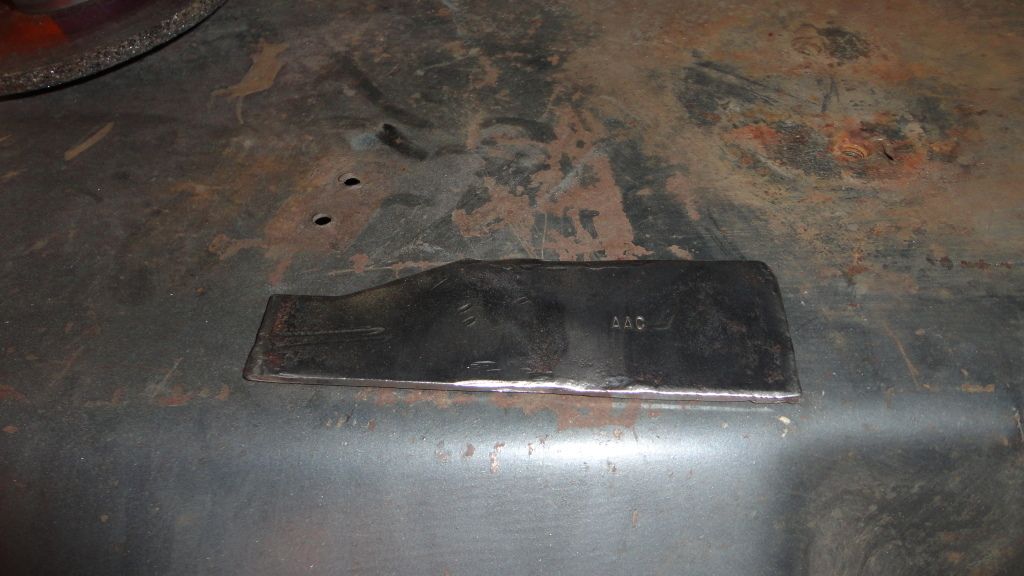 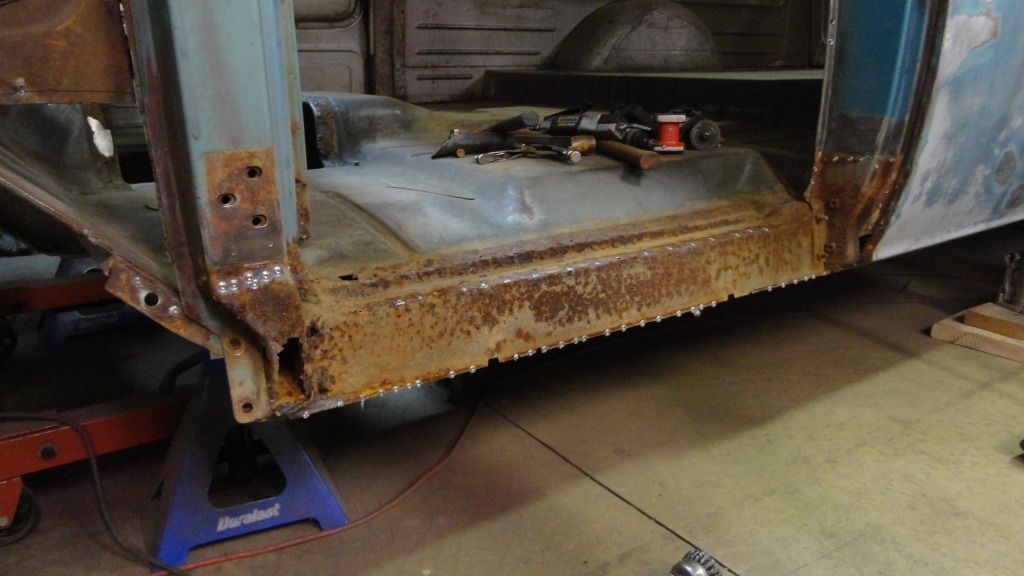 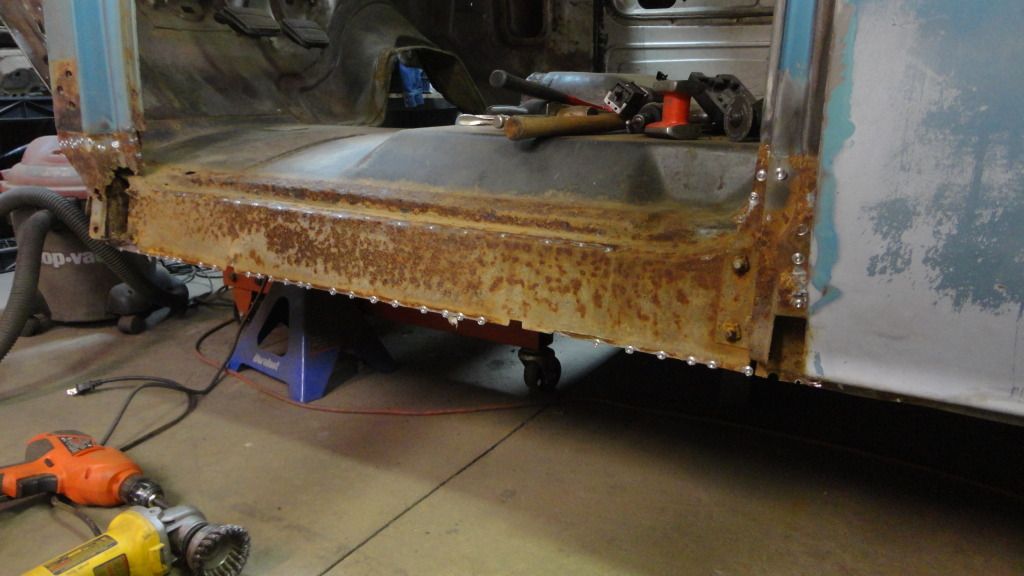 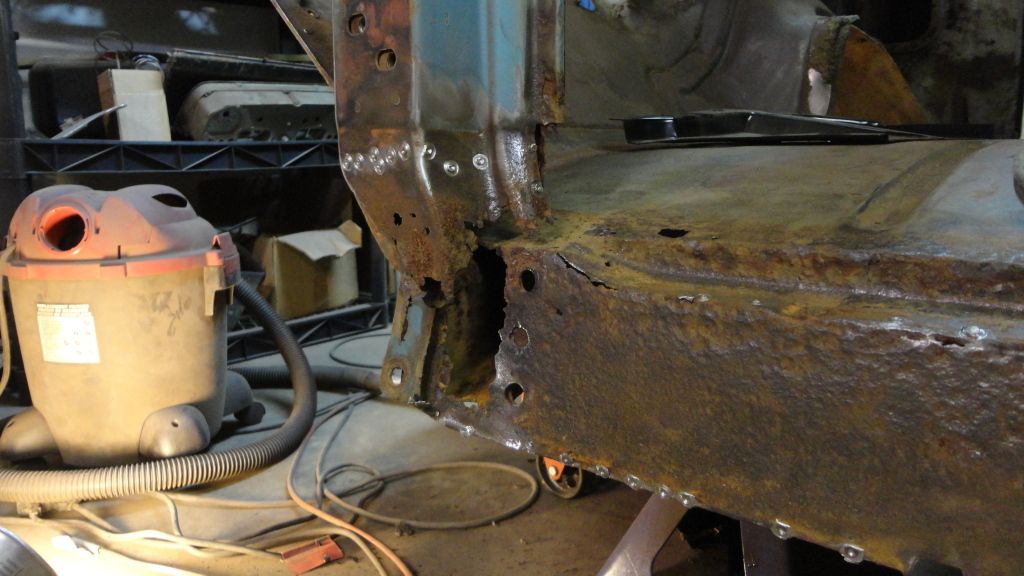 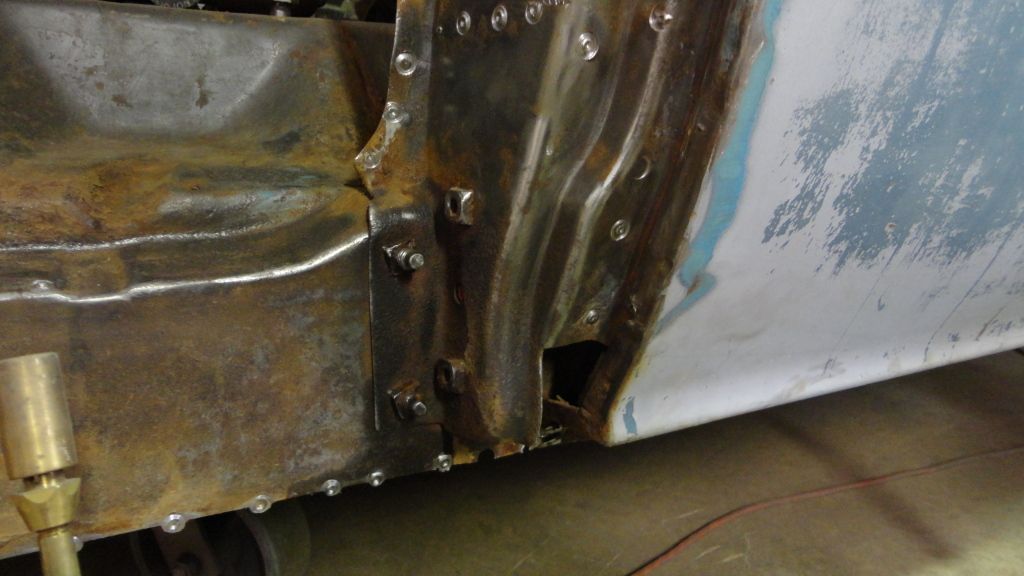 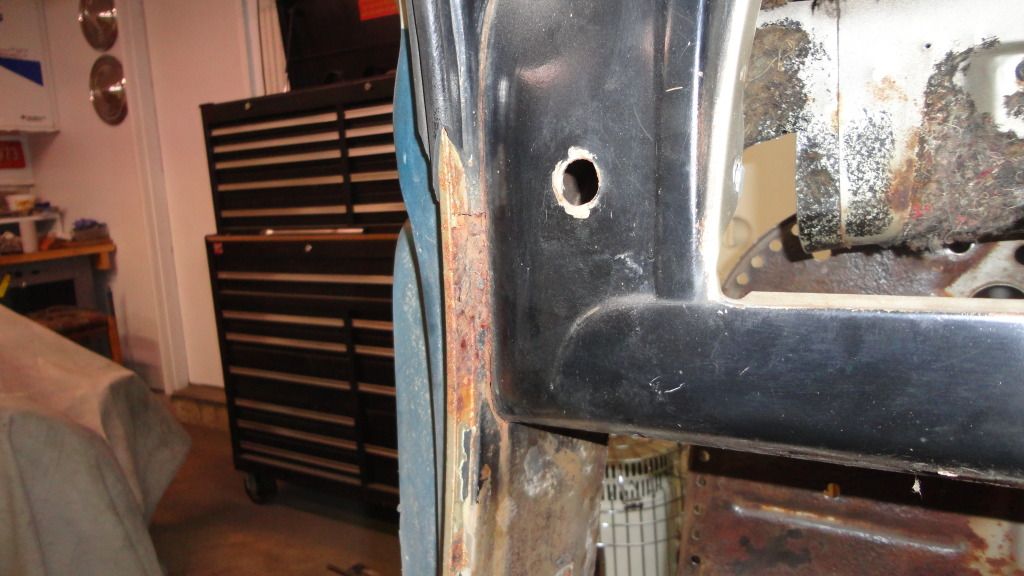
__________________
My '65 Suburban Resto build-- http://smg.photobucket.com/albums/v6...65%20Suburban/ And it's story of being 'saved' http://www.jalopyjournal.com/forum/s...d.php?t=631495 |
|
|

|
|
|
#135 |
|
Registered User
 Join Date: Jan 2012
Location: Antioch, IL
Posts: 418
|
Re: 1965 Suburban Resto-Rebuild
Here's the update of the burb.. I'll let the pictures tell the story.. There were over 200 spot welds lovingly drilled out today...
Here's the driver's side outer floor and inner rocker welded in.. Still have to smooth the welds.. 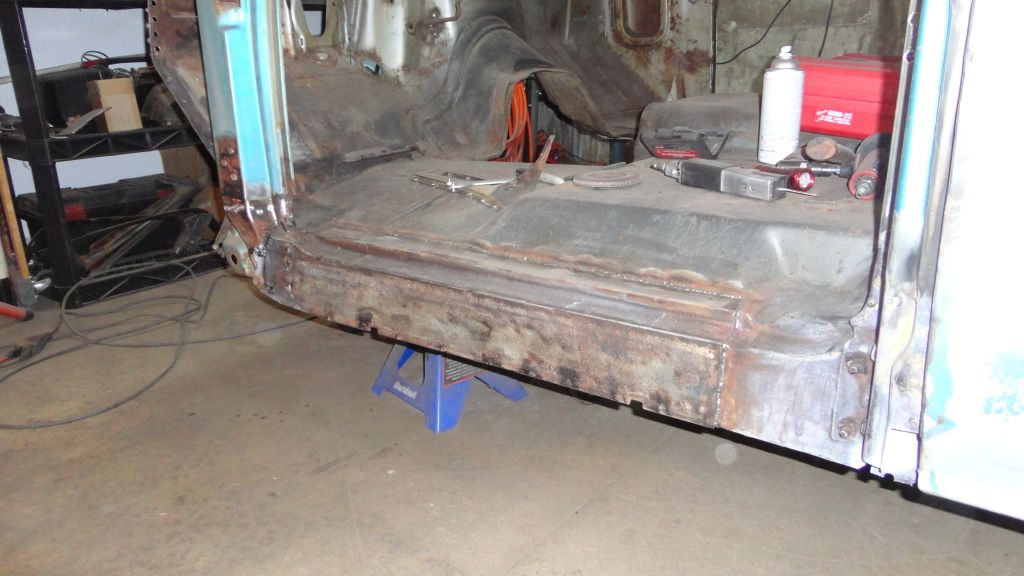 And--here's the mayhem I caused today.. I removed the entire inner structure in expectation of finding internal rot in the A-Pillar.. After rmoval of the dashboard and inner panel-I found that the inside was solid. 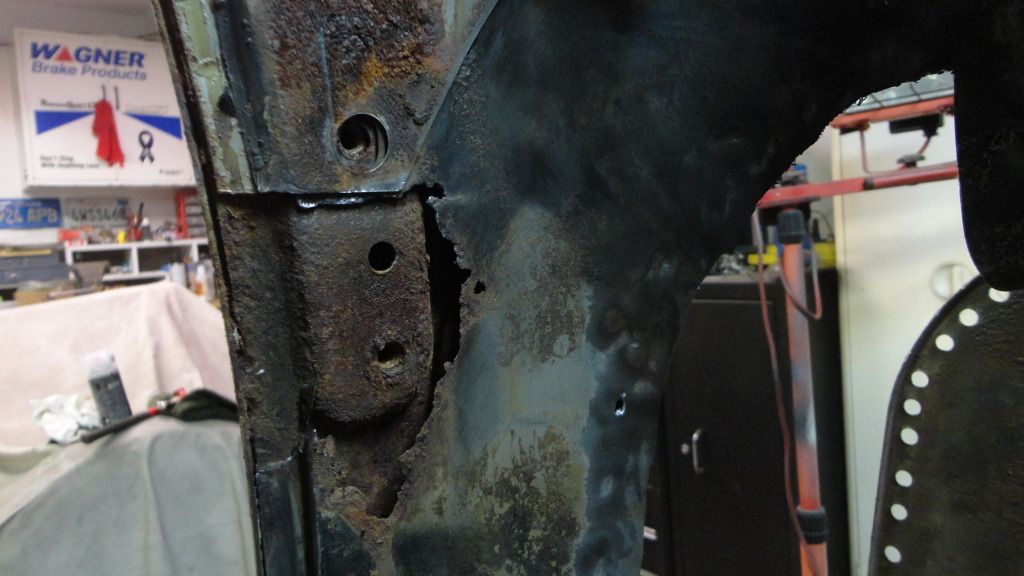 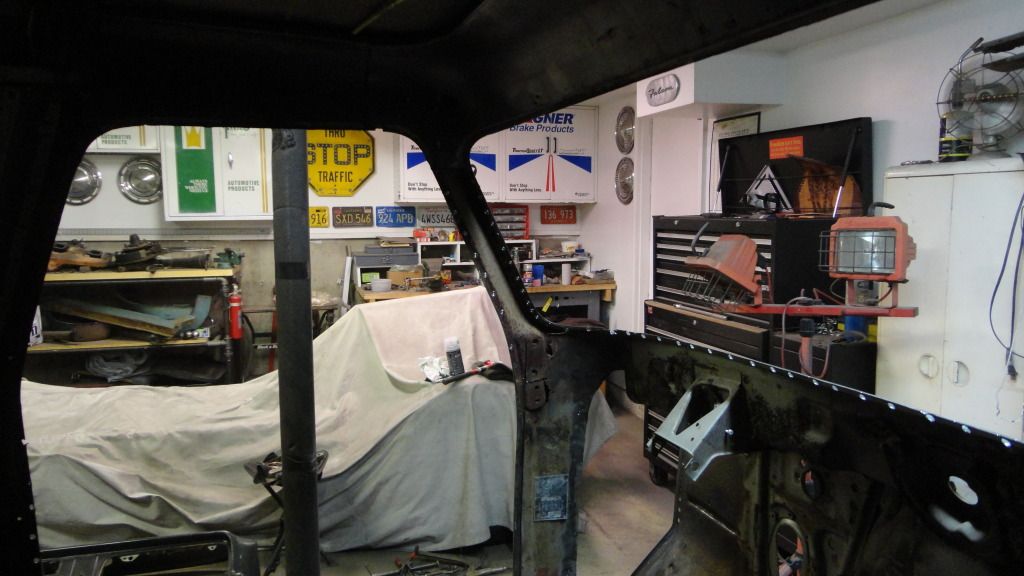 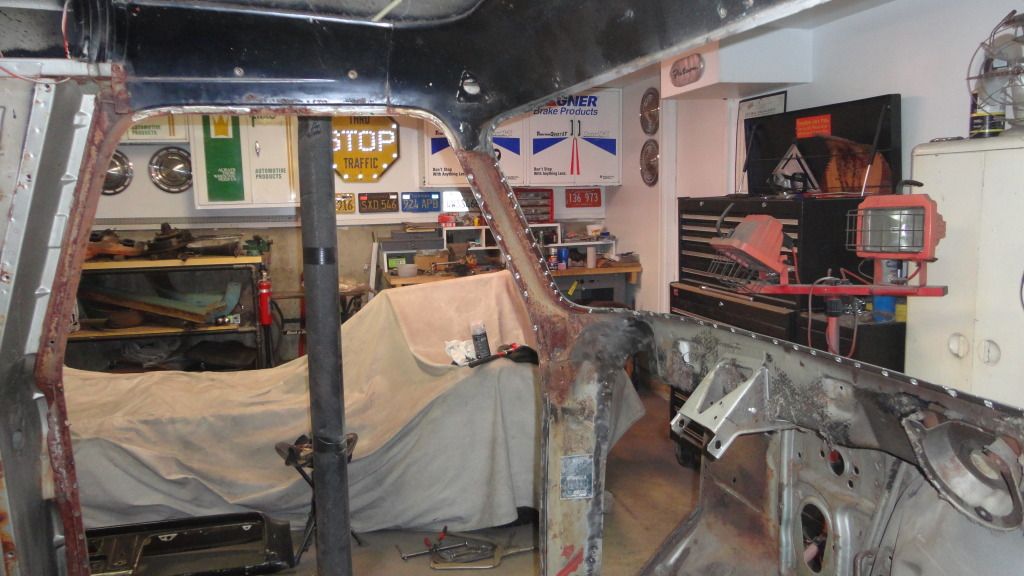 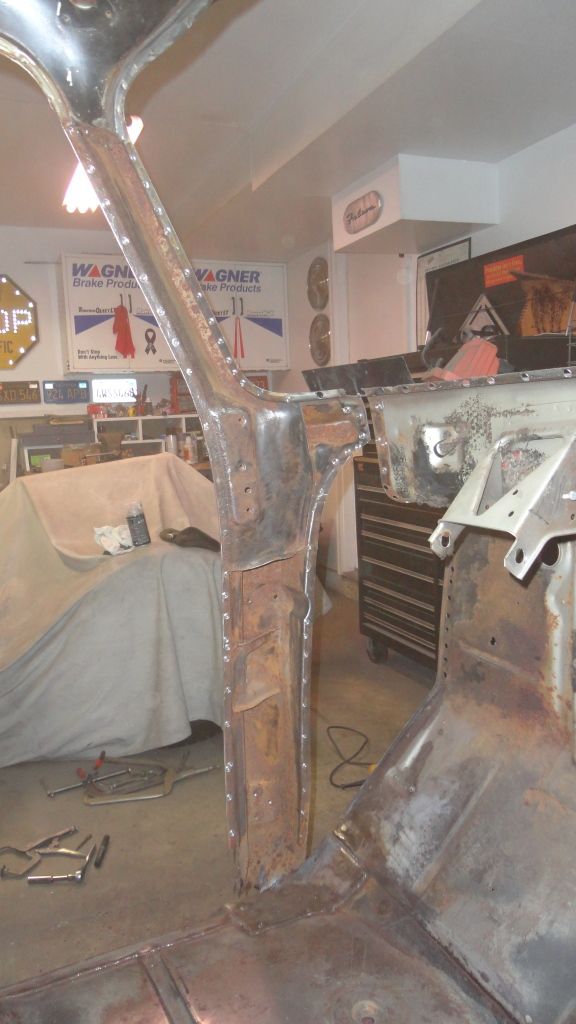 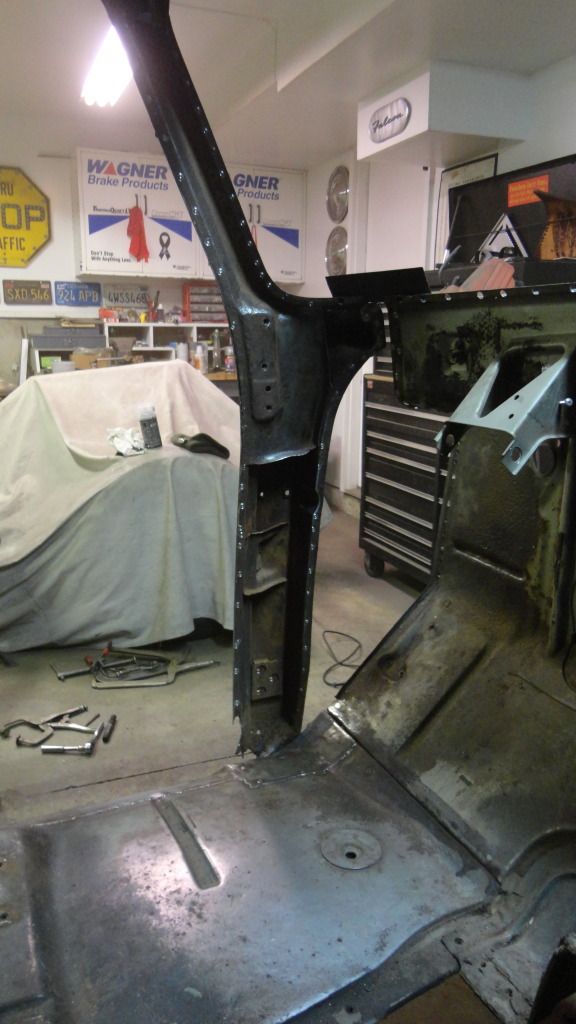 I will be coating the inside with rust converter and then using the cutaway pieces below to make everything solid.. I will sandblast all the individual pieces before slapping them together... 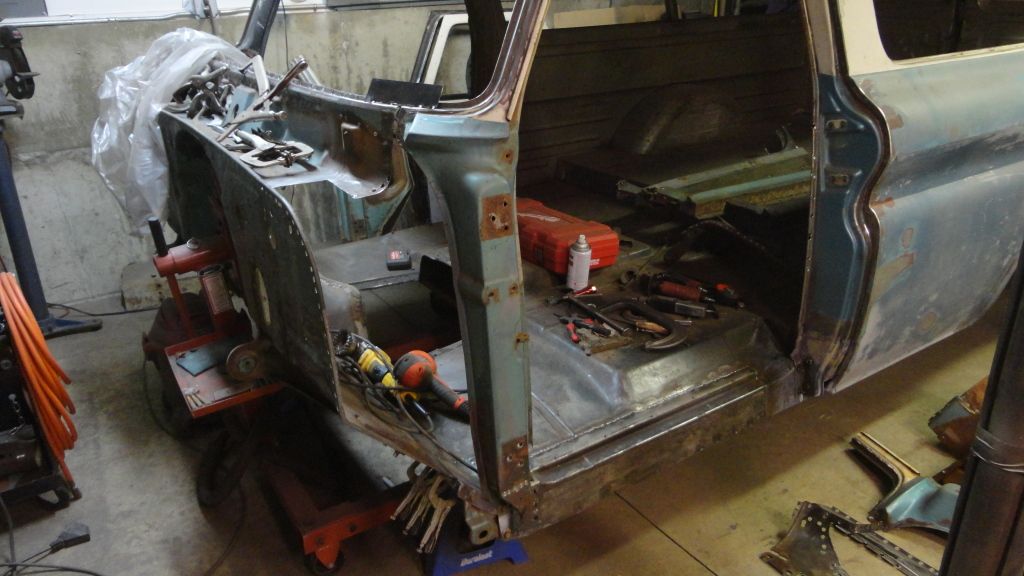 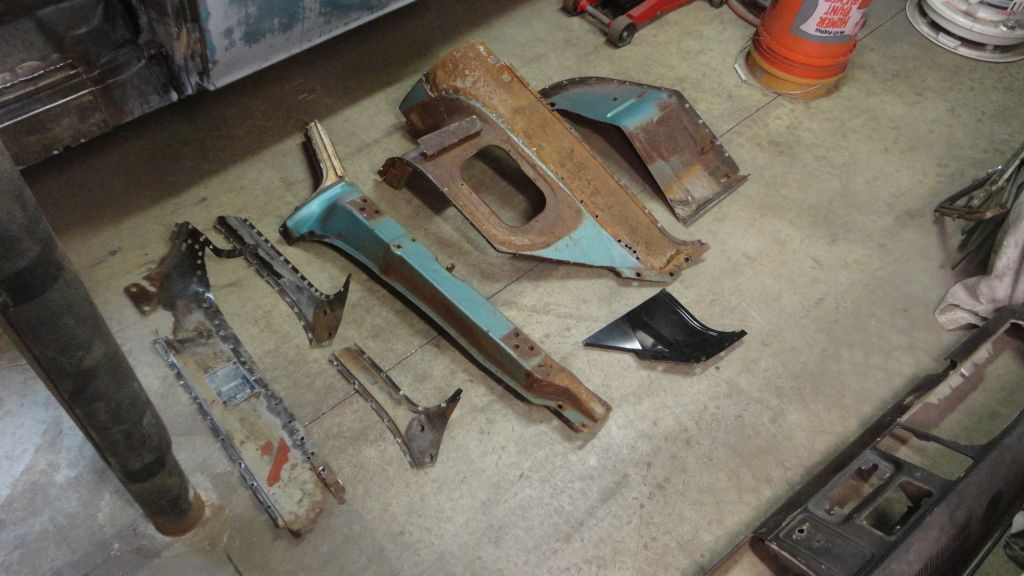 Does anyone re-produce these placards? I used a little Simple Green cleaner on mine to get the oxidation off, but the color started coming off worse than it already was. I figure I can get a new one if they are re-created and just stamp the original codes and numbers in the blank spaces. 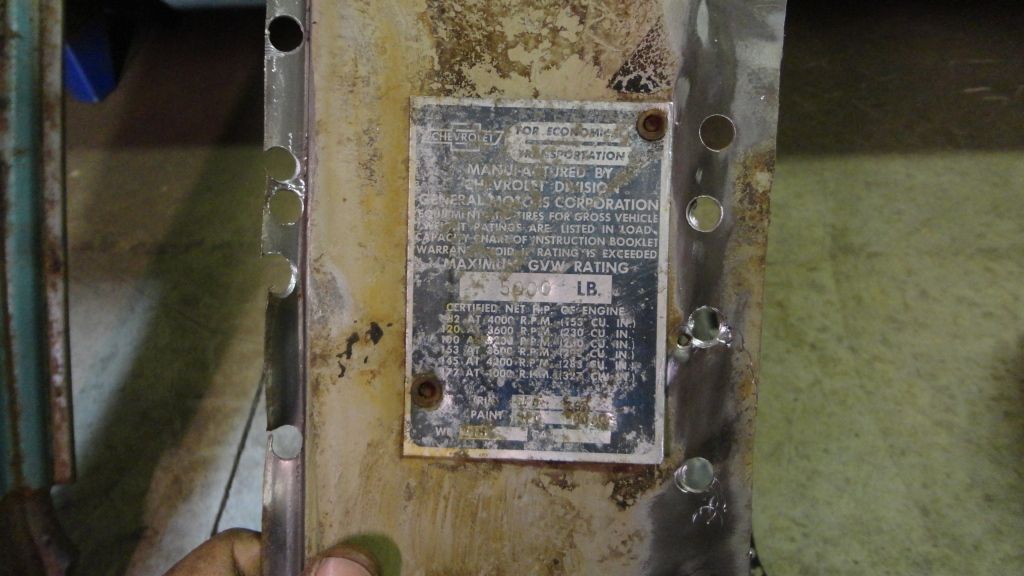 And, here's the finished steering wheel. It's a GM Pewter Metallic Dupli-Color spray can color from NAPA. I think the lighting makes it look pretty close to the "Fawn" color although I was looking for more of a silver. The metallic in it is really nice-can't wait to get it in some better light. 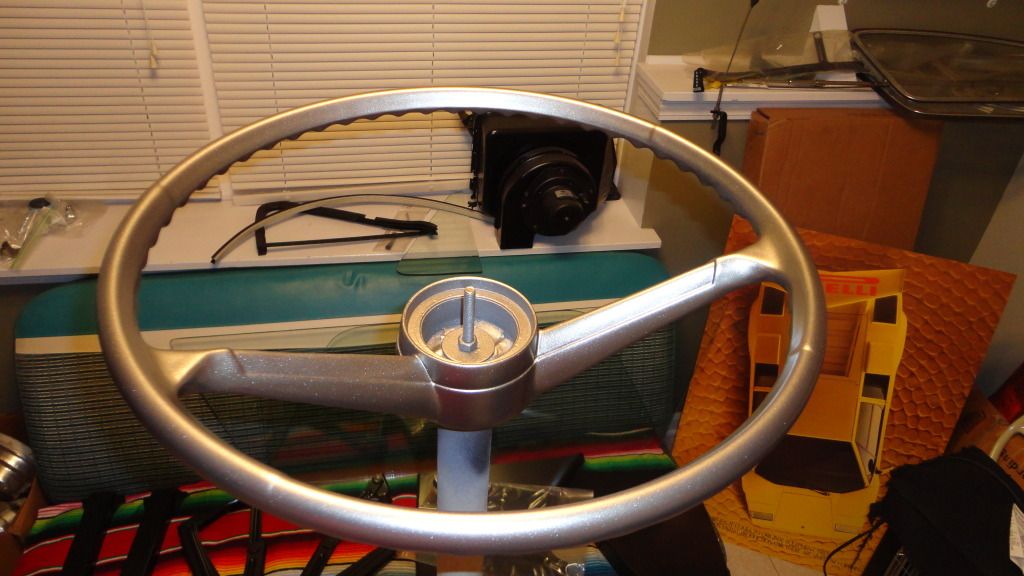 There are more pictures in my link below showing today's work..
__________________
My '65 Suburban Resto build-- http://smg.photobucket.com/albums/v6...65%20Suburban/ And it's story of being 'saved' http://www.jalopyjournal.com/forum/s...d.php?t=631495 Last edited by hemifalcon; 01-20-2013 at 01:47 AM. |
|
|

|
|
|
#136 |
|
1 thing at a time is progress.
Join Date: Jun 2007
Location: Ball Ground GA
Posts: 5,511
|
Re: 1965 Suburban Resto-Rebuild
That's a lot of drilling, but it's looking good!!
__________________
Alan
Philippians 2:14-16 |
|
|

|
|
|
#137 |
|
1 thing at a time is progress.
Join Date: Jun 2007
Location: Ball Ground GA
Posts: 5,511
|
Re: 1965 Suburban Resto-Rebuild
That's a lot of drilling, but it's looking good!!
__________________
Alan
Philippians 2:14-16 |
|
|

|
|
|
#138 |
|
Registered User
 Join Date: Jan 2012
Location: Antioch, IL
Posts: 418
|
Re: 1965 Suburban Resto-Rebuild
Thank you very much, sir.. I think (as lame as it sounds) that I have a case of some serious "tennis elbow" starting in my right arm from fighting with the drill. My Blair 3/8" spot weld cutter was getting dull, but really I wanted to get these parts all separated... After the driver's side is all tacked together, I'll re-fit the door to make sure I didn't goof anything up somewhere along the way. Then--I'll be doing the roof eyebrow.. (more spot-weld cutting on the donor roof piece) and then the passenger side..

__________________
My '65 Suburban Resto build-- http://smg.photobucket.com/albums/v6...65%20Suburban/ And it's story of being 'saved' http://www.jalopyjournal.com/forum/s...d.php?t=631495 Last edited by hemifalcon; 01-20-2013 at 01:49 AM. |
|
|

|
|
|
#139 |
|
1 thing at a time is progress.
Join Date: Jun 2007
Location: Ball Ground GA
Posts: 5,511
|
Re: 1965 Suburban Resto-Rebuild
I know this is a pricey tool, I use one similar to this one since I do it full time. It saves the arms.

__________________
Alan
Philippians 2:14-16 |
|
|

|
|
|
#140 |
|
Registered User
 Join Date: Jan 2012
Location: Antioch, IL
Posts: 418
|
Re: 1965 Suburban Resto-Rebuild
That's a fancy tool--but it would not get ALL the spot welds.. But--most of them..
__________________
My '65 Suburban Resto build-- http://smg.photobucket.com/albums/v6...65%20Suburban/ And it's story of being 'saved' http://www.jalopyjournal.com/forum/s...d.php?t=631495 |
|
|

|
|
|
#141 | ||
|
Registered User
 Join Date: Aug 2009
Location: Illinois
Posts: 26
|
Re: 1965 Suburban Resto-Rebuild
Hemi I believe I have a couple of those slider locks that you need, I'll look for them and let you know, if I do I'll send it to you. Also I can take a picture of the seat that you need ! I'm not far from you in Illinois, I use to race motocross at Maplehurst! Jeff
Quote:
Quote:
|
||
|
|

|
|
|
#142 |
|
Registered User
Join Date: Sep 2011
Location: Tacoma, WA
Posts: 2,425
|
Re: 1965 Suburban Resto-Rebuild
On that vehicle data plate/placard you were asking about....
The Astronaut I think remade them, in his Goldilocks build if I remember correctly. You could ask him how he did it, or where he got it....
__________________
Michael McMurphy My 66 Stepside My 64 Tow Truck My 66 Tempest Table Of Contents Added to Page1 |
|
|

|
|
|
#143 |
|
Registered User
 Join Date: Jan 2012
Location: Antioch, IL
Posts: 418
|
Re: 1965 Suburban Resto-Rebuild
Thanks McMurphy--I knew I had seen them in someone's build--I forgot which one..
__________________
My '65 Suburban Resto build-- http://smg.photobucket.com/albums/v6...65%20Suburban/ And it's story of being 'saved' http://www.jalopyjournal.com/forum/s...d.php?t=631495 |
|
|

|
|
|
#144 |
|
Registered User
Join Date: May 2012
Location: Las Vegas NV
Posts: 122
|
Re: 1965 Suburban Resto-Rebuild
One of the better threads I've seen.
In the middle, I think I'll just build a bigger garage, lov'd it. I think you need some bigger horns though. 
__________________
Jon S 1966 GMC Suburban 305 V6 Las Vegas NV |
|
|

|
|
|
#145 | |
|
Registered User
 Join Date: Jan 2012
Location: Antioch, IL
Posts: 418
|
Re: 1965 Suburban Resto-Rebuild
Quote:
A bigger garage would be nice--wanna buy my house and I'll get a bigger garage!!! Damned town home! Bigger horn huh??? ;-) Posted via Mobile Device
__________________
My '65 Suburban Resto build-- http://smg.photobucket.com/albums/v6...65%20Suburban/ And it's story of being 'saved' http://www.jalopyjournal.com/forum/s...d.php?t=631495 |
|
|
|

|
|
|
#146 |
|
Registered User
Join Date: Sep 2011
Location: Tacoma, WA
Posts: 2,425
|
Re: 1965 Suburban Resto-Rebuild
Dude that is totally me too !!
__________________
Michael McMurphy My 66 Stepside My 64 Tow Truck My 66 Tempest Table Of Contents Added to Page1 |
|
|

|
|
|
#147 |
|
Registered User
Join Date: May 2012
Location: Las Vegas NV
Posts: 122
|
Re: 1965 Suburban Resto-Rebuild
I was talking about the big yellow horns in the 1st pages.
Anyway, you are fearless and not afraid to tackle anything. Mine is in about the same shape with rust. I haven't jumped off the cliff yet. I was born in Ottumwa, so tell your Dad hi. Keep up the good work
__________________
Jon S 1966 GMC Suburban 305 V6 Las Vegas NV |
|
|

|
|
|
#148 | |
|
Registered User
 Join Date: Jan 2012
Location: Antioch, IL
Posts: 418
|
Re: 1965 Suburban Resto-Rebuild
Quote:
__________________
My '65 Suburban Resto build-- http://smg.photobucket.com/albums/v6...65%20Suburban/ And it's story of being 'saved' http://www.jalopyjournal.com/forum/s...d.php?t=631495 |
|
|
|

|
|
|
#149 |
|
Registered User
 Join Date: Jan 2012
Location: Antioch, IL
Posts: 418
|
Re: 1965 Suburban Resto-Rebuild
Alright--so I'm here to bring you guys up to speed on the rust repair.. The driver's side corner is almost wrapped up.. In the pictures you'll see the rocker set onto the truck, but it's only held on with clamps.. I haven't welded it as it will need a little "massaging" to get it to fit nicely.. And--I'm going to apply some sort of coating to the inside of the rocker panel to make it a little less likely to rust in the future should some moisture get caught up in there..
Here you can see the full kick panel that I "re-created" using the upper portion from the '65 truck cab donor part. The lower part was a regular patch panel that I grafted in.. 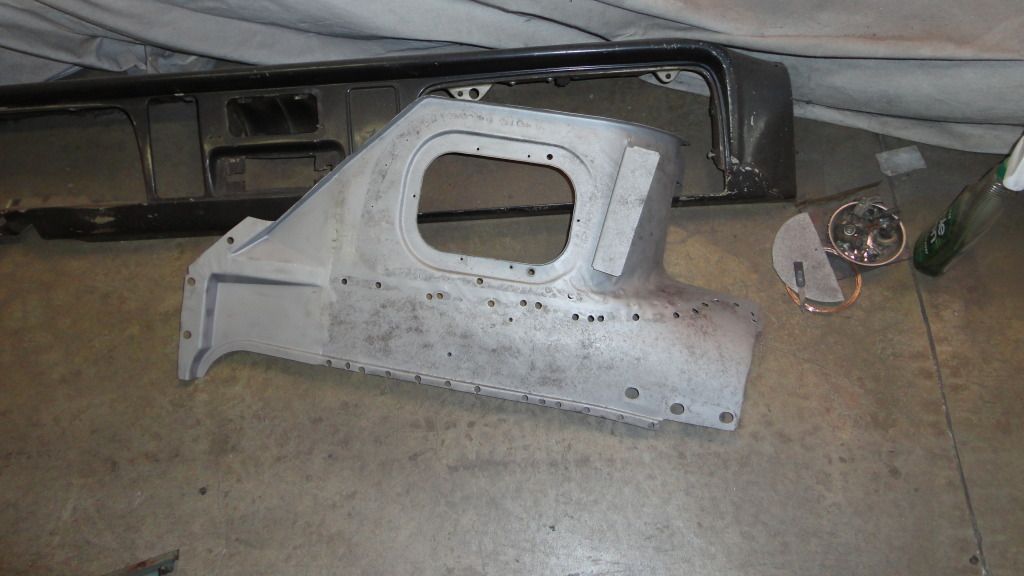 Here's the lower pillar portion that was damned-near perfect from the truck cab.. I severed what I needed.. And the pic following is for comparison to what it's replacing. (yes-I need to weld a sqare nut on it still..) 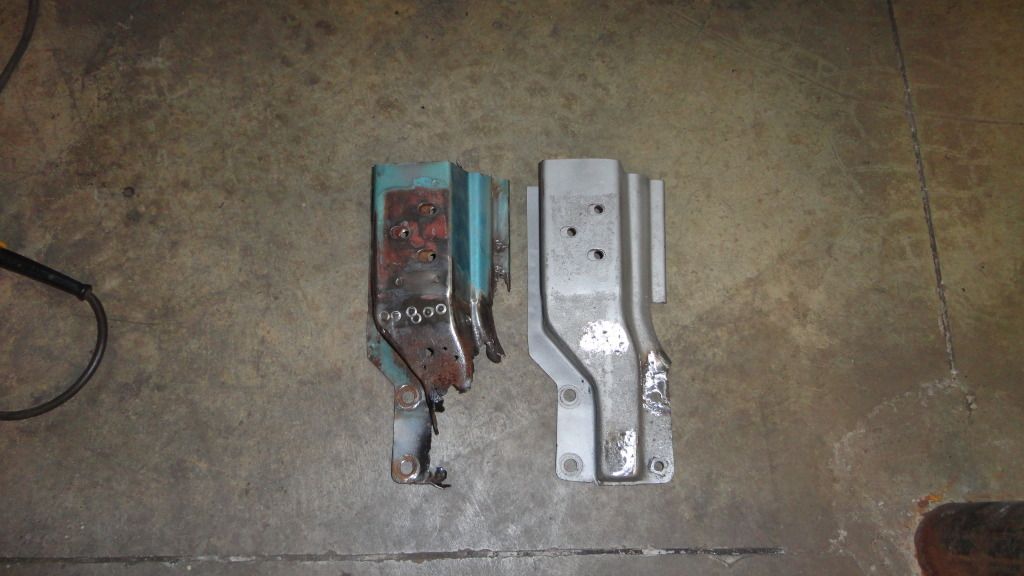 This is the first of a bunch of mock-ups to see how everything was fitting.. Having those four bolt holes and that fender mount made a great way of getting things all lined up.. 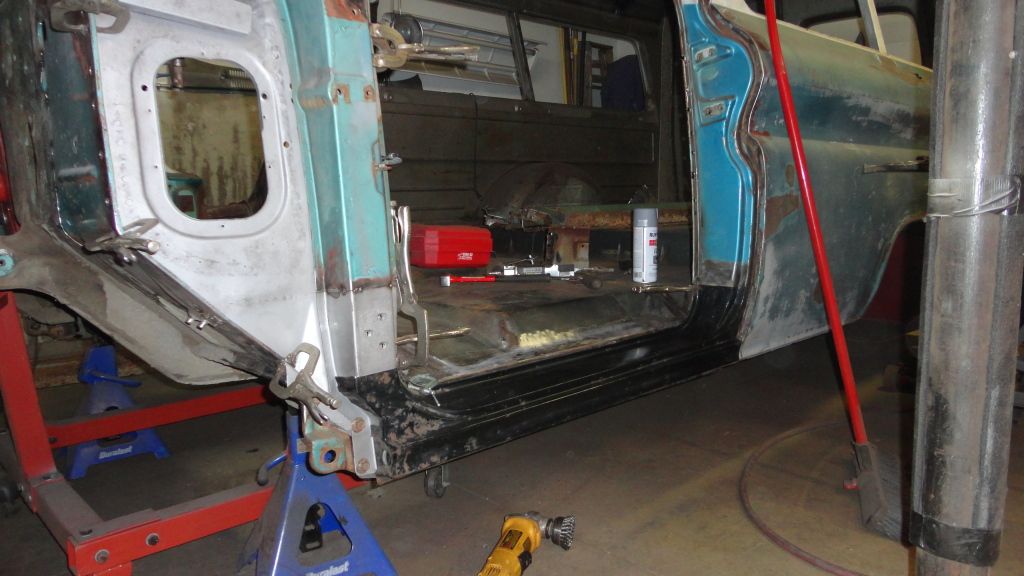 THIS is the finished version minus the outer rocker still.. 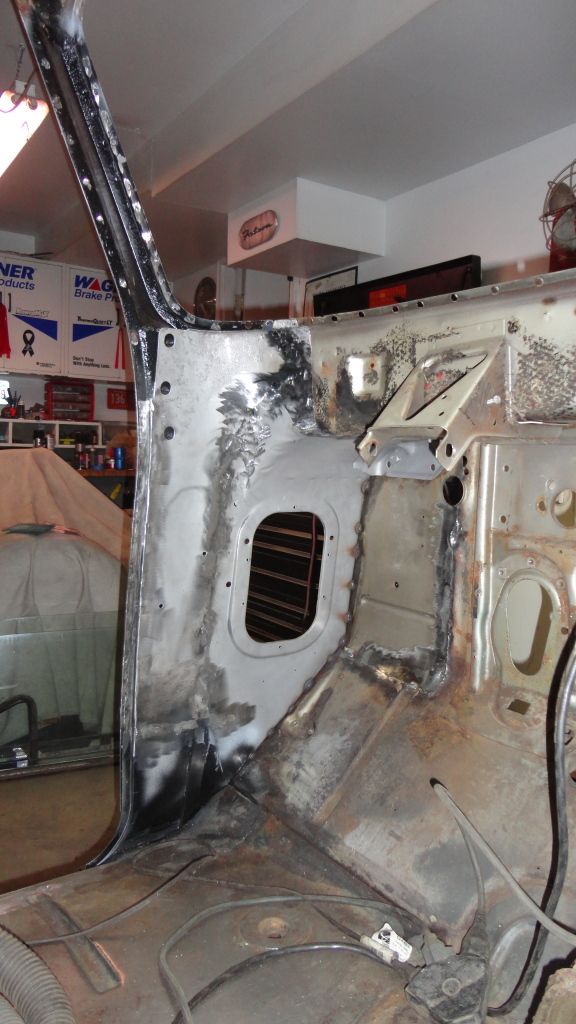 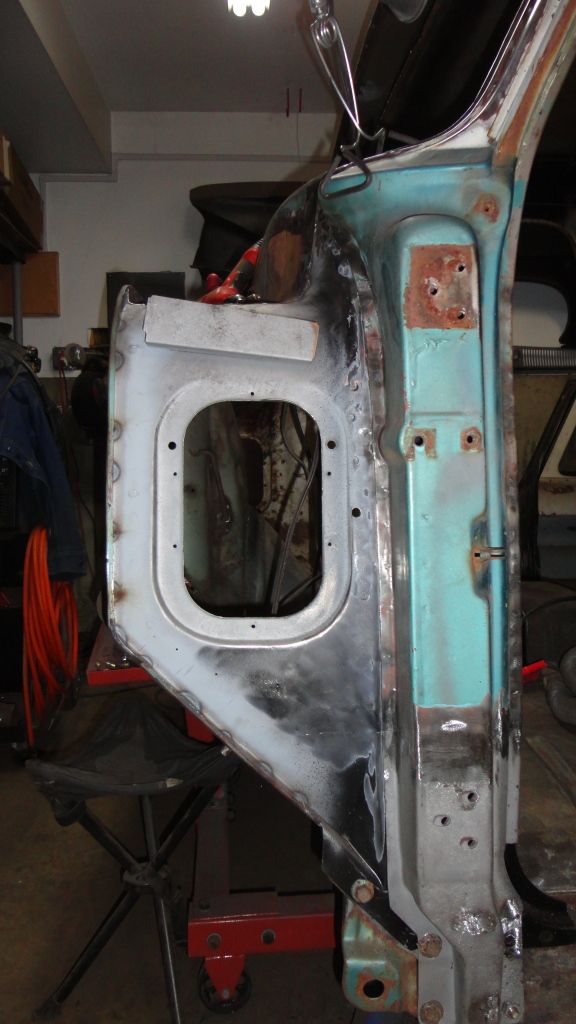 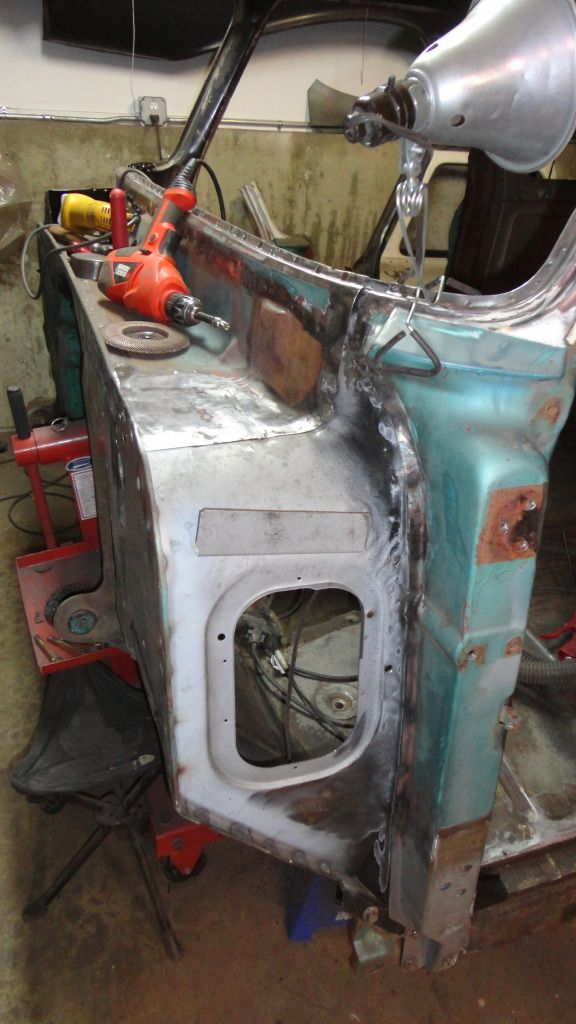 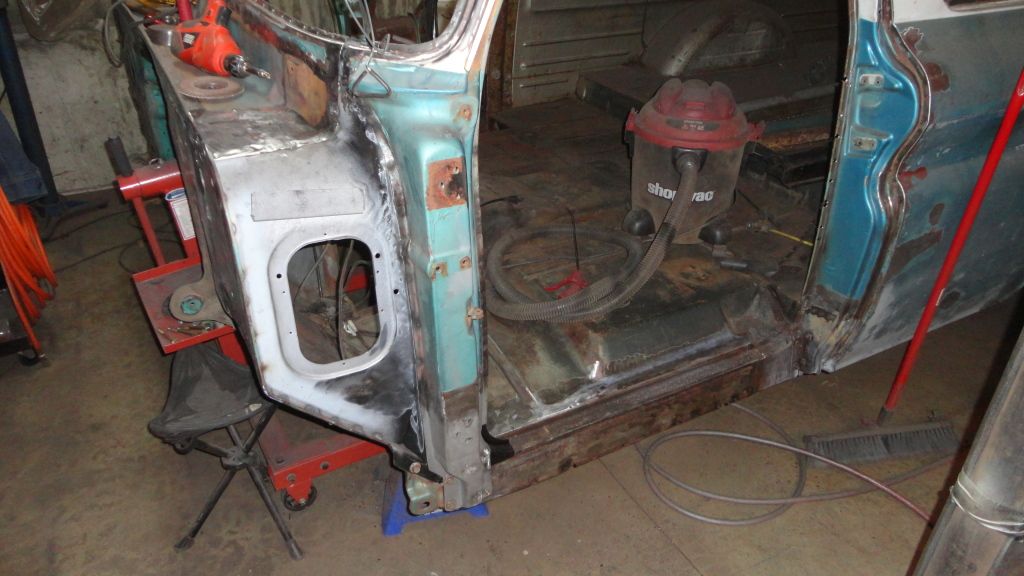 And, today's product... I finally took myself out for THIS challenge and so far so good.. I was expecting much worse performation in the overhead roof area, but the roof panel is actually in very good shape.. (thank goodness). I guess that the roof top is actually a double sheet pressed?? Can anyone confirm this?? I guess maybe that's why it's fairly strong? Anyway--I got the front lower eyebrow portion removed and it's gonna take some work for me to get this part right.. I don't want to cobble it back together--but there's some inner structure details that I'm going to try and make right.. Here's the detail pictures.. 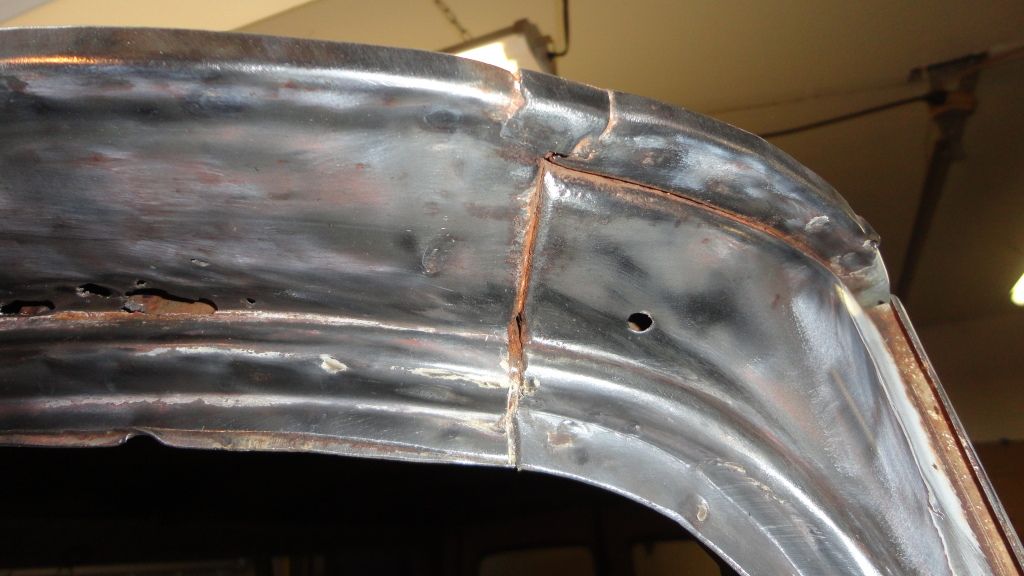 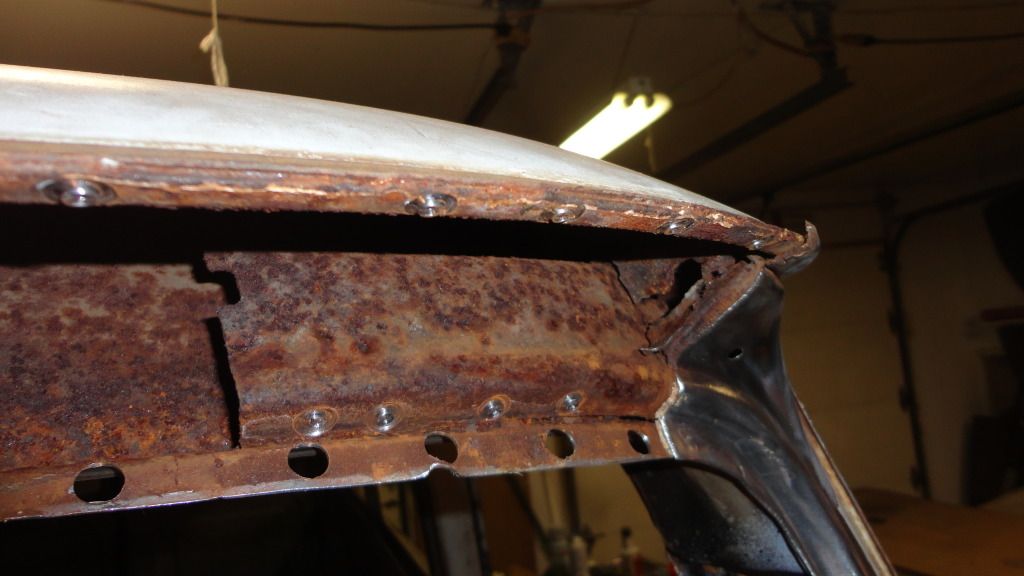 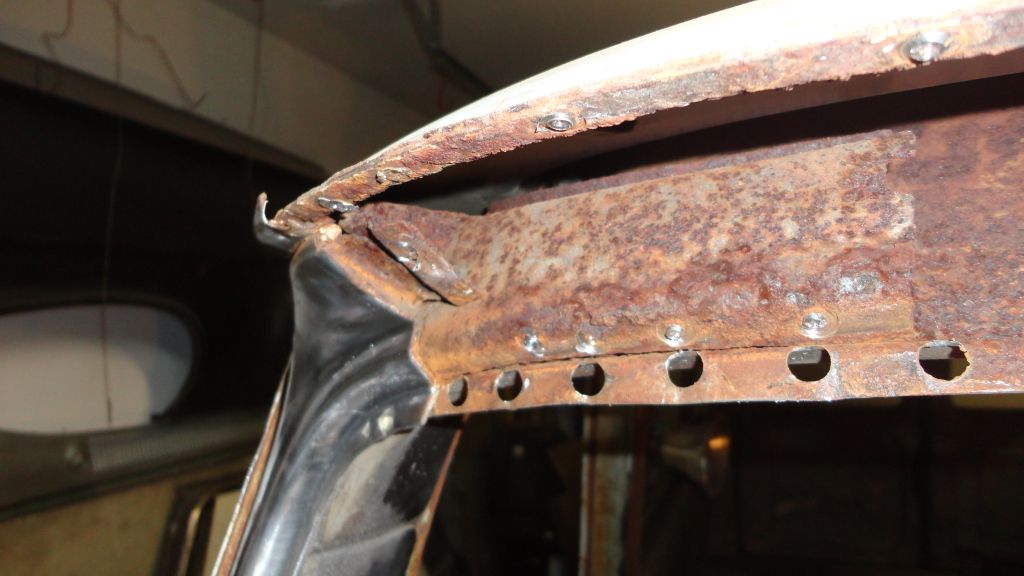 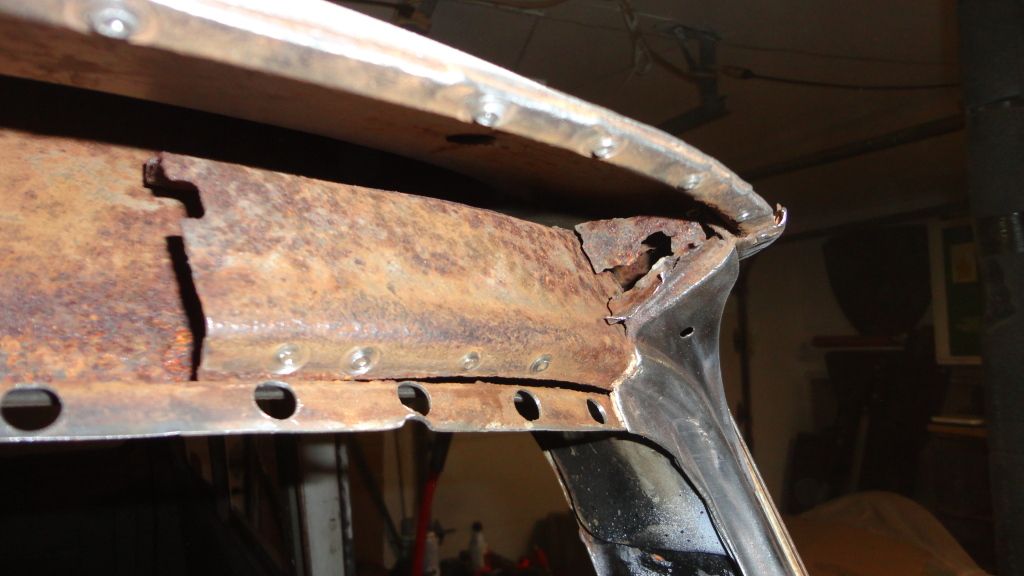 AND more "ugly" over top of the driver's door. I ran the wire brush on my grinder over this area and found all the holes.. I think this part is going to be a pain in the arse to fix as well.. Just a curiosity for anyone reading along. Where can I get a rivet similar to thse which secure the VIN and TRIM tags? 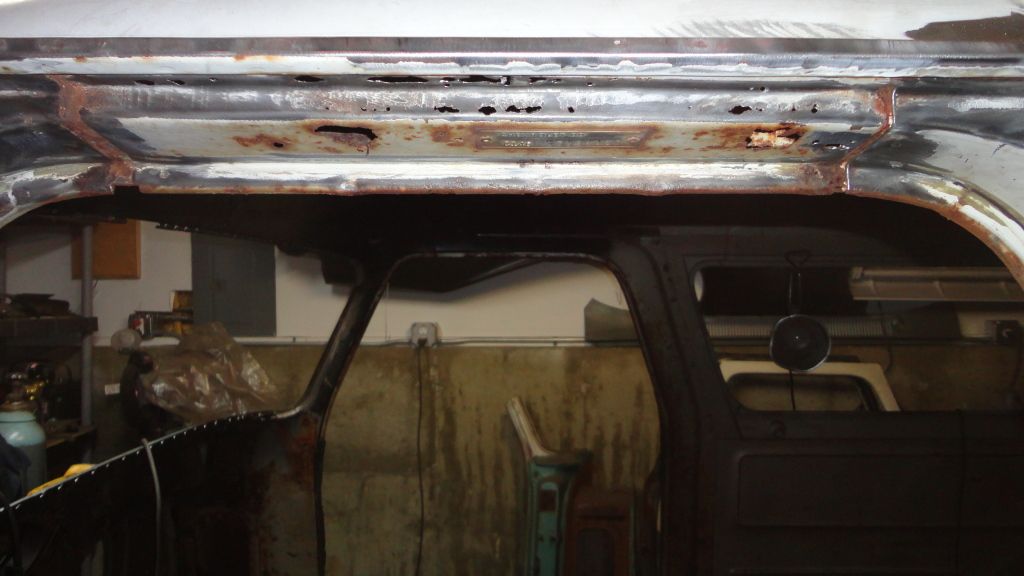 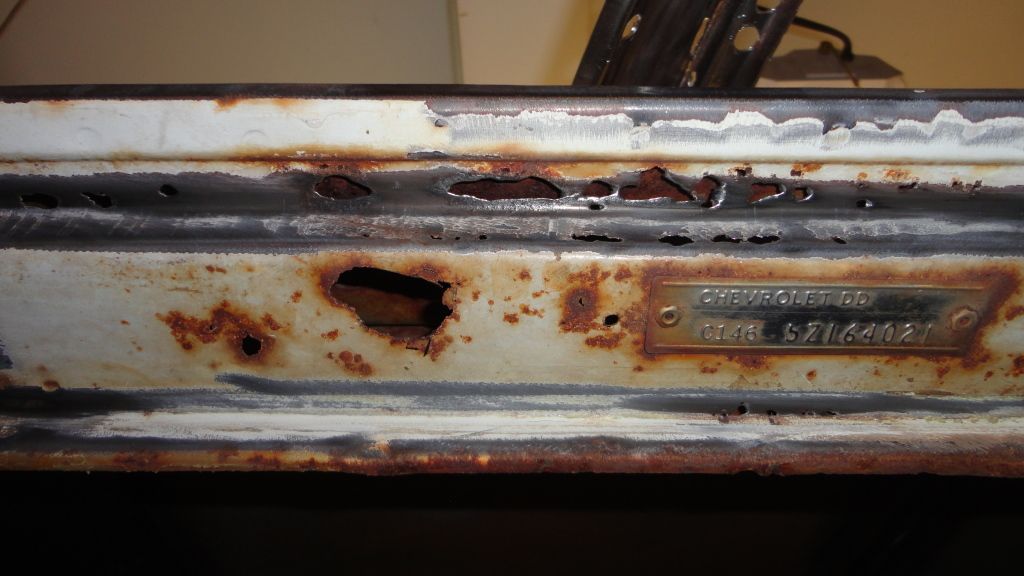 Anyone see anything like this before?? It's a strange cracking on the passenger side floor board that I finally noticed today.. strange??? 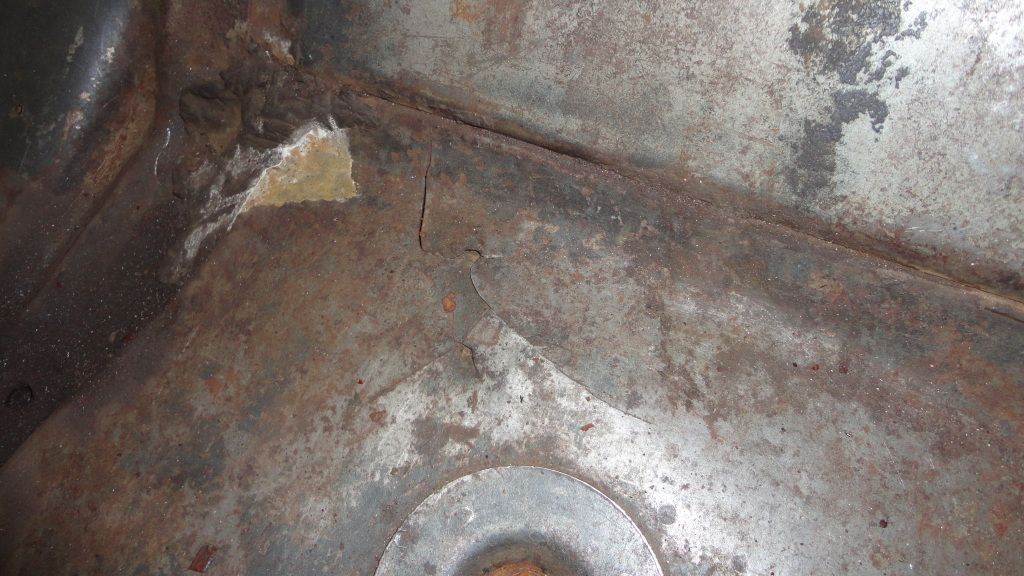 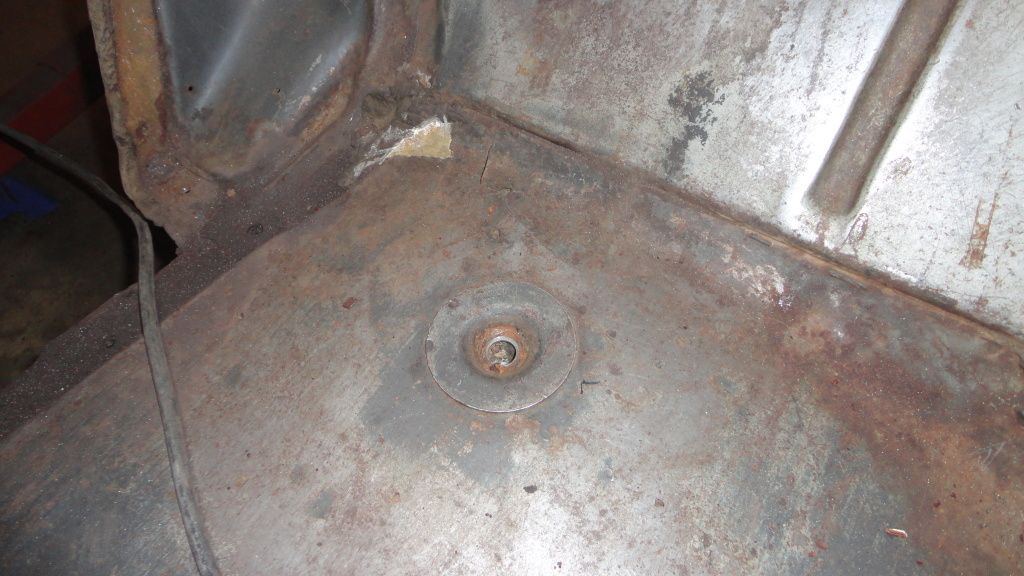 NOTE::: I really am starting to feel like I should do the right thing and have the whole shell blasted when I have all the rust repair done.... ugghhh...
__________________
My '65 Suburban Resto build-- http://smg.photobucket.com/albums/v6...65%20Suburban/ And it's story of being 'saved' http://www.jalopyjournal.com/forum/s...d.php?t=631495 Last edited by hemifalcon; 01-28-2013 at 02:18 AM. |
|
|

|
|
|
#150 |
|
Registered User
 Join Date: Jan 2012
Location: Antioch, IL
Posts: 418
|
Re: 1965 Suburban Resto-Rebuild
Just side-stepping the welding work for a bit by knocking out a couple small jobs..
Here's the original gauge cluster before disassembly, cleaning and general re-furb. I had to wet-sand and polish the lens as there was some sort of chemical "burn" or damage over the left side of the odometer.. It came out pretty good.. Thankfully the internals just needed a good cleaning.. I was lucky enough to find some nice little black nylon bushings at the local Ace Hardware that were a near perfect fit for the rotted rubber bushings on the screws for the back of the odometer. I was able to cut them down to the same length as the rubber ones--and they worked perfect. 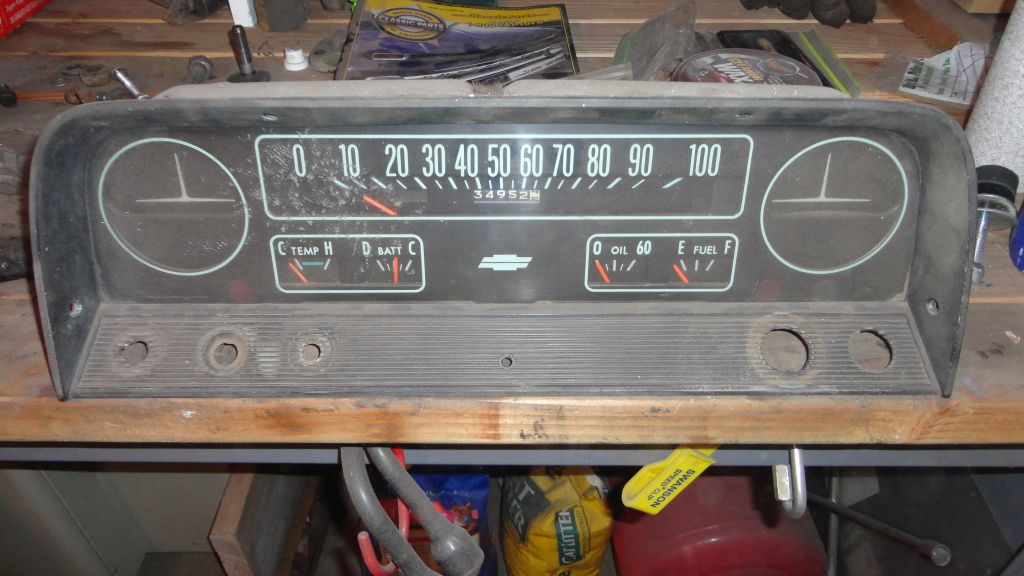 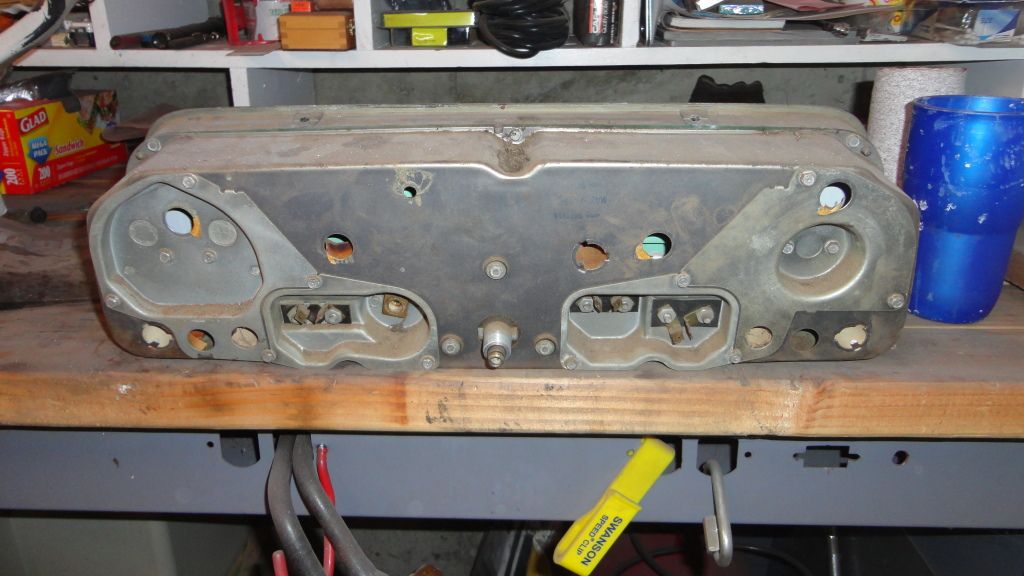 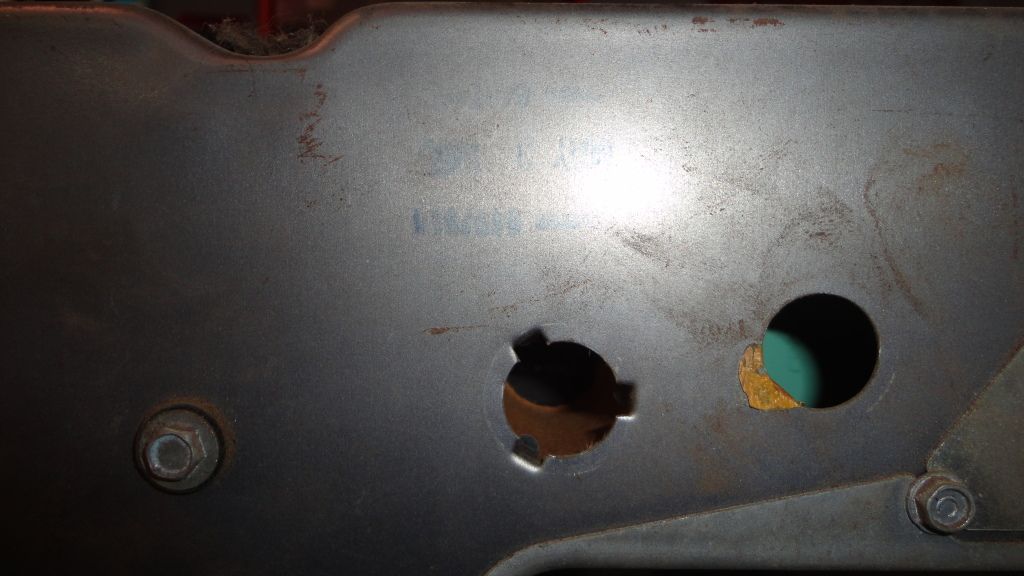 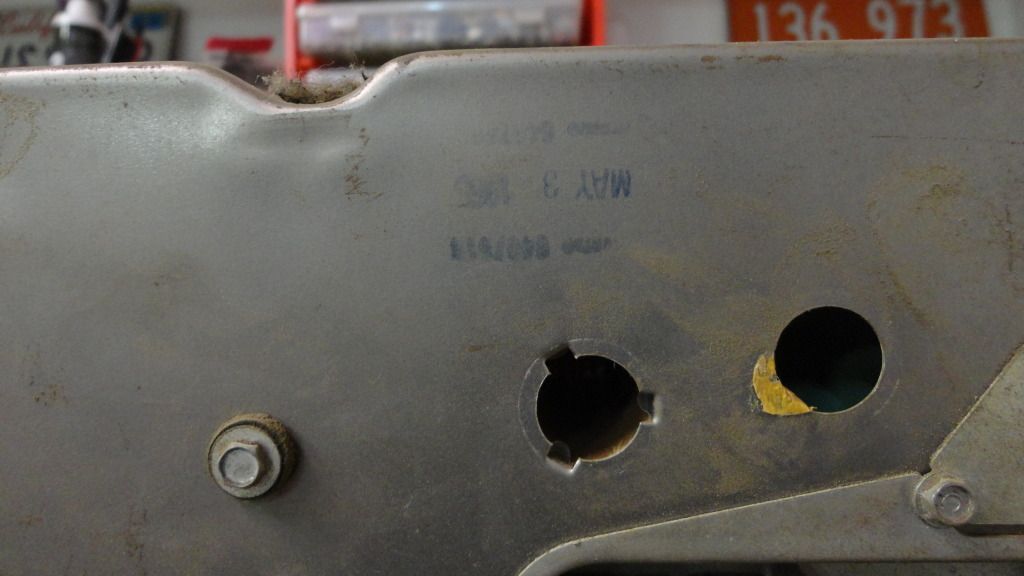 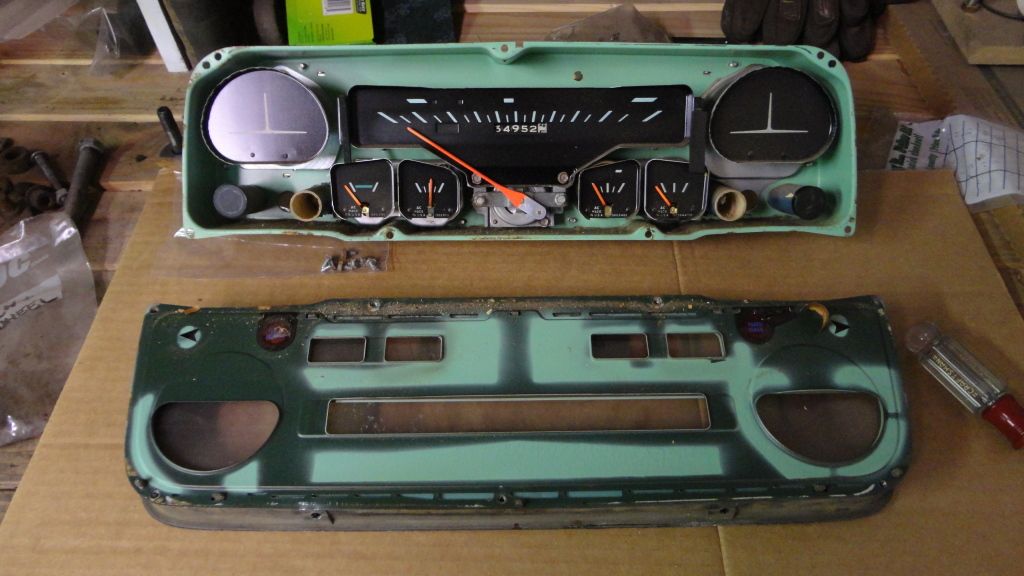 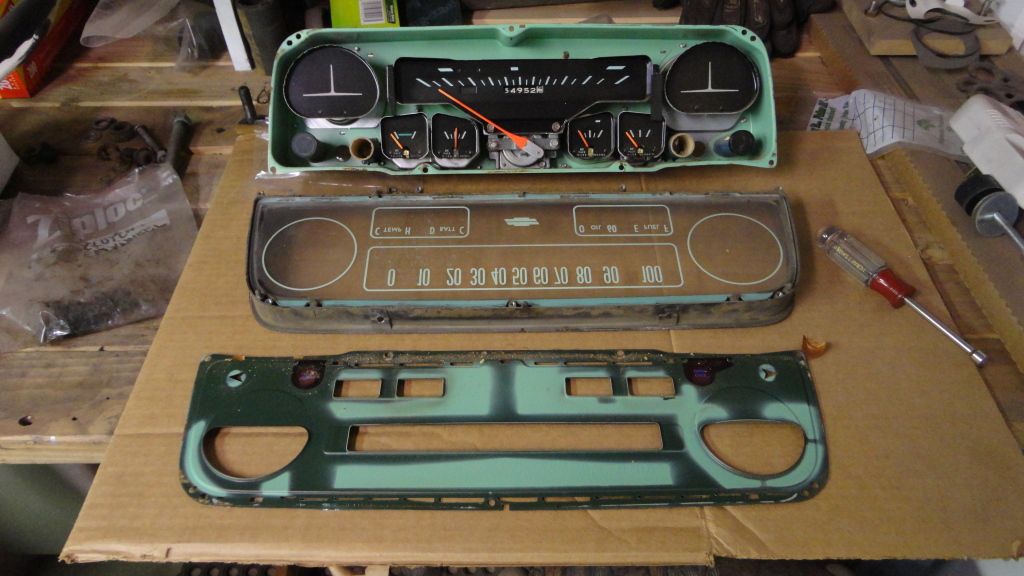 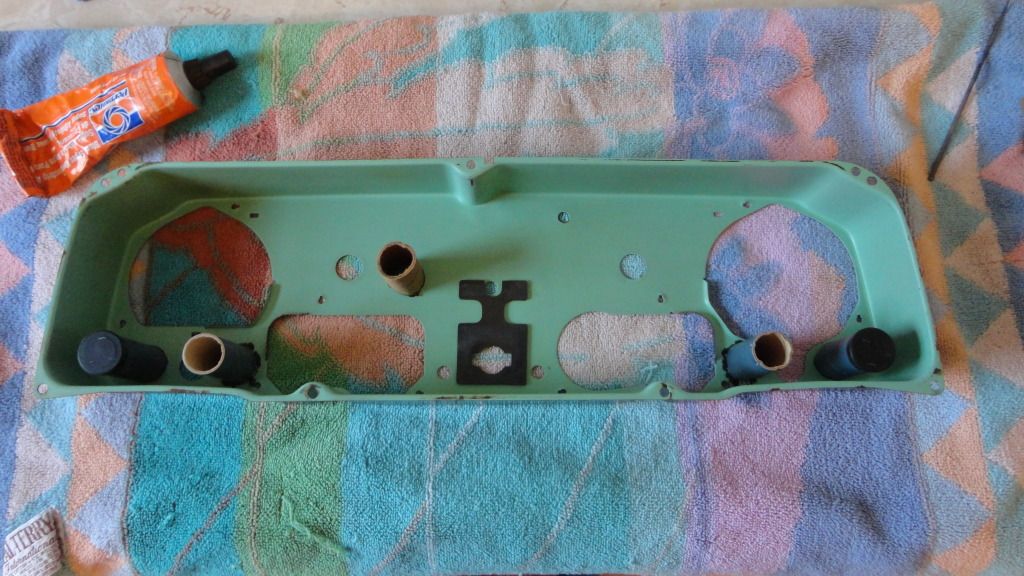 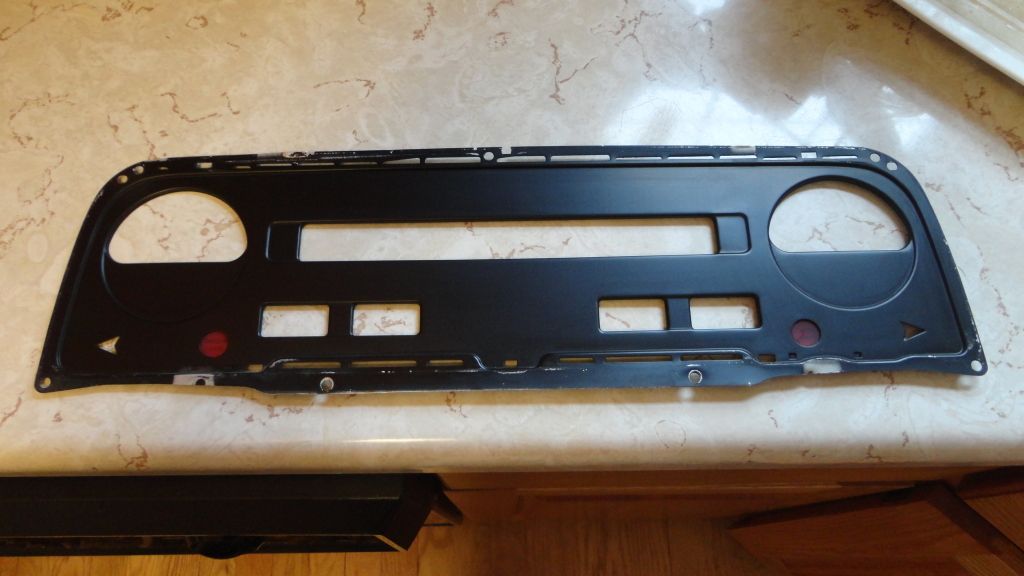 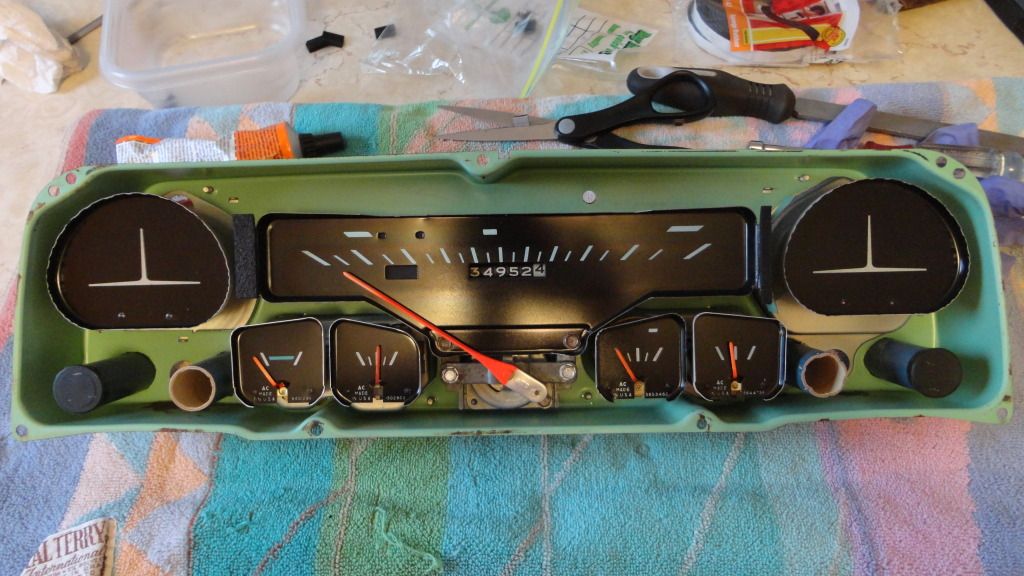 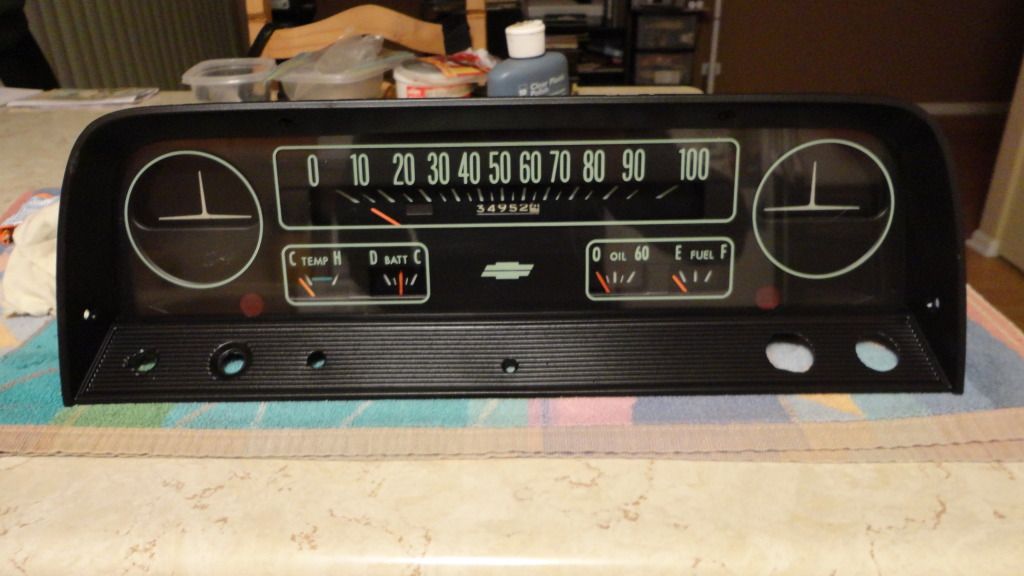
__________________
My '65 Suburban Resto build-- http://smg.photobucket.com/albums/v6...65%20Suburban/ And it's story of being 'saved' http://www.jalopyjournal.com/forum/s...d.php?t=631495 Last edited by hemifalcon; 02-05-2013 at 02:54 PM. |
|
|

|
 |
| Bookmarks |
|
|