
|
|
|
 07-21-2014, 11:14 PM
|
#1 |
|
Registered User
 Join Date: Aug 2005
Location: Hillsboro Oregon
Posts: 6,449
|
Re: '66 Sunbeam Minx Project - F20C/6sp/4-link/Discs...
On vacation this week. Guess where I'm spending it...

|

|

|
|
07-21-2014, 11:33 PM
|
#2 |
|
VA72C10
 Join Date: Mar 2008
Location: Midlothian, VA
Posts: 25,269
|
Re: '66 Sunbeam Minx Project - F20C/6sp/4-link/Discs...
working on the tahoe???
 
__________________
Looking for a 67-72 swb or blazer project in or around VA. 
|
|
|
|
|
07-22-2014, 11:35 AM
|
#3 |
|
Registered User
Join Date: Oct 2013
Location: Above Seattle
Posts: 124
|
Re: '66 Sunbeam Minx Project - F20C/6sp/4-link/Discs...
This gon' be good...
__________________
-Christian '91 318IS AW2 on black slow daily build 1Bad37: C5 Corvette Meets '37 Chevy |
|
|
|
|
07-22-2014, 12:18 PM
|
#4 | ||
|
Registered User
Join Date: Aug 2005
Location: Hillsboro Oregon
Posts: 6,449
|
Re: '66 Sunbeam Minx Project - F20C/6sp/4-link/Discs...
Quote:
Quote:
The only two cancer spots found on the car during blasting were the lower/rear front fenders. I cut them out while at the blaster's to allow the inner structures to be cleaned. 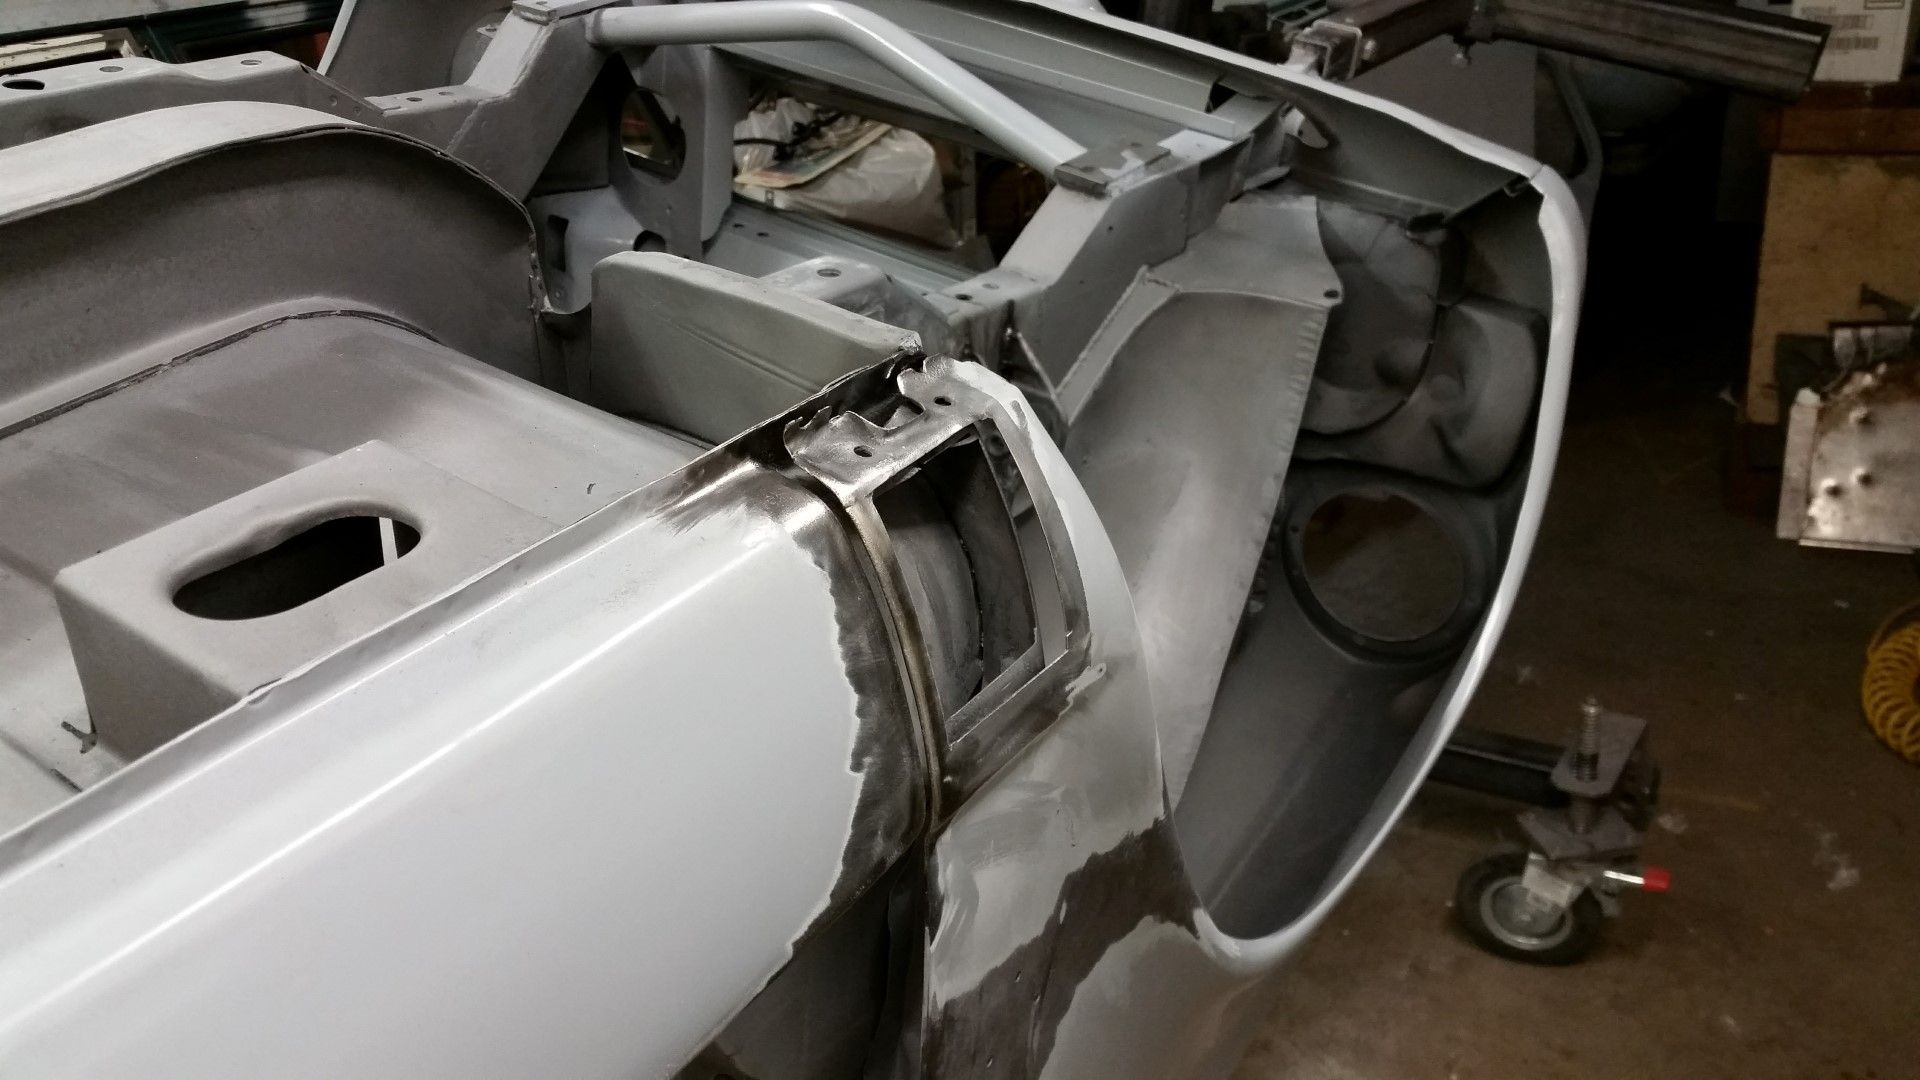 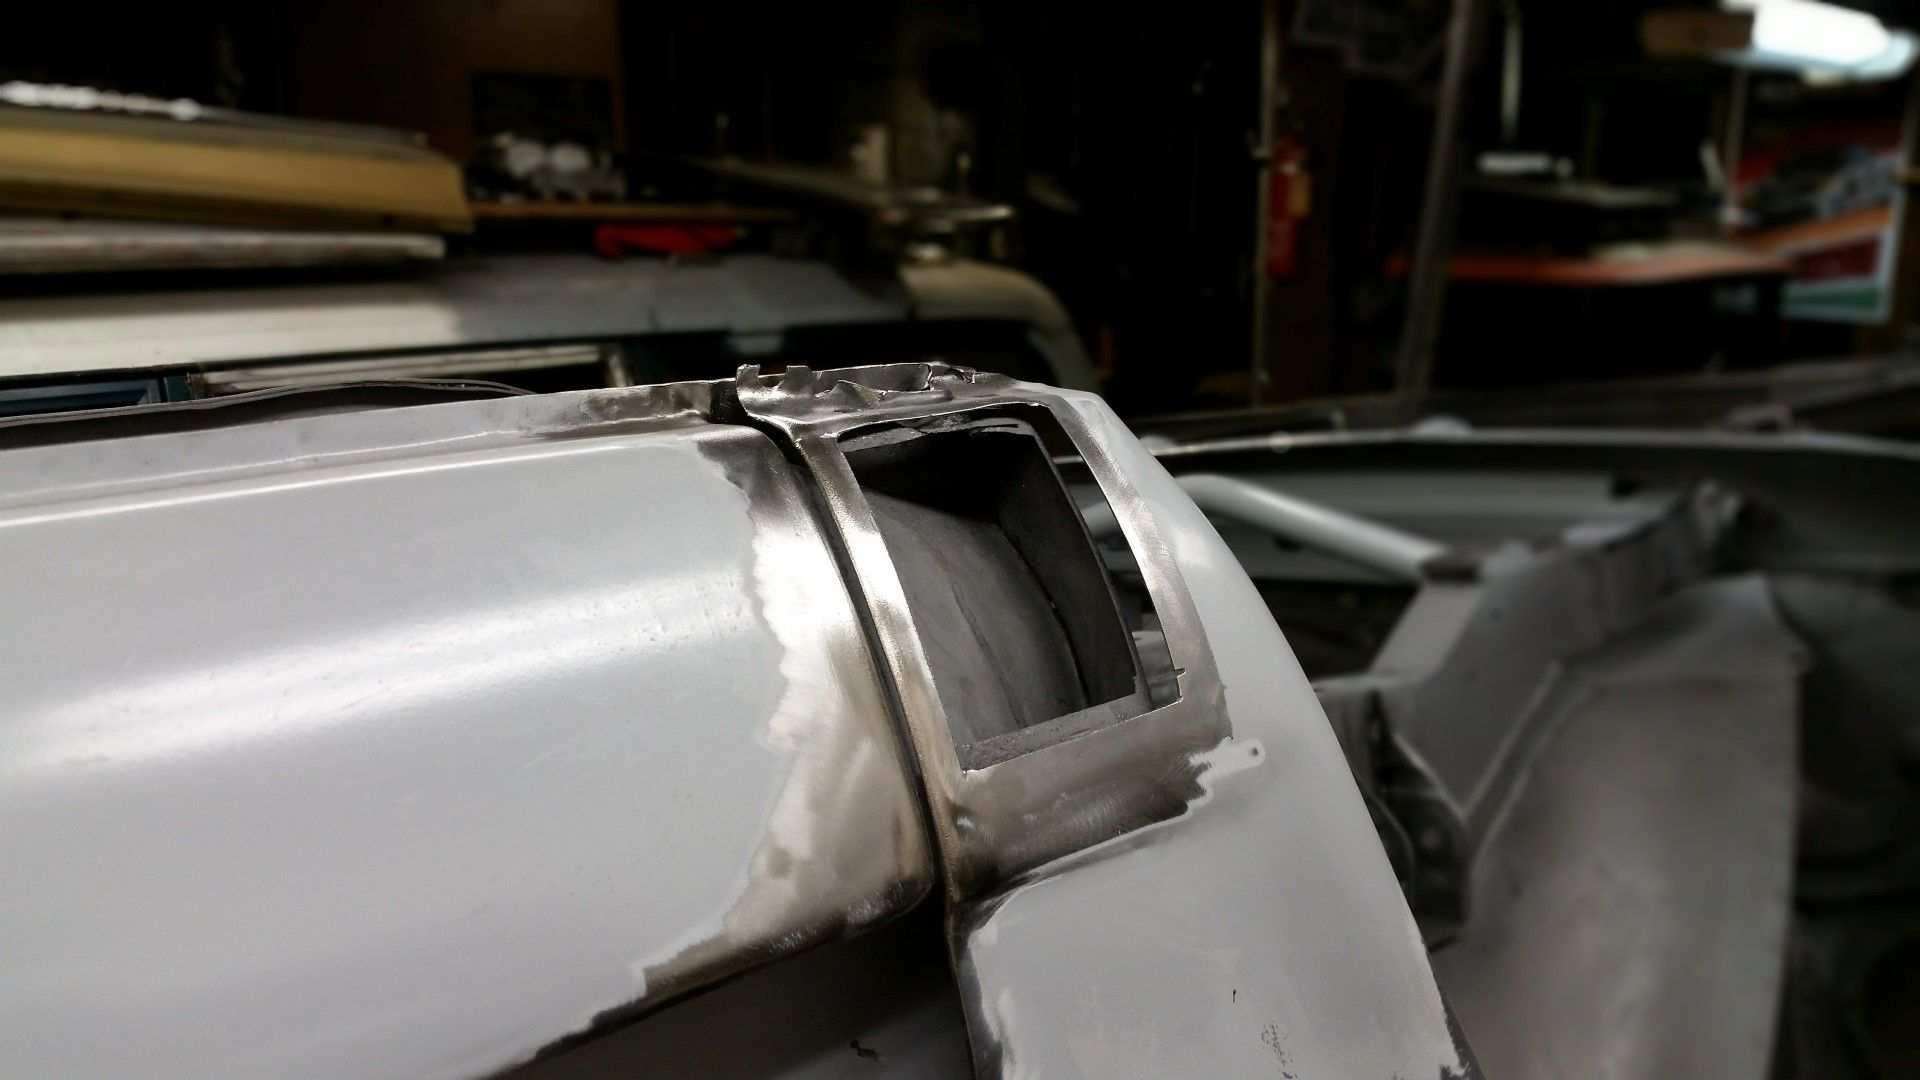 The panel alignment was pretty bad here. Since the fenders are welded on anyway, they might as well be welded here too  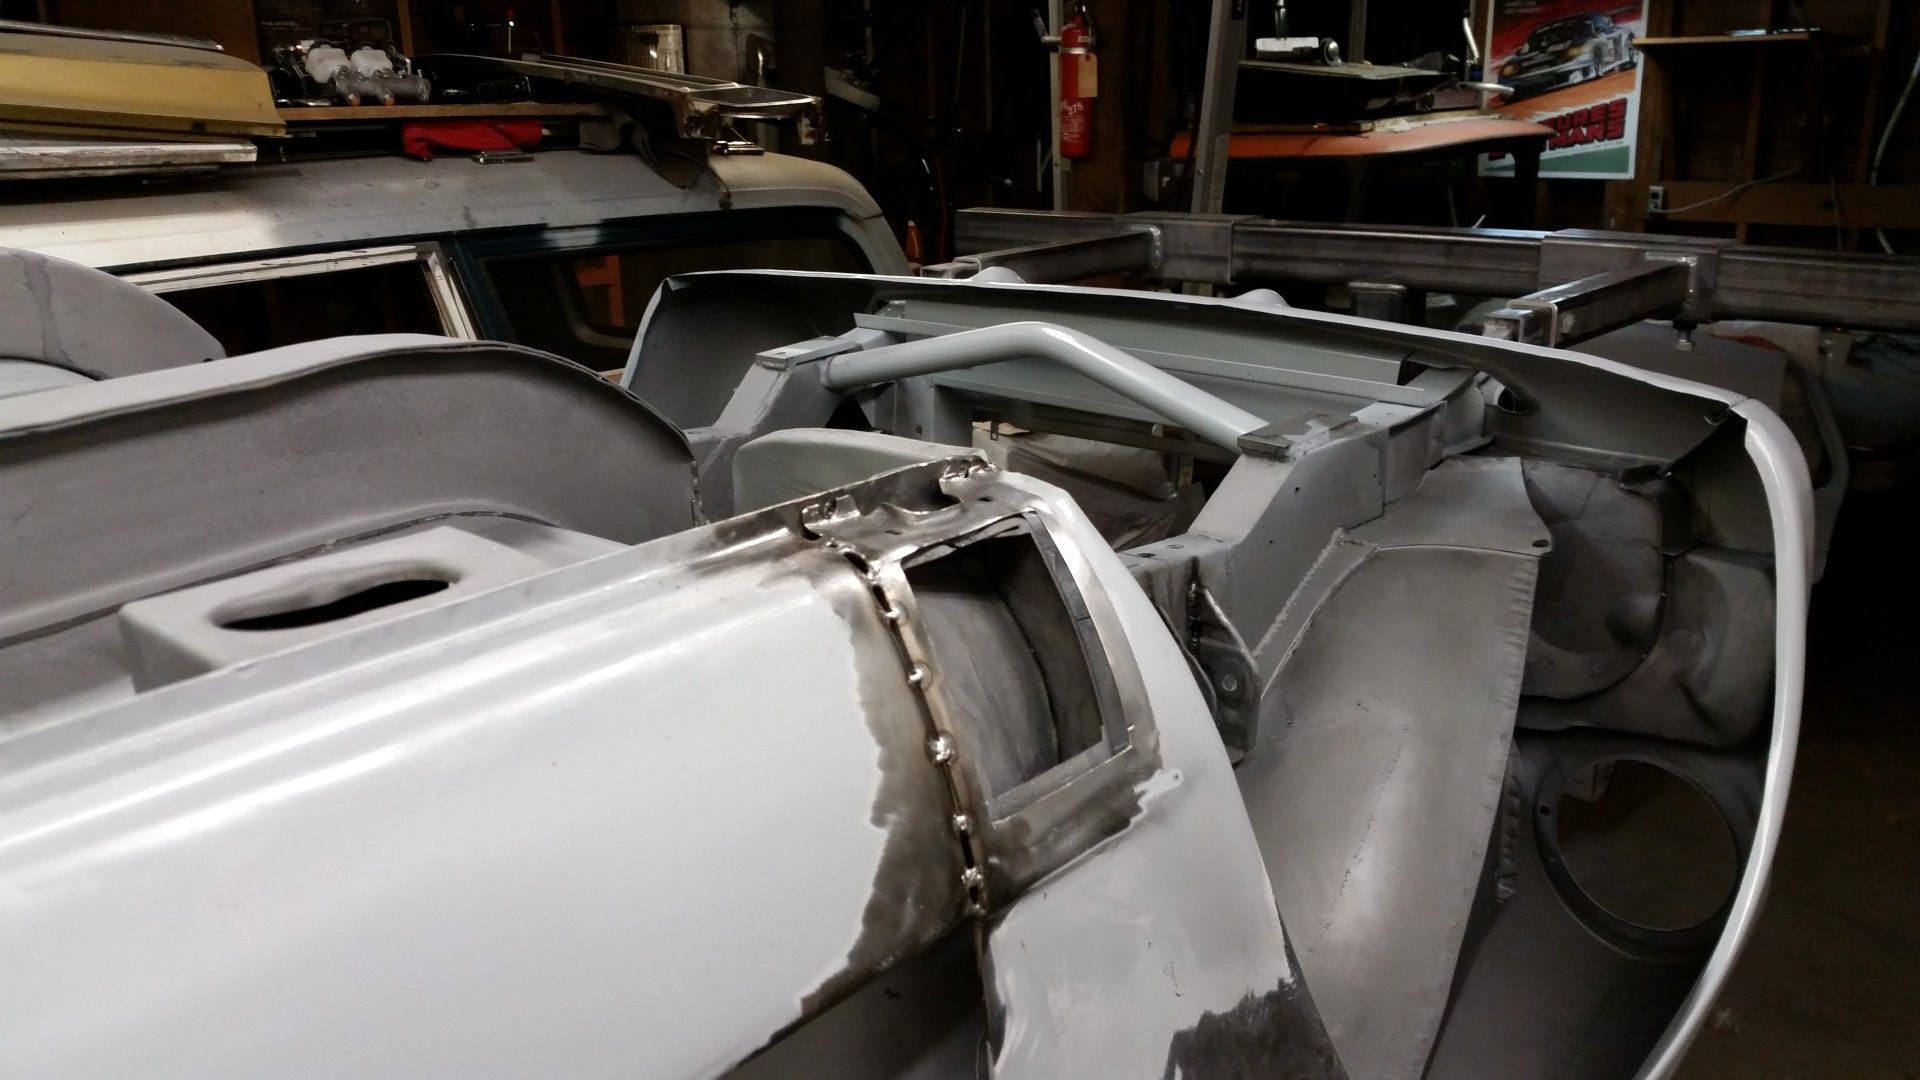 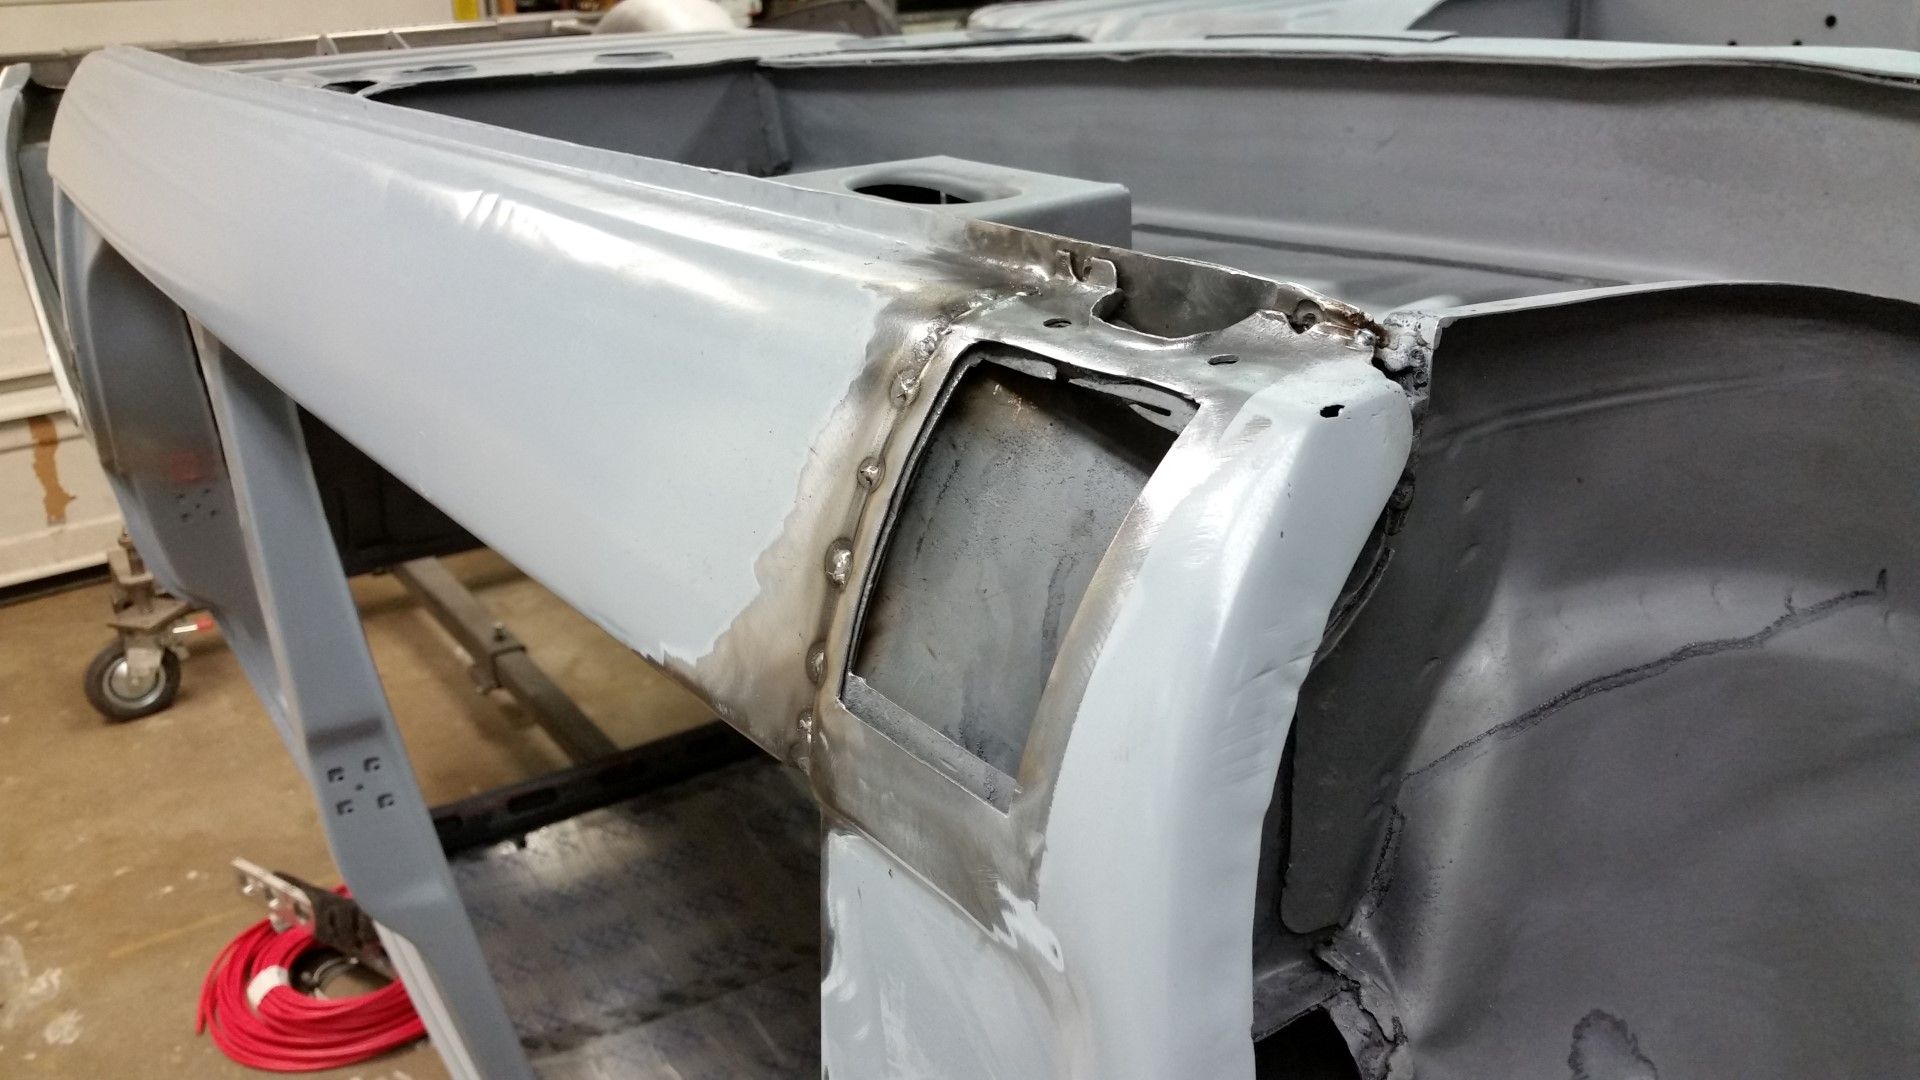 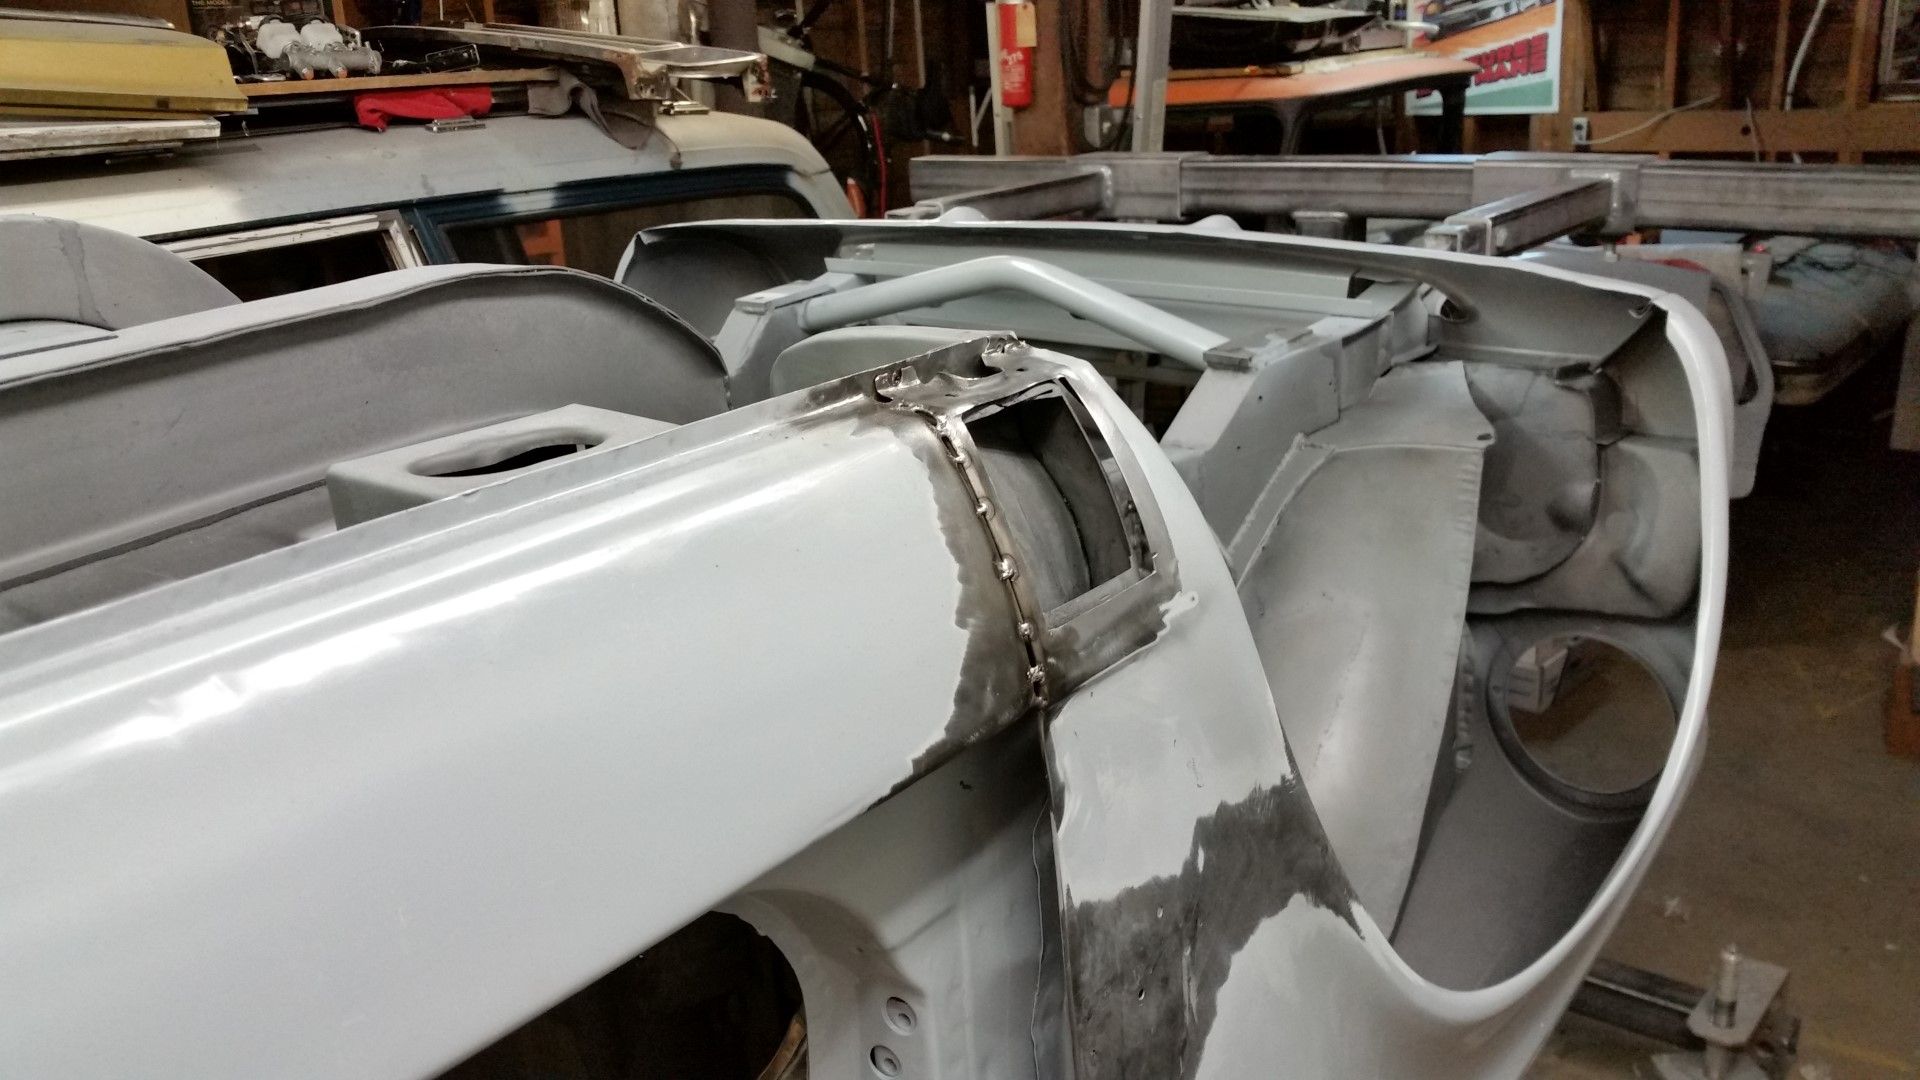 Other side: 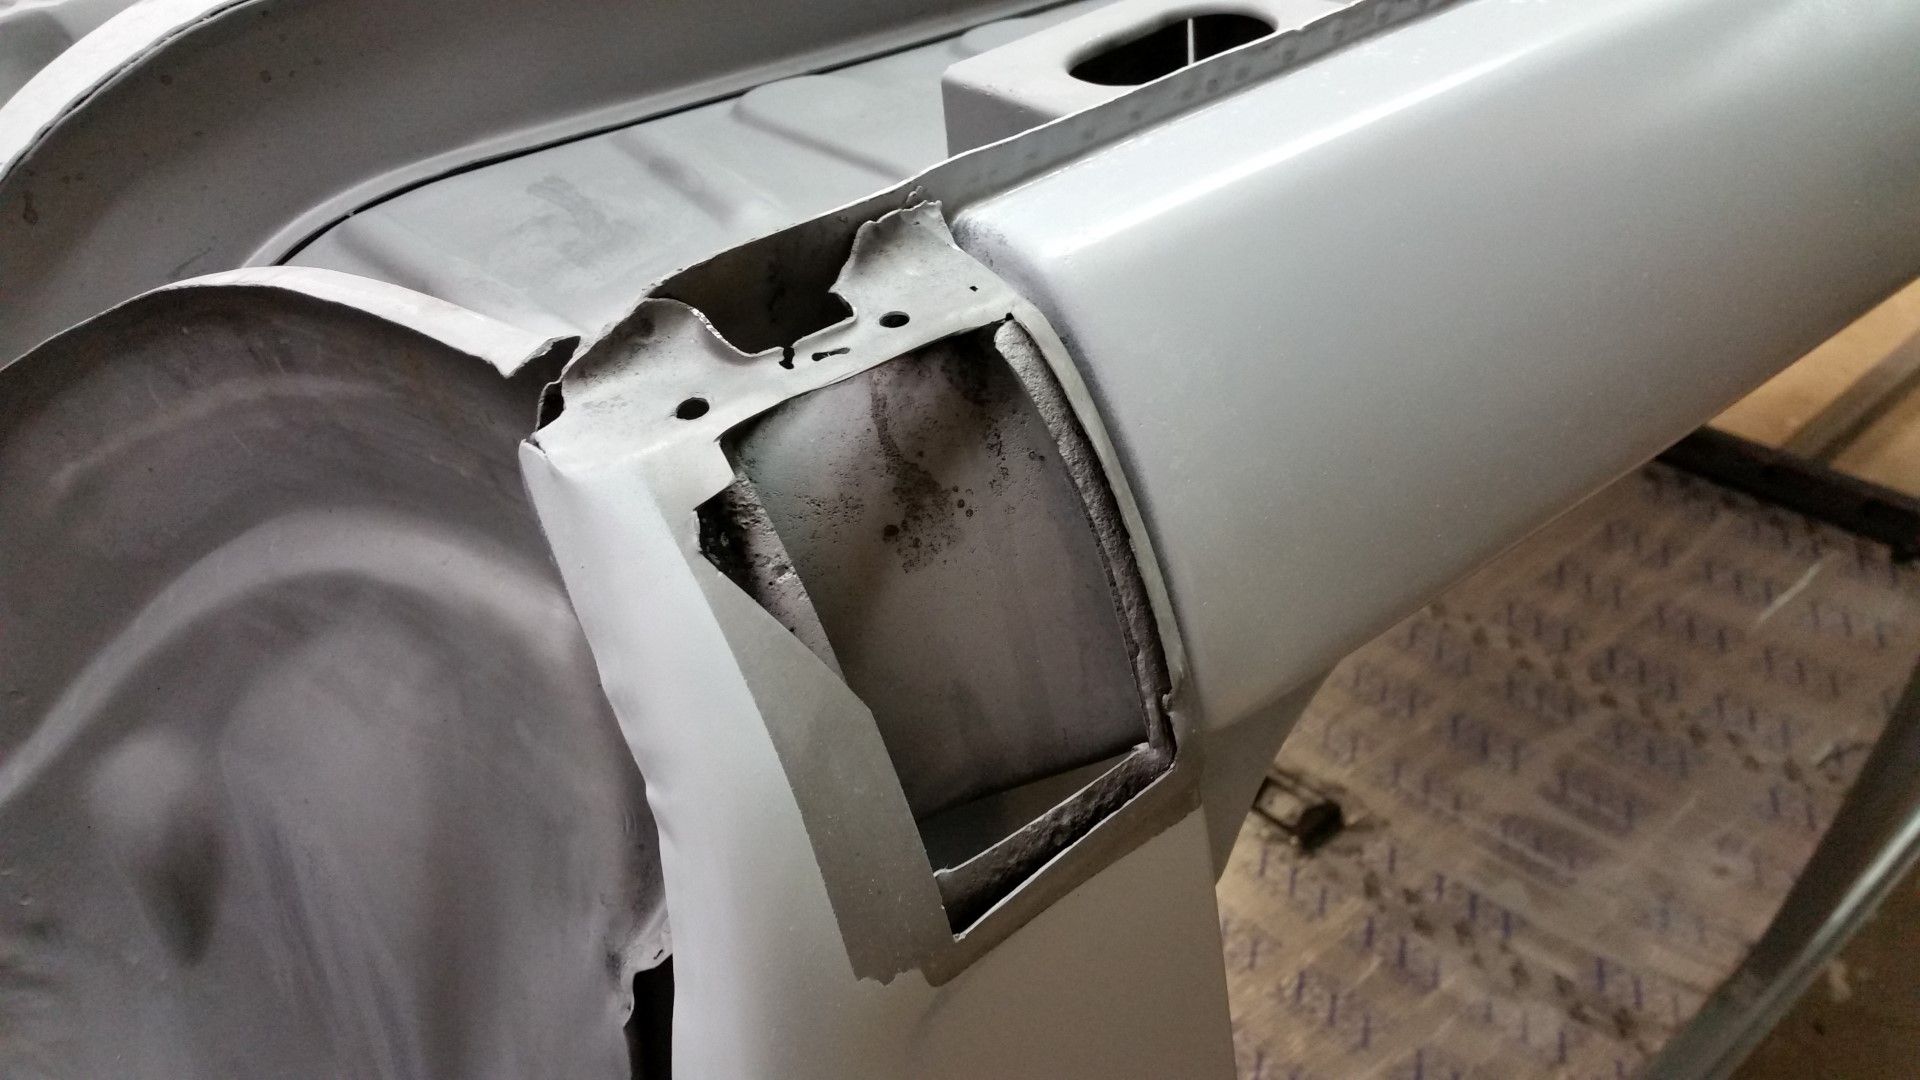 I hit the inner structure with this eastwood product before closing it up. 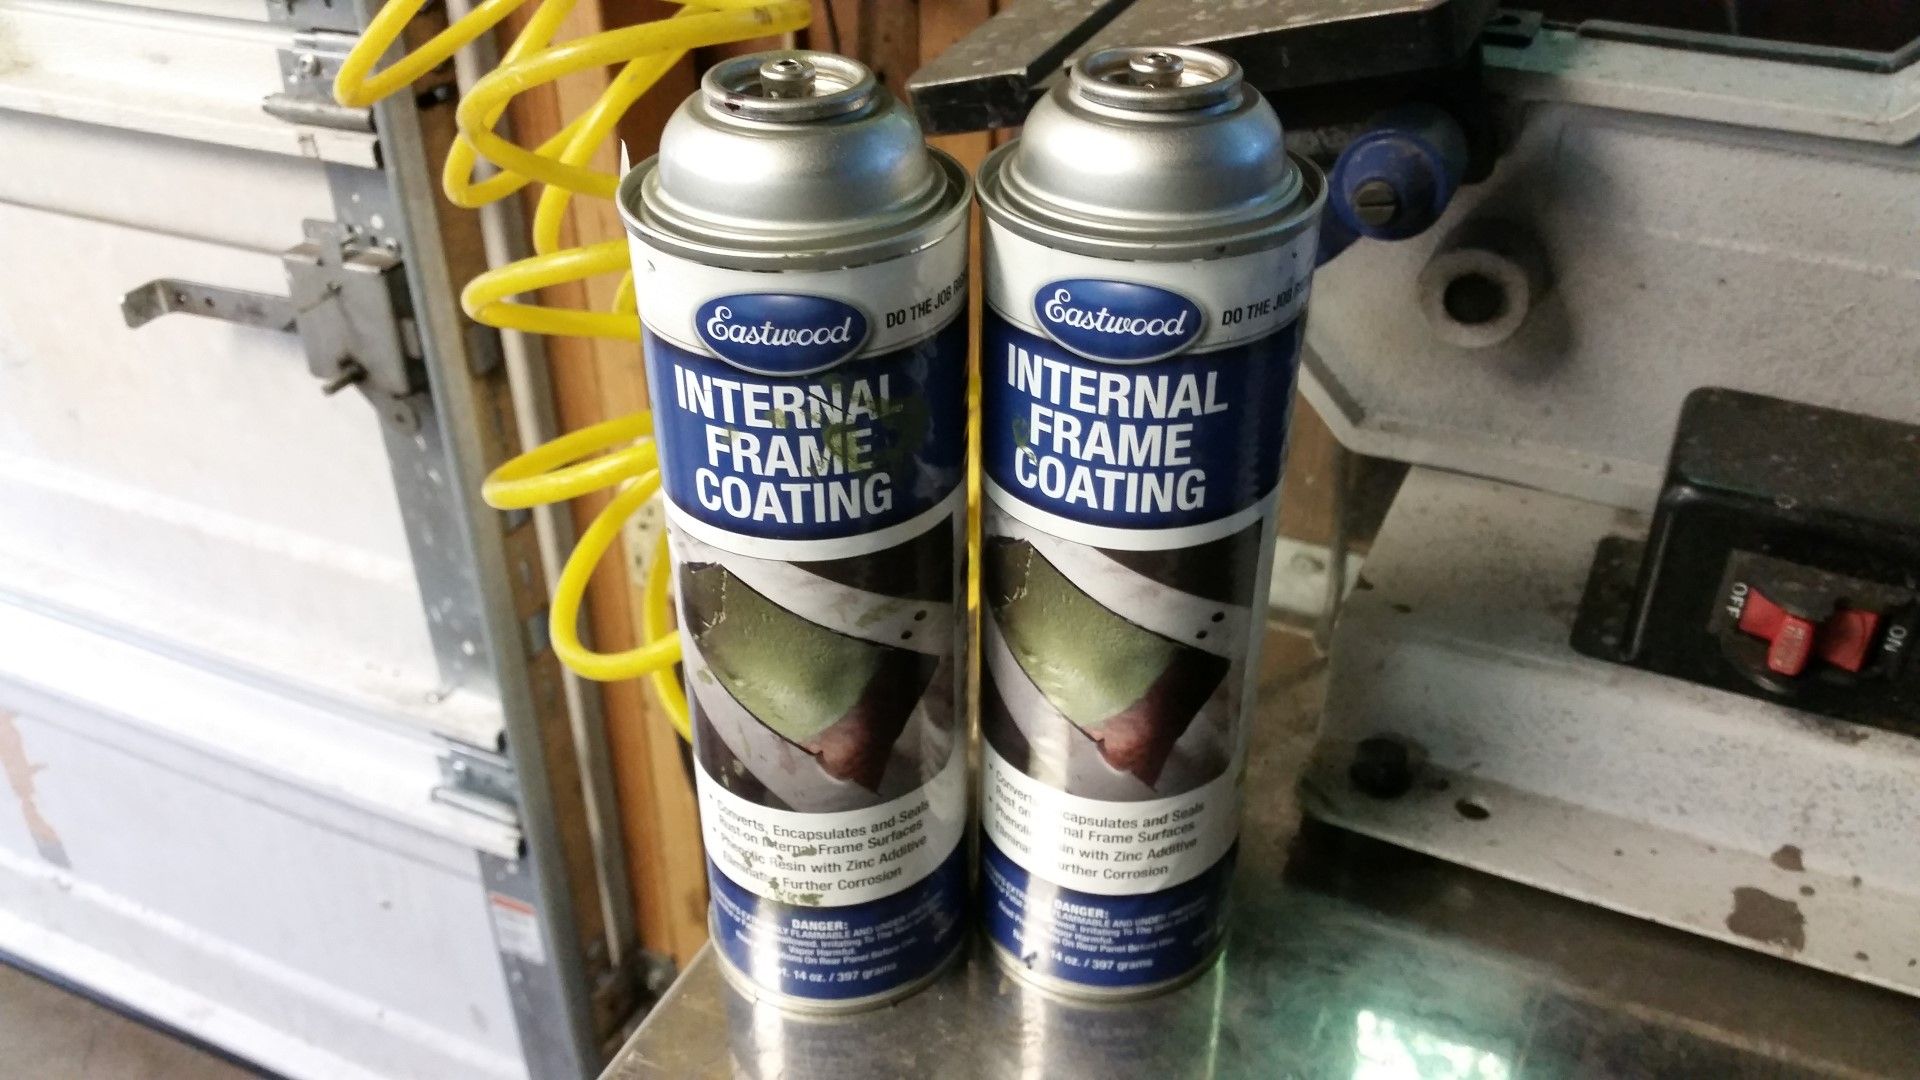 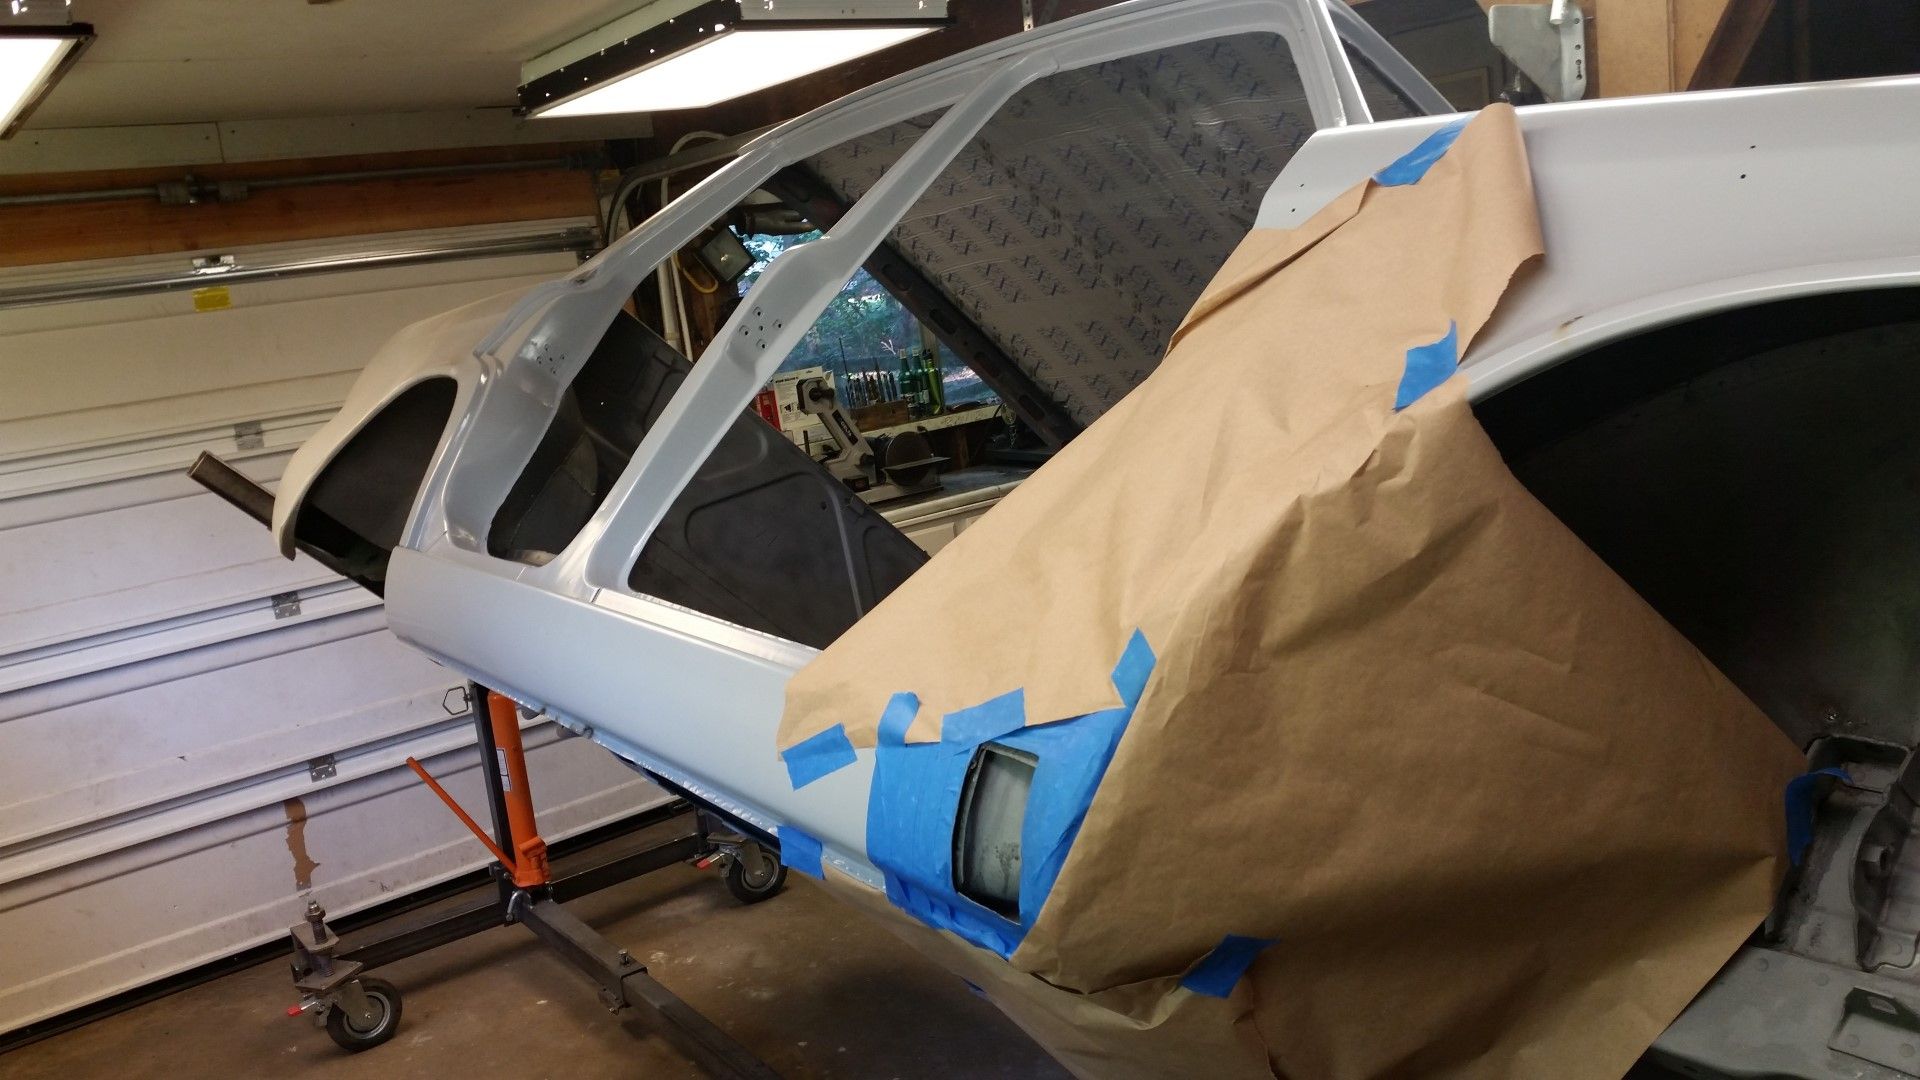 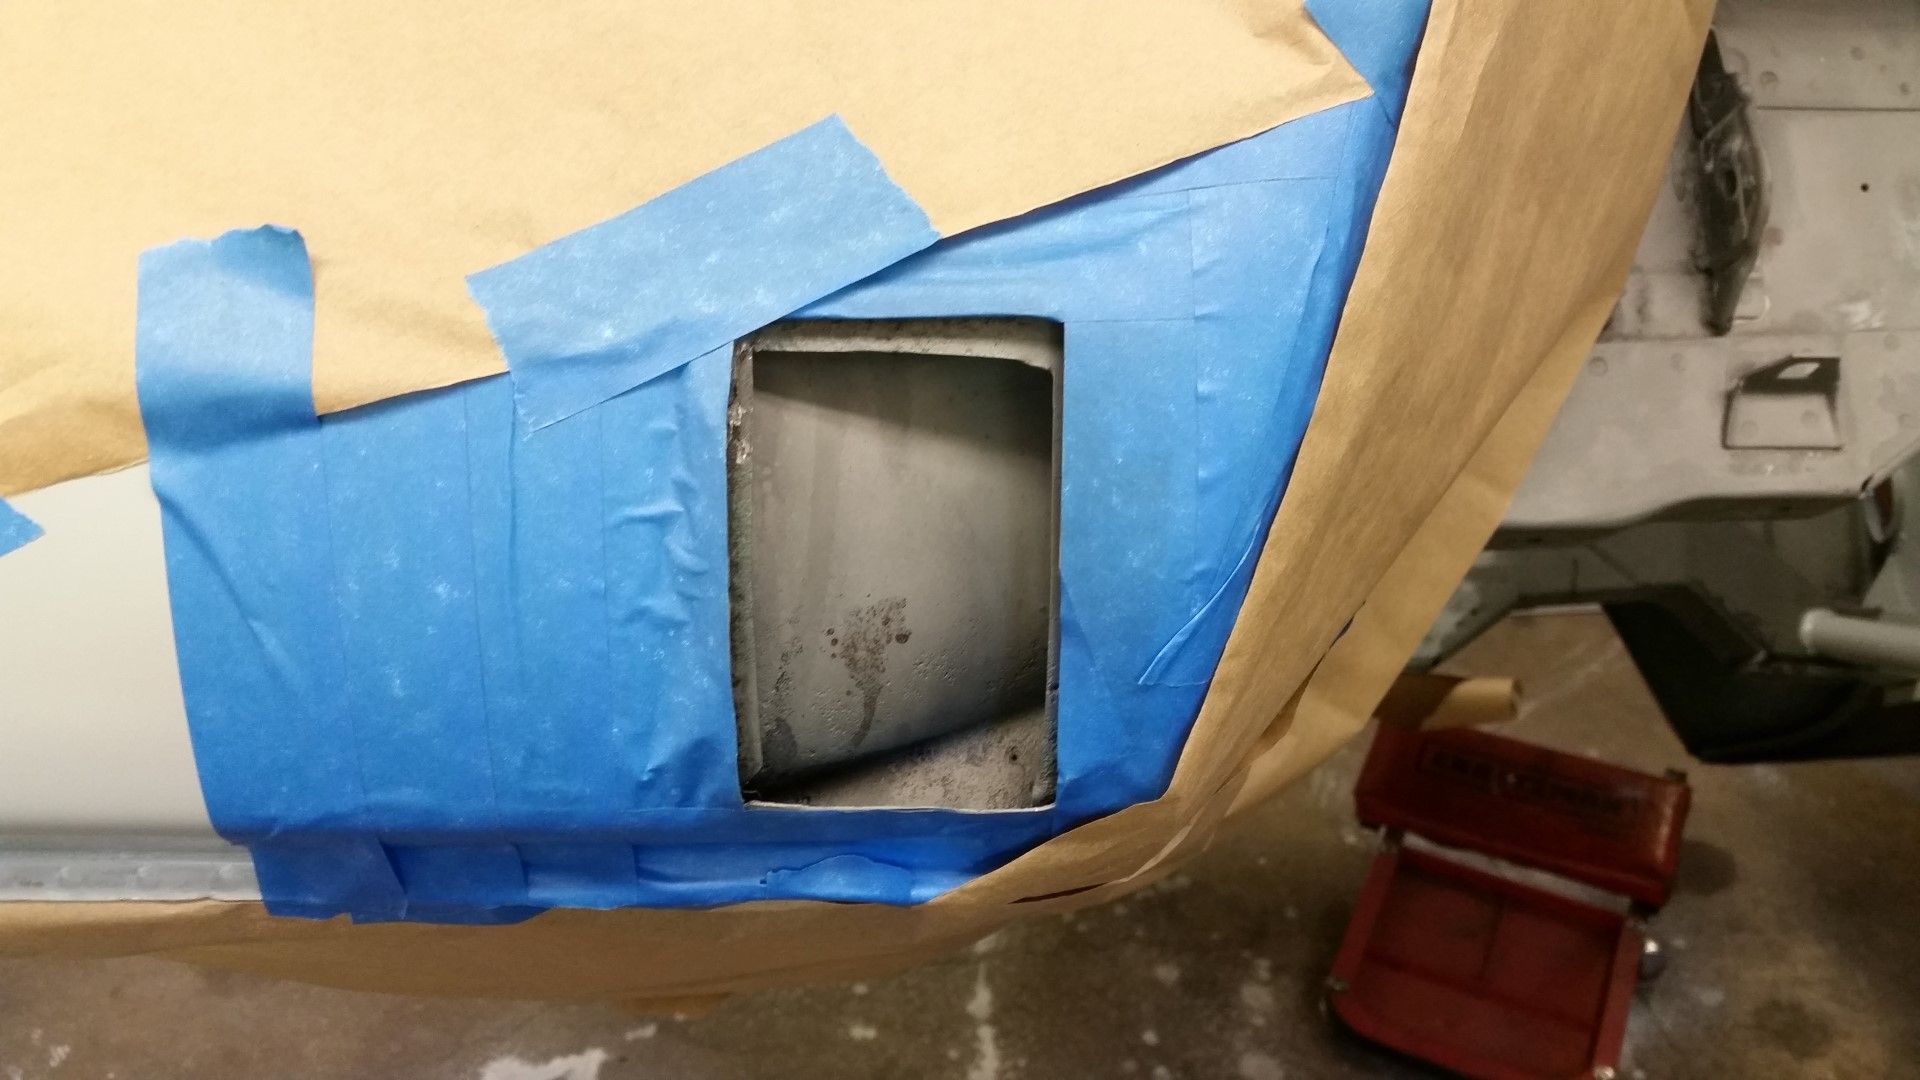 Did the inside of a bunch of other areas while I was at it: 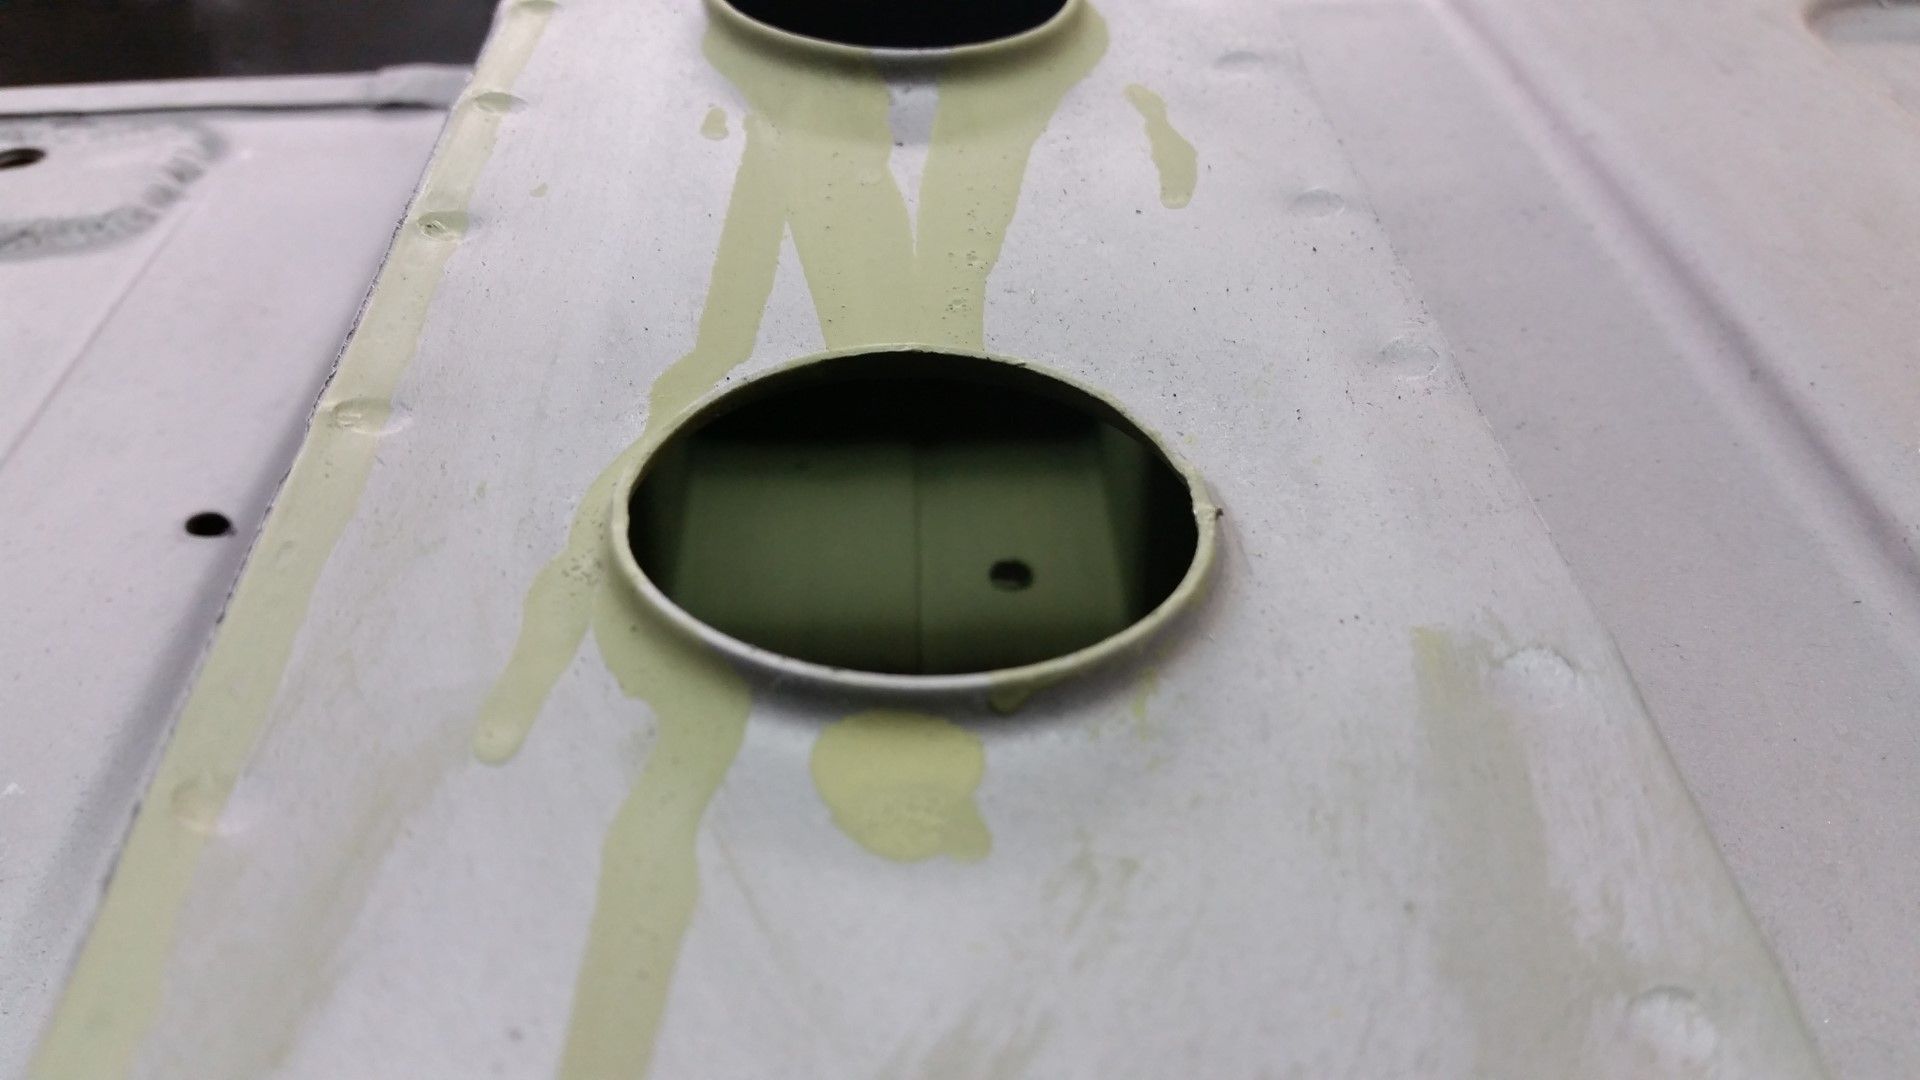   Close it up. 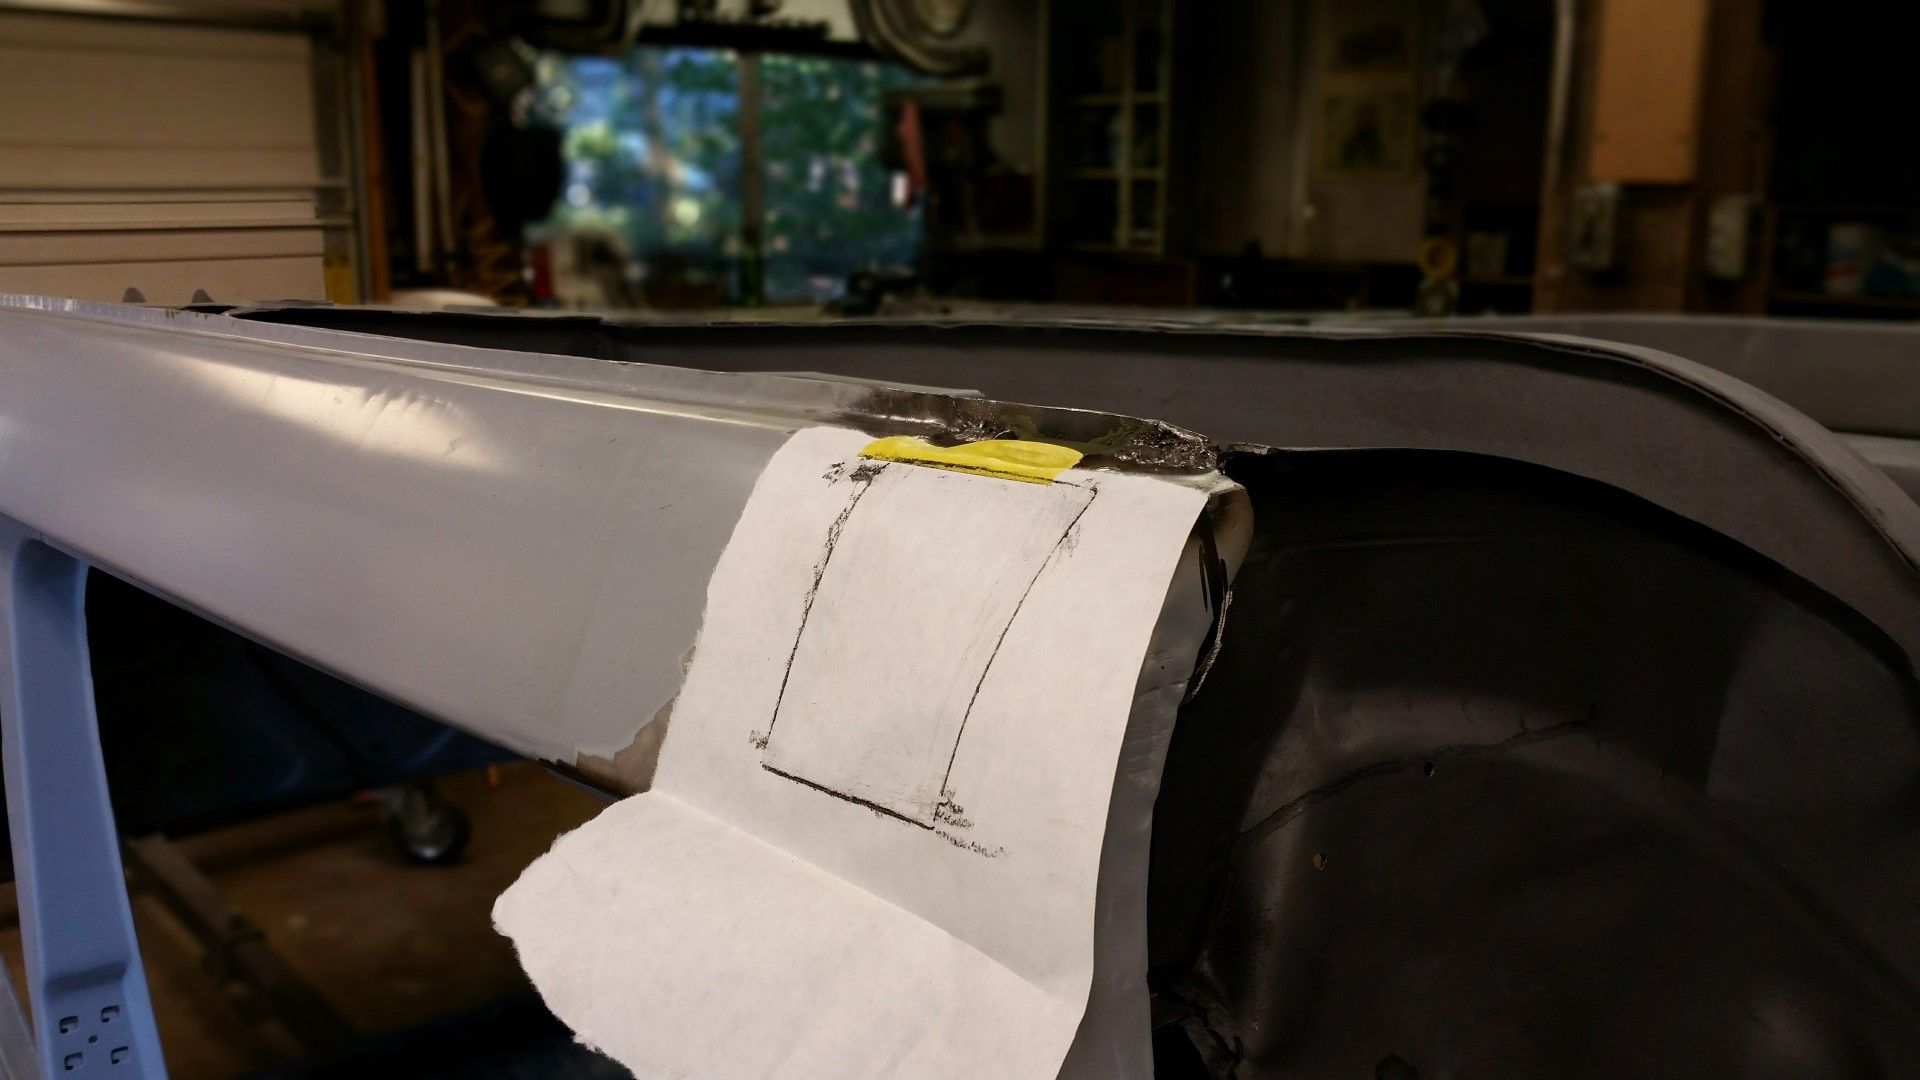 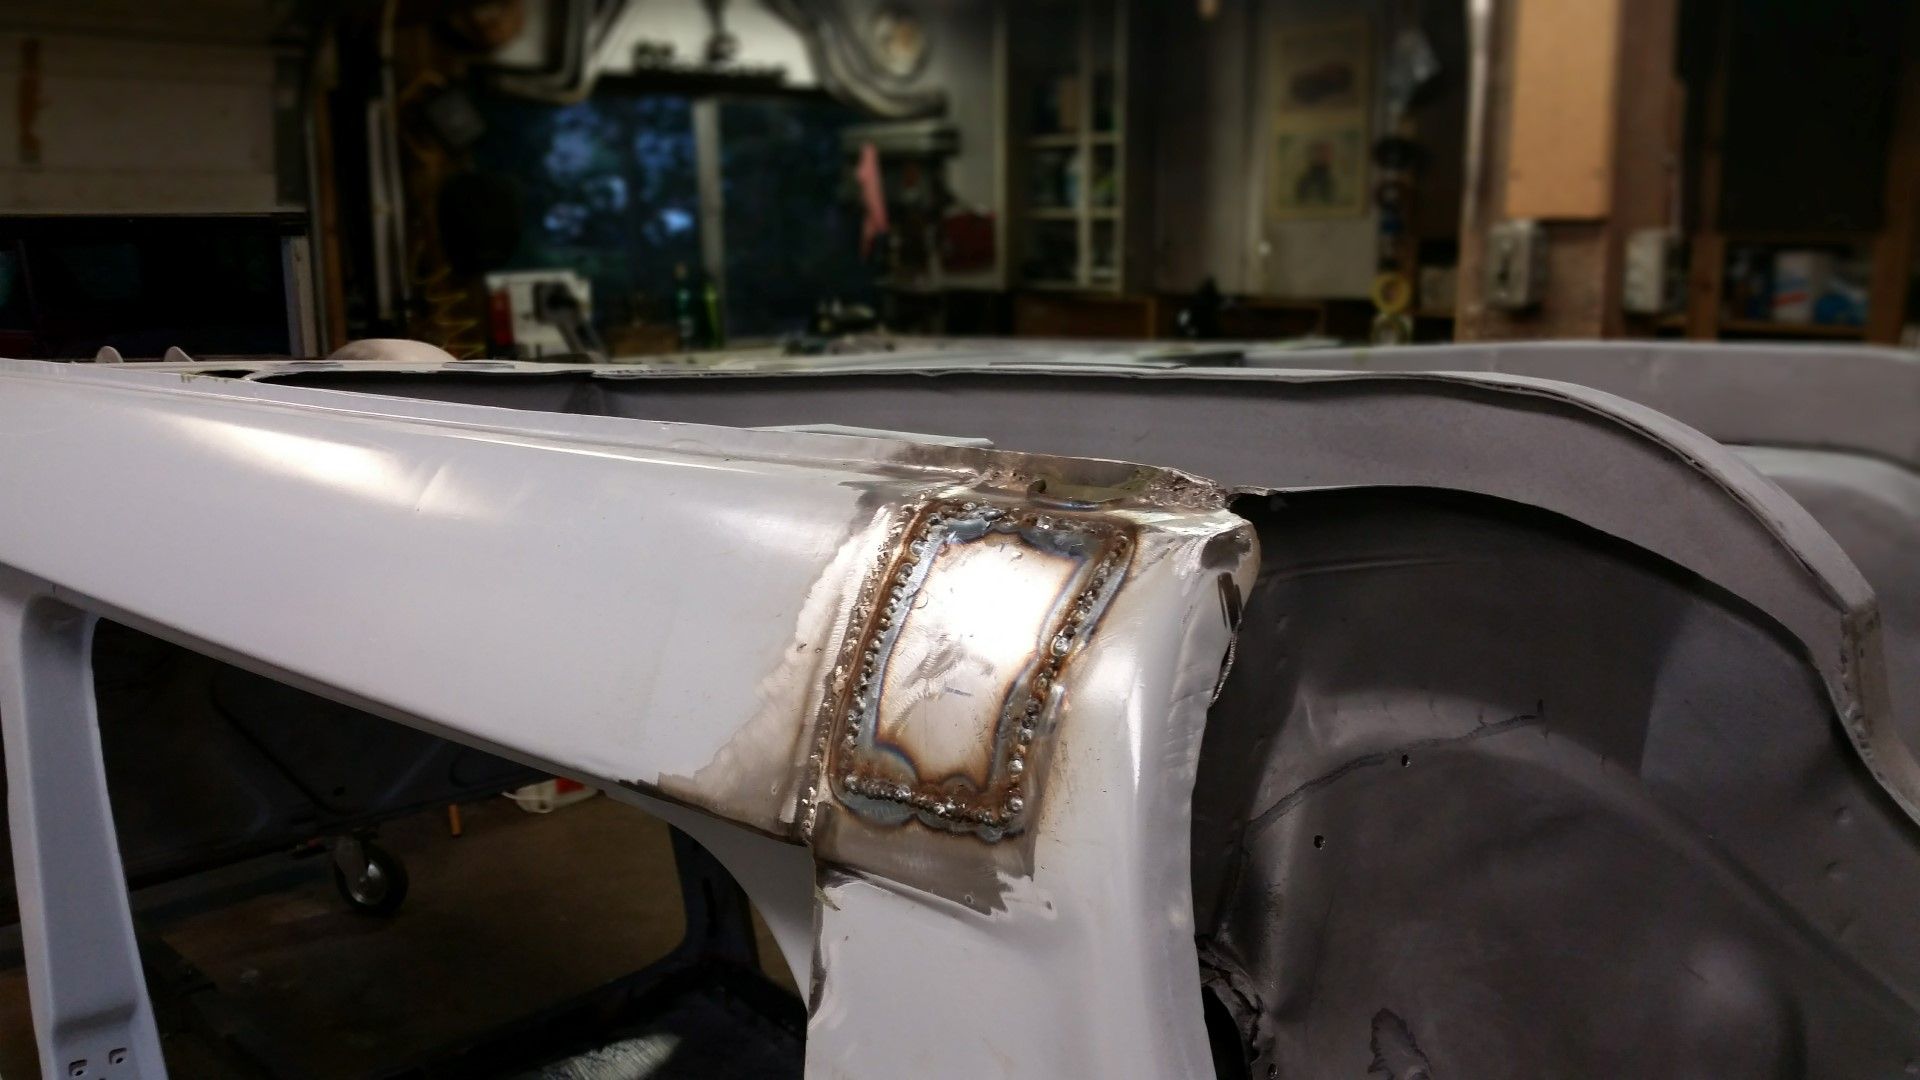 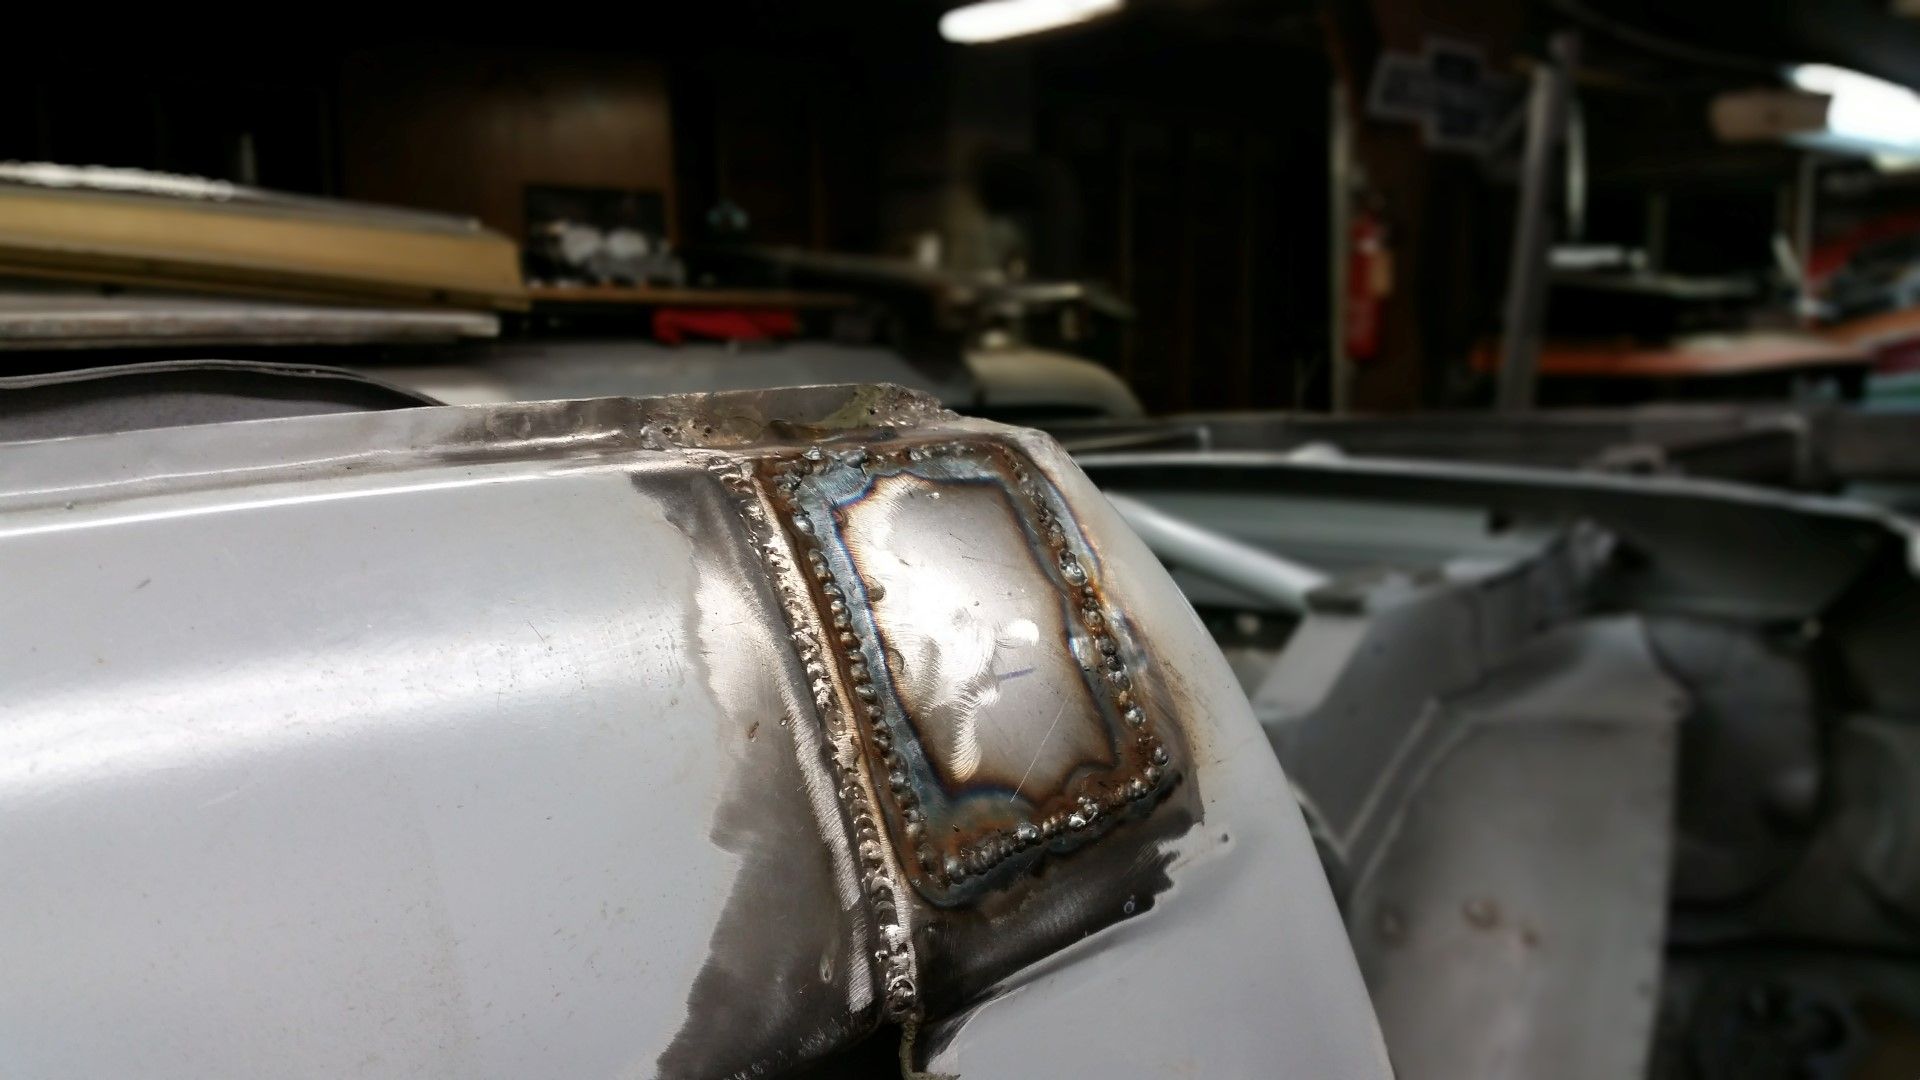 Not perfect metal finished because it will need a little lead-free. 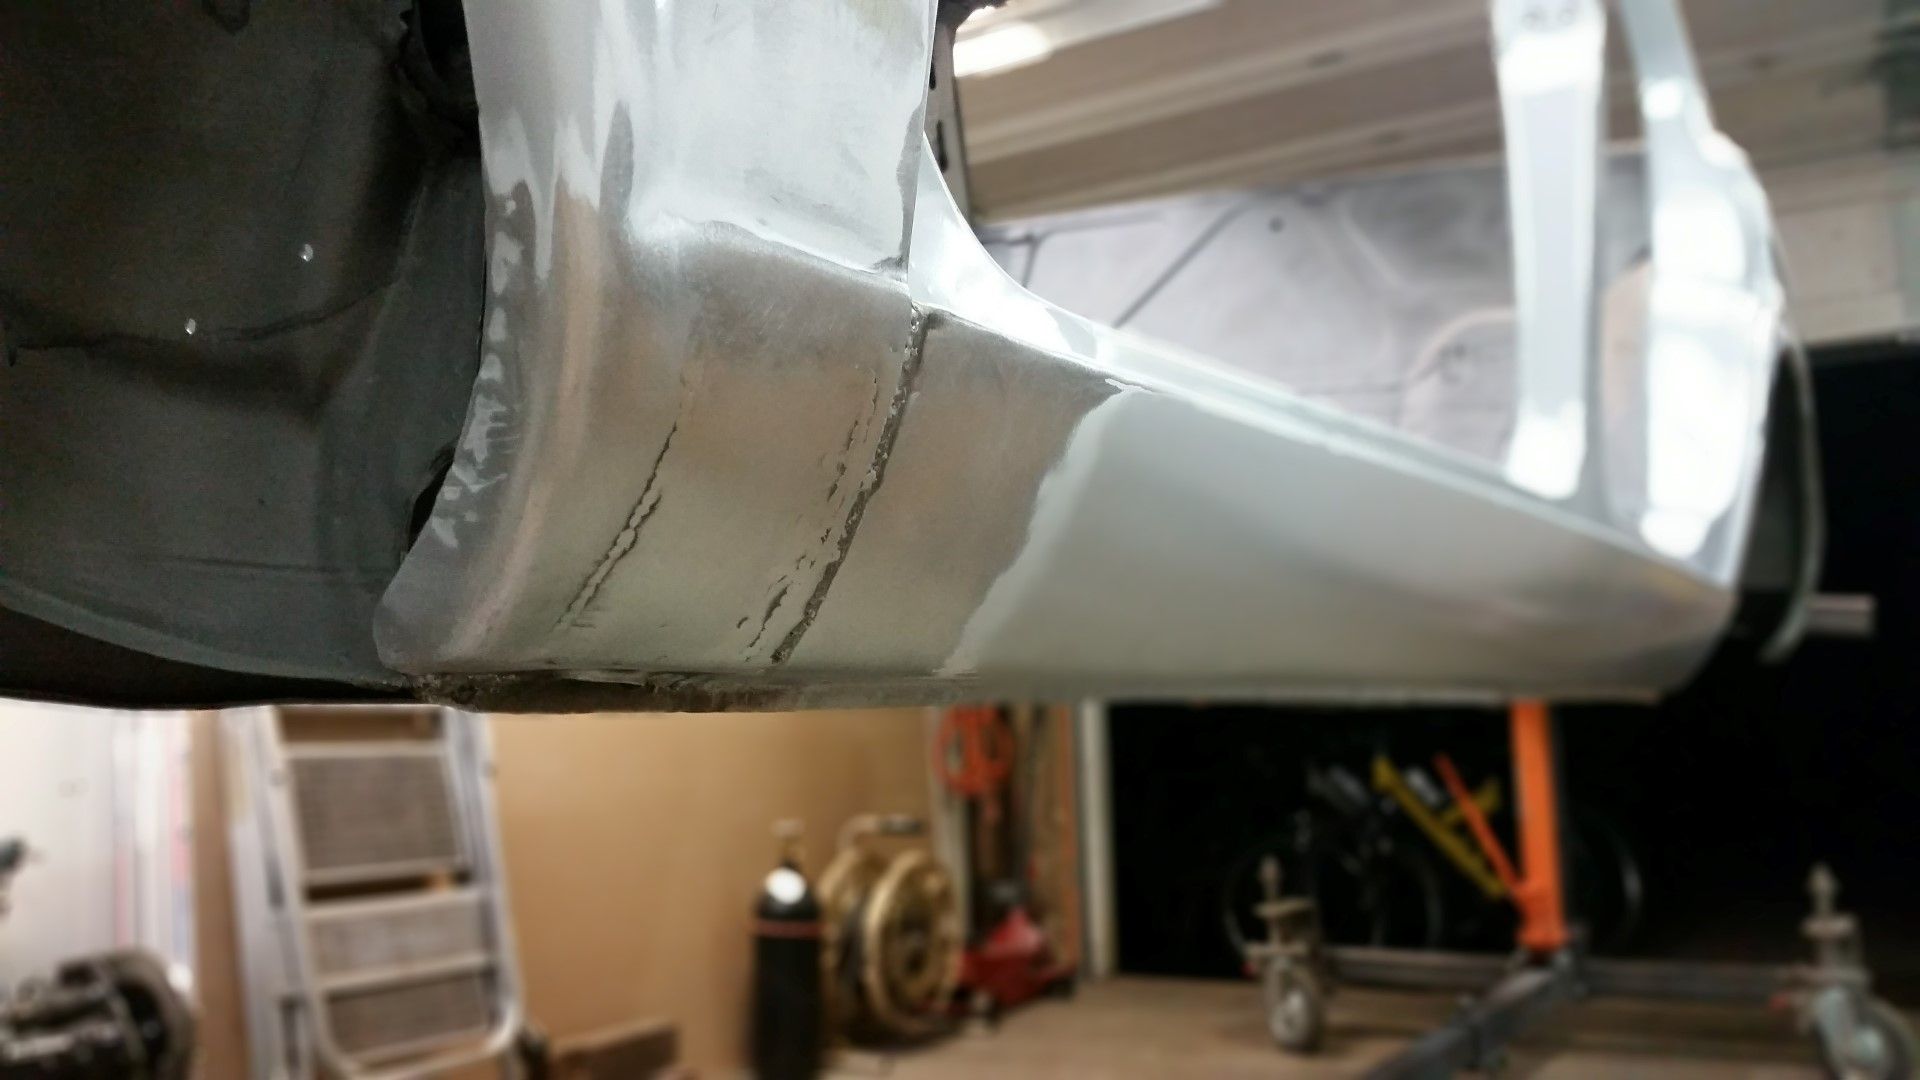
|
||
|
|
|
|
07-22-2014, 12:21 PM
|
#5 |
|
Registered User
Join Date: Aug 2005
Location: Hillsboro Oregon
Posts: 6,449
|
Re: '66 Sunbeam Minx Project - F20C/6sp/4-link/Discs...
More detail work:
|
|
|
|
|
07-22-2014, 12:28 PM
|
#6 |
|
Registered User
Join Date: Aug 2005
Location: Hillsboro Oregon
Posts: 6,449
|
Re: '66 Sunbeam Minx Project - F20C/6sp/4-link/Discs...
Panel misalignment everywhere ...or is it just me..?
  This side was worse. 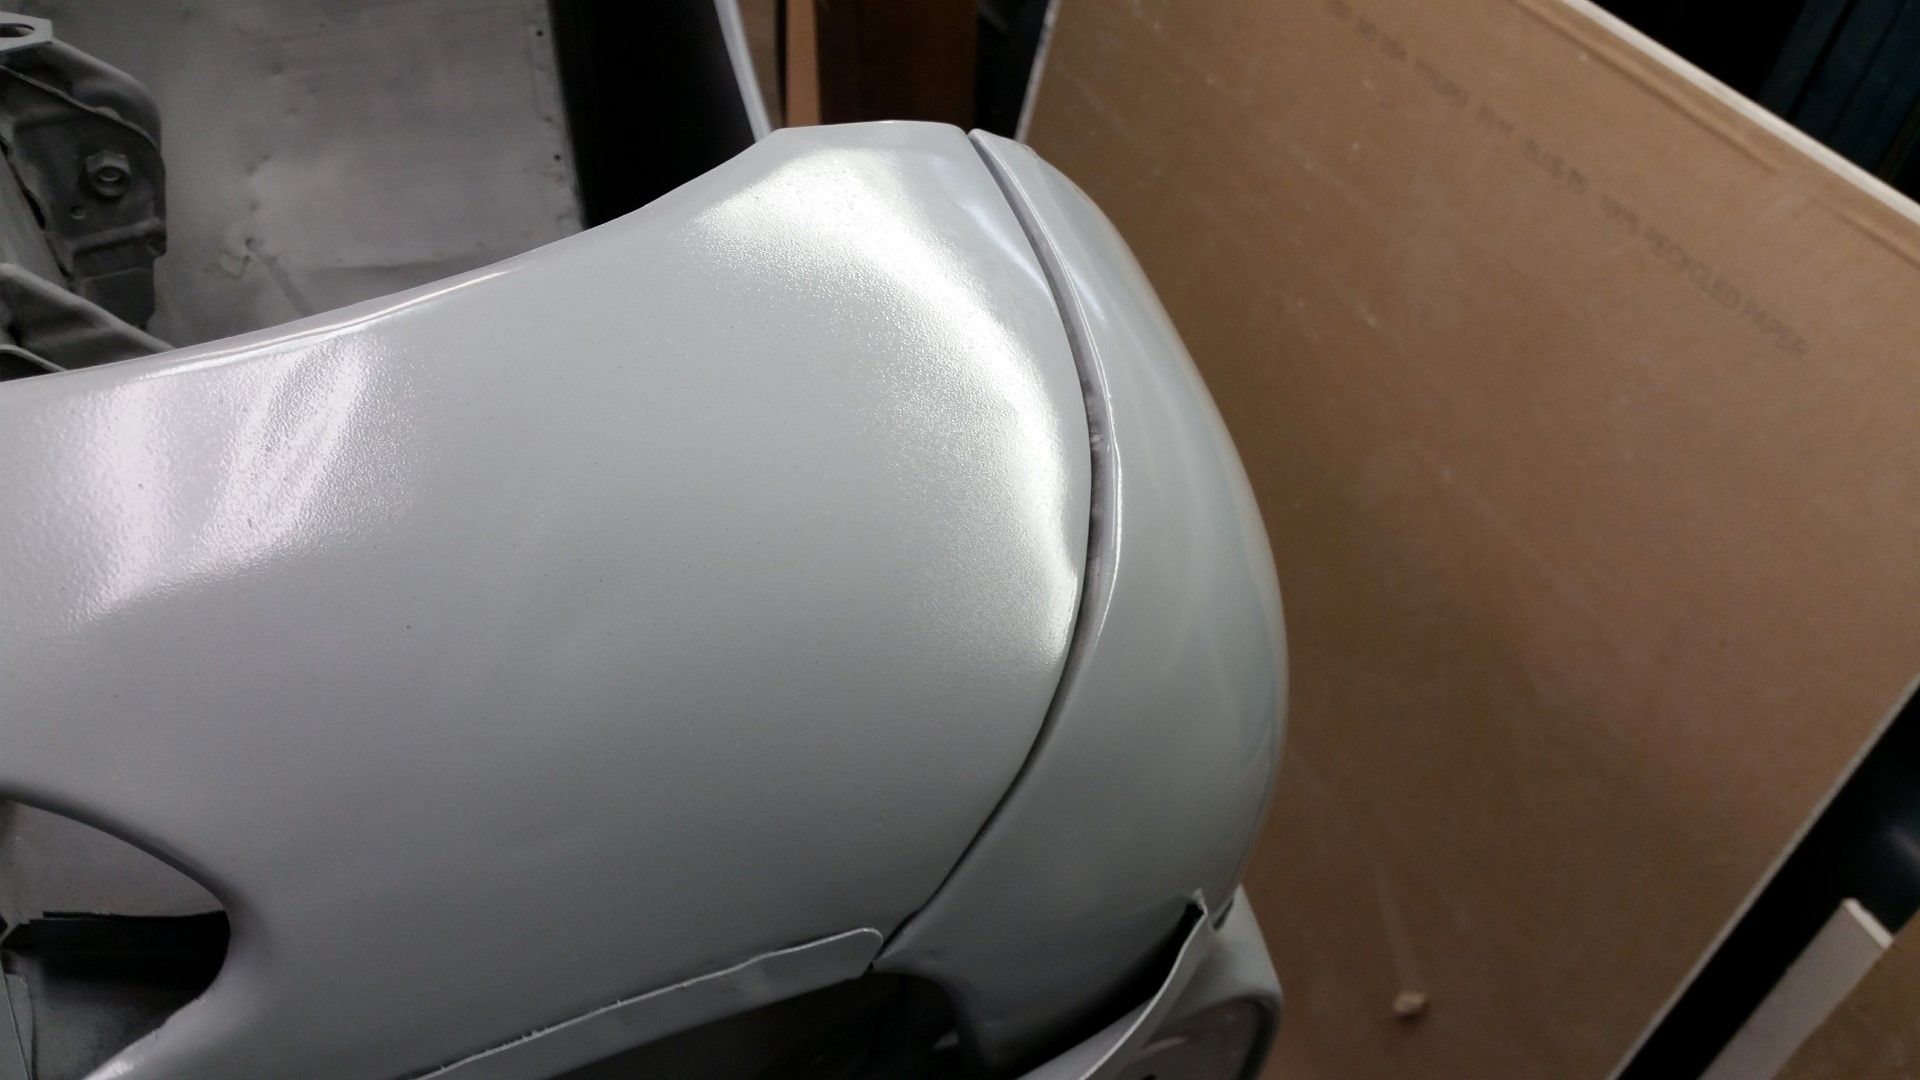 Drastic measures required. 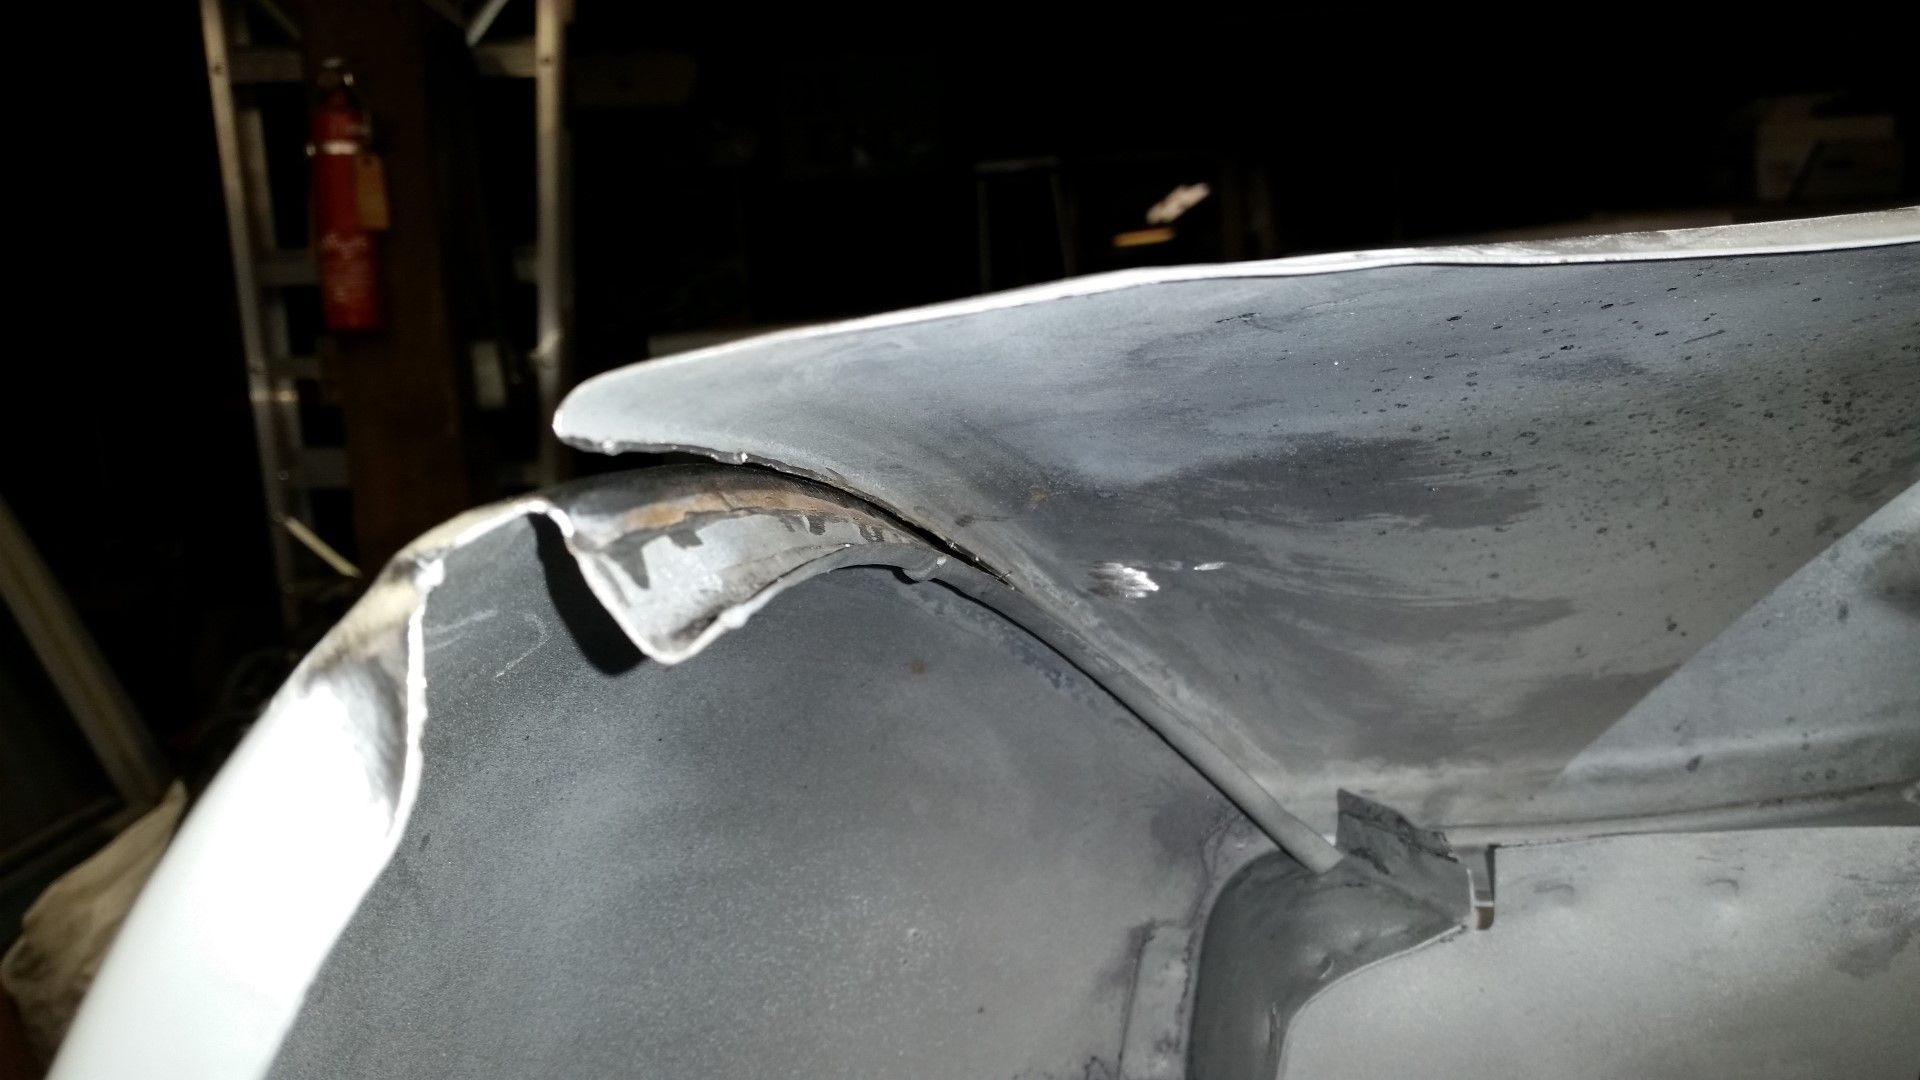 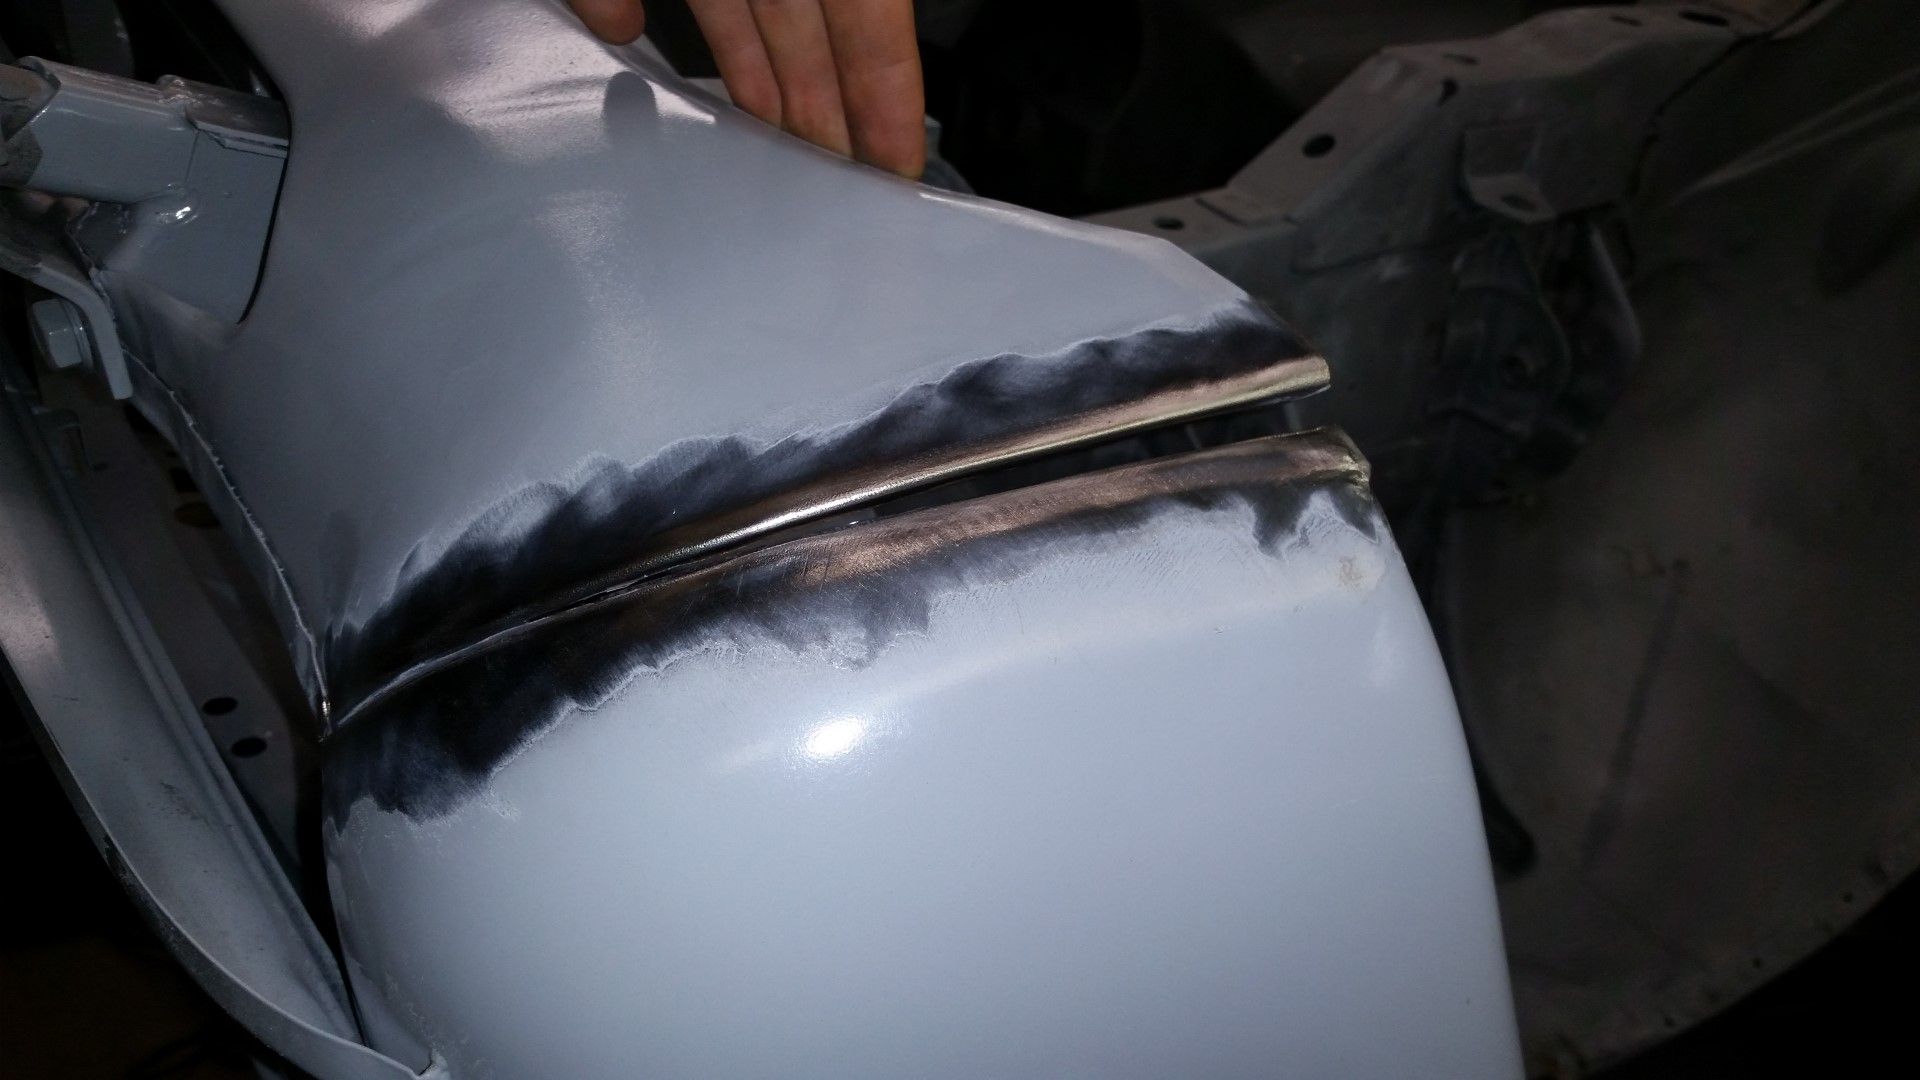 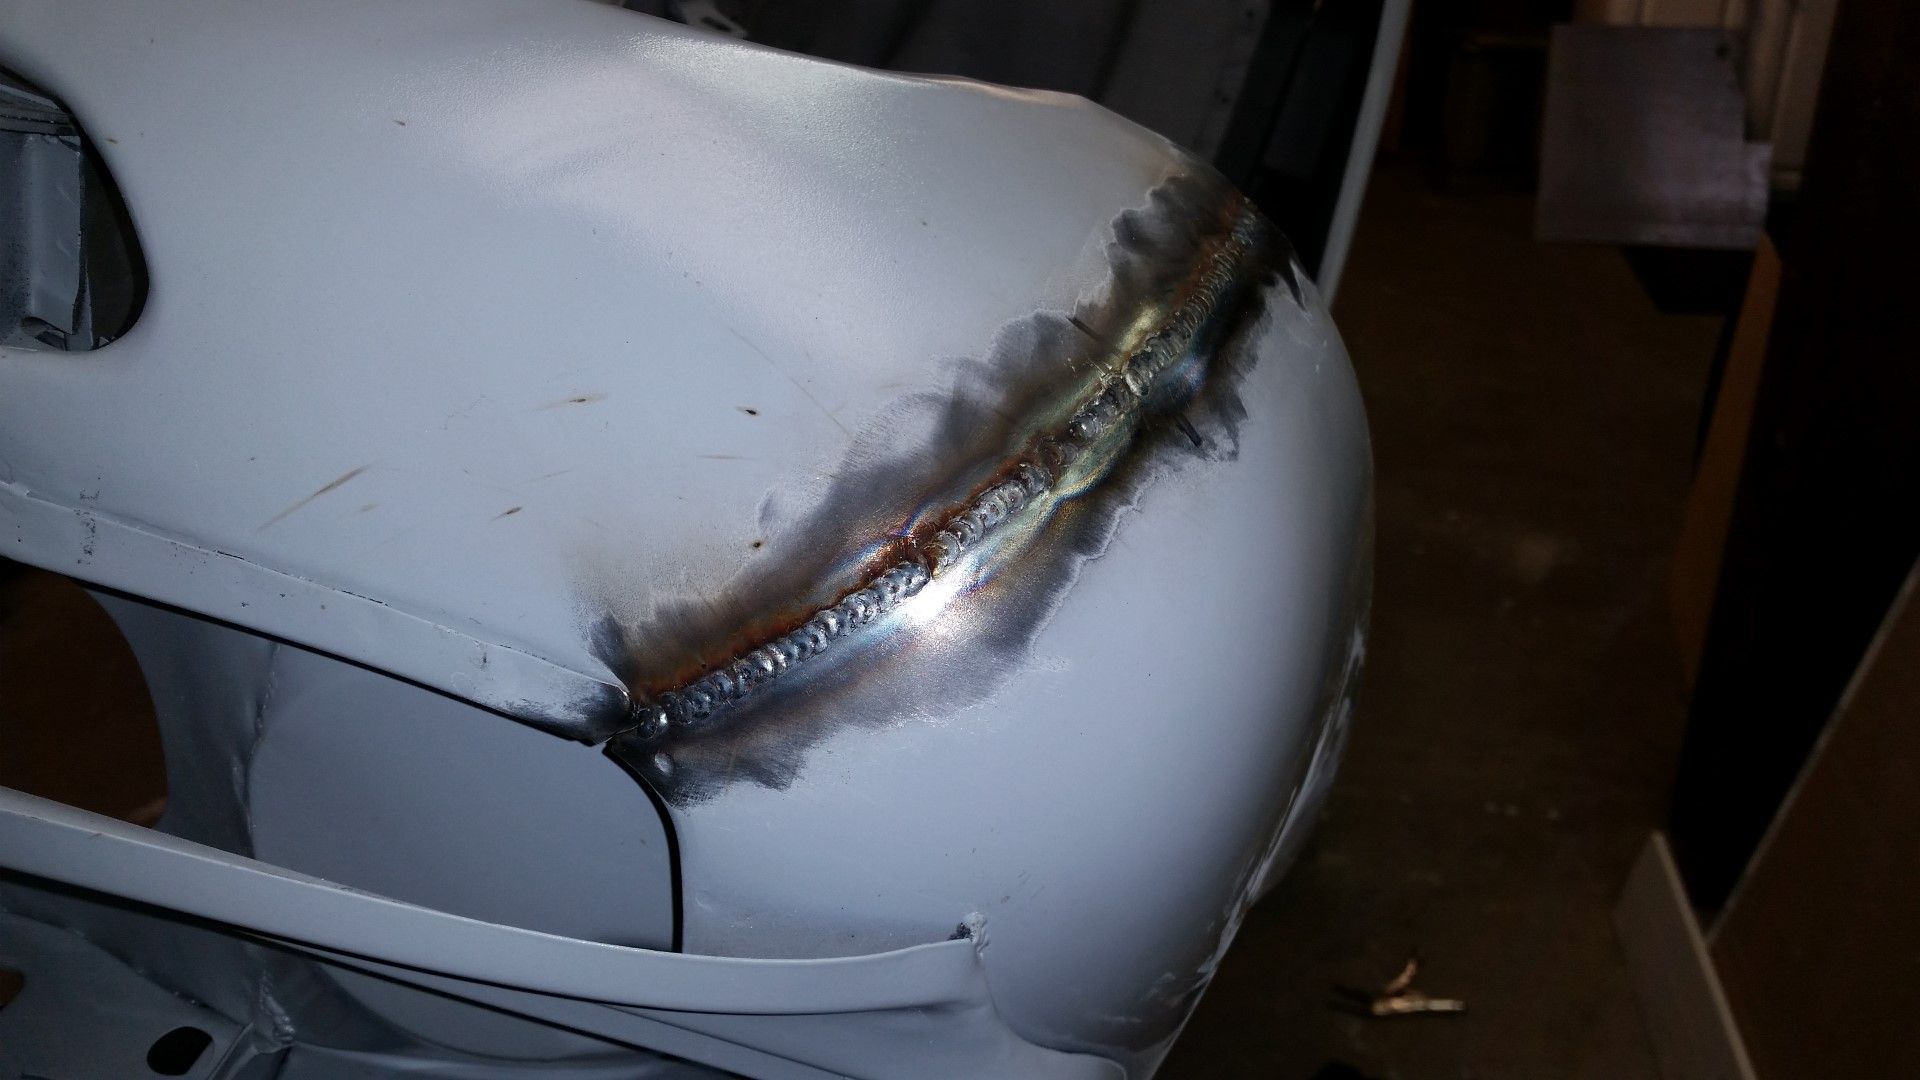 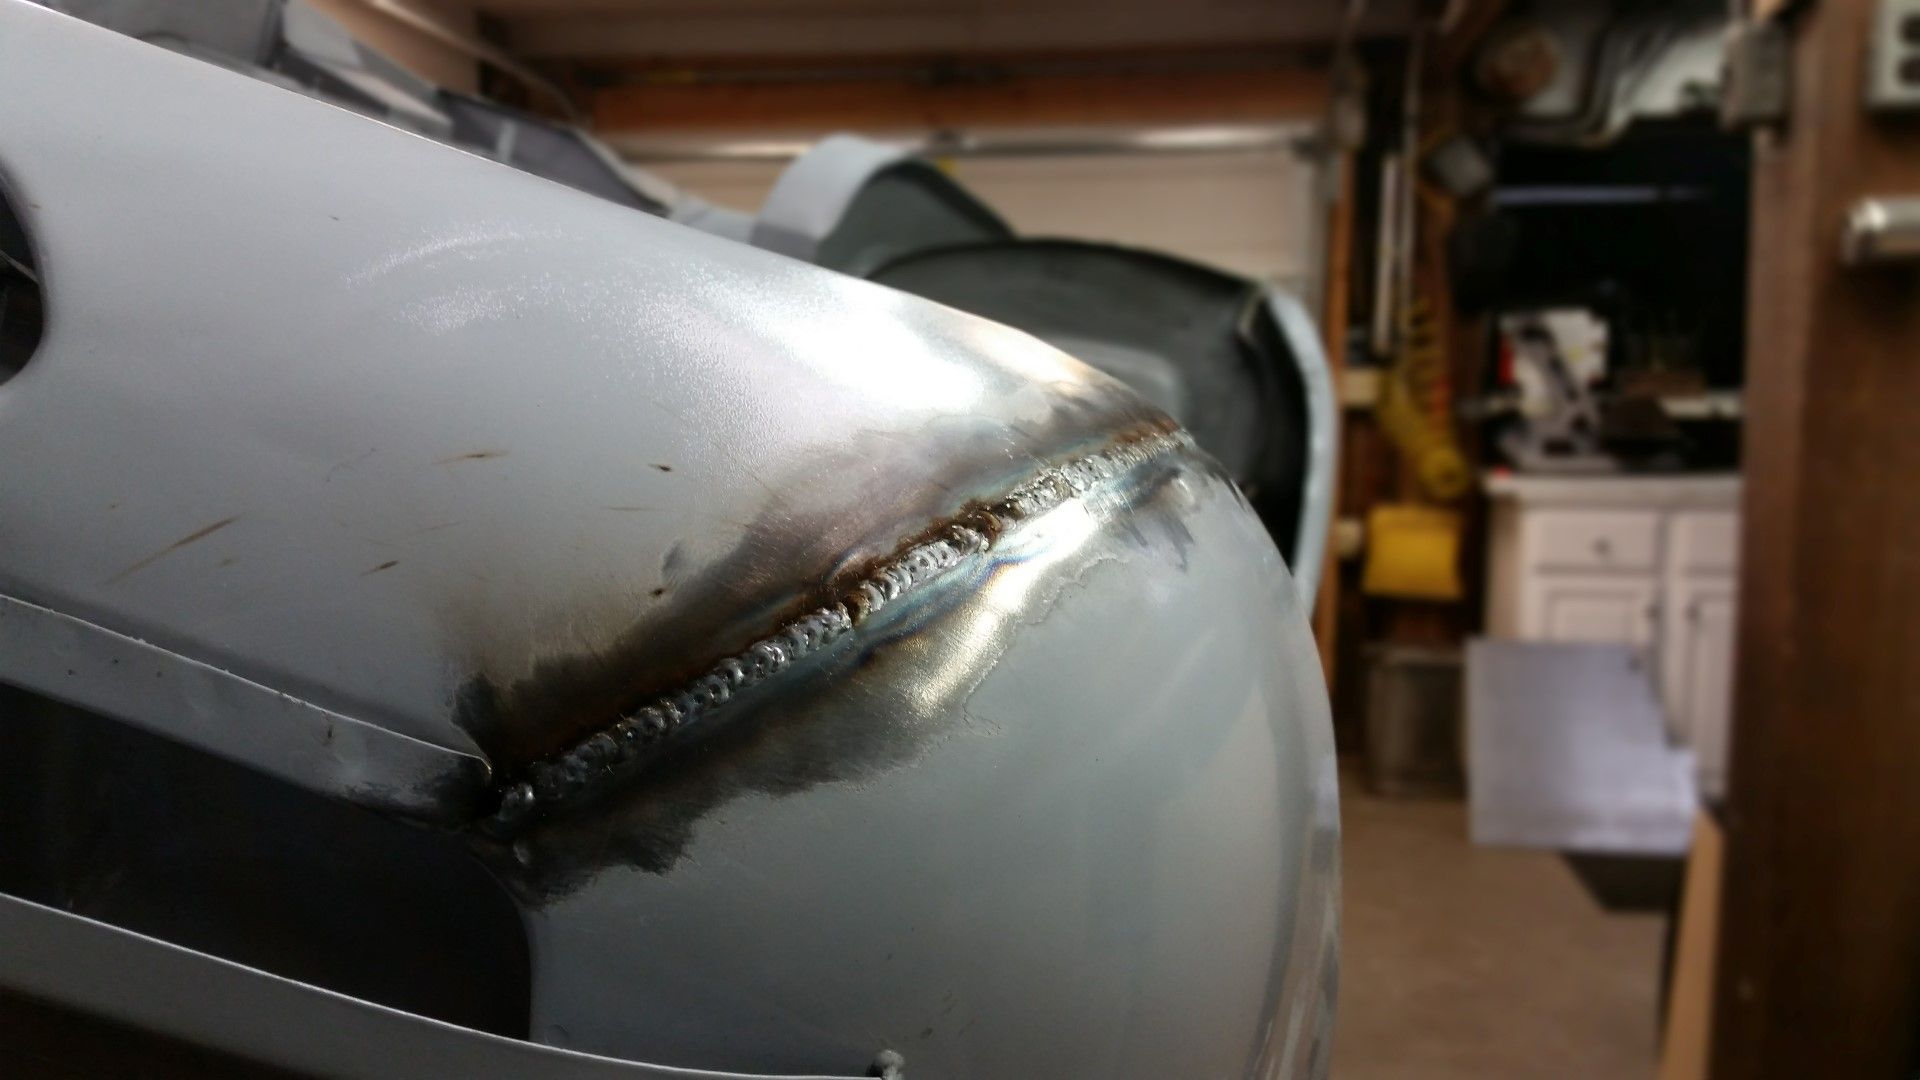 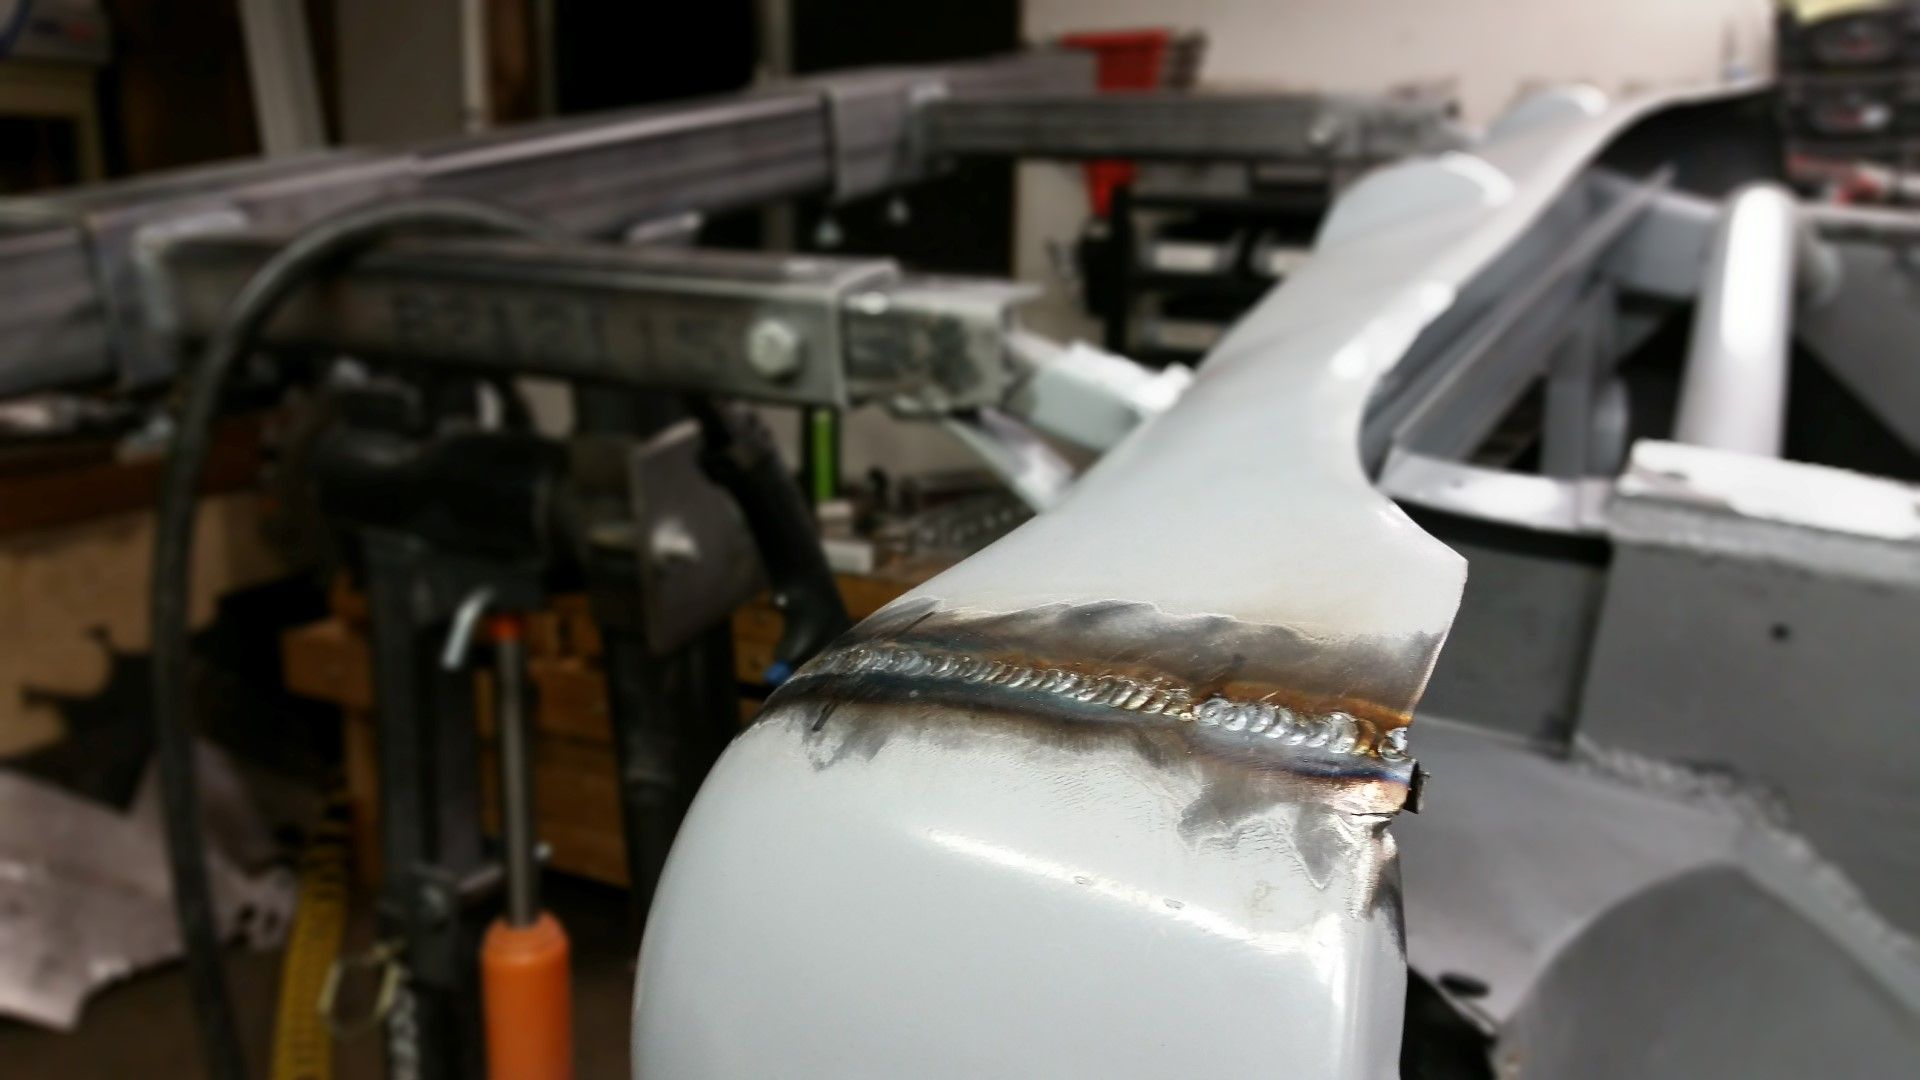 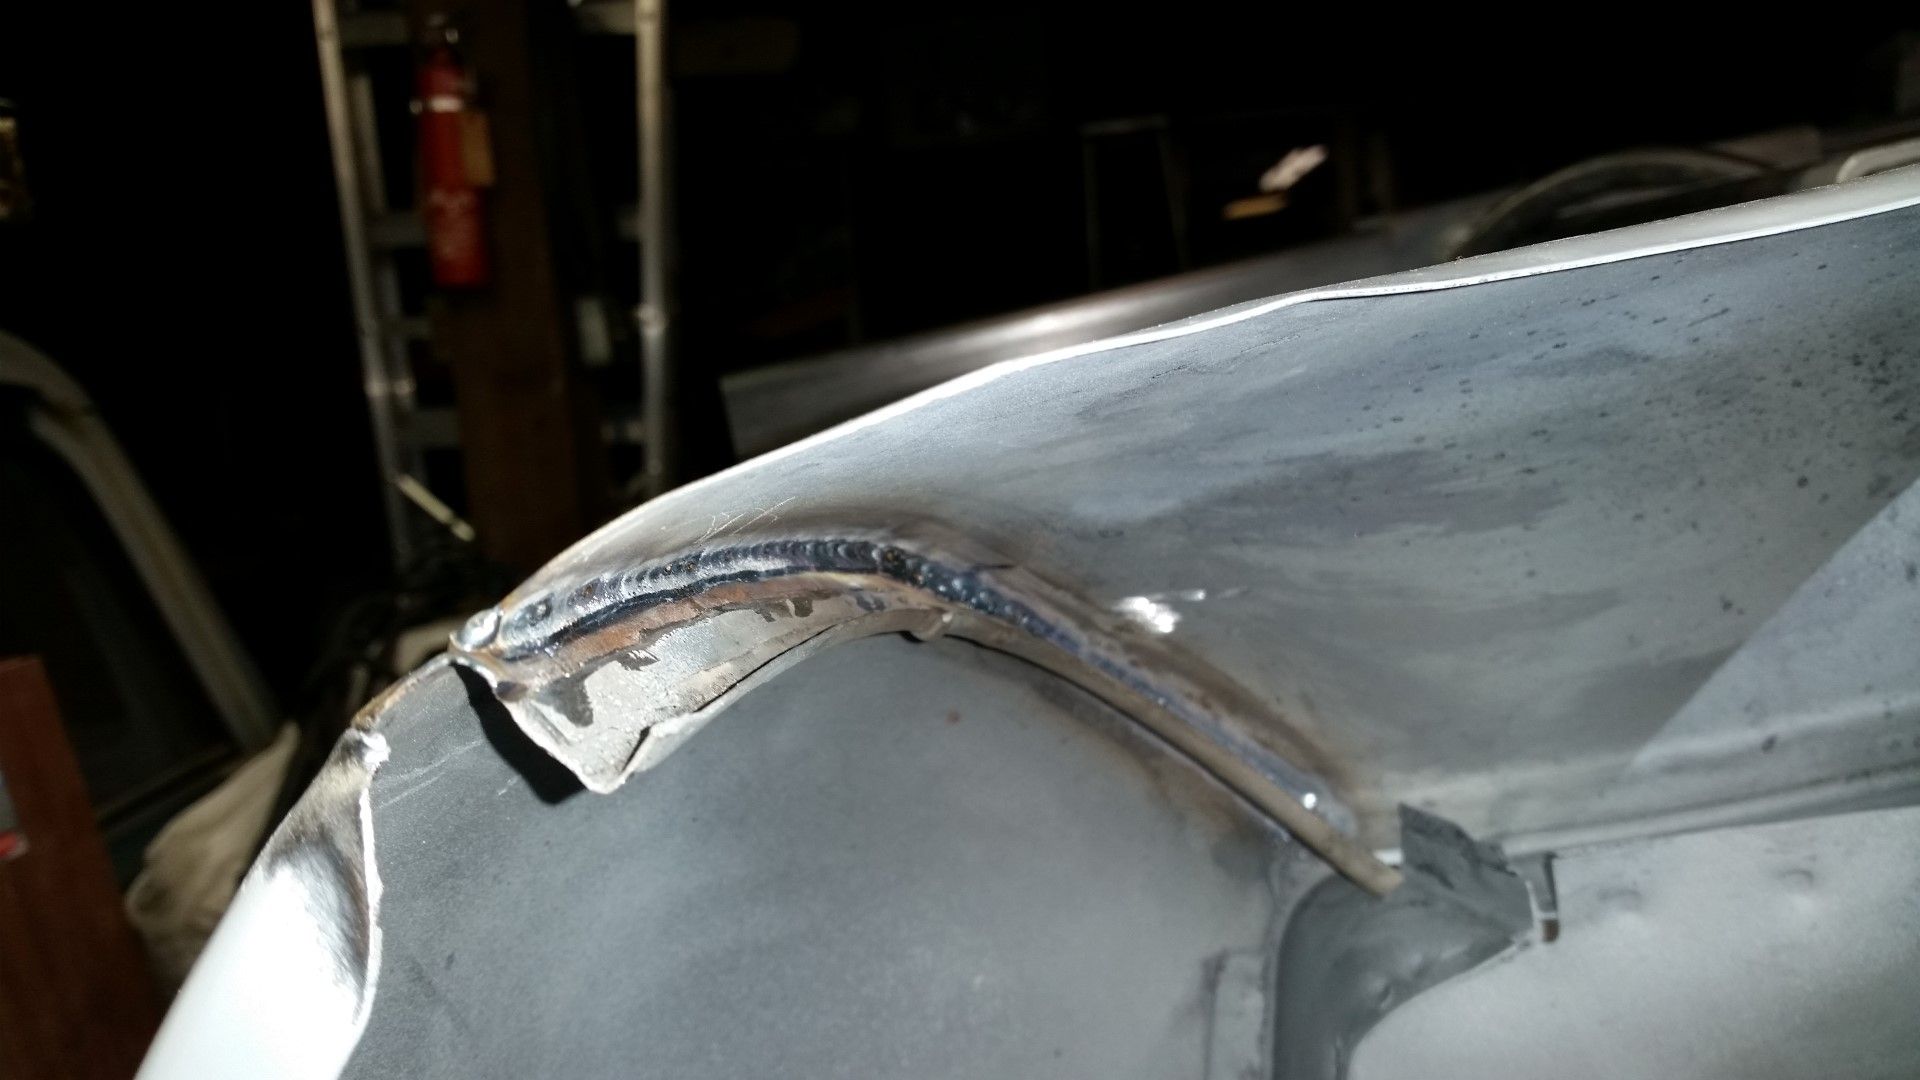 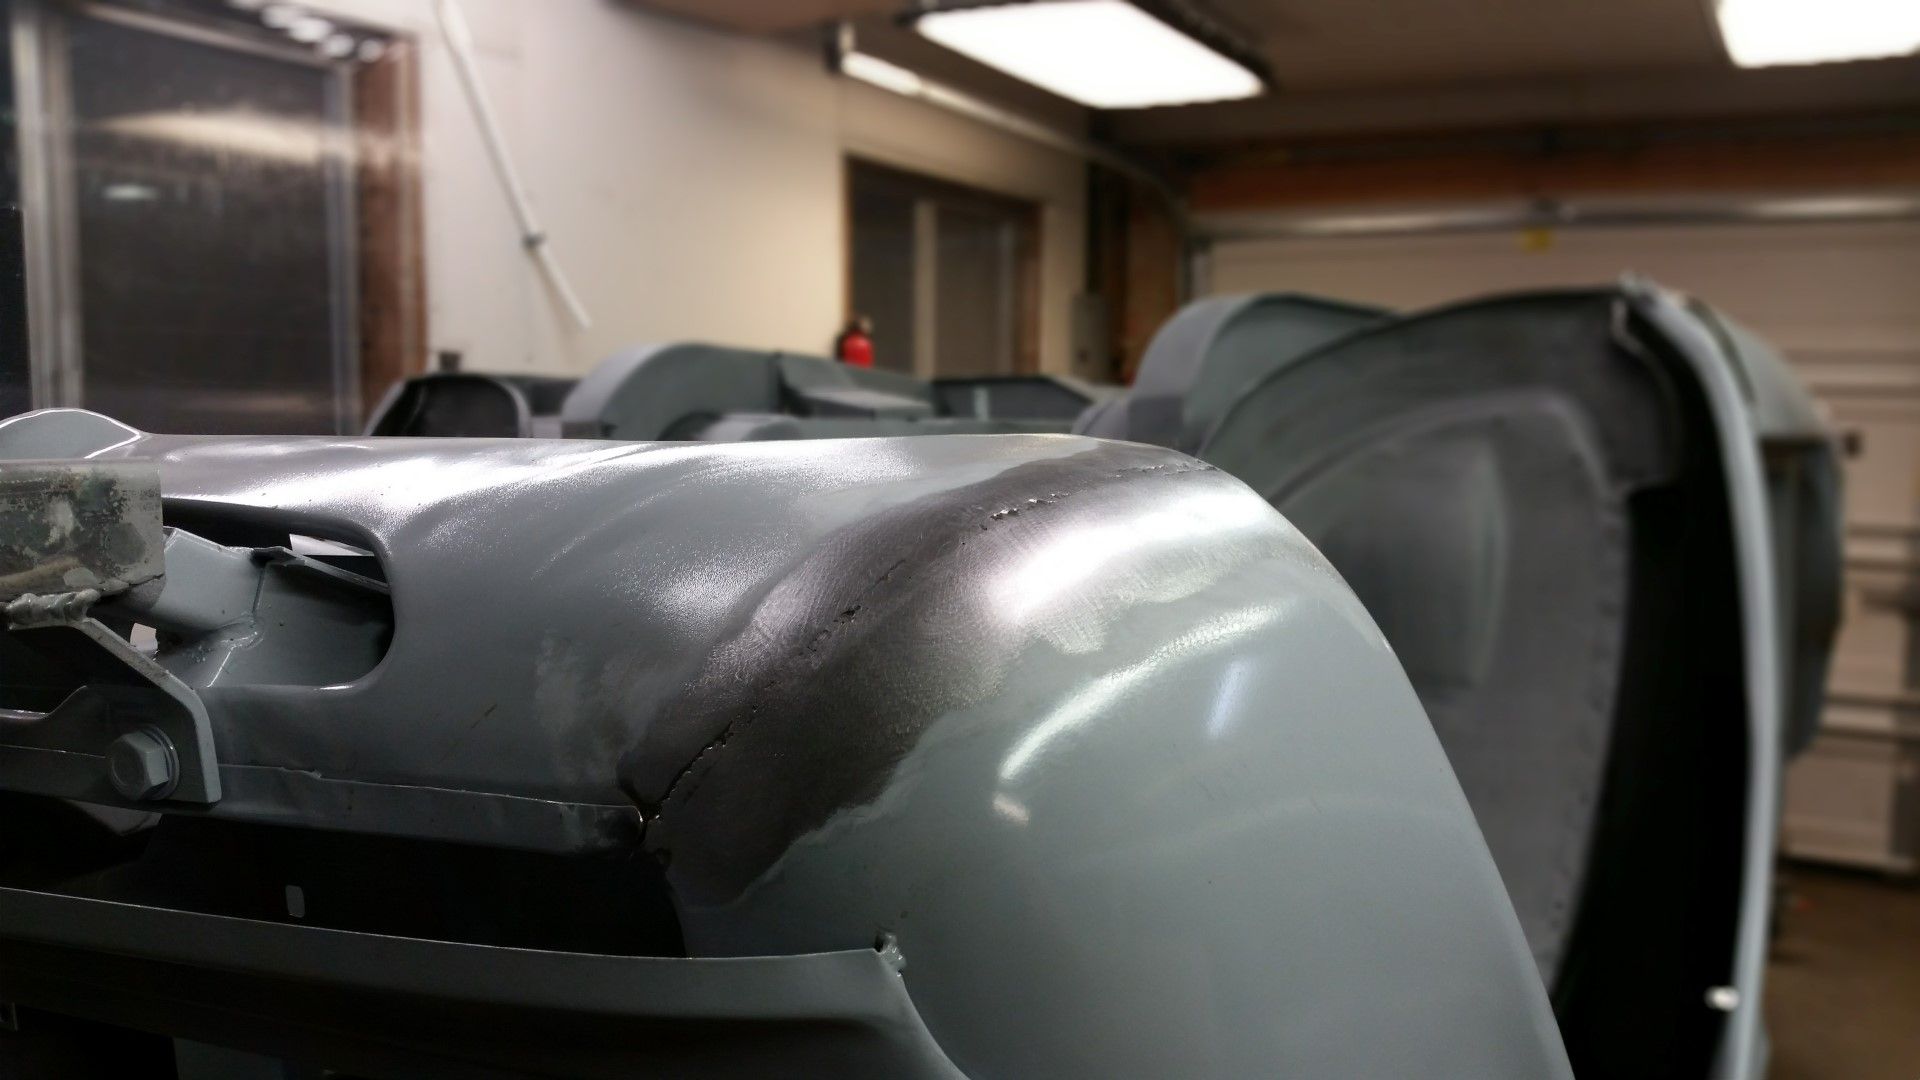 
|
|
|
|
|
07-22-2014, 12:48 PM
|
#7 |
|
Registered User
Join Date: Aug 2005
Location: Hillsboro Oregon
Posts: 6,449
|
Re: '66 Sunbeam Minx Project - F20C/6sp/4-link/Discs...
These cars had a tendency to rust in the upper and lower rear of the front fenders. Luckily mine was only afflicted with the lower/rear variant. This vulnerability is due to the lack of inner fender liners - the insides of the fenders were open to the world of whatever the tires decided to throw at them.
 I decided to make removable ABS plastic liners to close the chasm. I started with a pair from an 80's Audi, then cut, heated, molded and trimmed them to fit. They both have a notch near the front I'll have to cover, and they are by no means show-quality, but they'll serve their purpose well. They are mounted with rivets (clecos for now) and tabs. 1st side: 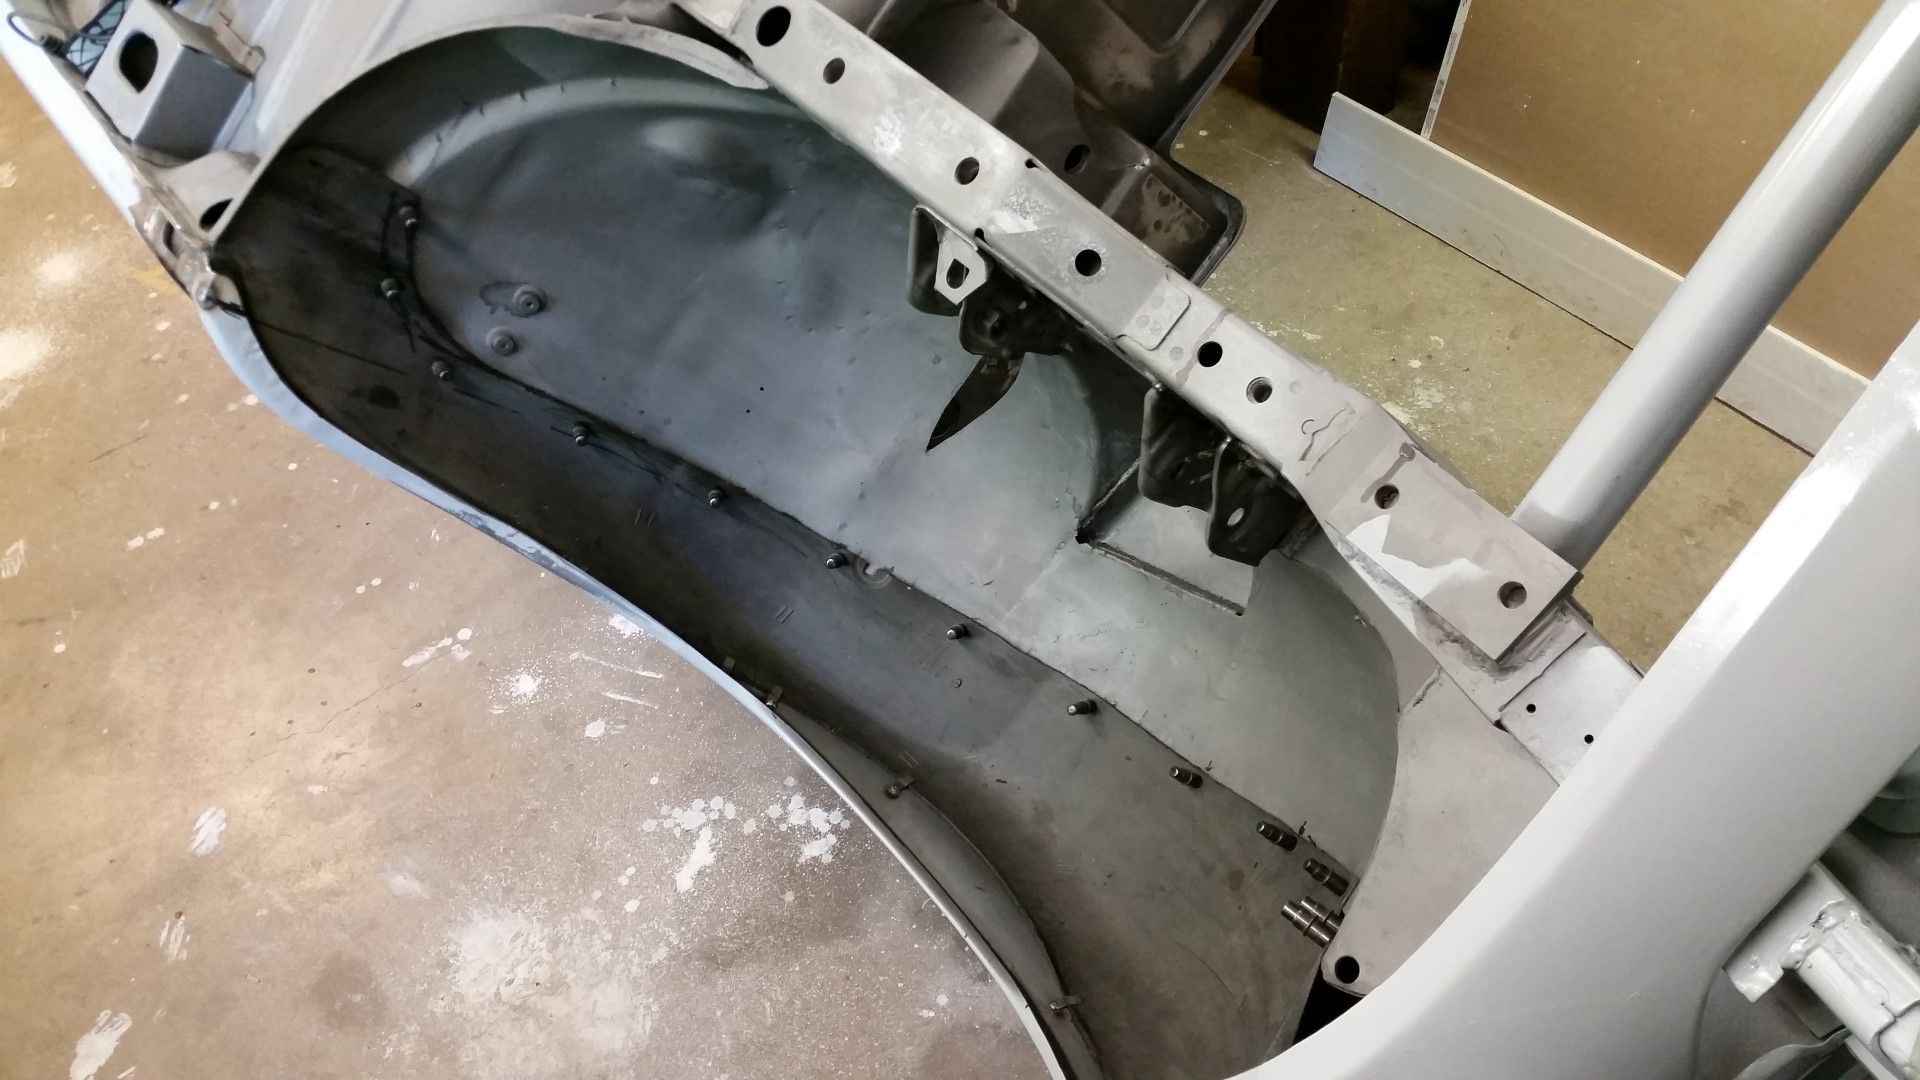 Template from 1st to make 2nd: 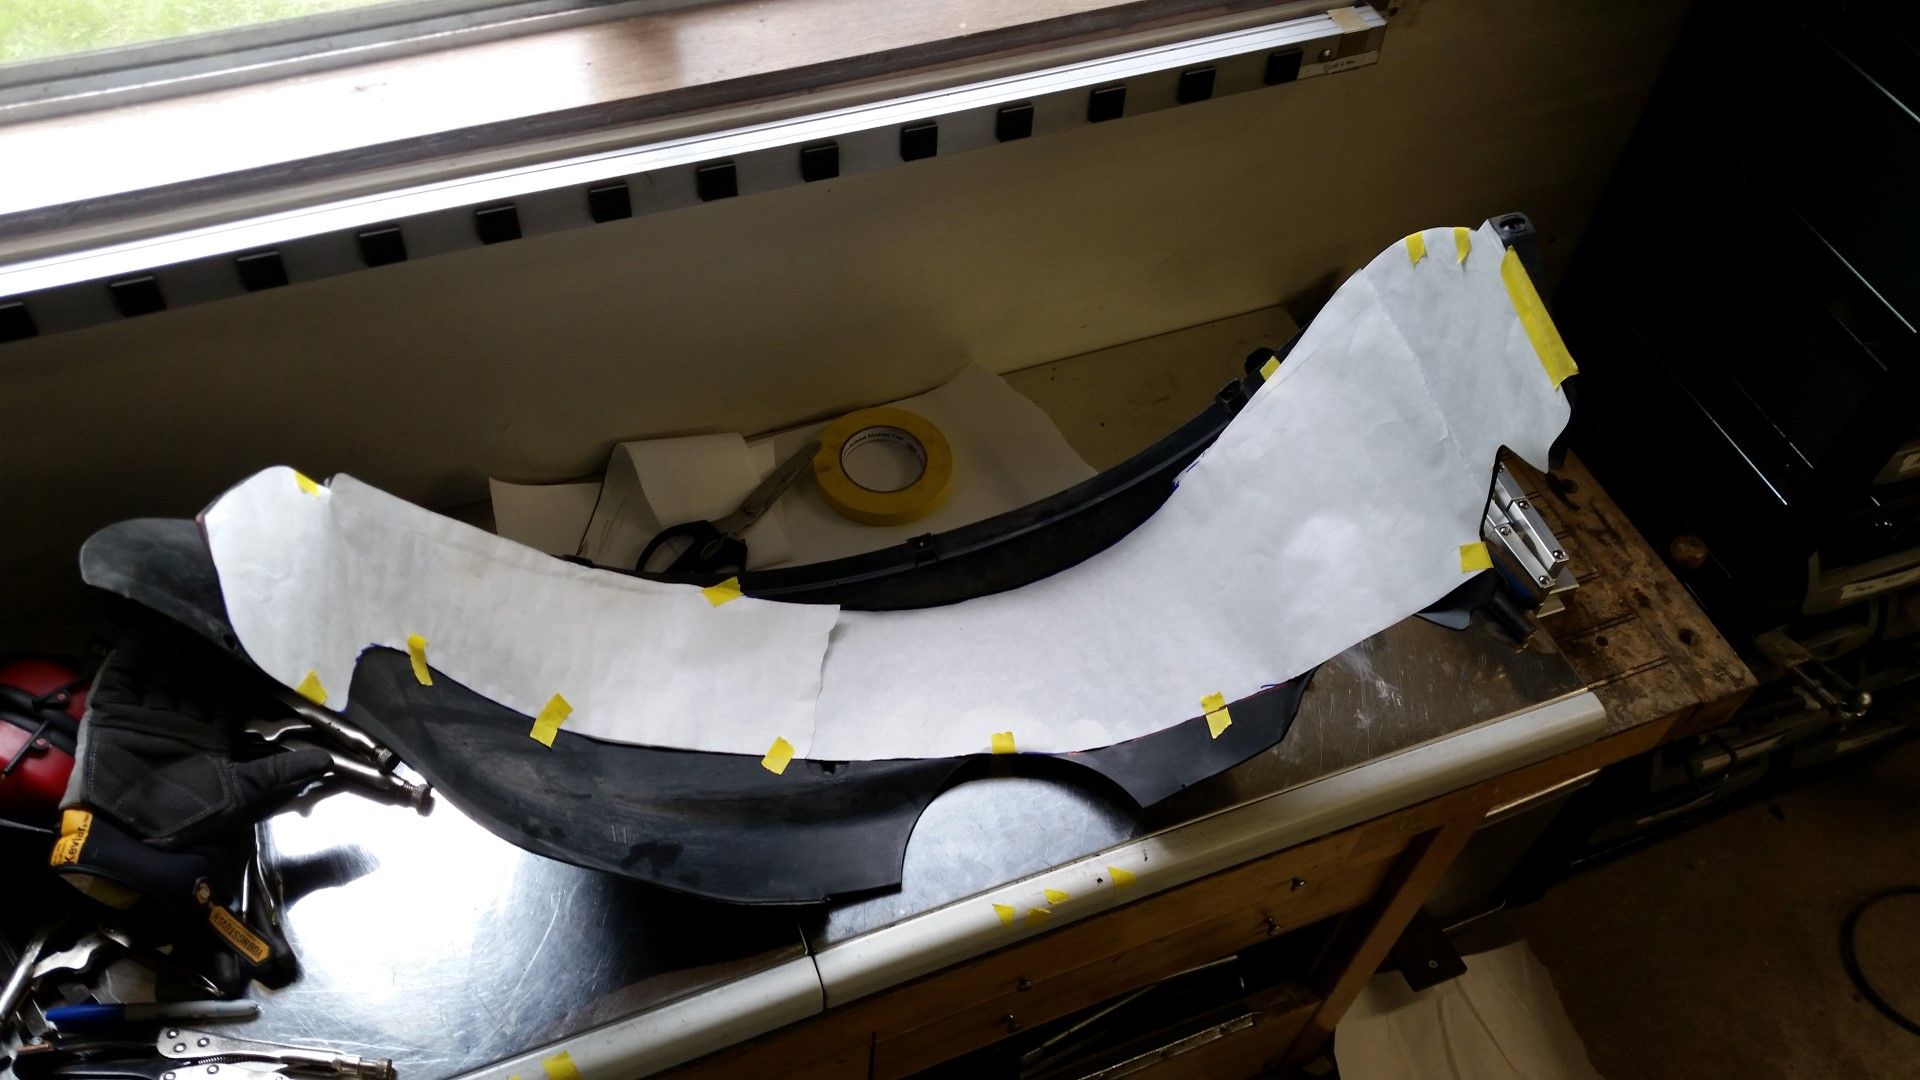 2nd: 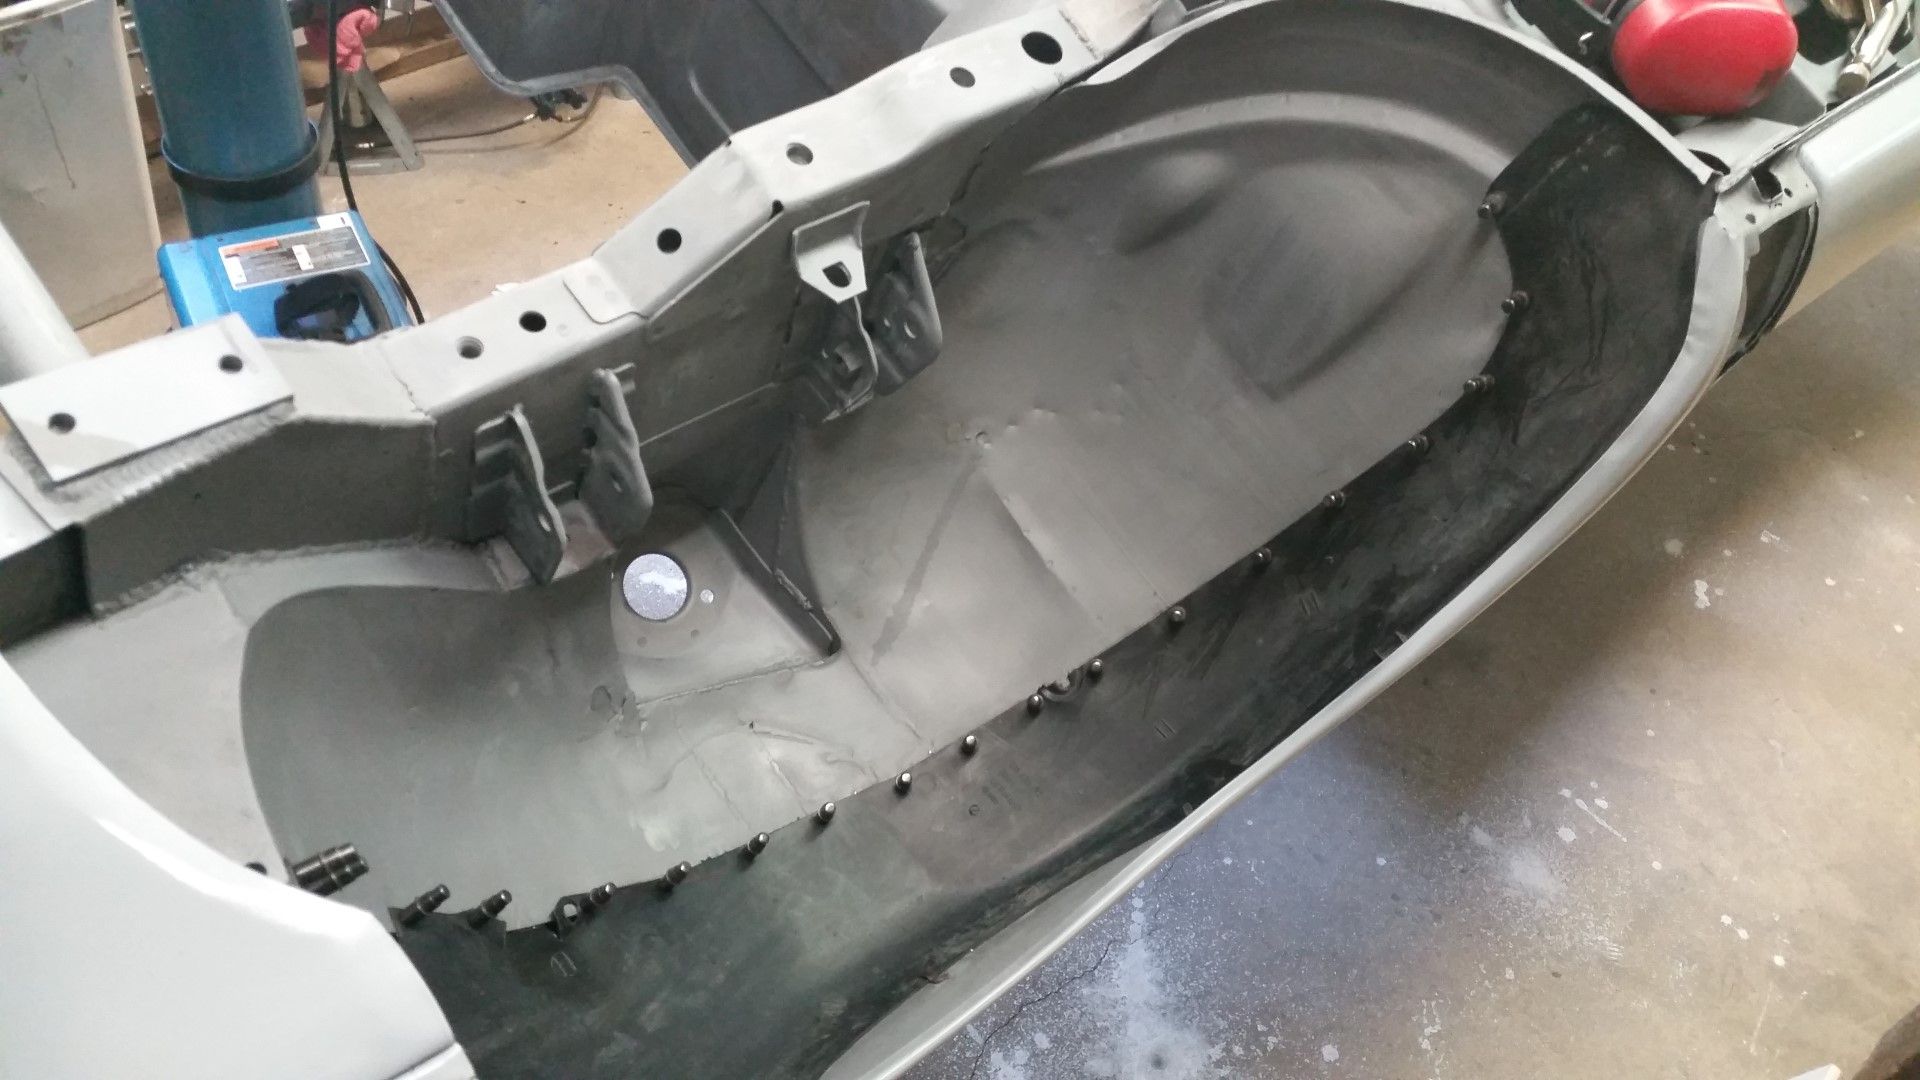 Double rivets in first: 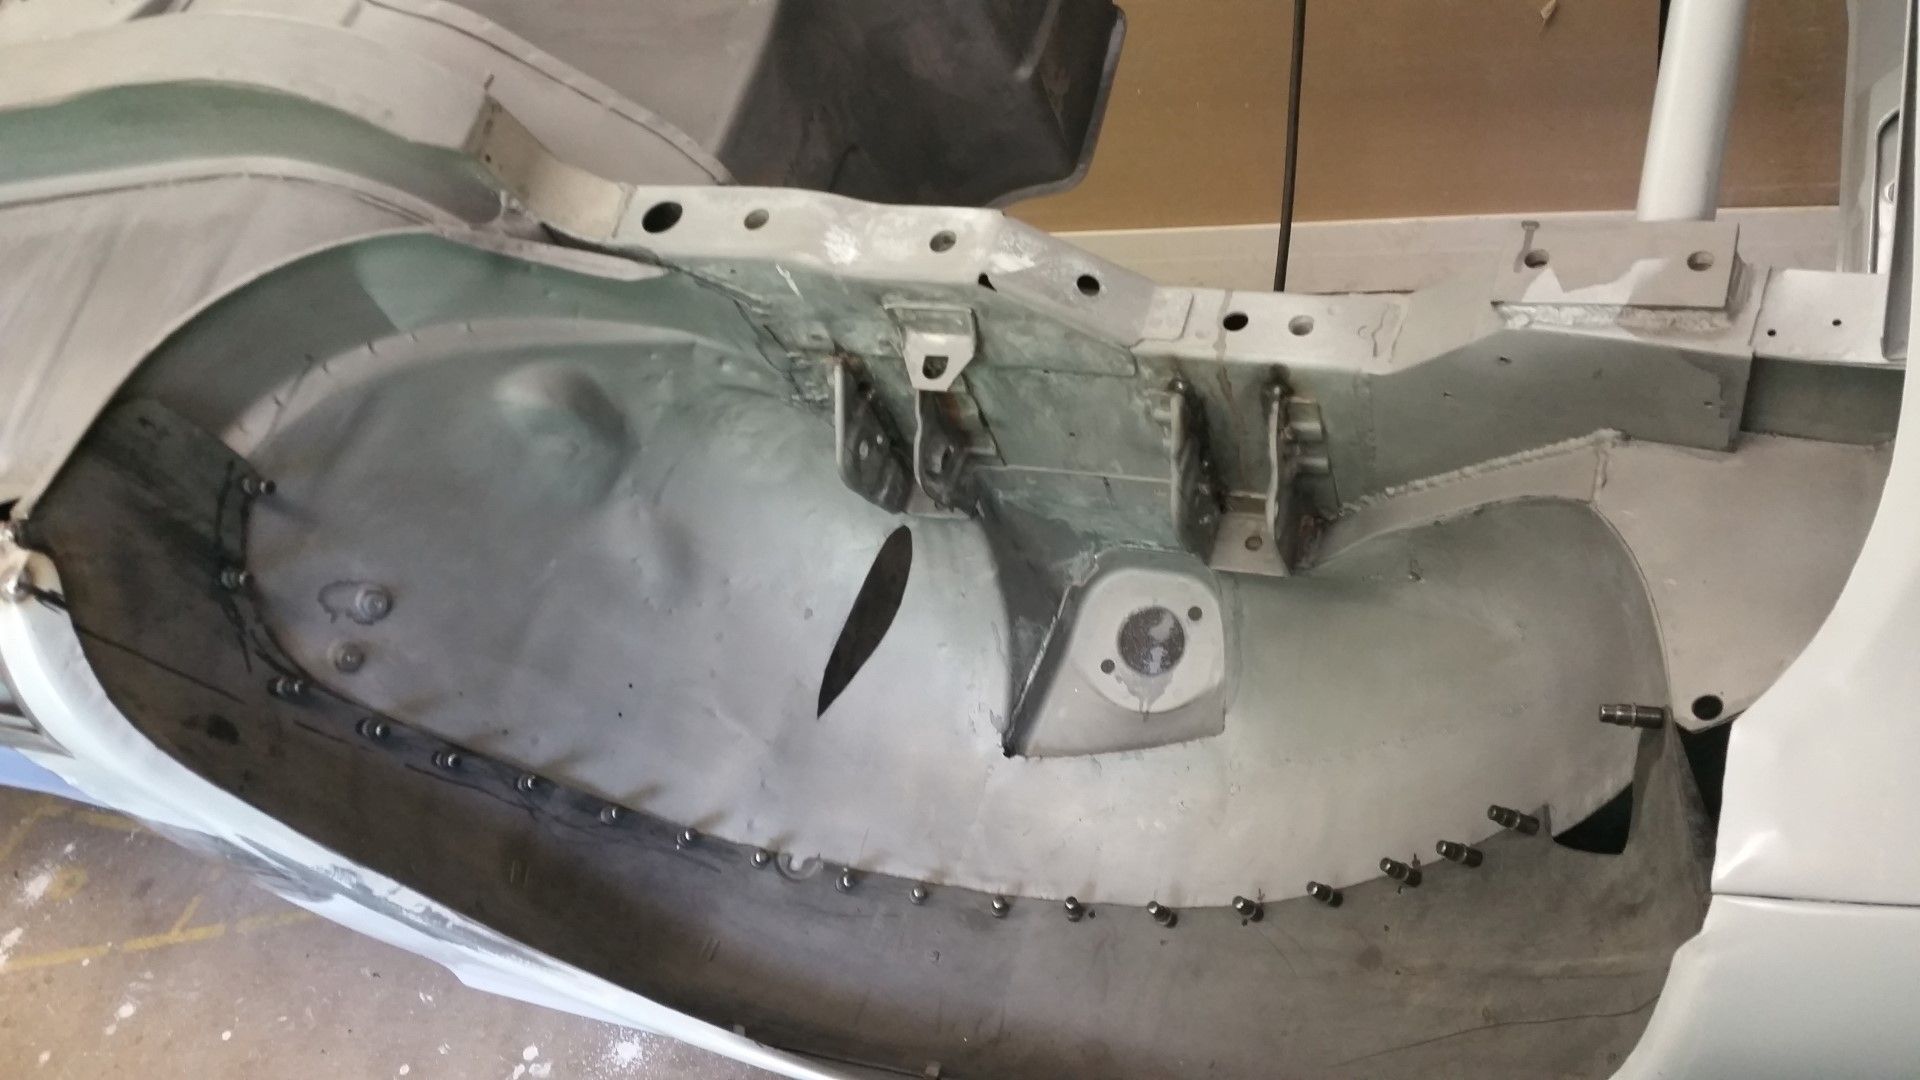 I plan to add one more bracket to that front corner. 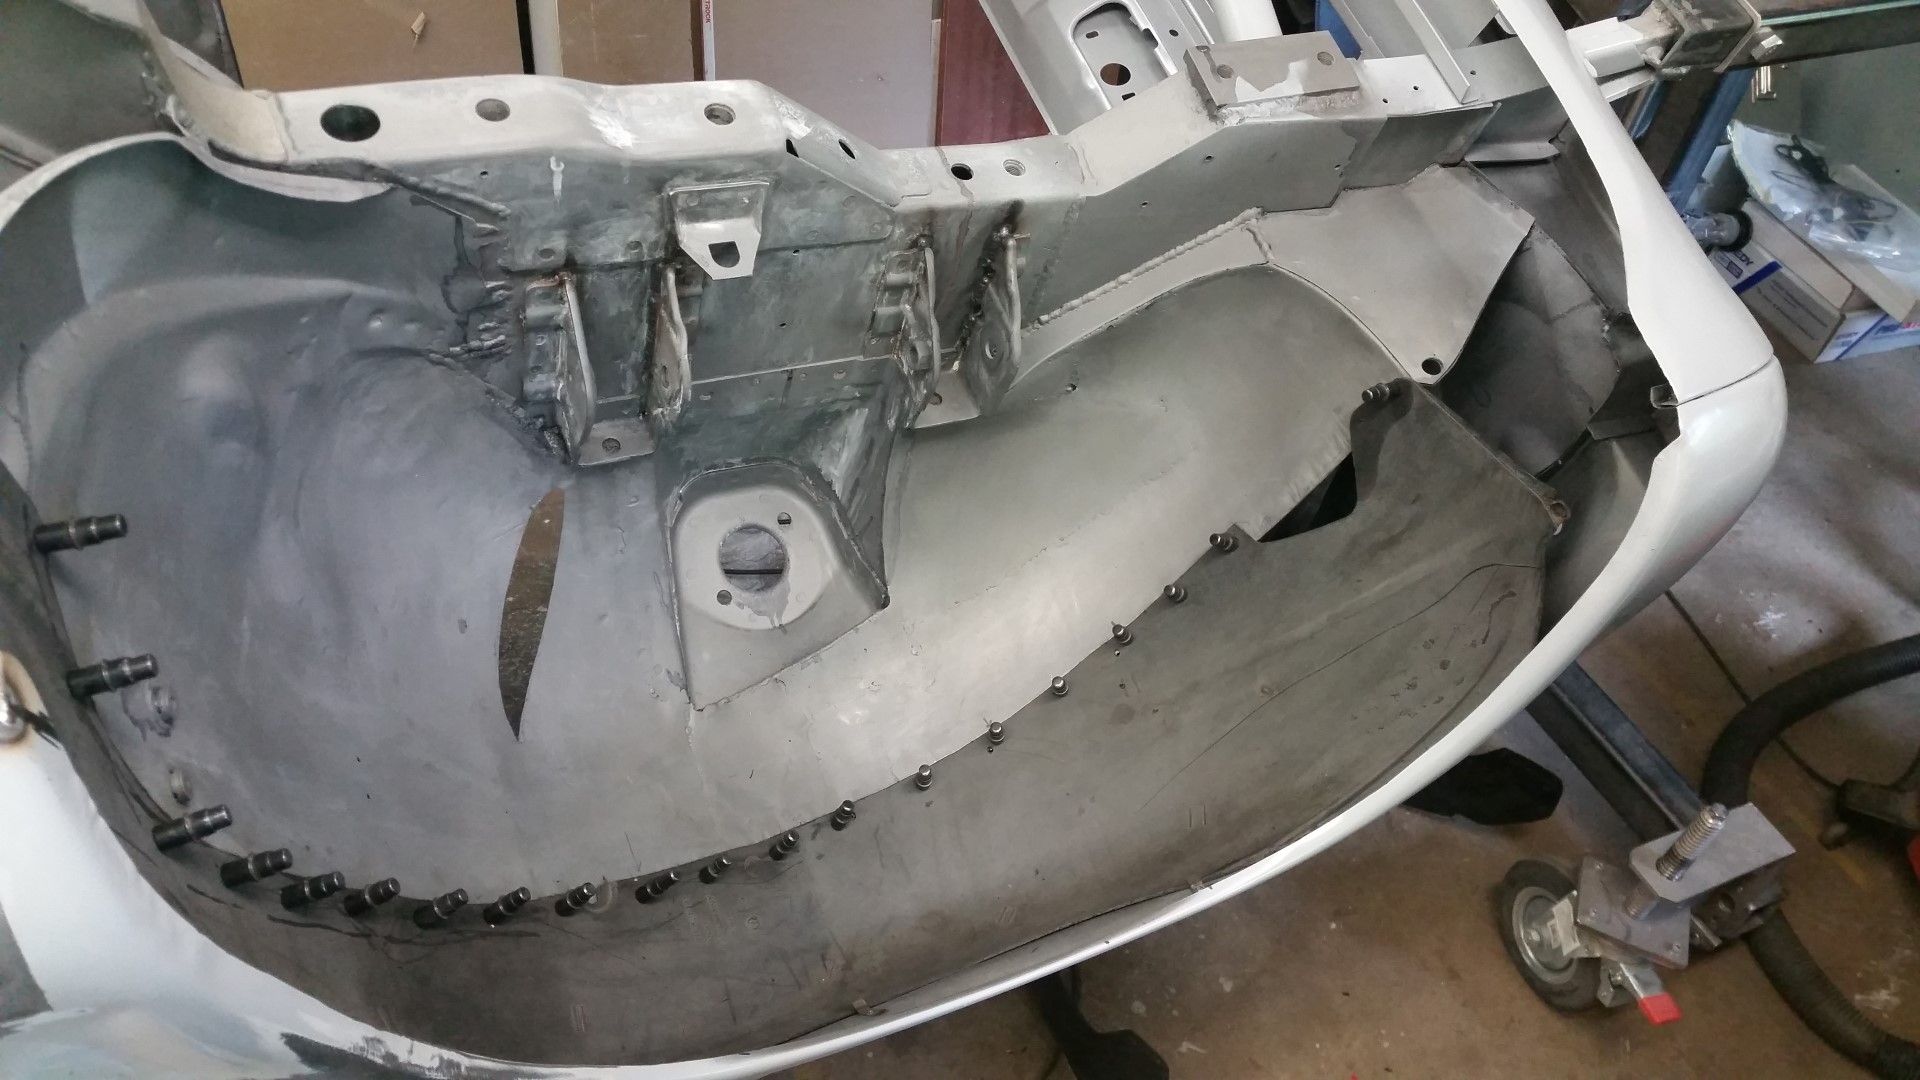
|
|
|
|
|
07-22-2014, 01:14 PM
|
#8 |
|
Still Learning
Join Date: Jul 2009
Location: Central Oklahoma
Posts: 10,108
|
Re: '66 Sunbeam Minx Project - F20C/6sp/4-link/Discs...
You sure have a way with metal! I'm kinda envious of you Cleco collection too
 . .Keep the excellent pictures coming. Sitting here in awe as always..... |
|
|
|
|
07-22-2014, 03:06 PM
|
#9 |
|
Registered User
Join Date: Mar 2011
Location: Thompsons Station, TN
Posts: 700
|
Re: '66 Sunbeam Minx Project - F20C/6sp/4-link/Discs...
Incredible work! I'm in amazement every time you make a new post.
|
|
|
|
|
07-22-2014, 08:18 PM
|
#10 |
|
Registered User
Join Date: Jan 2013
Location: Leonardtown, MD
Posts: 1,642
|
Re: '66 Sunbeam Minx Project - F20C/6sp/4-link/Discs...
FF, I attended a metal shaping demo a couple years back where a guy showed leading using an old (non-powered) soldering iron instead of a wooden paddle. He said he preferred the soldering iron (heated with the torch), because it held some of the heat it made for an easier time of manipulating the "lead" on the panel.
  Not sure where one would get such a tool, but now everyone knows to look out at your local yard sales for them!
__________________
Robert |
|
|
|
|
07-22-2014, 11:13 PM
|
#11 |
|
Registered User
Join Date: Jul 2006
Location: the netherlands europe
Posts: 4,335
|
Re: '66 Sunbeam Minx Project - F20C/6sp/4-link/Discs...
i bet it wouldnt be that hard to make sumtin like that out of copper rod , like the stuff they use for lichtning conductors or at an electric railroad
kindah hammer one end intoo an arrowhead then hammer the sides down to one side and use a file to get that sde smooth and flat bend the rod intoo a lazy s stick the other end of the rod in a wooden handle and youre done , dont even need to heat the copper anly afterward to get it a bit softer again as it will workharden it prolly be eazier then using wood as you can make it to only melt the top part of the lead mostly
__________________
i got a job again and having fun at it too idea's for the trucks and the order of things to do are taking shape and get closer to being realized , a few more months and i be able to start building for real i complete 2 of the trucks intoo running fashion one custom and one basicly stock the thirth will be sacrificed for parts |
|
|
|
|
07-23-2014, 12:57 AM
|
#12 |
|
Registered User
Join Date: Aug 2005
Location: Hillsboro Oregon
Posts: 6,449
|
Re: '66 Sunbeam Minx Project - F20C/6sp/4-link/Discs...
Looks like it would be useful when adding more lead after the first round. I can tell you from today's experience that it's very tricky to pull off without ruining what's already there. I actually ended up starting over completely at one point today. I need to research more about tools and supplies...
Also did a lot of little boring jobs not worth pictures. 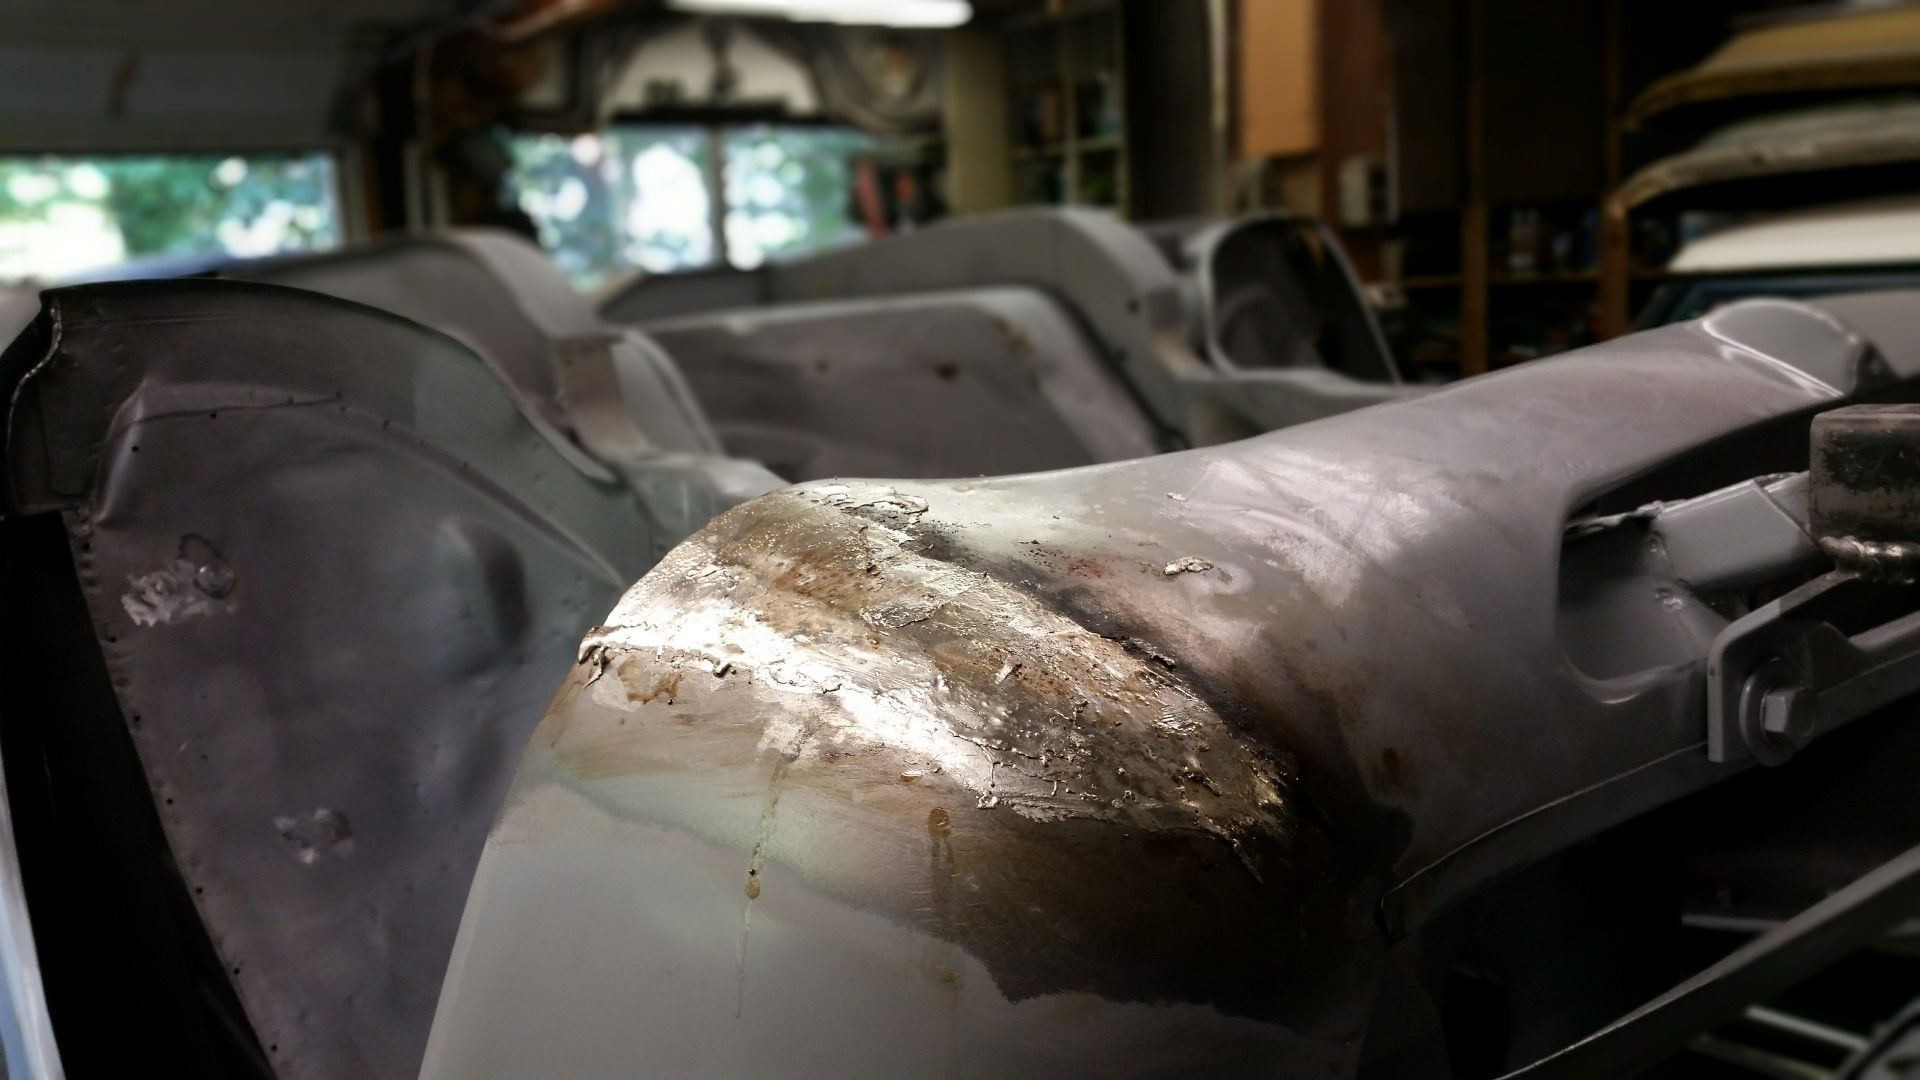 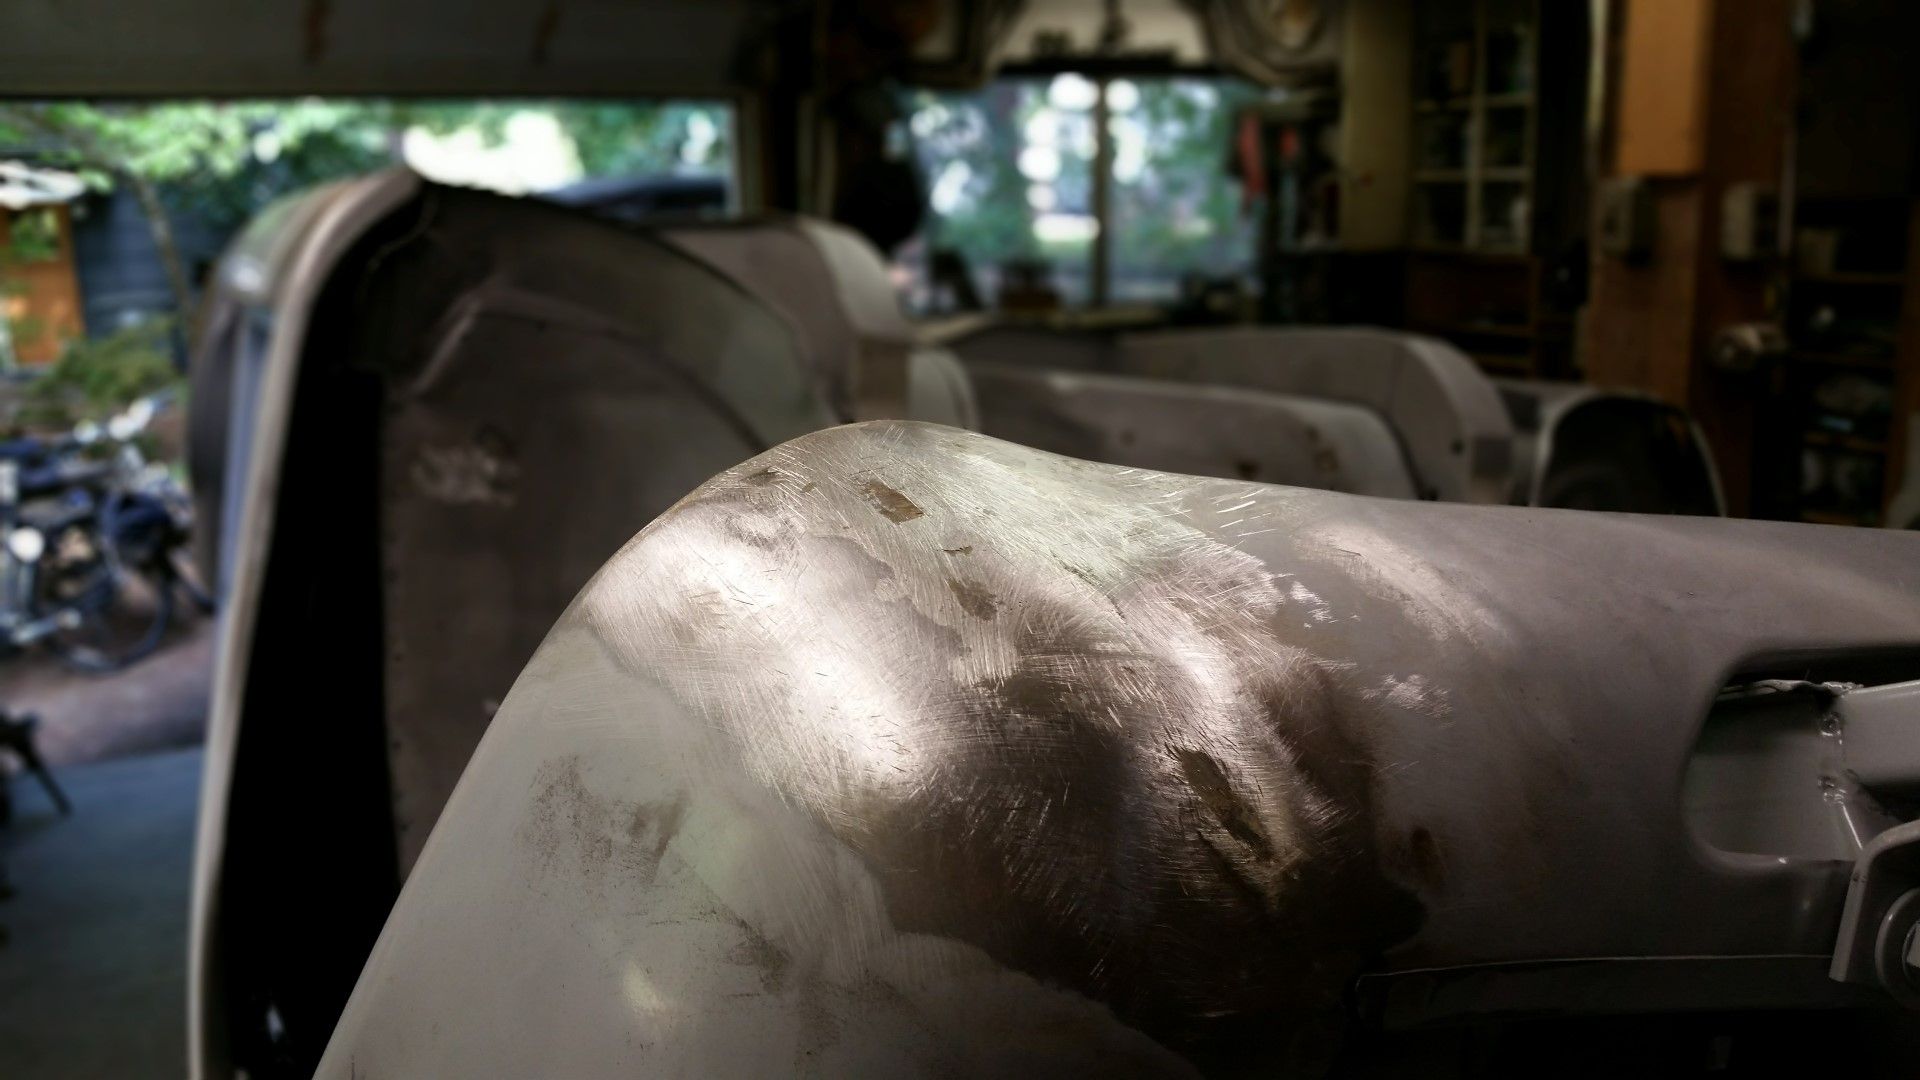 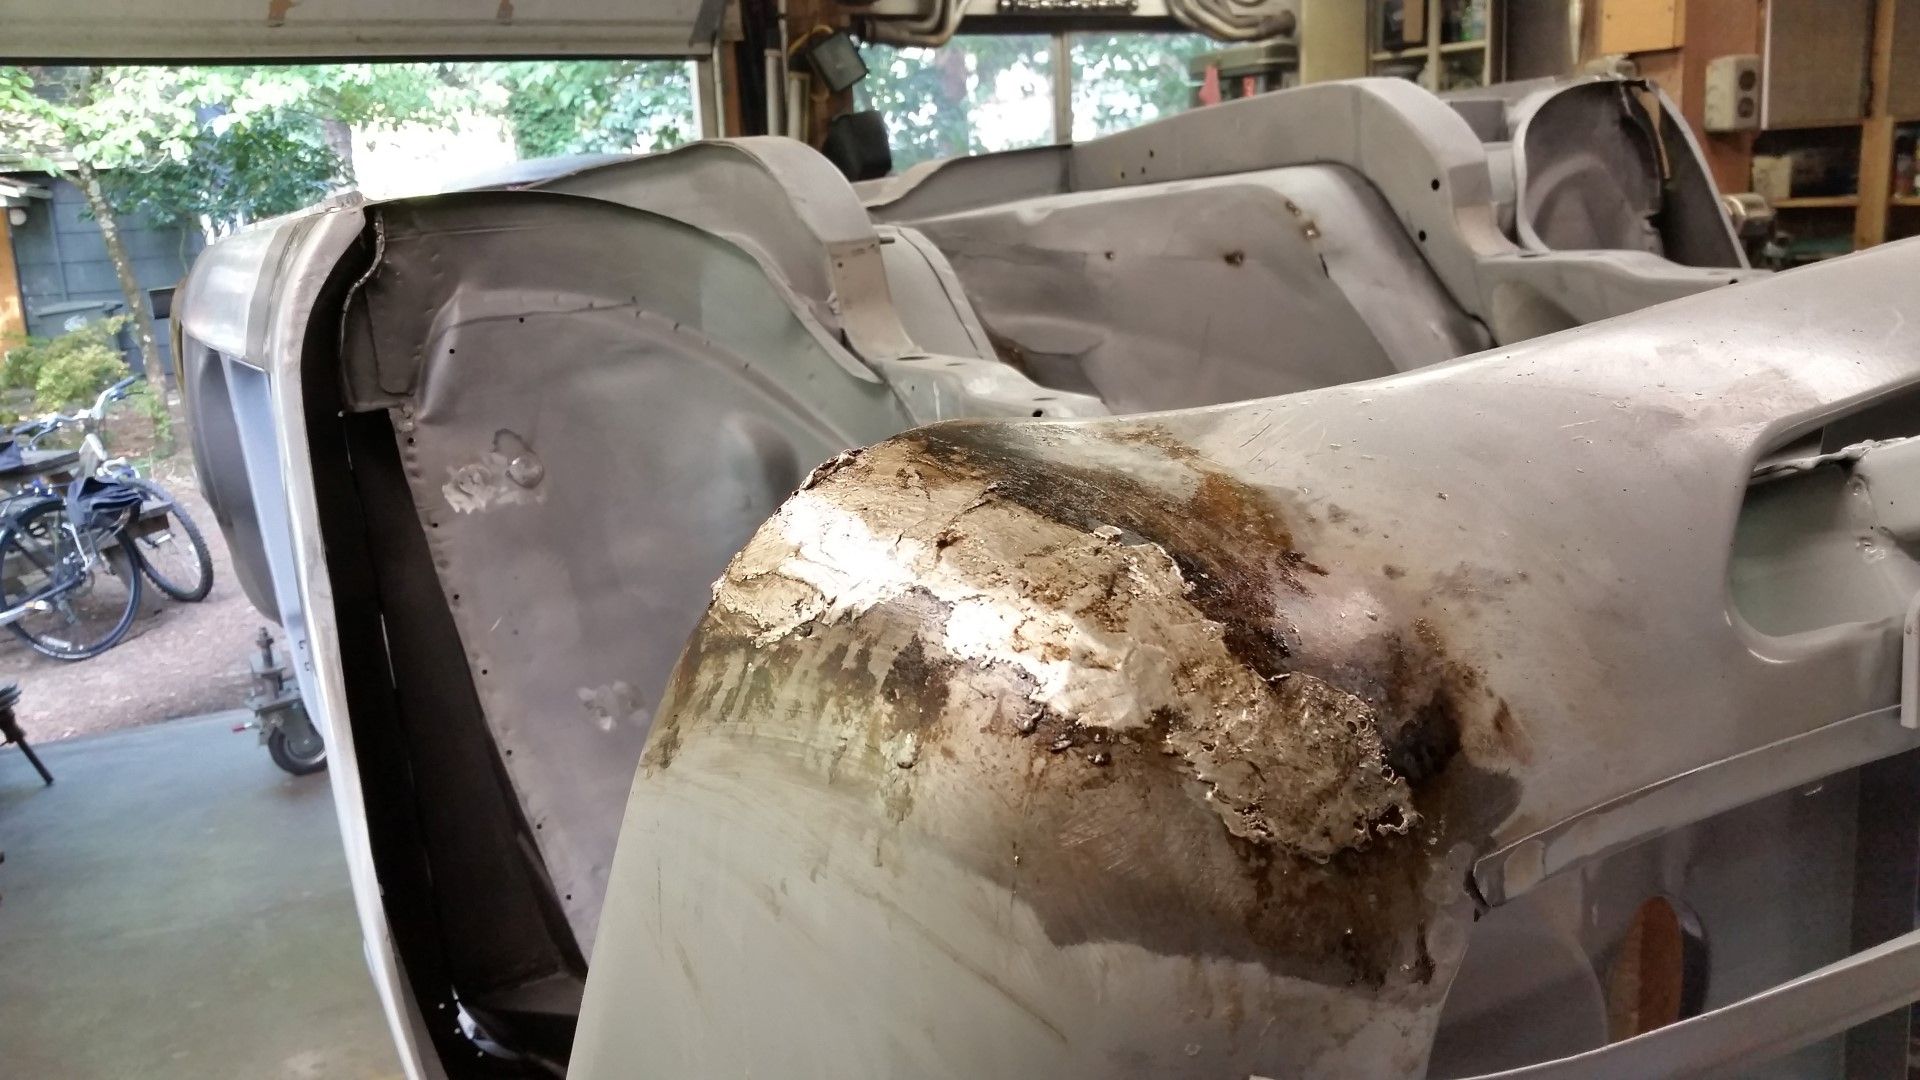 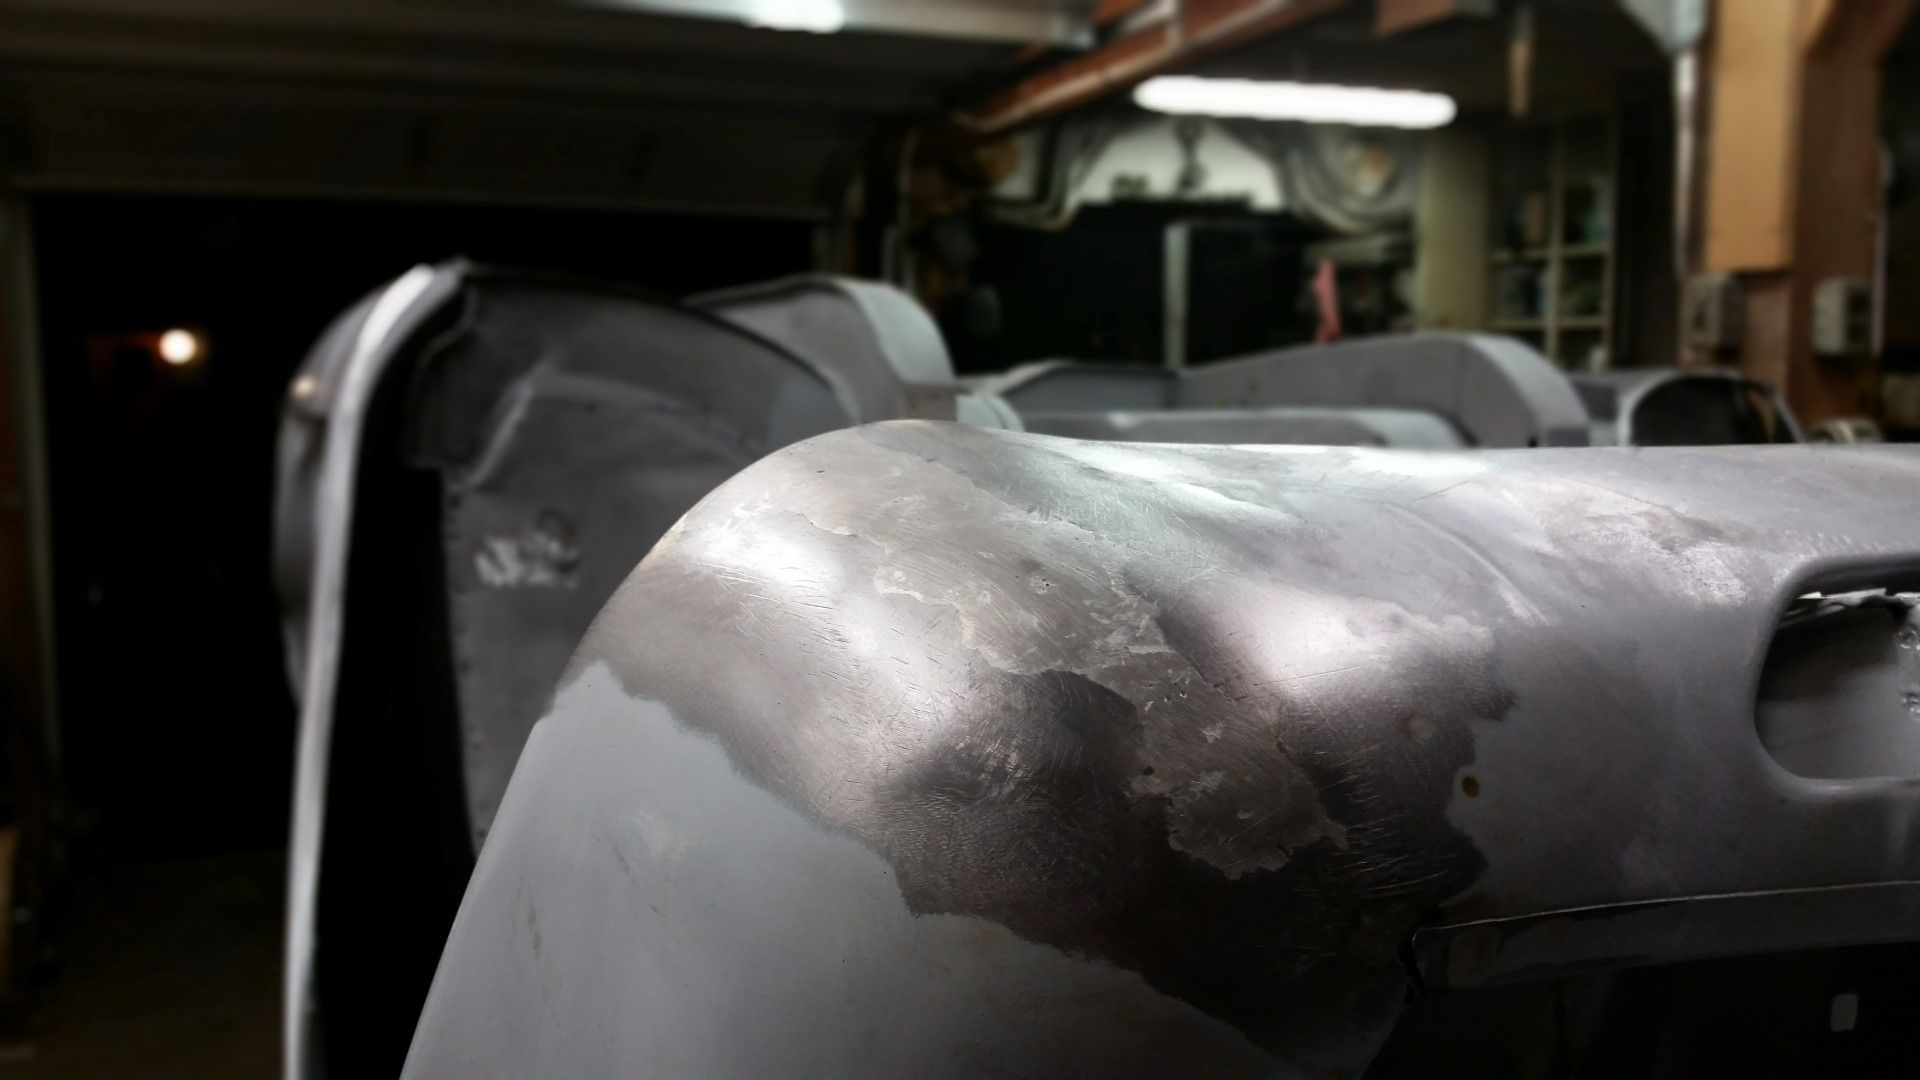 It'll still need some glazing, but it's better than all plastic I guess. Glad I started with an "easy" spot By the way, the reason the solder looks greyish in the finished pic is because I hit the whole area with Ospho when done and the phosphoric acid greys it.
|
|
|
|
|
07-23-2014, 09:06 AM
|
#13 |
|
Registered User
Join Date: Jun 2006
Location: Indiana
Posts: 4,859
|
Re: '66 Sunbeam Minx Project - F20C/6sp/4-link/Discs...
"Also did a lot of little boring jobs not worth pictures"
Somehow, I get the feeling that your boring jobs would still spark interest for the rest of us. So now I also need to learn leading...
__________________
'70 GMC C1500 LWB Power disc brakes. WooHoo! Posi 6 Lug Dana 60 |
|
|
|
|
07-23-2014, 09:30 AM
|
#14 |
|
Hittin E-Z Street on Mud Tires
Join Date: Nov 2004
Location: Greenville, SC
Posts: 23,090
|
Re: '66 Sunbeam Minx Project - F20C/6sp/4-link/Discs...
Frizzle, your ADD is way worse than mine, I would have let that crap go
Amazing as usual.
__________________
Jesse James 1967 C10 SWB Stepside: 350/700R4/3.73 1965 Ford Mustang: 289/T5-5spd/3.25 Trac-Loc 1968 Pontiac Firebird: Project Fire Chicken! 2015 Silverado Double Cab 5.3L Z71 2001 Jeep Wrangler Sport 4.0L 5spd 2020 Chevrolet Equinox Premium 2.0L Turbo 2011 Mustang V6 ~ Wife's ride American Born, Country by the Grace of God  1967 CST Shop Truck Rebuild! My 1967 C-10 Build Thread My Vintage Air A/C Install Project "On a Dime" Trying my hand at Home Renovation! 1965 Mustang Modifications! |
|
|
|
|
07-23-2014, 10:11 AM
|
#15 |
|
Registered User
Join Date: Apr 2008
Location: Redmond, WA
Posts: 679
|
Re: '66 Sunbeam Minx Project - F20C/6sp/4-link/Discs...
Is (lead-free) leading easier and/or faster than hitting the low spots with the MIG again? Or are you just learning a new way of doing things?
|
|
|
|
|
07-23-2014, 02:11 PM
|
#16 | |||
|
Registered User
Join Date: Aug 2005
Location: Hillsboro Oregon
Posts: 6,449
|
Re: '66 Sunbeam Minx Project - F20C/6sp/4-link/Discs...
Quote:
The lead(free) has its place. I think it's worth learning. Quote:
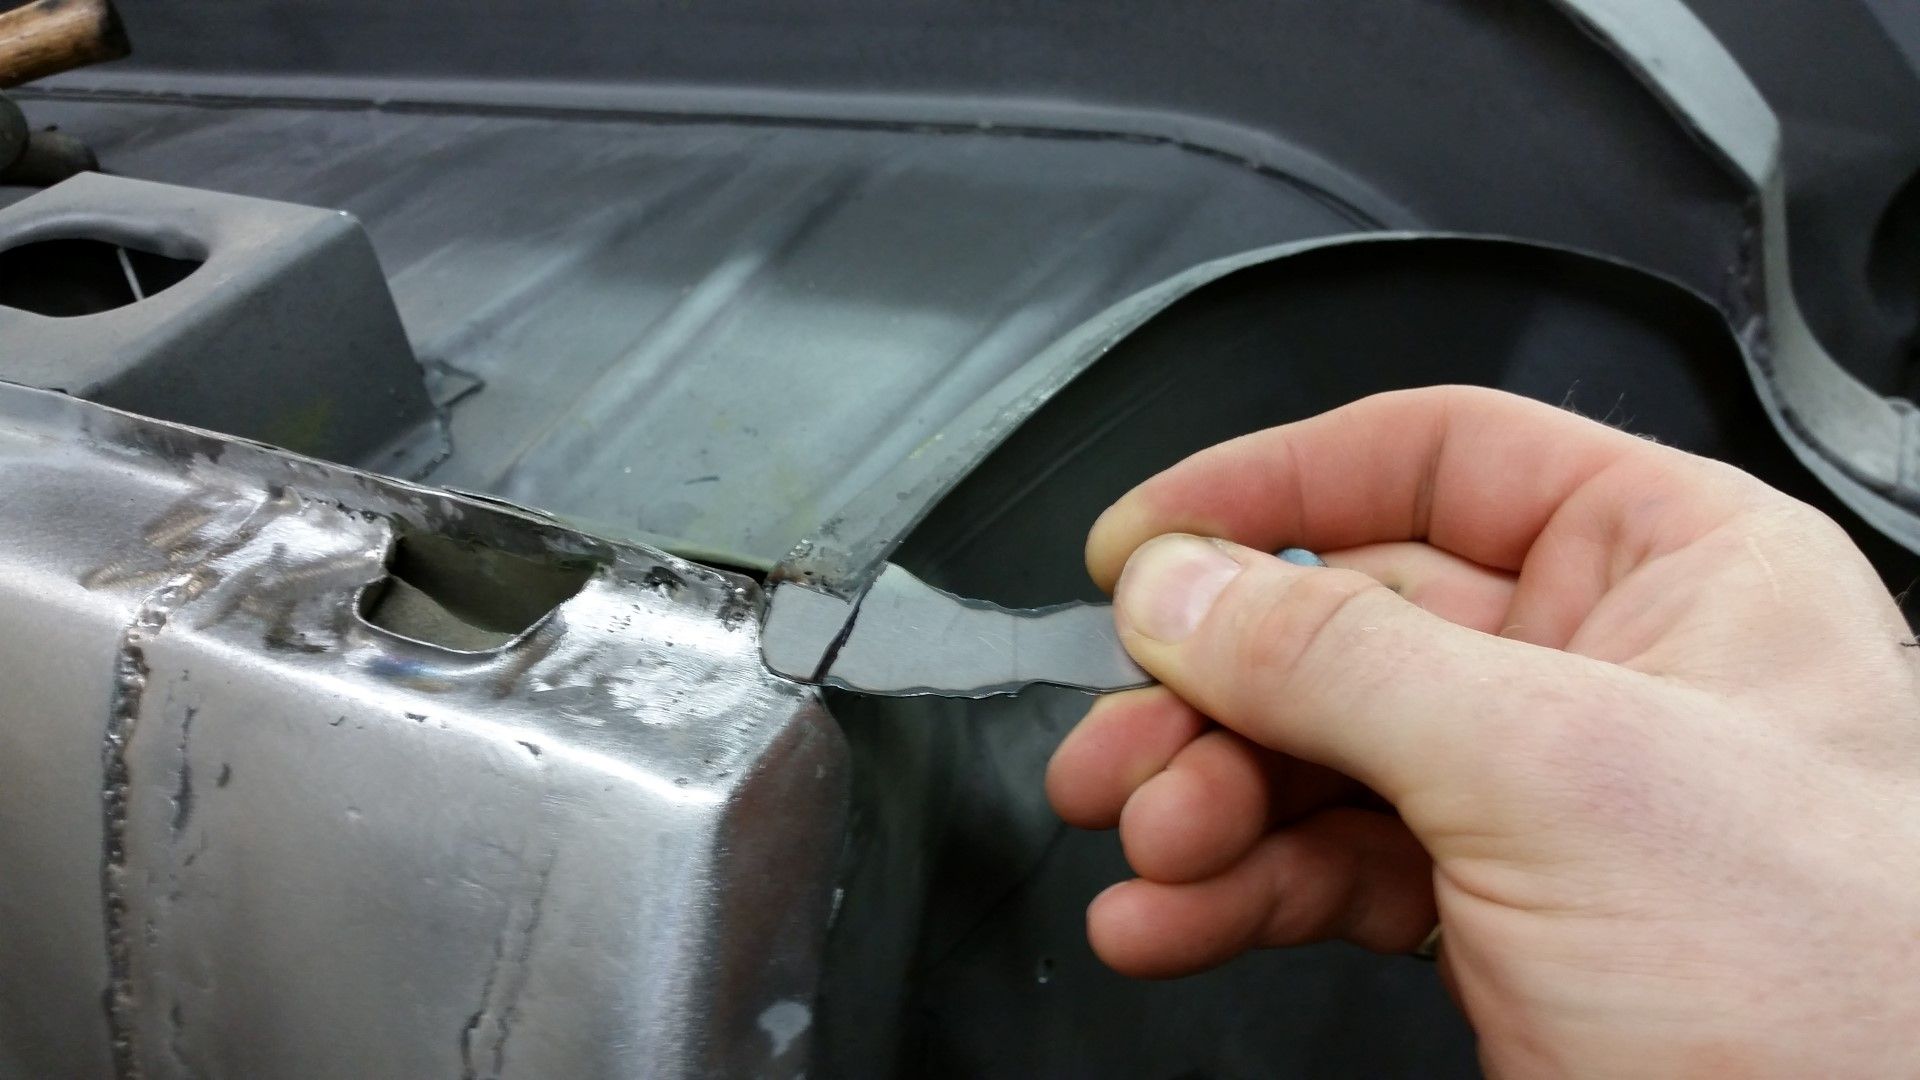
Quote:
If you've noticed the crescent shaped cut-out in one of the inner fender wells in previous pics, that area was too thin so I cut it out. With these seams there's a bit of a flat spot or even slight depression at the joint. Lead allows you to build an area a lot more than you would want to do with a mig and instead of being a risk of thin spots your are actually making it stronger. |
|||
|
|
|
|
07-28-2014, 01:08 PM
|
#17 | |
|
Registered User
Join Date: Apr 2008
Location: Redmond, WA
Posts: 679
|
Re: '66 Sunbeam Minx Project - F20C/6sp/4-link/Discs...
Quote:
|
|
|
|
|
|
07-28-2014, 09:54 PM
|
#18 | |
|
Registered User
Join Date: Aug 2005
Location: Hillsboro Oregon
Posts: 6,449
|
Re: '66 Sunbeam Minx Project - F20C/6sp/4-link/Discs...
Quote:
|
|
|
|
|
|
07-29-2014, 04:06 PM
|
#19 |
|
Registered User
Join Date: Aug 2005
Location: Hillsboro Oregon
Posts: 6,449
|
Re: '66 Sunbeam Minx Project - F20C/6sp/4-link/Discs...
You may be wondering what the heck I did with that week in the shop..?
I literally spent so much time in the shop that I didn't have time to update the thread. But the camera was snappin away as always. So here it is... Trans tunnel/shifter cover flushification: Bolt on cover 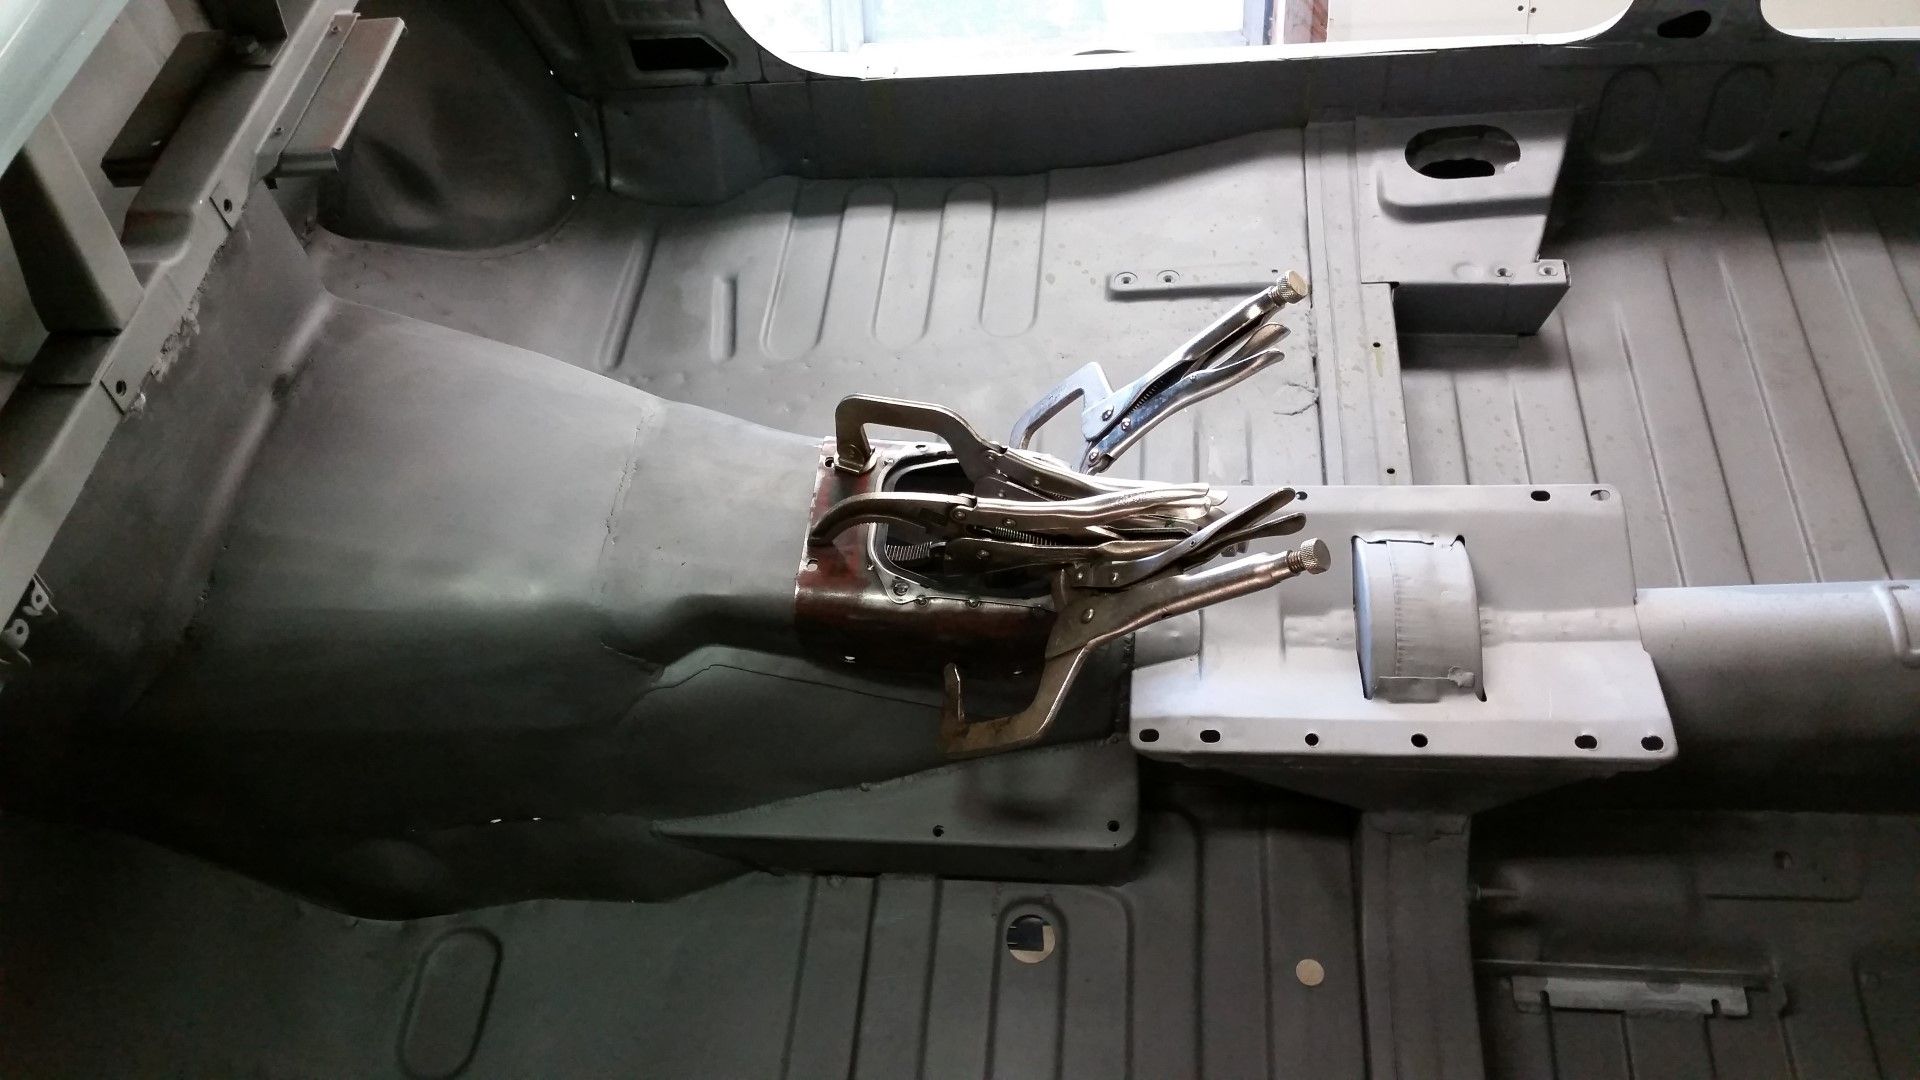 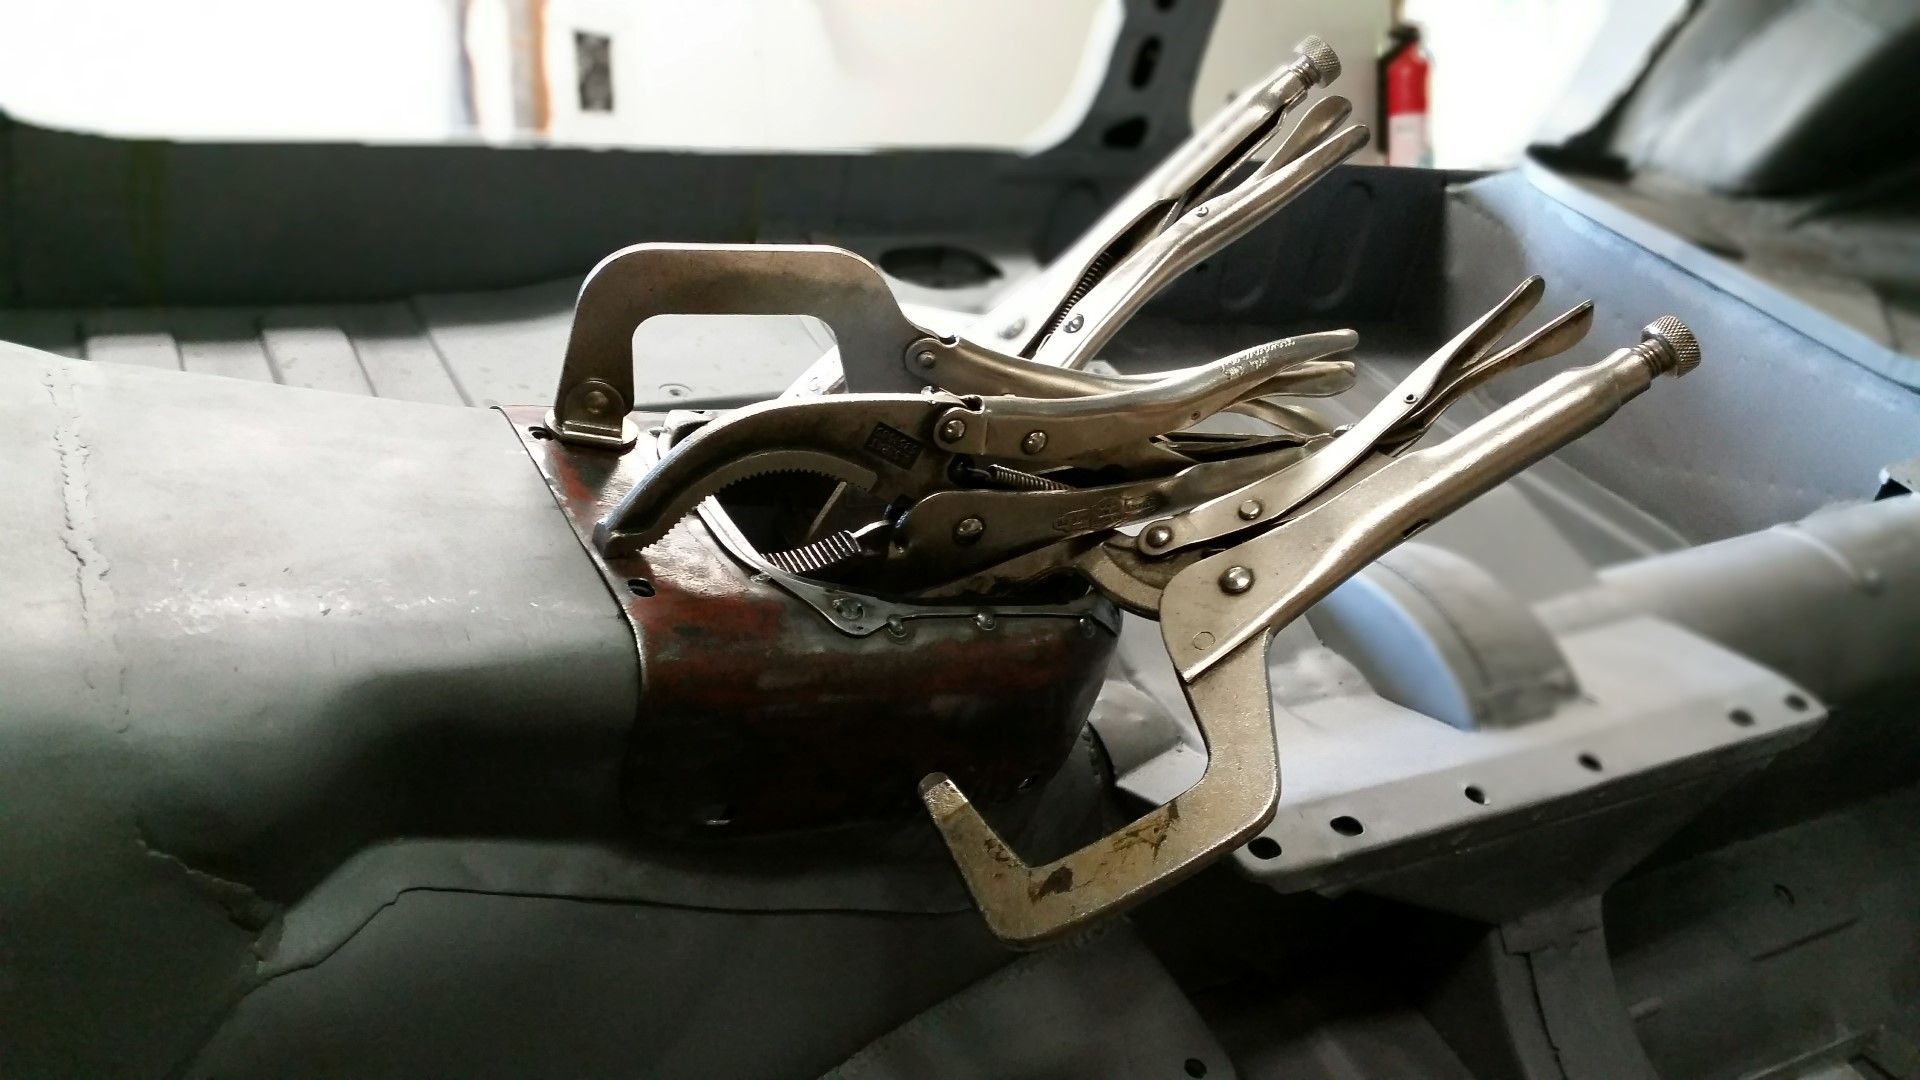 Now a flush mounted cover  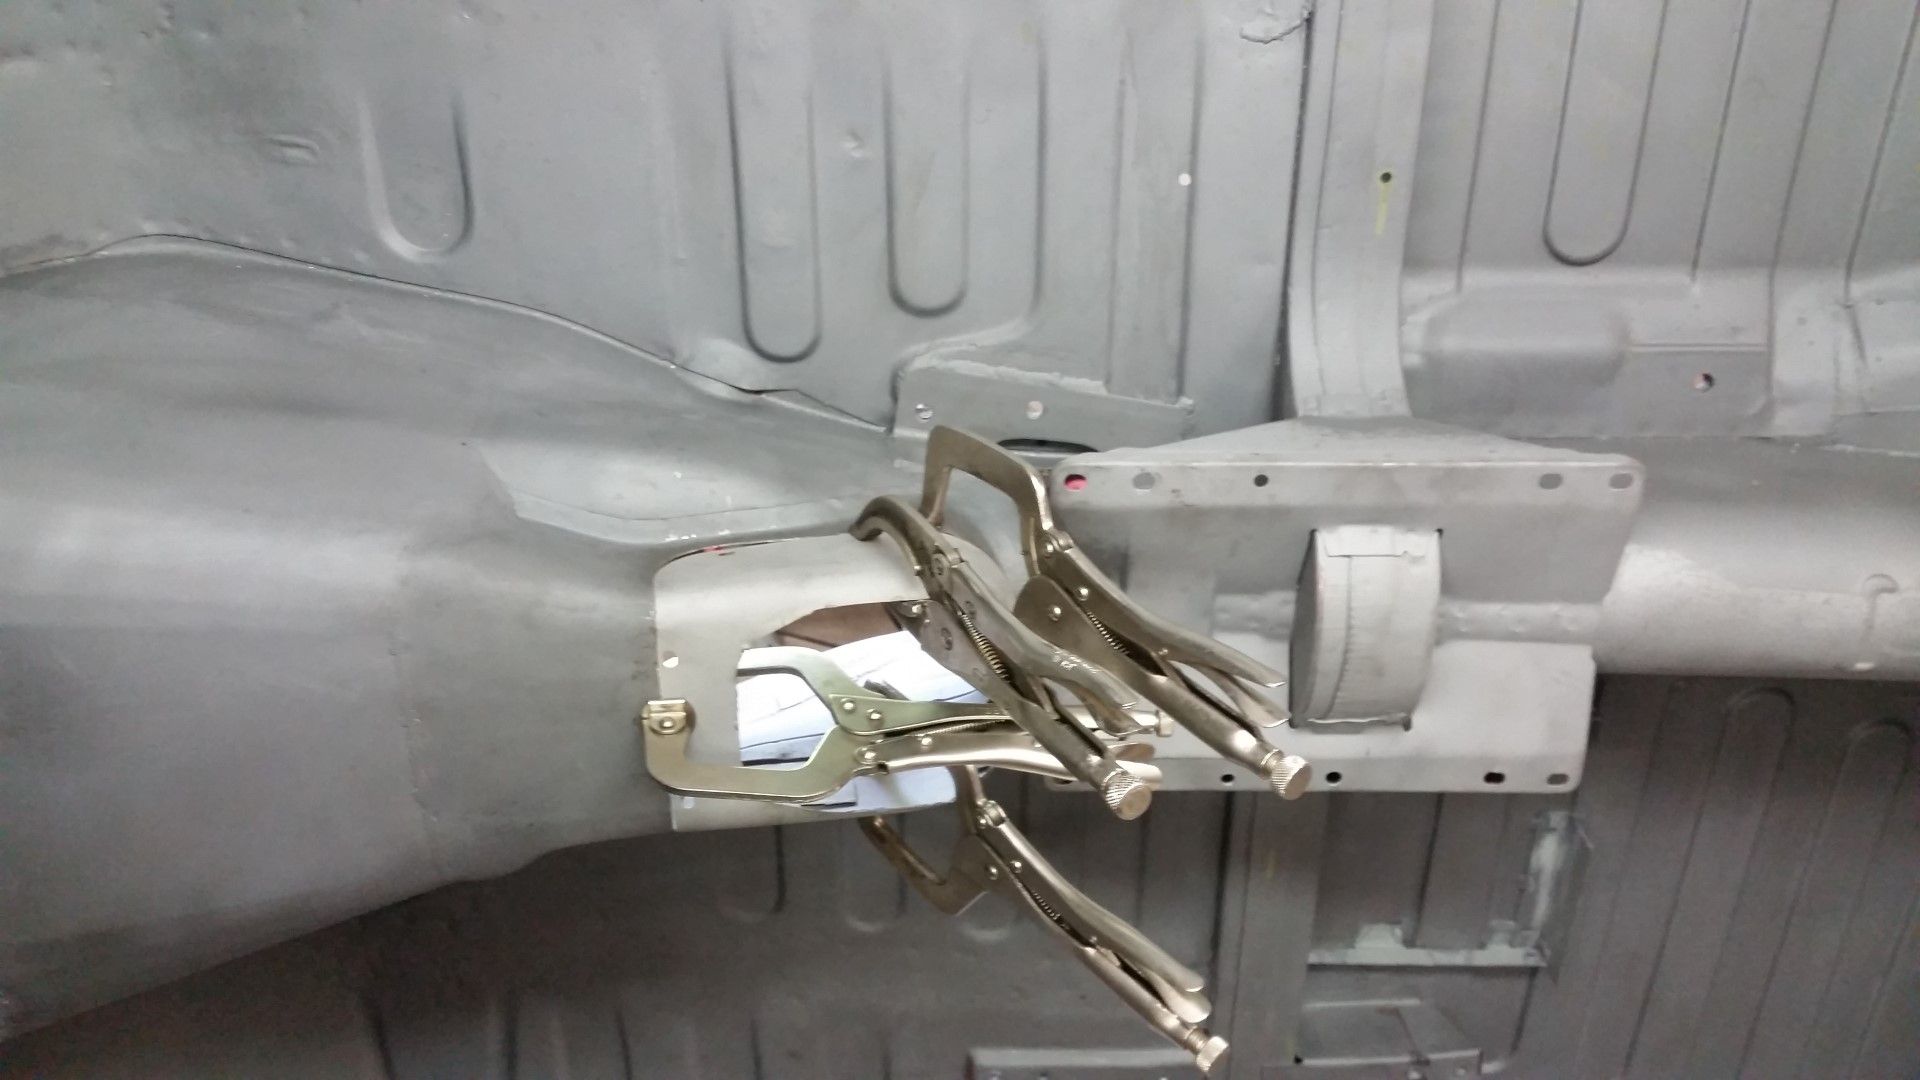  Add S2000 boor flange 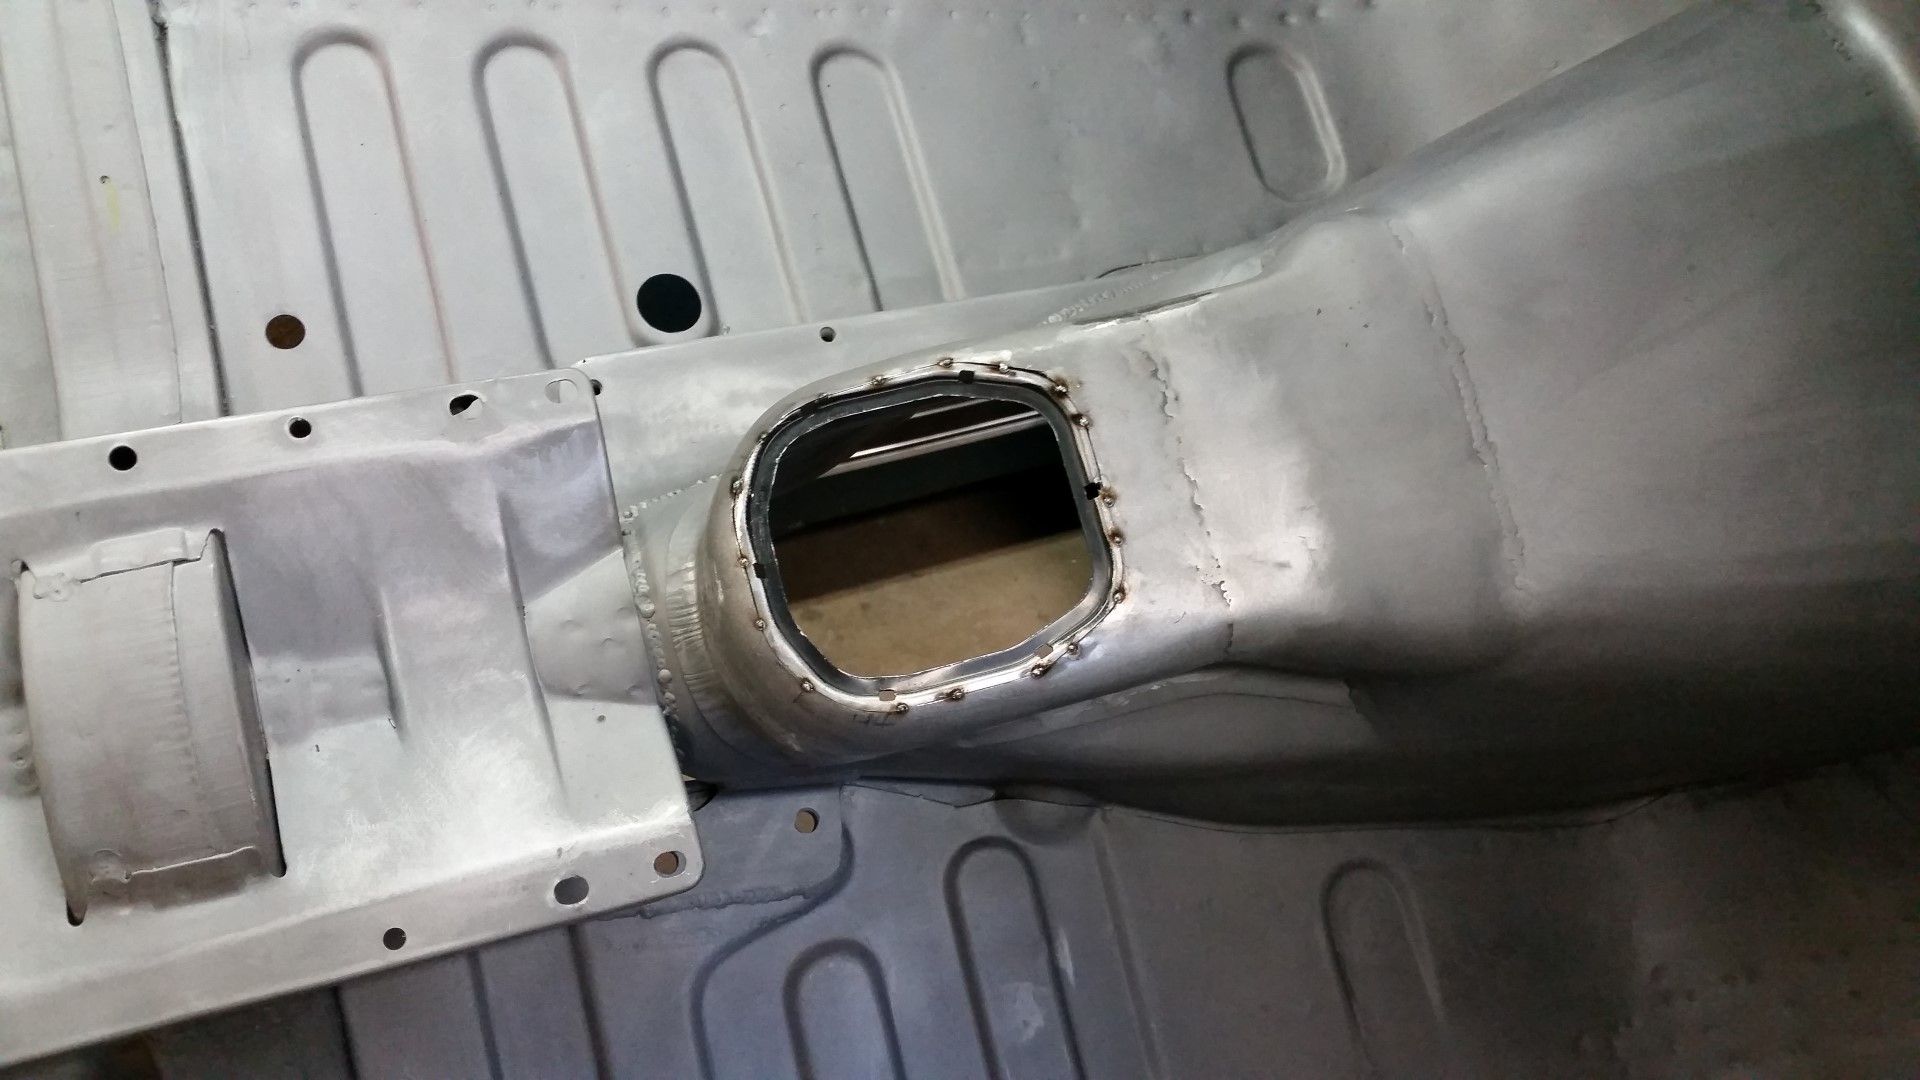 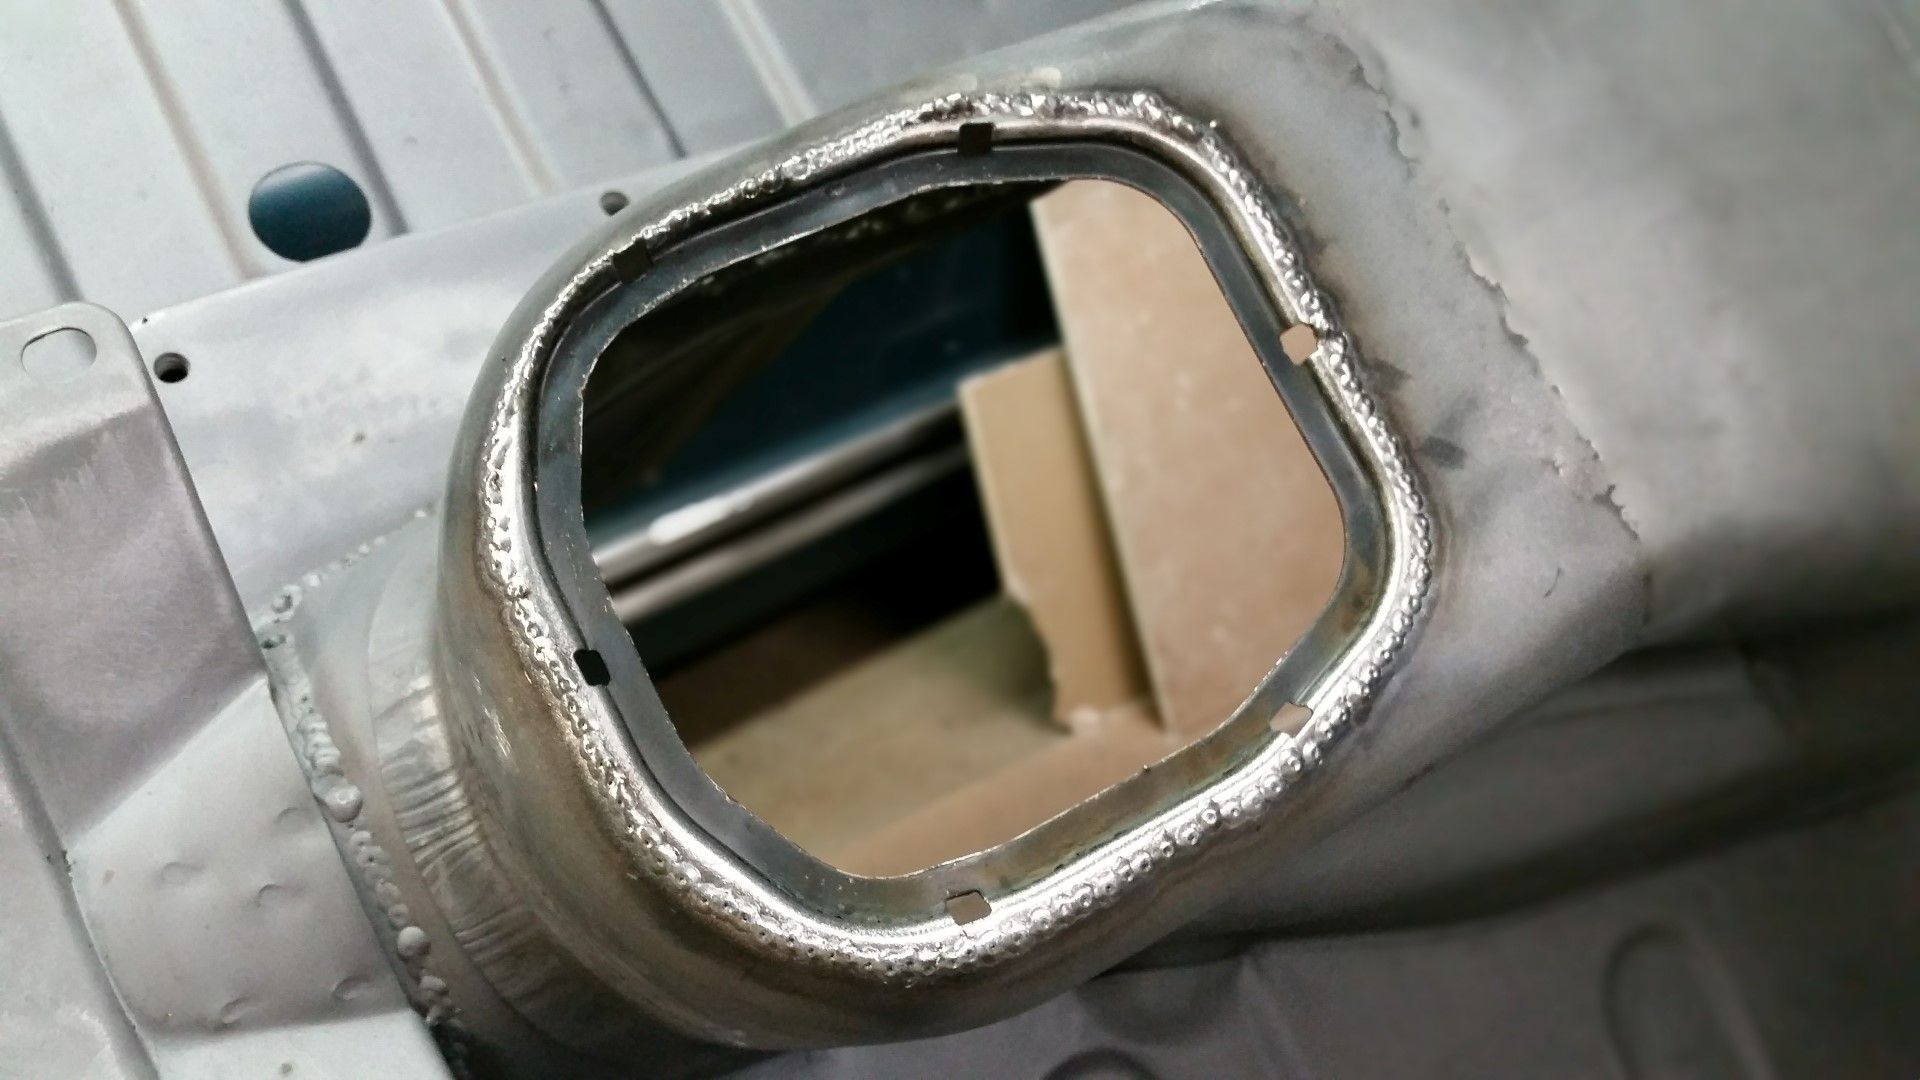 With shifter (small holes in tunnel fixed later) 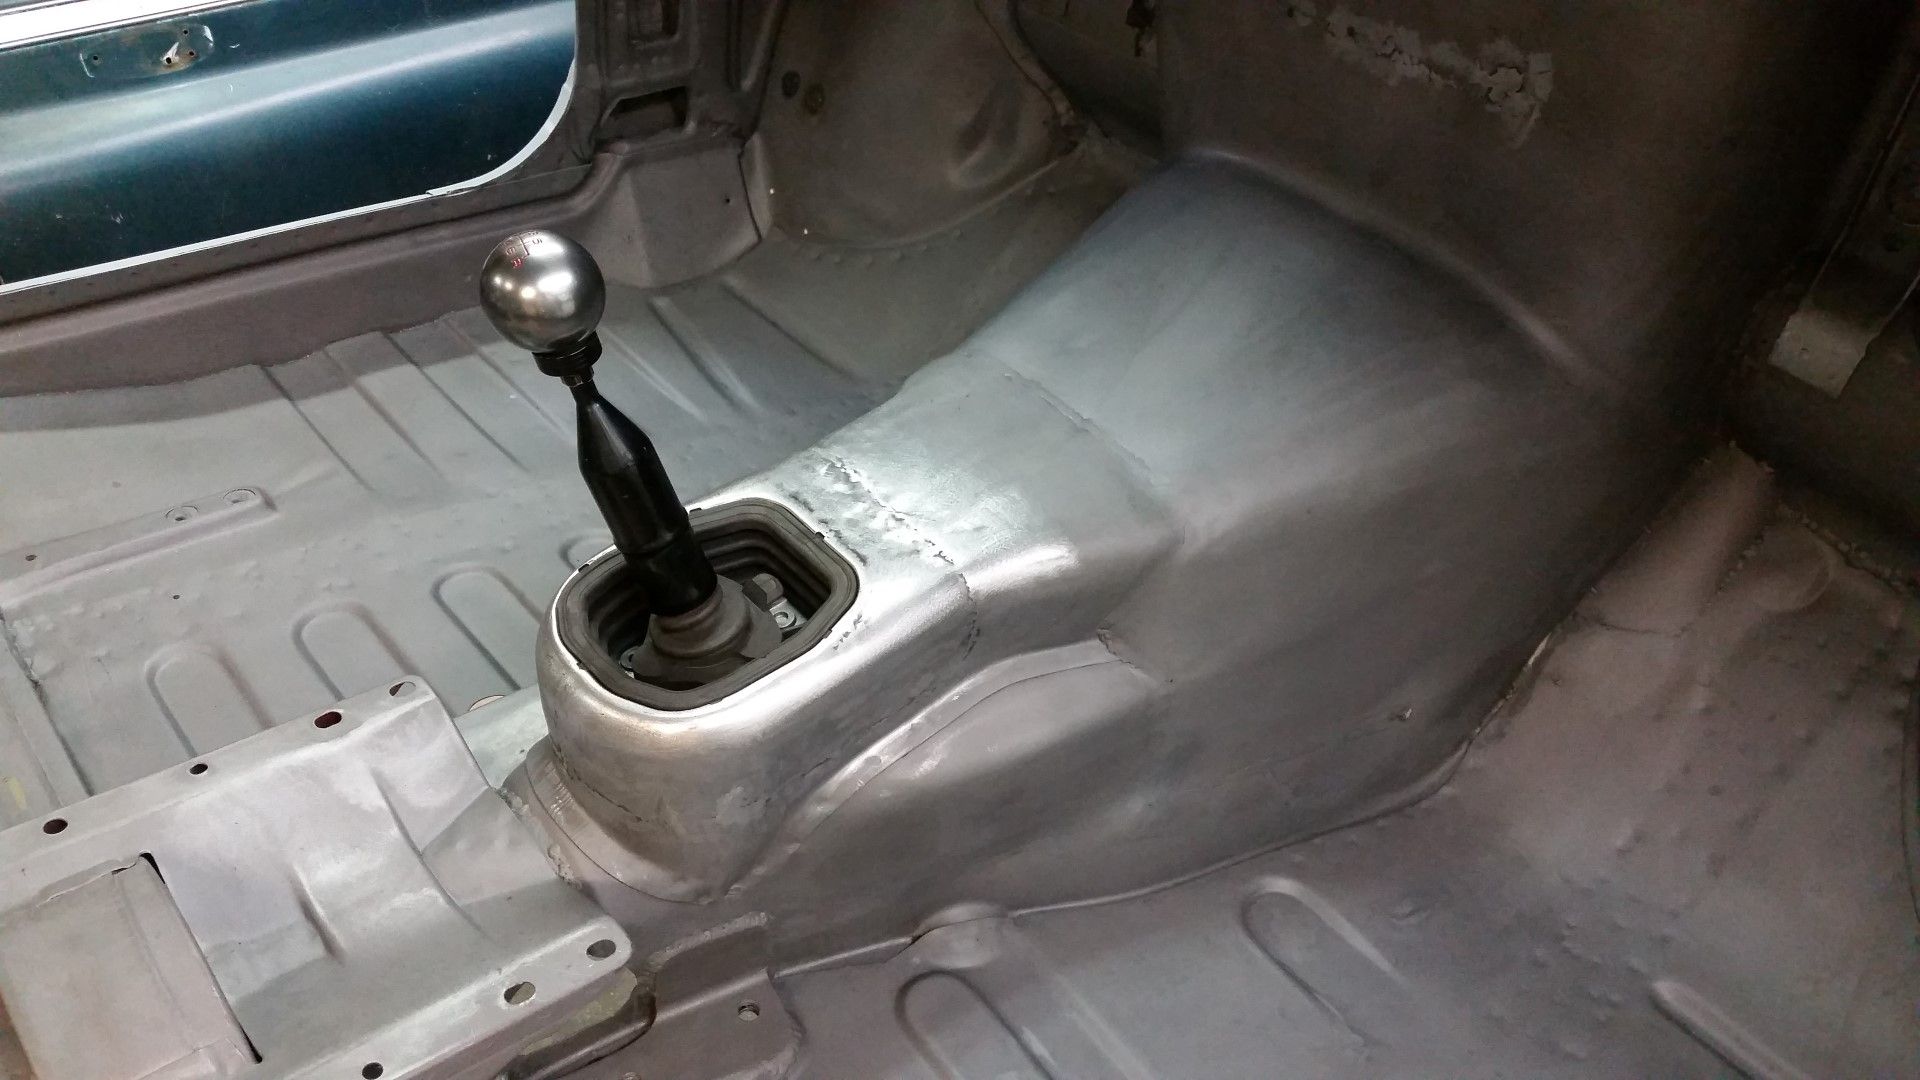 Tunnel will be body-worked and painted 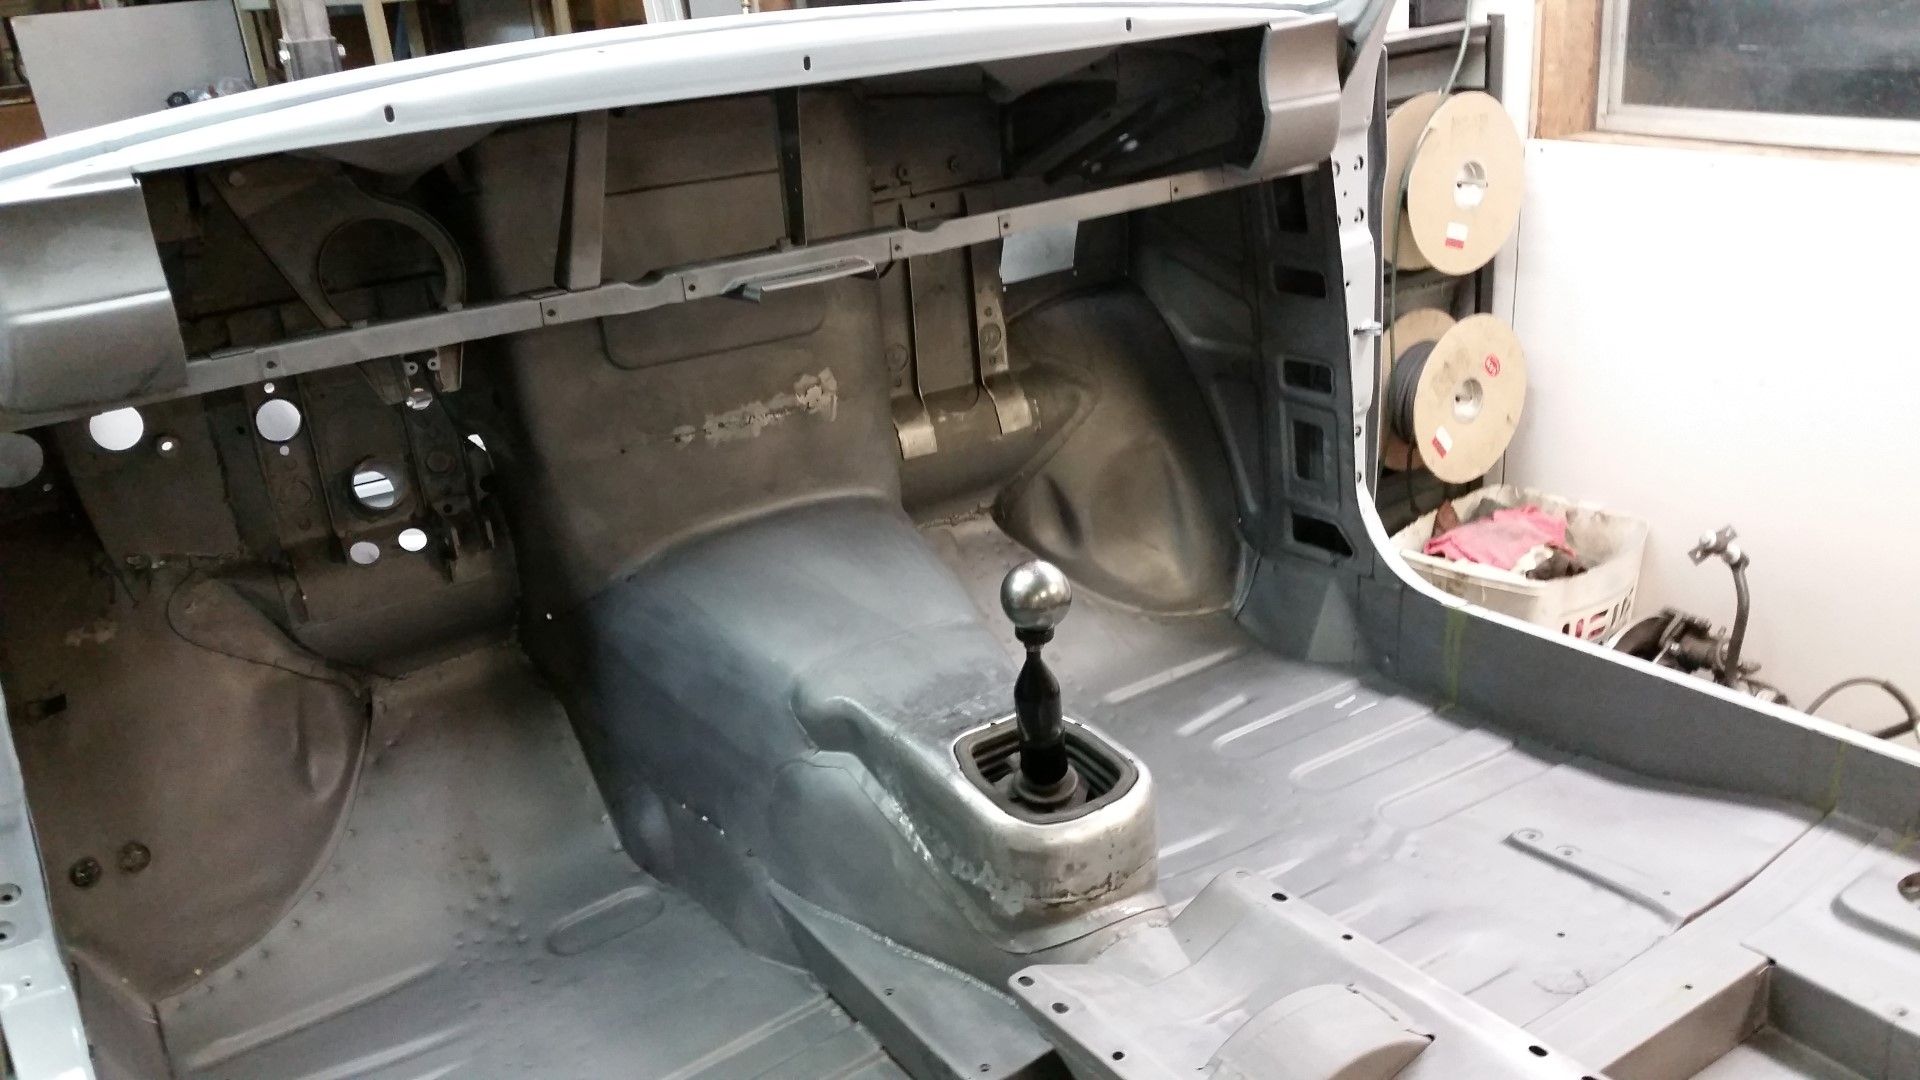 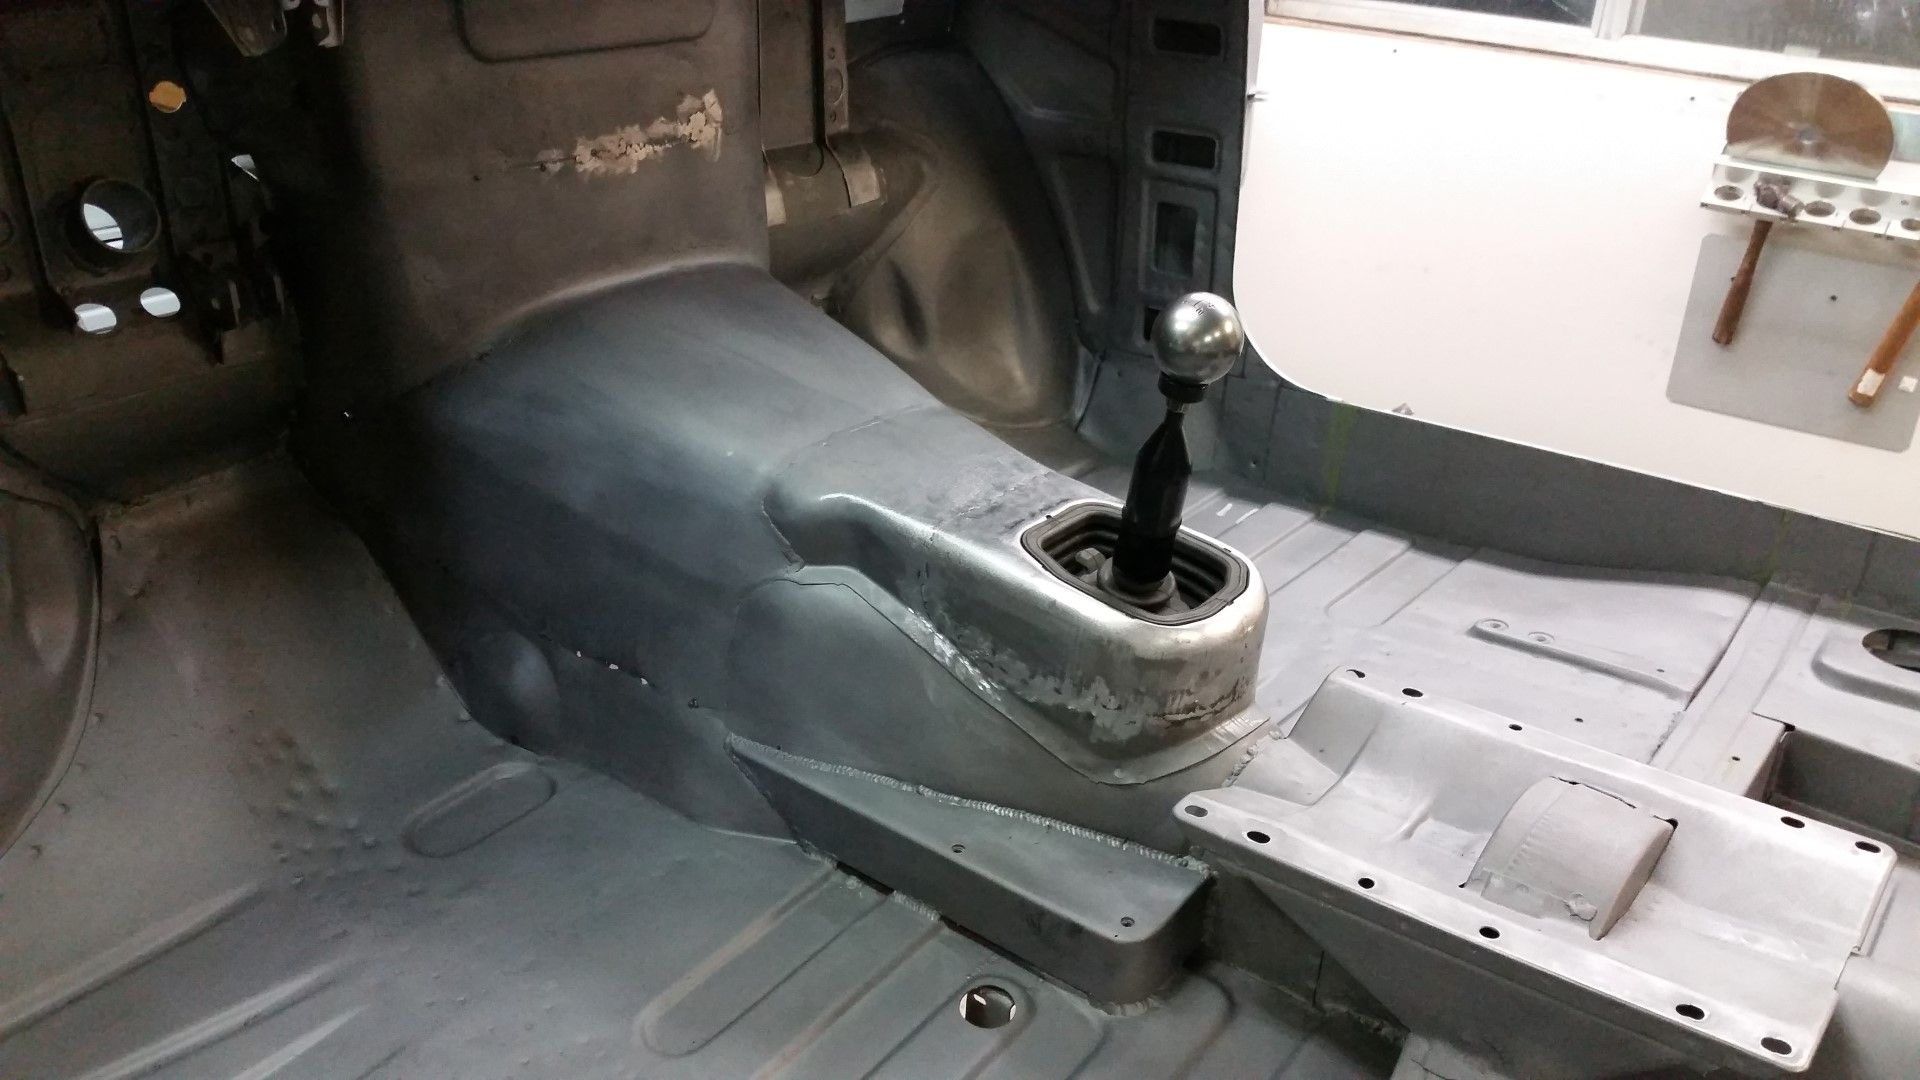
|
|
|
|
|
07-29-2014, 04:16 PM
|
#20 |
|
Registered User
Join Date: Aug 2005
Location: Hillsboro Oregon
Posts: 6,449
|
Re: '66 Sunbeam Minx Project - F20C/6sp/4-link/Discs...
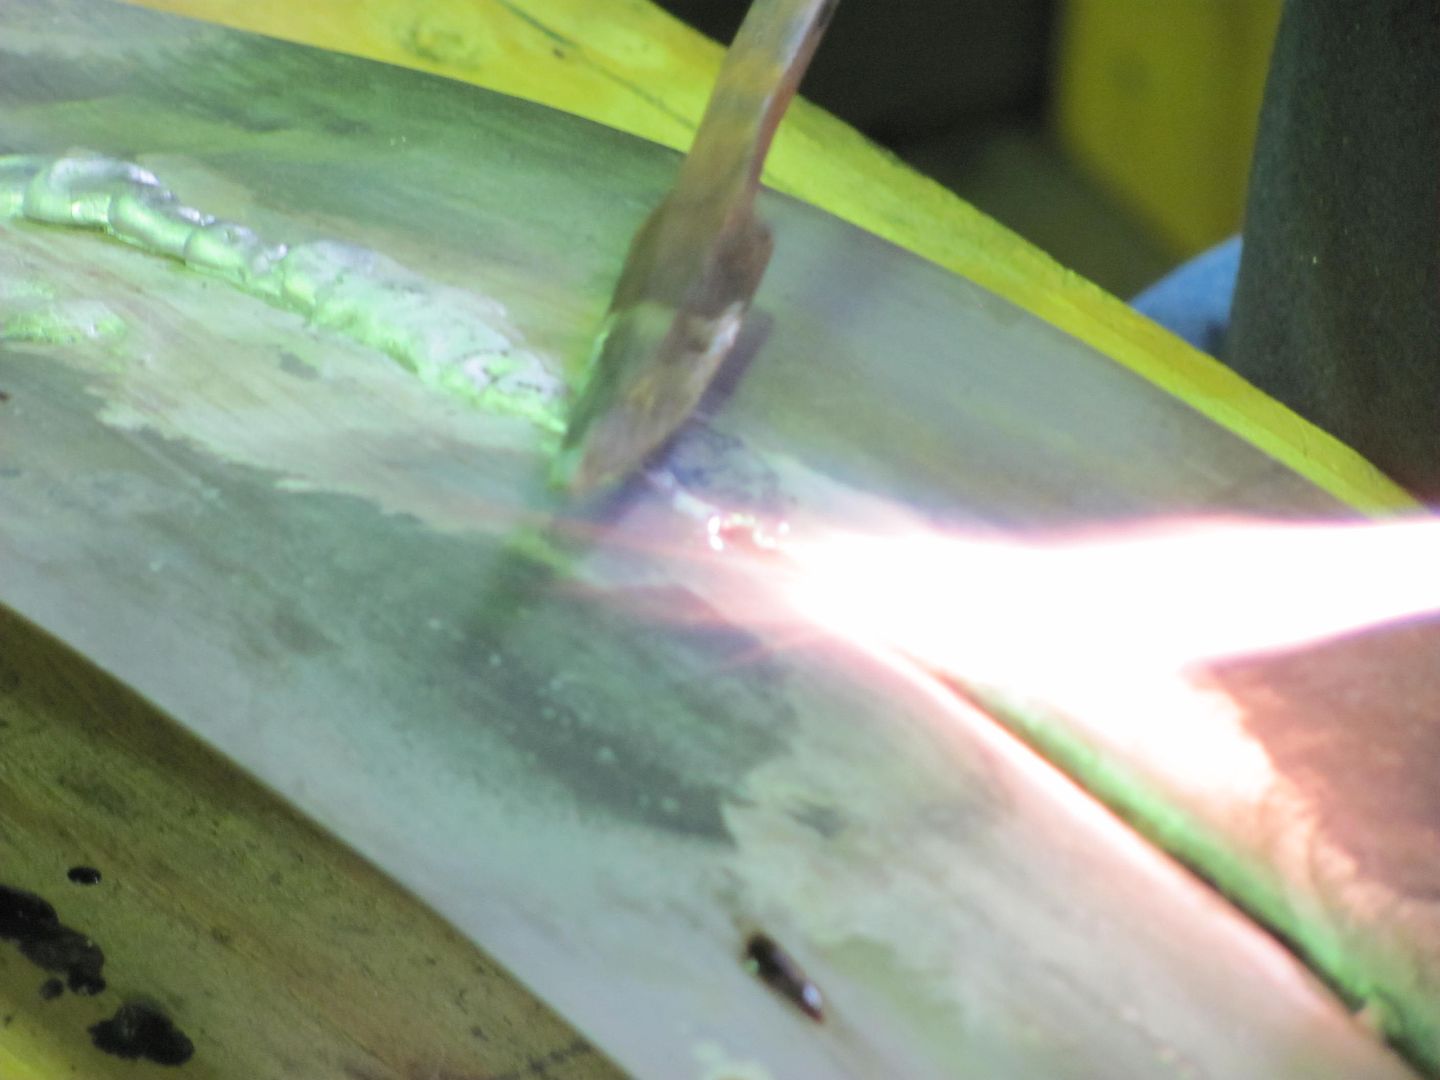
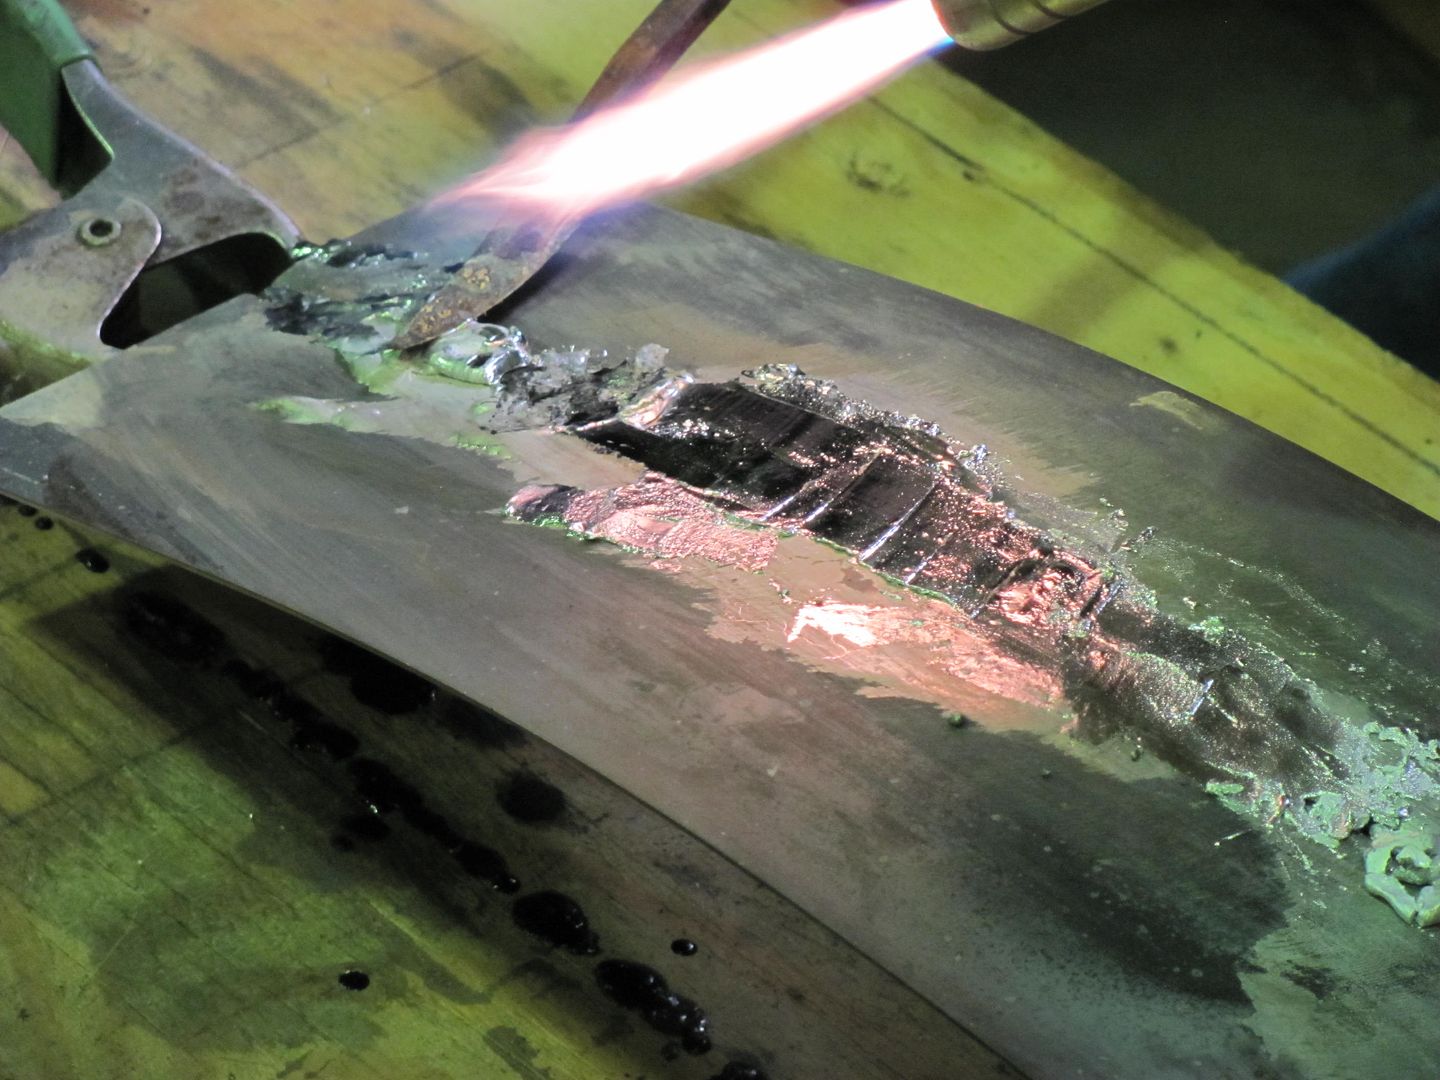
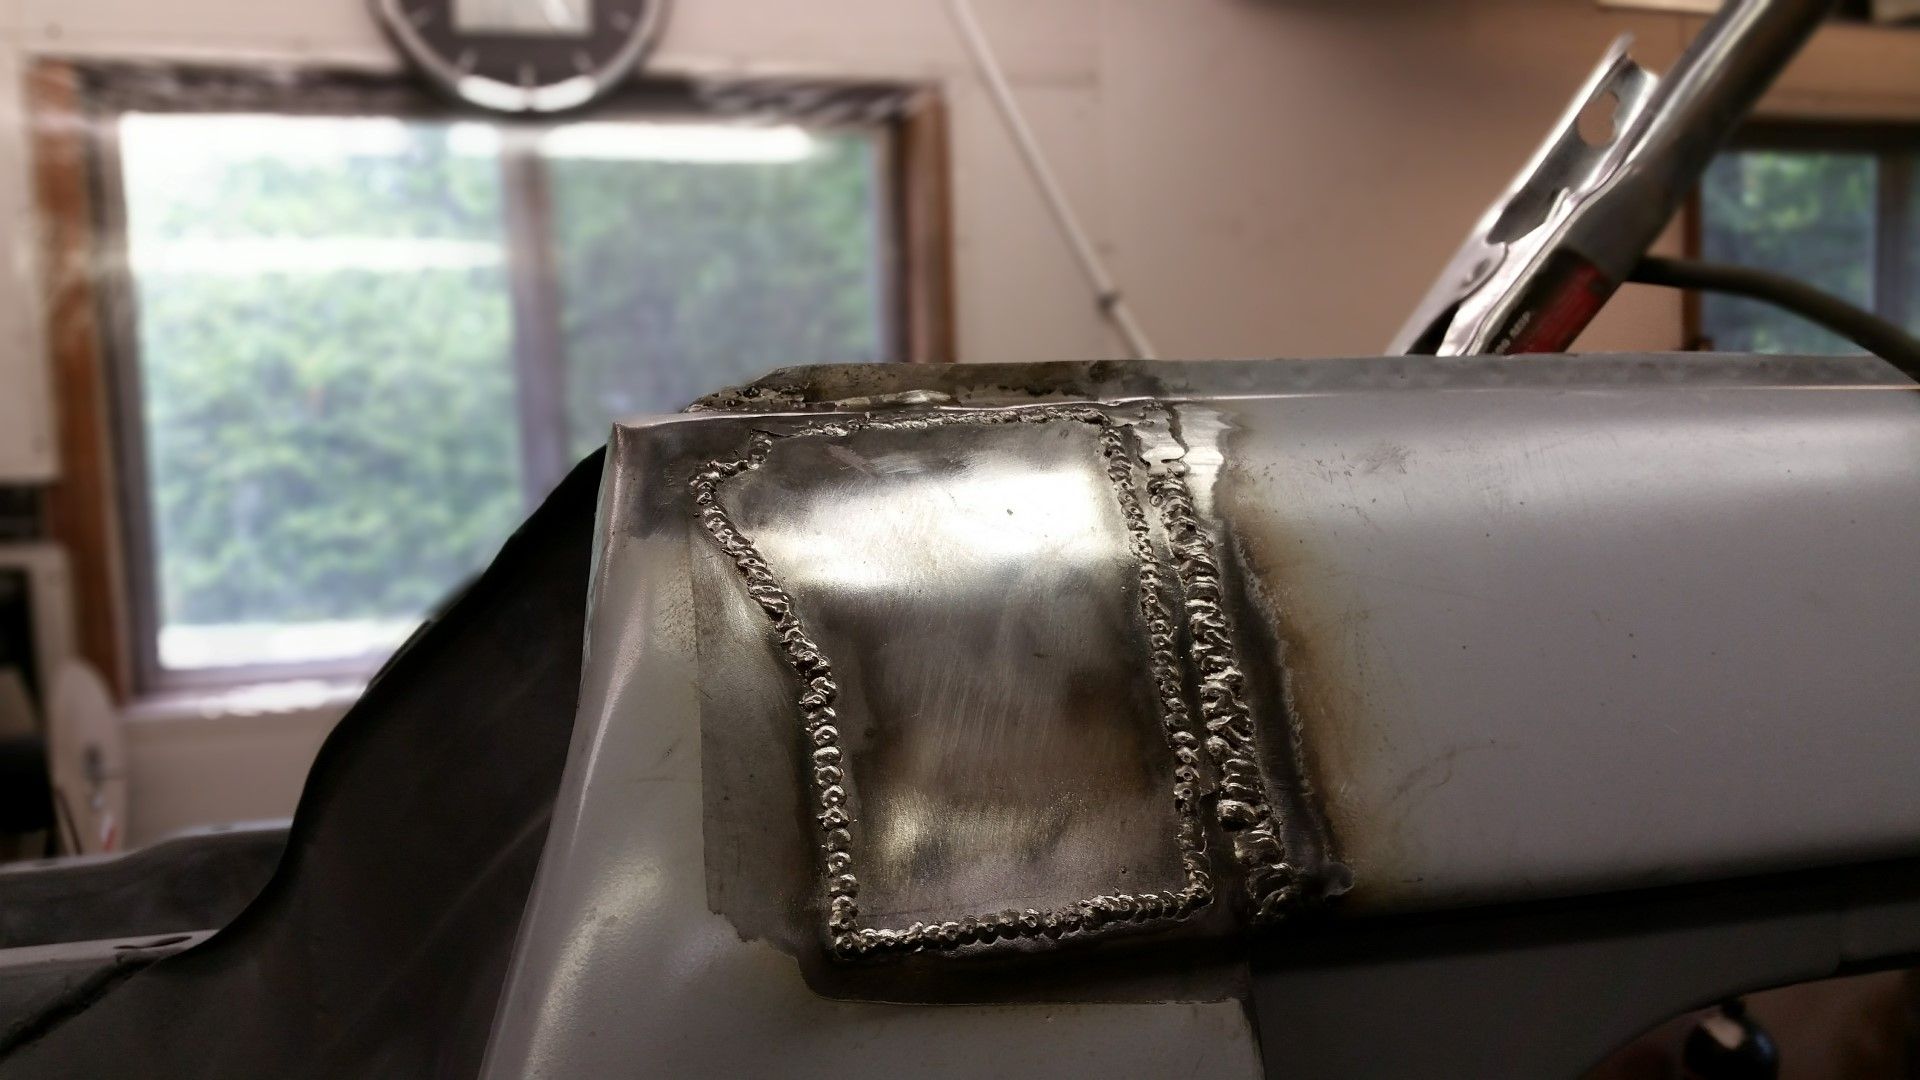
More lead work. This consumed a lot of time both in the actual process and in researching and buying tools and materials. In the end I had some success and some failure, but it was worth figuring out.
Prep:  Tinning flux 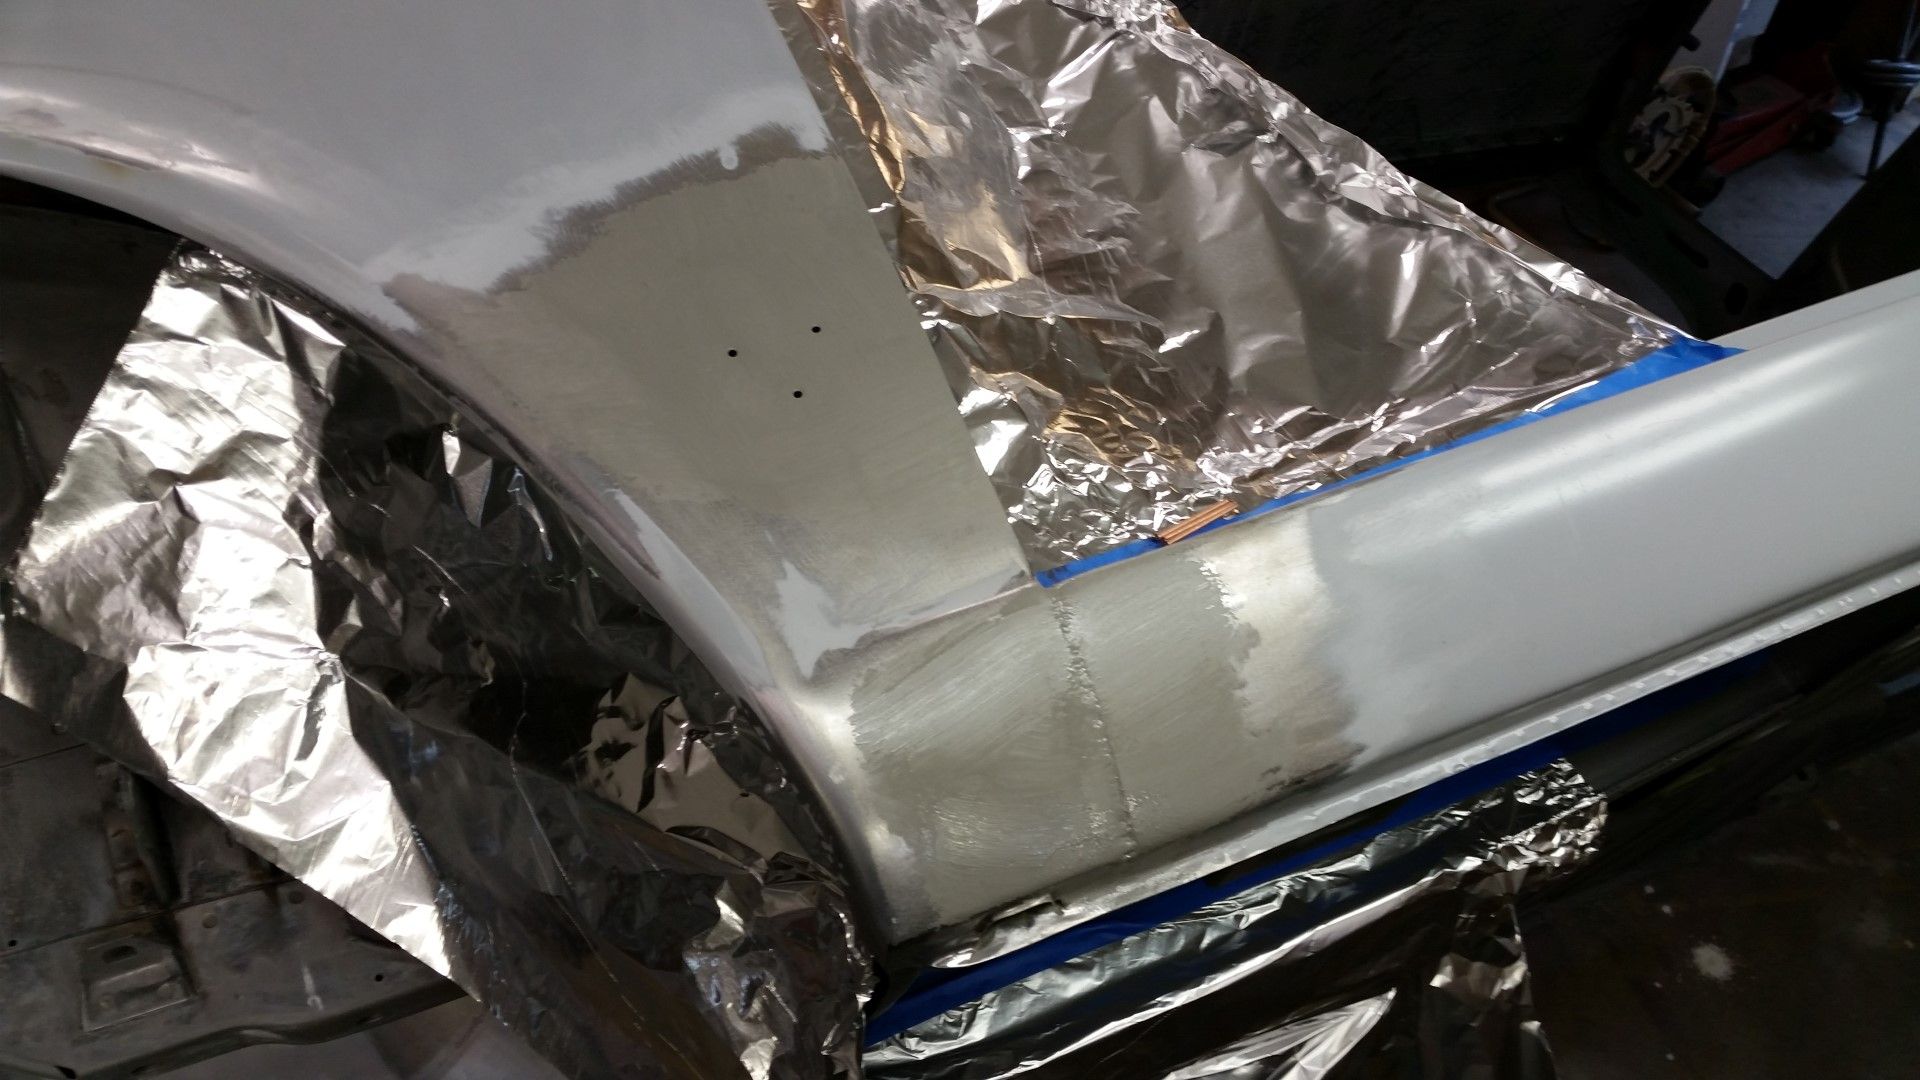 Tinned 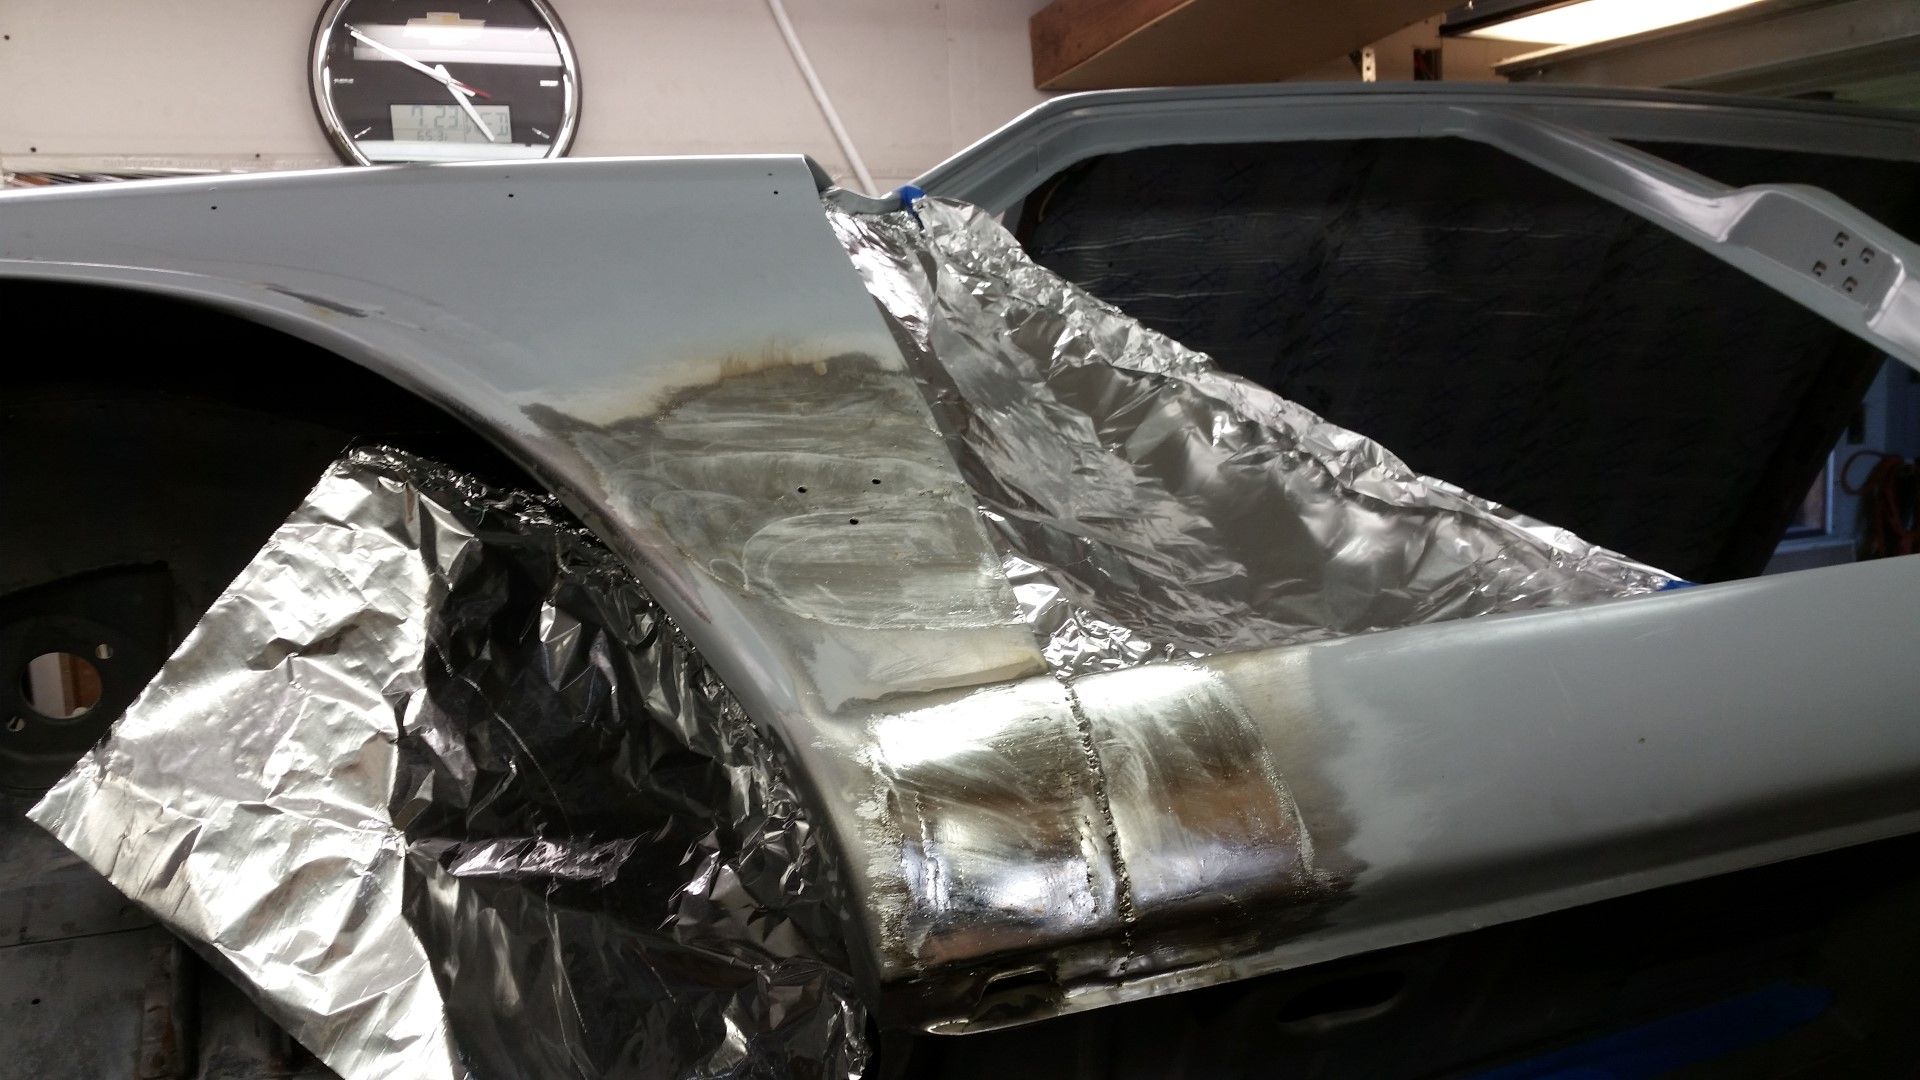 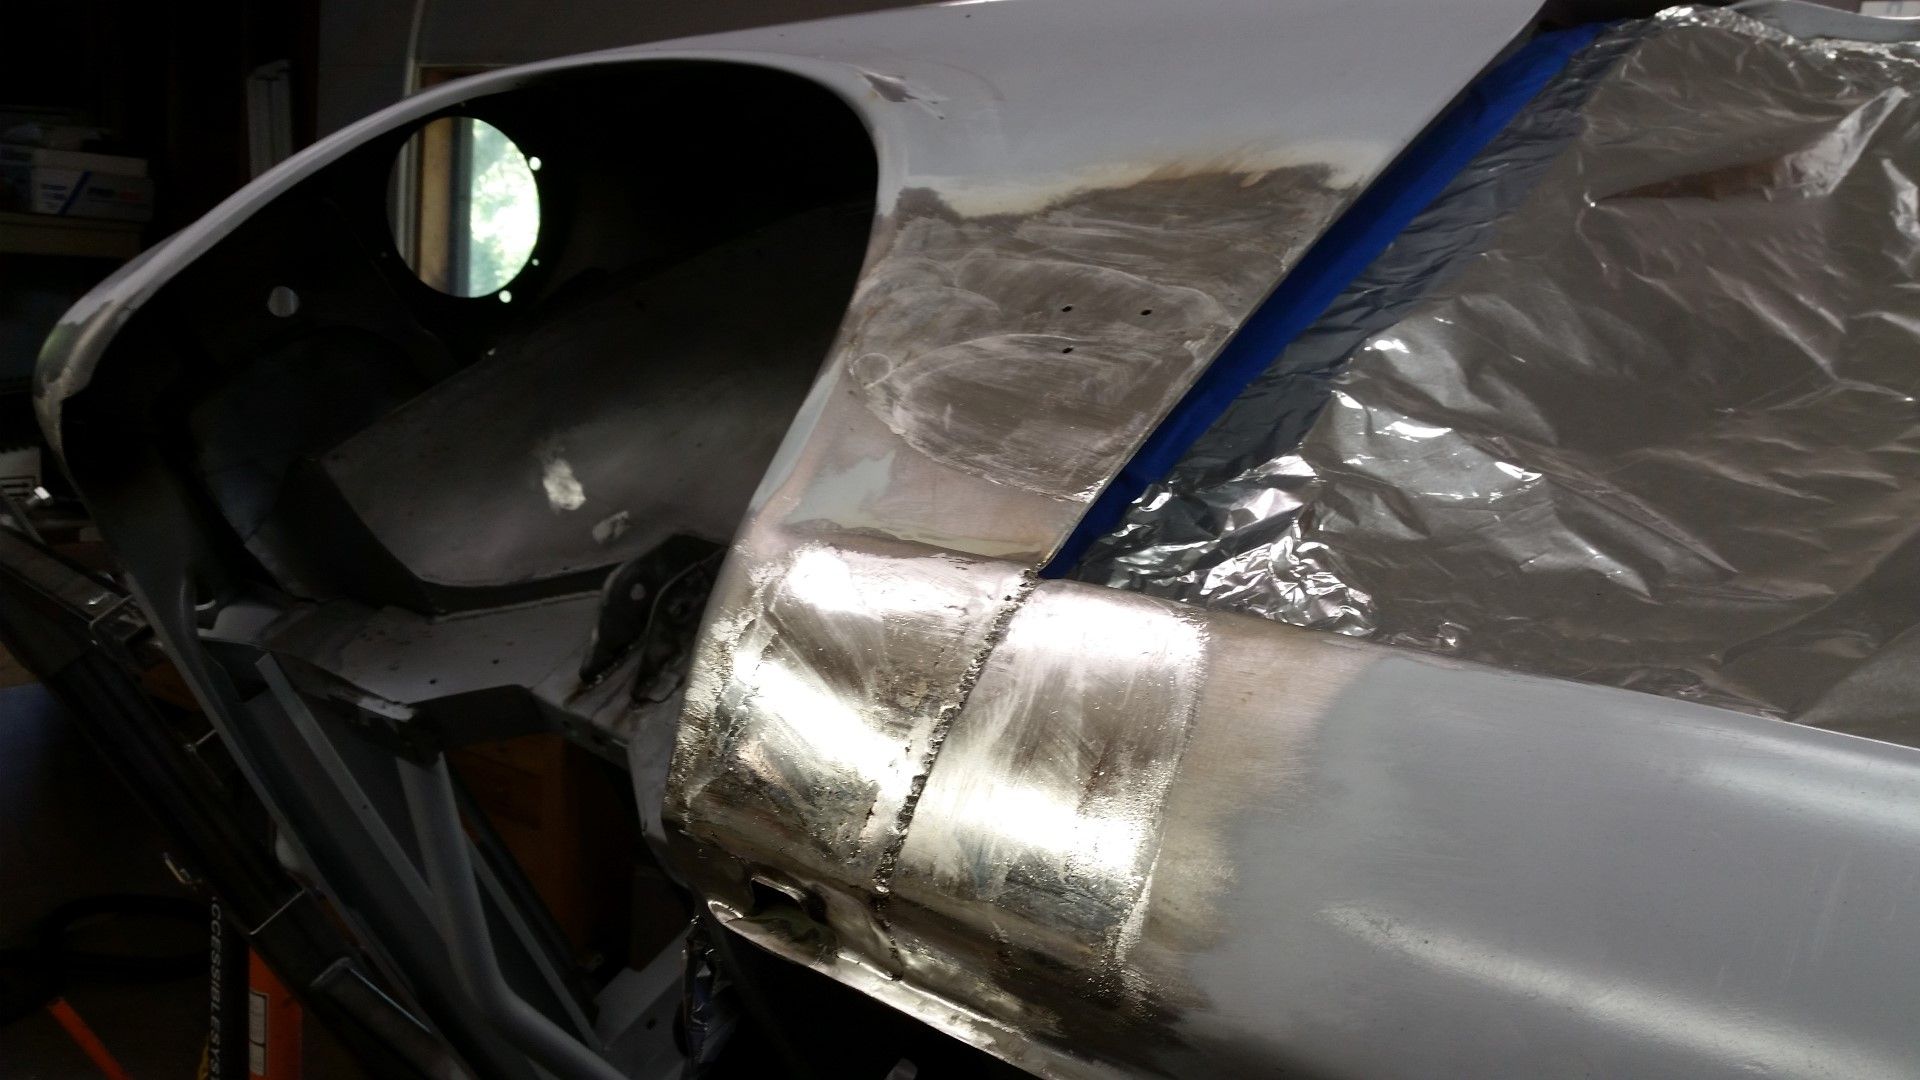 Radius form: 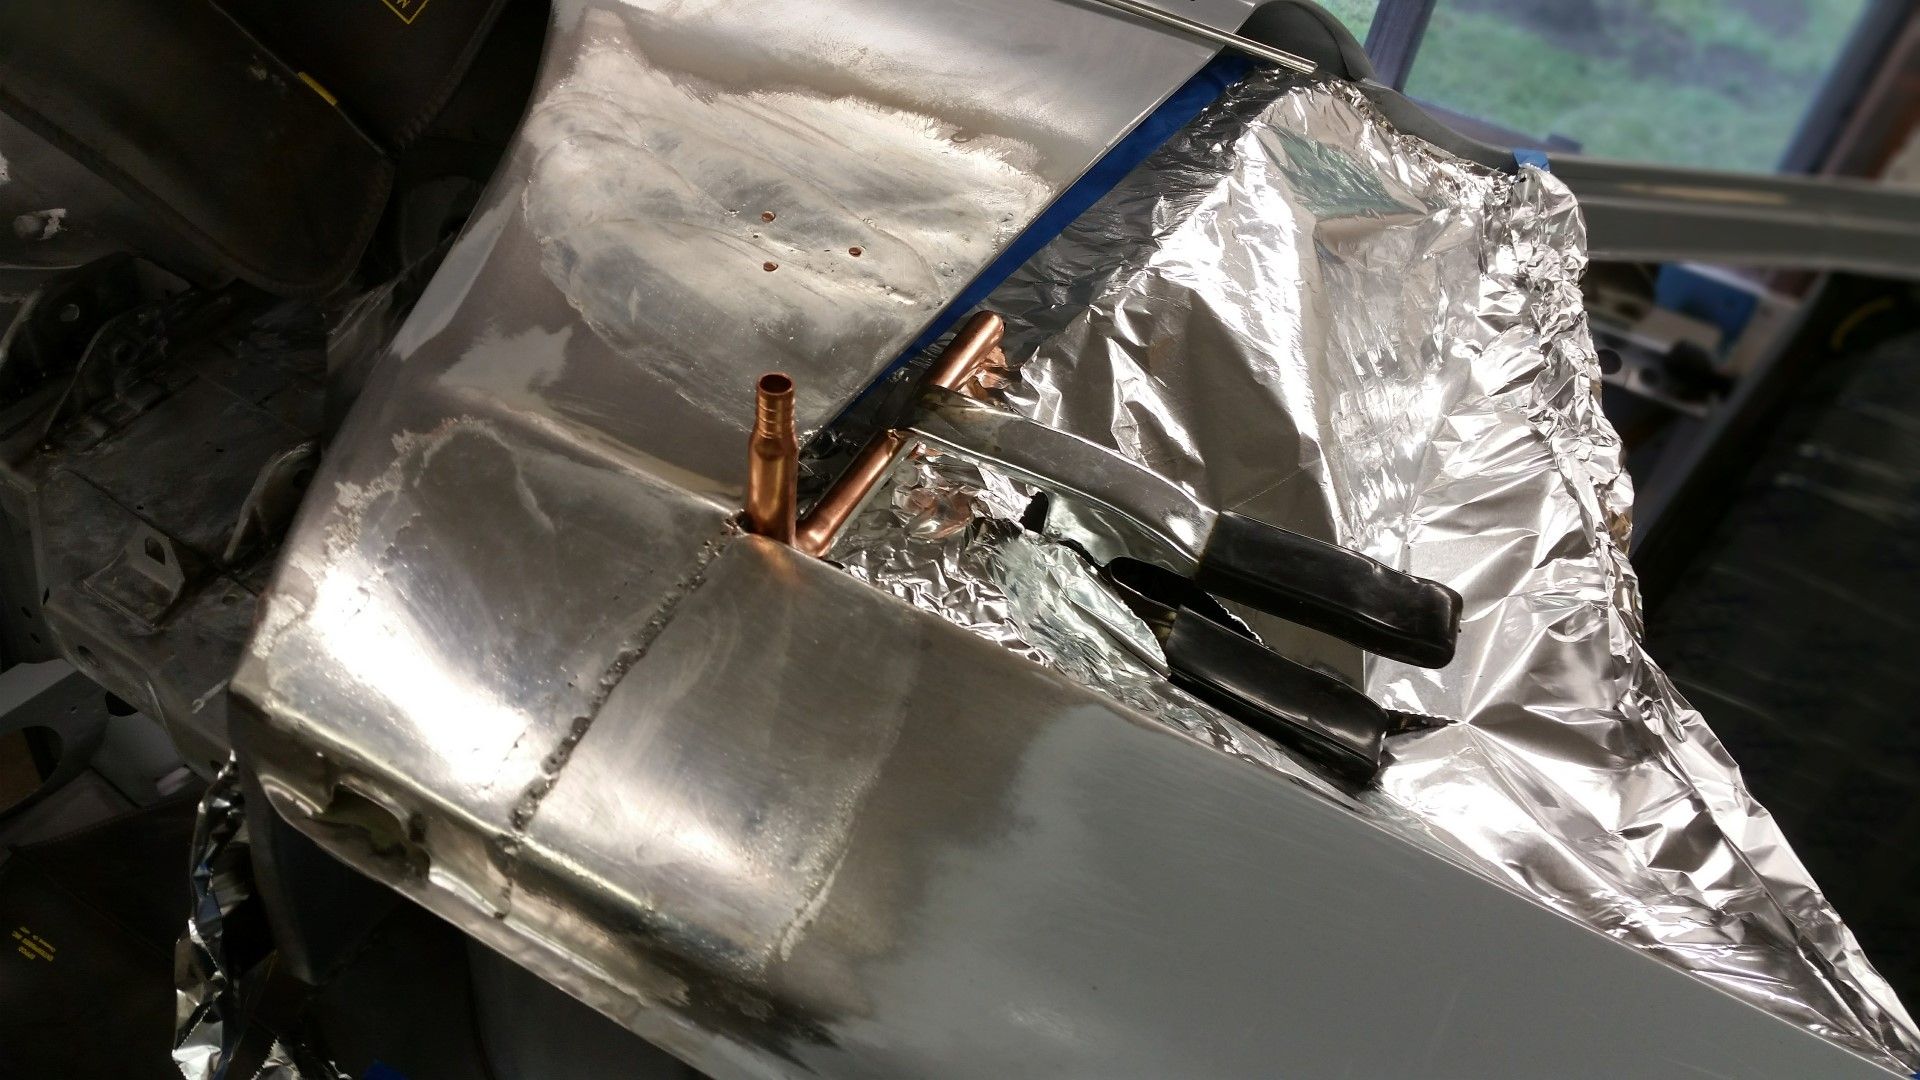 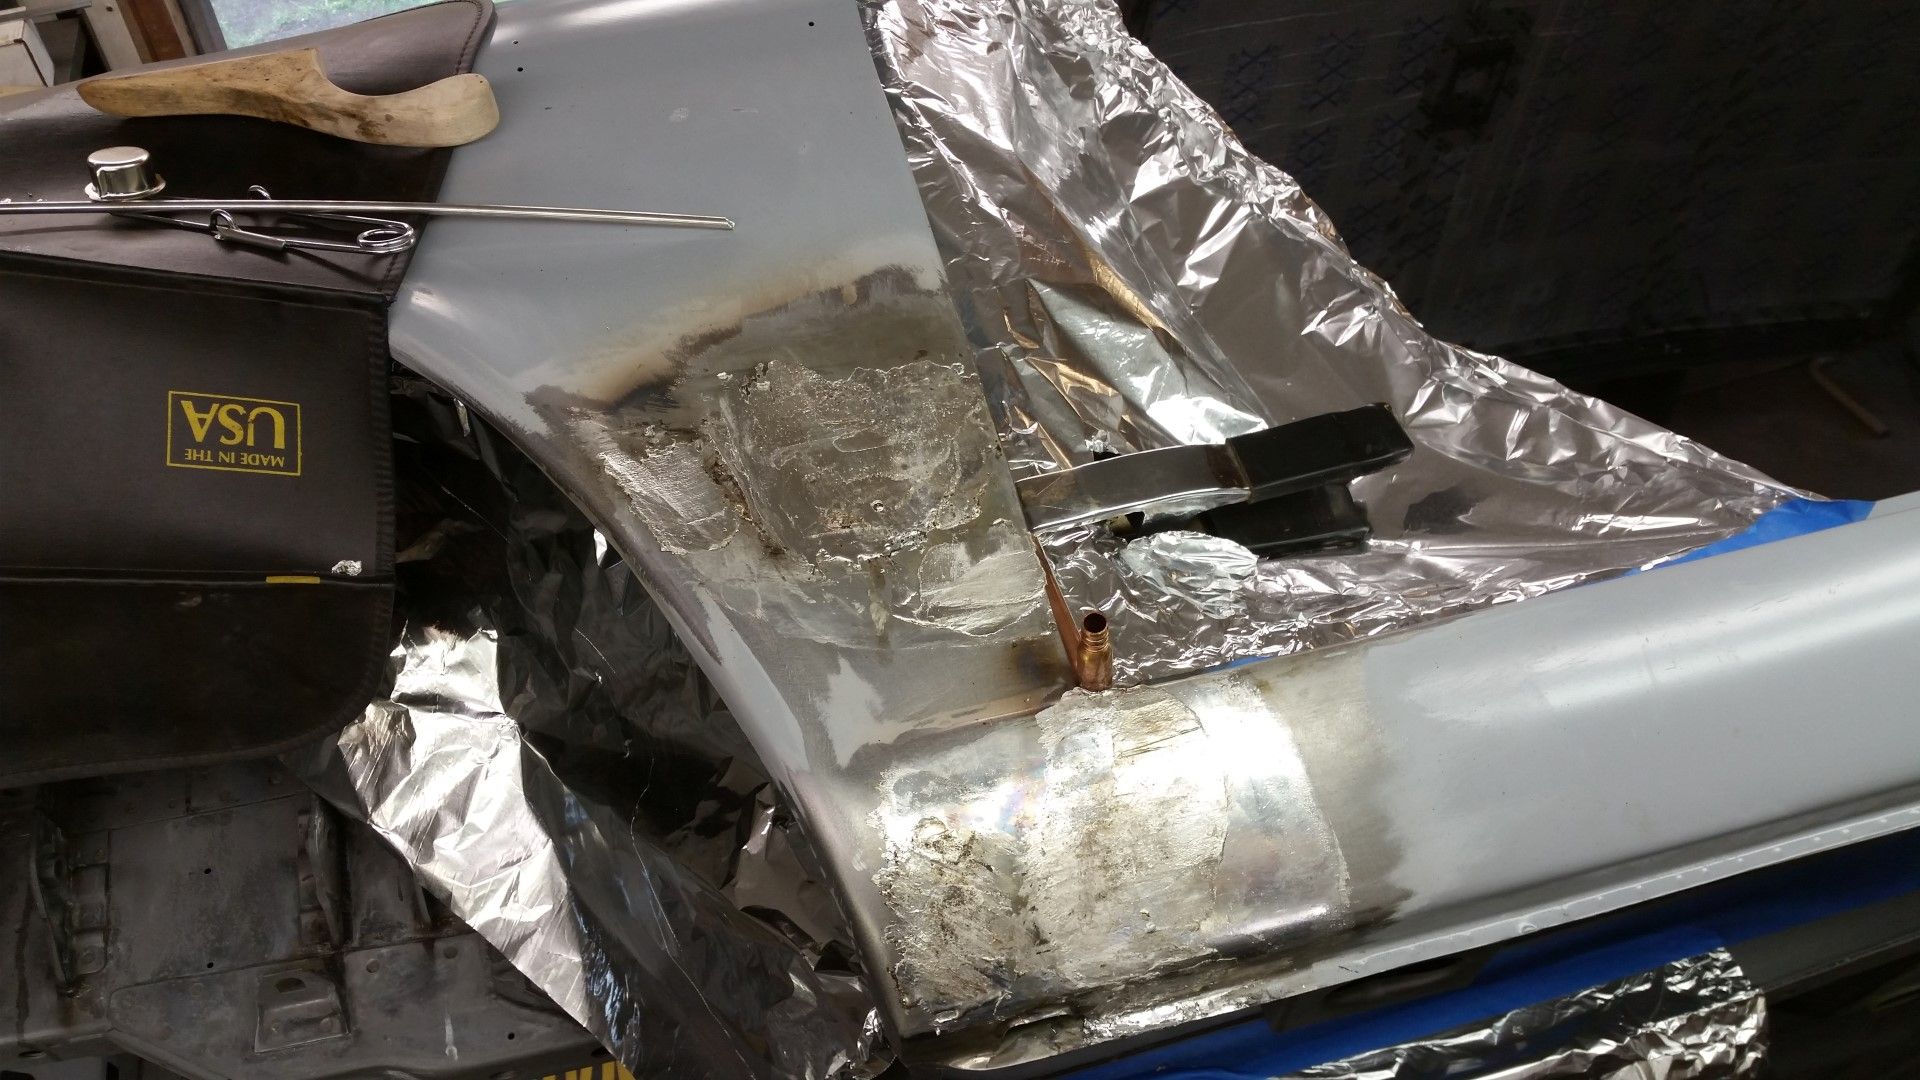 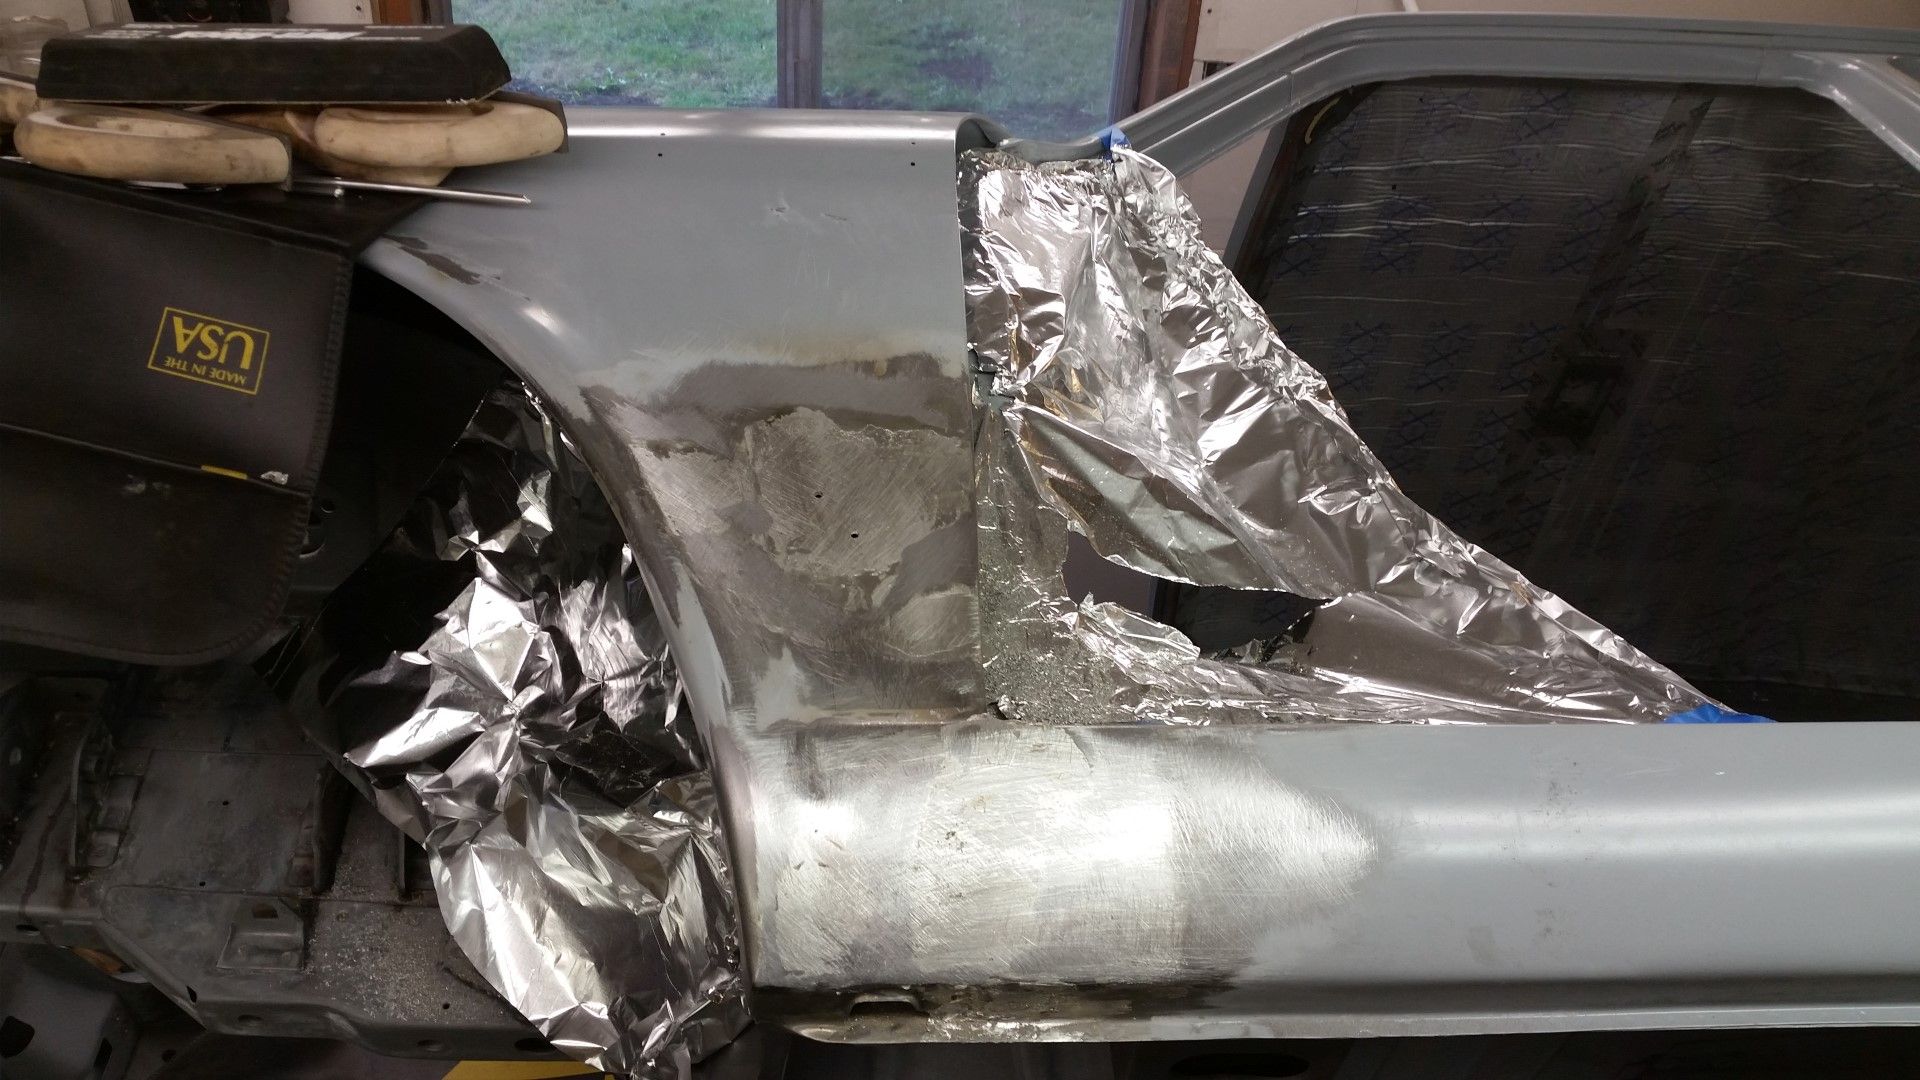 Worked radius 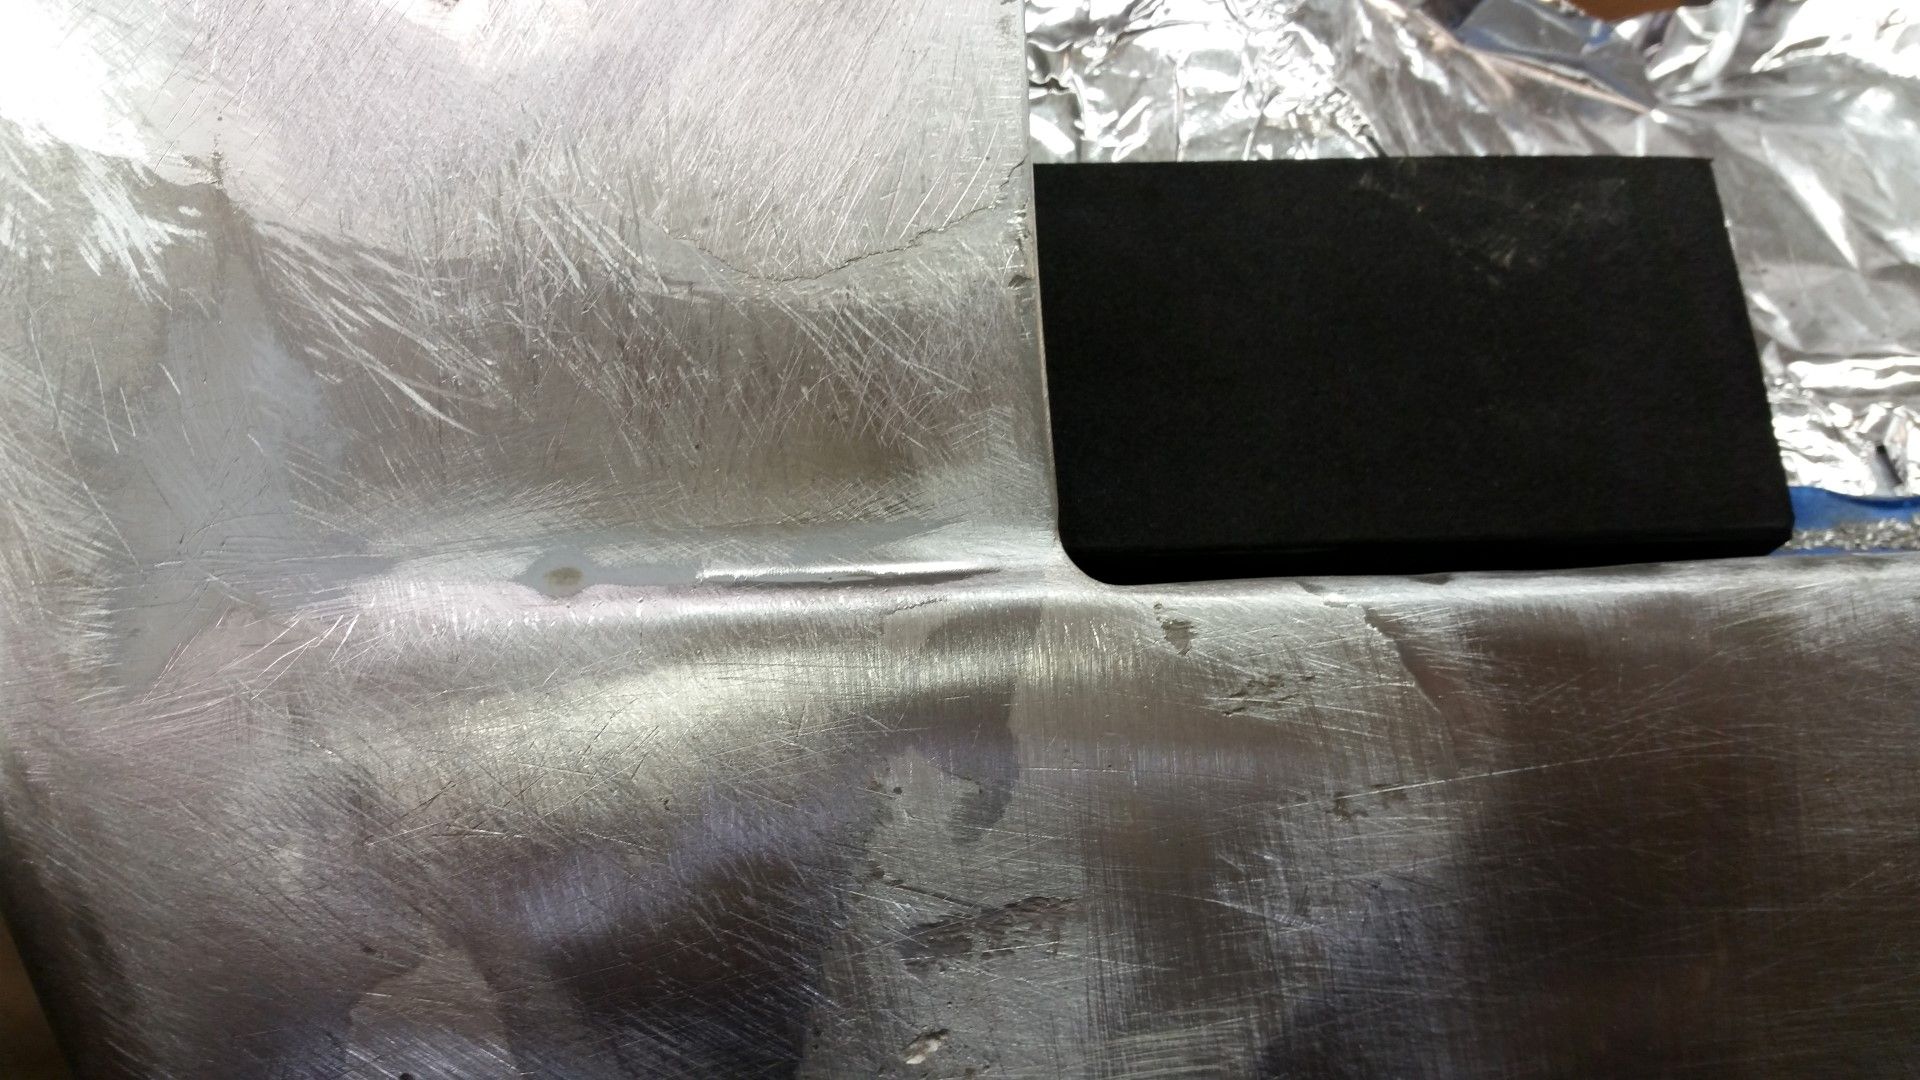 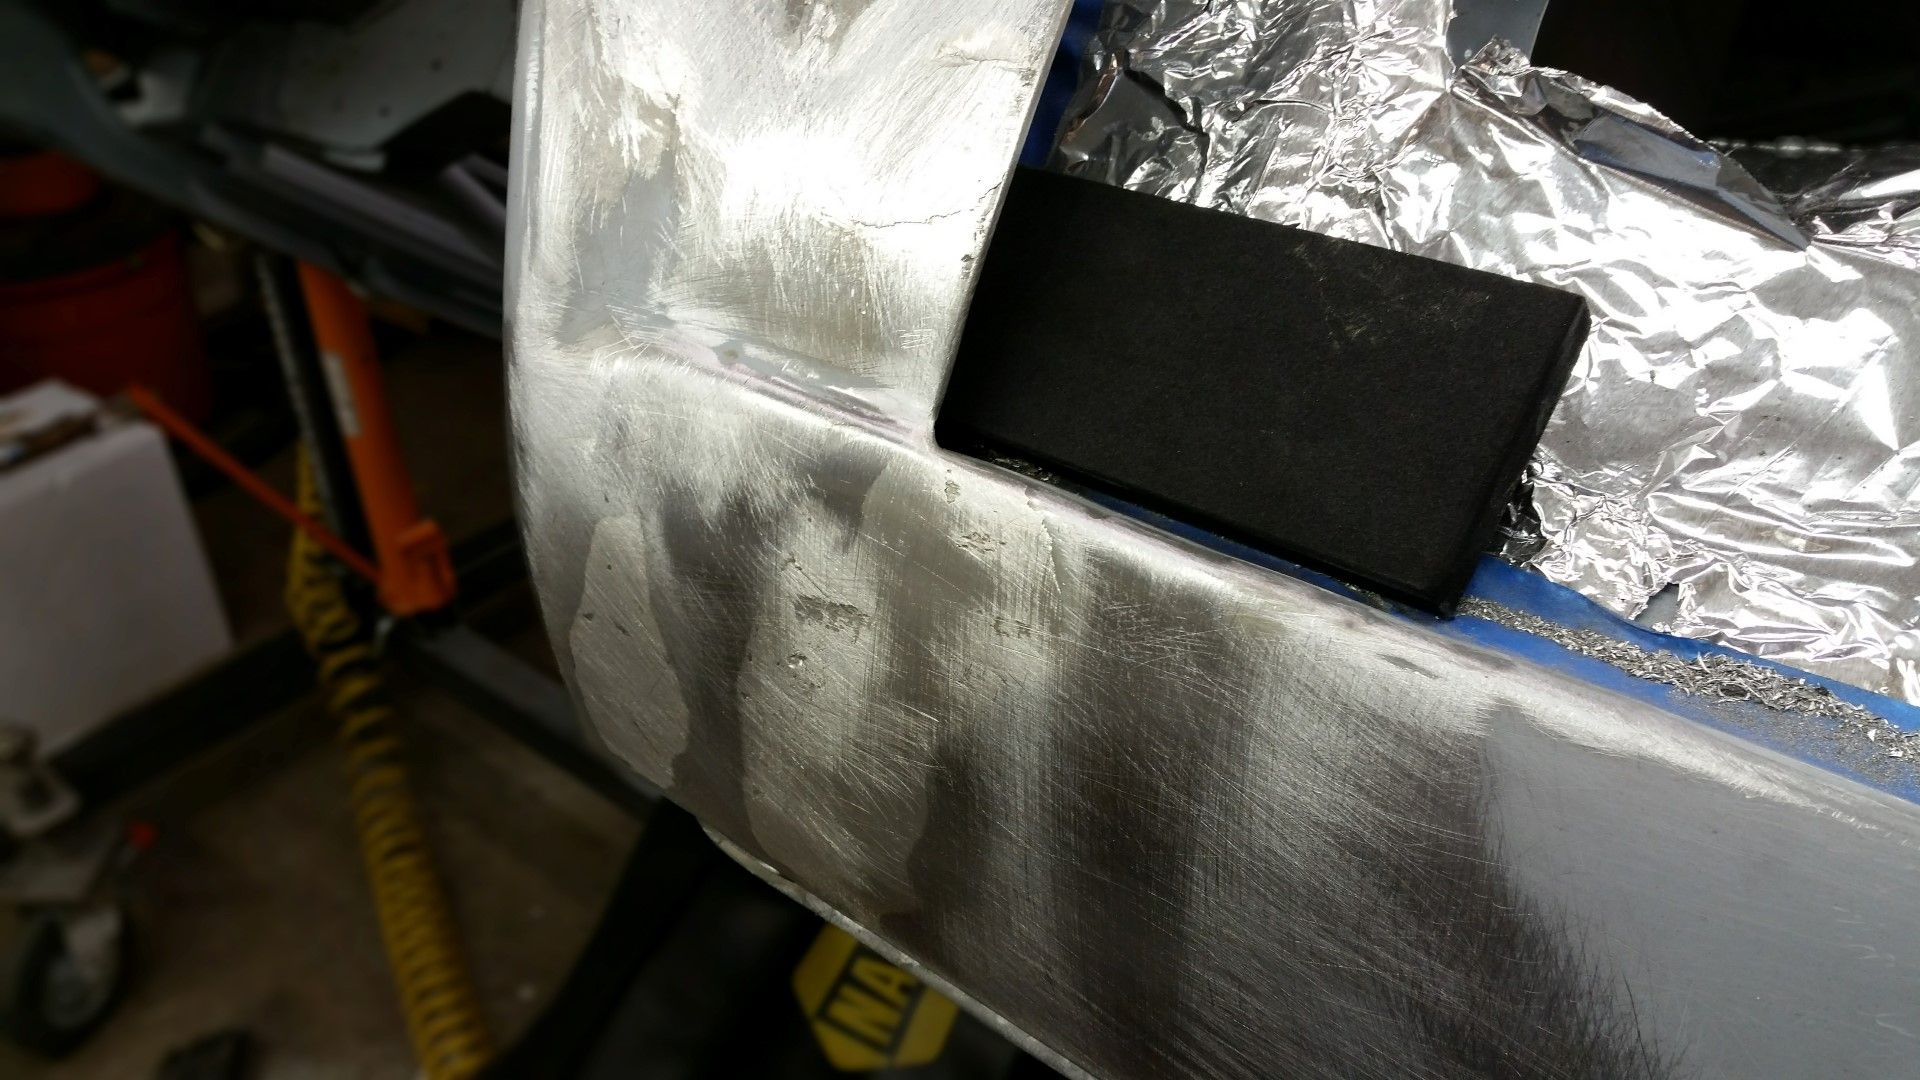 This area needed more added around the edges. The problem with adding more lead later is that the area is no longer tinned if it's been filed/sculpted. Here was my attempt at re-tinning around the edges. After this I ended up removing the lead from the fender. 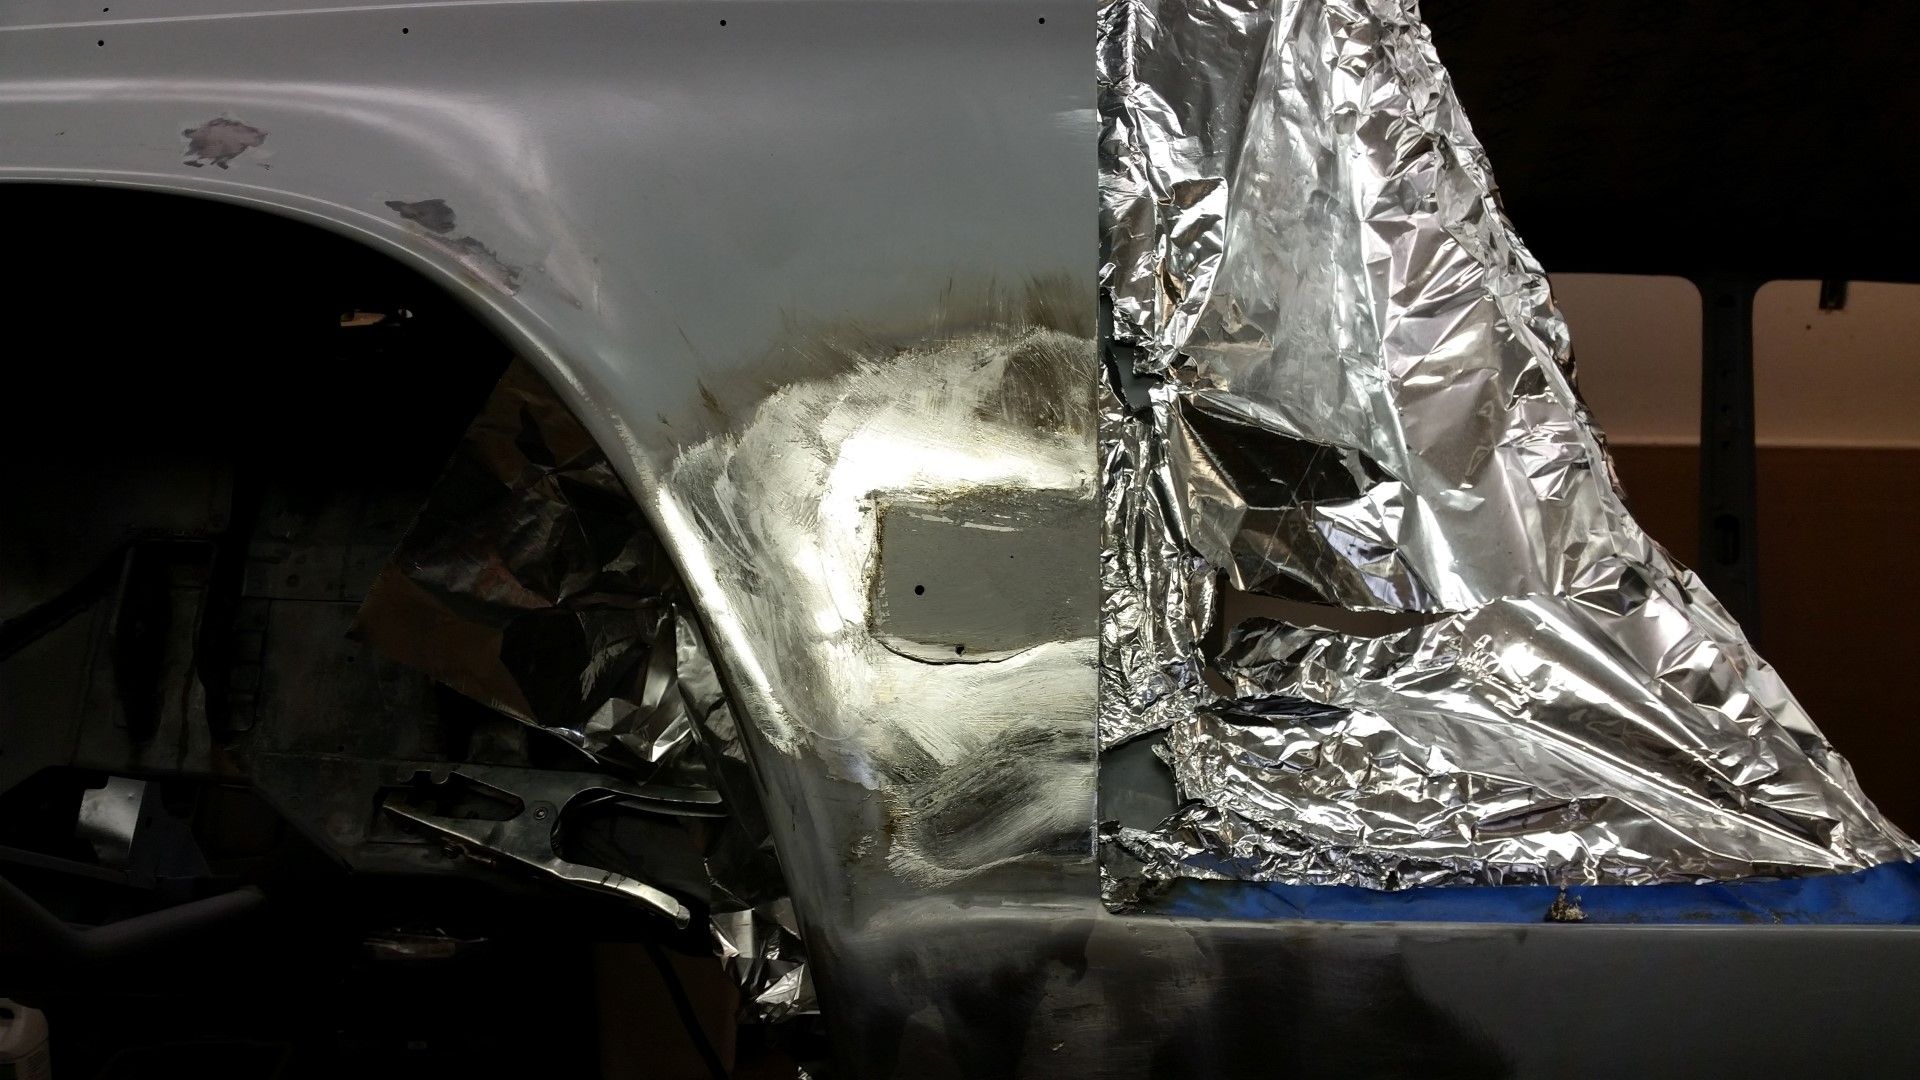
|
|
|
|
|
07-29-2014, 04:27 PM
|
#21 |
|
Registered User
Join Date: Aug 2005
Location: Hillsboro Oregon
Posts: 6,449
|
Re: '66 Sunbeam Minx Project - F20C/6sp/4-link/Discs...
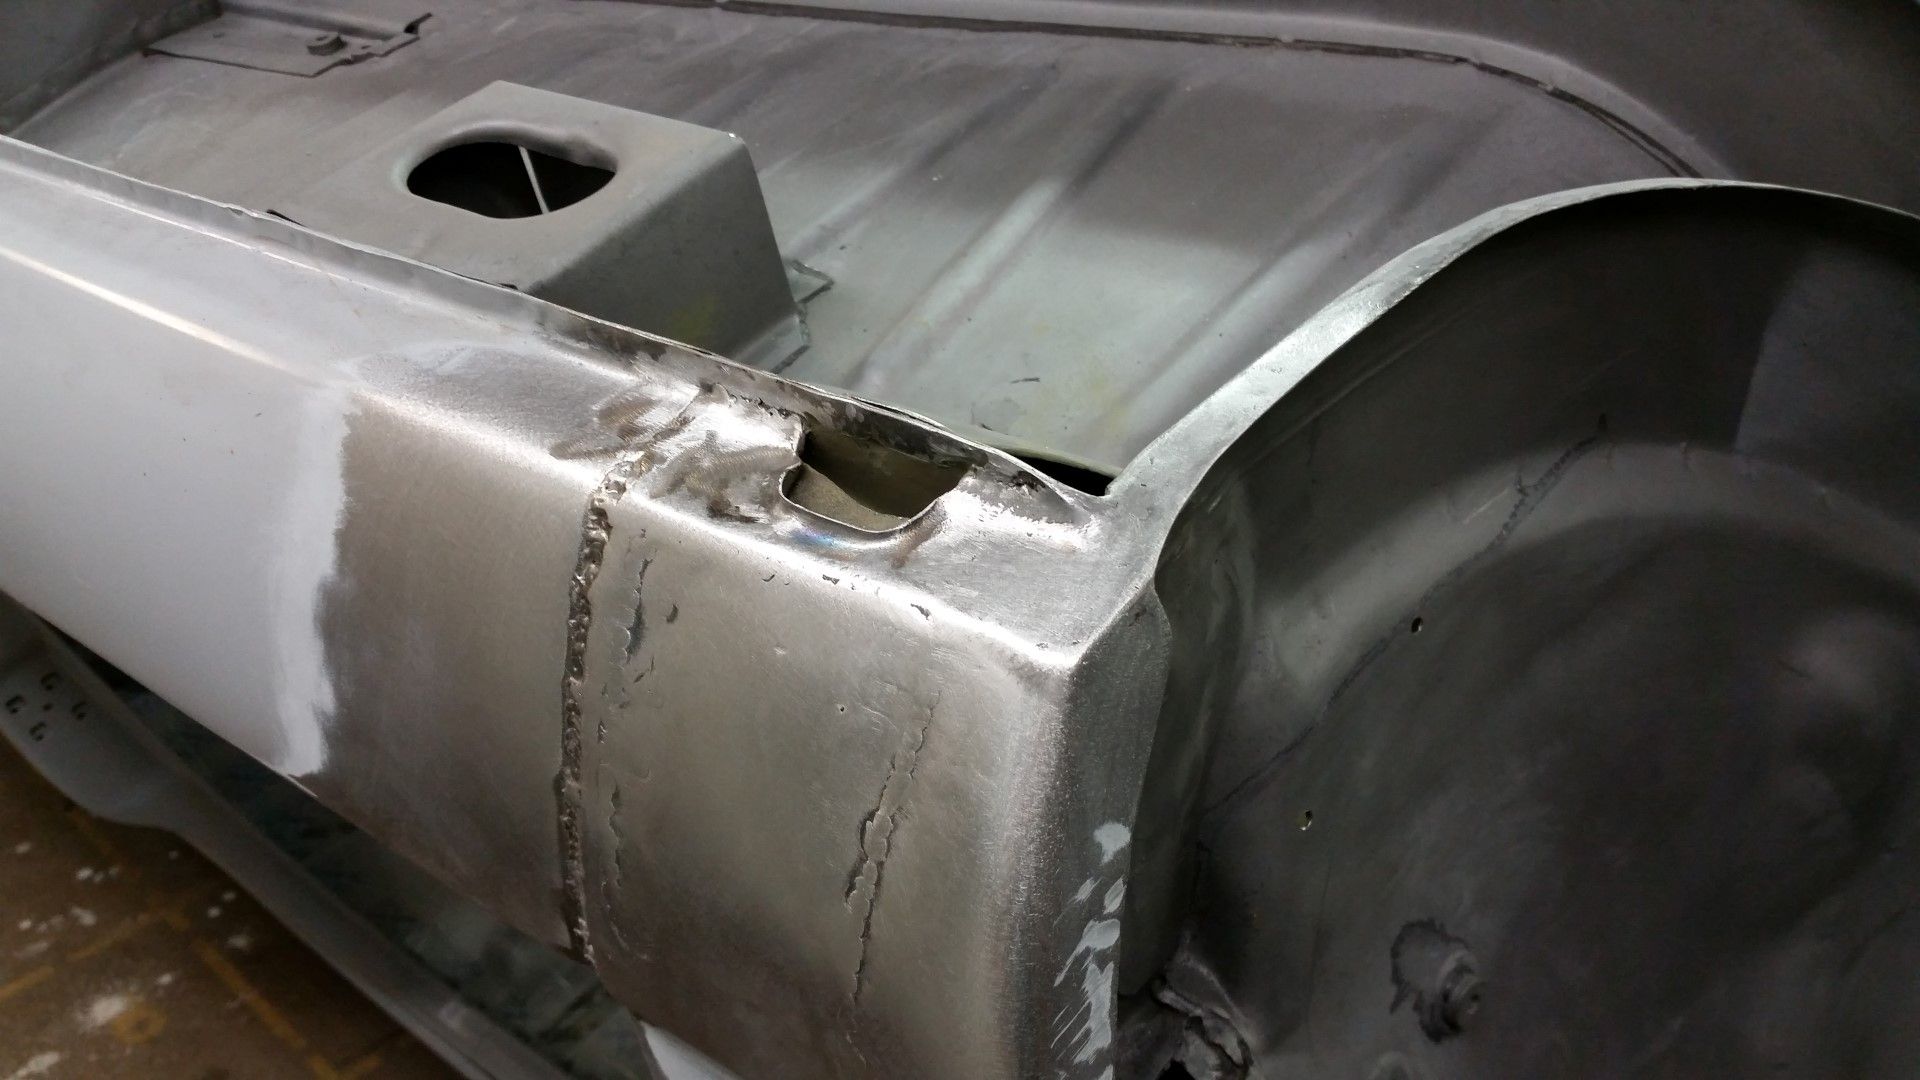
Passenger side patch:
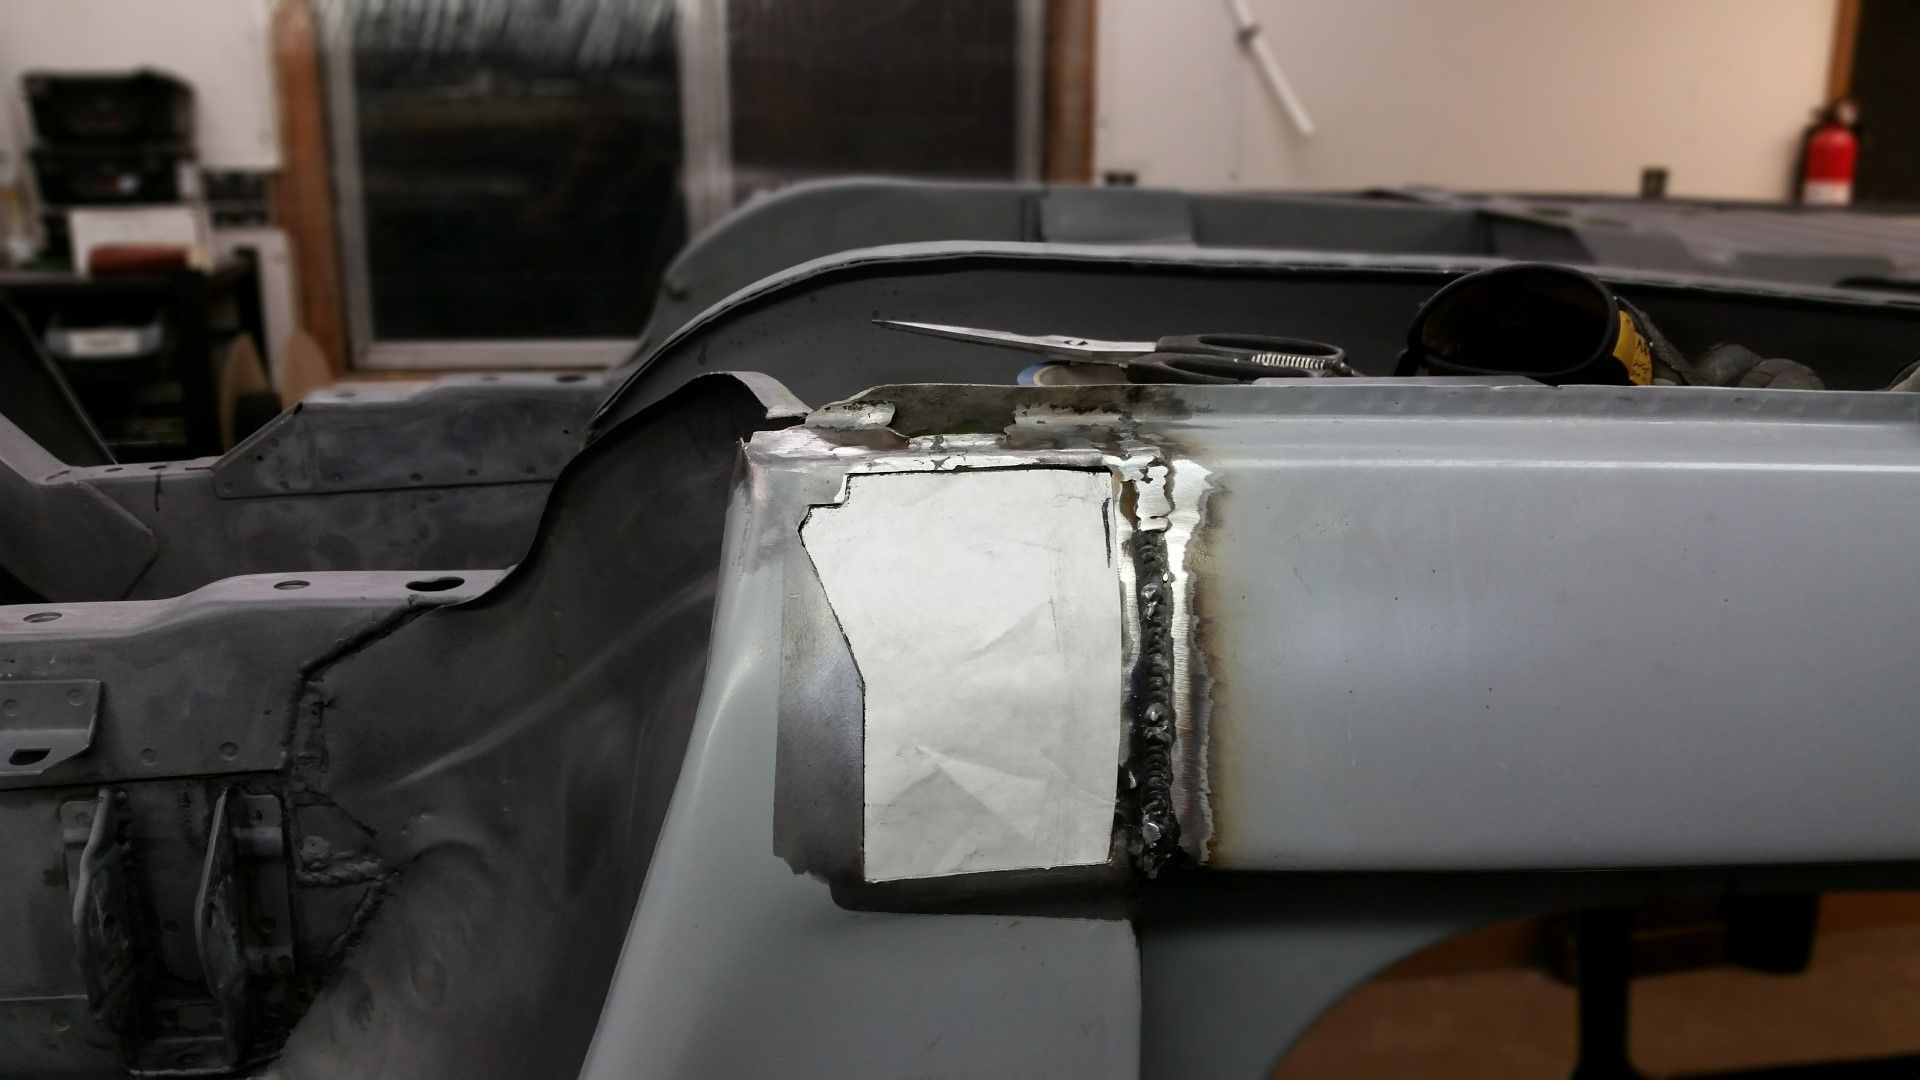      Not going for perfection here since it will be leaded. 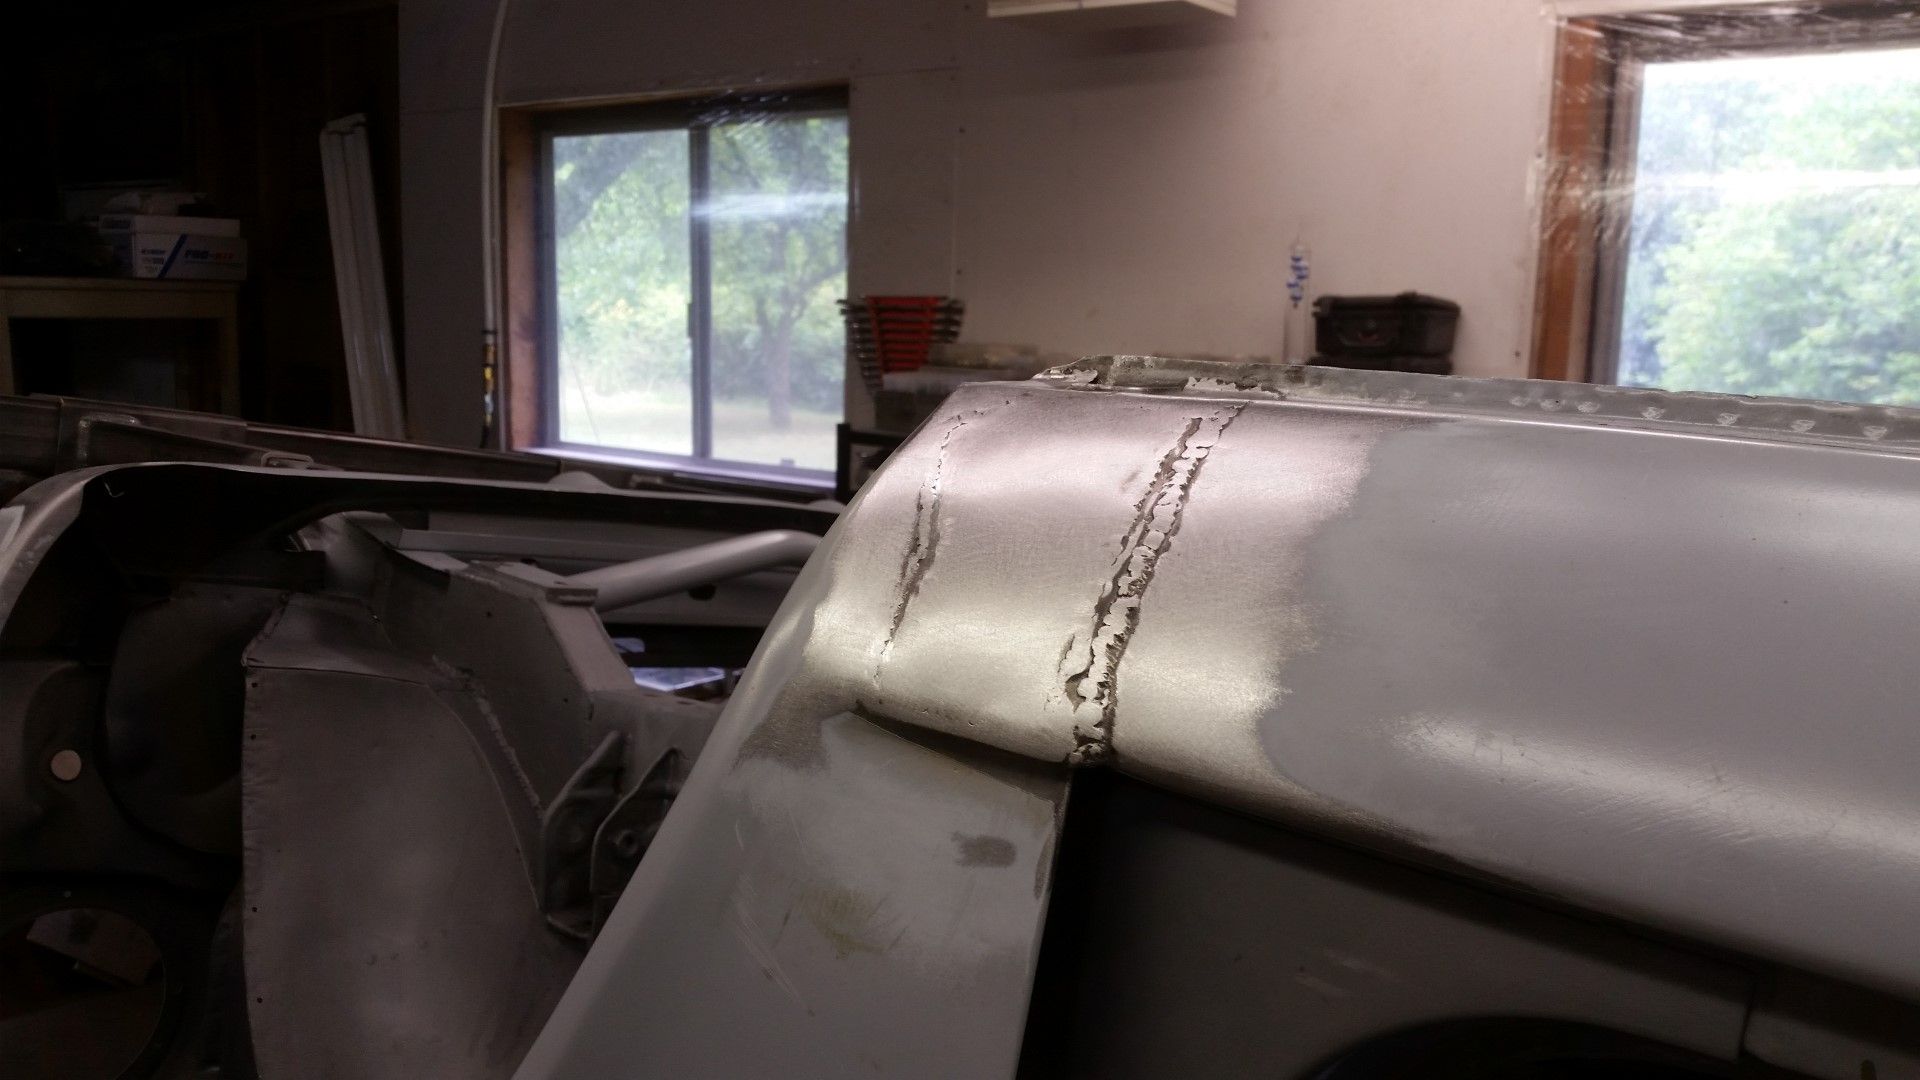  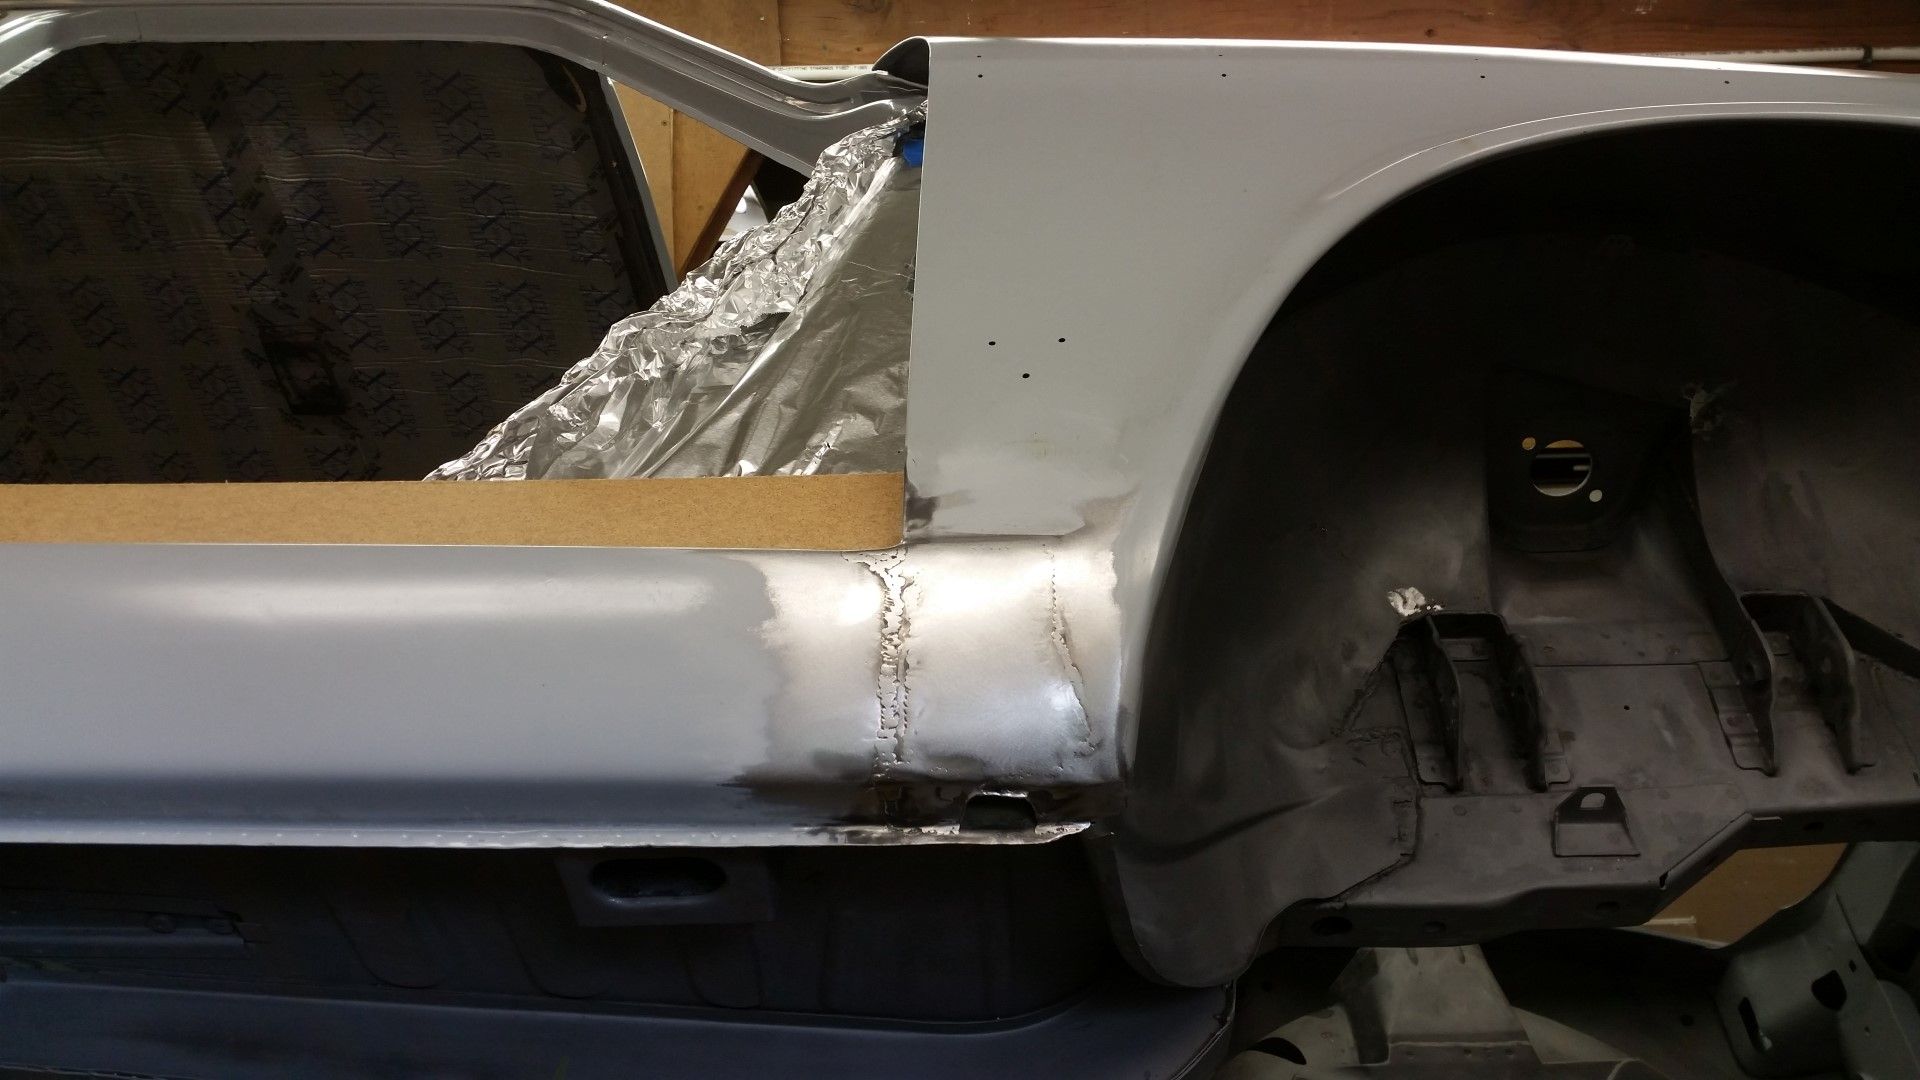 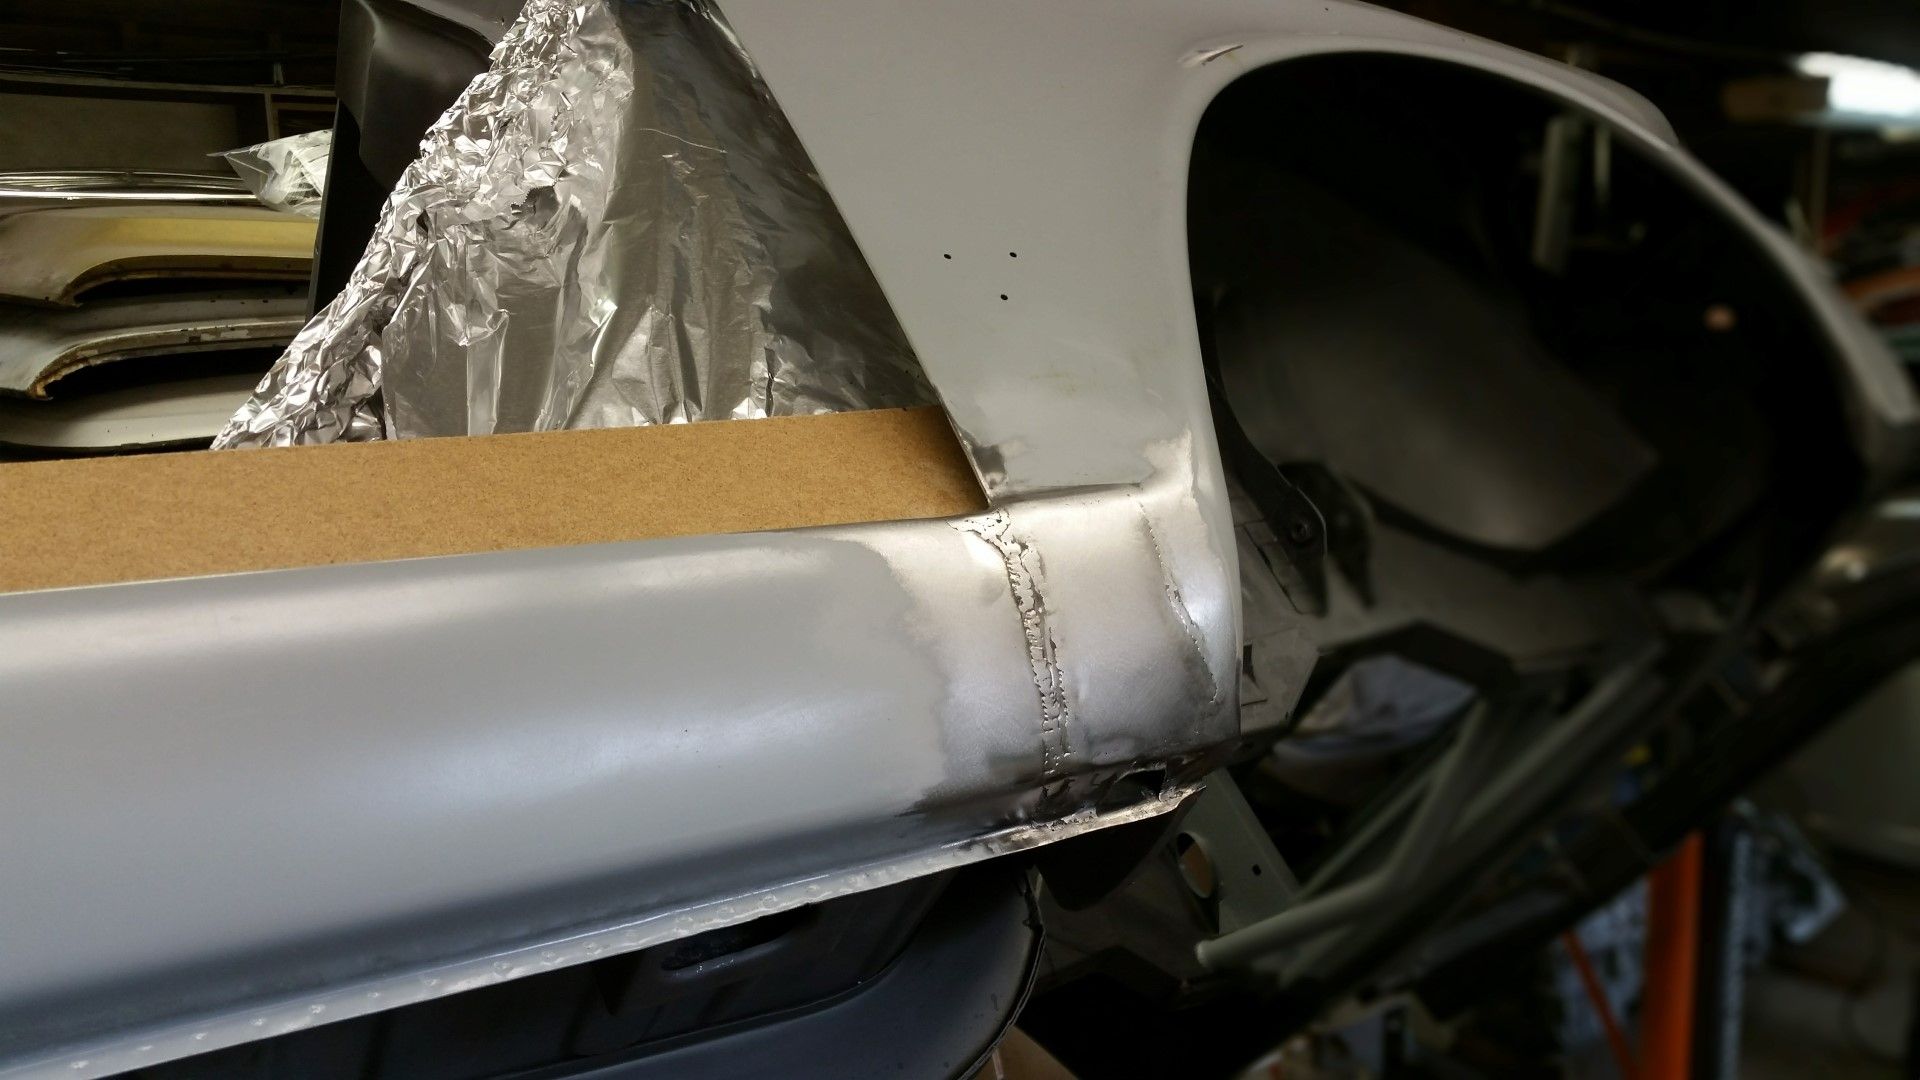 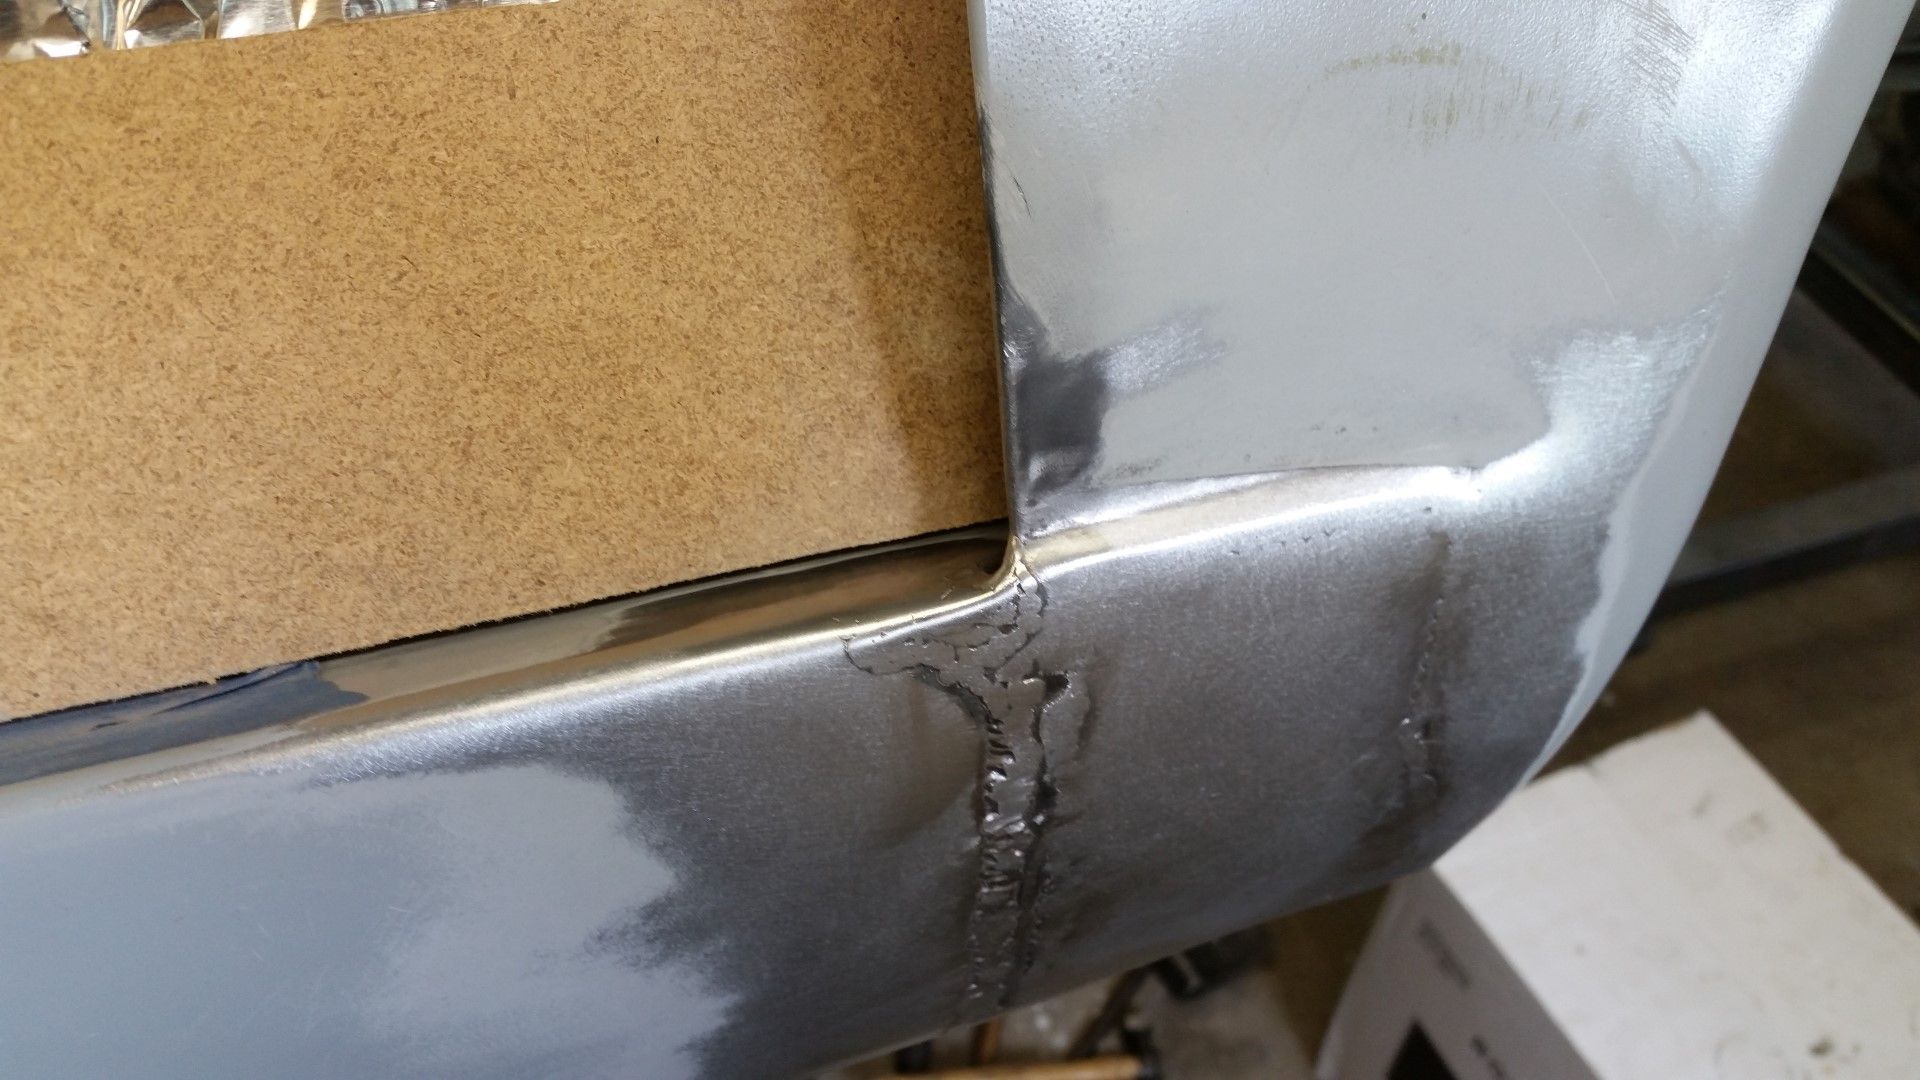 Just like the other side: 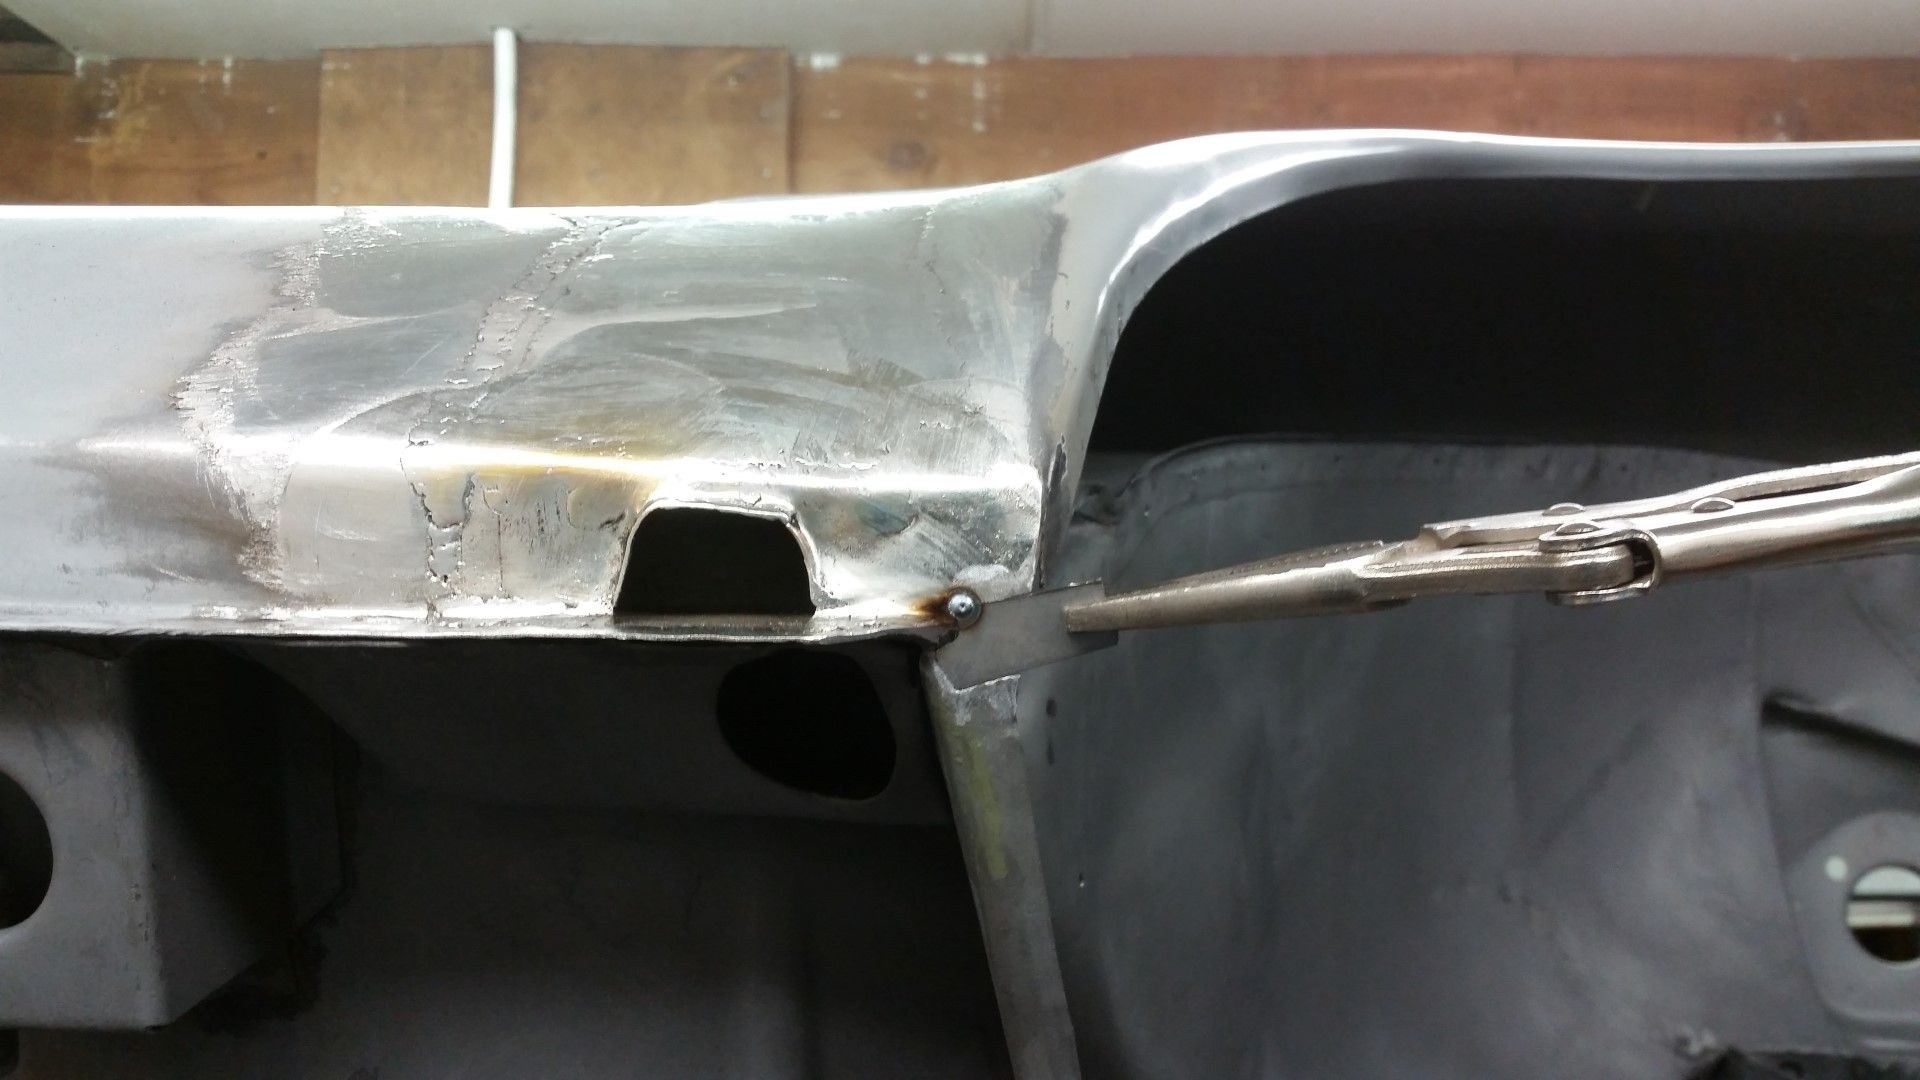 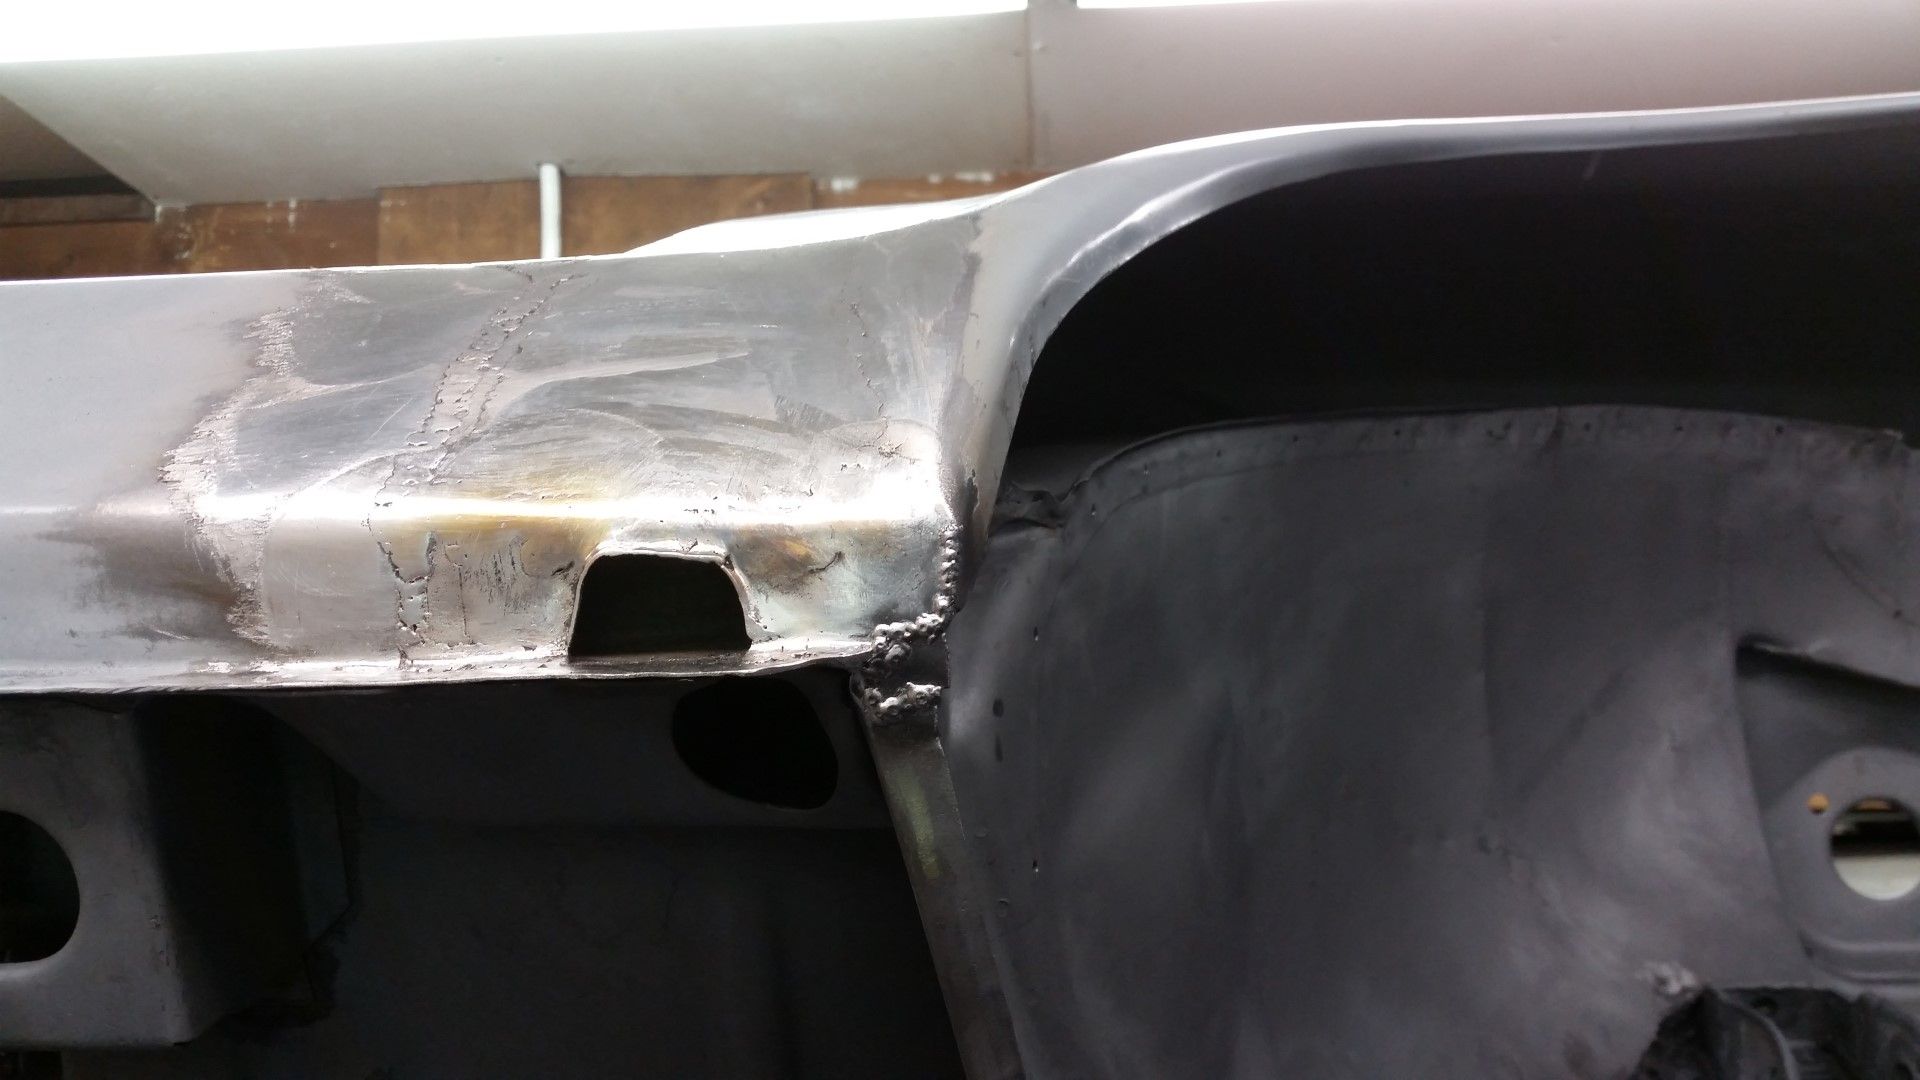 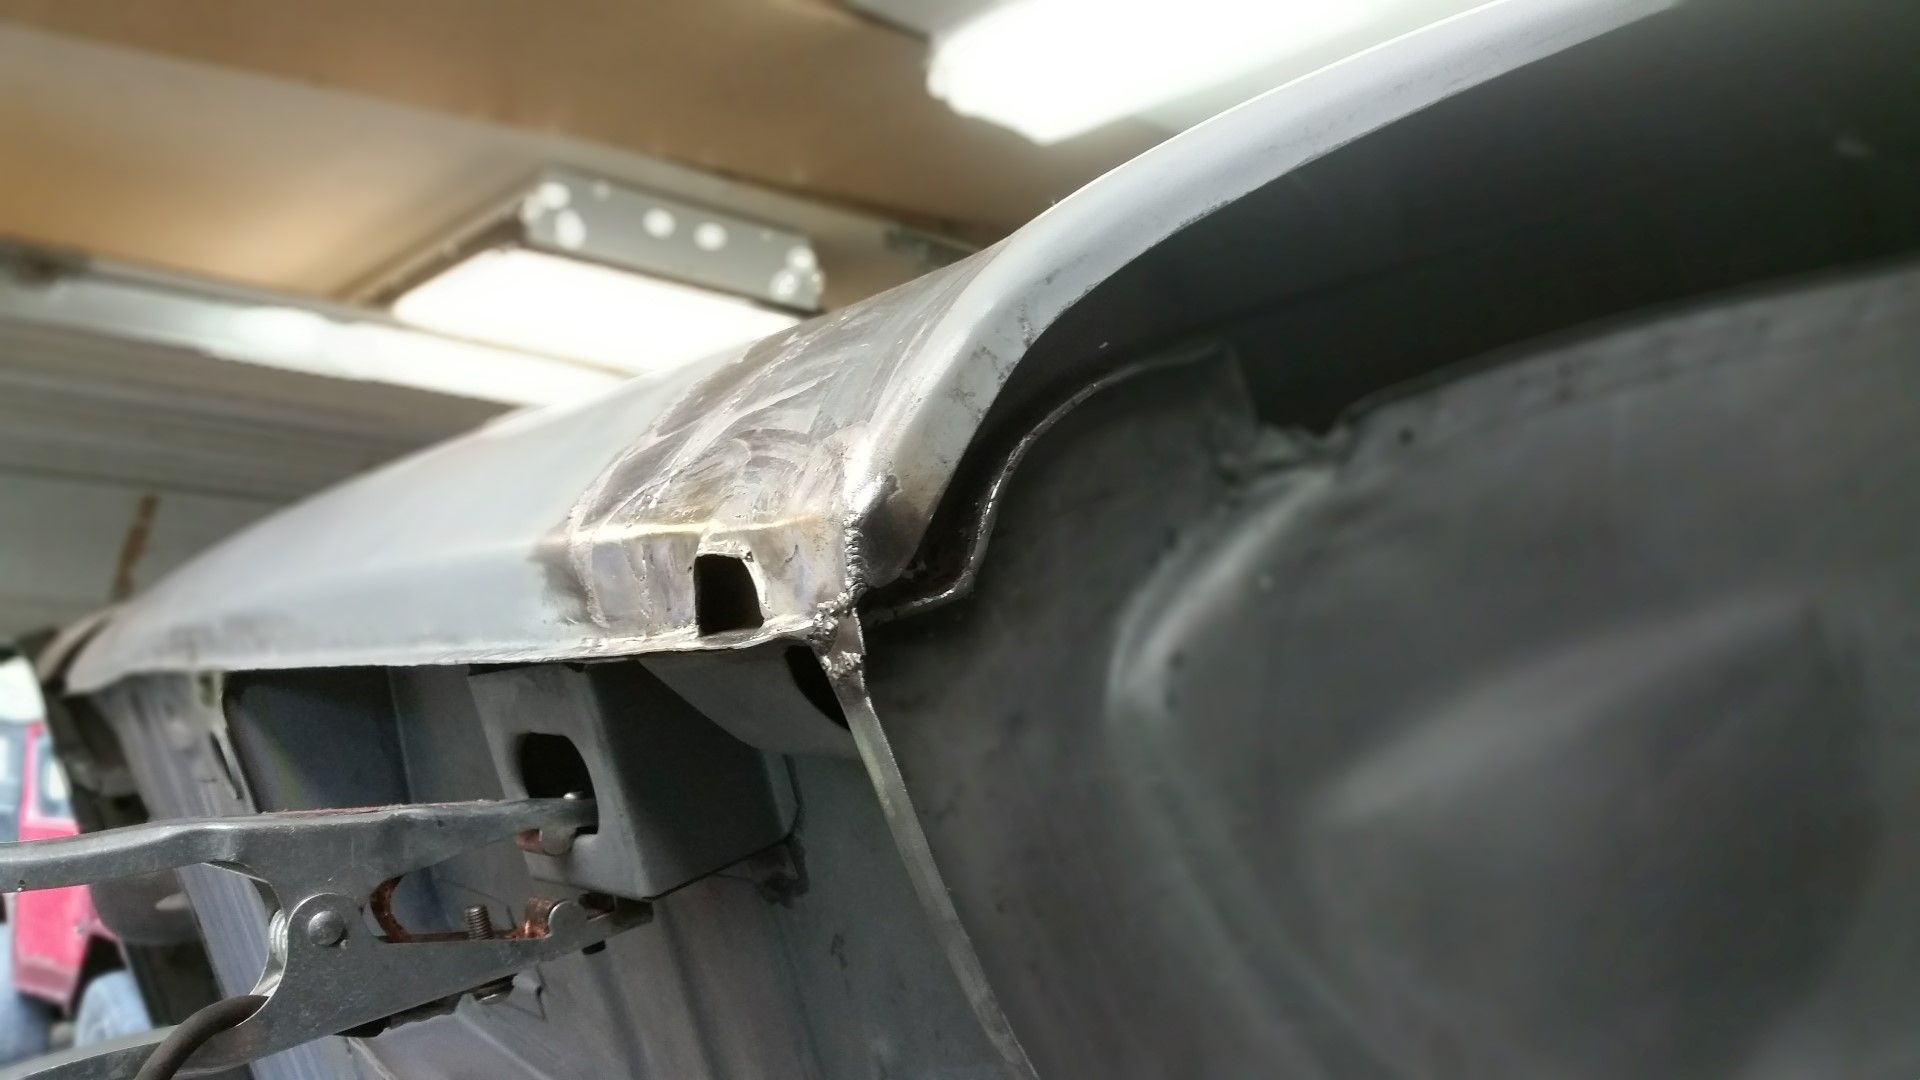 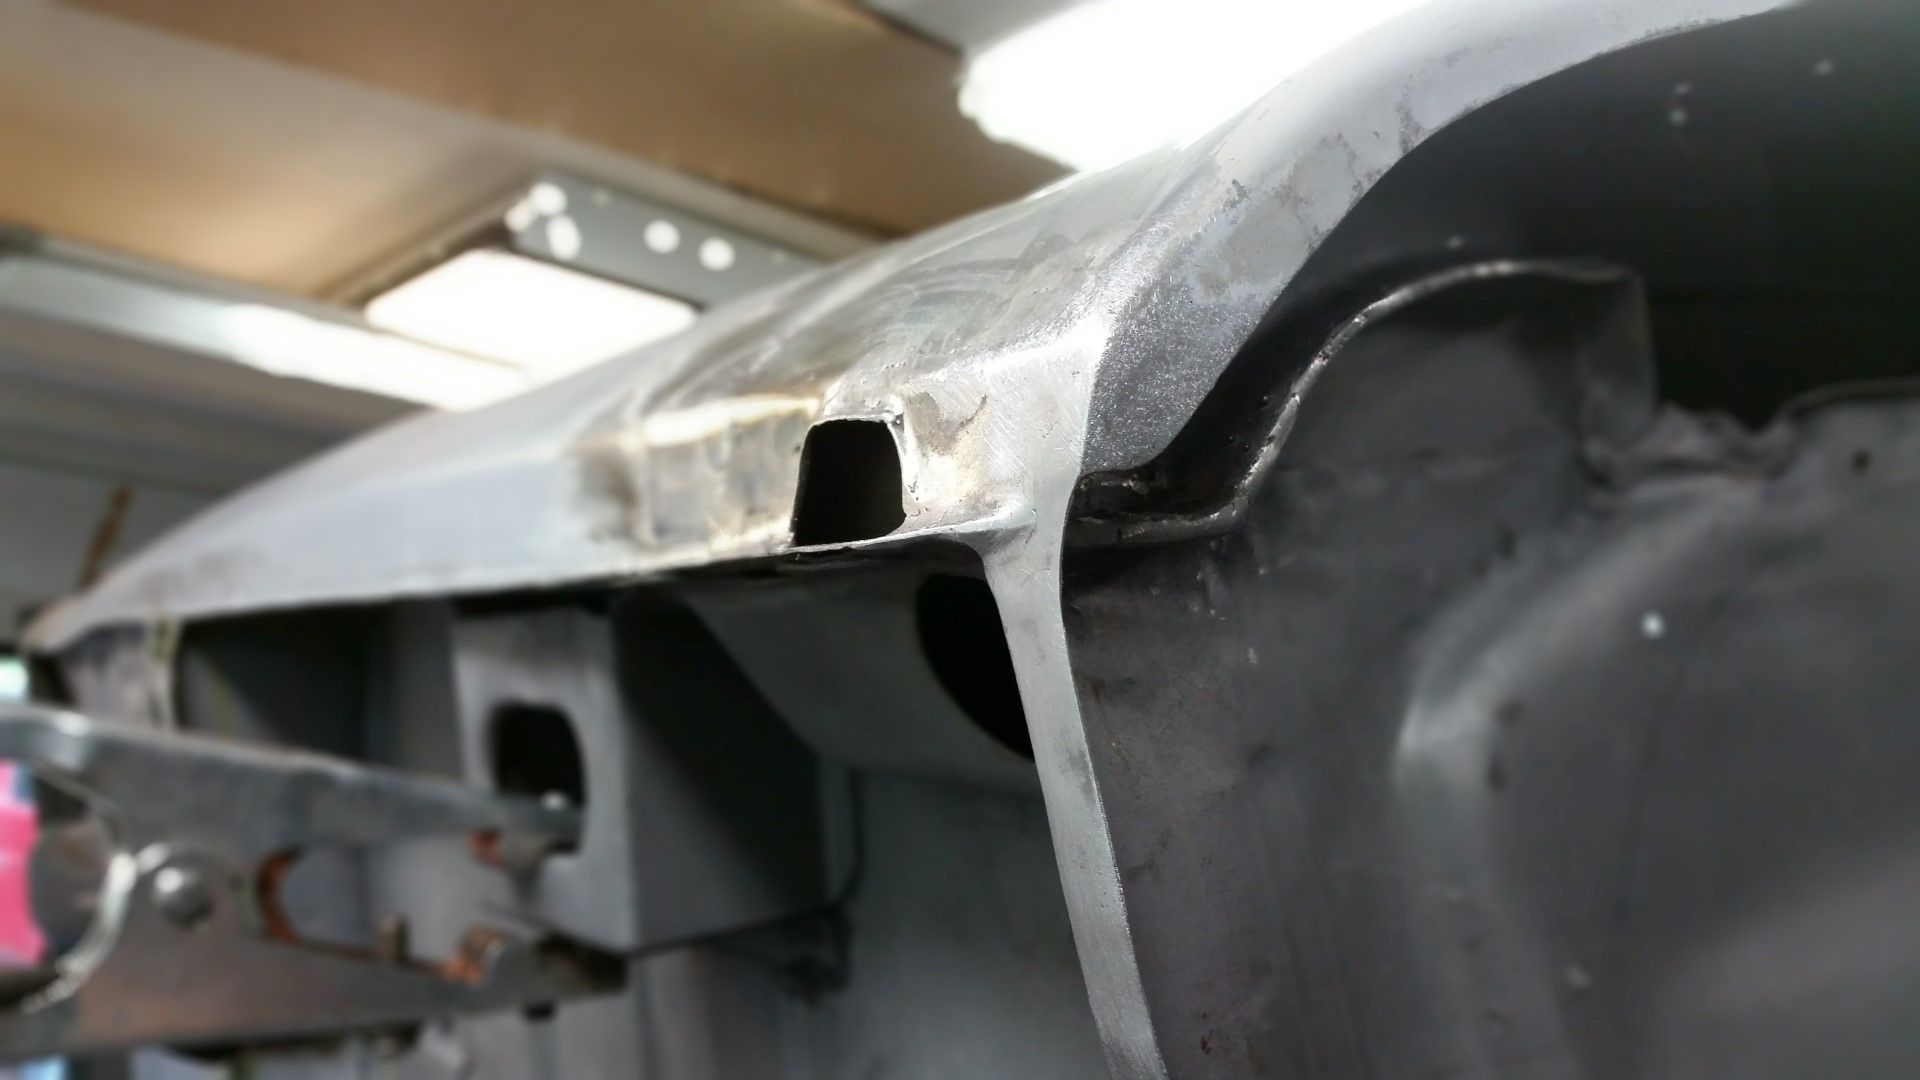 Lead(free) 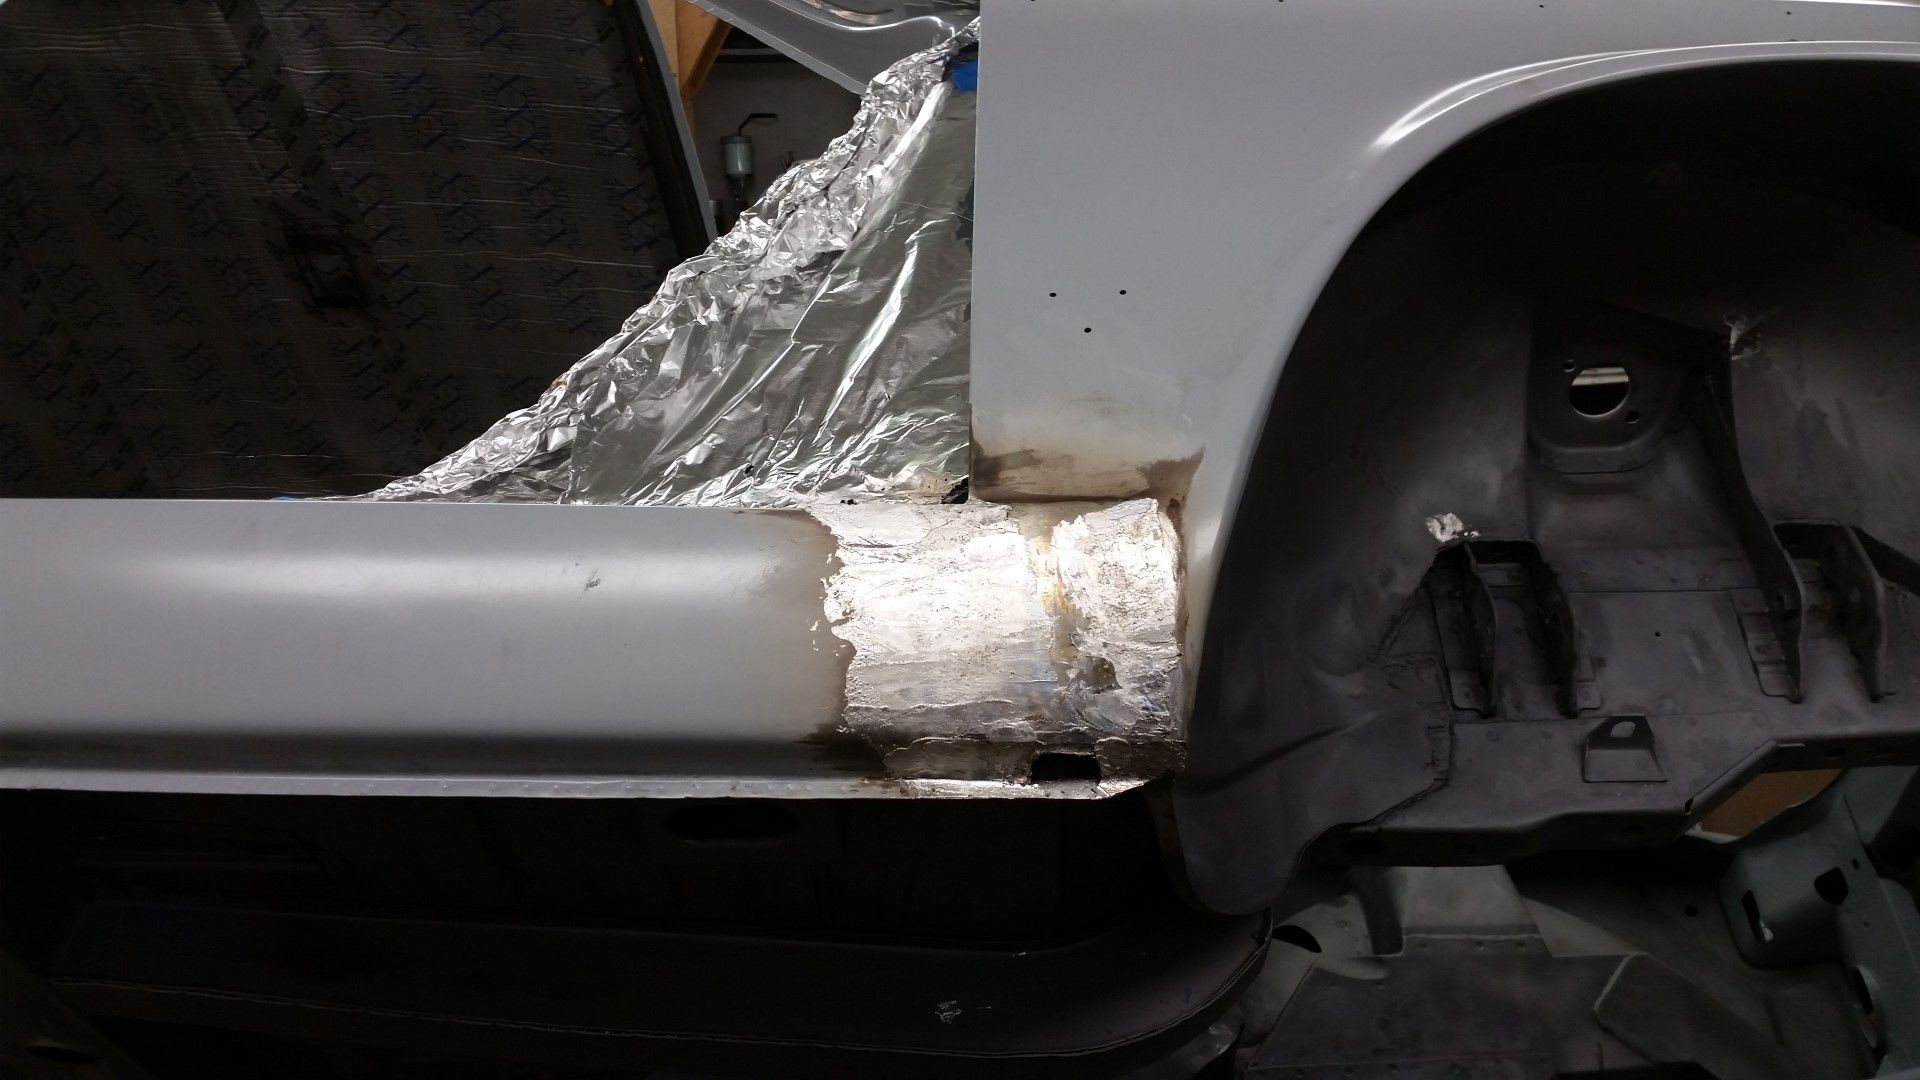 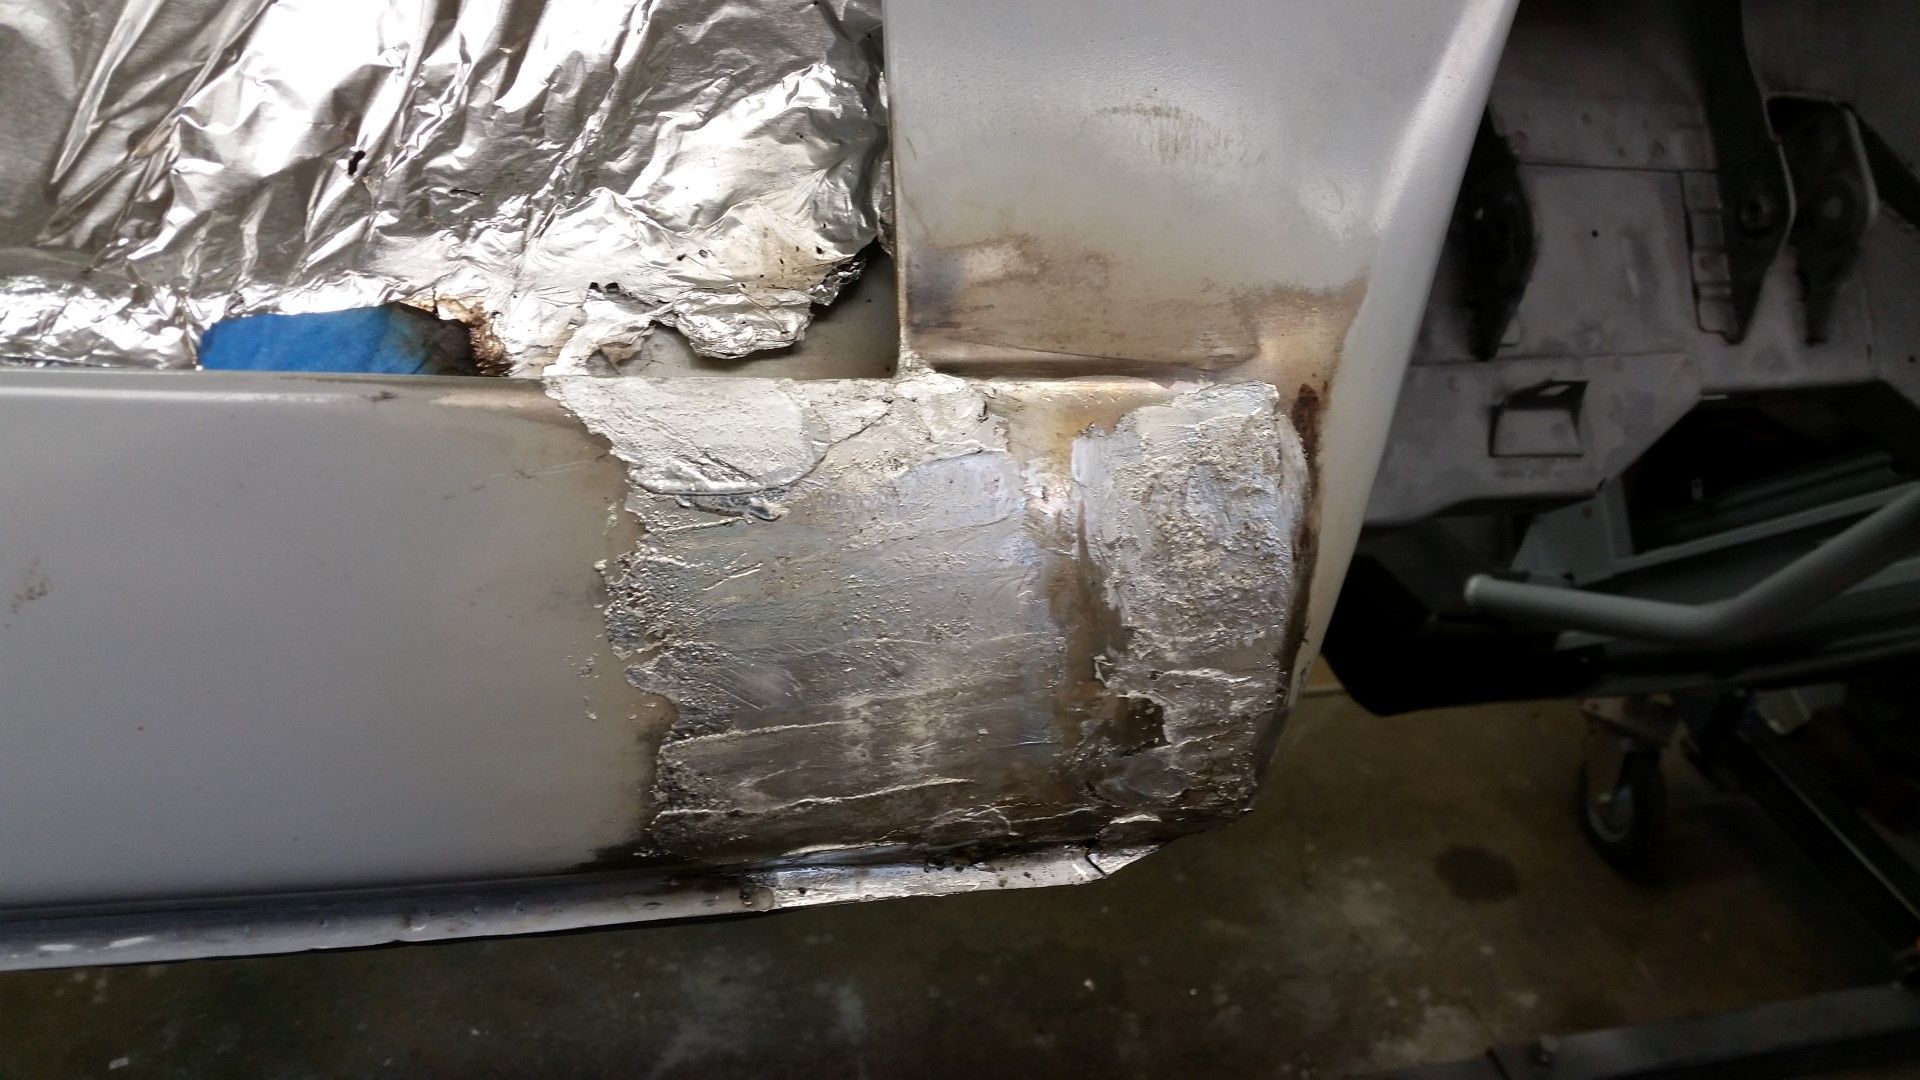 How to deal with this area (can't use this on regular if you like your sanity) 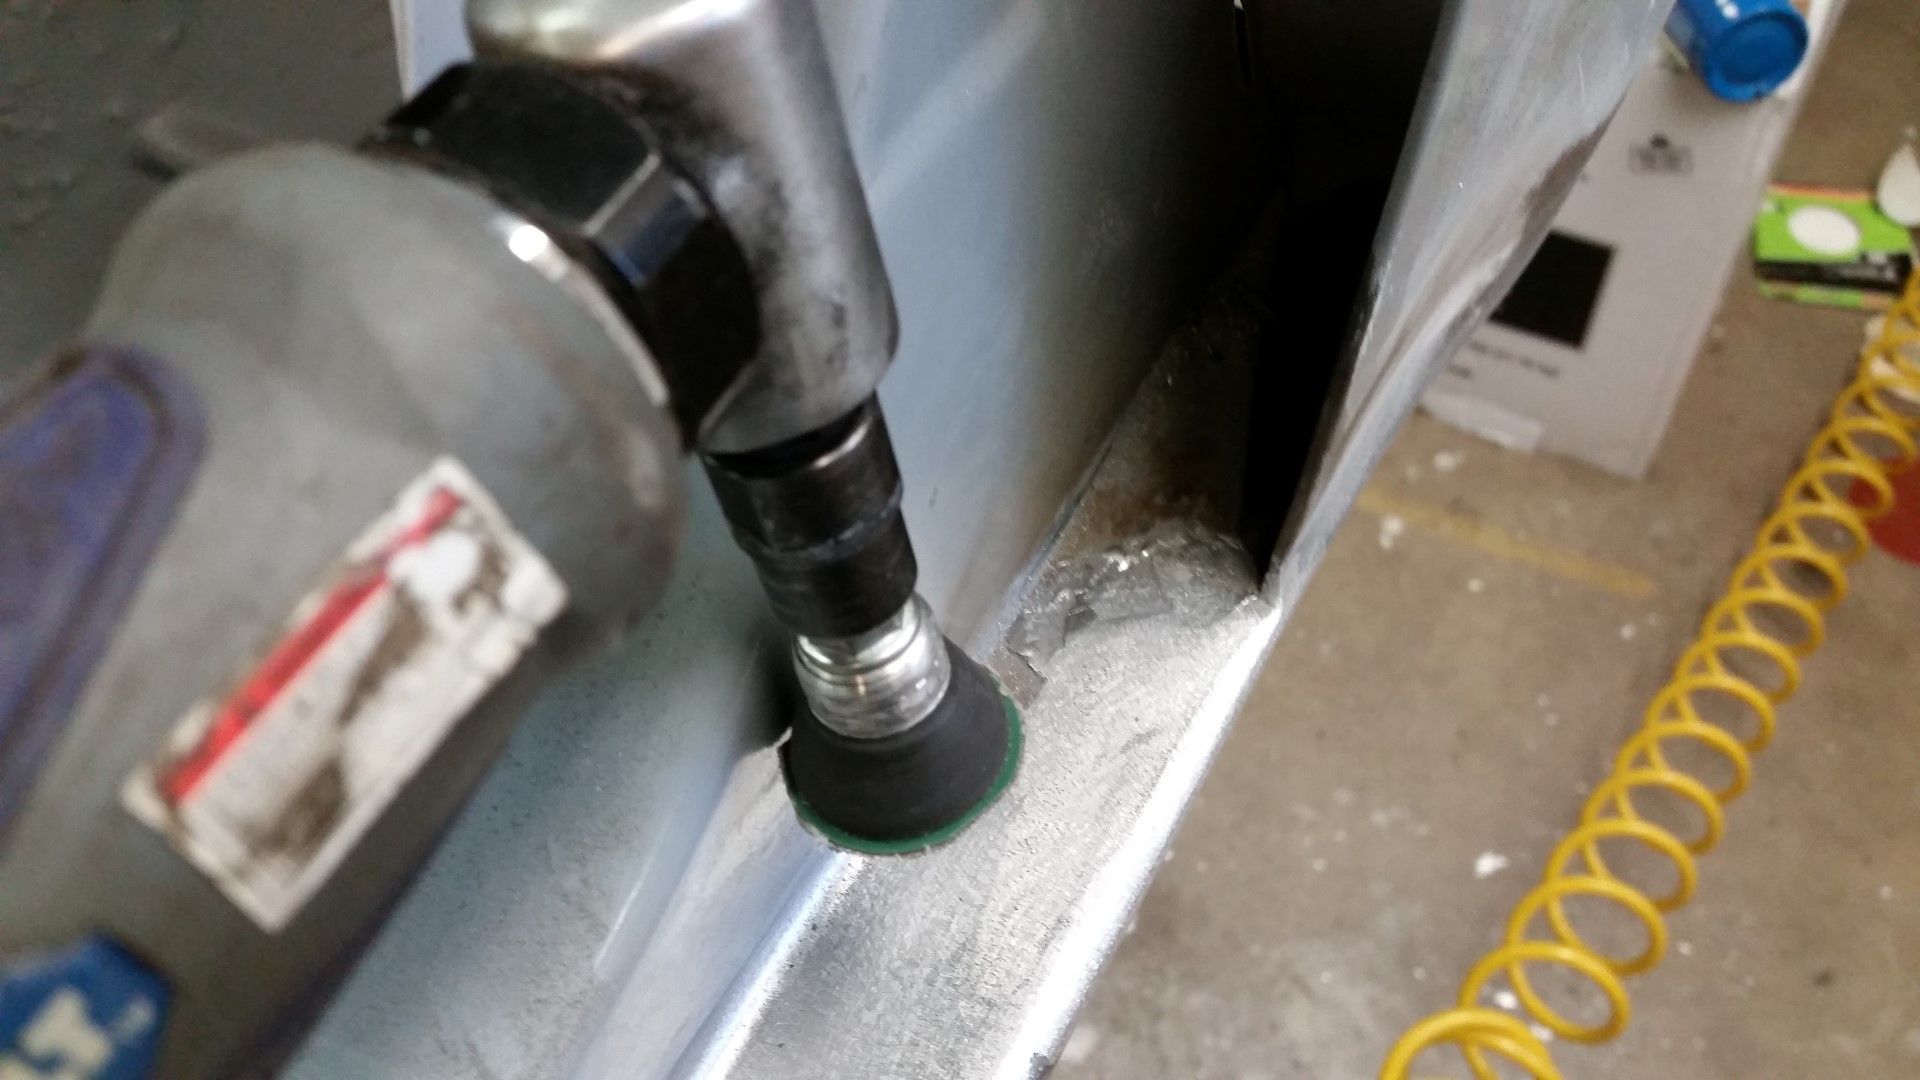 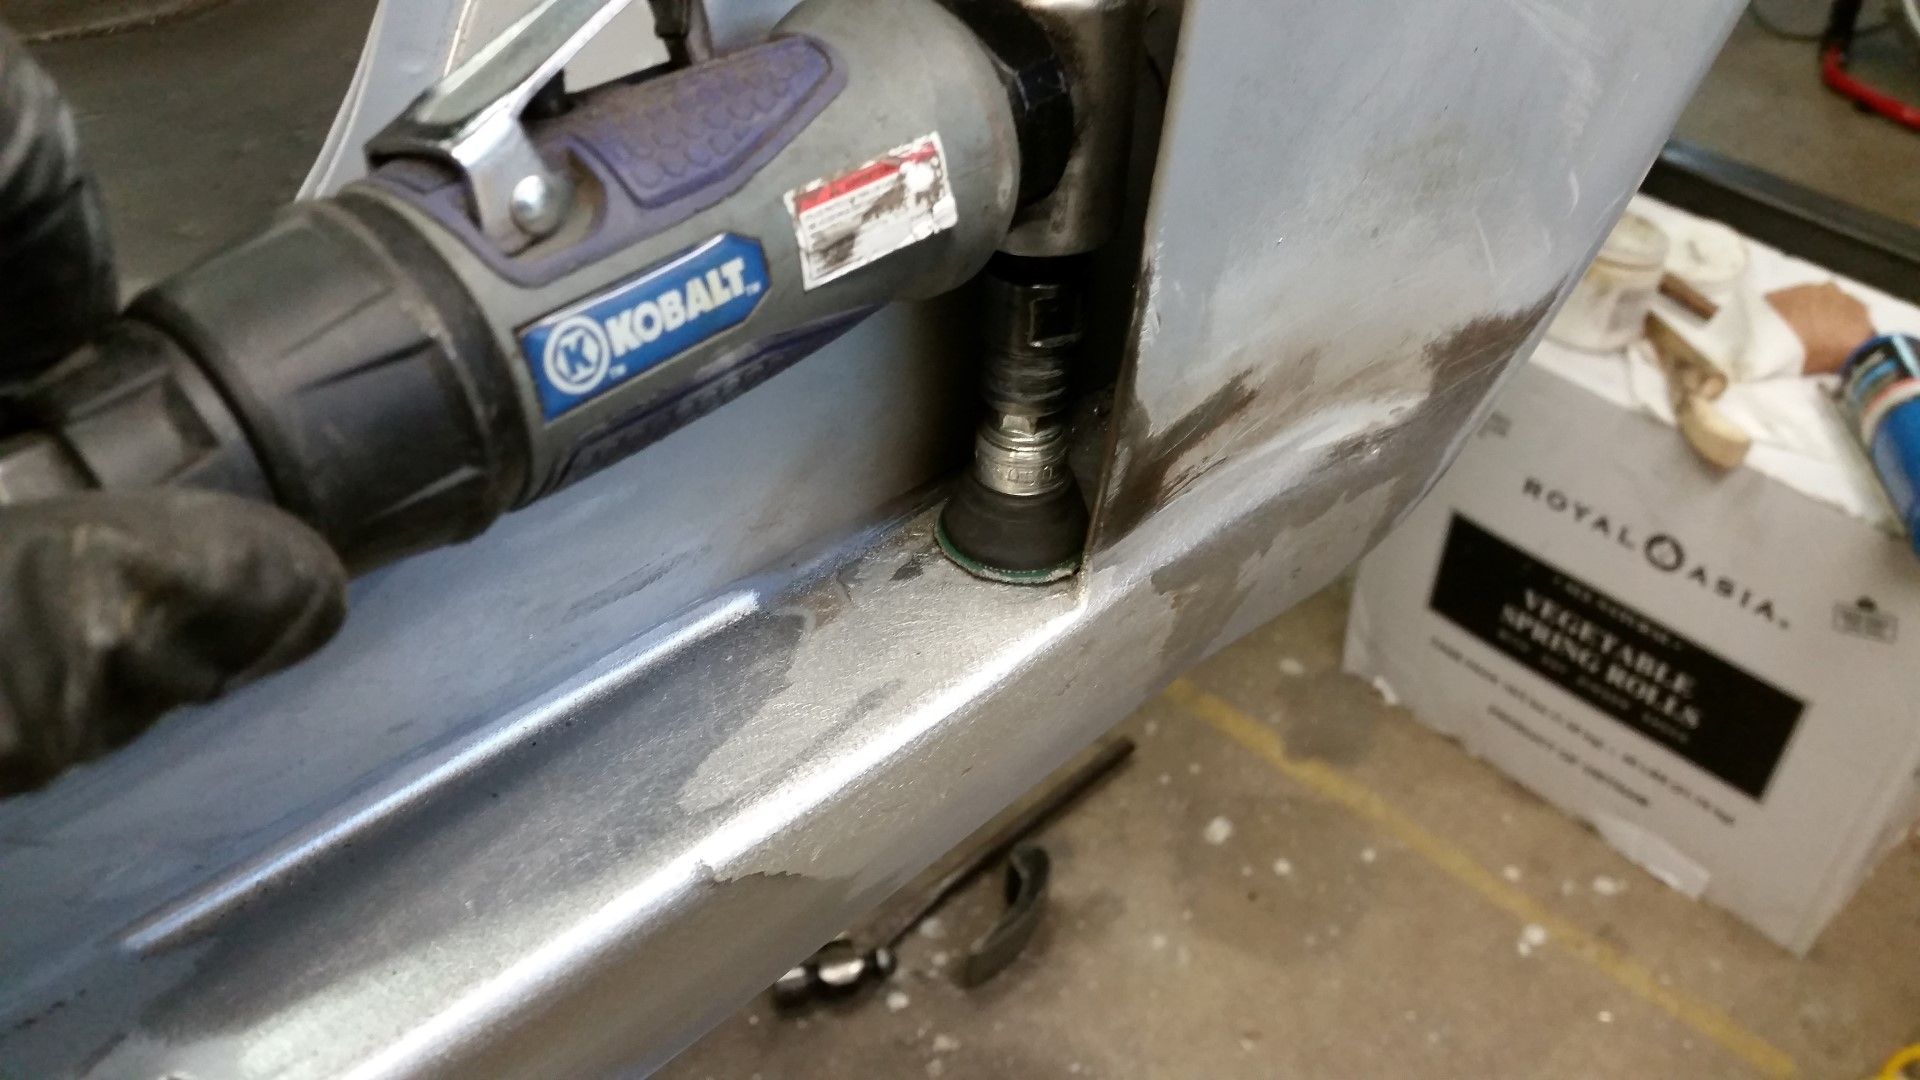 I guess the only finished shots I got were inverted, but you get the idea... 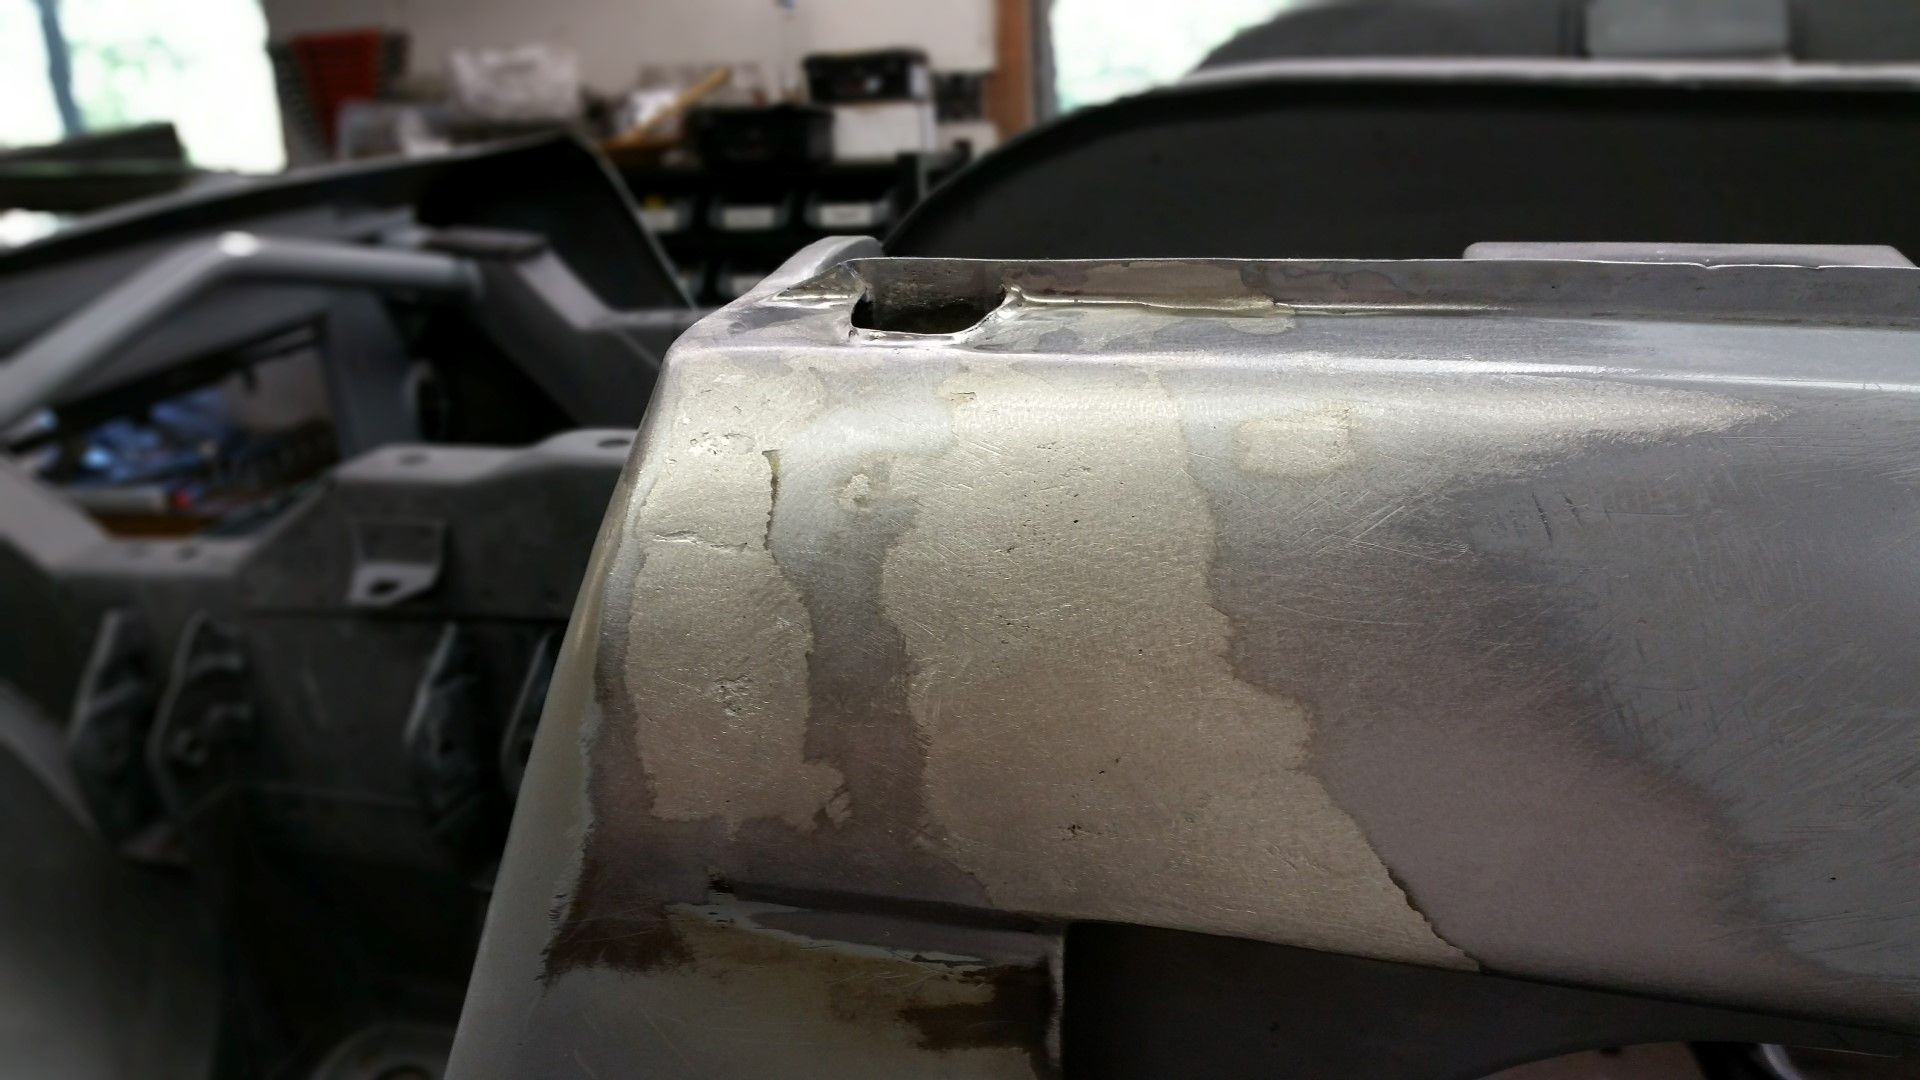 It will need a little glaze. 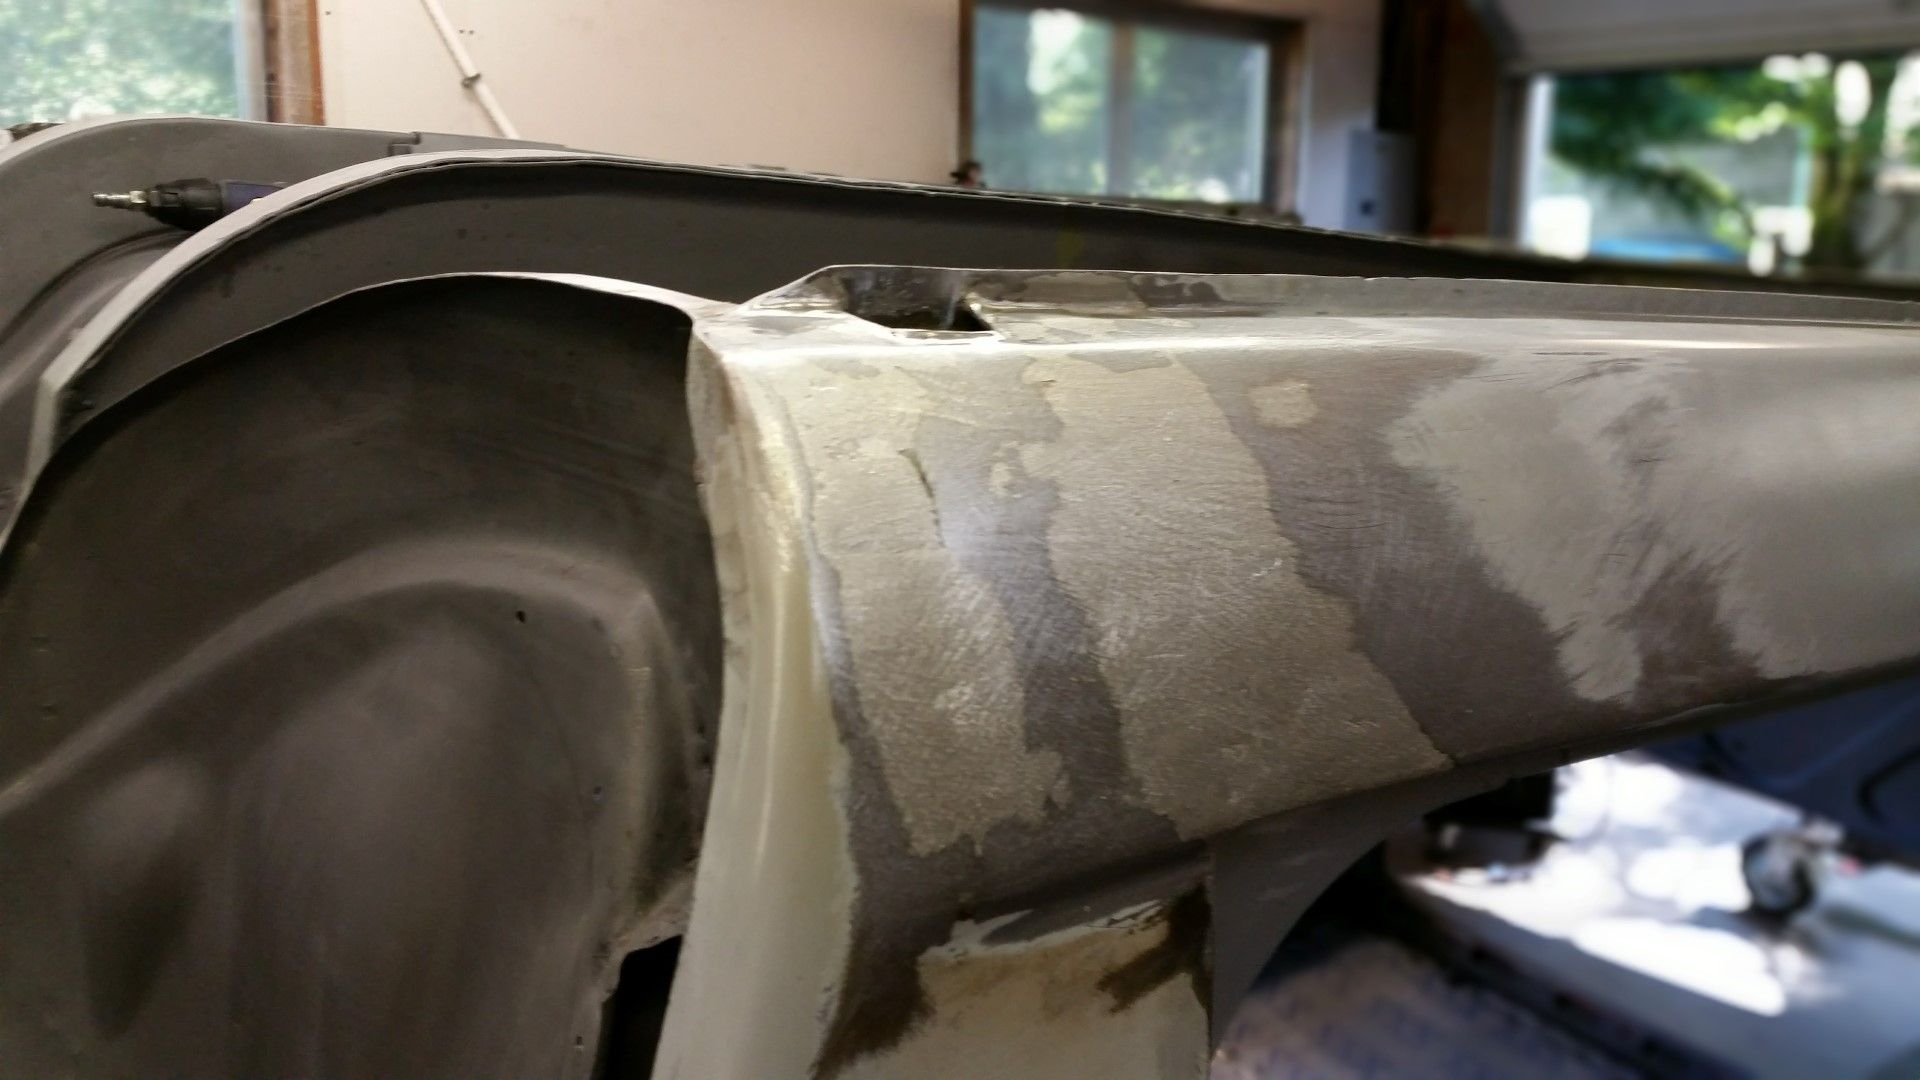 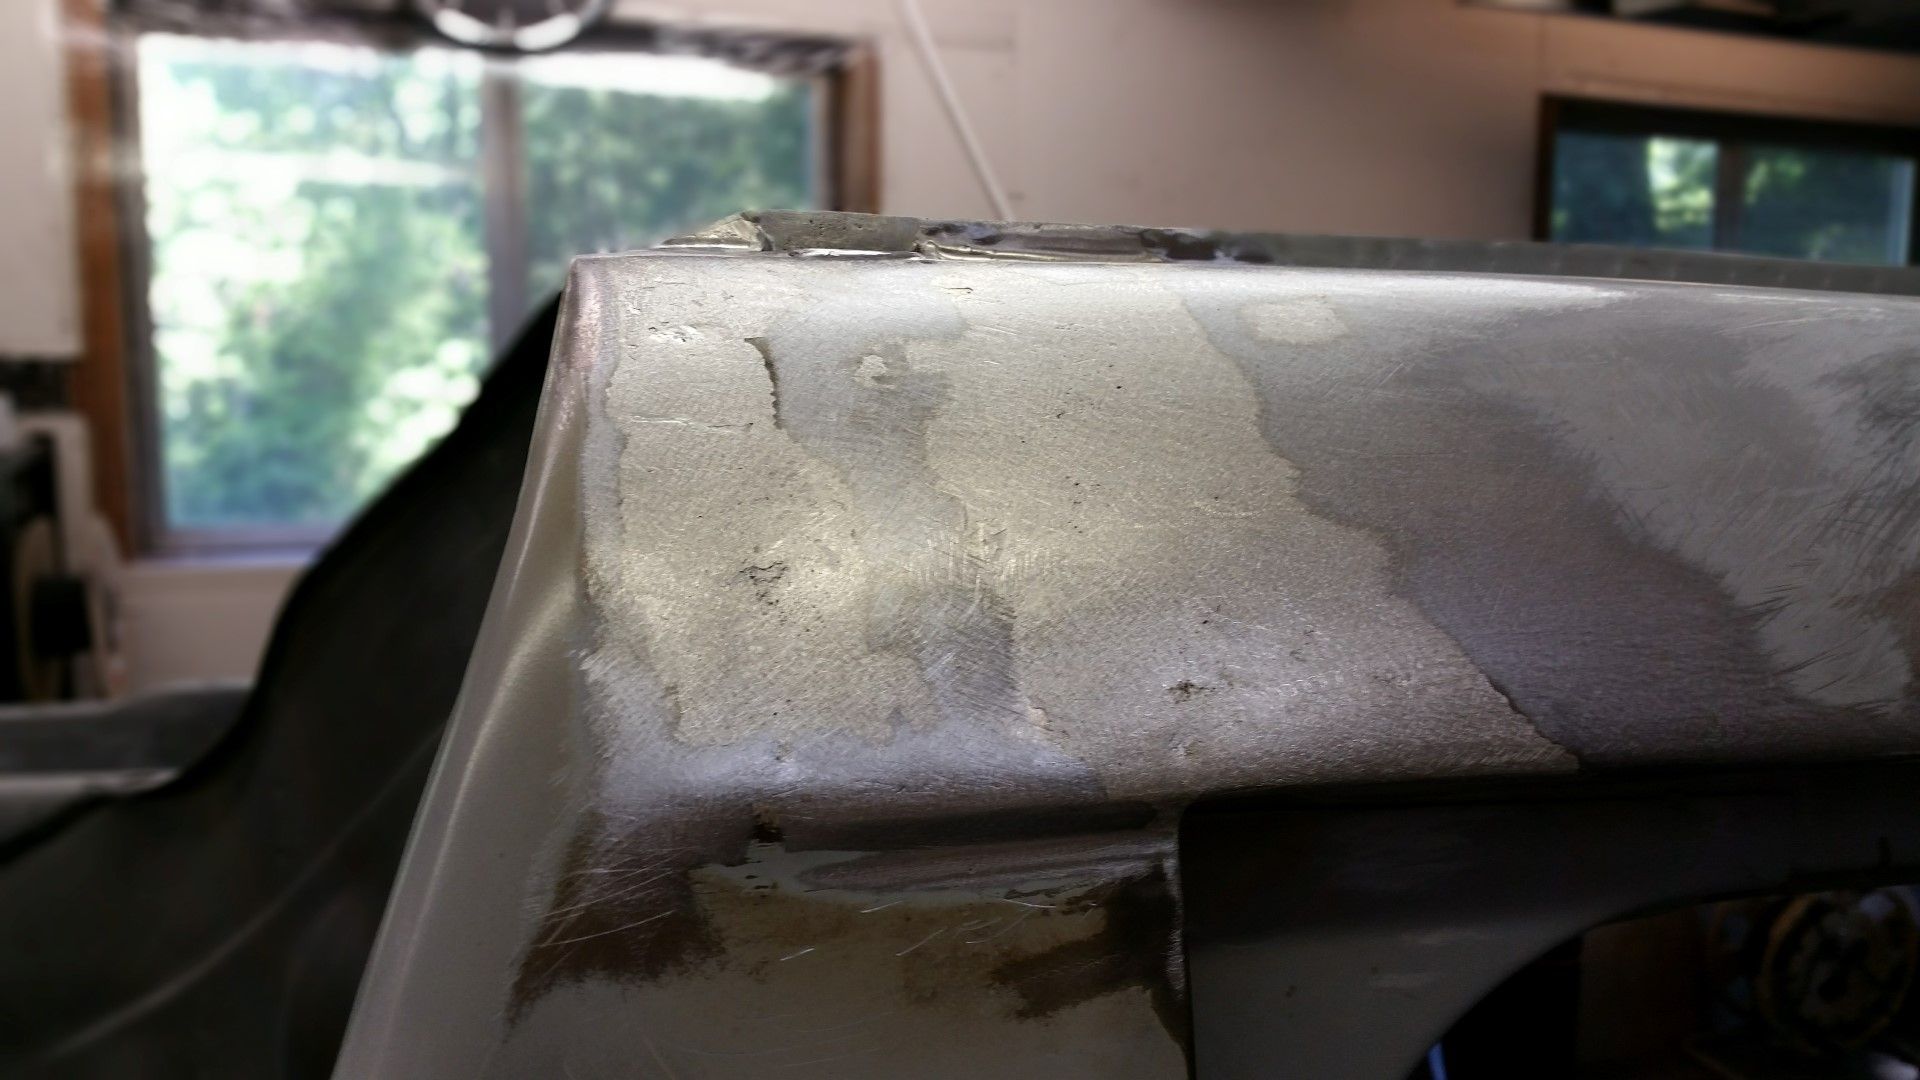
|
|
|
|
|
07-29-2014, 04:36 PM
|
#22 |
|
Registered User
Join Date: Aug 2005
Location: Hillsboro Oregon
Posts: 6,449
|
Re: '66 Sunbeam Minx Project - F20C/6sp/4-link/Discs...
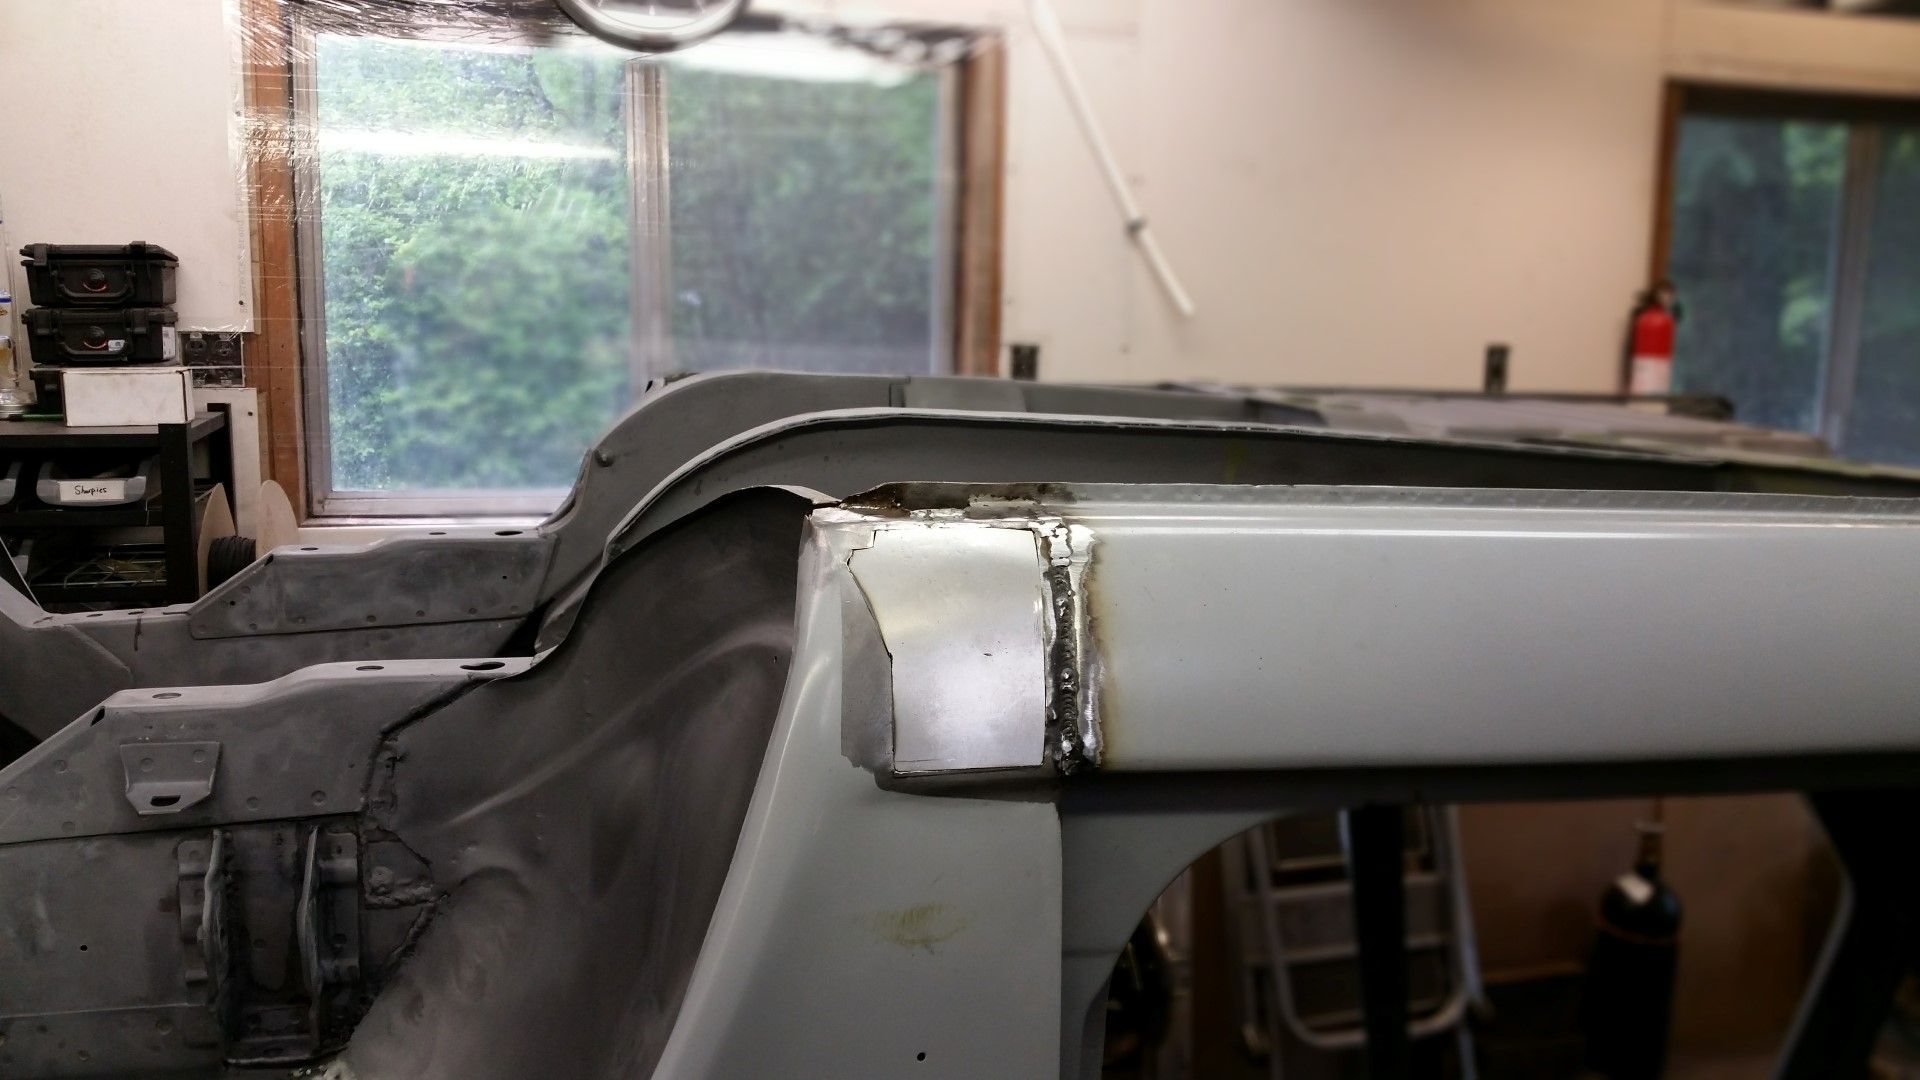
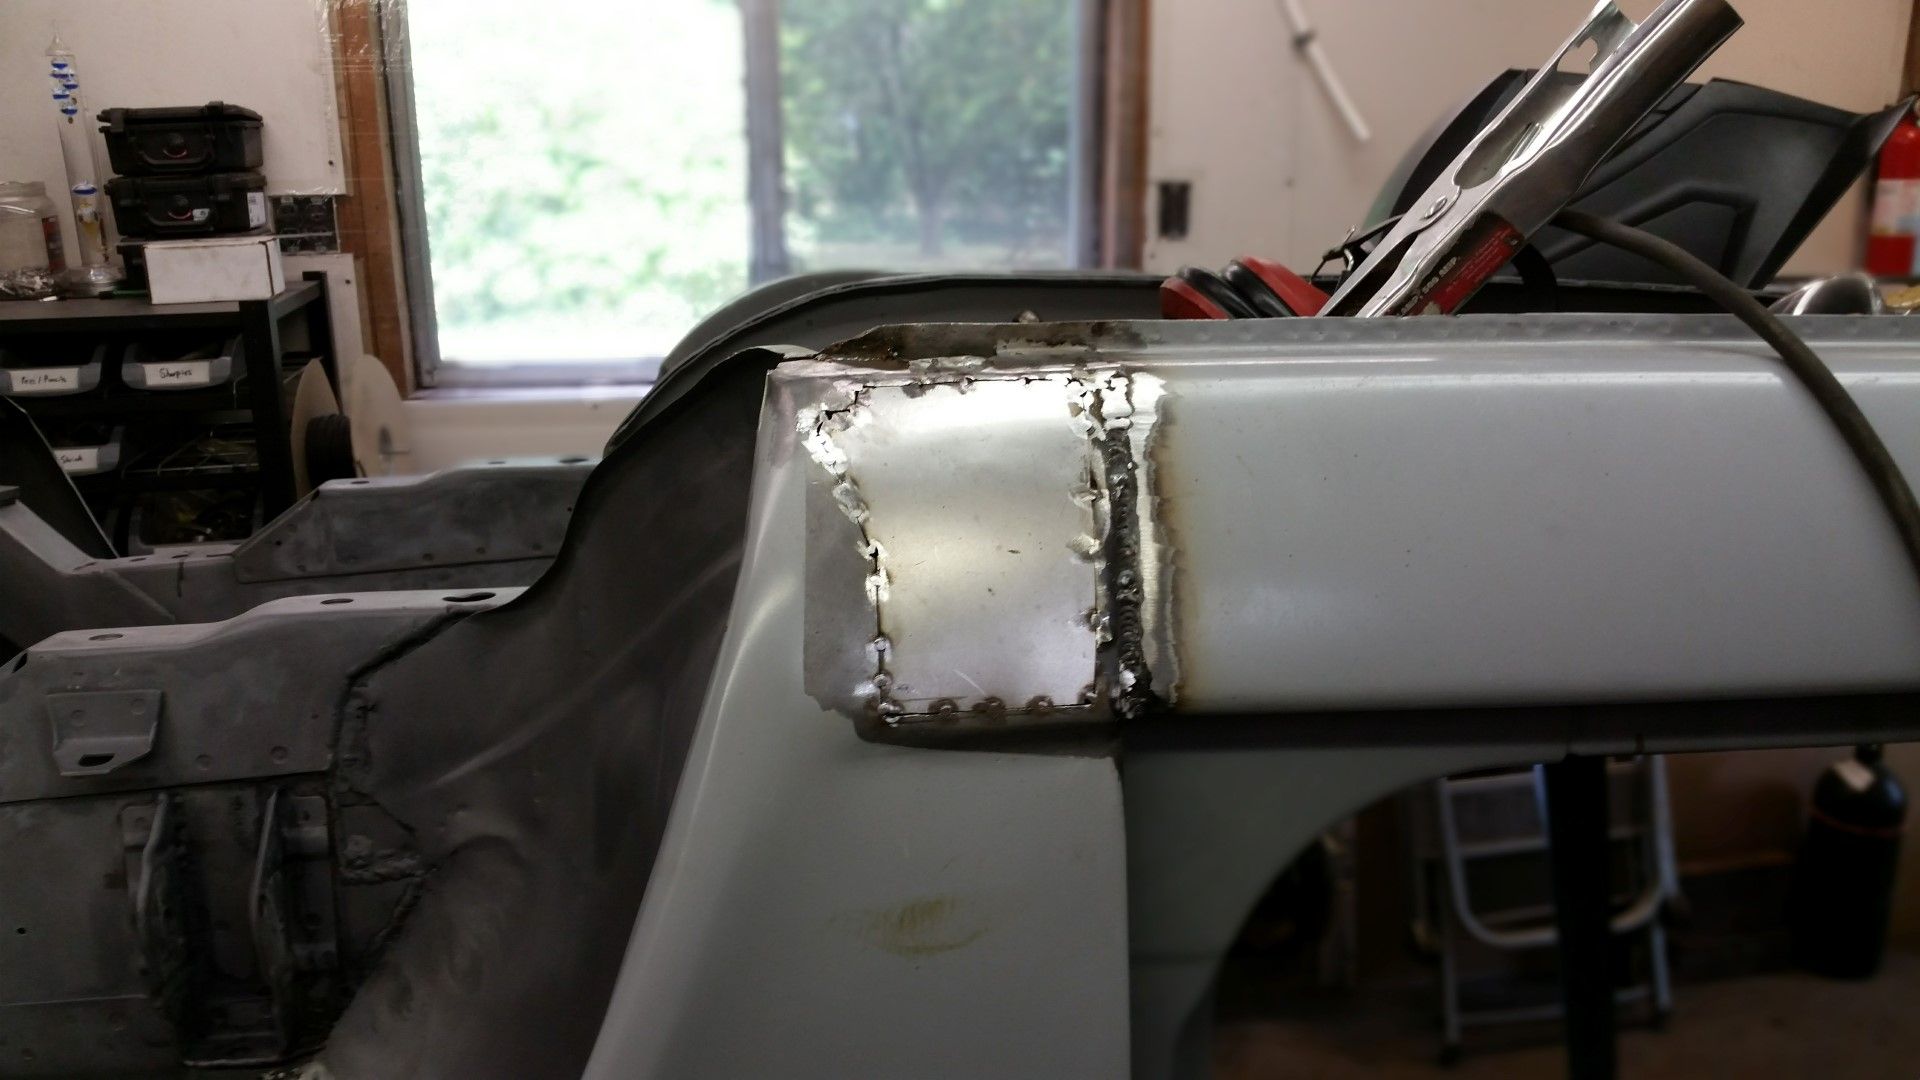
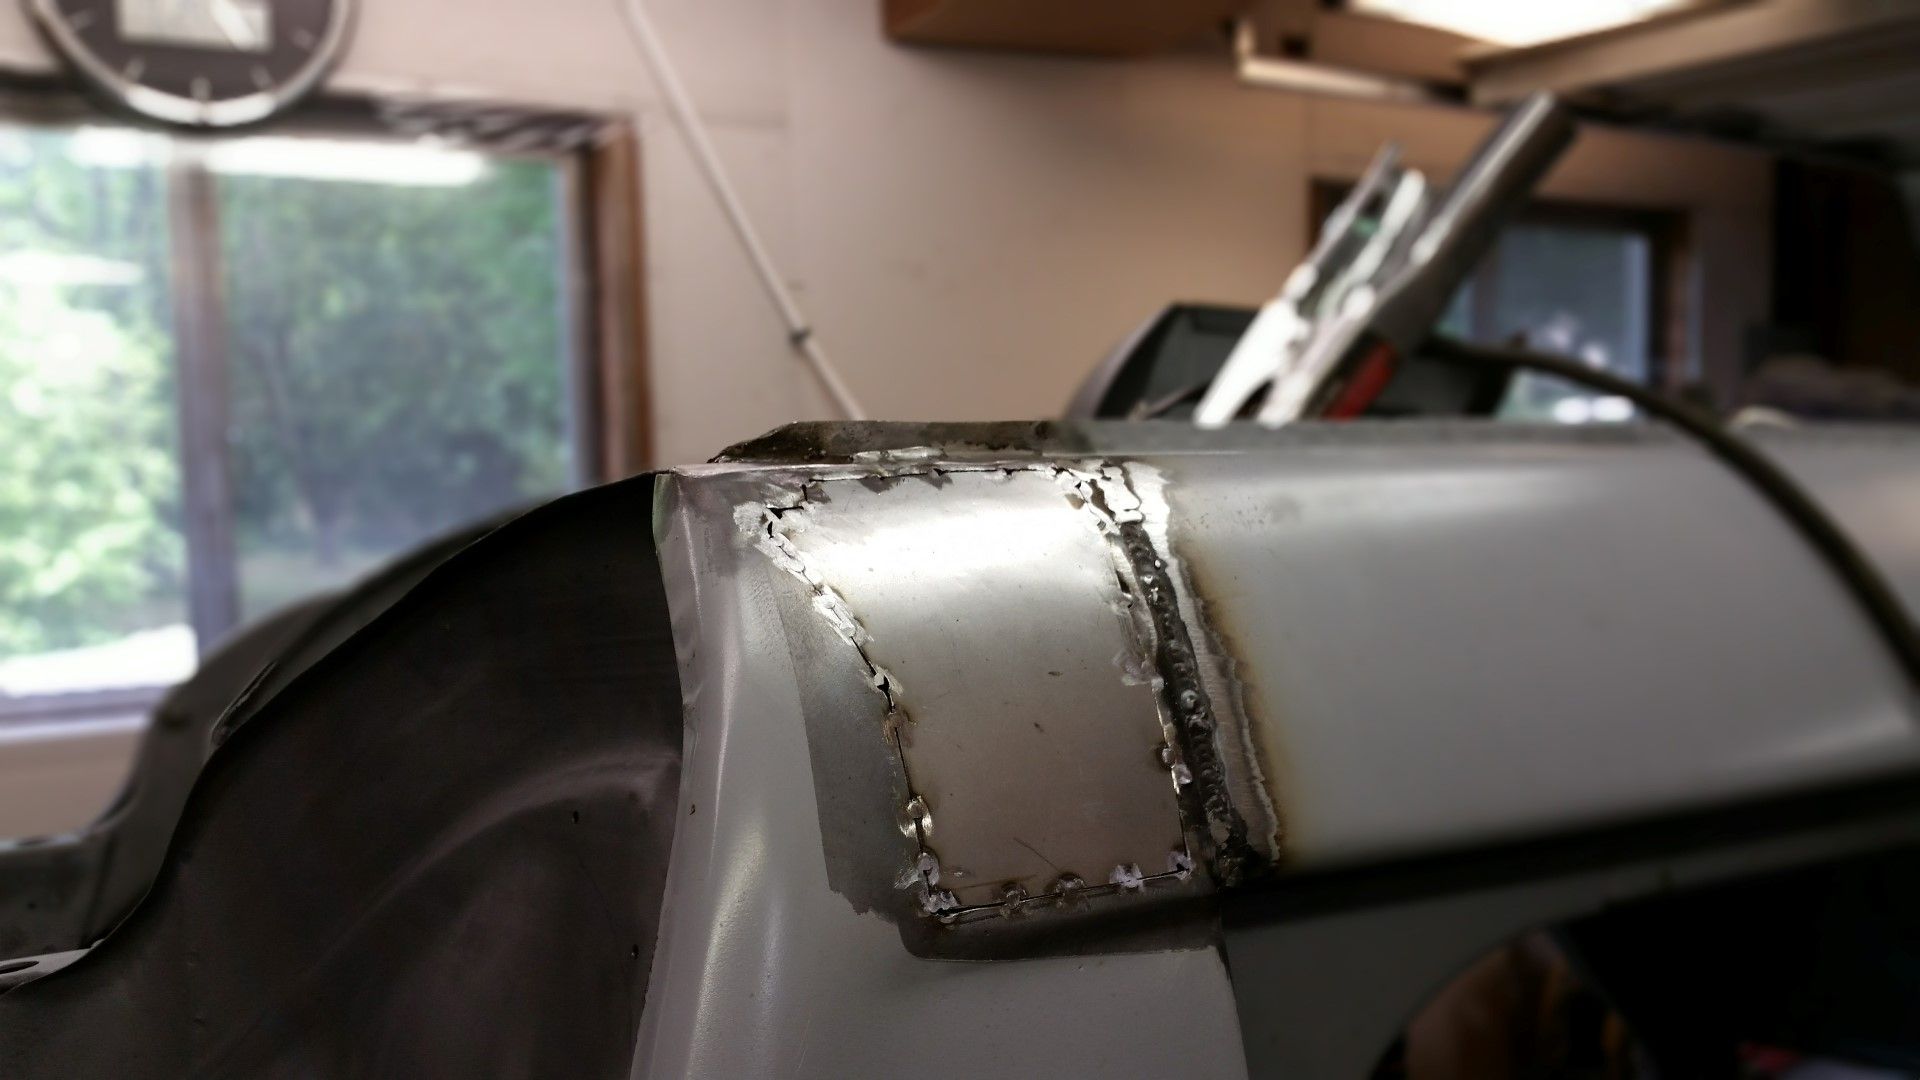
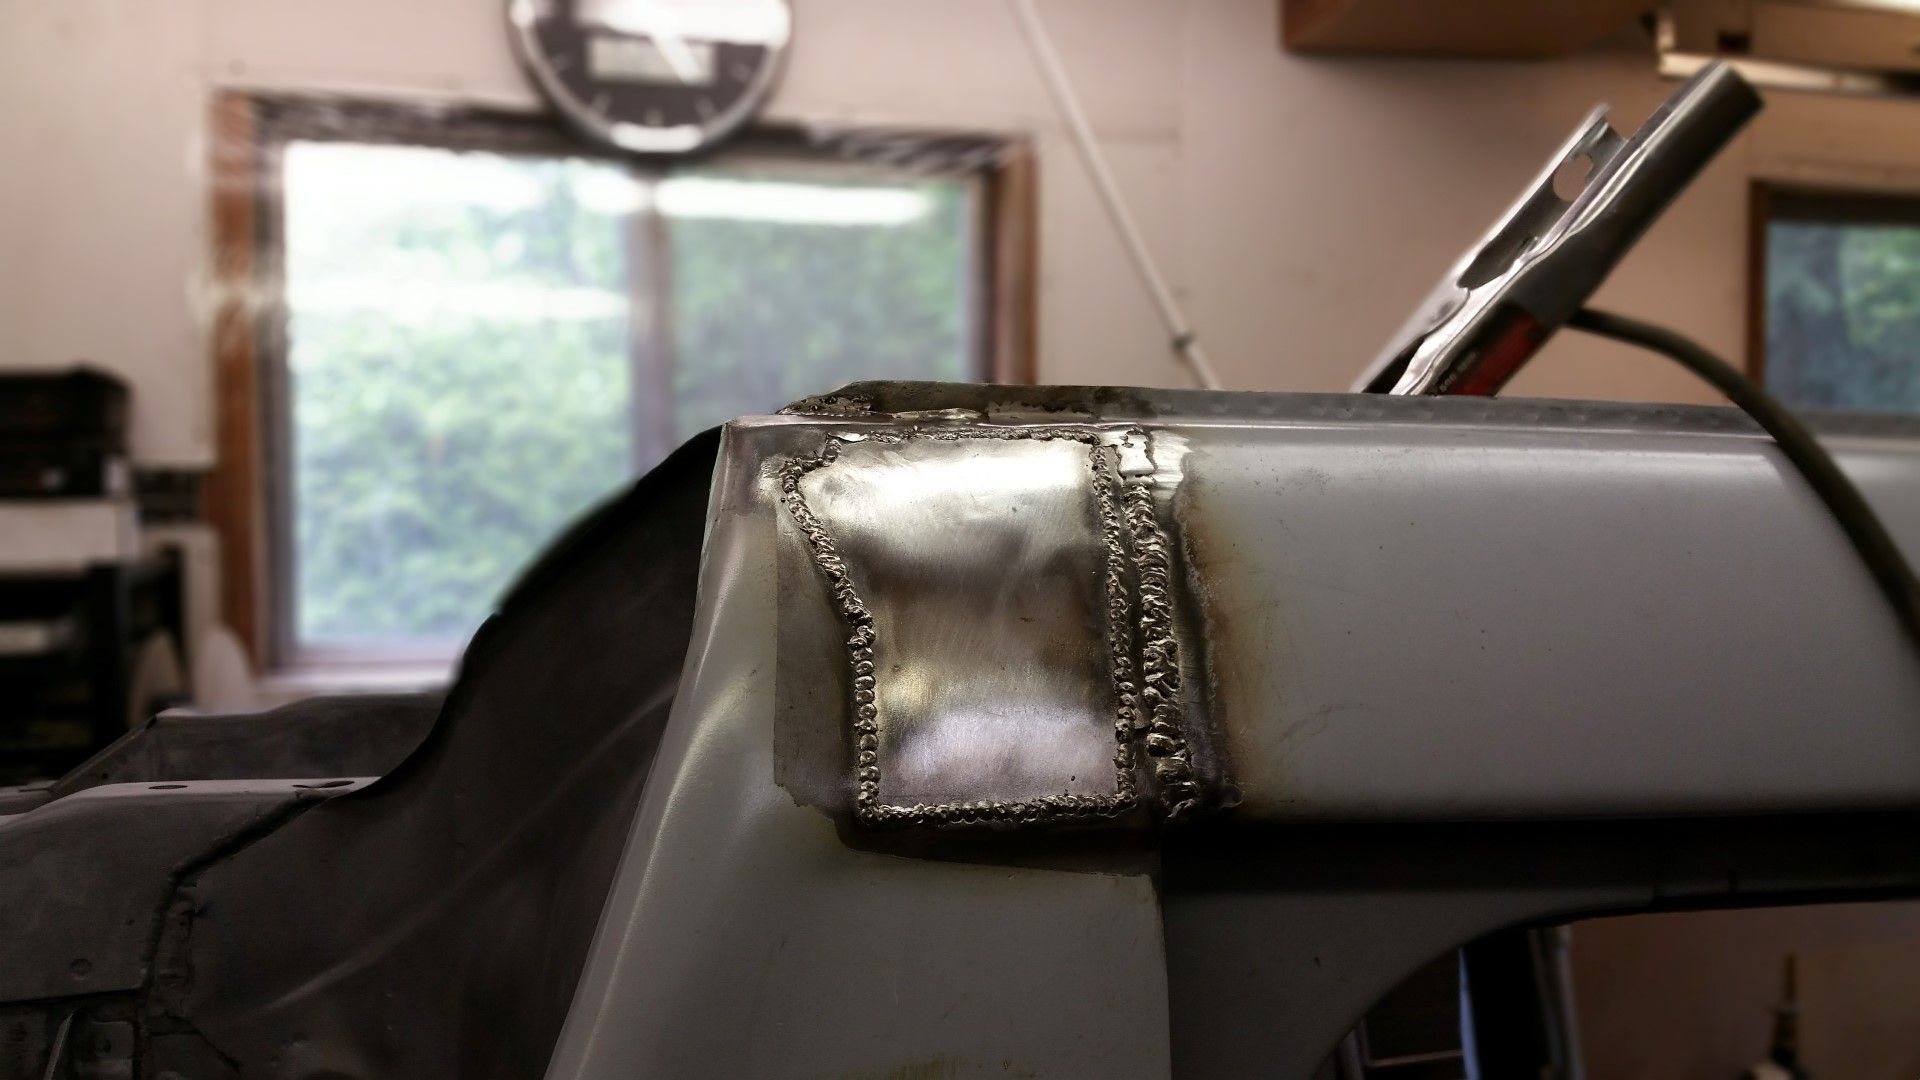
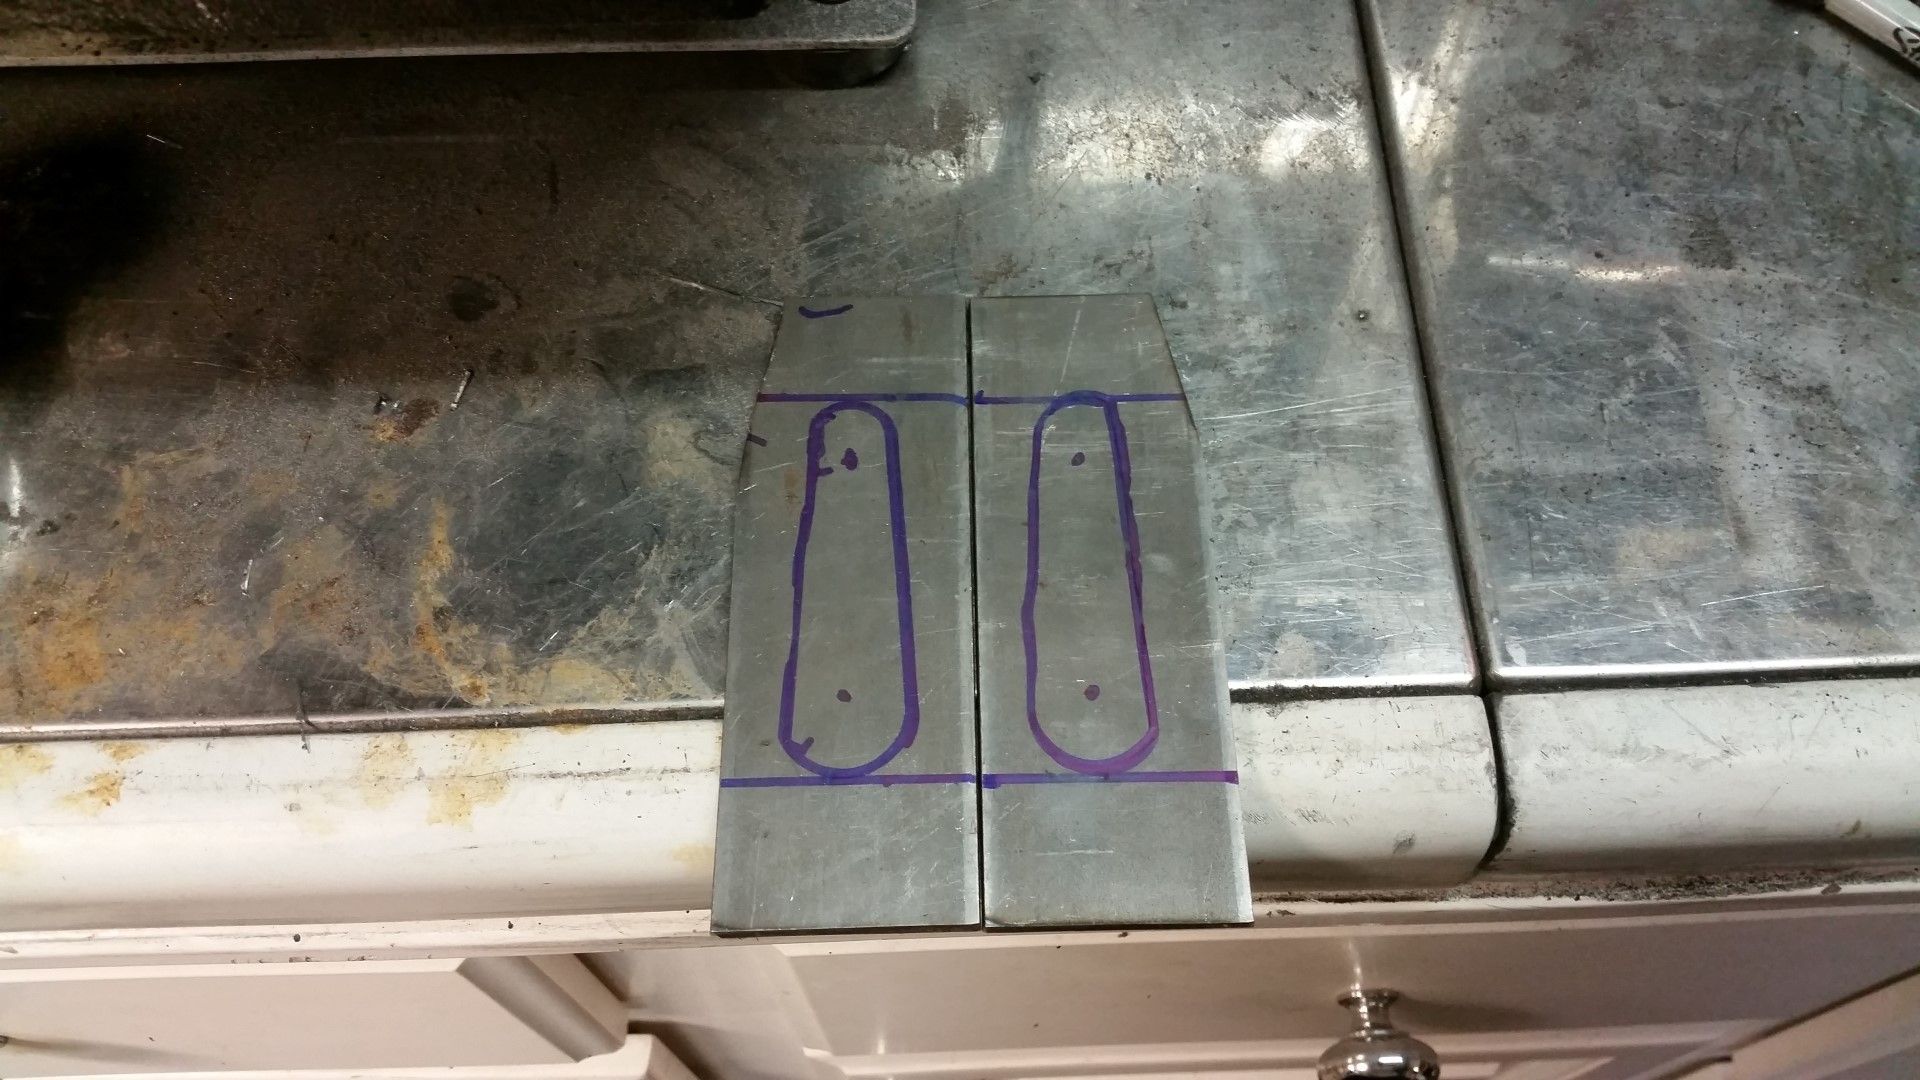
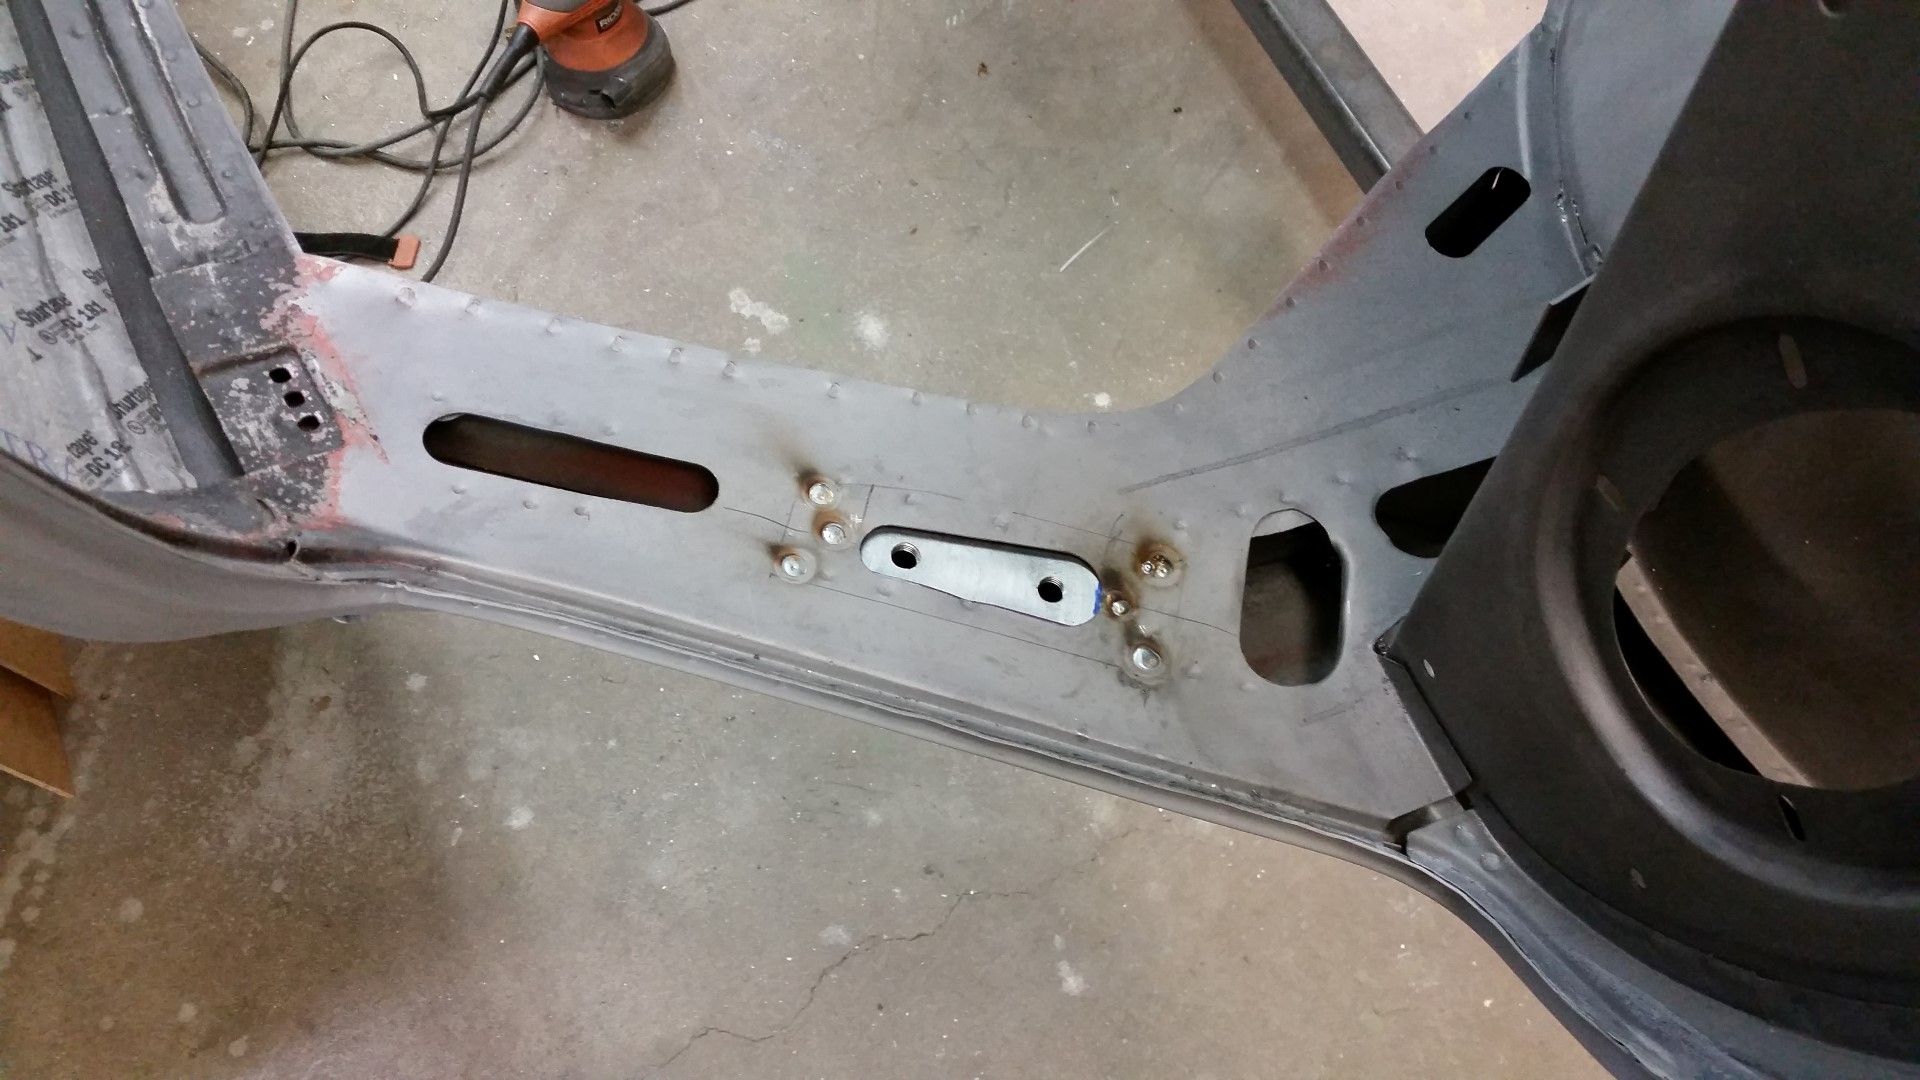
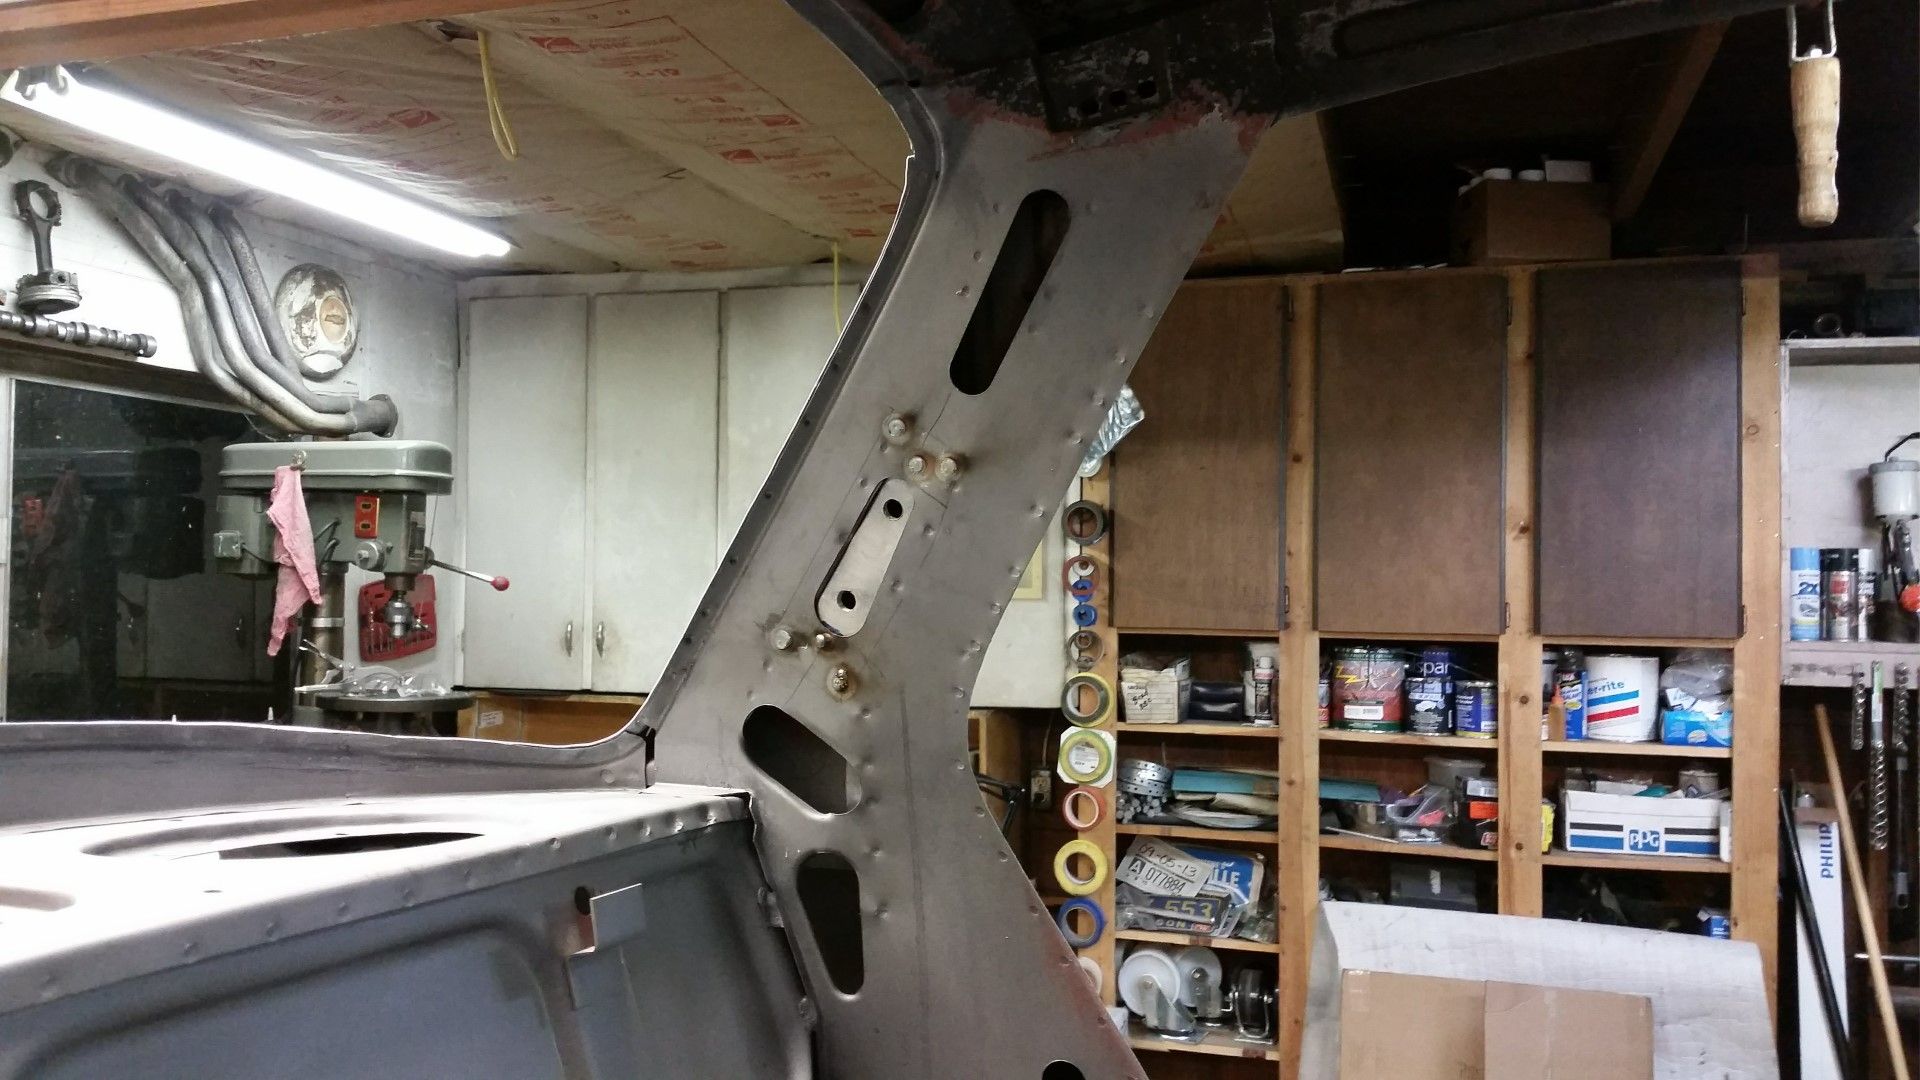
Trans Mount-
I had mocked this up by drilling/tapping the "frame rails," but knew it would need to be reinforced. Here's how that went: Cut open rail 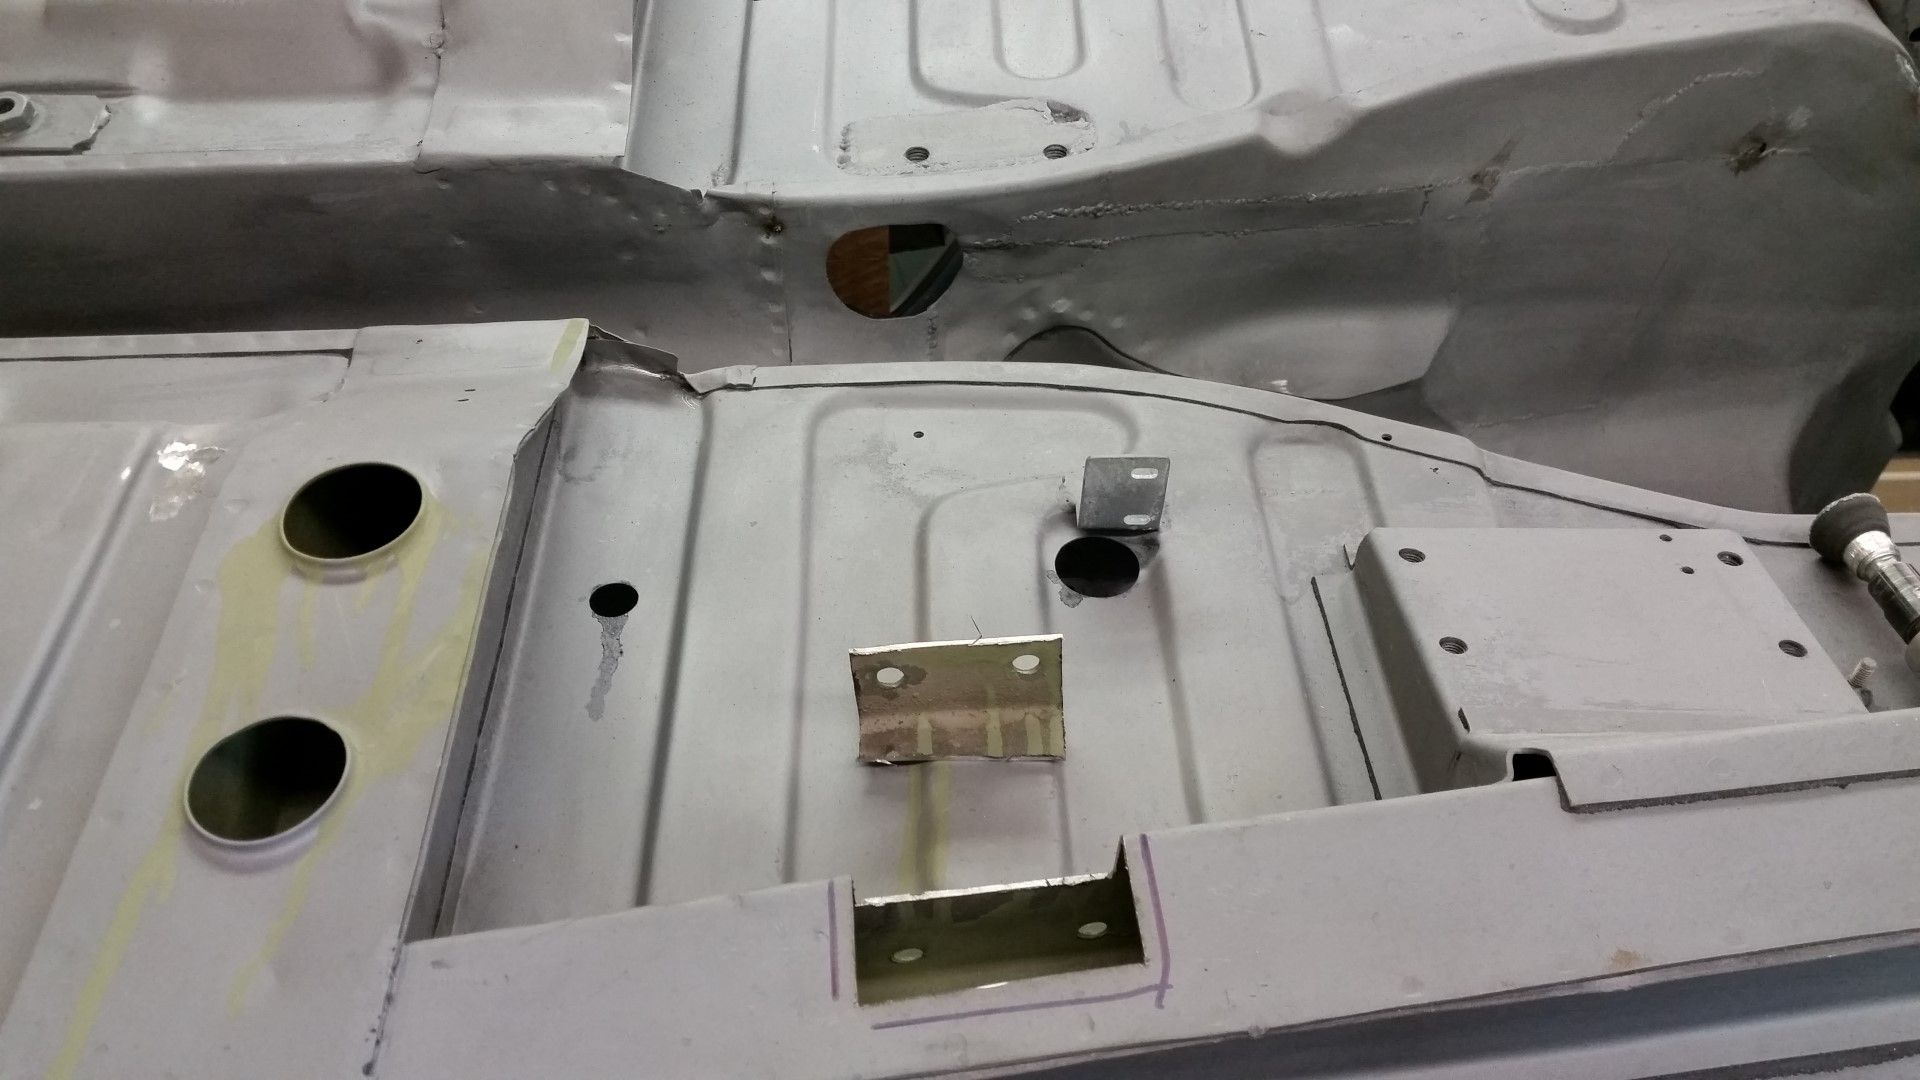 Make plates (note broken tap  ) )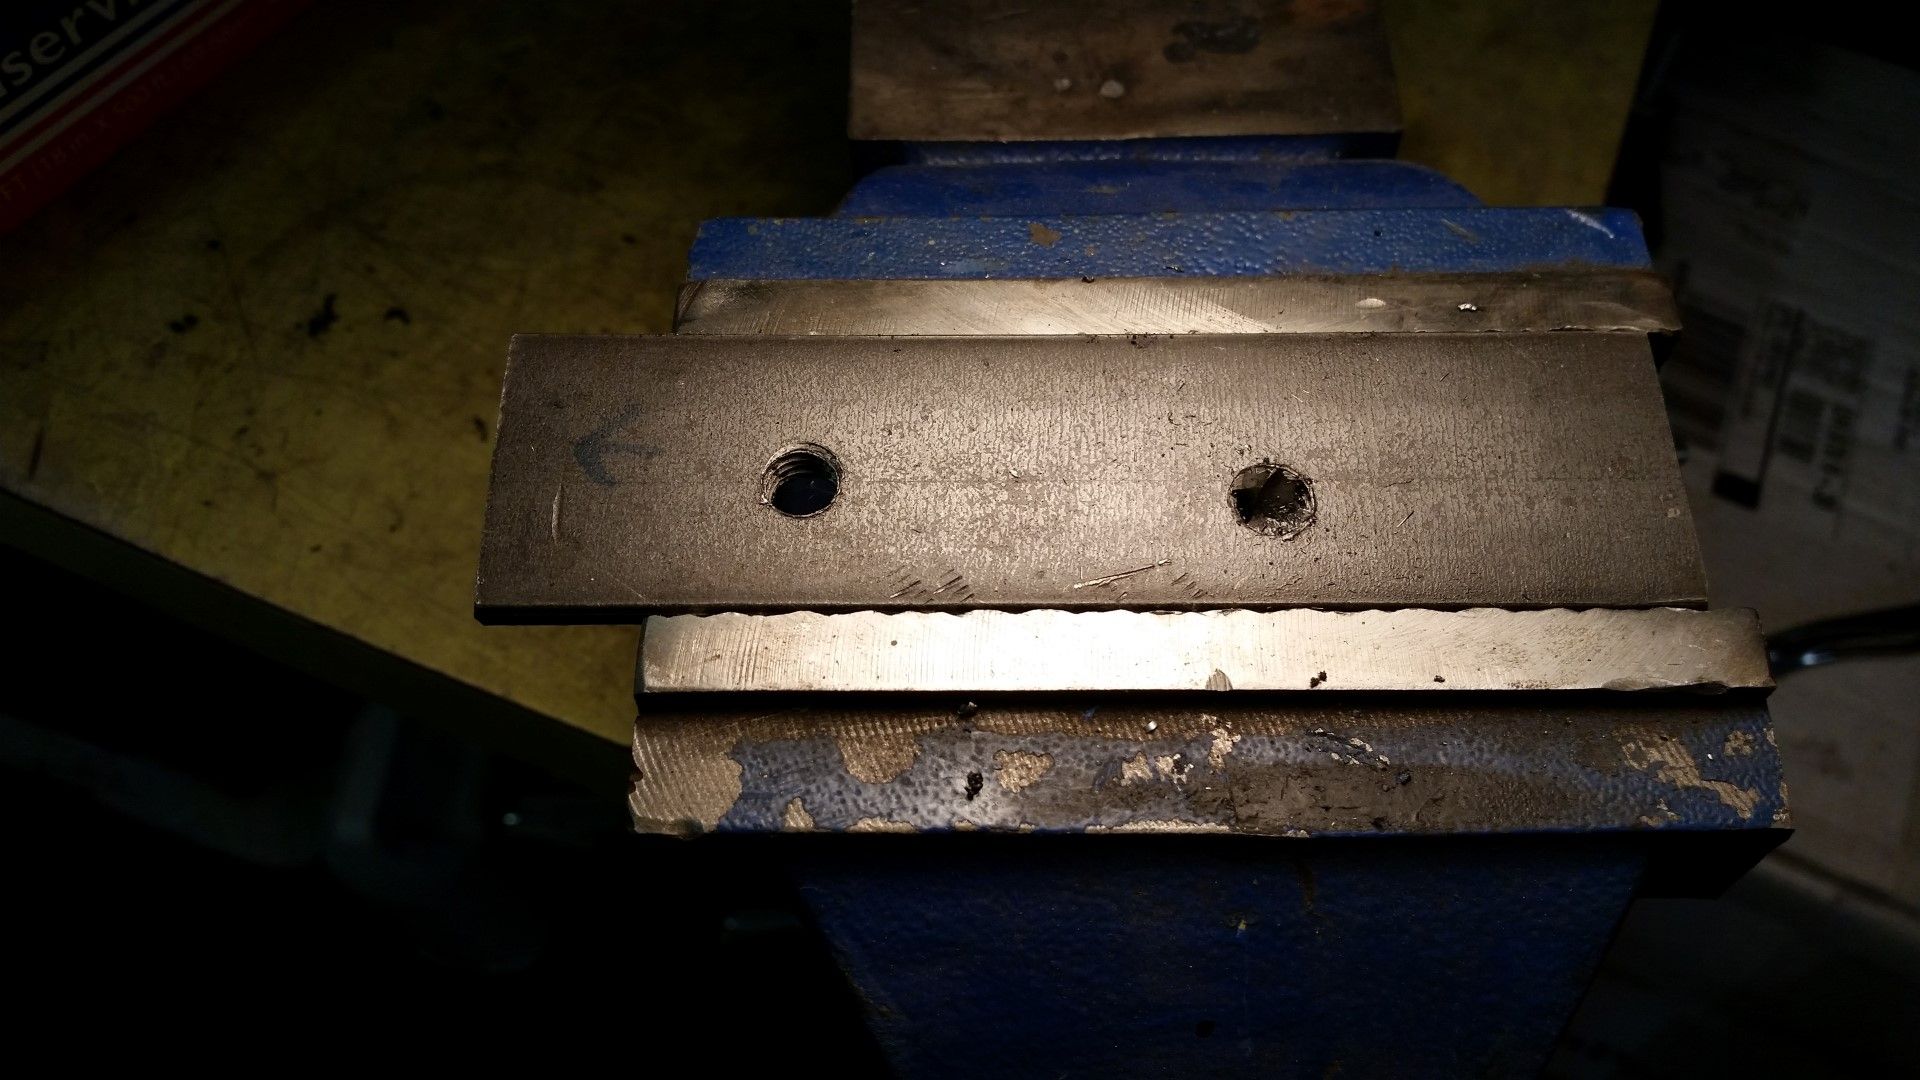 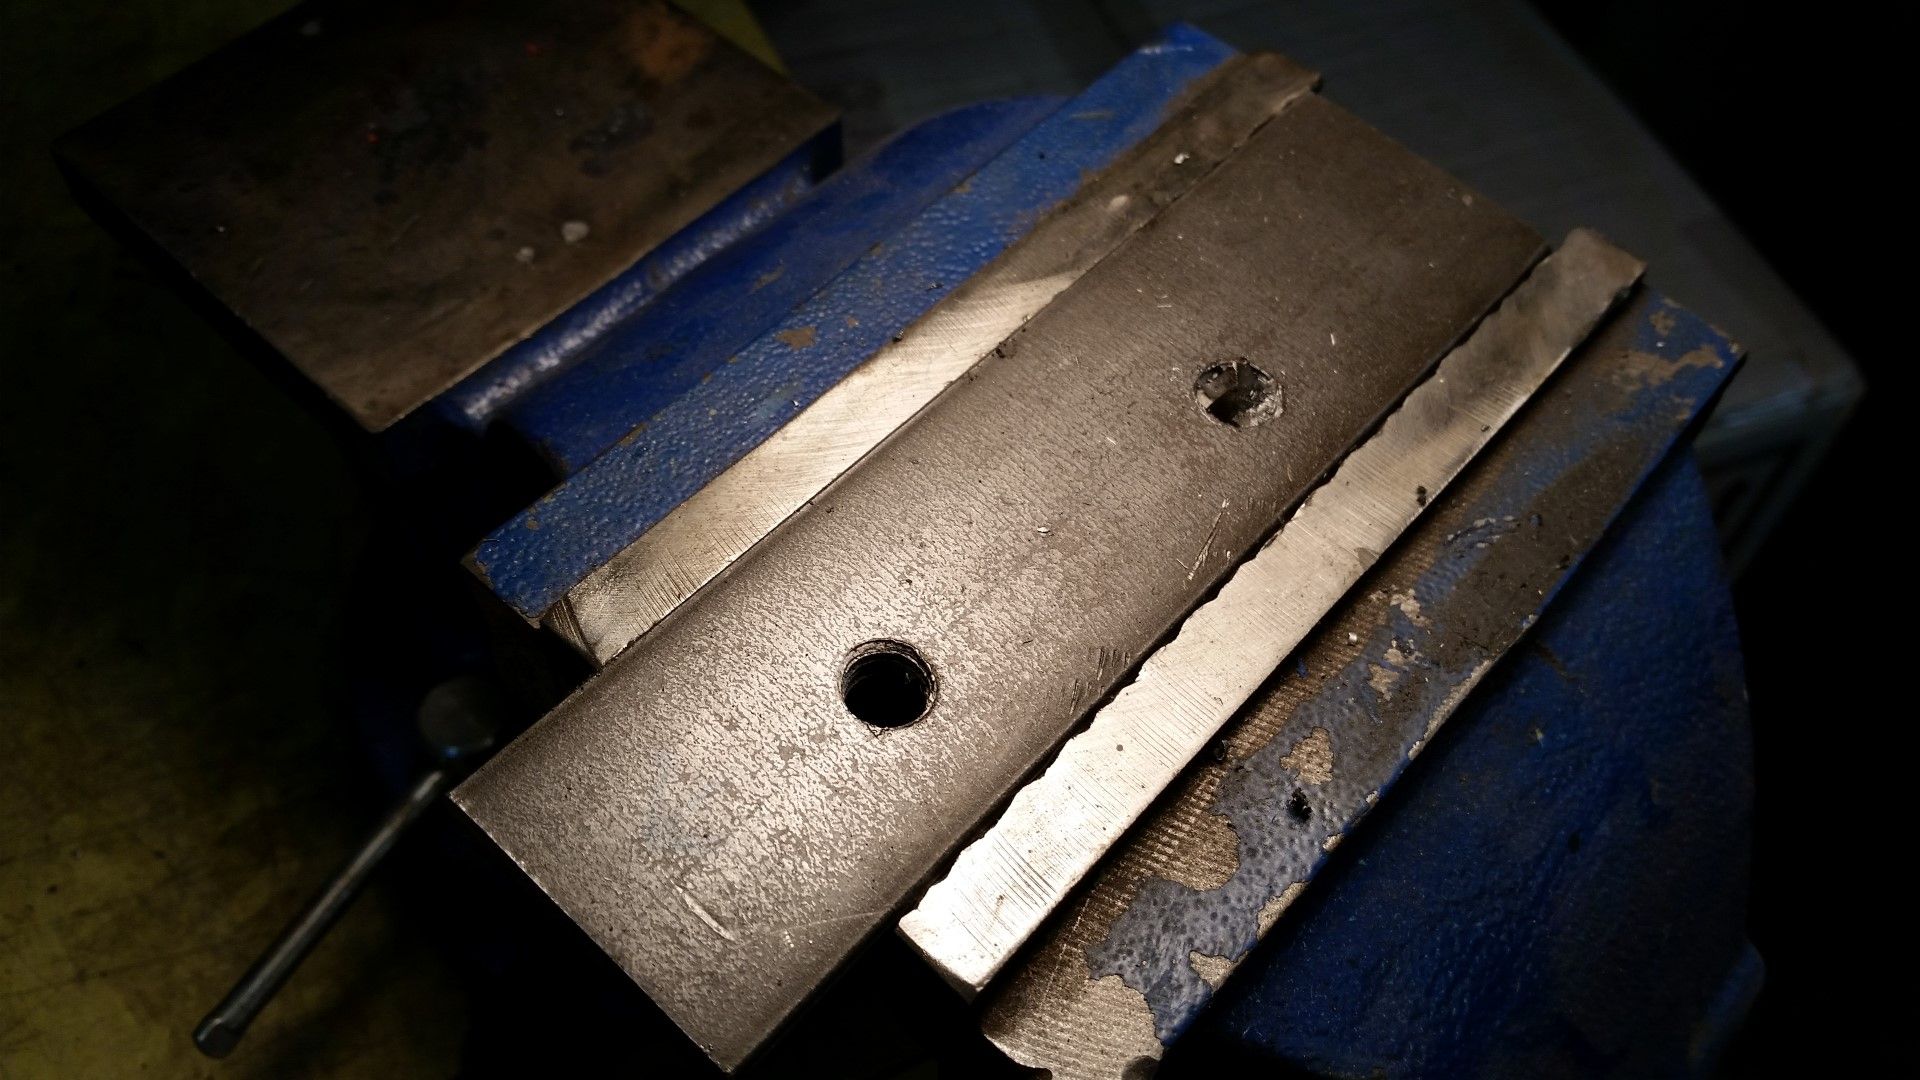 Plasma out broken tap (haha I win ) 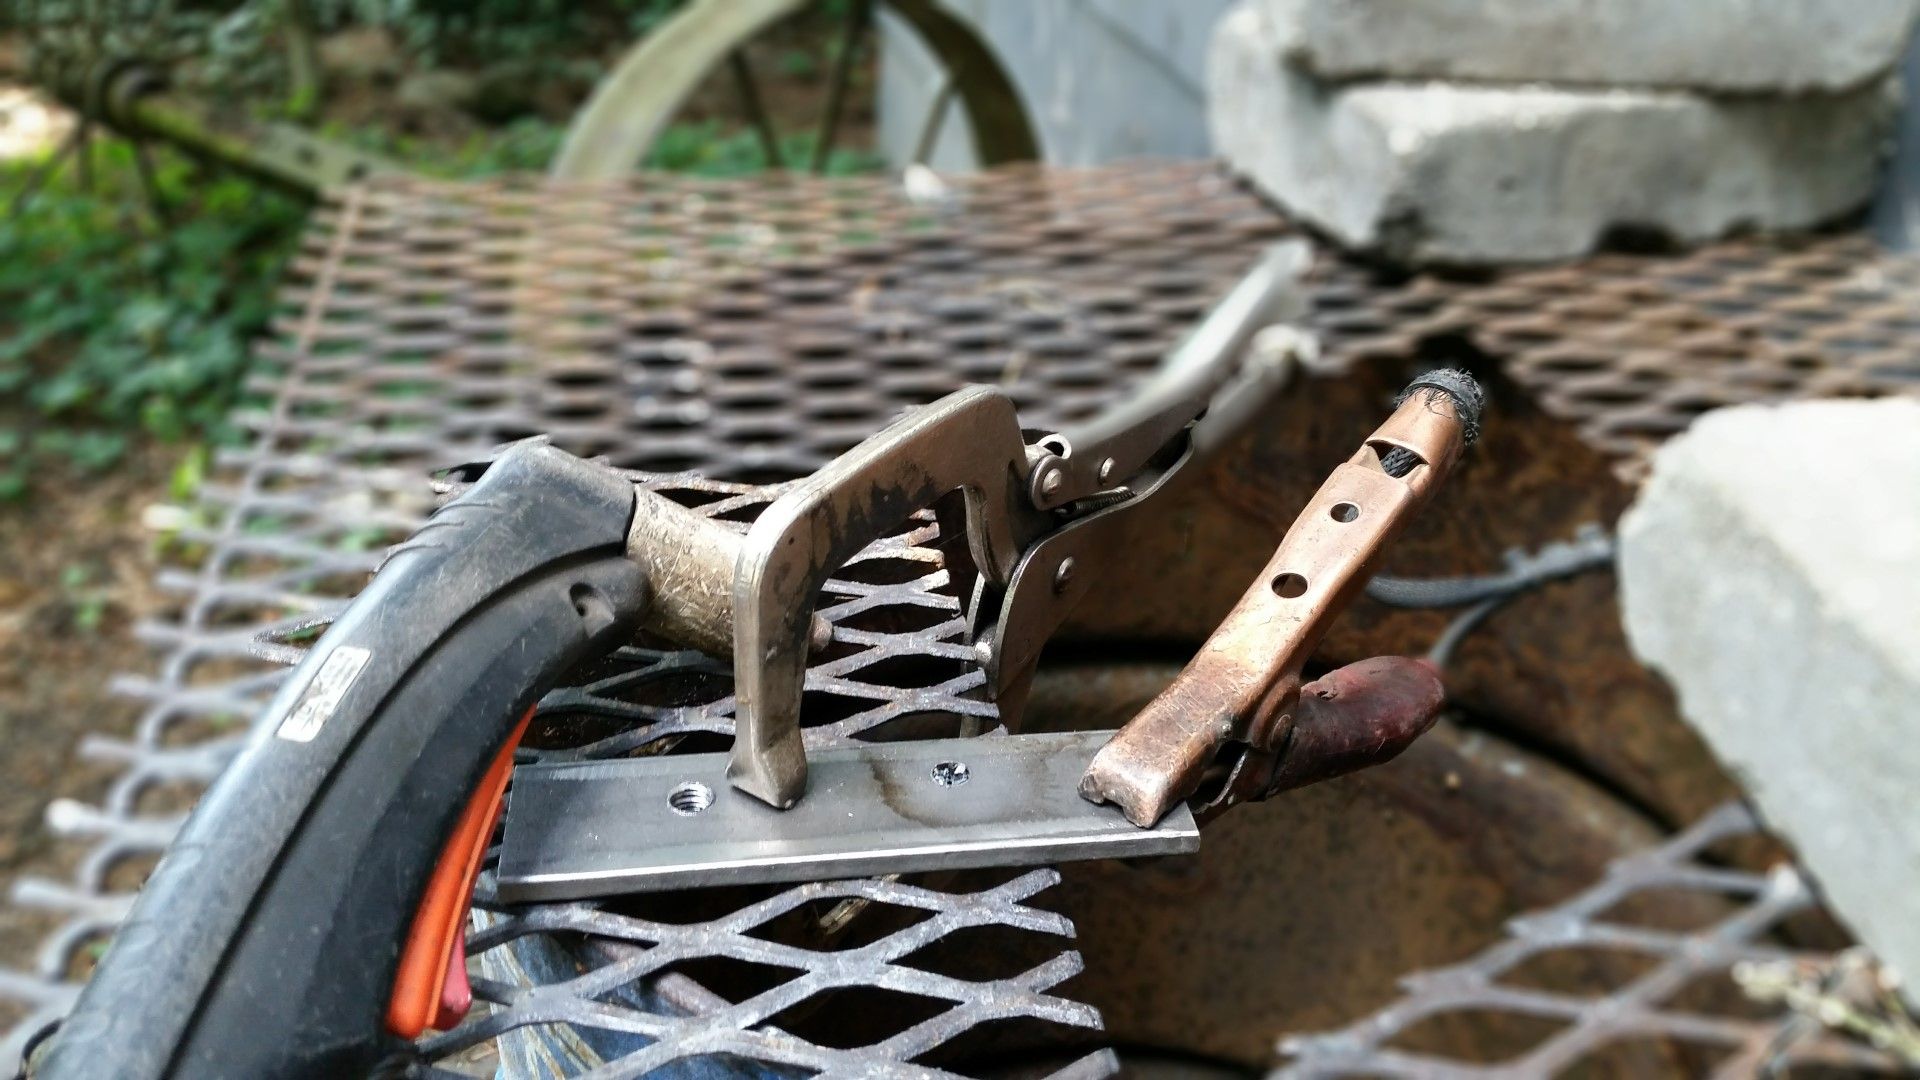 First piece in 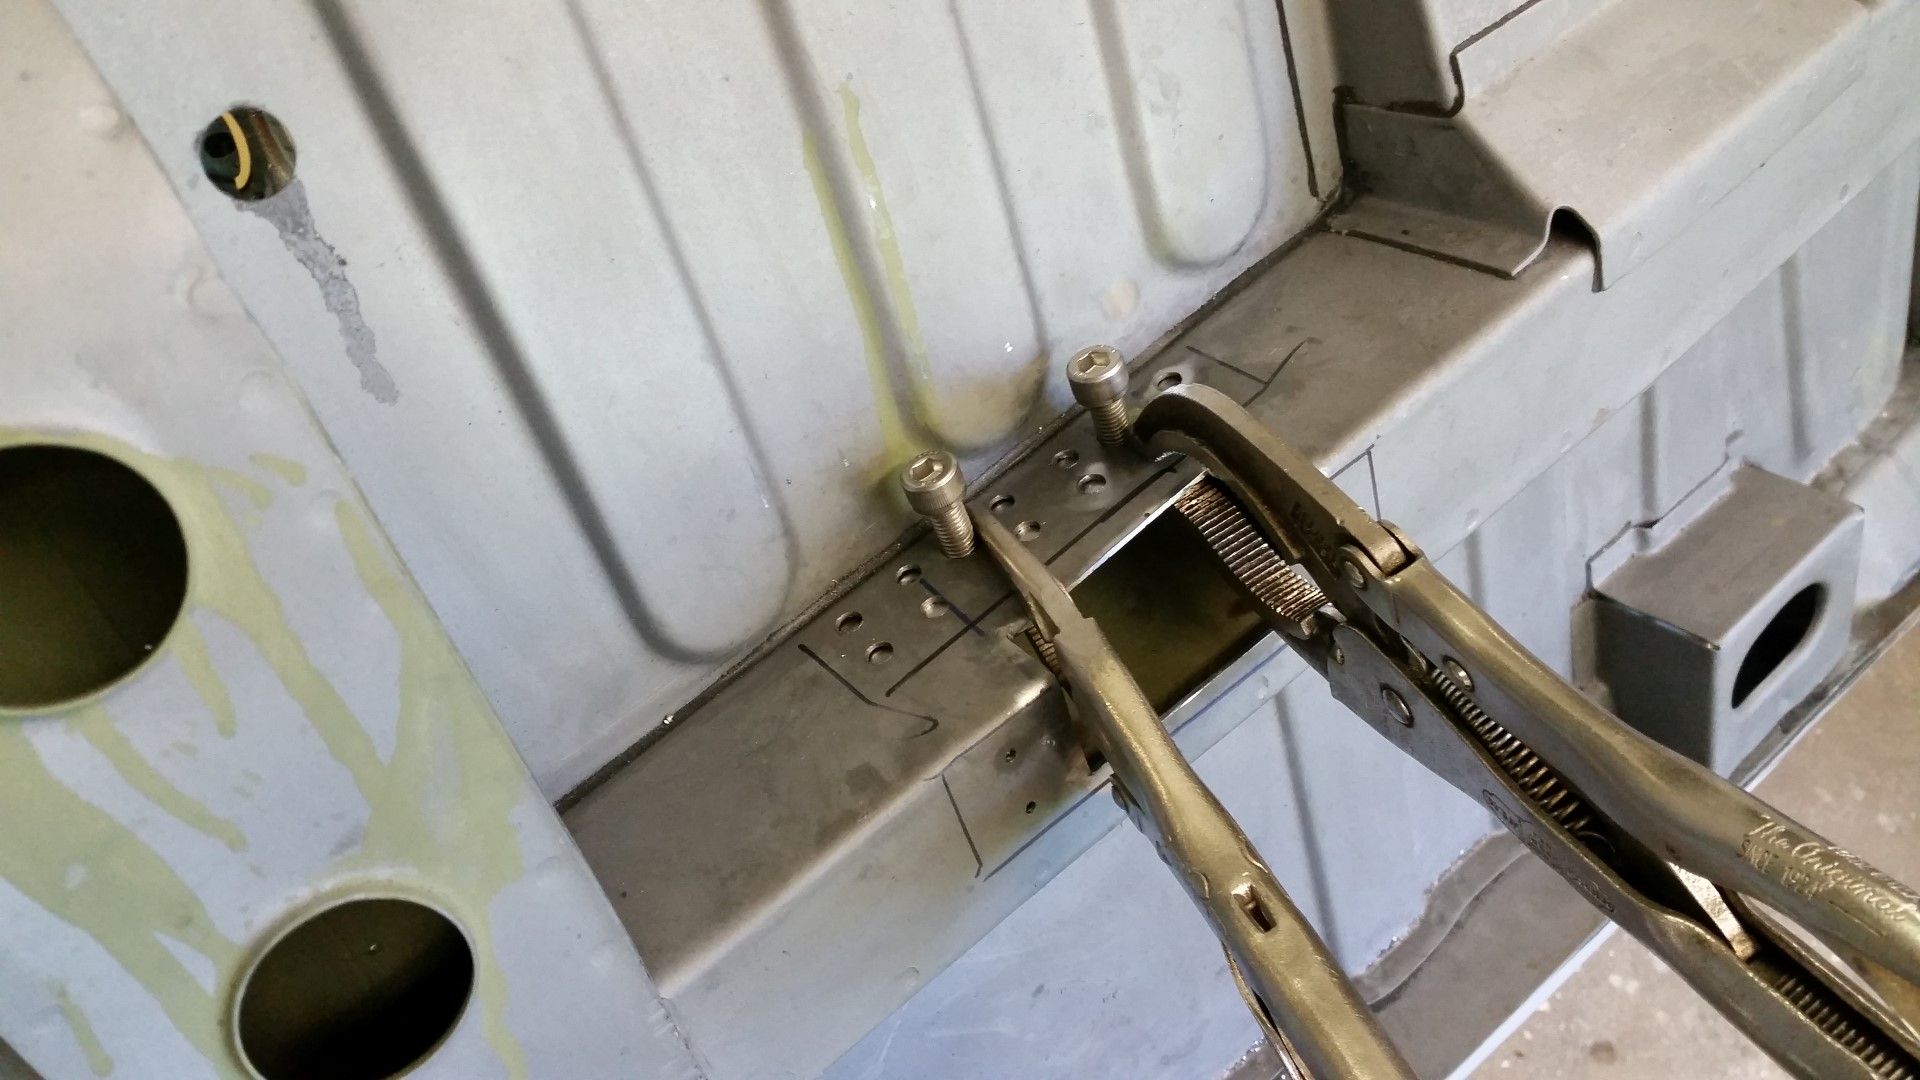 Align 2nd piece and cover 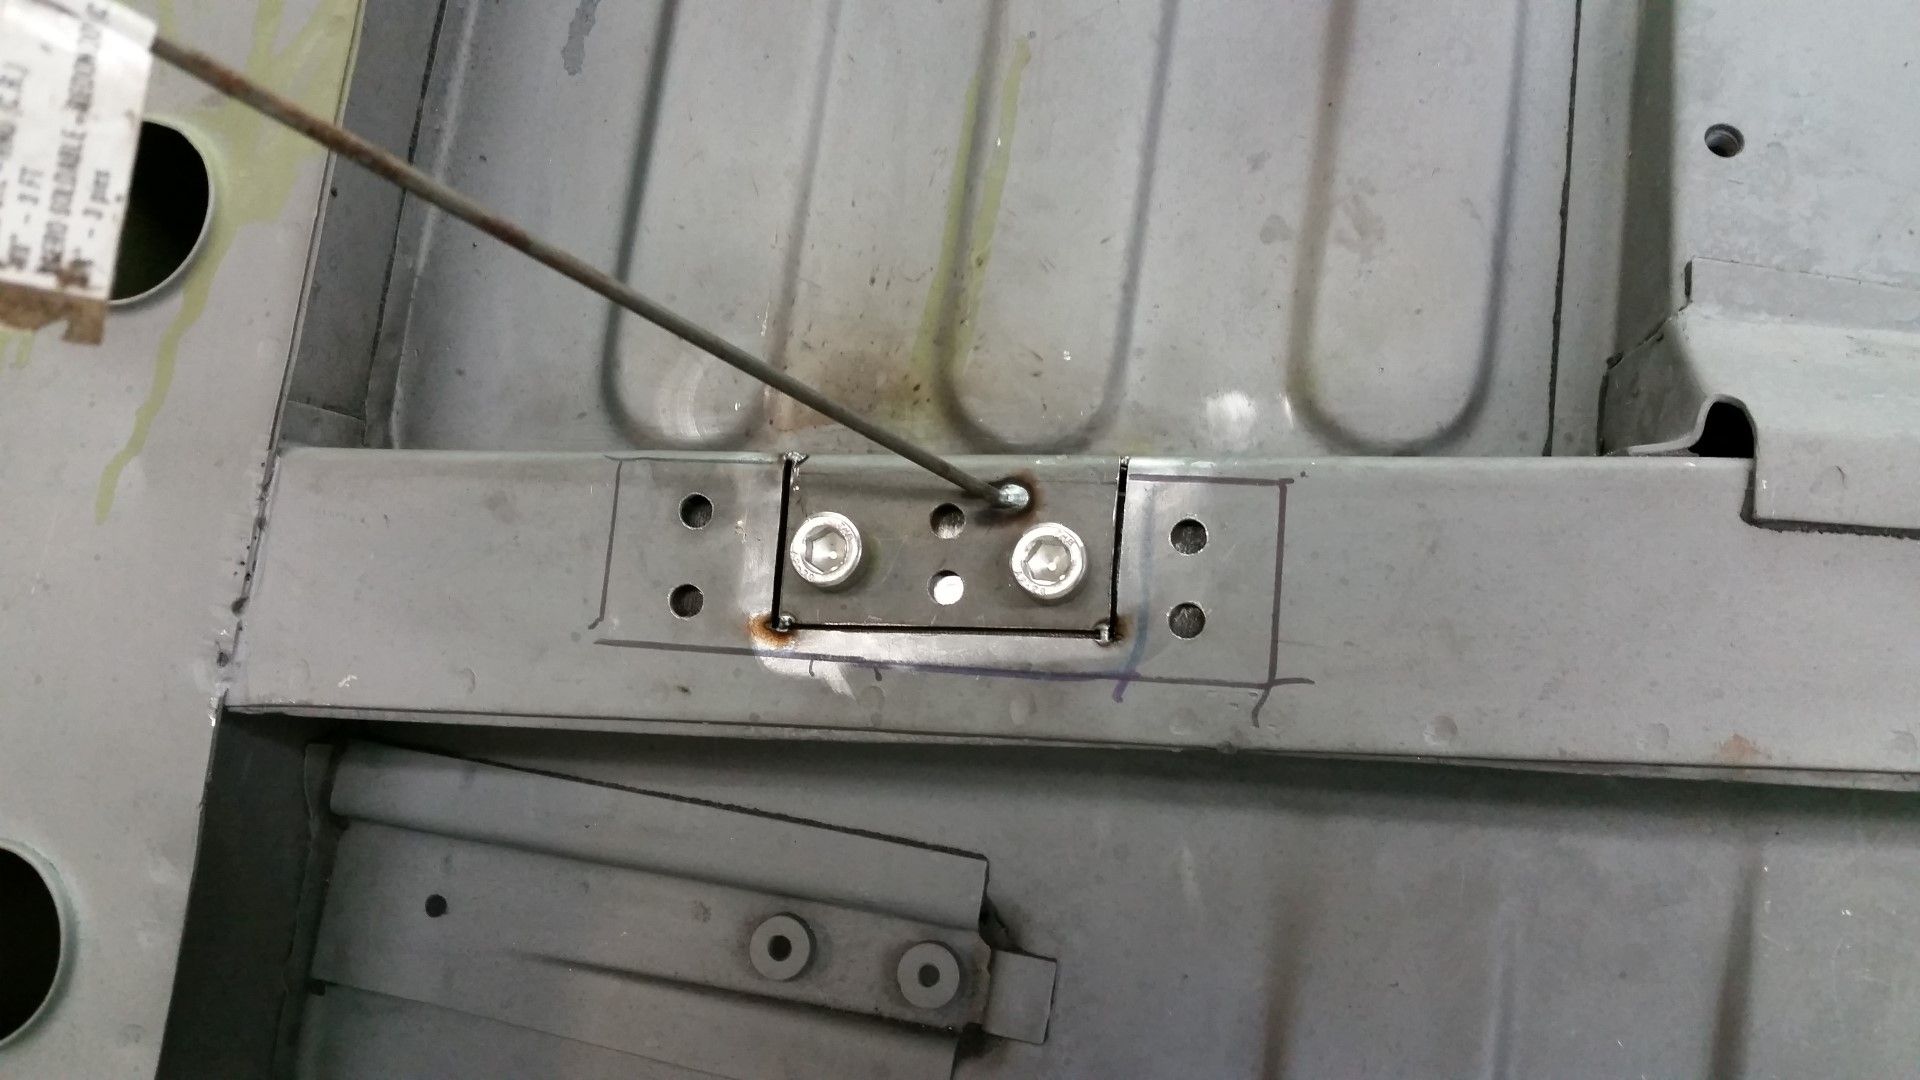 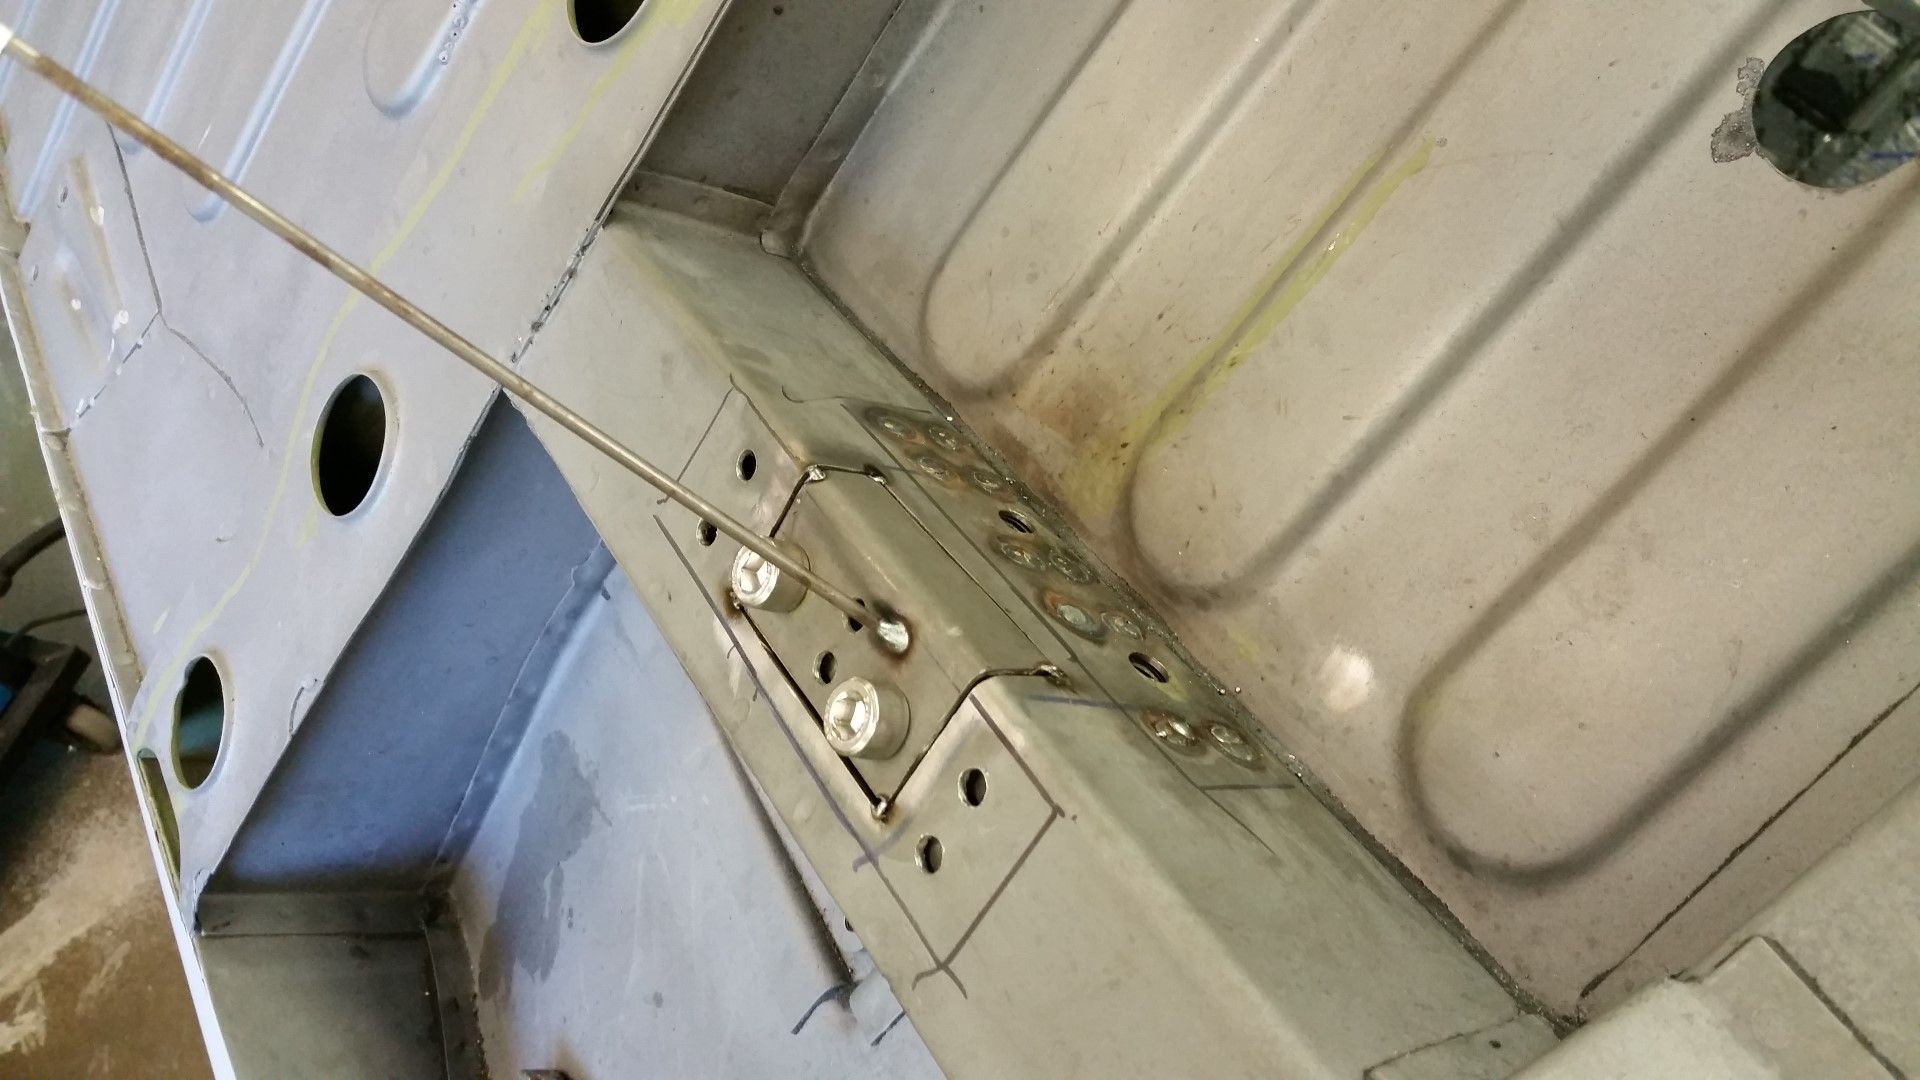 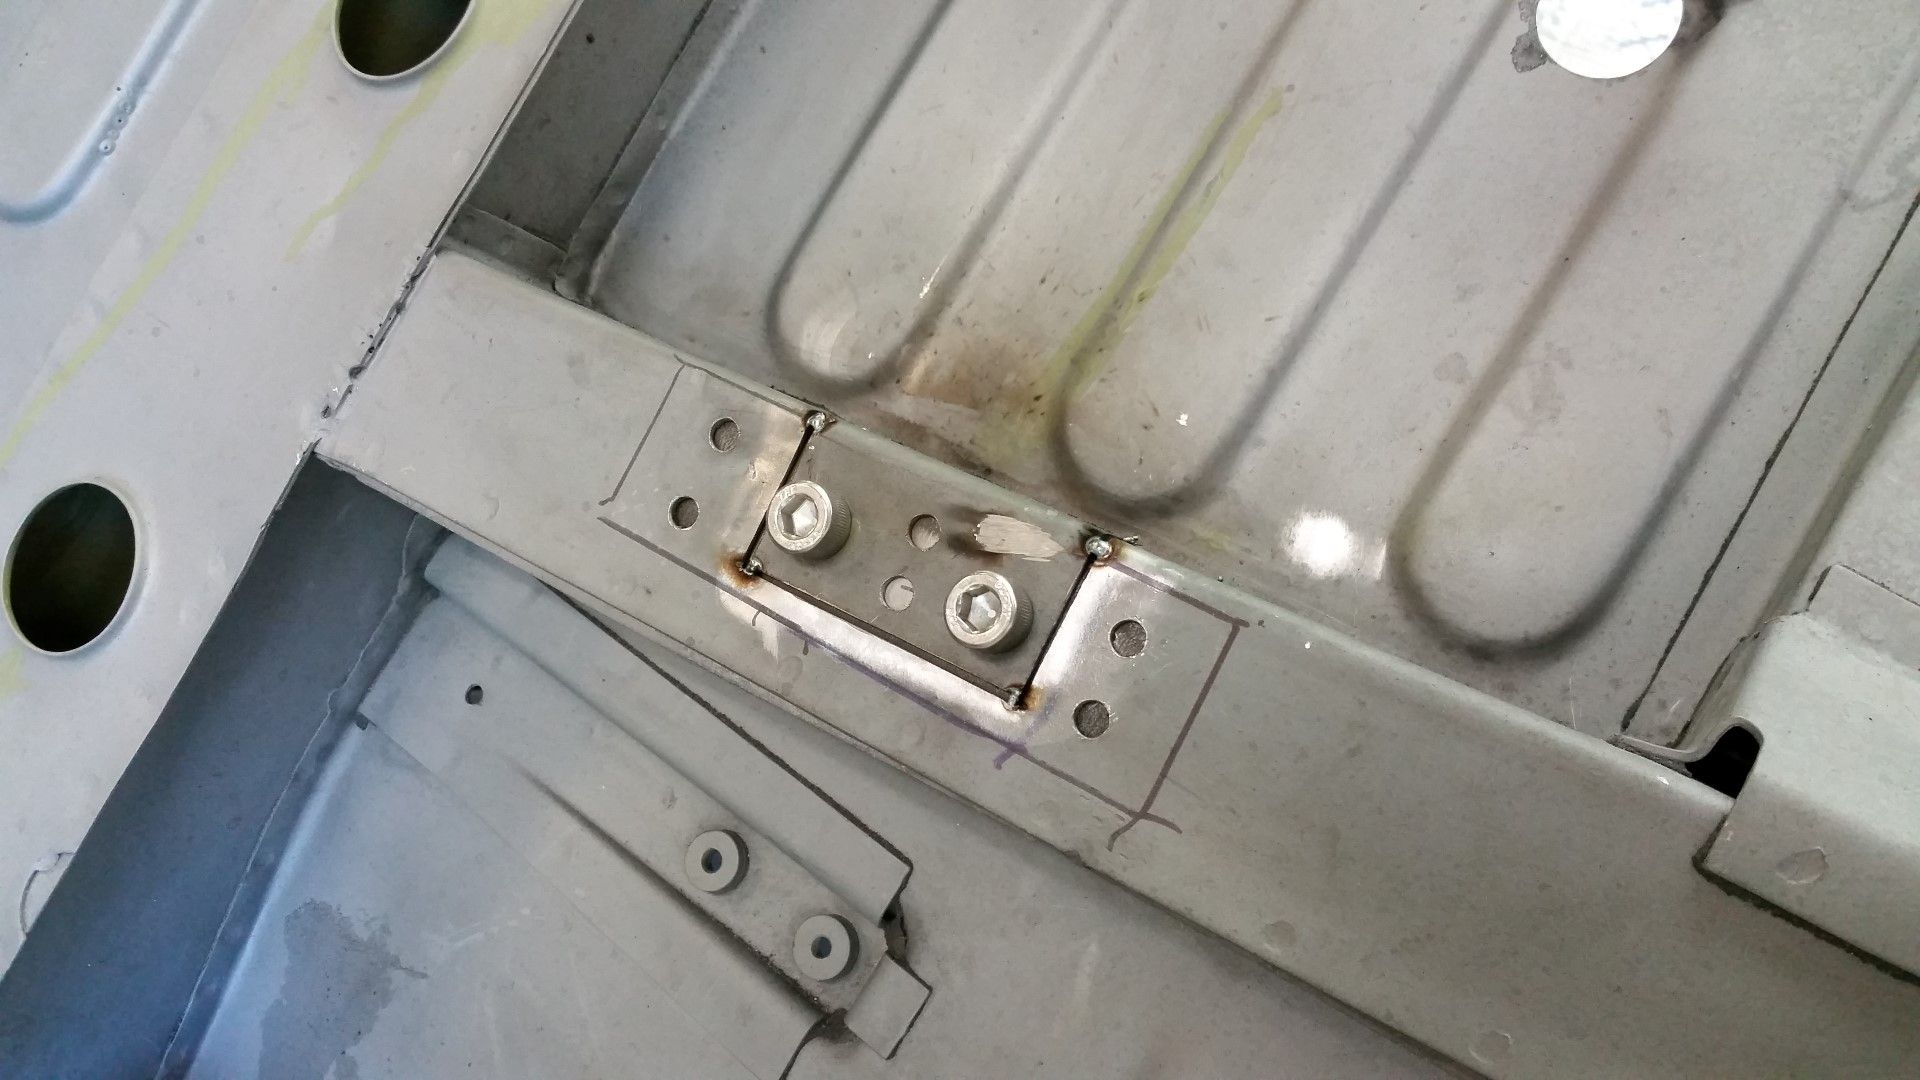 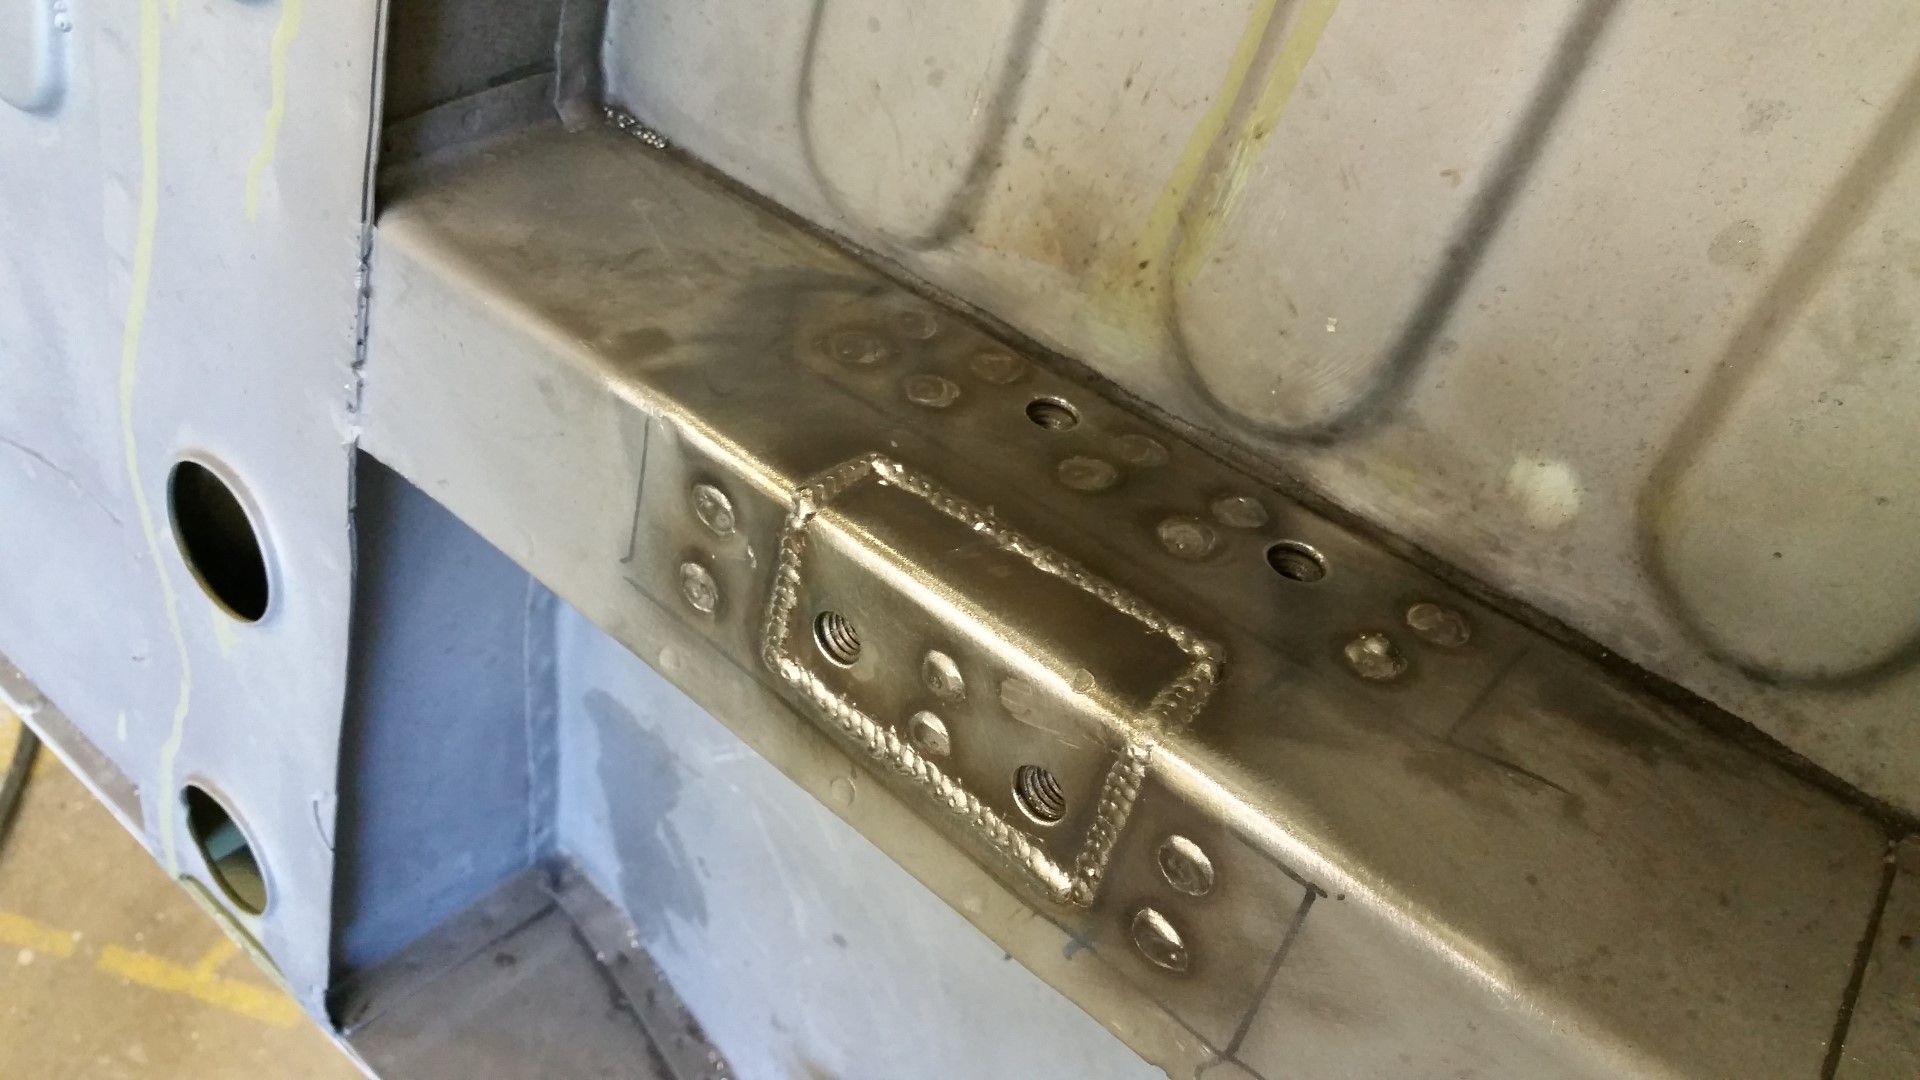 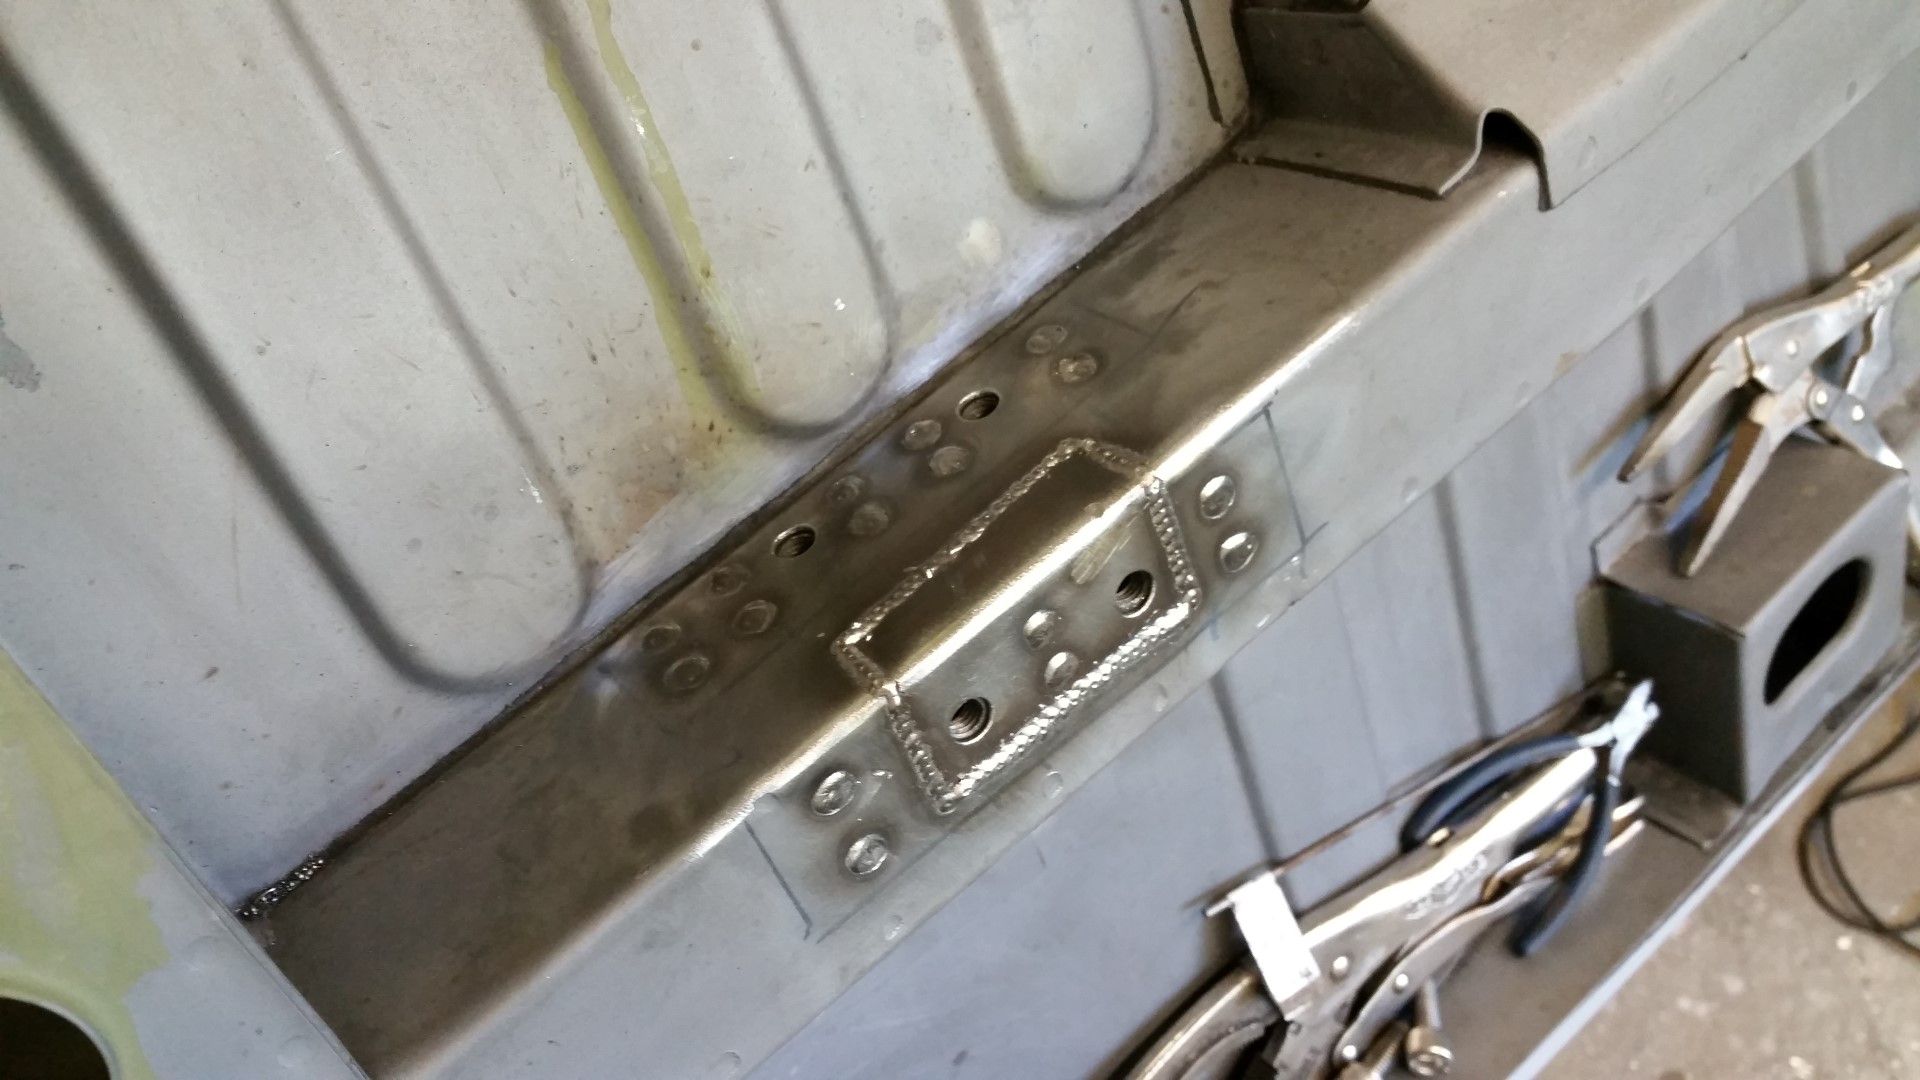 Trans mount in place (other side already mod'ed for exhaust clearance) 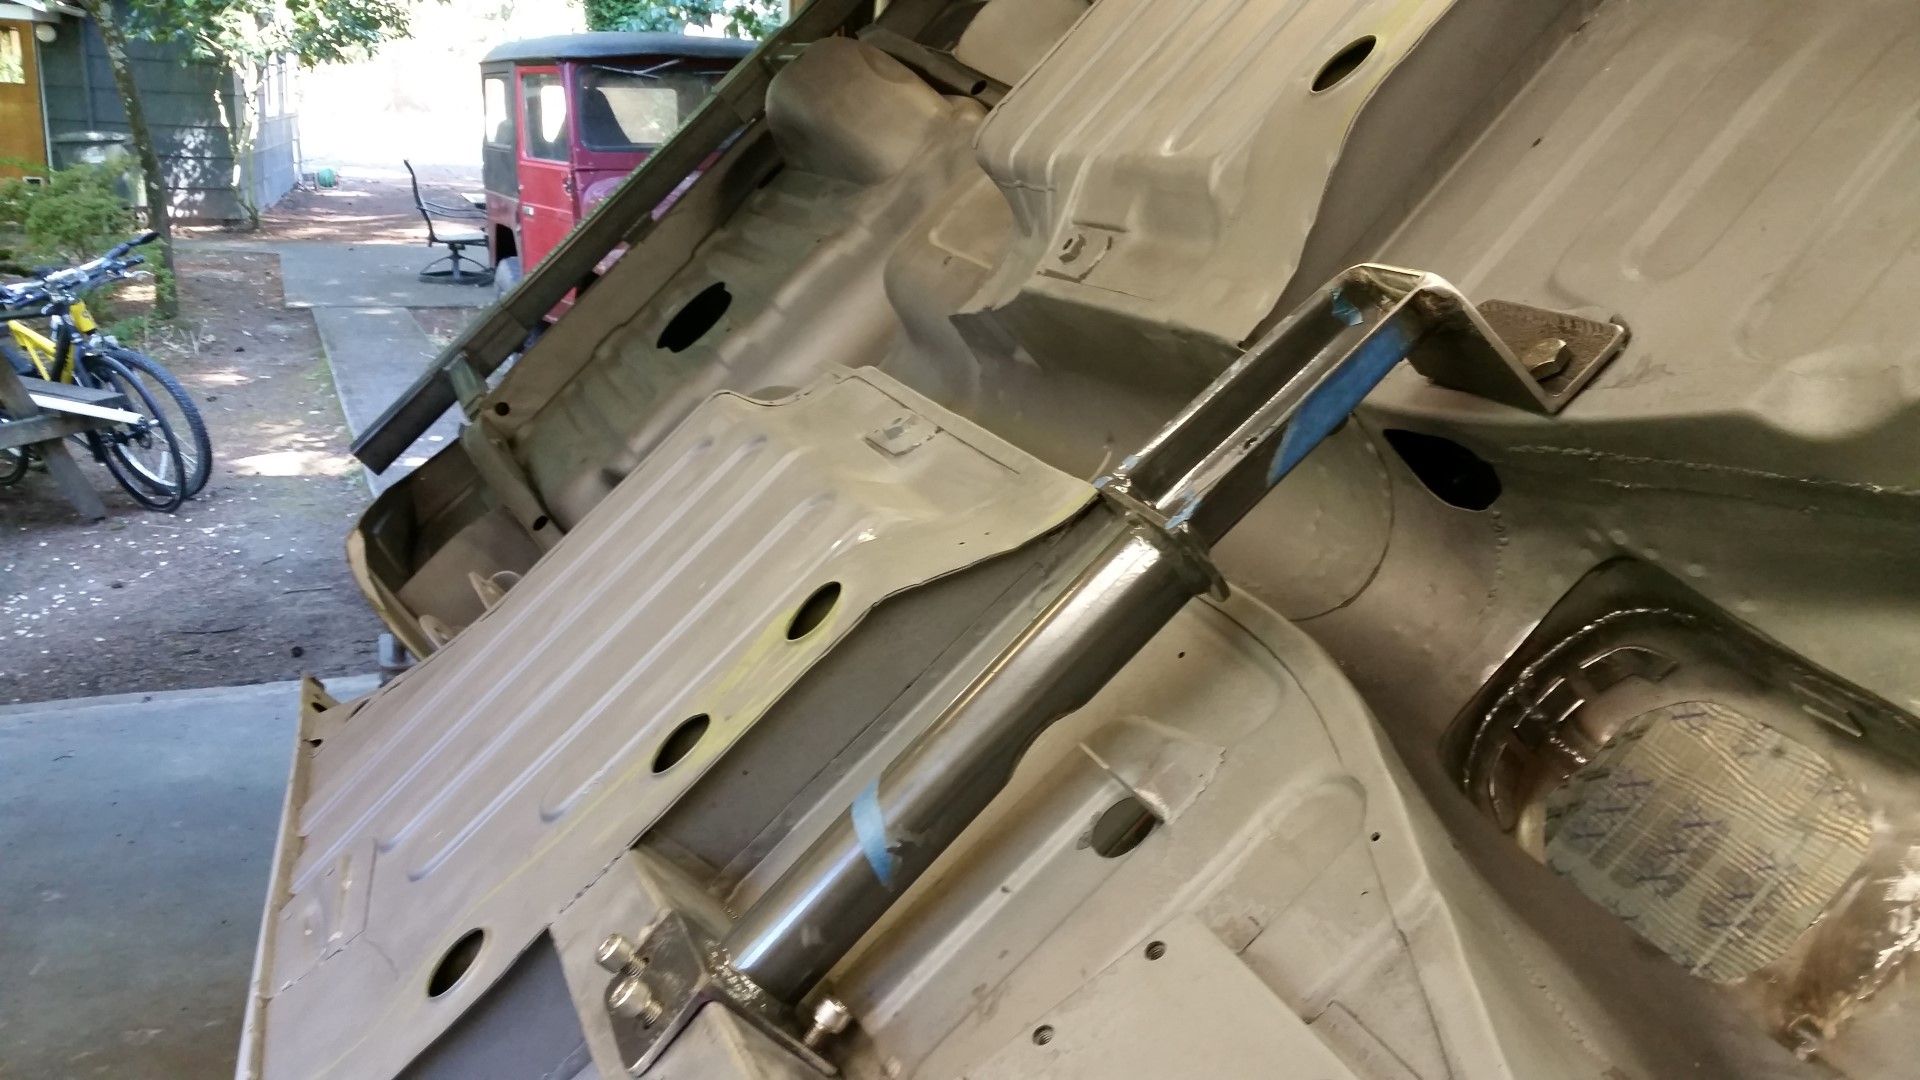
|
|
|
|
|
07-29-2014, 04:38 PM
|
#23 |
|
Registered User
Join Date: Aug 2005
Location: Hillsboro Oregon
Posts: 6,449
|
Re: '66 Sunbeam Minx Project - F20C/6sp/4-link/Discs...
While I had the tap set out I made some shoulder belt mounts for the rear:
|
|
|
|
|
07-29-2014, 04:46 PM
|
#24 |
|
Registered User
Join Date: Aug 2005
Location: Hillsboro Oregon
Posts: 6,449
|
Re: '66 Sunbeam Minx Project - F20C/6sp/4-link/Discs...
Made blood happen while prepping this patch (previously mentioned front inner fender spot)
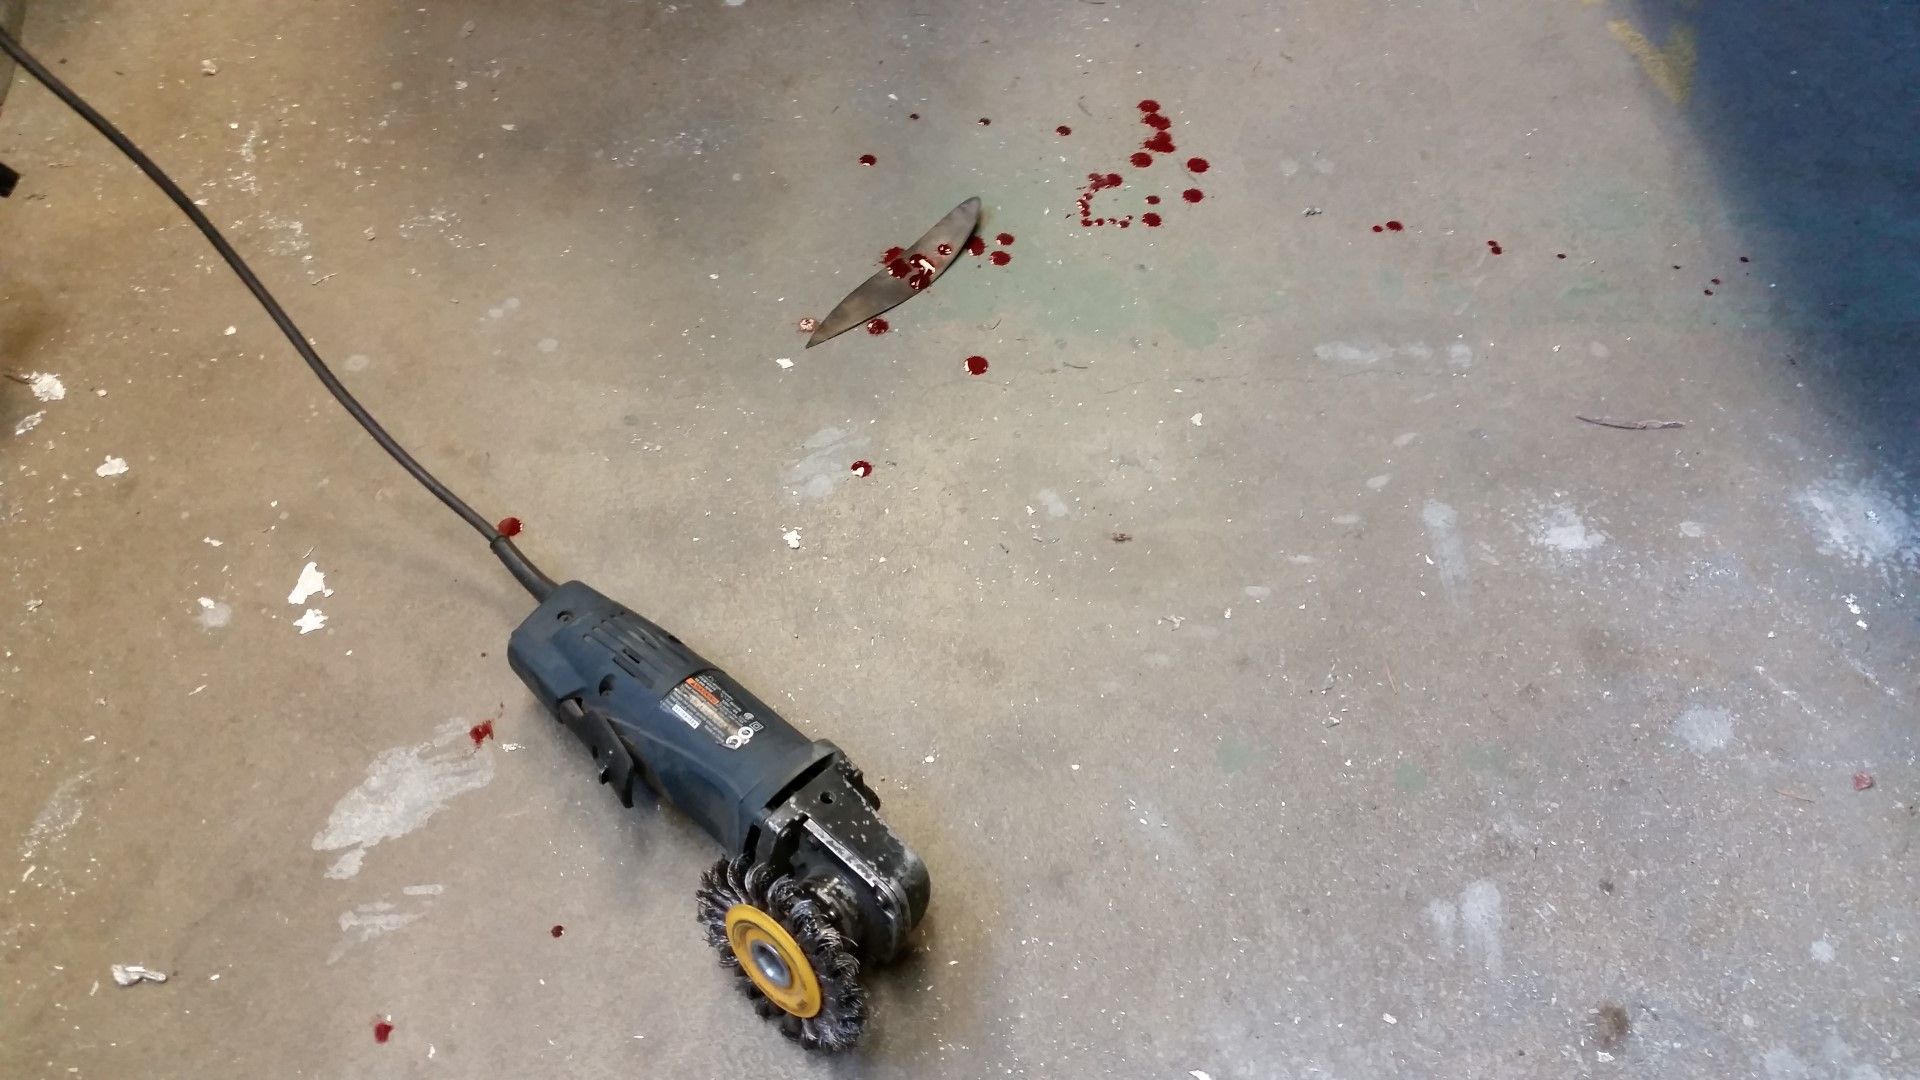 It was actually just a tiny puncture in a large vessel (squirter) 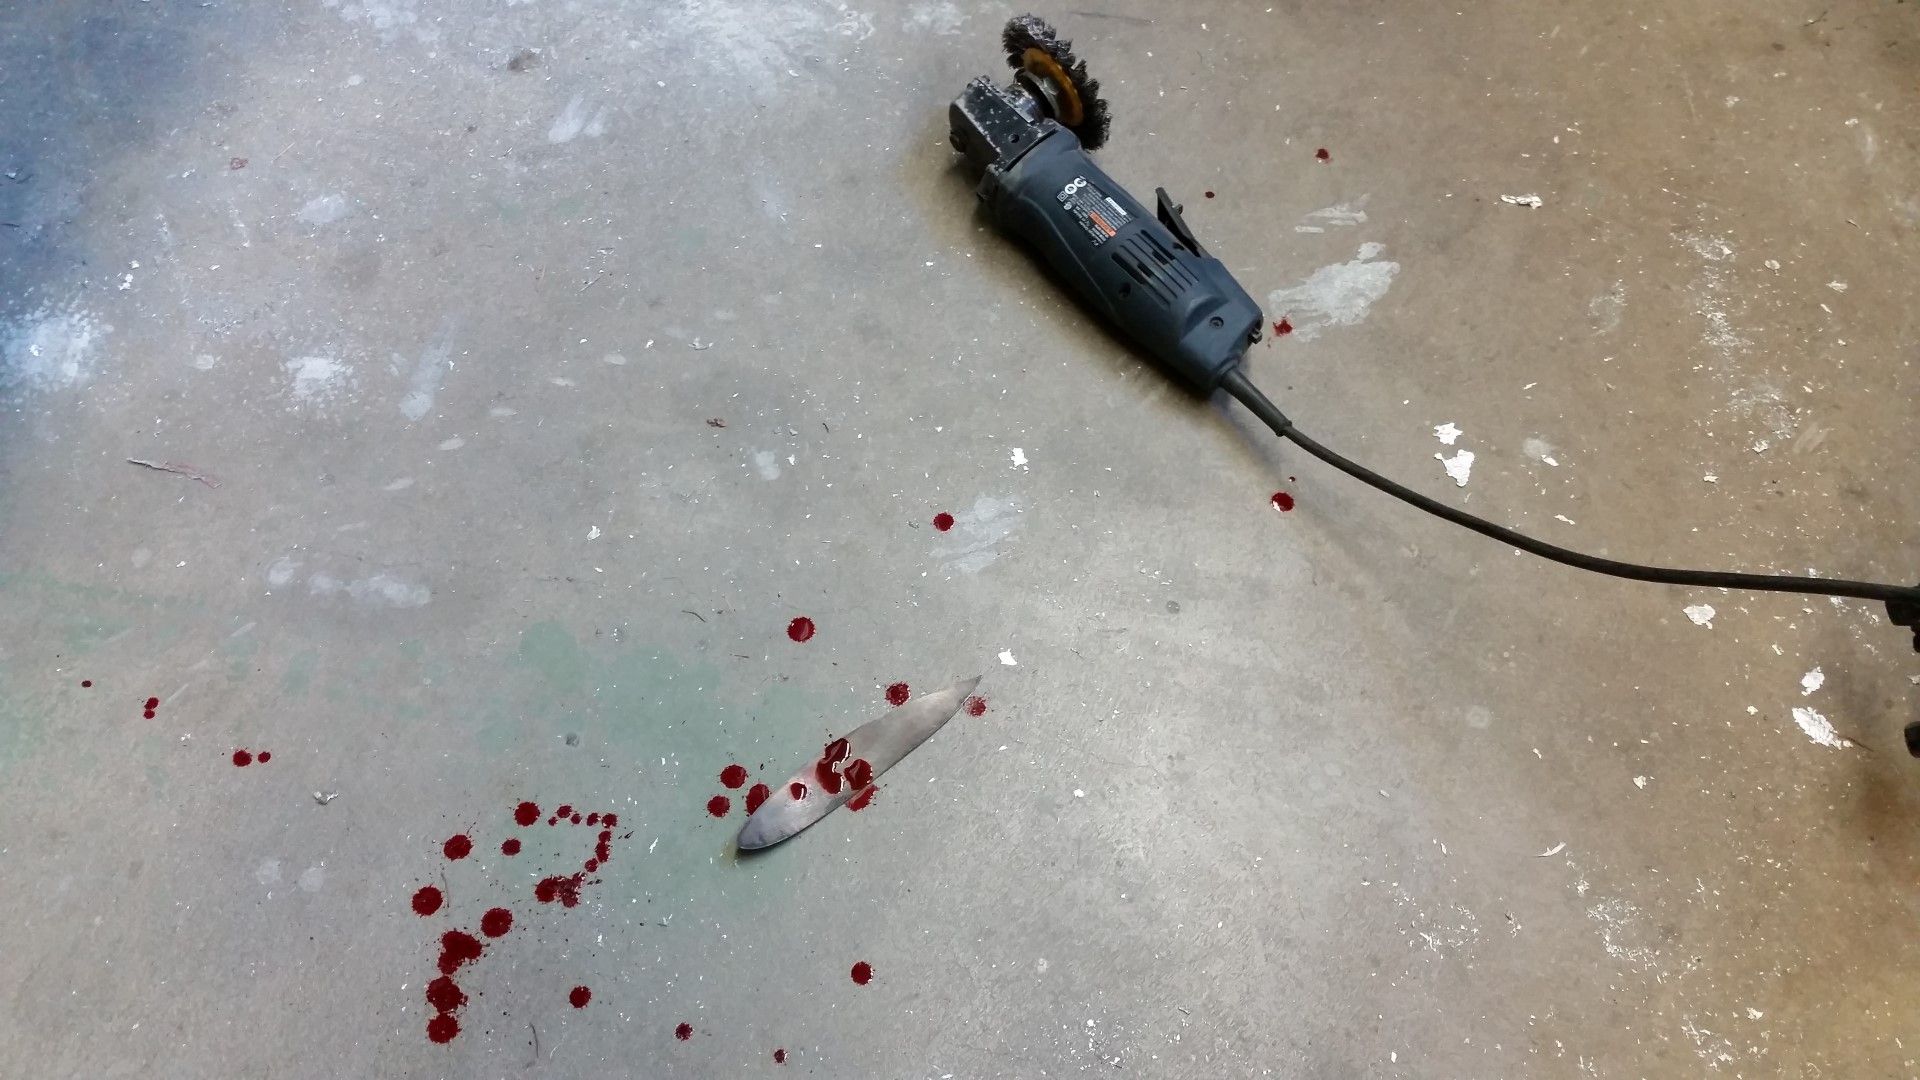 Luckily my apprentice and future successor was there to save my life before getting back to work. 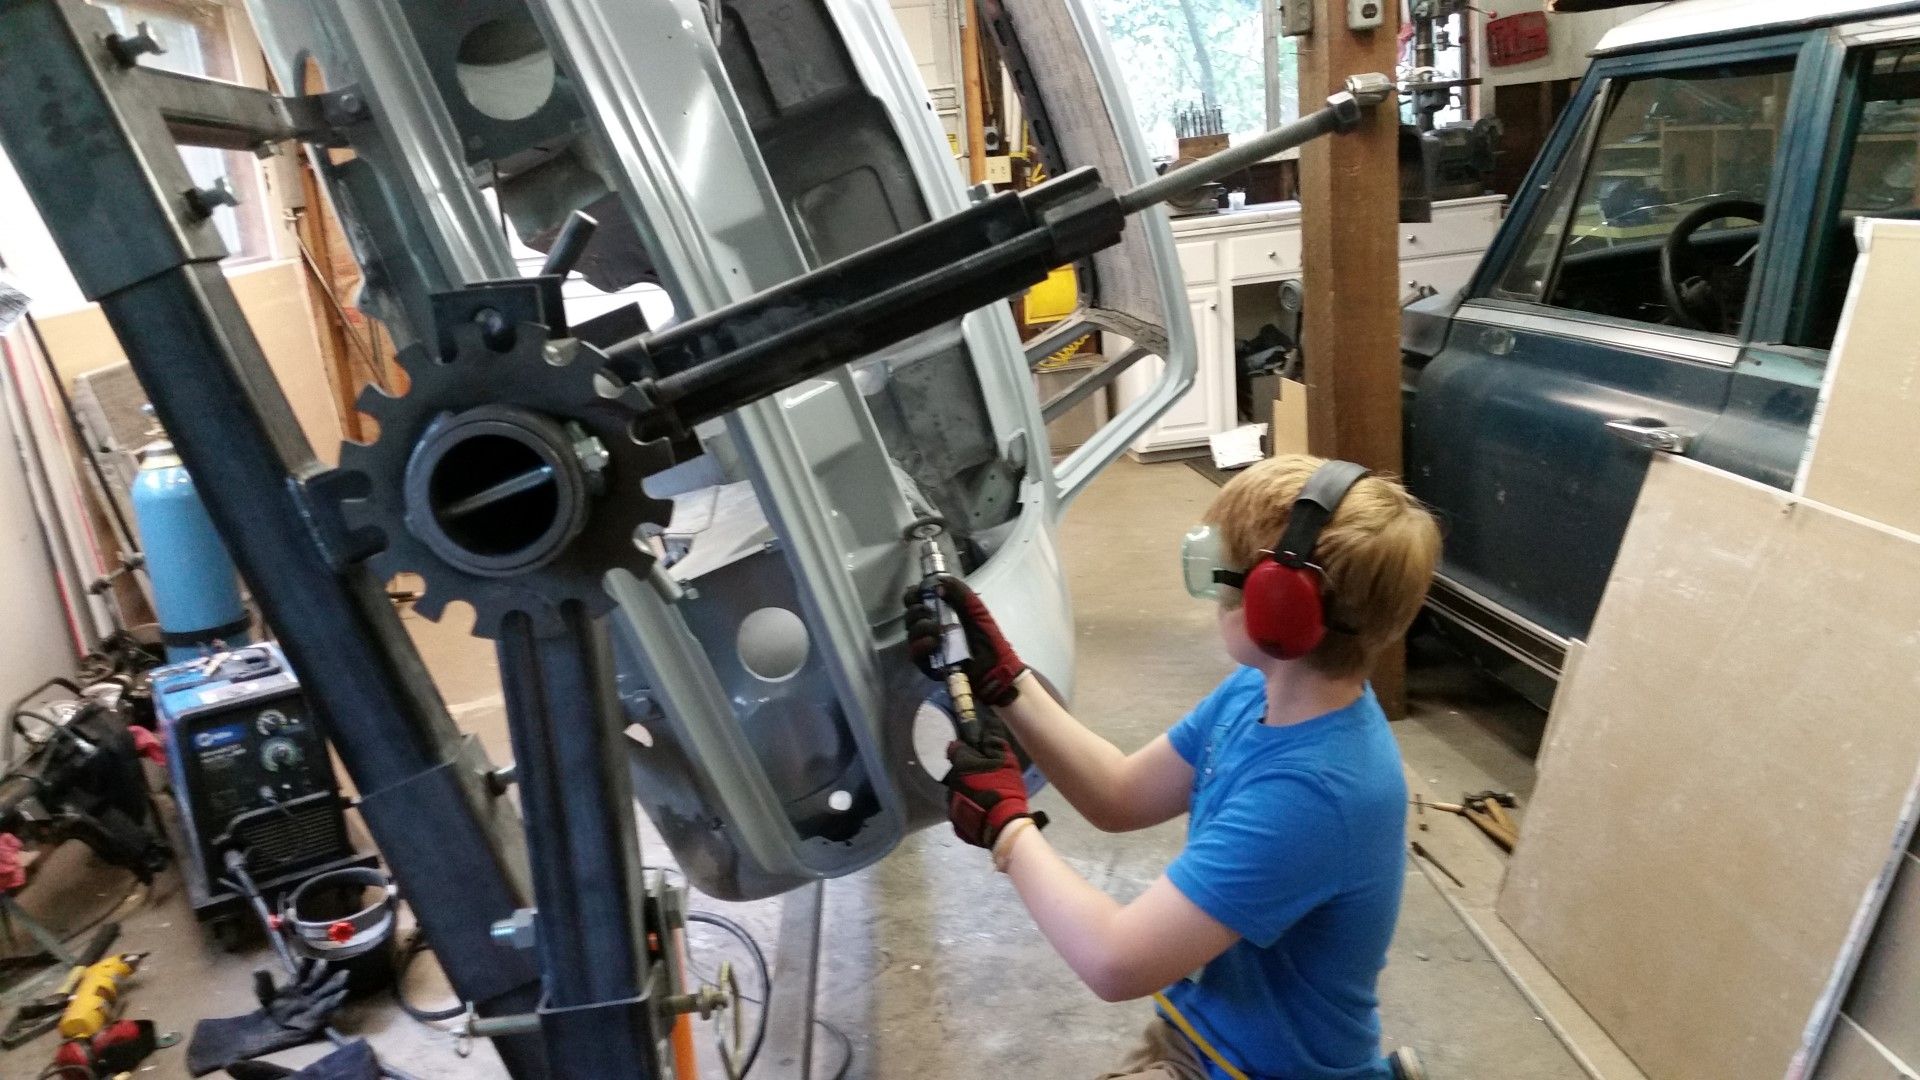 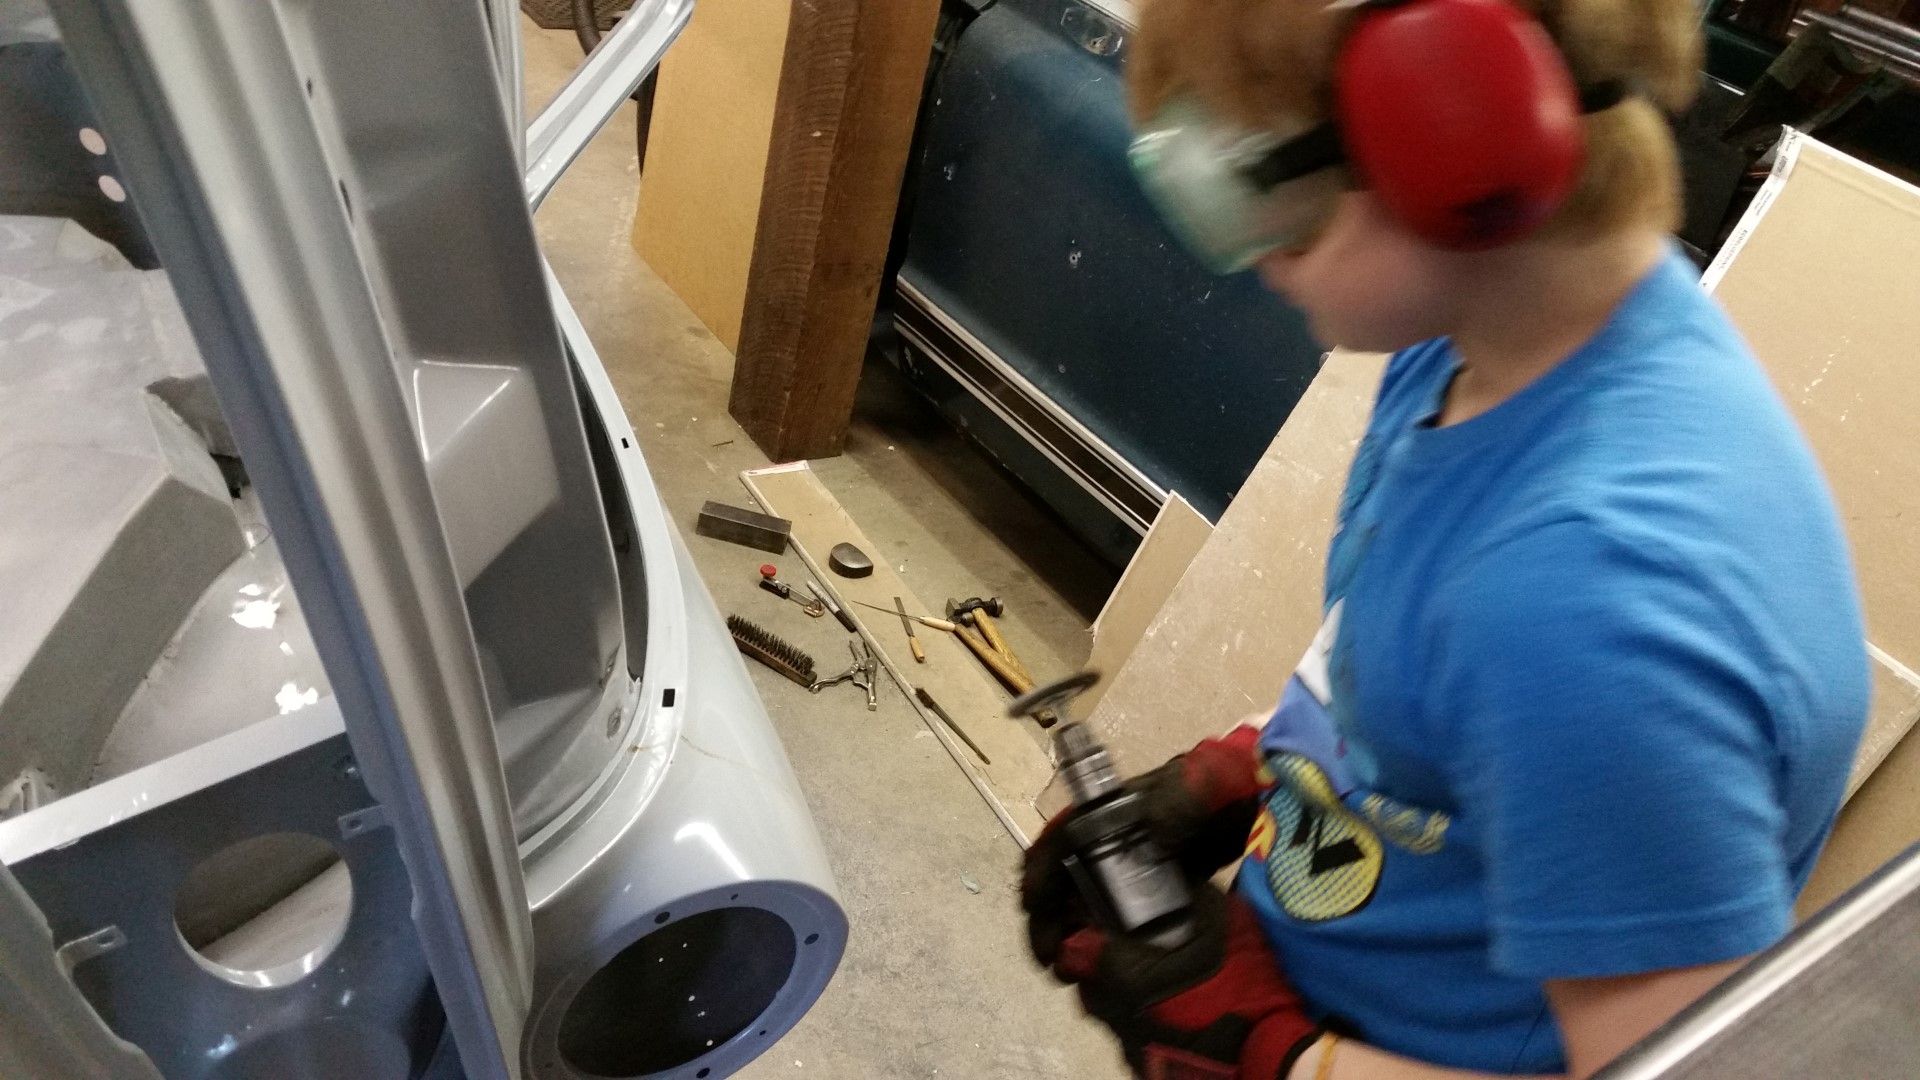 He's prep'ing old engine tag mount holes for welding. 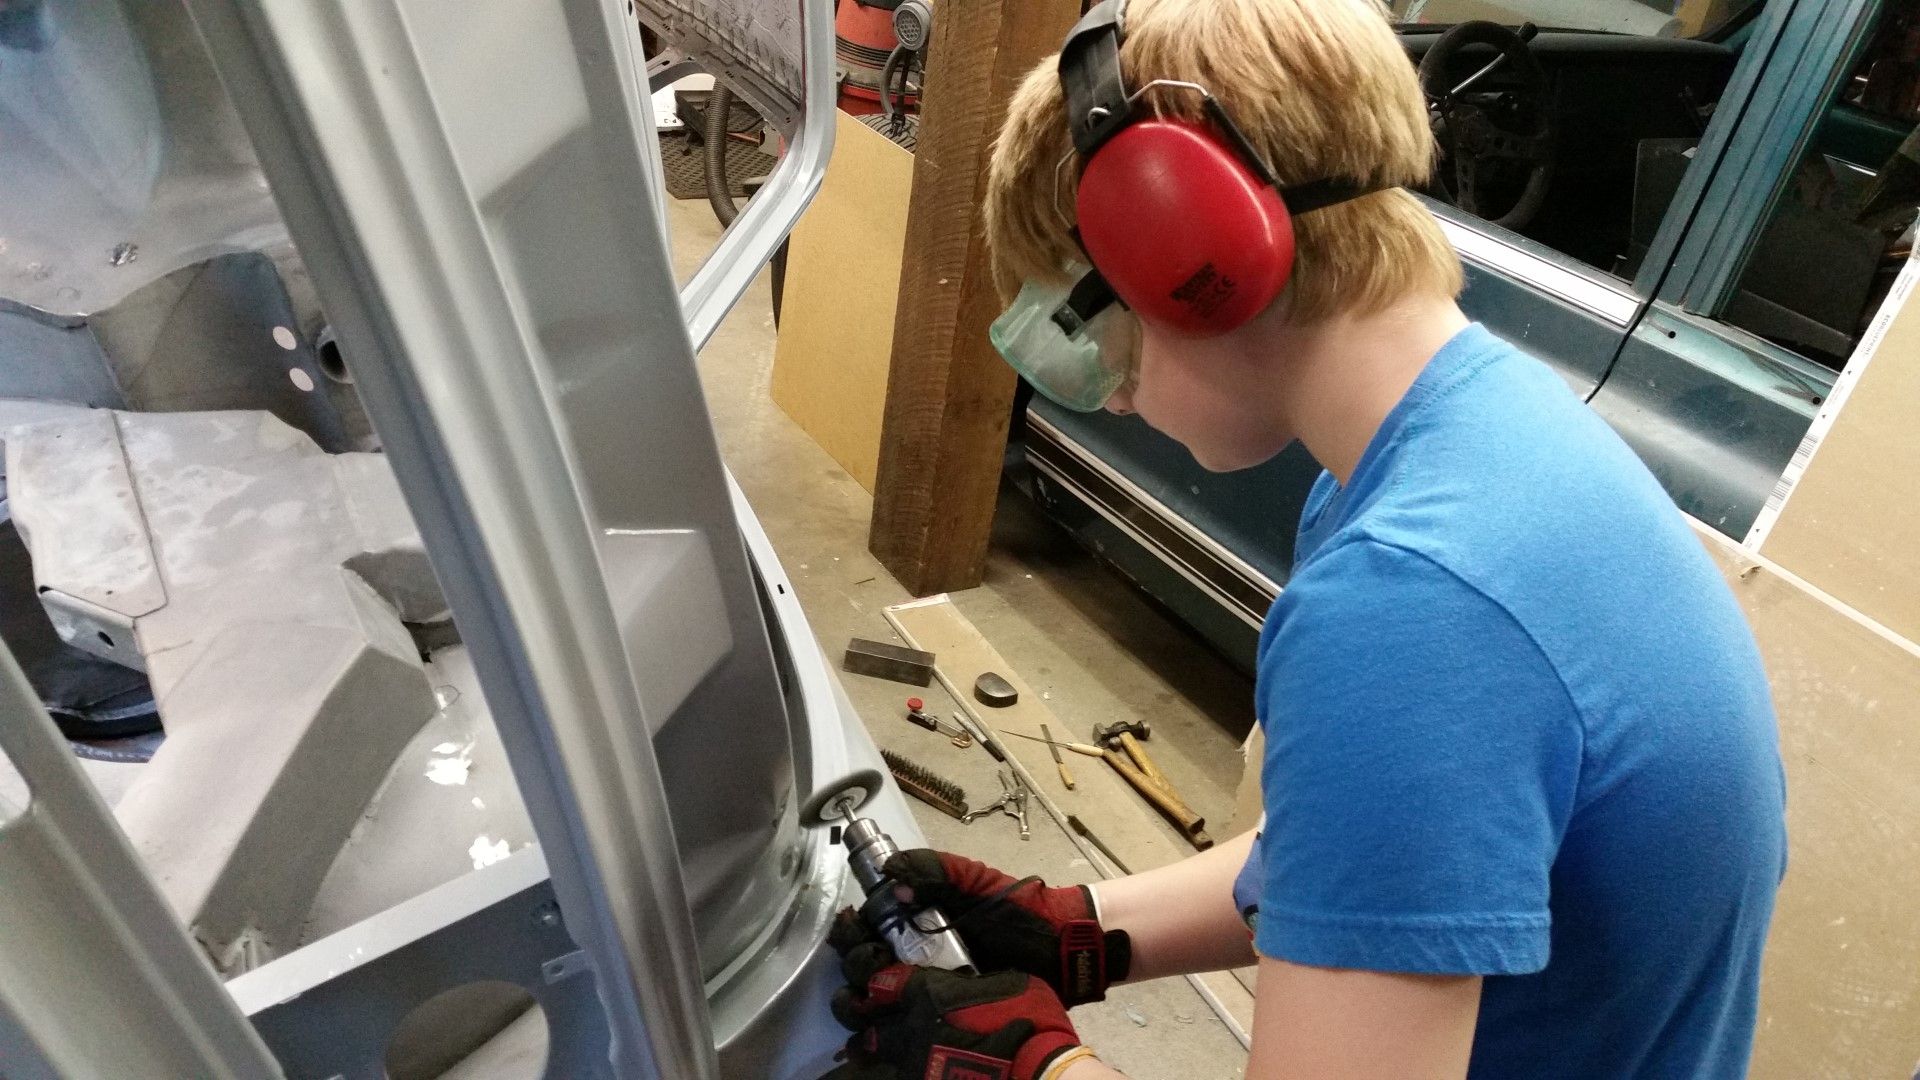
|
|
|
|
|
07-29-2014, 04:54 PM
|
#25 |
|
Registered User
Join Date: Aug 2005
Location: Hillsboro Oregon
Posts: 6,449
|
Re: '66 Sunbeam Minx Project - F20C/6sp/4-link/Discs...
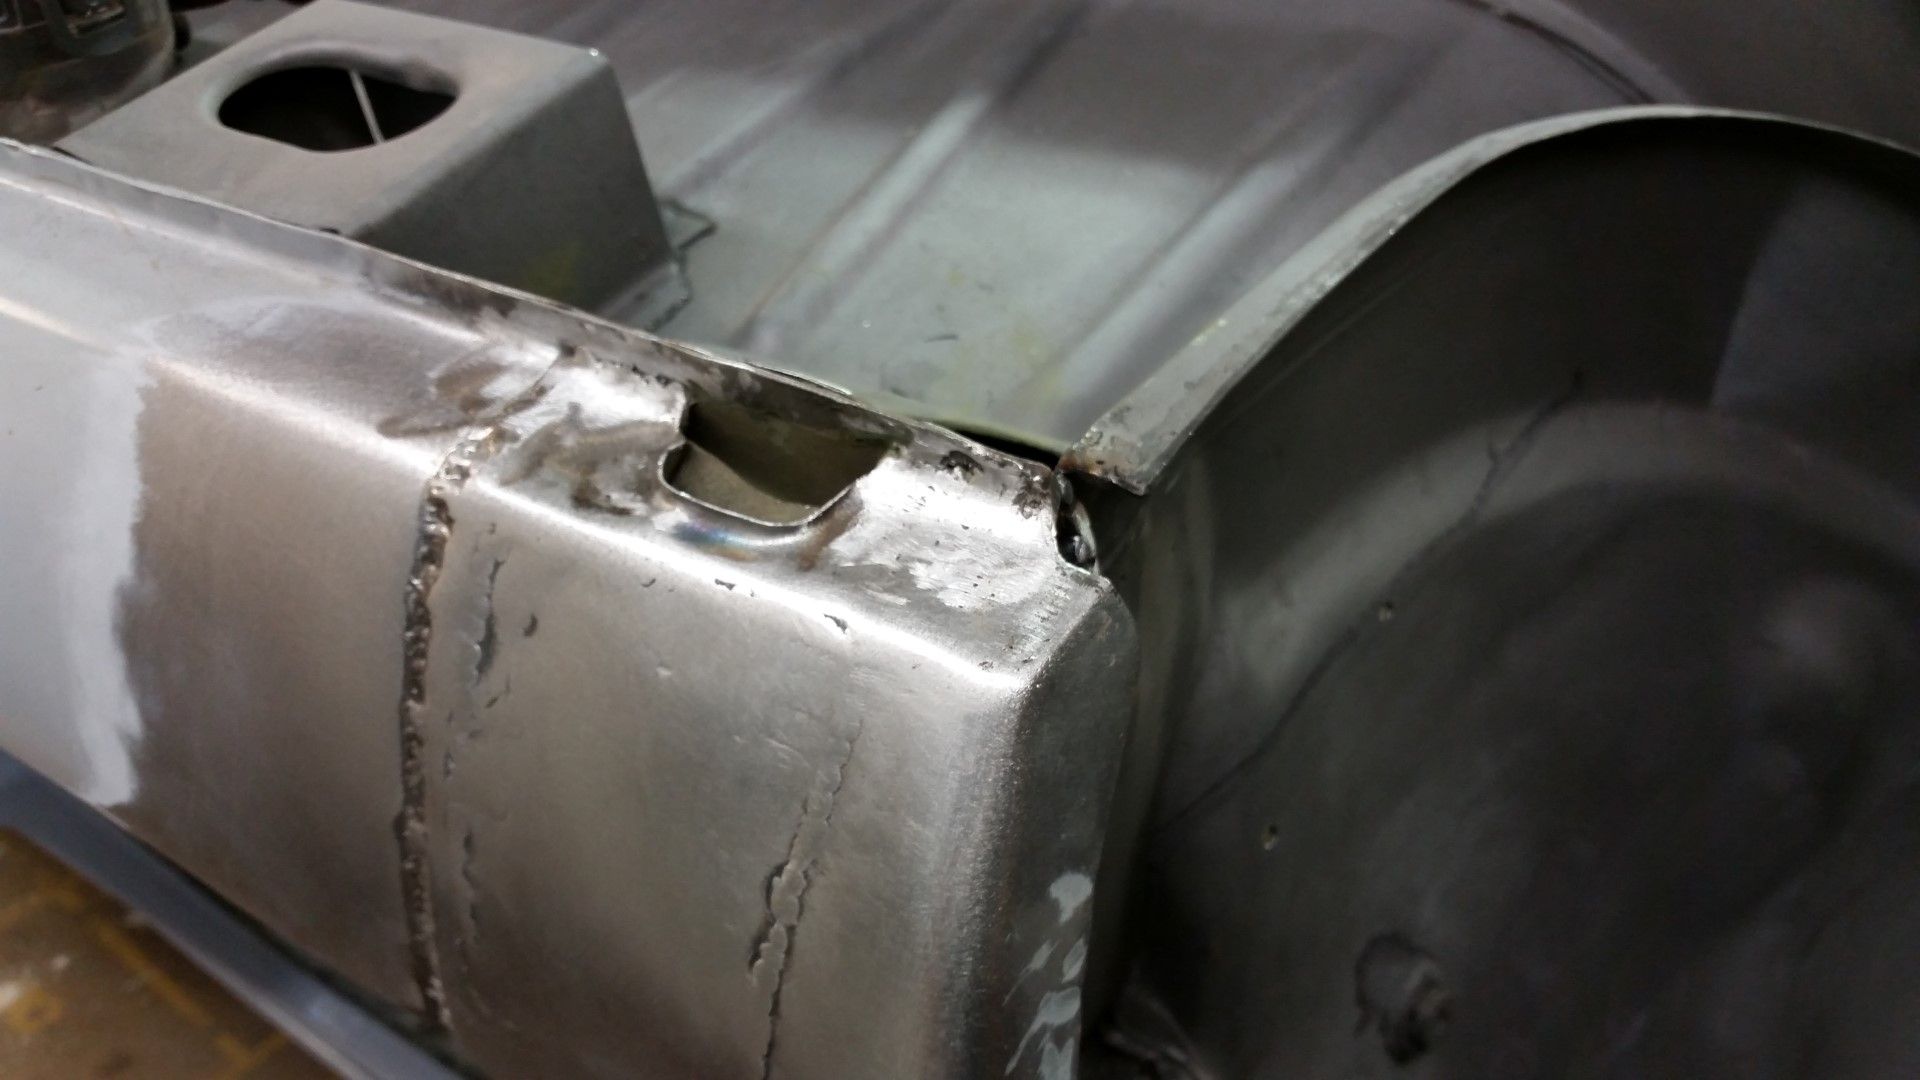
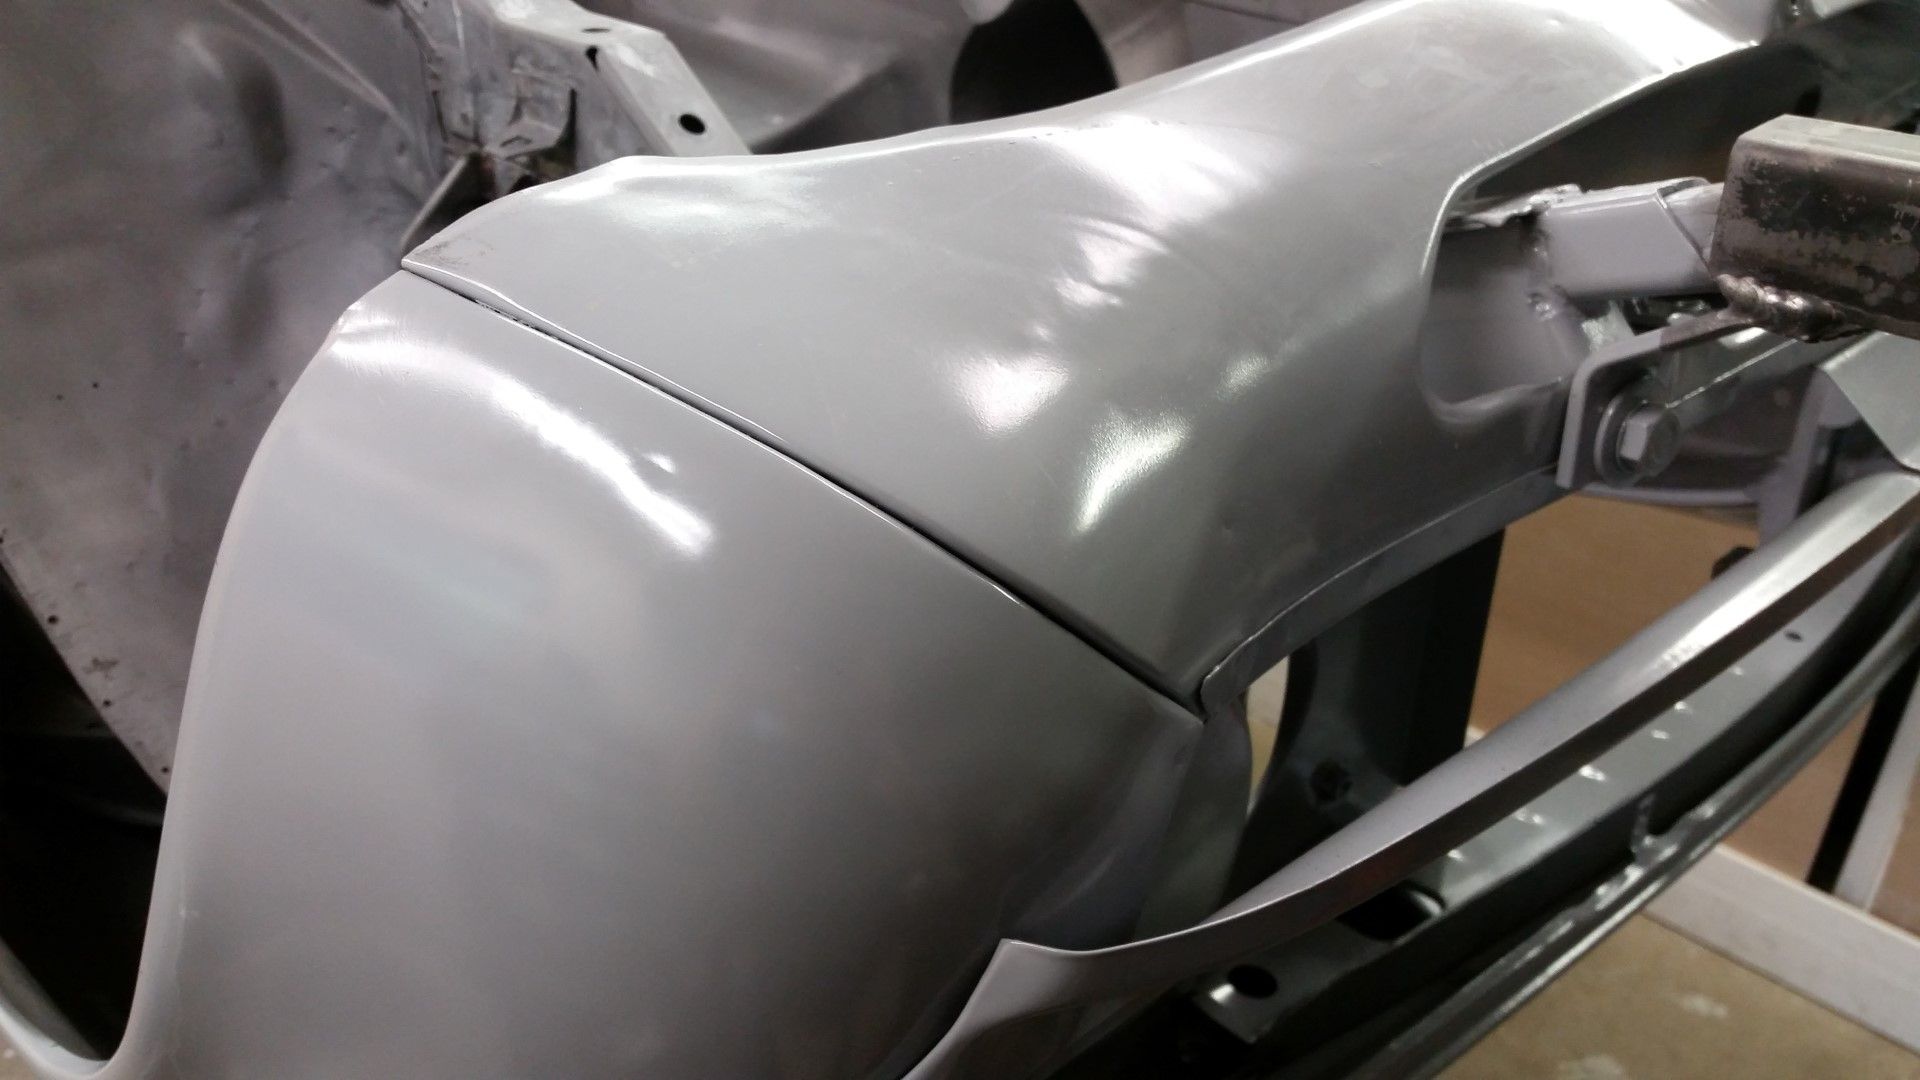
Lot's of other minor details including pin holes and thin spots are now fixed. Spent some time tuning the fender arches into shape.
Last item worth showing is the rear wheel arch to rocker seam filling. Couldn't leave the seams in the rear when the fronts are gone 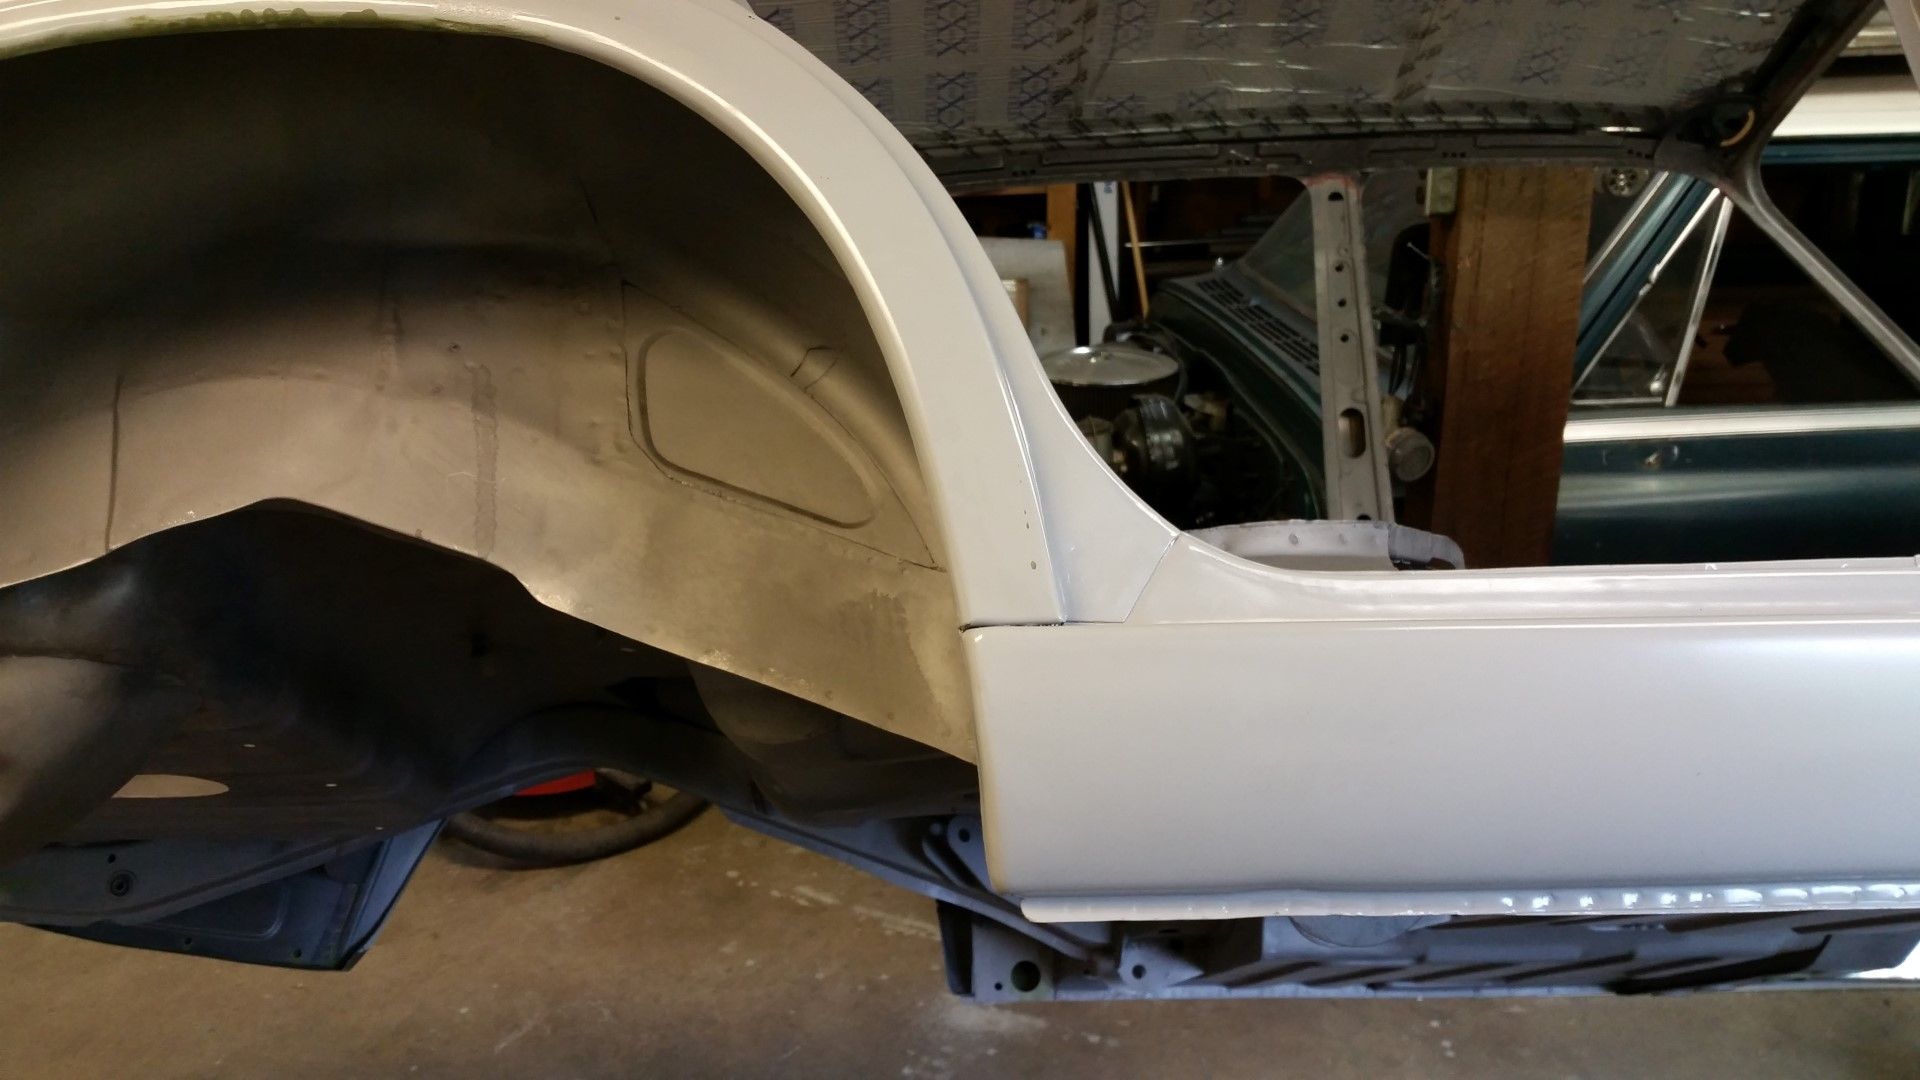 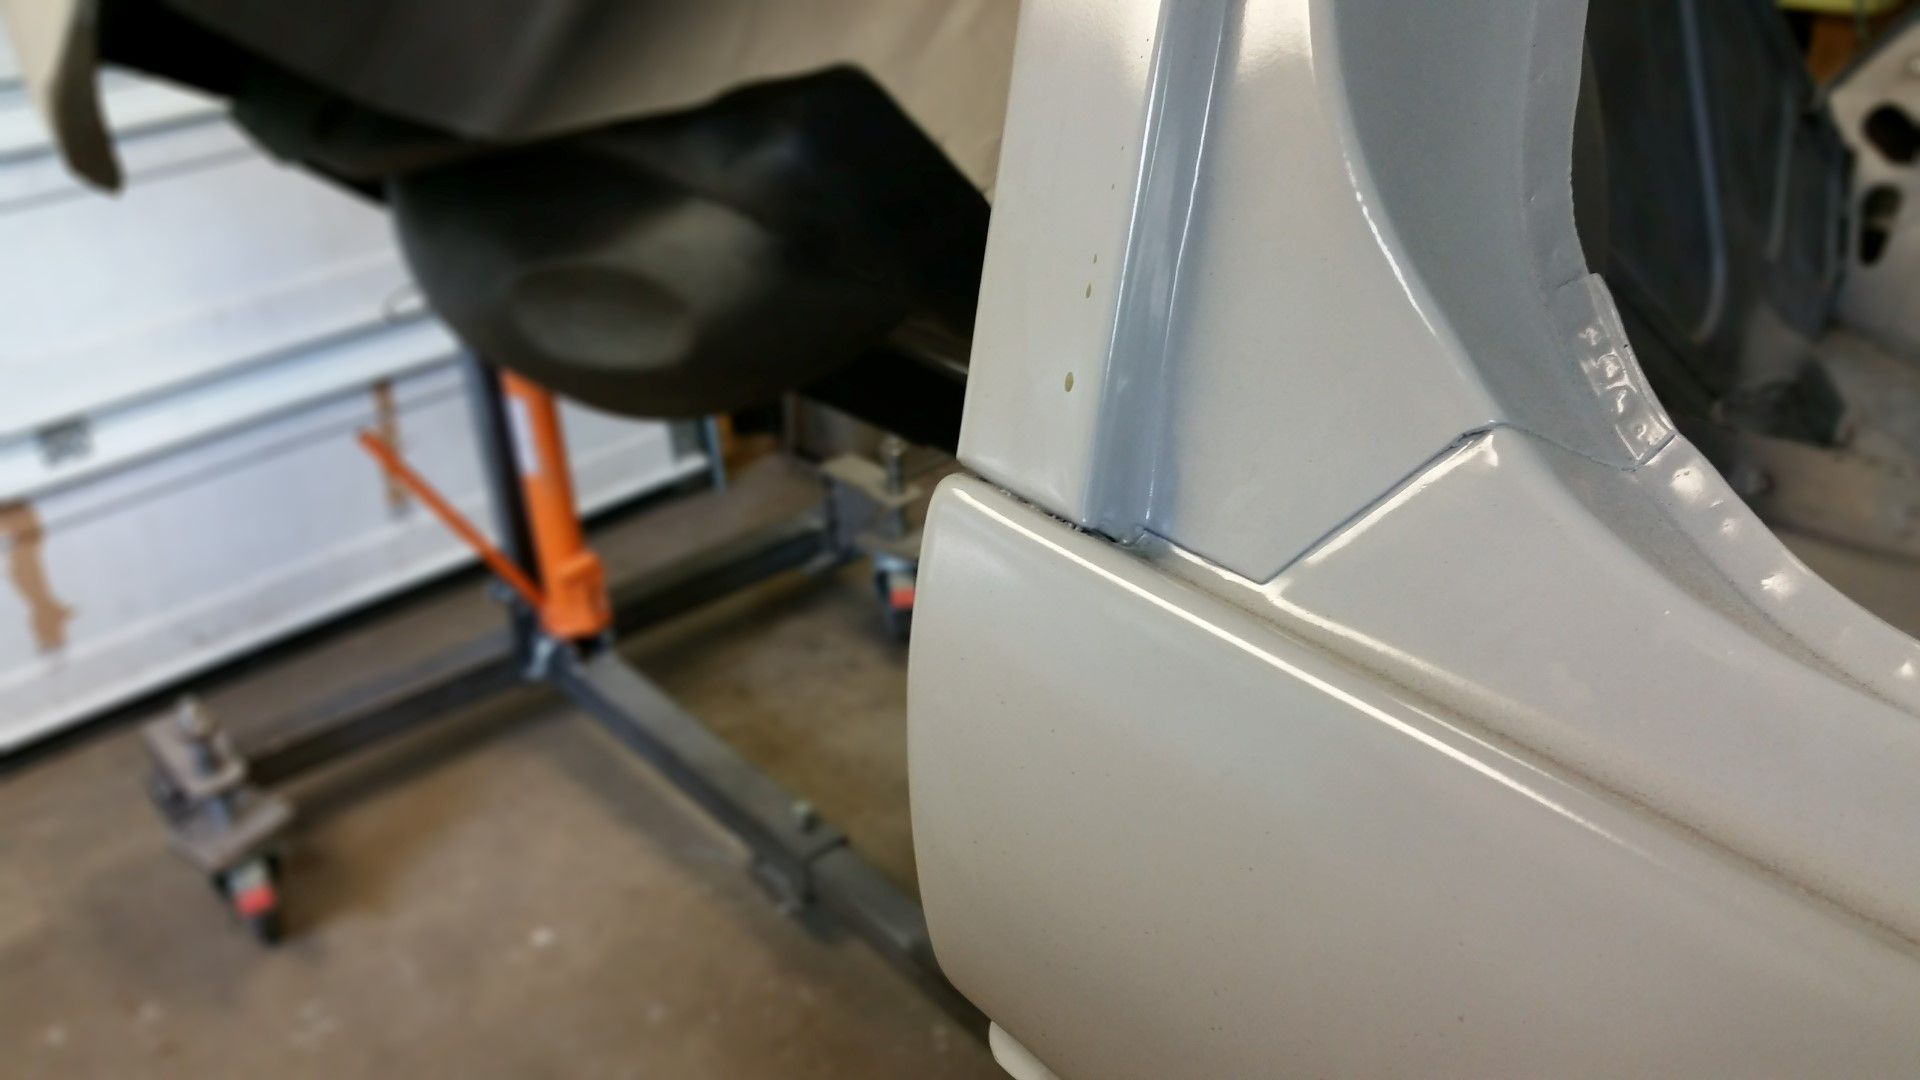 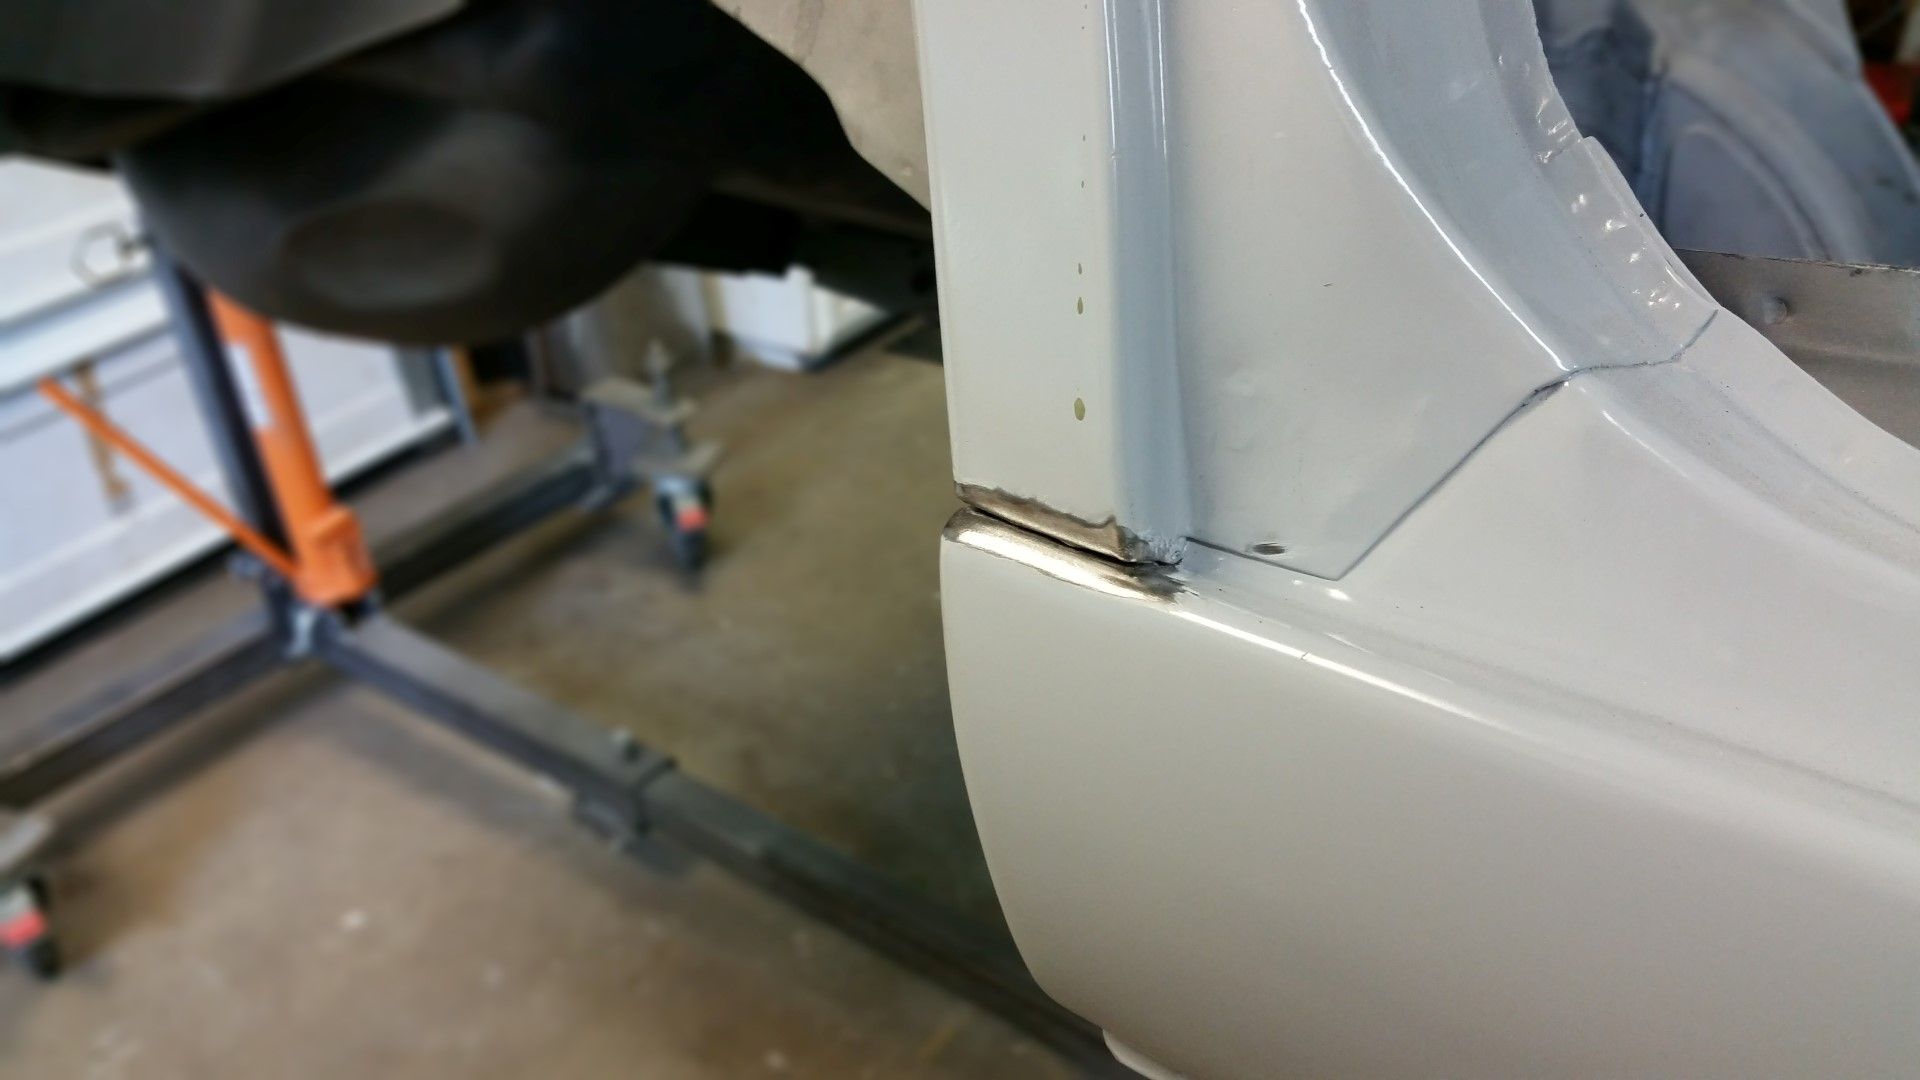 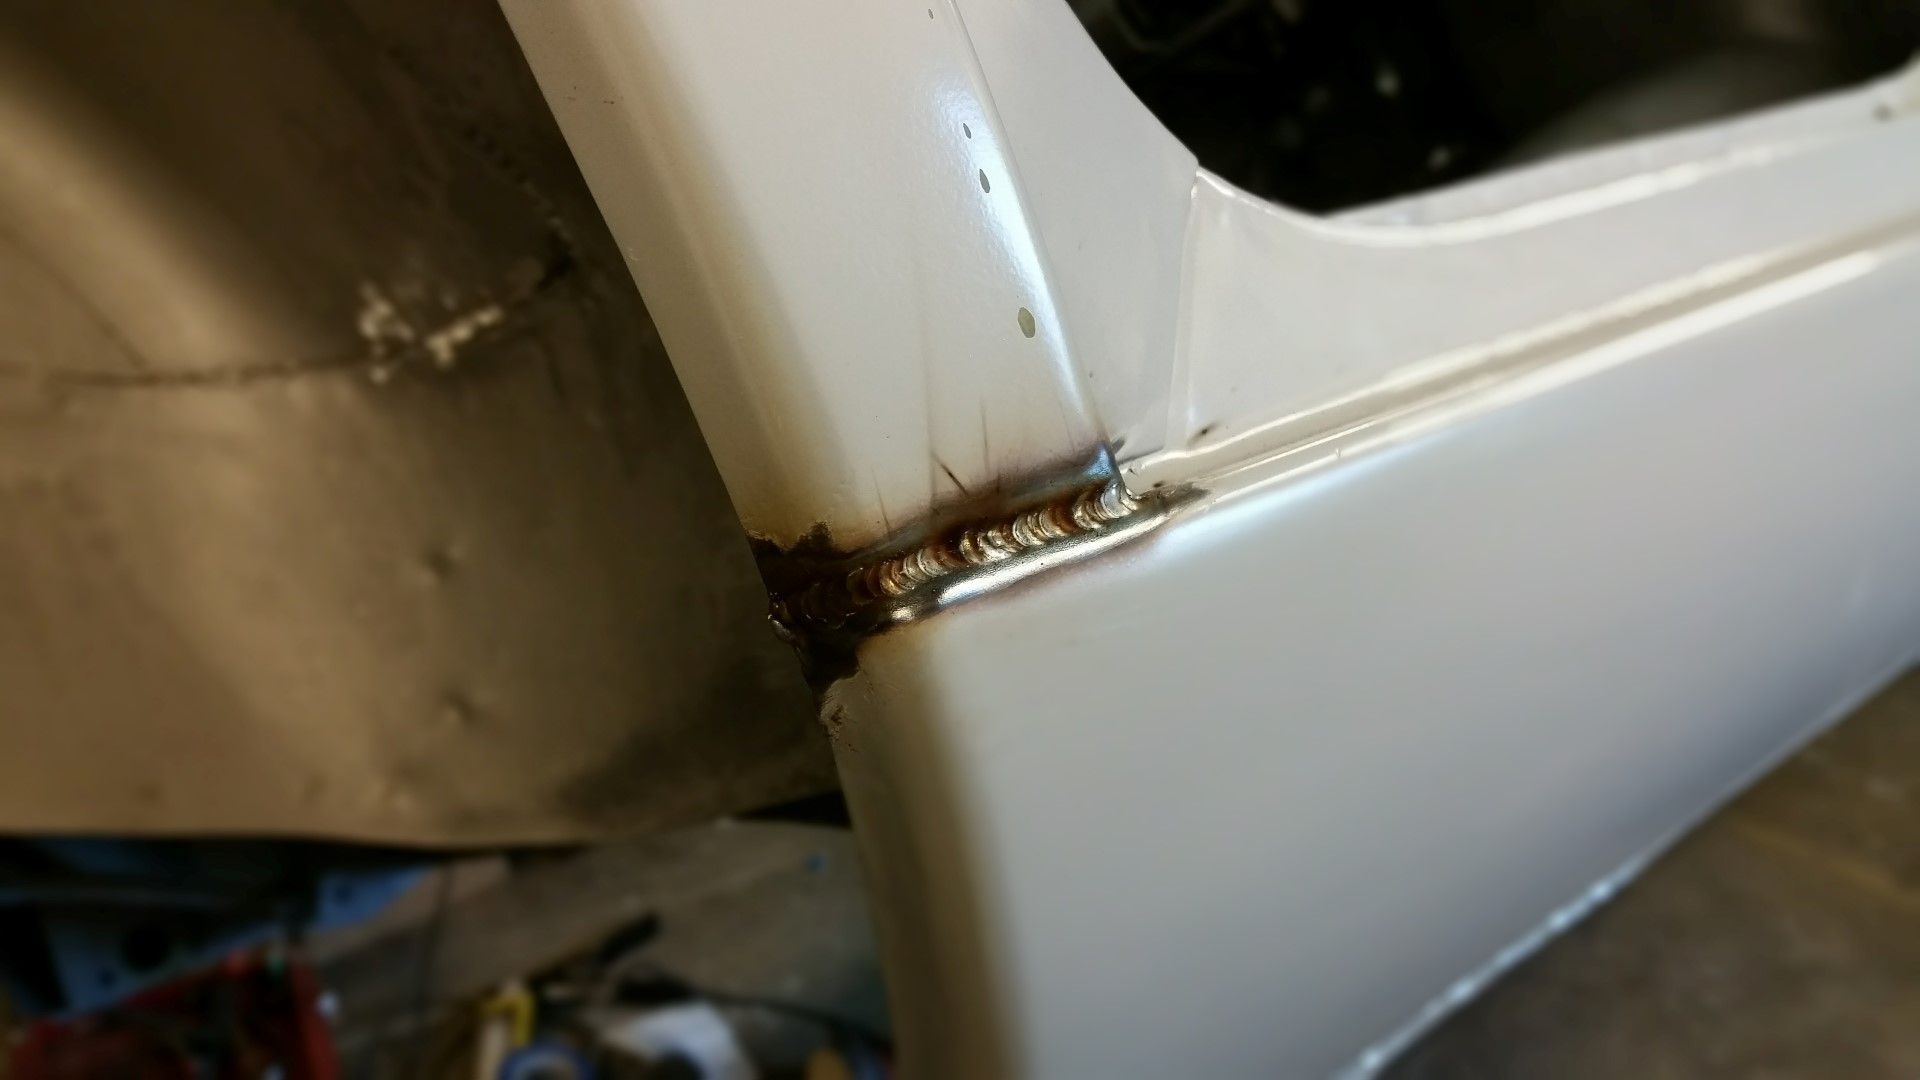 Trim inner edge for continuity: 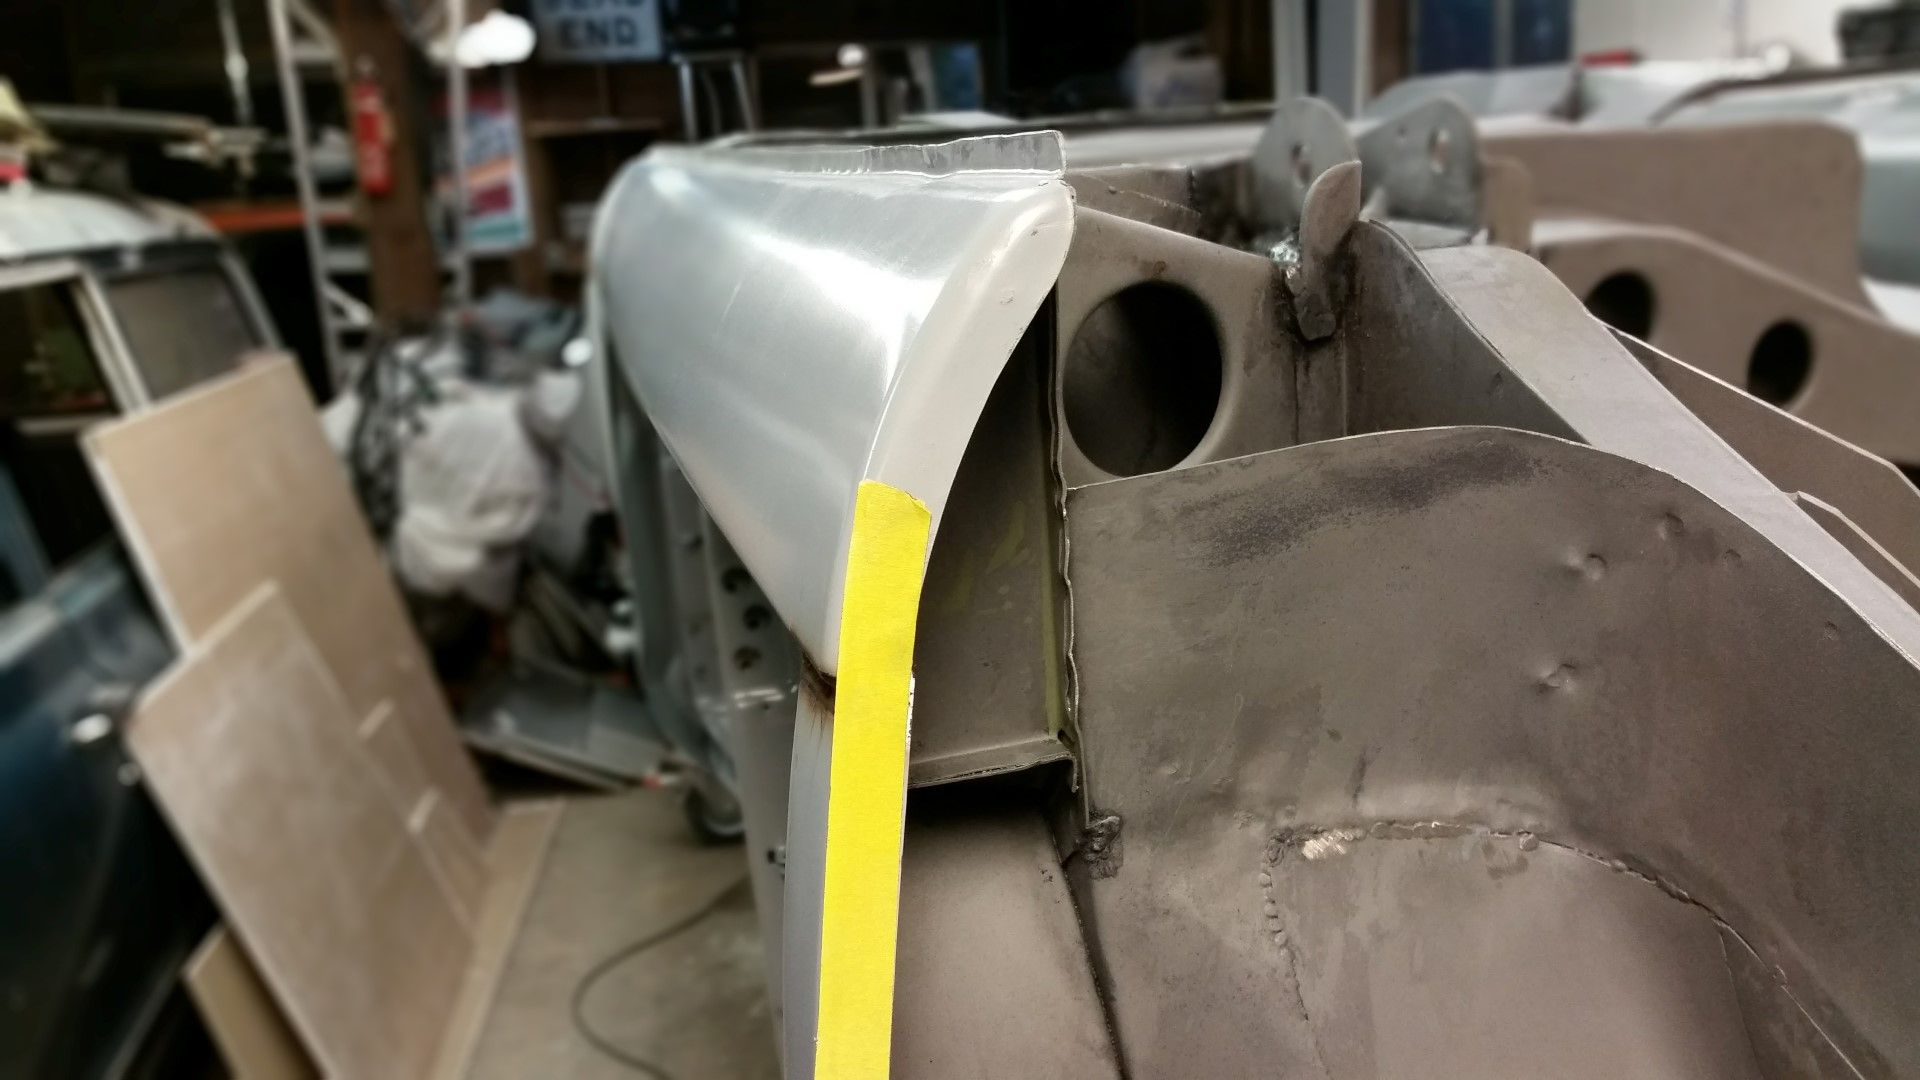 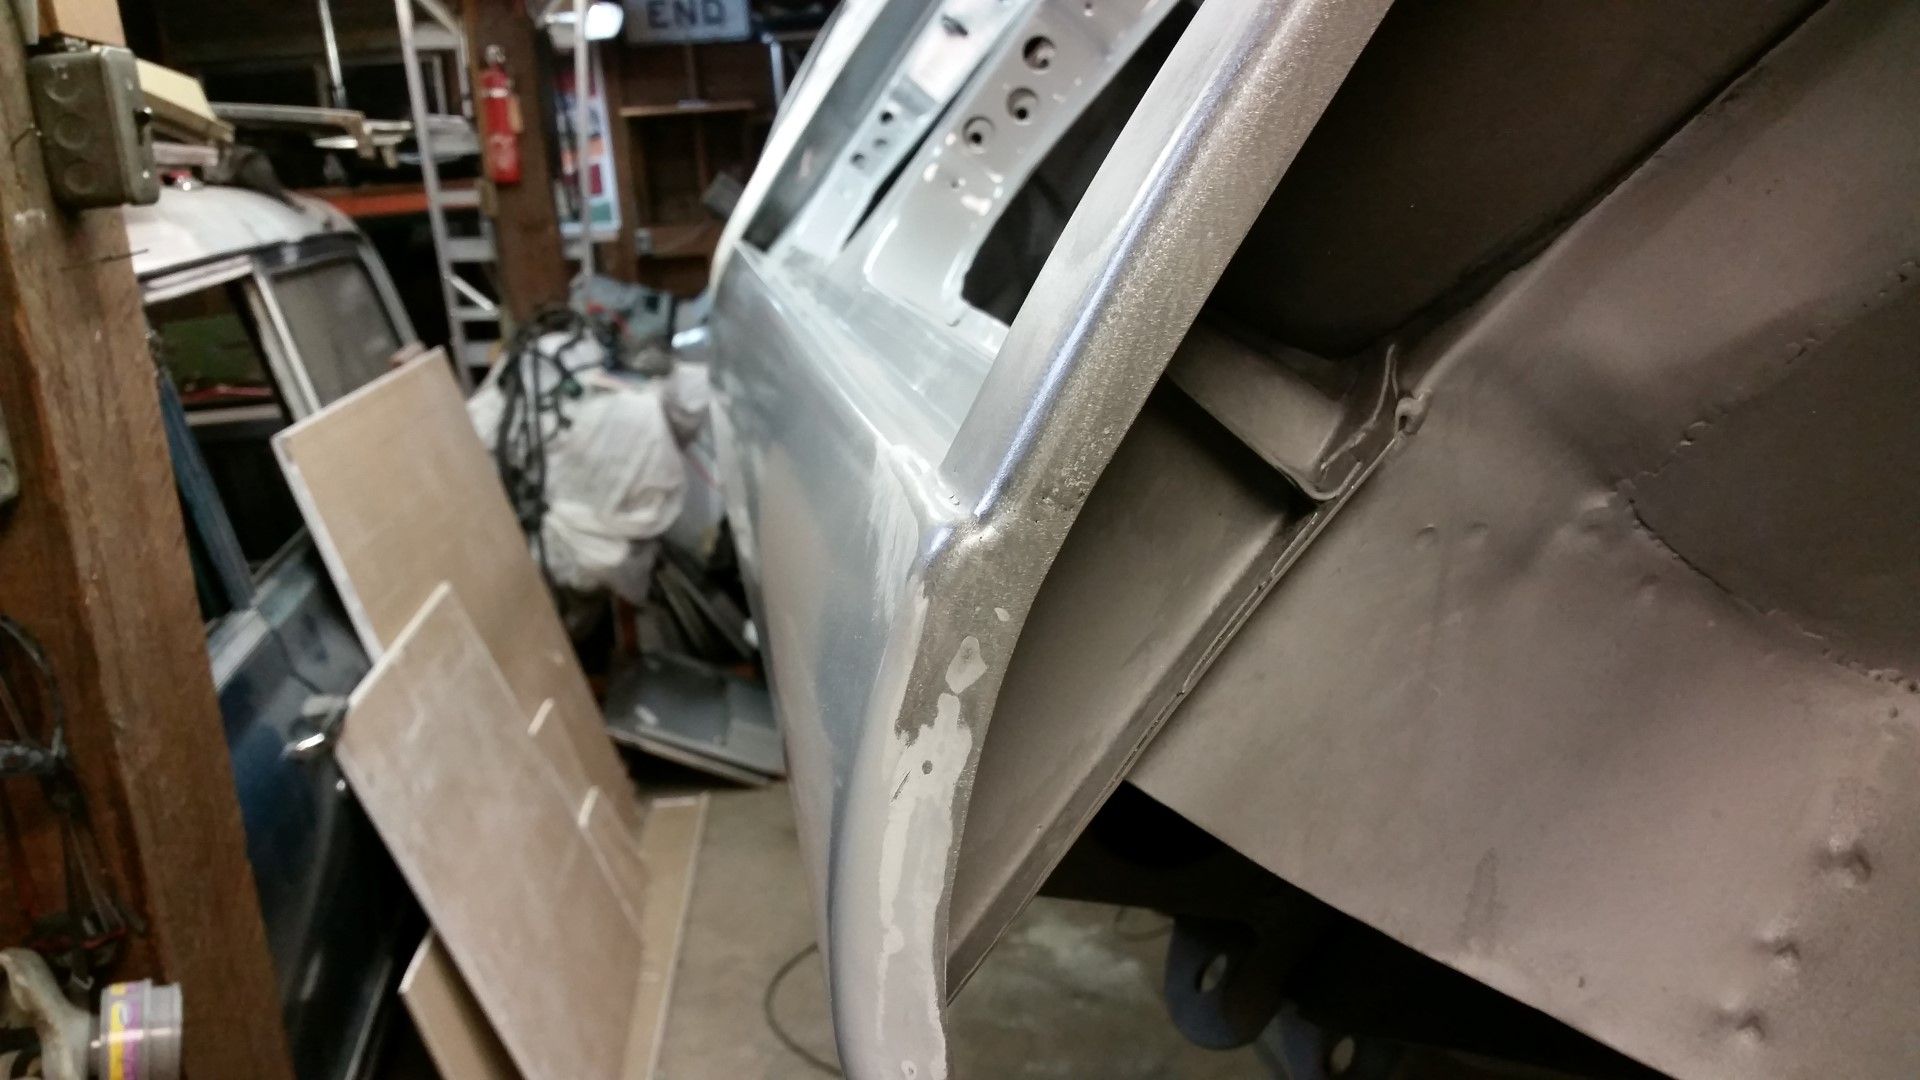 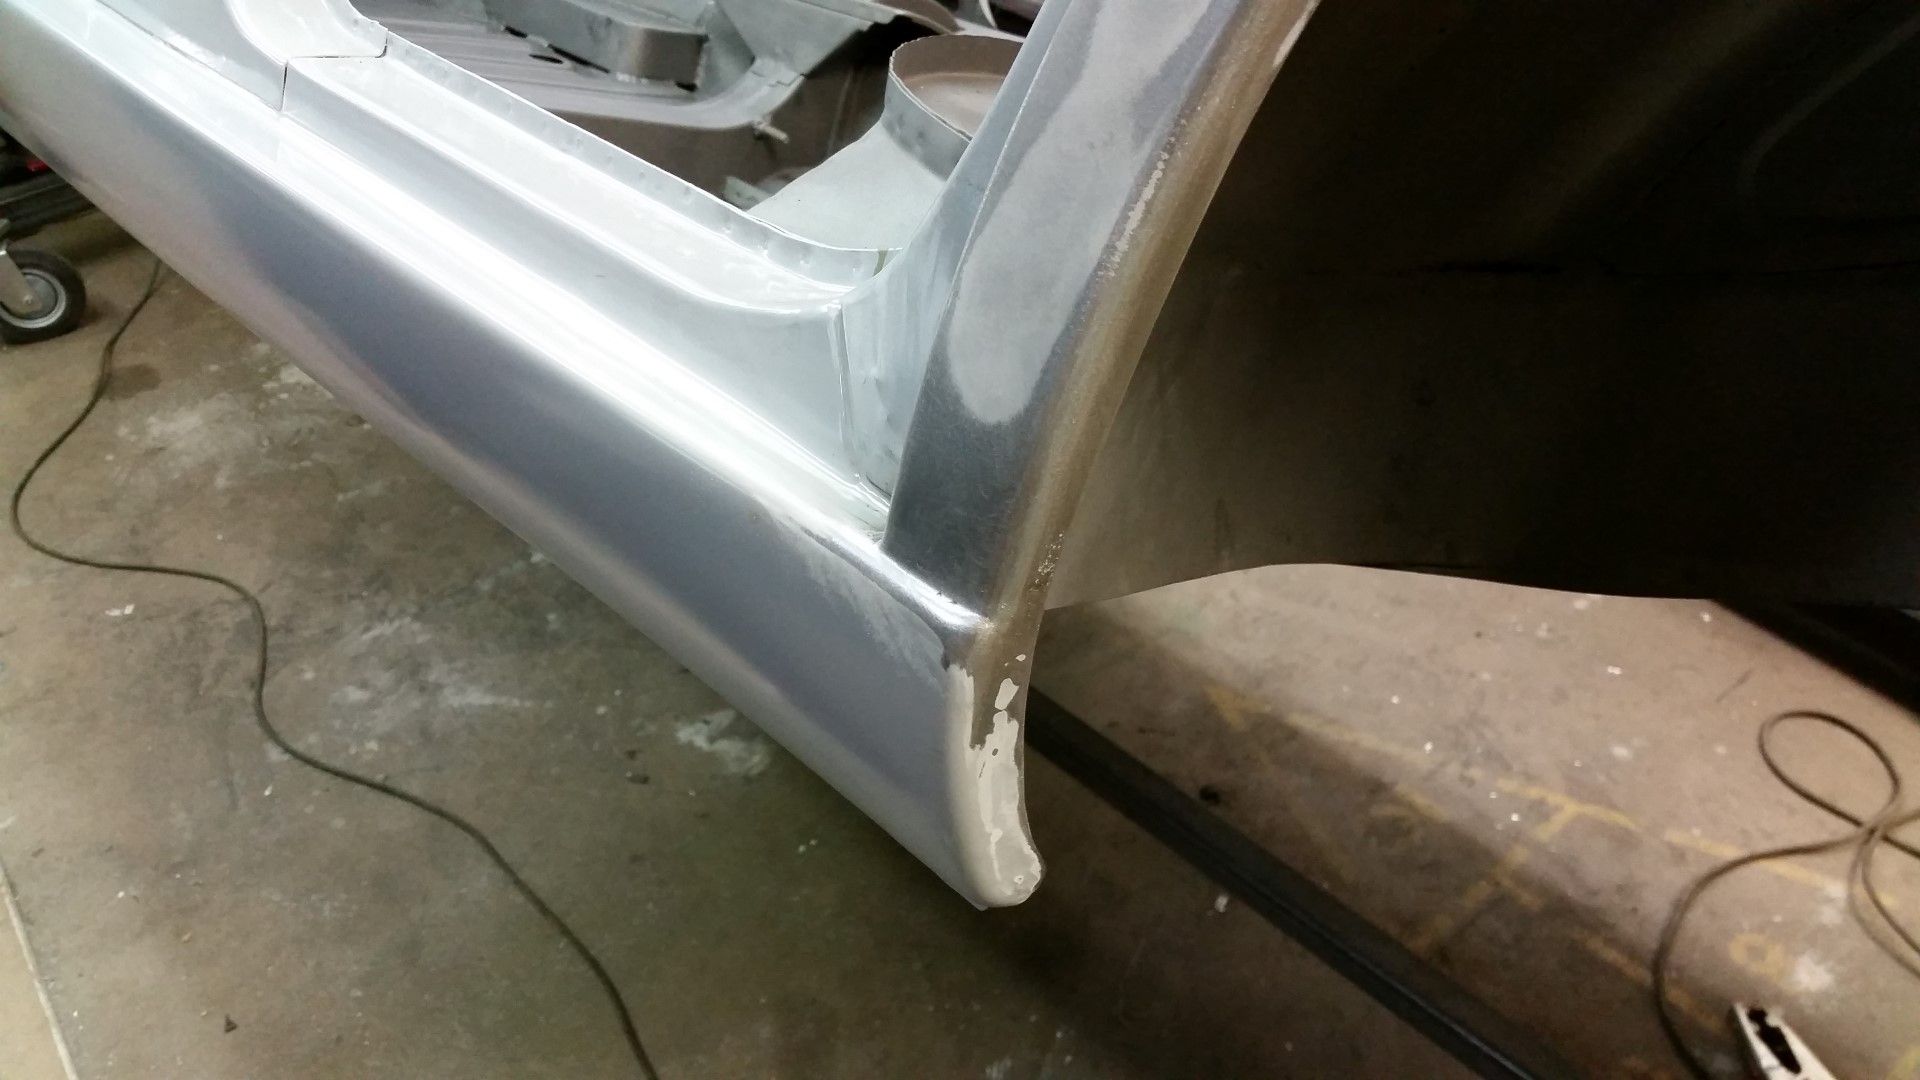 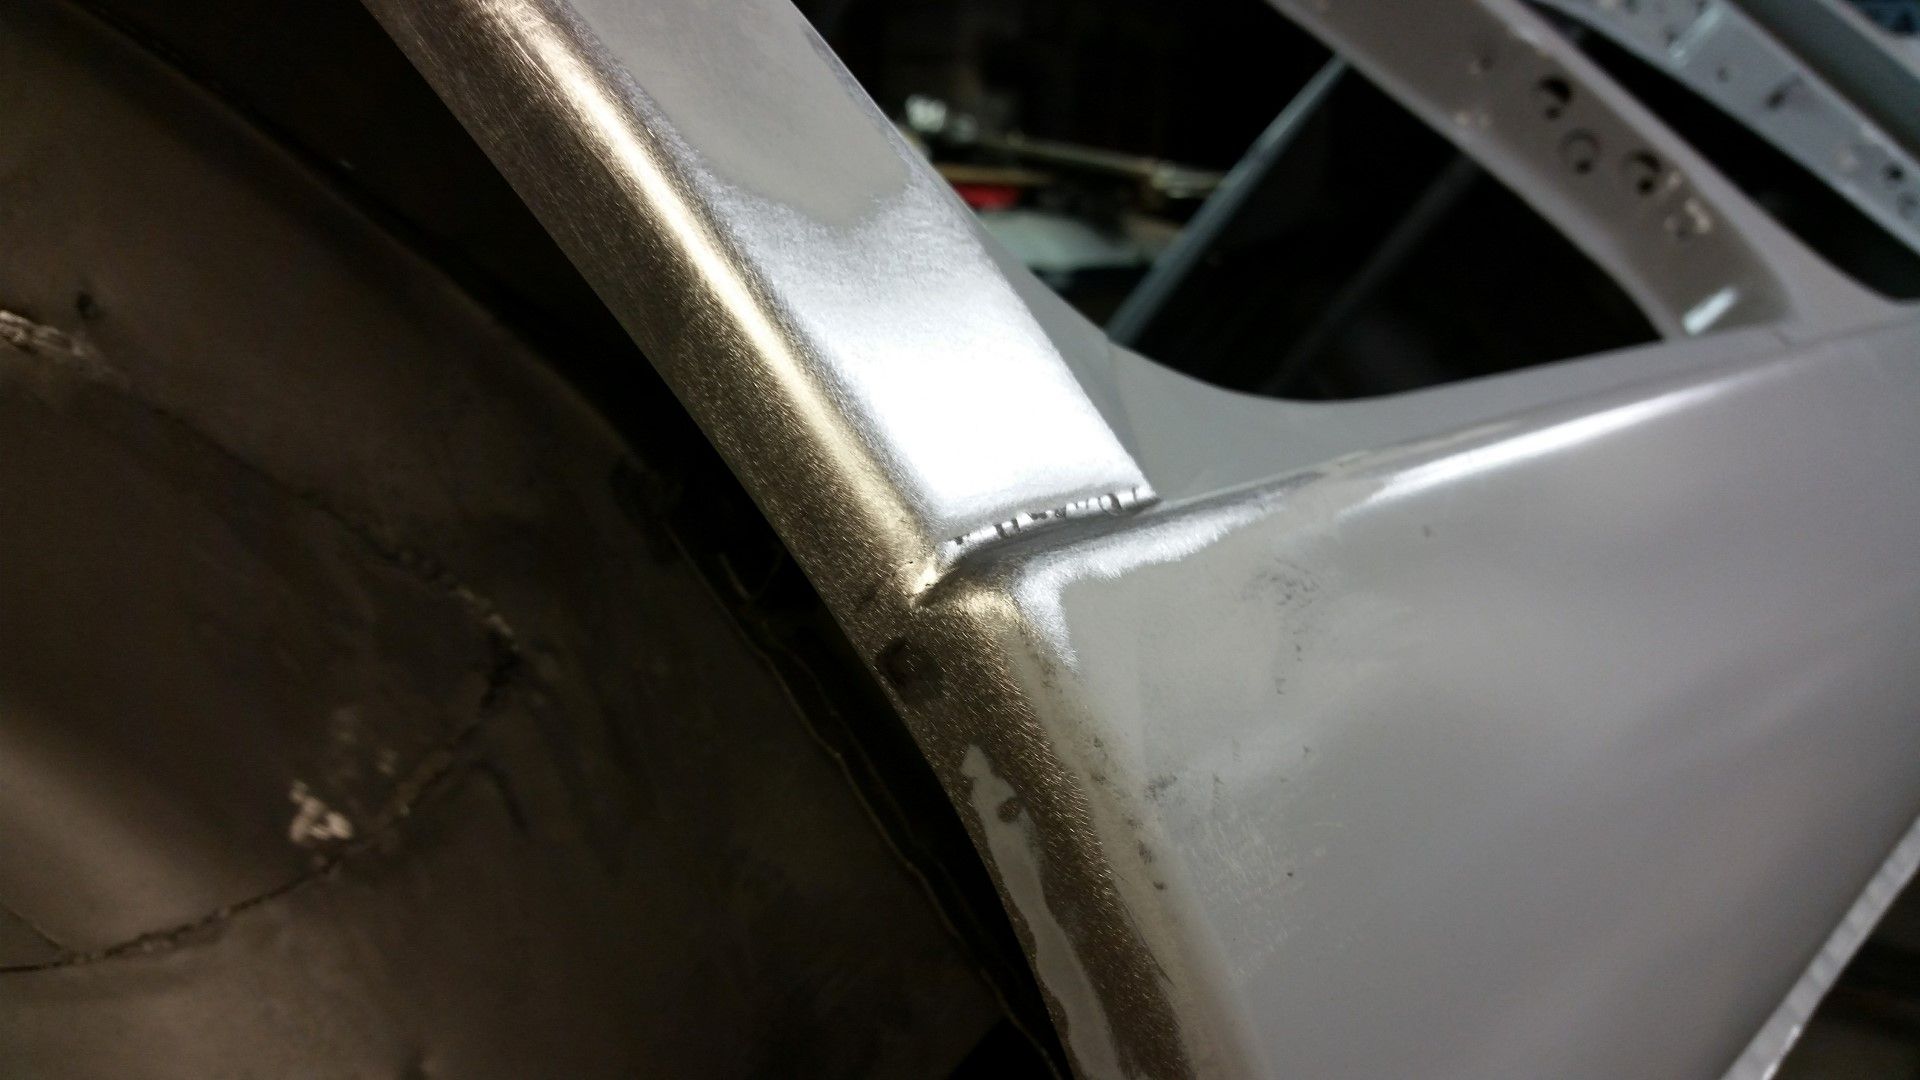 No lead this time. Just a smear of glazing will do it up. 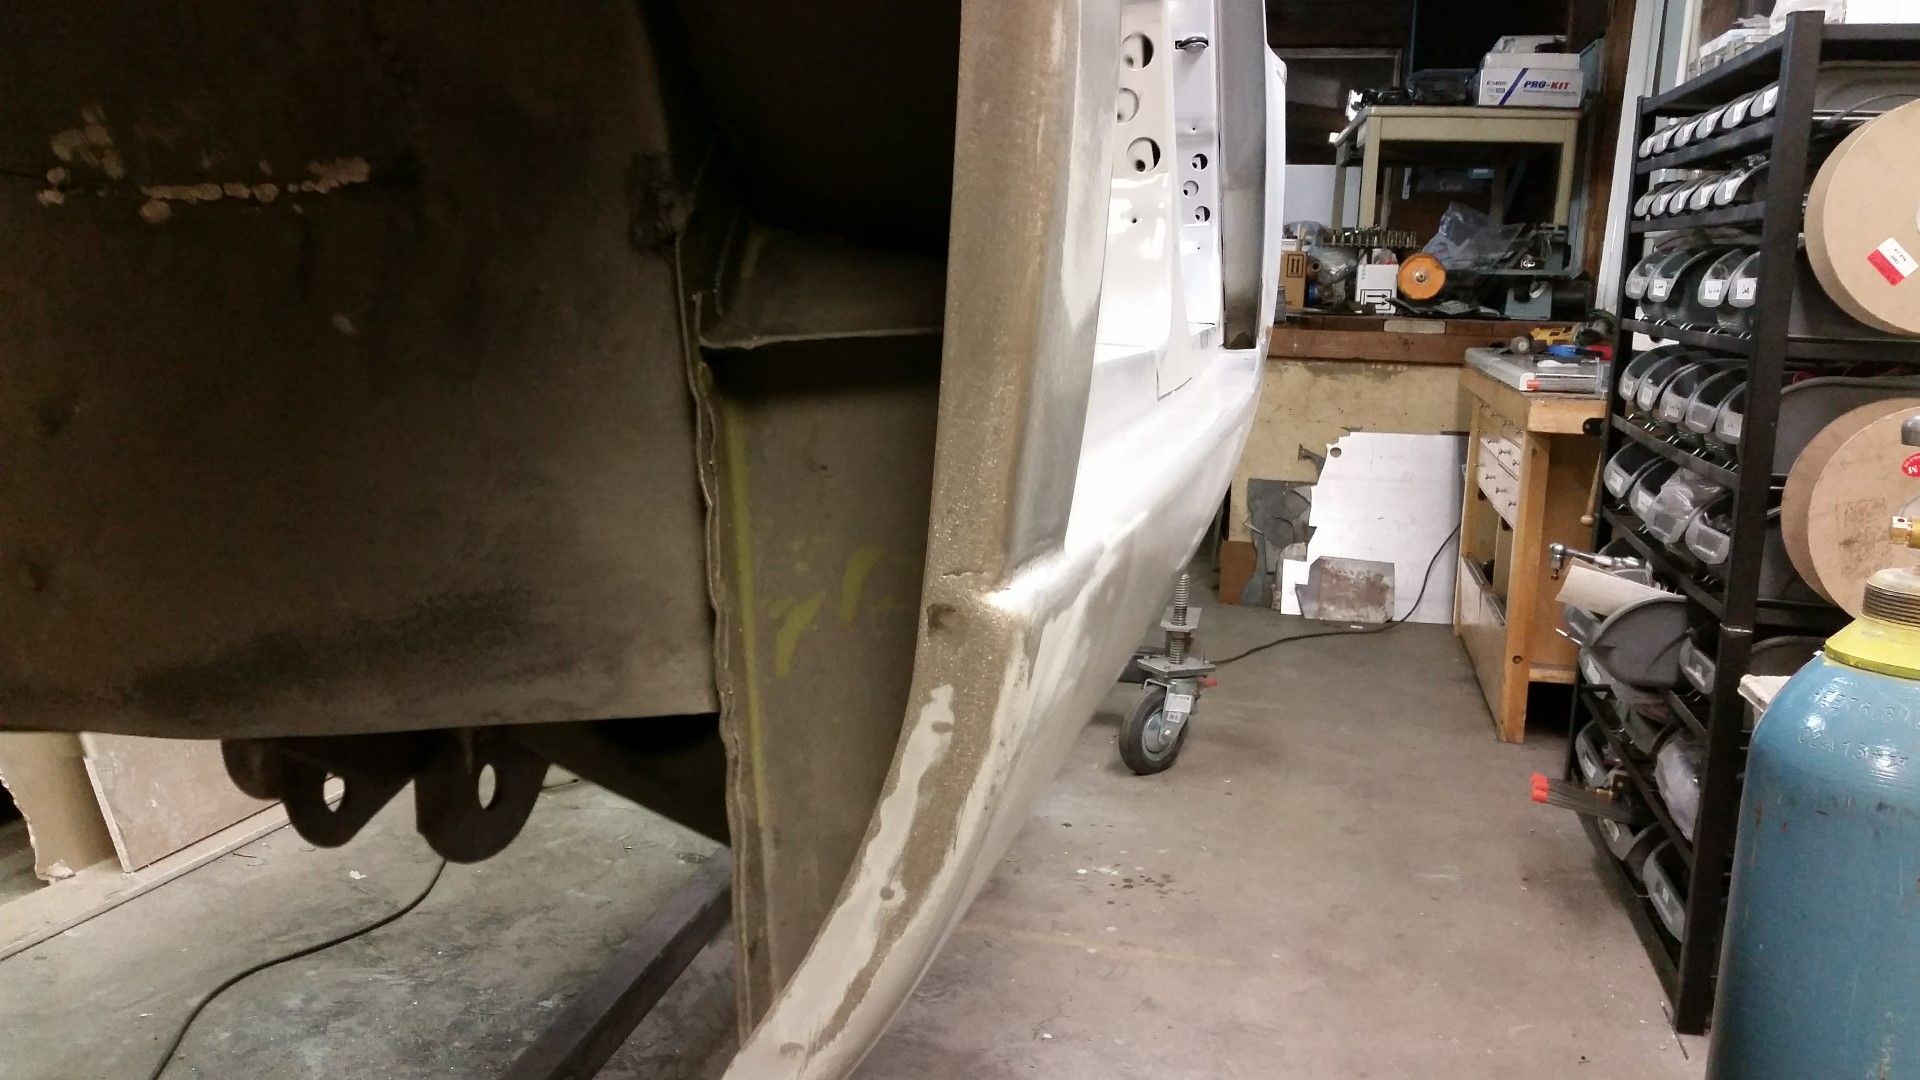 
|
|
|
|
 |
| Bookmarks |
|
|


 Hybrid Mode
