
 |
|
|
|
|
#1 |
|
Registered User
Join Date: May 2013
Location: Centerville,Ma.
Posts: 1,223
|
Re: Shucks First Build
What you have is better than acrylic enamel and is a good paint to use. It should hold up well but will be harder to paint than base /clear. The trouble is in getting the metallic to look even any kind of sag will show big time or it can look mottled if not sprayed evenly. Back before base /clear systems after painting metallic colors we could spray a light for of paint from a few feet away to even out any metallic problems but those paints were so slow drying it would melt in and not look dry. Sanding and buffing single stage metallics can also cause trouble as you are going into color coats not just polishing clear. If they will either exchange for what you asked for or at least sell at cost I would go for the base /clear. How clear were you in asking for base /clear is the question?
|
|
|

|
|
|
#2 |
|
Registered User
Join Date: Nov 2013
Location: Lawrence Kansas
Posts: 229
|
Re: Shucks First Build
I asked for a basecoat clearcoat system with hardner and reducer, maybe I'm wrong with what I had asked but I ended up getting single stage. I called the store and they are accepting a return so since my color is metallic I will feel more comfortable having a basecoat and a clearcoat.
__________________
|
|
|

|
|
|
#3 |
|
Registered User
Join Date: Nov 2013
Location: Lawrence Kansas
Posts: 229
|
Re: Shucks First Build
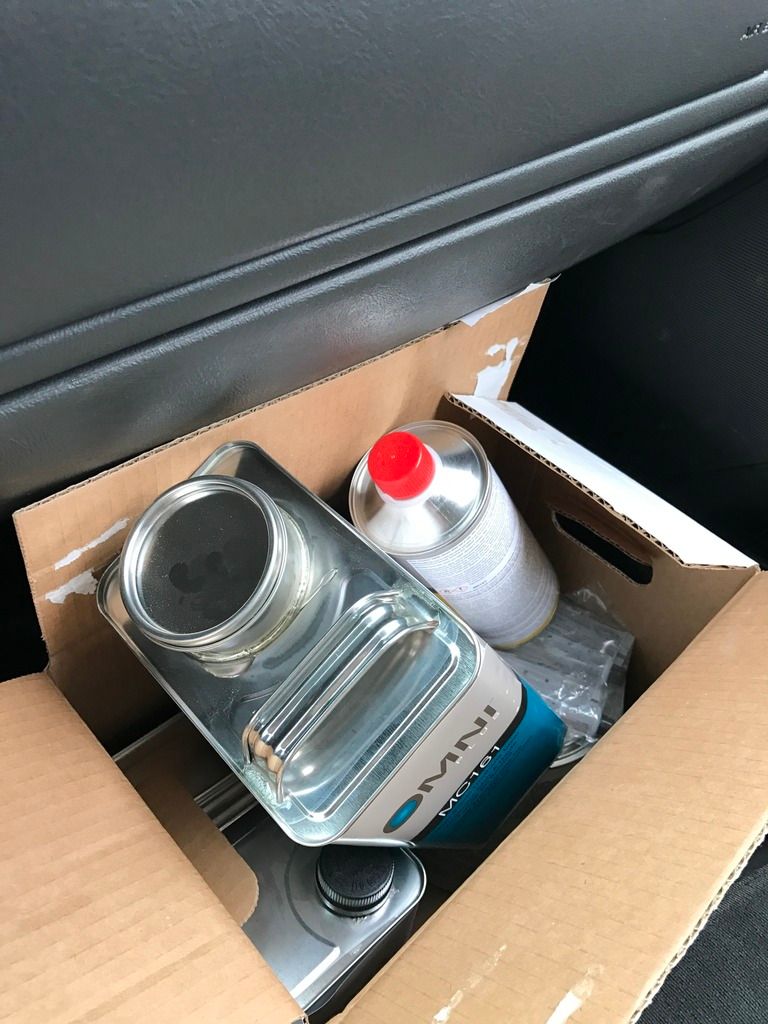
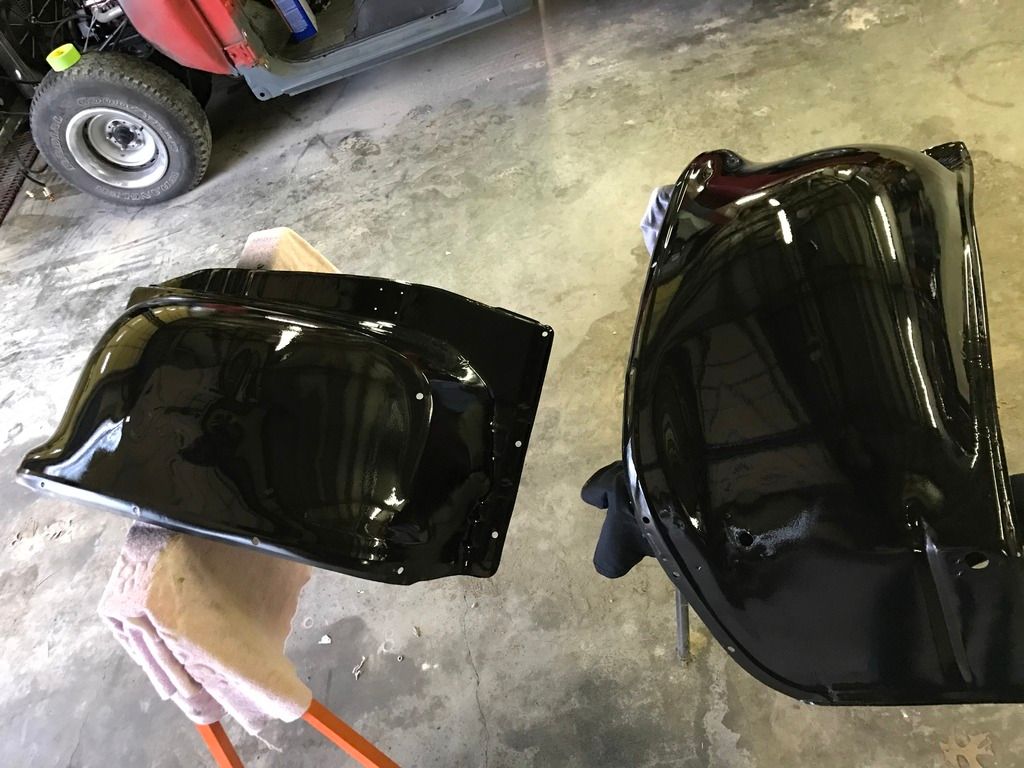
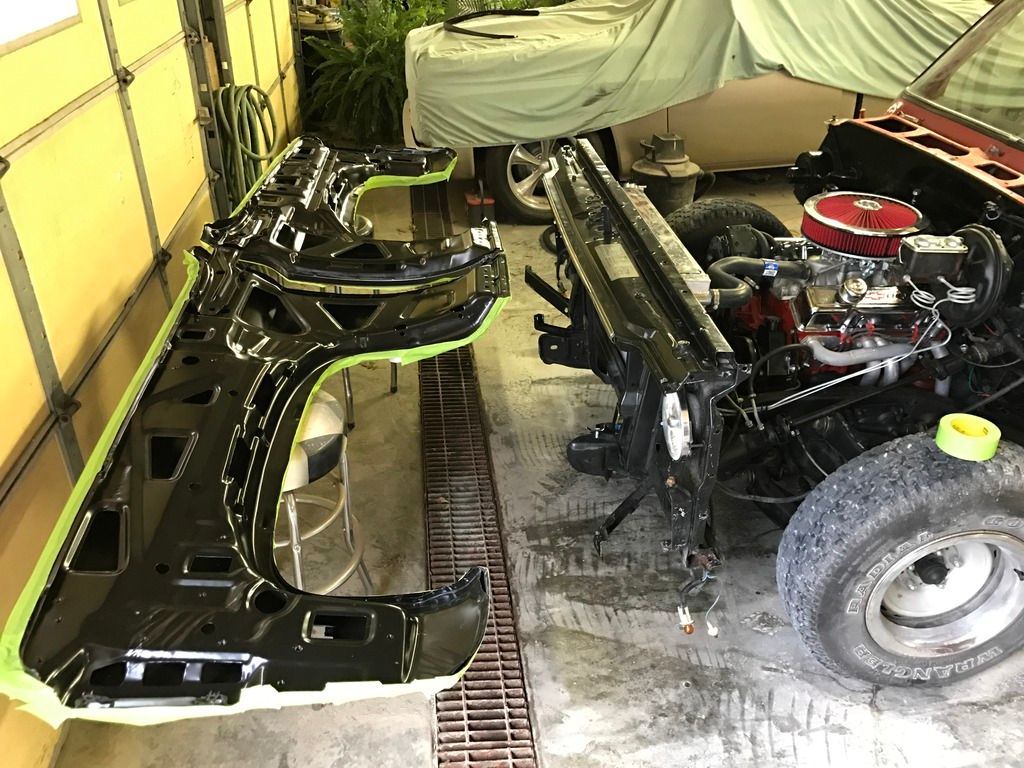
So according to my receipt I ordered the right stuff just received it wrong. Which is good, but another $200 for clear and high build primer I forgot... anyway enough with drama.
__________________
|
|
|

|
|
|
#4 |
|
Registered User
Join Date: May 2013
Location: Centerville,Ma.
Posts: 1,223
|
Re: Shucks First Build
If it makes you feel any better I paid $500.00 for a gallon of base for my truck not counting primers or clear. Welcome to what we have to pay in my business every day. It cost me at least $100.00 to paint a bumper cover these days , more if red.
|
|
|

|
|
|
#5 |
|
Registered User
Join Date: Nov 2013
Location: Lawrence Kansas
Posts: 229
|
Re: Shucks First Build
I couldn't let myself spend that much on paint... that's nuts!
Well I'm glad I went back and got the two stage. Much more familiar painting like this. 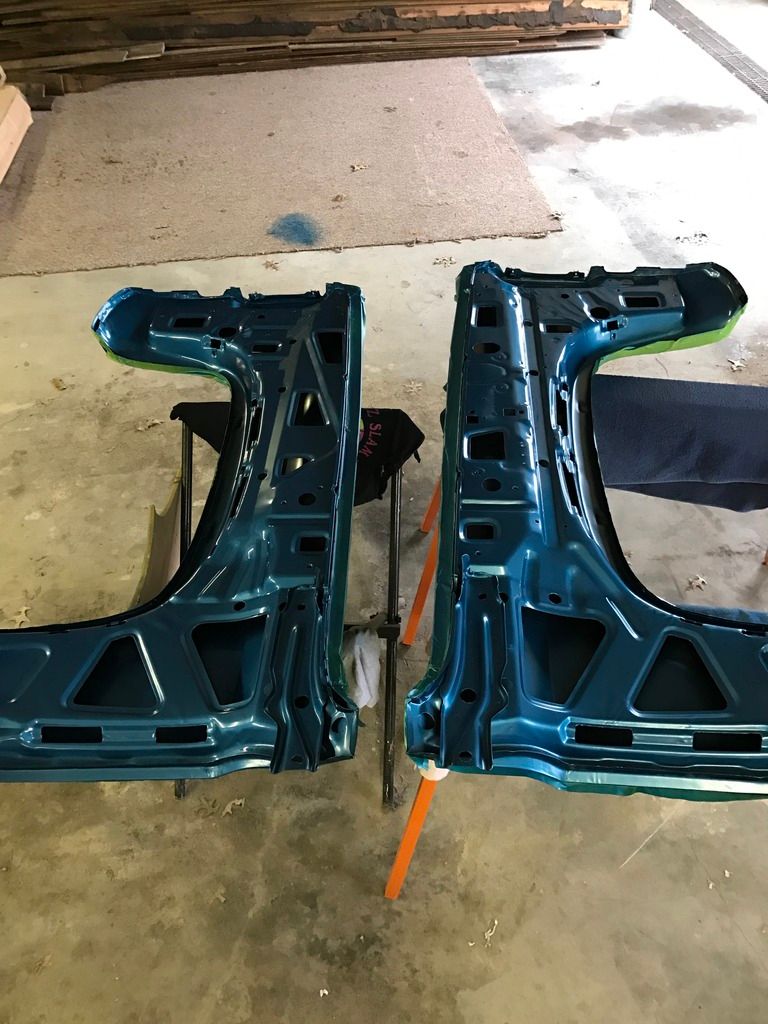 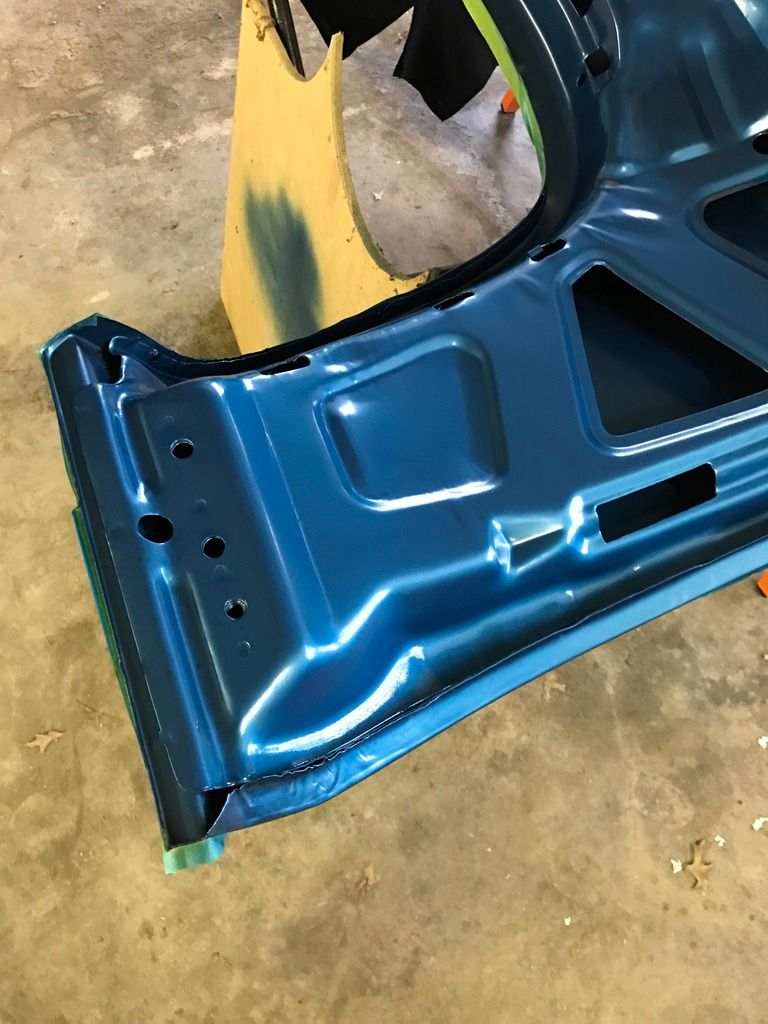 Clear coat 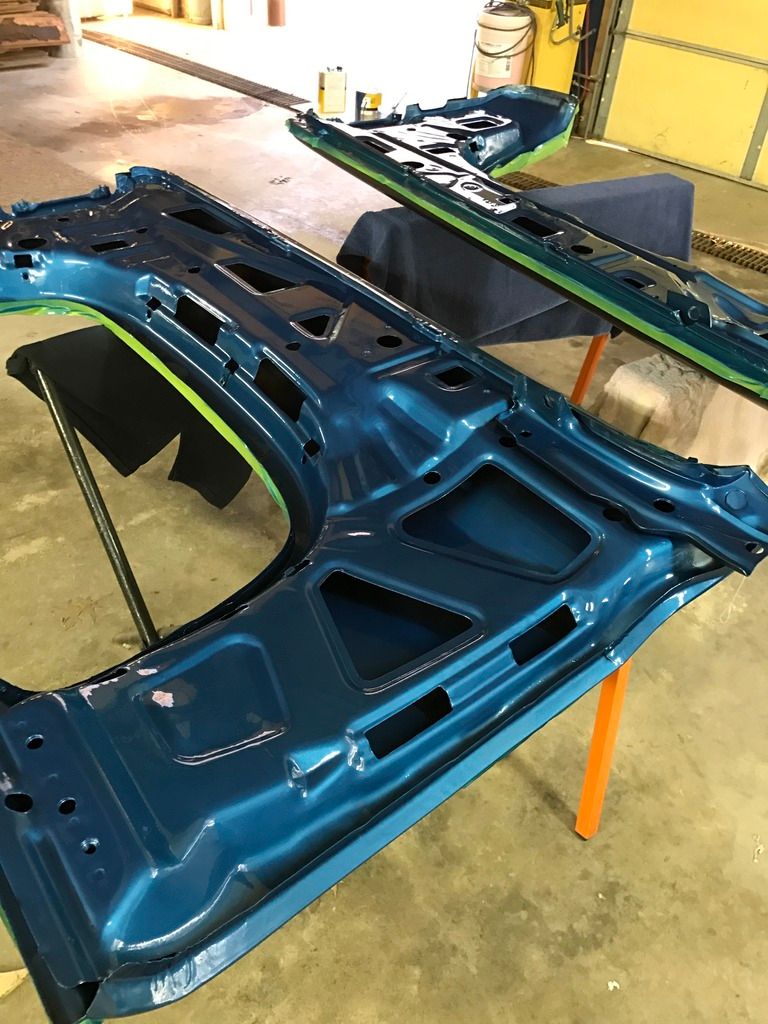
__________________
|
|
|

|
|
|
#6 |
|
Registered User
Join Date: May 2013
Location: Centerville,Ma.
Posts: 1,223
|
Re: Shucks First Build
Inside of panels usually gets one coat of clear but also a shot of paint down inside the panels if it is my own. When I have a panel off one of my own vehicles I take left over paint from other jobs and spray inside till it comes out between the welds and out the drain holes. Then use the correct color for painting the inside that shows.
Glad to see you have the paint situation squared away it is looking good so far. |
|
|

|
|
|
#7 |
|
Registered User
Join Date: Nov 2013
Location: Lawrence Kansas
Posts: 229
|
Re: Shucks First Build
Minor update.
Degreased the whole cab and got the windows out. 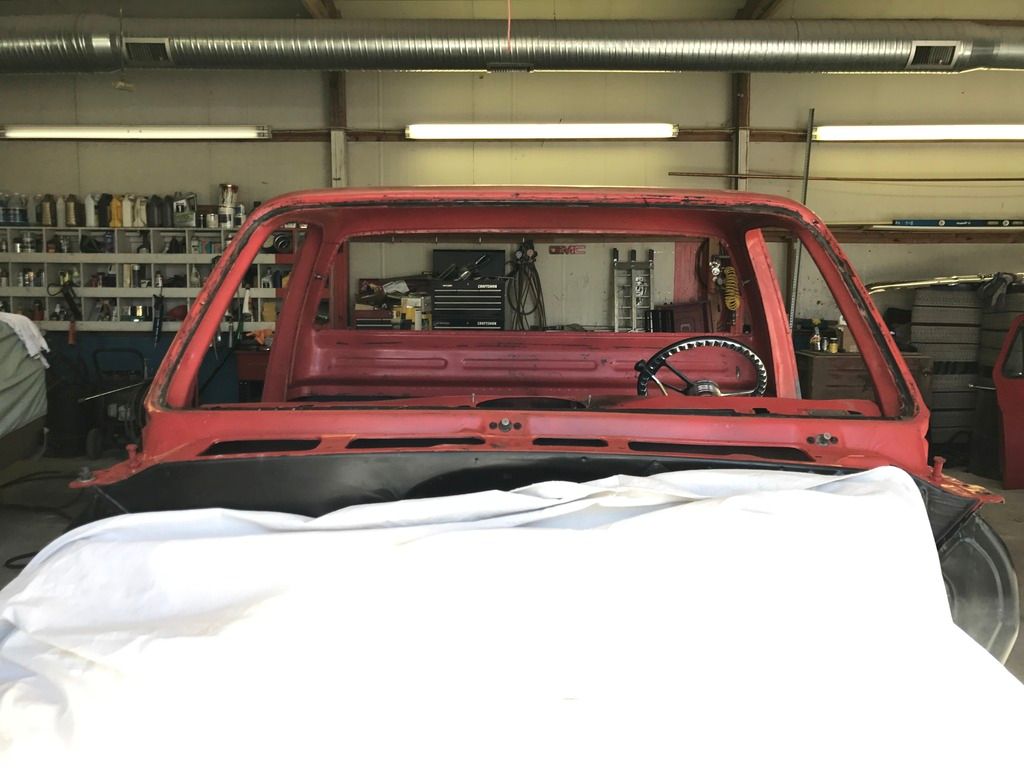 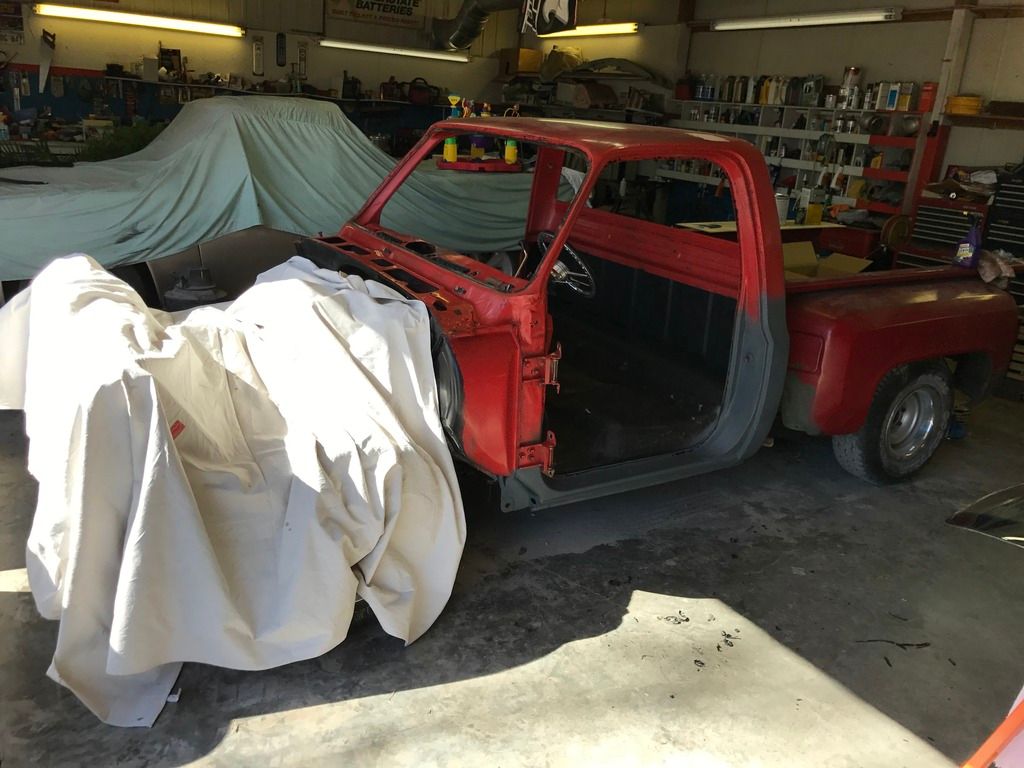 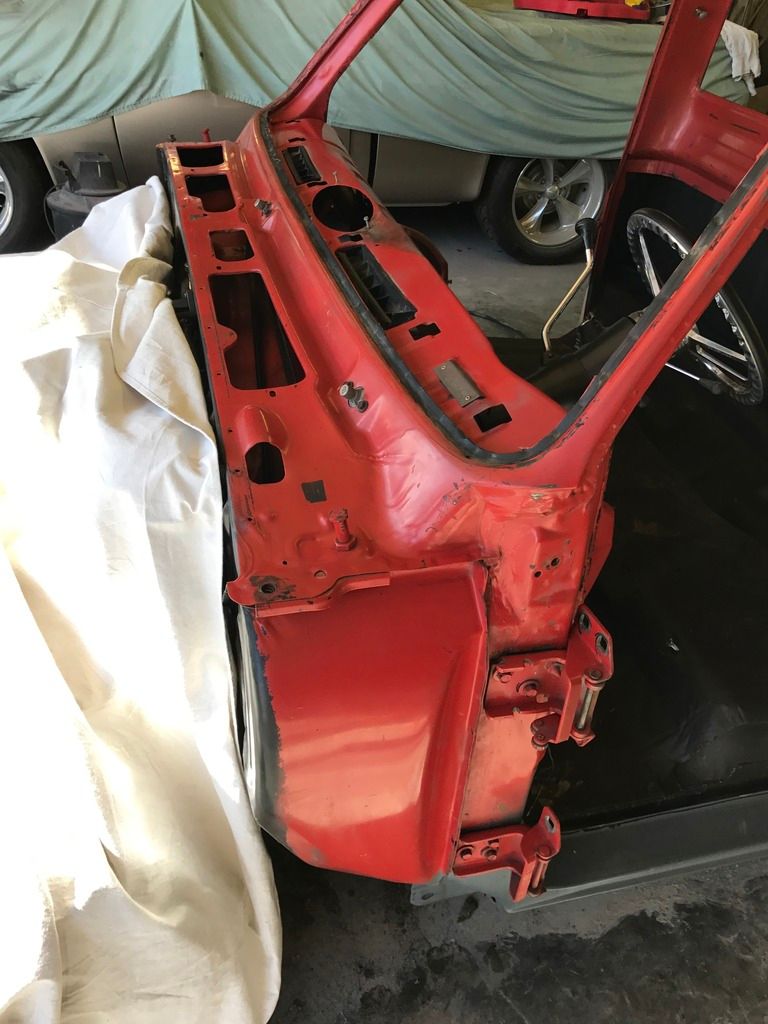 And so far these fenders absolutely suck to remove 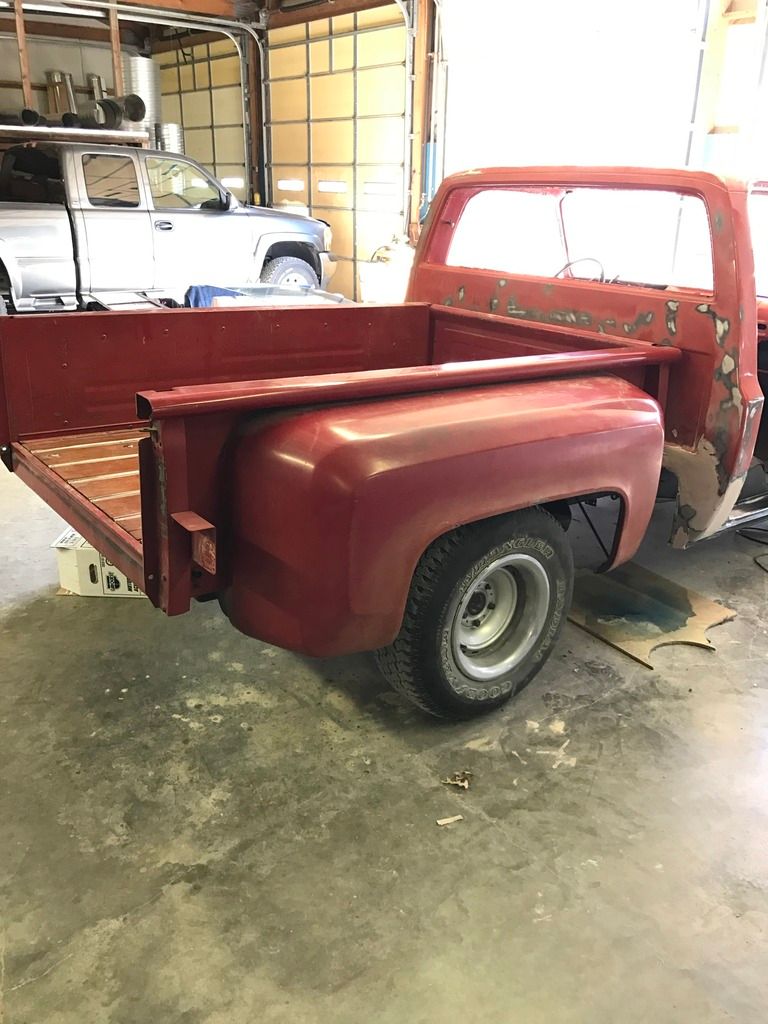 On the other hand, these dried nicely. 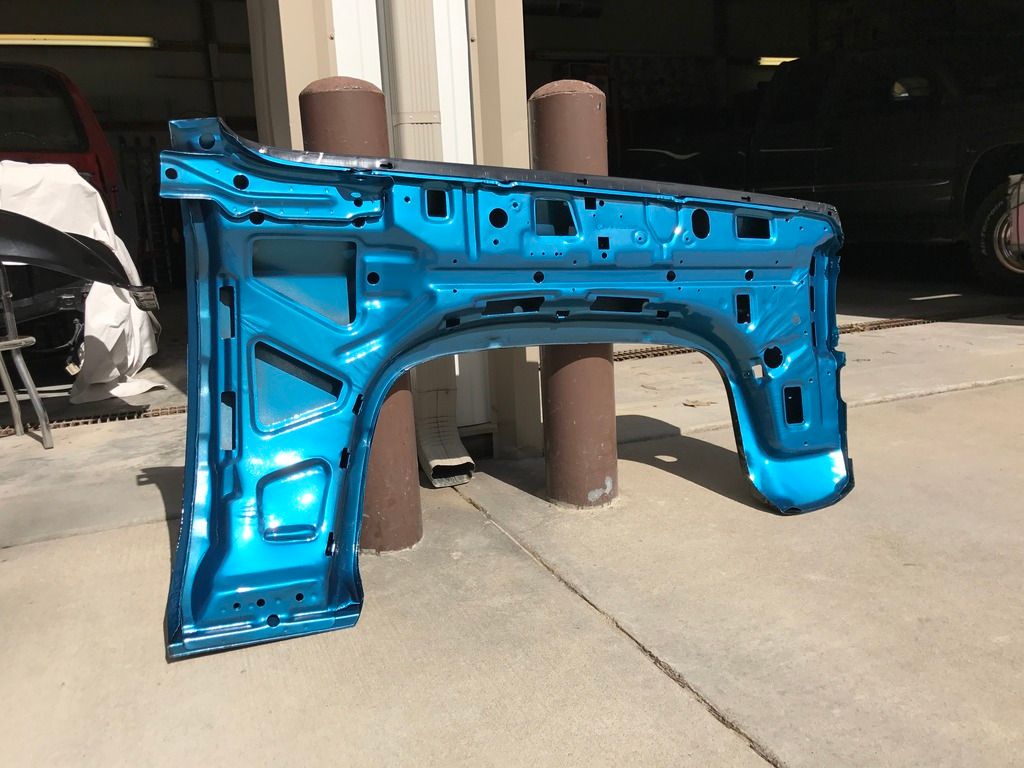
__________________
|
|
|

|
|
|
#8 | |
|
Registered User
Join Date: Dec 2008
Location: Las Vegas, NV
Posts: 810
|
Re: Shucks First Build
Quote:
  
__________________
1983 Chevy C10 250/3spd (current project truck) 1976 Chevy C10 350/350 Heavy Half (future project truck) |
|
|
|

|
|
|
#9 |
|
Registered User
Join Date: May 2013
Location: Centerville,Ma.
Posts: 1,223
|
Re: Shucks First Build
Looking good , It would suck trying to paint the bed with the fenders on too so get them off. Do you have access to am impact driver. It is a hand held thing you put your bit in engage the screw twist and wack it with a hammer. If you are hitting it hard enough you will probably wack your hand a time or two but they do pretty good at breaking them free. If not soak with penetrent and an impact gun with the pressure turned back a bit
|
|
|

|
|
|
#10 | |
|
Registered User
Join Date: Nov 2013
Location: Lawrence Kansas
Posts: 229
|
Re: Shucks First Build
Quote:
__________________
|
|
|
|

|
|
|
#11 |
|
Registered User
Join Date: May 2013
Location: Centerville,Ma.
Posts: 1,223
|
Re: Shucks First Build
If tossing the fenders just cut the fender off close to the bedside,heat the welded in nut with a torch and the bolts will come out easy.
|
|
|

|
|
|
#12 |
|
Registered User
Join Date: Nov 2013
Location: Lawrence Kansas
Posts: 229
|
Re: Shucks First Build
Full day of sanding, bondo, sanding, welding, and sanding.
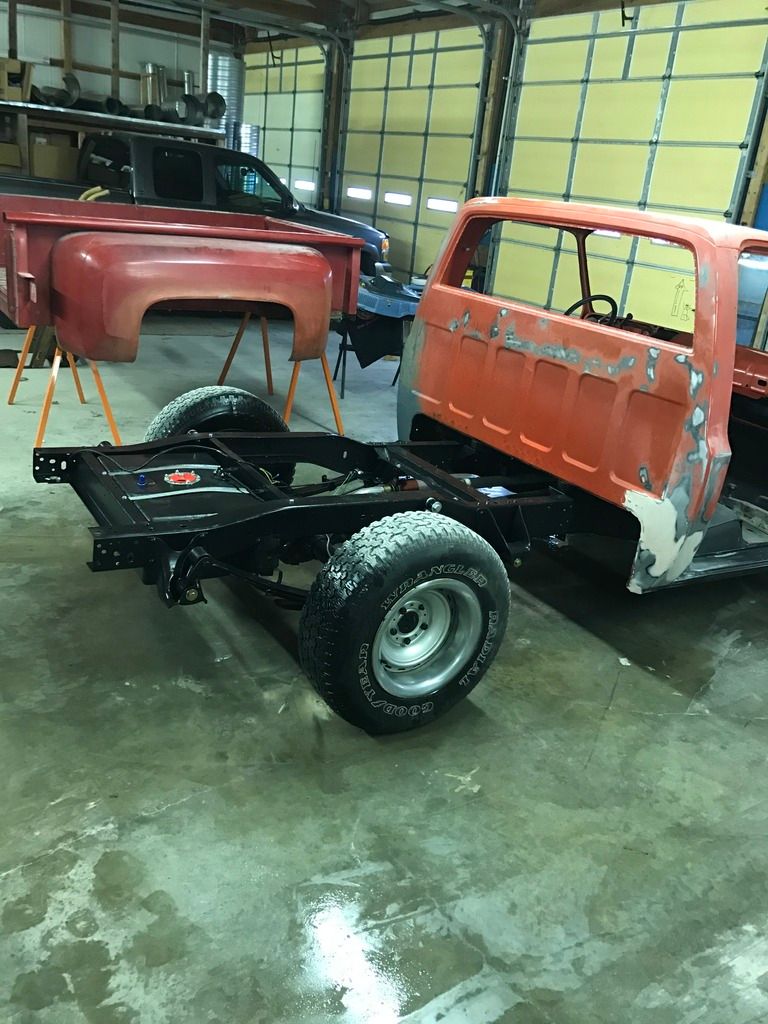 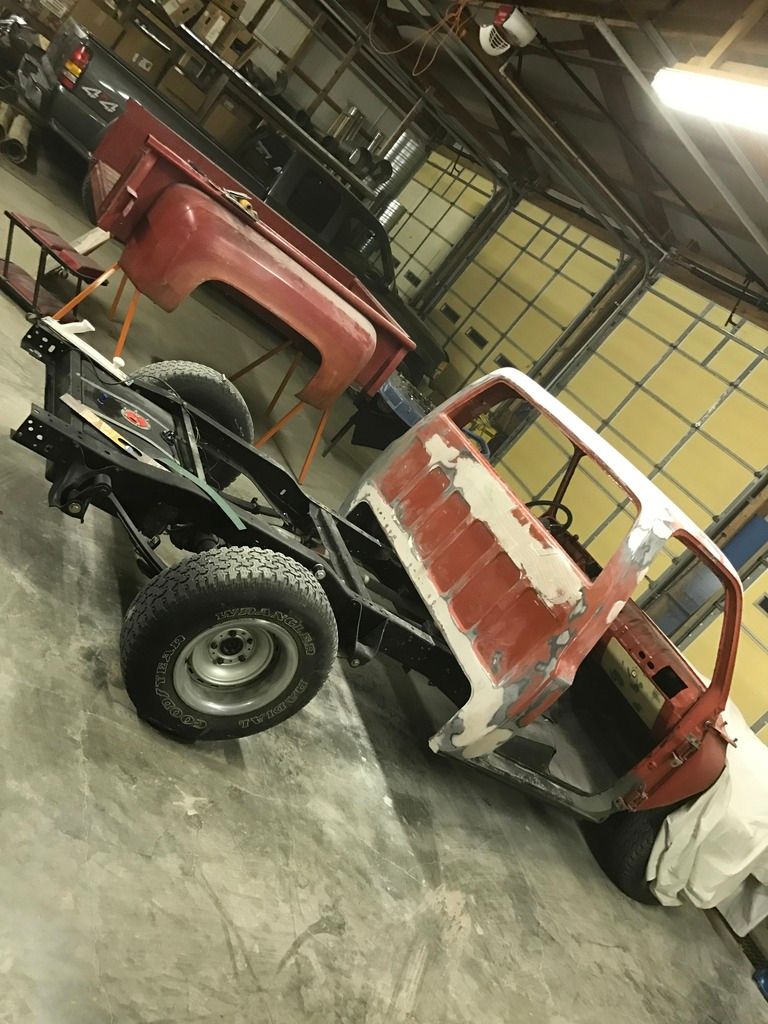 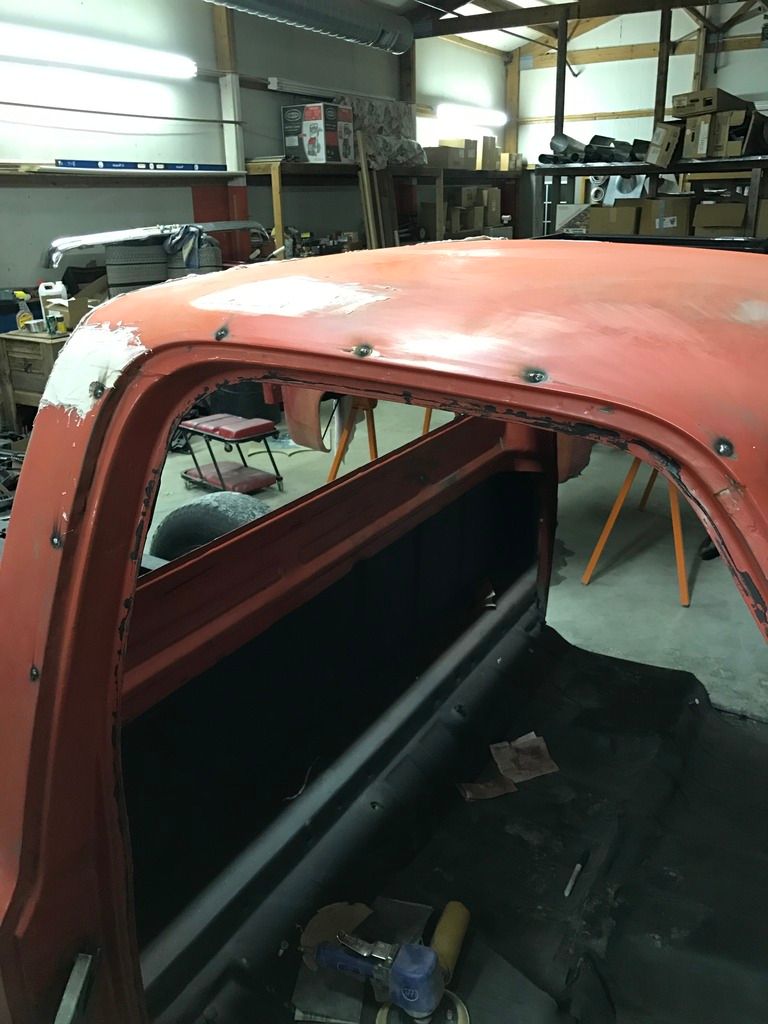 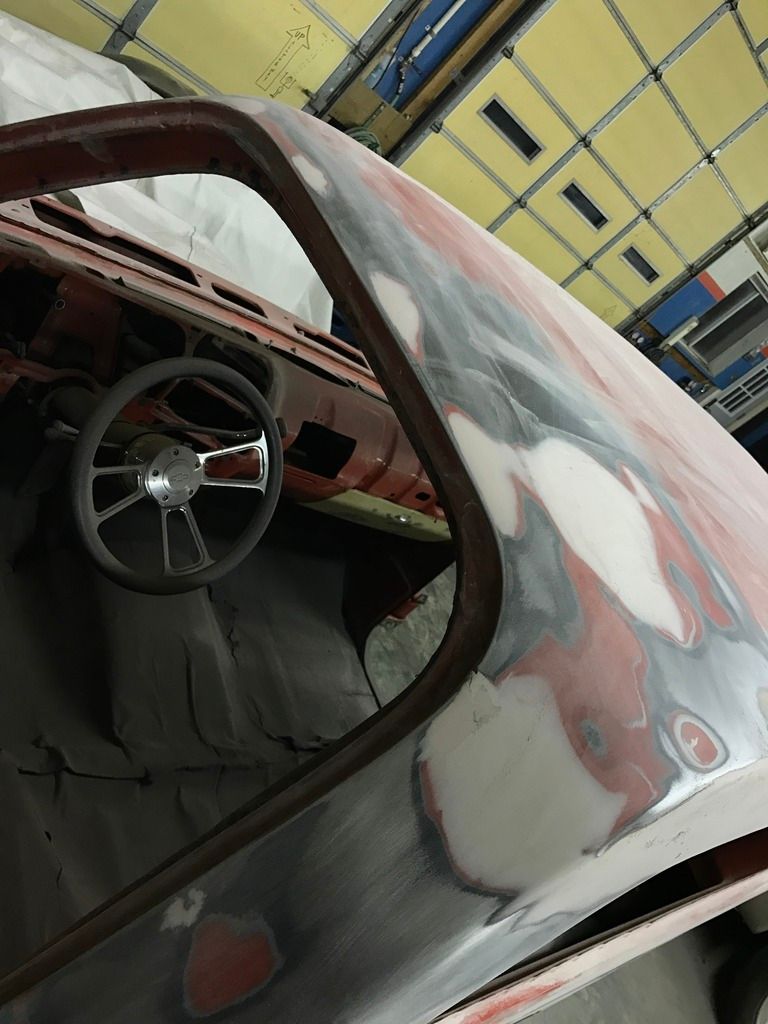 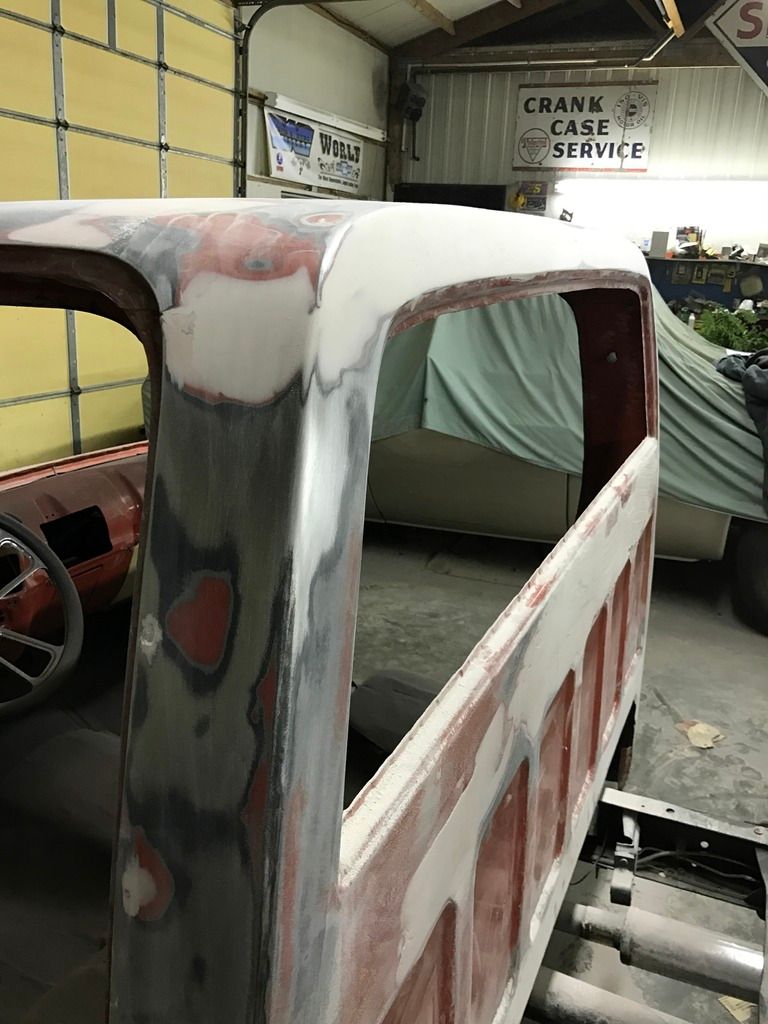 Snagged a good door to replace that p.o.s aftermarket door I thought was good. 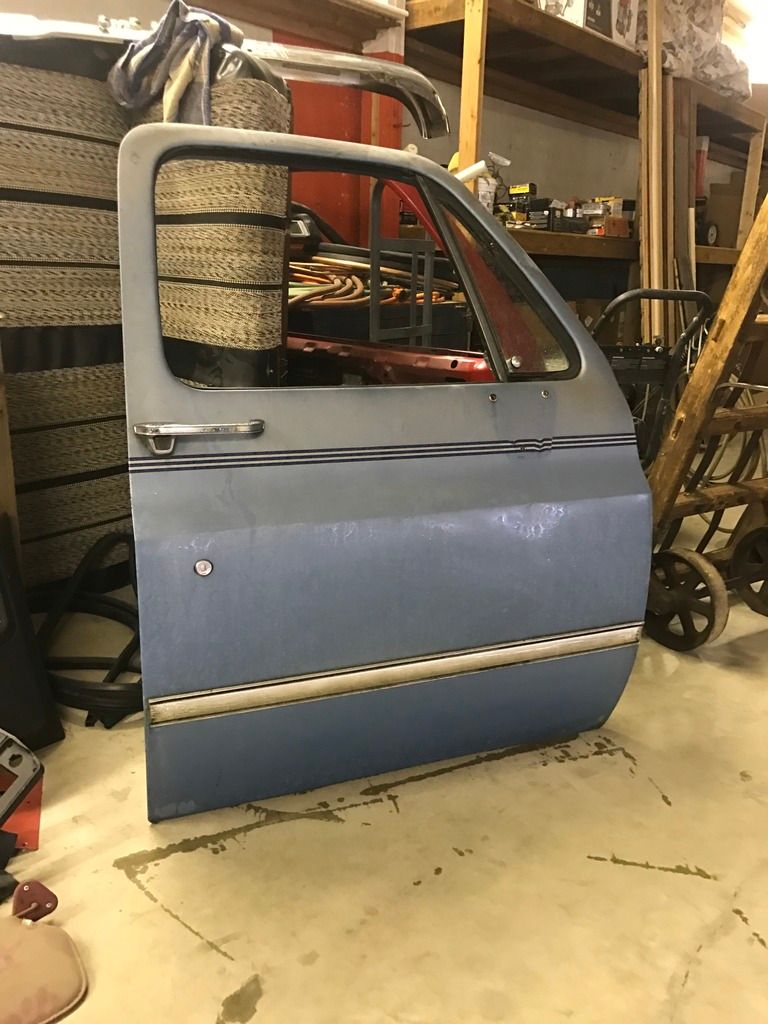 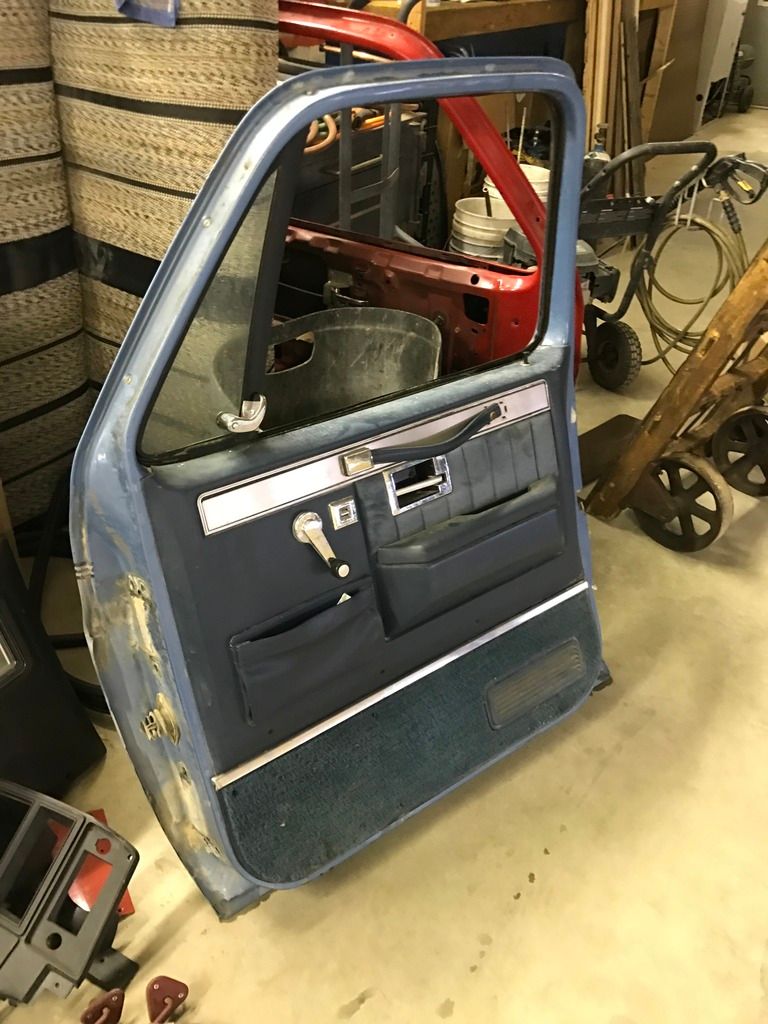 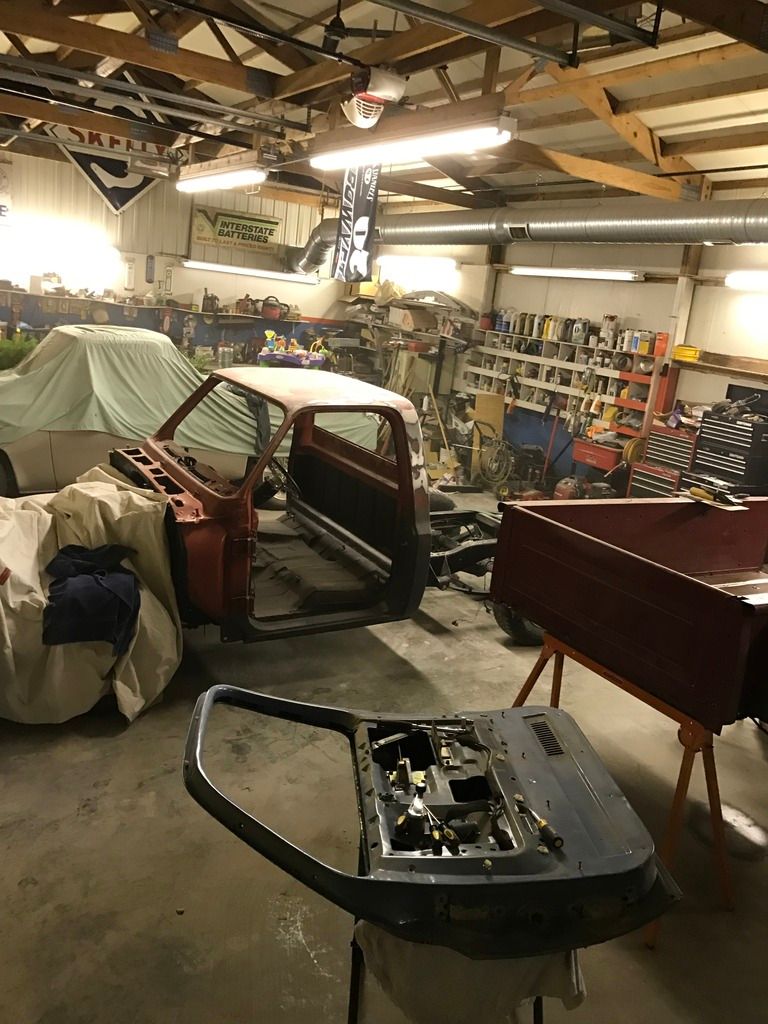
__________________
|
|
|

|
|
|
#13 |
|
Registered User
Join Date: Nov 2013
Location: Lawrence Kansas
Posts: 229
|
Re: Shucks First Build
__________________
|
|
|

|
|
|
#14 |
|
Registered User
Join Date: May 2013
Location: Centerville,Ma.
Posts: 1,223
|
Re: Shucks First Build
Making good progress. Who's shop is that ? nice a spacious
|
|
|

|
|
|
#15 |
|
Registered User
Join Date: Nov 2013
Location: Lawrence Kansas
Posts: 229
|
Re: Shucks First Build
Lord knows I wish I could say it's mine... it's my uncles. It has a little spare room I probably should move into considering how much time I spend there. Nice and heated as well.
This is his 1980 he and his son did a while ago just never finished. 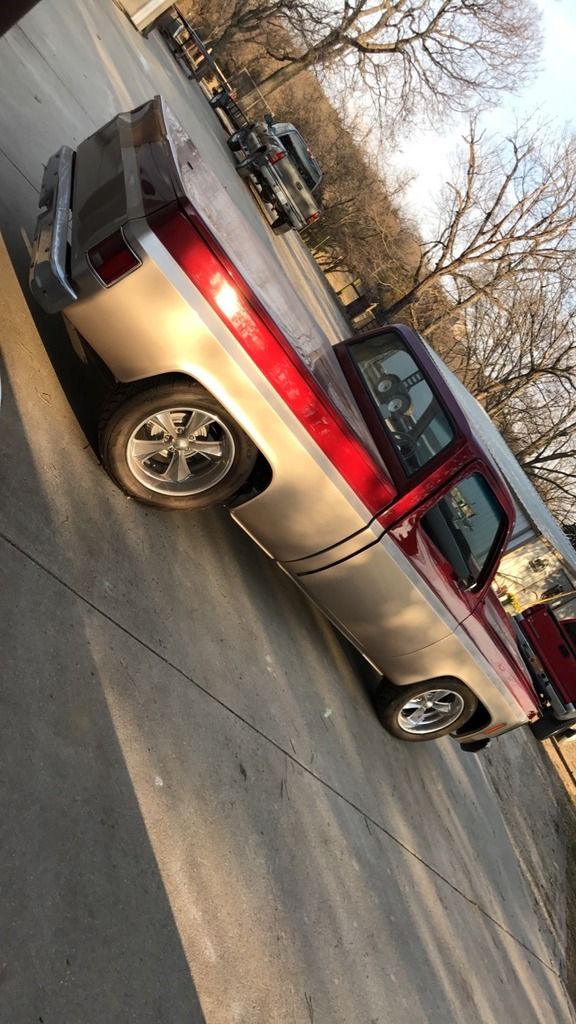
__________________
|
|
|

|
|
|
#16 |
|
Registered User
Join Date: Nov 2013
Location: Lawrence Kansas
Posts: 229
|
Re: Shucks First Build
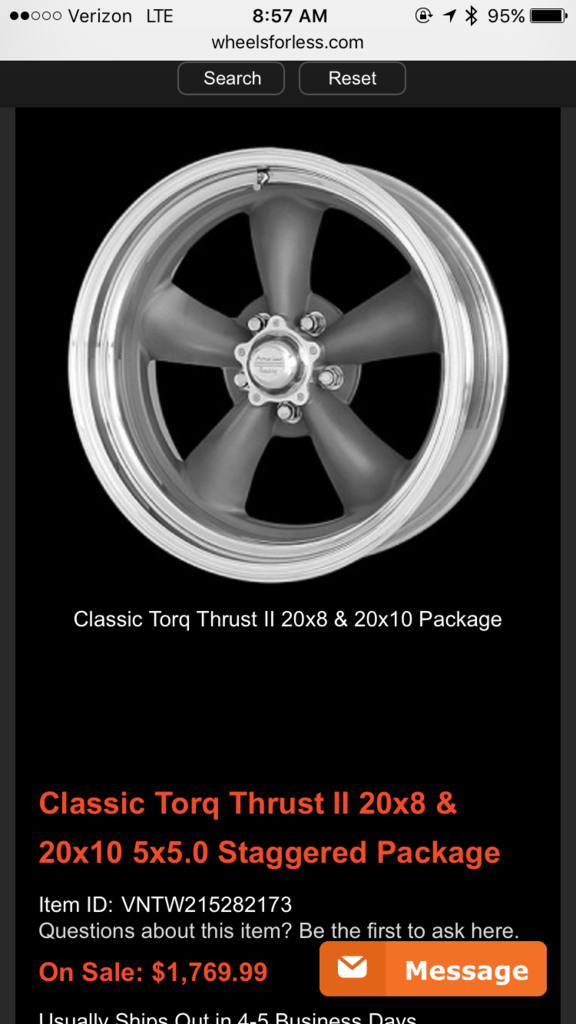
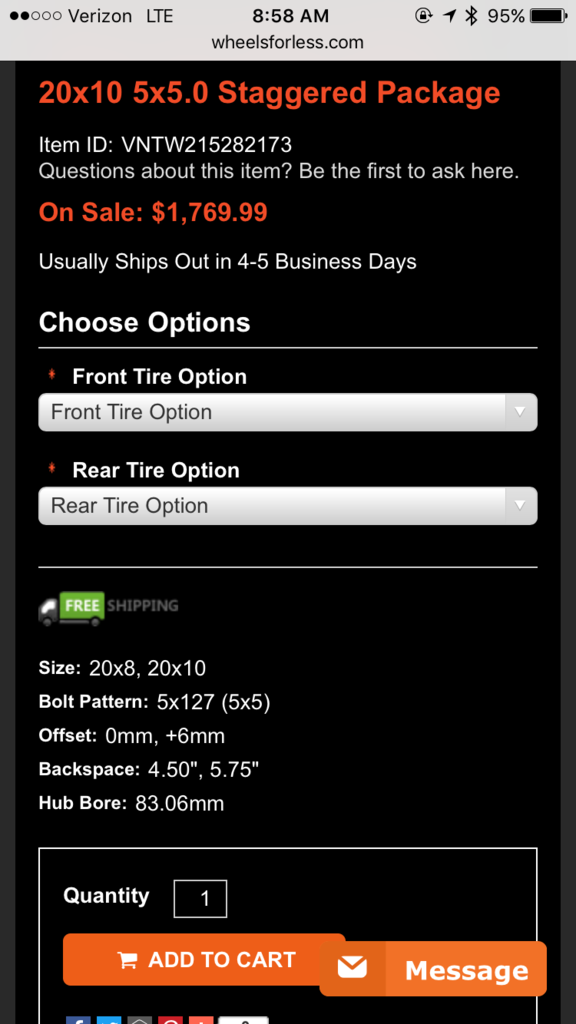
Anyone done this tire and wheel package? The rear backspacing seems much but I'm curious if anyone thinks these would work on my stepside
__________________
|
|
|

|
|
|
#17 |
|
I'm just glad to be here!
Join Date: Jan 2008
Location: Longview, TX
Posts: 4,788
|
Re: Shucks First Build
Based on the wheels I used on the '82 stepside I built a few years ago, I would find some 1/2" spacers to run that rear wheel with the 5.75" back spacing. We had a 5.5" BS and used a 1/4" spacer and pushed in the inner bed side about 1/4". We ran a 315/35-20 tire in the rear, so a 295/40-20 tire would look good too and give you about 10mm more clearance on the inside.
Use a spacer like this one: http://www.ebay.com/itm/2pcs-1-2-Che...FWO6yD&vxp=mtr You might need to get longer wheel studs to make up for the spacer. We used a Dorman replacement stud that was longer. I will see if I can find the one we used. Look at the pic in my "Sunburn" thread in my signature.
__________________
Karl  1965 Chevy Stepside(Grandpa's Old Blue) and (July 2015 Shop Build!)(2020, the Saga Continues) http://67-72chevytrucks.com/vboard/s...d.php?t=372424 The LST Challenge: http://67-72chevytrucks.com/vboard/s...=1#post7812257 Korbin's 1st Square: "Sunburn" http://67-72chevytrucks.com/vboard/s...d.php?t=418618 1985 GMC Sierra: "White Trash", Korbin's 2nd now... http://67-72chevytrucks.com/vboard/s...d.php?t=632305 Henry - 1984 Chevrolet, Owen's 1st Square Last edited by aggie91; 03-01-2017 at 11:15 AM. Reason: added link to spacer |
|
|

|
|
|
#18 |
|
Registered User
Join Date: Nov 2013
Location: Lawrence Kansas
Posts: 229
|
Re: Shucks First Build
Cool, thanks for the links. I dig those wheels you and Korbin put on that truck, that thread is also a big inspiration, you guys did a fantastic job on it. Looks like mine will be looking really close to how his is!
__________________
|
|
|

|
|
|
#19 |
|
Registered User
Join Date: Nov 2013
Location: Lawrence Kansas
Posts: 229
|
Re: Shucks First Build
__________________
|
|
|

|
|
|
#20 |
|
Registered User
Join Date: Nov 2013
Location: Lawrence Kansas
Posts: 229
|
Re: Shucks First Build
Finally got this taken care of...
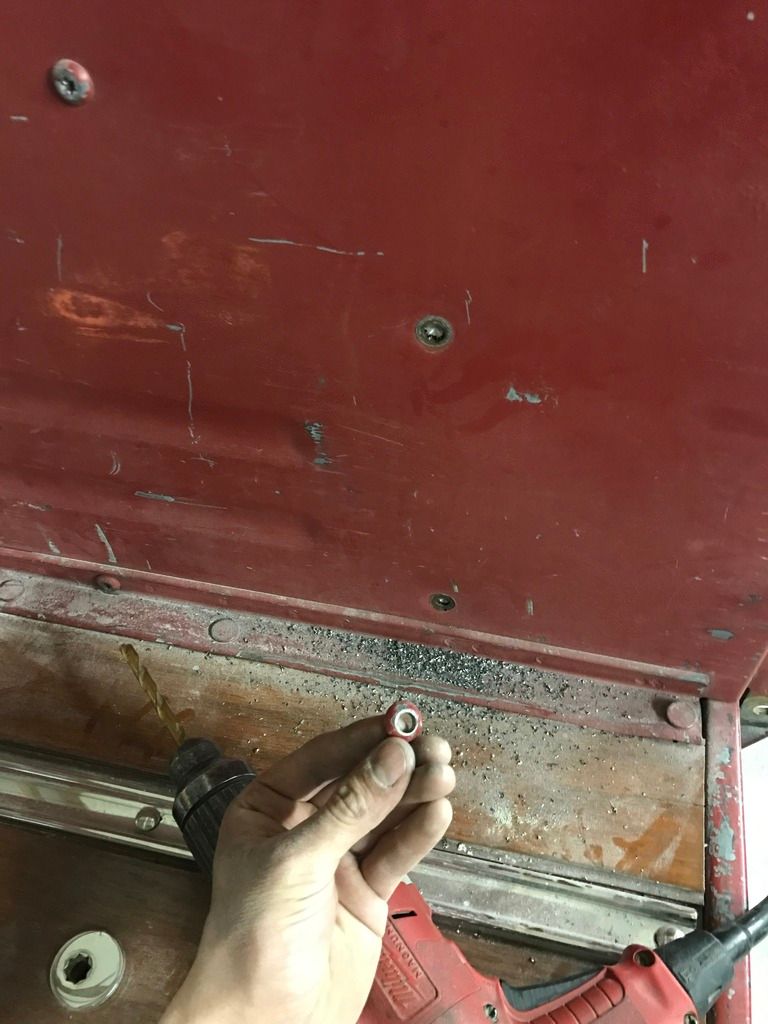 Can you see why these needed to be removed? 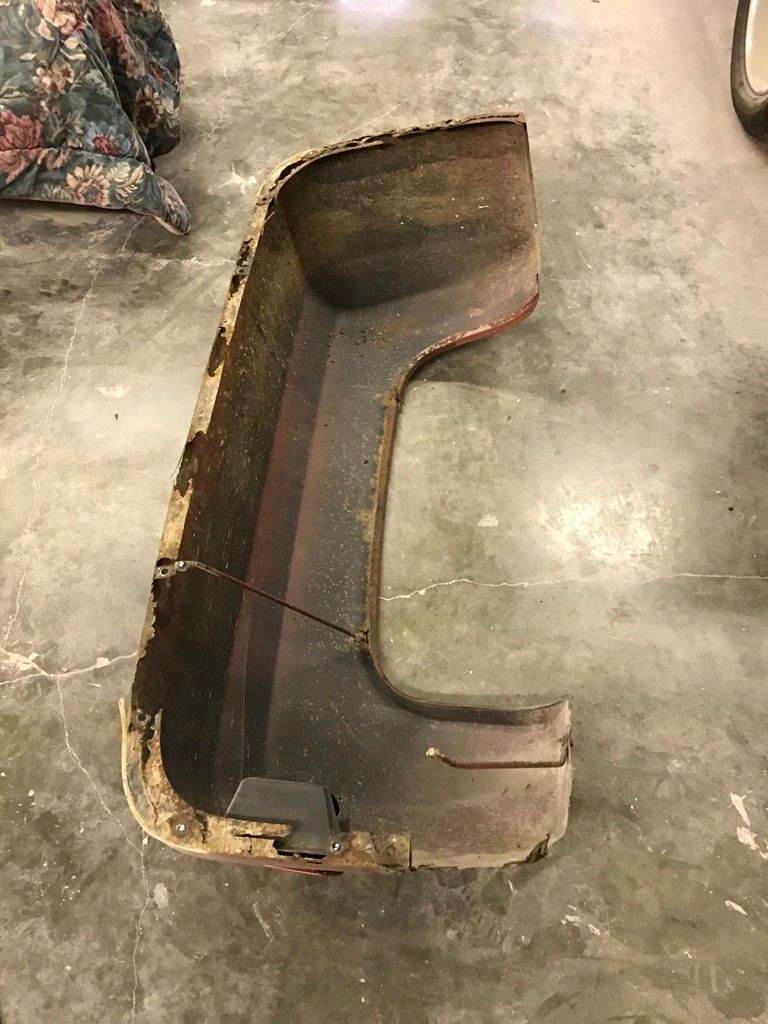 Both sides are done, only pic I have. 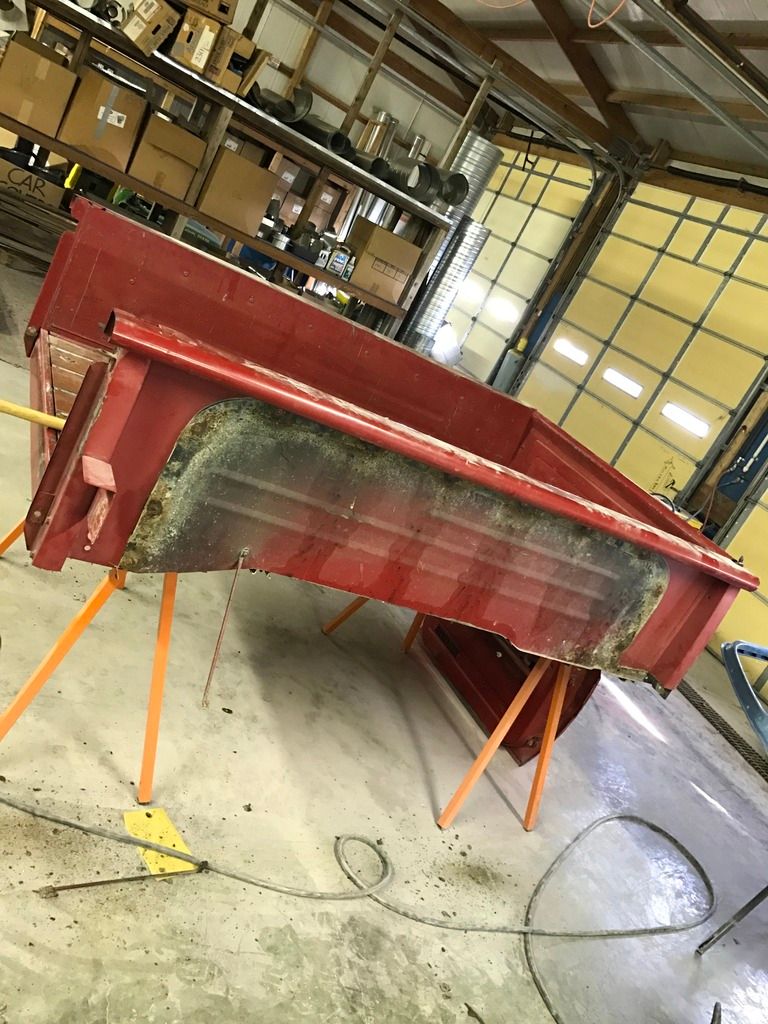
__________________
|
|
|

|
|
|
#21 |
|
Registered User
Join Date: Nov 2013
Location: Lawrence Kansas
Posts: 229
|
Re: Shucks First Build
I feel like I should have a huge update since I've got hours and hours in this body work but it sure doesn't show it. I had a professional painter come out and take a look and his biggest thing he told me was I wasn't spreading my filler past the damage or the weld wide enough. Sure I covered the dent but it didn't flow into the body correctly. So basically I have to start again... I've probably got my over 100 hours in it and I can hardly tell it...Bummer
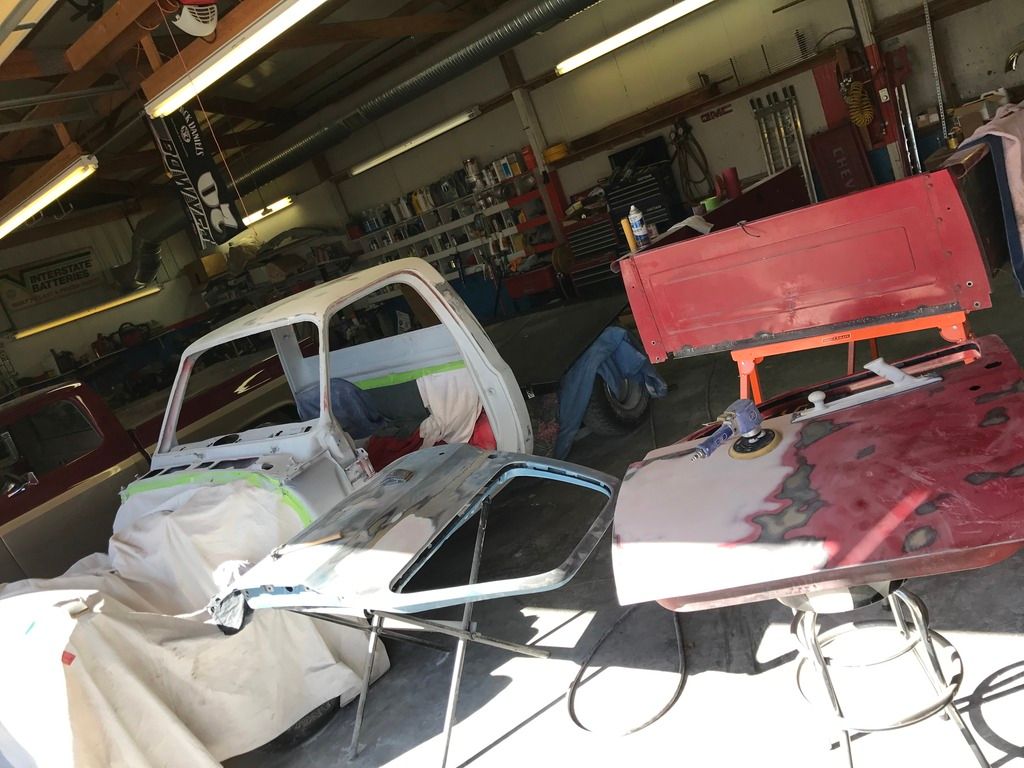 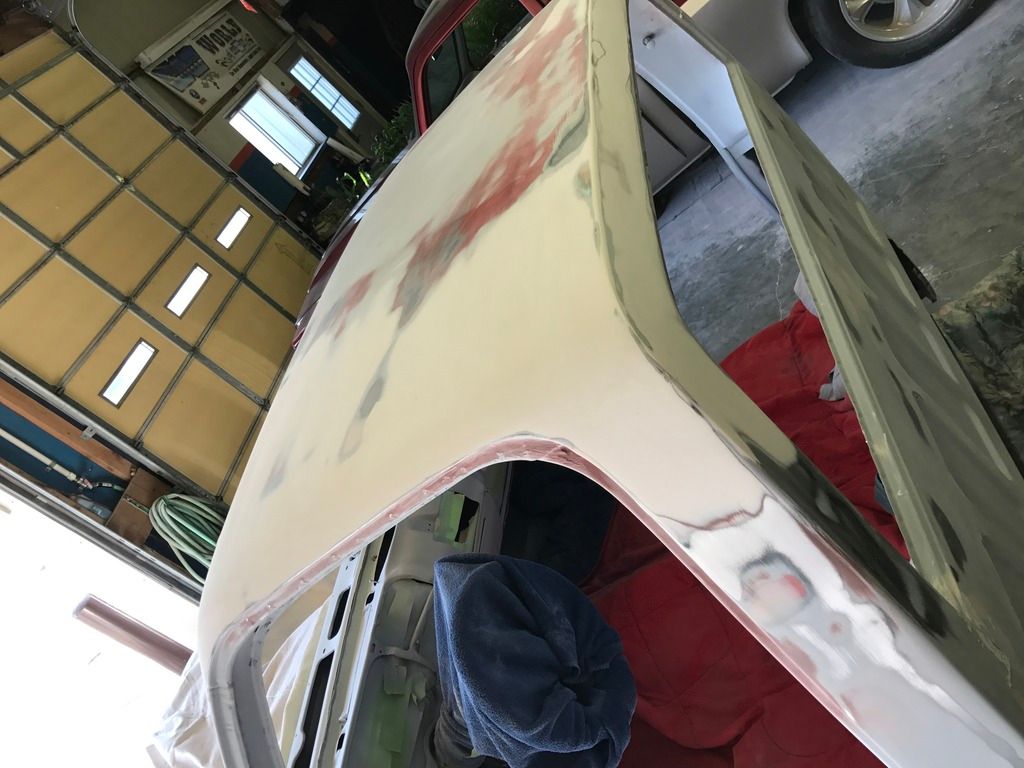
__________________
|
|
|

|
|
|
#22 |
|
Registered User
Join Date: May 2013
Location: Centerville,Ma.
Posts: 1,223
|
Re: Shucks First Build
Effort = Results A sign I saw on the wall in Roger Penski's office when he did a TV interview. Keep at it you will get better as you go.
|
|
|

|
|
|
#23 |
|
Registered User
Join Date: May 2016
Location: Willow, Alaska
Posts: 881
|
Re: Shucks First Build
That's how you learn, looks great so far though!
|
|
|

|
|
|
#24 |
|
Happy to be here
 Join Date: Mar 2000
Location: Cypress, TX
Posts: 39,023
|
Re: Shucks First Build
You dont have to start over, you have to finish up what you started. Some of those areas could be improved with a liberal dosage of filler primer.
__________________
Follow me on Facebook and Instagram @N2trux.com Articles- "Jake" the 84 to 74 crewcab "Elwood" the77_Remix 85 GMC Sierra "Scarlett" "Refining Sierra" |
|
|

|
|
|
#25 |
|
I'm just glad to be here!
Join Date: Jan 2008
Location: Longview, TX
Posts: 4,788
|
Re: Shucks First Build
I see a lot of time and work put into it so far. Body work is one of the items that takes the longest time to see actual results. Spending the time on prep and body work will show in the final paint job. The actual color spraying is only about 5-10% for the finished job.
One suggestion that I could make based on what your pro told you. Don't "start over". I would spray a couple of coats of a high build primer such as Slick Sand, apply a light coat of a contrasting primer color or guide coat. Block it out with a long board and 180 grit paper. The guide coat will show you the "low" spots and the "high" spots will be all the way thru the slick sand. This will show you where to apply a light weight feathering filler to the low spots and repeat the process. Take a look at the last few pages of this thread, it is a great source of pics of the process I just described: http://67-72chevytrucks.com/vboard/s...d.php?t=386569 You are doing a good job, don't give up hope!
__________________
Karl  1965 Chevy Stepside(Grandpa's Old Blue) and (July 2015 Shop Build!)(2020, the Saga Continues) http://67-72chevytrucks.com/vboard/s...d.php?t=372424 The LST Challenge: http://67-72chevytrucks.com/vboard/s...=1#post7812257 Korbin's 1st Square: "Sunburn" http://67-72chevytrucks.com/vboard/s...d.php?t=418618 1985 GMC Sierra: "White Trash", Korbin's 2nd now... http://67-72chevytrucks.com/vboard/s...d.php?t=632305 Henry - 1984 Chevrolet, Owen's 1st Square |
|
|

|
 |
| Bookmarks |
|
|