
|
|
|
 05-30-2012, 03:55 PM
|
#1 |
|
Registered User
Join Date: Jul 2011
Location: Des Moines, Iowa
Posts: 3,016
|
Re: Project "My Happy Mess"
Made a couple small adjustments to my last reinterpretation:
Original reinterpretation -  Lightened the wood [a little] and added contrast. My wood isn't as dark/rich as Steve's.  Then black just to see. I couldn't get a good med. bronze, maybe next time. 
__________________
project: "my happy mess" |

|

|
|
07-06-2012, 10:32 AM
|
#2 |
|
Registered User
Join Date: Jul 2011
Location: Des Moines, Iowa
Posts: 3,016
|
No paint.
Sorry for the lack of updates. There hasn't been any really.
Another project has taken all my time recently.   
__________________
project: "my happy mess" |
|
|
|
|
07-24-2012, 03:35 PM
|
#3 |
|
Registered User
Join Date: Jul 2011
Location: Des Moines, Iowa
Posts: 3,016
|
Re: Project "My Happy Mess"
Got the garage up, not finished entirely. Need to pour a small approach,
not sure when. Meanwhile, polar opposites   You should see the look on peoples faces when driving this through town.
__________________
project: "my happy mess" |
|
|
|
|
08-23-2012, 01:41 PM
|
#4 |
|
Registered User
Join Date: Jul 2011
Location: Des Moines, Iowa
Posts: 3,016
|
Re: Project "My Happy Mess"
The bear has been taken back to its captivity, inside of the school. It was used for a recent (76'?) reunion tour (it was a huge success!
) and will be put back into commission for school football games, etc.... This time however, to prevent it from being vandalized, the school will enlist the resident Marine ROTC to stand guard! How awesome is that! - semper fidelis       Notice the boulder sitting on the left. My Chevy pickup was used to haul it home. Not sure the weight, but my tired old pickup at the time didn't appreciate it much!  
__________________
project: "my happy mess" |
|
|
|
|
09-08-2012, 04:06 PM
|
#5 |
|
Registered User
Join Date: Jul 2011
Location: Des Moines, Iowa
Posts: 3,016
|
Re: Project "My Happy Mess"
Finally, the isle end shelving I nabbed 20 years ago from a department store
closing for FREE, found its re-purpose as I had always envisioned.  I have another one needing assembled.   Meet the bench top. Left over from the build, was holding two pallets together. Ripped down the middle; I'll double it up.  
__________________
project: "my happy mess" |
|
|
|
|
09-09-2012, 03:54 PM
|
#6 |
|
Registered User
Join Date: Jul 2011
Location: Des Moines, Iowa
Posts: 3,016
|
Re: Project "My Happy Mess"
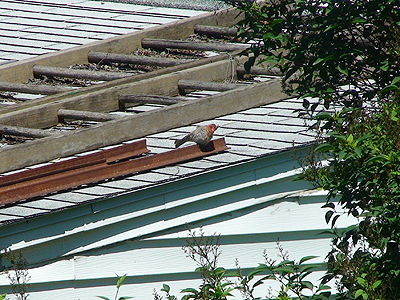
distant future maybe. 3/4" thick to begin with  Humidity thermometer hanging on the gable. It's 73 degrees outside. Thought the ridge vent would have expelled heat a little better  - -
__________________
project: "my happy mess" |
|
|
|
|
10-20-2012, 03:13 PM
|
#7 |
|
Registered User
Join Date: Jul 2011
Location: Des Moines, Iowa
Posts: 3,016
|
Re: Project "My Happy Mess"
Sept. pics w/no comments
          
__________________
project: "my happy mess" |
|
|
|
|
10-21-2012, 11:05 AM
|
#8 |
|
Registered User
Join Date: Nov 2010
Location: Carlsbad, CA
Posts: 1,584
|
Re: Project "My Happy Mess"
The garage looks good. I bet you'll have fun filling it up with all your stuff !
__________________
- Jim - My Daily Driver is a 1969 Chevrolet Custom/20 Fleetside 350/TH400/Eaton H052 4.10 and its Project thread is here http://67-72chevytrucks.com/vboard/s...d.php?t=456911 |
|
|
|
|
06-14-2013, 03:53 PM
|
#9 |
|
Registered User
Join Date: Jul 2011
Location: Des Moines, Iowa
Posts: 3,016
|
Re: Project "My Happy Mess"
Thanks all
Garage is working out nice. Here are some quick pics. Nothing too telling. Worked on cleaning the aluminum wheels some today also.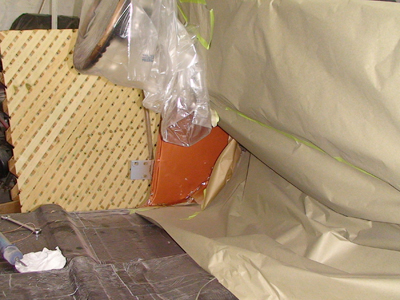 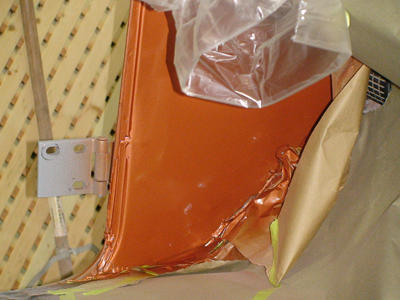 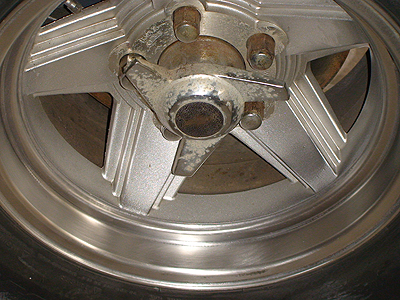 The plan is to start tackling the doors and jambs next week. Since it's two tone (med. bronze / white) - any tips on how we should go about painting (order etc)? Thanks
__________________
project: "my happy mess" |
|
|
|
|
06-18-2013, 10:42 AM
|
#10 |
|
Registered User
Join Date: Jul 2011
Location: Des Moines, Iowa
Posts: 3,016
|
Re: Project "My Happy Mess"
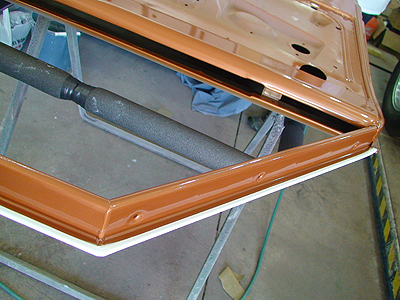
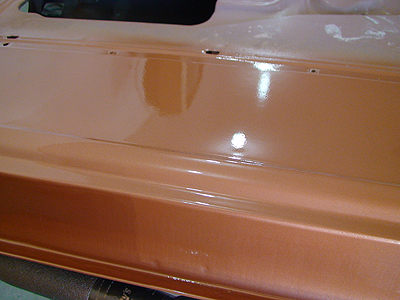
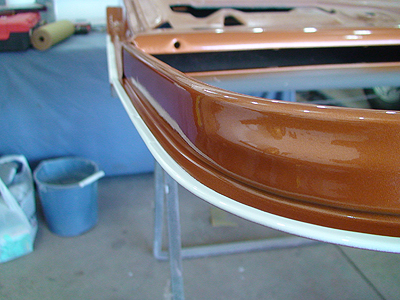
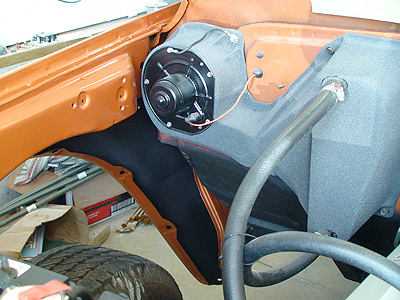
Edging pics. He shot white on the backside by the seam bends but I don't have pics of it.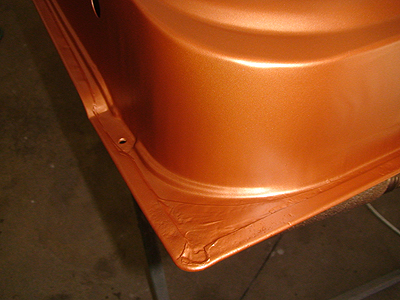 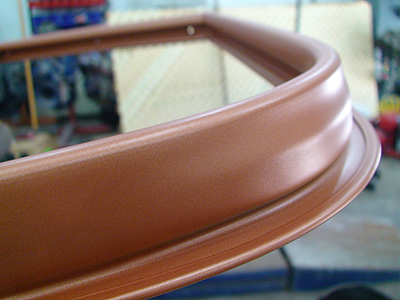 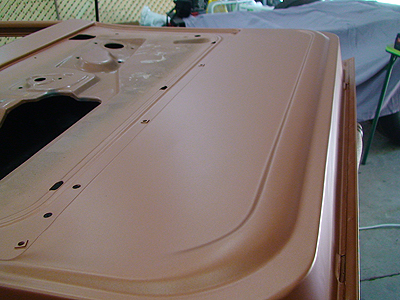 A picture of my engine in the sun for the first time. 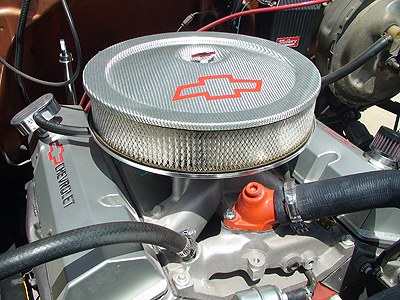
__________________
project: "my happy mess" |
|
|
|
|
06-19-2013, 01:03 AM
|
#11 |
|
Registered User
Join Date: Jul 2011
Location: Des Moines, Iowa
Posts: 3,016
|
Re: Project "My Happy Mess"
pictures
__________________
project: "my happy mess" |
|
|
|
|
06-19-2013, 03:37 PM
|
#12 |
|
Registered User
Join Date: Jul 2011
Location: Des Moines, Iowa
Posts: 3,016
|
Re: Project "My Happy Mess"
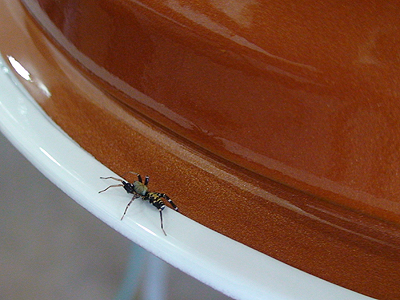
The spider probably didn't care too much for the painting.Doors outside baking in the sun. 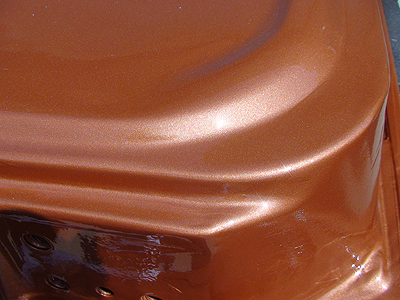 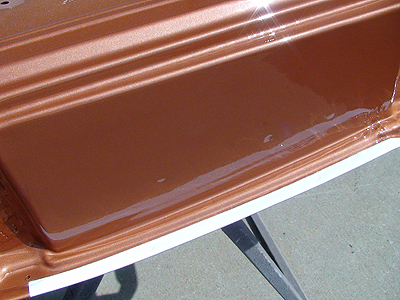  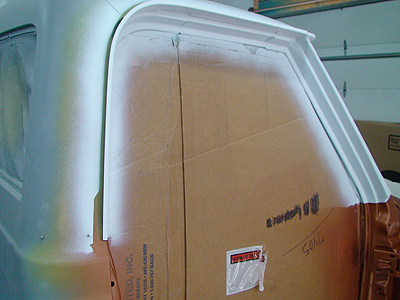 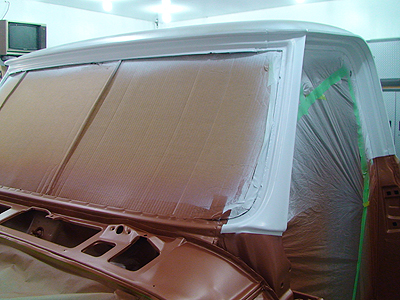 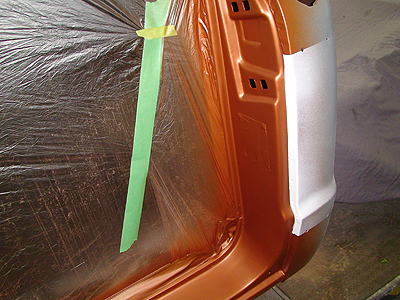 The white (linen white) seems too bright for my camera. There were two different color codes for white when cross-referenced. One was supposed to be closer to GM white of the 70's, but we think that is the color they used to repaint the original passenger door back in the 90's - it turned a yellowish color over time, so we decided to go with the other.
__________________
project: "my happy mess" |
|
|
|
|
06-21-2013, 02:09 PM
|
#13 |
|
Registered User
Join Date: Jul 2011
Location: Des Moines, Iowa
Posts: 3,016
|
Re: Project "My Happy Mess"
cleared 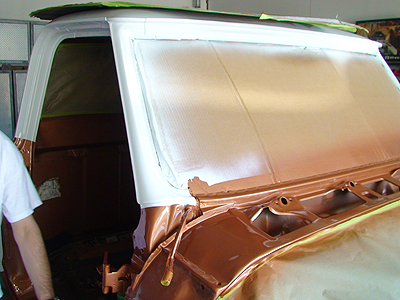 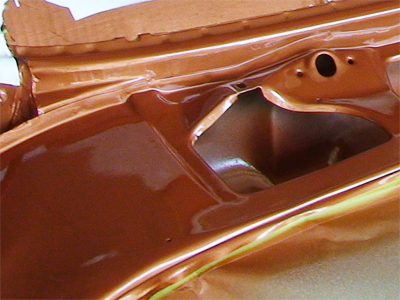
__________________
project: "my happy mess" |
|
|
|
|
06-29-2013, 04:31 PM
|
#14 |
|
Registered User
Join Date: Jul 2011
Location: Des Moines, Iowa
Posts: 3,016
|
Re: Project "My Happy Mess"
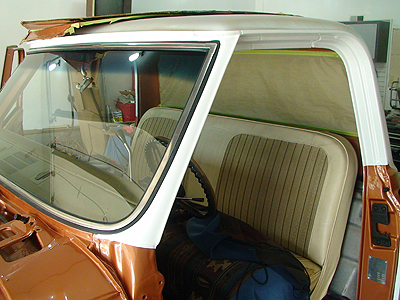
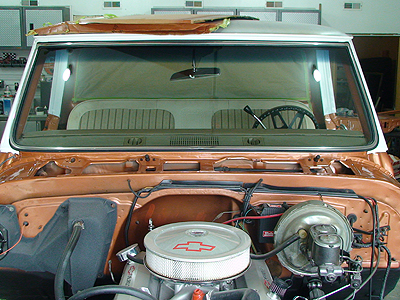
Couple more pics. Got the windshield in.
 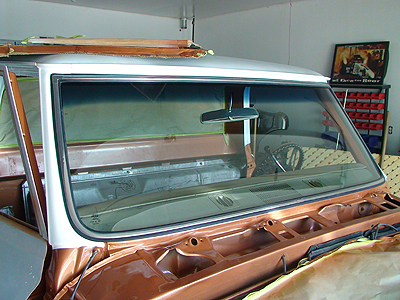 Starting to put the door guts back in.
__________________
project: "my happy mess" |
|
|
|
|
07-02-2013, 03:29 PM
|
#15 |
|
Registered User
Join Date: Jul 2011
Location: Des Moines, Iowa
Posts: 3,016
|
Re: Project "My Happy Mess"
Getting there...
__________________
project: "my happy mess" |
|
|
|
|
07-03-2013, 03:18 PM
|
#16 |
|
Registered User
Join Date: Jul 2011
Location: Des Moines, Iowa
Posts: 3,016
|
Re: Project "My Happy Mess"
Thanks DW and mcbassin.
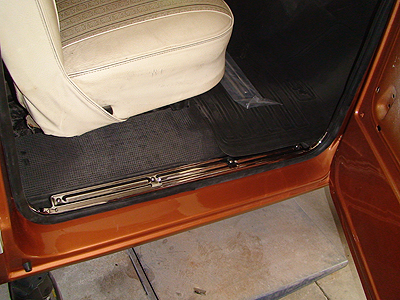
For just cleaning it up (non-show quality), I think it's turning out nice. Can't believe it's been 2 years though. The winter months really cut in. We put the pass. side door weatherstrip on today. We used a 3M ws adhesive. 1st pic: Something shinny (premature I know) - SS door sill plate. Decided to not paint the rubber floor mat just yet (maybe down the road). 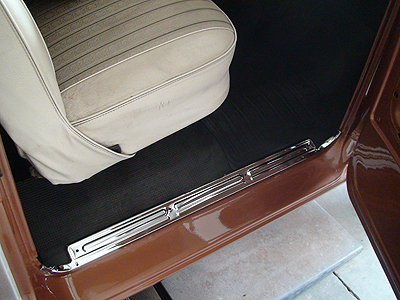 1) Applied a coat to the jamb, 2) then some to the weatherstrip itself, 3) affixed and taped. 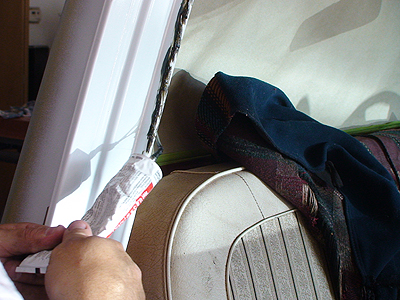 Precision brand weatherstrip (same for windshield) 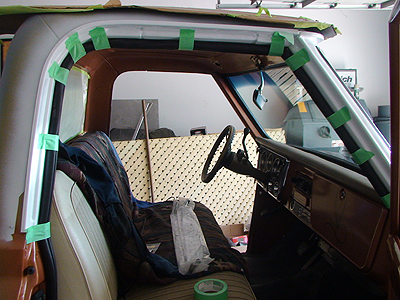 @mcbassin: If I were allowed to go back and edit my build thread and remove a lot of unnecessary banter, I would. It'd be better.
__________________
project: "my happy mess" Last edited by litew8; 07-03-2013 at 03:33 PM. |
|
|
|
|
07-03-2013, 04:03 PM
|
#17 | |
|
Still Learning
Join Date: Jul 2009
Location: Central Oklahoma
Posts: 10,108
|
Re: Project "My Happy Mess"
Quote:
|
|
|
|
|
|
07-08-2013, 01:54 PM
|
#18 |
|
Registered User
Join Date: Jul 2011
Location: Des Moines, Iowa
Posts: 3,016
|
Re: Project "My Happy Mess"
One side down, one to go.
 Unexplained devastation 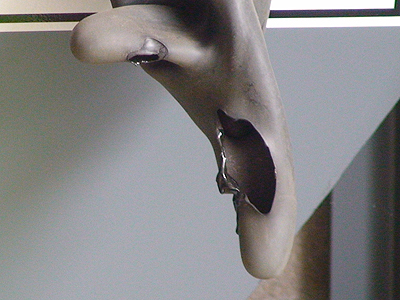 other 
__________________
project: "my happy mess" |
|
|
|
|
07-19-2013, 06:01 PM
|
#19 |
|
Registered User
Join Date: Jul 2011
Location: Des Moines, Iowa
Posts: 3,016
|
Re: Project "My Happy Mess"
Decided to just try and clean it up a little myself. Went and bought some cleaner.
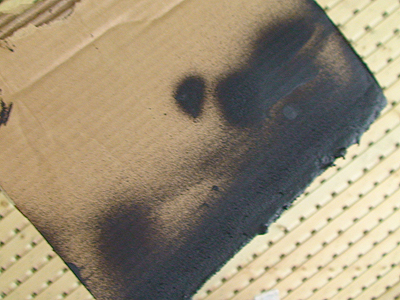
Light and damp (just wiped it off with cotton towel, a little scrub action) 10-4 Here are some before shots (no after shots, yet). 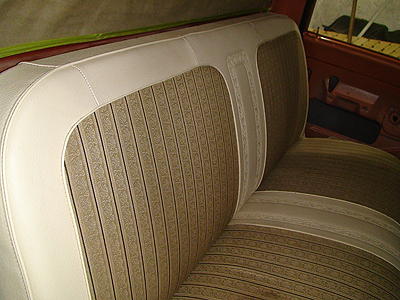 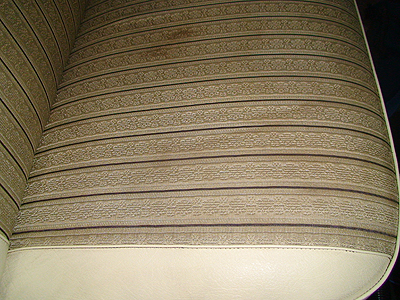 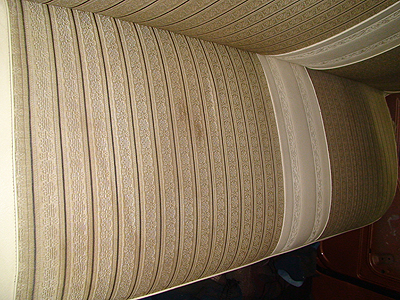 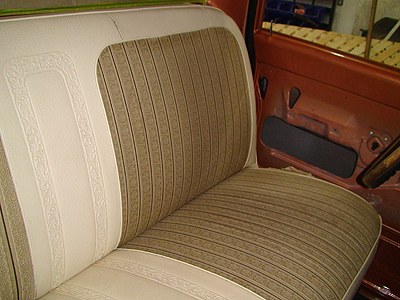 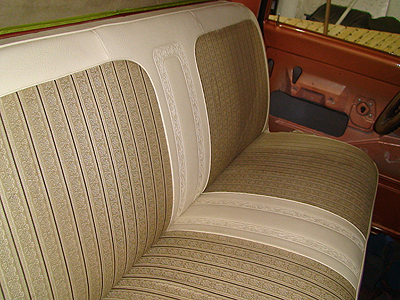 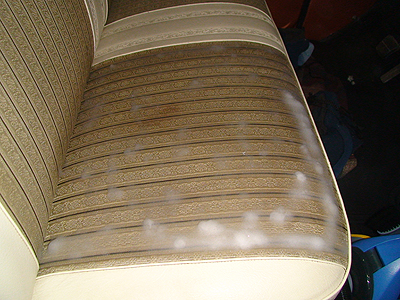 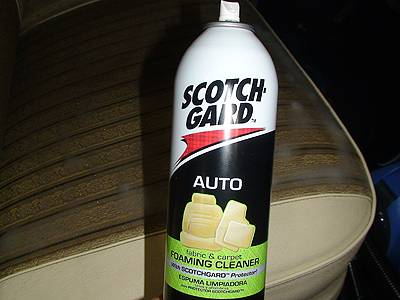 It did something I only cleaned one insert (bottom/passenger). The whole towel ended up looking like this: 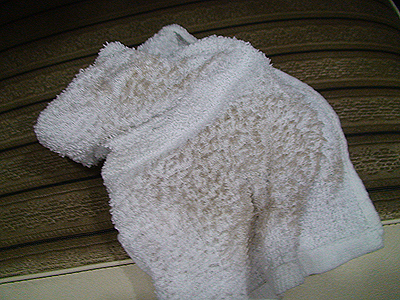 Patching the driver's fender: 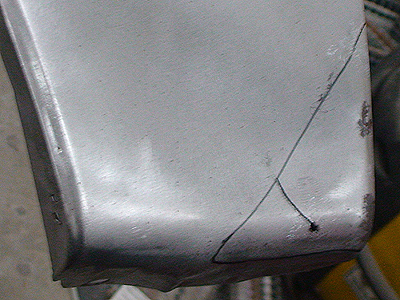 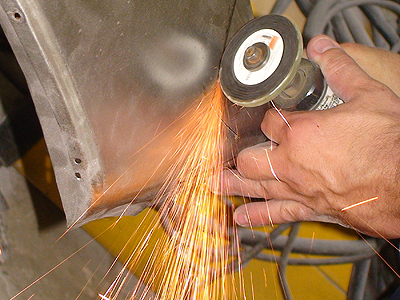 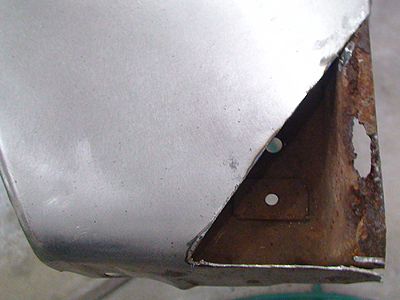 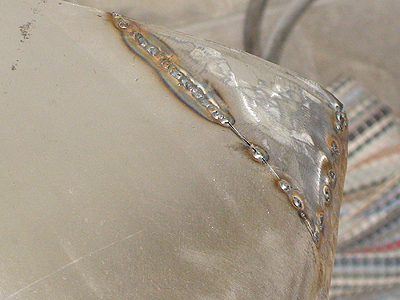
__________________
project: "my happy mess" Last edited by litew8; 07-19-2013 at 06:29 PM. |
|
|
|
|
07-30-2013, 01:32 PM
|
#20 |
|
Registered User
Join Date: Jul 2011
Location: Des Moines, Iowa
Posts: 3,016
|
Re: Project "My Happy Mess"
No truck update.
    My mom's.   Picture my truck there, 1971. 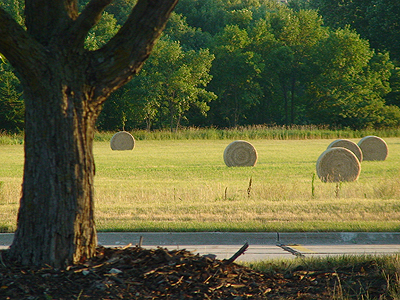
__________________
project: "my happy mess" |
|
|
|
|
08-08-2013, 02:46 PM
|
#21 |
|
Registered User
Join Date: Jul 2011
Location: Des Moines, Iowa
Posts: 3,016
|
Re: Project "My Happy Mess"
A real update. Fit the doors, primed the fenders and some assembly.
Ready to edge the fenders tomorrow. 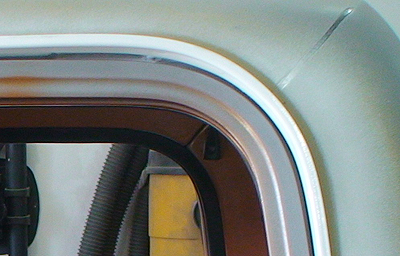 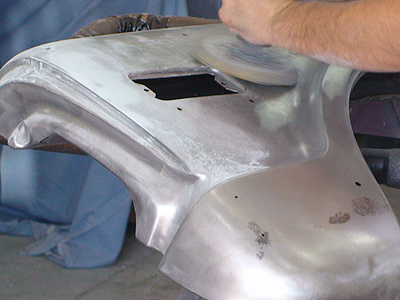 This piece was bandaged up too. Welded/fab 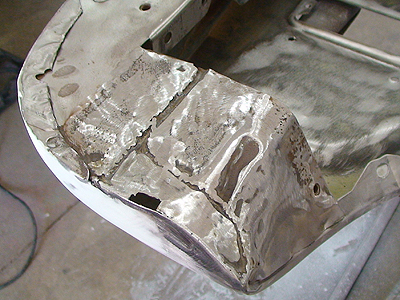 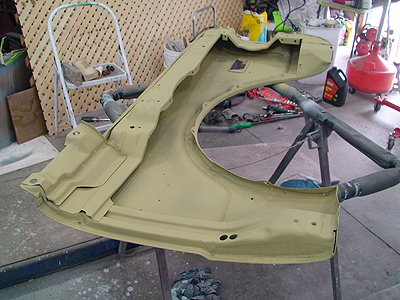  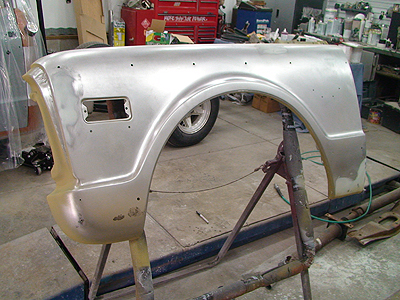 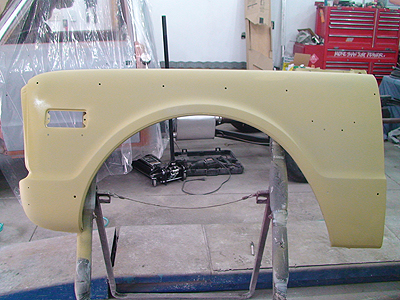 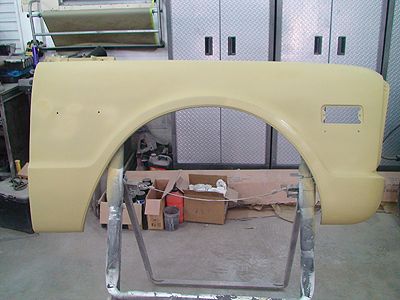 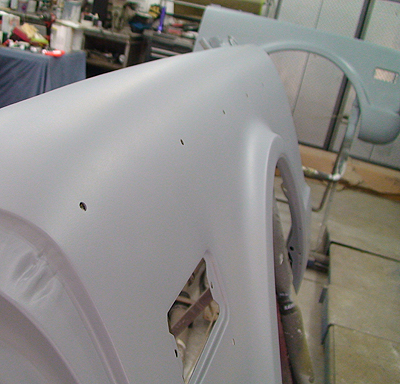 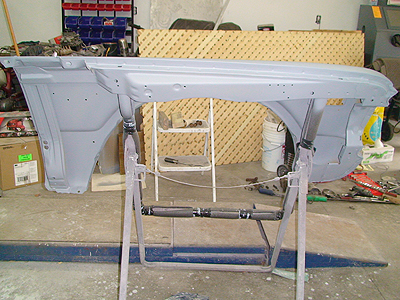 Some holes on driver's fender I hadn't noticed before  Oh well. Oh well.Maybe I'll put some mud flaps on some day  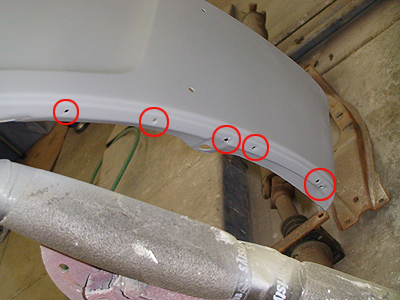 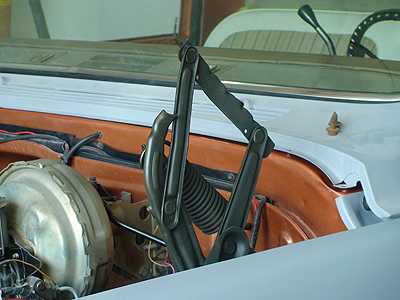 Zinc Black Chromate Plating. Looks good enough 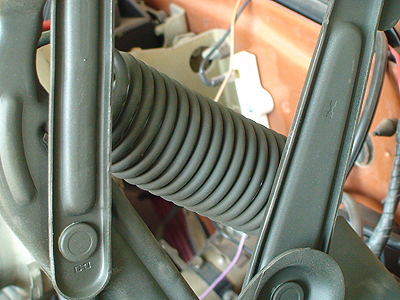 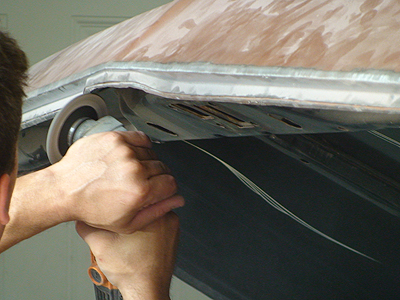 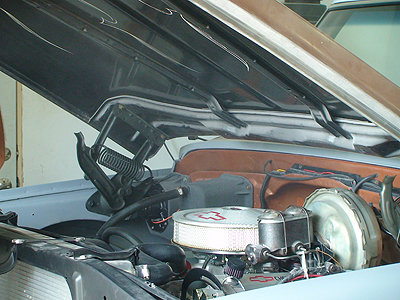 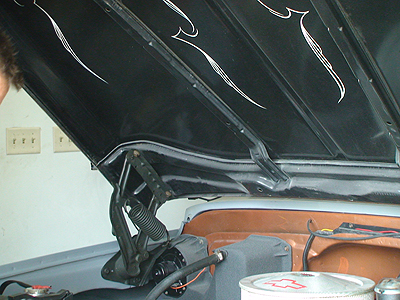 Check out the engine reflection on the hood underside. Looks like dirty harry may have put the pinstripe there for a reason.  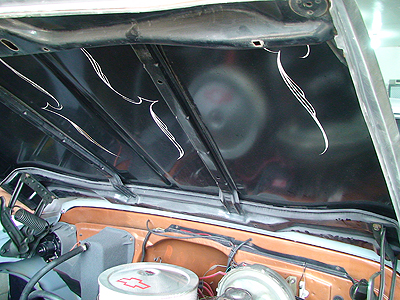 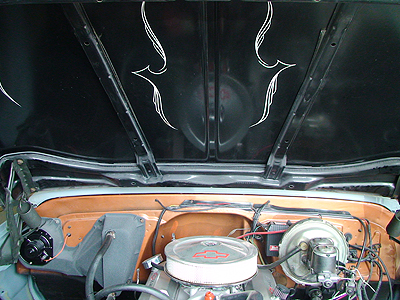 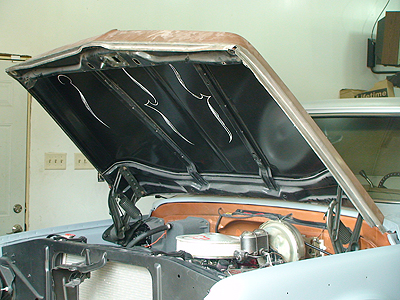
__________________
project: "my happy mess" Last edited by litew8; 08-08-2013 at 02:56 PM. |
|
|
|
|
08-09-2013, 03:19 PM
|
#22 |
|
Registered User
Join Date: Jul 2011
Location: Des Moines, Iowa
Posts: 3,016
|
Re: Project "My Happy Mess"
Thanks Jim
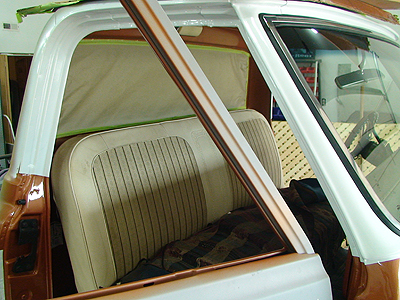
Didn't edge today, just scuffed the fenders.I might seam seal some areas of the fenders first. Undecided. Picture of how the camera sees my bench seat. You don't see the brown area shown here when looking at it without the camera. But, this small area is actually/partially due to the fabric beginning to fray.  The driver's side is a lot worse, but none of it has actually split, yet. 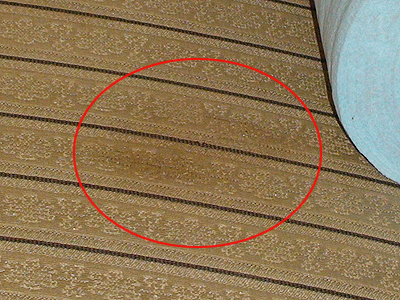 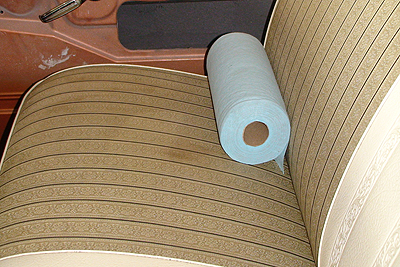 Spotted this while out and about town today. Sits nice. 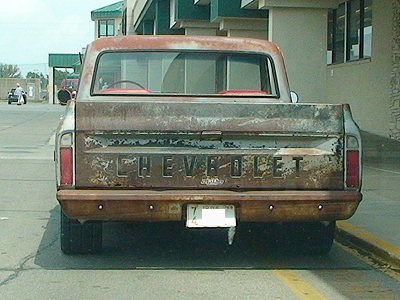 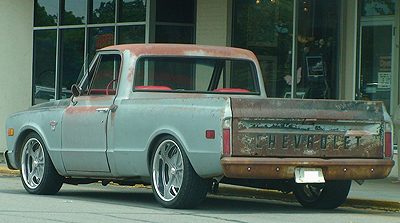 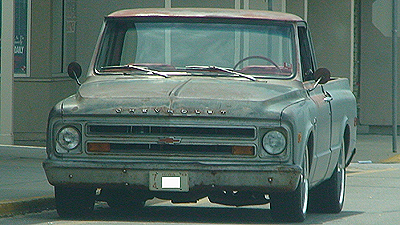 
__________________
project: "my happy mess" |
|
|
|
|
08-14-2013, 02:14 AM
|
#23 |
|
Registered User
Join Date: Jul 2011
Location: Des Moines, Iowa
Posts: 3,016
|
Re: Project "My Happy Mess"
Edged and cleared the fenders. Turned out great!
Taped off some areas and shot 3M undercoating. In an order: 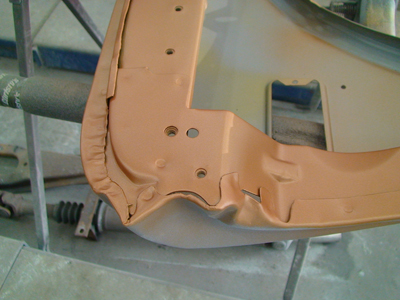 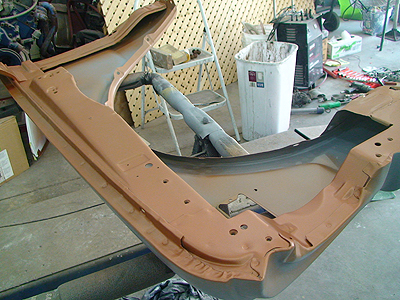 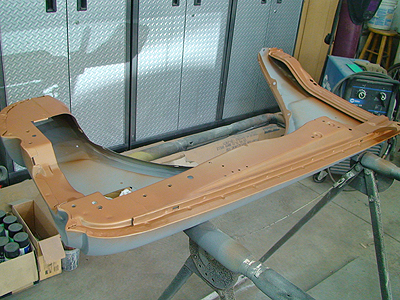 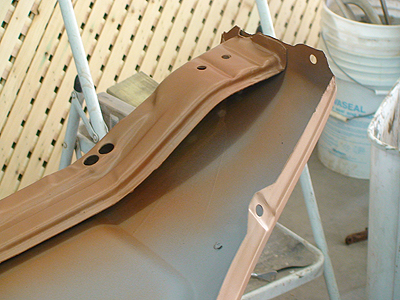 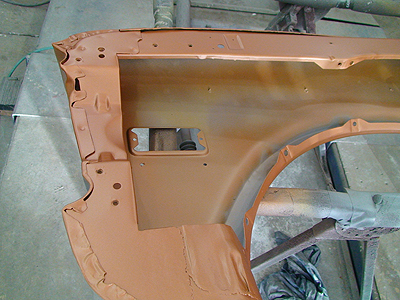  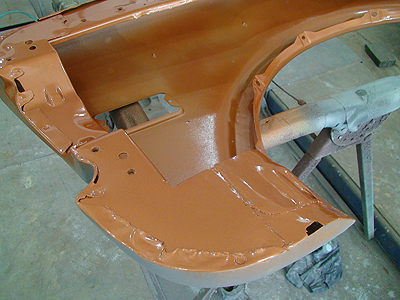 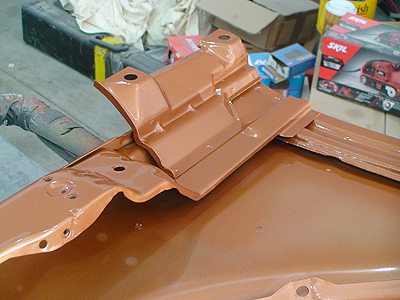   x3 x3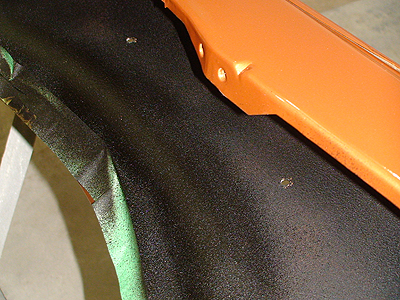 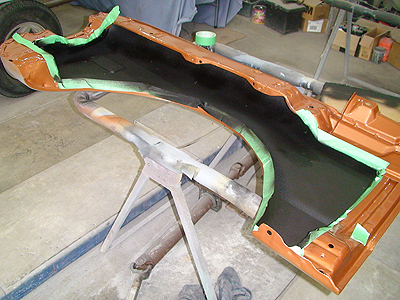  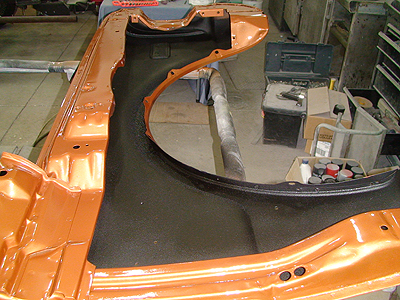 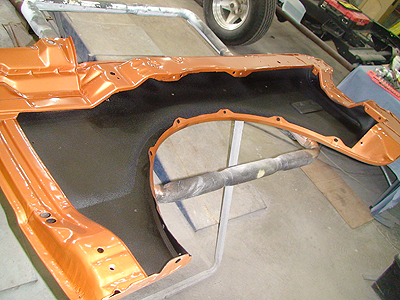
__________________
project: "my happy mess" Last edited by litew8; 08-14-2013 at 02:24 AM. |
|
|
|
|
08-14-2013, 02:49 PM
|
#24 |
|
Registered User
Join Date: Jul 2011
Location: Des Moines, Iowa
Posts: 3,016
|
Re: Project "My Happy Mess"
Fenders and hinges back on.
__________________
project: "my happy mess" |
|
|
|
|
08-15-2013, 03:27 PM
|
#25 |
|
Registered User
Join Date: Jul 2011
Location: Des Moines, Iowa
Posts: 3,016
|
Re: Project "My Happy Mess"
Over spray specialty tool used for fender undercoating
 Hood underside scuffed, spot primed and taped off. Ready for some 'chassis black' (no clear) - same will be used for front wheel wells.  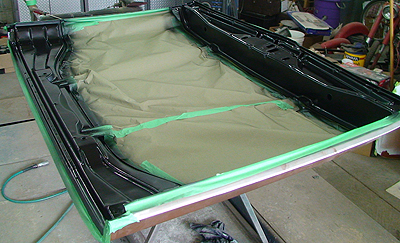 Done. Before  After After 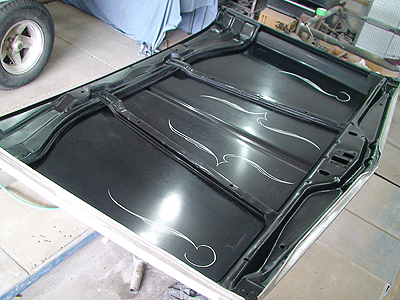 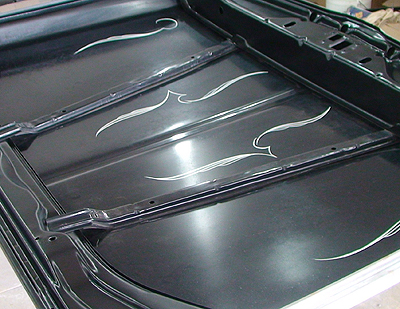 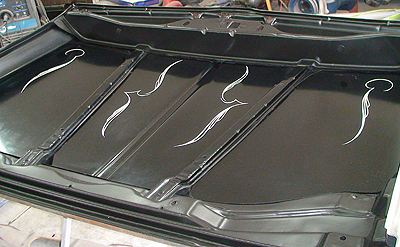 Other Yard work. Weed-eating action shots. 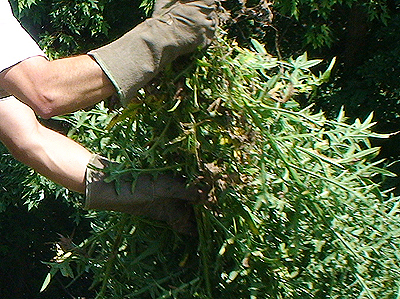 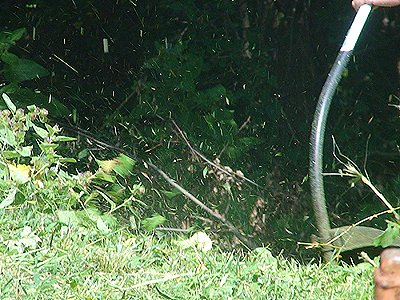 Iowa nature.    
__________________
project: "my happy mess" Last edited by litew8; 08-15-2013 at 03:38 PM. |
|
|
|
 |
| Bookmarks |
|
|


 Hybrid Mode
