
 |
|
|
|
|
#1 |
|
Registered User
Join Date: Nov 2015
Location: Smethport, PA
Posts: 1,213
|
Re: Shucks First Build
I feel your pain slightly. I am just doing body work on a couple patches right now and it just seems to take forever to see any results. I am not even expecting good results. I am just taking care of some rust spots so I can get mine inspected soon. I am not looking forward to final body work and paint prep. That is still a ways off for me.
__________________
85 K30 crew cab dually - Project http://67-72chevytrucks.com/vboard/s...d.php?t=694939 87 Wrangler Rock Crawler - Reason for the project http://www.wranglerforum.com/f330/da...ld-122601.html 04 1500 crew cab http://67-72chevytrucks.com/vboard/s...d.php?t=786514 |
|
|

|
|
|
#2 |
|
Registered User
Join Date: Apr 2003
Location: Indep, MO
Posts: 5,893
|
Re: Shucks First Build
x2.. Hit your repair areas with a couple good rounds of Slick Sand, and hit it with 80 on a long block. Levels er out goooood.
__________________
Boppa's Old Yeller Truck Build, Old Yeller's New Heart! Project Buzz Bomb Flyin' Low! |
|
|

|
|
|
#3 |
|
Registered User
Join Date: May 2013
Location: Centerville,Ma.
Posts: 1,223
|
Re: Shucks First Build
Been sanding bondo for a living since 1974. Putting primer on before the filler is straight is a waste of materials. Use guide coat or just lightly spray with black spray paint form about 18'' away that will show where you need more filler. Primer is for smoothing out sand scratches not straightening panels.
|
|
|

|
|
|
#4 |
|
Registered User
Join Date: Nov 2013
Location: Lawrence Kansas
Posts: 229
|
Re: Shucks First Build
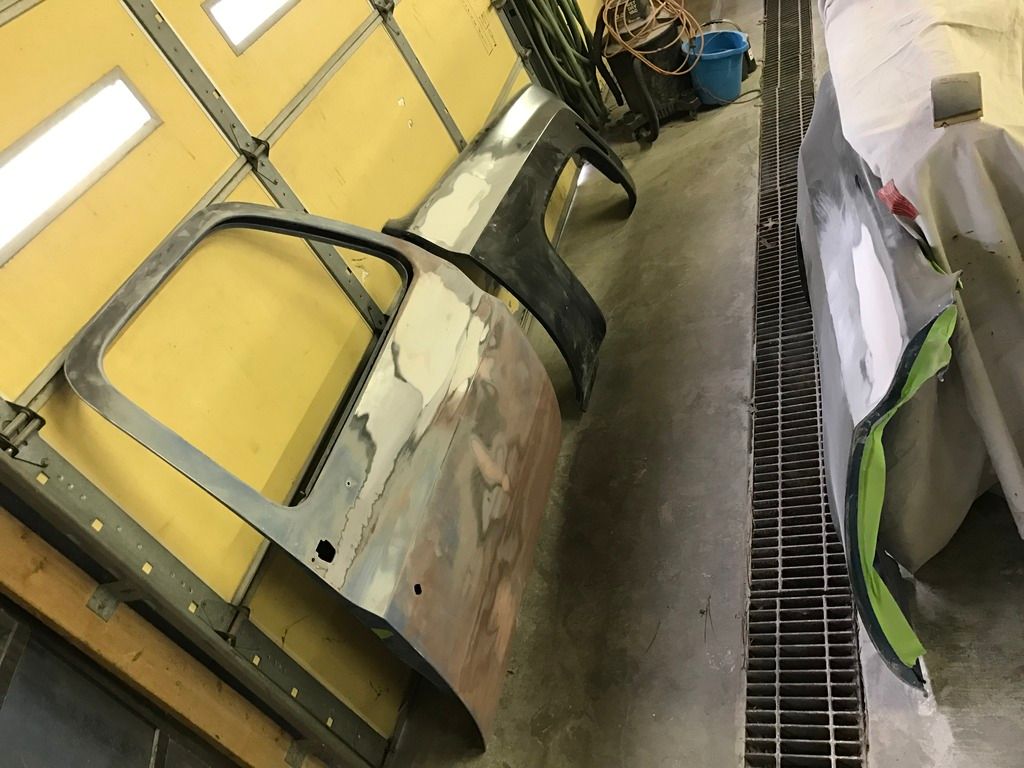
Thanks for the replies guys. It all helps to get a little motivation! I got a ton done in the last couple of days. Long days of sanding and spreading but honestly feel really comfortable where I'm at. Three quarts of body putty later and The roof, doors and fenders all turned out way better than I planned. Did the guide coats and fixed a lot.. Guide coat saved my butt! After I finish sanding this red door I'll be priming the cab again, doing the fenders and doors and getting it ready to paint.
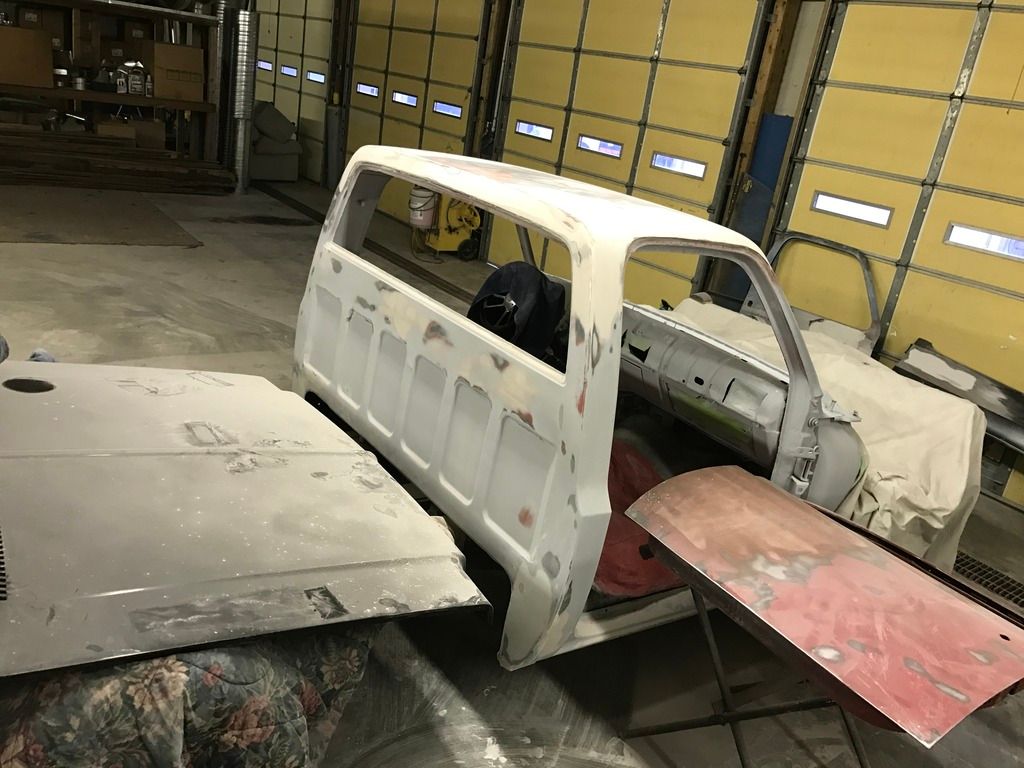 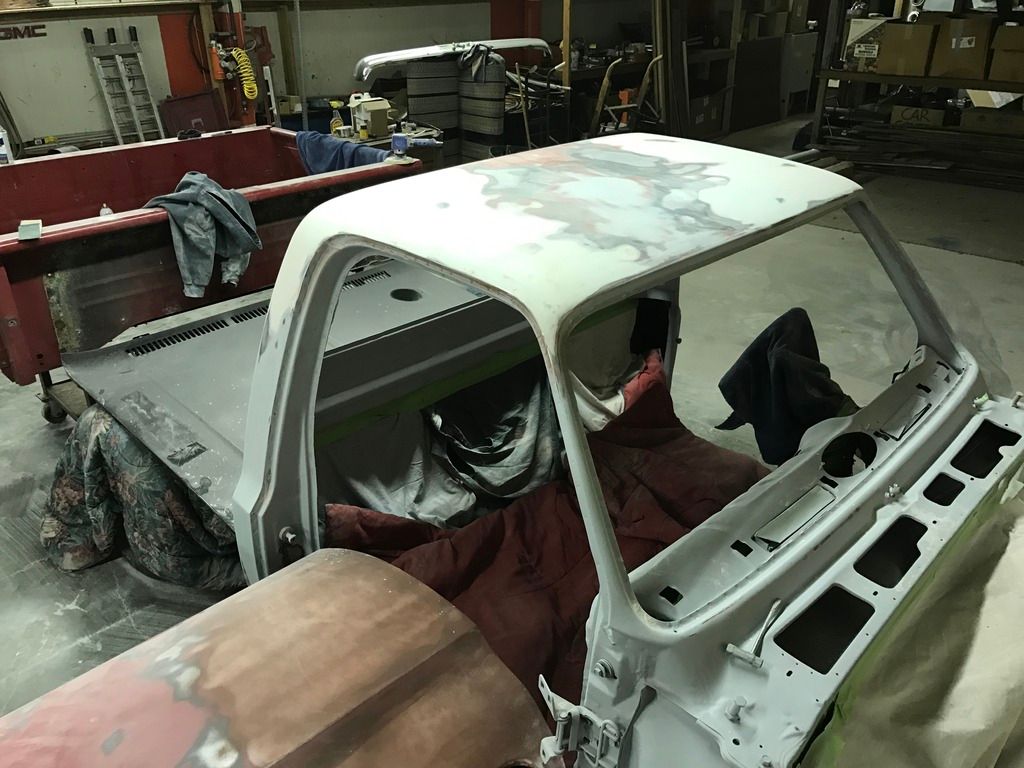 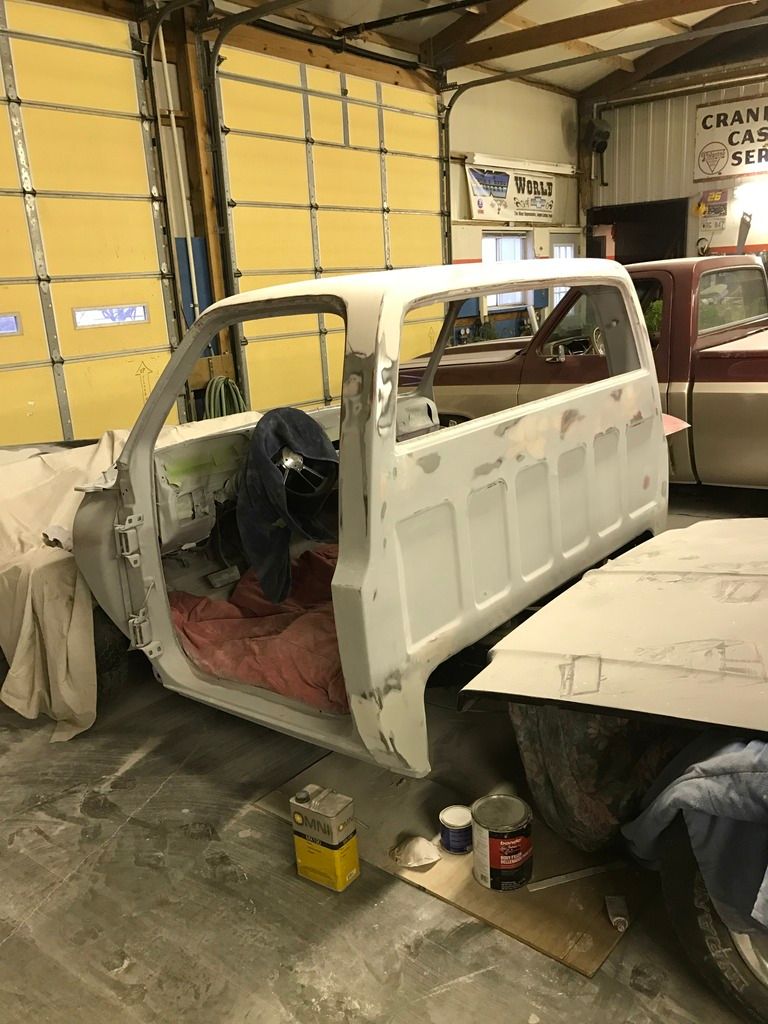 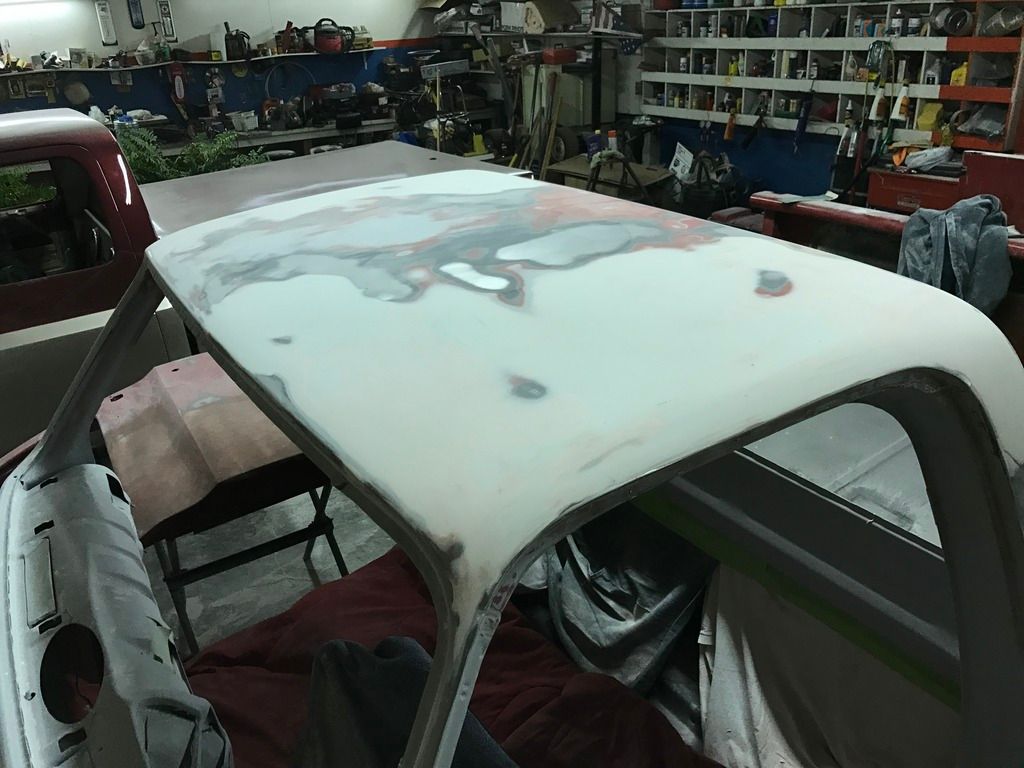  How I have to drive home every night because I'm a fright. 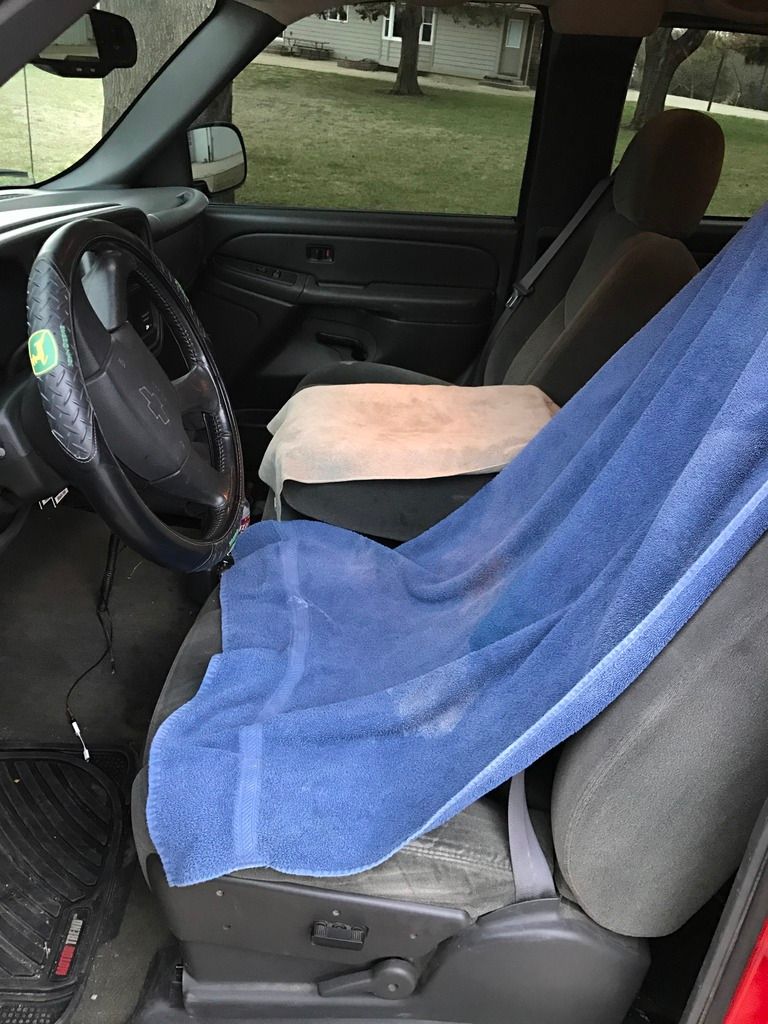
__________________
|
|
|

|
|
|
#5 |
|
Registered User
Join Date: Nov 2013
Location: Lawrence Kansas
Posts: 229
|
Re: Shucks First Build
__________________
|
|
|

|
|
|
#6 |
|
Registered User
Join Date: May 2013
Location: Centerville,Ma.
Posts: 1,223
|
Re: Shucks First Build
Proves you can't beat youth and enthusiasm . Looks like you been working hard.
|
|
|

|
|
|
#7 |
|
Registered User
Join Date: Nov 2013
Location: Lawrence Kansas
Posts: 229
|
Re: Shucks First Build
Lots of long days. I did get a job as a fire fighter/EMT about 3 months ago and the days off really make it nice to be able to have full days to work on it.
__________________
|
|
|

|
|
|
#8 |
|
Registered User
Join Date: Nov 2013
Location: Lawrence Kansas
Posts: 229
|
Re: Shucks First Build
__________________
|
|
|

|
|
|
#9 |
|
Registered User
Join Date: Nov 2013
Location: Lawrence Kansas
Posts: 229
|
Re: Shucks First Build
__________________
|
|
|

|
|
|
#10 |
|
Registered User
Join Date: May 2013
Location: Centerville,Ma.
Posts: 1,223
|
Re: Shucks First Build
I would have gotten the rest of those parts in primer before assembling A lot less masking
|
|
|

|
|
|
#11 |
|
Registered User
Join Date: Nov 2013
Location: Lawrence Kansas
Posts: 229
|
Re: Shucks First Build
Well good to know, I might just take them back off and do that then!
__________________
|
|
|

|
|
|
#12 |
|
Registered User
Join Date: May 2013
Location: Centerville,Ma.
Posts: 1,223
|
Re: Shucks First Build
After doing this for over 40 years I look for ways to save on material costs. The less I spend on materials the more I make or the less I have to work. Tape and masking materials add up plus the added time to mask. I use bed sheets instead of plastic sheeting to cover cars also as it not only saves money but much less trash. I work alone and only have to empty my shop trash can about every three weeks as all paper and cardboard goes to recycling.
|
|
|

|
|
|
#13 |
|
Registered User
Join Date: Nov 2013
Location: Lawrence Kansas
Posts: 229
|
Re: Shucks First Build
Well I appreciate the advice, I don't get much, not many people I know do this type of stuff so, I appreciate what I can get. I know I've spent way more time and money than I should have on stupid mistakes and other errors.
__________________
|
|
|

|
|
|
#14 |
|
Happy to be here
 Join Date: Mar 2000
Location: Cypress, TX
Posts: 39,023
|
Re: Shucks First Build
Dont beat yourself up, thats part of the learning process. First learn how to do it right, then you will figure out how to do it smarter and faster.
__________________
Follow me on Facebook and Instagram @N2trux.com Articles- "Jake" the 84 to 74 crewcab "Elwood" the77_Remix 85 GMC Sierra "Scarlett" "Refining Sierra" |
|
|

|
|
|
#15 |
|
I'm just glad to be here!
Join Date: Jan 2008
Location: Longview, TX
Posts: 4,788
|
Re: Shucks First Build
Cape Codder has a good point. I would add to that by saying, since you cut in the front fenders and the inside of the cab...I would get the inside of the doors cut in and the jamb area of the doors painted before rehanging them on the truck.
__________________
Karl  1965 Chevy Stepside(Grandpa's Old Blue) and (July 2015 Shop Build!)(2020, the Saga Continues) http://67-72chevytrucks.com/vboard/s...d.php?t=372424 The LST Challenge: http://67-72chevytrucks.com/vboard/s...=1#post7812257 Korbin's 1st Square: "Sunburn" http://67-72chevytrucks.com/vboard/s...d.php?t=418618 1985 GMC Sierra: "White Trash", Korbin's 2nd now... http://67-72chevytrucks.com/vboard/s...d.php?t=632305 Henry - 1984 Chevrolet, Owen's 1st Square |
|
|

|
|
|
#16 |
|
Registered User
Join Date: May 2013
Location: Centerville,Ma.
Posts: 1,223
|
Re: Shucks First Build
Spraying metalic color you do want to mount the doors and fenders before final painting so the color and metalic match up. But You can paint the inside of the doors and jambs before hanging them. as just posted. Much easier to paint the hinges and pillars this way.
You are doing a great job for your first time. Most body guys spend a few years as an apprentice to get to what you are doing now.. |
|
|

|
|
|
#17 |
|
Registered User
Join Date: Nov 2013
Location: Lawrence Kansas
Posts: 229
|
Re: Shucks First Build
Well again, thank you for the complements and critiques, I appreciate i all. I will paint the jambs and the insides of the doors off like this. It does make more sense to do it this way. Now, when I get it color in the jambs, do I clear coat it now? Or do I clear it when I'm finished and clearing the doors?
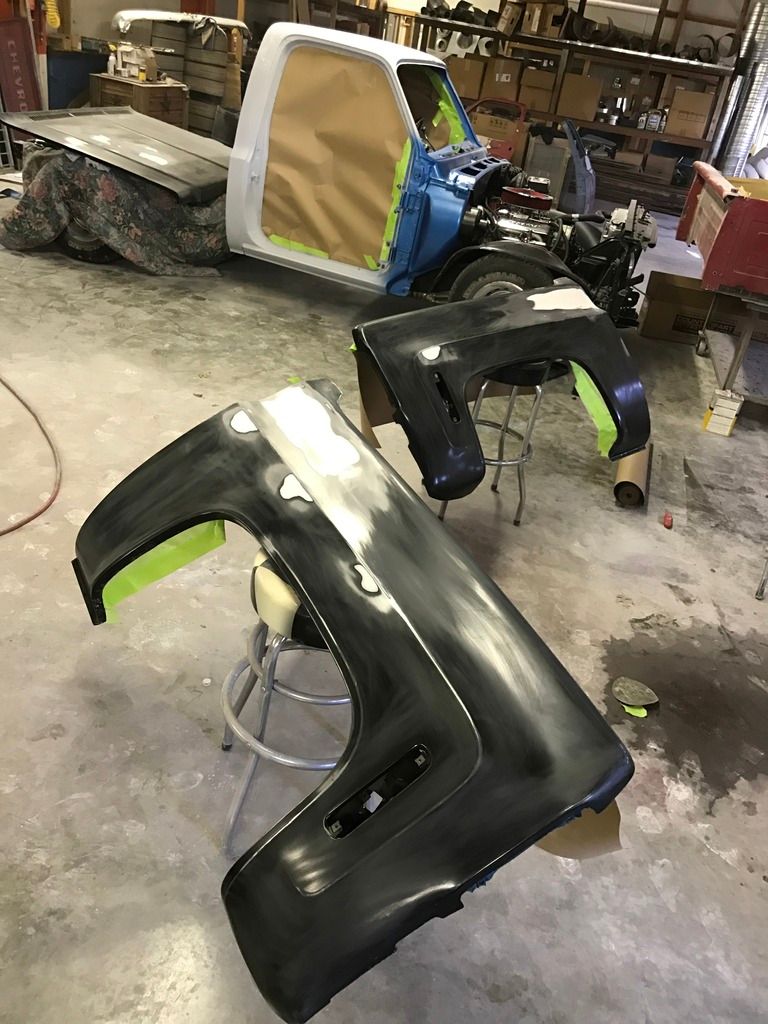 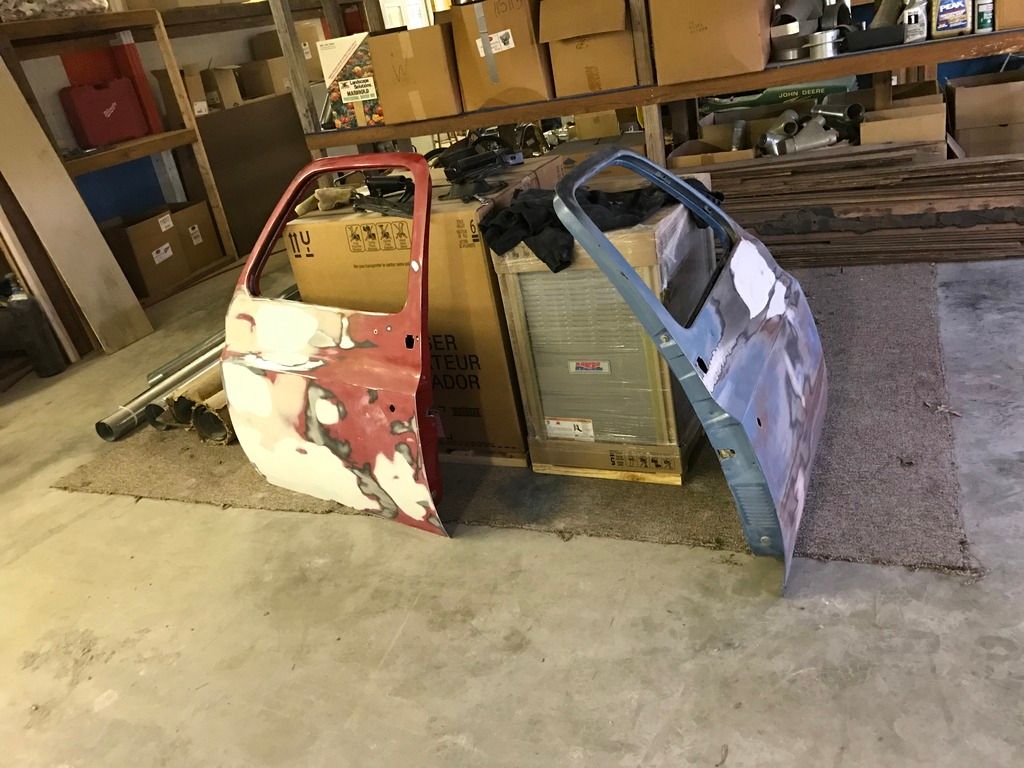 Everything's finally ready to be sprayed, finally. Tomorrow will be good.
__________________
|
|
|

|
|
|
#18 |
|
Registered User
Join Date: May 2013
Location: Centerville,Ma.
Posts: 1,223
|
Re: Shucks First Build
I clear as soon as the base flashes of or dries to the touch. Anywhere from 15 minutes to a half hr. Keep in mind you are not nor should you sand the base so it is a chemical bond not a mech. bond as in sanding . The drier the base the less the clear can grip it. I don't even give the gun a good cleaning between, a quick rinse with reducer and pour in the clear.
|
|
|

|
|
|
#19 |
|
Registered User
Join Date: Nov 2013
Location: Lawrence Kansas
Posts: 229
|
Re: Shucks First Build
Cool, good to know. I did try to sand the base coat when I did the inside, not knowing that wouldn't work, I then had to re-do under the back window... live and learn.
__________________
|
|
|

|
|
|
#20 |
|
Happy to be here
 Join Date: Mar 2000
Location: Cypress, TX
Posts: 39,023
|
Re: Shucks First Build
Not sure what your using for paint guns, but I can offer some advice. Harbor Freight has a HVLP mid size gun that at atomizes very nicely. I used a 20% off code and bought an extra gun cheaper than a 12 pack of disposable cups.
__________________
Follow me on Facebook and Instagram @N2trux.com Articles- "Jake" the 84 to 74 crewcab "Elwood" the77_Remix 85 GMC Sierra "Scarlett" "Refining Sierra" |
|
|

|
|
|
#21 |
|
Registered User
Join Date: Nov 2013
Location: Lawrence Kansas
Posts: 229
|
Re: Shucks First Build
The gun I'm using is an HVLP from car quest. It's not bad, it seems to be working well but I guess I may not know how a really good gun is supposed to spray. This one seemed good for me. Should I look into something different?
__________________
|
|
|

|
|
|
#22 |
|
Registered User
Join Date: Nov 2013
Location: Lawrence Kansas
Posts: 229
|
Re: Shucks First Build
__________________
|
|
|

|
|
|
#23 |
|
Registered User
Join Date: May 2013
Location: Centerville,Ma.
Posts: 1,223
|
Re: Shucks First Build
If what you are using is working stick with it. A high level gun may attomize the paint nicer and lay down clear that doesn't need sanding and buffing but unless you have a dust free downdraft heated booth you will be sanding a buffing anyway.
|
|
|

|
|
|
#24 | ||
|
Happy to be here
 Join Date: Mar 2000
Location: Cypress, TX
Posts: 39,023
|
Re: Shucks First Build
Quote:
Quote:
With the cost of materials these days, especially solvents used to clean a gun the price of a Harbor Freight gun is a bargain. Regardless of your budget, using the same gun to shoot color and clear will eventually bite you. No matter how well you think a gun has been cleaned, theres always a bit of color hiding somewhere.
__________________
Follow me on Facebook and Instagram @N2trux.com Articles- "Jake" the 84 to 74 crewcab "Elwood" the77_Remix 85 GMC Sierra "Scarlett" "Refining Sierra" |
||
|
|

|
|
|
#25 |
|
Registered User
Join Date: May 2013
Location: Centerville,Ma.
Posts: 1,223
|
Re: Shucks First Build
Wheels are a matter of personal preference. There is no right or wrong choice just what the person paying wants to pay for. As for my preference I love the first one with the darker spokes. They are more period correct for your truck in my opinion. I don't like the big wheel thin tire look at all but then I am an old guy that doesn't get it. The large wheel with thin sidewall was developed for performance ,less sidewall flex while cornering. The trade off is a lousy riding tire that destroys wheels if you hit potholes. Plus I think they look out of place on a classic truck. Again an opinion and what I prefer you should get what you like. These days with the net you can look at hundreds of trucks like yours with different combinations to see what has the look you want before spending money. You don't even have to leave this site.
|
|
|

|
 |
| Bookmarks |
|
|