
 |
Register or Log In To remove these advertisements. |
|
|
|
|||||||
 |
|
|
Thread Tools | Display Modes |
|
|
#1 |
|
Registered User
Join Date: Feb 2011
Location: new york
Posts: 88
|
HOW TO: Manual locks and windows to power conversion
I have this posted on other forums, I figured posting here, those who come here regularly may benefit from it.
My '94 Suburban was not originally equipped with power windows, or locks. It was a cheyenne model. I used all (mostly) the OEM parts to do this conversion. I could have gone aftermaket, but I like OE. Since it is basically plug and play, This hits the highlights of the install, and show what's involved with getting the components and wiring into an Suburban/crewcab.The procedure is essentially the same for two door pickups, or Tahoe's To install the factory window/lock harness, the dash has to come out.   The factory GM harness. This is a '95 harness. '95 and up uses positive trigger lock, and unlock. 88-94's are reverse polarity system with no relay.  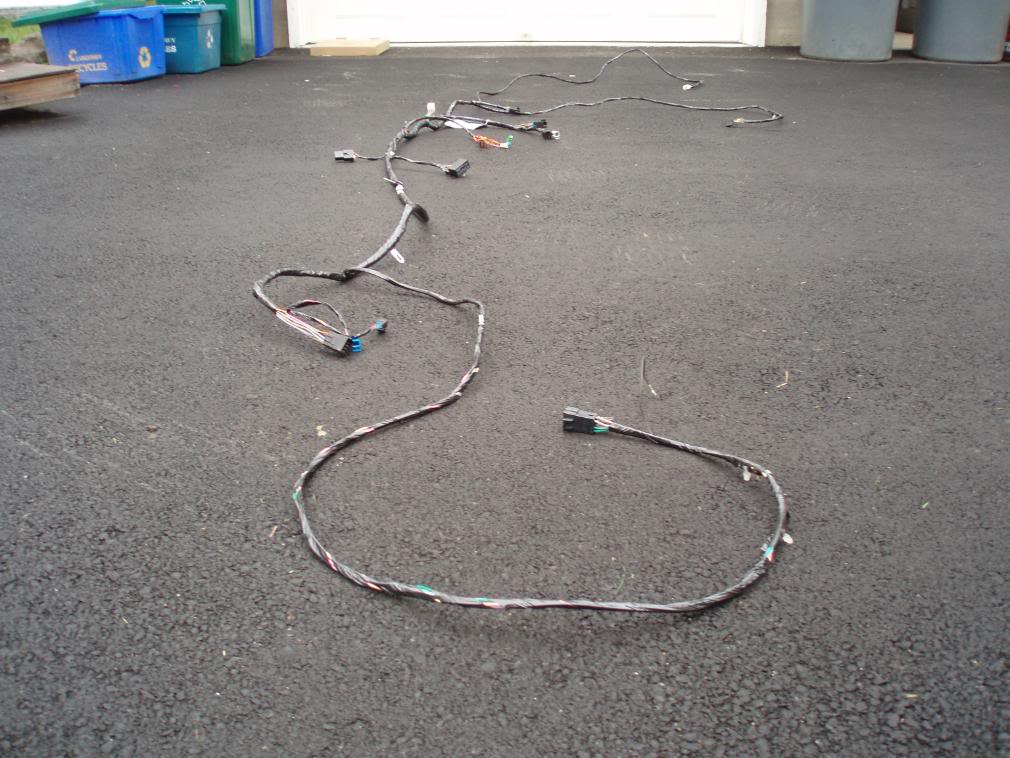 The harness runs across the firewall, at the base of the windshield.I have heard of some doing this conversion without removing the dash, and running the harness with the main dash harness.  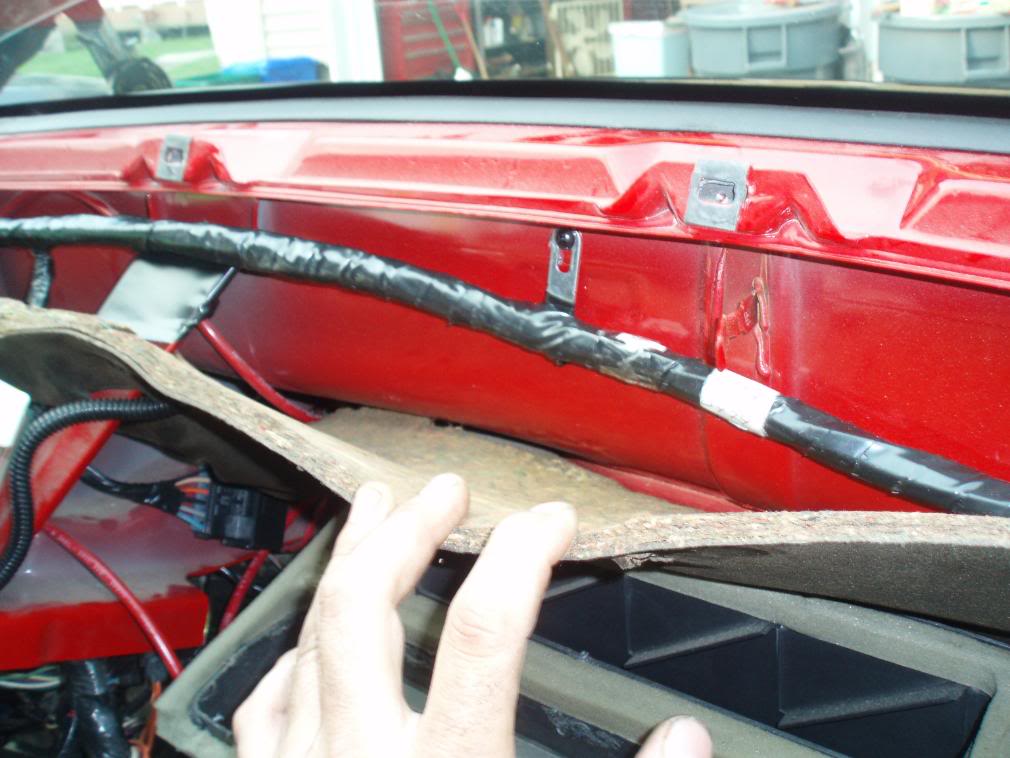 ...And runs down into the a pillar cavity.   The lock relay clips into a hole on the right of the column support.  The window relay clips on to the left side of the column support. 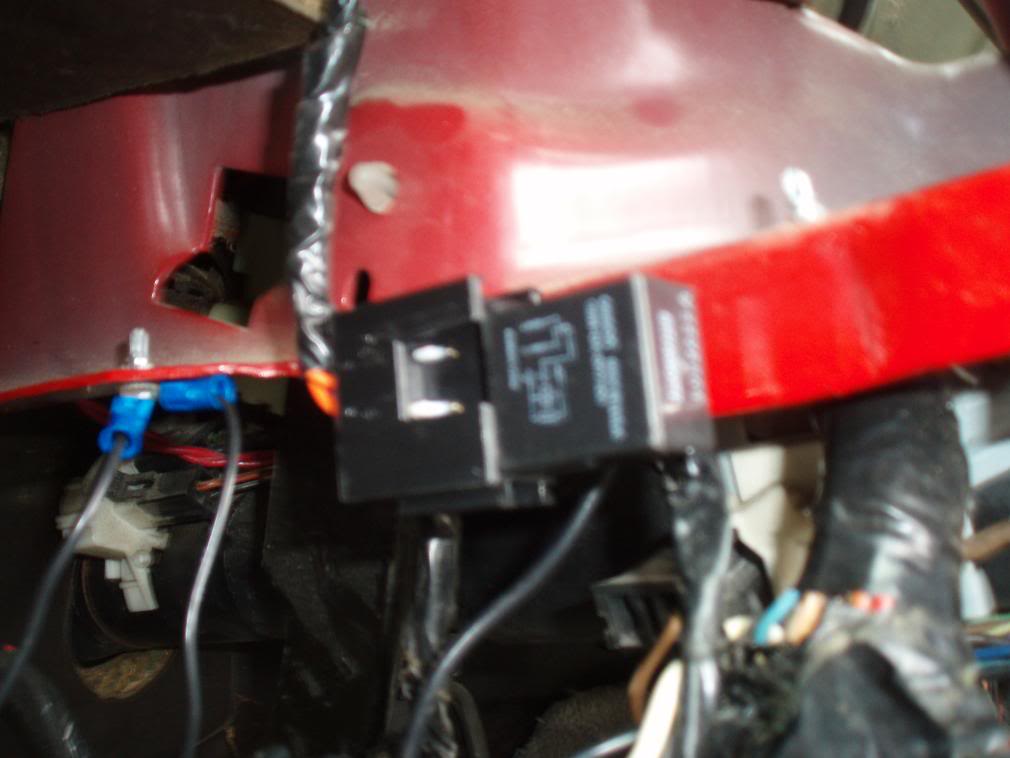 Left side harness plugs into door harness in the kick panel/A pillar. 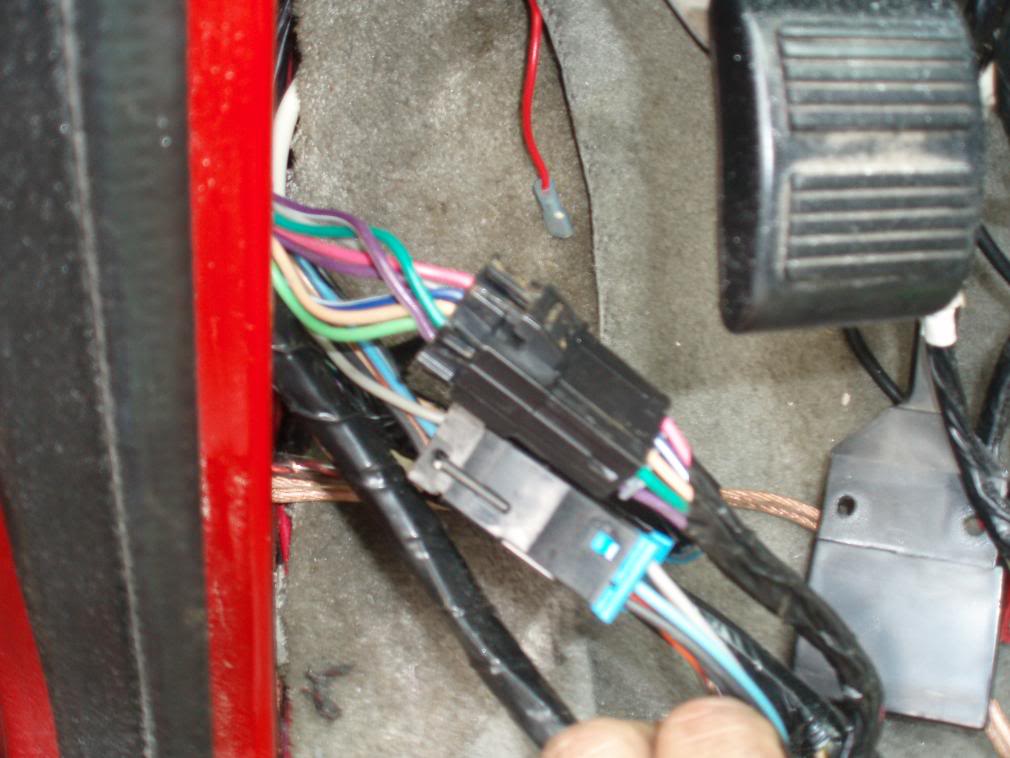 And the right... 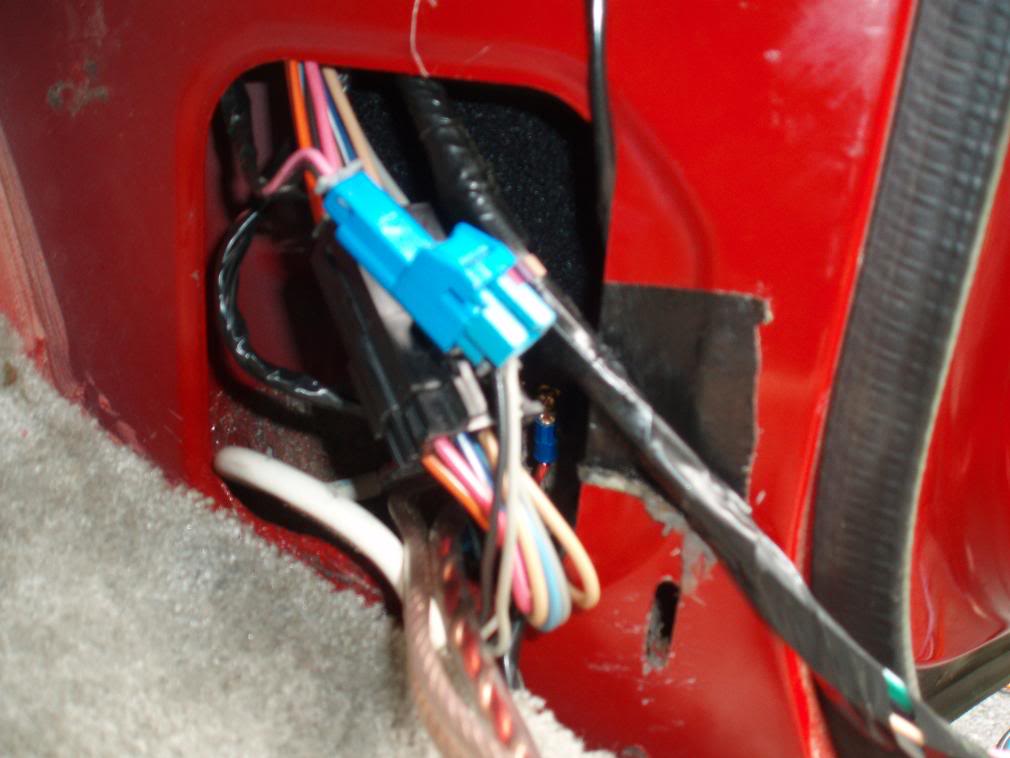 The harness plugs into the convienence center/junction block on the left side firewall. all terminals on it are marked "pnk" "wht" "gry" "blk" "grn" etc. and refer to the color of the connector ends, not the wire color. It took me a few tries to get them plugged into the correct switched/unswitched terminals, a multimeter, or power probe helps here.  Here's how my harness is connected, as long as the wires get the right power sources, (ign,acc, battery) it doesn't matter where you connect them. you could even go directly to the battery for power, and to the steering column for acc/ign. 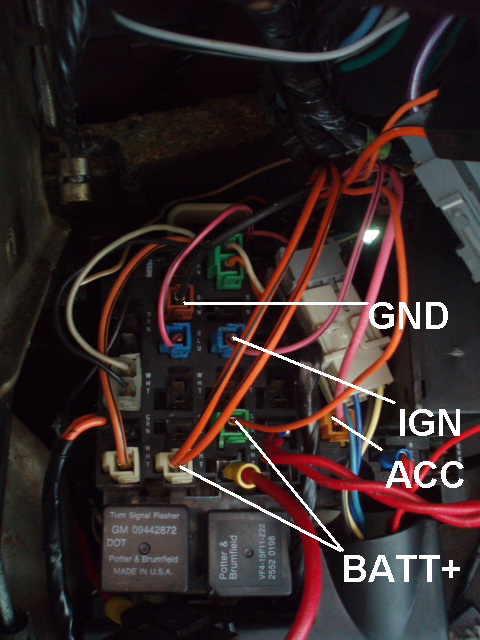 For anyone attempting this, I reccomend plugging the components in at this point and testing functionality.  These are handy. If you do any glass/window regulator work, I reccomend getting some of these window holders. 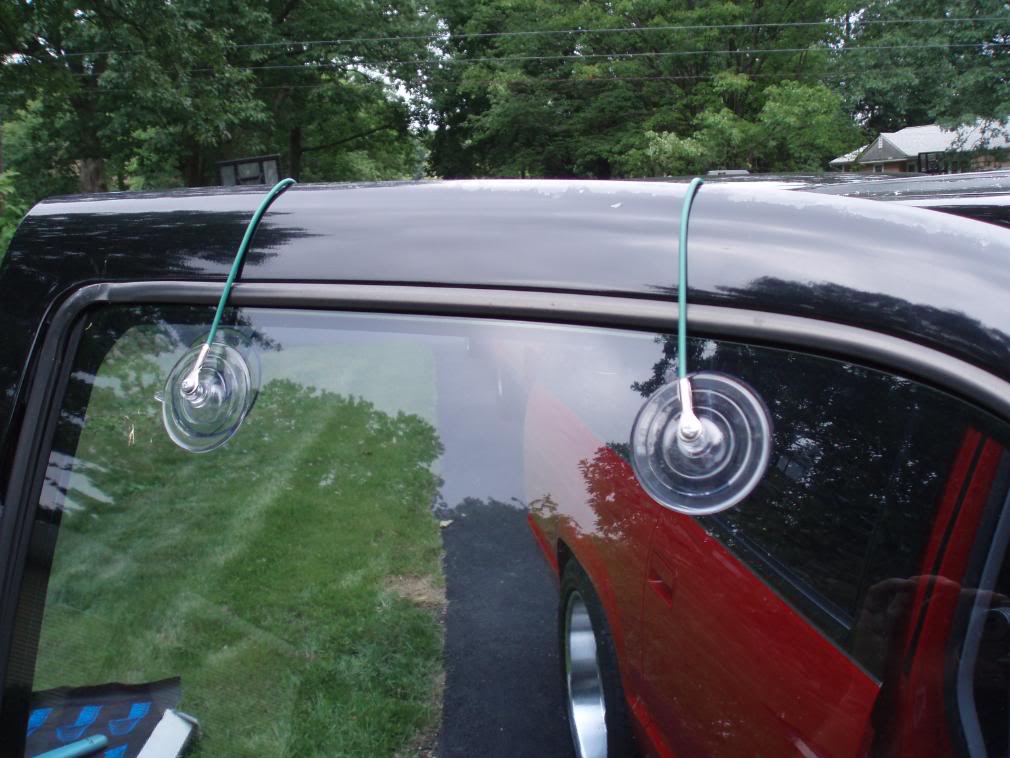  Original manual door card, drill out the rivets holding the regulator to the inner door.  stripped out... 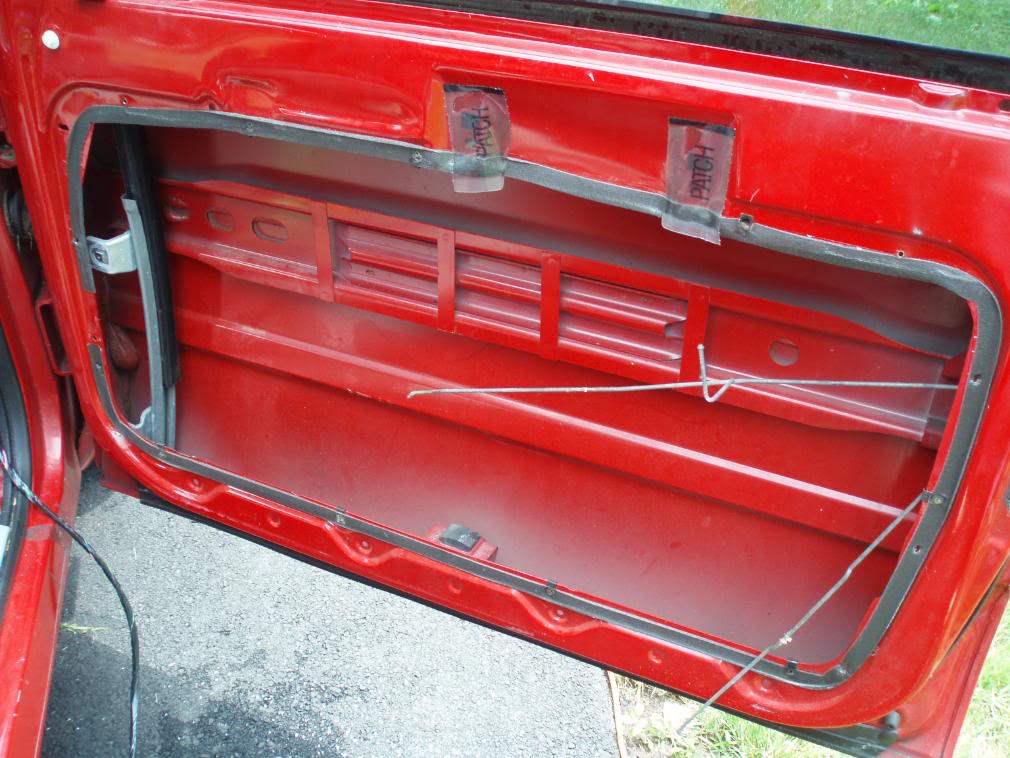 I used these OE fit aftermarket Electric life power conversion regulators in the Front. They bolt right into the factory holes. In this case, I spliced the electric life motor harness to the original harness. 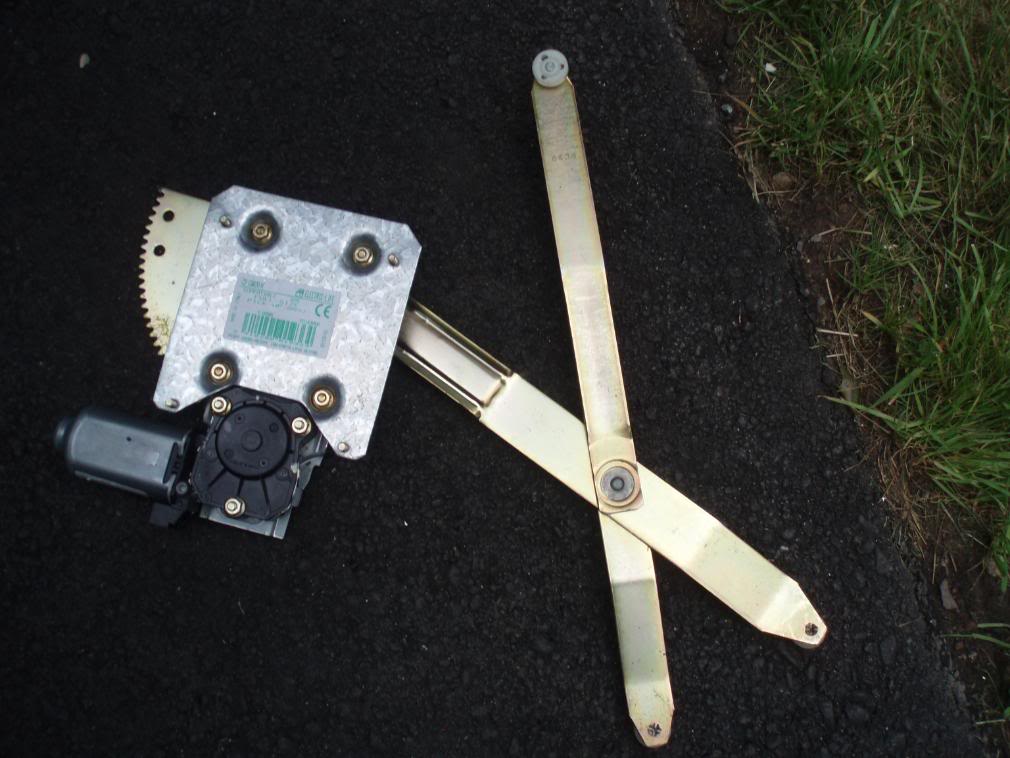 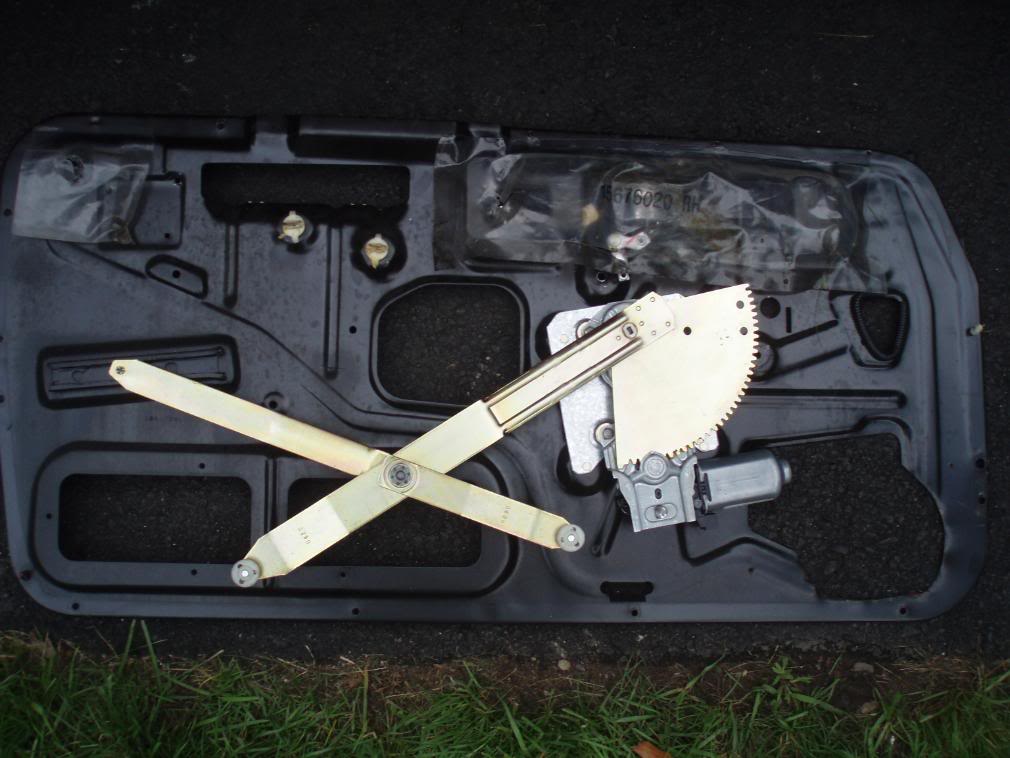 The door lock actuators are mounted on the inner door behind the outside door handle (the mounting holes are already there). the post to connect the actuator to is on the lock rod of some trucks depending on the year, even if it does not have power locks, this is the best way I could get a pic of it. These are tough to mount, access, and connect the harness to but the mounting holes are already there.  The power unit in the door. 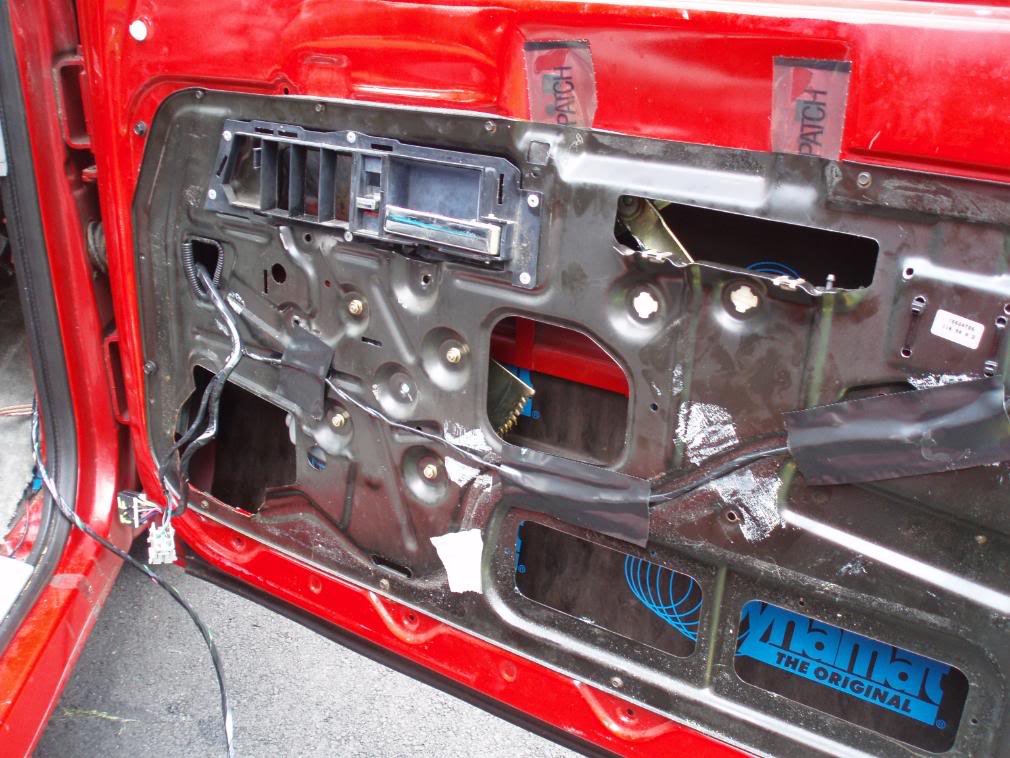  On to the rear... Harness clips into the B pillar.  The original rear setup.  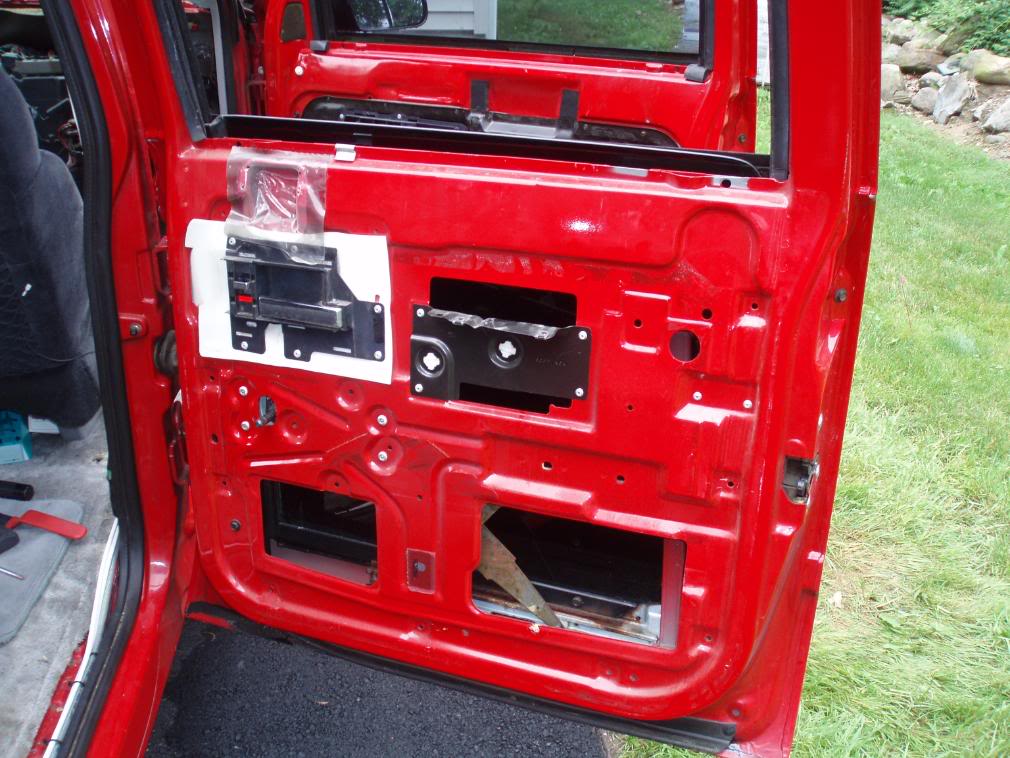 To remove rear regulator, take out the 2 10mm bolts in the window guide,and separate it from the glass.  As with the front, drill out the factory rivets and remove manual regulator,  The rear uses different mounting holes for the power regulator, but they are punched out from the factory.  Here's the rear door lock actuator, again, right behind the outside door handle.  As viewed through the door handle hole.  Last edited by augie; 05-10-2011 at 02:51 PM. |
|
|
 |
| Bookmarks |
|
|