
 |
|
|
#1 |
|
Registered User
Join Date: Jun 2018
Location: Texas
Posts: 1,353
|
TA_C10: Stage 1: "pic heavy"
Hello everyone. Thought I would start my own build thread. Bought a 1970 C10 1/2 ton long bed a few months back, tore it down to the frame, and started working on body work and suspension. But we'll get into that a little later. For now, here are some pics of when I bought the truck.
You can see the previous owner had already started doing a bit of work, but when the engine blew he decided to sell. Lucky me  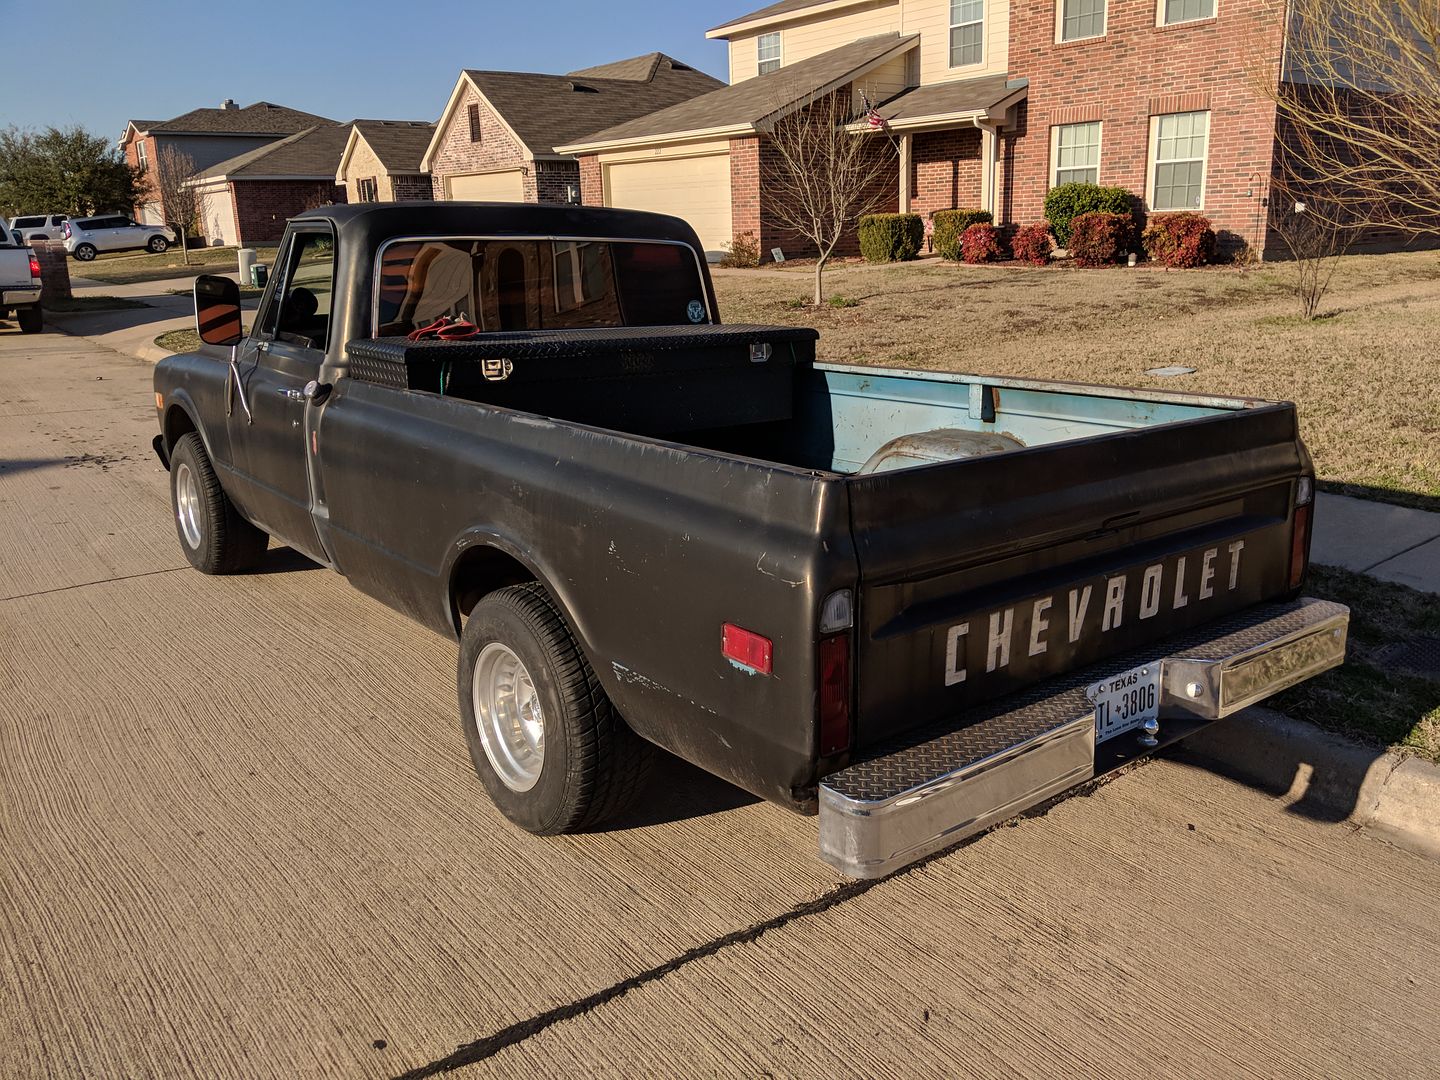 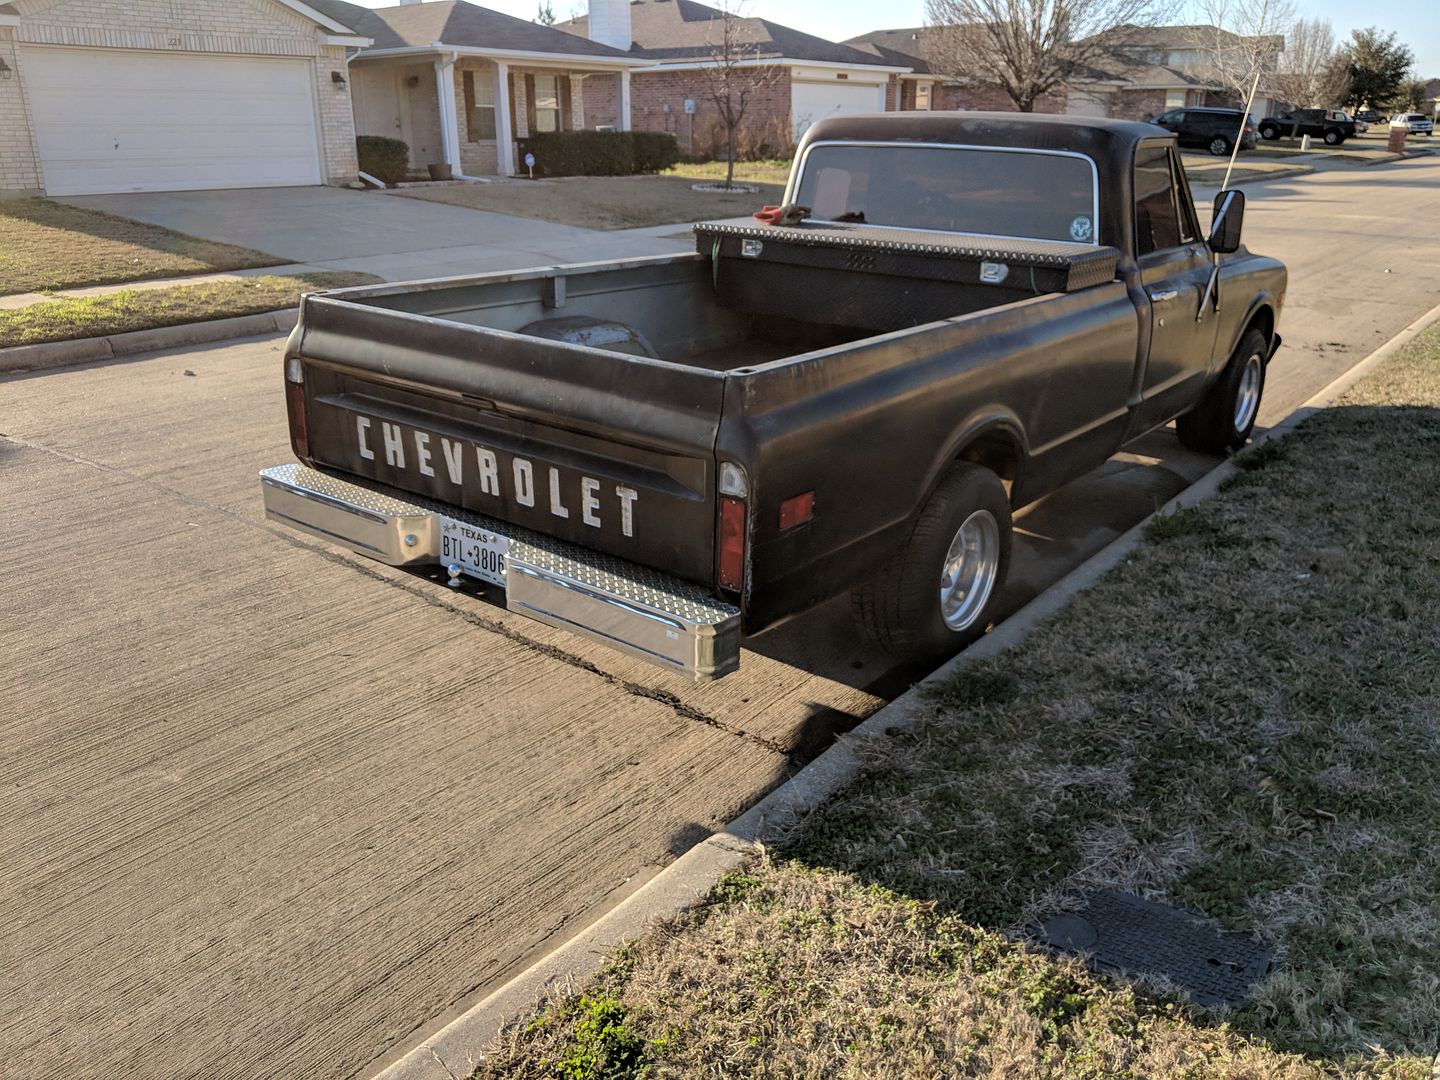 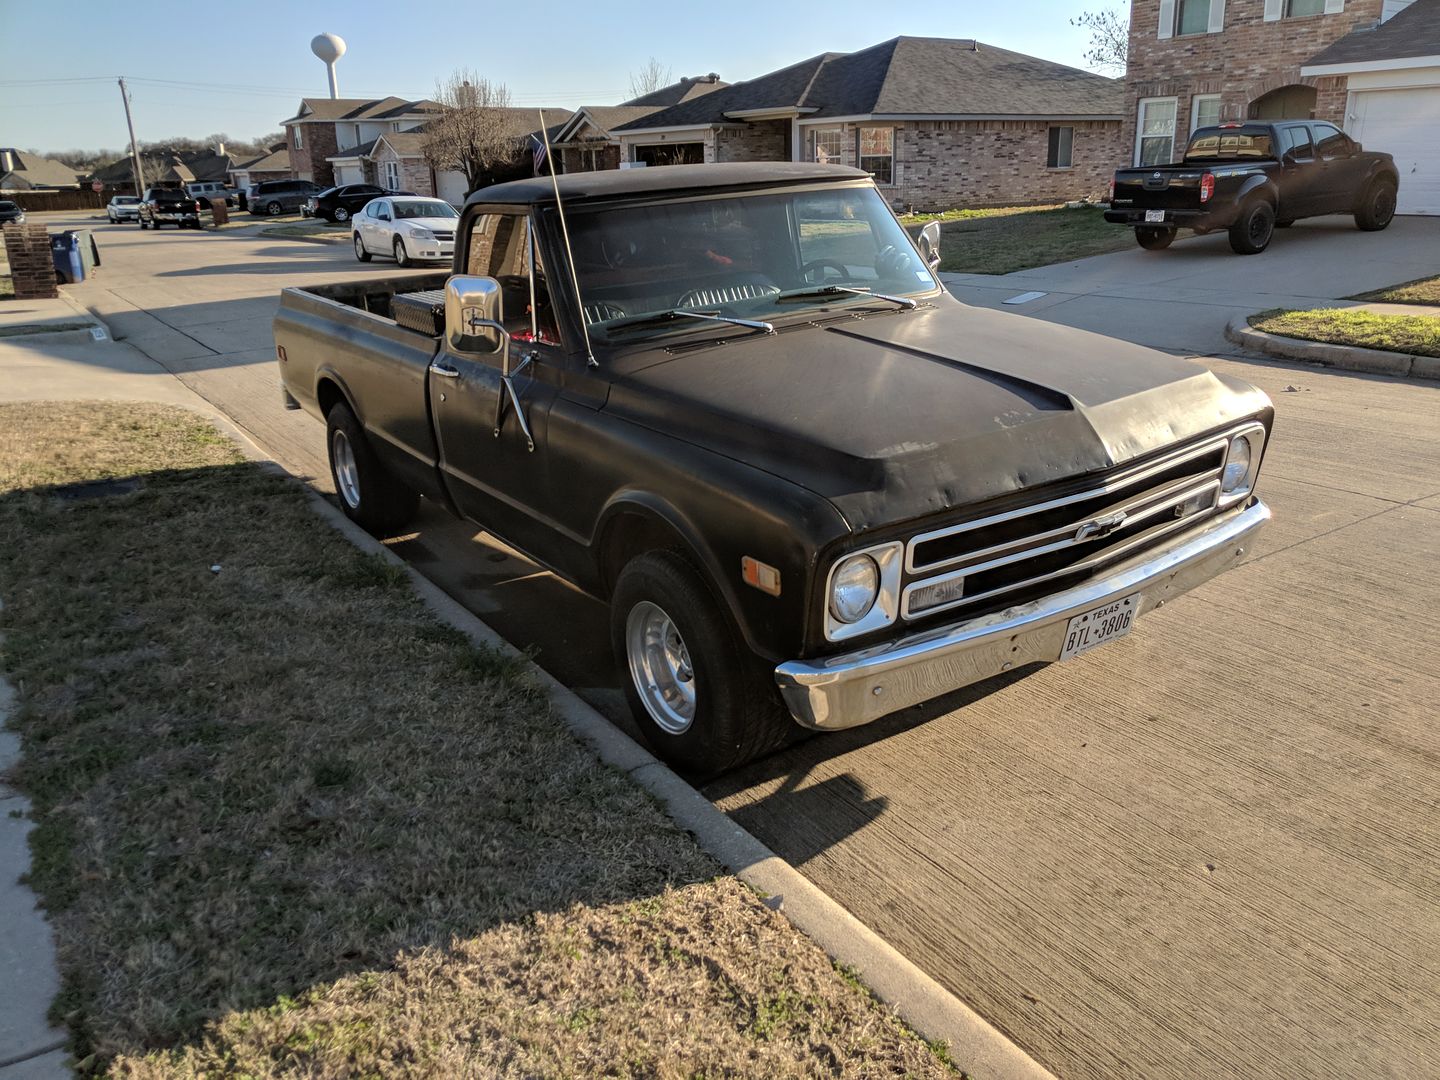 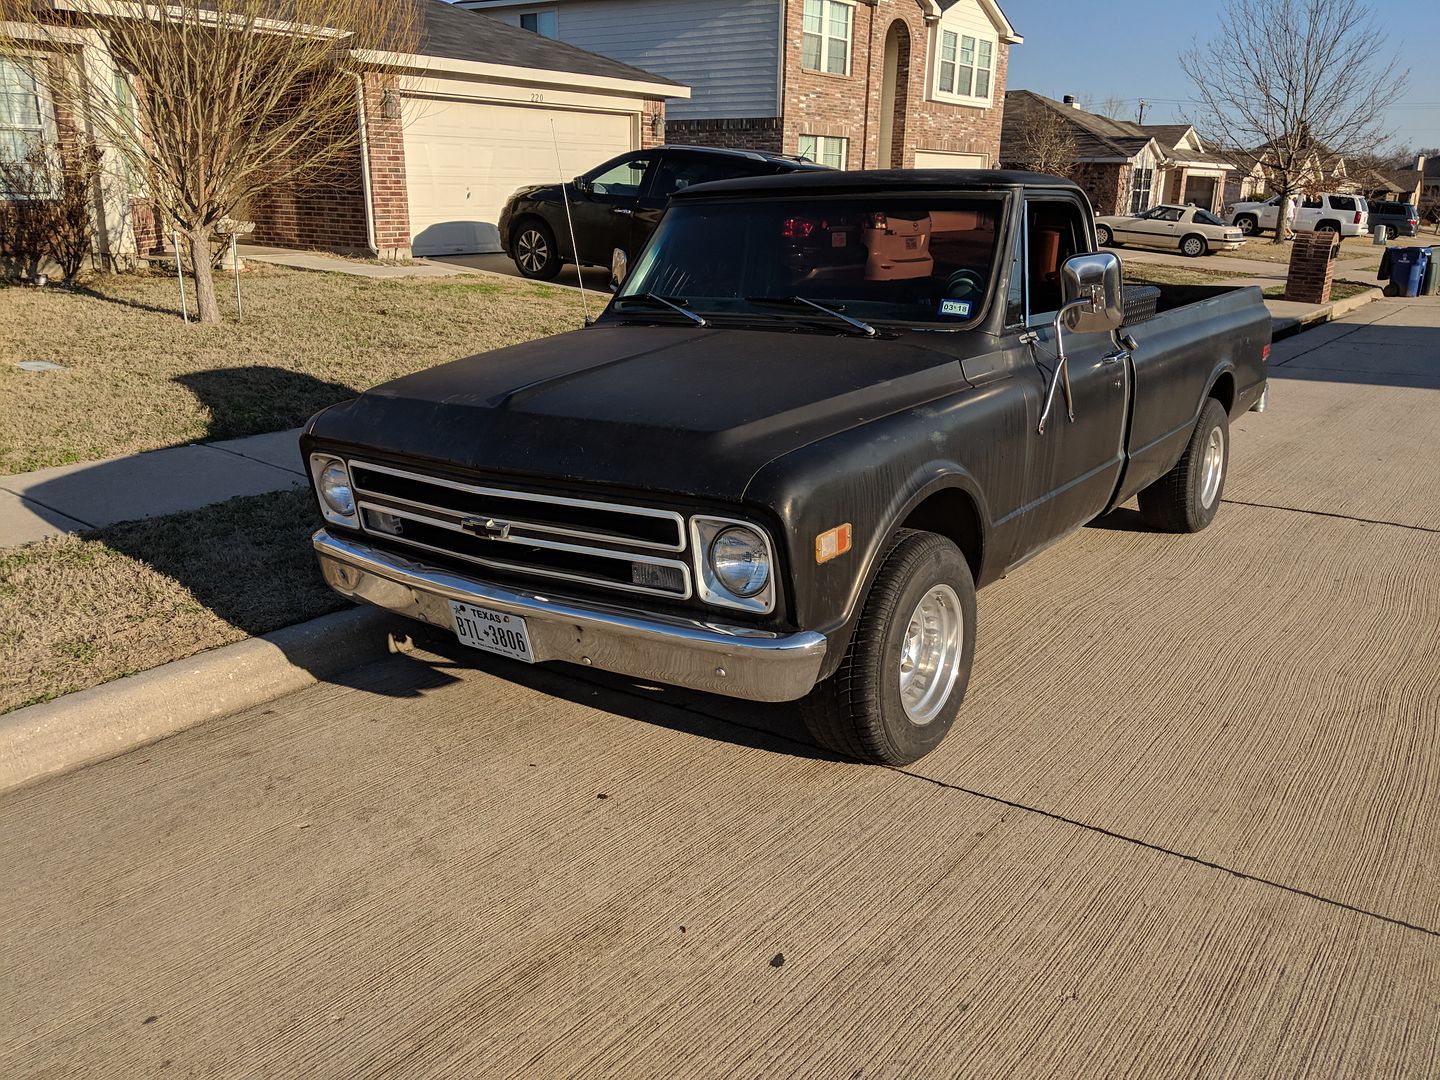 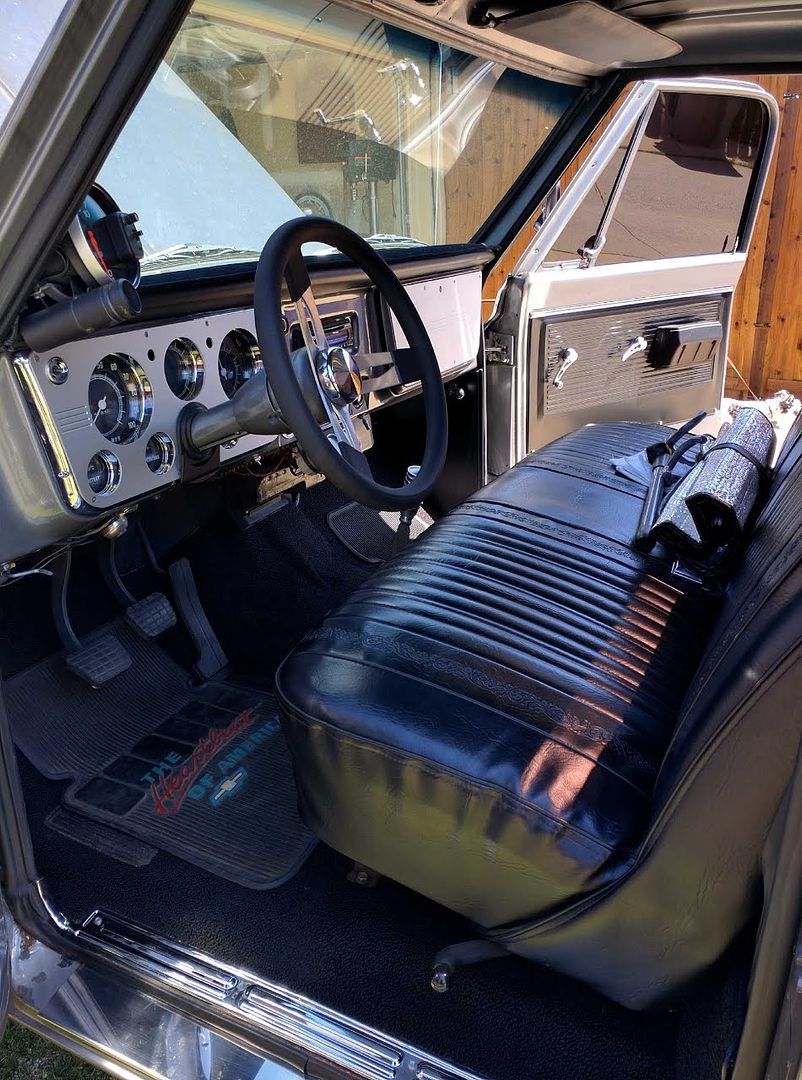 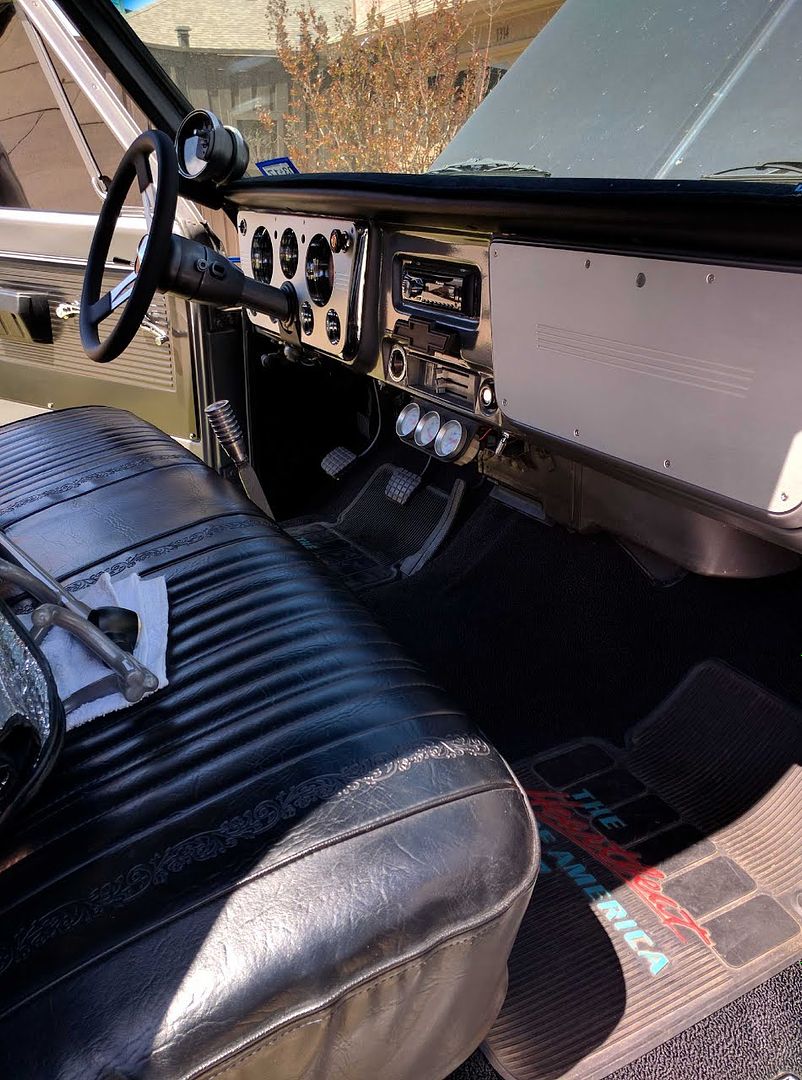 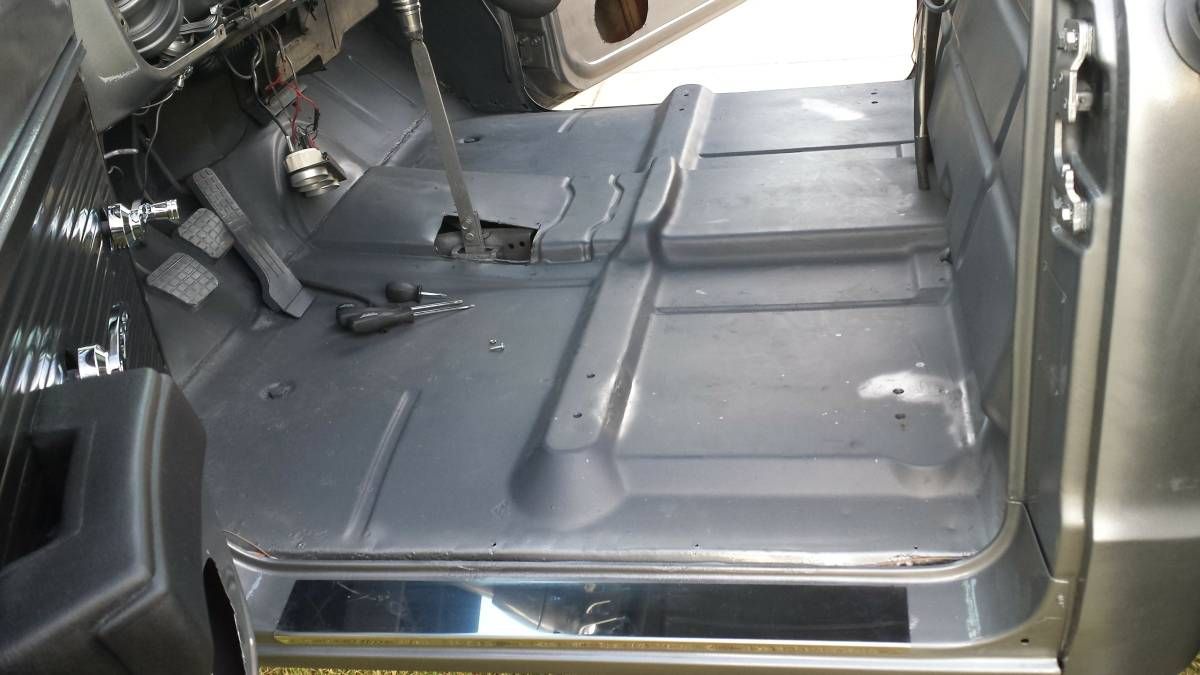 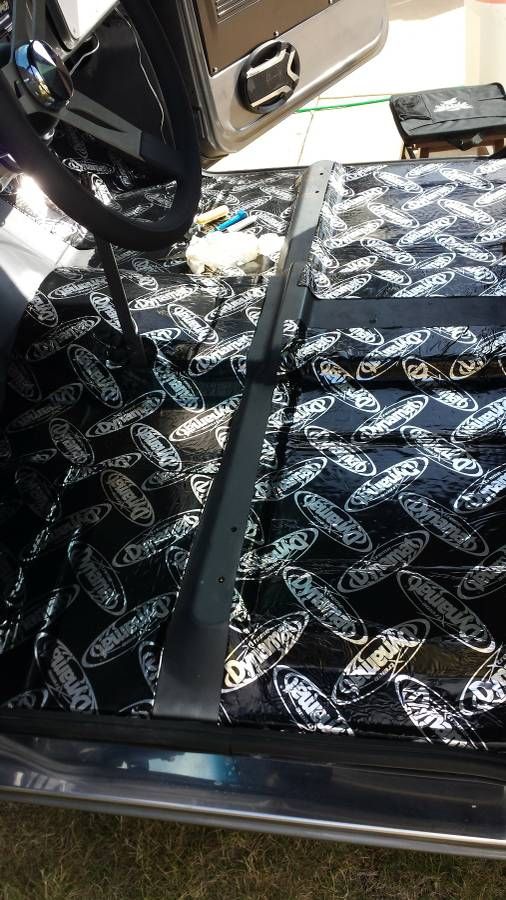 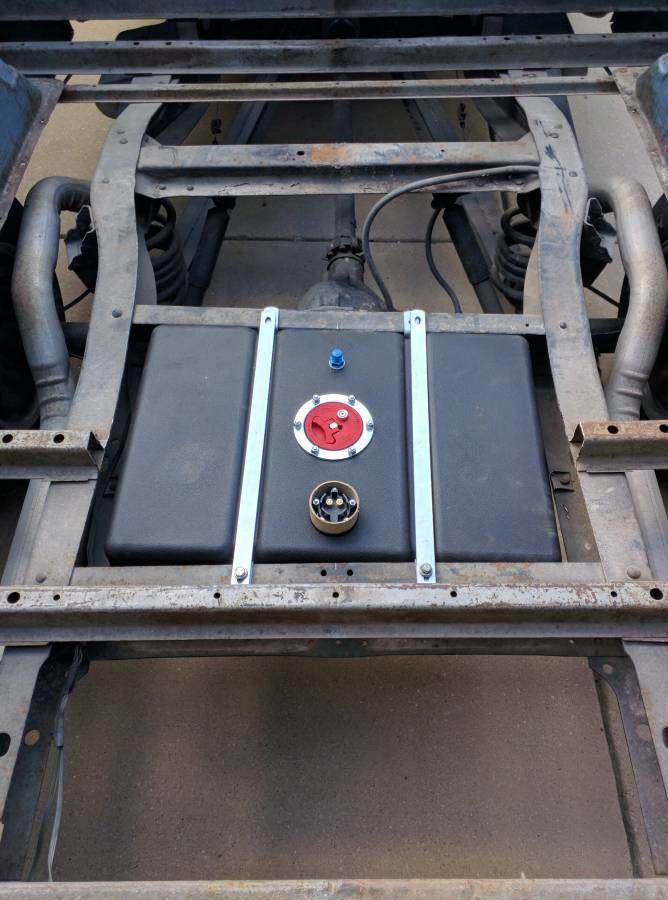 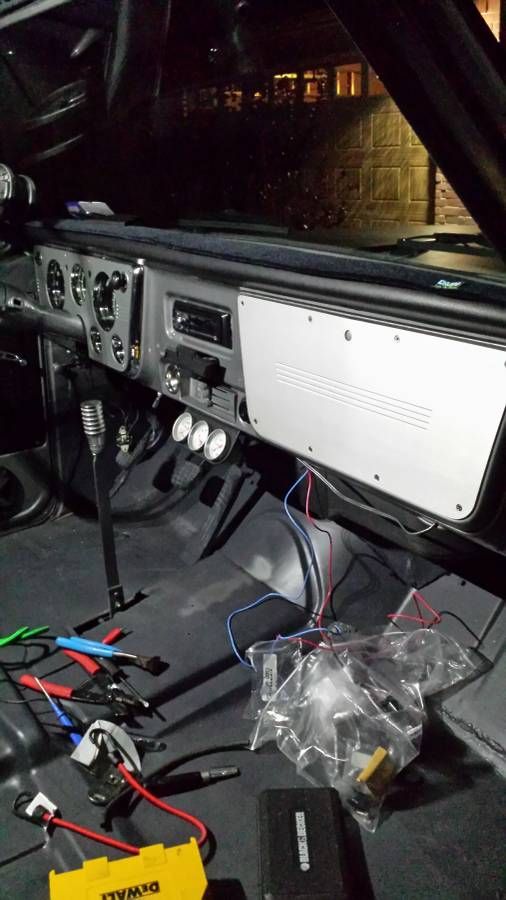 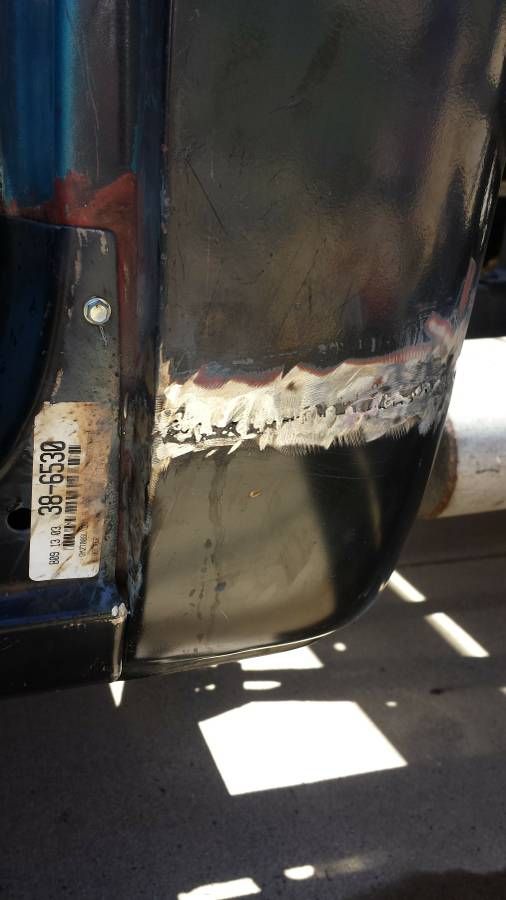 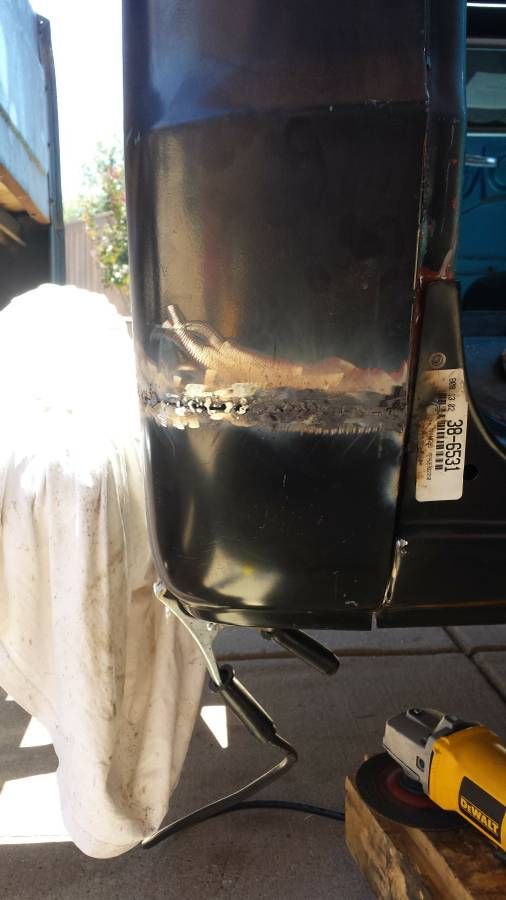 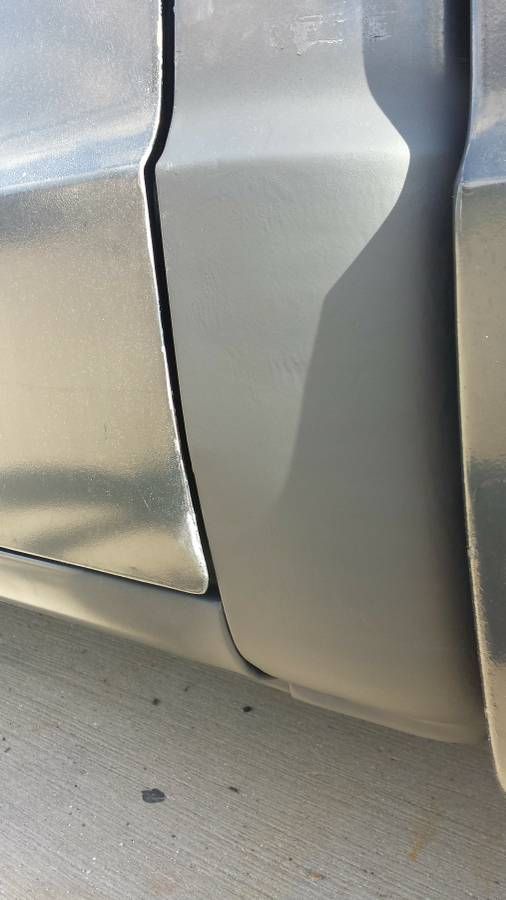 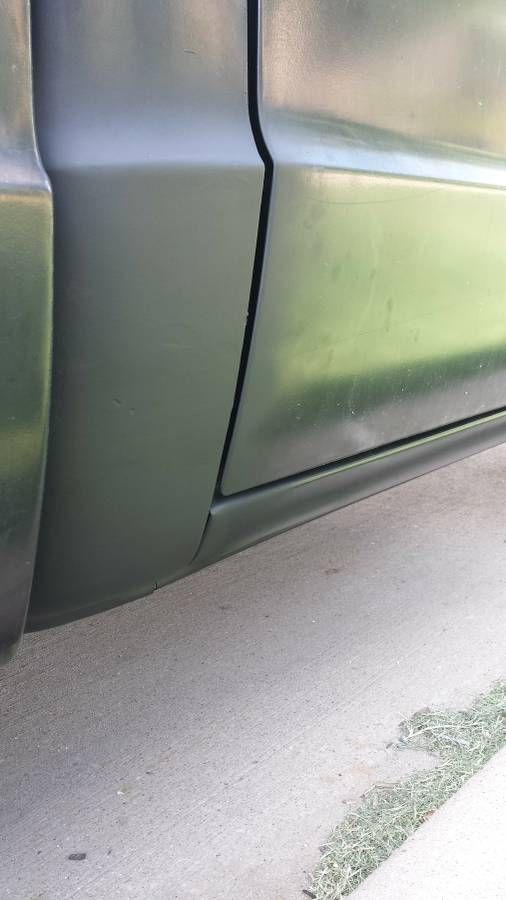 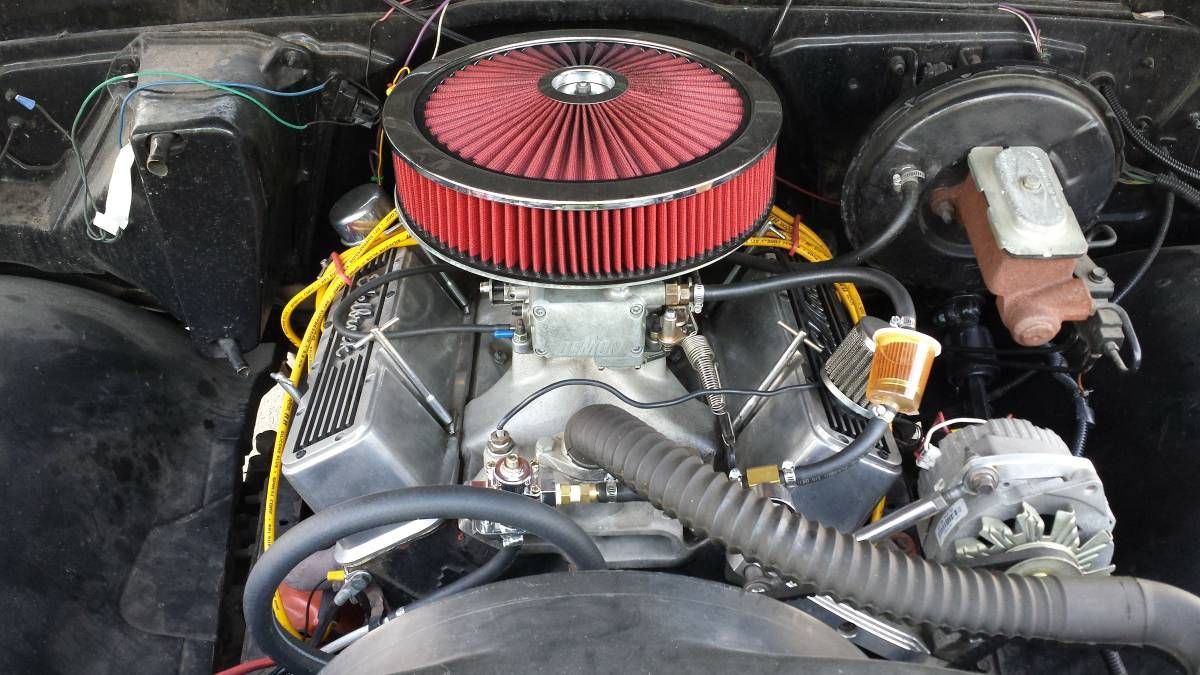
Last edited by TA_C10; 04-30-2019 at 04:11 PM. |
|
|

|
|
|
#2 |
|
Registered User
Join Date: Jun 2018
Location: Texas
Posts: 1,353
|
Re: TA_C10: Stage 1
That engine was a chevy 350, long tube headers, cam, screamin demon. He lost a valve in cylinder 7 and the pin was sliding out of cylinder 1 and dug a massive groove in the wall. Found this when I tore the engine down. Of course he tells me he thinks he blew a head gasket...
Cylinder 1 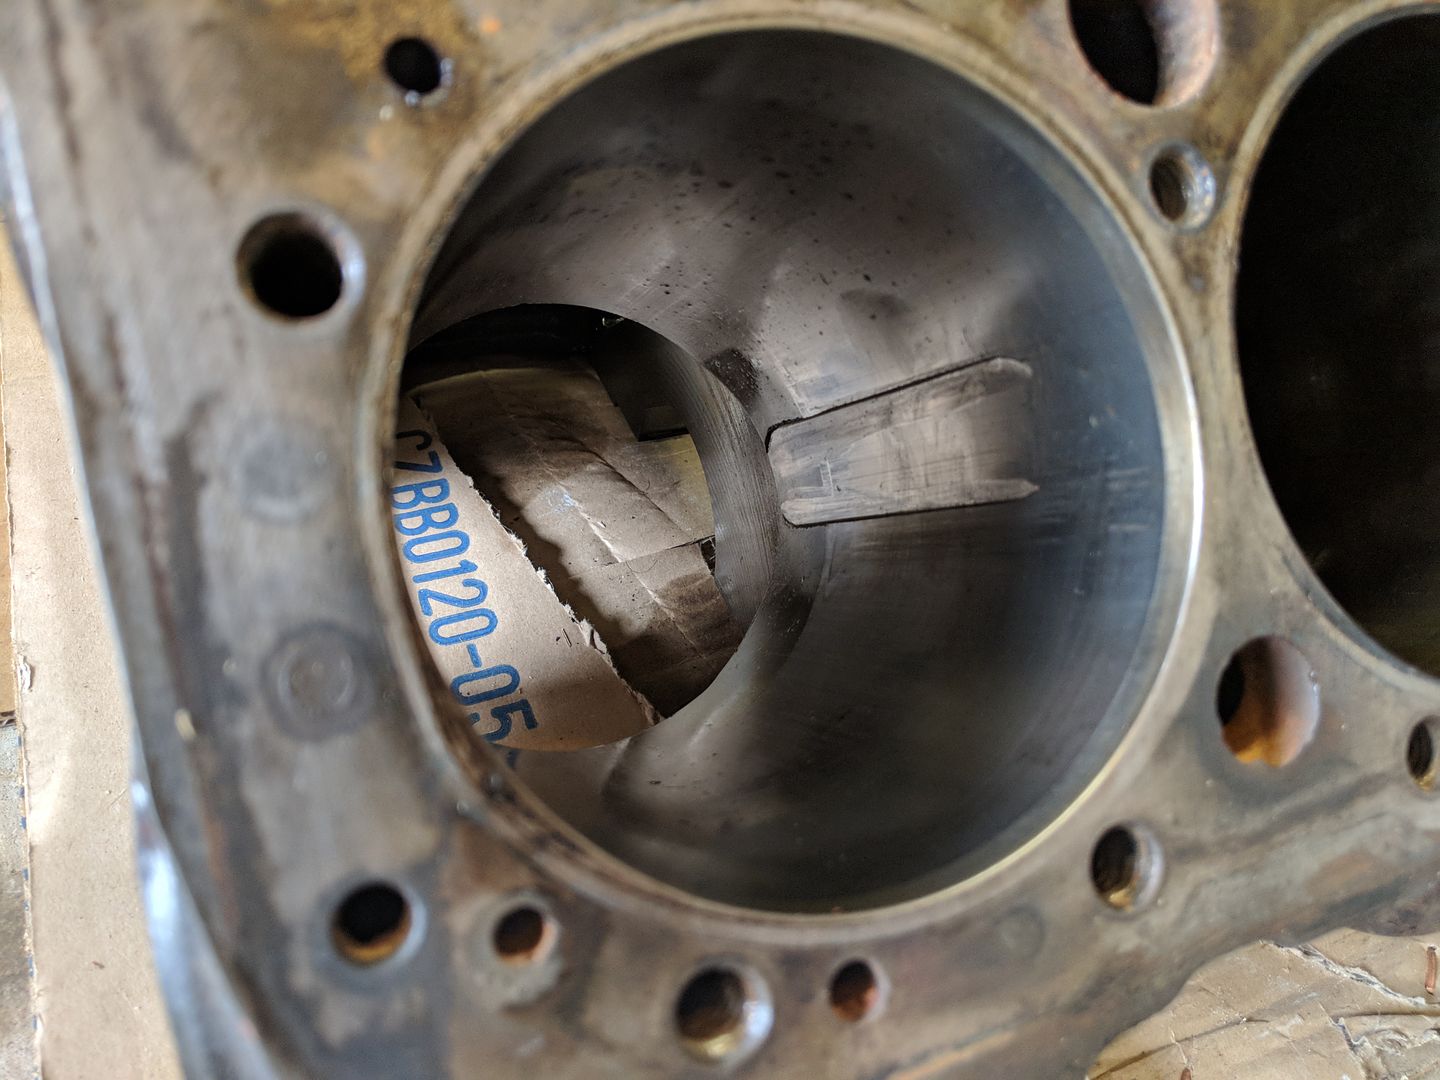 And the bad cylinder... 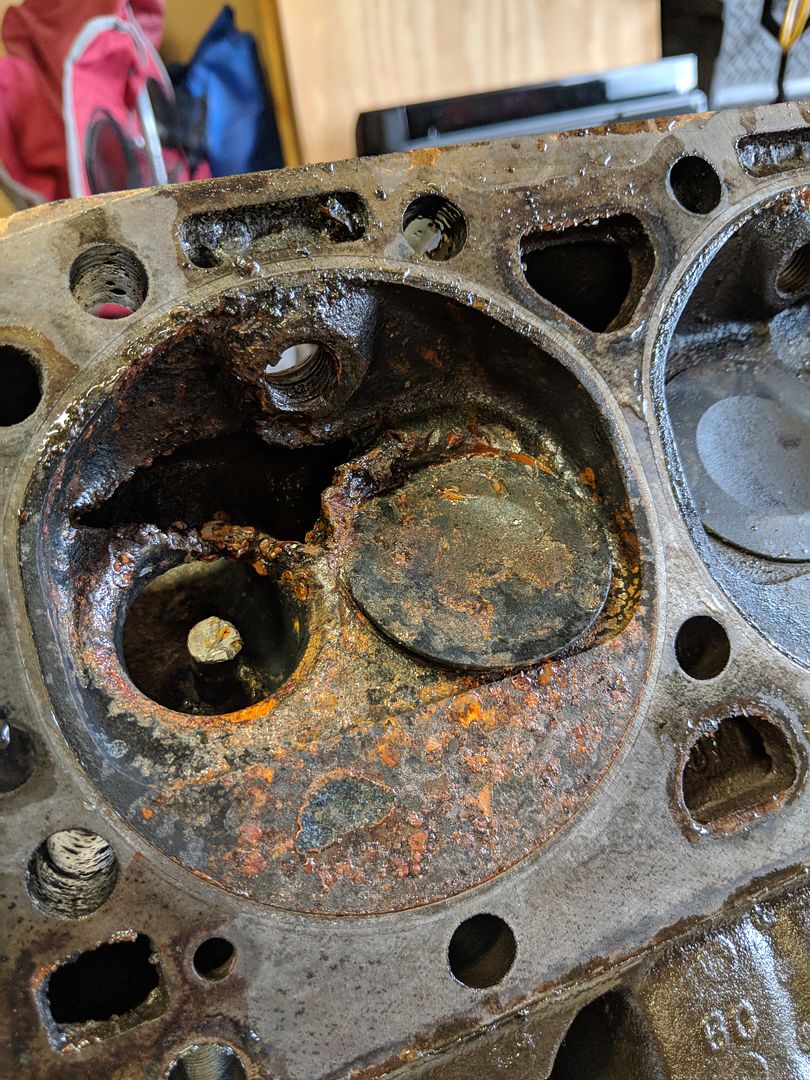 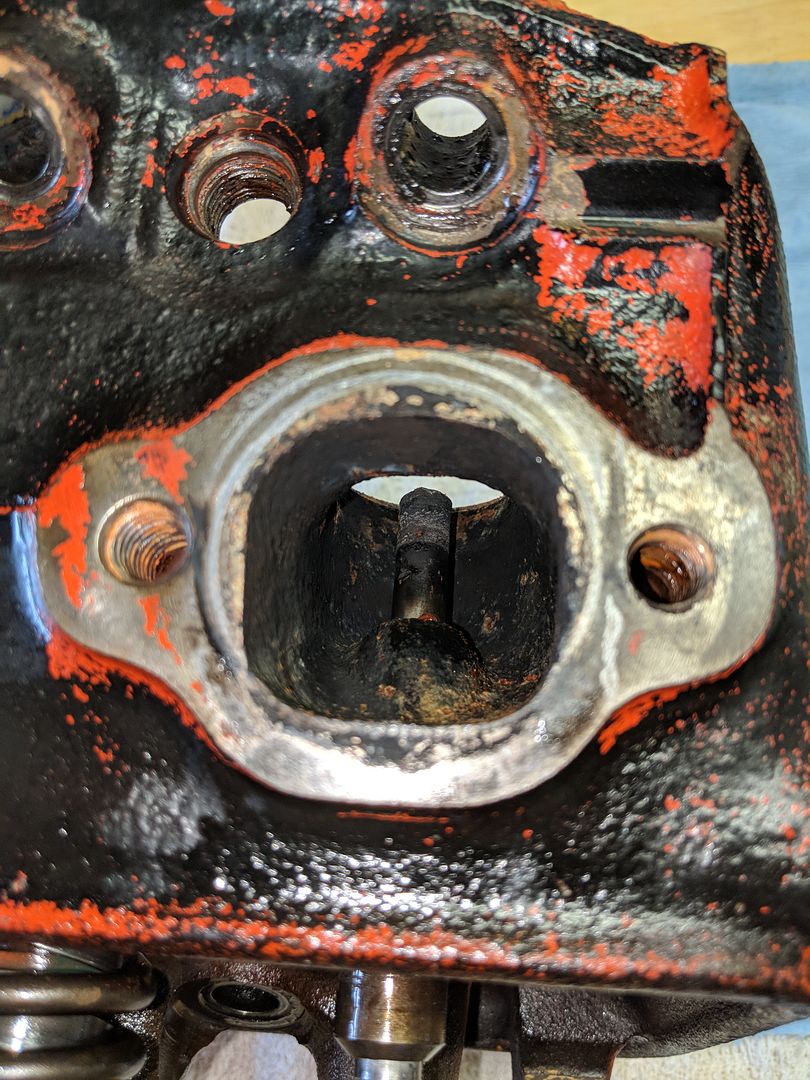 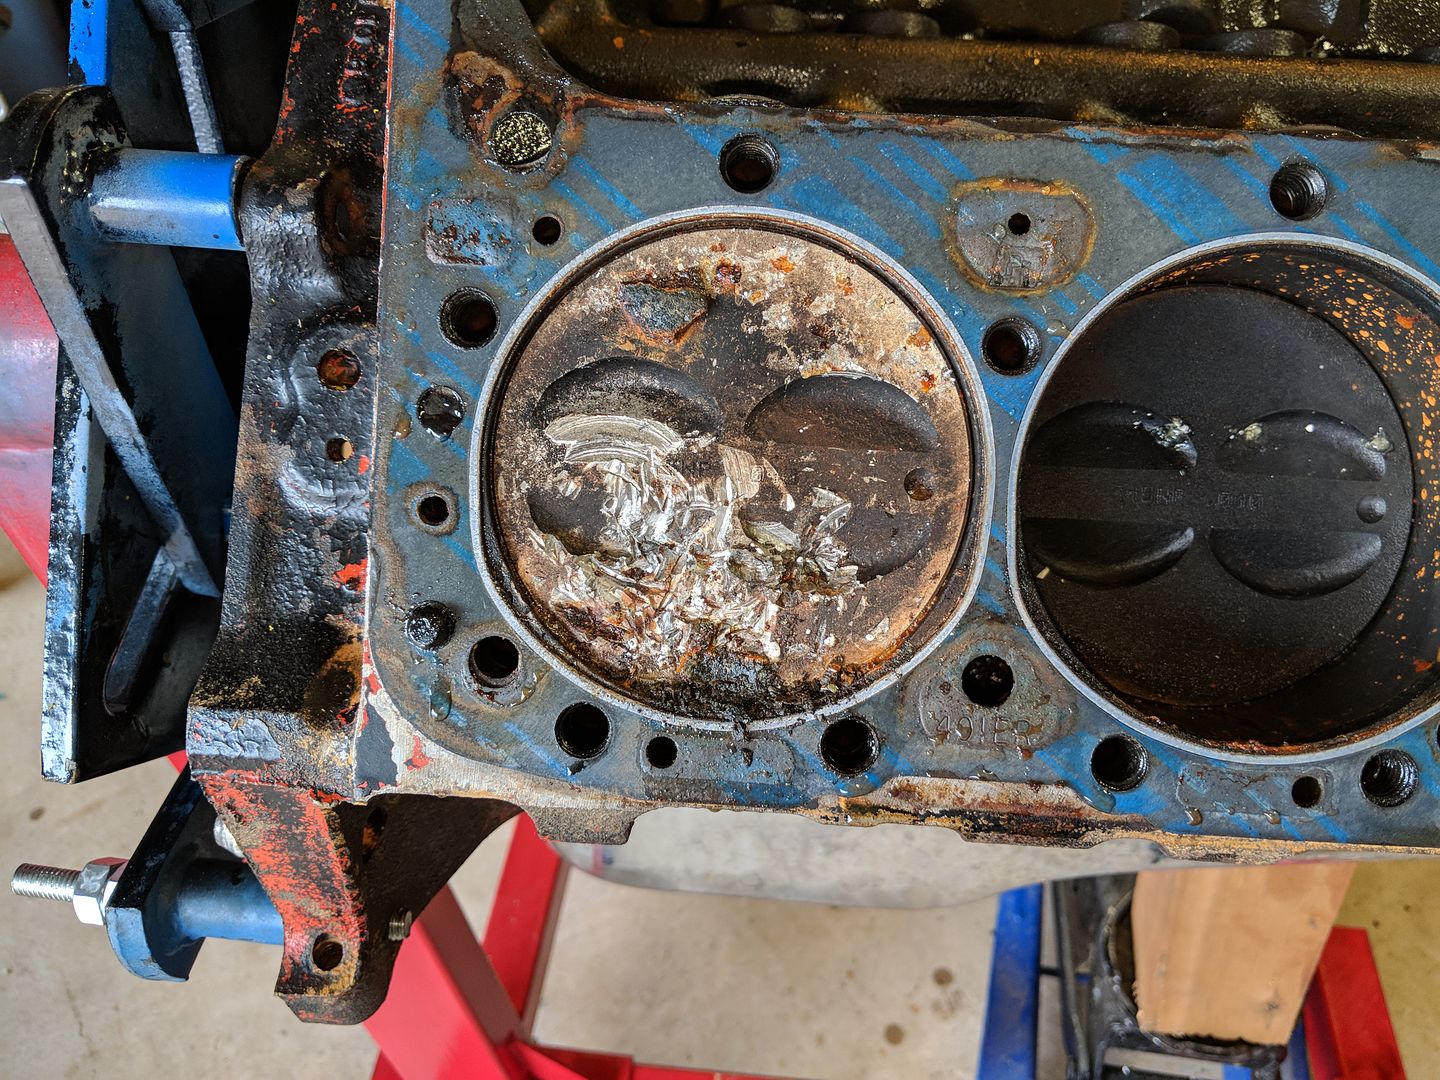 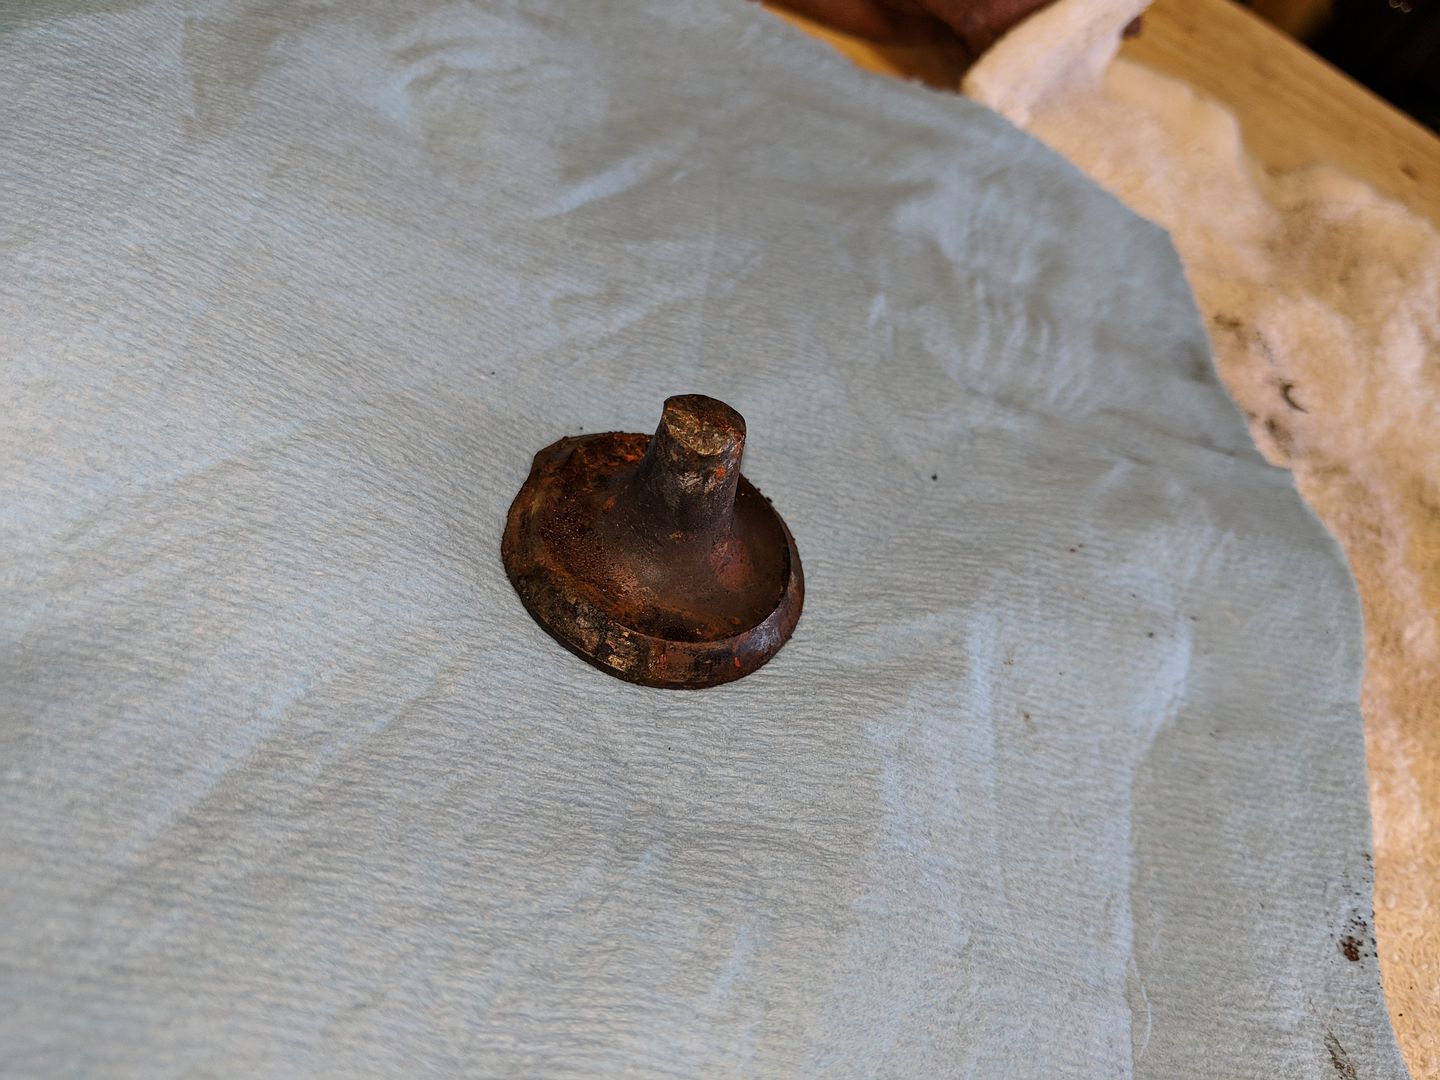
|
|
|

|
|
|
#3 |
|
Registered User
Join Date: Jun 2018
Location: Texas
Posts: 1,353
|
Re: TA_C10: Stage 1
Stage 1 was supposed to be getting the truck up and running as my DD, but when I found all the problems with the truck, I ended up stripping the whole truck to the frame.
Stage 1 plans today: Cab repair(rust replace) Strip frame and POR-15 New suspension - Lower 4/5 with C-Notch Front Disc conversion Vintage Air(truck is non-ac) LS Conversion Sneak Peak  It's an LM7 with 4L60e(supposed to be rebuilt to stage 2, guy was a little shady, let's hope its legit).. 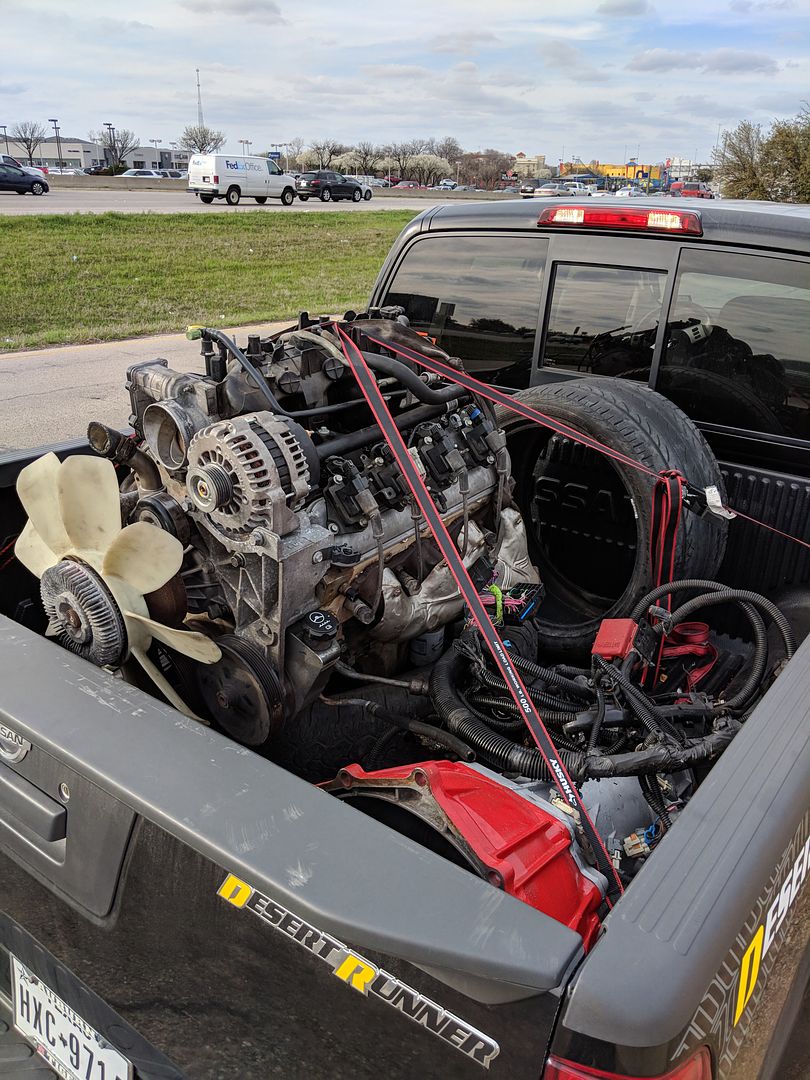
|
|
|

|
|
|
#4 |
|
Registered User
Join Date: Apr 2014
Location: Azle,Texas
Posts: 2,248
|
Re: TA_C10: Stage 1
Hey there neighbor! Looks like you have a full blown project on your hands! You're at the right place... Ya gotta wonder if the seller had no clue? or just another liar... "It just needs a head gasket, yeah, yeah, that's the ticket!" Really??
 Any Idea on color? Looks like you gonna do it right! Any Idea on color? Looks like you gonna do it right!
|
|
|

|
|
|
#5 |
|
Registered User
Join Date: Jun 2018
Location: Texas
Posts: 1,353
|
Re: TA_C10: Stage 1
Hey back neighbor! Yeah I think he knew and was just trying to sell. There is more too, I will be posting that stuff soon.
I'm thinking of scuffing the whole truck and painting it myself some shade of black, satin or flat. The nice paint job will probably be either stage 2 or 3. |
|
|

|
|
|
#6 |
|
Registered User
Join Date: Jun 2018
Location: Texas
Posts: 1,353
|
Re: TA_C10: Stage 1
May I have your attention please?
May I have your attention please? Will the real Slim Shady please stand up? I repeat will the real Slim Shady please stand up? We're going to have a problem here When I bought the truck it had started to rain ever so slightly, enough the owner and my buddy weren't bothered by it. I noticed the truck was pretty decent looking, I checked out the inside of the cab, noticed there was a little water under the dash when i looked up into its insides, both sides had that, I figured it was a windshield leak, no big deal, expected from a 40+ year old truck, I can fix that. Got under the truck, everything looked real good, I noticed the PO had fixed many of the panels that normally go bad on these trucks and was pleased to see this as I wouldn't have to do this work. I knew the engine was shot, I never took his word that it was just a head gasket. Been there, got the t-shirt. So I'm thinking sweet, windshield gasket, rebuild engine, few minor fixes, up and running then I can start stage 2 and slowly build this thing into what I had pictured in my head. Wrong. I didn't know what I was looking at. Those nice new panels he worked on? Yeah they were just covers. Not only that but I was so inexperienced at this that when I removed them, there was only 1 self tapping sheet metal screw holding them on....  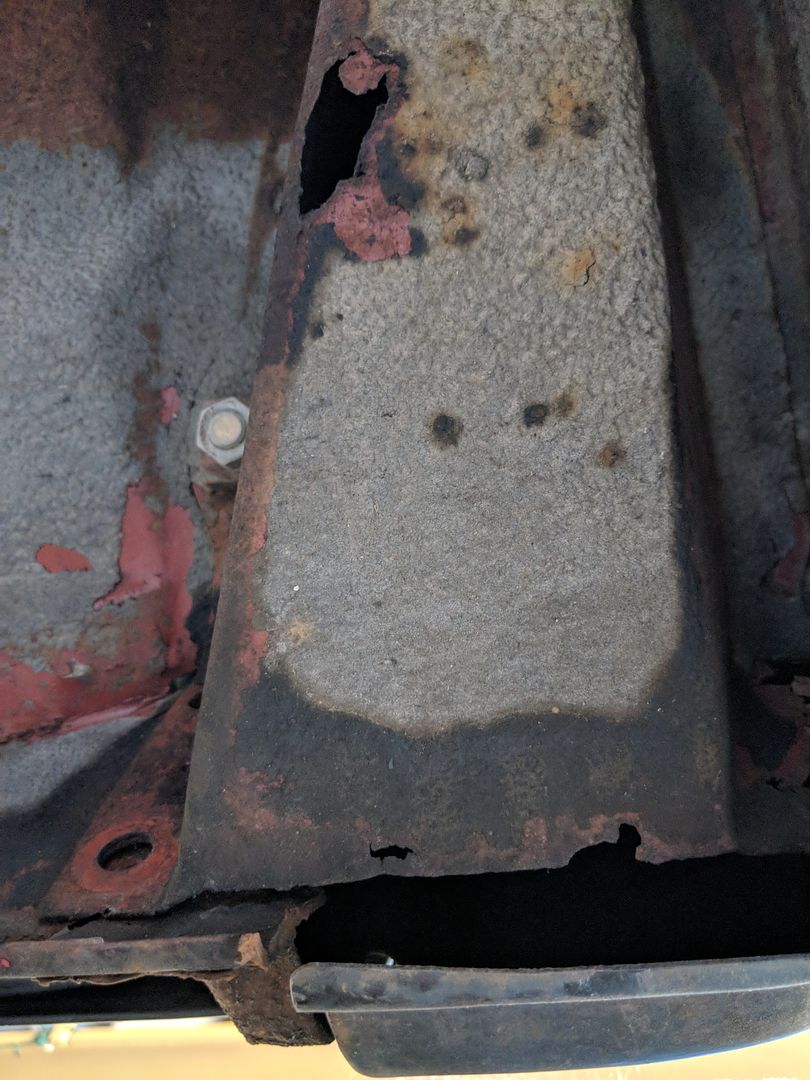 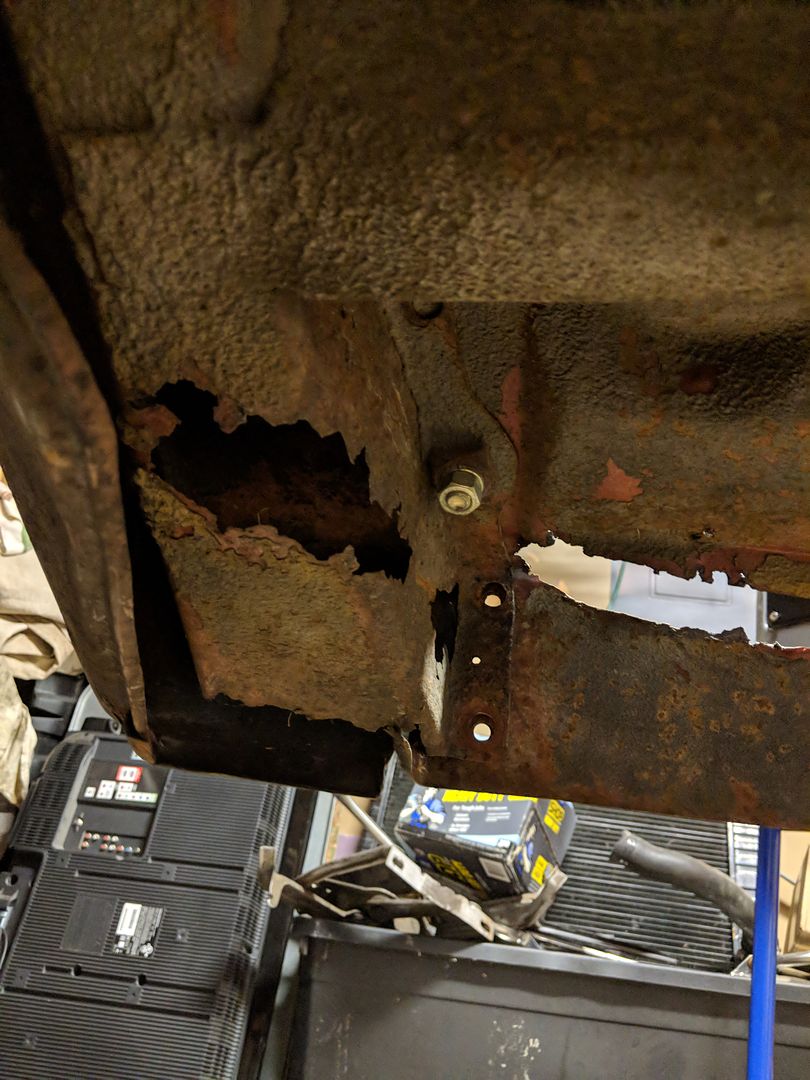 And as I start stripping away new sheet metal, it just keeps on going.... Cancer is the ugly word of the day.... 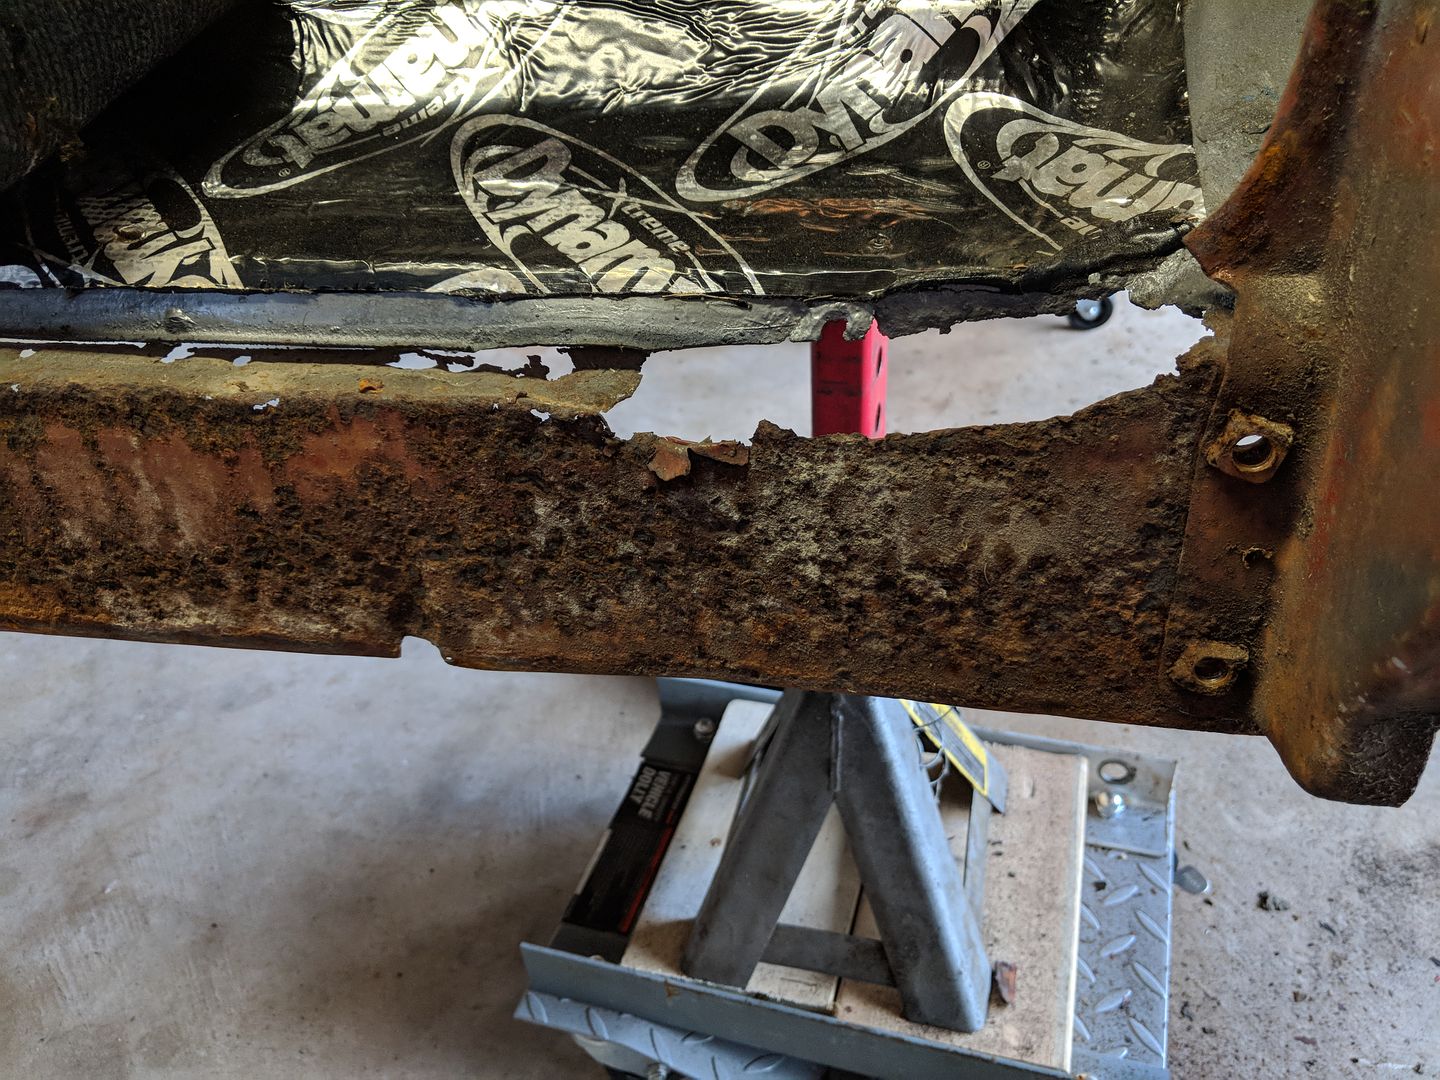 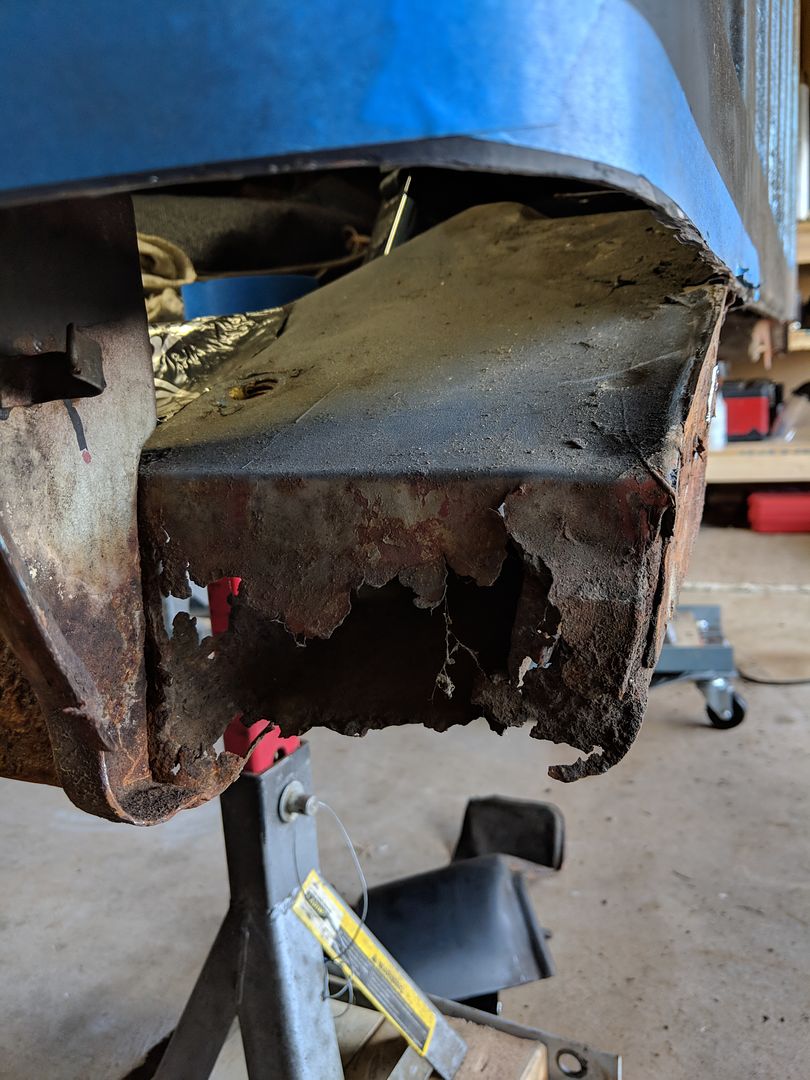 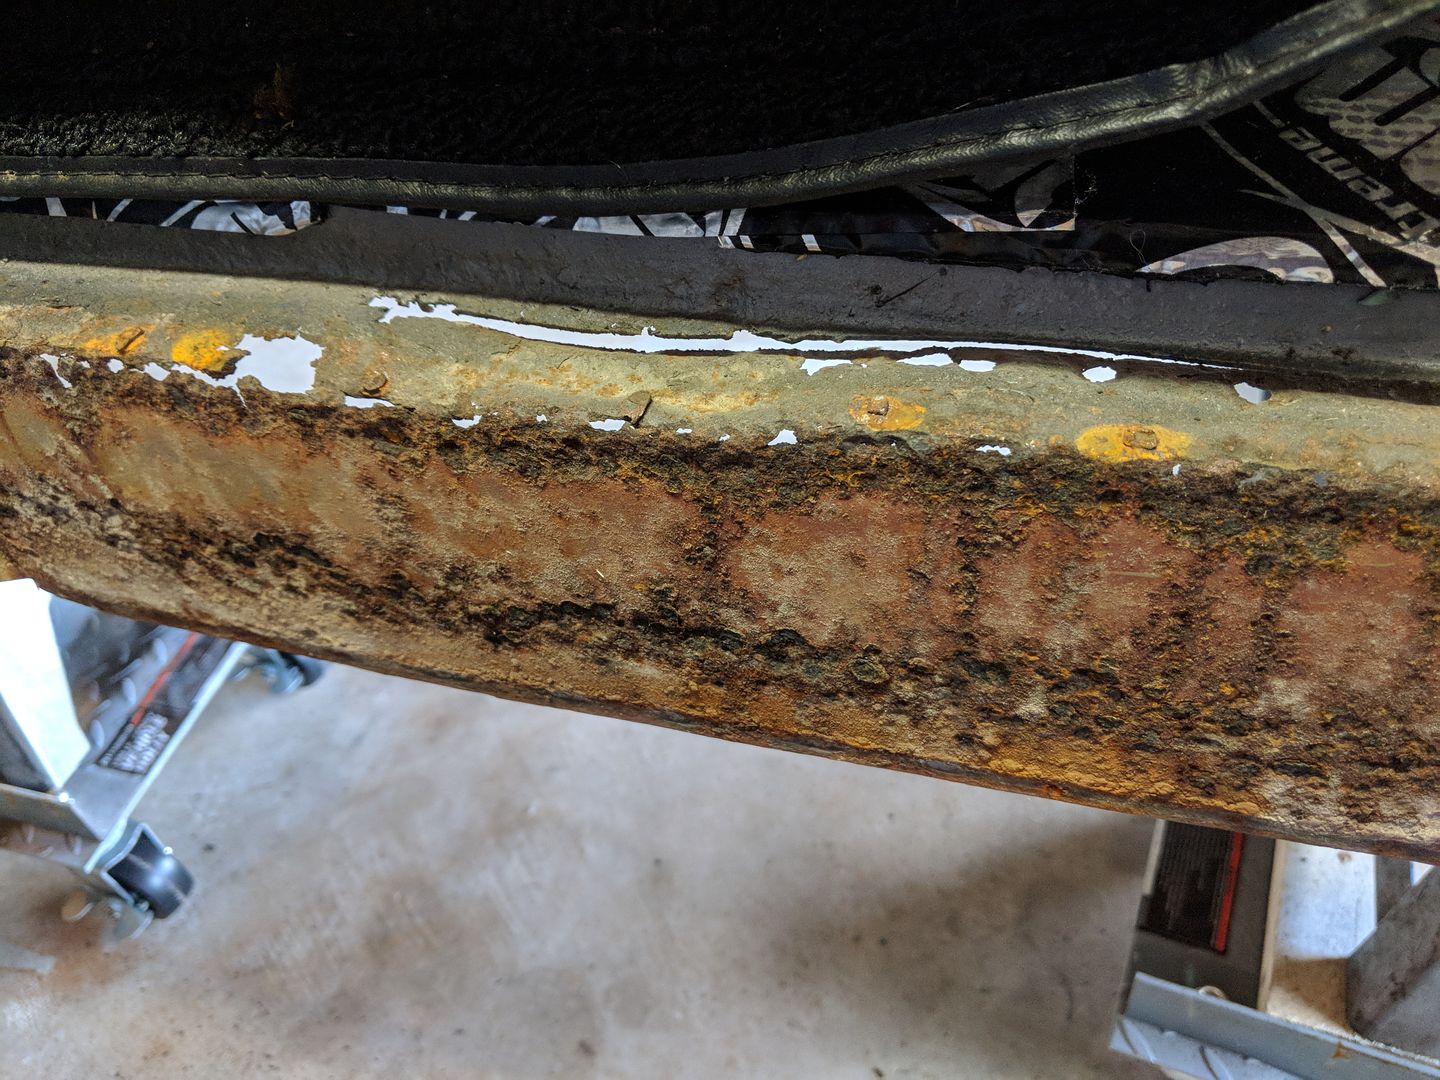 So here I go, I'm upset and I start cutting away the bad metal the next couple of days right, I'm cutting, and cutting.... 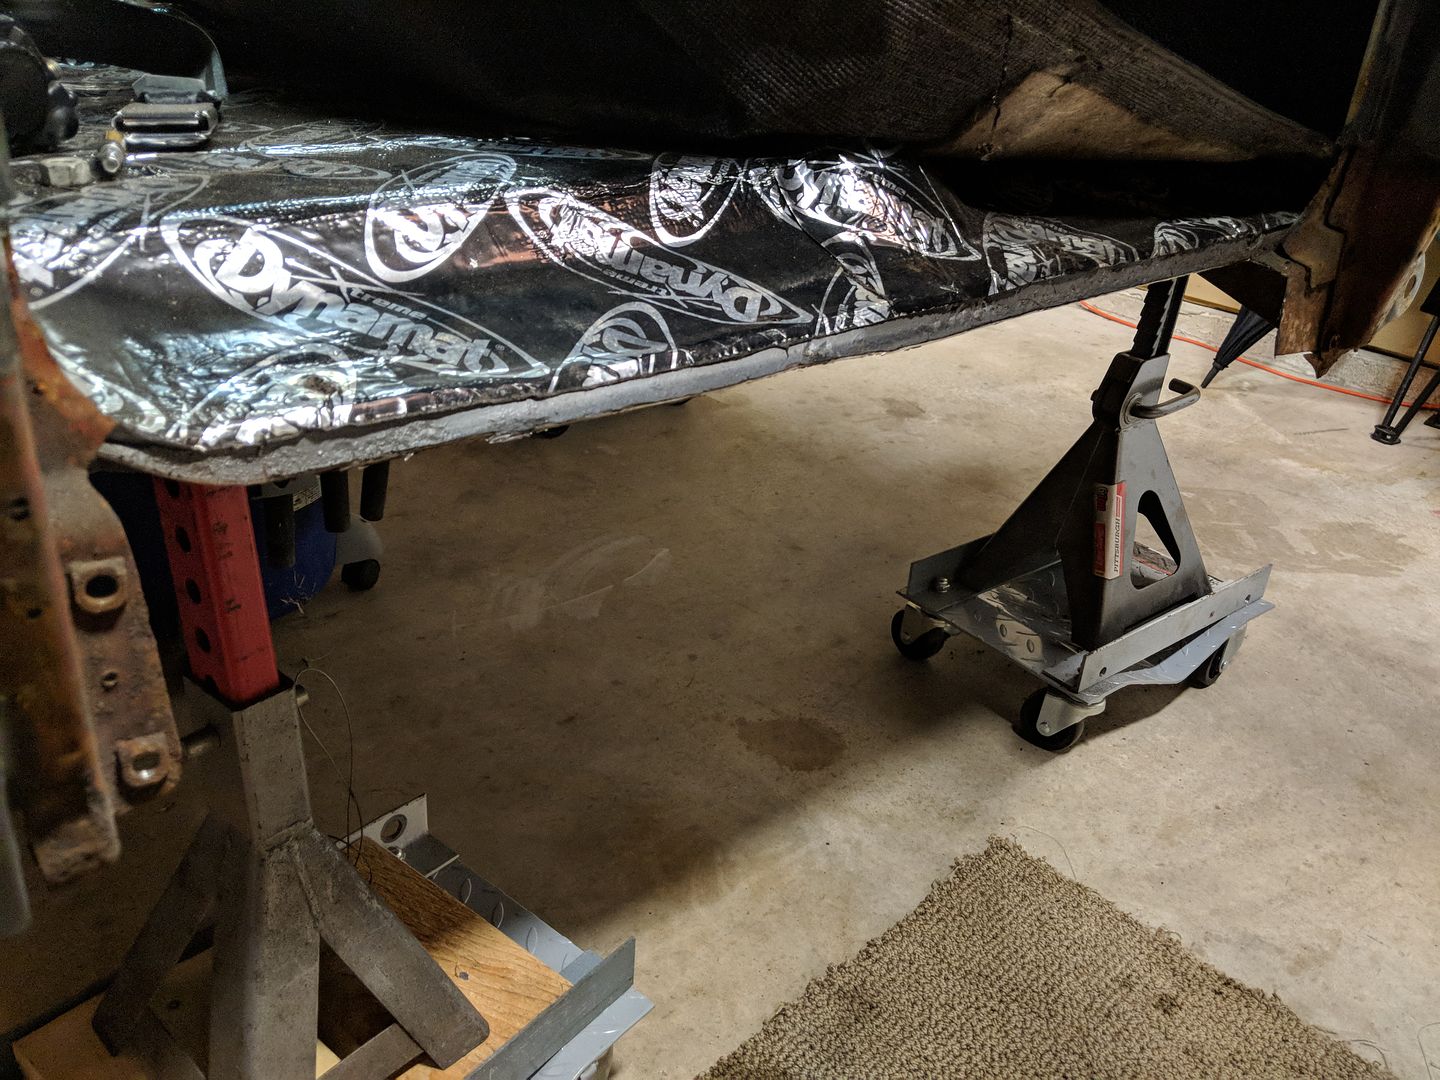 And cutting.... 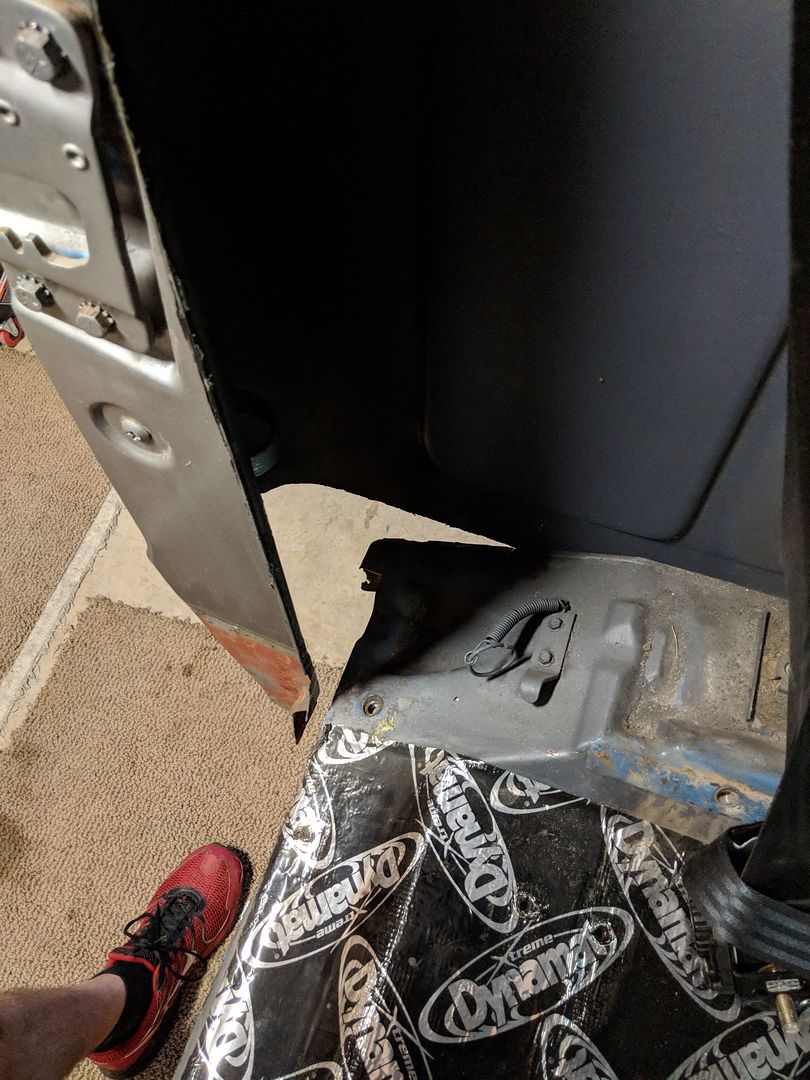 And cutting some more.... 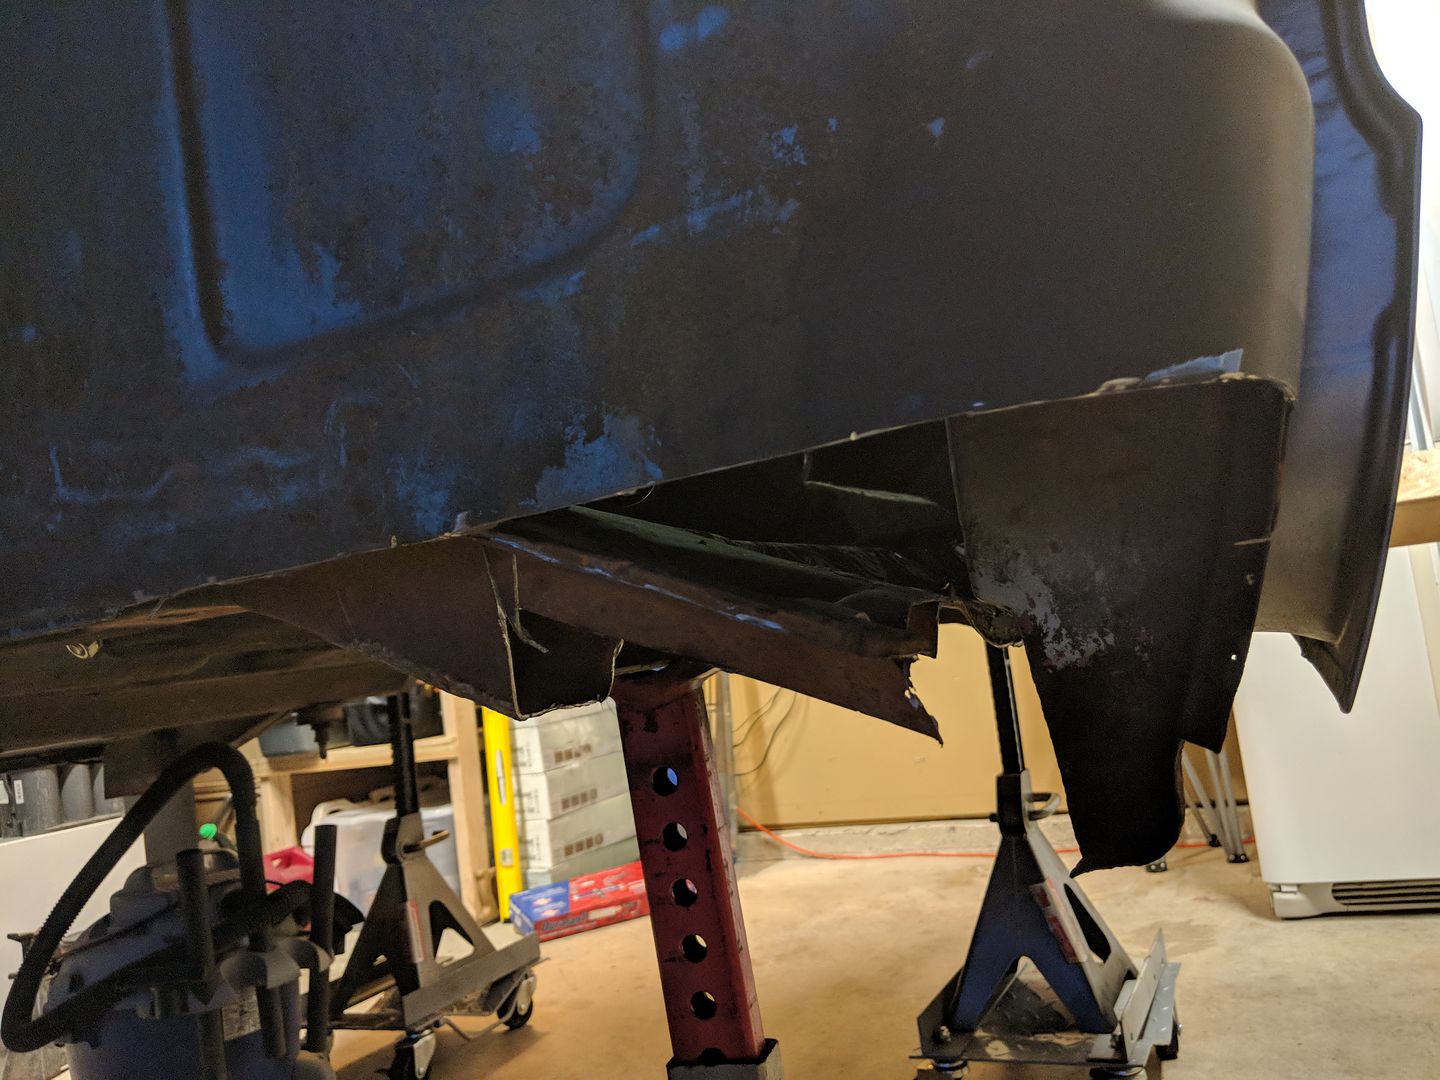 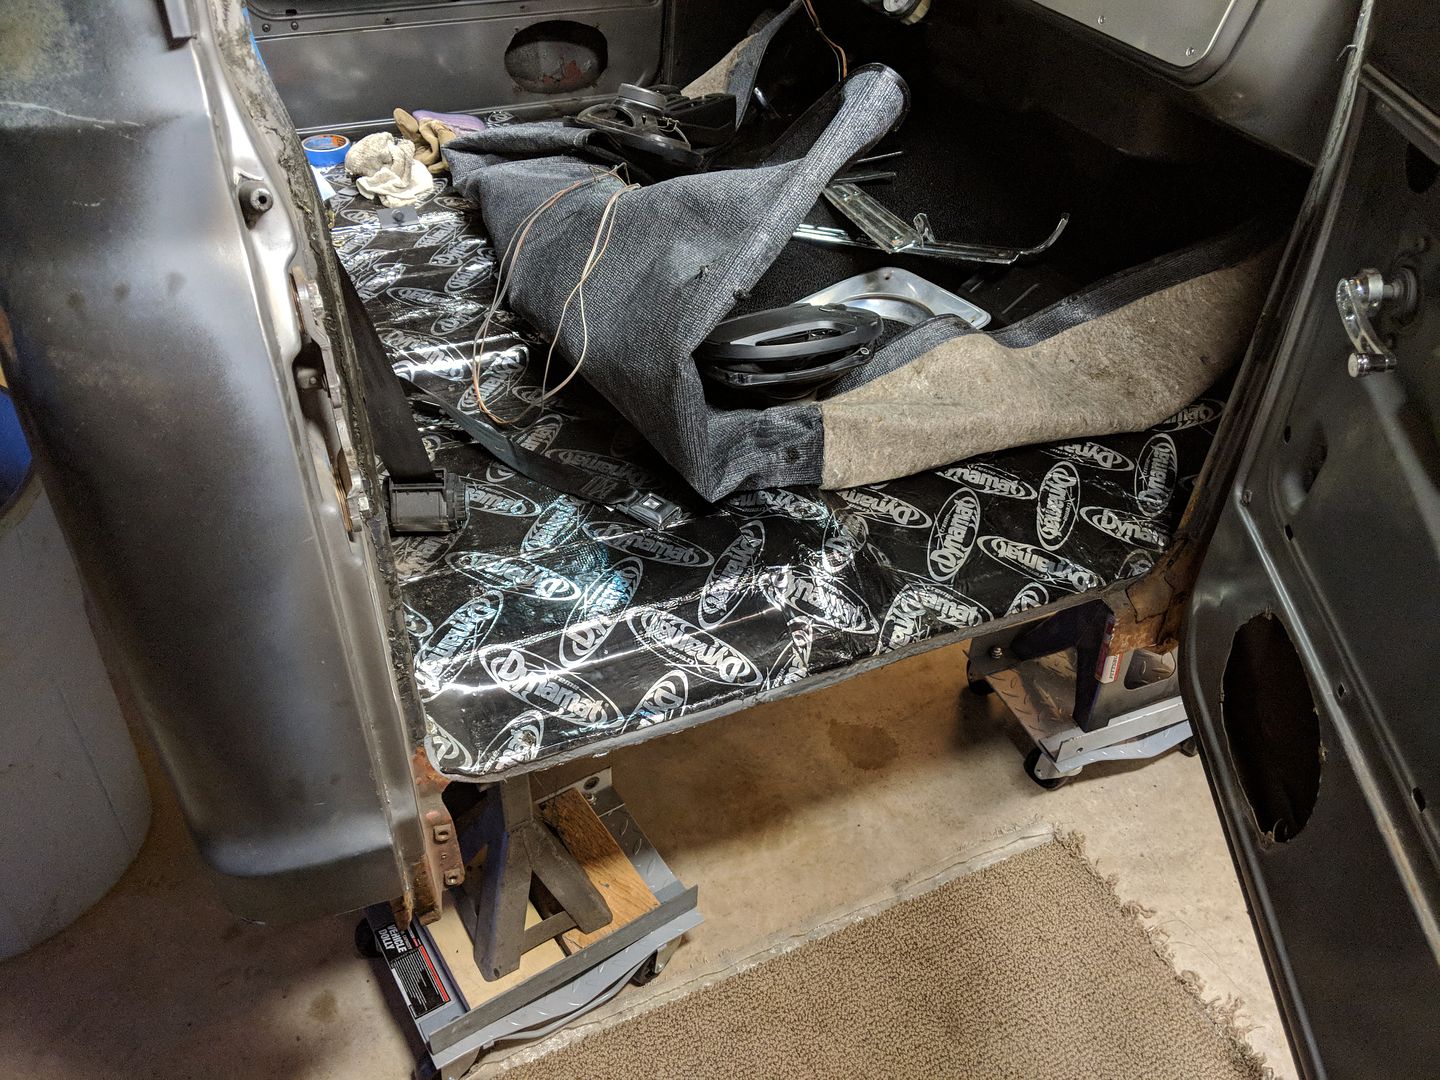 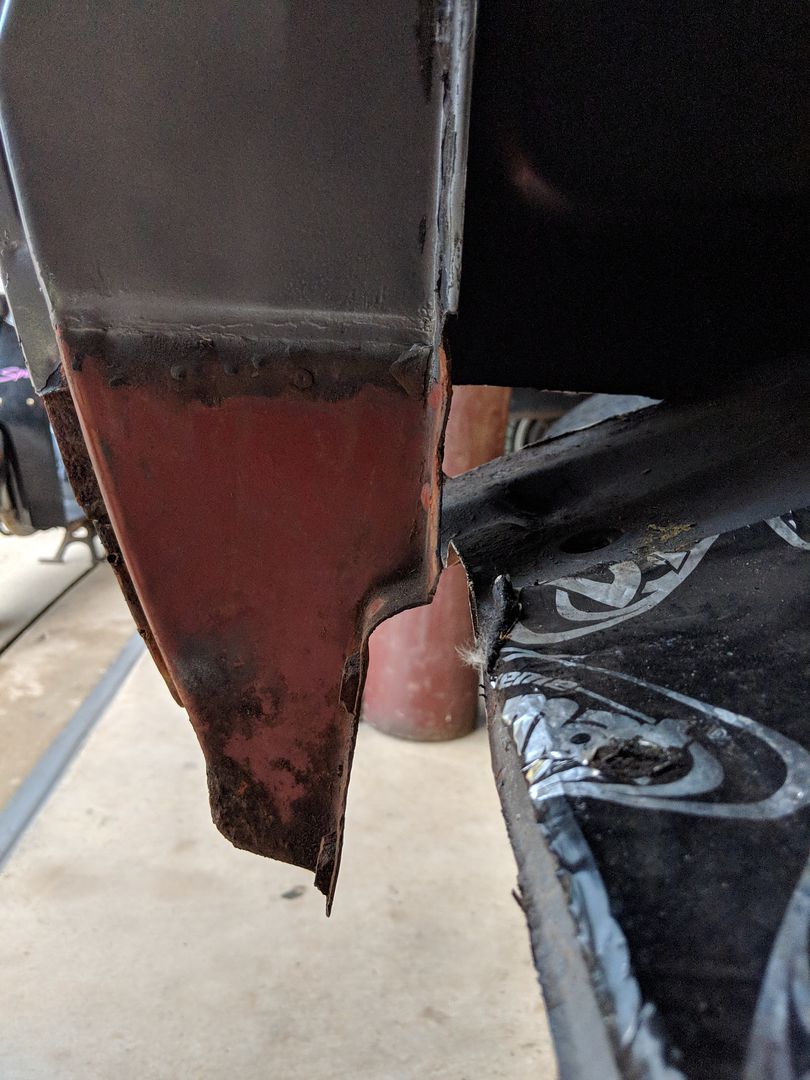 And before I realize what I have done, I have cut all the support out of the cab almost completely. So now not only do I have a ton of sheet metal to replace, grind, weld, weld and grind, grind and weld. But now I have to figure out how the heck to put it back correctly and the doors will hopefully shut...... Geeze I really suck at buying old c10's.... 
|
|
|

|
|
|
#7 |
|
Registered User
Join Date: Jun 2018
Location: Texas
Posts: 1,353
|
Re: TA_C10: Stage 1
So over the past couple months, I have been doing some research and trying to figure out how the heck I am going to fix my mistakes and move forward. I started on the drivers side, bolted the door back on, got it as close to aligned as I could(I marked the doors before I removed them but didn't do much good as they were already off from PO) and took a ratchet strap and pulled the rear of the cab as close as I could to the rear of the door and then welded in some cross braces.
I also removed a big section of the dynomat where I remembered there was a water drip under the dash and yep, you guessed it, found more rust and holes. The seam had been filling up with water I guess and eventually rusted through so I sanded it all down and tried to just fill it in with my MIG. I was able to fill all the holes in on the drivers side. Seeing it like this makes me want to weld in the hole seam but I don't think I will, its getting covered back up anyways. This is basically how it sits today. 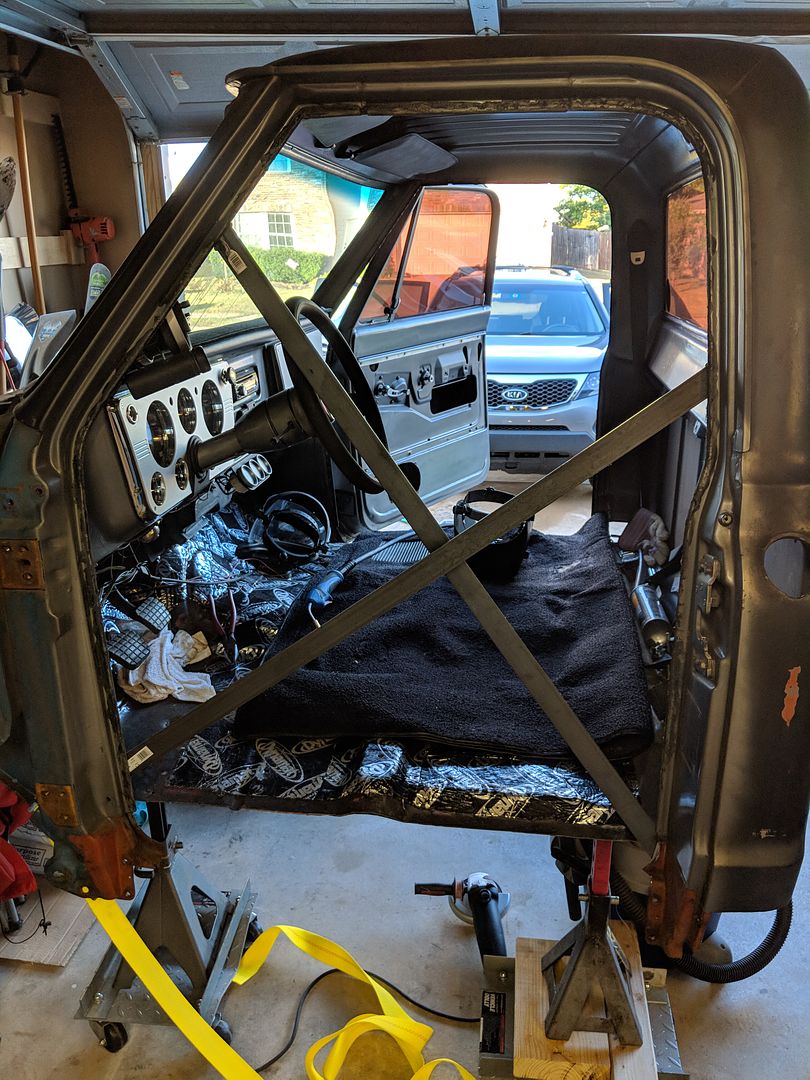 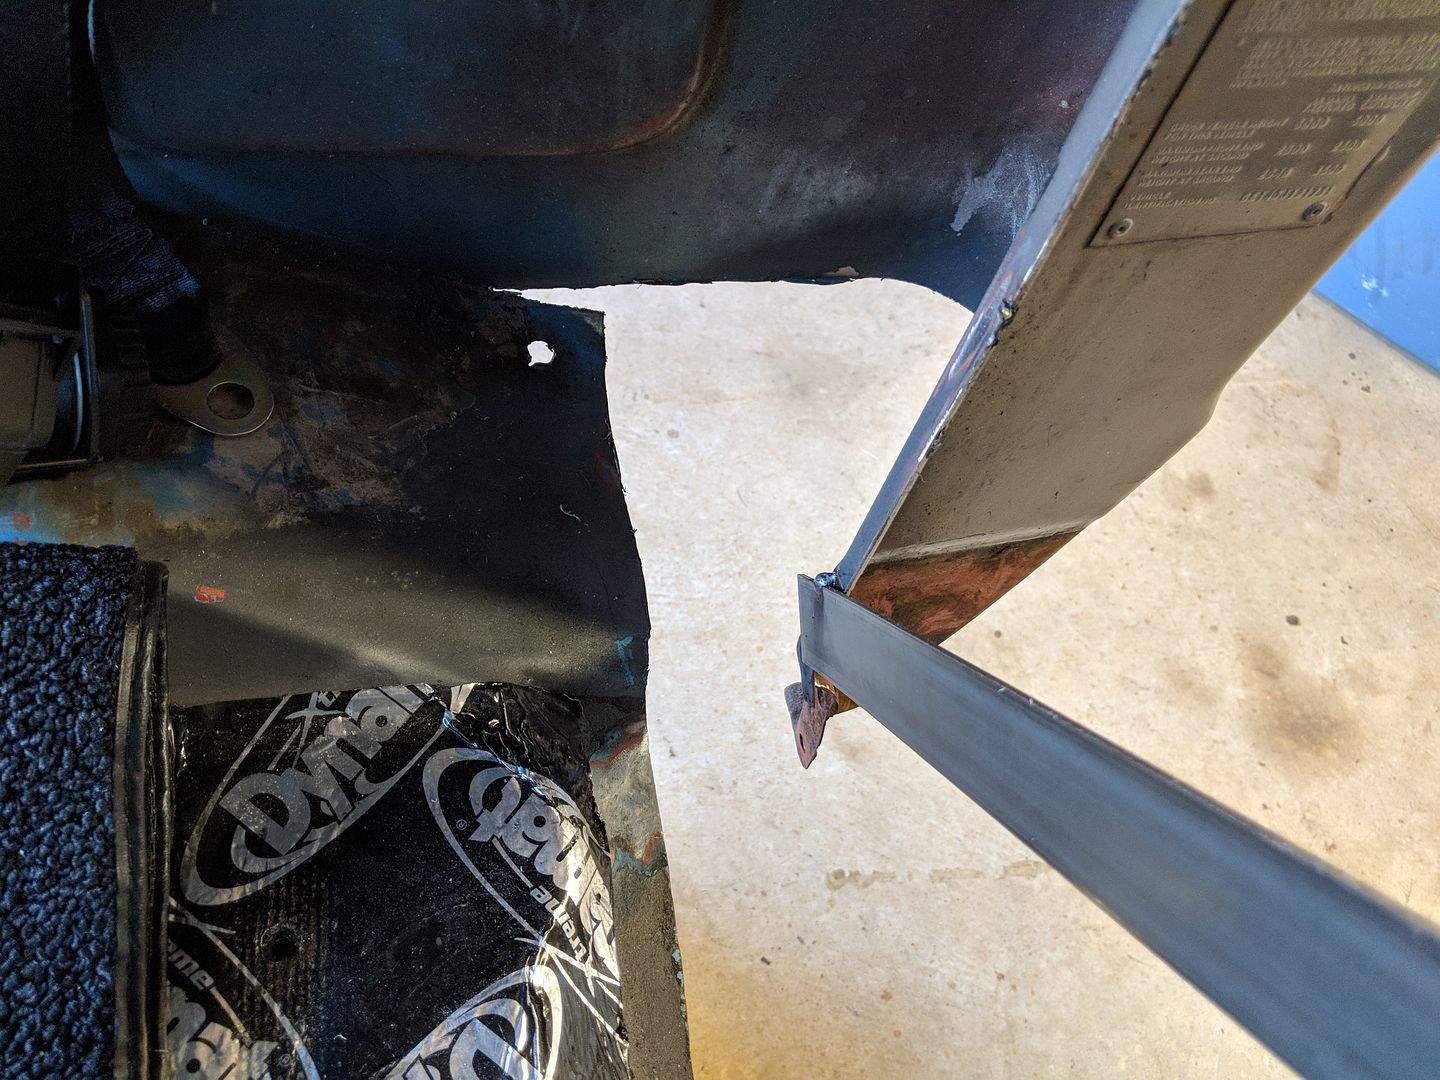 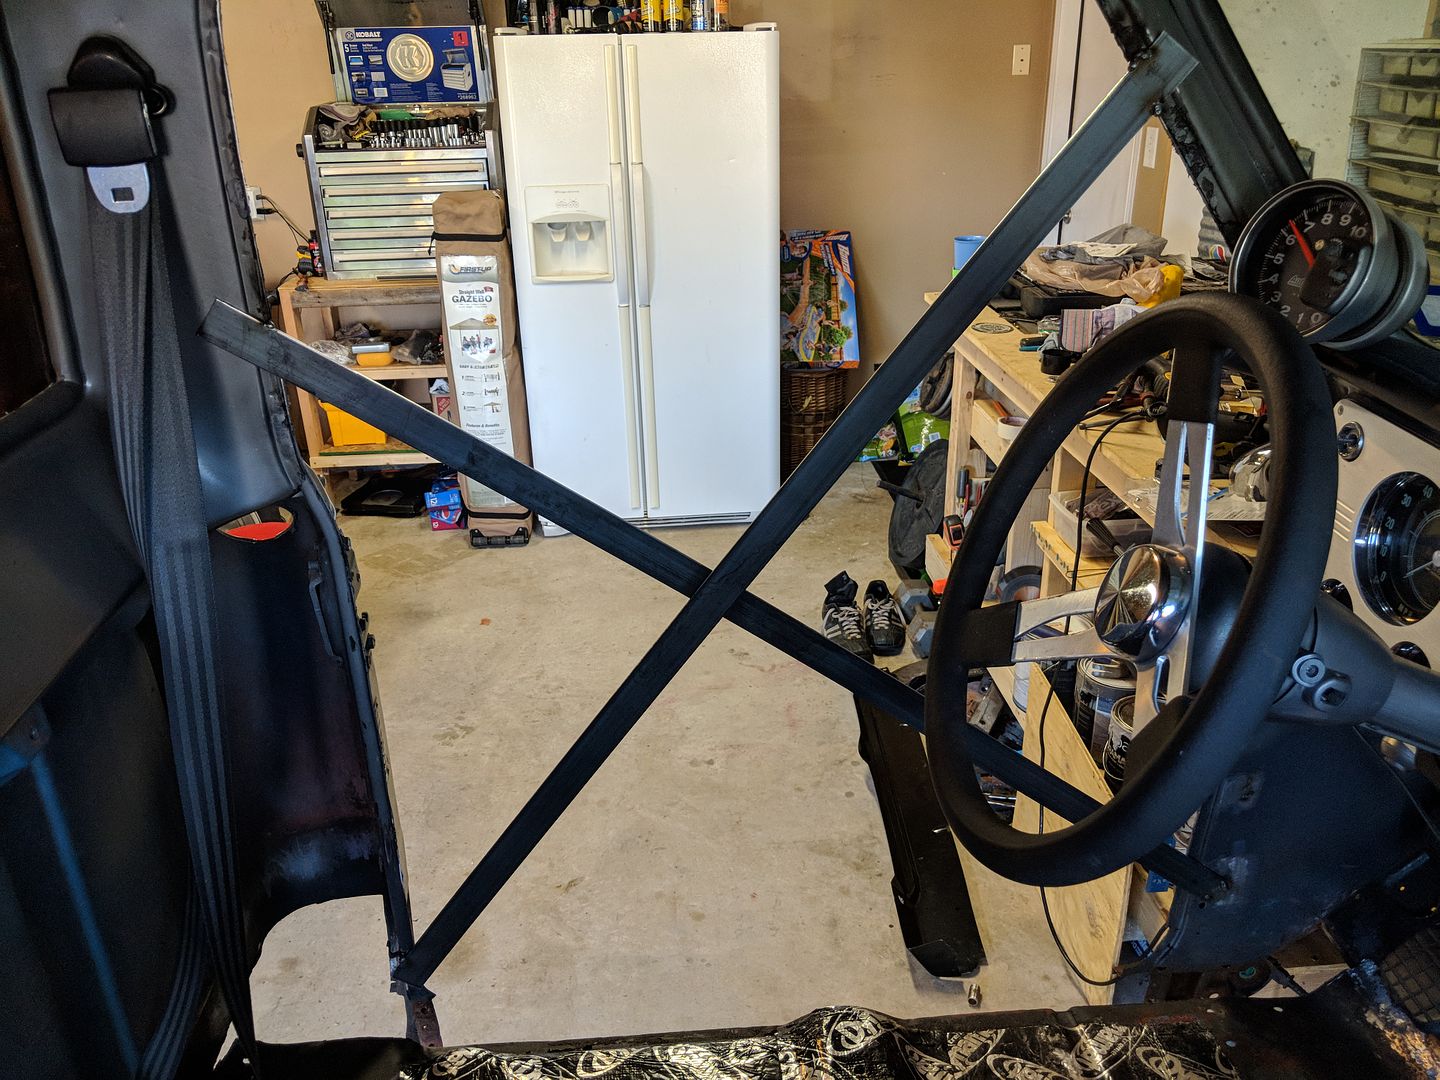 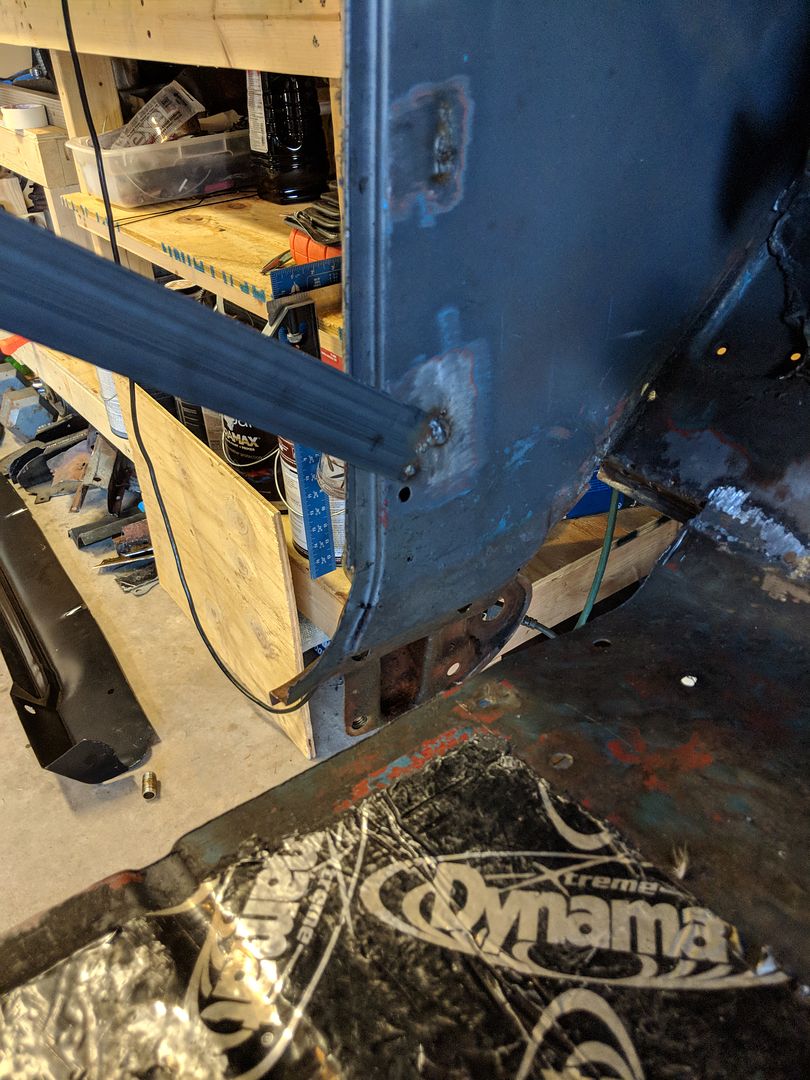 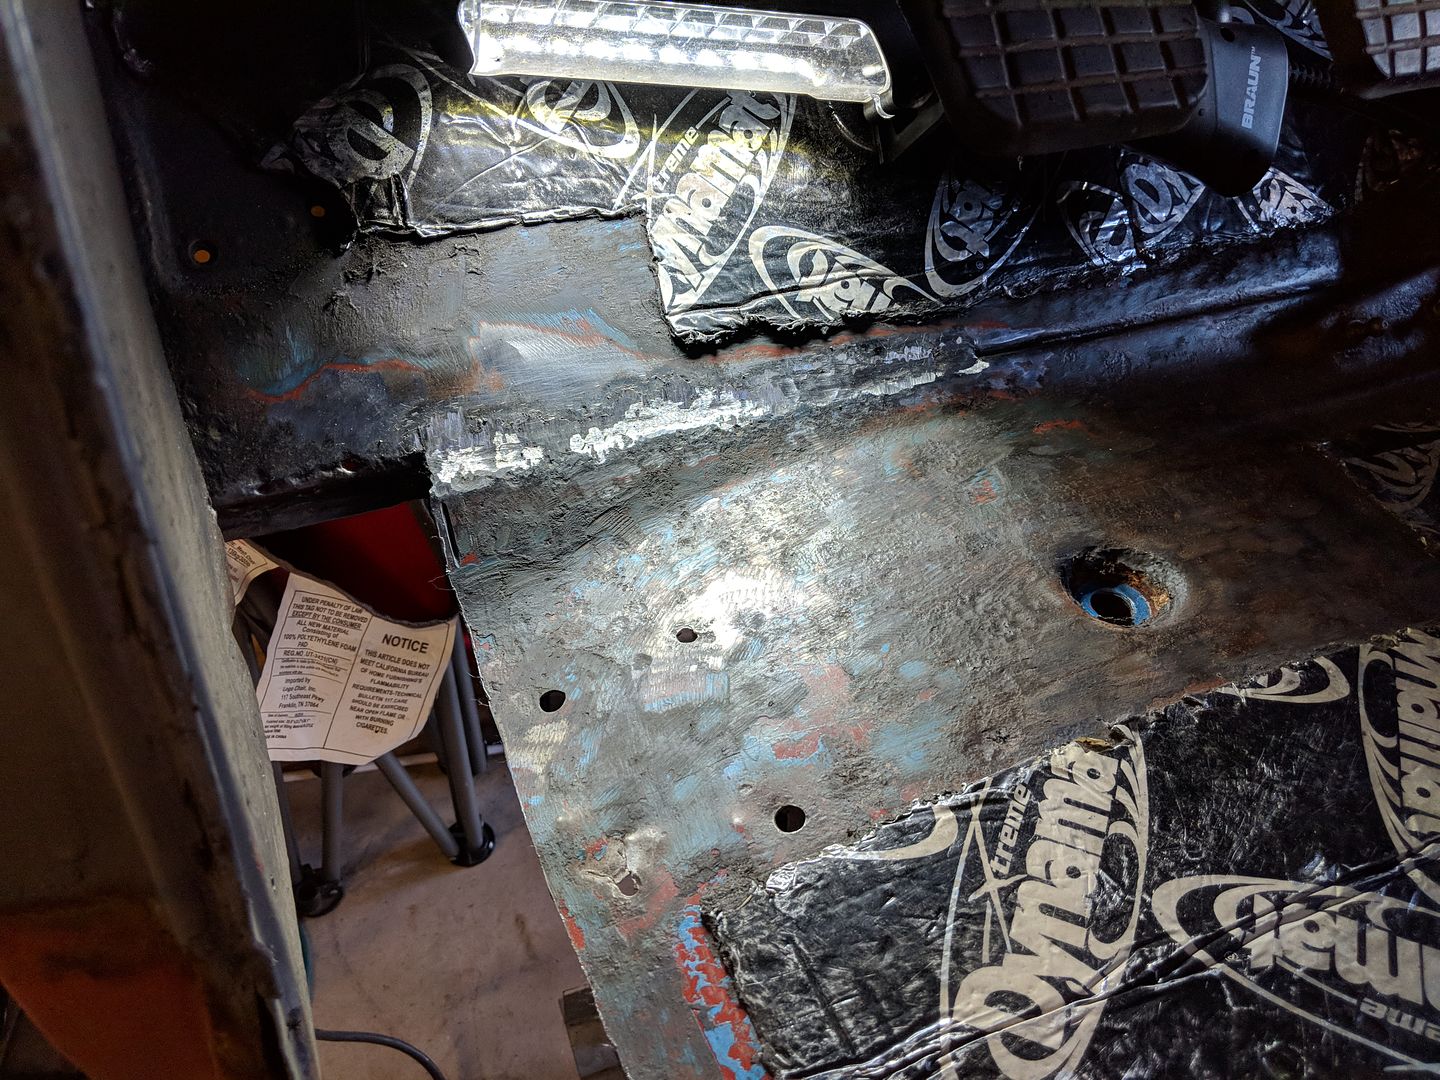
Last edited by TA_C10; 09-05-2018 at 10:02 PM. |
|
|

|
|
|
#8 |
|
Registered User
Join Date: Jun 2018
Location: Texas
Posts: 1,353
|
Re: TA_C10: Stage 1
I just want to say that taking off dynomat sucks big cajones, but taking off brand new dynomat that a PO used to cover up swiss cheese and you buy his bull$h!T, is a new low down mess that I dread doing to the passenger side next. The rubberized coating is not easy to remove... And my confidence is at an all time low now lol....

|
|
|

|
|
|
#9 |
|
Registered User
Join Date: Jan 2010
Location: nevada
Posts: 649
|
Re: TA_C10: Stage 1
Your not alone on this. I bought a 69 a few months ago that I couldn't look at so a friend checked it out. He was so impressed that it ran that he said its great buy it, and I did. When I got it home they had riveted tin on everything and bonded over it. So don't feel bad, everybody here has had issues. You'll see some of these guys buy a truck and replace the frame then the cab or bed. Your doing a great job at rebuilding yours. When your done you know your truck will be solid.
__________________
2003 Dodge 2500 1969 C10 2014 Camaro SS/RS/1LE |
|
|

|
|
|
#10 | |
|
Registered User
Join Date: Sep 2013
Location: Pleasant Ridge, MI
Posts: 285
|
Re: TA_C10: Stage 1
Quote:
|
|
|
|

|
|
|
#11 |
|
Registered User
Join Date: Jan 2010
Location: nevada
Posts: 649
|
Re: TA_C10: Stage 1
I wonder if a heat gun would work?
__________________
2003 Dodge 2500 1969 C10 2014 Camaro SS/RS/1LE |
|
|

|
|
|
#12 |
|
Registered User
Join Date: Sep 2013
Location: Pleasant Ridge, MI
Posts: 285
|
Re: TA_C10: Stage 1
|
|
|

|
|
|
#13 |
|
Senior Member
 Join Date: Feb 2014
Location: Erie Colorado
Posts: 1,022
|
Re: TA_C10: Stage 1
Heat gun would help for sure. I used a propane turbo torch to speed the process up on a similar sound deading mat. Turn and burn
 TA, these old trucks can be frustrating and especially what someone has done in the past to the old rig. When I get frustrated looking at a mountain of work I make a list and focus on TA, these old trucks can be frustrating and especially what someone has done in the past to the old rig. When I get frustrated looking at a mountain of work I make a list and focus on one thing at a time. That way I feel that I'm moving forward. Looks like you have all the rusty metal cut out, half the battle is done. Keep chipping man
__________________
1971 LSX "Bonnie" build thread http://67-72chevytrucks.com/vboard/s....php?p=8026381 paypal is curtbarton1971@yahoo.com |
|
|

|
|
|
#14 |
|
Registered User
Join Date: Apr 2014
Location: Azle,Texas
Posts: 2,248
|
Re: TA_C10: Stage 1
You will definitely get bummed every now and then when you're doing something that's so in depth and takes this much work. That's another reason why this forum is so cool, you will learn all kinds of new tricks and ways to get past what gets you down. I love going to the build thread and catching up with all the issues that others are facing and see how they tackle it. Best of all is watching someone taste victory after so many set backs and they end up with something that they are so proud of. Hang in there and before you know it you'll be cruising with the best of them.

|
|
|

|
|
|
#15 |
|
Registered User
Join Date: Jan 2018
Location: Modesto, CA
Posts: 92
|
Re: TA_C10: Stage 1
I got to learn to weld after I bought my "rust free" truck too. It's time consuming and frustrating at times, but you'll know it's solid by the time you're done. Sorry the guy burned you like that. People have real big cojones pulling this especially when you know where they live.
|
|
|

|
|
|
#16 | |||
|
Registered User
Join Date: Jun 2018
Location: Texas
Posts: 1,353
|
Re: TA_C10: Stage 1
Thanks for the vote of confidence. I know its a long road so I am taking it one step at a time.
Quote:
One thing at a time is easier said than done  I feel like im jumping all over the place because of hot weather, timing, and knowledge. But thanks and I will crank up the heat gun and go for it! I feel like im jumping all over the place because of hot weather, timing, and knowledge. But thanks and I will crank up the heat gun and go for it!Quote:
Quote:

|
|||
|
|

|
|
|
#17 |
|
Registered User
Join Date: Jun 2018
Location: Texas
Posts: 1,353
|
Re: TA_C10: Stage 1
Update:
So I took a break from body work for a while so I could do more research on how I'm going to fix the cab after I screwed up and cut the supports and floor out. Basically I have no reference to use on the floor I cut out. Sucks. I will figure something out. In the mean time, brown truck has been delivering for a couple weeks! 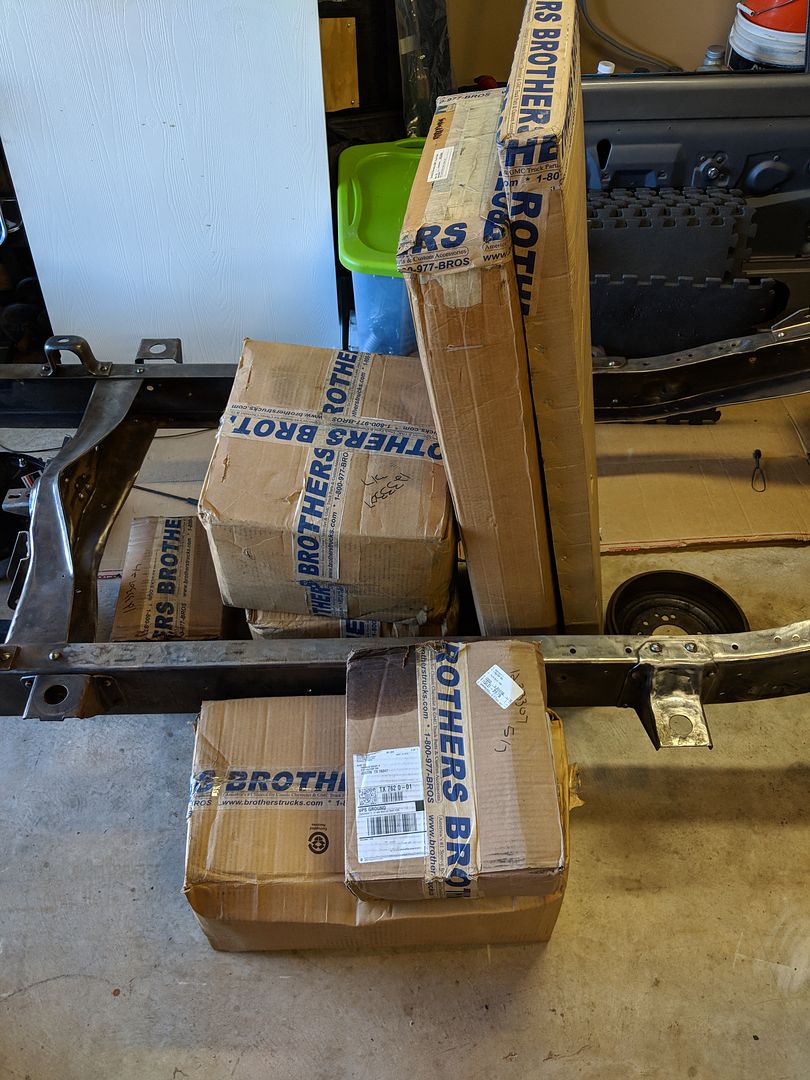 I pulled the trigger and purchased some mucho needed suspension parts.  I decided on the brothers trucks ultimate drop kit with disc brake conversion. It's a full kit with custom 4 1/2 front, 5 1/2 rear drop. It comes with a C-Notch so I I can still retain full suspension travel but it allows me to keep the bed floor in stock location since the drop isn't too dramatic. I hope it's going to get me low enough where I want. I still want to use the truck to haul items and maybe tow a light trailer. I also picked up all the rest of suspension parts it didn't include from rockauto. Got all Moog. tie rods, control arm bushings, rods, ball joints, steering gear, pitman, etc. 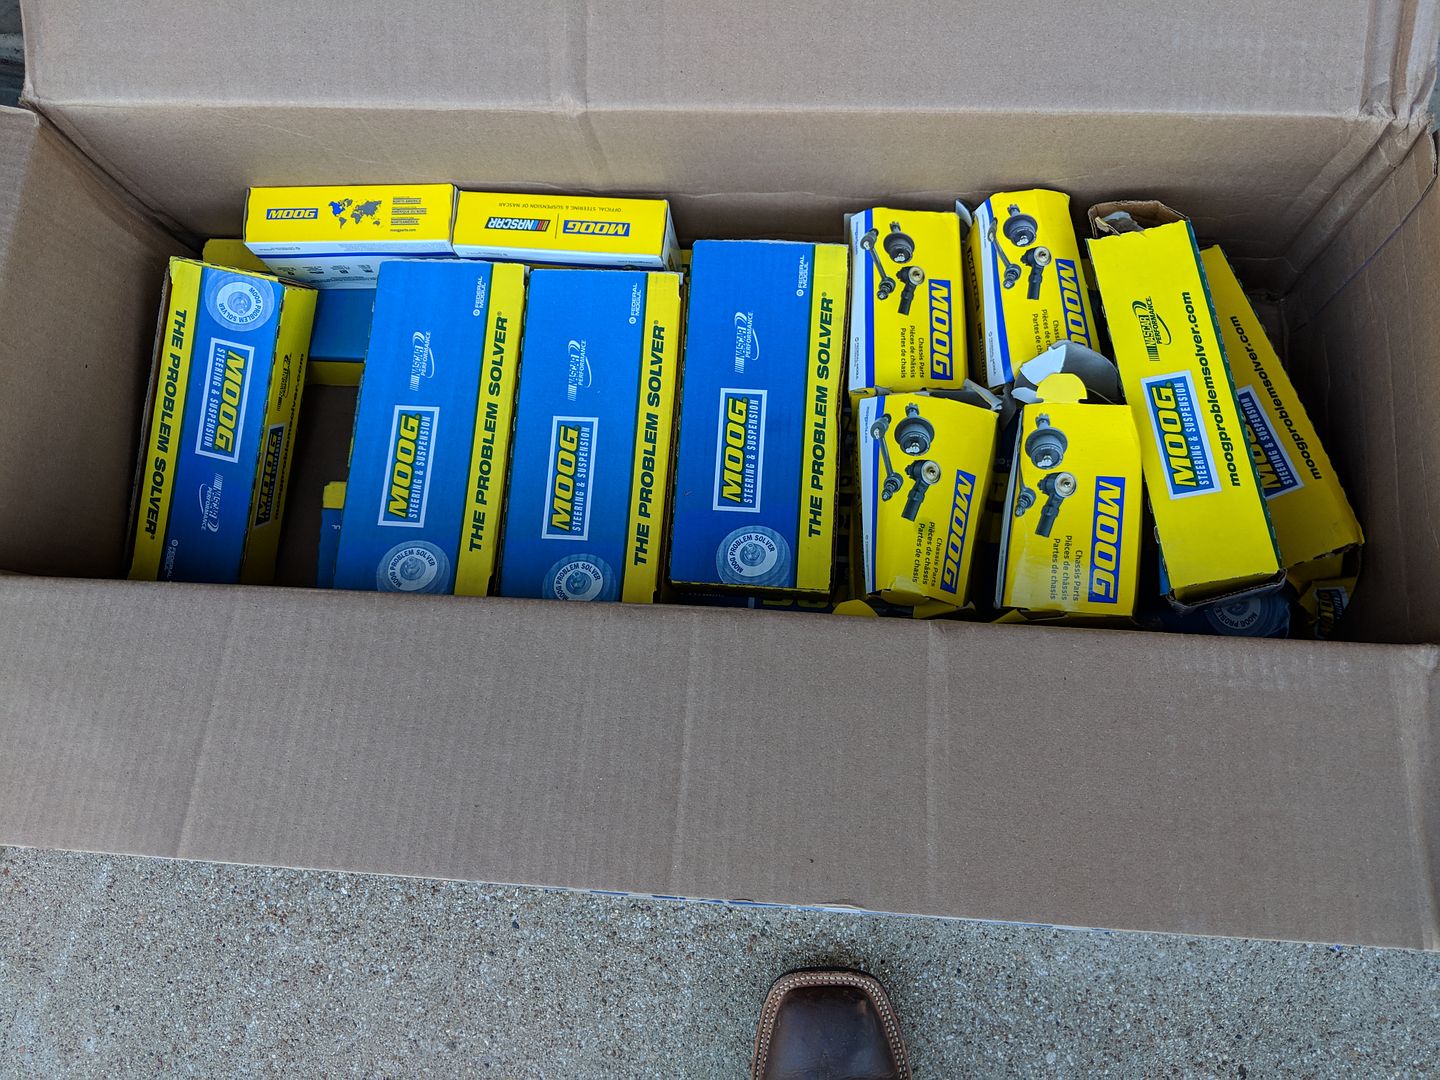 I got a replacement stock 4 turn steering gear. But I just finished reading gringoloco's build thread how to ruin a c10. He did the same thing and then ended up getting a redhead 3.5 quick ratio steering gear and stating how much he liked it. Now I'm not going to be running this truck at the track or road racing but I like a sport feel and intend on later in stage 3 upgrading again perhaps. So now I'm at a cross roads on whether or not to send this steering gear back and get the QR or just keep this one...  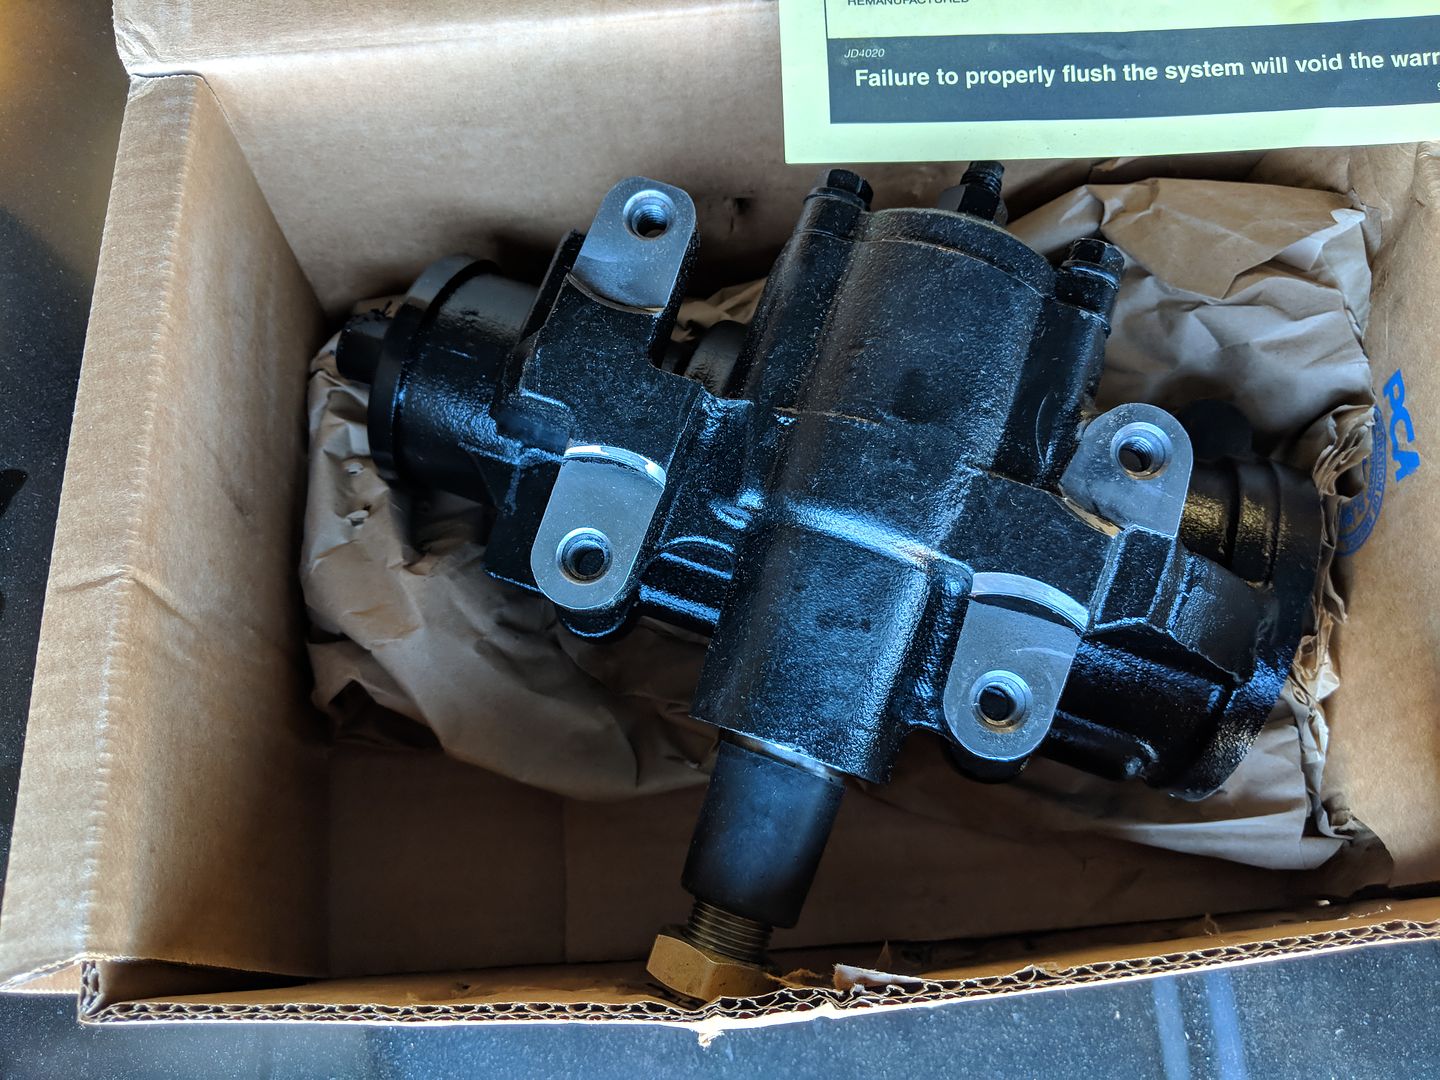
|
|
|

|
|
|
#18 |
|
Registered User
Join Date: Jun 2018
Location: Texas
Posts: 1,353
|
Re: TA_C10: Stage 1
Other progress.
I tore the frame down, removed all suspension parts, got it ready for grinding/wire wheel treatment. I plan to POR-15 the whole frame and suspension components so I wasn't worried about being perfect, but I went pretty far anyways and once could argue a little more work and it could be primed and painted, or taken out for powder. But I plan on making this my DD so its getting semi-gloss black POR. Now I have read several times for other vehicles I worked on and also on this forum as well that this is one time you can benefit from spending the money to have it sand blasted and powder coated but of course I went the cheap route and decided to do the work myself. I'm here to tell you, the work it takes to clean a frame, and then be happy with not being able to get in all the nooks and cranny's, all the dust and grime, all the ear blistering noise and vibrations, all the headache and back breaking work being bent over for hours, I WISH I WOULD HAVE LISTENED!!! But here I am, did it, and it was cheaper in cost, but not in labor and time away from family... She is ready for a c-notch  , then its POR-15 time... , then its POR-15 time...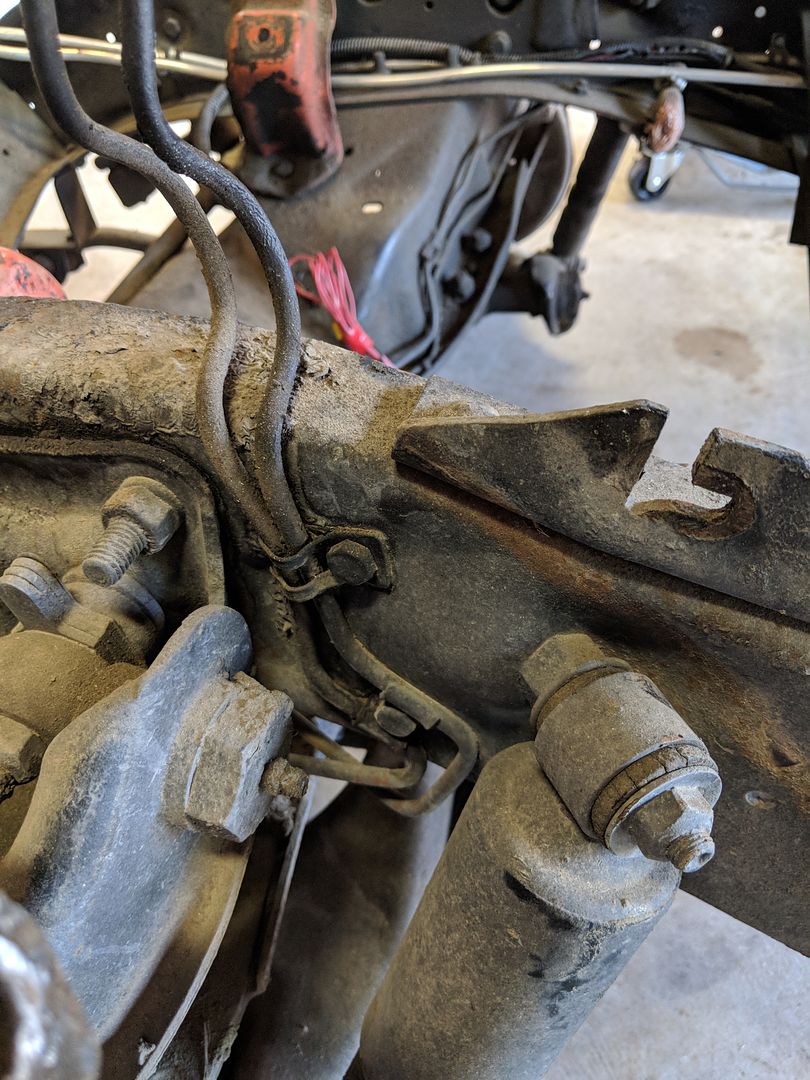 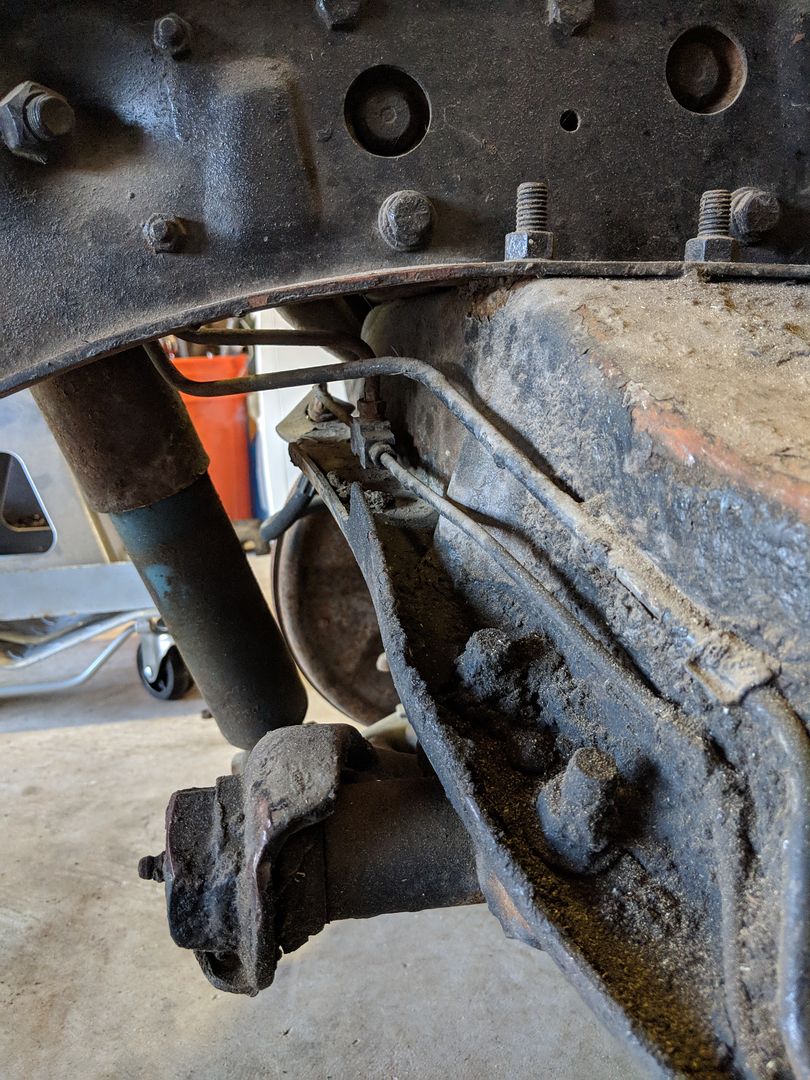 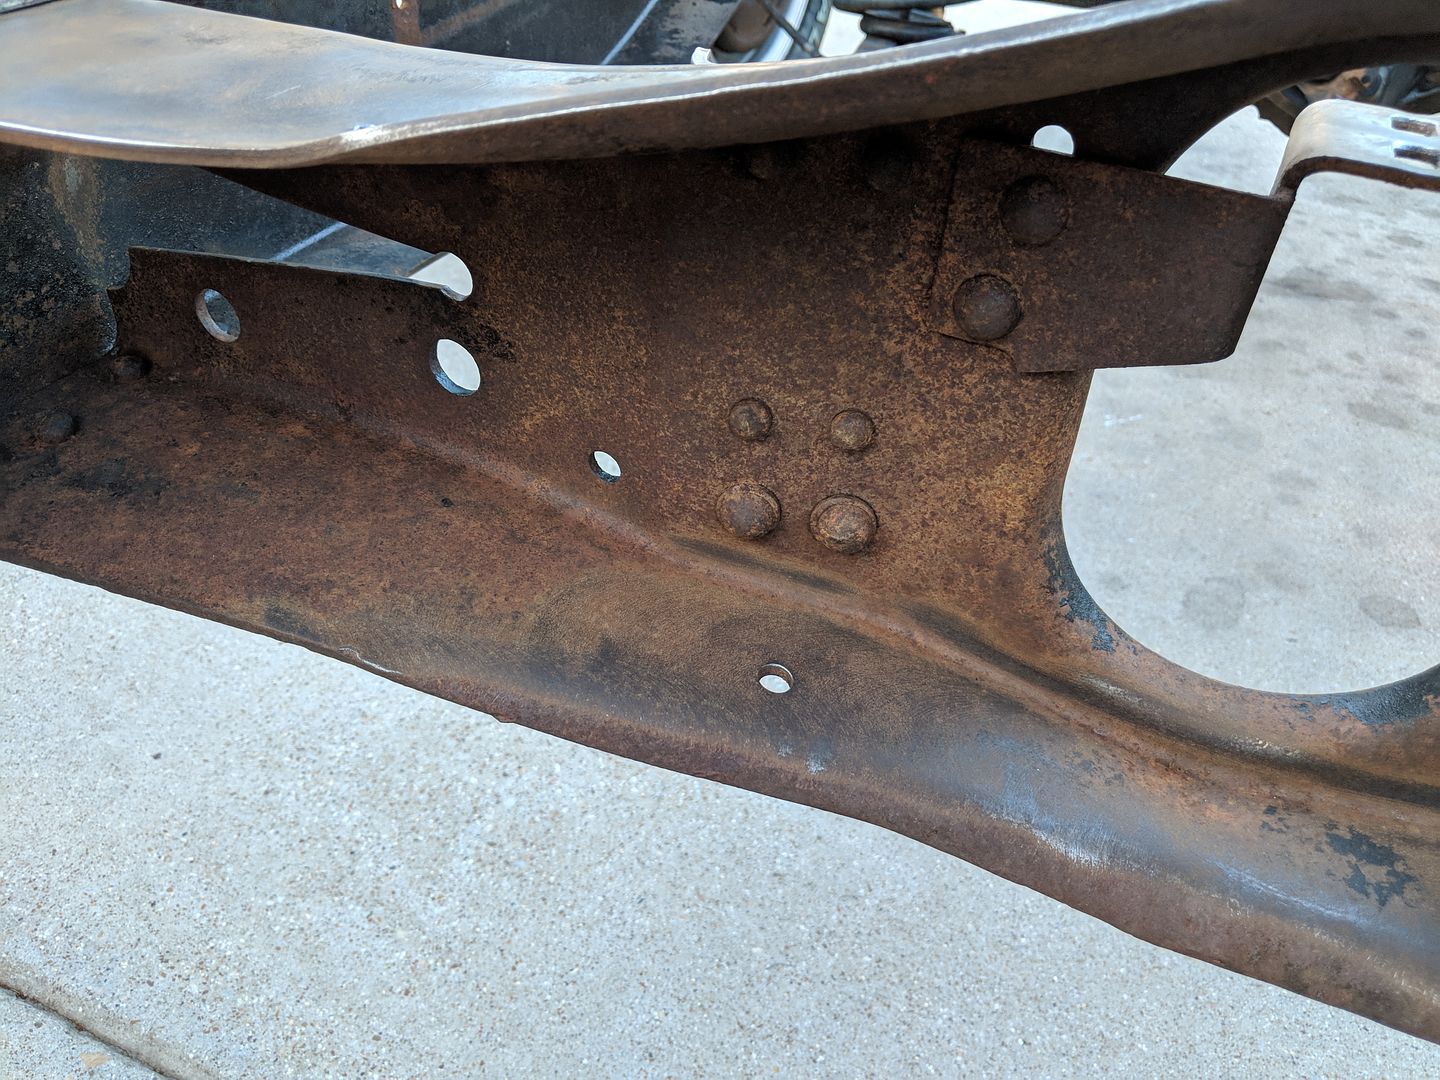 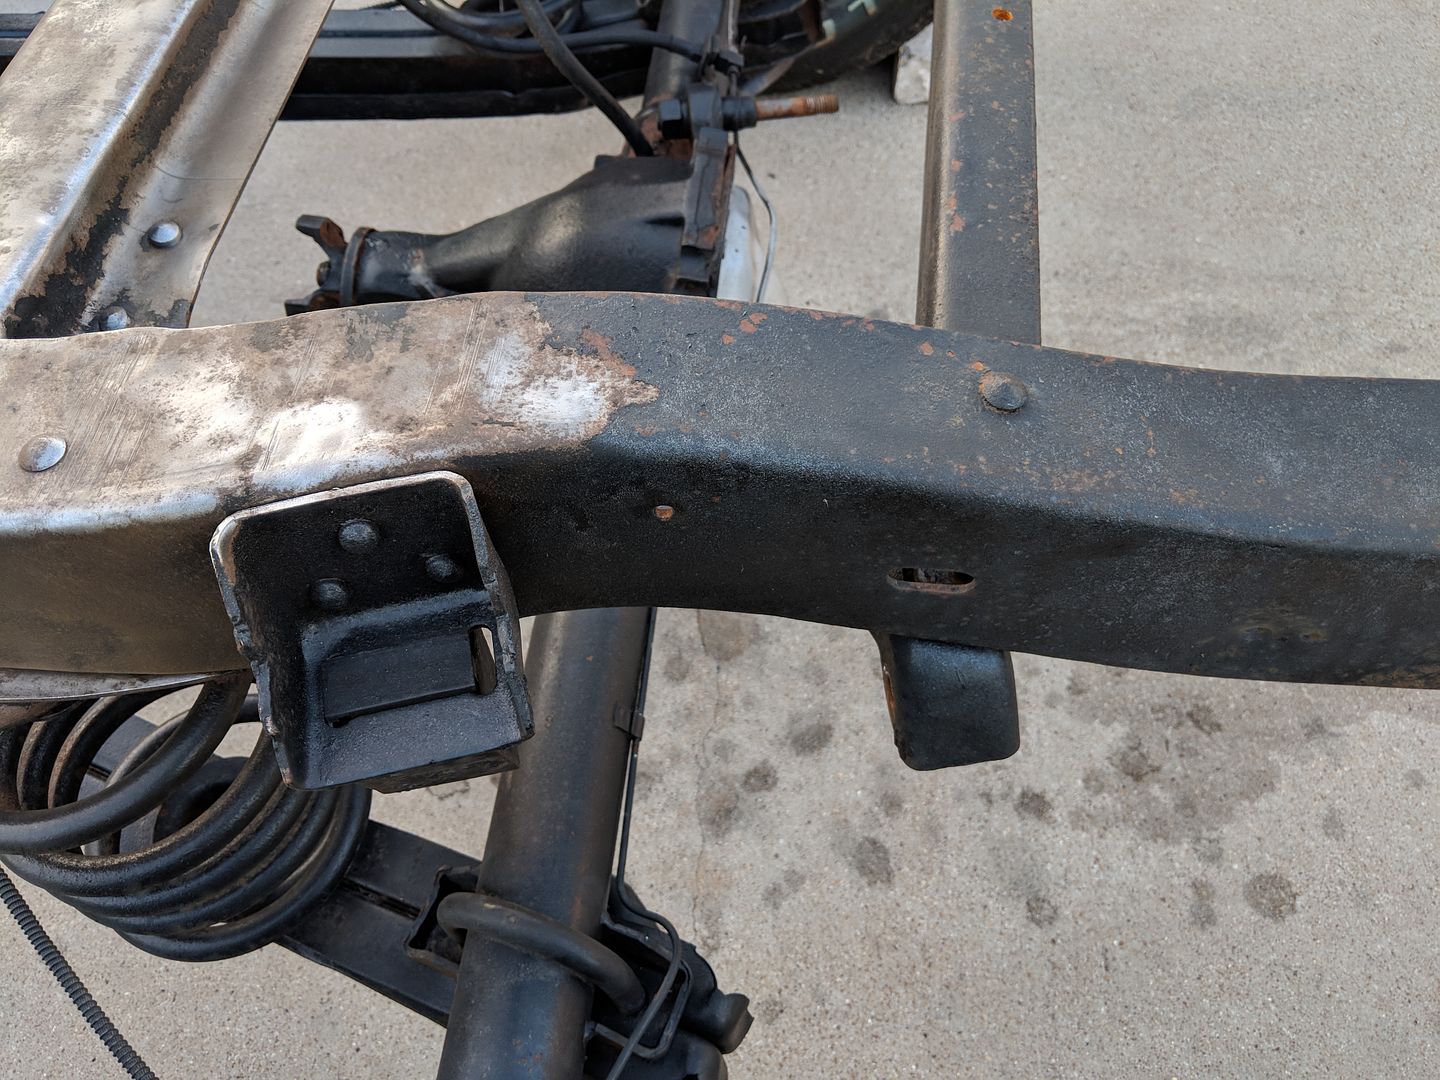 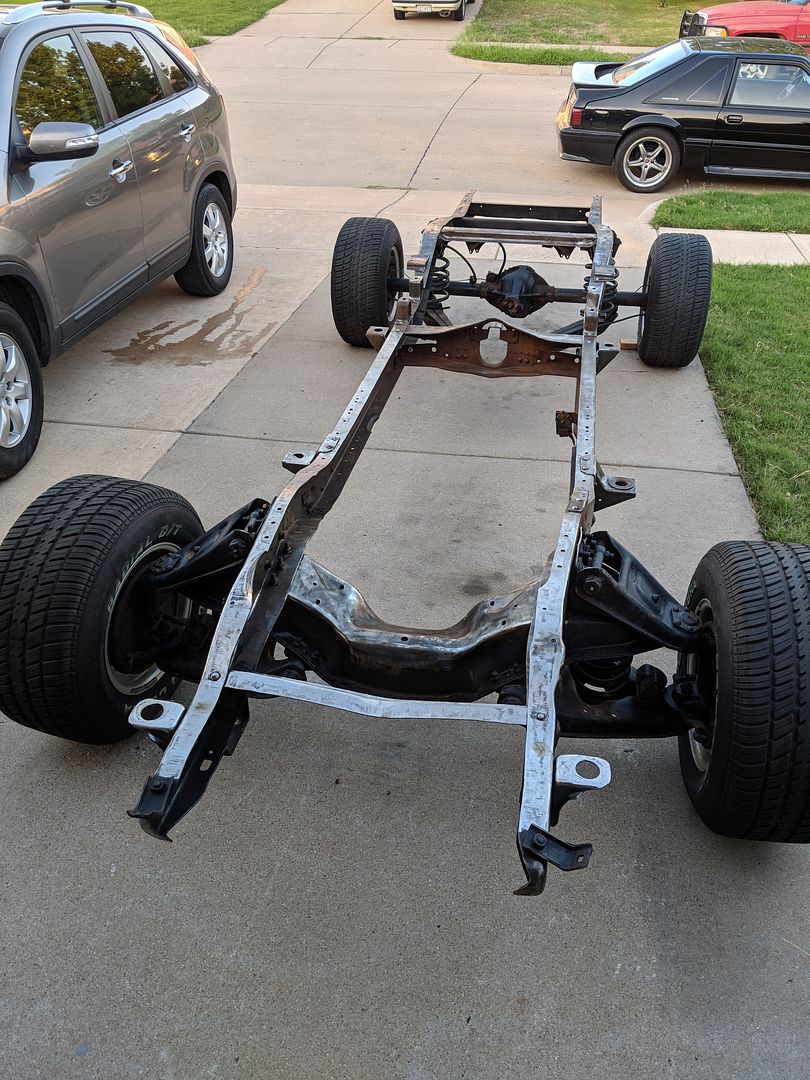 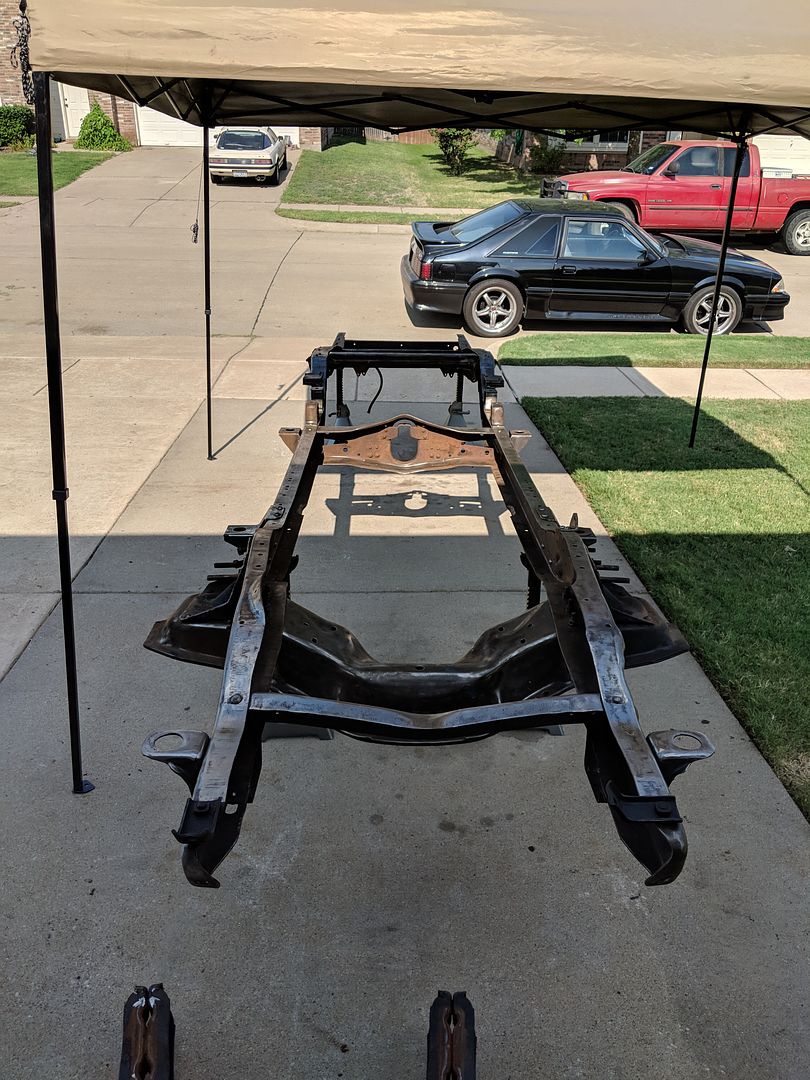 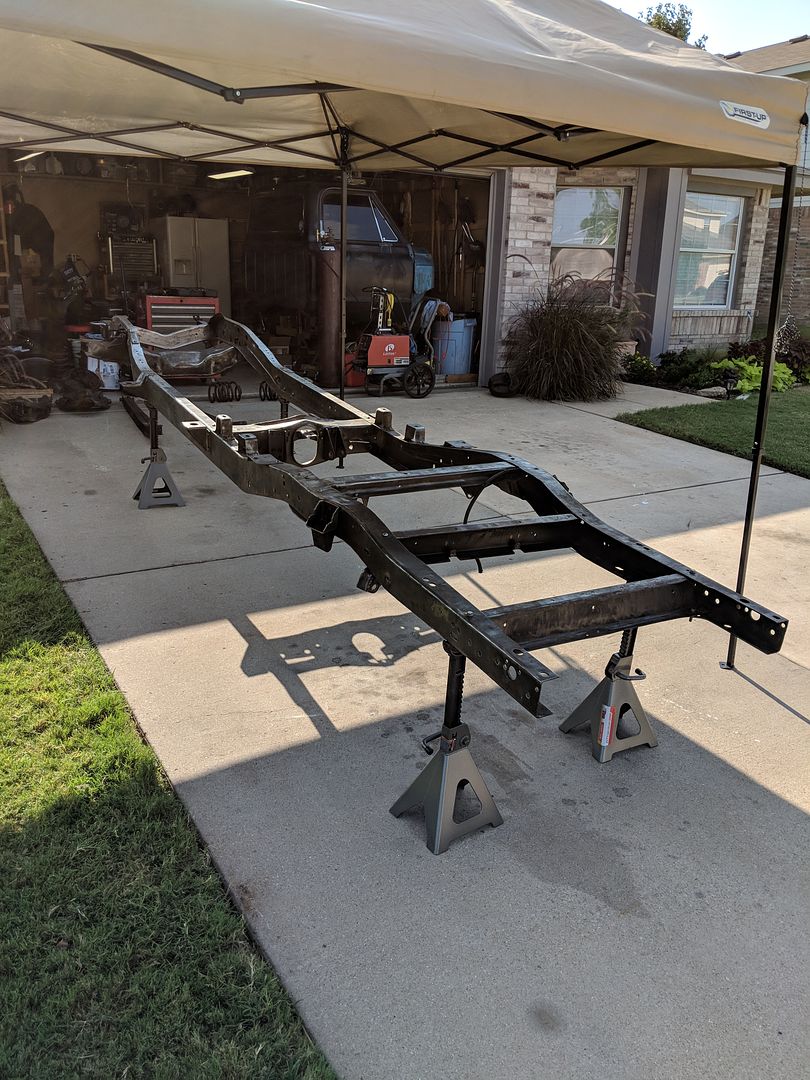 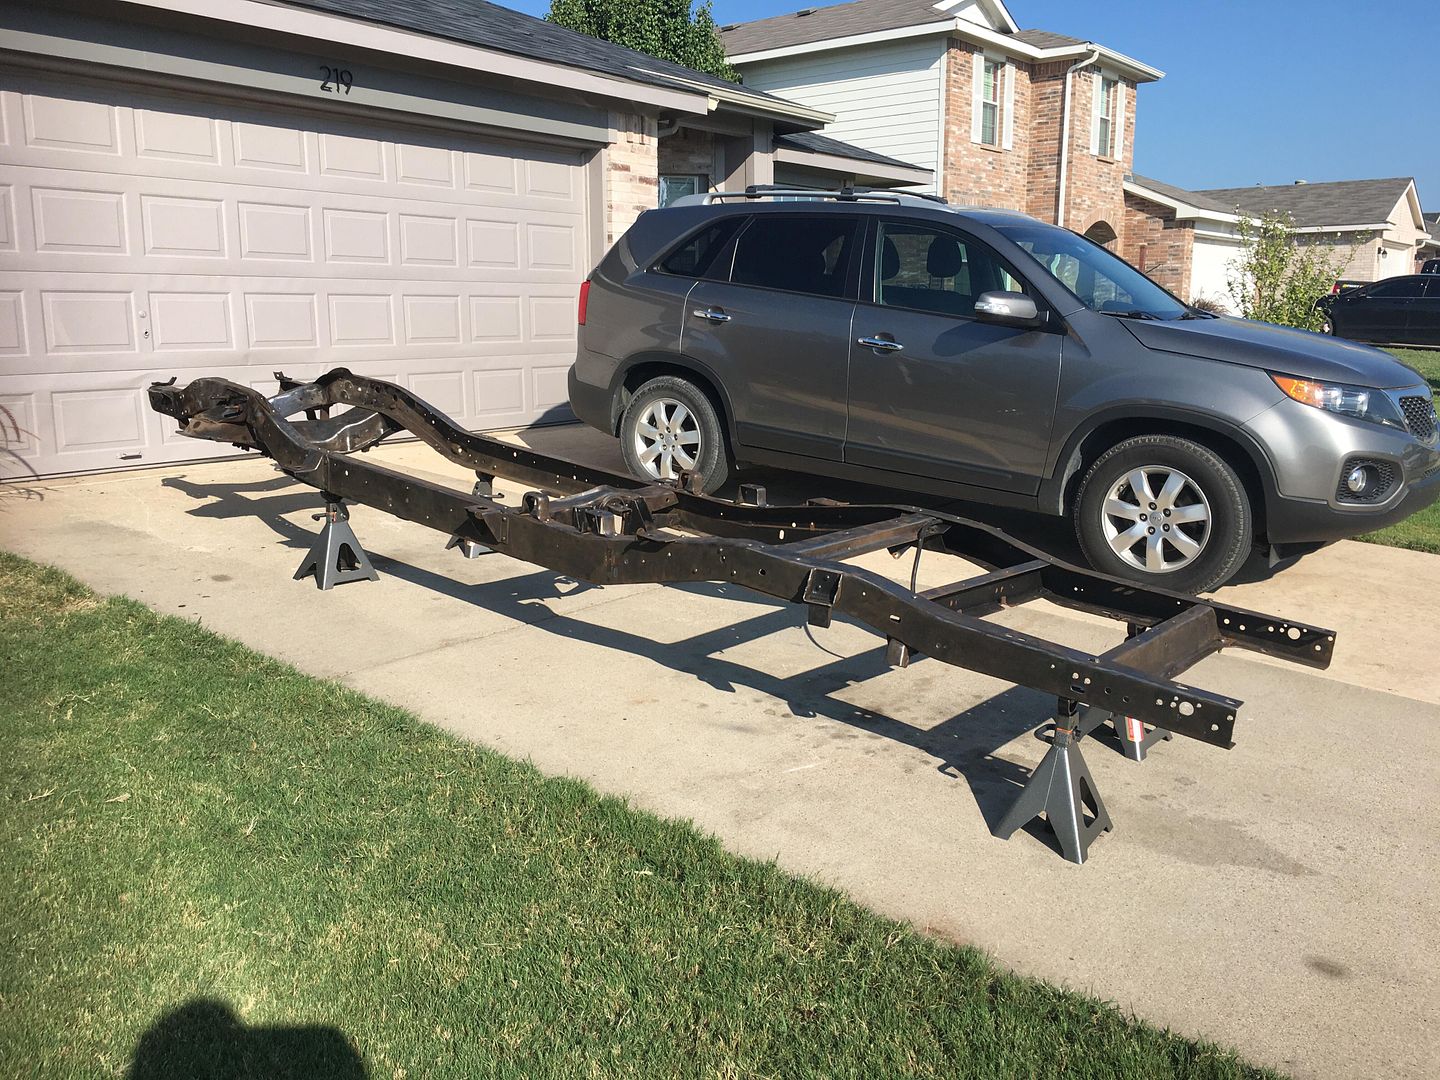
|
|
|

|
|
|
#19 |
|
Registered User
Join Date: Apr 2018
Location: Sabattus, maine
Posts: 209
|
Re: TA_C10: Stage 1
I feel your pain of the never ending assault of rust repair.. I'm on my 3rd cab and quickly found out I would have been better off staying with the original one I had.. lesson learned!! Keep your head up, atleast you know itll be done correctly this time!!!
|
|
|

|
|
|
#20 |
|
Registered User
Join Date: Jun 2018
Location: Texas
Posts: 1,353
|
Re: TA_C10: Stage 1
Weather has been bad lately, finally got a good day to put some work into the C10...
 I am learning how to weld as I go, this is really my first time using a MIG/Gas setup and doing body panels on a vehicle. So I know my learning curve is going to be slow. But man I didn't realize how hard I was going to have to work today.... I figured I would do the drivers side kick panel / footwell piece today and have some time to clean the garage afterwards... Boy was I wrong... This thing kicked my aZZ... It was all inexperience. Basically I did a pretty good job of cutting my replacement panel just right to fit. Got all the e-coat sanded so I thought. Forgot the back side where the it meets the pillar. Between that and the weld through primer I had to redo the welds on this panel so many times I lost count. I finished up the floor first filling in all the bad spots, ground them down, kept that up till I was happy. Then I hit it with some weld through primer I picked up from Napa. I don't know if it was too thick or if this stuff isn't any good, but I could not get penetration to save my life. Bot the e-coat and weld through primer had to be removed before I could get penetration. I thought this stuff was weld able???? 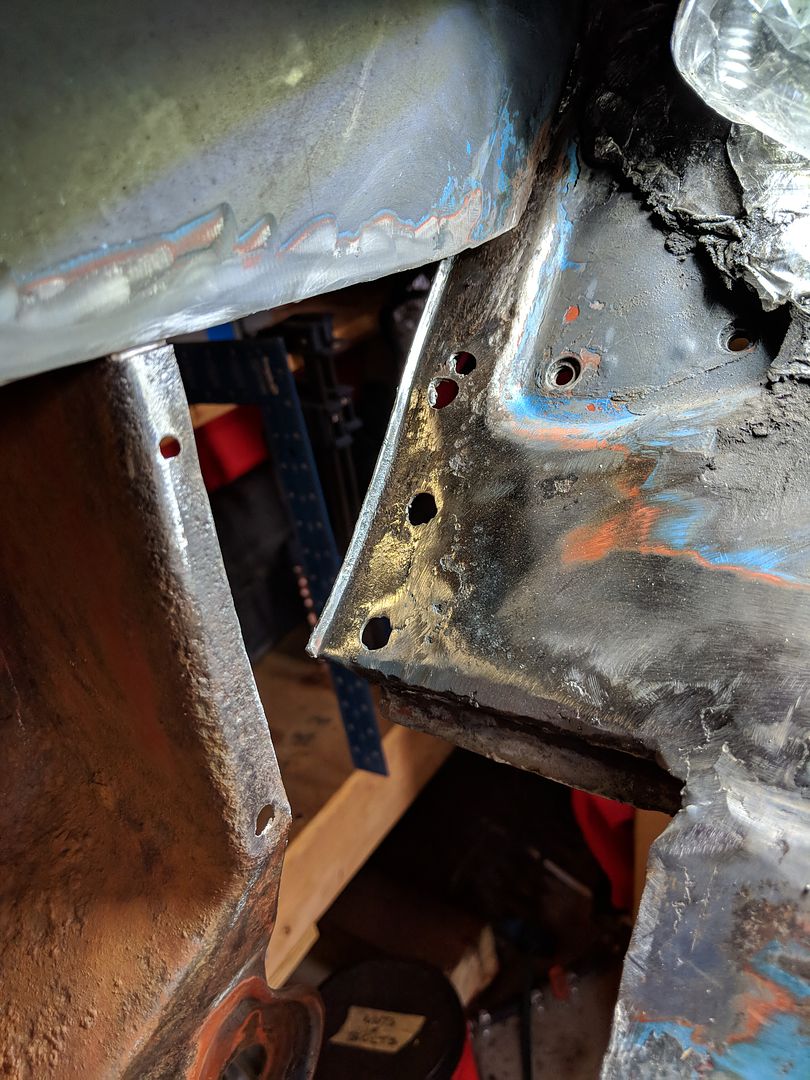 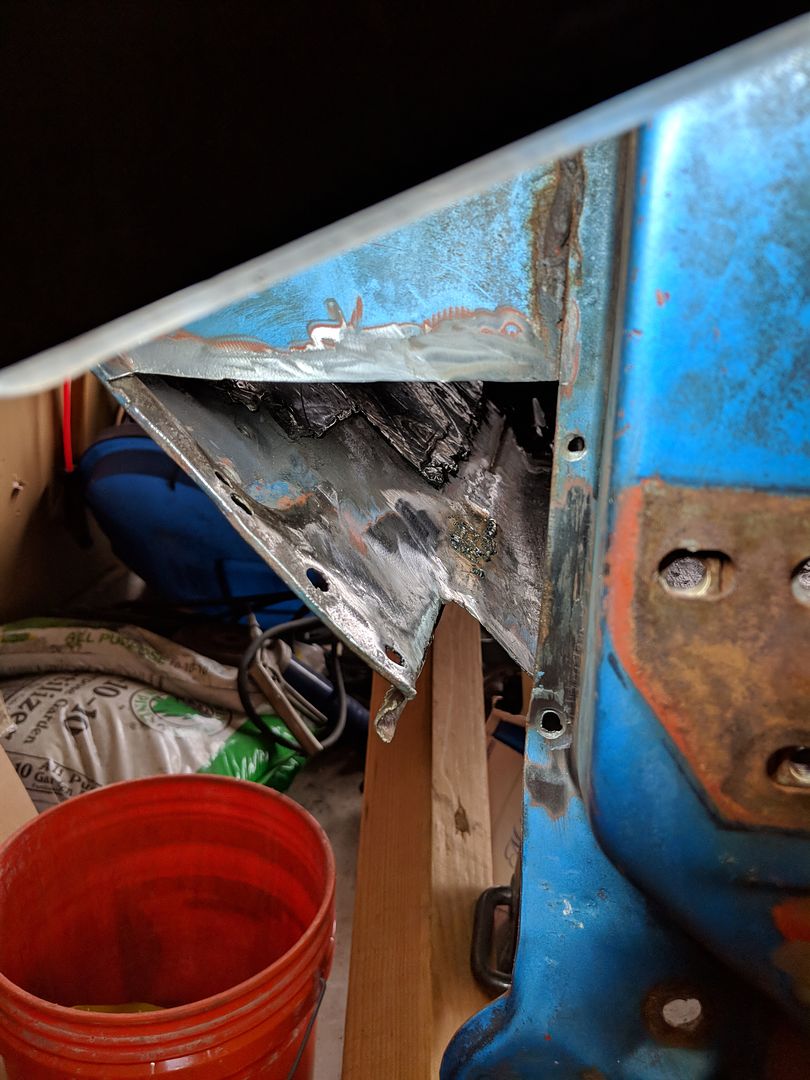 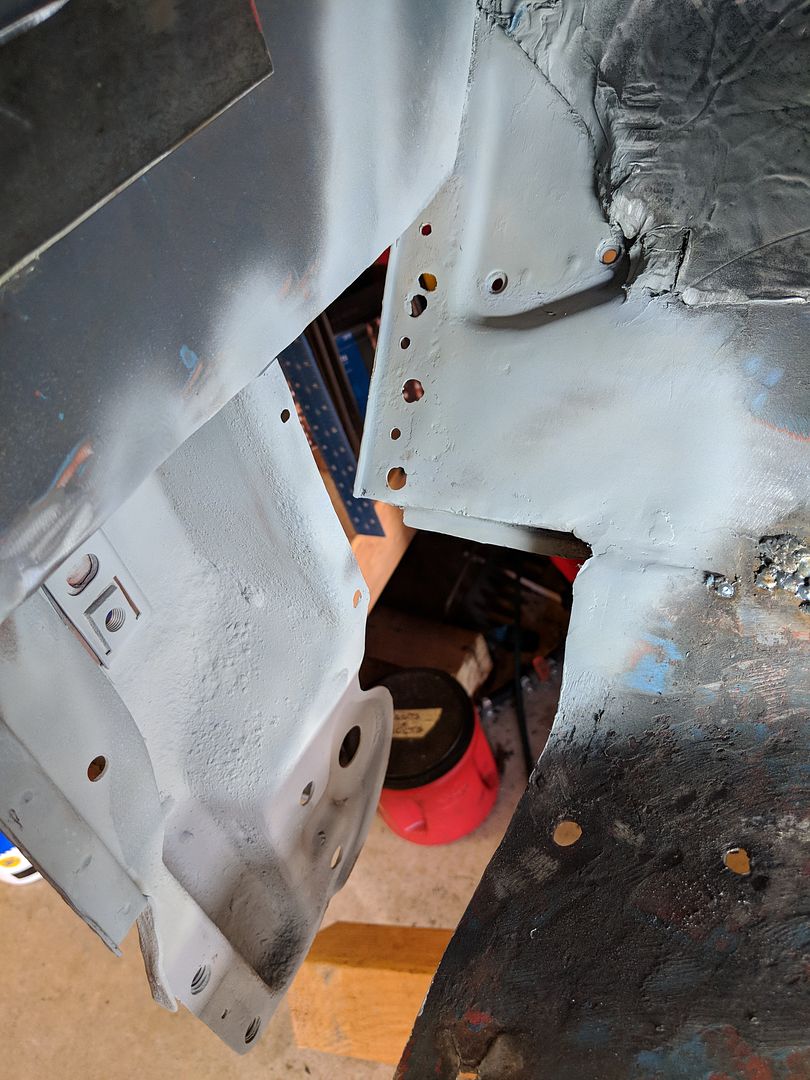 I started using these clamps, they are pretty easy to use and work well to hold two piece together for a but weld. Harbor Freight. 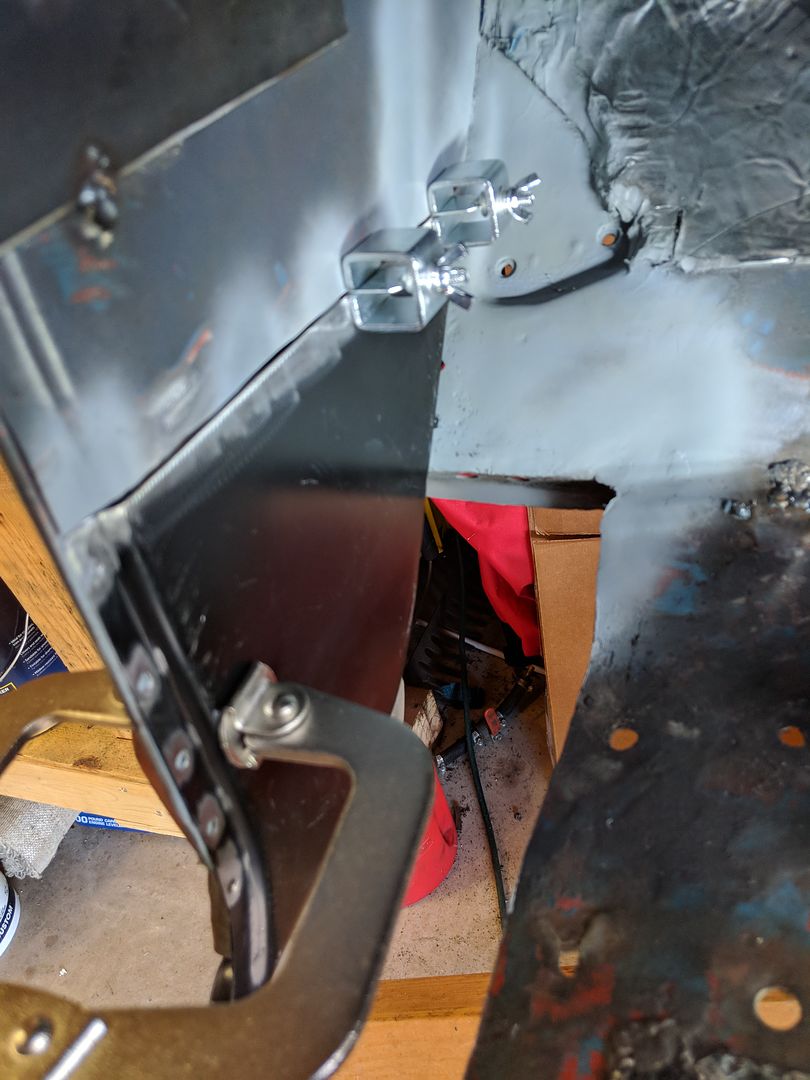 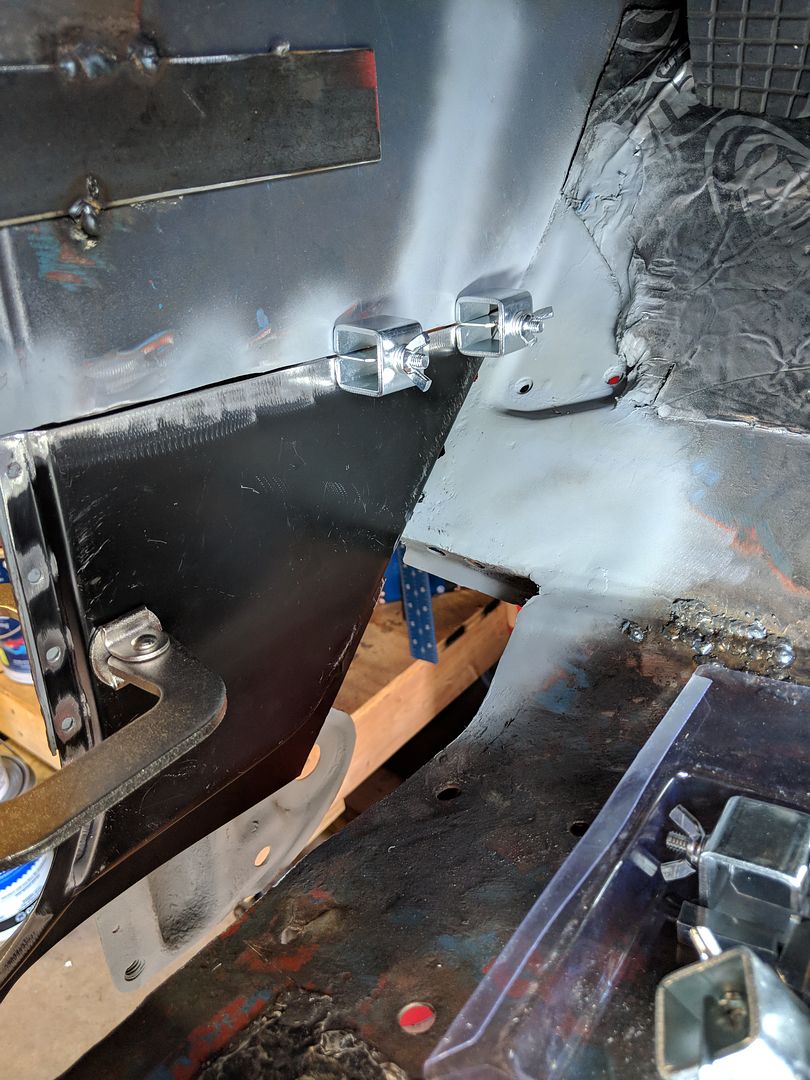 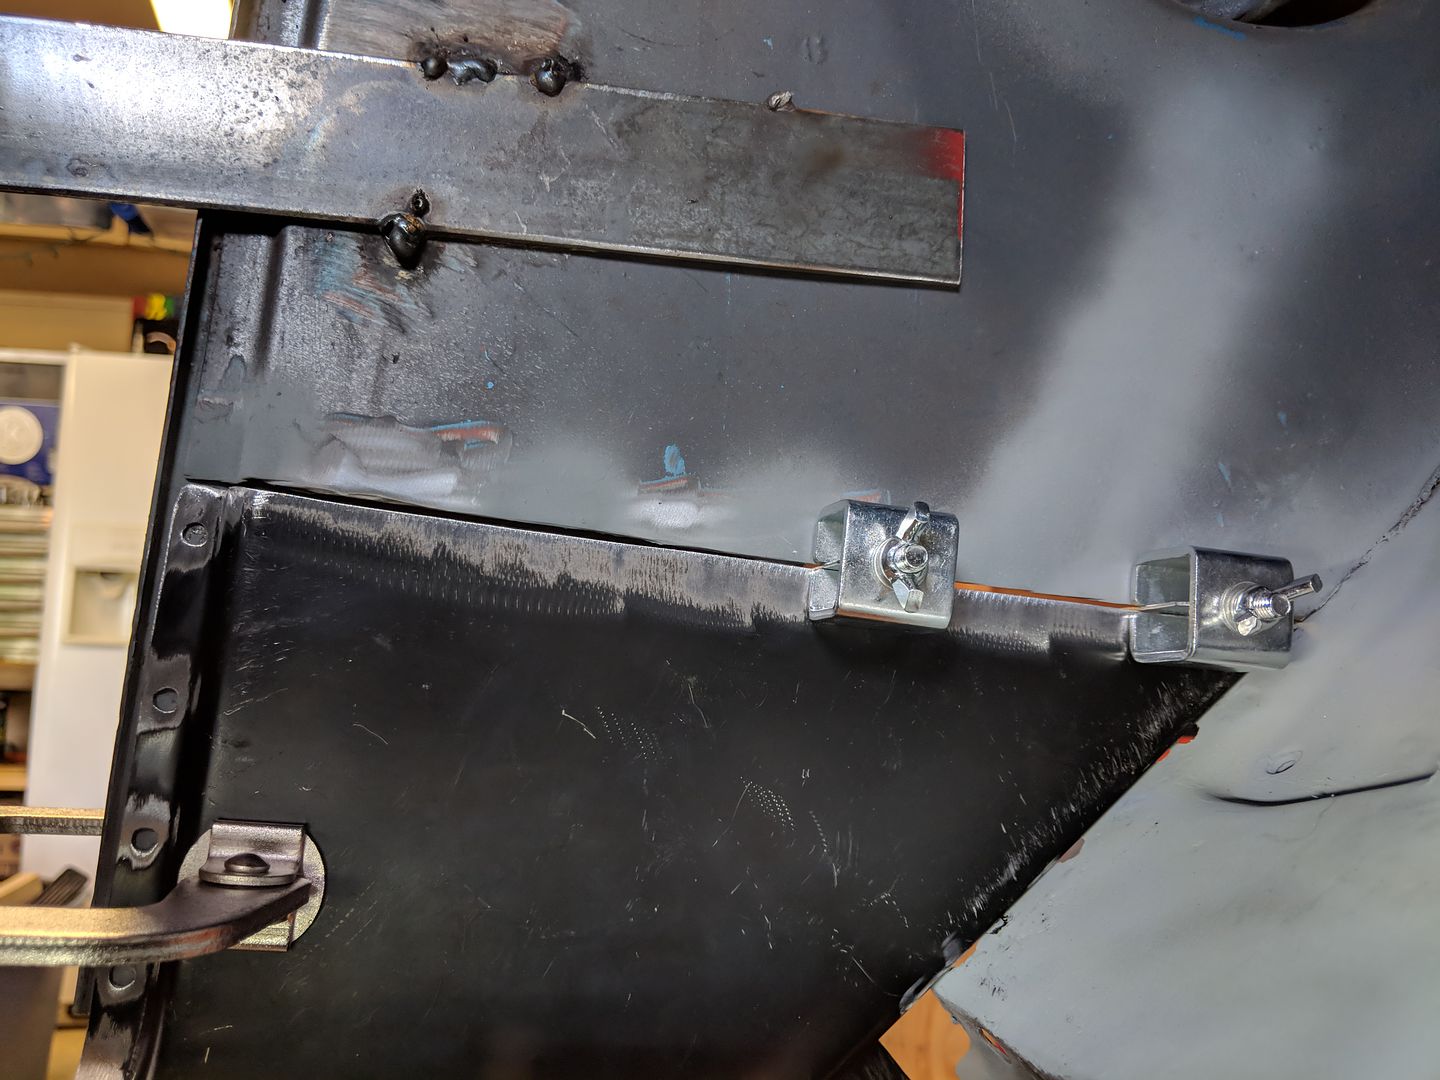 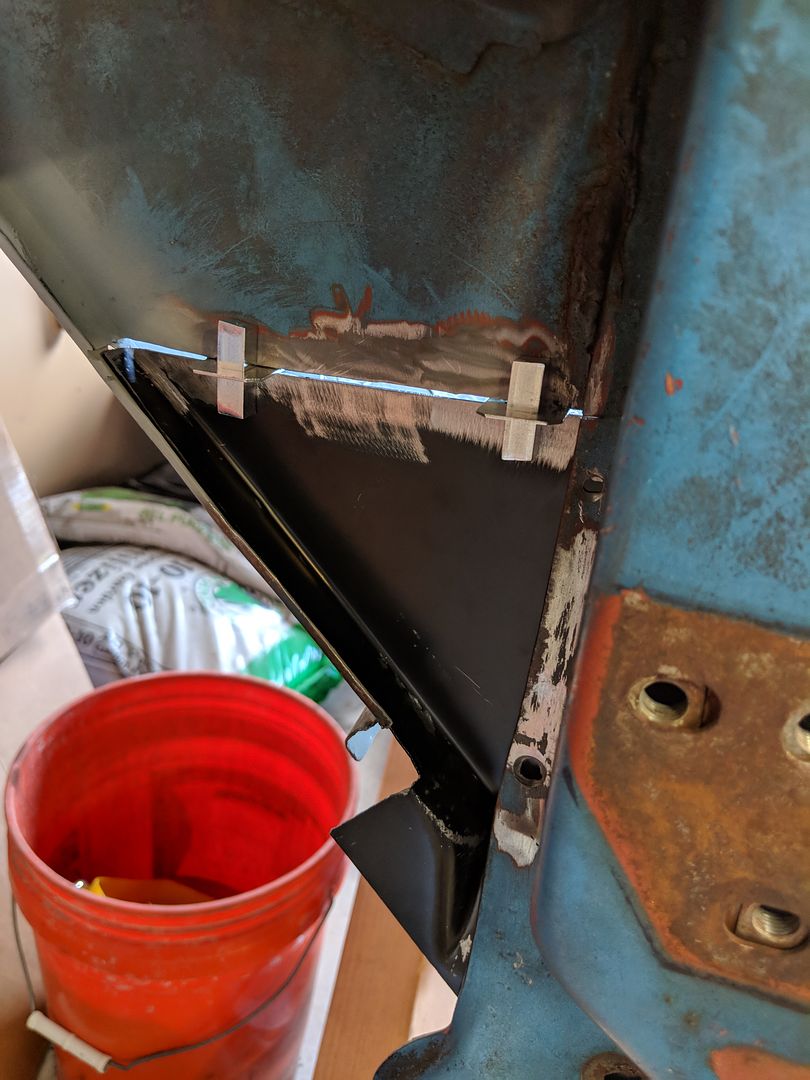 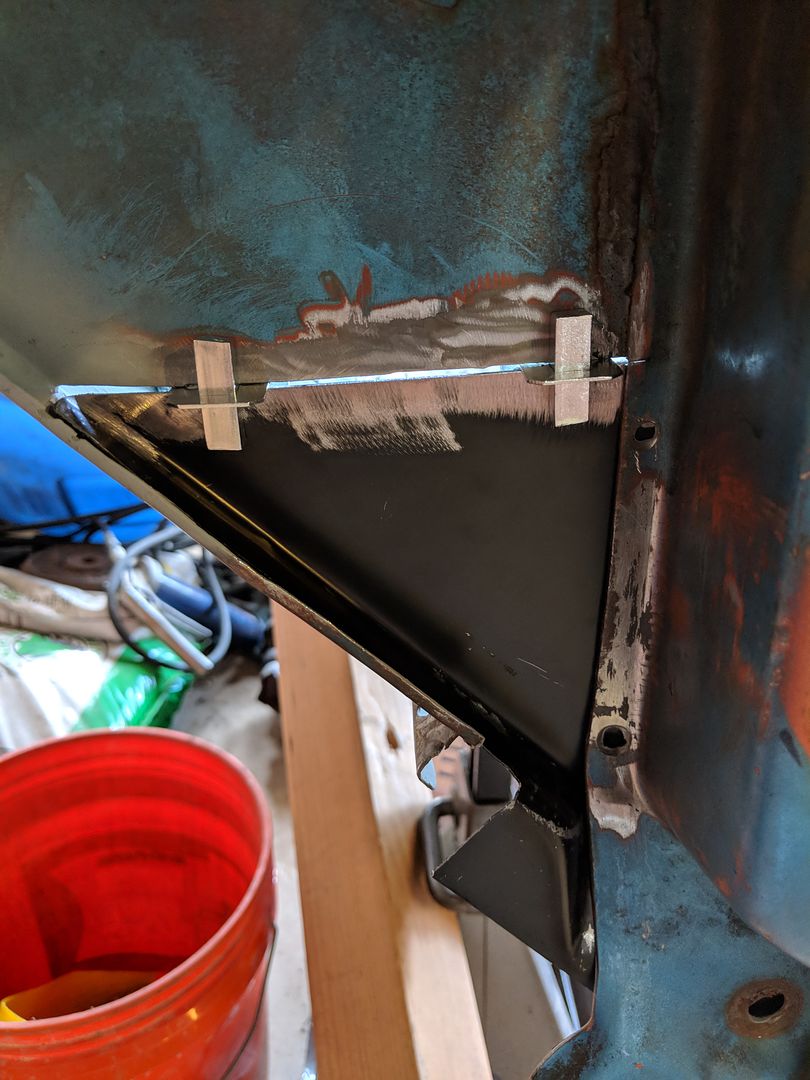 BOING!!!! Here was the first side of the panel I wasn't getting penetration. Had to take the weld through primer off the back side. But this really ended up being the fact I was inexperienced and the original metal was much thicker than the new piece. I didn't have the welder up high enough to penetrate. 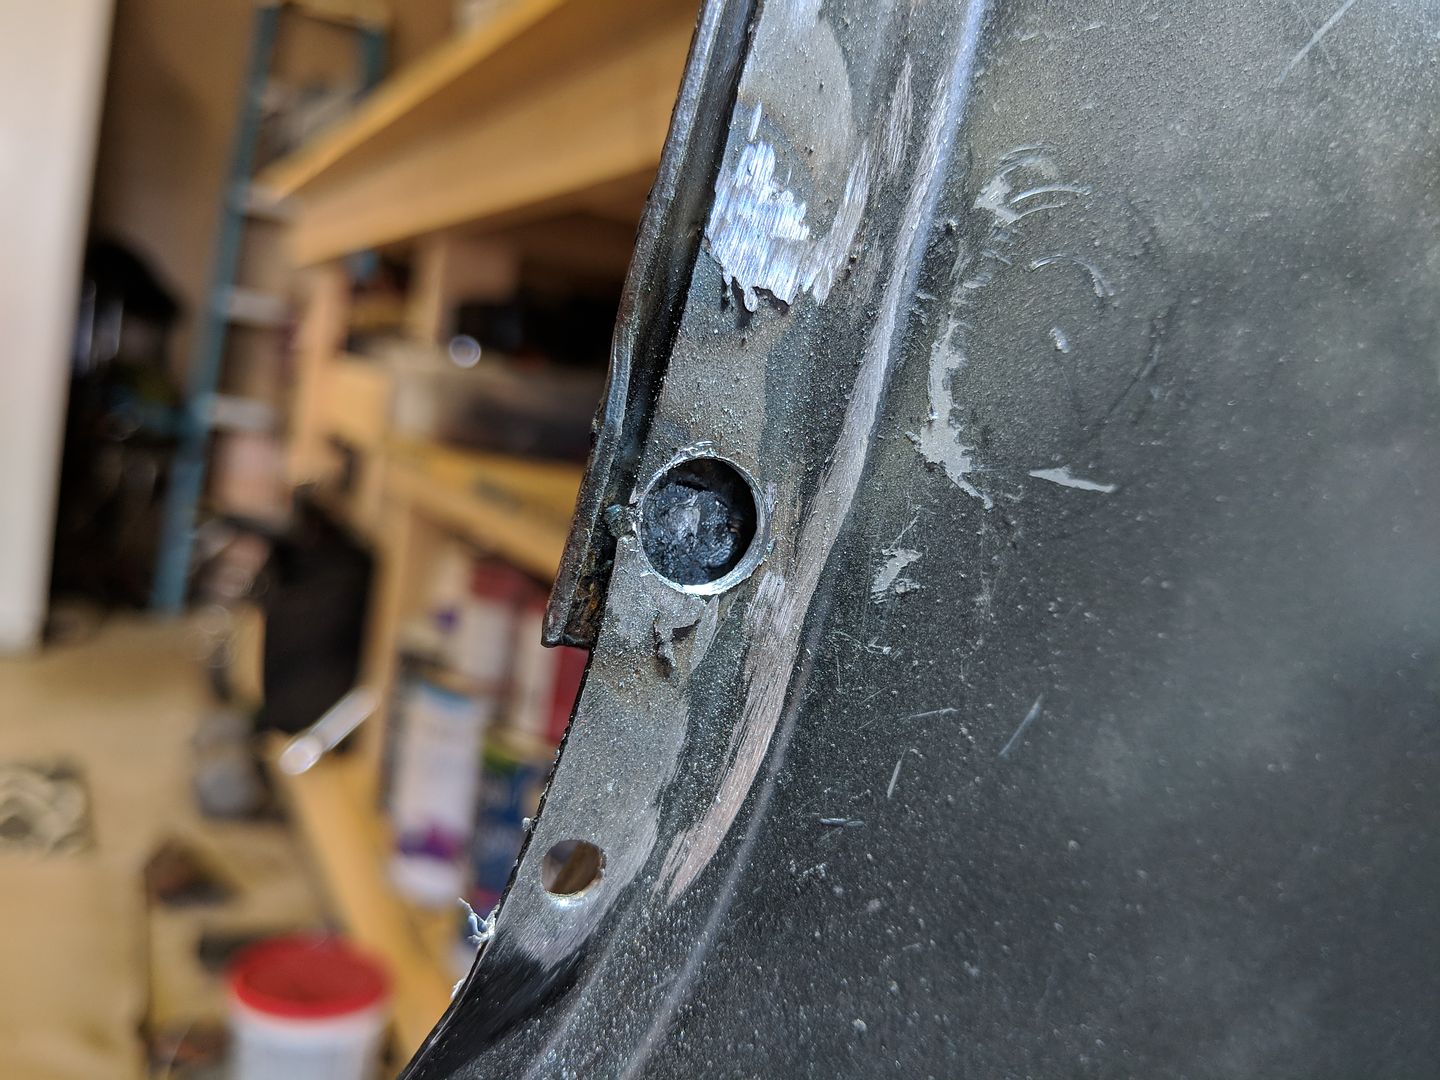 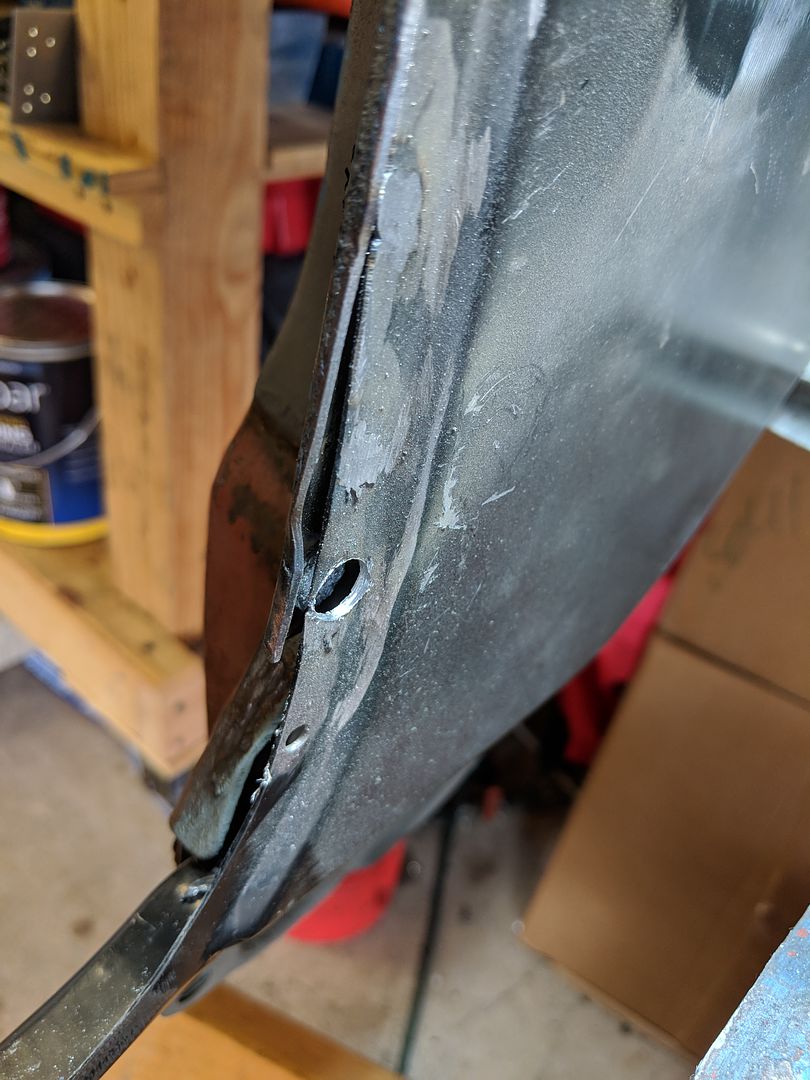 Finally got it done, I think it took me around 4-5 hours to do this panel. I am such a noob it hurt lol....  It was because of the tight spots(couldn't get tools to fit to grind very easily and took twice a long as it should) and no penetration. Worst side was the back side of the kick panel right in the middle, I forgot to remove the e-coat and I already had two side of the panel burned in. So I kept grinding my welds out over and over and turning up the welder till it got to 9 on the dial... 10 is the highest it goes.... Lesson learned. Remove the e-coat! 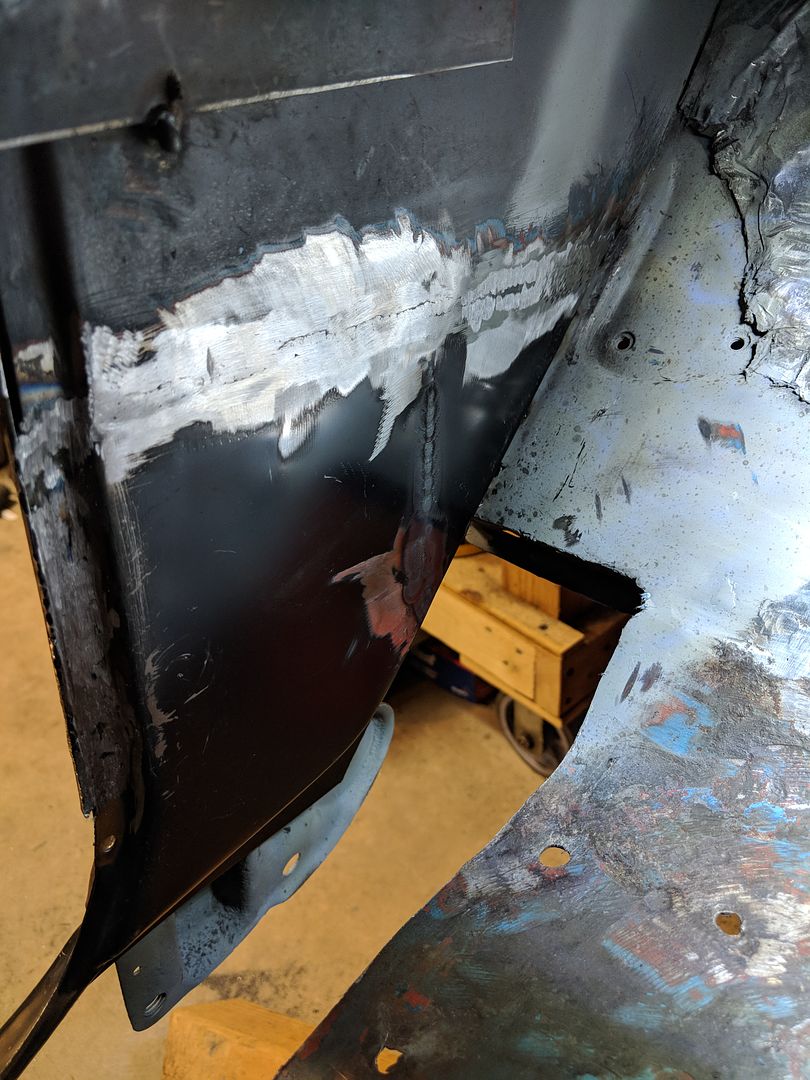 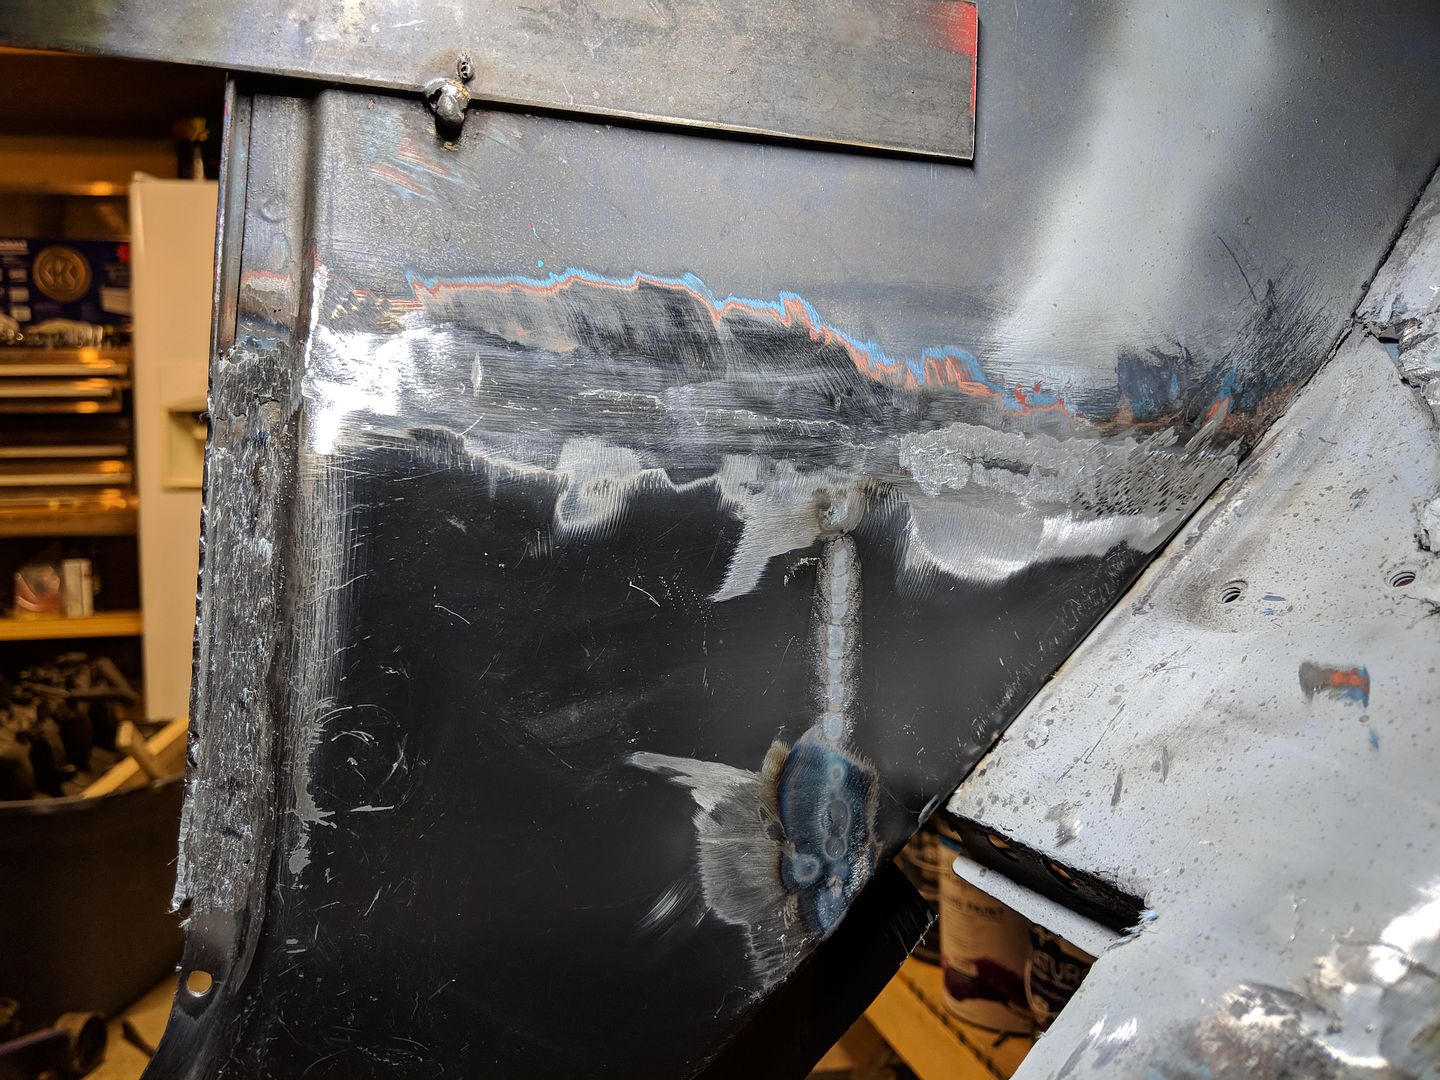 You can see here on the back side, I ended up having to remove the e-coat best I could on the side of the panel and ran a bunch of beads down the side to get the best penetration. I could not for the life of me get the e-coat sanded off behind the holes I drilled for a spot weld so I just cranked up the juice on the welder and let her sit and burn filling up the hole. After maybe 3-4 time of doing this I think I got good penetration but I was not going to trust it so I went down the side too  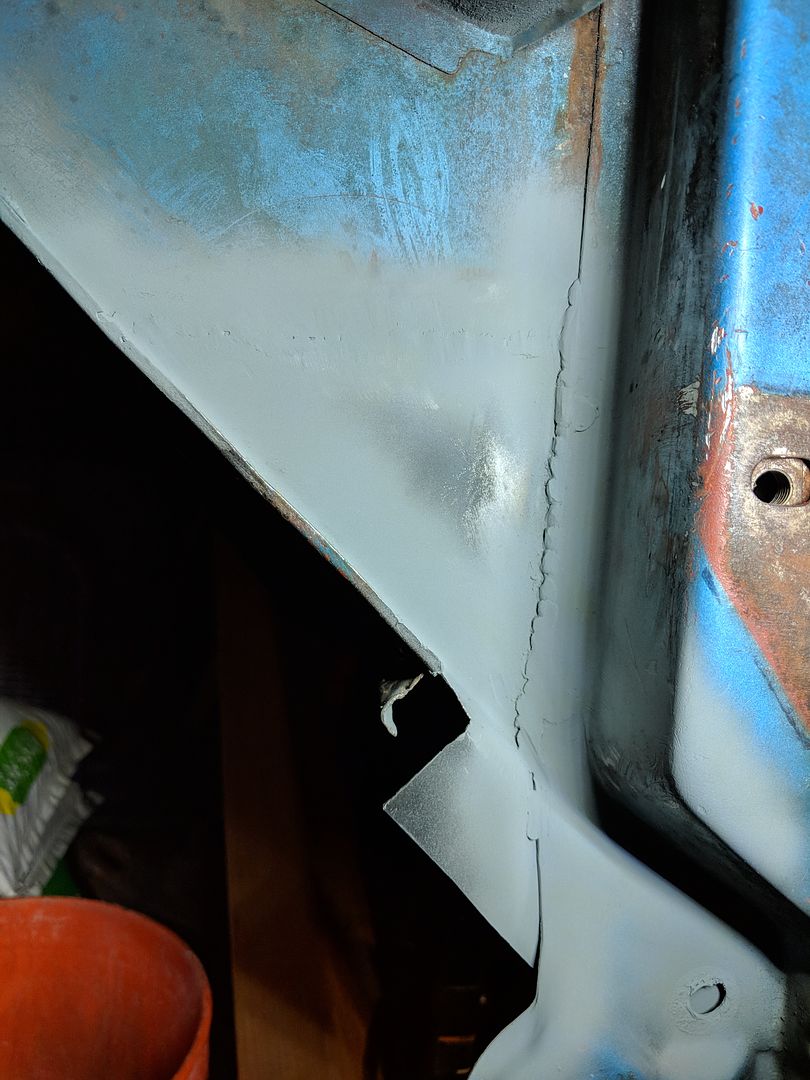 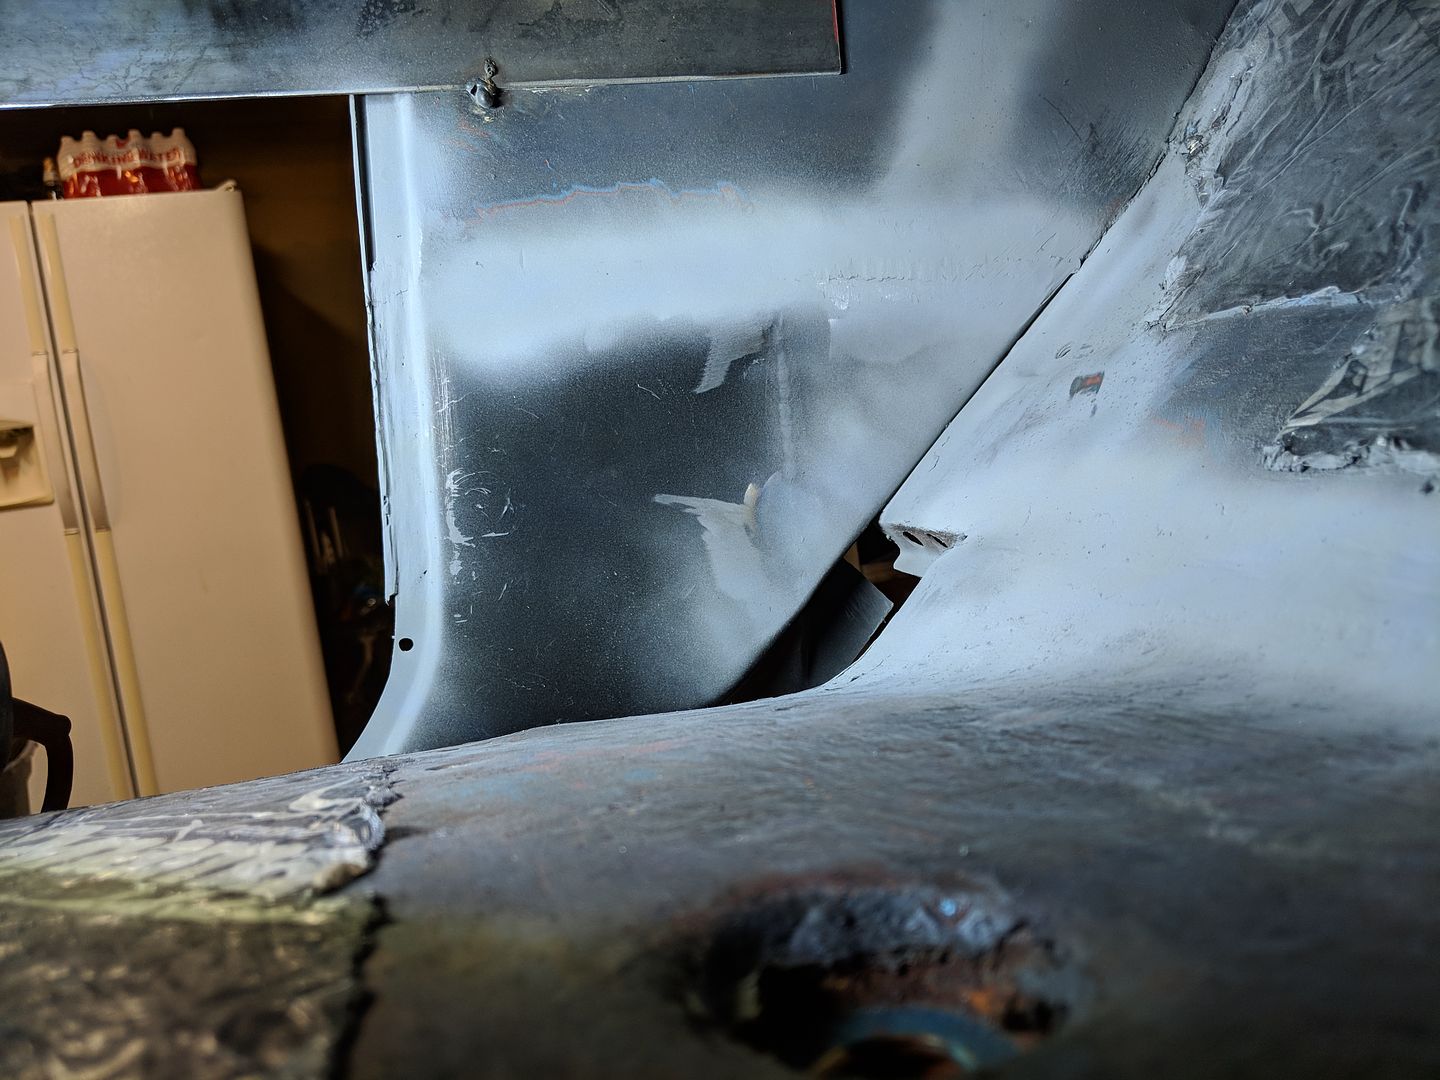 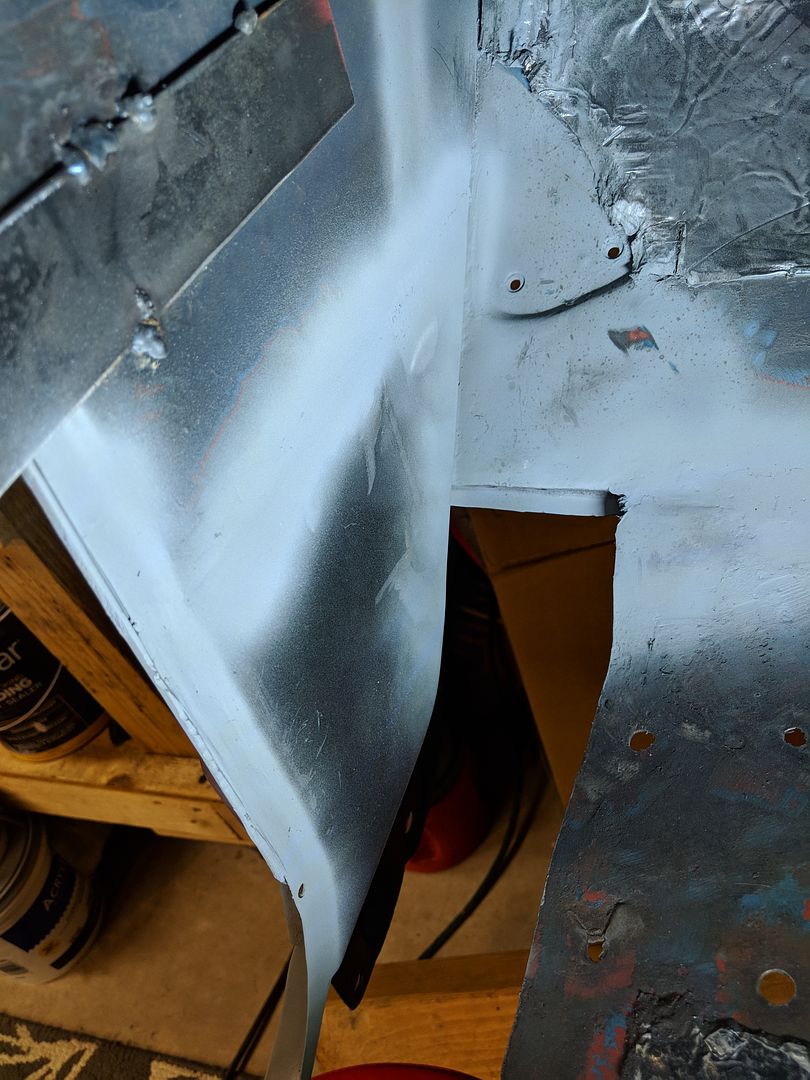 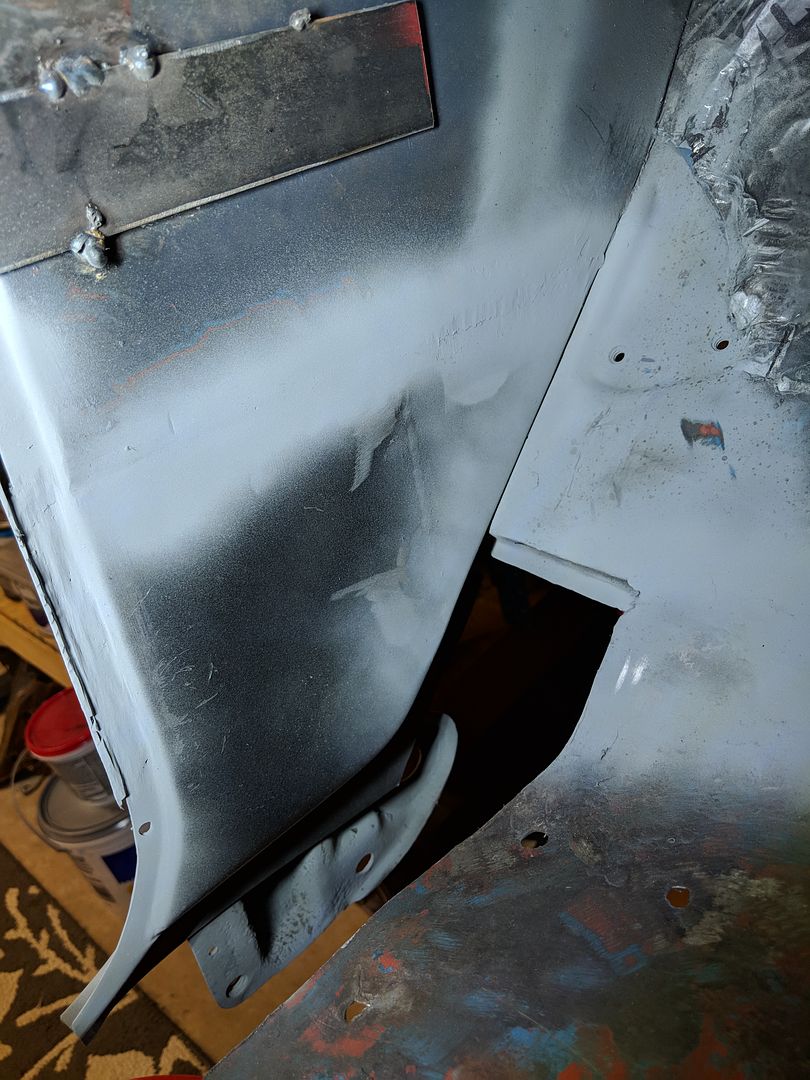
__________________
TA_C10 Stage 1 build - http://67-72chevytrucks.com/vboard/s....php?p=8333444 "It's only money". 
|
|
|

|
|
|
#21 |
|
Registered User
Join Date: Apr 2014
Location: Azle,Texas
Posts: 2,248
|
Re: TA_C10: Stage 1
Based on what I had to go through I would say that you are a quick learner. You have the basic understanding to know what’s right and what’s not. Just adapt and try something different, sheesh...sounds like something my dad would say. Looks like good work to me my friend!

|
|
|

|
|
|
#22 |
|
Registered User
Join Date: Jun 2018
Location: Texas
Posts: 1,353
|
Re: TA_C10: Stage 1
Finally got a chance to work on the truck again. Been traveling and working on my "honey do" list
 Rained hard today so I was forced inside and so I decided to start working on my drivers side floor board. I started fitting and panels and found that the new kick panel I burned in last time was interfering with the floor panel replacement part. I decided to notch it. It's not pretty, but it works. 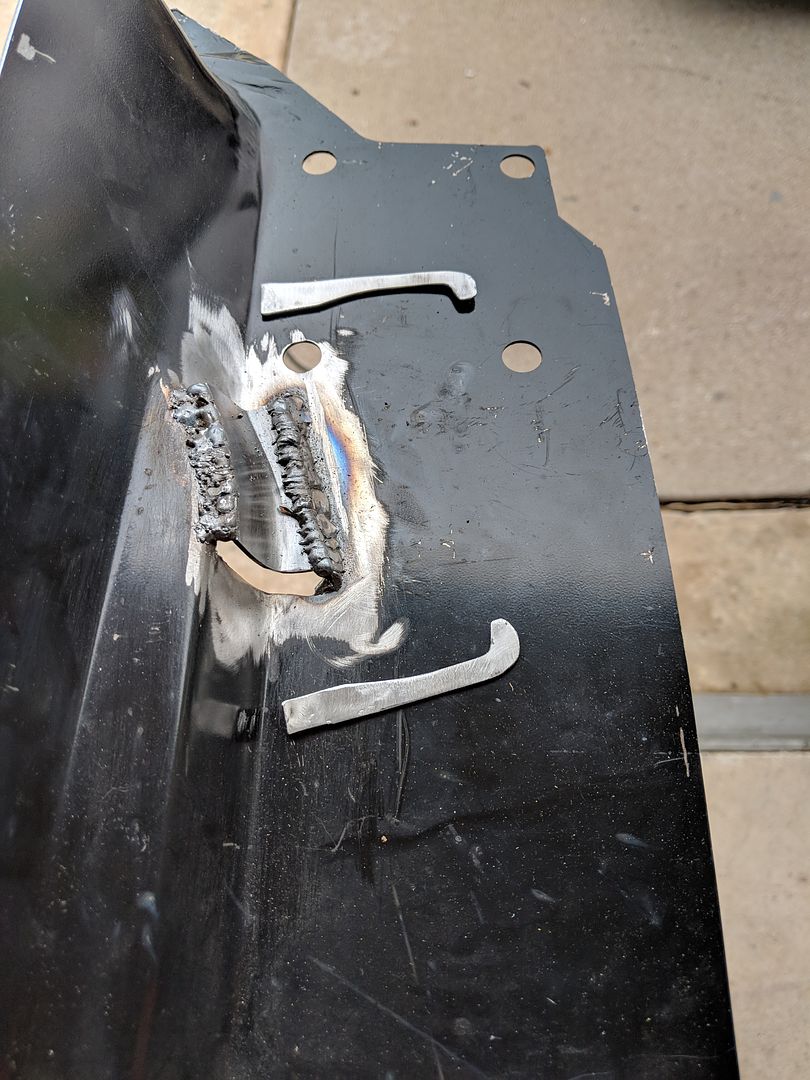 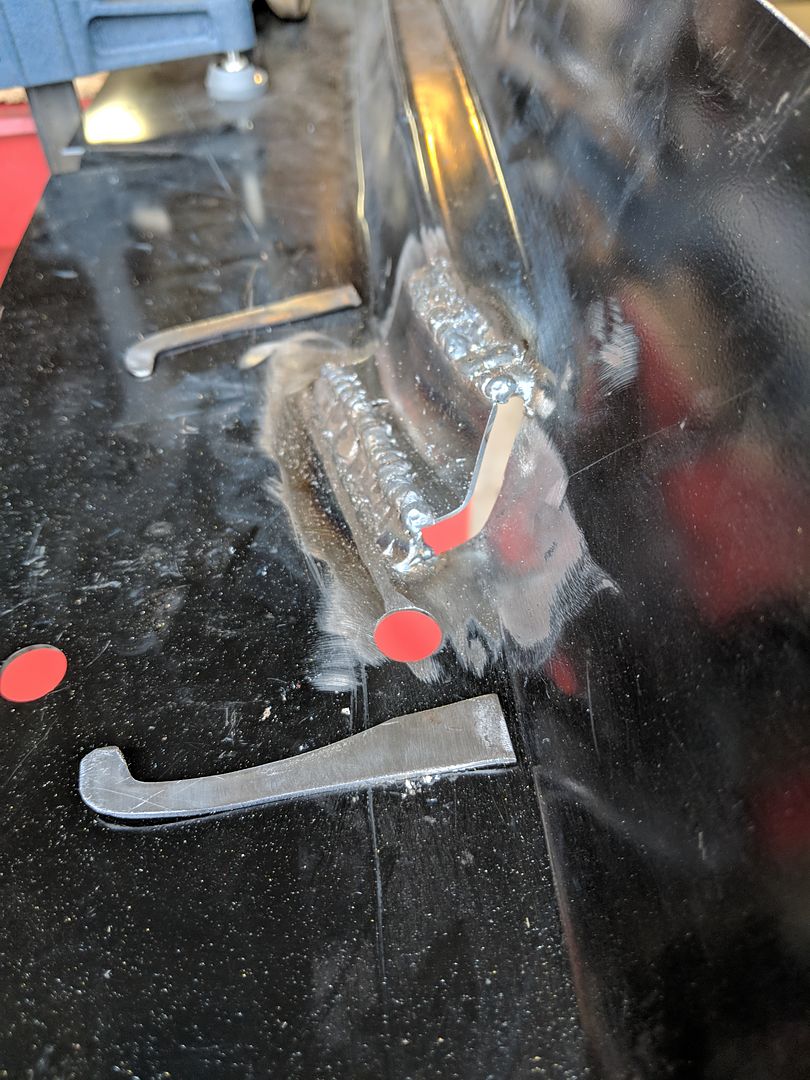 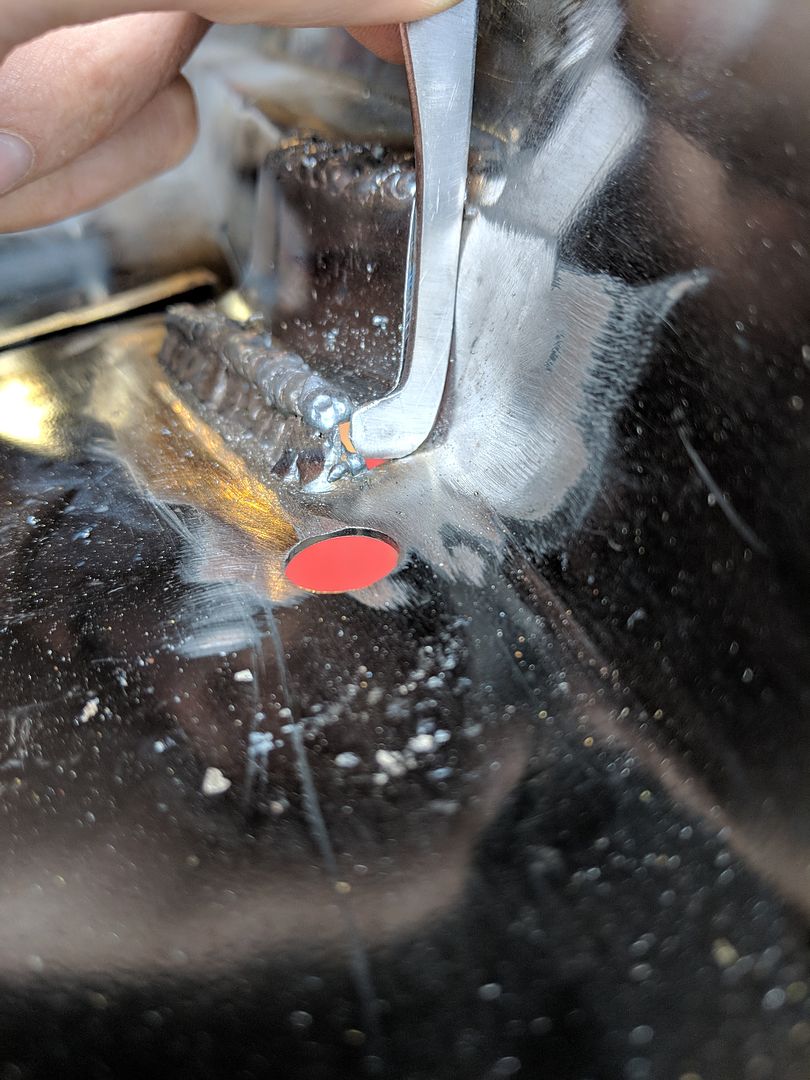 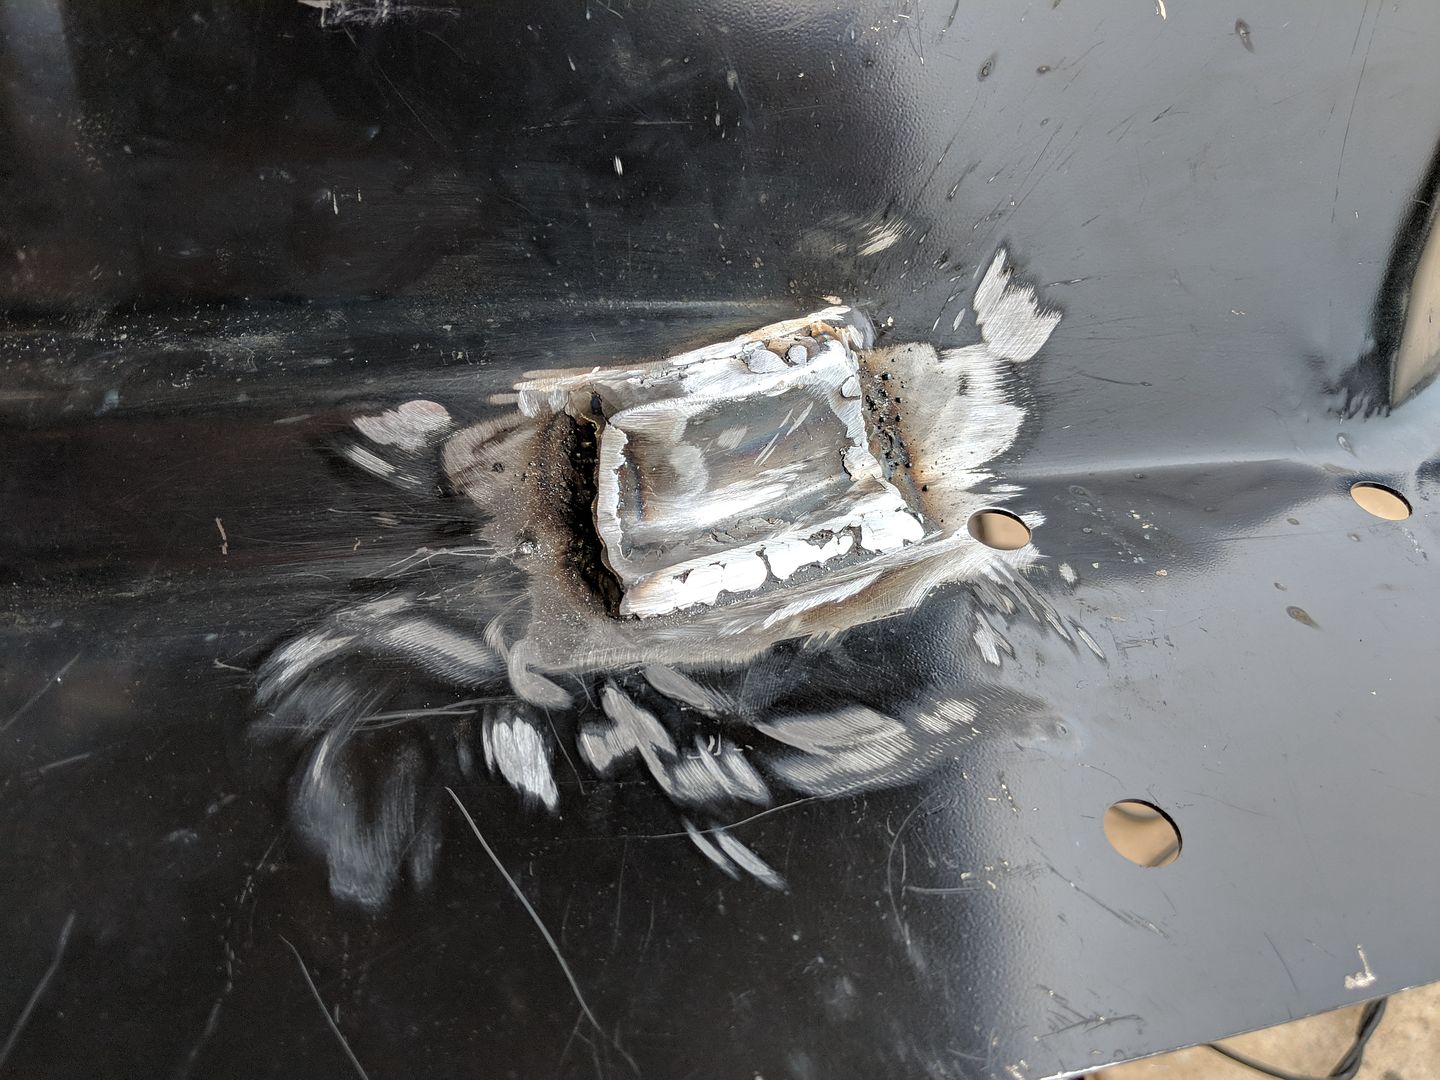 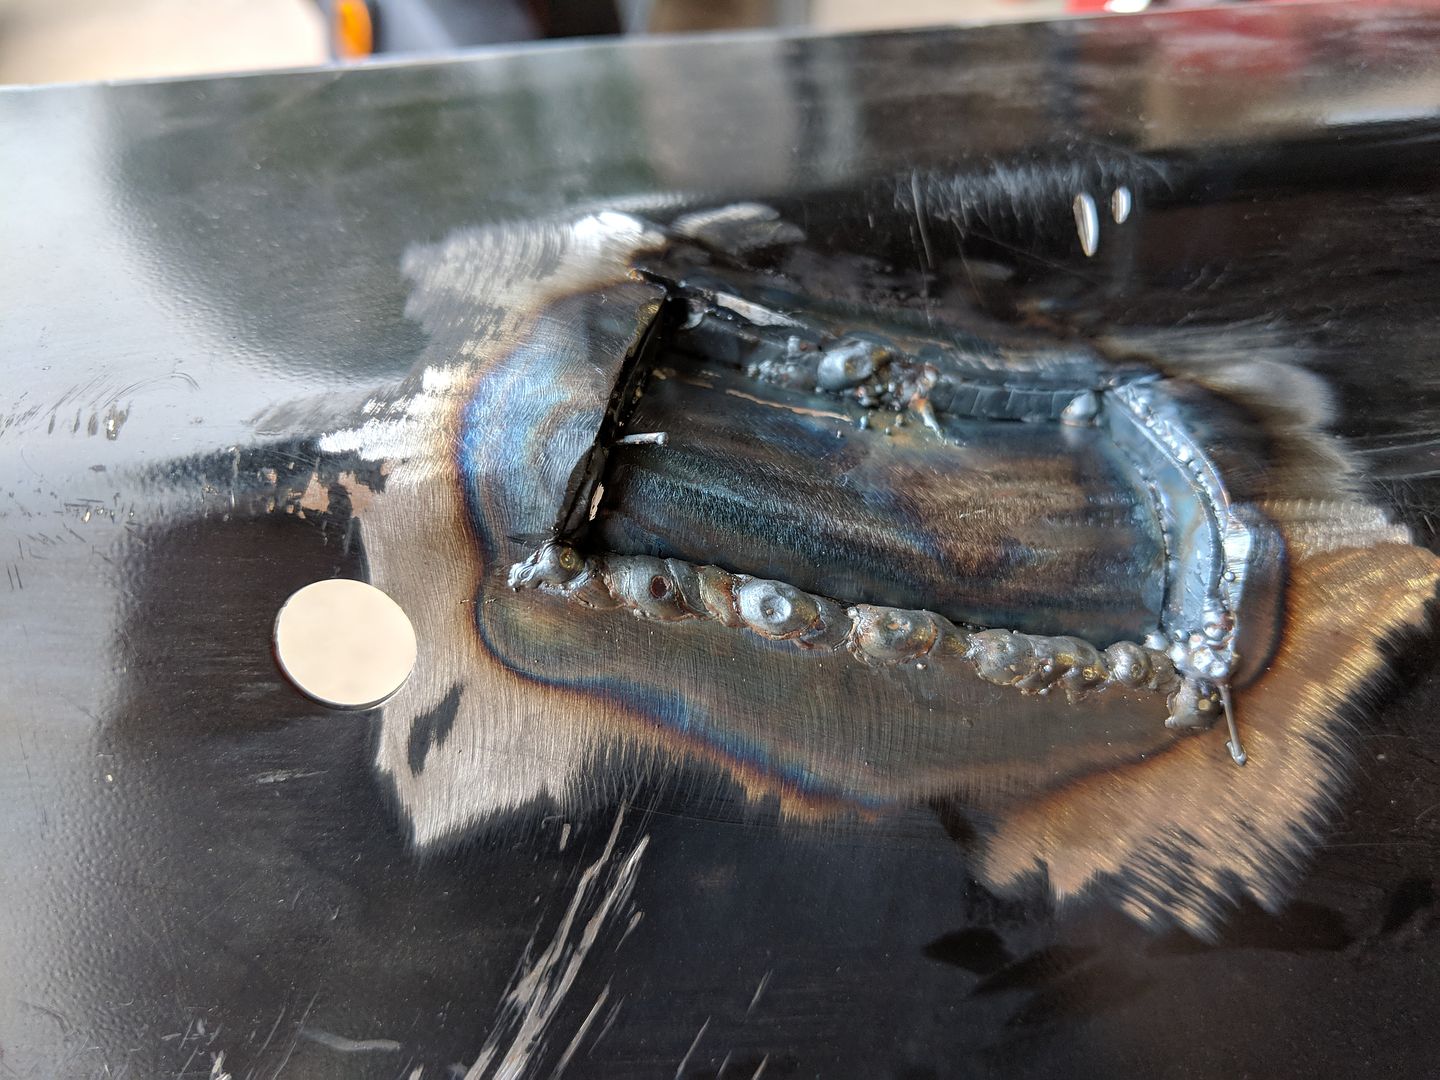 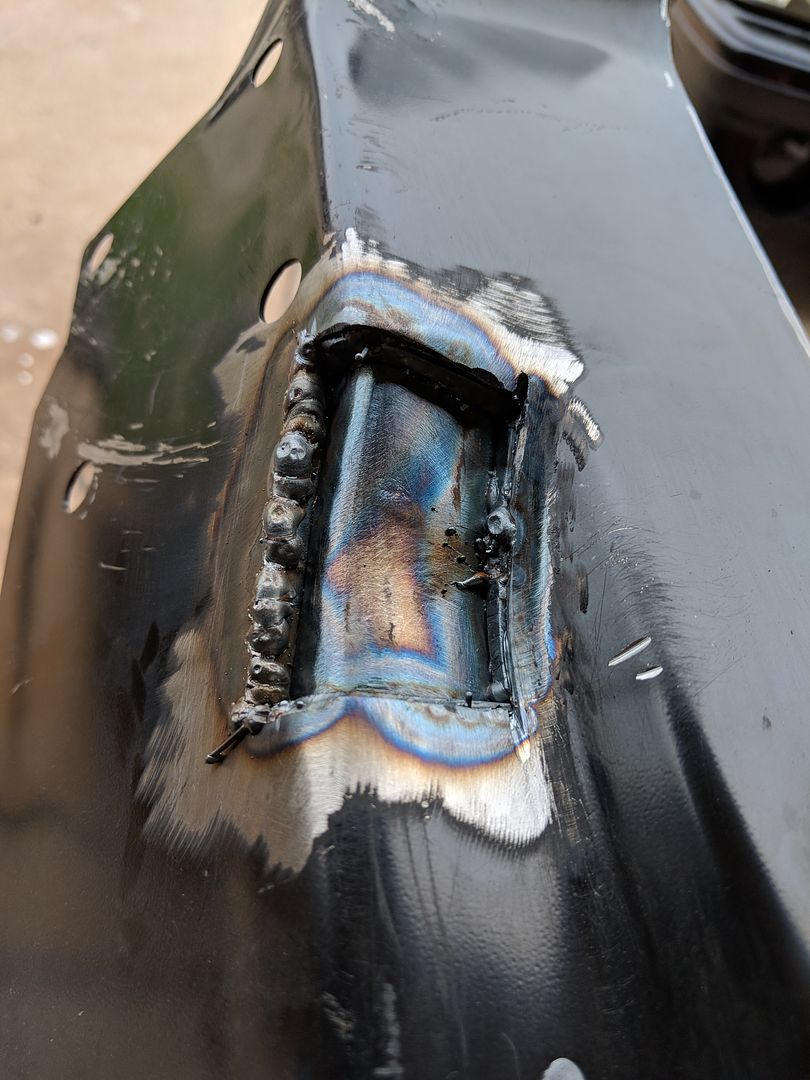 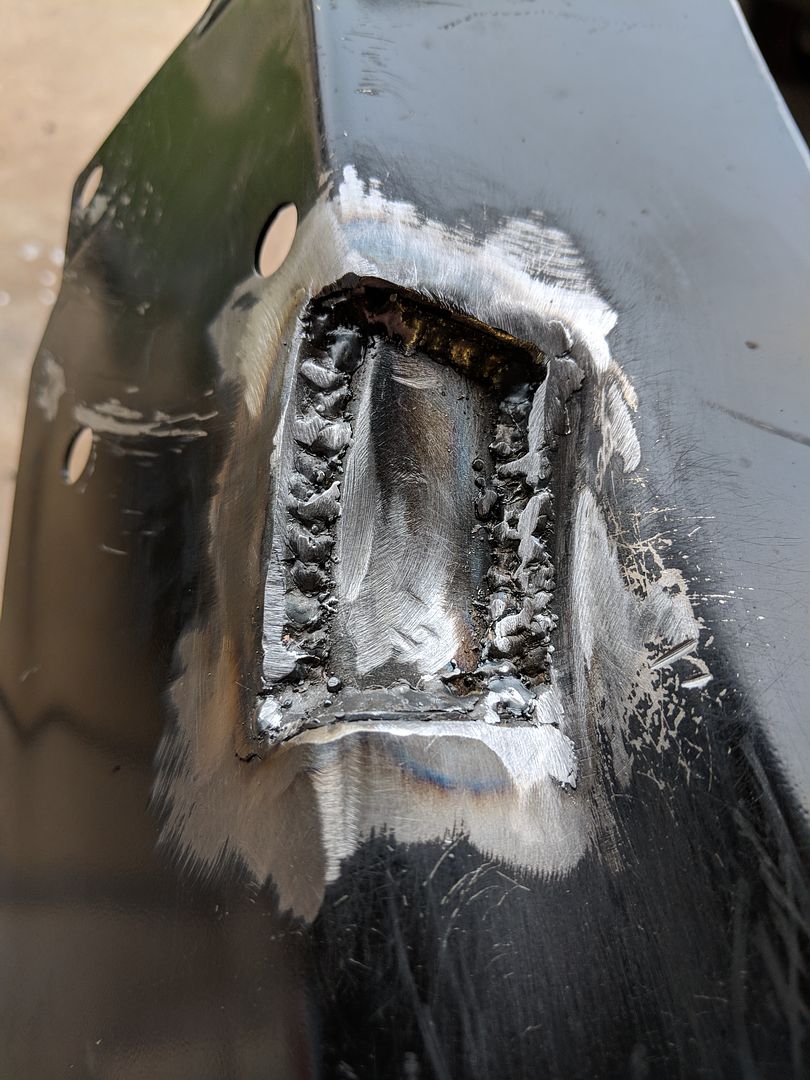 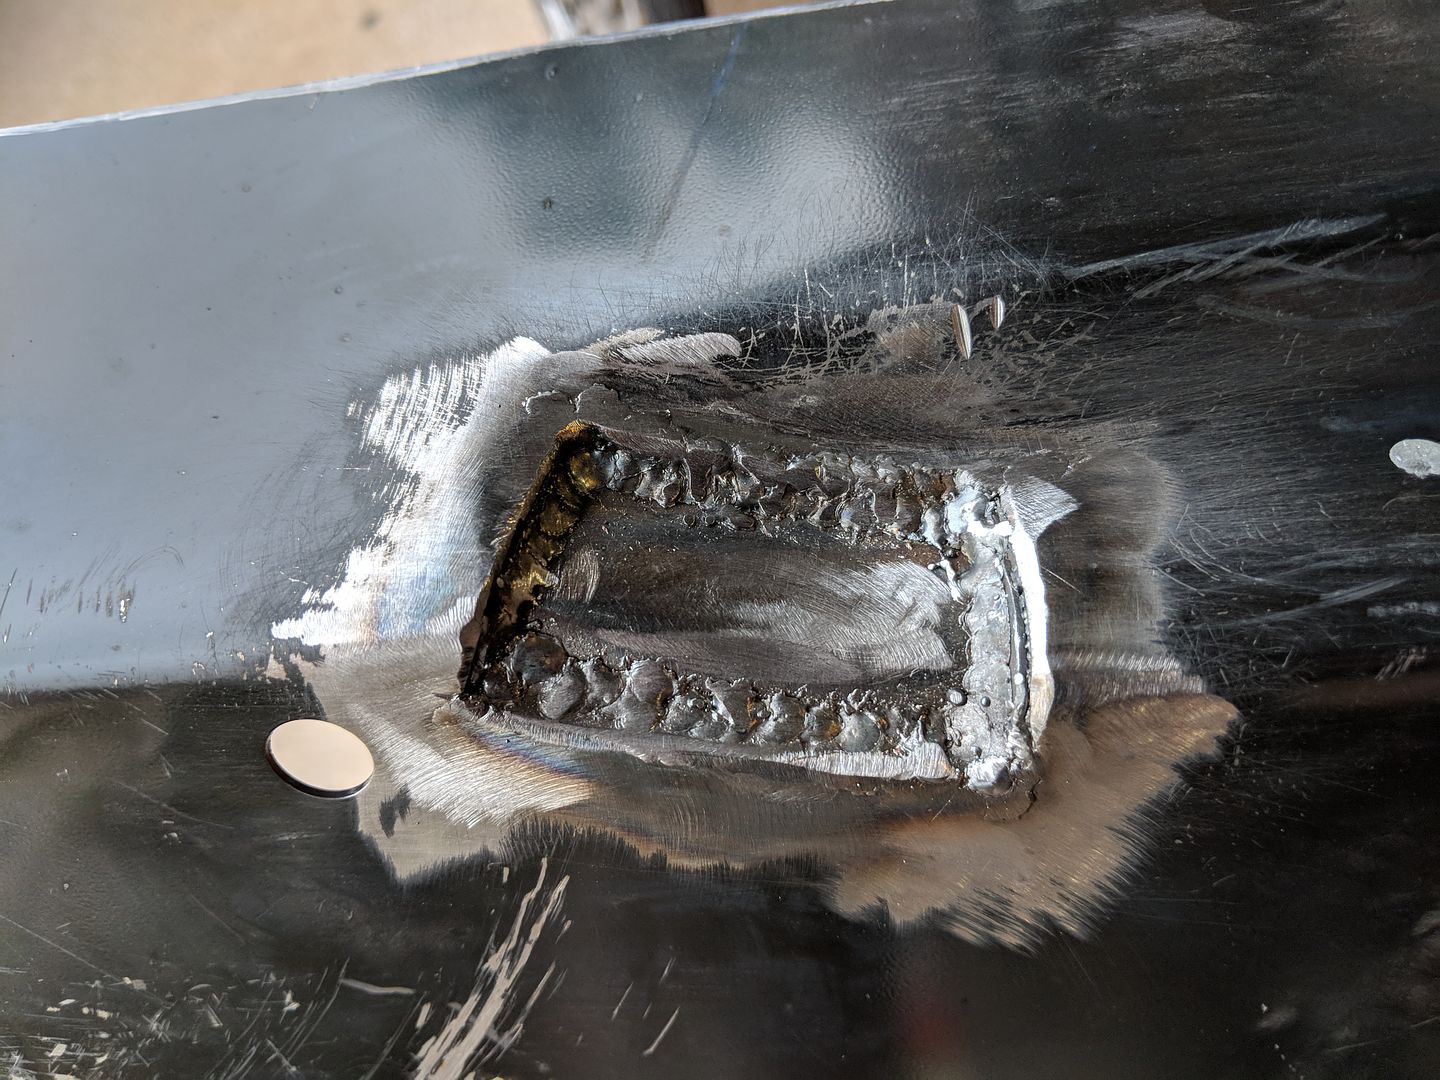 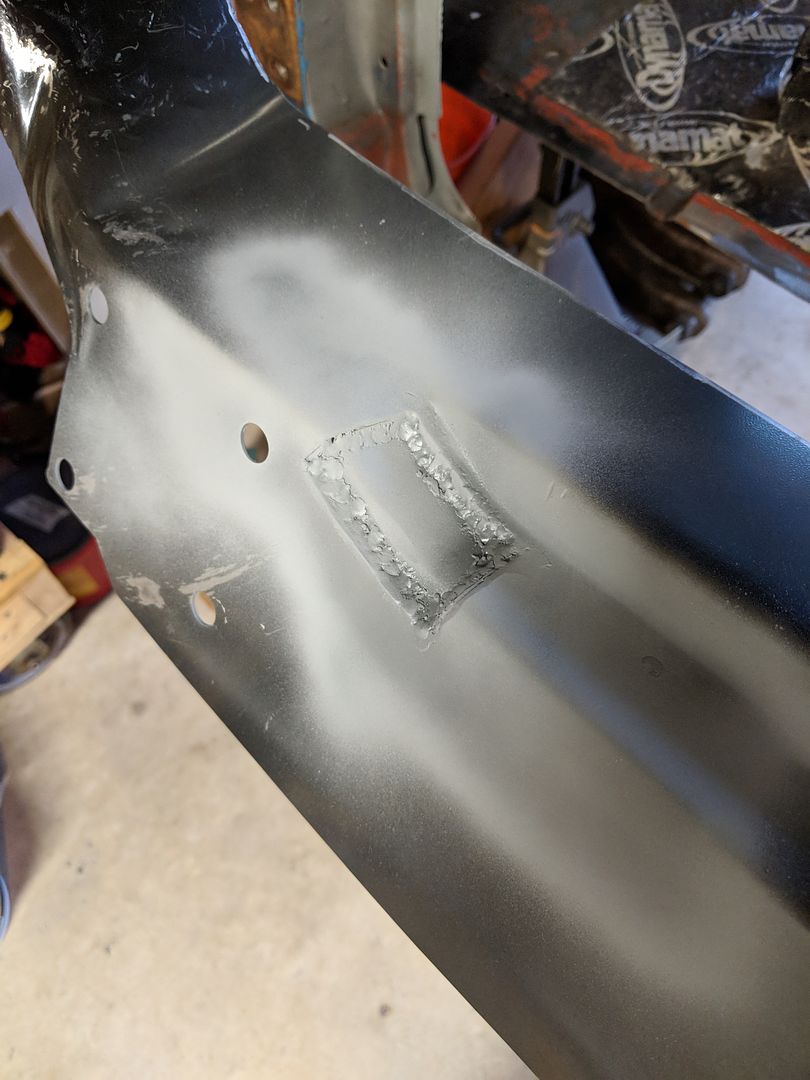 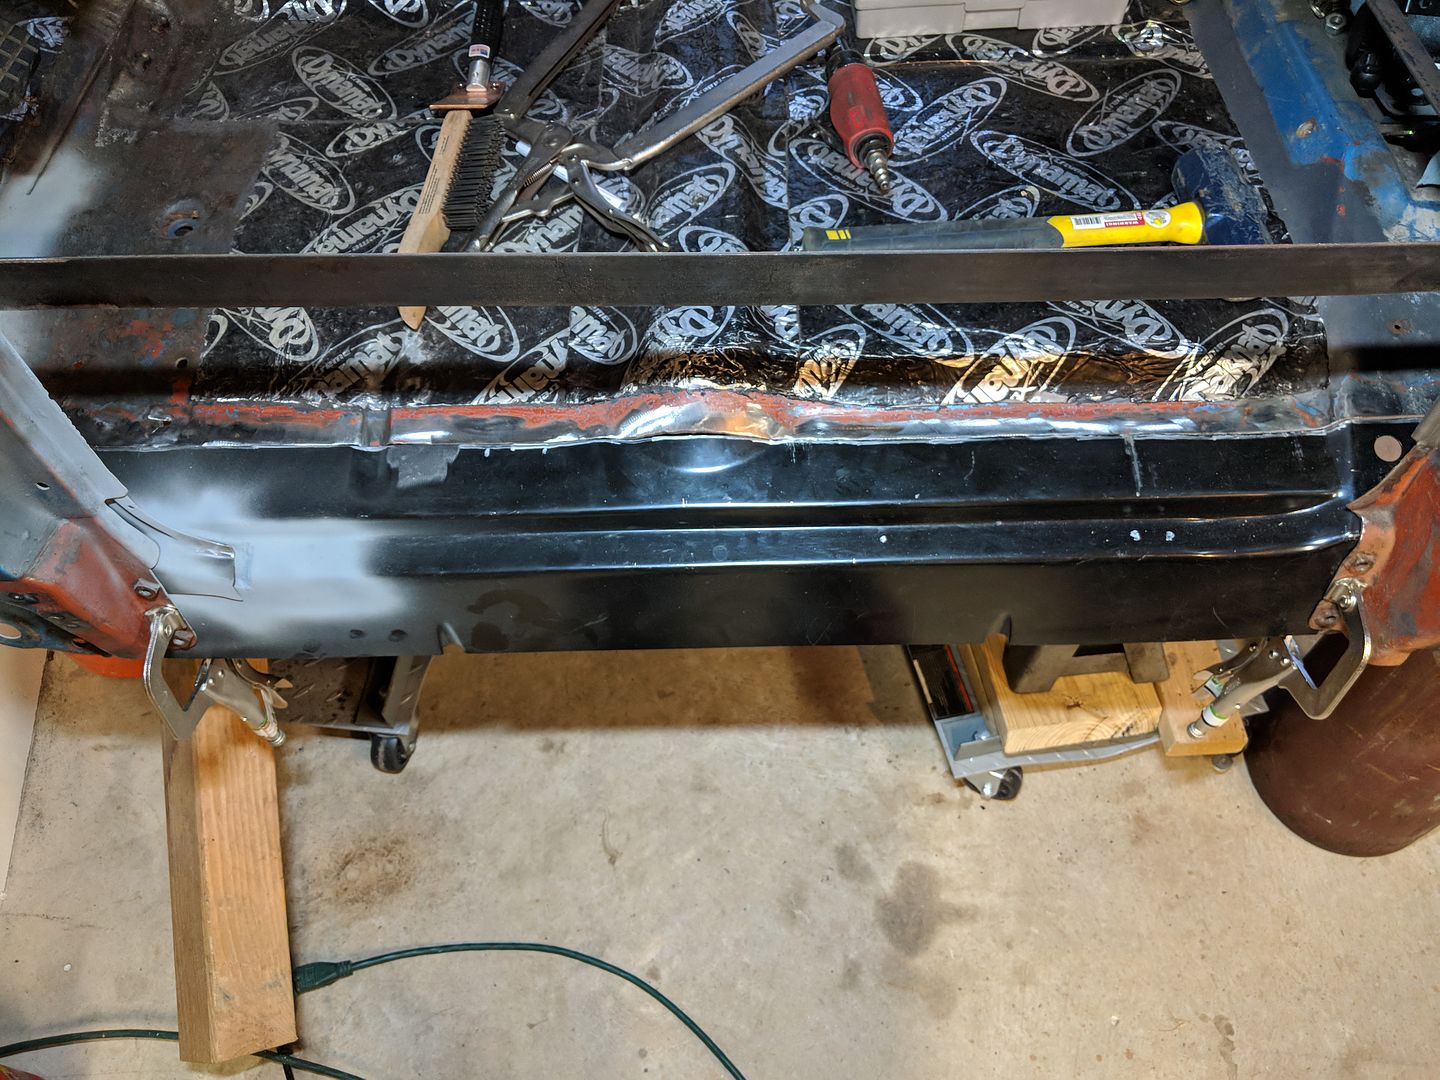 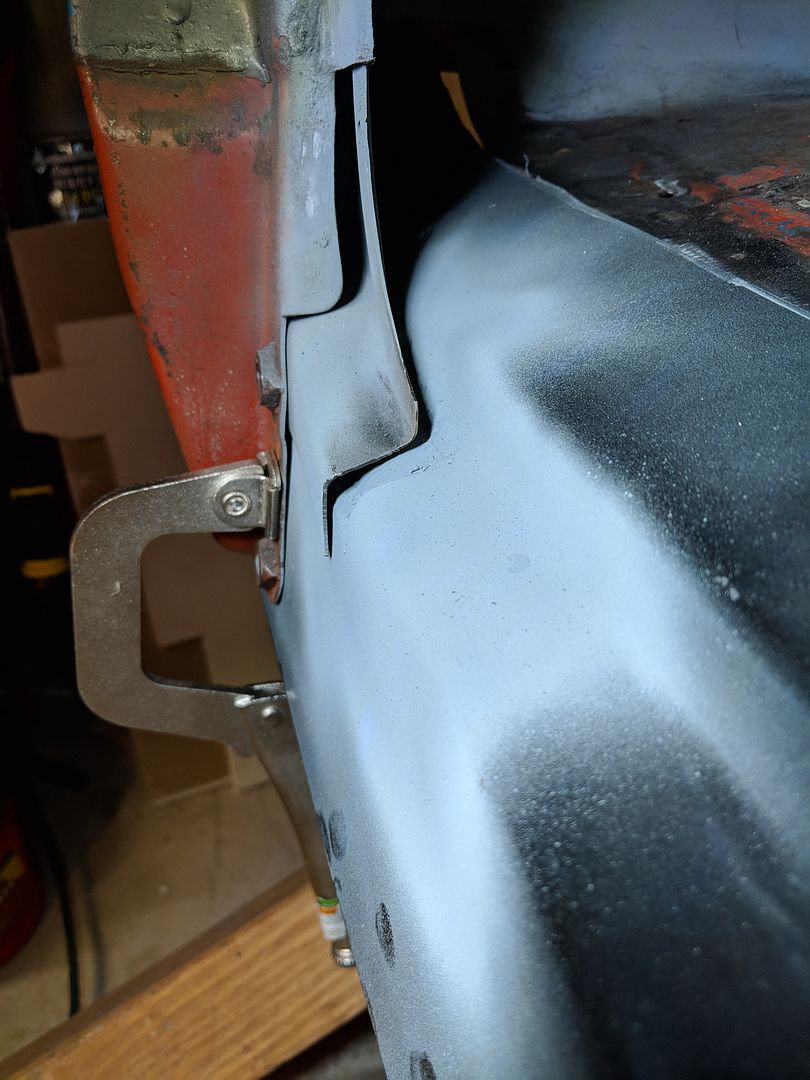 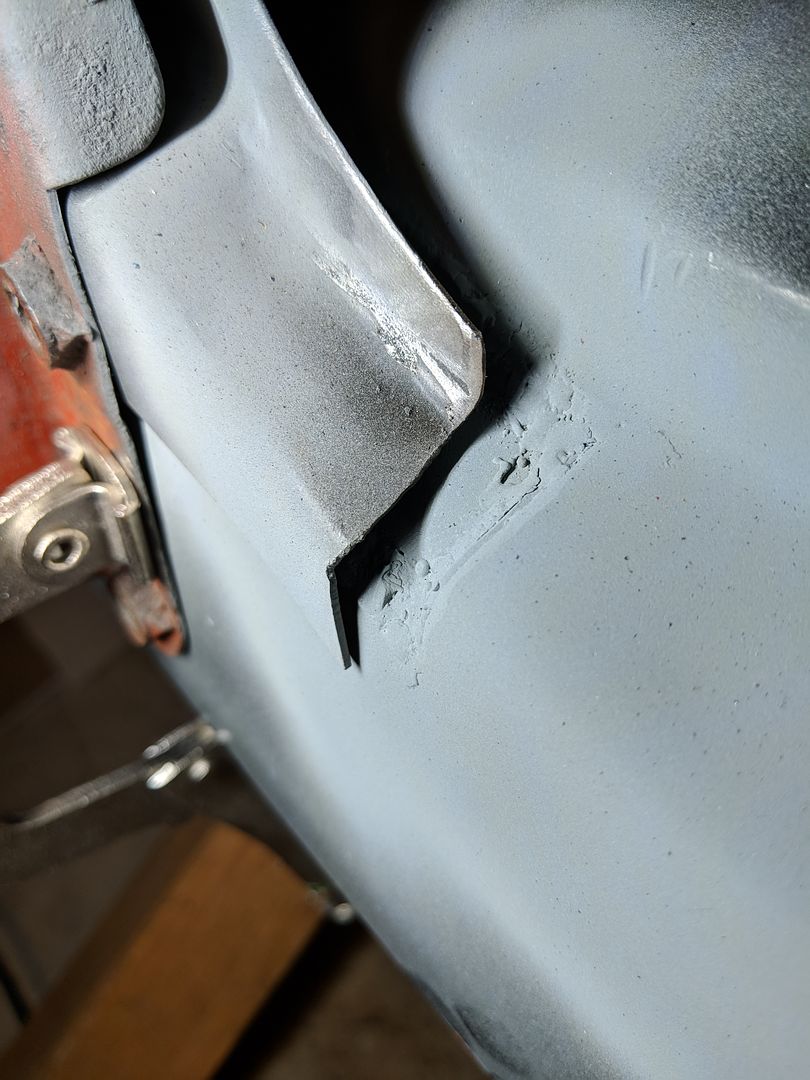 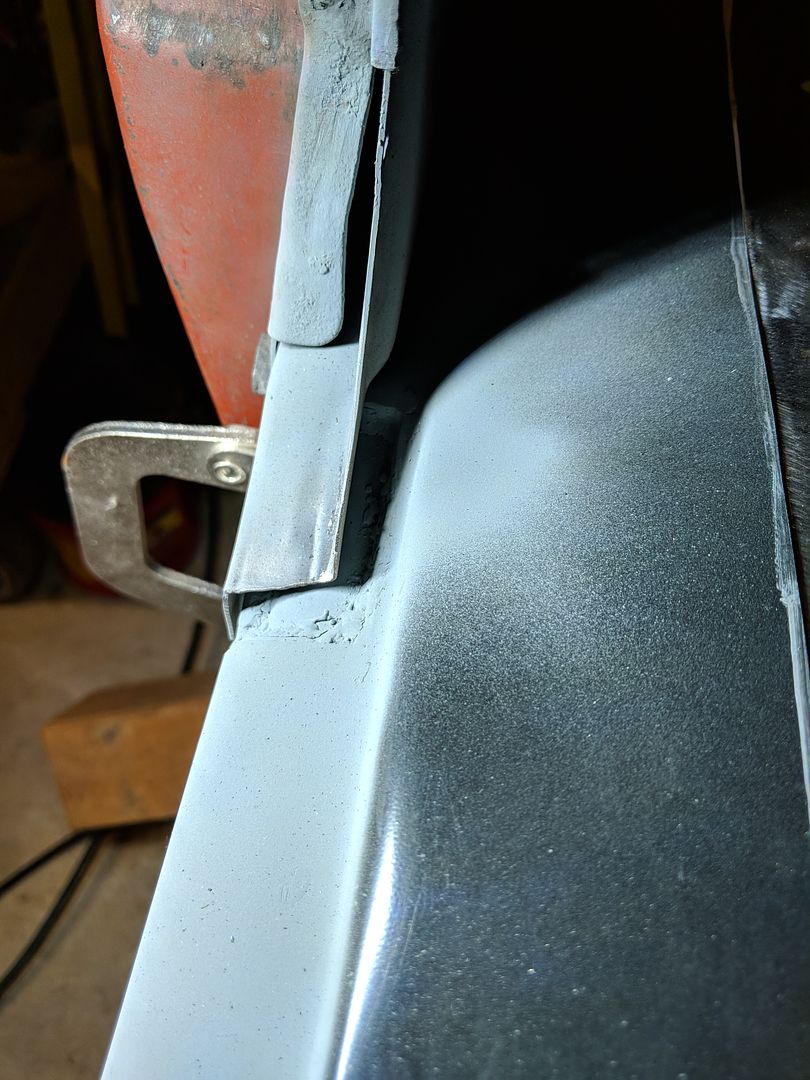 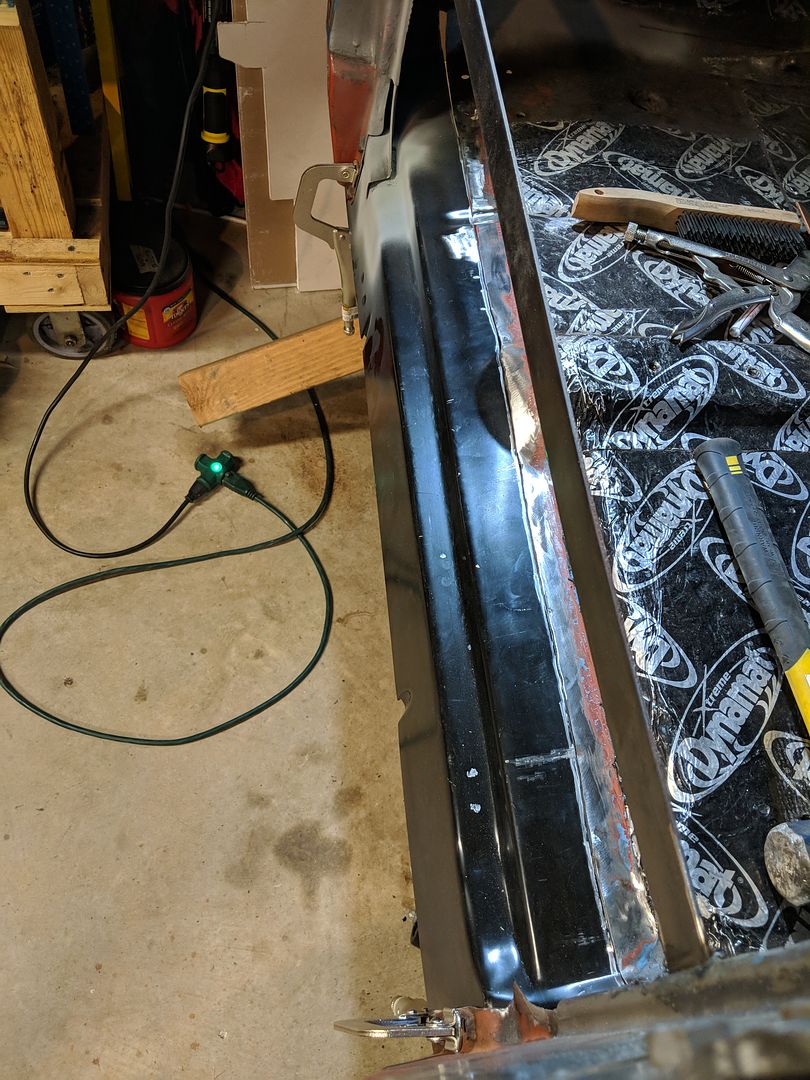 I'm close to getting the panel burned in. Should be able to finish this tomorrow. This panel is definitely not perfect, needs more work in the firewall area still...  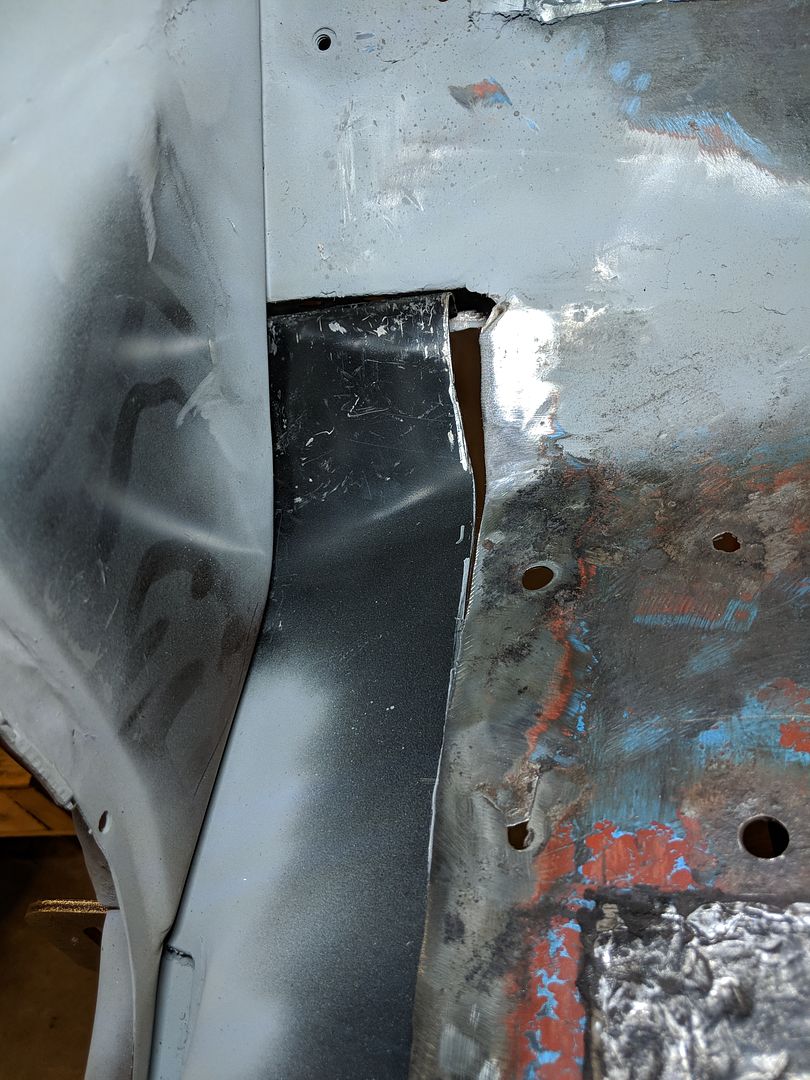 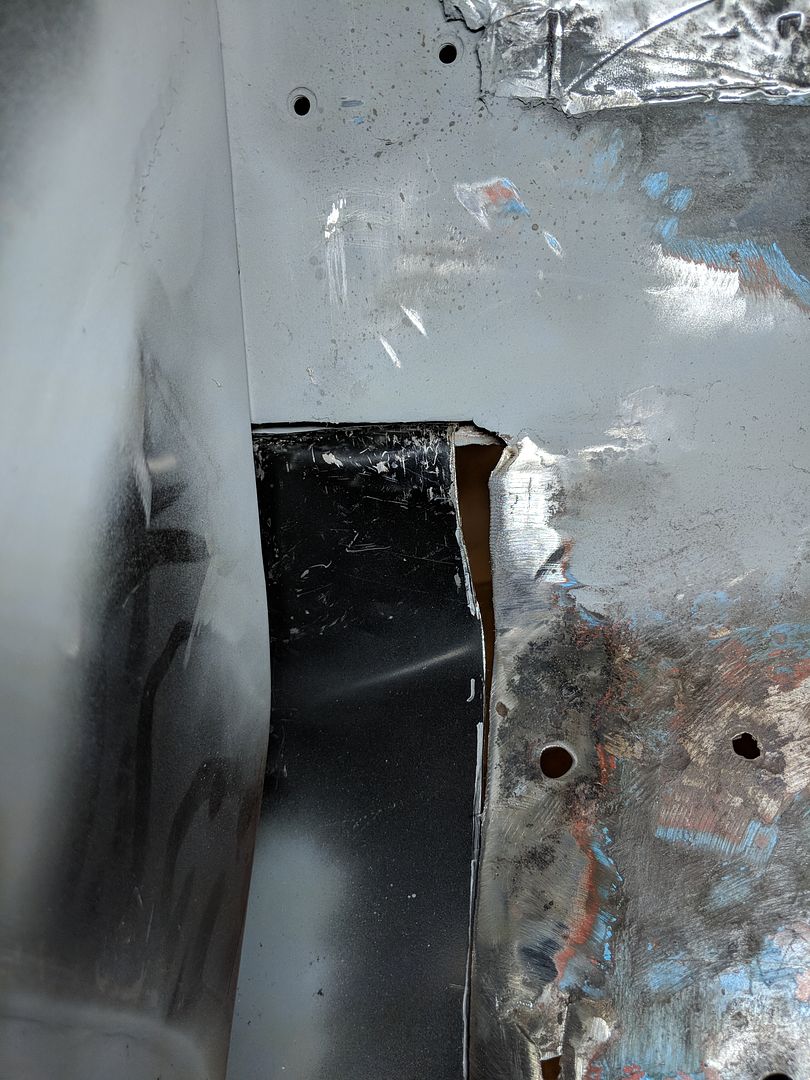 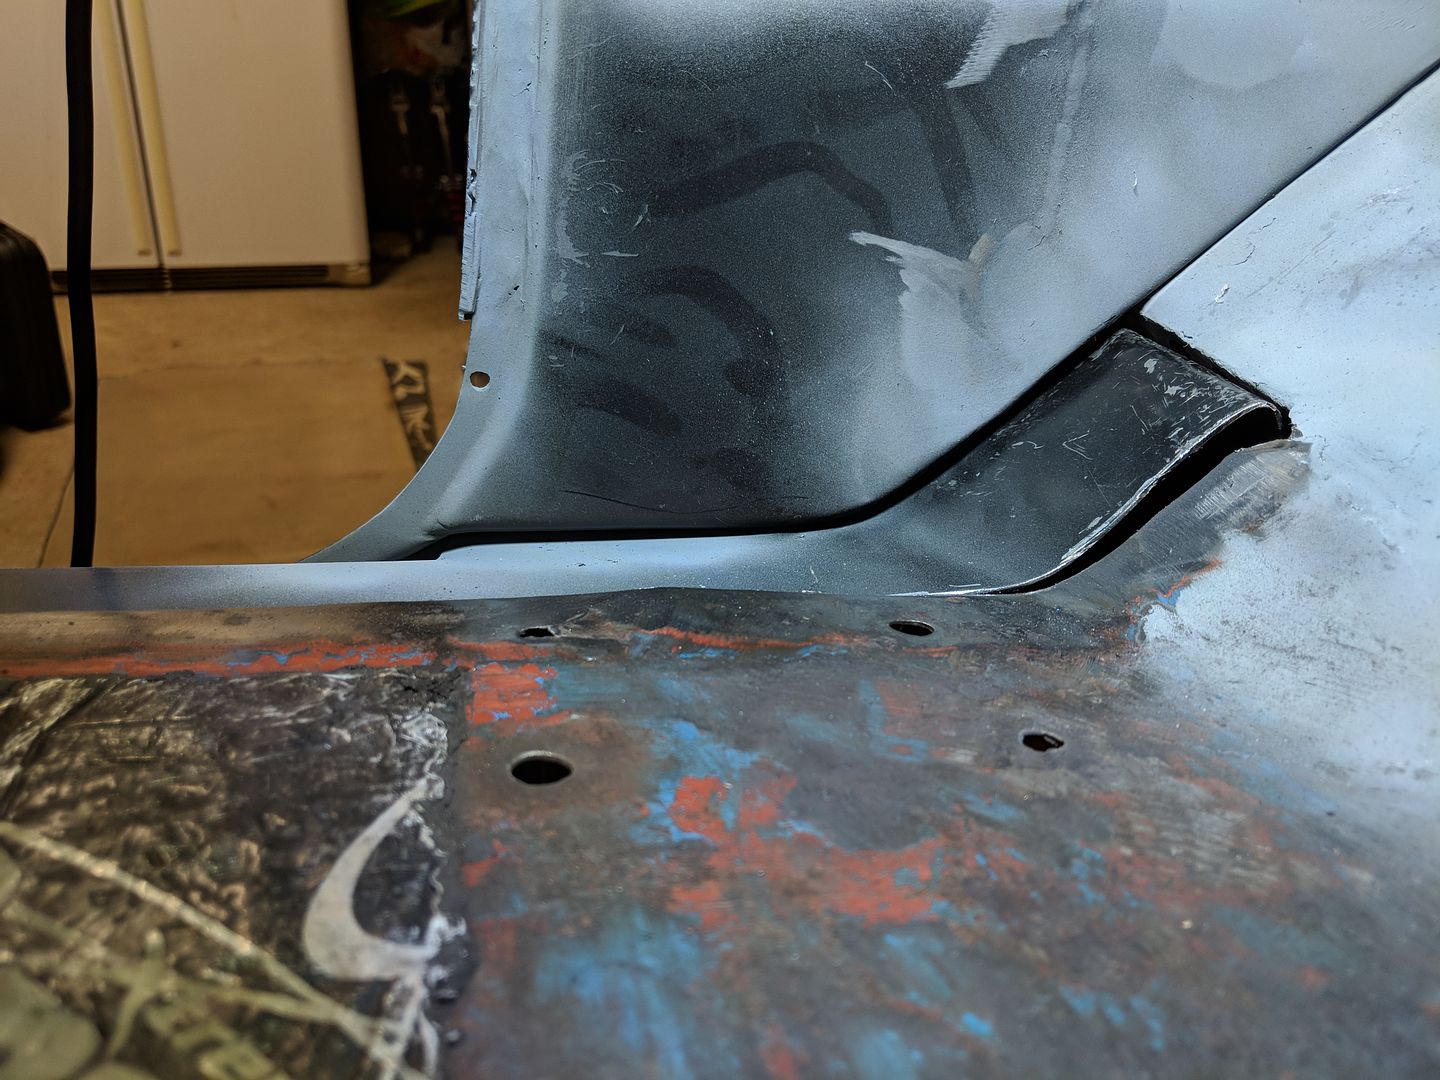
__________________
TA_C10 Stage 1 build - http://67-72chevytrucks.com/vboard/s....php?p=8333444 "It's only money". 
|
|
|

|
|
|
#23 |
|
Registered User
Join Date: Jun 2018
Location: Texas
Posts: 1,353
|
Re: TA_C10: Stage 1
LoL, I'm definitely a newb welder.... It's a good thing I can grind them down
 I was able to finish burning in the rest of the floor pan piece. Almost done. I have a question though to those better welders out there. I look at the bottom side of my welds and not every weld has filled in the gap between the butt welds. Looks good on top, but the weld didn't fill in everywhere. Is this ok or do I need to weld those spots again from the bottom to fill in the gap? And if I should weld from the bottom, its rough welds so will another weld from the bottom side fill in the rough ok or will there be gaps between the 2 welds(top first, bottom second) which might create a space where moisture could be trapped and rust from inside out? There is some weld in those gaps obviously as I ground down the welds and I have a nice smooth surface with no holes. Here are some pics. This is the piece I made to fill in the space I had when I cut out the old pan that was rusted and the new piece didn't fill. 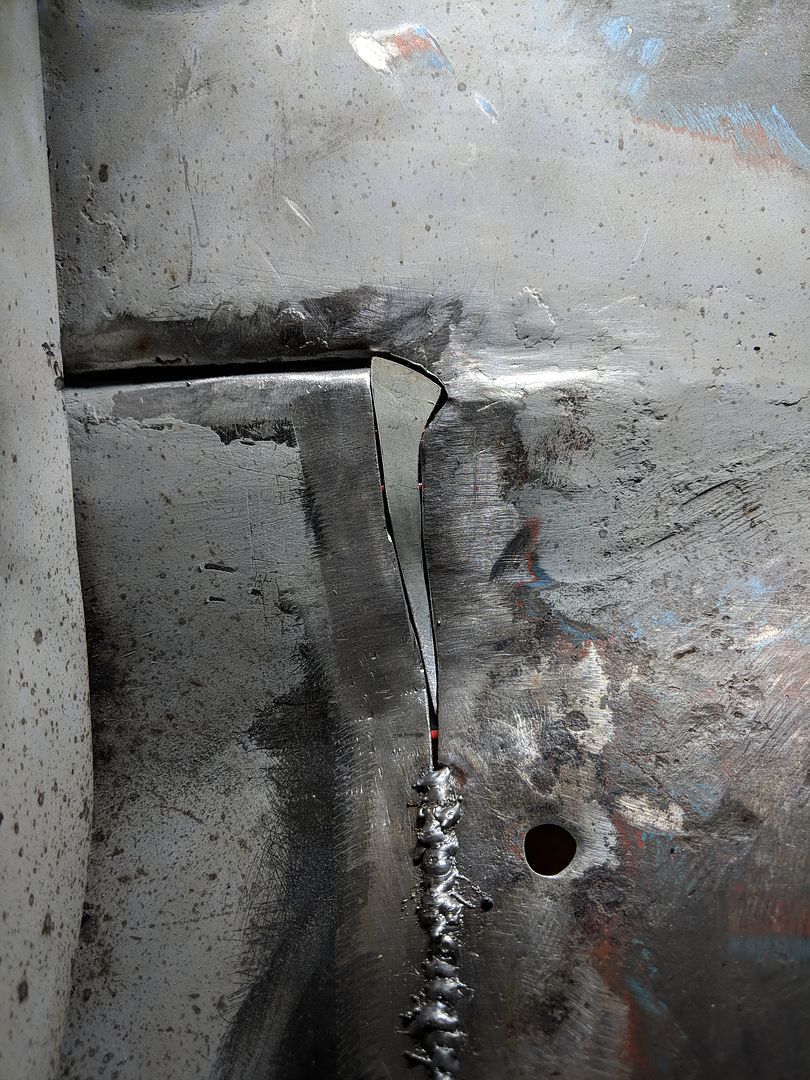 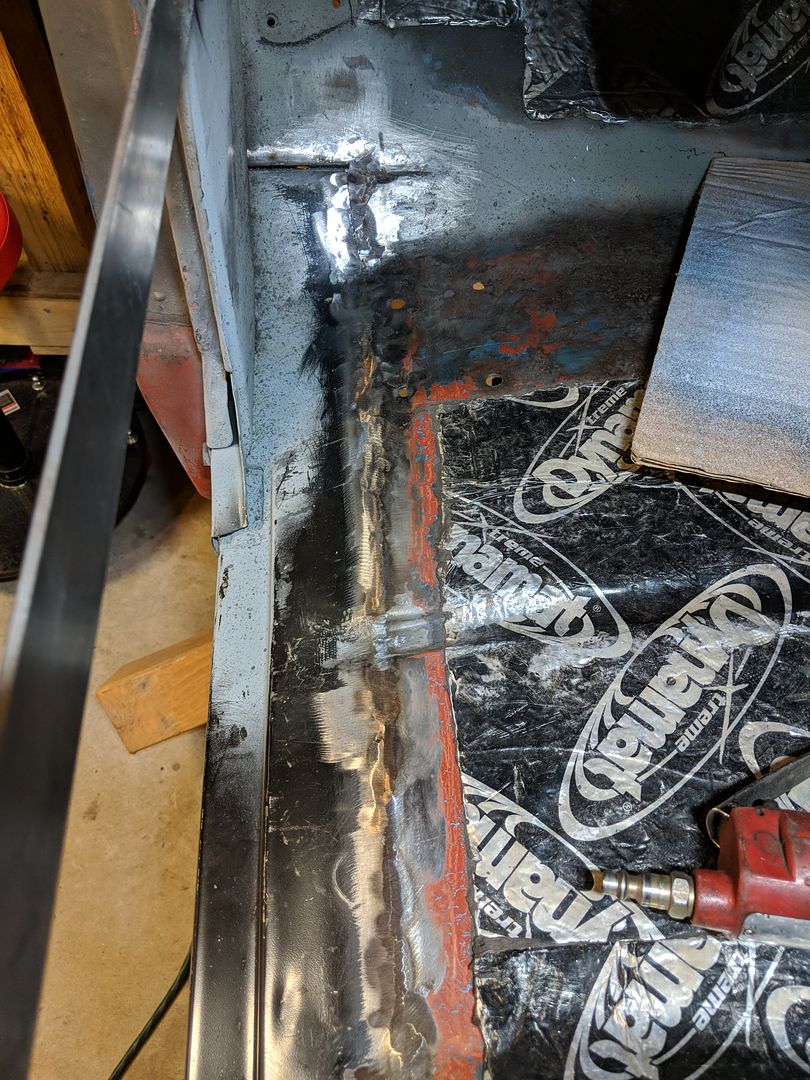 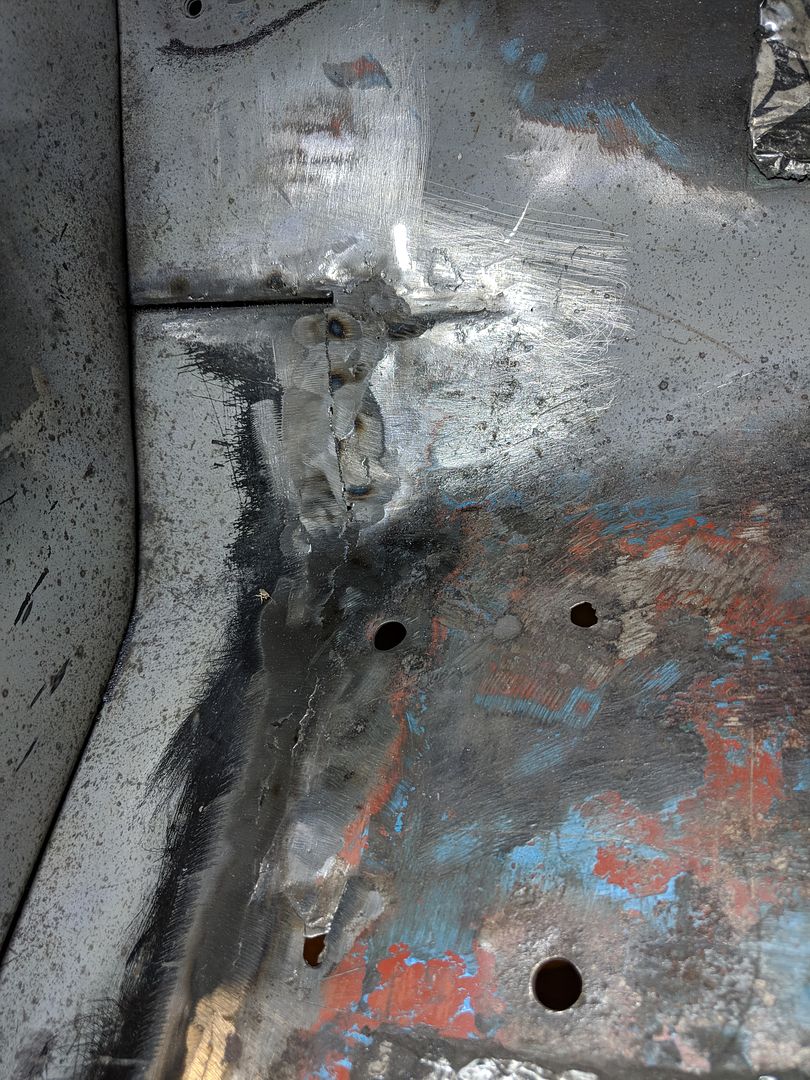 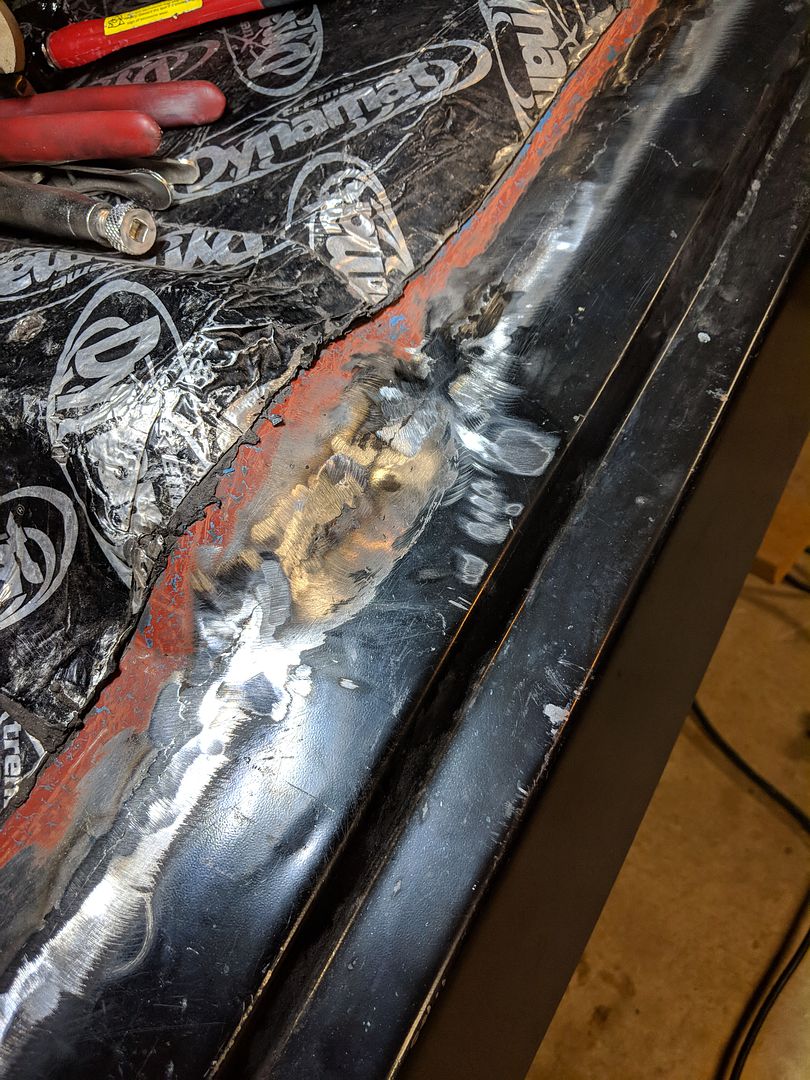 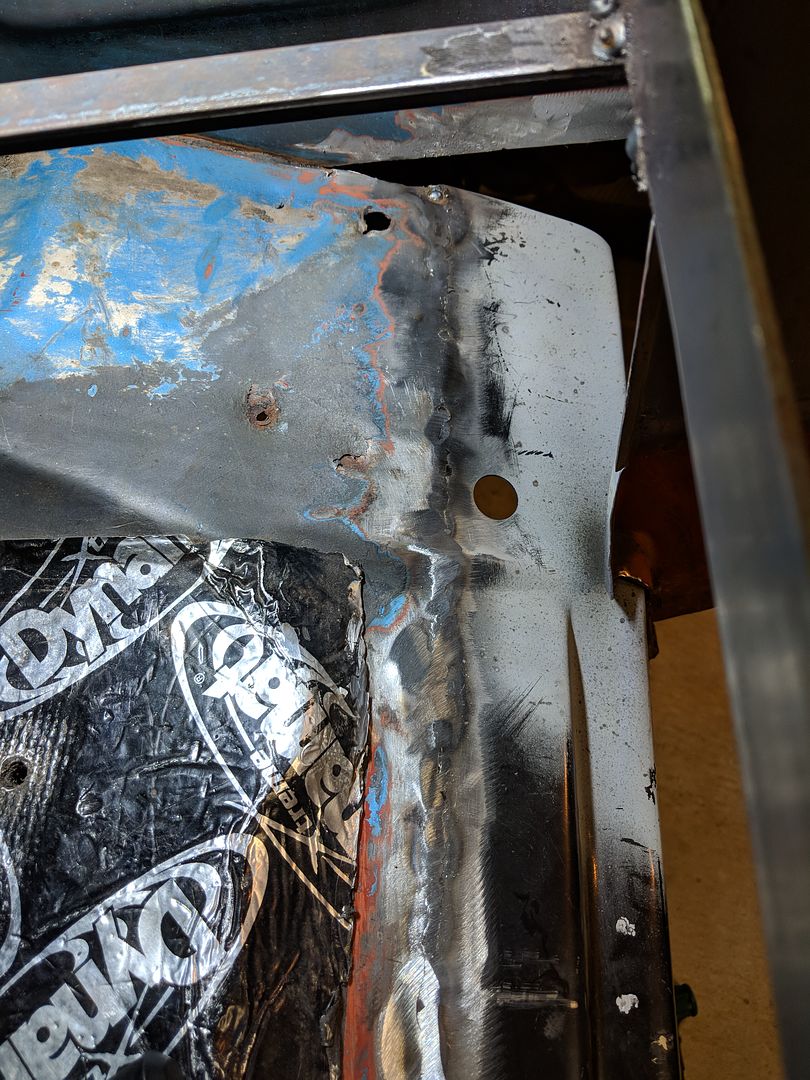 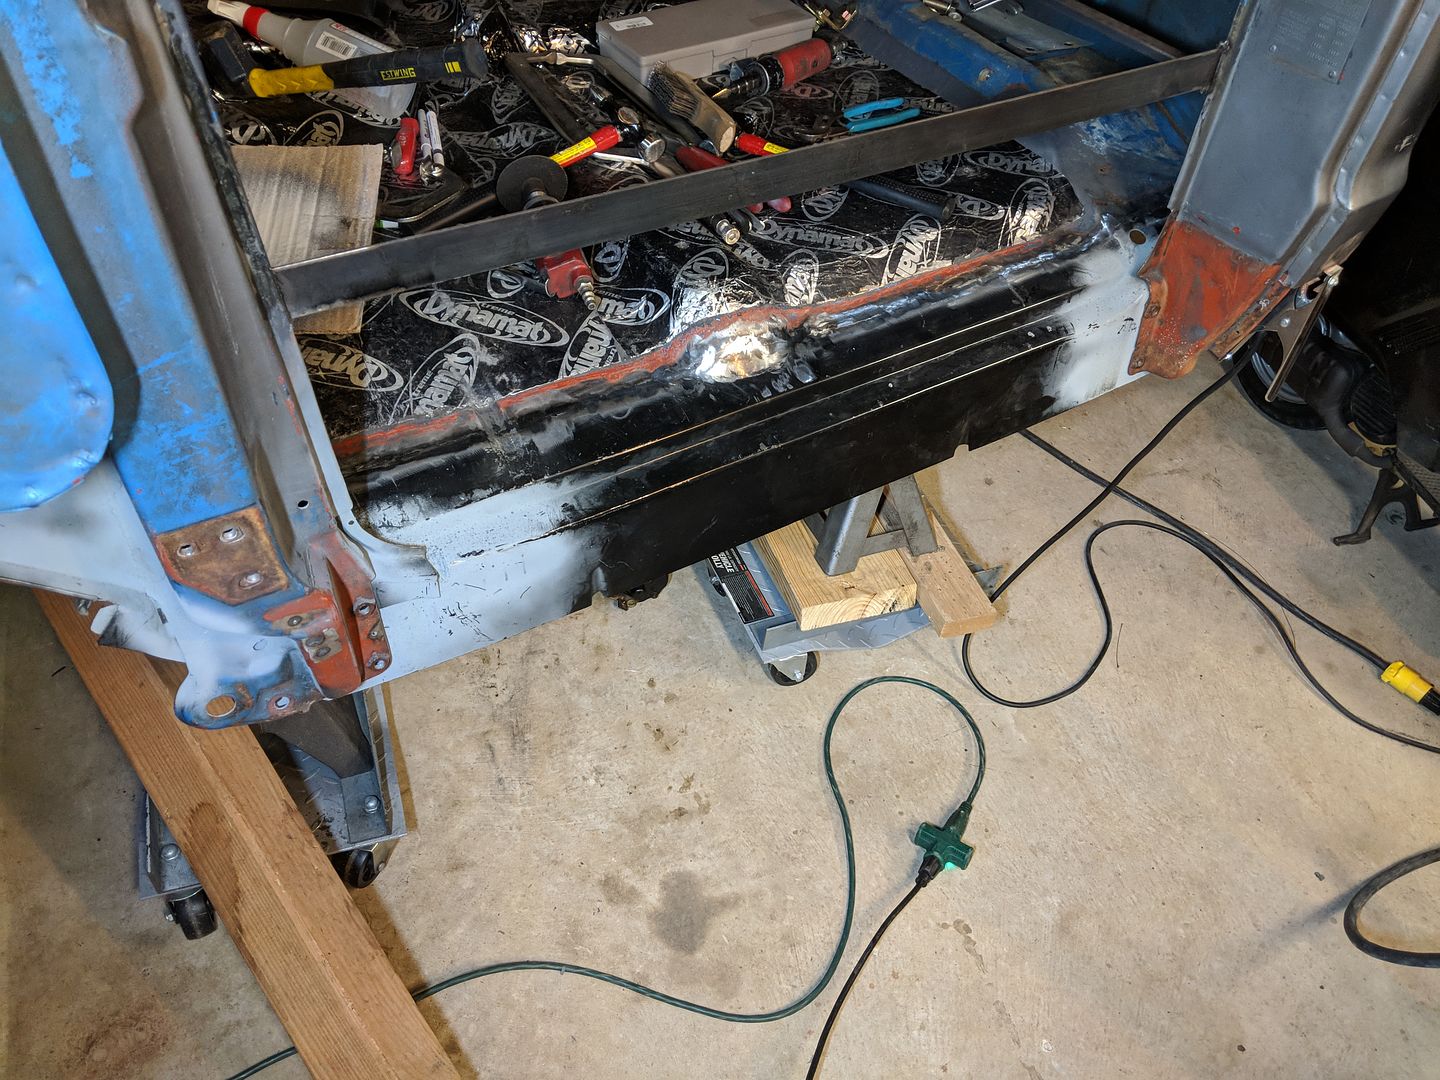 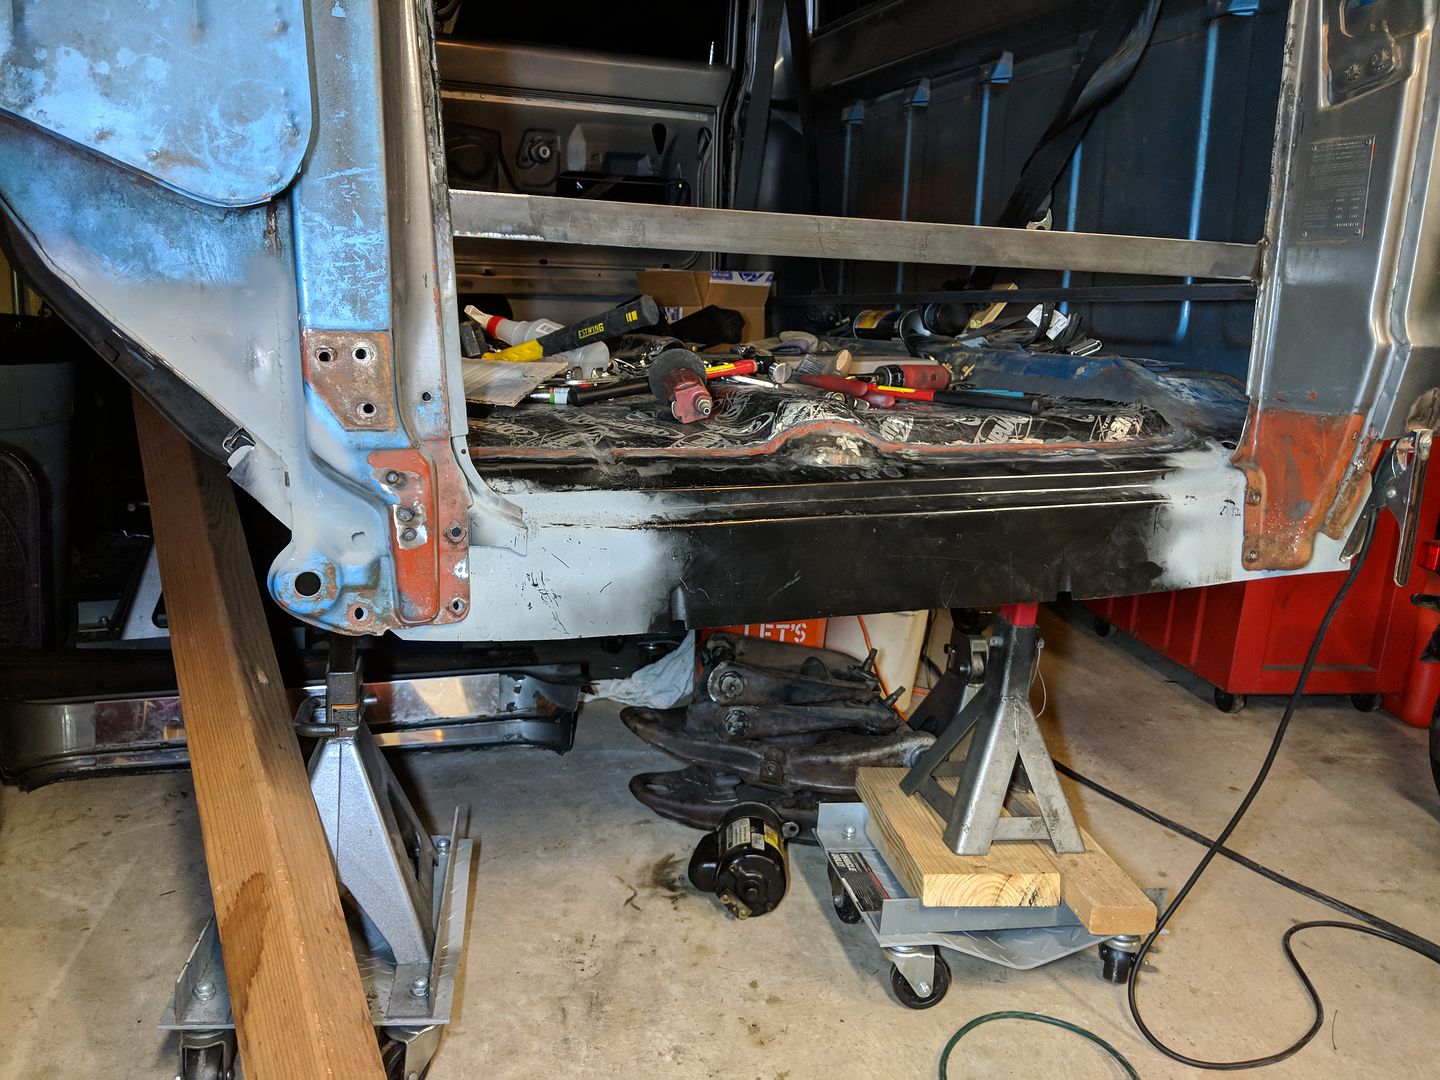 I still have a little work left to do, but its close... I'm ready to fit the door and burn in the rocker soon. 
__________________
TA_C10 Stage 1 build - http://67-72chevytrucks.com/vboard/s....php?p=8333444 "It's only money". 
|
|
|

|
|
|
#24 |
|
Senior Member
 Join Date: Dec 1999
Location: TX
Posts: 1,610
|
Re: TA_C10: Stage 1
It sure looks like you are doing a pretty good job.
You were asking about welding and I'm no expert, but I have some pretty good experience welding sheet metal and light duty stuff with MIG. It looks like some of your welds were not 'hot' enough. Or they were not penetrating enough. I saw the picture of your welder above and tried to look it up. Is it the Lotos MIG 140 with your giant bottle of Argon or Argon/CO2? Have any of your welds burned through? Or any problem burning through when you are trying to fill gaps? If not...I would turn it up and see what happens. You did a hell of a job wire wheeling that frame. I would have given up on that. I took most of my pieces to get sand blasted. |
|
|

|
|
|
#25 | |
|
Registered User
Join Date: Jun 2018
Location: Texas
Posts: 1,353
|
Re: TA_C10: Stage 1
Quote:
Thanks man, the frame was a back breaking, long, dirty job and I would never suggest doing this again unless your frame is already pretty clean... I read over and over how ugly of a job it is and I still ignored that advice to sandblast and tried saving money.  But honestly I would suggest sandblasting and powder coating/painting instead. But honestly I would suggest sandblasting and powder coating/painting instead. Yes that is a Lotos MIG 140, borrowed from my neighbor, and he got that giant bottle filled for like $40. He always finds deals like that... So my welds. I used the recommended settings and turned the heat up a little bit when I was testing. Seems like if I turn it up anymore it just wants to burn through the old sheet metal and even sometimes the new sheet metal. I really don't know what I'm doing except what I have researched. Eastwood has some nice video tutorials on welding sheet metal but I still feel like I need help. And if my welds are cold, does that mean I have to cut my new panels off and do them again??? I'm skeered of this answer.... 
__________________
TA_C10 Stage 1 build - http://67-72chevytrucks.com/vboard/s....php?p=8333444 "It's only money". 
|
|
|
|

|
 |
| Bookmarks |
|
|