
|
 05-01-2024, 08:18 AM
|
#1376 |
|
Registered User
Join Date: Jan 2013
Location: Leonardtown, MD
Posts: 1,635
|
Re: 55 Wagon Progress
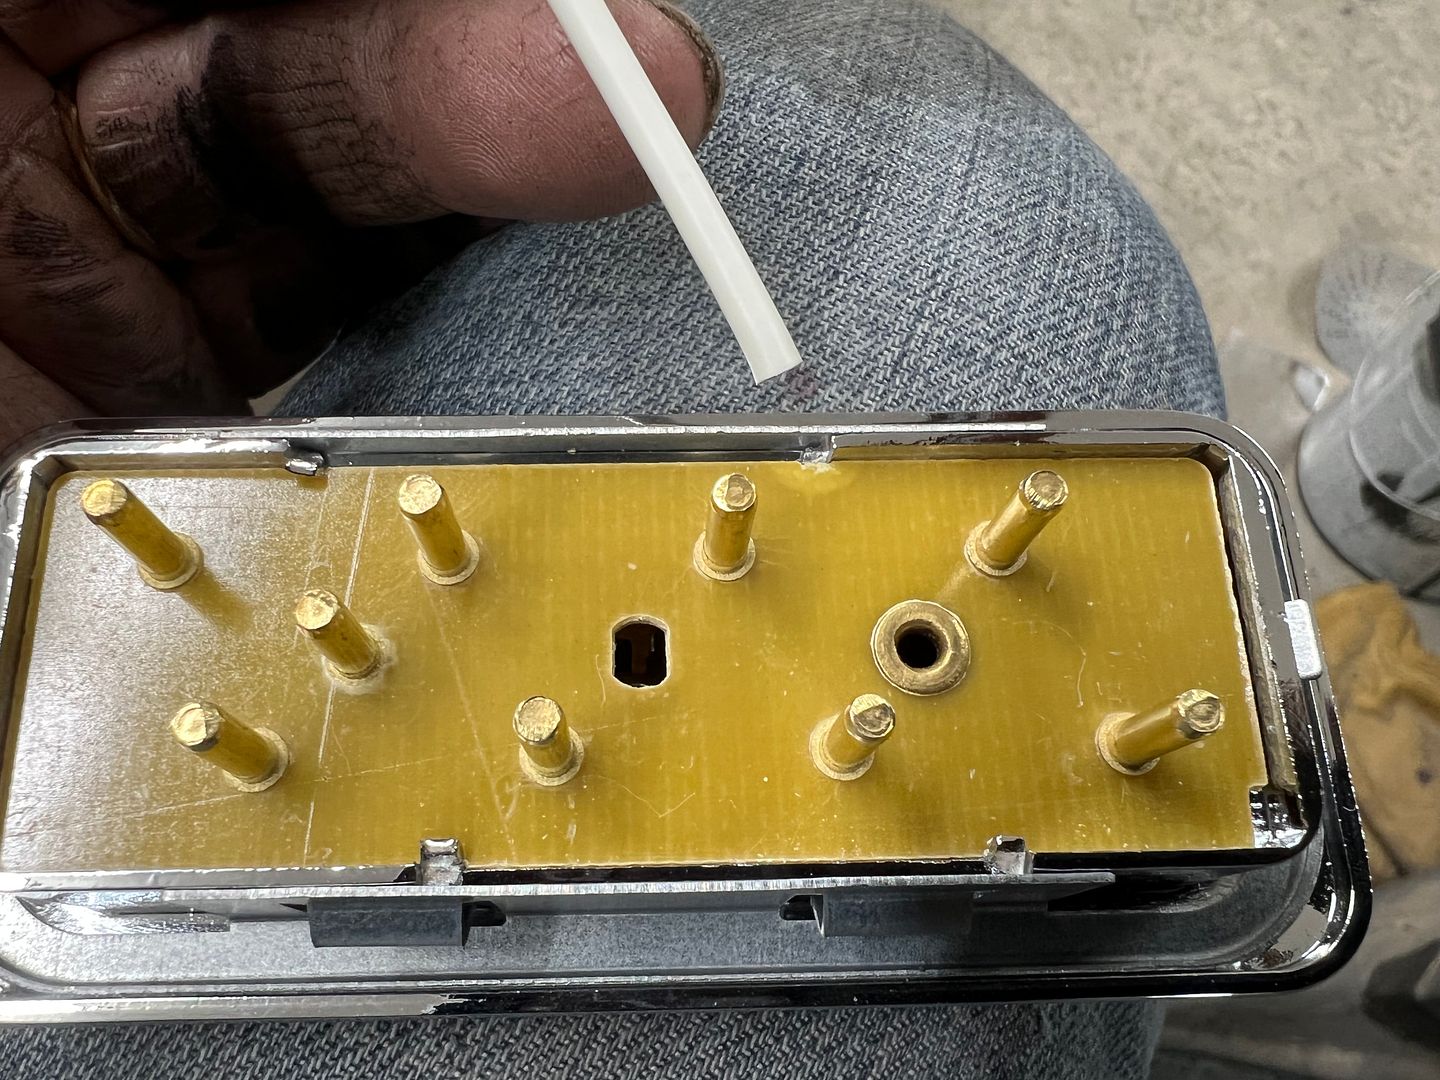
We had ordered a 4 position switch for the power windows in the wagon, with plans to install in the console. Not knowing the origin of the part when it showed up, I thought some due diligence was in order and broke out the multimeter to test all the switch positions for connectivity. Wouldn't you know, one of the end switches had no contact in one position. Further investigation showed that the spring contact board was held in place with four tabs from the factory, except we only had three, which allowed the board/switch to lose contact. I sent the next picture of the damaged part (pointing to the damage with a white wire) in a message to the eBay seller who immediately questioned my abilities with a multimeter and assured me it functioned exactly as it should.
 So for a more direct approach, I assured them I knew how to operate a multimeter, and perhaps they should look at the attached picture this time. To help eliminate any interpretation errors, I had doctored the original rear view picture to make things more obvious since they missed the visual cues the first time.... 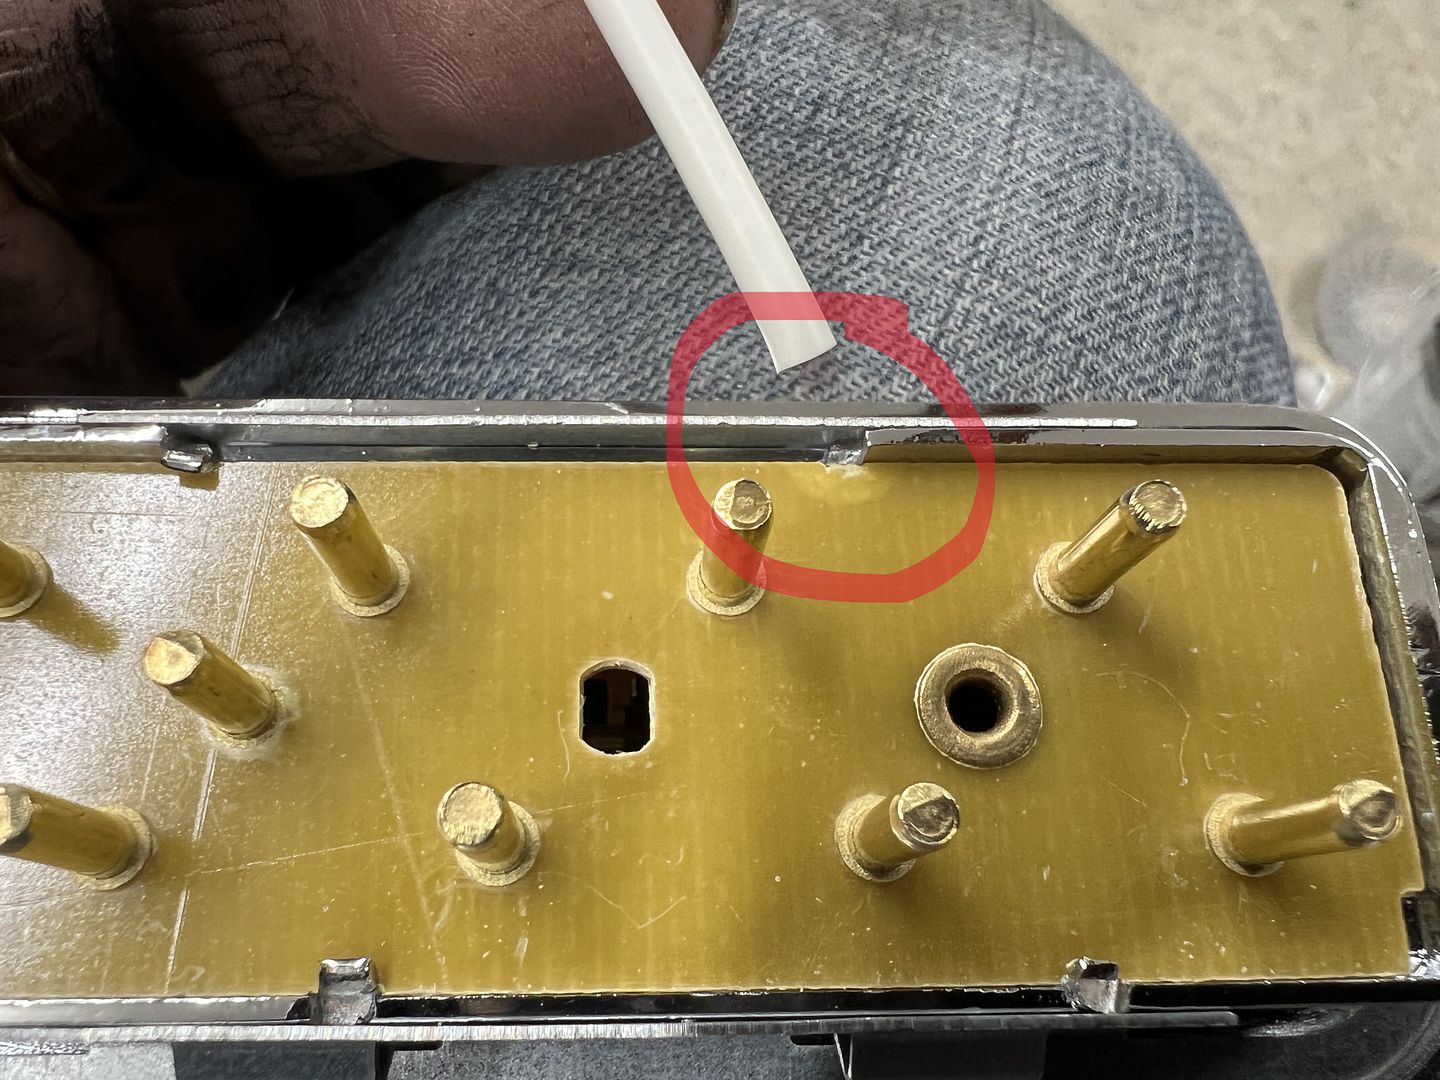 Oh, that. We'll send out a new switch. Thank you.. So with the console on hold to make sure we didn't have to use a different style switch (in case their whole batch was bad) we turned our attention to the tailgate, and started the fit up of the Mad Mooks polished stainless border trim. https://madmooks.com/ To preface, I will say the Mad Mooks parts are some of the nicest fit and finish parts you'll find ANYWHERE to trim out your Tri-five Chevy, as well as parts for other GM vehicles. Only the corner pieces didn't fit our tailgate. It appears that when yours truly did the rust repairs of the tailgate (before repop's were available) the replacement patches weren't exactly spot on. So yes, this is my F-up.. 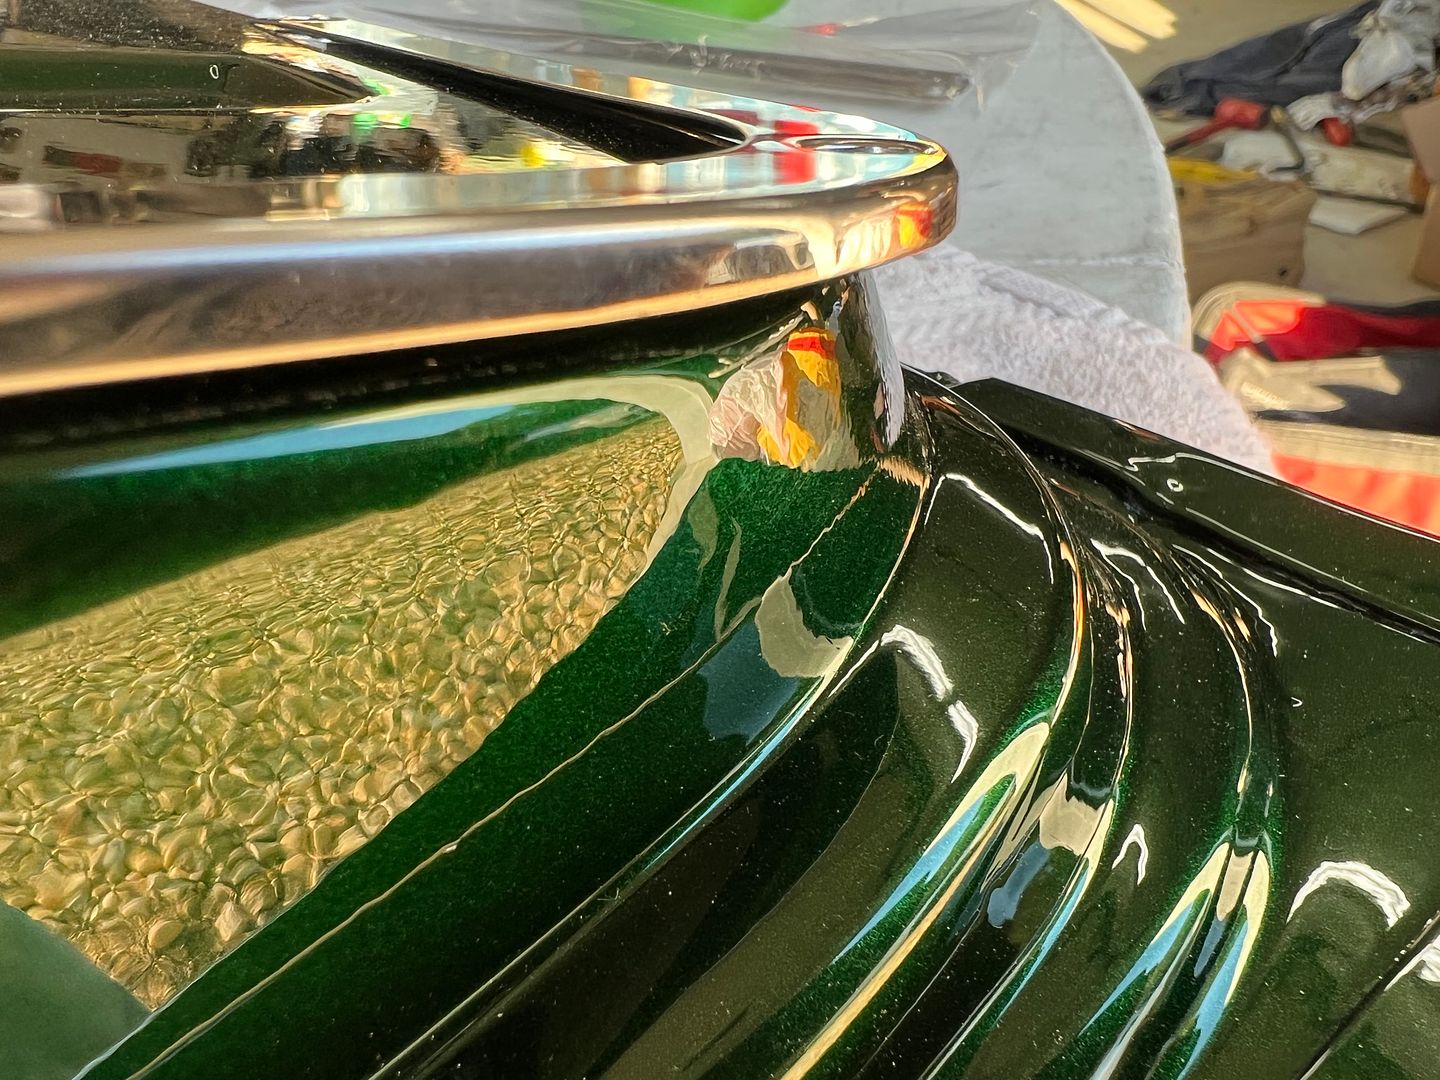 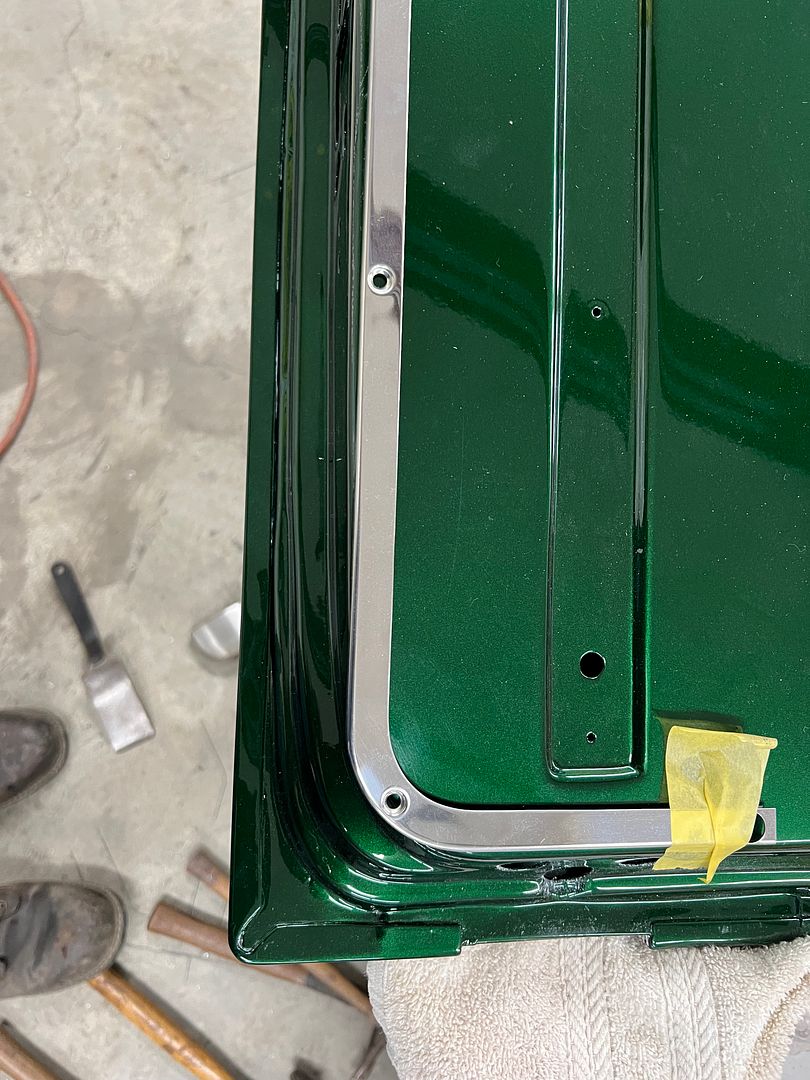 We had also ordered some stainless strips for the voids in the tailgate from McMillan Rod and Custom and wanted to retain the stainless border to use with these parts. 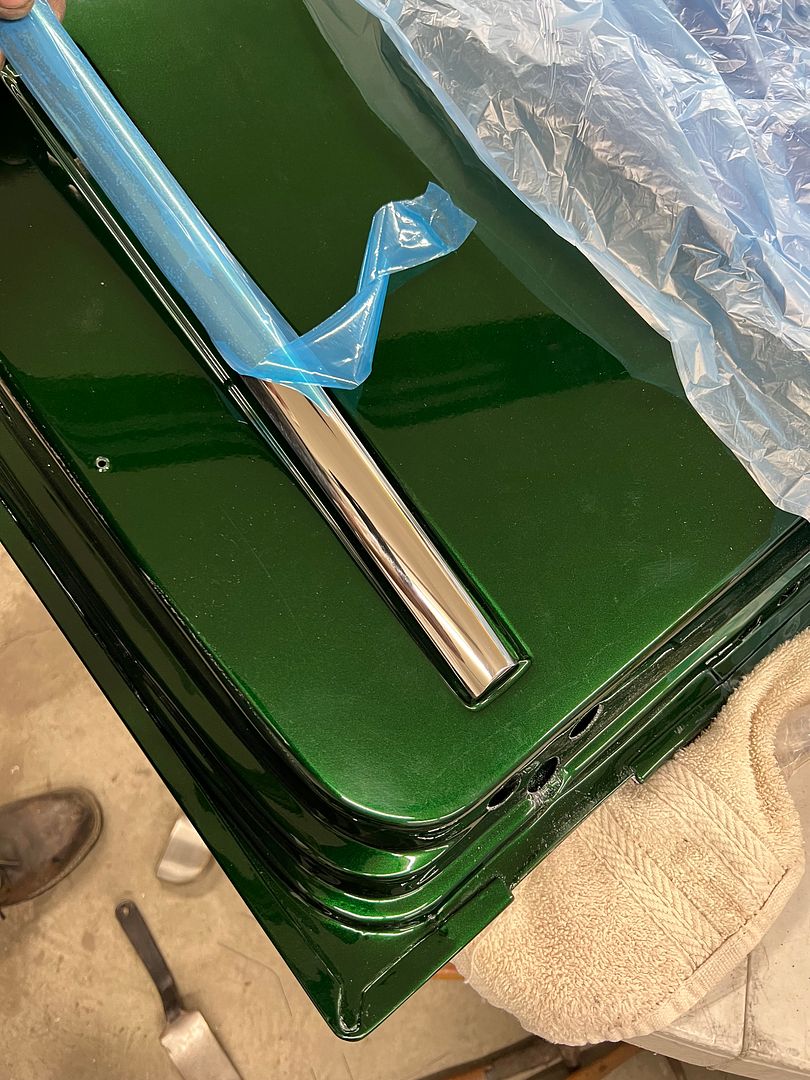 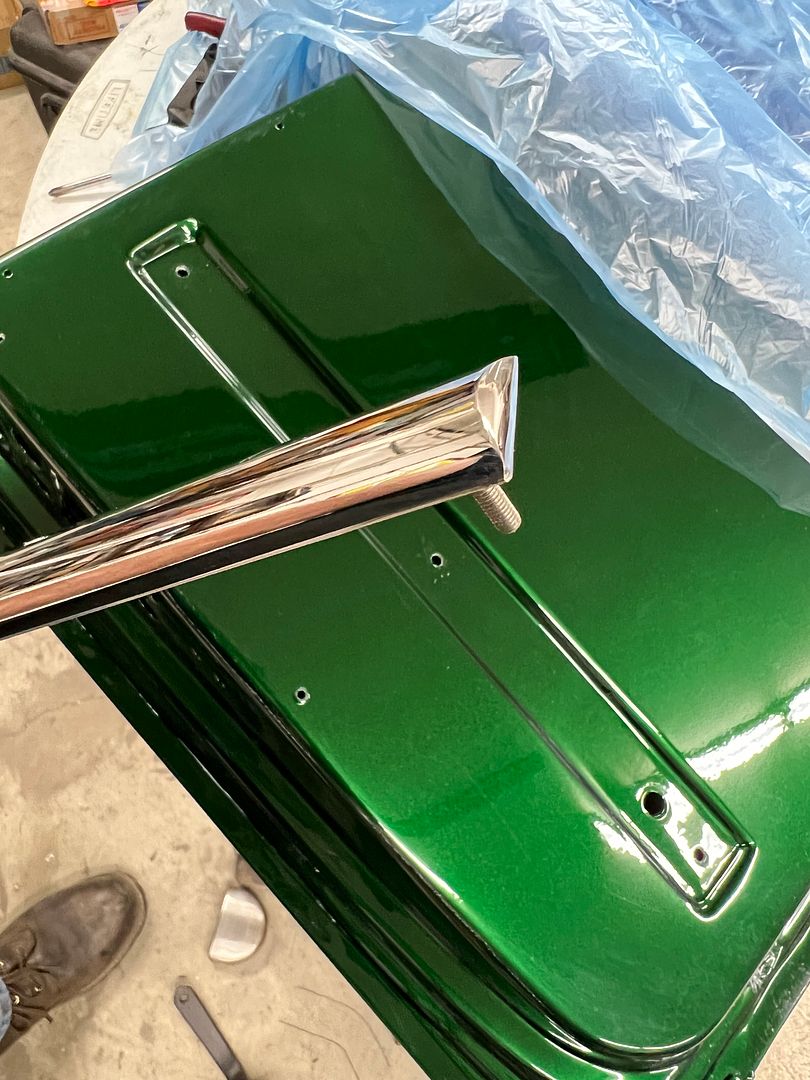 We had some 19 gauge stainless in stock, so let's give this a go. First order is to make sure we can duplicate the dimpled hole for the countersunk screws... 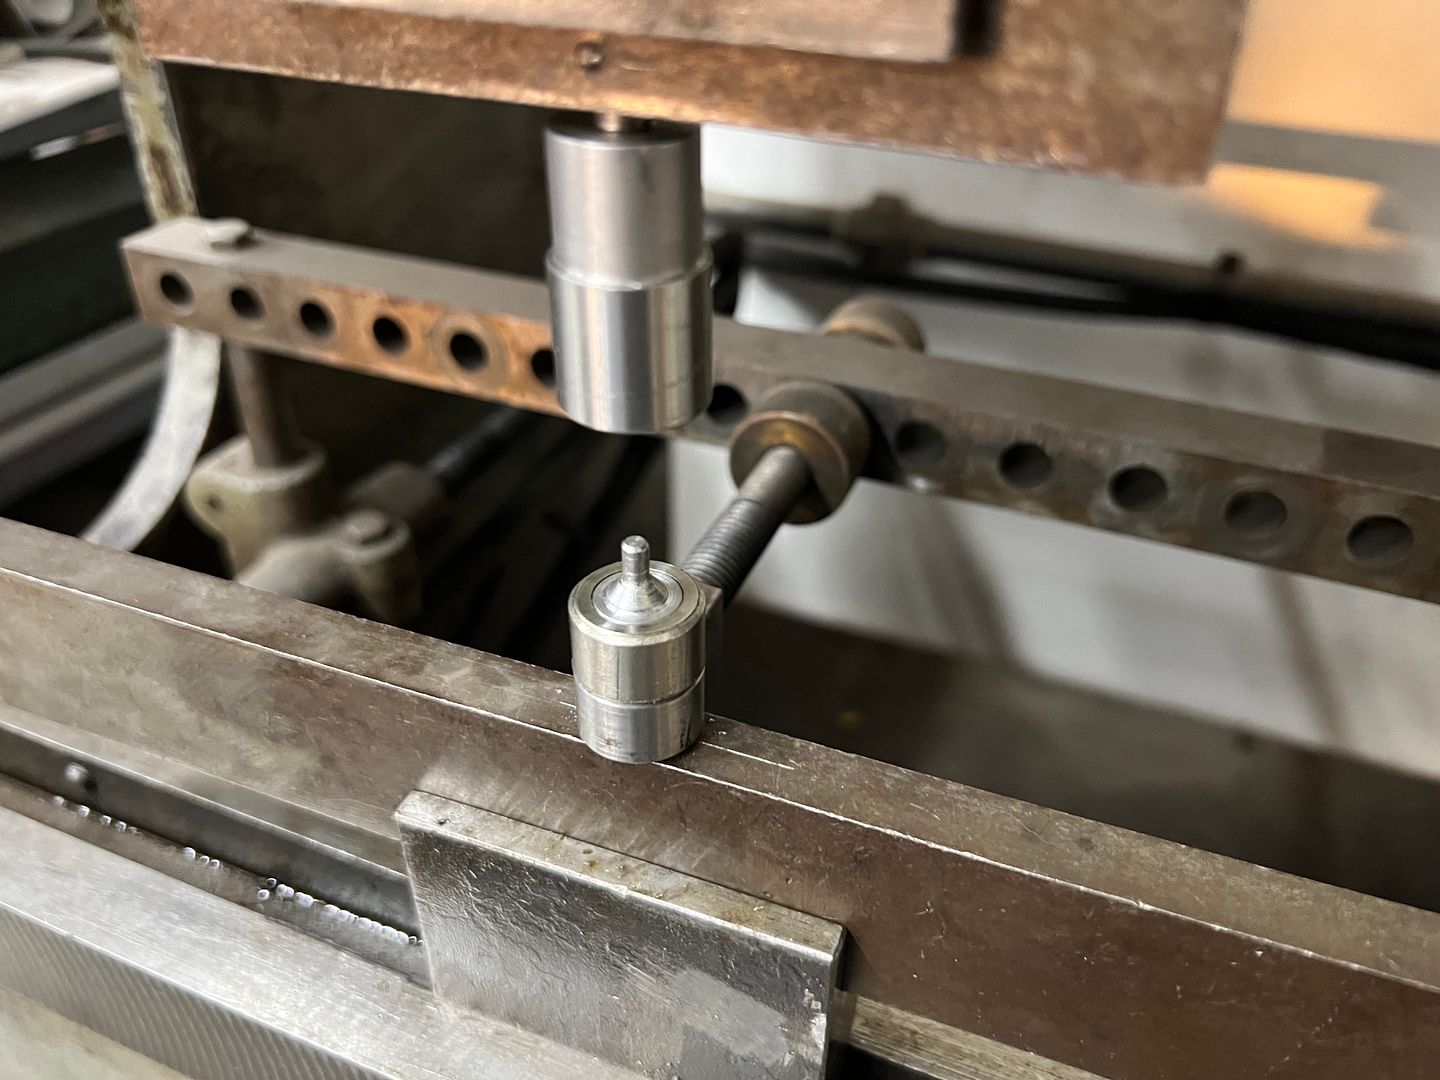 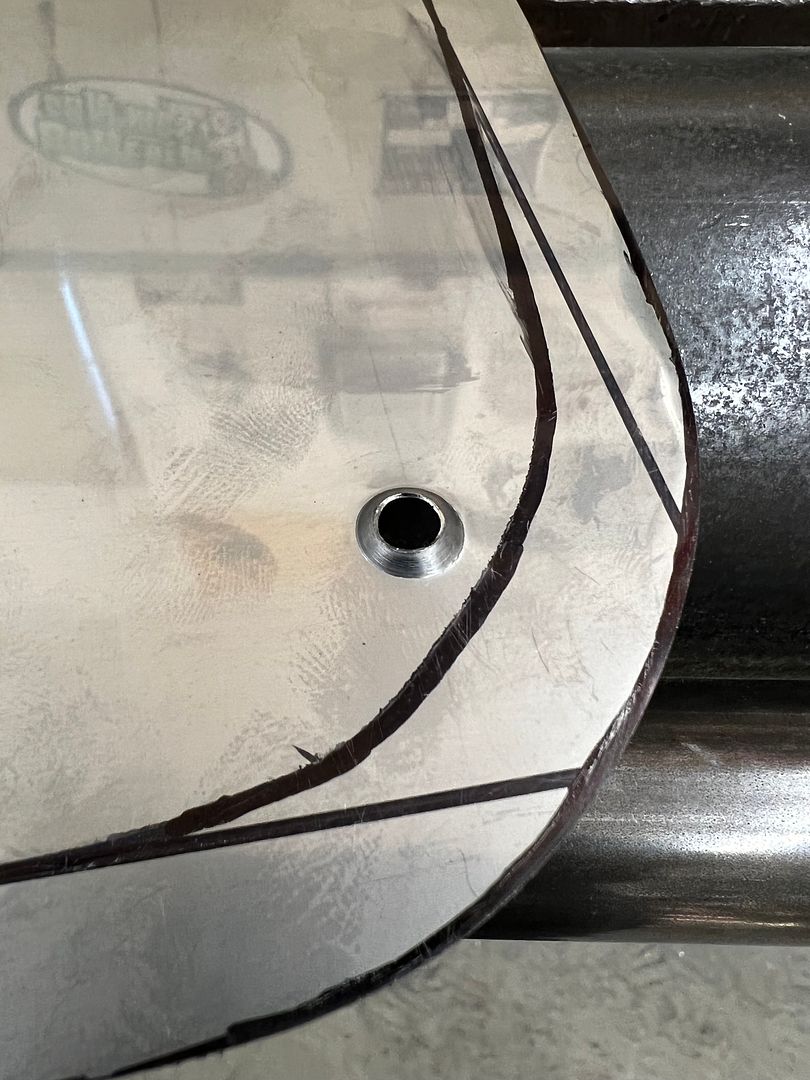 Next, the folded (side) flange on the trim piece is a consistent width and will need to be real accurate. So we opted for a hammer form to match the shape, used a tipping die to thin the bend location (to tell the metal where to bend) and a backstop on the Lennox to set the flange height. A paper pattern was used to capture the tailgate outline. 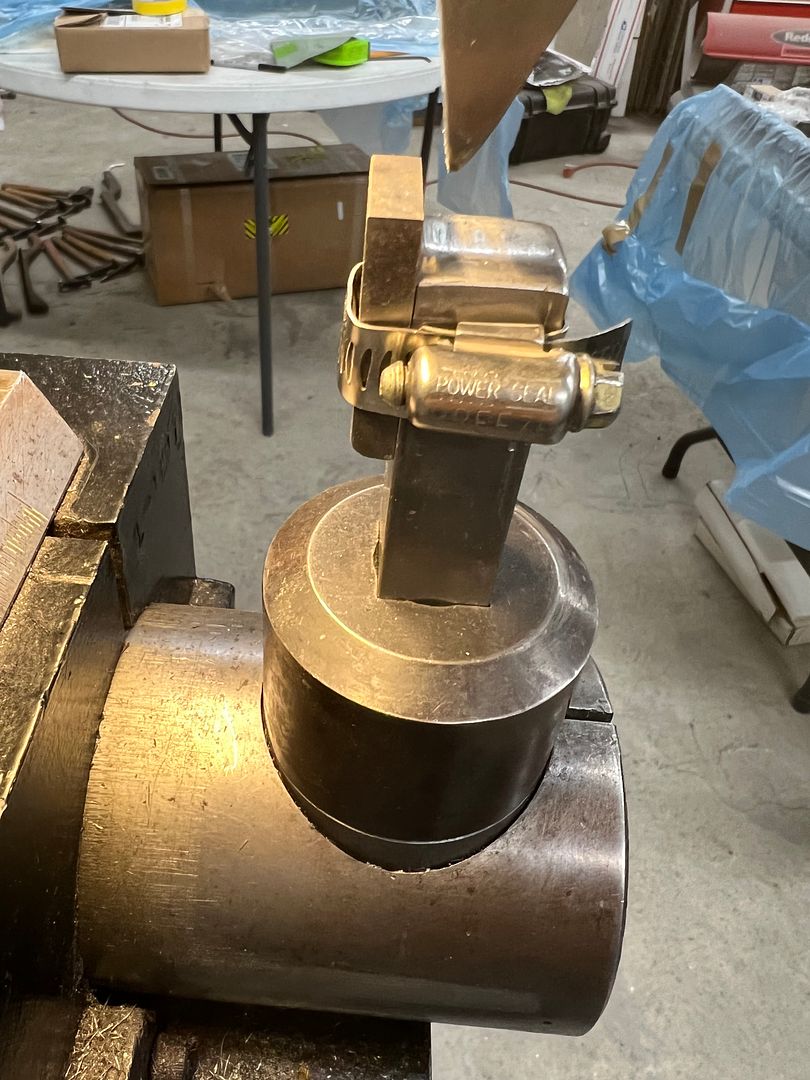 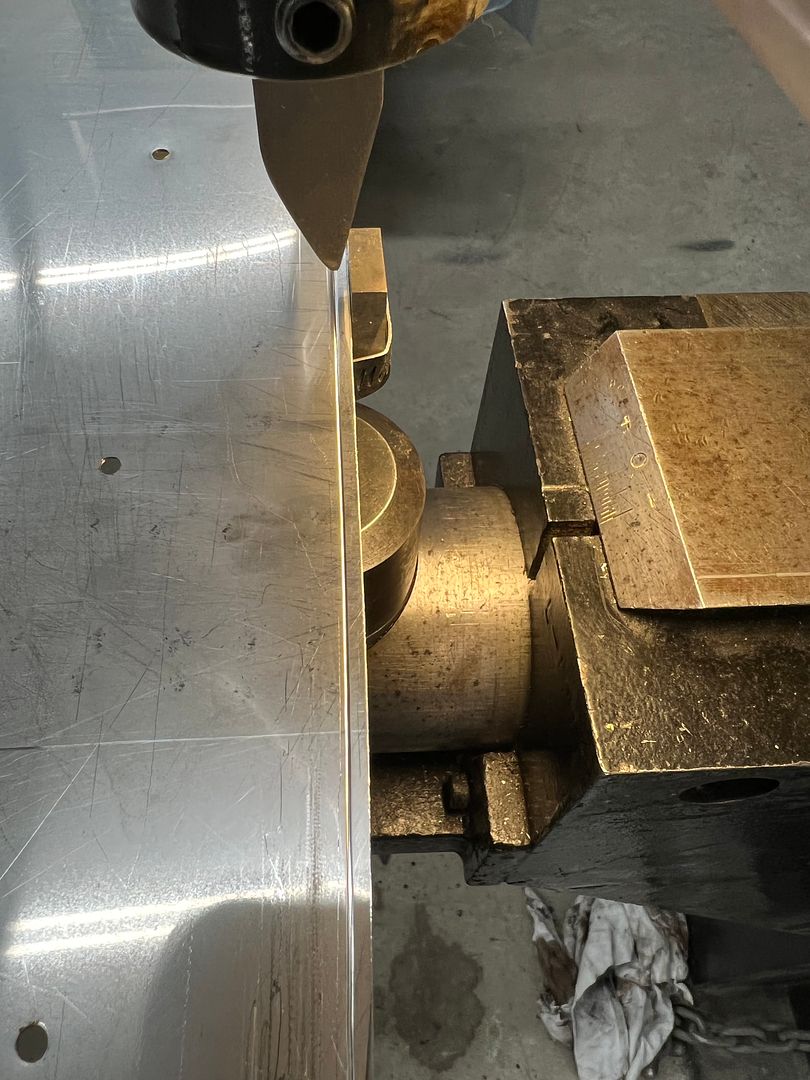 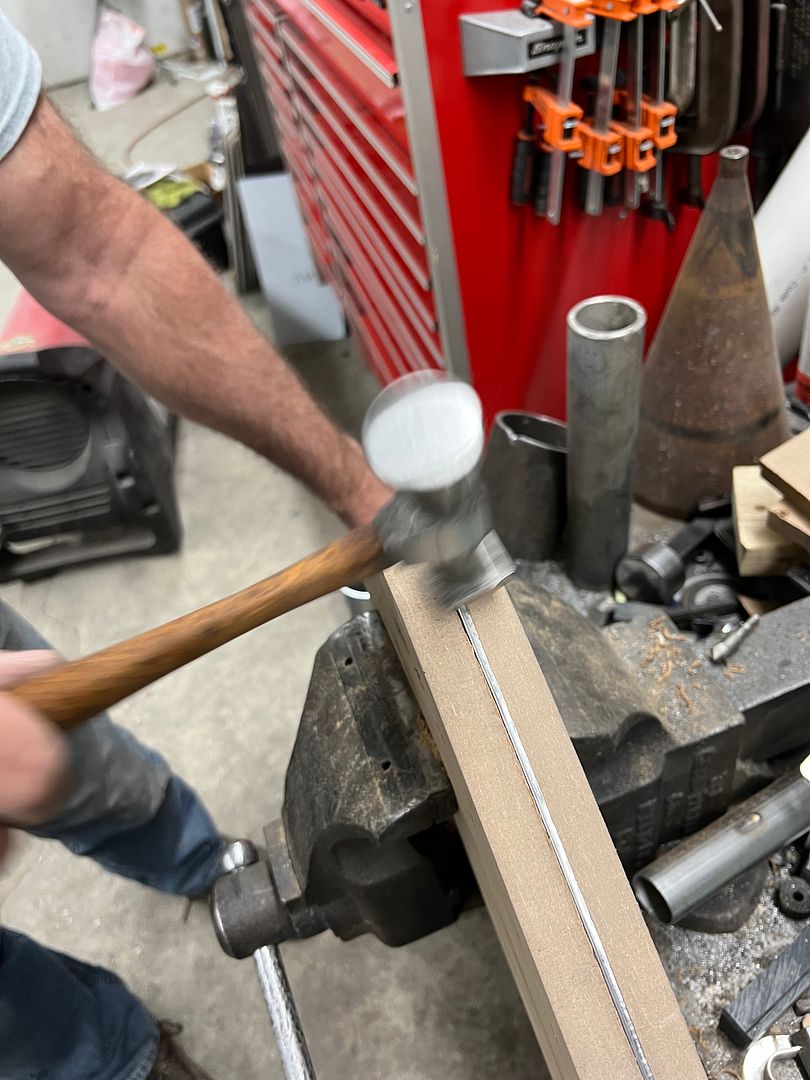 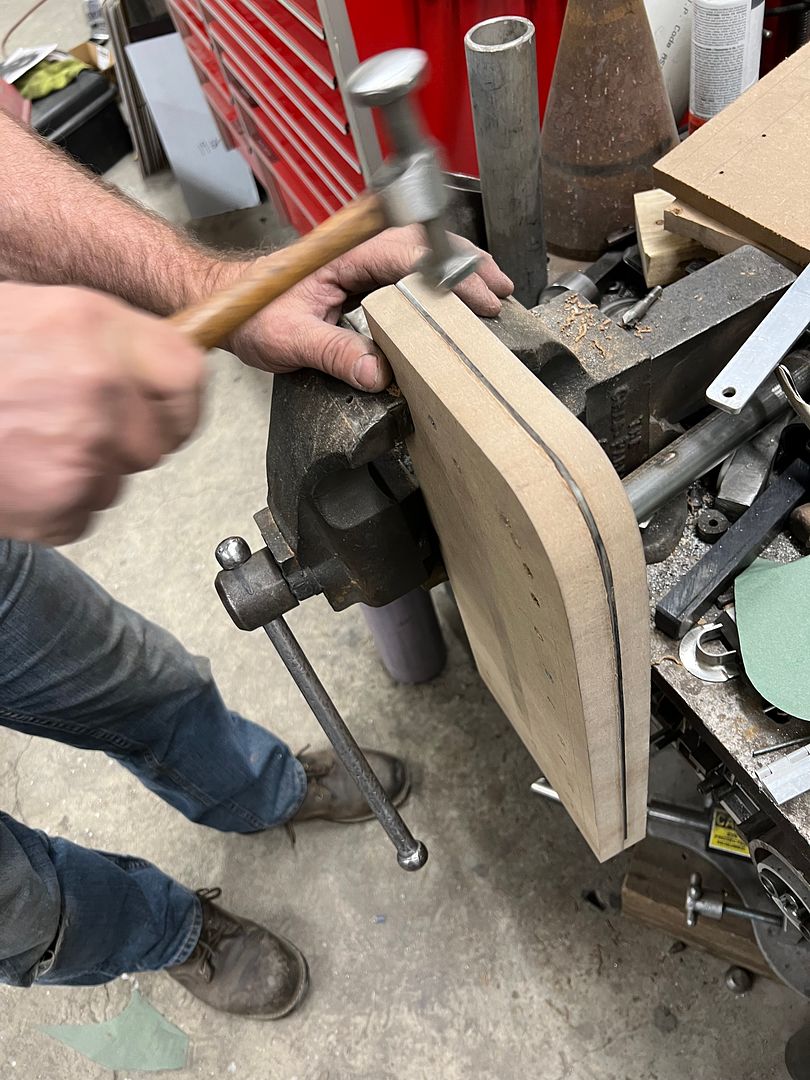 After the flange had been folded, the top part of the hammer form is set aside and the bottom section used to hold the part for polishing. We'll get it polished, trim the width and punch dimple holes, and then do a final polish.  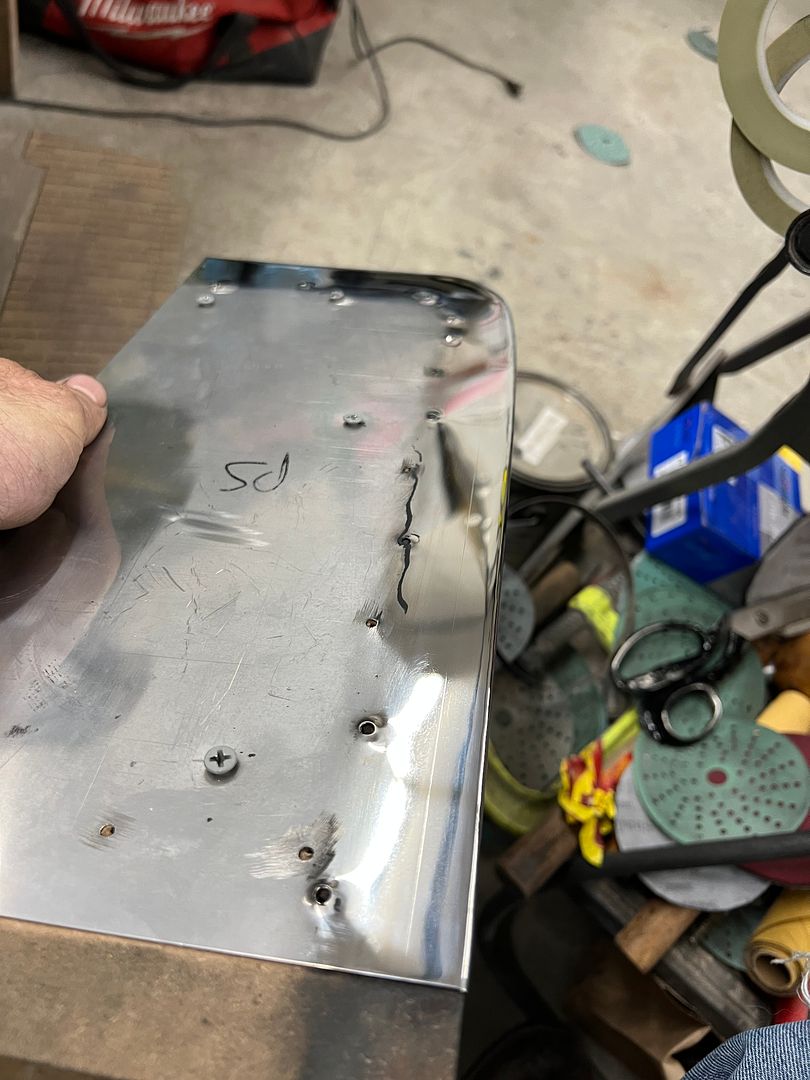 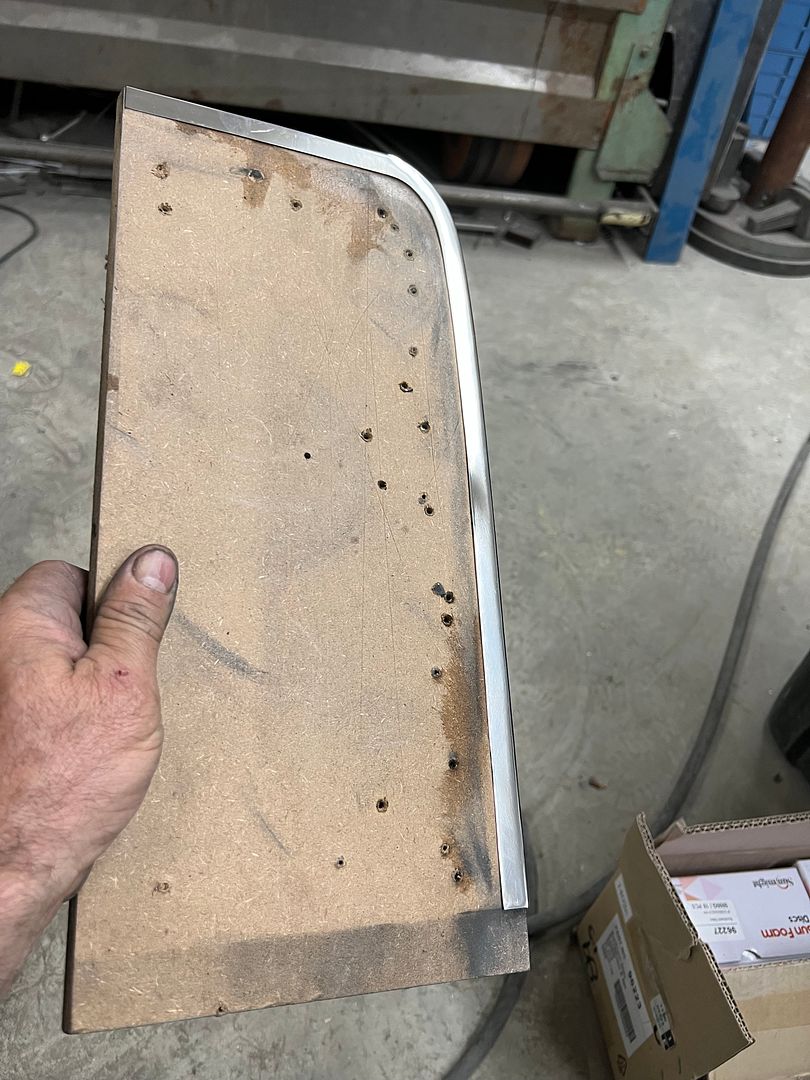 Test fit looks much better to match our one-off tailgate. 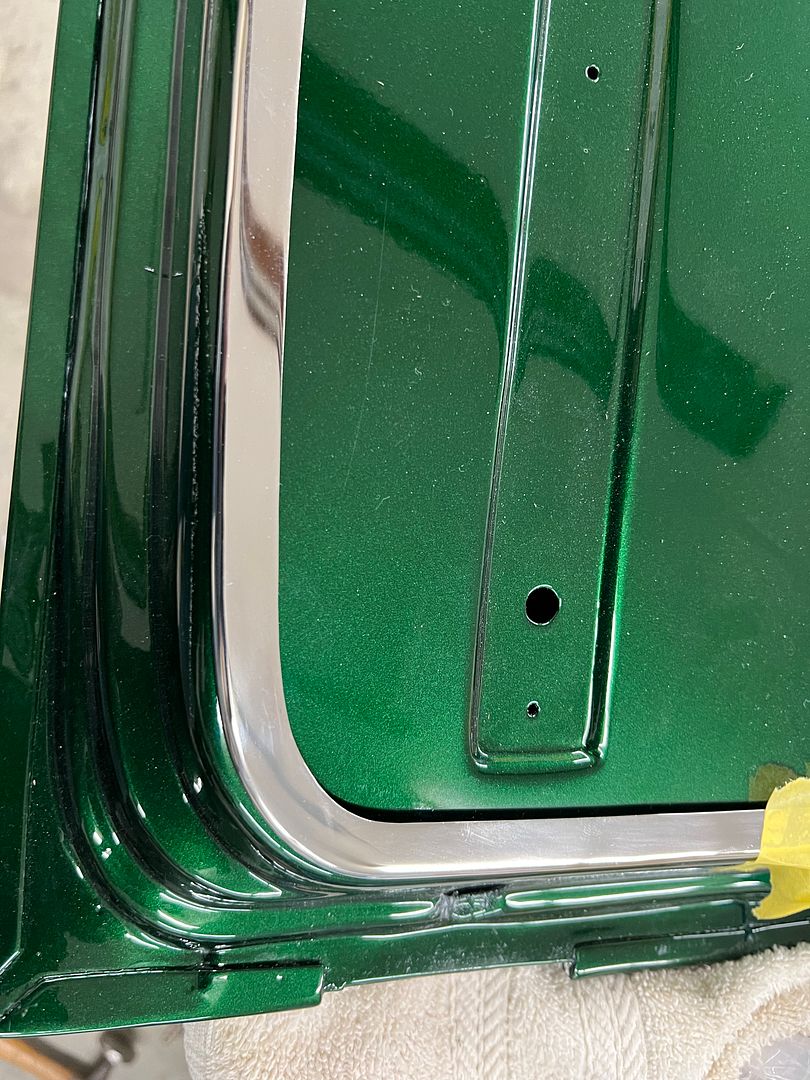 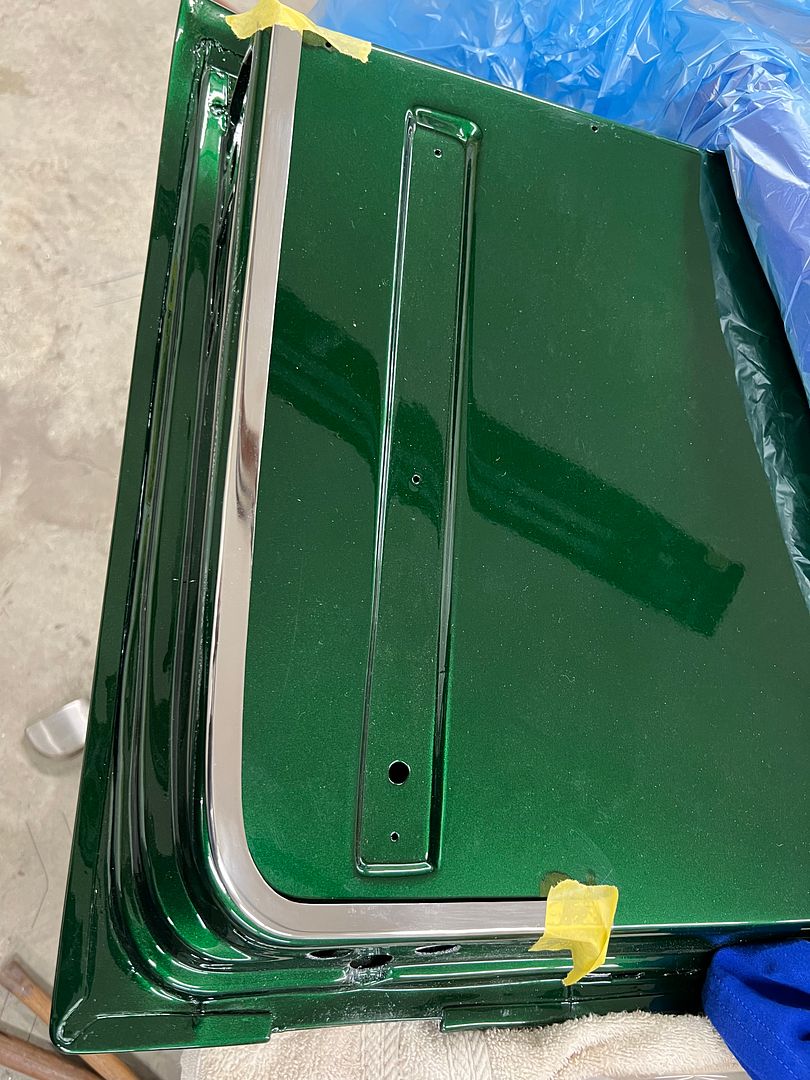 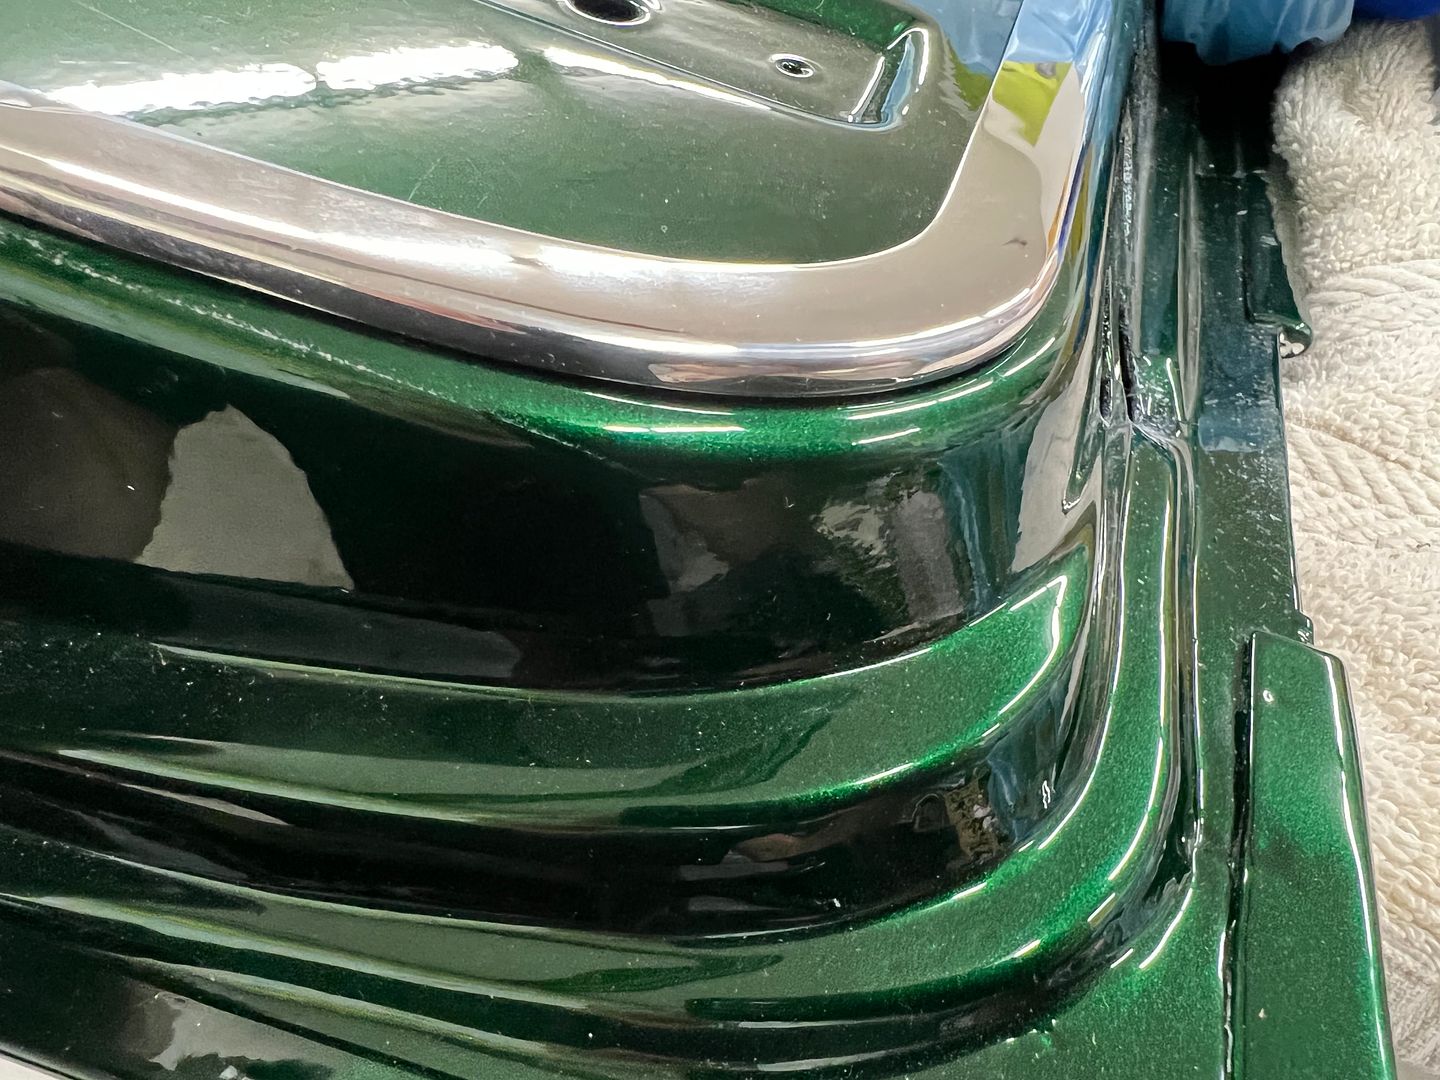
__________________
Robert |

|

|
|
05-09-2024, 08:50 AM
|
#1377 |
|
Registered User
Join Date: Jan 2013
Location: Leonardtown, MD
Posts: 1,635
|
Re: 55 Wagon Progress
We got the other side trim done for the tailgate and I had been asked to show the hammer form in more detail, so here's another go.. We actually started by pulling a paper pattern of the profile, some autobody masking paper is taped to hang over the edge, and the tracing done to show where to trim. Although we didn't have the plastic in the way at the time, here the pattern is after trimming.
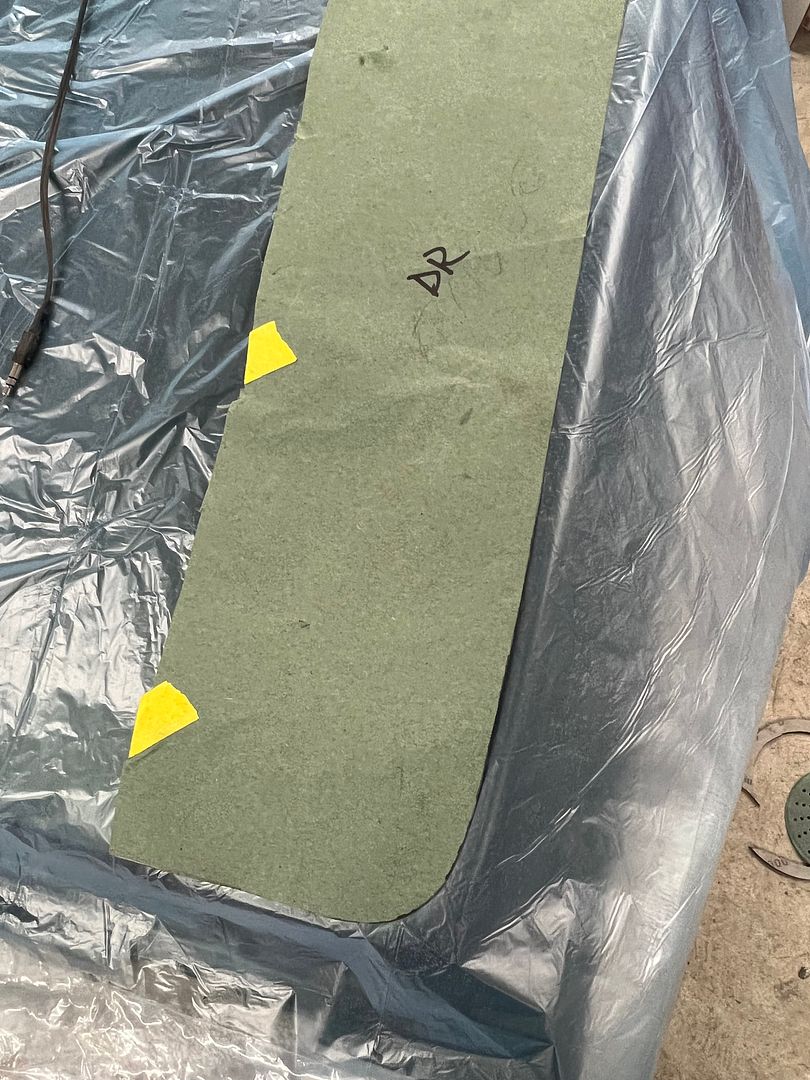 This is the pattern we use for the overall of the stainless, so that once the flange has been folded we will have a border of paint surrounding the trim (set in somewhat). Once the 19 gauge stainless has been trimmed to match our pattern, we use the tipping die in the Lennox to thin the "bend line", this gives the metal a suggestion of where it needs to bend so we should have a somewhat sharper crease given how the MDF tends to compress under a hammer blow. Where I would normally use one of our round backstops on the lower die, this shows to leave us without contact with the backstop at the initial entry and final exit from the machine, as the backstop is centered on the die. To correct that, we opted for 3/4 flat stock that gives us contact the entire width of the die set. 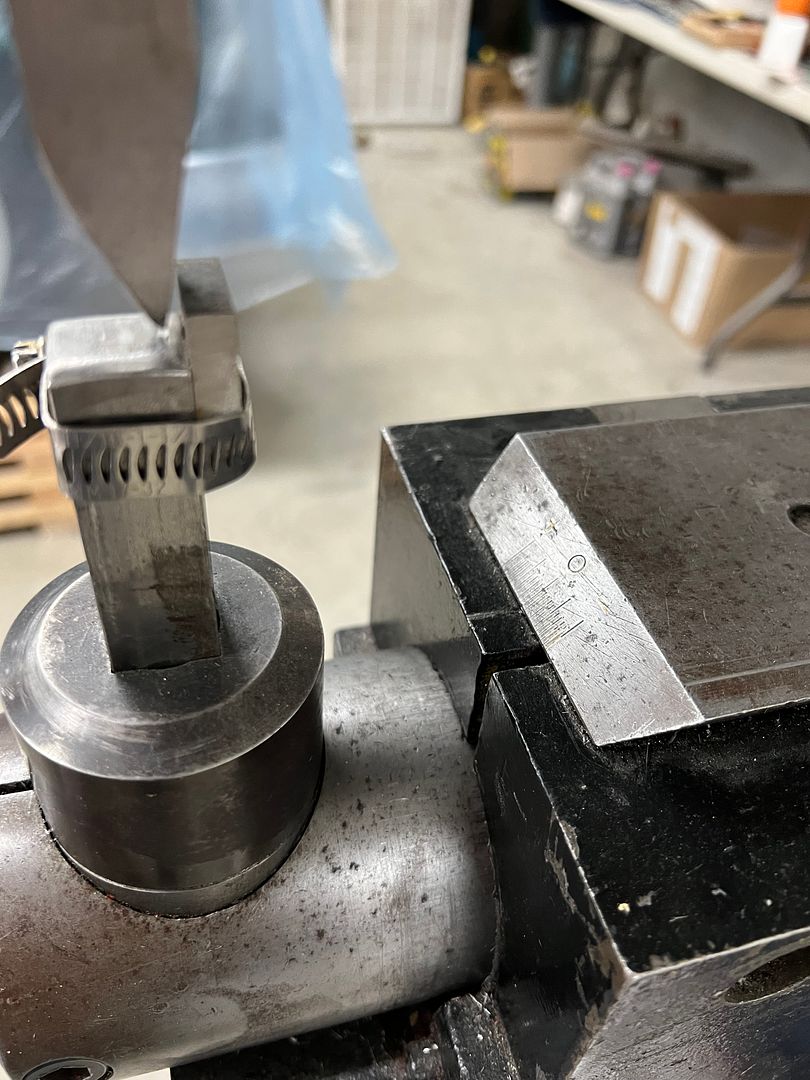 The backstop distance sets the height of the side flange of the trim, and here is the stainless after running through the tipping die for thinning the bend line. 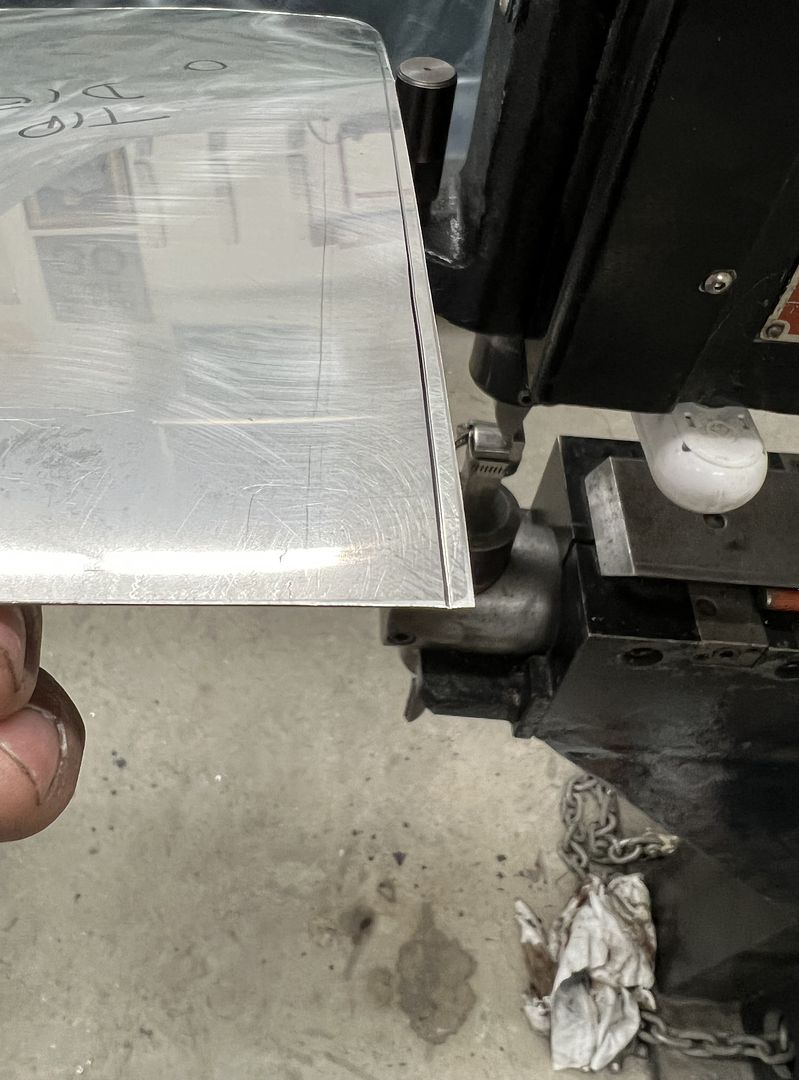 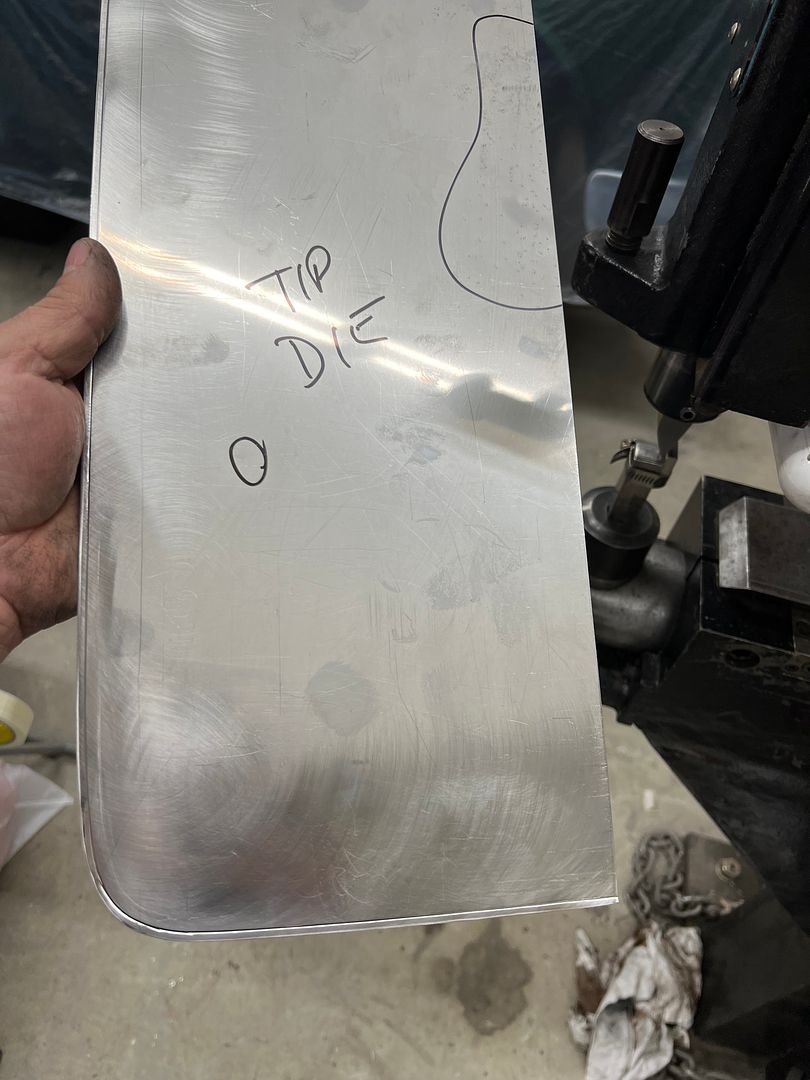 Then the stainless is clamped between our MDF hammer form, note the outer portion of the hammer form matches the thinned bend line exactly. 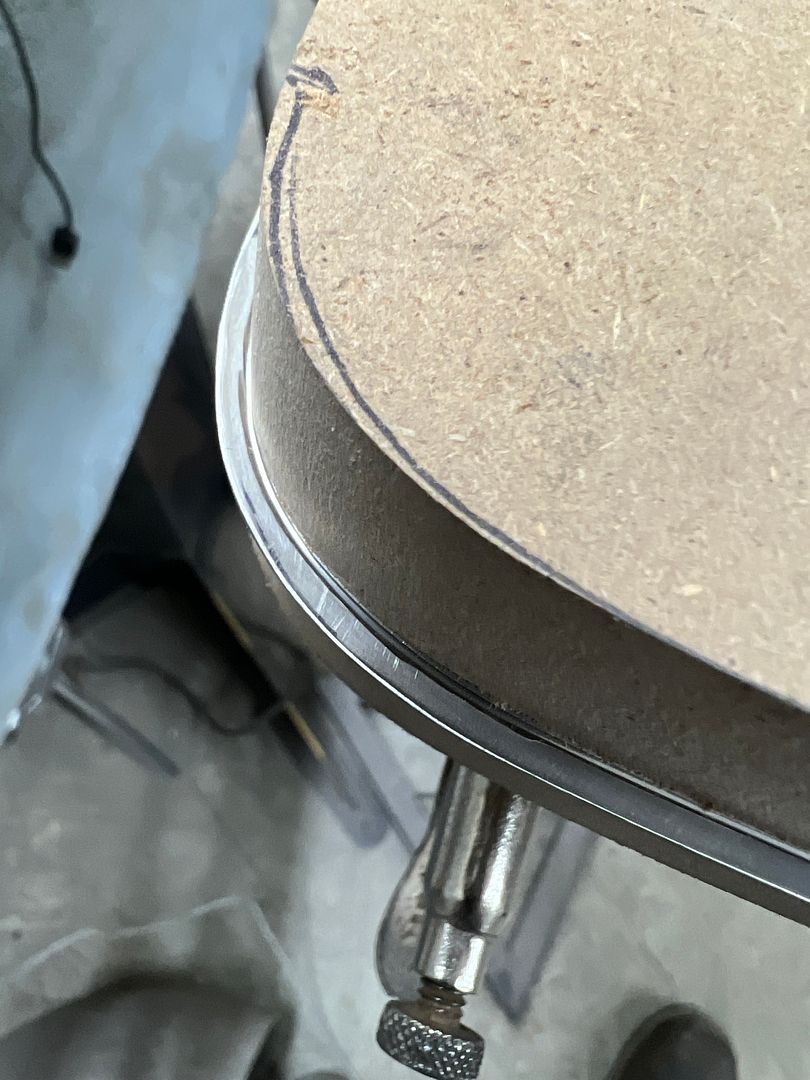 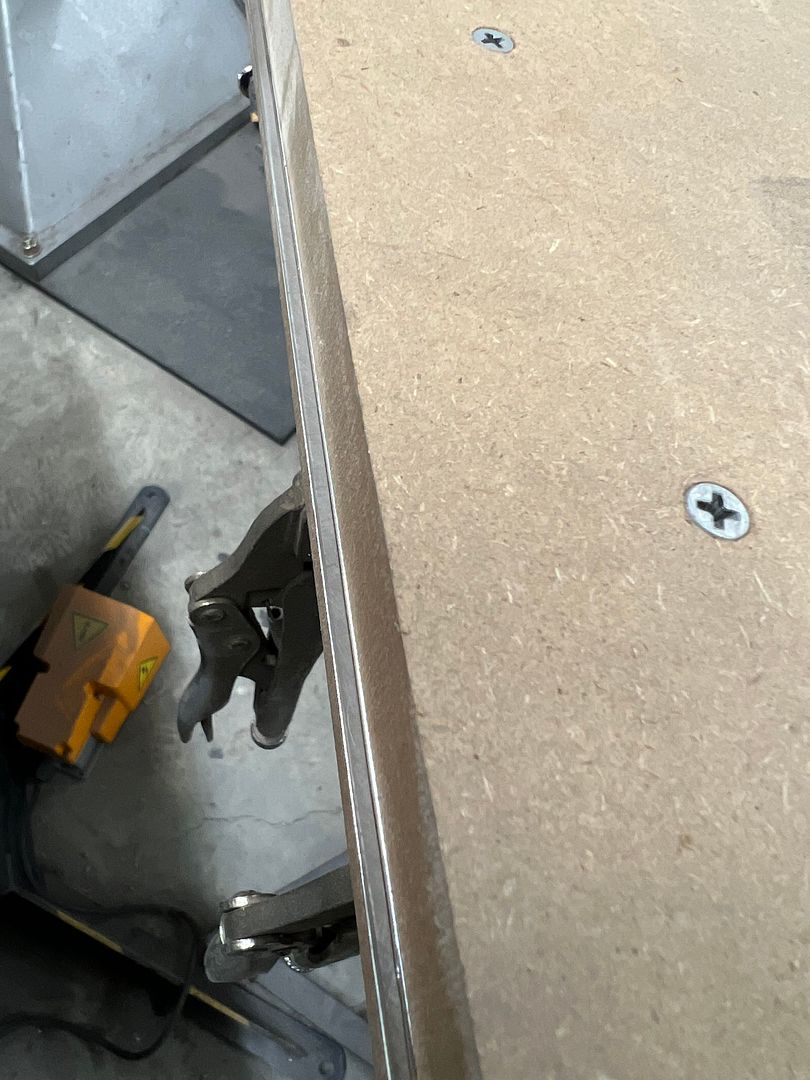 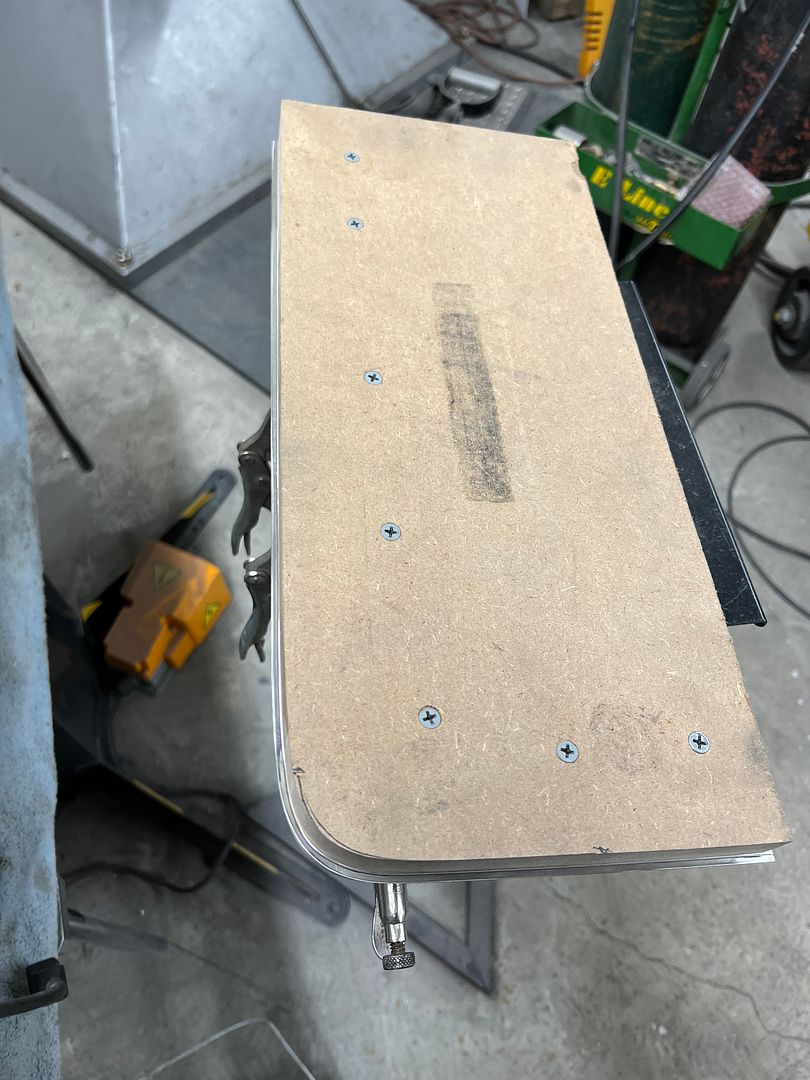 The Sandwich is held together with screws and then clamped in the vise for the hammering operation... https://youtube.com/shorts/5WiGK0550...bhT7Mo5BjpPIHR Once complete the bottom half of the hammer form becomes a stable base for pre-polishing, and some shorter screws are used to keep thing in unison. We use our typical polishing sequence of 400, 800, 1500, and then polishing on the buffer using green compound for a darker hue. https://youtu.be/3OGAjPCnGwQ?si=cryFGWW1Q2eeEVfL After the initial polish, the outer flange is covered with masking tape (to protect from scratching at this next step) and calipers are used to set the width and mark the cut line, like shown here.. The bulk is trimmed away using our Milwaukee M18 shears, and final done using Wurth snips. The edge is fine tuned with our Dynabrade belt file, and then the holes are located and dimple countersunk. Then another polish job, and all the parts are located in prep for drilling the screw holes into the tailgate. Really happy with the nice parallel setback from the edge with these new trim pieces to match my patch panels. 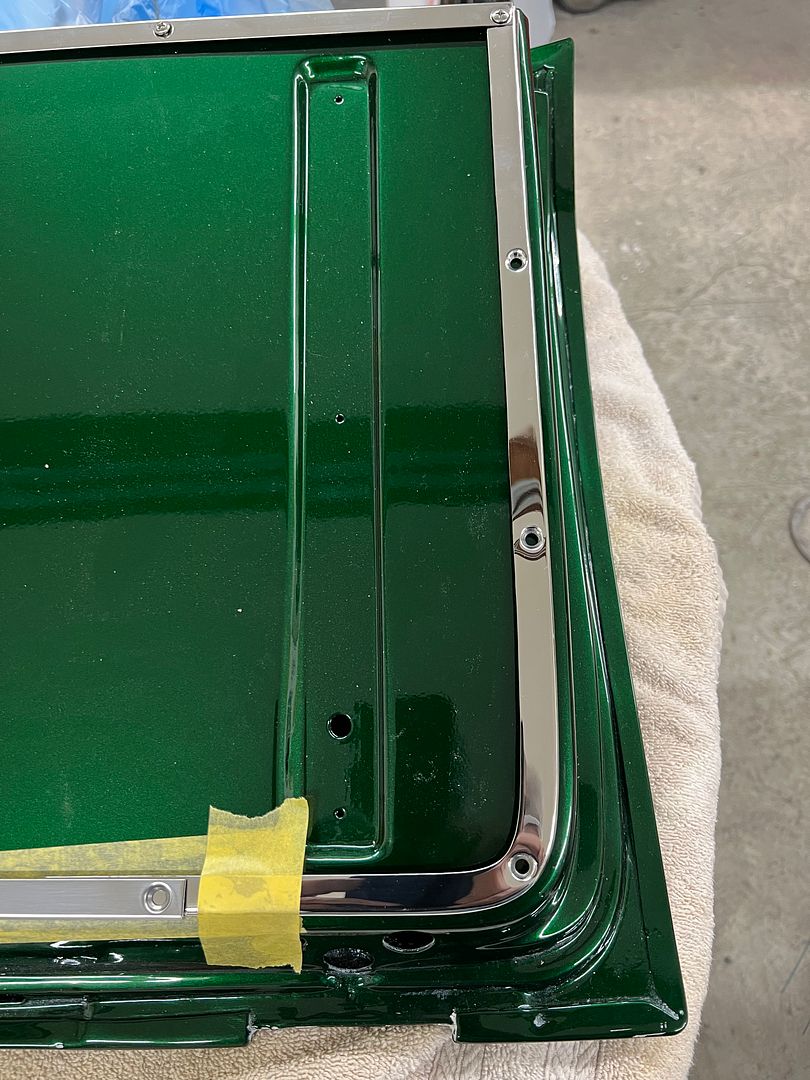 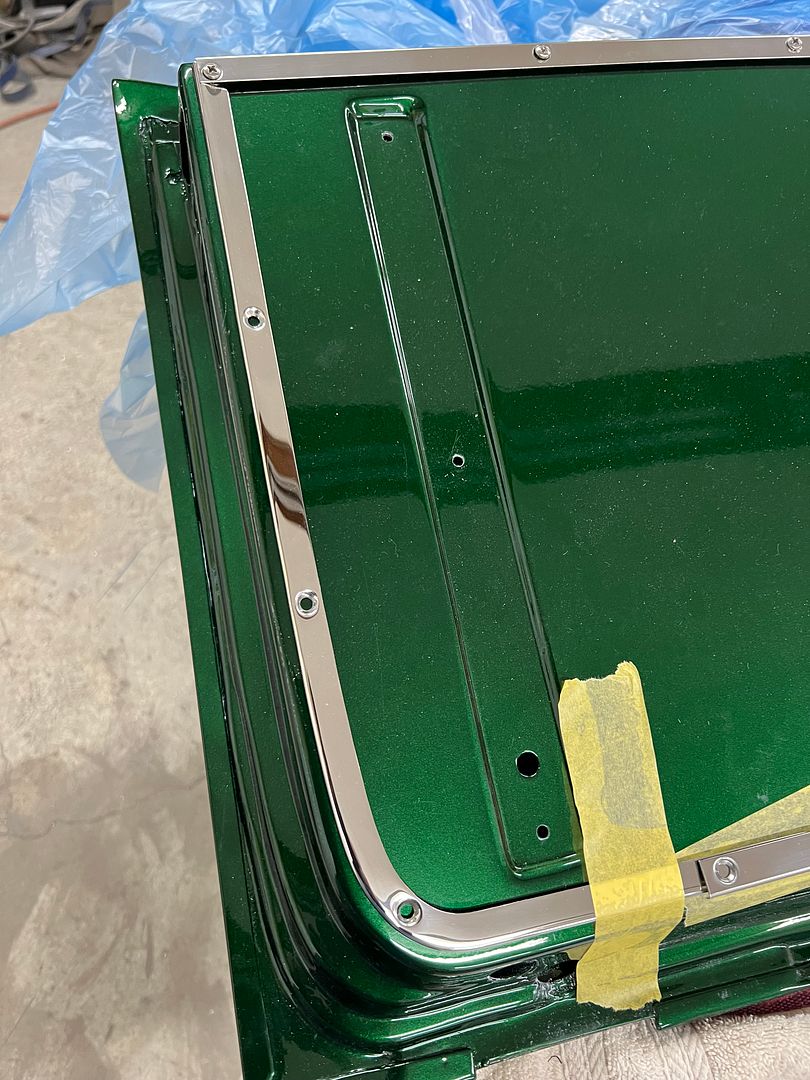 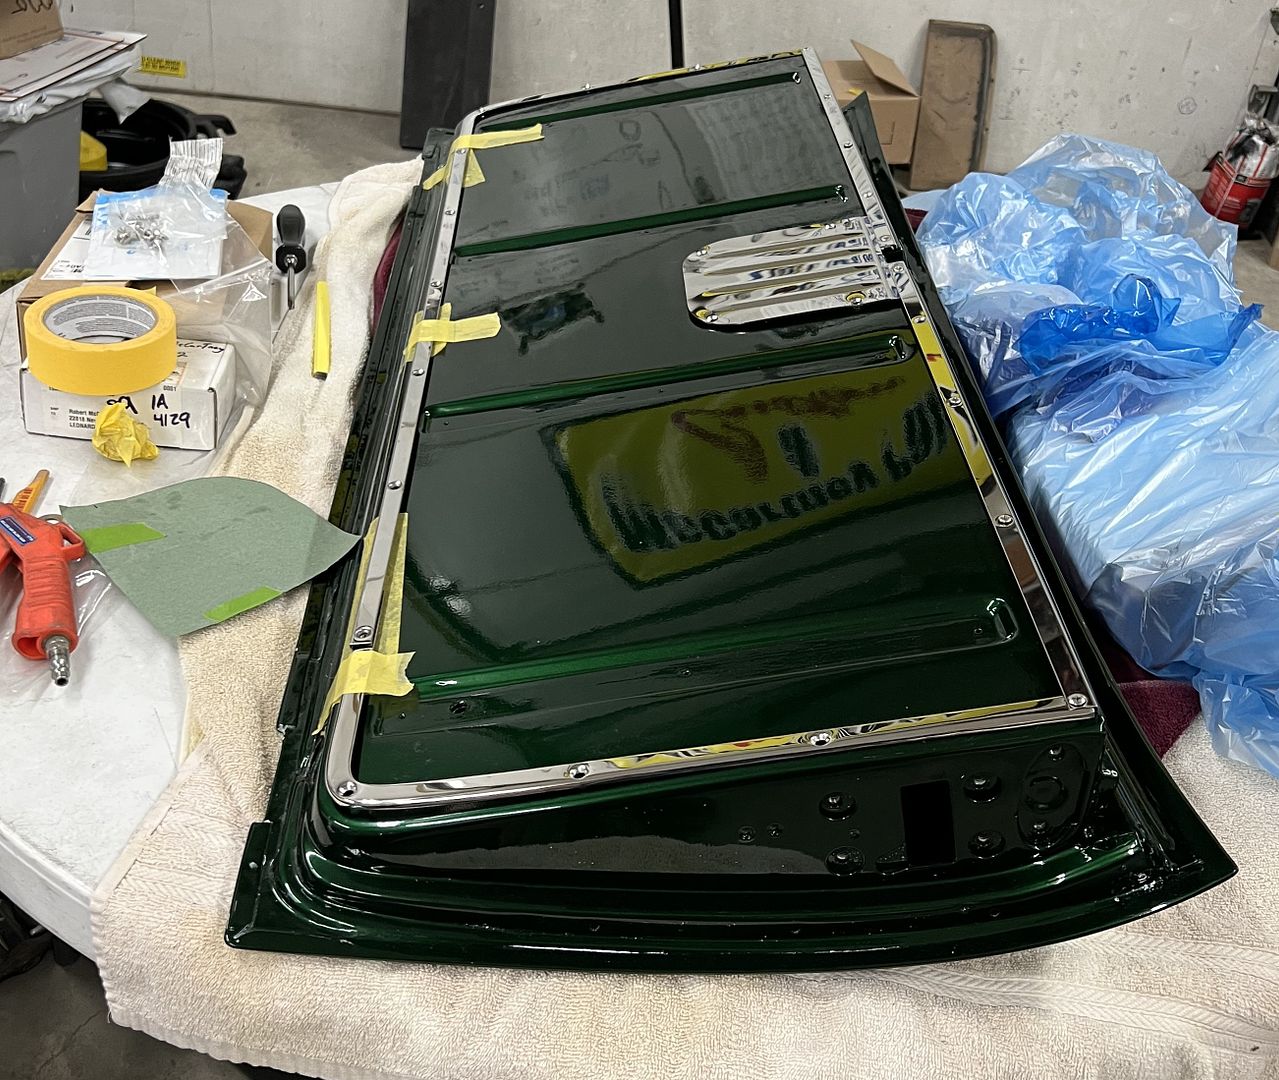 Next we'll get all the holes drilled and our upholstery added in the center...
__________________
Robert |
|
|
|
 |
| Bookmarks |
|
|


 Linear Mode

