
 |
Register or Log In To remove these advertisements. |
|
|
|
|||||||
 |
|
|
Thread Tools | Display Modes |
|
|
#1 |
|
Registered User
Join Date: May 2008
Location: 204
Posts: 903
|
My repro hatch adventure
You may have heard me previously *****ing on here about the quality of the aftermarket hatch I bought.
Well after a year of it sitting around and a few unanswered emails to Bowtiebits.com which I understand is the manufacturer of these fine pieces of crap I decided to take matters into my own hands and fix it myself seeing as how I am into it for almost $600. This is my story. The main problem was that handle guts are no where near close to fitting into the hatch like they should. Here are some comparison pictures with an original hatch 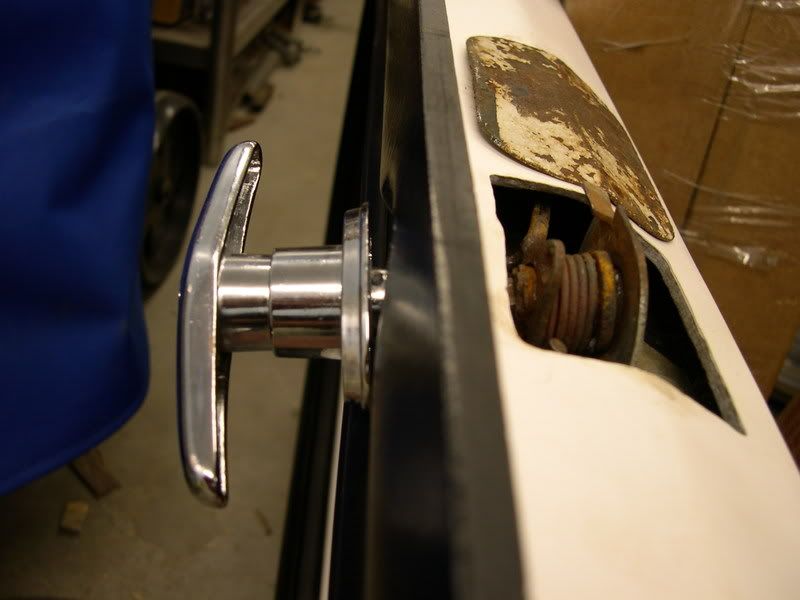 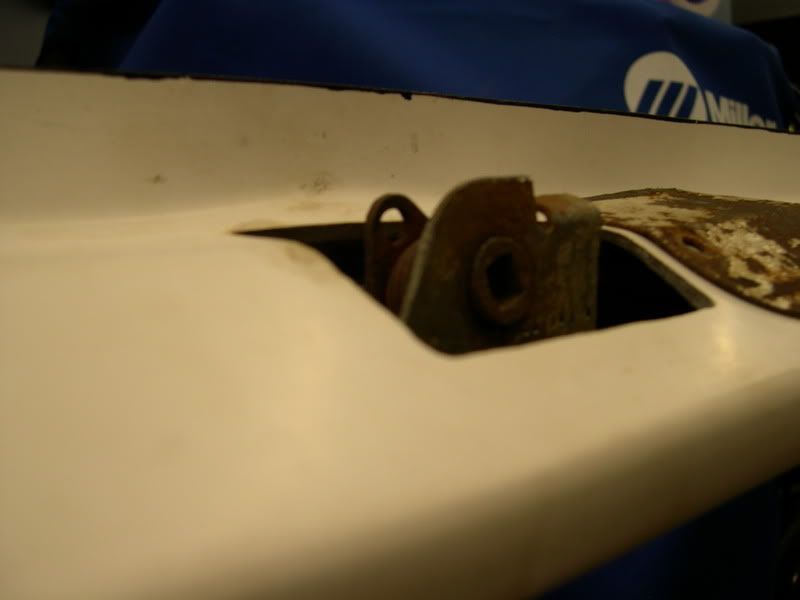 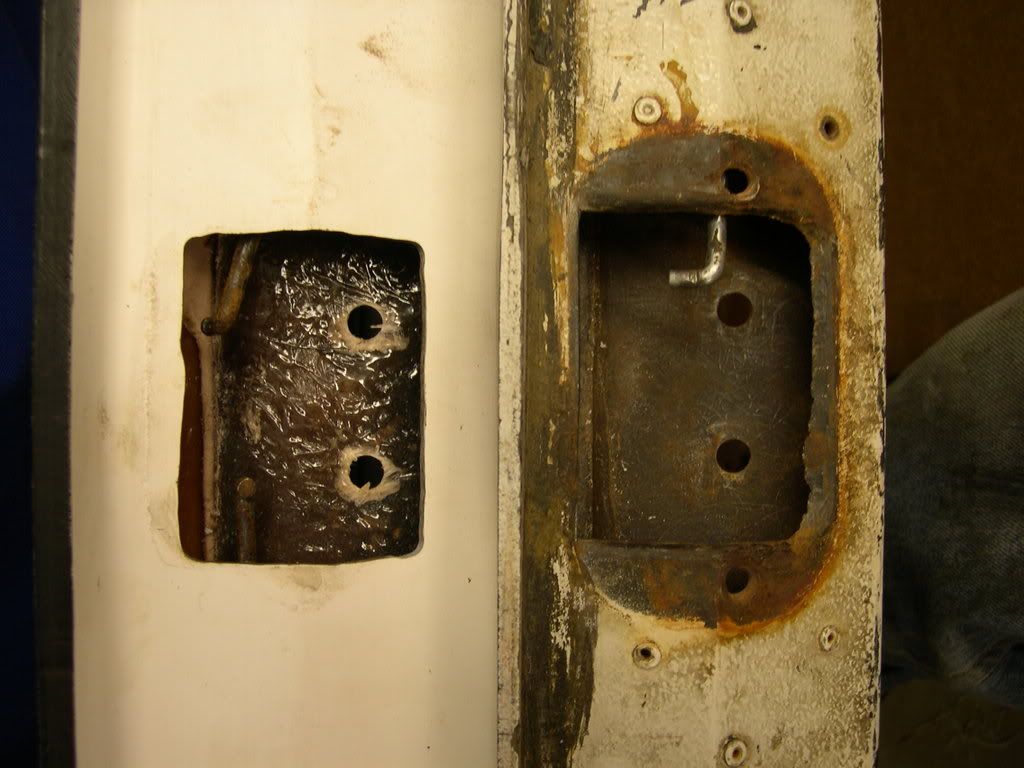 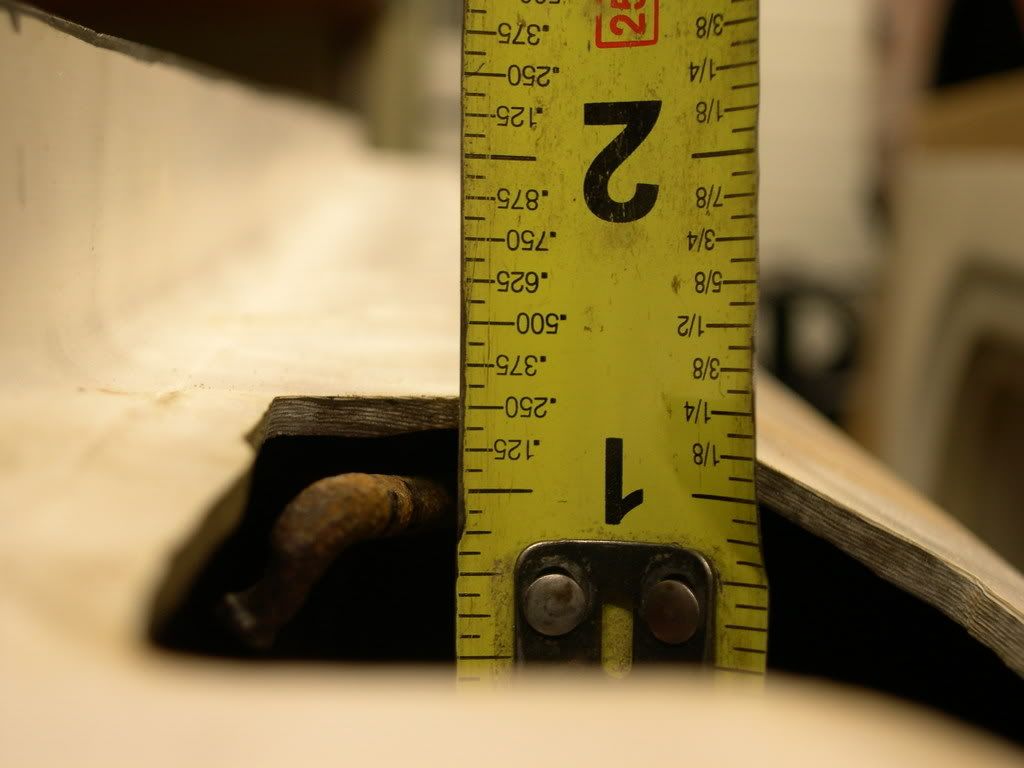 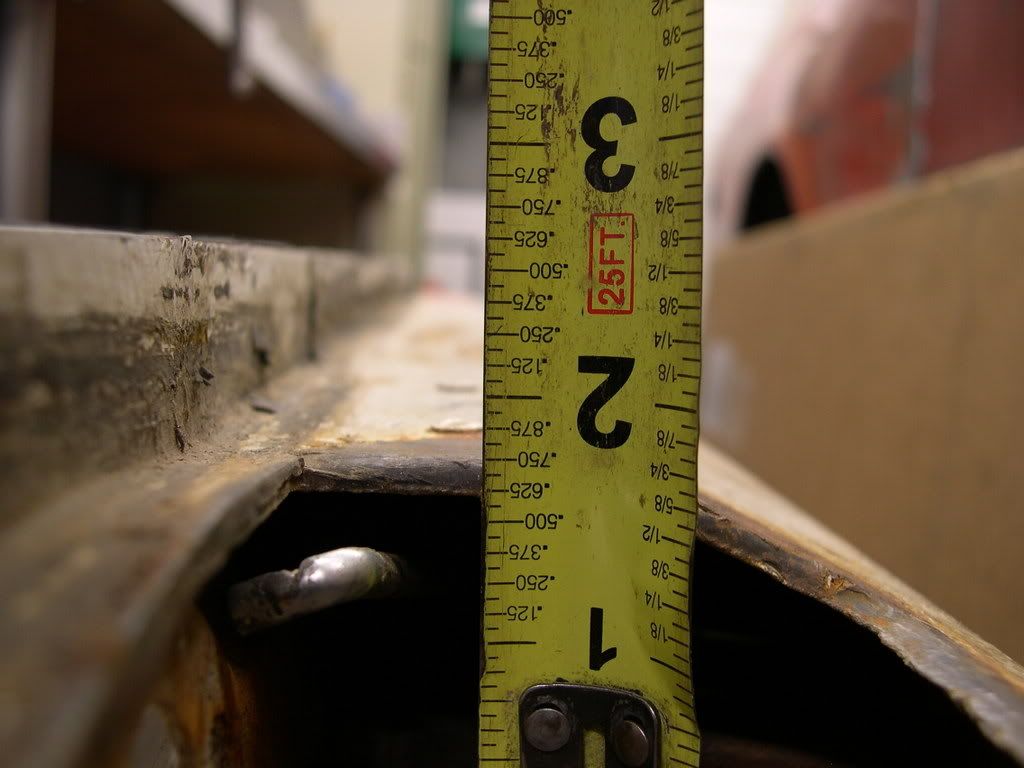 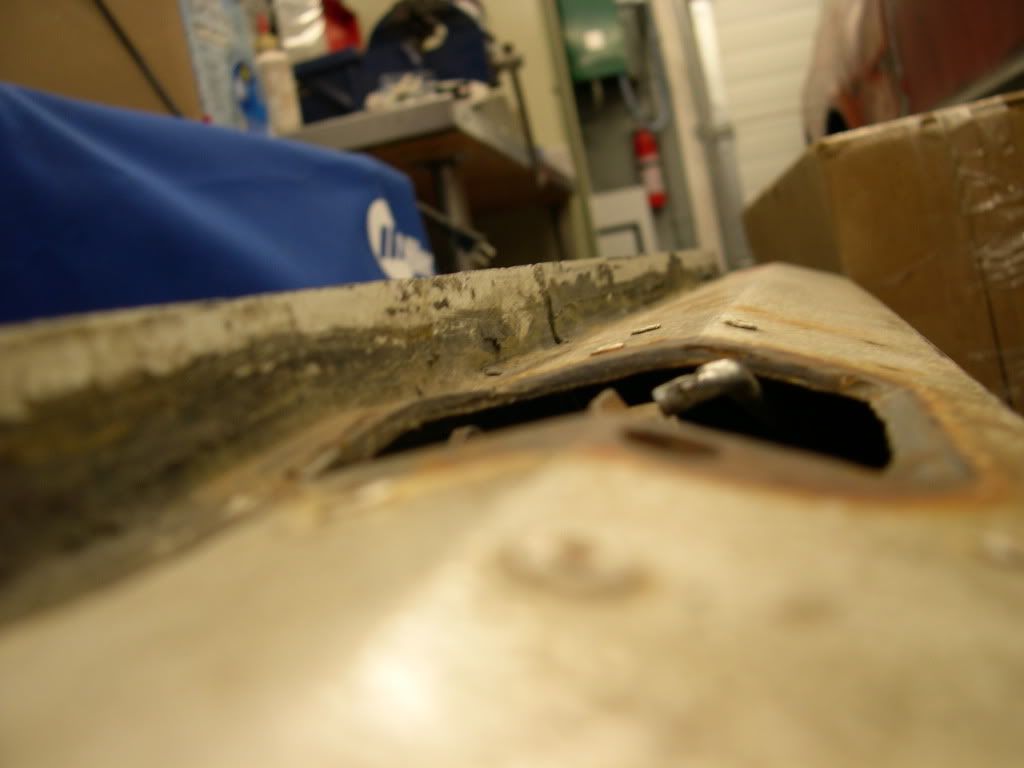 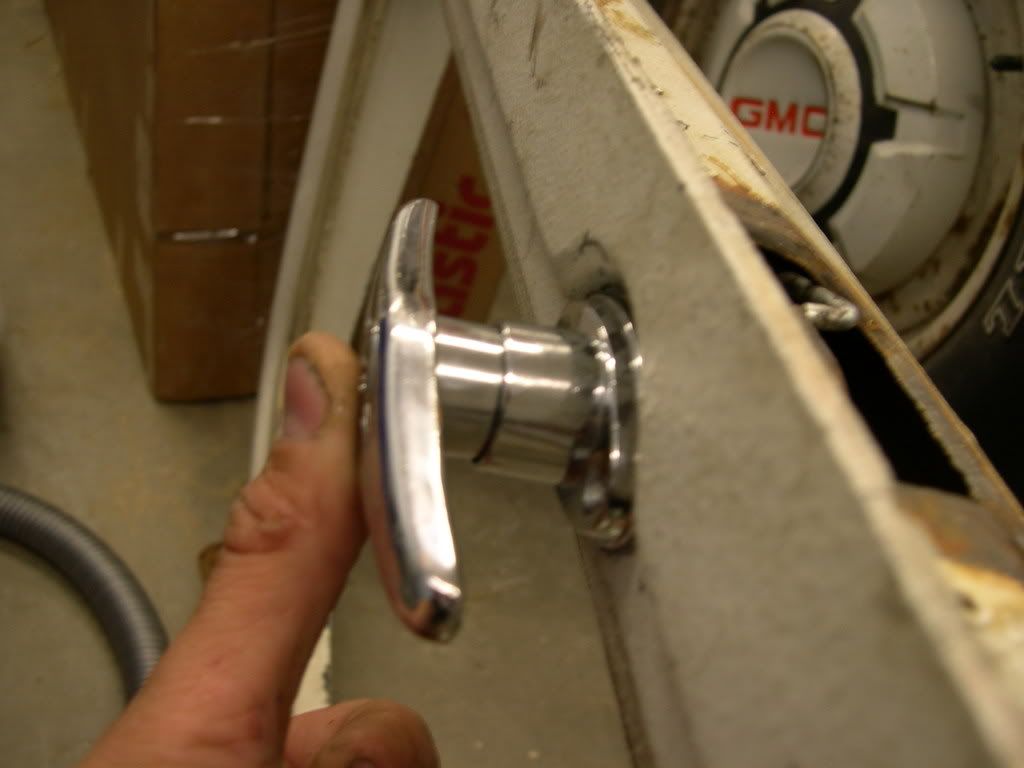 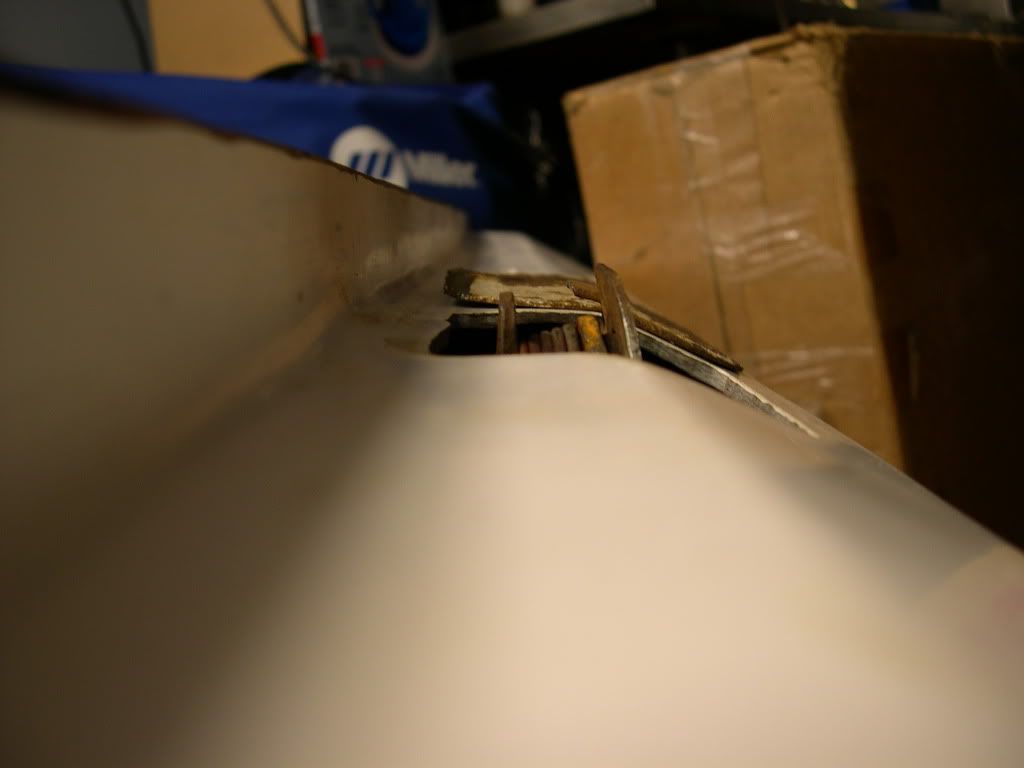
__________________
1969 Chevy Custom Camper 3/4 ton Rust free survivor 1972 Chevy Blazer CST 4x4 Almost Rust free survivor 1972 GMC Jimmy 2wd Undergoing surgery |
|
|

|
|
|
#2 |
|
Registered User
Join Date: May 2008
Location: 204
Posts: 903
|
Re: My repro hatch adventure
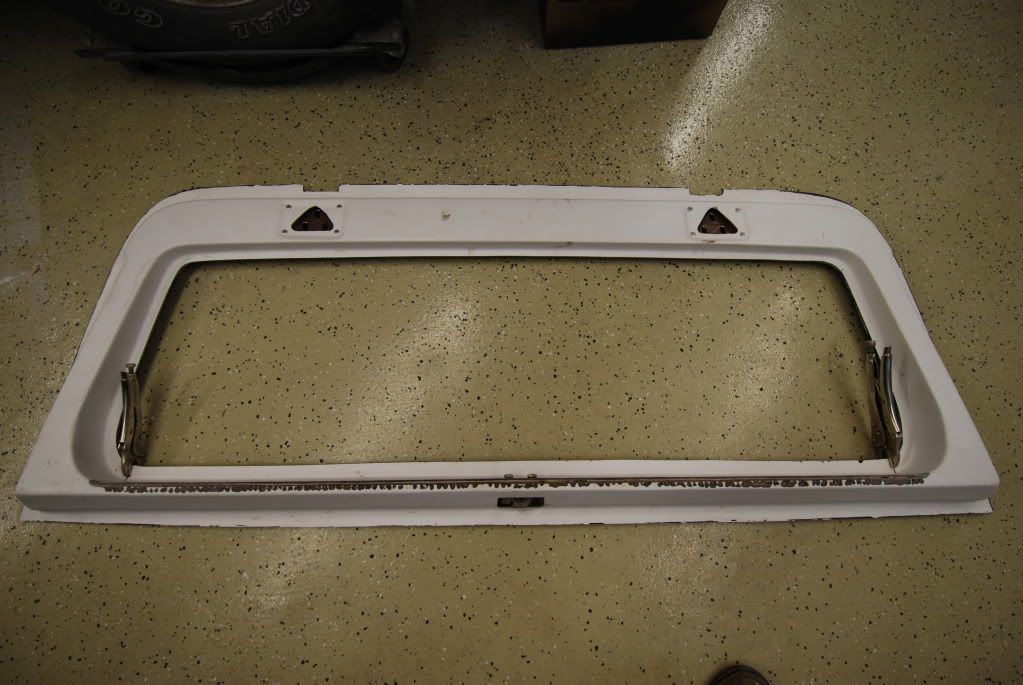
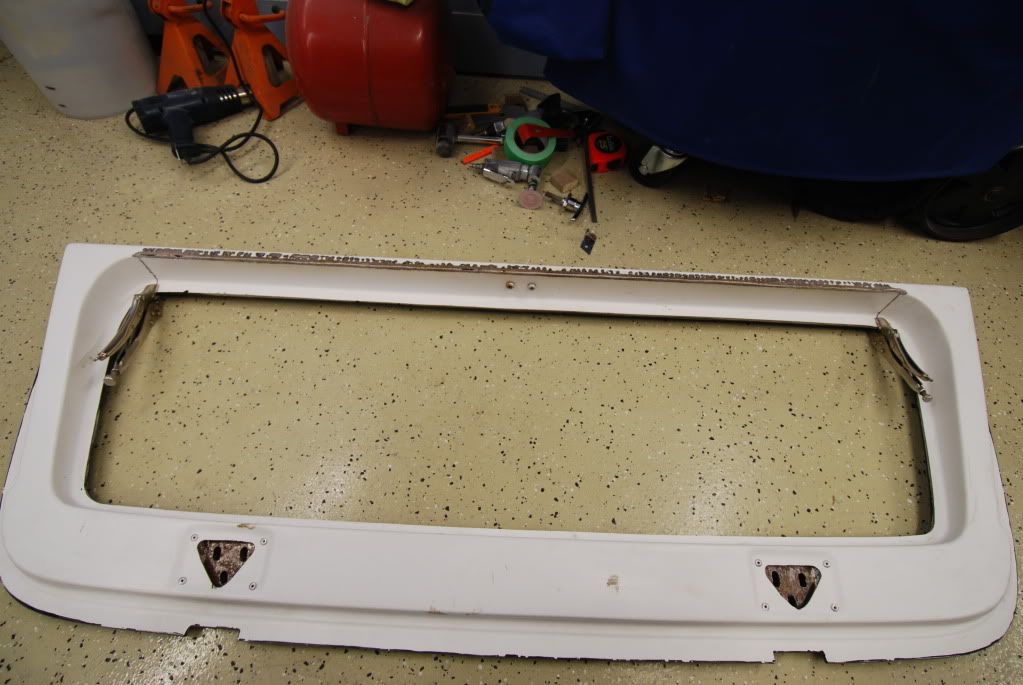
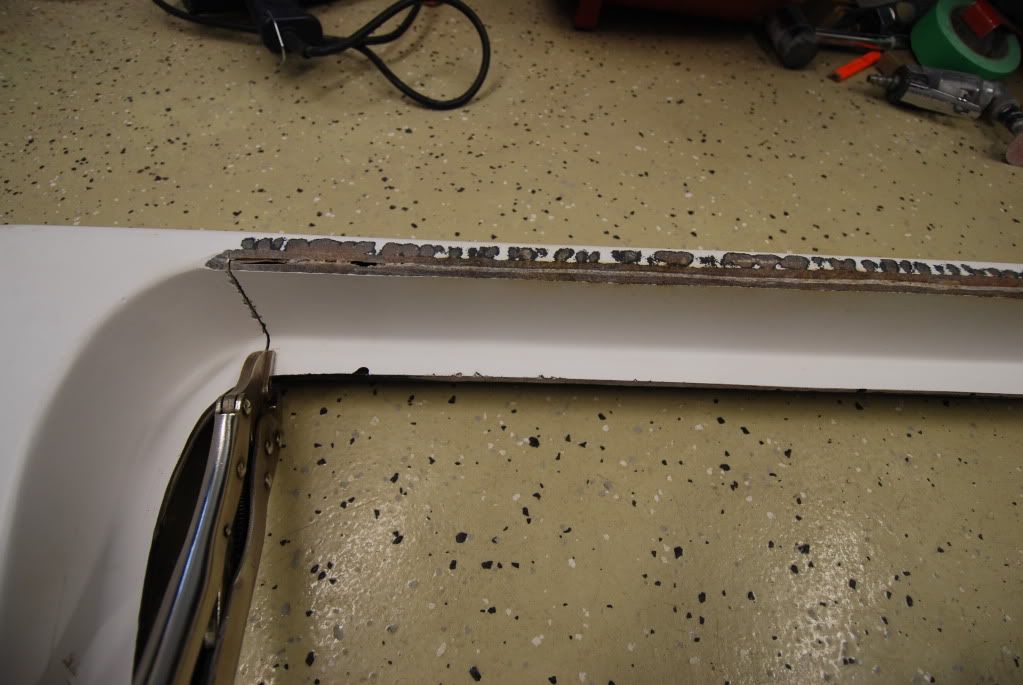
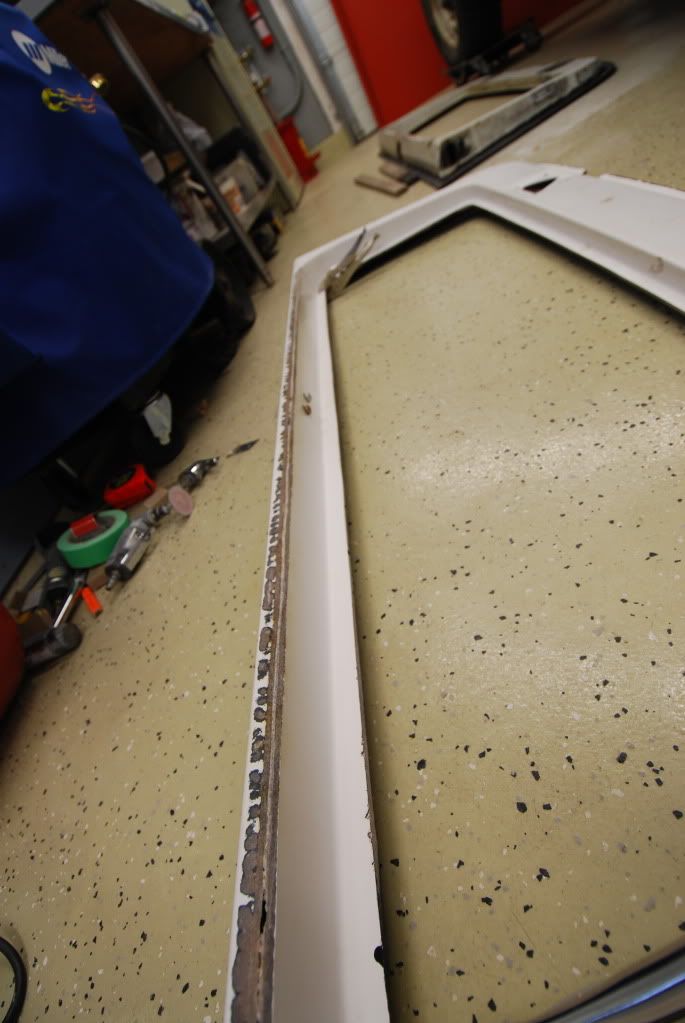
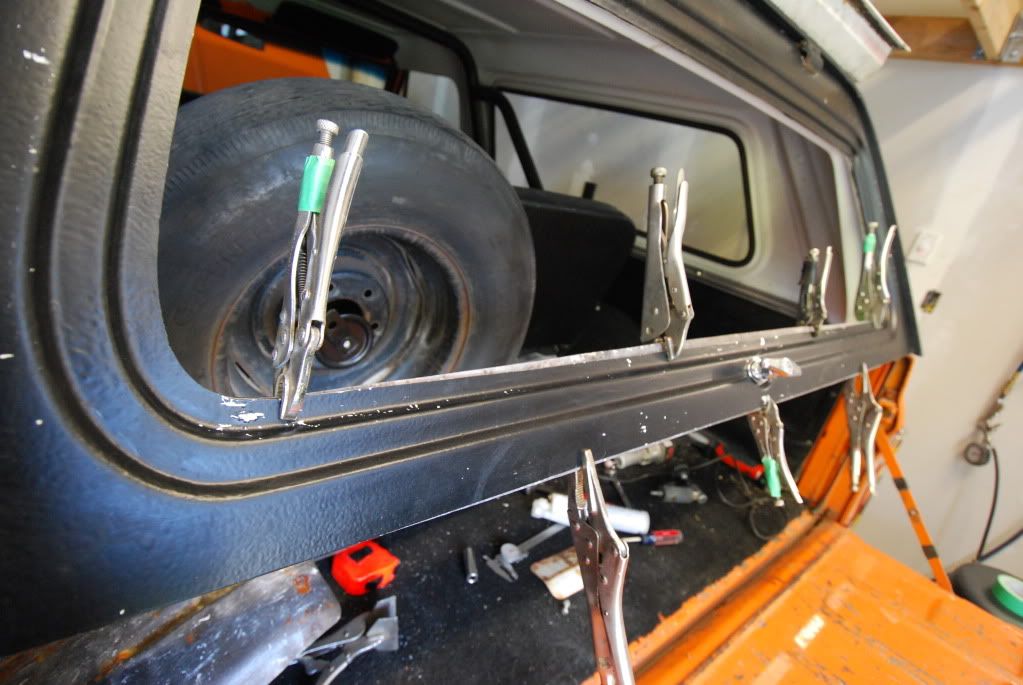
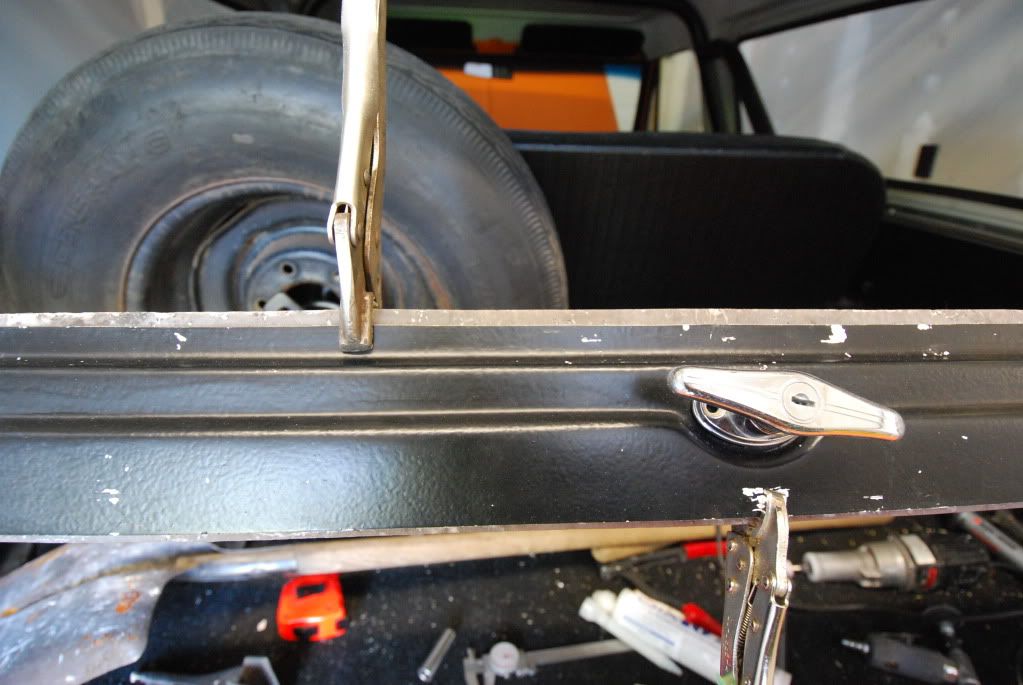
I started by separating the two halves of the hatch, just at the bottom. Once I did that I realized that this fiberglass isn't at all bendable. I then cut slits at either end of the hatch to allow it to move. Still wouldn't bend so I took a grinder and cutting wheel to the entire length of the hatch between the two slits grinding down the fiberglass. Now it would bend a bit but not stay in place. So out came the heat gun. Putting a fair amount of heat into it allowed me to bend the fiberglass and get it to stay in position, clamping it and letting it cool allowed it to stay in that form.
    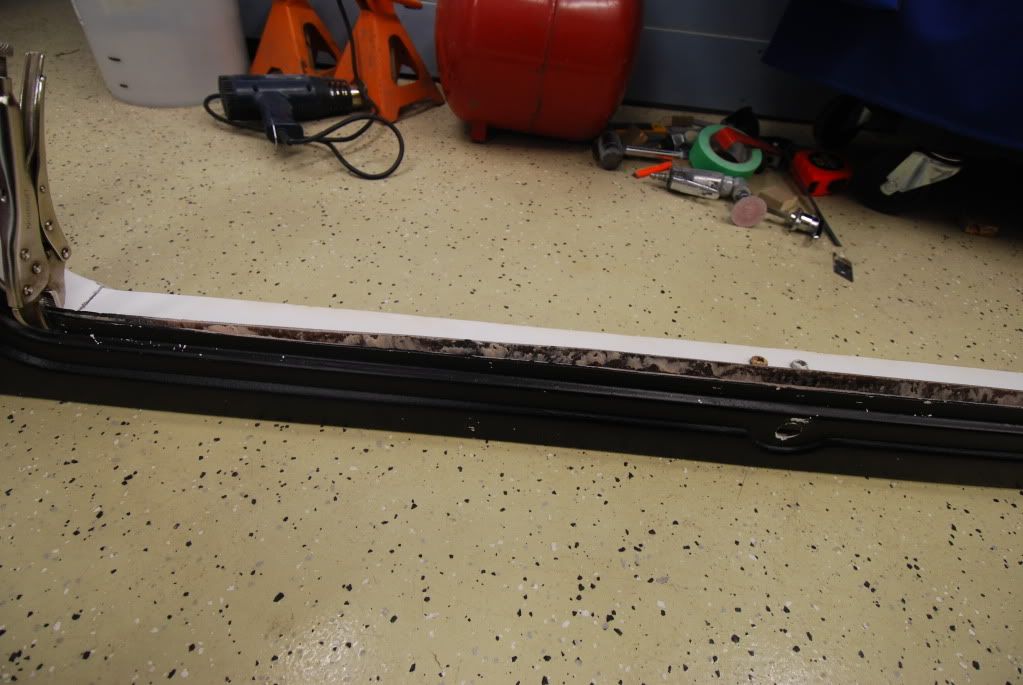 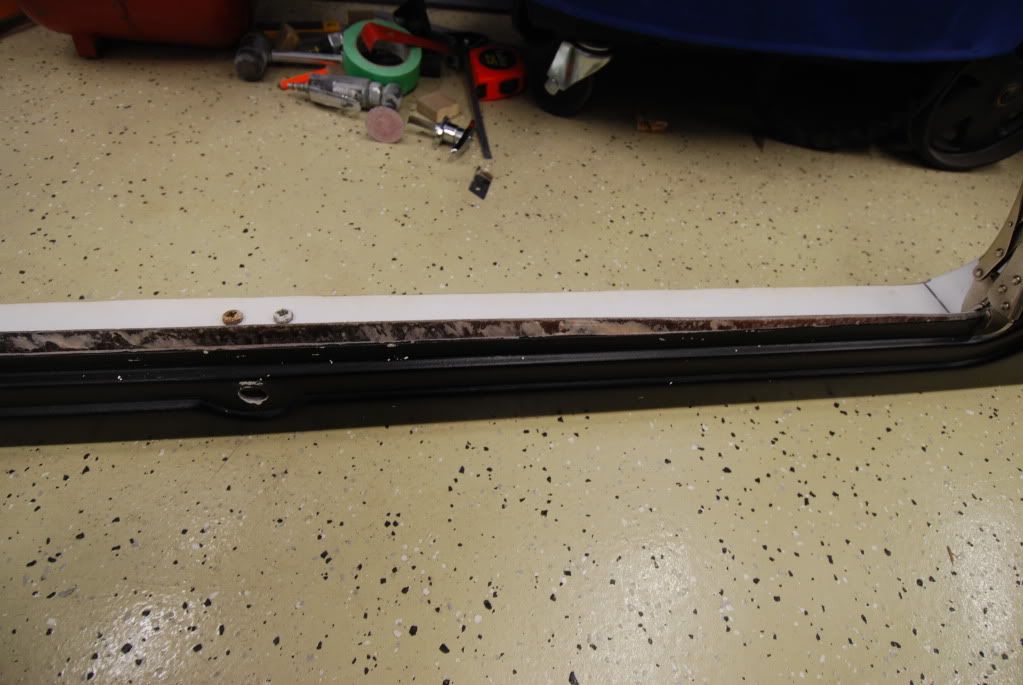 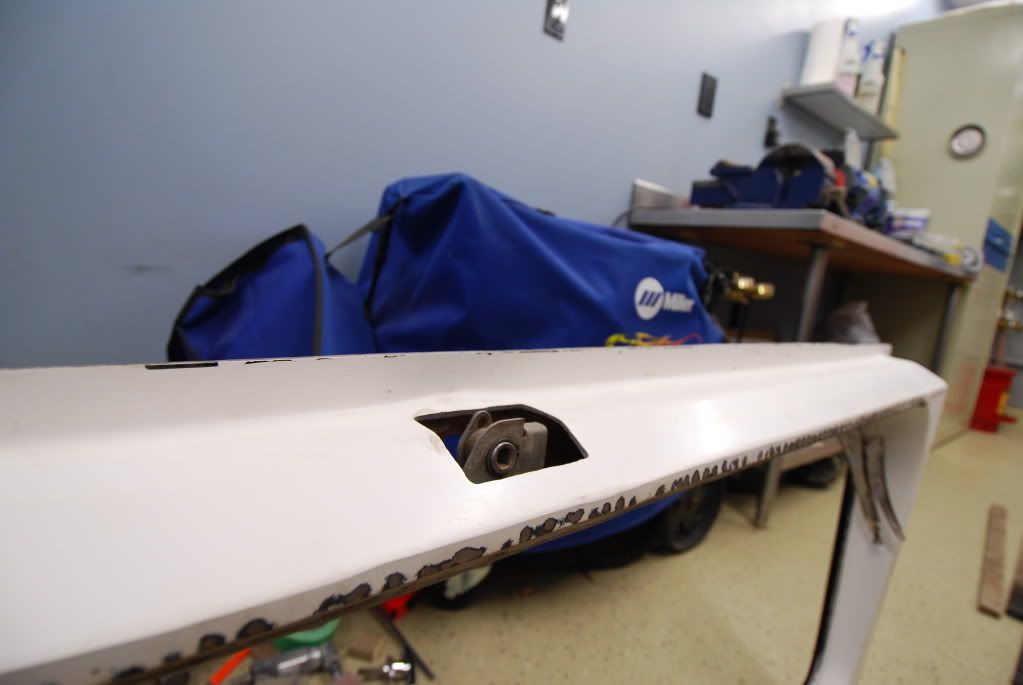 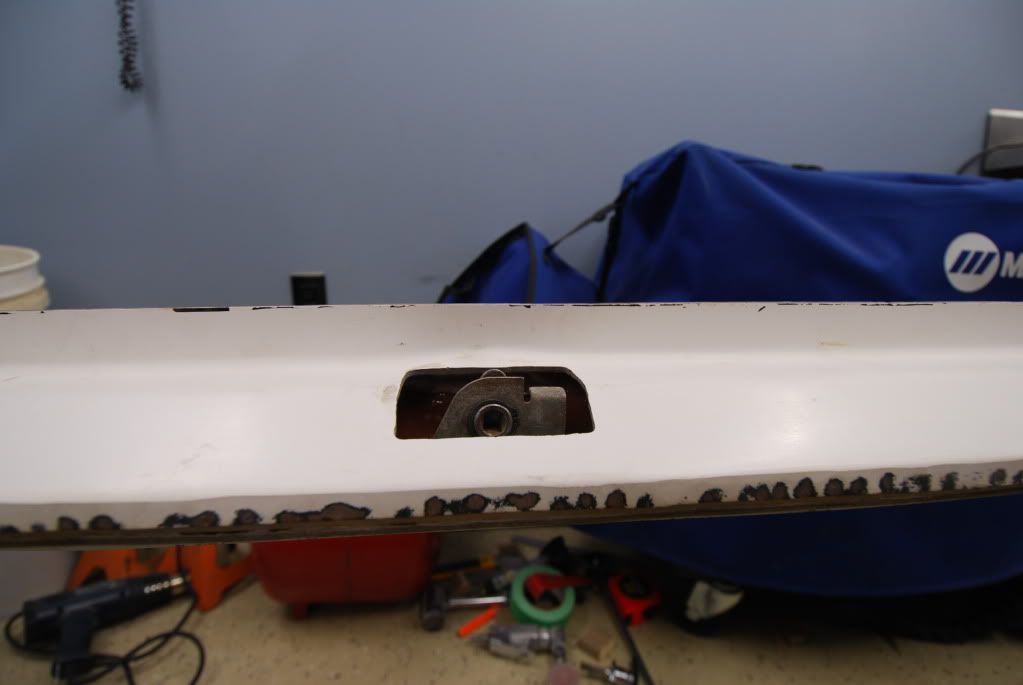  
__________________
1969 Chevy Custom Camper 3/4 ton Rust free survivor 1972 Chevy Blazer CST 4x4 Almost Rust free survivor 1972 GMC Jimmy 2wd Undergoing surgery |
|
|

|
|
|
#3 |
|
Registered User
Join Date: May 2008
Location: 204
Posts: 903
|
Re: My repro hatch adventure
Now I had to find a way to glue it all back together and rebuild up the part that I ground down and had weakened with the heat gun. I found some stuff at the local boating store that worked well. After about 60 clamps I got it all glued up. You can see in some of the pictures of around the window opening of how much it actually had to be bent to have the hardware fit inside the hatch. After all that was done and the built up area was smoothed out and reformed to the shape it should be I had to make the window fit. Now right from the start before I touched it there was no way the window gasket would fit on the hatch. The fiberglass was a 1/4" too thick in most areas, so that had to be ground down to make it fit.
All in all I figure I have about 30 hours into this hatch. I can understand maybe having to trim a bit here and there but for the amount they are selling these for it seems unreasonable to me to have to -drill out and elongate the holes for the hinges -grind down the window flange to an acceptable size -completely reshape the bottom half to allow a STOCK handle to fit -add the sheet metal reinforcement that the hatch handle bolts to since it wasn't there -significantly enlarge the hinge pocket holes ...and the area where the supports arms attach to is so completely malformed there is no way I can repair it aside from cutting the whole thing out. 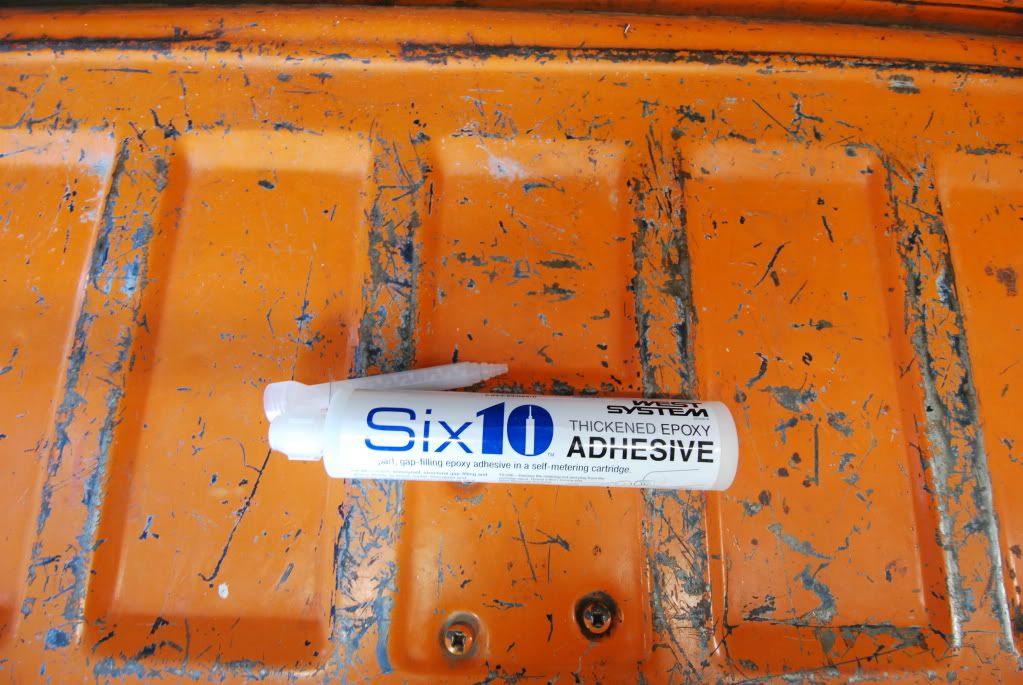 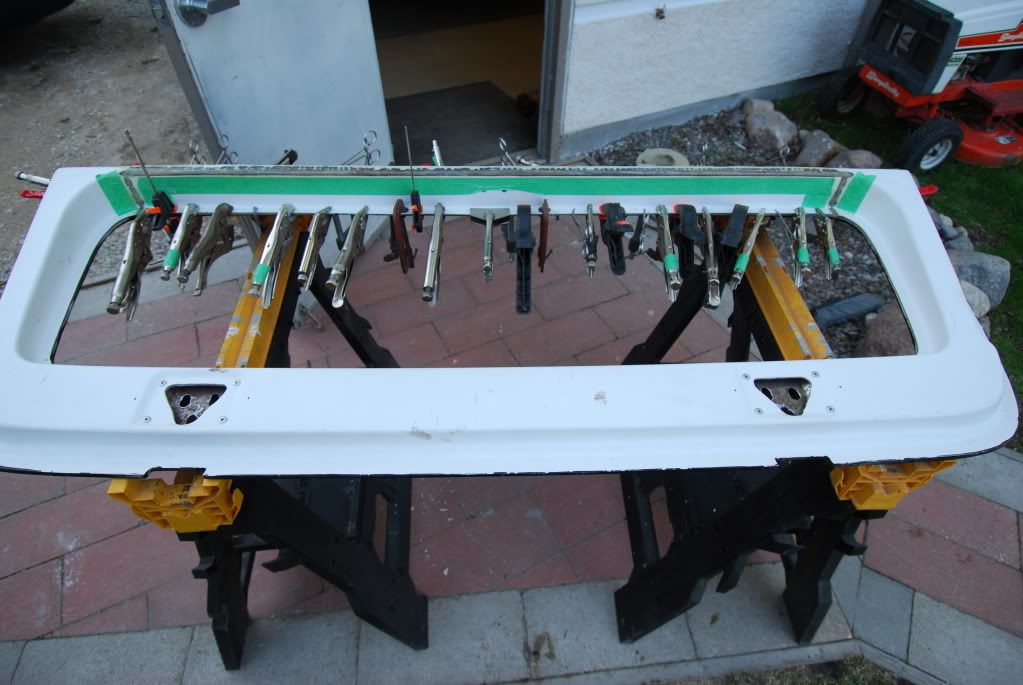 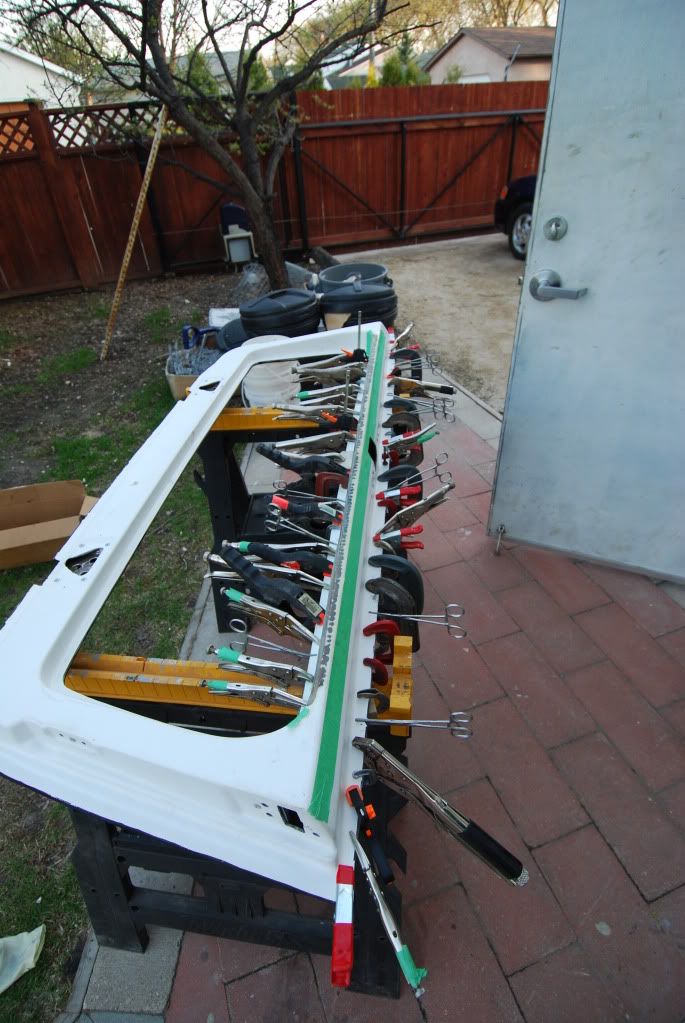 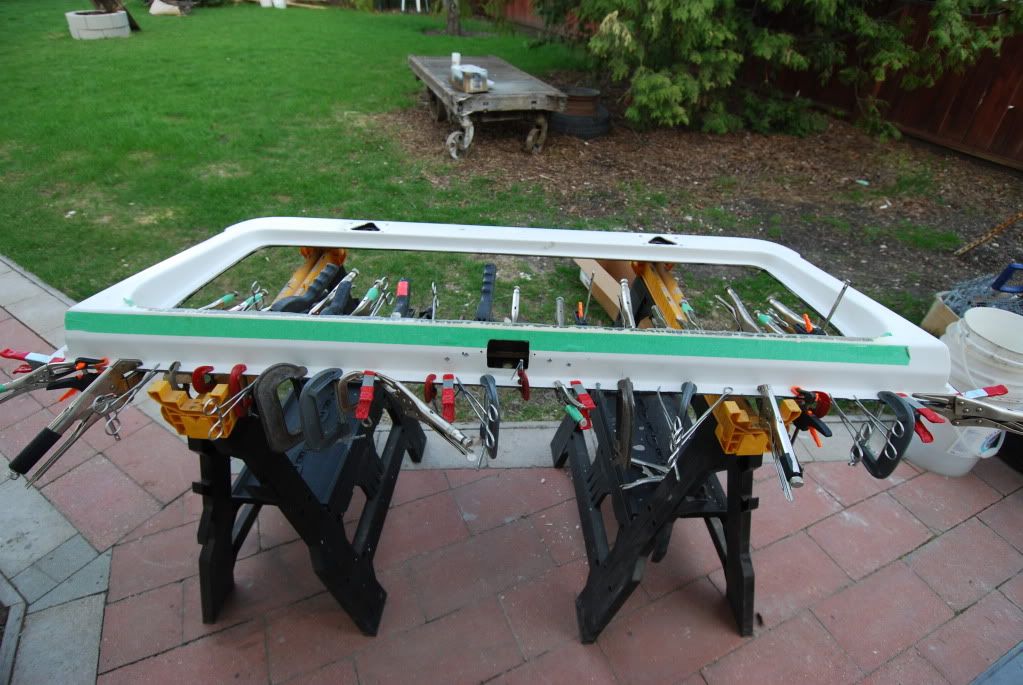 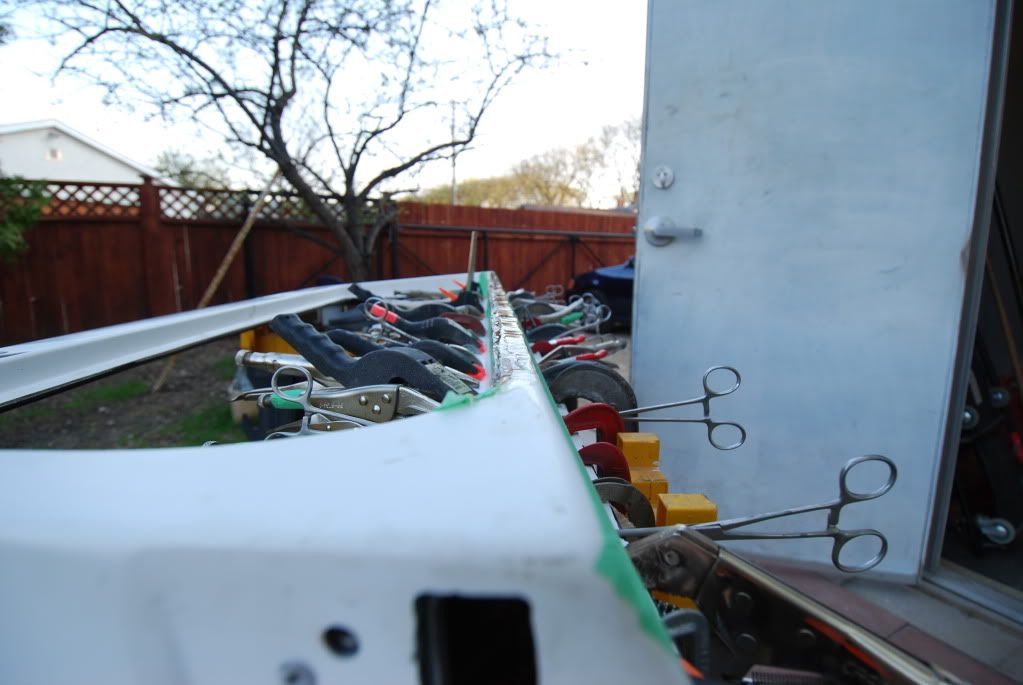
__________________
1969 Chevy Custom Camper 3/4 ton Rust free survivor 1972 Chevy Blazer CST 4x4 Almost Rust free survivor 1972 GMC Jimmy 2wd Undergoing surgery |
|
|

|
|
|
#4 |
|
Registered User
Join Date: May 2008
Location: 204
Posts: 903
|
Re: My repro hatch adventure
And not the best pictures but the finished product sans paint.
 
__________________
1969 Chevy Custom Camper 3/4 ton Rust free survivor 1972 Chevy Blazer CST 4x4 Almost Rust free survivor 1972 GMC Jimmy 2wd Undergoing surgery |
|
|

|
|
|
#5 |
|
Registered User
Join Date: Aug 2005
Location: Pasadena,Tx /Pto Pta DR
Posts: 5,415
|
Re: My repro hatch adventure
I like the extensive use of Hemostats
 Do you own all those clamps? Do you own all those clamps? Sorry I am not making fun of you. I was just amazed. You have more than we do. |
|
|

|
|
|
#6 |
|
Registered User
Join Date: May 2008
Location: 204
Posts: 903
|
Re: My repro hatch adventure
Lol, no I had to borrow some, I had to scrounge fast for anything I could find, 43min working time on the epoxy.
__________________
1969 Chevy Custom Camper 3/4 ton Rust free survivor 1972 Chevy Blazer CST 4x4 Almost Rust free survivor 1972 GMC Jimmy 2wd Undergoing surgery |
|
|

|
|
|
#7 |
|
the pollock
Join Date: May 2008
Location: abilene, texas
Posts: 4,423
|
Re: My repro hatch adventure
it is safe to say you got pissed off..
what brand of camper was that.. ive got one with a good hatch sitting in the back yard.. it's just a big dog house now....
__________________
Jack of ALL trades, Master of none.. (but one... procrastination) Army vet 02-08 RIP El Jay! Miss you brother! http://67-72chevytrucks.com/vboard/s...d.php?t=343538 http://67-72chevytrucks.com/vboard/s...d.php?t=386042 |
|
|

|
|
|
#8 |
|
Registered User
Join Date: May 2008
Location: 204
Posts: 903
|
Re: My repro hatch adventure
Its a Blazer
__________________
1969 Chevy Custom Camper 3/4 ton Rust free survivor 1972 Chevy Blazer CST 4x4 Almost Rust free survivor 1972 GMC Jimmy 2wd Undergoing surgery |
|
|

|
|
|
#9 |
|
the pollock
Join Date: May 2008
Location: abilene, texas
Posts: 4,423
|
Re: My repro hatch adventure
Ah well im retarded!
sorry!
__________________
Jack of ALL trades, Master of none.. (but one... procrastination) Army vet 02-08 RIP El Jay! Miss you brother! http://67-72chevytrucks.com/vboard/s...d.php?t=343538 http://67-72chevytrucks.com/vboard/s...d.php?t=386042 |
|
|

|
 |
| Bookmarks |
|
|