
|
Register or Log In To remove these advertisements. |
|
|
|
|||||||
 |
|
|
Thread Tools | Display Modes |
 08-09-2012, 03:29 AM
|
#1 |
|
meowMEOWmeowMEOW
Join Date: Sep 2009
Location: MKE WI
Posts: 7,128
|
Half Way writeup on vent window seals
I had to do it today, and took a bunch of pics. You can do it a couple ways depending on which rivets you want to take out (or which ones have rusted or been damaged on your setup). Depending on how far you want to take this repair, plan on at least 2 hours up to half a day if you are going to do EVERYTHING.
Here goes. Started off with some crust old seals, plenty of old misc overspray, cracks and other junk on it. 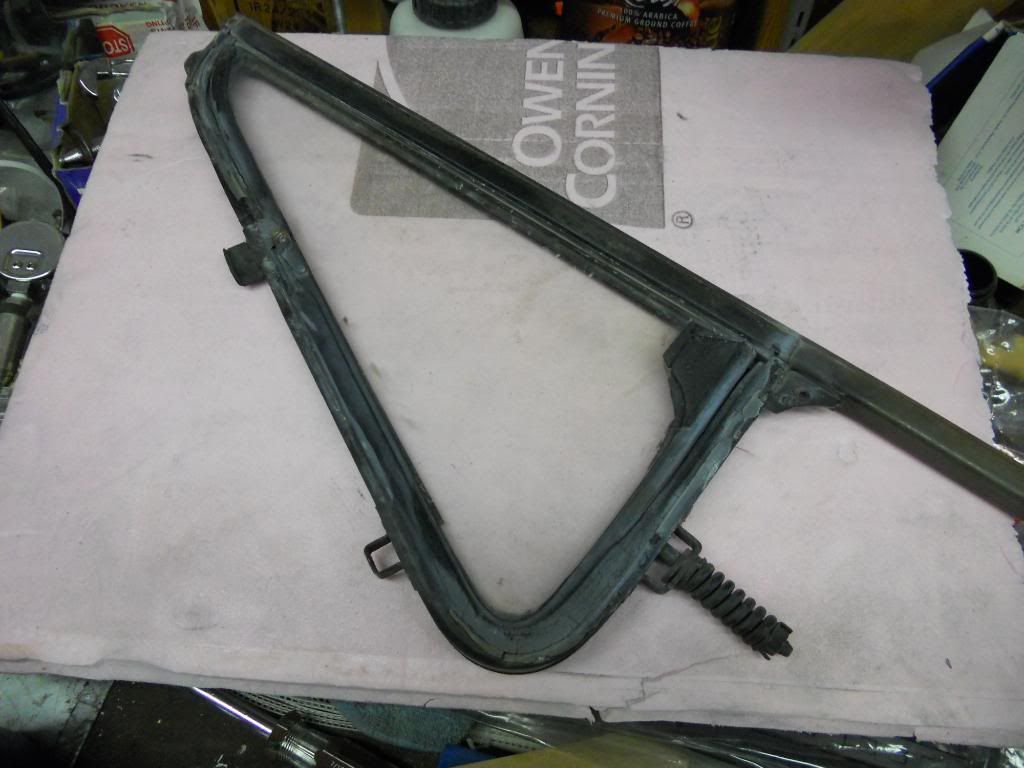 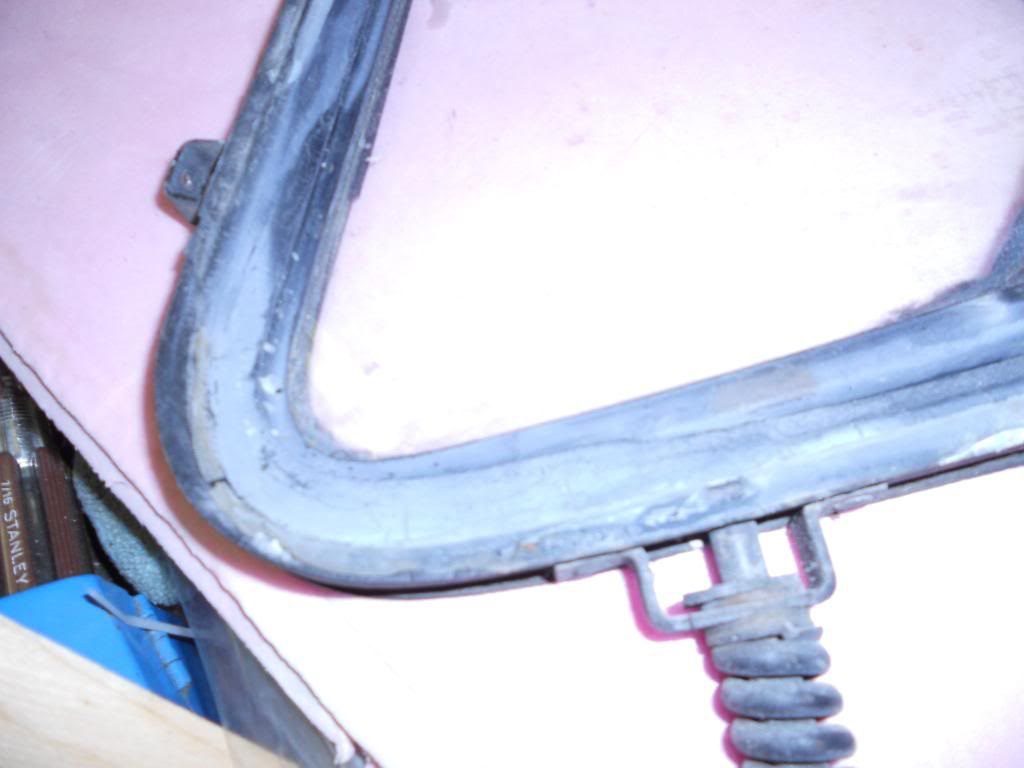 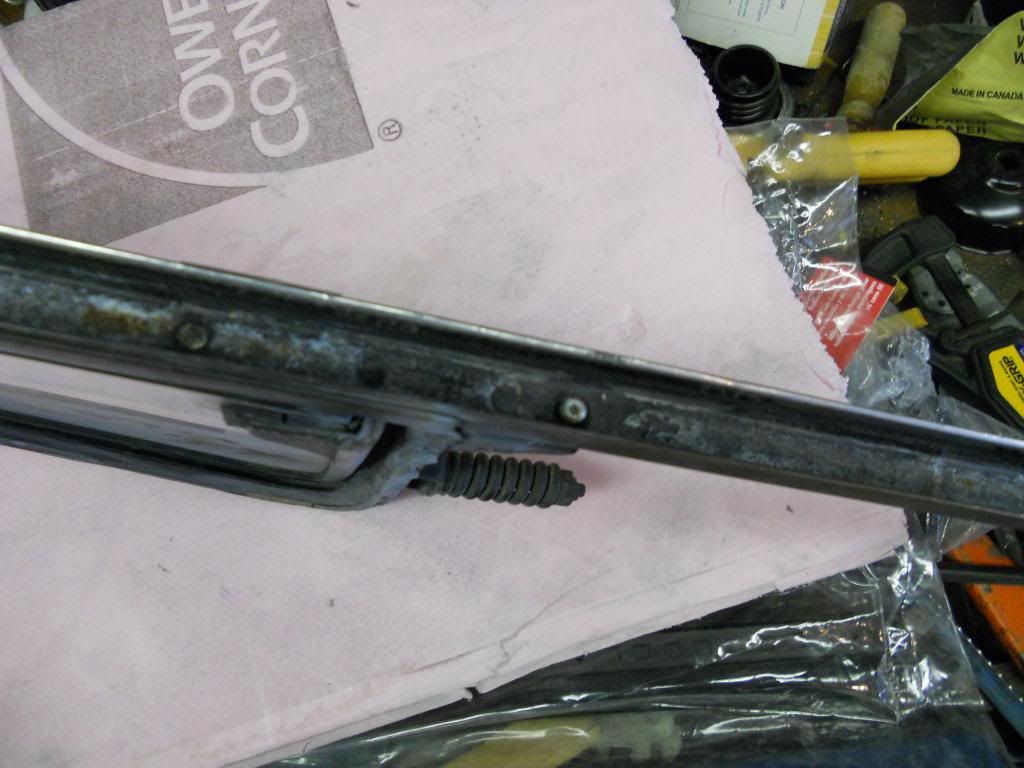 Tear down time. There is one phillips screw on the top, under the window guide thingy (felt type piece) which should already have been removed (mine were damaged). 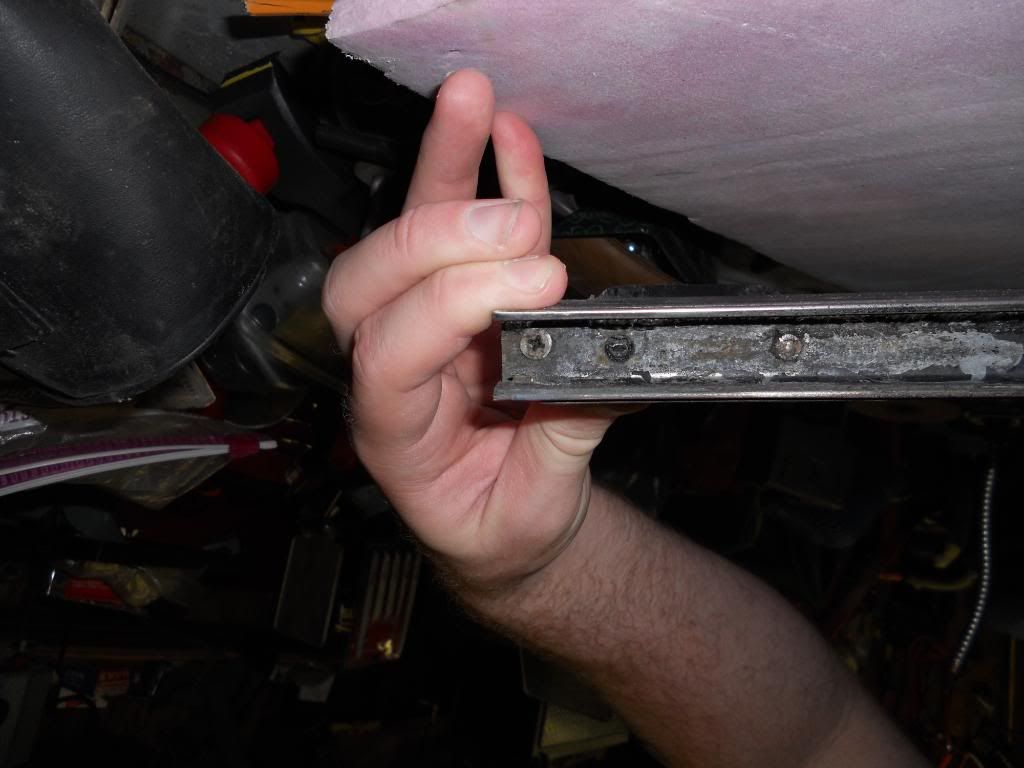 Then the little assembly on the bottom. Its a nut, lock washer, 1 round washer and 1 slotted washer, then the bracket, followed by another washer and goofy half-round washer. 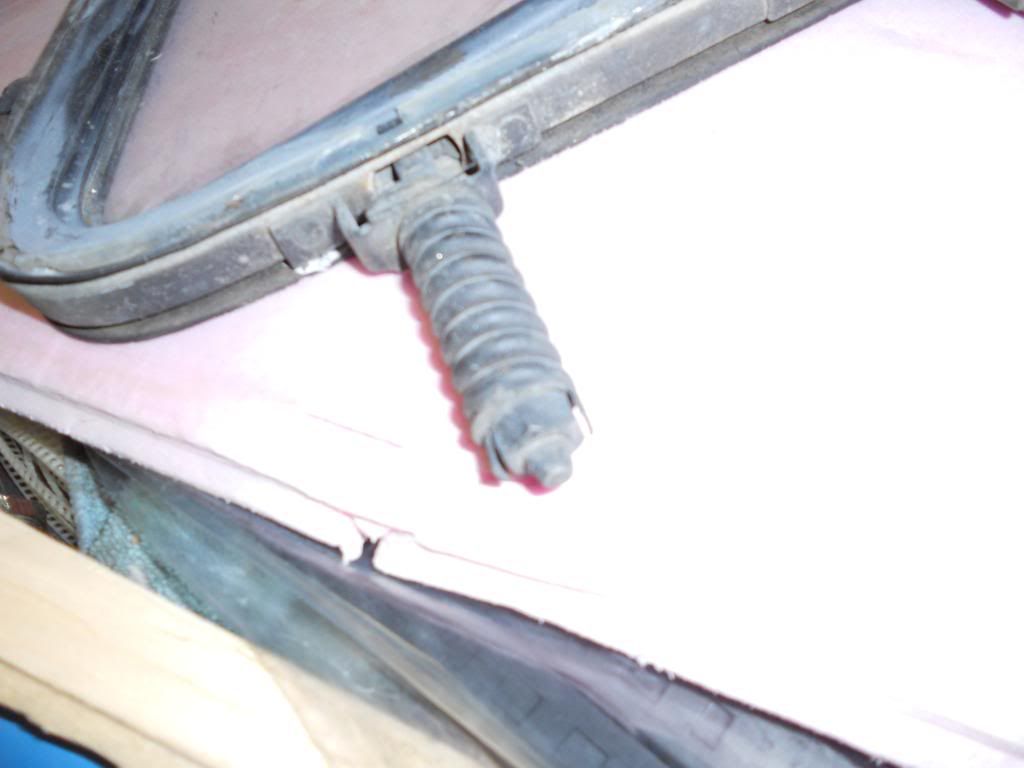 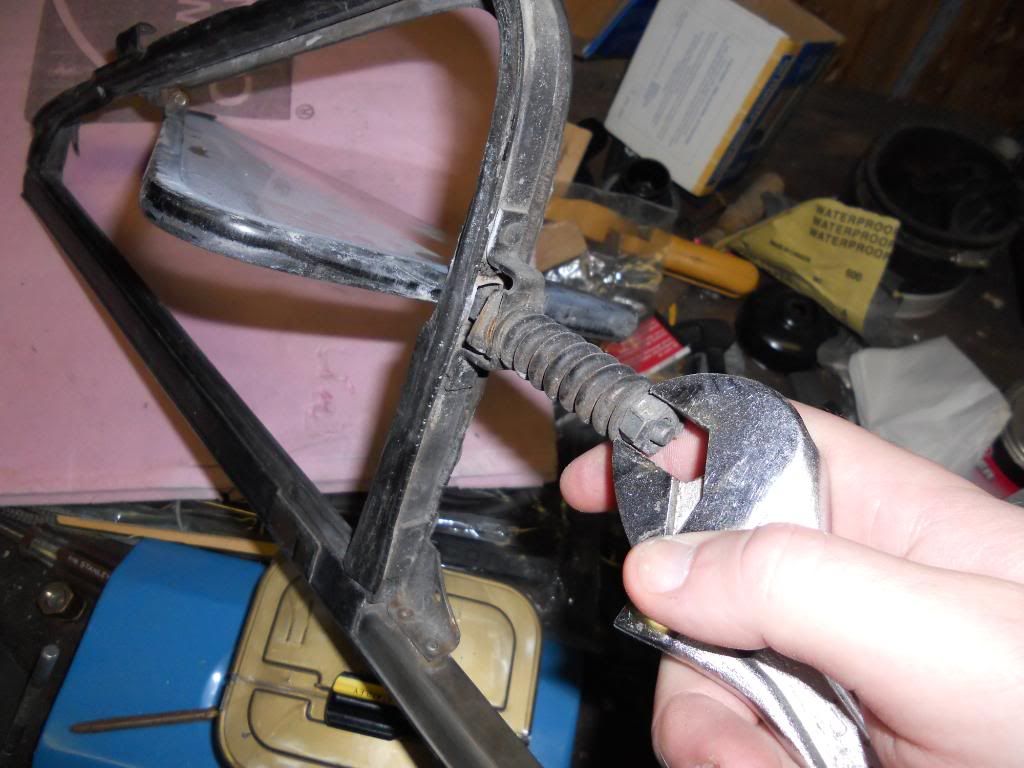  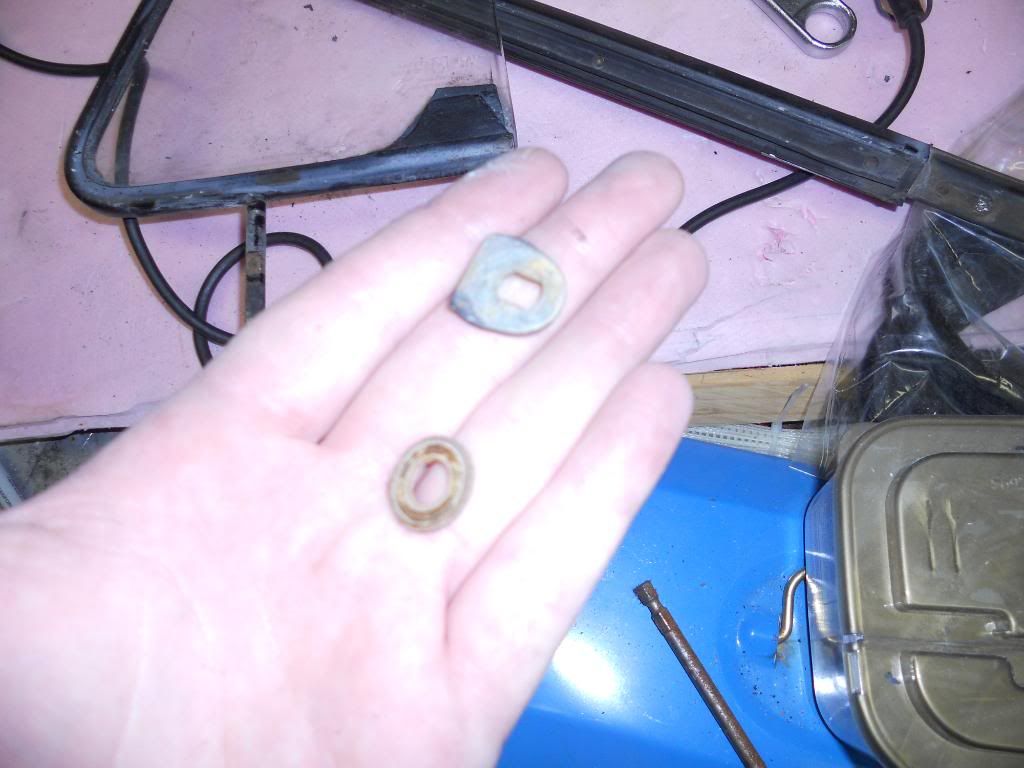 On window #1, chose to drill the two horizontal rivets on the angle bracket that holds the vent window bottom the the main windows upright channel. Window #2, I did the same bracket but the vertical rivets instead. 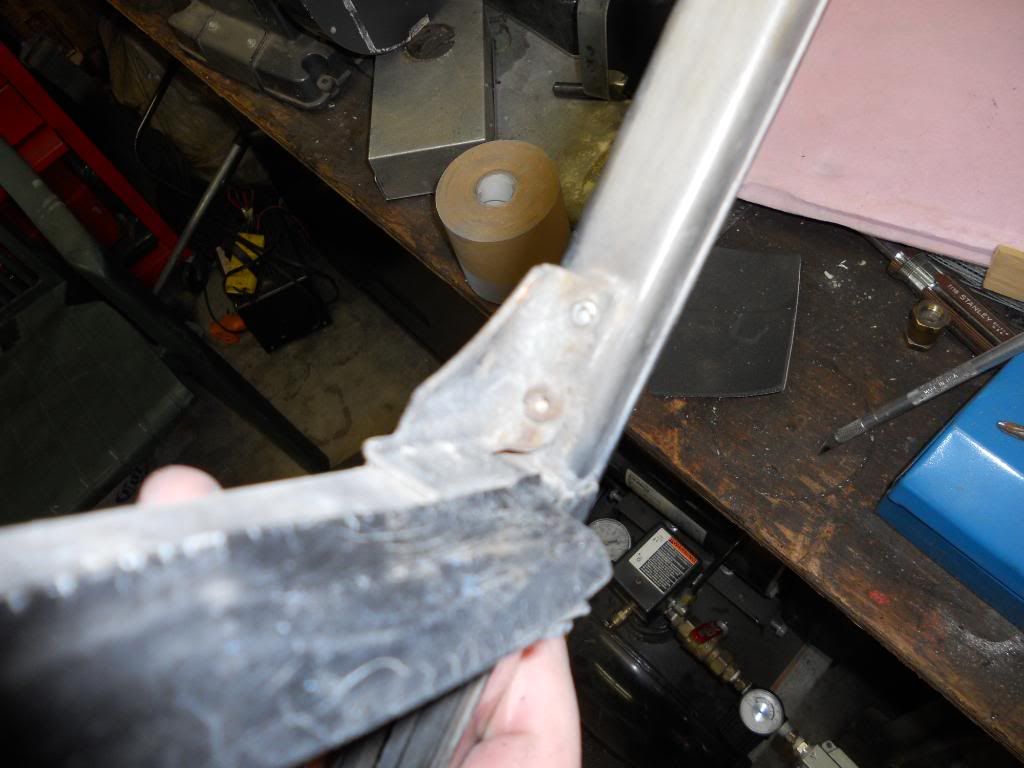 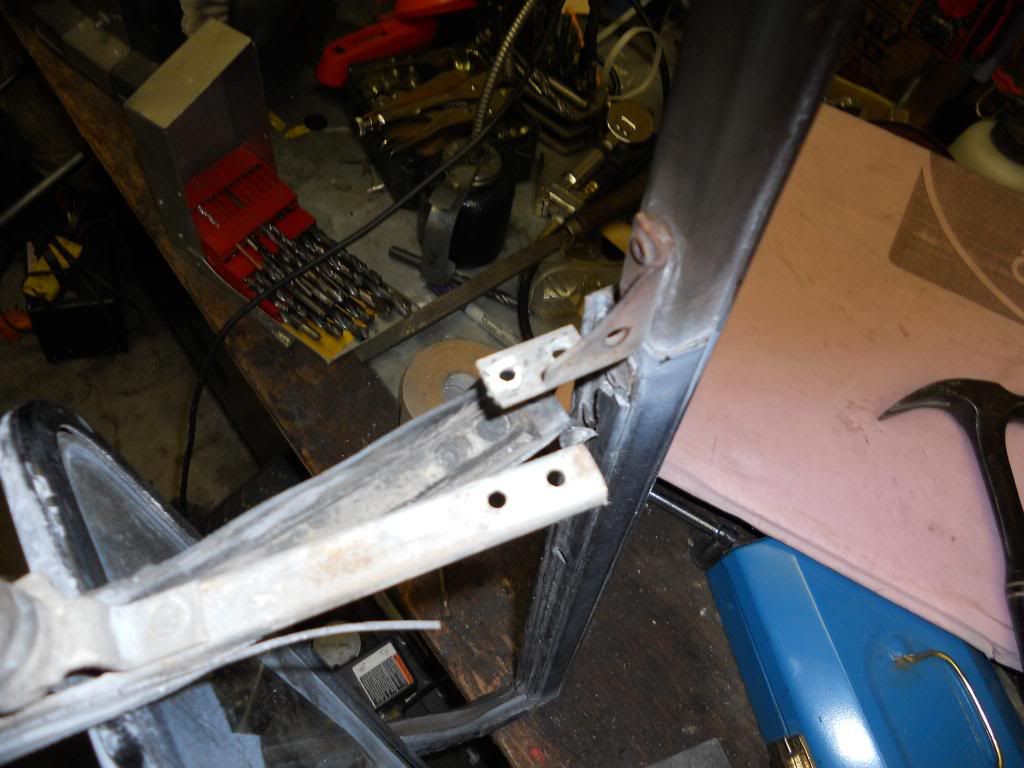 I also trimmed the rivets off the hinge, as 1 rivet was easier than 2 on each bracket. 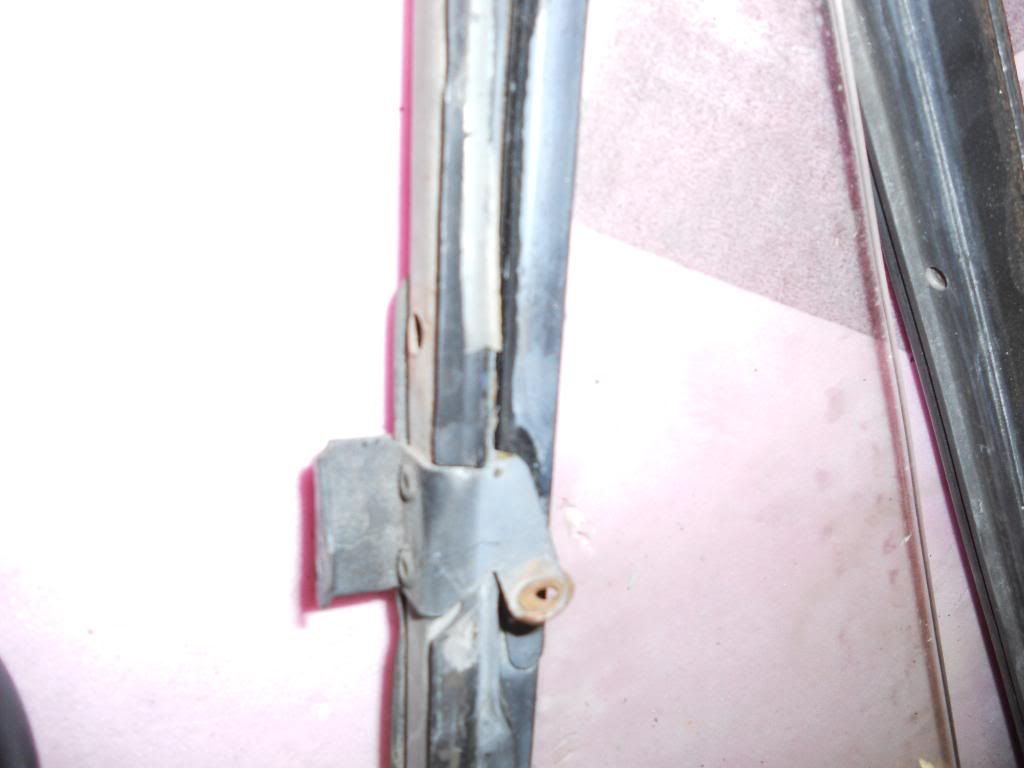 Then the window can "Swing" up allowing you to separate the vent window assembly from the frame. 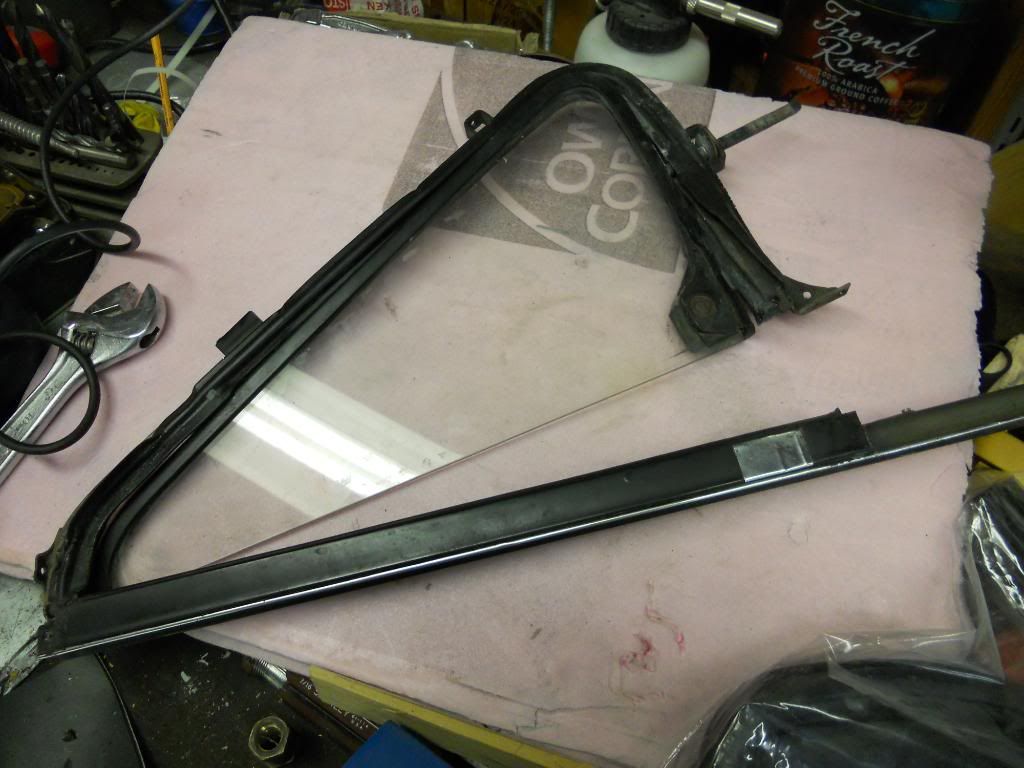 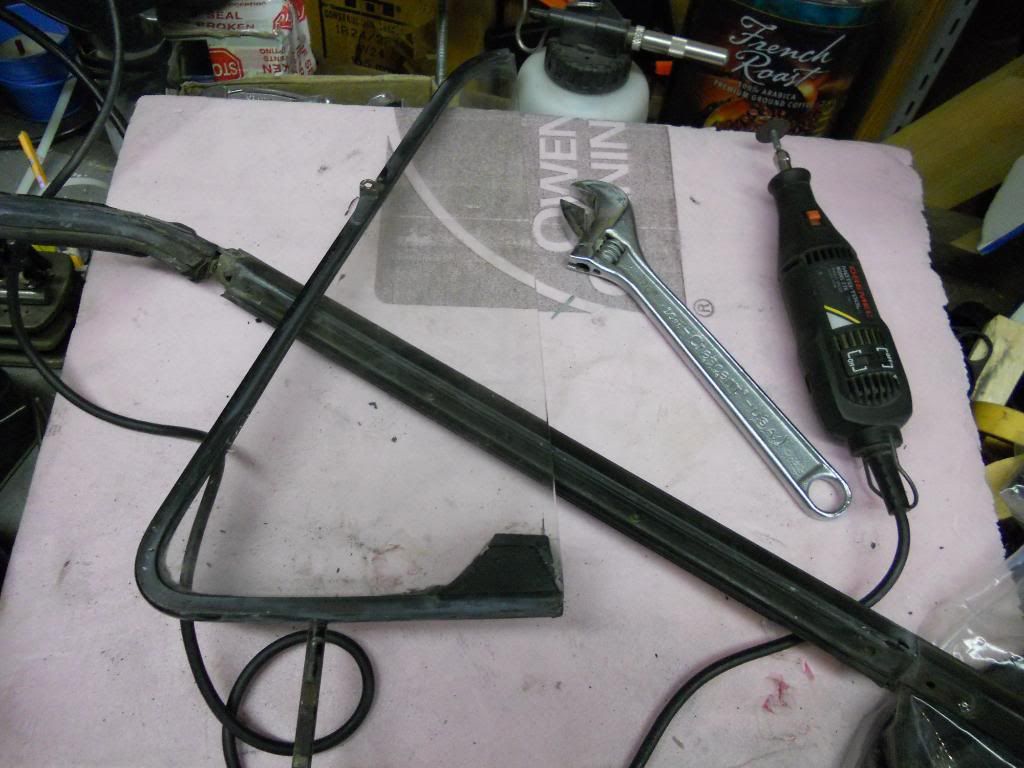 Then you can start peeling the gasket from the channel. When its out, you have the bare frame, and the window assembly separate. This is a great time time to wipe/sand/clean/paint anything you want or need to. 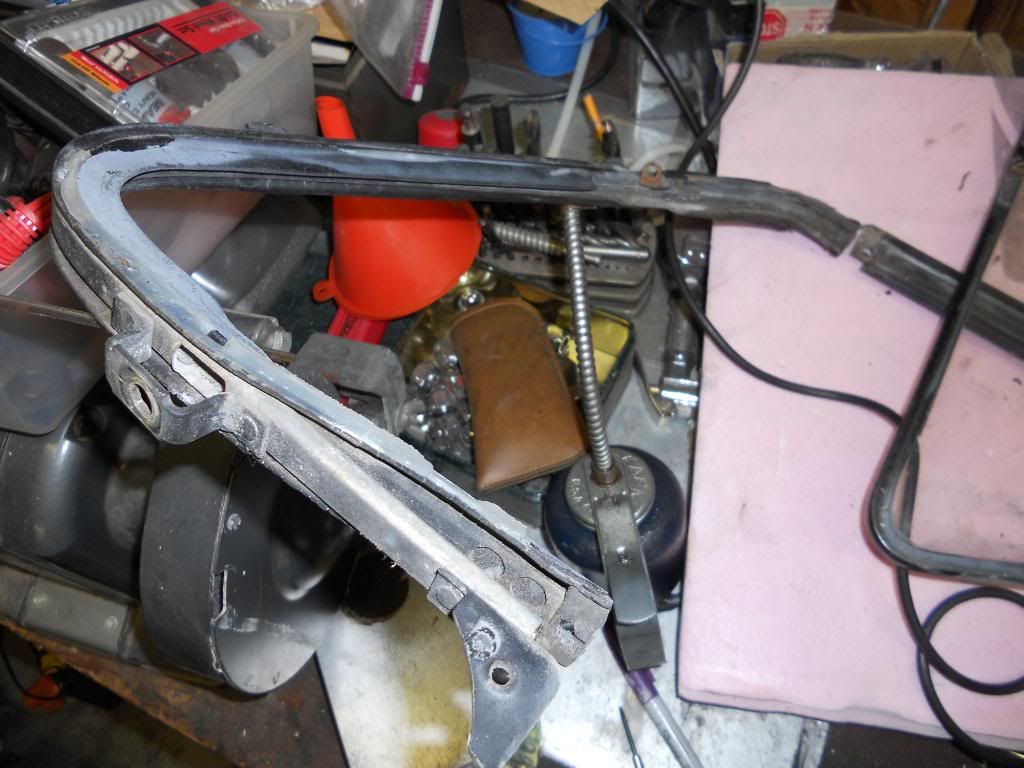 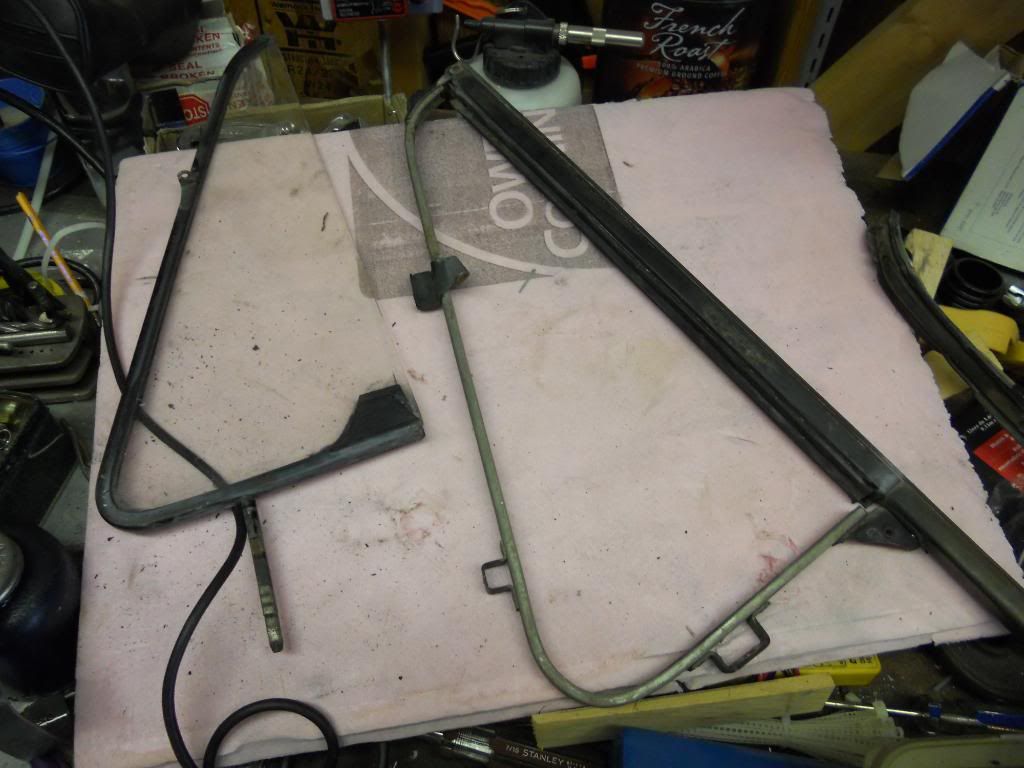 *****NOW, you can either just replace the main rubber gasket, or you may also need to replace the vertical strip gasket that the window closes against. If your not doing the vertical gasket, skip ahead to the asterisks******* The vertical gasket is a hard-backed gasket that the window seals against when closed, it is held in place with semi-hidden rivets, and its a PITA. You can see the rivet holes in the vertical window post, the heads of the rivets are down IN this, and they need to be drilled/pried out along with the gasket. Re doing the rivets seemed crazy, as its way too much work, and the new gaskets backing seems like plastic. It also fits in VERY tight by itself. I aided it with some epoxy.  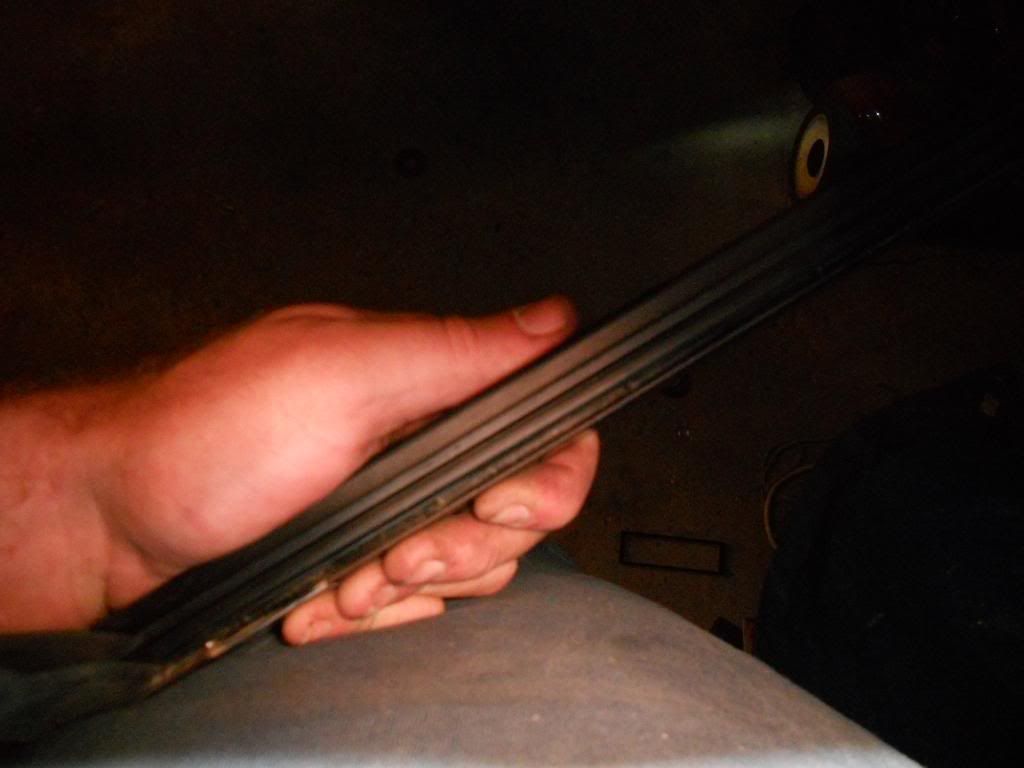 The window can also come apart from its metal frame and lock assembly, only one of mine fell apart, so I used a little trim adhesive to slide her back into place. 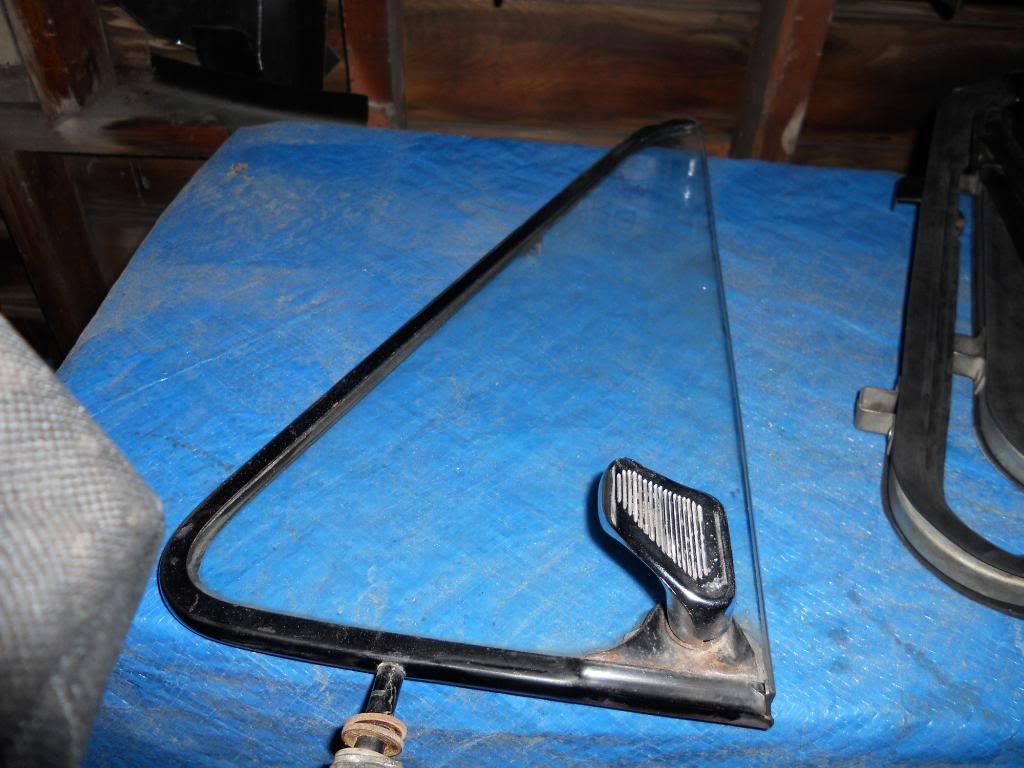 *******************************Back to the window gaskets*************** Re-assembly time. You can see the old gasket next to the new one, big difference, and hopefully it will mean no more vent window leak in heavy rain. There isn't much to show of me putting the gasket in...but I offer some advice. It SLIDES in the channel, starting at the bottom. Coat the back of the gasket and or the frame with wd40, the gasket slides in way easier, and you won't risk ripping it if it gets hung up on an old piece of metal slag etc. Also, make sure your putting the right seal on the right side, they each have a cutout where the hinge goes. 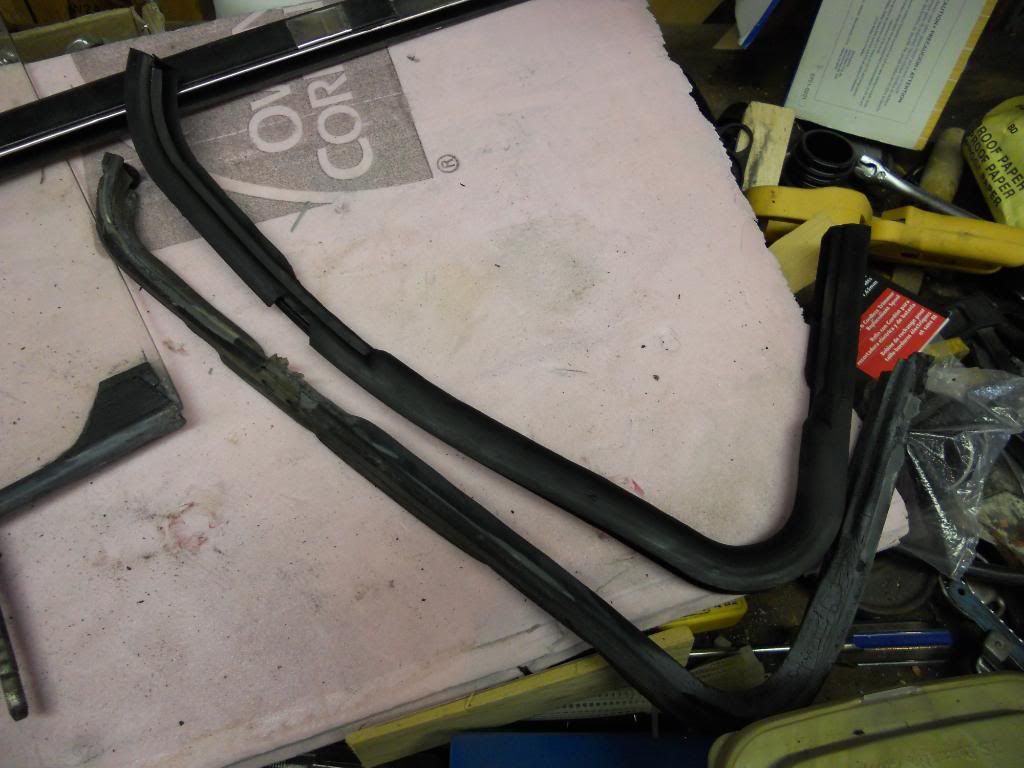 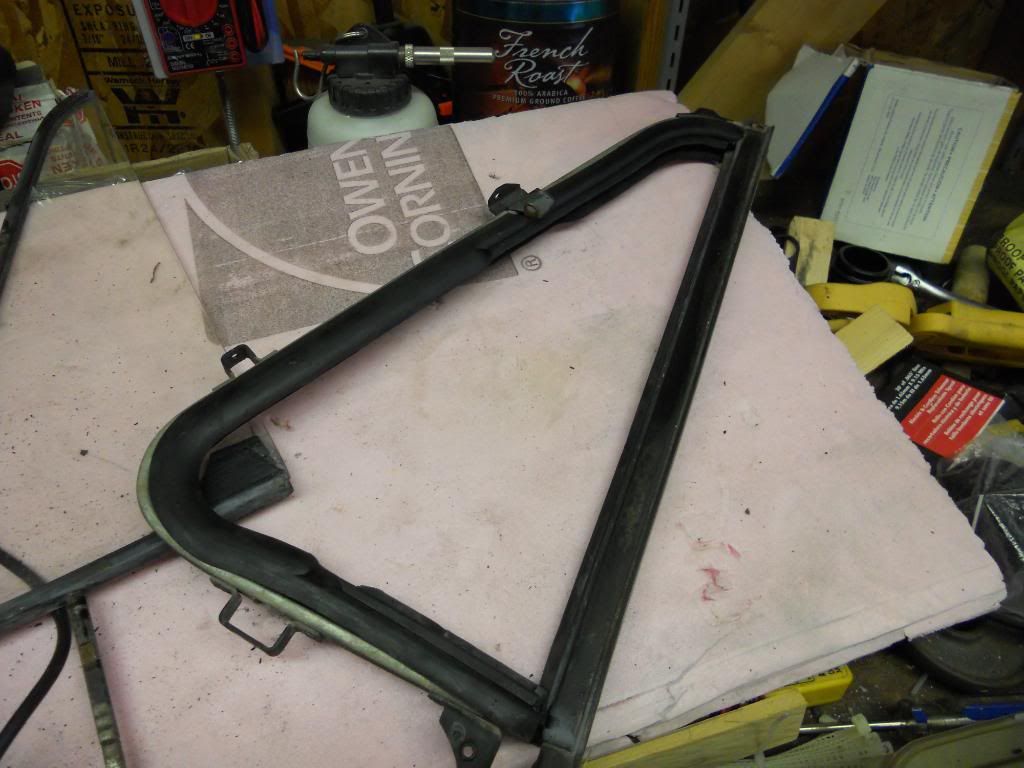 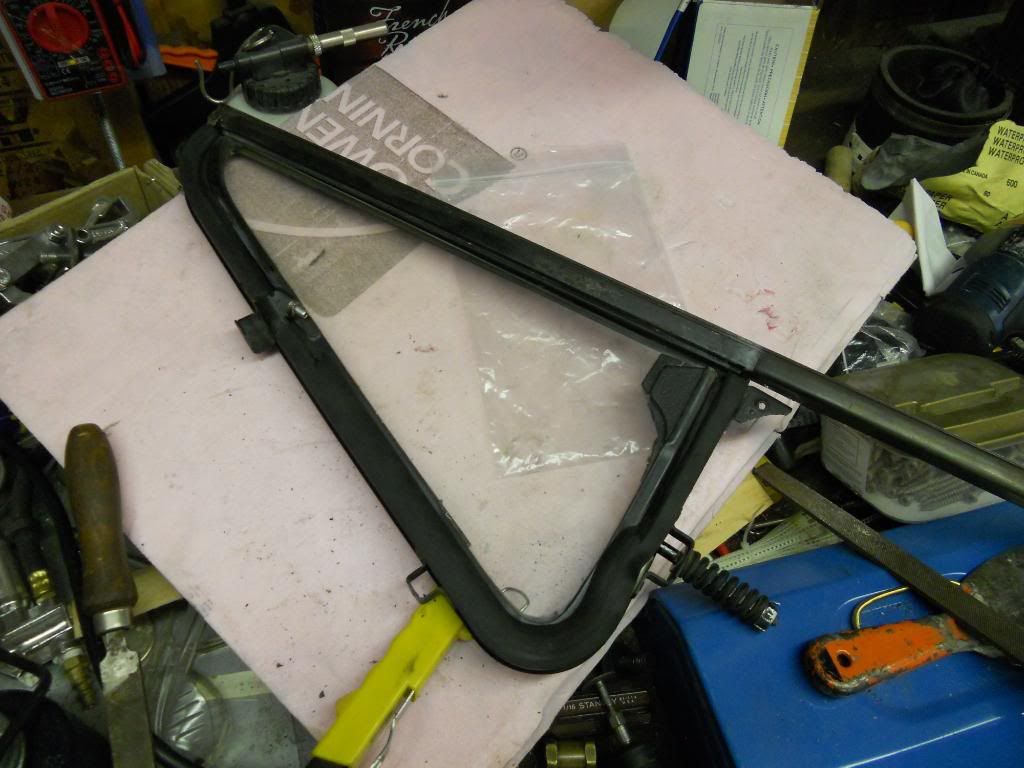 Looks like a new window again! WAIT!!! there is some more we have to do. Replace the grommet/rivet in the hinge (this is actually kind of a pain, I have a regular rivet in place, but I would REALY like to change it back out for an OE style eyelet (no hole, no overhang) 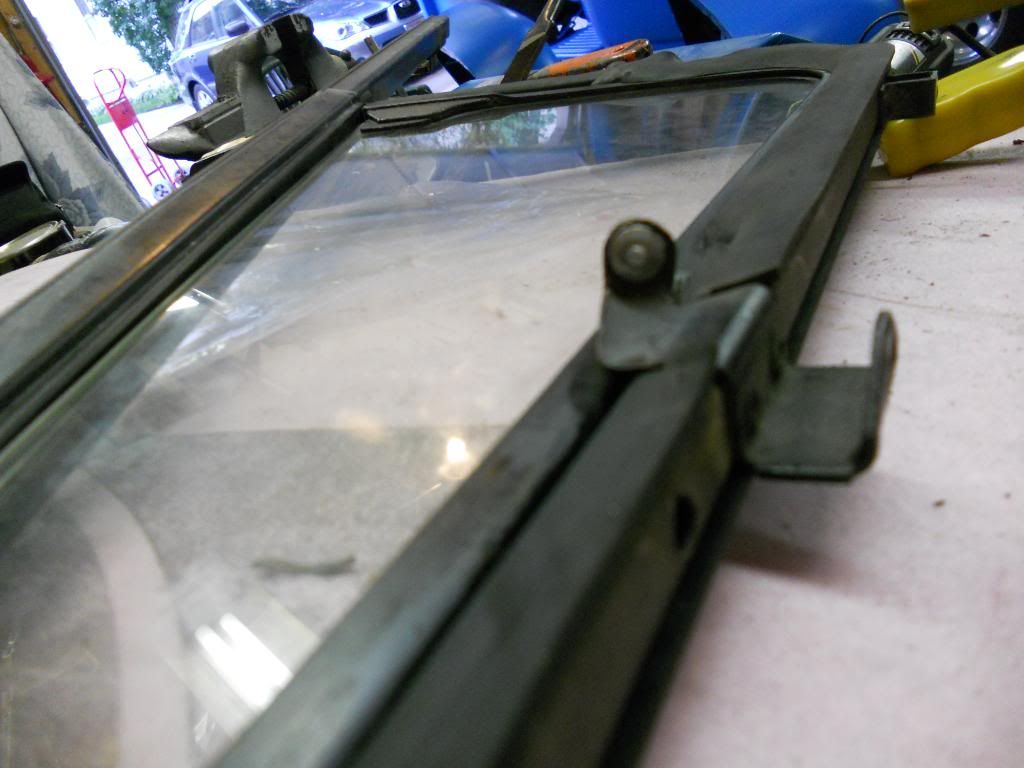 You can go ahead and re install all the old rivets to hold the frame back in place, but you HAVE to get the right size or they will either pull through the sheetmetal, or have way to much overhang...so much so that you run into fitment issues. I chose to go a different route....one that involved a welder. A quick buzz to tach each bracket, and its better than new. Keep the heat quick tho, you don't want to ruin your new gaskets. 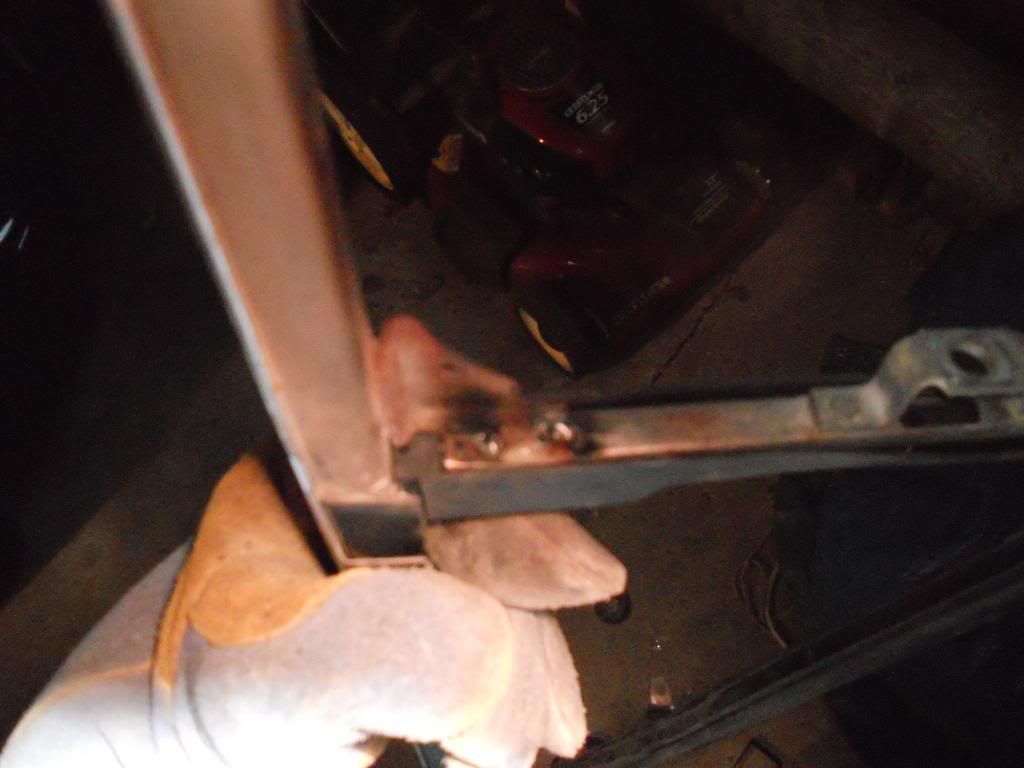 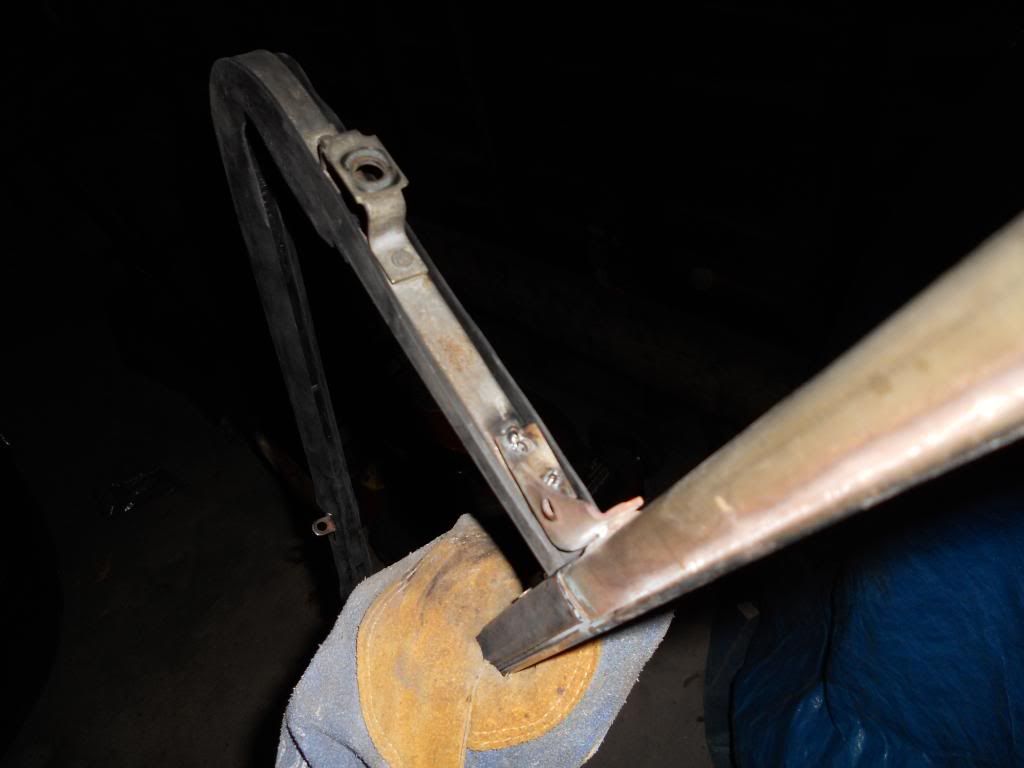 All done (and yes they are still dirty  ) )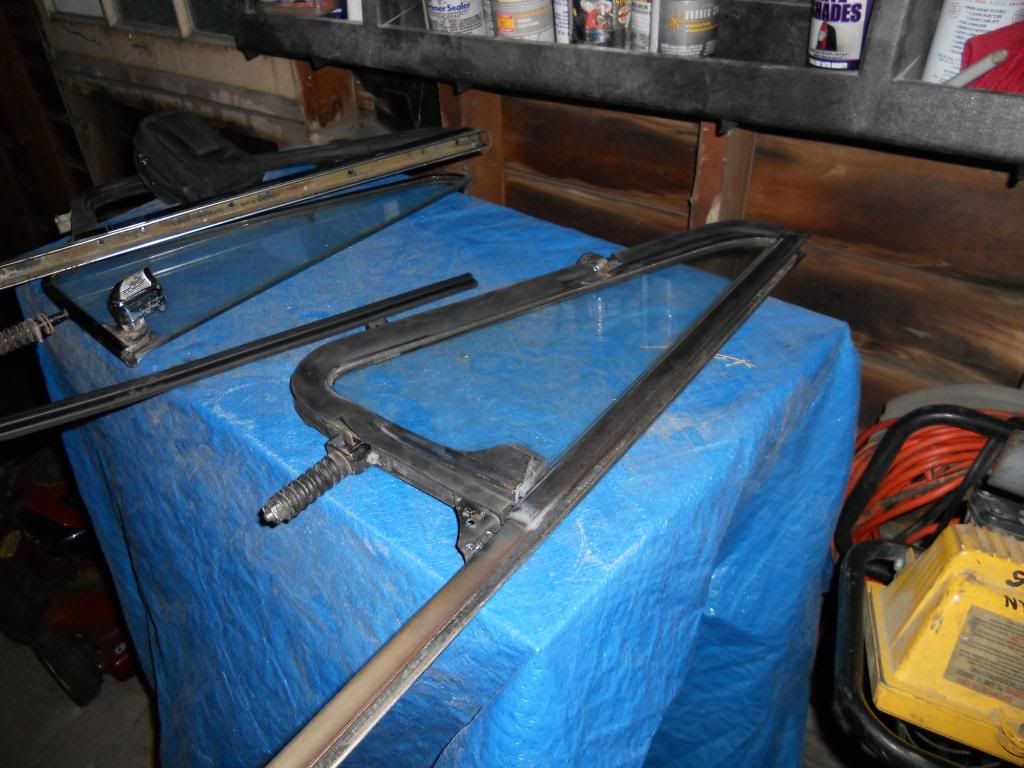
__________________
'66 Short Step / SD Tuned / Big Cam LQ4 / Backhalfed /Built 4l80e / #REBUILDEVERYTHING  Last edited by 70cst; 08-09-2012 at 06:09 PM. |

|

|
|
08-09-2012, 07:11 AM
|
#2 |
|
Registered User
Join Date: May 2010
Location: dunedin, fl
Posts: 173
|
Re: Half A$$ed writeup on vent window seals
good job. great pics. hope i will get to the point of being ready to do this. when i do i will revisit your tutorial.
thanks for shareing. paul 
|
|
|
|
|
08-09-2012, 11:35 PM
|
#3 |
|
meowMEOWmeowMEOW
Join Date: Sep 2009
Location: MKE WI
Posts: 7,128
|
Re: Half Way writeup on vent window seals
WHO CHANGED MY TITLE.....grrrrr cmon admins...I already censored it myself with dollar signs!
__________________
'66 Short Step / SD Tuned / Big Cam LQ4 / Backhalfed /Built 4l80e / #REBUILDEVERYTHING |
|
|
|
|
08-10-2012, 12:19 AM
|
#4 |
|
Registered User
Join Date: Feb 2011
Location: muskogee, ok
Posts: 1,091
|
Re: Half Way writeup on vent window seals
nice writeup!!! bookmarked cause i still gotta do this
__________________
 bagged 66 longbed build http://67-72chevytrucks.com/vboard/s...d.php?t=449548 my favorite colors.. black, rust, and shiny!!!! instagram: @coulter918 |
|
|
|
|
08-16-2012, 08:19 PM
|
#5 |
|
Registered User
Join Date: Feb 2012
Location: Oklahoma City, Oklahoma
Posts: 74
|
Re: Half Way writeup on vent window seals
Thanks for the tips. I just got my vent window parts and this will help a ton. rock on.
__________________
1971 Cheyenne, The Blue Jay. The Blue Jay build thread- http://67-72chevytrucks.com/vboard/s...d.php?t=516989 |
|
|
|
|
08-26-2012, 10:46 PM
|
#6 | |
|
Registered User
Join Date: Oct 2010
Location: Kelowna B.C.
Posts: 743
|
Re: Half Way writeup on vent window seals
Where did you get the vertical and frame gasket set from ? Just for the record,I have only ever seen the complete vertical track with the oem style gasket already installed ?Your style gasket looks to be a better choice.
So two more questions...,how well does the widow roll now in the new vertical gasket and does the new frame gasket seal properly to the door? If so Im wanting to order from your supplier. Here is a link to my new nightmare vent windows..., before I return them to Mo Curly and Larry. http://67-72chevytrucks.com/vboard/s...=1#post5559253 Thanks in advance. Cheers, Ed.  Quote:
__________________
Always a place in my heart for old Chevy trucks  : :My build thread-project truck dream 65" http://67-72chevytrucks.com/vboard/s...d.php?t=510863 Last edited by lenguini; 08-26-2012 at 10:48 PM. Reason: spell |
|
|
|
|
|
08-26-2012, 11:06 PM
|
#7 | |
|
meowMEOWmeowMEOW
Join Date: Sep 2009
Location: MKE WI
Posts: 7,128
|
Re: Half Way writeup on vent window seals
Quote:
I ordered the set from LMC, which was the rubber gasket around the window, and the rubber hard gasket that seals the back of the vent window when you have it locked closed. If you mean the vertical felt that goes on the post and guides the main window, I cleaned up and re used the ones I had, as the felt hadn't been overly crushed down. The window rolls up and down fine, as I also re-did the little plastic wheels in the window tracks while I was digging around in there. The rubber vent window gasket seems to seat pretty normally on the door. Haven't had it in the rain but it looks like it seals fine. p.s. please don't quote posts with massive amounts of pics, all the extra images take up server bandwidth and make it hard to read some of these threads on mobile devices.  Hope that helps, otherwise let me know.
__________________
'66 Short Step / SD Tuned / Big Cam LQ4 / Backhalfed /Built 4l80e / #REBUILDEVERYTHING |
|
|
|
|
|
08-27-2012, 12:44 PM
|
#8 | |
|
Registered User
Join Date: Apr 2012
Location: Cambridge, Ontario, Canada
Posts: 1,771
|
Re: Half Way writeup on vent window seals
Quote:
__________________
Craigerrr My build thread, CRGRS 66 Winter Build: http://67-72chevytrucks.com/vboard/s...09#post5638709 |
|
|
|
|
|
08-27-2012, 09:31 PM
|
#9 |
|
Registered User
Join Date: Oct 2010
Location: Kelowna B.C.
Posts: 743
|
Re: Half Way writeup on vent window seals
This is a great thread on vent window rebuilding .I think its important to stay focused on that.
Cheers, Ed.
__________________
Always a place in my heart for old Chevy trucks :My build thread-project truck dream 65" http://67-72chevytrucks.com/vboard/s...d.php?t=510863 Last edited by lenguini; 08-27-2012 at 09:47 PM. |
|
|
|
|
| Bookmarks |
|
|


 \\ MY YOUTUBE CHANNEL


 Linear Mode

