
 |
Register or Log In To remove these advertisements. |
|
|
|
|||||||
|
|
Thread Tools | Display Modes |
|
|
#1 |
|
Registered User
Join Date: May 2000
Location: Petrolia,Ontario,Canada but working in Port Huron,Mi.
Posts: 1,771
|
Cheap security - LED install(PIC'S)
I installed a blinking red LED today.
69 Short Fleet(Doug) and I were discussing how to do this.So this is how it's done. I know,I know...it's no substitute for a REAL alarm but this was real CHEAP and only took a couple hr's to do. So here we go. I started with a "blinking " red LED.It has the Blinking circiut and resistor built in so all you have to do is connect the "Anode" to a +12v source and the "Cathode" to ground.This was about $6.00 at my local electronics store(not Radio Shack)  Now that I had the flashing LED,the trick is to get it to flash while the truck is off and stop flashing when you turn the ign. on. Well to accomplish this you simply use a common automotive relay. I used a Single Pole Double Throw(SPDT) relay rated at 30amps.Way too much for my application but that's what I had on hand.Any amp rated relay will work though. The actual draw that this circuit will use is in the mili-amps,not amps. Here's the relay I used.Again about $5.00 at my local electronics shop. 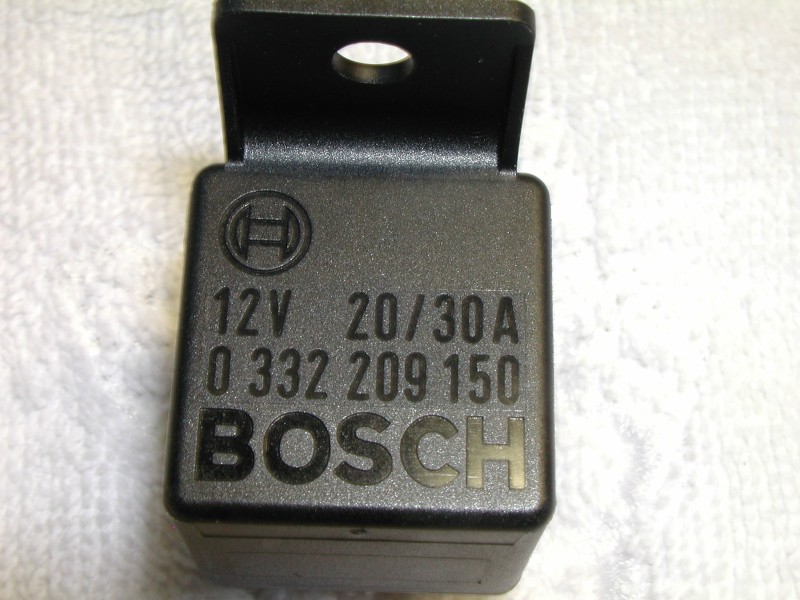 So the next step was to decide where I wanted it mounted. I did NOT want to drill into the face of the dash or the dash area between the front window and the dash pad,but that is where it would be MOST visable. So I removed the drivers side air duct bezel and checked my clearances.Luckly things JUST fit. I drilled a hole then mounted the LED retainer in the bezel. 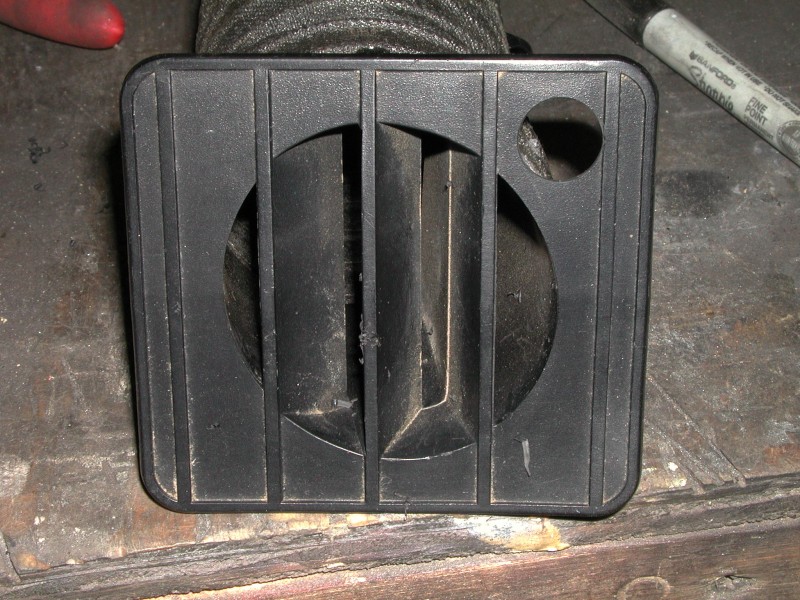 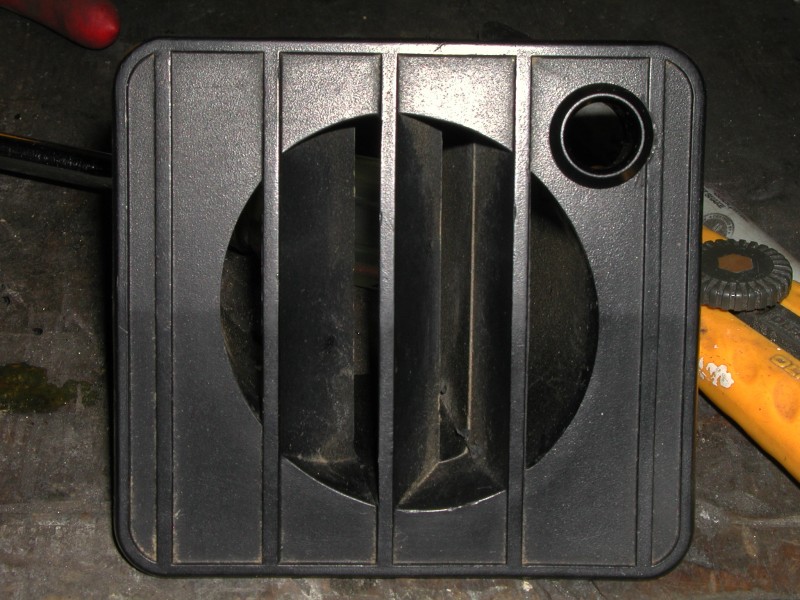  I then slid the LED into the bezel and gave it a test.  Before installing the bezel back into the dash I "hot glued" the LED in place. Now hooking up the LED with the relay was done exactly the same as you'd make the connections for ANY relay application.The ONLY difference is that I used the 87a terminal on the relay to connect to the LED. The 87a terminal is "HOT" when the relay is not energized(relay not being triggered) Normally the 87 terminal is used and becomes "HOT" when the relay is energized. But in this application you want the operation of the relay to be opposite. So this is how the relay is wired. 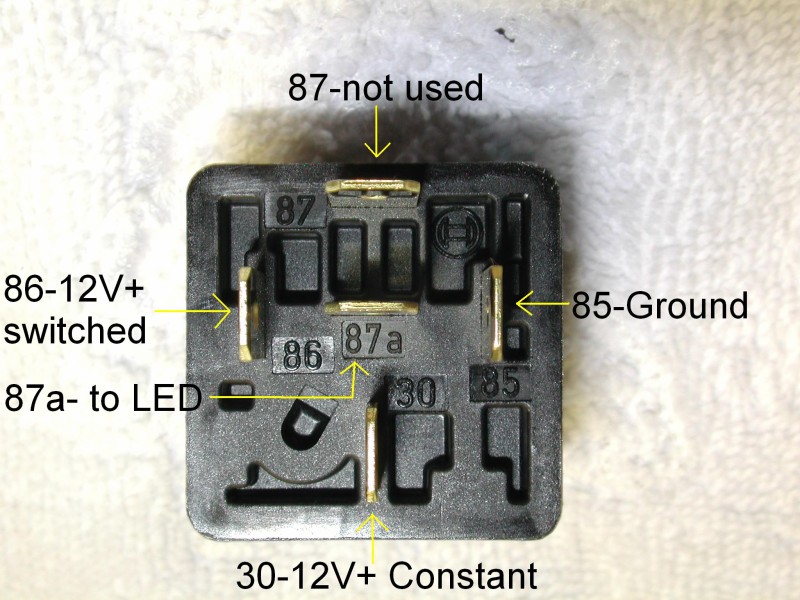 Here is the switched source I used for the 86 terminal.This terminal on the fuse box is only "HOT" when the ign. is on. There is no power when the ign. is off or in the ACC. position. I'm pointing to it with the tip of my circuit tester. 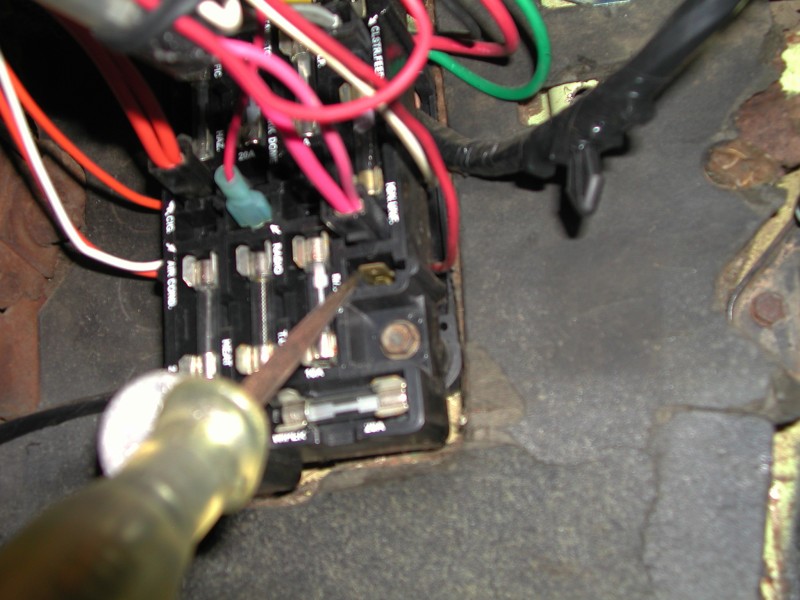 Then just find a constant 12v+ source and connect it to the 30 terminal. Here it is back in the dash. 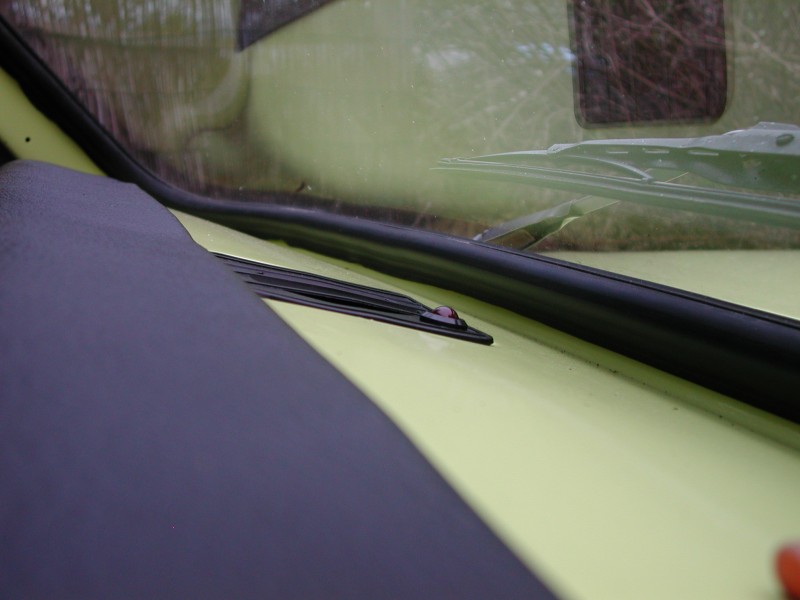 You really can't tell from the next few pic's but this LED is BRIGHT! It blinks about once per second.    Anyhow,that's about it. I now have a blinking red LED on my dash that will not protect my vehicle what-so-ever. Thanks for listening
__________________
71 blazer,350SBC,approx.375HP,700R4,factory GM TPI.Dual electric fans,33x12.5x15 ATR on stock suspension. Petrolia,Ontario,Canada but working in Port Huron,MI. See ALL my Blazer pic's HERE Last edited by augie; 04-11-2011 at 01:08 AM. |
|
|
| Bookmarks |
|
|