
|
Register or Log In To remove these advertisements. |
|
|
|
|||||||
|
|
Thread Tools | Display Modes |
 10-15-2014, 01:15 PM
|
#1 |
|
Registered User
Join Date: Nov 2013
Location: ATLANTA
Posts: 223
|
DIY Soft Top 1975 Blazer
I decided to make a bikini top for our 75 Blazer. Cost was very inexpensive. It took me about a week to learn how to really use the sewing machine which is a Singer 2277 model.
Parts and cost:
I Googled "how to sew webbing" and found a great video from a company called Core77 on how to make things with webbing and how to approach sewing as well as what patterns to use. I used a "Box X" pattern which is used in military applications. It's a maximum strength sewing design. Core77 also has excellent sewing basics videos and information. My seamstress career will most likely never be realized but everything is holding together great. I looked at a lot of jeeps online and how their tops fit. They are obviously factory made with a room full of engineers doing the leg work on design. There seem to be two approach to how to "tie down" a soft top. One approach is to put a hook on the floor and tie the top to the floor and pull it rigid. I didn't want to put holes in the floor so this one is designed to attach back to itself. It's a single self contained unit. After cutting the webbing you will want to burn the ends so they don't fray. 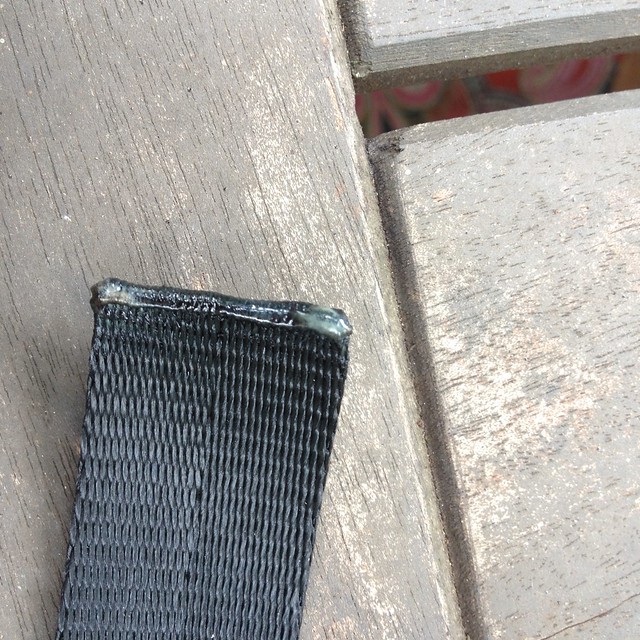 I purchased 500 denier canvas with a waterproof coating. If water pools on it, it will leak after a few hours but is very resisting to leaks. (the pink thread was for testing my sewing)  The entire piece cut to size with front and back hemmed. 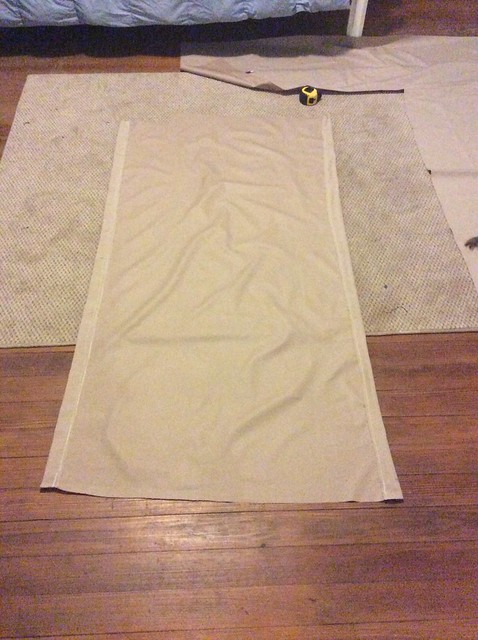 You really want to double up on the corners. 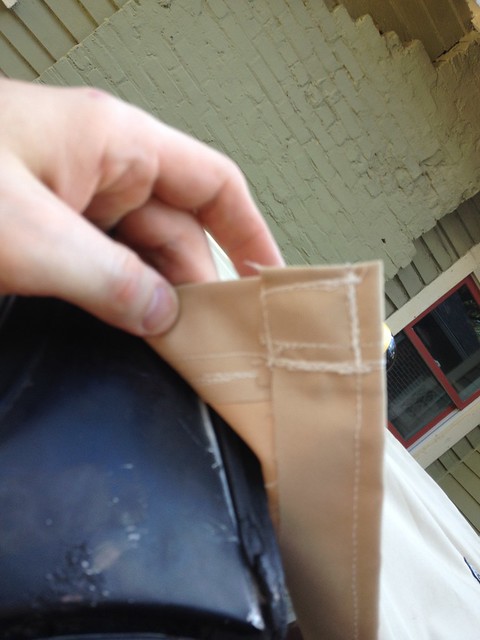 These are the snap fansters I used. They come with a tool to attach the "button" piece to the fabric. You hammer them together. i found hammering these on a metal surface worked best. You do not want to over do this. If you hammer them too much the top cap will just cut through your fabric.  I drilled a very small hole above the windshield and covered the screw base with silicon and screwed it in for a waterproofing (I'm sure there's a better way). 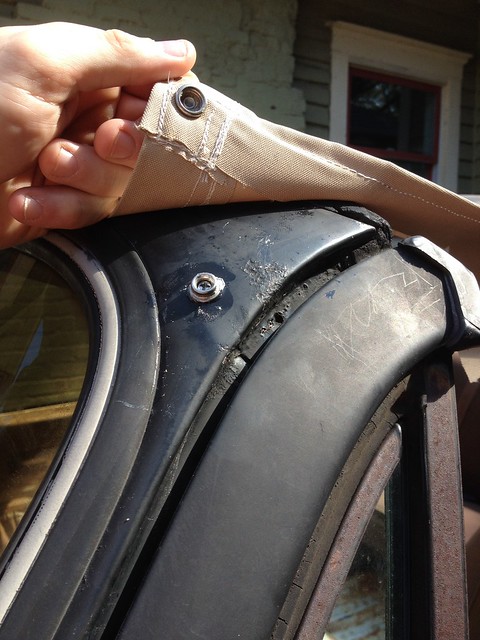 here is the webbing design. There a four different pieces here. 1. The canvas 2. a single piece of webbing across the top as reenforcement 3. a piece of webbing on the underside with a female buckle 4. a piece of webbing on the underside with a male buckle. 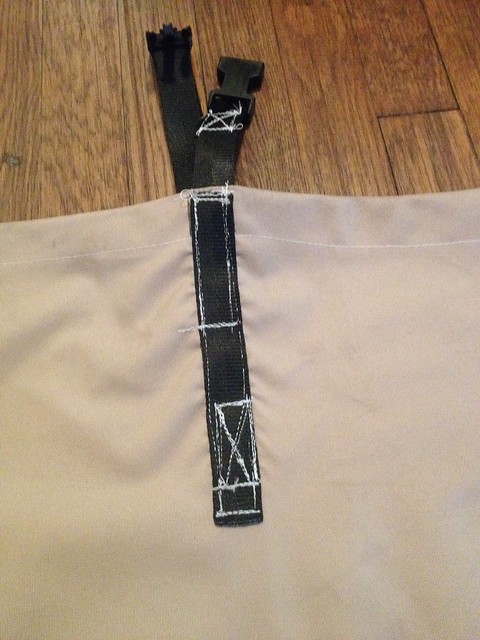 Here's the buckle in action with the female buckle wrapped around the top of the rollbar and the male buckle connecting underneath the roll bar. The buckles have tension locks so I just pulled the webbing tight. 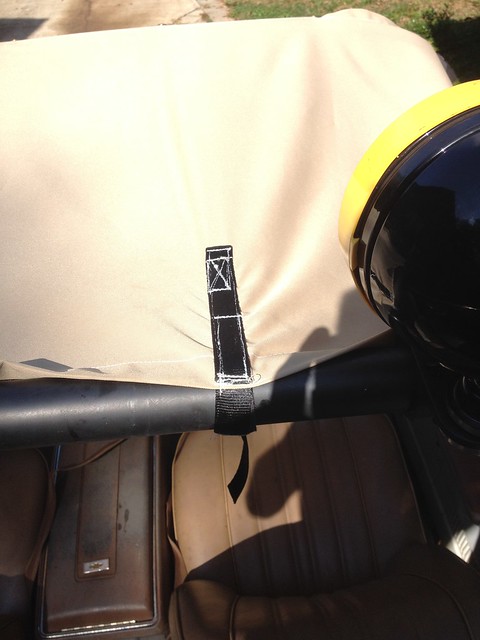 At this point we're about 99% complete. I need to clean up my webbing ends and cut off the excesss. But here are some final views. Front. As you can see here i'm a bit off center. I recommend having a helper when doing this and setting the first snap in the dead center. This was a mistake I wish I hadn't made. 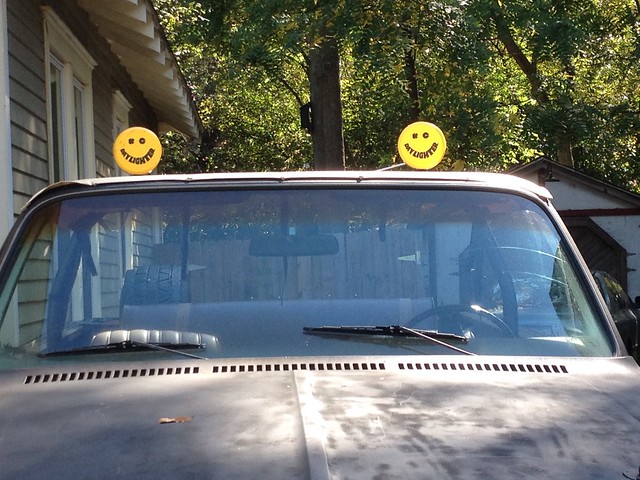 Back from the top. I've added an additional strap to the center to resolve my "flapping" issue. I also have lights on the top which I'm considering adding a set of straps that hook around the lights. Positining the top around the lights isn't a problem, but it's not very clean looking either. 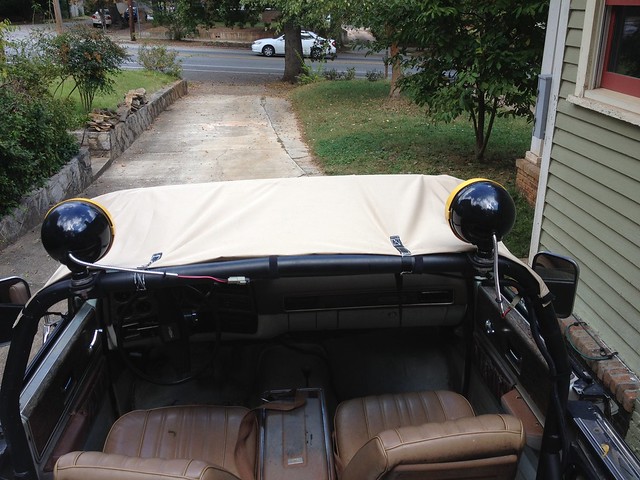 Back from the bottom. 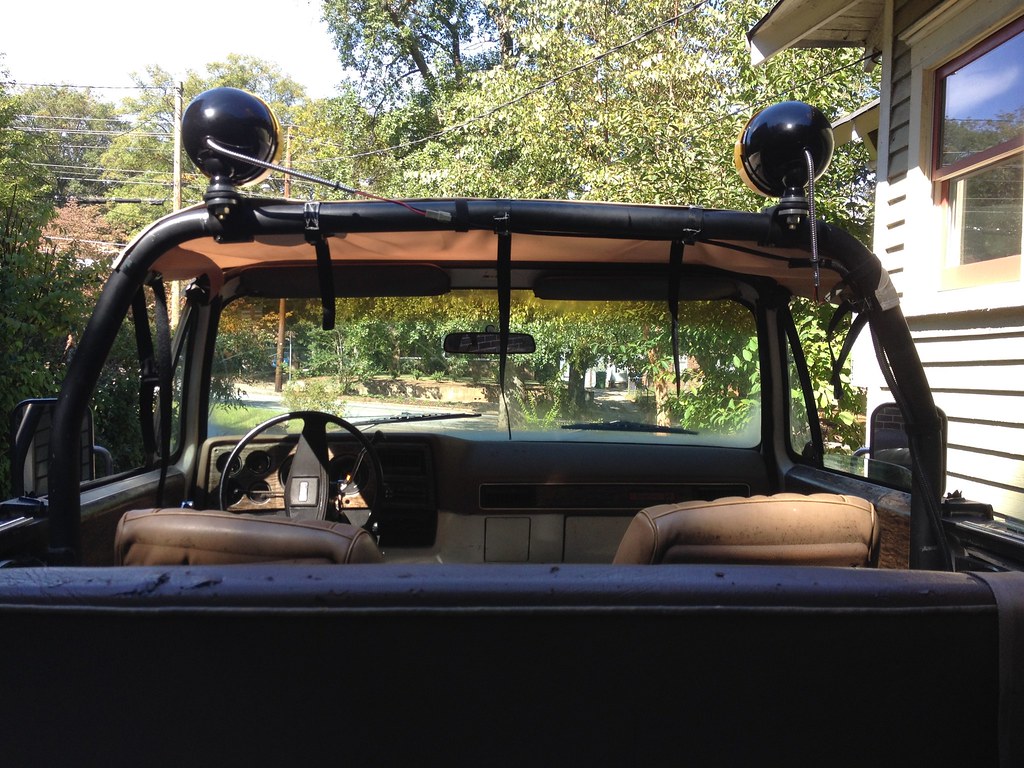 Driver side 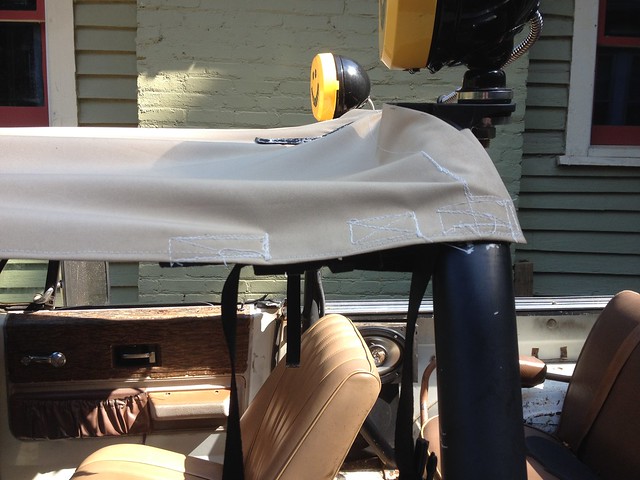 Laying on the floor almost complete. 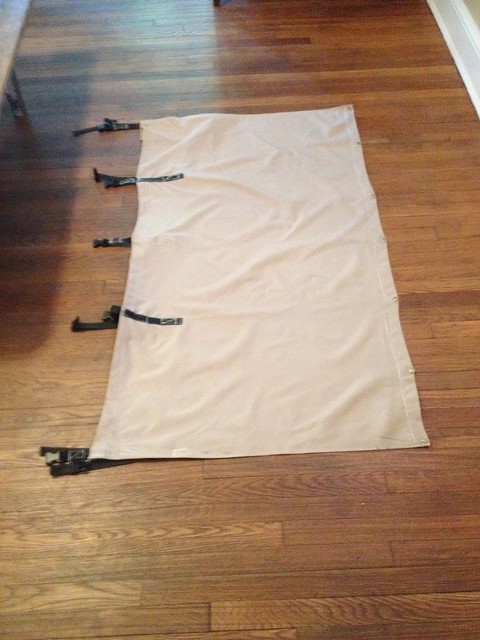 Here's a few random wrap up thoughts. The way my rollbar is positioned the top doesn't hang over the side windows enough to prevent rain from coming in. This just is what it is. The nature of pulling everything tight doesn't allow for the top to "tent up" forcing water off. Instead it will pool up and over time drip through. I'd like to think about resolving this. There was not enough canvas left over to make a second top from my original 2 yards once cut. Consider that when buying. I have a ton of webbing, buckles and fasteners left over. I'd like to put fasteners on the rollbar portion of the top and make a second to to button to that and cover the rear. It took about 2 hours of sewing once I figured out how to sew. Most of that was fighting with the sewing machine because i'm not patient and my thread would get all bound up. I recommend slow sewing. |

|

|
| Bookmarks |
|
|


 Threaded Mode