
|
|
|
 02-17-2014, 09:23 AM
|
#1 |
|
Registered User
Join Date: Jan 2013
Location: Leonardtown, MD
Posts: 1,636
|
Re: 55 Wagon Progress
About 3 to 4 strikes is what I use. Just what I did last night was about 3 hours, including welder setup.
__________________
Robert |

|

|
|
02-17-2014, 11:12 AM
|
#2 |
|
Registered User
Join Date: Jan 2012
Location: Eastern Ontario, Canada
Posts: 1,041
|
Re: 55 Wagon Progress
Thanks Robert. How hard do you push outward on the mini sledge type dolly when planishing?
Would you be able to explain something to me. I find sometimes if I put a dolly on the outside and hit the weld from the inside, the metal stretches back out much easier and faster. Everything I read suggests the opposite of this. Why is my methods so wrong or not used? Thanks.
__________________
1952 Canadian Chevy 1300 C4 IFS & D44 IRS 5.3 HO L33 My Build: http://67-72chevytrucks.com/vboard/s...d.php?t=632938 
|
|
|
|
|
02-17-2014, 01:54 PM
|
#3 |
|
Registered User
Join Date: Jan 2013
Location: Leonardtown, MD
Posts: 1,636
|
Re: 55 Wagon Progress
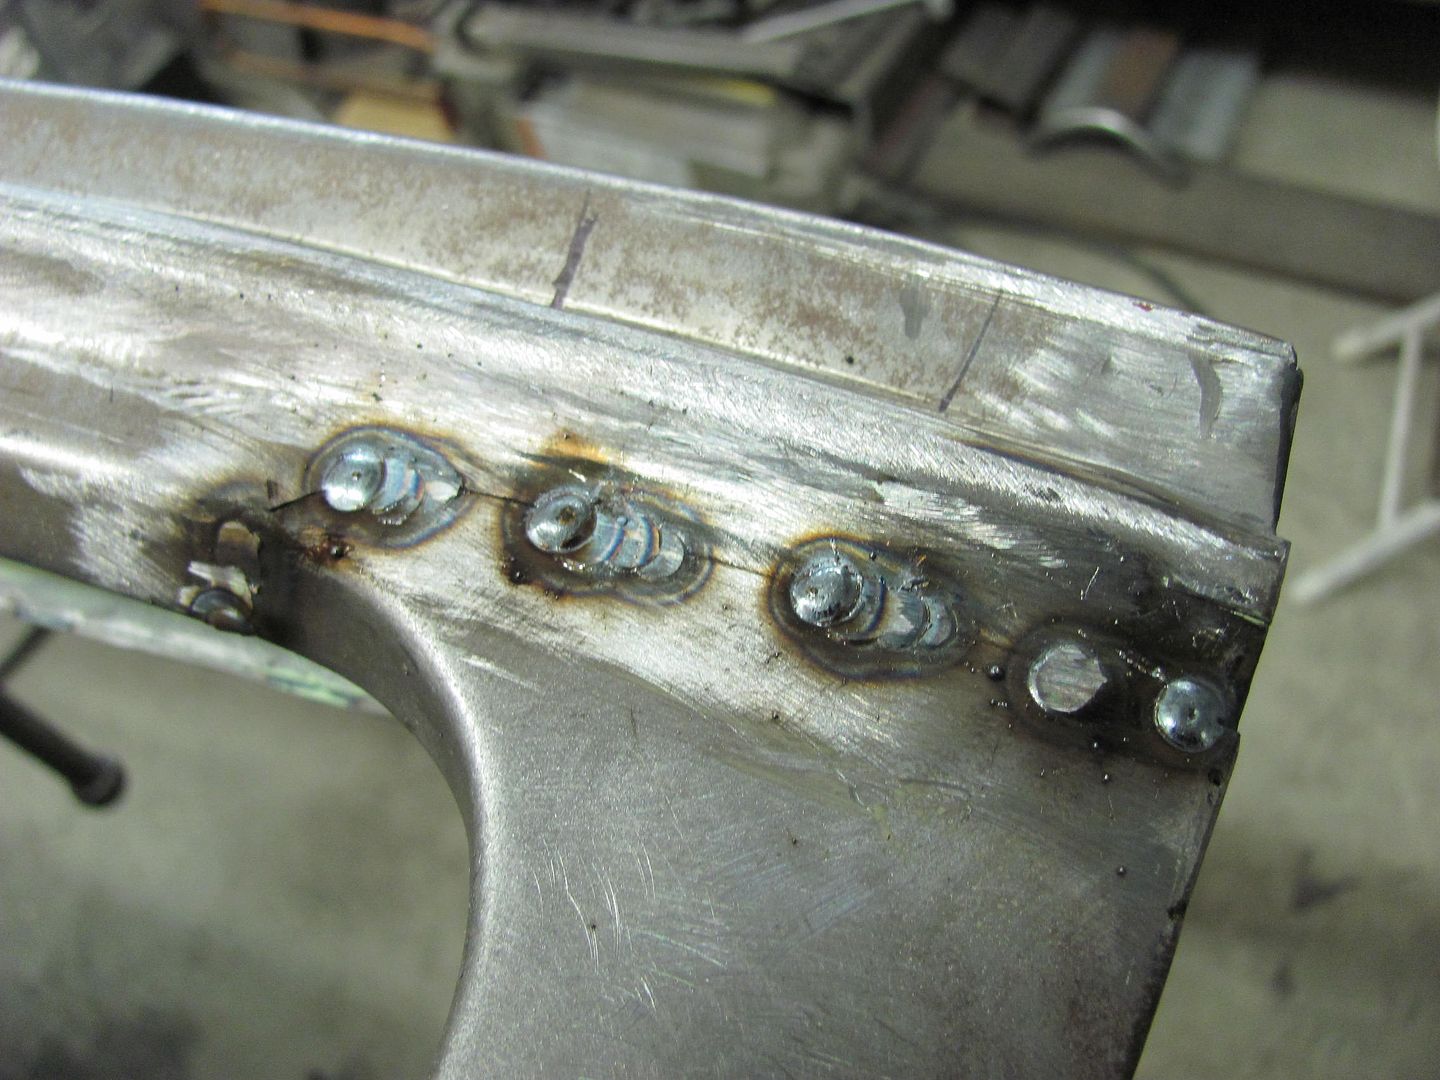
Hardly at all. Lightly place it against the proud of the weld dot on the bottom side, listen for the metal on metal when you strike from above with the hammer. I should probably back up here and say the primary focus with this "initial" planishing is to add some stretch to where it shrank. Once the full weld pass has been dressed, then you can go back and look at any further needs, bumping, planishing, shrinking, etc. to get the panel nice and true. With those weld dots still there, even while ground down, it's more of a challenge to read the panel accurately. Save the final planishing for the next step... after it's all dressed smooth.
__________________
Robert |
|
|
|
|
02-17-2014, 04:31 PM
|
#4 |
|
Registered User
Join Date: Oct 2007
Location: Spanaway
Posts: 8,451
|
Re: 55 Wagon Progress
Got it, thanks!
__________________
Mike. Swamp Rat build thread : http://67-72chevytrucks.com/vboard/s...d.php?t=595019 72 3/4T 4X4 4" BDS Lift 33" BFG's |
|
|
|
|
02-17-2014, 11:43 PM
|
#5 |
|
Registered User
Join Date: Jan 2013
Location: Leonardtown, MD
Posts: 1,636
|
Re: 55 Wagon Progress
Glad to help!
Well this evening was a short night, back to the day job tomorrow, so we'll have to call it early. Did get the bulk of the welding done. planished, and started to dress the welds. This will still need some final metal bumping, but I like this much better already!  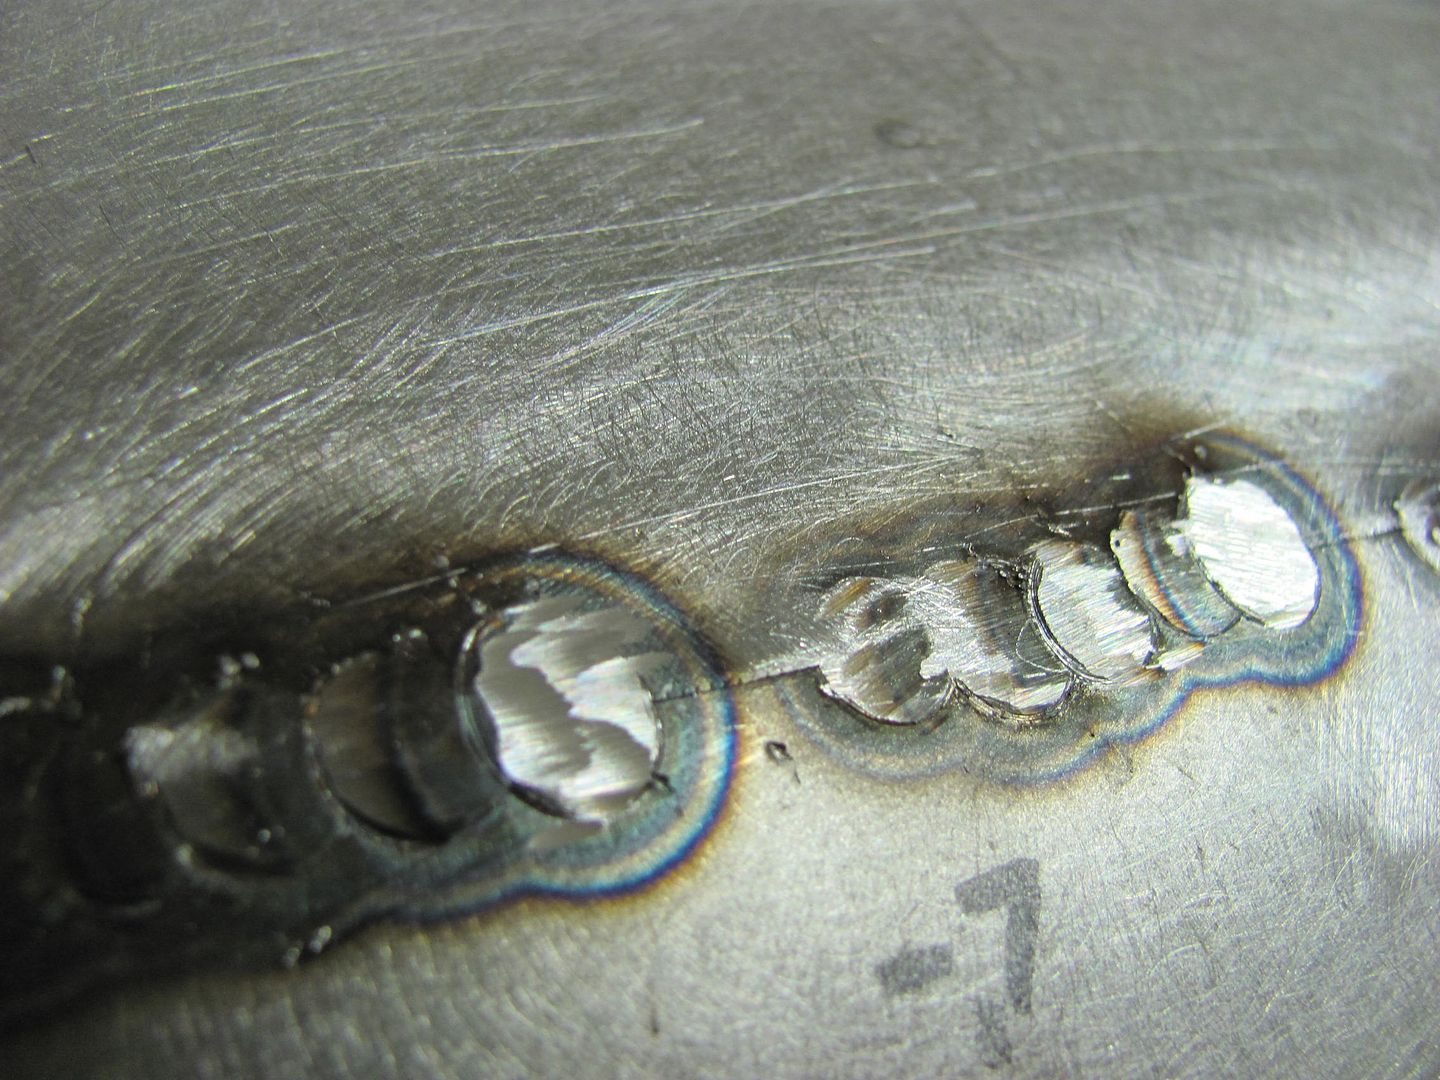 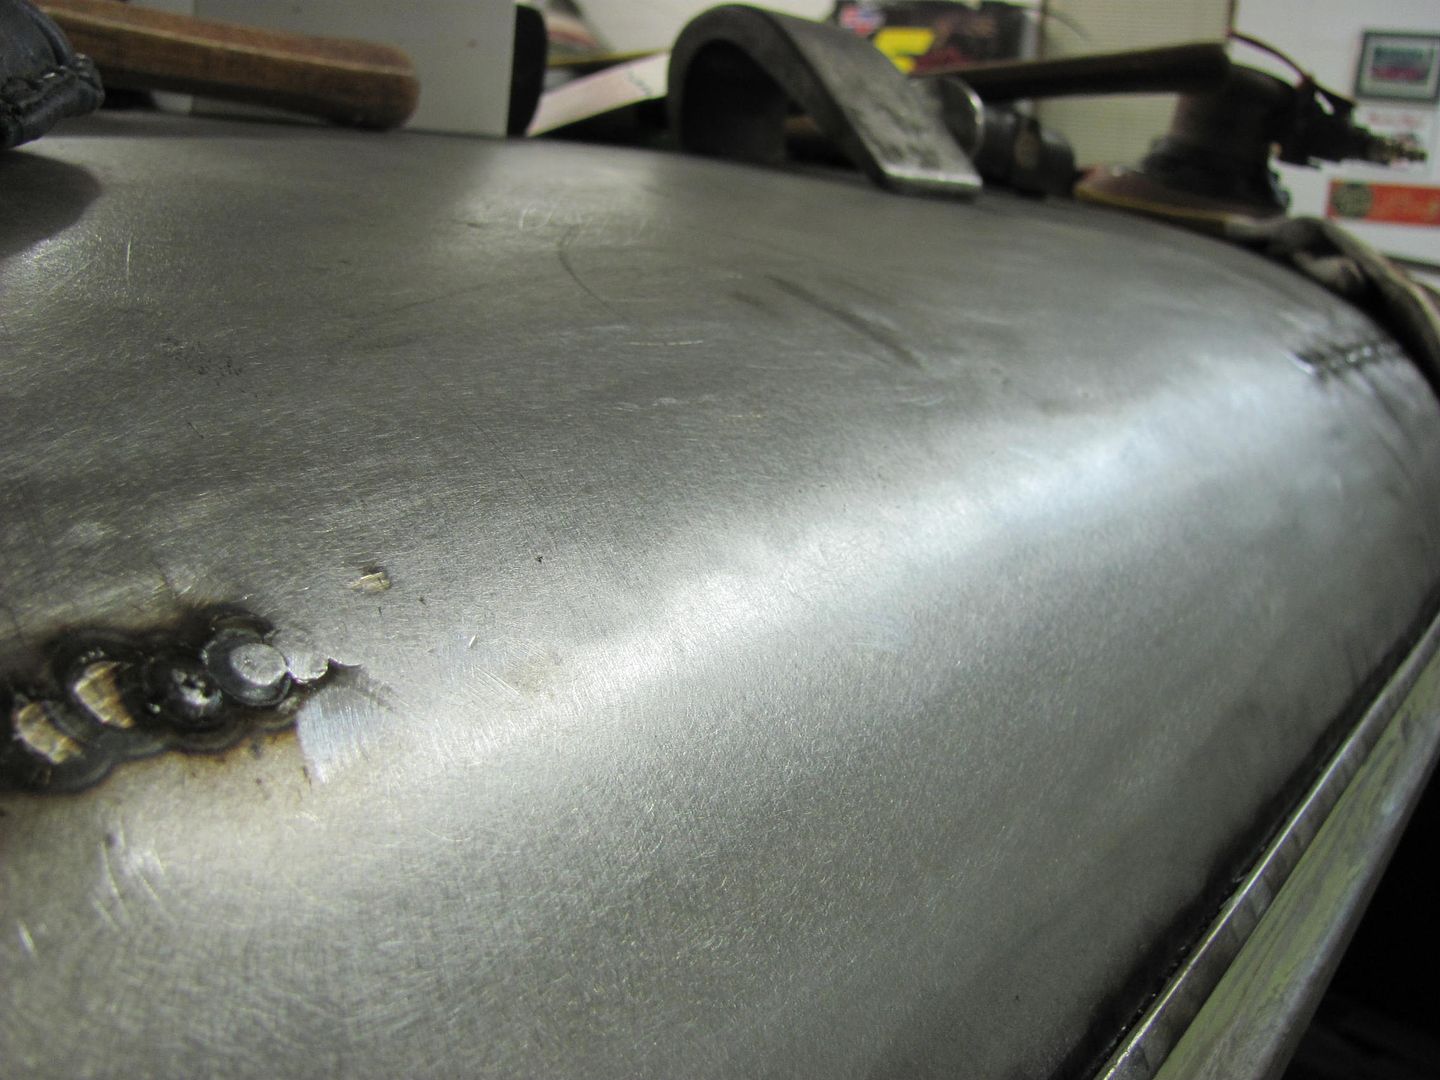 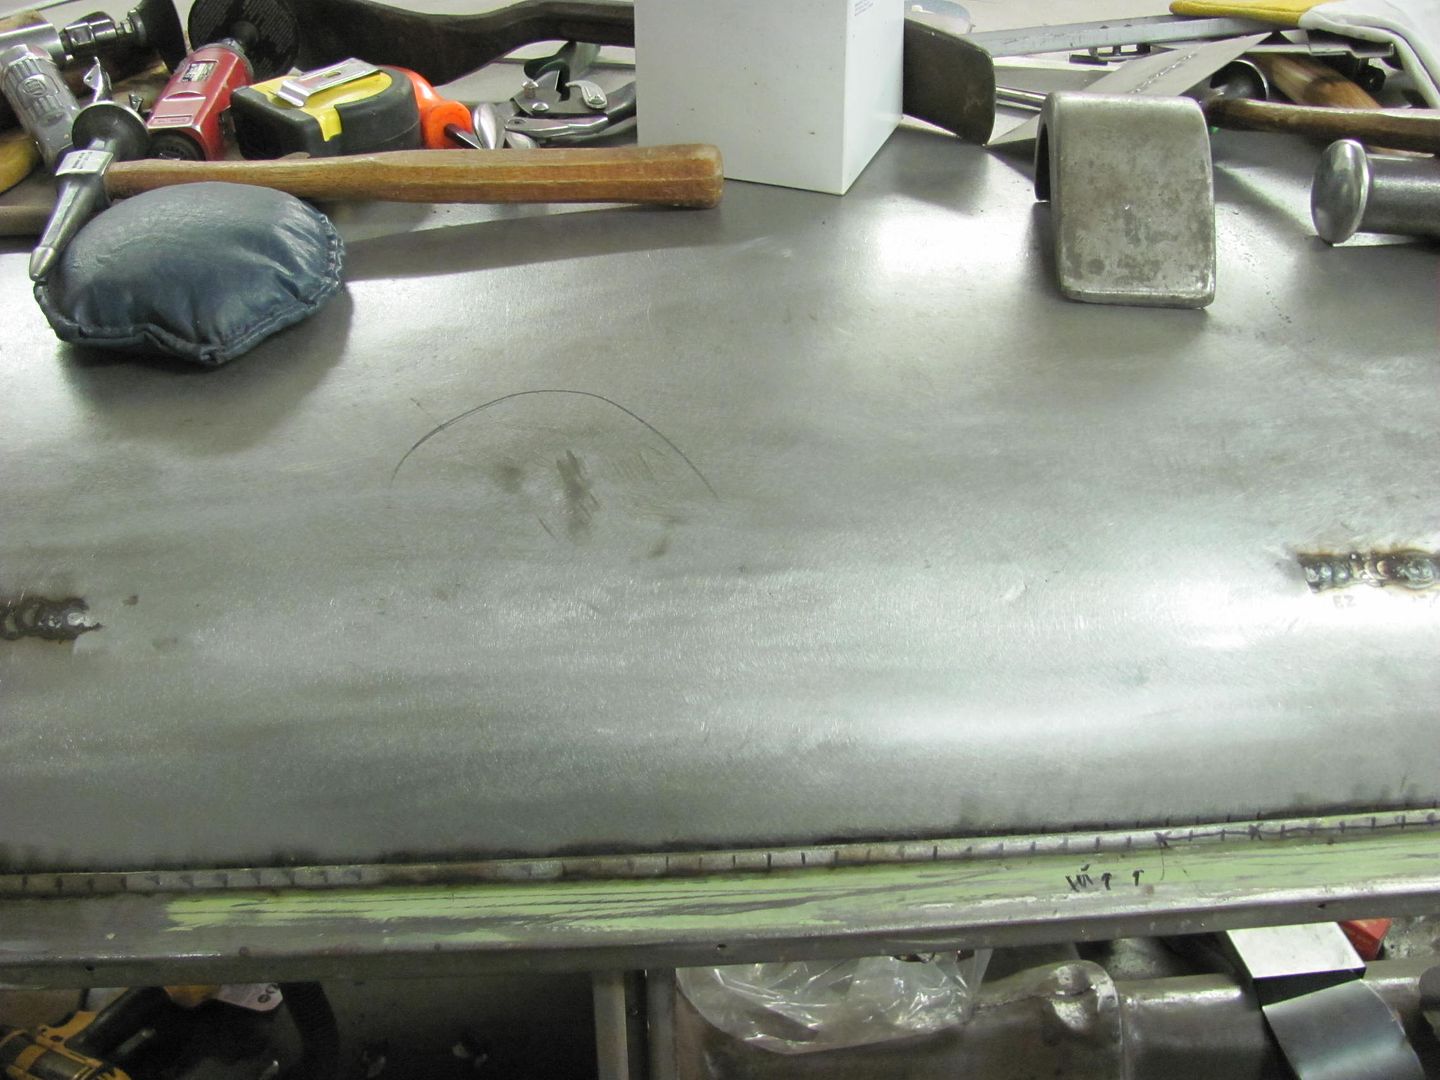 Sorry I didn't have as many in-process pictures, got in a rush this evening....until next time..
__________________
Robert |
|
|
|
|
02-24-2014, 11:13 PM
|
#6 |
|
Registered User
Join Date: Jan 2013
Location: Leonardtown, MD
Posts: 1,636
|
Re: 55 Wagon Progress
Some more cleanup work on the roof weld, didn't get much for in process pictures, but then this part gets pretty boring anyhow...
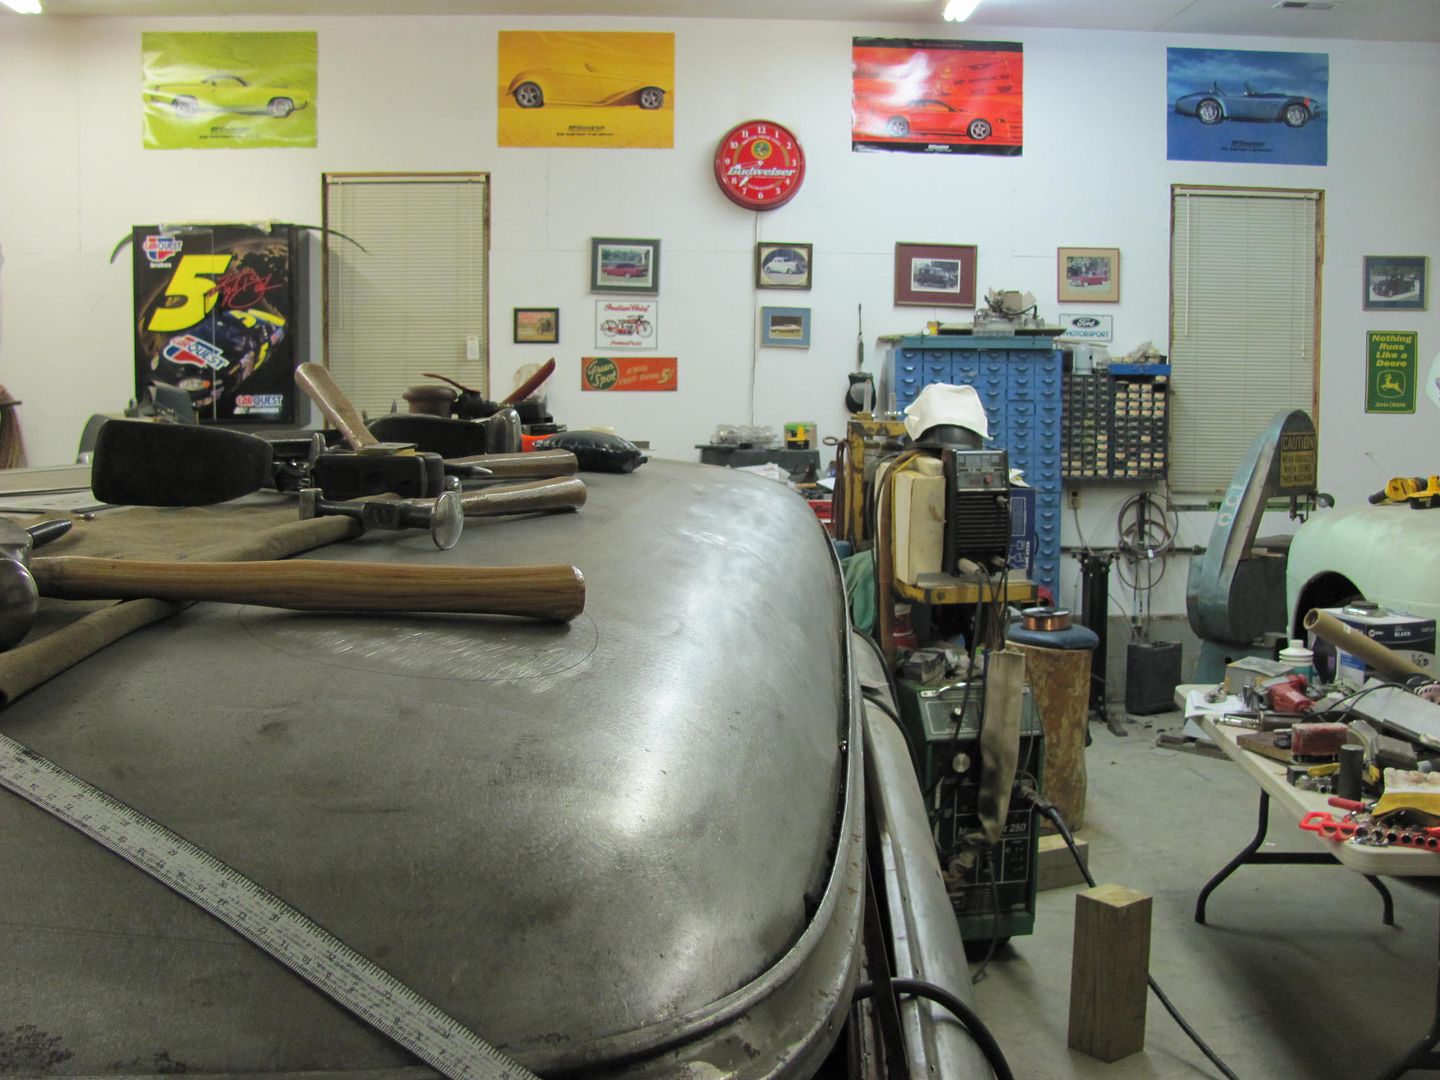  Inside... 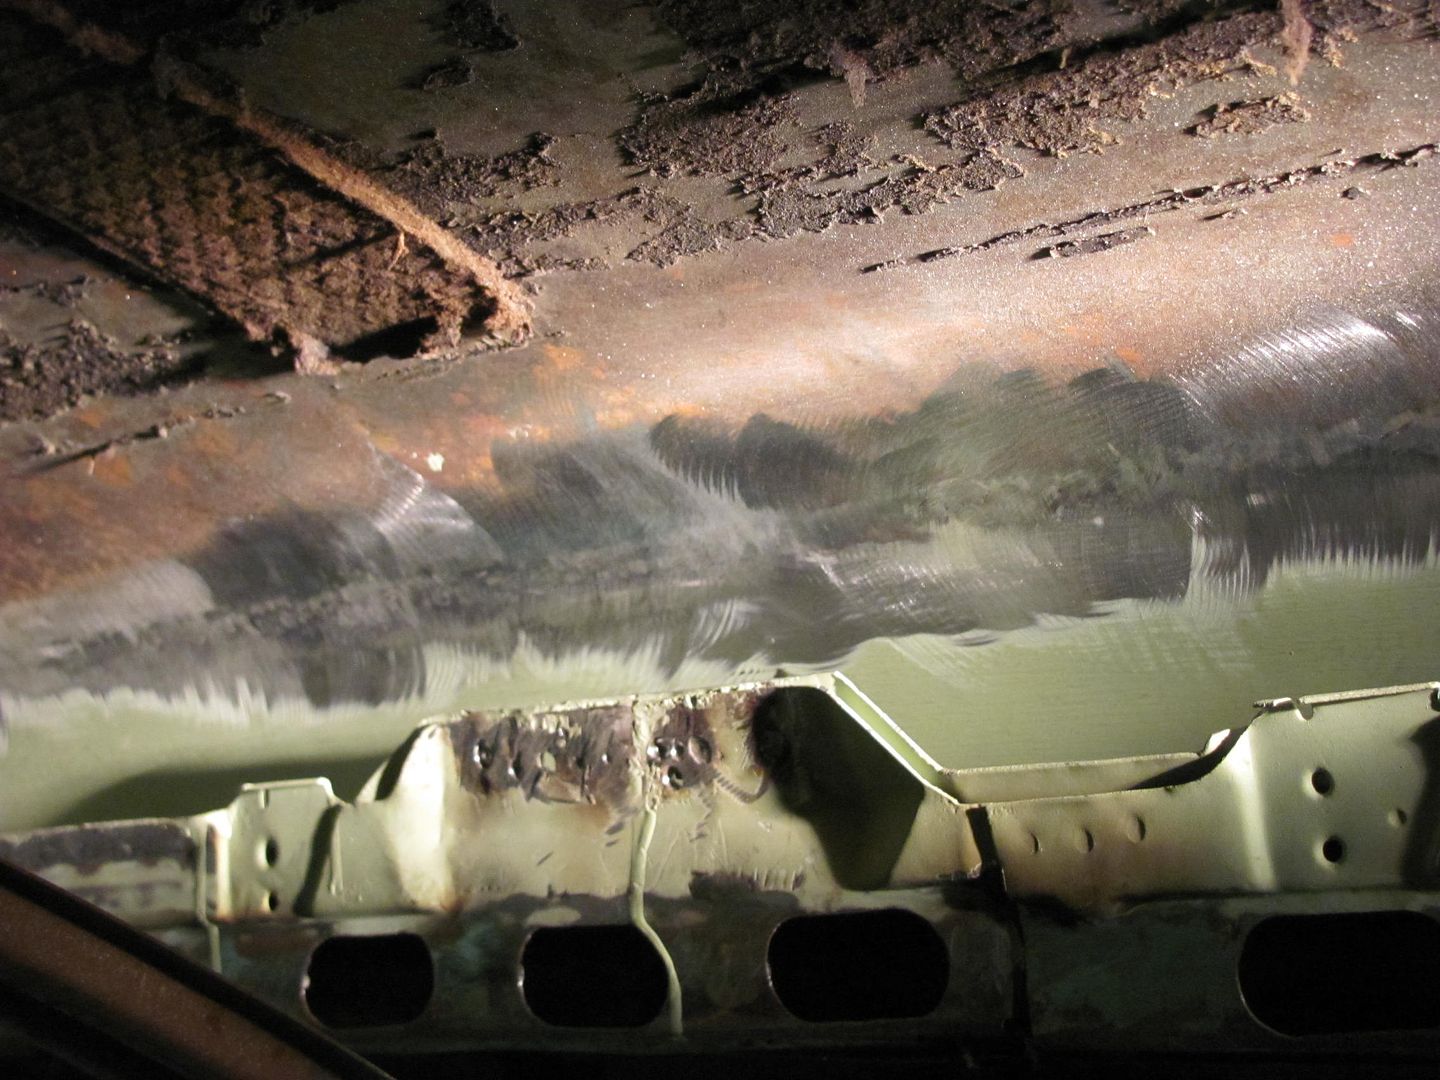 I'm pretty pleased with how it turned out this time. Still has some metal bumping needed to address some highs and lows, which we'll work on next time in the shop, as well as welding in the last pieces of the lift gate..
__________________
Robert |
|
|
|
|
02-25-2014, 12:02 AM
|
#7 | |
|
Registered User
Join Date: Apr 2011
Location: .
Posts: 3,104
|
Re: 55 Wagon Progress
Quote:
One question though, what did you use to smooth out the inside of the roof? Did you use the same tool to finish out the outside (top) of the roof? May be boring to you but life changing to me. |
|
|
|
|
|
02-25-2014, 08:02 AM
|
#8 |
|
Registered User
Join Date: Jan 2013
Location: Leonardtown, MD
Posts: 1,636
|
Re: 55 Wagon Progress
On both inside and out I start out by knocking down the proud of the weld in between dots using a 3" x .035 (or 1/16 thick if that's what you have) cutoff wheel held perpendicular to the weld. This both gives a minimal contact patch for less heat buildup but also gives the most unobstructed view of any device used to grind down the weld, so you have less chance of inadvertently hitting the panel on either side of the weld, thinning out the panel..
See here for the grinding method, this is on a plug weld but the grinding process is the same: https://www.youtube.com/watch?v=V2WHT_zMOE8 After getting the bulk of it down on the entire weld, a 3" 80 grit roloc sander is used on the outside to dress the panel, and on the inside an 1-1/2" diameter drum sander is used to clean up the high spots and finish with the same 80 grit roloc. Not saying this is the right way or the only way, but it's what has worked best for me.
__________________
Robert |
|
|
|
|
11-08-2014, 11:47 PM
|
#9 | |
|
Registered User
Join Date: Jun 2013
Location: Somewhere
Posts: 3,056
|
Re: 55 Wagon Progress
Quote:
|
|
|
|
|
|
02-27-2014, 10:37 PM
|
#10 |
|
Registered User
Join Date: Apr 2011
Location: .
Posts: 3,104
|
Re: 55 Wagon Progress
More questions~
Somehow I've gathered sanding drums from garage sale finds but have never broke'em out. Do you prefer the sanding drums over sanding flapper wheels? And Cleaning up the inside of the sheet metal that will be covered up is that for bumping purposes or any other reason? I clean up unseen areas just cause I'm too anal at times. |
|
|
|
|
02-27-2014, 11:07 PM
|
#11 |
|
Registered User
Join Date: Jan 2013
Location: Leonardtown, MD
Posts: 1,636
|
Re: 55 Wagon Progress
For dressing welds I use the 3" cutoff wheel for the bulk of the weld, to get it to just above flush. This has a minimal contact patch for about the least amount of heat buildup possible. It also gives you about the maximum visibility possible to insure you get the weld down as far as possible without inadvertently hitting to either side of the weld and thinning out the parent metal. The flap wheel fails on both these points as it causes too much heat buildup, and you can't see what you're doing. Flap wheels are not suitable for sheet metal IMO. After getting that far with the cutoff wheel, then use the 3" roloc sander to blend the remaining weld to the parent metal.
On the sanding drums, they are used in the same fashion when dressing inside radiuses. Save your cutoff wheels when they get smaller in diameter for tight spots, good for dressing welds in tighter spots. Then when weld is down to just above panel surface, revert to drum sander. As far as cleaning up the rear of the welds, multiple reasons. First, the weld dots should have gone through the "initial" planish while the dots were still isolated by themselves. Then grind down to get rid of the bulk so it's out of the way for planishing the next. When you get done and have finished the weld with you roloc sander, now you have nice flat panels that are more receptive to metal bumping, and more predictable when it comes to metal bumping. Leave weld dots proud on the back side and you are risking panel distortion as the welds deflect off the dolly, possibly causing more distortion than left by the welding operation. Lastly, just like the lapped seam gives the possibility of a ghost line in a finished panel, leaving a weld proud, whether on the back side of the panel or a cold joint left on top and "hidden" by mud, thicker metal expands slower than thinner. Leaving weld proud on either side risks ghost lines just like the lapped seam does.
__________________
Robert |
|
|
|
|
02-28-2014, 09:42 PM
|
#12 |
|
Registered User
Join Date: Apr 2011
Location: .
Posts: 3,104
|
Re: 55 Wagon Progress
Thank you for explaining it to me. Wealth of information on metal finishing.
|
|
|
|
|
03-01-2014, 12:22 AM
|
#13 |
|
Registered User
Join Date: Jan 2013
Location: Leonardtown, MD
Posts: 1,636
|
Re: 55 Wagon Progress
Glad to help!
__________________
Robert |
|
|
|
|
03-01-2014, 03:33 PM
|
#14 |
|
Registered User
Join Date: Jan 2013
Location: Leonardtown, MD
Posts: 1,636
|
Re: 55 Wagon Progress
My nephew Chris worked inside the wagon to clean up some of the welds...
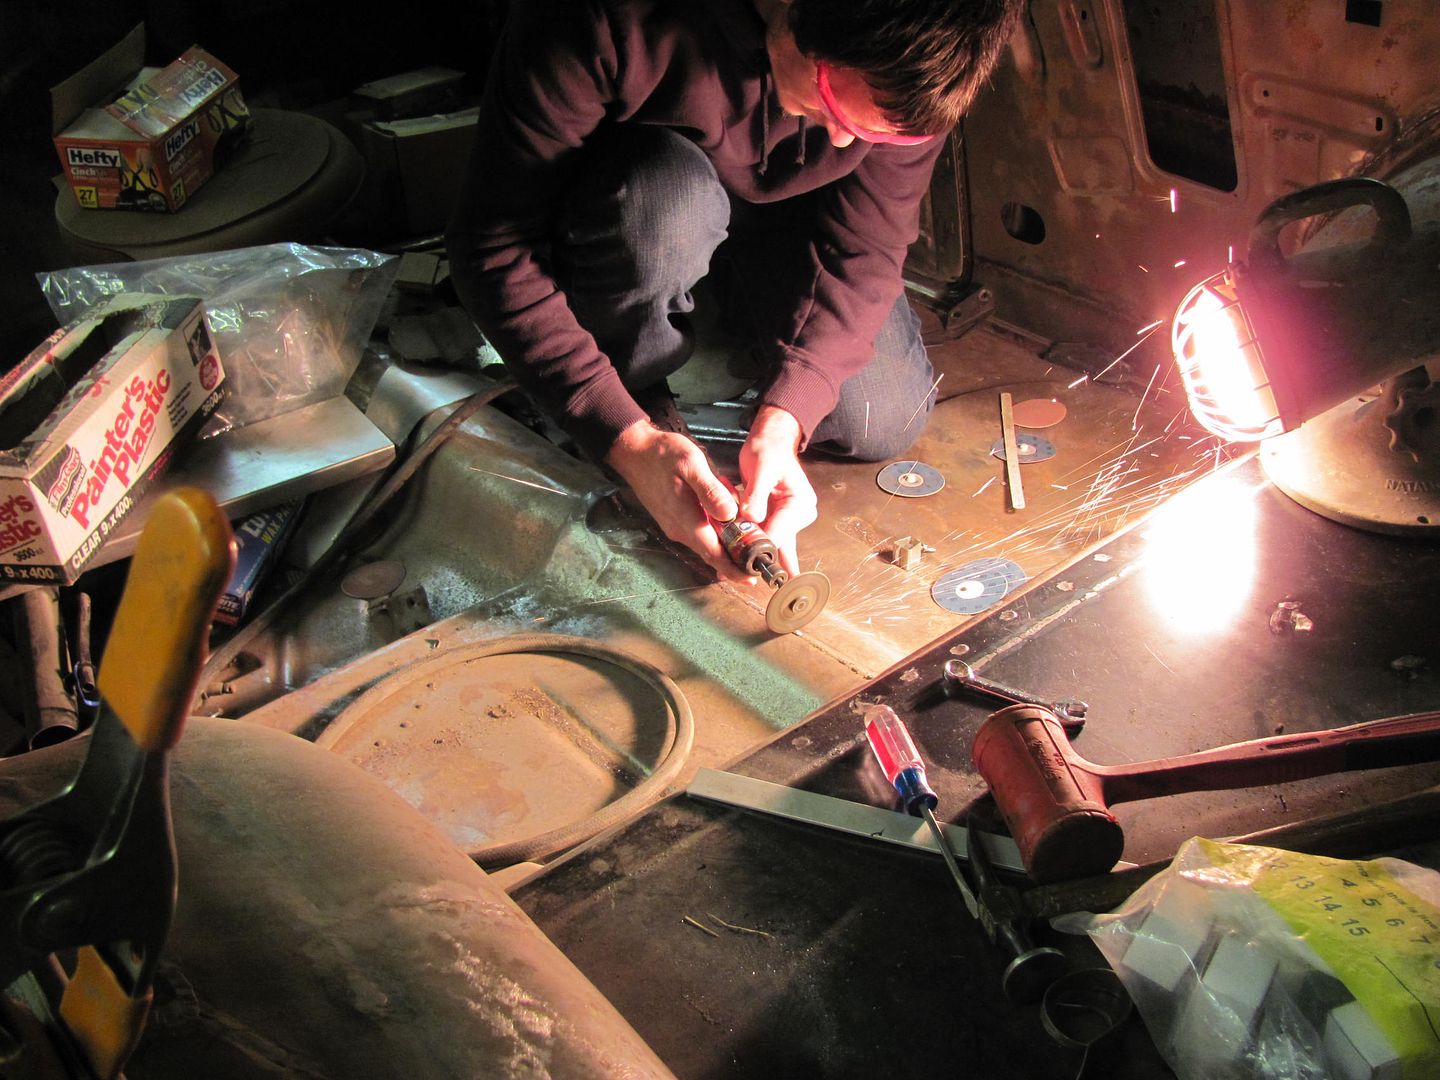 Before closing up the lift gate, we have a couple more items to cross off the list. A rubber bumper gets installed at the bottom in case the gates are closed in the wrong order, you won't scar up the paint on the top of the tailgate... The old sample only had one good hole location for us to use... 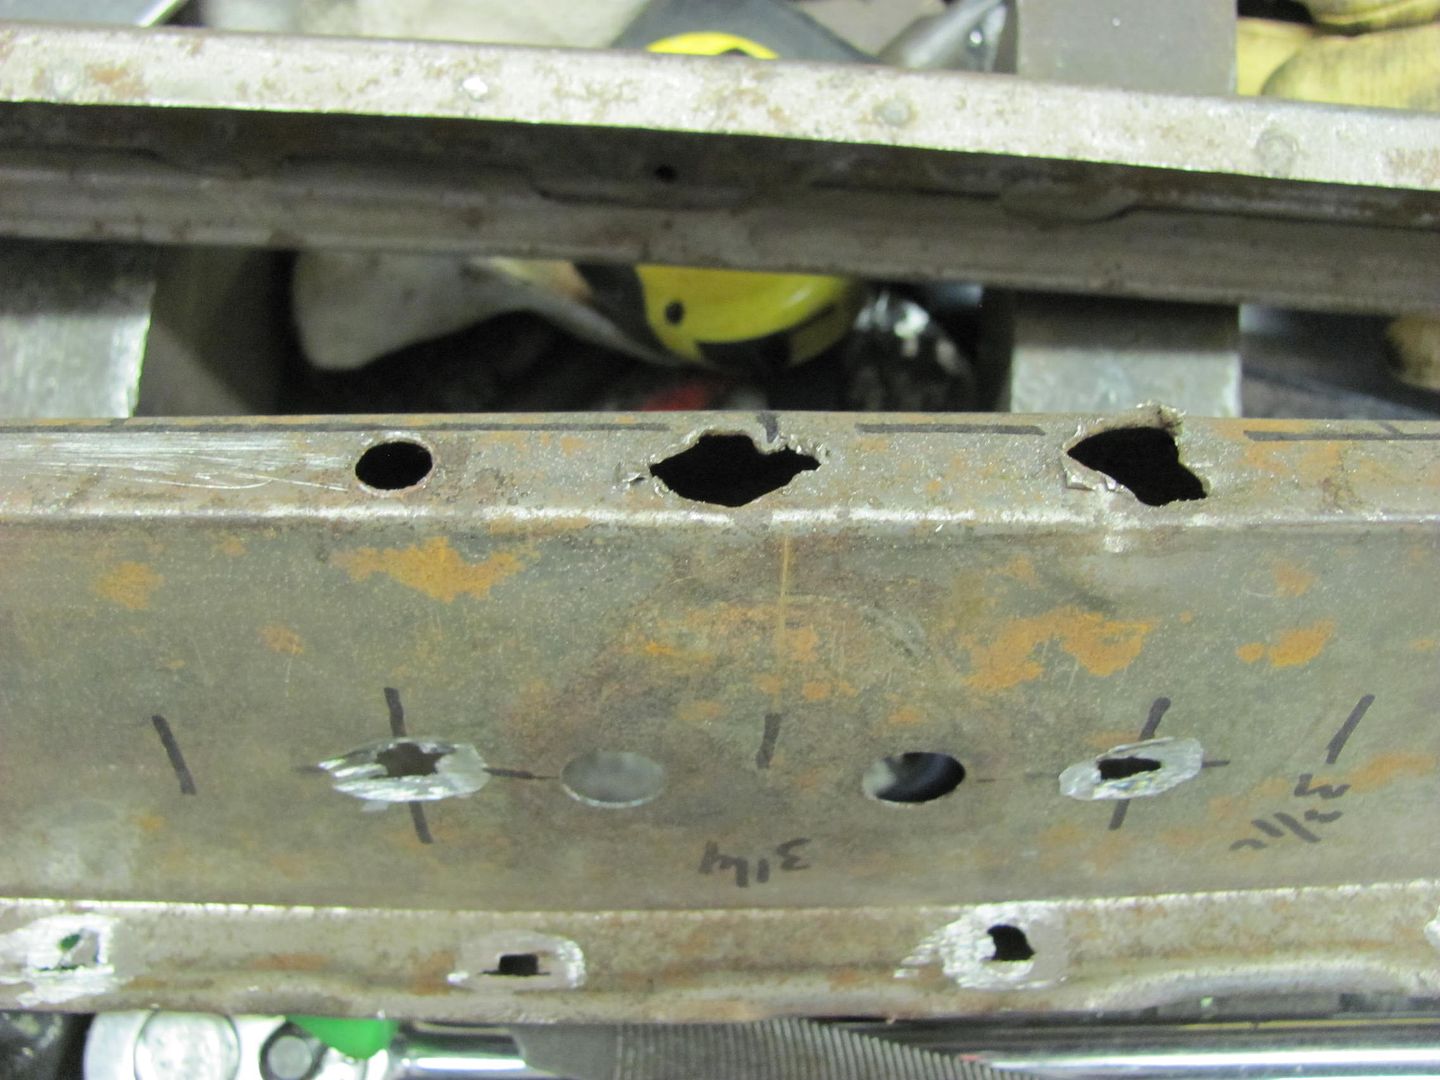 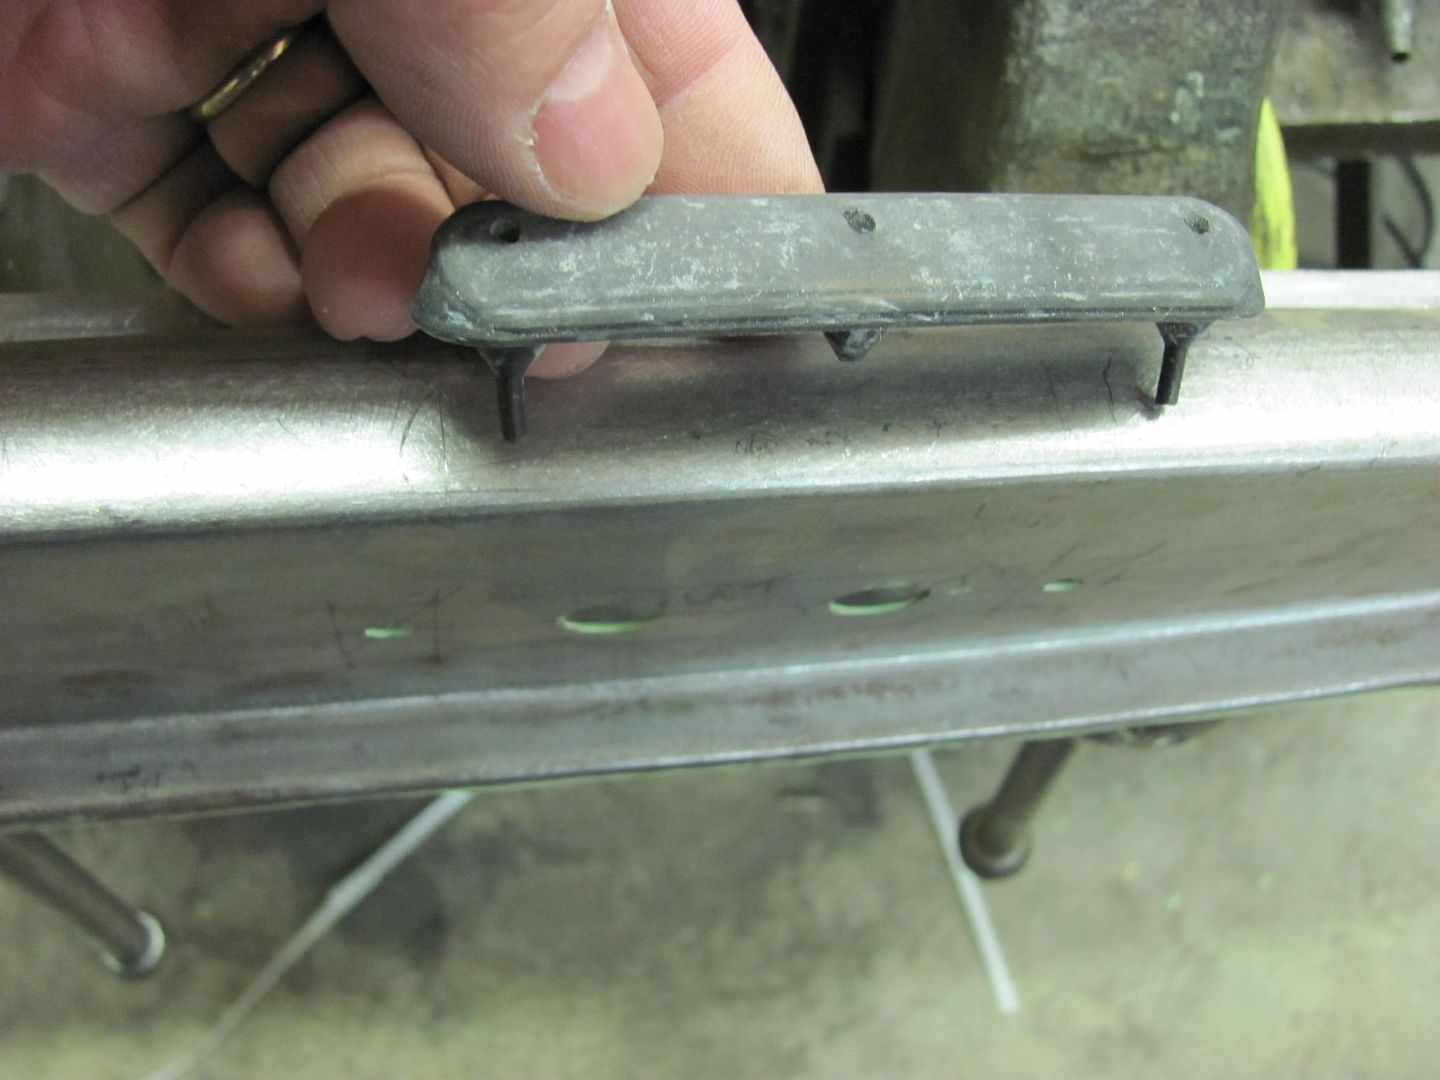 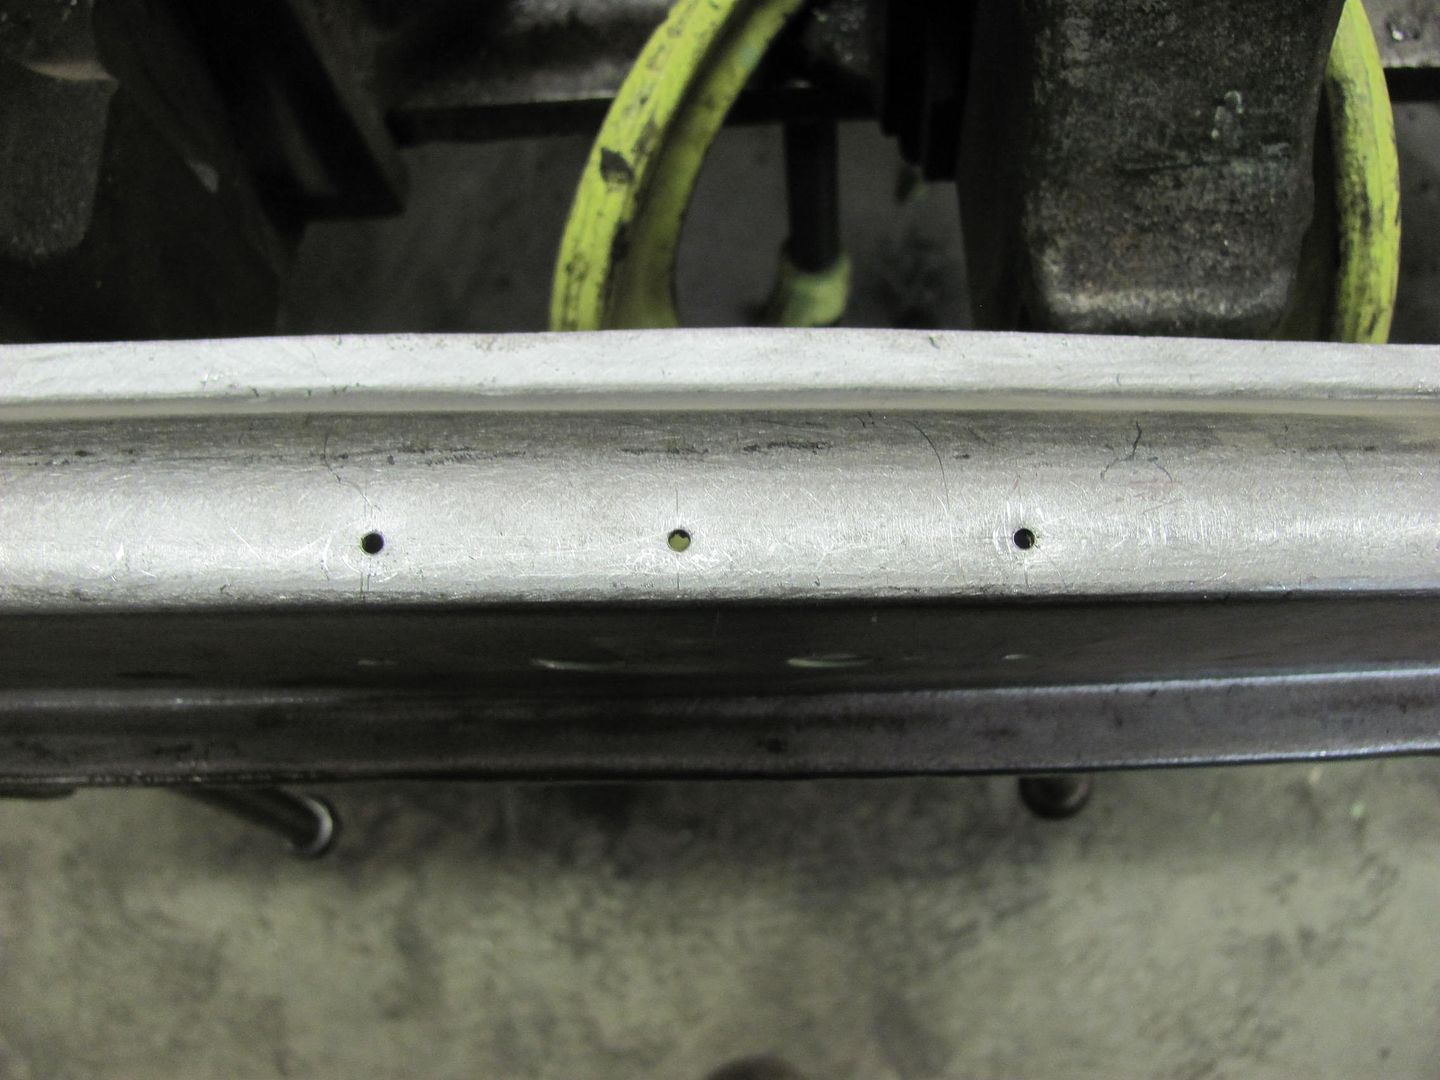 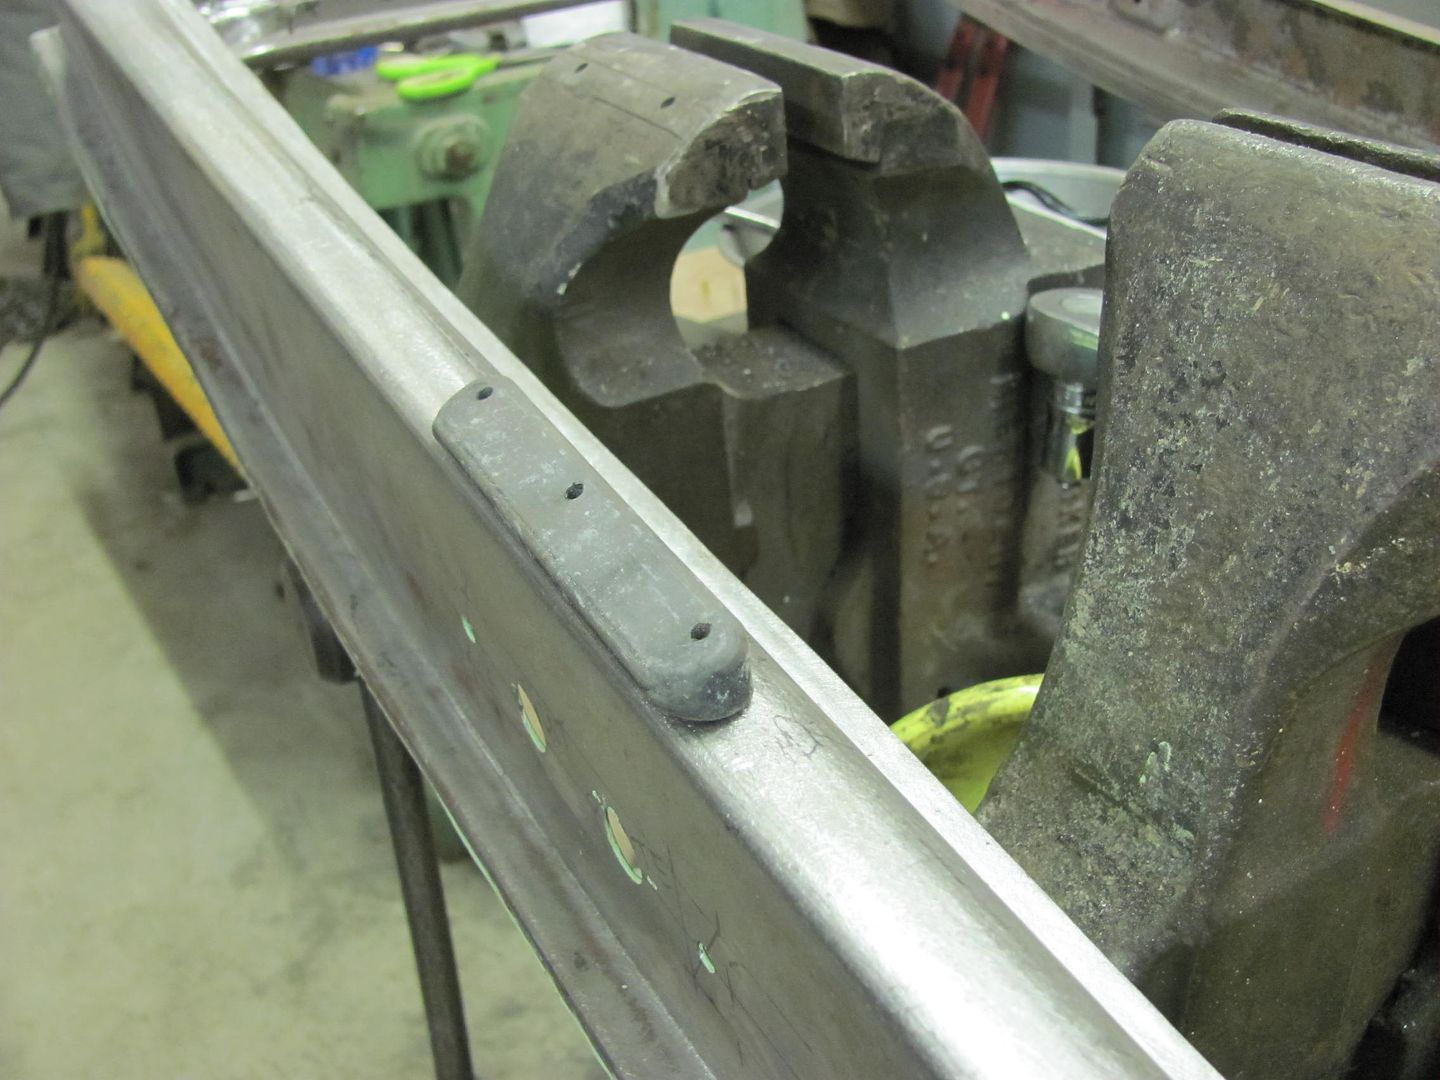 Next, the floating nut plate was plug welded to the bottom.... 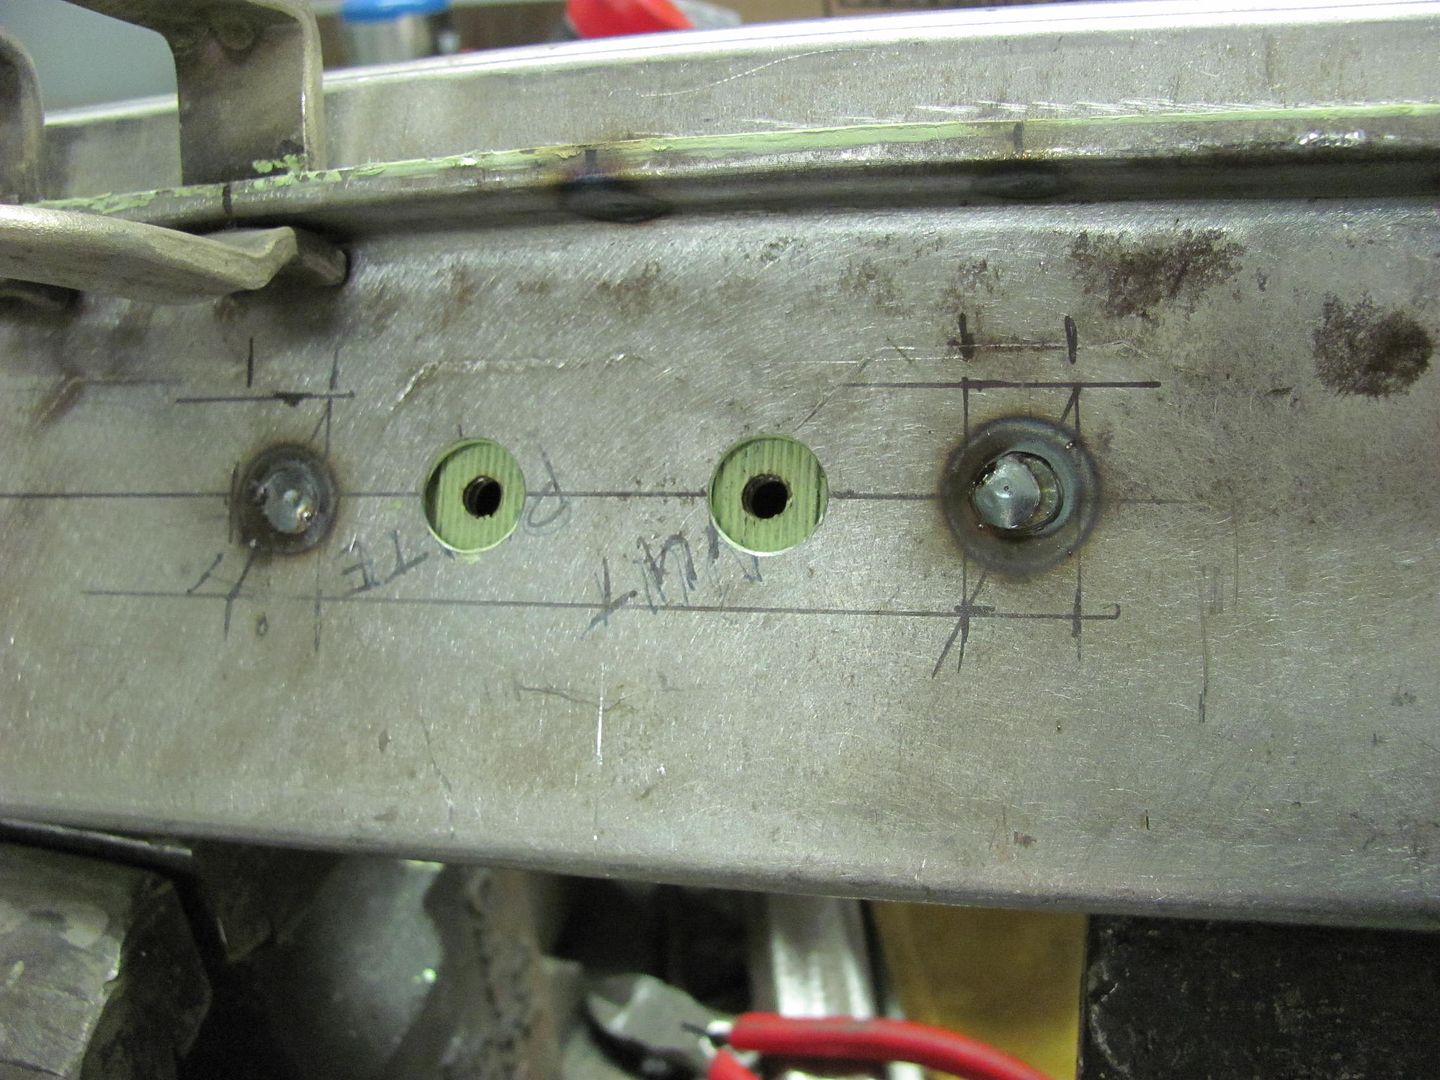 With that done, we could prep for closing up the bottom. In order to use the spot welder along the bottom seam, we needed to clean off some epoxy primer where the spot welds would be located. Used and even spacing of 2" and marked both flanges... 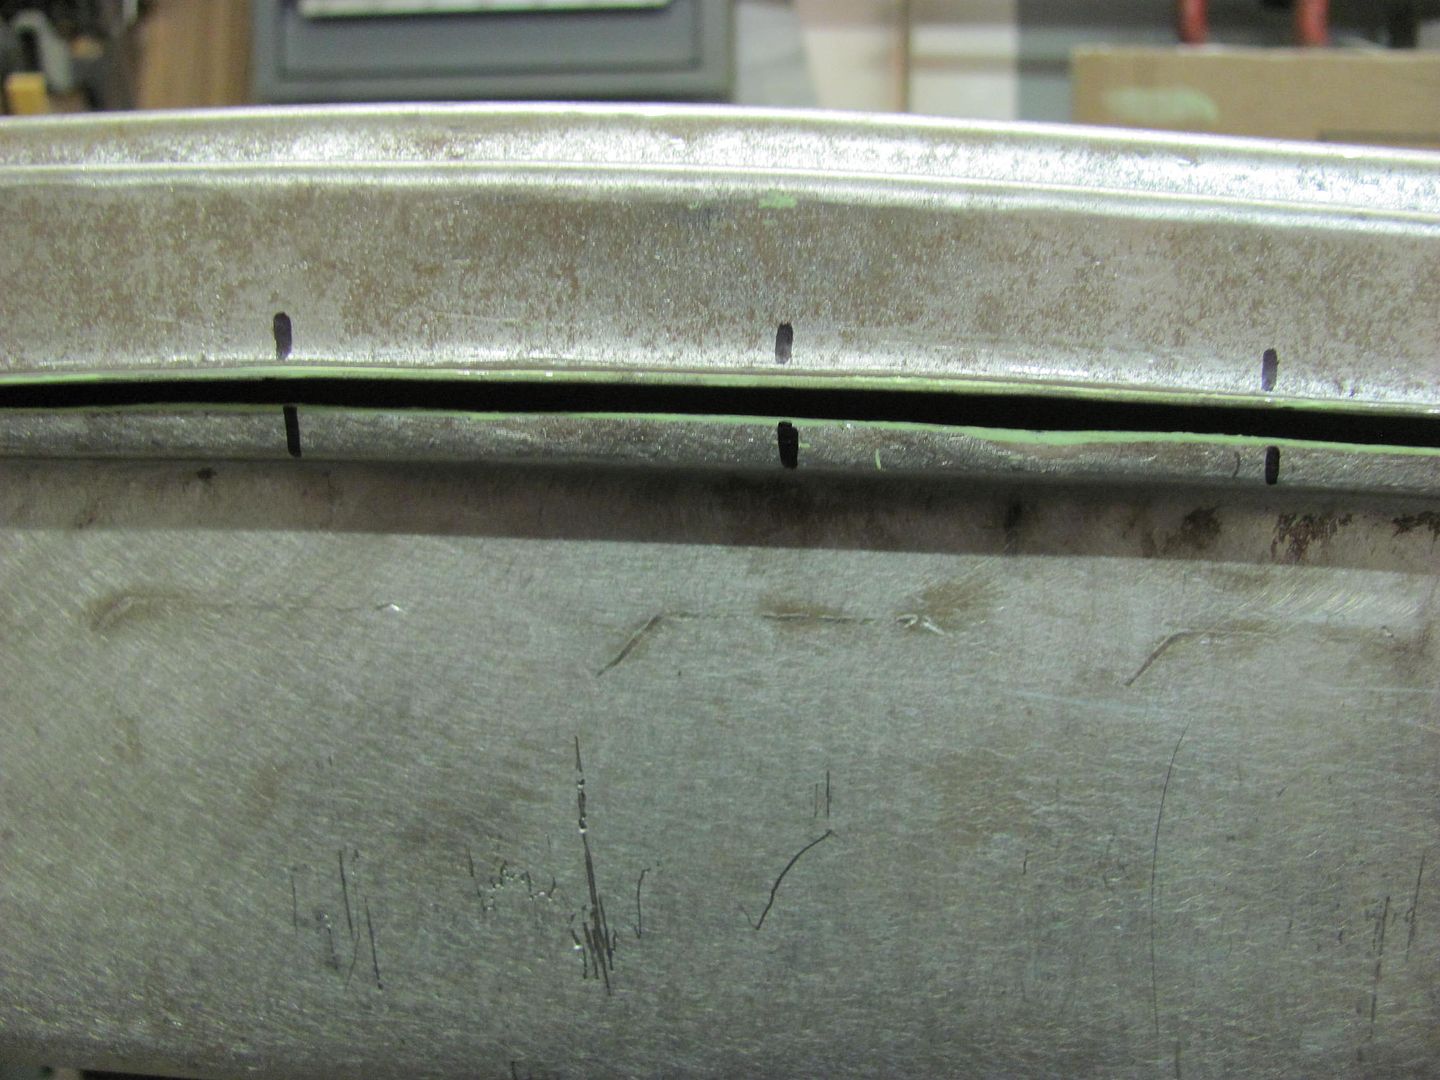 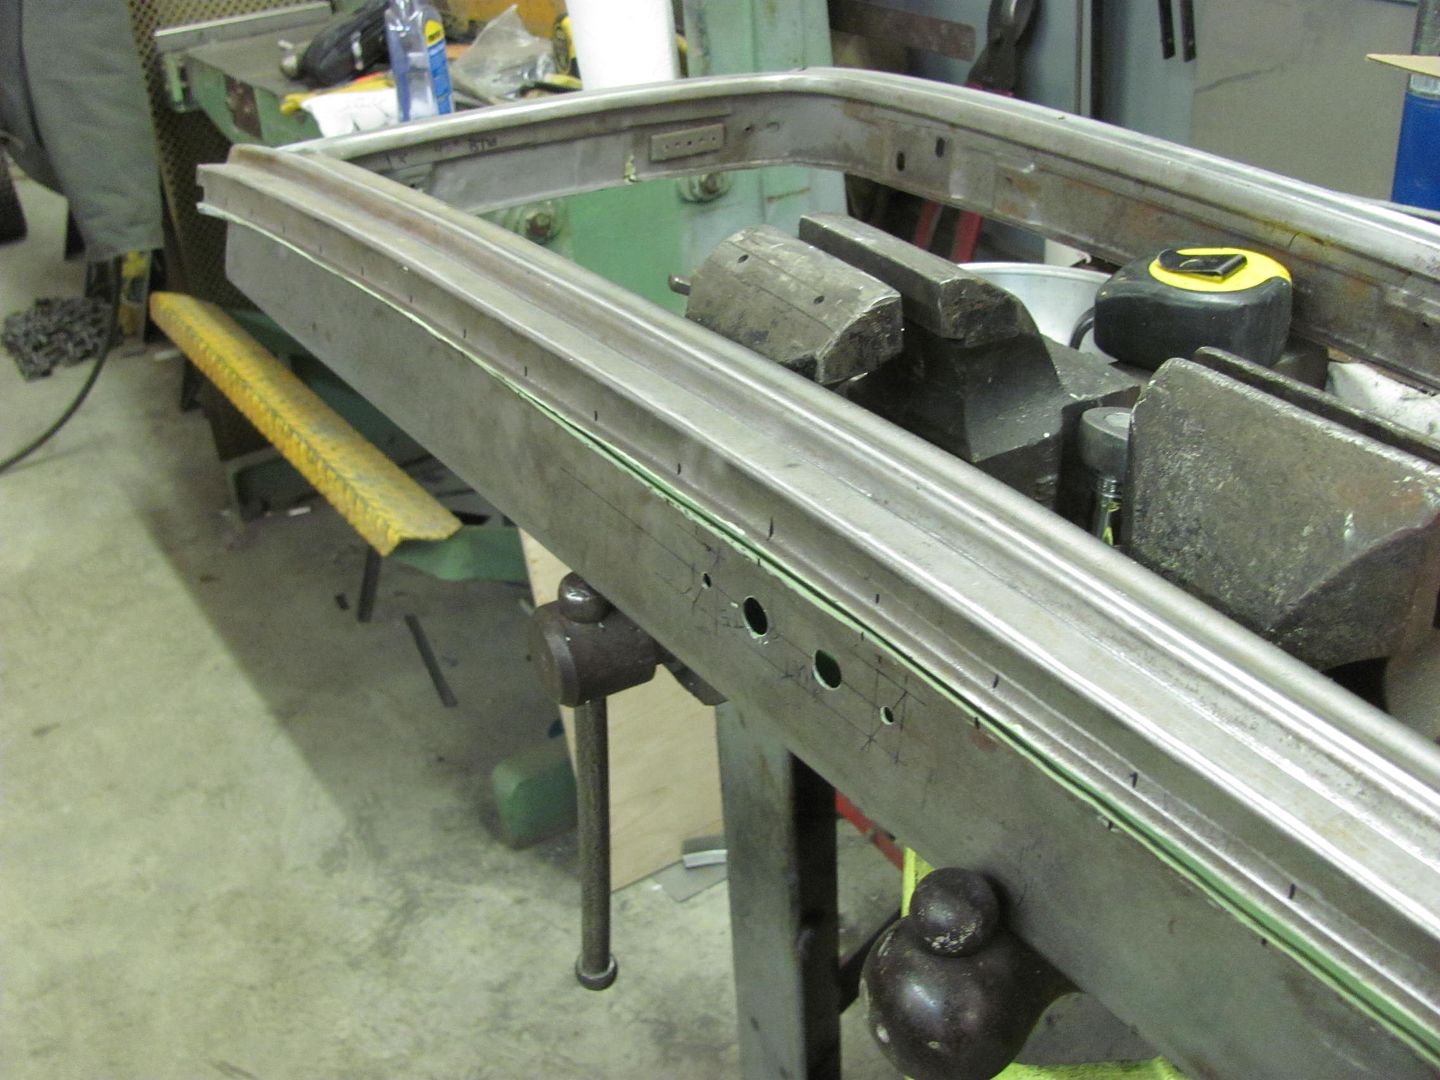 In order to remove as little epoxy primer as possible, we decided to use the modified plug weld drill bit (the flattened one) over all the errant marks a roloc sander would make. In order that the flat drill bit didn't walk all over the place, another specialized tool was made.... 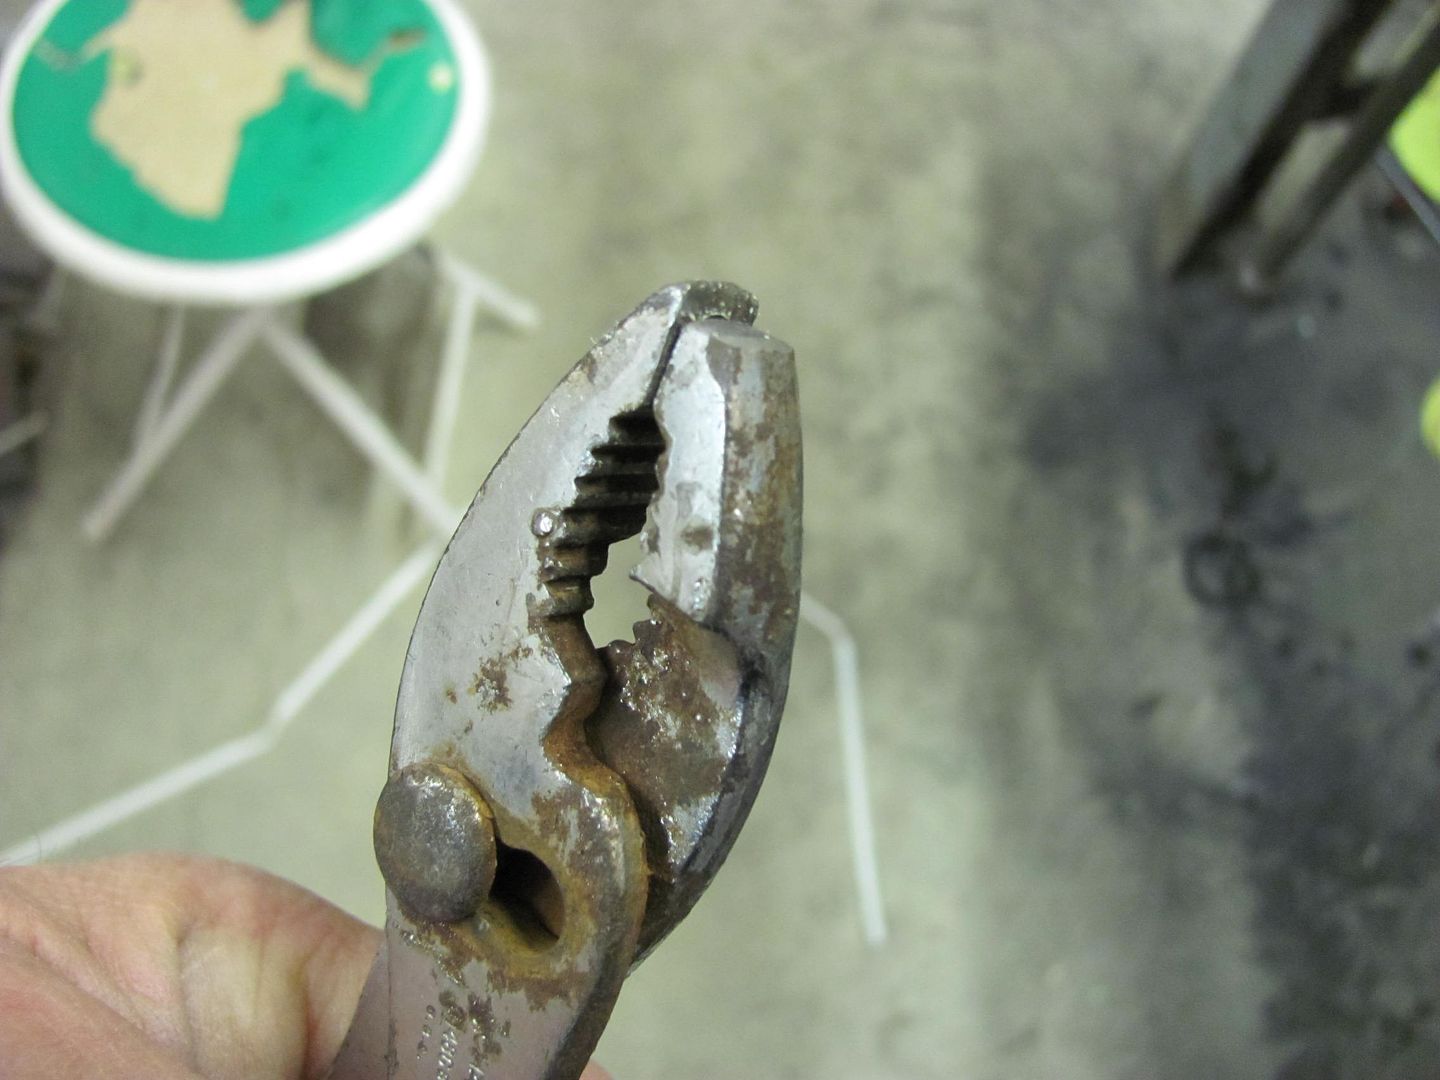 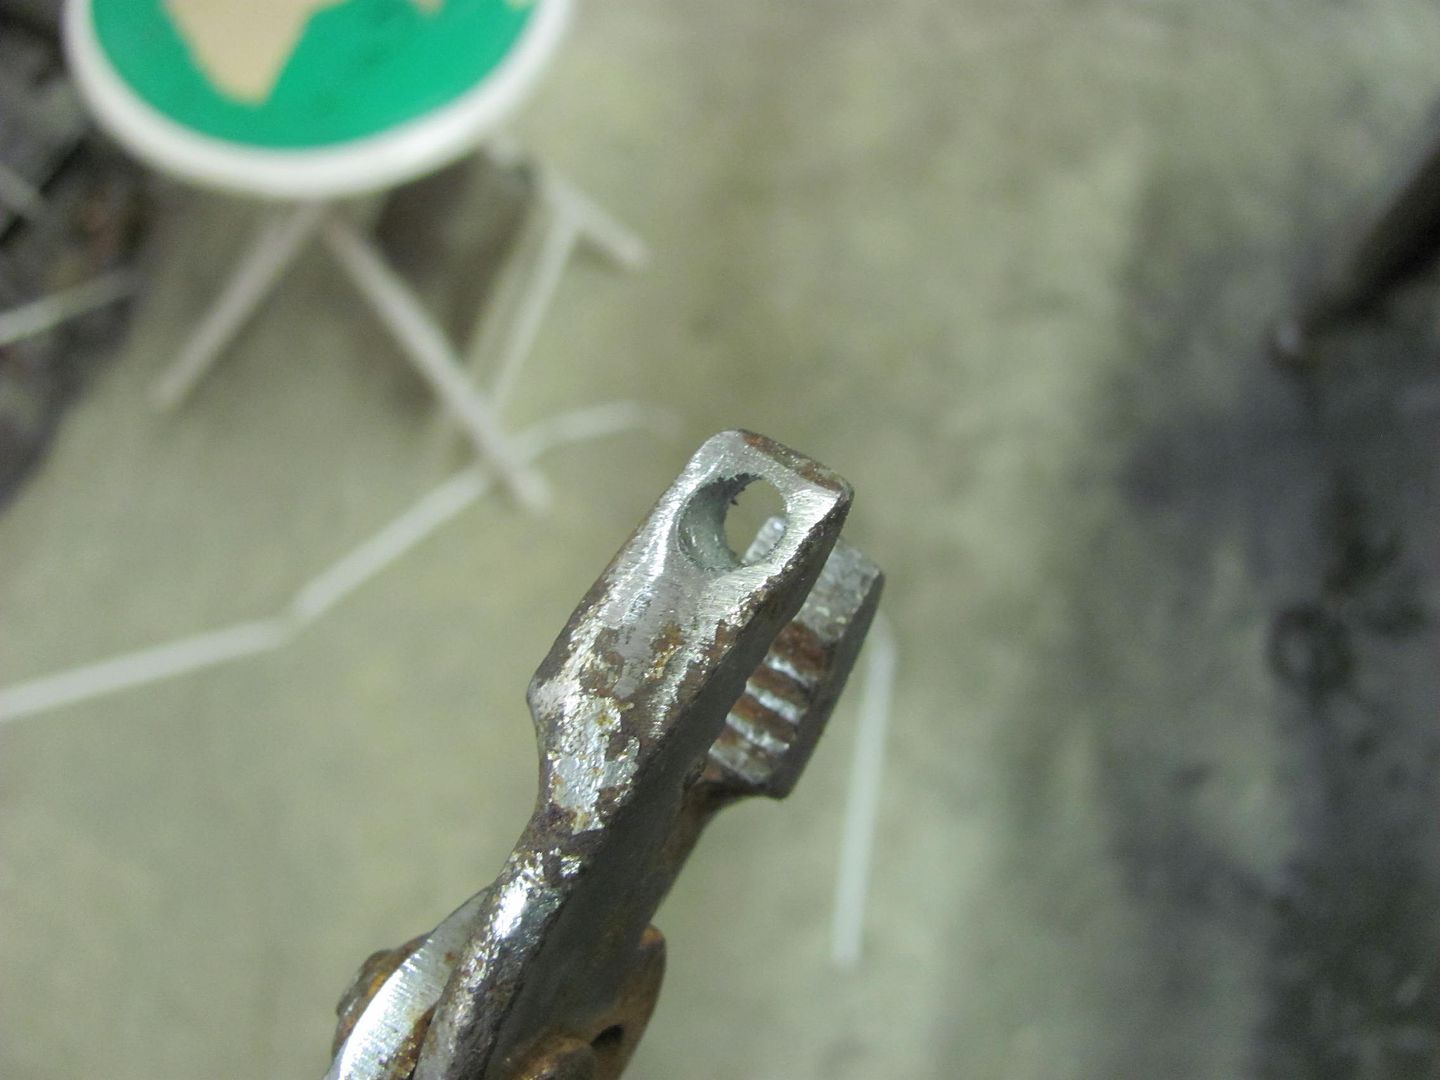 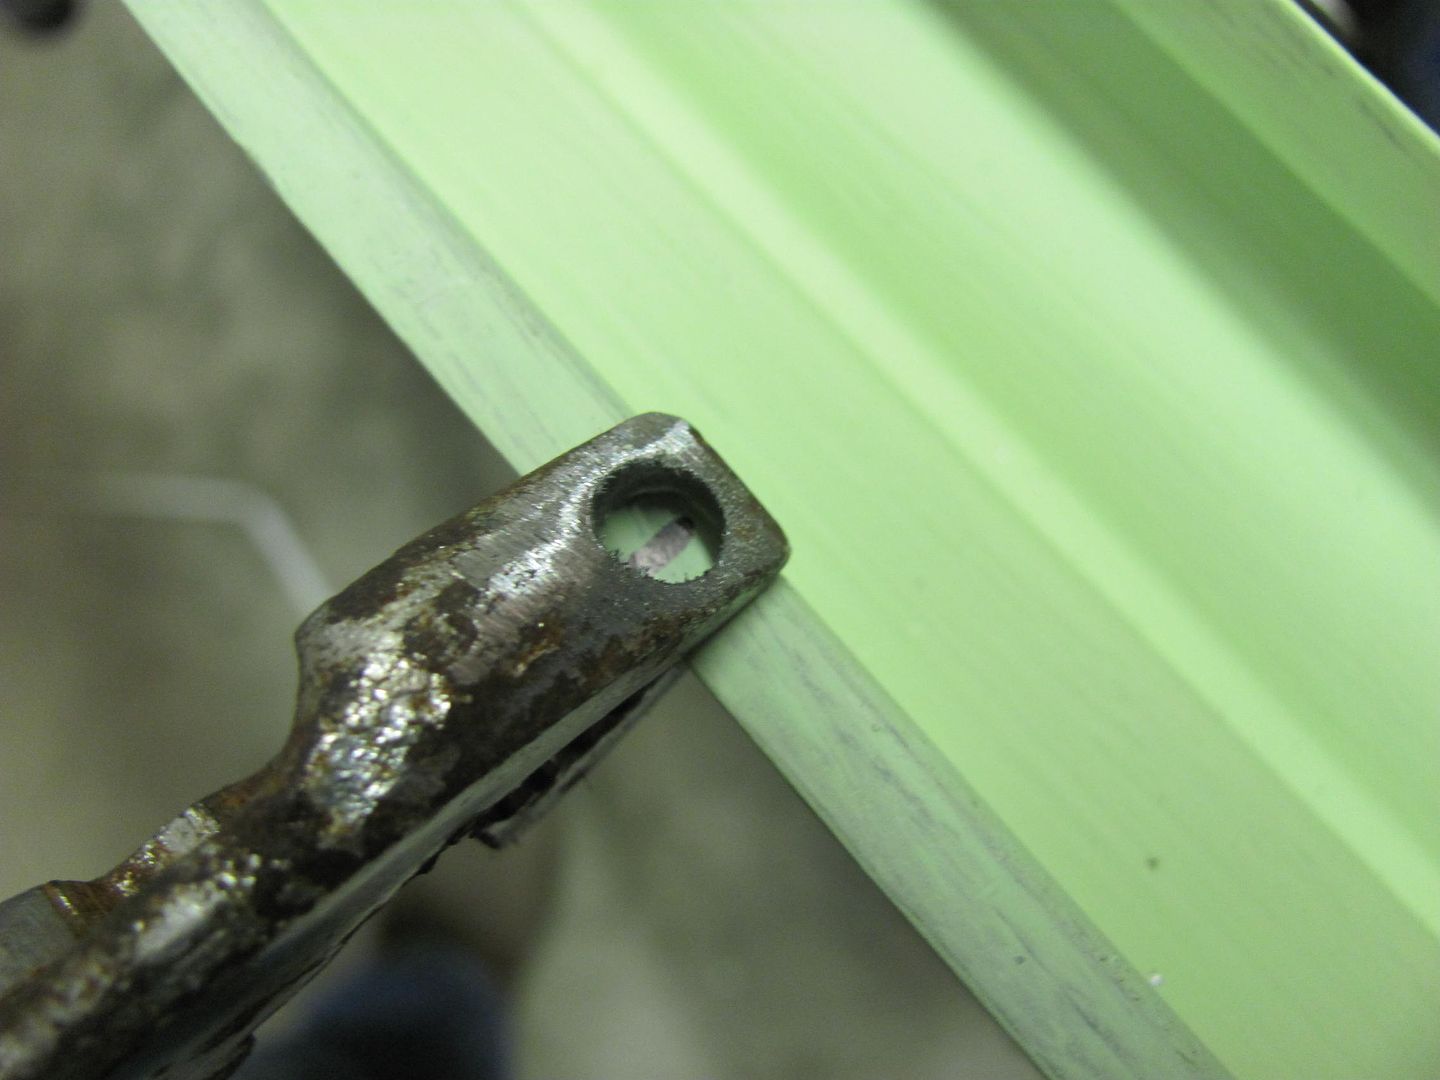 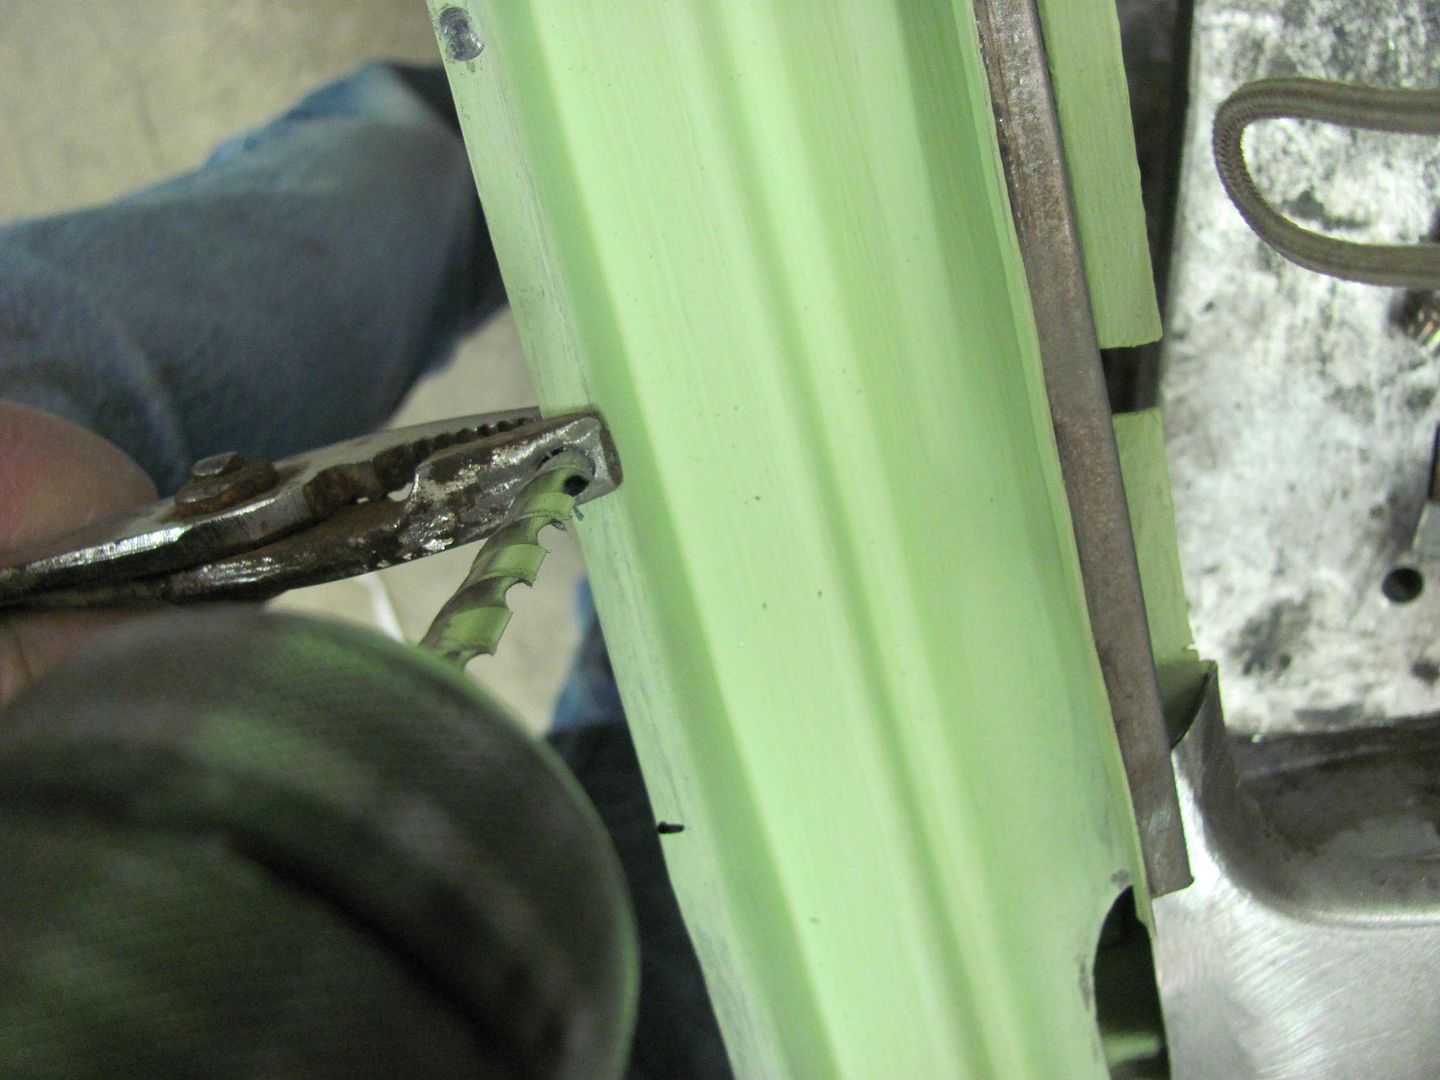 Here's another close up of the modified bit... 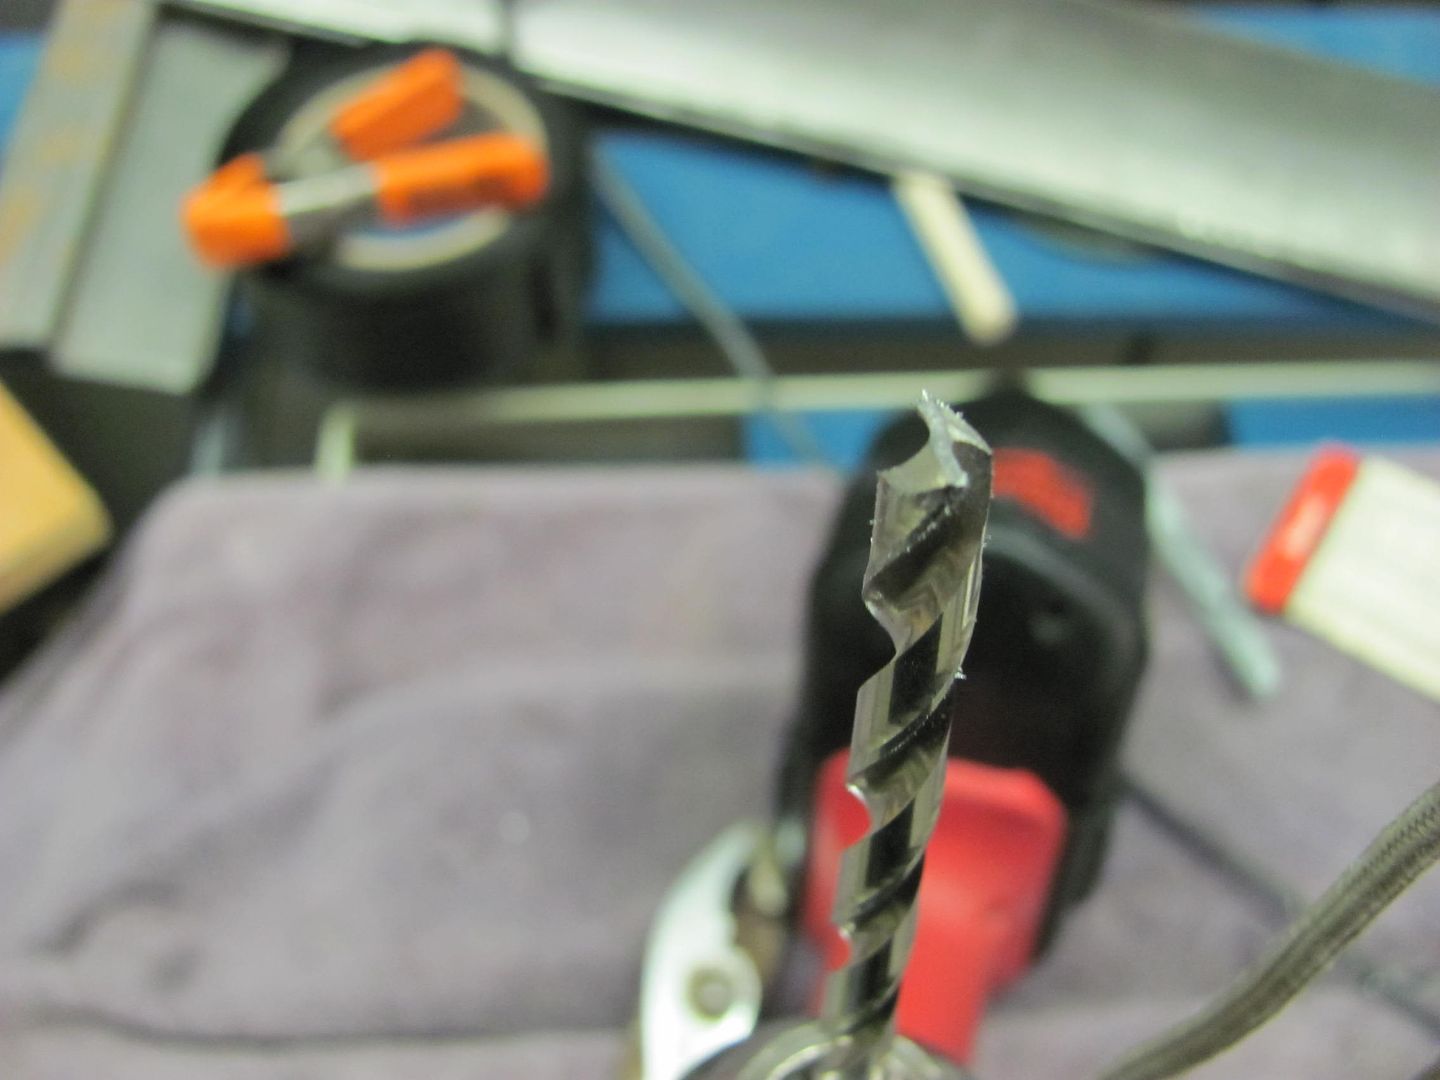 .....and the "prepped" flanges...  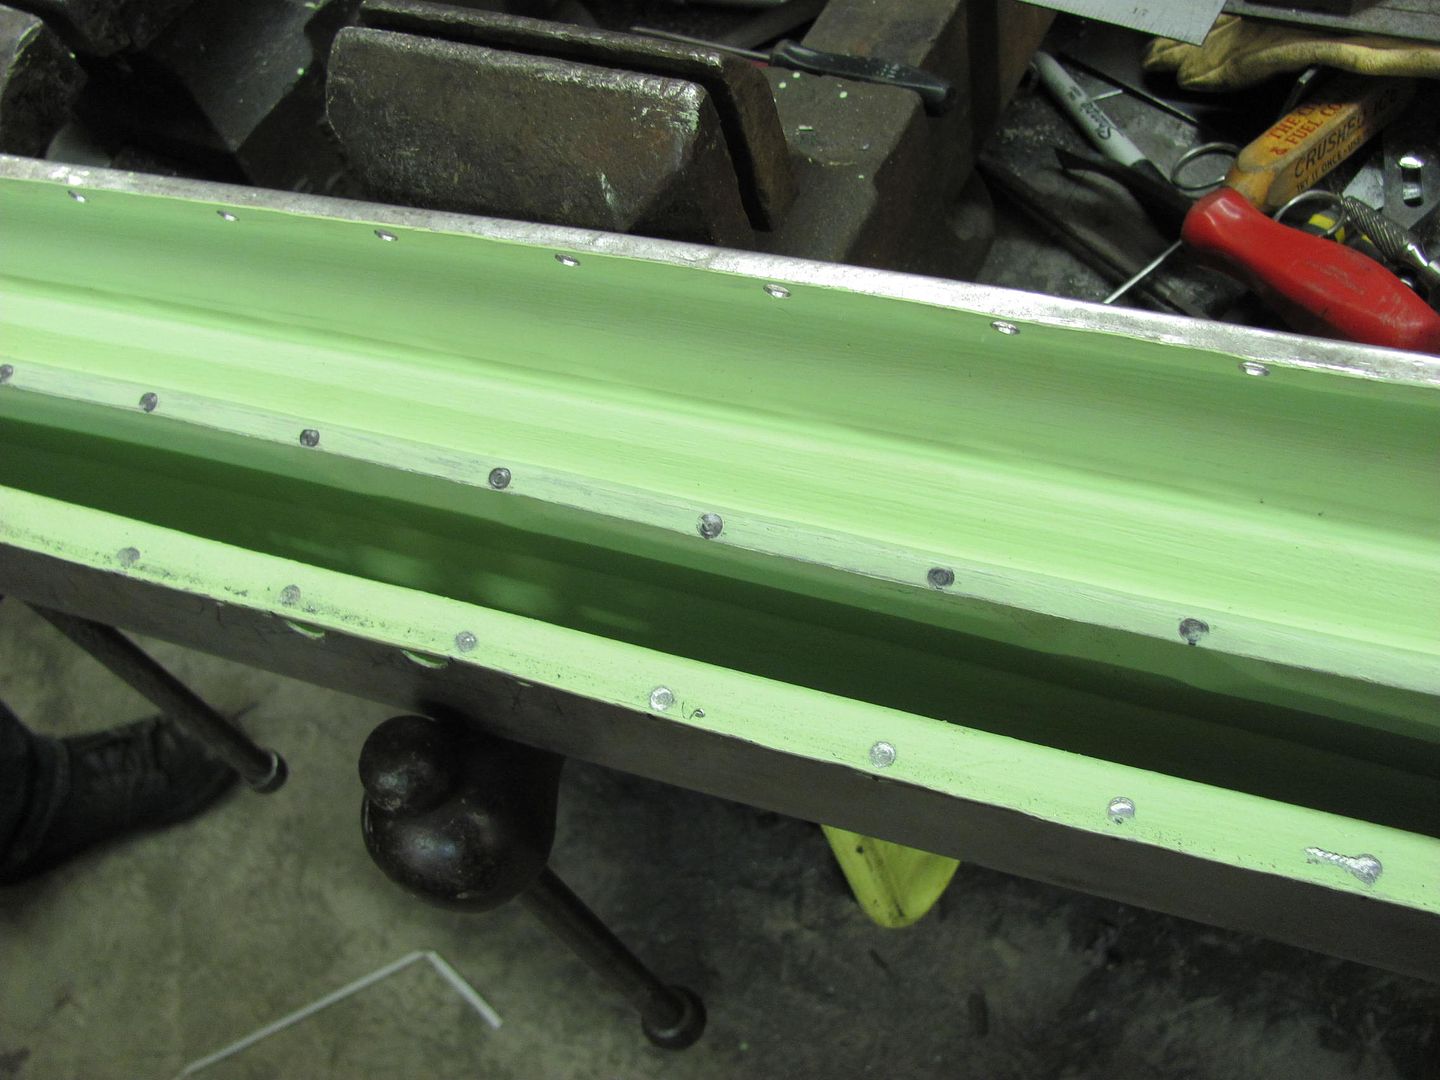 Ends tacked in place, and spot welded the bottom flanges together... 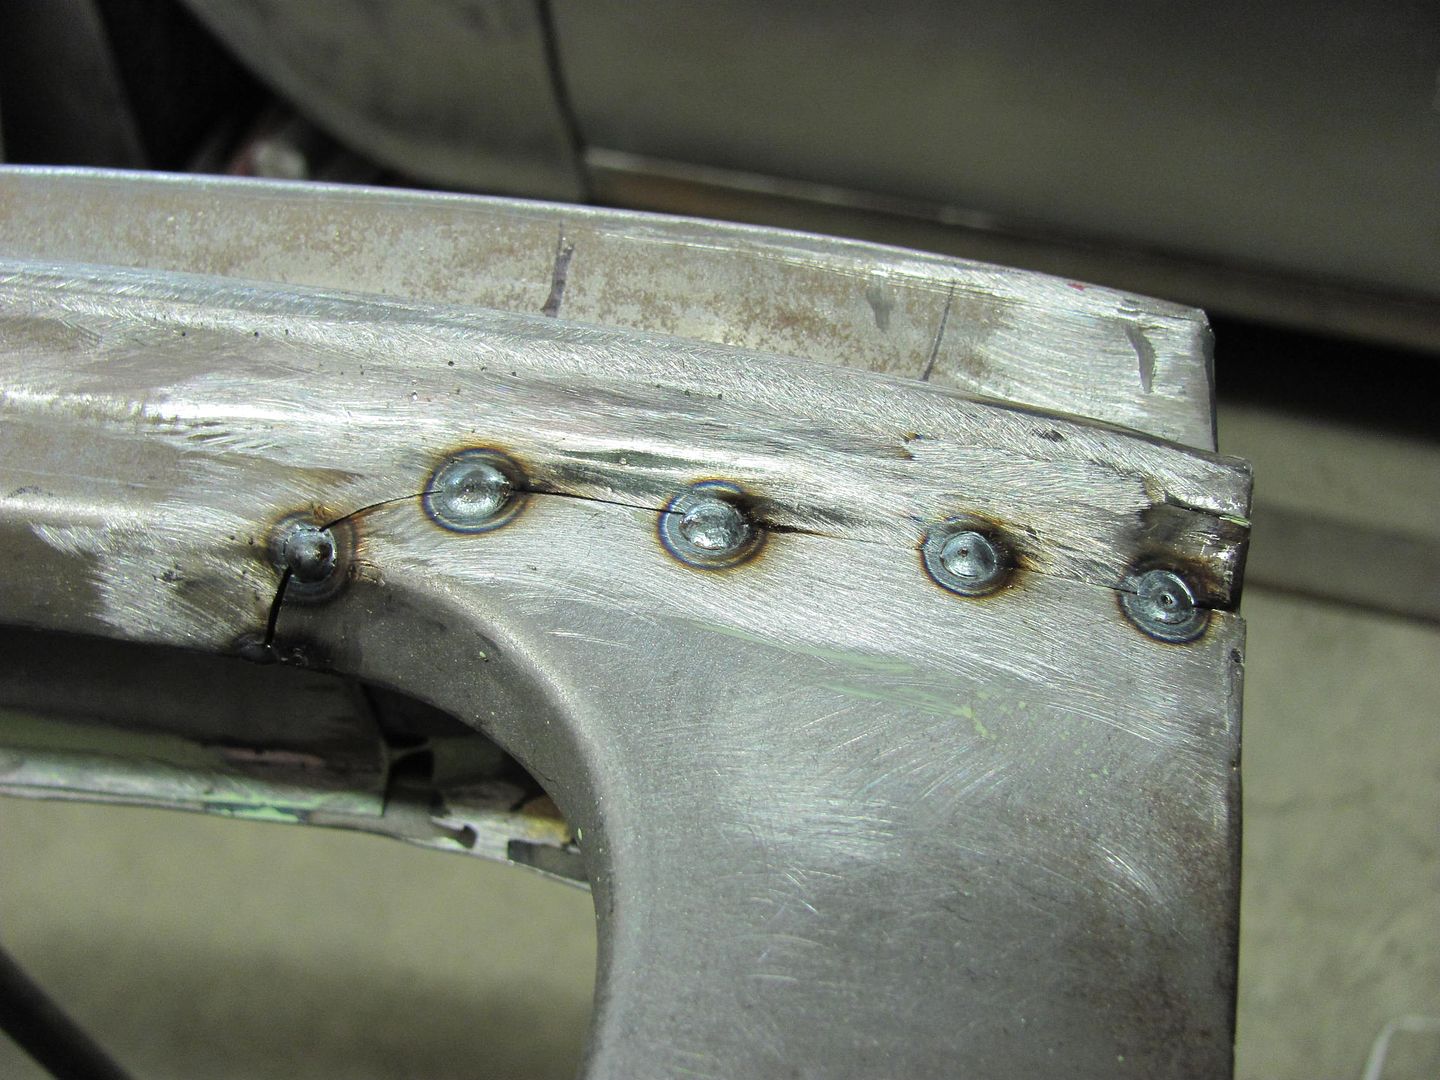 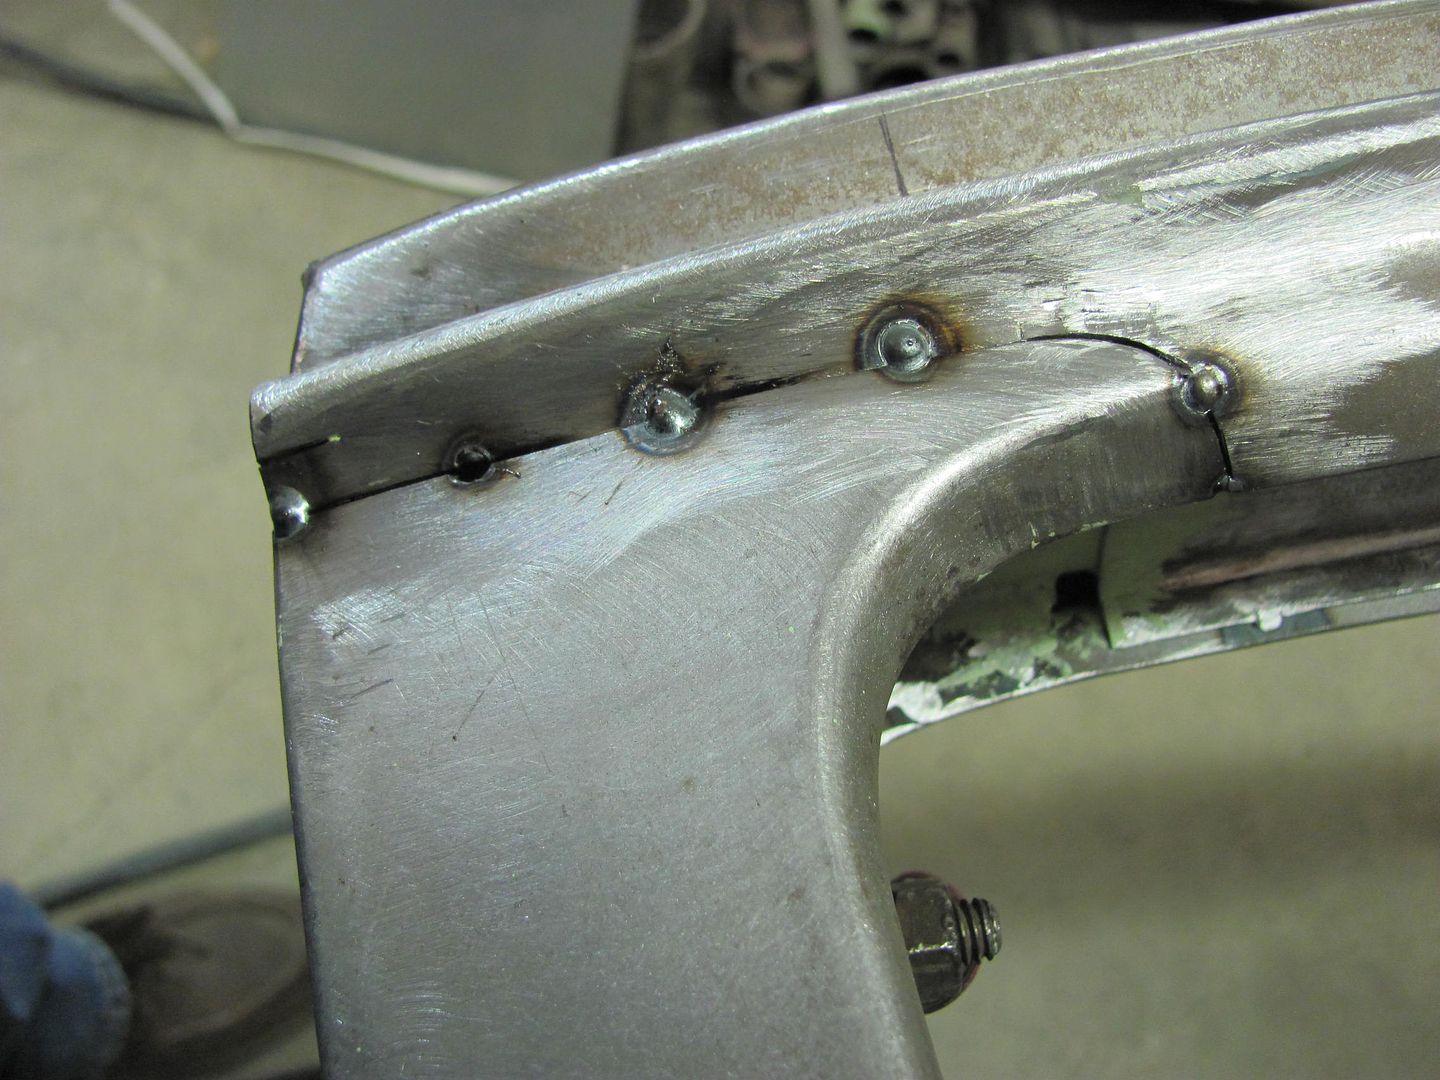 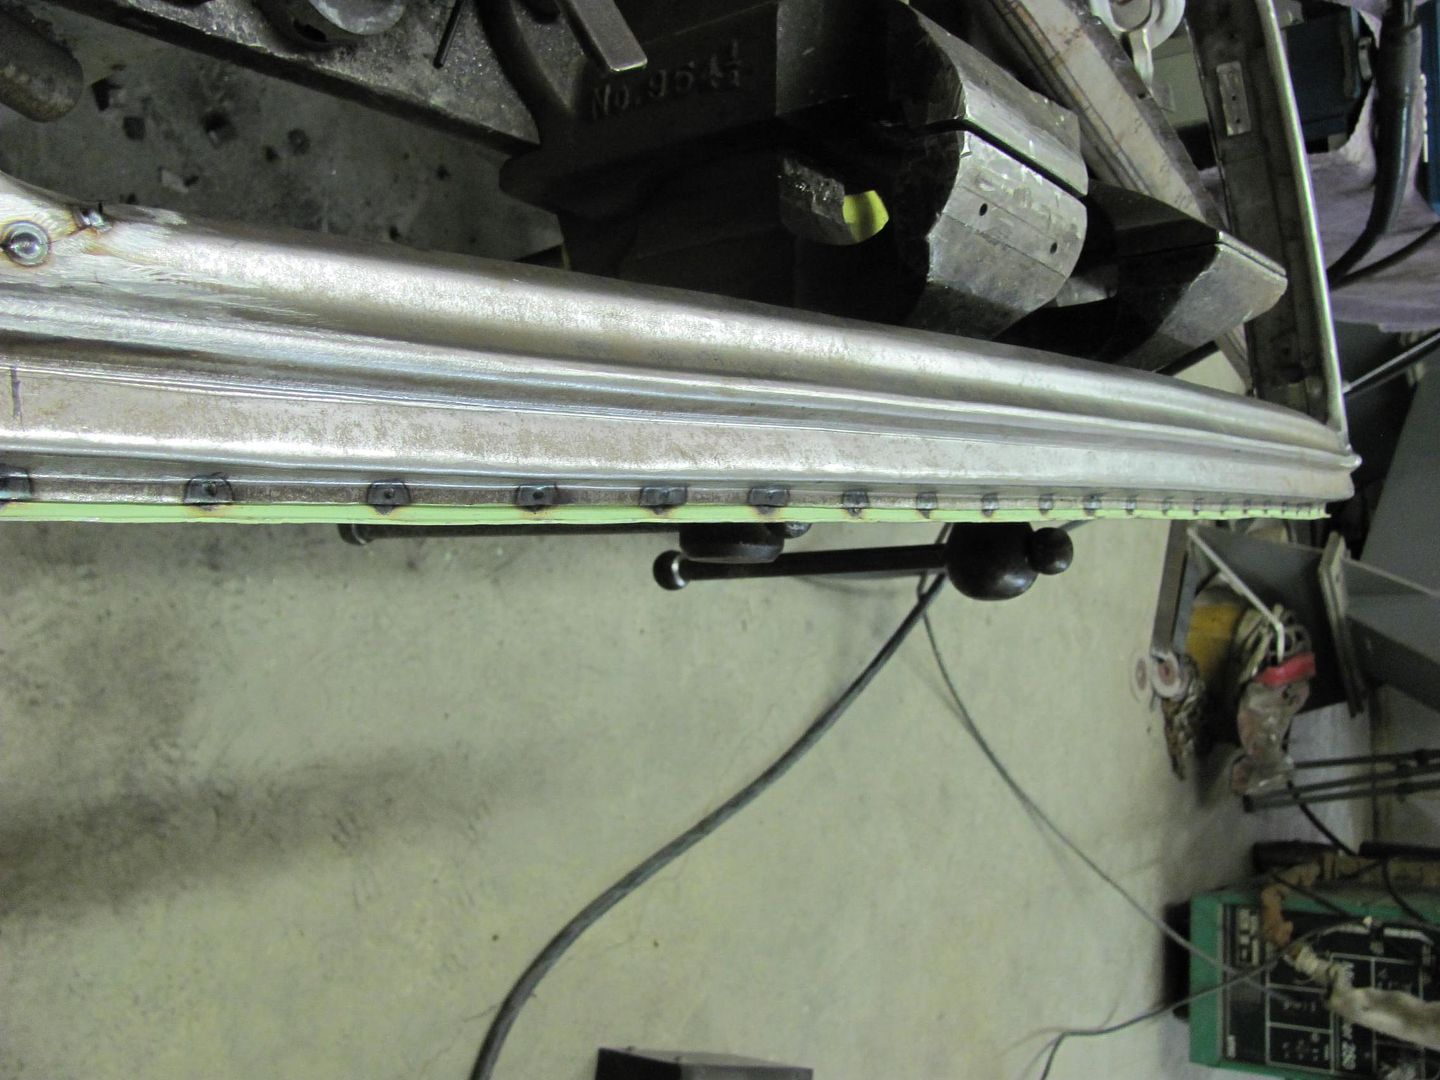
__________________
Robert |
|
|
|
|
03-01-2014, 06:18 PM
|
#15 |
|
Registered User
Join Date: Jan 2013
Location: Leonardtown, MD
Posts: 1,636
|
Re: 55 Wagon Progress
A bit more welding.......
  Cleaned up....  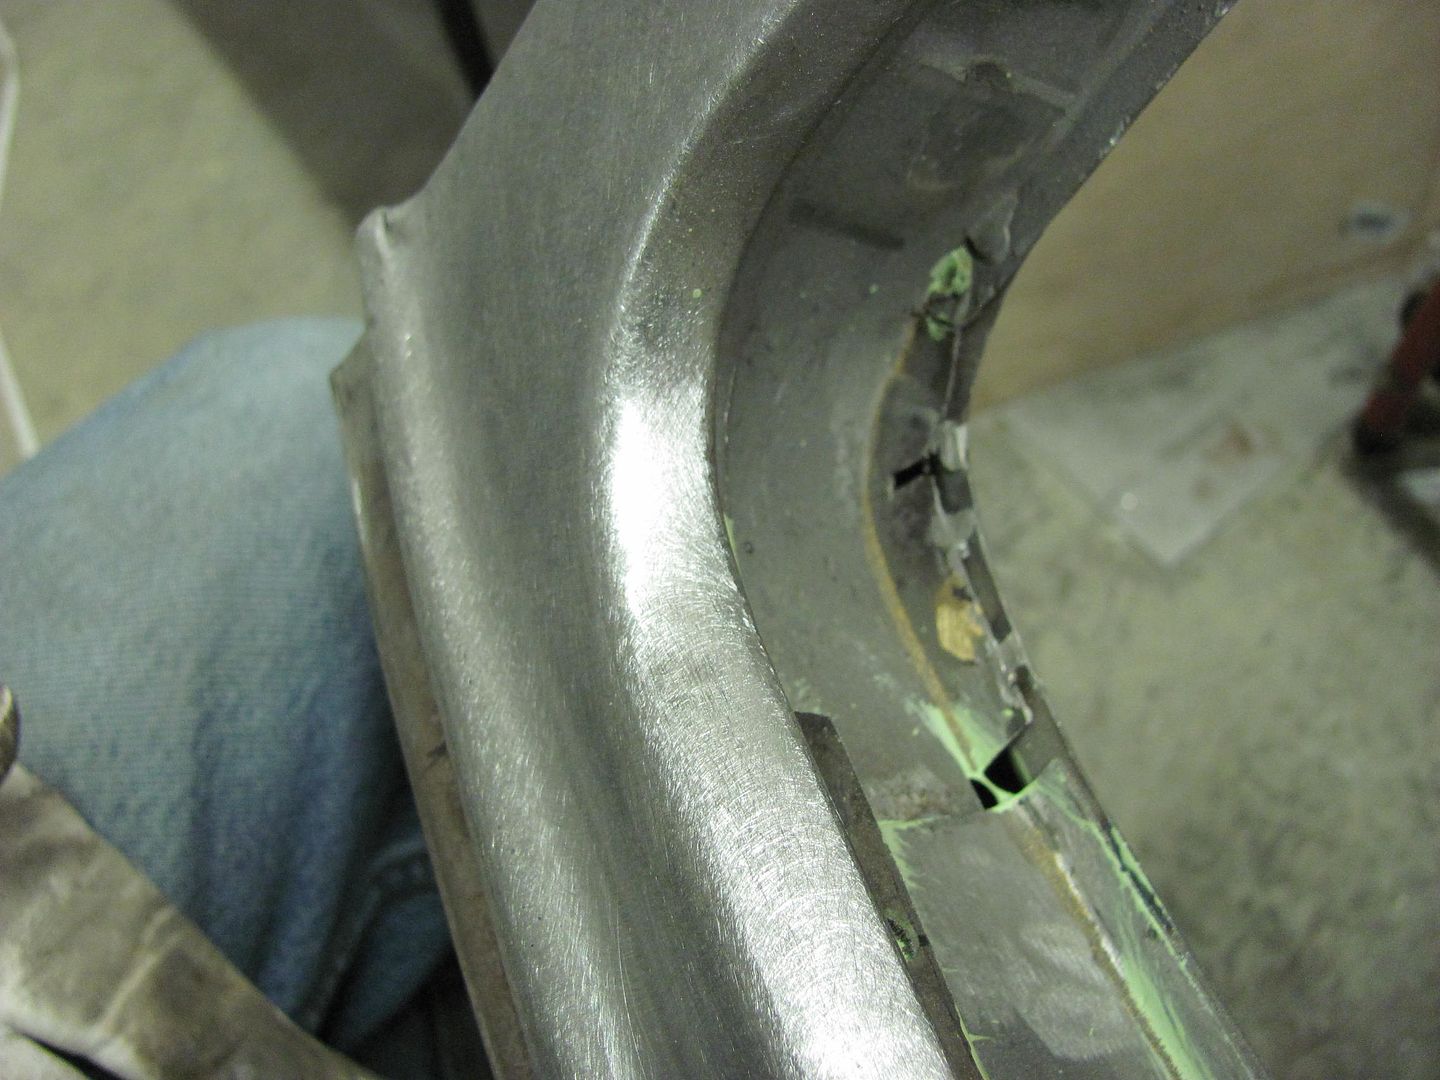 Other side..... 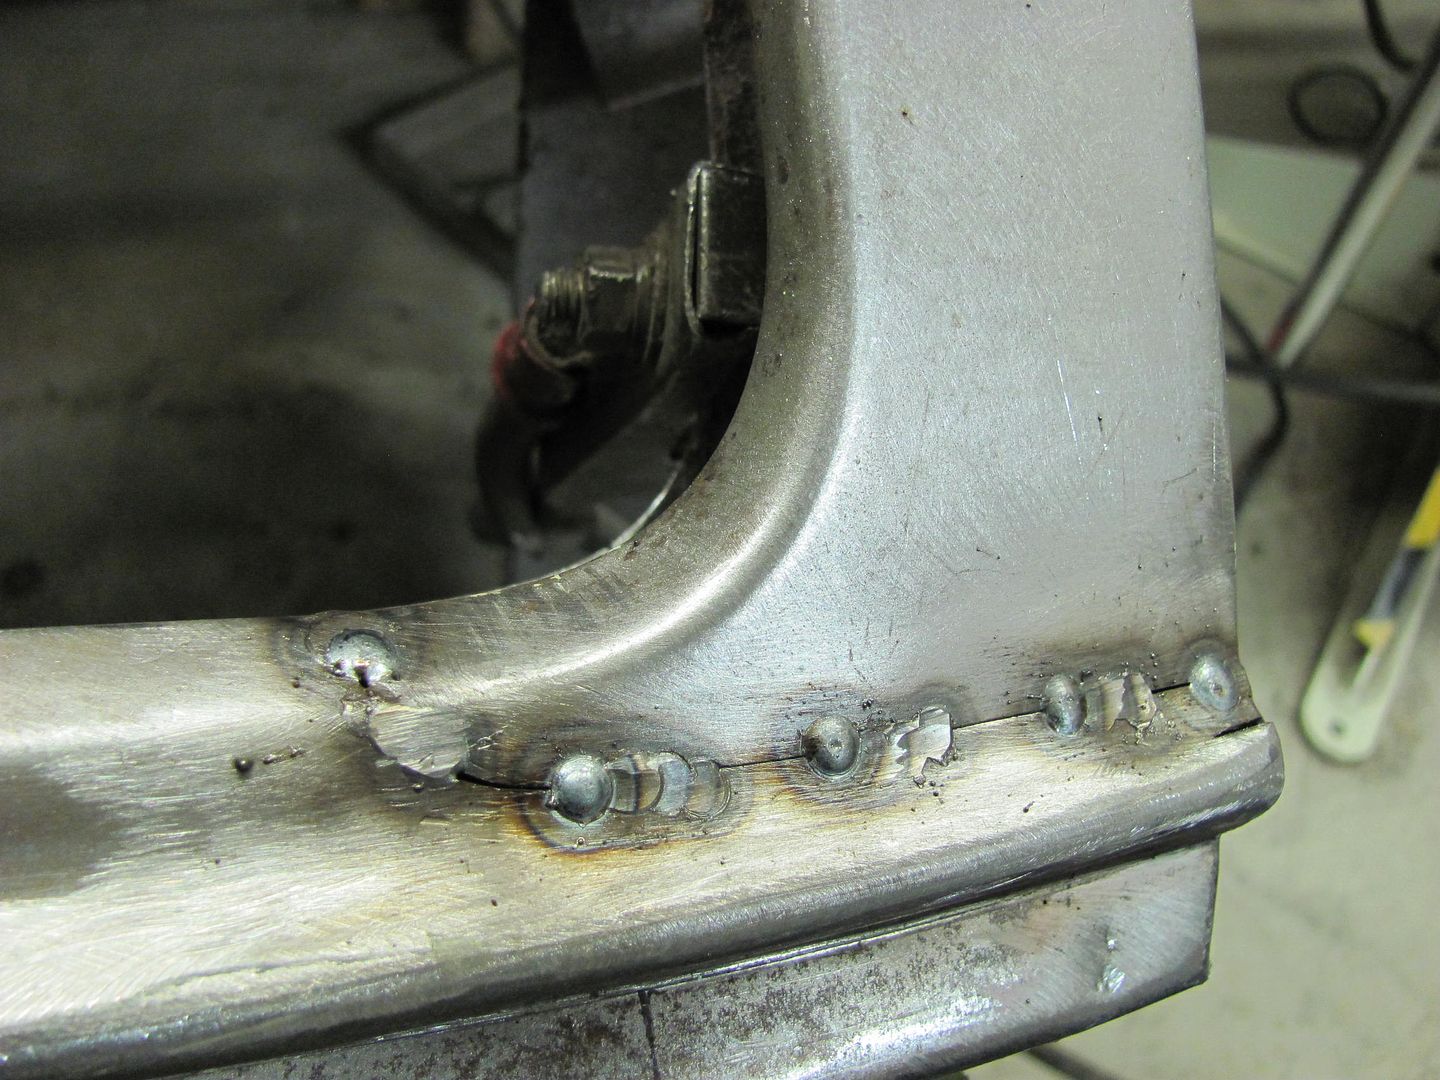 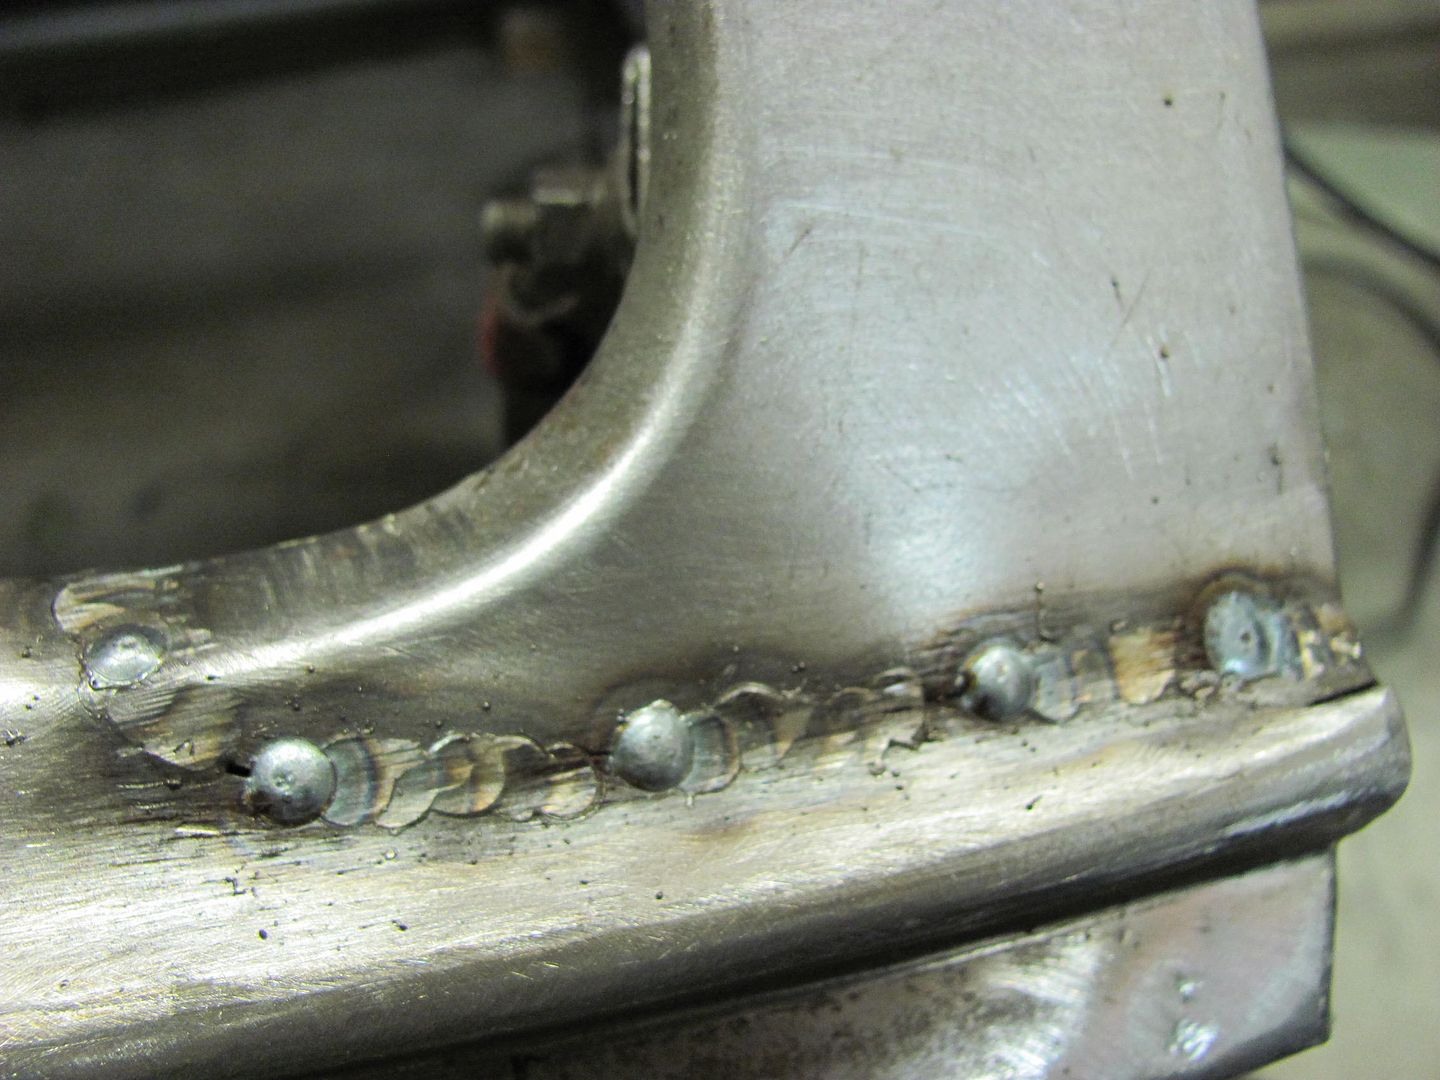 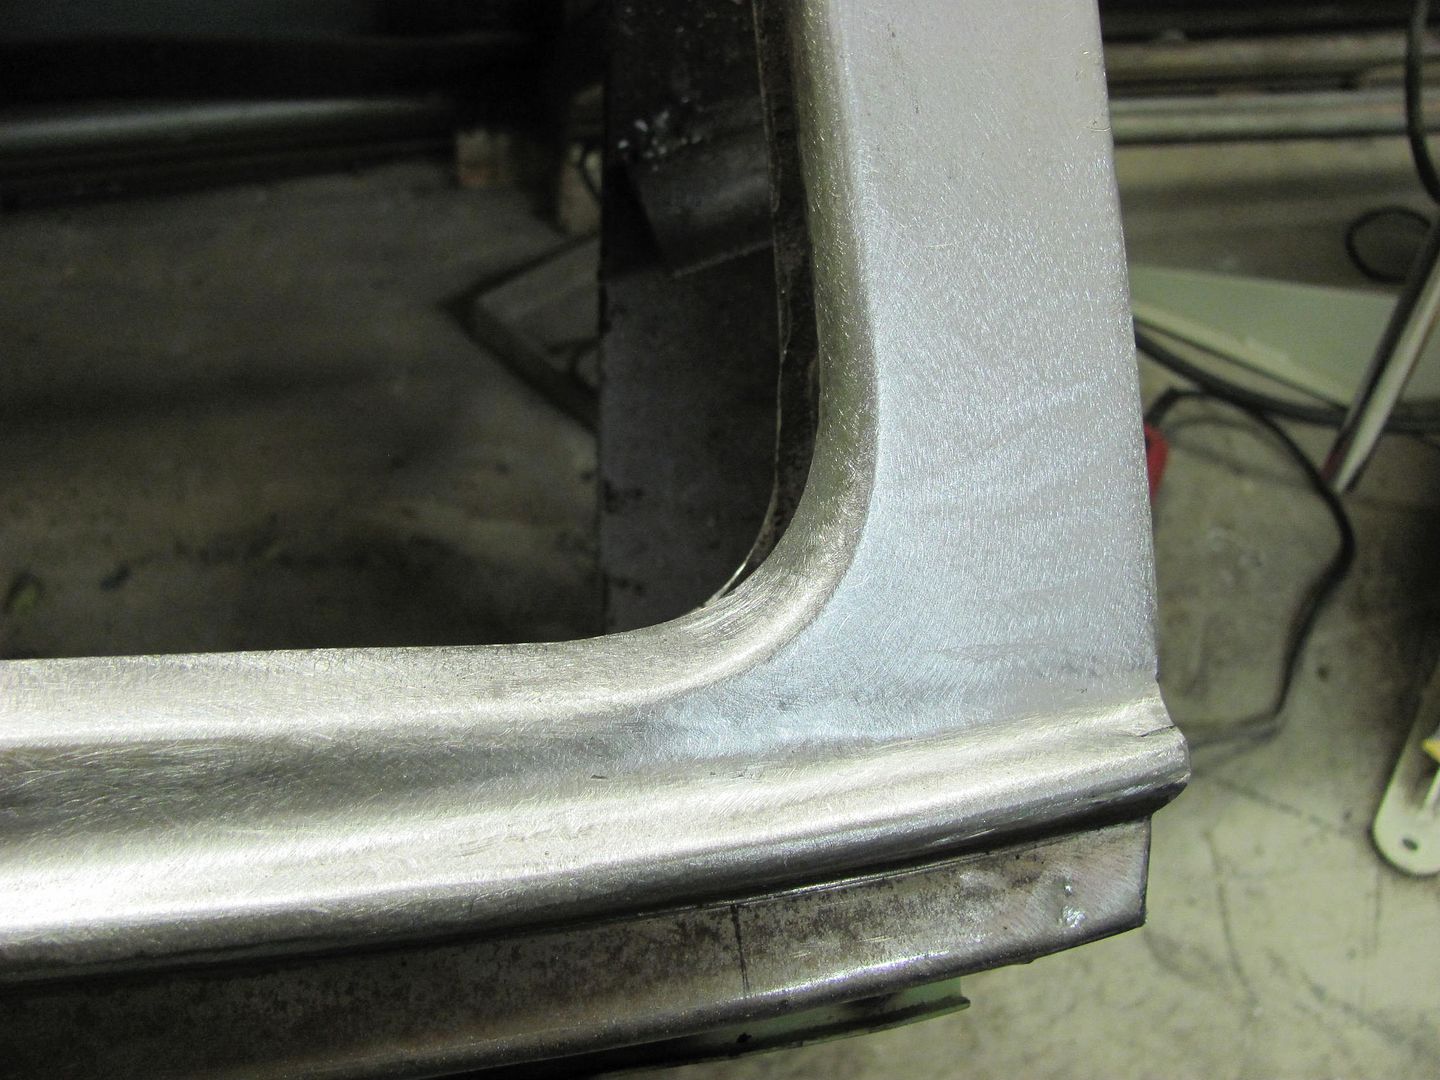 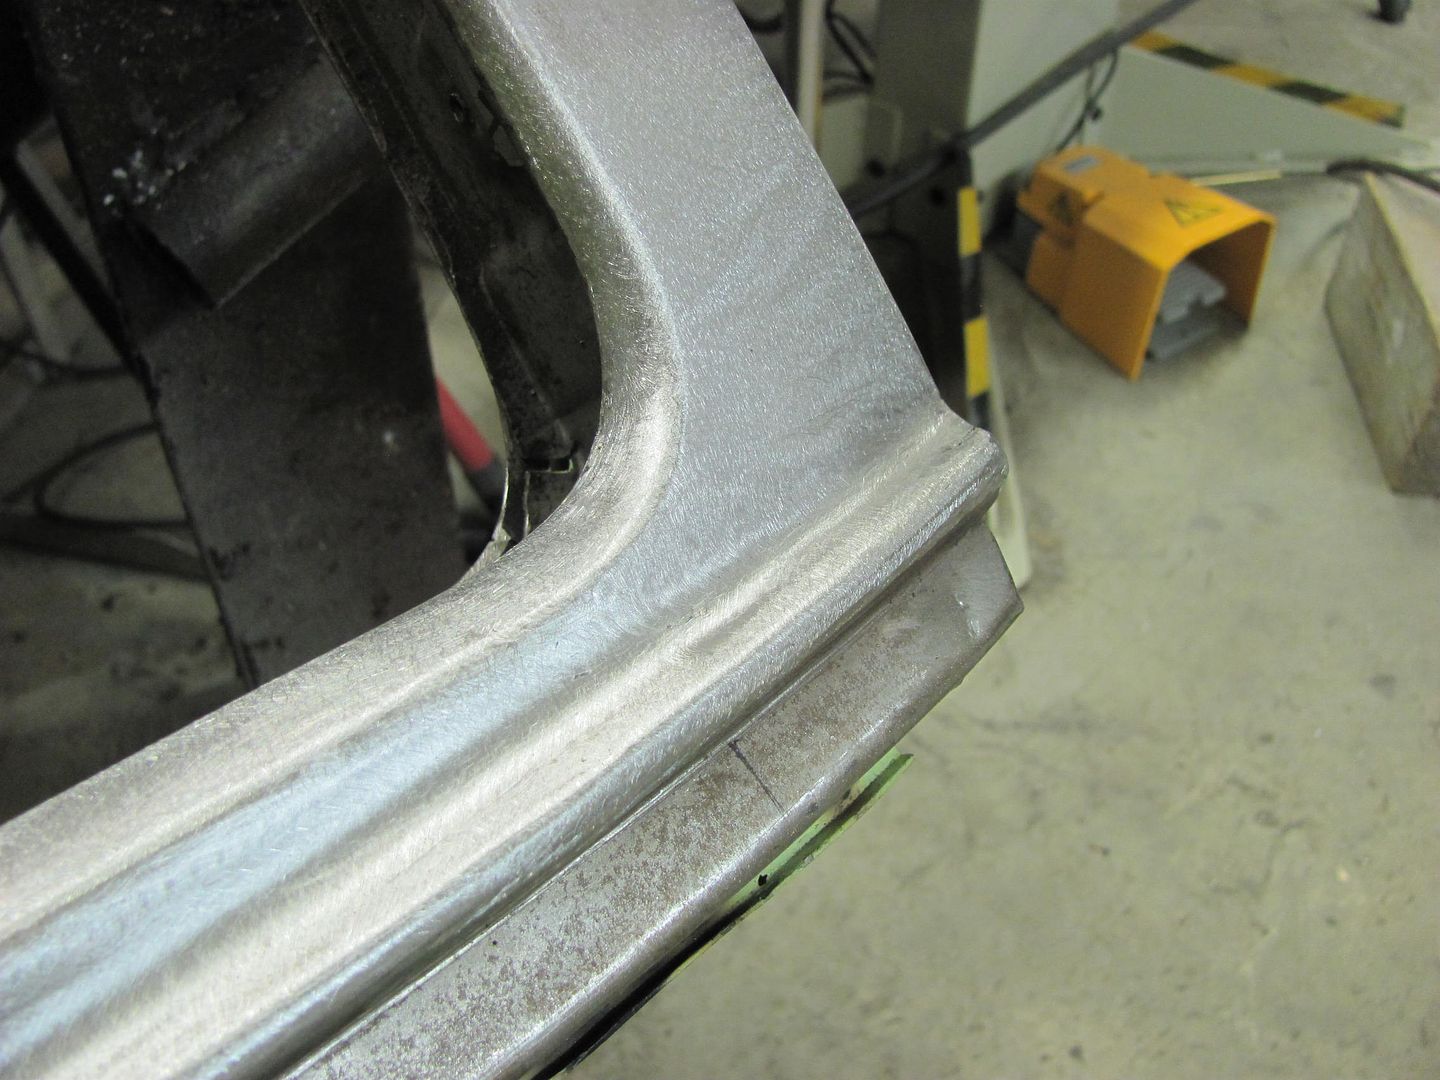 Only thing left on this piece is the plug welds in the window opening. Need to put the rubber on the window glass and fit it to the opening to see if this part needs shifting prior to welding... 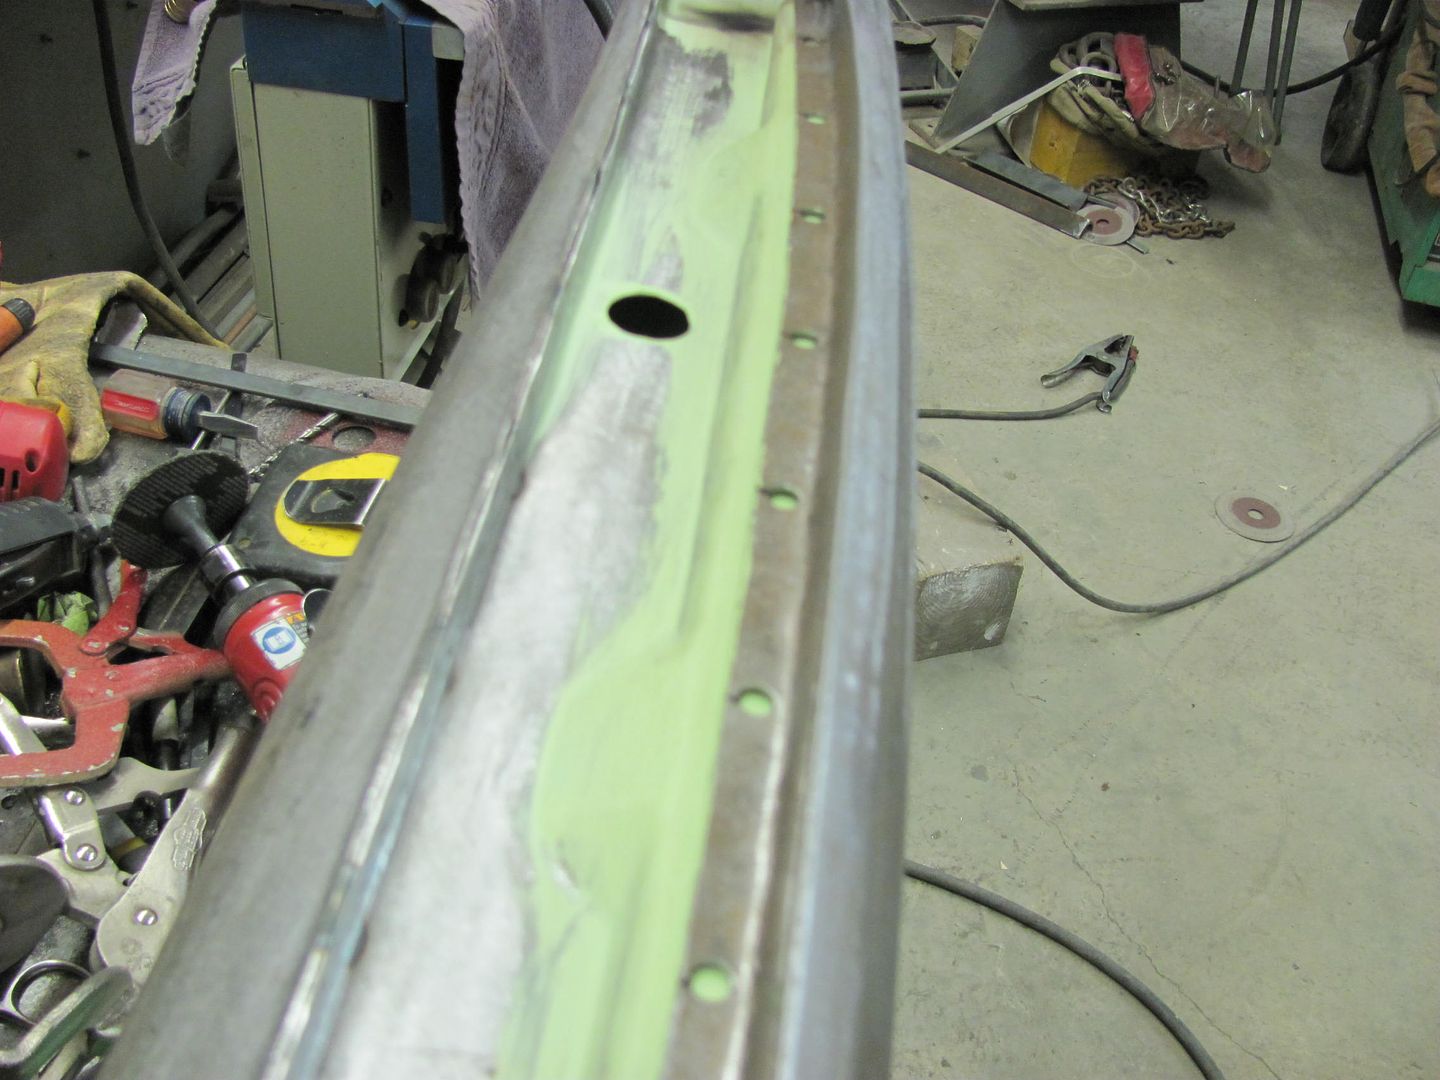 This might even work.... 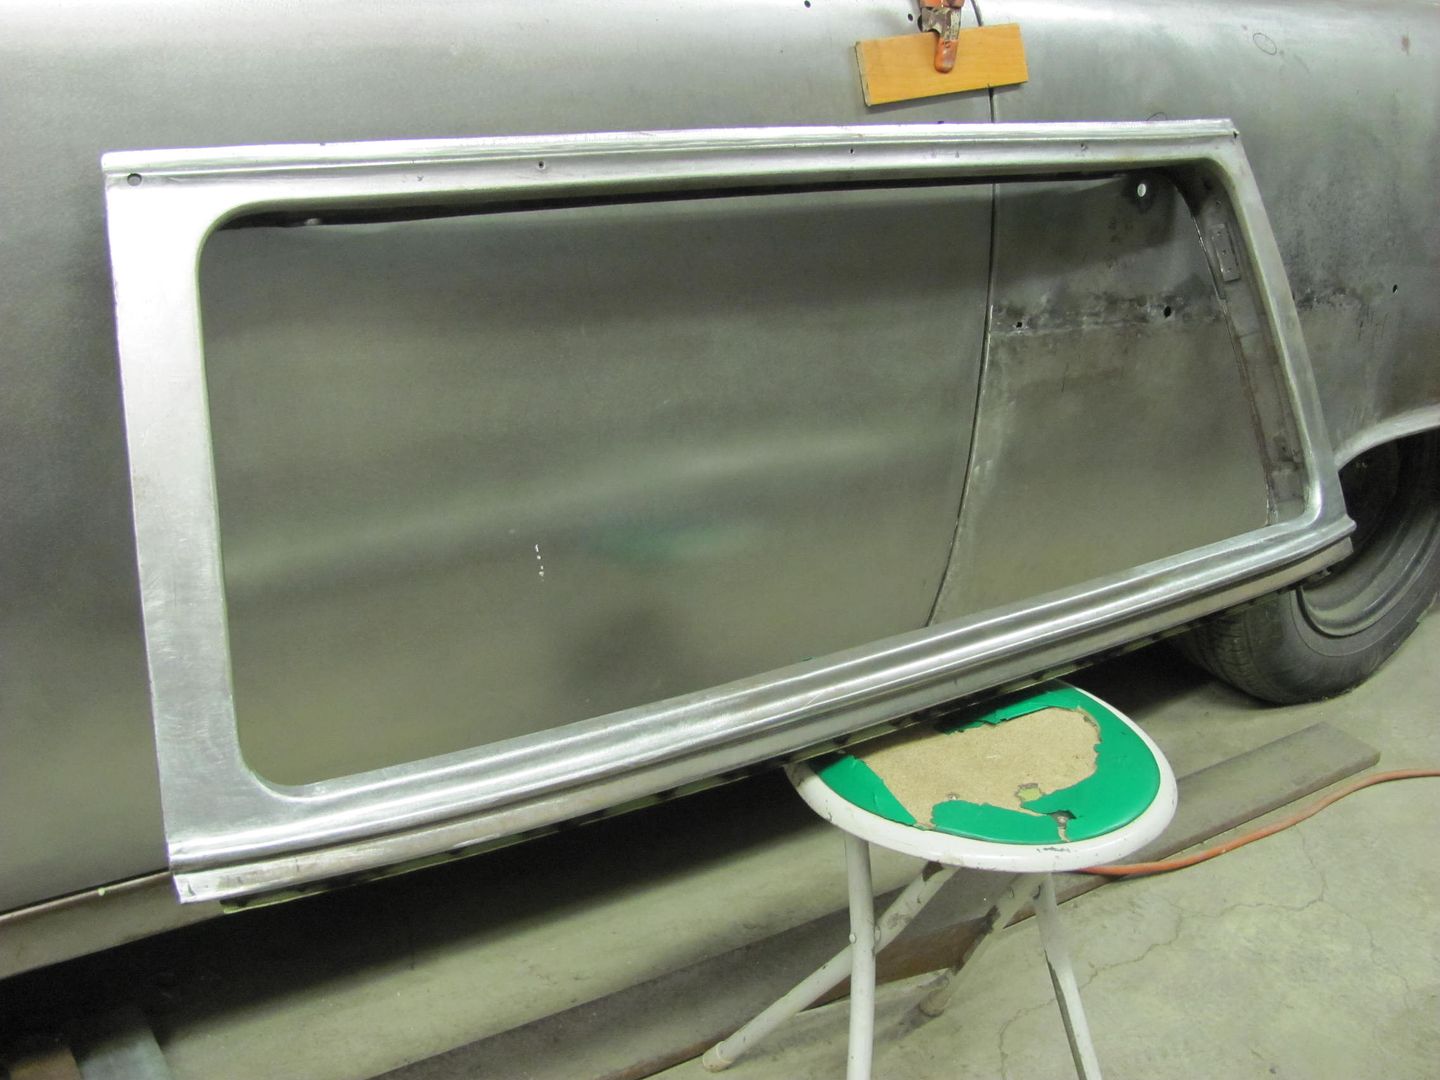 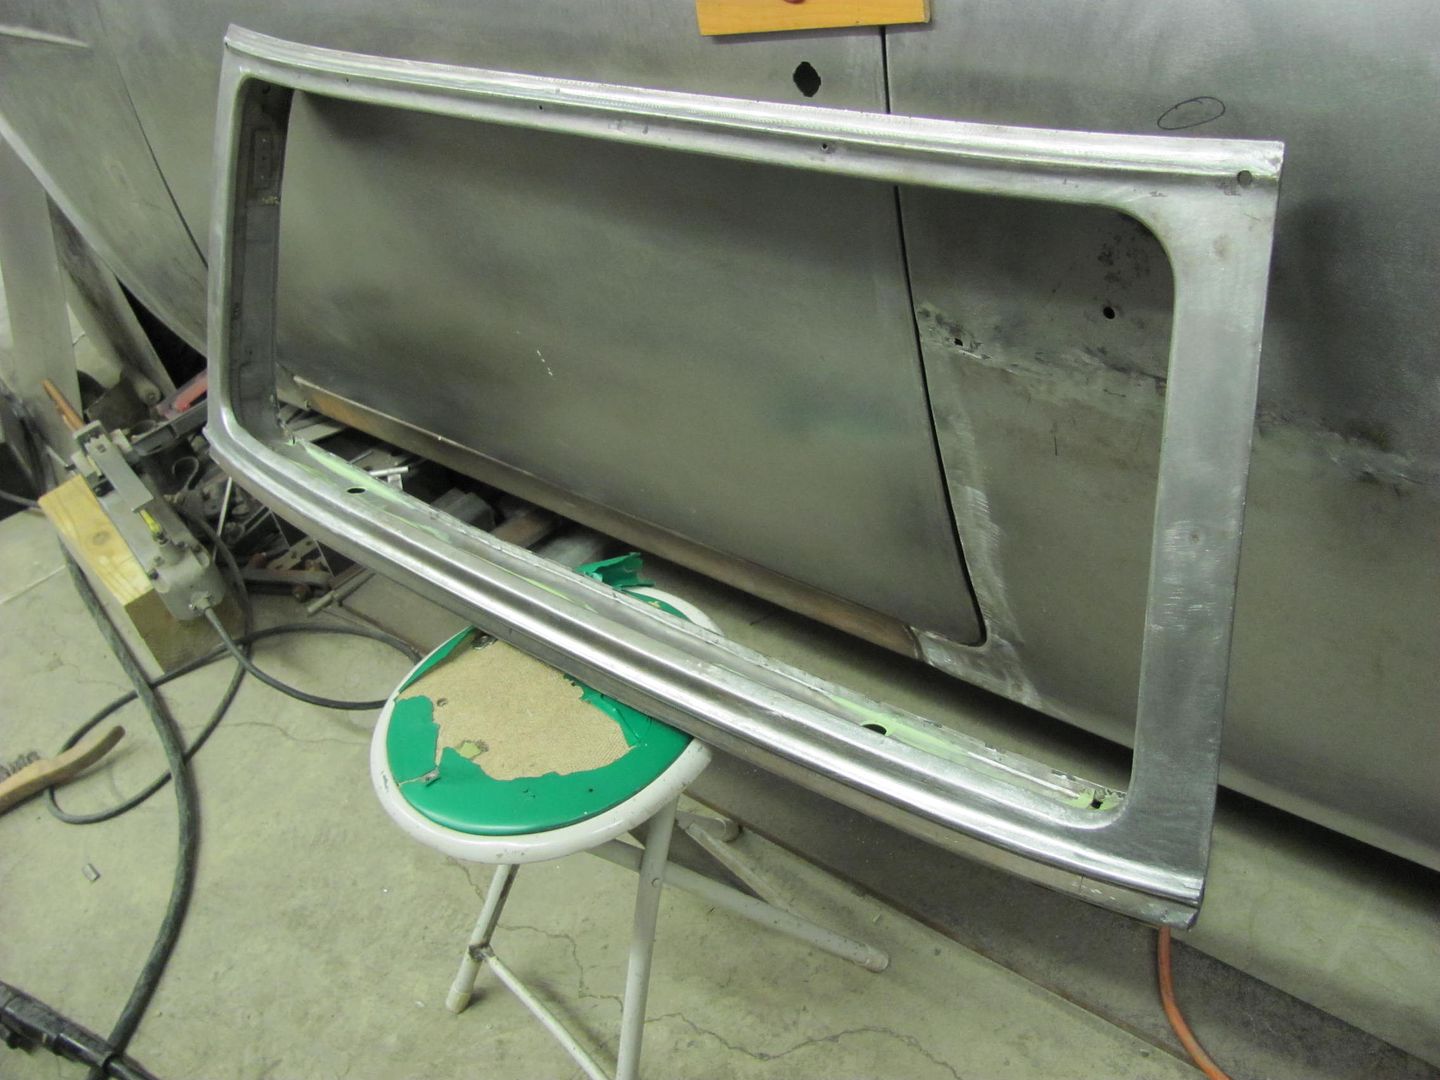
__________________
Robert |
|
|
|
|
03-02-2014, 01:52 AM
|
#16 |
|
Registered User
Join Date: Oct 2007
Location: Spanaway
Posts: 8,451
|
Re: 55 Wagon Progress
Nice!
__________________
Mike. Swamp Rat build thread : http://67-72chevytrucks.com/vboard/s...d.php?t=595019 72 3/4T 4X4 4" BDS Lift 33" BFG's |
|
|
|
|
03-09-2014, 10:26 PM
|
#17 |
|
Registered User
Join Date: Jan 2013
Location: Leonardtown, MD
Posts: 1,636
|
Re: 55 Wagon Progress
Thanks! Not much progress to show, but I did test fit the rear window, and finished the plug welds.
Cleaning the epoxy out of the holes... 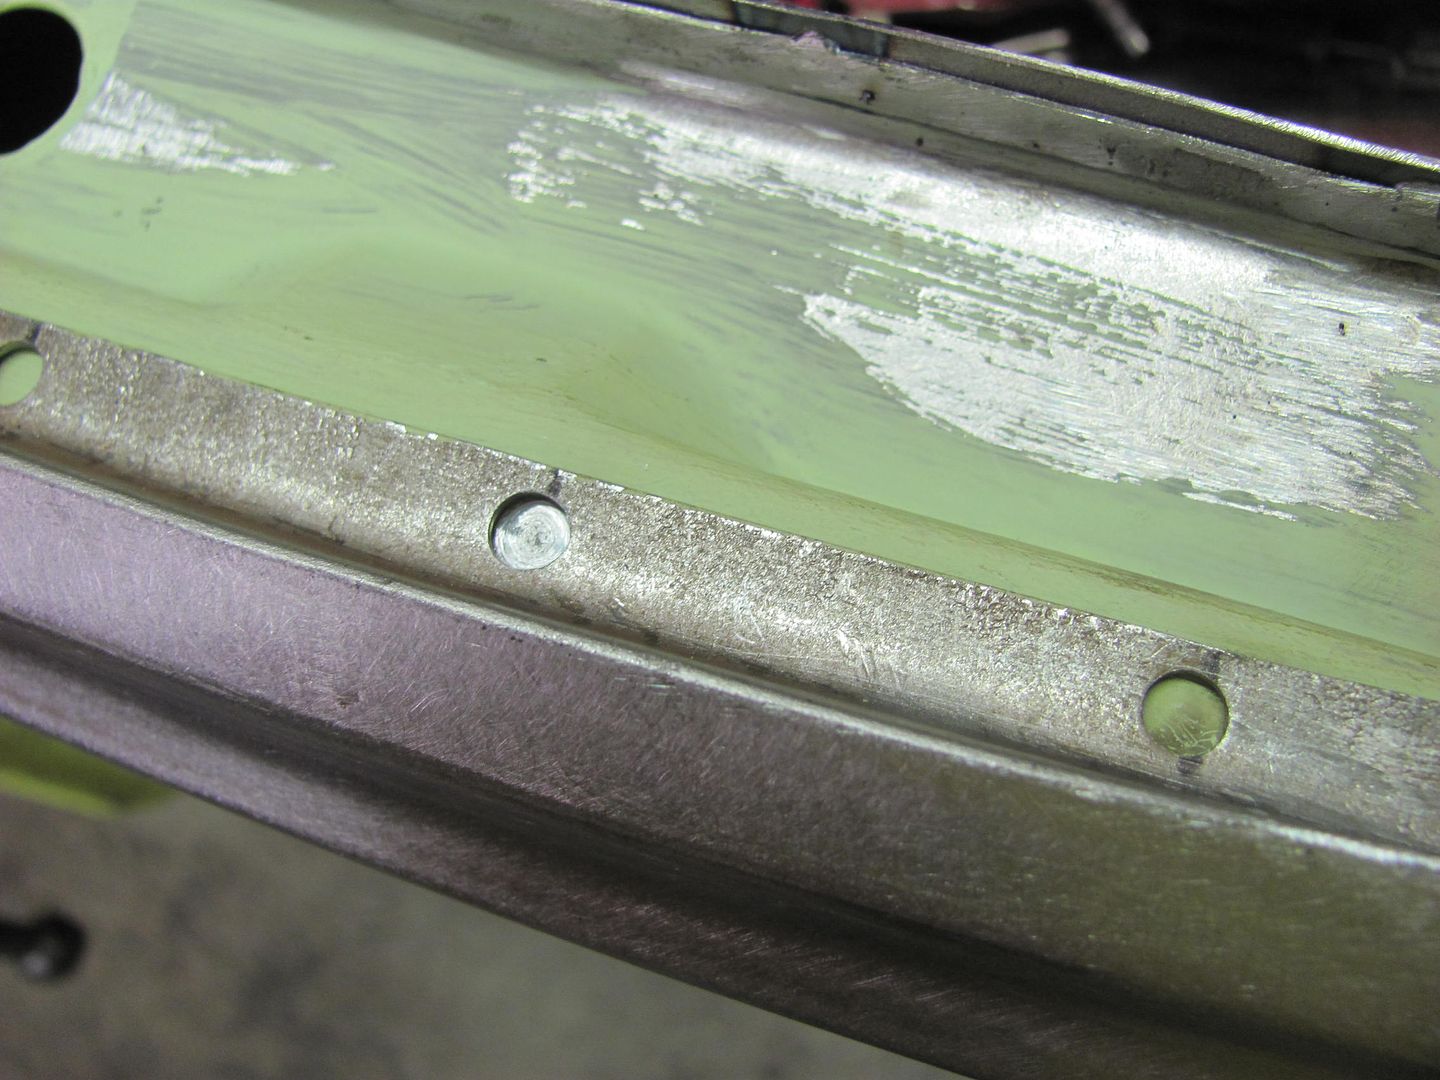 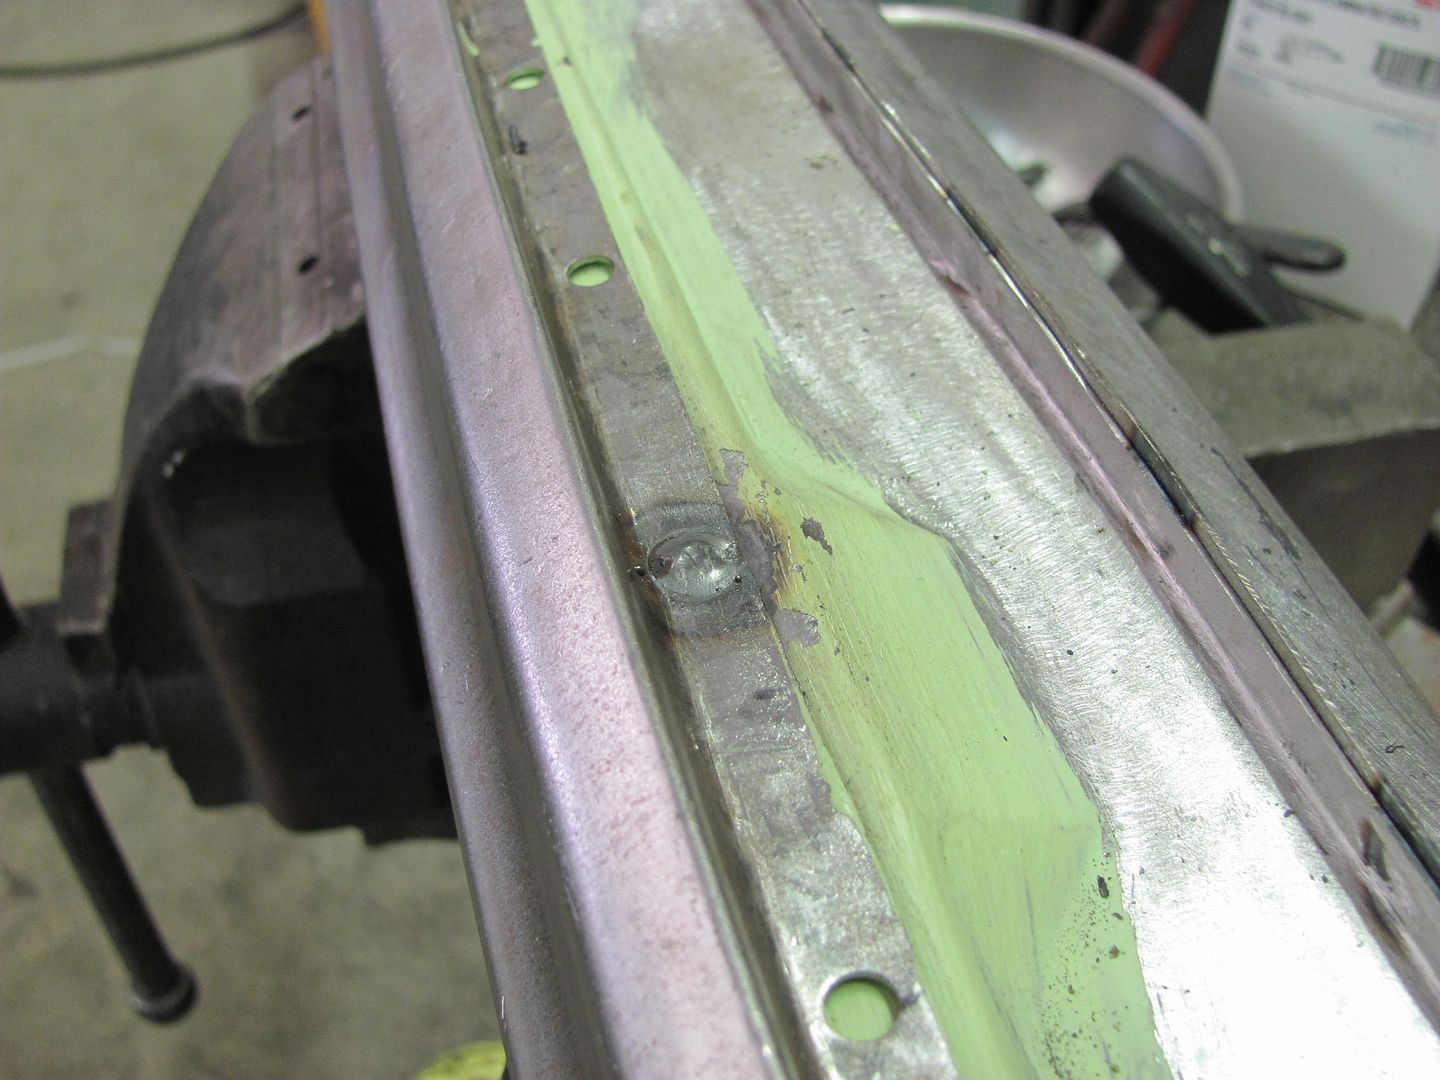 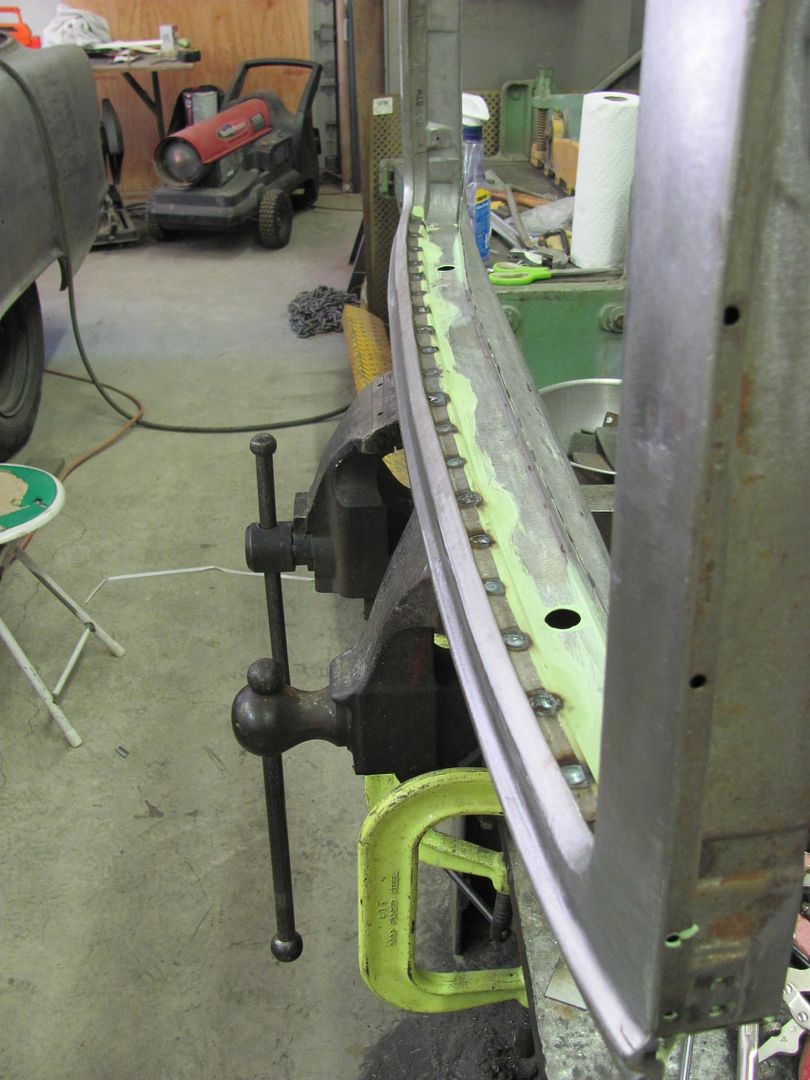 Welds cleaned up..... 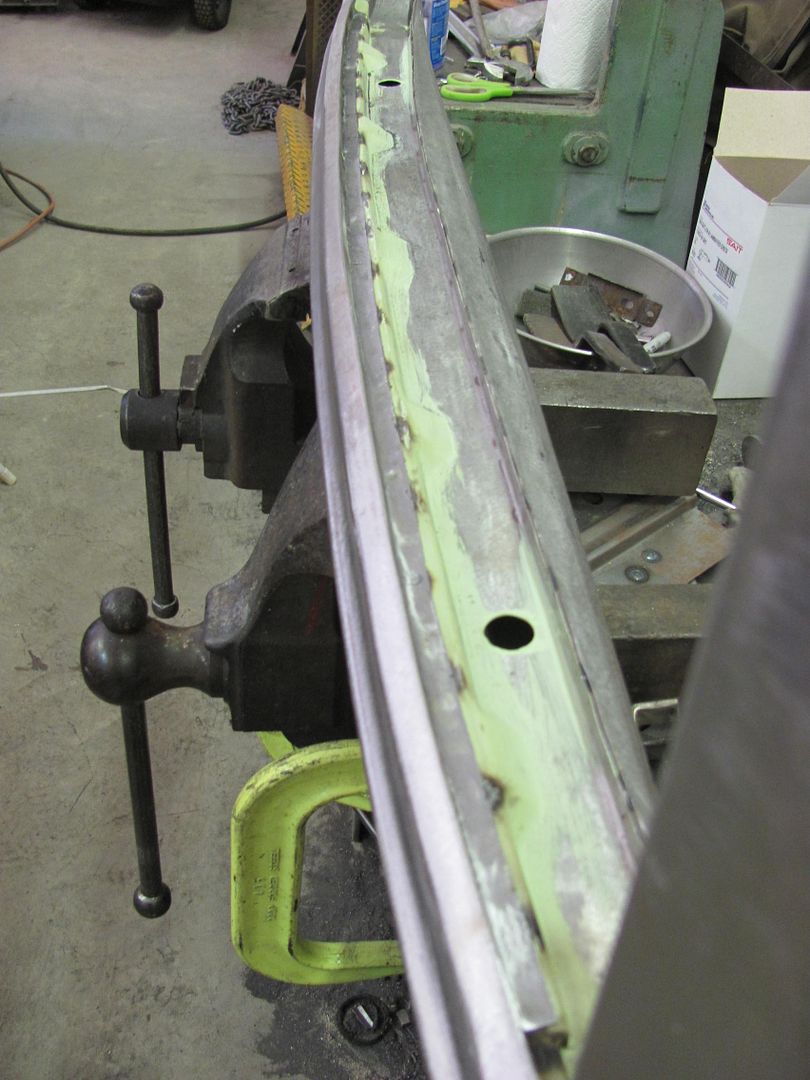
__________________
Robert |
|
|
|
|
03-10-2014, 09:30 AM
|
#18 |
|
Registered User
Join Date: Jan 2012
Location: Eastern Ontario, Canada
Posts: 1,041
|
Re: 55 Wagon Progress
Looks good Robert. Picking up some epoxy primer that is green like the stuff you use. I'm following your advice!
__________________
1952 Canadian Chevy 1300 C4 IFS & D44 IRS 5.3 HO L33 My Build: http://67-72chevytrucks.com/vboard/s...d.php?t=632938
|
|
|
|
|
03-10-2014, 10:01 AM
|
#19 |
|
Registered User
Join Date: Jan 2013
Location: Leonardtown, MD
Posts: 1,636
|
Re: 55 Wagon Progress
Keep in mind if you're getting the House of Kolor stuff it does not play nice with rust converters like Ospho, etc. Didn't know if you were using any of those converters, but always good to check with the Epoxy manufacturer is there are any compatibility issues..
__________________
Robert |
|
|
|
|
03-10-2014, 10:08 AM
|
#20 |
|
Registered User
Join Date: Jan 2012
Location: Eastern Ontario, Canada
Posts: 1,041
|
Re: 55 Wagon Progress
I plan on brushing it on over sand blasted metal. I know it's not from HOK. I will let you know the specs on it are when I get it. What I do know is it is to be mixed 3:1. Any advice or tips on mixing small batch's to be brushed on?
__________________
1952 Canadian Chevy 1300 C4 IFS & D44 IRS 5.3 HO L33 My Build: http://67-72chevytrucks.com/vboard/s...d.php?t=632938
|
|
|
|
|
03-10-2014, 11:53 AM
|
#21 |
|
Registered User
Join Date: Jan 2013
Location: Leonardtown, MD
Posts: 1,636
|
Re: 55 Wagon Progress
Your local paint stores or even the online versions should have the paint mixing cups with the graduated measurement marks on the side to make it easier to mix.. After going through a couple batches you'll get the hang of how much is needed.
__________________
Robert |
|
|
|
|
03-15-2014, 09:08 PM
|
#22 |
|
Registered User
Join Date: Jan 2013
Location: Leonardtown, MD
Posts: 1,636
|
Re: 55 Wagon Progress
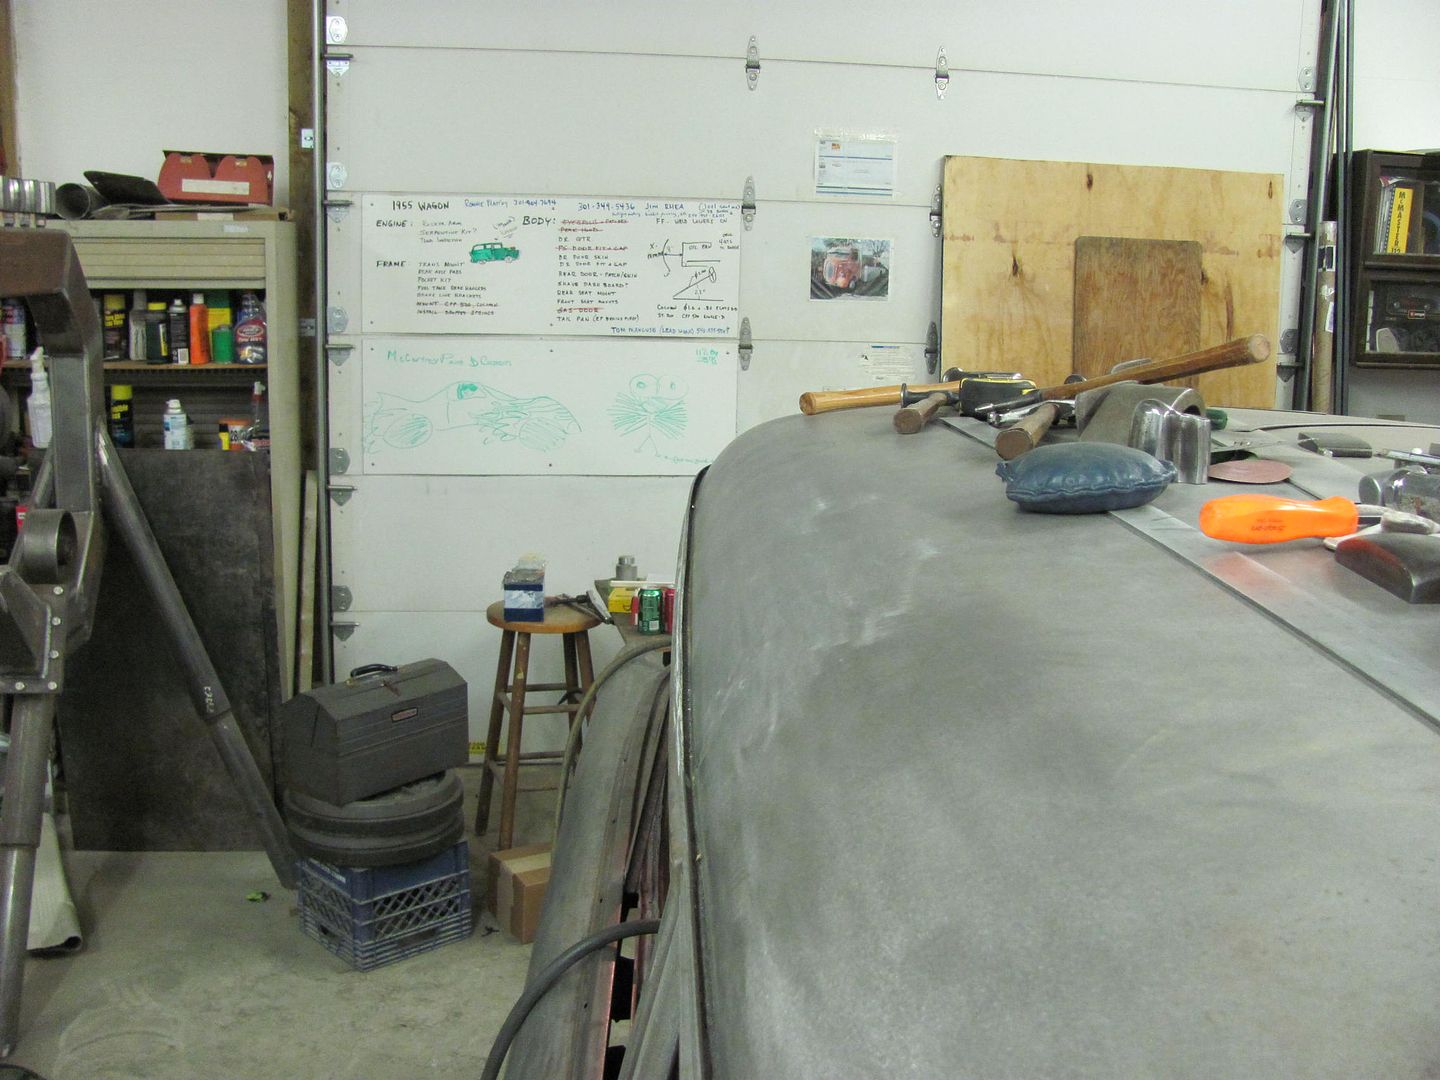
My nephew Chris stopped by to help this morning so we decided to work on the roof a bit. Added a guide coat and skimmed across it with the vixen file to show the high spots...
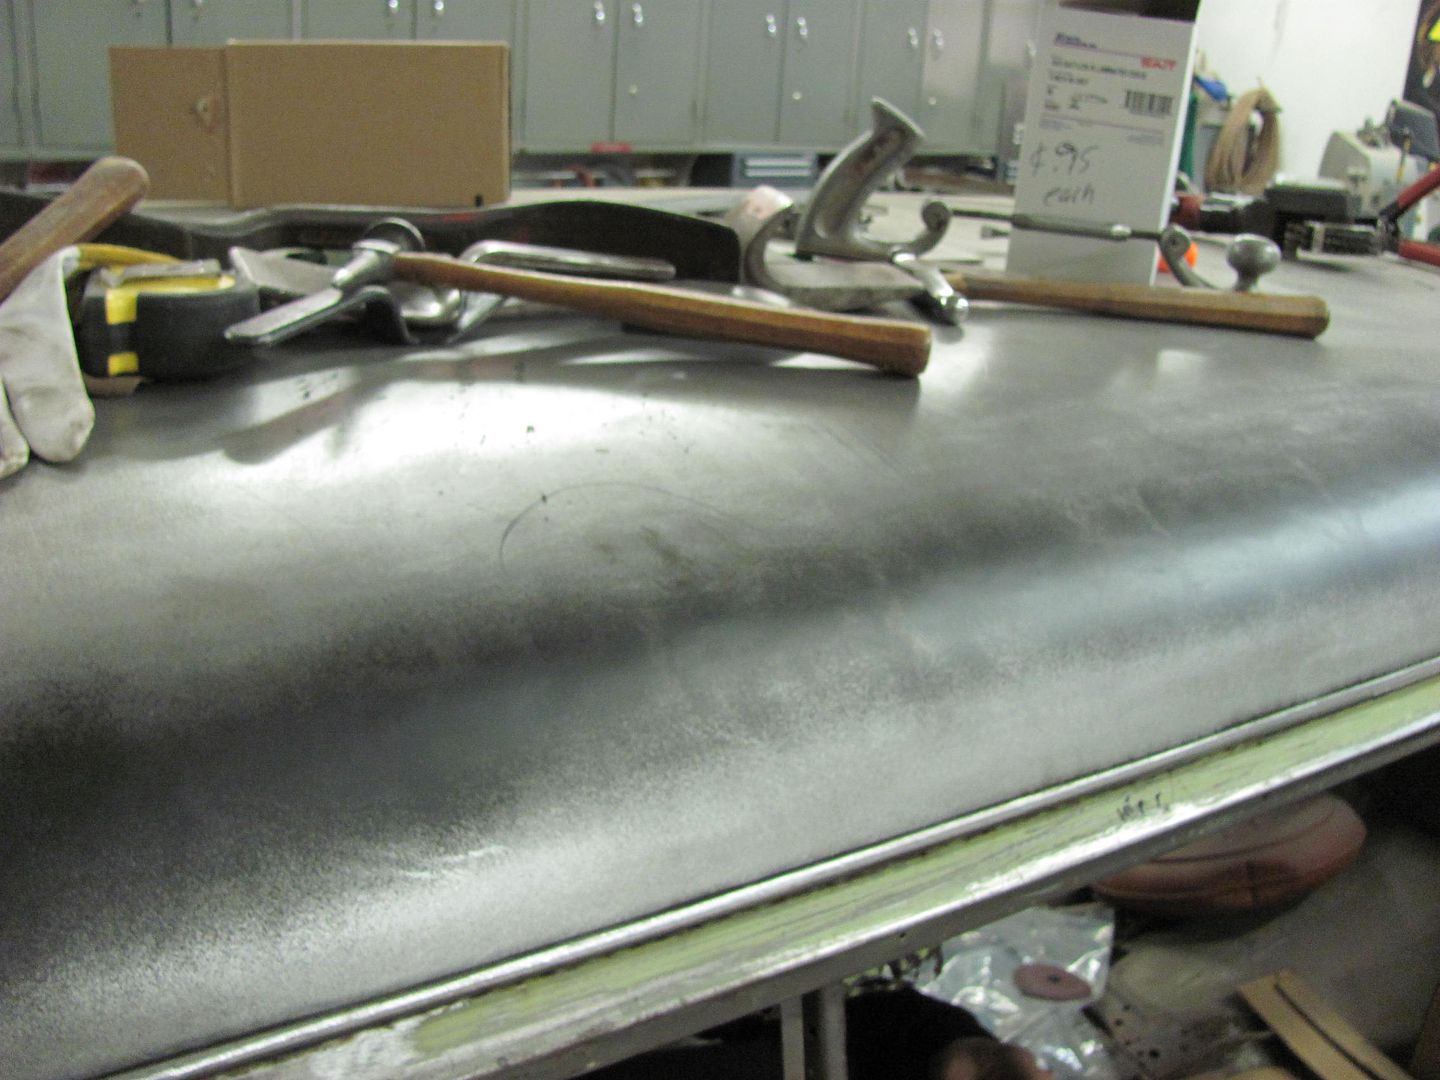 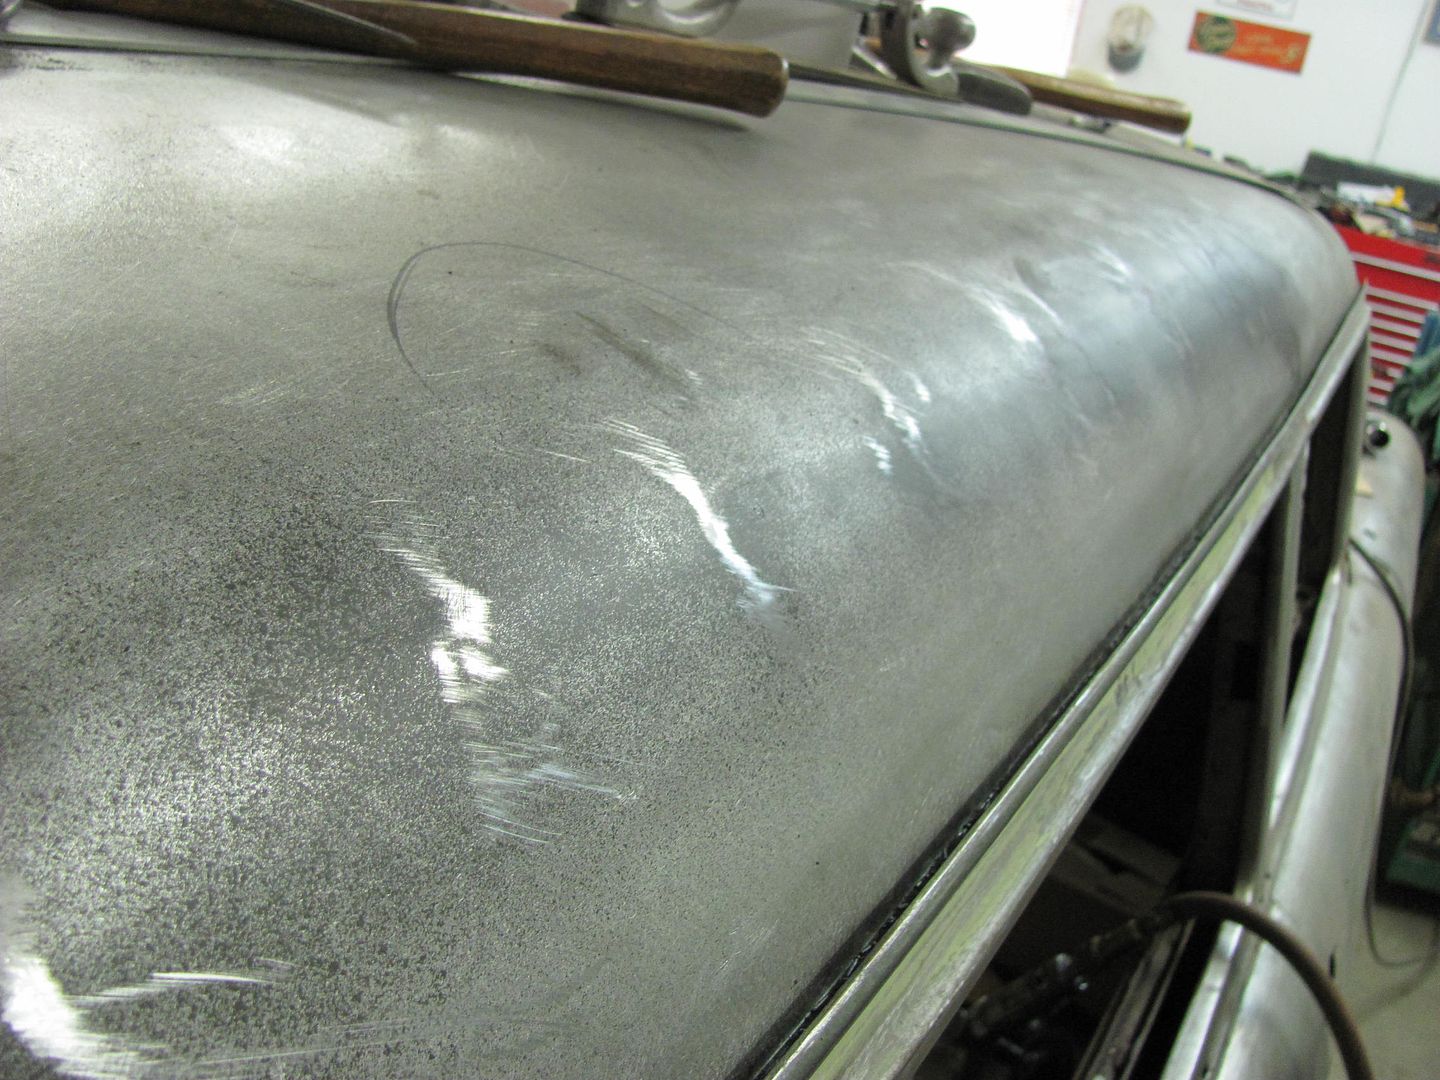 To help keep inside and outside guys on the same page, some reference marks were added from the door opening back, on inside and outside of the roof. 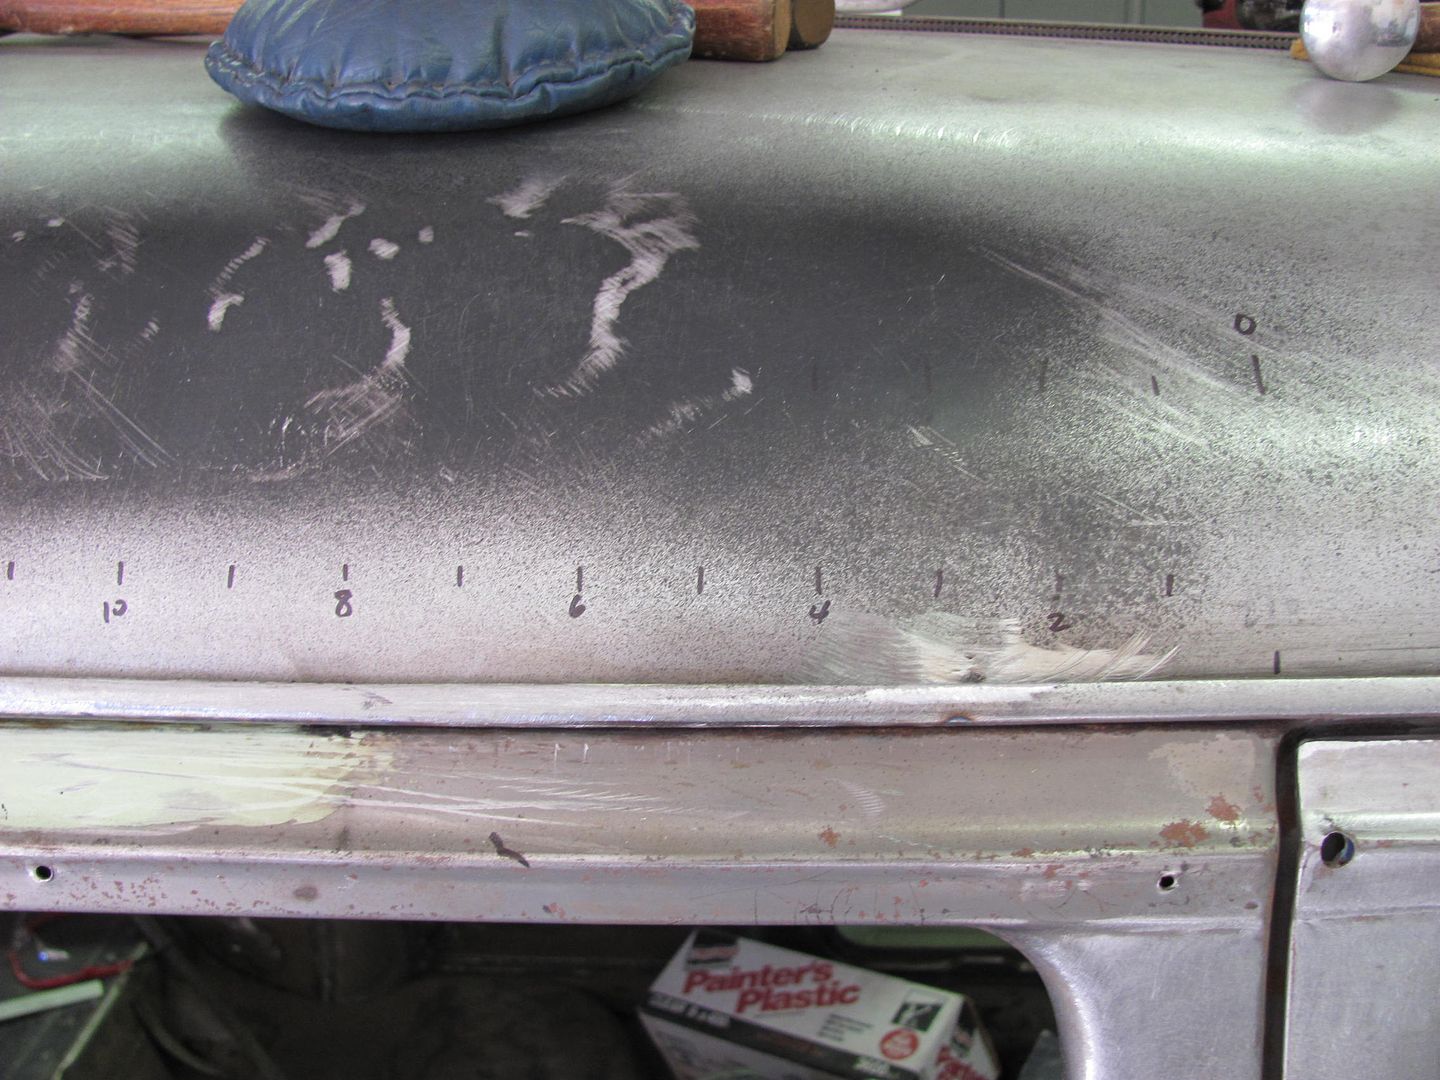 Worked the highs and lows, and thought we'd compare it to the other side. Making a profile template to match the good side... 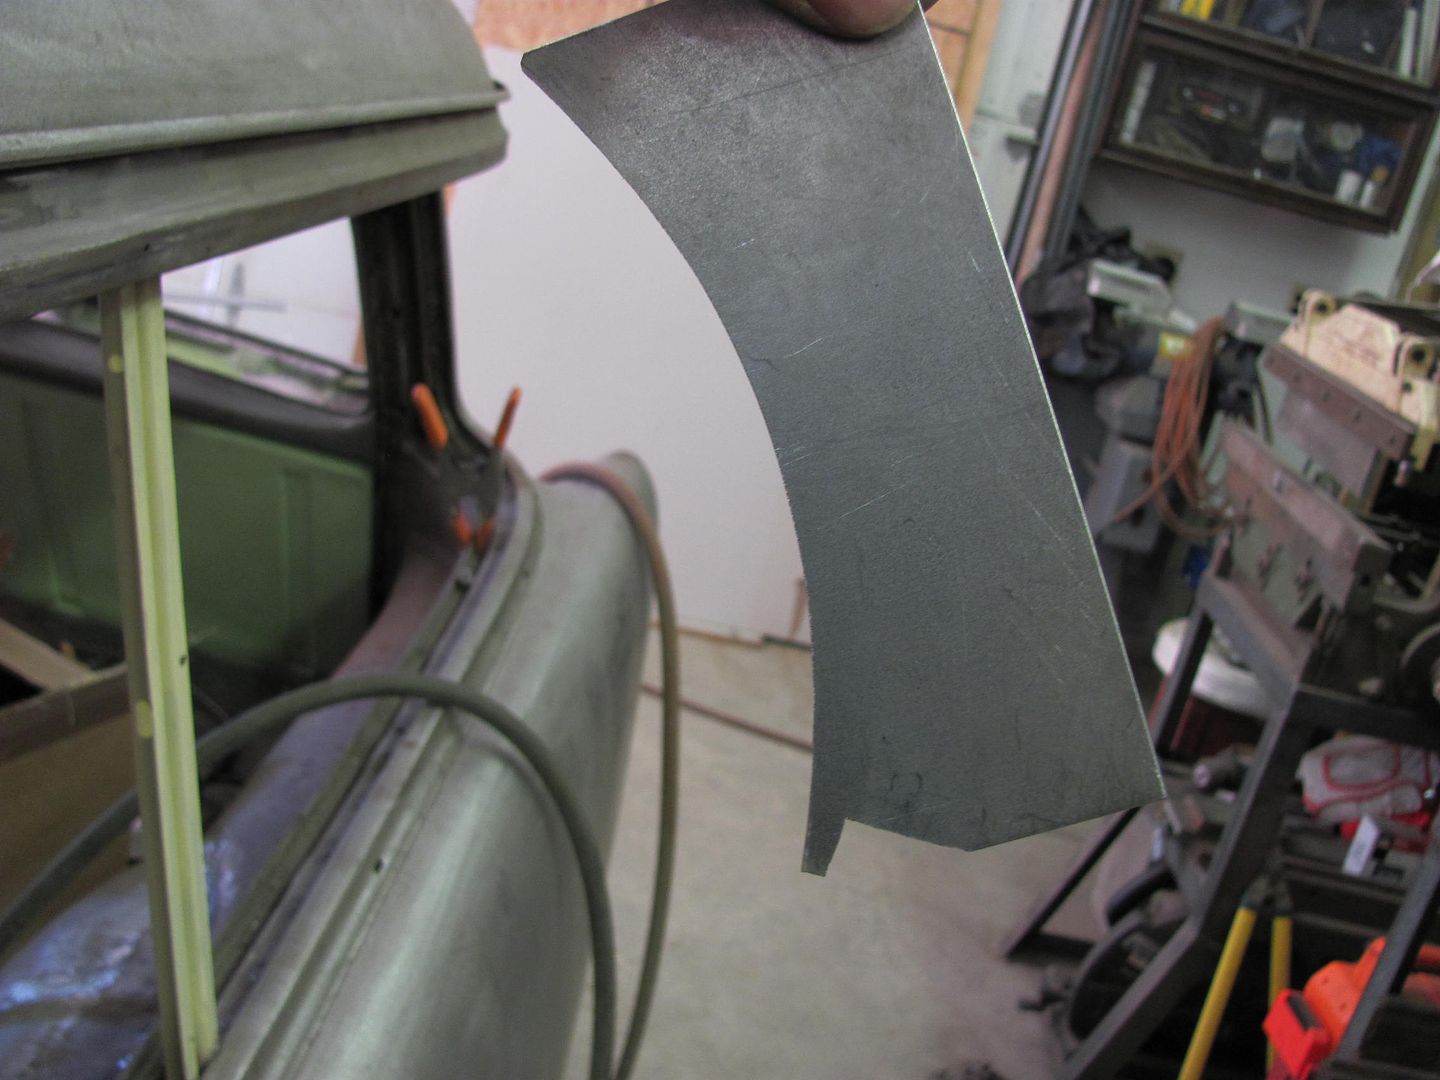 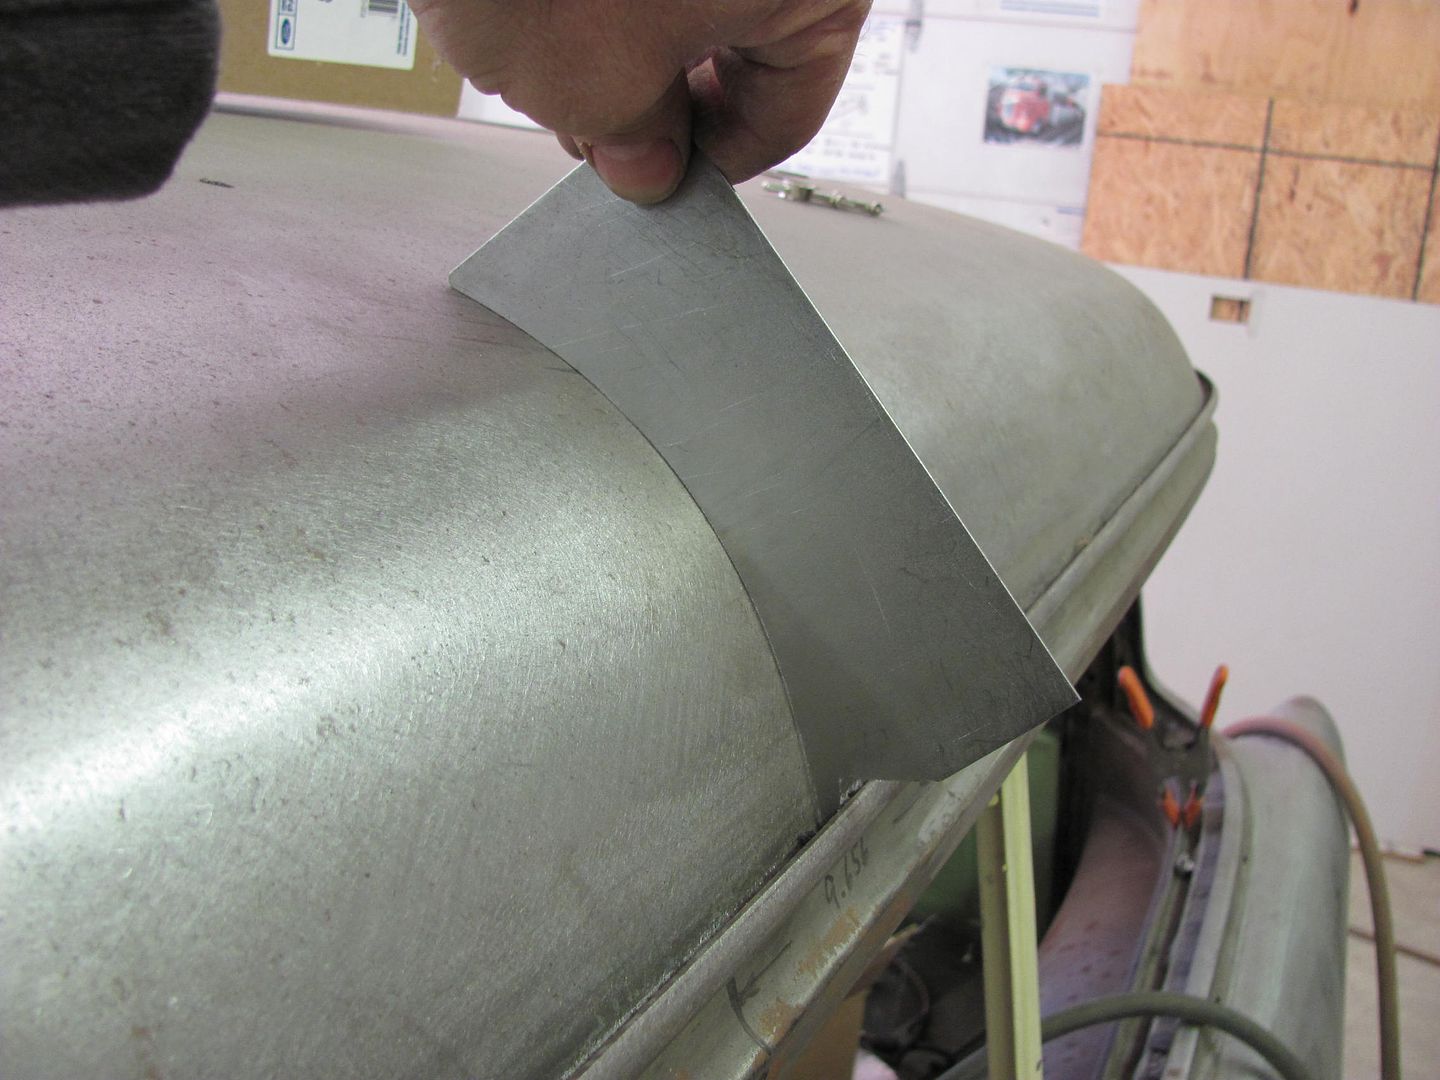 Shown at about 6, 12, and 18". We're getting close.. 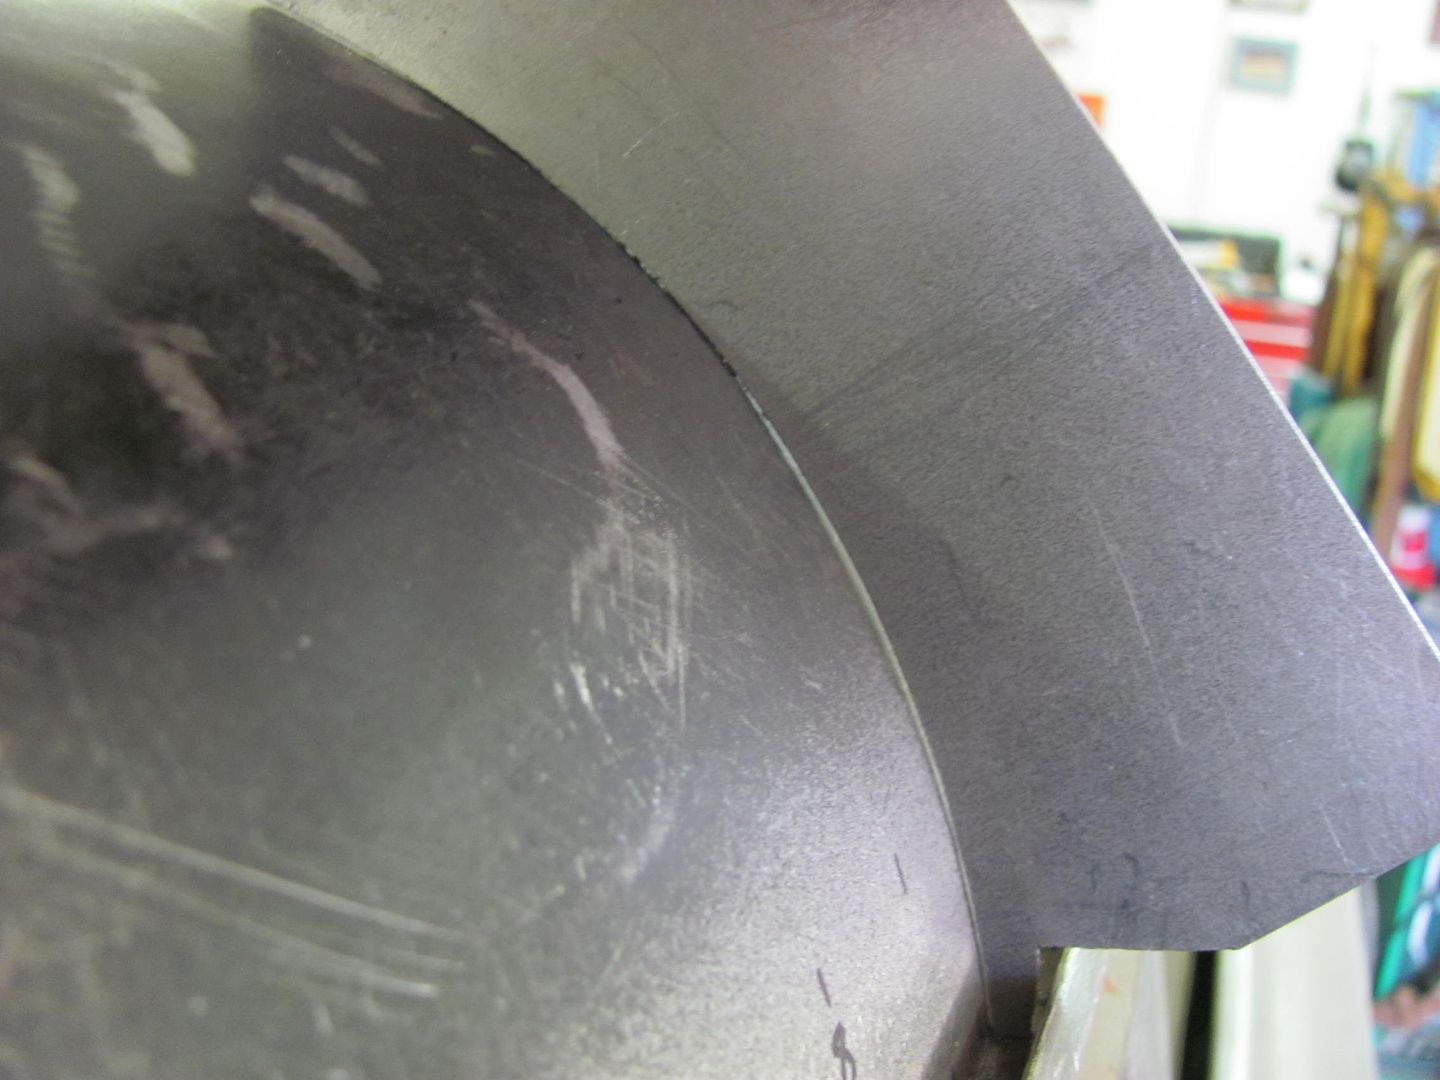 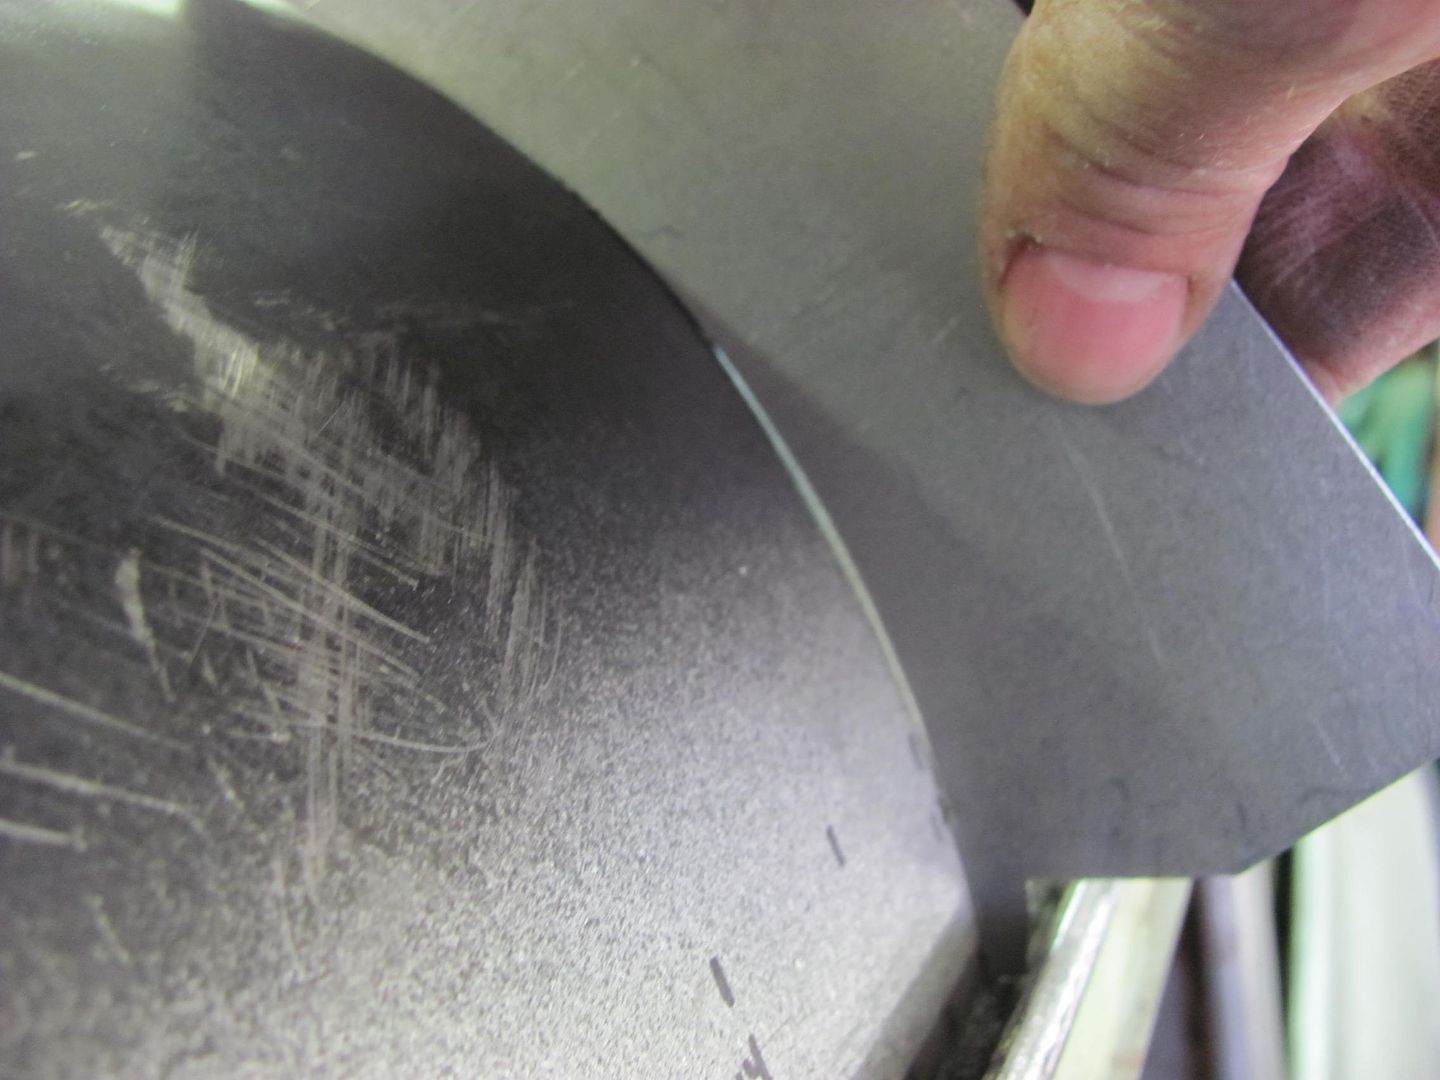 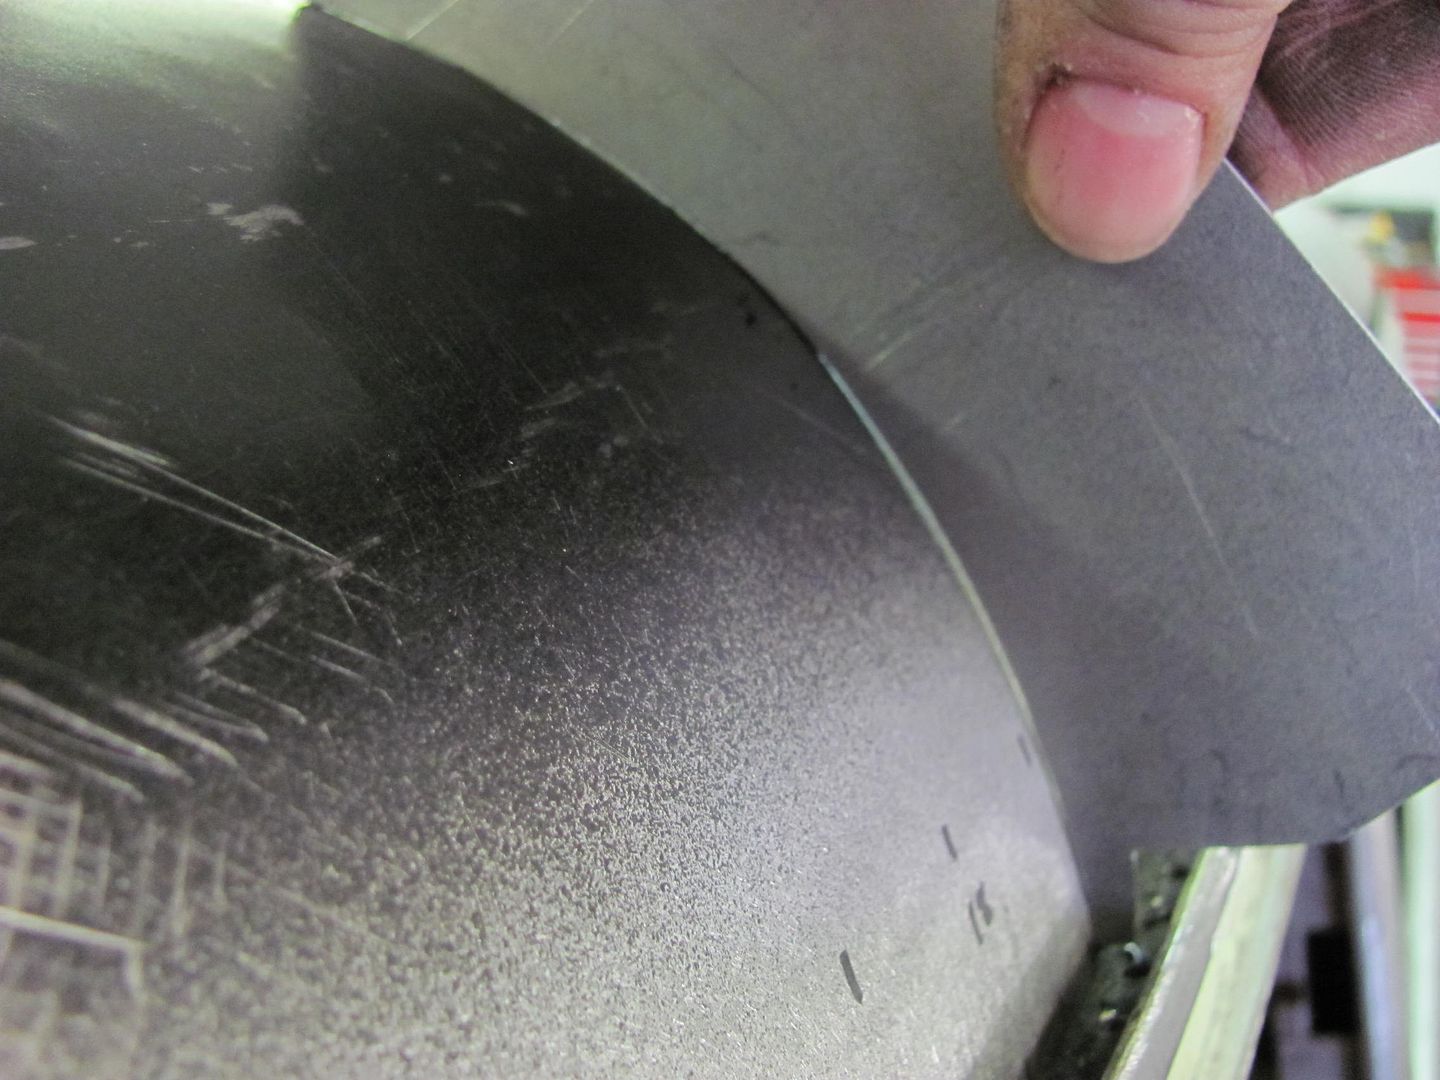
__________________
Robert |
|
|
|
|
03-16-2014, 05:22 PM
|
#23 |
|
Registered User
 Join Date: May 2007
Location: Deale Md
Posts: 4,663
|
Re: 55 Wagon Progress
Do you ever permit a complete stranger to hang out to watch and learn.
__________________
James 63 GMC V6 4speed carryall 65 chevy swb bbw V8 auto 68 K20 327/4 speed, buddy buckets 2002 GMC CC Dually Duramax 64 GMC lwb 3/4 V6 4speed SOLD 66 GMC swb bbw buddy buckets SOLD IG duallyjams The only thing that stays the same is constant change! |
|
|
|
|
11-16-2022, 02:26 PM
|
#24 |
|
Post Whore
Join Date: Feb 2016
Location: Portland Oregon
Posts: 10,862
|
Re: 55 Wagon Progress
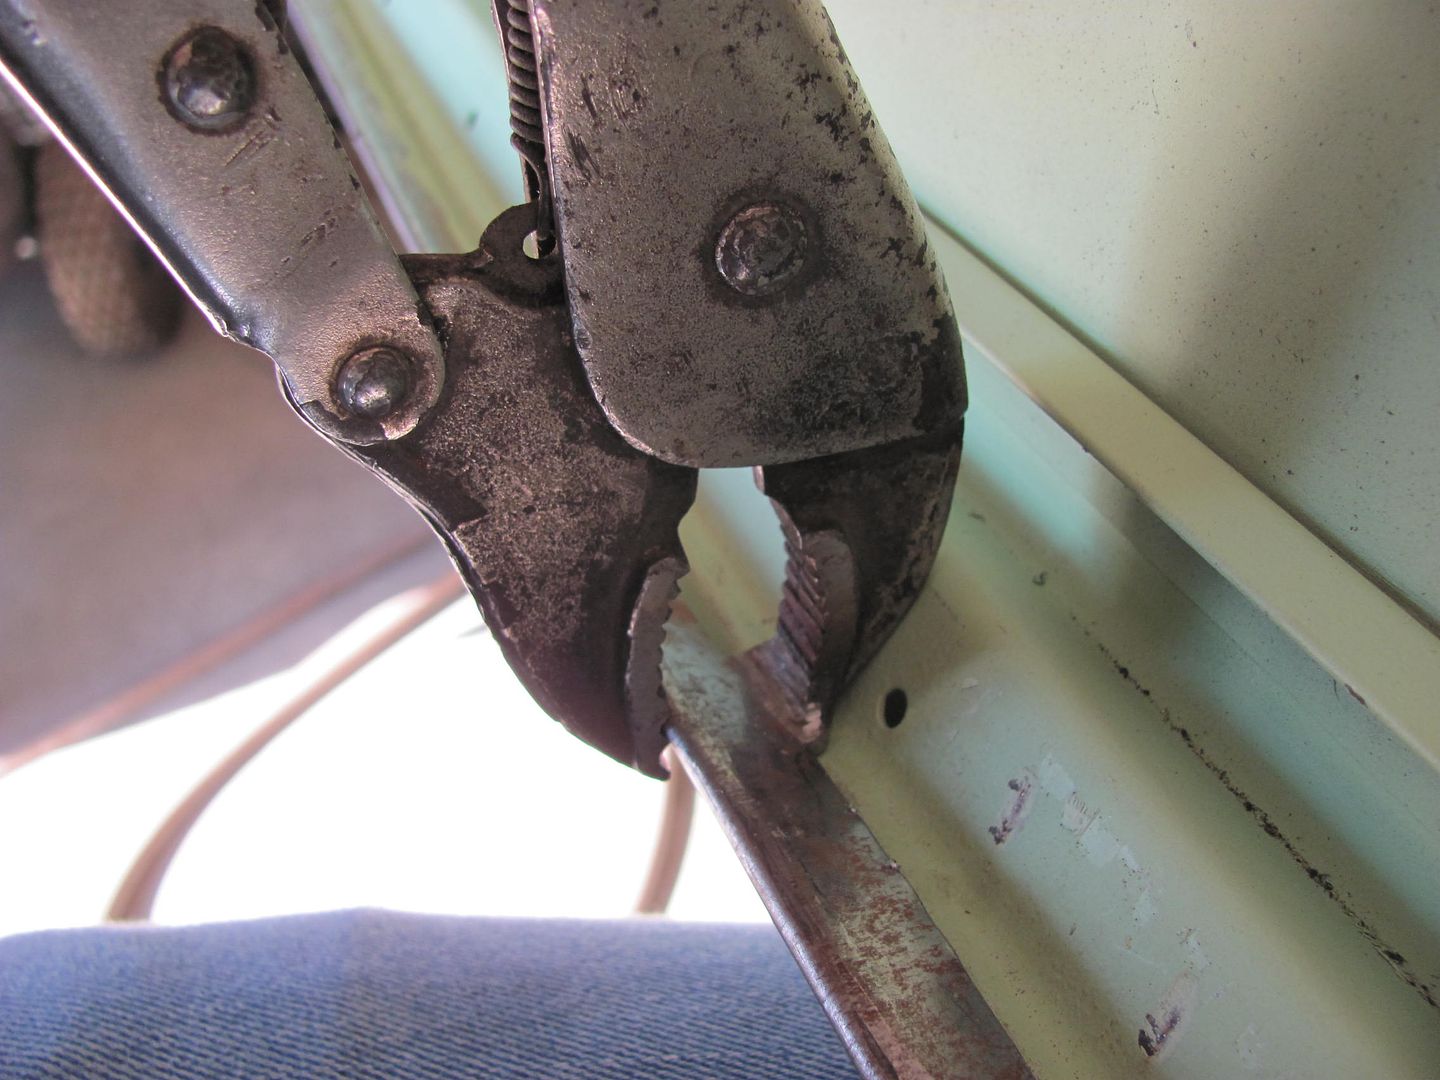
If you have a free minute or three. I noticed your door skin removal tool and decided I need make one.
My question is if you were building another one would you change anything? Wider/narrower blade? Chisel blade on the lower jaw instead? Or is this one the Acme of evolution? Thank you in advance.
__________________
Thanks to Bob and Jeanie and everyone else at Superior Performance for all their great help.  RIP Bob Parks. 1967 Burban (the WMB),1988 S10 Blazer (the Stink10 II),1969 GTO (the Goat), 1970 Javelin, 1952 F2 Ford OHC six 4X4, 29 Model A, 72 Firebird (the DBP Bird). 85 Alfa Romeo If it breaks I didn't want it in the first place The WMB repair thread http://67-72chevytrucks.com/vboard/s...d.php?t=698377 |
|
|
|
|
11-26-2022, 11:46 PM
|
#25 | |
|
Registered User
Join Date: Jan 2013
Location: Leonardtown, MD
Posts: 1,636
|
Re: 55 Wagon Progress
Quote:
__________________
Robert Last edited by MP&C; 11-27-2022 at 11:42 AM. |
|
|
|
|
 |
| Bookmarks |
|
|


 Hybrid Mode
