Here are the measurements I promised. I used a cloth tape so it would follow the body line of the fender to give you a true measurement. Here are the things i learned that might be helpful to you.
#1) Be SURE your body panels are aligned correctly. Don't forget the weight of all the glass etc. can cause your door to dip slightly.
#2) I used a string to make lines and penciled them in at the edges of the body panels.
#3) Then I put the molding up with tape (use quality automotive tape) and I took my time until I really liked how everything looked before drilling any holes.
#4) Remember if you have to, you can adjust everything by making a bigger hole up to the size of the nut/washer.
#5) There are spots on the door by the handle and the rear portion of the front fender where you should try to be accurate with your hole, so there is enough room to put the backing nut on. (Almost screwed myself on that one).
#6) If you are taking the fenders on and off during this process put the Cheyenne (or whatever you are using) emblem on BEFORE you put the fender back on.....trust me.

That's about all I can tell you. Good luck buddy, post some pics too.
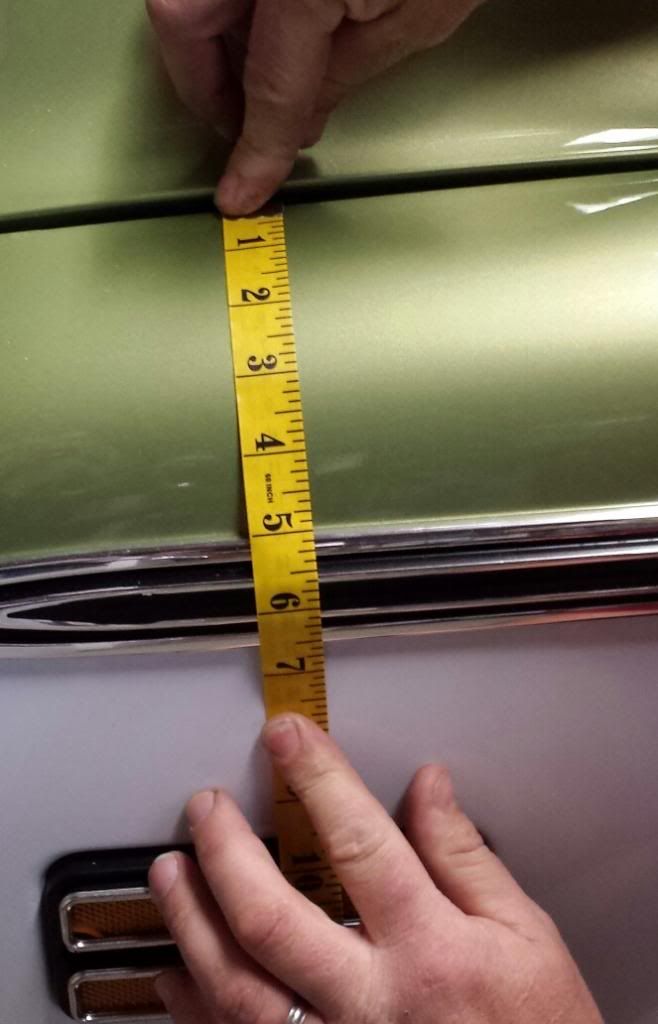
I ran the tape from the horizontal center of the side marker up to the top edge of the fender so we are starting from same point. From the edge of the fender to the center of the upper molding is 5 7/8".
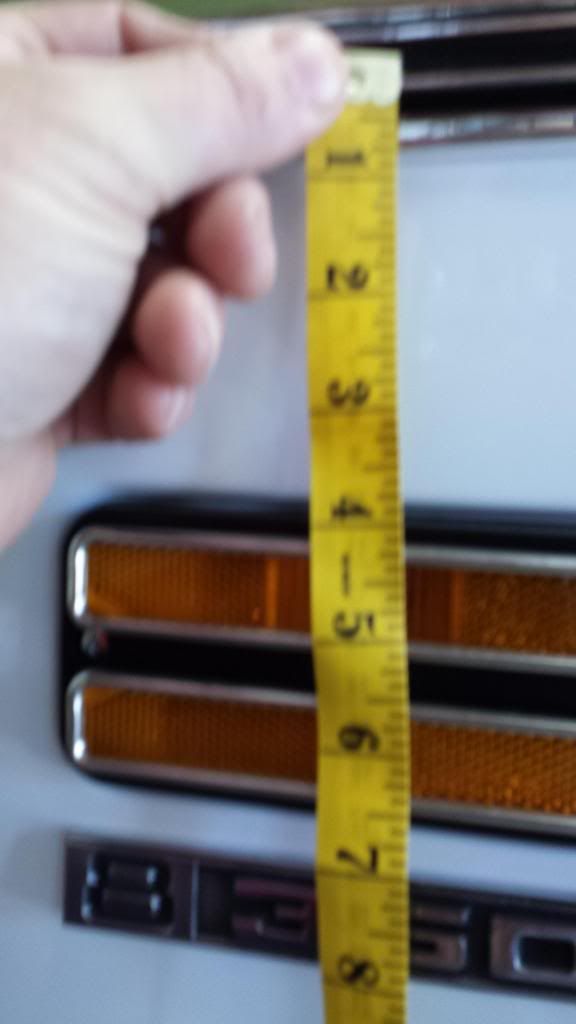
From the center of the upper molding to the center of the side marker is 5
3/8"
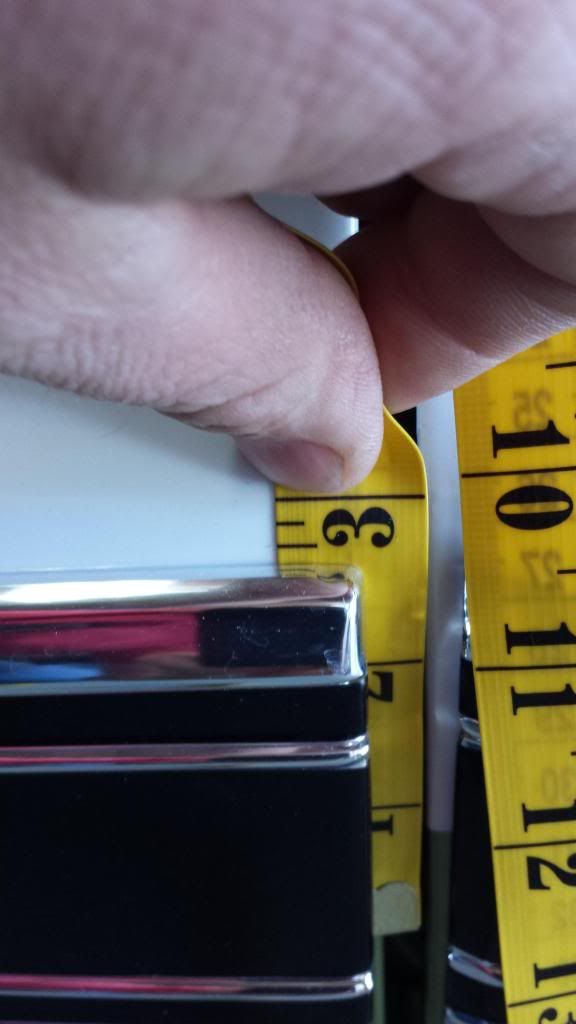
You can't make out the reveal on the lower trim unless you look at the picture showing the side of the truck. The edge of the lower trim to the rolled edge of the fender is 5/16"+.
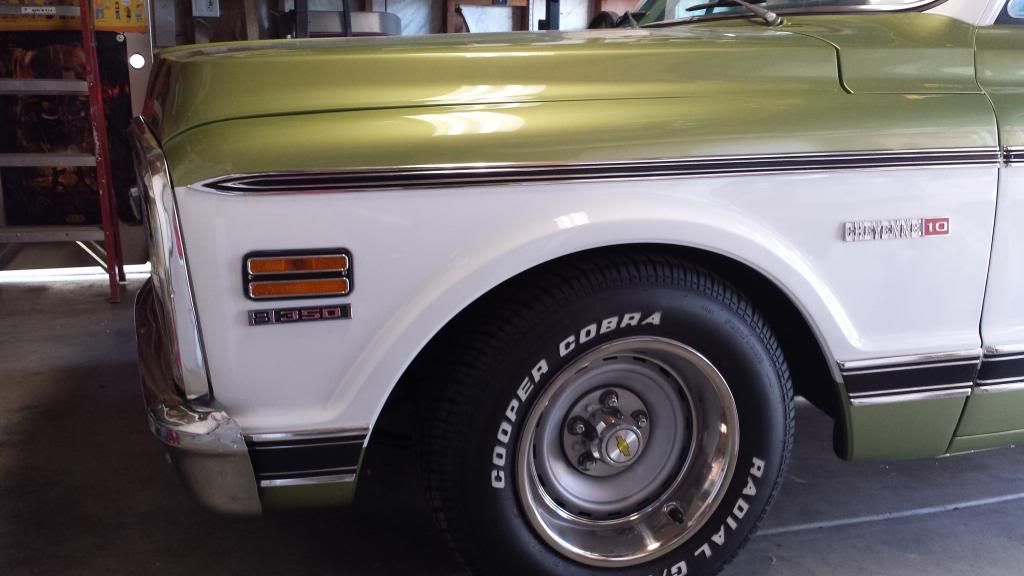

The center of the trim at the tailgate on my truck ended up matching the lower edge of the upper tailgate molding.