
|
Register or Log In To remove these advertisements. |
|
|
|
|||||||
 |
|
|
Thread Tools | Display Modes |
|
|
 03-07-2009, 07:19 PM
|
#1 |
|
Registered User
Join Date: Jun 2007
Location: Saskatoon, Saskatchewan,:
Posts: 2,901
|
Re: Project "Vertically Challenged"
nice, that is sure gonna be low, i just finished up my notch install, i did not make templates though, i just started cutting, oops, welder fixes that. Talk about some heavy artilery to get that diff moved and centered.
__________________
James 1968 GMC "HAVOC" 1986 GMC "Frank" J.J.R.H. Design & Consulting My 68`Rebuild "HAVOC": http://67-72chevytrucks.com/vboard/s...d.php?t=316300 A 58' chev build thread: http://www.67-72chevytrucks.com/vboa...d.php?t=311238 1969 Camaro Pro Touring http://67-72chevytrucks.com/vboard/s...61#post3513361 Swiss Cheese: http://67-72chevytrucks.com/vboard/s...d.php?t=384390 Adjustable Trailing Arm How-To: http://67-72chevytrucks.com/vboard/s...d.php?t=321100 1968 Ford Farm Truck: http://67-72chevytrucks.com/vboard/s...=1#post6555587 |

|

|
|
03-11-2009, 08:12 PM
|
#2 |
|
Blaze-Air
Join Date: Nov 2008
Location: Virginia
Posts: 1,117
|
Re: Project "Vertically Challenged"
I finally finished the first notch. It took me a long time to get it right. Hope the second one is easier than this one was. Should be, now that I know what to do.
 Rear centered in notch pattern. That's why It's a good idea to put blocks and trackbar on first. To make sure everything will align. 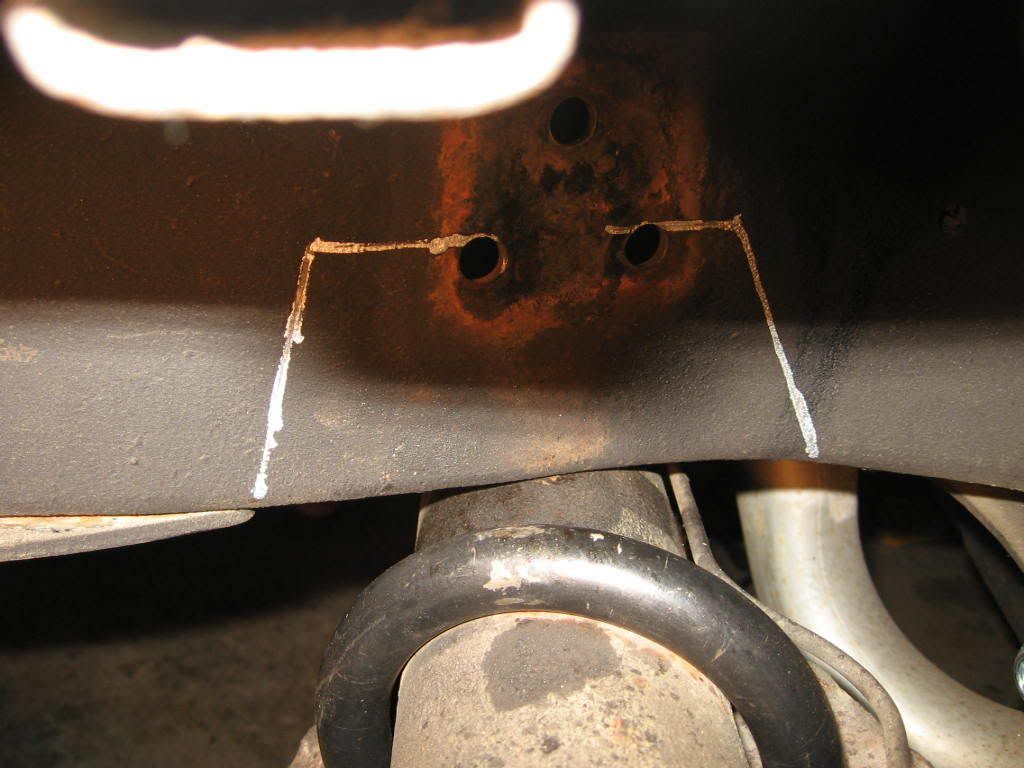 Notch cut and ground to shape, then a flap disk to make it smooth. 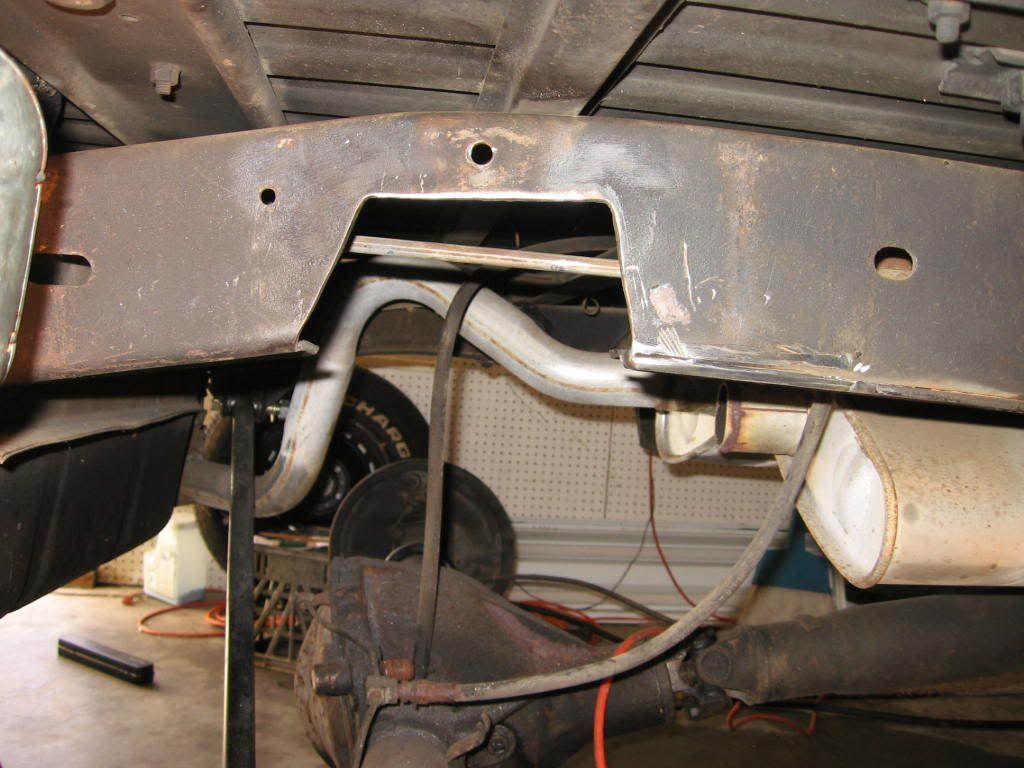 Primered notch. 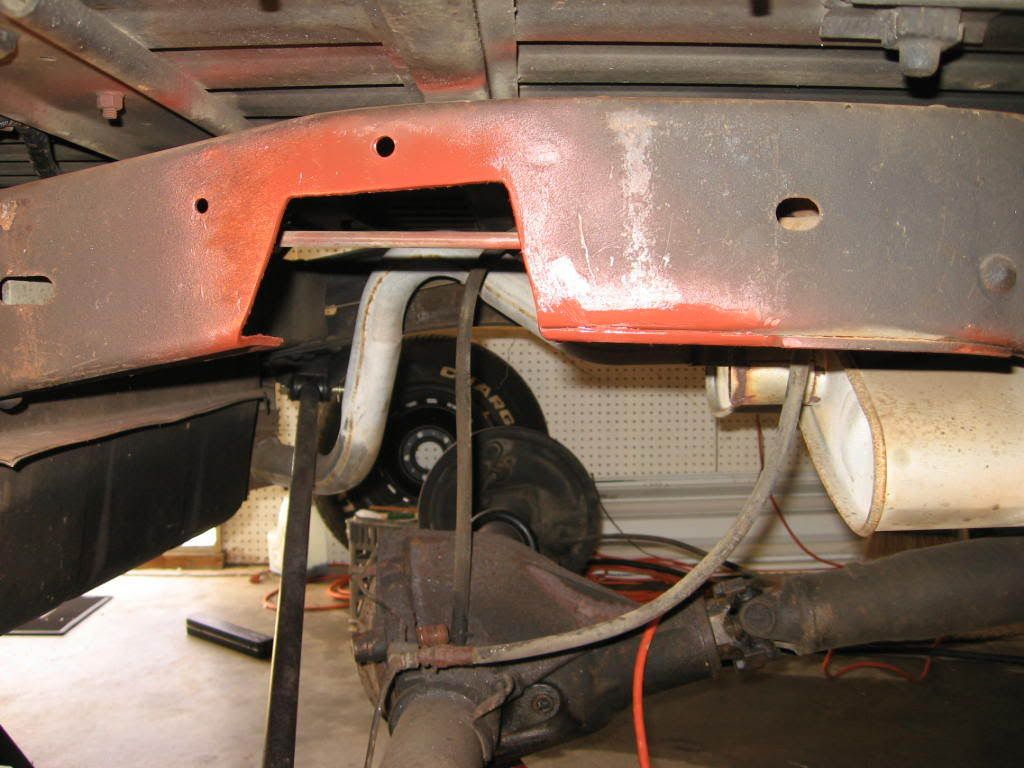 Painted Notch. 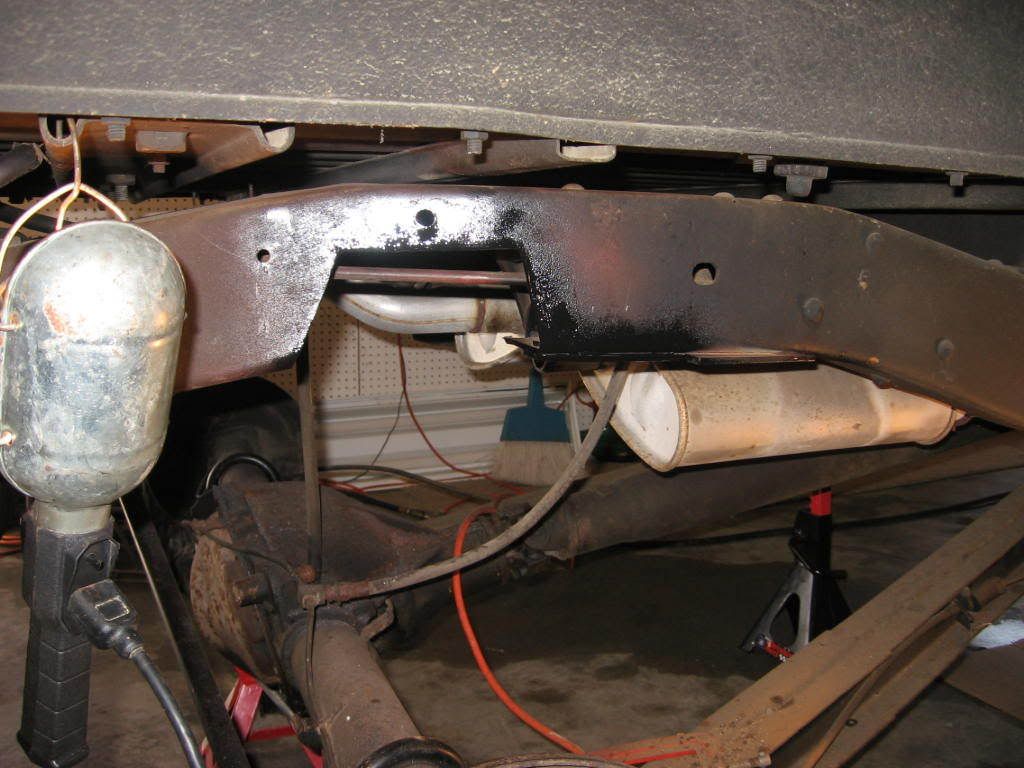 Don't forget the back side of the notch, it needs primer and paint as well. I didn't take a painted pic. 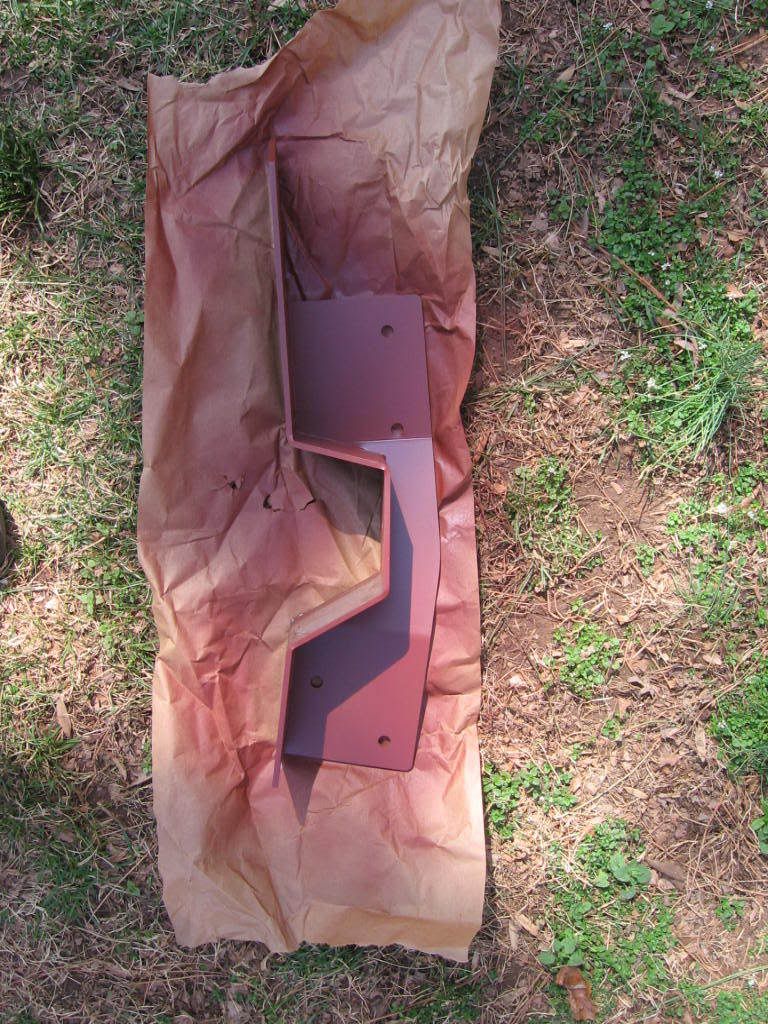 Notch clamped in place. 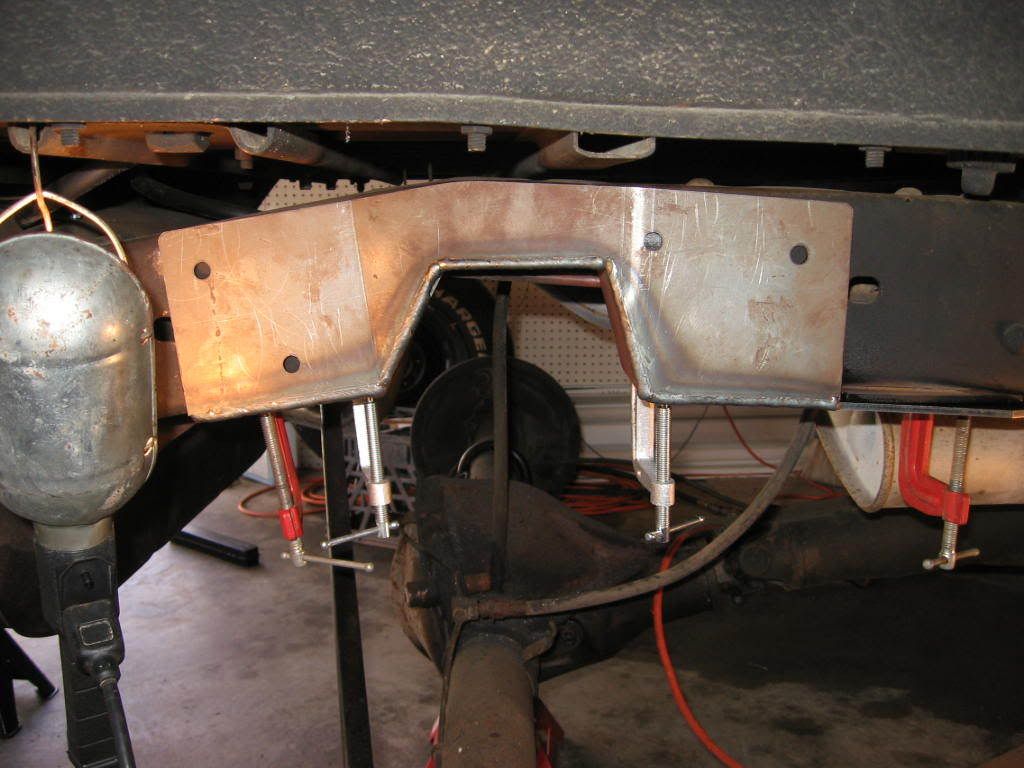 Notch bolted in place. 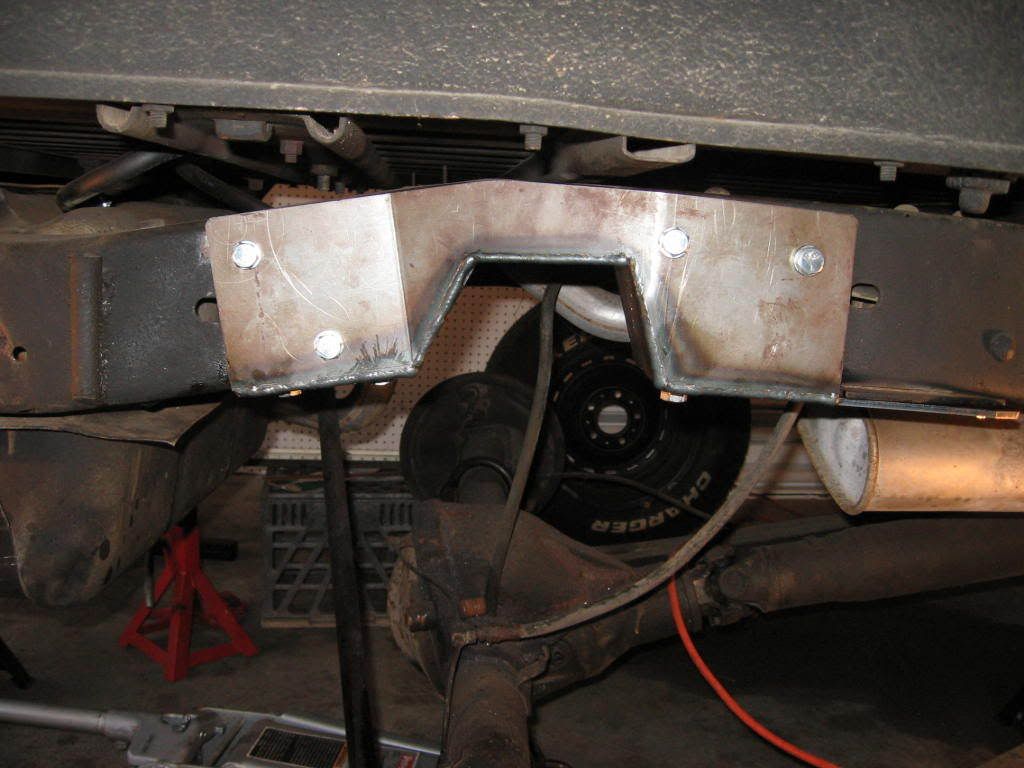 And the mess I have made. 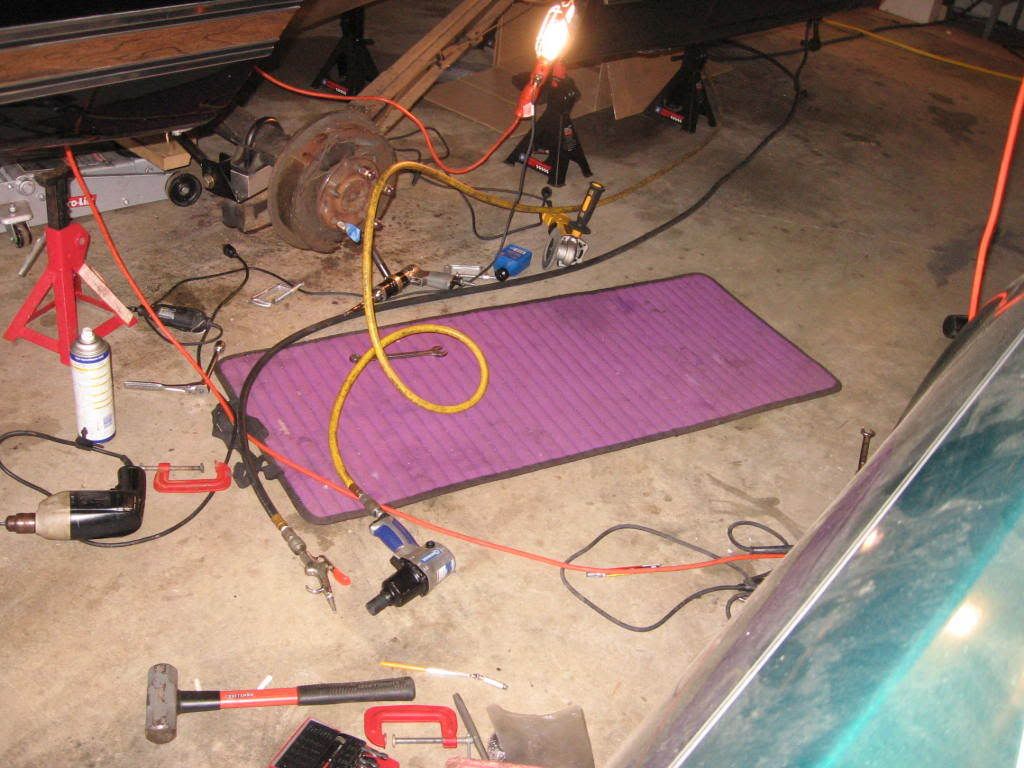 After bolting everything up, the notch fit pretty well. I had to do a couple of bolt hole modifications...Just throw the instructions they give you away. I think I have used almost all tools at some point so far.
|
|
|
|
|
| Bookmarks |
|
|


 Hybrid Mode
