
|
Register or Log In To remove these advertisements. |
|
|
|
|||||||
 |
|
|
Thread Tools | Display Modes |
 02-14-2010, 05:10 PM
|
#1 |
|
Senior Member
 Join Date: Jun 2007
Location: Pine Ridge Florida
Posts: 4,138
|
A little progress finally
Had a chance to paint the frame and try out an oil pressure adater that someone made for me. Now that the frame is paintedI can reinstall the wiring, brake line clips, and run a new fuel line. Then the crossmember, transfer case and......
Yeah yeah I know, pictures!! 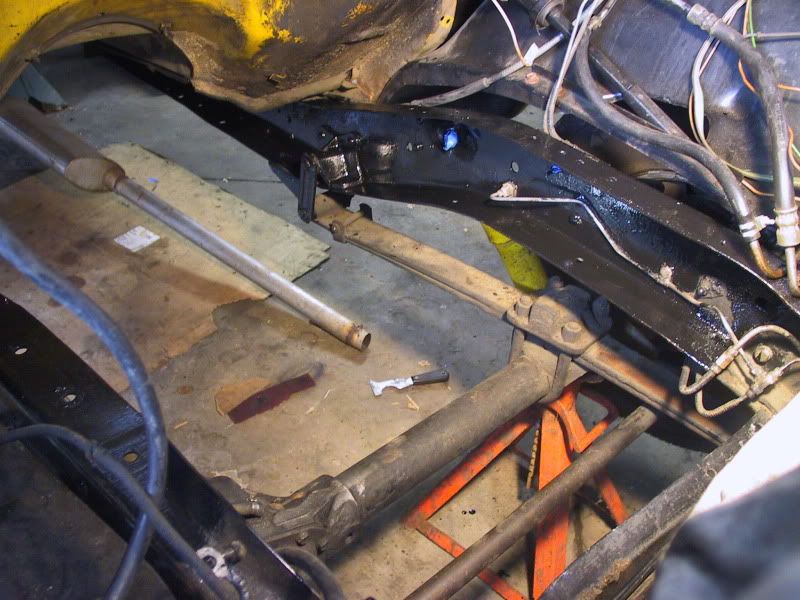 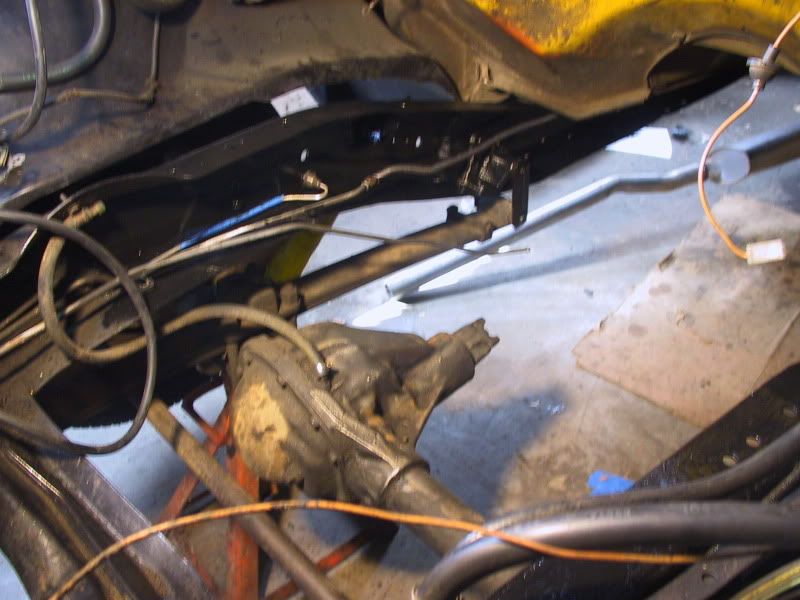 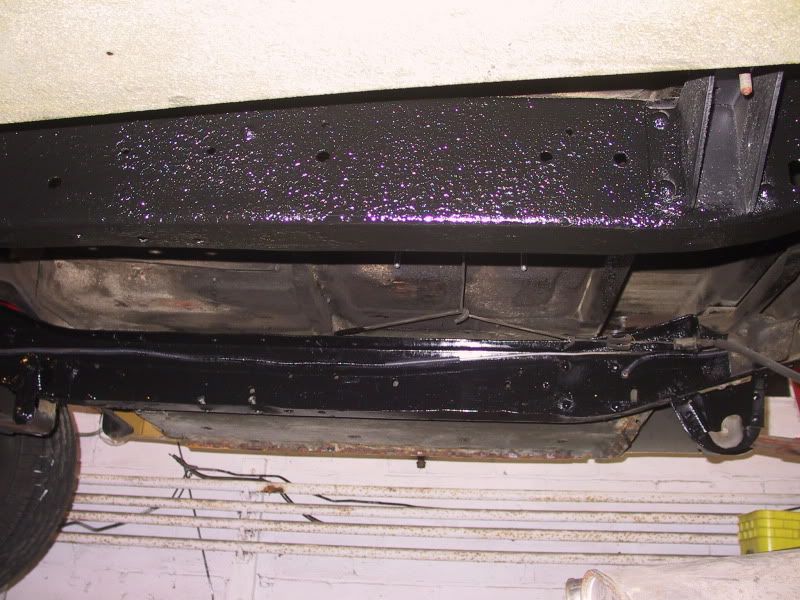 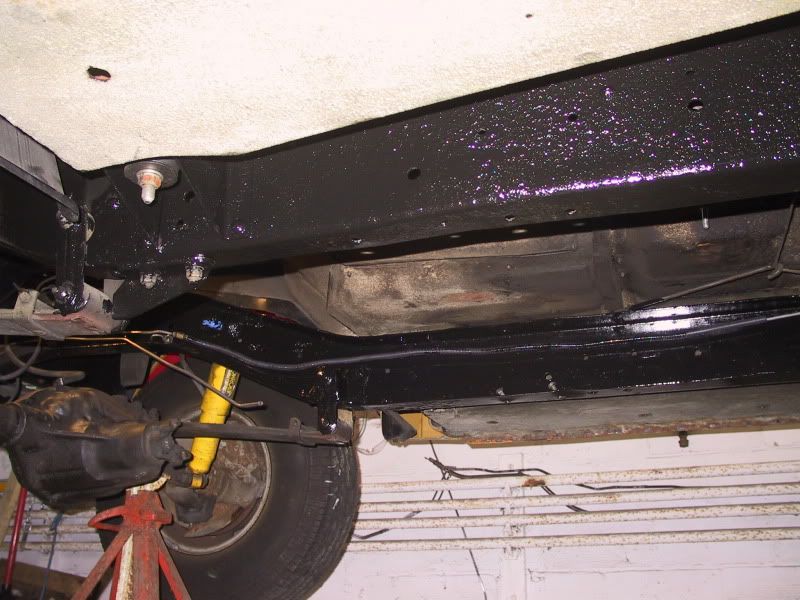 I'll eventually rebuild both axles and have them powdercoated so that is why I left them unpainted (could be years before I get to them?). Here is the adapter I had made. I drilled 1/8 NPT where the X is for the original factory gauge. I wanted to keep the original oil pressure sendin unit for a couple of reasons. I may go with something like an Aeroforce gauge. And someday I may try to install a late model cluster and will ned that input for the gauge to work. 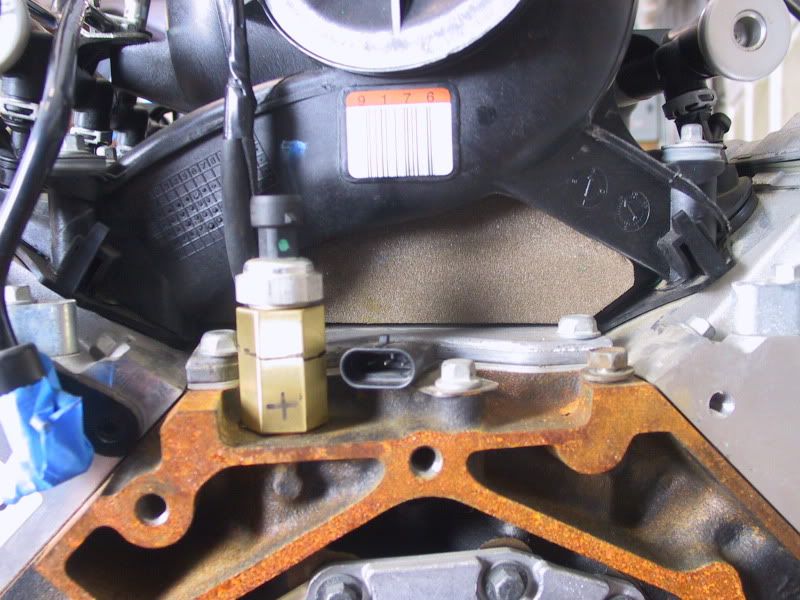 Maybe by this time next week I'll have the transfer case installed (if I ever get it back). Thanks for looking
__________________
Click on my Not really a build thread, yet NOT SO RUST FREE RUST FREE BLAZER LS ENGINE SWAP INFORMATION THREAD BOLT RESTORATIONS 4l60 to an NP205 |

|

|
|
02-14-2010, 11:57 PM
|
#2 |
|
Still Learning
Join Date: Jul 2009
Location: Central Oklahoma
Posts: 10,108
|
Re: A little progress finally
Hey, frame looks good! you should be ready to stab the new powerplant soon. Nice looking adapter too!

|
|
|
|
|
02-15-2010, 08:21 AM
|
#3 |
|
Senior Member
Join Date: Jun 2007
Location: Pine Ridge Florida
Posts: 4,138
|
Re: A little progress finally
Thanks for looking. I'm proudly wearing a little POR15 today even though I wore gloves and thought I was carefull. Nose must have been itchy

__________________
Click on my Not really a build thread, yet NOT SO RUST FREE RUST FREE BLAZER LS ENGINE SWAP INFORMATION THREAD BOLT RESTORATIONS 4l60 to an NP205 |
|
|
|
|
02-15-2010, 11:57 AM
|
#4 |
|
Registered User
Join Date: Jul 2009
Location: Russellville, Arkansas
Posts: 1,699
|
Re: A little progress finally
Good progress. Thats a good idea on the adapter.
|
|
|
|
|
02-15-2010, 12:18 PM
|
#5 |
|
*************
Join Date: Apr 2005
Location: Pensacola, FL
Posts: 17,865
|
Re: A little progress finally
Looks good! At this rate, you're probably going to have yours on the road before I have mine,
 . .
__________________
Rob - https://www.instagram.com/hart_rod_c10 As Iron Sharpens Iron, So One Man Sharpens Another. Proverbs 27:17 FOR SALE: DBW pedal bracket - http://67-72chevytrucks.com/vboard/s...d.php?t=651123 FOR SALE: Hood Brackets http://67-72chevytrucks.com/vboard/s...d.php?t=679945 1987 Silverado SWB - 34.5K original miles http://67-72chevytrucks.com/vboard/s...d.php?t=801834 1969 SuperBurb - http://67-72chevytrucks.com/vboard/s...d.php?t=200387 1968 Farm truck - http://67-72chevytrucks.com/vboard/s...d.php?t=358692 1968 SWB - http://67-72chevytrucks.com/vboard/s...d.php?t=551258 1948 Chevy - http://67-72chevytrucks.com/vboard/s...=122164&page=3 |
|
|
|
|
02-15-2010, 07:05 PM
|
#6 |
|
Senior Member
Join Date: Jun 2007
Location: Pine Ridge Florida
Posts: 4,138
|
Re: A little progress finally
I had another good day today. Reinstalled all the brake and evap line clips, New wire clips and ran the wiring back to the rear. Ran the new 3/8ths fuel line from the filter regulator to the front where I will probably have some interference with the exhaust or something. I wanted to get it past the transmission transfer case crossmember which I also install along with the torque mount. And I didn't take pictures of any of that. I'll take some when the transfer case is in.
I did just about finish a new crossmember template and test fit it between the fram mounts. Looks promising. Here is about where the crossmember should sit. 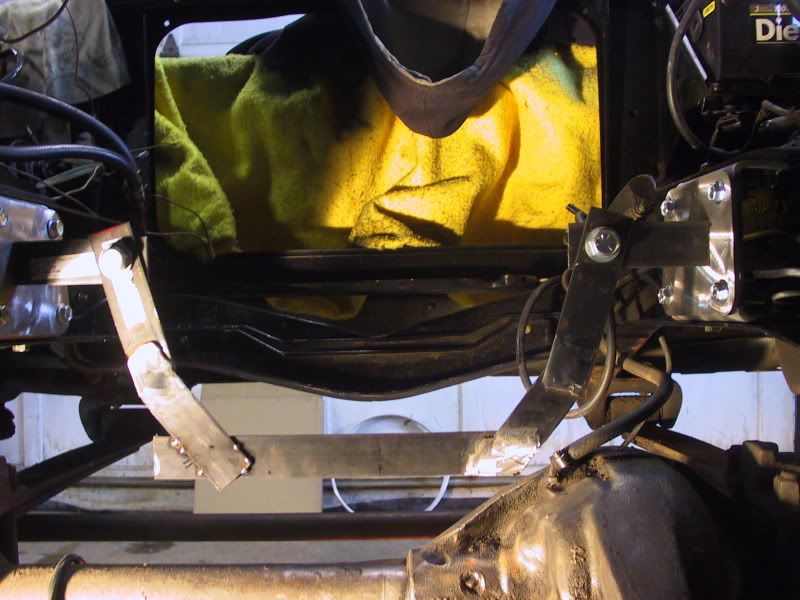 Here is where it would hit, about 2 1/2 inches below where I hope it should be. 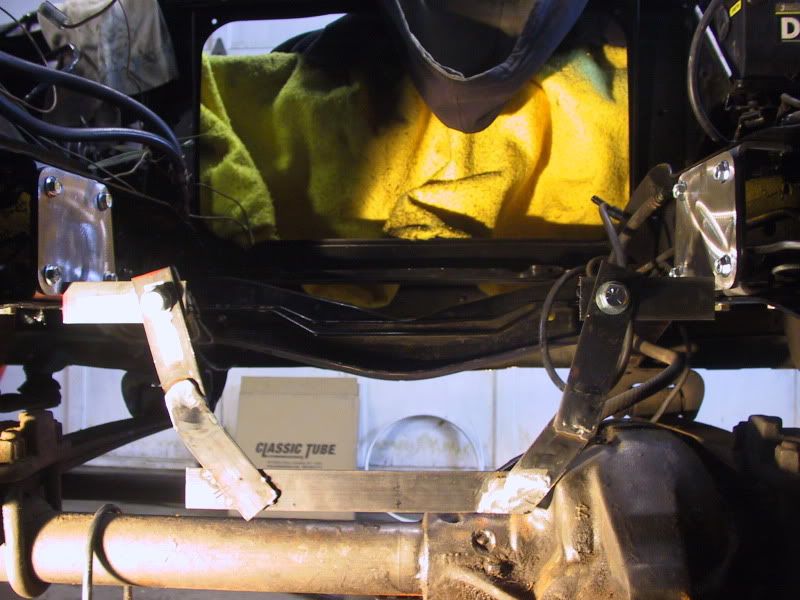 Here is how much I have before the bumpstop, can't really read it but it's about 2 1/4 inches 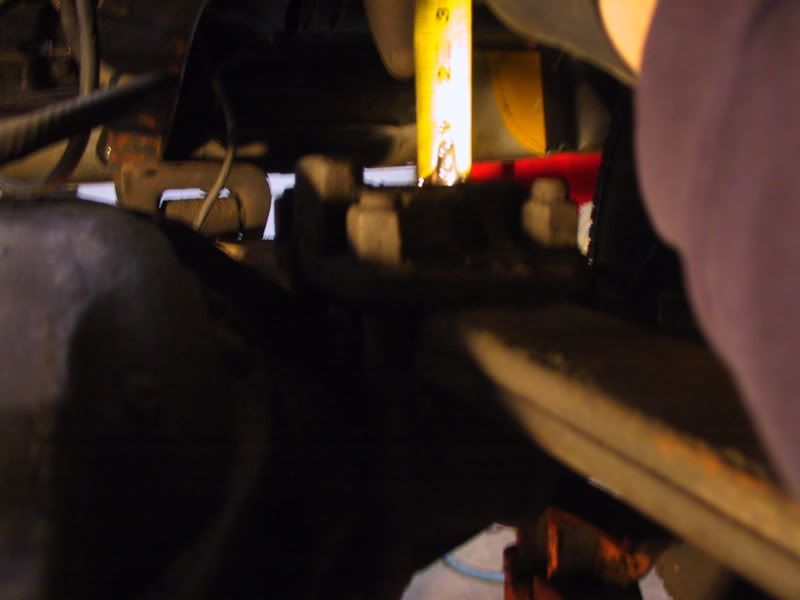 I'm going to finish welding the template and see what a couple of local fabricators would charge me to make it up out of 1 1/2 inch heavy wall tube. I'll then install it on the engine, lower it into place and center it in the shroud and weld it to the plates that are bolted to the frame mounts.
__________________
Click on my Not really a build thread, yet NOT SO RUST FREE RUST FREE BLAZER LS ENGINE SWAP INFORMATION THREAD BOLT RESTORATIONS 4l60 to an NP205 |
|
|
|
|
| Bookmarks |
|
|


 Linear Mode

