
 |
Register or Log In To remove these advertisements. |
|
|
|
|||||||
 |
|
|
Thread Tools | Display Modes |
|
|
#1 |
|
Registered User
Join Date: May 2008
Location: 204
Posts: 903
|
My repro hatch adventure
You may have heard me previously *****ing on here about the quality of the aftermarket hatch I bought.
Well after a year of it sitting around and a few unanswered emails to Bowtiebits.com which I understand is the manufacturer of these fine pieces of crap I decided to take matters into my own hands and fix it myself seeing as how I am into it for almost $600. This is my story. The main problem was that handle guts are no where near close to fitting into the hatch like they should. Here are some comparison pictures with an original hatch 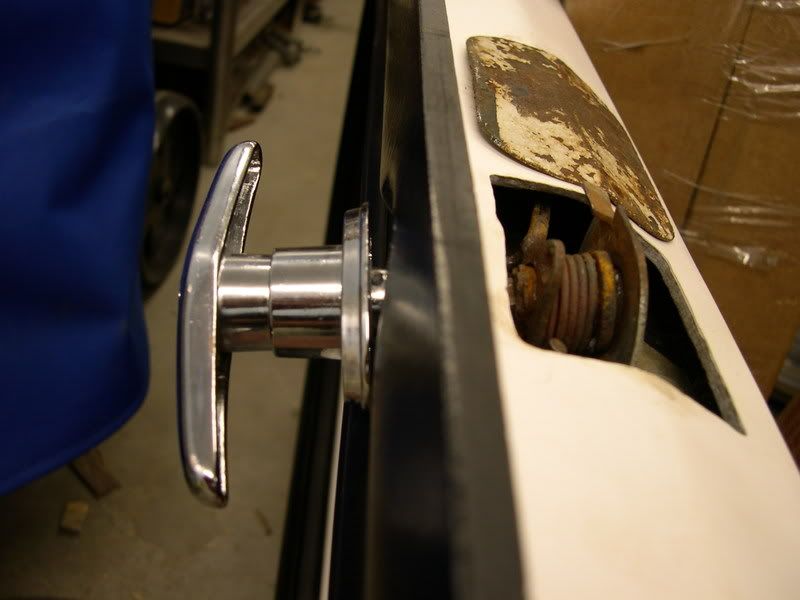 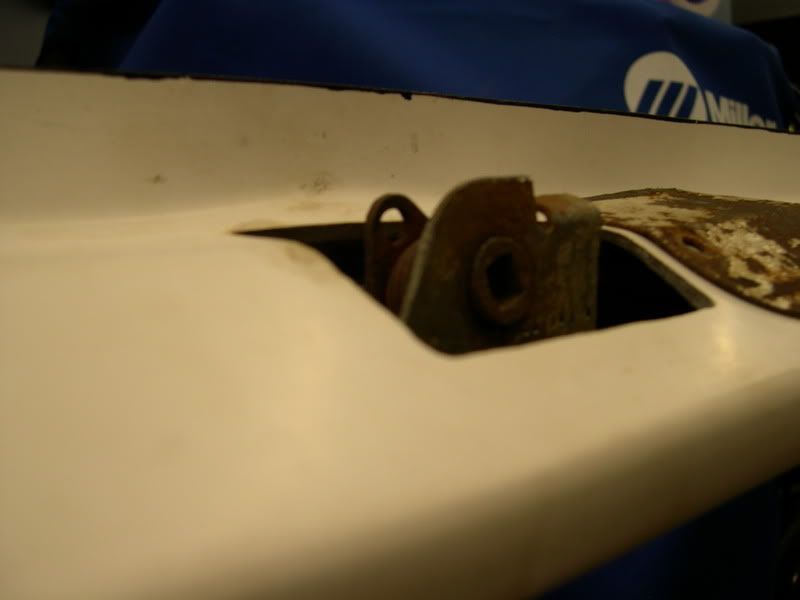 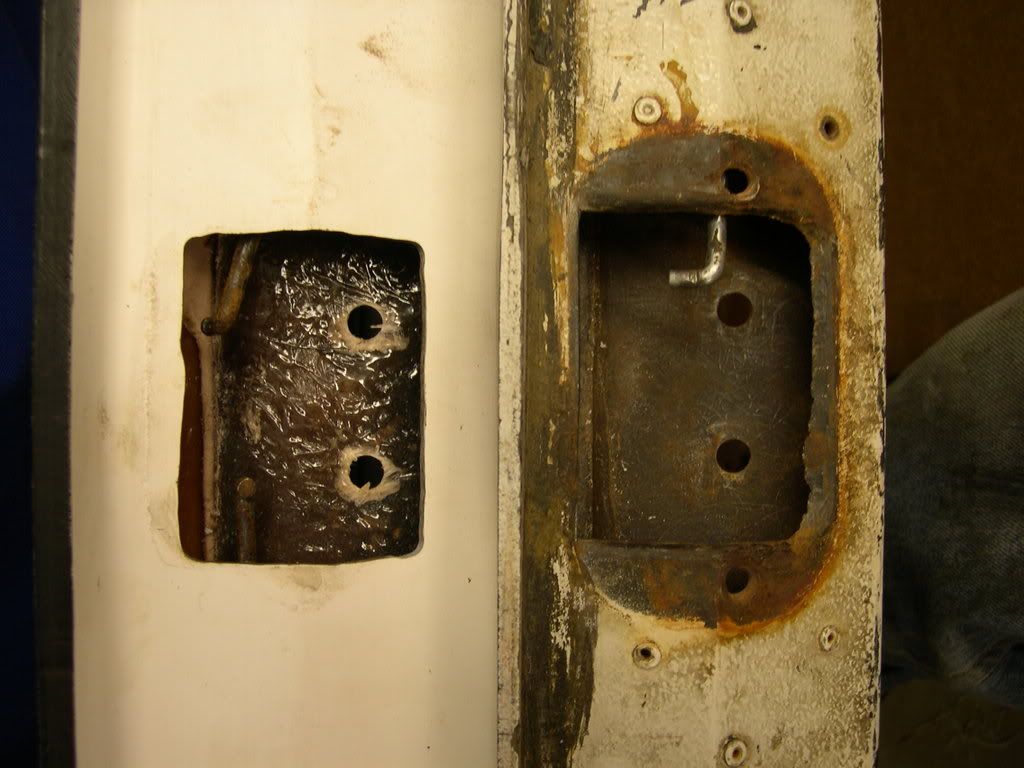 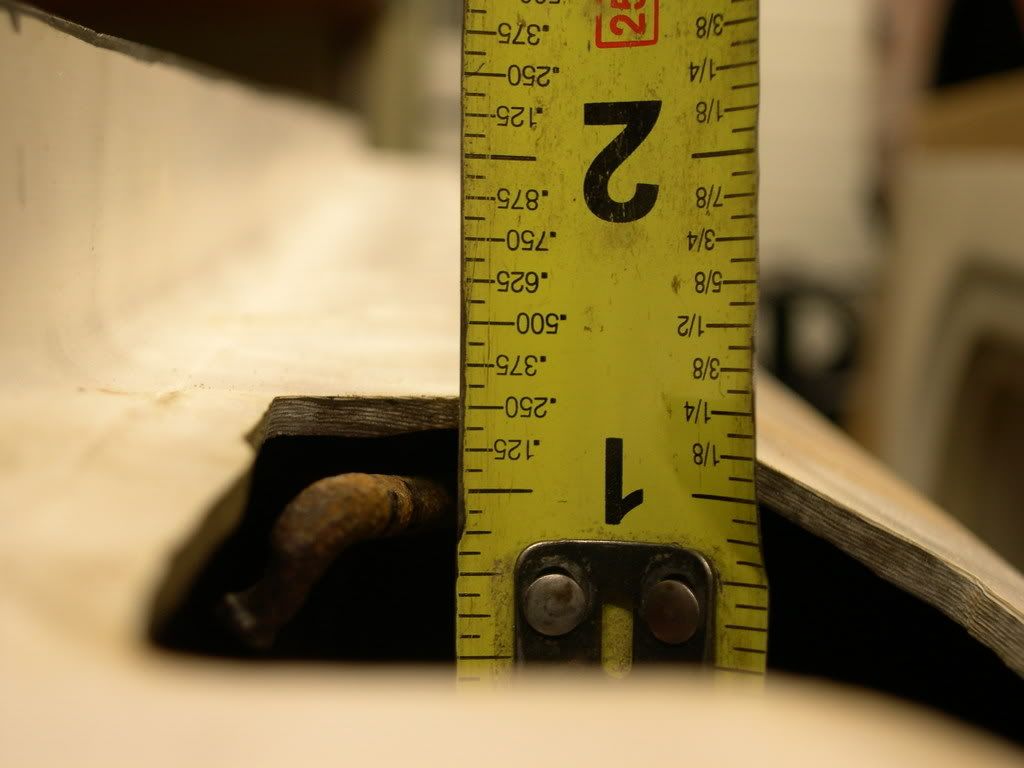 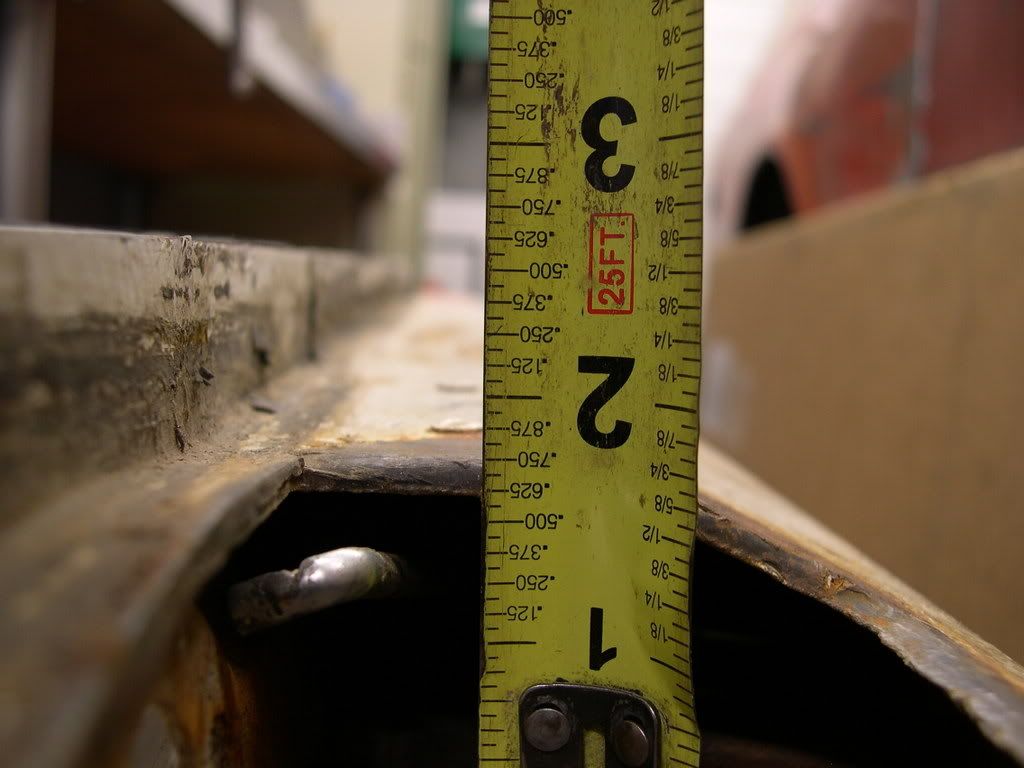 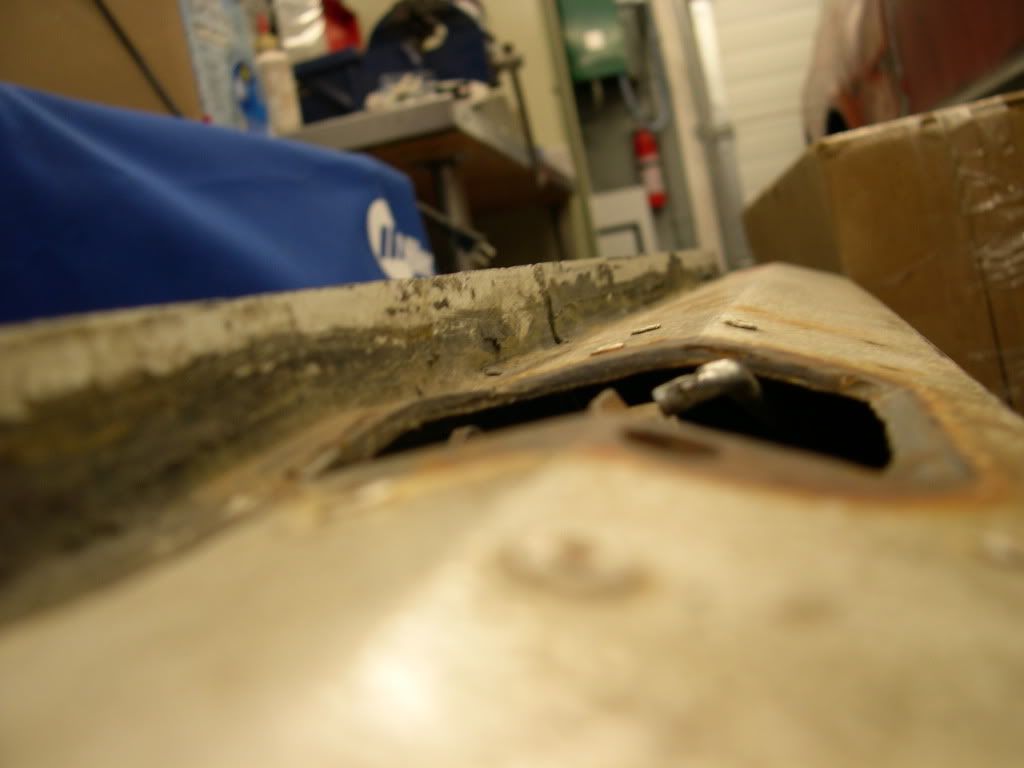 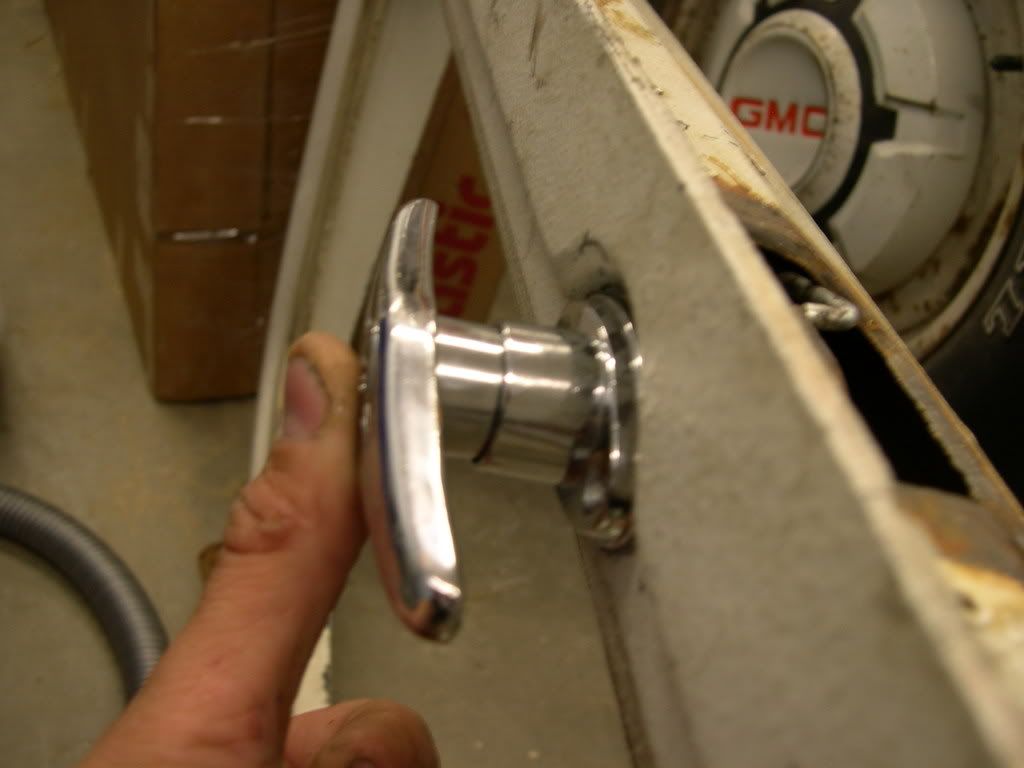 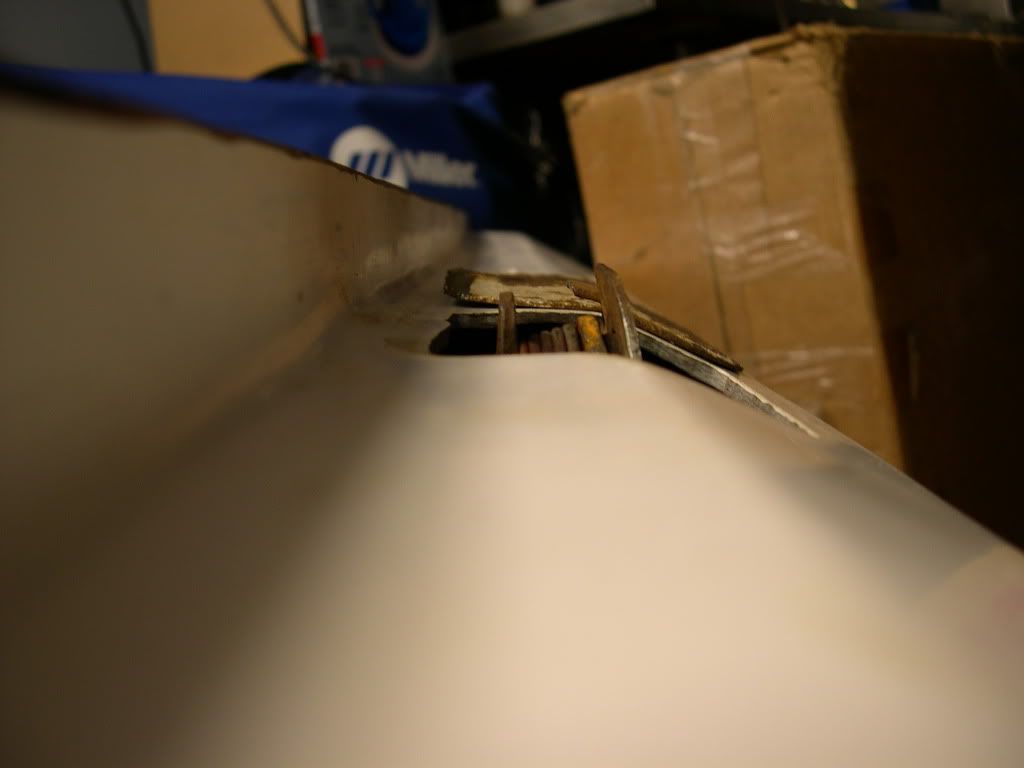
__________________
1969 Chevy Custom Camper 3/4 ton Rust free survivor 1972 Chevy Blazer CST 4x4 Almost Rust free survivor 1972 GMC Jimmy 2wd Undergoing surgery Last edited by 69-72; 01-13-2010 at 10:14 AM. |
|
|

|
|
|
#2 |
|
Registered User
Join Date: May 2008
Location: 204
Posts: 903
|
Re: My repro hatch adventure
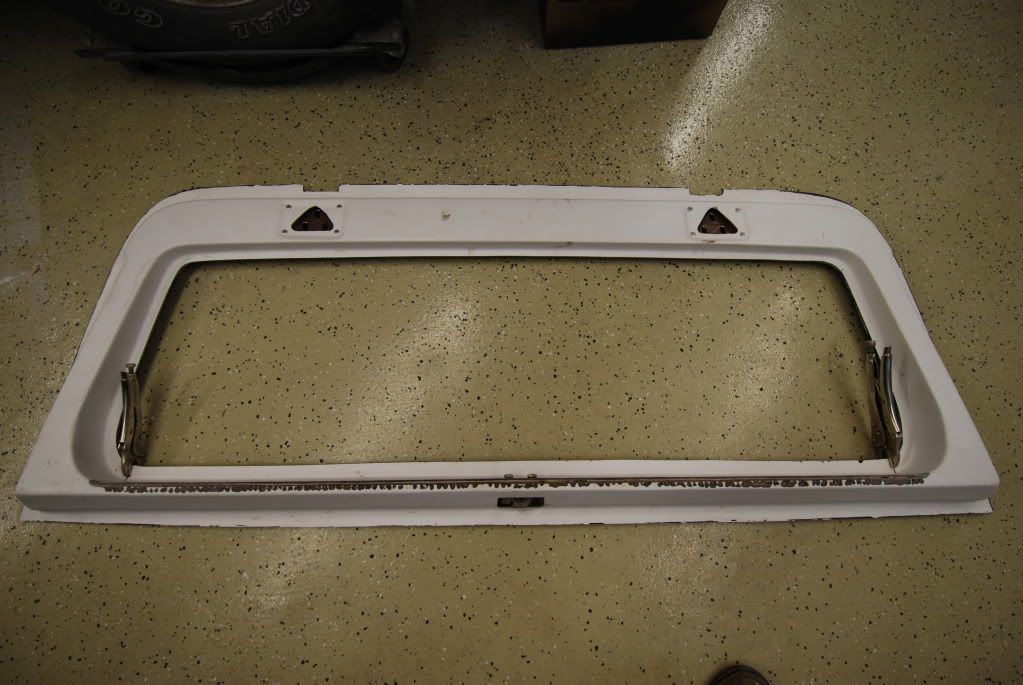
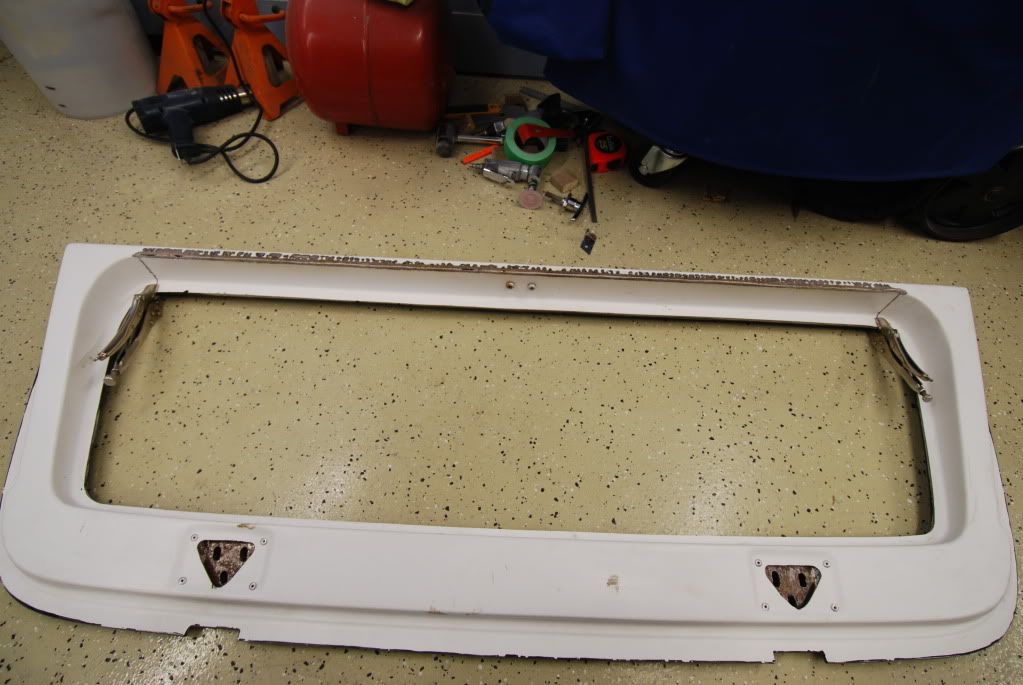
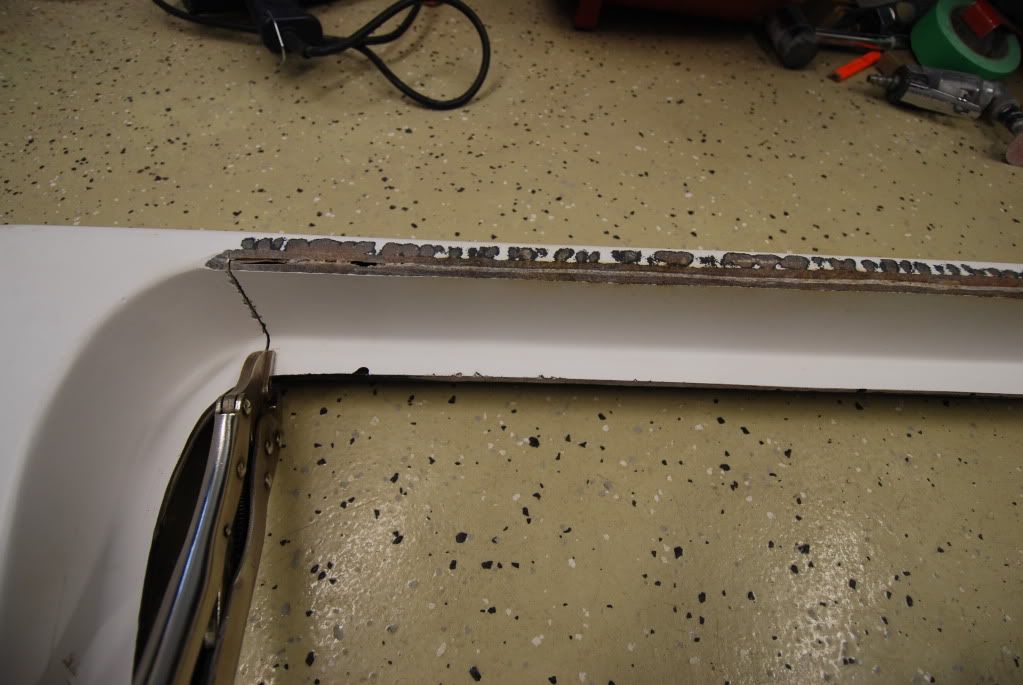
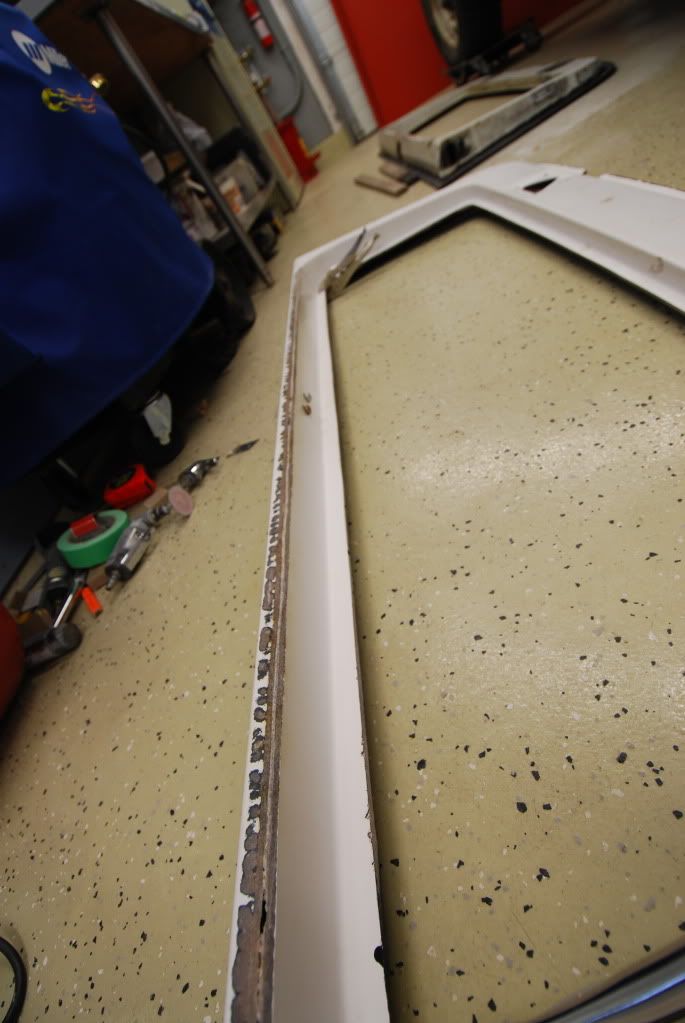
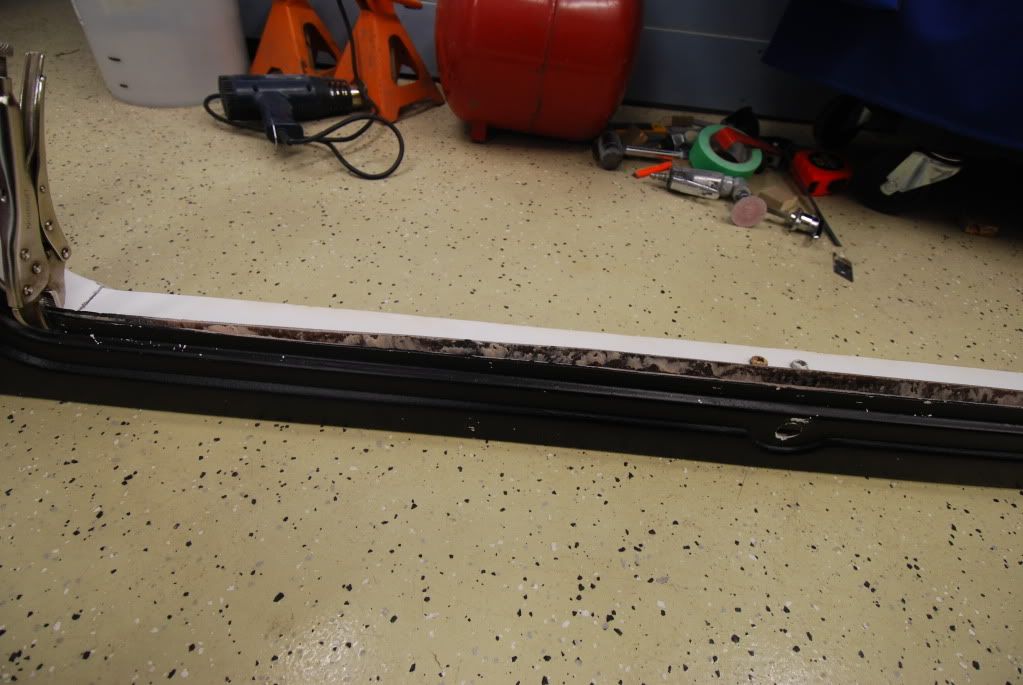
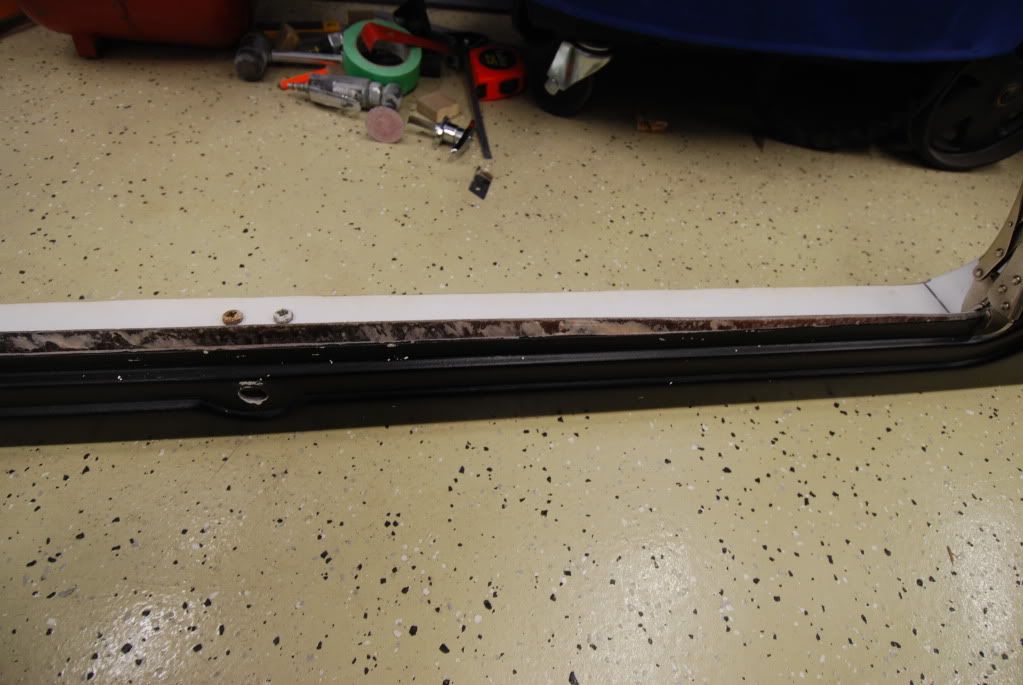
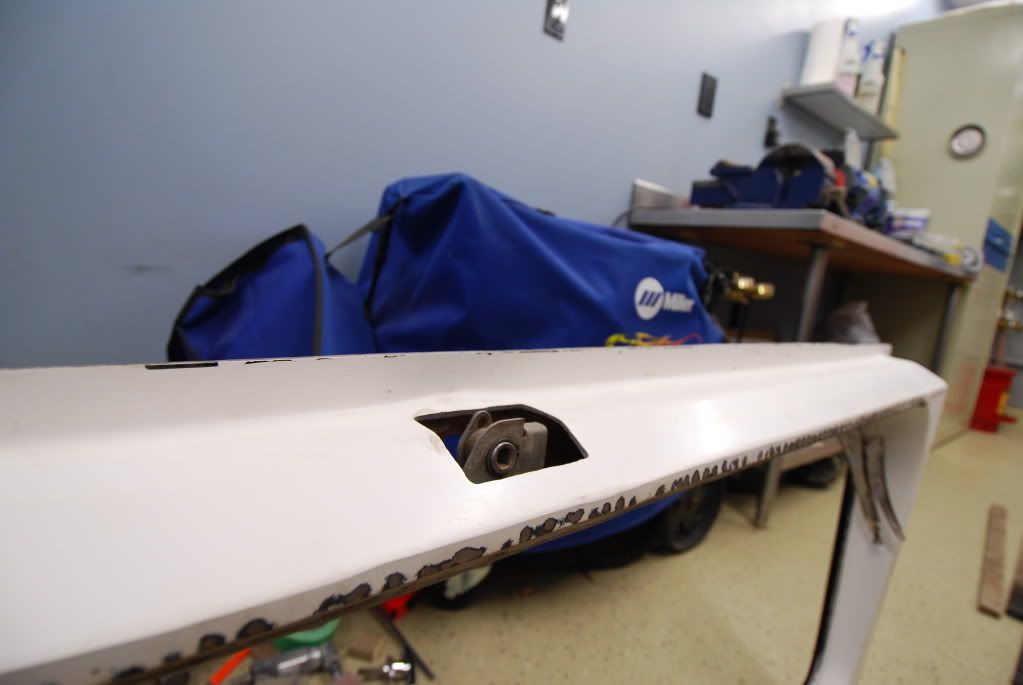
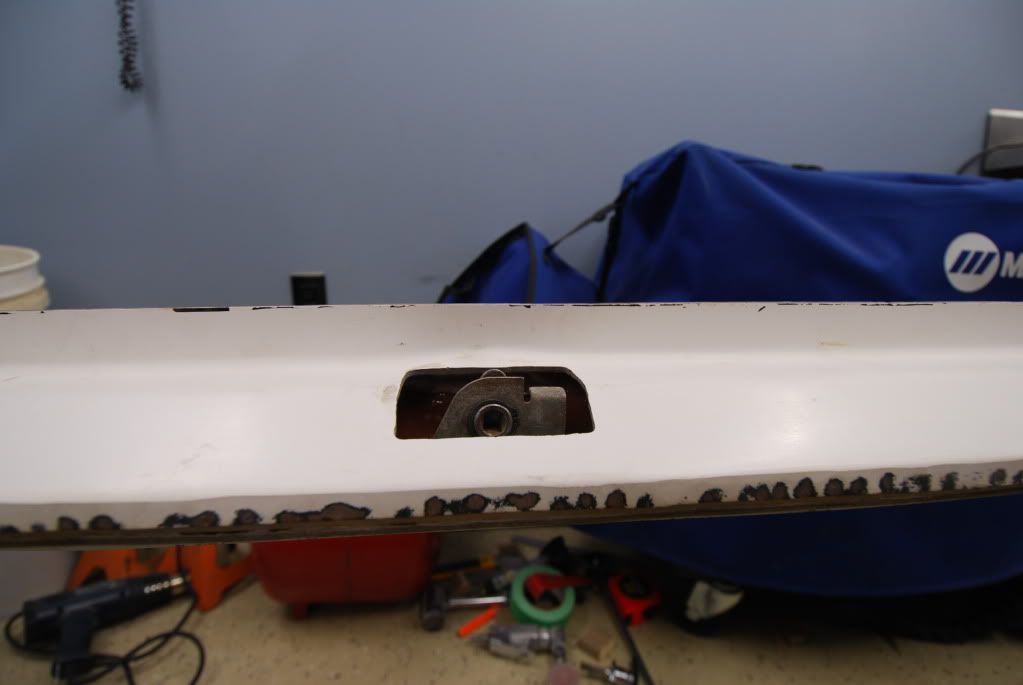
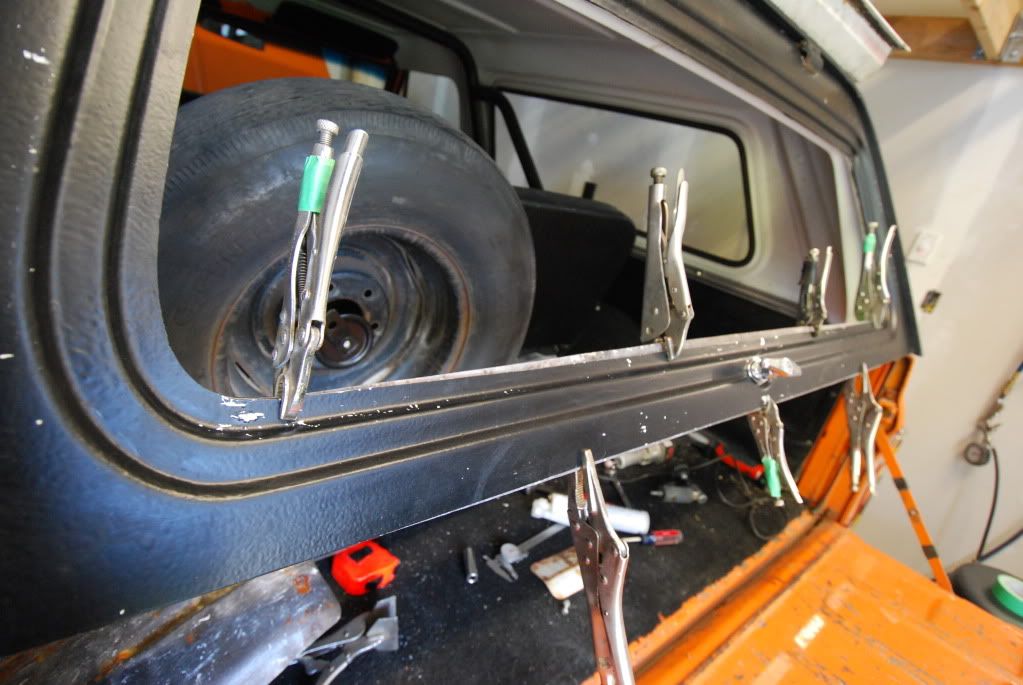
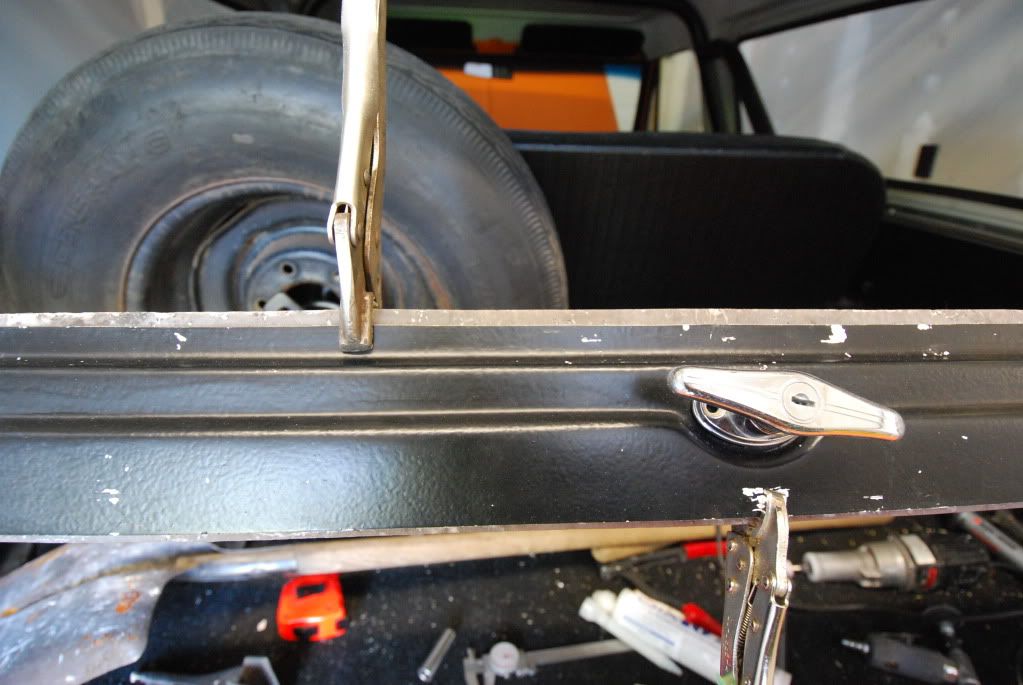
I started by separating the two halves of the hatch, just at the bottom. Once I did that I realized that this fiberglass isn't at all bendable. I then cut slits at either end of the hatch to allow it to move. Still wouldn't bend so I took a grinder and cutting wheel to the entire length of the hatch between the two slits grinding down the fiberglass. Now it would bend a bit but not stay in place. So out came the heat gun. Putting a fair amount of heat into it allowed me to bend the fiberglass and get it to stay in position, clamping it and letting it cool allowed it to stay in that form.
__________________
1969 Chevy Custom Camper 3/4 ton Rust free survivor 1972 Chevy Blazer CST 4x4 Almost Rust free survivor 1972 GMC Jimmy 2wd Undergoing surgery |
|
|

|
|
|
#3 |
|
Registered User
Join Date: May 2008
Location: 204
Posts: 903
|
Re: My repro hatch adventure
Now I had to find a way to glue it all back together and rebuild up the part that I ground down and had weakened with the heat gun. I found some stuff at the local boating store that worked well. After about 60 clamps I got it all glued up. You can see in some of the pictures of around the window opening of how much it actually had to be bent to have the hardware fit inside the hatch. After all that was done and the built up area was smoothed out and reformed to the shape it should be I had to make the window fit. Now right from the start before I touched it there was no way the window gasket would fit on the hatch. The fiberglass was a 1/4" too thick in most areas, so that had to be ground down to make it fit.
All in all I figure I have about 30 hours into this hatch. I can understand maybe having to trim a bit here and there but for the amount they are selling these for it seems unreasonable to me to have to -drill out and elongate the holes for the hinges -grind down the window flange to an acceptable size -completely reshape the bottom half to allow a STOCK handle to fit -add the sheet metal reinforcement that the hatch handle bolts to since it wasn't there -significantly enlarge the hinge pocket holes ...and the area where the supports arms attach to is so completely malformed there is no way I can repair it aside from cutting the whole thing out. 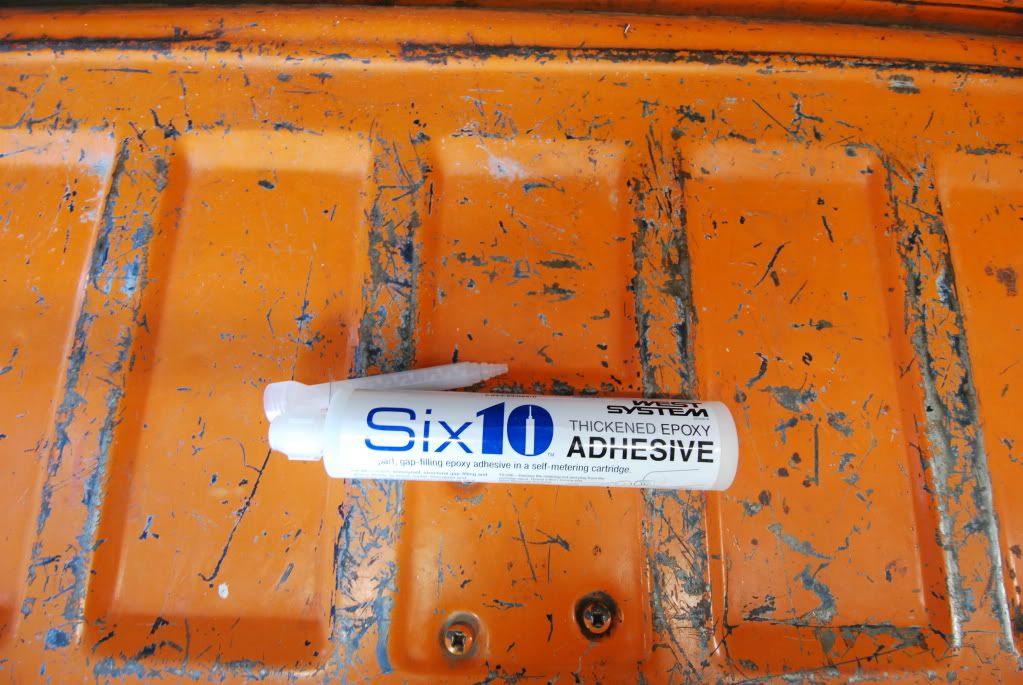 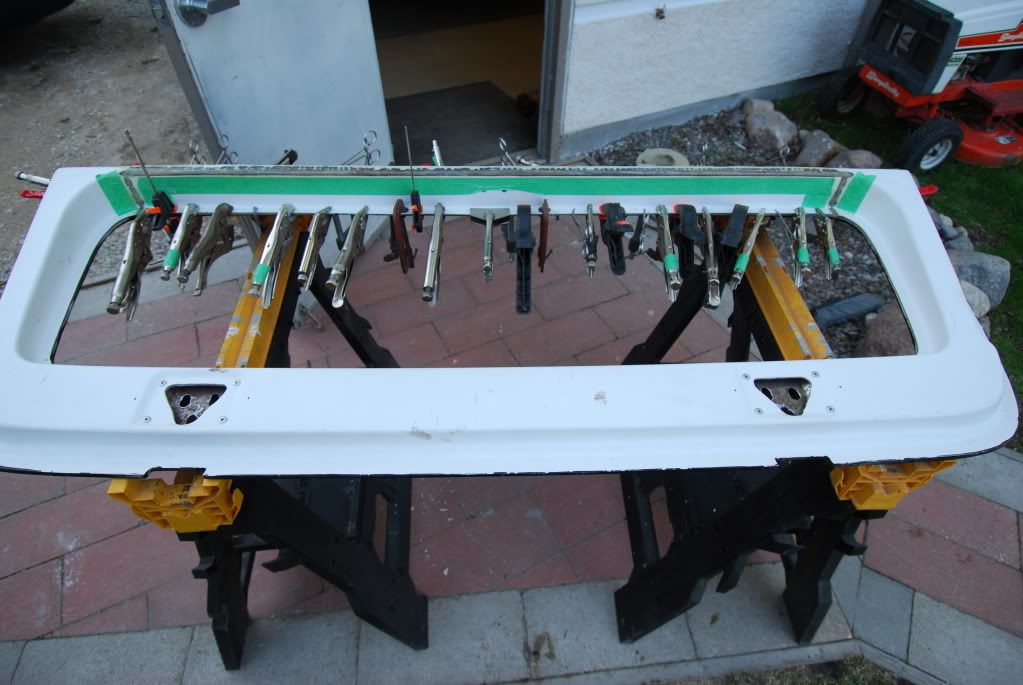 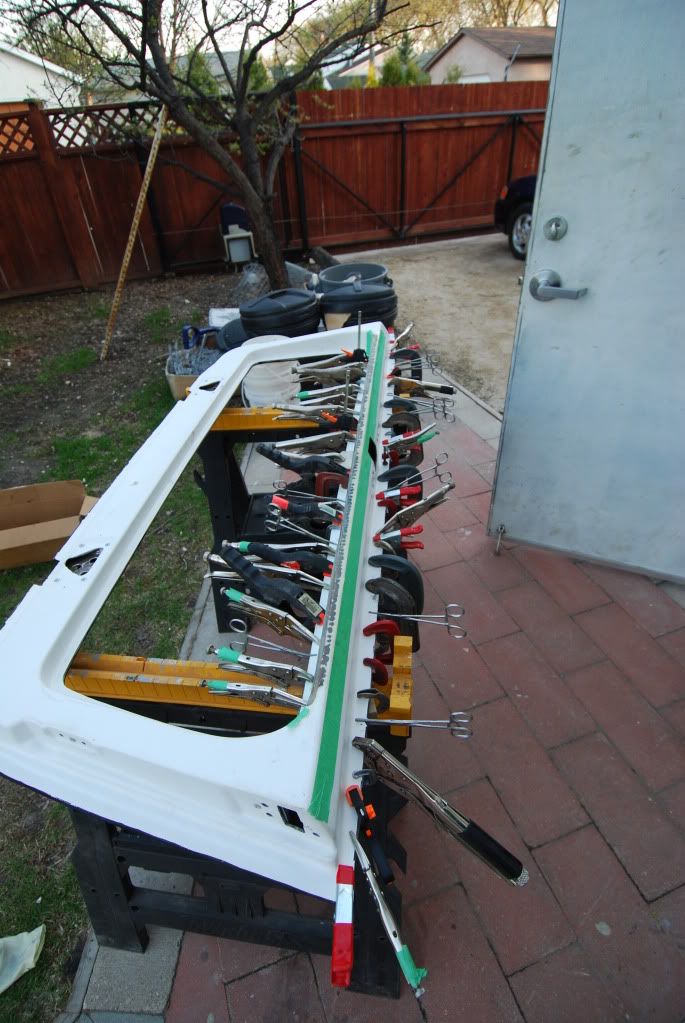 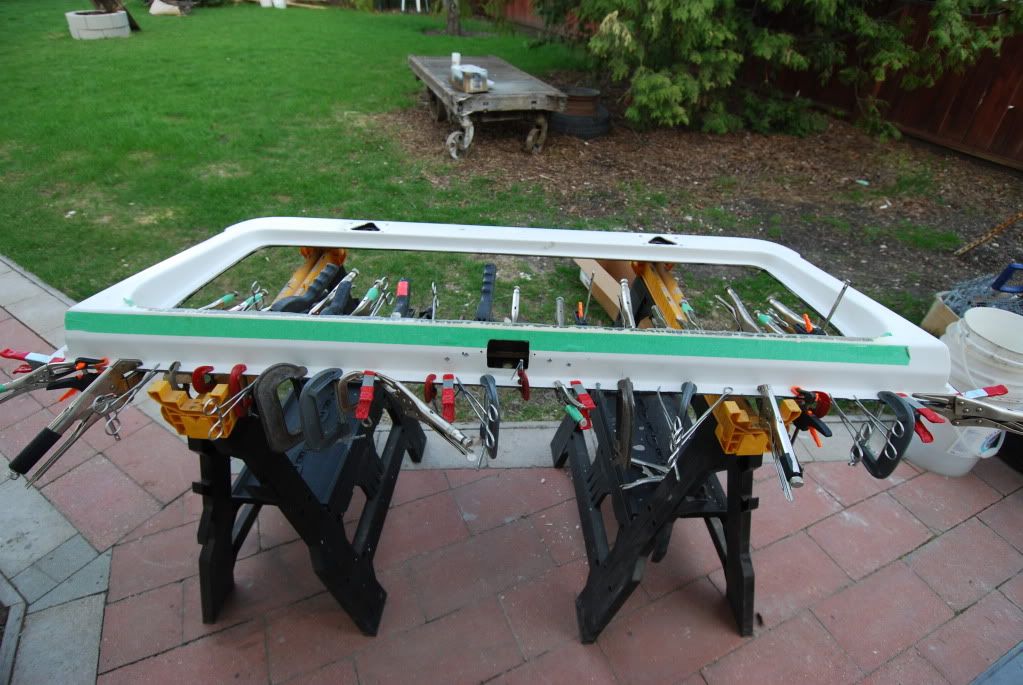 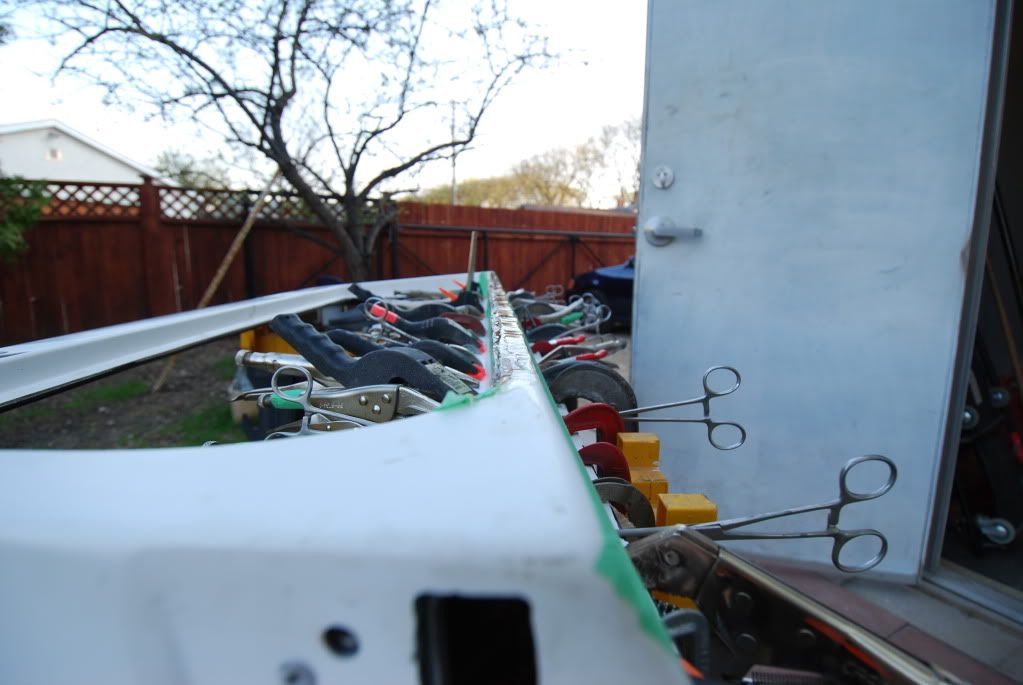
__________________
1969 Chevy Custom Camper 3/4 ton Rust free survivor 1972 Chevy Blazer CST 4x4 Almost Rust free survivor 1972 GMC Jimmy 2wd Undergoing surgery |
|
|

|
|
|
#4 |
|
Registered User
Join Date: May 2008
Location: 204
Posts: 903
|
Re: My repro hatch adventure
And not the best pictures but the finished product sans paint.
 
__________________
1969 Chevy Custom Camper 3/4 ton Rust free survivor 1972 Chevy Blazer CST 4x4 Almost Rust free survivor 1972 GMC Jimmy 2wd Undergoing surgery |
|
|

|
|
|
#5 |
|
Special Order
  Join Date: Nov 2004
Location: Mt Airy, MD
Posts: 85,851
|
Re: My repro hatch adventure
Man,that`s pure b.s! Then,they don`t reply?You must have mentioned "Blazer hatch" in you e-mail and they caller I.D.ed (ignored) your arse..."Oh no,not another".
I knew they were expensive but didn`t know they are junk.I guess my good original is worth more than I thought.
__________________
"BUILDING A BETTER WAY TO SERVE THE USA"......67/72......"The New Breed" GMC '67 C1500 Wideside Super Custom SWB: 327/M22/3.42 posi.........."The '67" (project) GMC '72 K2500 Wideside Sierra Custom Camper: 350/TH350/4.10 Power-Lok..."The '72" (rolling) Tim "Don't call me a redneck. I'm a rough cut country gentleman" R.I.P. ~ East Side Low Life ~ El Jay ~ 72BLUZ ~ Fasteddie69 ~ Ron586 ~ 67ChevyRedneck ~ Grumpy Old Man ~ |
|
|

|
|
|
#6 |
|
trucks72
Join Date: Jul 2002
Location: Crossville
Posts: 315
|
Re: My repro hatch adventure
I had to go through the same thing. I did something like what you did to the handle section. Mine also would not fit the top. So I had to trim it. Also the hindges would not fit. So all that had to be cut. I would have been better to start out with a orig. that was busted up.
|
|
|

|
|
|
#7 |
|
trucks72
Join Date: Jul 2002
Location: Crossville
Posts: 315
|
Re: My repro hatch adventure
One more thing. Have you fit your glass yet. My glass did not fit also. I trimmed it a little. Then had to get glass trimmed to fit.
|
|
|

|
|
|
#8 |
|
go cyclones
Join Date: Jun 2003
Location: Ames, IA
Posts: 1,883
|
Re: My repro hatch adventure
You should email bowtiebits.com this thread to show them how to build them properly.
|
|
|

|
|
|
#9 |
|
Senior Member
Join Date: Nov 2003
Location: Brookings, SD
Posts: 10,497
|
Re: My repro hatch adventure
I thought you were exaggerating on the 60 clamps deal. I counted 62. That's a lot of clamps to have in the garage!! They must have been waiting for a big hatch repair project.
__________________
Some people are like slinkies, they aren't good for anything, but you can't help but smile when you see one tumble down the stairs. |
|
|

|
|
|
#10 |
|
Registered User
 Join Date: May 2007
Location: Rapid City South Dakota
Posts: 2,359
|
Re: My repro hatch adventure
I agree. Send them your pics and explain all of the problems. Hopefully they will fix their product or just stop selling it. These are the things that give repop parts a bad name.
__________________
Turp Mcspray New life for an old 2wd, farm blazer http://67-72chevytrucks.com/vboard/s...d.php?t=505987 My Blazer build http://67-72chevytrucks.com/vboard/s...d.php?t=342299 |
|
|

|
|
|
#11 |
|
Post Whore
 Join Date: Feb 2000
Location: Rose Hill, KS, USA
Posts: 12,686
|
Re: My repro hatch adventure
Bowtiebits is a local place in Wichita where I have bought a couple things over the years. The guy has zero personality and seems like I'm bothering him any time I've gone in there. Poor way to run a business and looks like that bleeds over to how he has handled your situation.
__________________
1970 Blazer with a 400 sbc and 4" lift 1980 Pontiac Trans Am, 455 Oldsmobile 2012 Kawasaki Concours 14 |
|
|

|
|
|
#12 |
|
Registered User
 Join Date: Jan 2007
Location: Columbus, Ohio
Posts: 4,349
|
Re: My repro hatch adventure
I don't know if I would have the stones to cut into a new repo hatch - nice work though.
|
|
|

|
|
|
#13 |
|
Registered User
Join Date: Dec 2004
Location: Northern AZ
Posts: 7,270
|
Re: My repro hatch adventure
I have two originals that have some cracks, I'd rather fix one of those than drop $600 on a new one that doesn't fit. Fiberglass work is really pretty simple, glass mat, two part resin, and apply, cracks fixed?
|
|
|

|
|
|
#14 |
|
urban fourwheelin
Join Date: Aug 2002
Location: Seattle
Posts: 1,007
|
Re: My repro hatch adventure
If I had a good hatch to copy for a mold I could make these a million times better and probably cheaper. to bad that guy is a dick.
__________________
1972 K5 Blazer with Cummins 4BT, NV4500 swap in the parts gathering stage. |
|
|

|
|
|
#15 |
|
Registered User
 Join Date: Dec 2008
Location: K.C. Missouri
Posts: 1,024
|
Re: My repro hatch adventure
That makes me want to punch Mr. Bowtiebitits in the junk!!! I live close enough to do it too. Hope it works out for you!!
|
|
|

|
|
|
#16 | |
|
Registered User
Join Date: May 2008
Location: 204
Posts: 903
|
Re: My repro hatch adventure
Quote:
The place I bought it from (Manes truck parts) spoke to the manufacturer and told me they said that they sold over 50 or something of these and this is the first they ever heard of any problem. I am sure they will come across this information at some point anyways. I do know pretty much what all the problems are attributed to but I really don't feel like sharing that information with them to fix their mistakes. Plus it seems that my emails don't get there anyways *rolls eyes* JUST TO BE CLEAR Manes Truck parts was very good through this situation and offered me a chance to return it or significant portion of $$$ back, I took neither because I felt that they shouldn't have to pay the price of someone else's mistake.
__________________
1969 Chevy Custom Camper 3/4 ton Rust free survivor 1972 Chevy Blazer CST 4x4 Almost Rust free survivor 1972 GMC Jimmy 2wd Undergoing surgery Last edited by 69-72; 06-17-2009 at 03:30 PM. |
|
|
|

|
|
|
#17 | |
|
Registered User
Join Date: May 2008
Location: 204
Posts: 903
|
Re: My repro hatch adventure
Quote:
Thanks, I didn't have the stones either, it took me a year to collect them. :p
__________________
1969 Chevy Custom Camper 3/4 ton Rust free survivor 1972 Chevy Blazer CST 4x4 Almost Rust free survivor 1972 GMC Jimmy 2wd Undergoing surgery |
|
|
|

|
|
|
#18 | |
|
Registered User
Join Date: May 2008
Location: 204
Posts: 903
|
Re: My repro hatch adventure
Quote:
Exactly now that I know this in hind sight it would have been easier and more worthwhile in the long run to fix my original that was literally broken in half then it was to fix this mess.
__________________
1969 Chevy Custom Camper 3/4 ton Rust free survivor 1972 Chevy Blazer CST 4x4 Almost Rust free survivor 1972 GMC Jimmy 2wd Undergoing surgery |
|
|
|

|
|
|
#19 |
|
Registered User
Join Date: May 2007
Location: Marion, Mi.
Posts: 2,429
|
Re: My repro hatch adventure
Cool insight! Mine's not in that bad of shape, so I think I'll try and fix it myself. Thank's for the thread!
|
|
|

|
|
|
#20 |
|
Account Suspended
Join Date: May 2011
Location: 67-72 HQ
Posts: 103
|
Re: My repro hatch adventure
So did you get this worked out?
|
|
|

|
|
|
#21 |
|
Registered User
Join Date: Sep 2007
Location: Rolla Mo.
Posts: 667
|
Re: My repro hatch adventure
Most of us on here usually try to fix and repair things our selves. In my case I had more time than money than to buy a repro. I spent all last winter taking two hatches and building one, both were junk. My point is unless your hatch is totally trash try repairing your original, its not really that hard. I tried to upload the link and was unable, if you do a search for (Hatch pic needed) it may be there. I'am very pleased with to out come.
__________________
"85" Monte Carlo SS "71" K5 (SOLD) "64" Chevelle 1930 Chevy two door rat |
|
|

|
|
|
#22 |
|
Registered User
Join Date: Sep 2007
Location: Rolla Mo.
Posts: 667
|
Re: My repro hatch adventure
http://67-72chevytrucks.com/vboard/s...d.php?t=438402 This may be the link
__________________
"85" Monte Carlo SS "71" K5 (SOLD) "64" Chevelle 1930 Chevy two door rat |
|
|

|
 |
| Bookmarks |
|
|